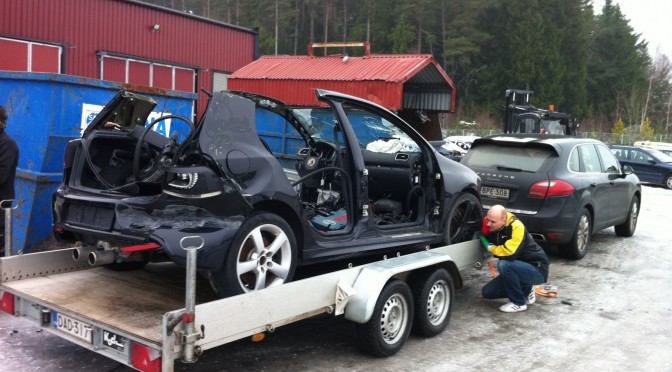
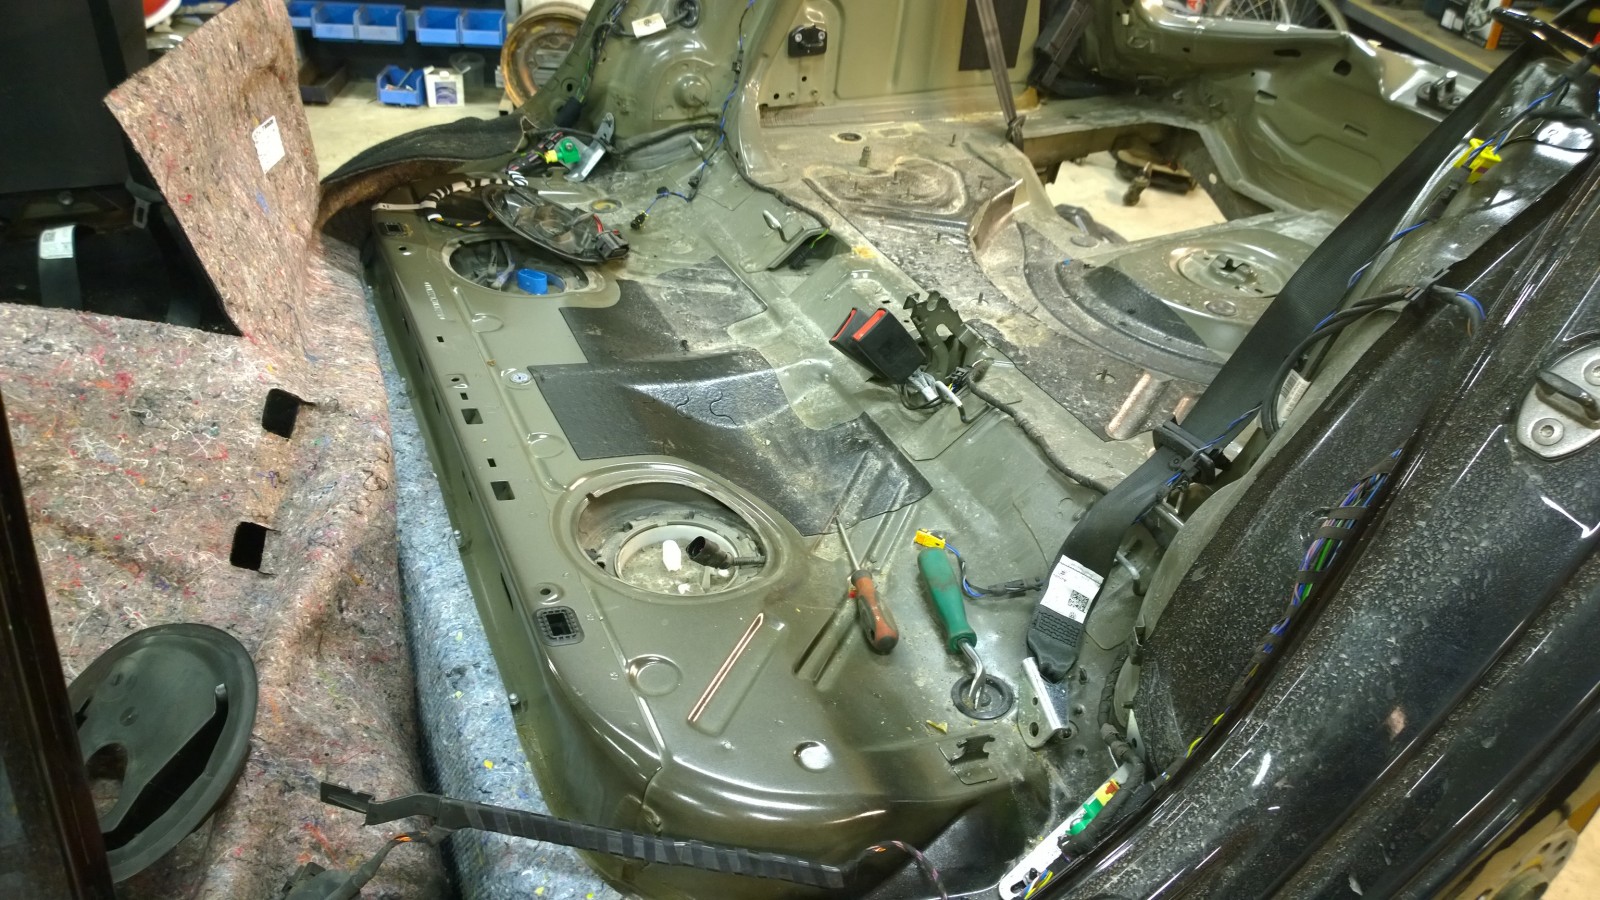
So we had Golf the donor car at Pekka’s garage. We did some quick comparison to Scirocco and didn’t see anything too difficult. We’d been comparing already from ETKA and it was pretty much as we expected. The trunk floor was clearly different, otherwise the body was pretty much similar. It looked that we’re able to cut the trunk floor from Golf and swap it to Scirocco. It was time to tear the Golf down.

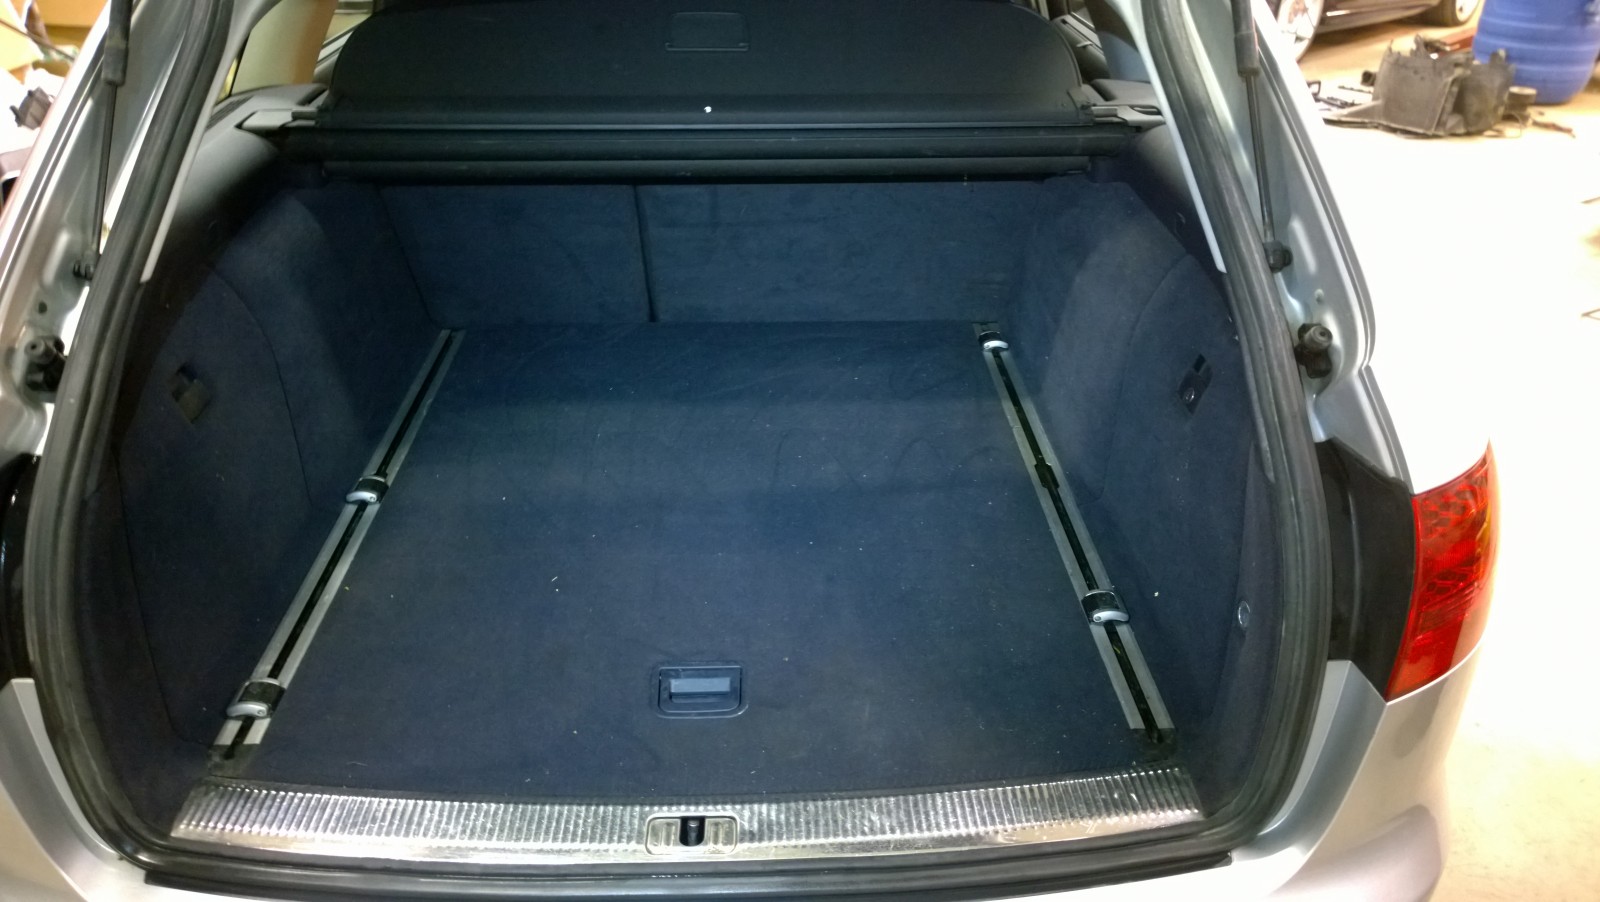
A view to the Golf trunk floor
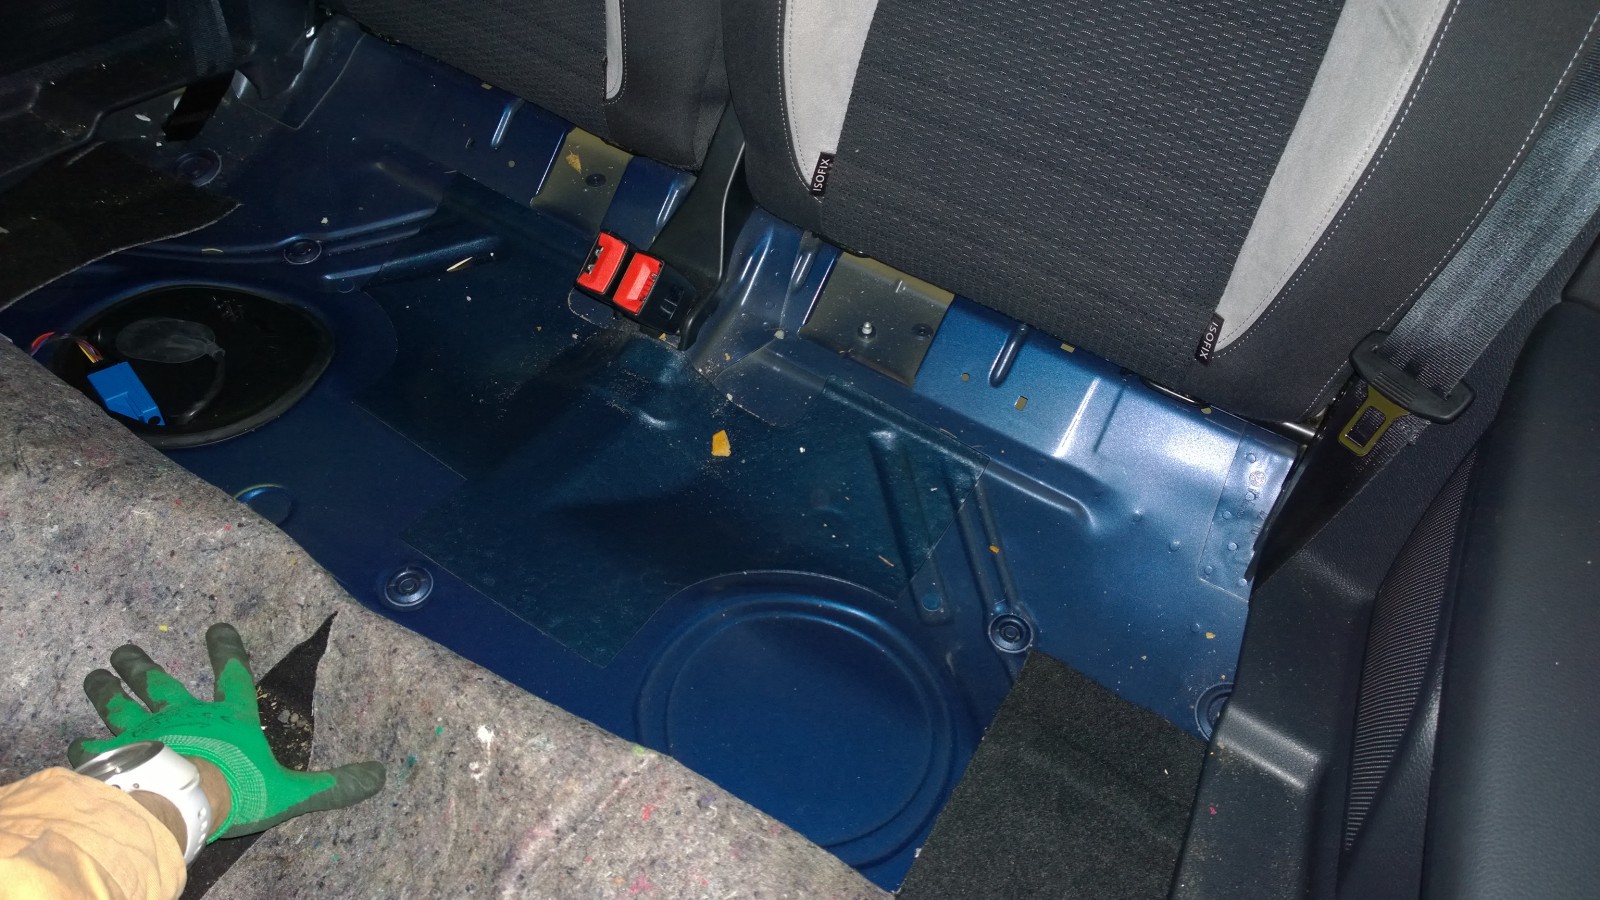
Golf floor under the rear seat. The only difference to Scirocco is the hole to tank on the driver side.
Scirocco floor under the rear seat.
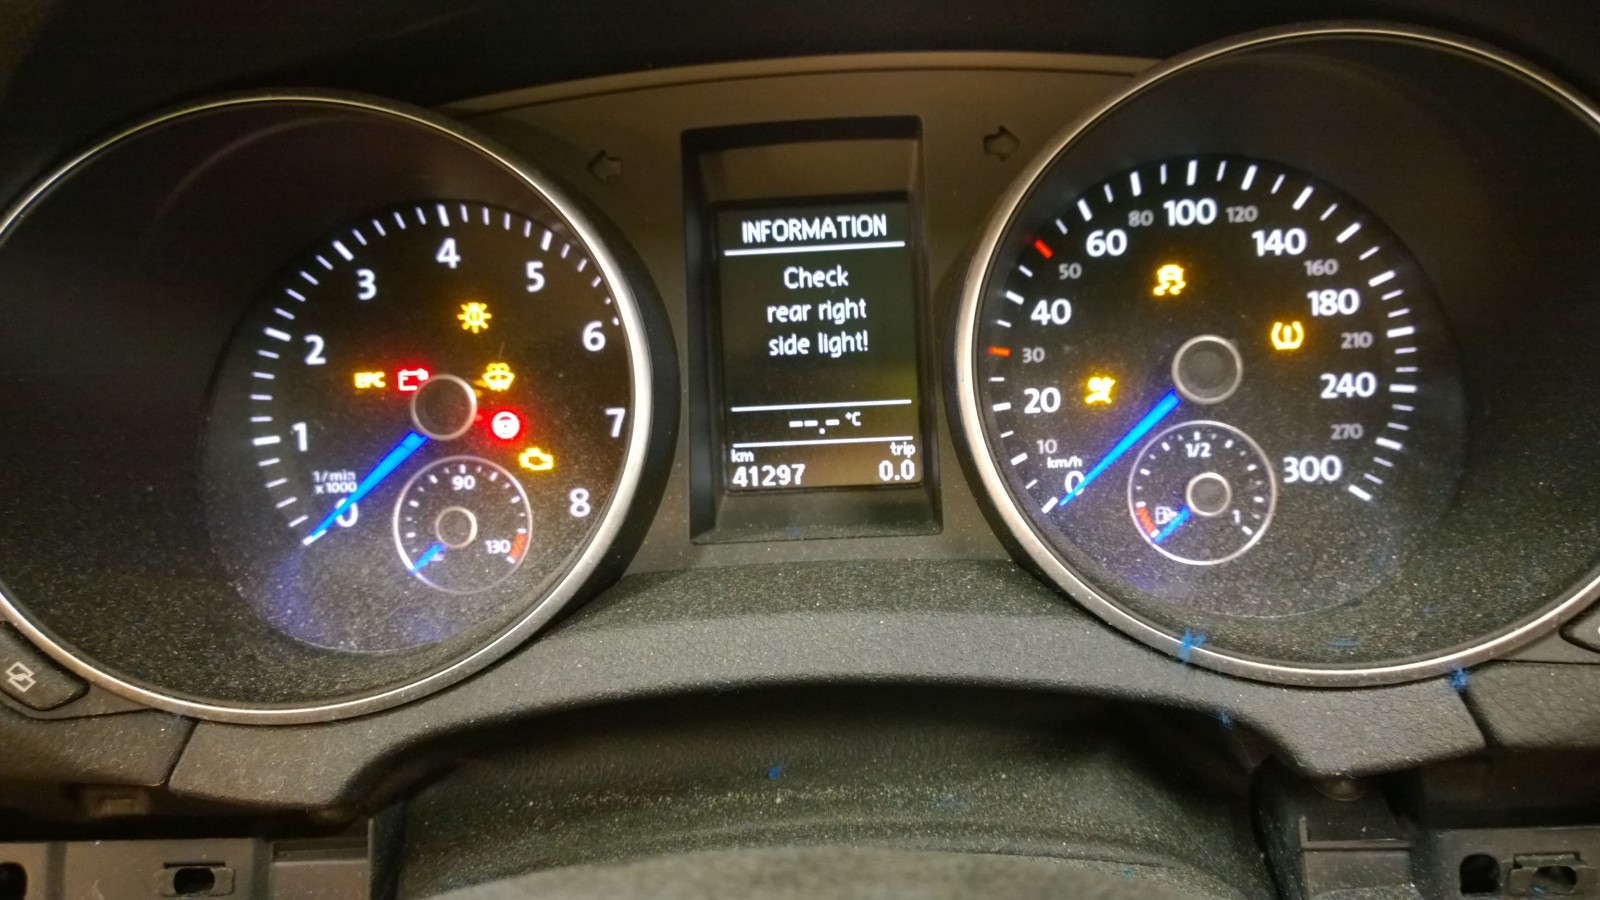
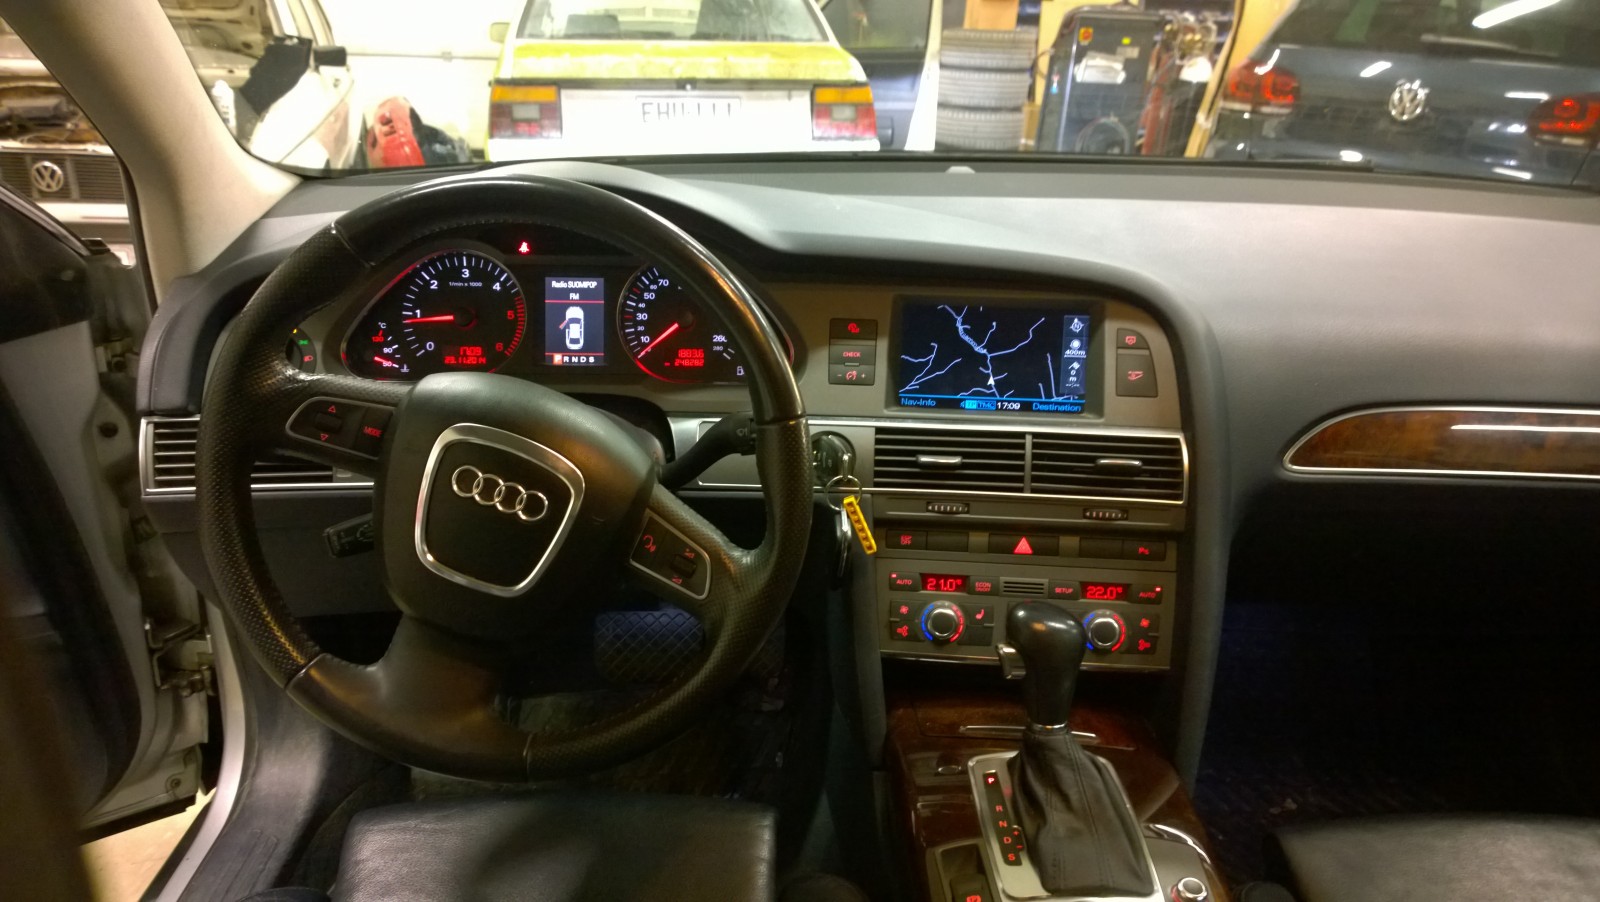
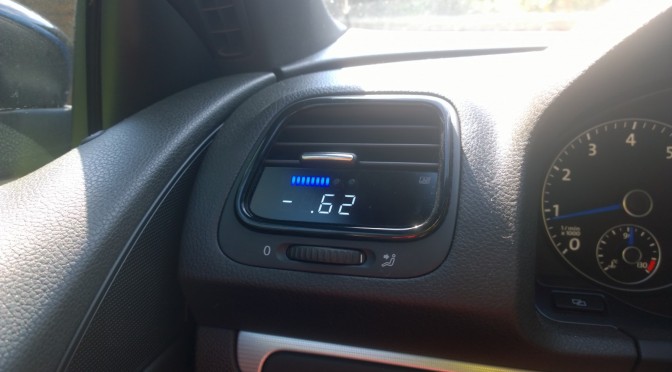
We weren’t able to start the Golf engine to try if it works, but at least we turned the ignition on and were able to read fault codes and see that the cluster works.
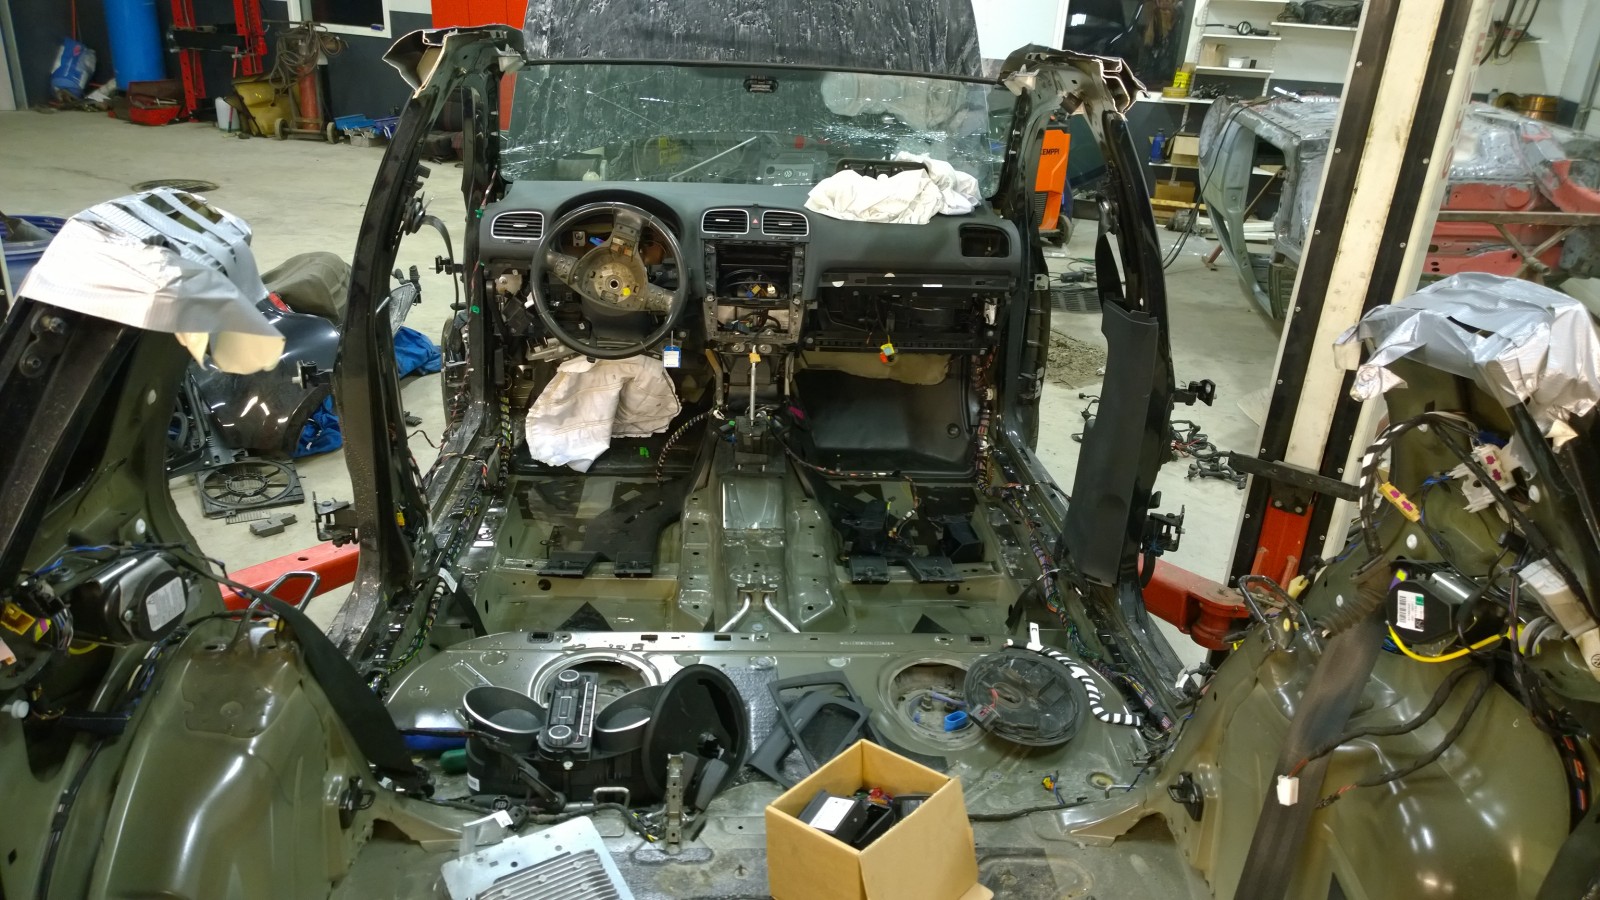
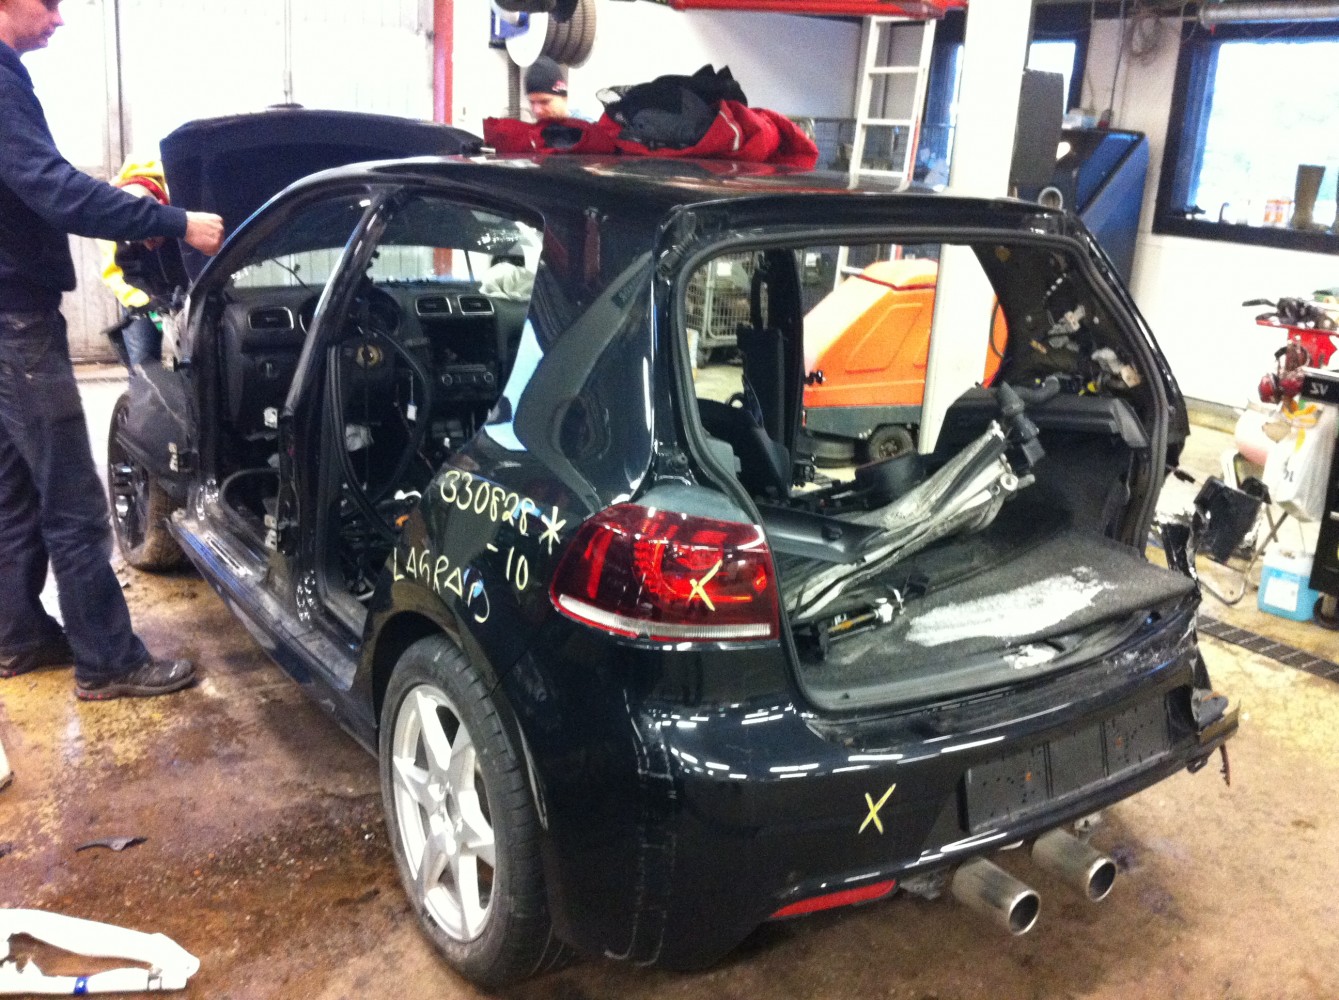
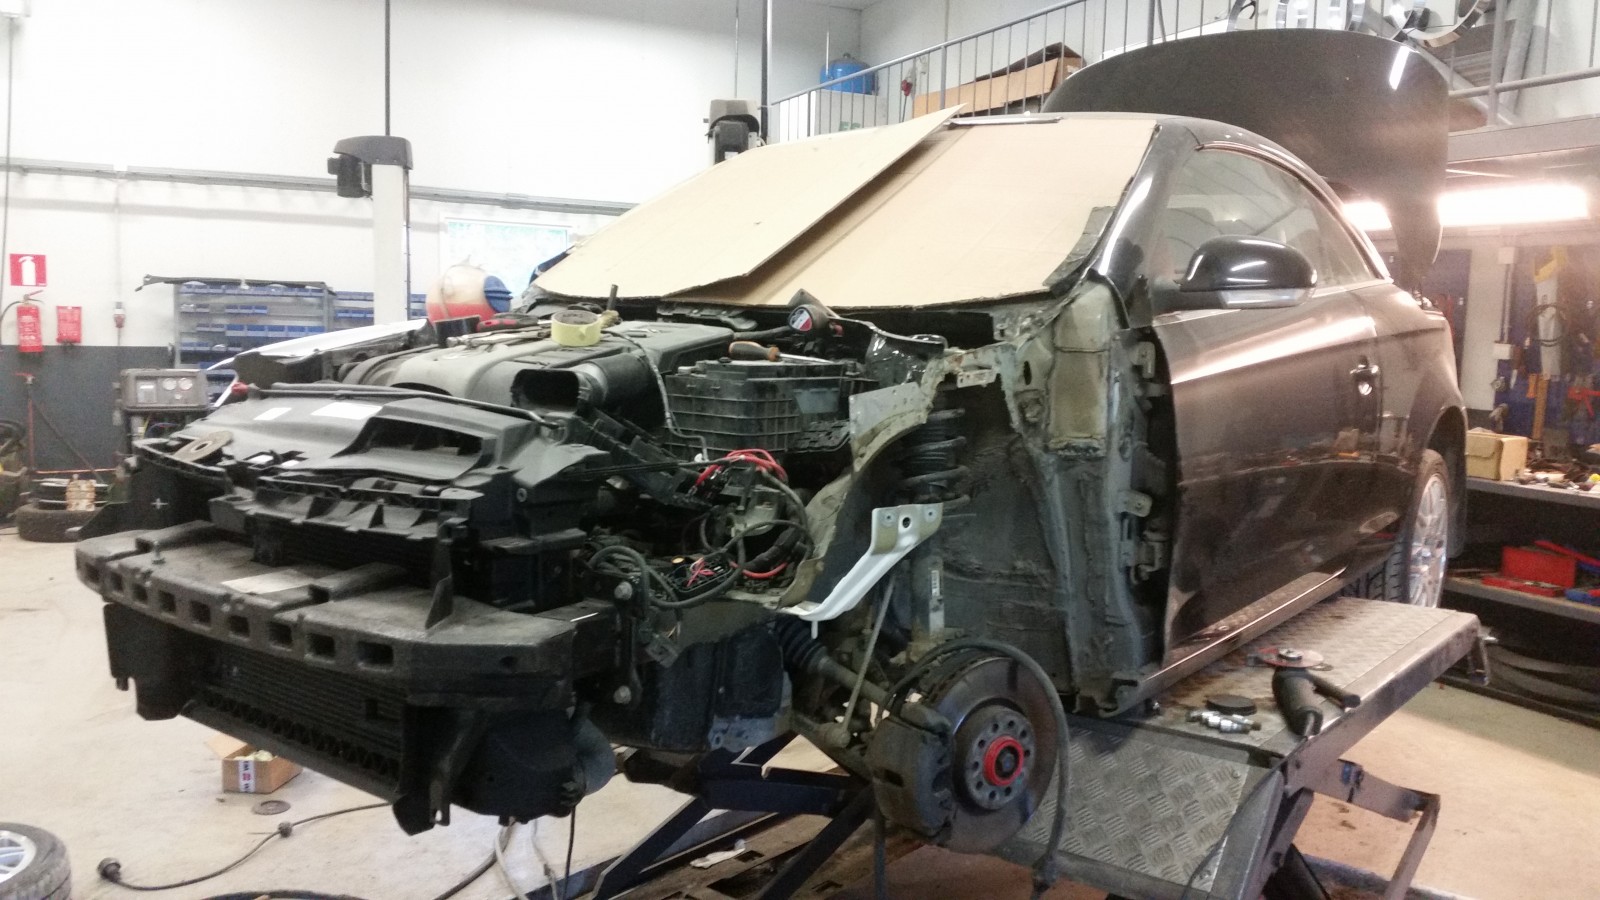
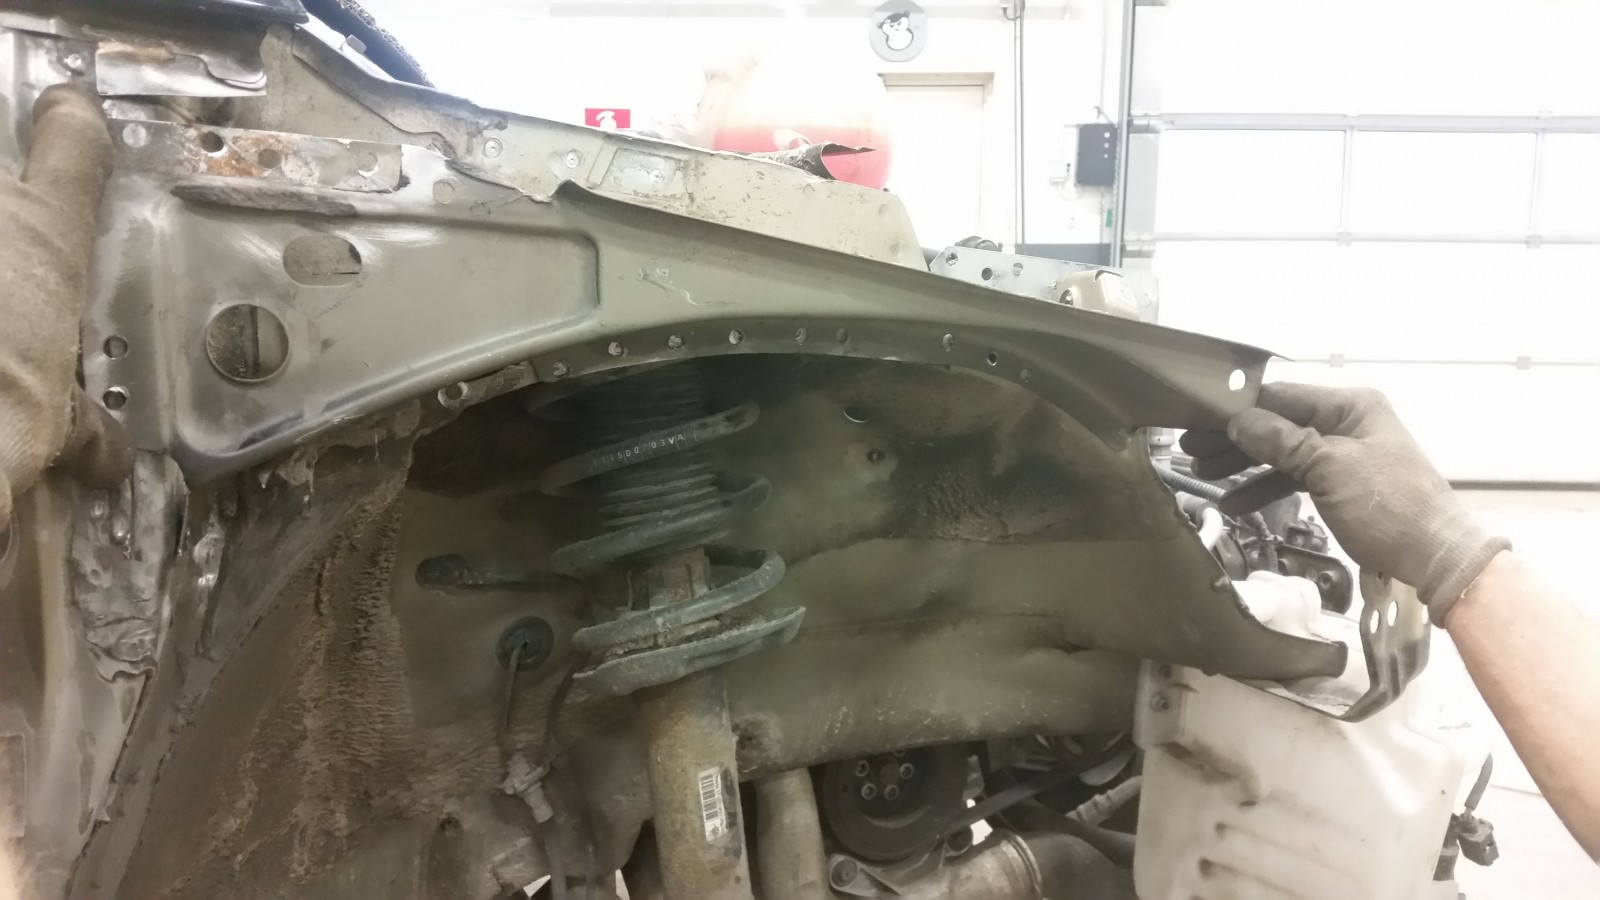
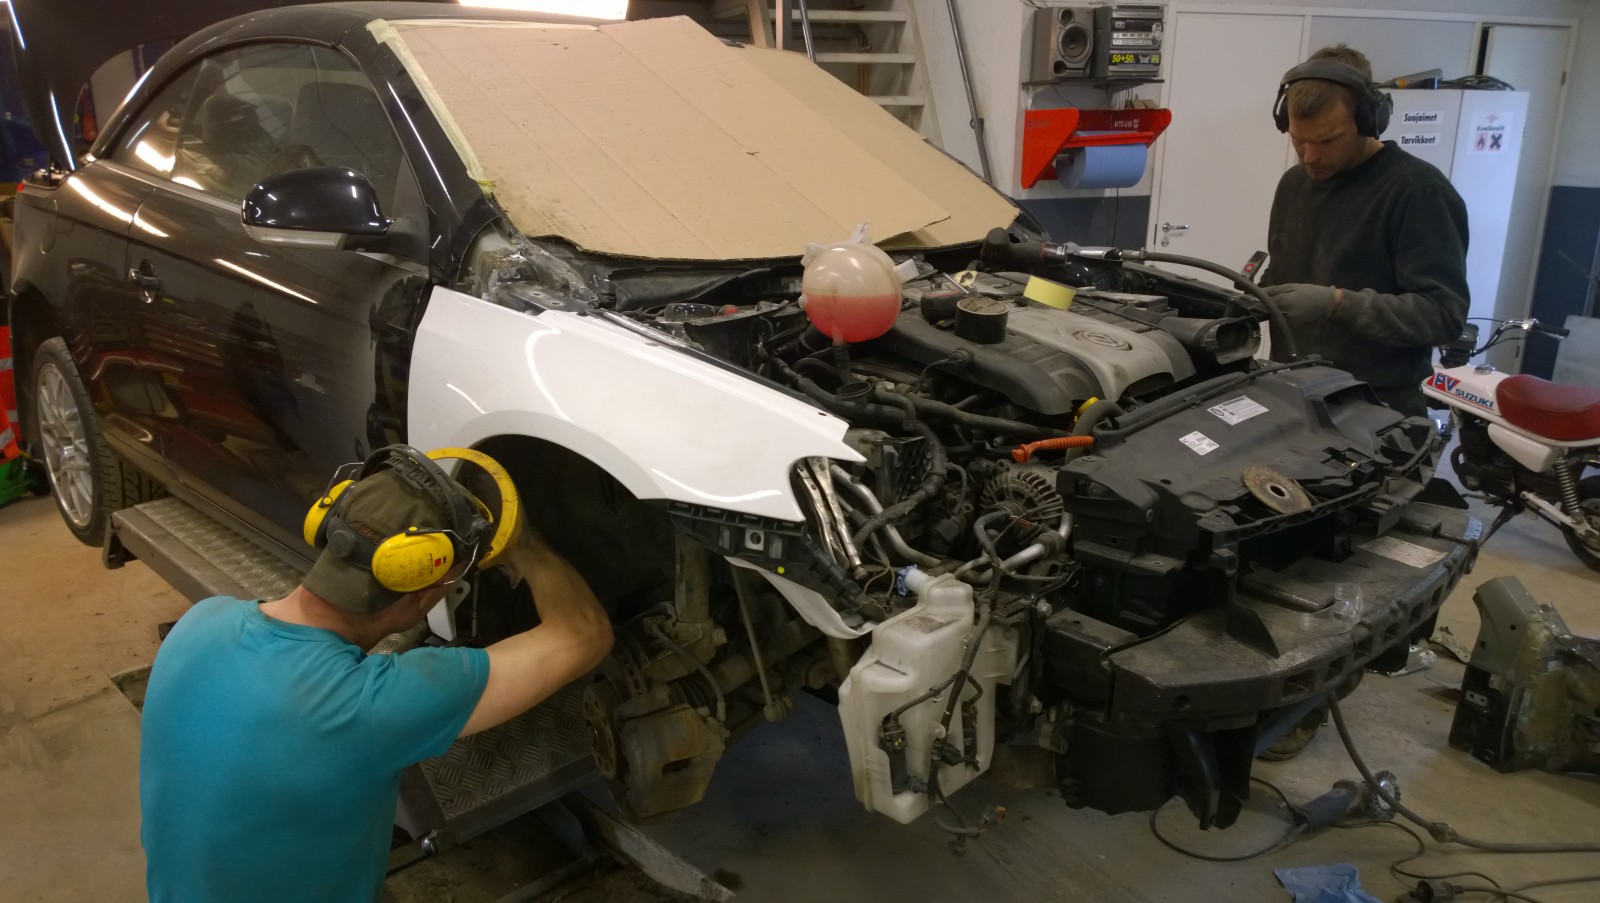
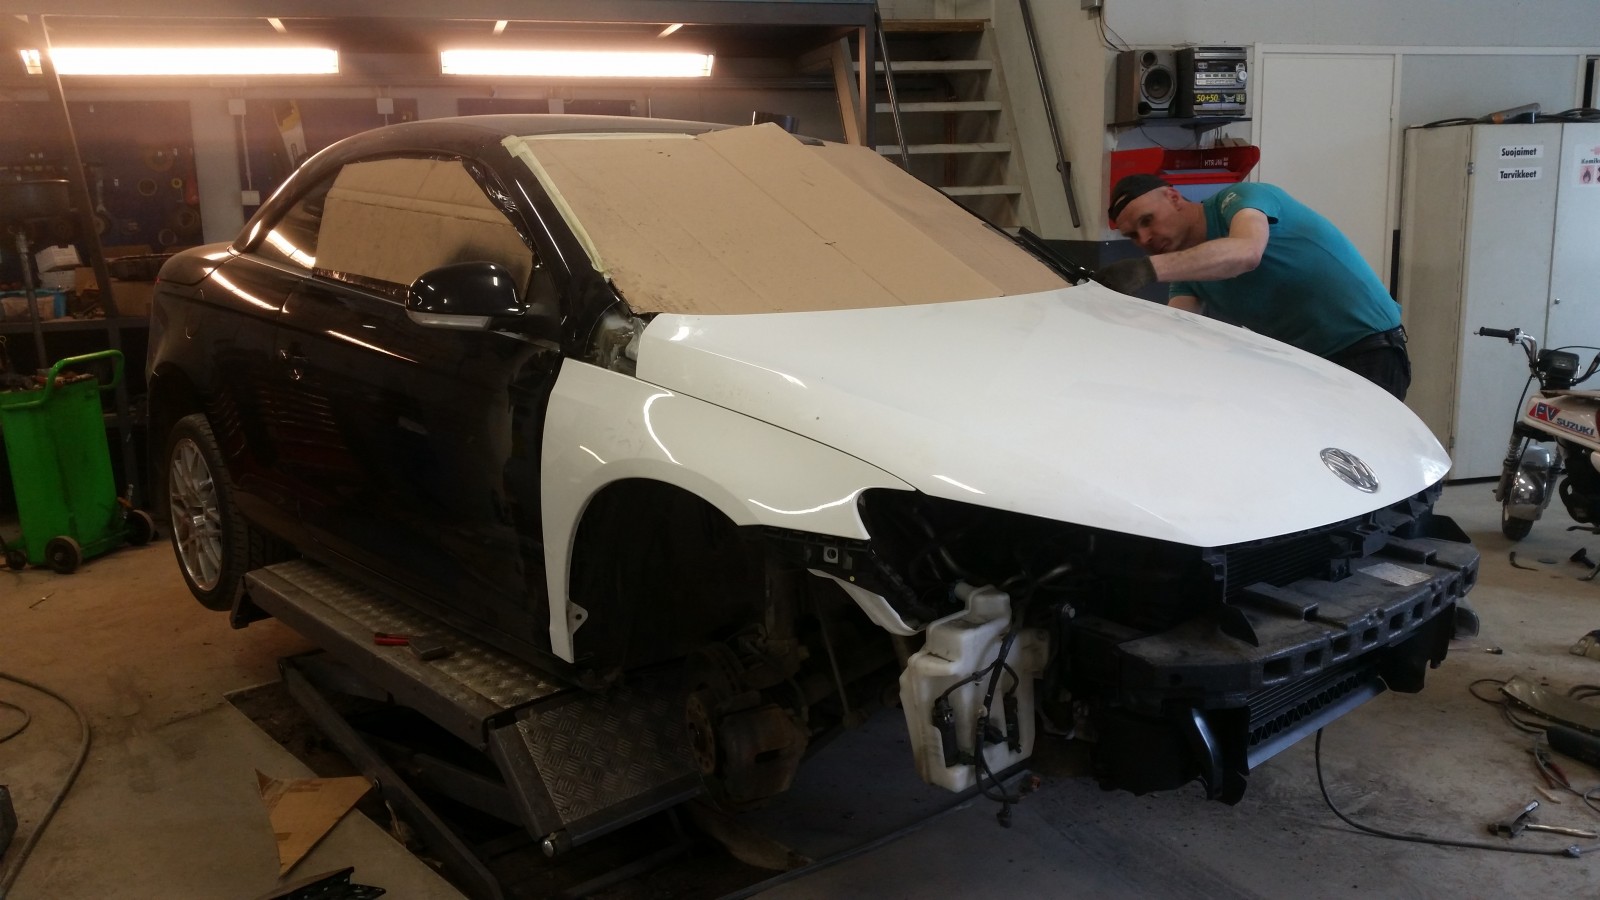
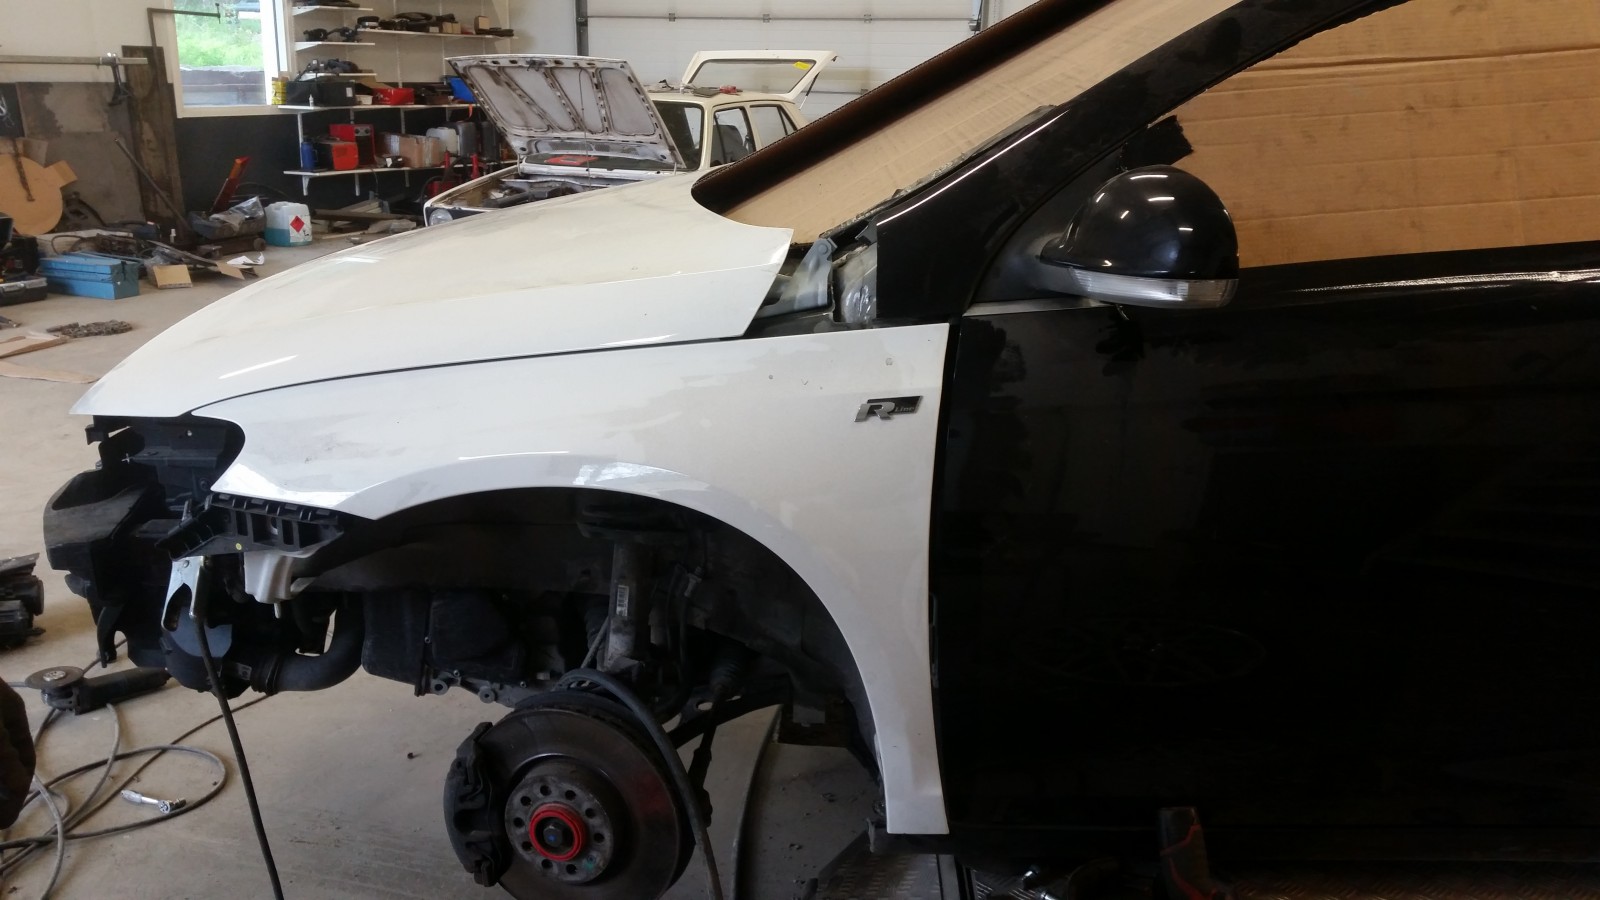
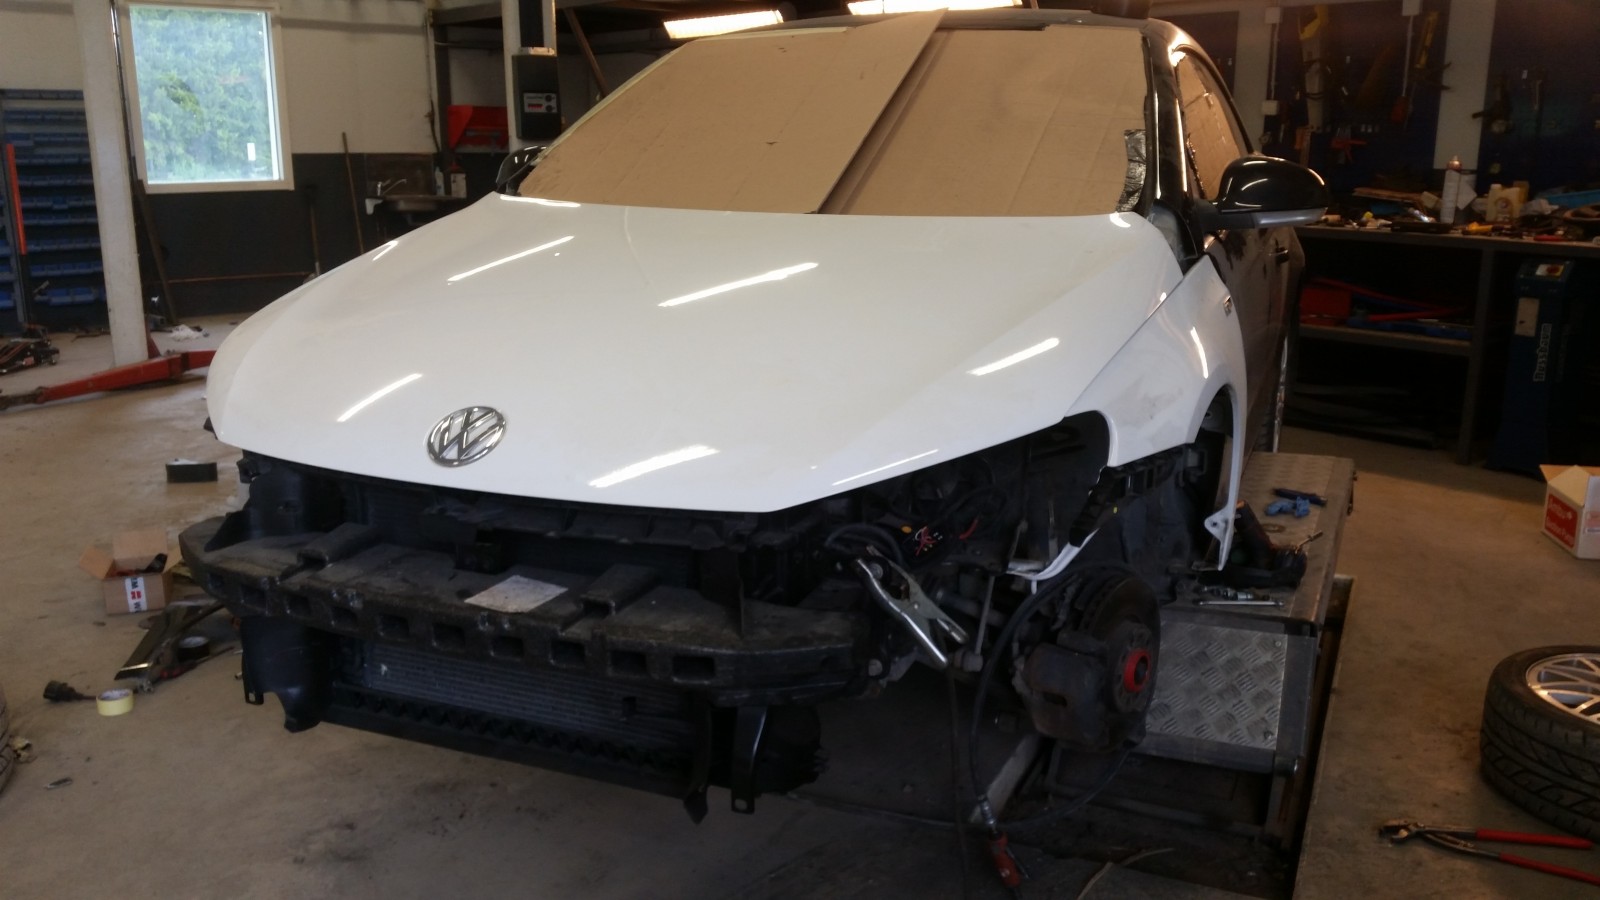
Disassembling the Golf
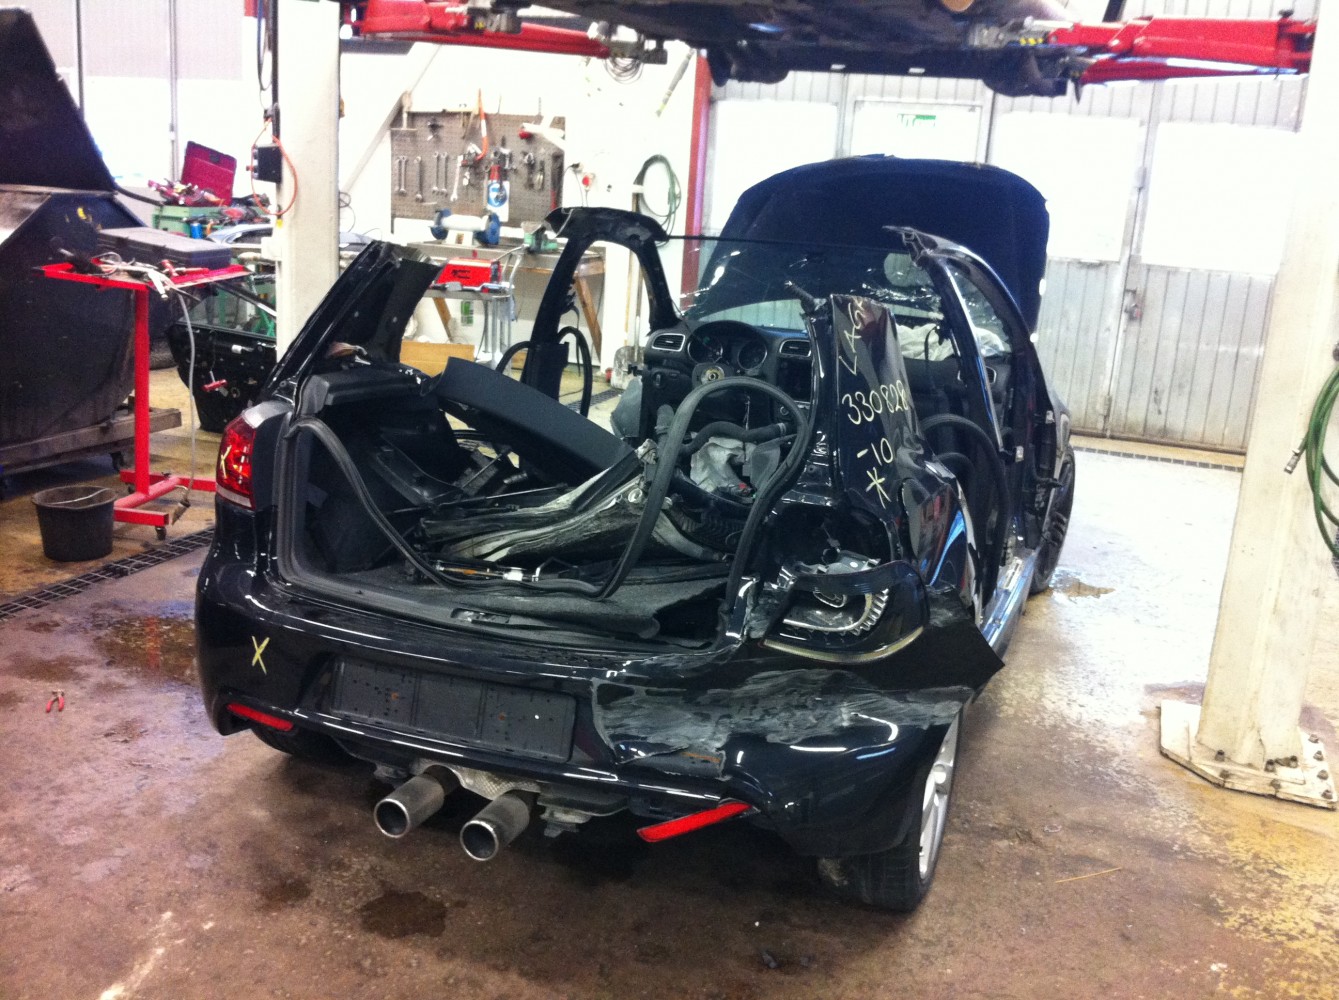
Disassembling continues…

DCC sensor. There’s one of these on each corner of the car. Our original plan was to install Golf DCC suspension to Scirocco, but decided to skip the idea. The work with wiring harness would’ve been just too much.
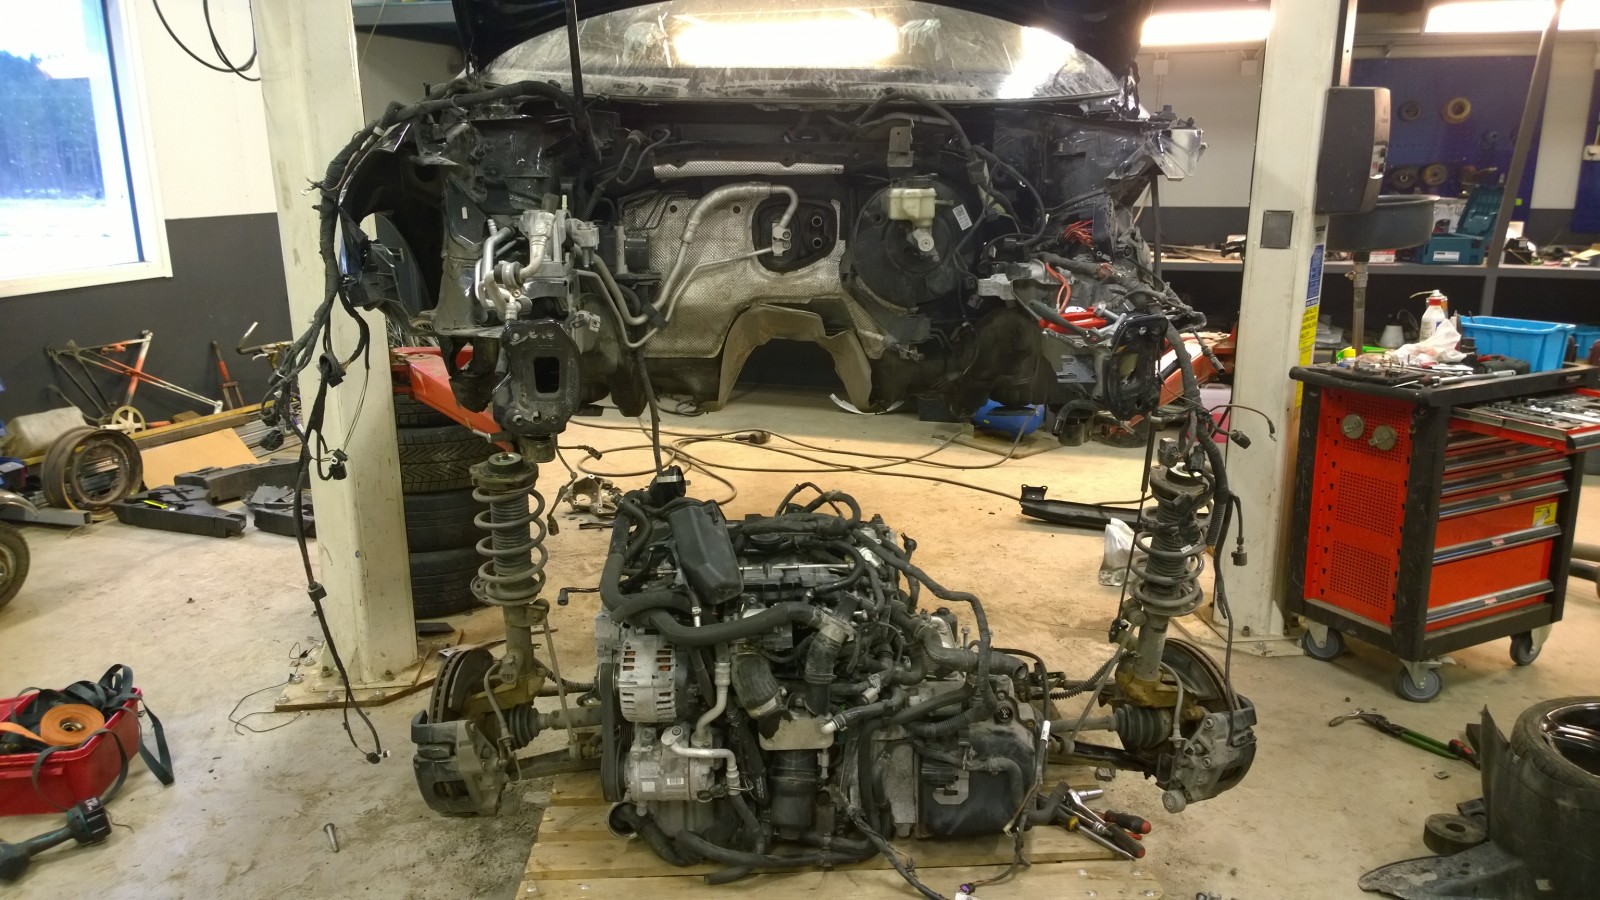
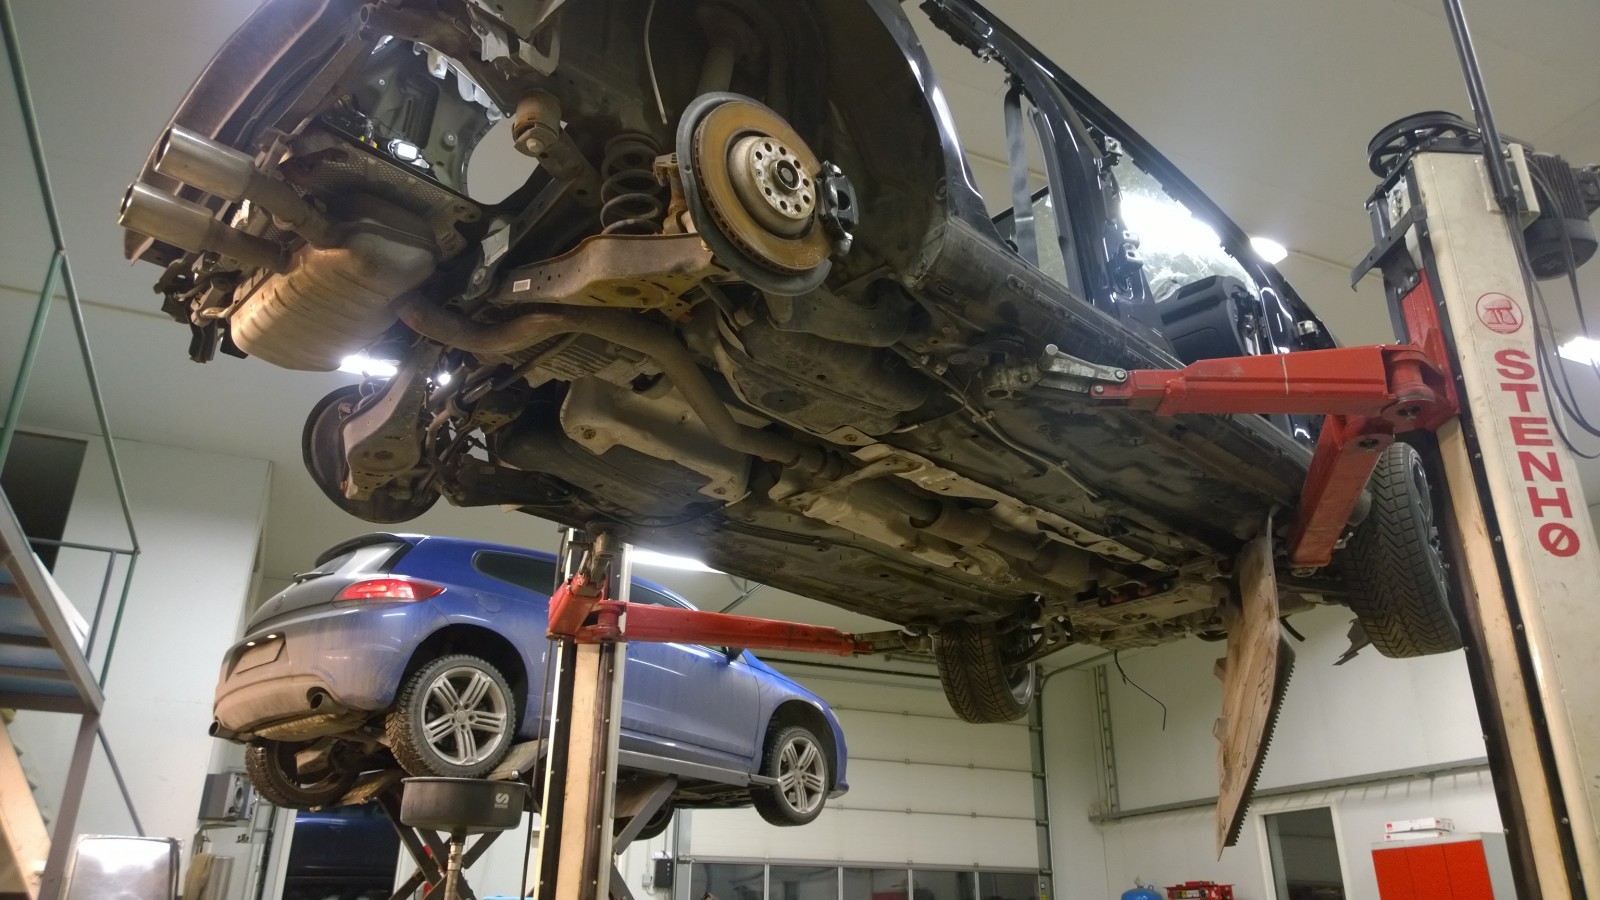
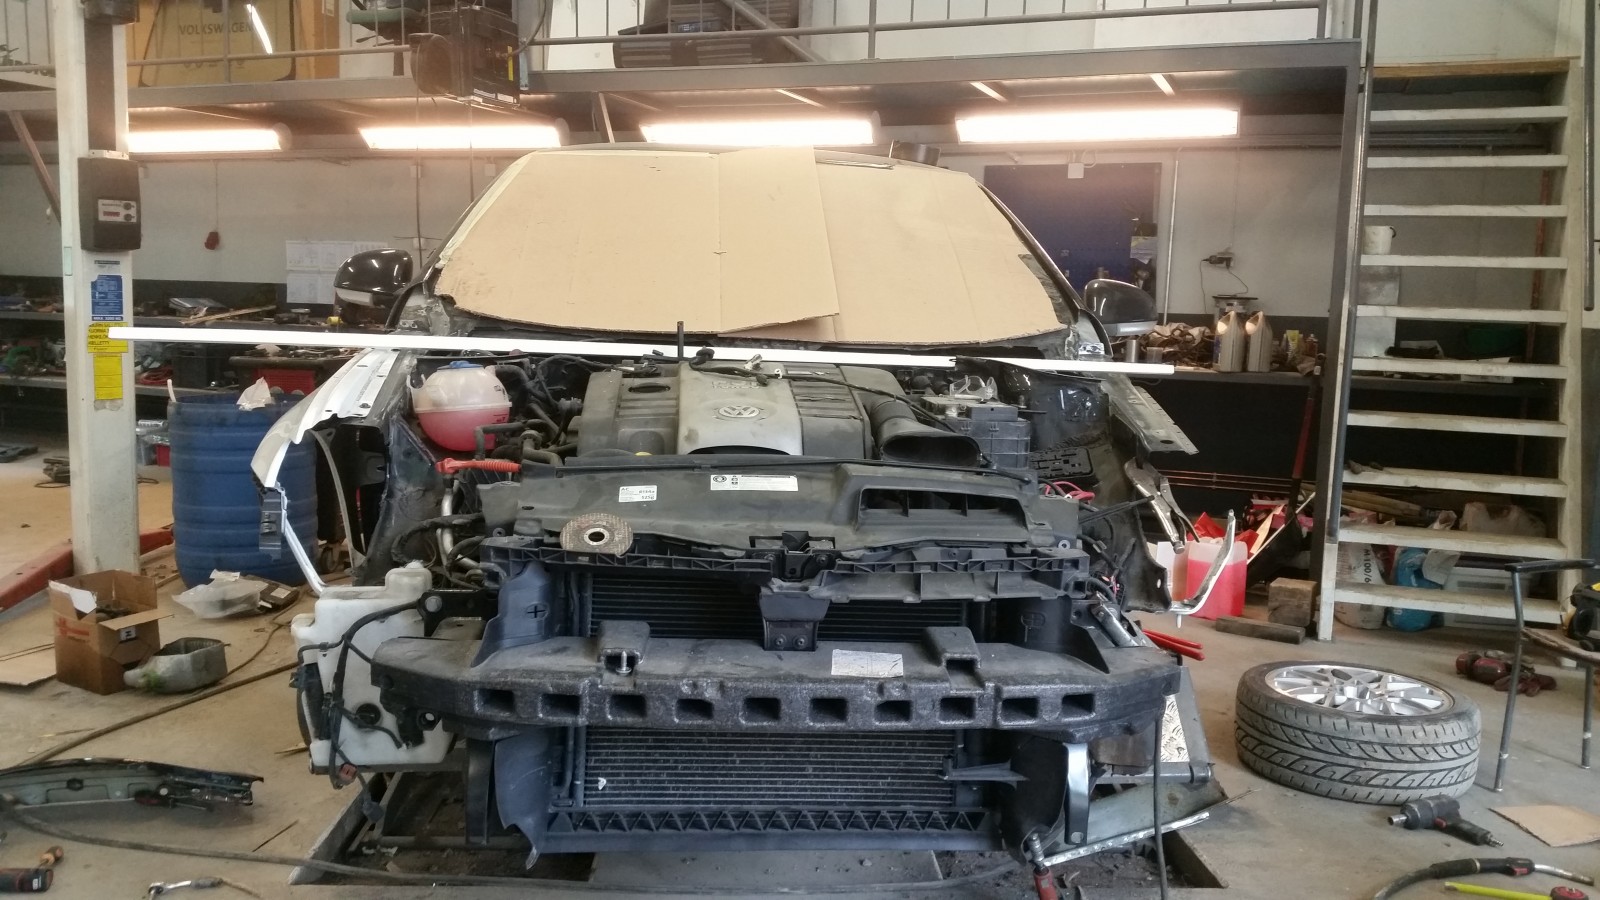
Engine, transmission and front axle dropped off.
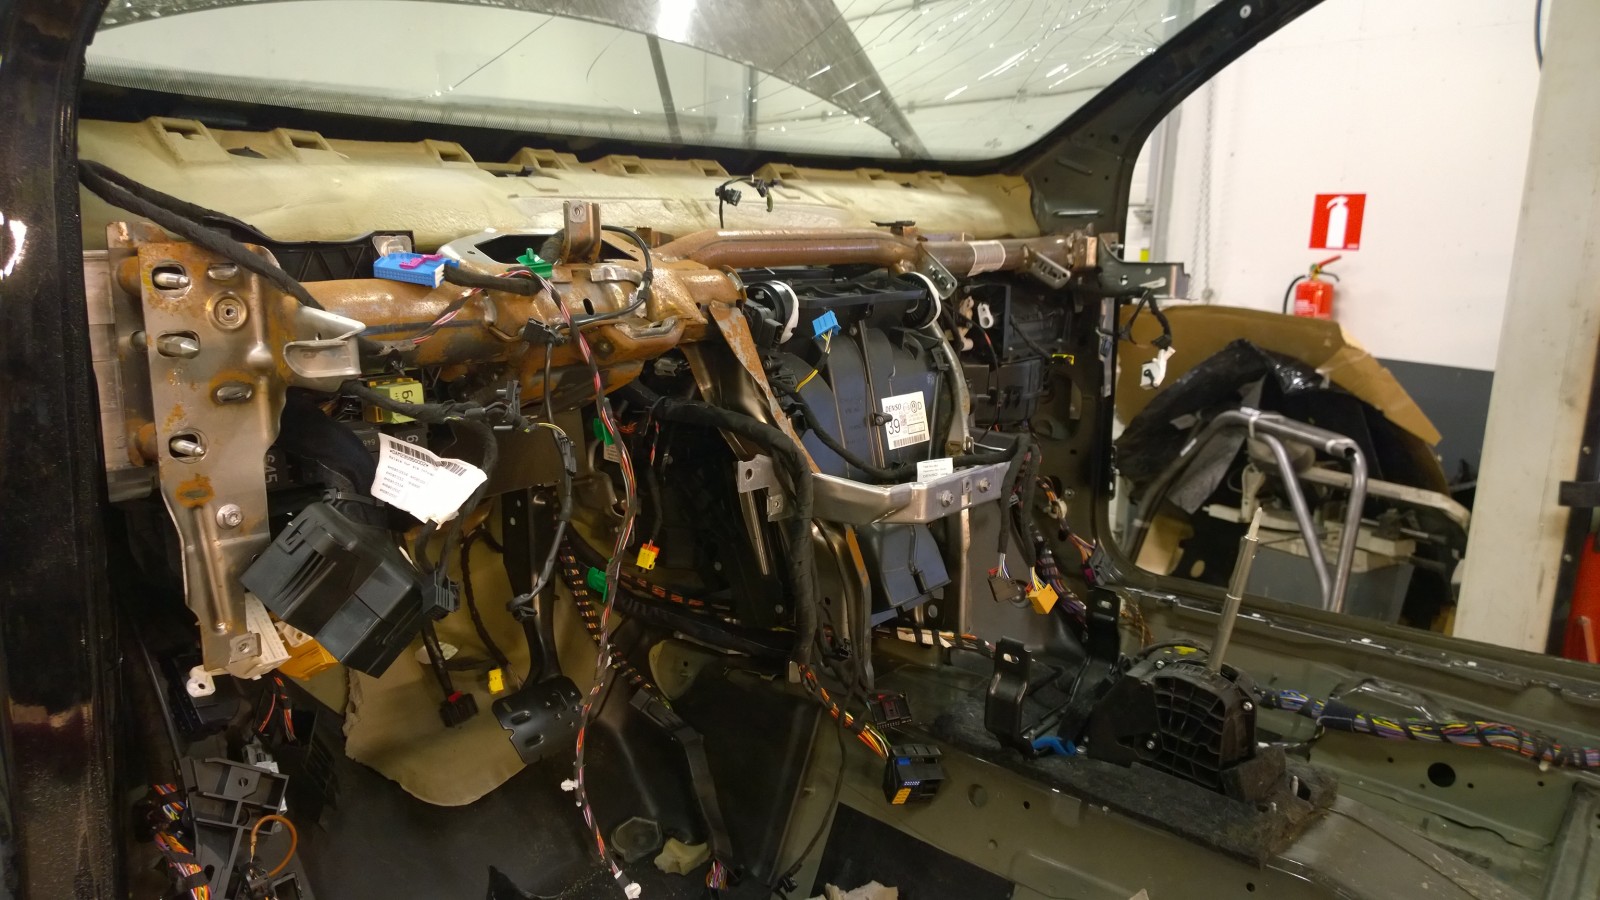
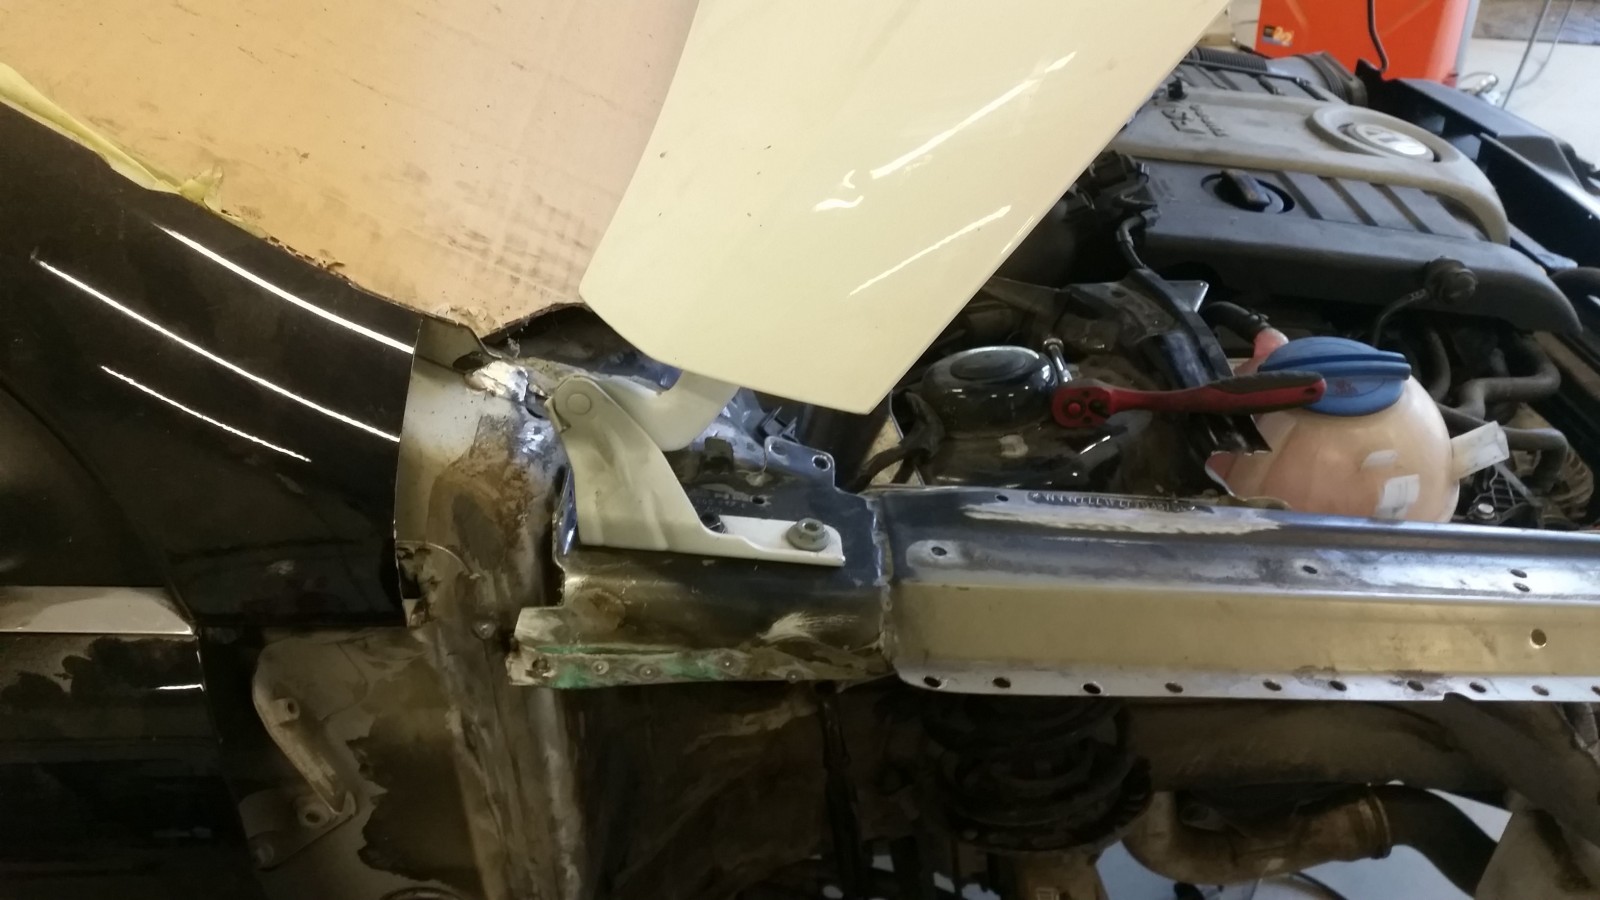
Dash out, removing the dash support bar and blower box together with wiring harness.
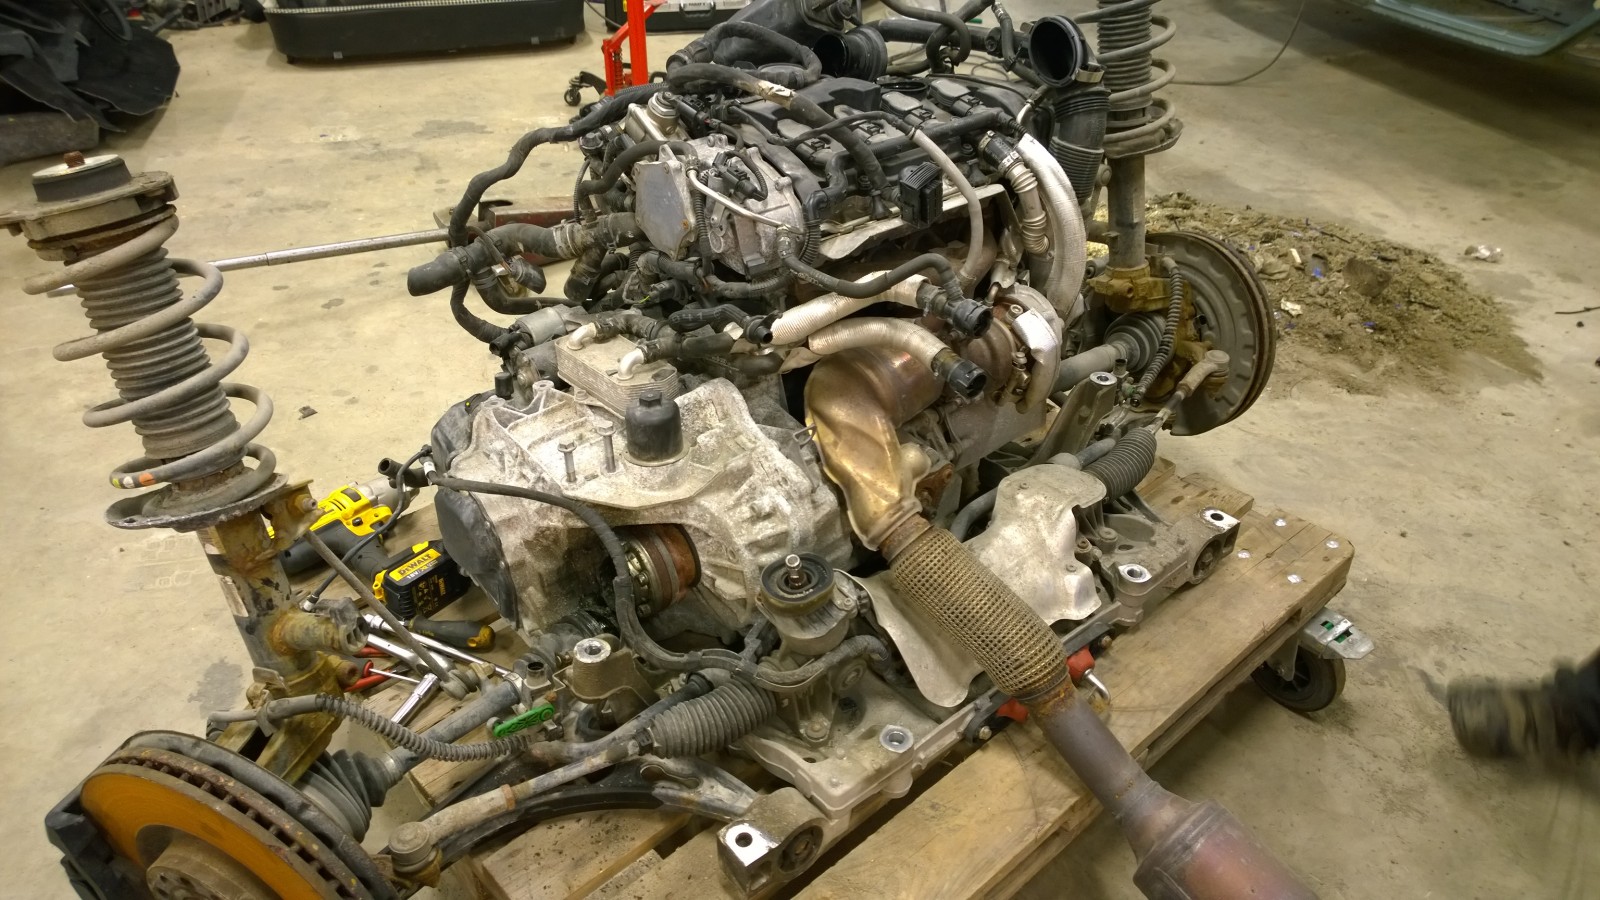
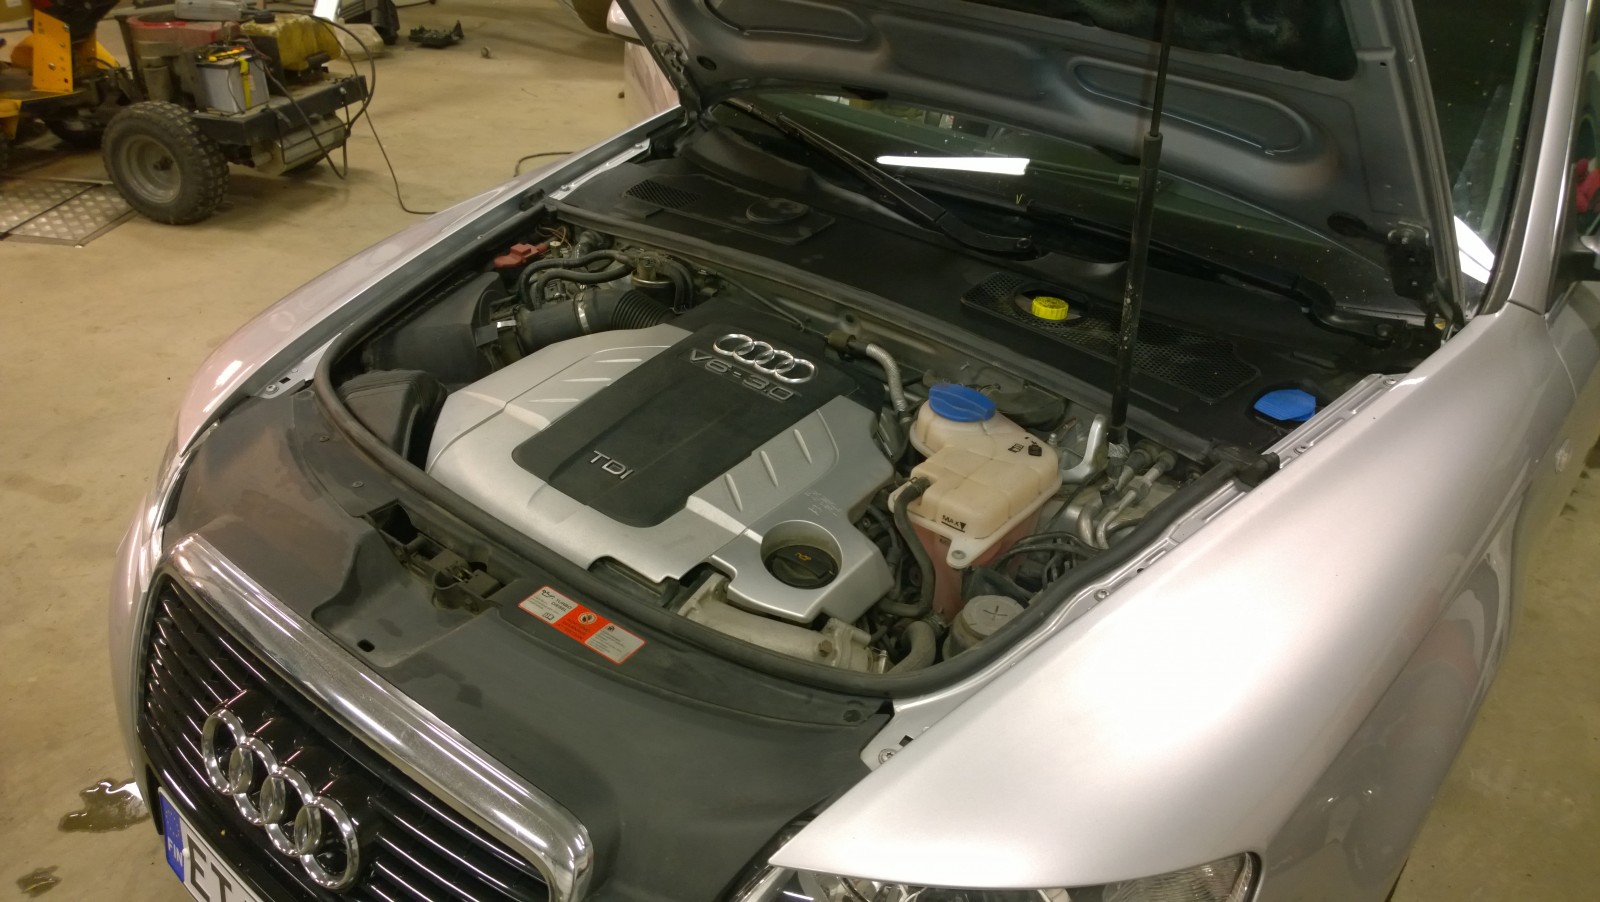
View to the engine and gear box. Practically the only difference to Scirocco is the gearbox which has the output of the drive shaft to rear axle. Because of that drive shaft the exhaust down pipe is different too.
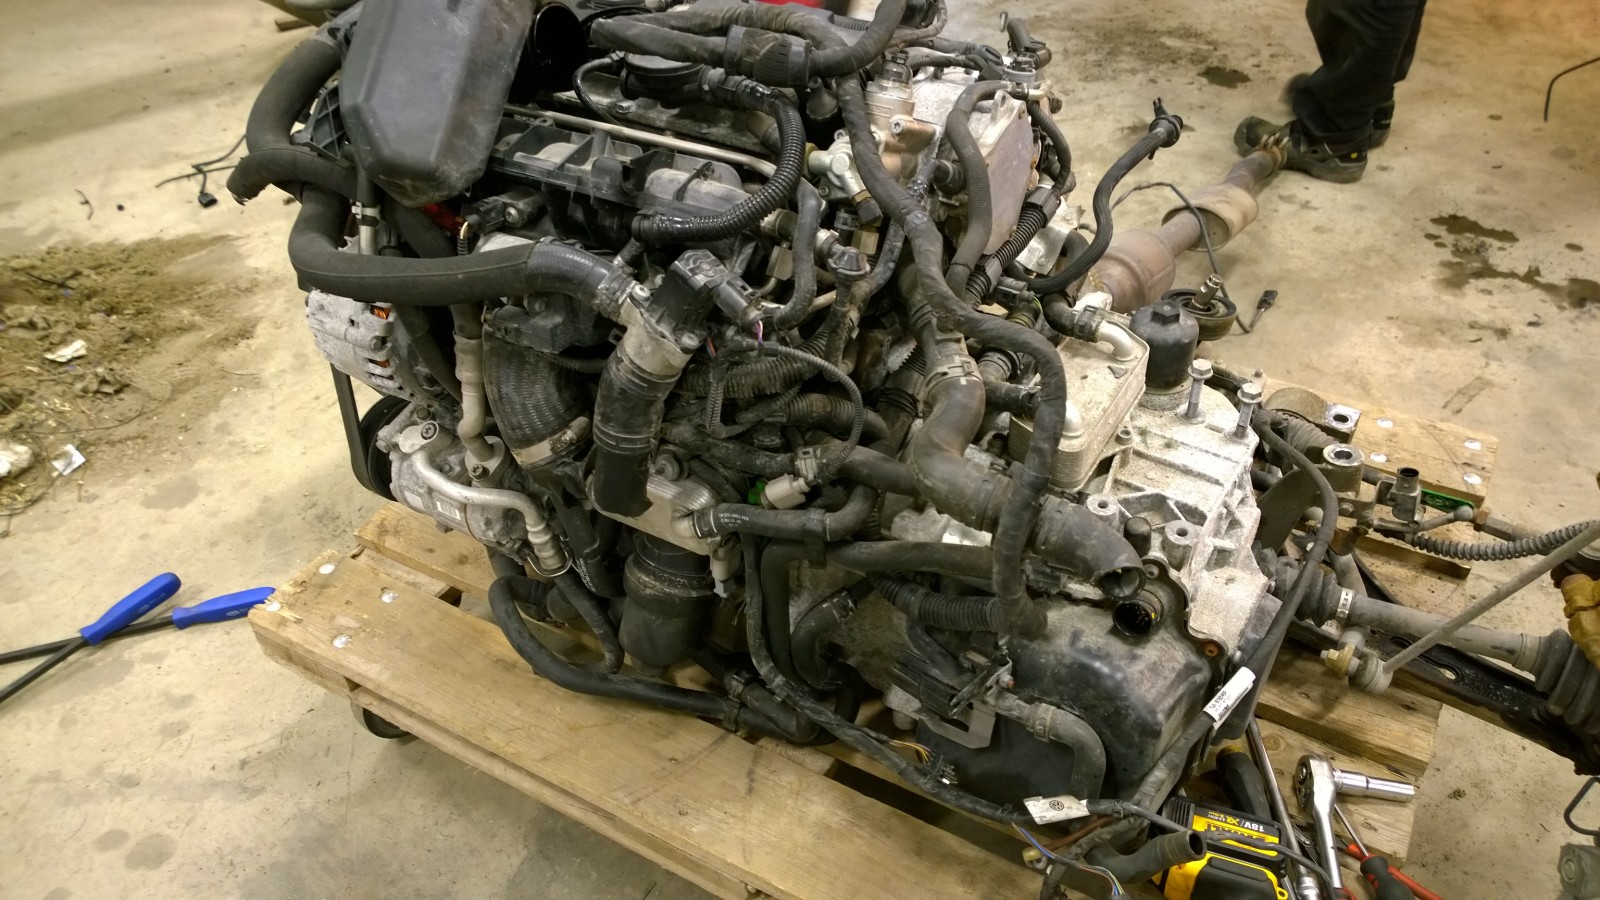
Another view on the engine and gearbox. We were able to sell the engine pretty soon.
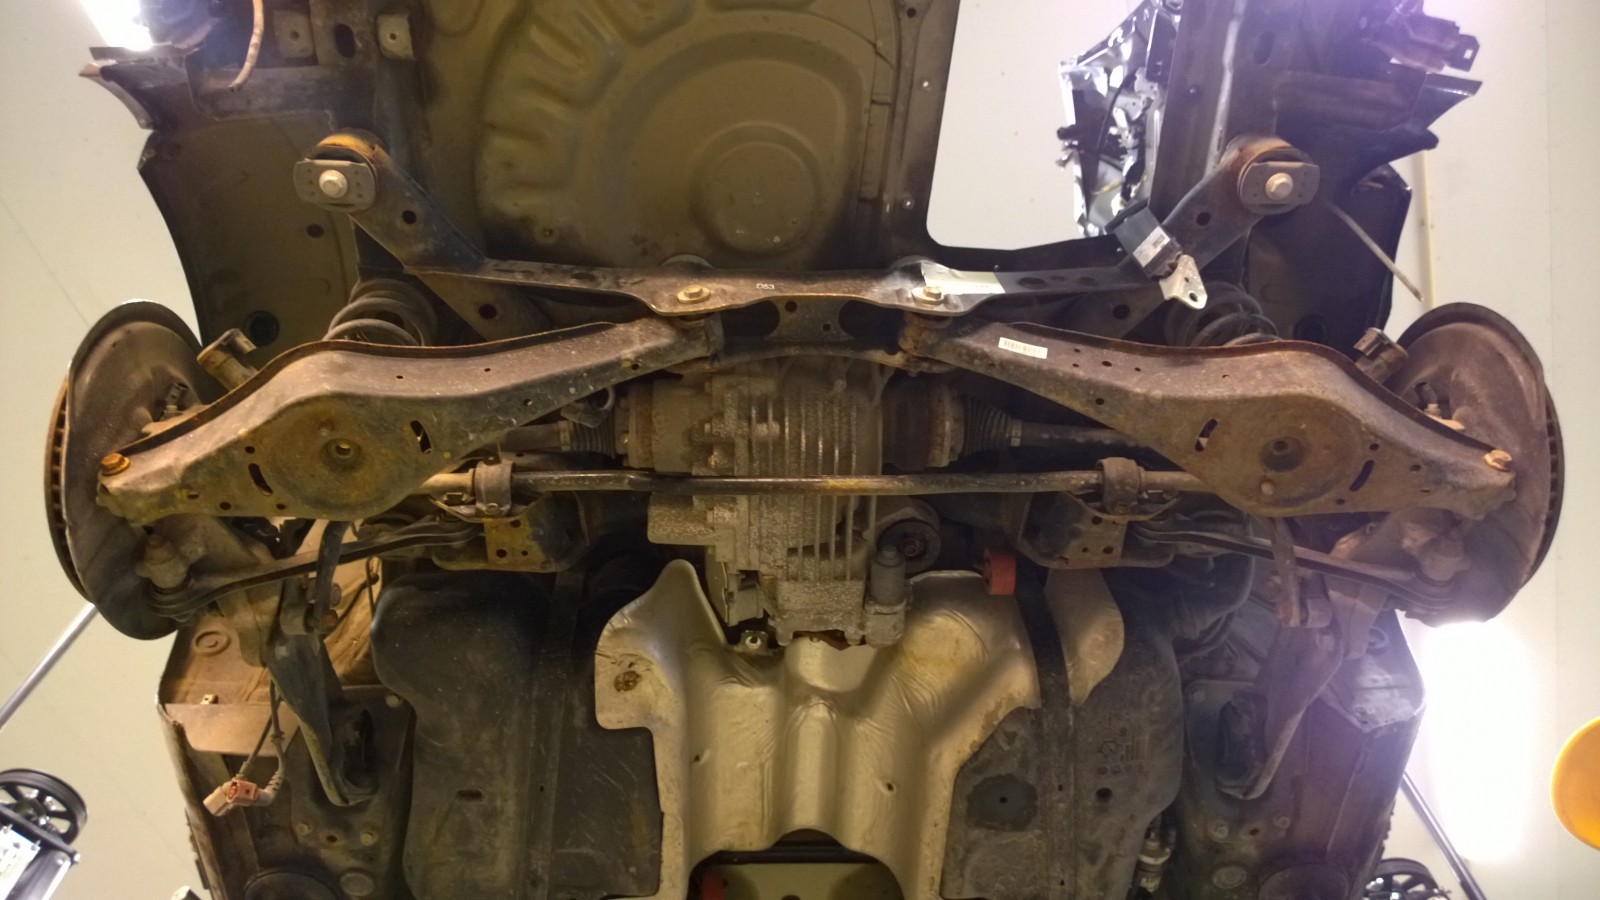
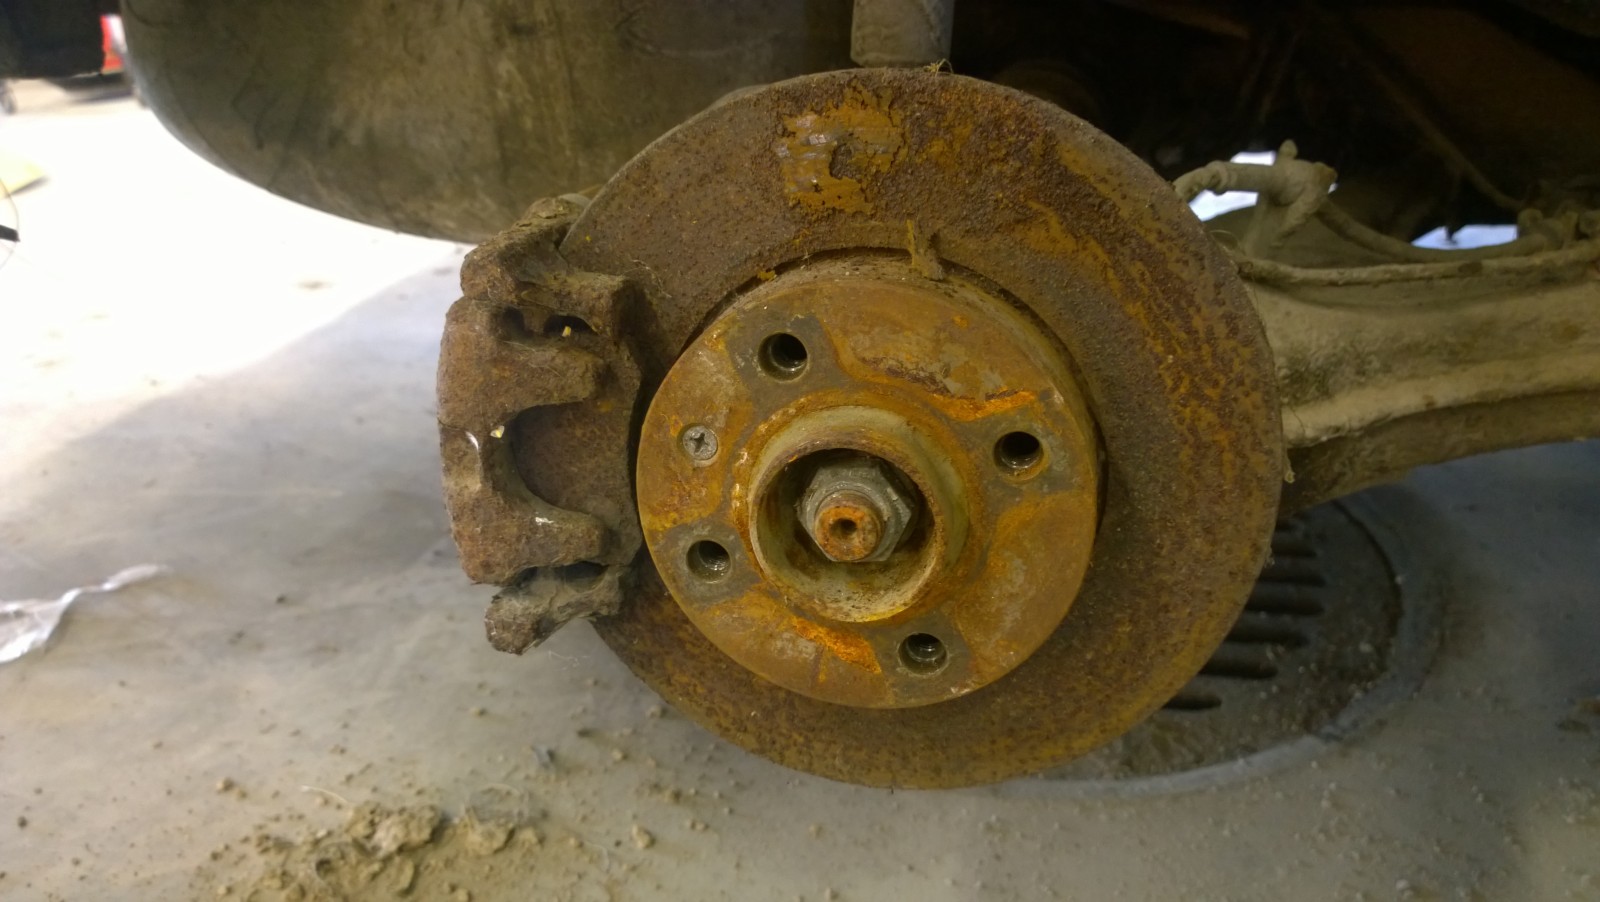
Rear axle
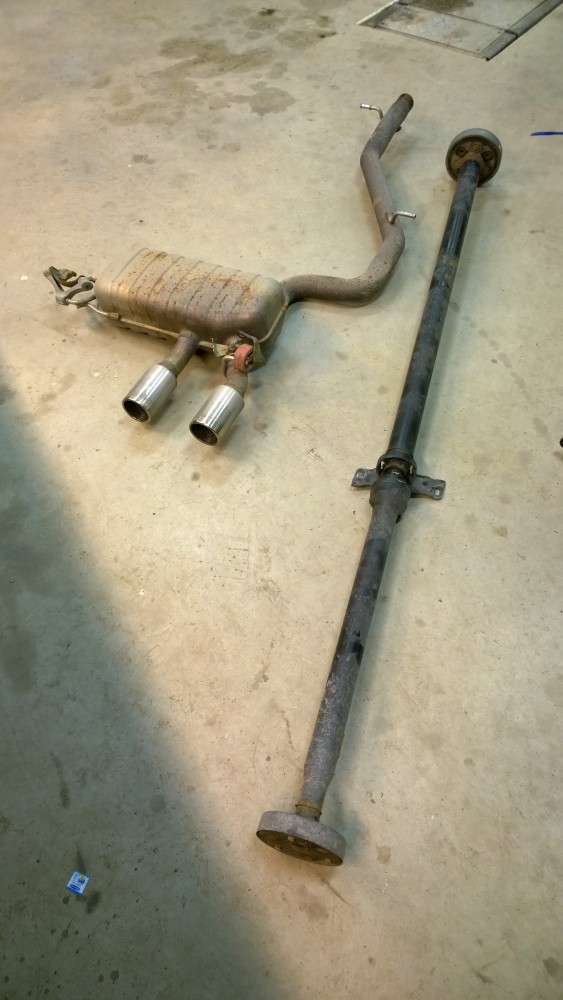
Drive shaft from front to back and Golf exhaust.
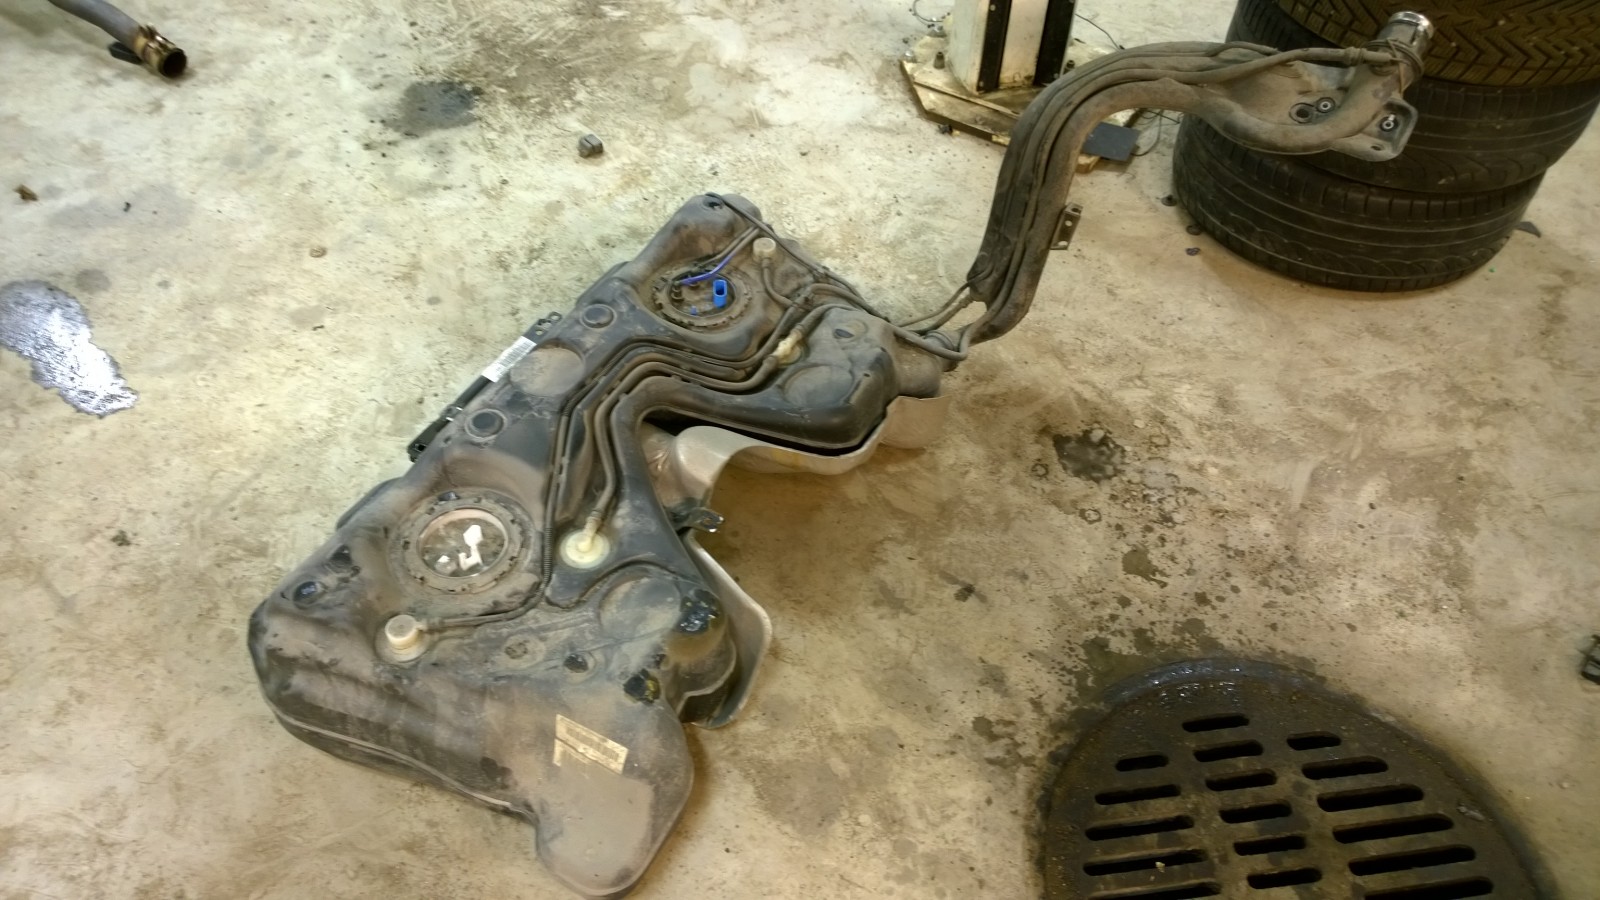
Golf fuel tank.
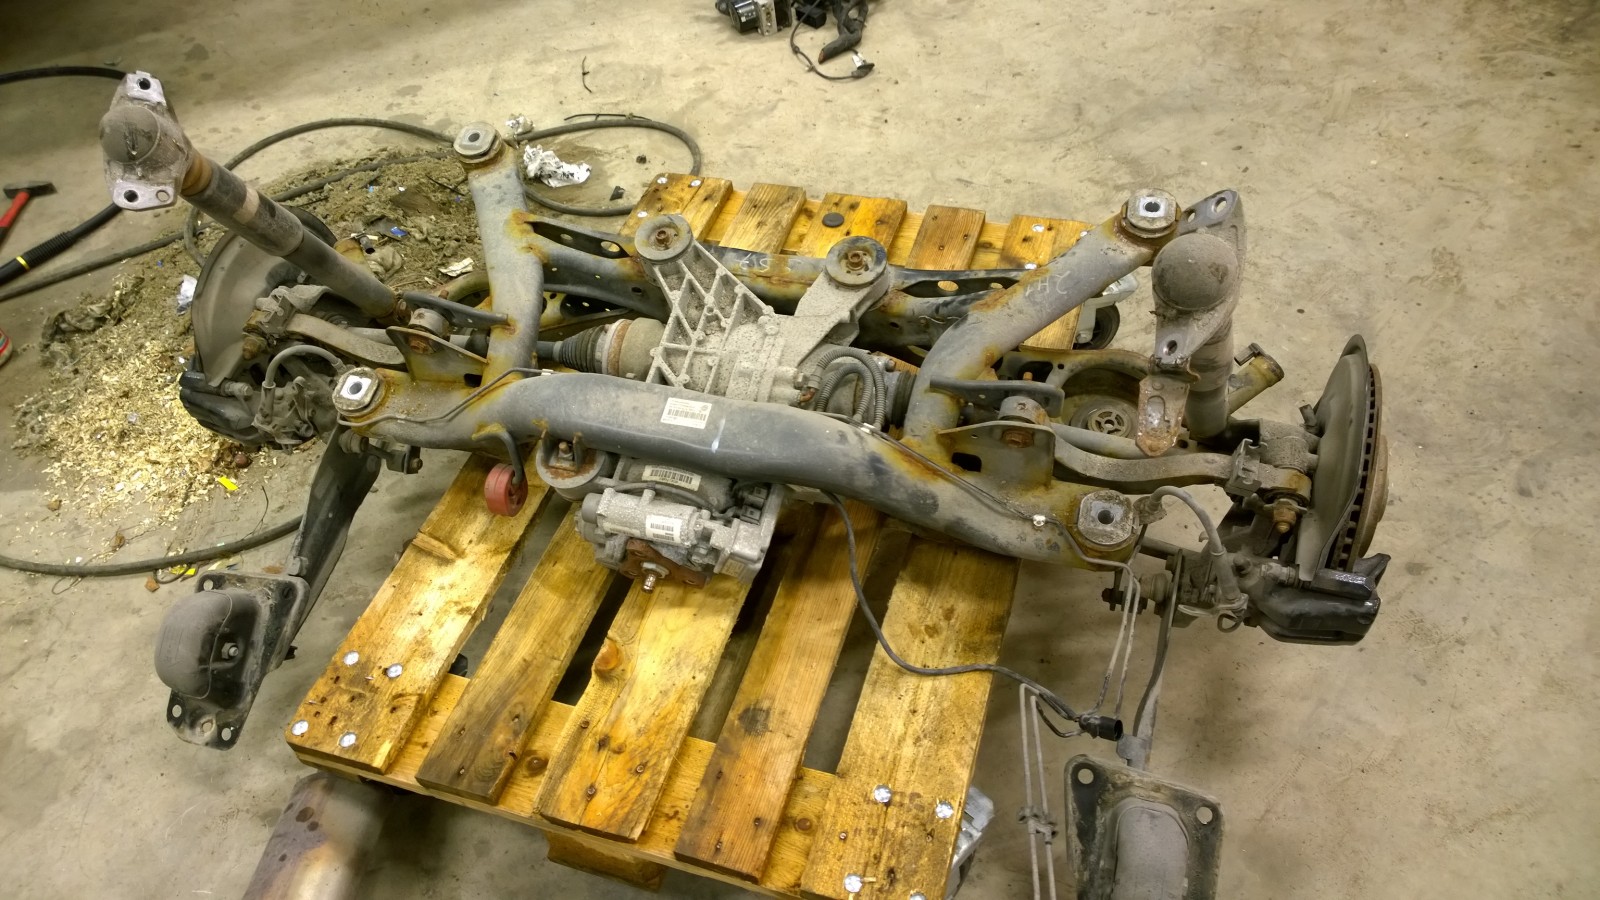
The rear axle came down pretty easily.
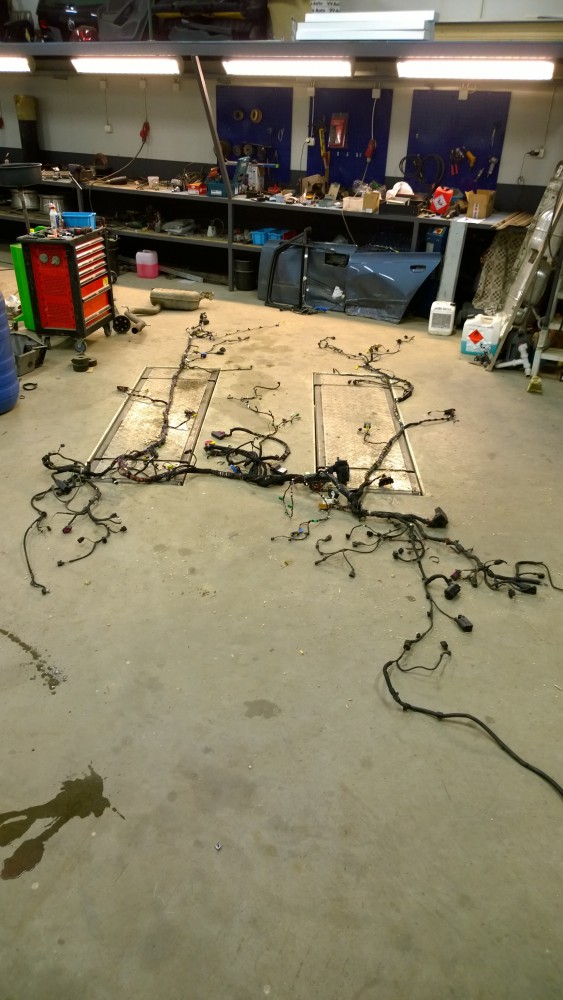
Wiring loom
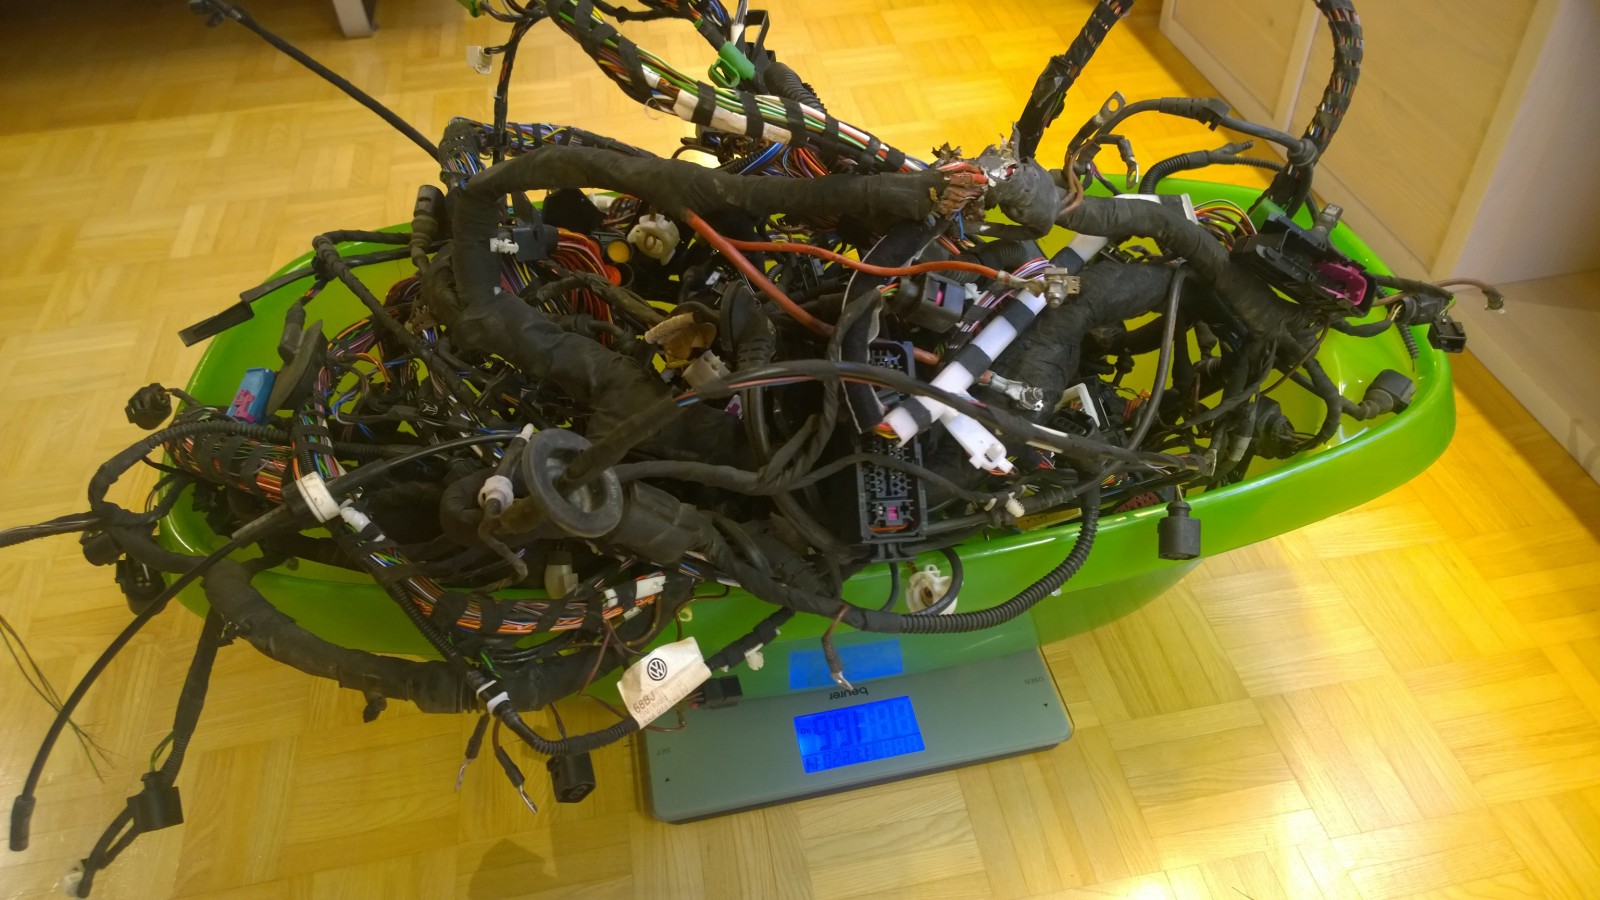
Just out of curiosity we decided to wight the loom. Scale reading: 16,5kg.
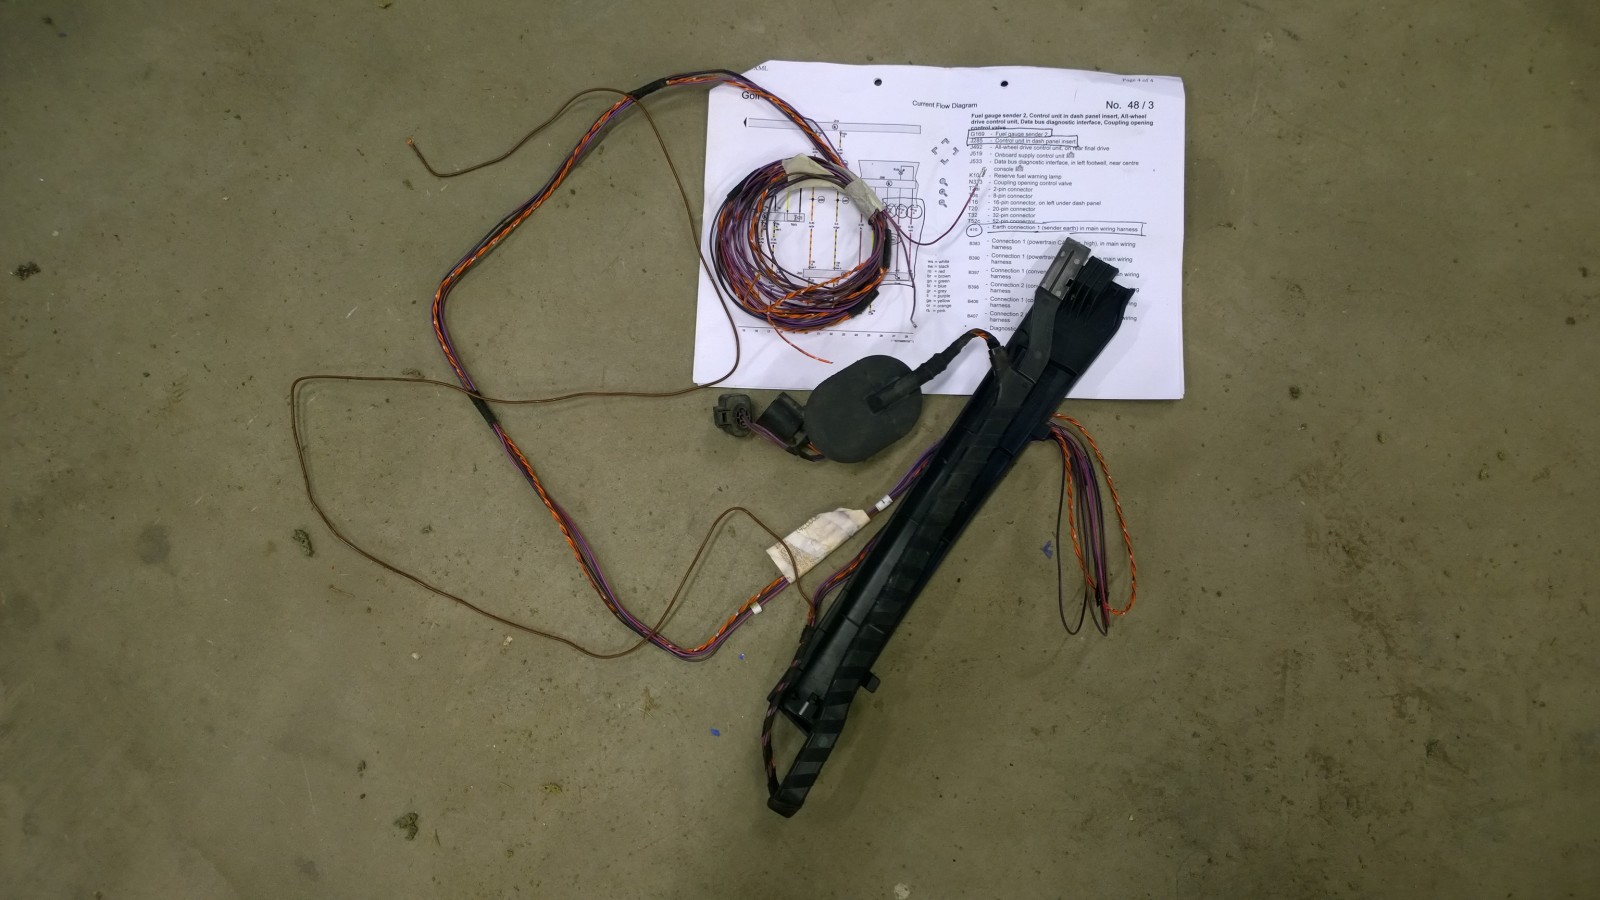
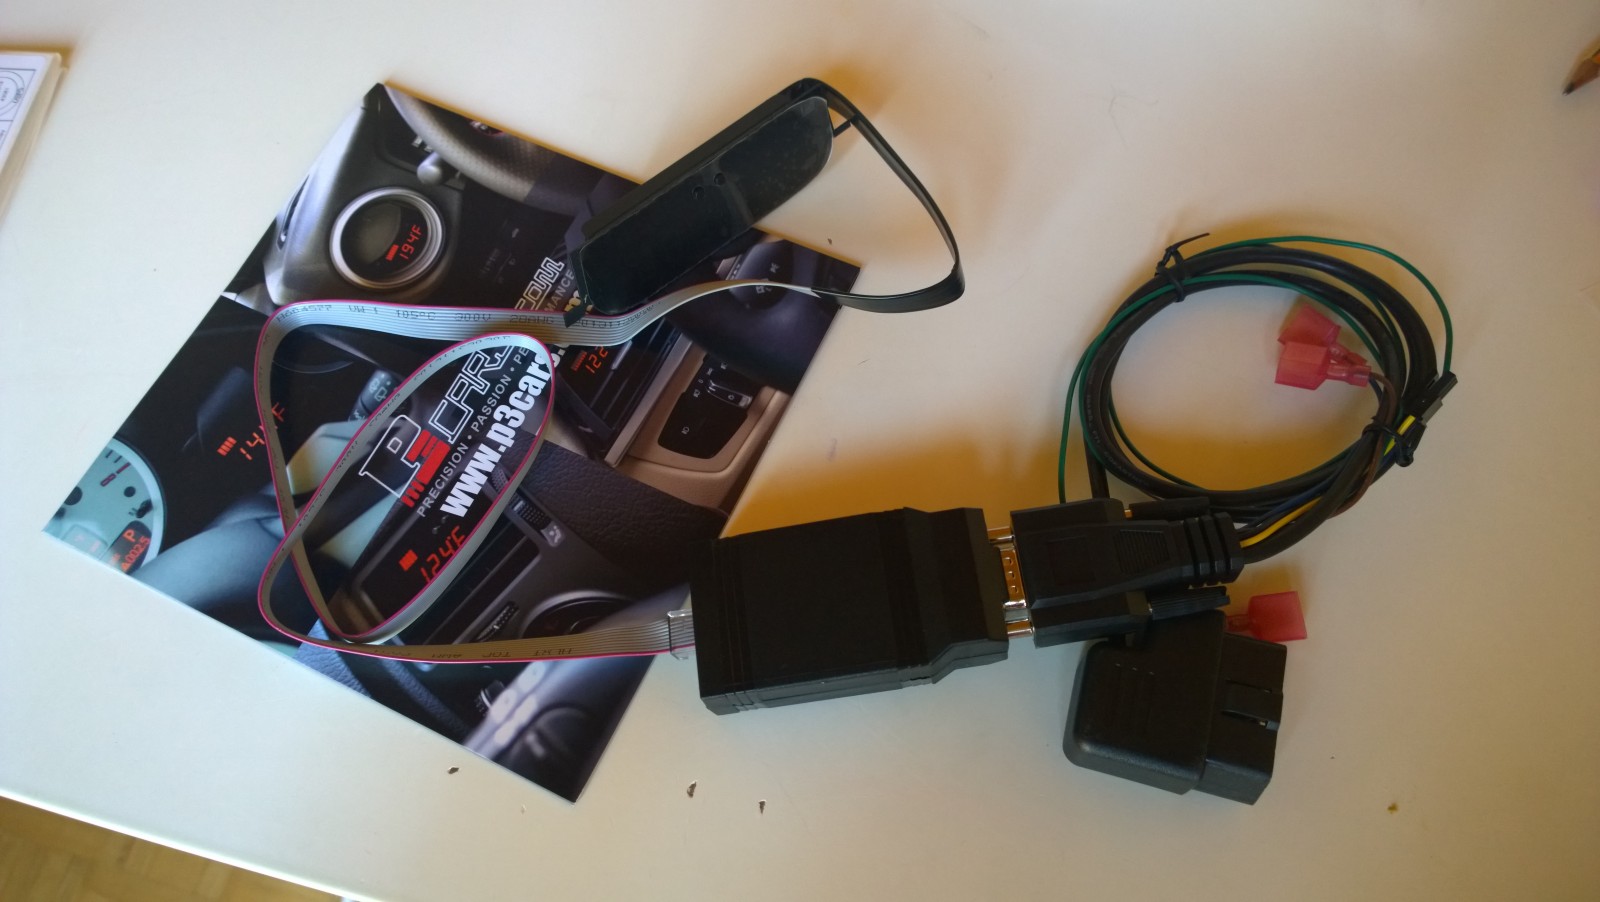
And this is all we needed: wires to Haldex controller (5 wires) and couple to fuel sender.
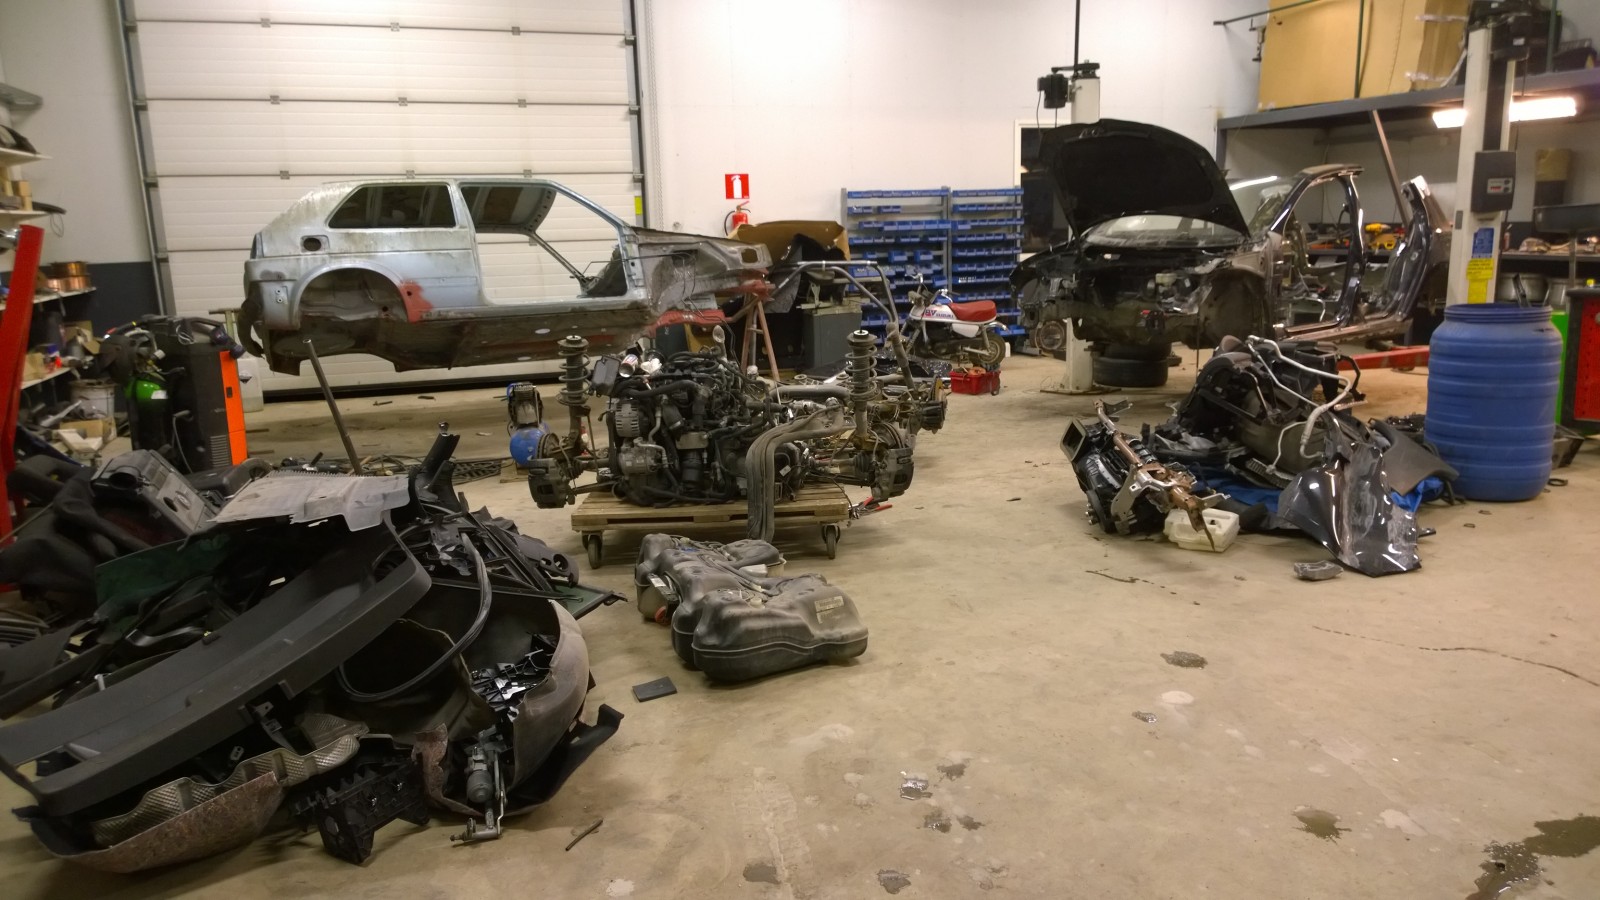
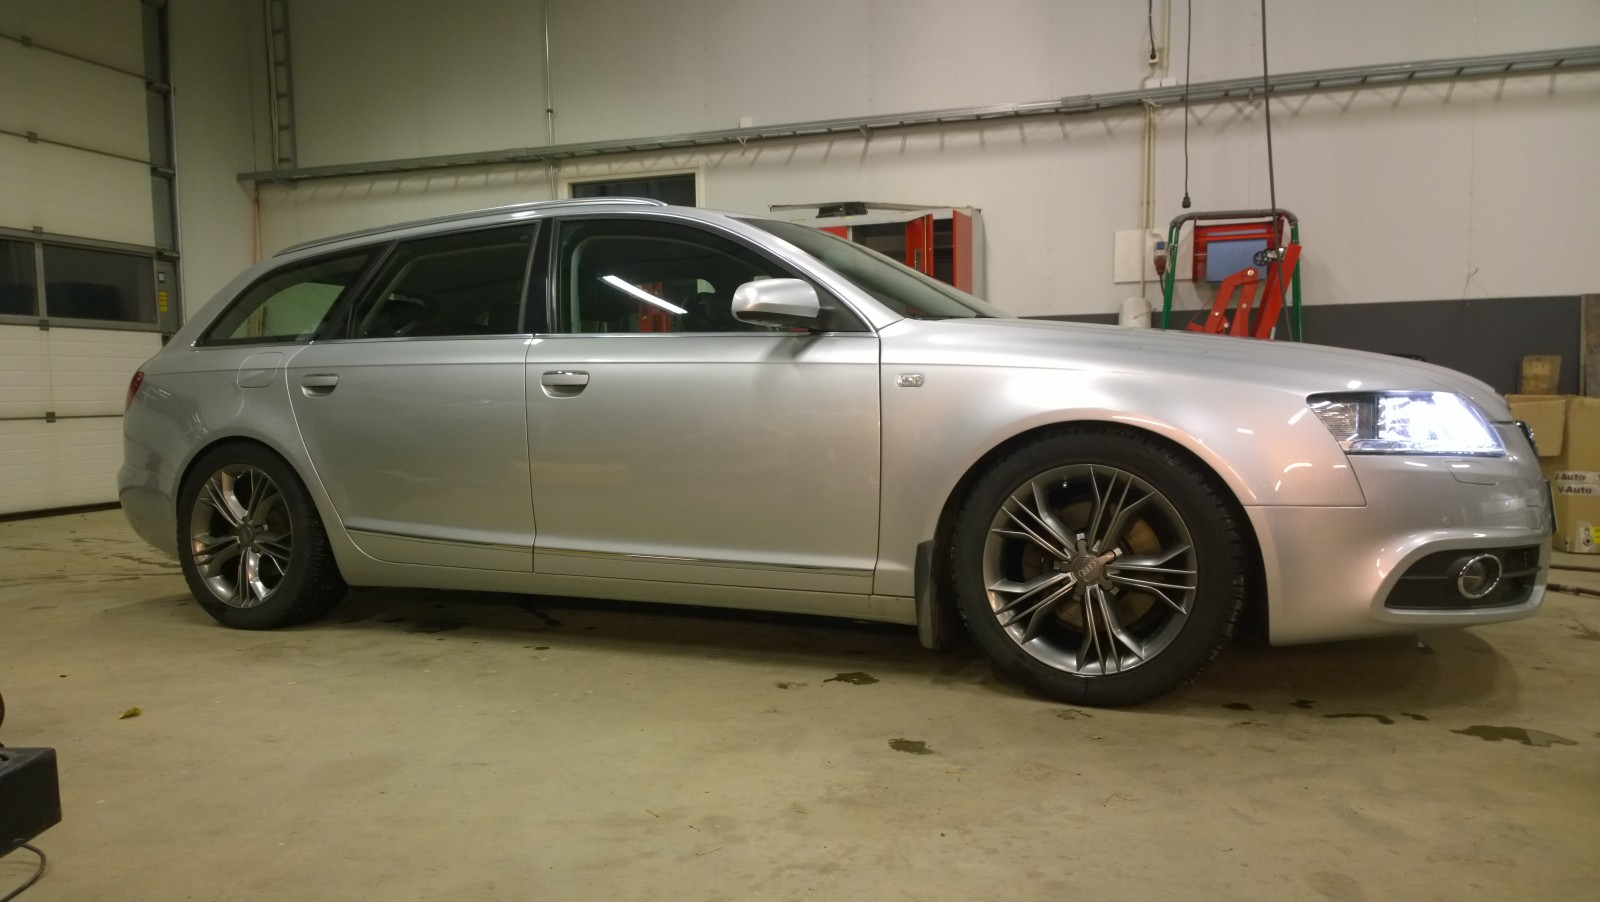
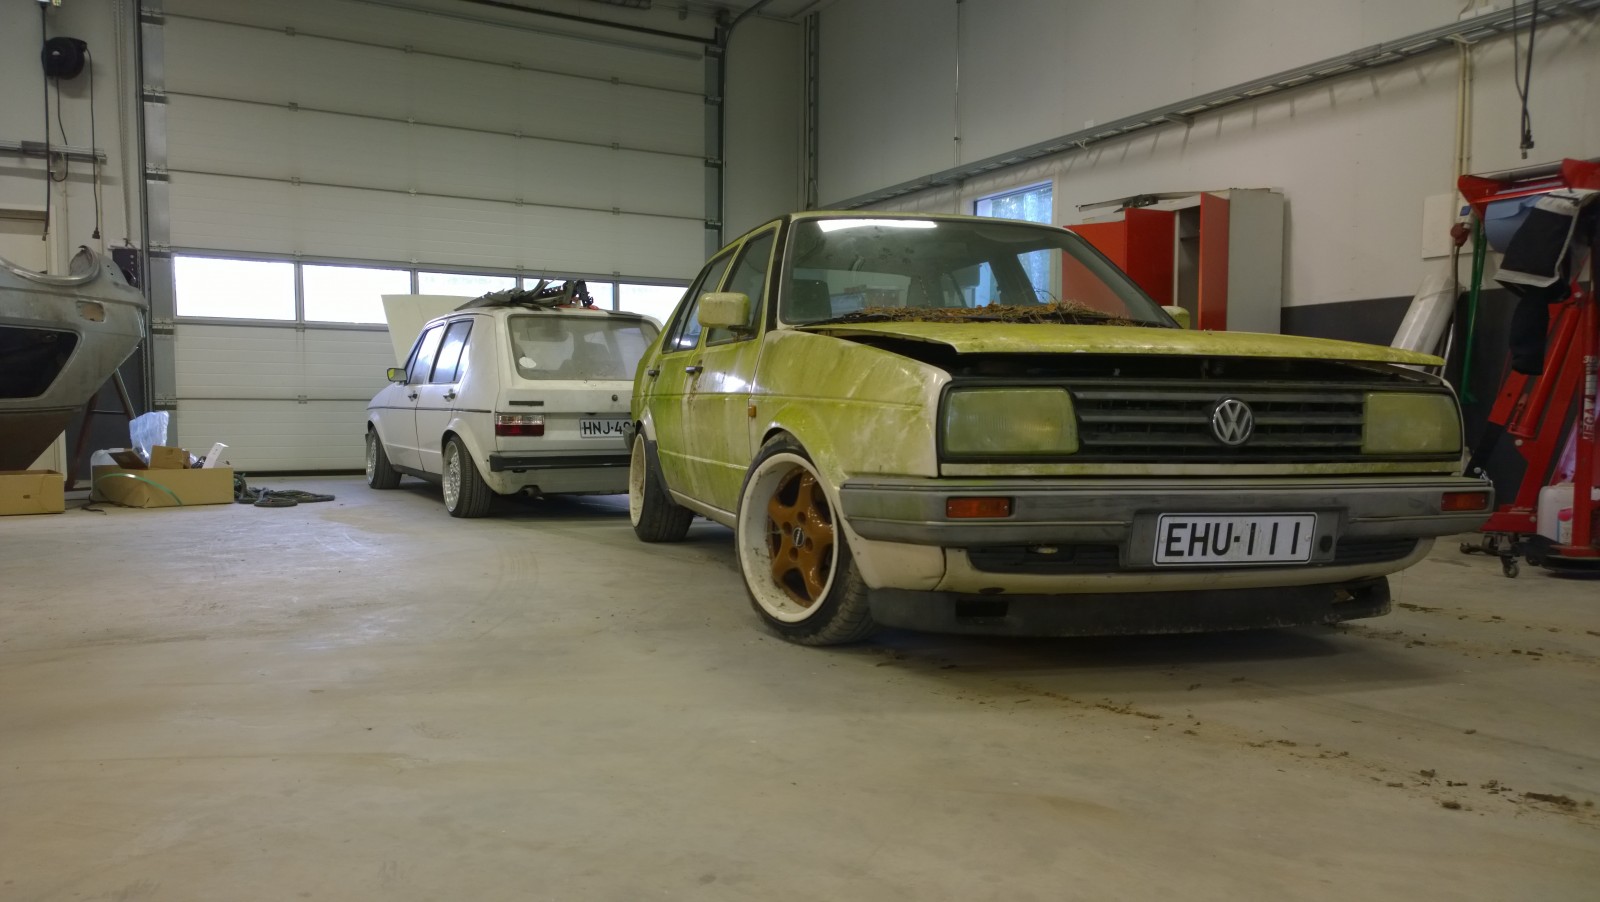
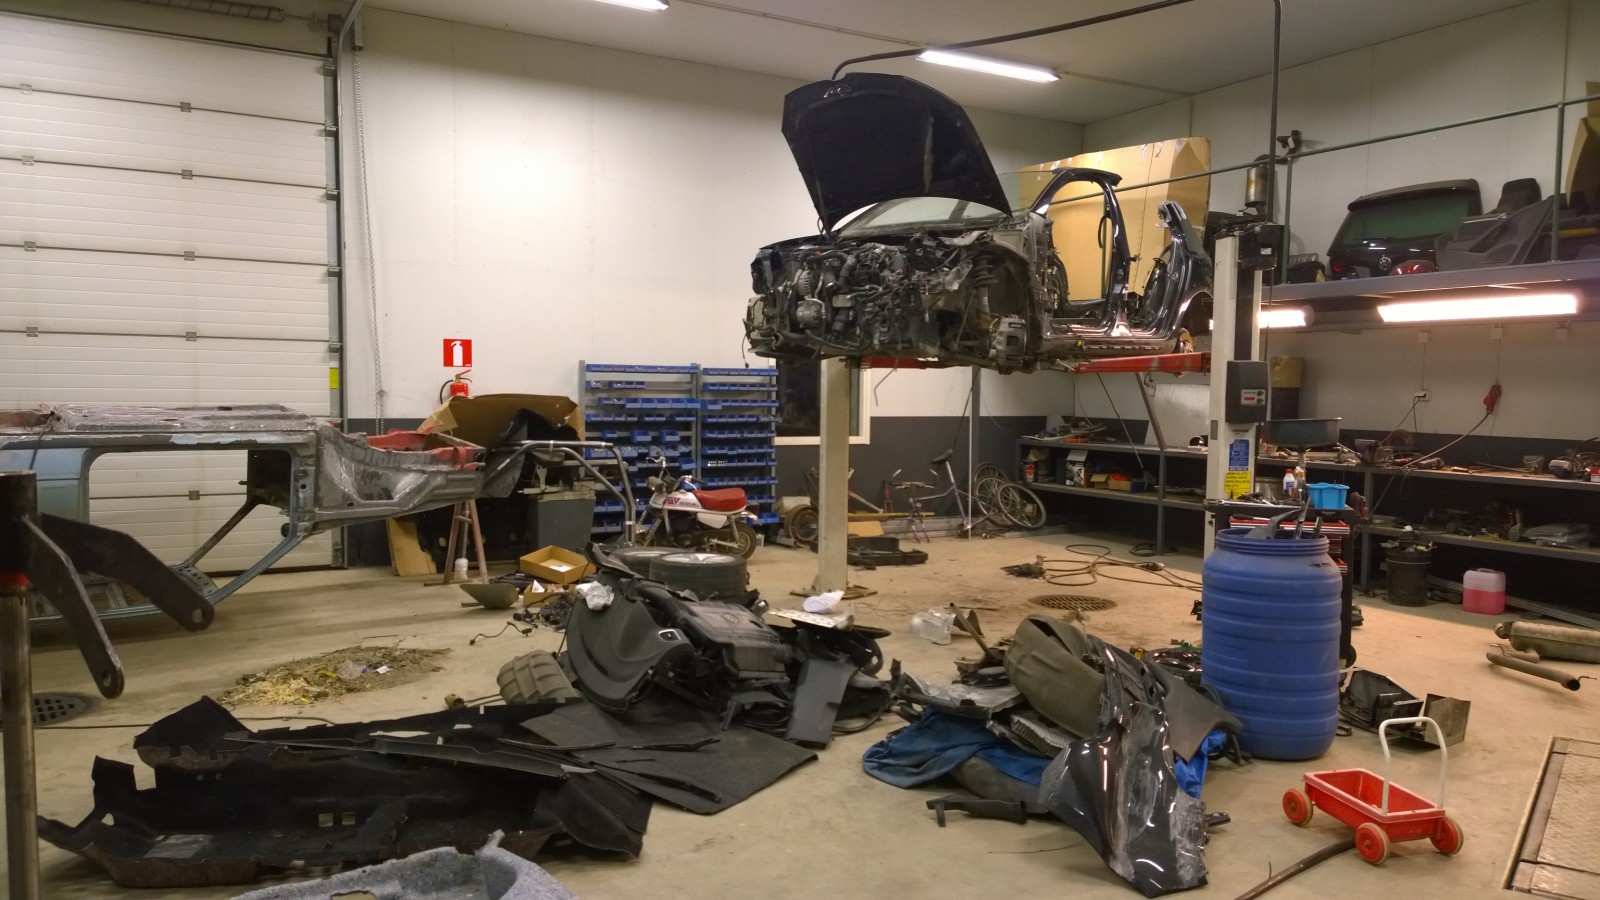
Pekka’s garage full of Heikki’s car’s and parts. He wasn’t too happy about it…
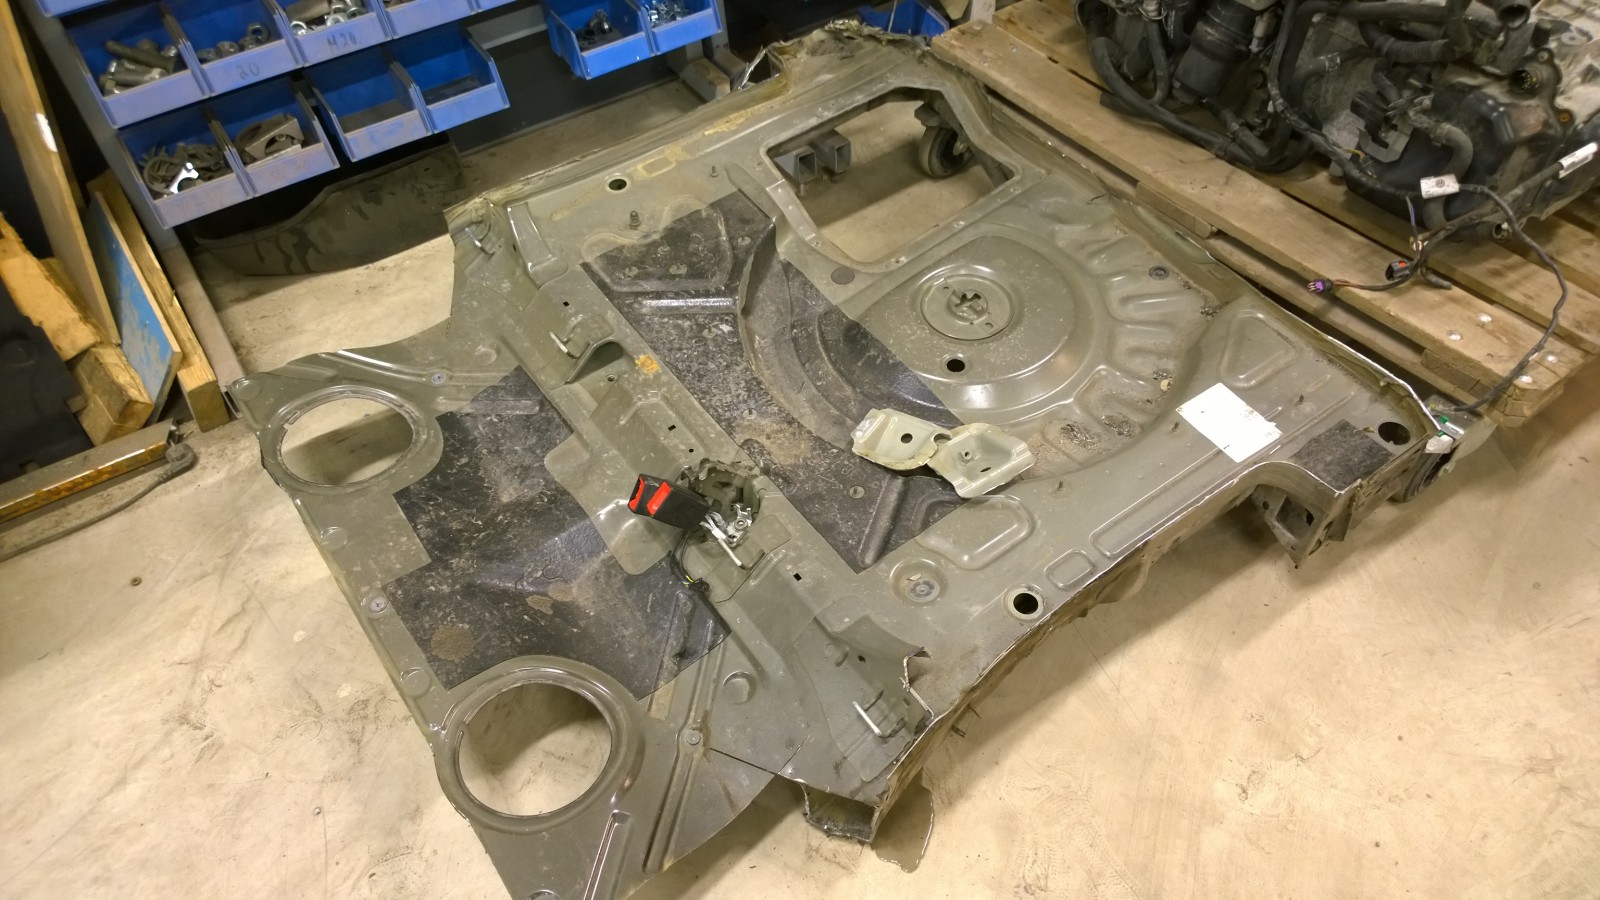
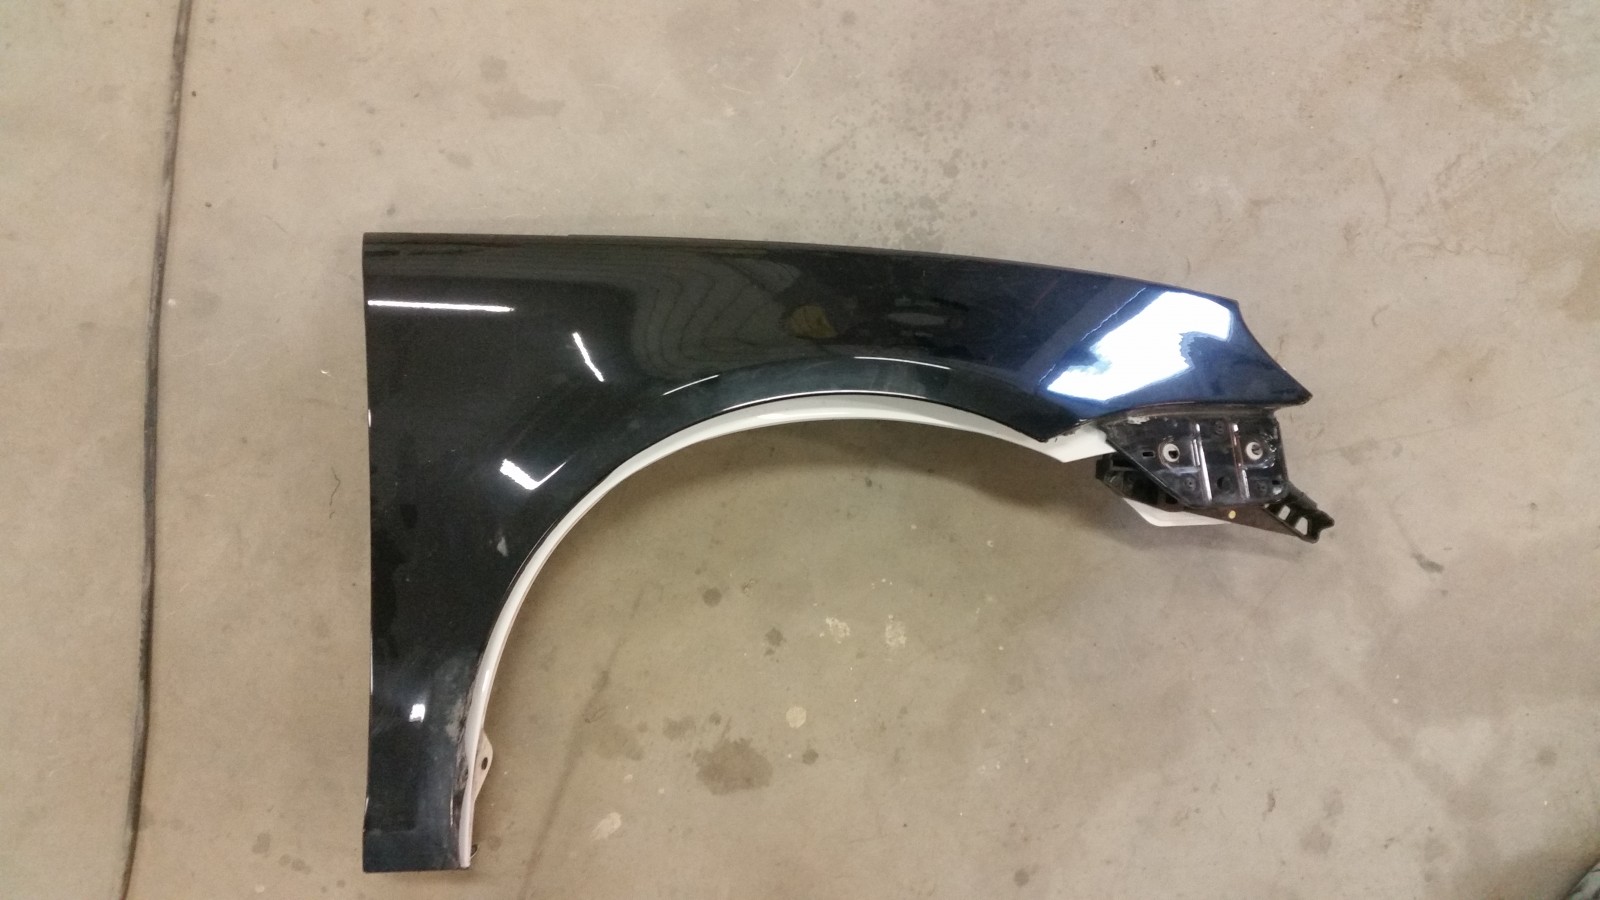
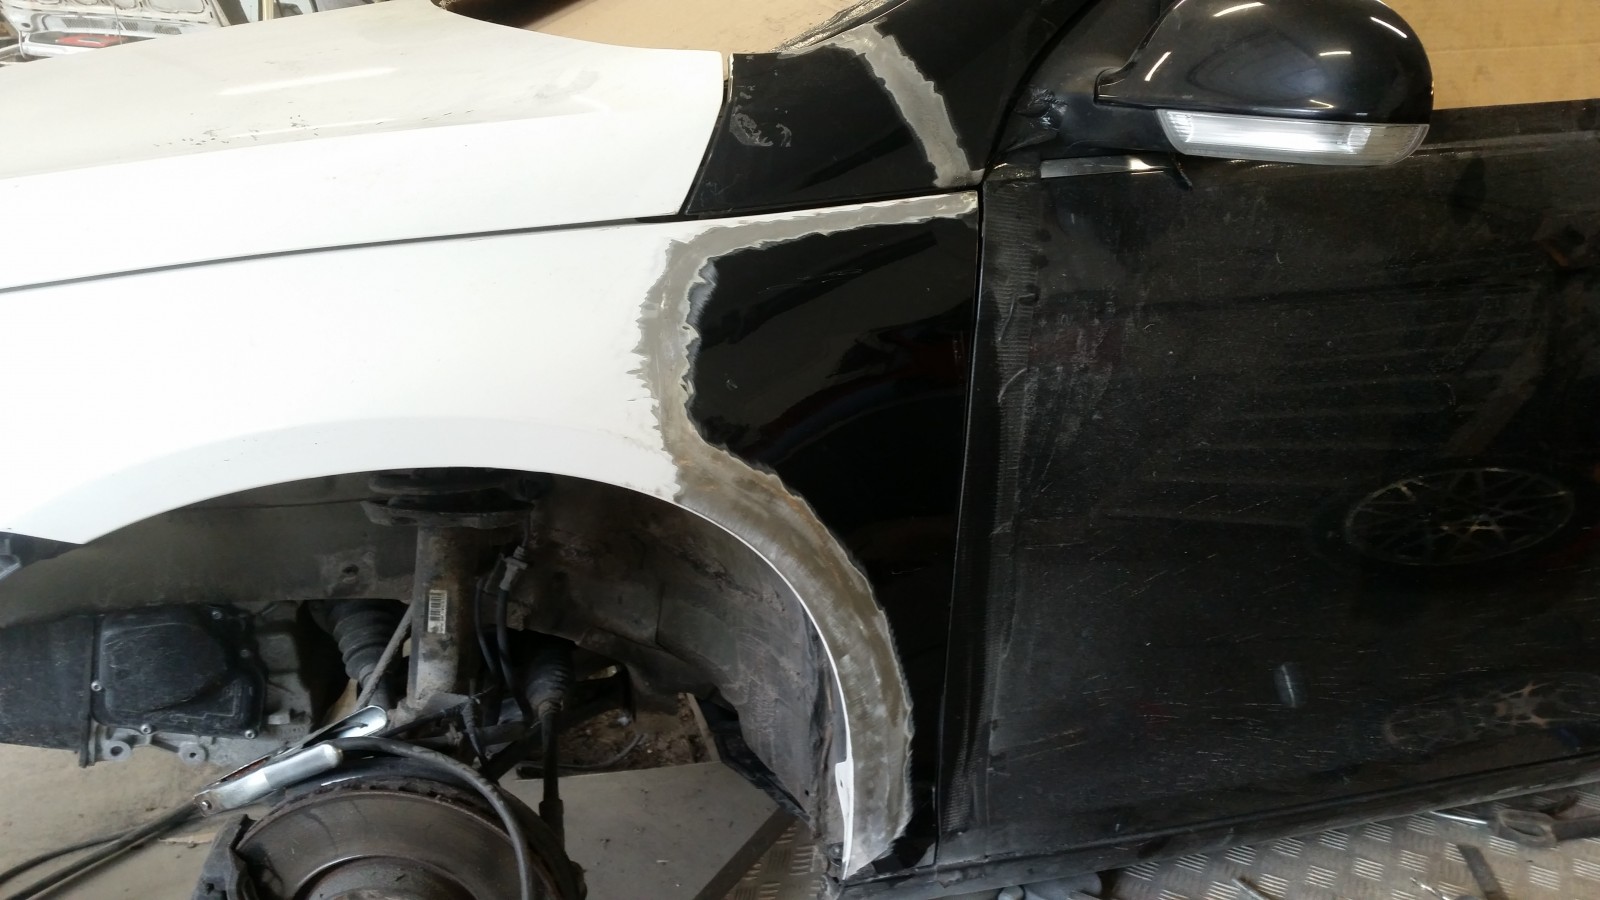
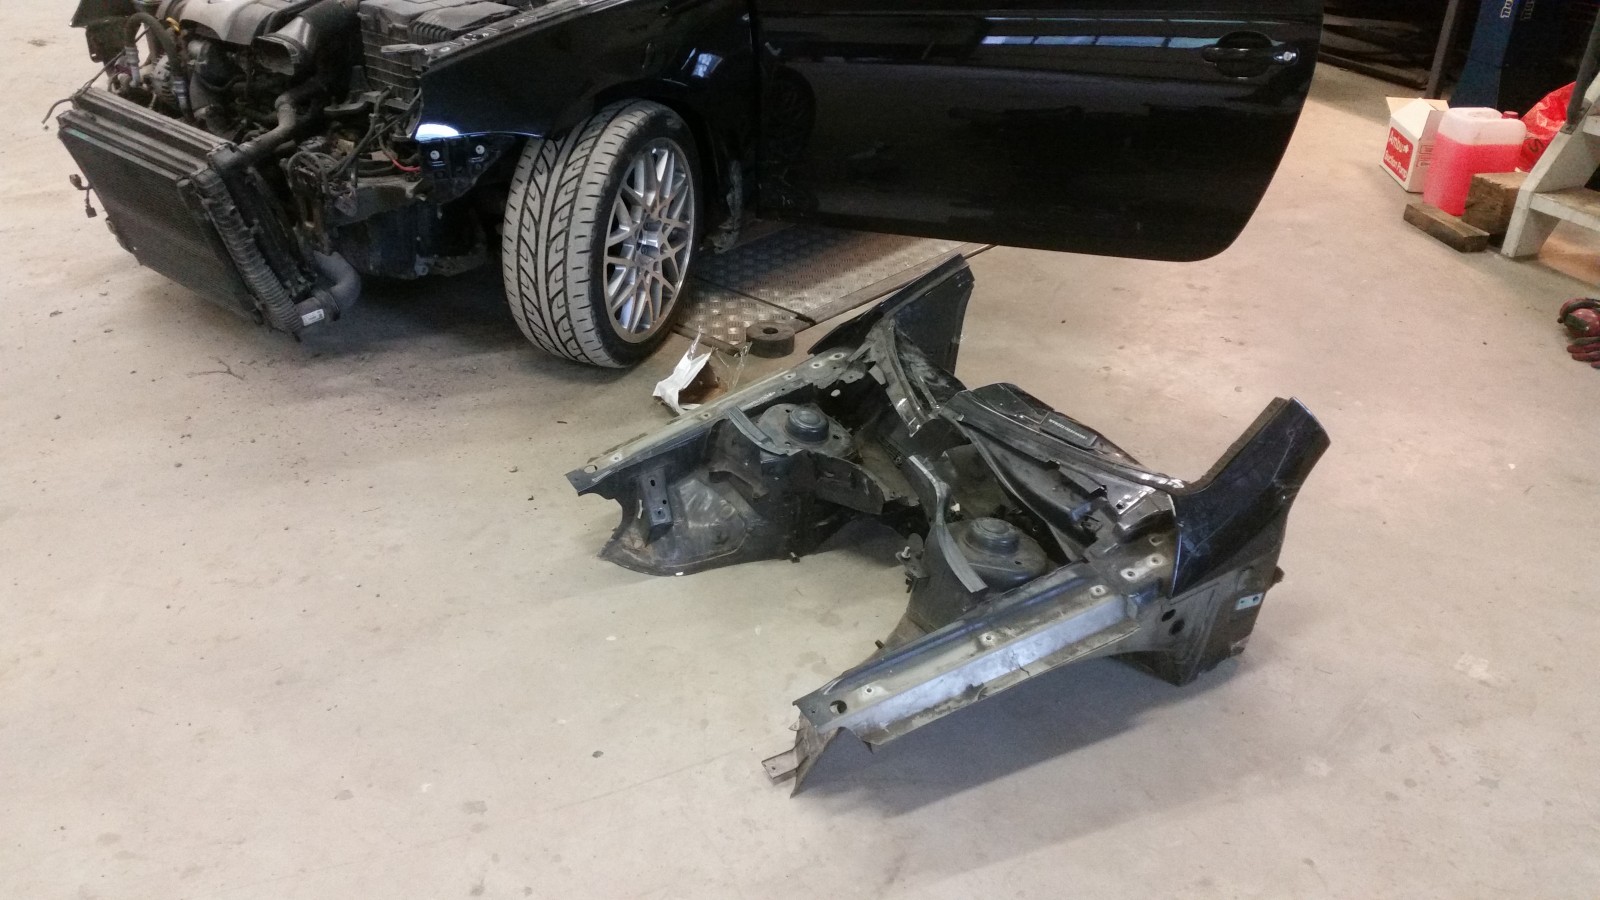
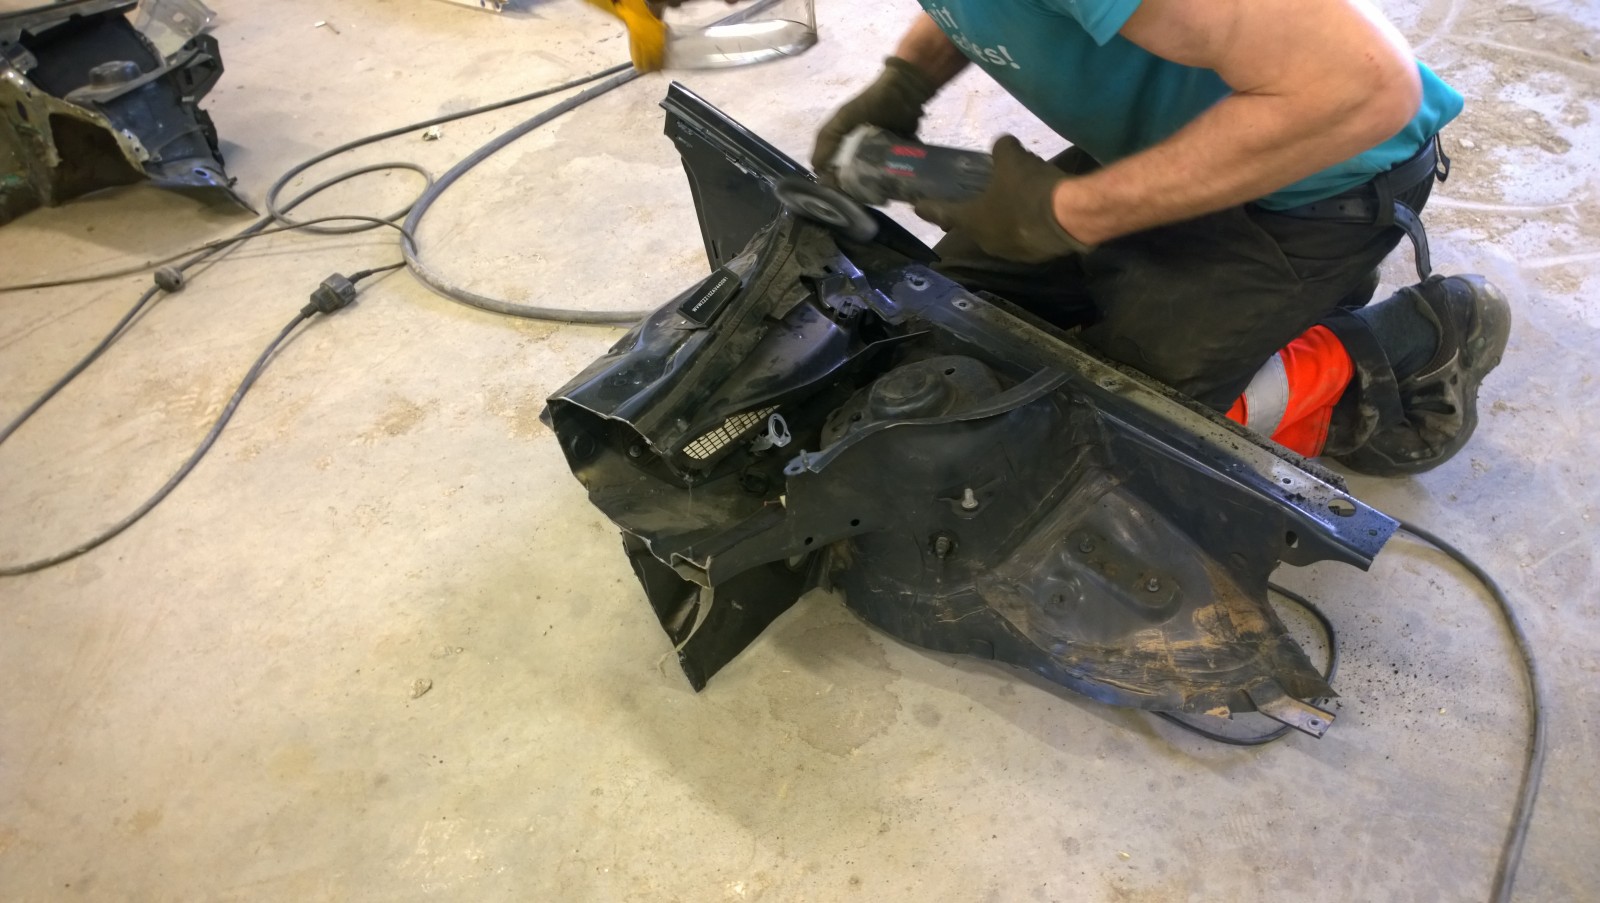
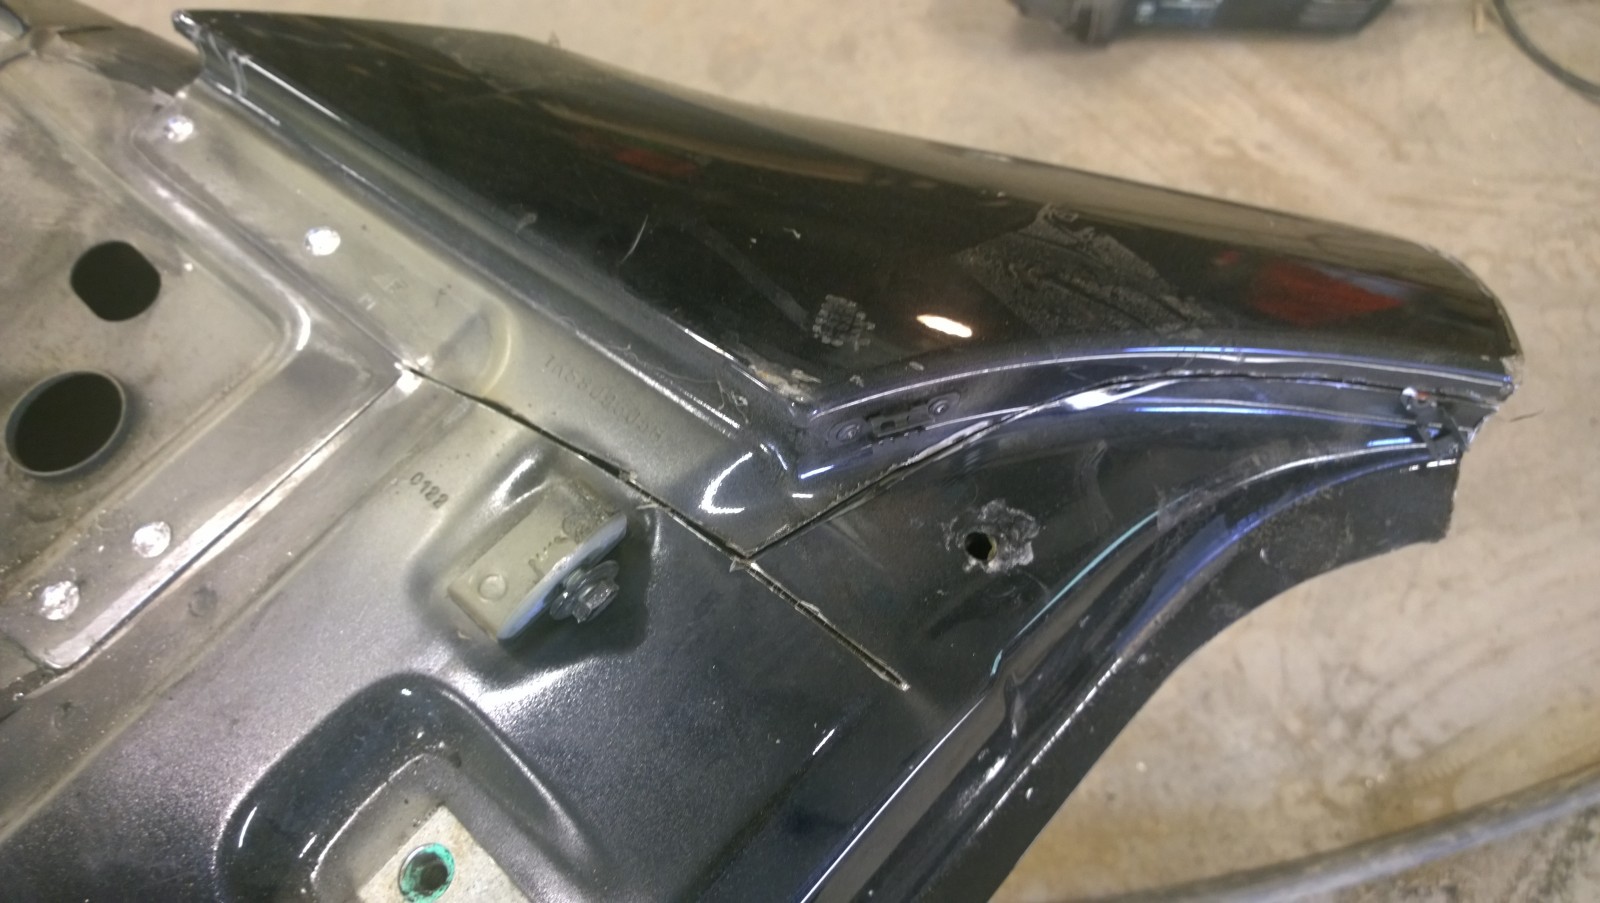
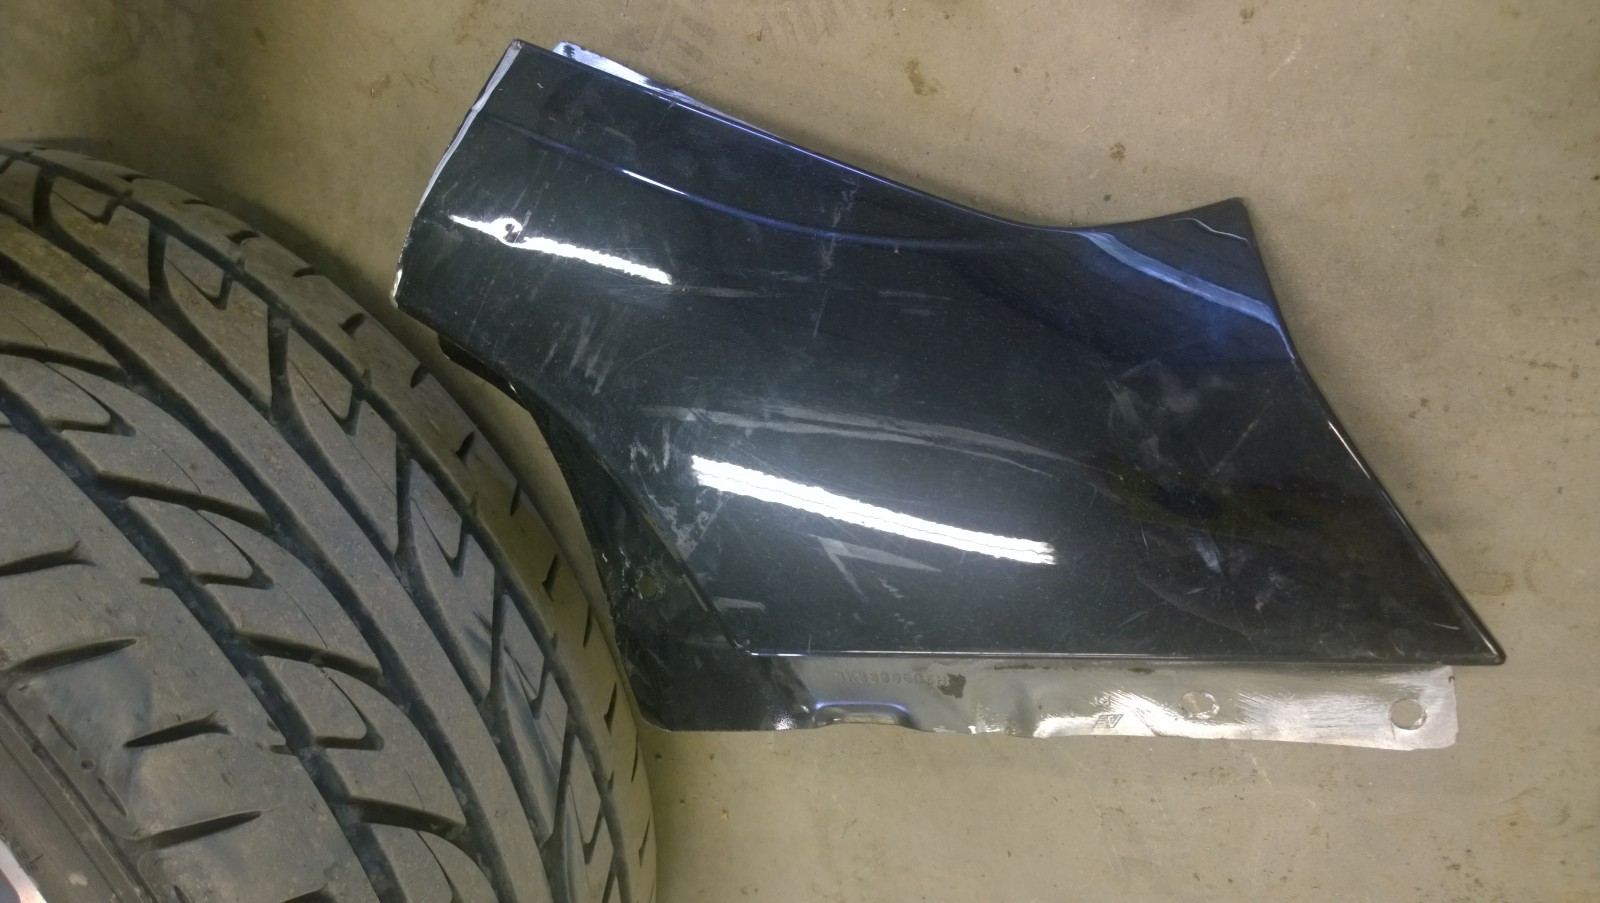
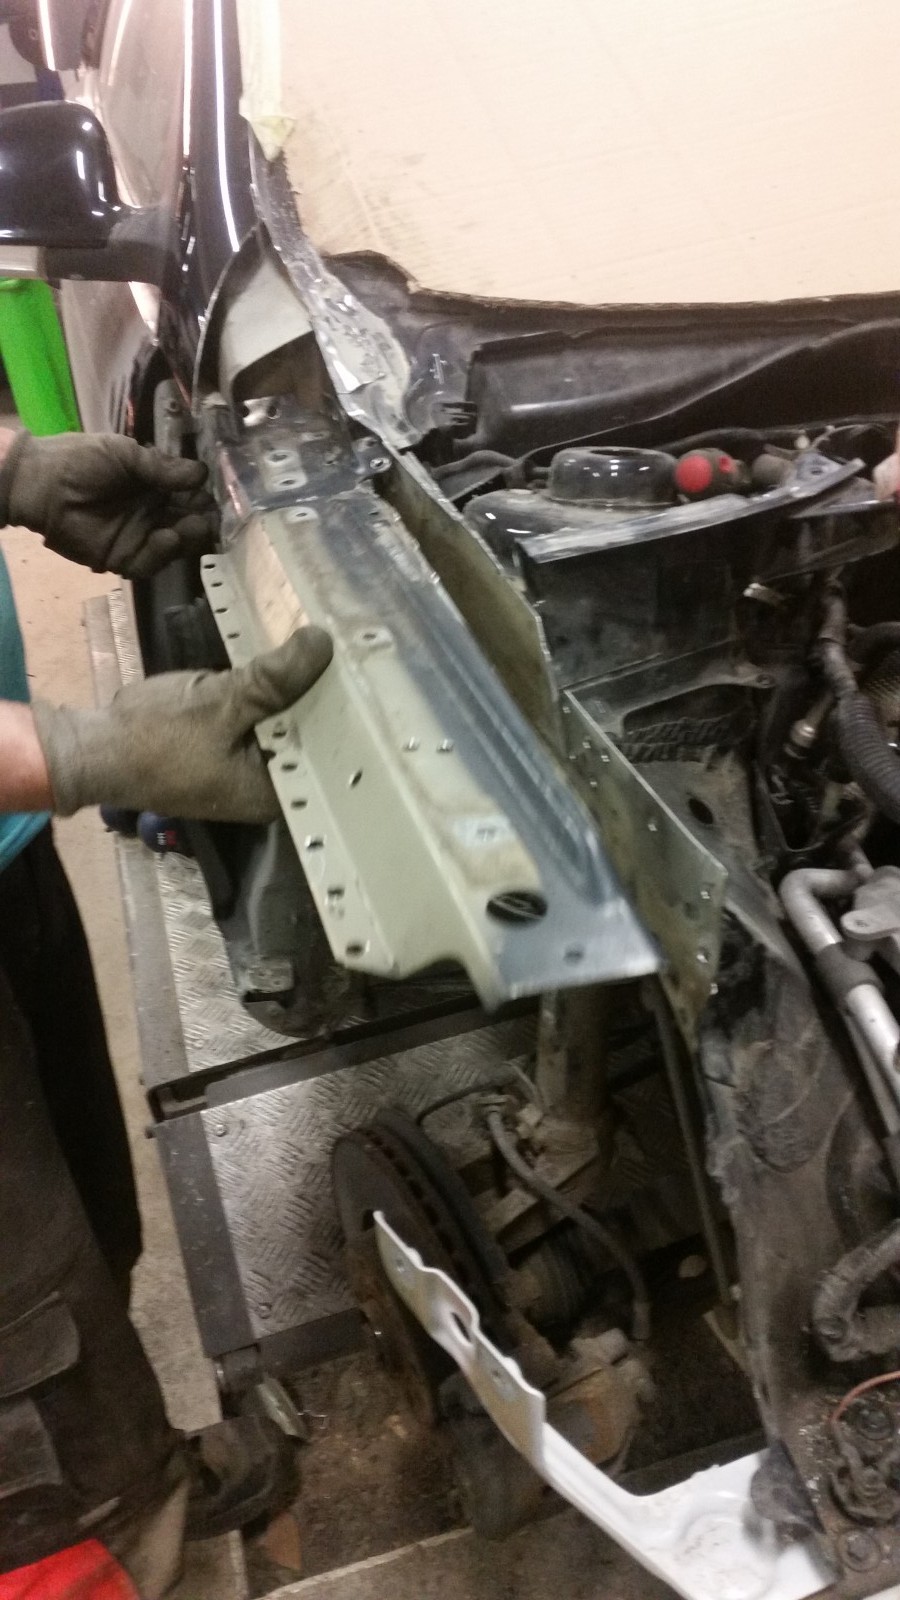
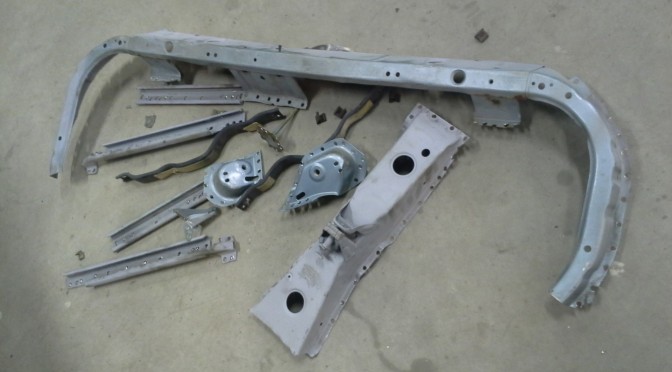
And this is what we needed from the body.
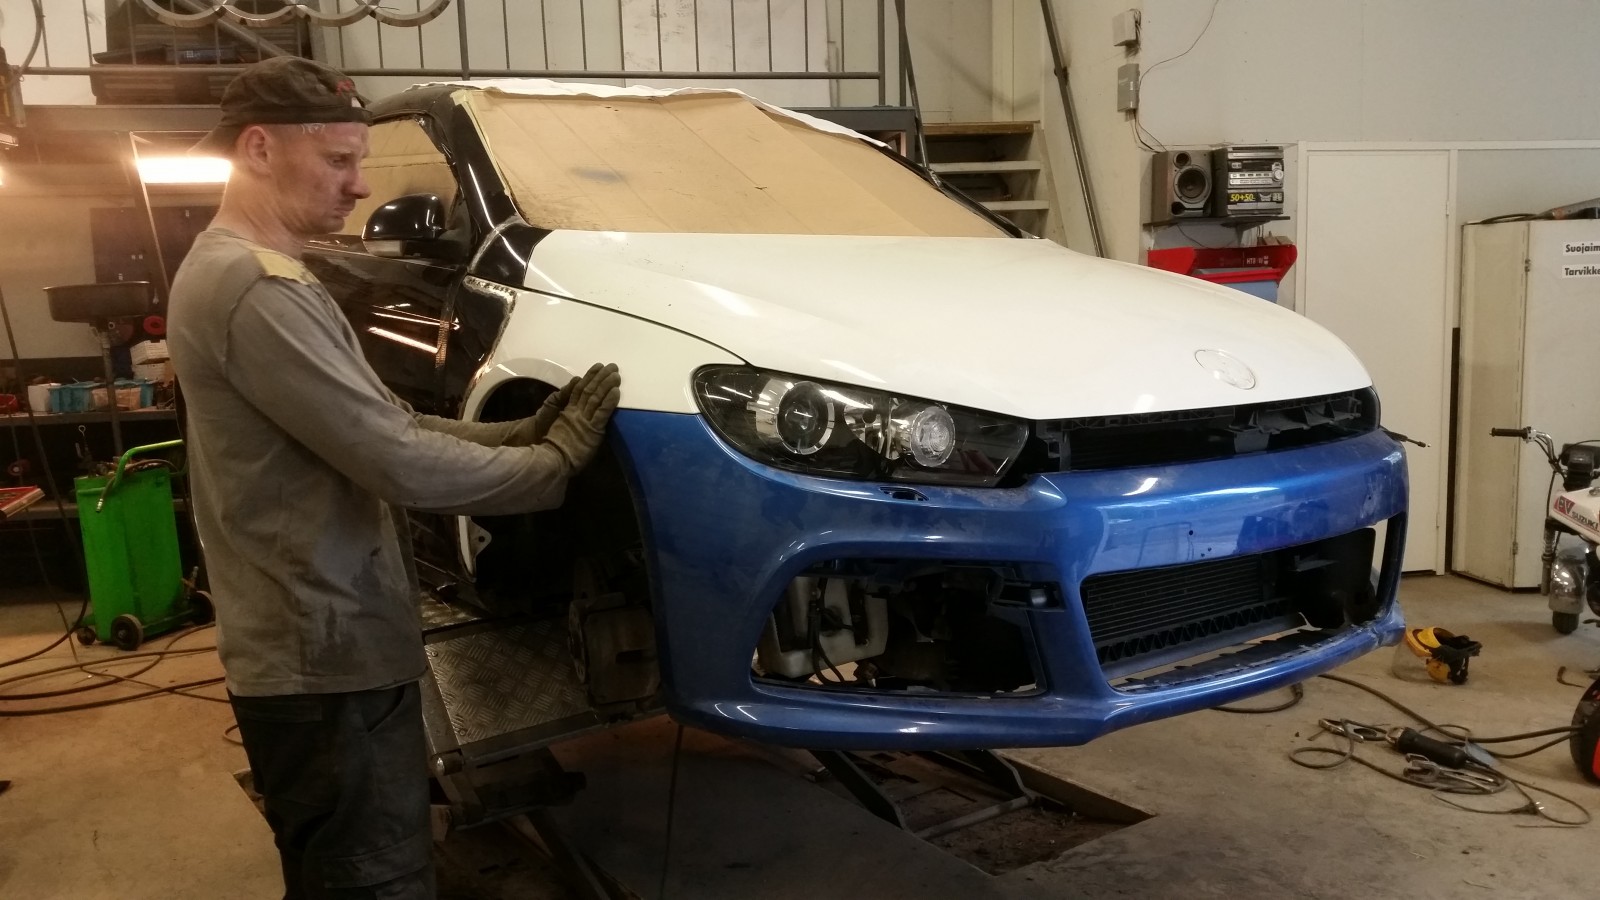
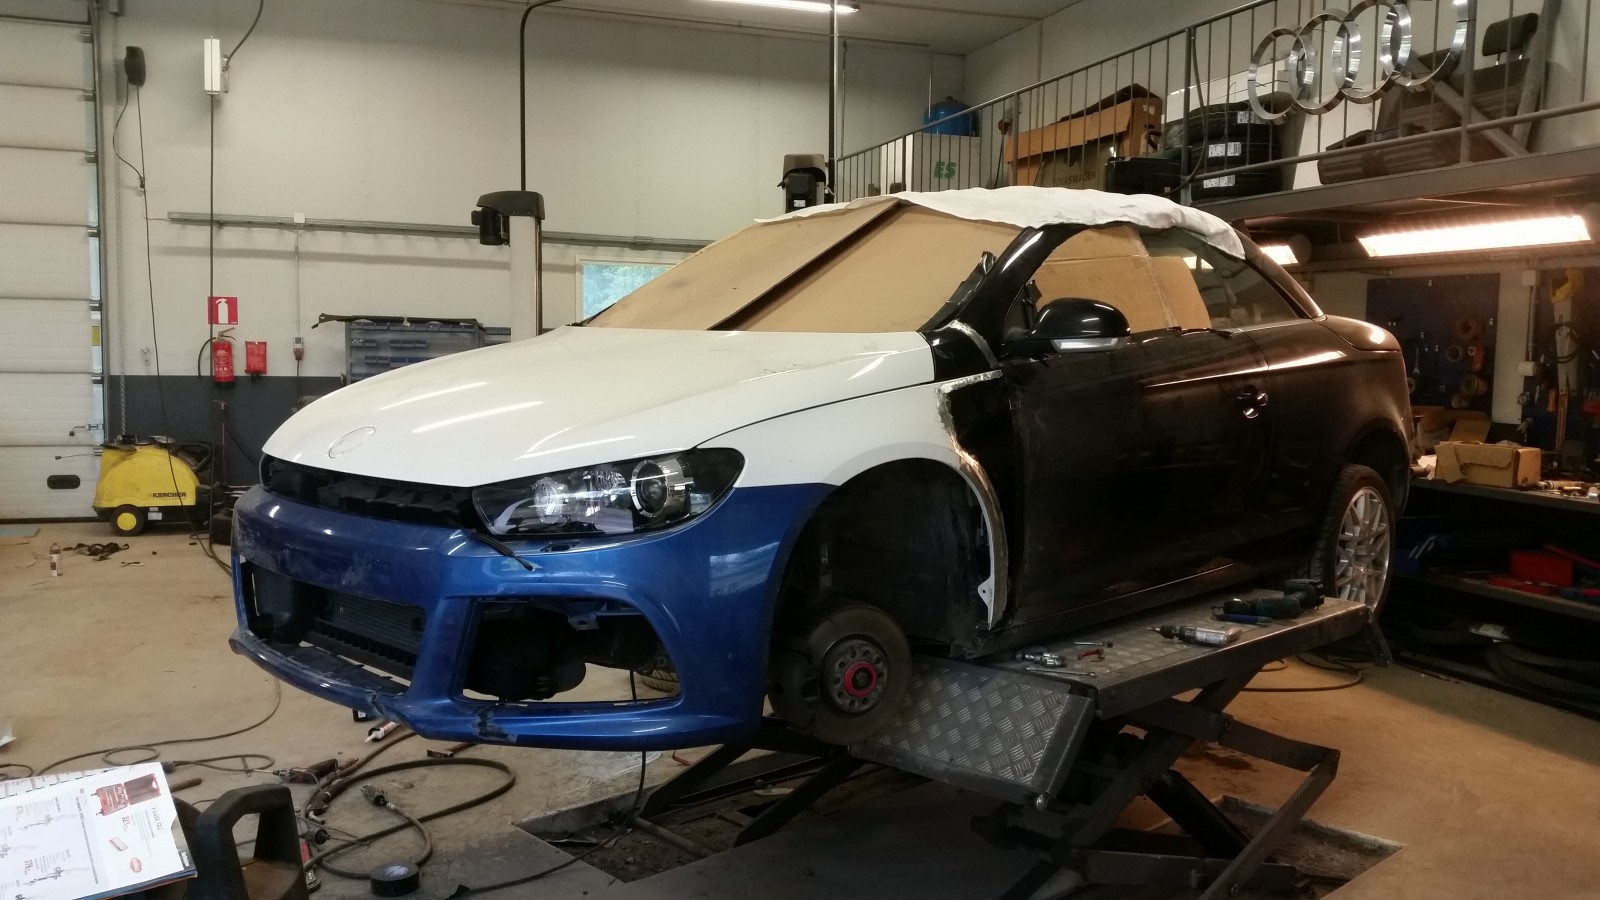
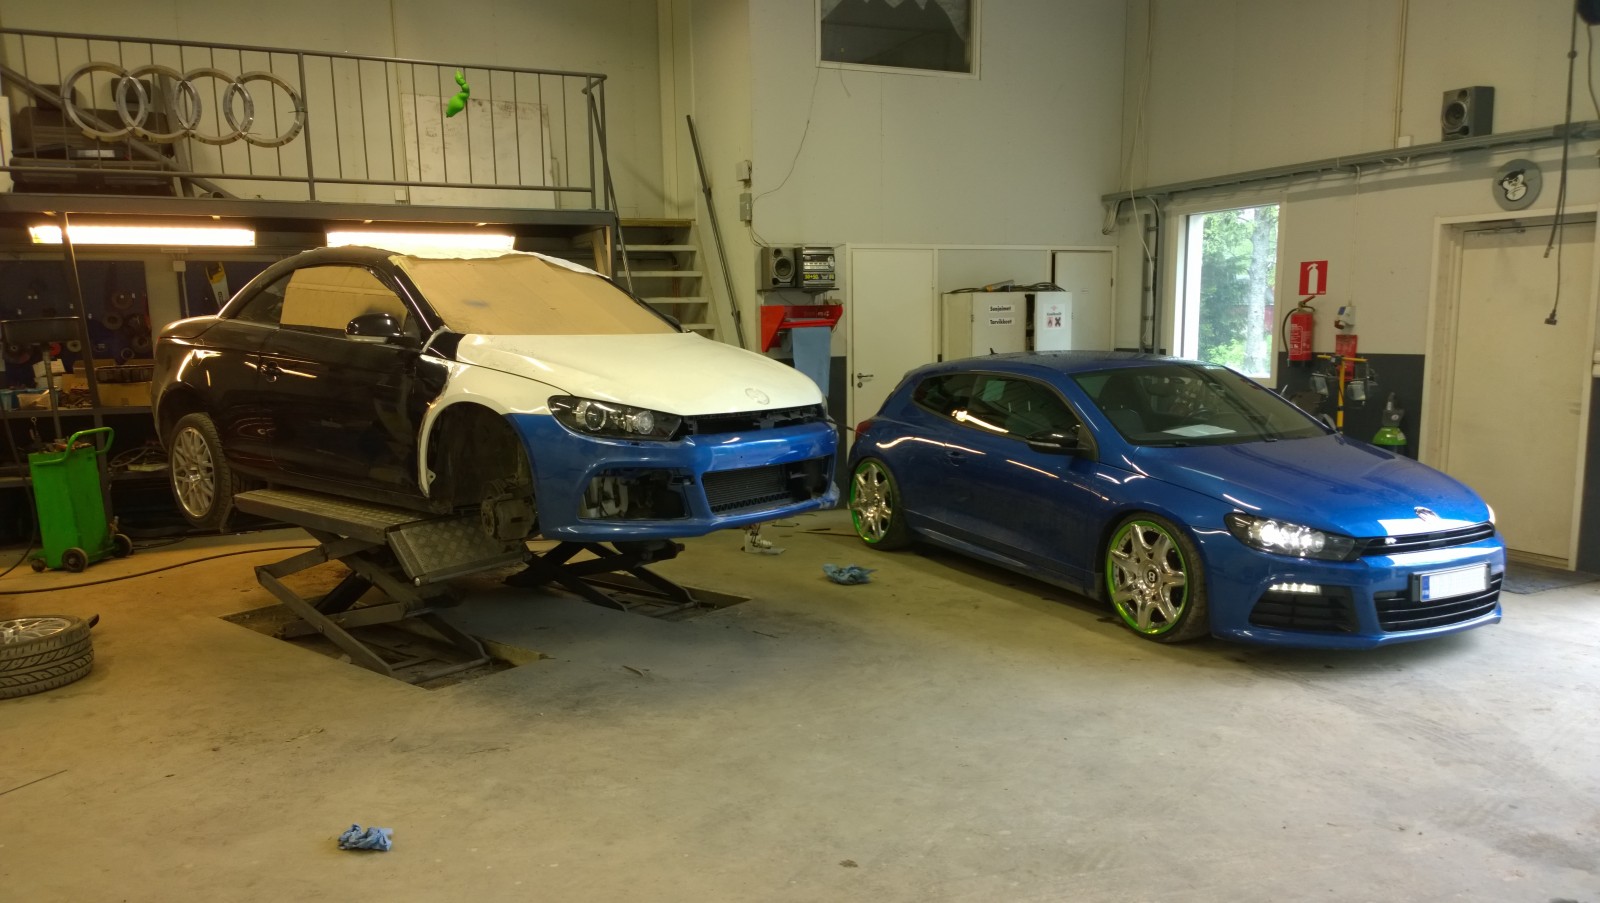
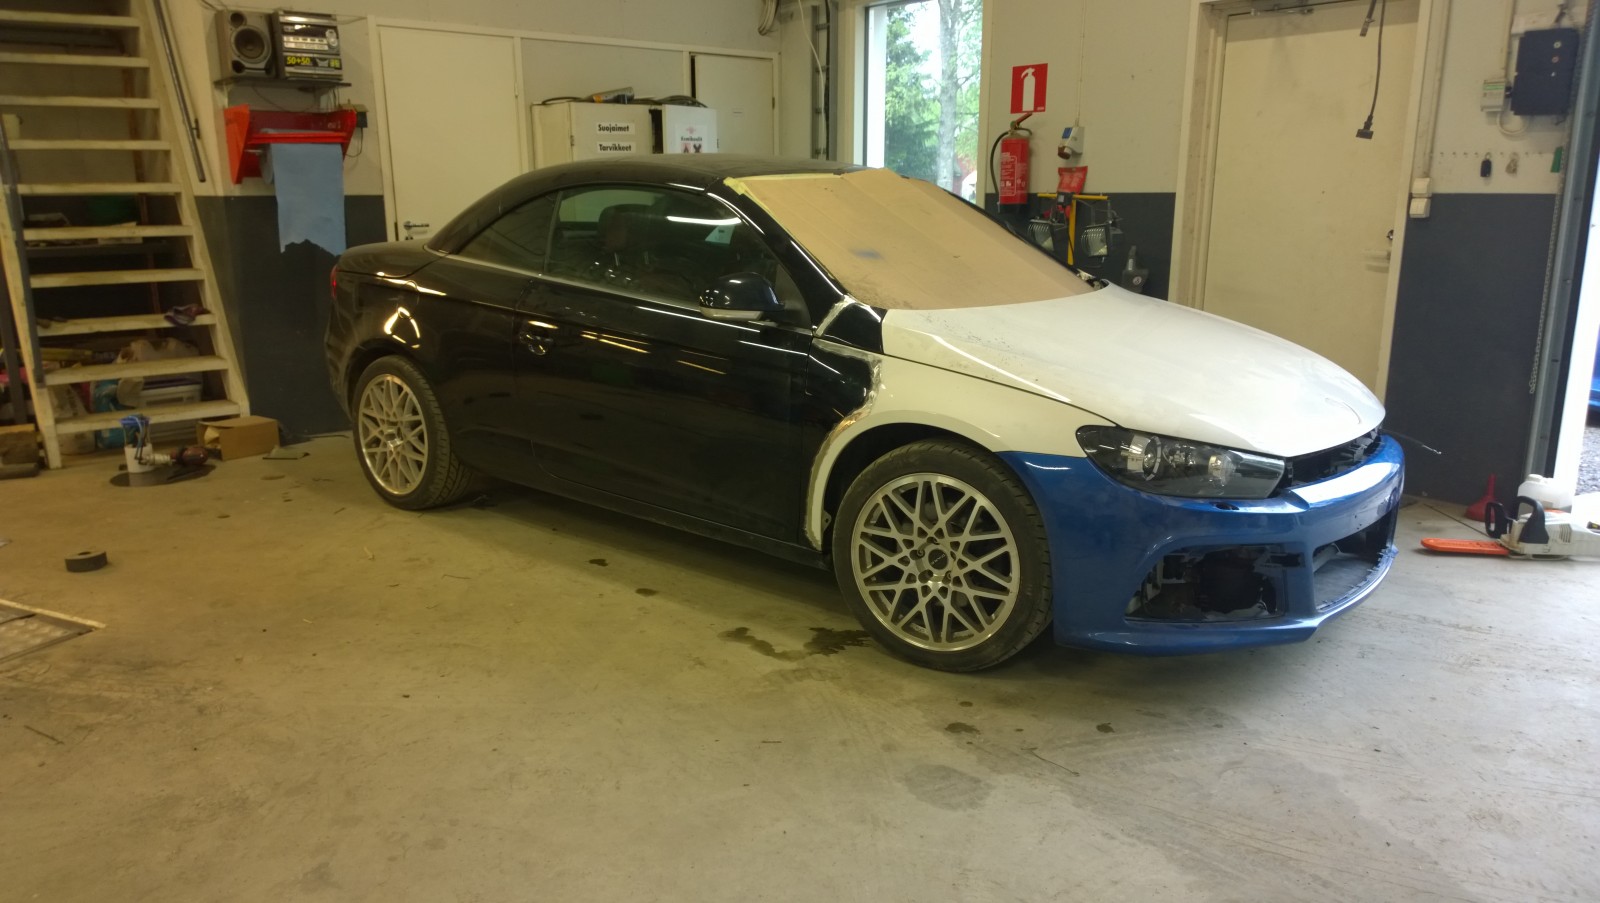
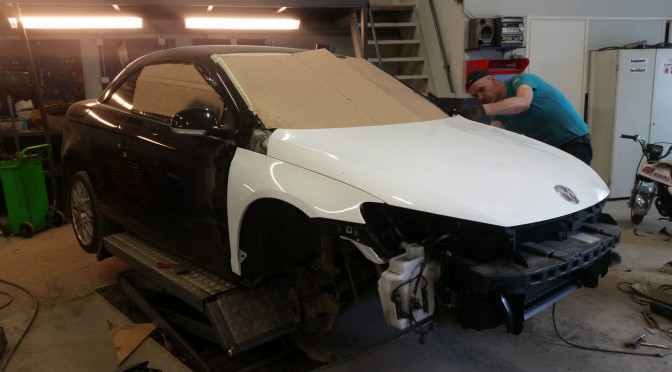
Finally we were able to make some space to the garage and bring Scirocco back in.