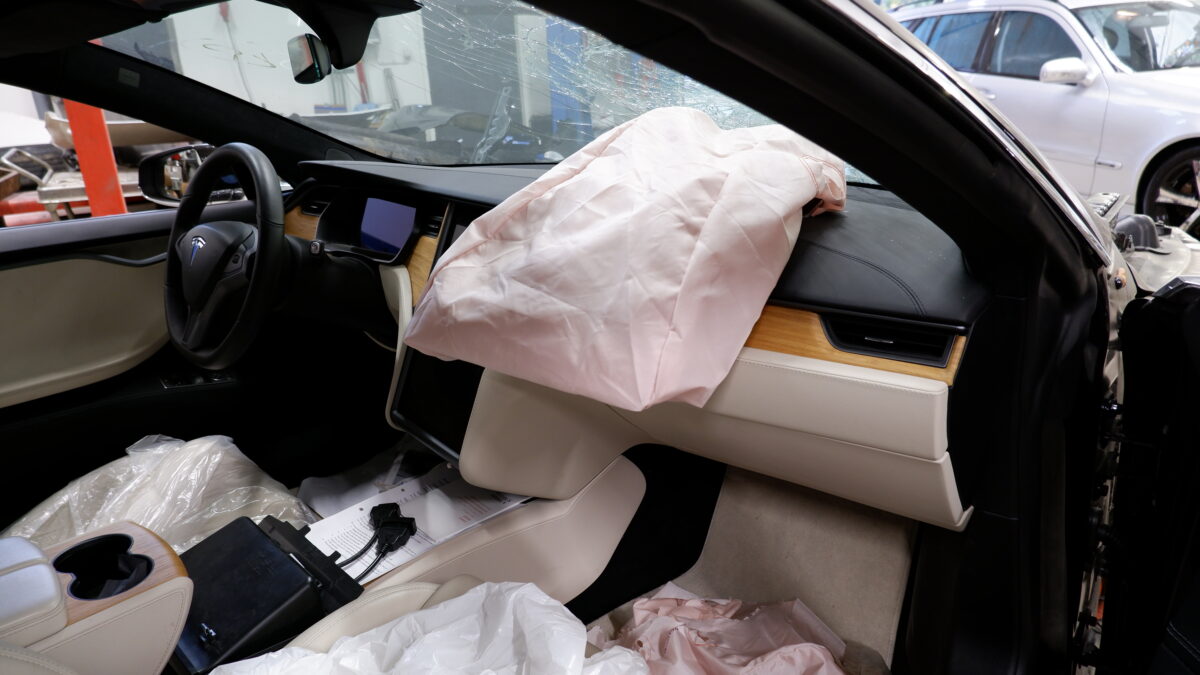
Tesla sells airbags only to their certified body shops so we had to opt for a used one. Well, obviously that was a bit cheaper also.
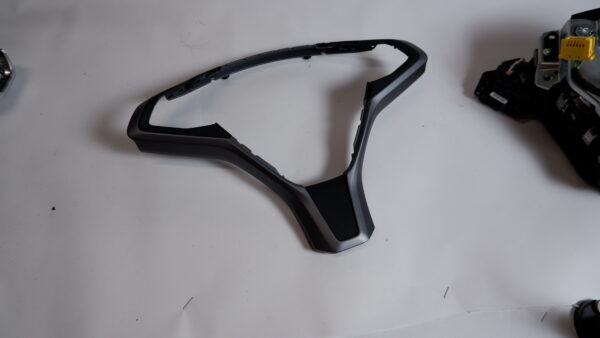
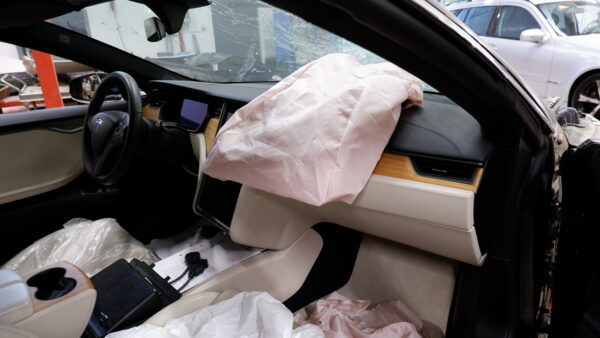
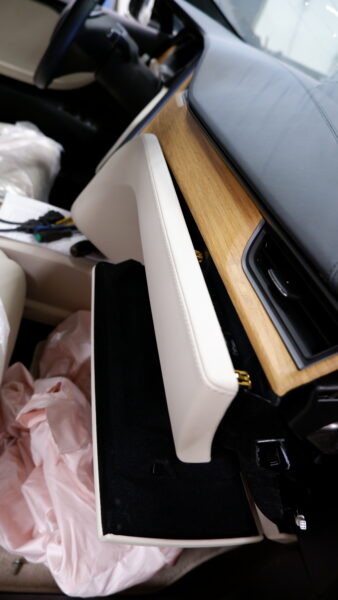
Dismantling is started by removing the glove box. First you need to remove the trim around the glove box. They can be removed by just pulling. Good instructions can be found from FixYourTesla.com..
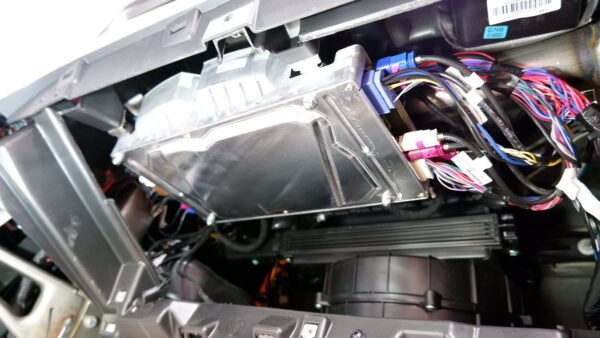
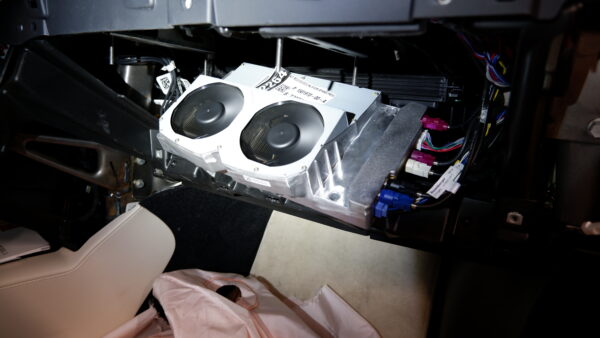
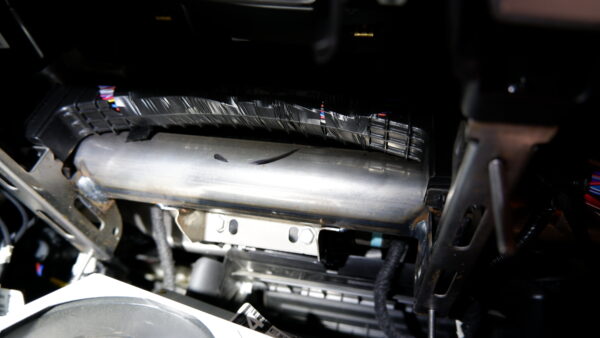
Glove box is fixed with six torx screws. After removing the screws just pull out and carefully remove the cables. Behind the glove box you can find the computer of Autopilot. Unscrew four nuts to lower the computer to get access to two bolts securing the passenger airbag.
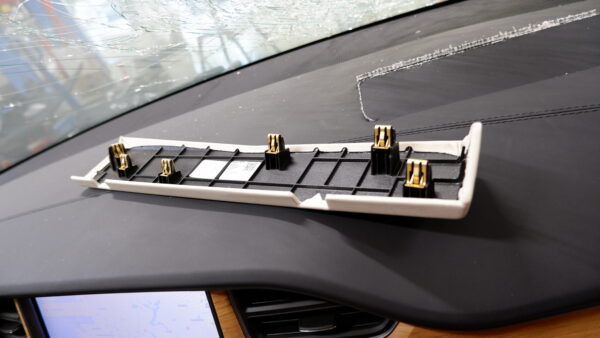
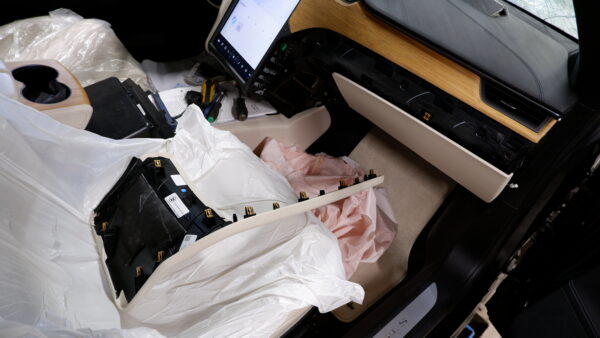
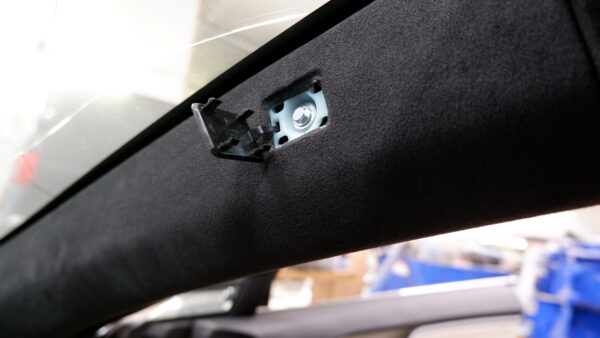
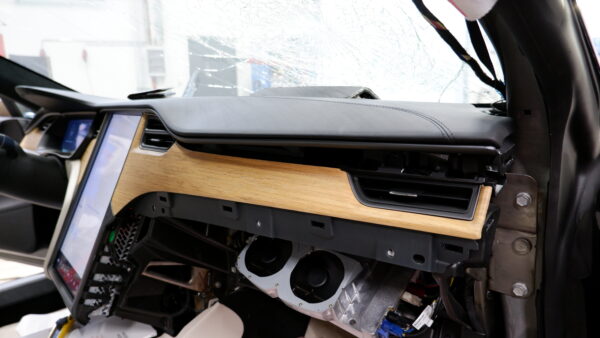
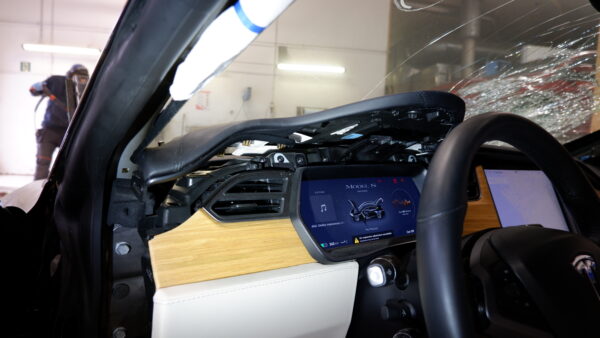
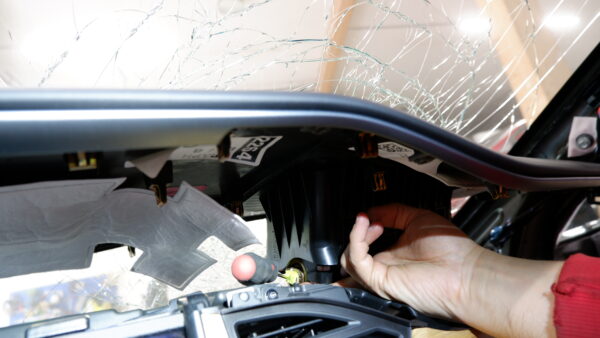
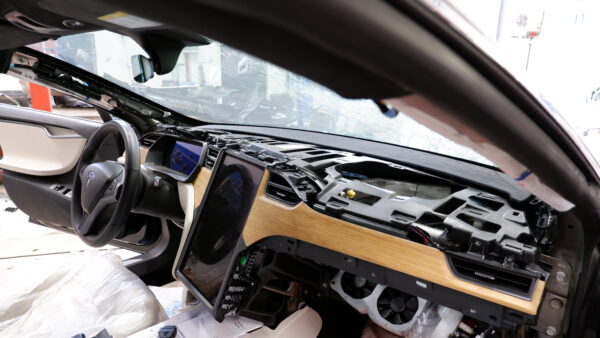
To remove the dashboard top trim you first need to remove the trim of a-pillars. They are fixed with only one screw each, located behind the Airbag tags. From the lower end they are pretty difficult to detach, but come out after careful bending and pulling.
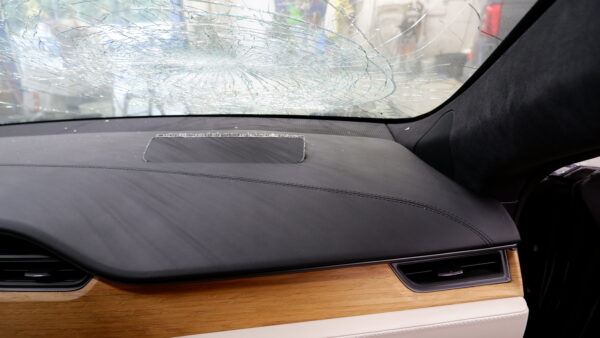
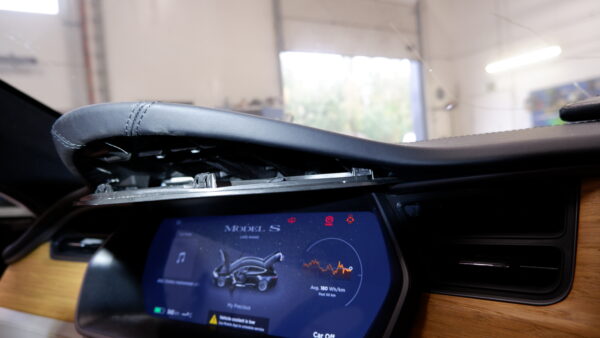
There are screws on both left and right end of the dashboard. Also two screws are found under a cover on top of instrument cluster. That cover can be removed by pushing downwards (first use a plastic tool to bend from the edge). Finally the dashboard cover can be removed by pulling upward until the spring-loaded tabs open one by one.
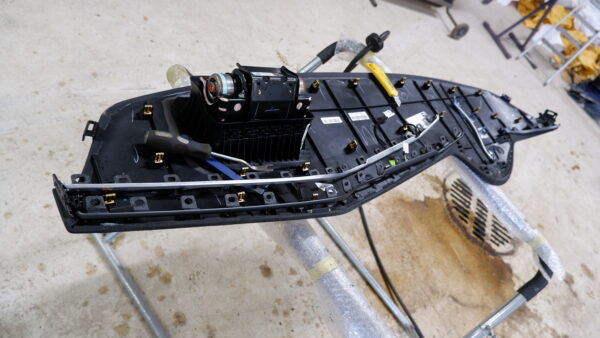
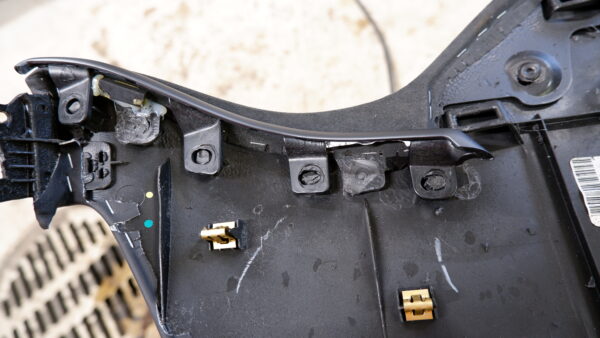
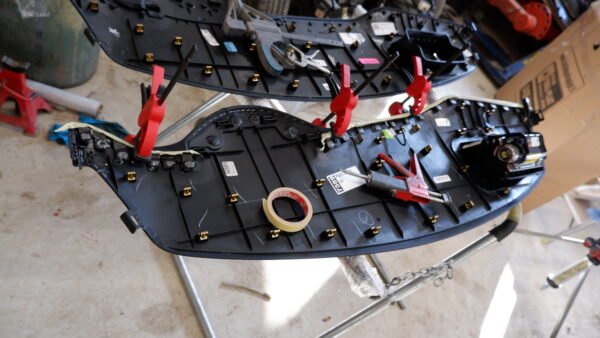
In our spare part the trim at the edge was also different color than in originally in our car so we decided to change that. The trim is plastic welded on the cover so we drilled out the welding spots and re-glued the original trim to our spare part.
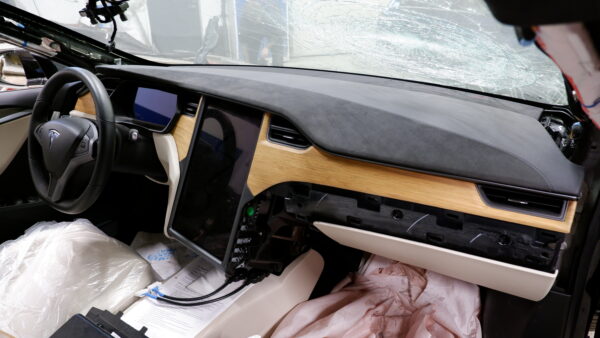
Dashboard cover replaced. Our spare part is slightly different than the original - it has black alcantara piece at one edge. We think it fits really well on the black alcantara trim on the A-pillars and roof.
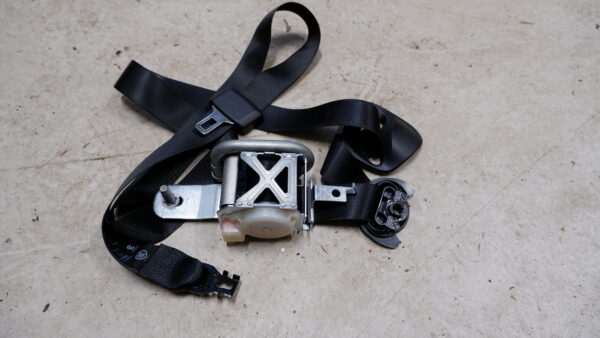
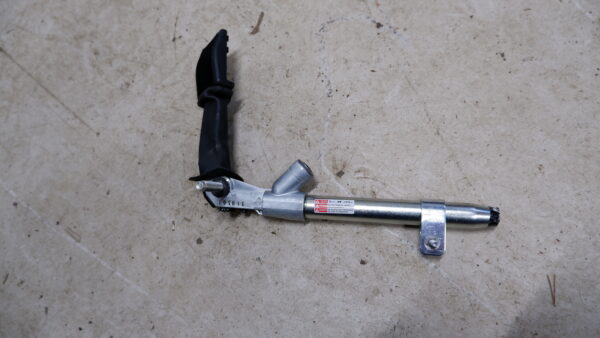
We also replaced the front seat belts and pretensioners since they had deployed at the accident. Unfortunately we did not take pictures of that but it's relatively straightforward by following the instructions at fixyourtesla.com.
It's a bit strange Tesla does sell seat belts and pretensioners to anyone unlike the airbags.
Clearing the alerts of airbag system was quite a bit more complex process, more about that later.
Tomi says:
Kiitos hienoista projektikeromuksista vuosien varrella! Onko tähän tulossa jossain vaiheessa jatkoa? Kiinnostaisi nähdä myös suomalaisesta näkökulmasta millä tavoin tuollaisen sähköauton kilvitys poikkeaa näistä normi avk eli copart projekteista.
November 25, 2021 — 14:10