ARCHIVE / PAJALLE
Seat Leon FR TDI
Crash repairs on a second-generation Leon.
A family-car starting point
In spring 2009 the Audi suddenly began to feel cramped. Heikki's first child was on the way, so the two-seater had to go. A shame with summer only just beginning.
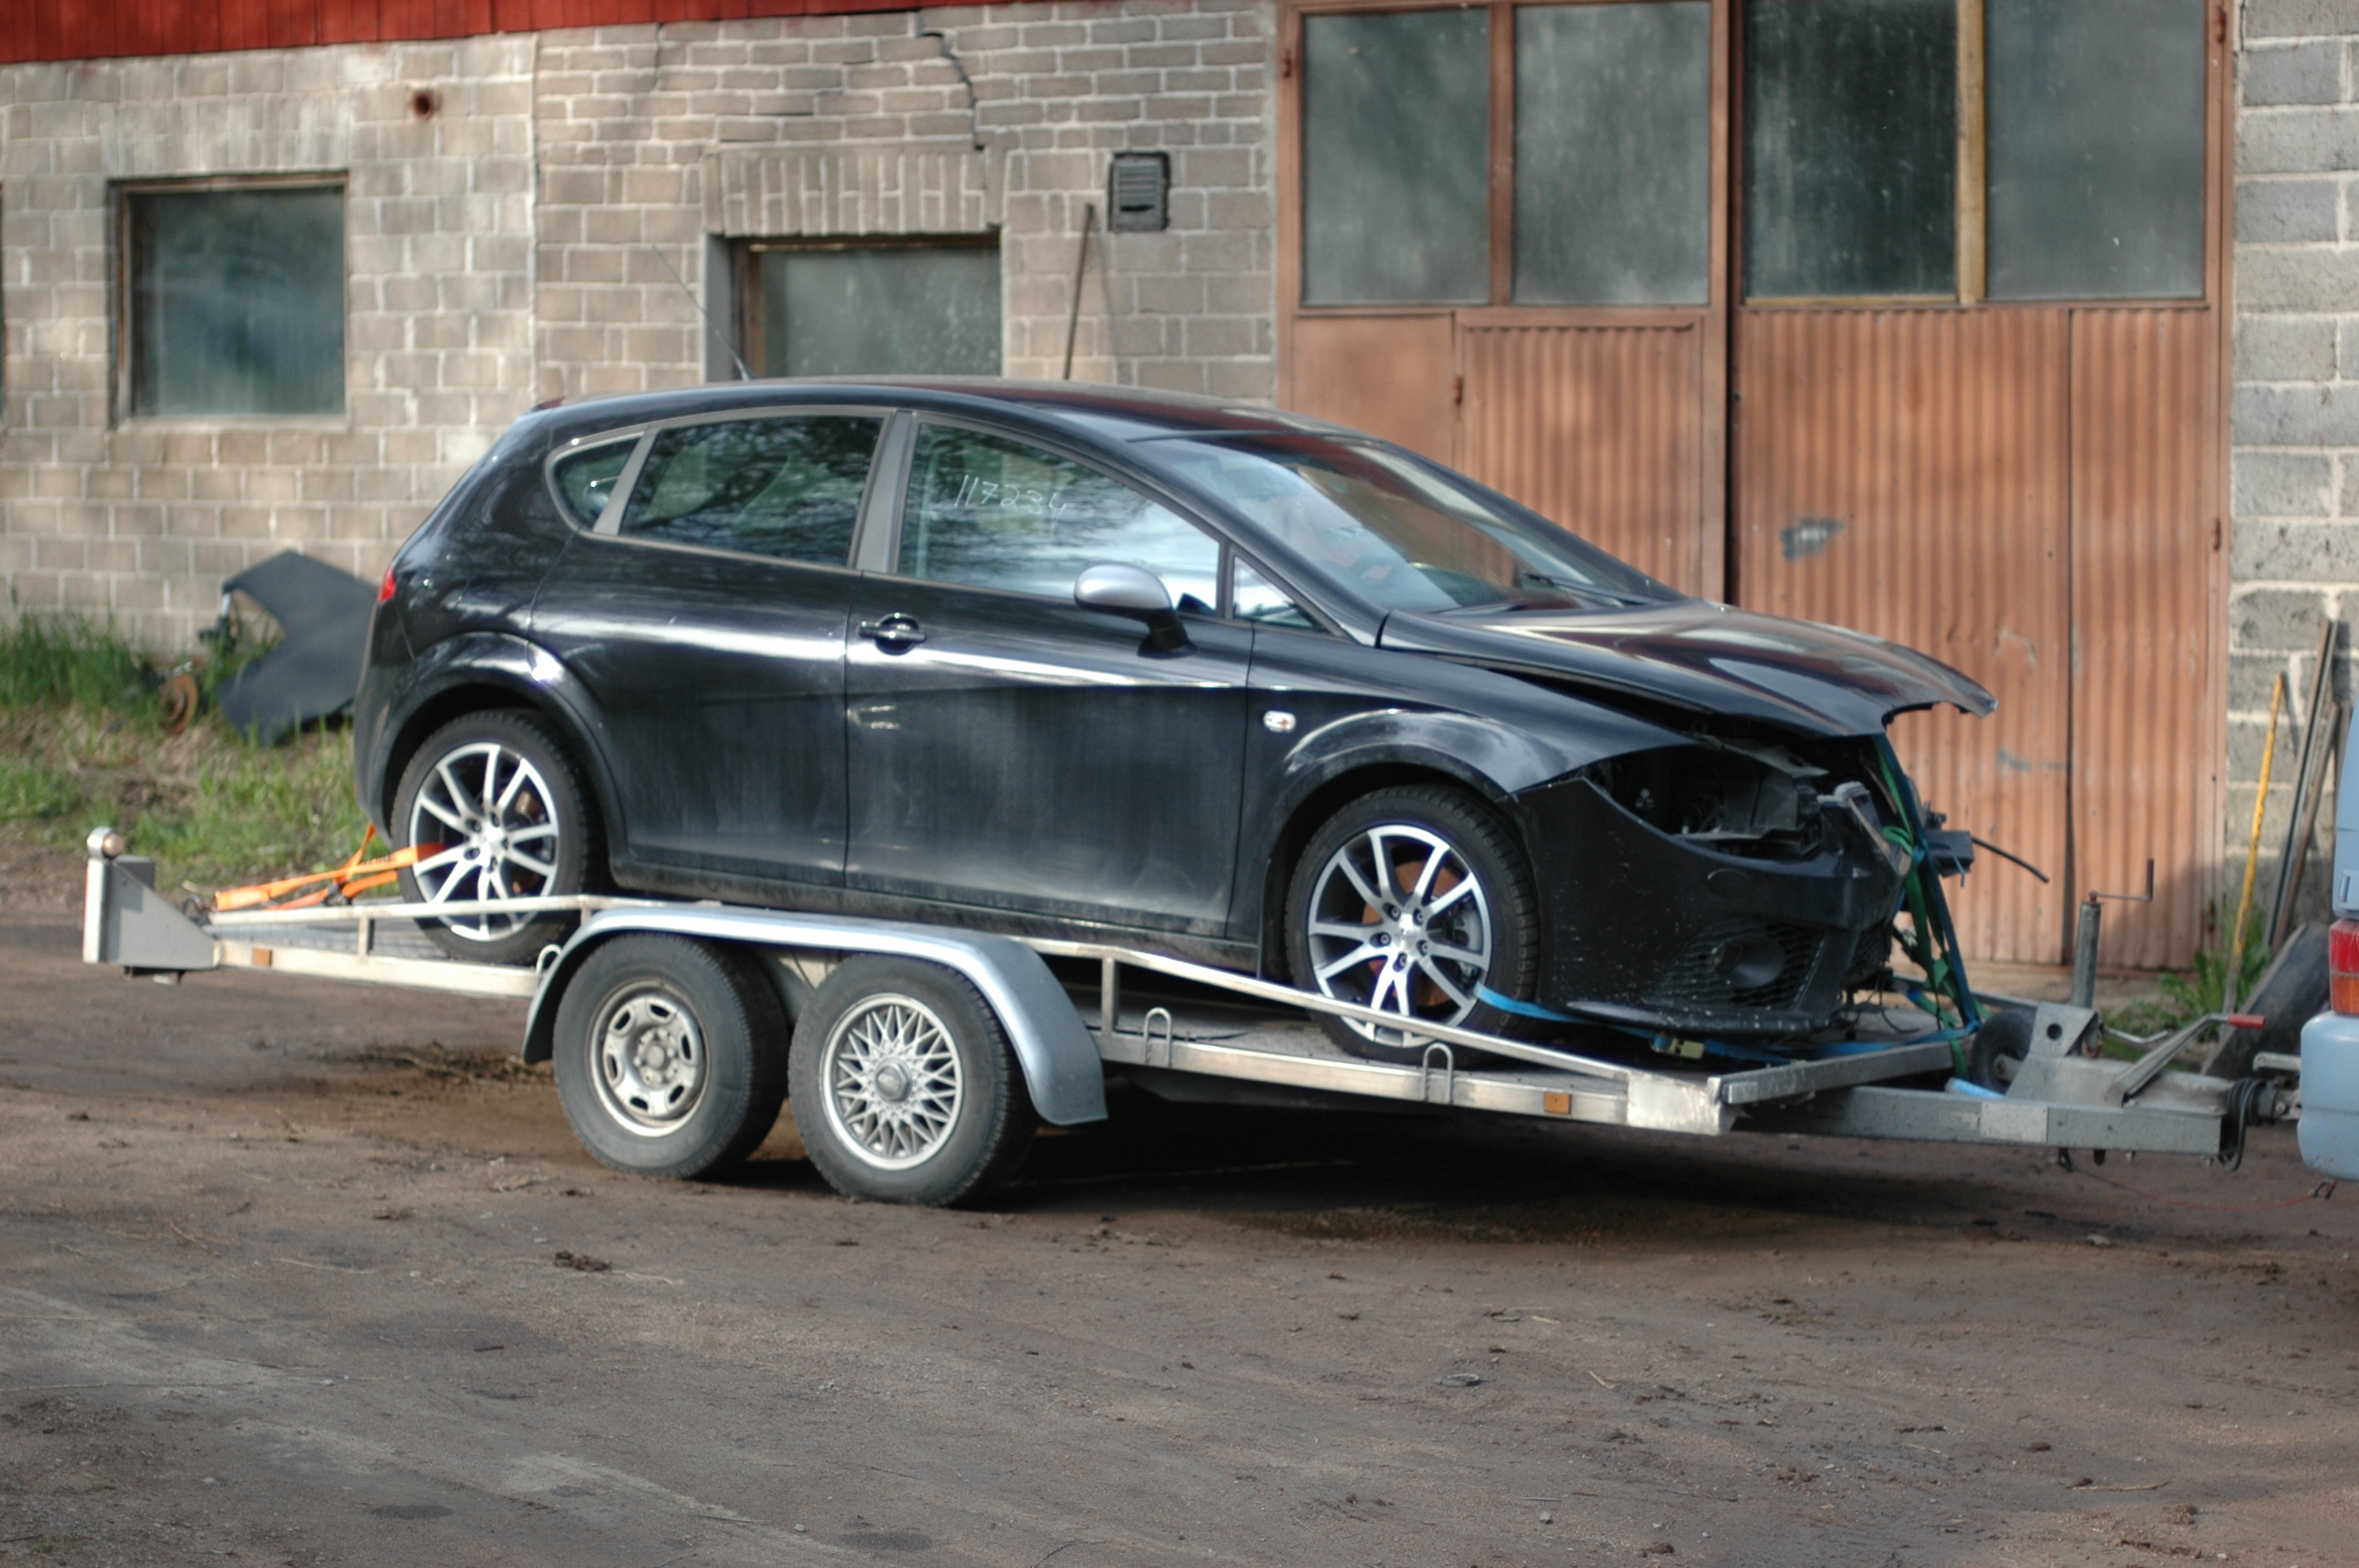
Peksi had been watching a Seat Leon at Espoo's AVK for some time and suggested buying it. Heikki hadn't really considered a Leon, but the price was low enough to make him a Leon owner again. Before the Audi there had been a previous-generation TDI Leon. Amusingly, the two Leons were very similar: the most powerful diesel in their respective ranges, TS and FR, bought from Espoo AVK practically from photos alone, and even the same colour. The damage eventually proved very similar too. Repairs to the newer one cost more because the interior safety equipment needed replacing.
The Leon is a 2008 model, registered early that year, with just under 30,000 km. The interior is like new. It sat at AVK for a couple of months; I don't know why nobody wanted it.
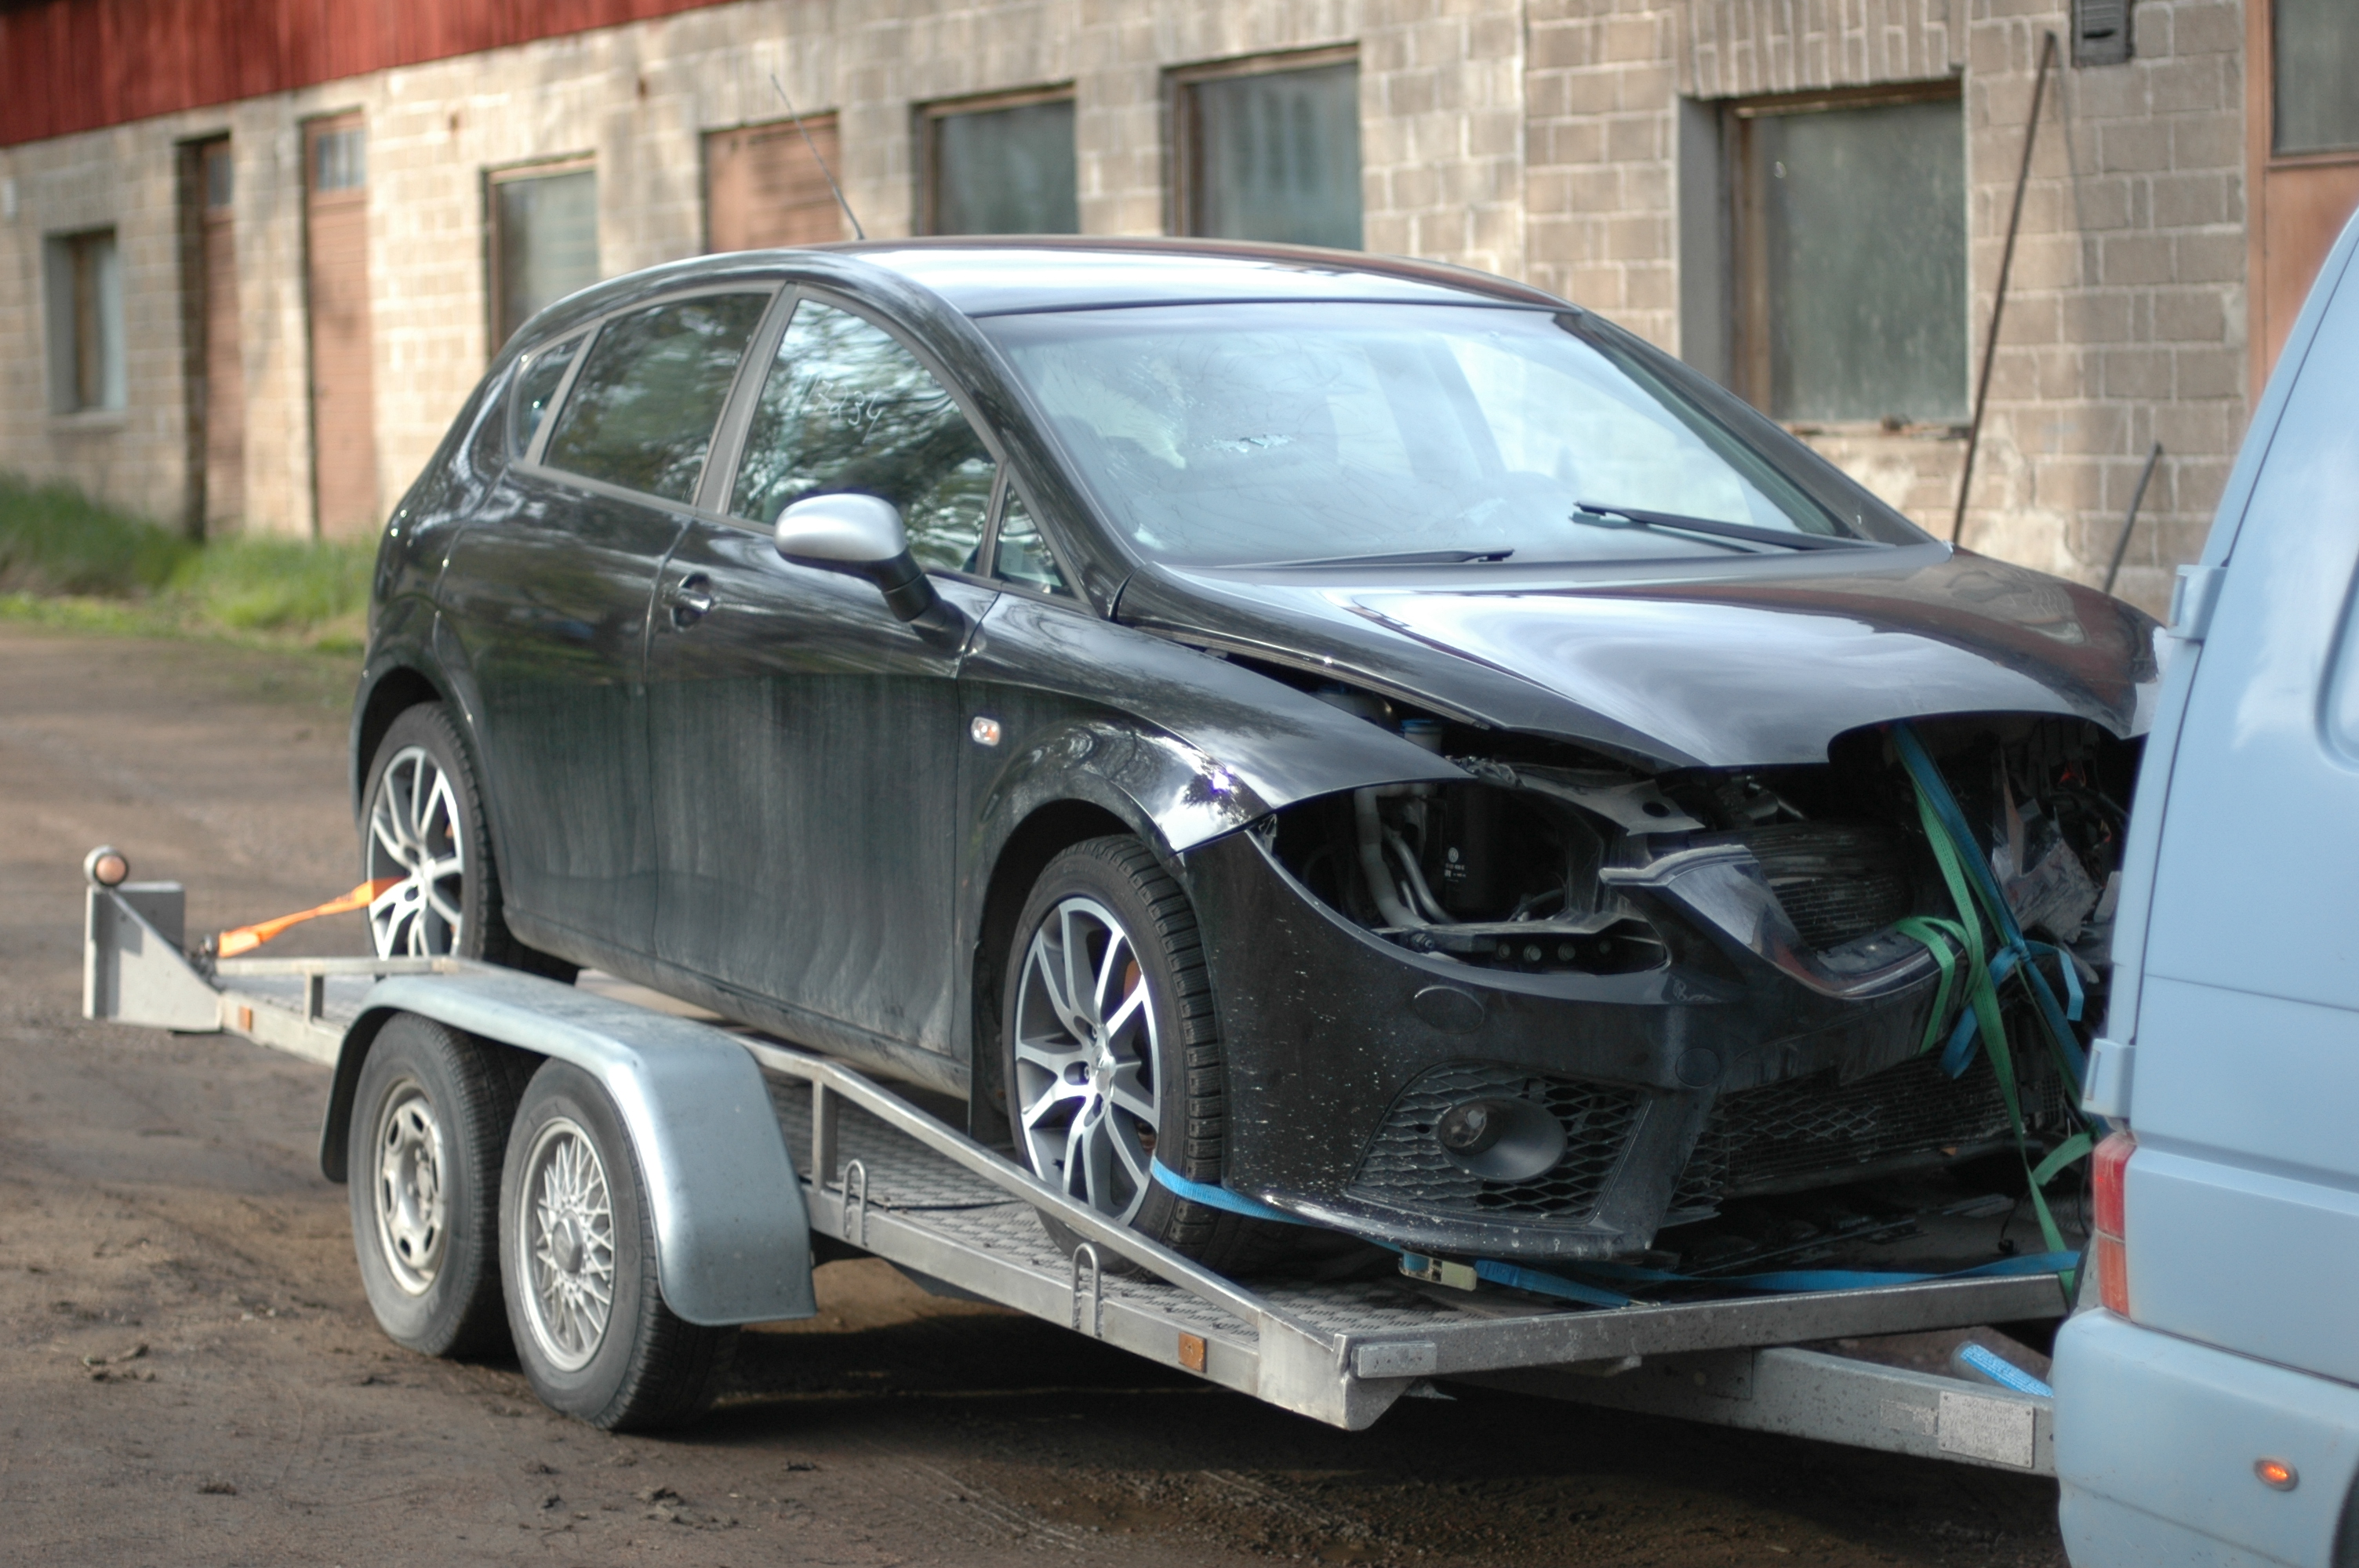
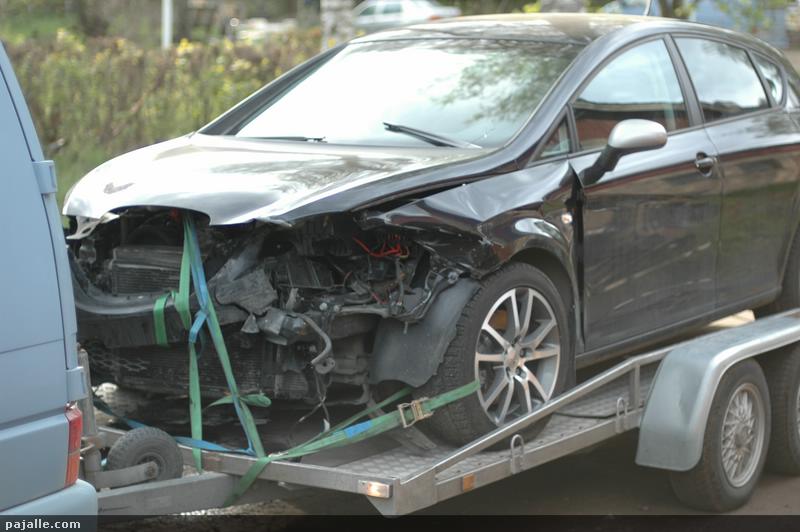
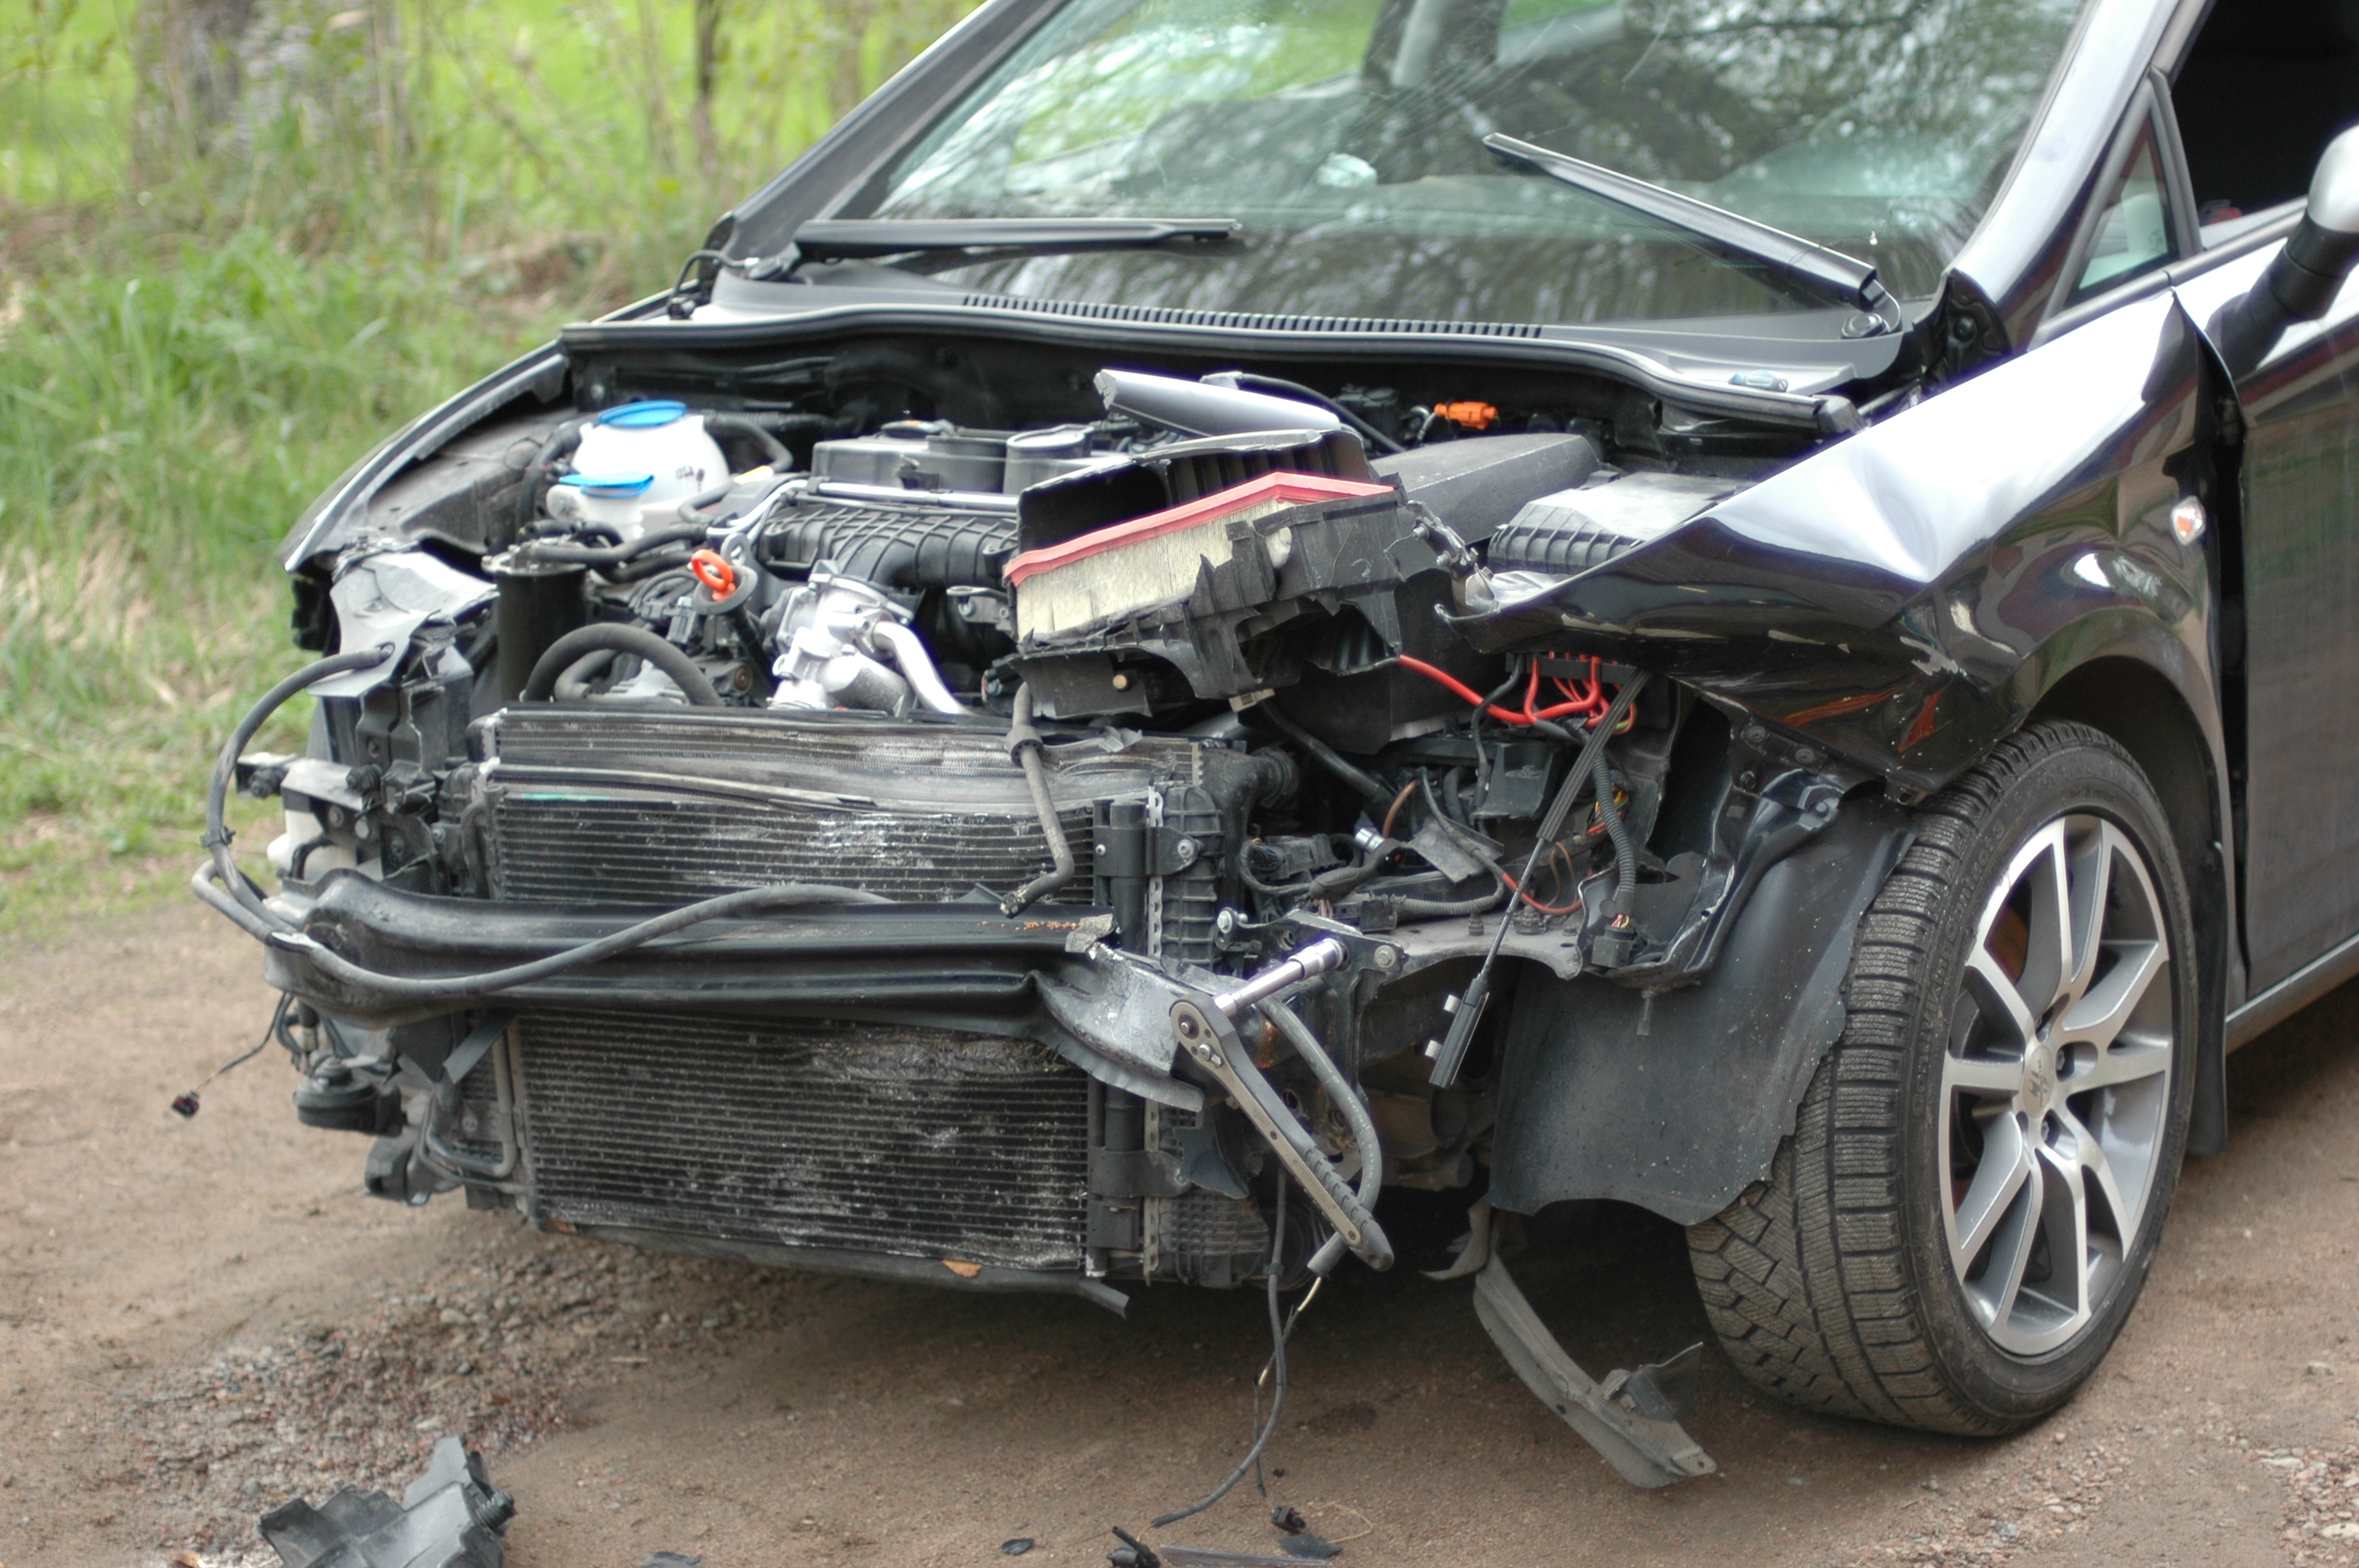
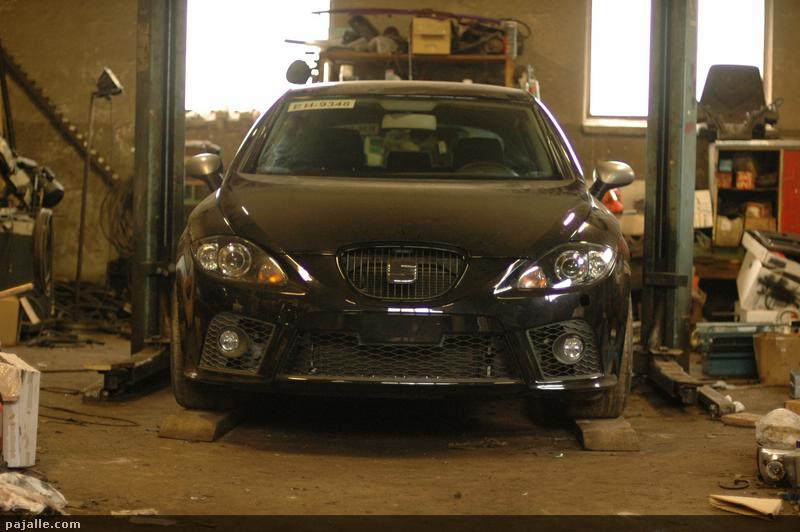
First remove the remains of the bumper and the bonnet to inspect for unexpected, expensive damage.
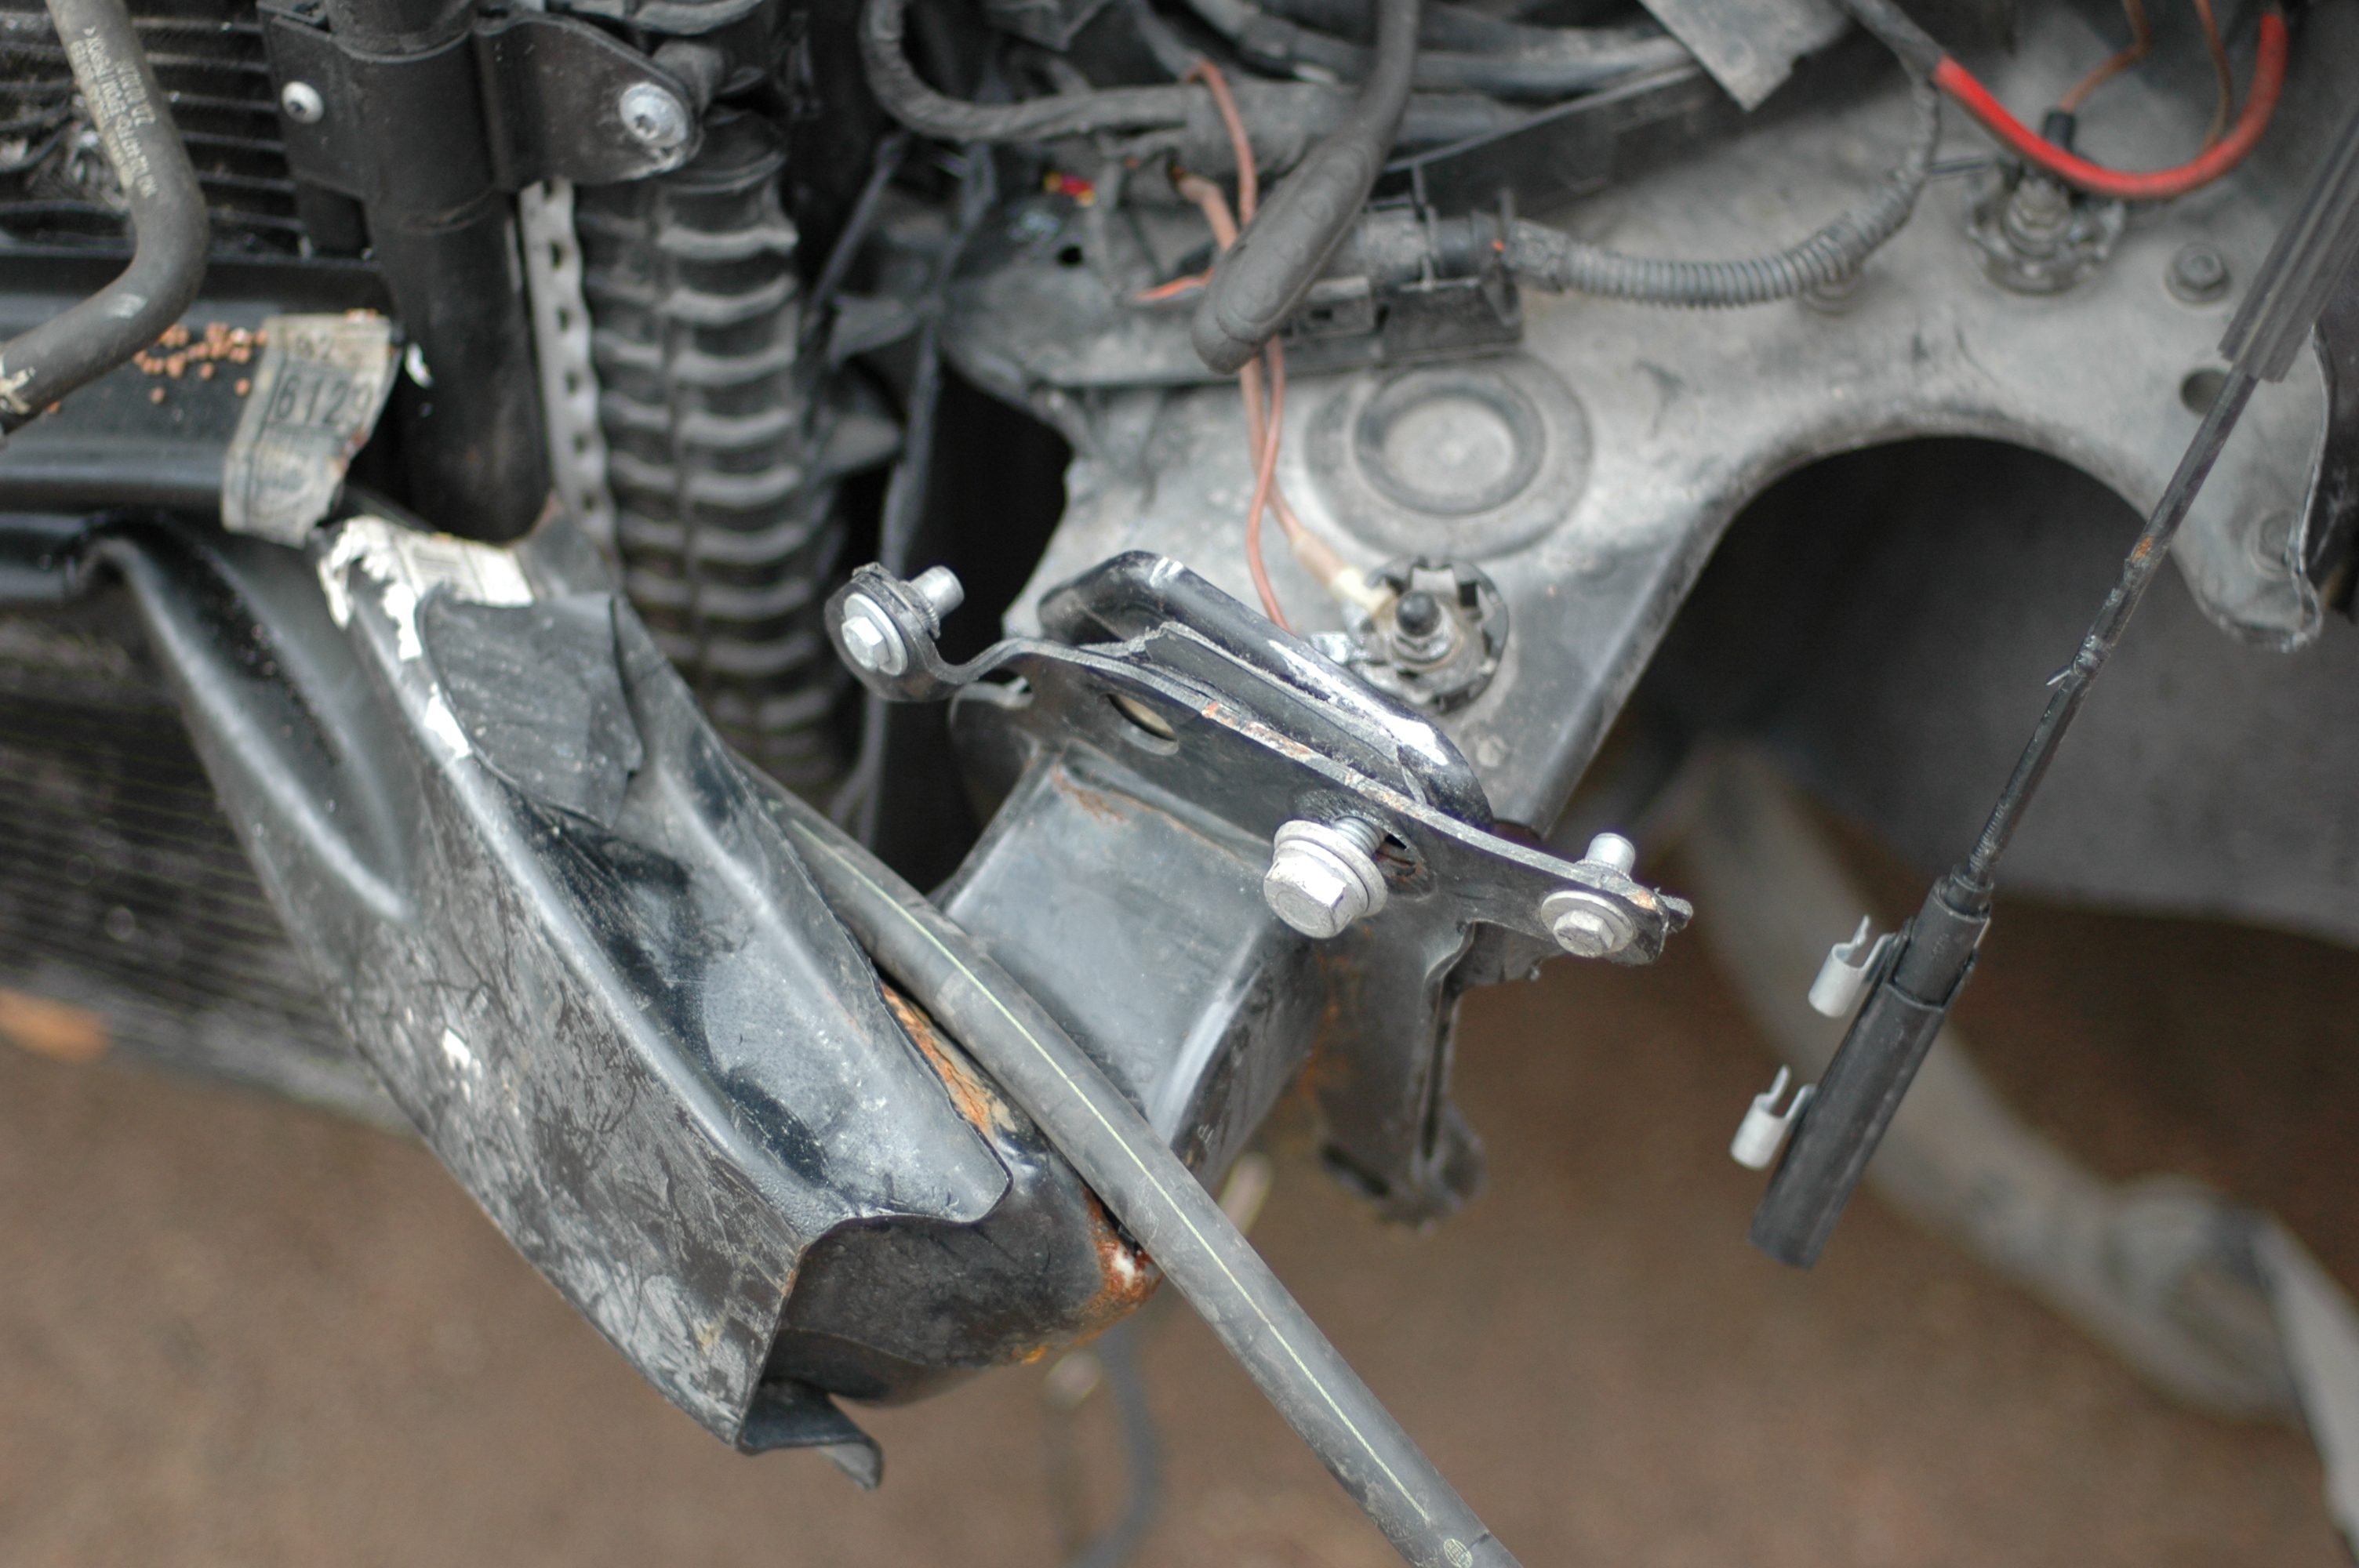
The end of the driver's side chassis leg is slightly bent, a minor straightening job. Later its end plate was replaced too when a suitable one turned up.
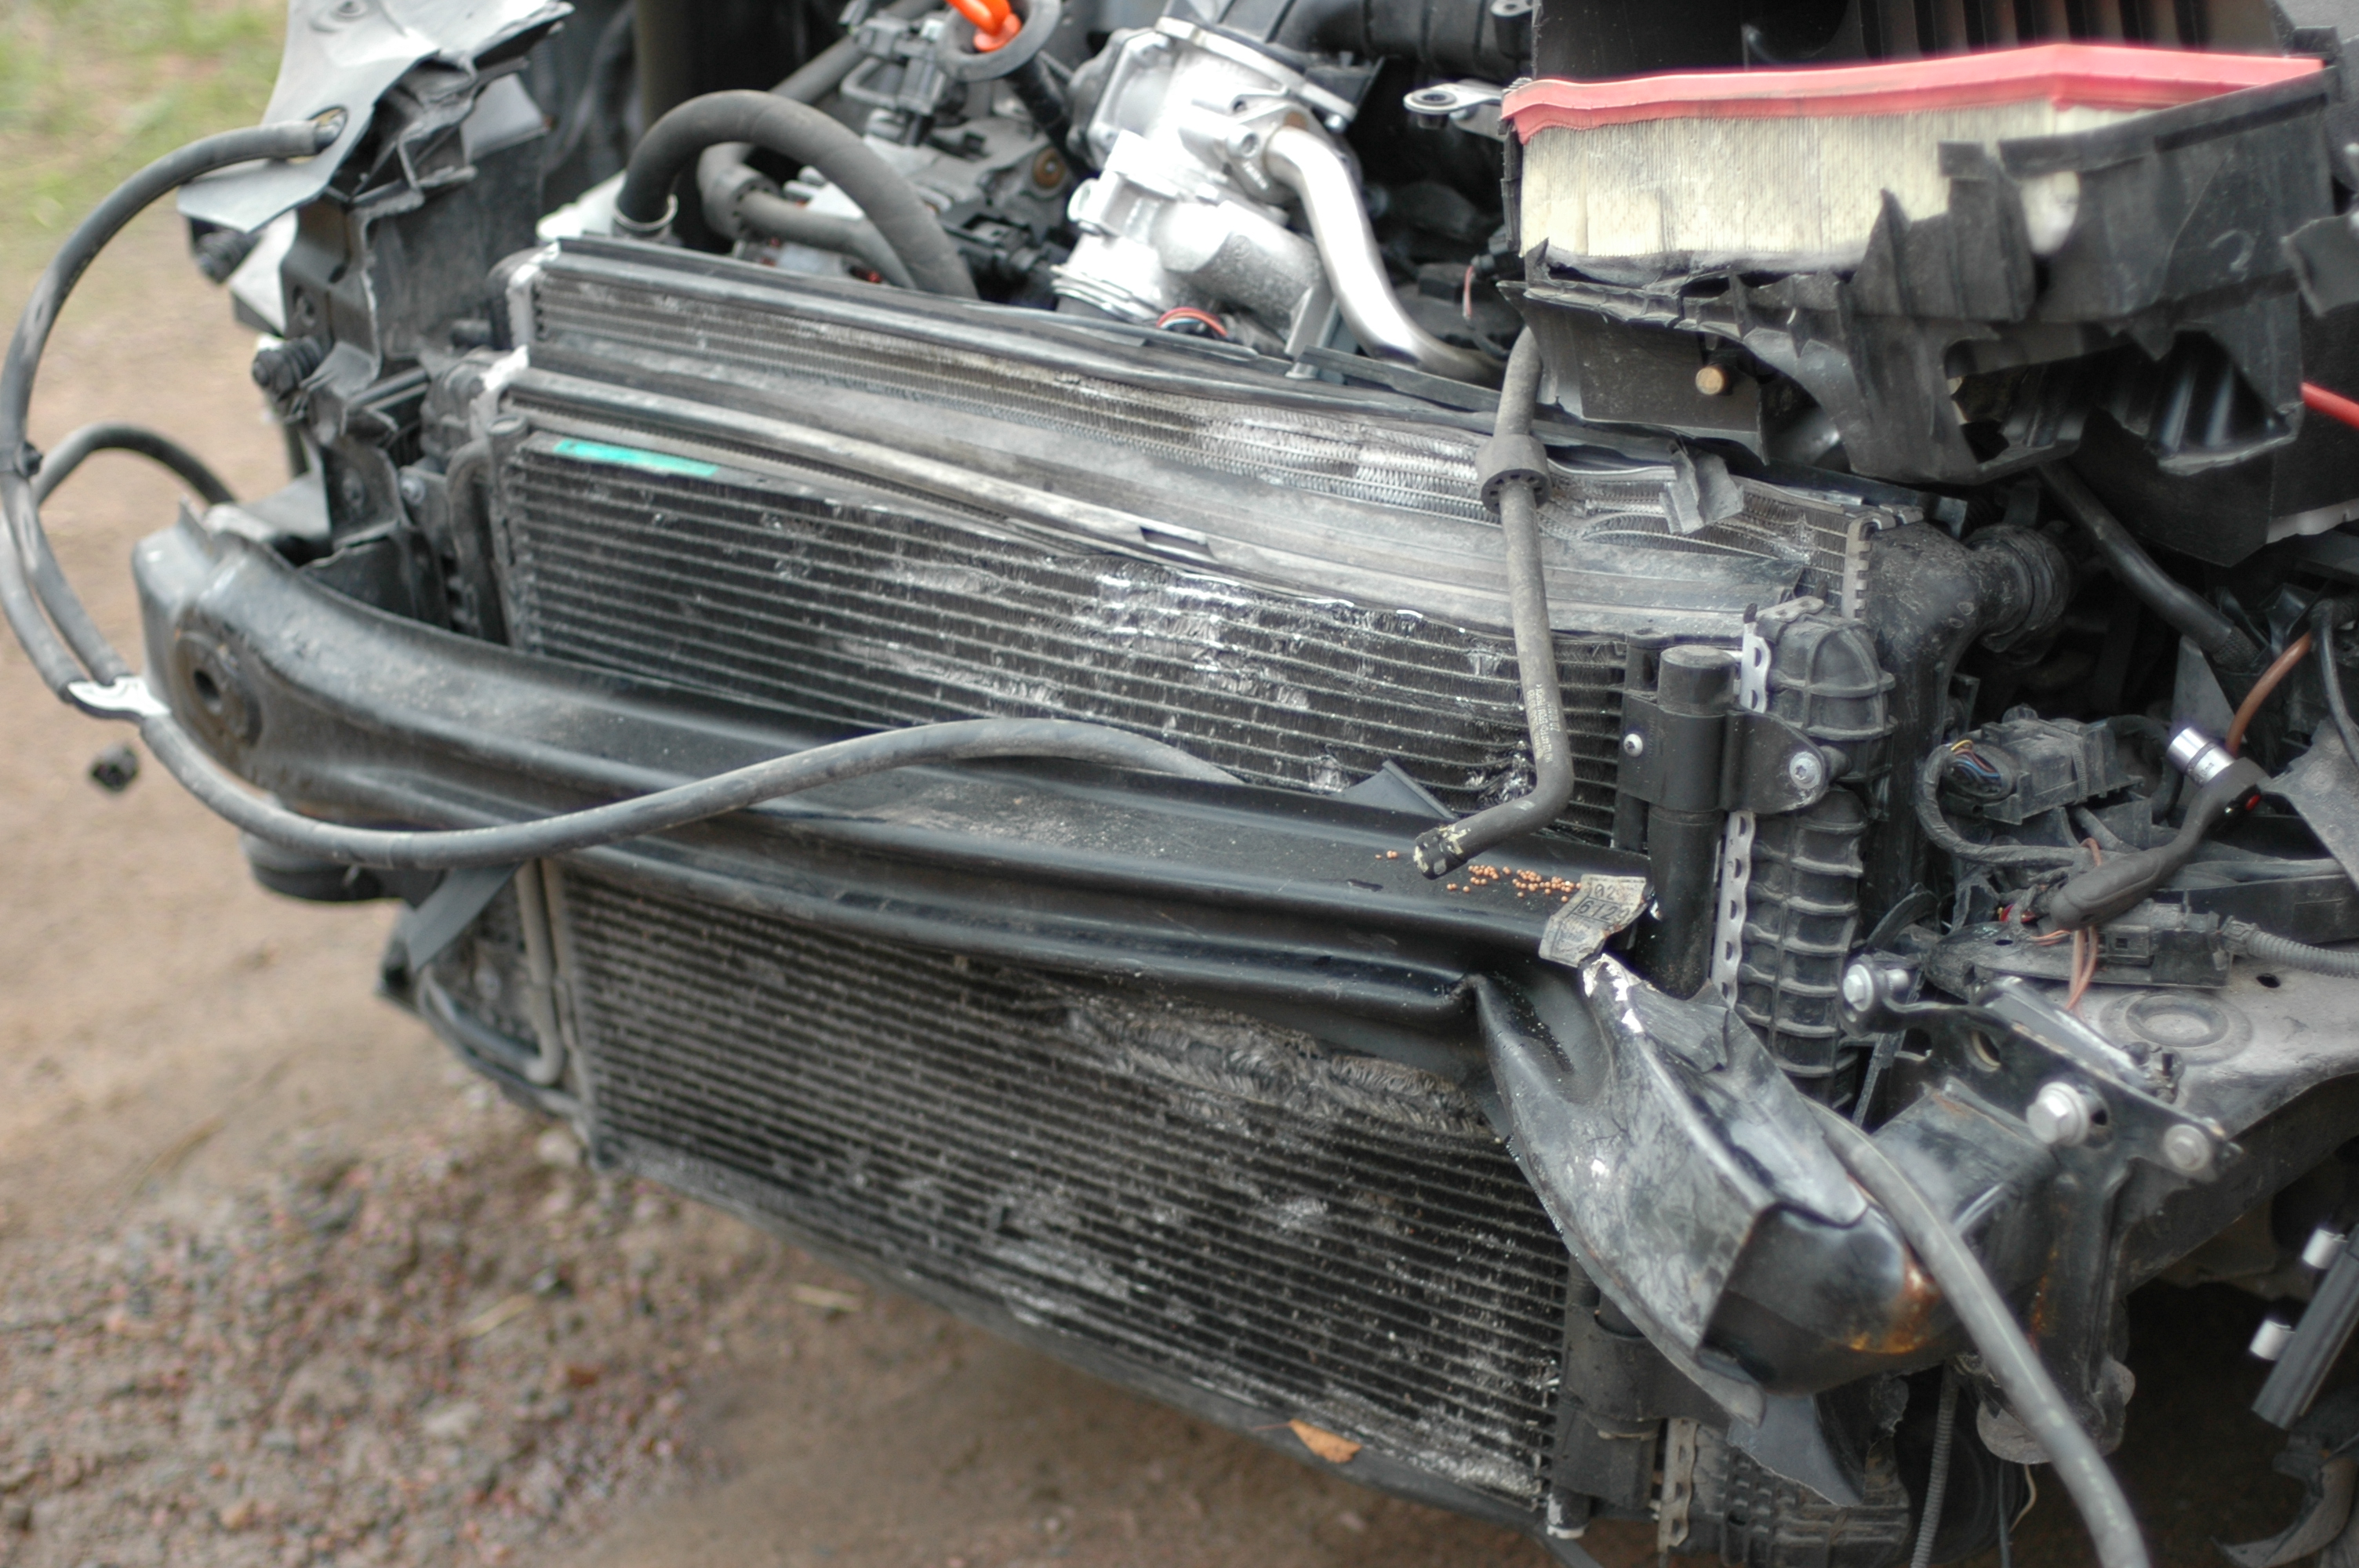
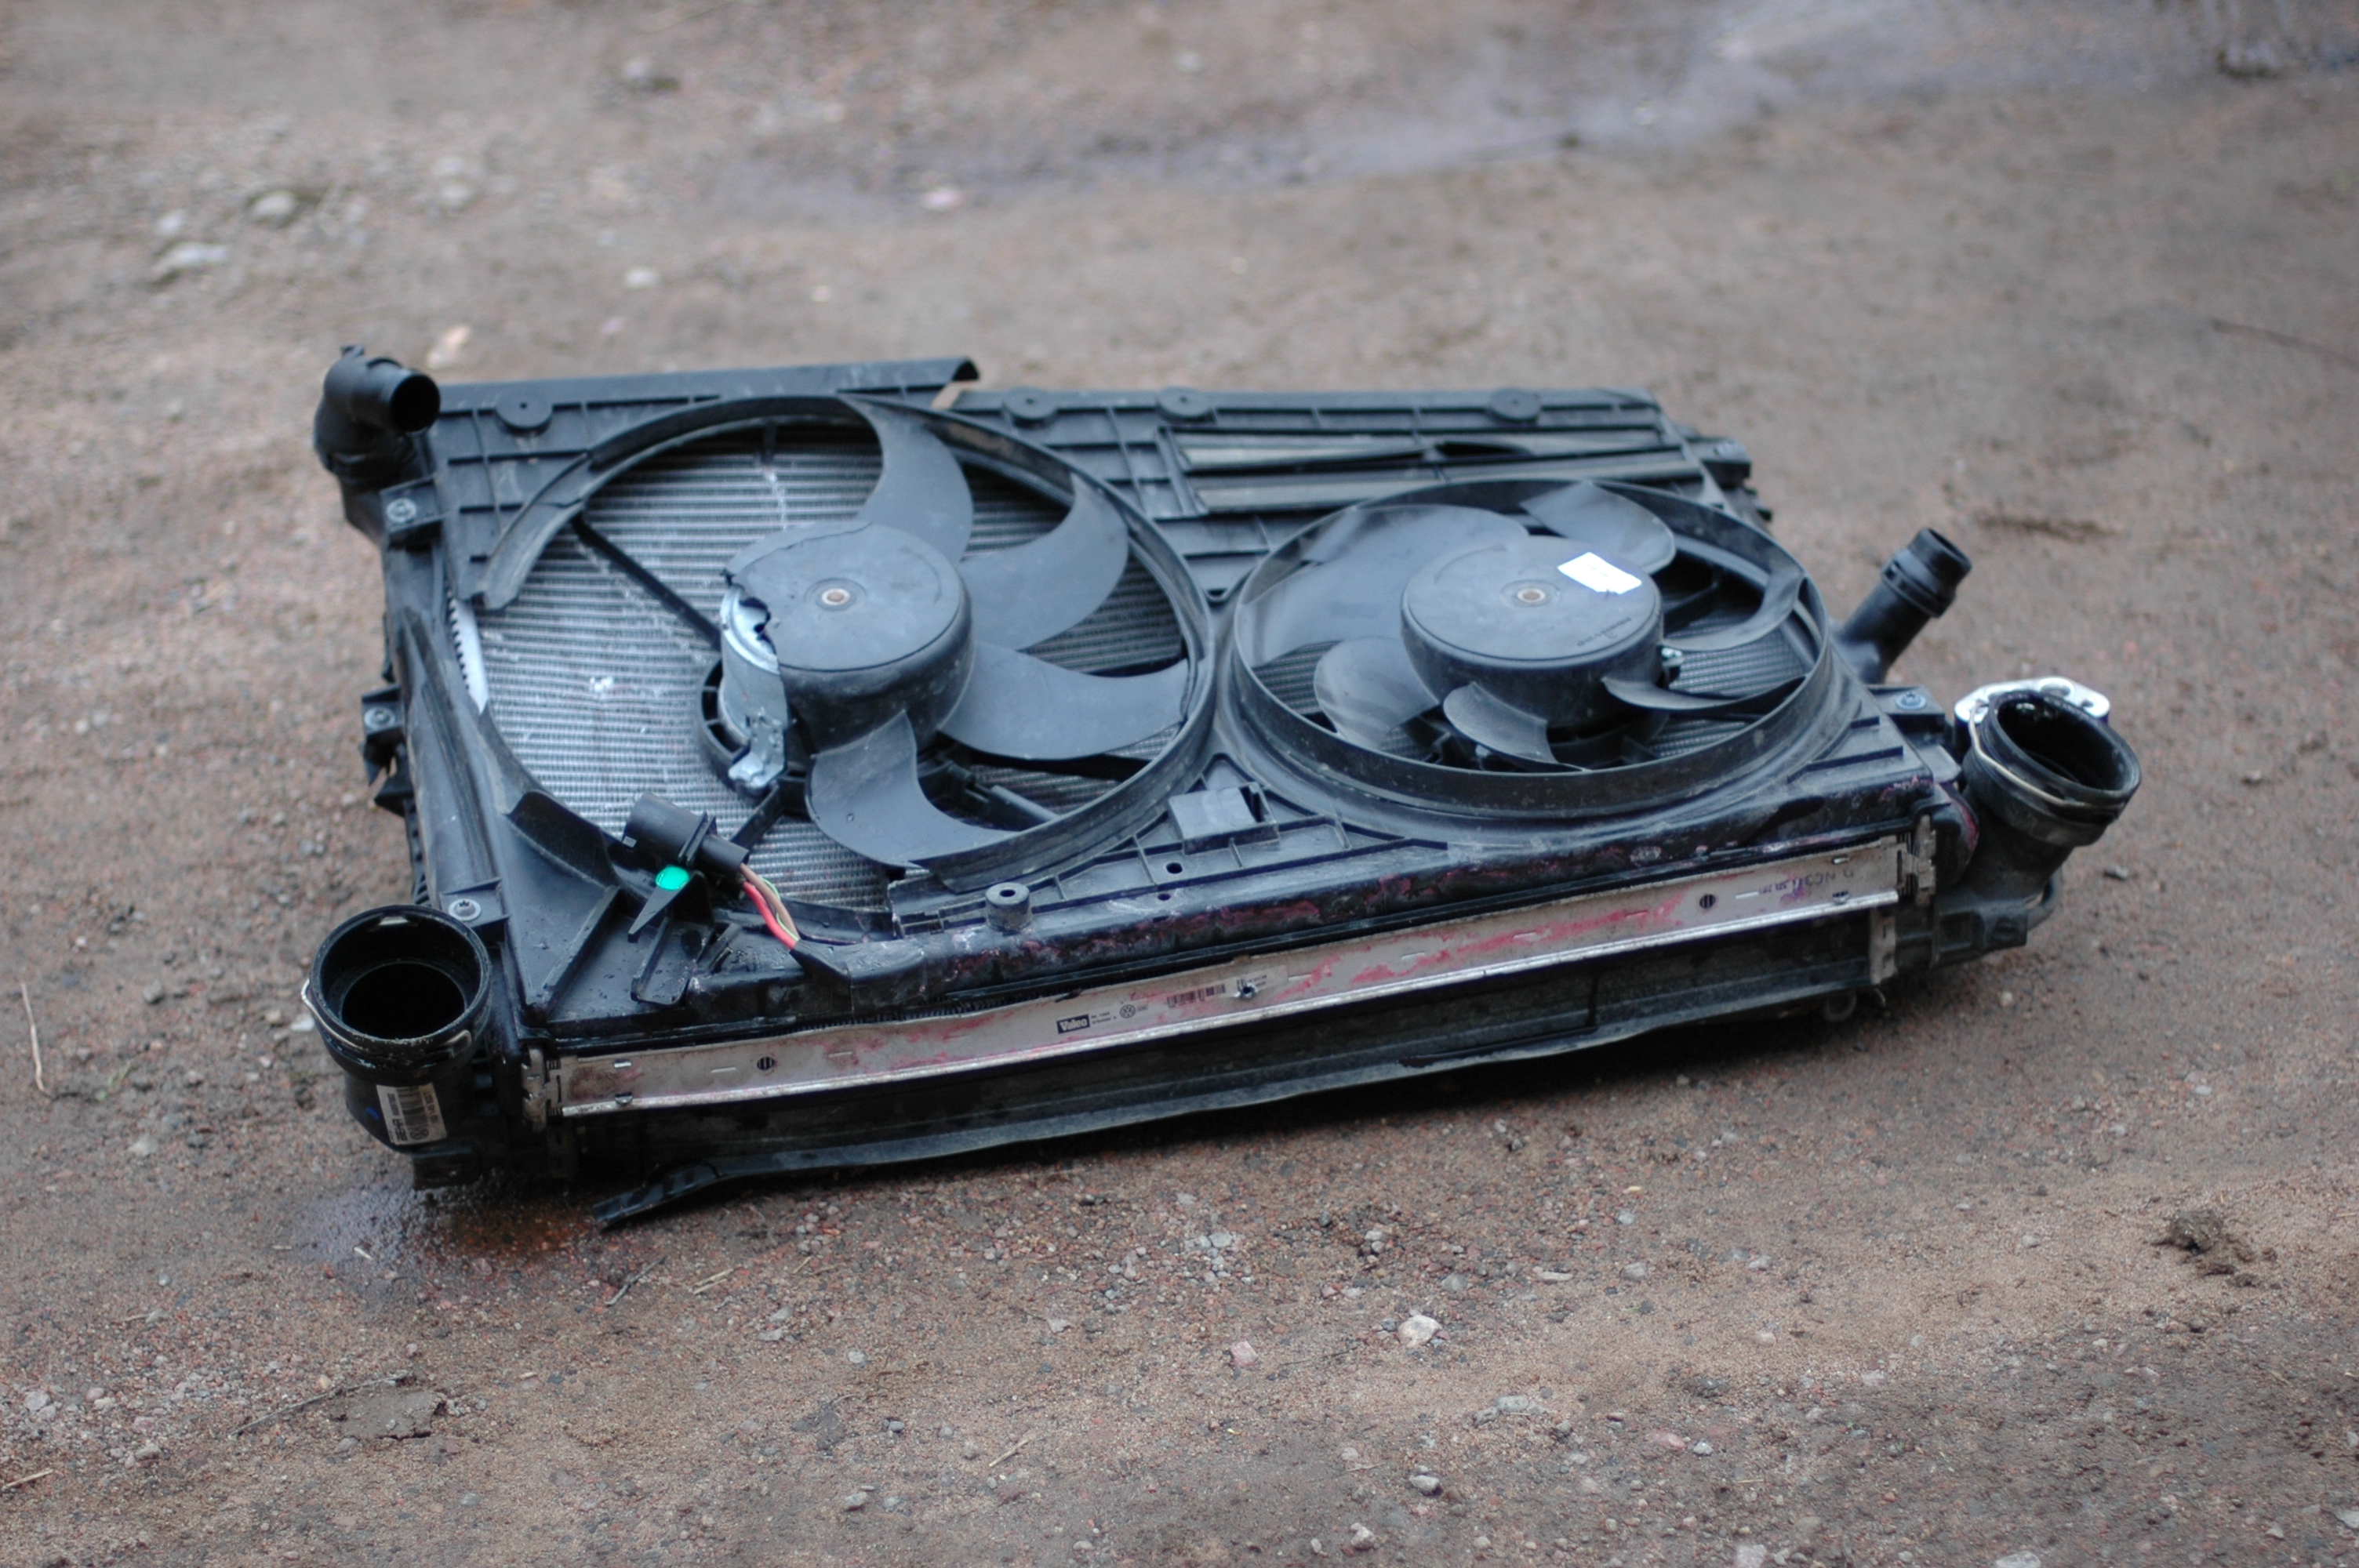
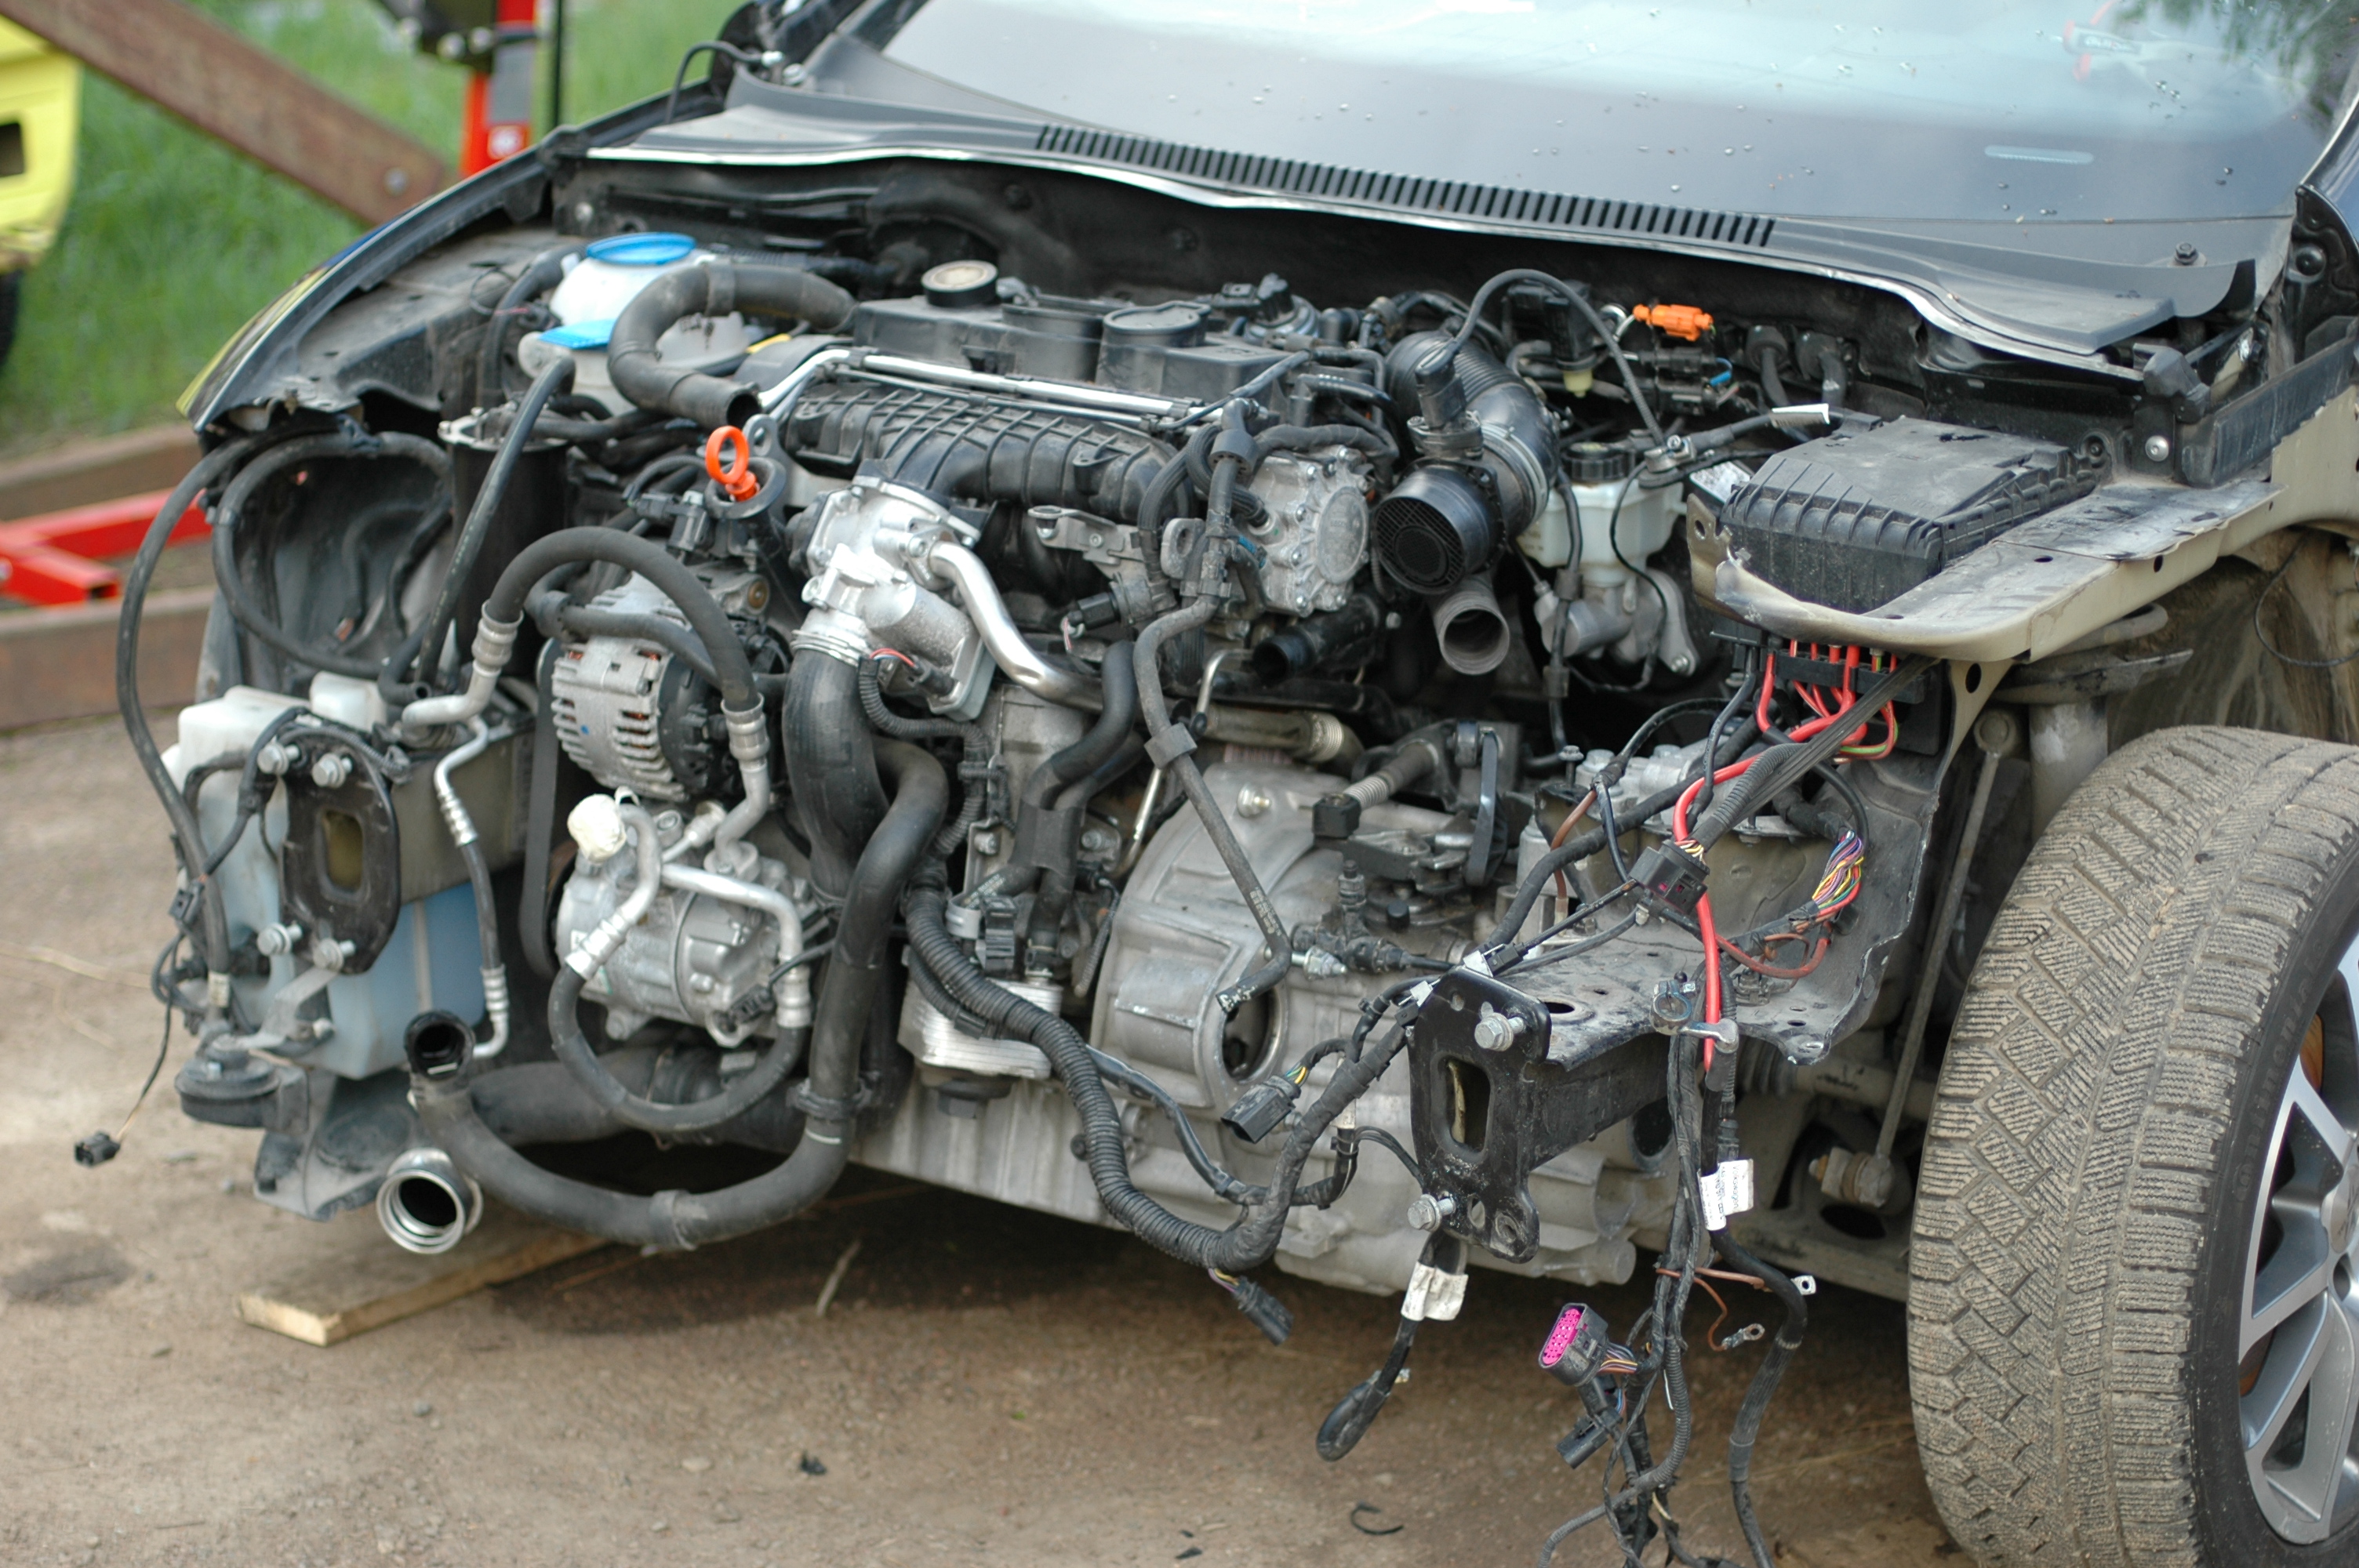
The most expensive assembly at the front: air-conditioning condenser, radiator, intercooler and fans.
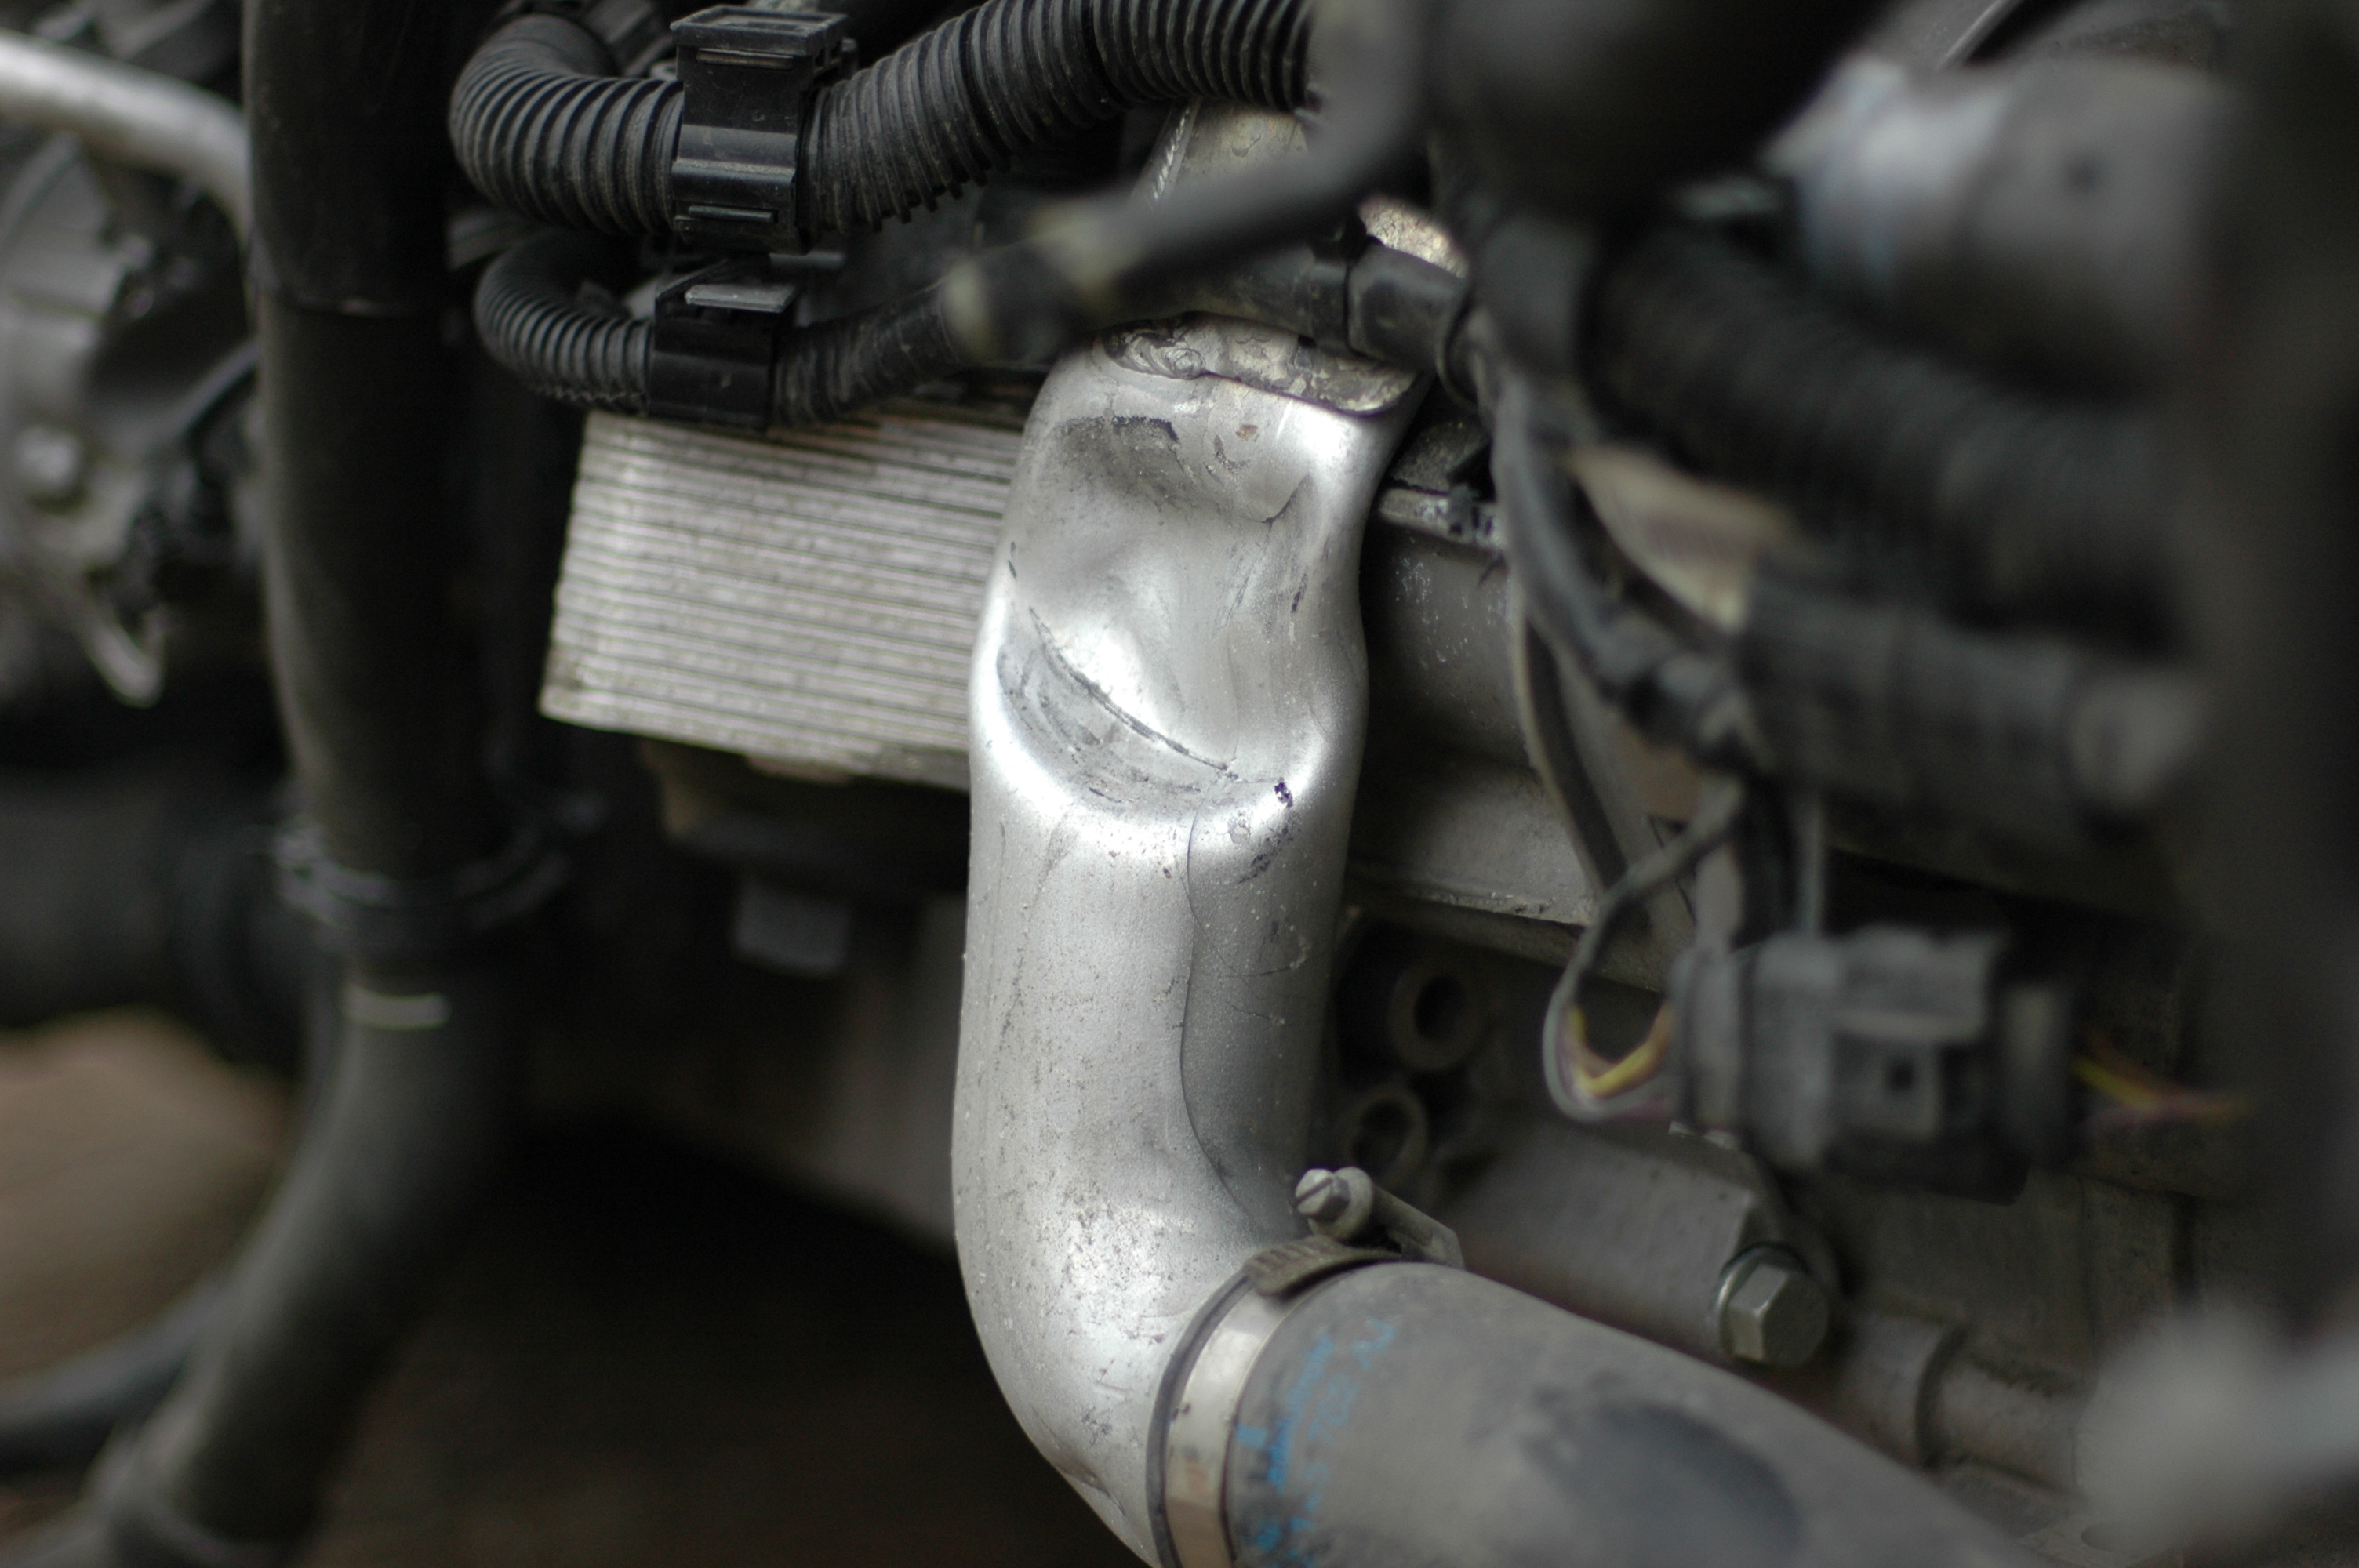
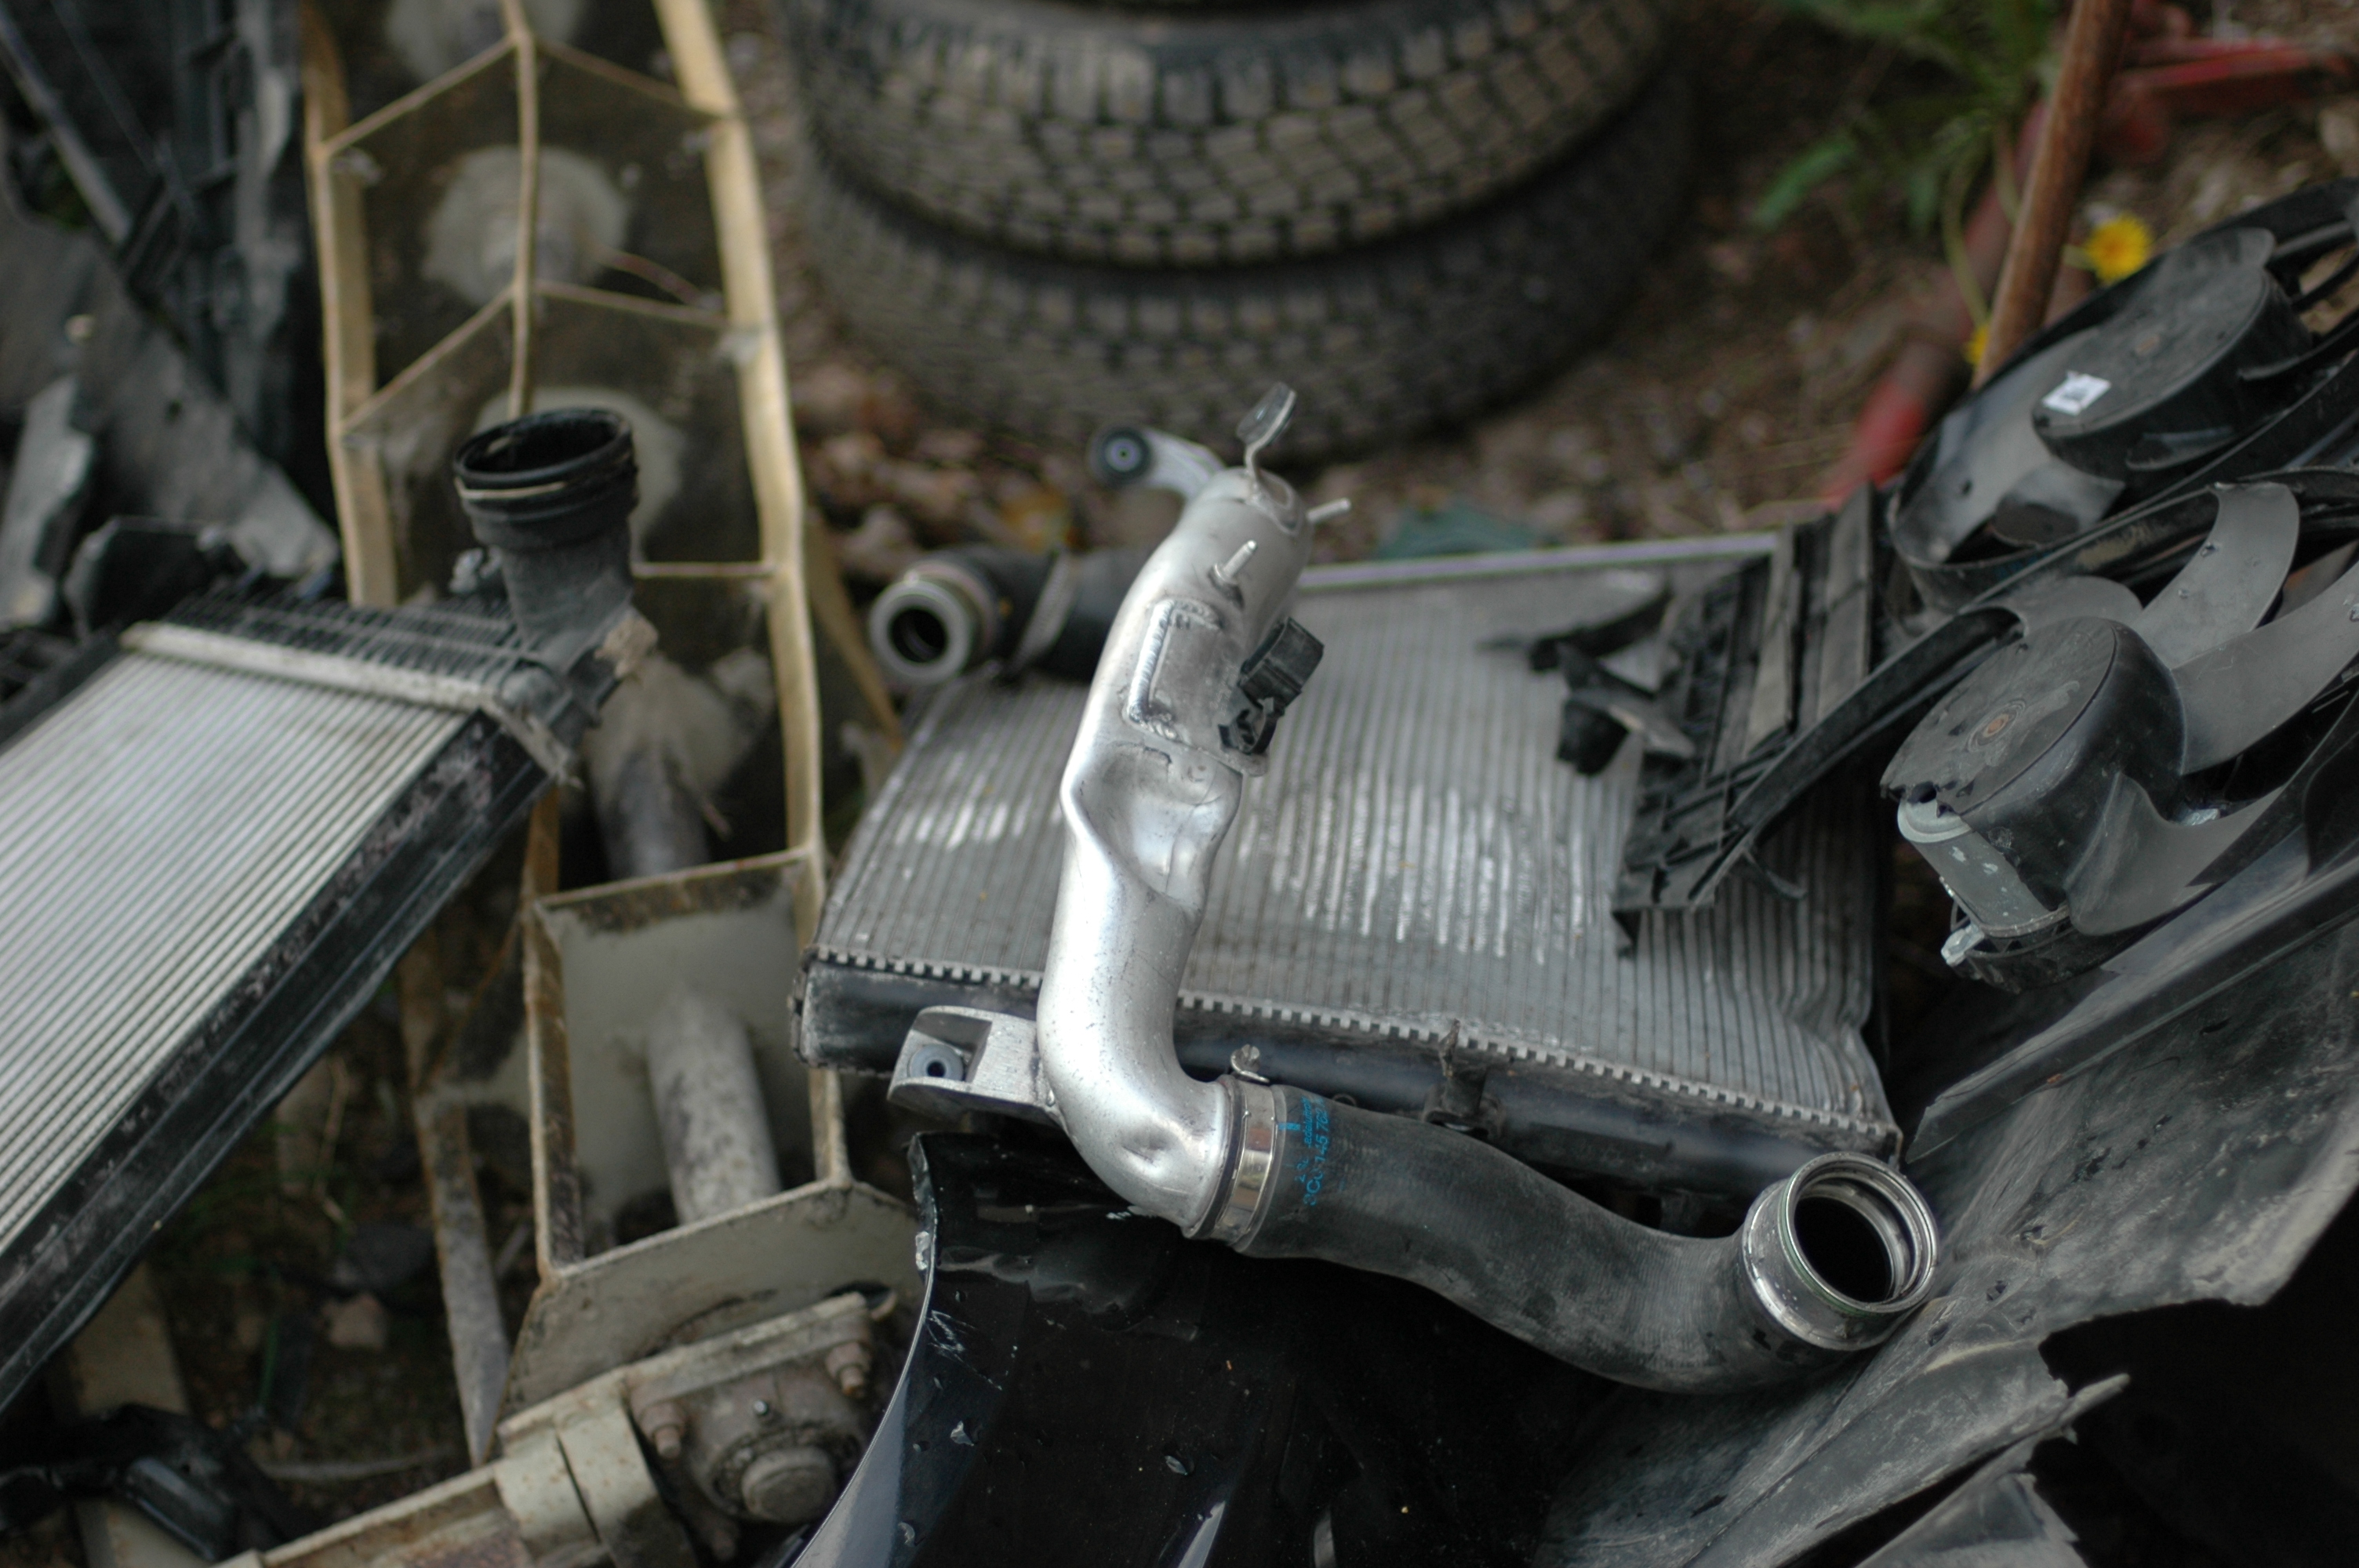
The larger fan had crushed the boost pipe, which in turn hit the starter motor. The starter needed replacing too. Luckily a nearly new used one was found at a breaker.
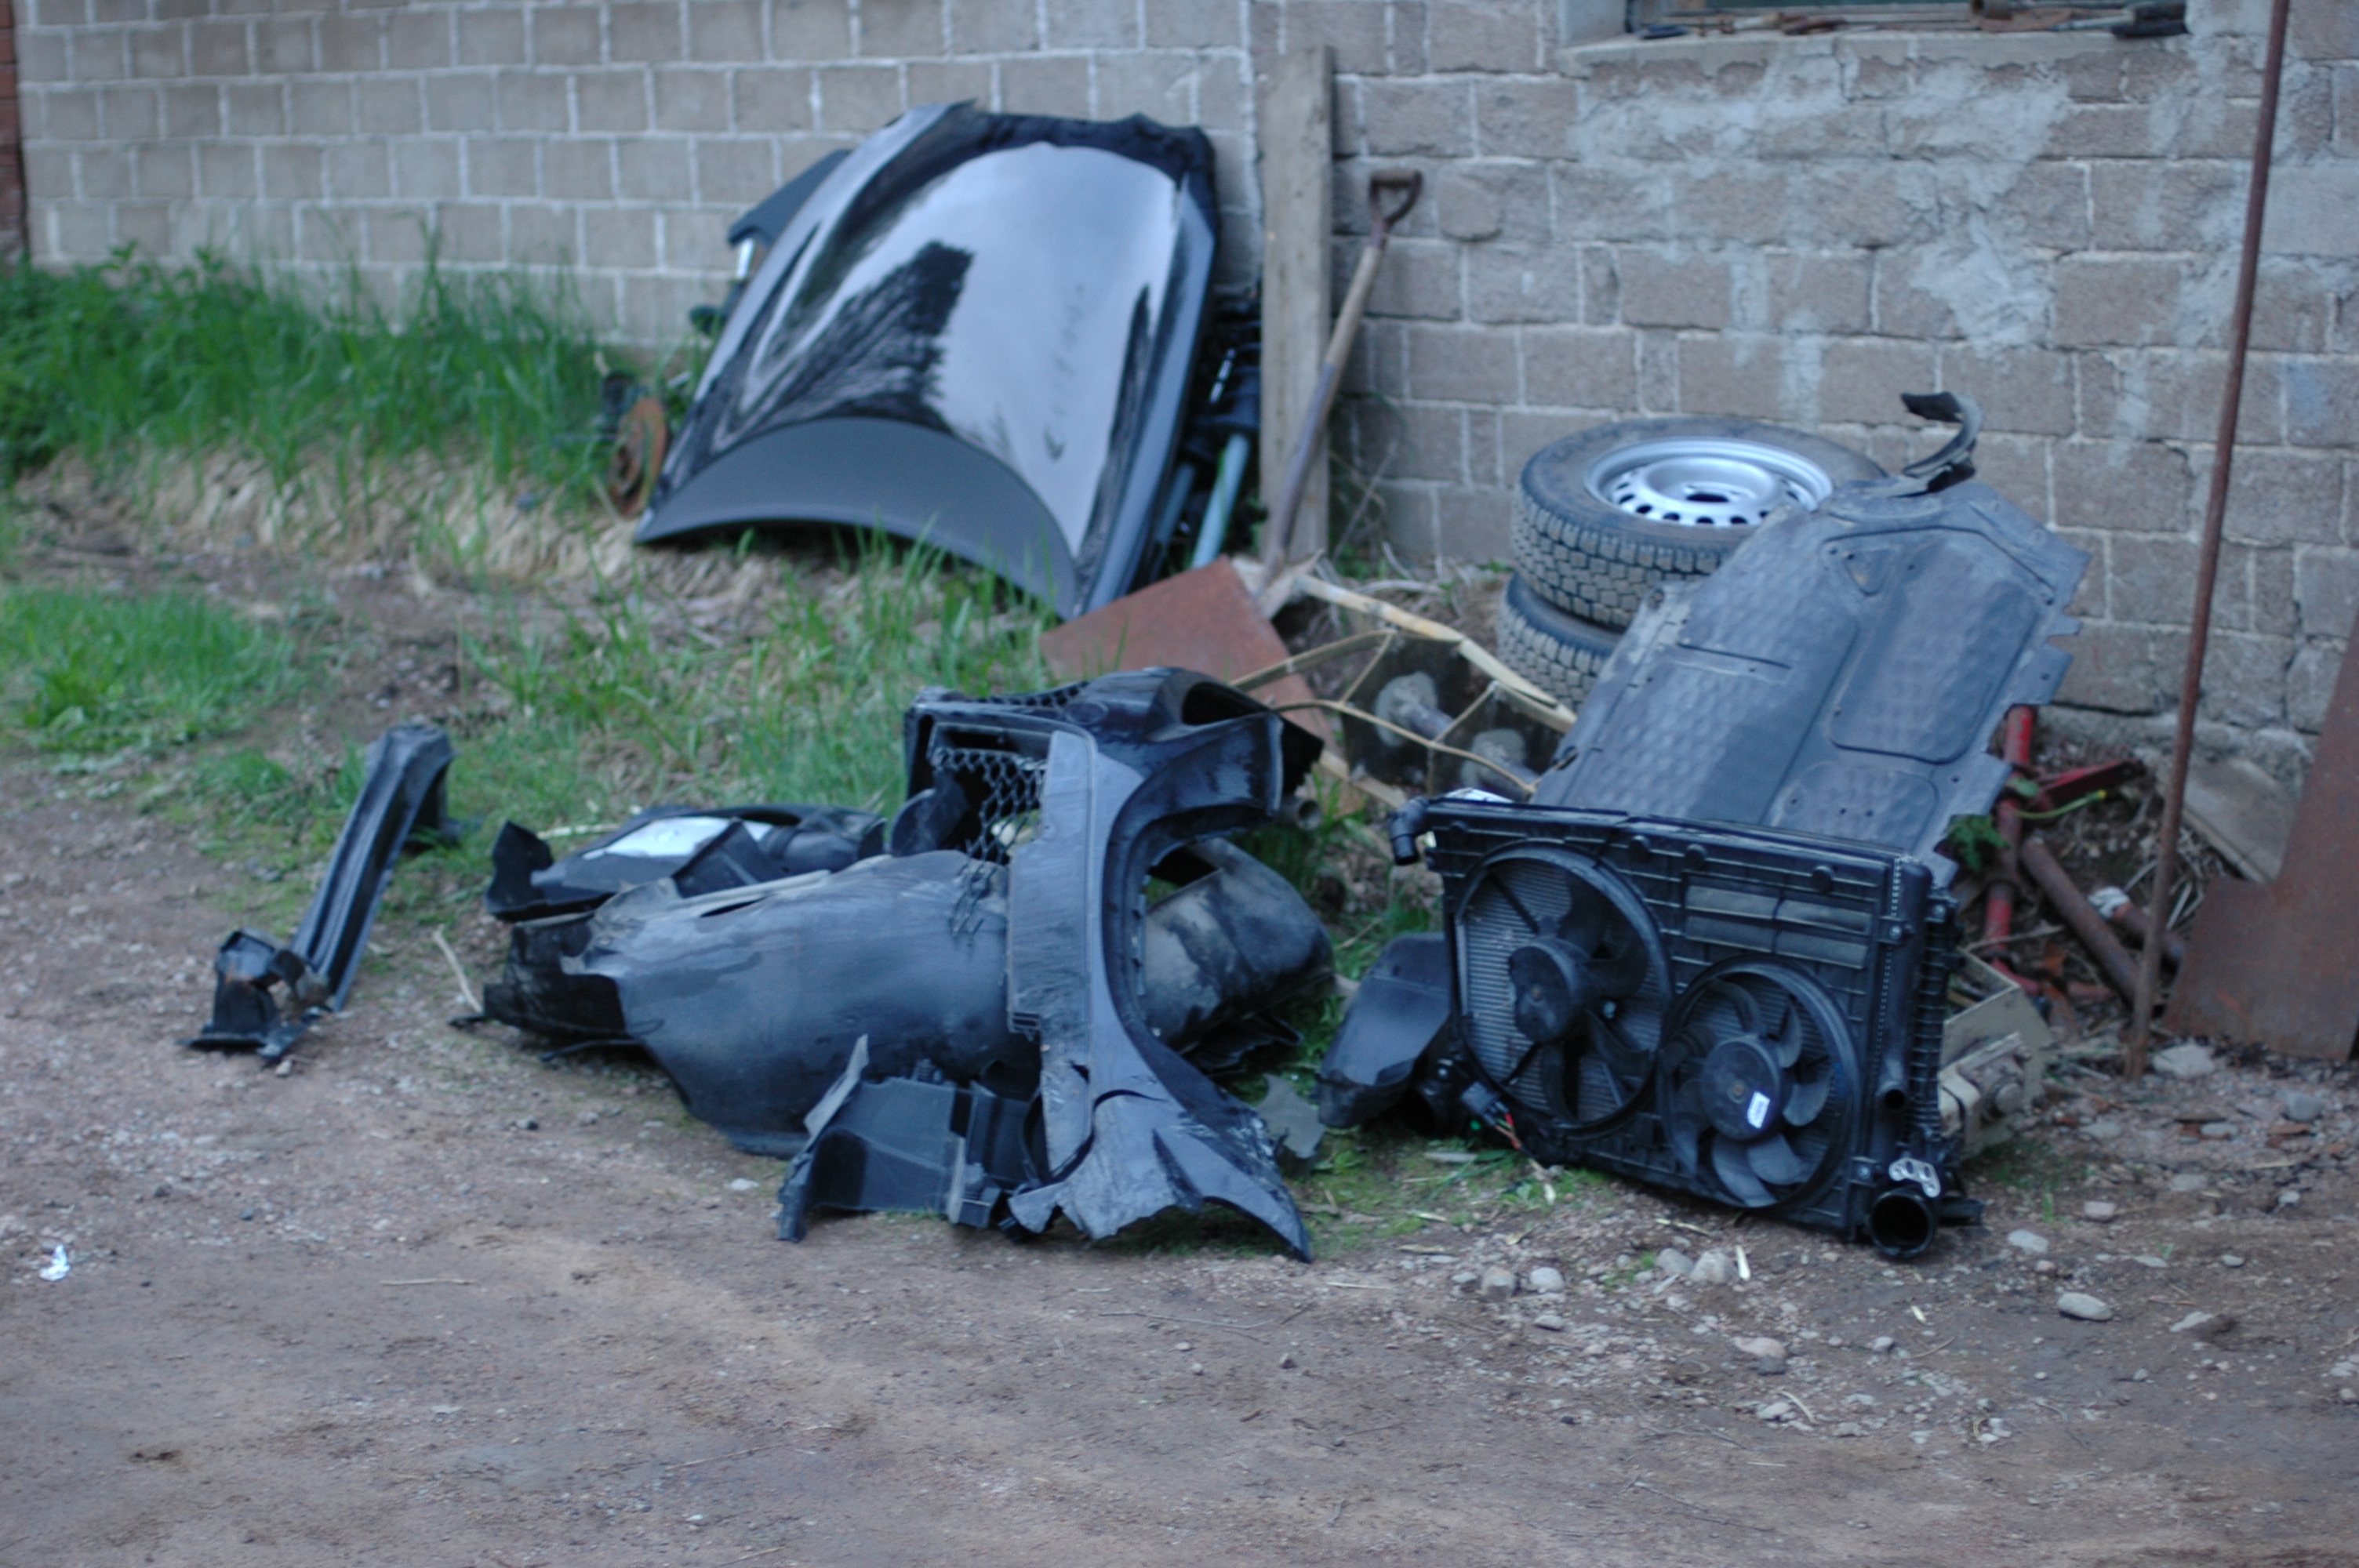
The pile of scrap removed that evening. The steel wheels and harrow parts in the background were not Leon equipment, though. Lots of little plastic fragments. Time to start the shopping list... it grew rather long.
All the broken front-end parts removed. The boost pipe took the most effort: its rear mounting screw is awkwardly placed. To remove the wing, the small A-pillar window had to come out first. Three nuts hold it from inside, and reaching them meant removing the interior A-pillar trim.
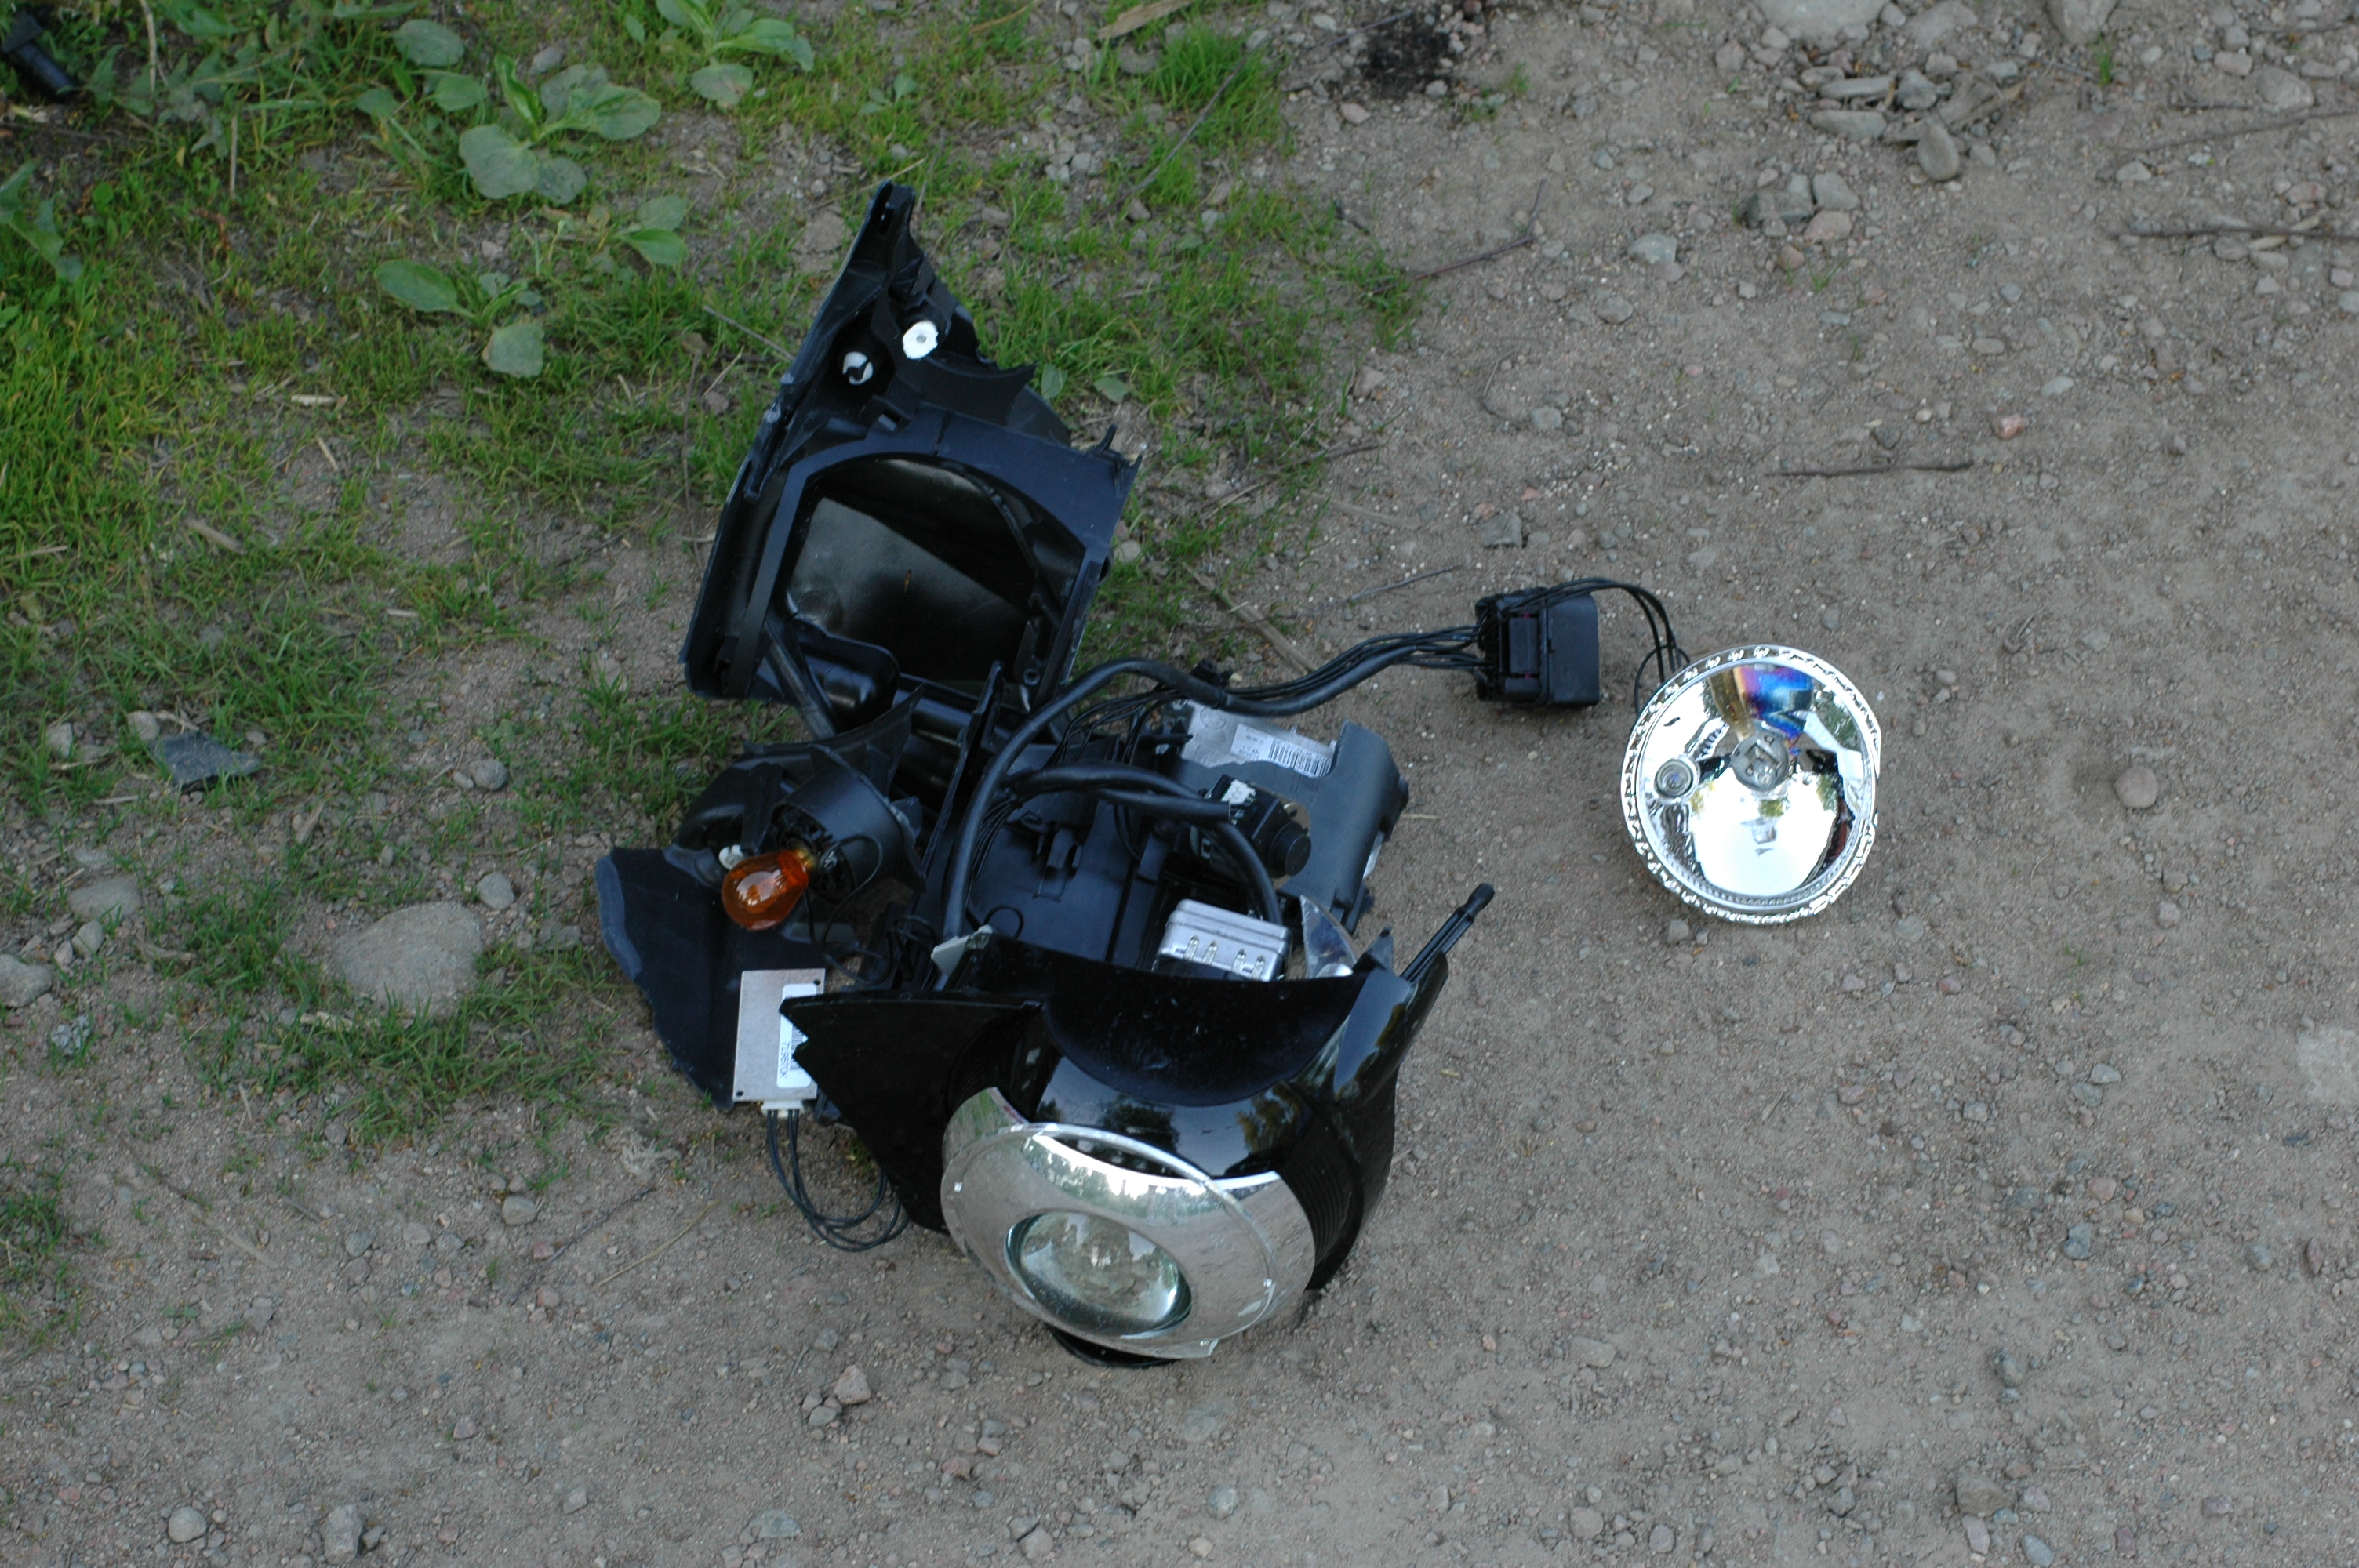
This was all that remained of the driver's side headlight. Even so, it contained plenty of valuable parts. A new bare headlight costs nearly 400 euros, without the control electronics and bulbs. Those could still be transferred from the broken housing. The bi-xenons and cornering lights worked when we were later able to try them.
A new headlight on the driver's side; for the passenger side I bought a repair kit for the broken mounting tabs. The dealer sells replacement tabs for a few tens of euros, which screw on in place of the broken ones, avoiding a complete new headlight.
The repair
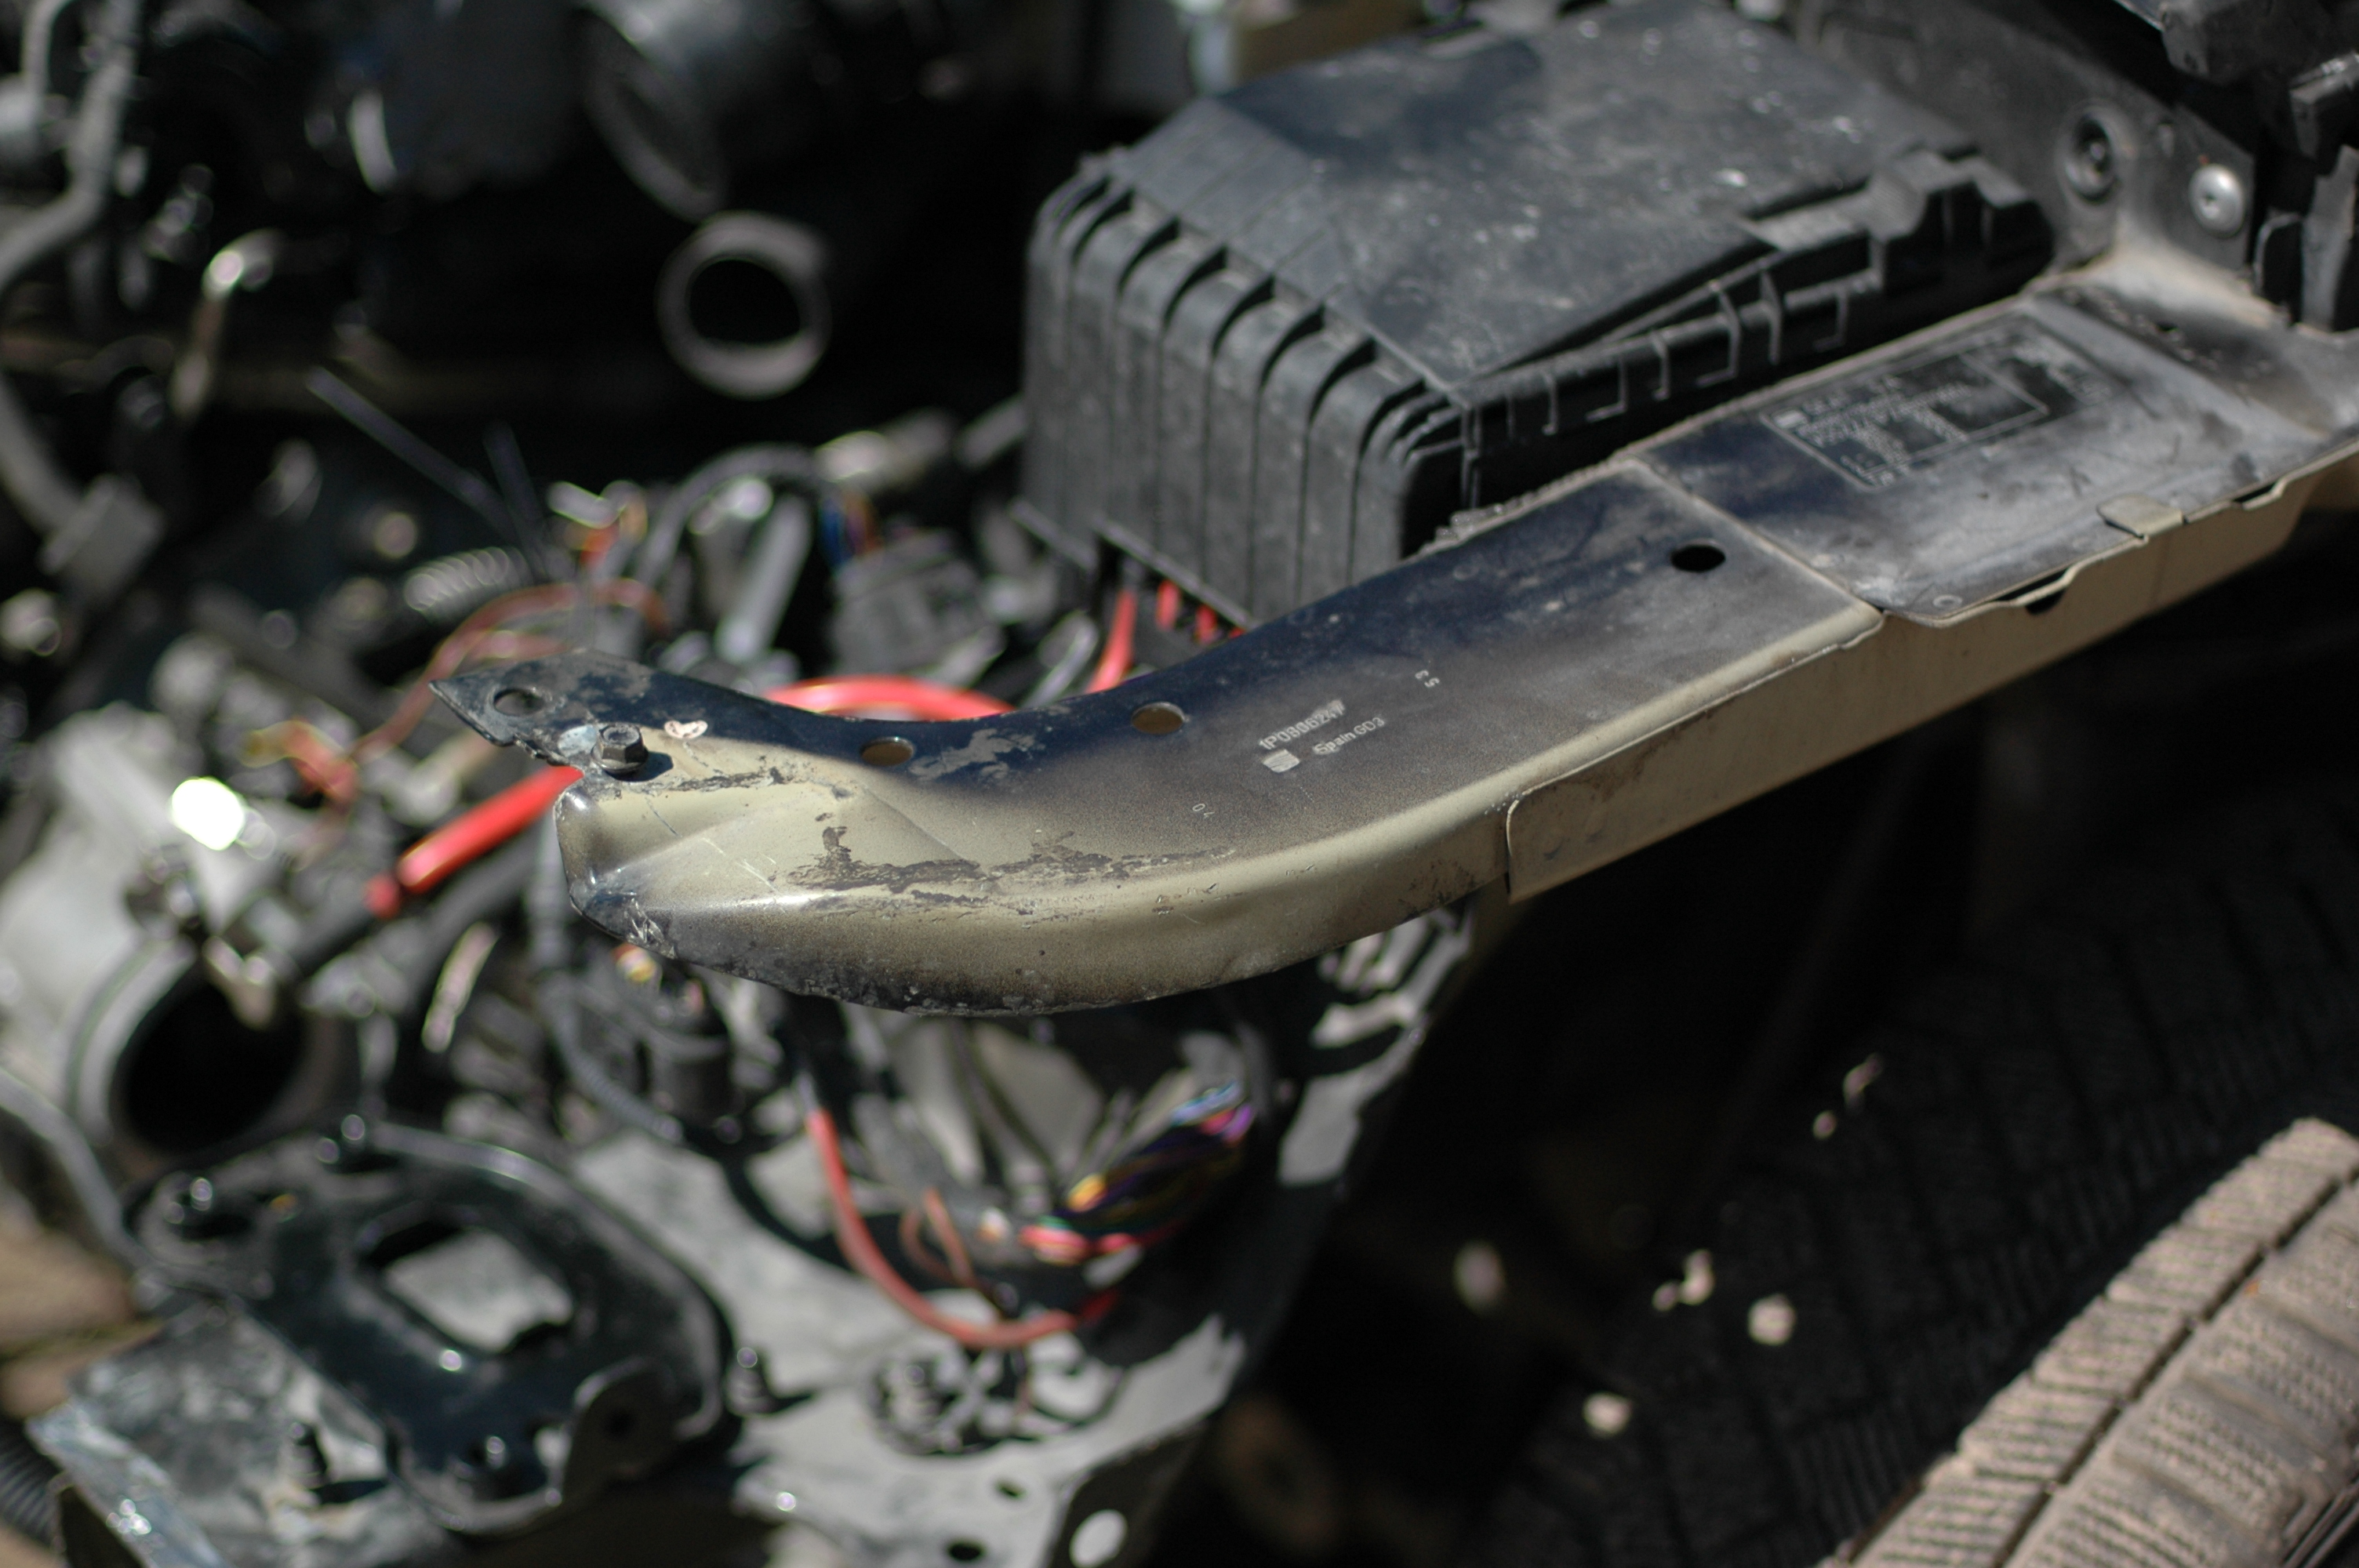
One evening Pekka got a burst of energy, straightened the upper rail, removed the bent chassis-leg end and straightened the rest of the tip. The new end plate has not yet been welded on here.
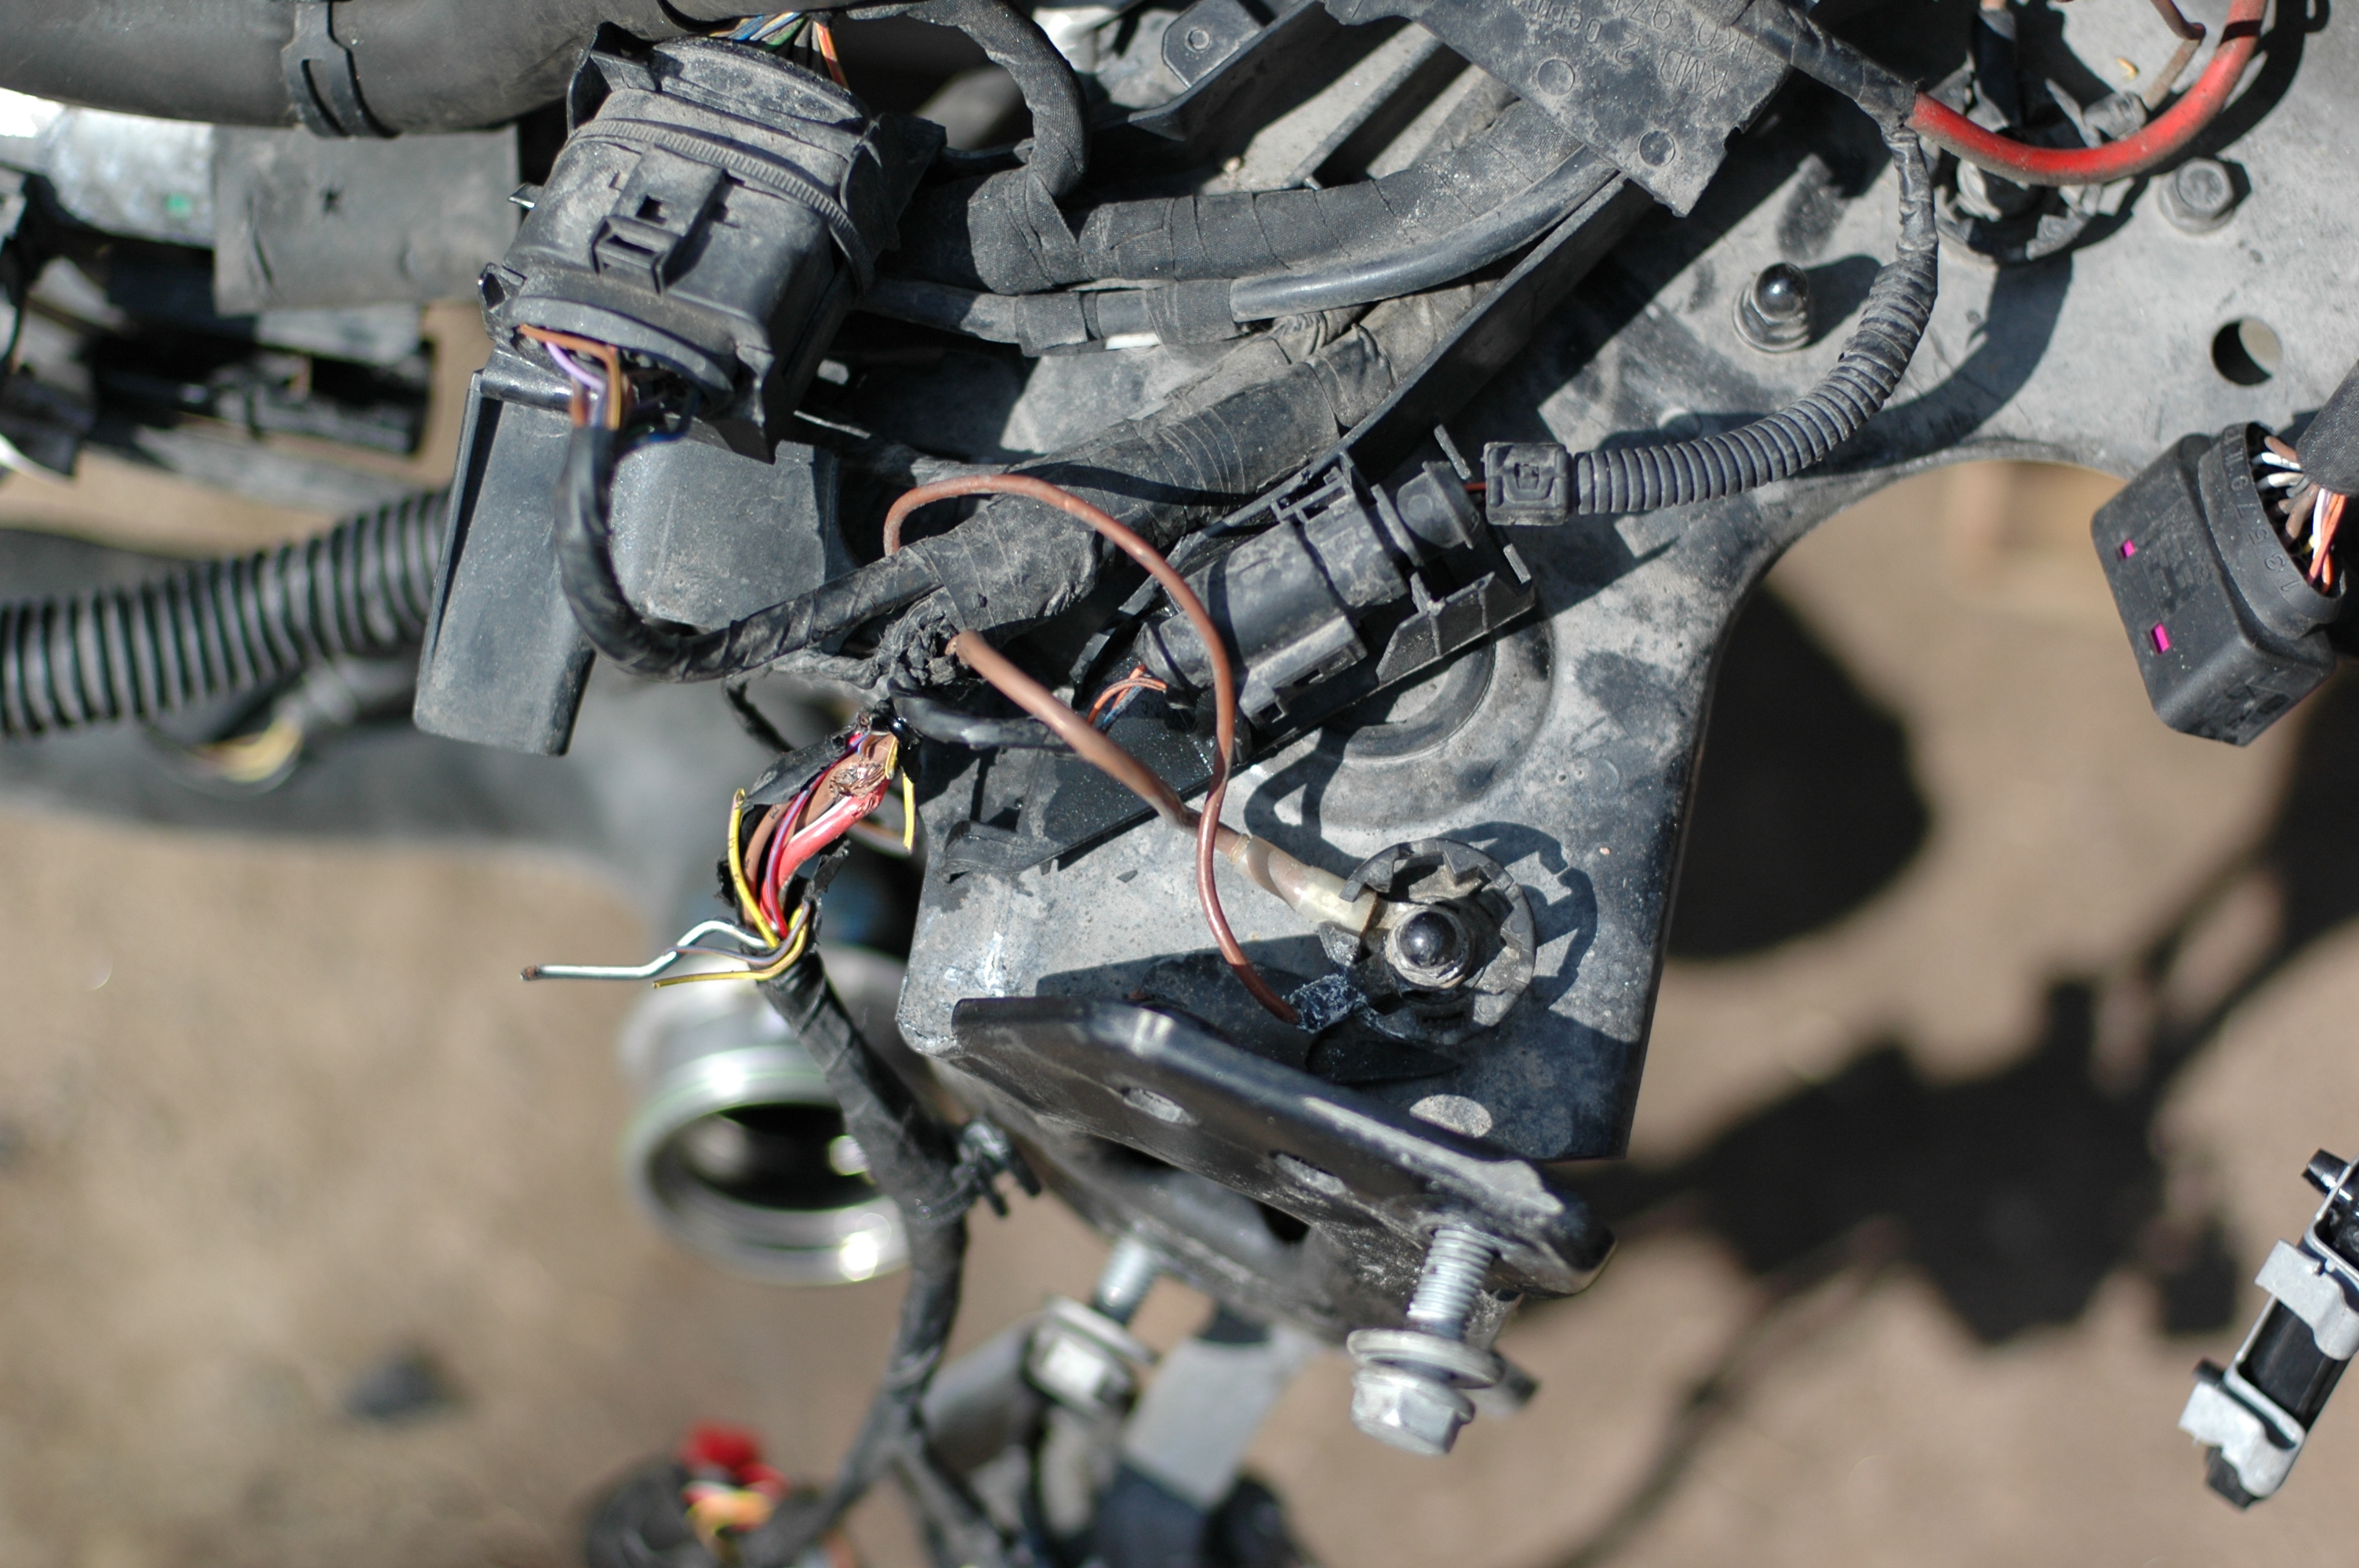
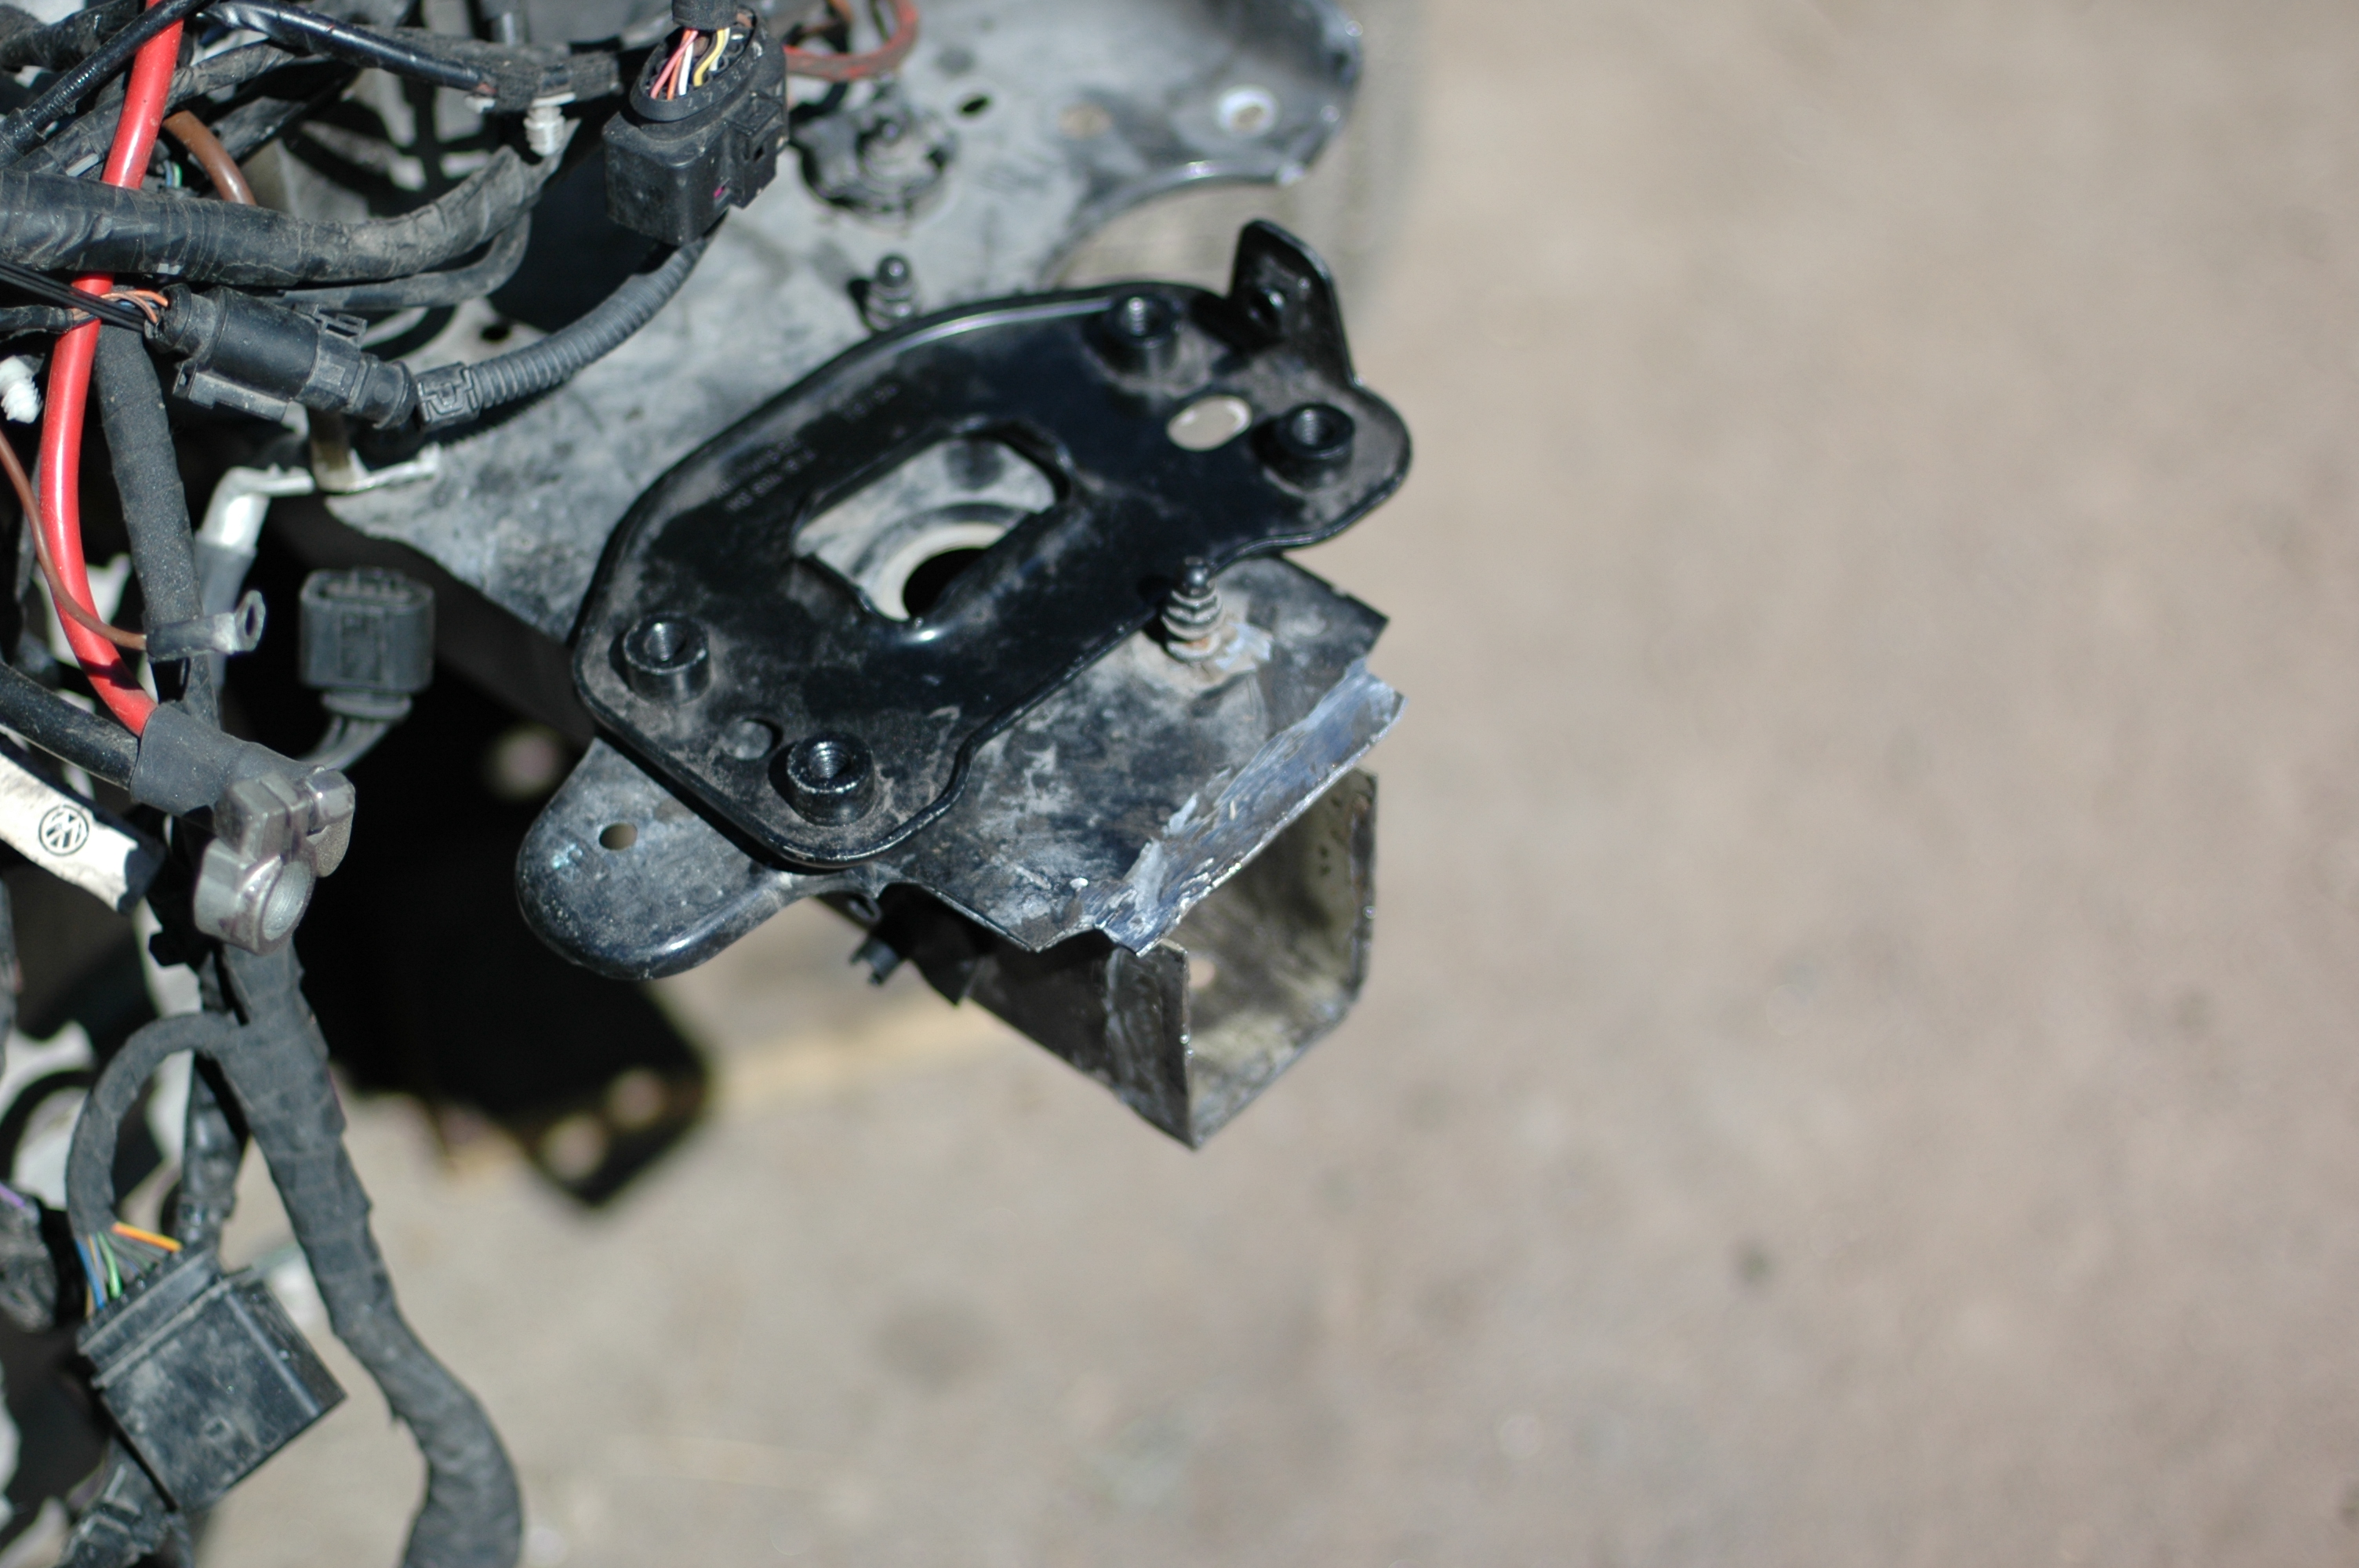
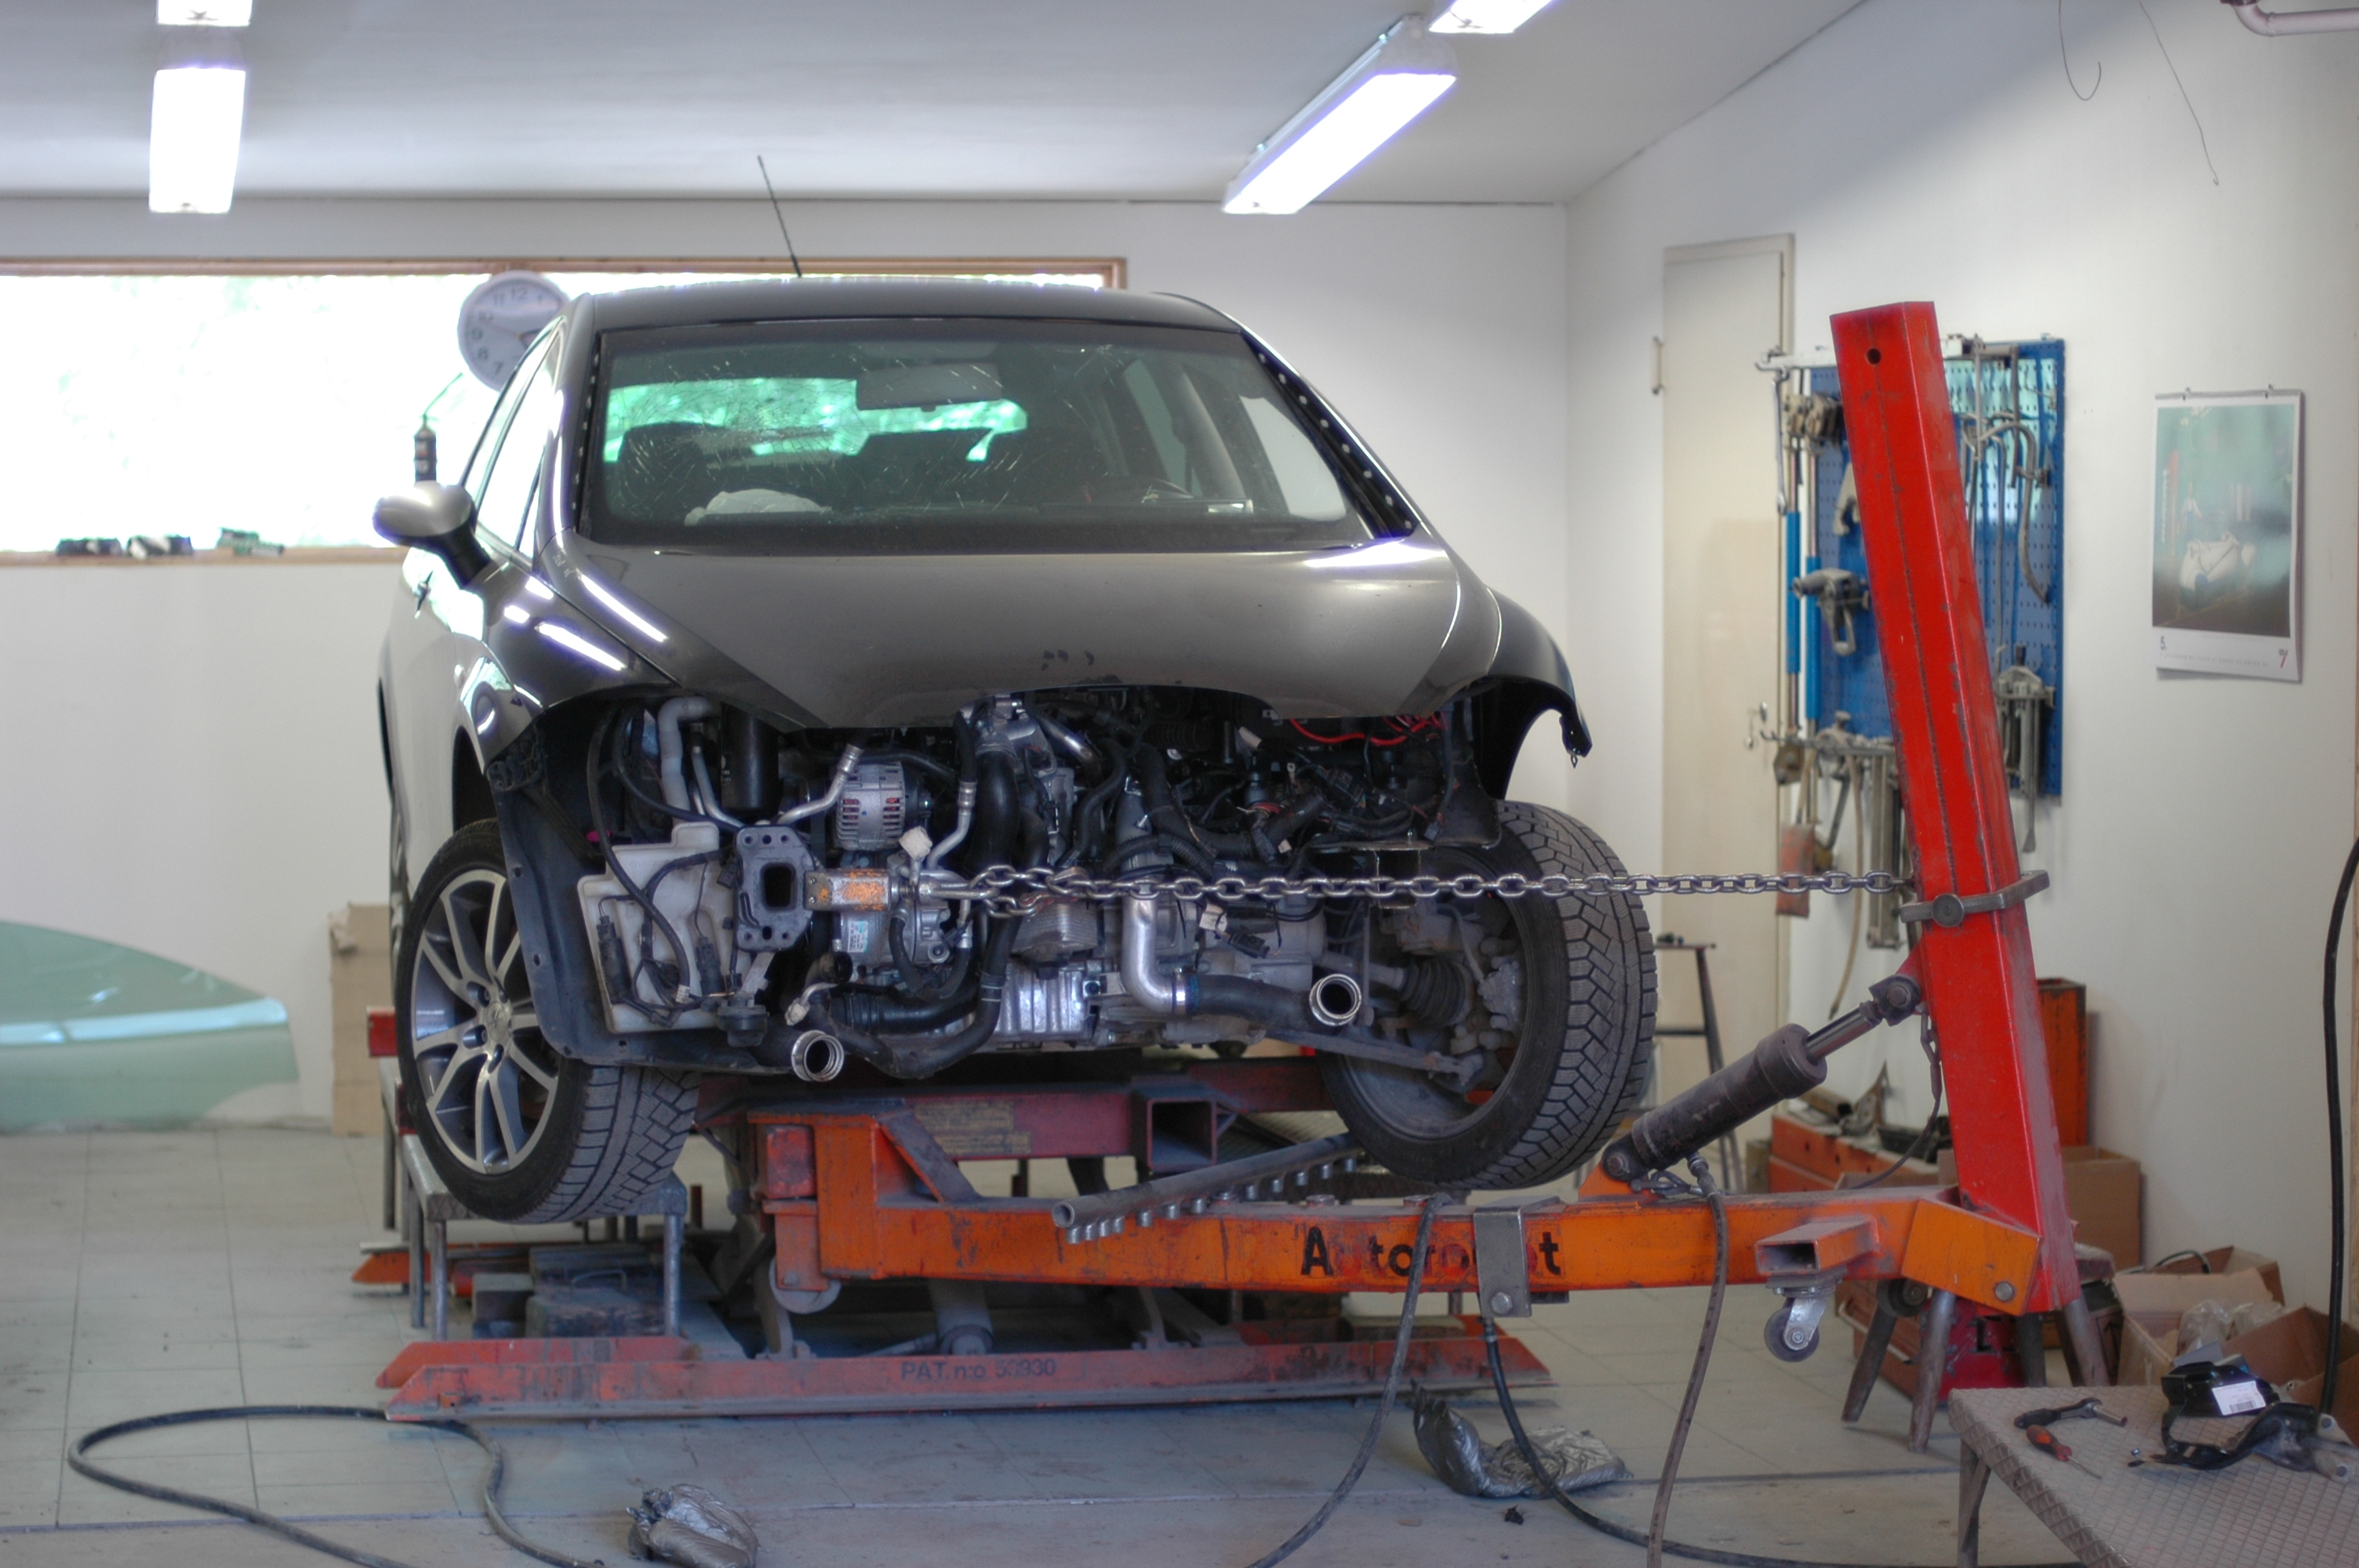
Trial-fitting the new parts showed the front end was about five millimetres off to one side. So the car went to Siikainen, onto the jig, and was straightened. Pulling, trial-fitting and measuring took a couple of hours.
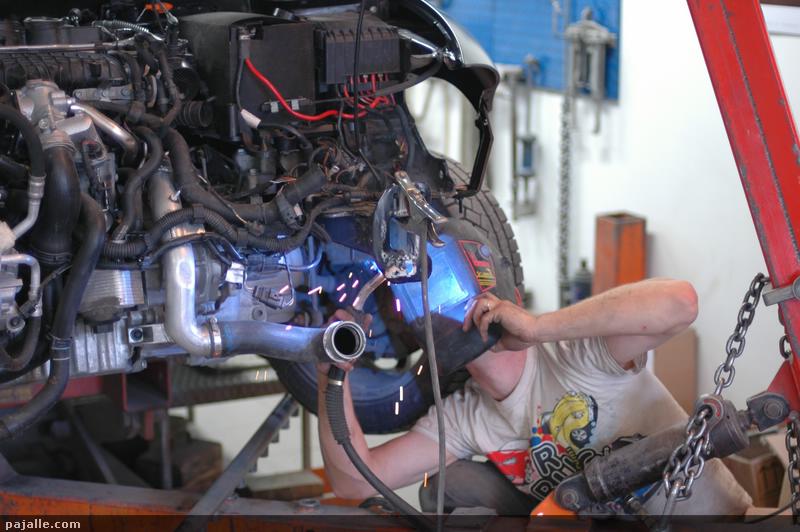
The driver's side chassis-leg end plate was welded on at the same time.
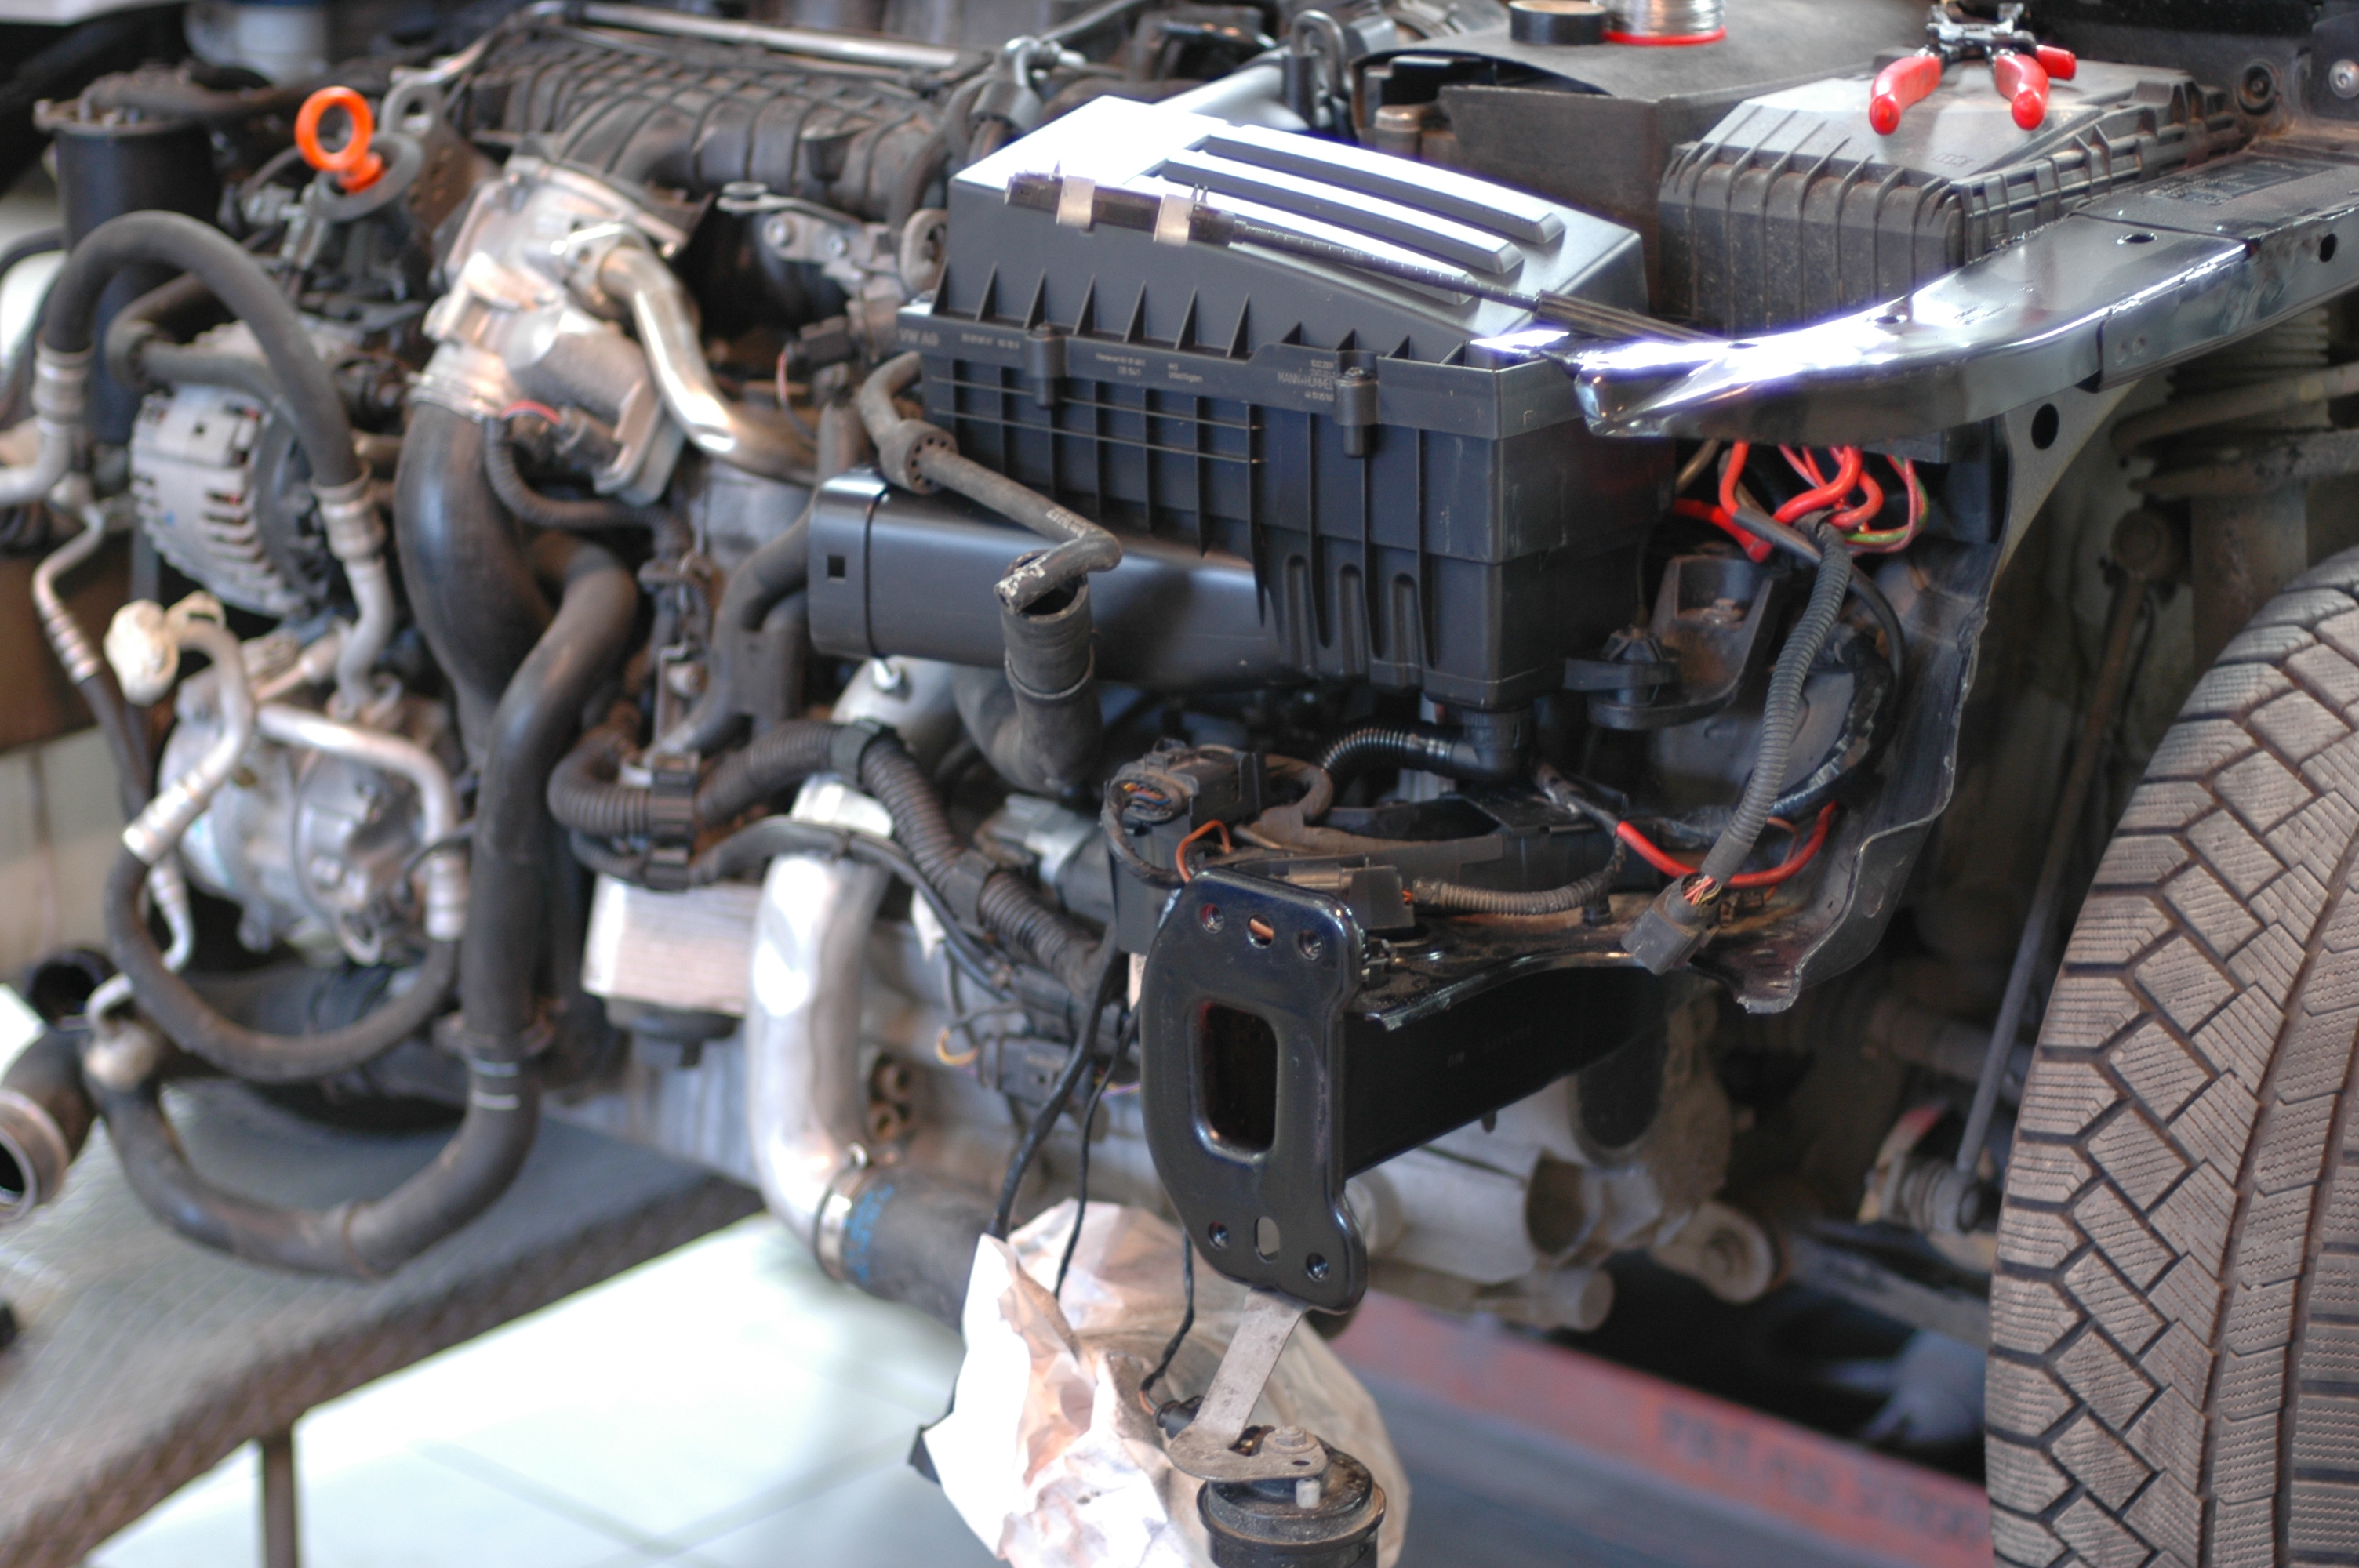
Assembling the front corner.
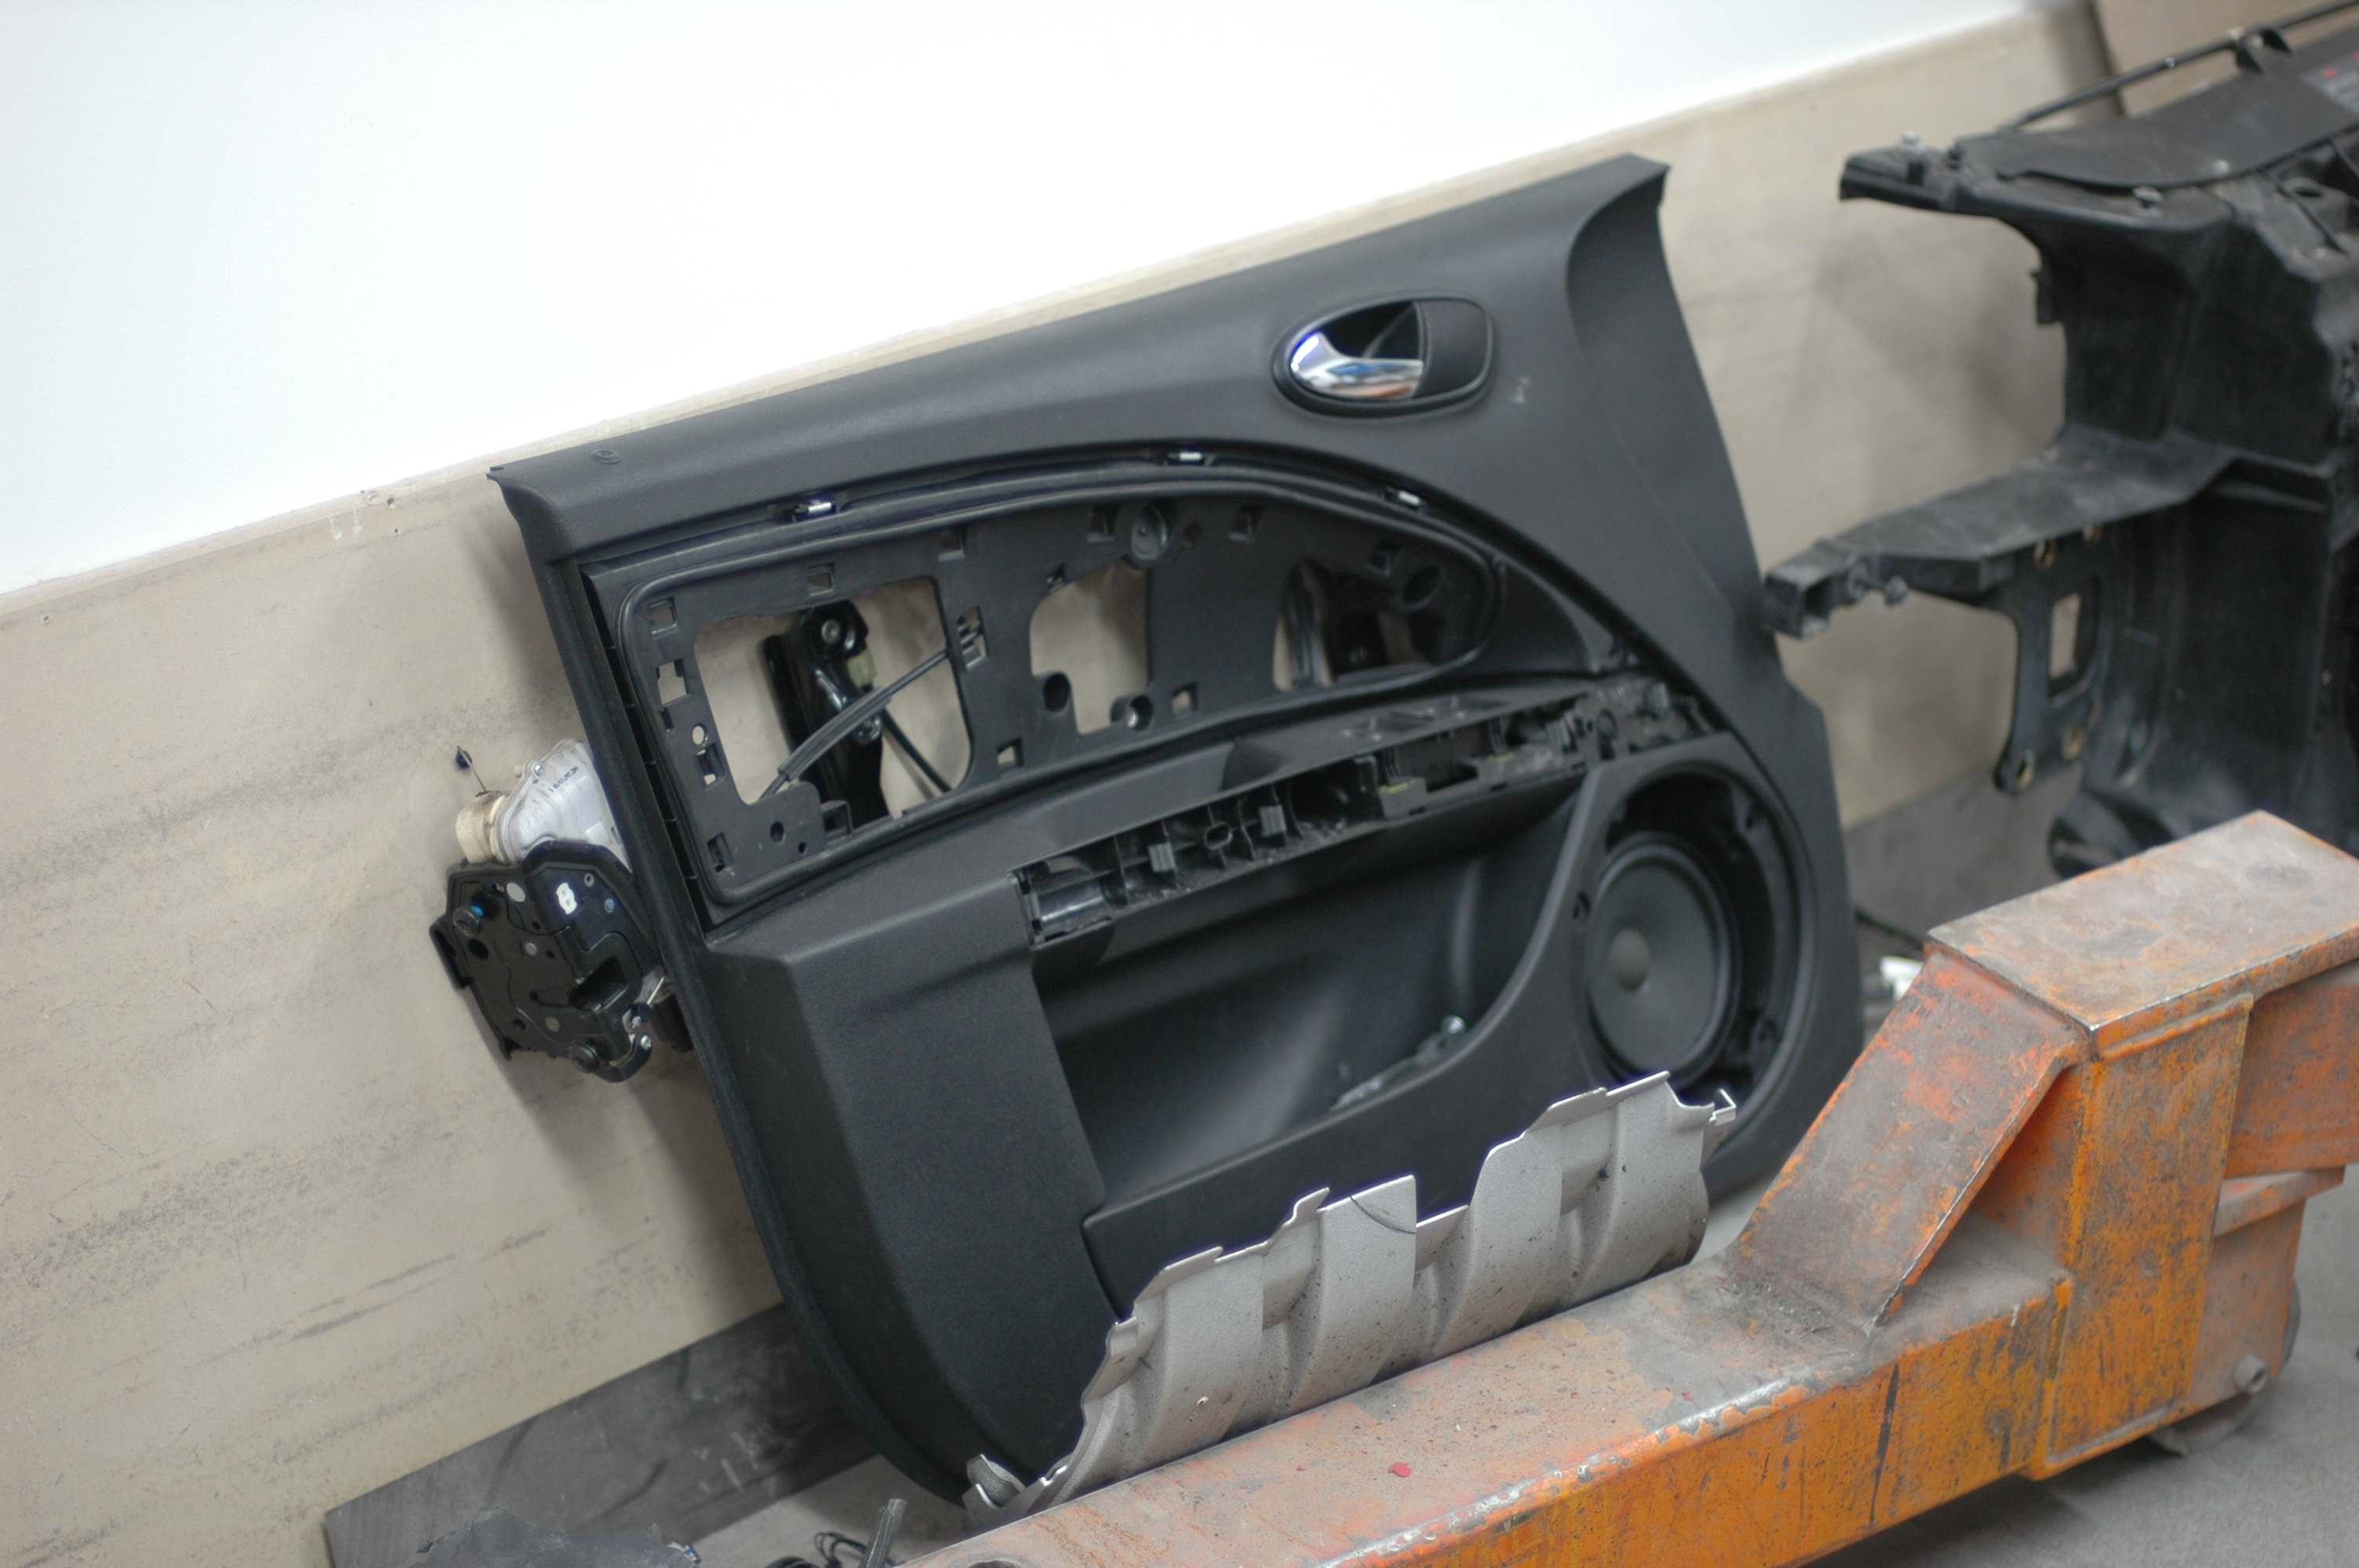
There was also a small mark on the leading edge of the driver's door, which I forgot to photograph. The mirror needed removing for painting. In practice that meant dismantling almost the whole door. First disconnect its wiring at the connector inside the rubber gaiter, then carefully prise off the speaker grille and trim covers without leaving marks. Remove the glass, handle and lock mechanism, then lift the entire assembly out as one piece. Not much left inside after that.
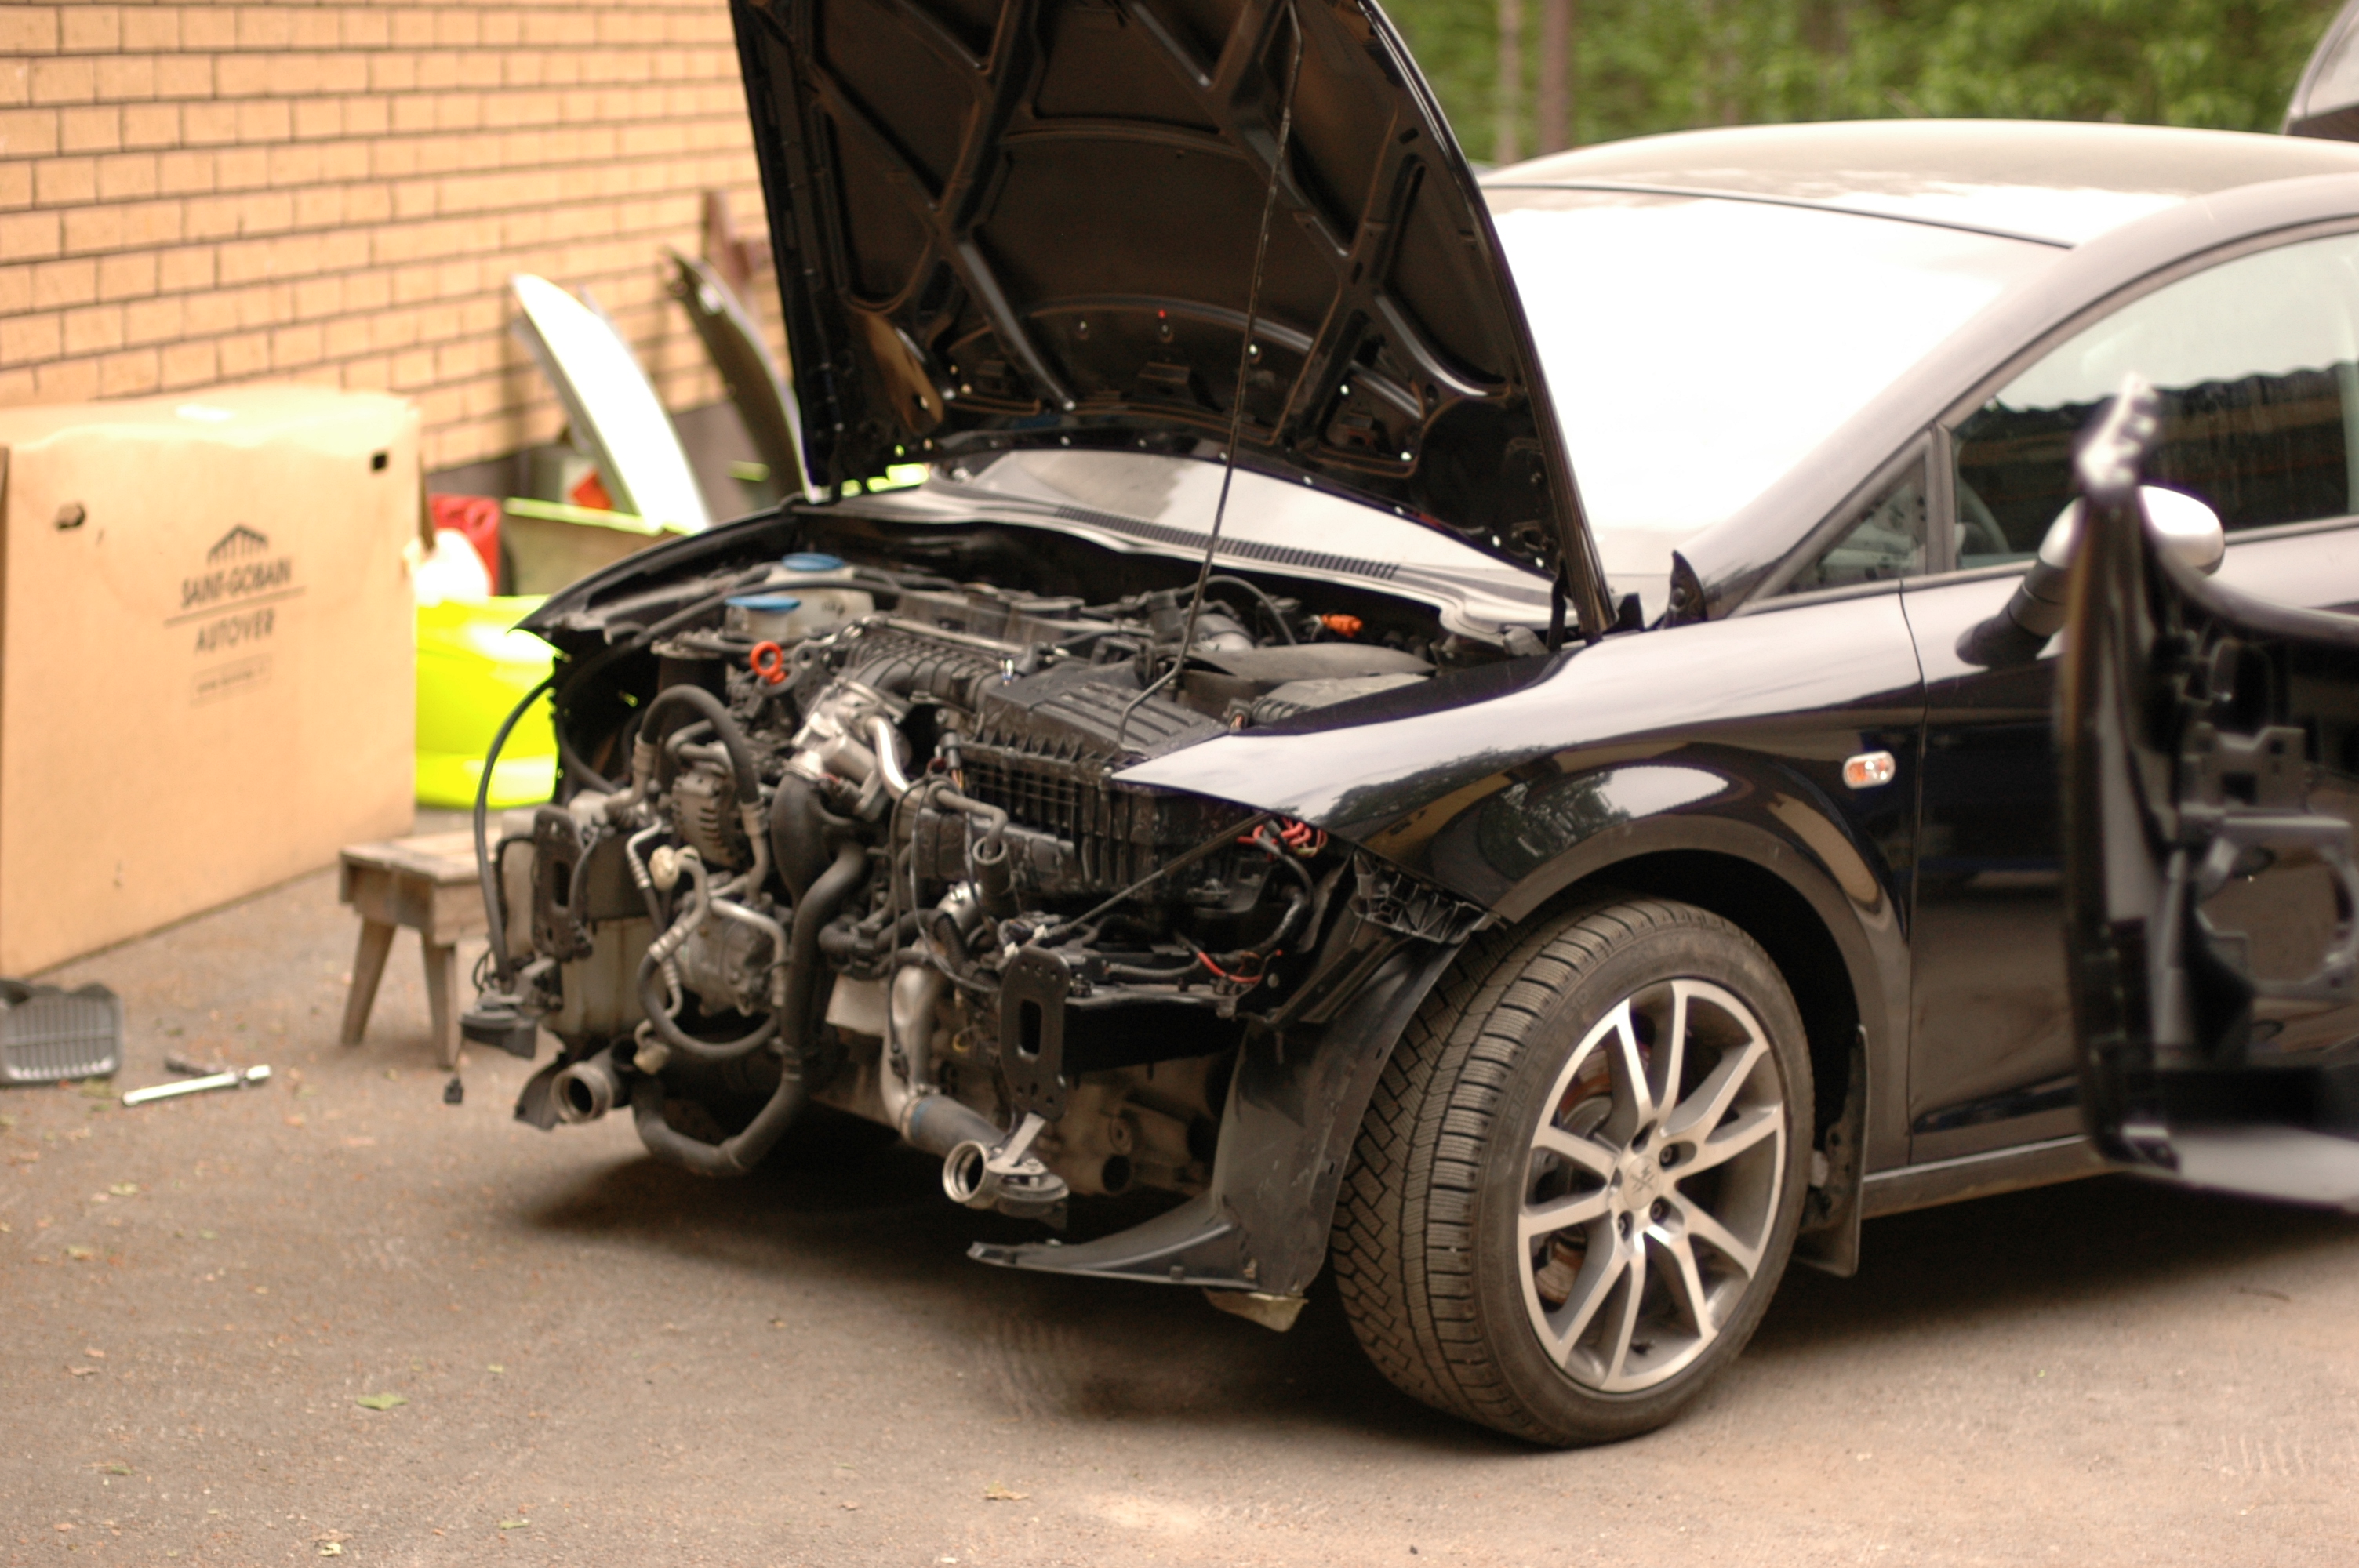
Body straightening and painting were done at Autoasennus J. Järvenpää in Siikainen—or Jaska's, as we call it. His work is finished here and assembly is in full swing.
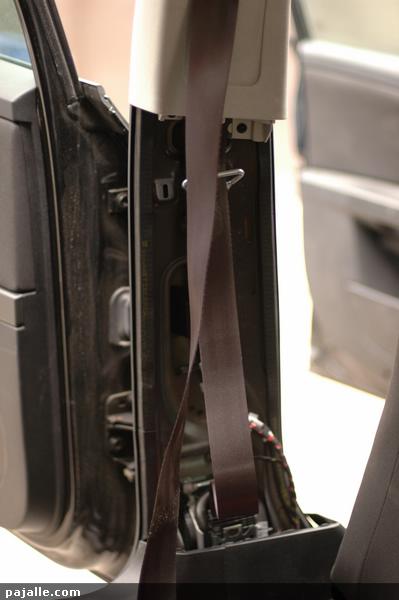
The front seat belts also needed replacing. Their pretensioners fire in a crash and are single-use. Removing the trim revealed some Spanish workmanship: only every other sill-trim clip was fitted, and of the three clips in the lower B-pillar trim, only one was installed—and bent into a knot. Apparently the panel wasn't quite aligned when pressed in. An A-pillar trim clip was similarly mangled. The other lower B-pillar trim at least had two of its three clips, both intact. The passenger-side belt-height adjuster was broken too. These often fail when a pretensioner fires with nobody wearing the belt and pulls it excessively tight.
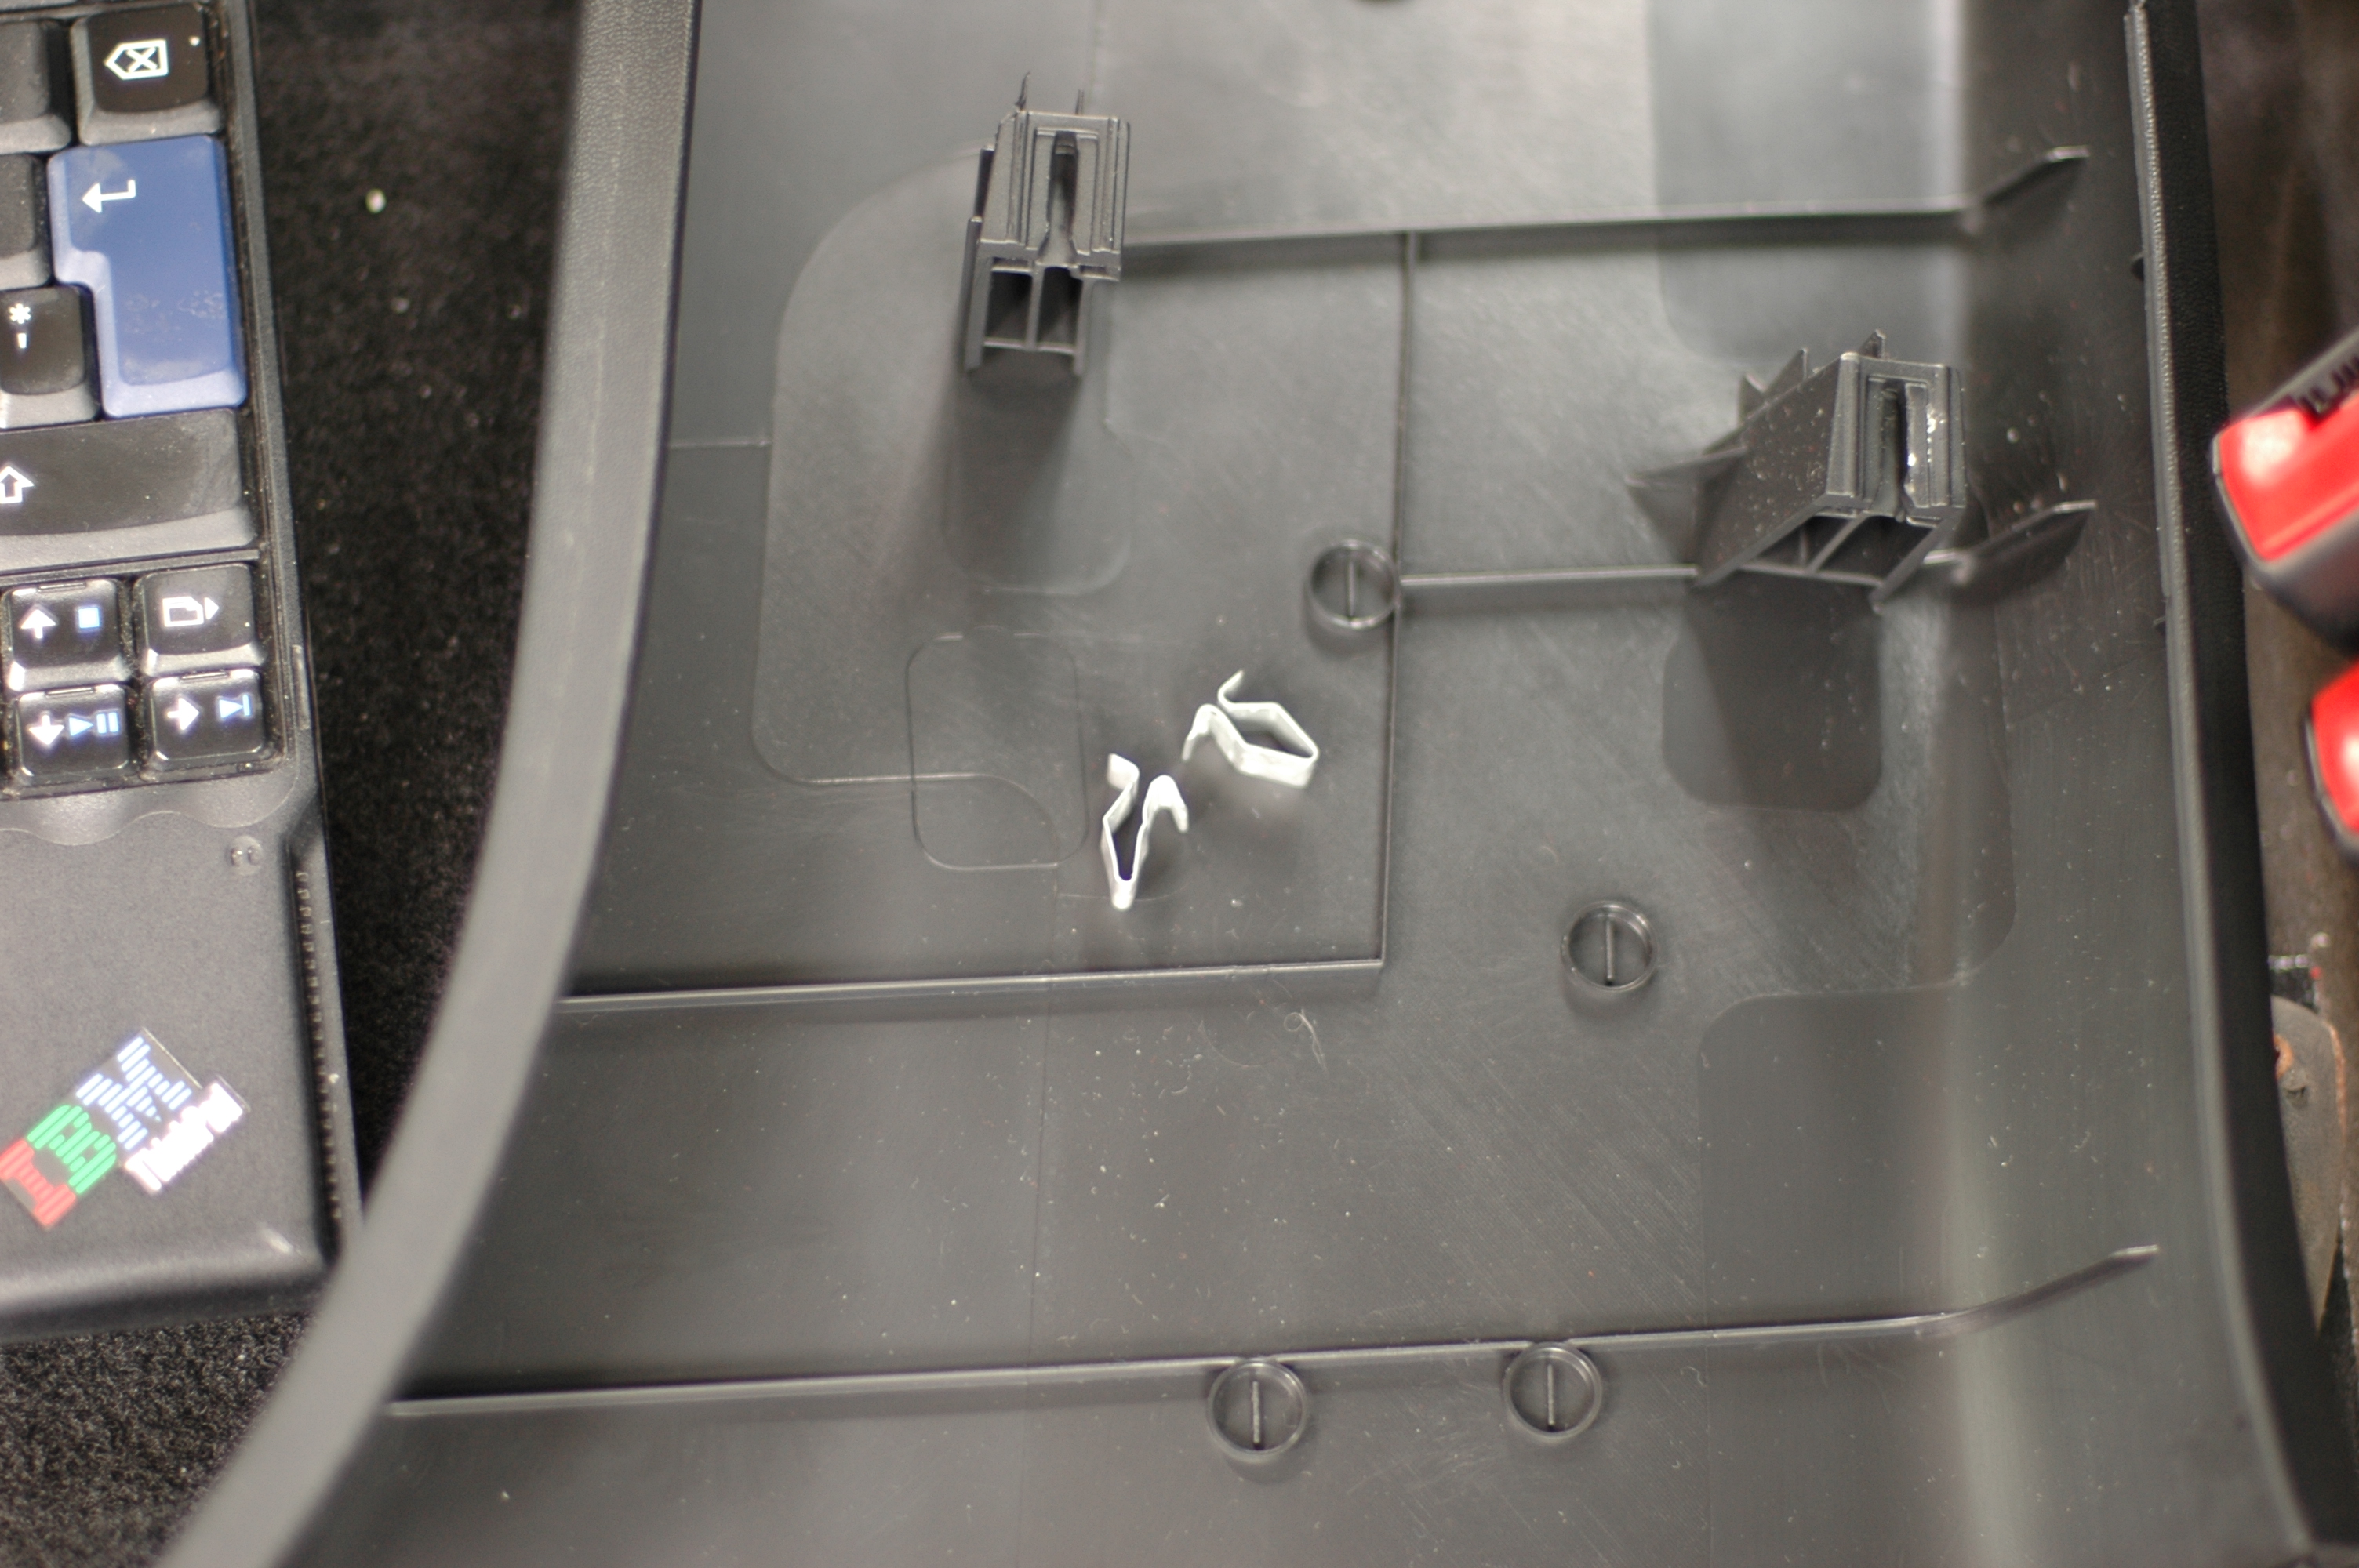
Trim removal starts by pulling off the sill trim with force. The repair manual calls for removing various C-pillar trims first. The rear of the sill trim does sit underneath them, but it doesn't need to come off completely to reach the seat-belt bolts and lower B-pillar trim screws. The B-pillar panels use a couple of screws and clips; they came off fairly easily without breaking anything.
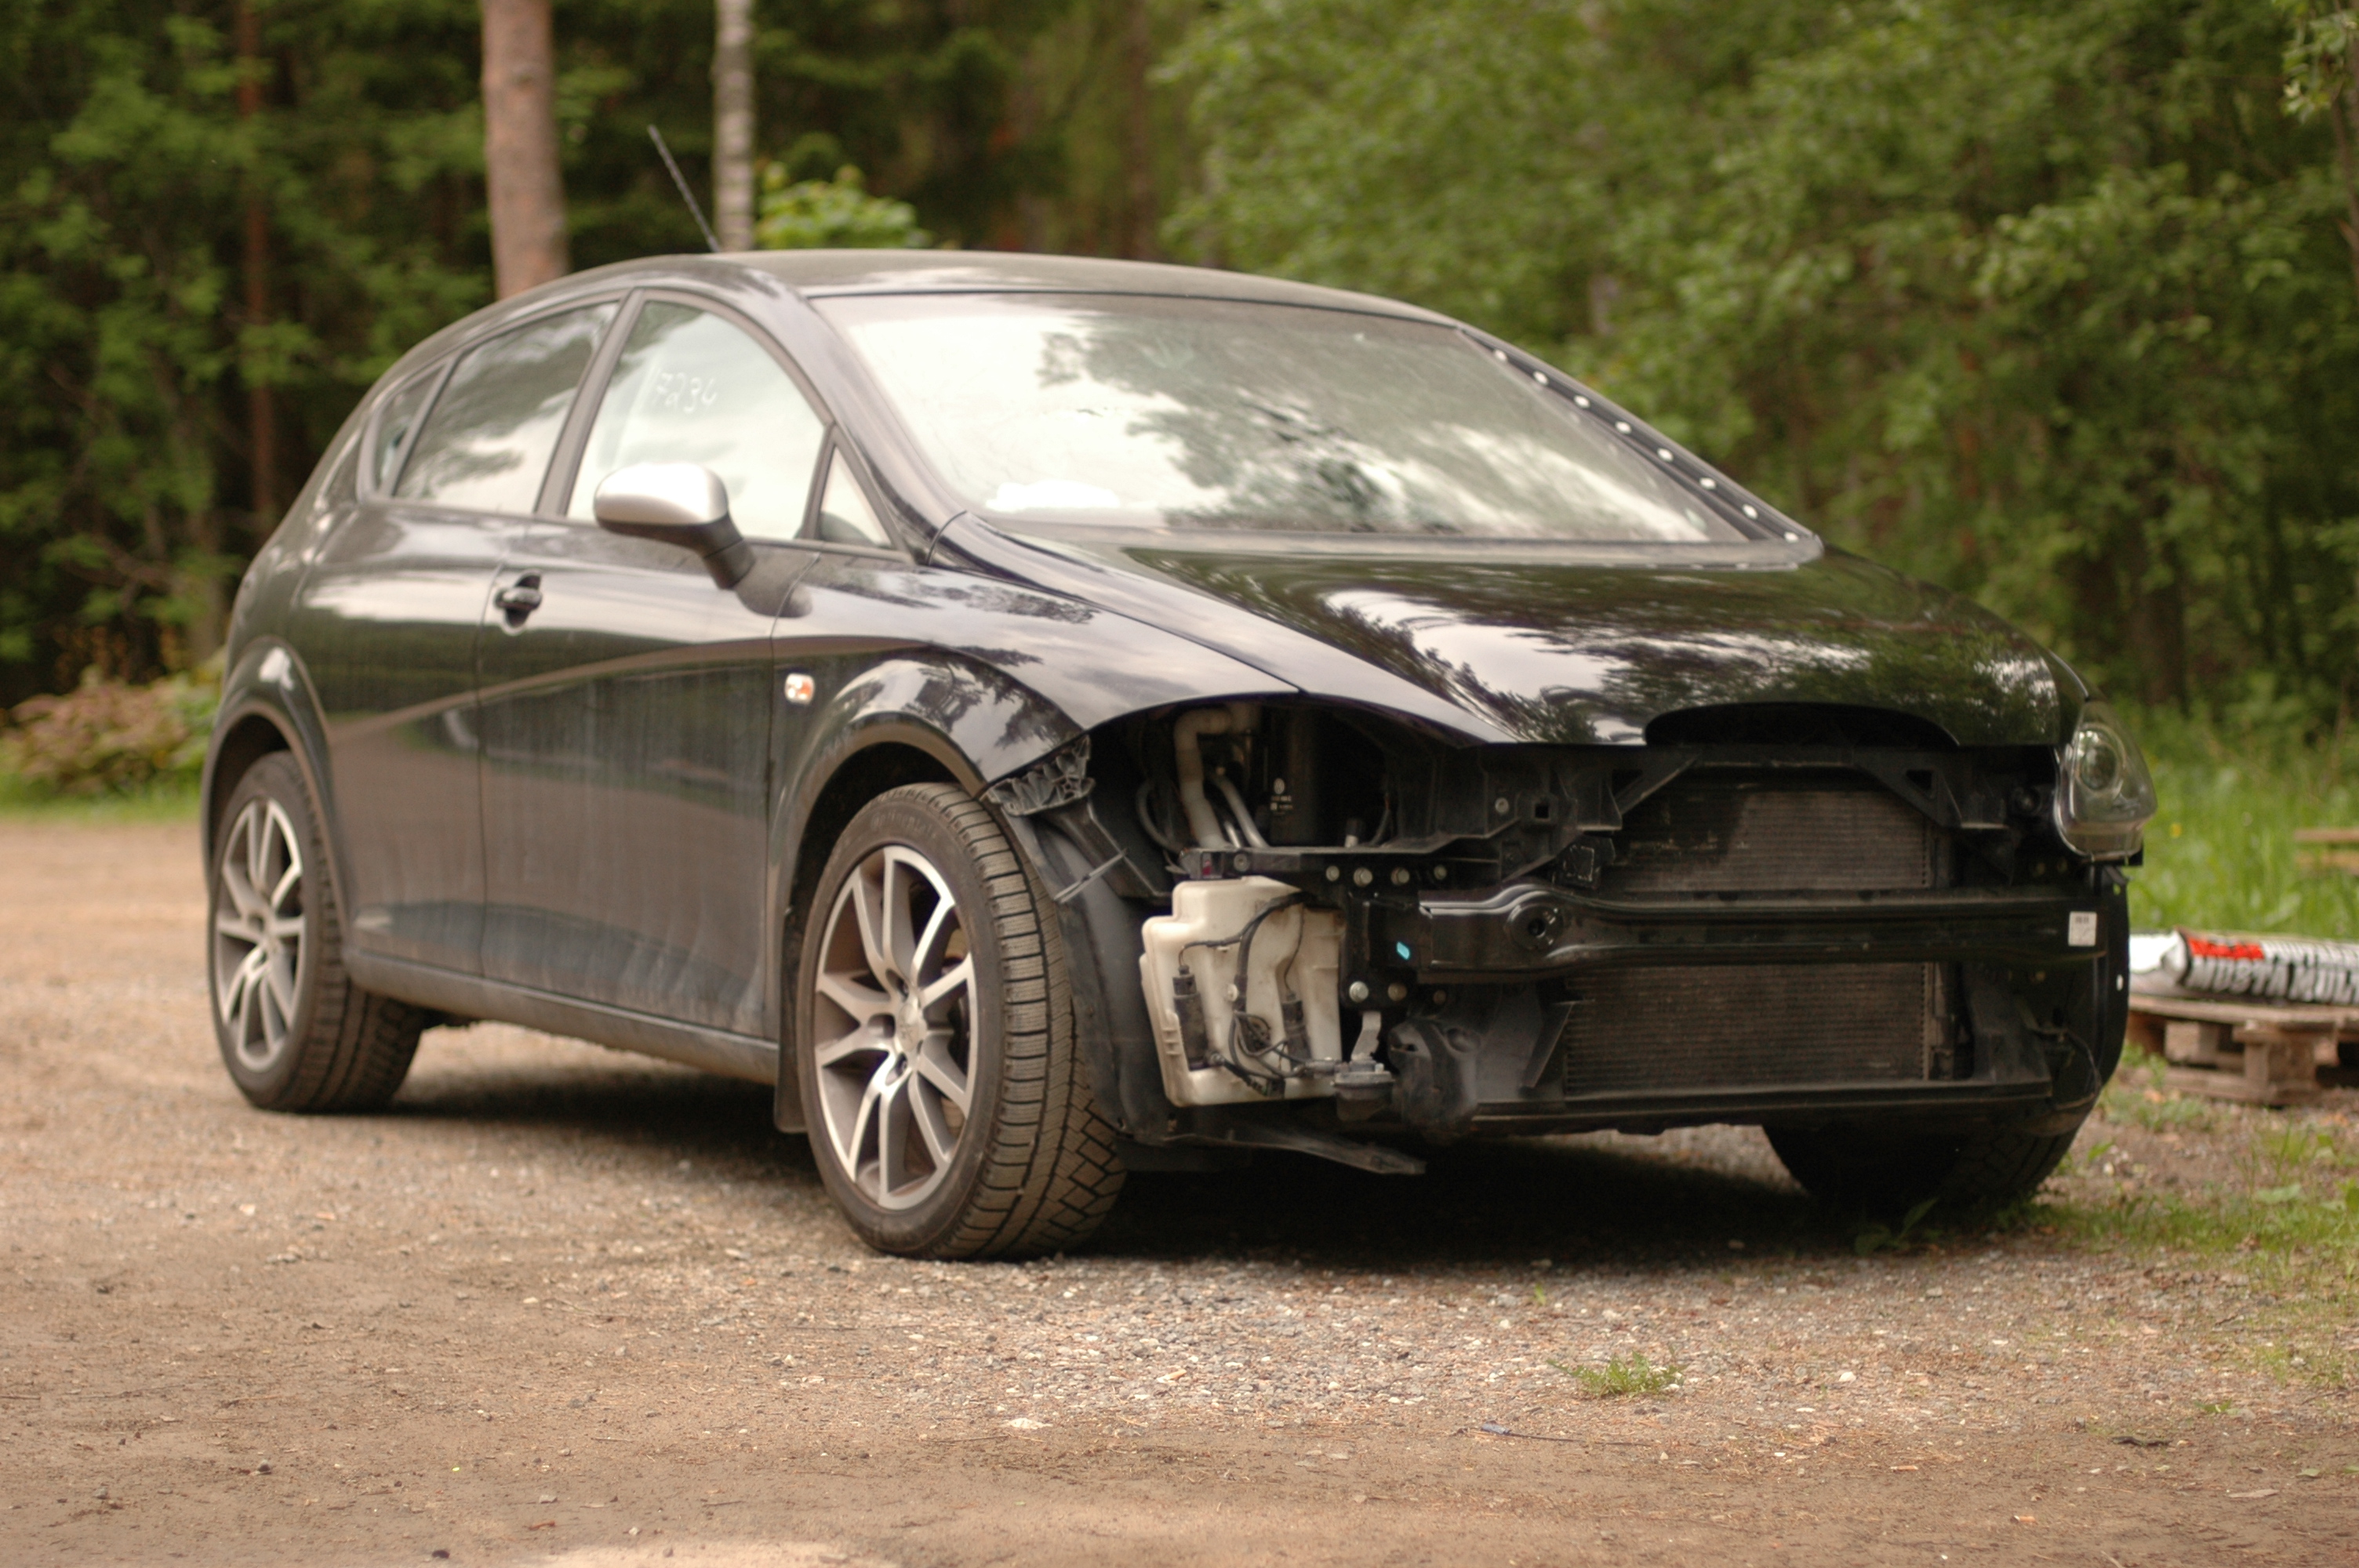
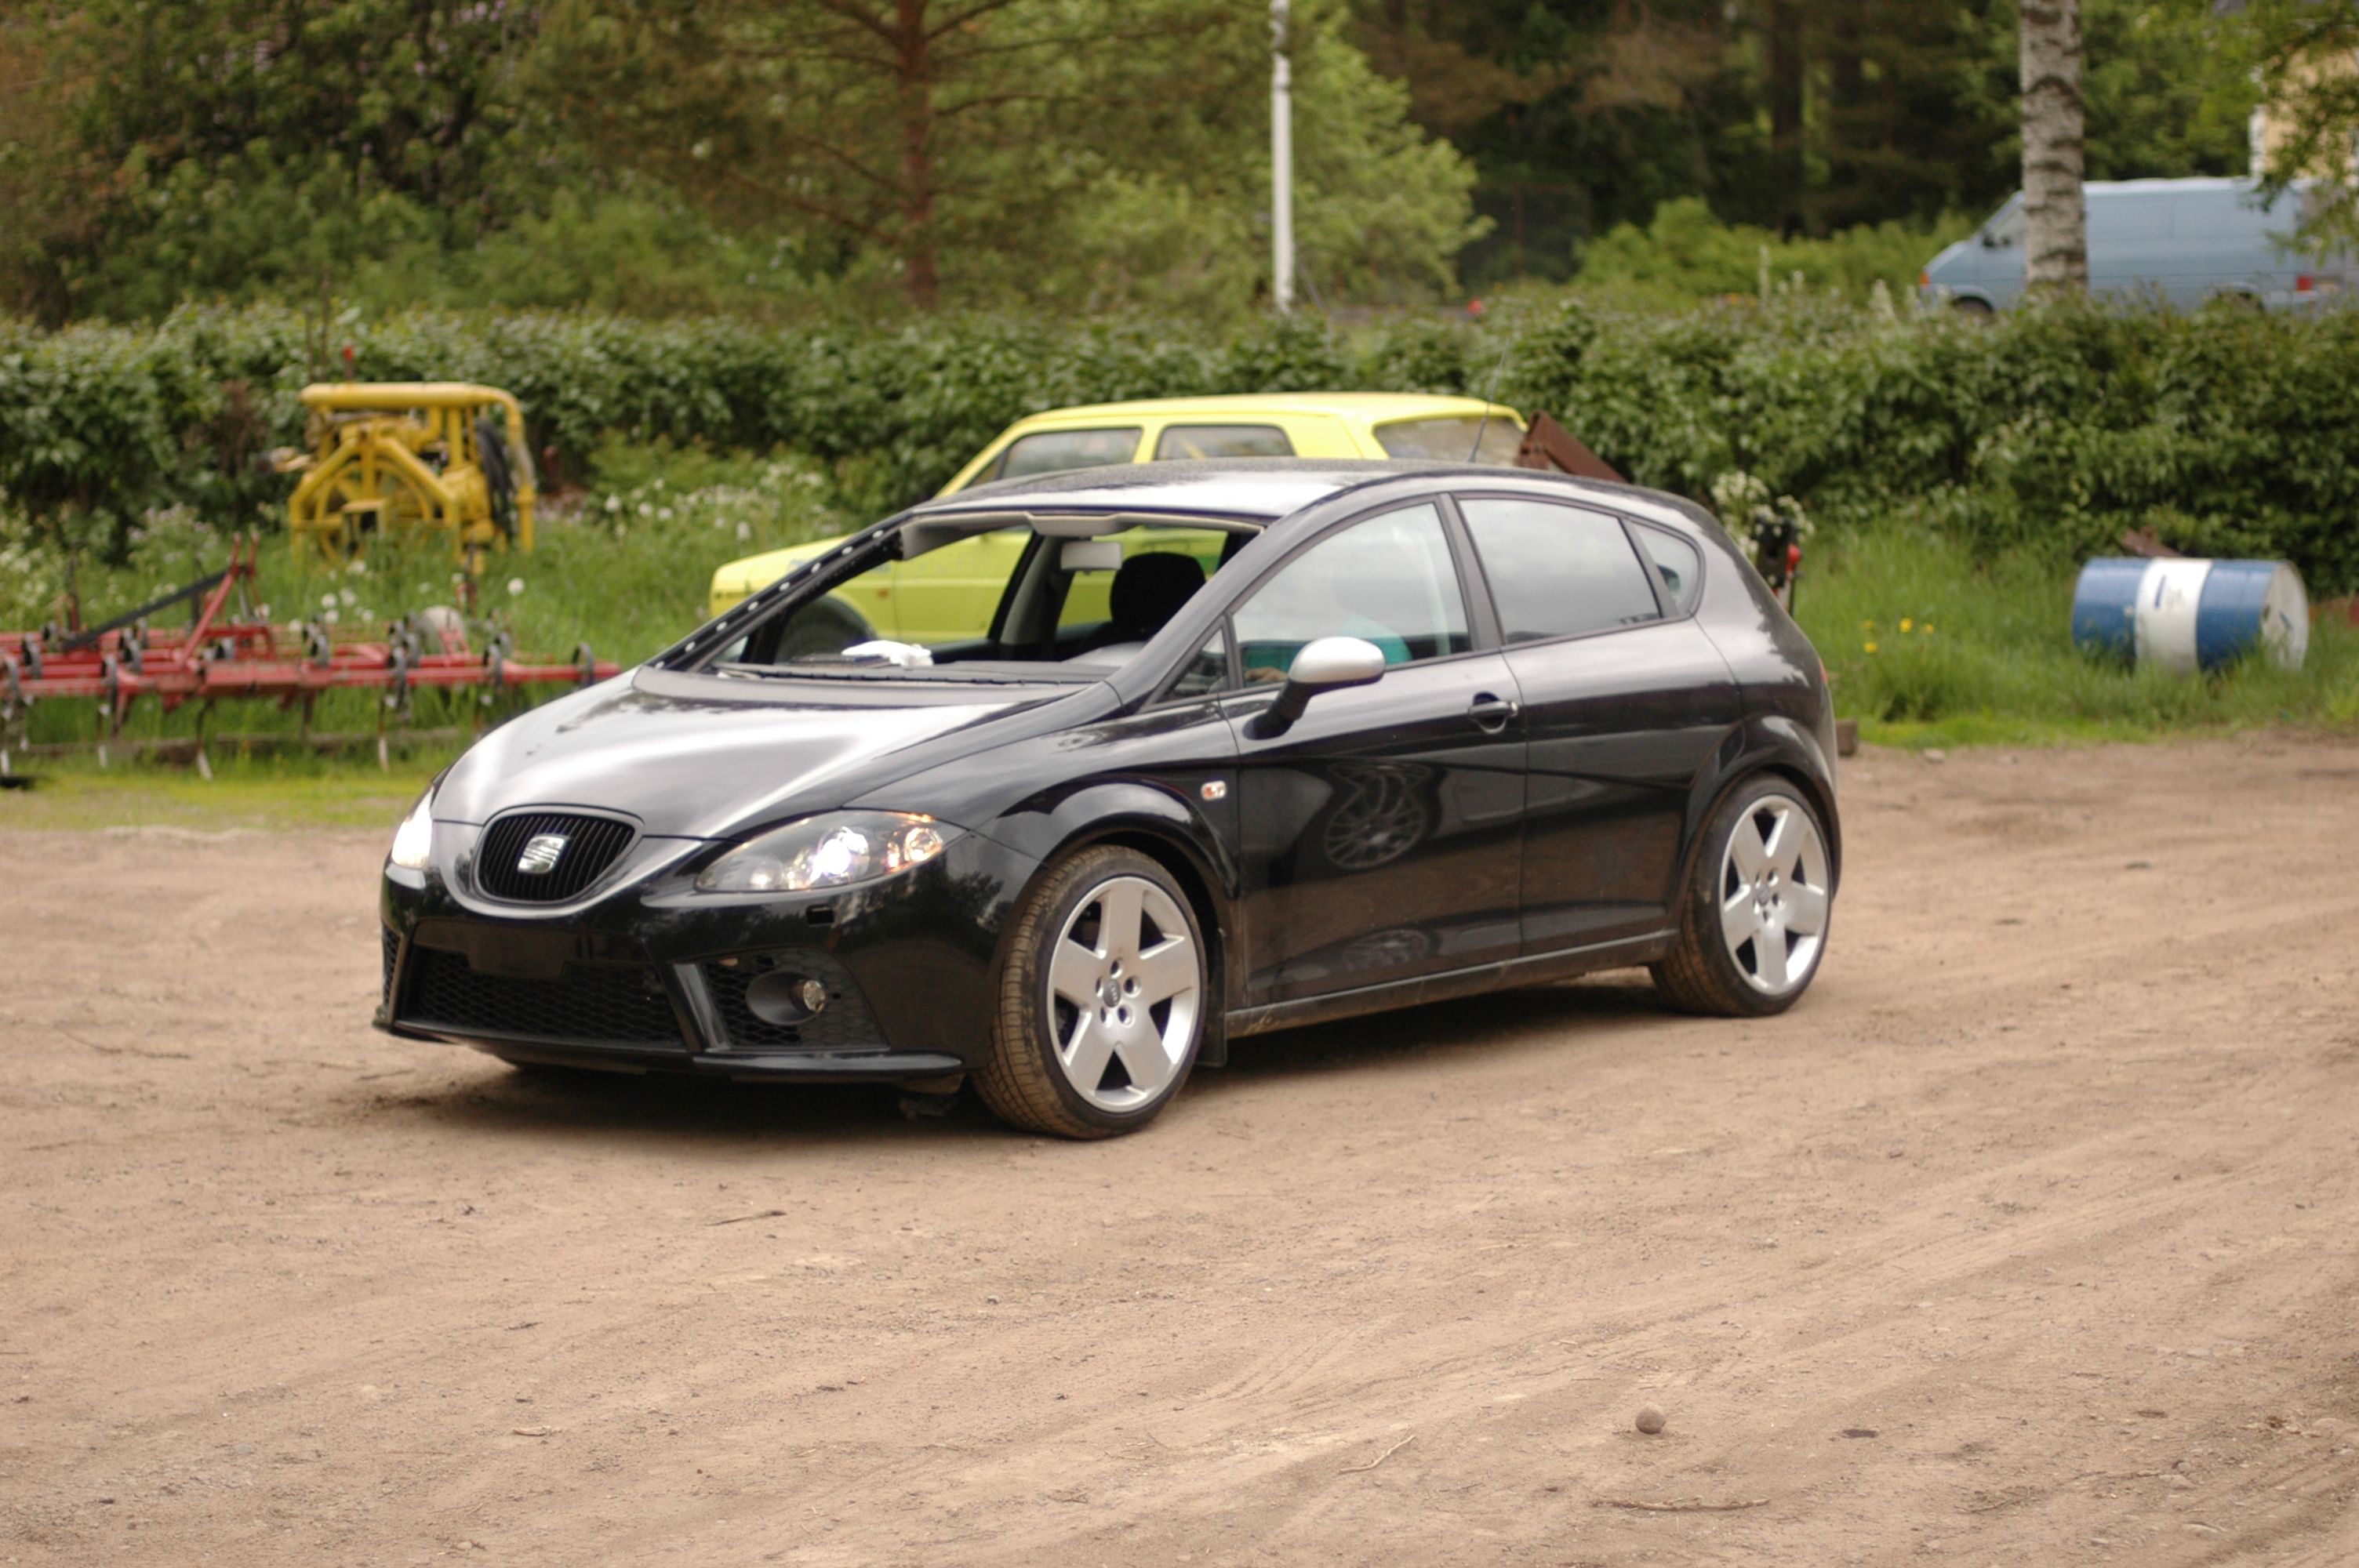
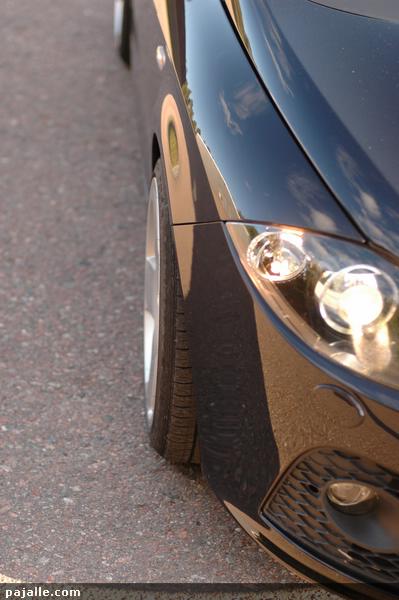
The rest of the front end was coming together too. The bumper was fitted for appearances but would have to come off again once an air guide and the other headlight washer arrived. We also installed an H&R 'lowering kit'. It didn't seem to lower the car all that much; see the before and after photos below. Summer tyres replaced the studless winter tyres at the same time. The wheels were the optional Audi A8 Parabols previously on the TT: 8.5x18 inches, ET45, with 225/40 Goodyears.
Dashboard and windscreen
The dashboard has to be replaced after the airbags deploy because the passenger airbag bursts through it. I don't understand why the passenger airbag and belt must fire when nobody is sitting there. The seat already has a sensor that reminds a passenger to fasten the belt. Replacing the dashboard, airbag and belt just adds a couple of thousand euros to the repair bill.
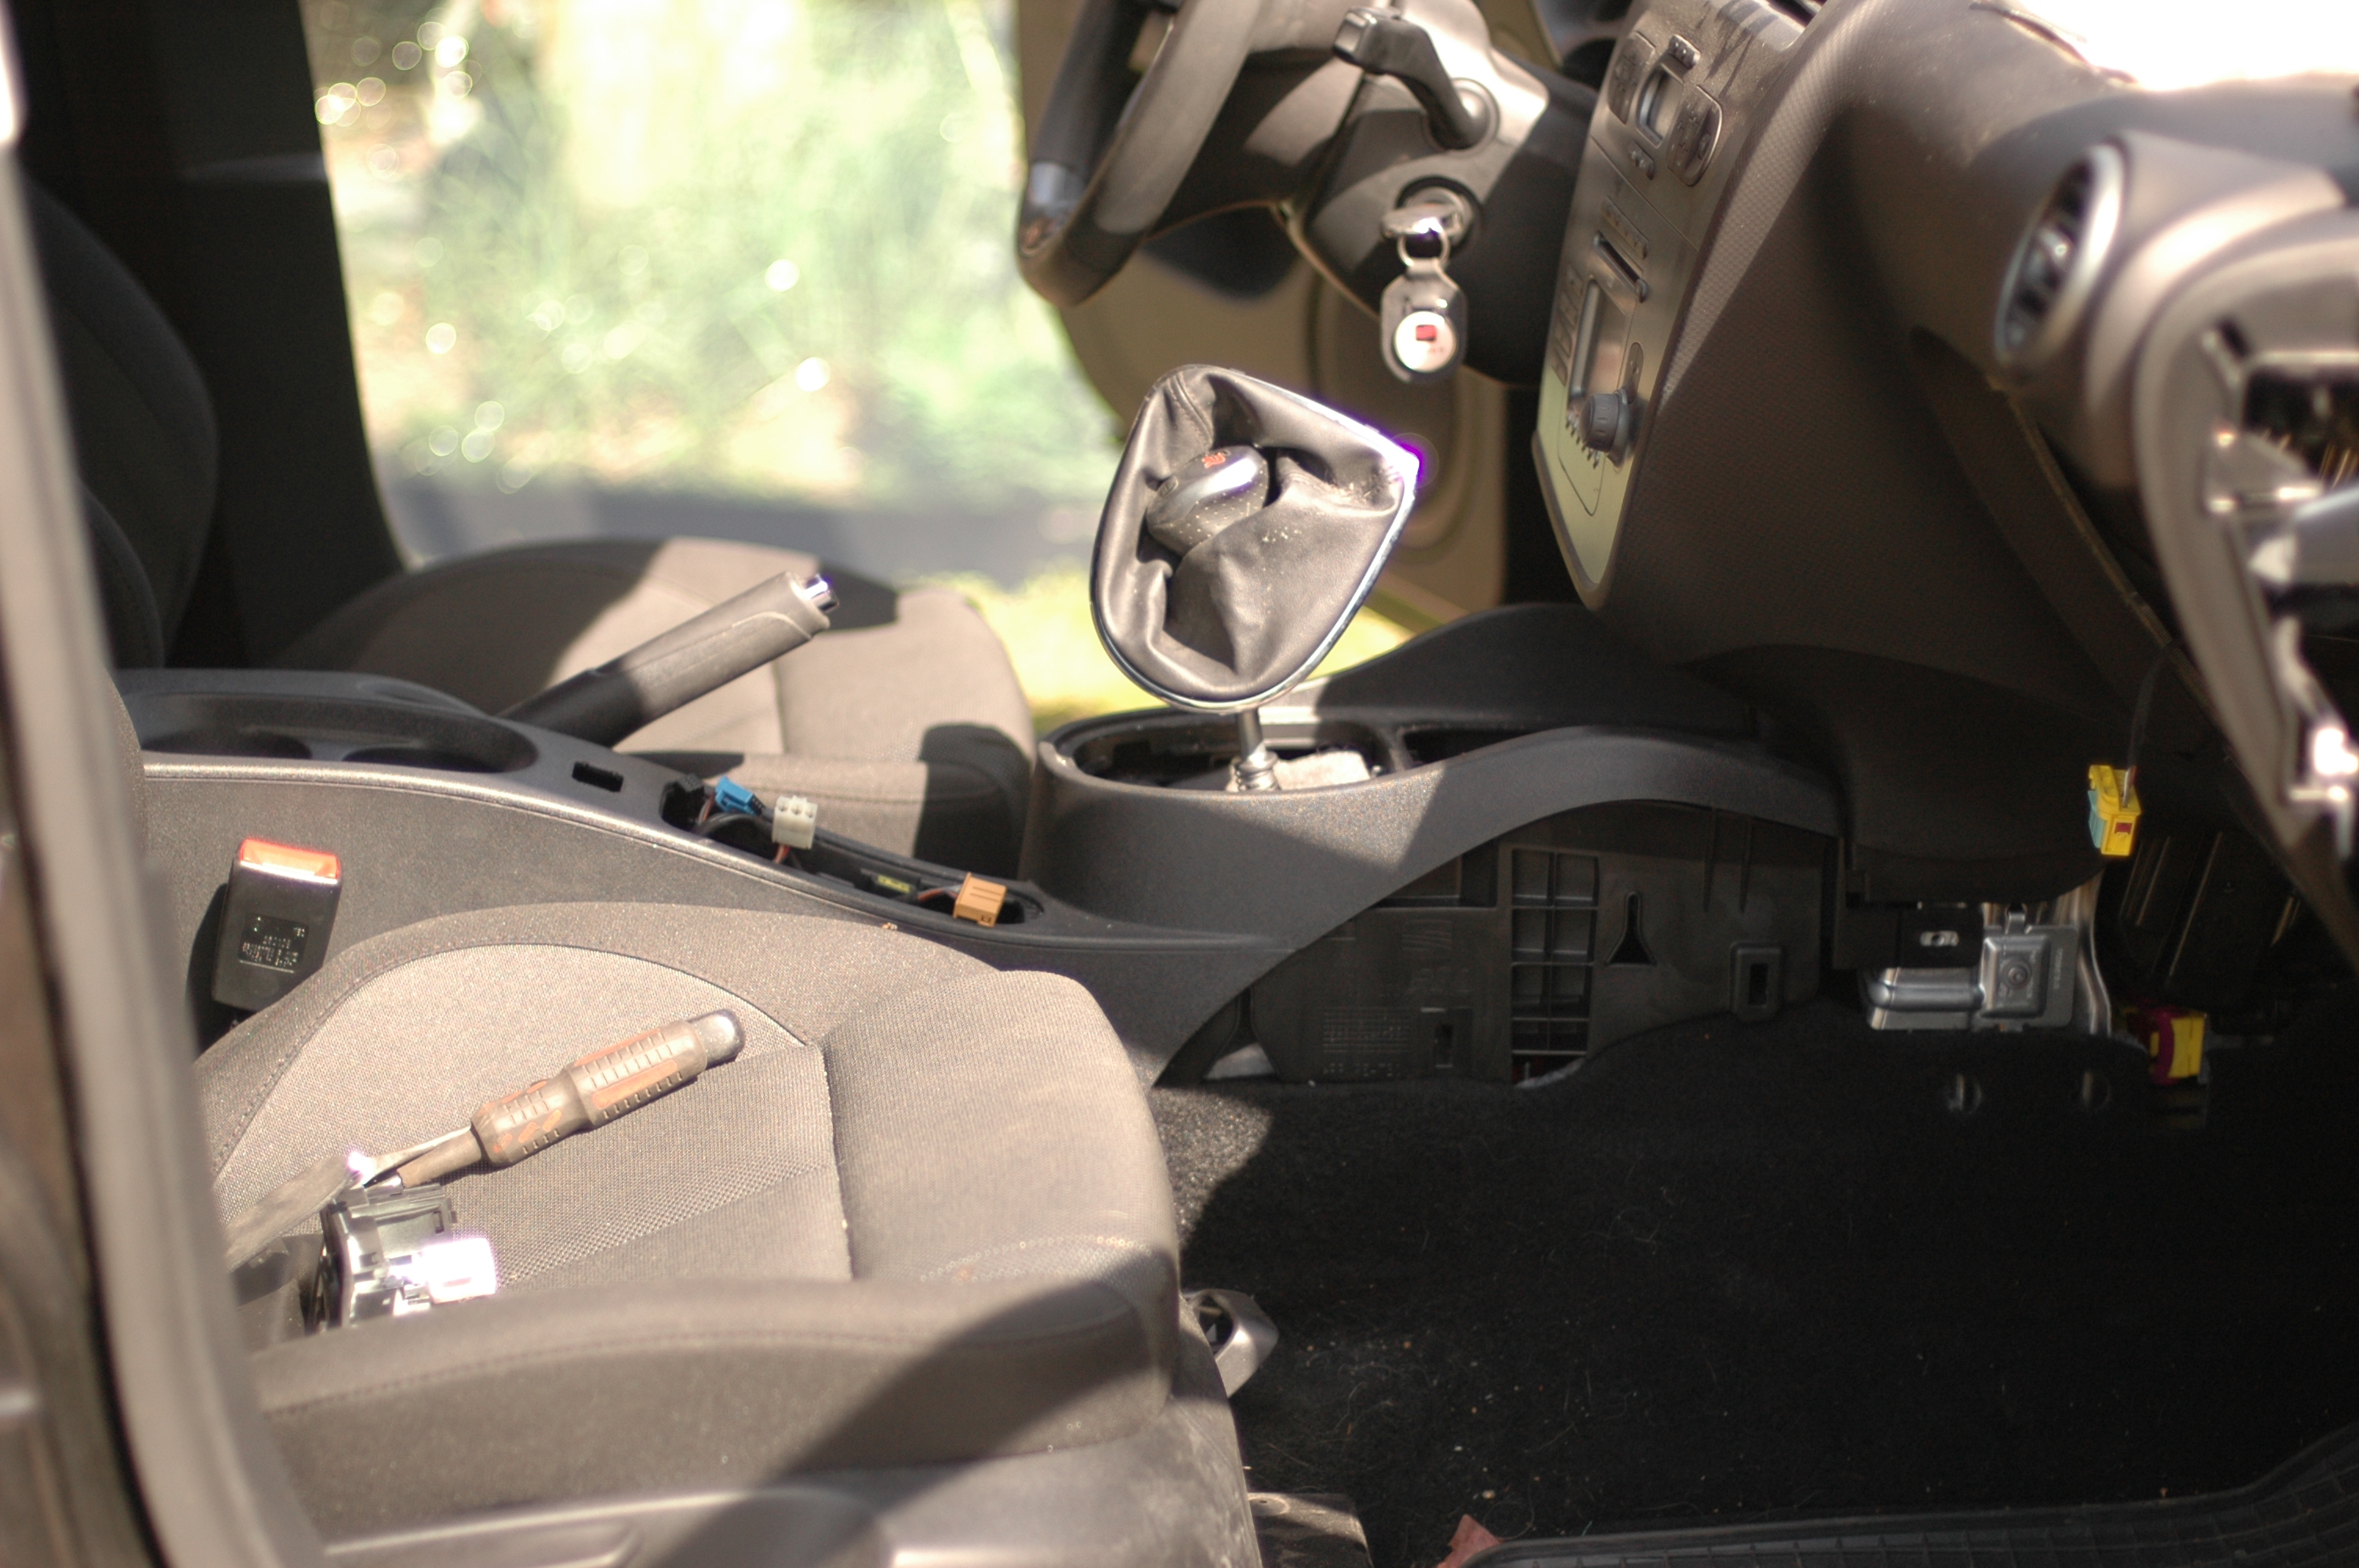
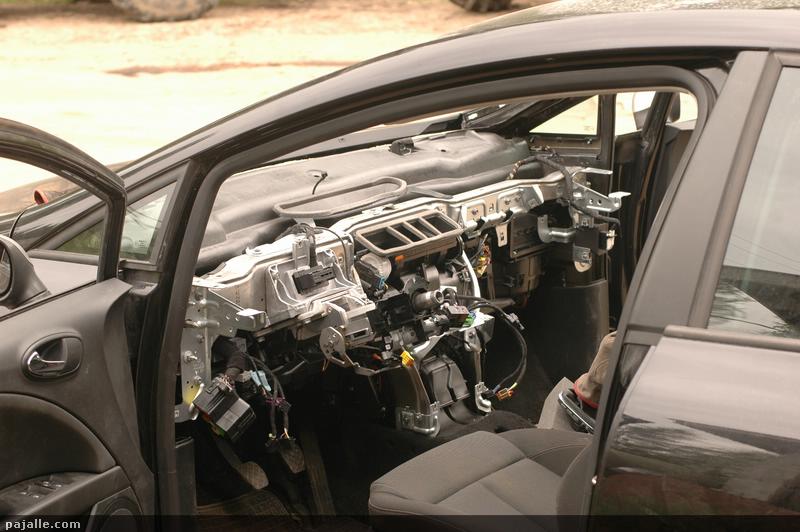
Dashboard replacement begins with the centre console. Buttons, compartments, gear-lever gaiter and side trims unclip. I think only five screws need removing for the whole console; everything else is clipped together.
Next the stereo. Following forum tips, we cut metal strips about a centimetre wide and inserted them into slots along its top and bottom edges. Out it came. One of the four retaining clips is pictured below. A larger thin metal sheet helped us lever at the edge; a small screwdriver would have marked the plastic. Behind the stereo are the screws for the centre air vents and climate-control panel.
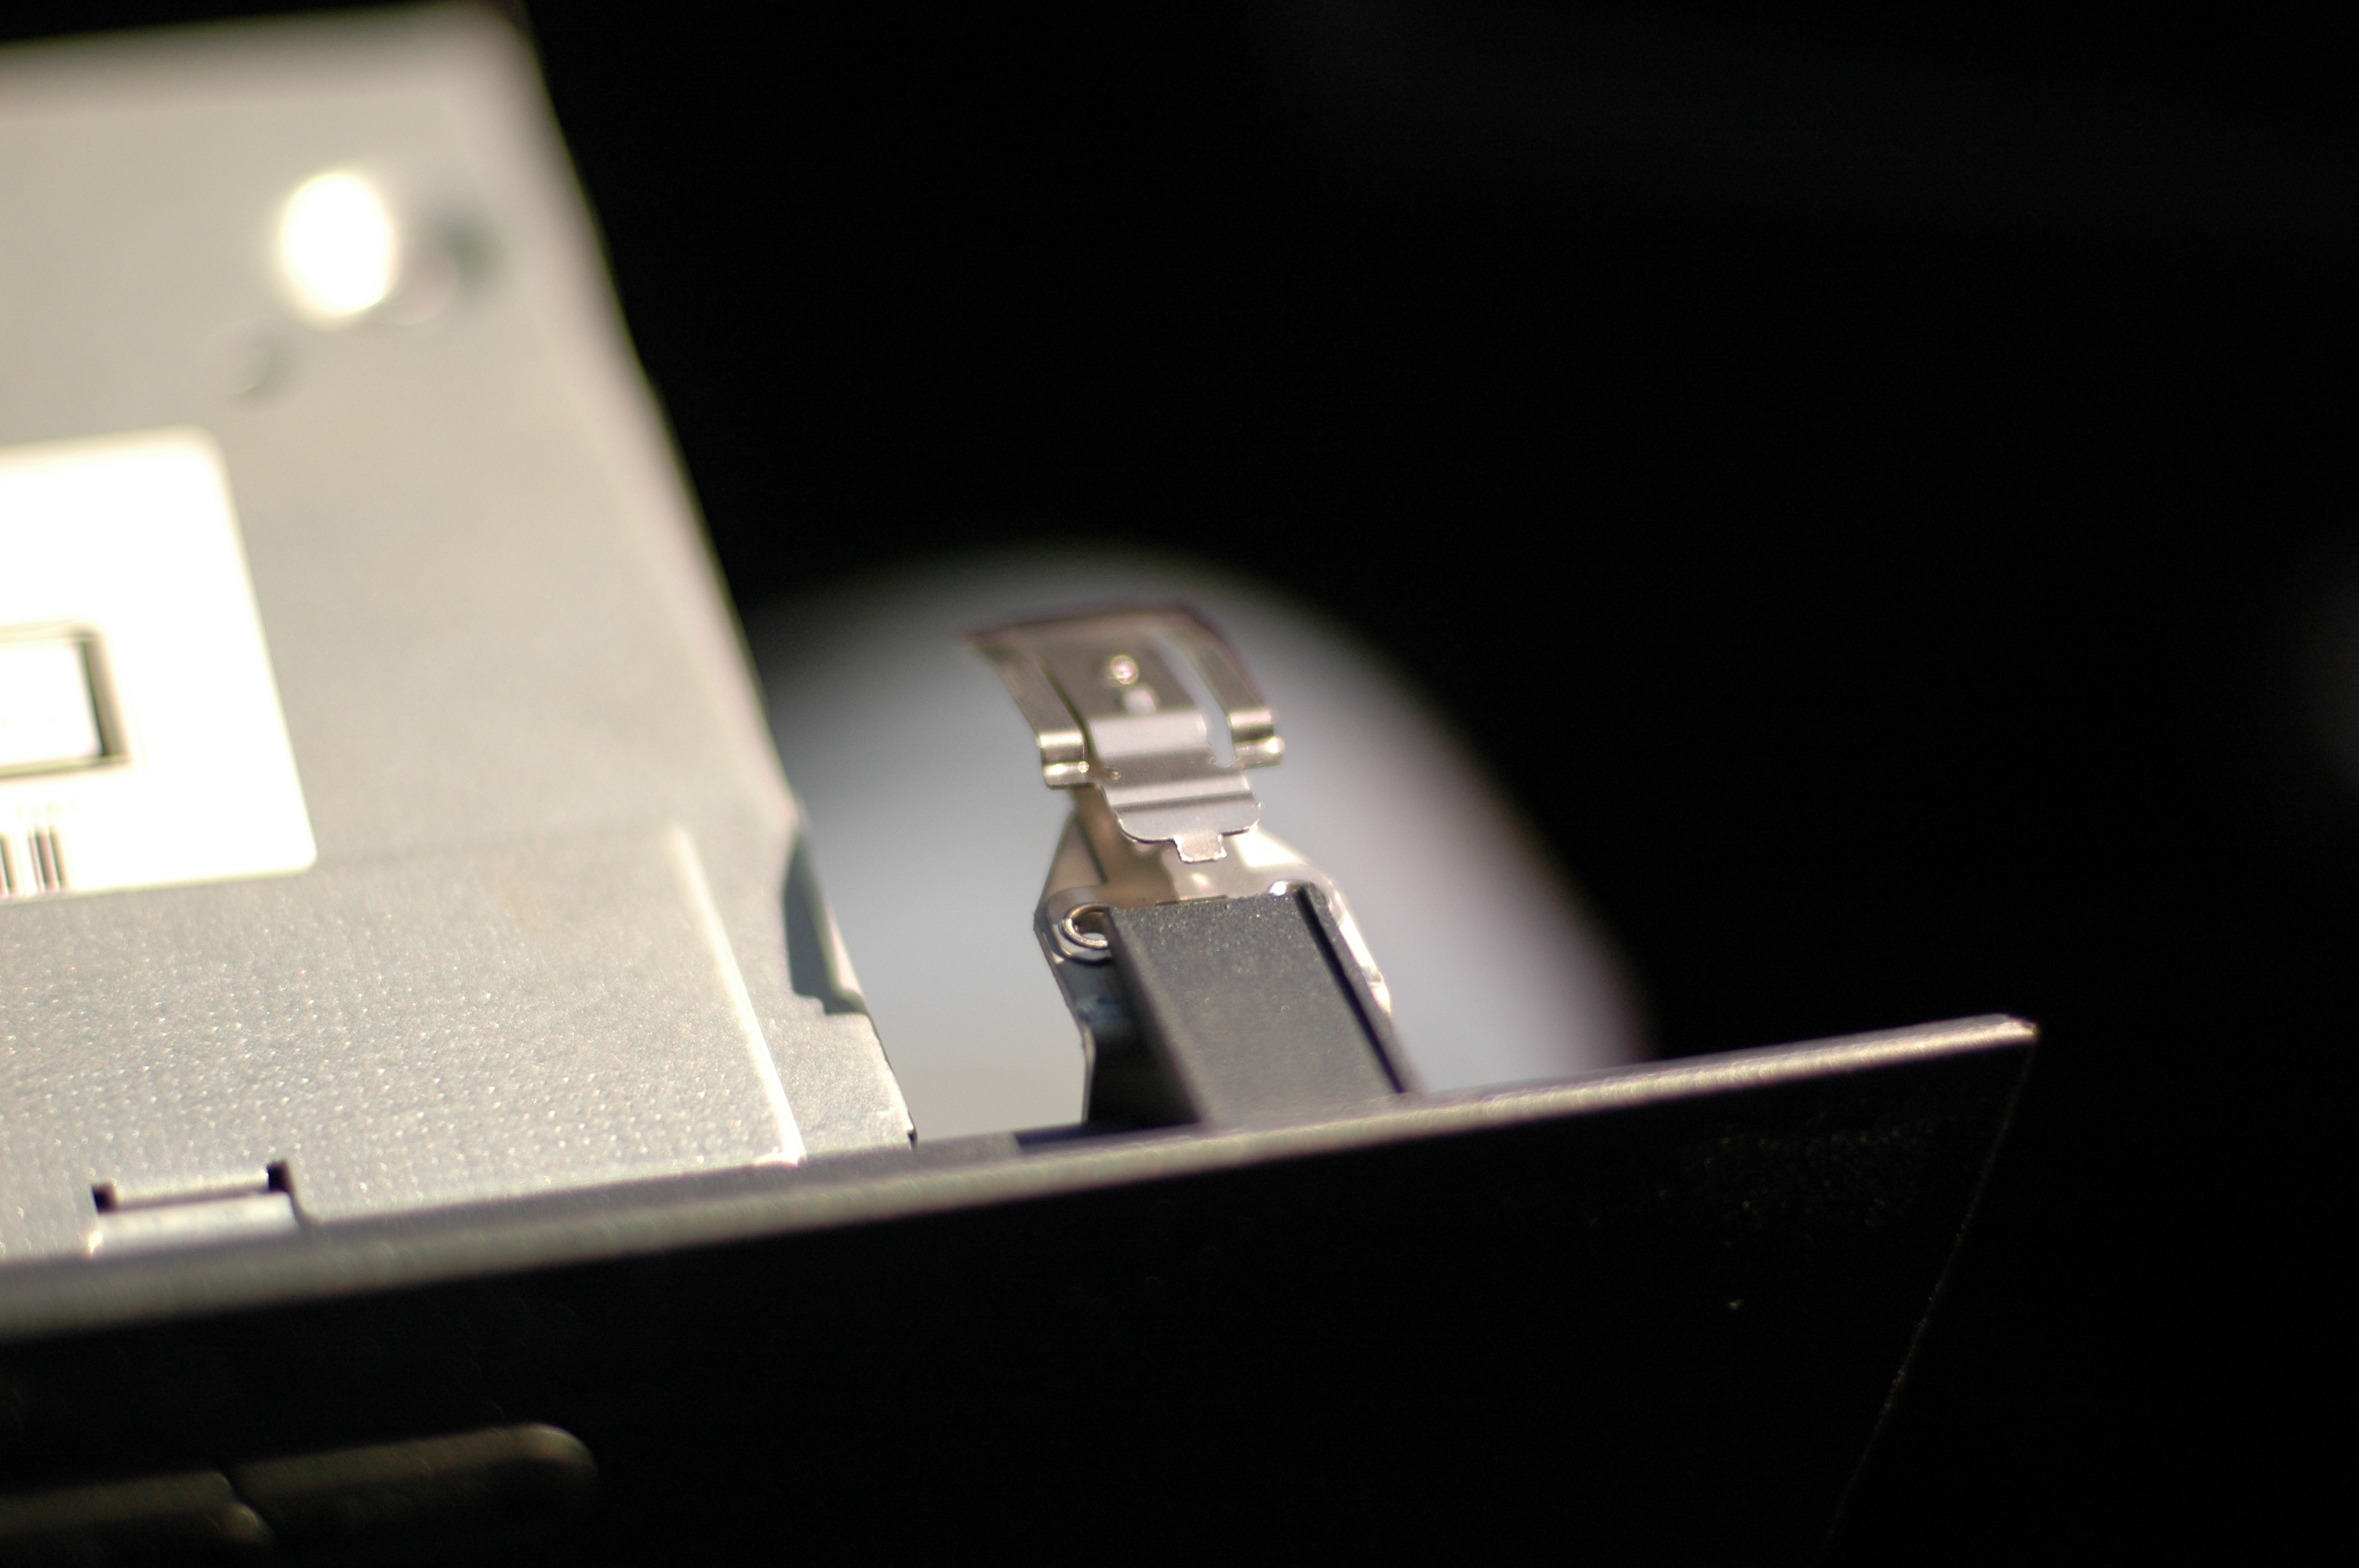
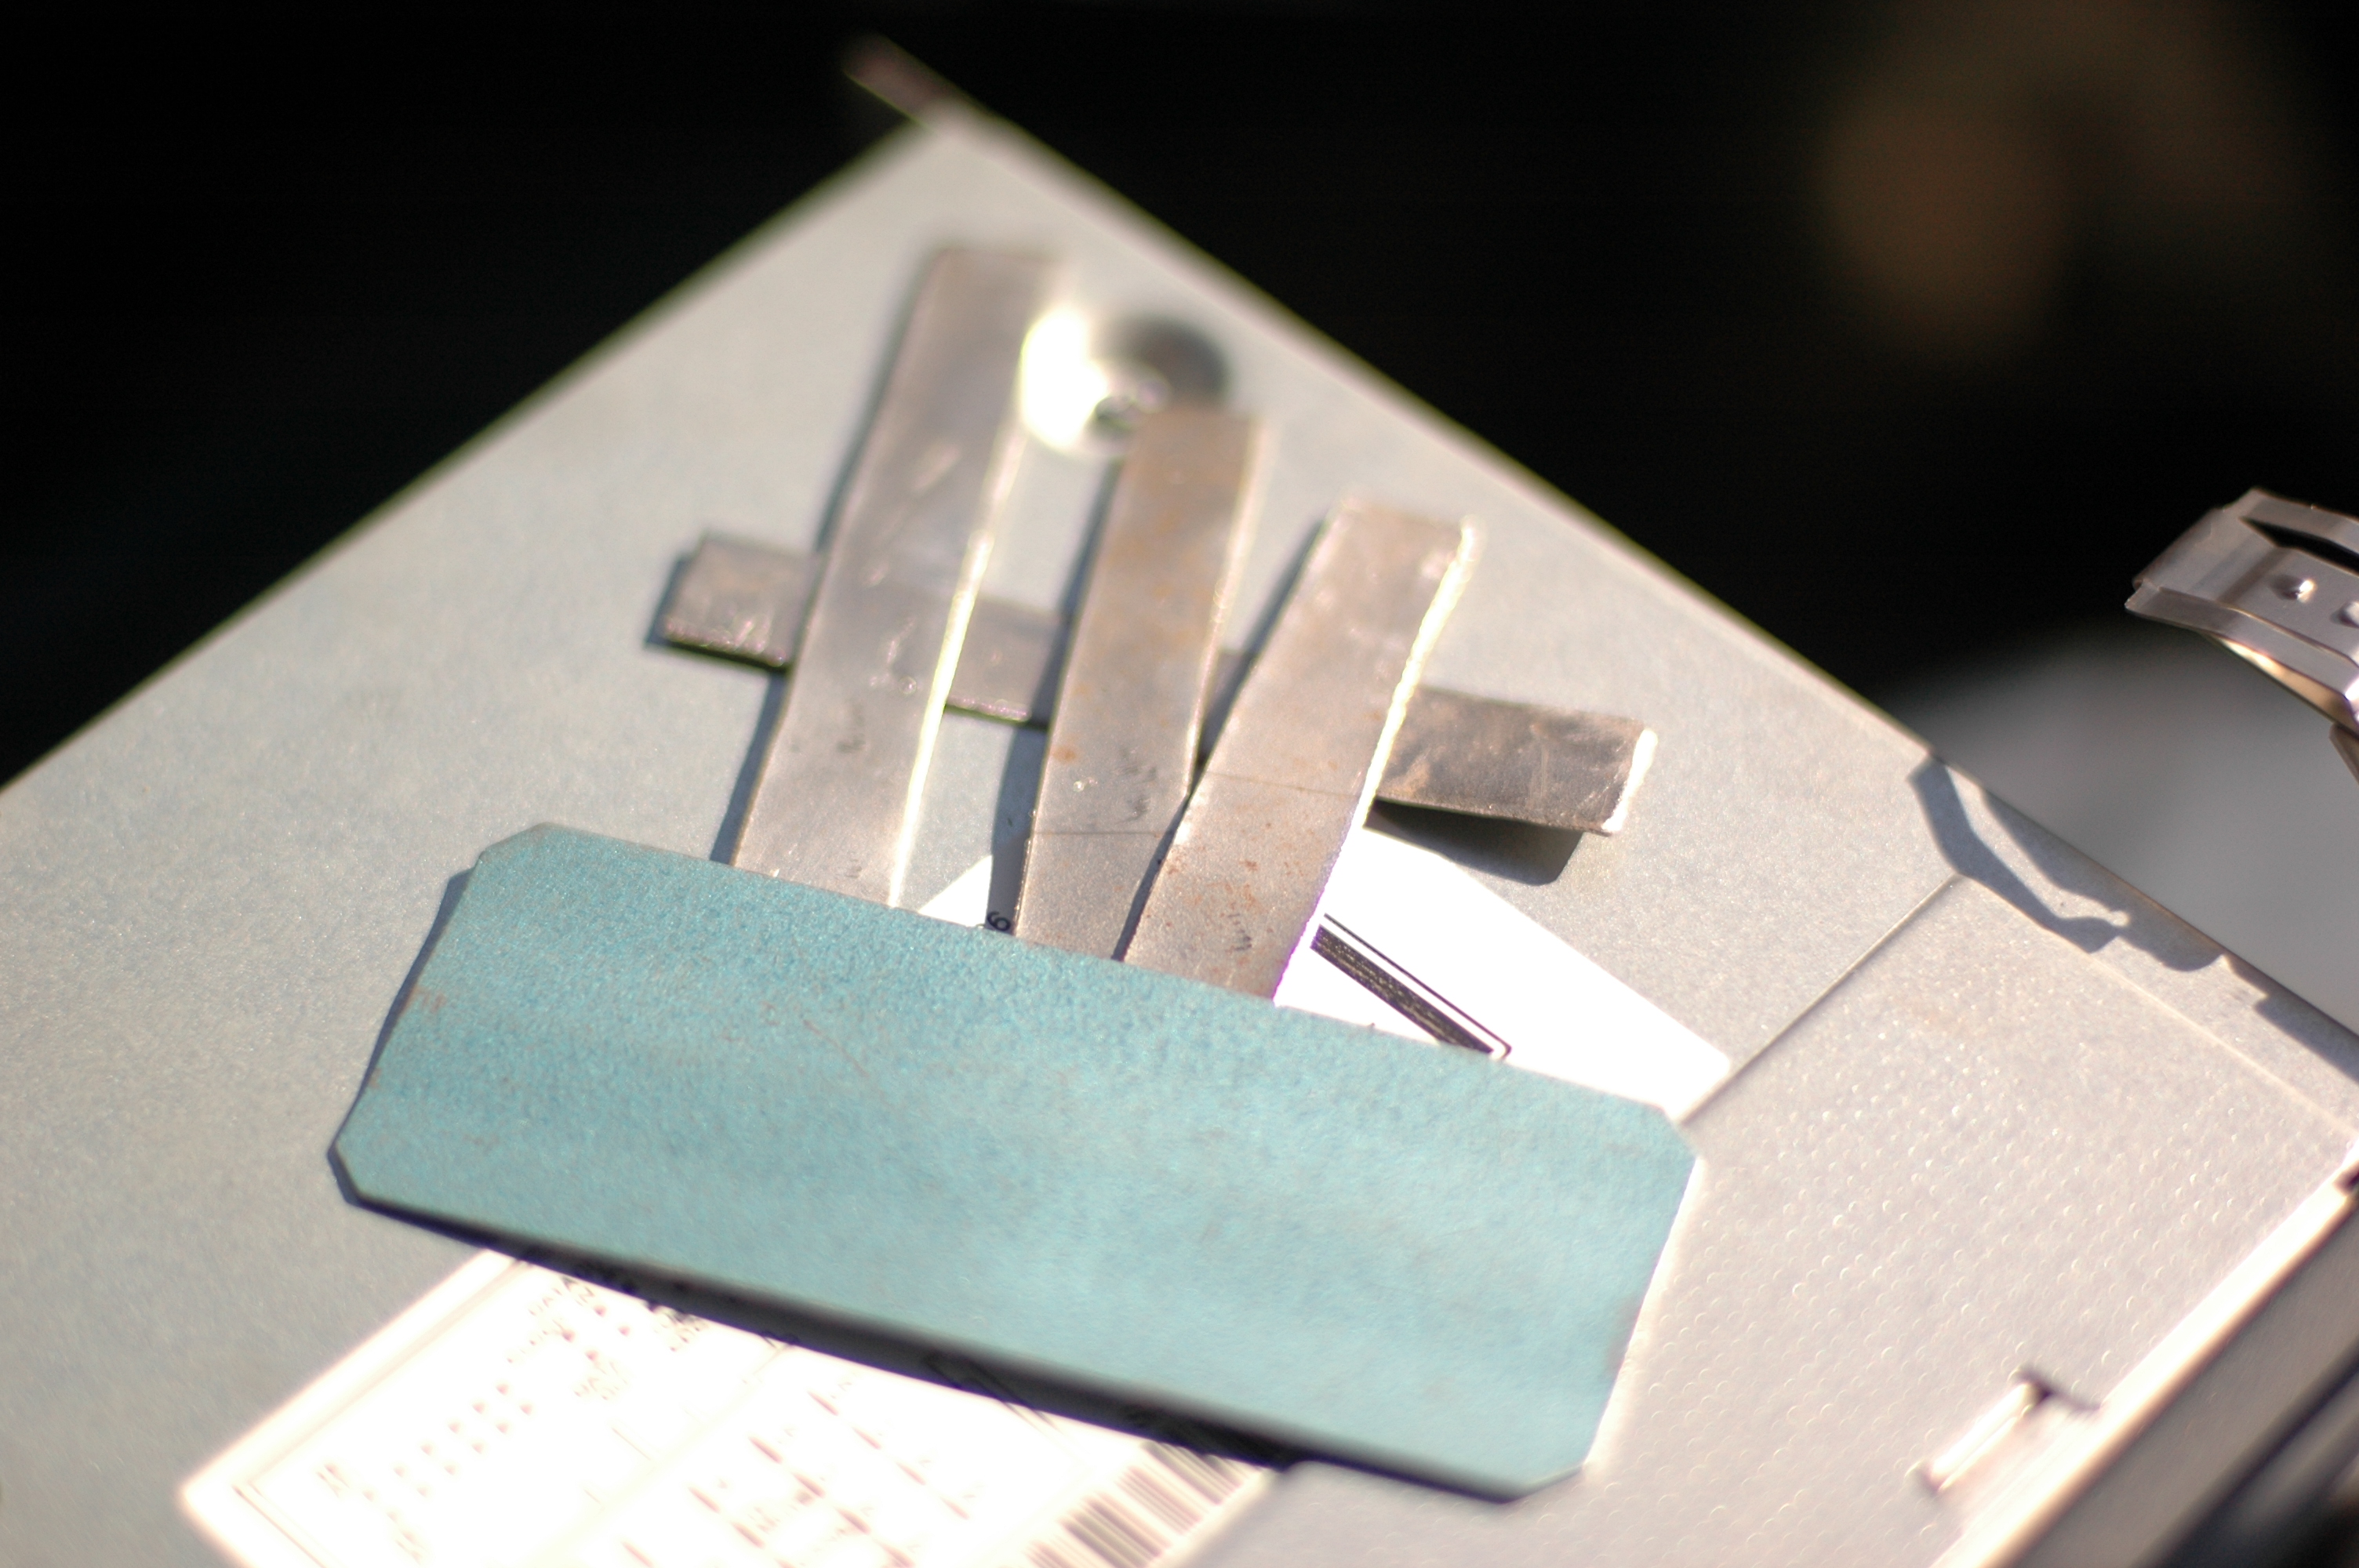
The instrument surround pulls off too, and the cluster comes out after four screws. Remove the passenger glovebox and the covers at both dashboard ends. The stalks must come out of the way as well. Disconnect the diagnostic socket, the temperature-sensor wires at the right and left vents, and the climate-control sun sensor on top. Finally remove the eleven dashboard mounting screws and lift the dashboard out.
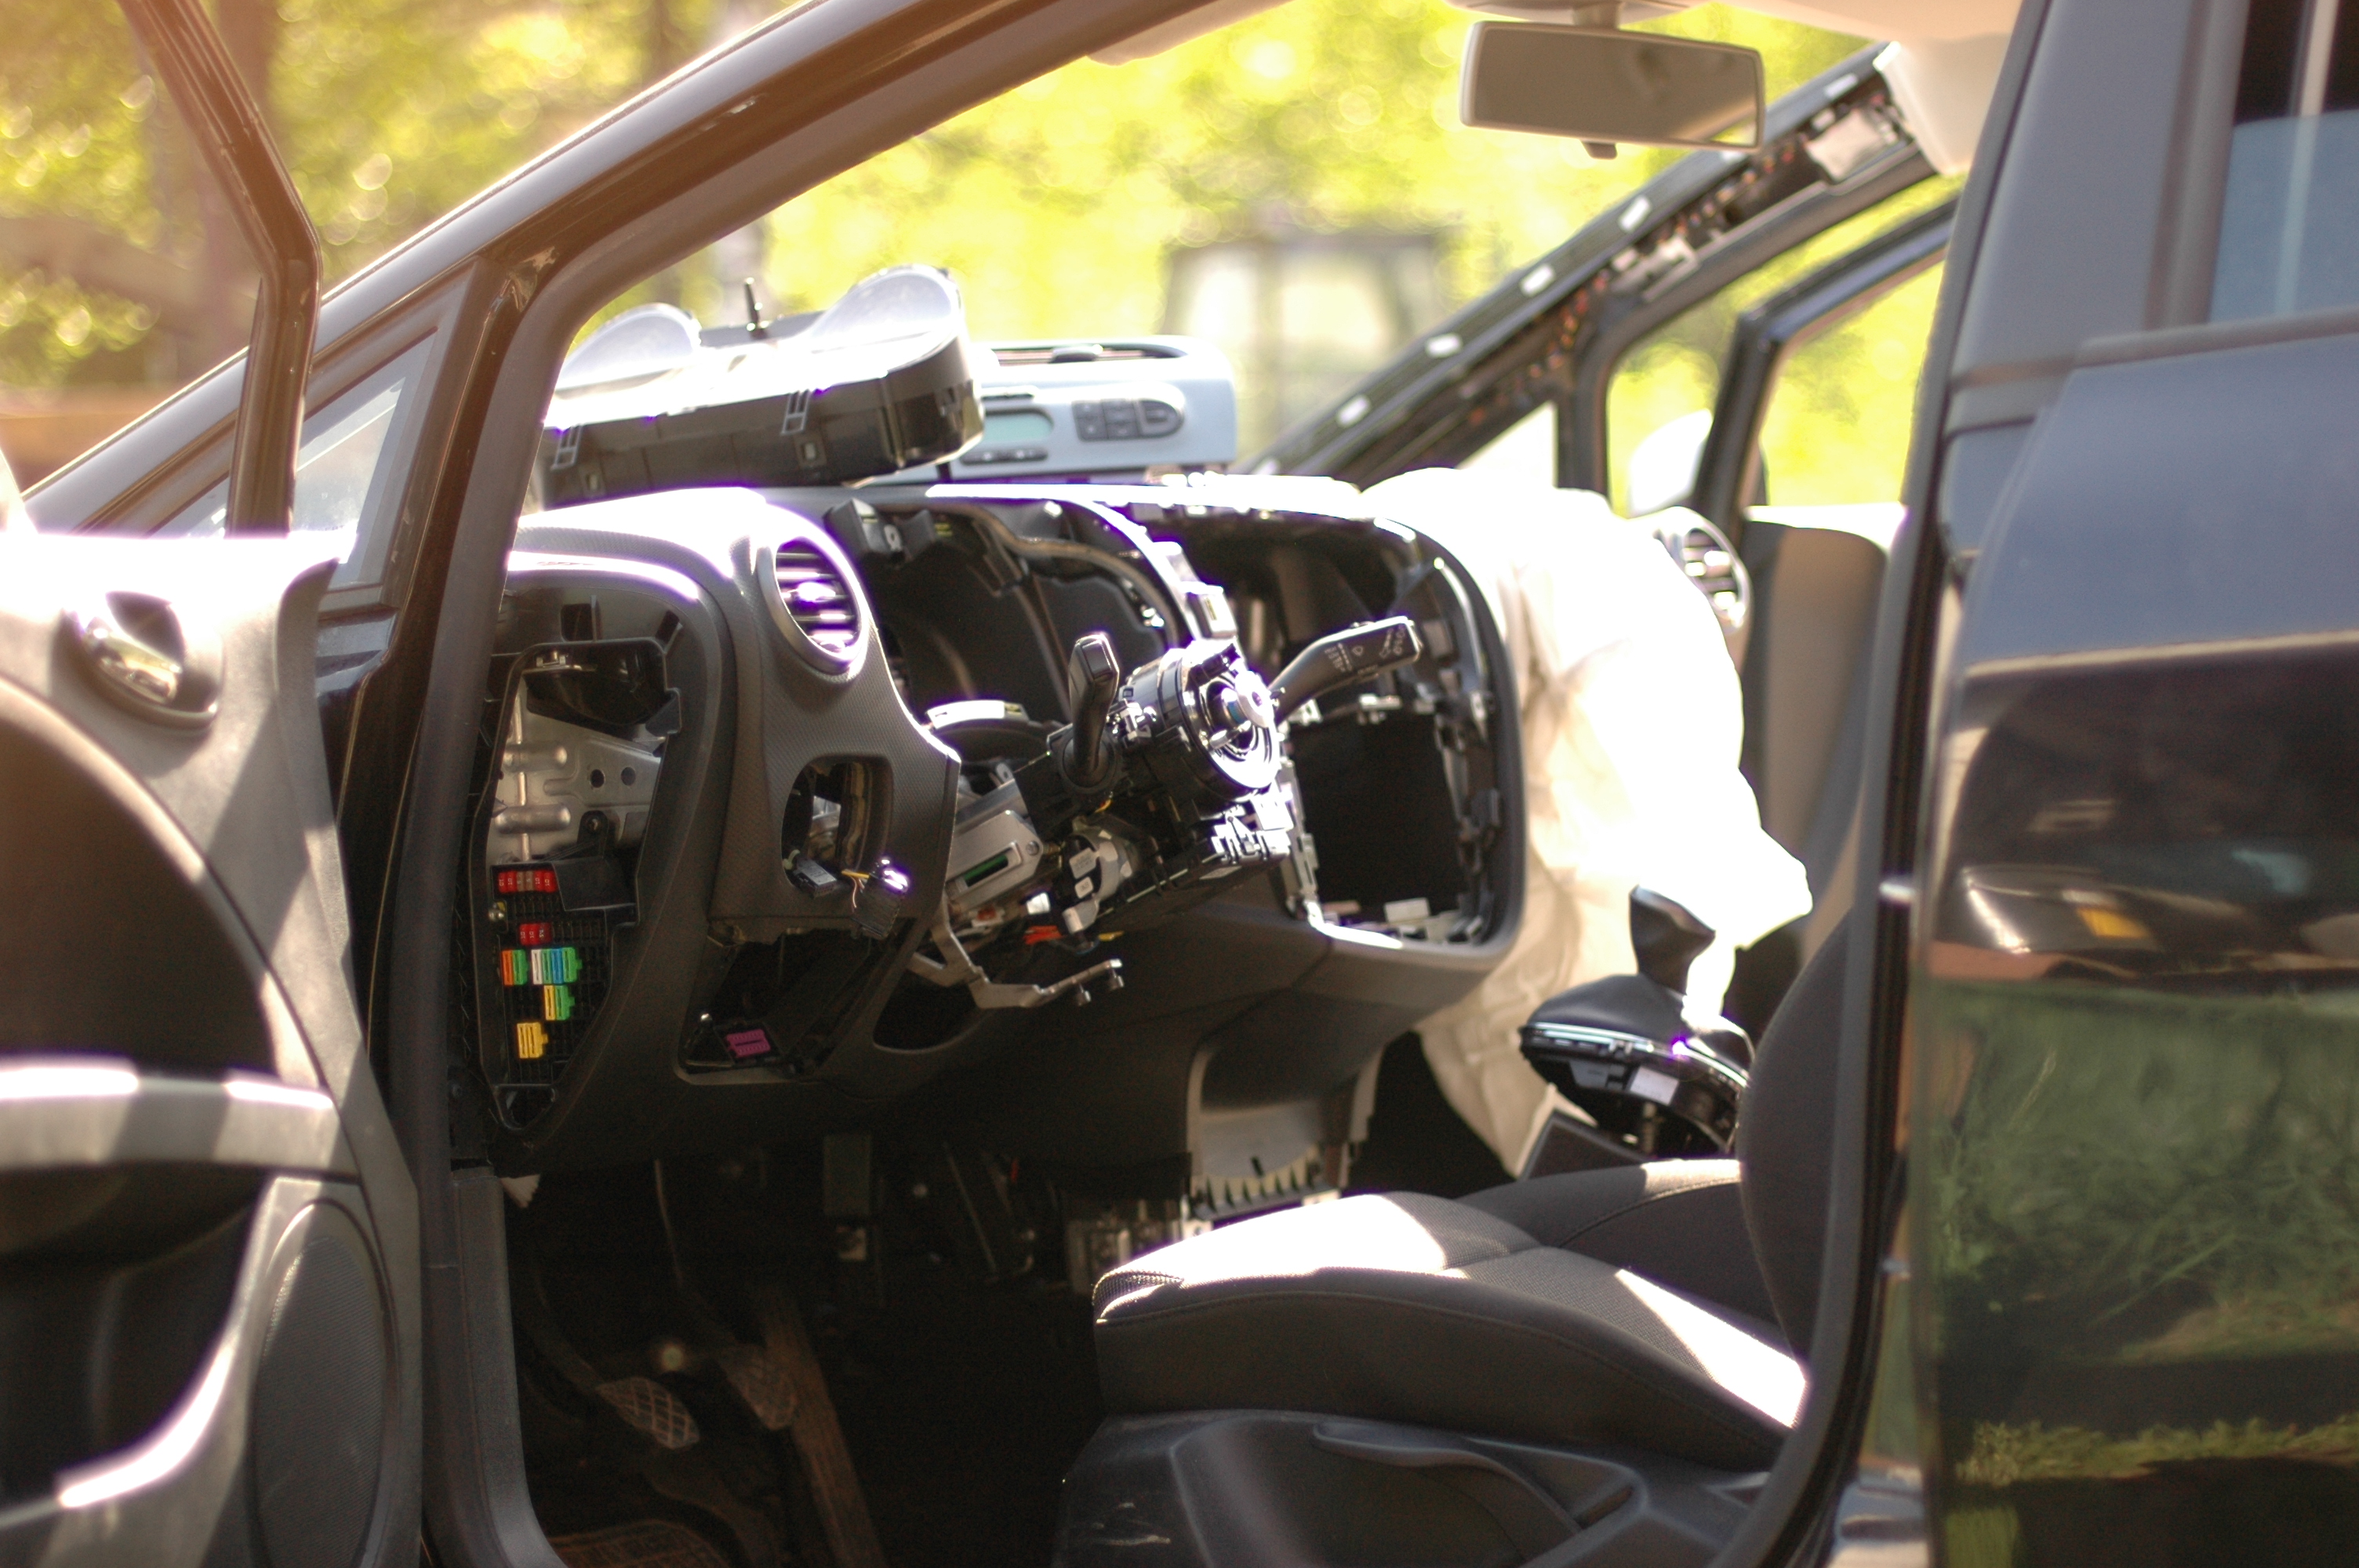
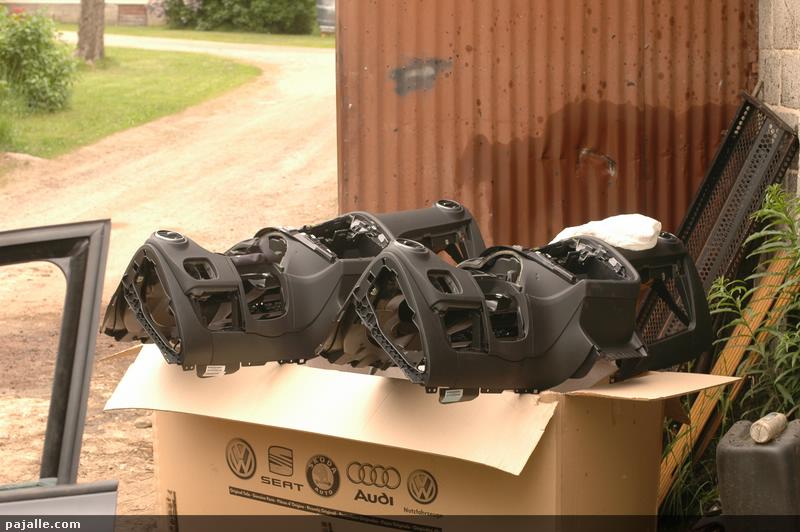
Old and new side by side—although both are quite new. The dashboard was the most expensive individual repair part at just under 600 euros. Luckily the airbags and belts were available used, saving a few hundred. New airbags are about 600–700 euros each and belts a little over 150 euros.
The passenger-side 'bomb'.
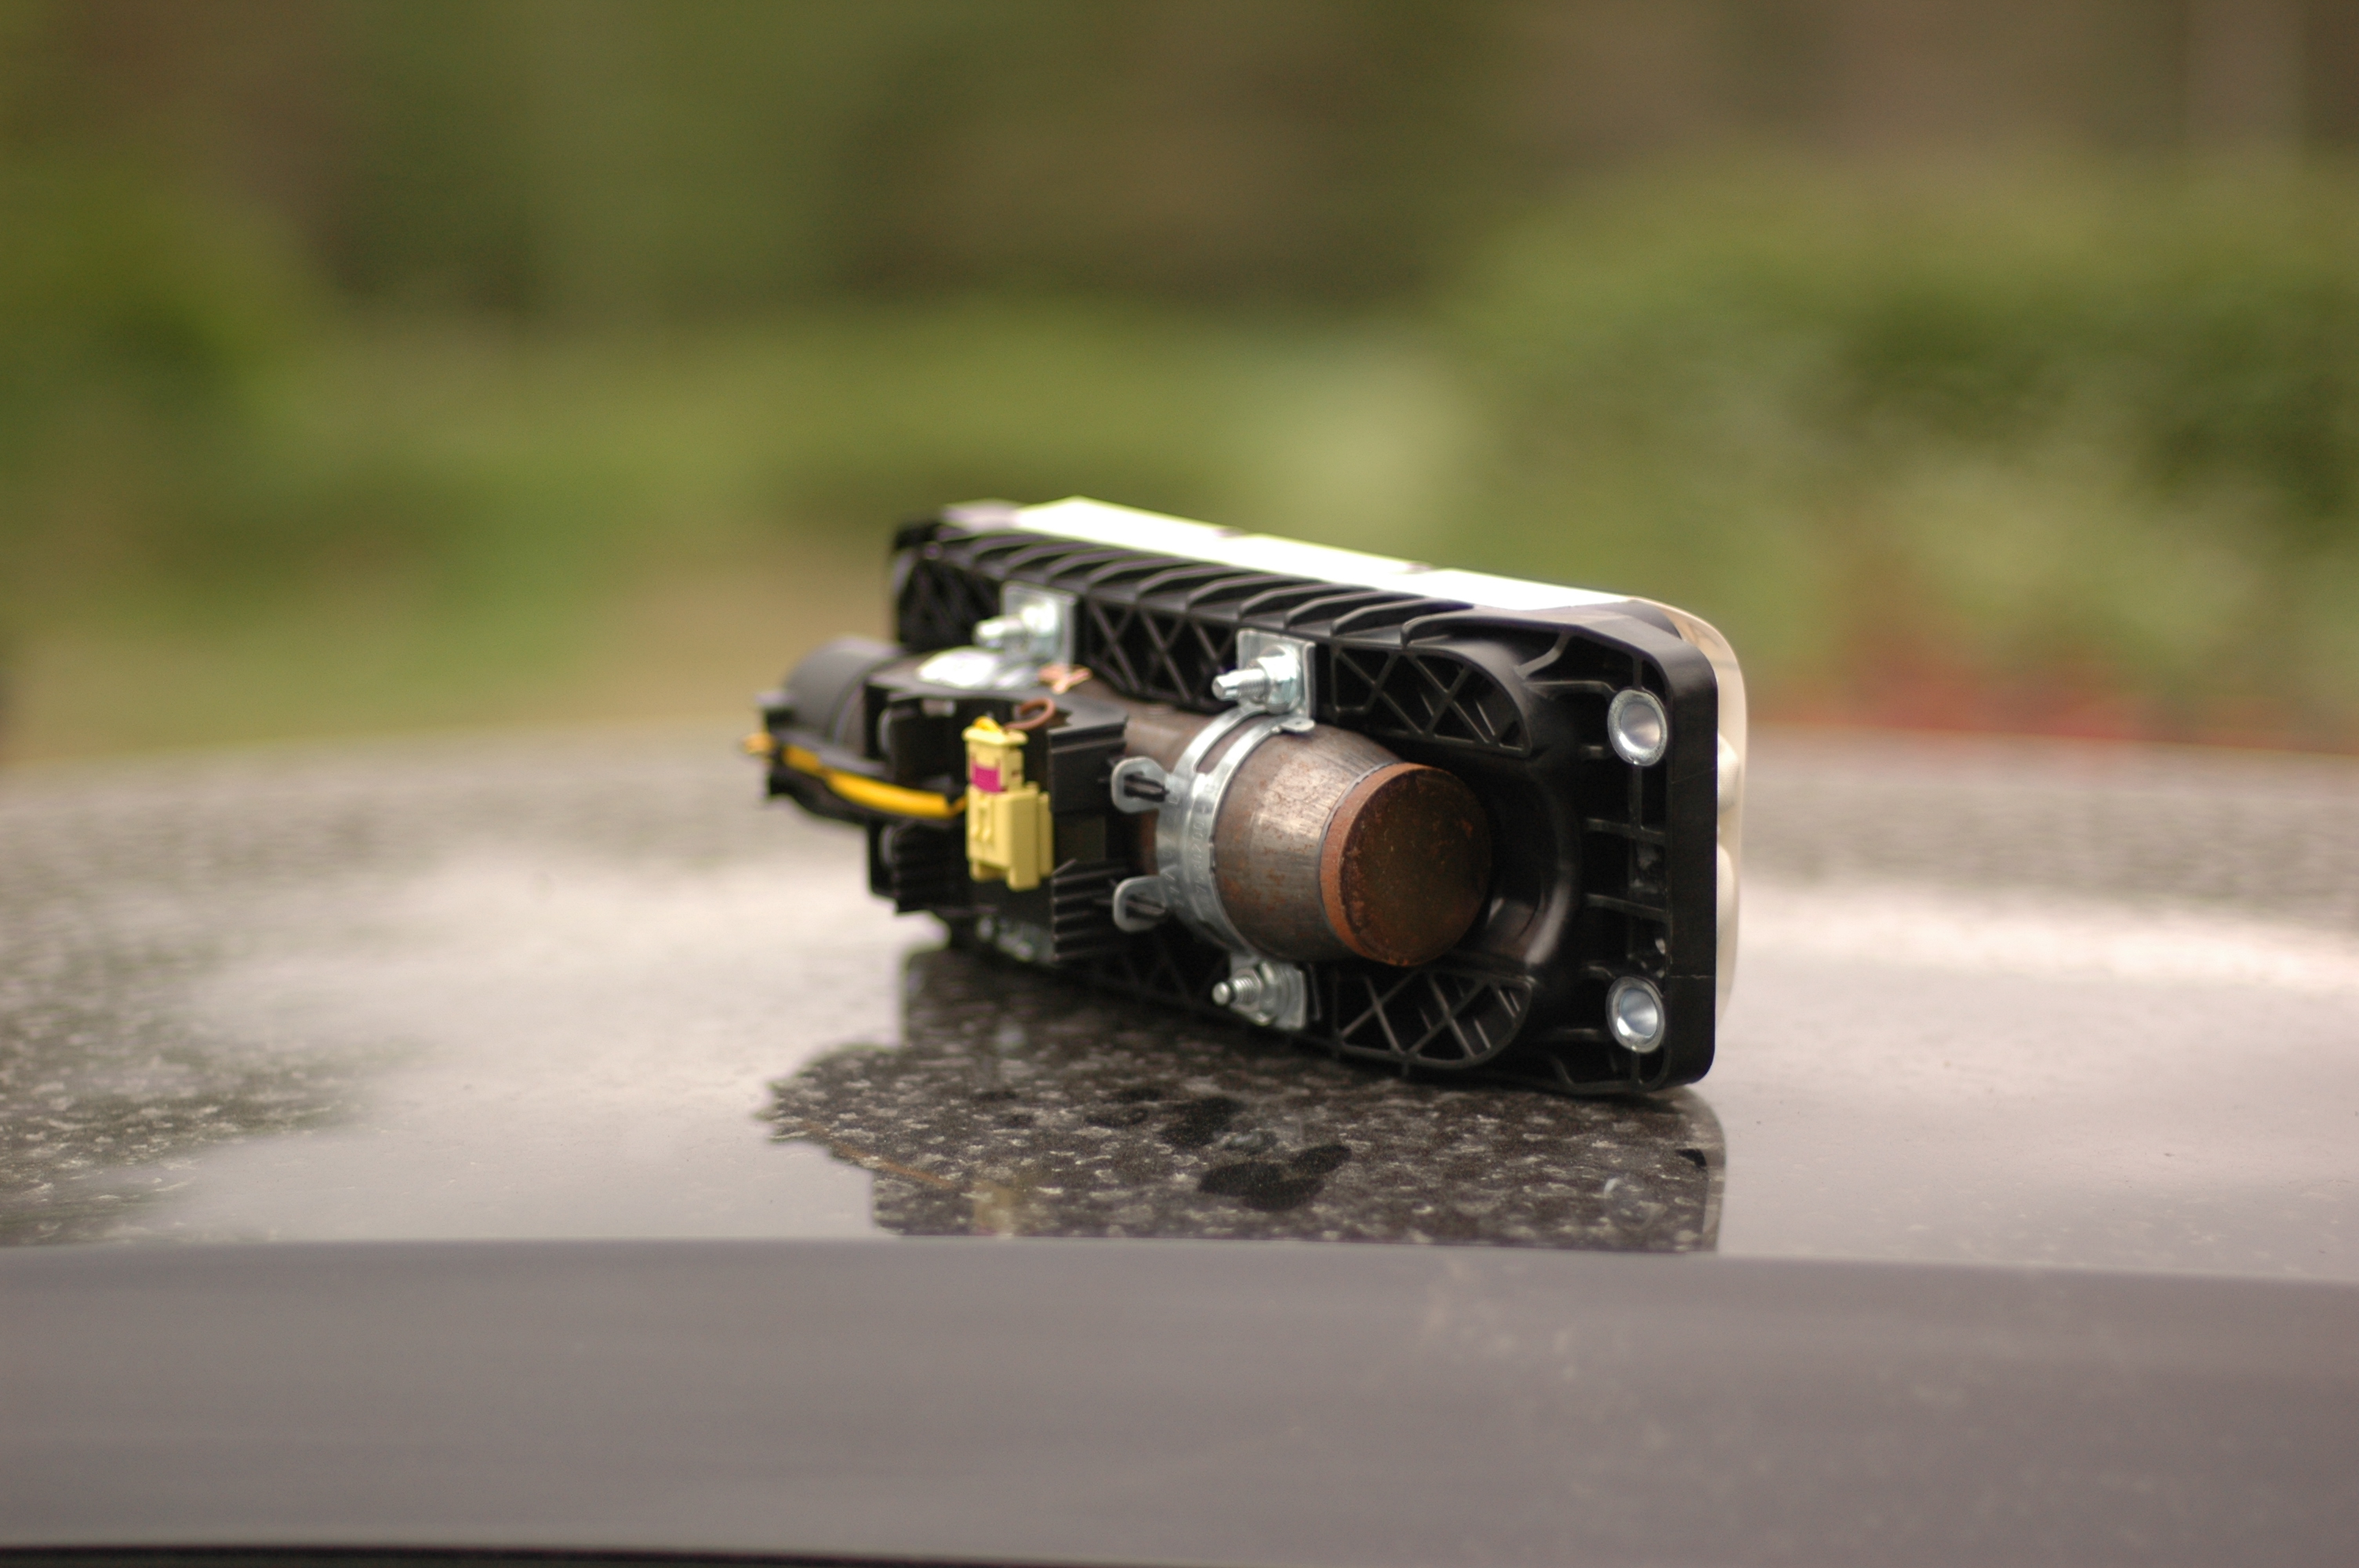
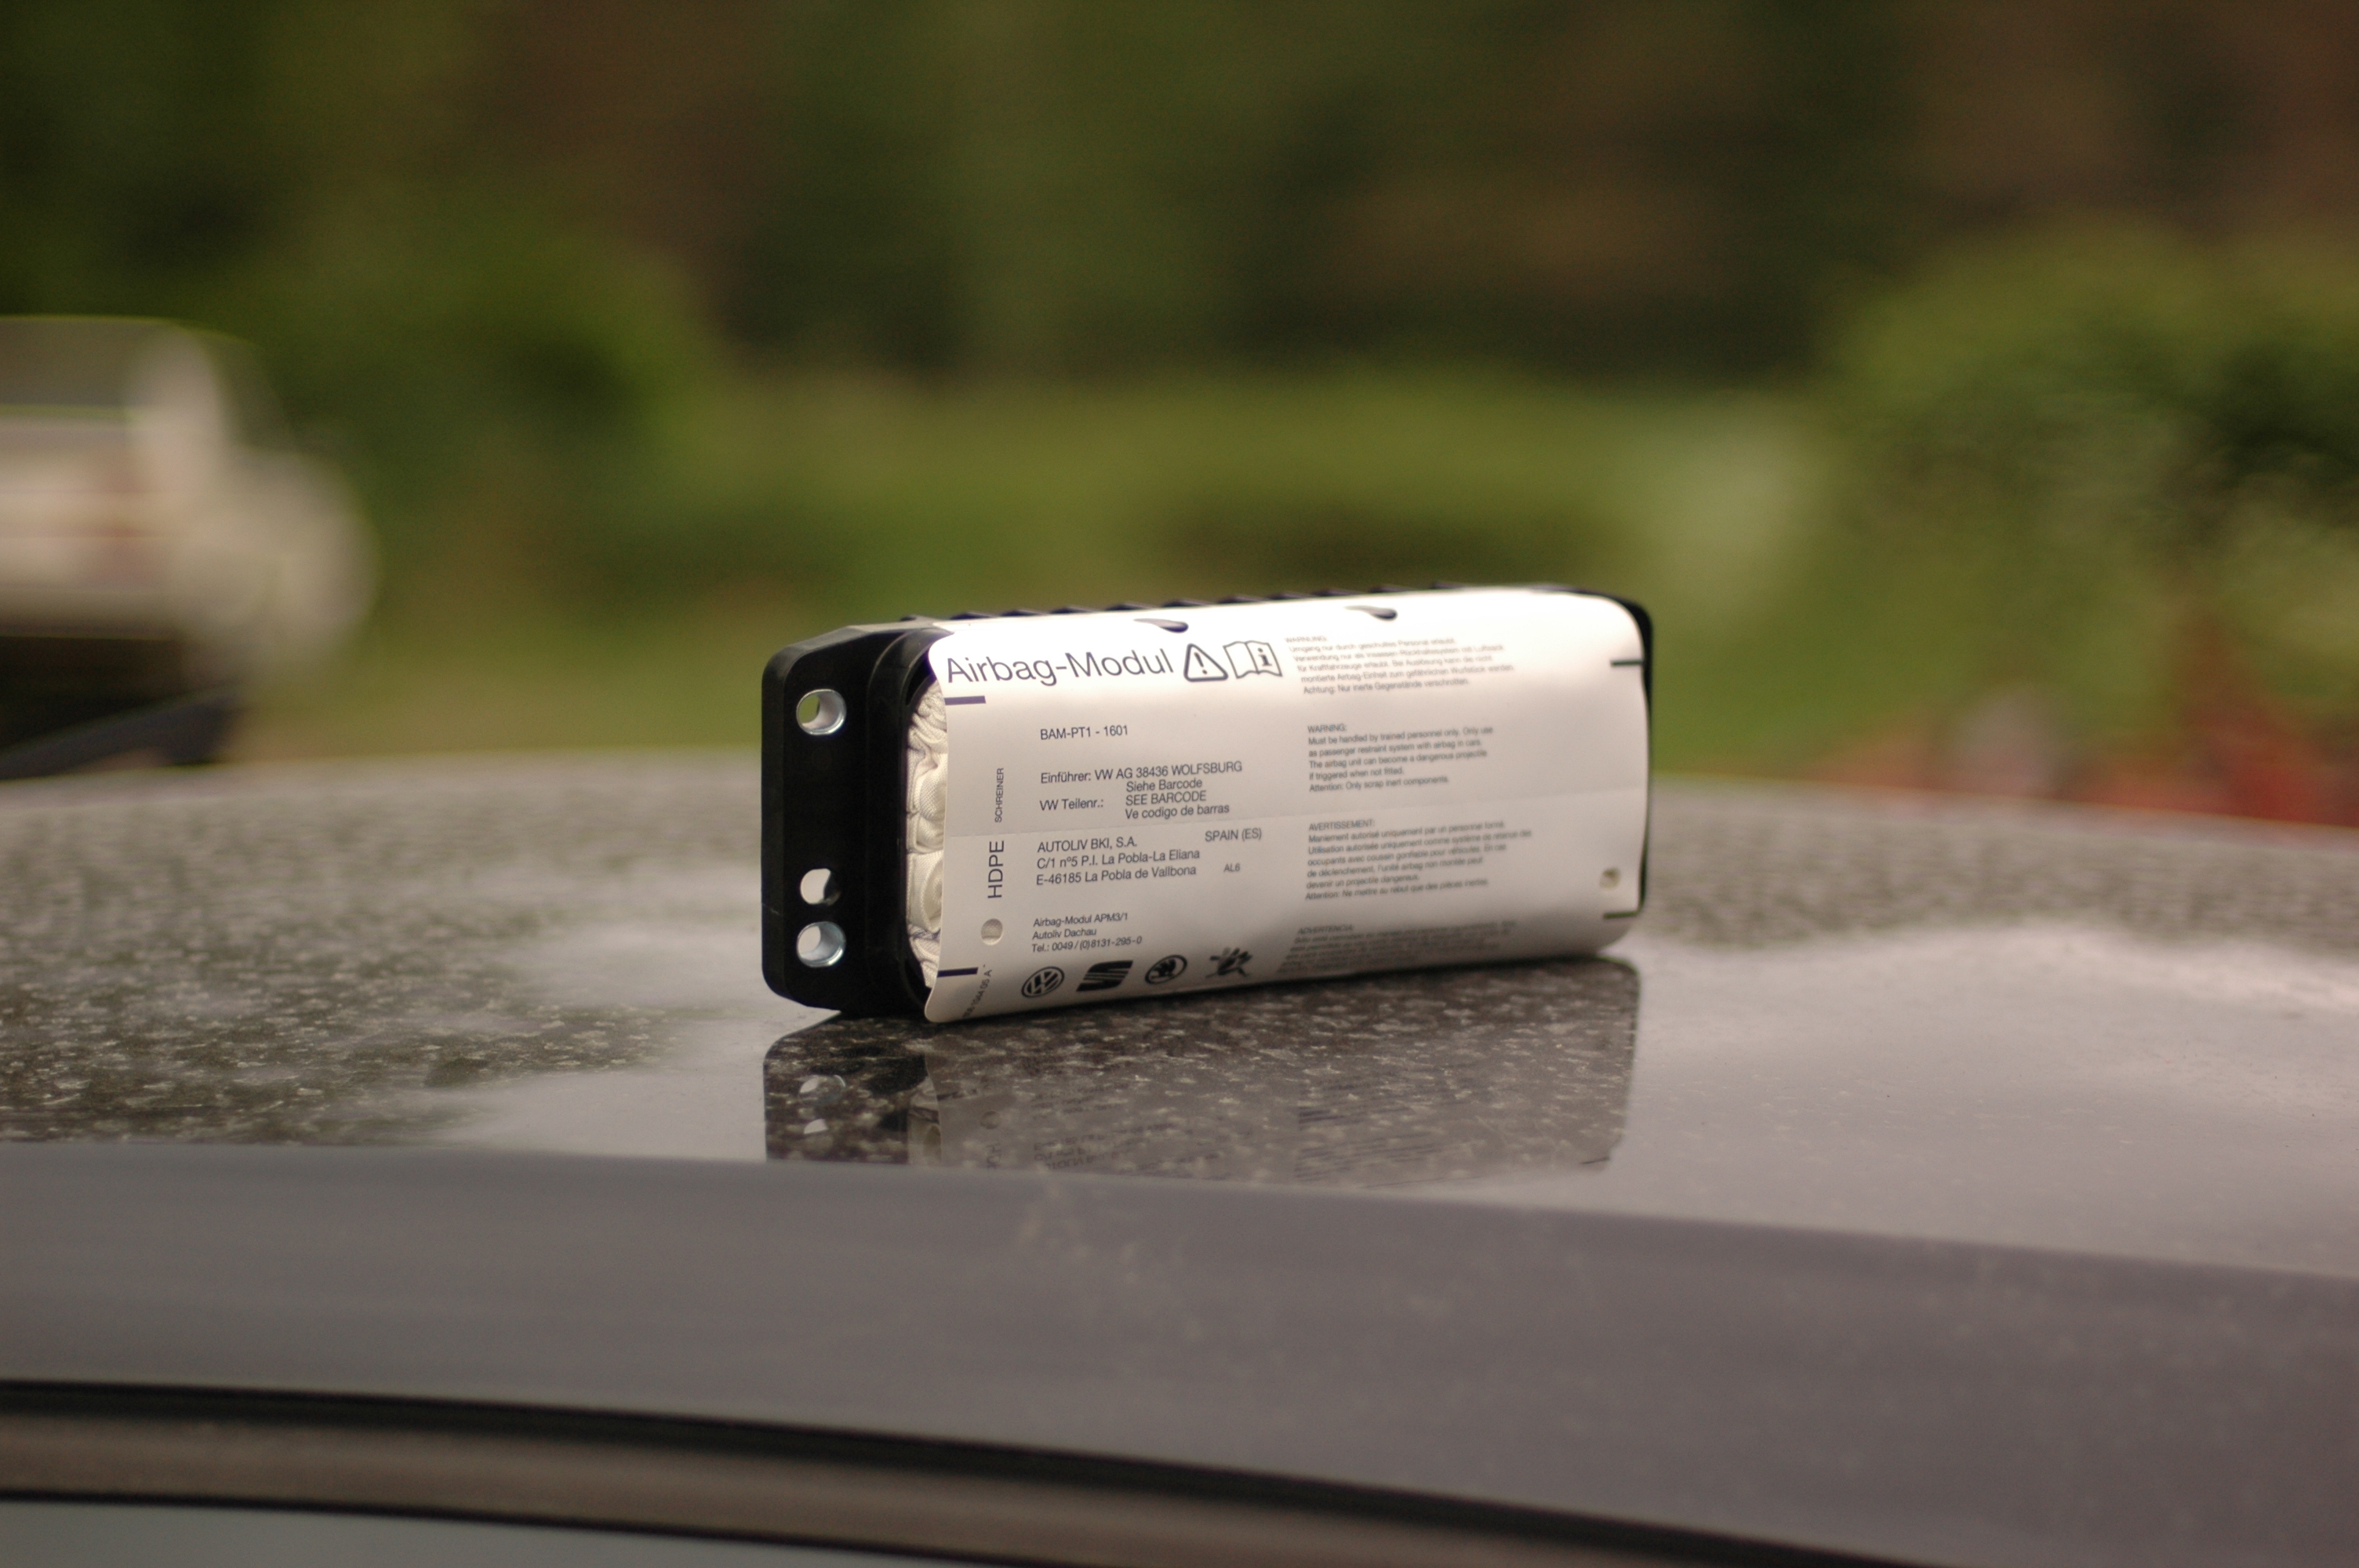
Then simply reassemble everything in reverse order.
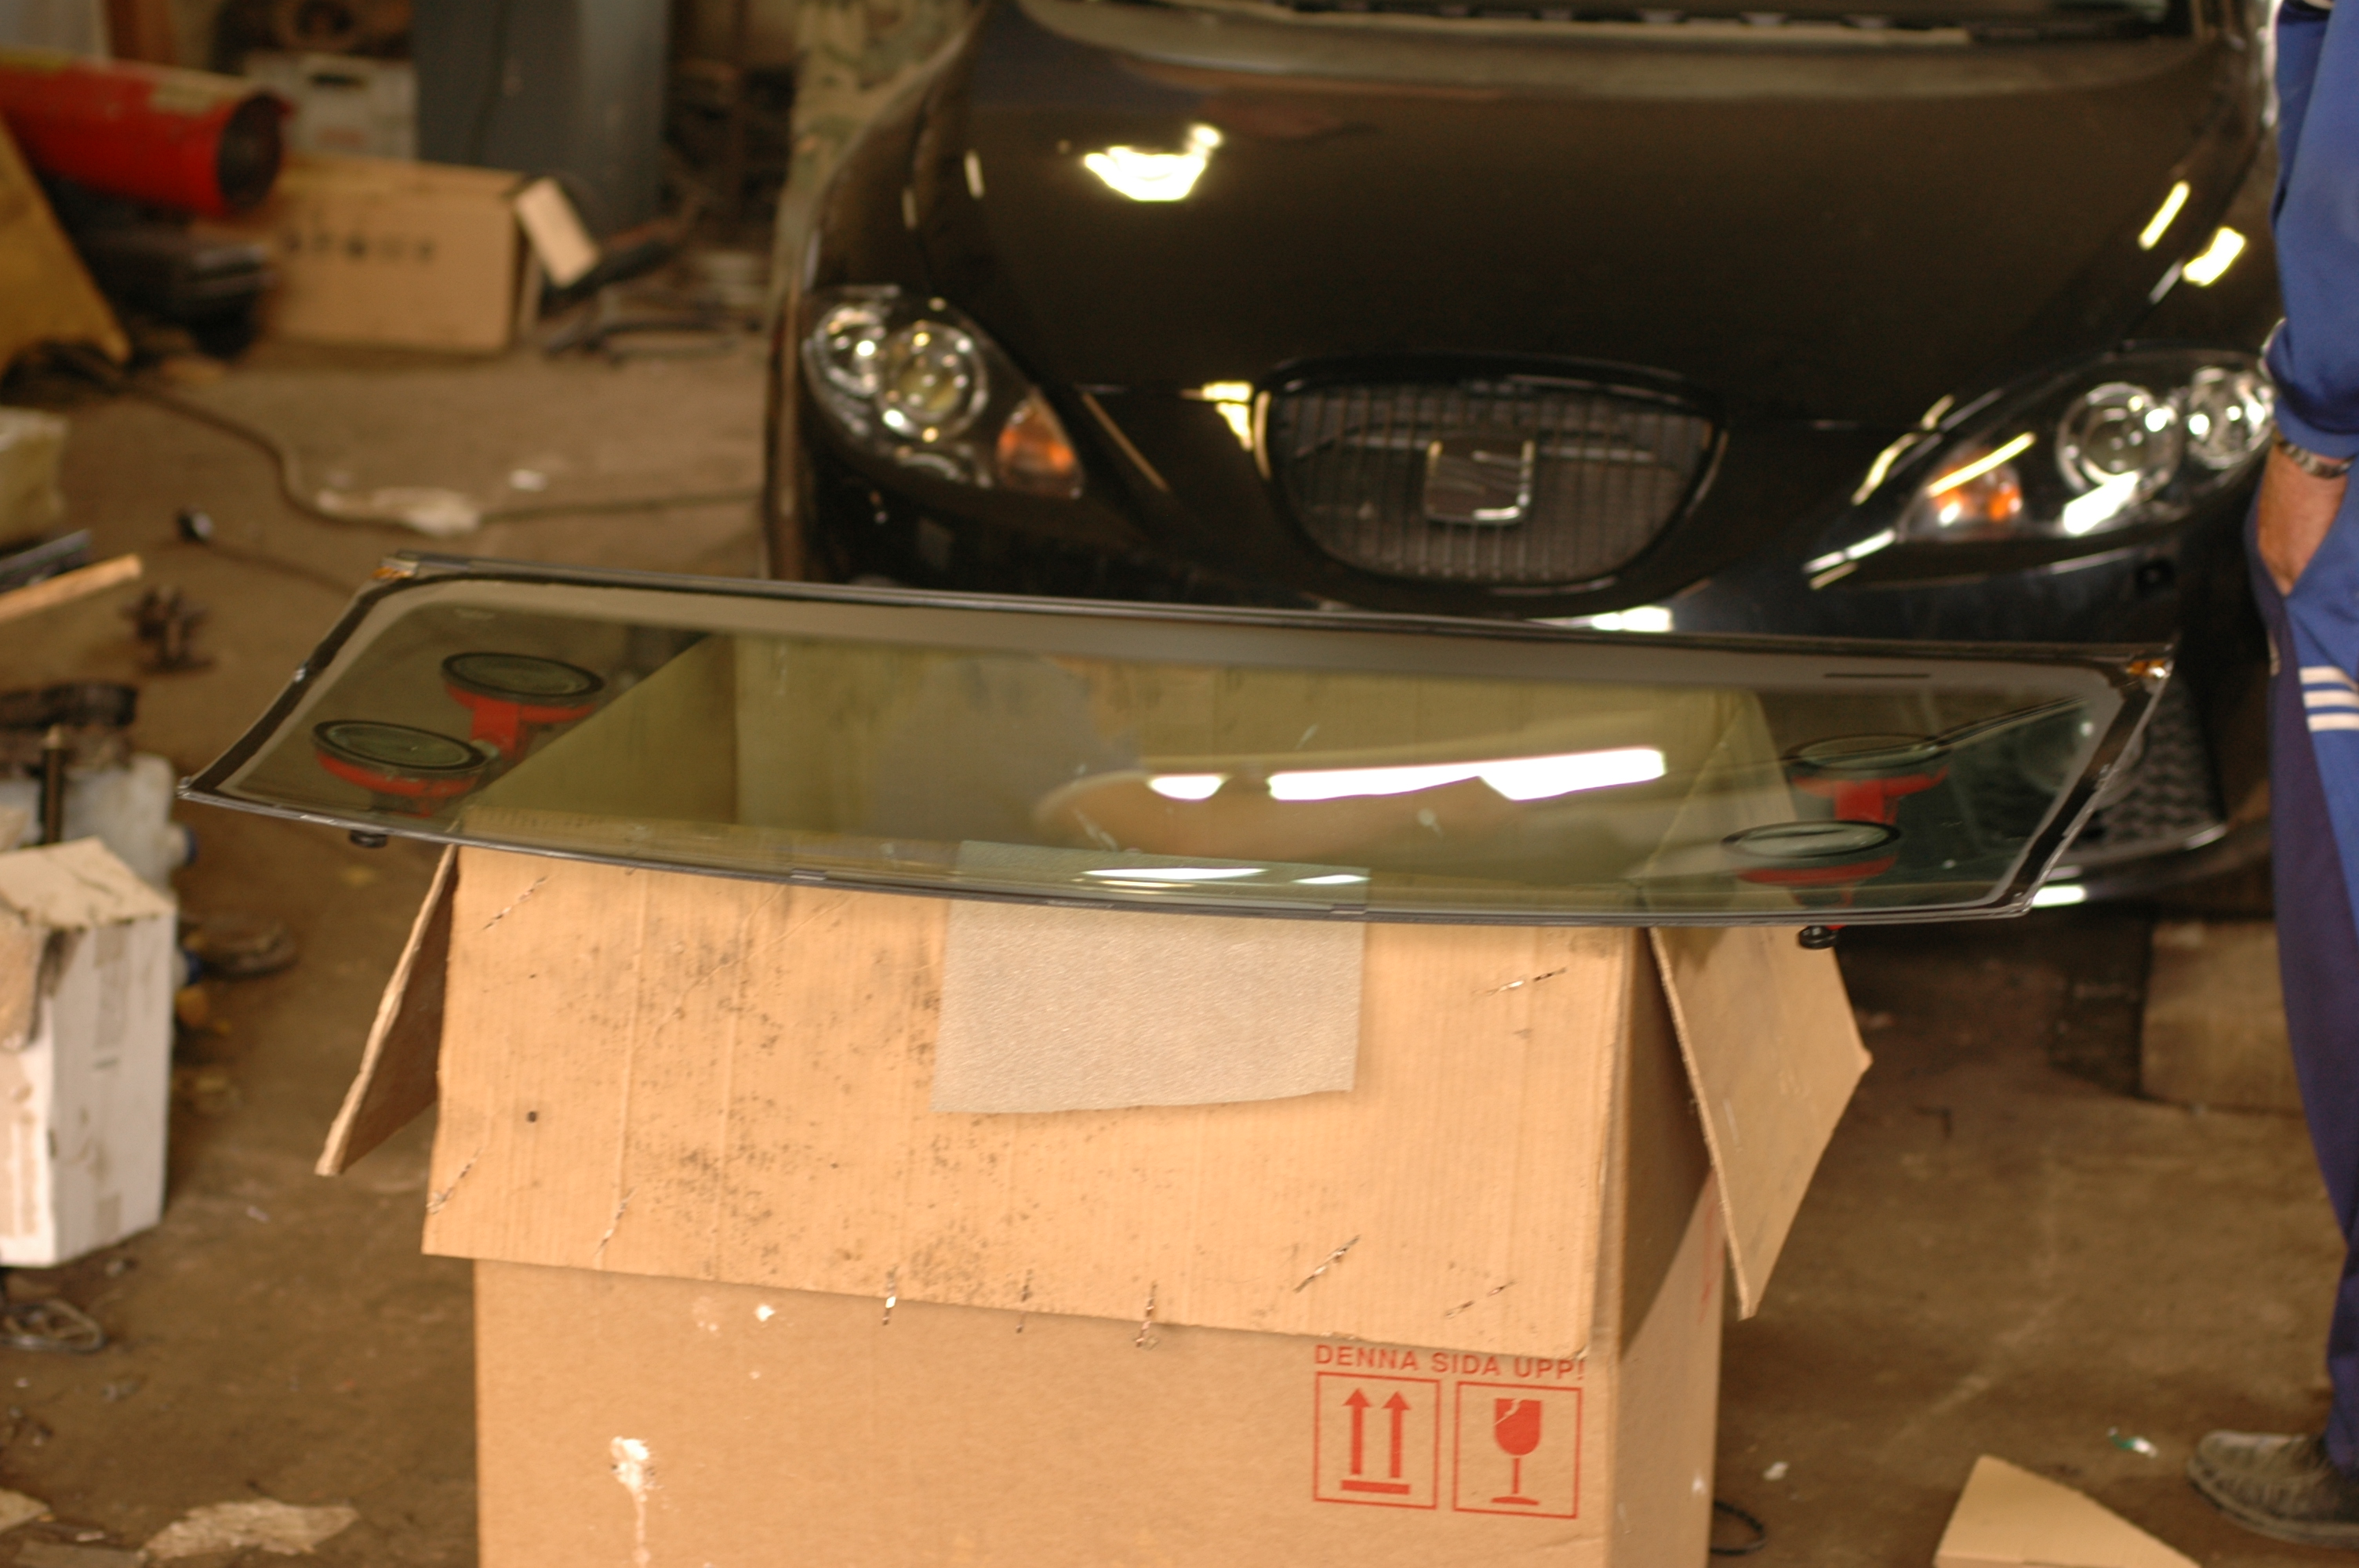
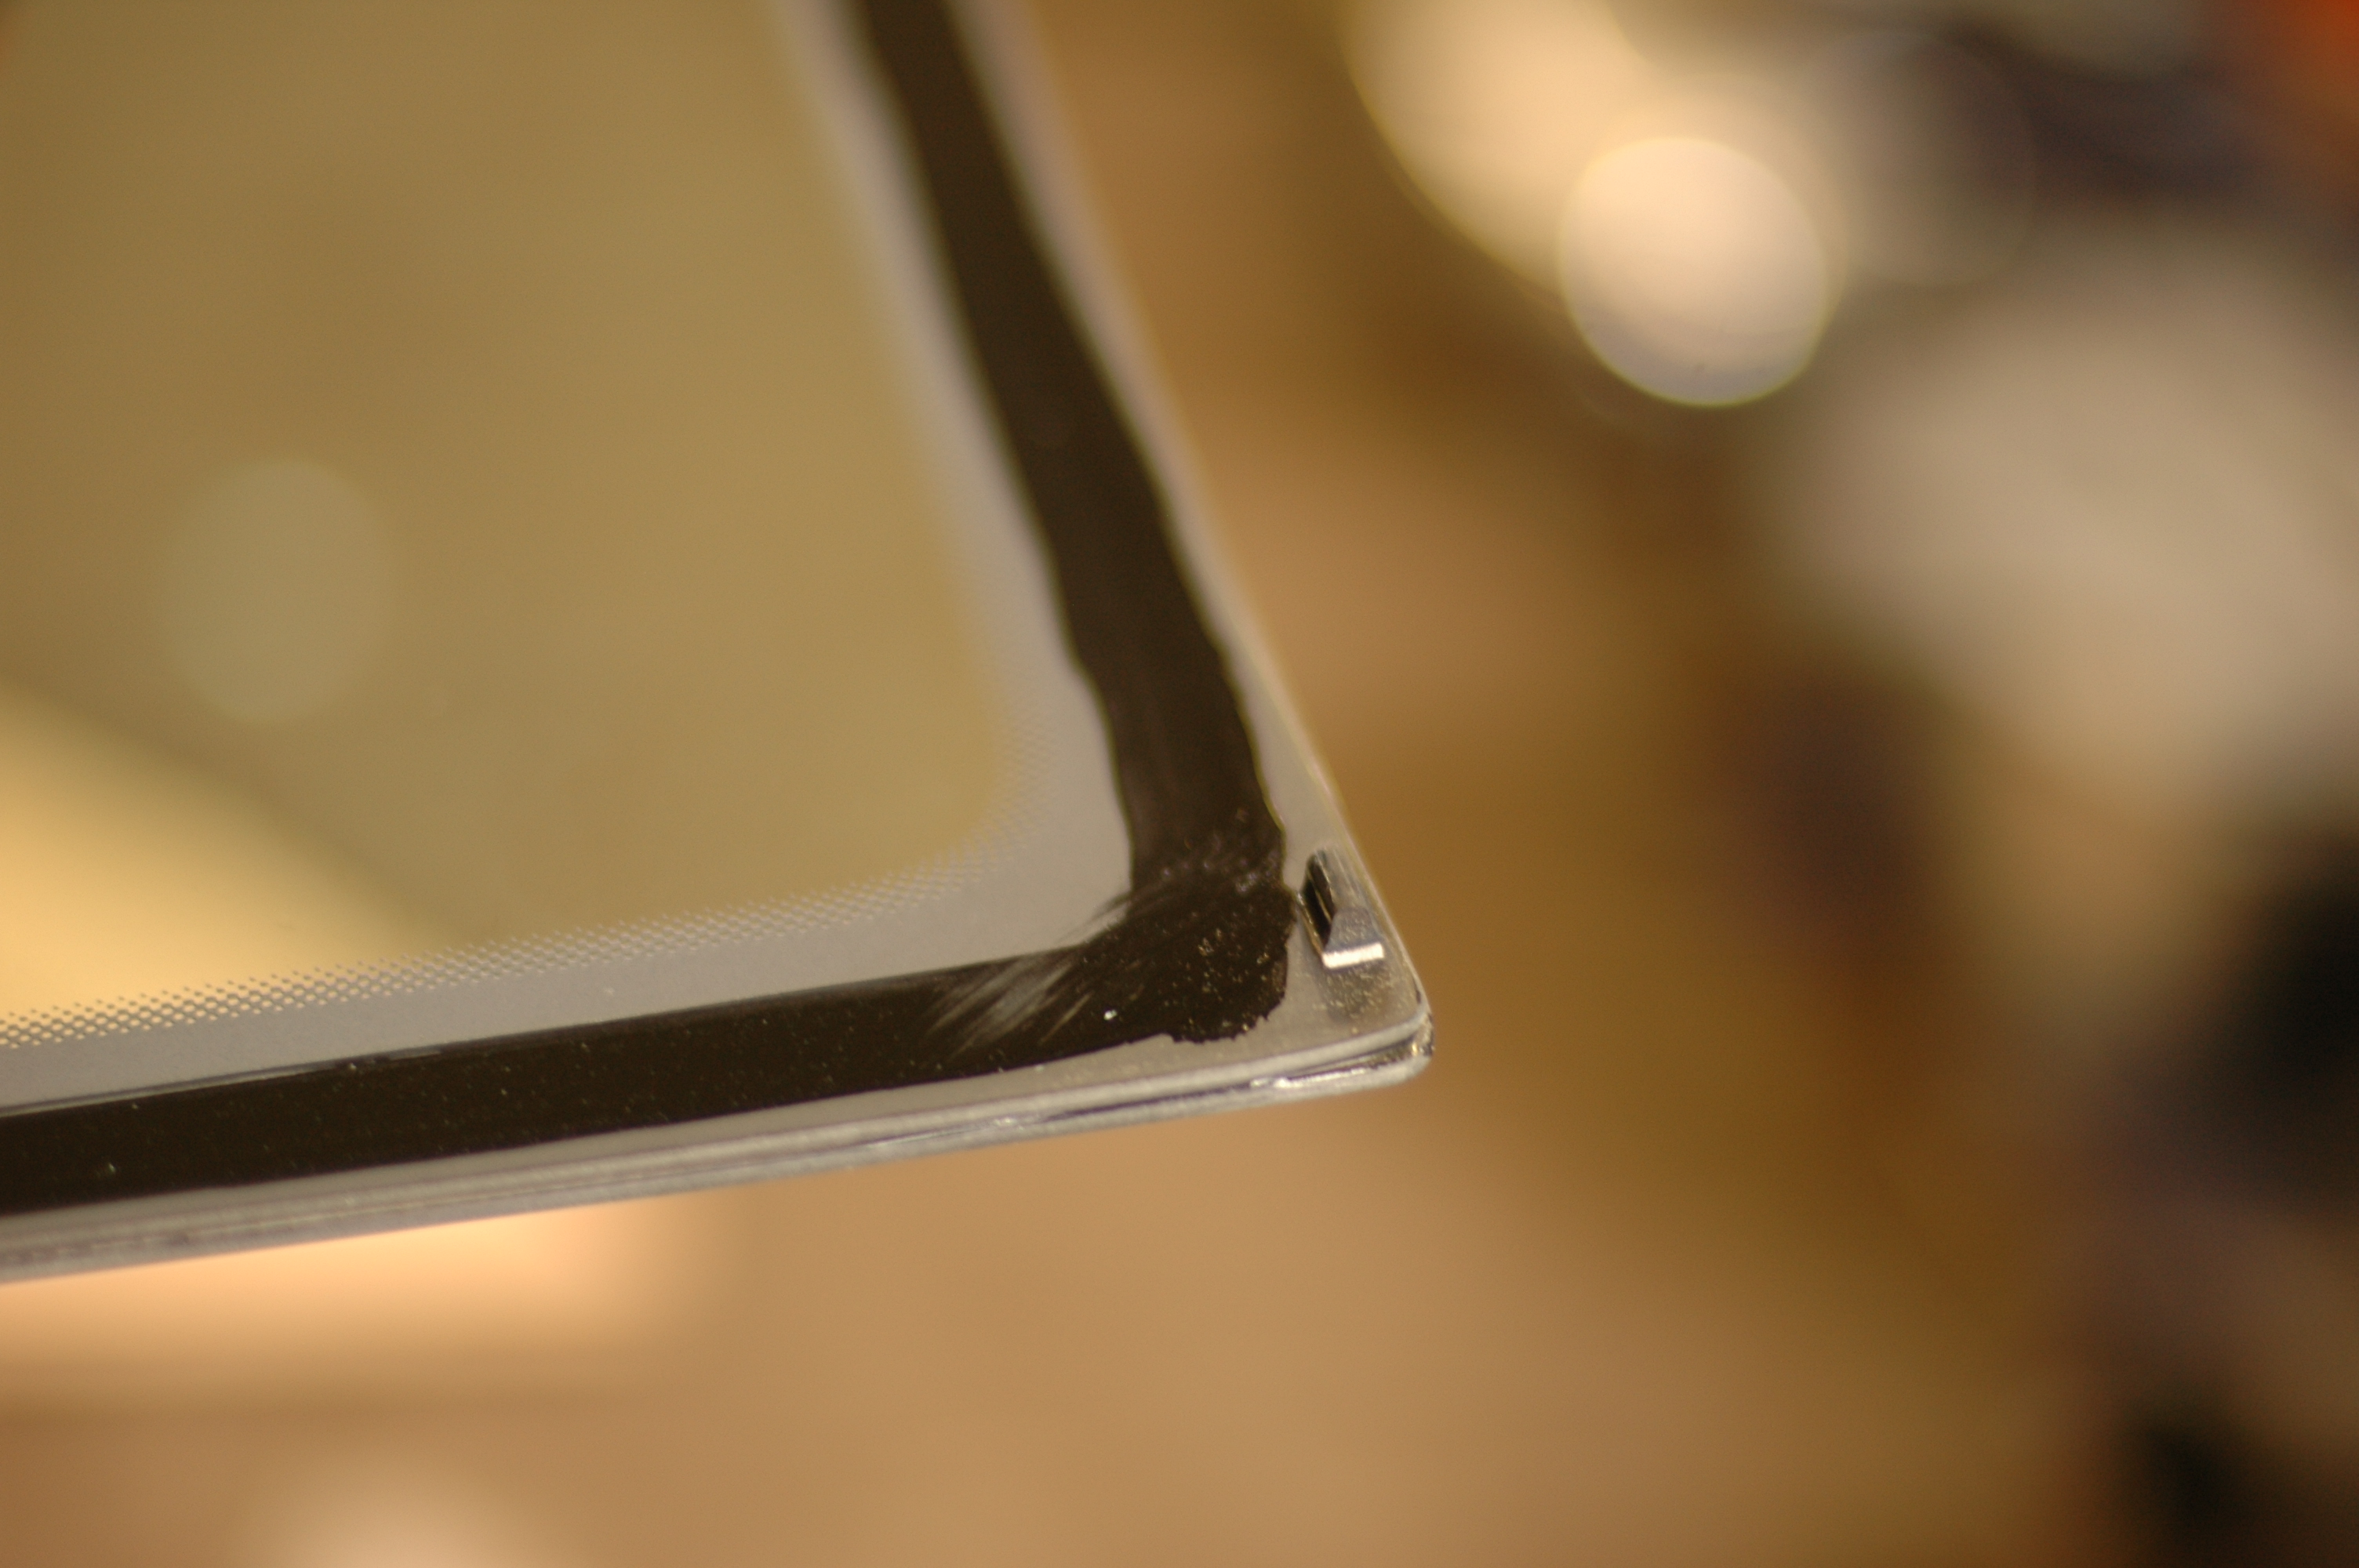
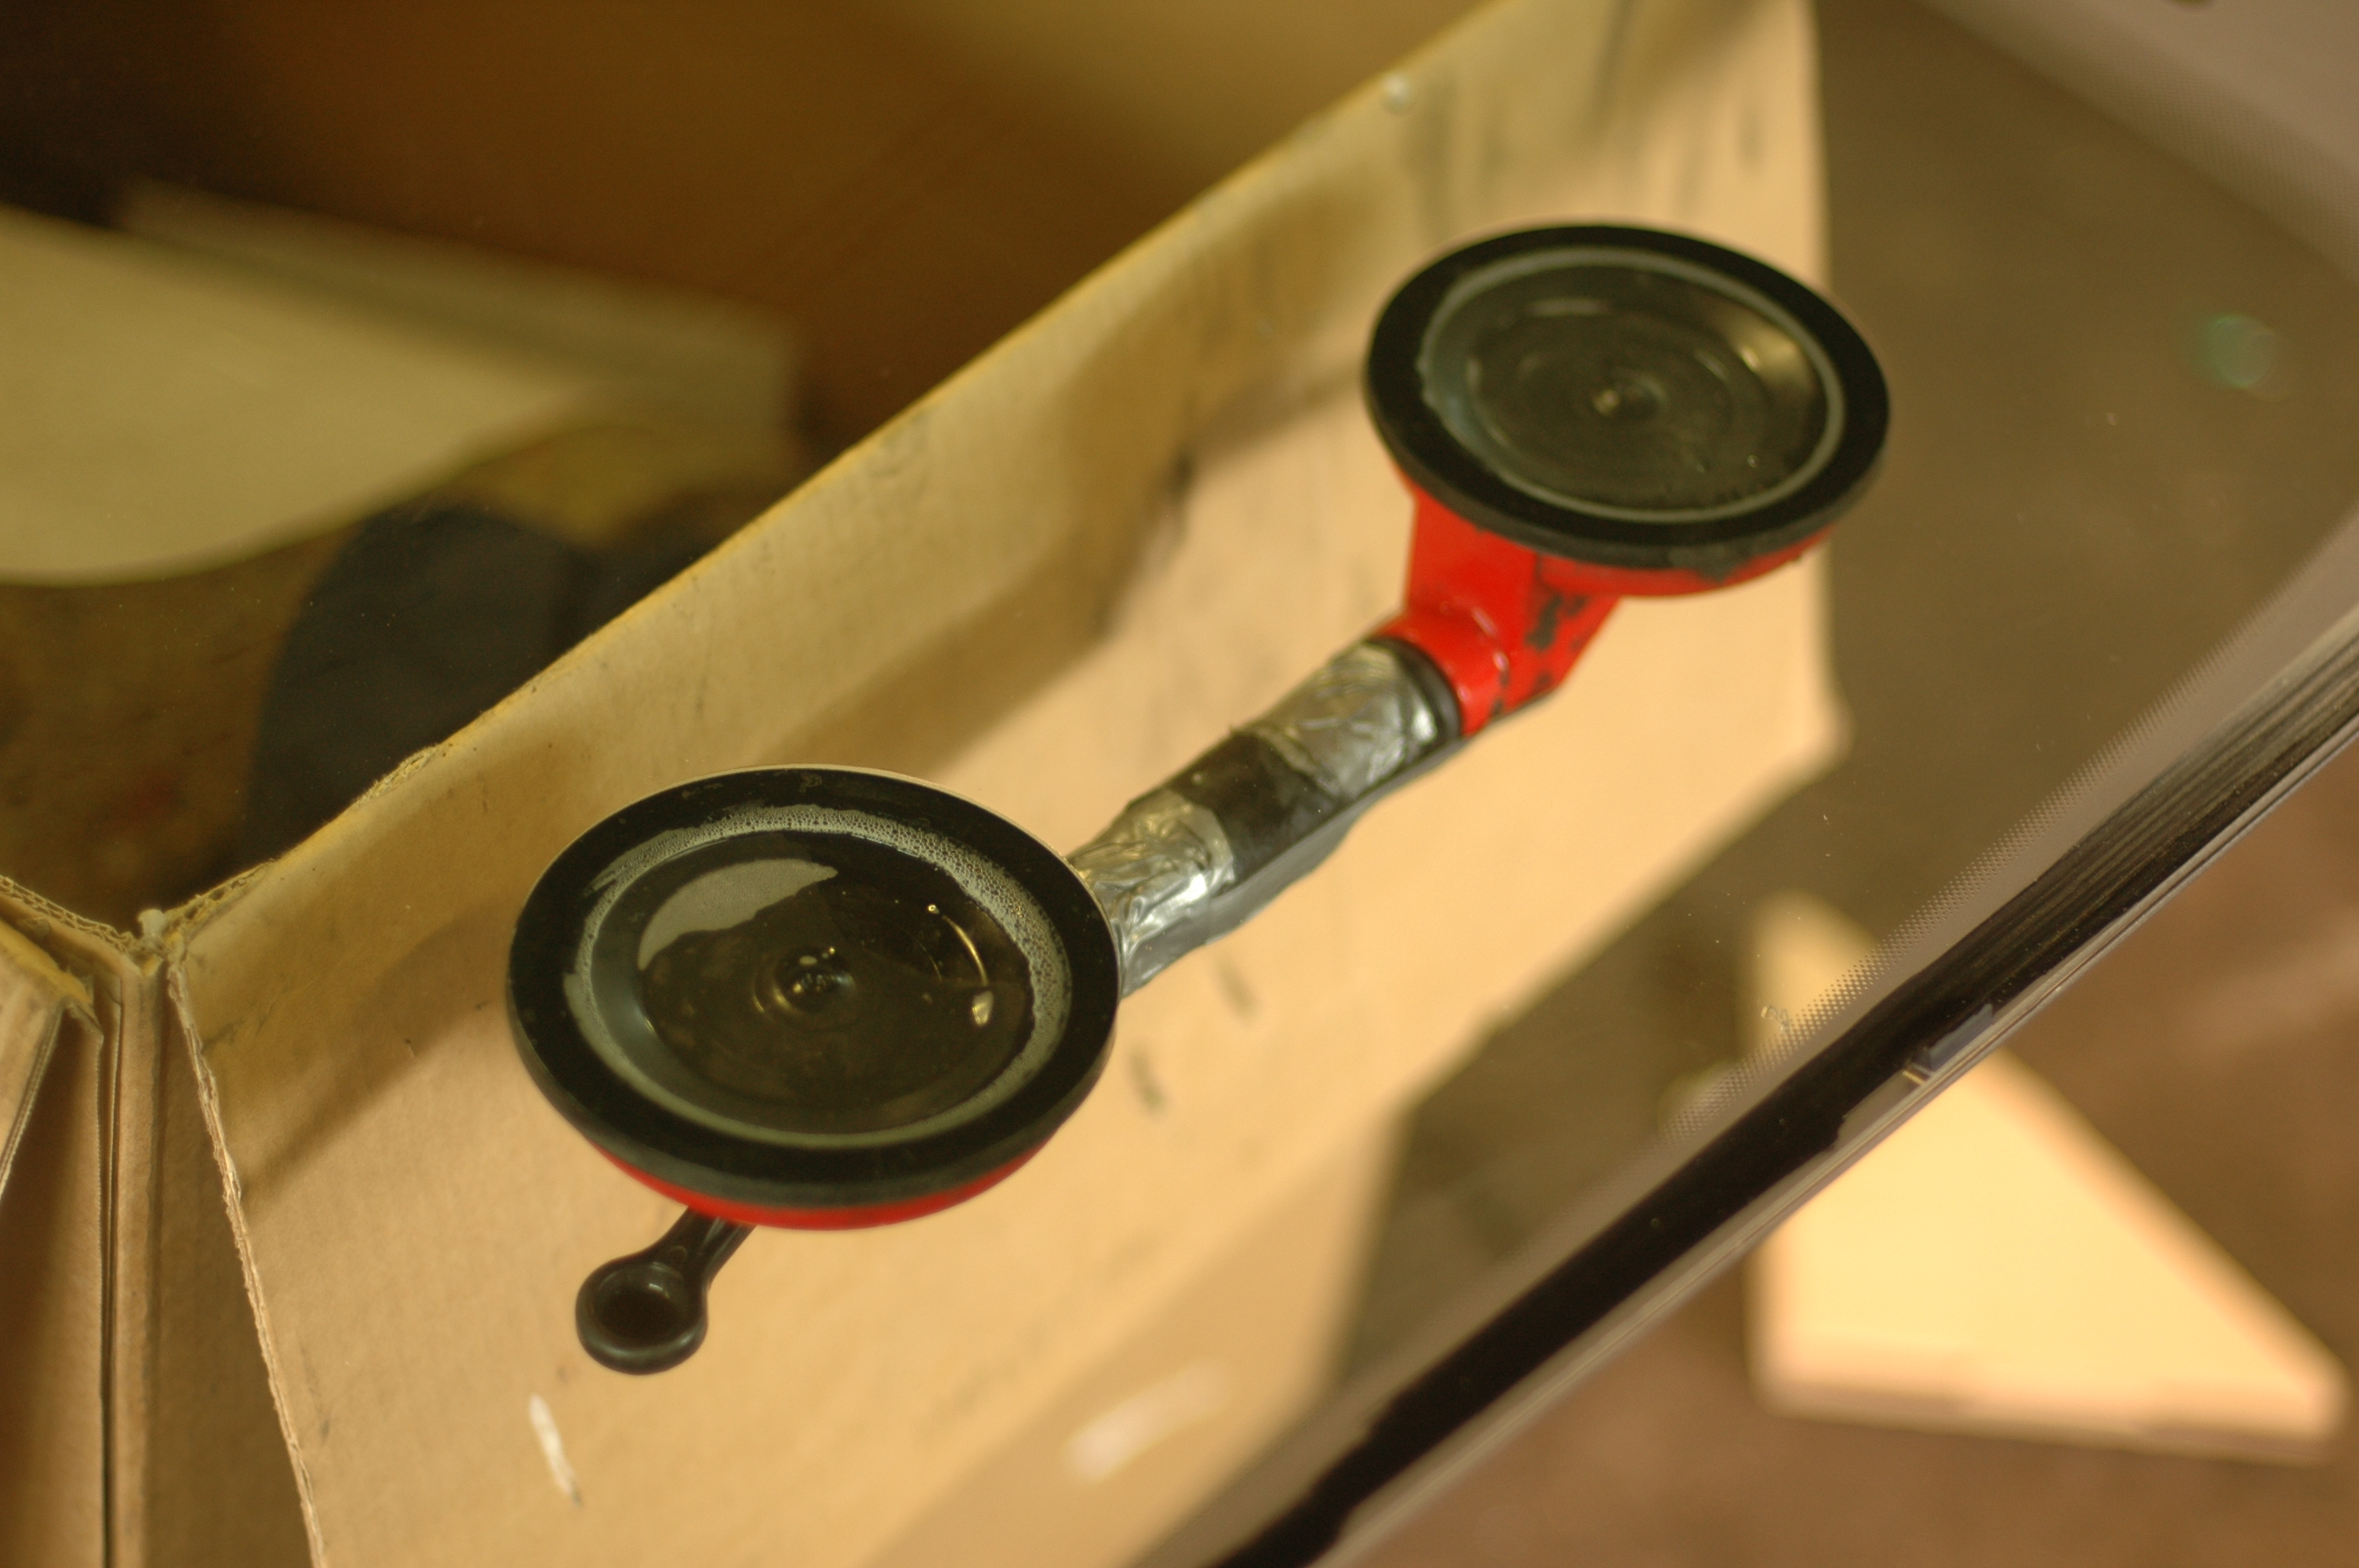
Next the windscreen. The original was cut out with wire and the excess adhesive trimmed from the frame. The glass edge and seal were treated with primer. After it dried briefly, windscreen adhesive was applied around the glass, which was lifted into place with suction cups. Refit the plastics and wipers, wait at least four hours, and done.
Repair finished
This is how it turned out. A little over three weeks, mostly spent finding and waiting for parts.
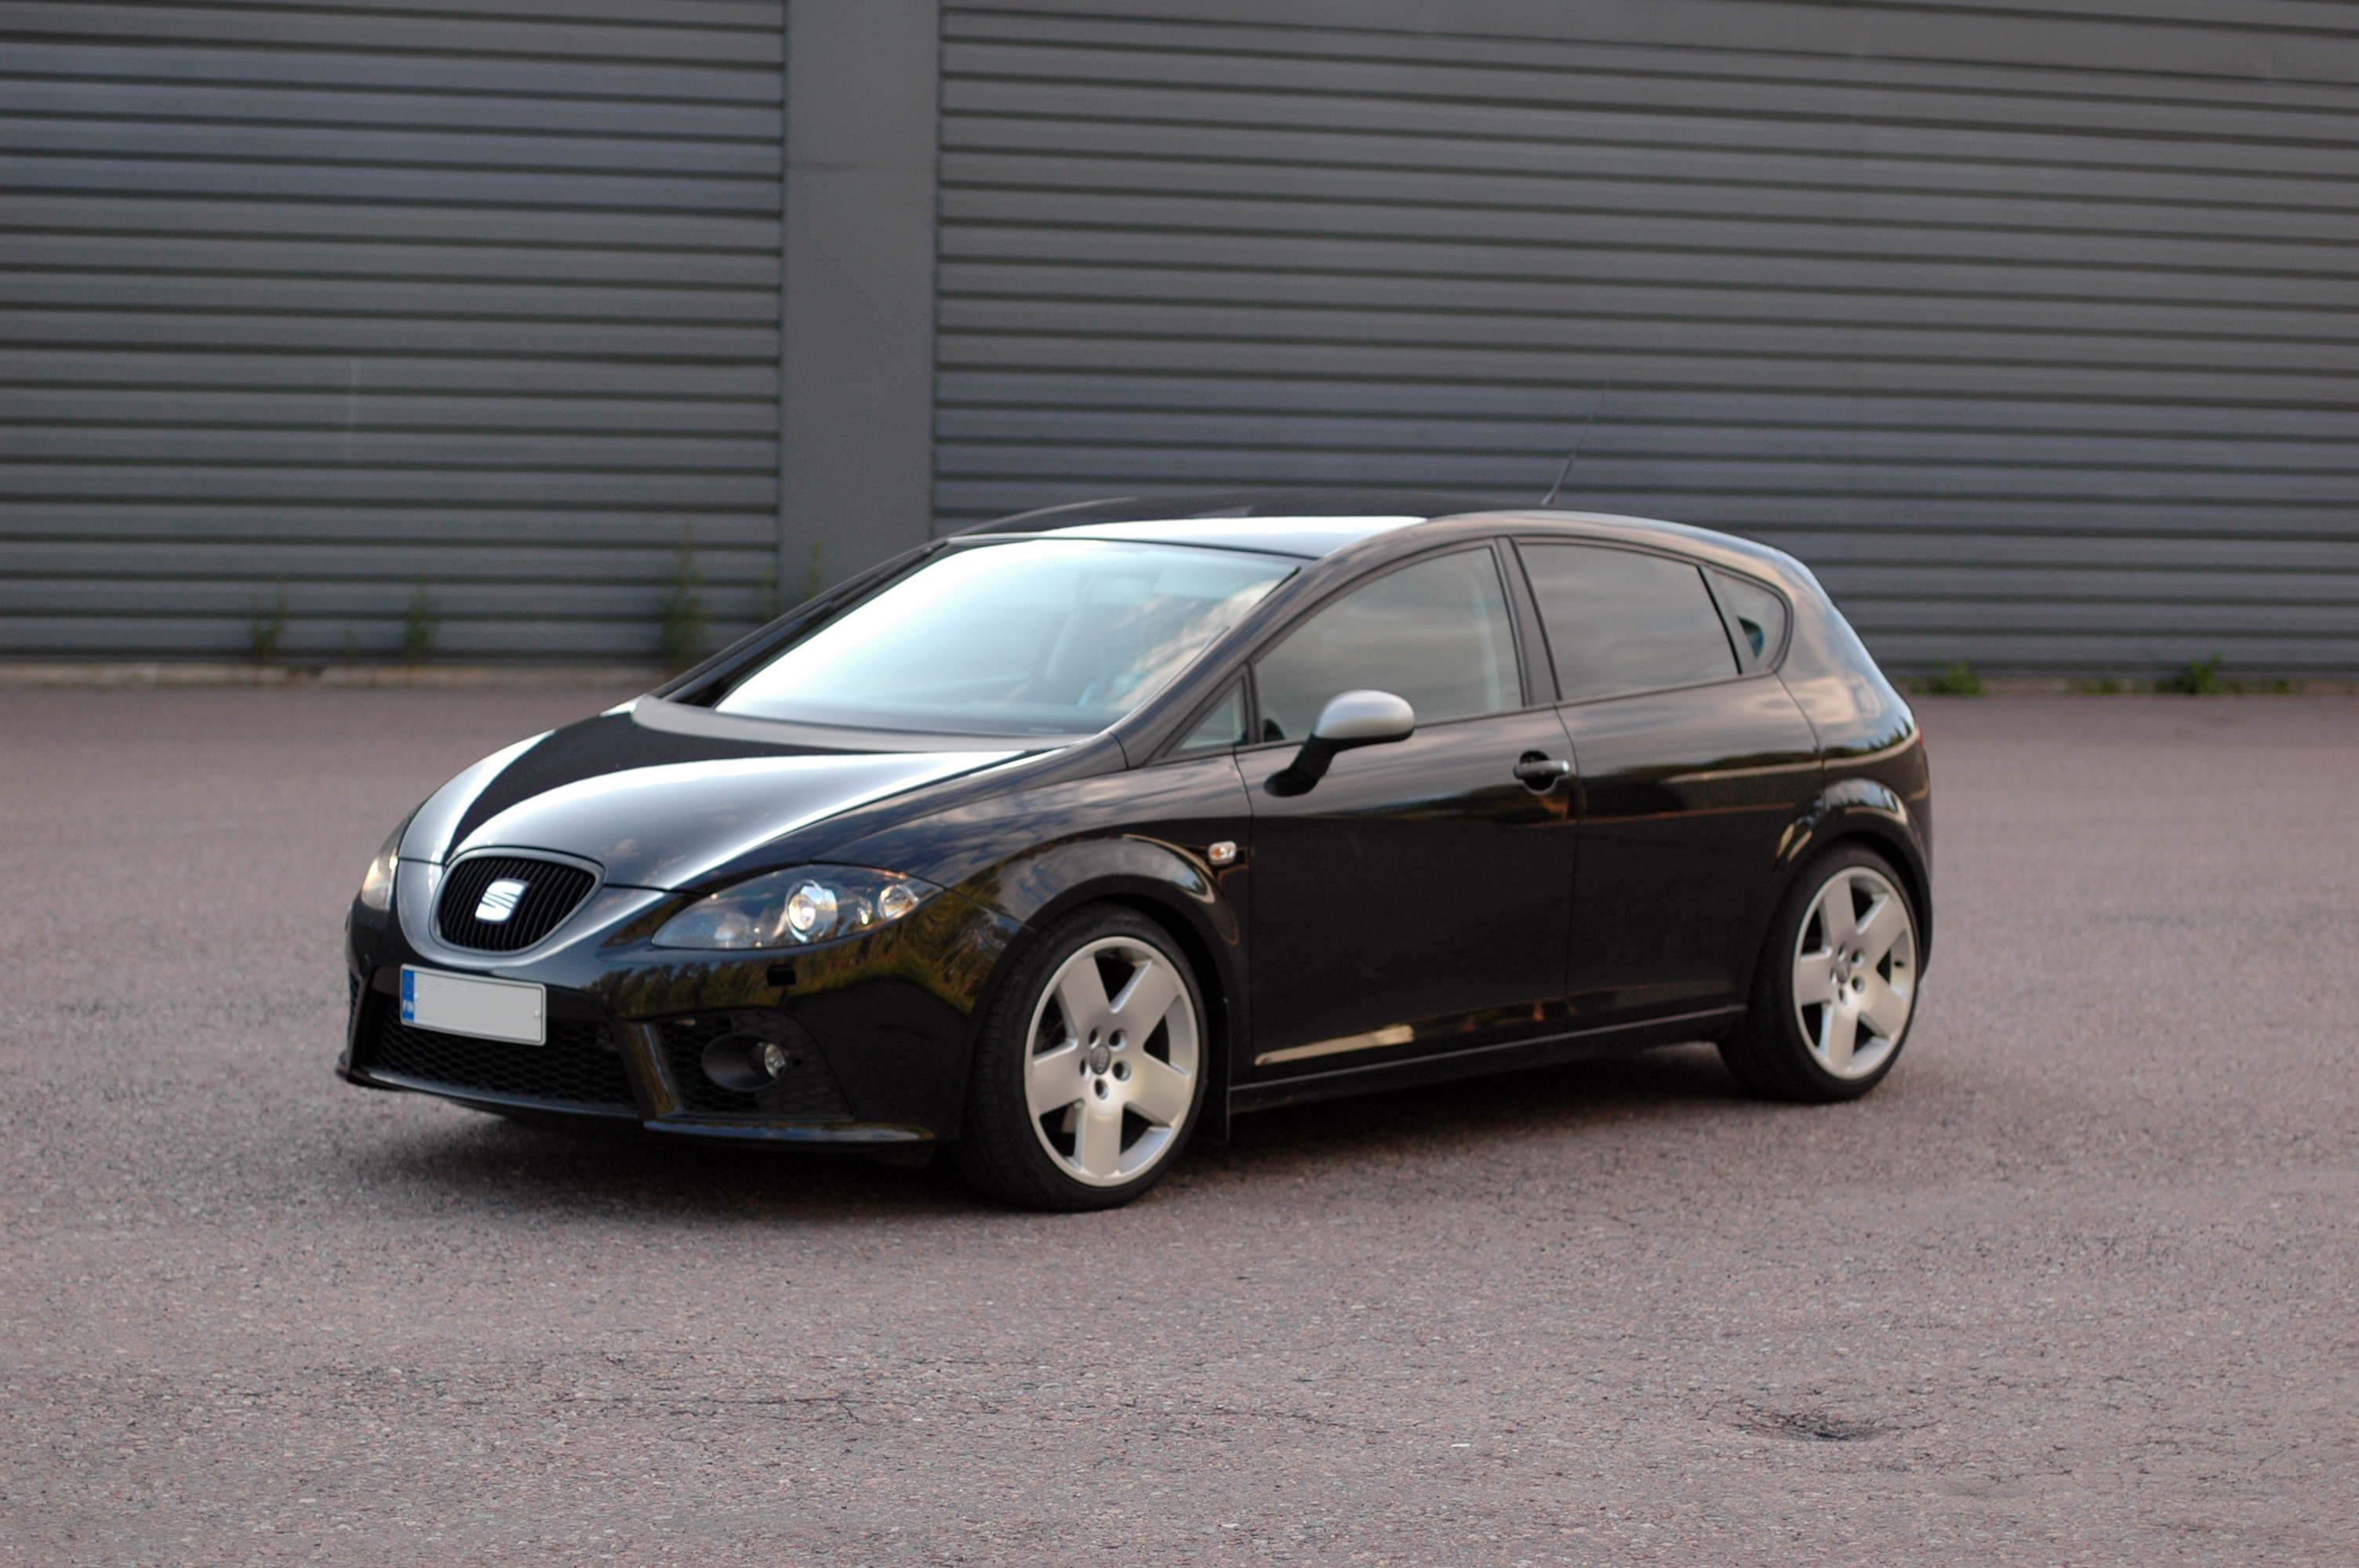
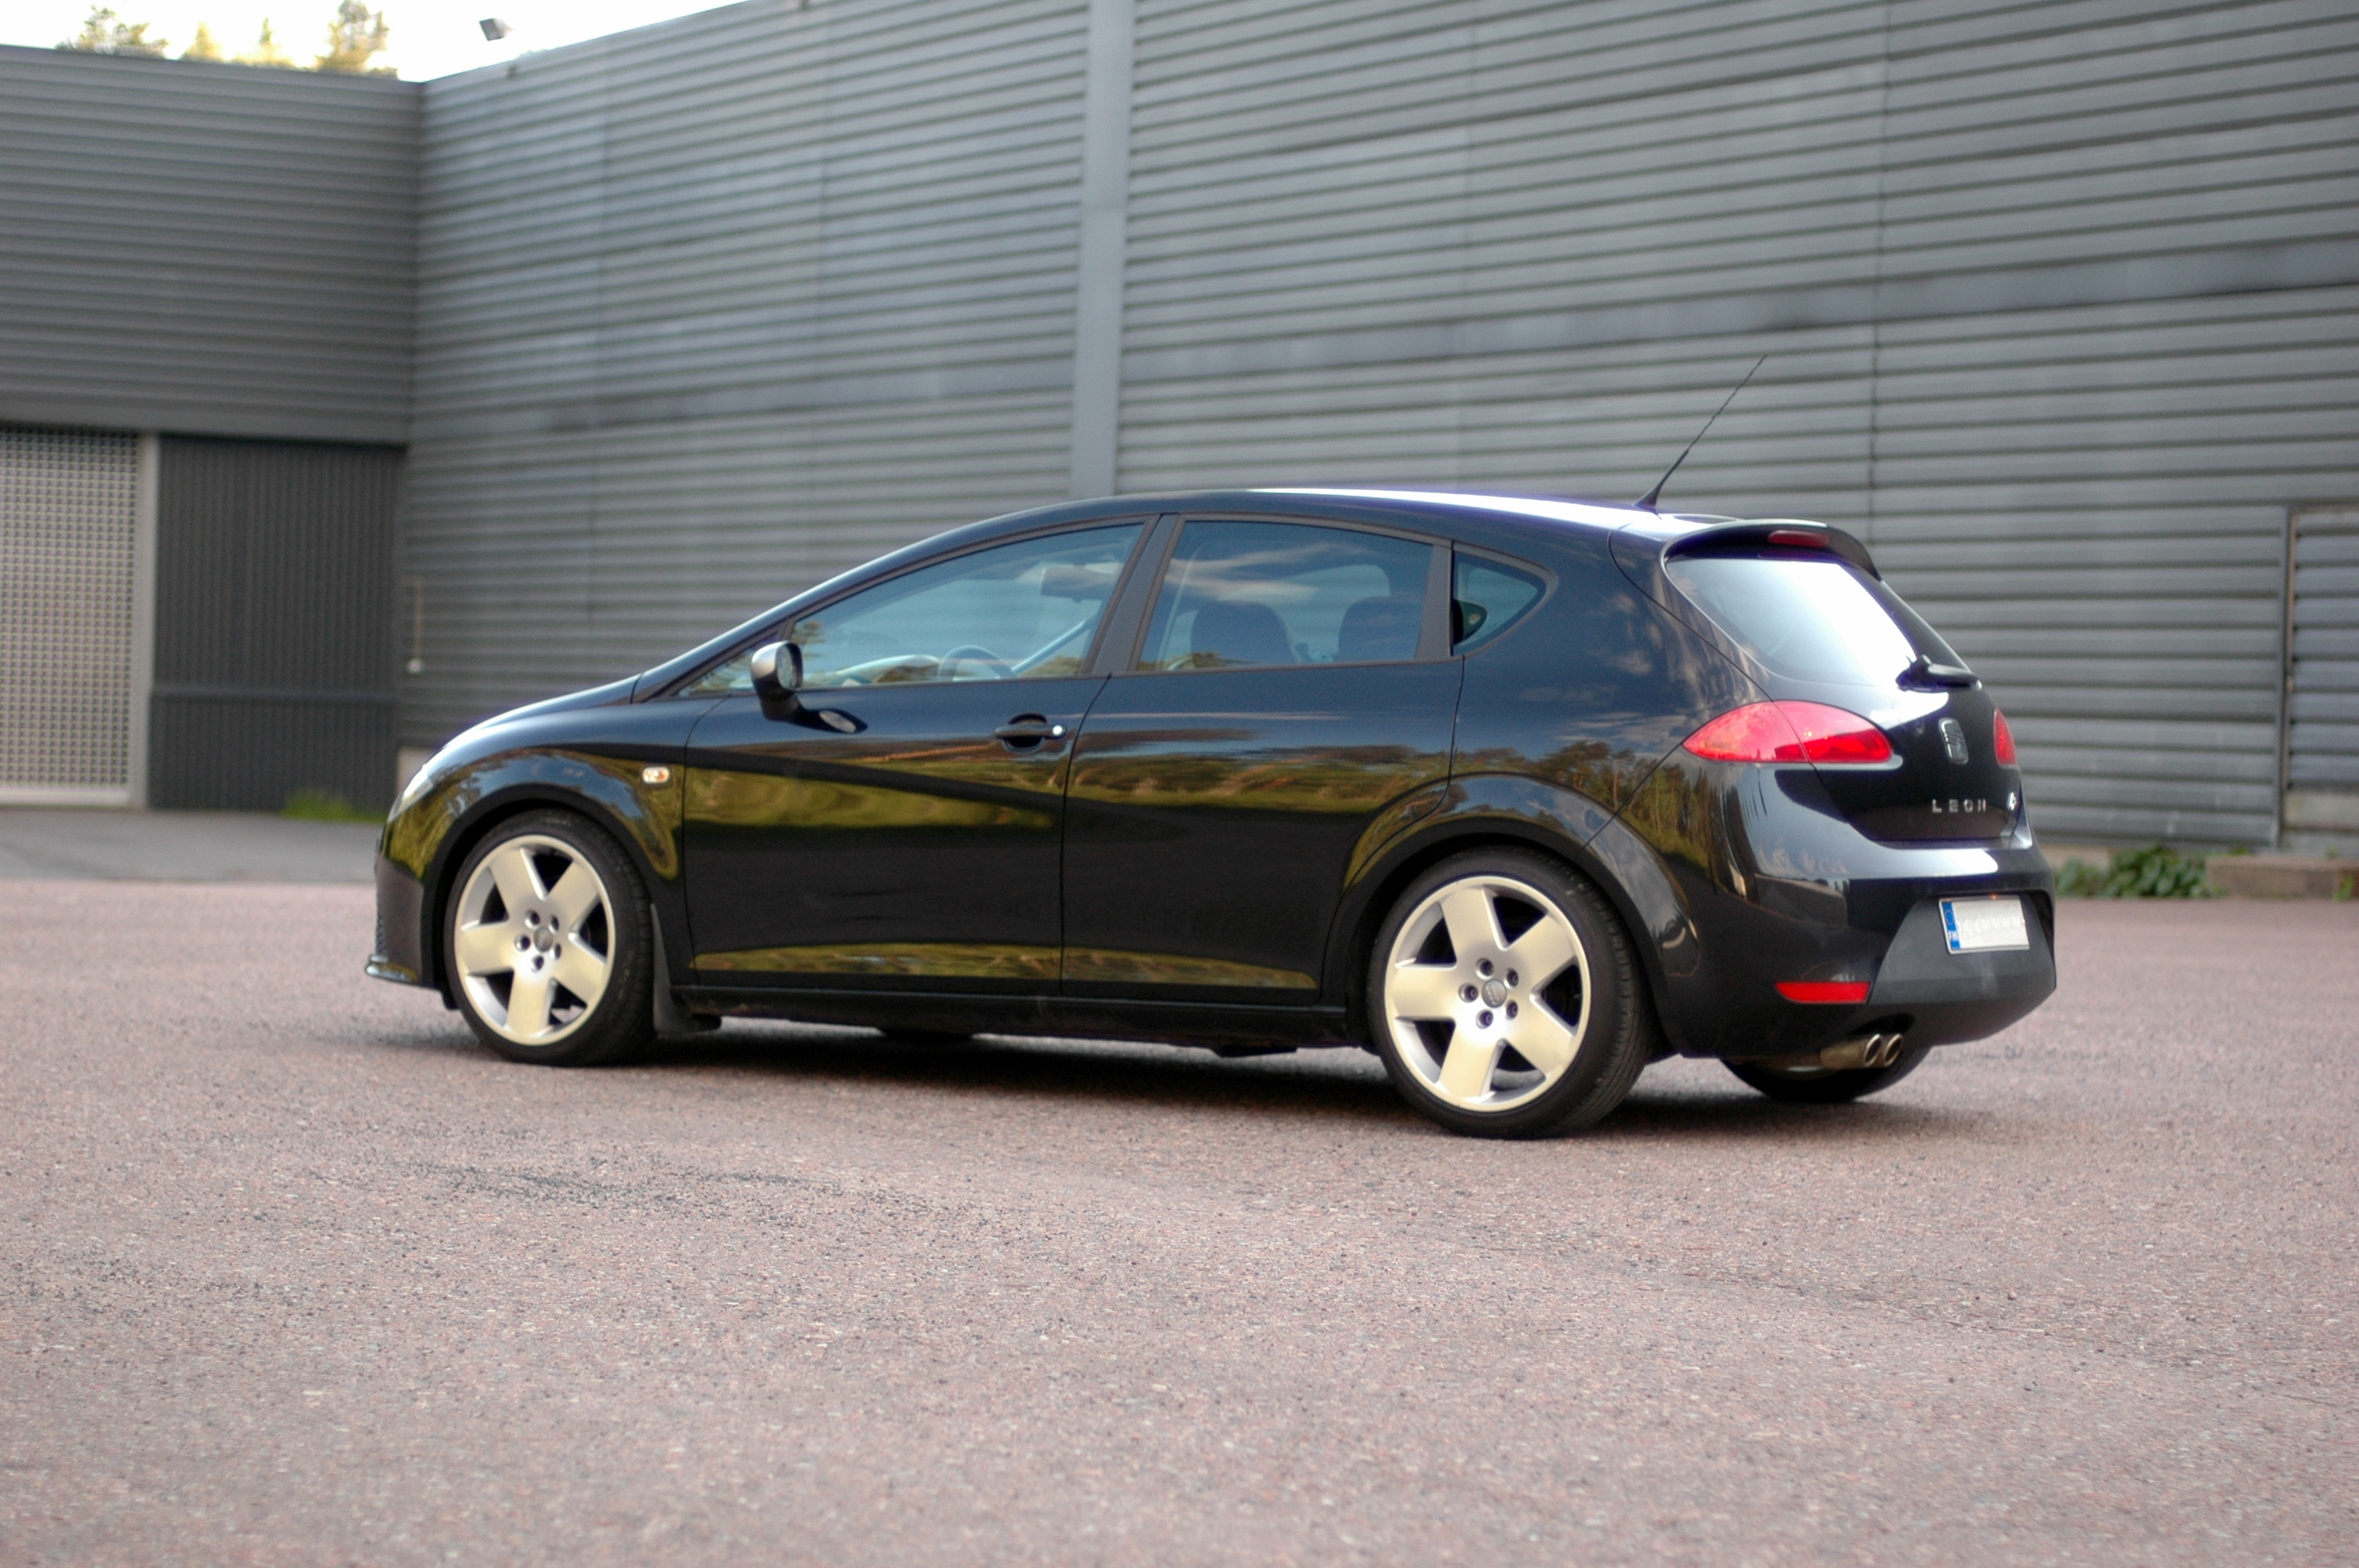
The Audi wheels suit it nicely, both visually and in offset.
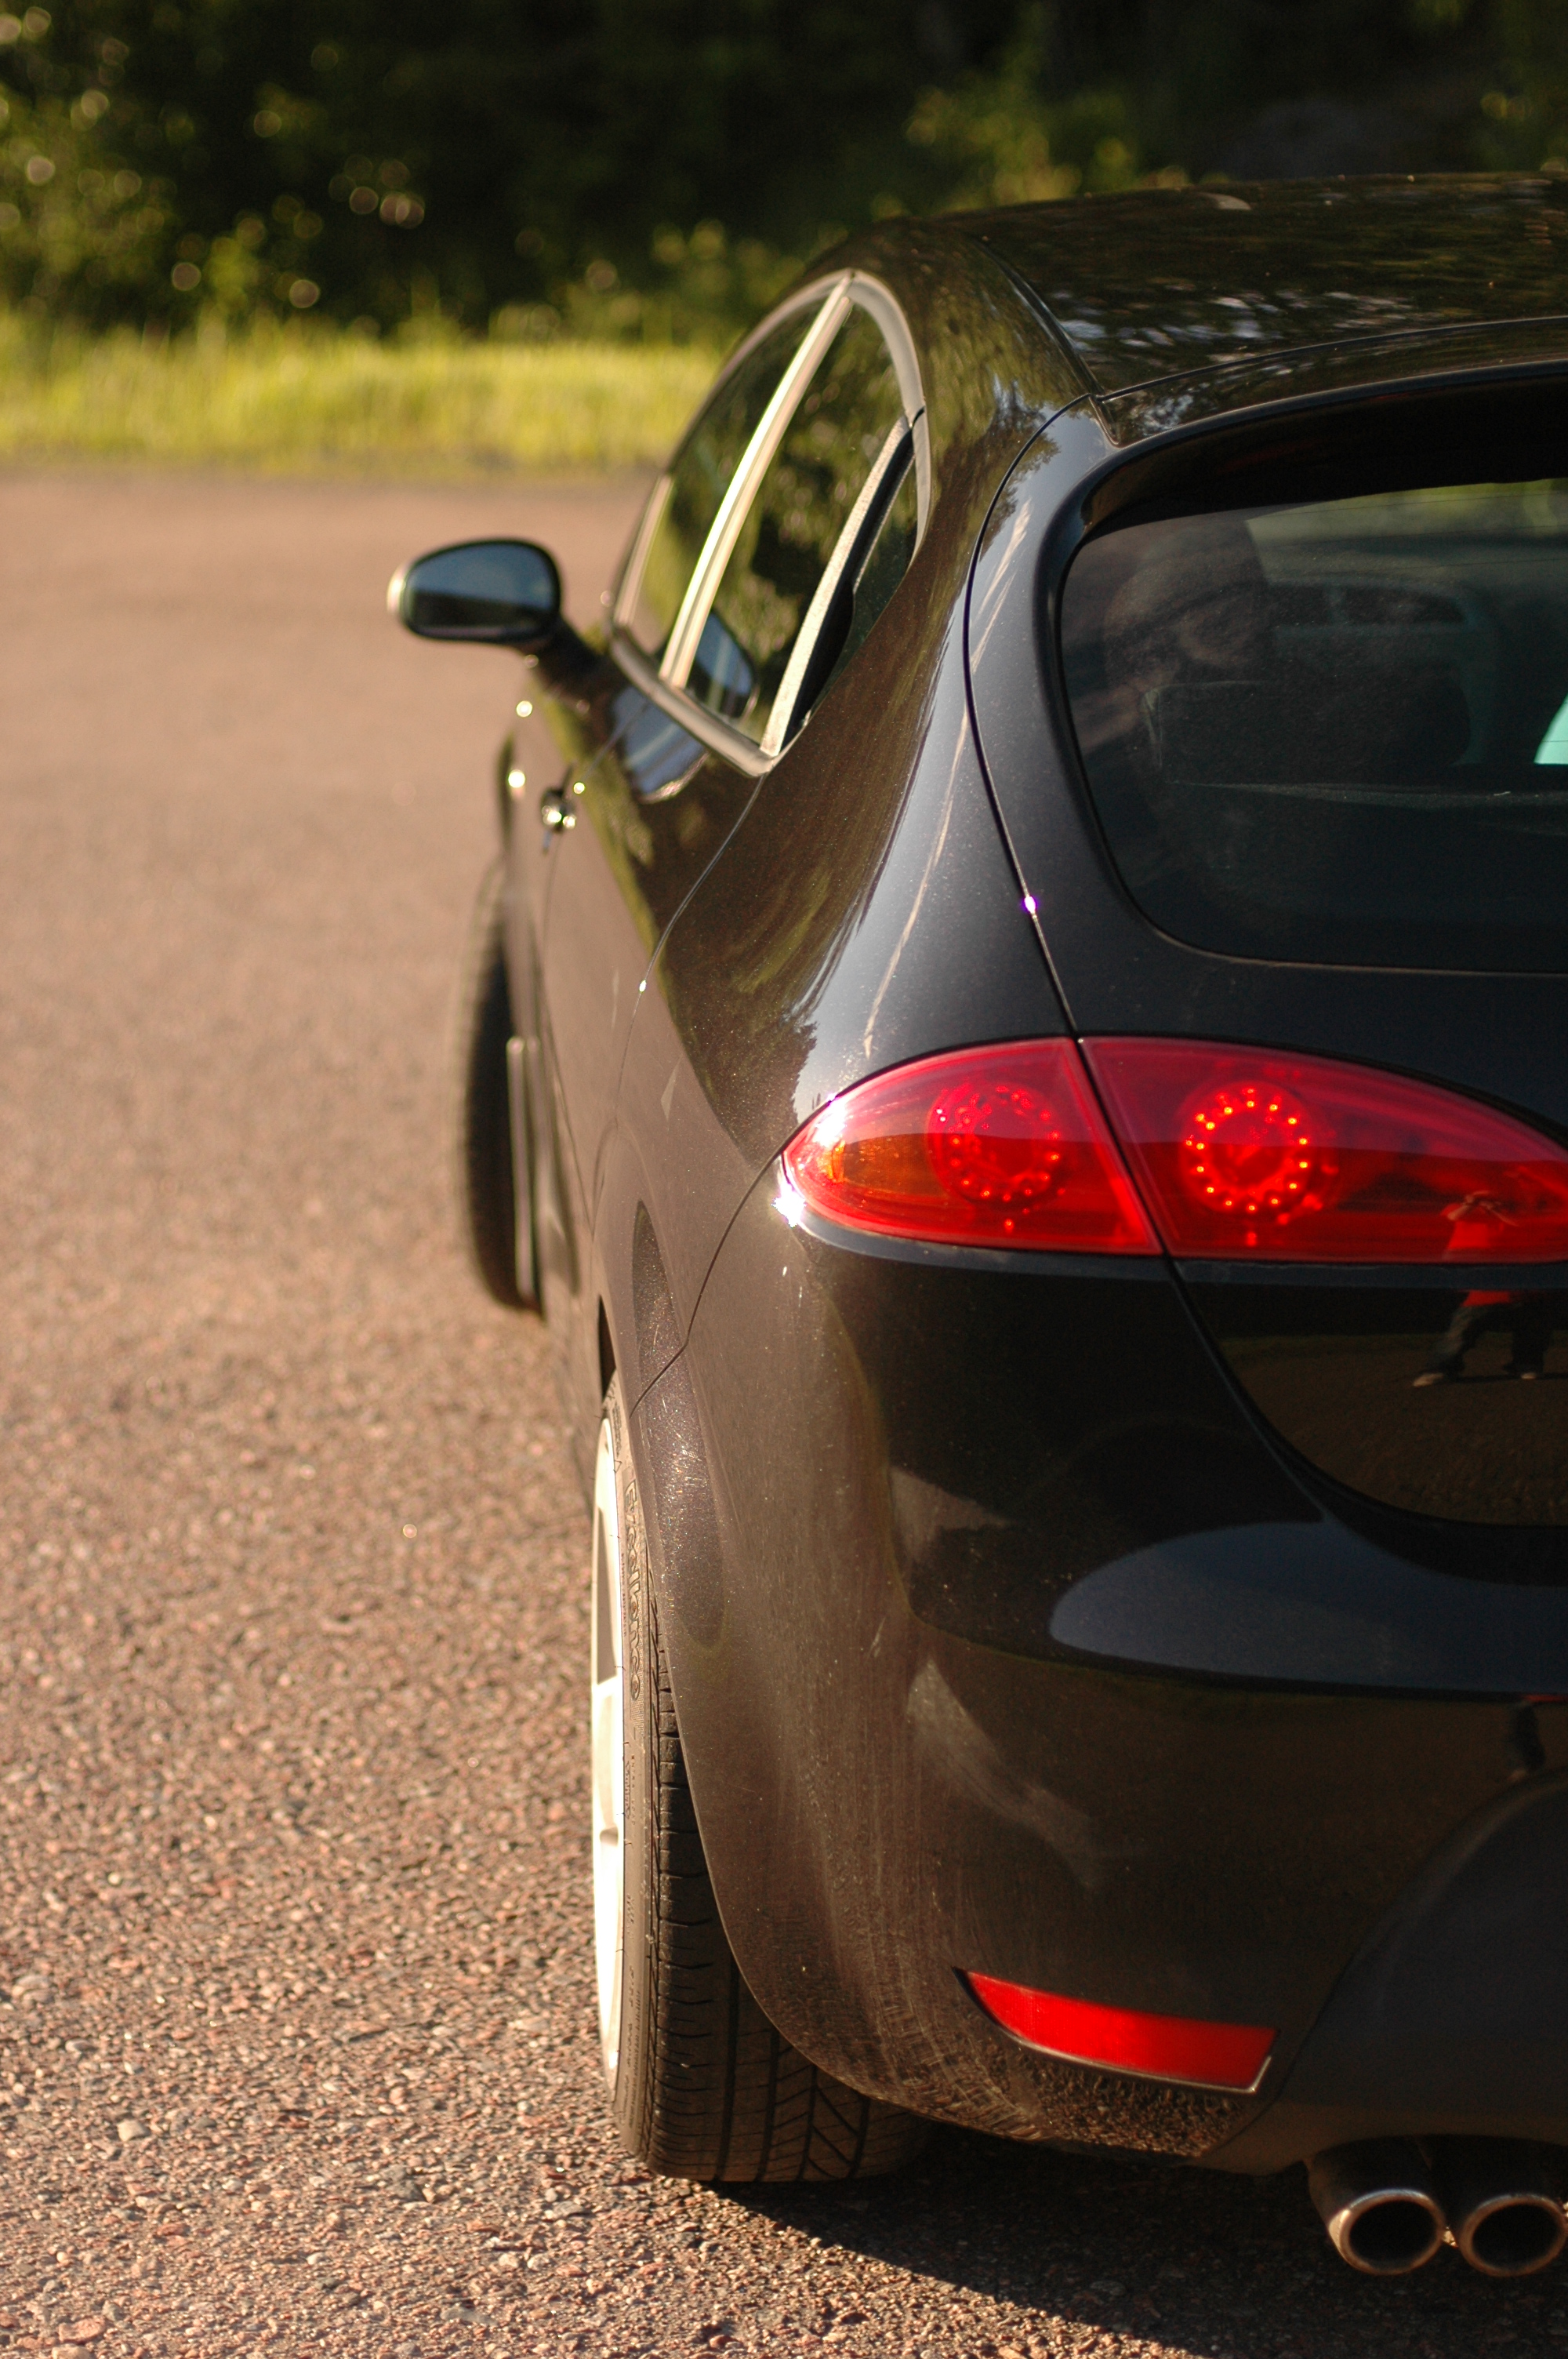
The Leon was sold in April 2011 as the family grew and needed more room. Four people can travel in a Leon, but fitting two children's pushchairs—or a double buggy—is no longer straightforward.
Includes original English text and AI-assisted translations.