ARCHIVE / PAJALLE
Audi TT Roadster quattro
Heikki’s Audi TT Roadster quattro.
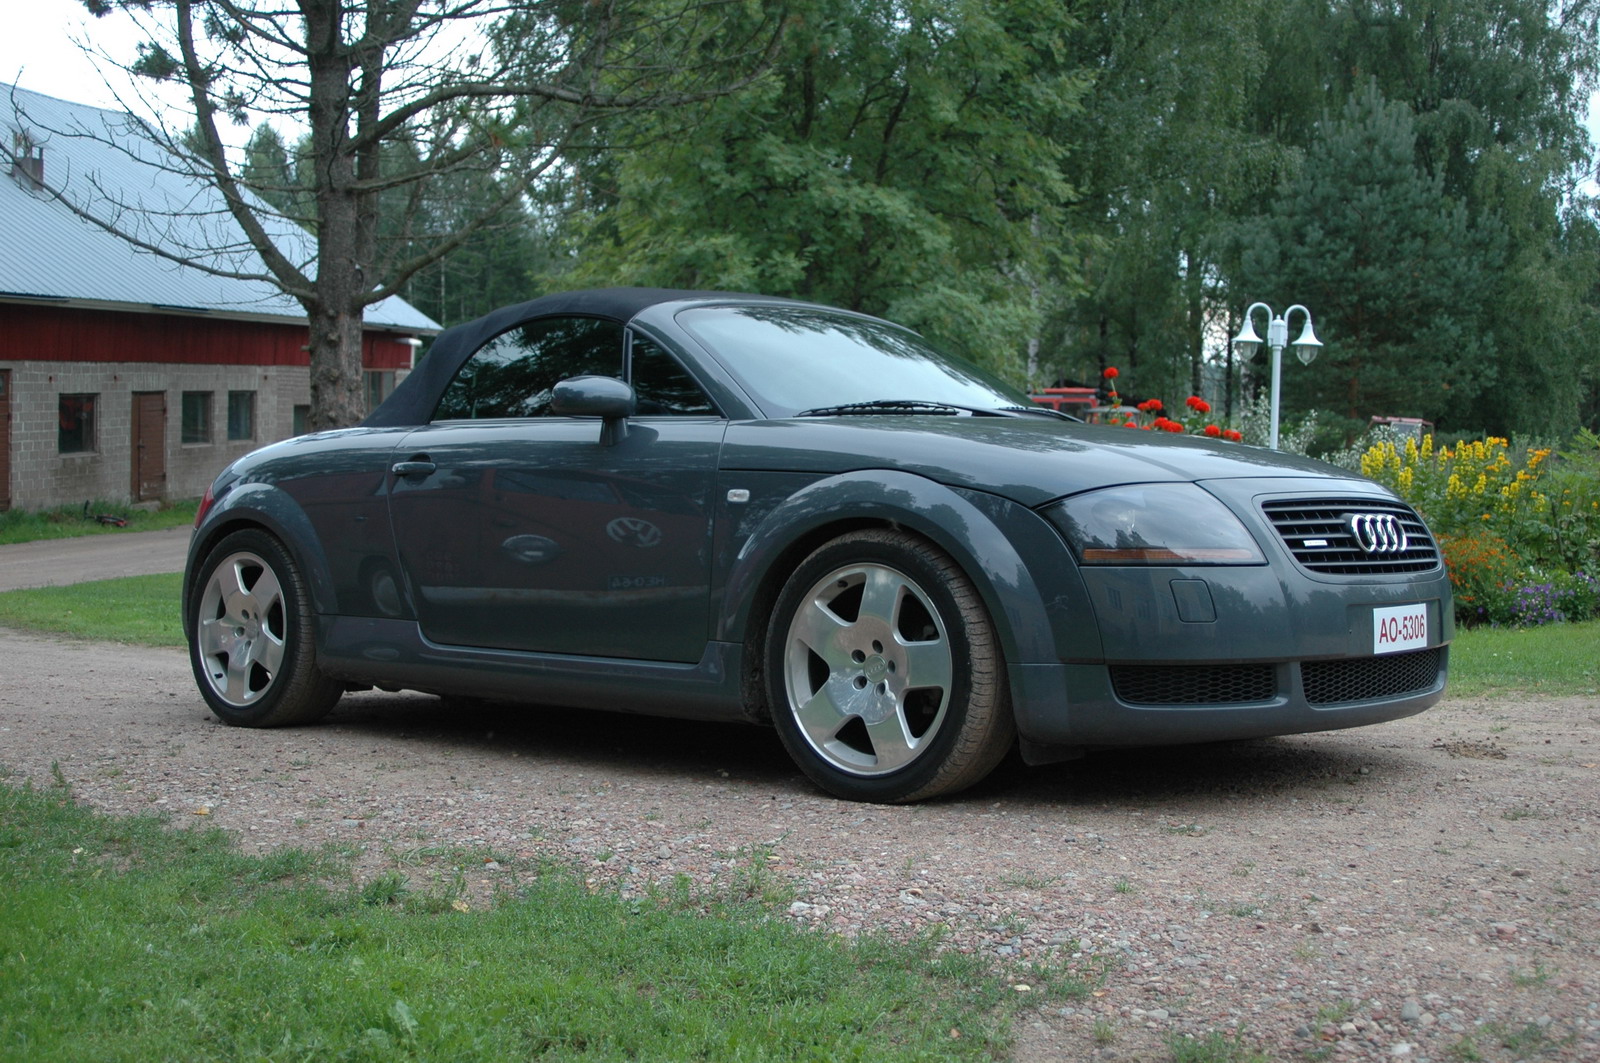
Sunstroke
It was the beginning of July and hot weather in Finland, when Heikki went mad and decided to change from diesel to petrol, have all wheel drive, drop out the roof and have a little bit more power...
Couple of calls, a little bit chat in the Internet and Seat was sold, and a new ride coming from Germany.
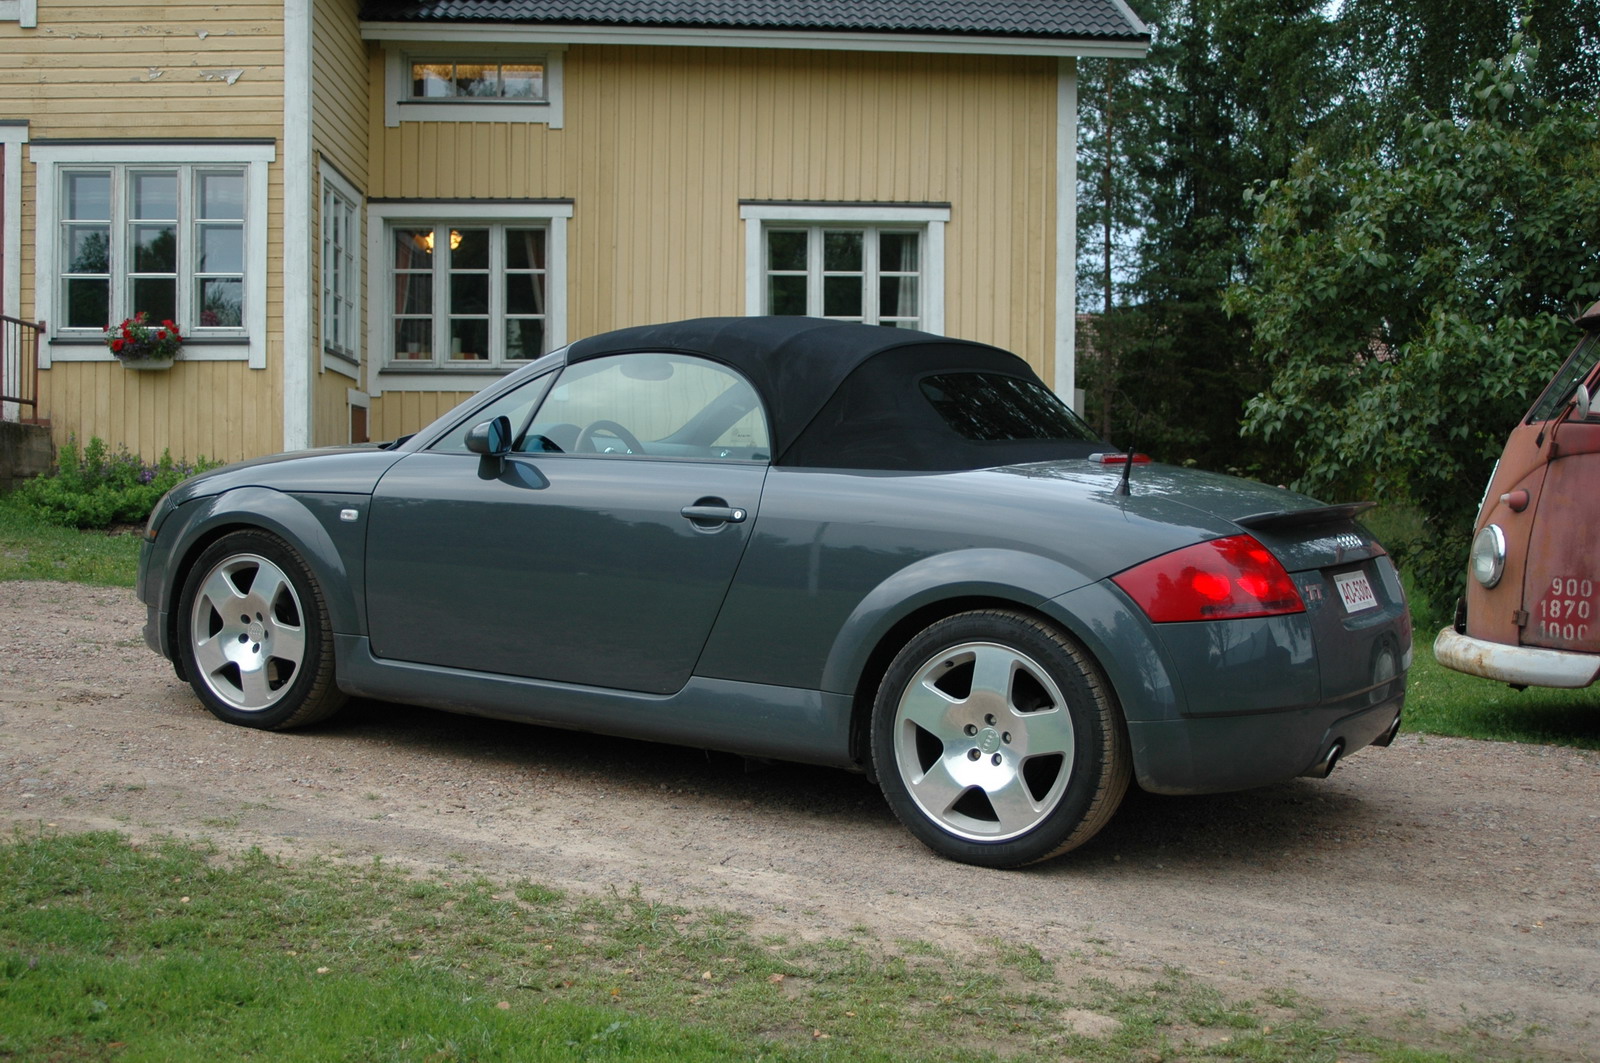
Thanks to MDComprex and the Roadster was in Finland!
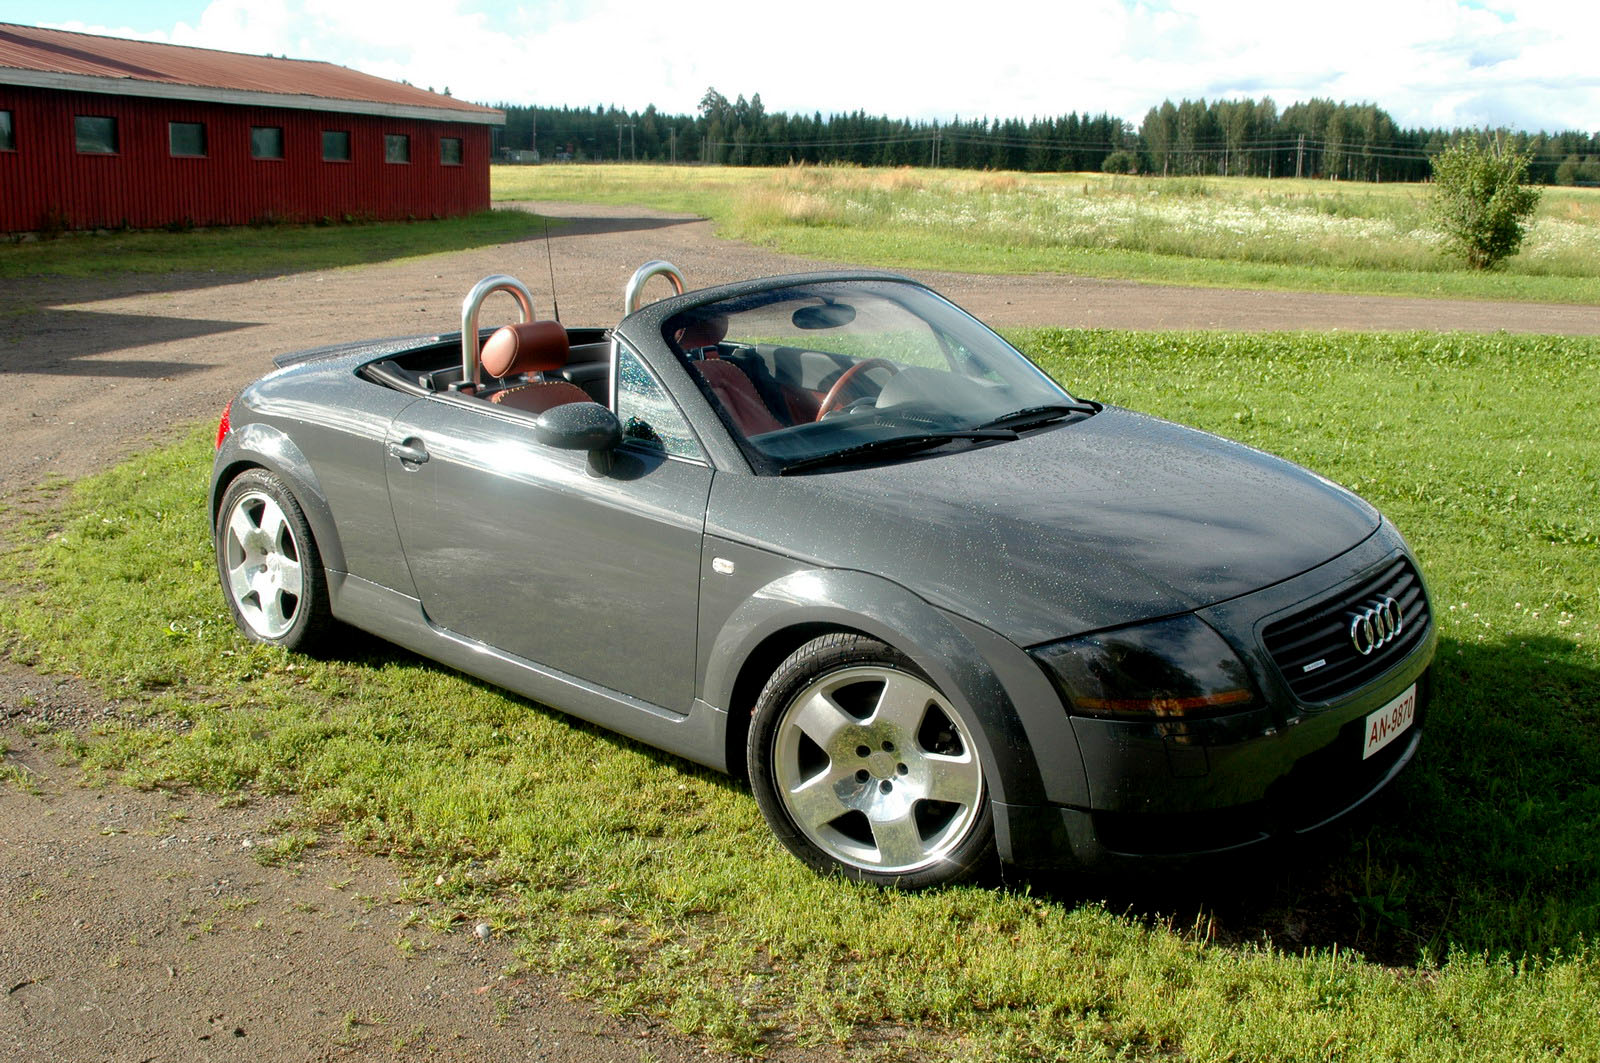
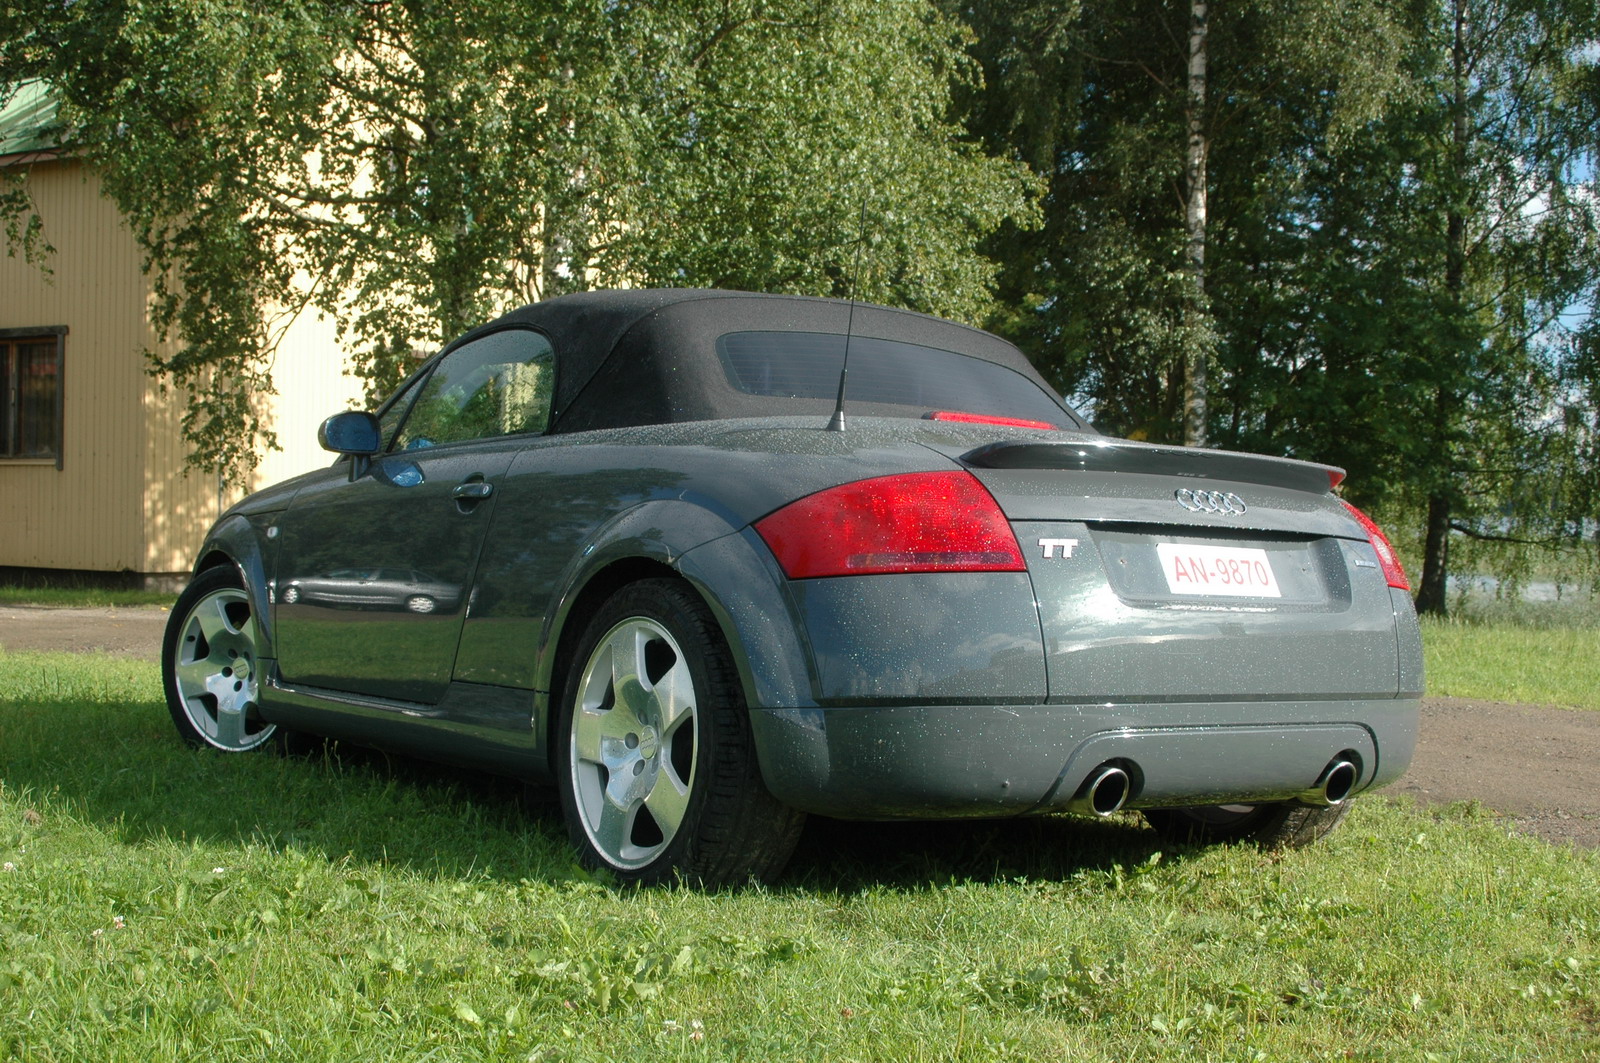
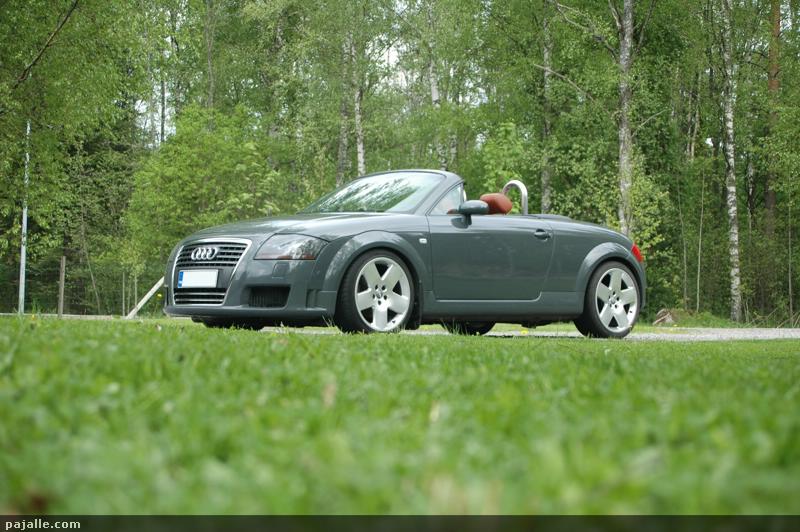
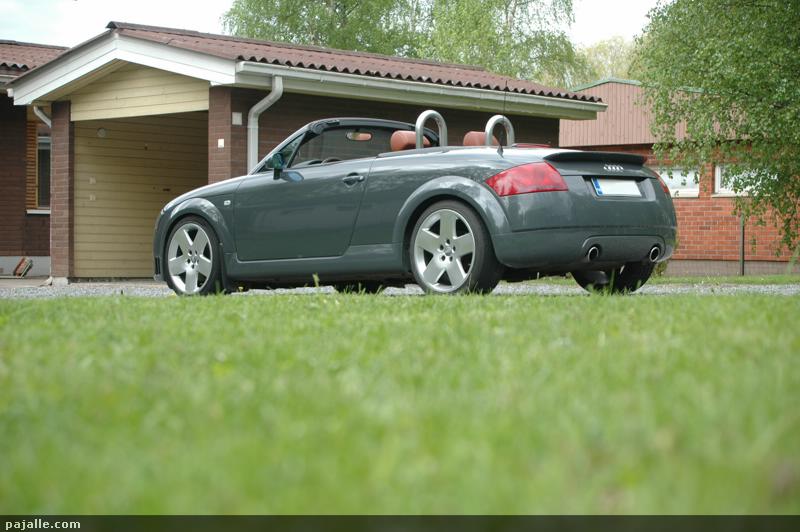
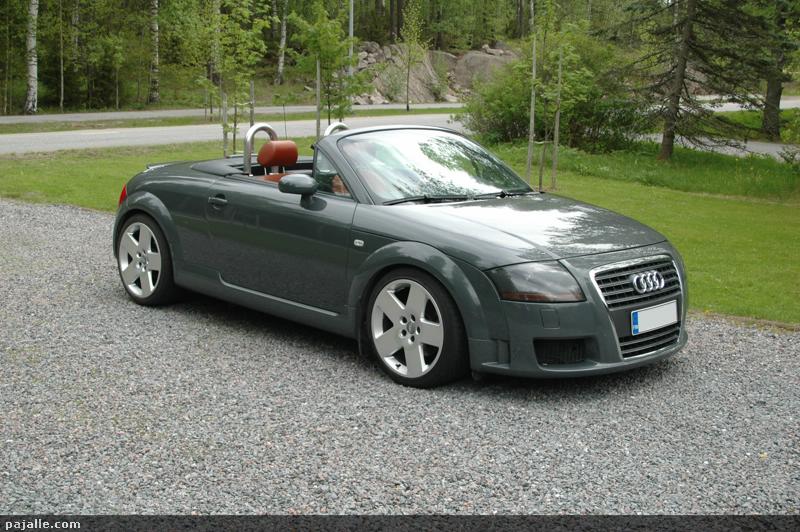
Audi TT Roadster quattro, 1.8T 20v 165kW, Nimbus grey pearl, with 17" Parabol wheels.
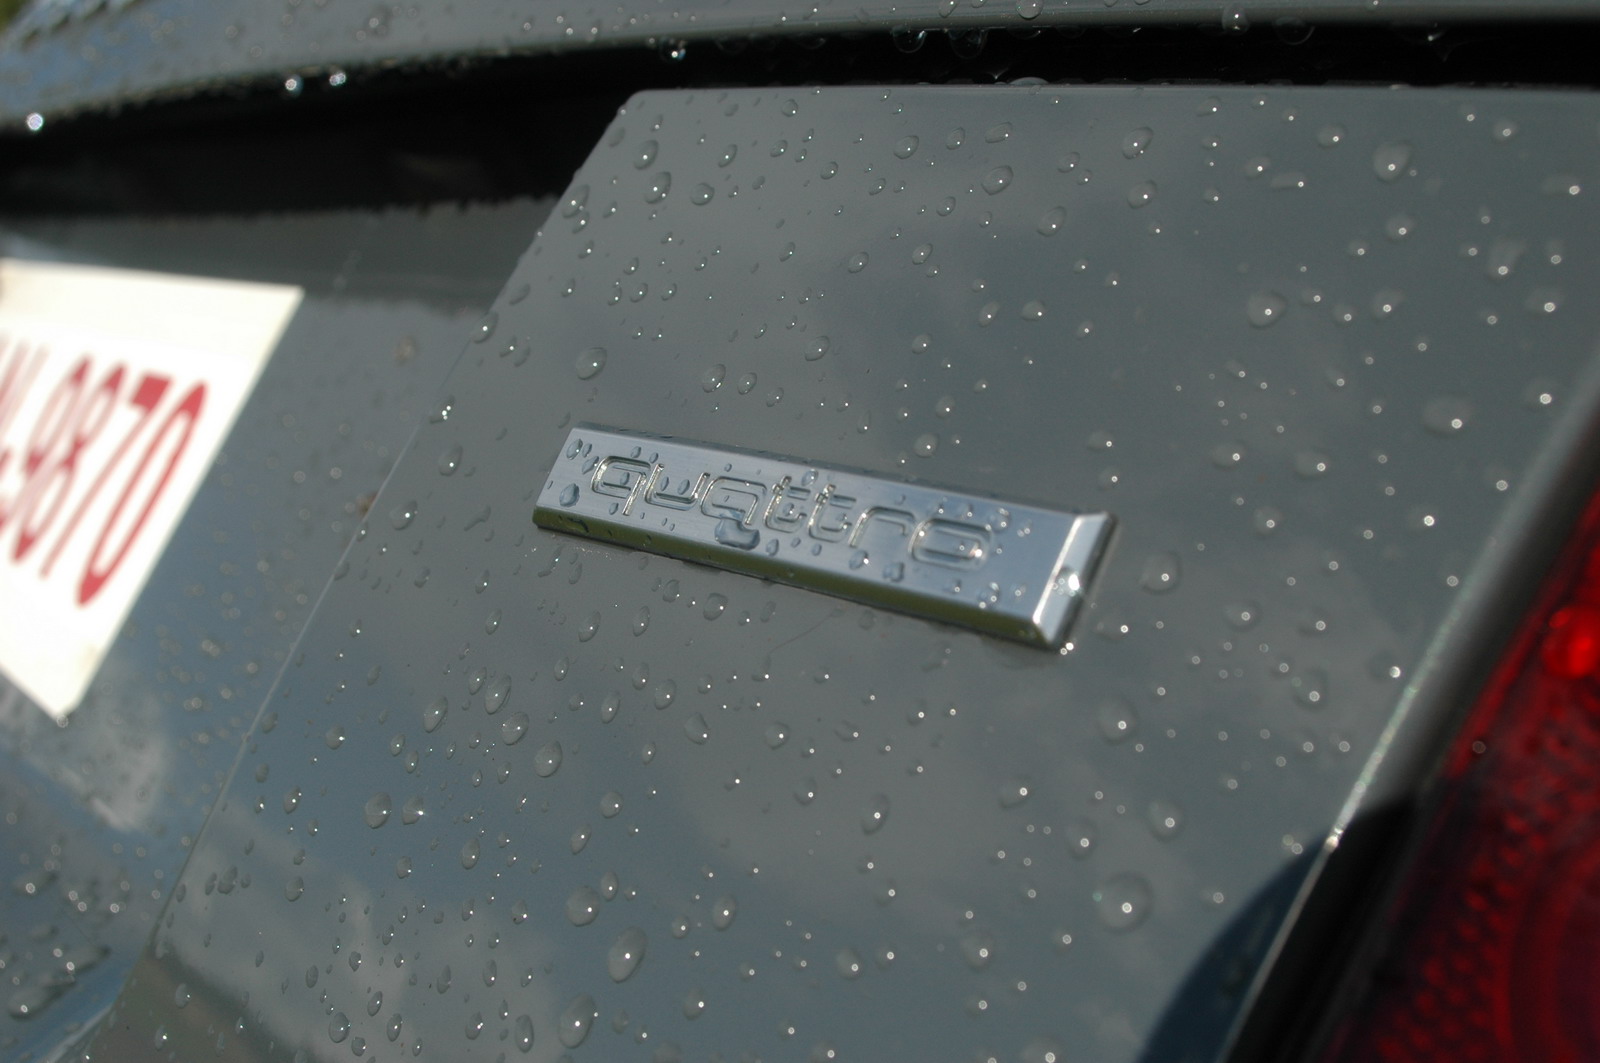
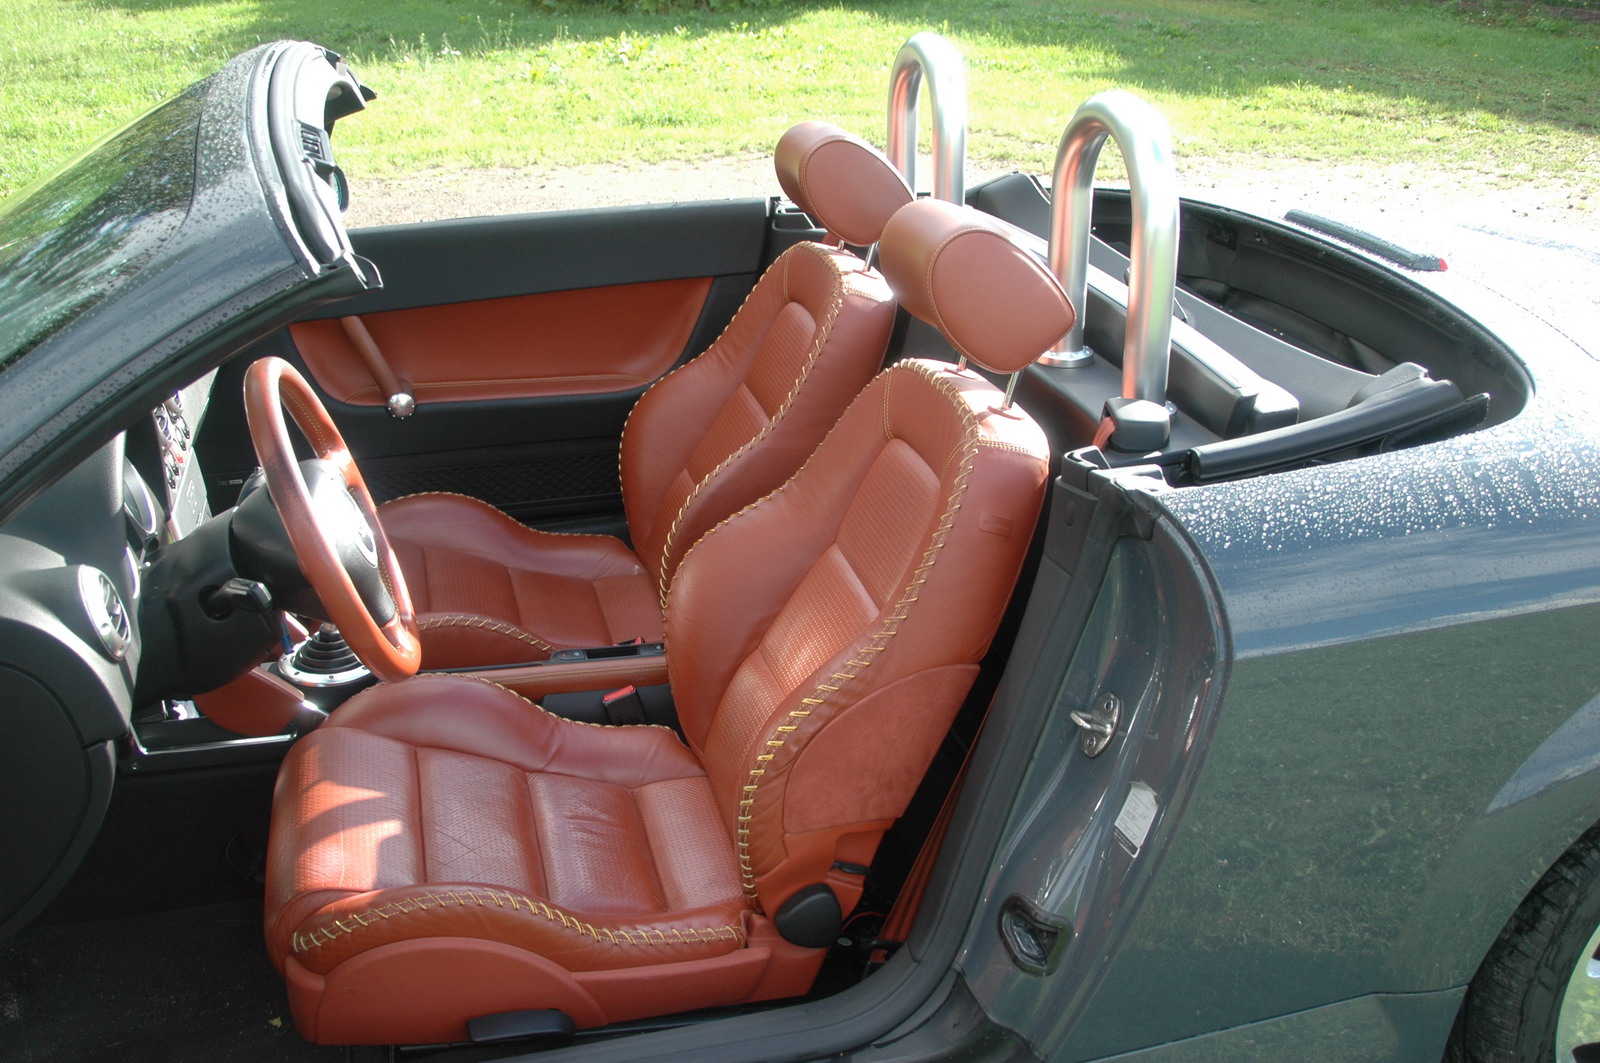
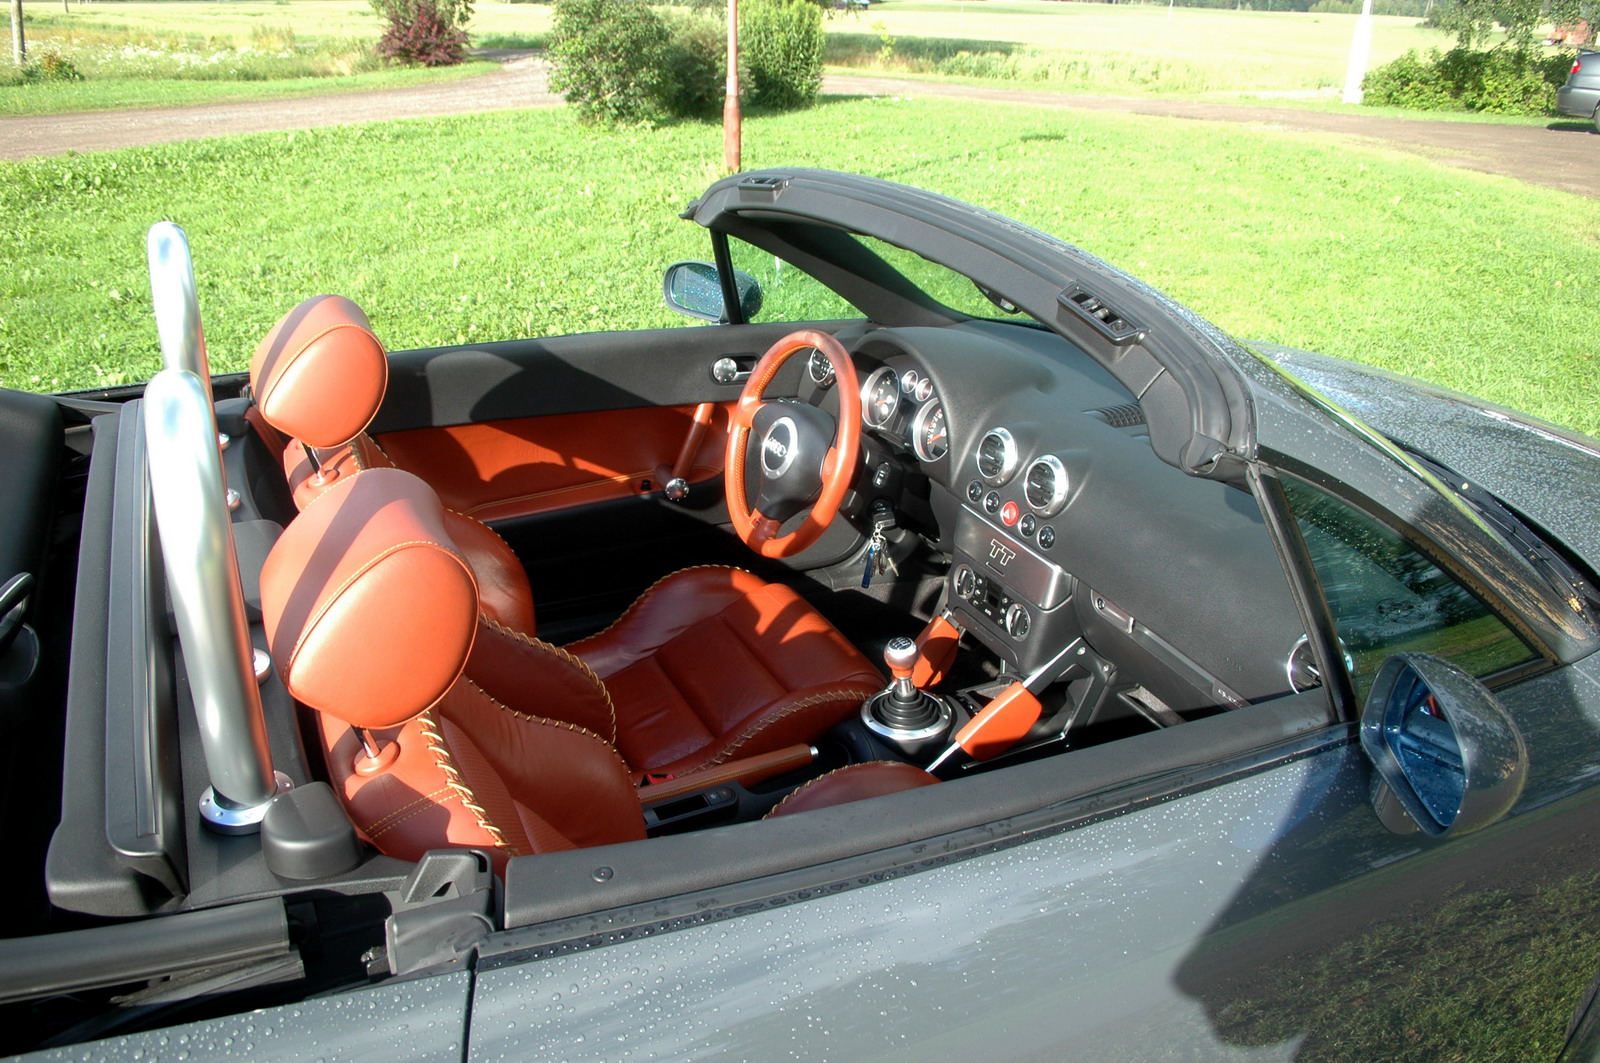
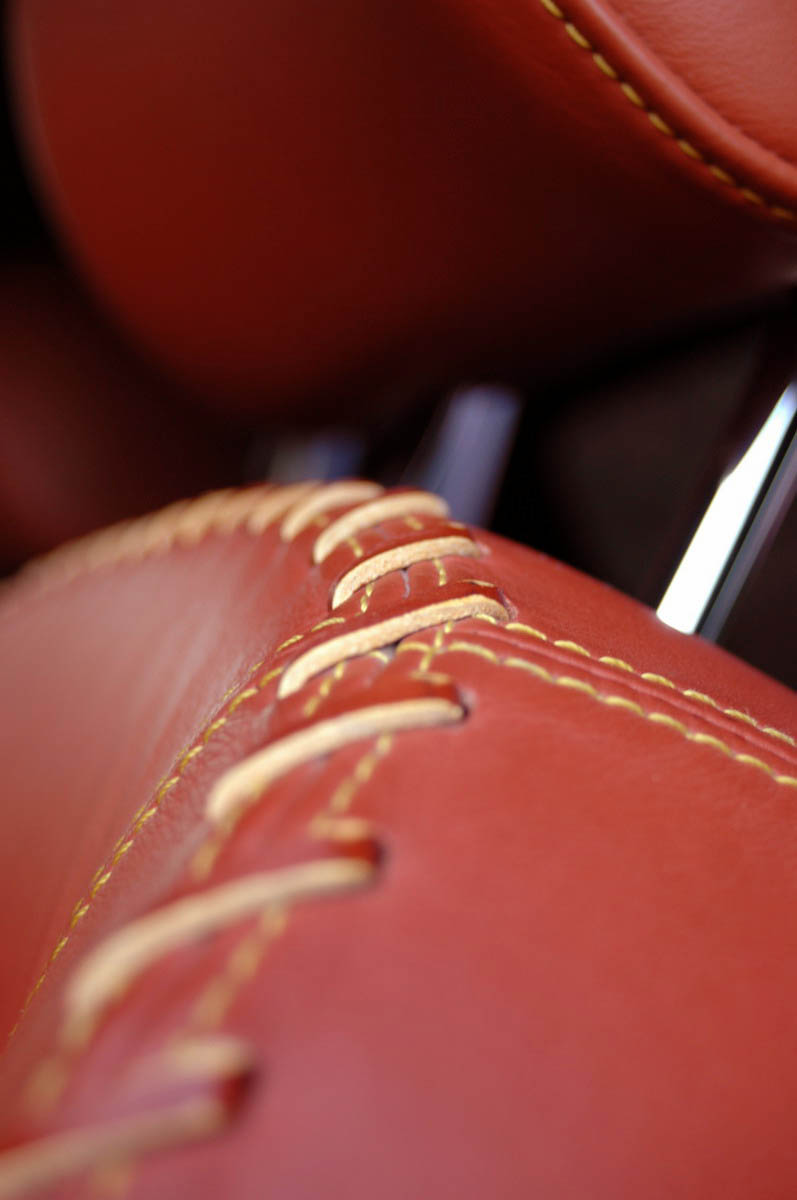
"Baseball" interiour, climatronic, Bose sound system... with Audi Concert cassette player of course (thank God also with a CD-changer).
So... let's put the old C-tapes in, roof down, it's time for DJ Bobo and Freedom...
A little less than 120 000km in the odometer. After two weeks of driving it seems to be in a really good condition.
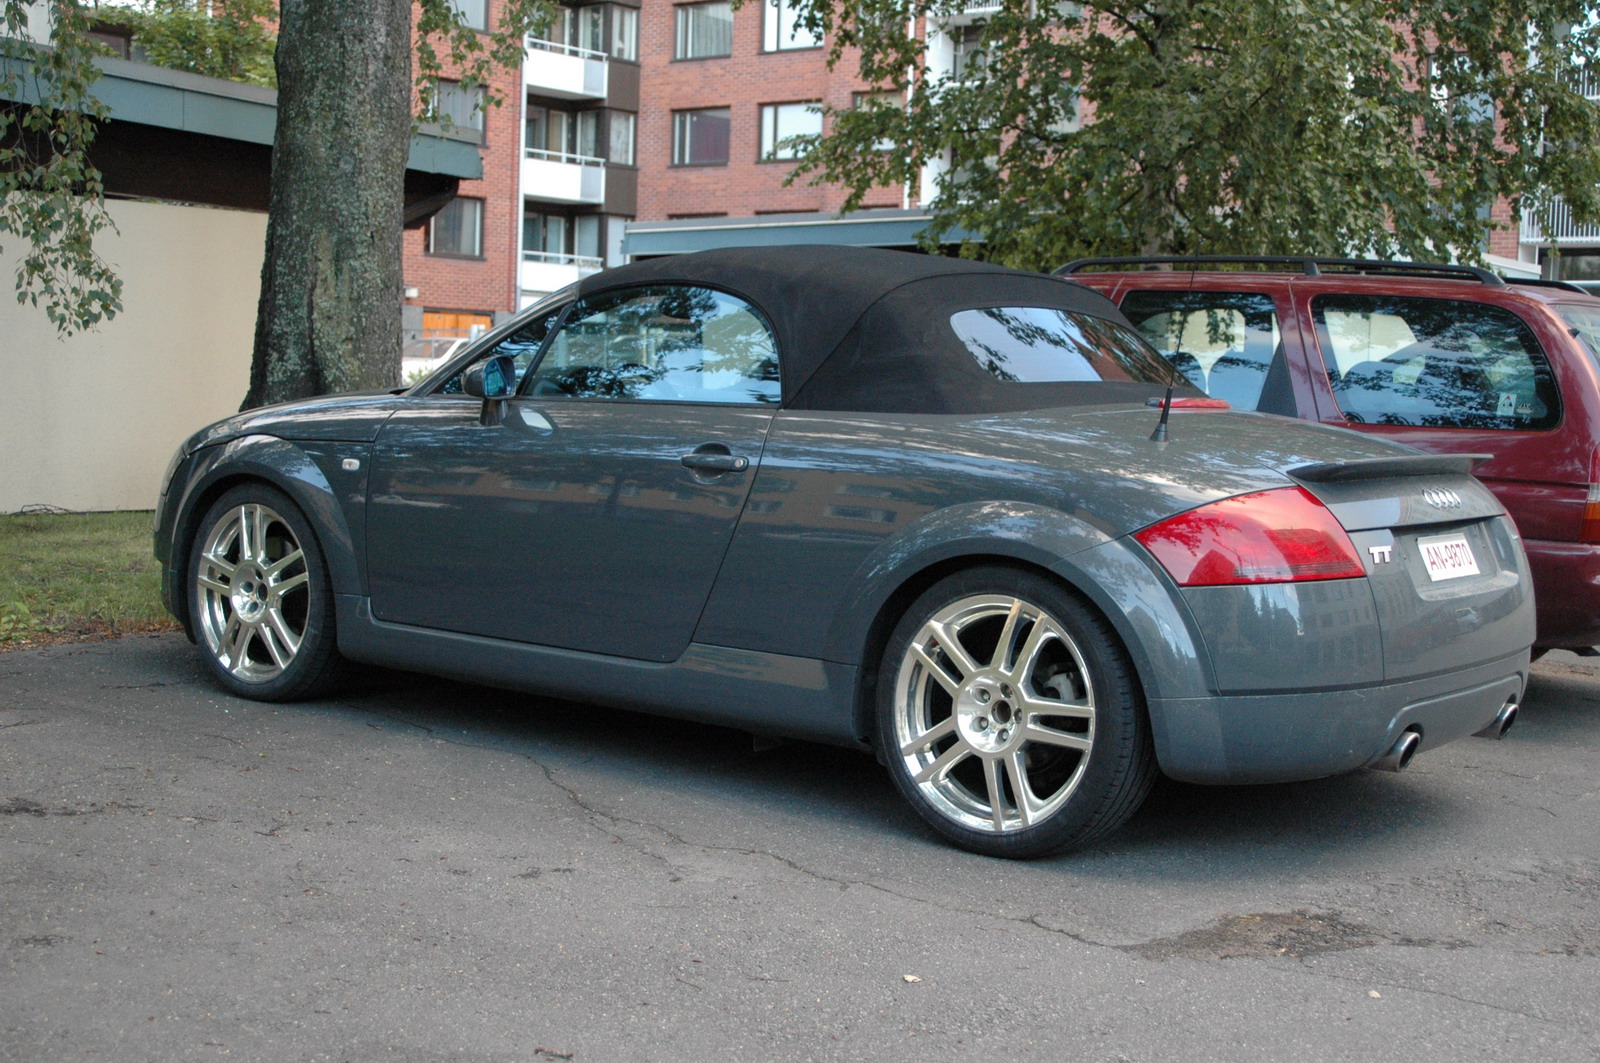
The tires on the original wheels were in really bad condition. Heikki still had the Cupra R wheels from the already sold Seat with almost brand new Pirelli Zero Nero's, so it was time to try those. We'll see how long they will be there... propably at least for this year.
The plan is to use this through the winter too, now that the sensible daily driver has been sold. Surely the fun of quattro makes up for losing the luggage space, rear seat, cheaper fuel and hard roof... More photos when we get around to taking and uploading them.
Fall 2005
The TT finally got its plates in early October. The car tax decision took about ten weeks. The assessment was reasonable: Customs valued the car to within 100 euros of what it ultimately cost, including tax and import expenses.
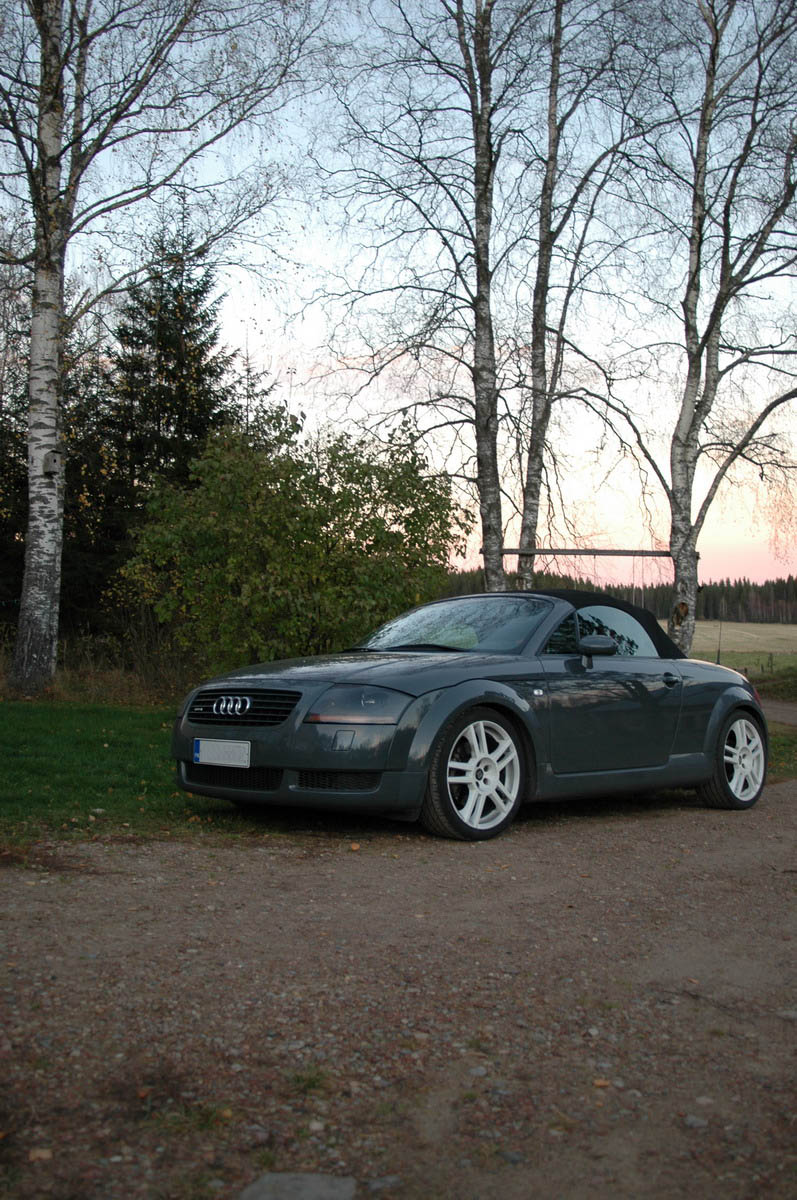
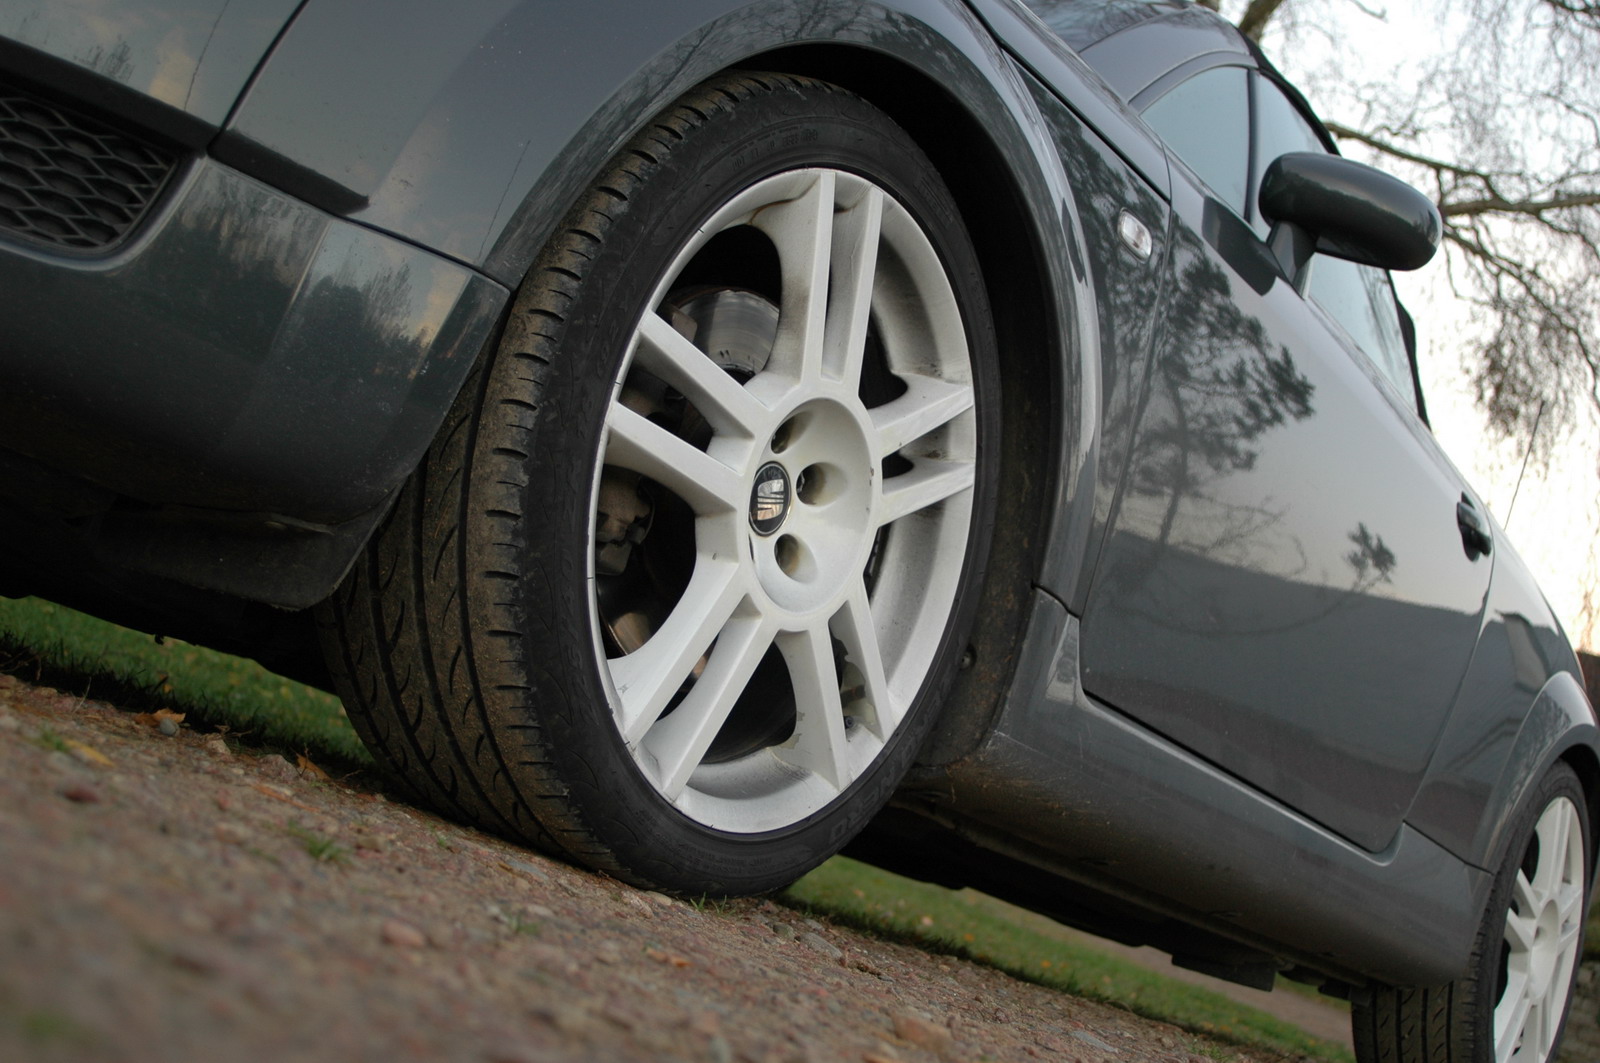
This is how the white Cupra R wheels look on the TT.
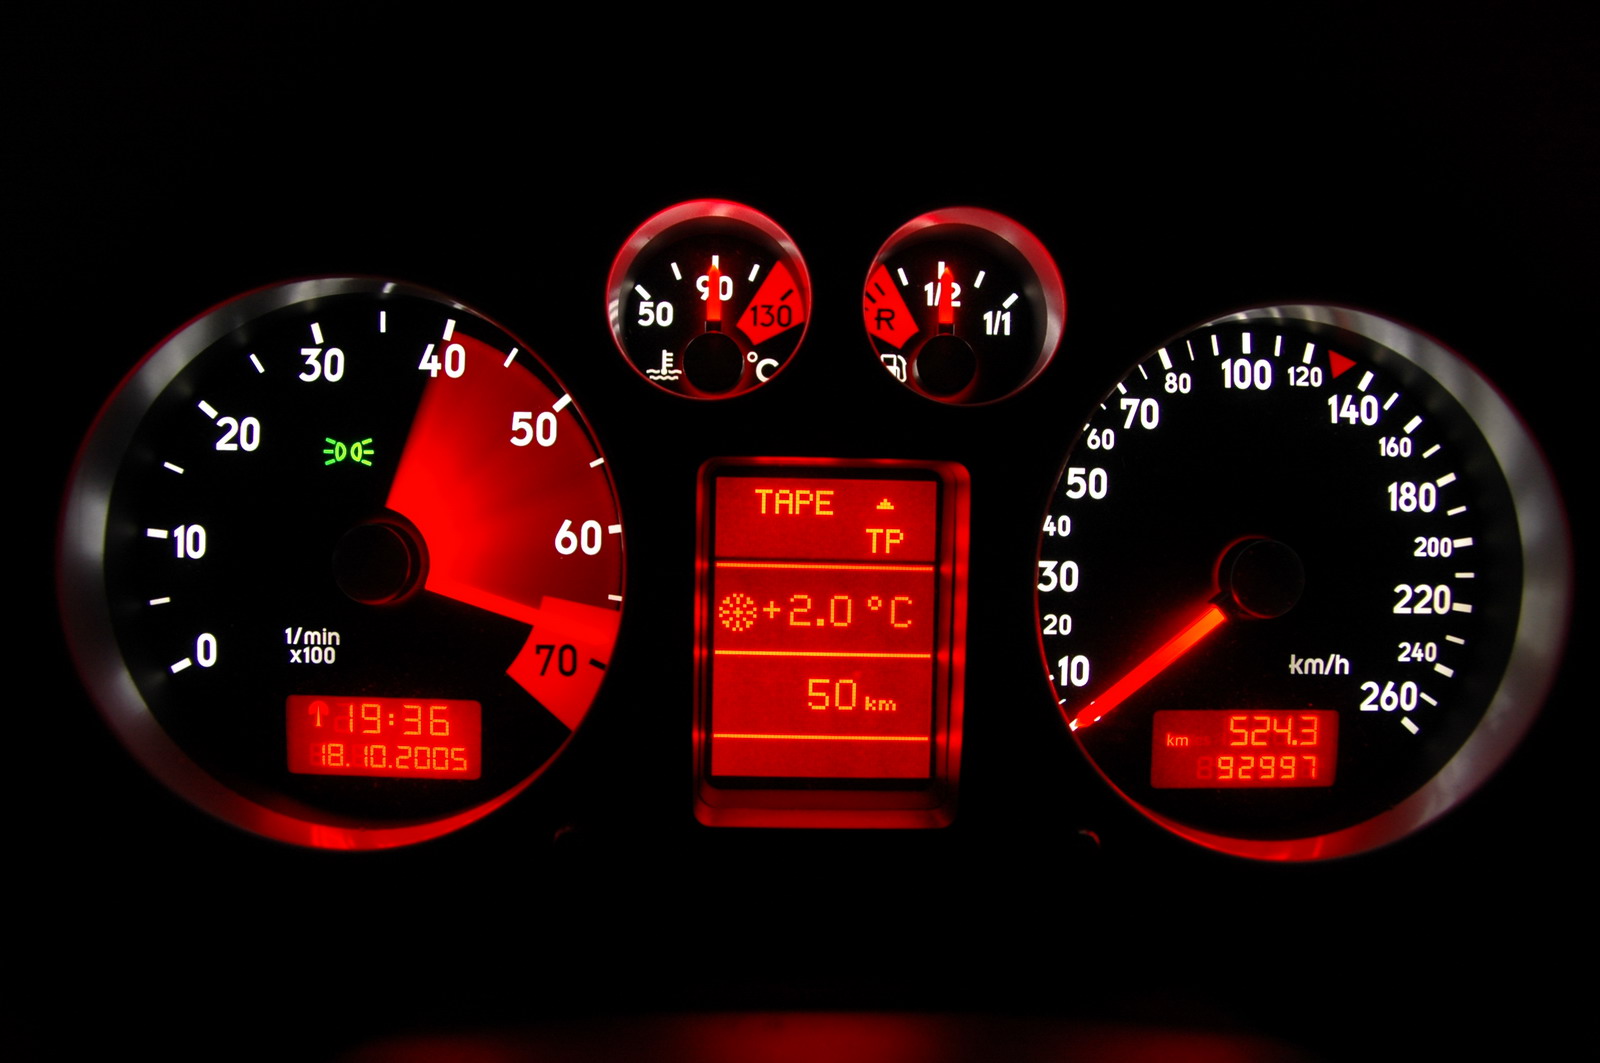
Basic Element blasting from the cassette player...
The image above shows perhaps the most common fault in TTs, the fuel gauge. The FIS display shows there's only 50km left, but the fuel gauge shows almost half tank. This is also already a second instuments cluster, the original one had the FIS display broken...
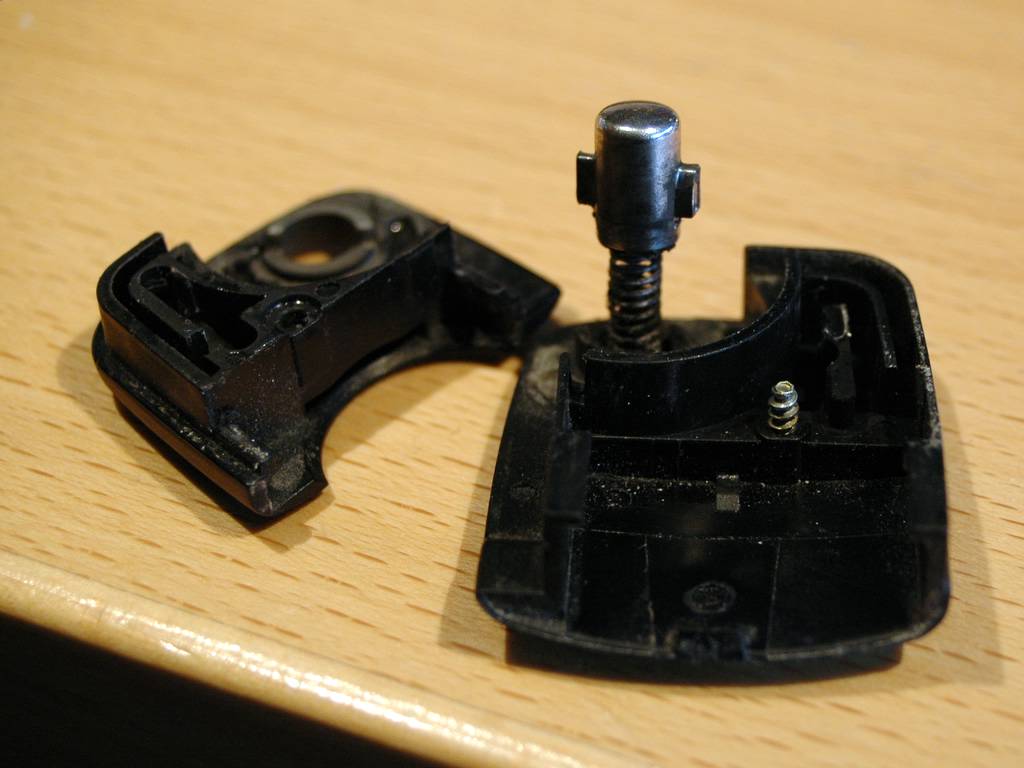
We also had to repair the remote control key... it took quite some time to find the screw under the Audi logo.
Winter 05/06
Before the winter arrived, the hardtop was sourced (cost almost 2000eur with the assembly kit). With the hardtop the car is almost like the Coupe version (without the miniature back seat). A perfect winter car with all the quattro fun!
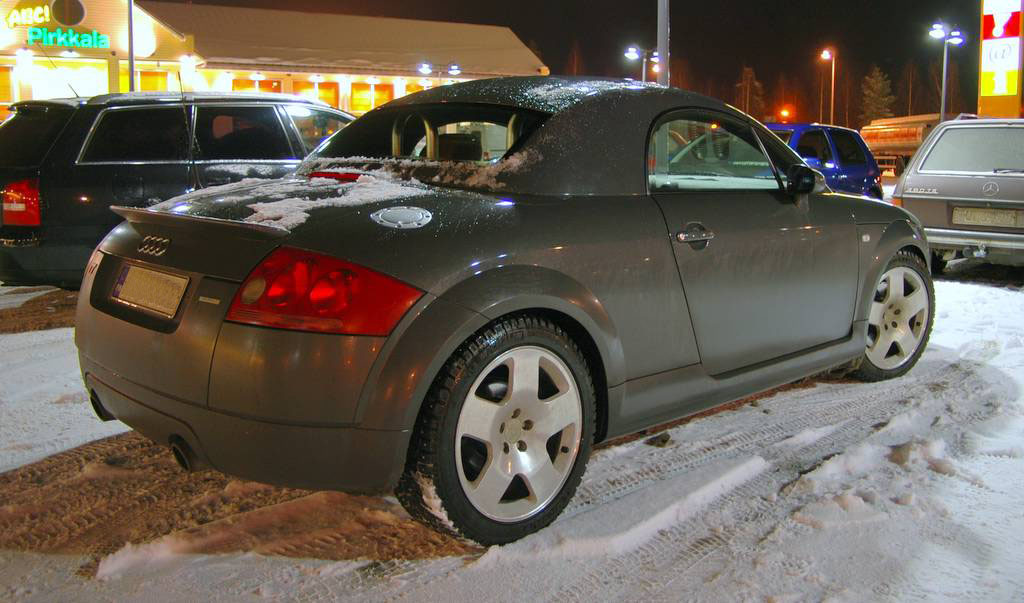
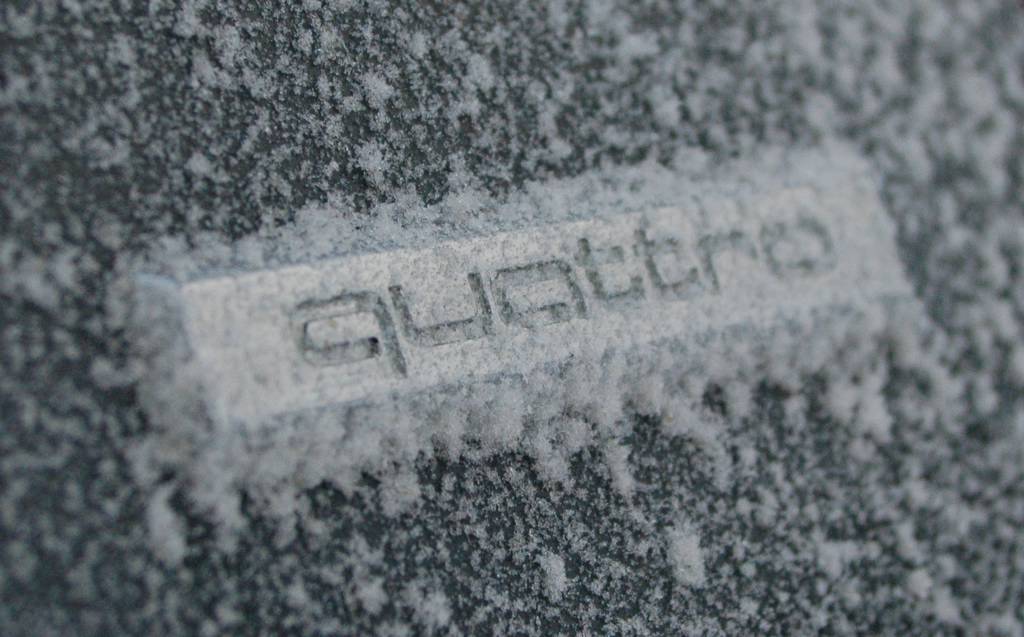
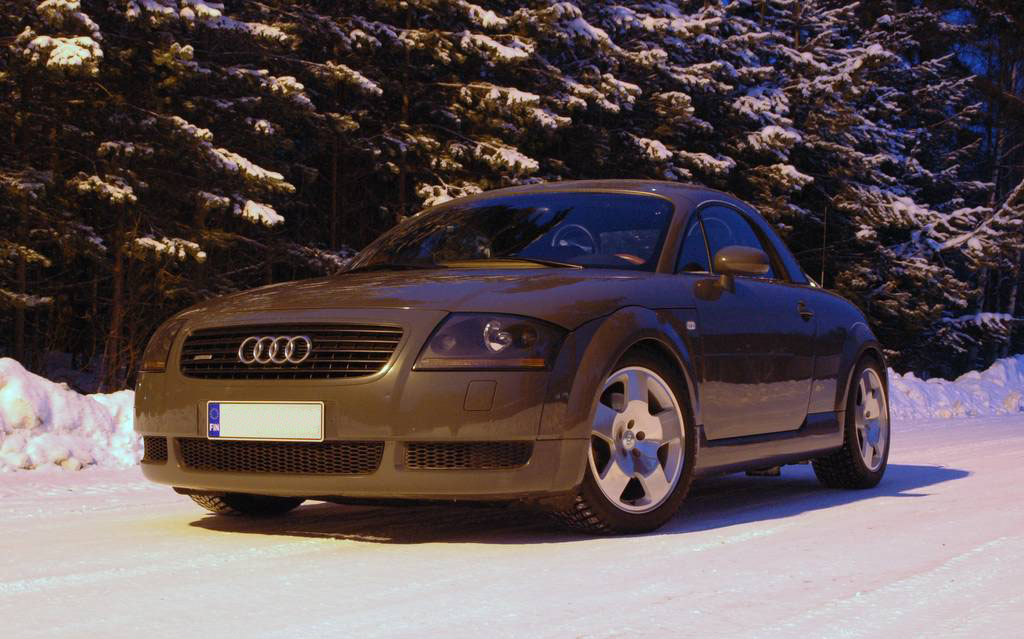
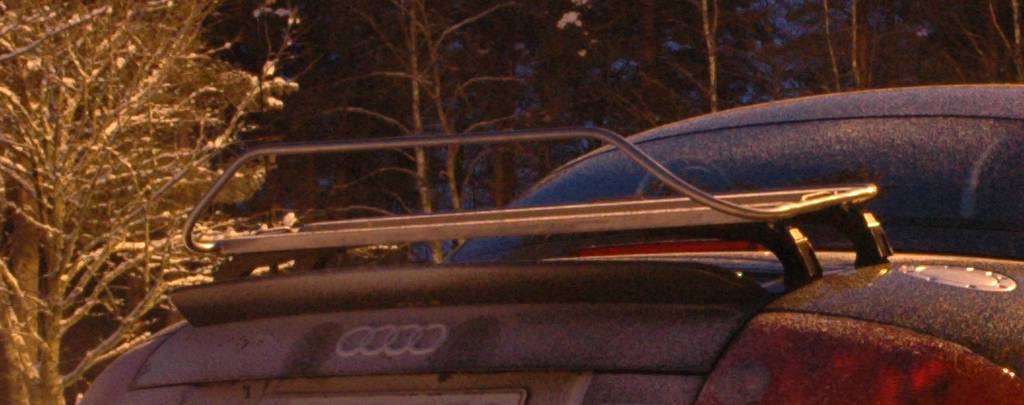
A boot rack came with the car, and was assembled right after the Christmas. Quite handy on winter when the skis need to be taken along.
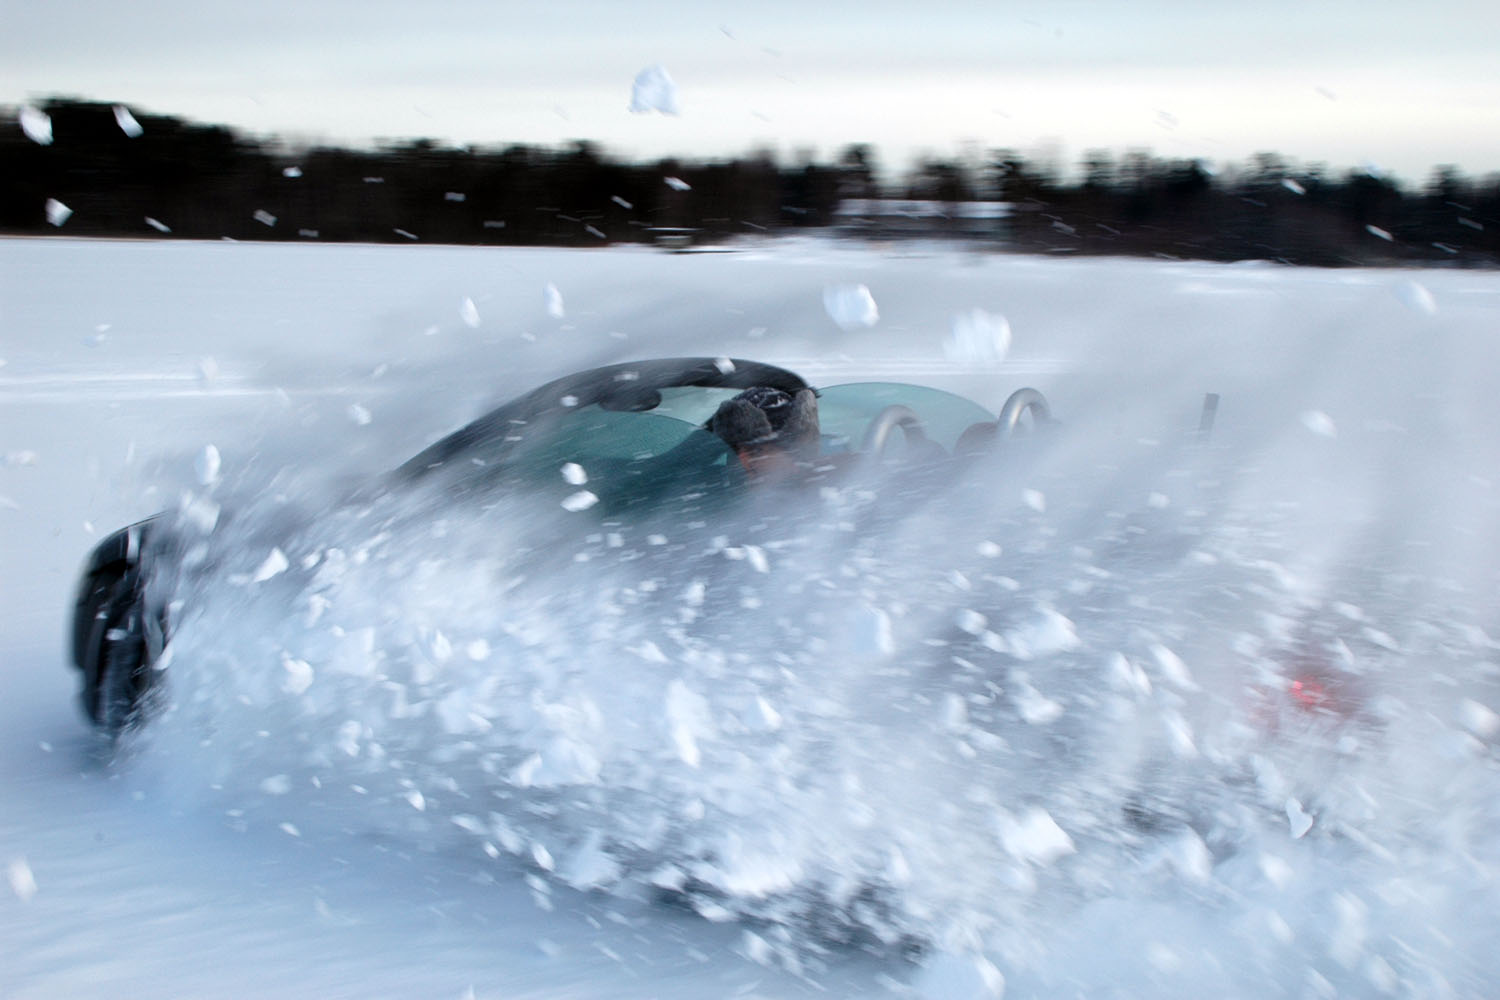
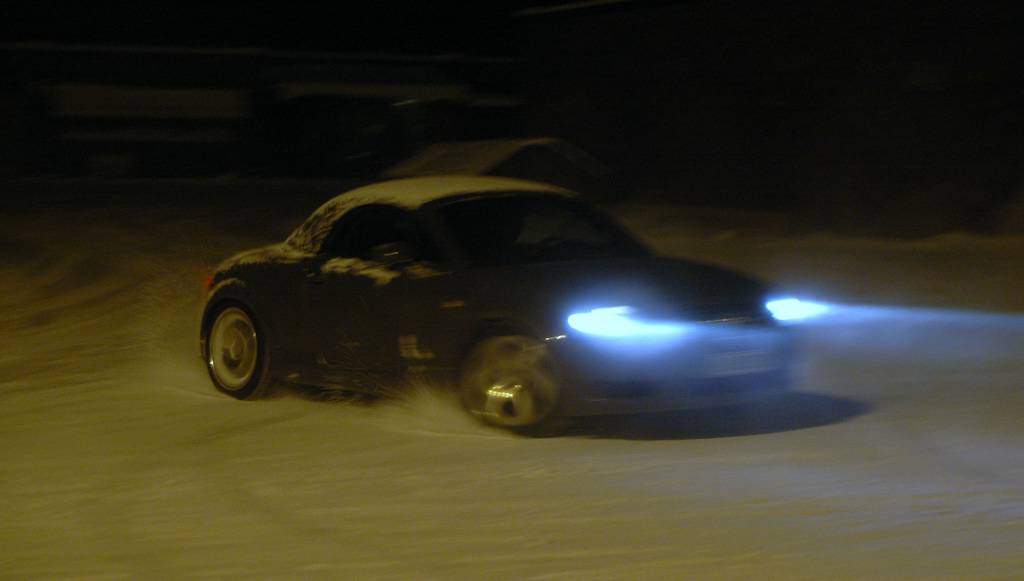
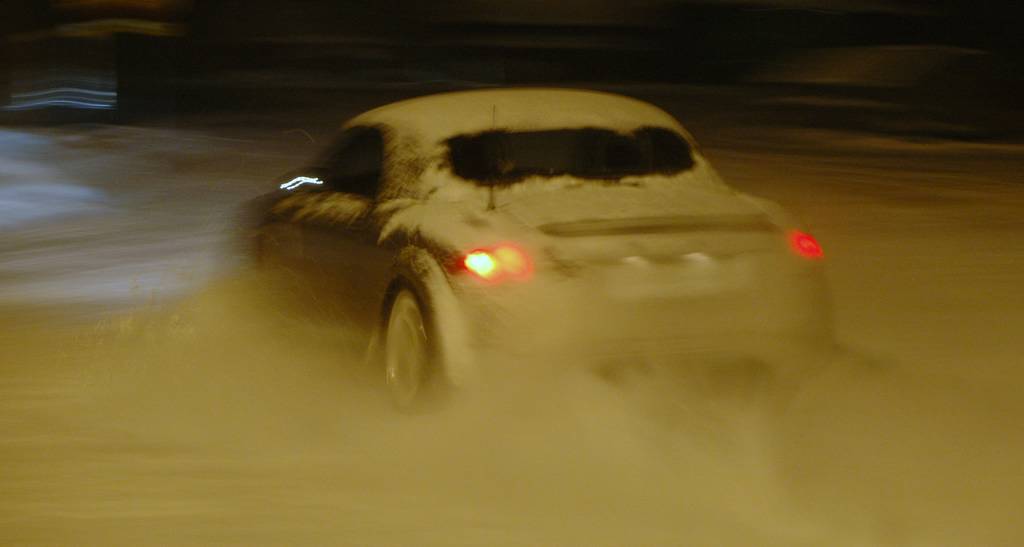
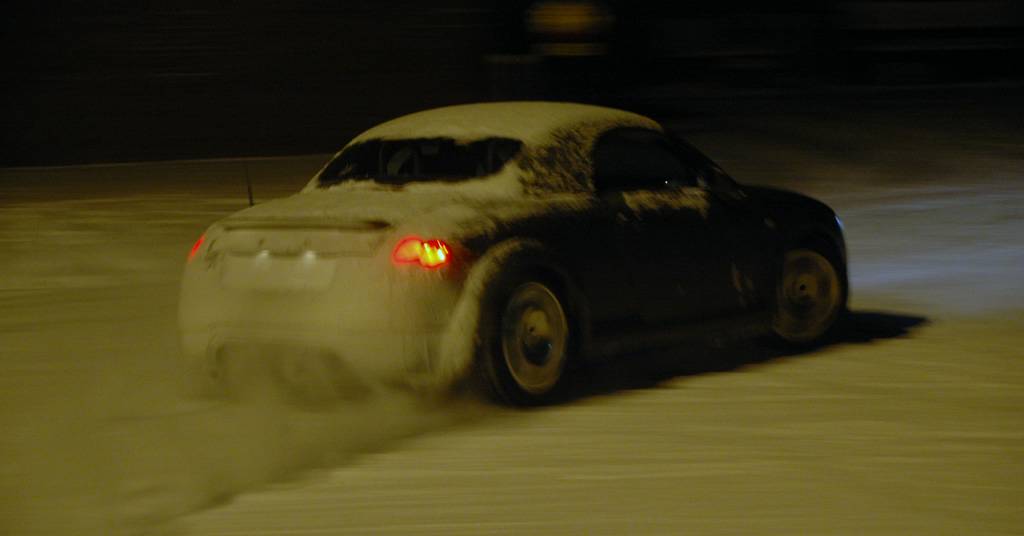
In February we visited Viänäsring ice track at Pertunmaa... and naturally we had to try driving with the roof wide open :)
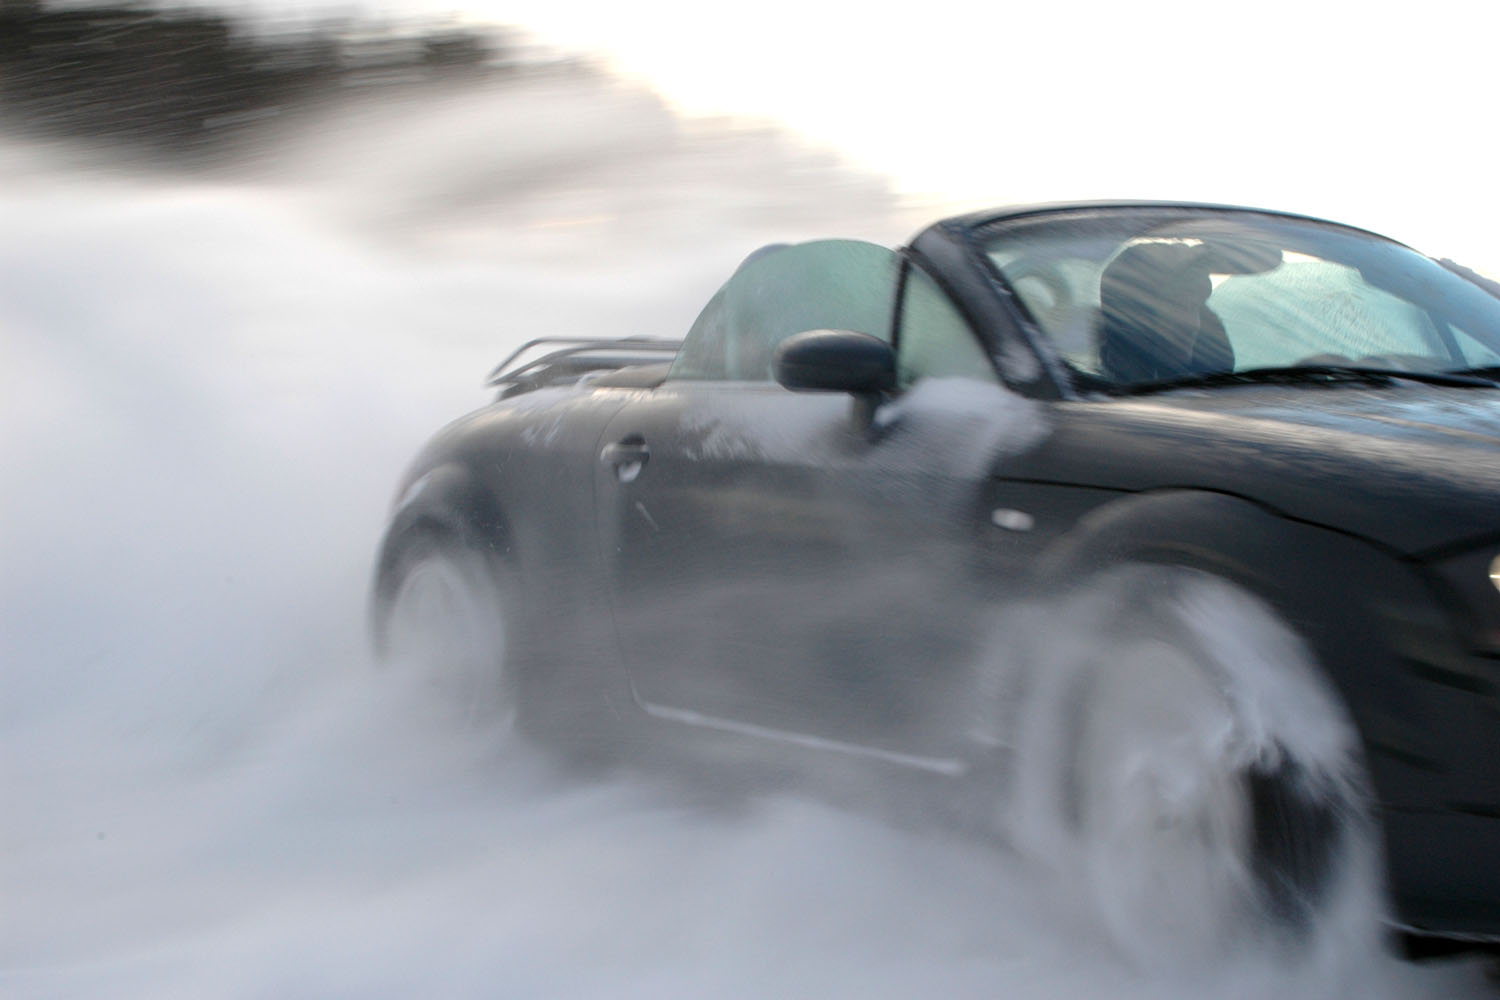
It was not that cold... minus seven degrees Celcius, with the heater blowing hot air to the cabin.
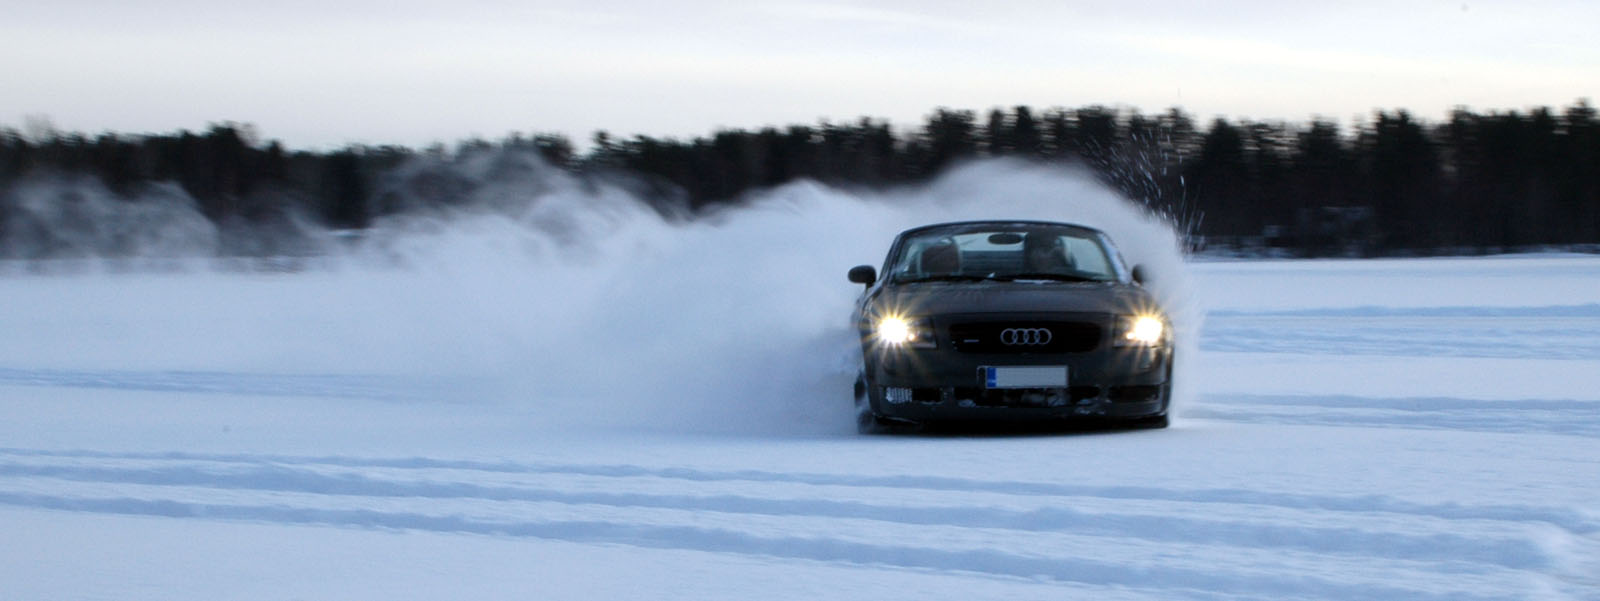
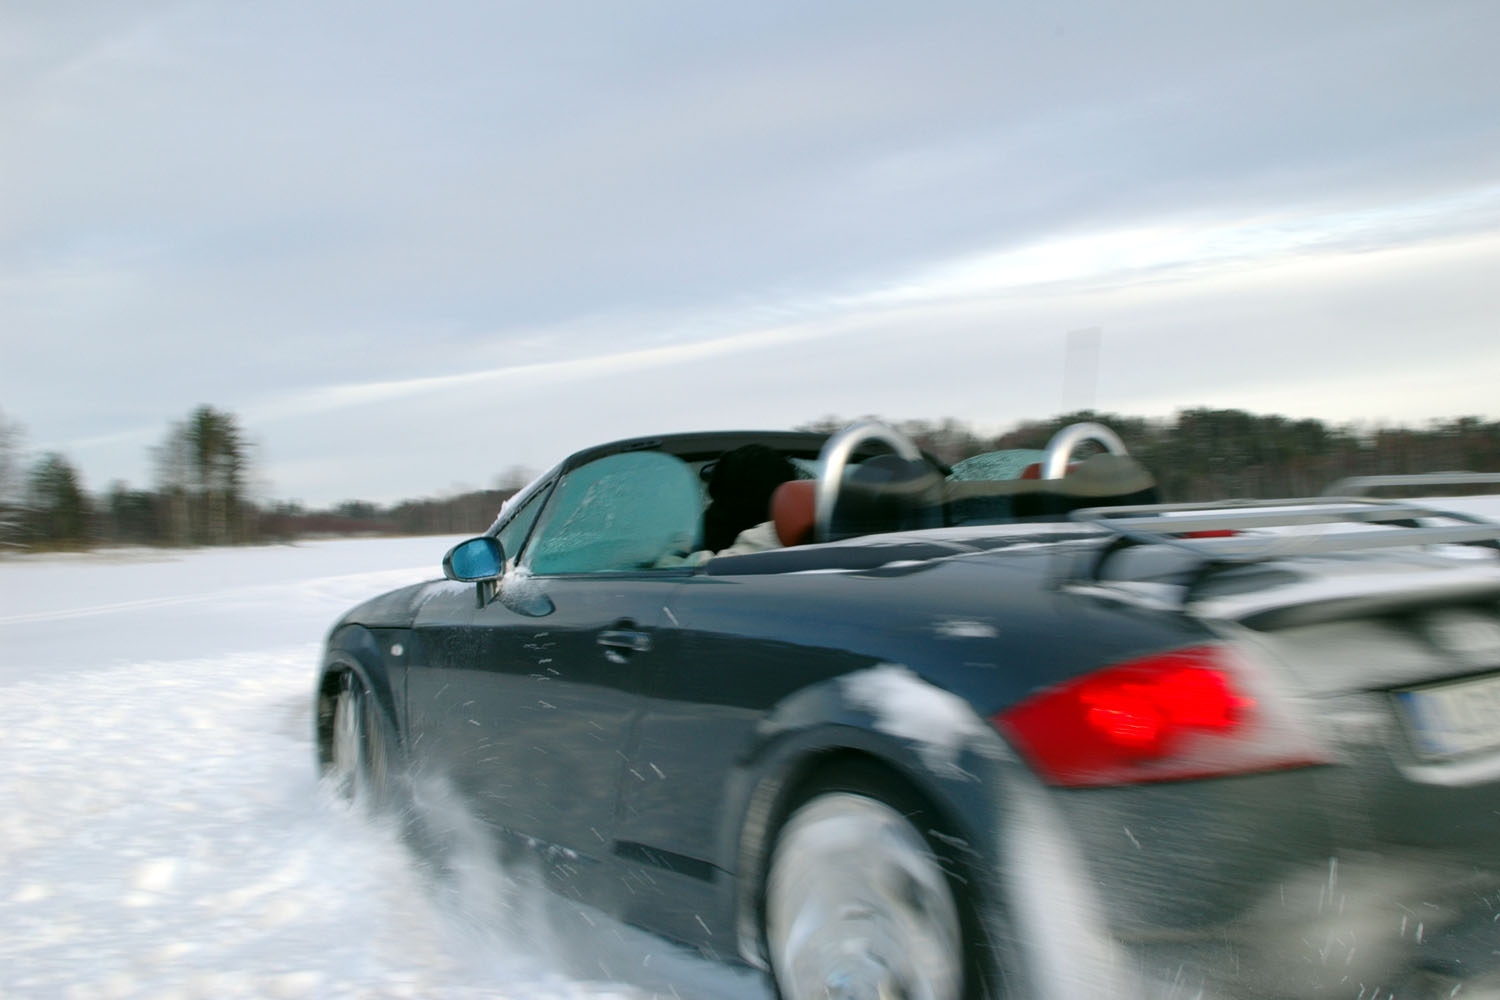
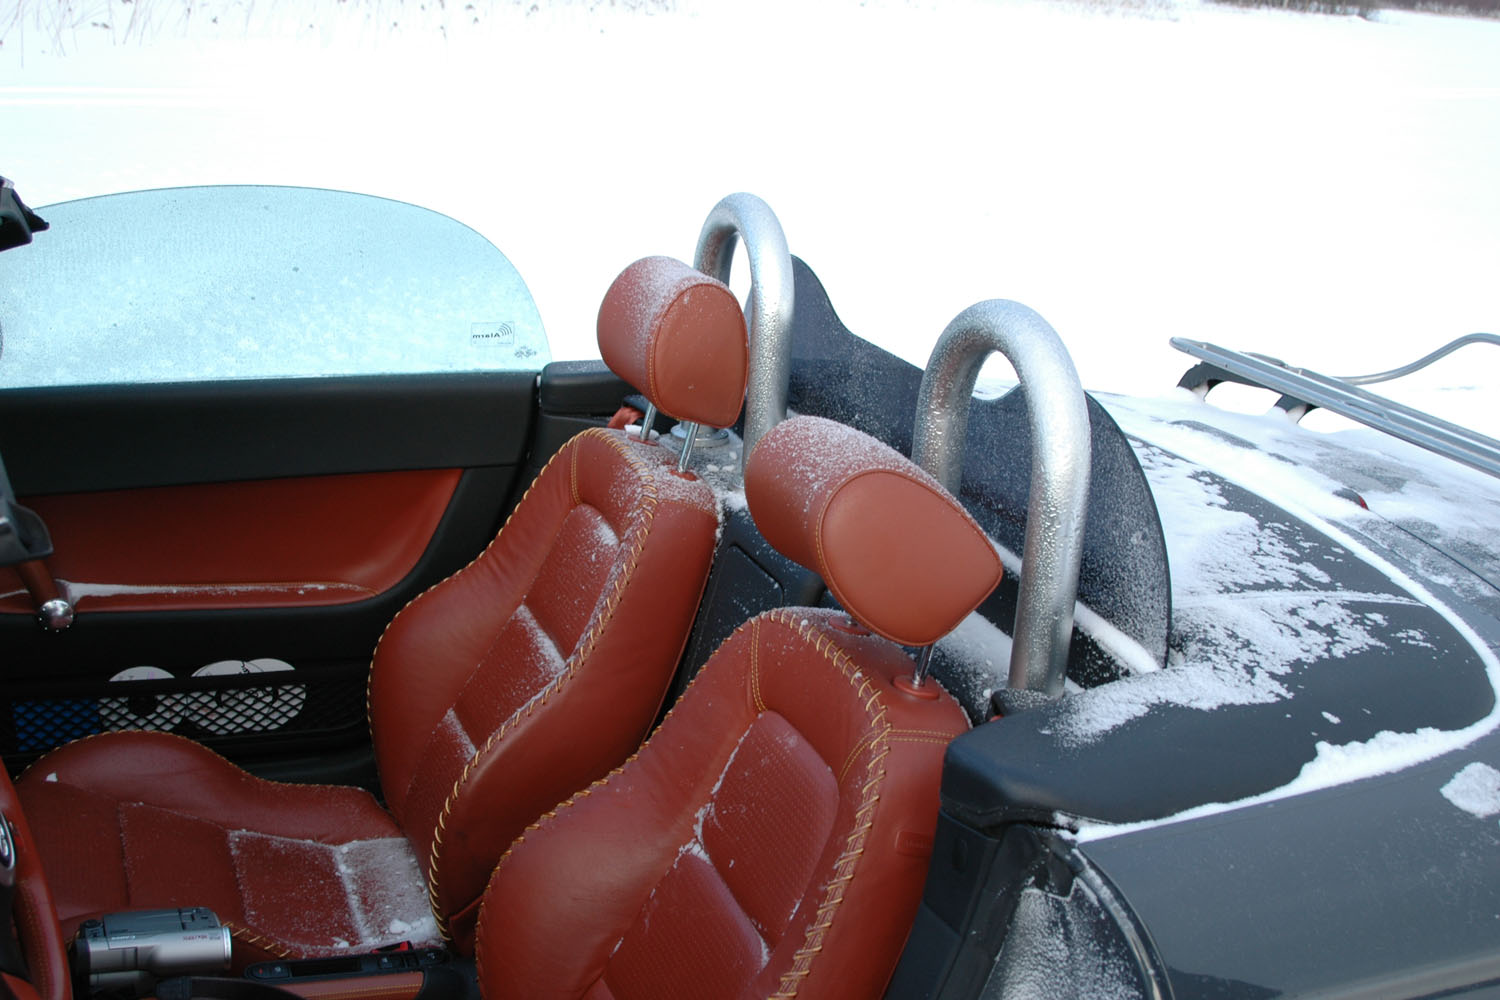
Just a little bit snow inside afterwards... not that dangerous for a cabriolet.
PPI front bumper
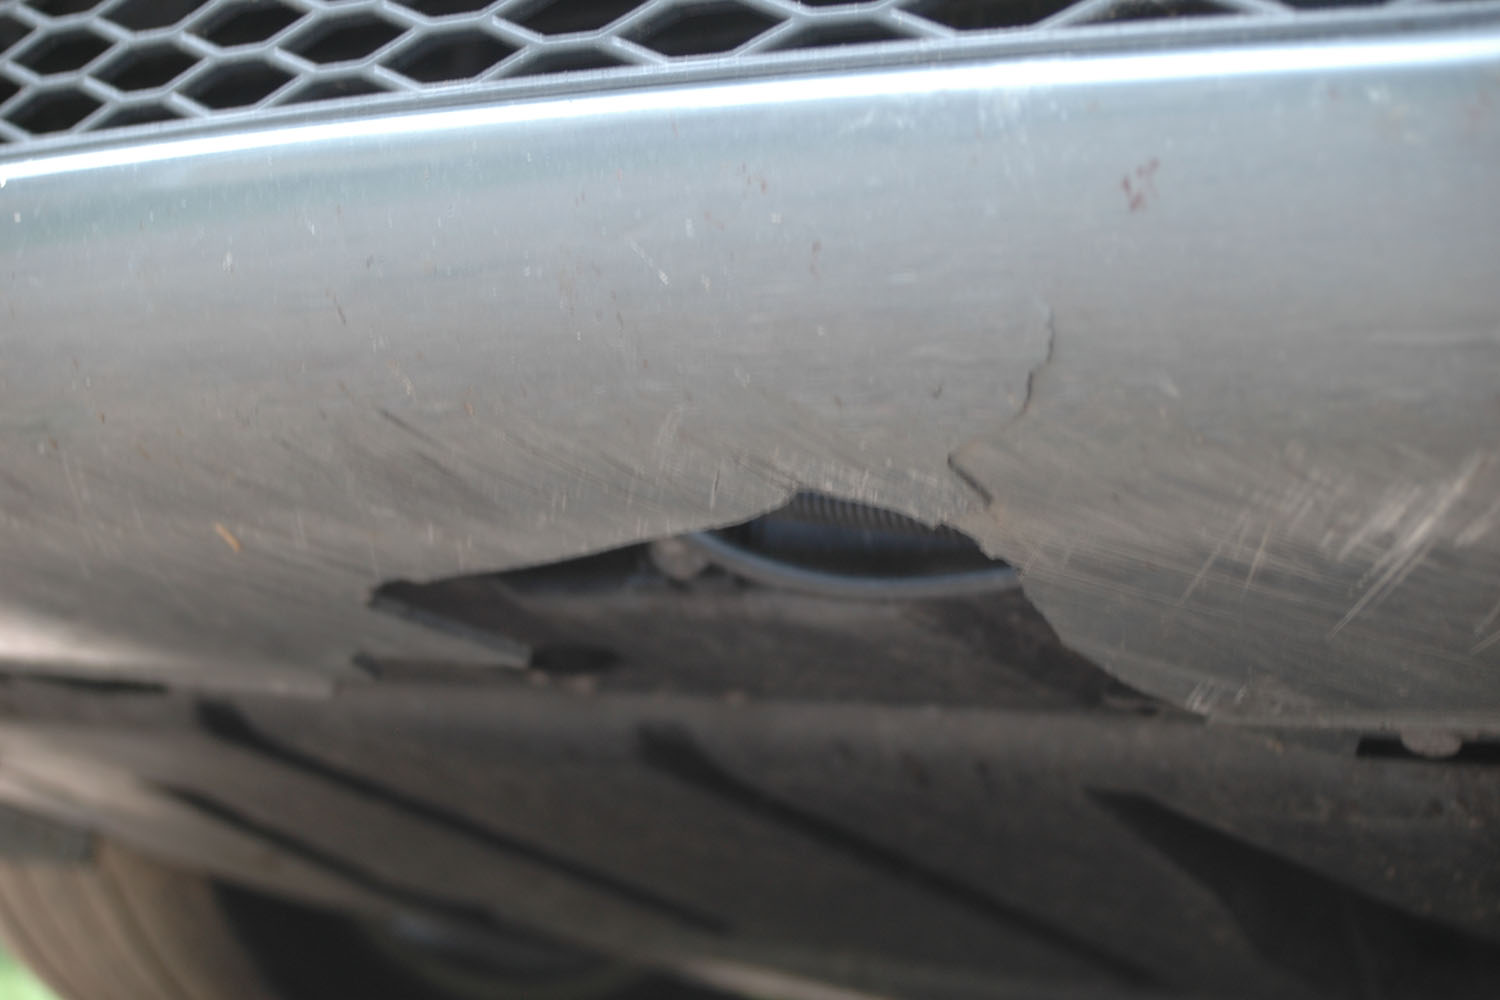
The front bumper was already broken when the car arrived to Finland.
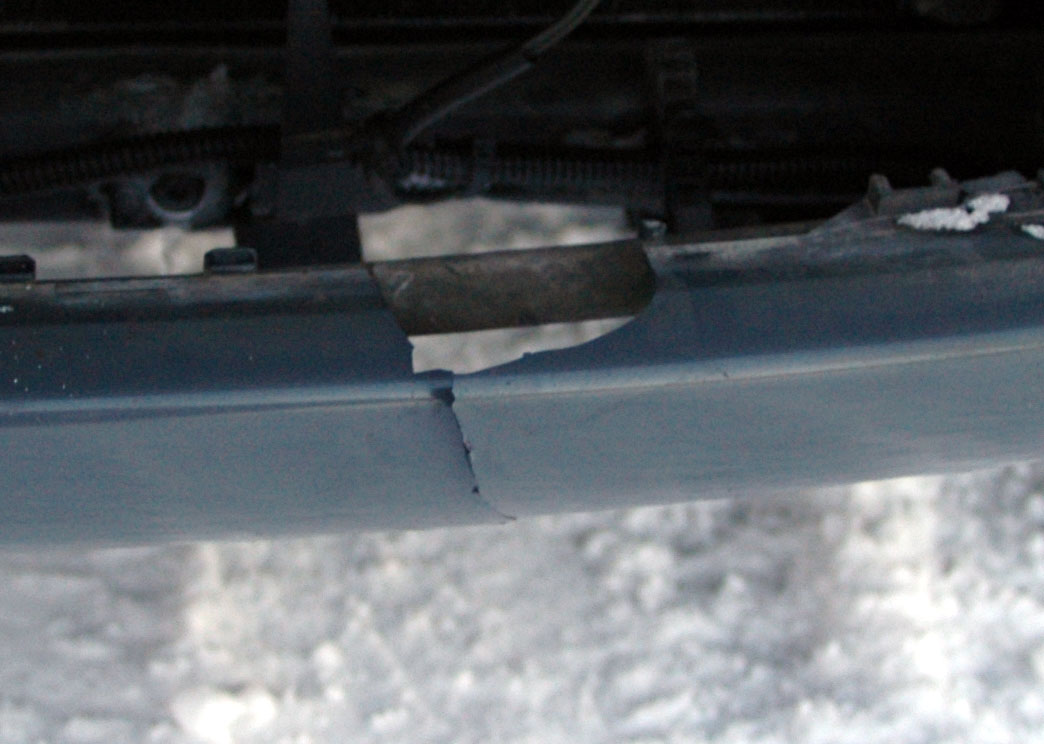
During the icetrack day the bumber got some more damage.
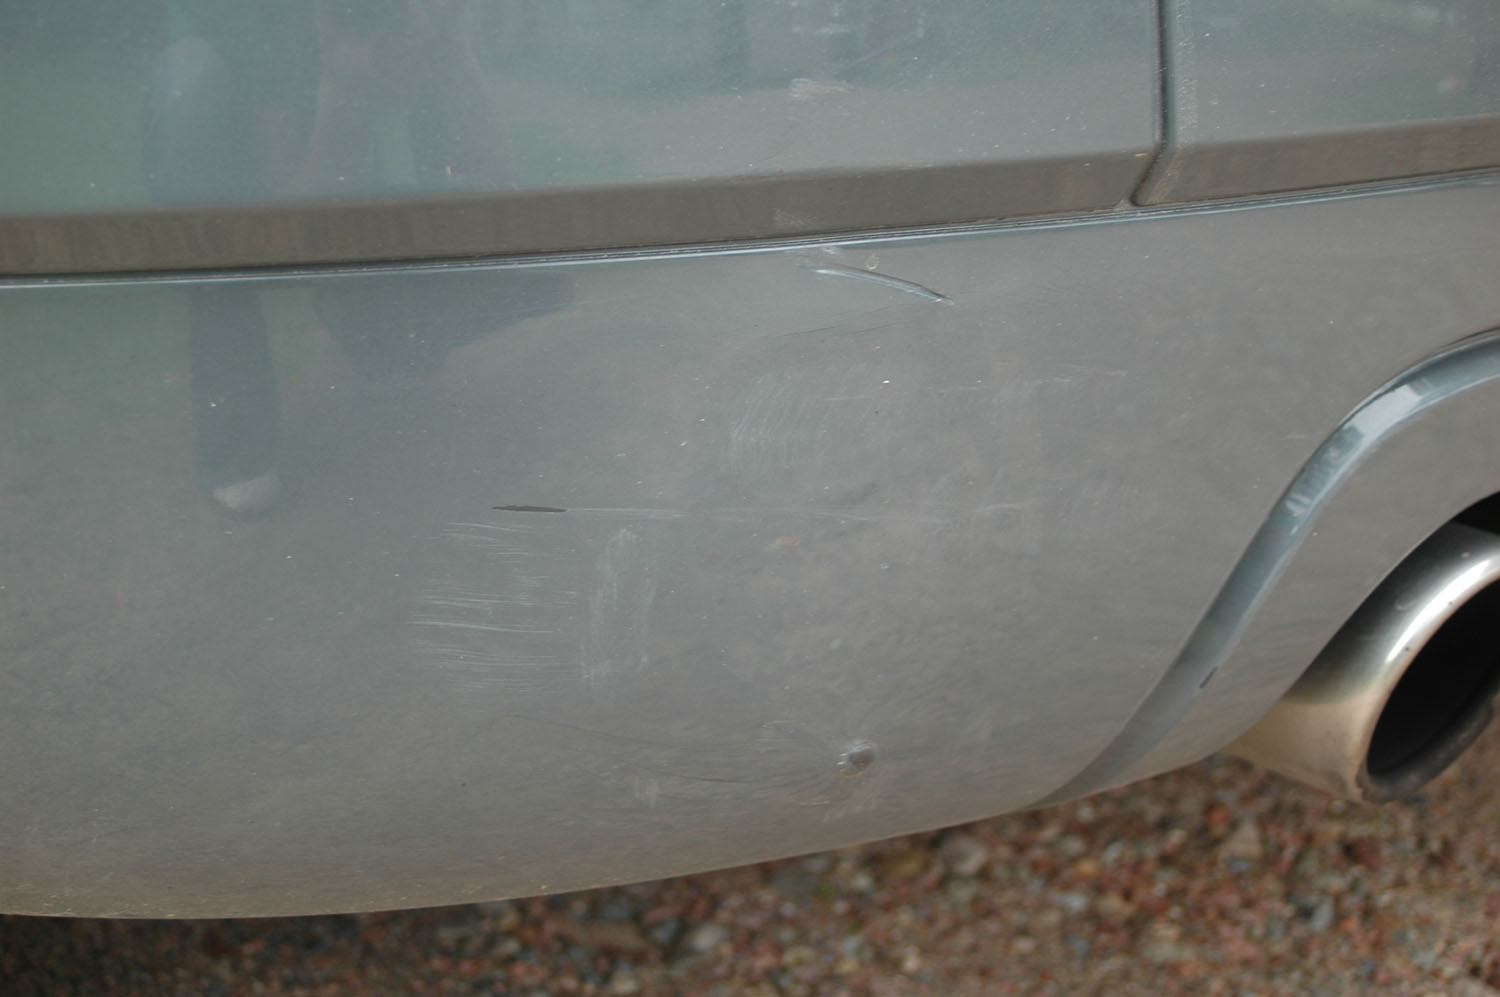
Also the rear bumber had been scratched in Germany... so it was time to figure out something new.
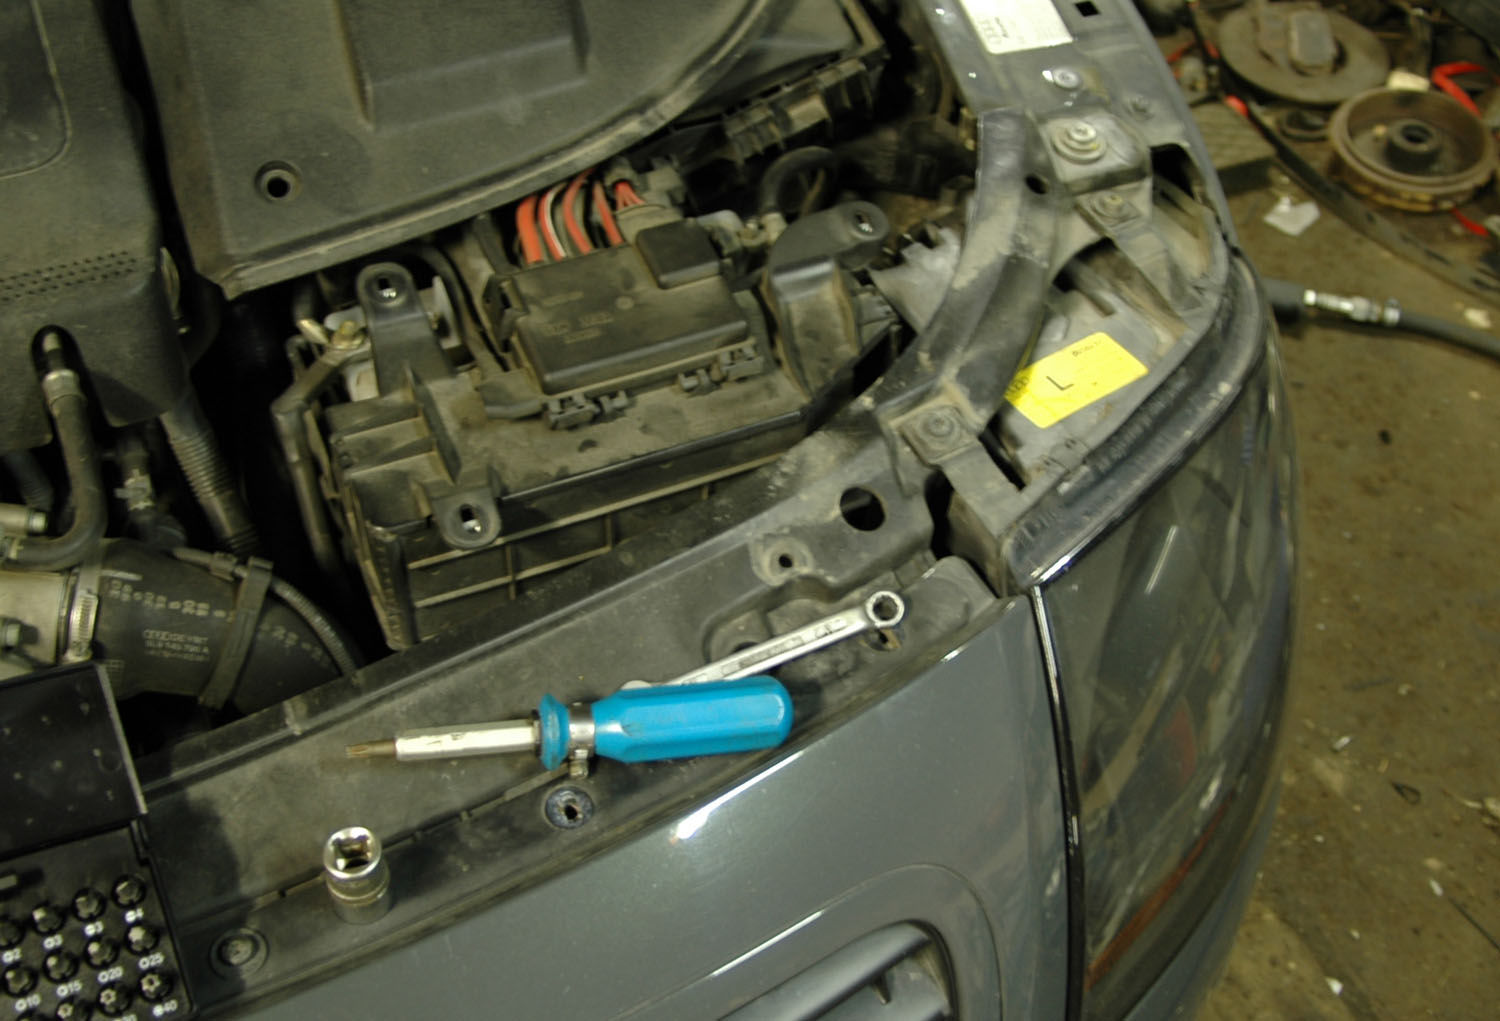
Removing the front bumper is started from the engine bay by removing the battery cover and the covers from the front of the engine. Below the covers there are six torx screws which are removed.
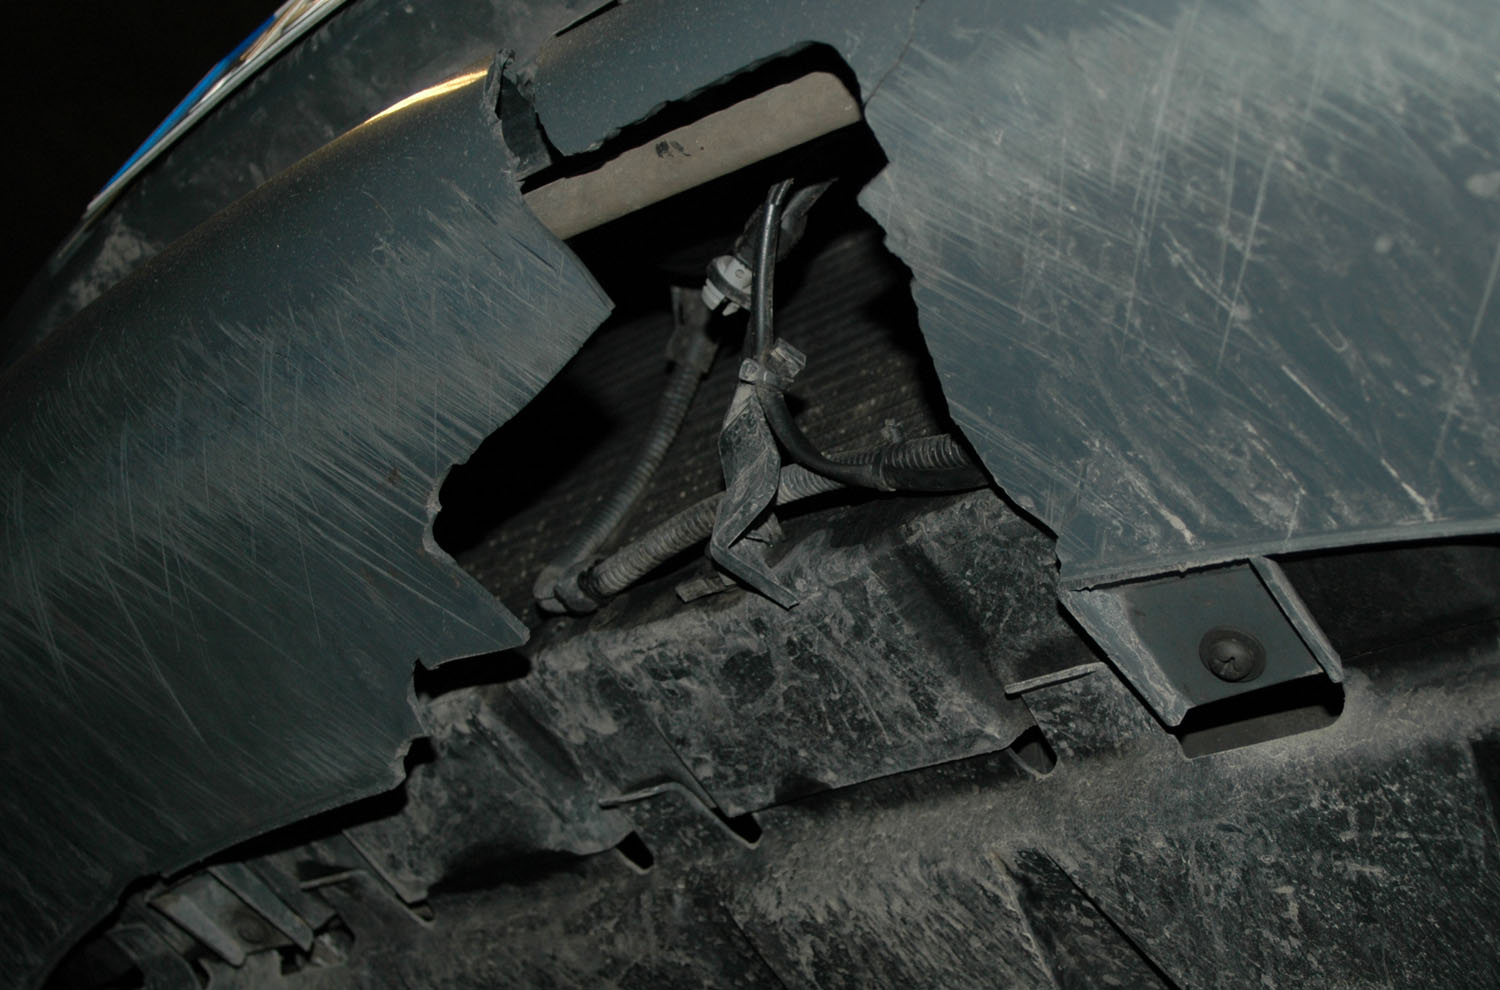
On the bottom two screws are removed. The image also shows pretty well about the damage.
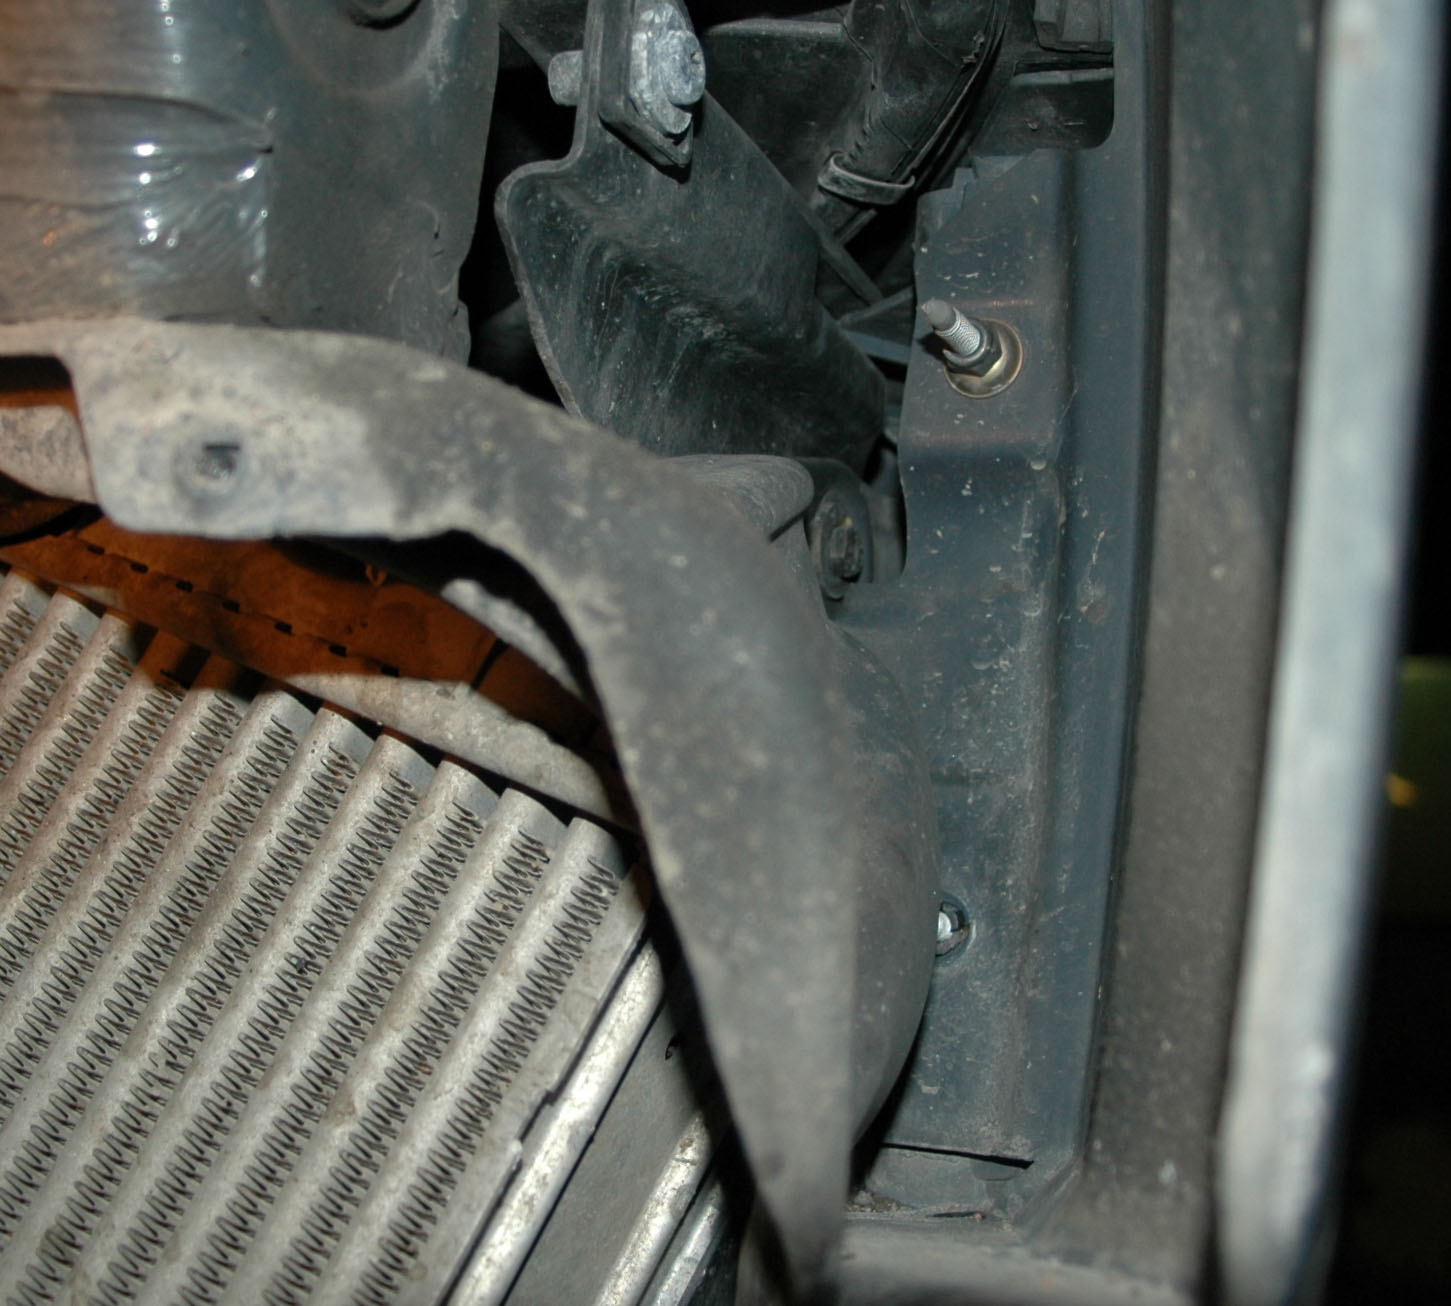
Behind the plastic inner mudguards, right next to the intercoolers there are two nuts (on both sides) to be opened.
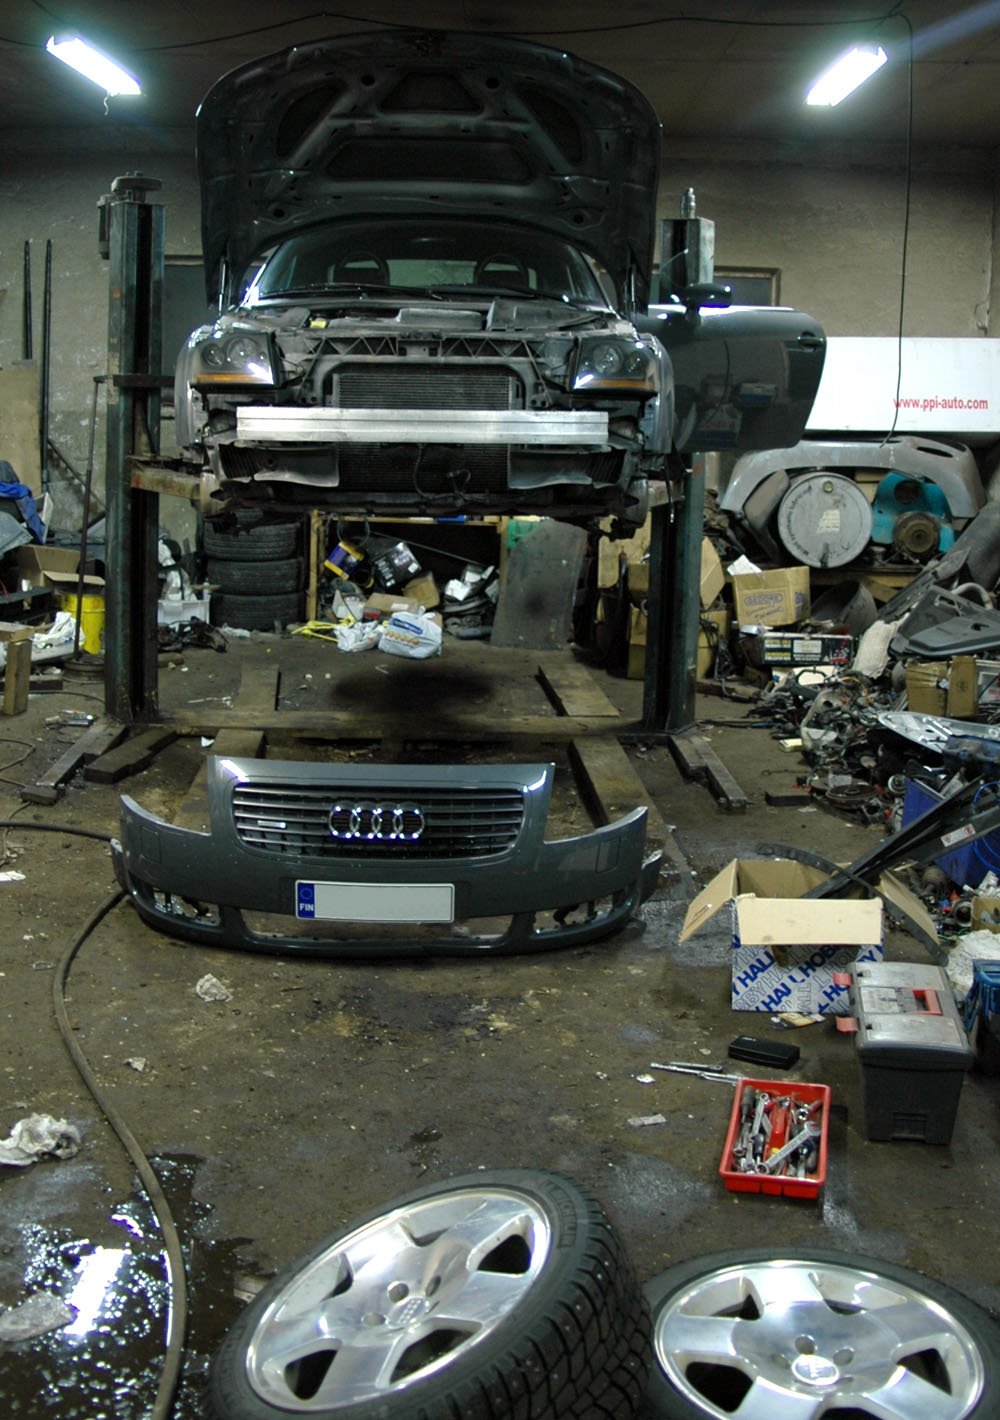
After unplugging the headlight washer hose you're ready to pull the bumper out.
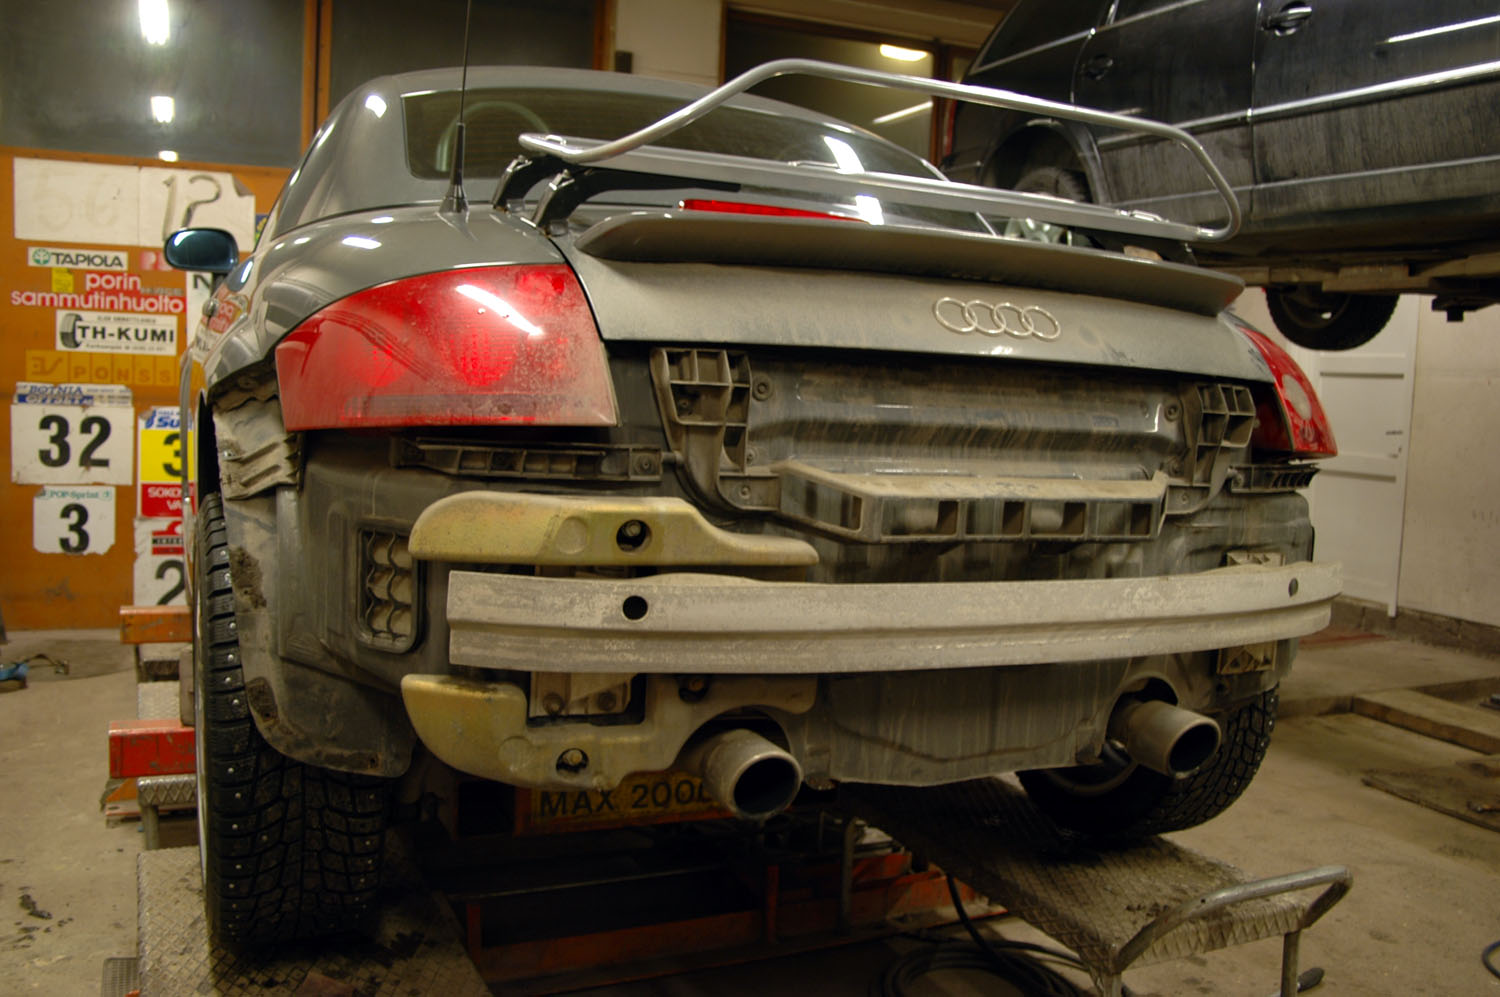
On the rear it's pretty much the same thing. A few screws from the top and the bottom, and two bolts behind the mudguards on both sides.
Behind the bumper there's quite heavy balance weight!
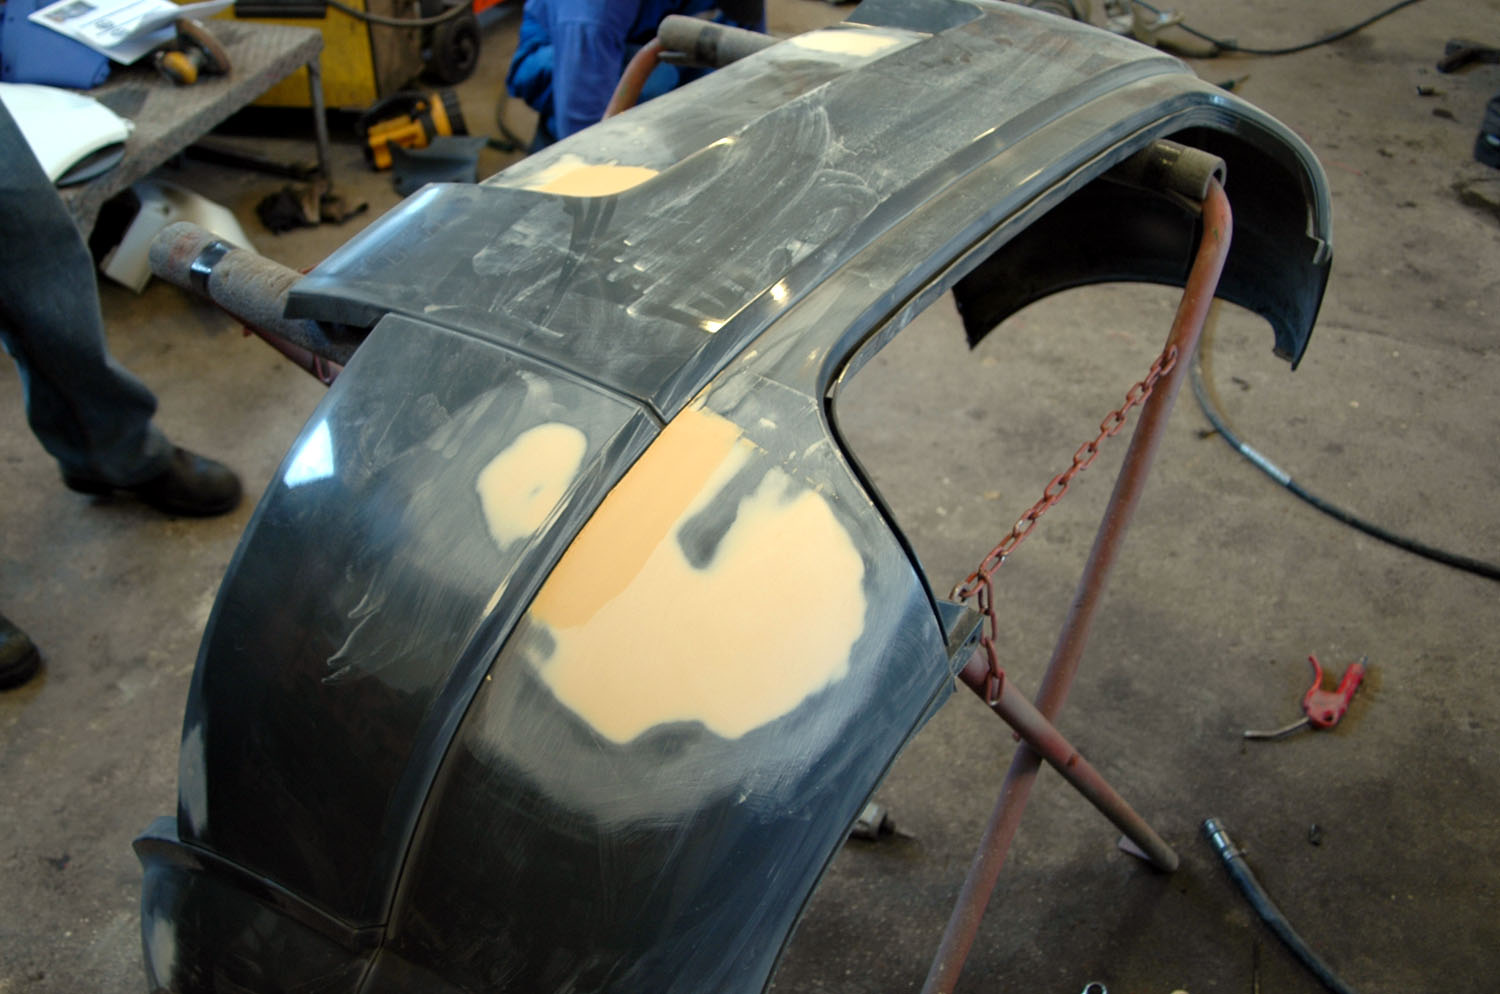
A little bit of putty on the rear bumper...
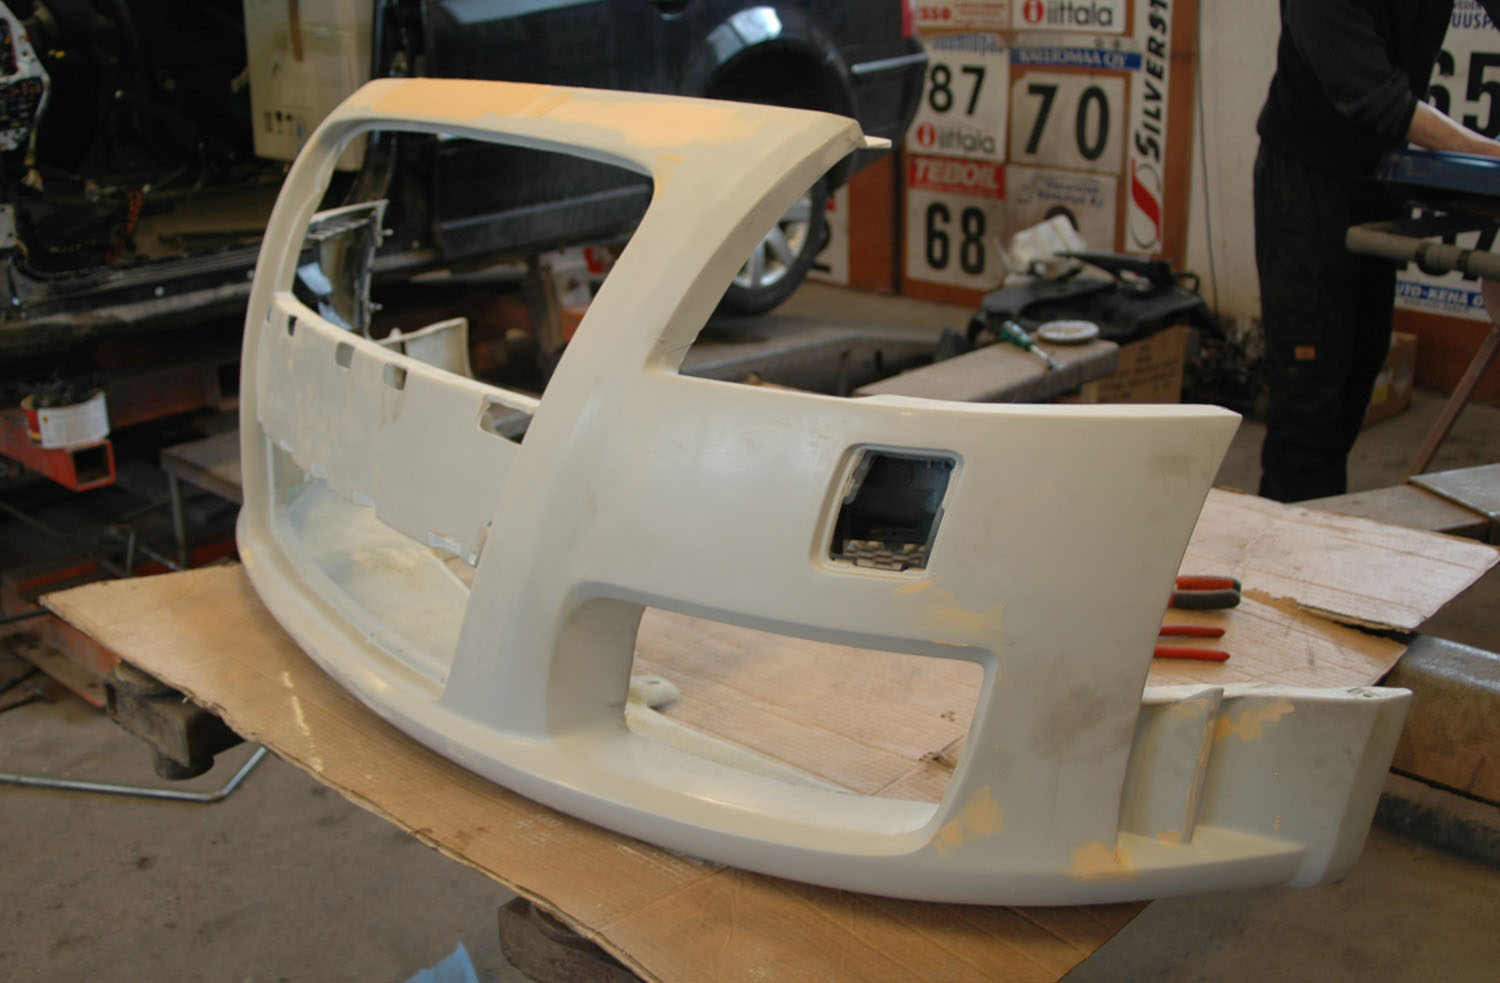
...and some on the front too. The bumper is made by PPI. Pretty good quality, even thought it's made of fiberglass.
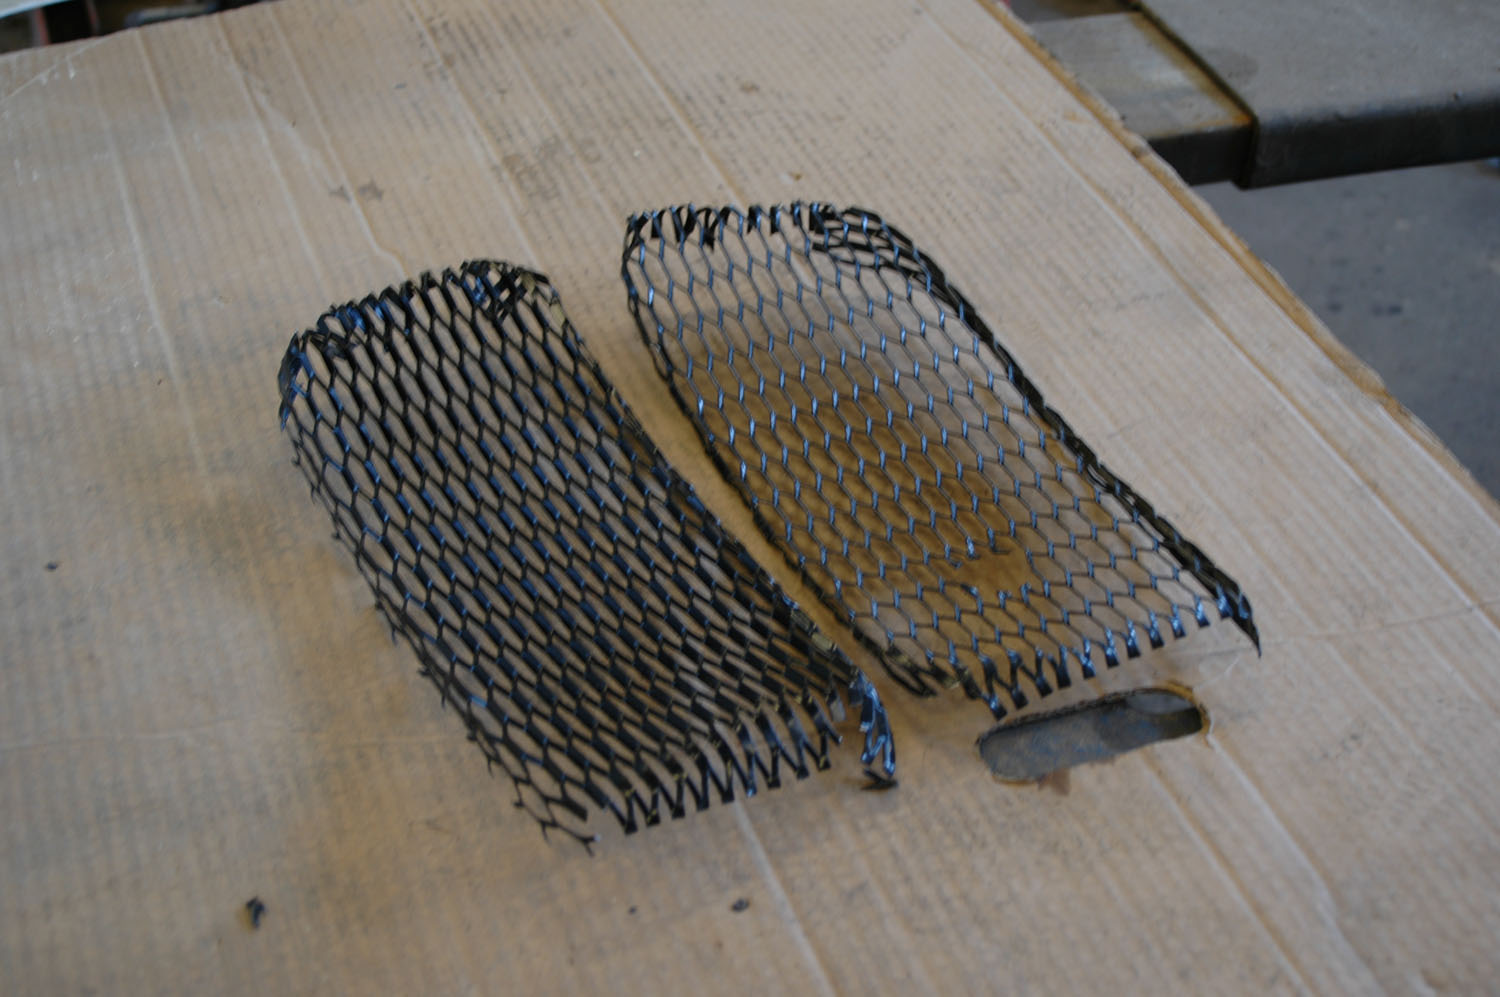
The intercooler grills were finished before the paintwork.
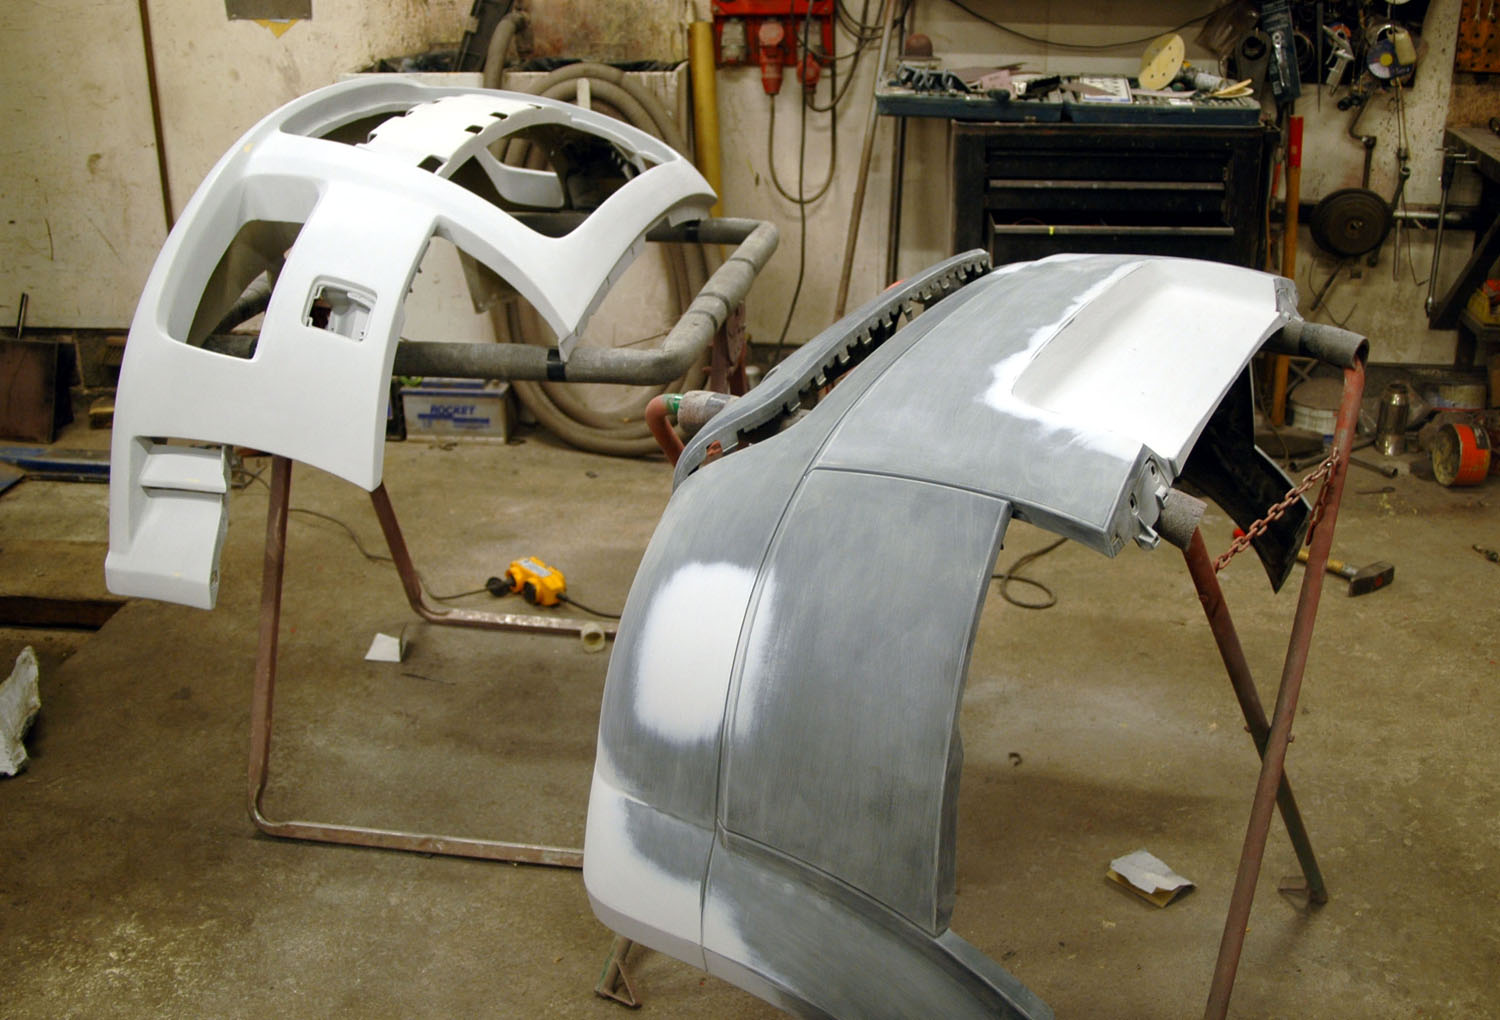
The filler paint was sandpapered before the final paintwork.
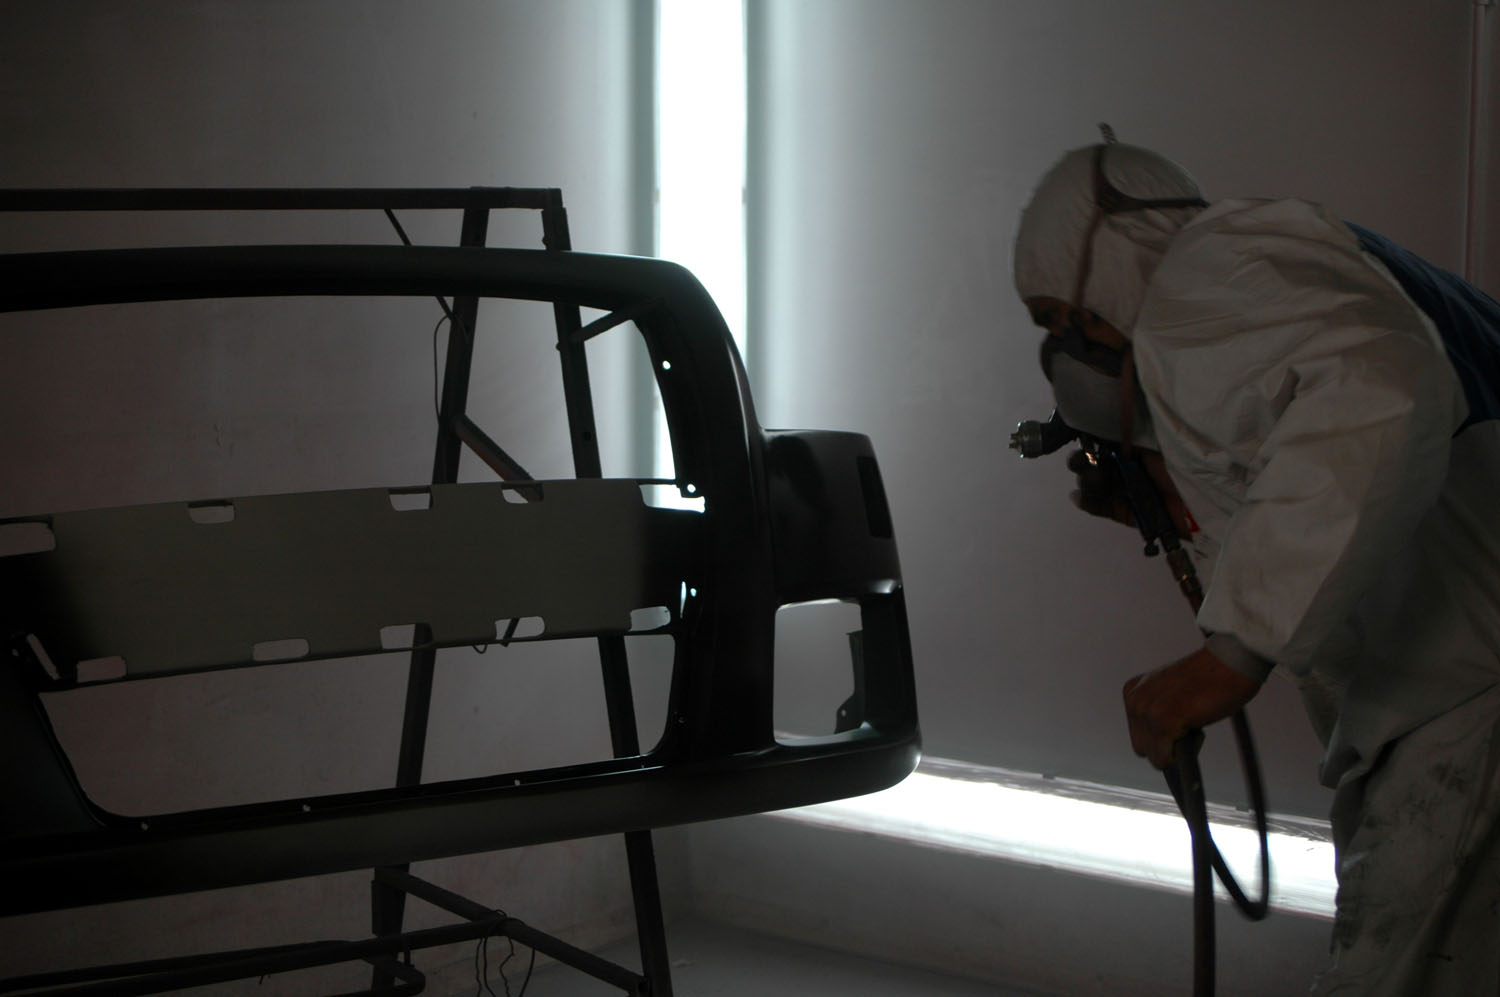
Jaska painting with the Nimbus grey paint.
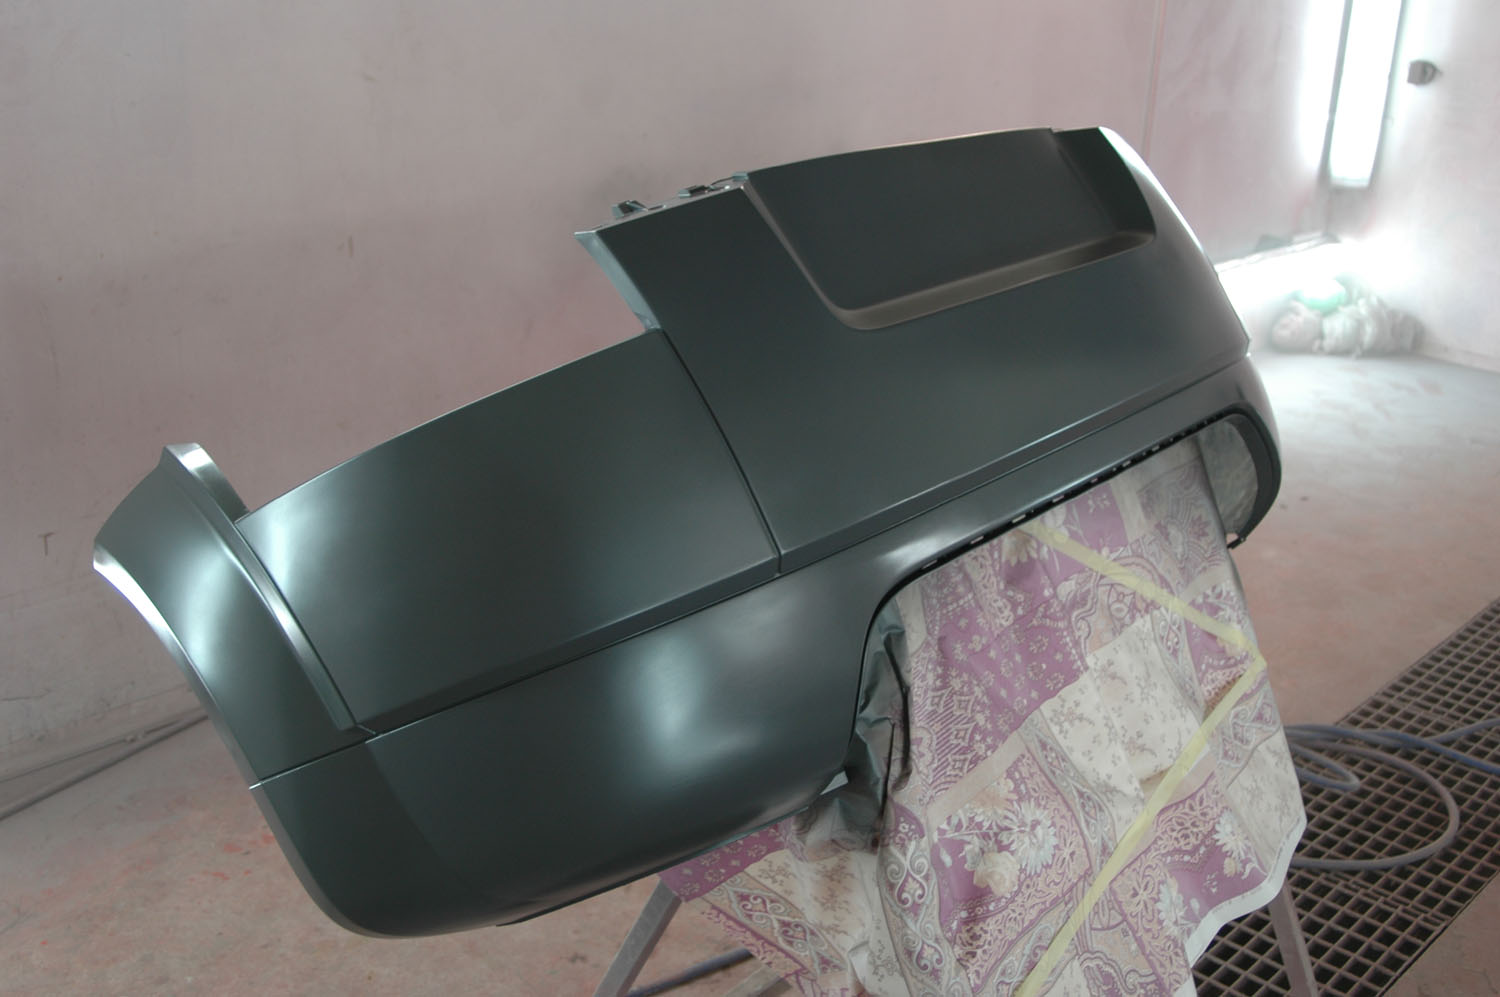
Rear bumper painted... requires still some lacquer.
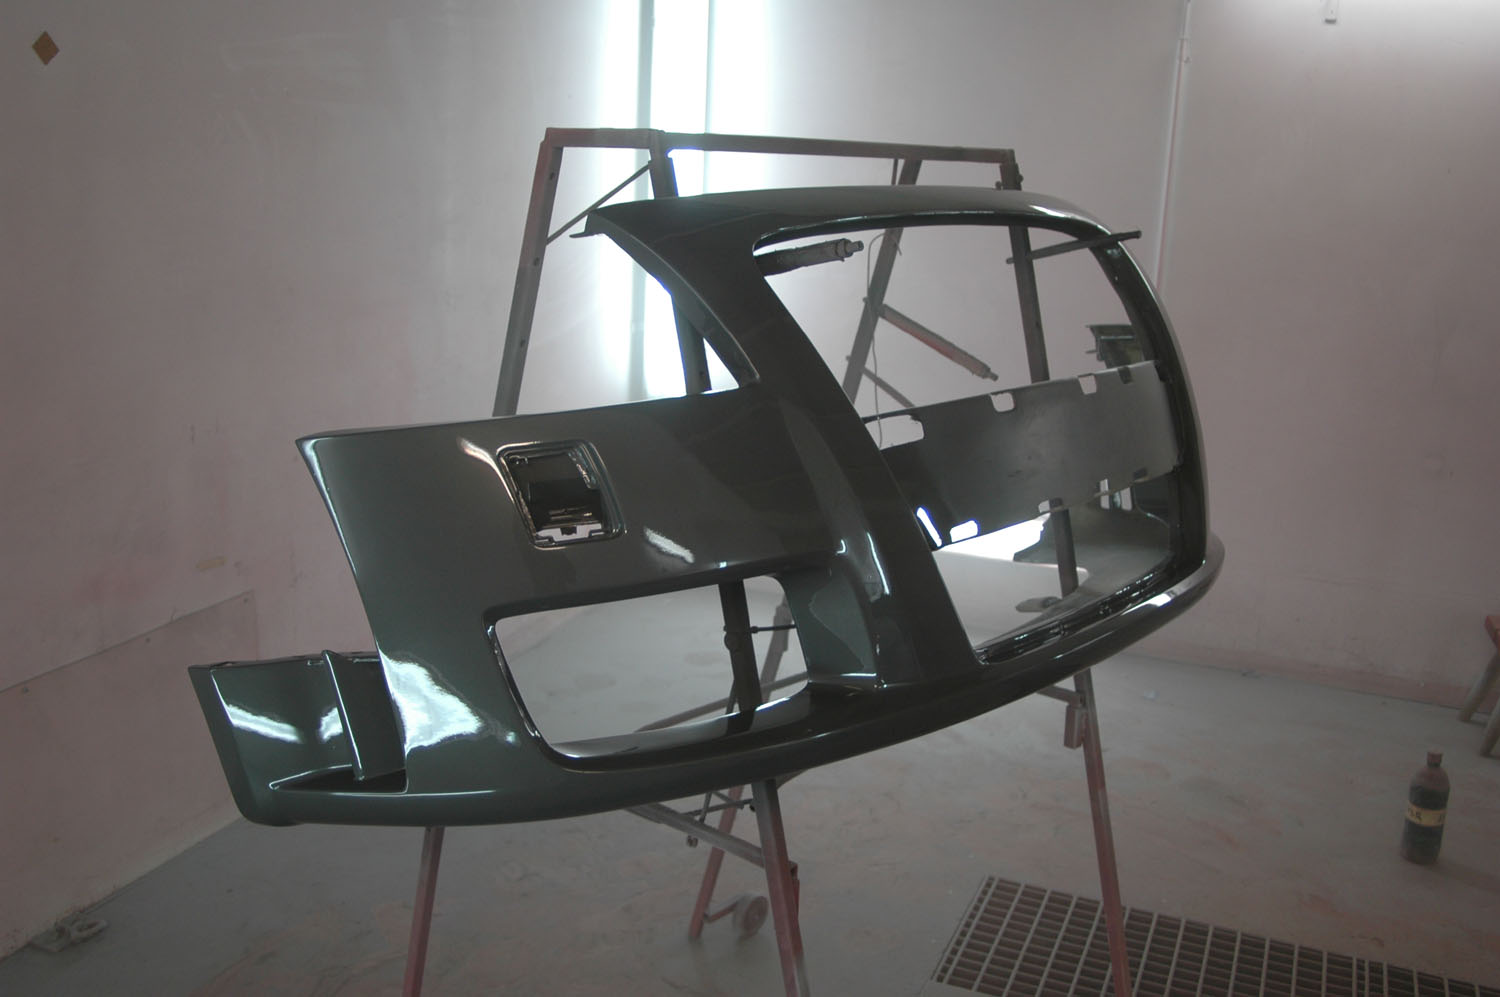
Front bumper after the lacquering.
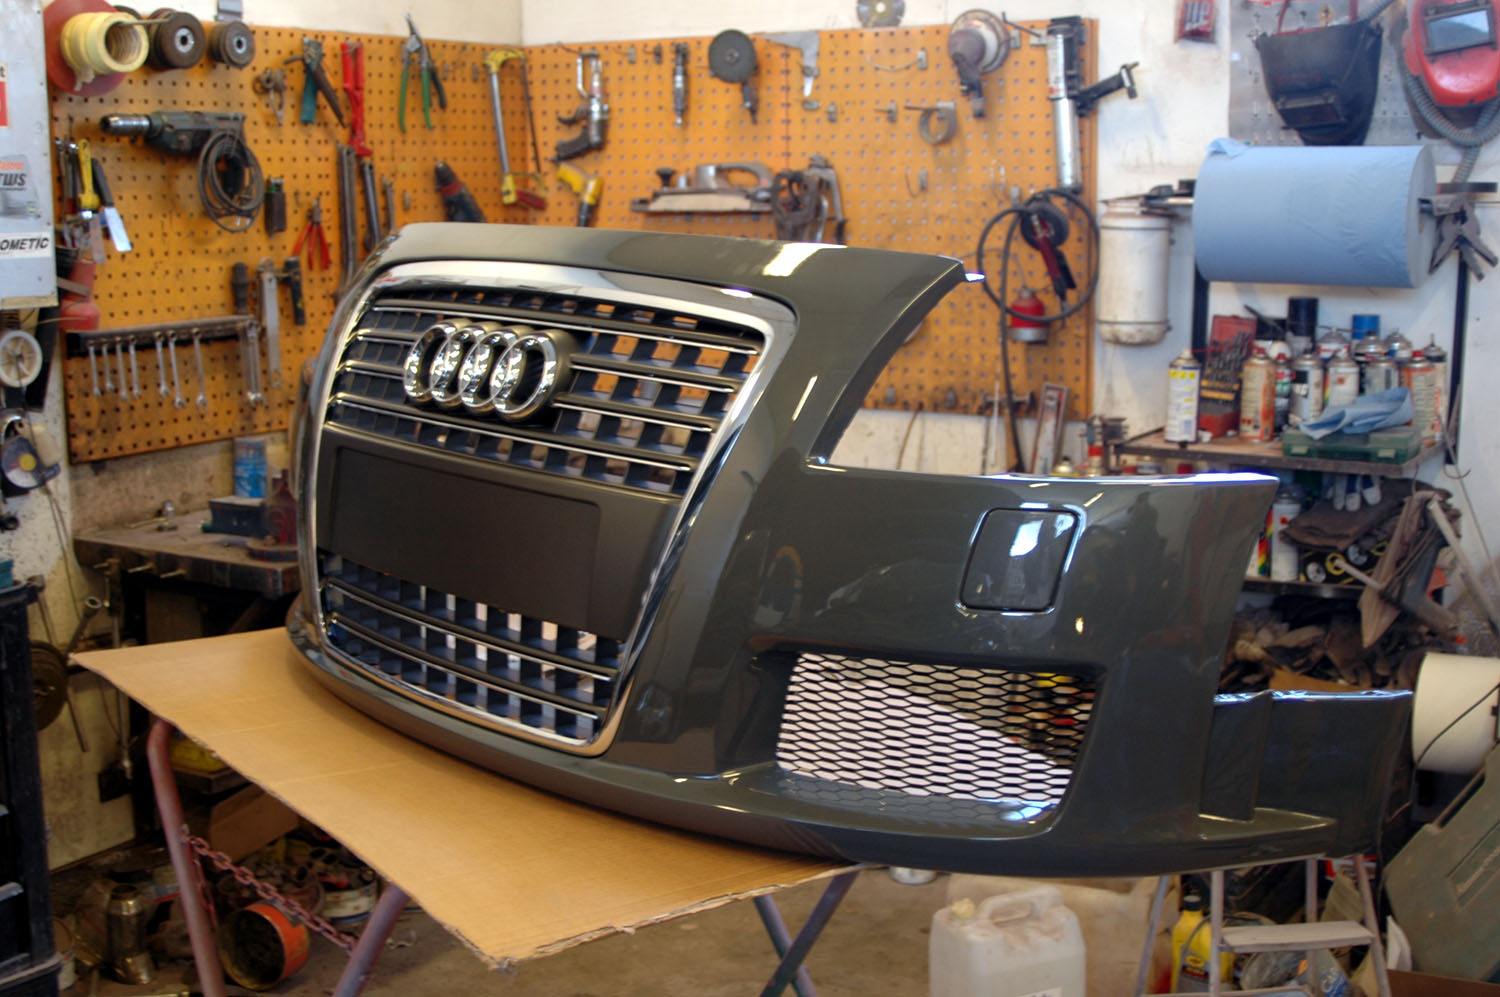
Before the bumper was assembled on the car, all the grills and the headlight washers were attached. The large grill is from Audi A8 W12.
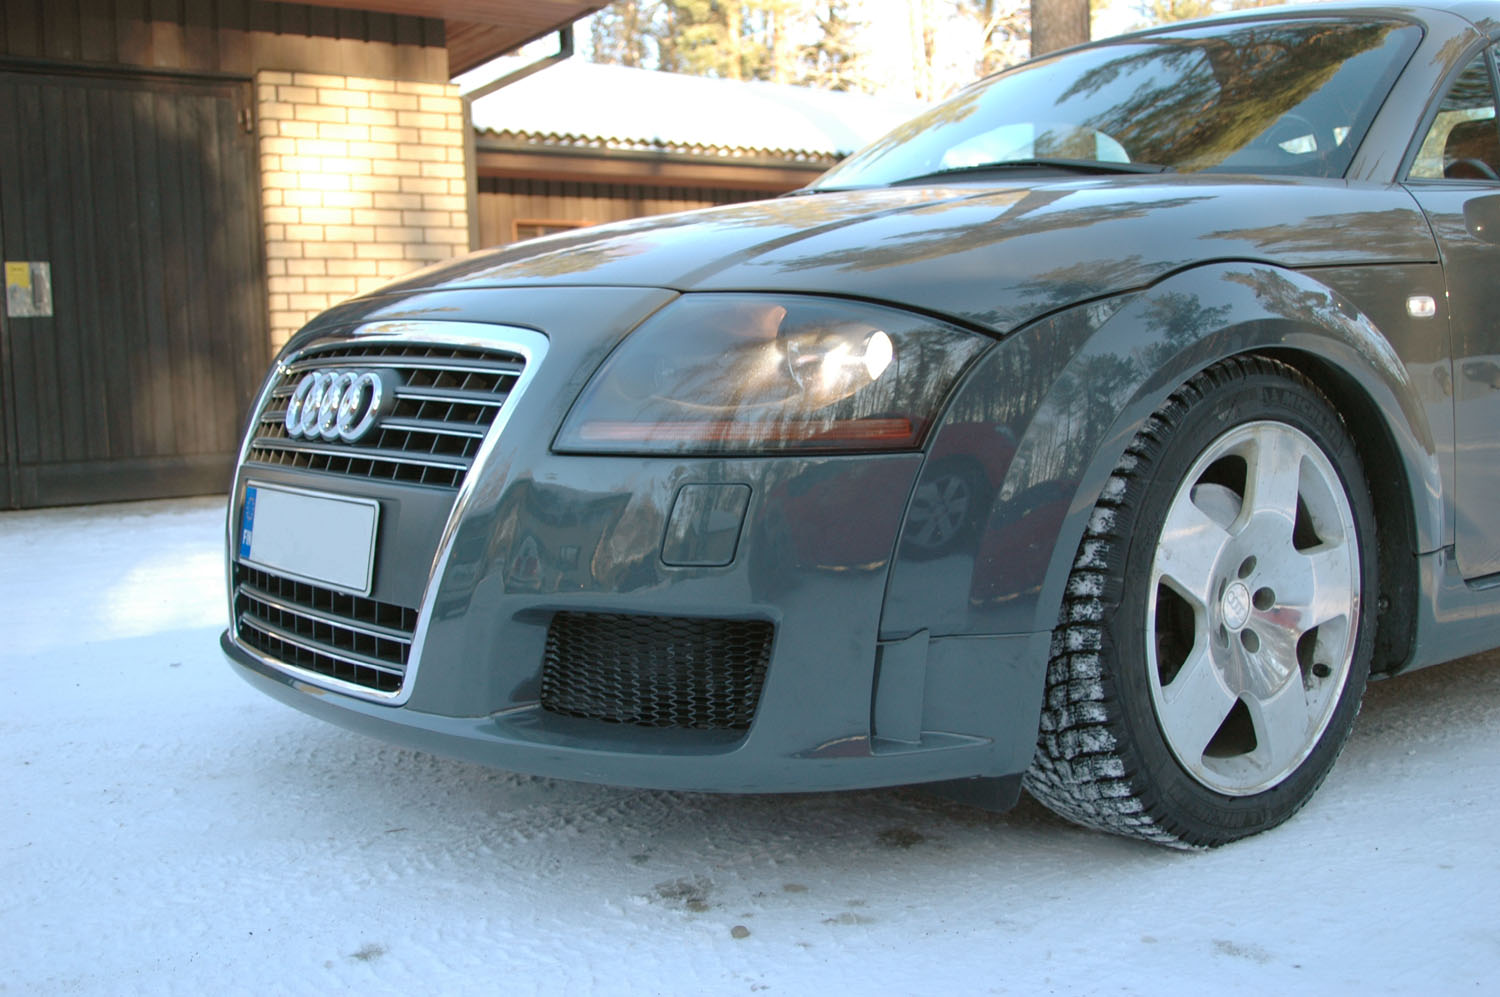
Finally the bumper was attached on the car. Almost a direct fit... just a little bit adjustment on the headlights.
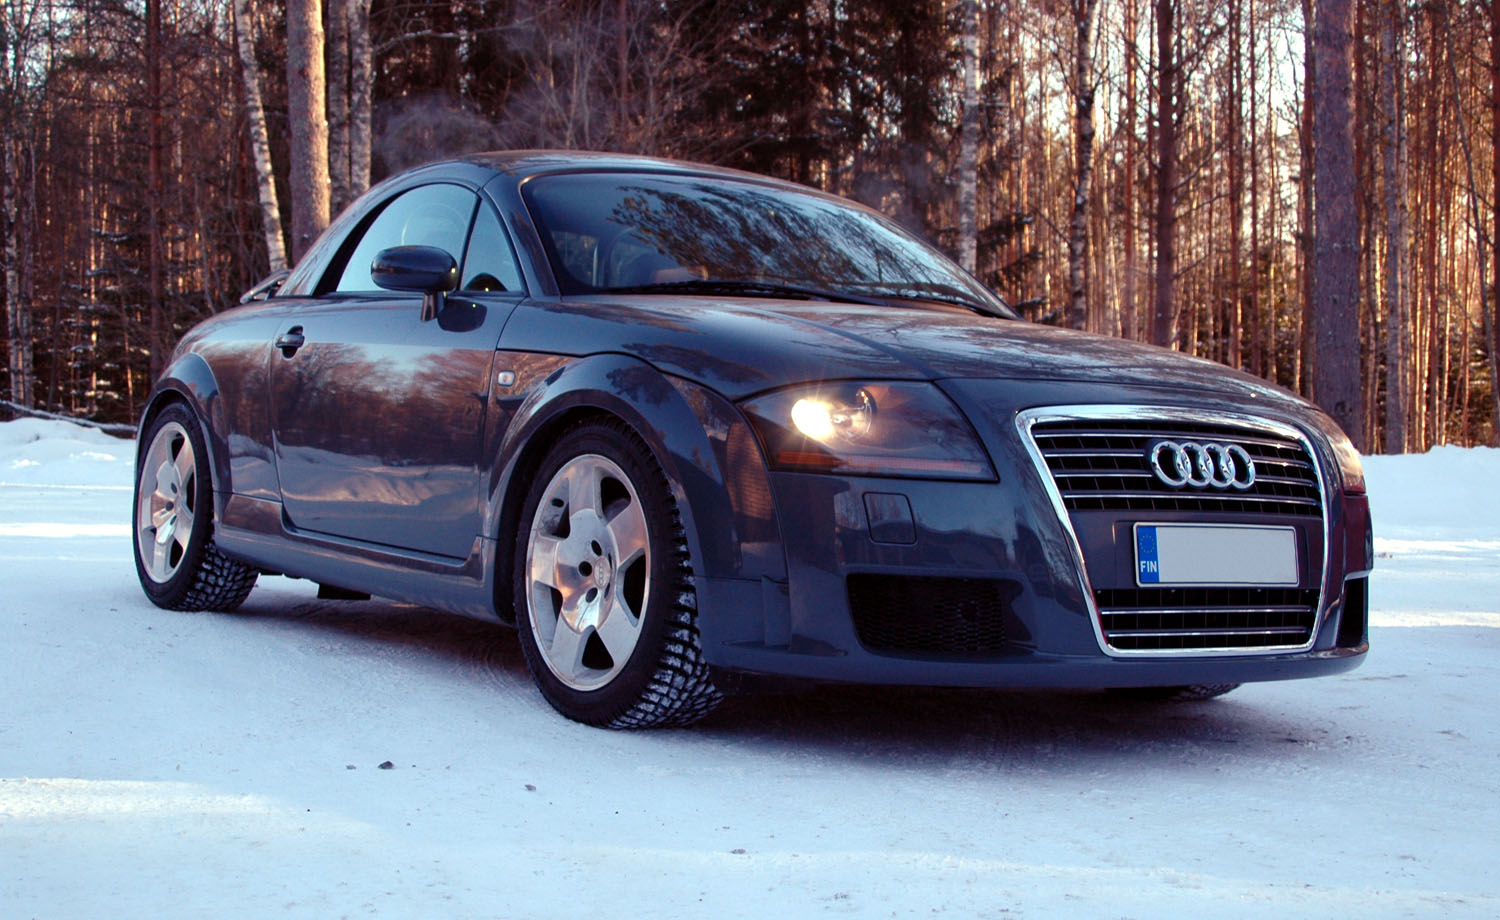
Hmmm... perhaps a little bit bigger wheels to finish it?
Wheels, summer 2006
The bumper project didn't come cheap, so I couldn't buy the 19" chrome wheels I wanted... so I had to find a budjet solution for the summer. I still had the 18" Seat Leon Cupra R wheels from my old car, so I decided I'll use those with some new finishing. The wheels (or actually the paint) were in pretty bad shape. Previous spring they had been painted with gold and chrome paint, but that wasn't a huge success because of lacquer problems.
I even thought about repolishing the wheels (like two year earlier), but it didn't take long time to realise how hard work that would have been... so I decided we'll just paint the wheels with some different colour.
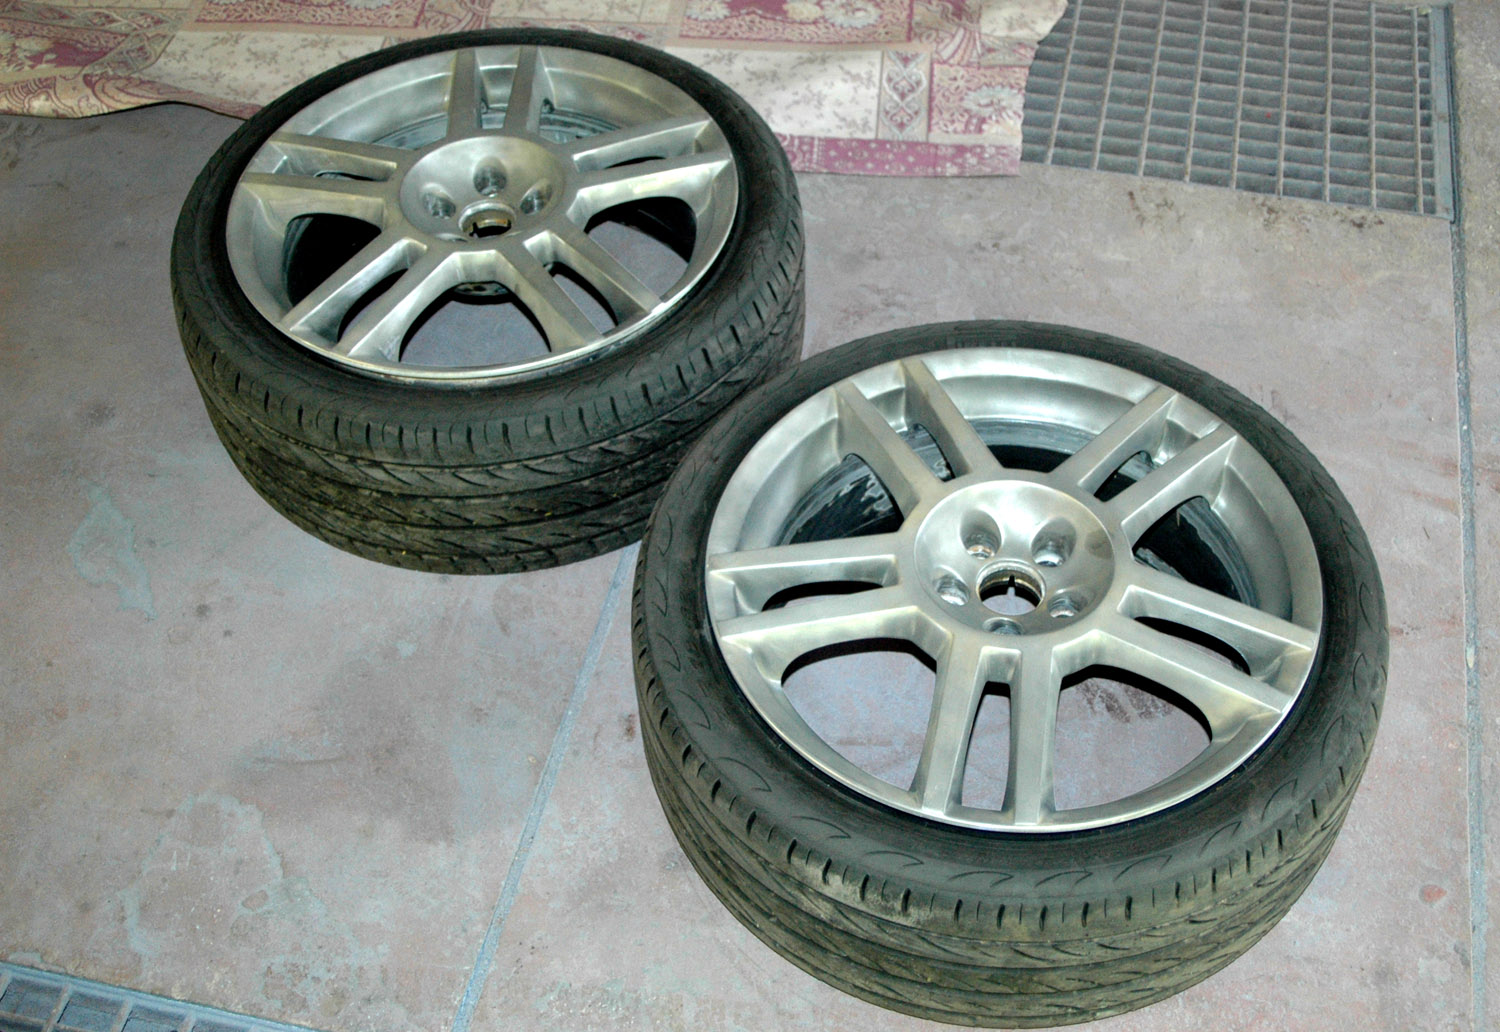
First the paint was removed with Nitromors paint remover, sand paper and pneumatic tools.
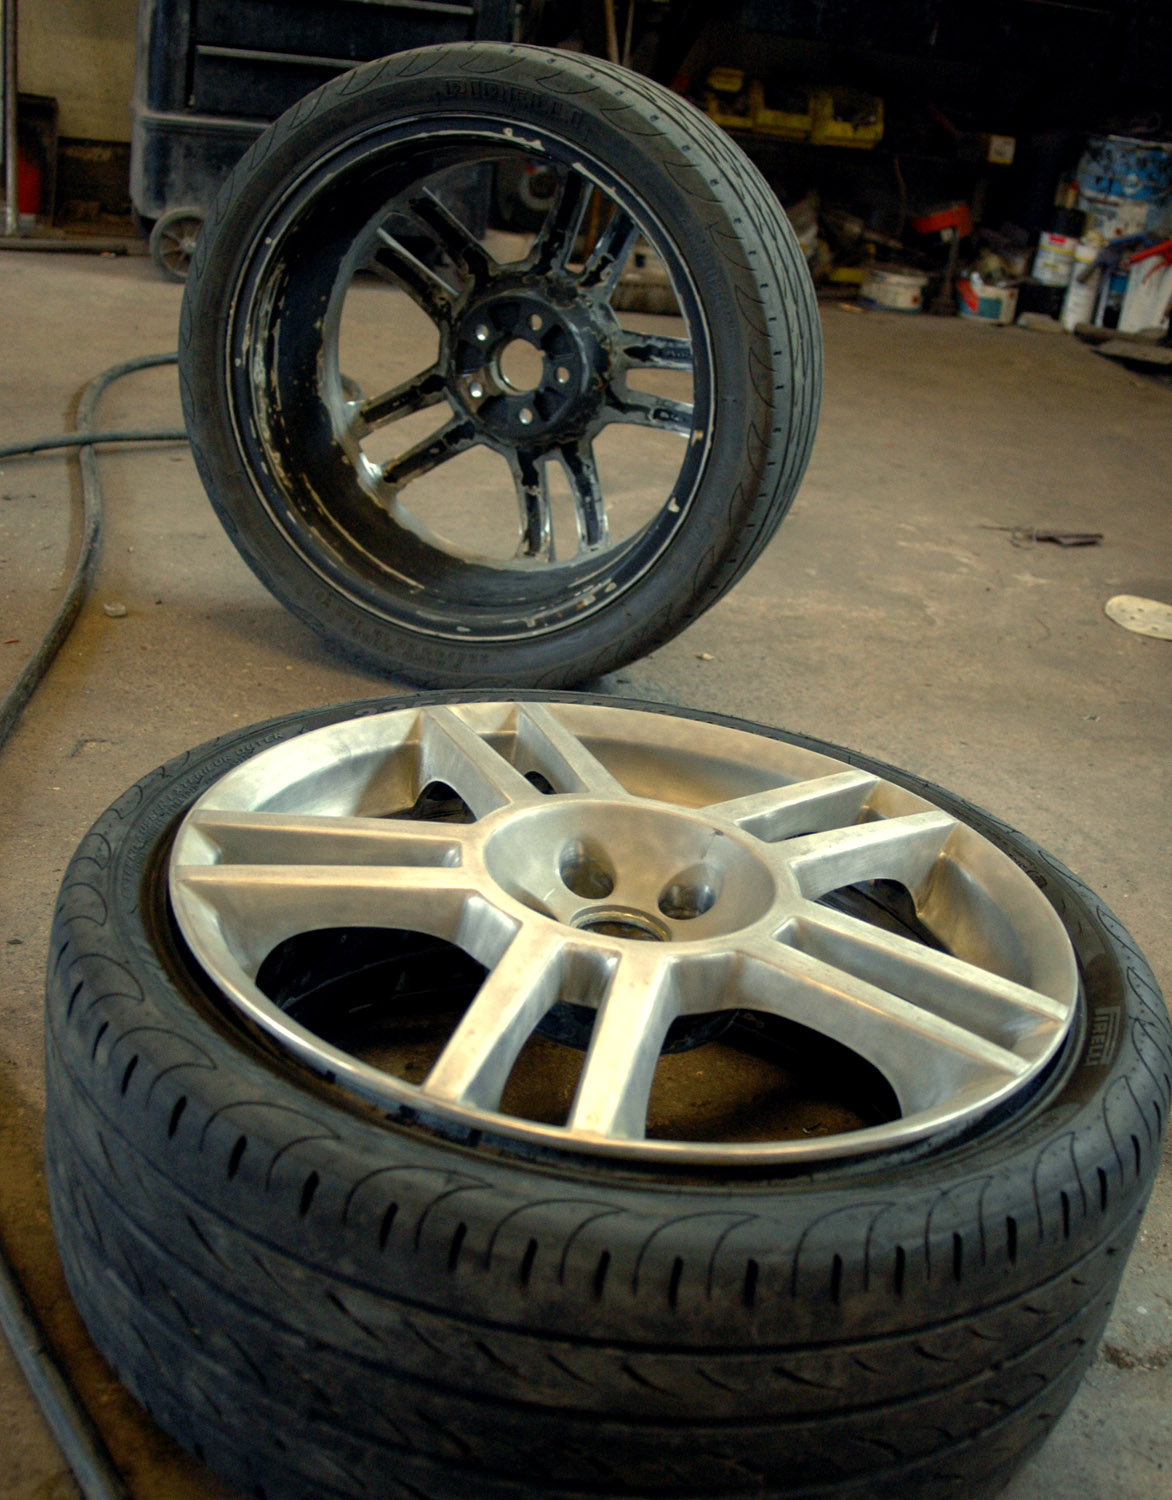
The paint was completely removed from the front side, the back sides were cleaned and coarsened properly with pneumatic tools.
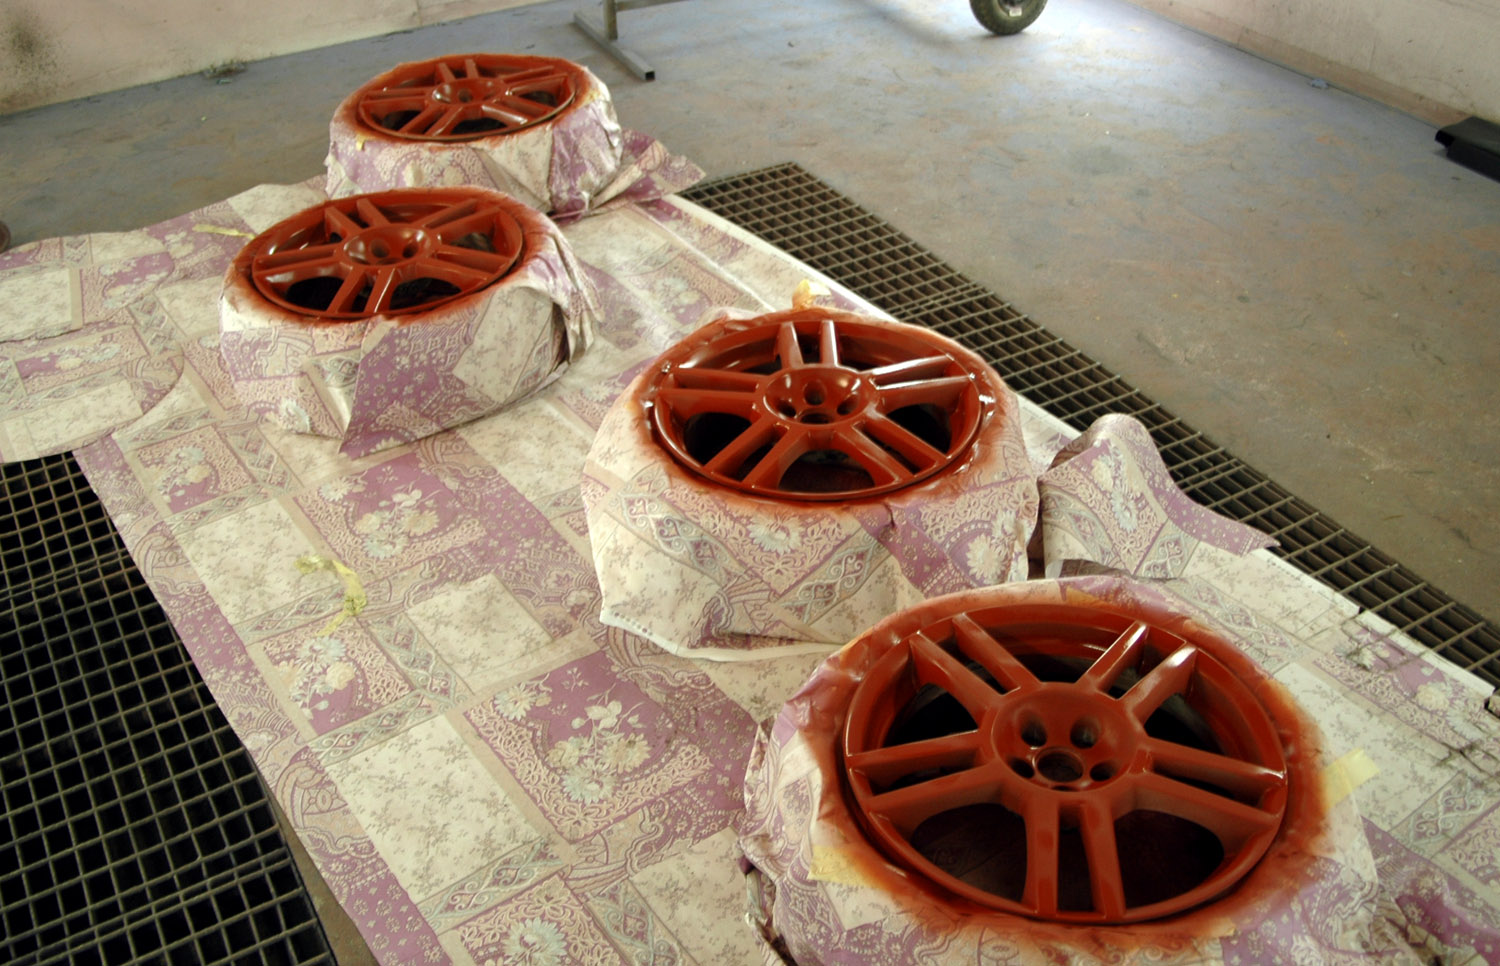
The surfaces were first treated with the wash primer (Spies Hecker's Priomat)
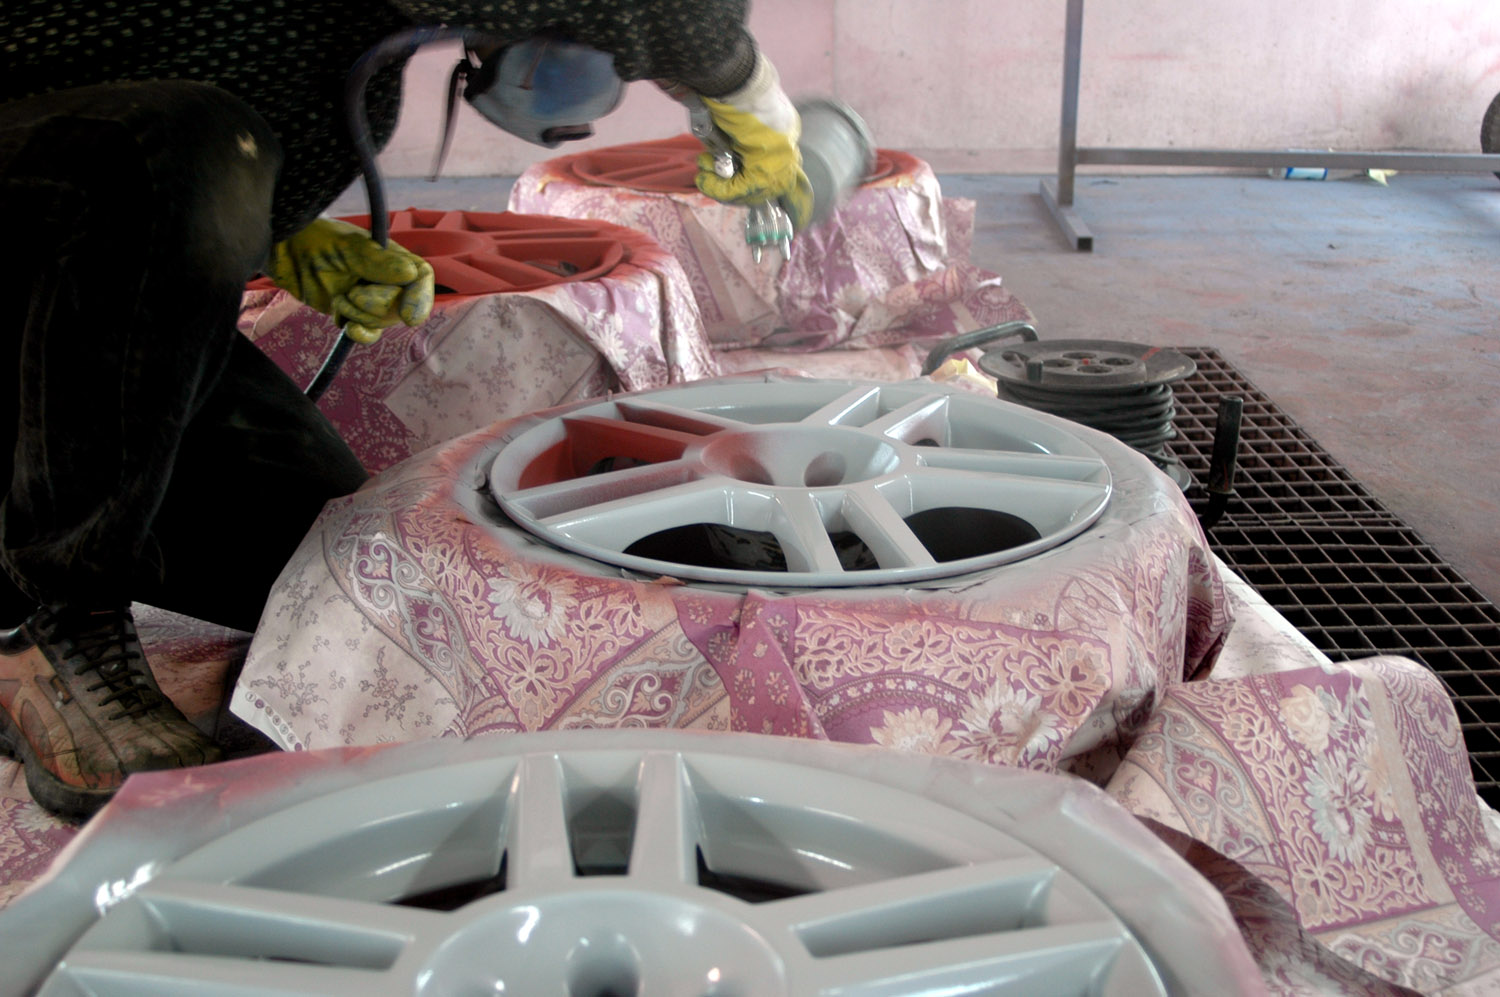
Then the epoxy primer which fills the small coarseness in the surface.
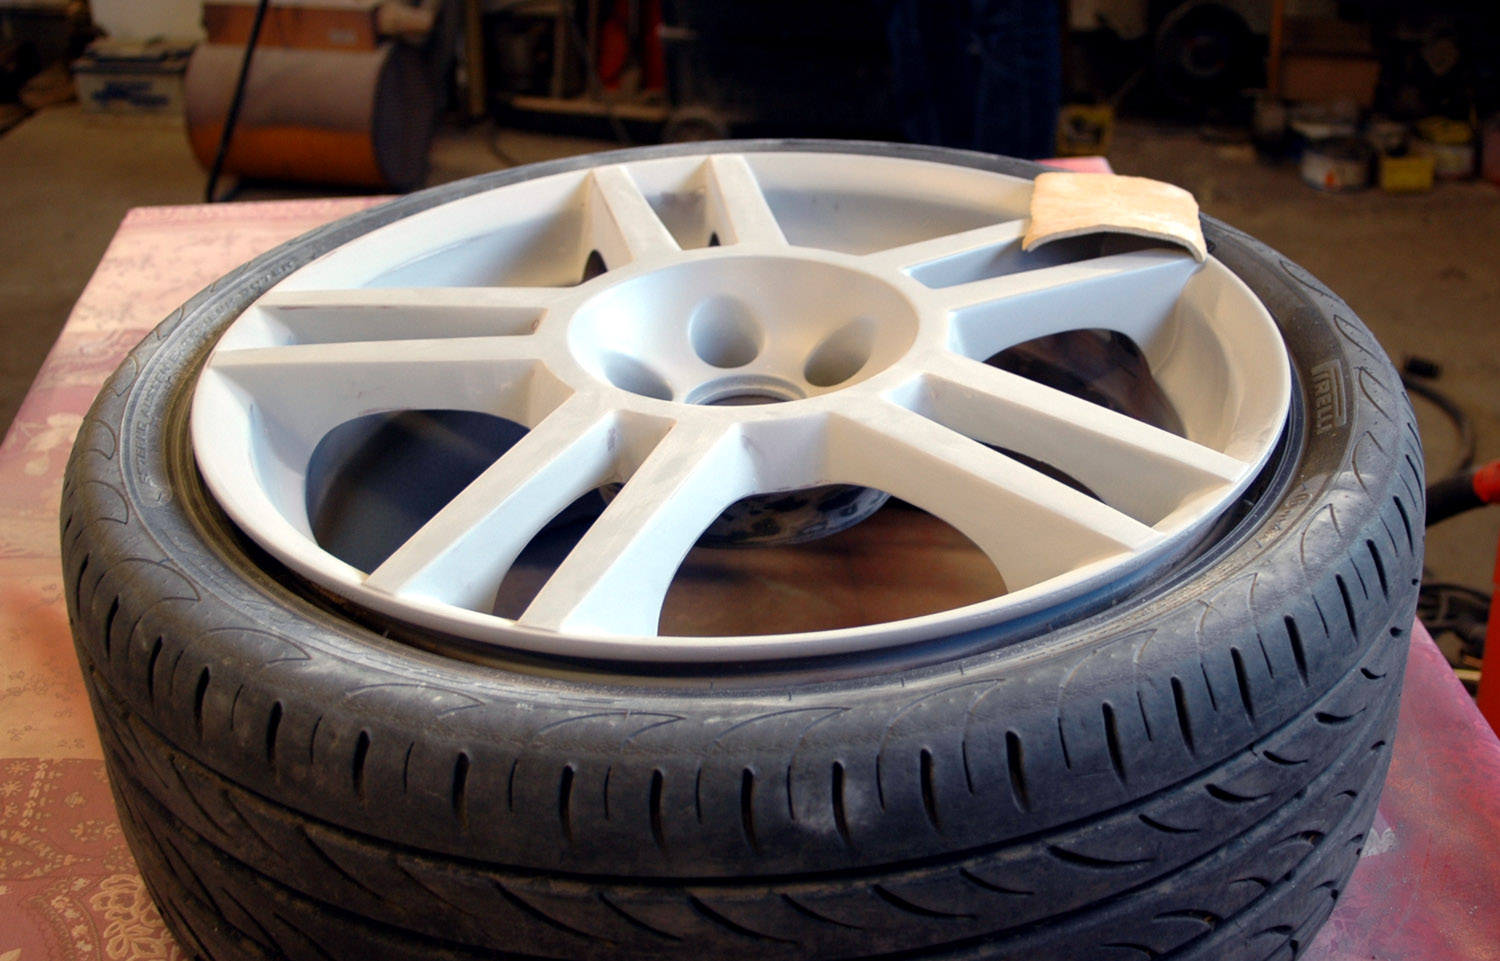
The primer was sandpapered with the paper of 400.
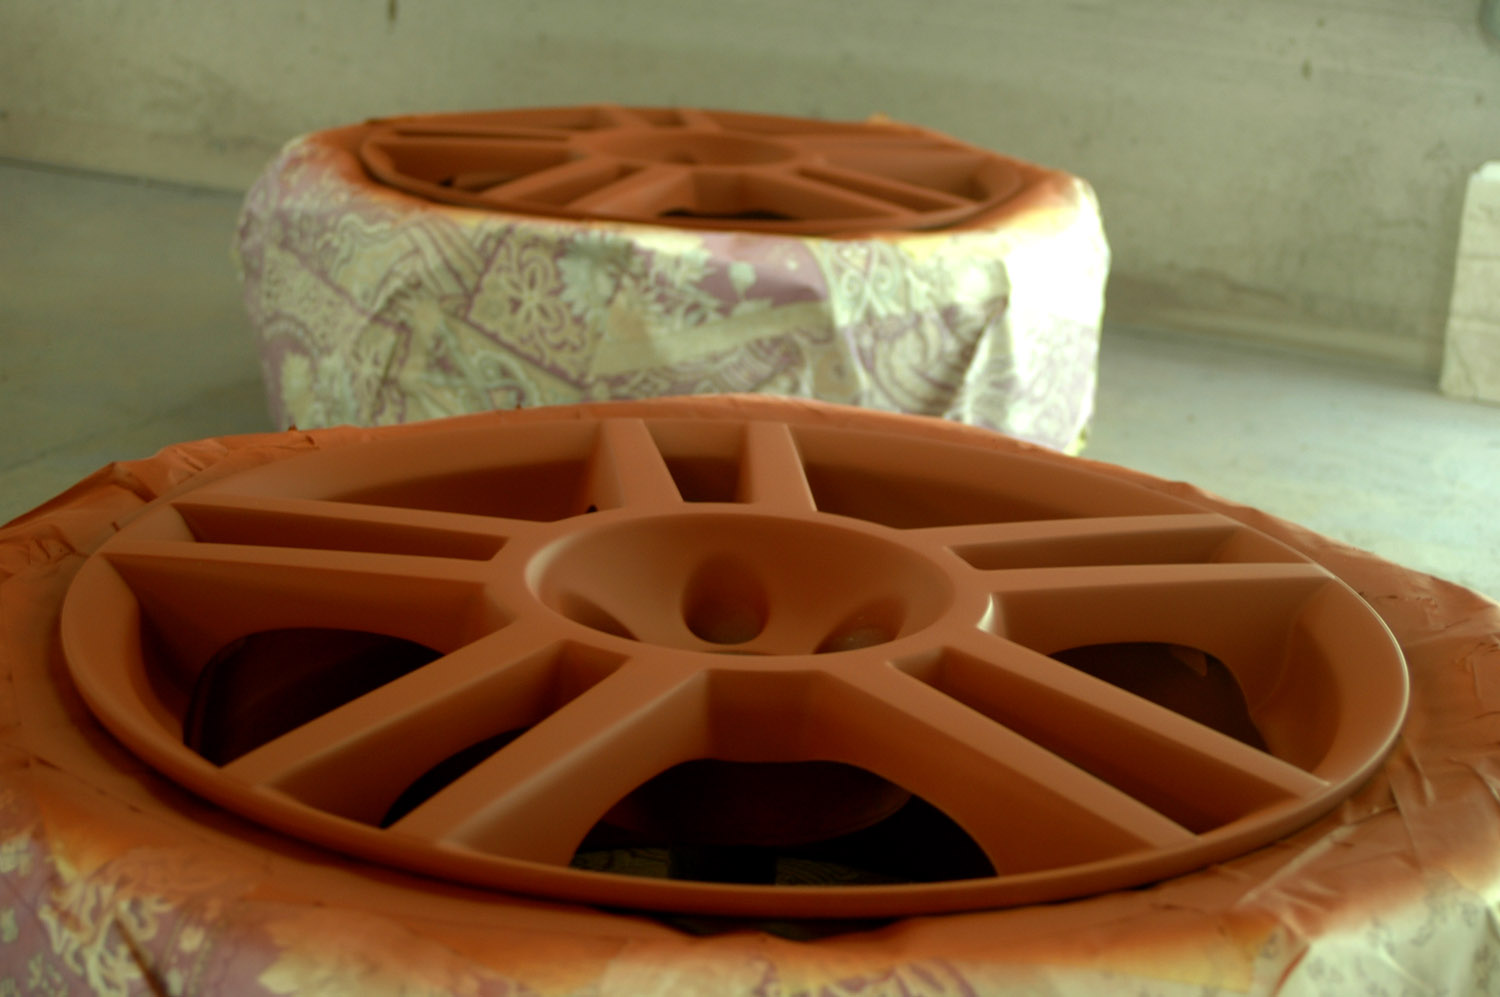
Before the final paint the wheels were again painted with the red primer to give the wheels a solid red colour.
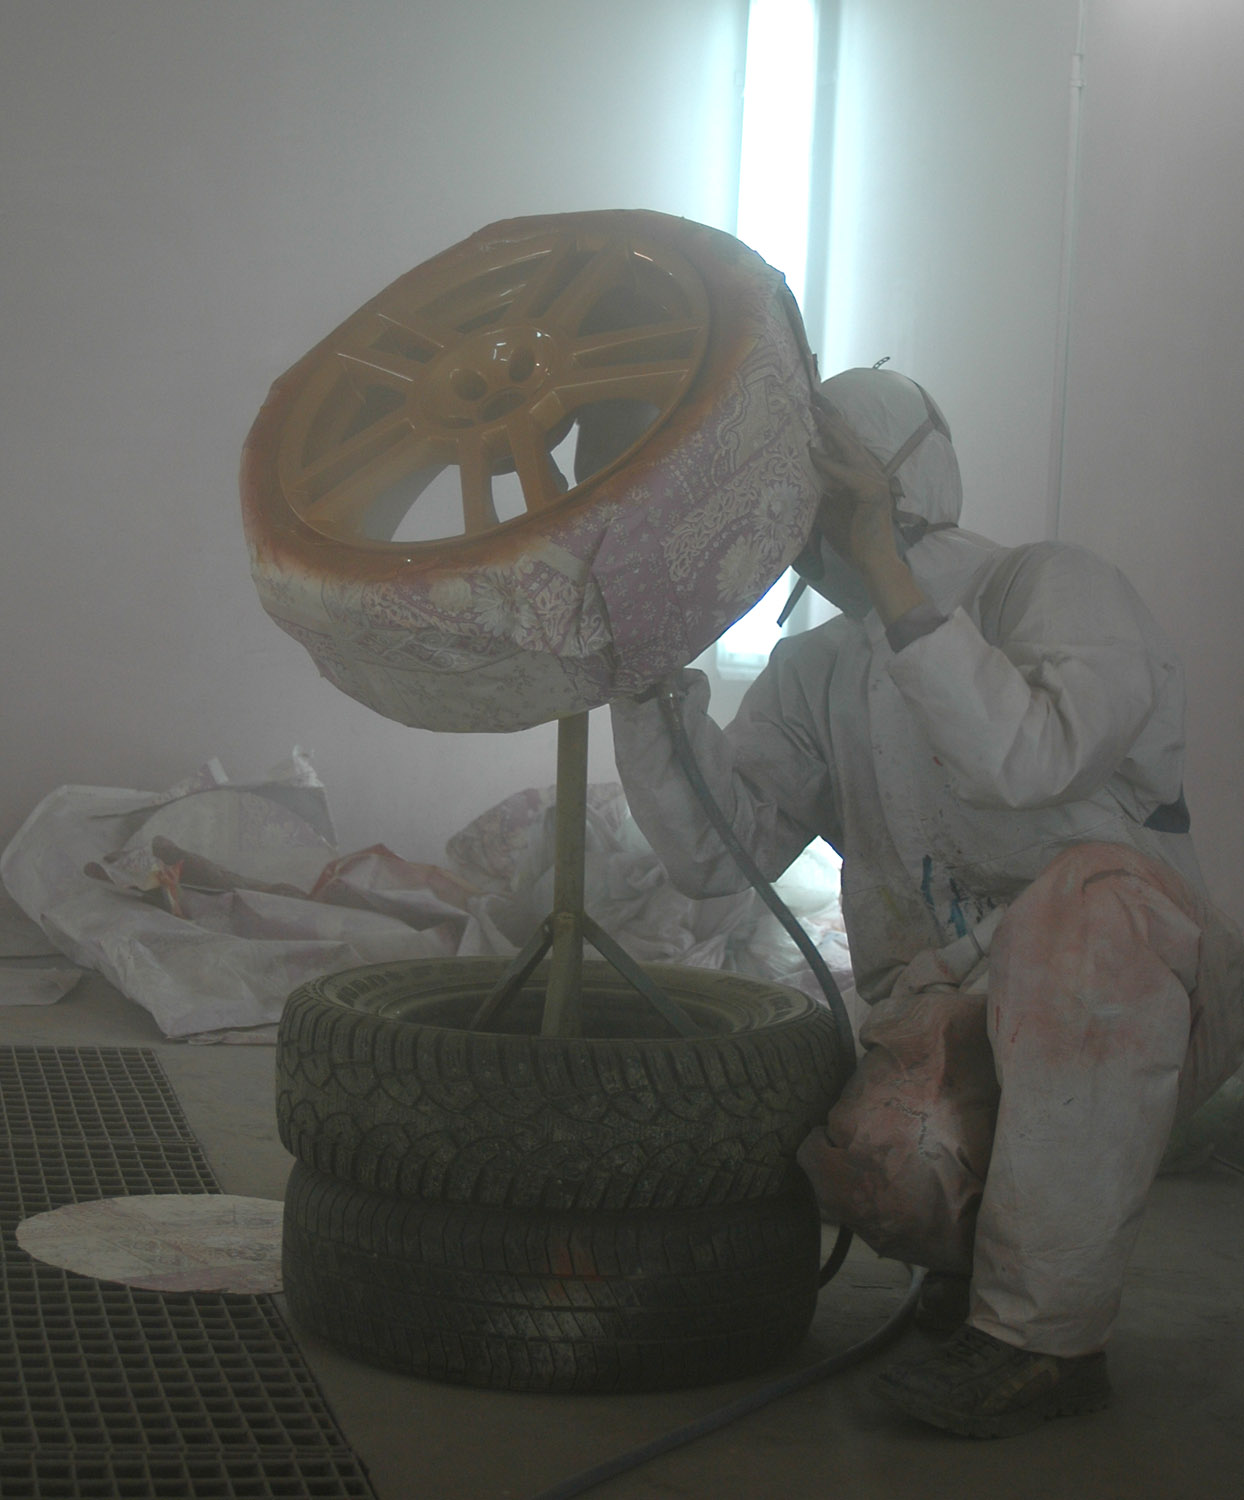
We built a simple stand to make the painting easier.
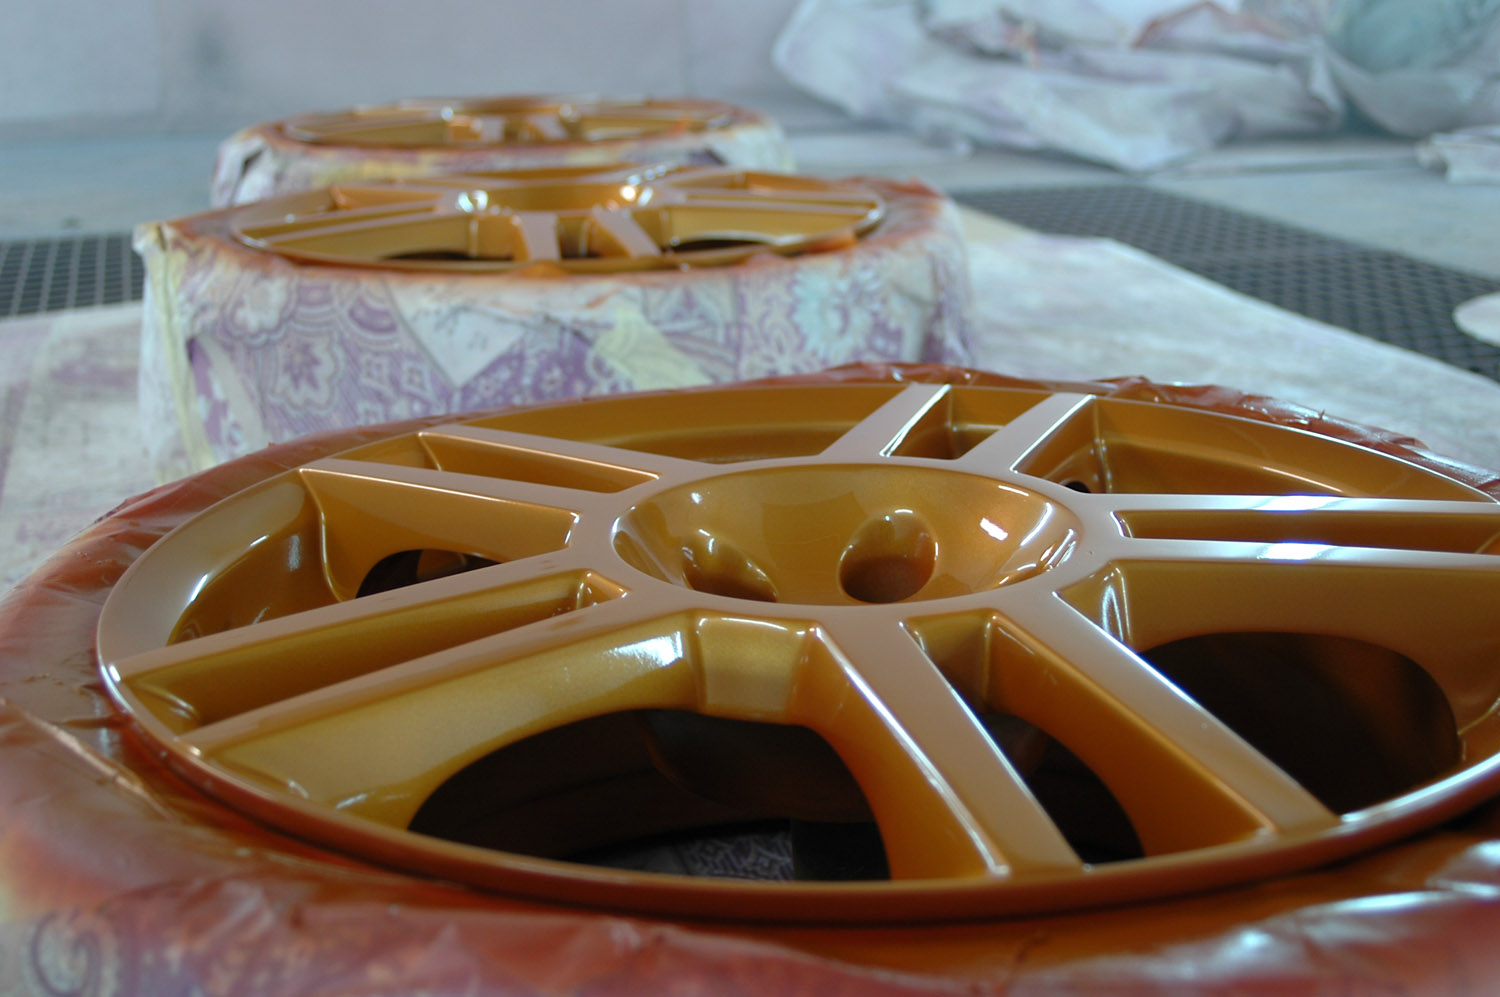
The surface just after the paint. The colour is the electric orange from the new Ford Focus ST. It does not look so bright orange we thought it would/should, perhaps because of the red primer?
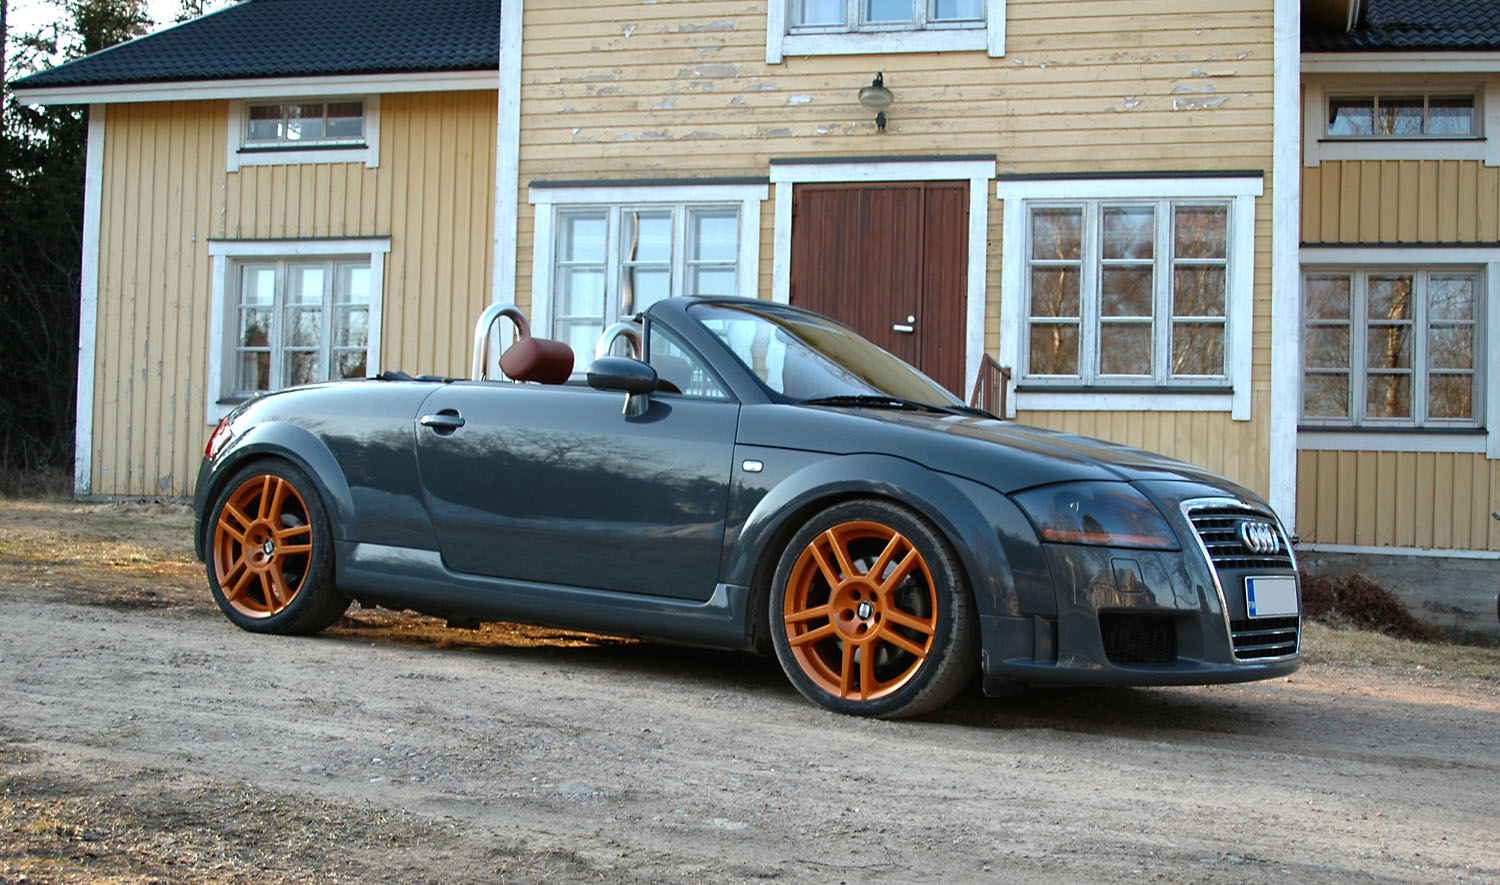
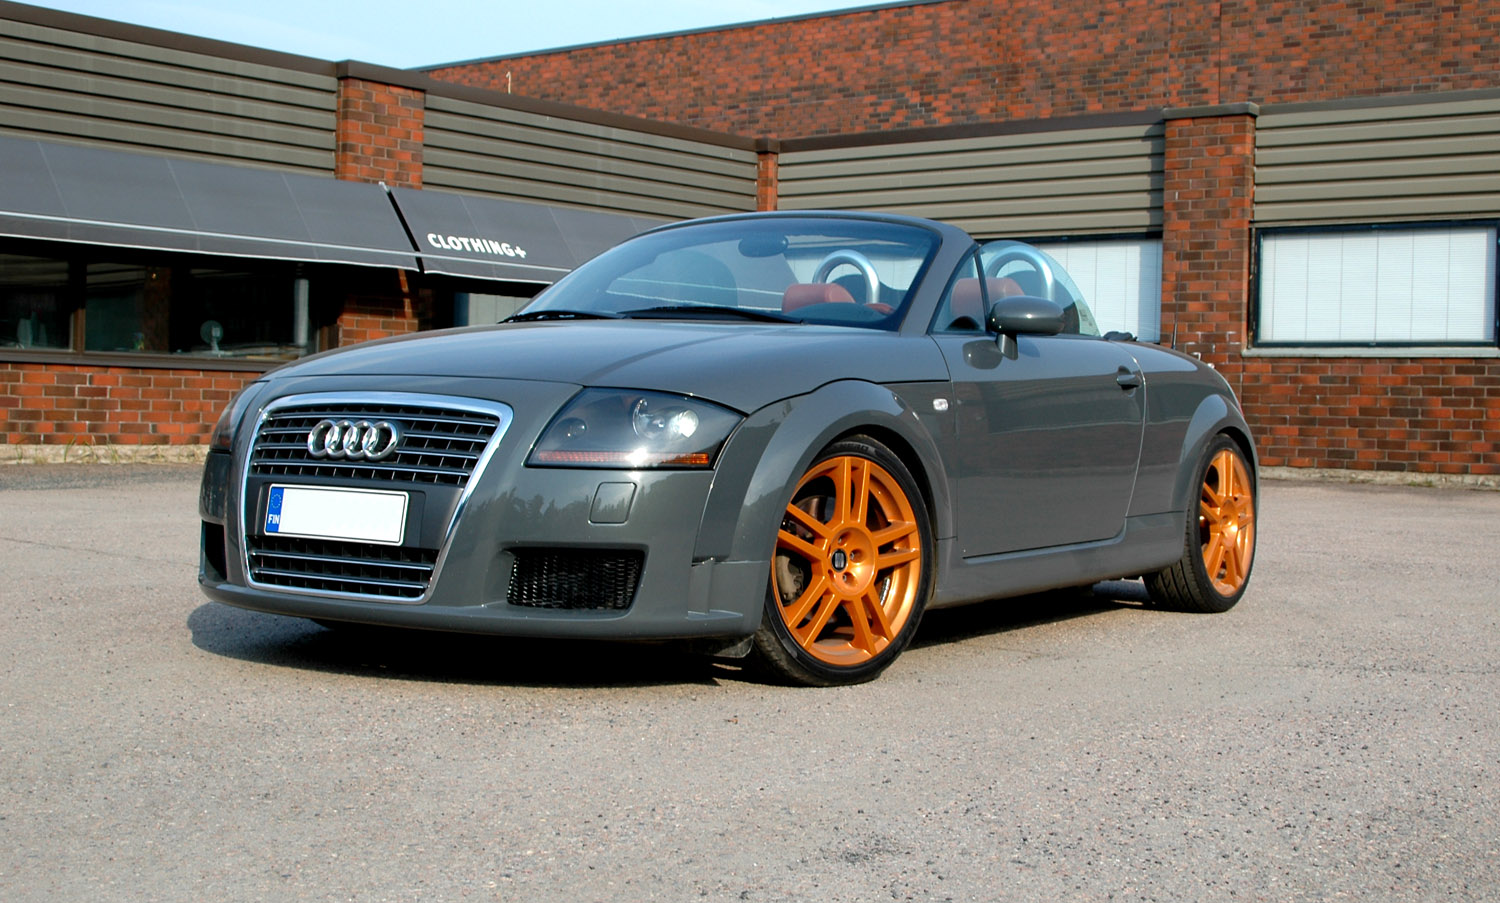
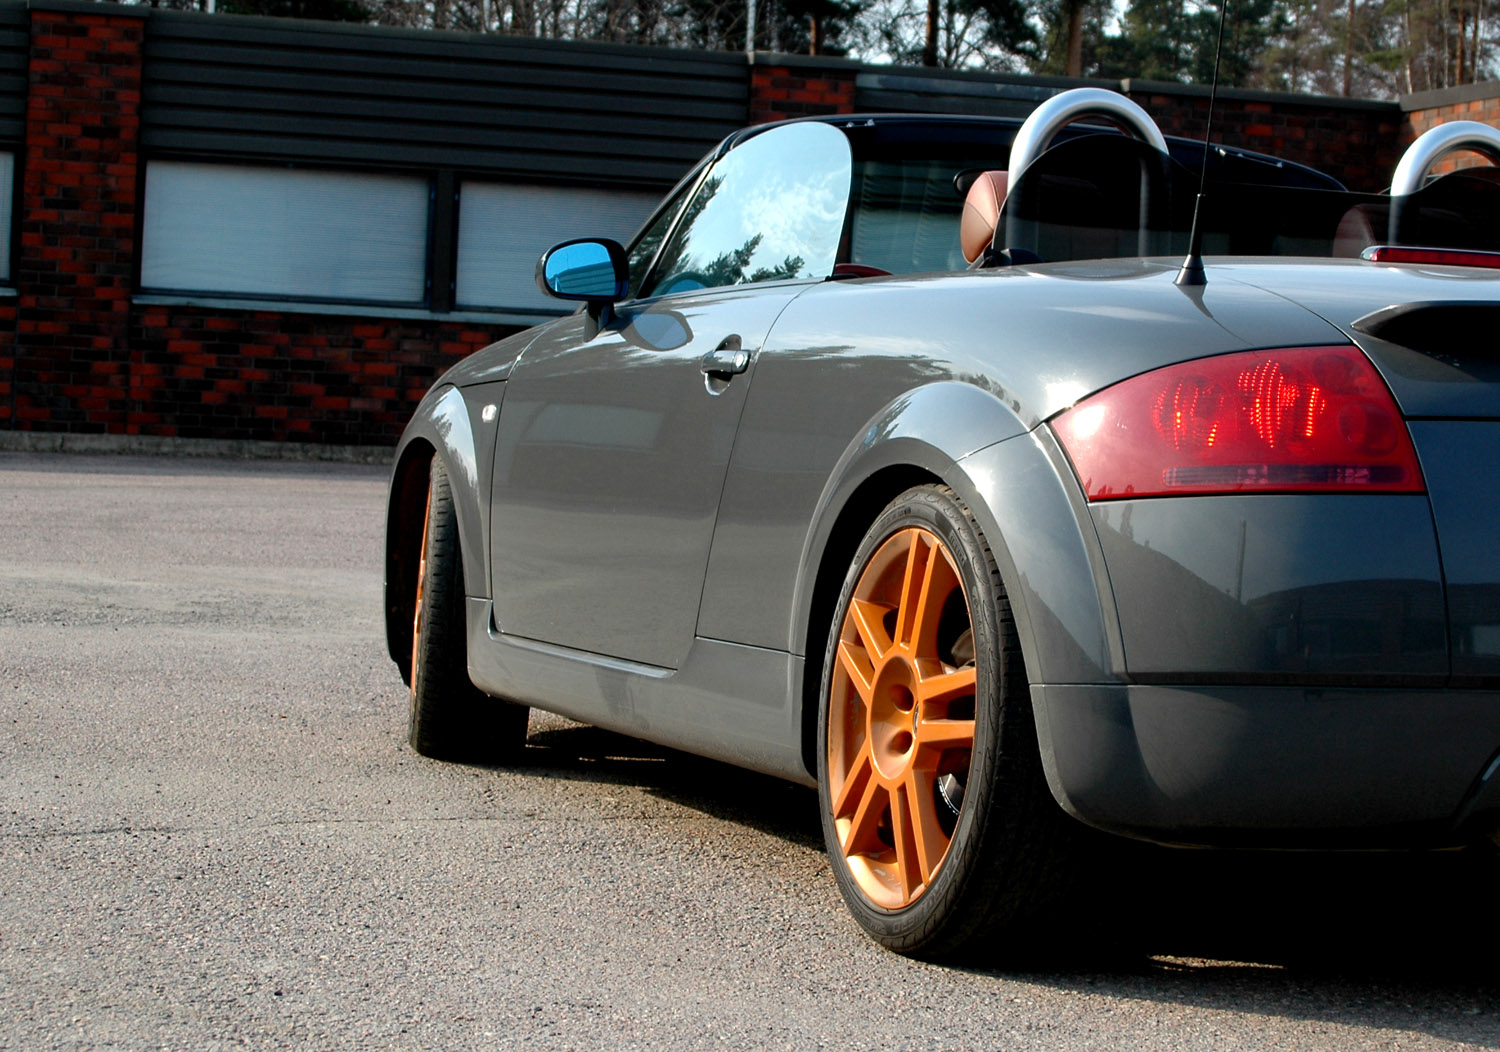
This is how it turned out to be. First it looked really weird, but after all... I like it :) The amount of sunlight varies the colour quite a lot; it changes from orange in the direct sunlight to brown late in the evening.
Fixing the rear camper
When TT quattro (also Golf/Jetta 4 4motion, Audi A3/S3 quattro, Skoda Octavia 4x4 etc) is lowered, the rear camper will change, and on the older models it can't be adjusted. Rear tires will wear from the inner edge much faster than from the outer.
We decided to modify the lower control arm a litte bit to allow adjustment of the camper angle. You can achieve the same by just buying newer model control arms... but the modification is so small you can easily do it by yourself.
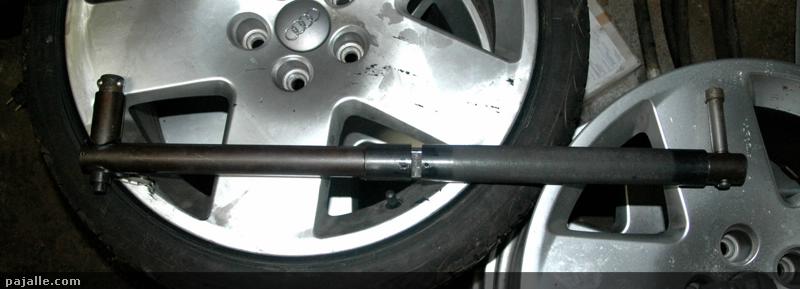
First the car is lifted up. We used this special tool to "replace" the control arm while it's out of the car. This is not so important on a lowered car with shorter springs than original.
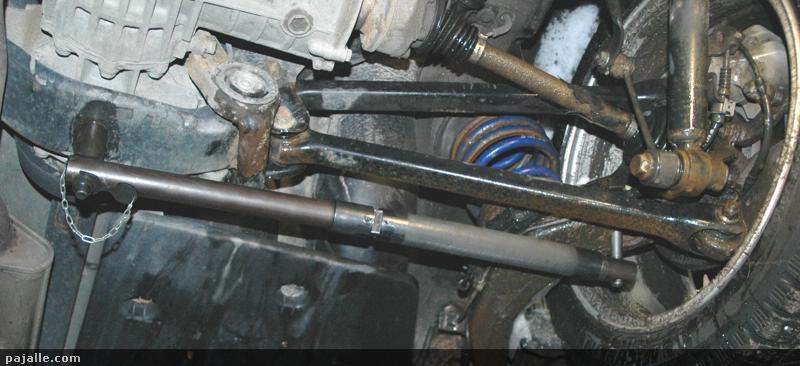
Here the tool is attached on the car.This "replacement arm" will suppor the suspension while the actual control arm is removed from the car. The control arm to be removed is right next to it.
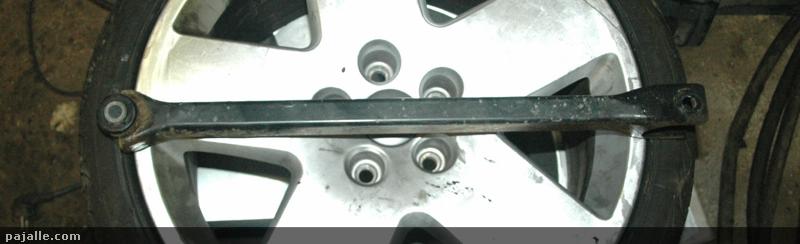
The control arm removed from the car.
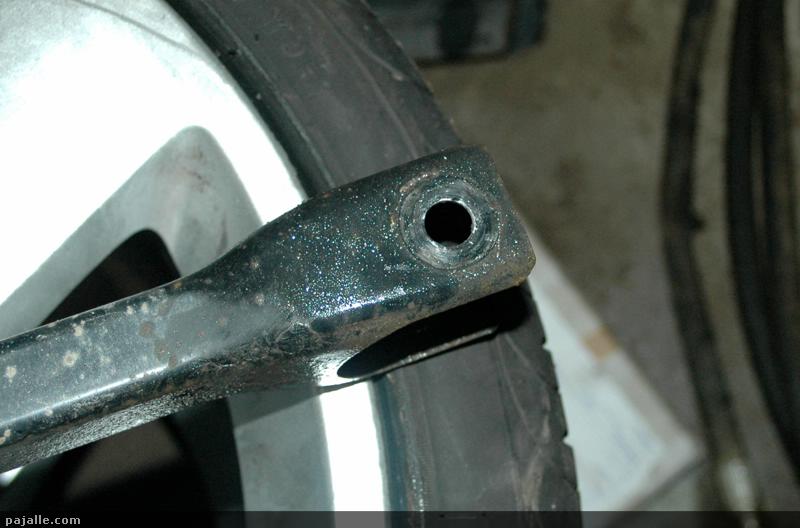
This is the part of the arm that will be modified.
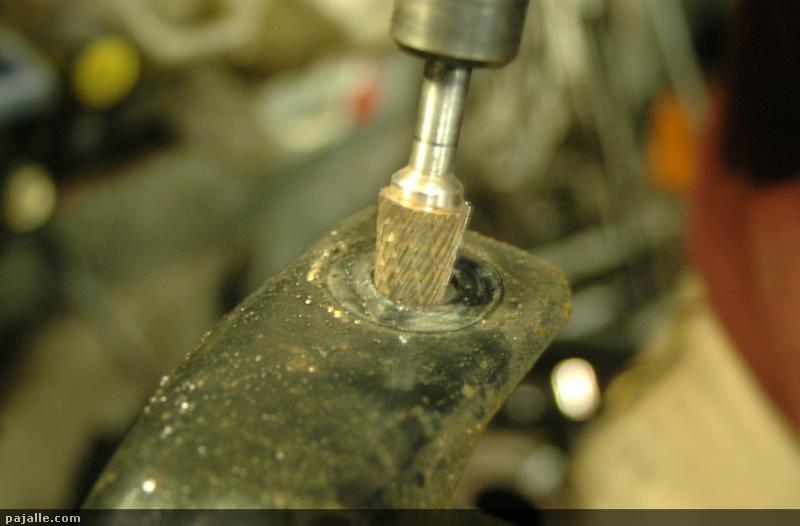
The holes are grinded to be "oval". Material is removed from the "car side" (not the wheel side).
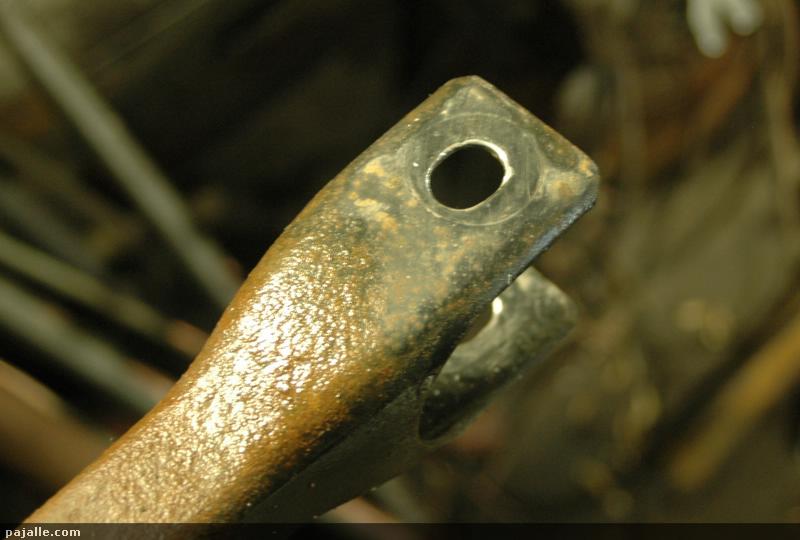
The holes finished... the modification is not very big. This is how newer model control arms are already as new.
Now just put the arm back on the car, repeat on the other side and adjust all the angles.
Summer 2007
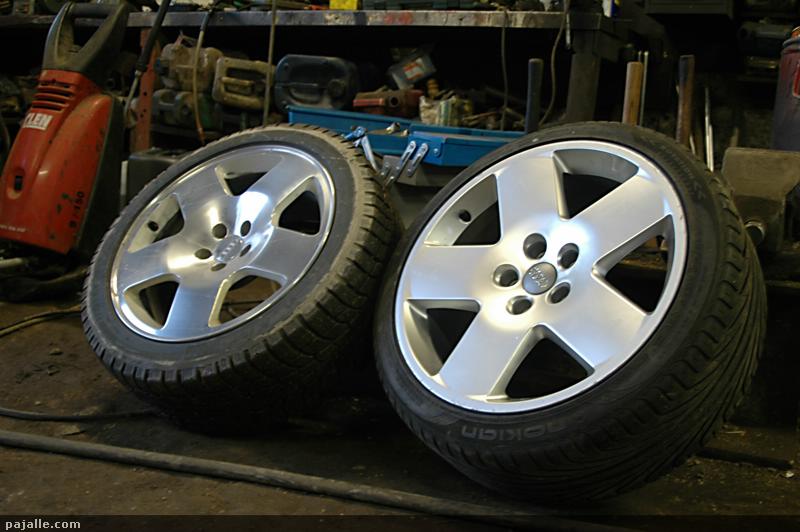
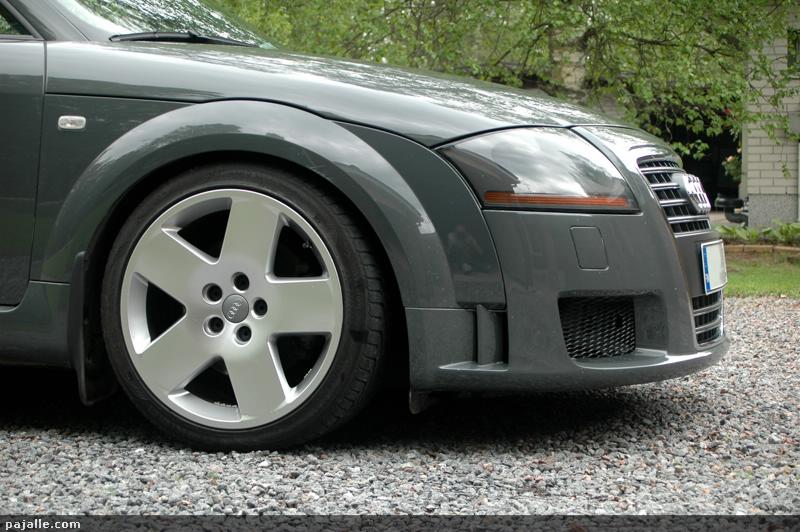
The new wheels are from Audi A8 (so the adapters are needed to change the bolt pattern from 5x100 to 5x112. The wheels look pretty much the same as original 17" parabols, but these are 18 inch and also one inch wider.
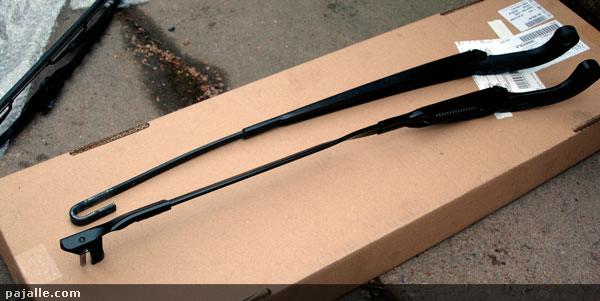
The wipers were pretty finished and had to be replaced. At the same time we installed a retrofit kit to be able to use Aero blades. The kit number is 8N1 998 401.
TT was finally sold in May 2009 because of new born baby, there were not enough space for three in this 2-seater. It was a bit sad moment to give Audi away, it was really nice car to drive both summer and wintertime.
Includes original English text and AI-assisted translations.