ARCHIVE / PAJALLE
Leon TopSport
Seat Leon TDI TopSport 150 hp: crash repairs, mild tuning and wheel polishing.
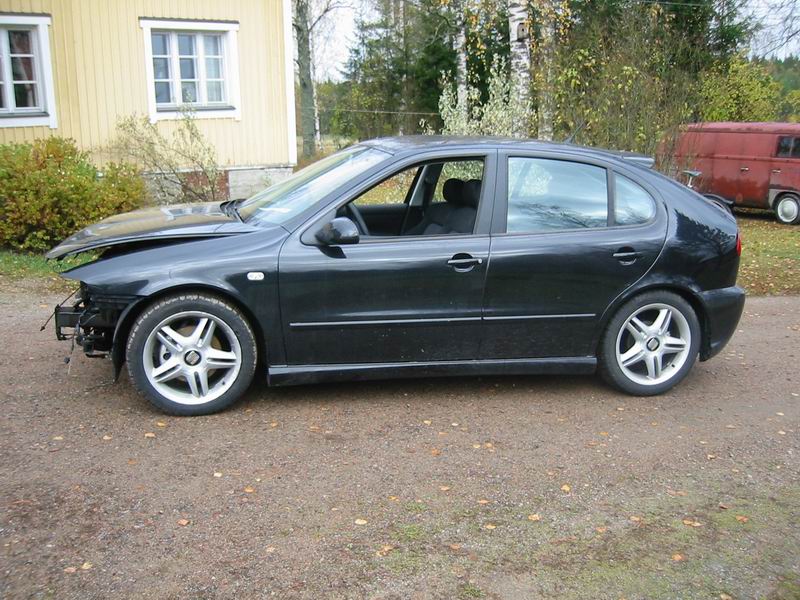
Impulse purchase
Here it is, Heikki's first non-VW. Pekka ended up Heikki's relaxing weekend by calling and telling that he had found an interesting crashed car. 2003 model Seat Leon TDI 150 TopSport, driven only 2700km and with a really low price. It sounded so great that Heikki had to immediately get back home to check the announcement and all the pictures on the Internet. In the images it seemed an easy project. In the announcement it read only "1.9TDI" but it was immediately obvious that it was a TopSport model with a 150bhp diesel engine. It was a little bit too long way to Espoo to check the car, so a decision was made to buy the car without actually seeing it before someone else sees the opportunity.
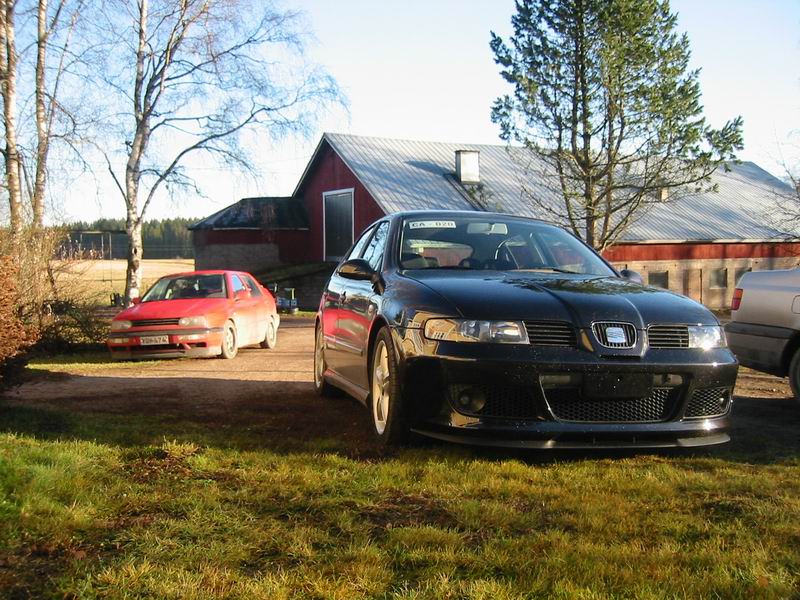
Leon in our own yard. When we went to collect the car we met the guy who had crashed the car. He seemed a nice guy who knows the right cars to drive (he now had a brand new Audi A3 TDI)
The car had been purchased only two months earlier... and driven only 2 weeks before the crash.
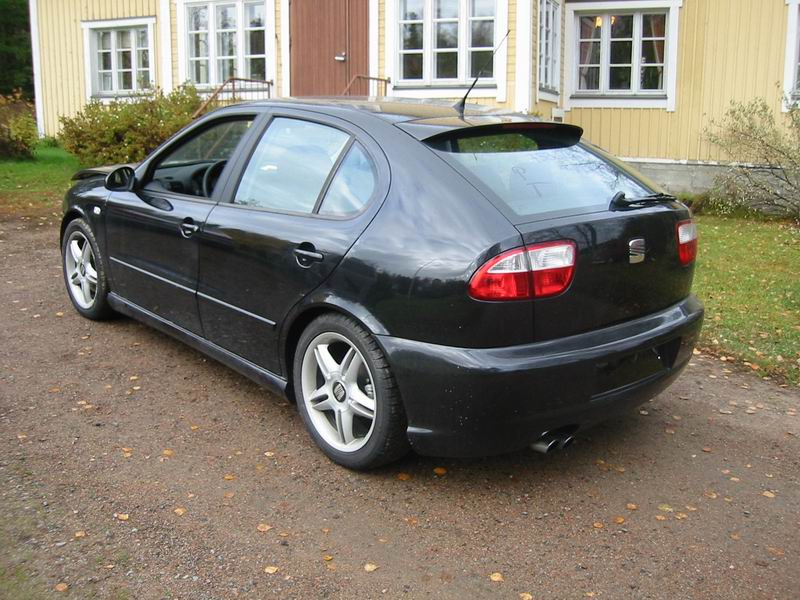
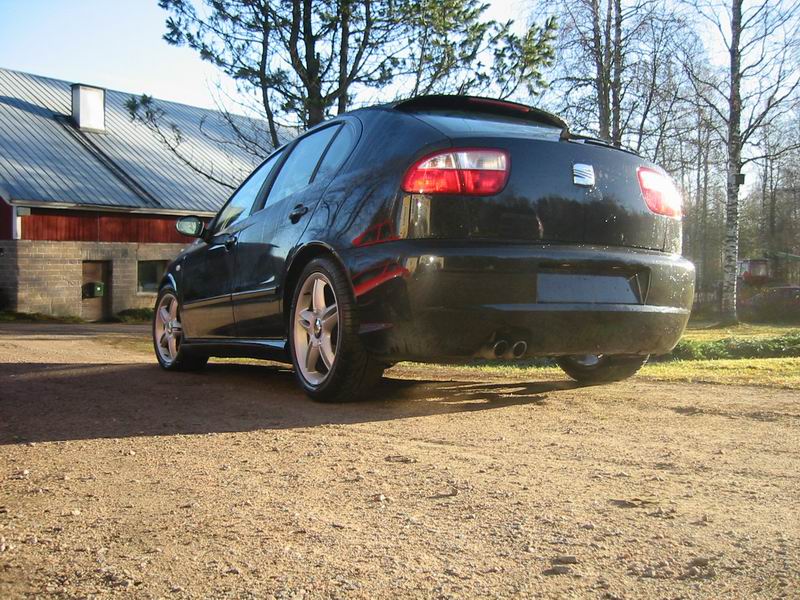
From the back view it's not even possible to notice that the car has been crashed.
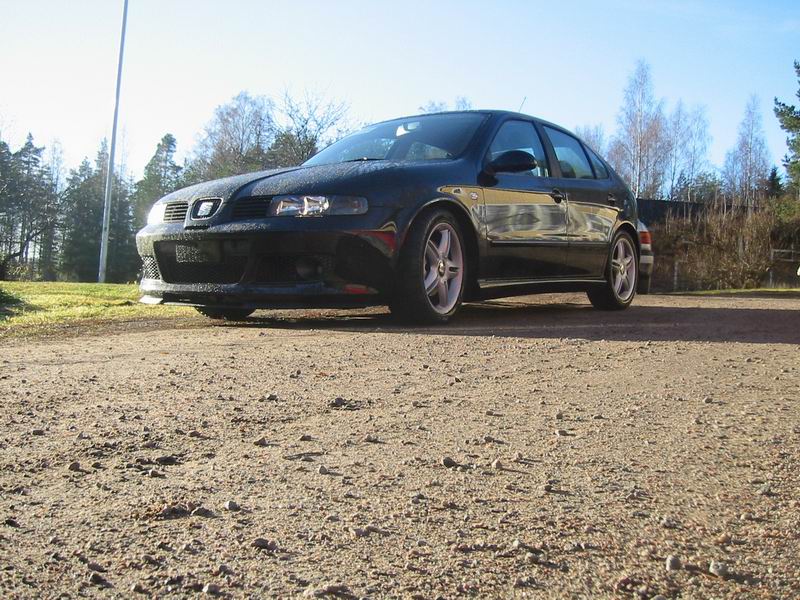
There's Eibach Sportline suspension already installed by the first owner, that's why it looks already quite low.
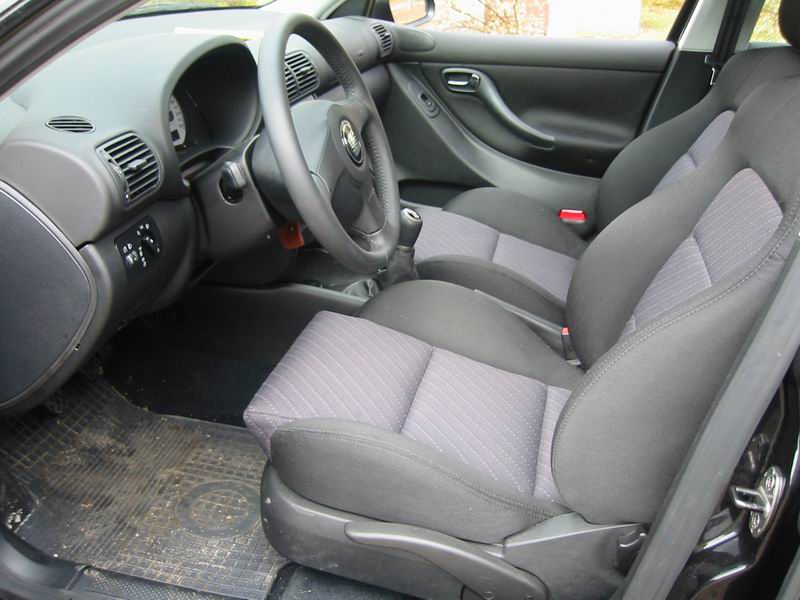
In the inside the car feels and smells like a brand new car. Four airbags, the seats feel really good, a leather steering wheel with all the adjustments...
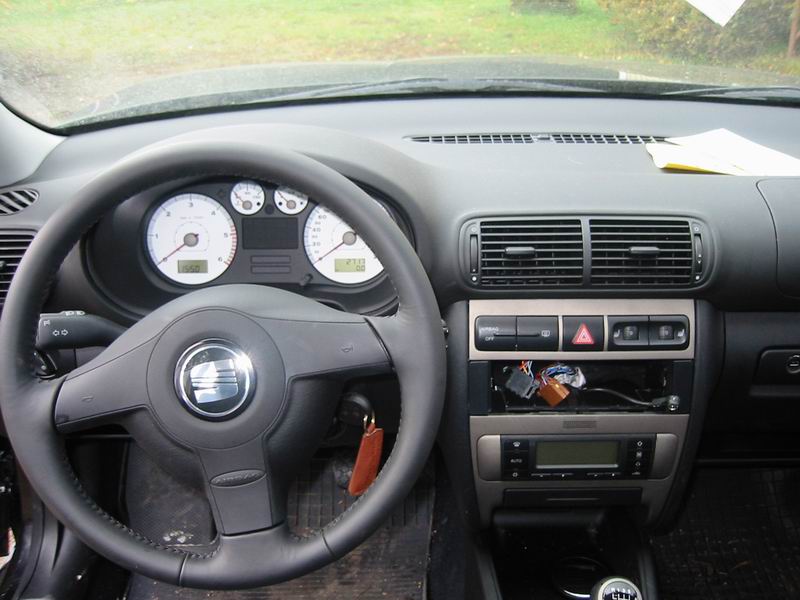
...Climatronic, TCS, MFA, electric windows in every door, white backgrounds in the instruments, 6-speed transmission...
There were no radio, but that's not a big problem.
The damage
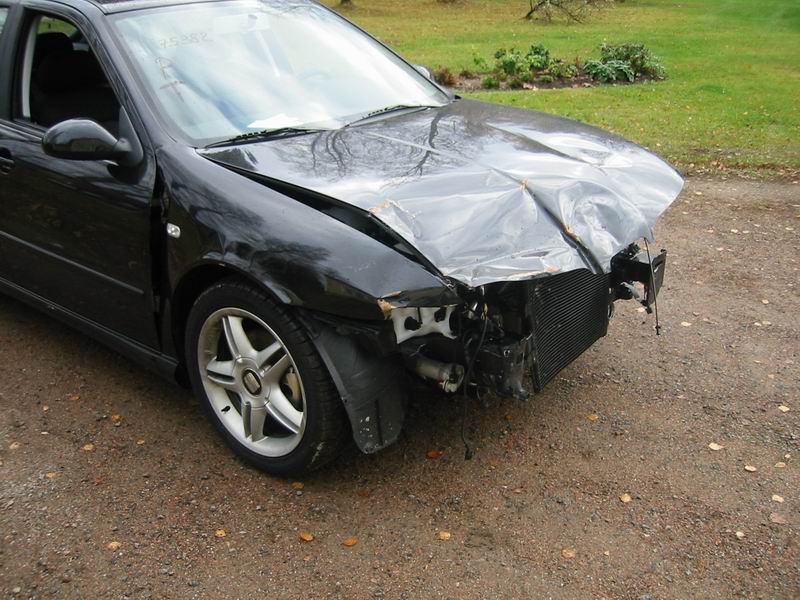
The only damage is in the front. The contact had come from the upward direction and all the safety equipment was still undamaged (which felt like a little miracle).
It was possible to start the engine, it only made a little funny noise because of the cracked right engine mount and missing intercooler.
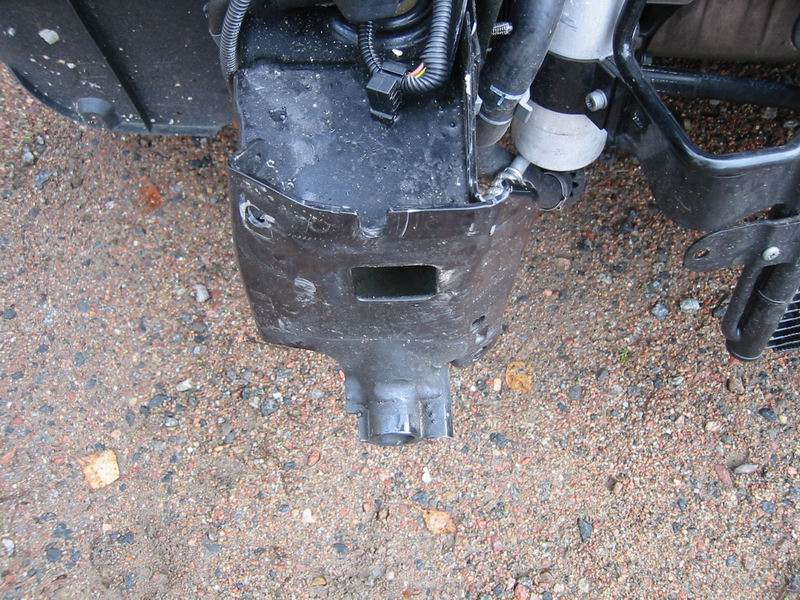
When we got to inspect the car, we noticed that the damage was even smaller than what it looked in the images. The chassis seemed to be in original measurements, only the small metal part here is a little bit bent.
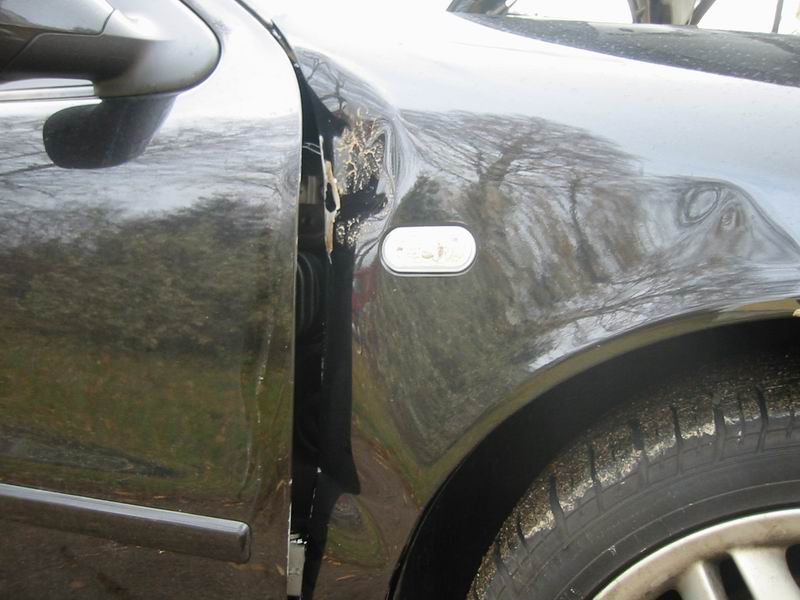
The front fender had moved a little back and bent while opening the door.
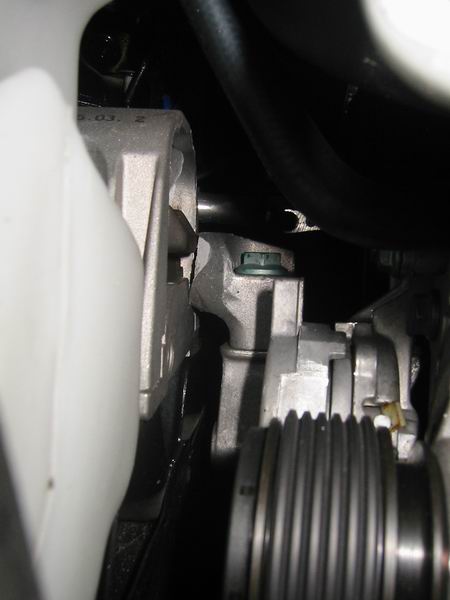
This is the cracked right hand side engine mount. The engine had moved a little bit backwards...
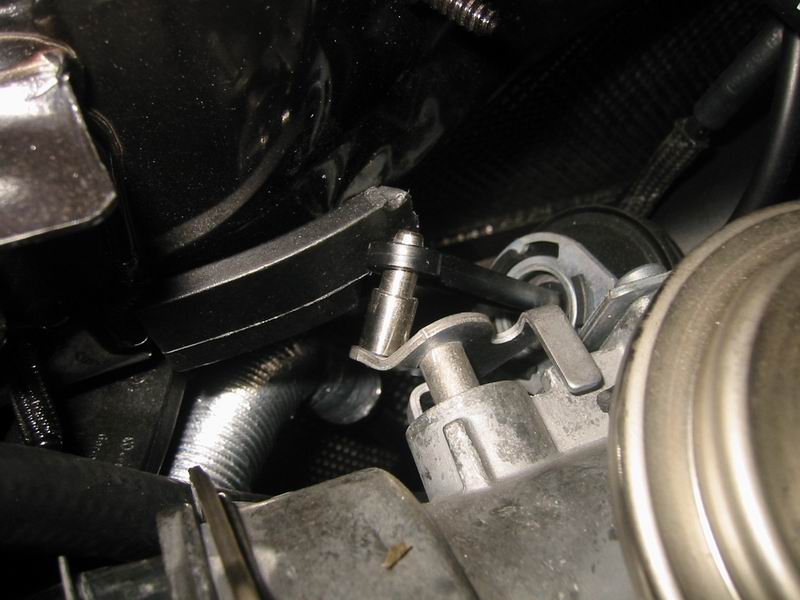
...and bent the linkage in the EGR valve housing..
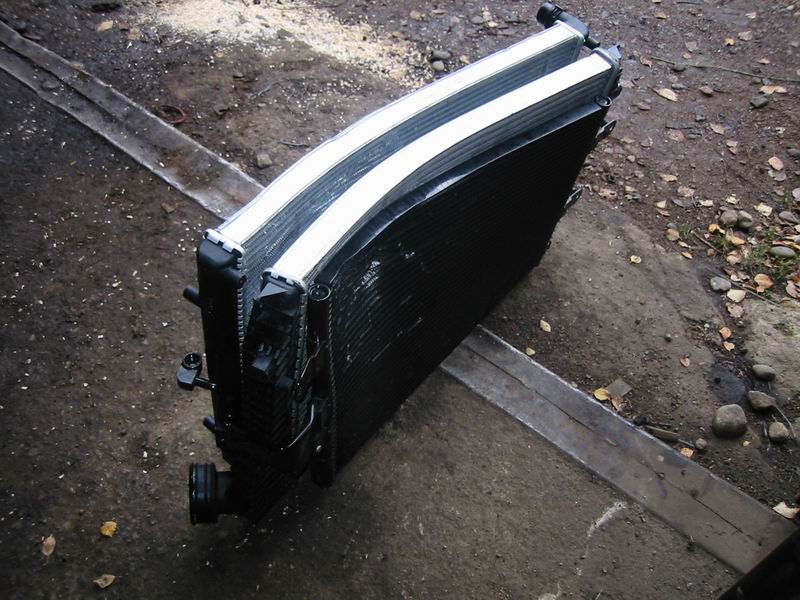
Here are the most expensive damaged parts. From left to right, the radiator, the intercooler, and the refrigerant condenser. The whole pile costs over 800eur...
When we still add the electric fans and the cowl for them, we're clearly on the second thousand euros.
Repairing - part 1
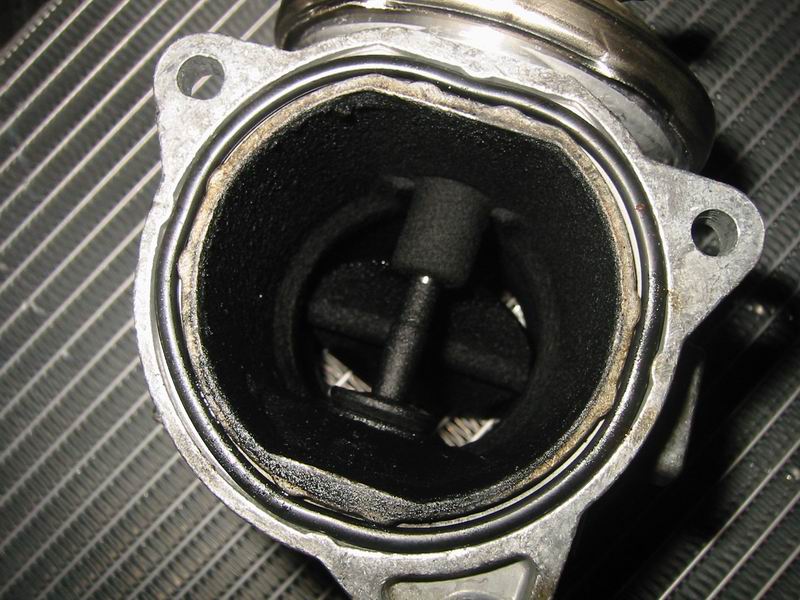
The dirty EGR valve. The car had only been driven 2700km and the EGR valve housing already looks like this. This is where the clean air runs into the intake manifold.
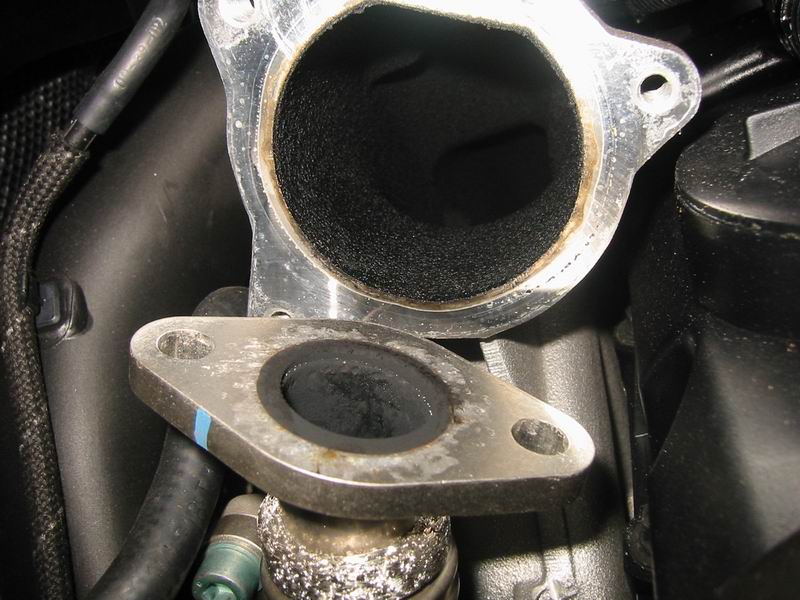
The intake manifold is also covered by a thick layer of smut. Below is the pipe from the exhaust manifold to the EGR valve.
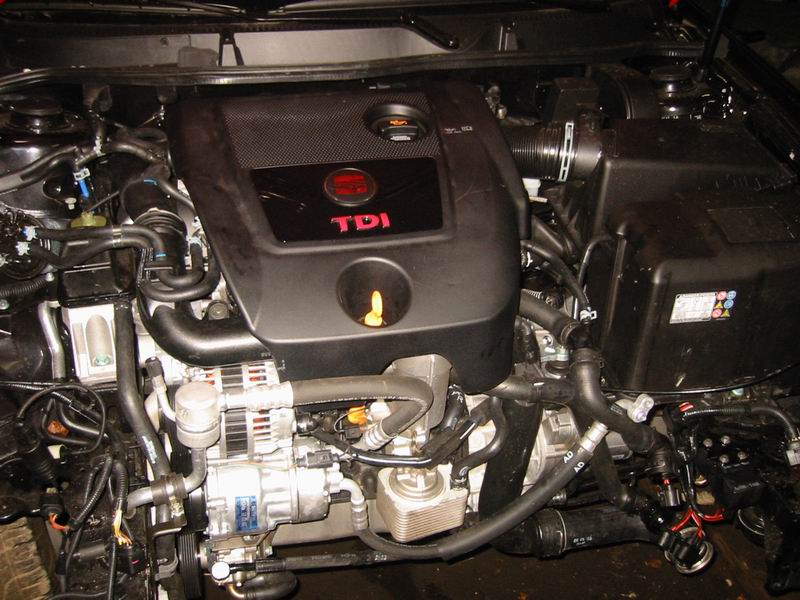
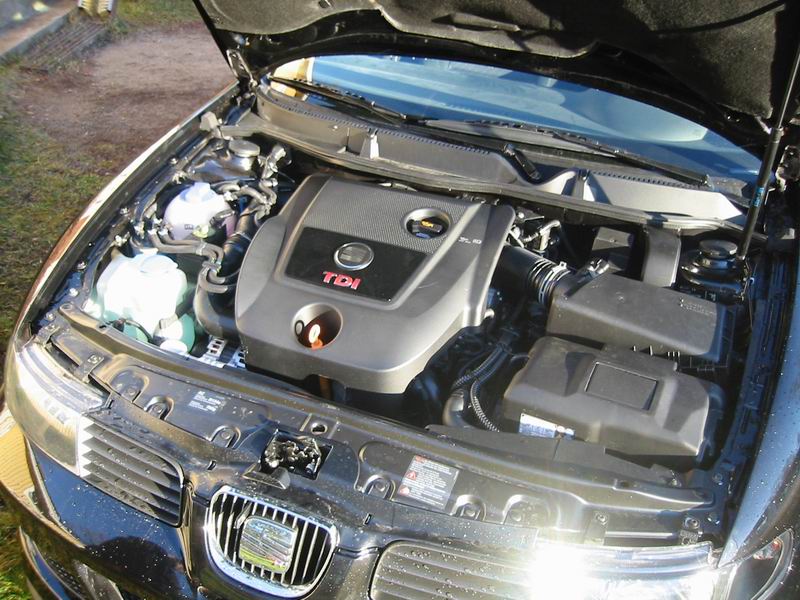
150bhp with 320Nm of torque. The new engine mount already installed and the bent linkage of the EGR housing fixed.
It's so nice to work with this kind of new and clean engine... the hands get more dirty from the tools than the engine :)
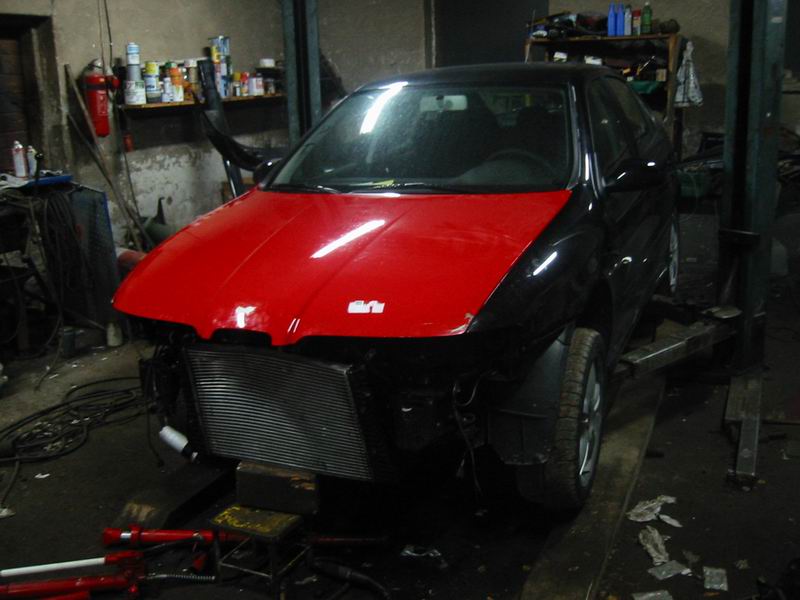
Not a very good image, but this is how it was a couple of days after we got the car into our garage. The hood and right fender were found as used parts and are here already fitted in. The old, bent intercooler was installed temporarily so that we could check the sound of the engine.
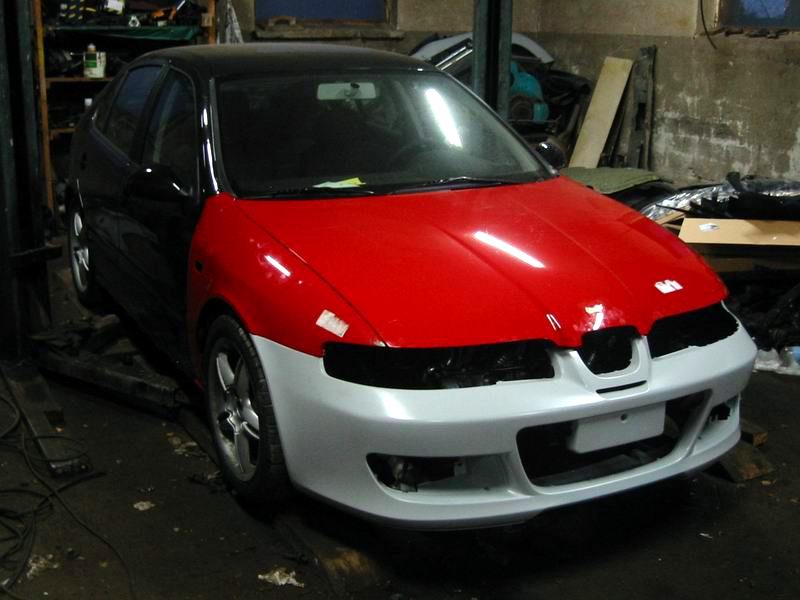
One week later. The front bumper (from Leon Cupra R) and lots of other stuff arrived the day before, but still missing a lot of stuff like lock carrier and the radiator, so the project is really not proggressing. Some of the parts had to be ordered from the factory in Spain.
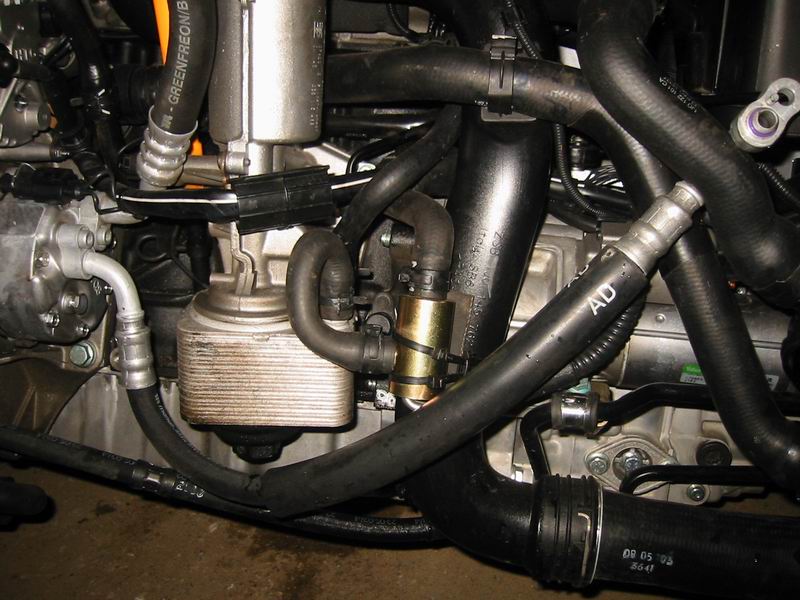
The next day the Defa WarmUp engine heater was installed. In this engine the heater is installed in the coolant hose in front of the engine (the "golden" thing in the image). At the same time we installed cabling for the interiour heater.
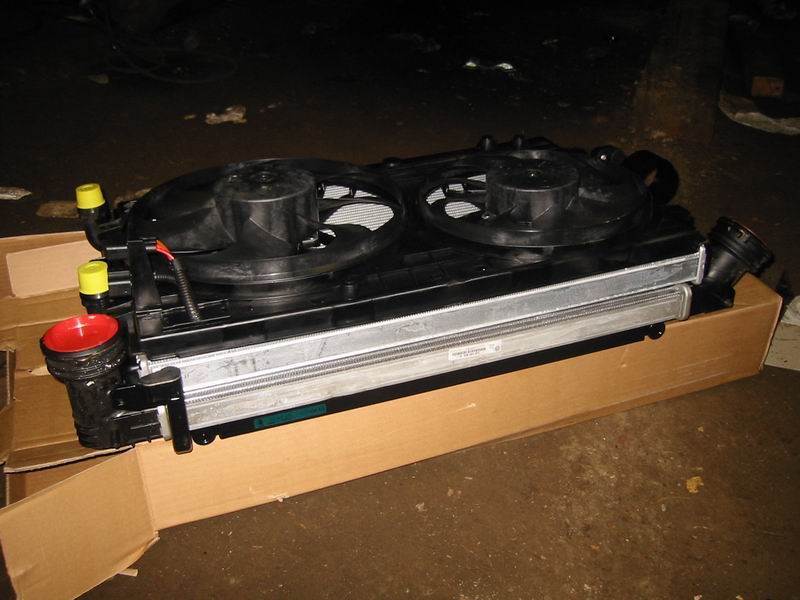
The radiator finally arrived, the final price for the whole package was about 1300eur.
Still no lock carrier... the project can't be continued because basicly everything is built around the lock carrier.
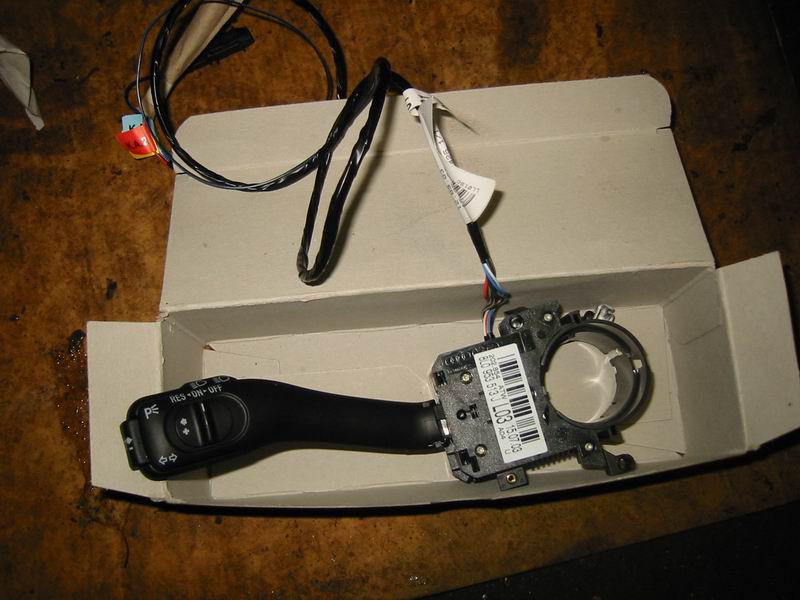
While waiting for the lock carrier we bought a new switch for the turn signals... this time with controls for the cruise control.
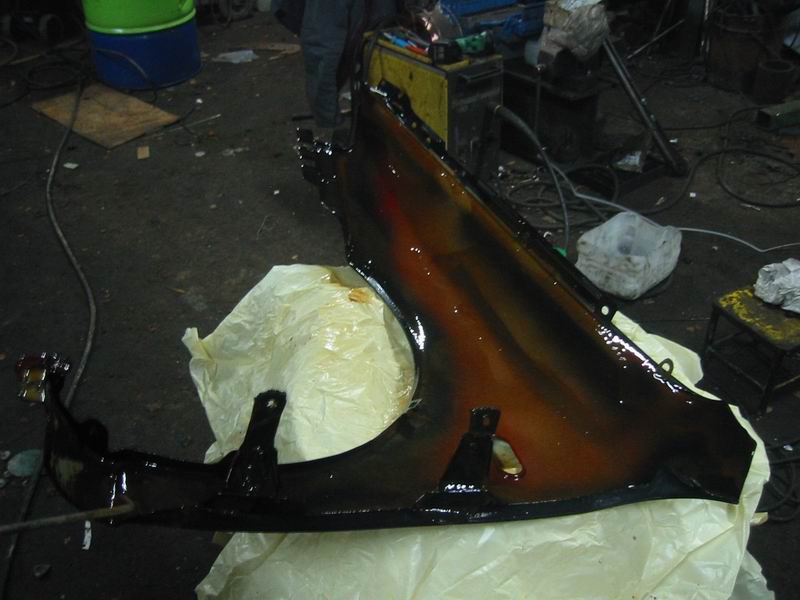
In the beginning of November we got the car from the painter. The front of the car was painted by Antti Selivaara, and the finishing is really great. At home we still sprayed some rust protection stuff inside the fenders and some other vulnerable places.
Repairing - part 2
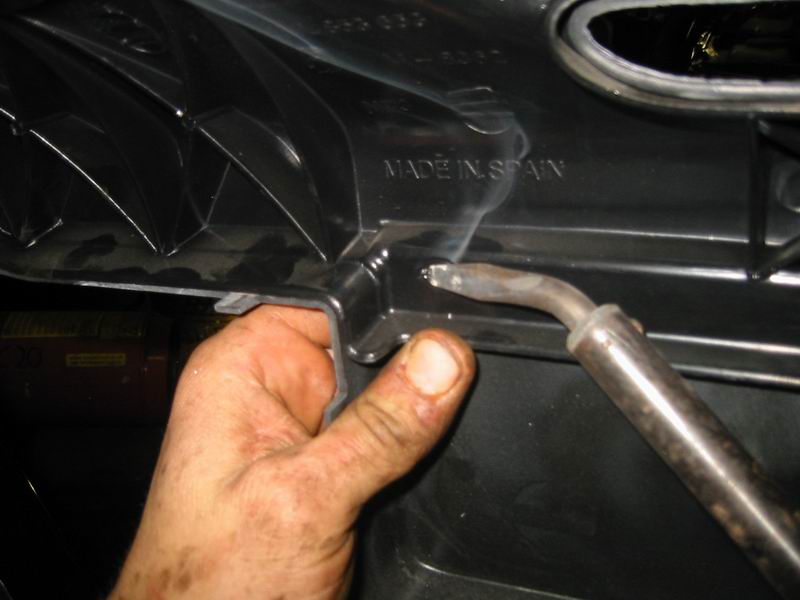
The front grill was attached to the bumper by welding some plastic. There has been a lot of discussion about the parts needed for the conversion.
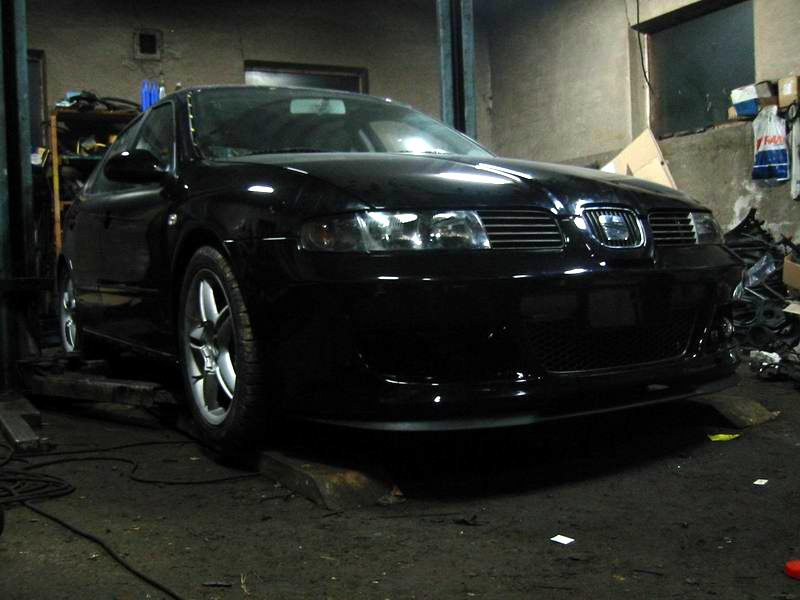
Around the midnight the car is already looking pretty much finished... but it's still missing quite a bunch of parts: the side skirt, inner fenders (wheel housing plastic covers), the lower covers of the engine, cruise control, the Radio/CD-player etc etc... We decided to finish the car before hitting the road.
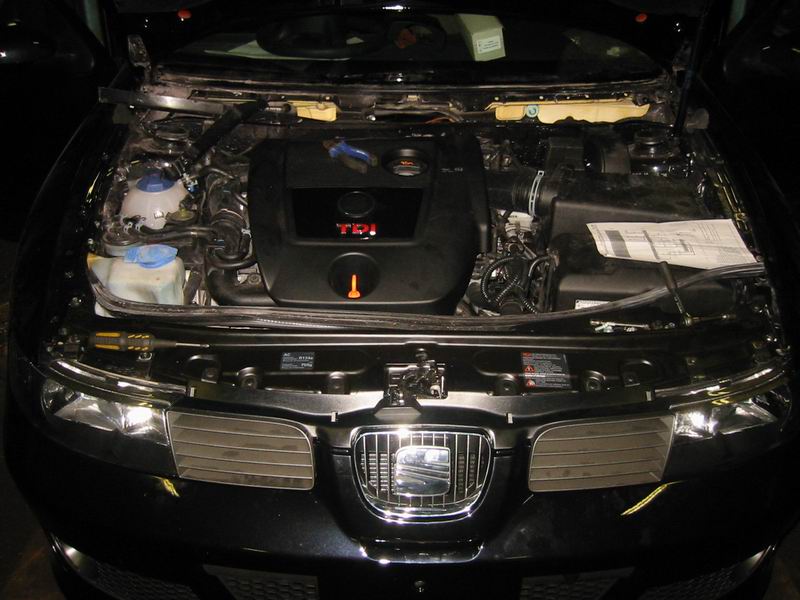
The front finished. The plastics below the windshield are here taken away because of the cruise control installation.
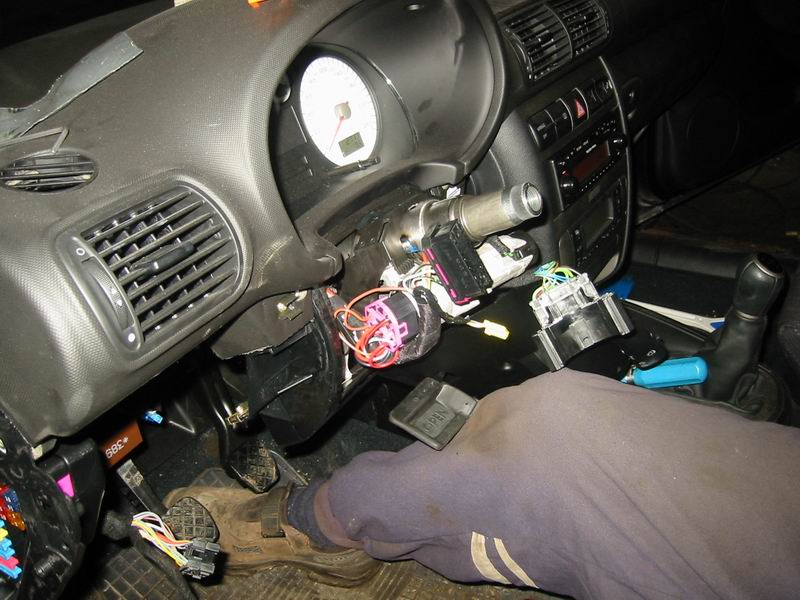
Some interiour taken apart because of the cruise control installation. The steering wheel and some plastics were removed, then the turn signal switch replaced, some wires connected and finally the cruise control was activated with VAG-COM software and laptop computer.
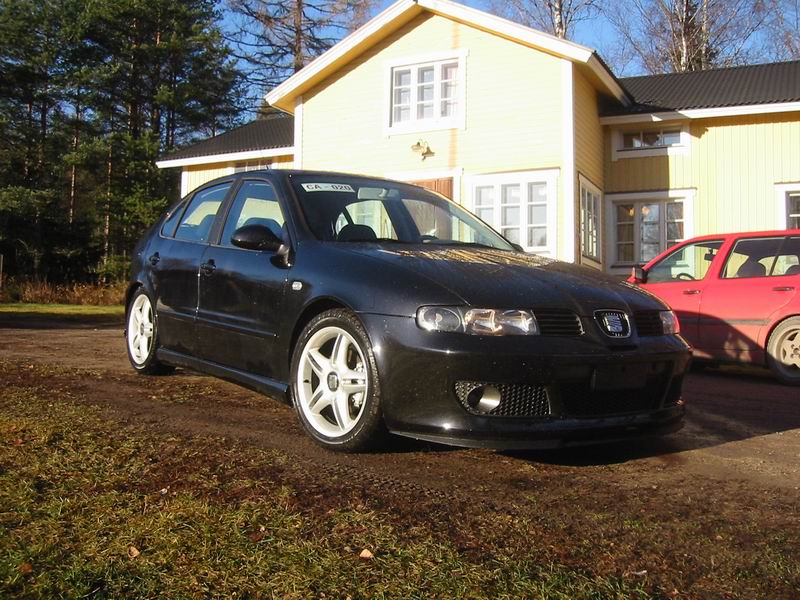
Some pictures of the car after finishing the repair.
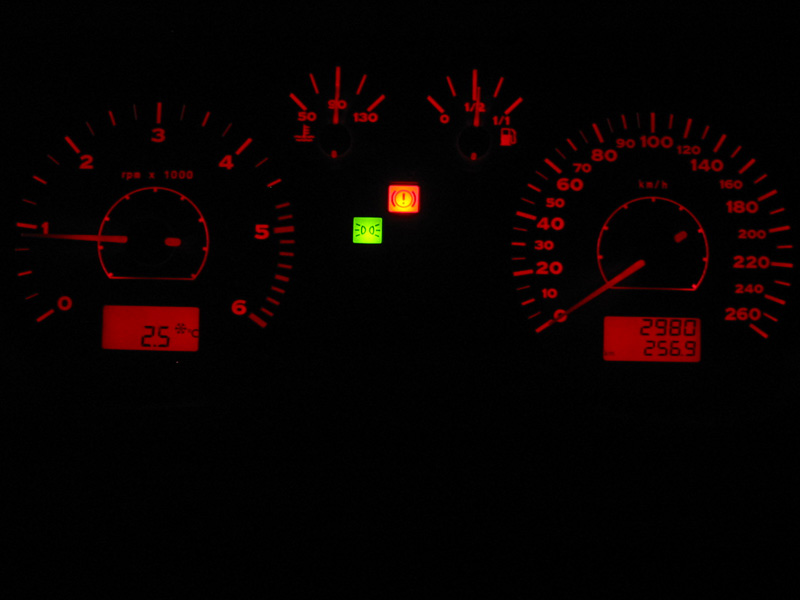
The white instrumens turn red in the dark.
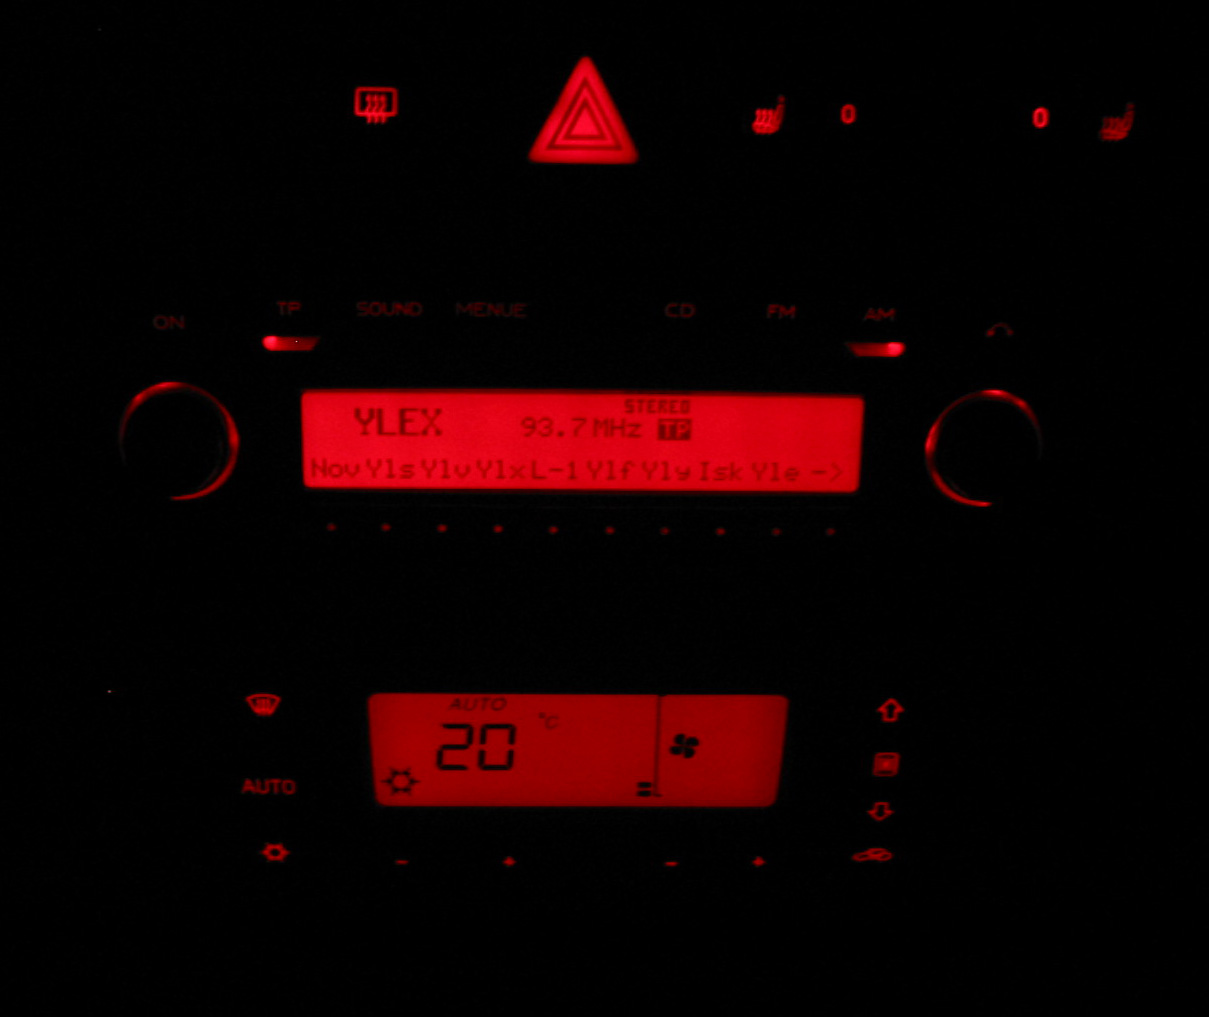
The radio (Becker Monza) was bought mostly because of how it looks... and the red lightning. Besides the good looks this radio is also really great! Very easy to use, the problems with MP3 playback were fixed with a software update.
The Seat got its plates on 11 November, exactly a month after it first arrived at our place. Registration nearly became difficult when unpaid diesel tax came to light... we paid it and got the plates. Later we learned that the plates should not have been issued at all, because the vehicle tax was unpaid too! The previous owner's insurer, Pohjola, promised to settle the outstanding taxes and refund the diesel tax we had already paid.
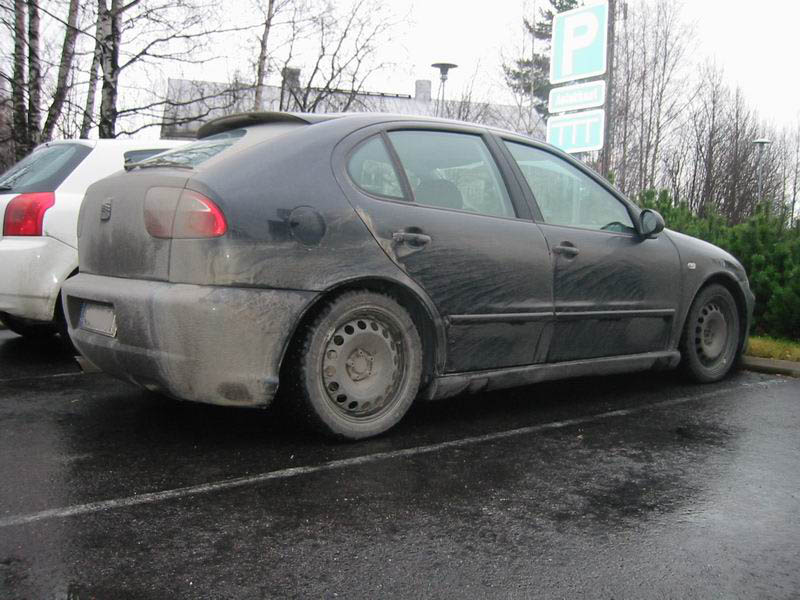
Leon got the new license plates on November 11th, exactly one month after we had got it into our own yard for the first time.
The fall in Finland is really nice time... basicly impossible to keep the car clean (if you intend to also drive with it).
Leon has served really well also in the winter time. Although it's a diesel, it warms up pretty well even in really cold weather... and also keeps the heat of the engine in normal 90 degrees of Celcius.
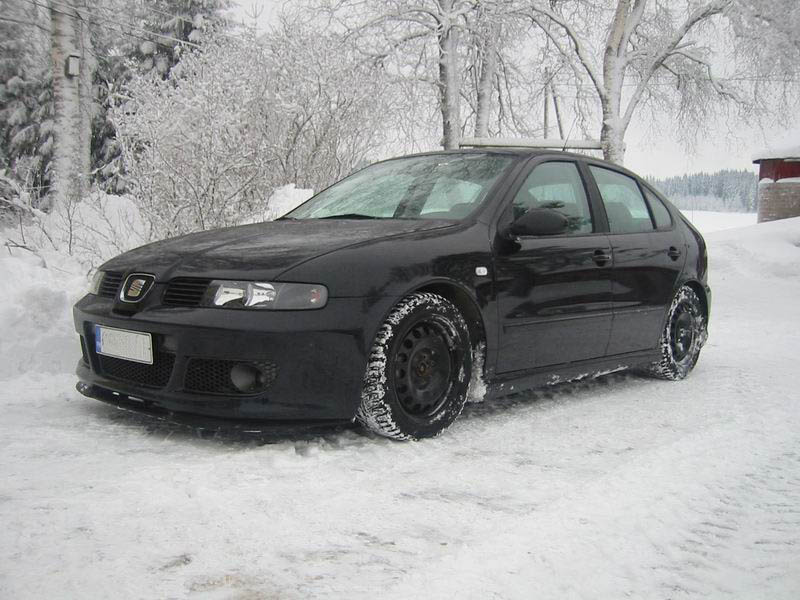
The winter tires were taken from Heikki's earlier car, they are Nokian Hakkapeliitta 2 on New Beetle 6,5x16" steel wheels.
To be honest, the suspension is a little bit too low for winter conditions. The front bumper has served as snowplow many times, but surprisingly stayed undamaged.
Polishing the wheels - part 1
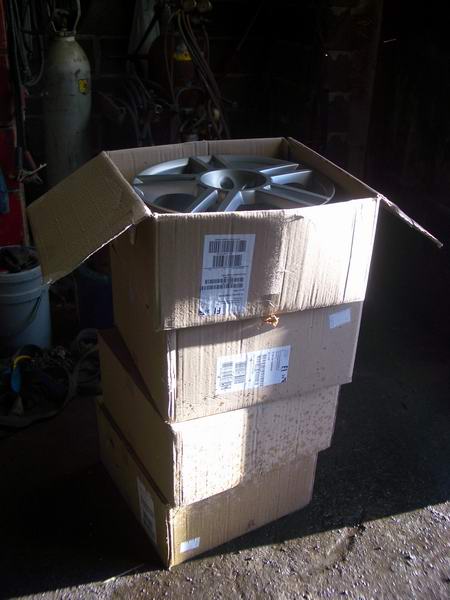
First we need a complete set of brand new 18" Cupra R wheels.
The wheels are made by Ronal, the scales showed 11.7kg weight for one wheel that was measured.
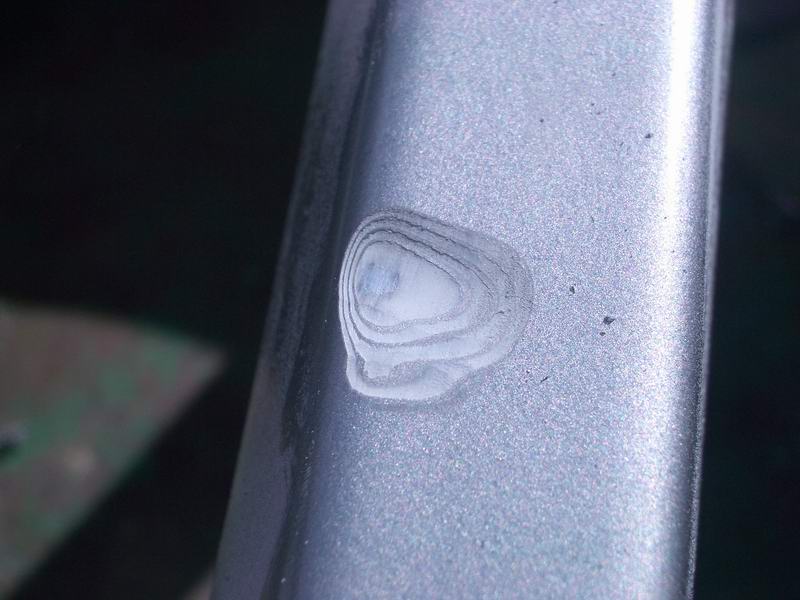
Perhaps there has been a trainee painting these wheels, the amount of paint varied very much. One of the wheels had been painted four times, it had a 1mm thick layer of paint on it! Funny enough, this wheel had the best metal surface under the paint...
One of the wheels was painted only once, the others two had two layers of paint.
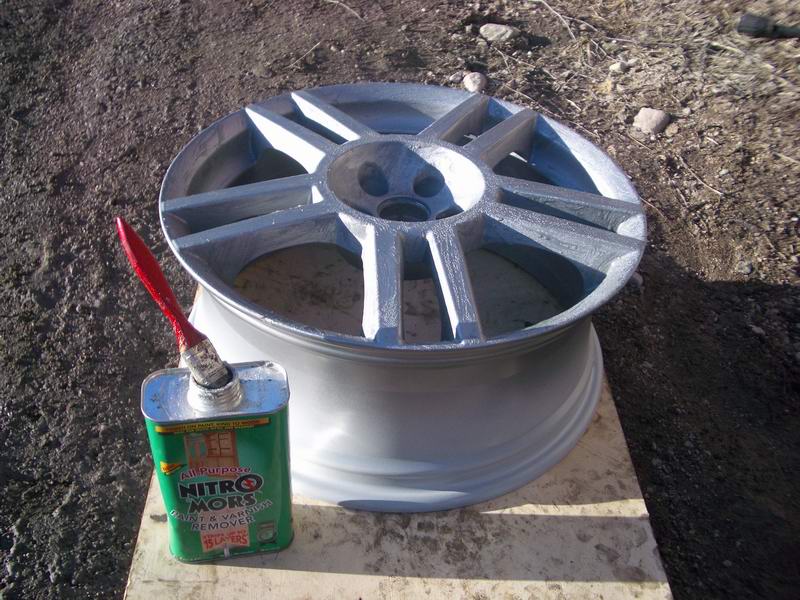
First the paint had to be removed. We tried three different paint stripper, of those Nitromors seemed to work best.
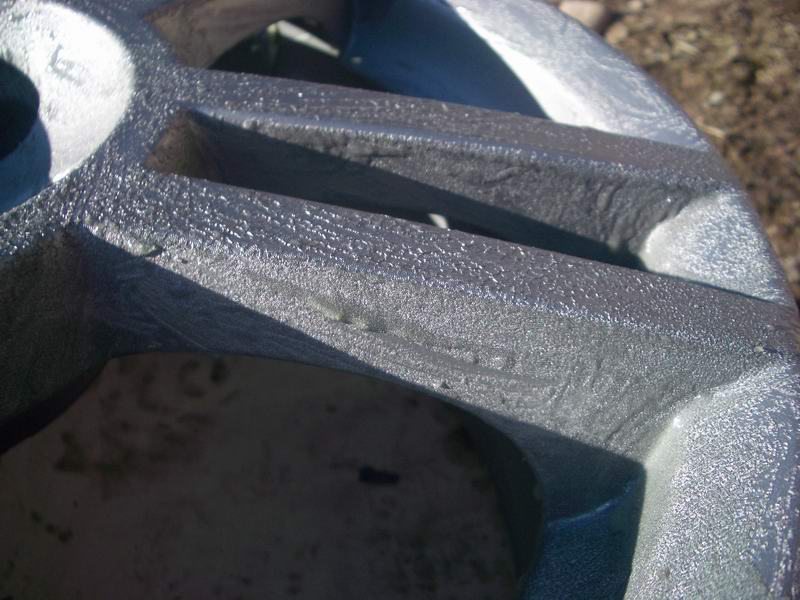
The paint stripper is "painted" with a brush and let it react for while. Because there's so many layers of paint, you have to repeat this many times.
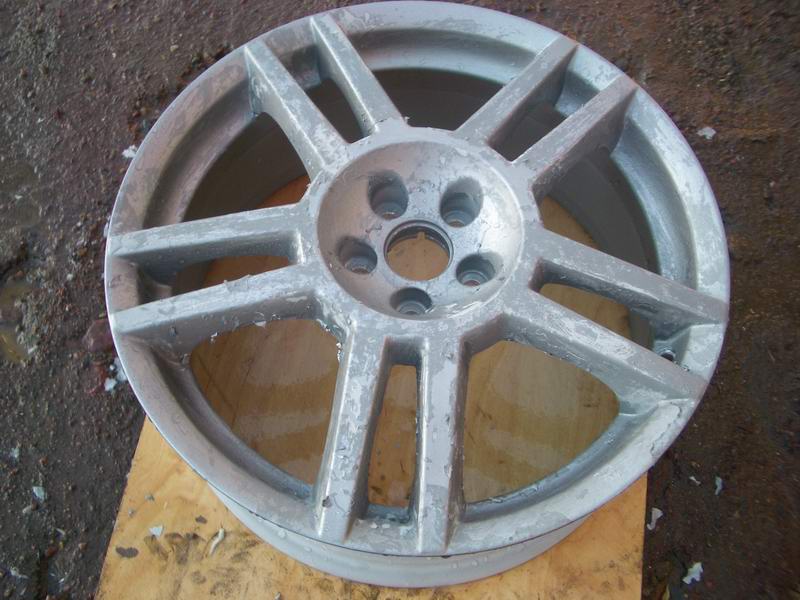
On the first wheel we tried to wash the paint away with pressurised water after the paint stripper had reacted with the paint. The result was a disappointment, only the first layer was partly washed away. After this test we realised that we have to scrape the paint away with a knife (after the paint stipper had reacted for a while).
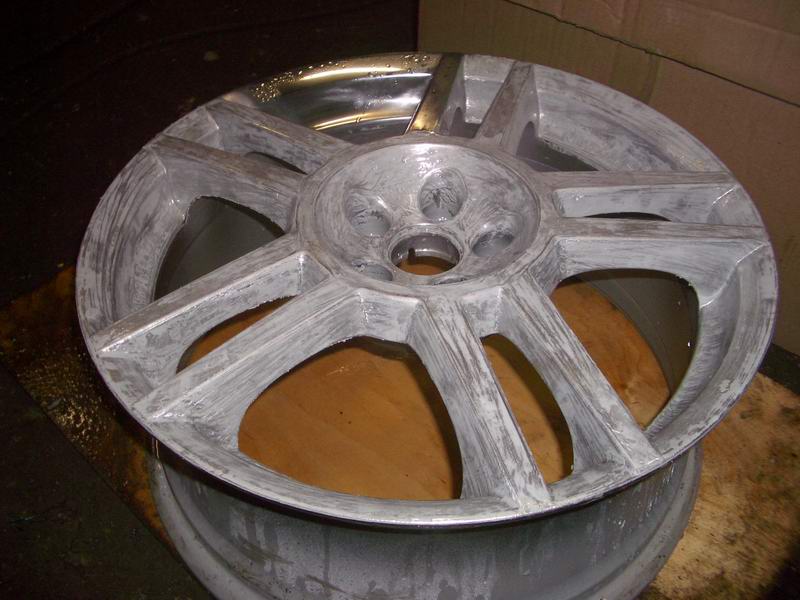
This is the wheel after the paint has been scraped away. In the backside there's an area where we did some further studies with polishing :)
The first wheel took the most time because we had to study the right methods and find the right tools to use for this job.
Polishing the wheels - part 2
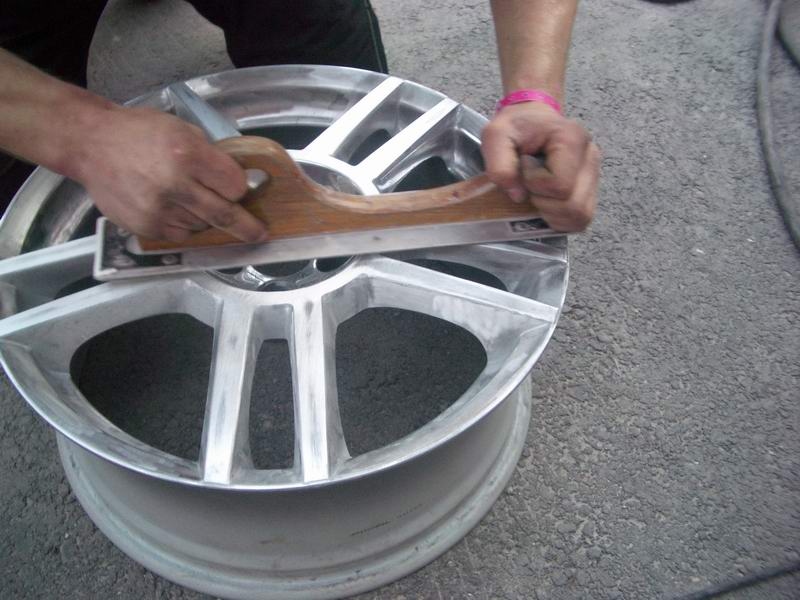
After the paint was removed, the top surface was sandpapered with a number 40 paper. The reason for this is that the surface was not straight, the spokes were hollow from the center... the finished polishing will look better when the spokes are totally flat.
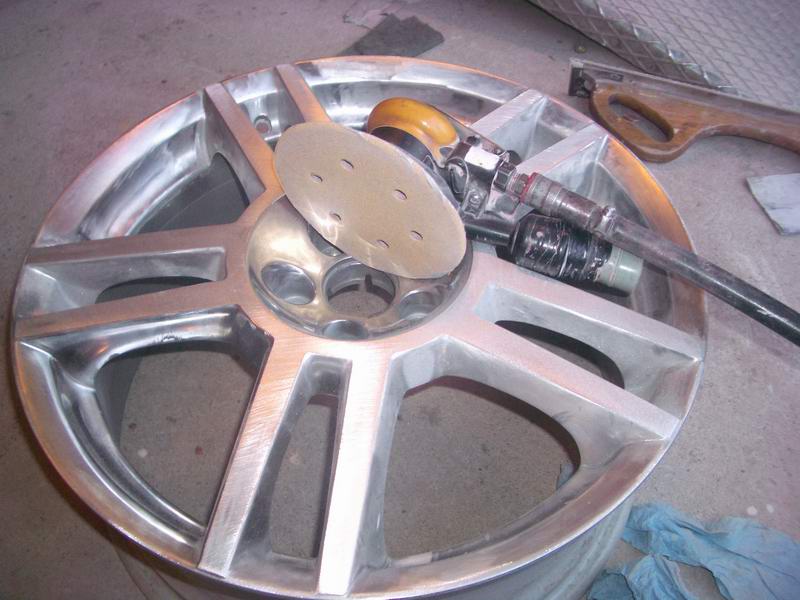
After that we used pneumatic sanding machine to smooth all the possible surfaces to save the fingers... All the narrow gaps and corners still had to be sandpapered by hand.
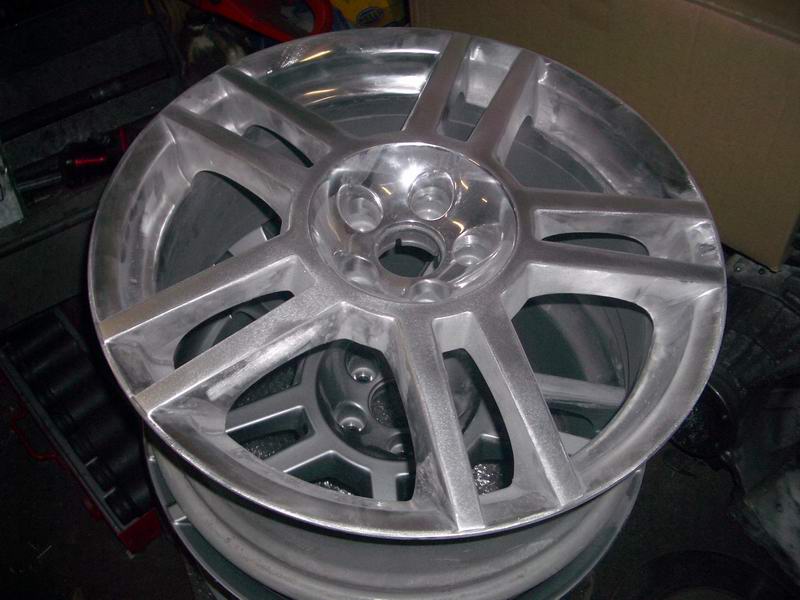
The wheel after tooling with sanding machine.
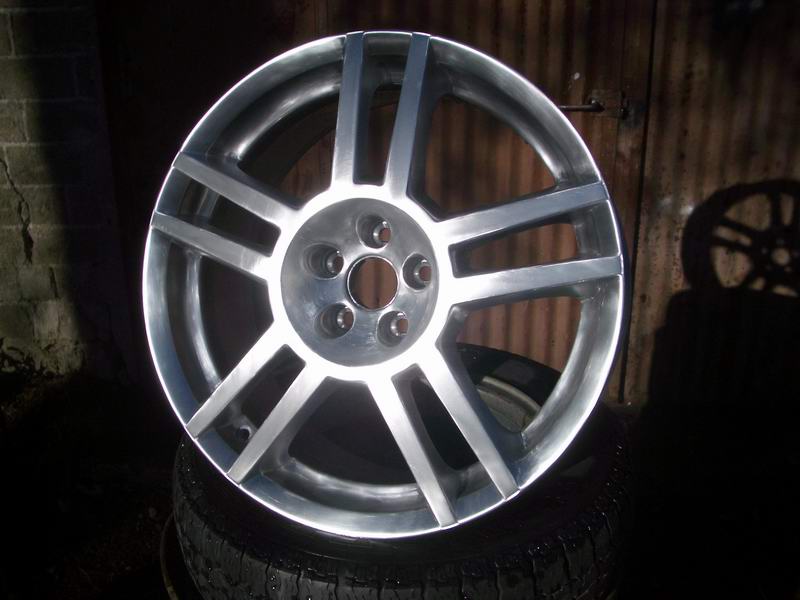
The wheel after all the sandpapering... to get to this, a LOT of work has been done; paint stripping and sanding with many different papers (120, 240, 500, 1000).
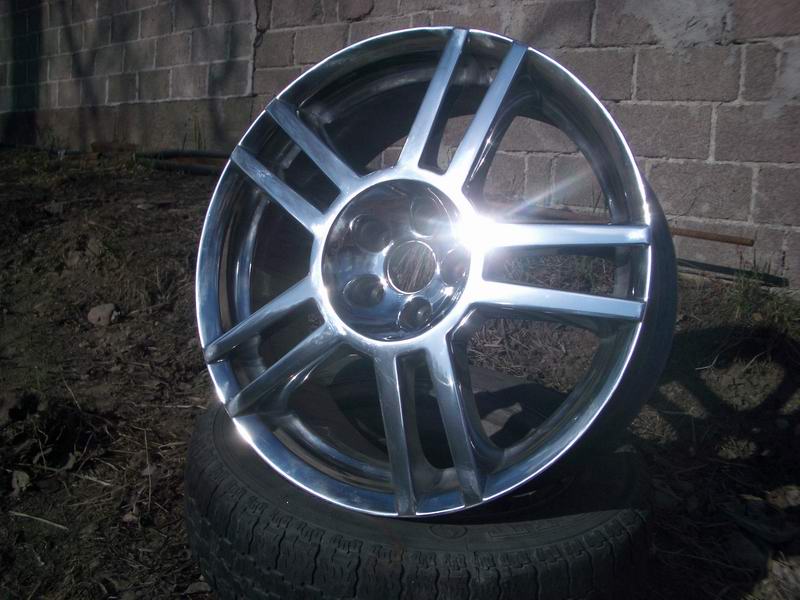
Bling bling. The wheel after polishing with polishing wheel.
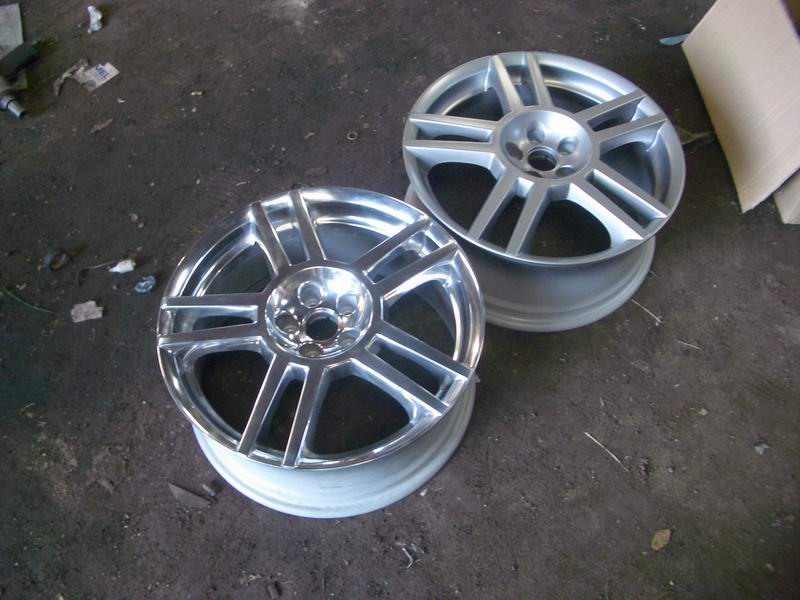
Before-After comparison.
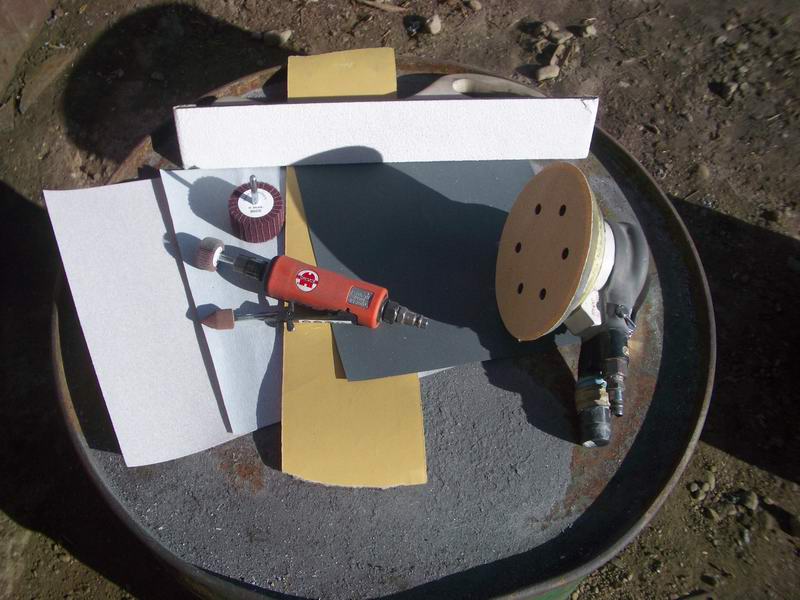
Here's some tools and papers that were used... only the aching fingers are missing.
Pneumatic tools where great for sanding and grinding from some corners... but even with them it was not possible to sand from all the places.
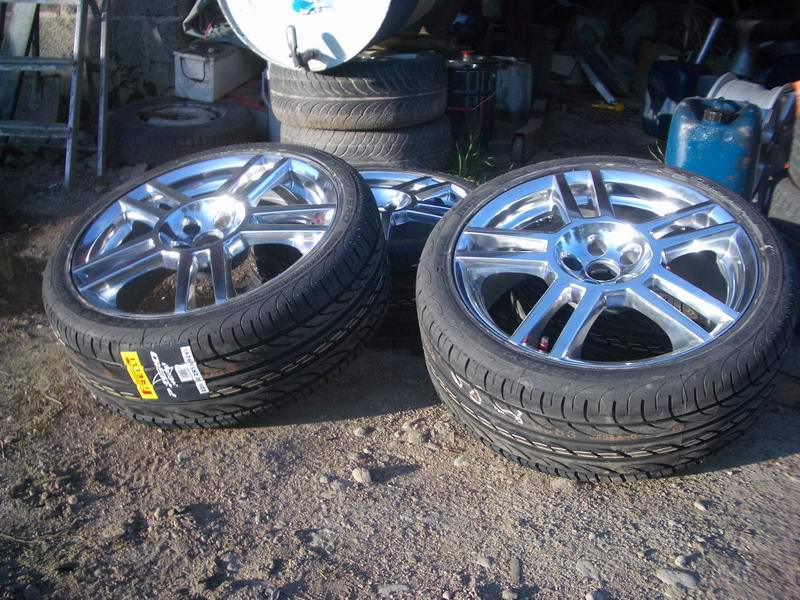
Finished wheels. With the polishing wheel it was not possible to polish from all the narrow corners, so polishing was finished with Autoglym metal polish compound. They don't shine like chrome but they're OK for us... the finger tips and nerves won't allow any more polishing. Polishing the wheels is REALLY long process... pajalle.com does not recommend it to anyone :)
The tires are Pirelli P Zero Nero 225/40-18.
Finished
At least the polished Cupra R wheels look better than the original 17" wheels of TopSport...
When the tires were installed, we also installed the Roadsnoop pressure watch, which informes the driver if the pressure in any of tires drops more than 10%.
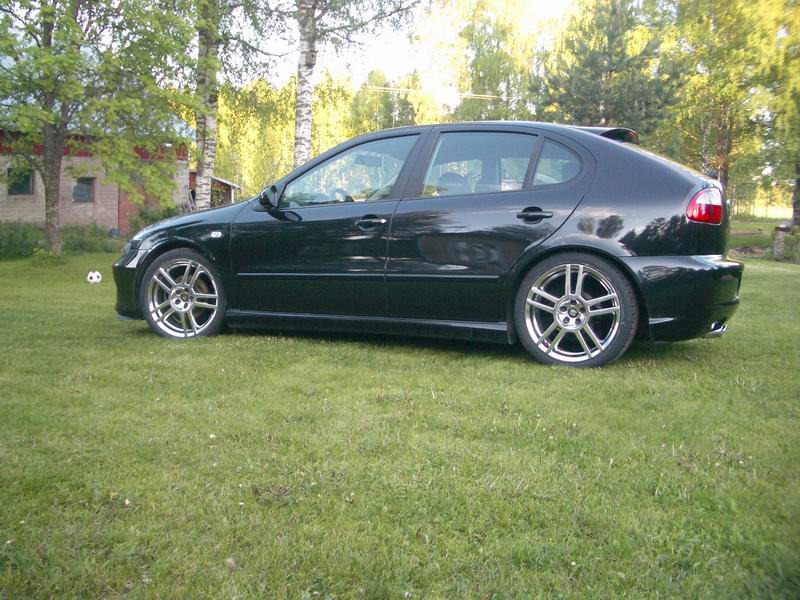
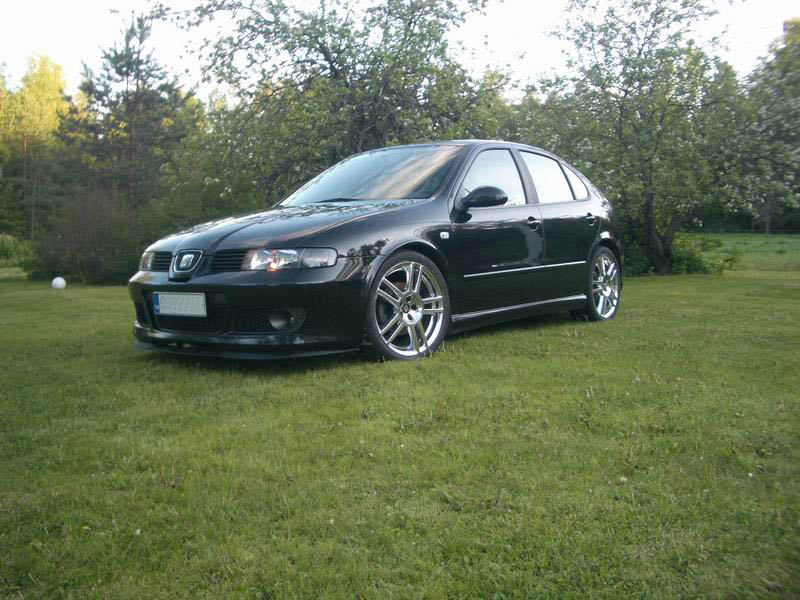
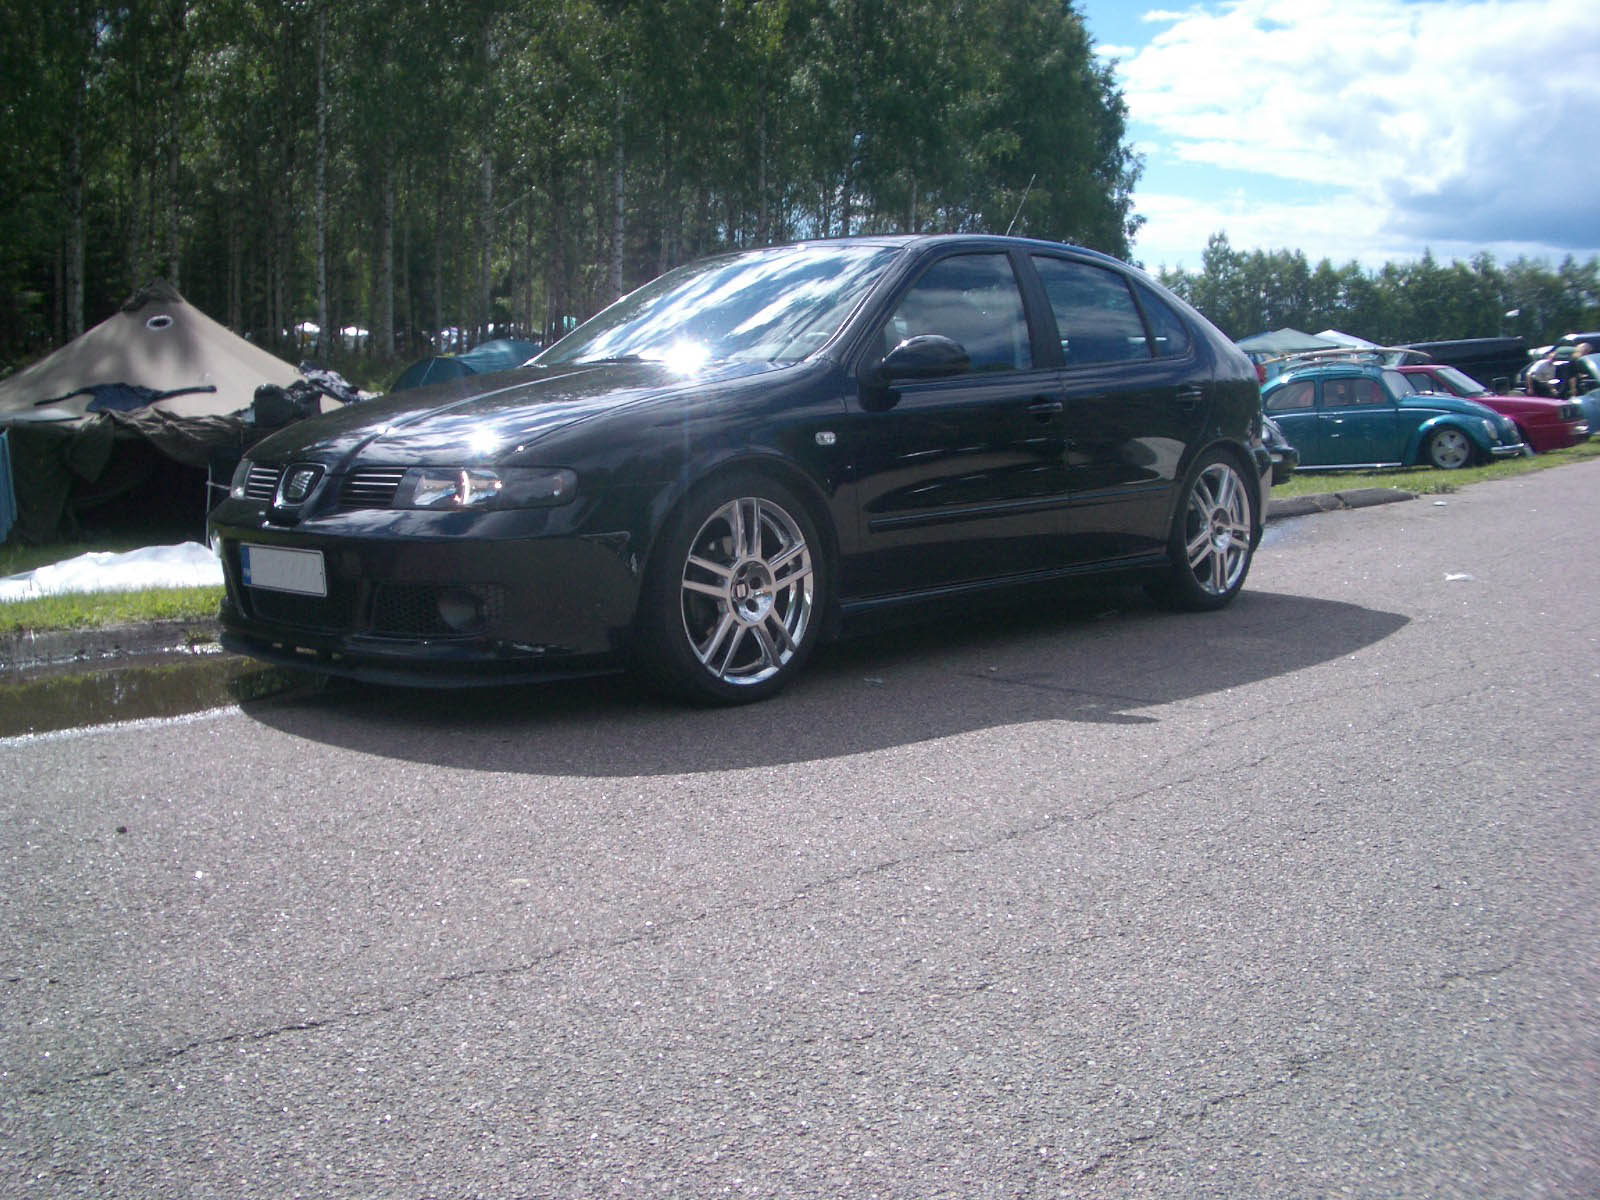
Washed and waxed in Bug Run event in Mantorp, Sweden.
Although it might look like a Cupra R, it's not...
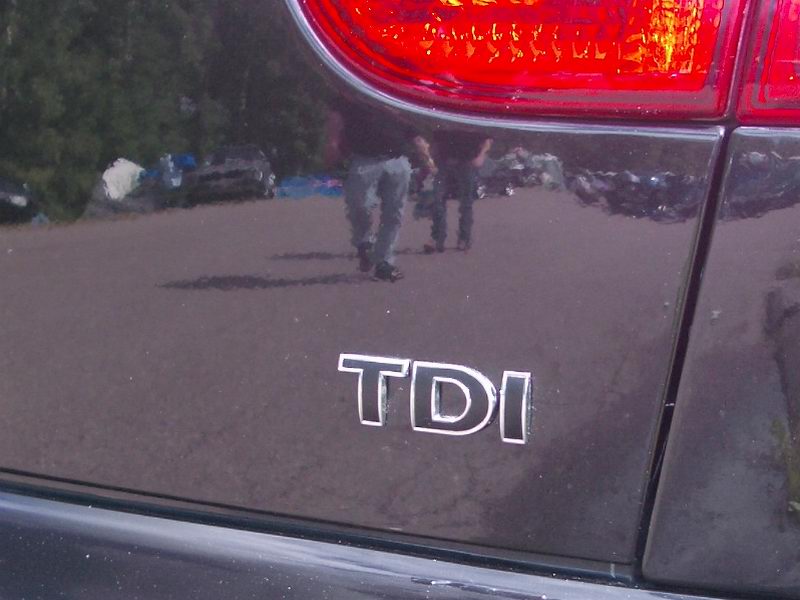
A little tuning on the TDI-emblem.
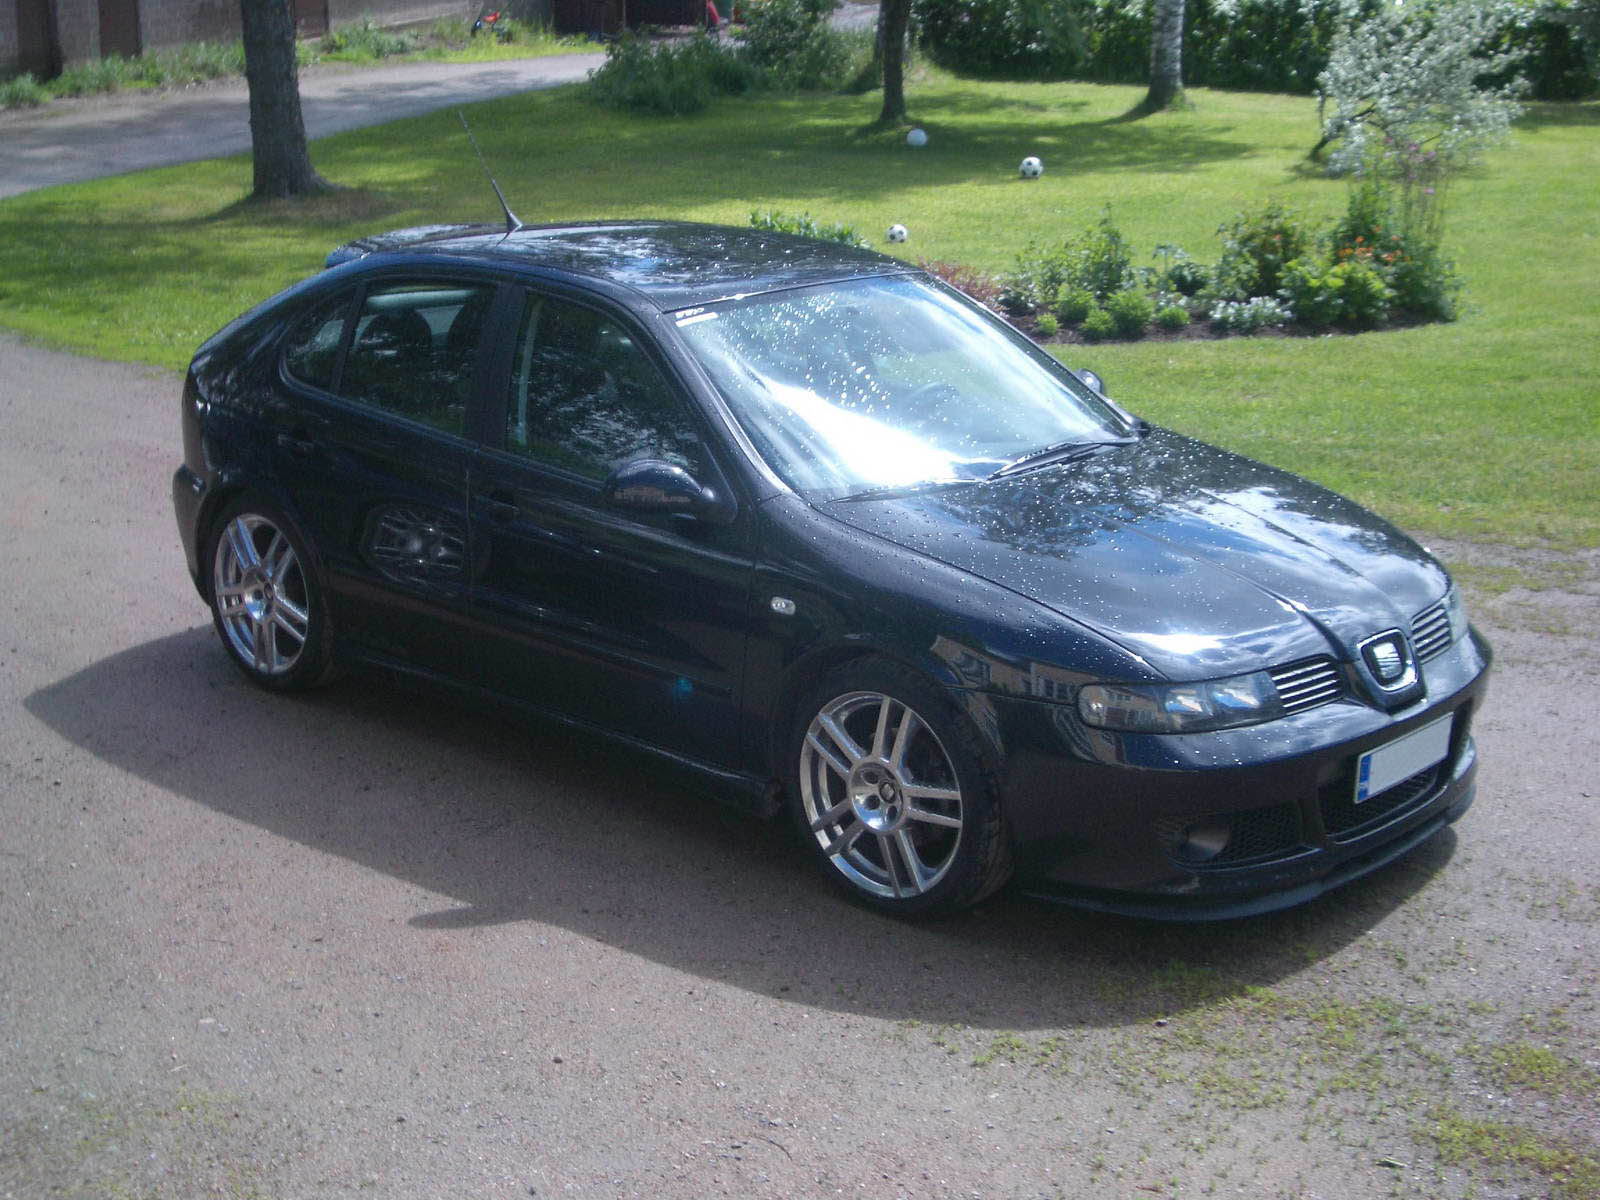
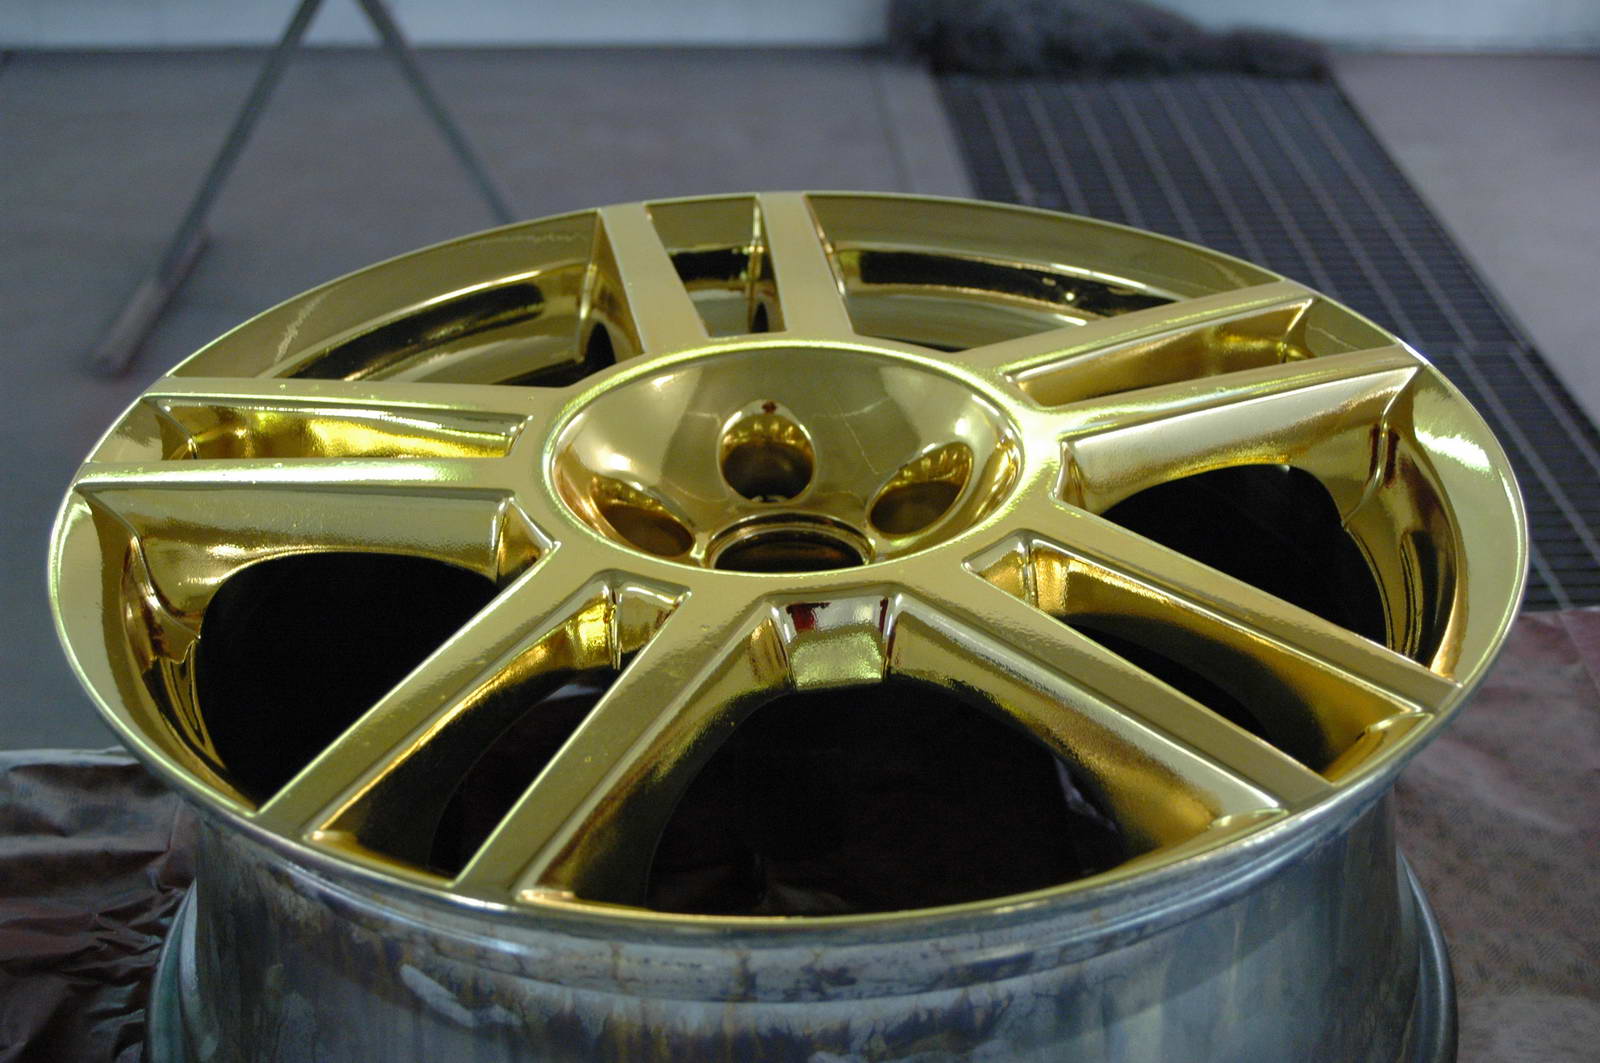
In the spring 2005 we decided to test some special paint on the wheels. The treatment is Alsacorp's ChromeFX. At best it's very difficult to say whether it's paint of real chrome. One big advantage is that you can add colors to the lacquer.
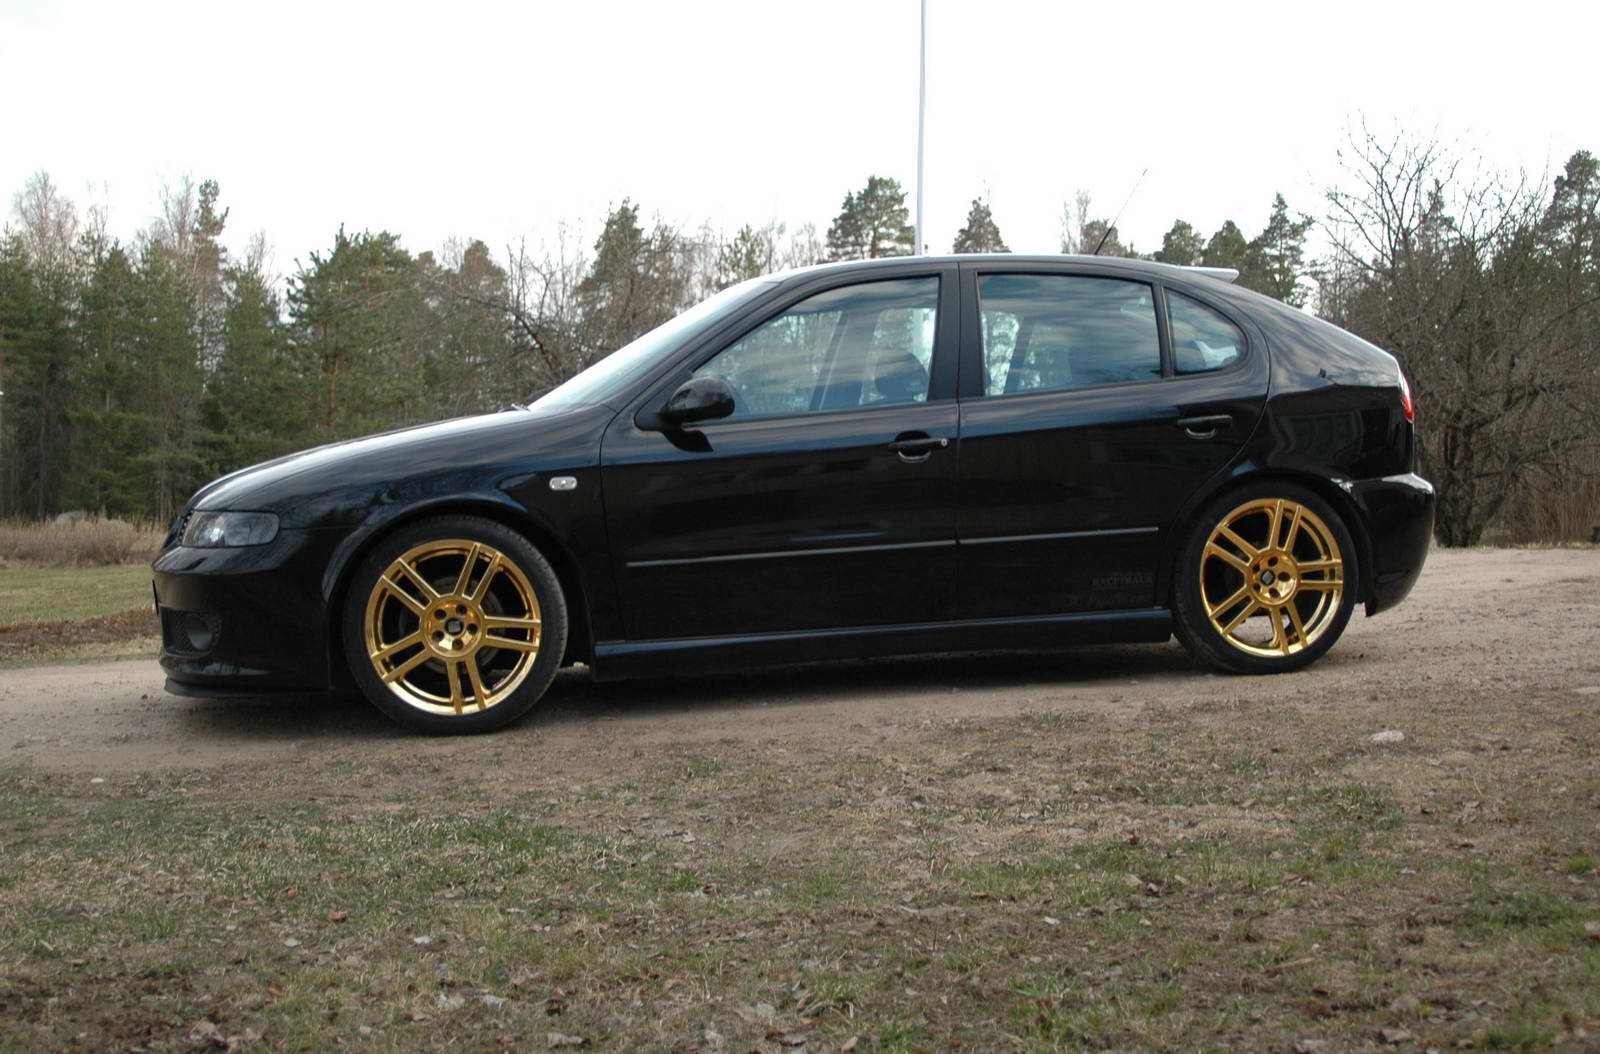
In this case we used gold. We think it looks very good on a black car!
Heikki sold the car to Rolle in summer 2005. The car is now Rolle's girlfriend's daily driver, so there most propably won't be any more tuning... rather the opposite; Rolle is planning to return the original springs to get more height on the suspension :)
Includes original English text and AI-assisted translations.