ARCHIVE / PAJALLE
Skoda Superb crash repair
Repairing a crashed Skoda Superb, from dismantling and straightening the chassis rails to returning to the road. Later updates cover navigation, a towbar and further body repairs.
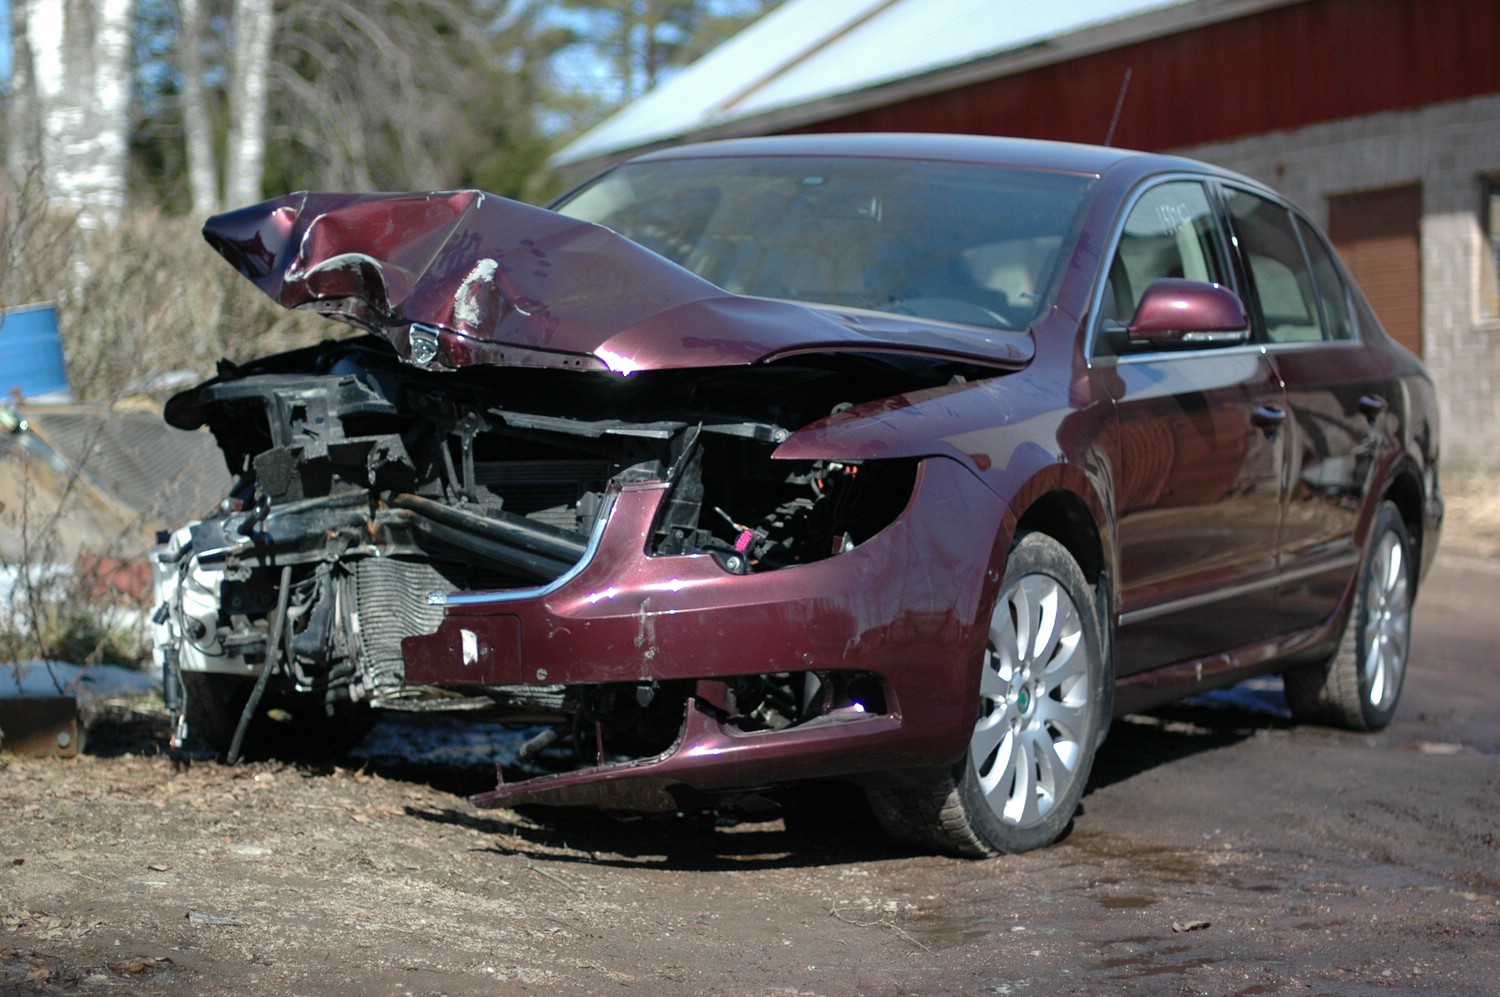
Taking it apart
Spring 2011, and Heikki's second child was on the way. The Seat was getting a little cramped. So, off to AVK in Espoo for some shopping. Another mk2 came home, this time a Superb. Once a mk2 man, always a mk2 man.
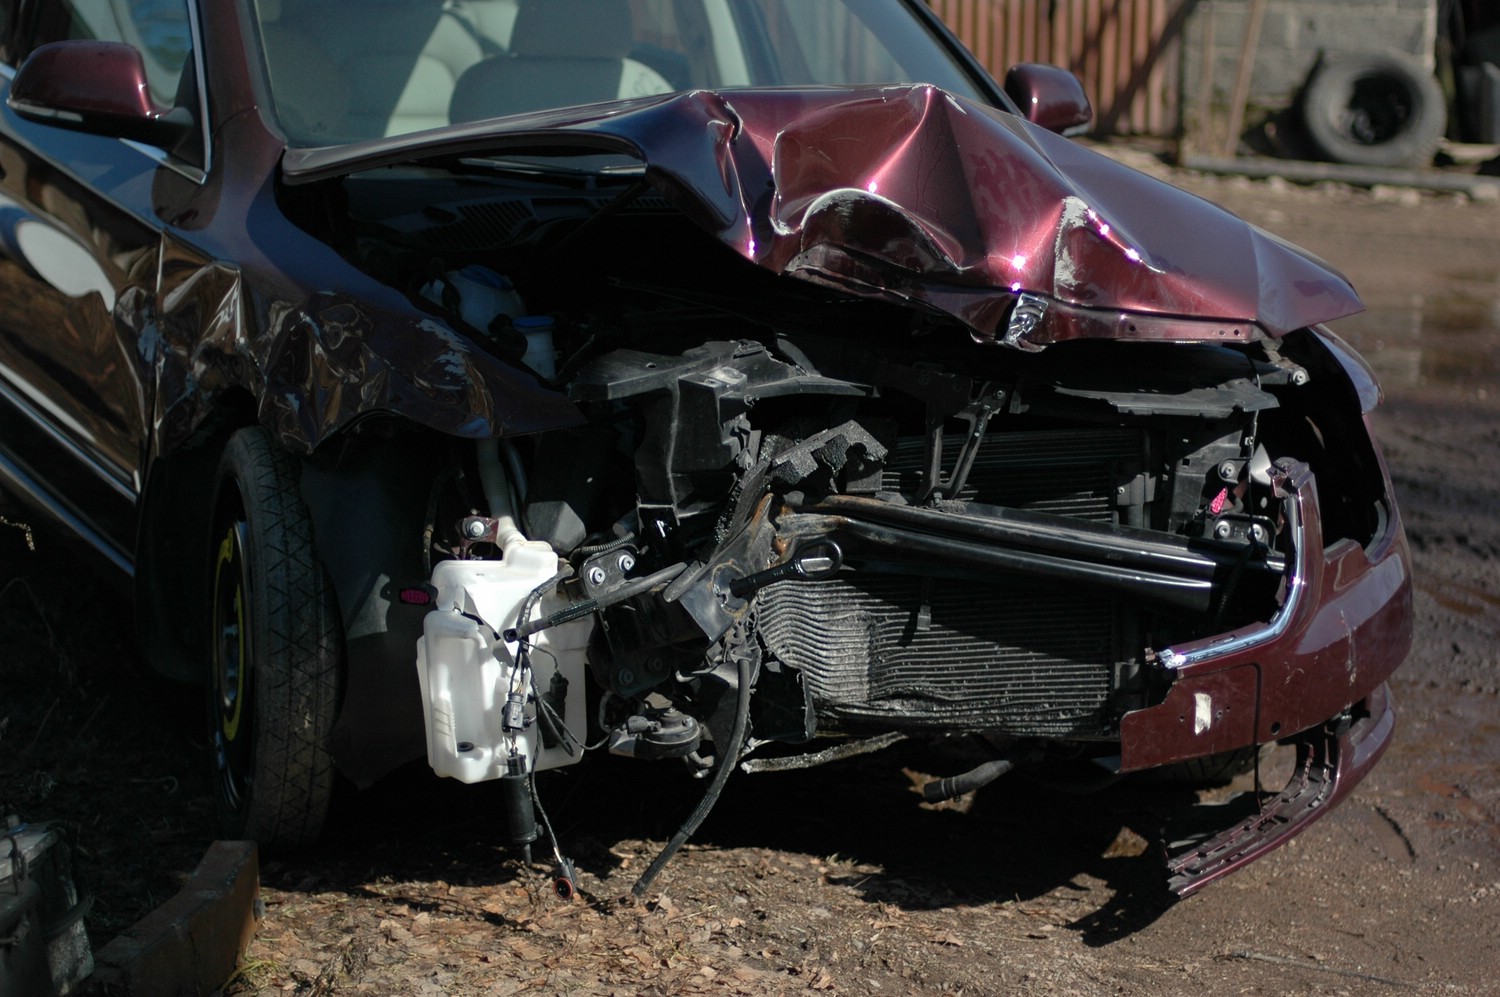
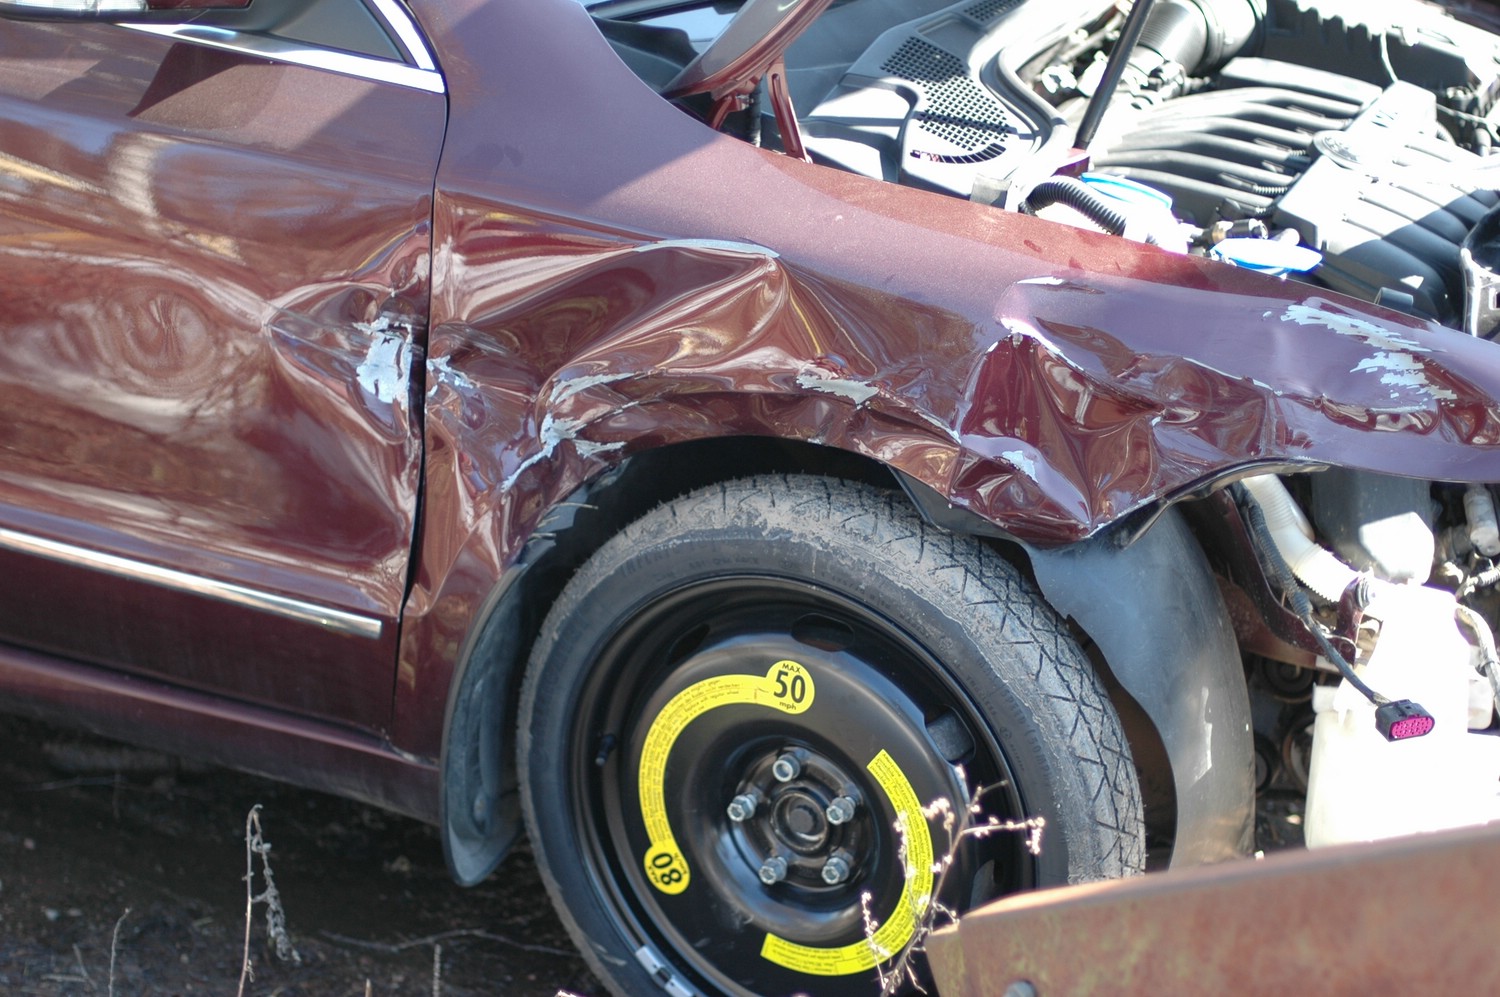
The passenger door is damaged too. That is the extent of it; surprisingly everything inside is intact, with no airbags or belt pretensioners deployed.
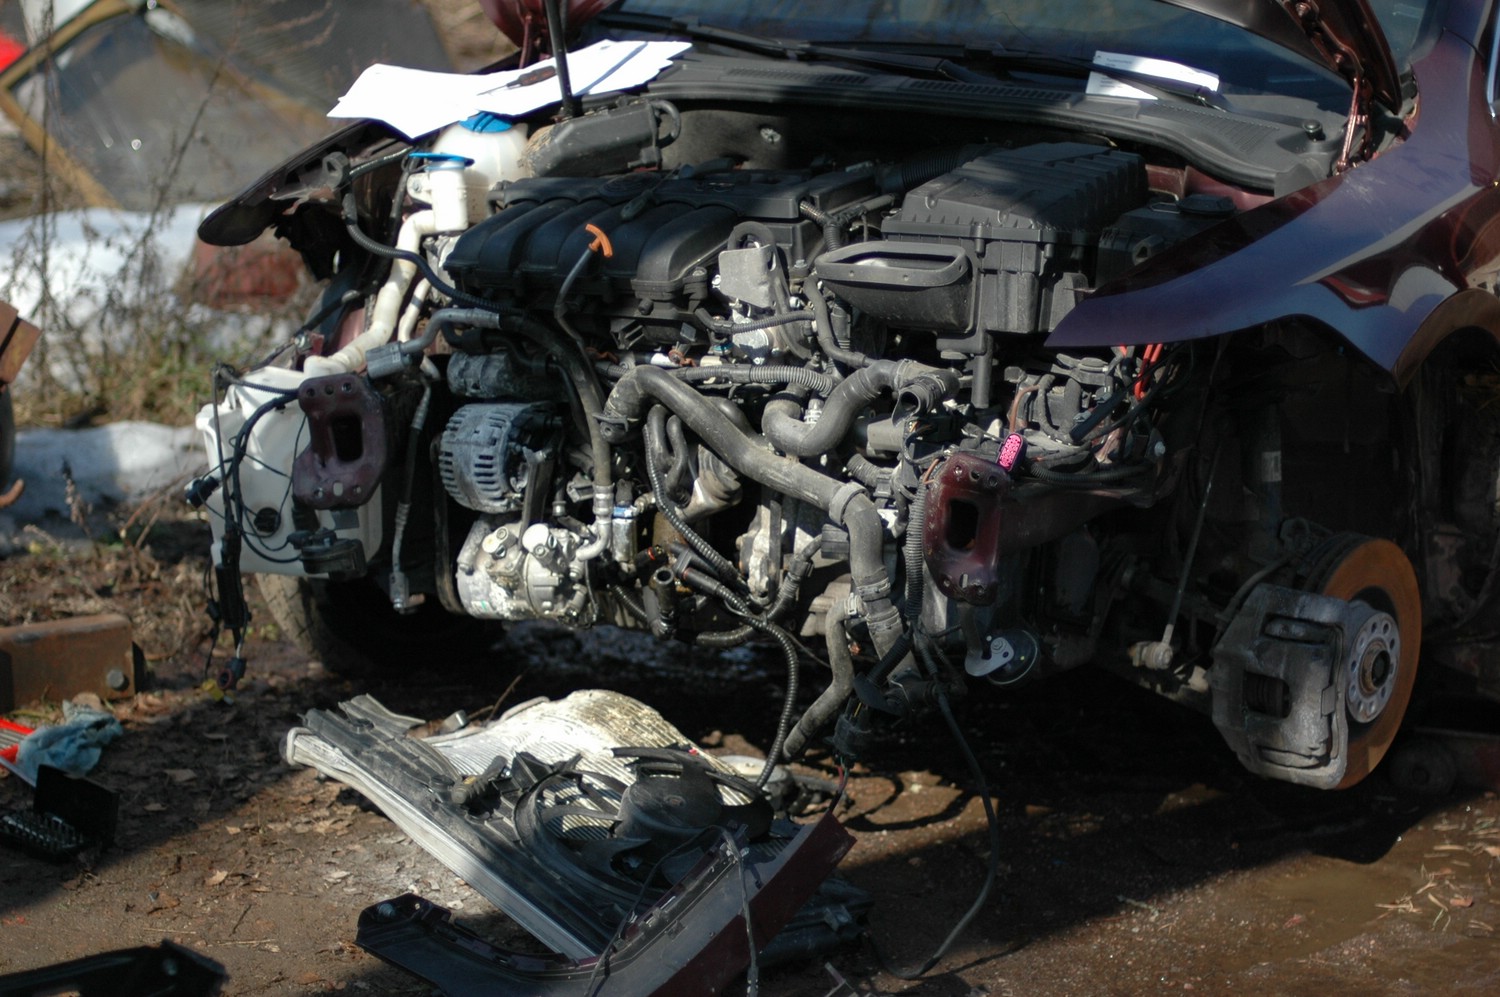
The front end coming apart. While dismantling, note down even the small plastic pieces; it makes the shopping list much easier later. Don't remove every screw unless necessary. Leave screws in removed parts so they can simply be transferred to the replacements. Otherwise you spend all your time wondering which screw belongs where.
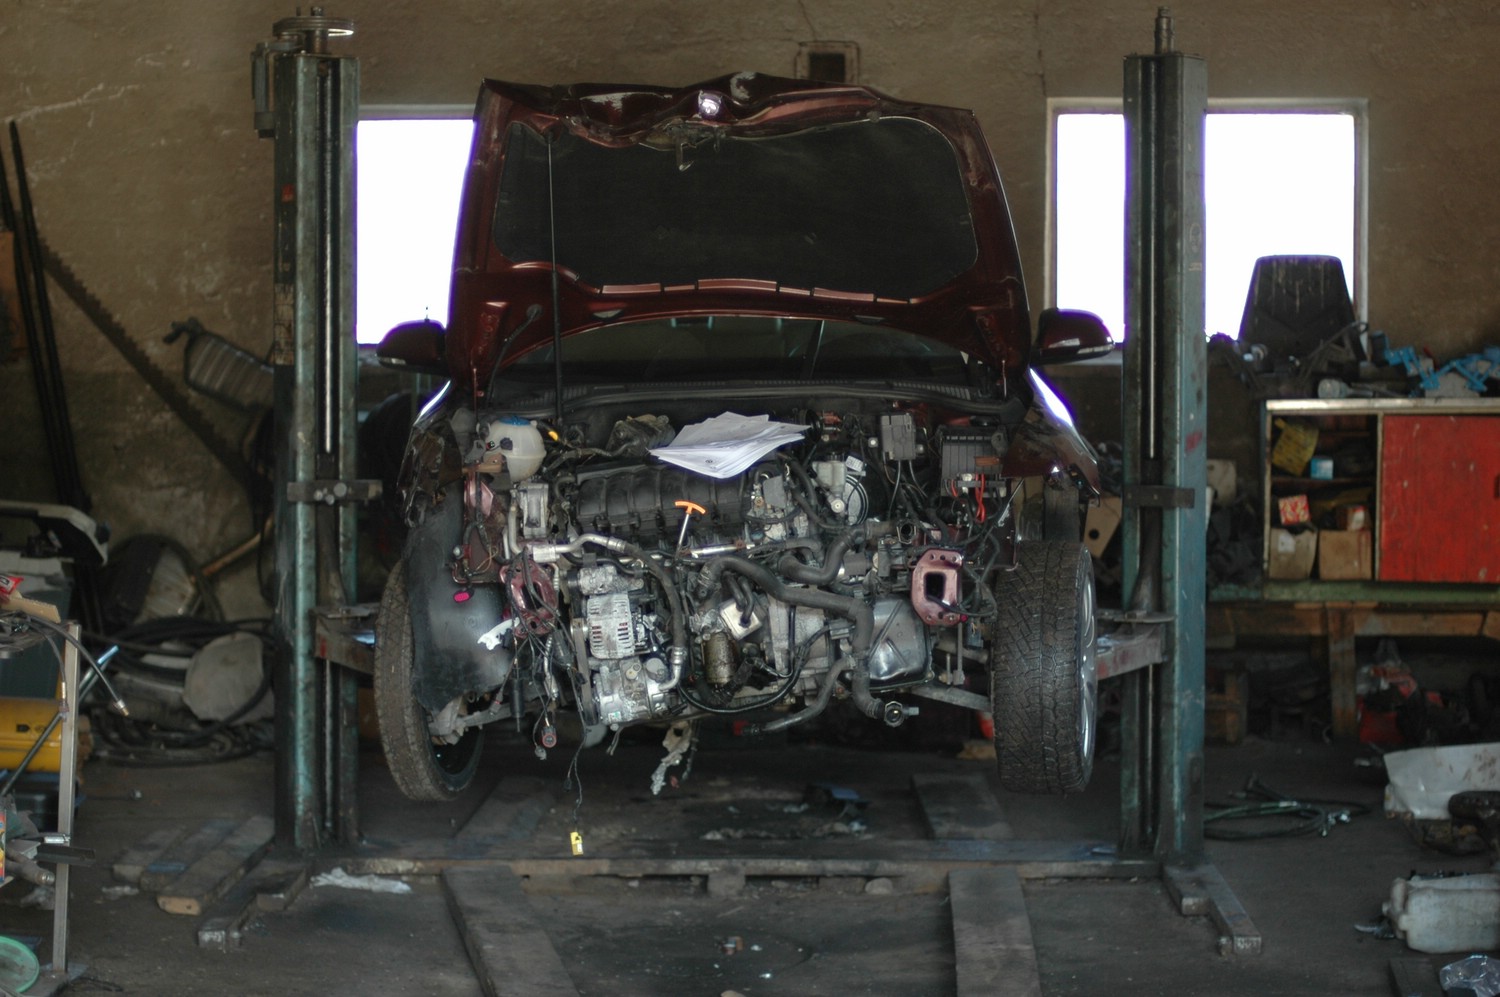
The lift became available and we could remove the engine and gearbox. As the photo shows, not much effort was needed. Their mounts were already broken; mainly the rear mount and propshaft were holding the drivetrain in place...
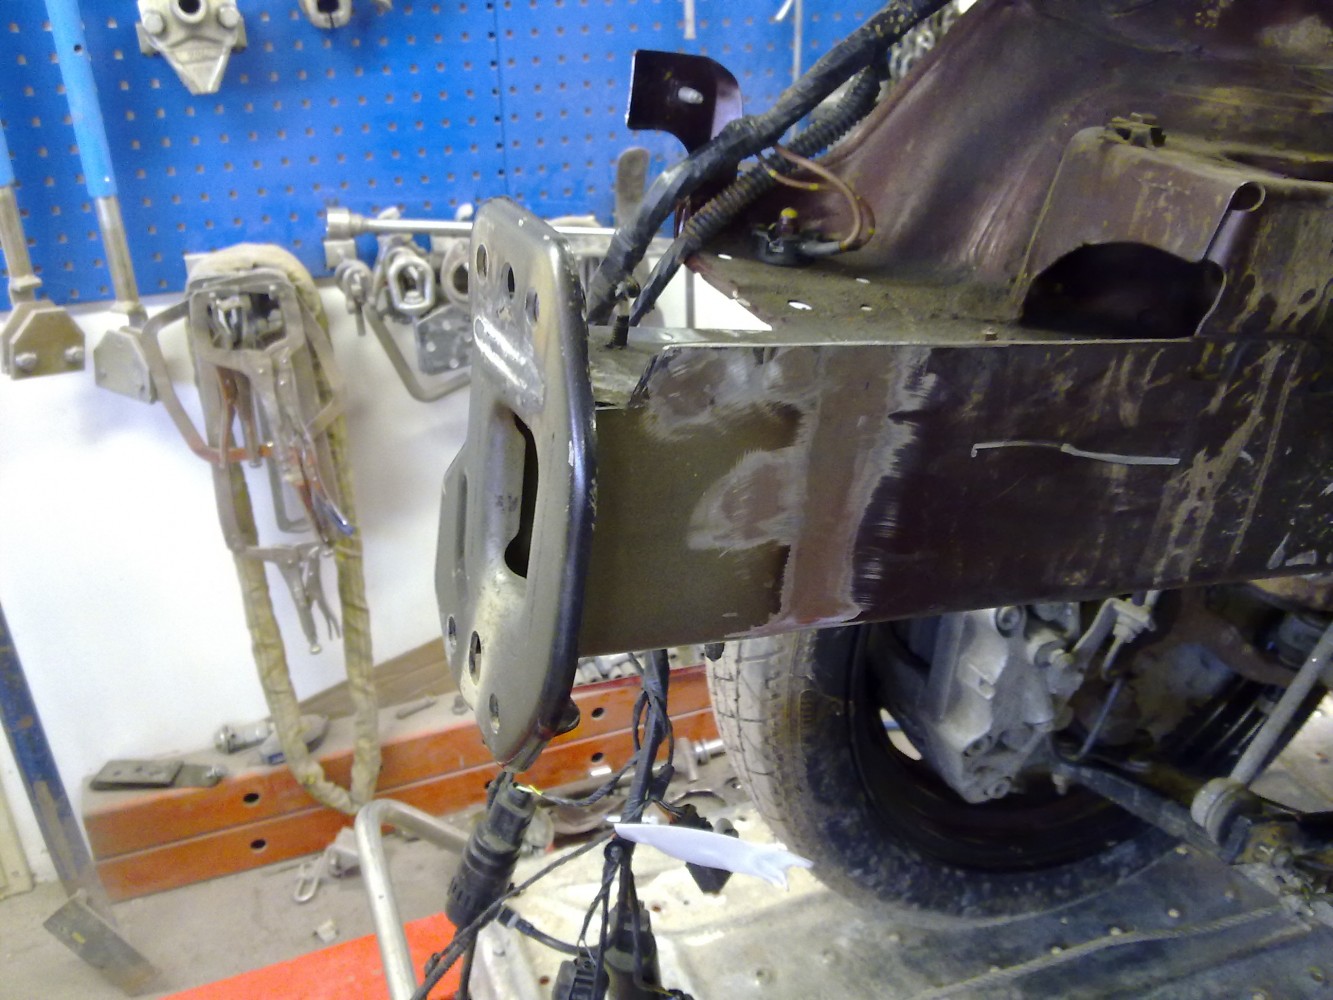
Both chassis legs need attention. The driver's side, in the lower photos, can be straightened; the right-hand one needs a replacement end.
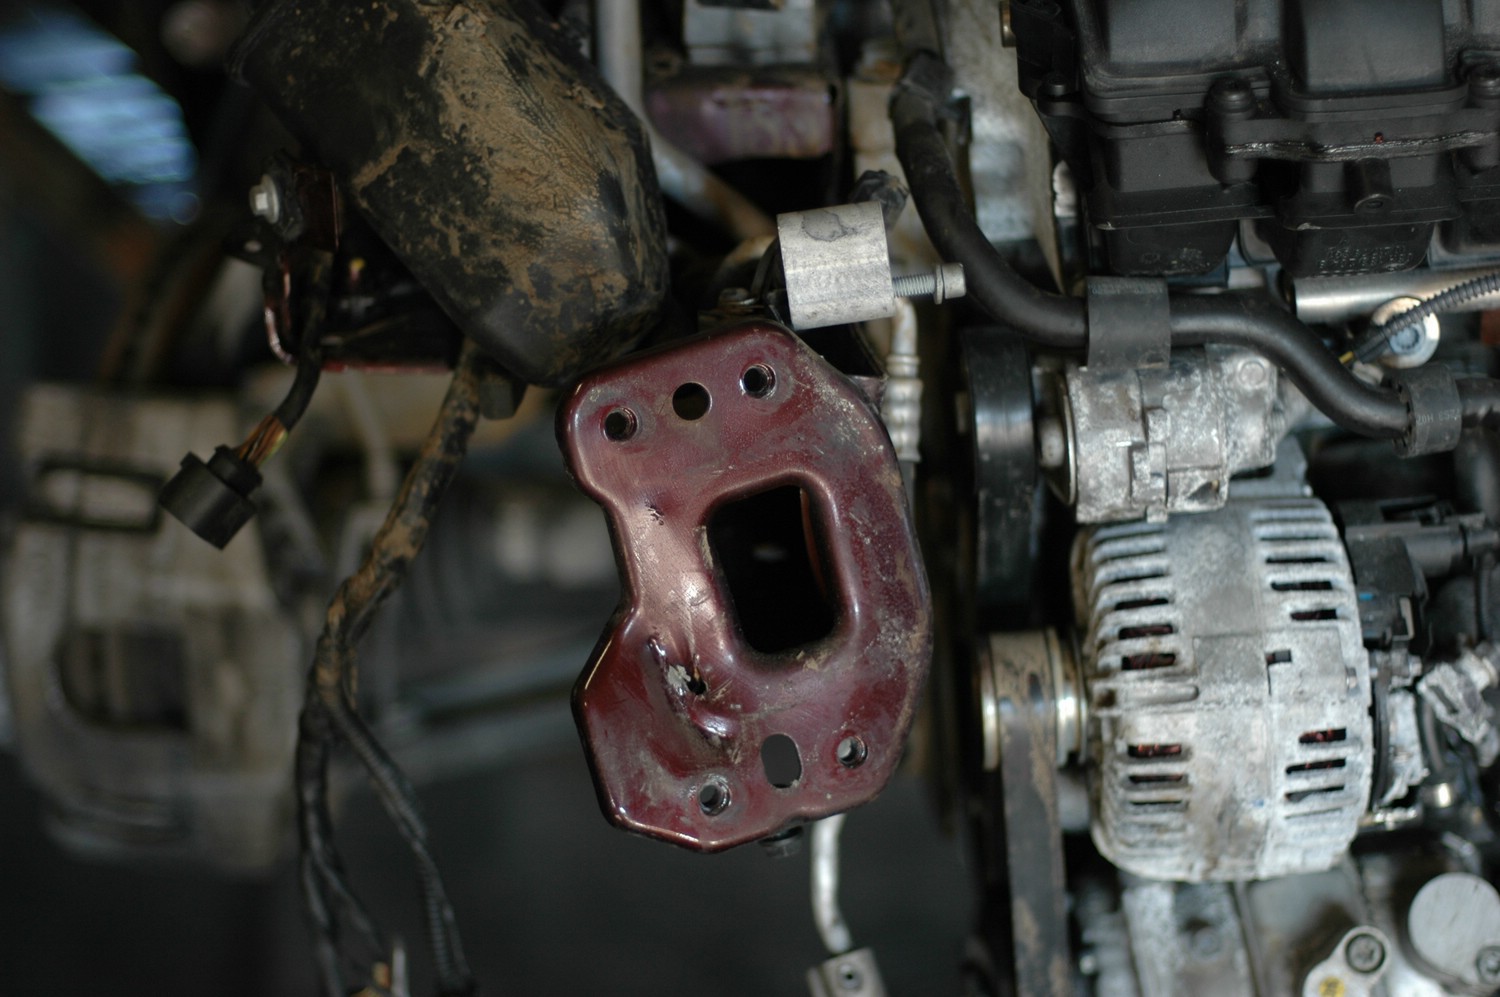
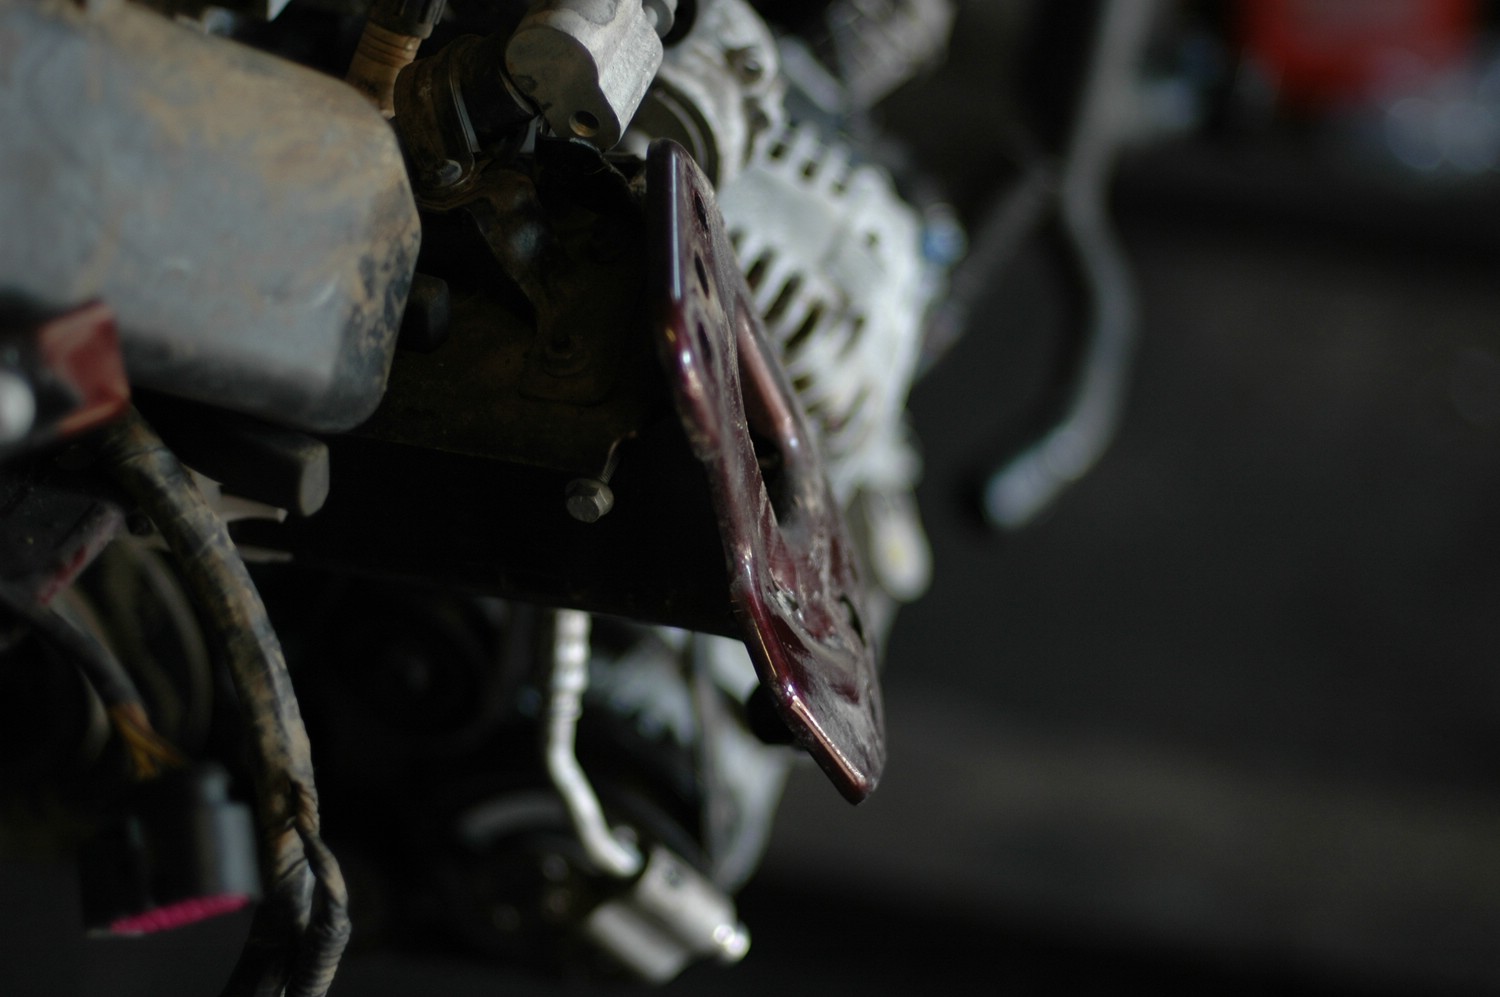
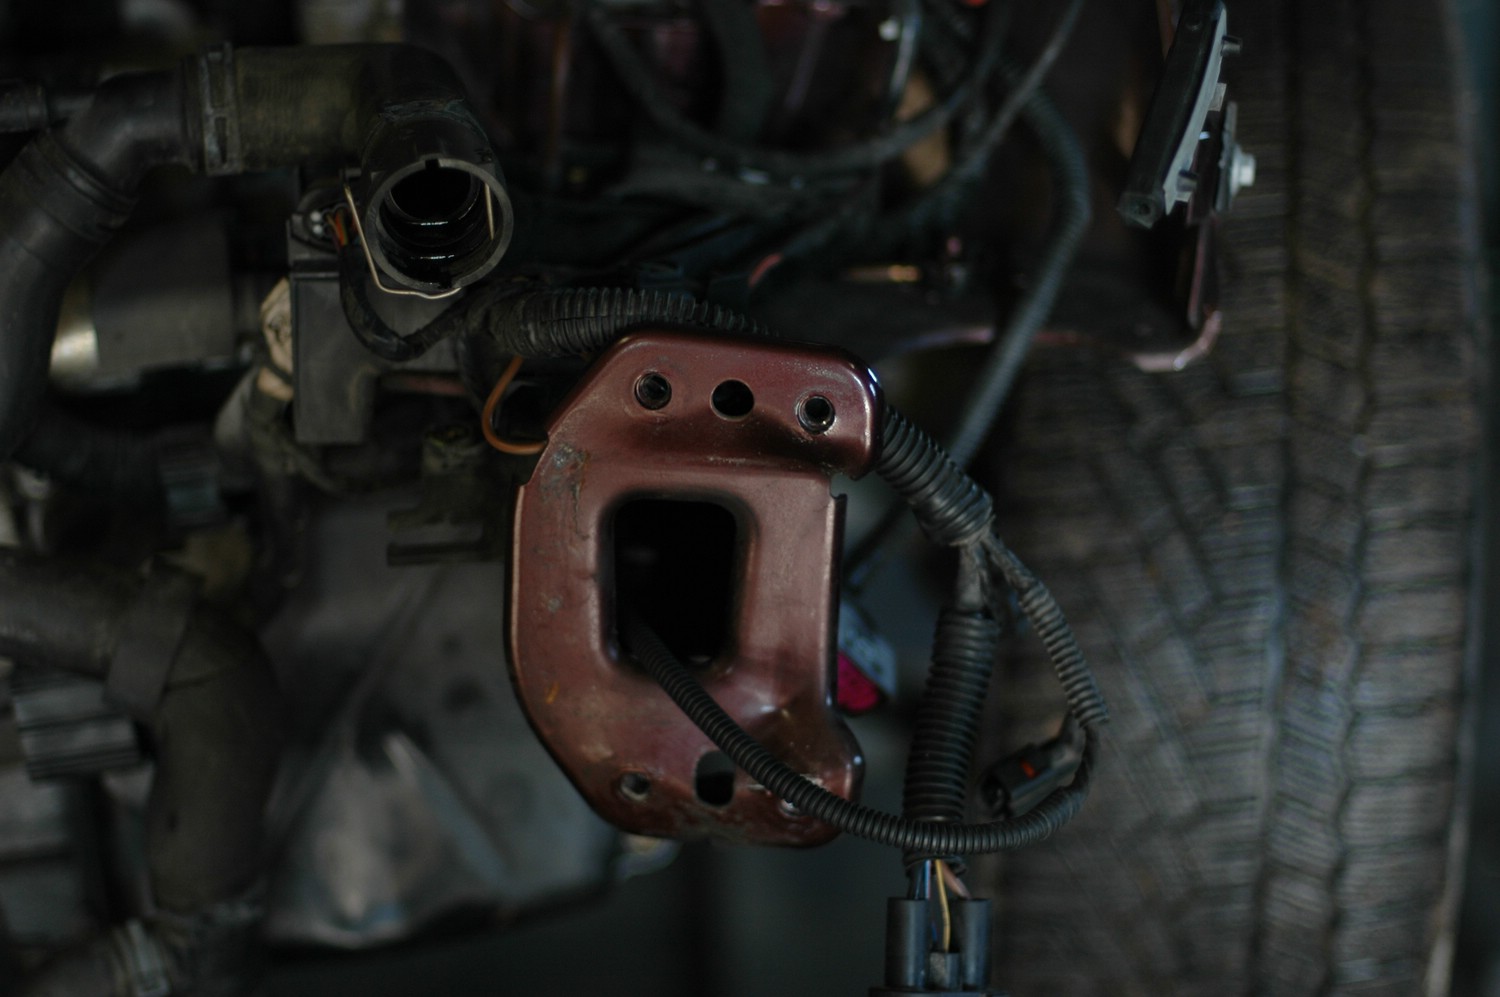
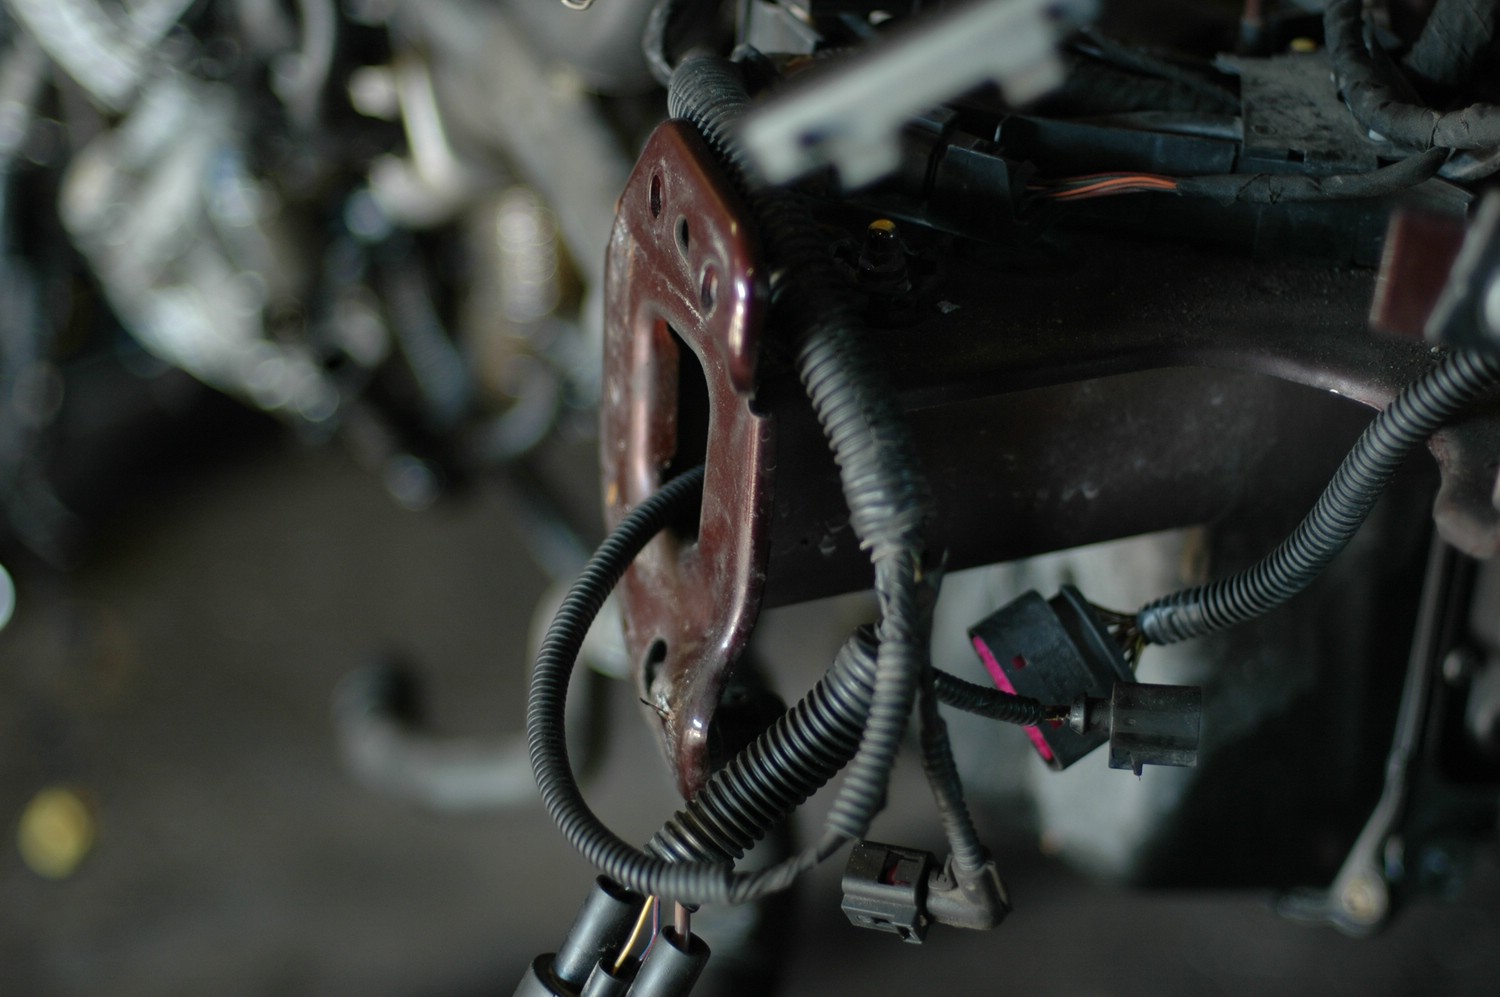
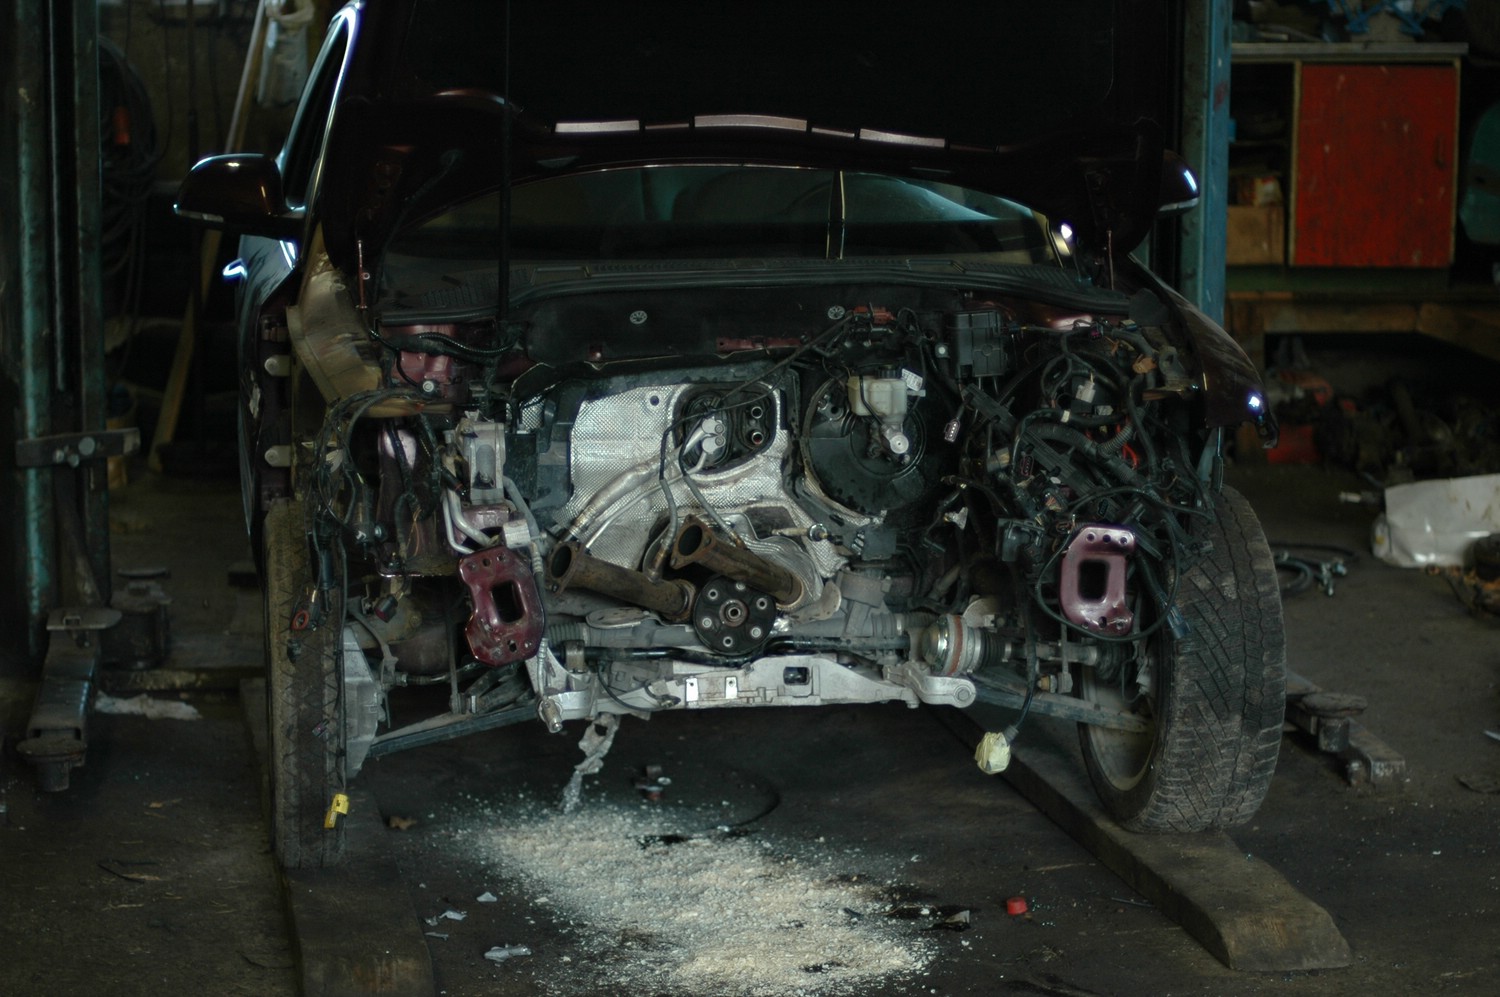
This is where the first day ended. Engine and gearbox out of the way.
Shopping list and straightening
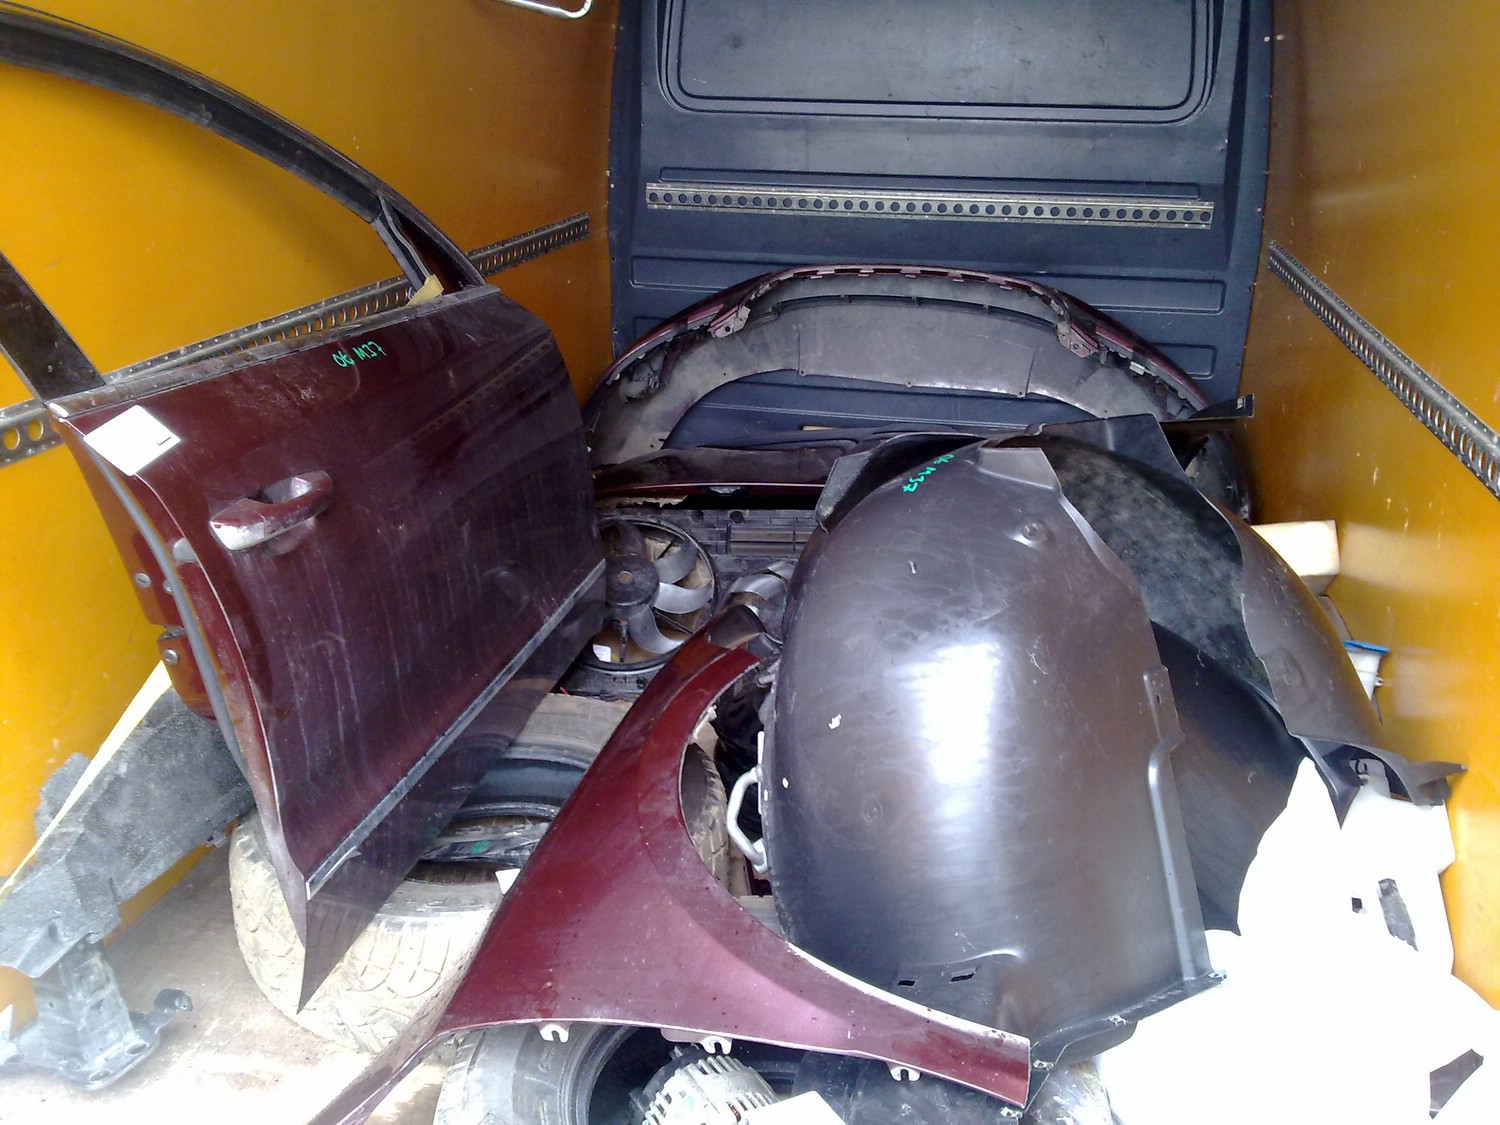
As luck would have it, Pirkkala AVK was dismantling a rear-damaged Superb in exactly the same colour. A sizeable pile of suitable parts was available at a reasonable price. The shopping list had over a hundred lines; the Pirkkala trip cut it roughly in half. Plenty of pieces still had to be ordered new from the dealer.
Besides the body panels, the donor car supplied a lightly used A/C compressor and alternator — both would have been expensive to buy new. We picked up the right-hand xenon headlight too.
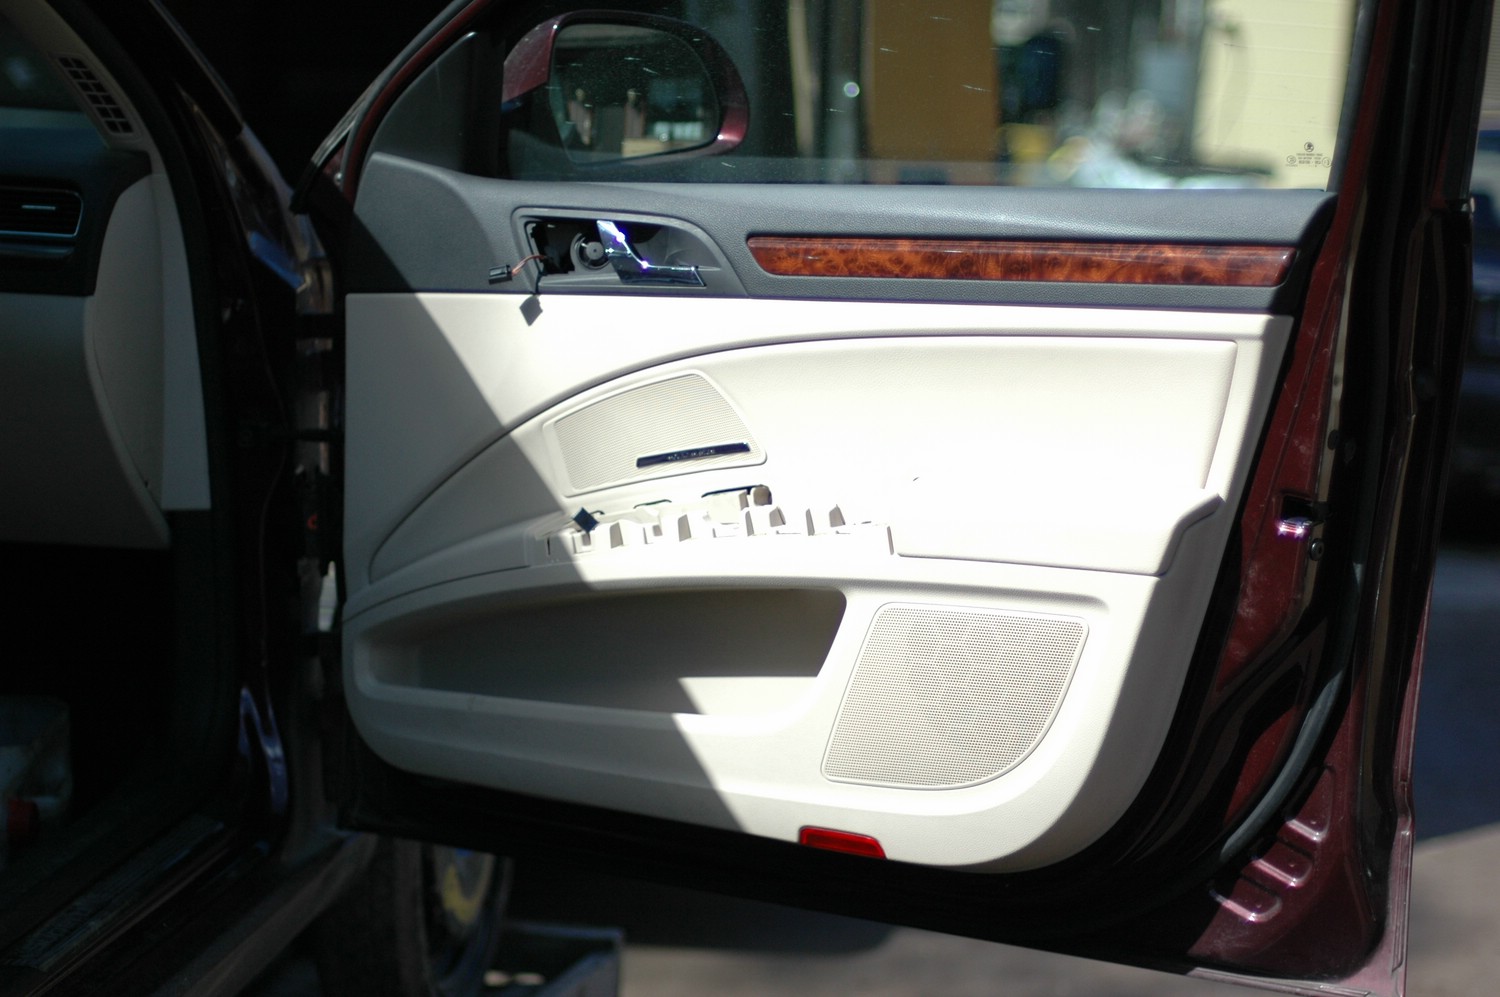
First we changed the damaged door. To remove the door trim, prise off the tweeter grille at the top and the handle cover in the middle. Three screws are hidden underneath, with two more along the lower edge. Carefully prise off the panel and hope not too many clips break.
No clips broke this time. Then disconnect the electrical connectors and door-release cable, and the trim panel is off.
With the trim off, lower the window a little (the door still needs power for this) so you can knock out the plastic retaining pins and lift the glass out through the top. Then disconnect the wiring. The connector between the hinges releases when you press down on the top of its rubber boot. We forgot to take a photo, but next we unbolted the metal carrier panel in the middle of the door, with the window motor attached. Then out came the window regulator. The motor had to be detached from the regulator along the way.
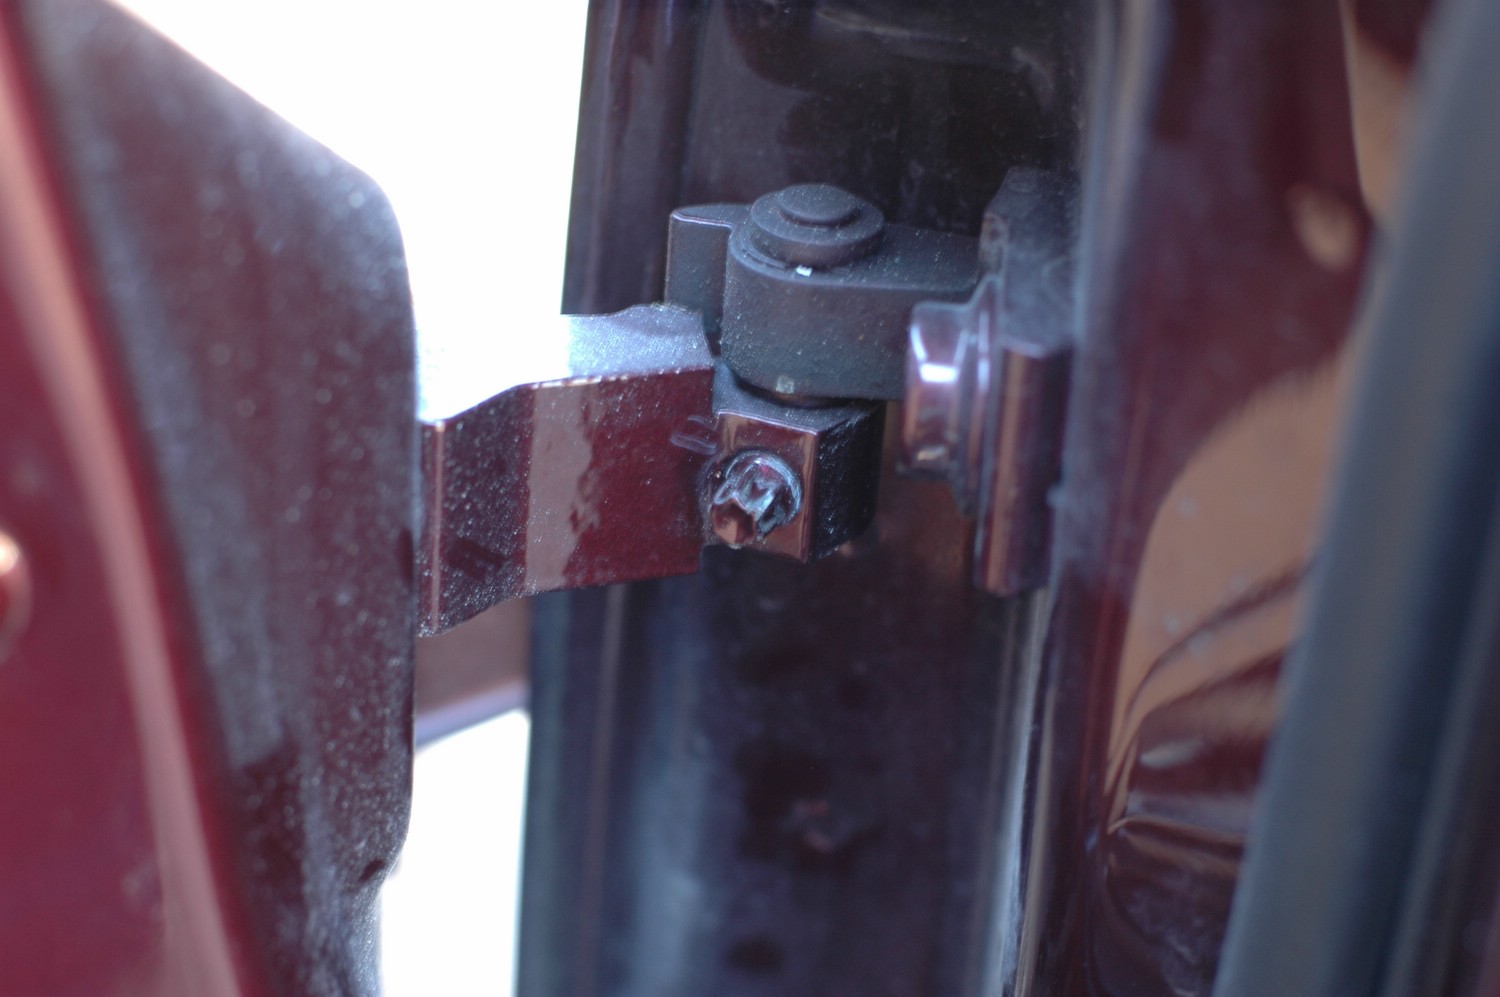
Undo the locking screw in the centre of the photo and lift the door off its hinges. Disconnect its wiring first, of course.
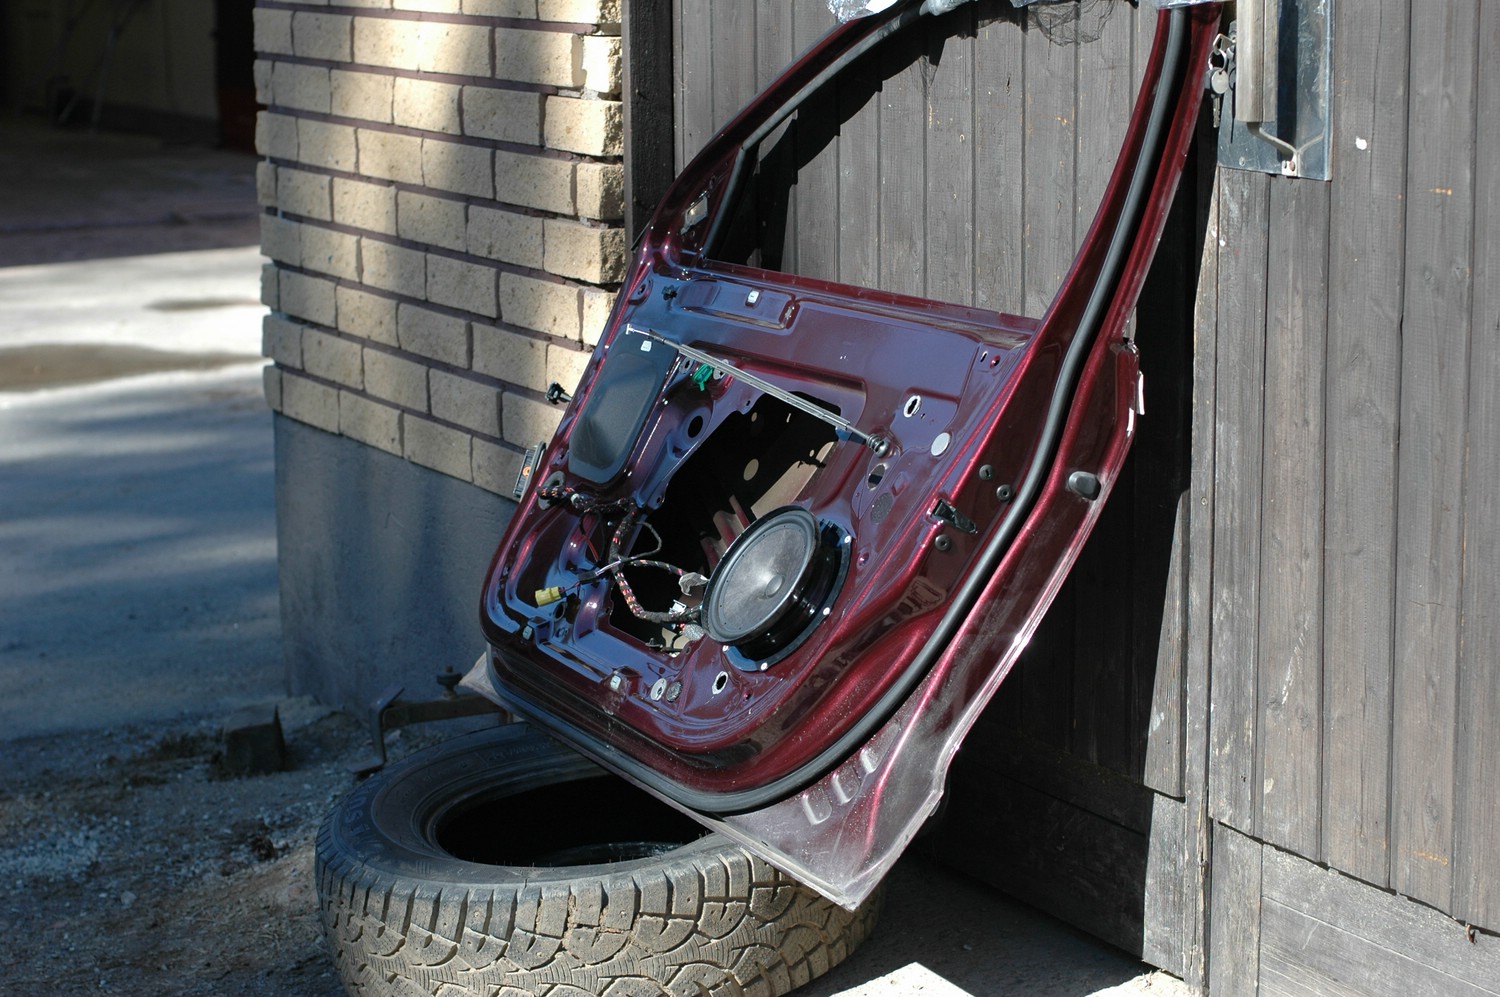
The replacement door. The loom must come from the original door, and the speaker needs changing too. Our car has Skoda's Sound System, with better speakers.
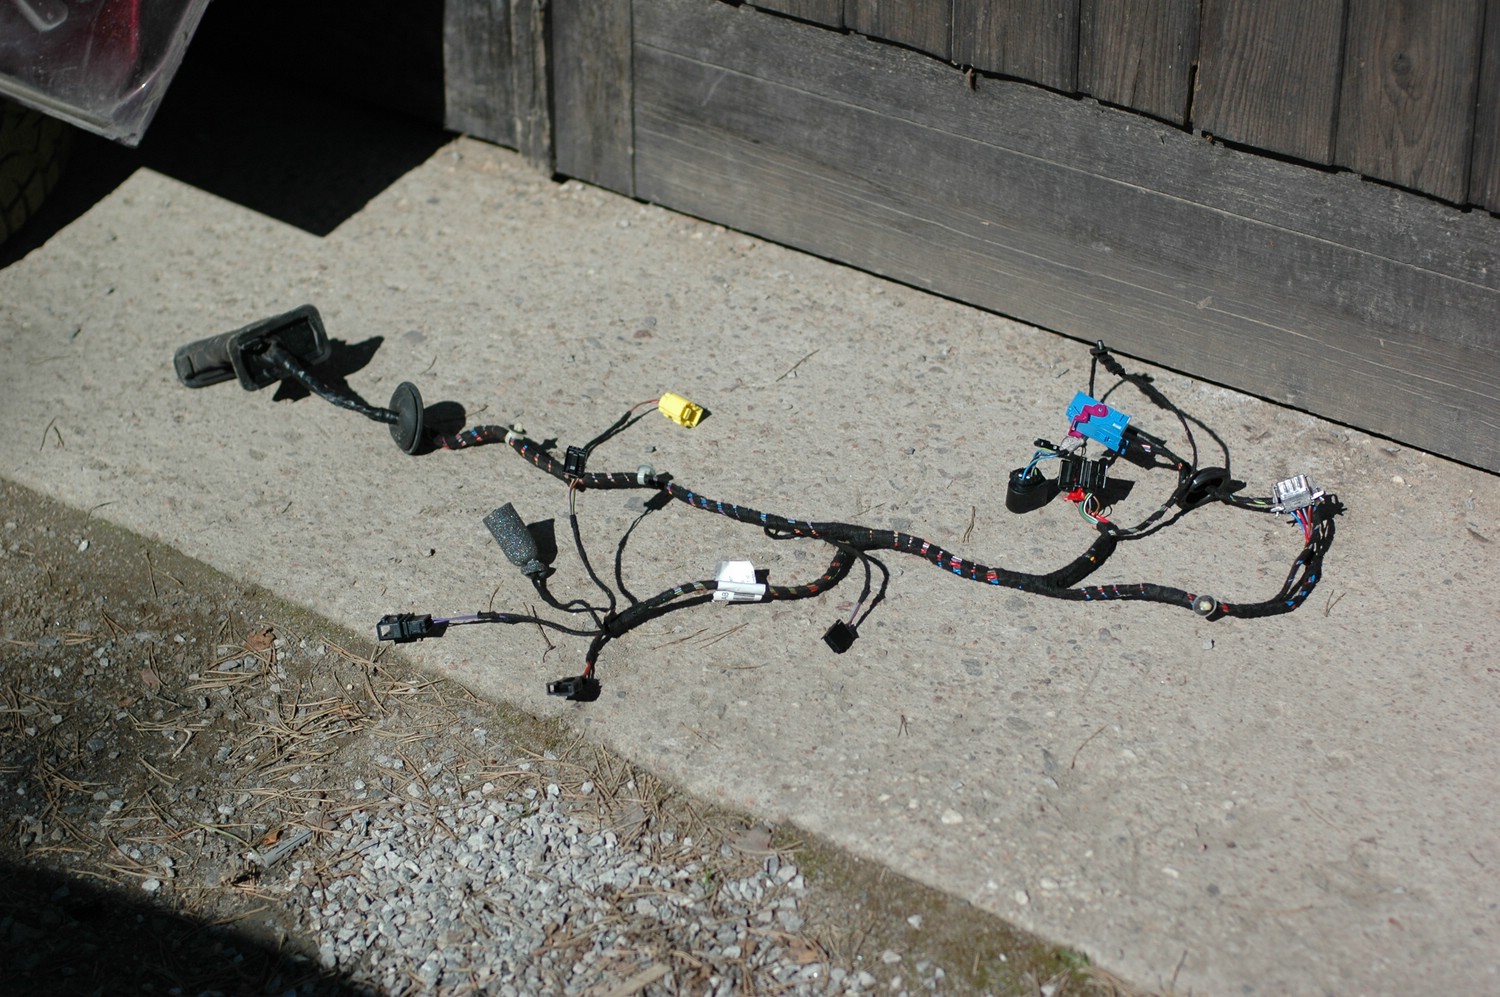
The door wiring loom.
The swap itself was straightforward. The speaker was held in with pop rivets, so those had to come out before riveting the other speaker in place. AVK had also drilled out the rivets holding the airbag sensor in the donor door, so we transferred that from the original door too.
Then just put everything back together in reverse order. We missed documenting a few details, such as removing the mirror, but that was straightforward enough: prise off the plastic trim on the inside and undo the screws.
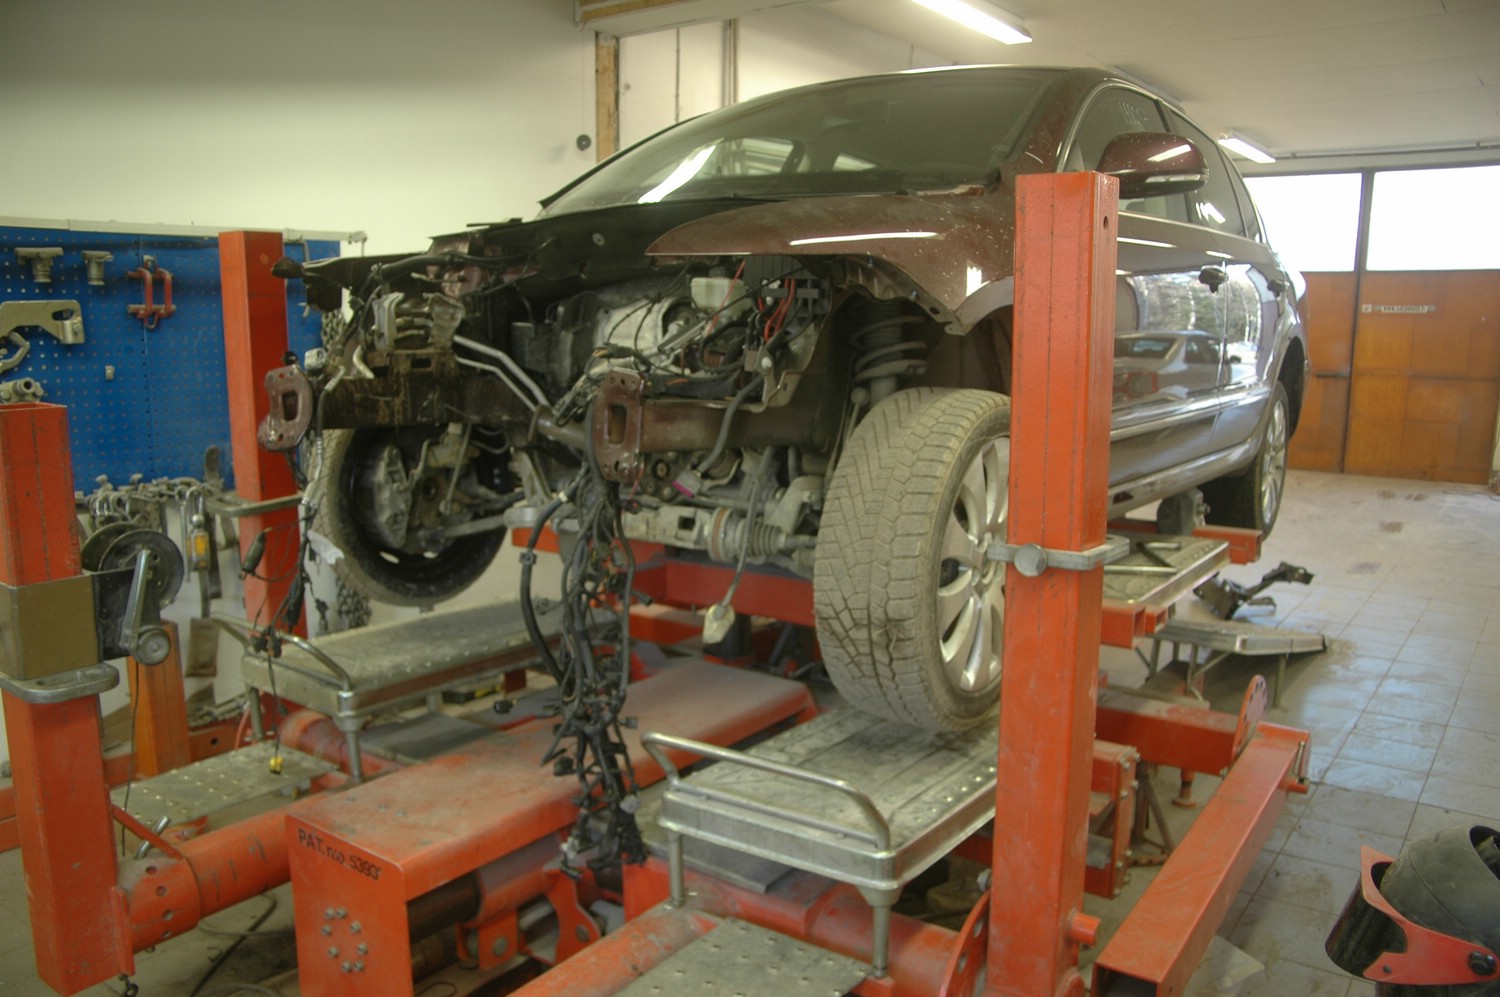
Then the Skoda onto the Autorobot. Facilities courtesy of Autonasennus J. Järvenpää.
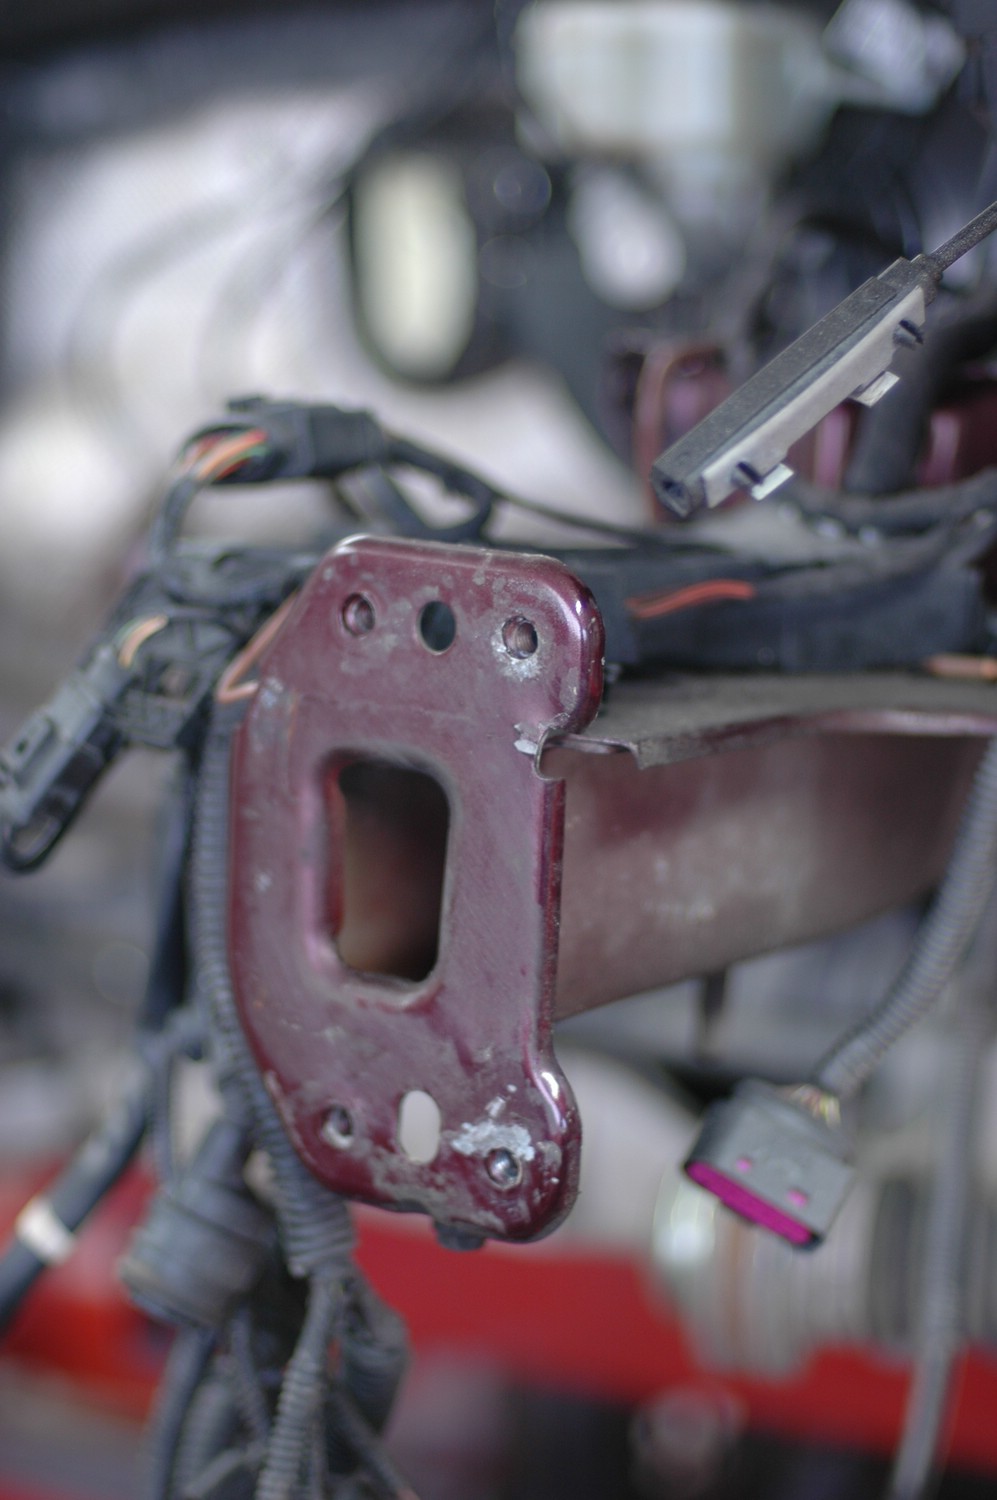
The driver's side chassis-leg tip straightened. Both legs were slightly twisted and needed correcting.
On the right we first removed the end plate, then cut away the damaged sections and took a matching piece from the donor chassis leg.
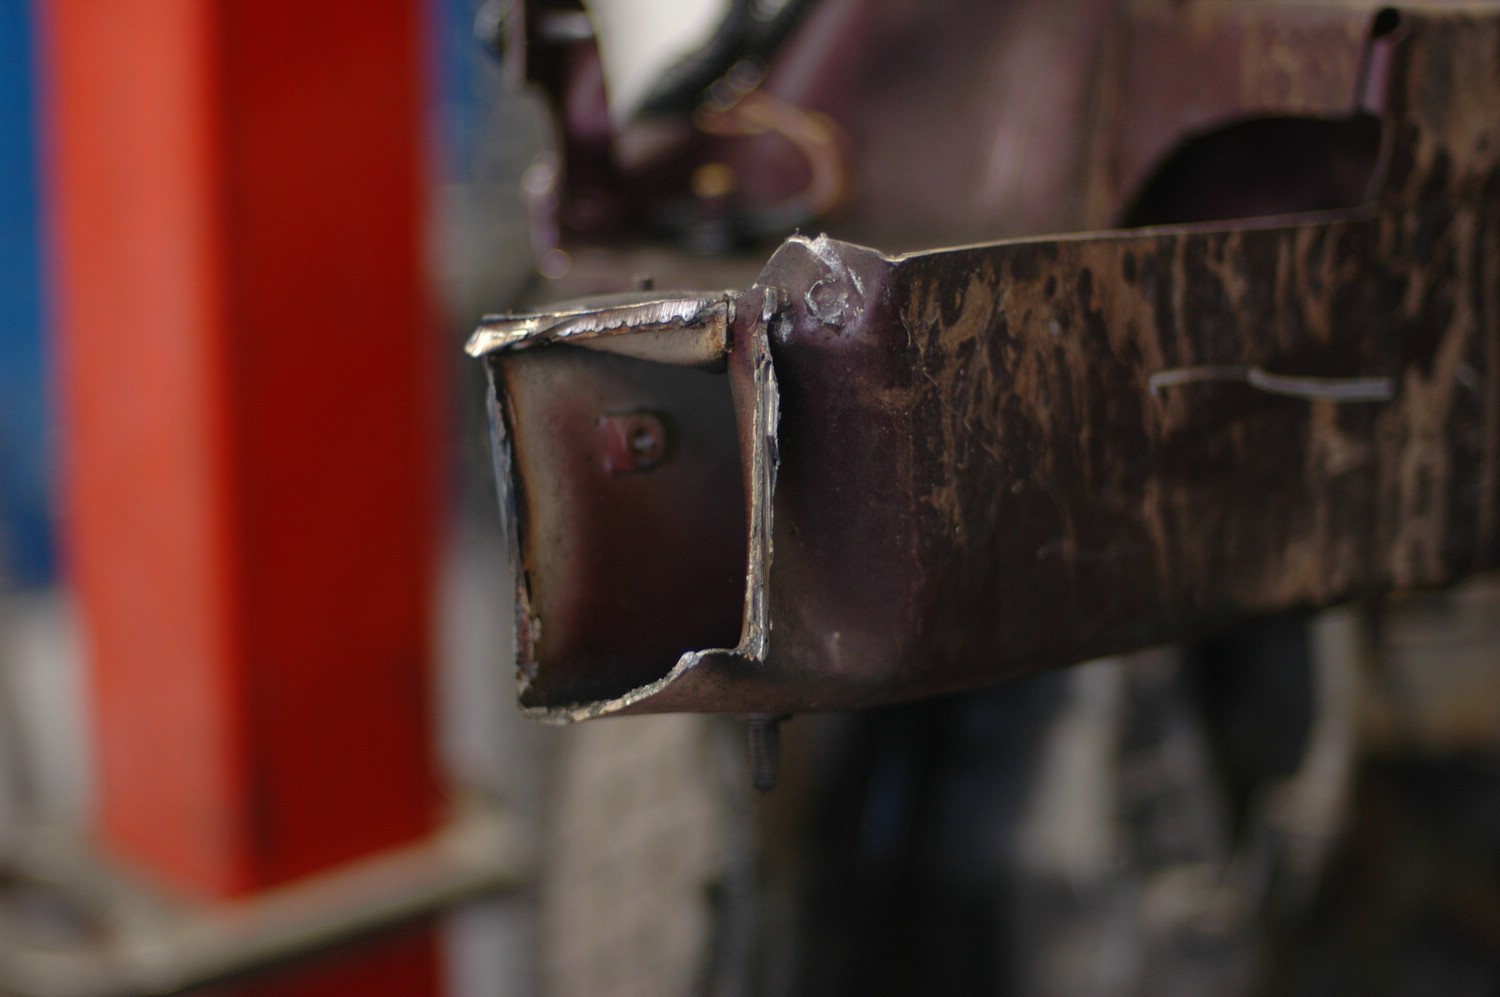
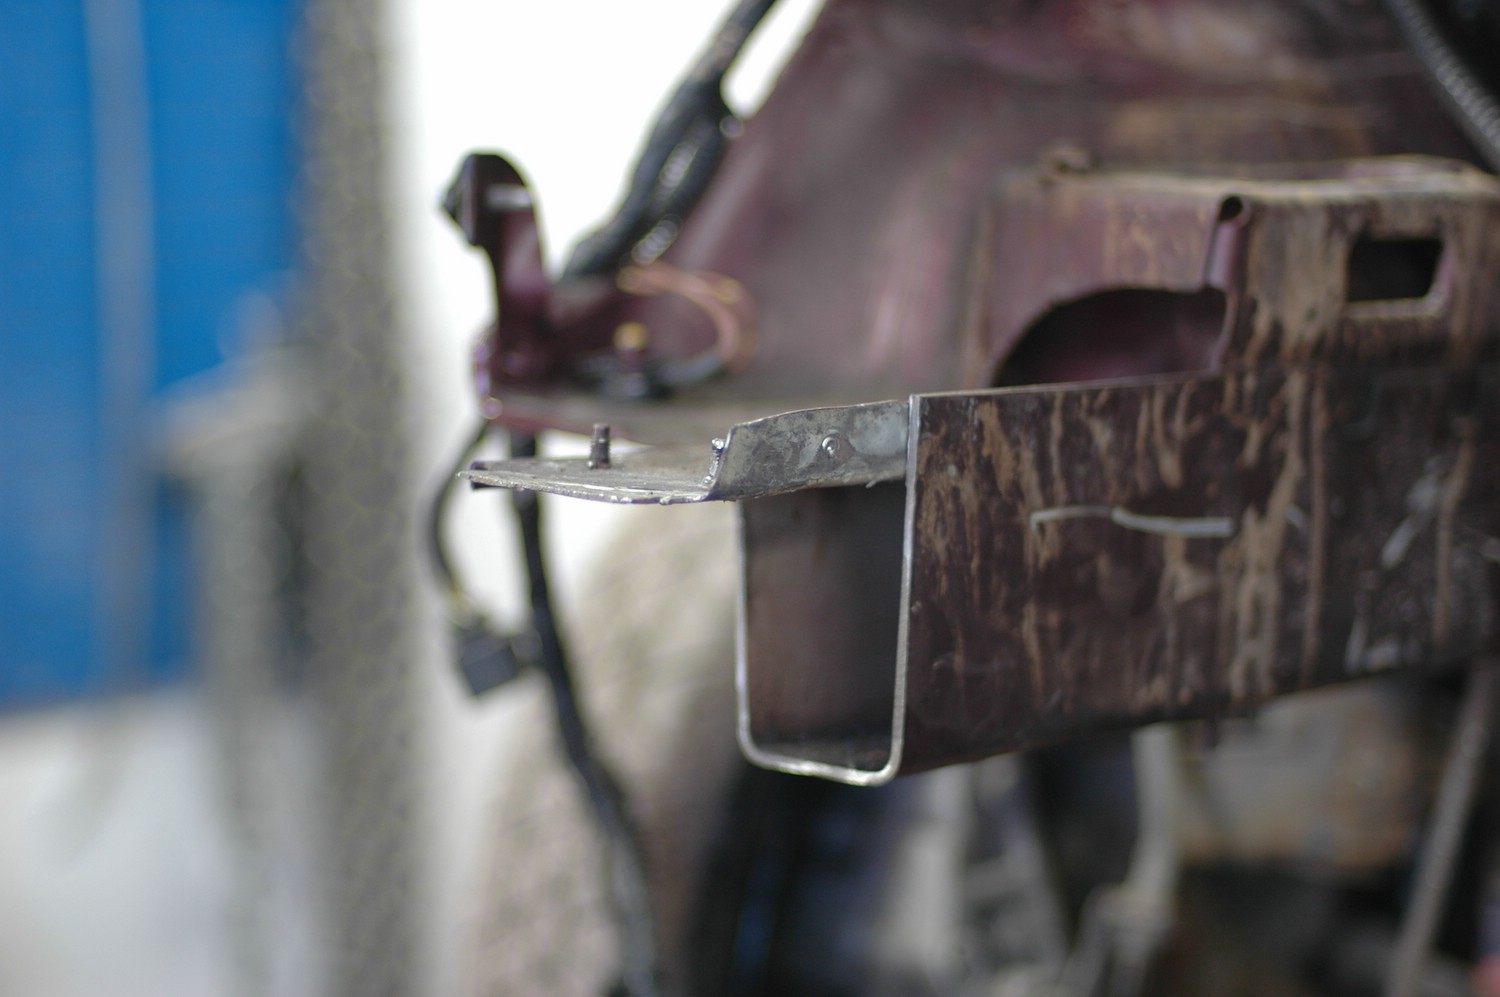
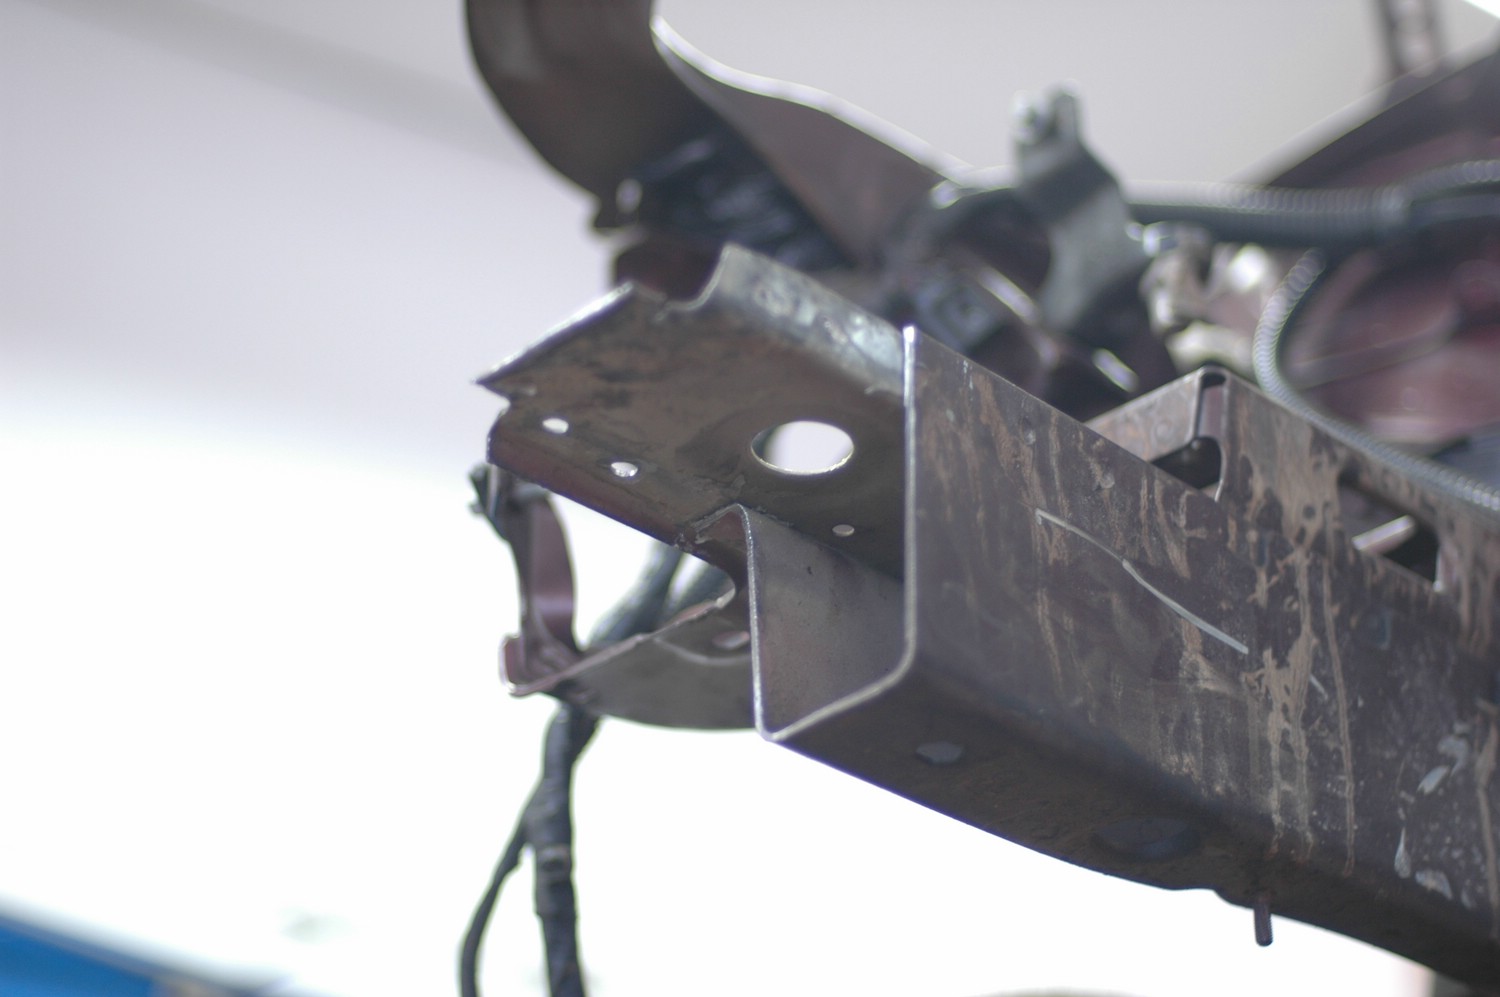
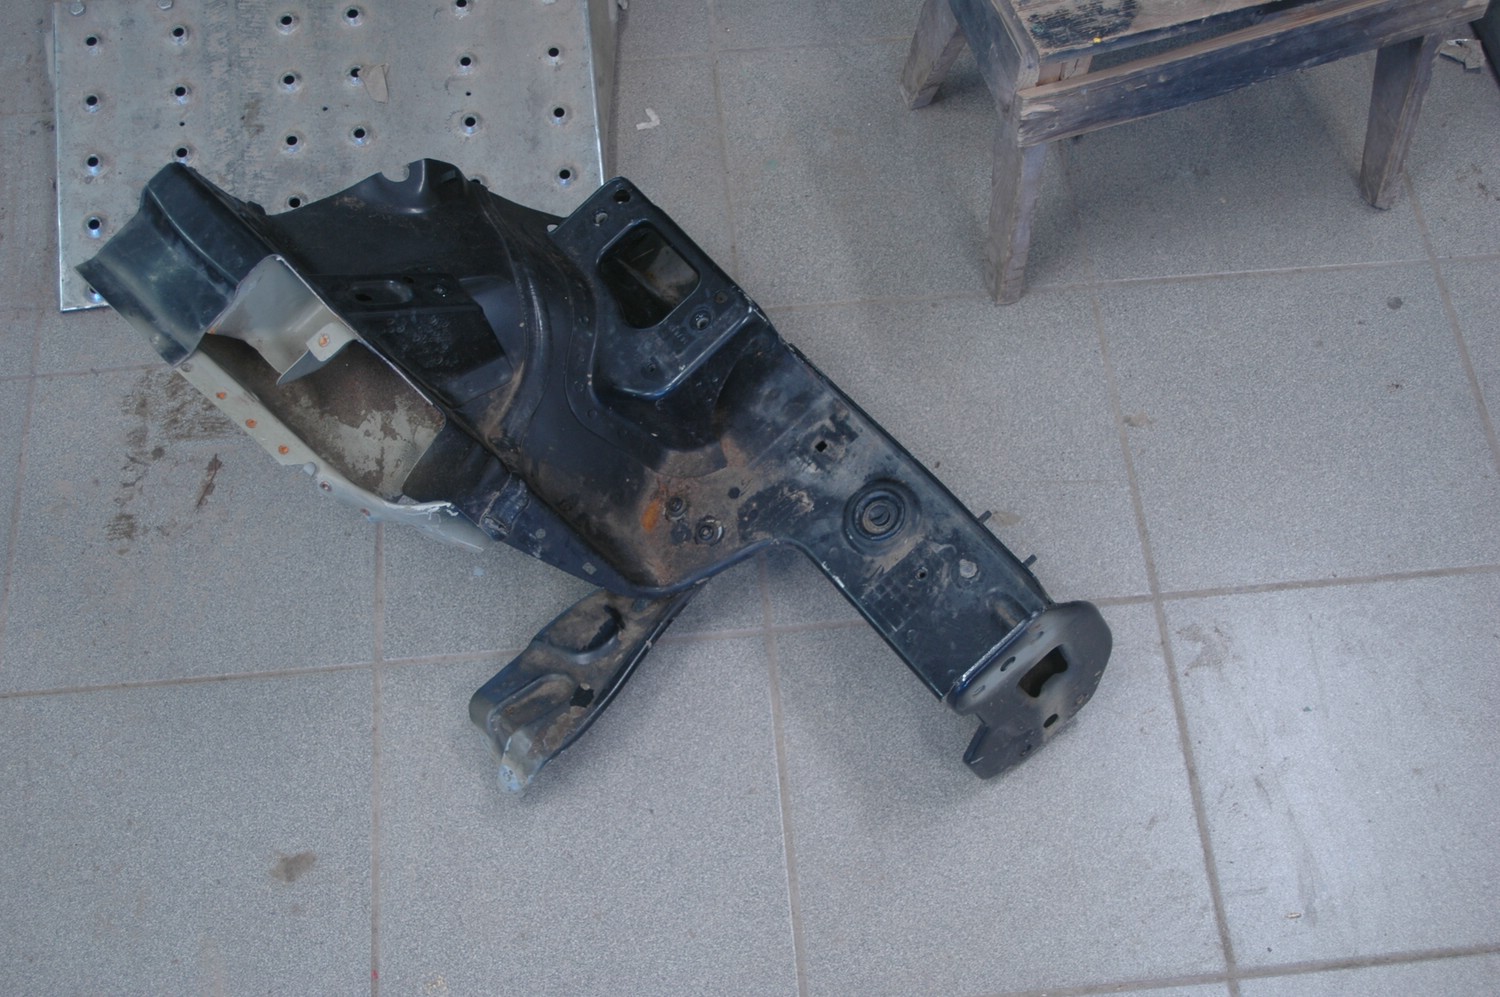
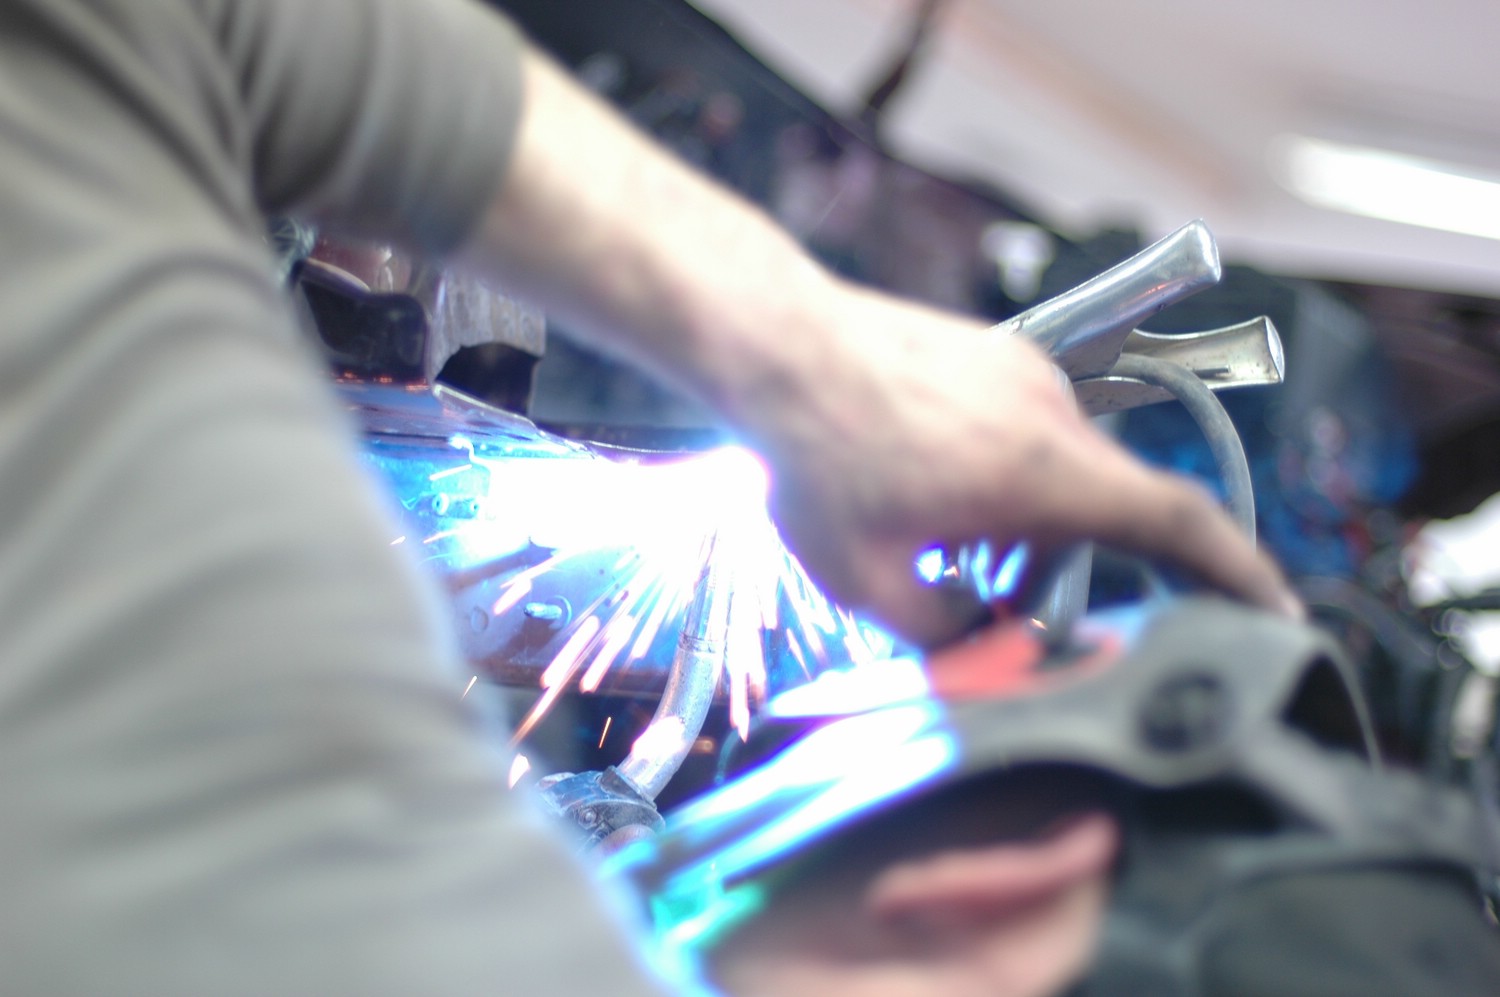
A photo of the finished chassis-leg end goes here.
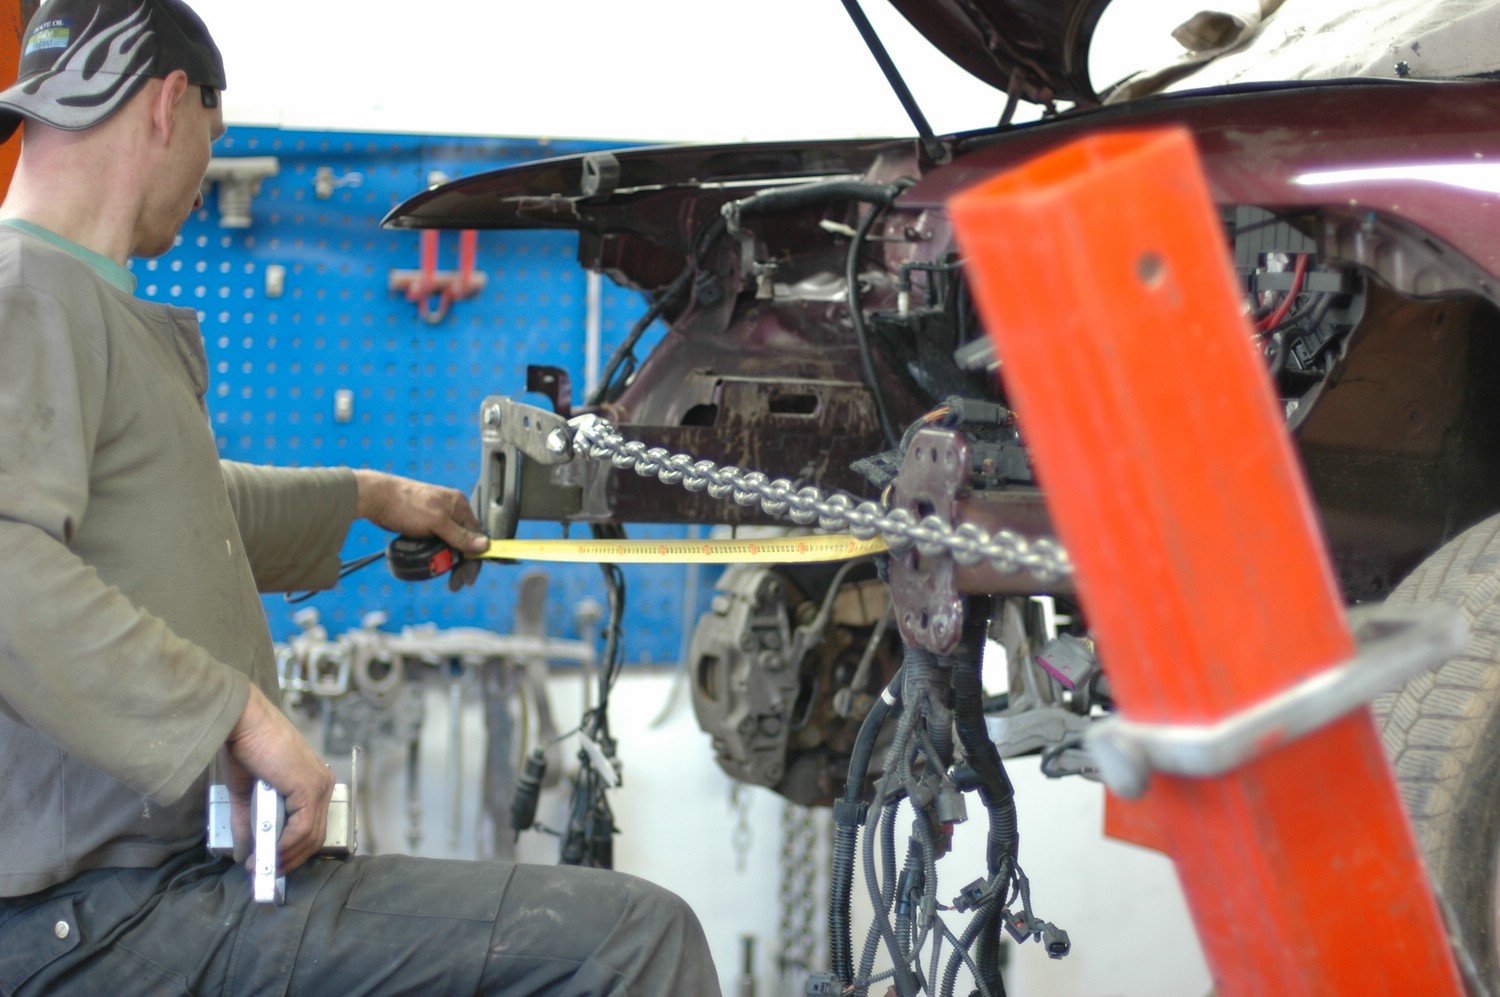
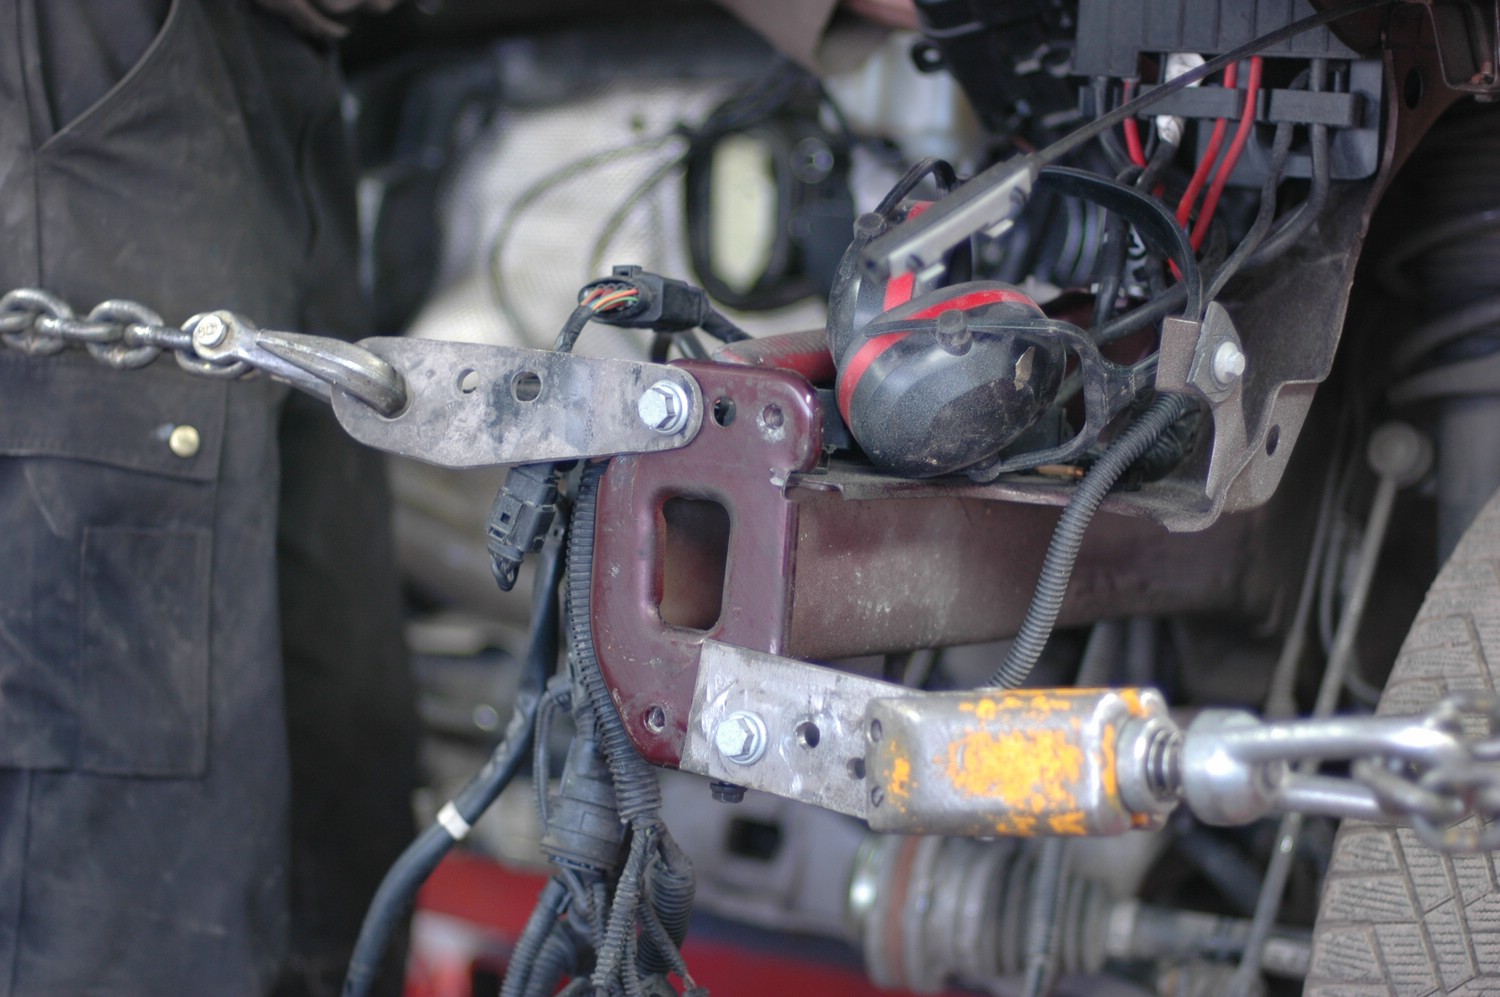
Both legs had to be pulled about a centimetre to the left, looking in the direction of travel.
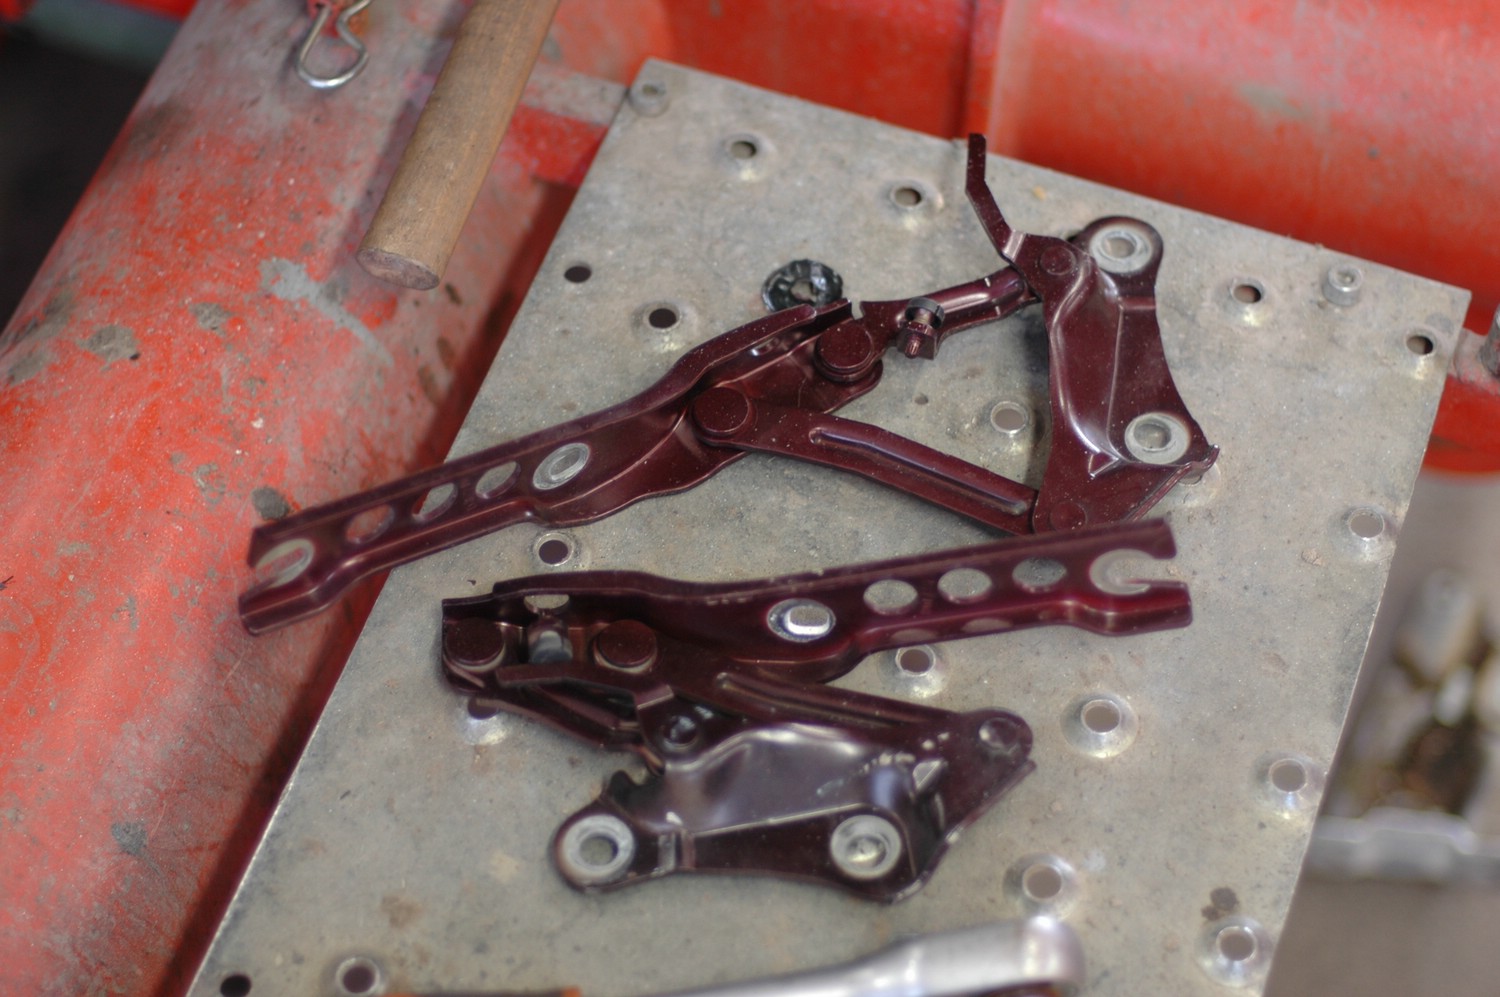
The bonnet hinges were replaced too.
The front end is taking shape. In fact it all went very quickly. After replacing the chassis-leg end, both legs only needed a light pull and everything aligned on the first try. Then the parts could simply be assembled, with all the joints and gaps looking good.
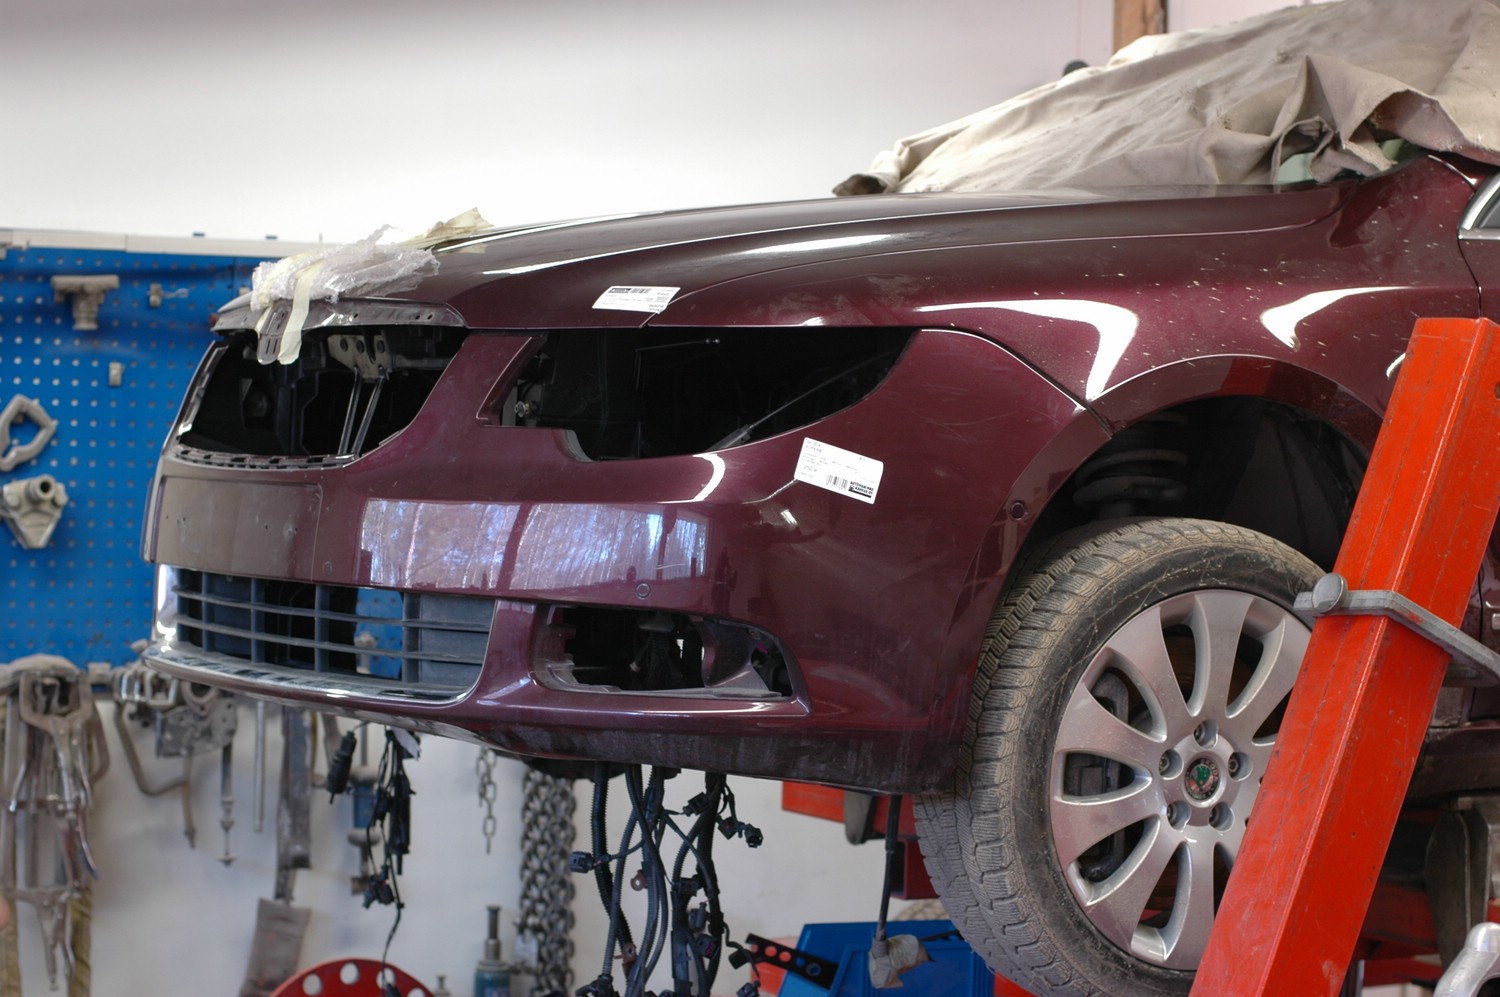
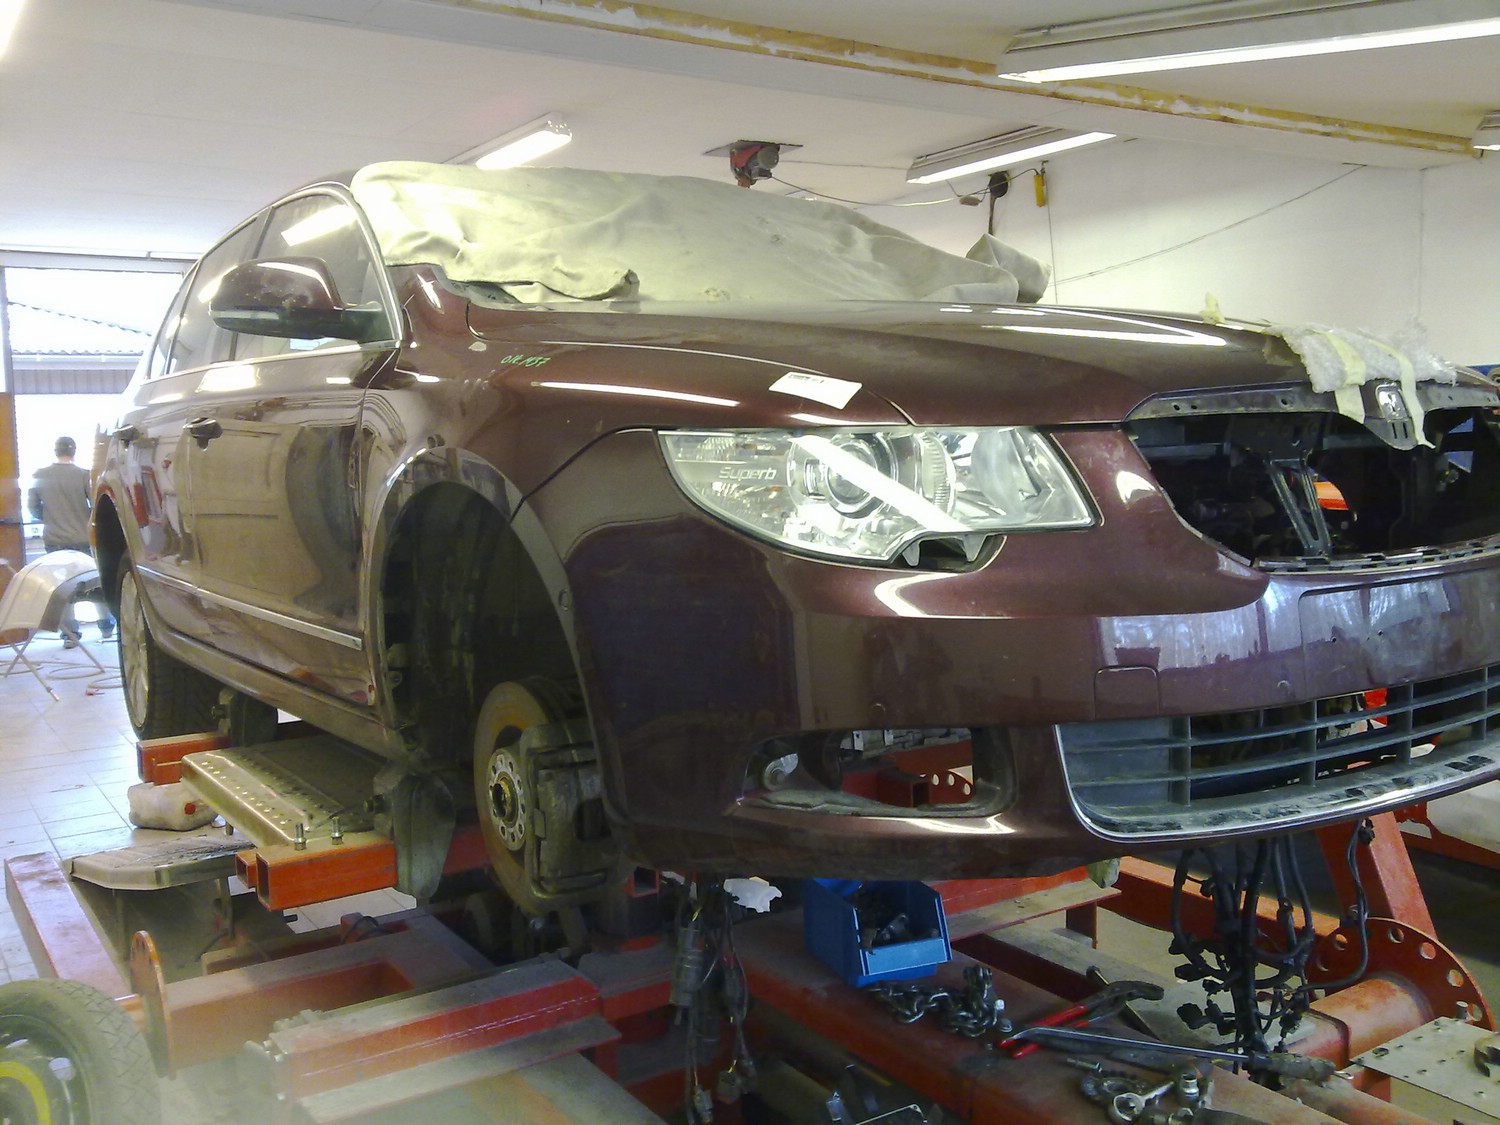
Other replacement parts
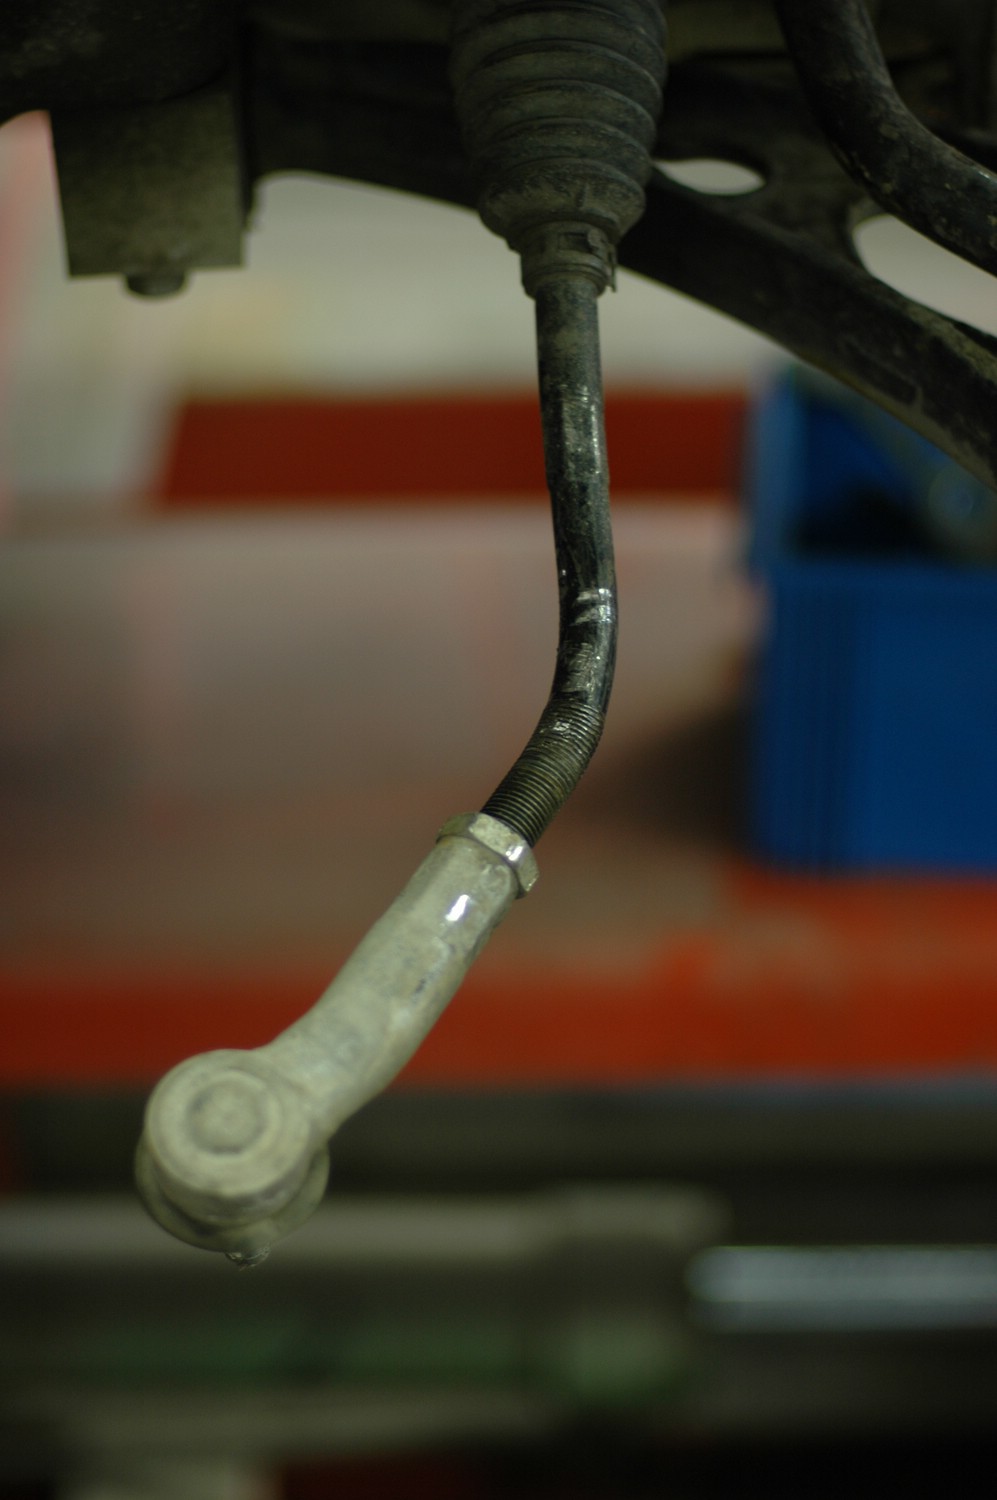
The passenger-side steering tie rod had taken on a new shape. Replace it.
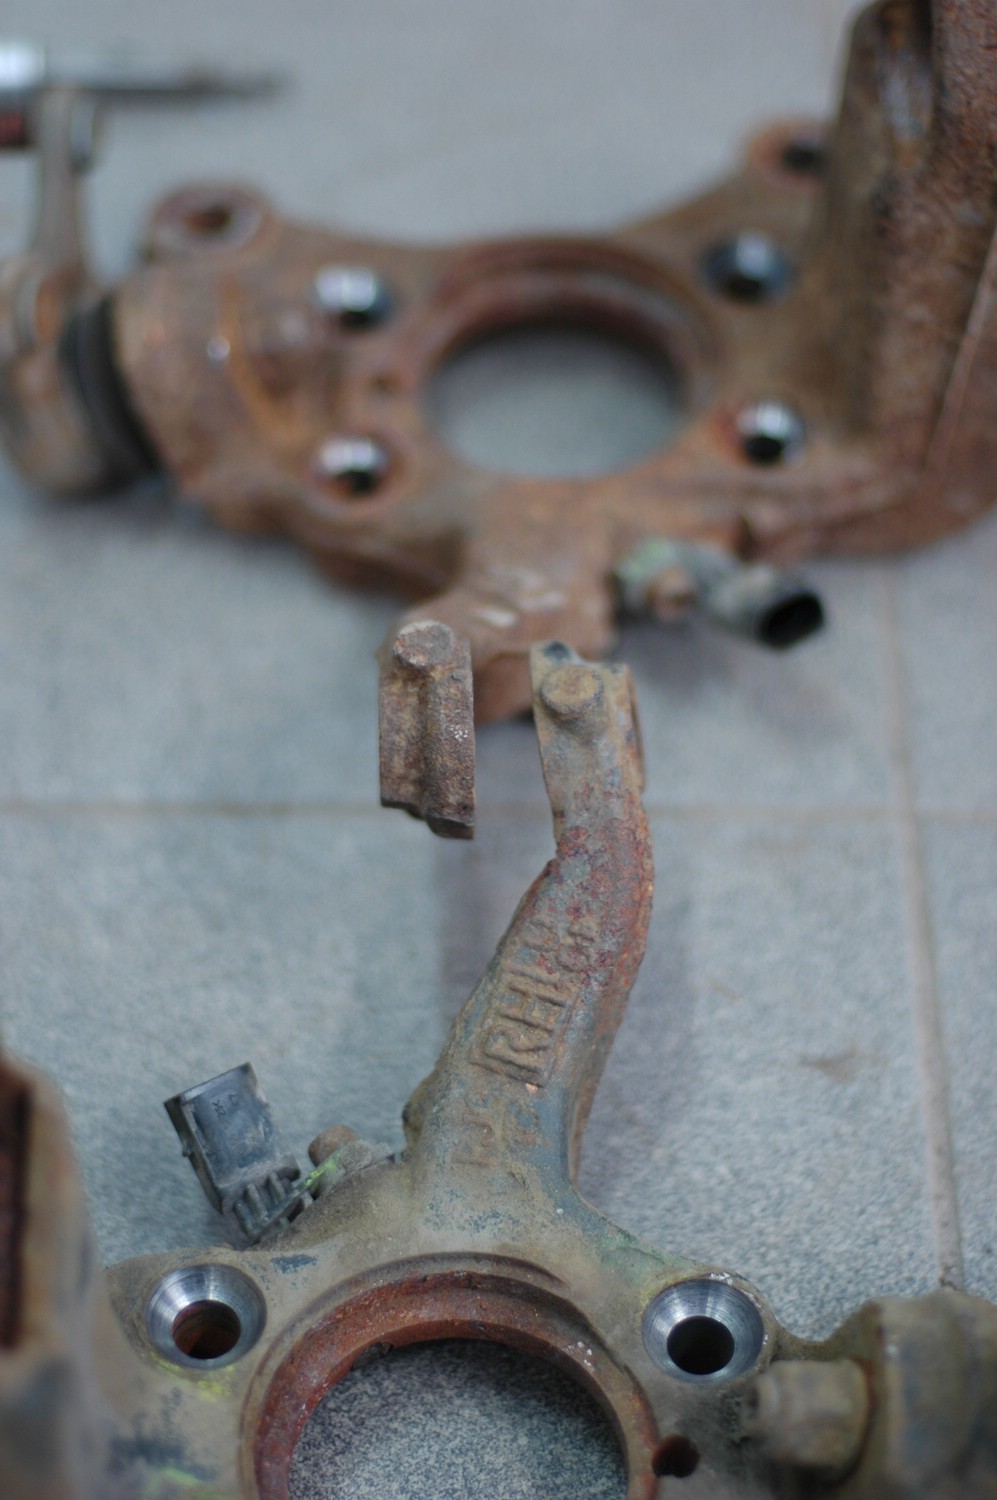
The passenger-side hub assembly also needed replacing; its steering arm was bent.
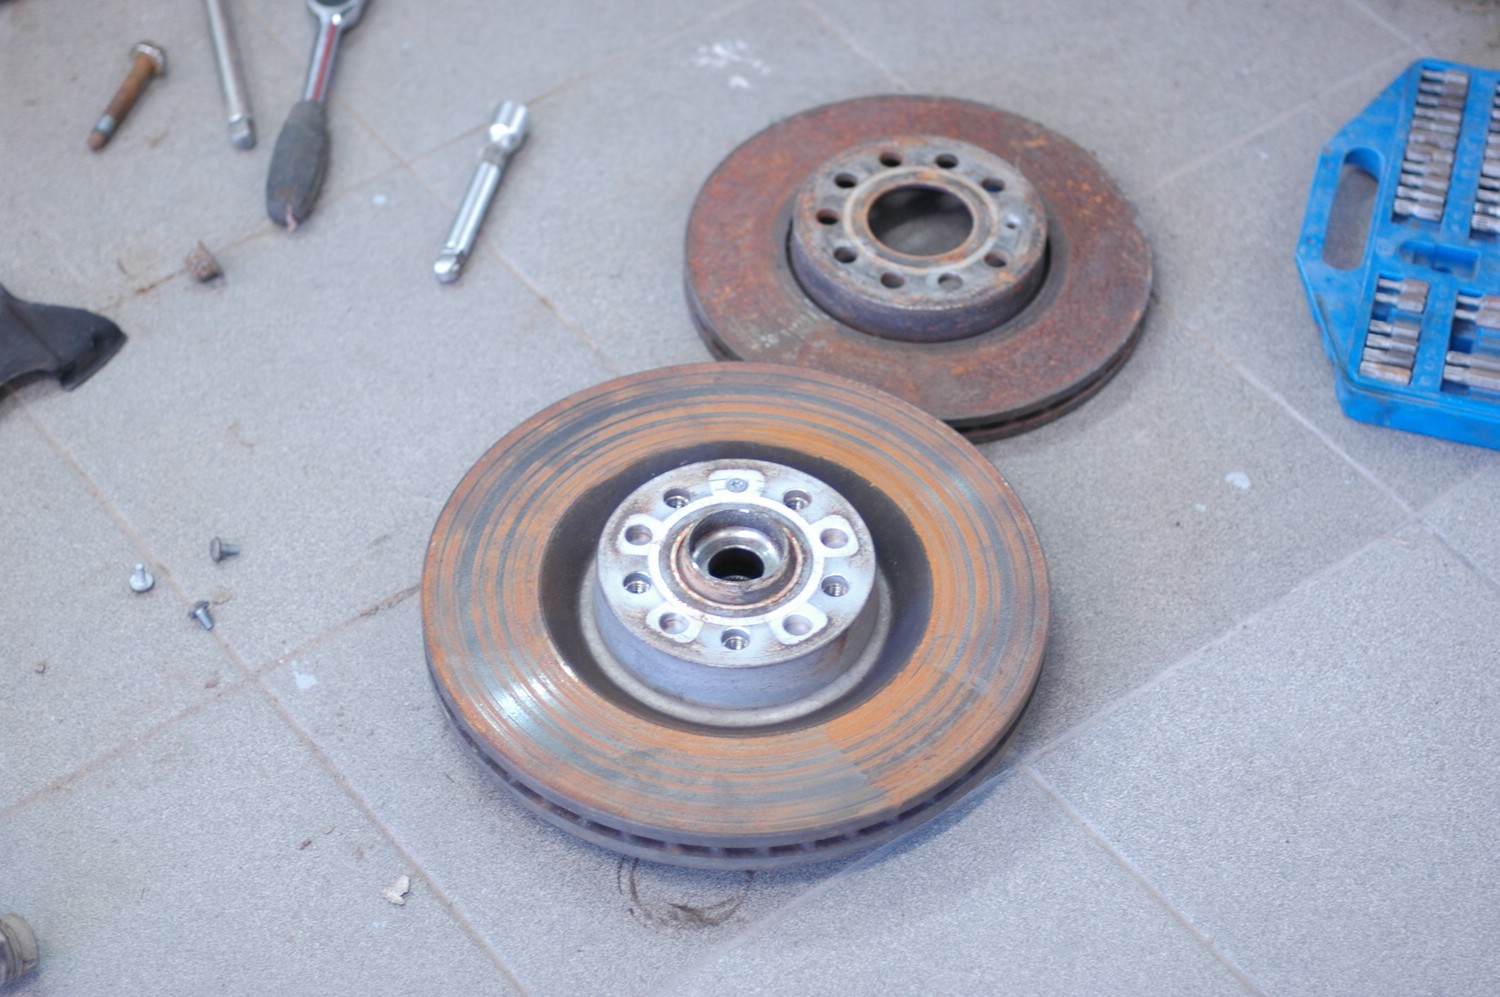
Fairly large brakes. A two-litre diesel's disc behind for comparison.
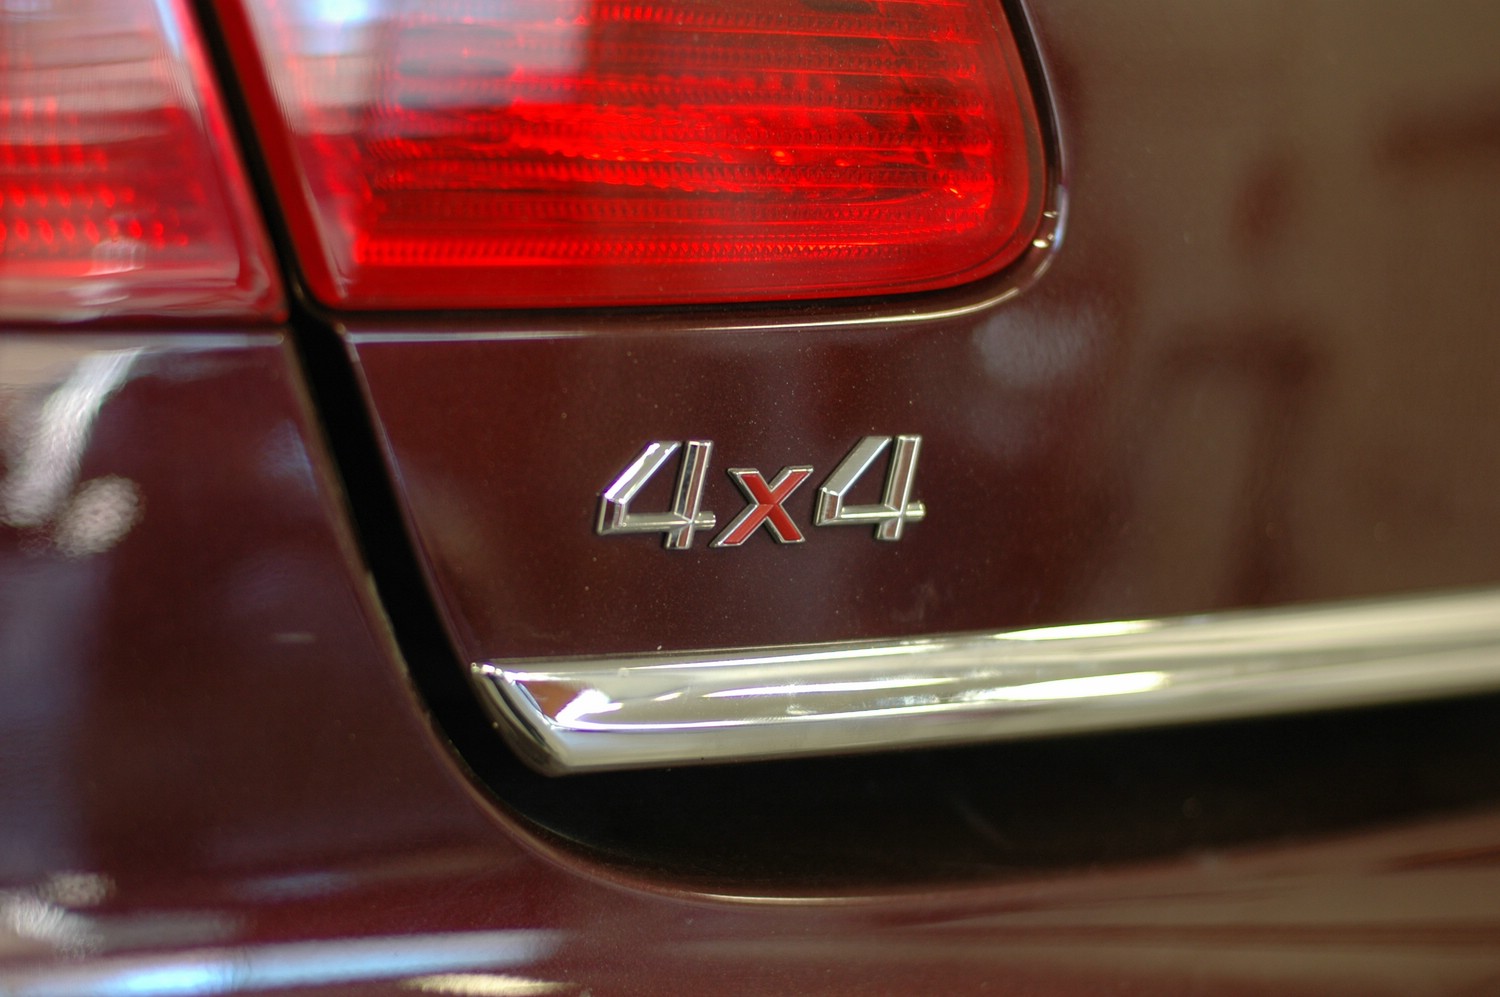
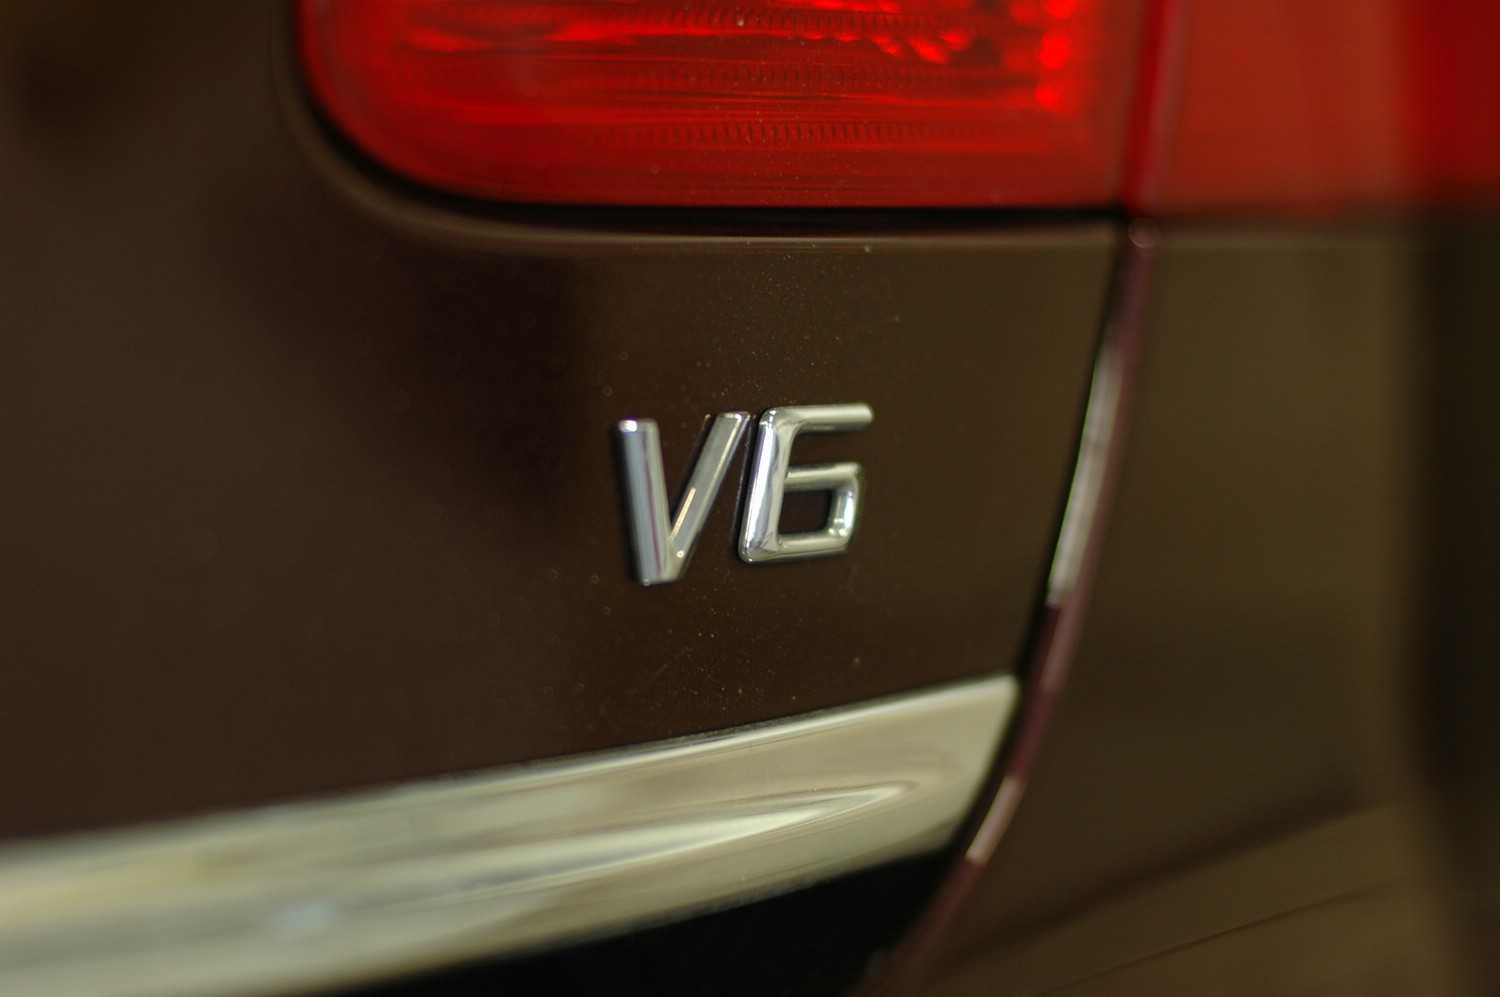
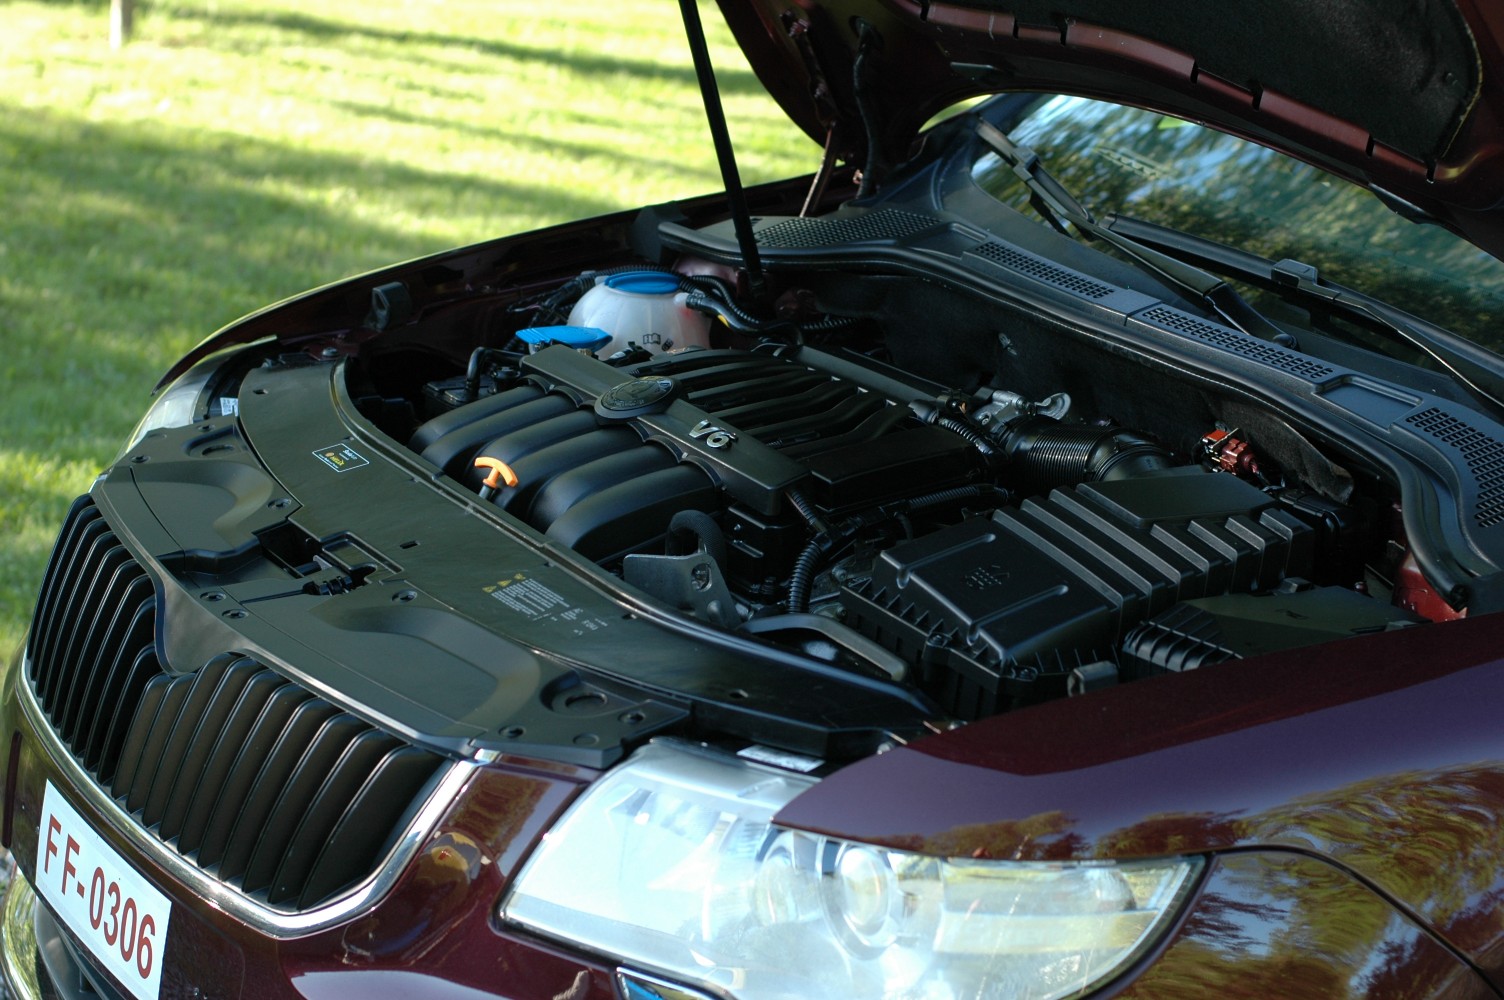
A couple of glamour shots. This is what we're dealing with, if it wasn't clear already: a 3.6-litre VR6 with Haldex four-wheel drive and 260 hp. We still need to find out how it differs from the apparently similar 300 hp Passat drivetrain.
2011-05-11 · Superb: A few more chassis-leg photos
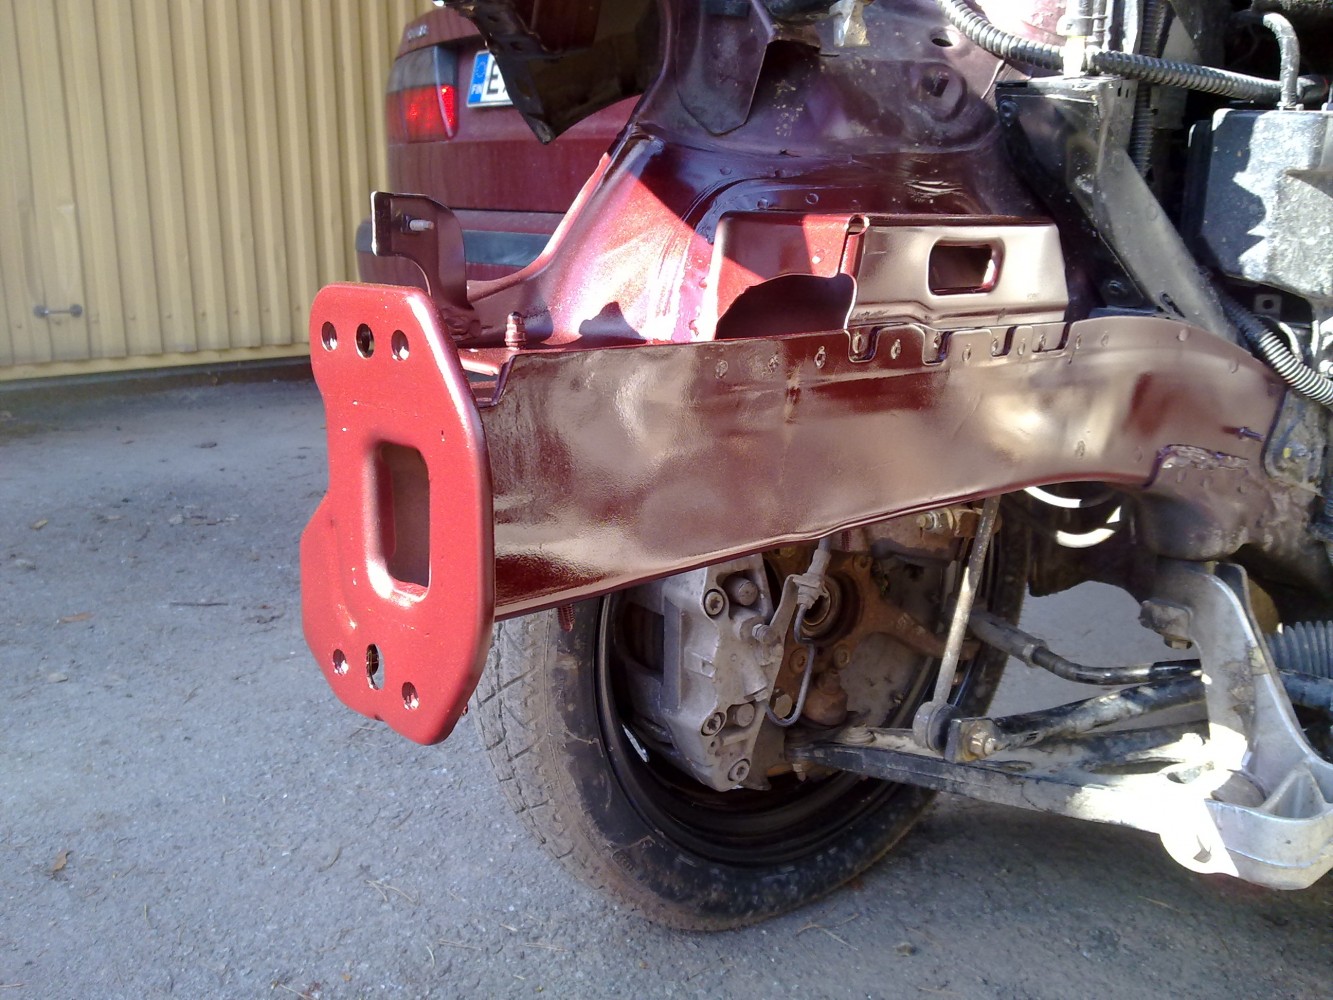
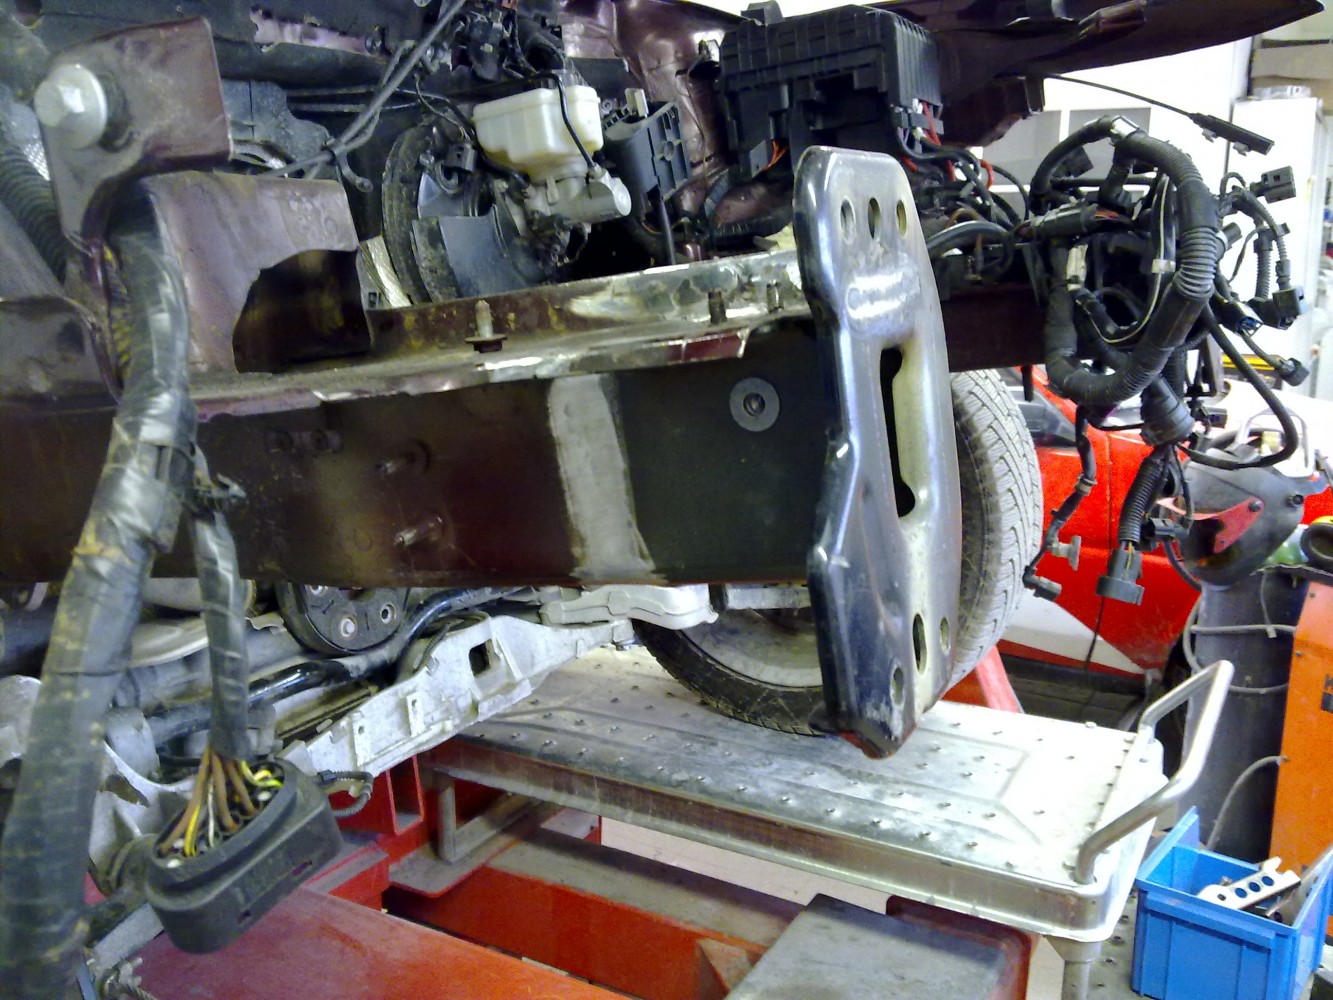
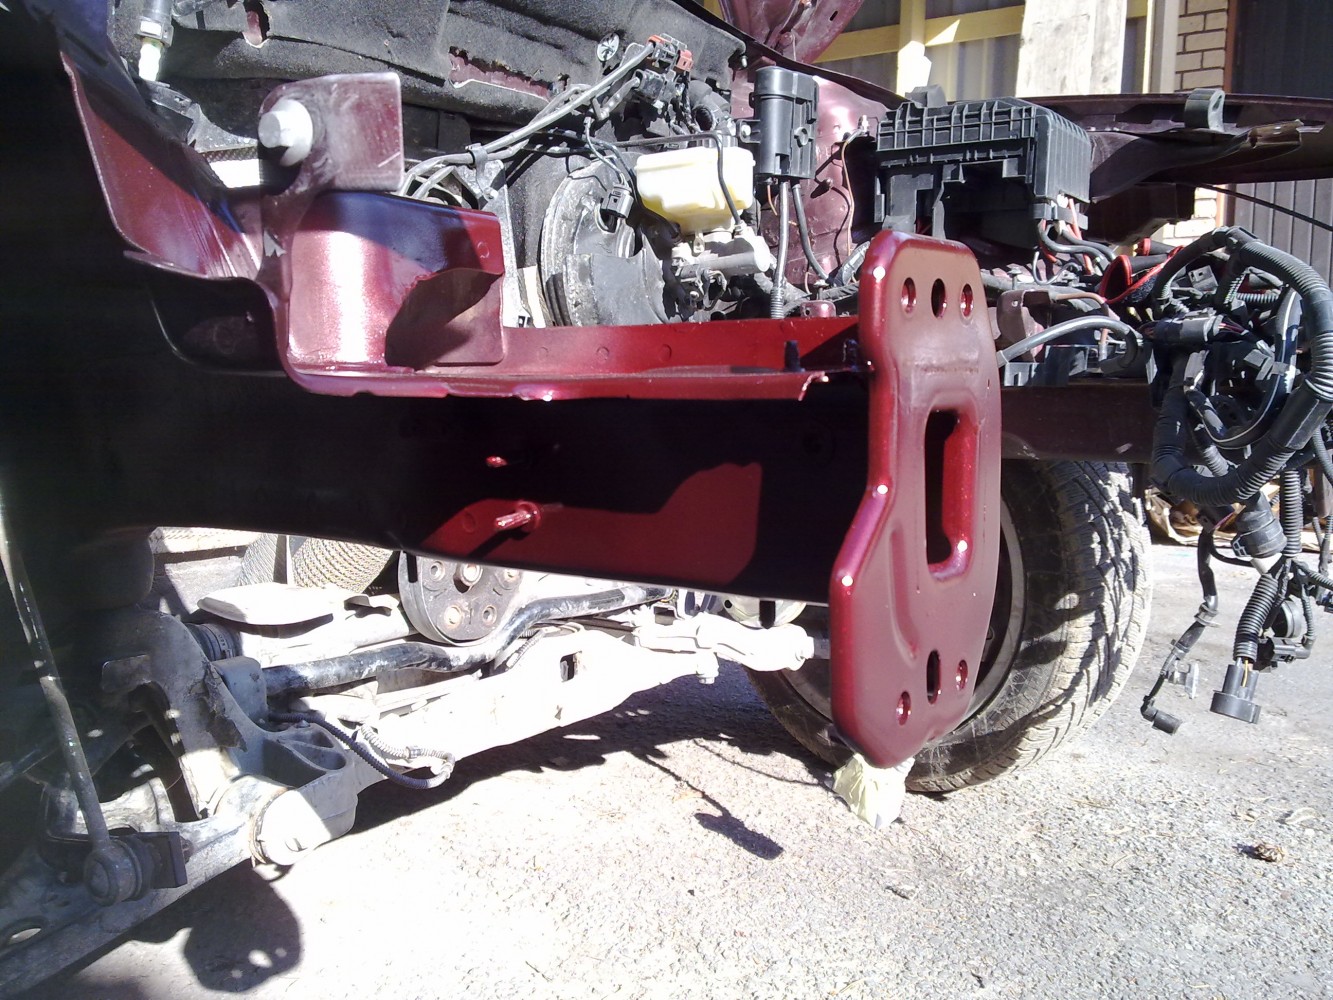
Here are a few more photos of the right-hand chassis leg, before and after painting. In between, a representative from Suomen Vahinkotarkastus came to check that the repair had been done according to the instructions.
2011-05-13 · Superb: Reassembly photos
Once the car was back at our own garage after the SVT inspection, reassembly moved along quickly.
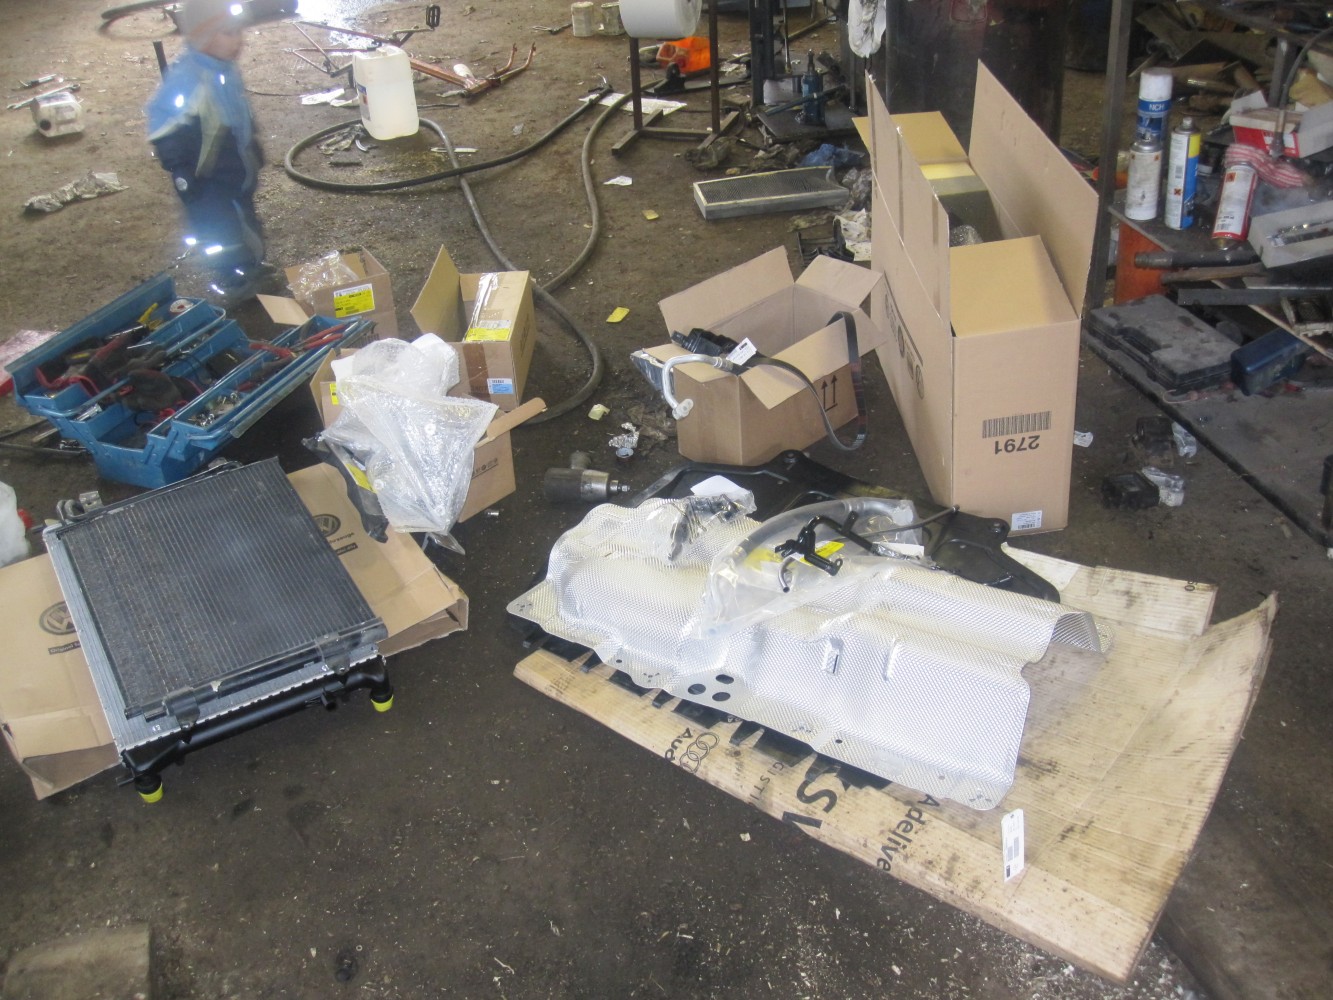
A little over three grand's worth of parts arrived from Käyttöauto and Rinta-Jouppi in Pori.
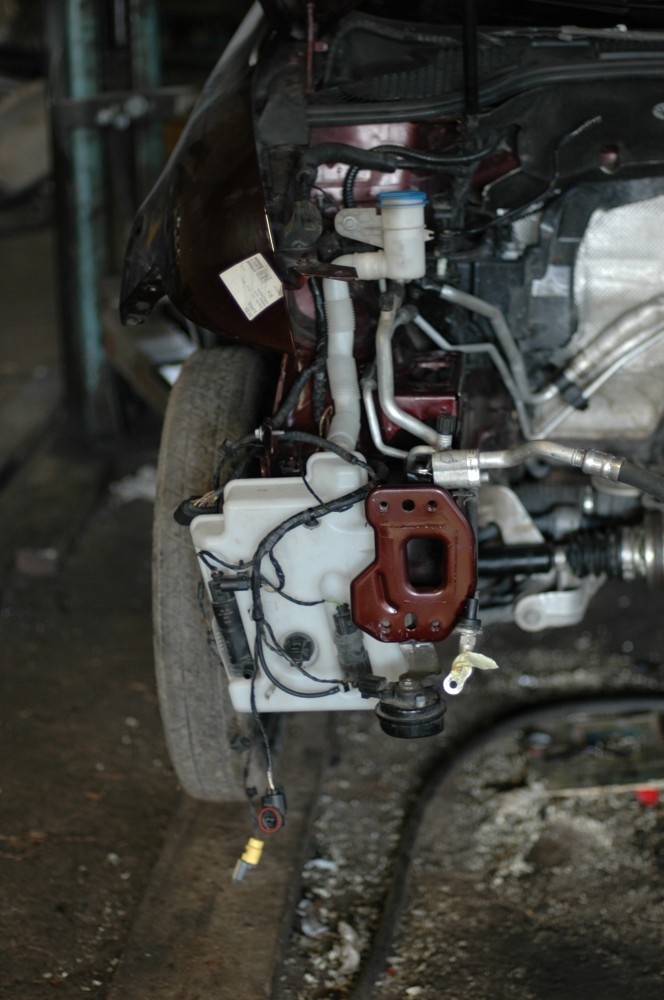
Almost everything in the front corner needed replacing. The horn had survived, but the washer reservoir and some of the air-conditioning pipes, among other things, had to go. The inner CV joint on the driveshaft in the background had come apart, but it only needed putting back together — no replacement required.
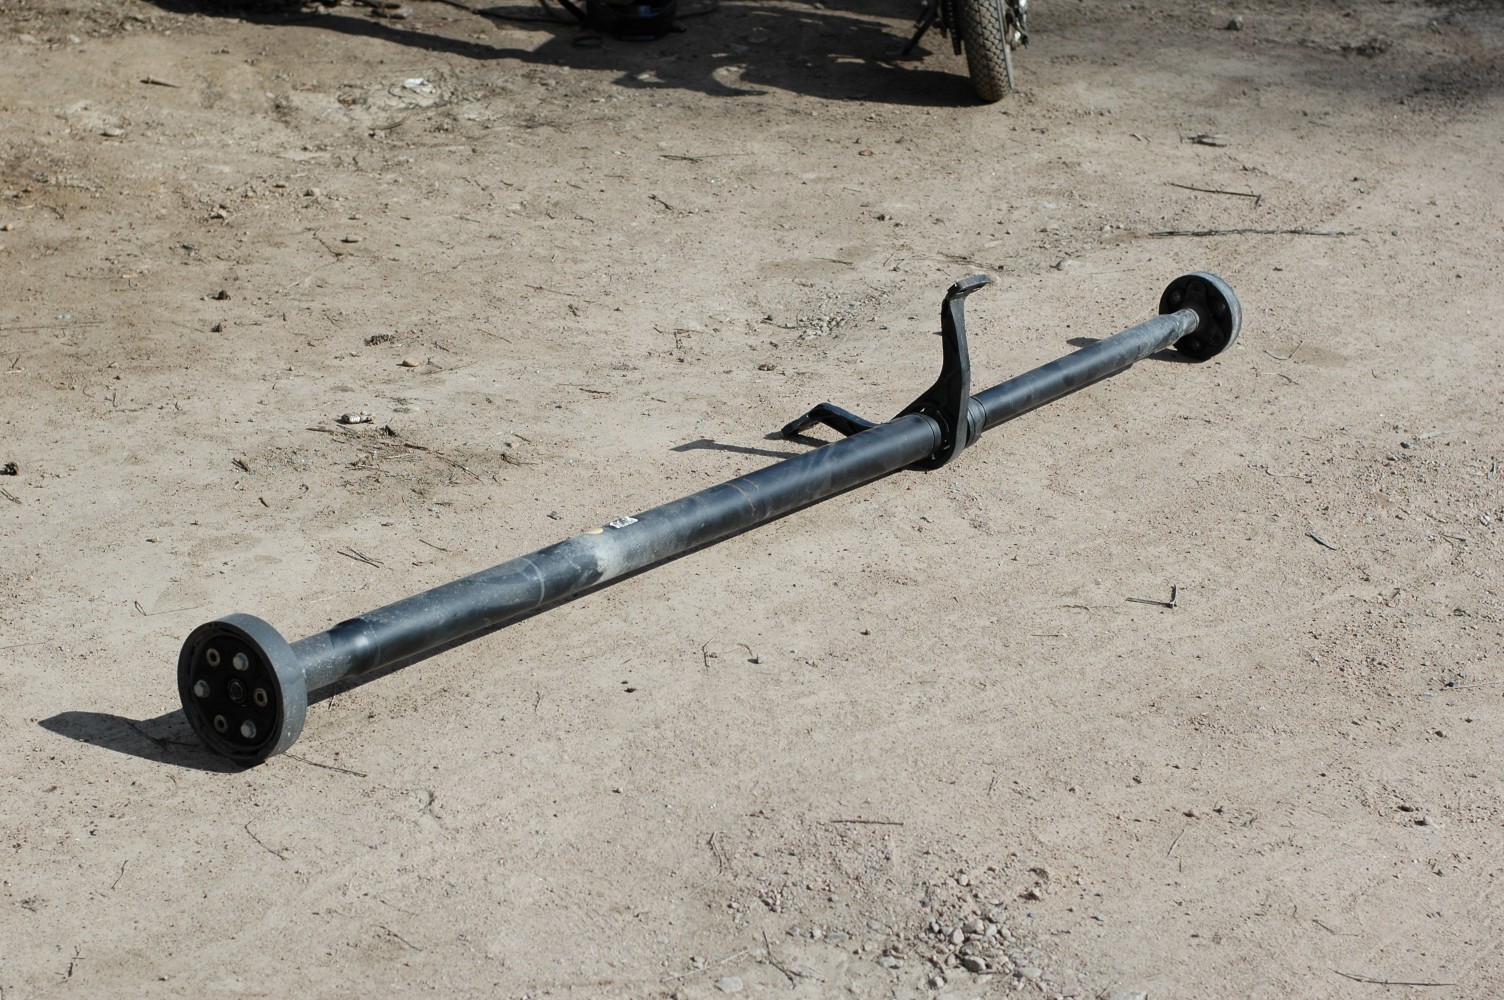
The Superb's propshaft is quite a long one.
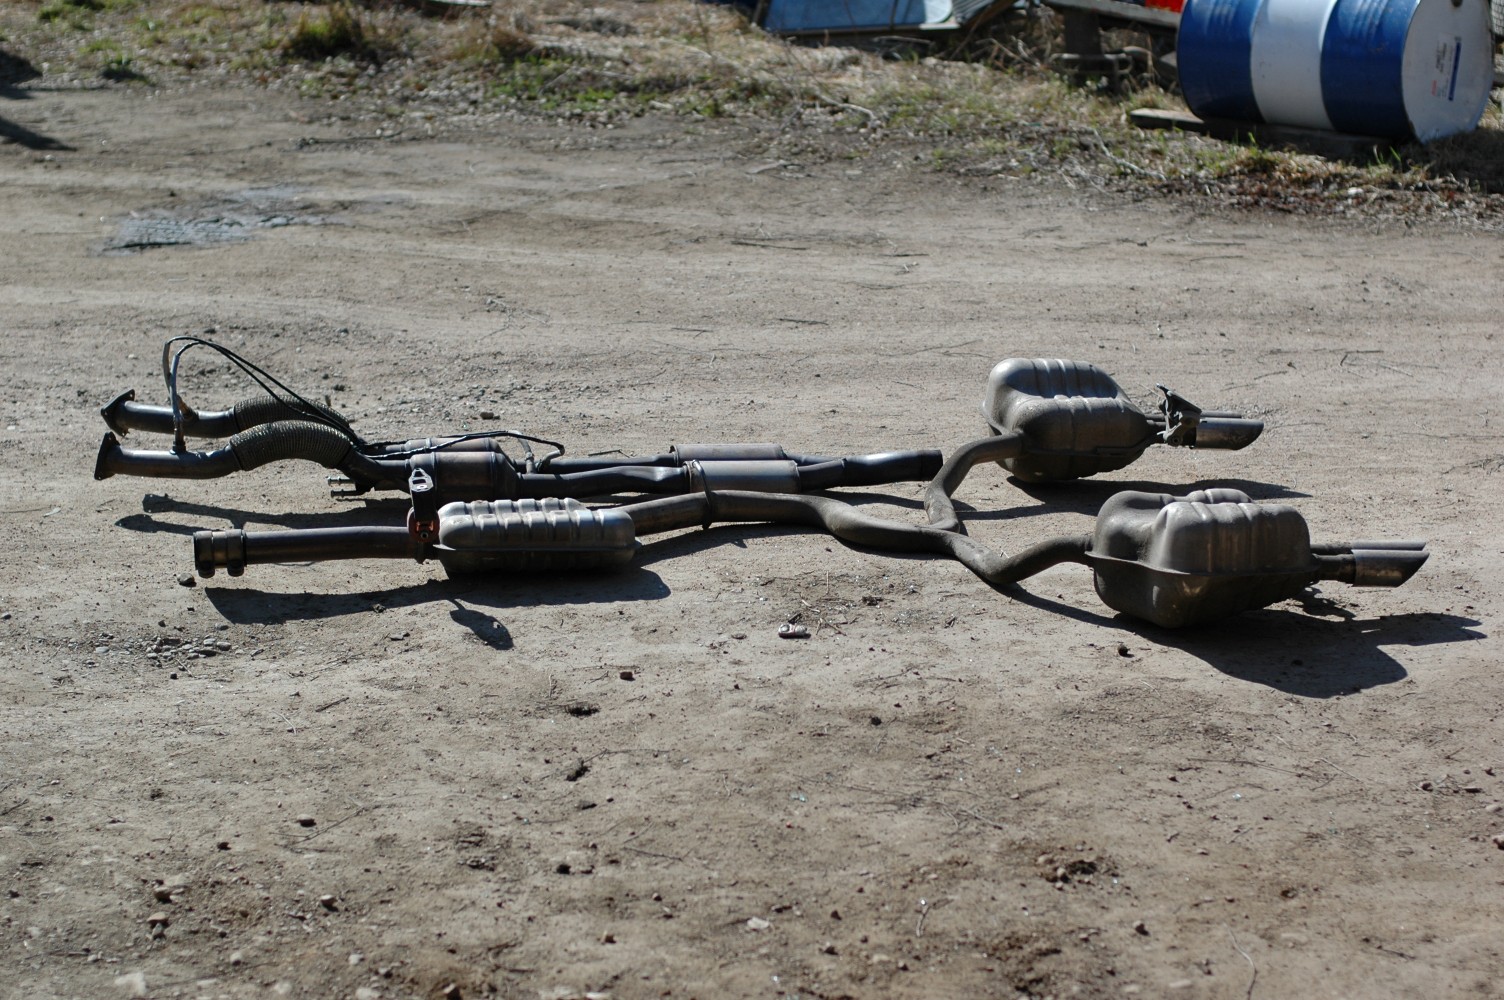
A few photos of the exhaust system too.
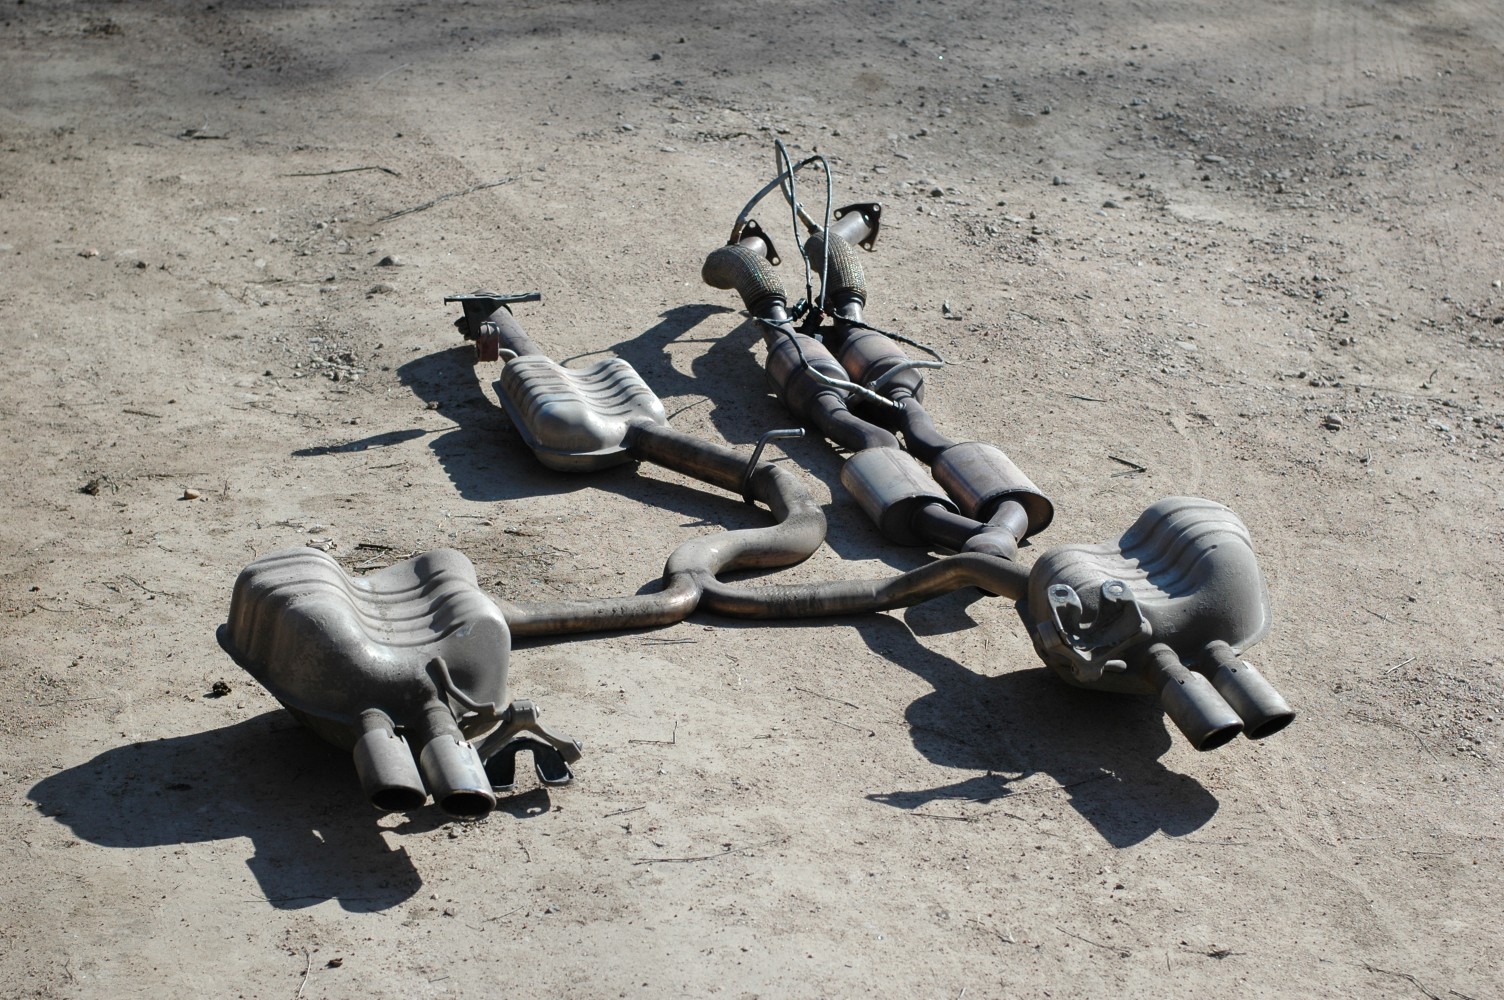
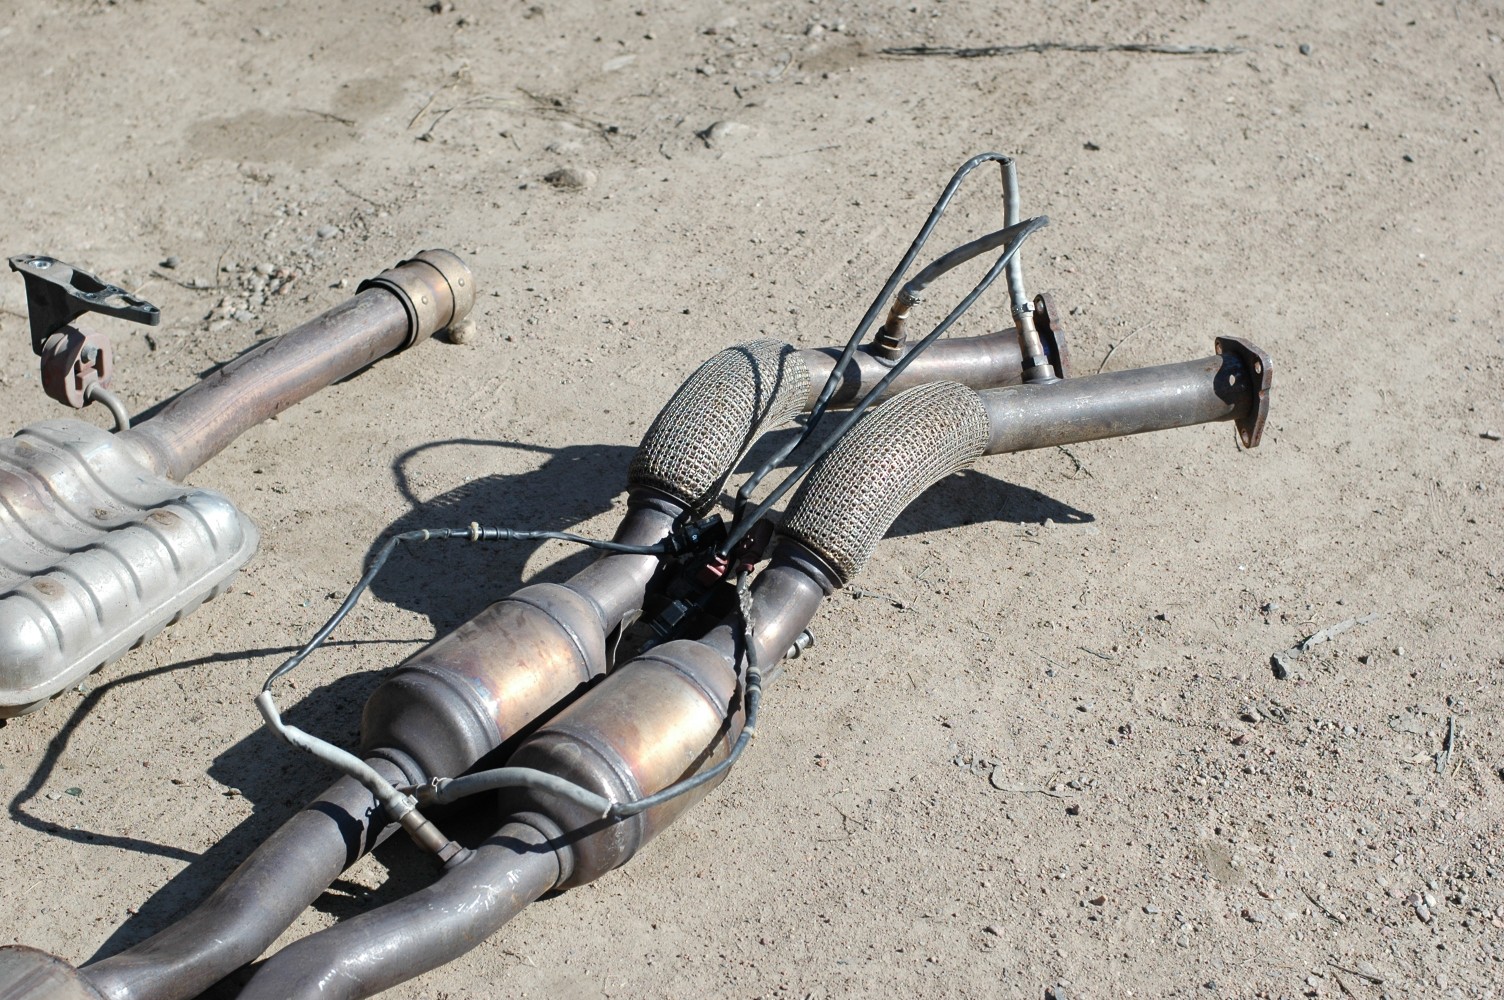
Four lambda sensors.
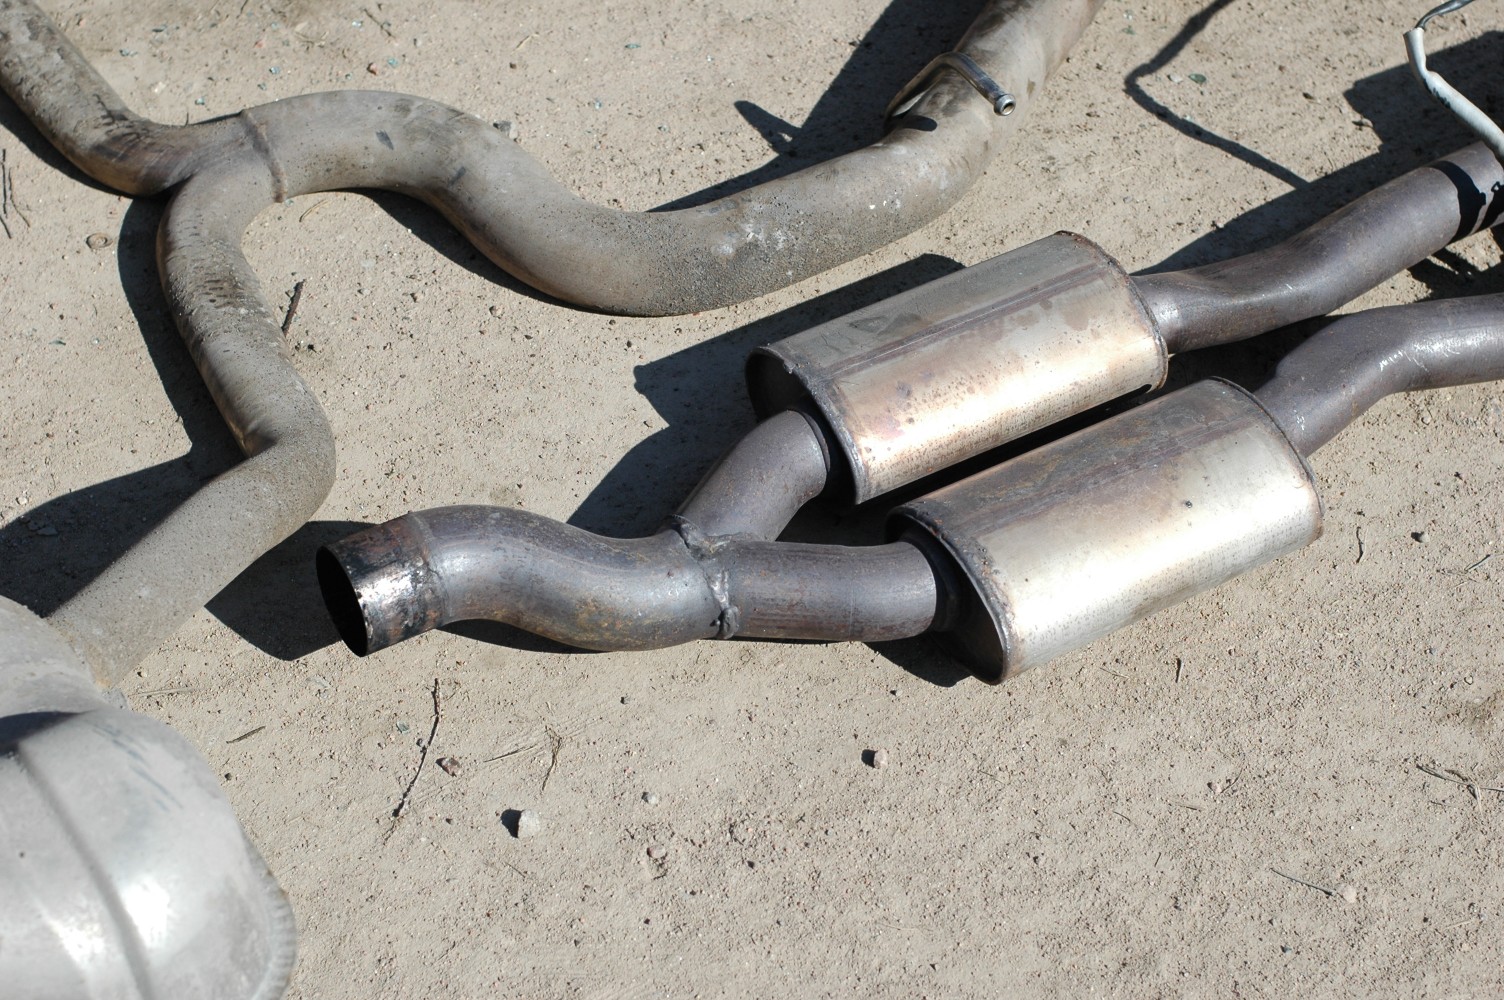
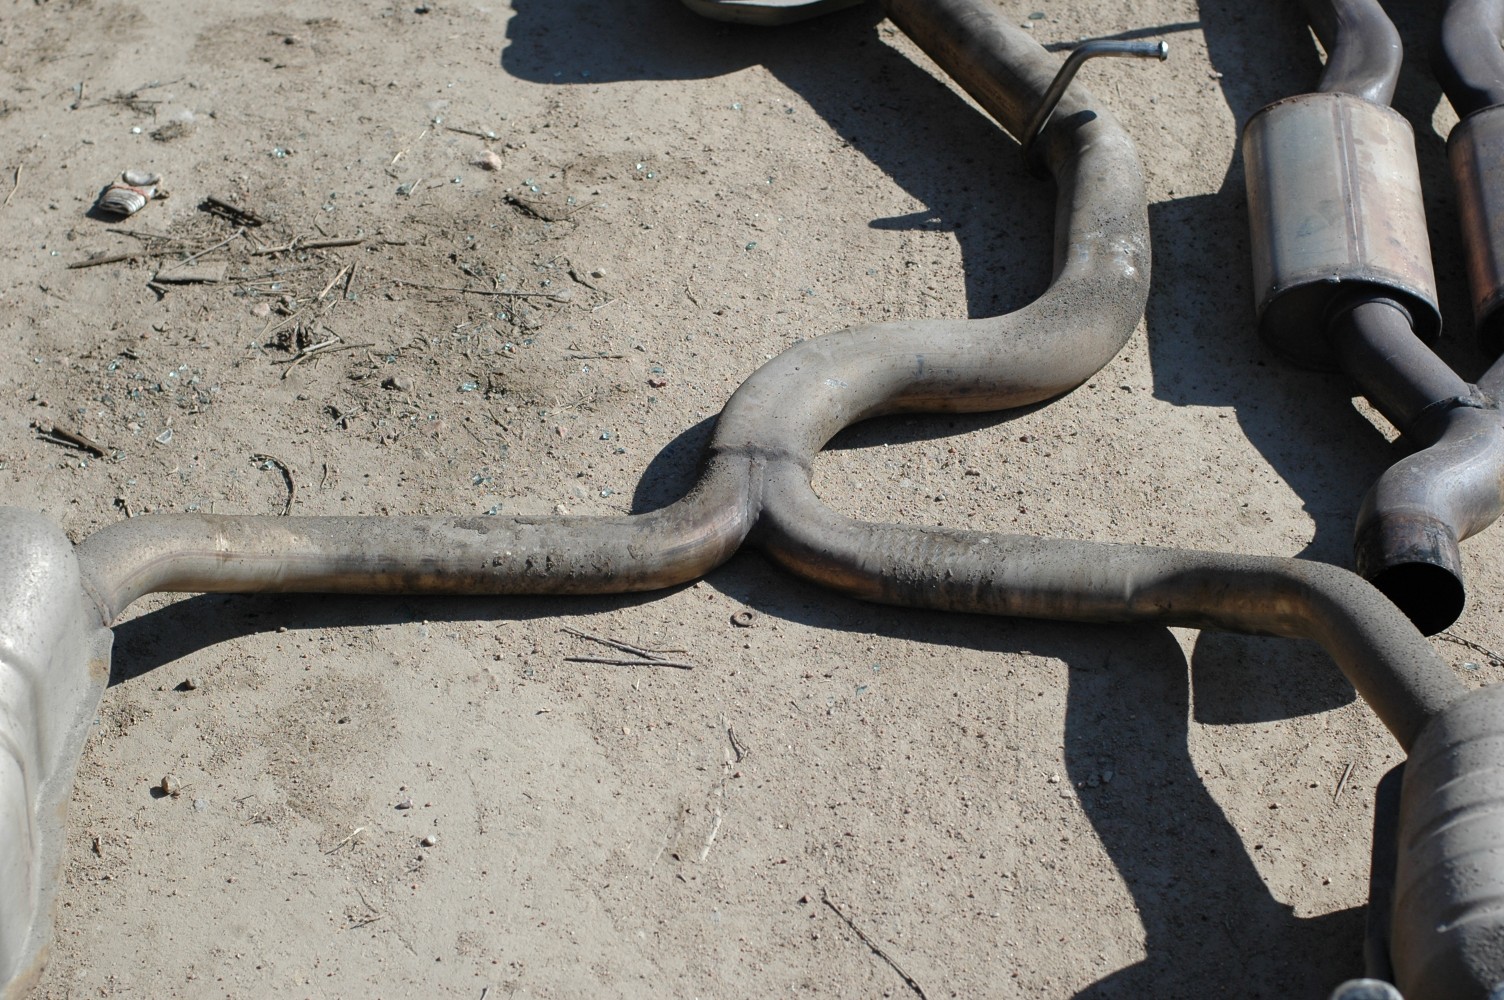
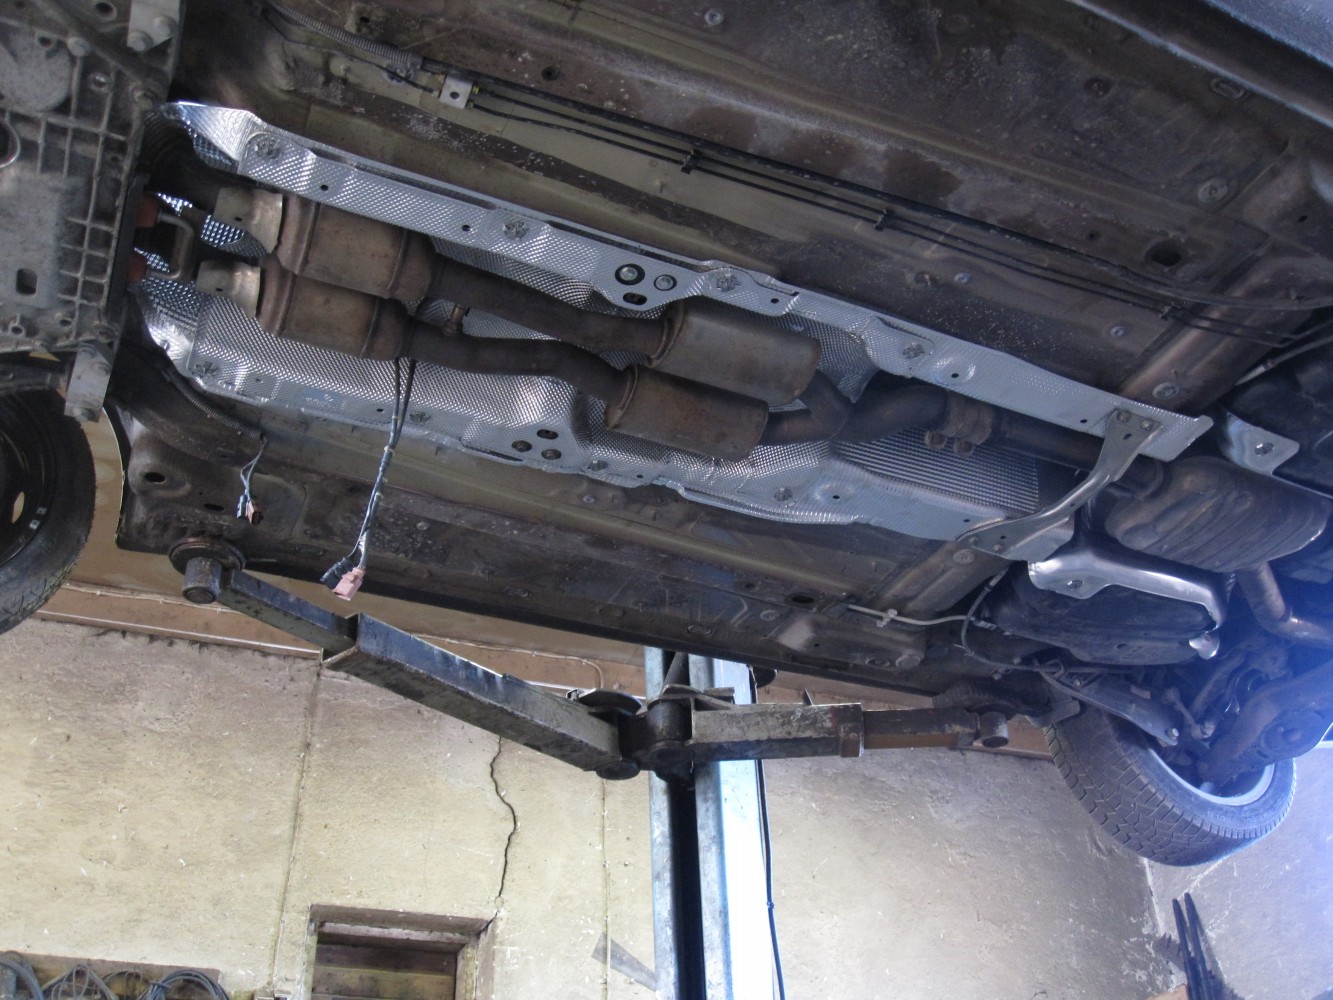
We started underneath, fitting the new heat shields and putting the propshaft and exhaust back in place.
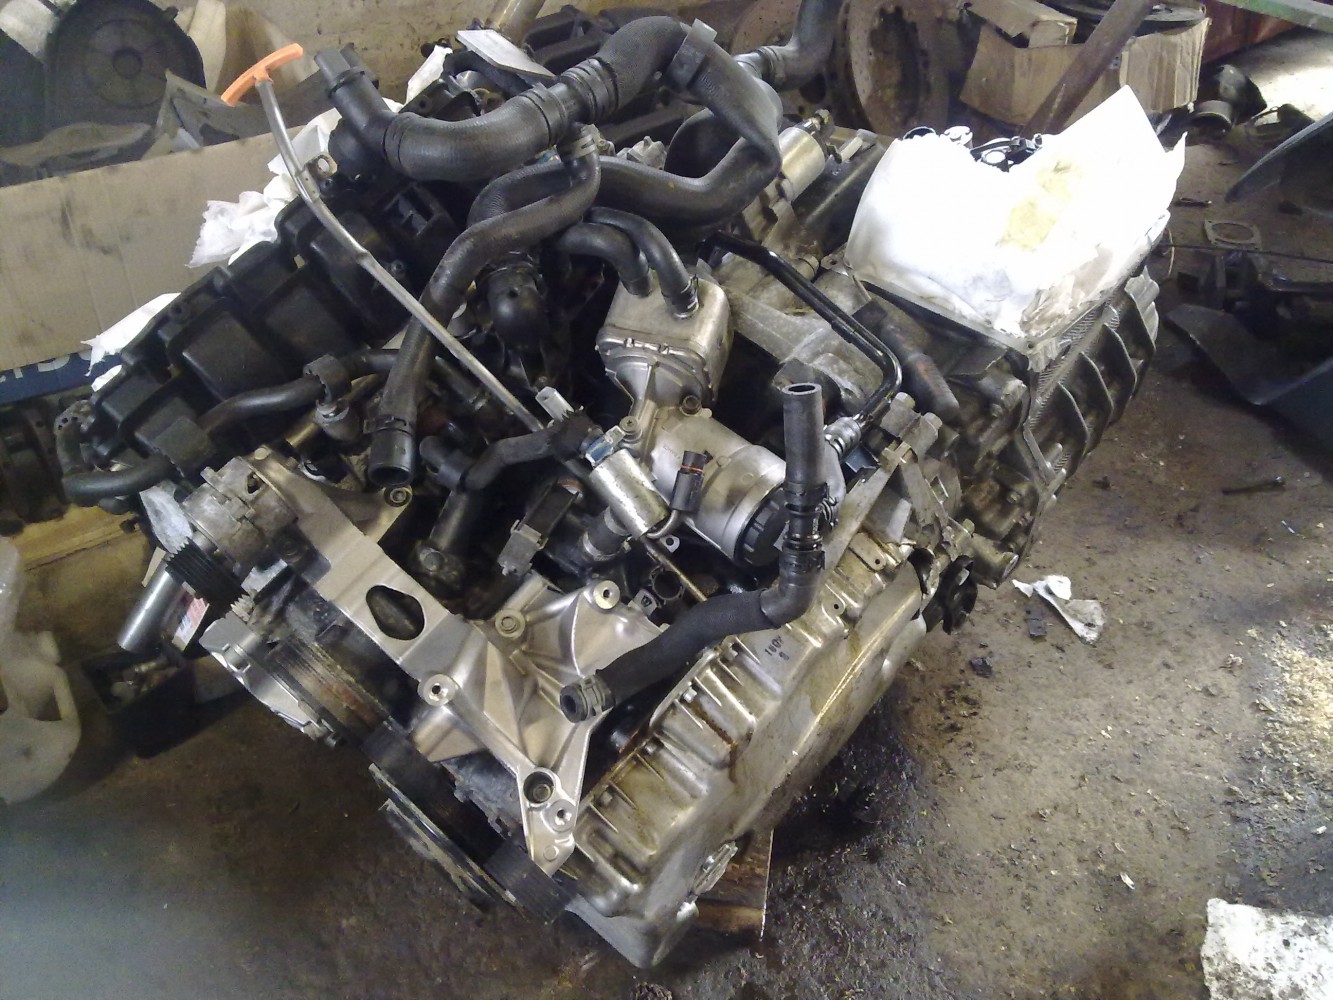
A few new parts bolted to the side of the engine, including the mounting bracket for the alternator and A/C compressor, and the oil filter housing.
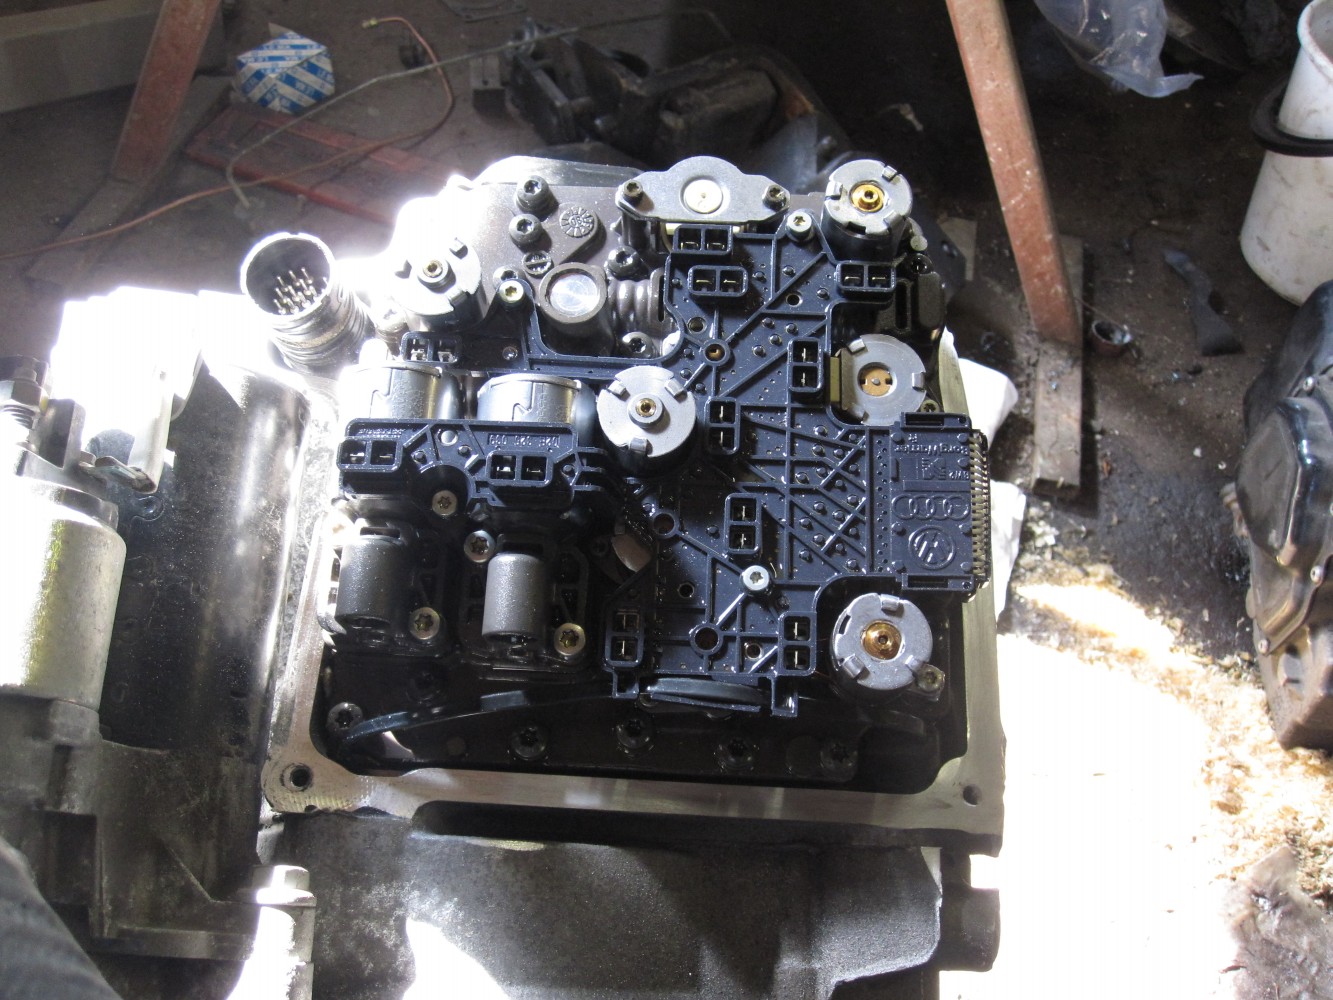
We took the mechatronics cover off the gearbox: one corner had taken a small knock and needed a little straightening.
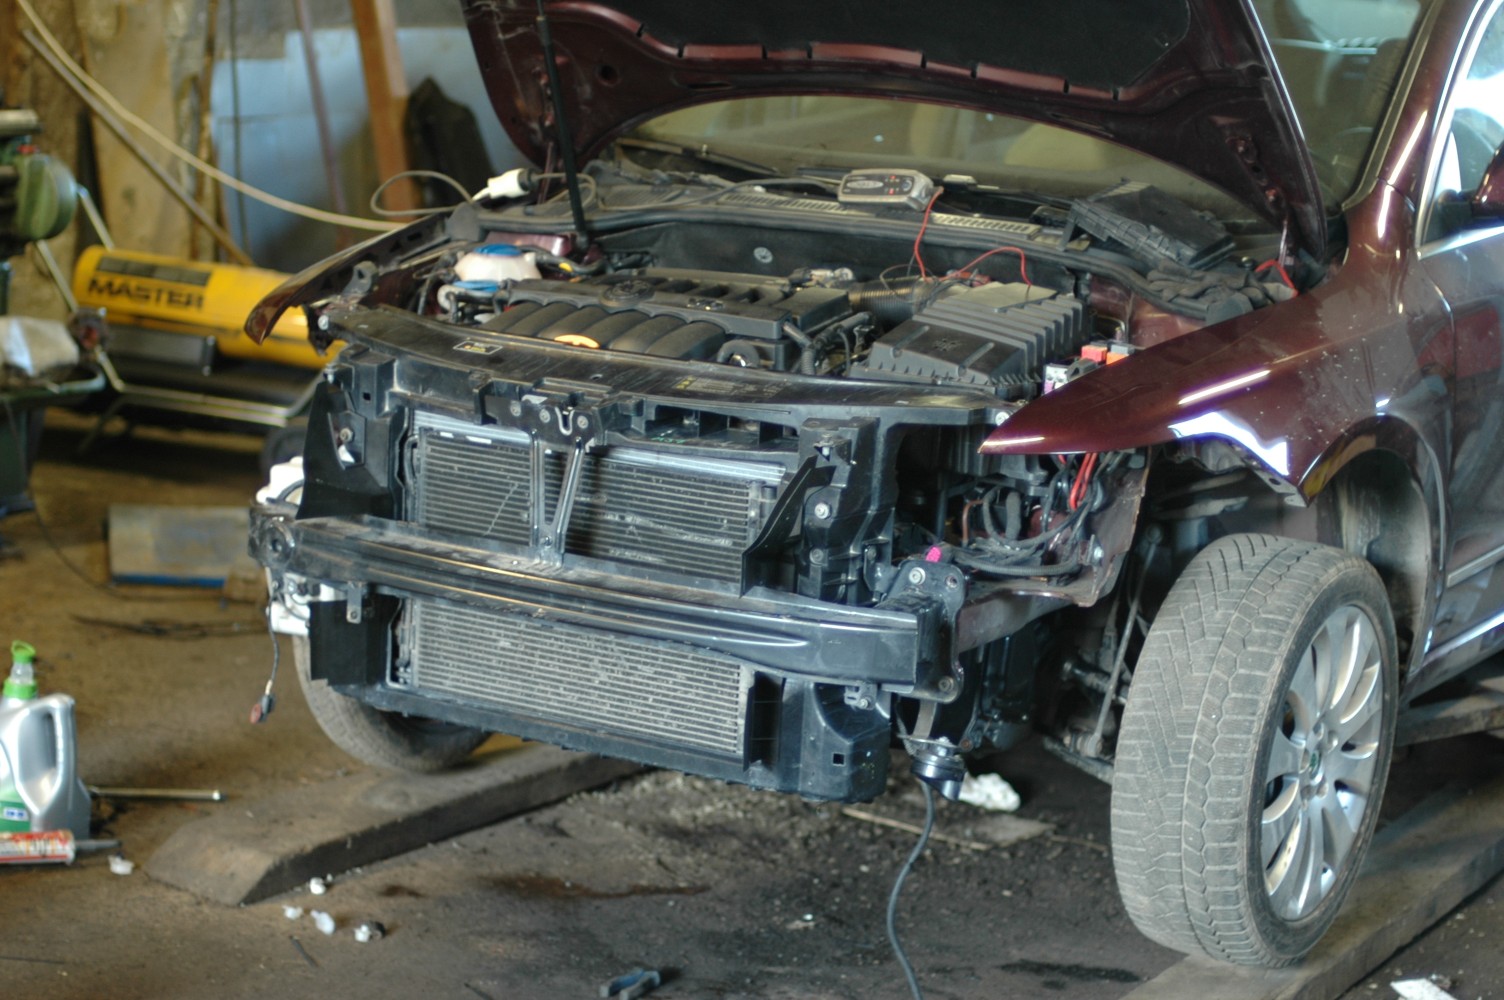
The front end is starting to come together here. The Superb's nose is fairly straightforward to assemble. There aren't that many screws holding the bumper on.
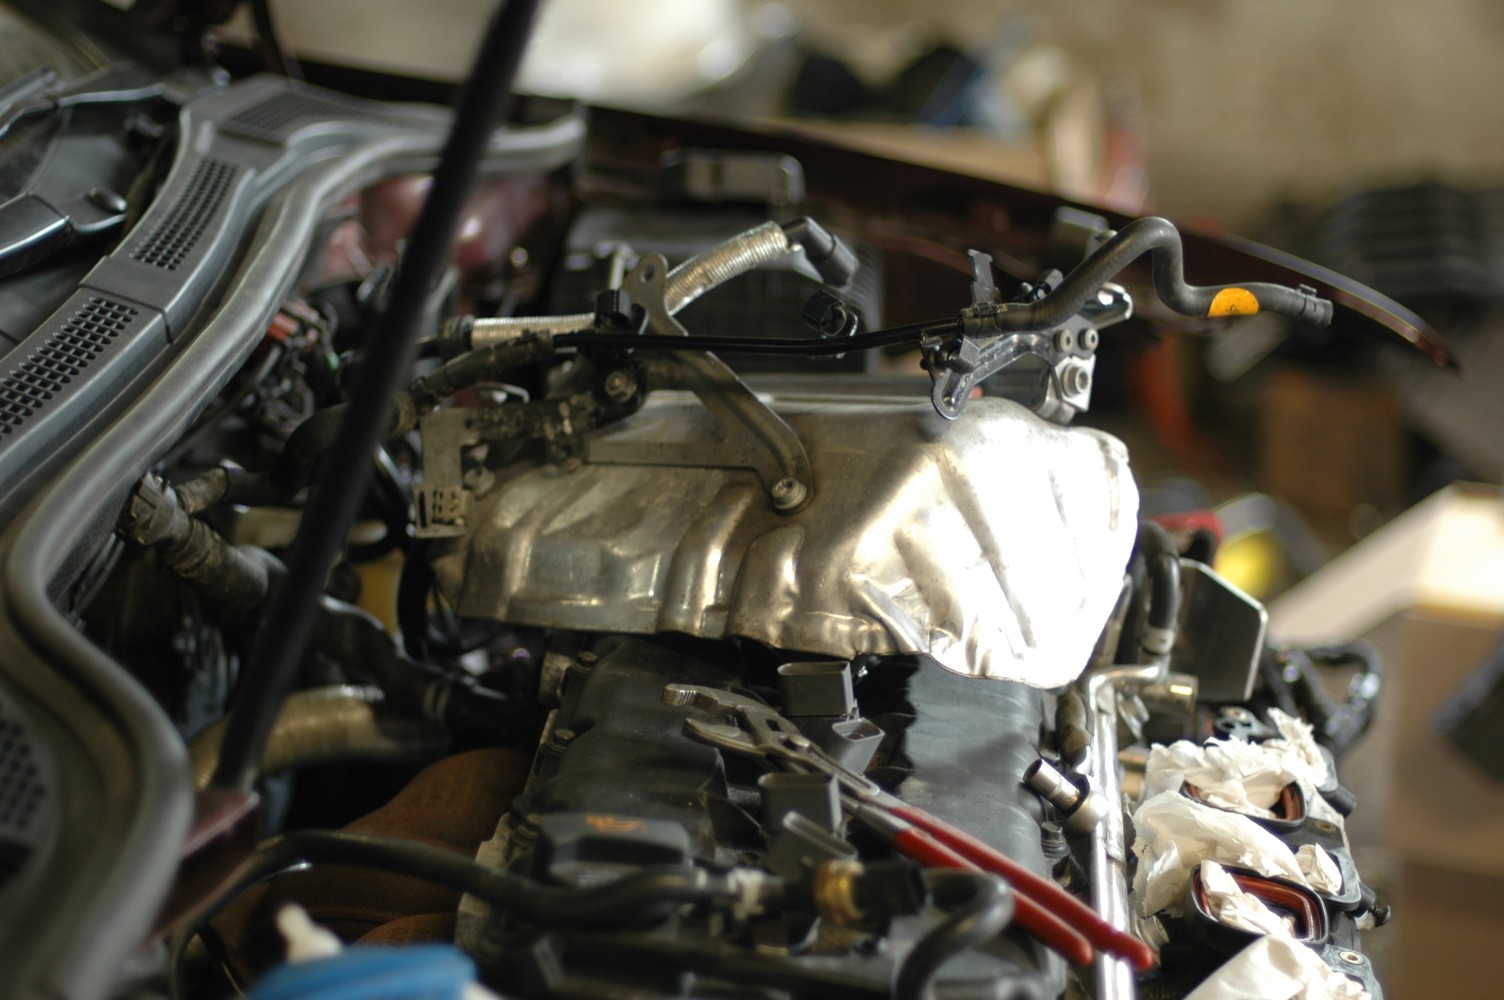
It wasn't until reassembly that we removed the heat shield behind the cylinder head. That made fitting the downpipe a lot easier.
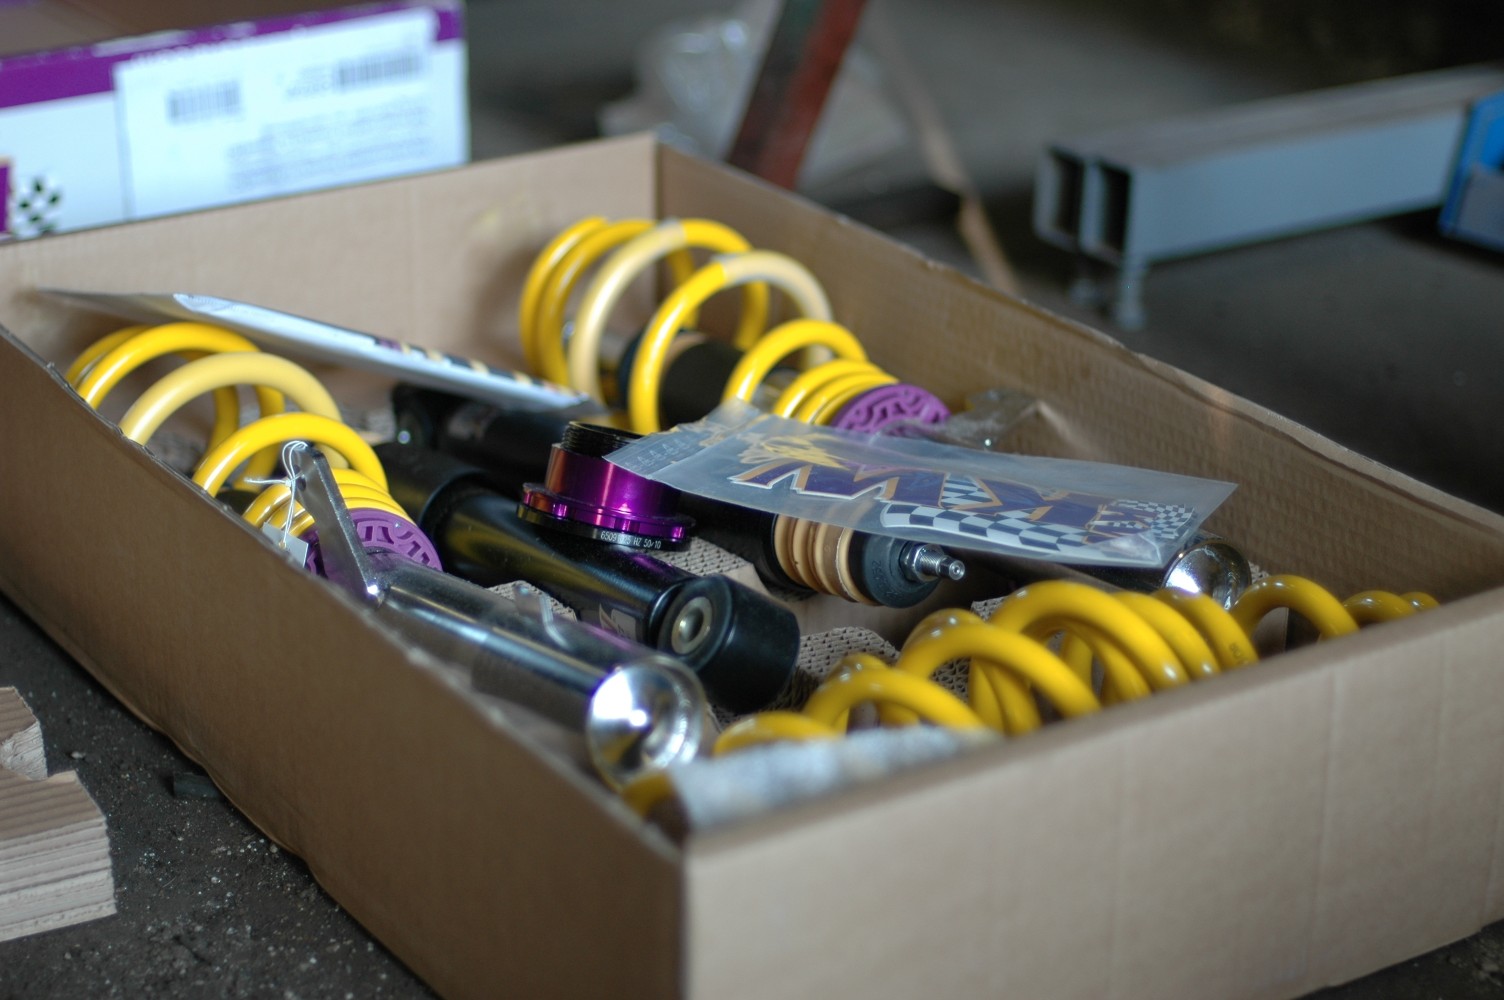
Of course, we couldn't possibly drive around at standard ride height. A KW Street Comfort suspension kit went on. At the rear we lowered it as far as the adjustment allowed; at the front there was still just under 3 cm left to go.
2011-05-22 · Superb back together
We finally got the Superb back together and driving today. Pekka's Rotiforms went on too. Now we can get the wheel alignment done and sort the remaining paperwork before inspection. It's running beautifully… and it shifts!
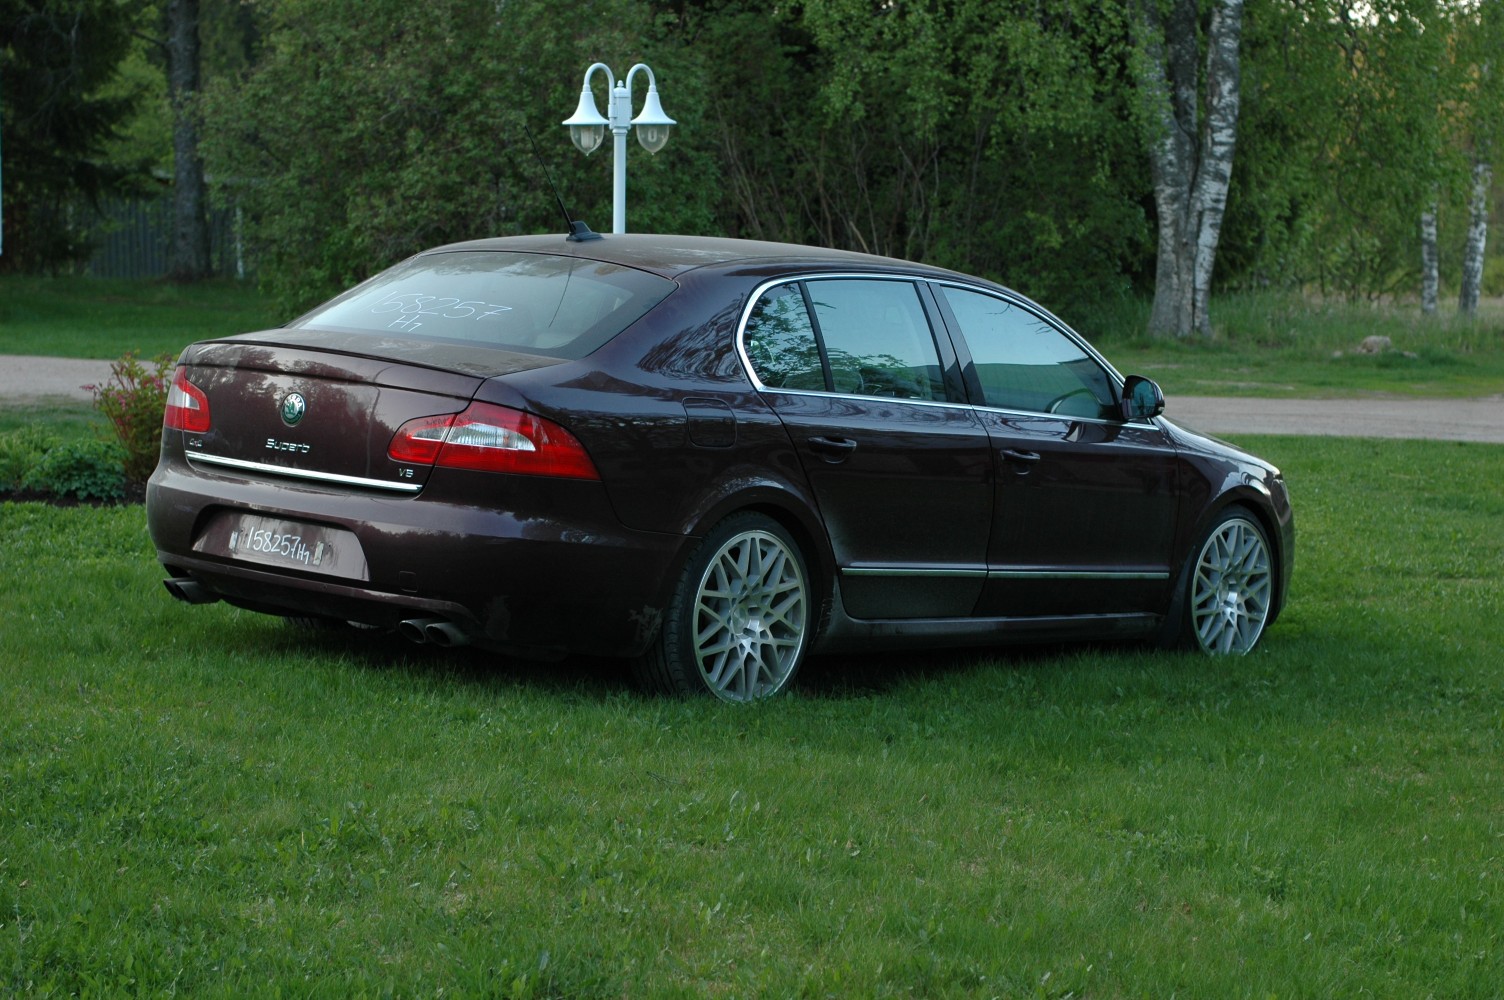
That rear end doesn't look so ugly anymore either.
2011-06-02 · A bit of a spruce-up for the Superb
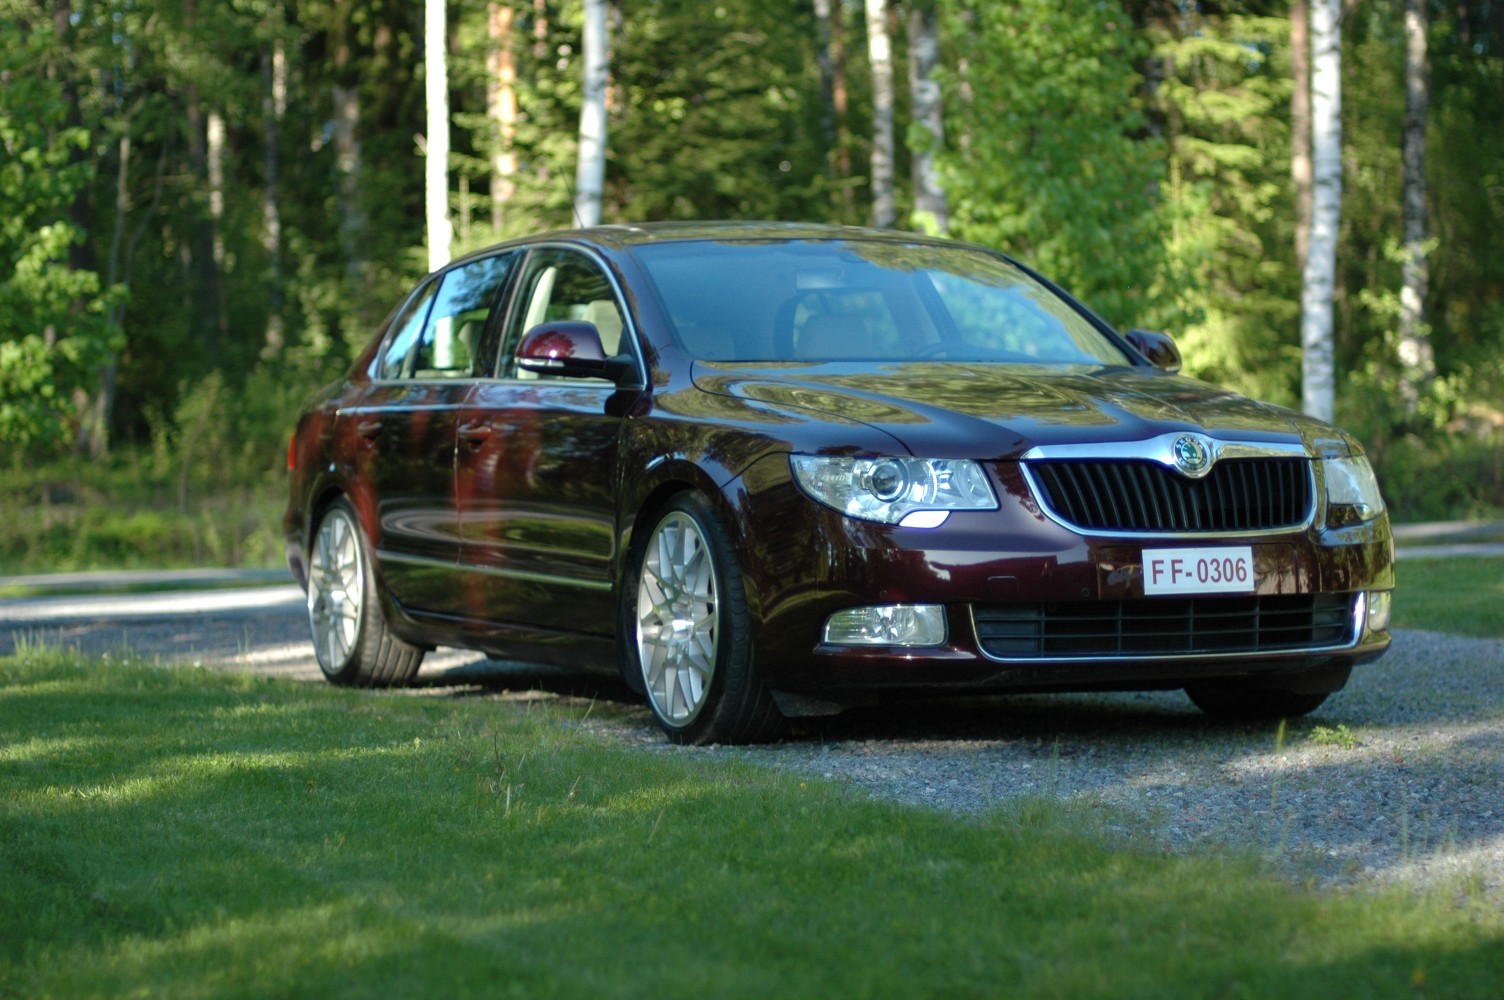
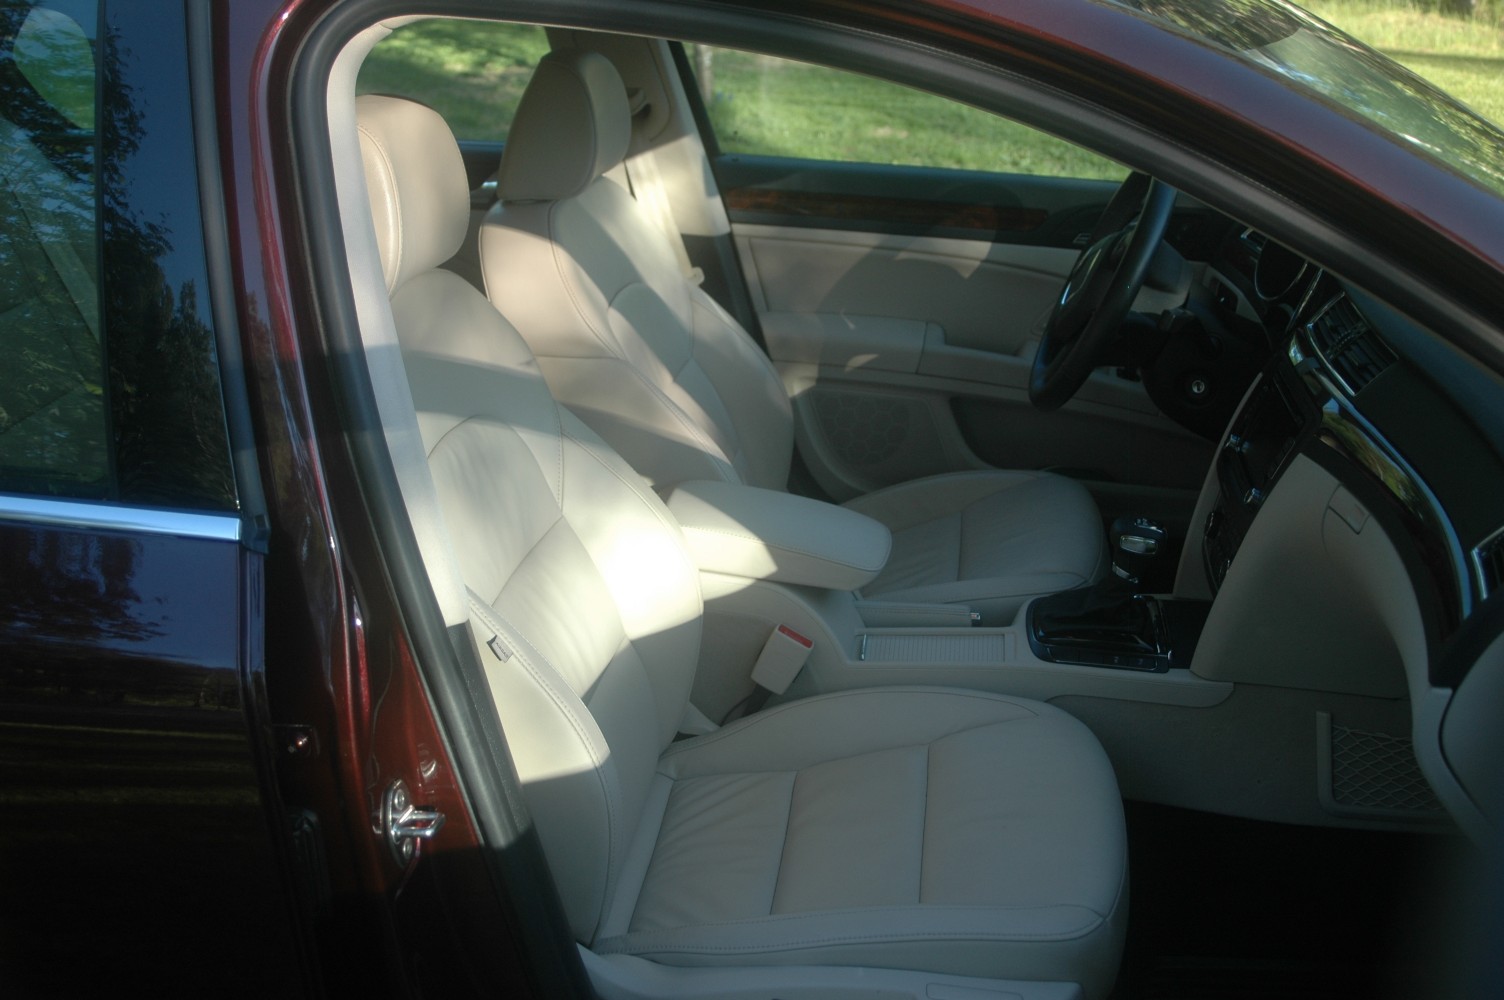
The Superb has had a proper clean, inside and out. The wait is dragging on: still no paperwork, so we can't get it inspected yet. These photos aren't much good. We'll take some better ones when there's more time.
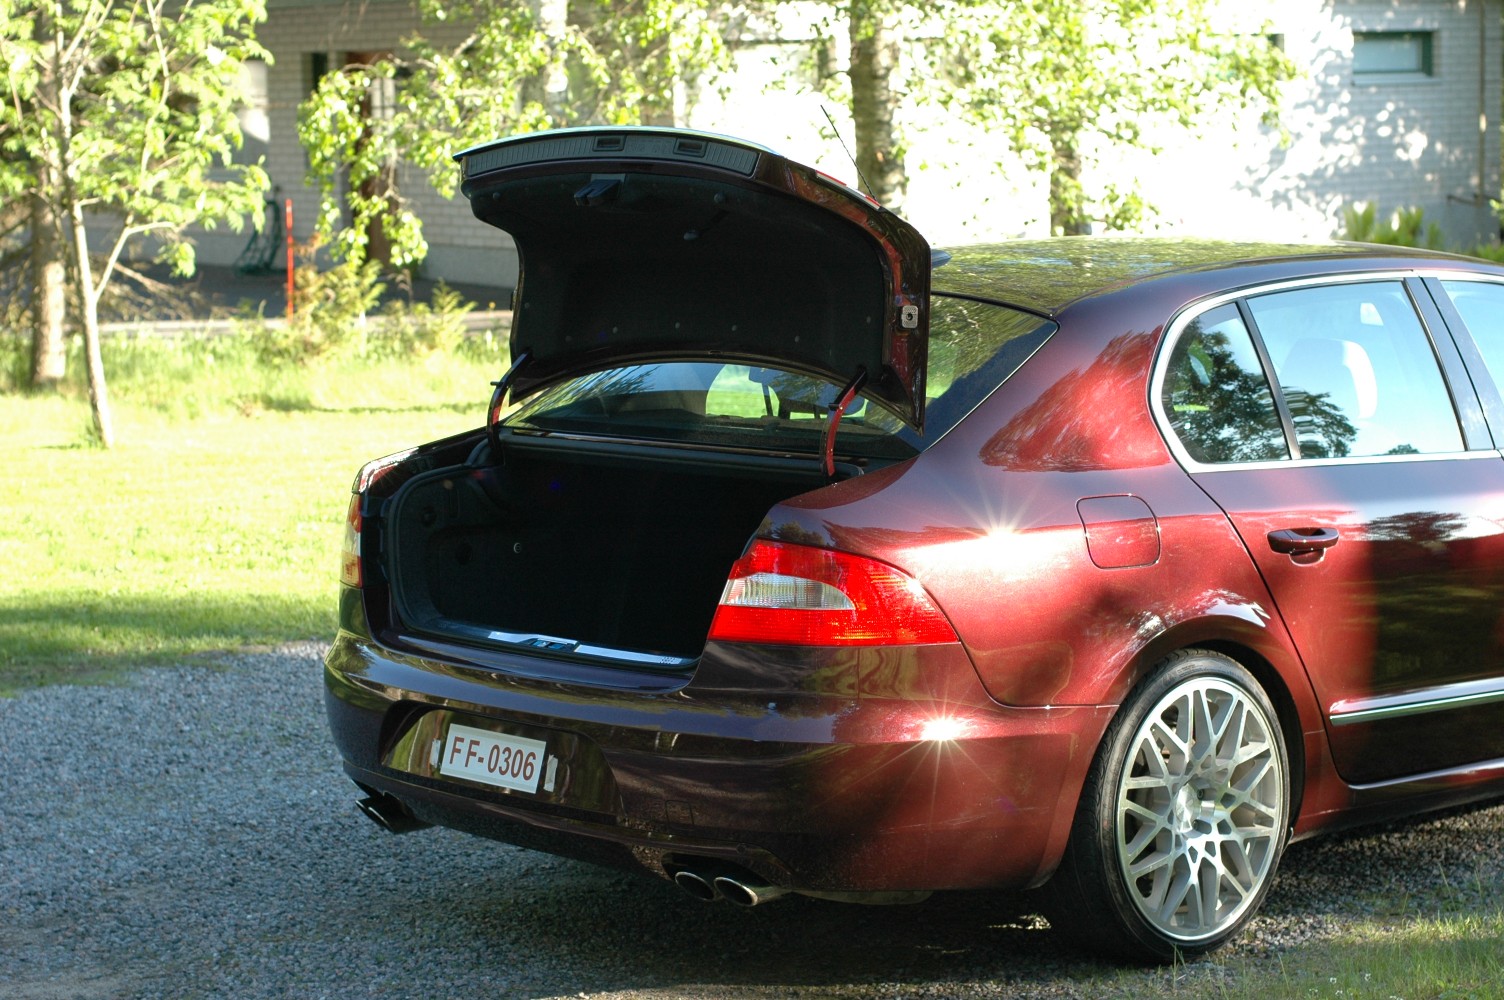
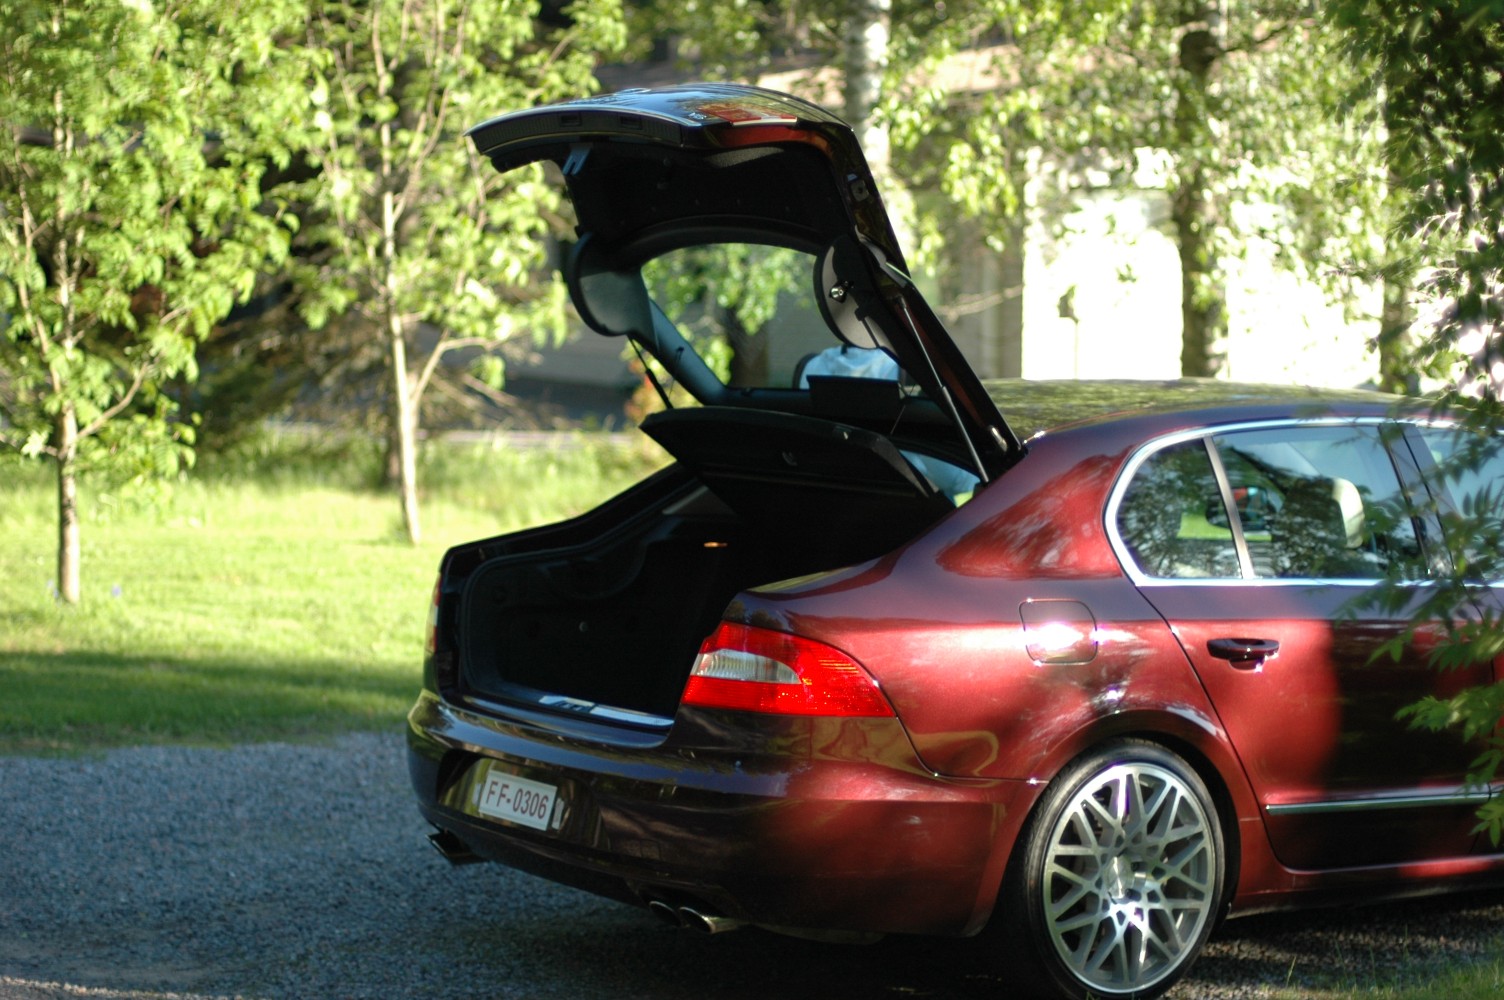
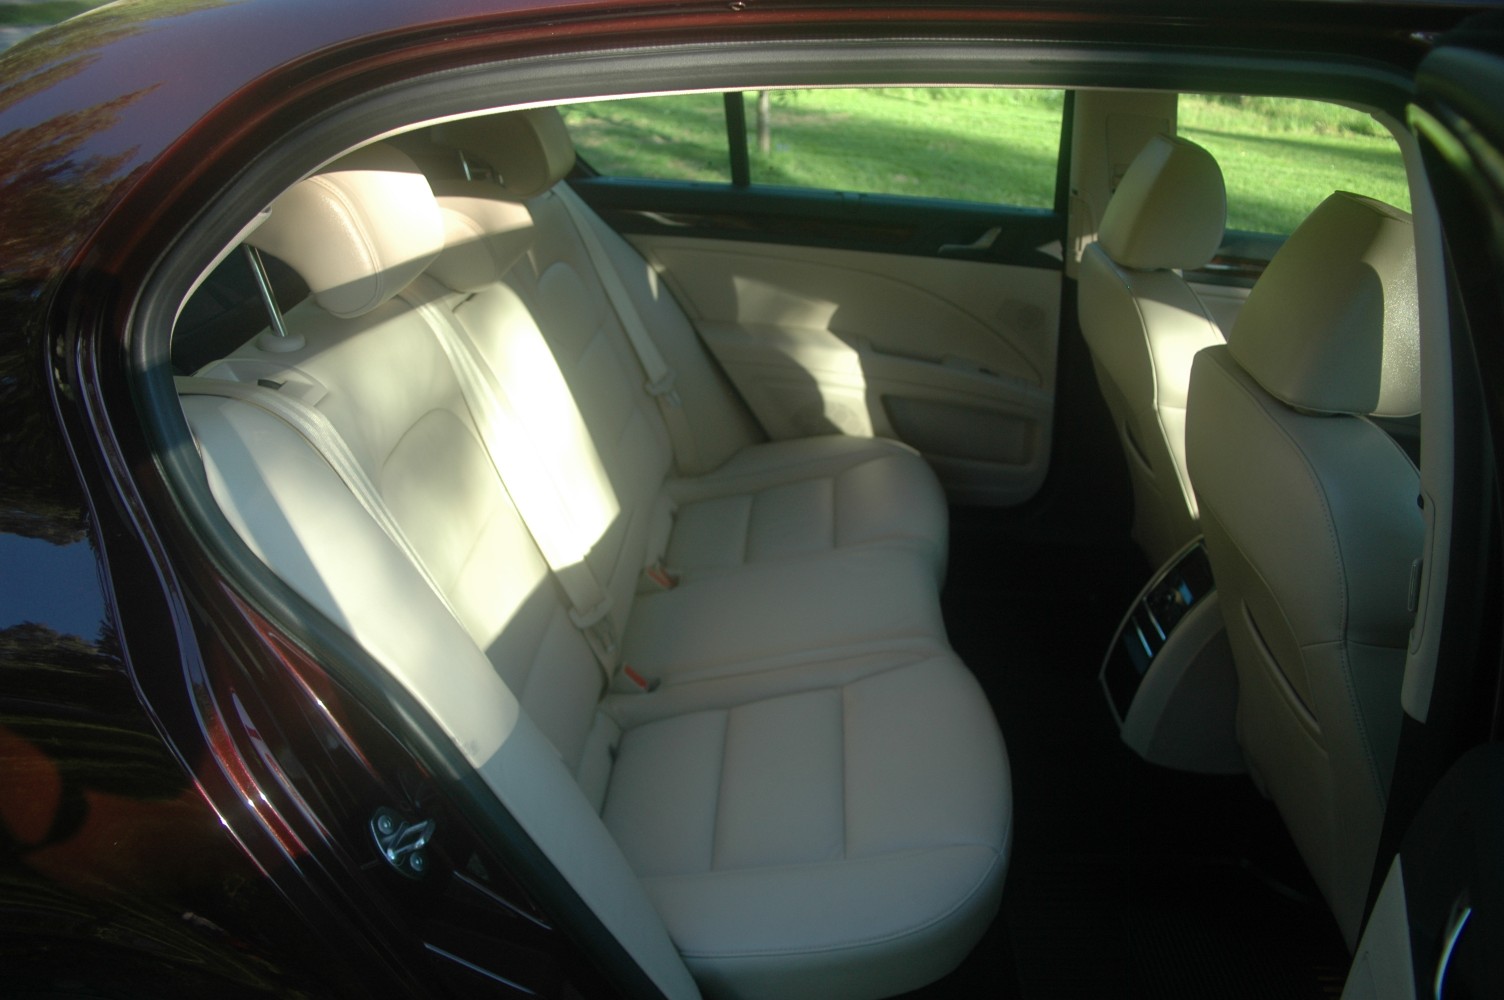
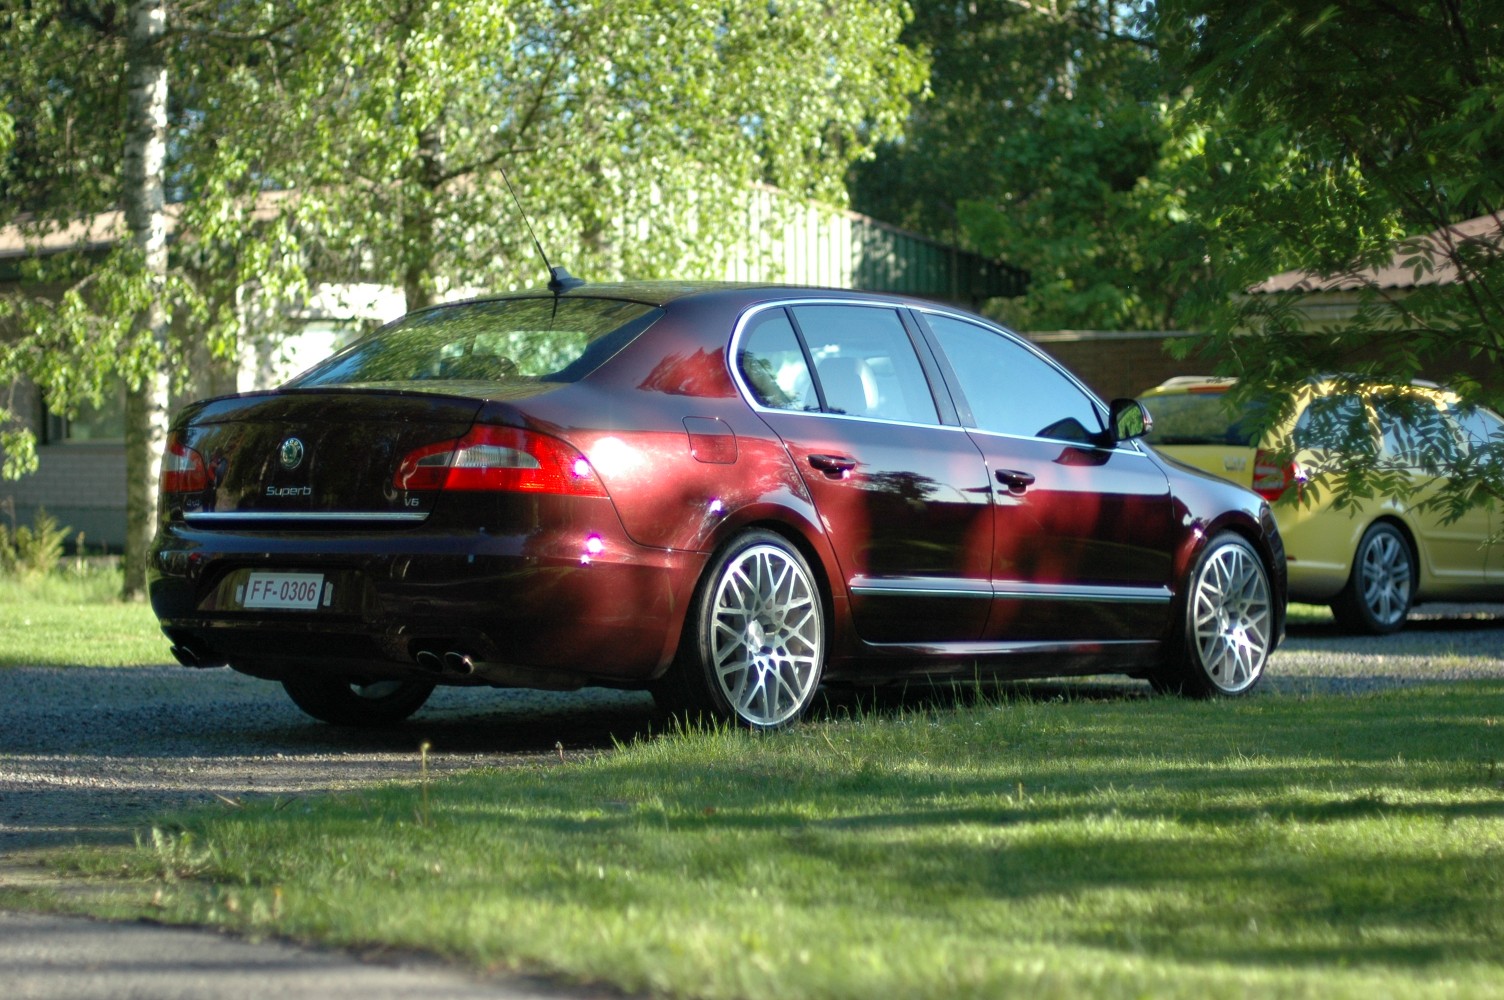
2011-07-28 · Sat-nav for the Superb
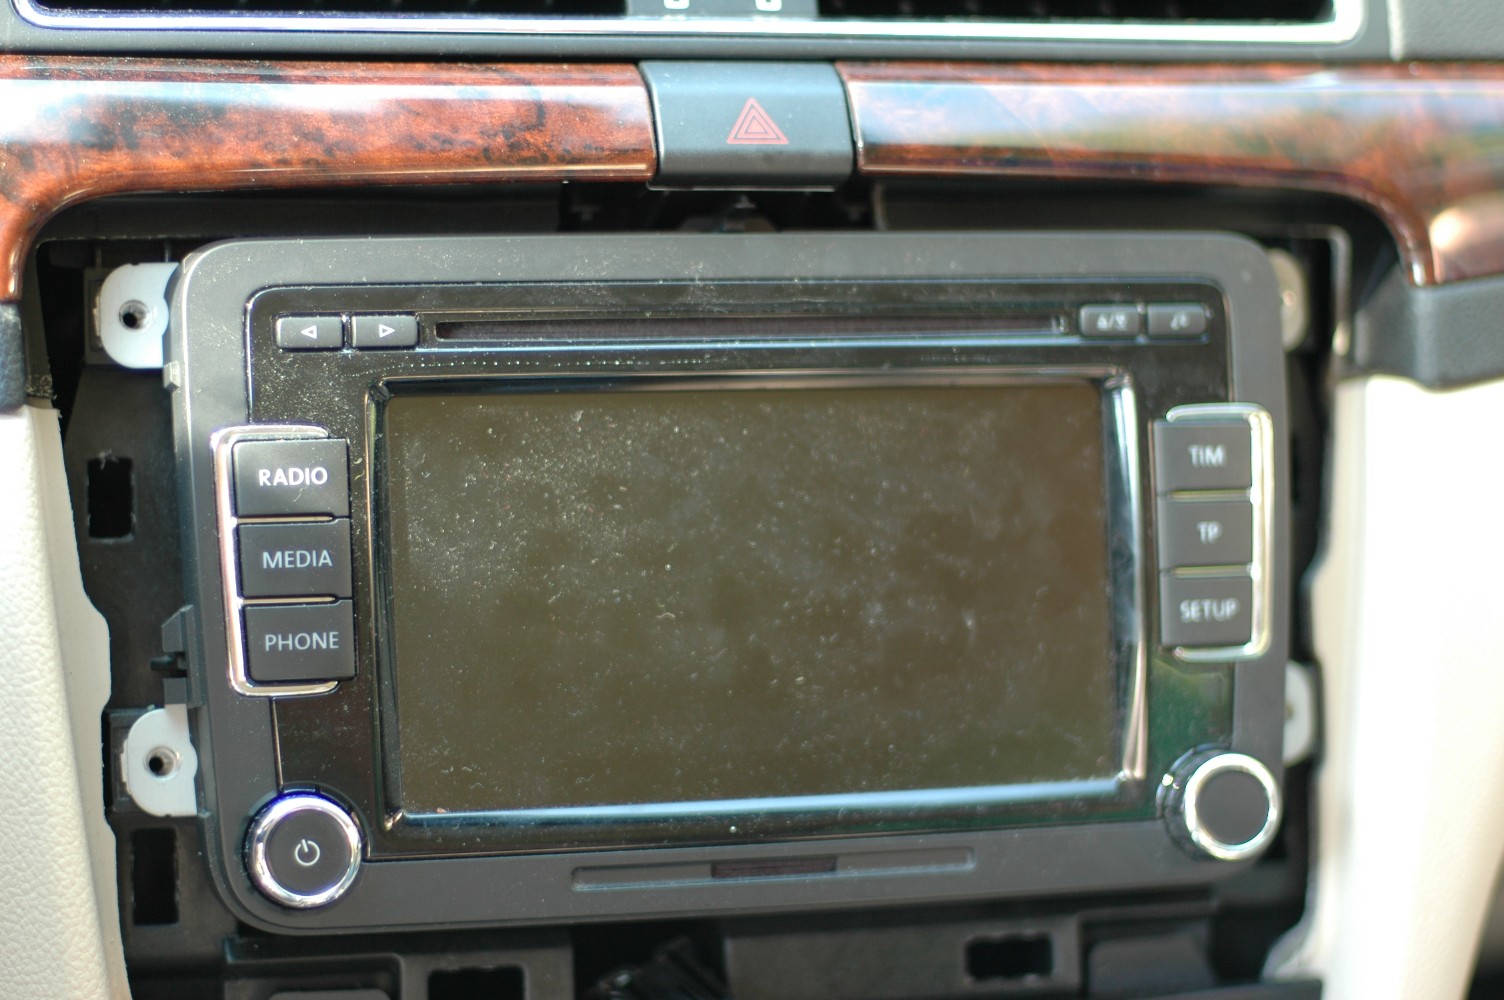
The Superb came with a Bolero head unit (RCD-510), without navigation. Its Bluetooth kit takes remote control of the phone, leaving Nokia Maps and similar apps unable to get online, which made navigation awkward. Time to find the sat-nav version. Skoda calls it Columbus (RNS-510). Instead of the Bolero's built-in six-CD changer, the navigation unit has a DVD drive and a 30 GB hard drive for maps and music. A lightly used one turned up on eBay at a sensible price. It arrived a couple of days later, looking like new and very well packed. A GPS antenna was included too — not an original one, but a perfectly usable aftermarket type, often fitted inside or on top of the dashboard.
In the first photo, the surround has already been prised off the Bolero. Start gently at an edge, then give it a firm pull. Metal clips at the holes visible in the picture hold it in place.
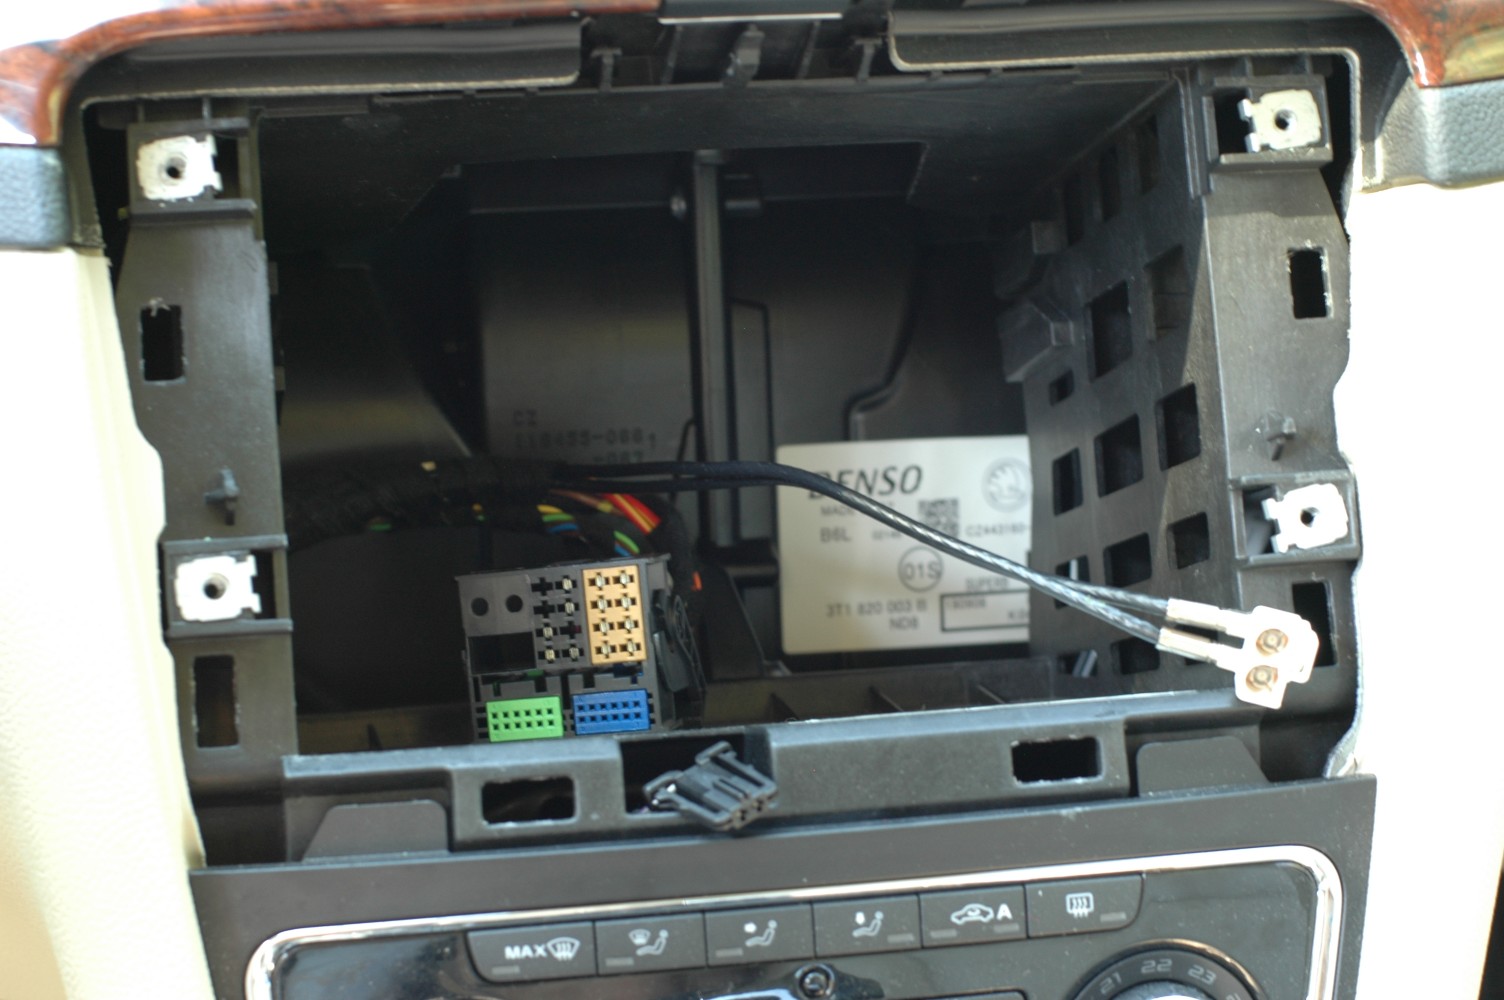
The head unit's home — or whatever we're supposed to call these things now. The passenger-airbag indicator wiring is visible at the bottom. Turning the ignition on with it disconnected leaves the airbag warning lit until the fault codes are cleared. Release the latch at the bottom to unplug the head unit's connector.
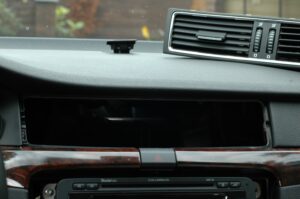
Pulling out the air vents gives much more room to fit the GPS antenna. The official instructions call for a hook through the grille to pull at the rear edge, about 15 cm in, but ours came out without tools. From underneath, it's also easy to release the light sensor. We planned to route the antenna cable through its opening. Plenty of people said GPS works fine through the dashboard, but we put the antenna on top to be sure.
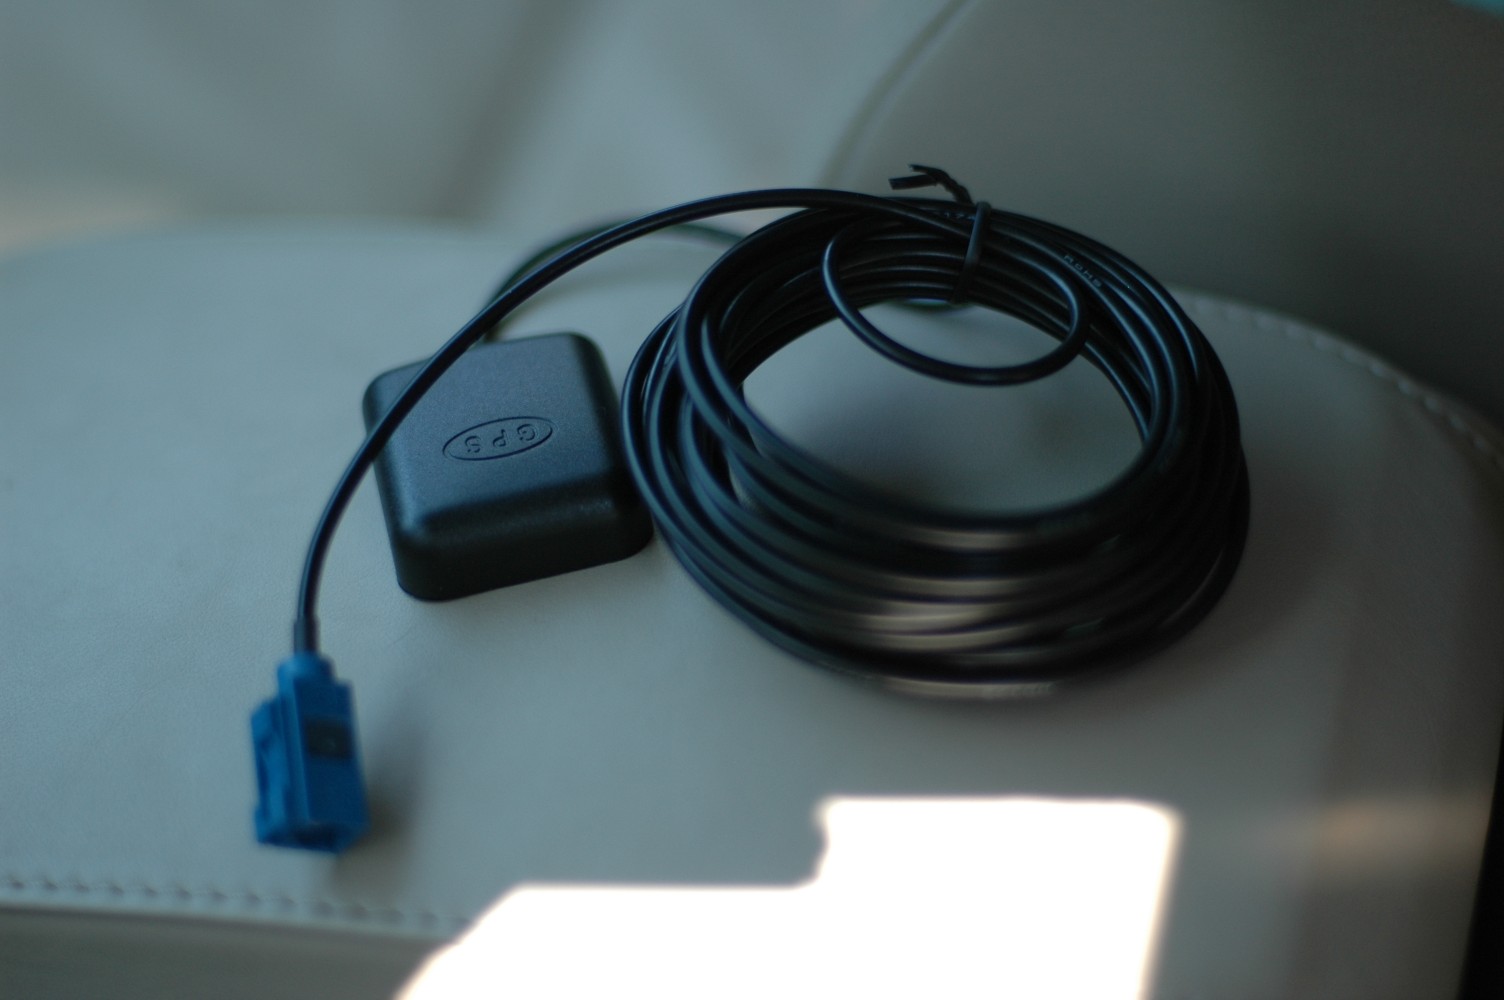
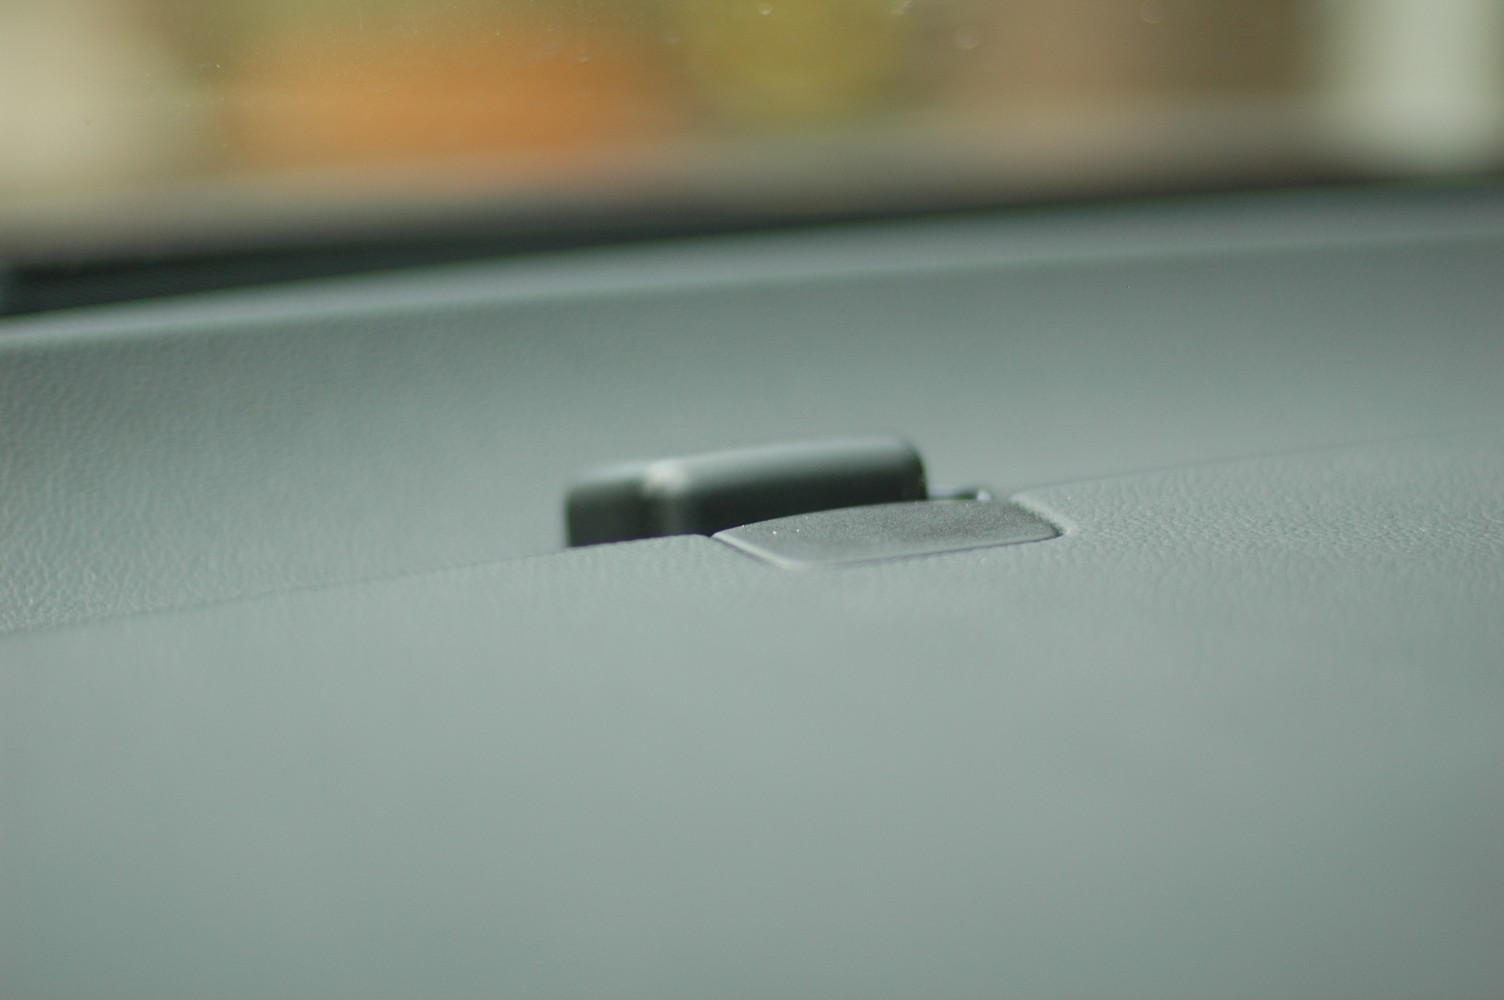
In the second photo, the antenna is in front of the light sensor. We trimmed a small piece from the corner of the sensor housing to make room for the cable.
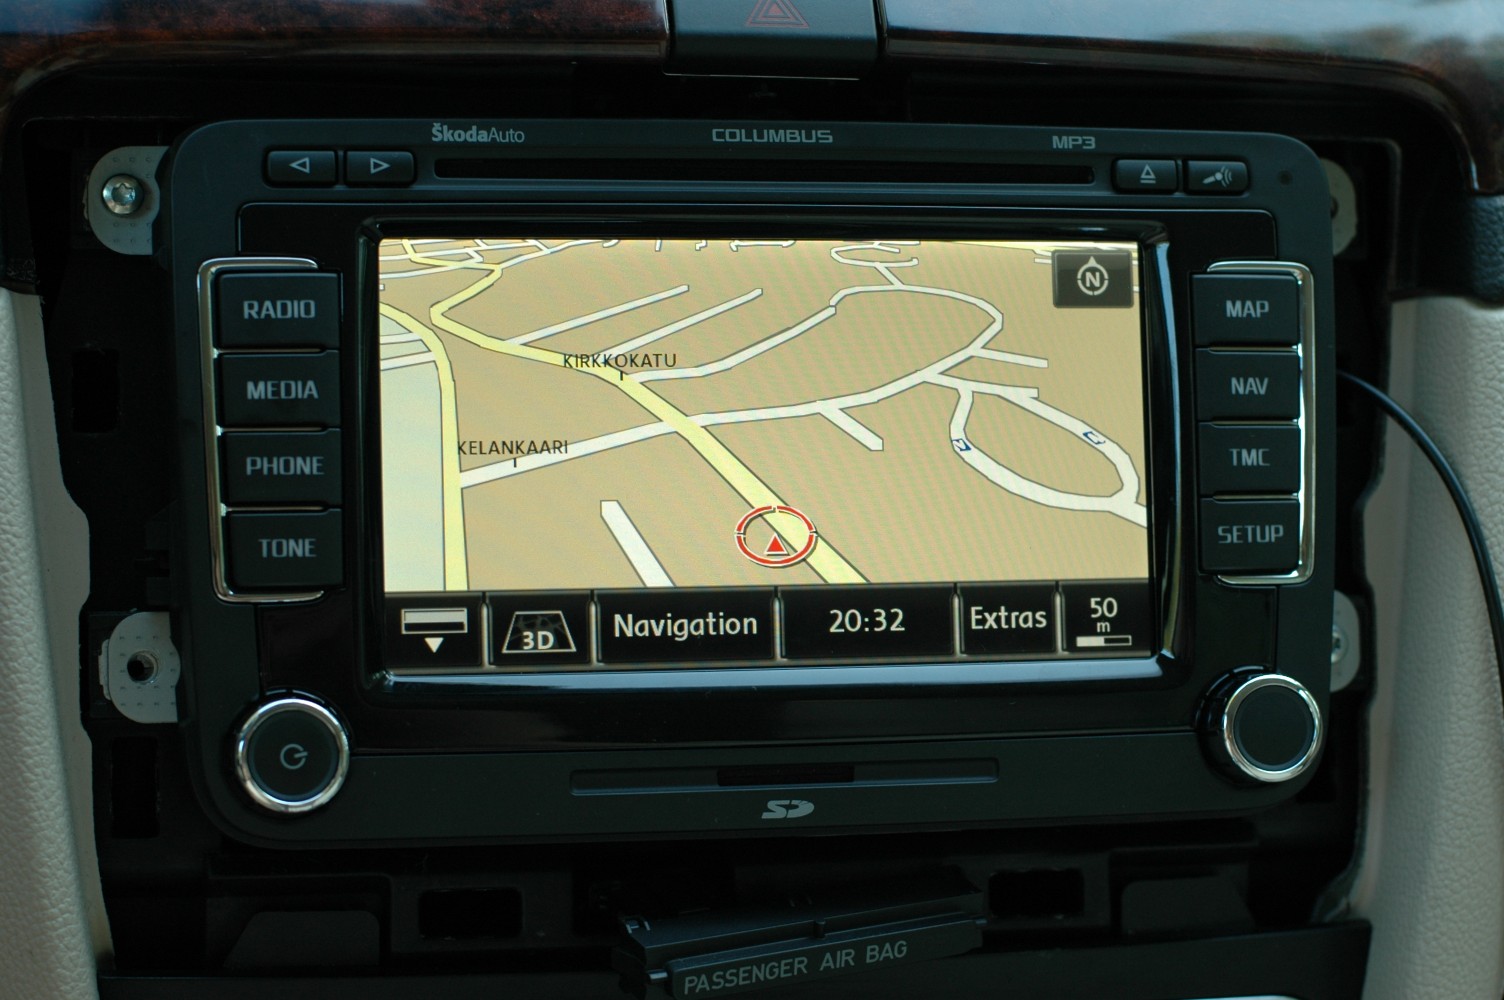
Then plug in the Columbus and switch it on. The photo still shows a temporary setup, with the GPS cable coming out at the side. At first, there was no sound. We knew some VCDS coding would be needed, but that was a surprise. A bit of Googling revealed the trick: select Volkswagen Sound System instead of Skoda Sound System. That brought the speakers to life. Navigation also needed enabling in the CAN gateway.
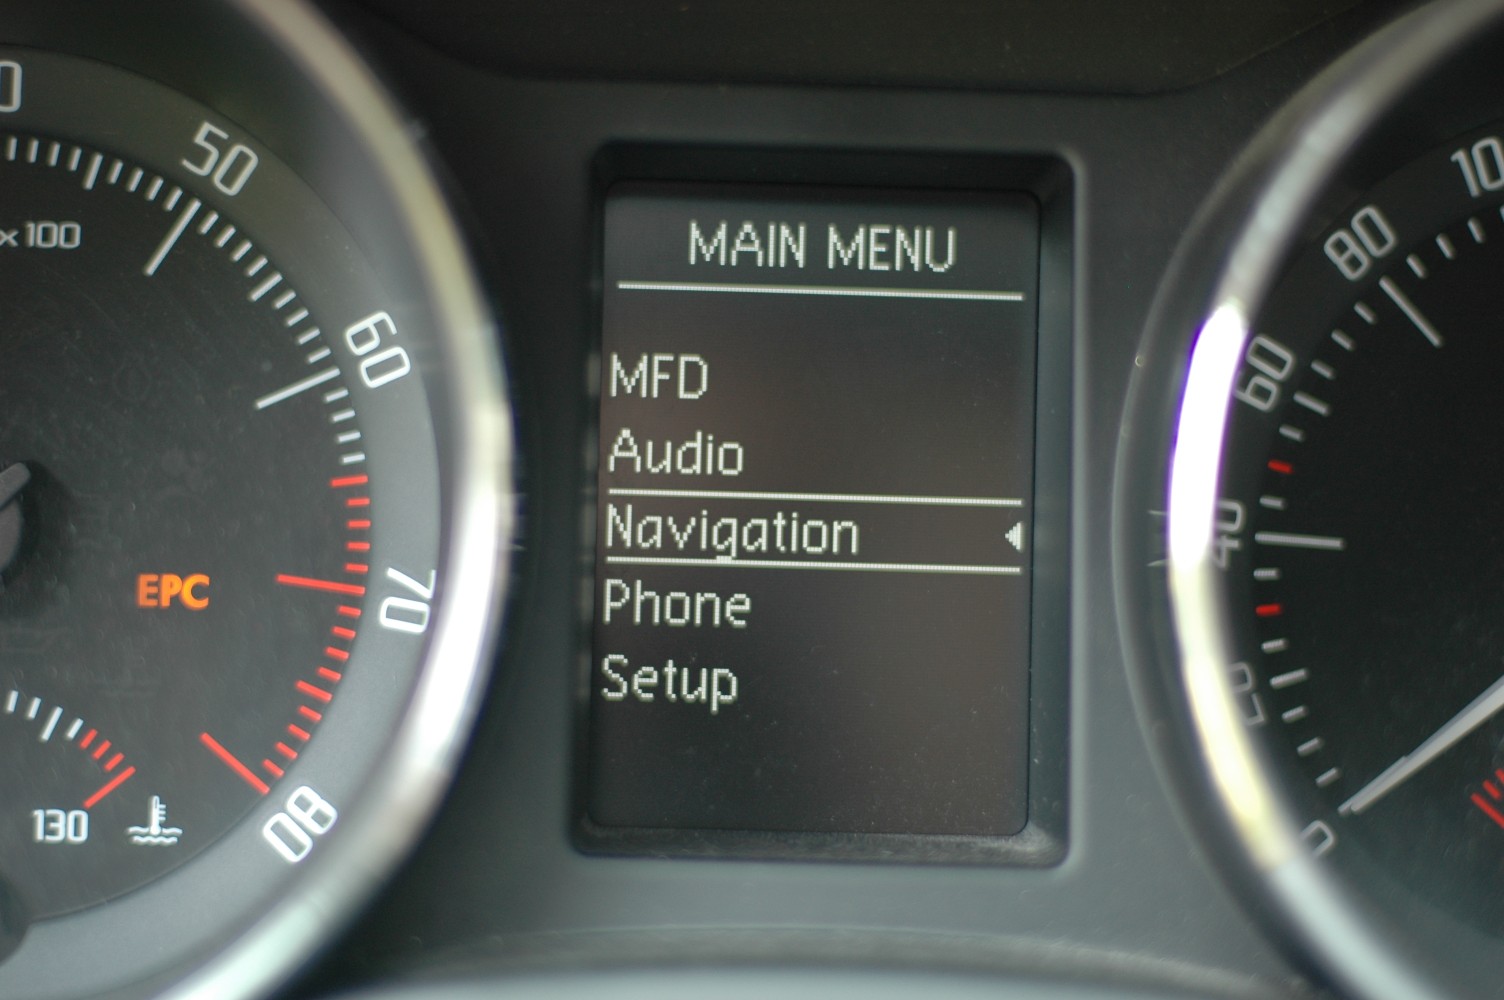
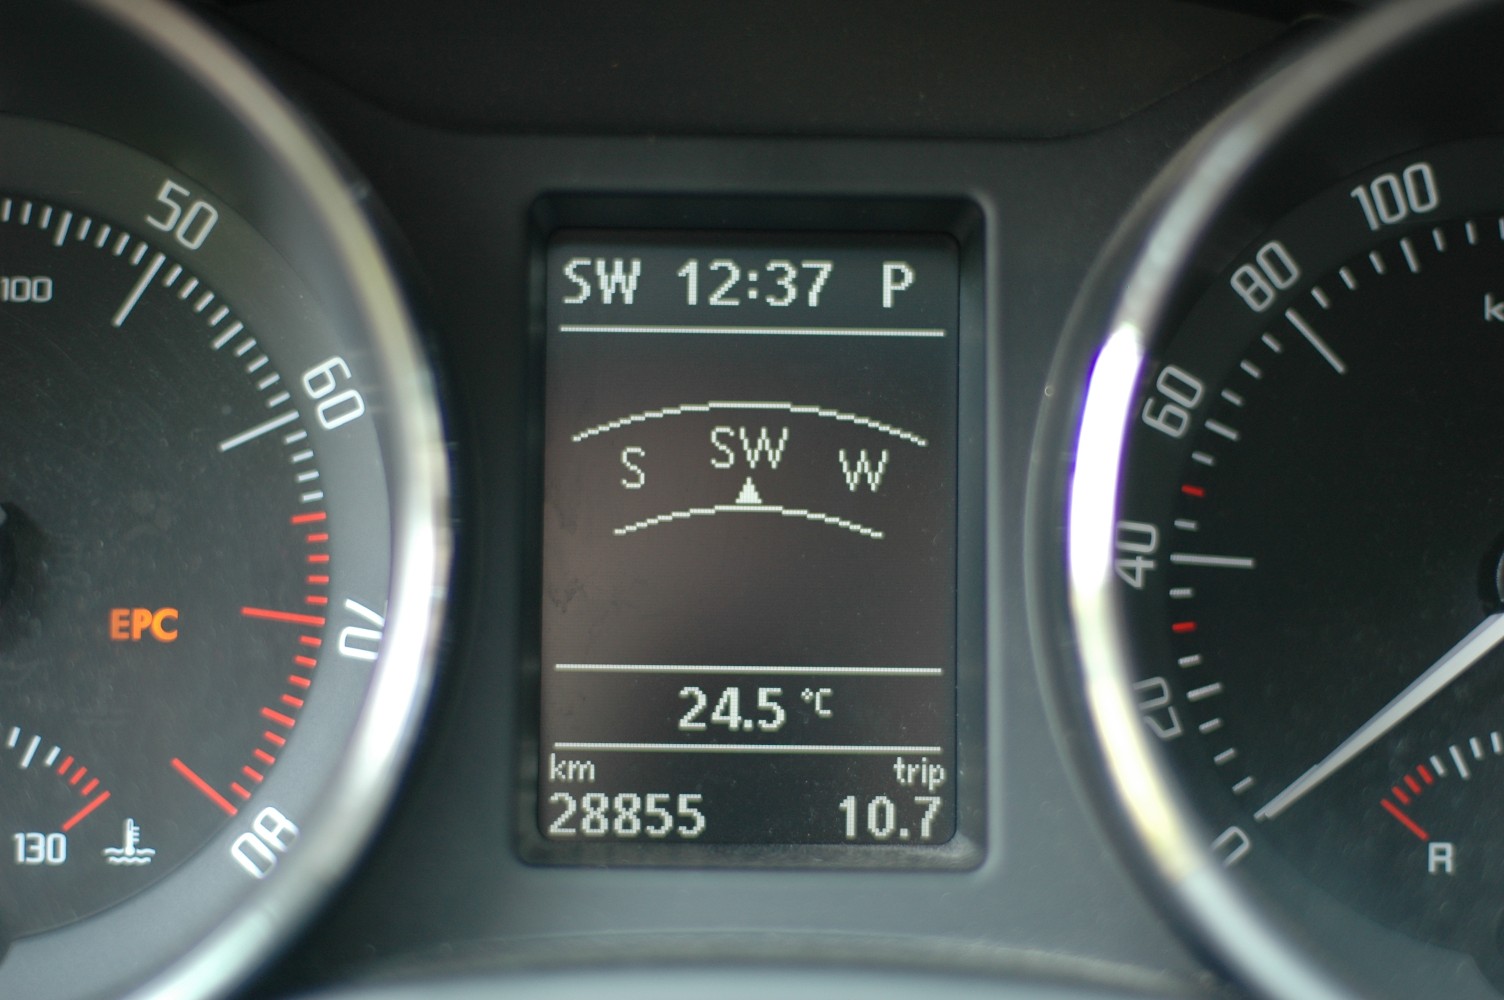
The Columbus brought some extra goodies to the instrument display too. The compass heading now appears beside the clock, and there's a compass screen plus turn-by-turn instructions and distance information when navigating. The maps on our eBay purchase seemed fairly recent. They were on the hard drive; no DVD came with it.
2011-07-28 · Washing the Superb
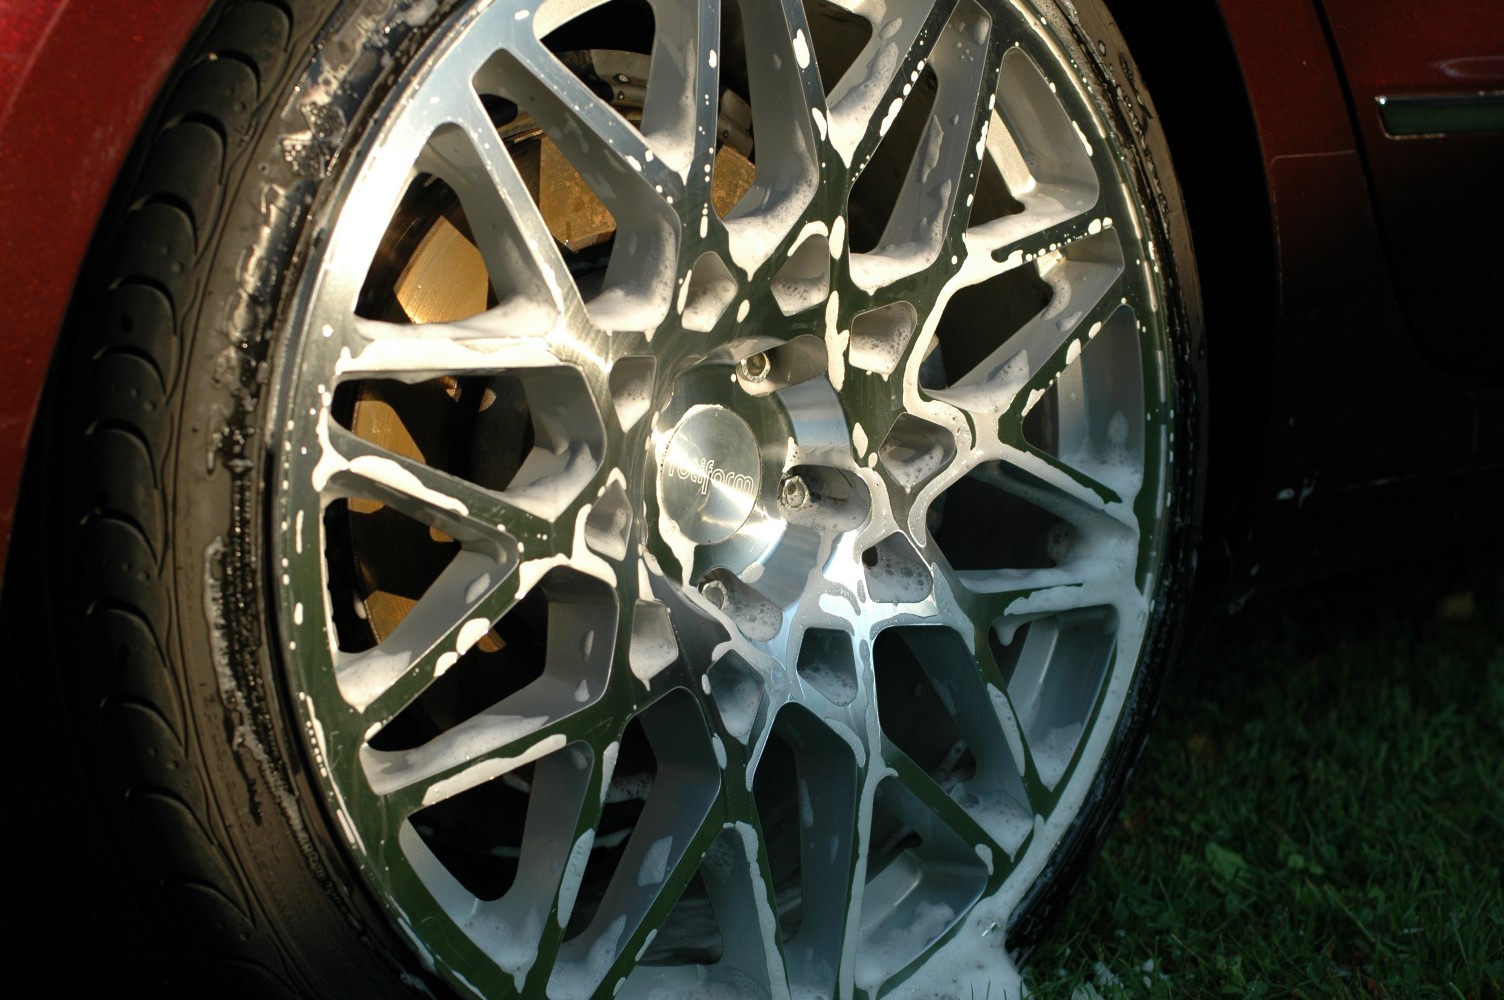
These wheels take some work to keep clean. So many tight corners. I need some sort of bottle brush for the inner corners of the outer lip and those angular openings further in…
2011-07-28 · Towbar for Superb
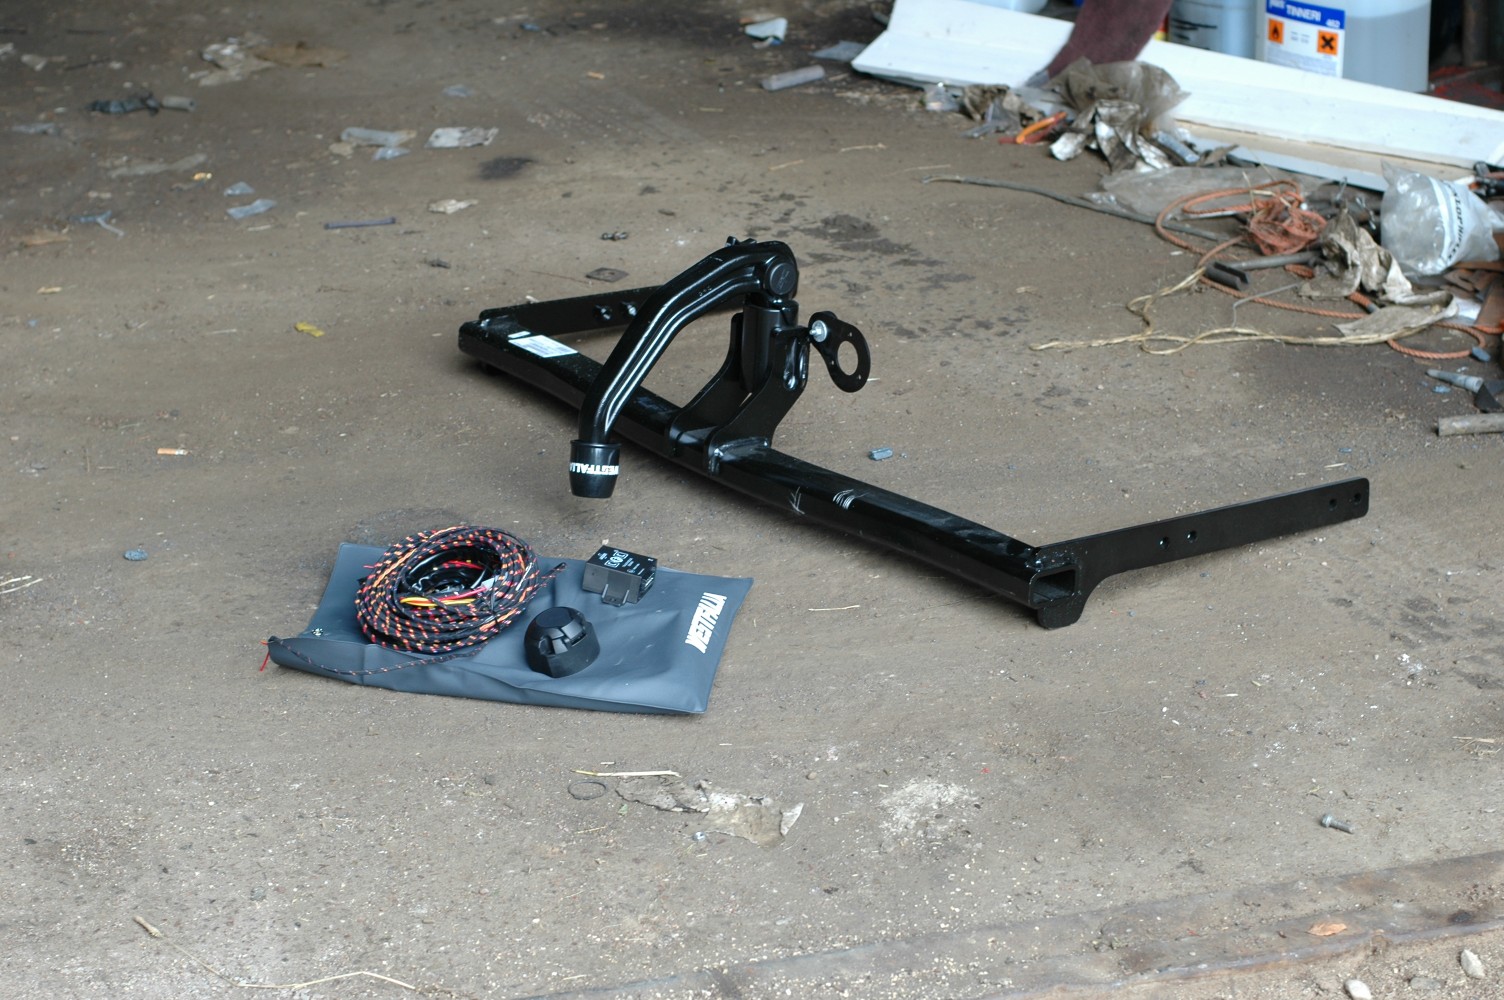
The Superb was missing a towbar, and the next rounds of the ffp Cup were coming up fast. Its 1,800 kg towing capacity makes it a handy support car for hobby-class racing: plenty for towing the Mk2 on a braked trailer.
Once again, eBay came through. A detachable Westfalia towbar and a Superb-specific wiring kit were soon on their way from Germany.
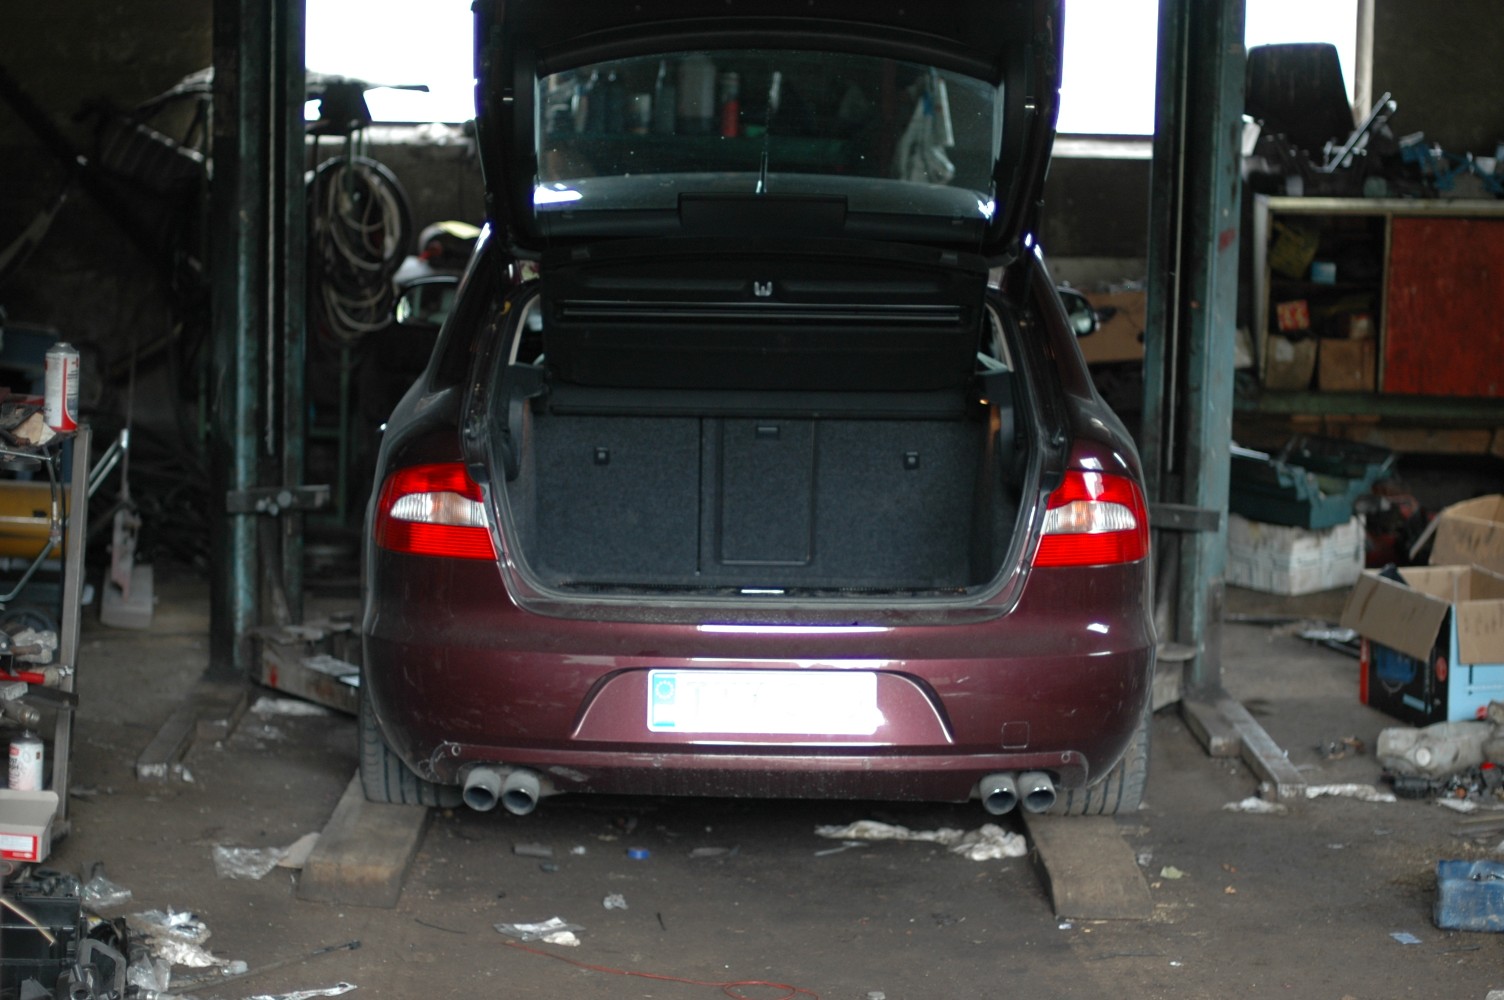
First, fitting the towbar itself. The bumper needs to come off, and a lift makes the job much easier.
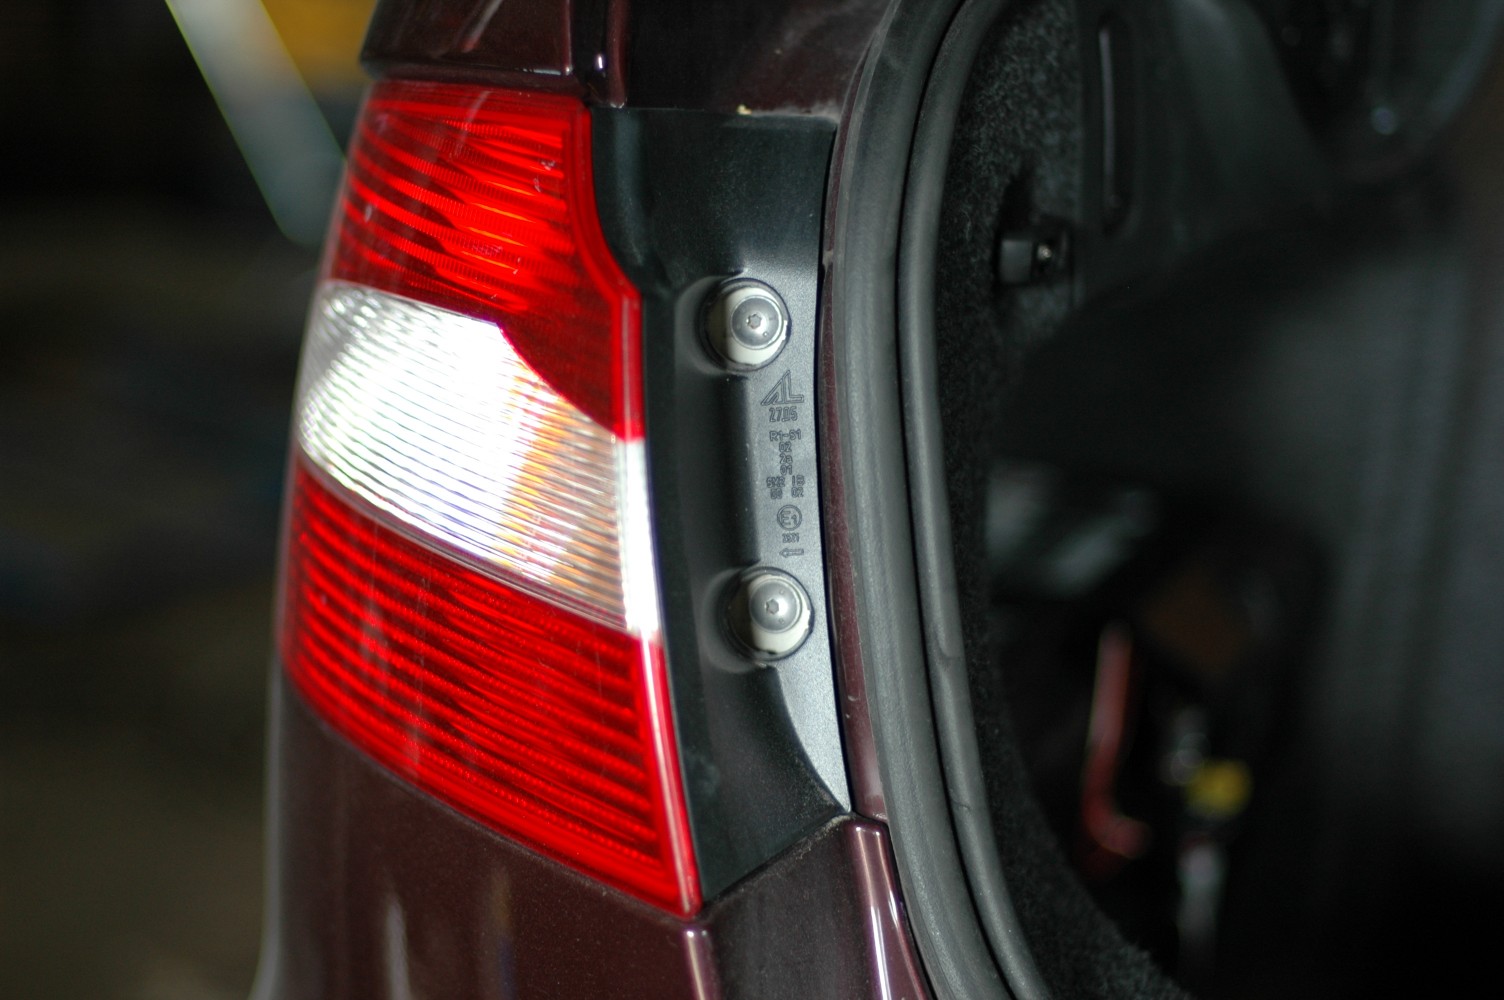
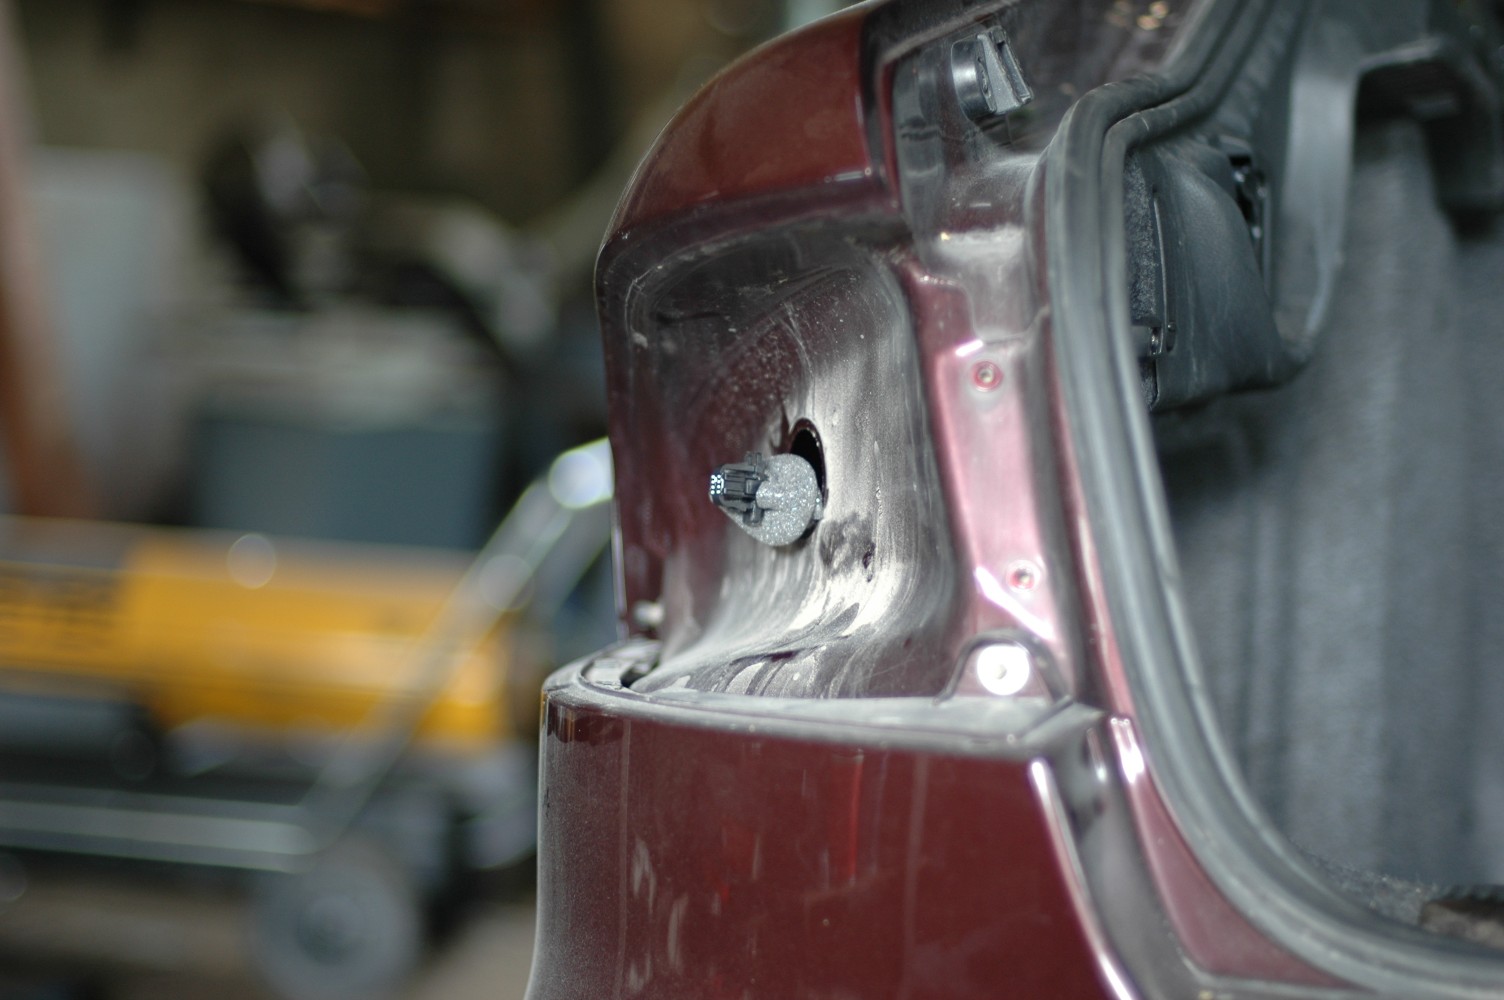
Some bumper fixings are behind the rear lights, so those come off first. Remove the covers to reach each light's two screws. The easiest place to disconnect the wiring is at the connector behind the grommet through the body.
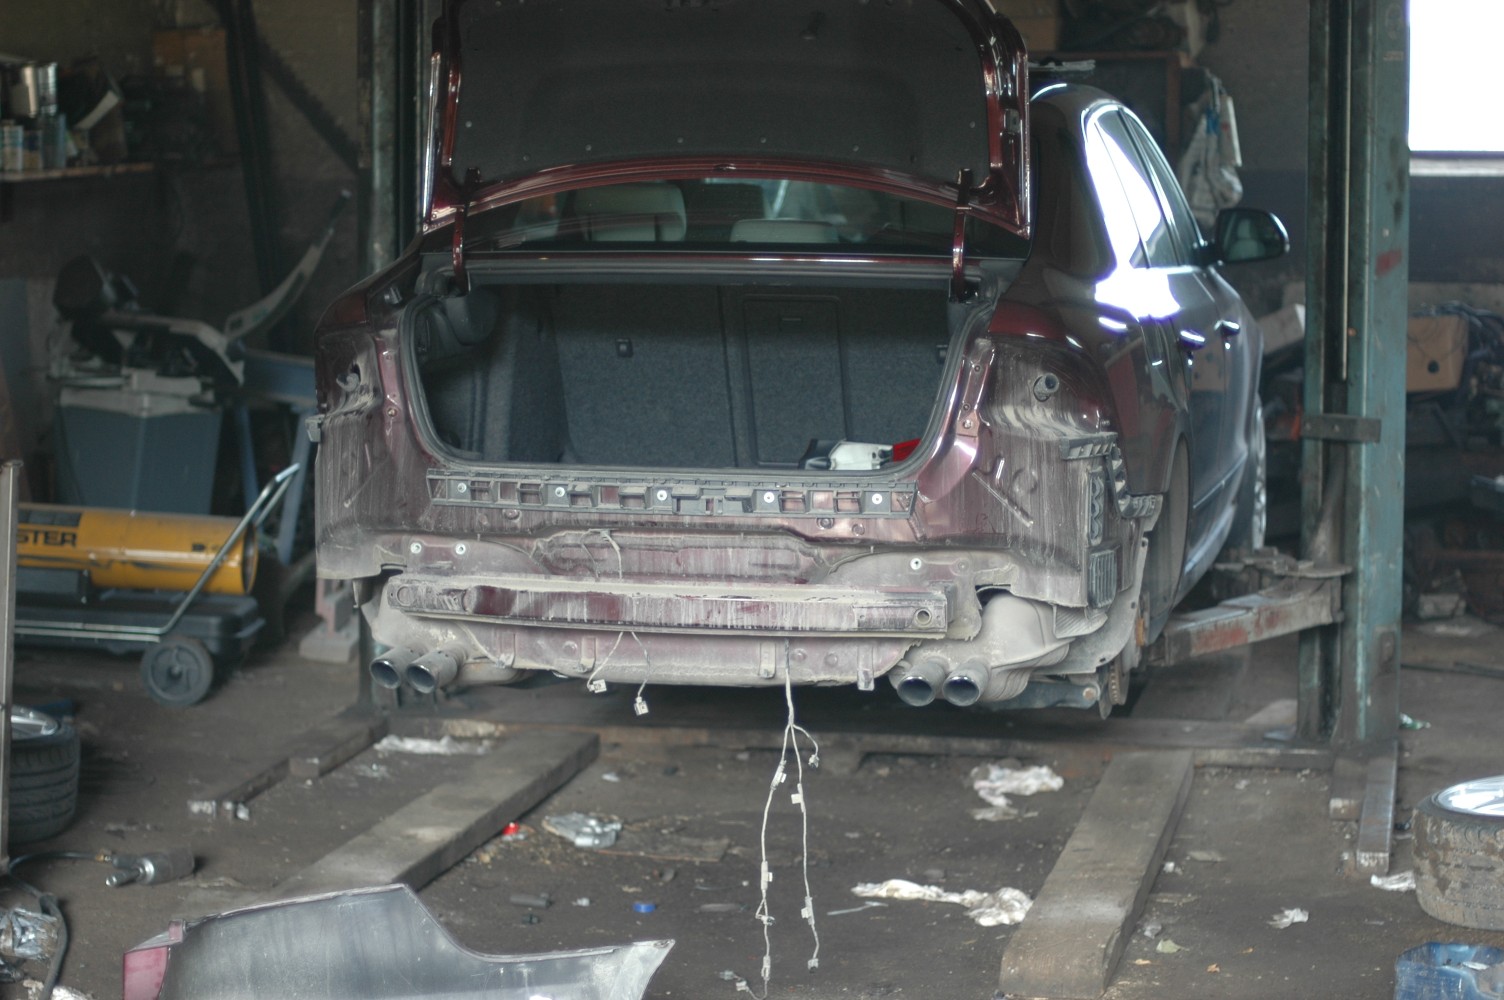
Behind each rear light are three plastic pins and 10 mm nuts. Then there are four Torx screws underneath, and four more in each wheel-arch liner. The top one is well hidden behind the liner. Carefully pull the bumper free, remembering the number-plate light wiring and parking-sensor loom.
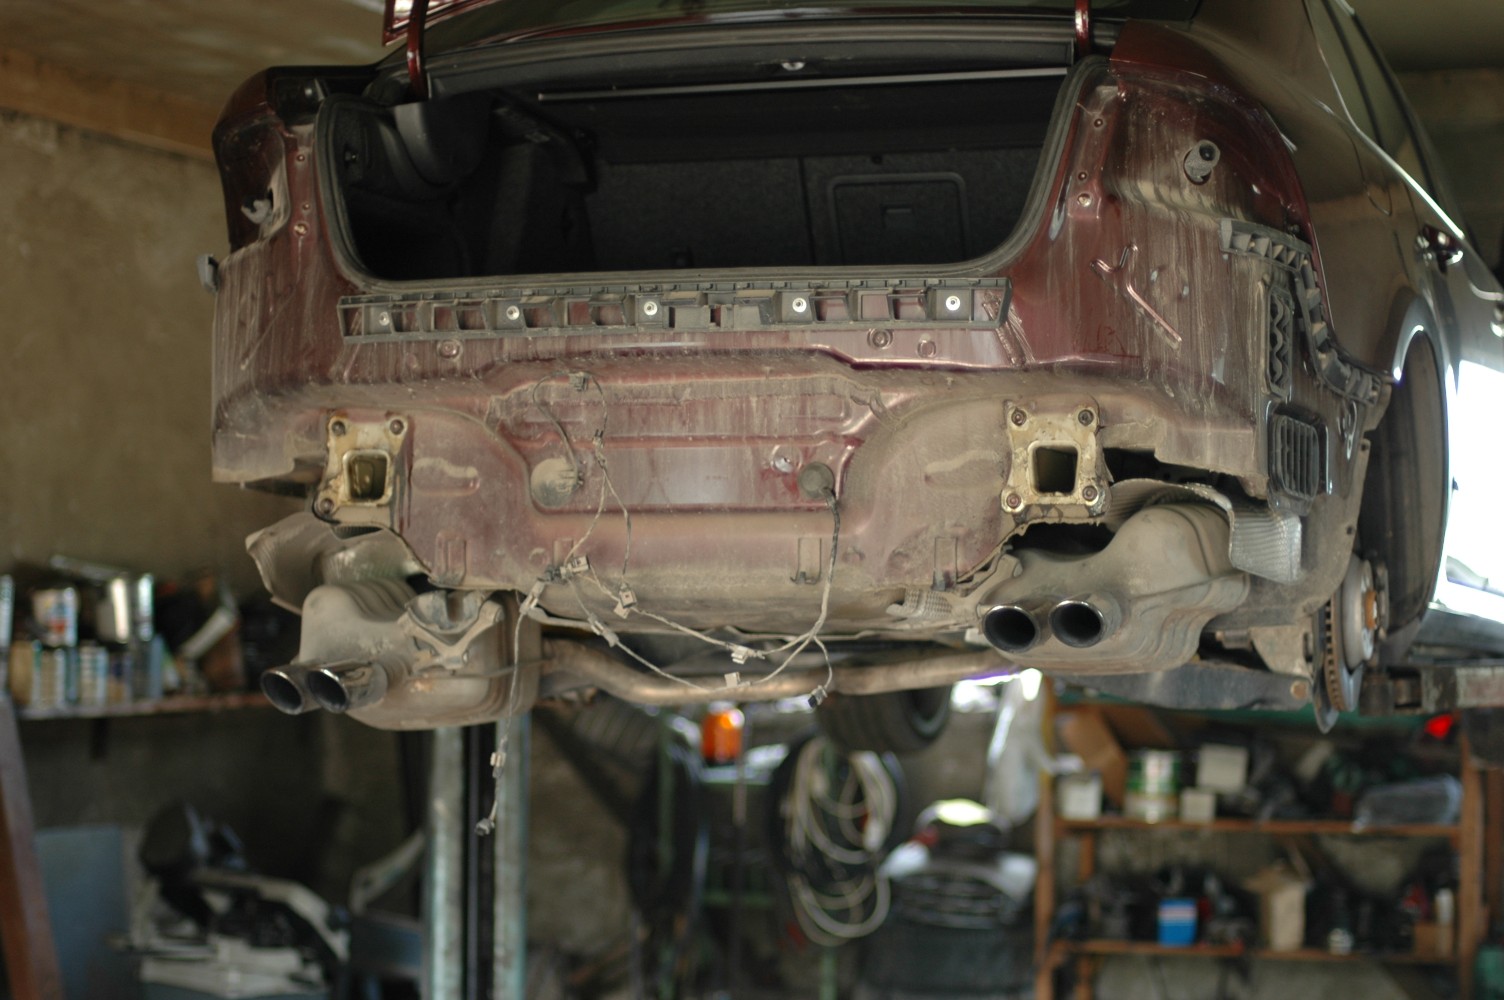
The old bumper beam comes off and won't be needed again. Rustproof the exposed surfaces underneath — the fitting instructions specifically mention this. The photo also shows the exhaust and heat shields lowered: release the rear exhaust hangers and two heat-shield fixings on each side.
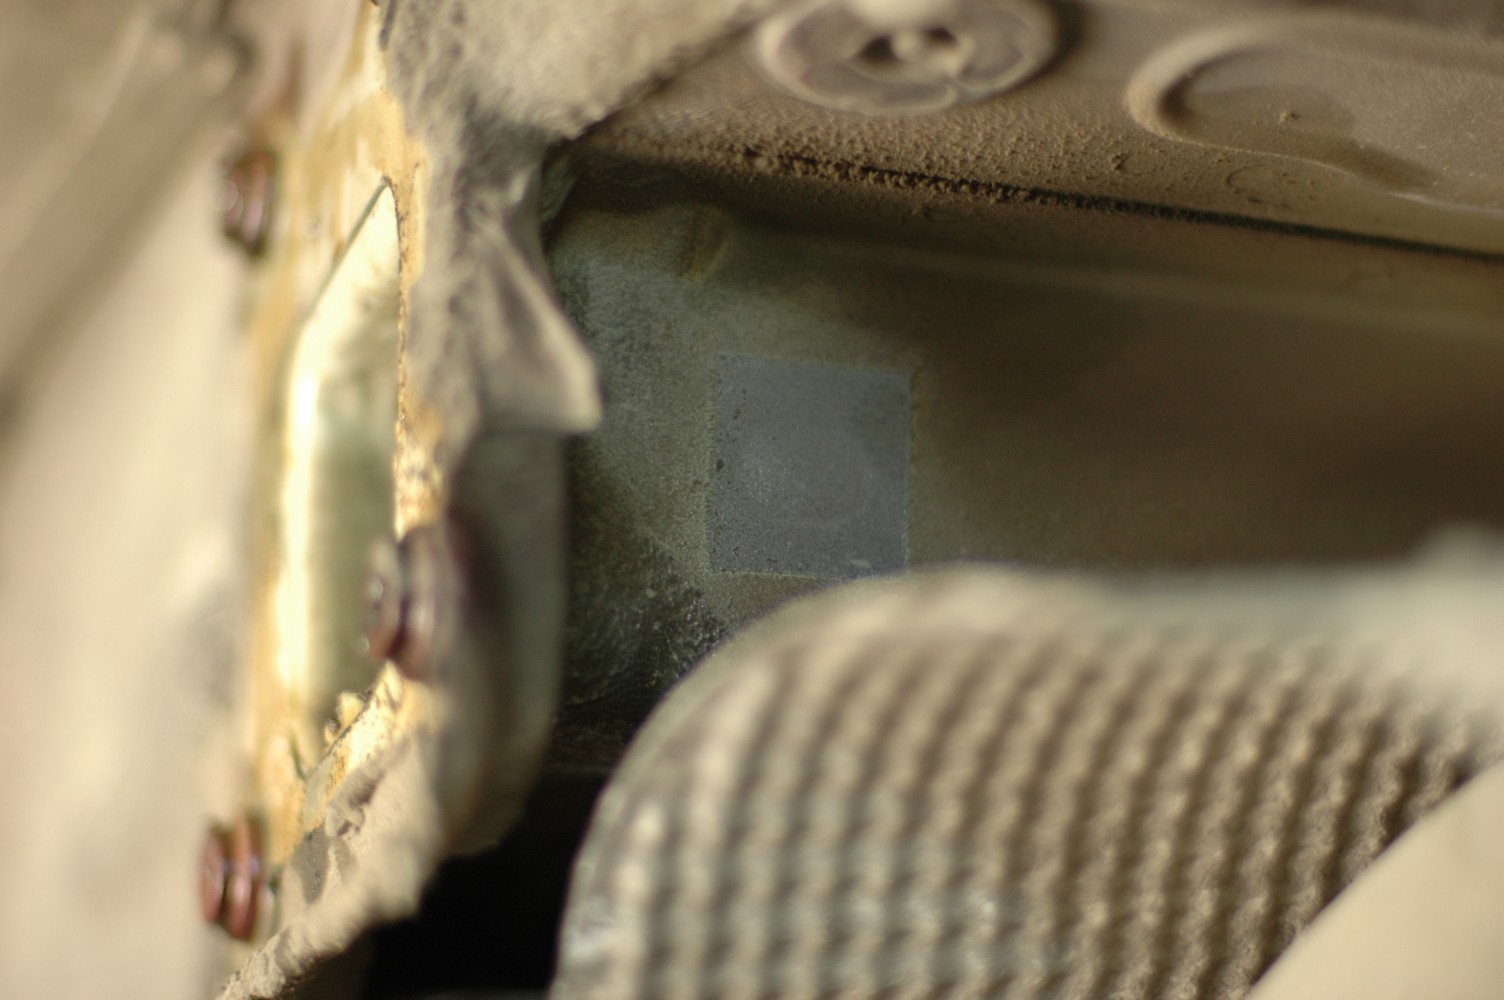
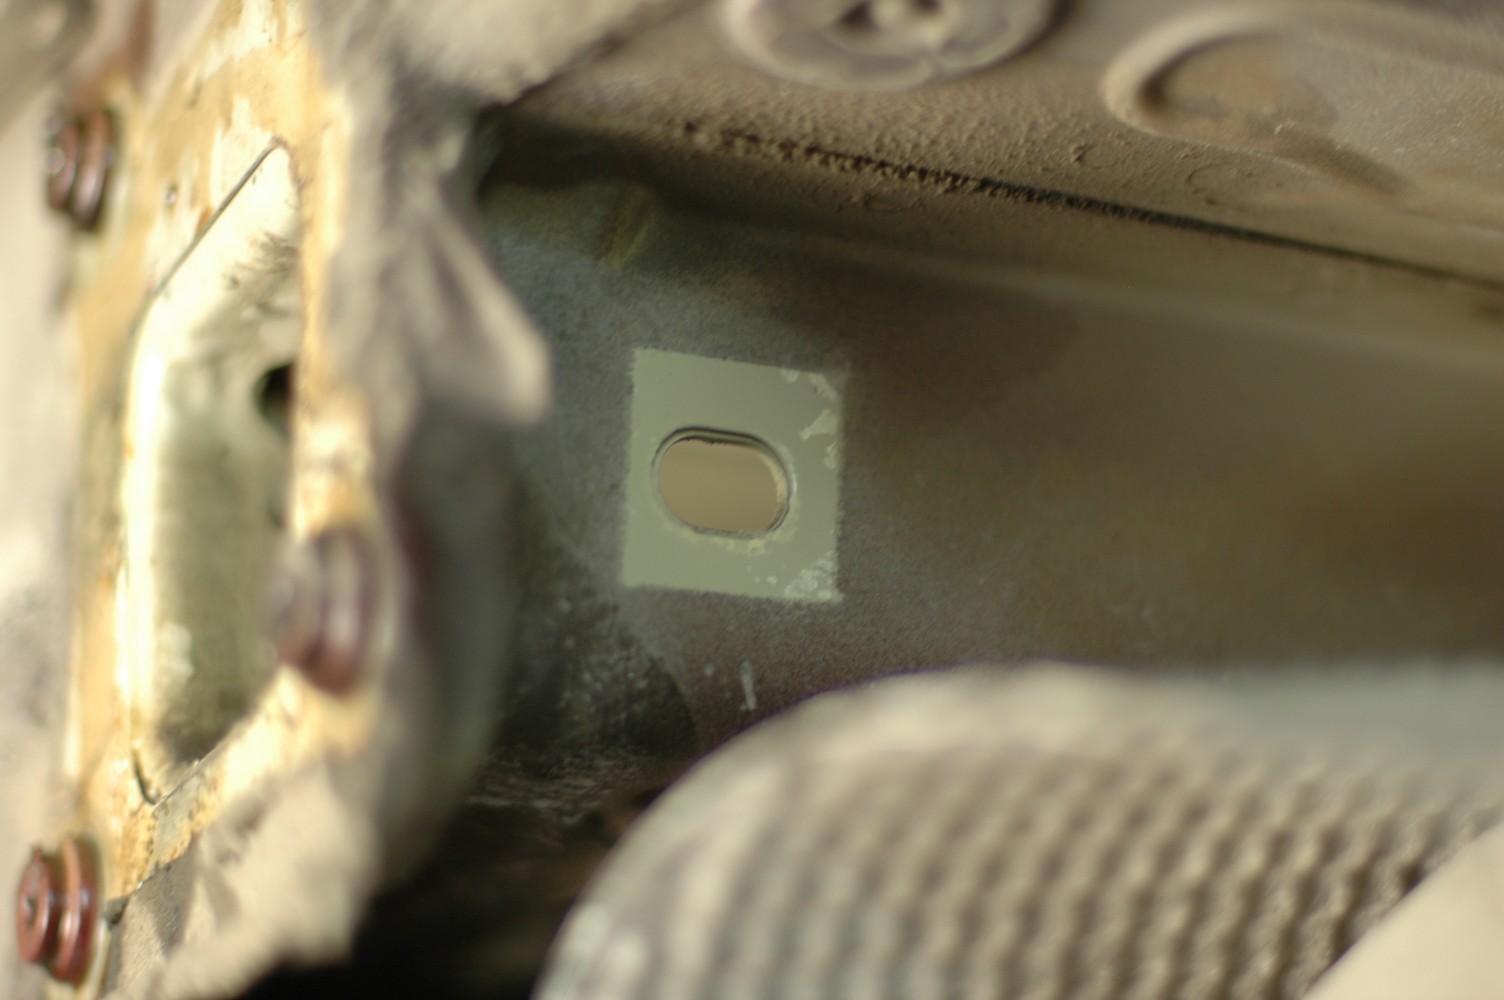
Lowering the exhaust and heat shields exposes the taped-over access holes into the chassis rails.
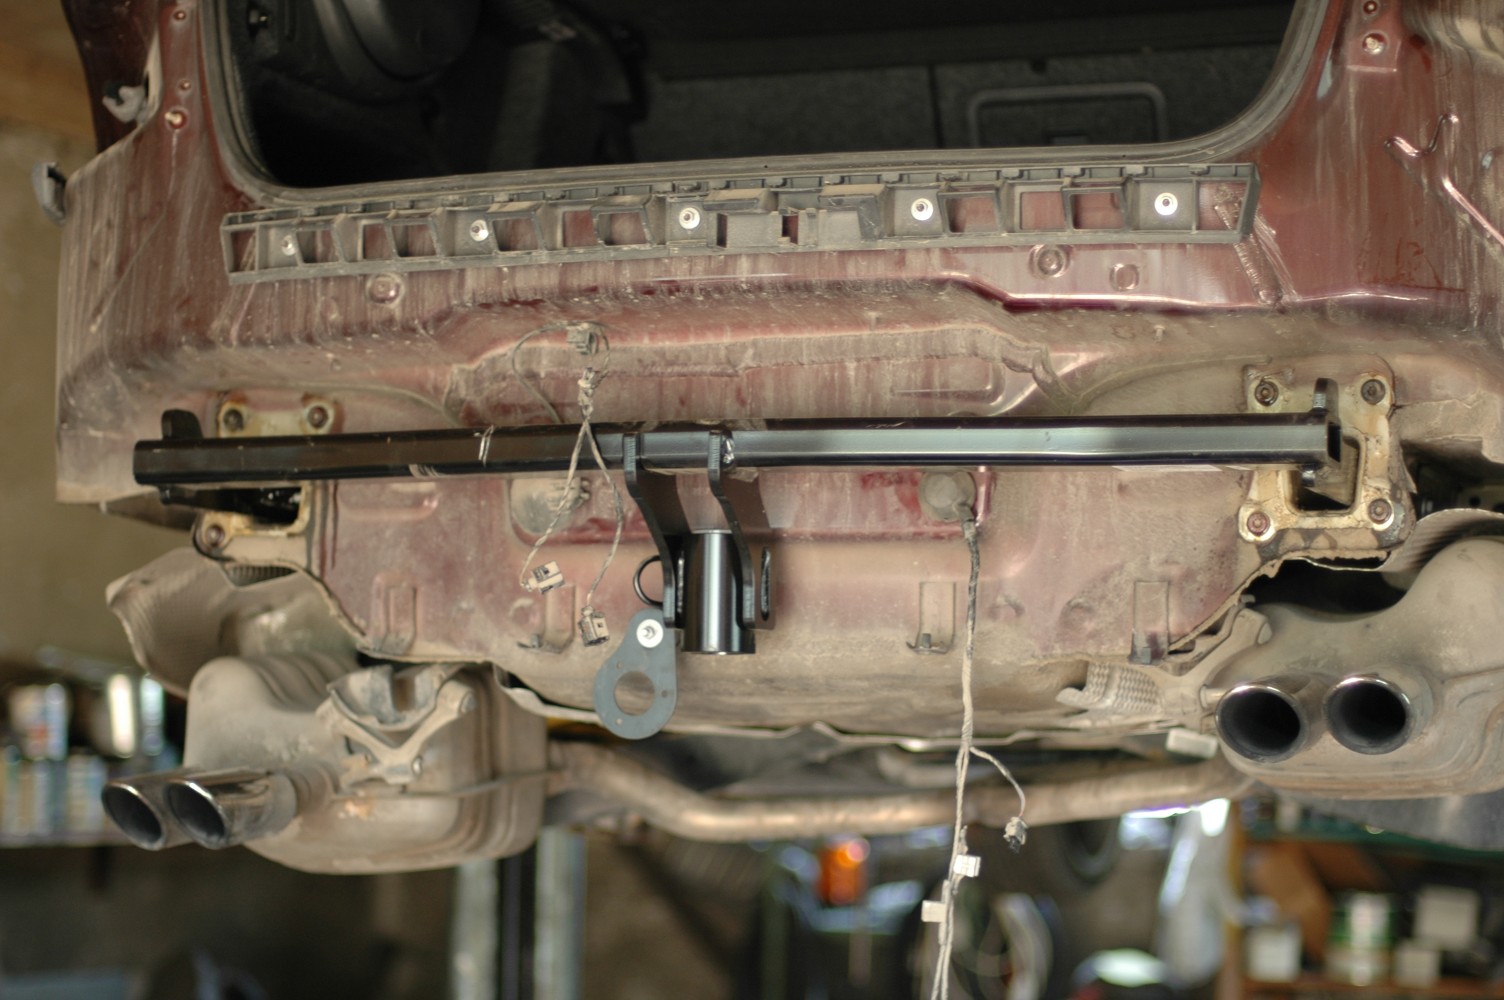
Bolt the towbar crossmember in as instructed, then refit the heat shields and exhaust.
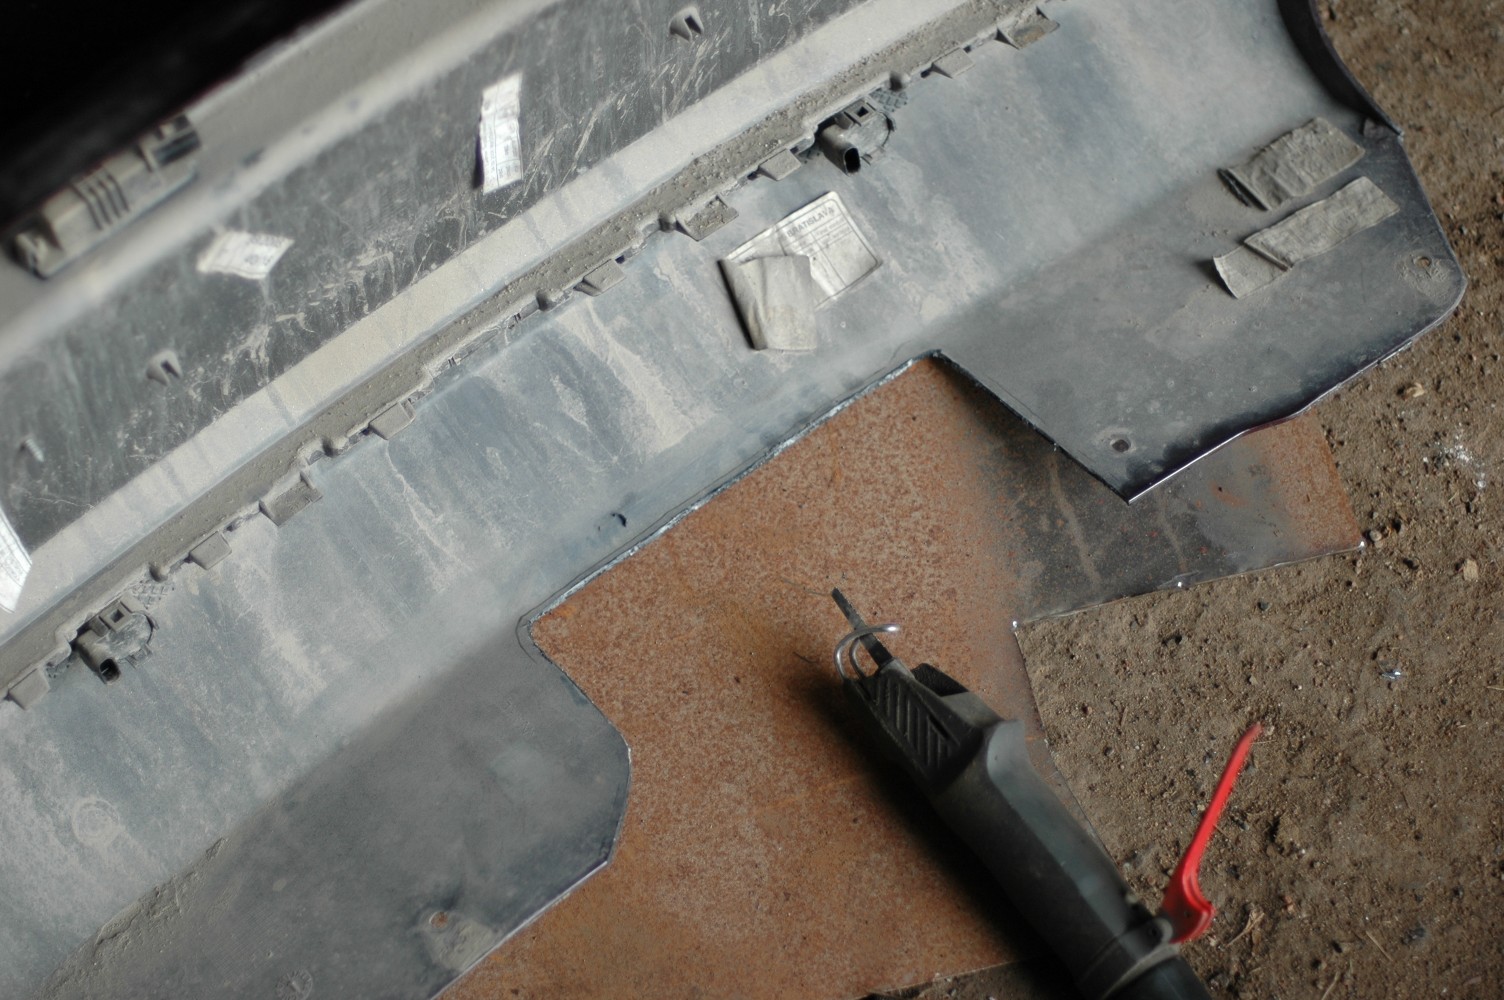
The rear bumper needs a cut-out for inserting the detachable towball and folding down the socket. Luckily, there's a mould line inside to follow. A car with the factory towbar would have the same cut-out.
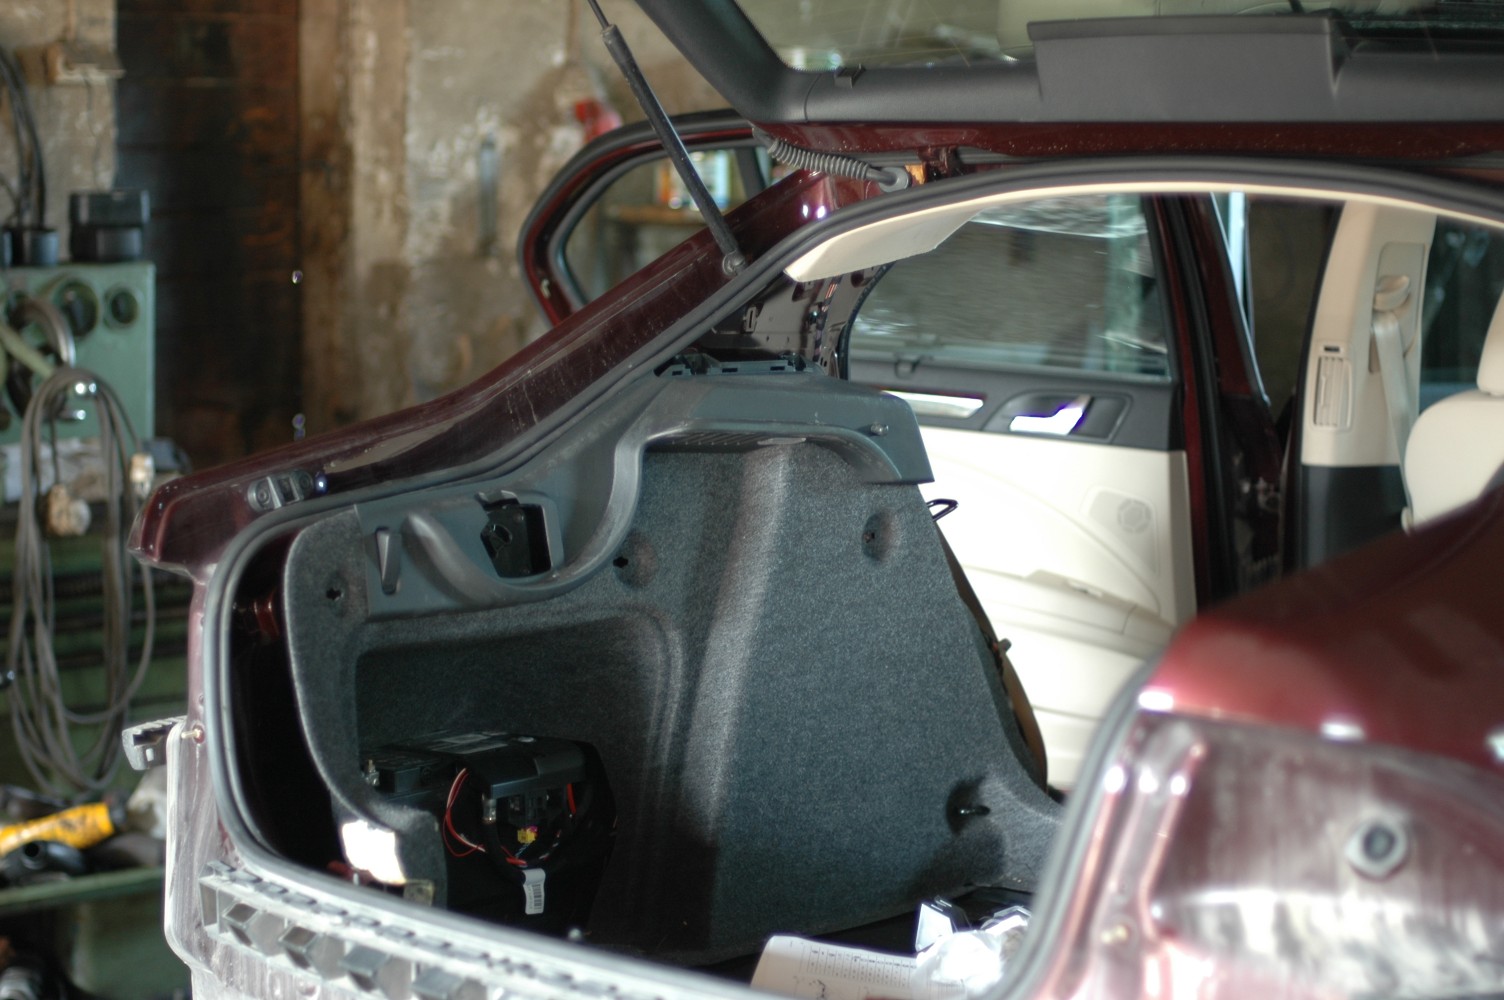
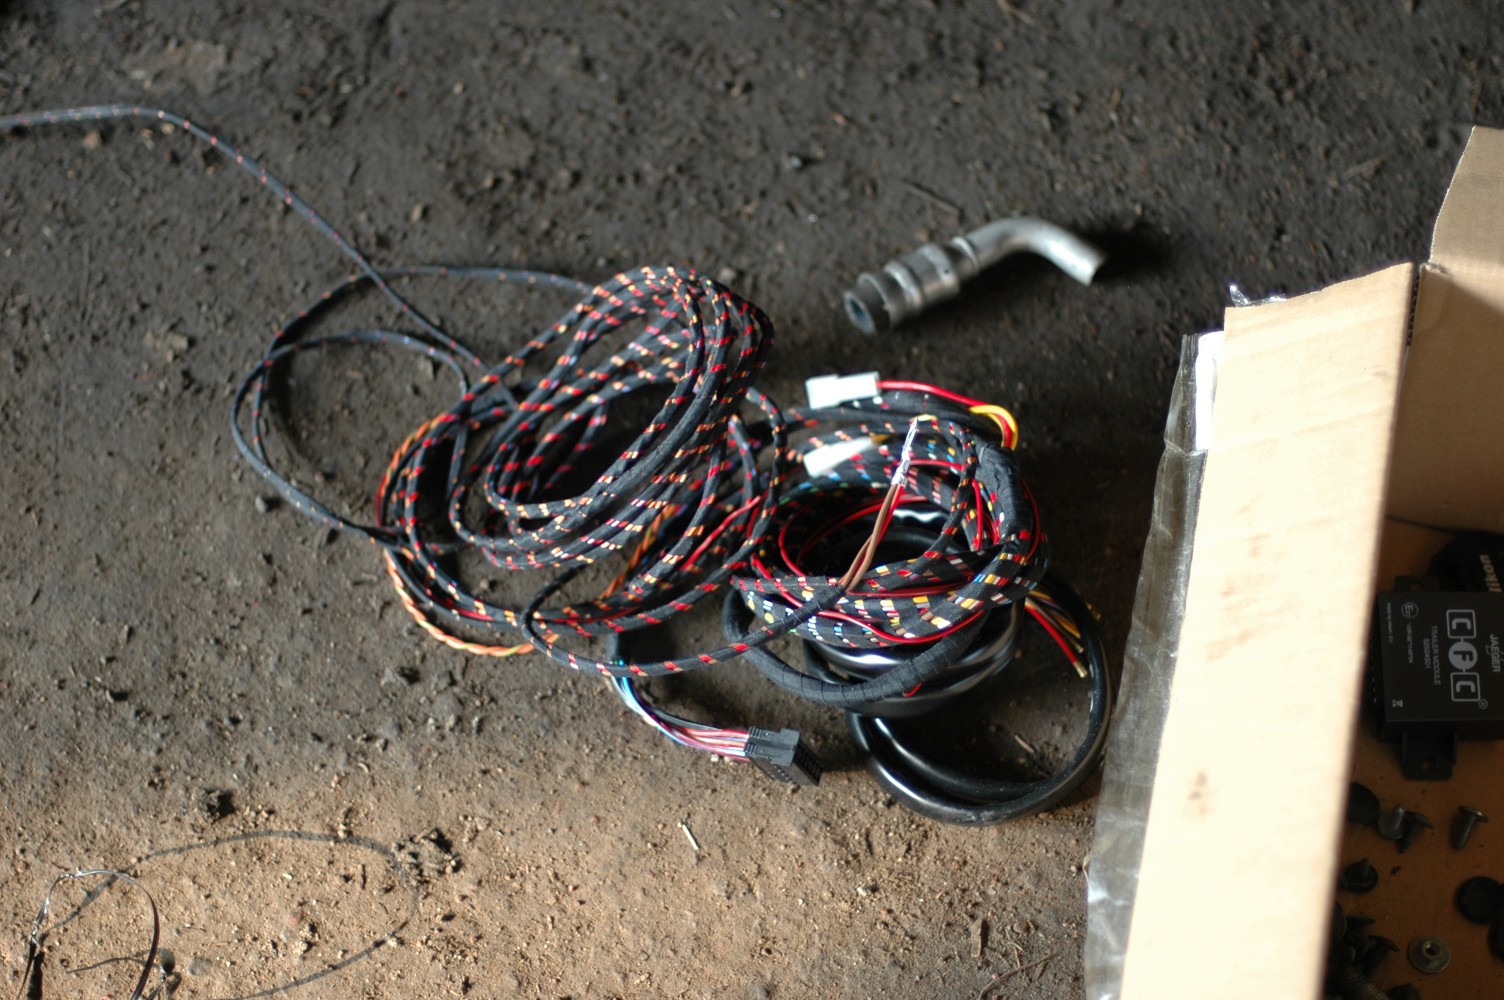
The wiring starts with stripping the trim. A car this new has CAN-controlled lighting, and the ESP wants to know when a trailer is attached. That means running the loom all the way to the dashboard. Plenty of dismantling ahead. Fitting the towbar itself was the easy part compared with the electrics.
Out of the boot came the floor trim, rear trim and left-hand side trim. The upper C-pillar trim needed a firm pull first. The grey side panel in the photo has screws along the top and behind the bag hook at the rear, plus three smaller hooks. Carefully prise off their well-disguised covers to remove those.
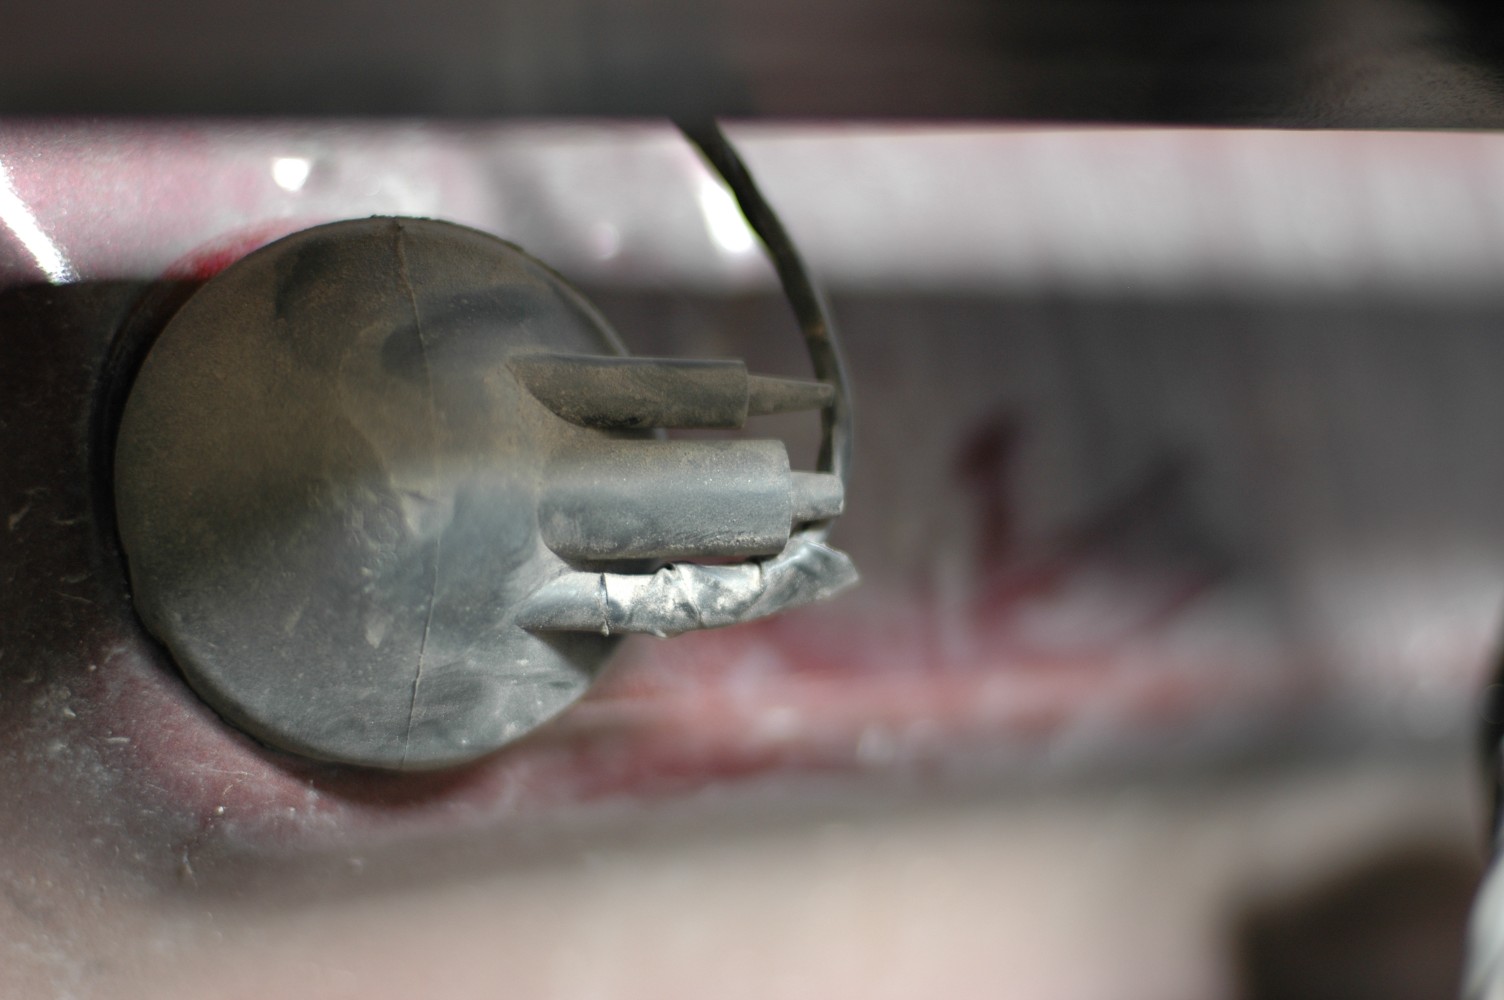
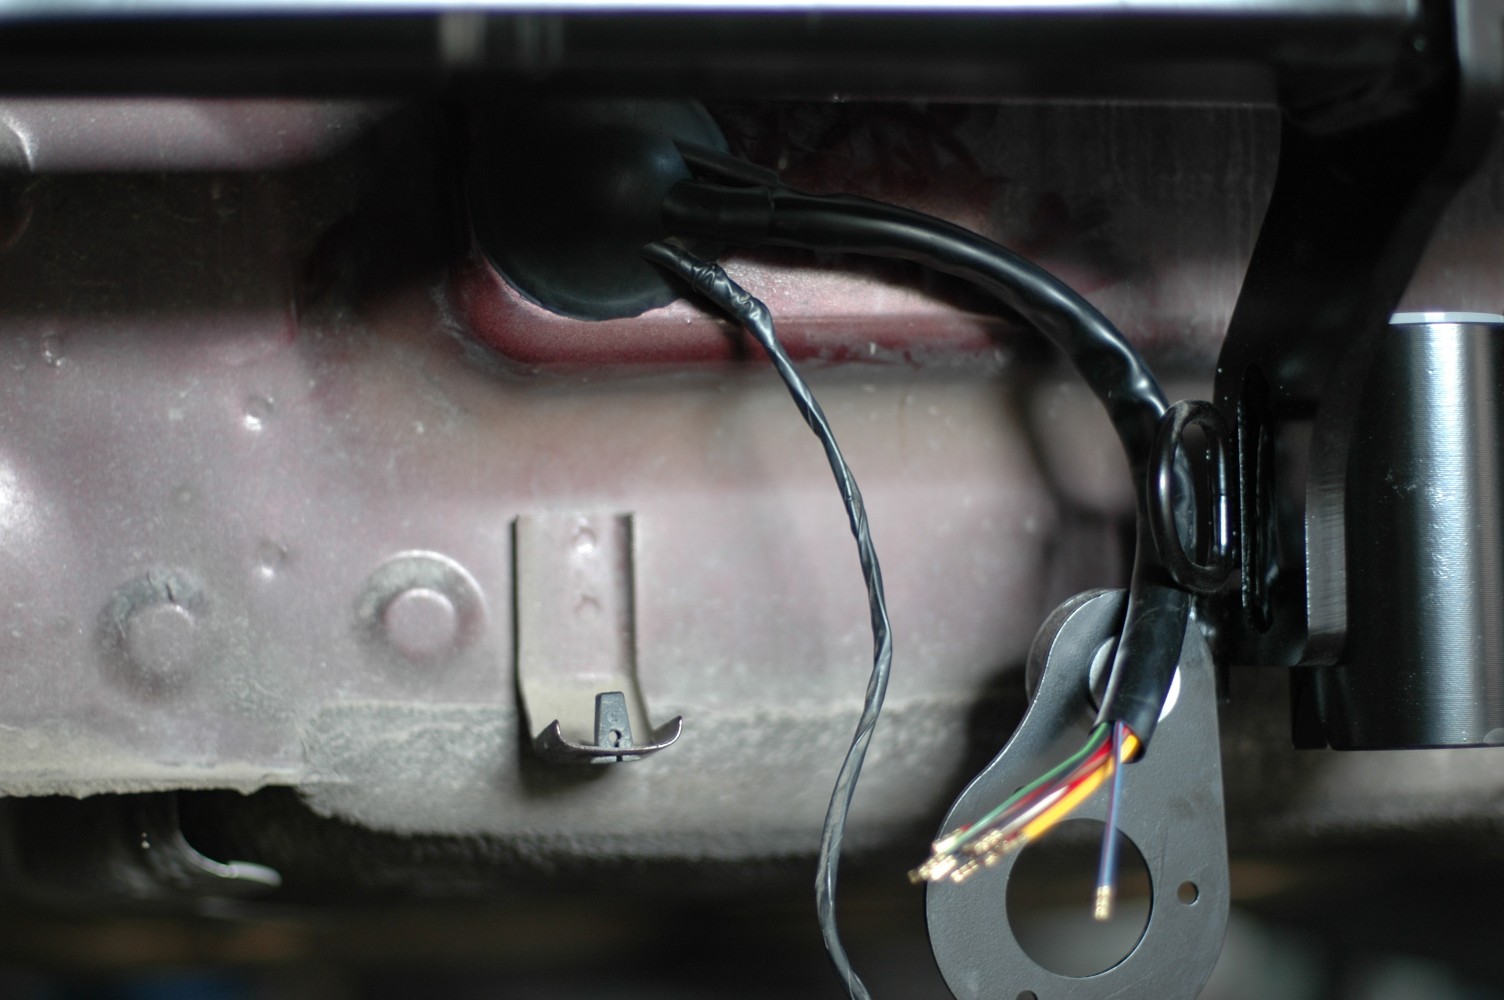
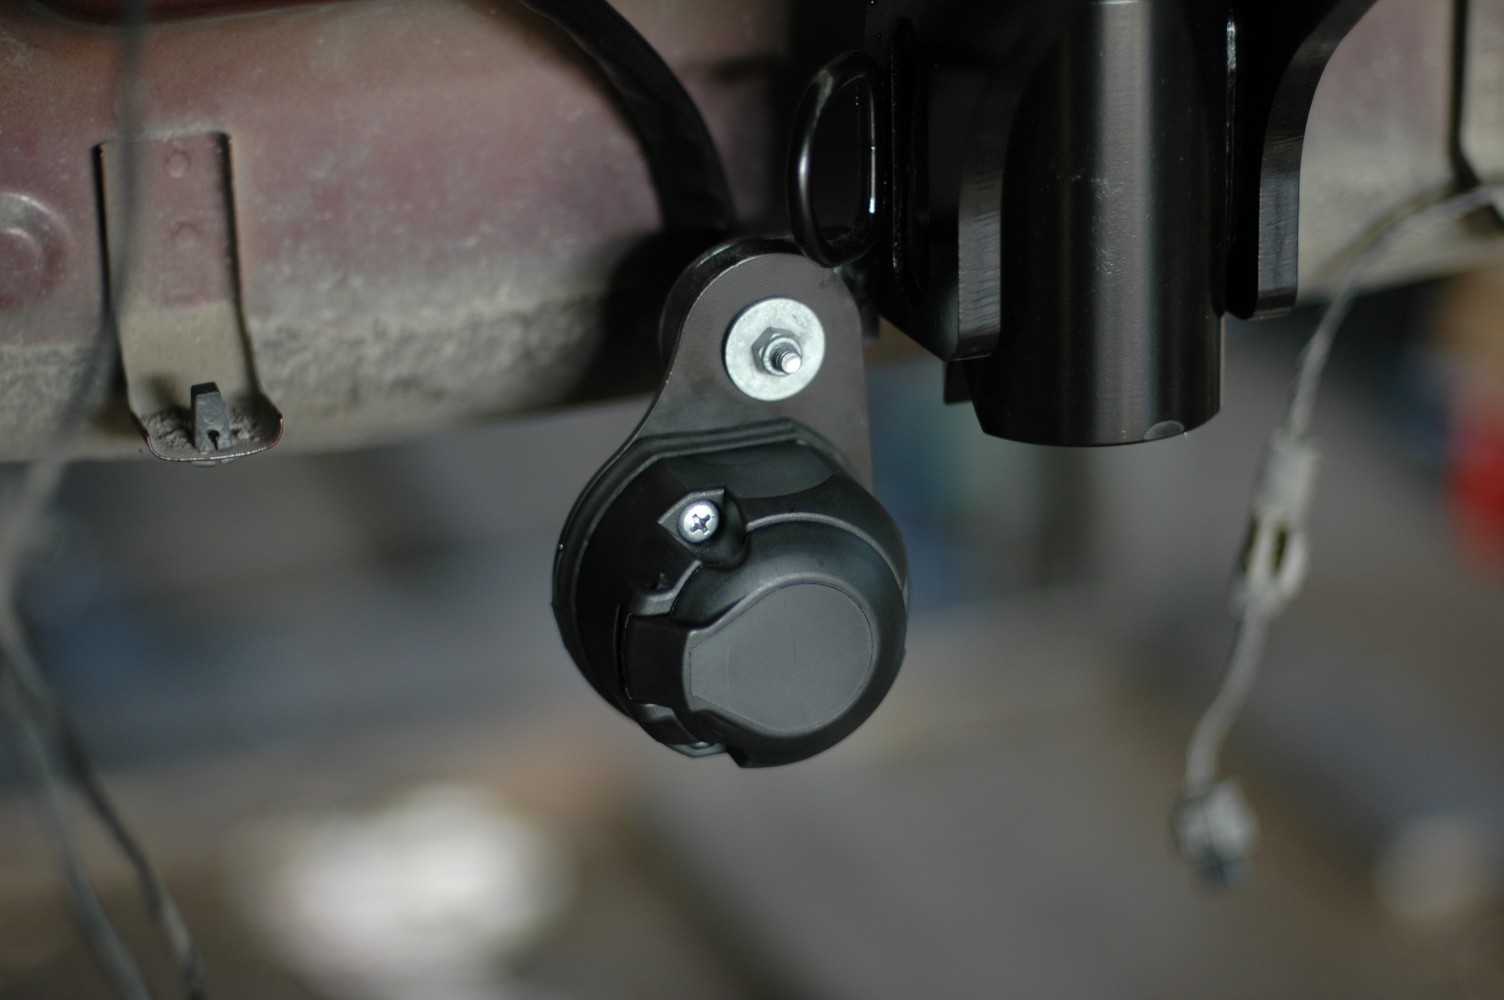
The socket wiring fits through the same grommet as the number-plate light wires. Cut off the larger central projection and use some lubricant to feed the wires through. Wiring the socket is straightforward with the instructions. We chose 13 pins just in case; an adapter for the traditional seven-pin trailer plug was included.
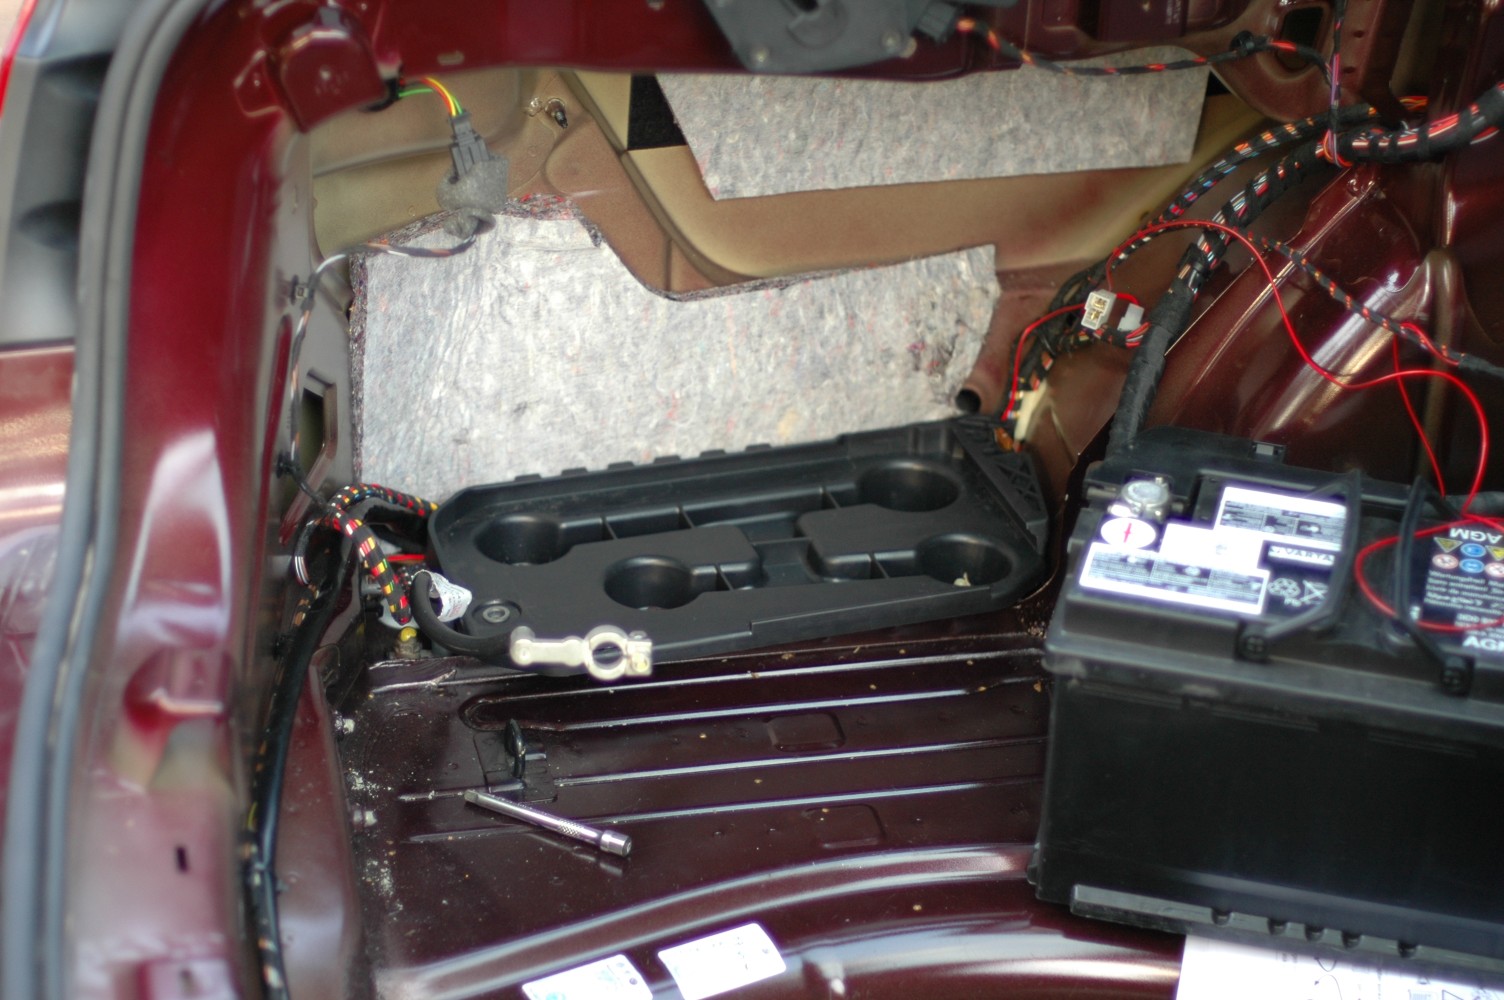
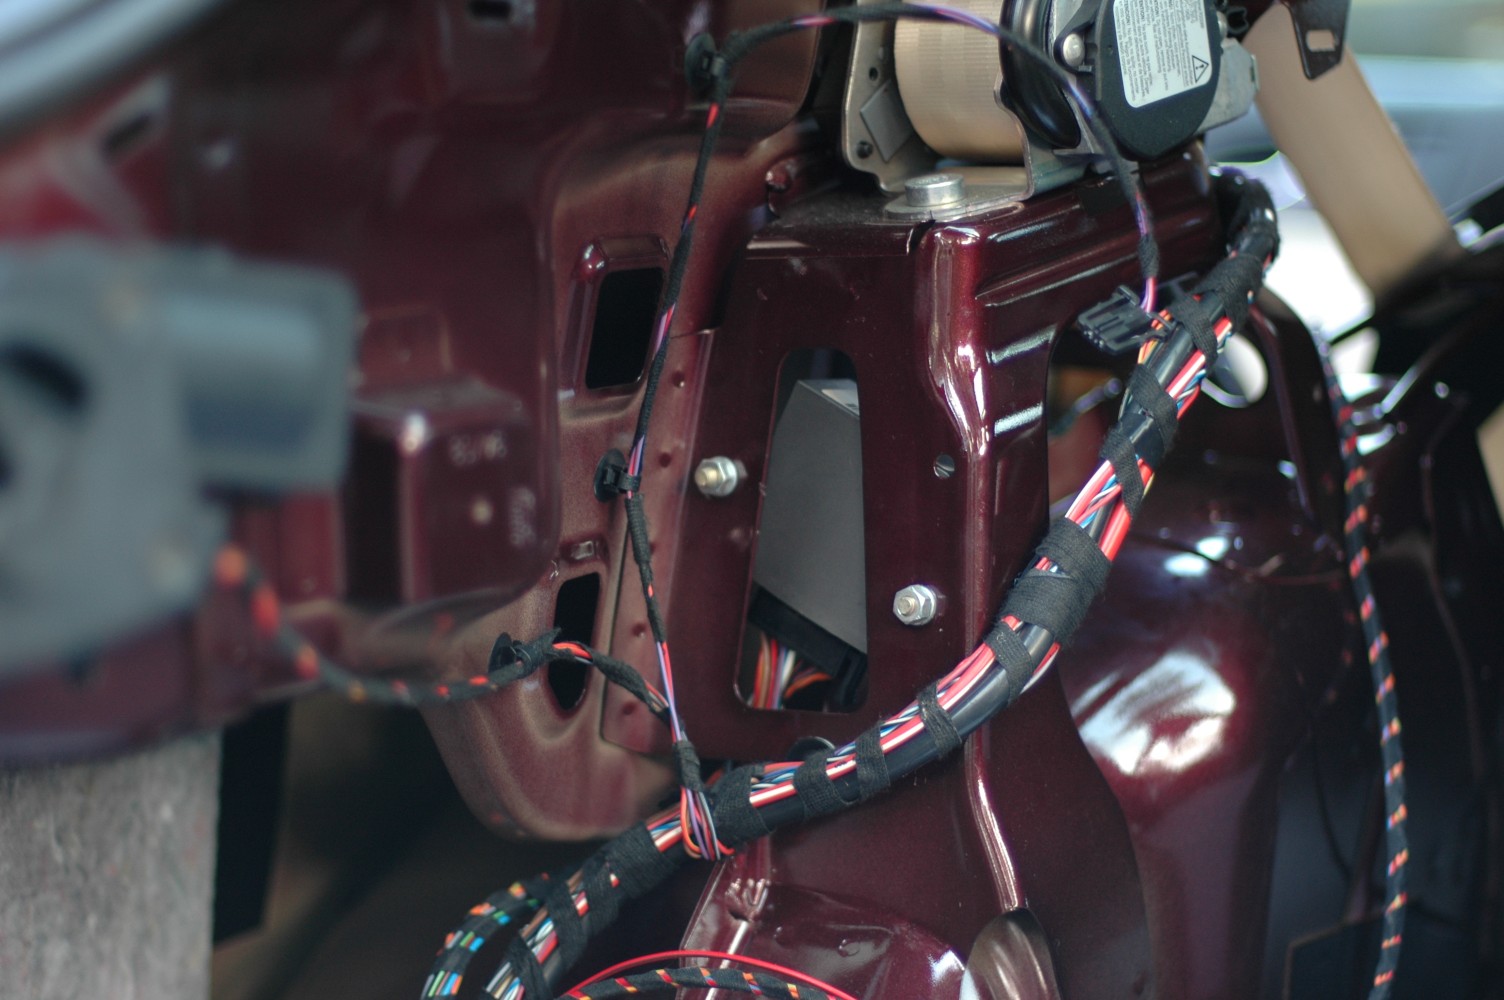
Inside the boot, we followed the original wiring loom. The kit's generic loom was at least a metre too long, but the excess tucked neatly under the battery tray. There were suitable holes for the CAN module, though its mounting holes needed filing into slots. Following the instructions, we picked up the high-level brake-light signal near the top of the C-pillar. The instructions suggested an insulation-displacement tap, but I soldered that connection.
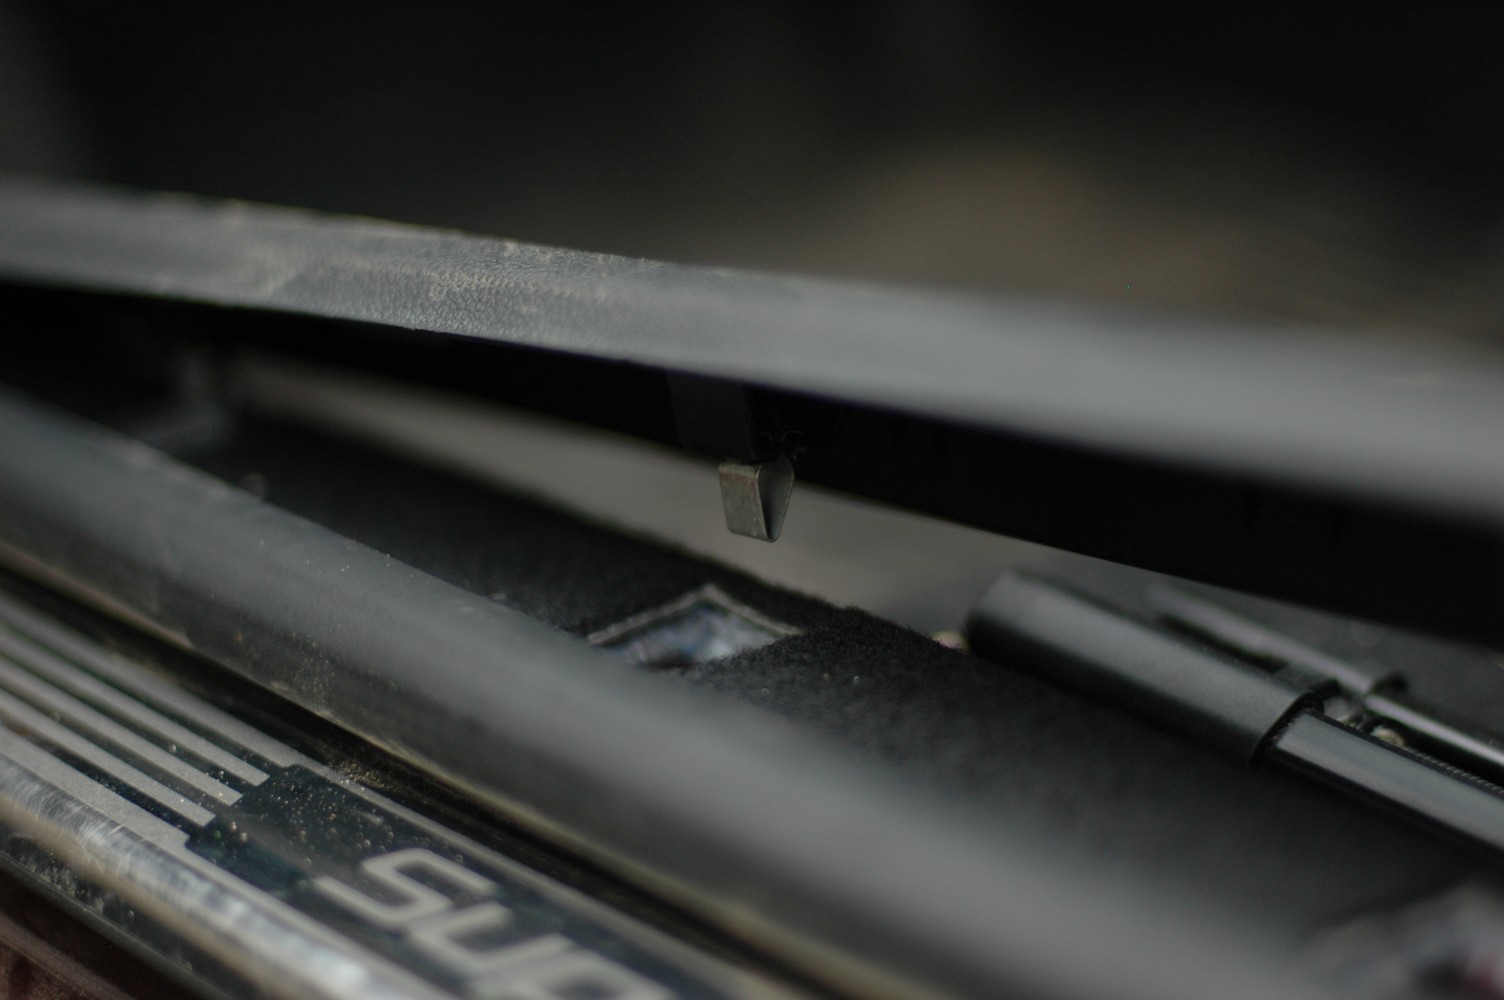
Not many photos of the rest. Most cabin trim comes off with a firm pull. Remove the upper B-pillar trim before the lower piece, and take care around the air vent. The sill trims mostly use the familiar metal clips. A hidden retaining clip behind the bonnet-release handle needs prising out.
The instructions called for power connections in the engine bay, but we used empty positions in the car's fusebox instead. The CAN wires were connected with insulation-displacement taps as instructed. Going straight to the terminals or soldering would have been neater, but it was late and laziness won that round.
Finally, we coded the towbar installation with VCDS as instructed.
2013-01-06 · Side repairs for the Superb
We didn't spend the whole Christmas holiday building Lego. The Superb had picked up a parking scrape just before Christmas, and the quiet holiday period was a good chance to put it right.
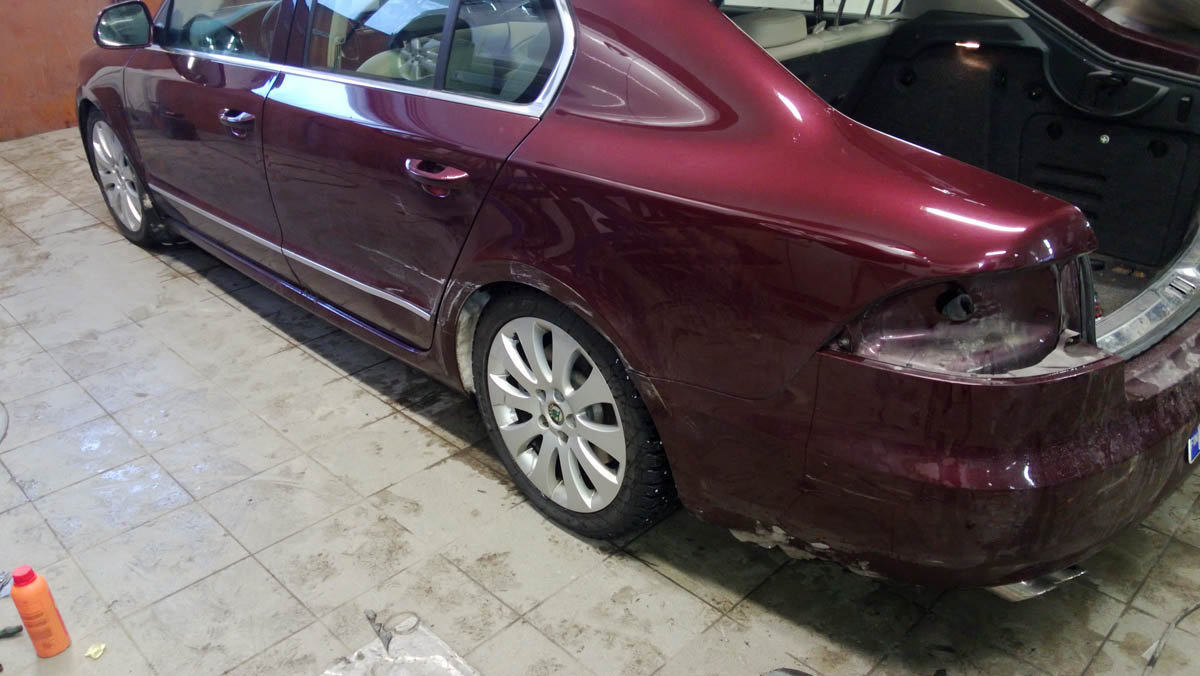
So the left side took a hit. It was decided to replace the door and otherwise straighten and paint the side and rear bumper.
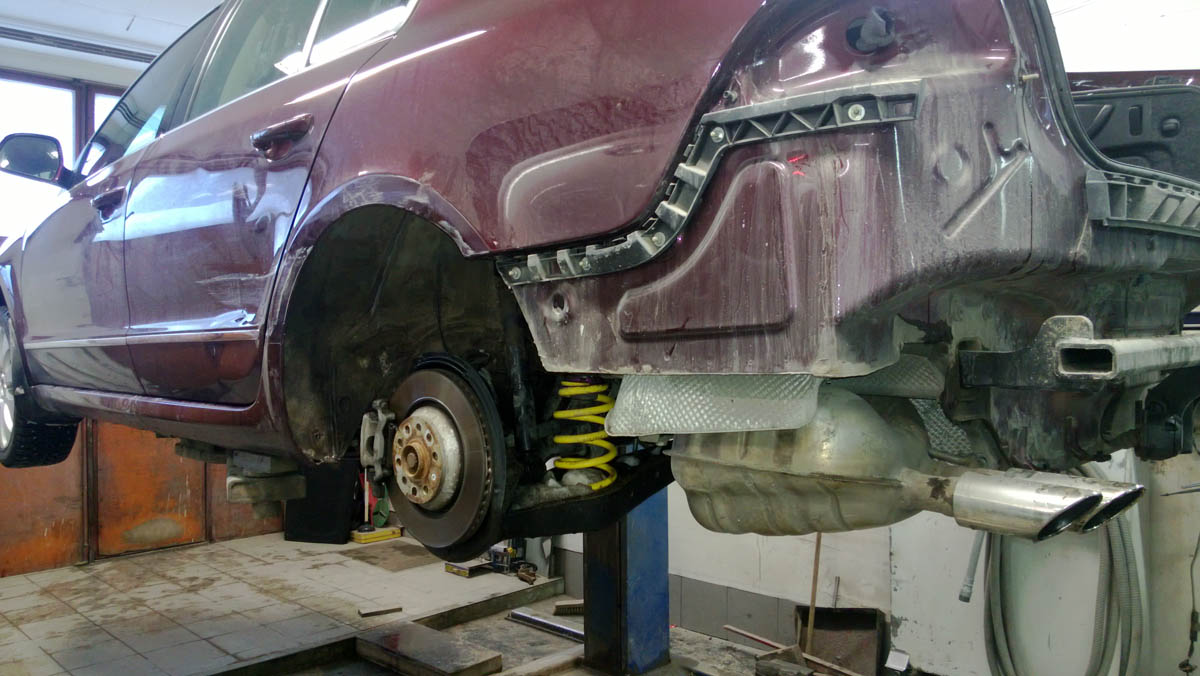
Remove the rear bumper first
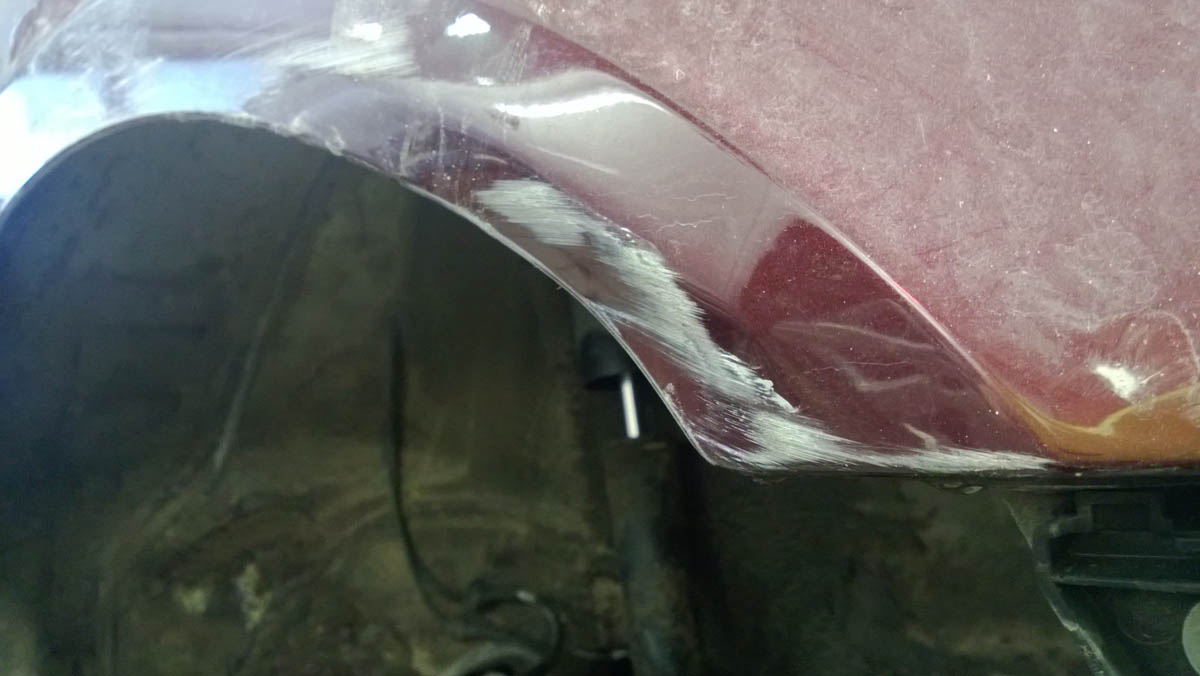
A closer picture of the damage to the rear of the wheel arch.
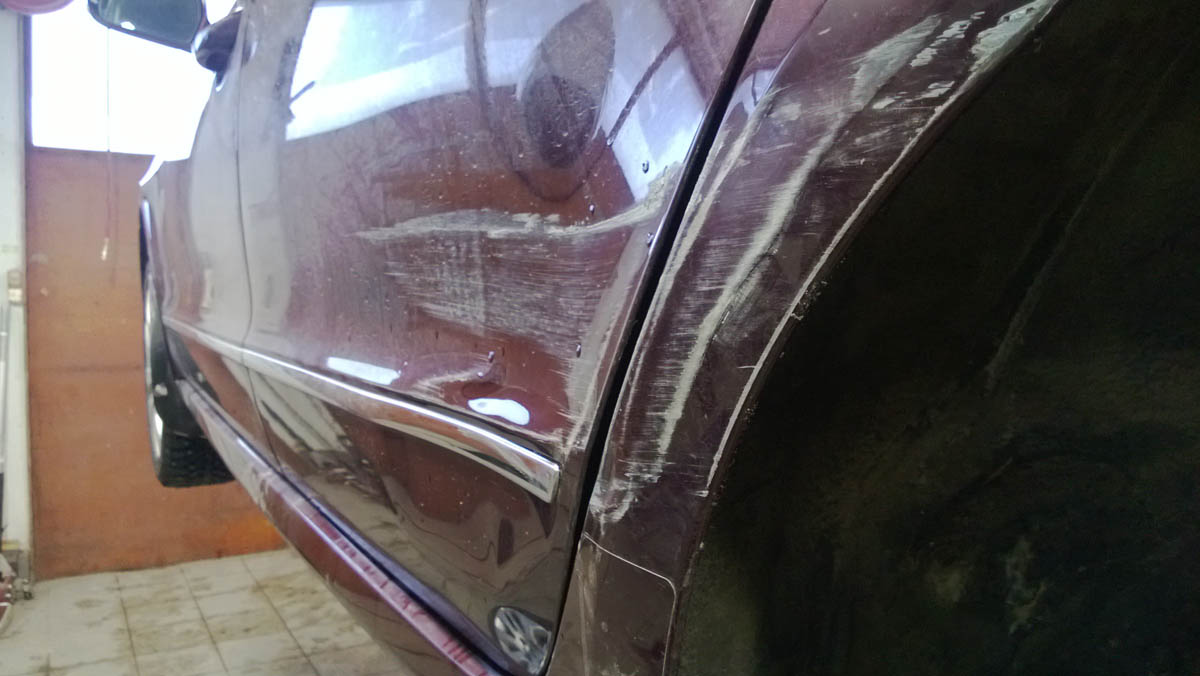
Damage to the door and the front of the wheel arch.
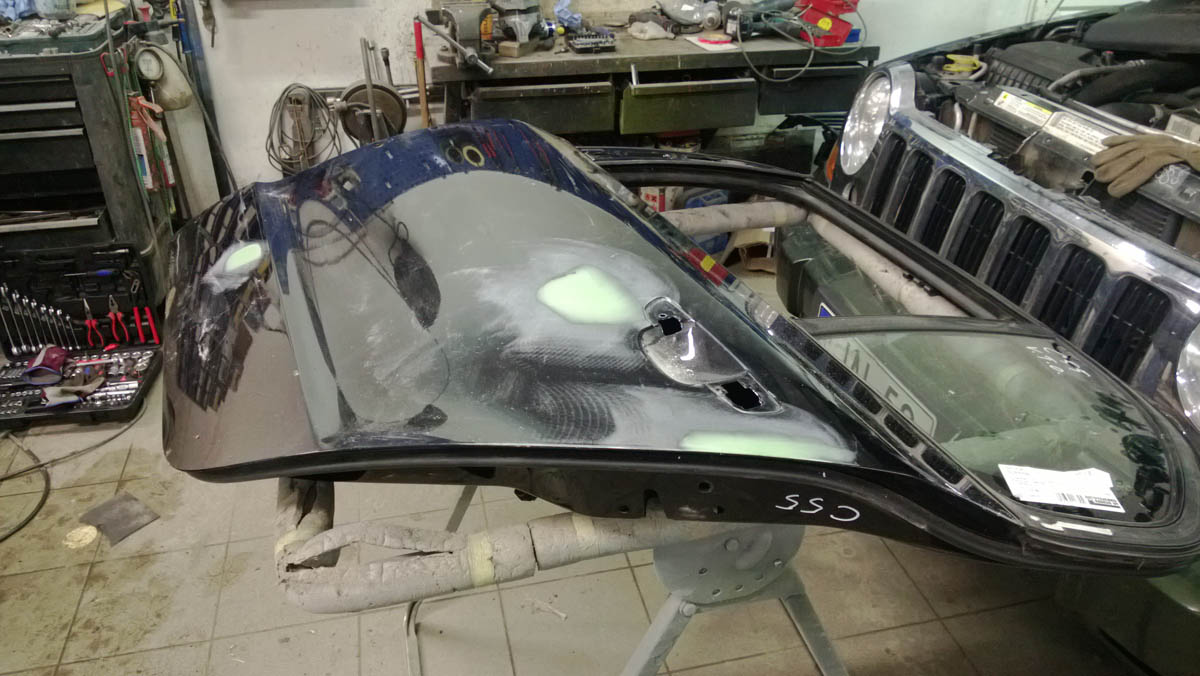
A spare door came from AVK. It wasn't exactly like new either.
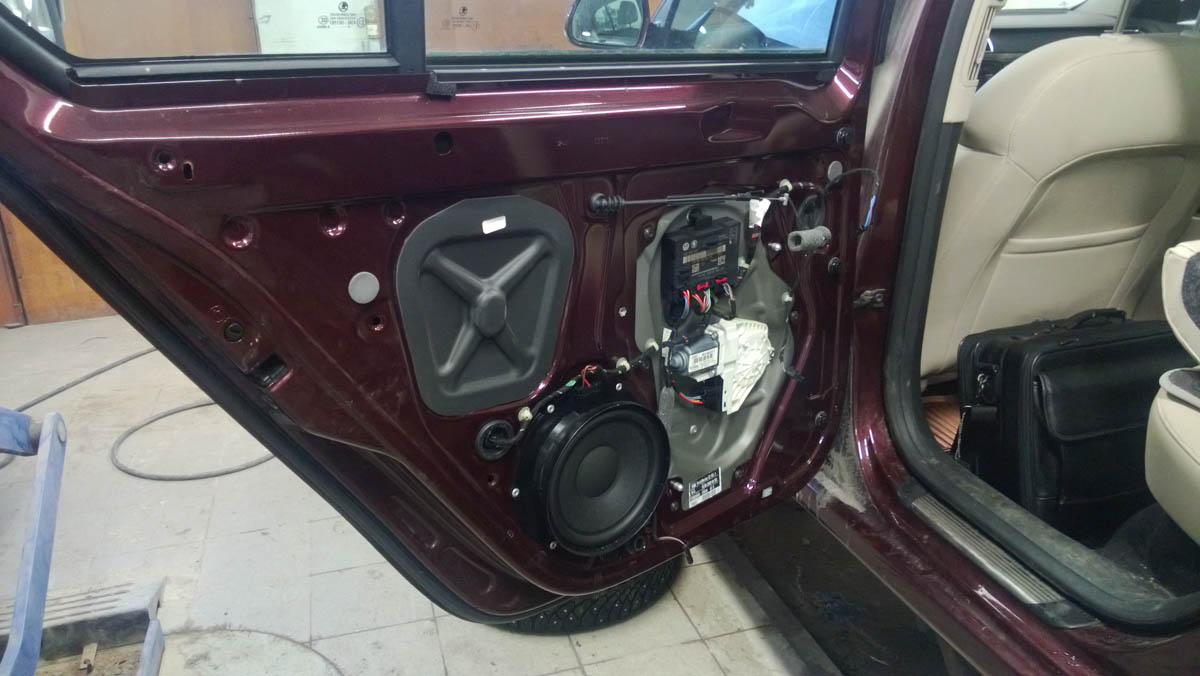
First, the door trim. Prise off the handle cover, unplug the electric-window switch, then remove the two bolts and the small Torx screw at the bottom of the trim. Carefully but firmly pull the panel free. No broken clips this time…
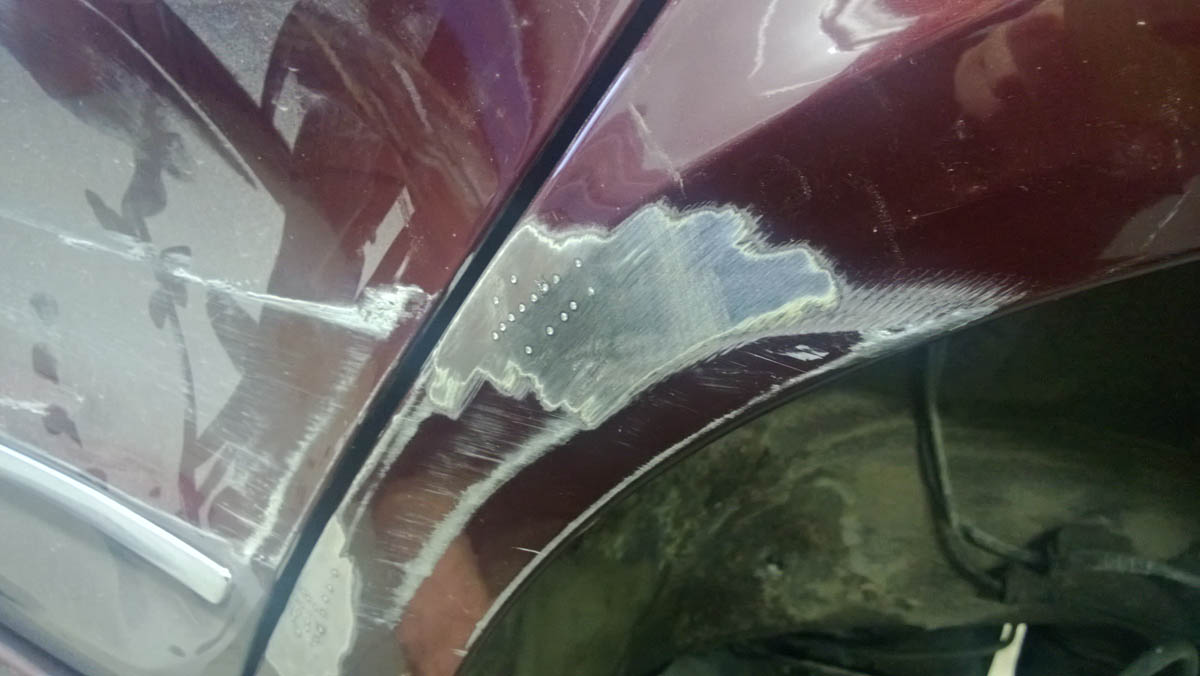
Pulling the dent out of the wheel arch.
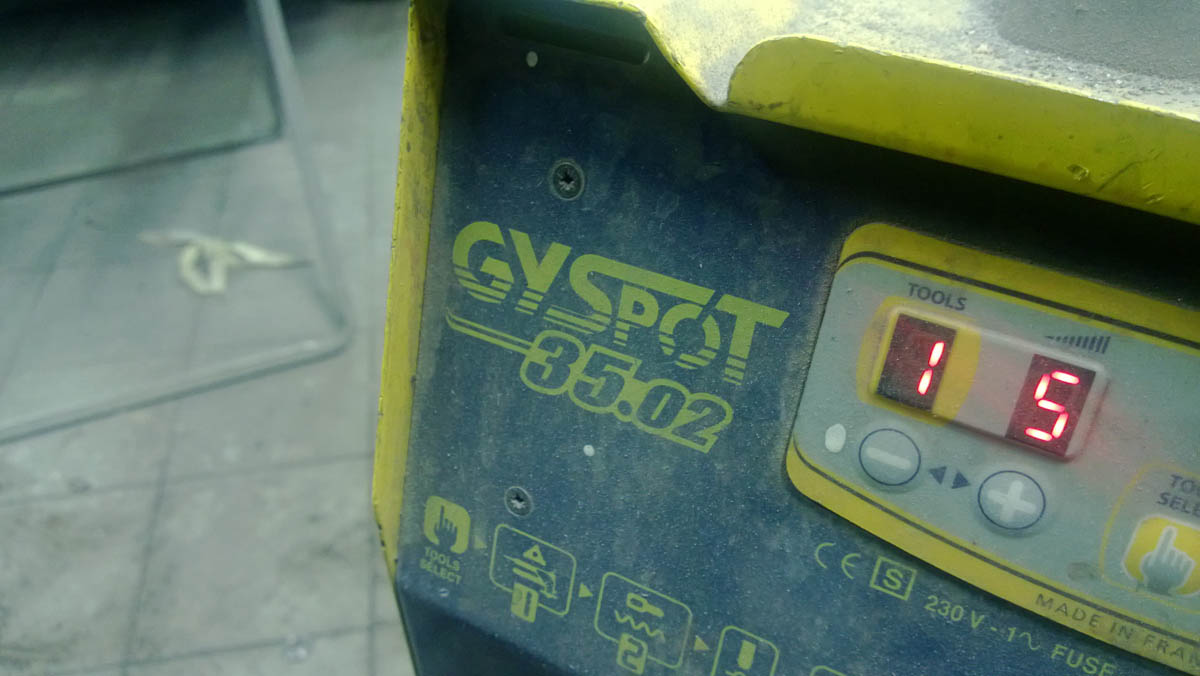
We used a Gyspot spot-welding dent puller.
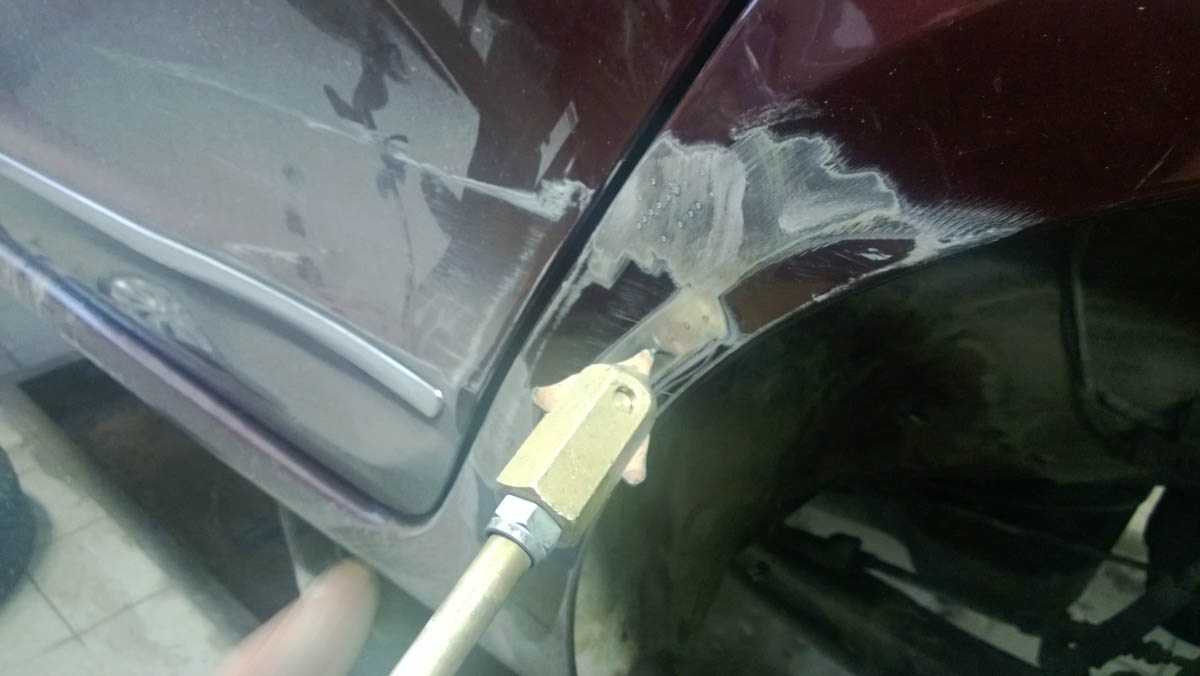
Its tip welds to the panel…
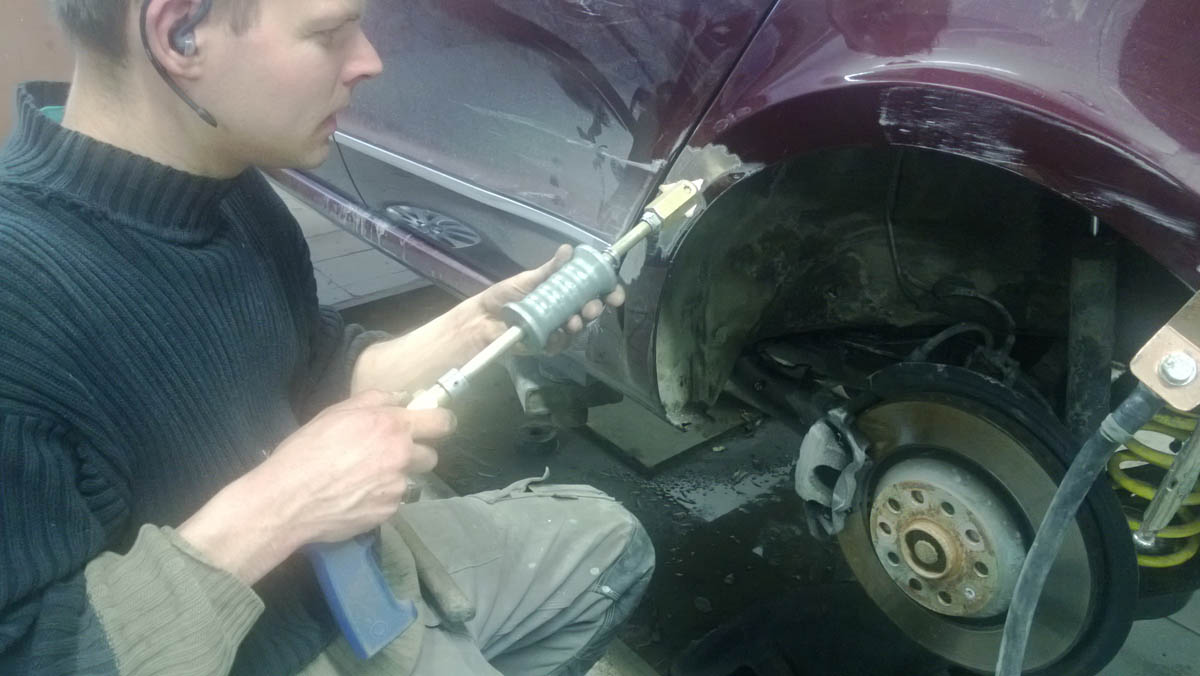
…then the built-in slide hammer pulls the dent out.
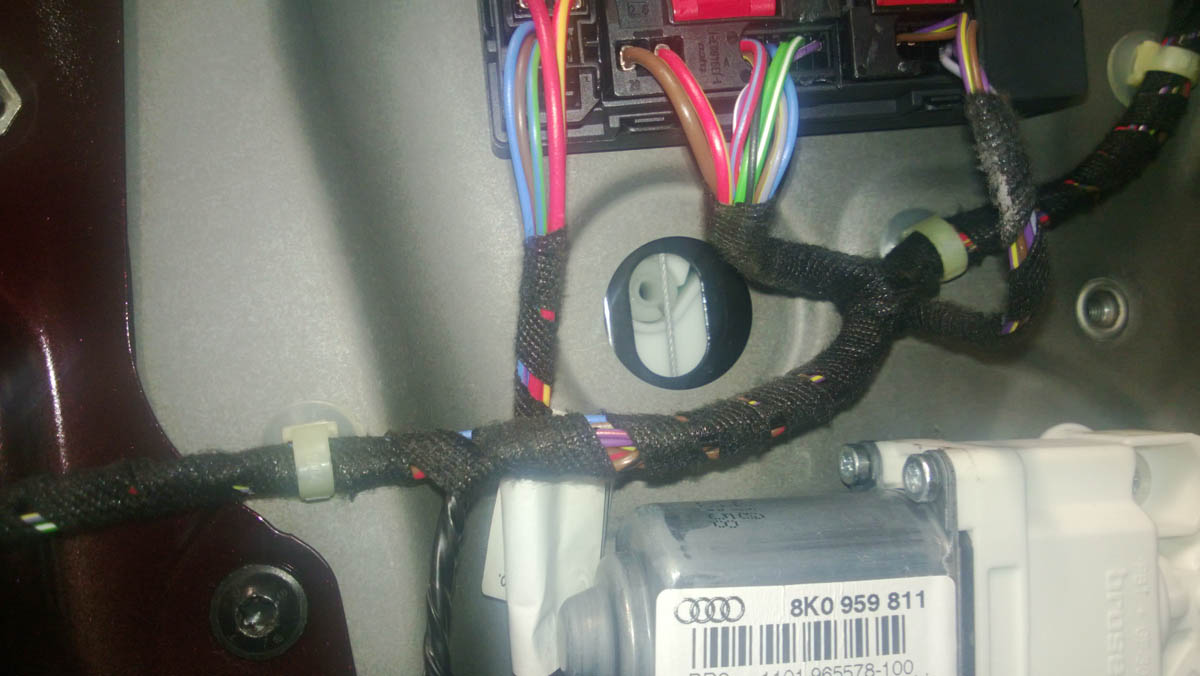
Before removing the door, lower the window until its retaining pin is accessible behind the cover plug, so you can knock the pin out.
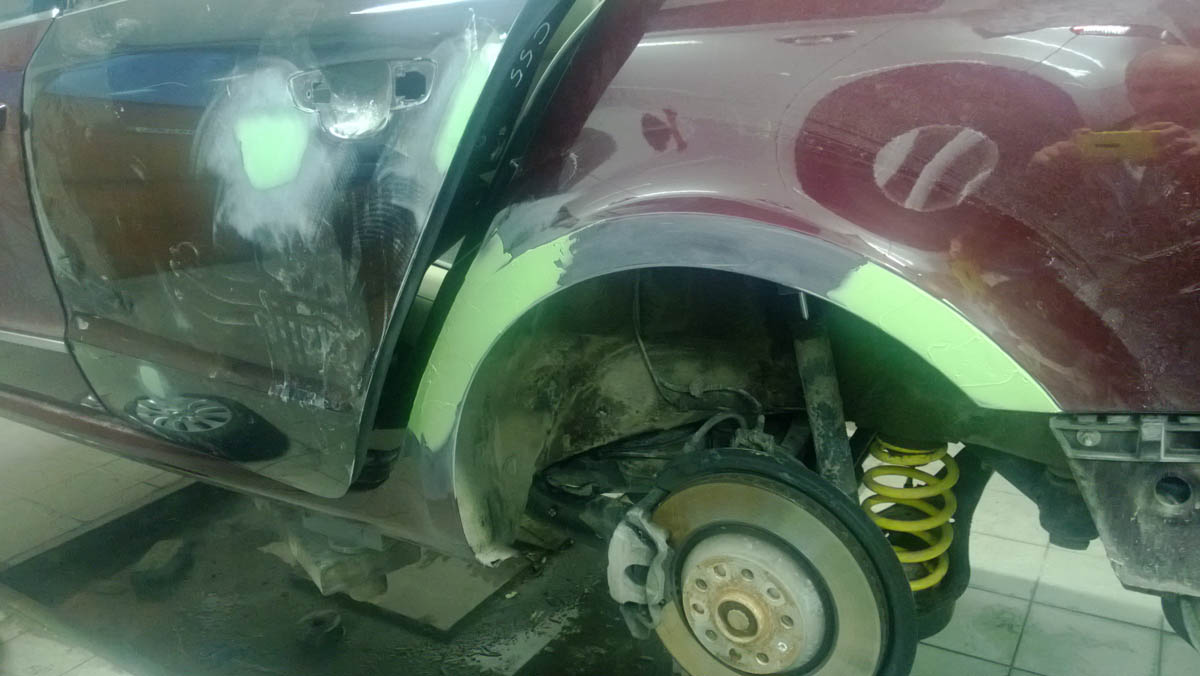
A skim of filler on the arch.
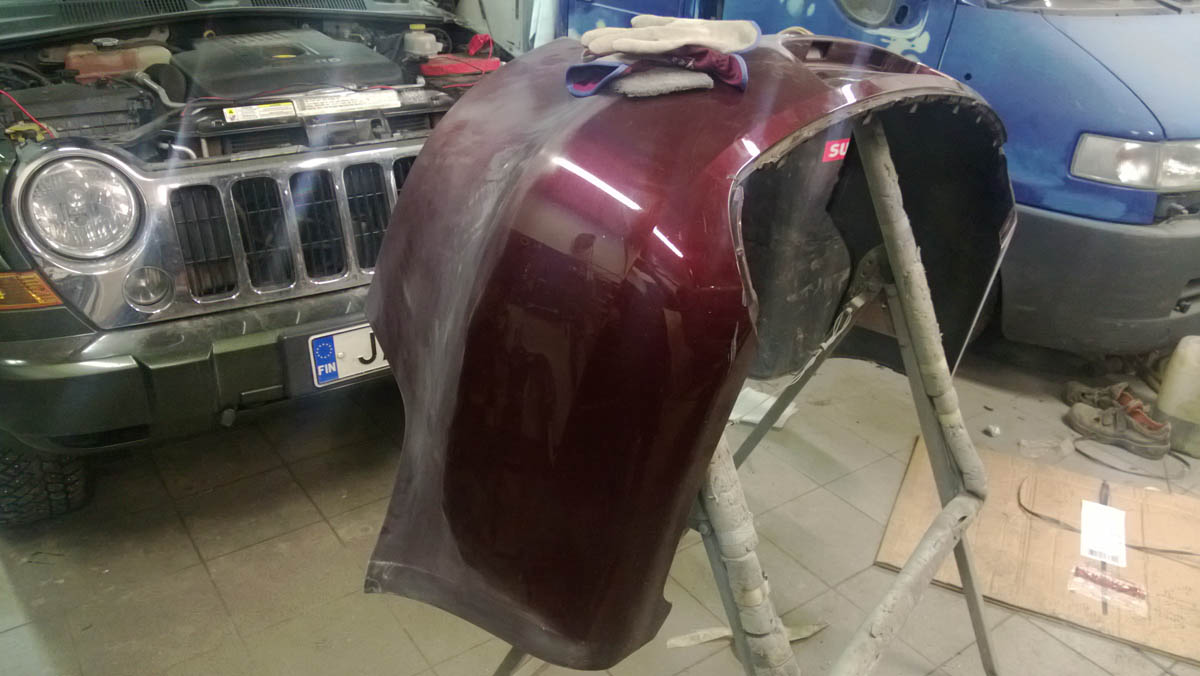
We repainted the whole rear bumper and sorted a few older scratches while we were at it. Here it's being scuffed ready for paint.
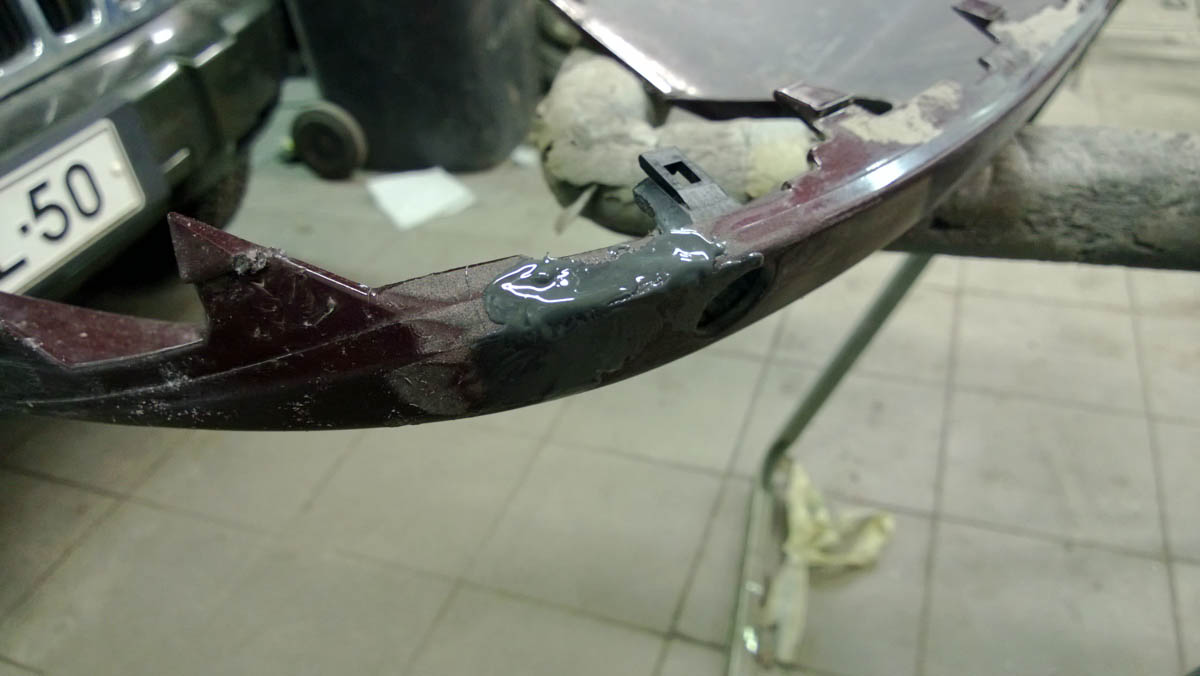
At some point, the bumper had been reversed into something, chipping it beside the exhaust opening. We fixed that too.
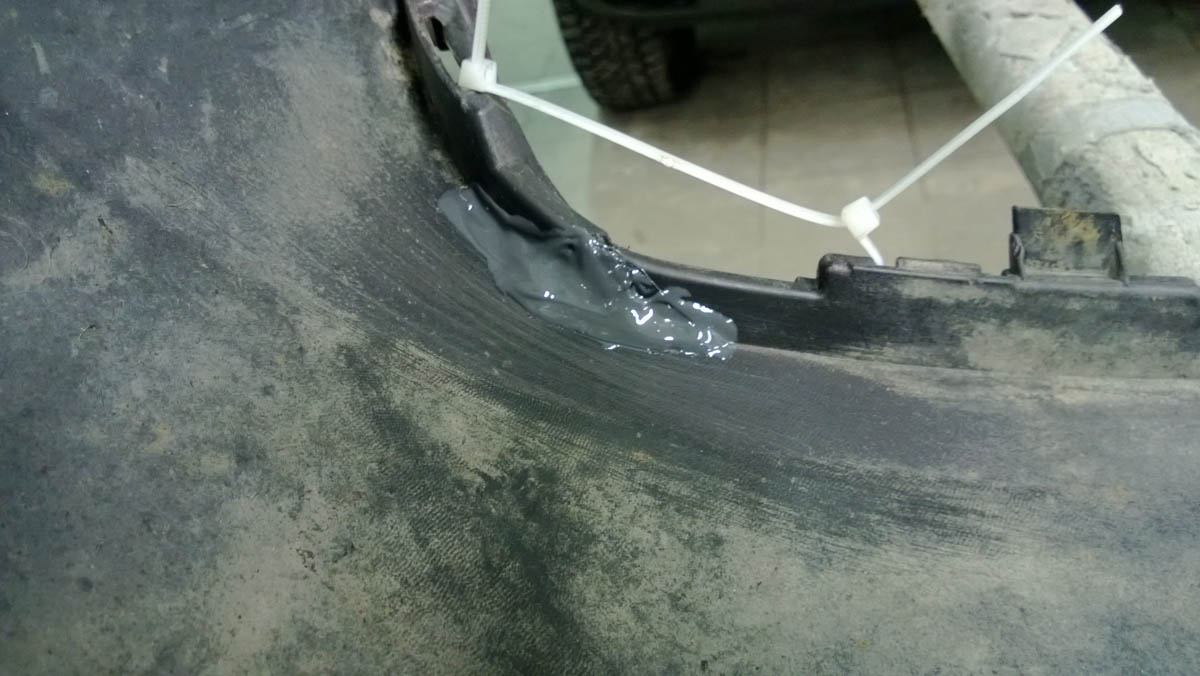
A small crack in the lower rear bumper beside the parking sensor.
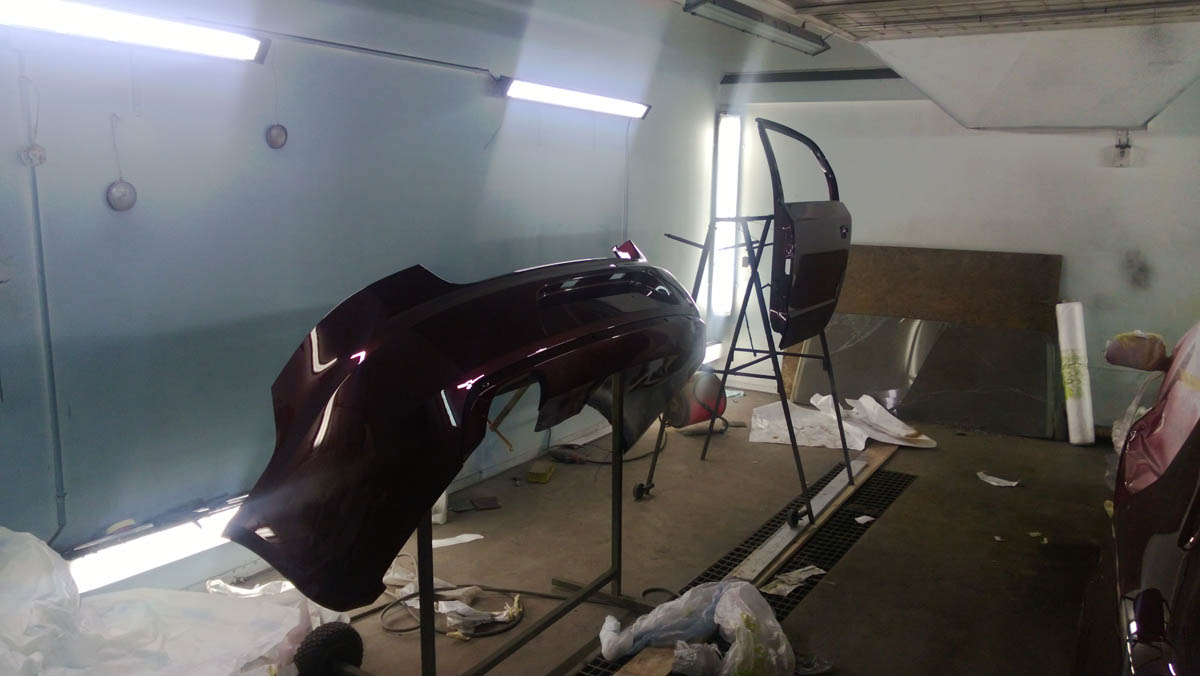
Rear bumper and door painted.
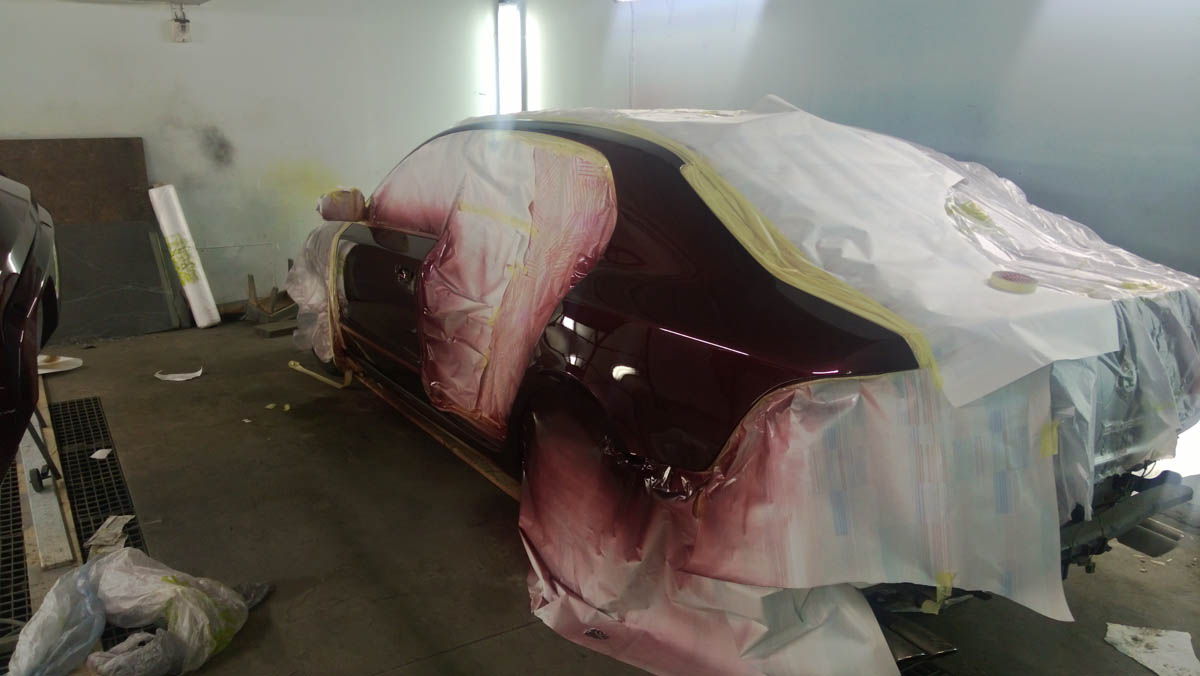
Almost the entire side was painted.
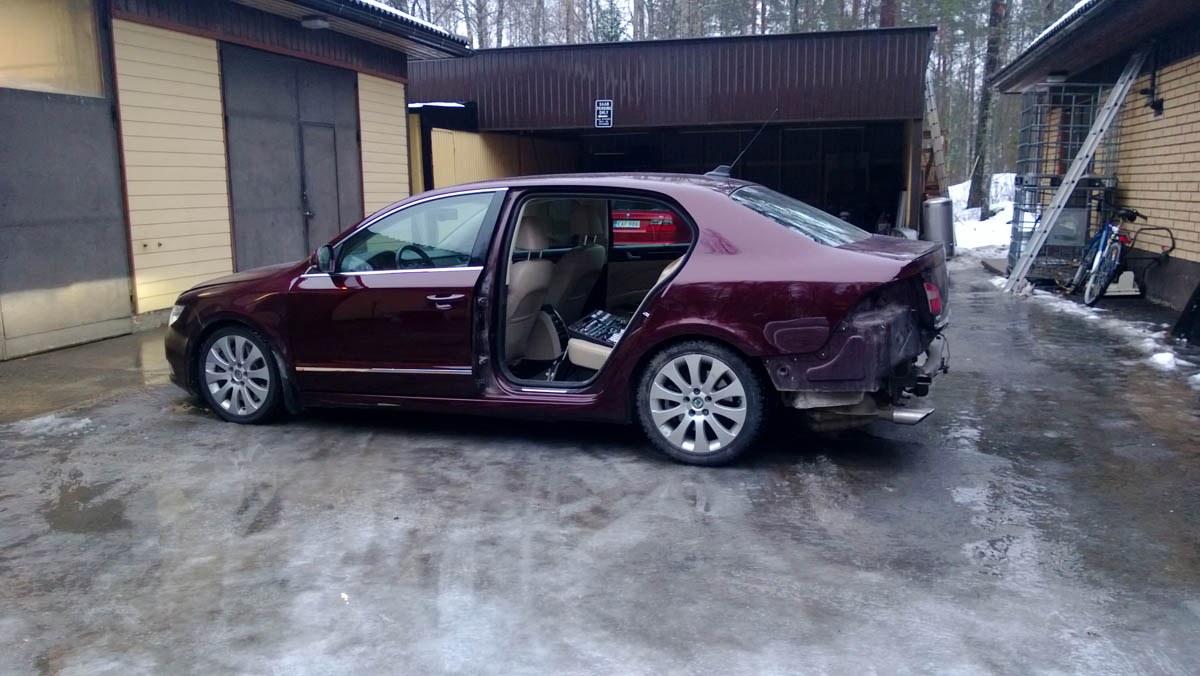
Out of the paint shop.
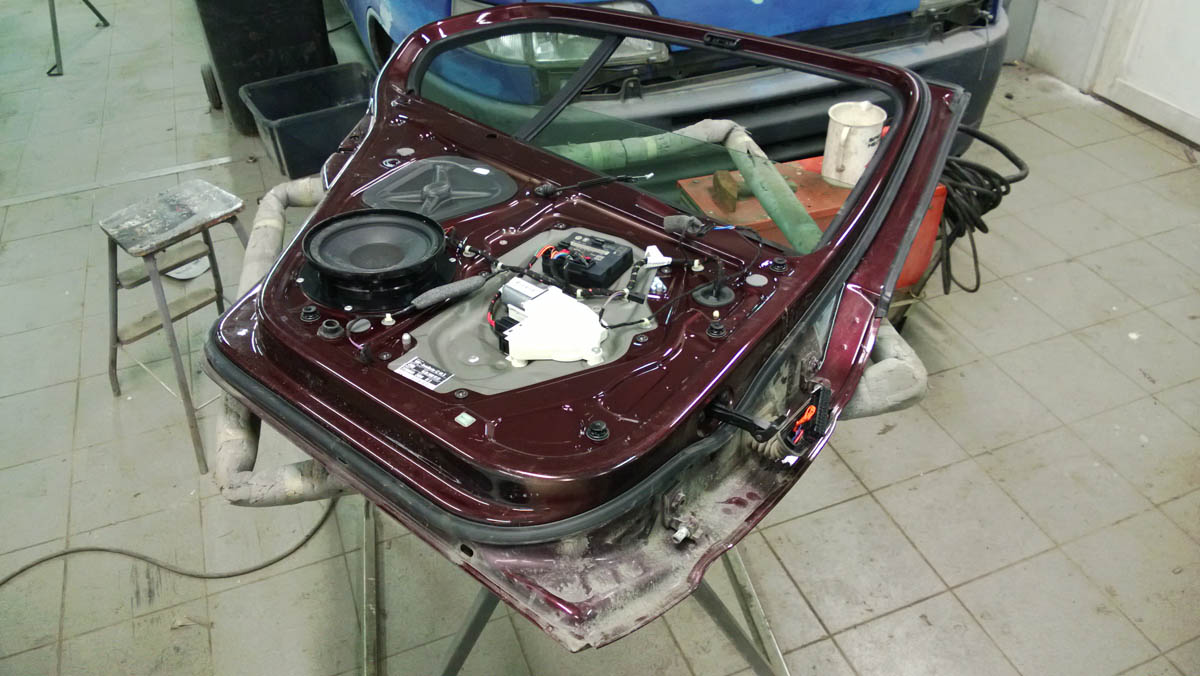
Then to dismantle the door.
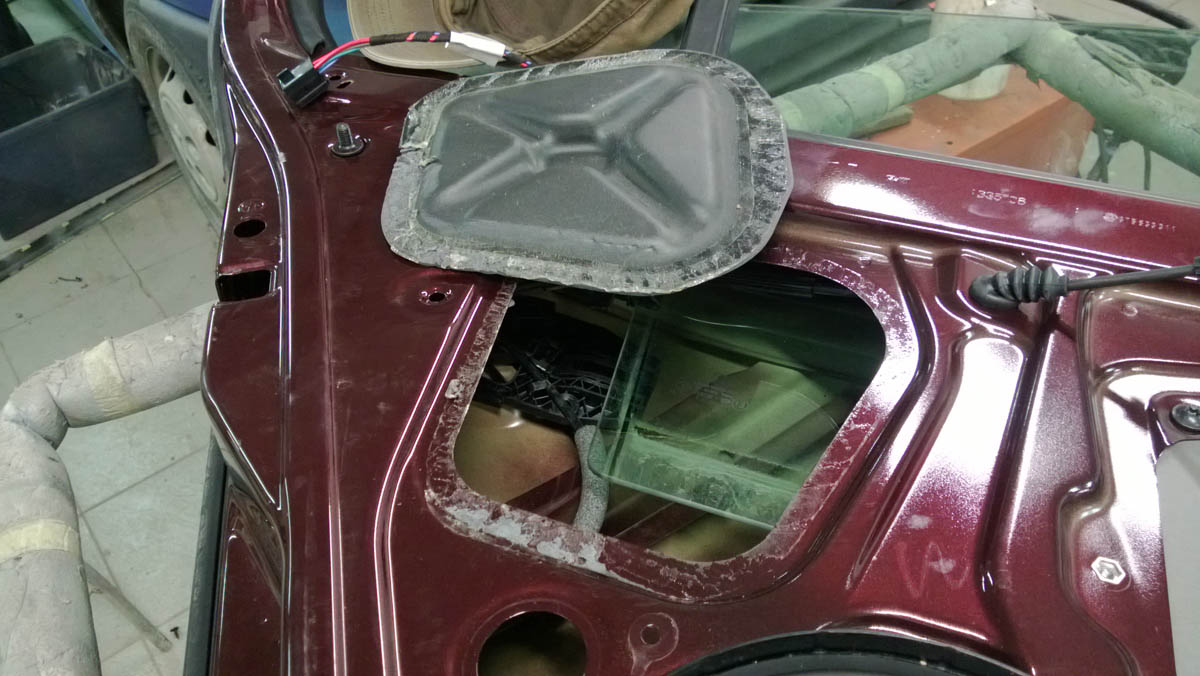
Foam liner removed. Not easy to get off in one piece.
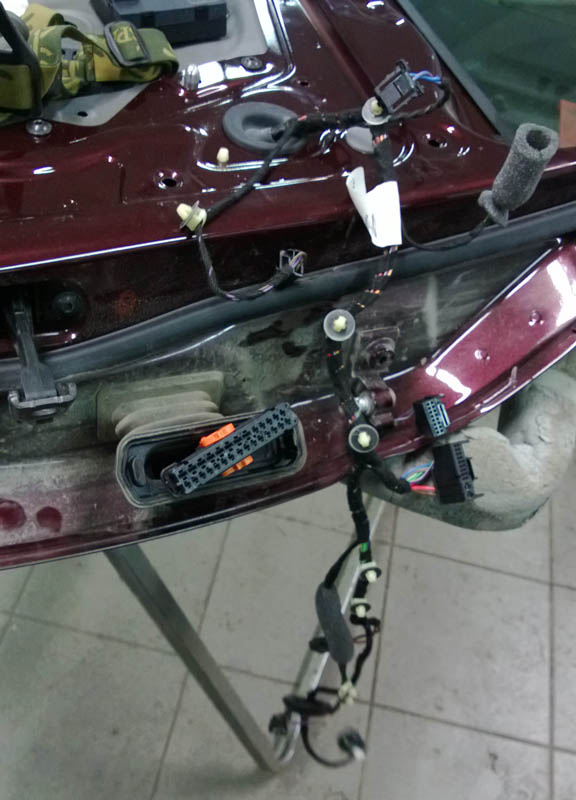
Release the wiring-loom clips.
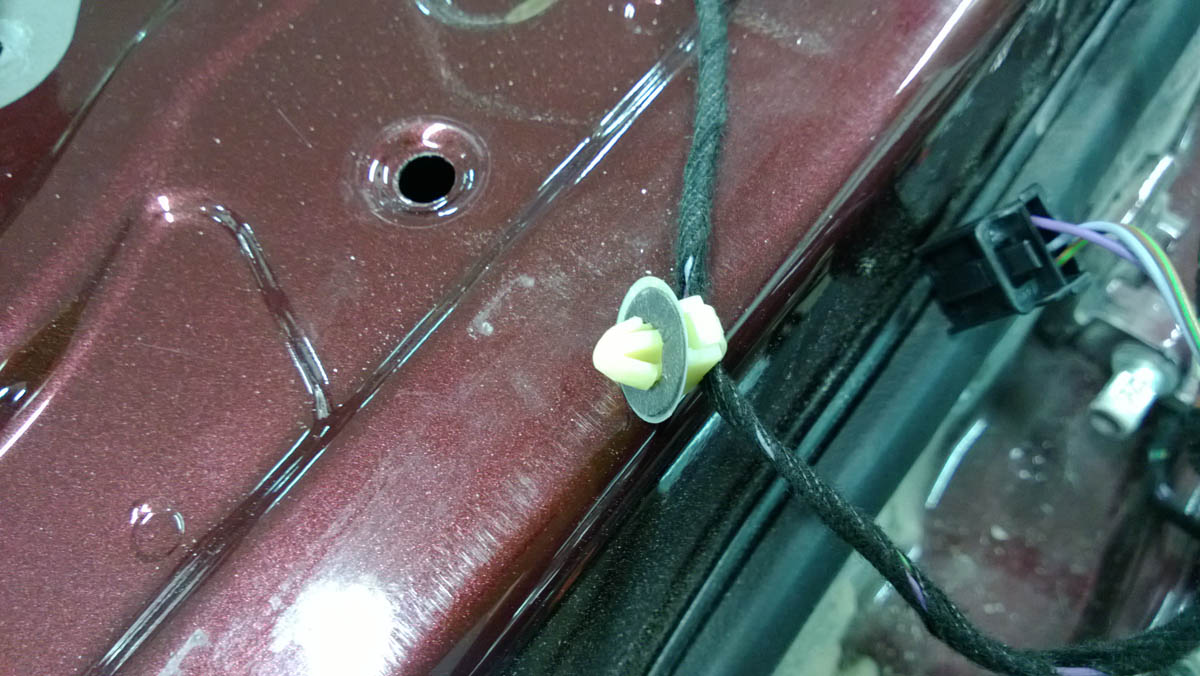
Fasteners are of this sort.
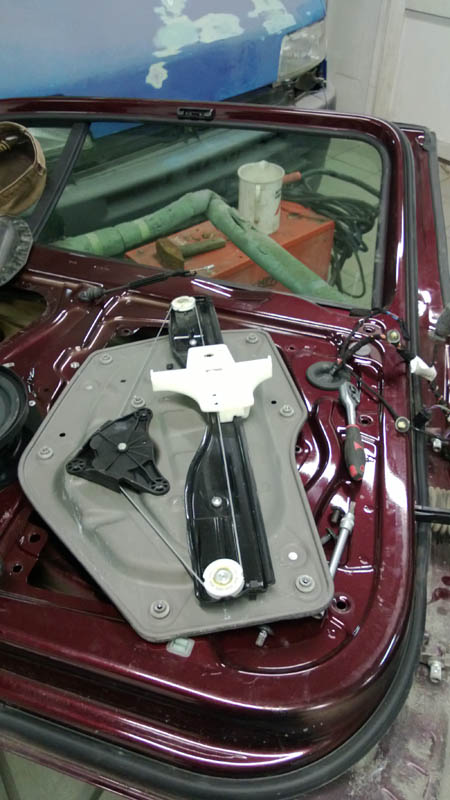
Knock the window retaining pin into the door, then remove the carrier panel with the window regulator and motor still attached. Don't take the motor off separately.
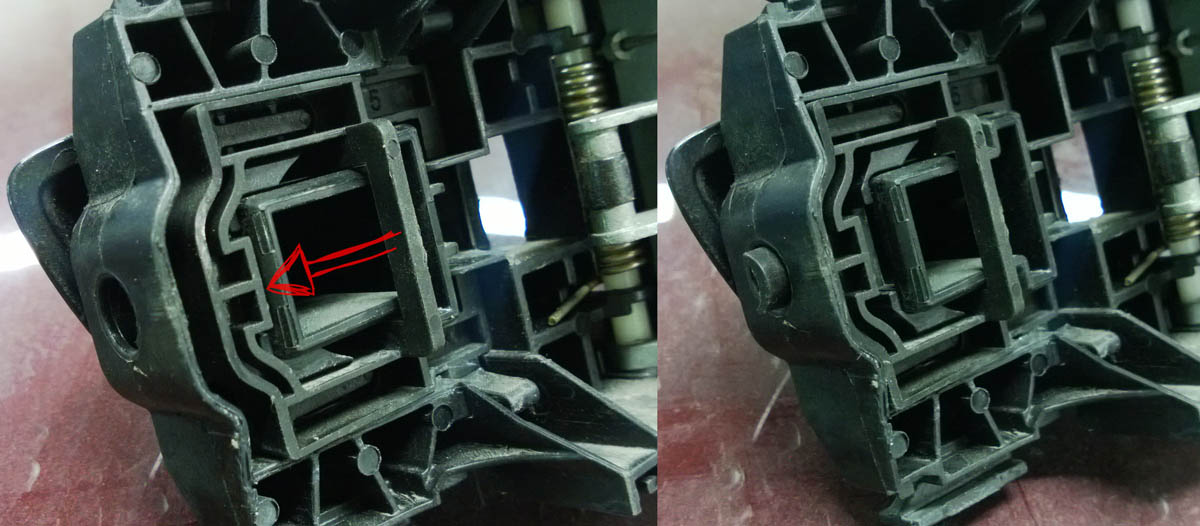
With the lock mechanism out, it's time for the handle. From inside the door, release the plastic piece shown here…
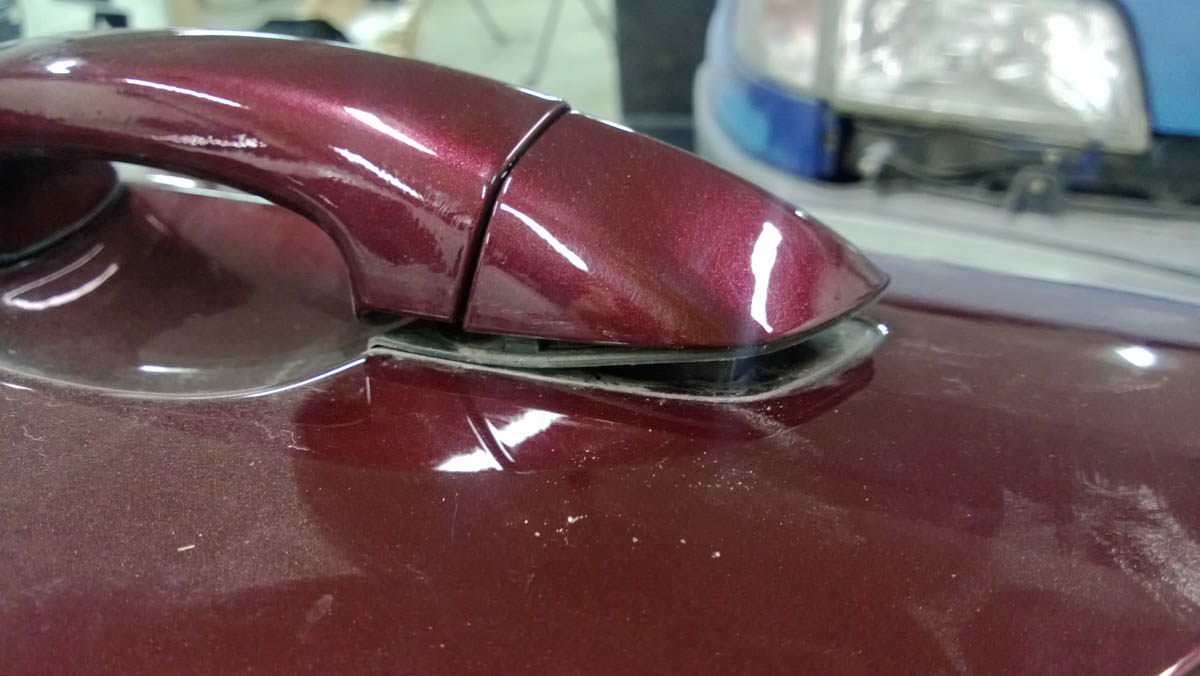
... after which you can pry off the part at the back of the handle from the outside.
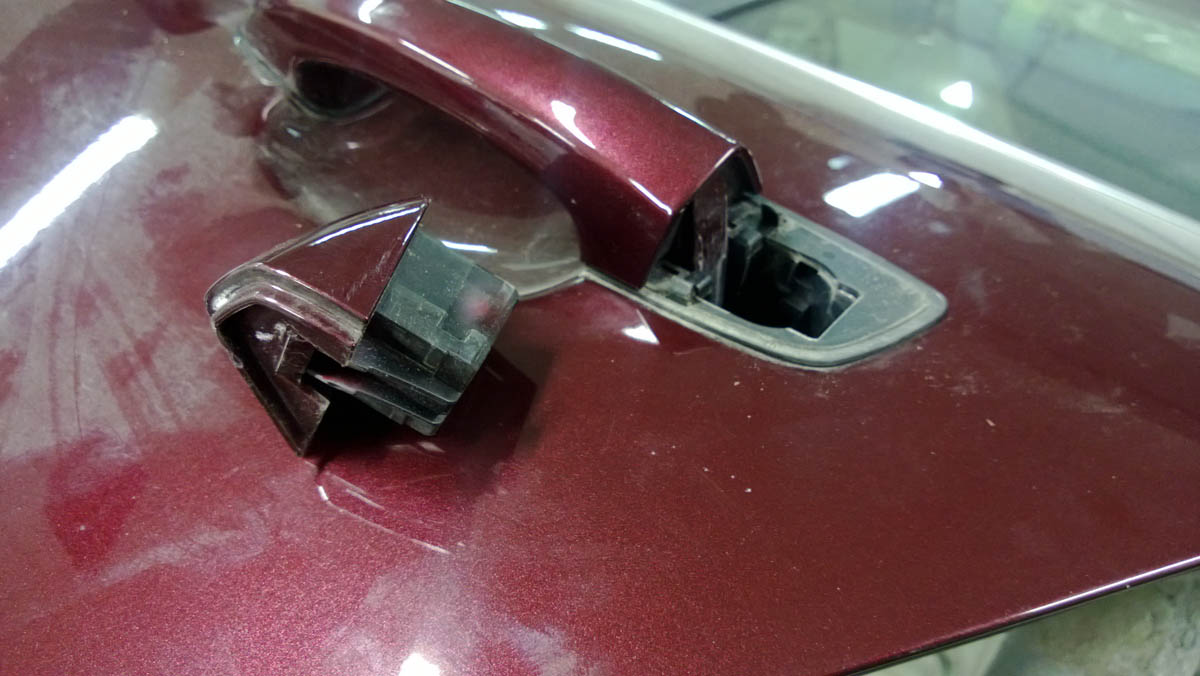
Pull the handle back slightly and lift it out. Remove the exposed Torx screw, and the mounting on the inside comes away too.
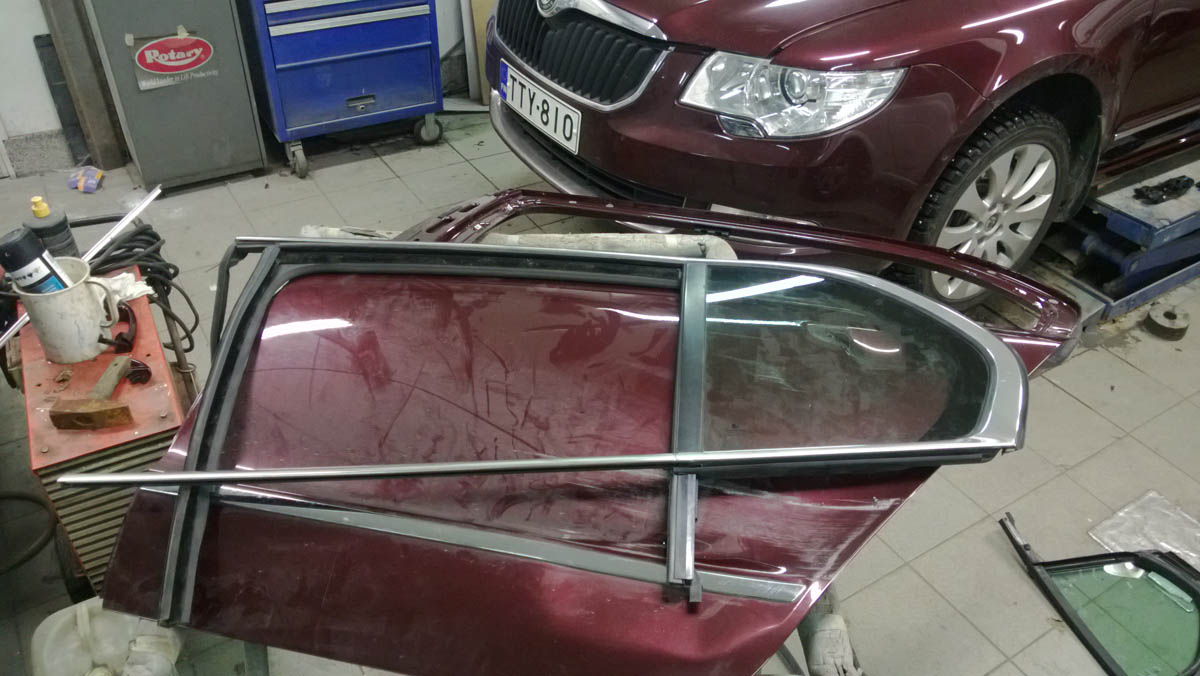
It took a while to work out how the quarter window, surrounding trim and seals came out. No need to remove the chrome strips separately: the whole assembly lifts more or less upwards — towards the sky if the door were still on the car. First remove three small Torx screws. Two are tucked away at the top inside the seal.
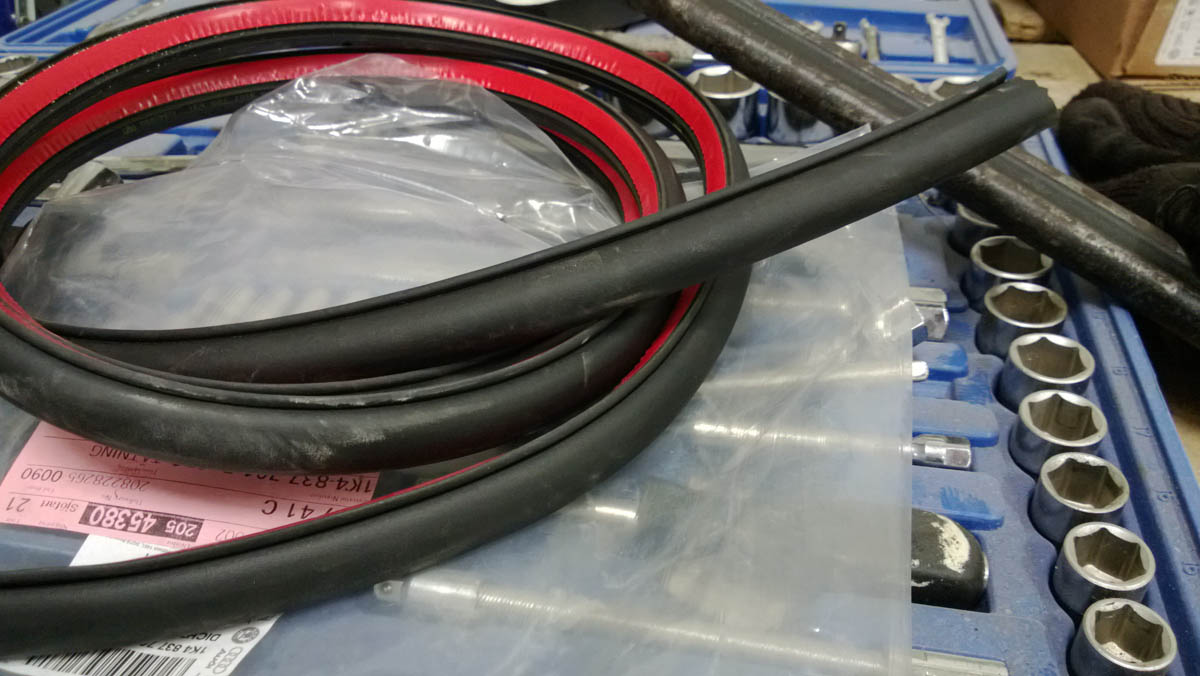
The bonded seal around the door wouldn't come off intact, so we replaced it. The door's chrome strip and the stone-chip protection film at the back of the sill were renewed too.
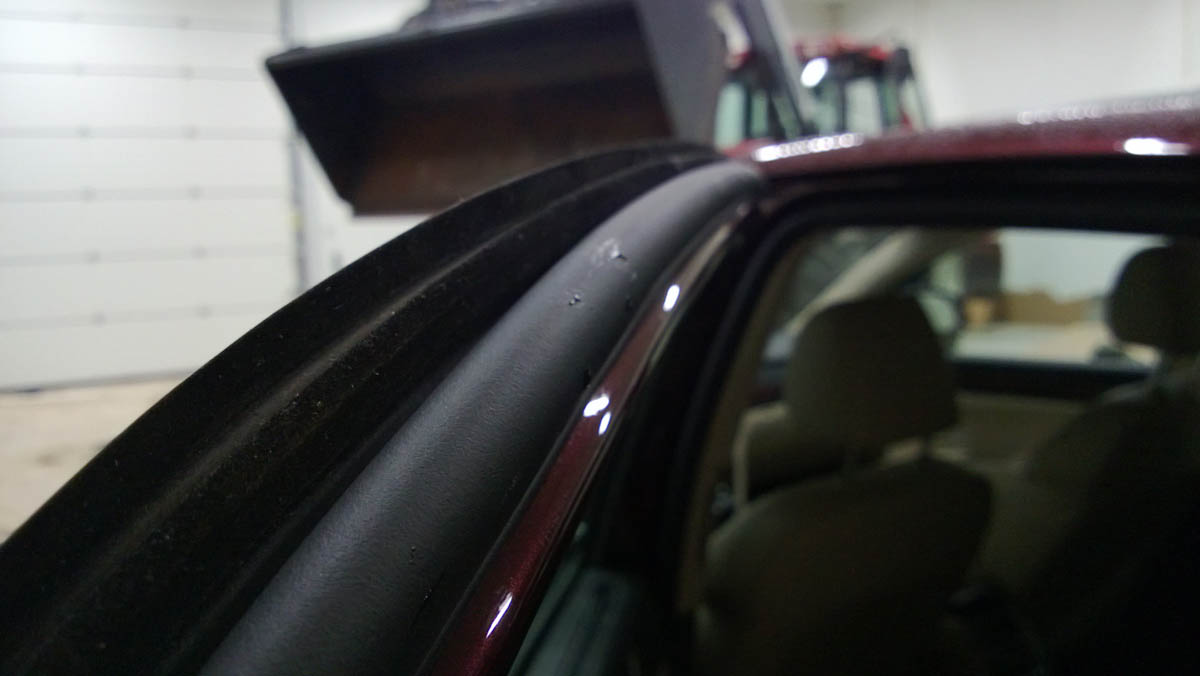
Door adhesive seal in place.
Pictures of the finished car "someday". I'll probably have to polish the whole car at the same time, then I'll get the little scratches out anyway.
Includes original English text and AI-assisted translations.