ARCHIVE / PAJALLE
Golf mk6 R
Crash repairs on a 2011 Golf R, from dismantling and side-panel repairs to paintwork and returning to the road.
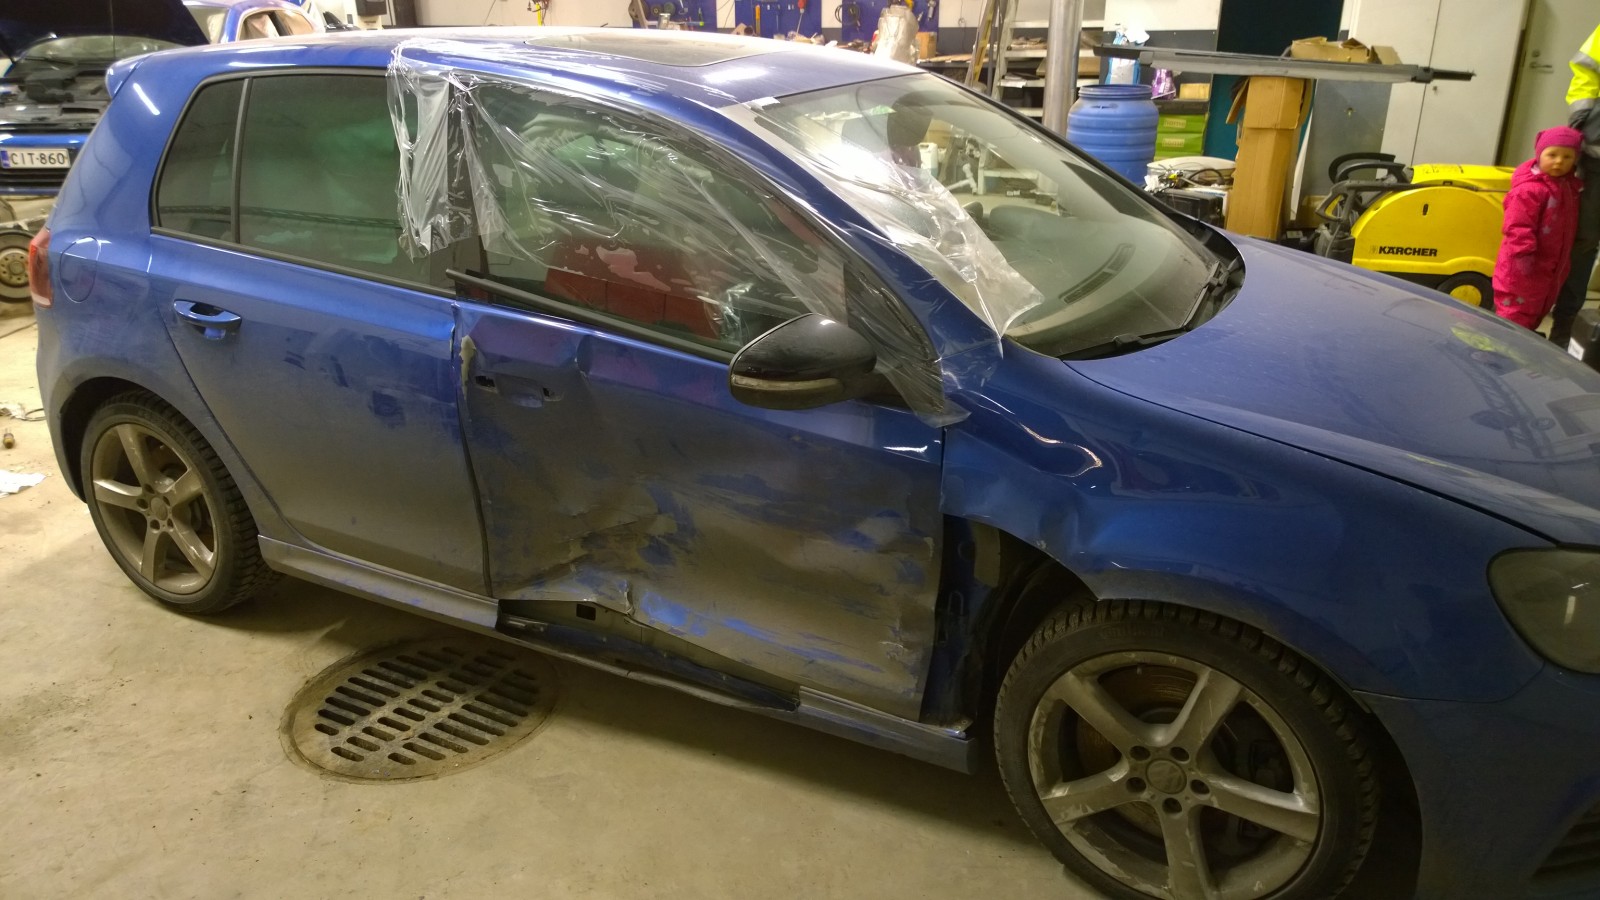
2014-02-27 · Latest project – Golf R
Another project arrived at the garage today. A traditional crash repair this time. The previous project is still unfinished — more on that later — but we should get stuck into this one fairly soon.
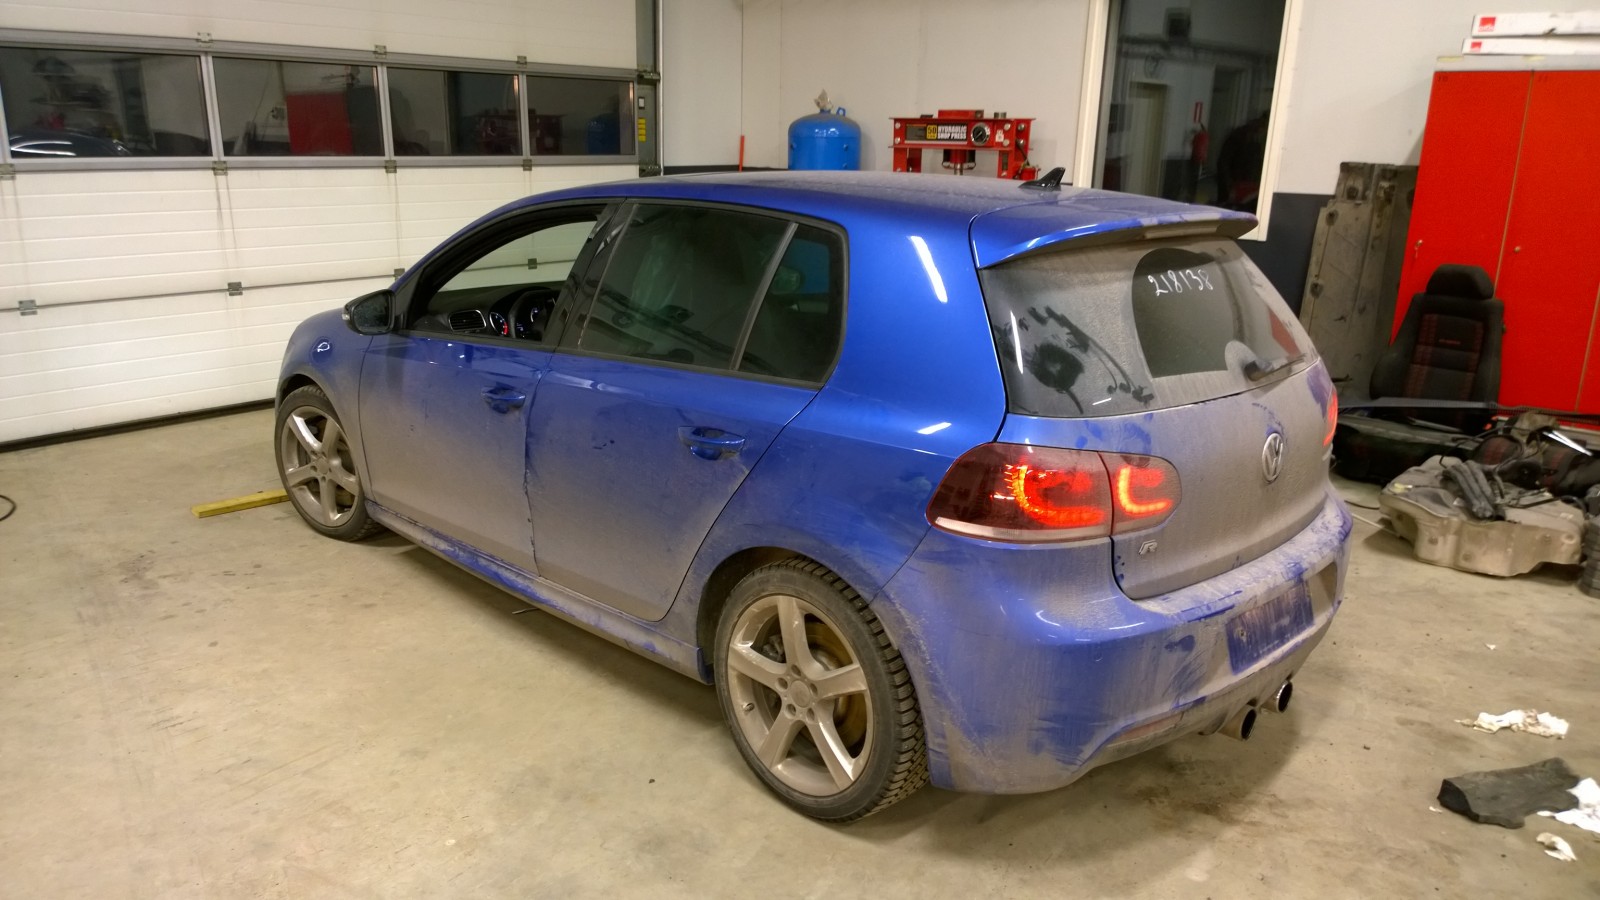
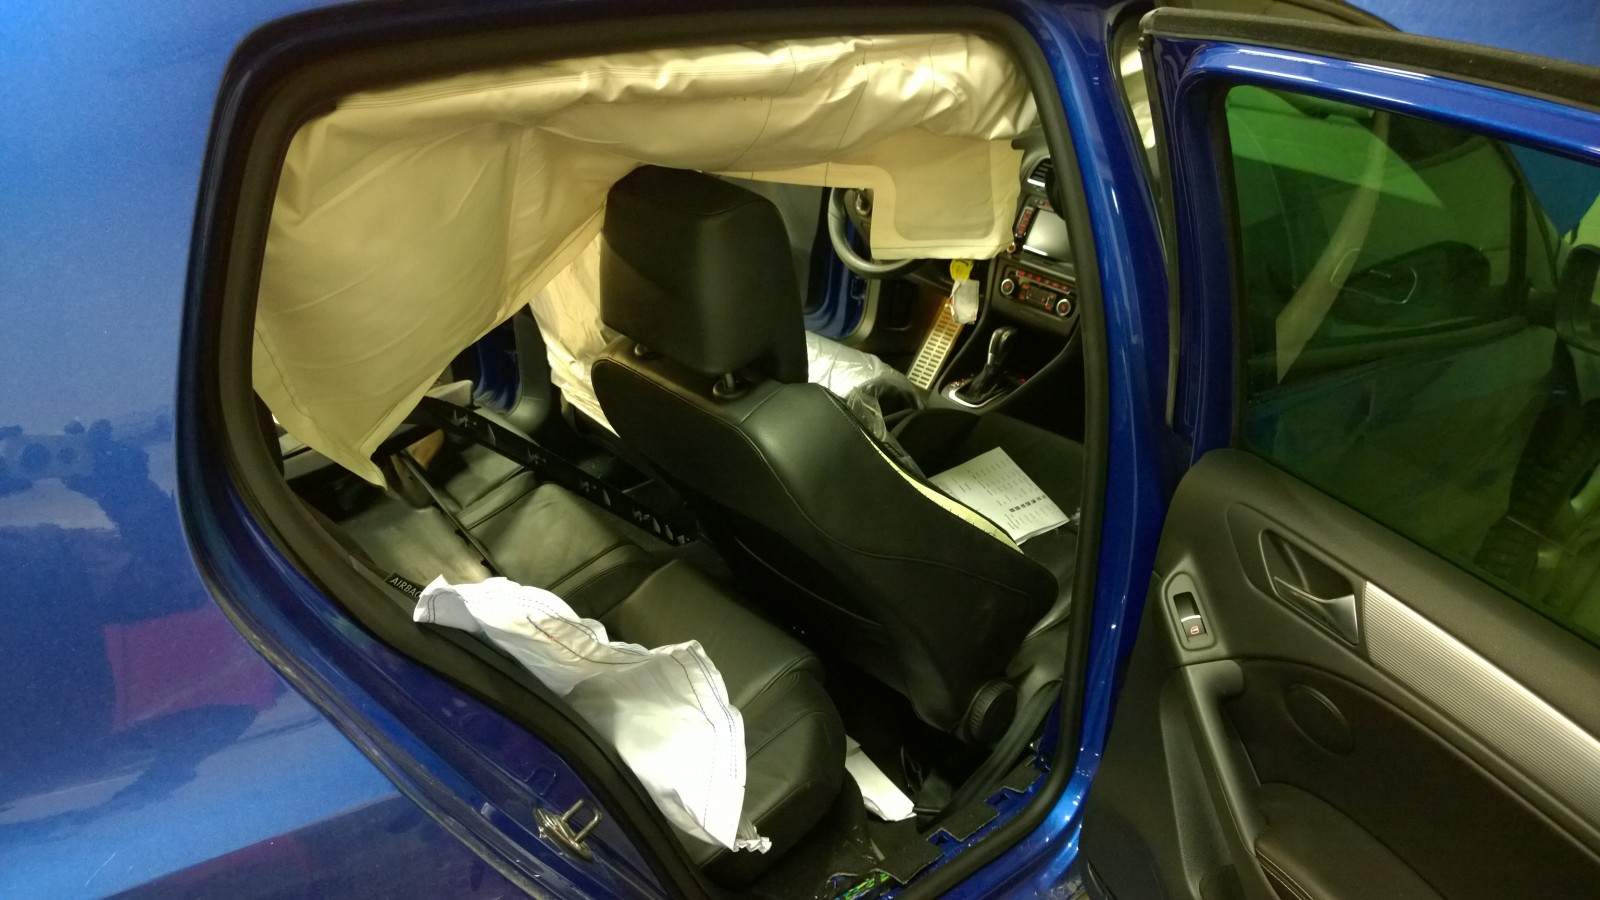
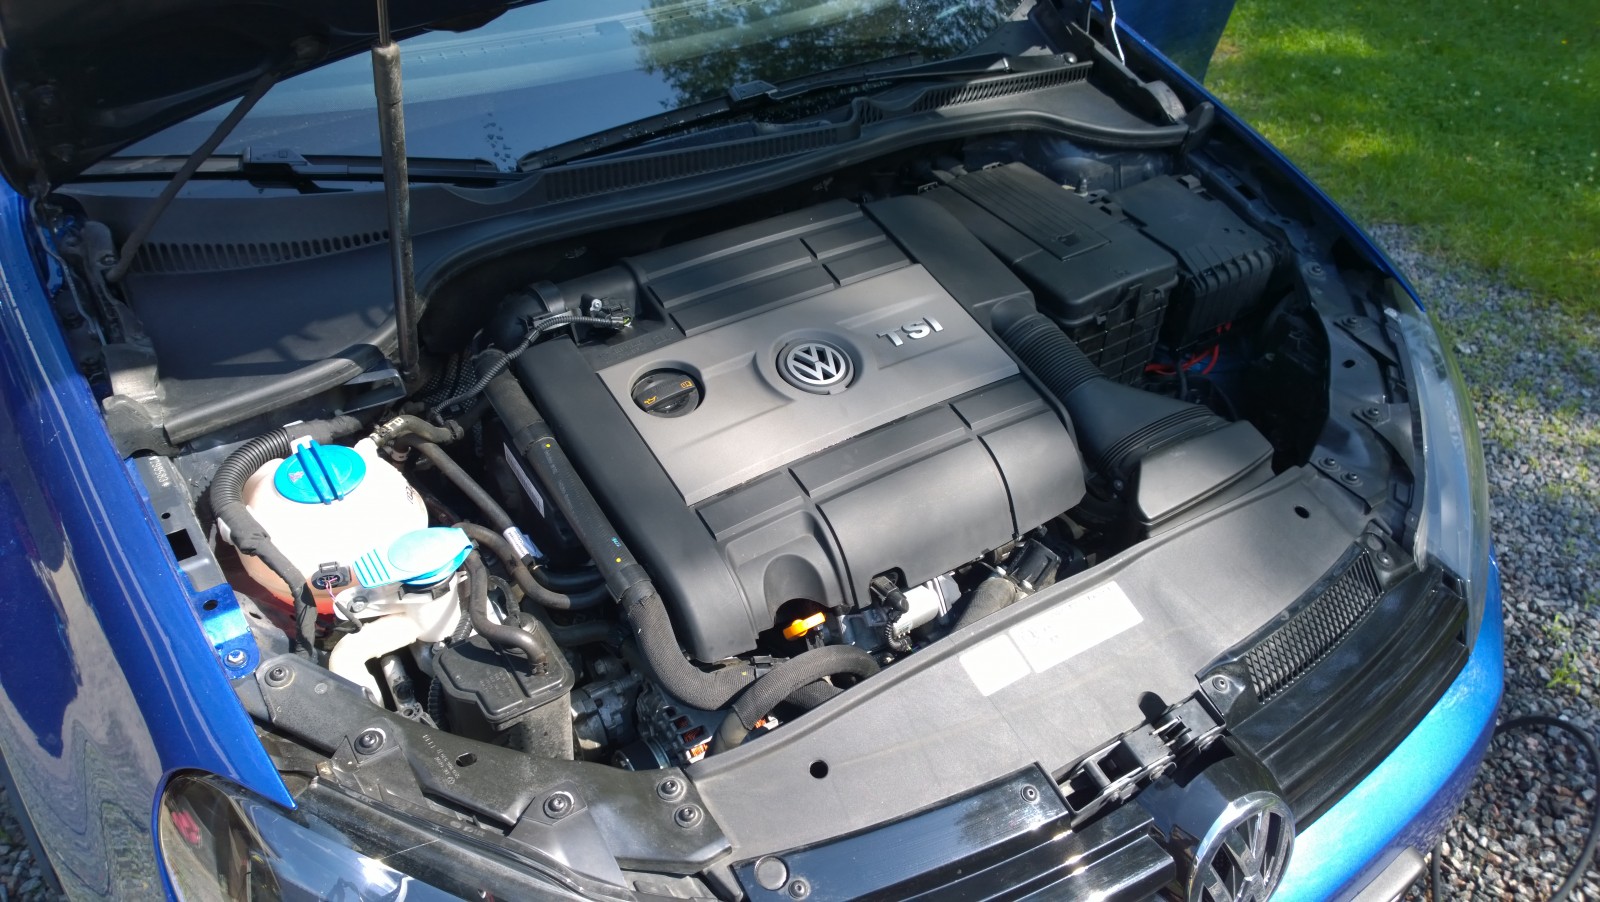
It's a 2011 Golf R with 28,000 km on the clock: four-wheel drive, 199 kW and a nice equipment list.
2014-03-10 · Golf R repairs begin: a track rod and interior strip-down
We finally got started on the Golf. First, the bent track rod, then the interior trim came out so we could repair the side and replace the crash-damaged safety equipment: all the seat belts and the right-hand airbags.
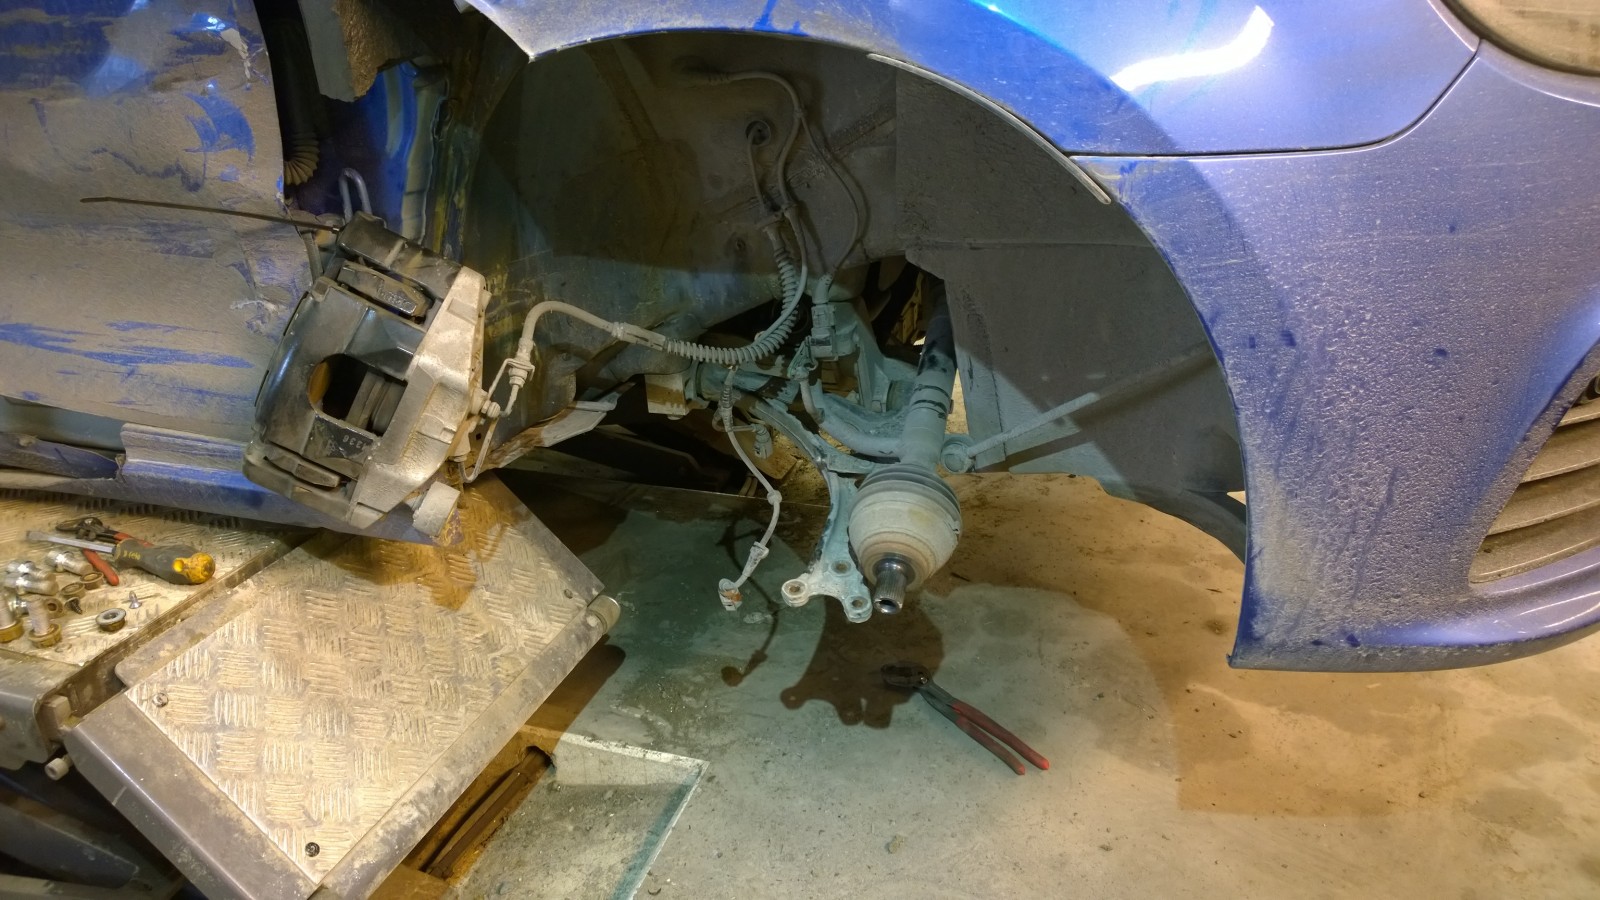
First job was replacing the track-rod end bent in the crash. Here the front hub and strut assembly is already out.
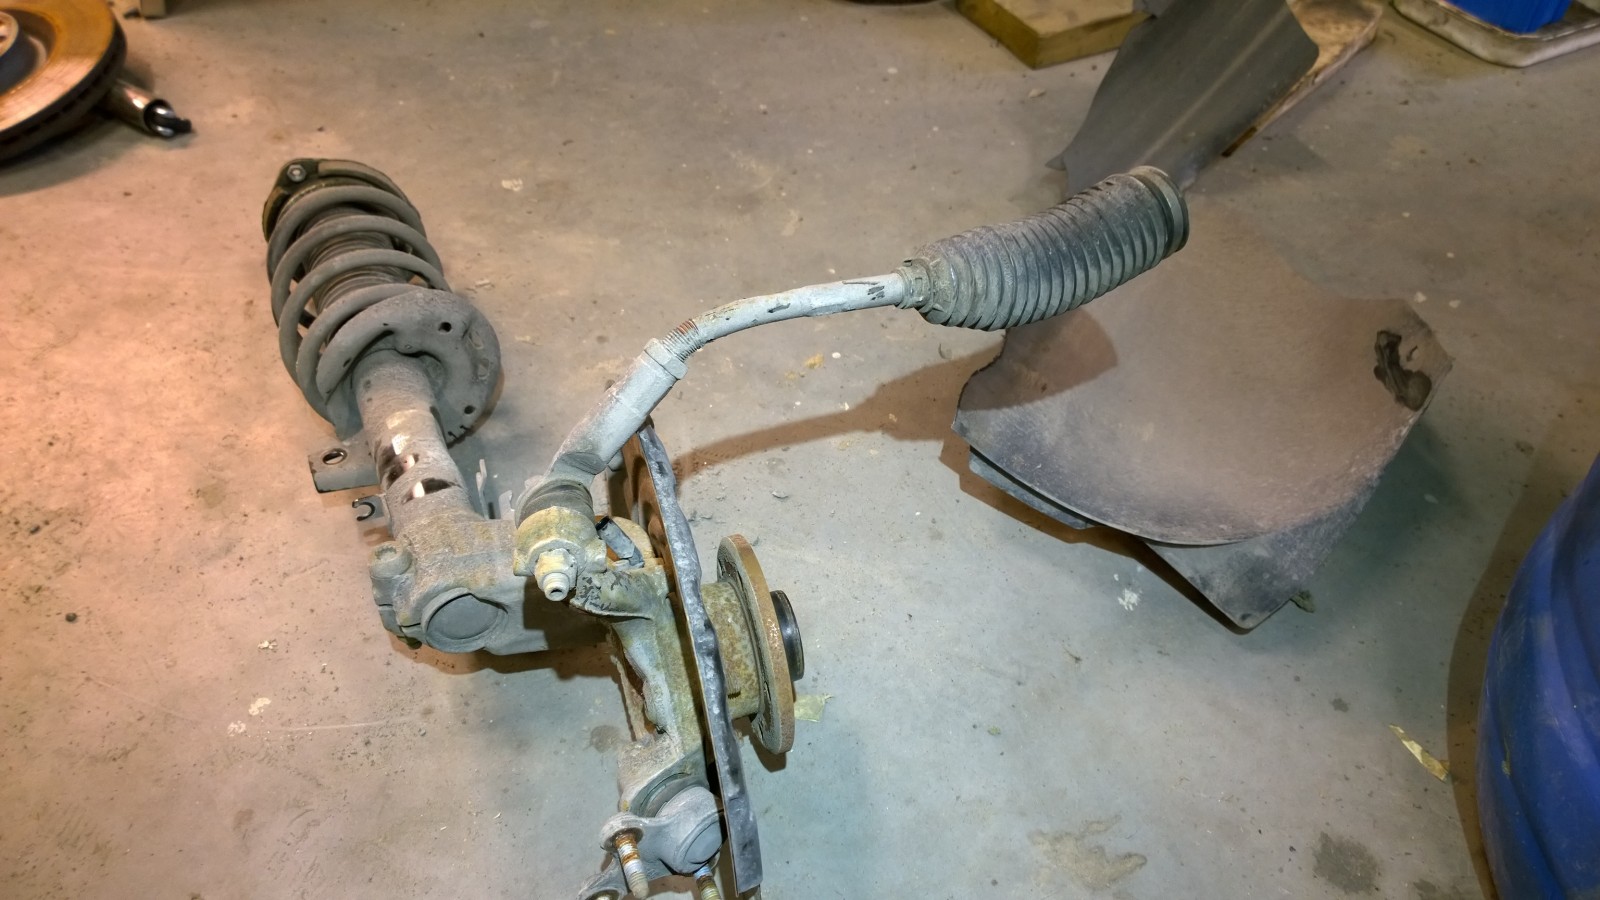
Bent track-rod end. Luckily, a suitable donor car was sitting in the yard with a low-mileage replacement.
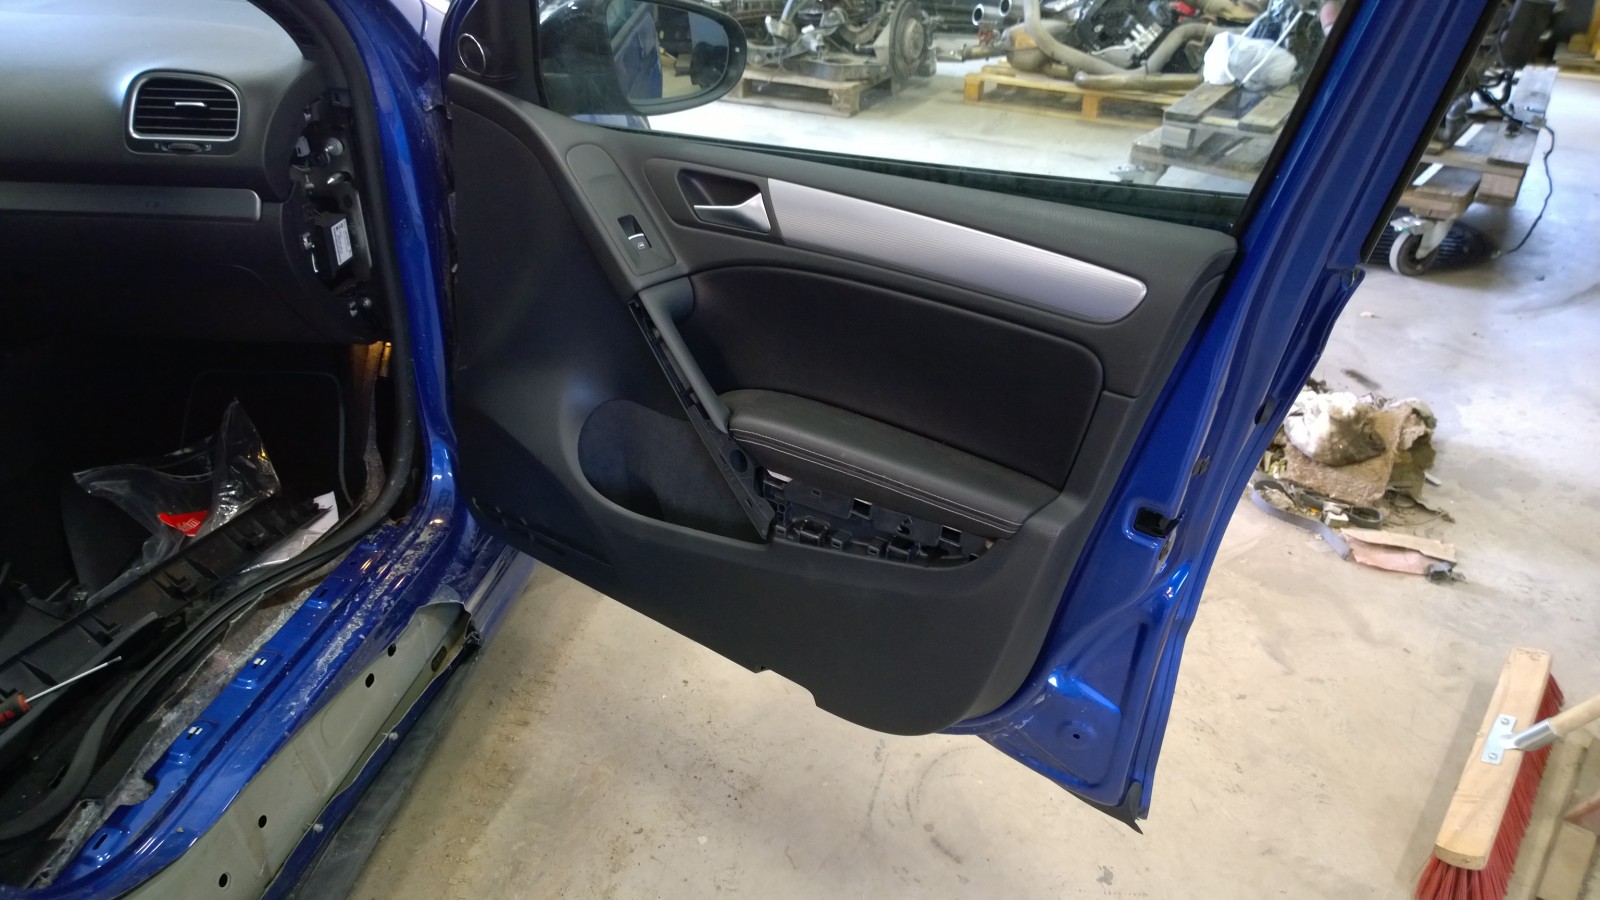
Start the door trim by removing the plastic cover. Three screws behind it, one more at the bottom of the door, then a firm pull releases the panel.
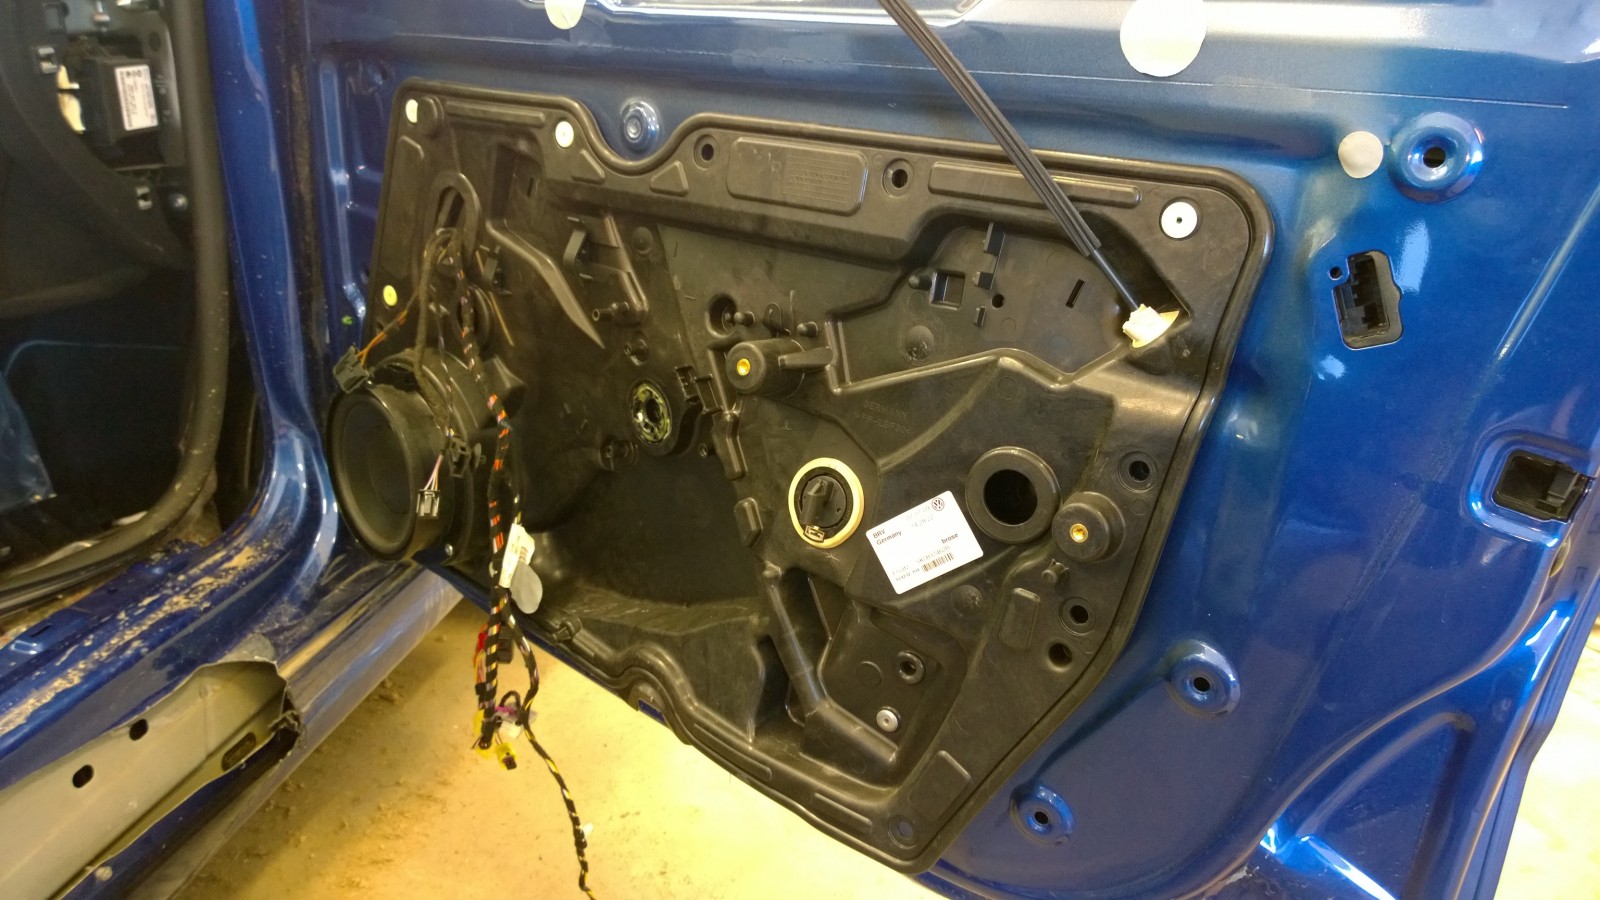
White plastic fasteners hold the inner panel. Push their centre pins through into the door, then collect them once the black panel shown here is off.
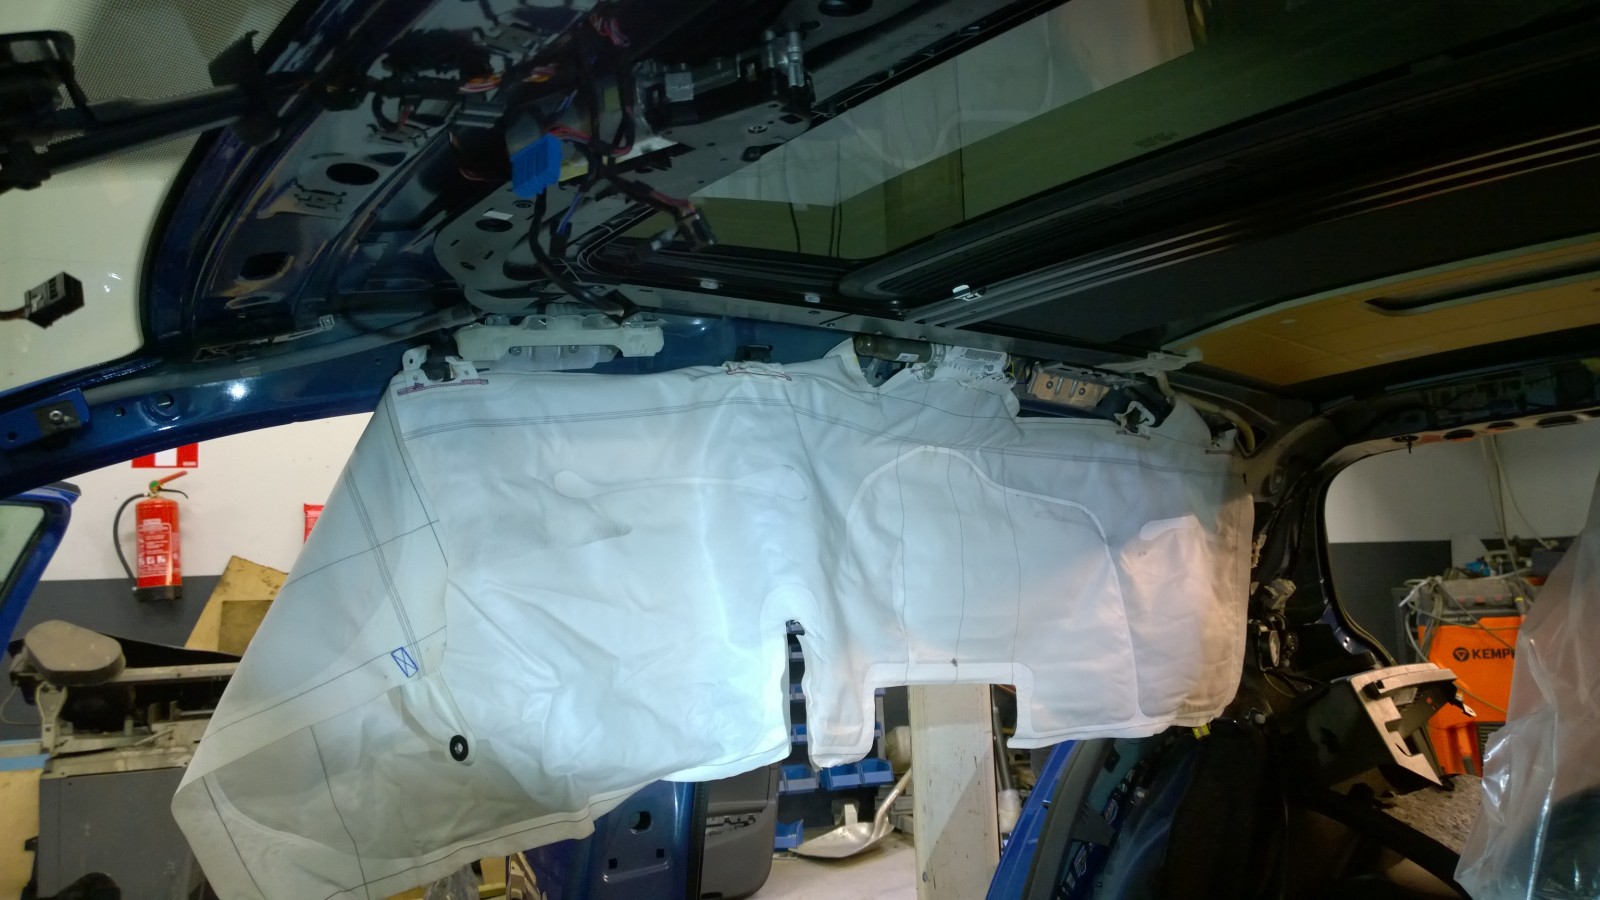
Removing the curtain airbag. The headlining is already lowered out of the way. Its trickiest part was the sunroof surround: a frame had to be prised off from outside first.
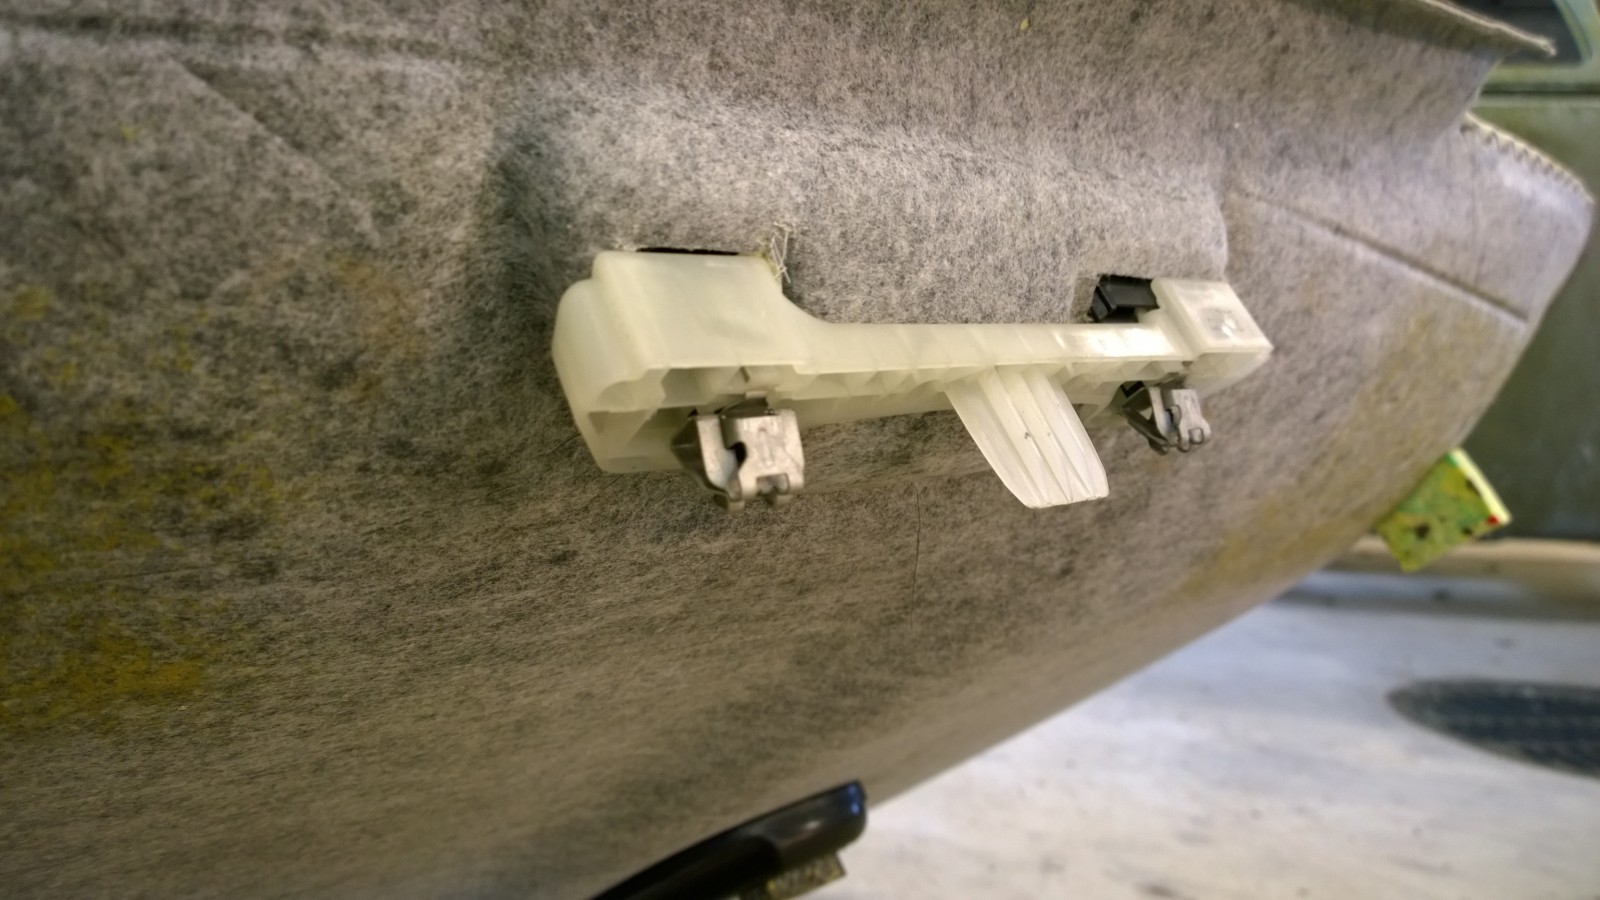
Clips behind the grab handles engage with metal mounts in the roof. Undo the handle screws, and the plastic pieces usually stay in the roof. Remove them separately and fit them to the headlining before putting it back.
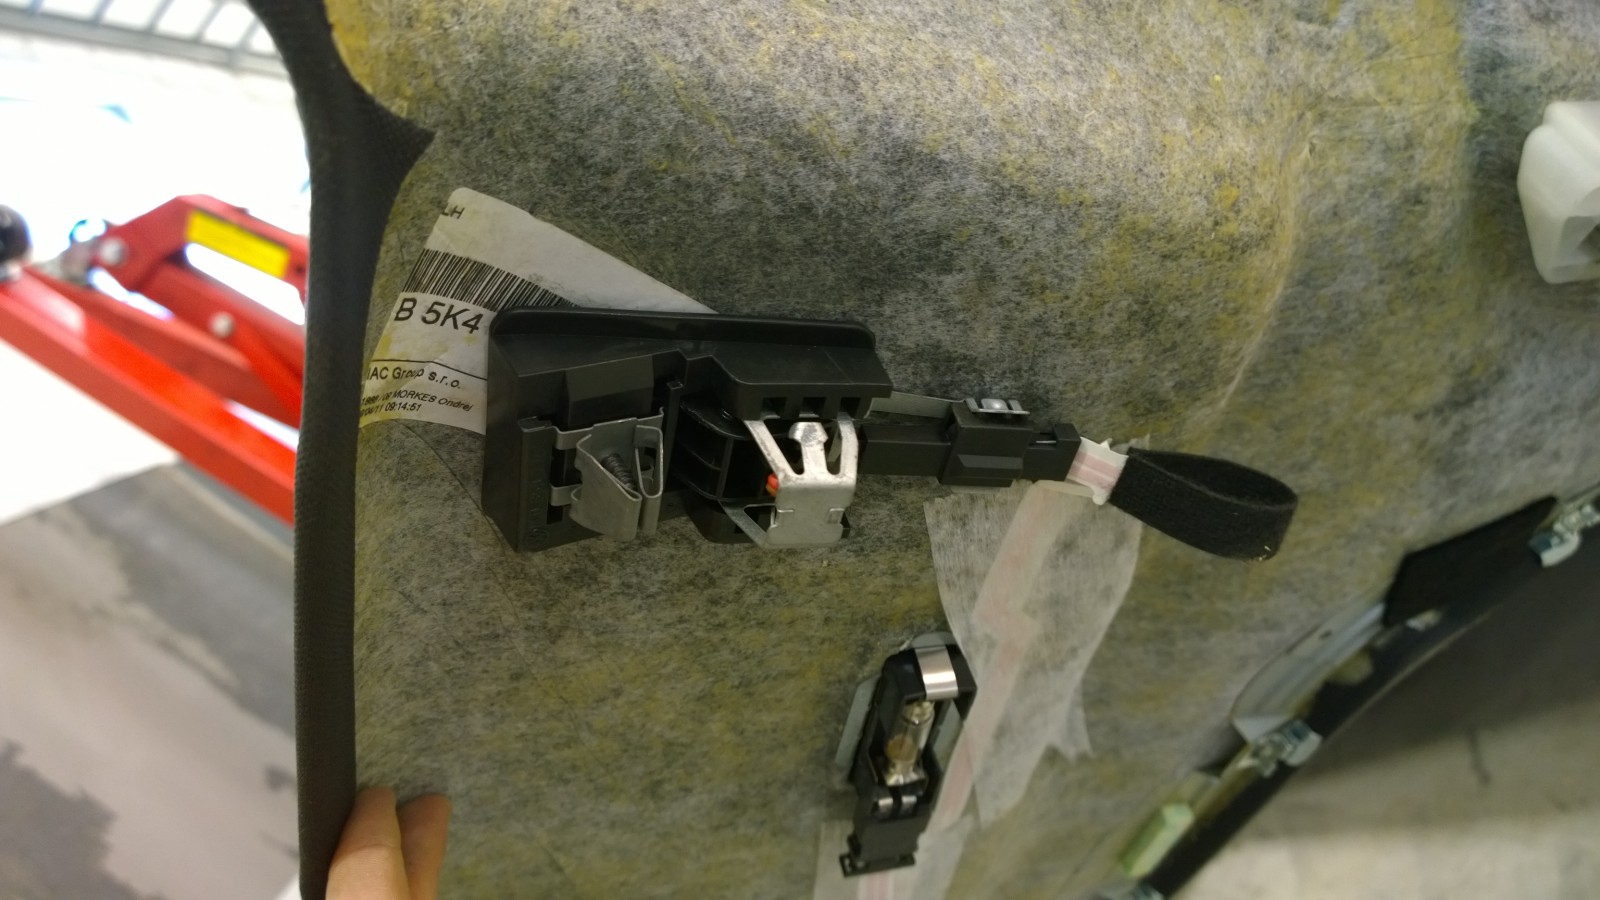
The sun visors can be awkward to remove intact, as their electrical connections run through the mountings. The black plastic piece shown stays in the roof when the headlining comes down. Before refitting, remove it and the metal clip from the roof and attach them to the headlining. Then lift the headlining into place and press the clips into their slots.
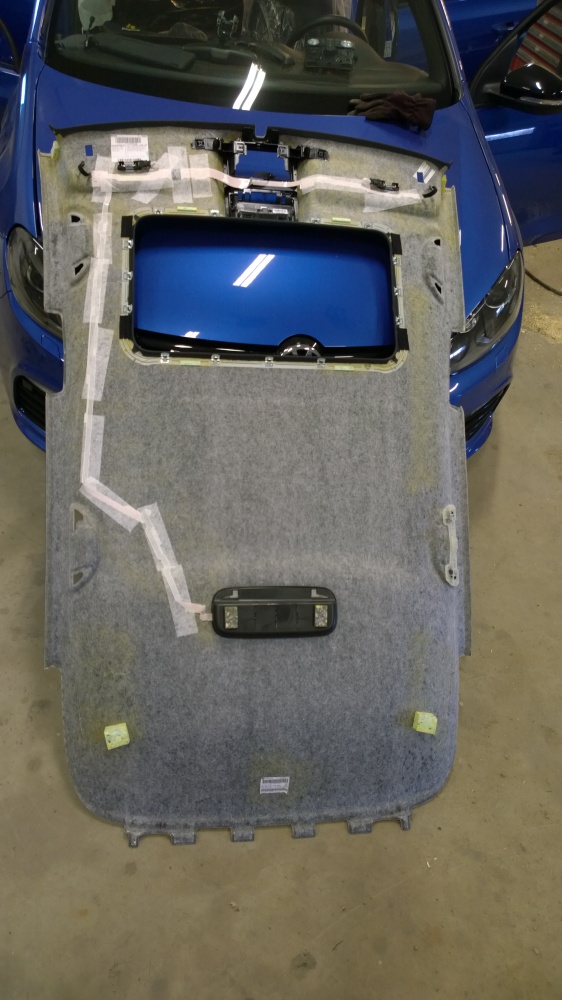
Flexible circuit boards handle the wiring on the back of the headlining. Clever.
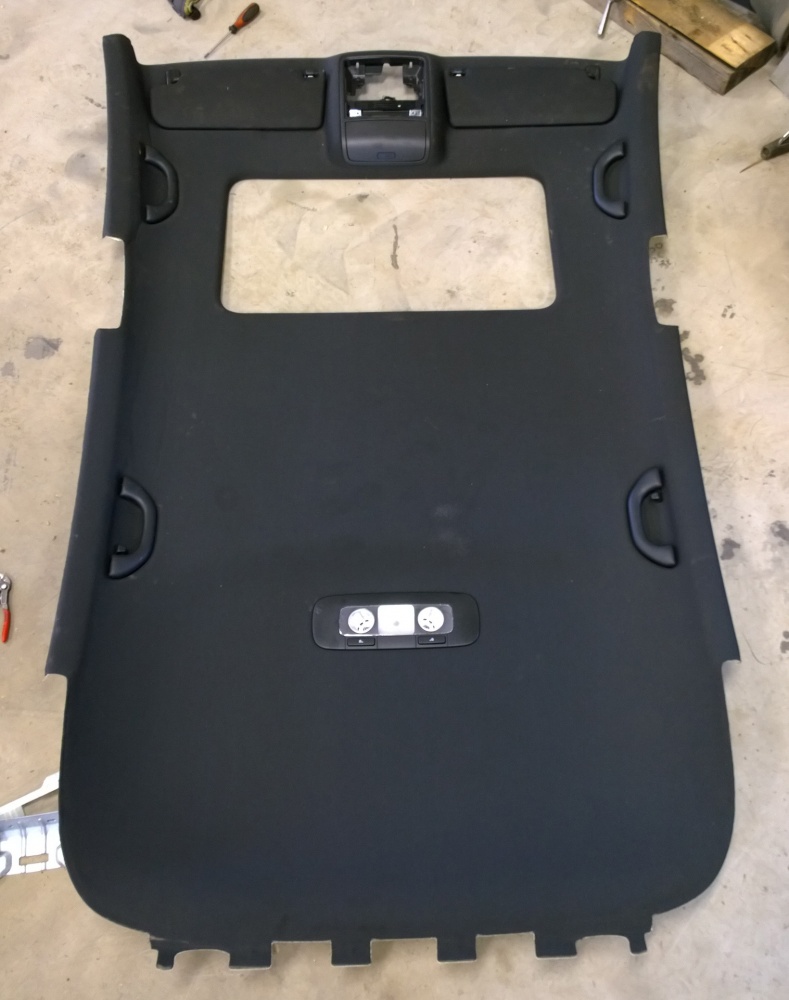
Headlining ready to go back in, with sun visors and grab handles attached.
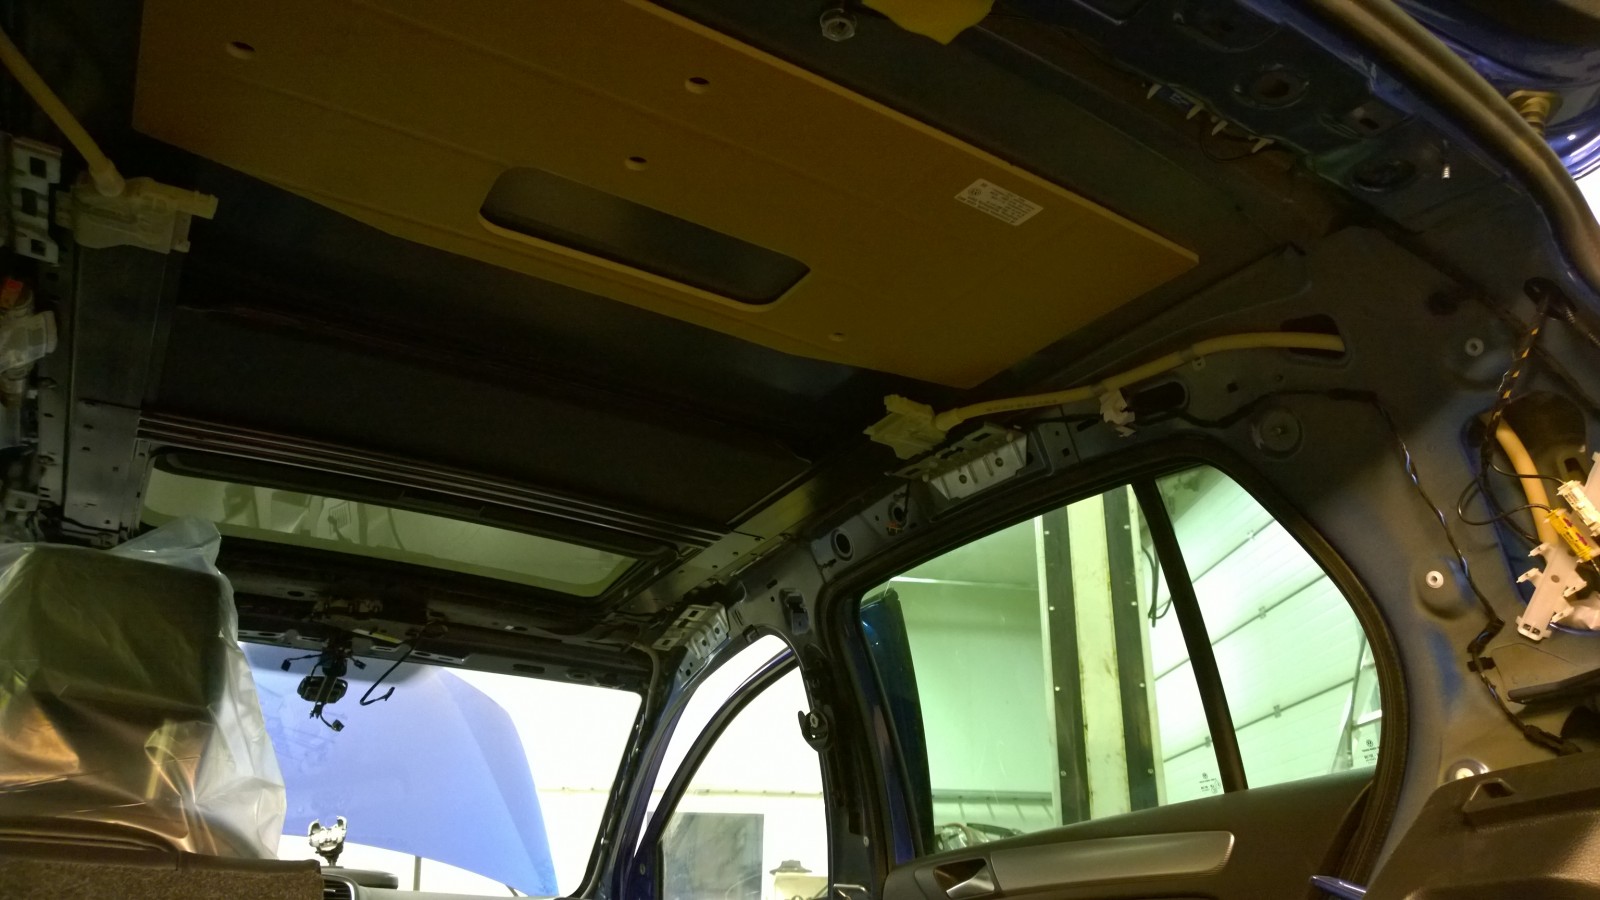
Side airbag removed. Some rather annoying clips hold it in place.
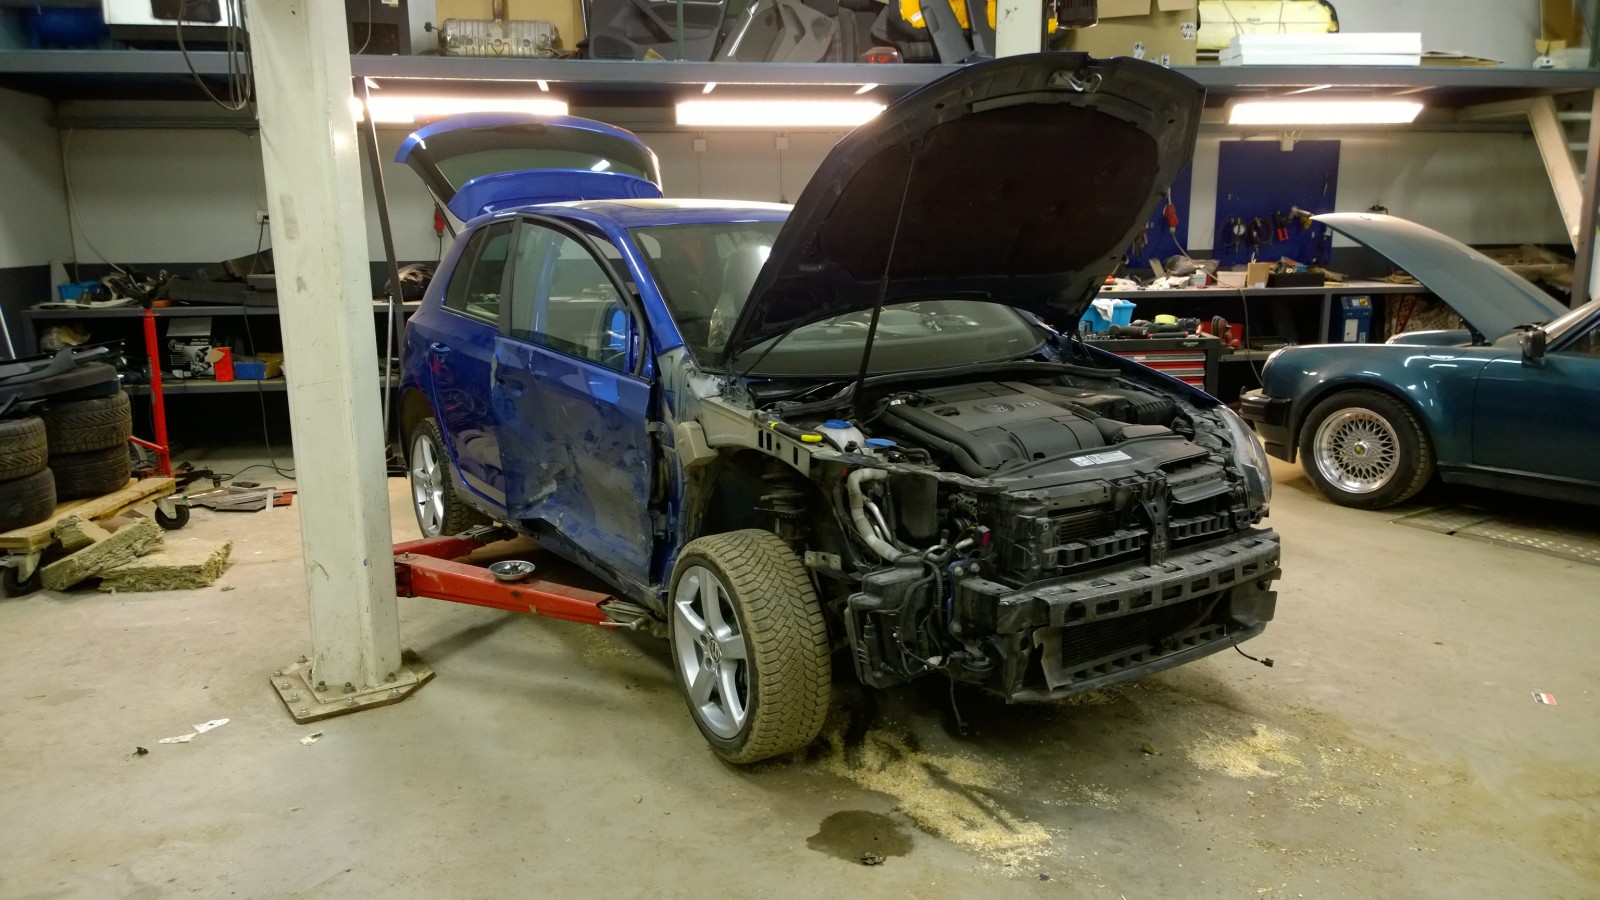
We finished the evening by removing the front bumper and damaged wing. Start with the grille: four screws at the top and a firm tug at the bottom. Then a couple of screws behind it, more inside the wheel arches — including the vertical ones right in the bumper's upper corners — and all the visible screws underneath. Pull the bumper edges sideways to release it, then disconnect the wiring and washer hose. The bumper's side mount comes off with the headlight.
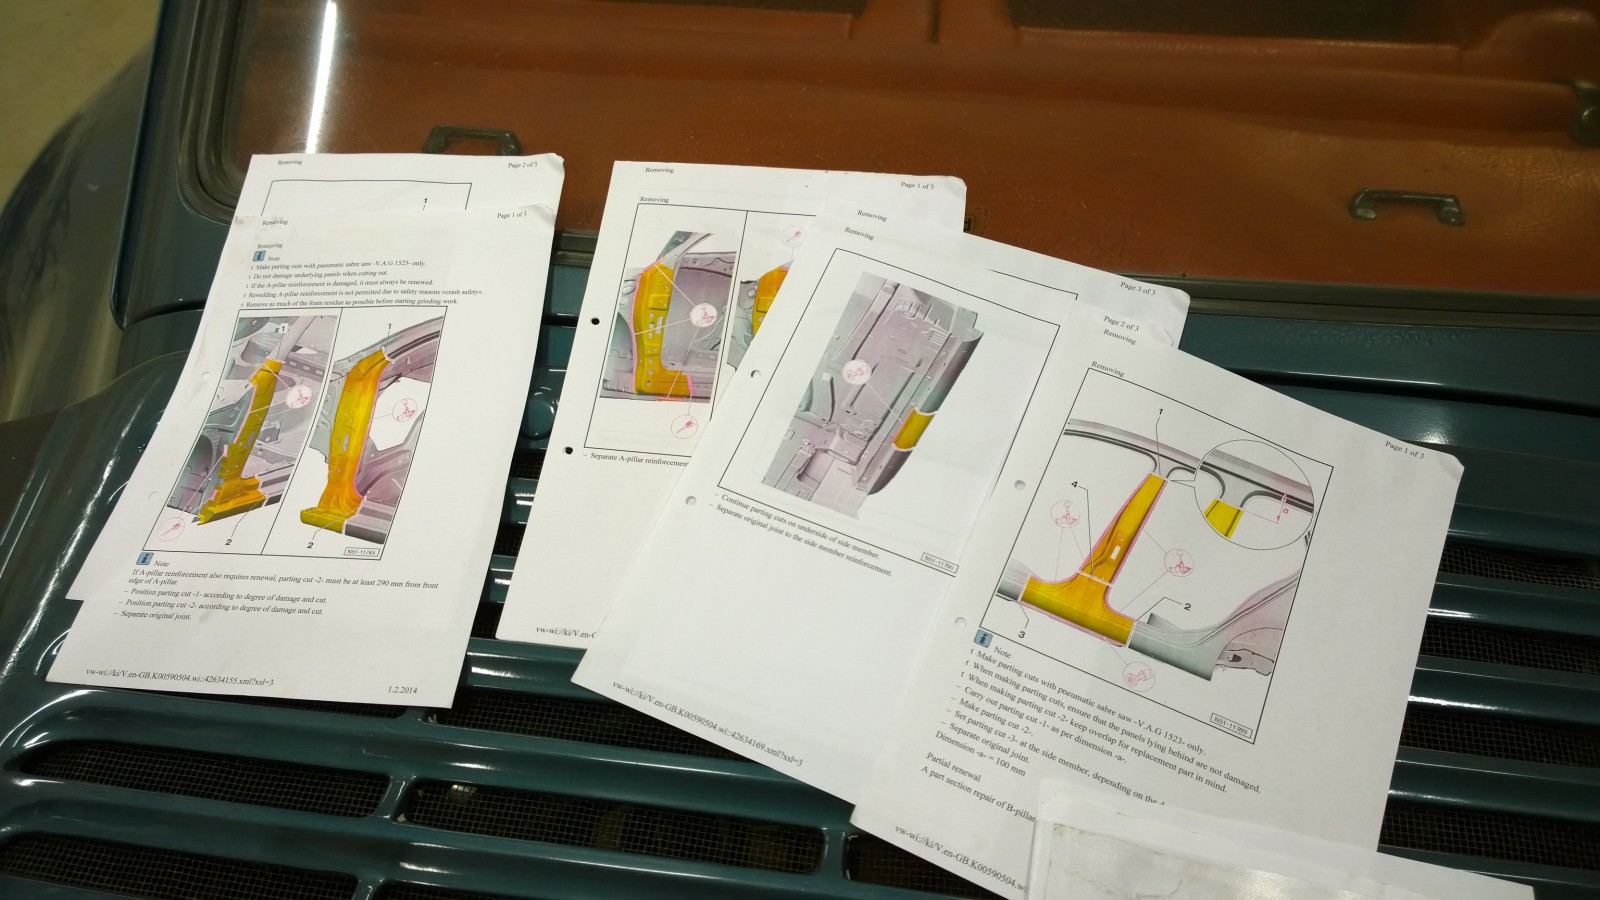
As you can see, we've been studying the repair instructions.
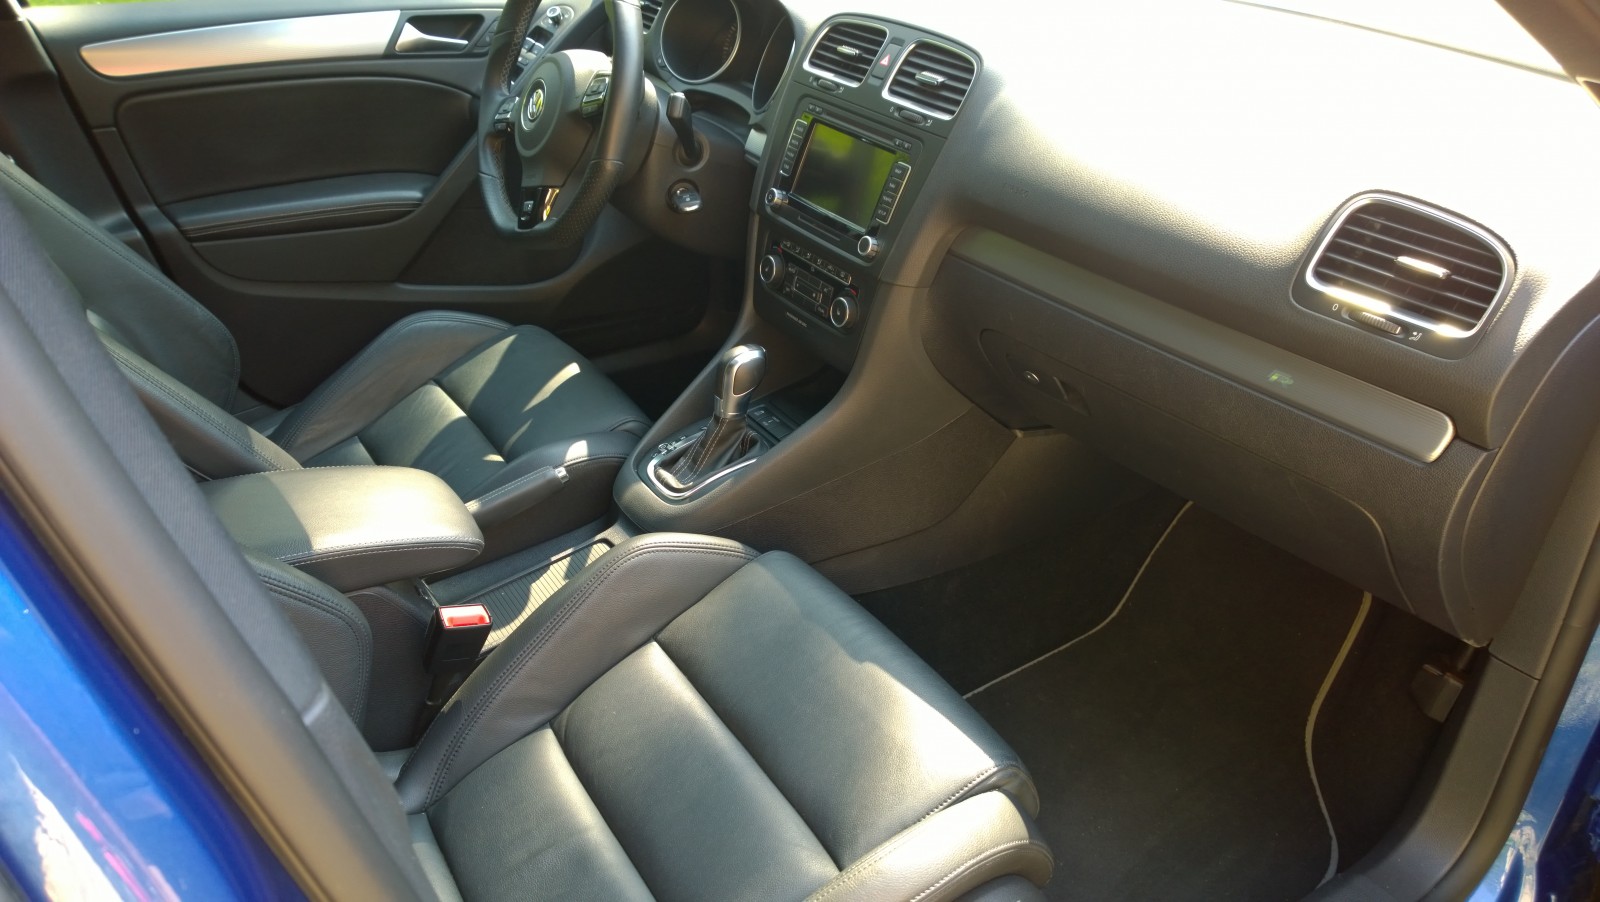
With the track rod replaced, I took it for a short test drive. The Golf goes very nicely. It seems to have all the essentials: DSG, sat-nav, DCC adaptive suspension, leather seats, automatic high beams, phone kit, sunroof, front and rear parking sensors and plenty more. Just no towbar — the R's exhaust layout rules that out.
2014-03-10 · A closer look at the Golf's side damage
I realised I hadn't posted any photos of the damage behind the door. The sill is pushed in slightly at the bottom of the B-pillar and just ahead of it.
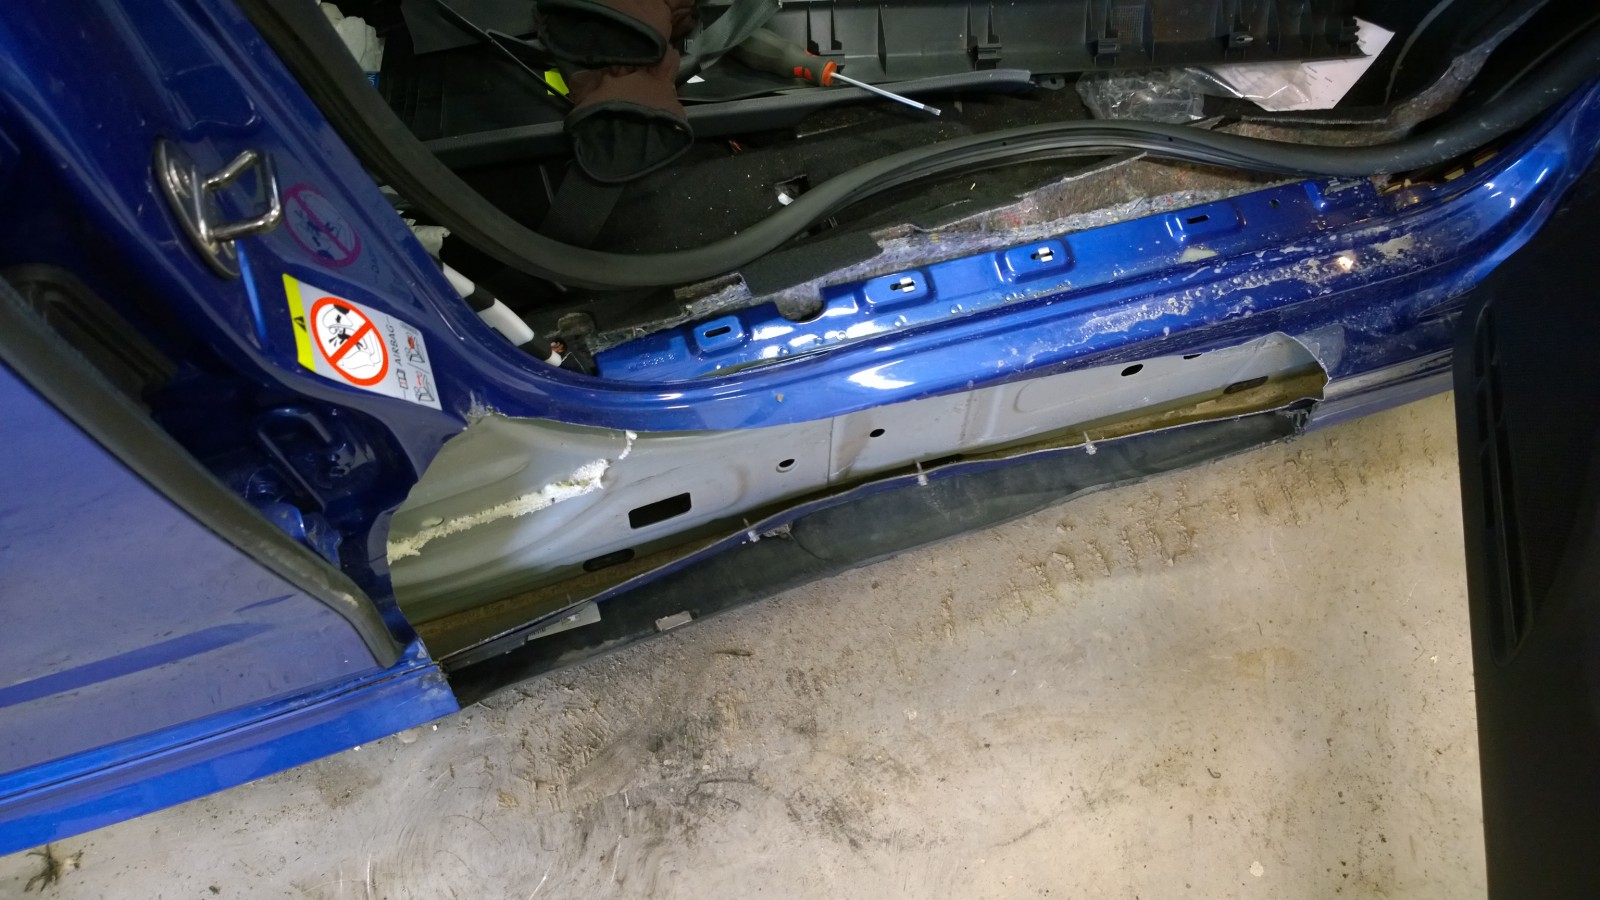
Side damage, with the sill pushed in. We don't yet know whether it'll pull straight or need more replacement panels. The outer panel was cut open during the insurer's assessment.
2014-03-13 · Golf off to Pori for bodywork
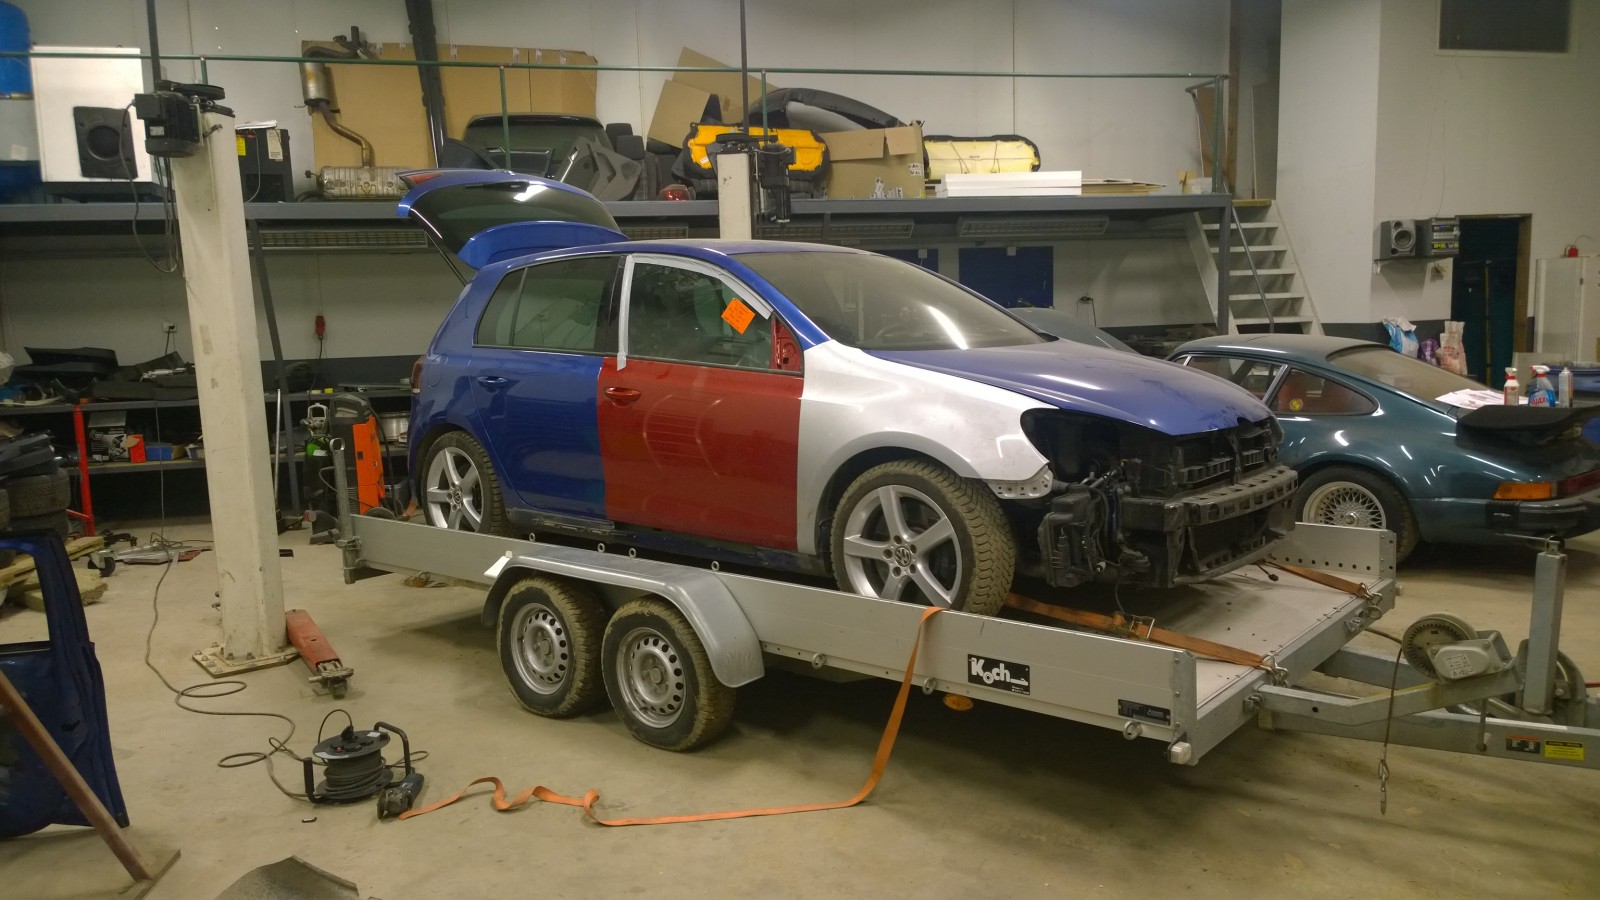
This time, the bodywork is being done at an official dealer: Käyttöauto in Pori, where Pekka works. Still Pekka doing the work, then. All the equipment is there, so it's the quickest way to get a good result.
We found an undamaged door and wing today too. A new outer panel for the door aperture has already been bought from the main dealer. We could have cut a used one from a donor, but removing it would take so long that buying new was much easier. Only a few hundred euros.
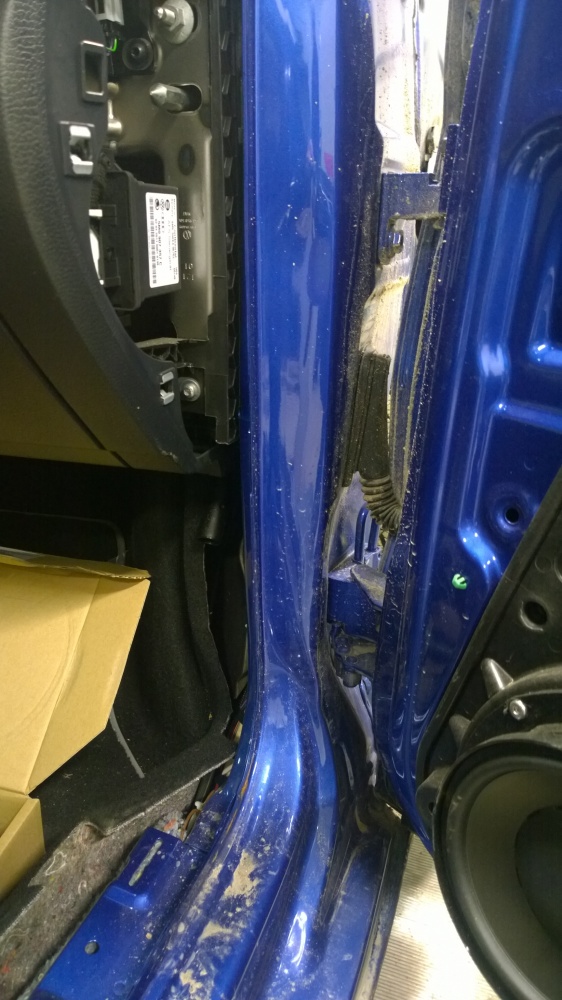
The bottom of the A-pillar is pushed in slightly too.
2014-03-14 · Golf bodywork making progress
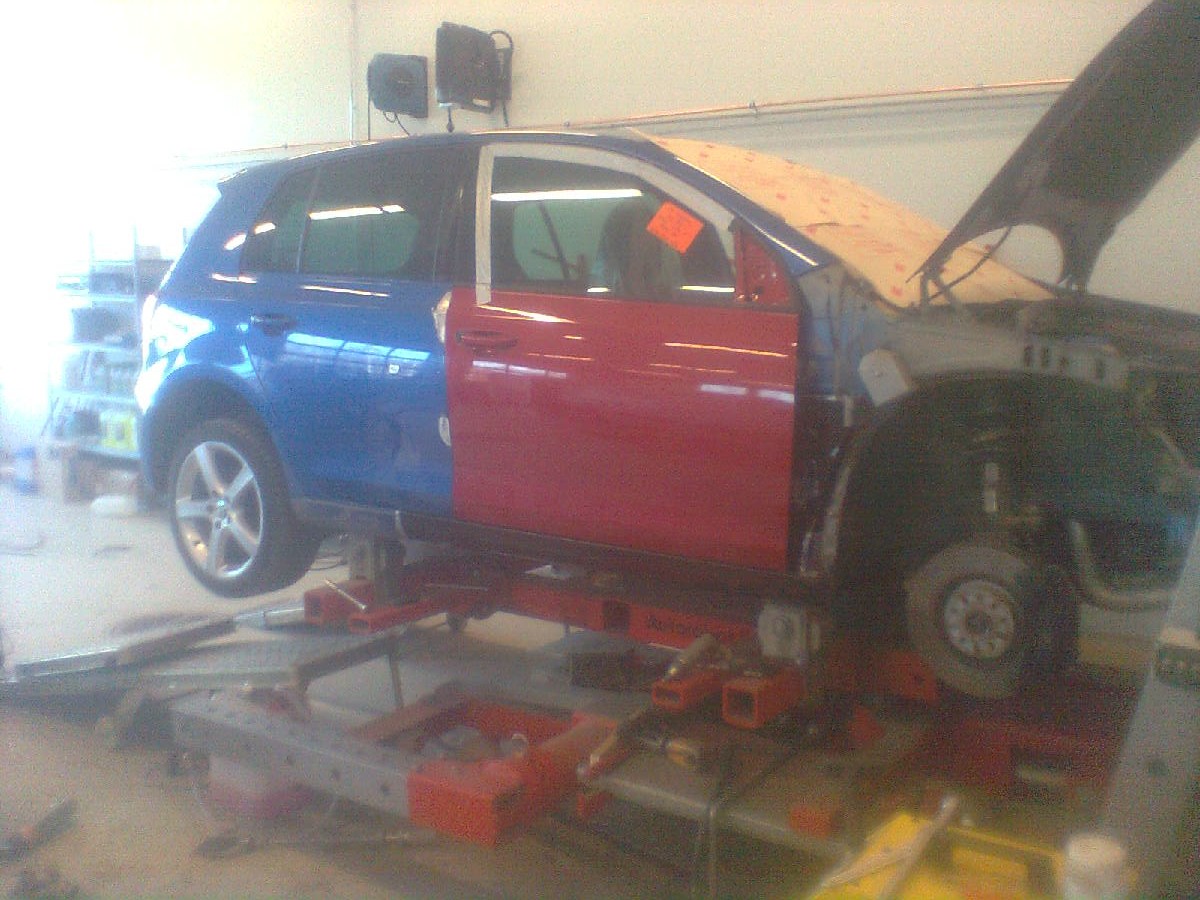
Perhaps I should buy Pekka a better camera phone — the picture's a bit rough! Anyway, the Golf has now been pulled straight on Käyttöauto's body alignment jig. Welding next.
There should be better photos too, but they're still on Käyttöauto's camera…
2014-03-18 · Some better photos of the Golf bodywork
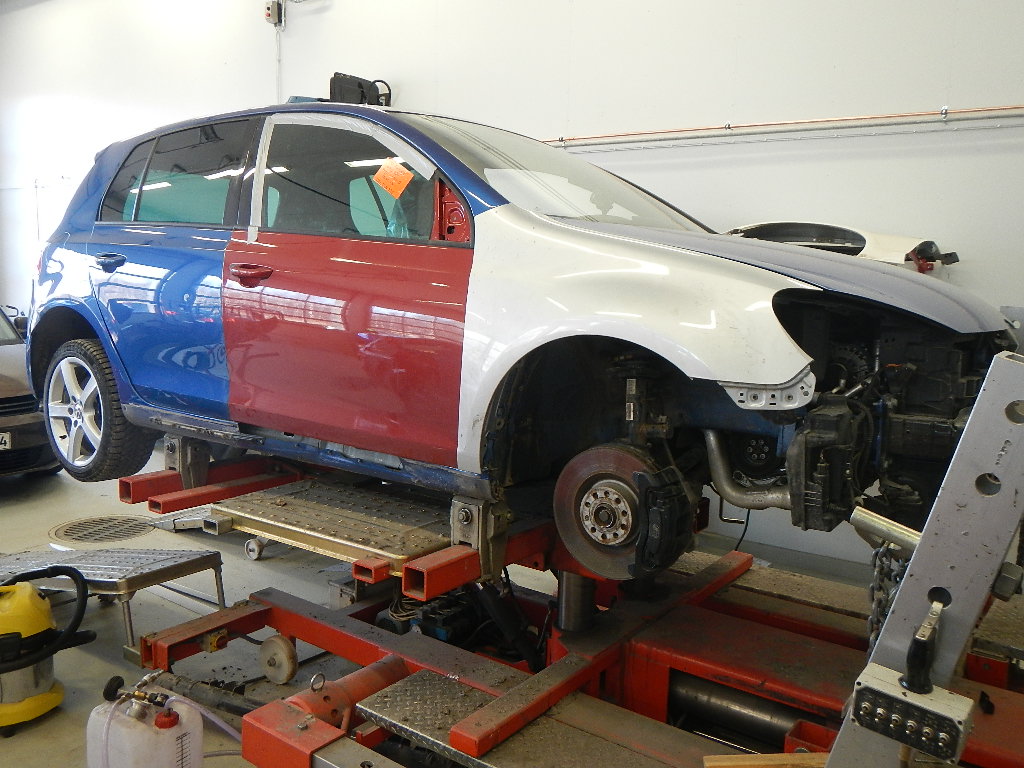
Golf on Käyttöauto's body alignment jig.
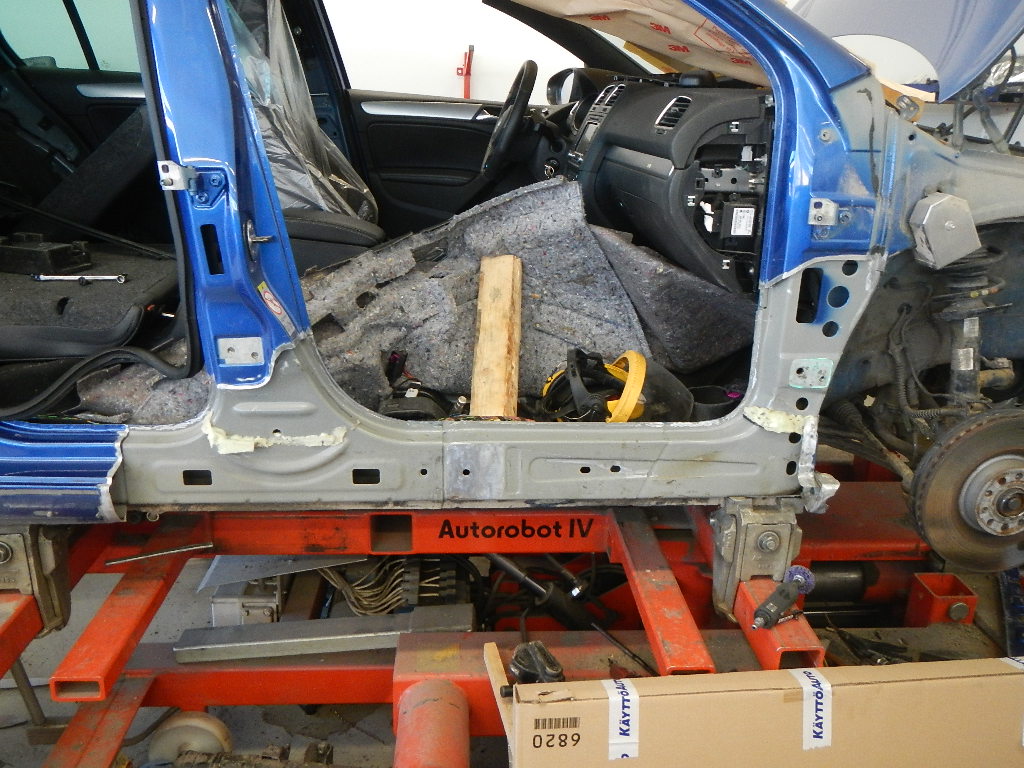
Outer sill panel removed and the sill pulled back into shape. It took some force, but it straightened out.
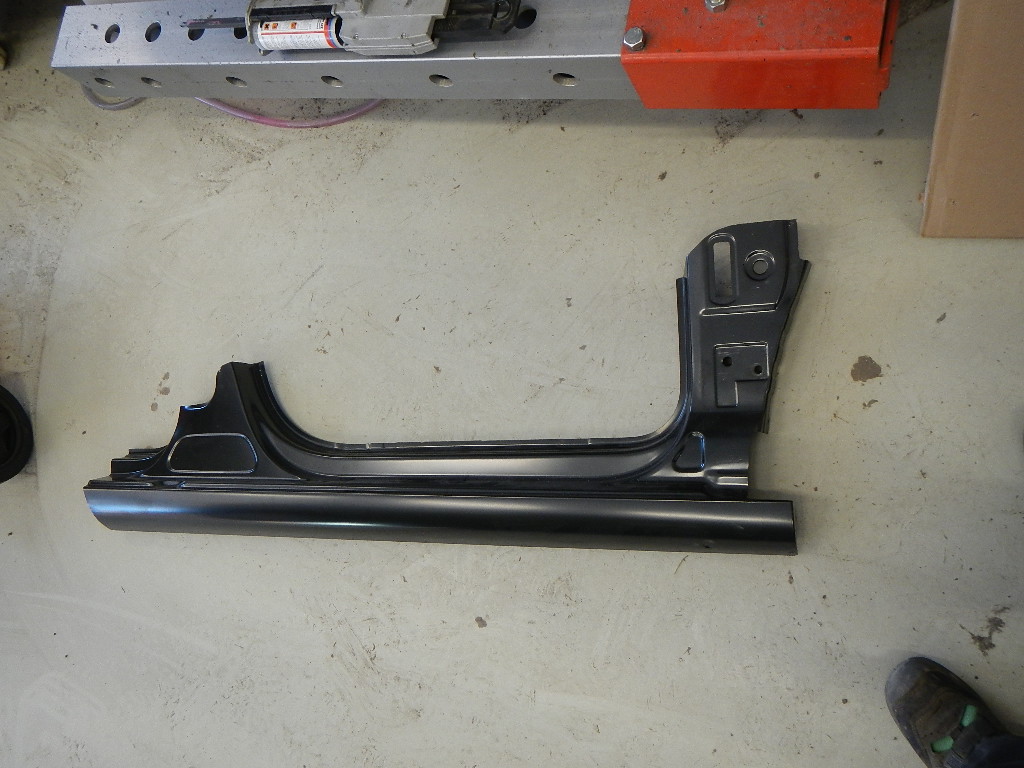
New outer panel cut to shape.
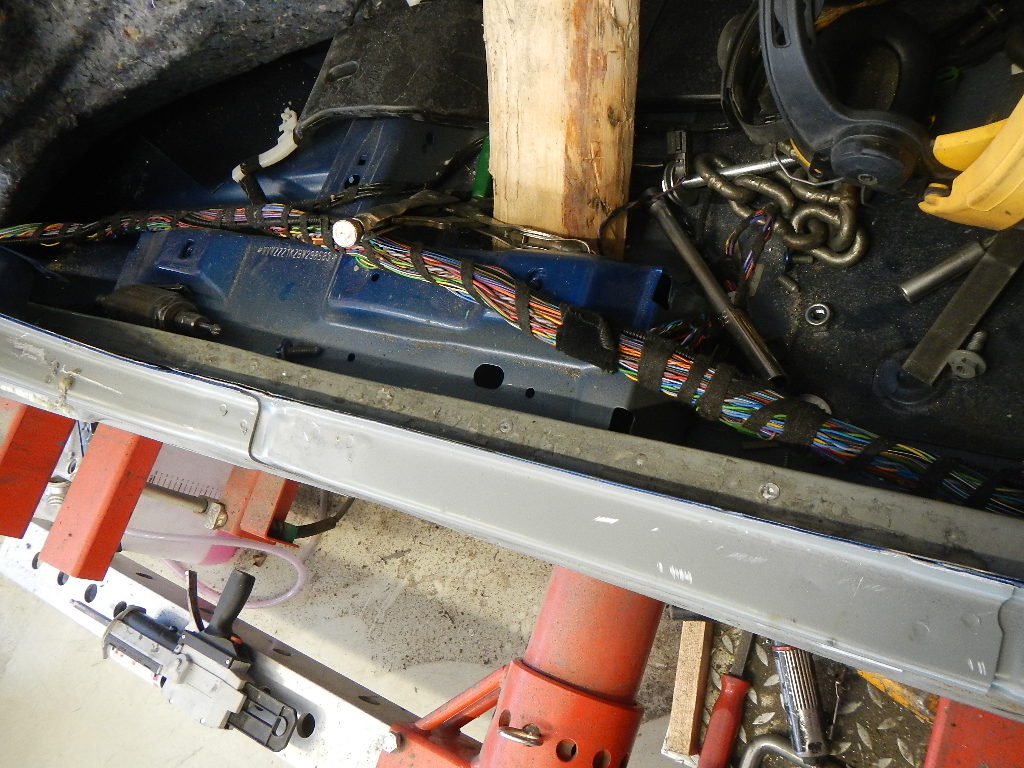
The sill looks good from inside too. The sill-trim mounting panel is being replaced as well; here it's waiting to go in.
2014-03-18 · Golf R: bodywork nearly finished
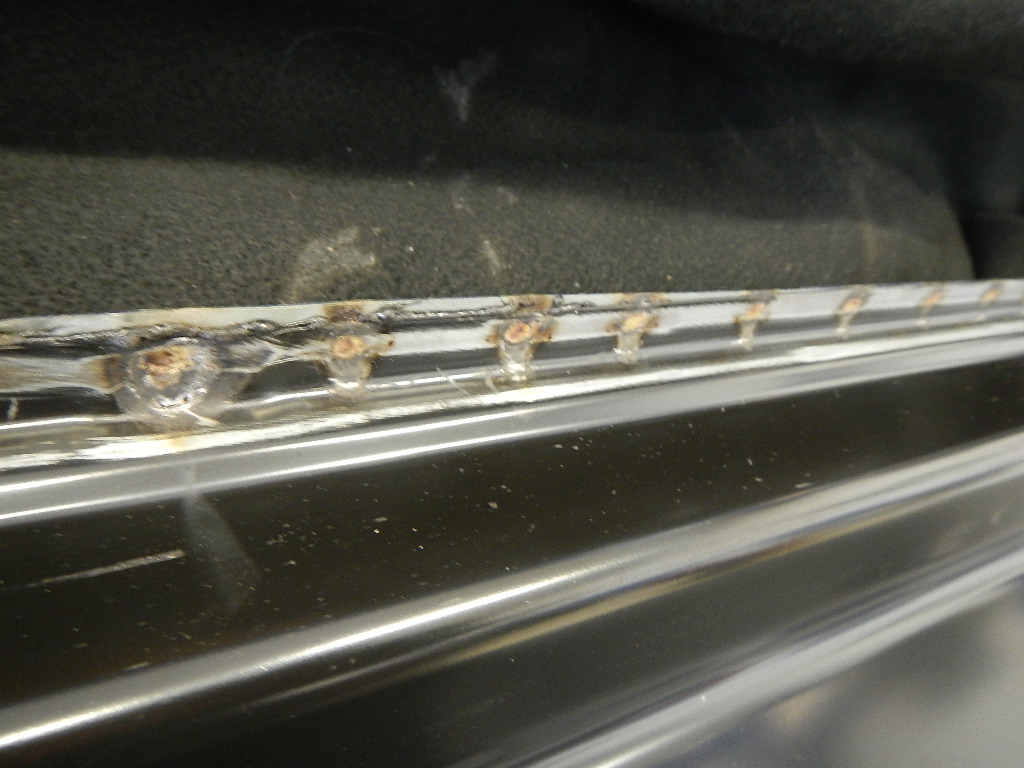
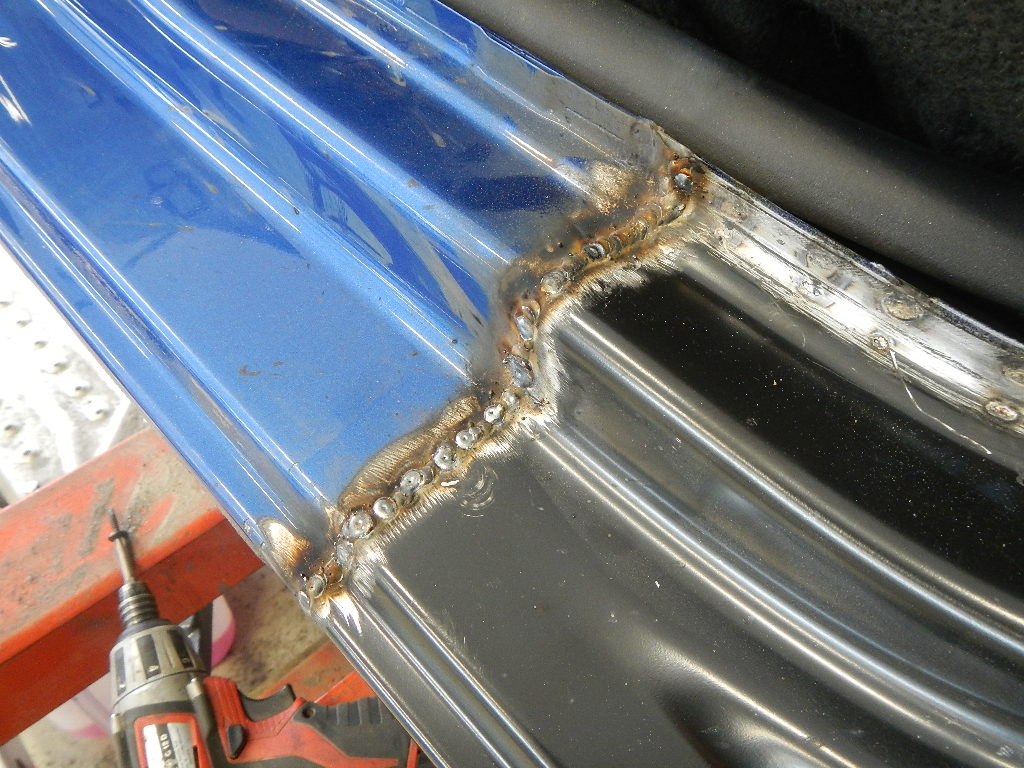
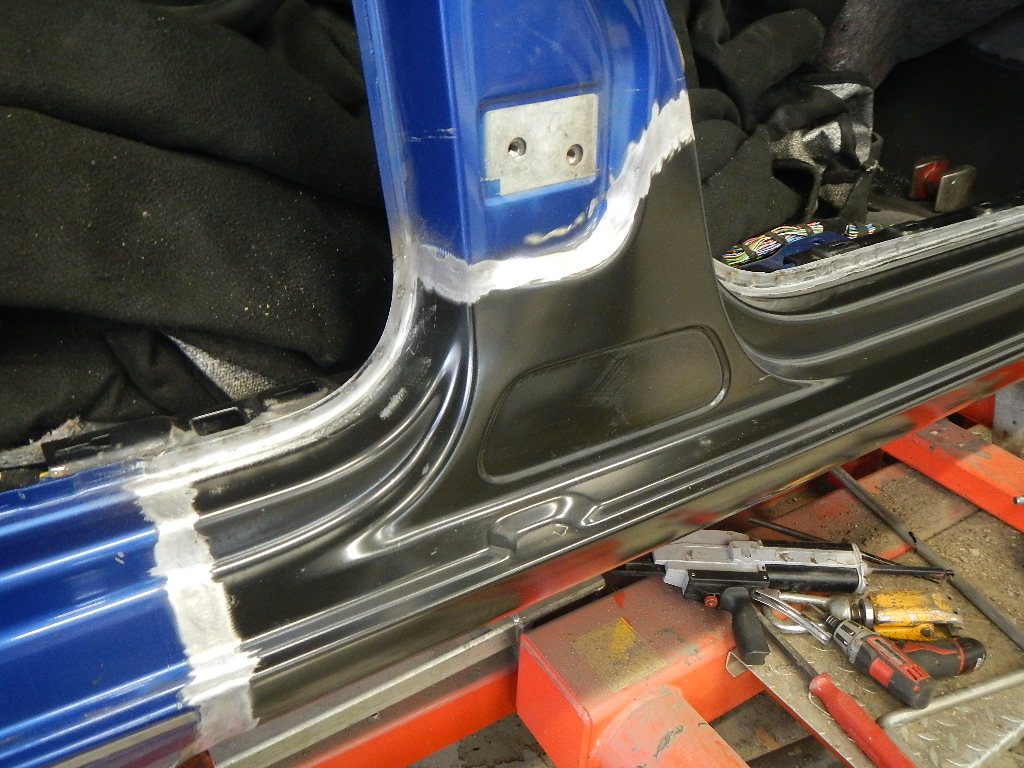
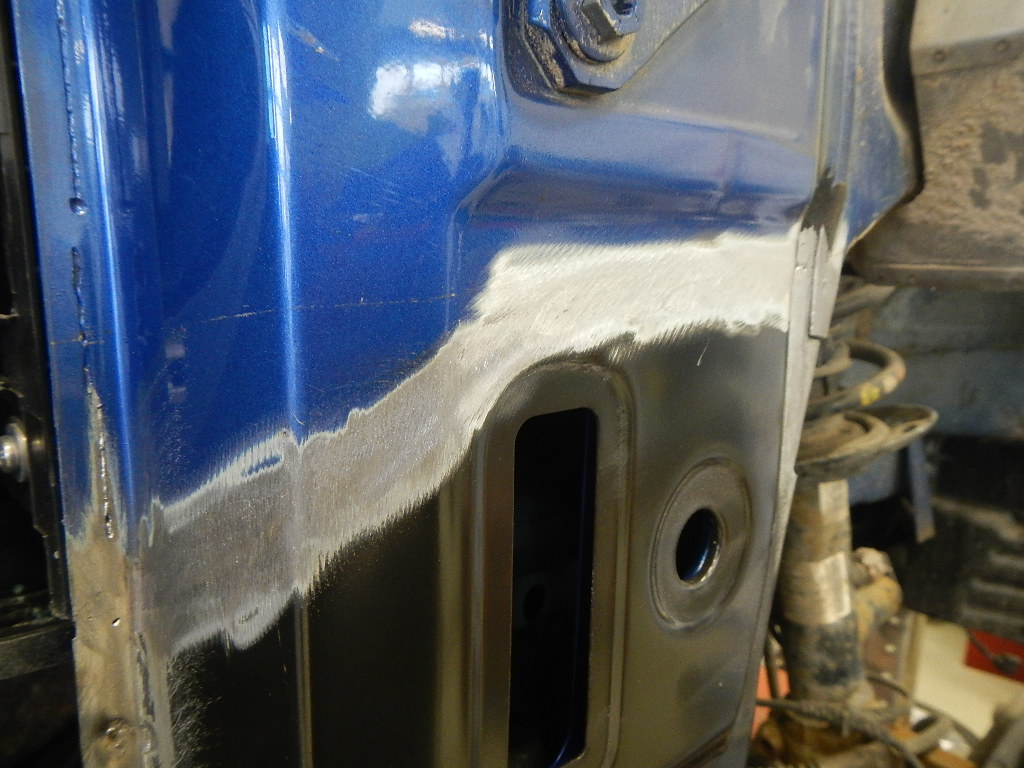
There we go — the new sill panel went on today. Things are looking promising on the painting front too.
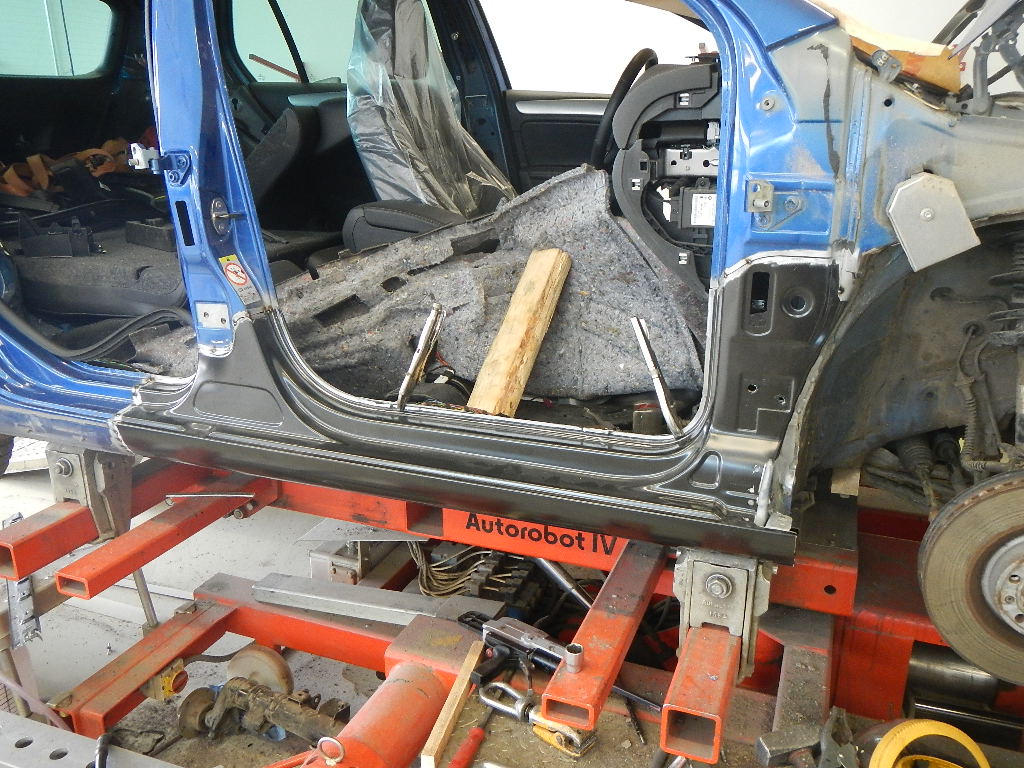
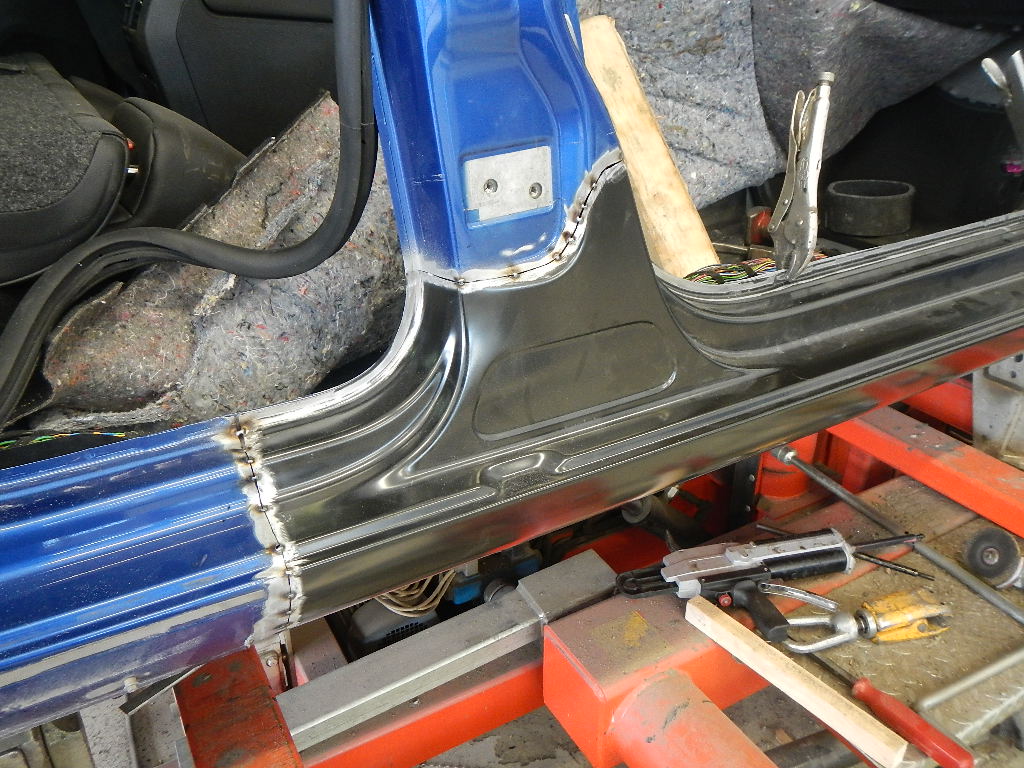
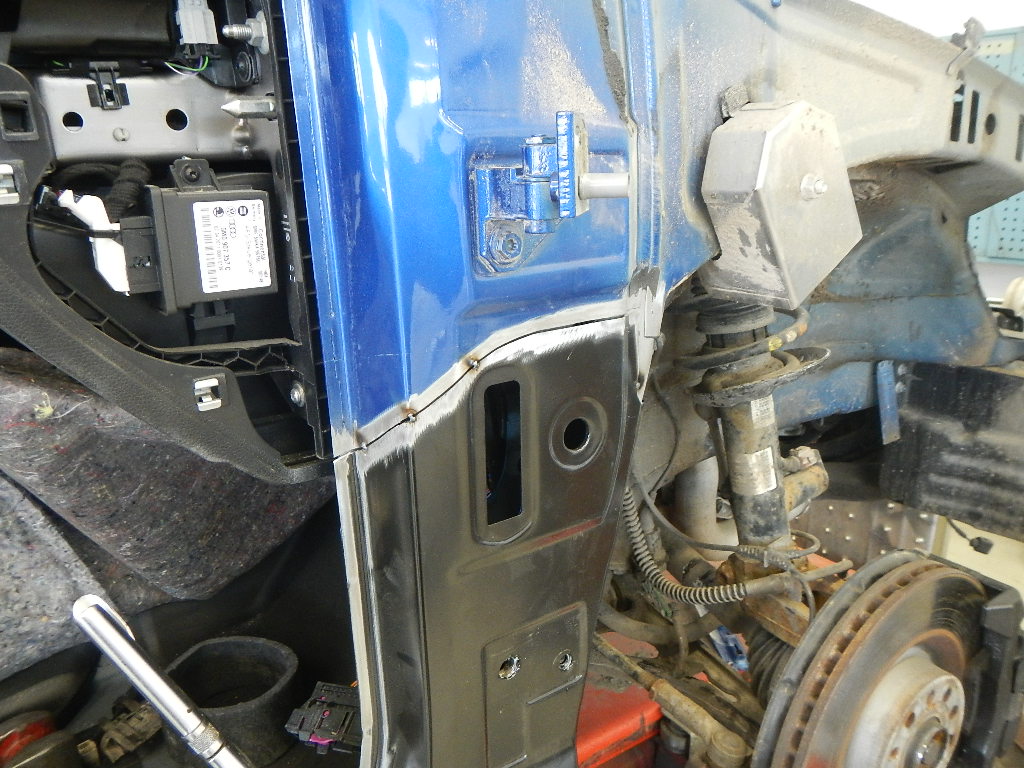
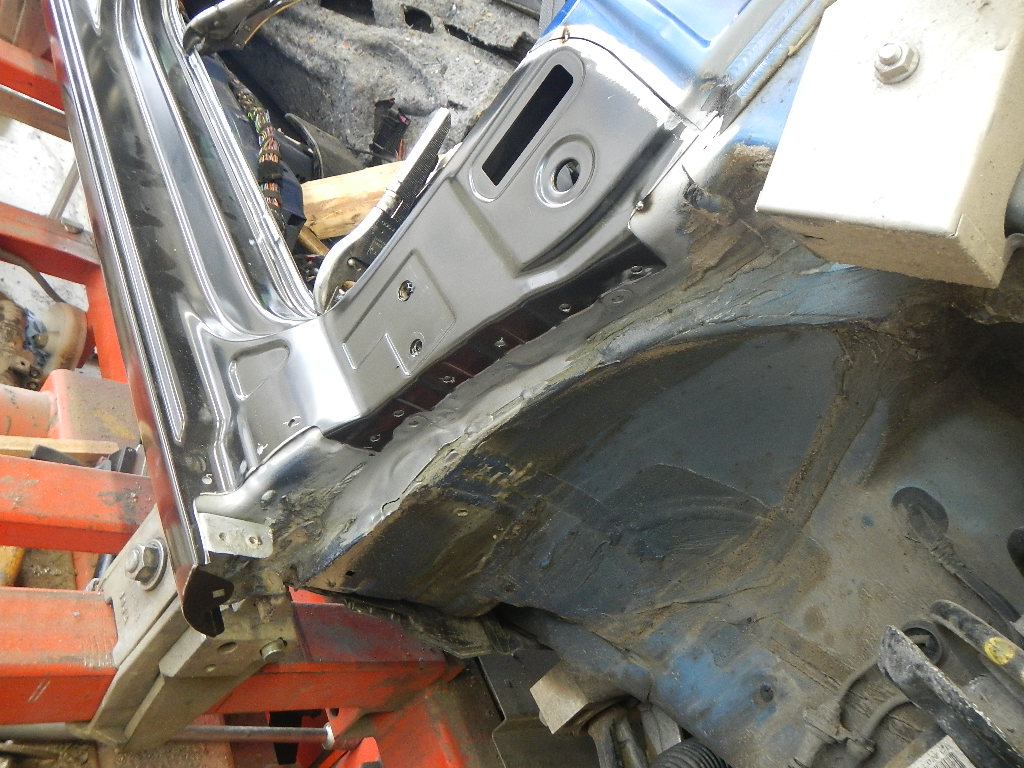
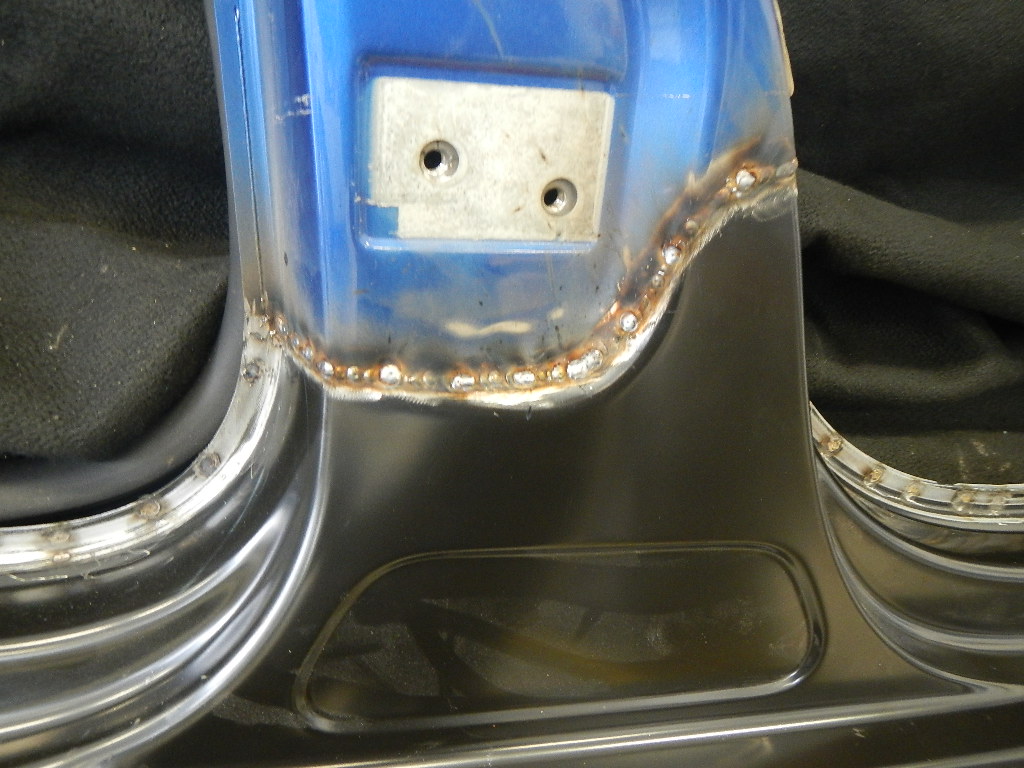
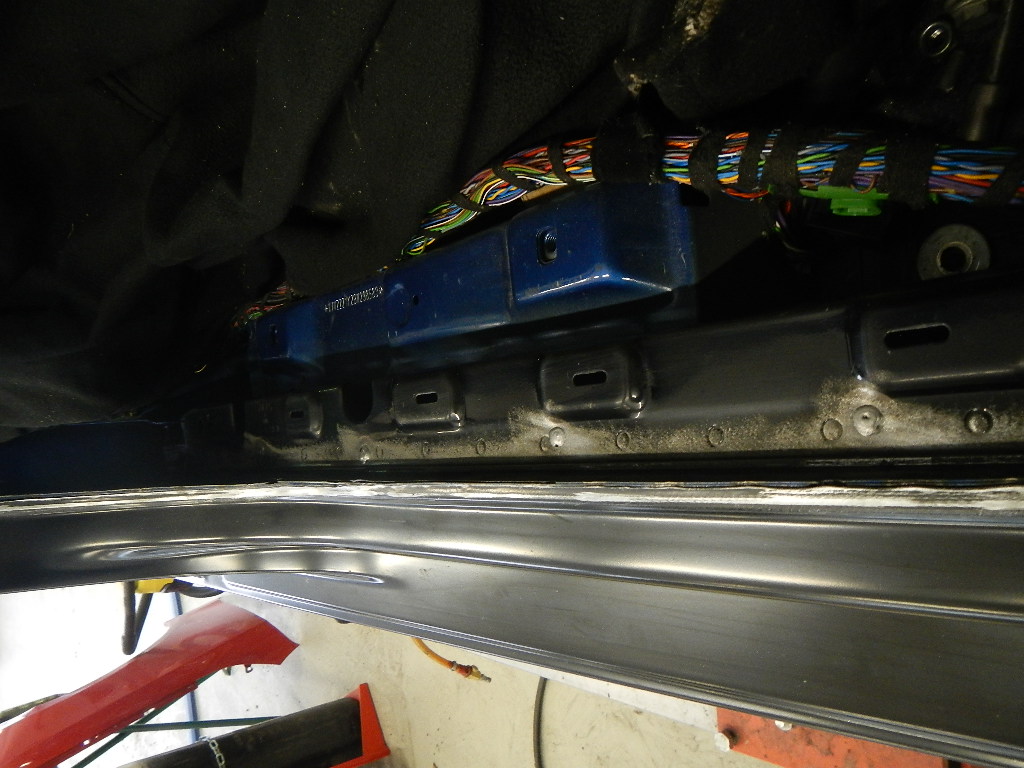
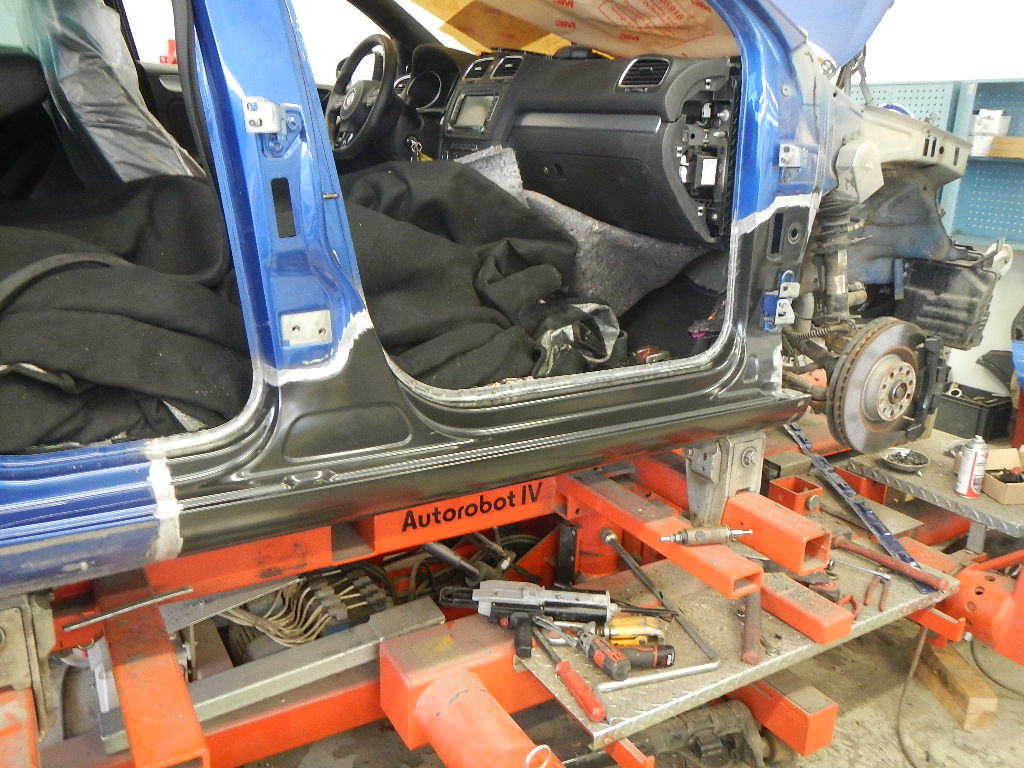
The hunt for safety equipment is in full swing…
2014-03-22 · The R is off for paint
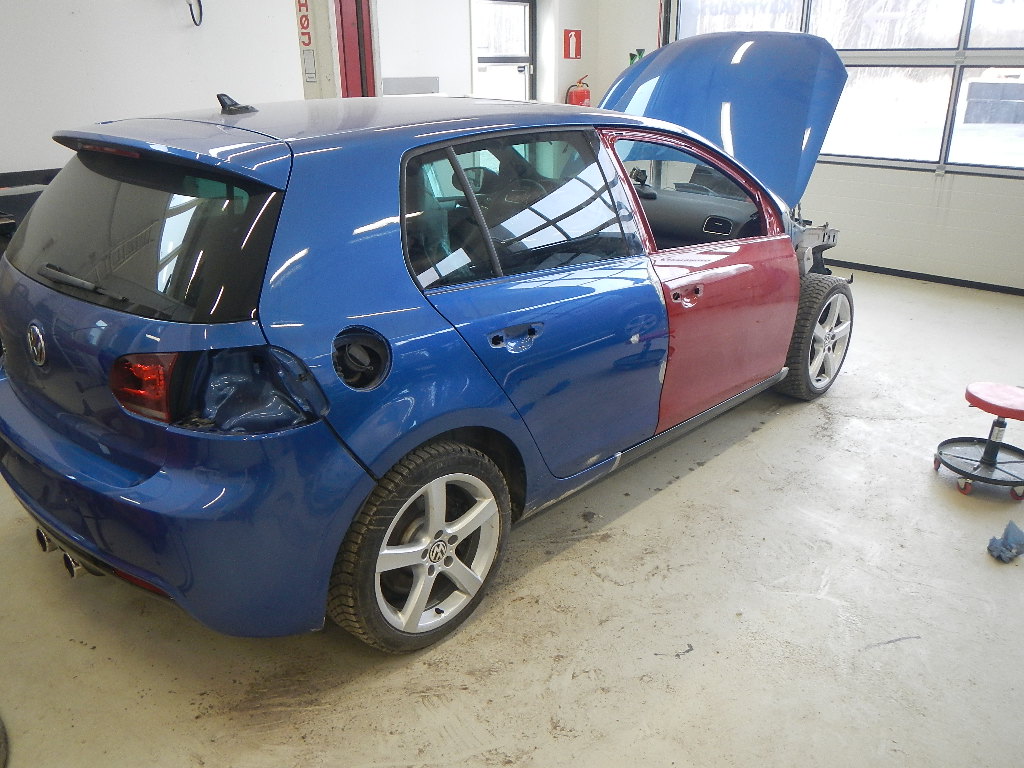
Pekka finished the bodywork, including sealing the seams, and the Golf went to the painter yesterday.
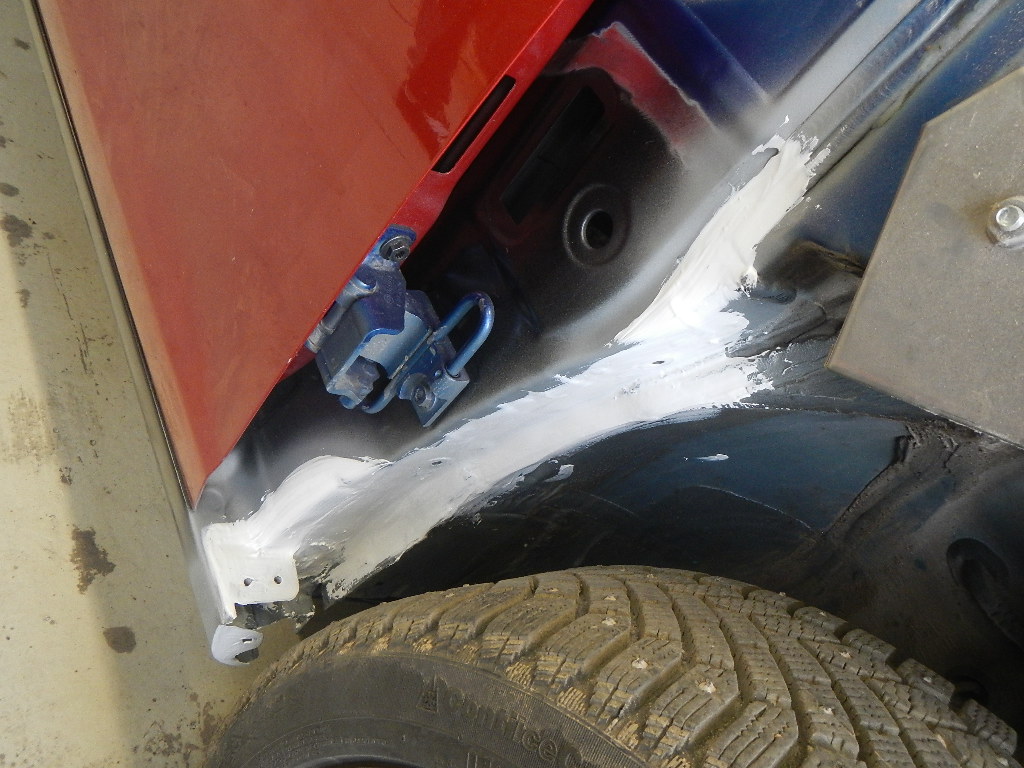
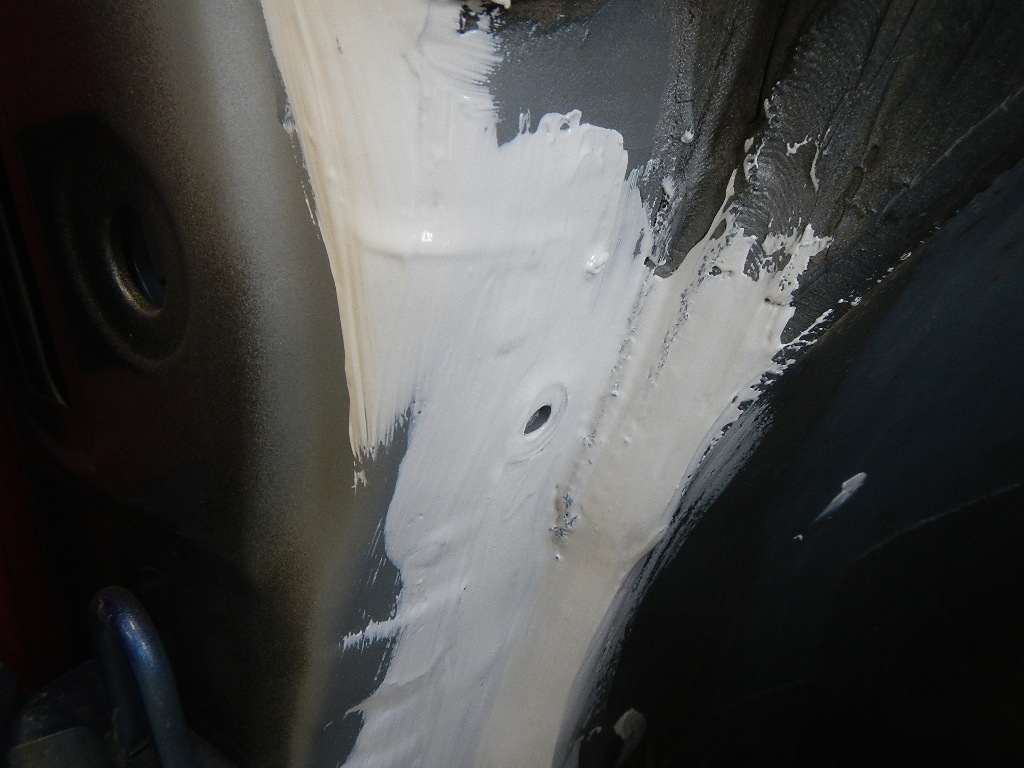
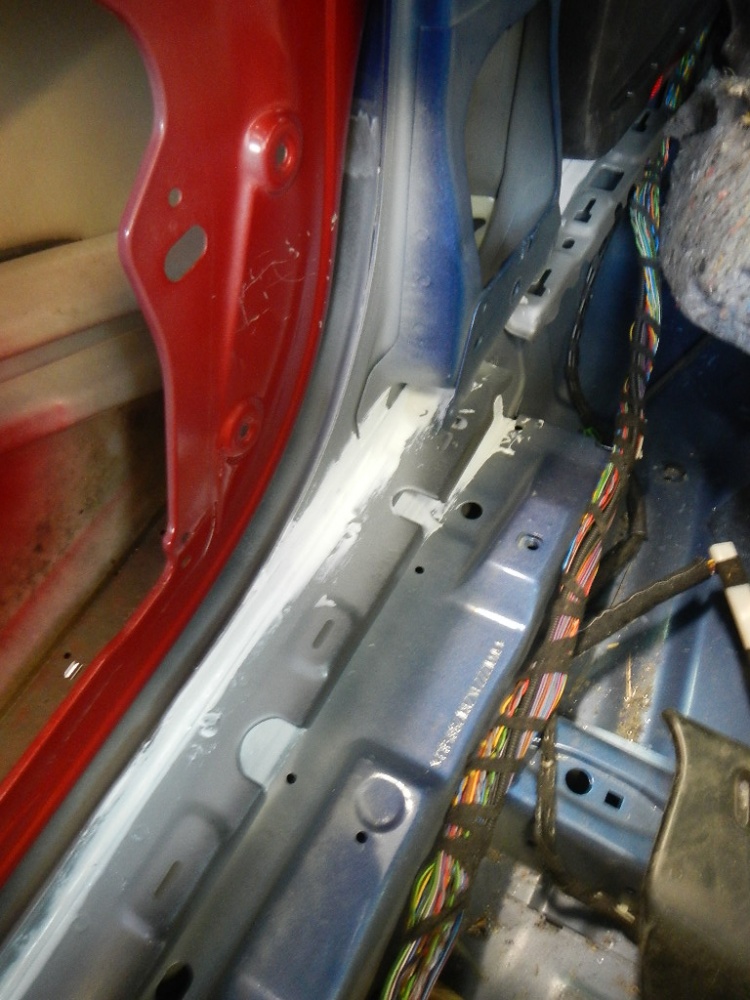
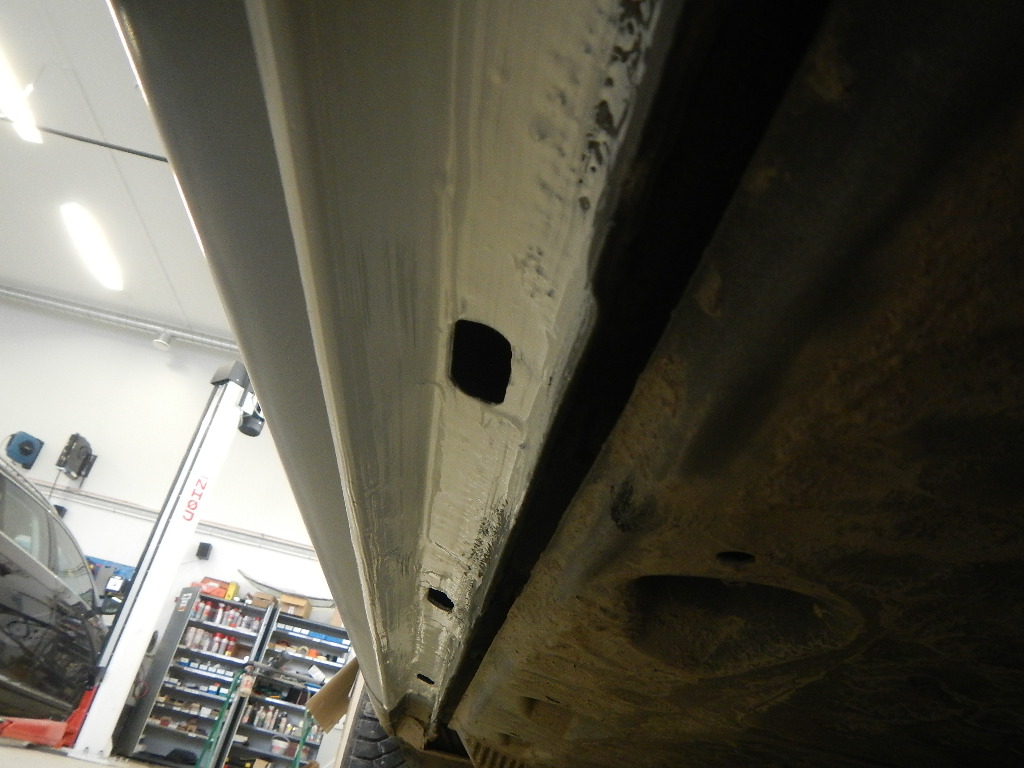
Probably no painting photos this time, as we're using an outside painter.
If anyone knows of rear seat belts with pyrotechnic pretensioners, let me know: 1K6 857 805 AB RAA and 1K6 857 806 AB RAA.
2014-04-02 · R painted, reassembly begins
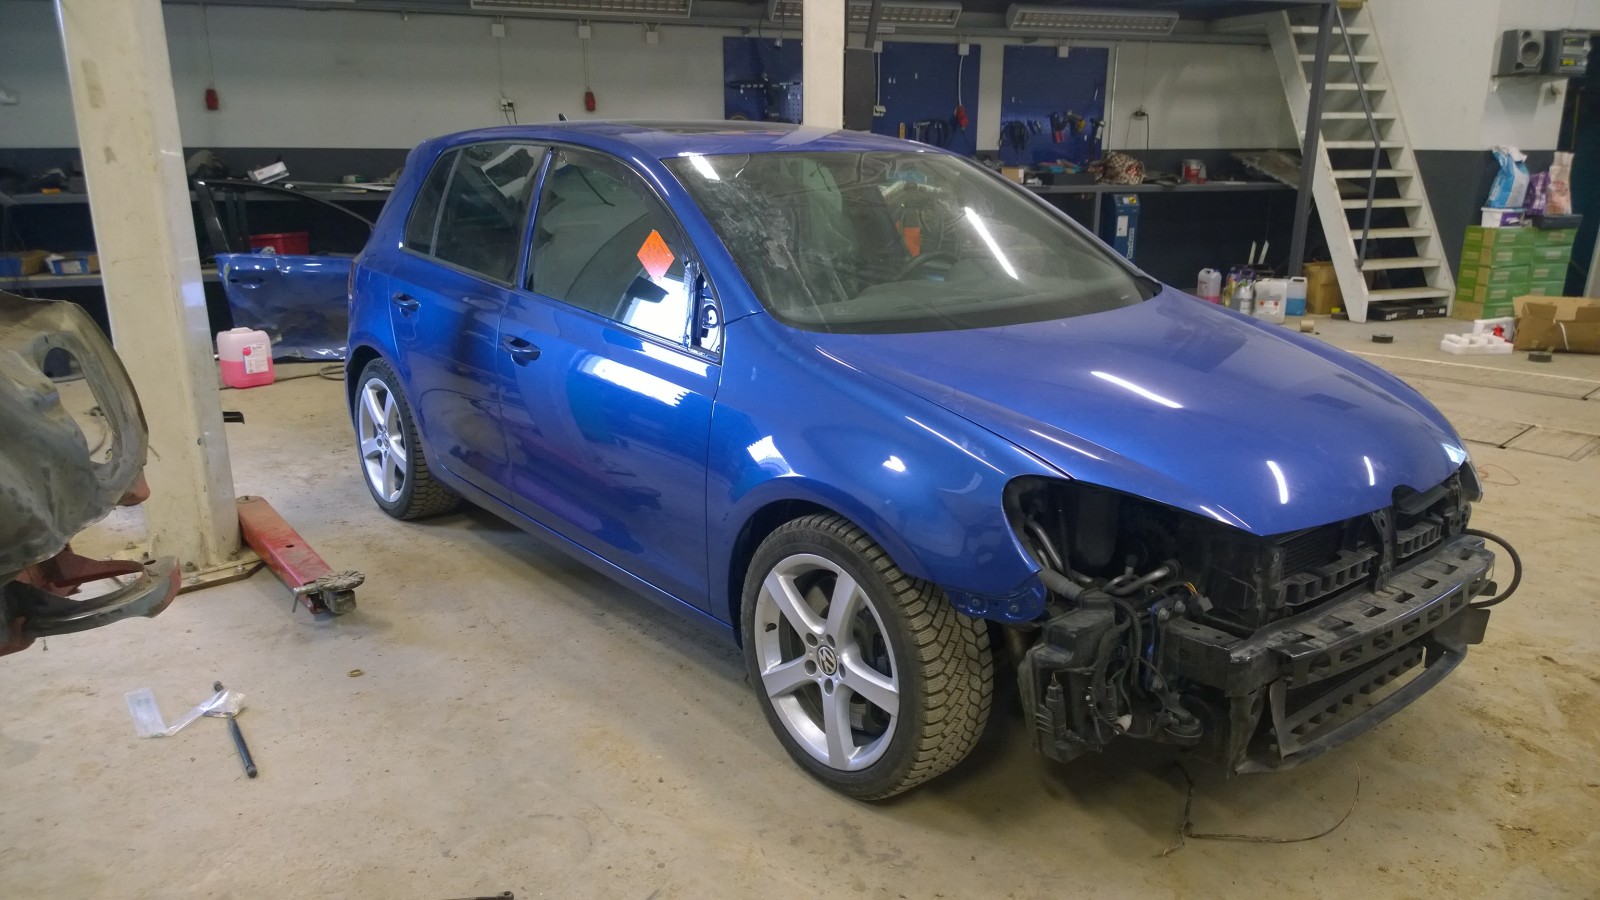
The Golf finally came back from paint yesterday — sorry, no photos of that — and reassembly started today. Just over three hours in the garage got the interior back together. Still to do: assemble the door and fit the front bumper, wheel-arch liners and side skirt. Lowering and wheels to finish.
We're still waiting on paperwork. Yesterday we sent the body measurement report, wheel-alignment printout and safety-equipment inspection report to the insurer. Hopefully it'll be back on plates next week.
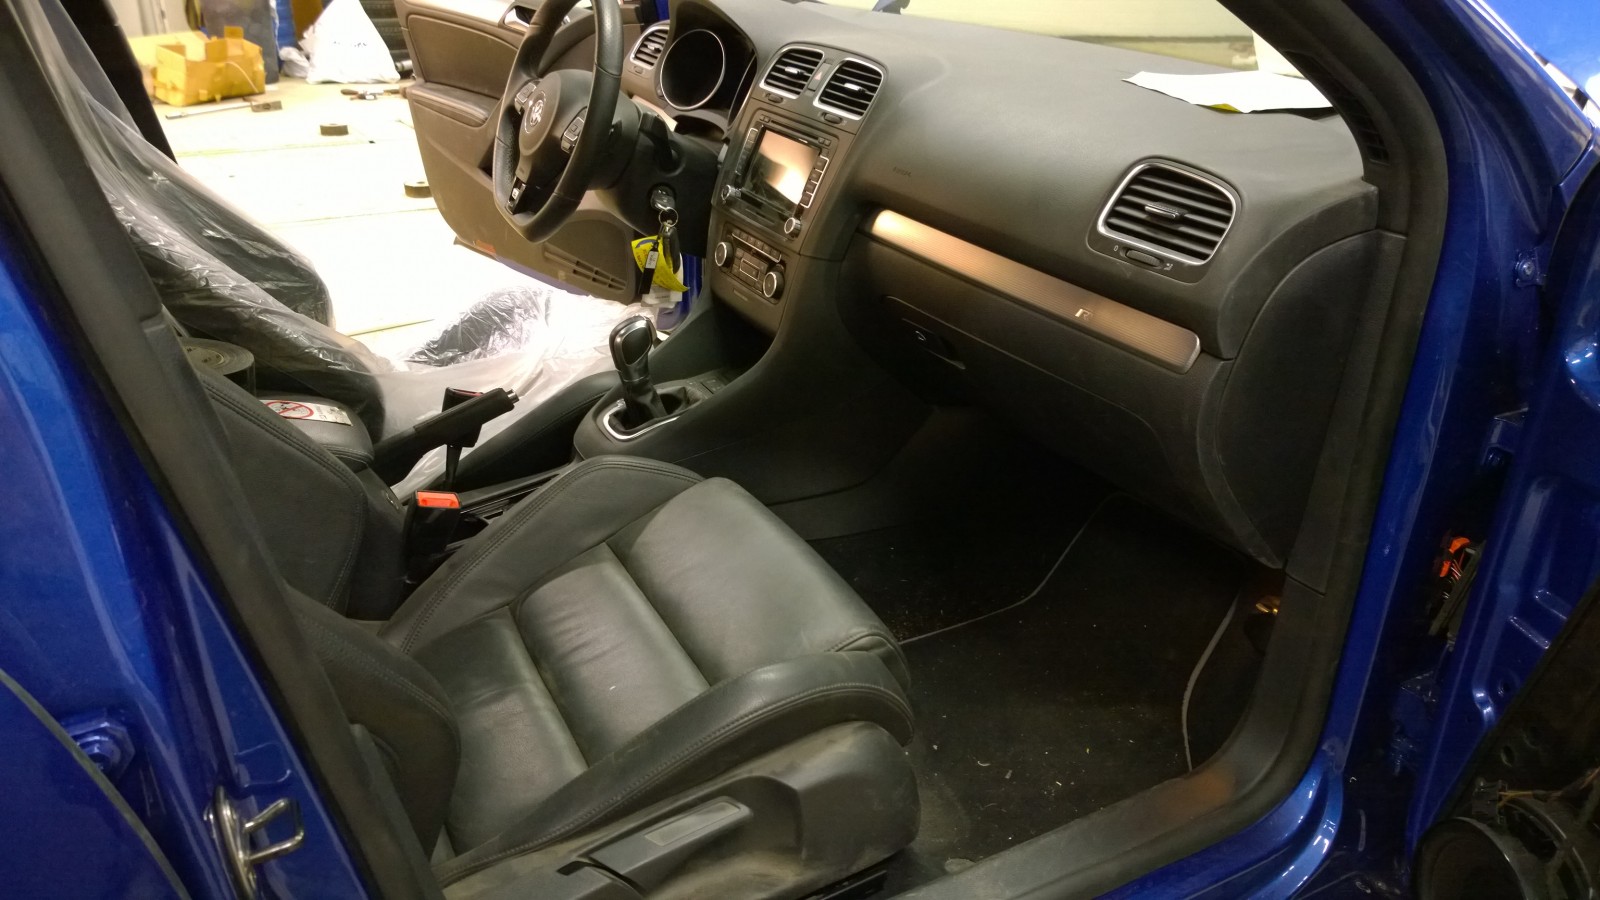
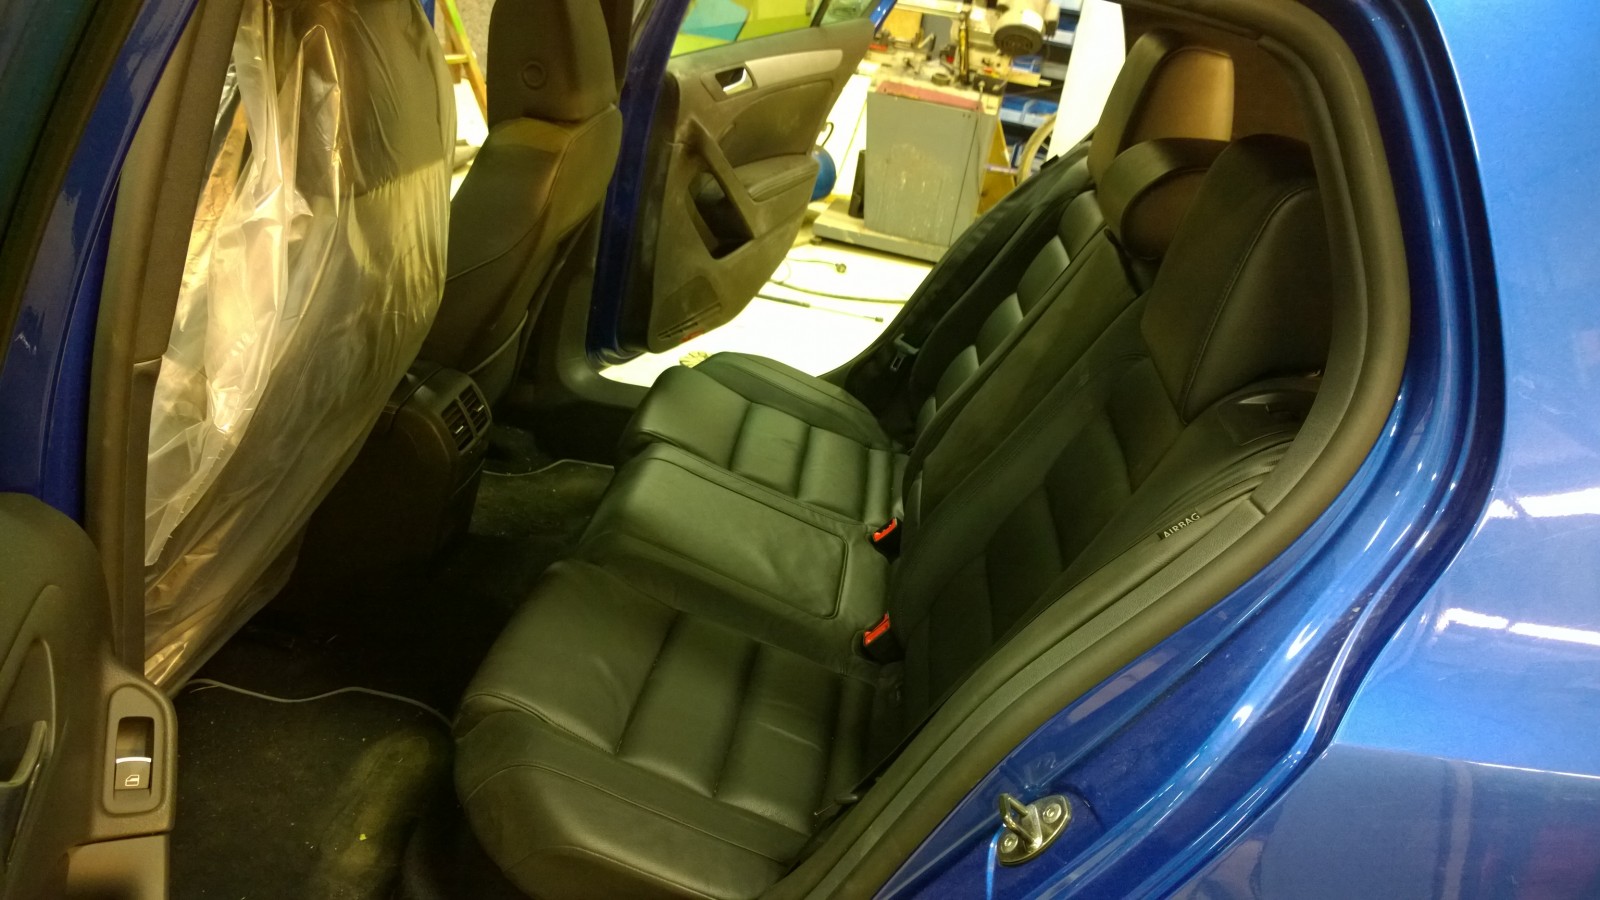
Reassembly was straightforward. The seat belts were already in for the safety inspection, then the trim went back from top to bottom: headlining, upper B- and C-pillar trims, lower B-pillar trims, sill trims, and finally the seats.
2014-04-08 · Finishing off the Golf
The Golf R is nearly ready for inspection. Today I put the door back together and tried on the summer wheels. A few photos of the suspension work and final assembly below.
Sharp-eyed readers will spot a Scirocco in some of these photos. I fitted a similar H&R suspension kit to it at the same time. They're very similar underneath, so the pictures work here too.
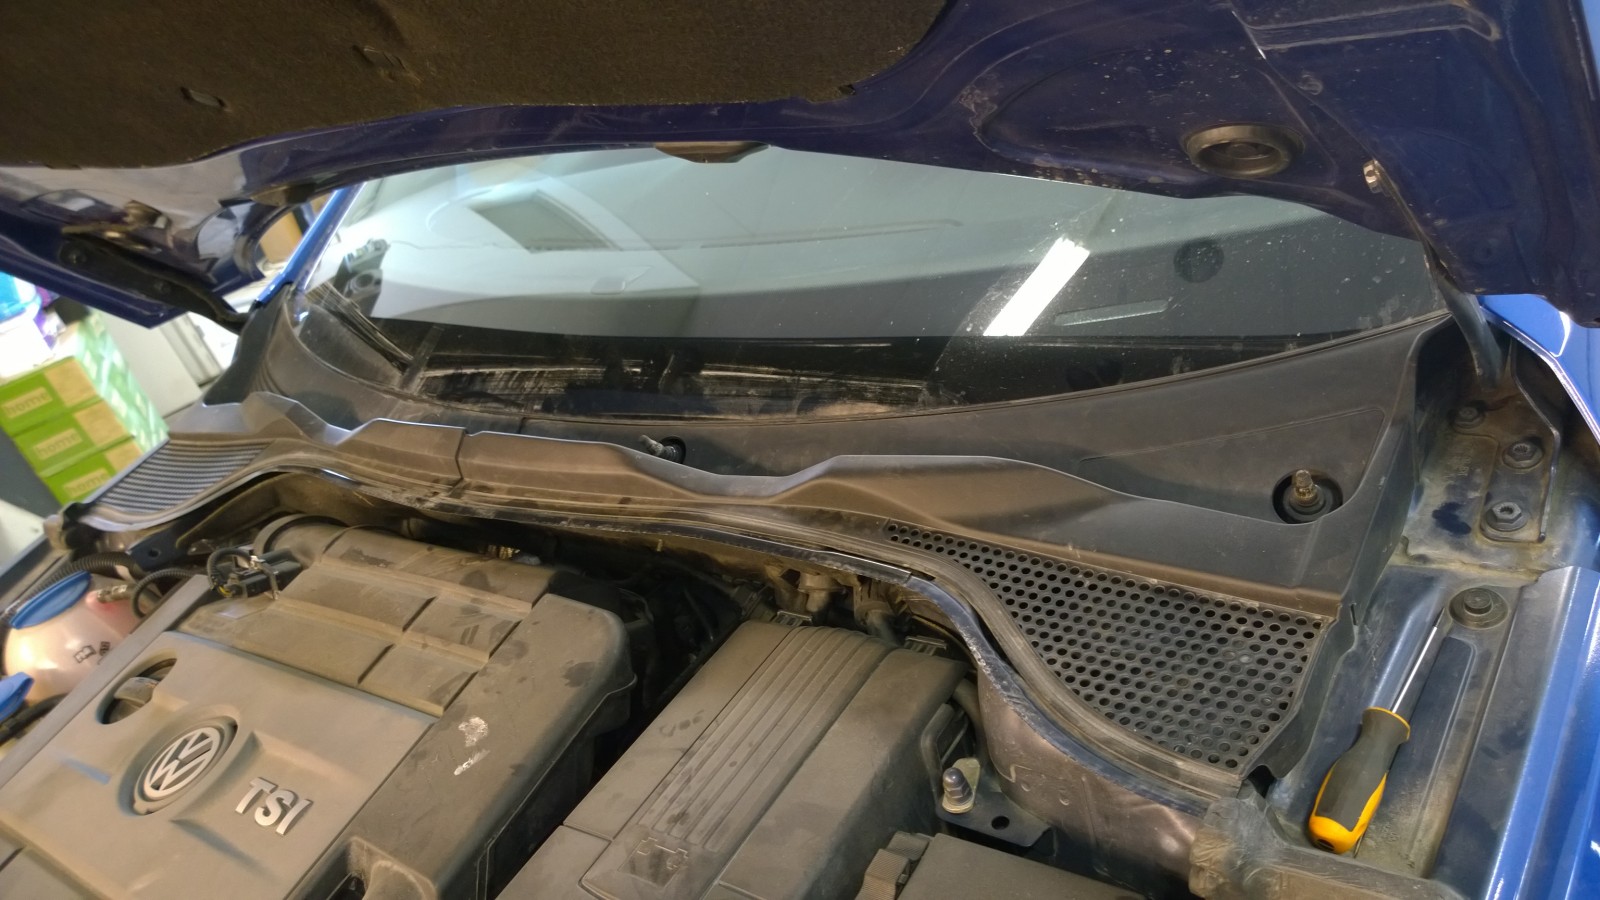
Suspension work starts with removing the windscreen wipers. Naturally. Carefully prise up the scuttle cover from one edge, taking care not to damage it or the windscreen. Underneath are the three strut-top bolts.
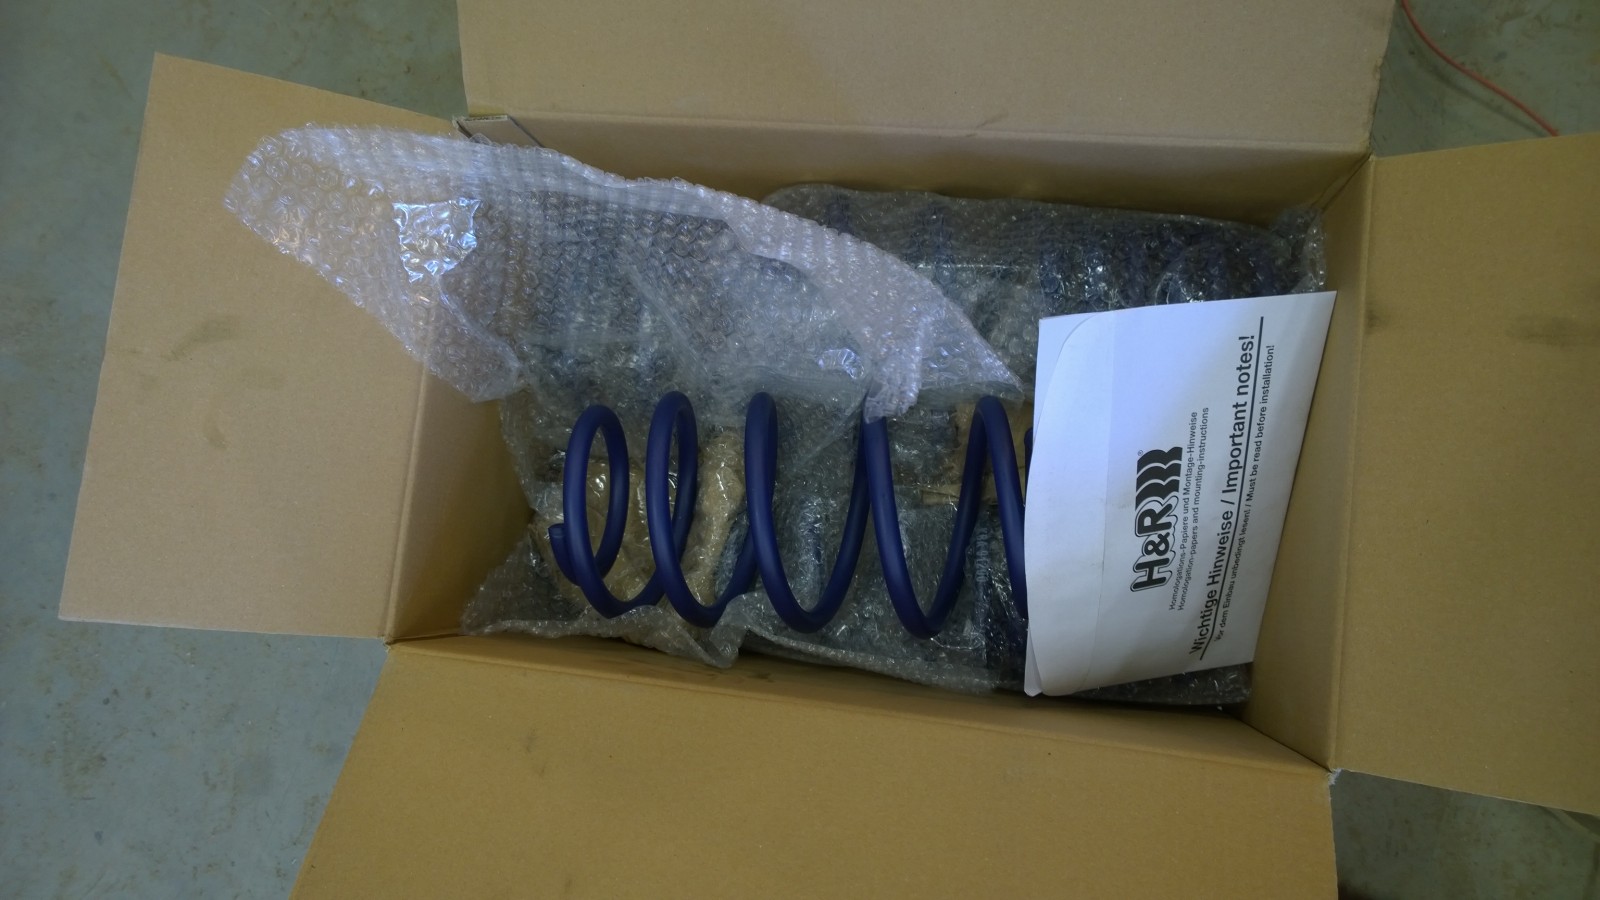
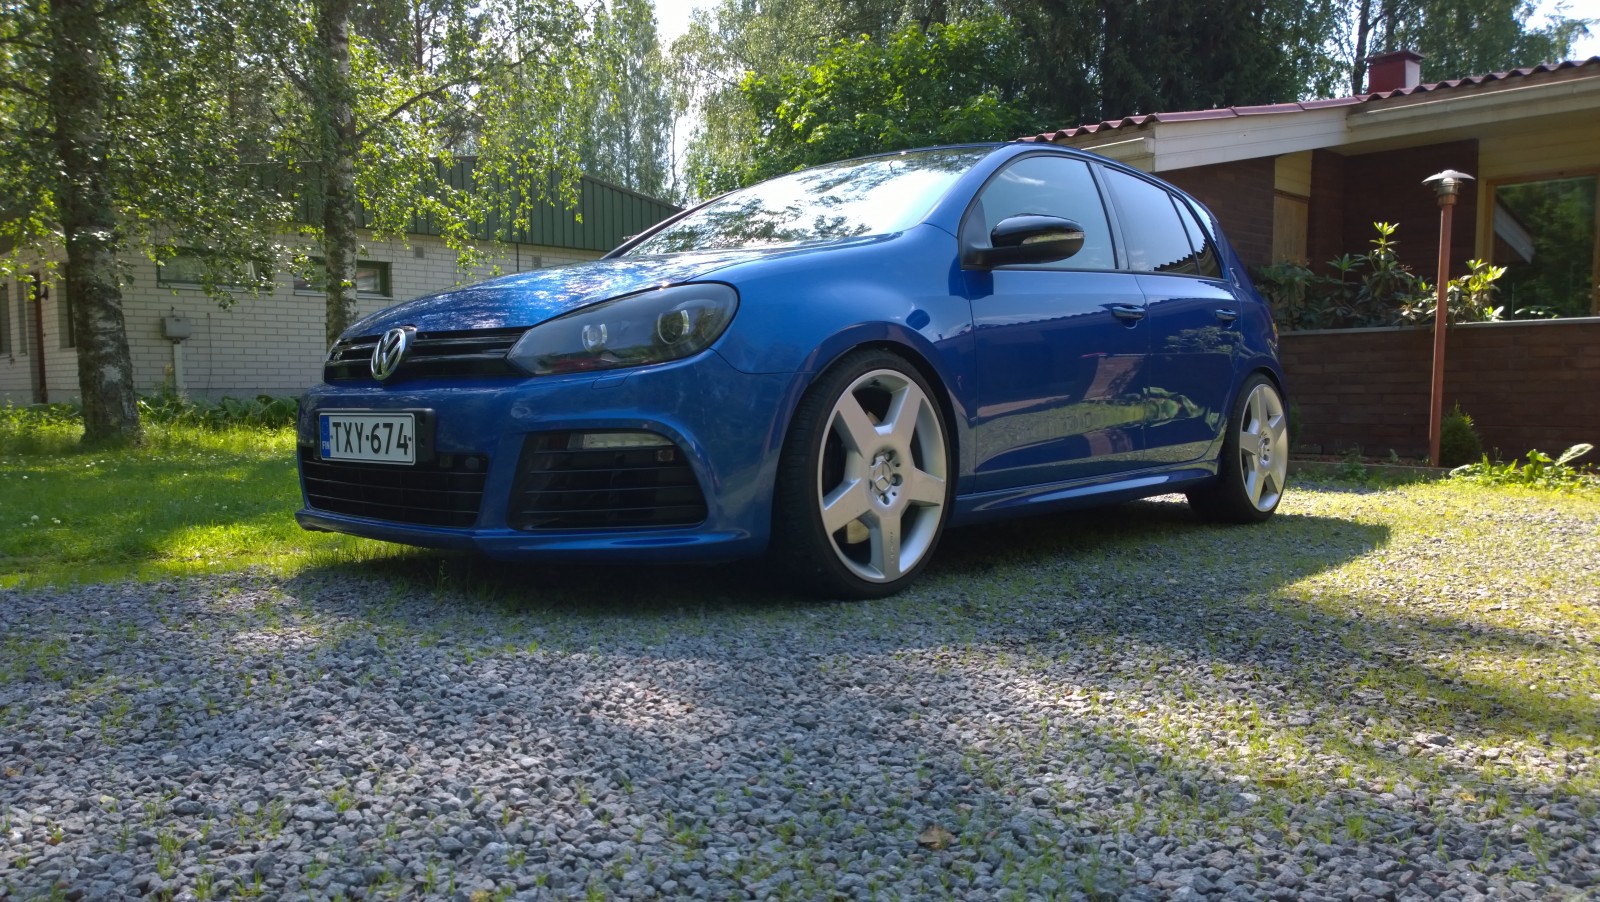
We went for the budget option this time: lowering springs only. The Golf has DCC adaptive suspension, so coilovers would have cost rather more. Besides, DCC is actually pretty good. The springs only lower it about 30 mm, even less on the R, so it's hardly a stance fanatic's dream.
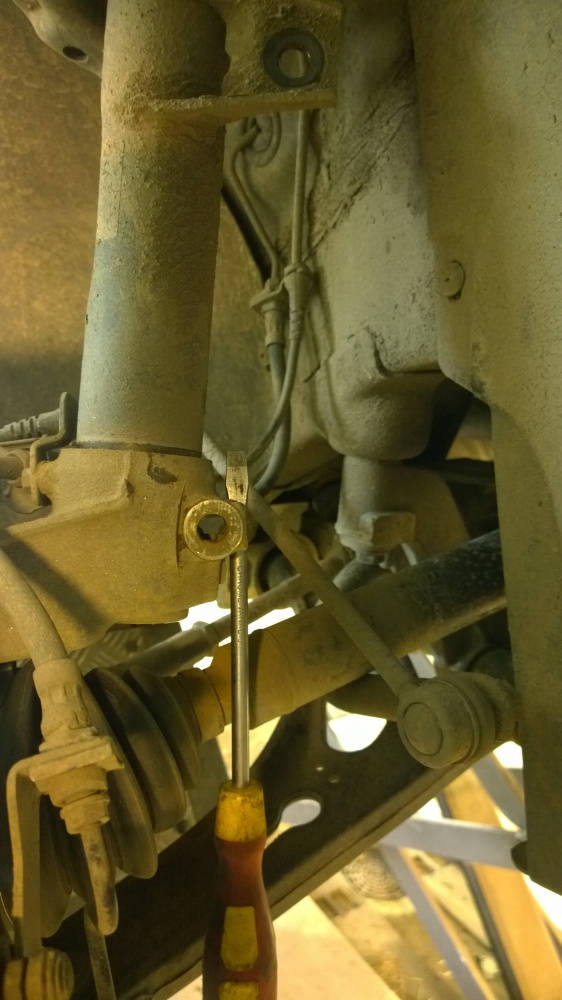
You can remove just the strut, or take the whole strut and hub assembly out. I found the latter easier, saving the trouble of separating them. Even if replacing the strut itself, that's easier on the floor than wrestling inside the wheel arch. With the driveshaft bolt and lower ball joint needing to come off anyway, there wasn't much left holding the whole assembly in.
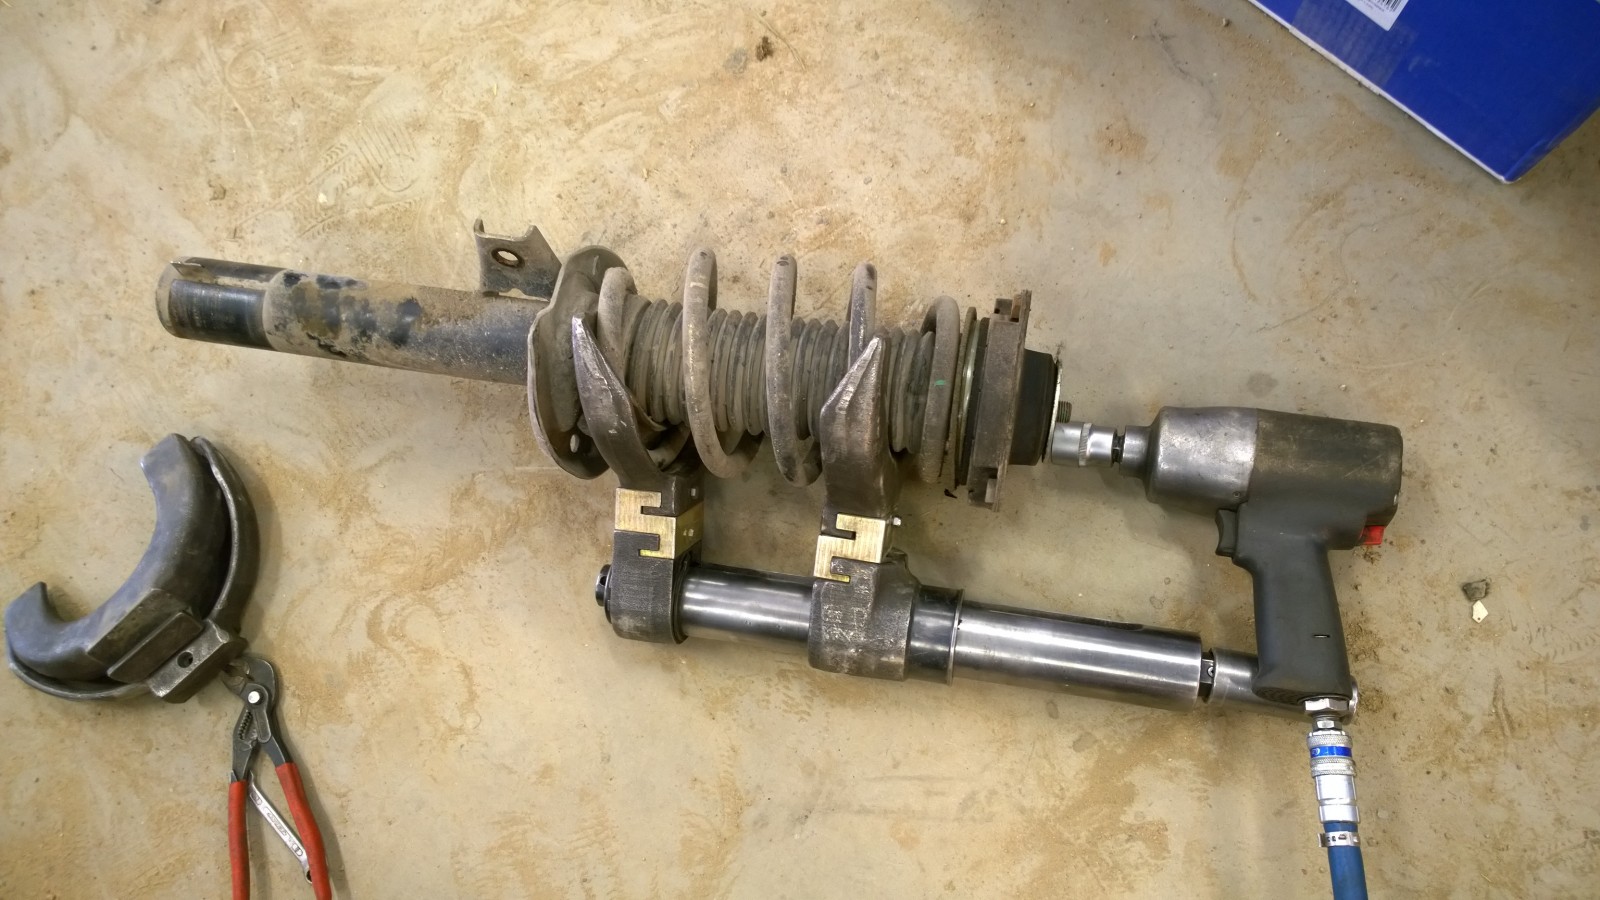
I used a spring compressor to help. It wasn't essential for this step, but made things easier working alone, especially when fitting the spring.
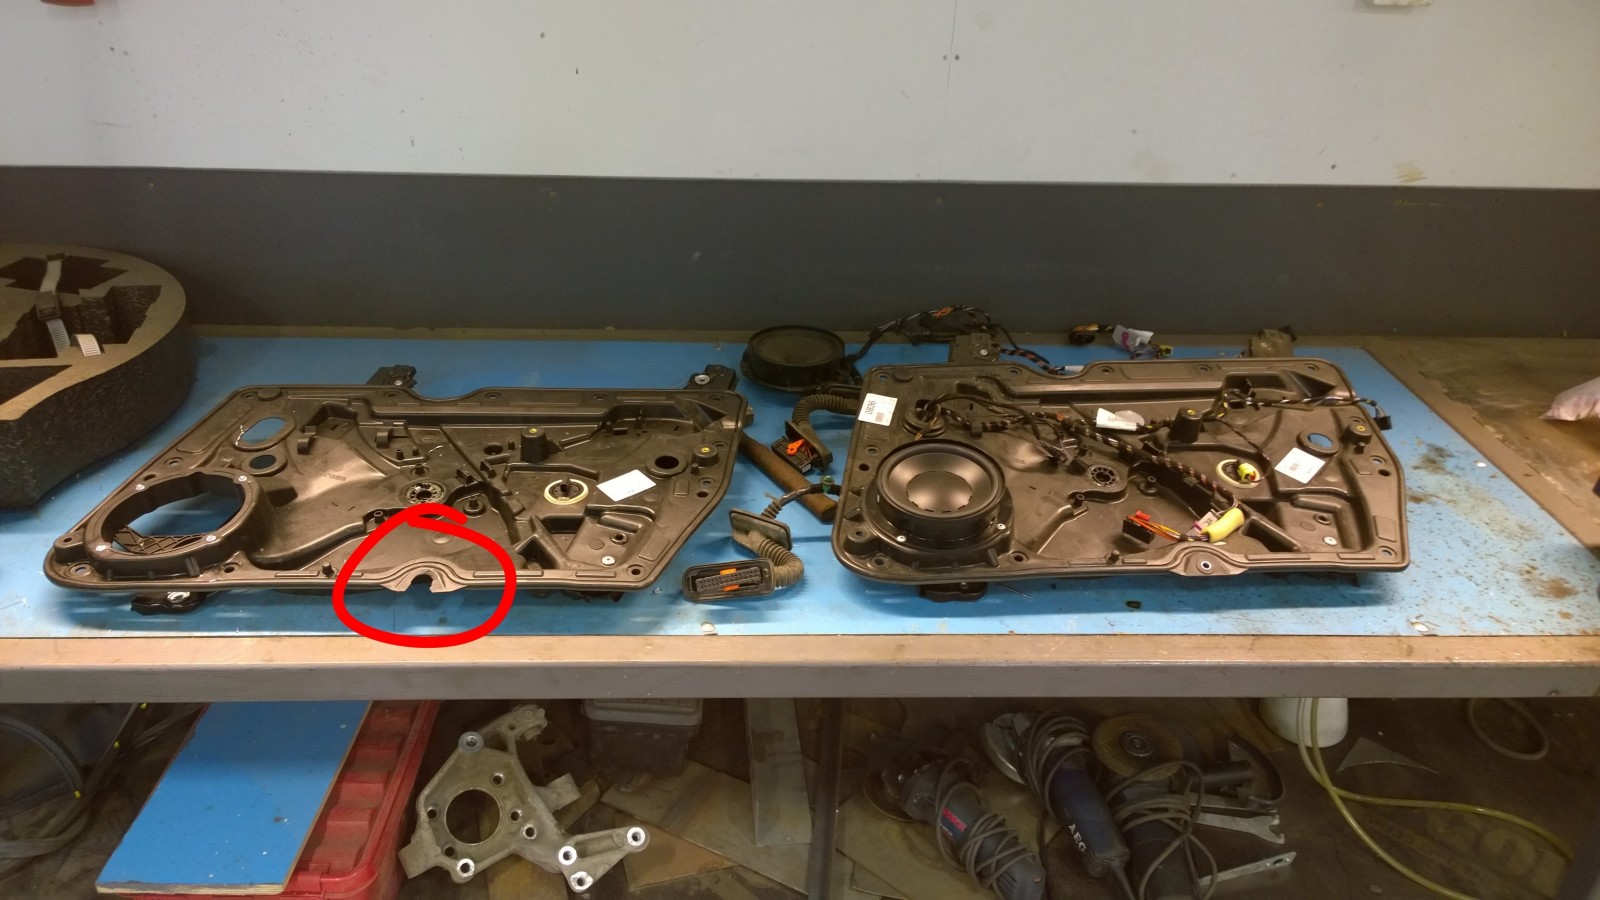
The door's inner carrier panel and window regulator were replaced too. A mounting had broken in the crash, circled here. The donor door had a different loom and speaker, so those came over from the original door. Otherwise, the inside had survived surprisingly well. Only a small piece of plastic had broken off the door trim, but we replaced that too, as a spare R interior happened to be in stock.
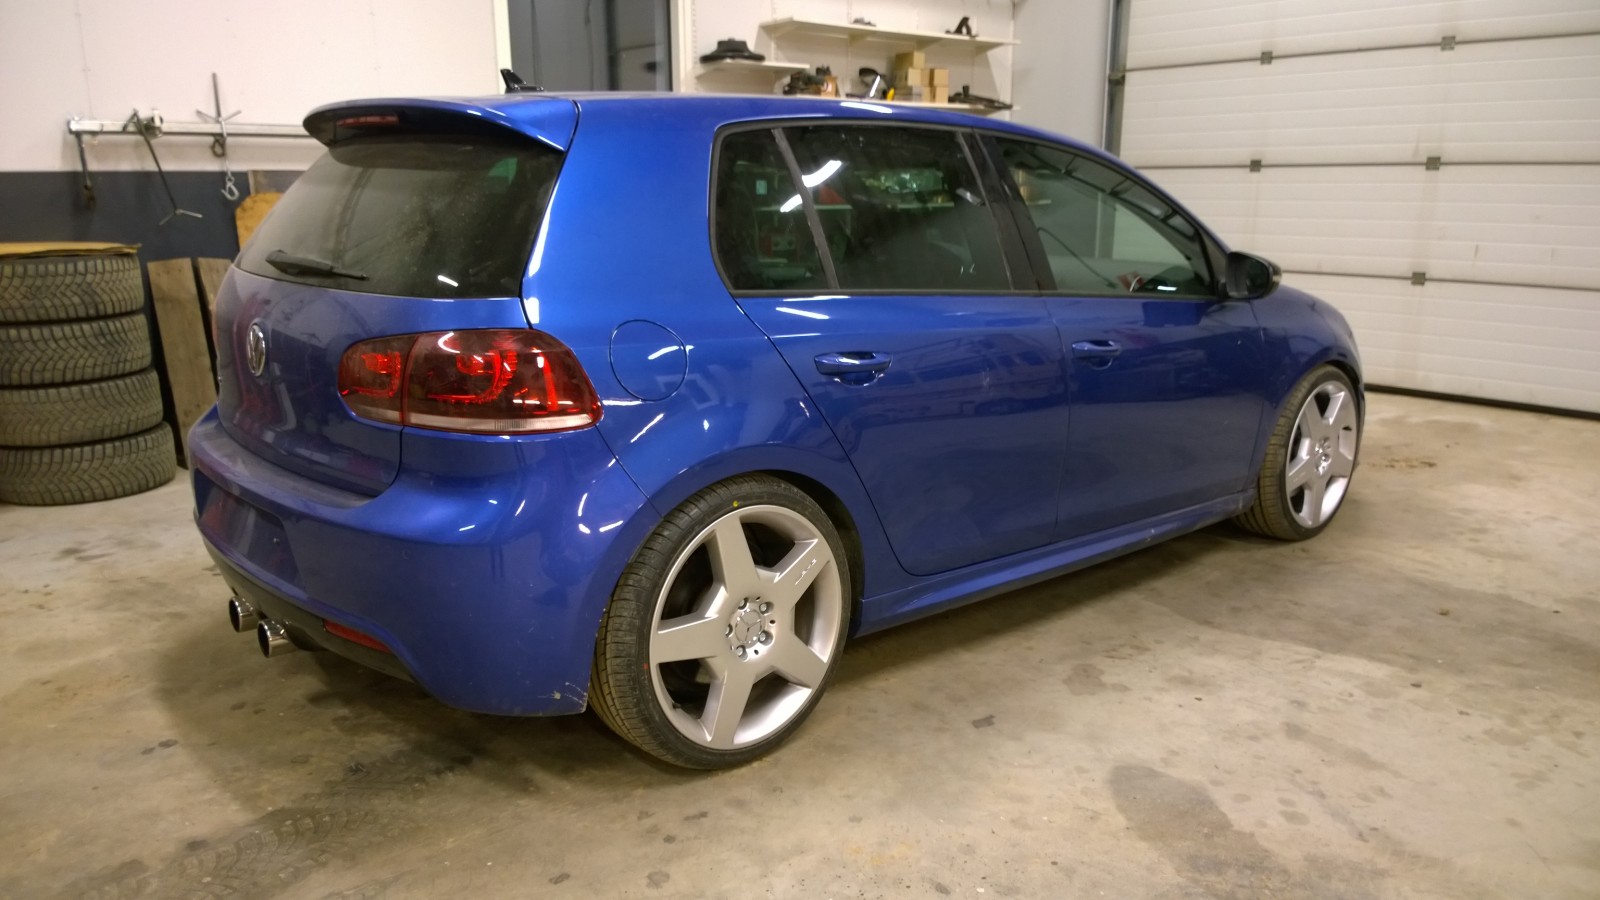
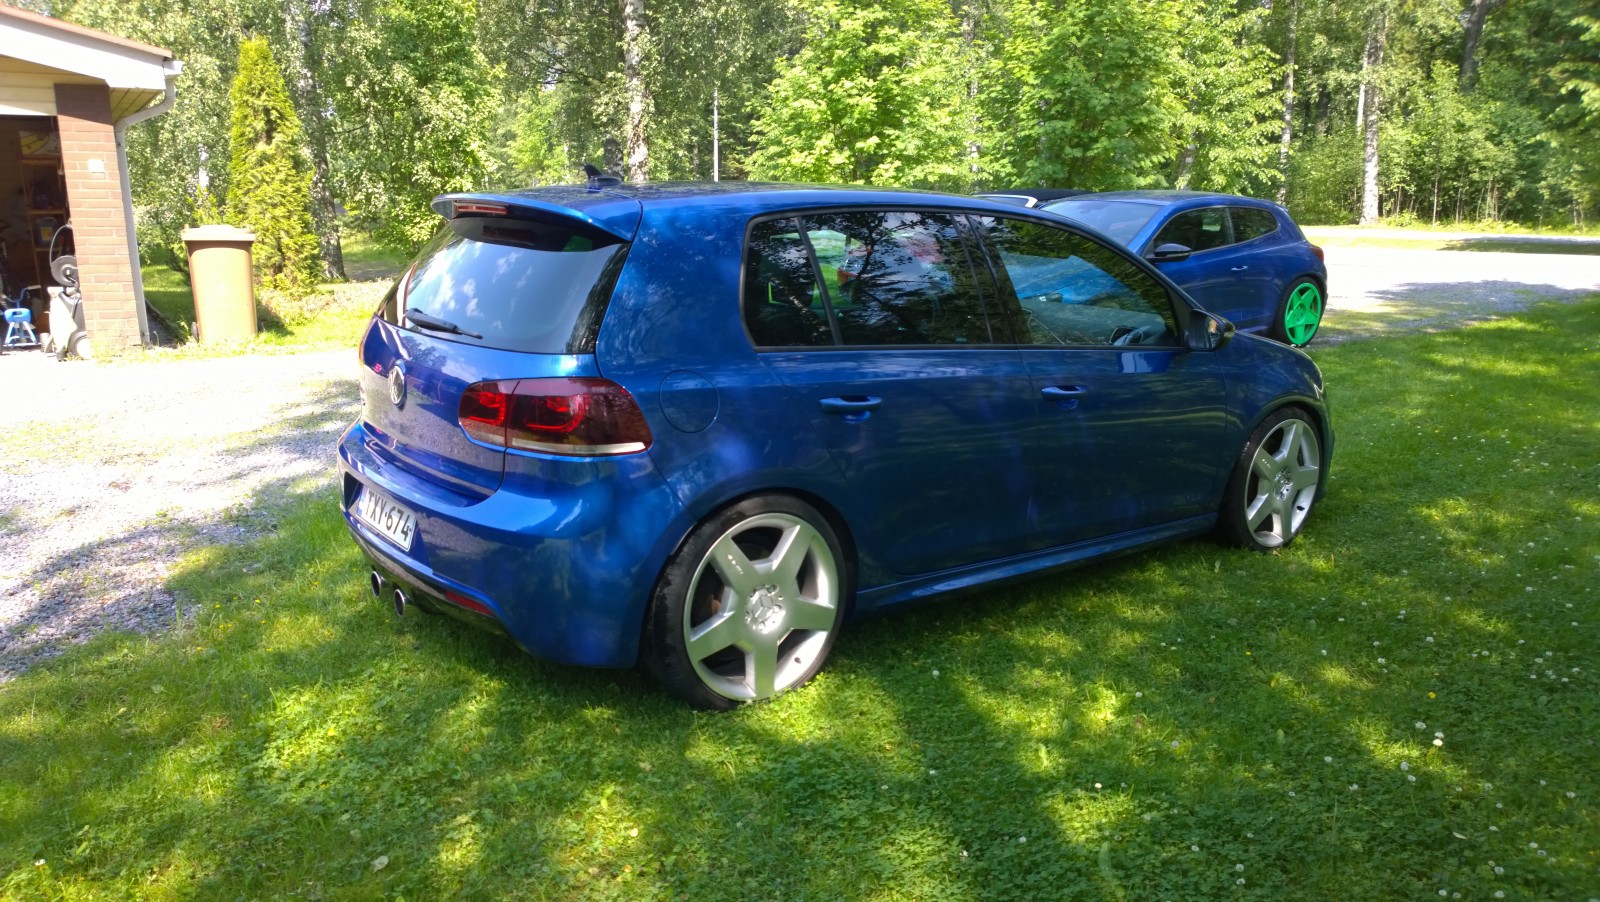
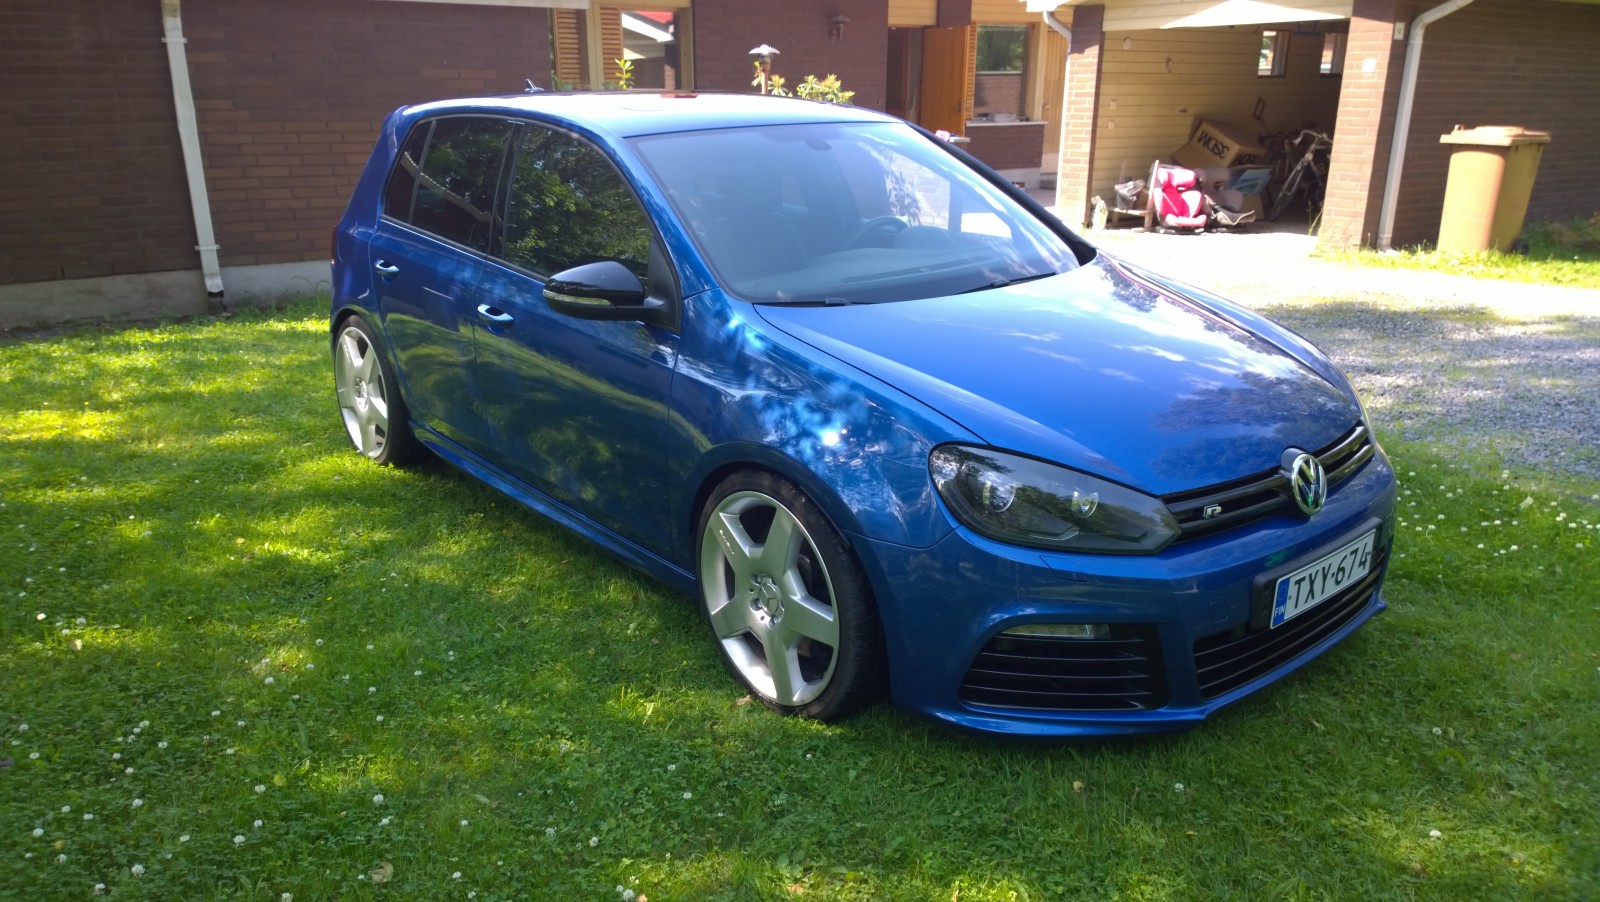
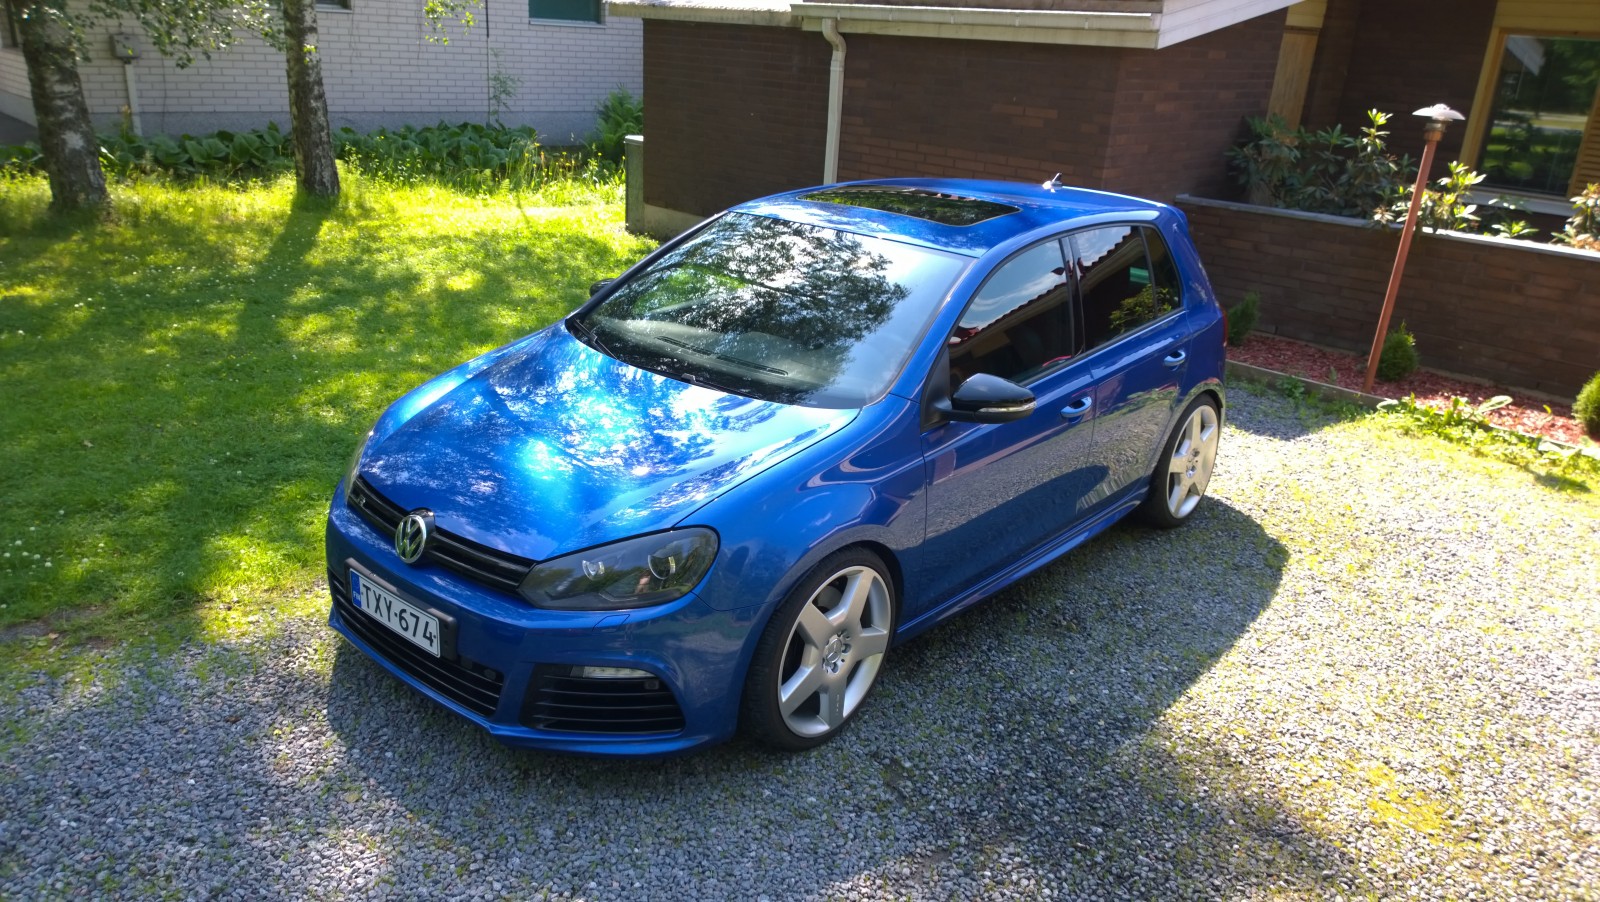
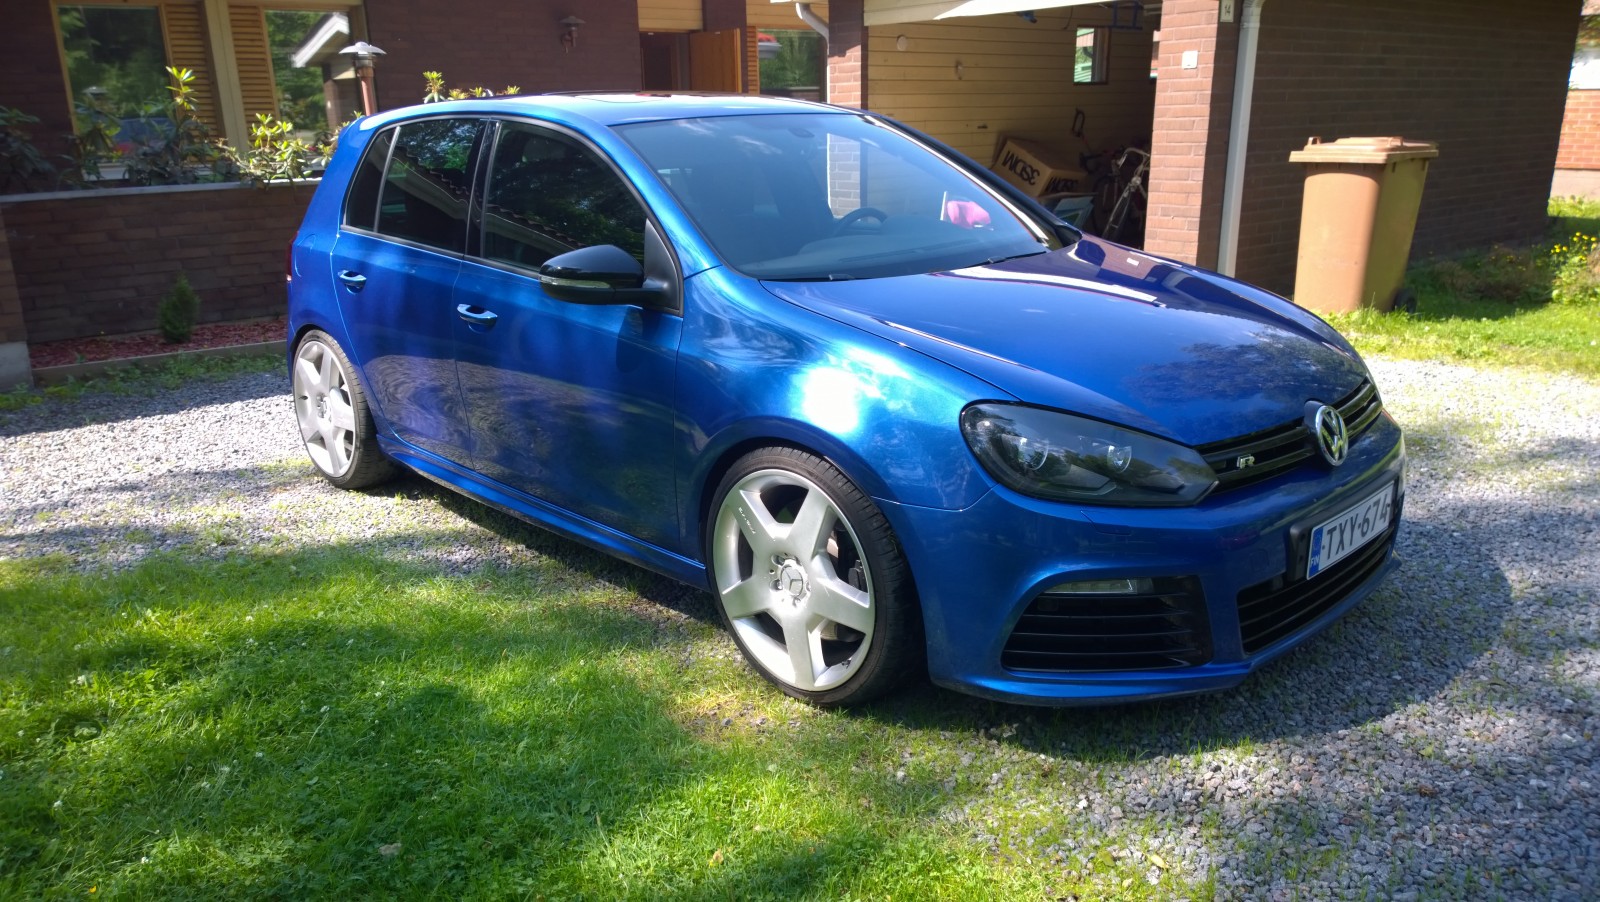
It could still sit a little lower. Perhaps it'll settle with some driving. The door is assembled here, so we're practically ready for inspection. The wheels are AMG, made by Ronal — Styling III, I think, or something along those lines. 8.5×19 inches, ET 58.
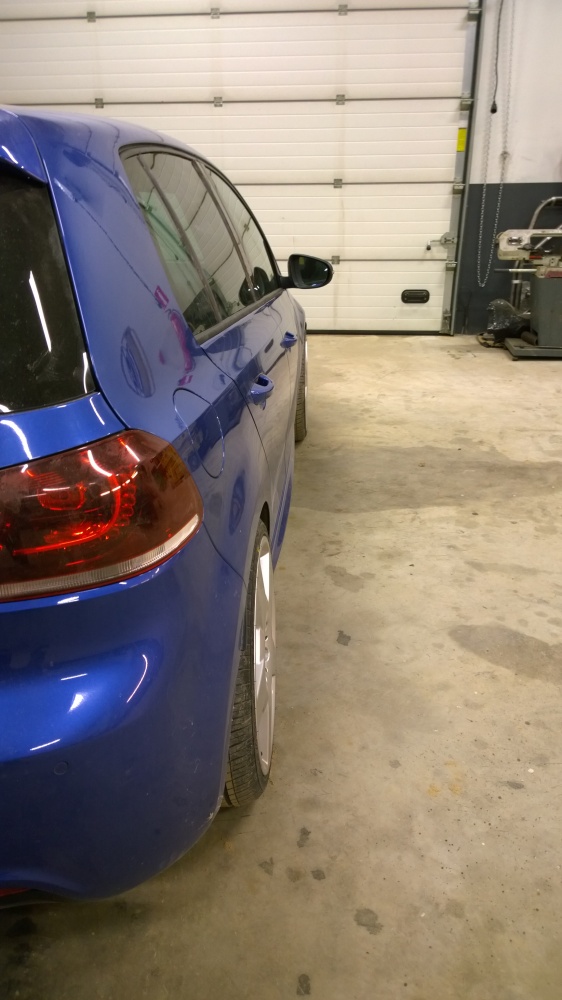
With 18 mm spacers, they sit quite nicely. Those Mercedes wheels have seriously thick mounting faces. I needed 60 mm bolts to fit them with the spacers; the original VW bolts barely reach through the wheels alone.
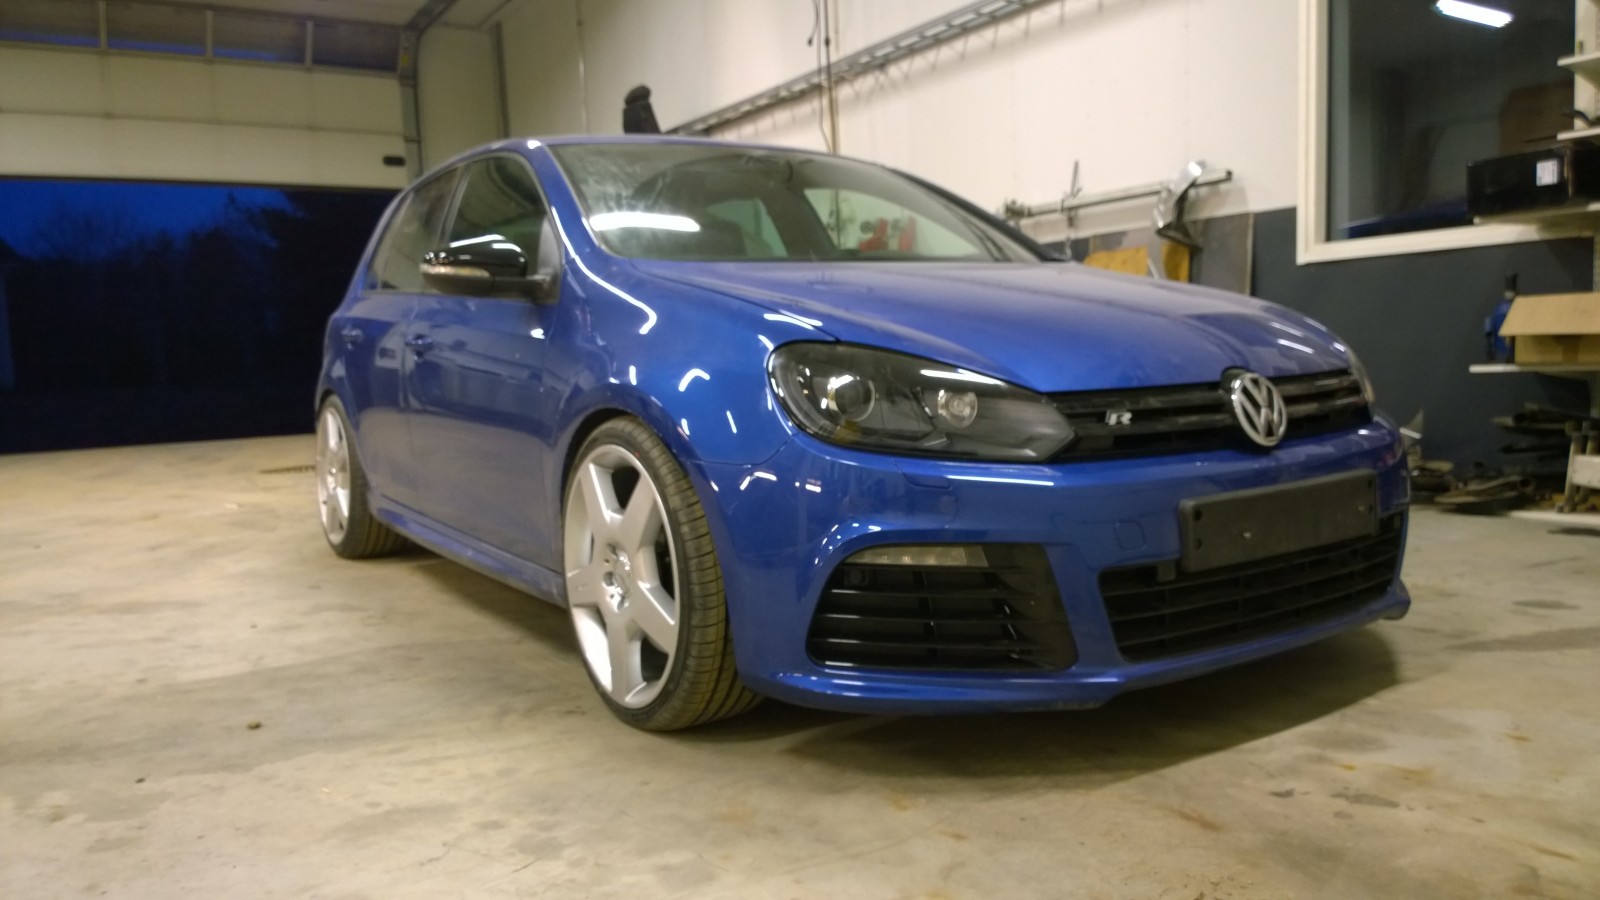
Now we just have to wait for the papers from the insurance company so that we can get inspected.
2014-04-21 · Golf back on the road, and some group photos
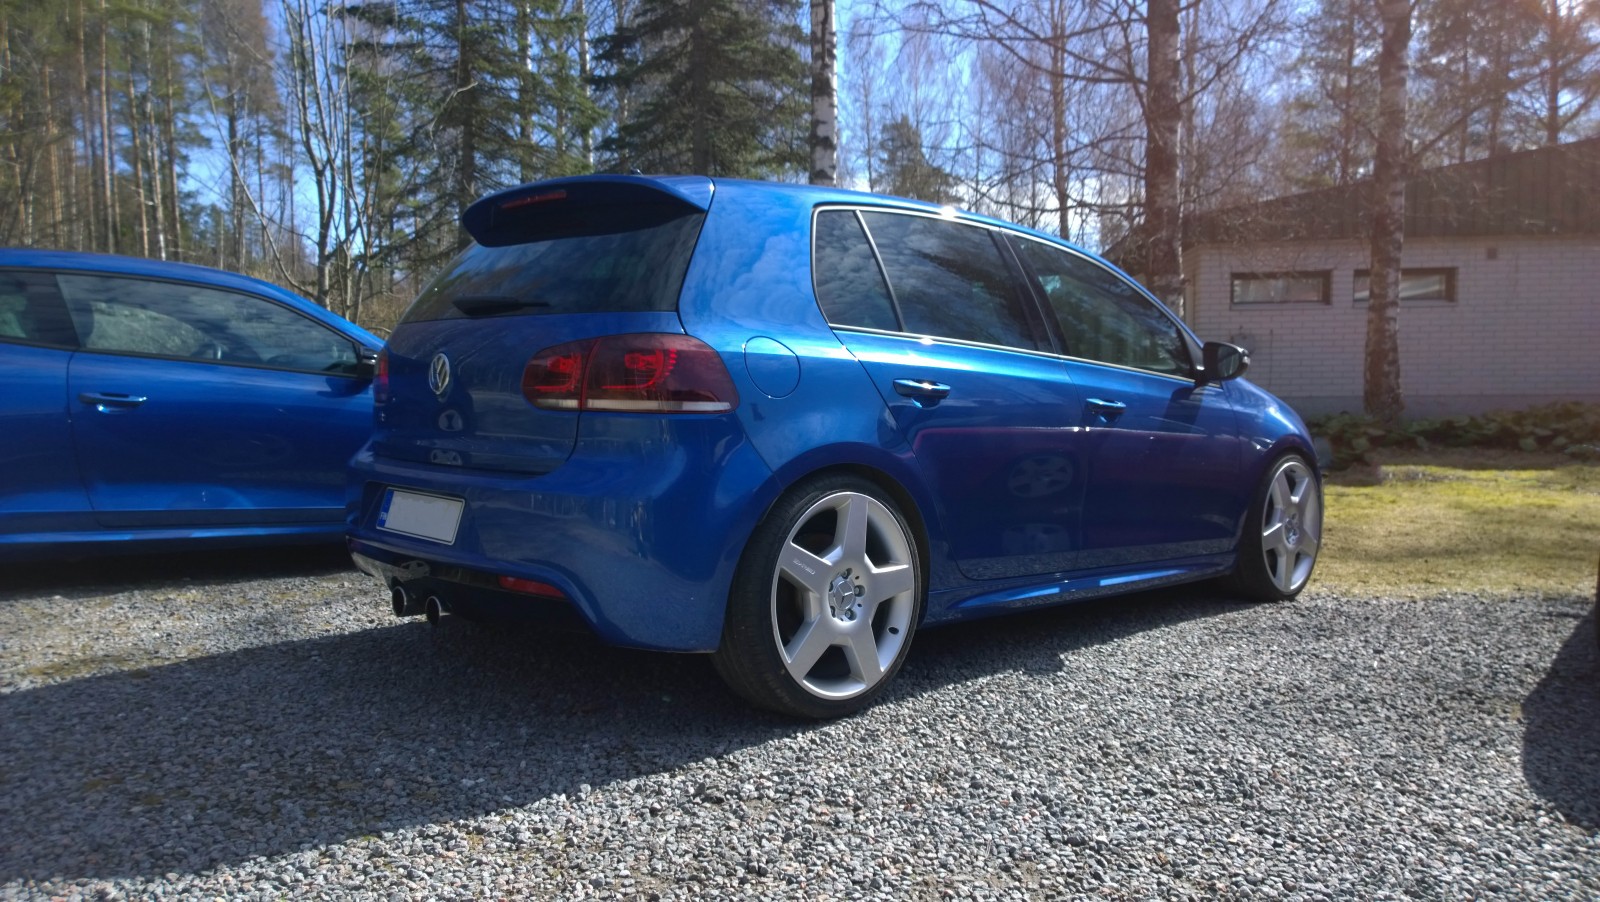
The Golf project is finished, at least for now. We got the number plates early in the week, then sent it to Kankaanpään Autopesu for a final detail, as followers of our Facebook page probably noticed.
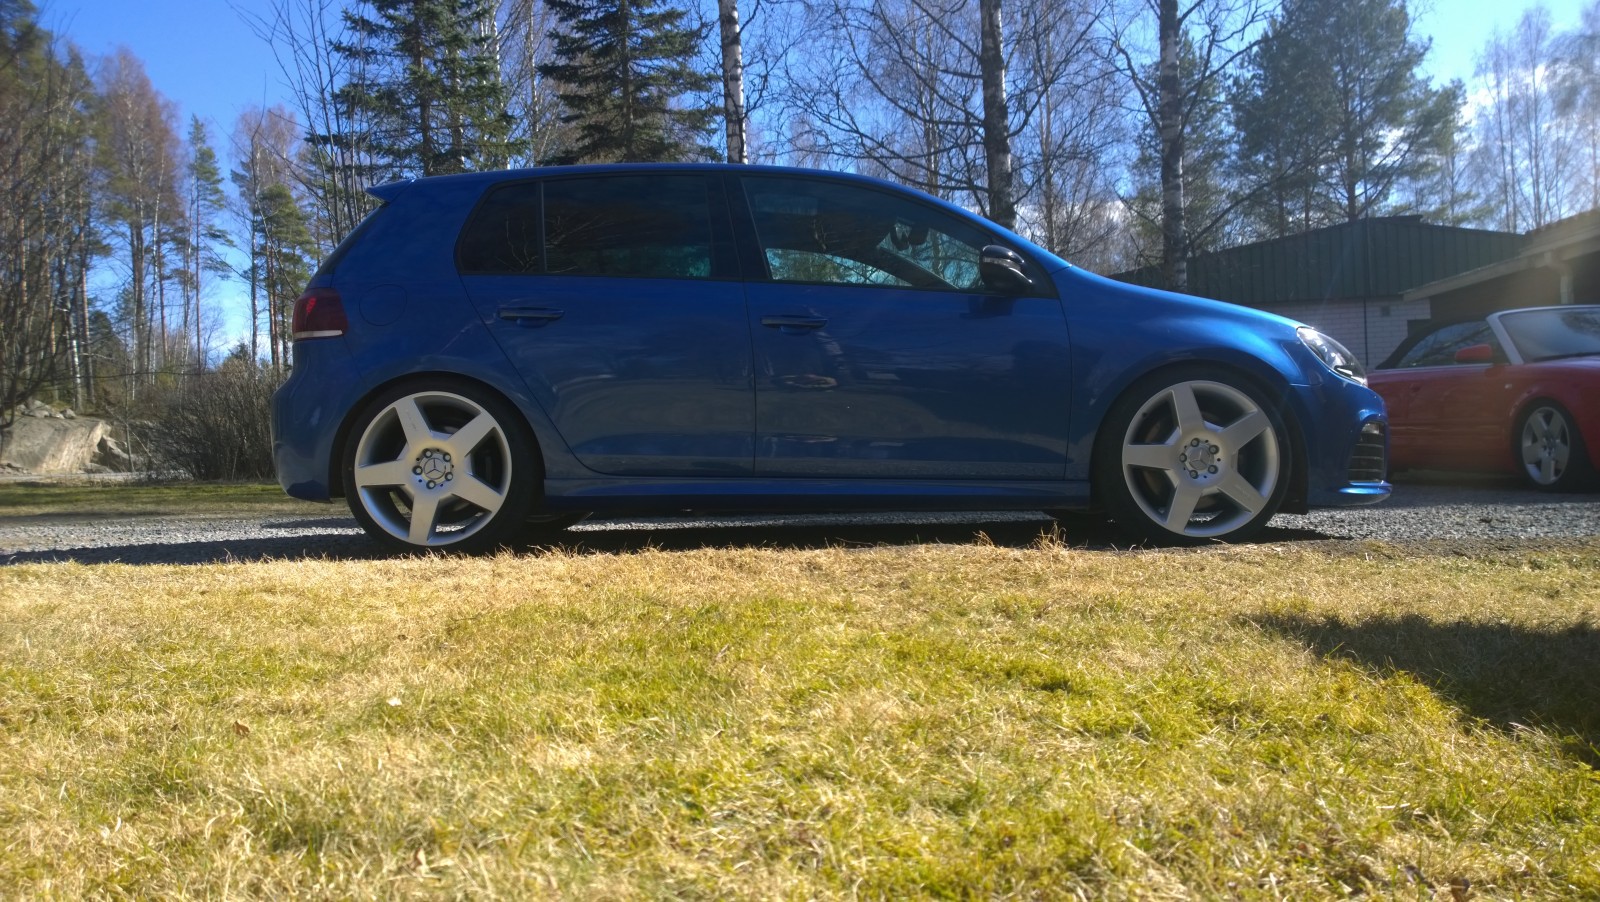
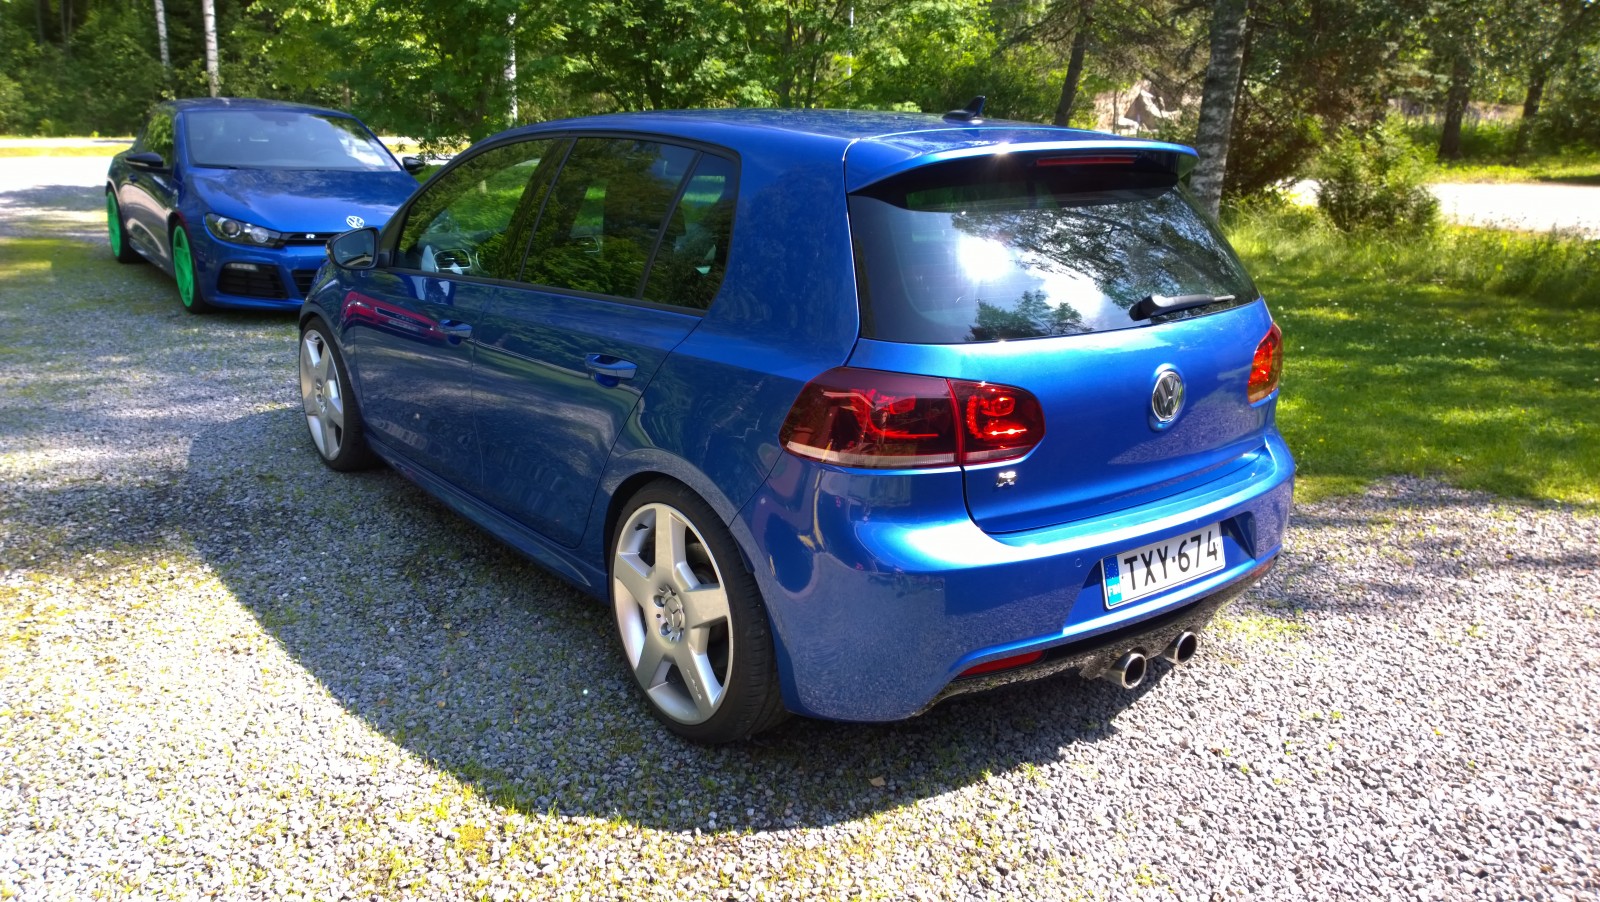
I cleaned up the other cars yesterday too, so took a few photos. Park the Golf and Scirocco together and you really see how much lower the Scirocco is, despite both having equivalent H&R lowering kits.
The Scirocco got new wheels too… which I don't like at all 🙂 Lesson learned: read the supplier's emails carefully. I thought I'd ordered the white wheels shown on the website. Only afterwards did I notice “white/polished” in the confirmation email. Perhaps some Plasti Dip will rescue the situation. Time will tell…
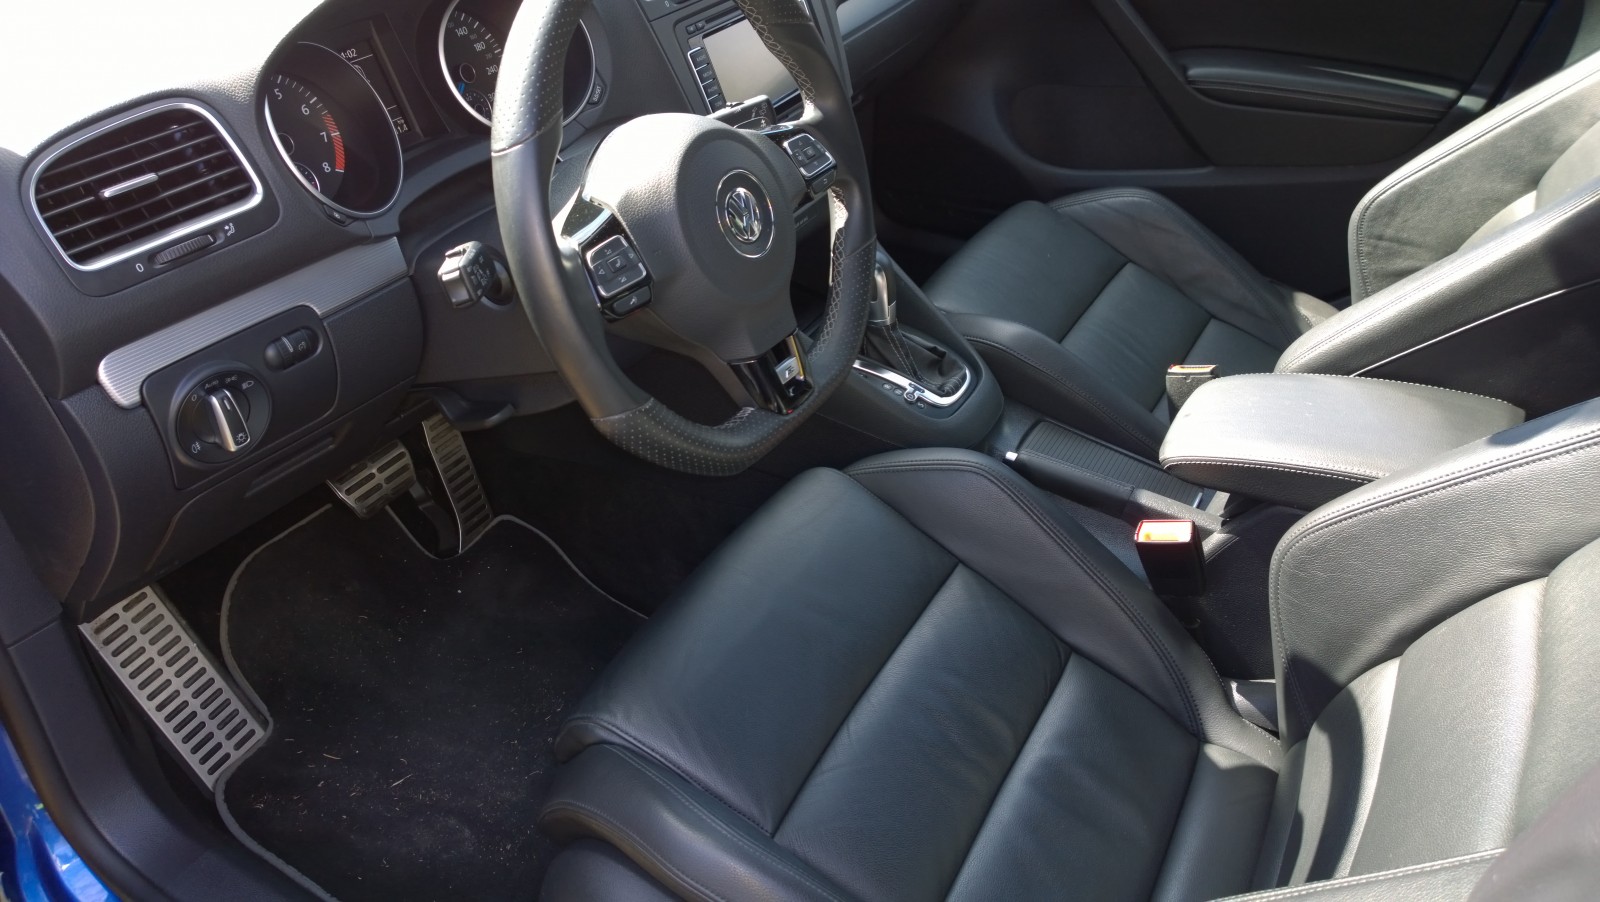
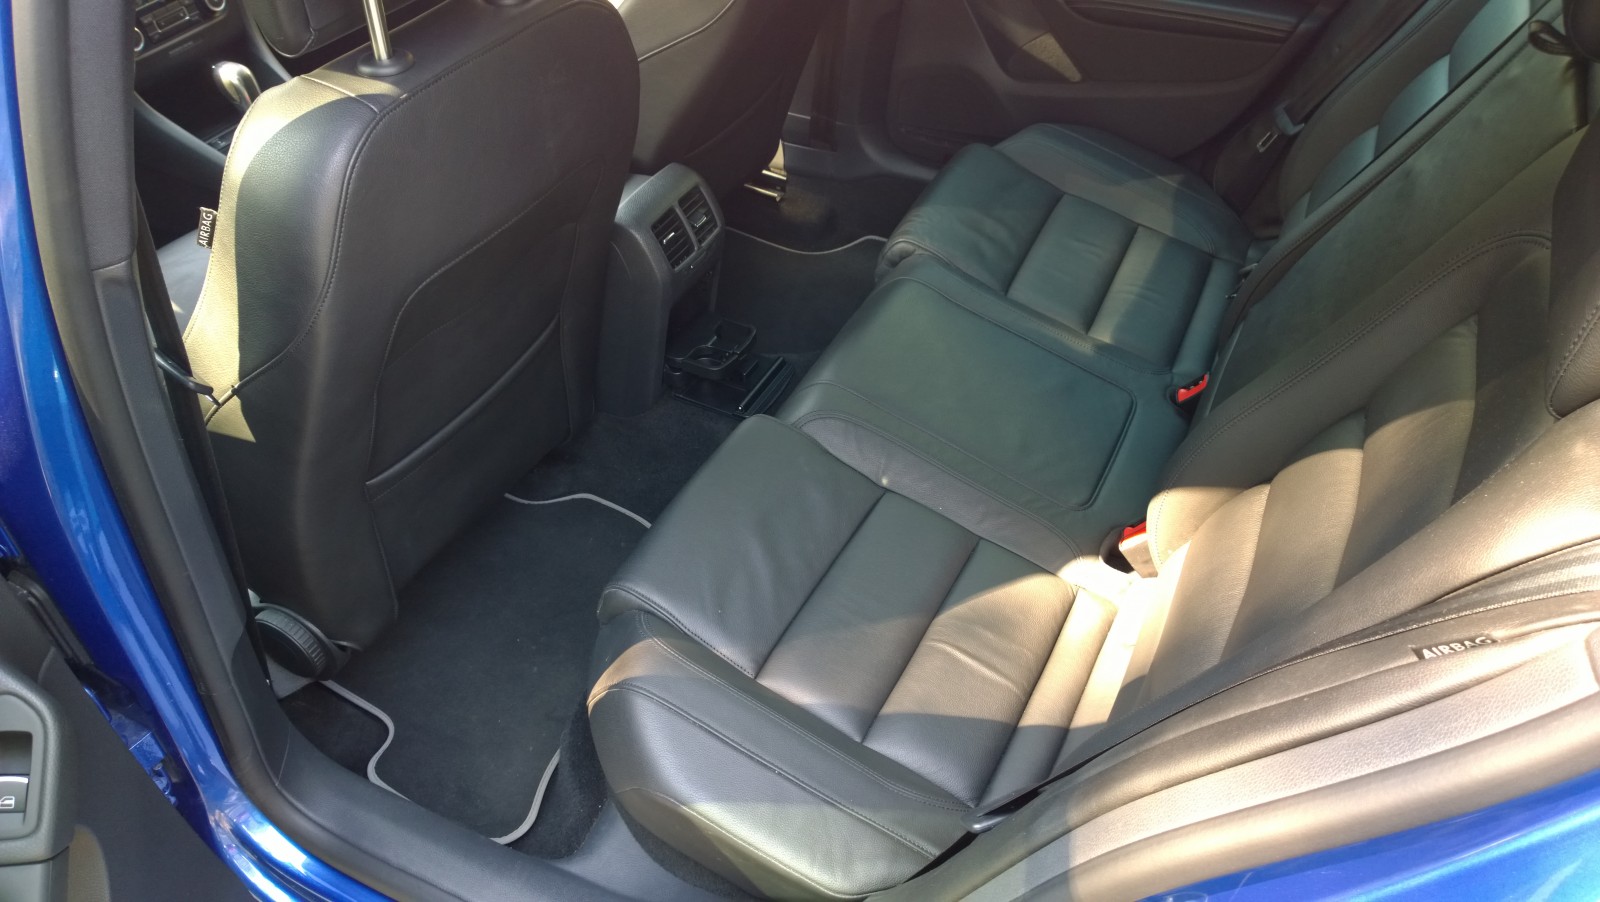
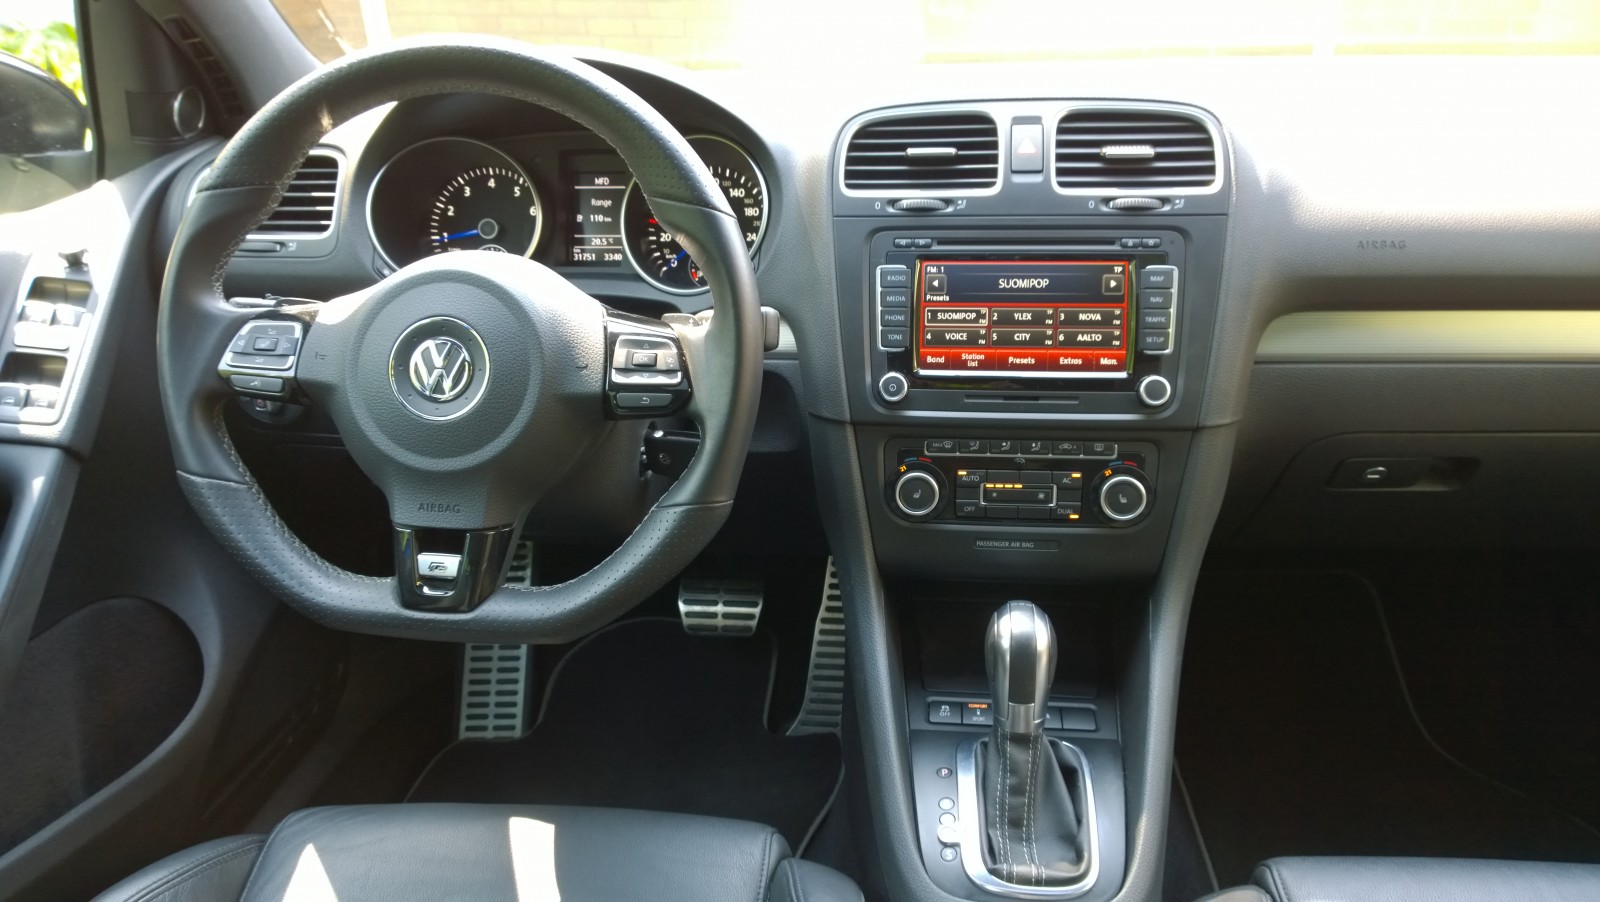
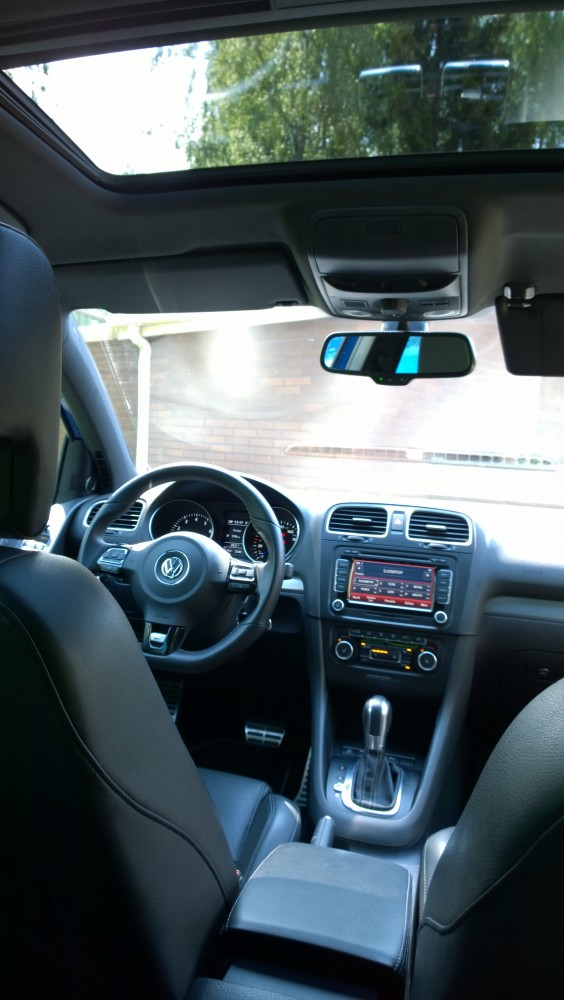
Like new inside.
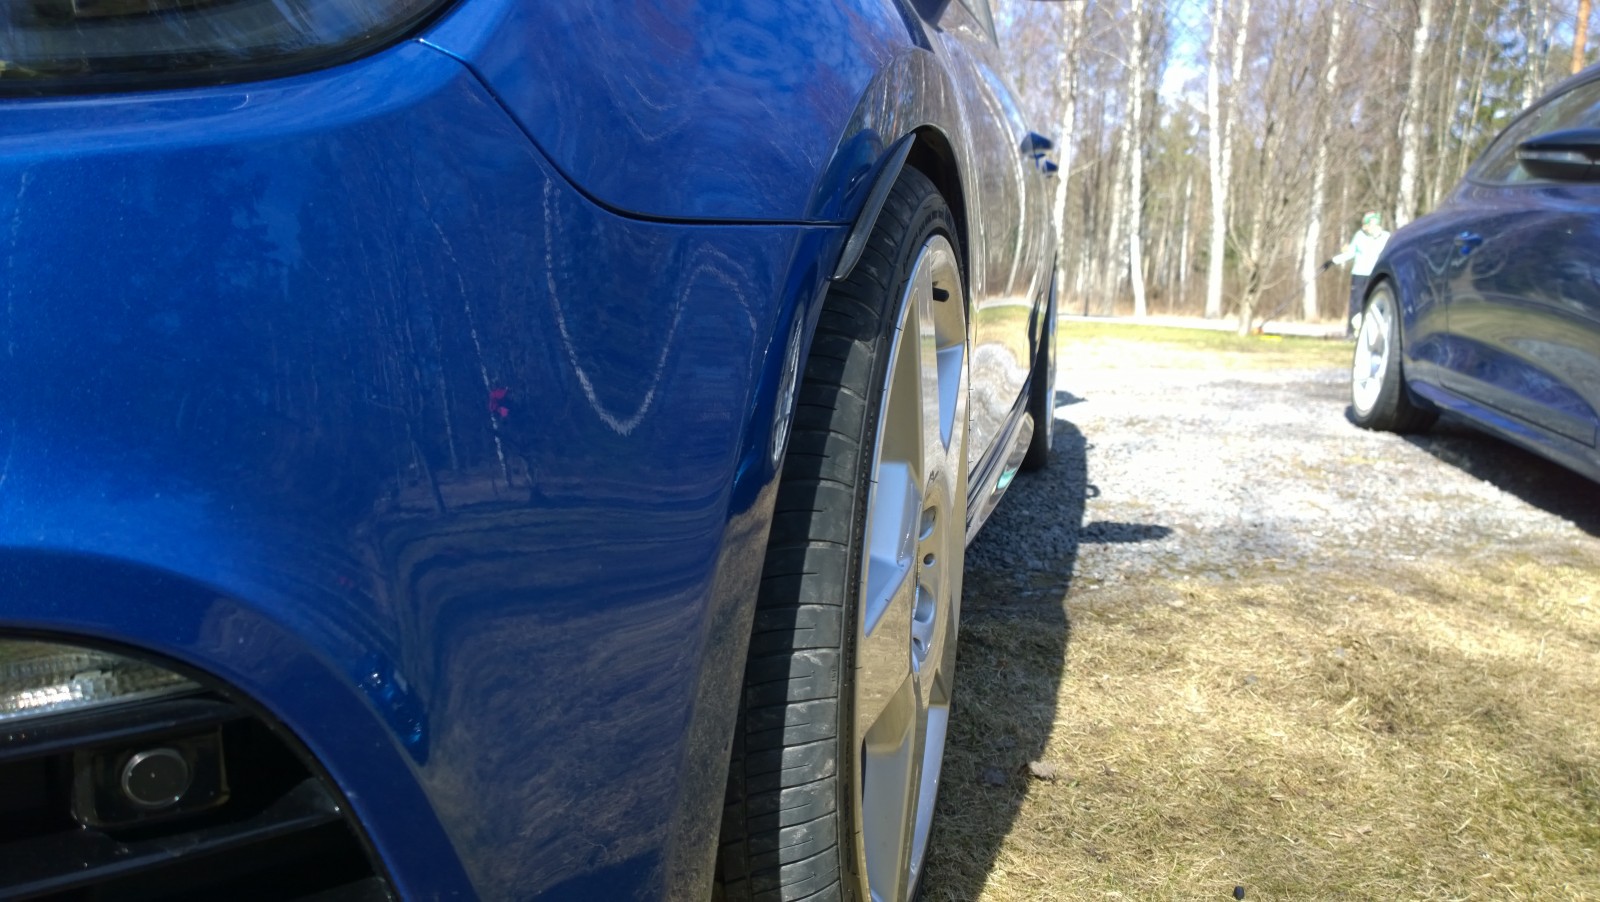
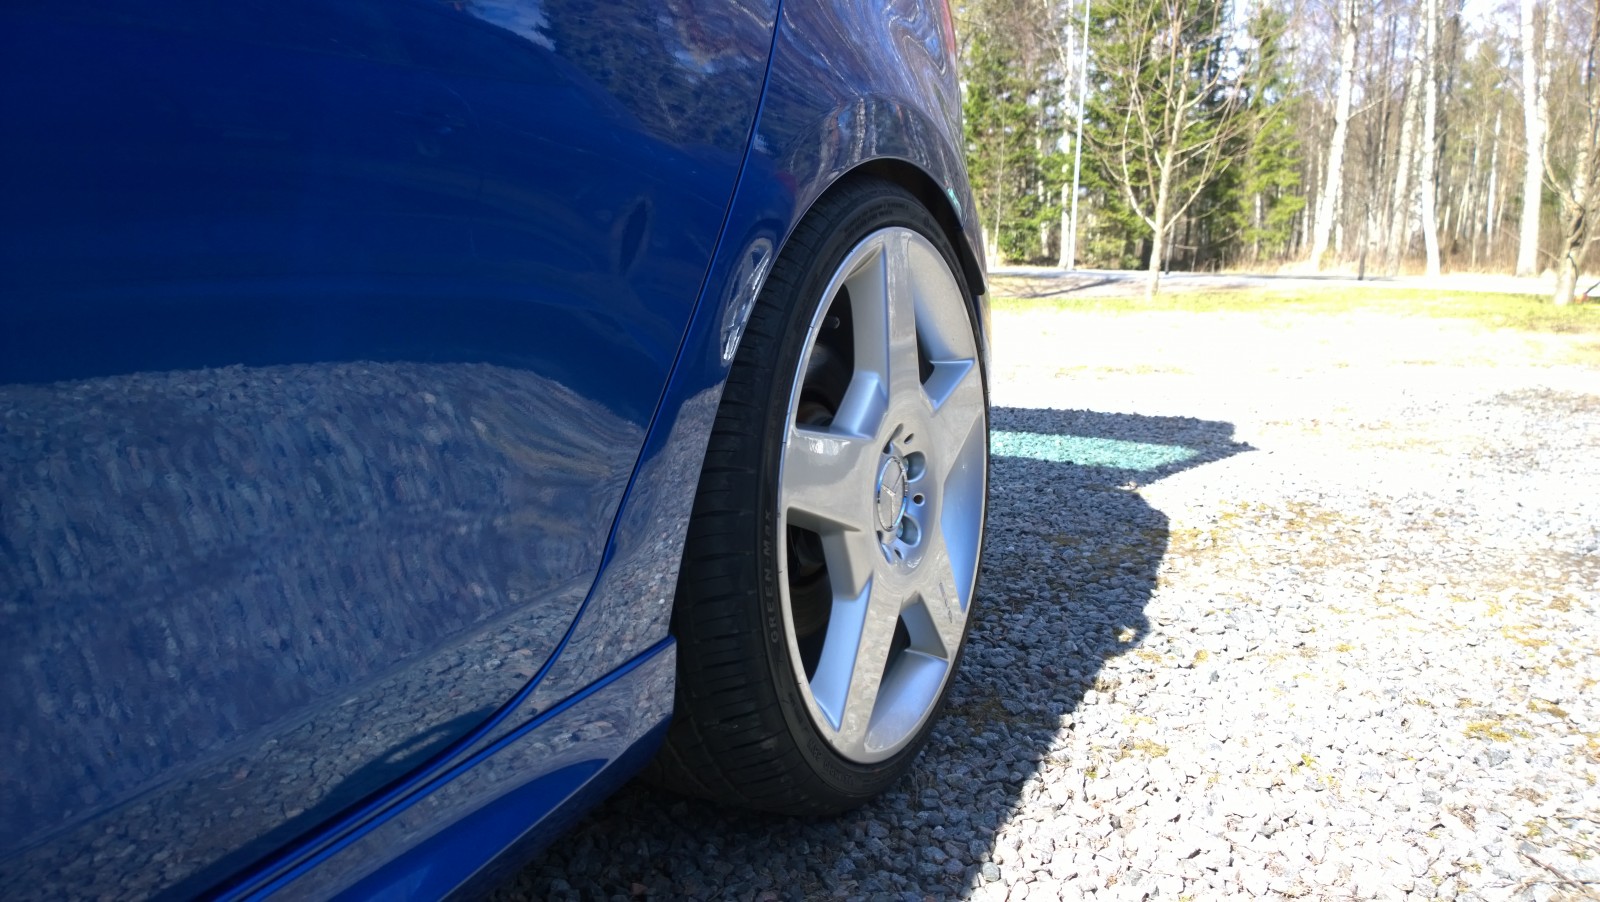
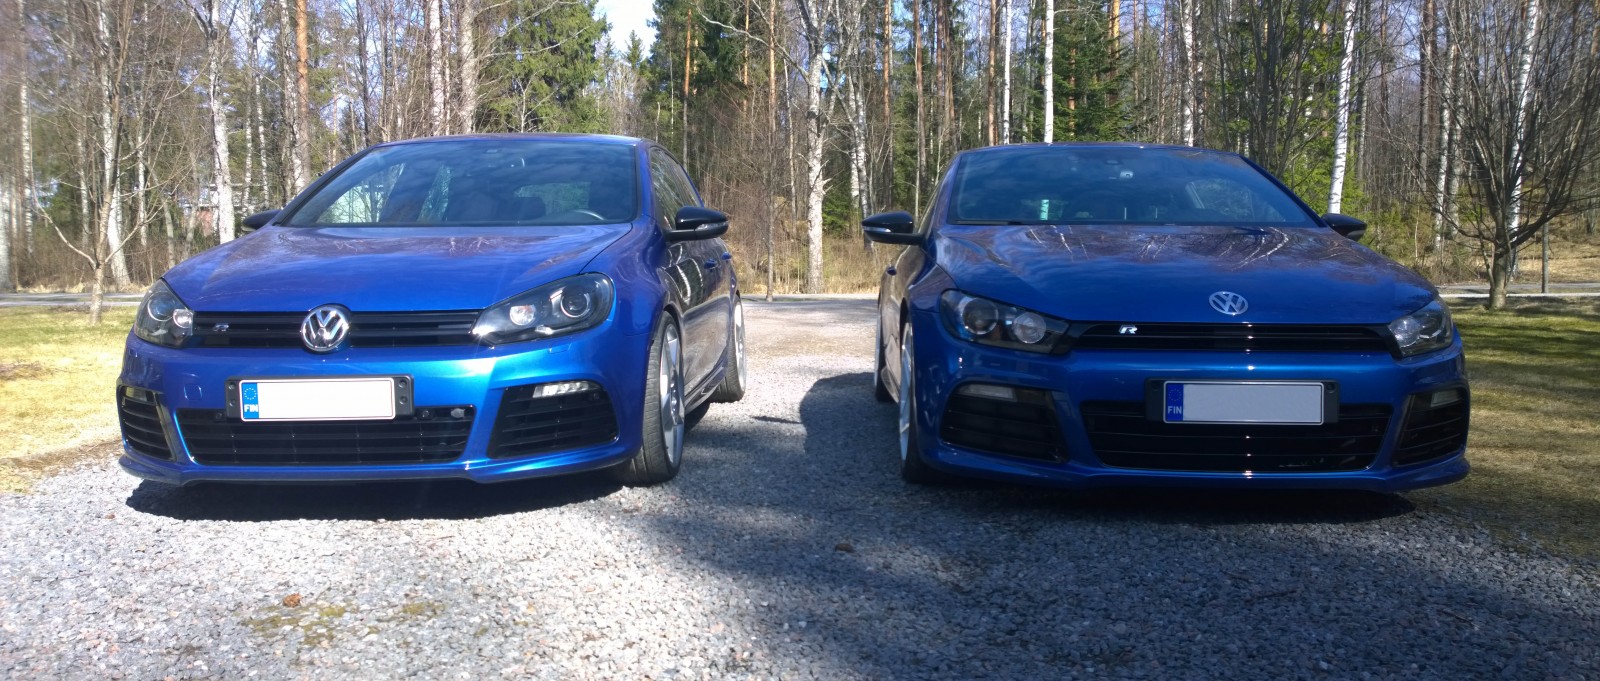
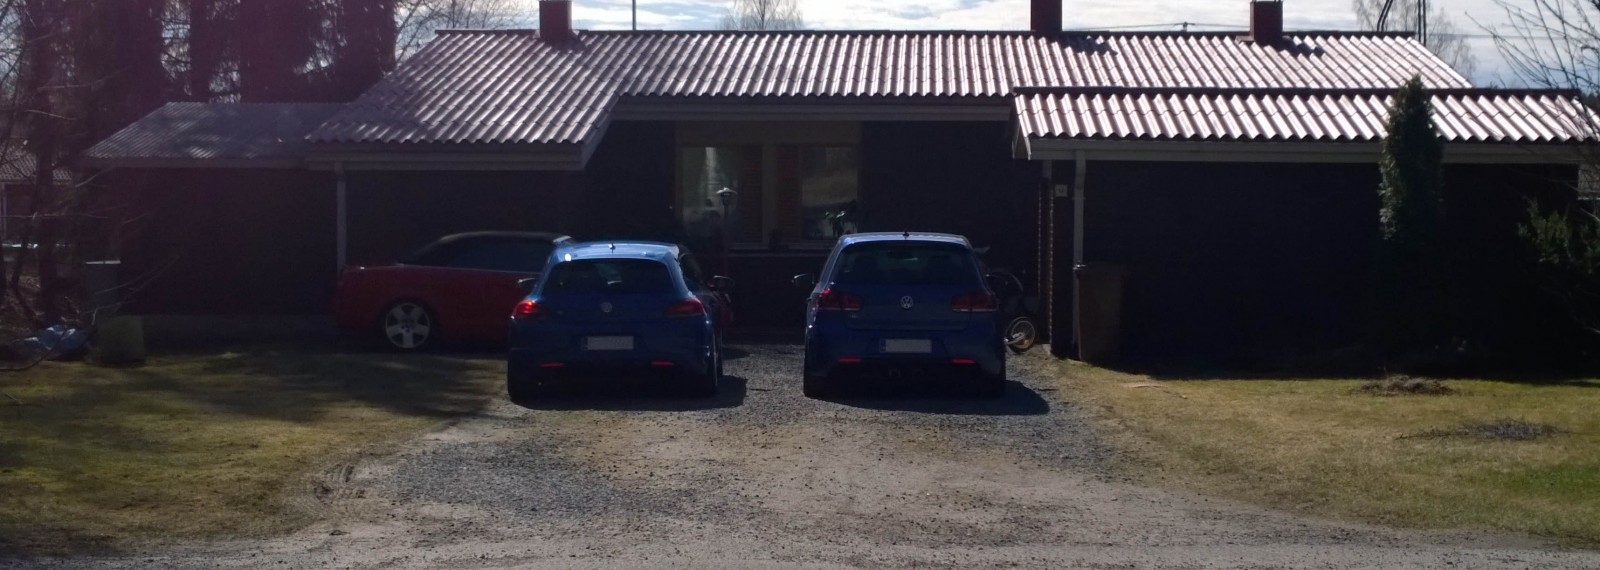
This distant, badly backlit photo still shows the height difference. Both have the same sort of lowering kit.
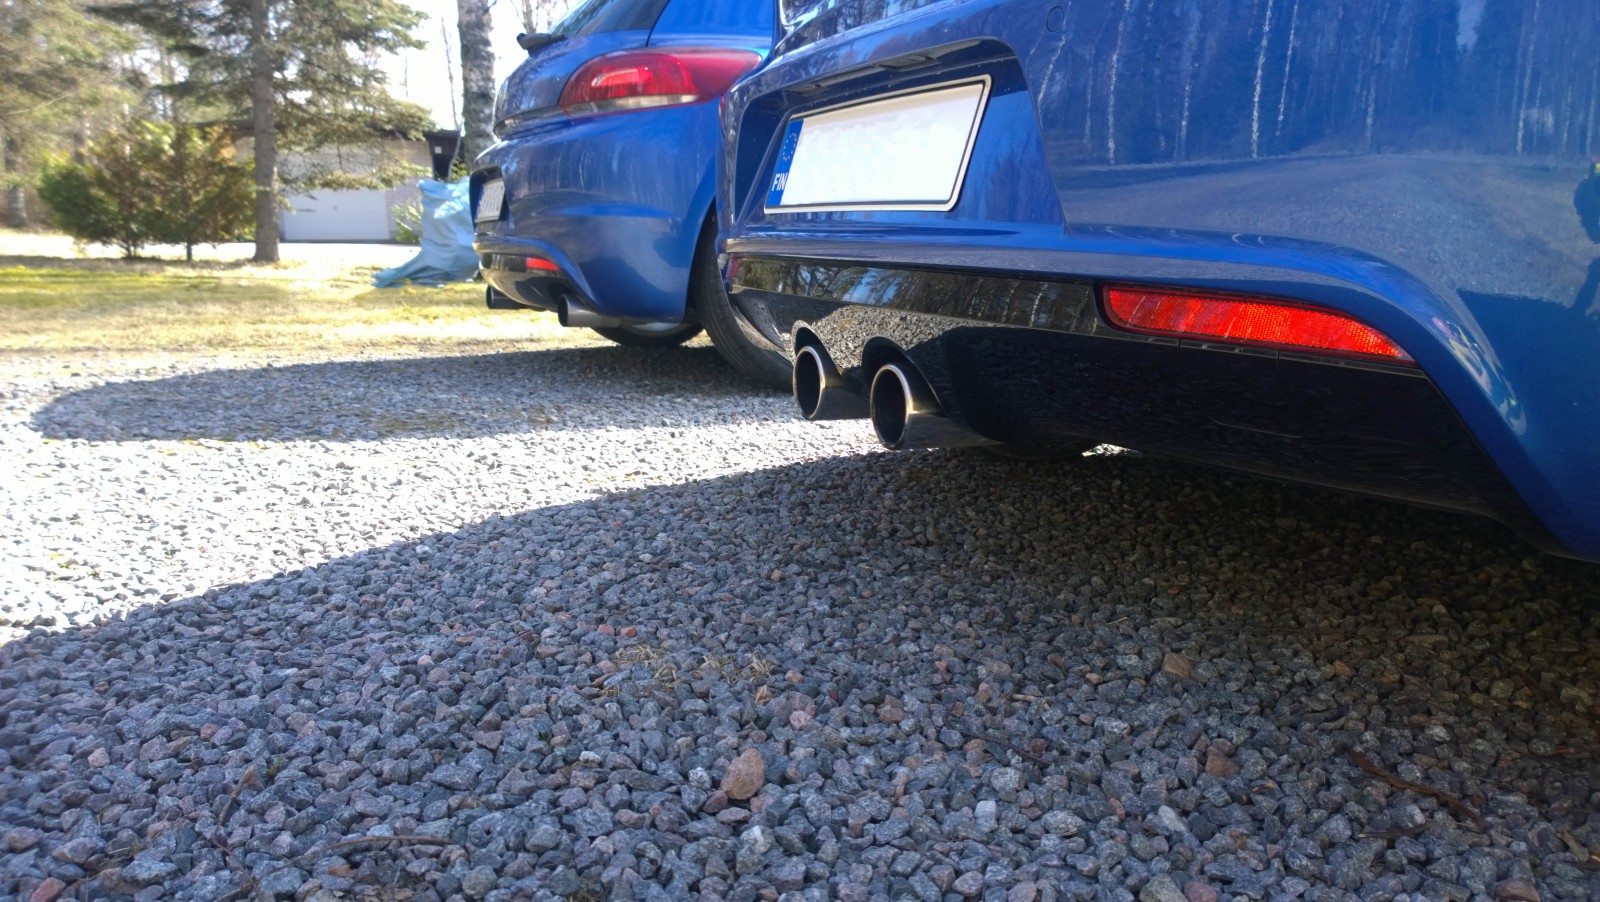
You can recognize these from the exhaust pipes...
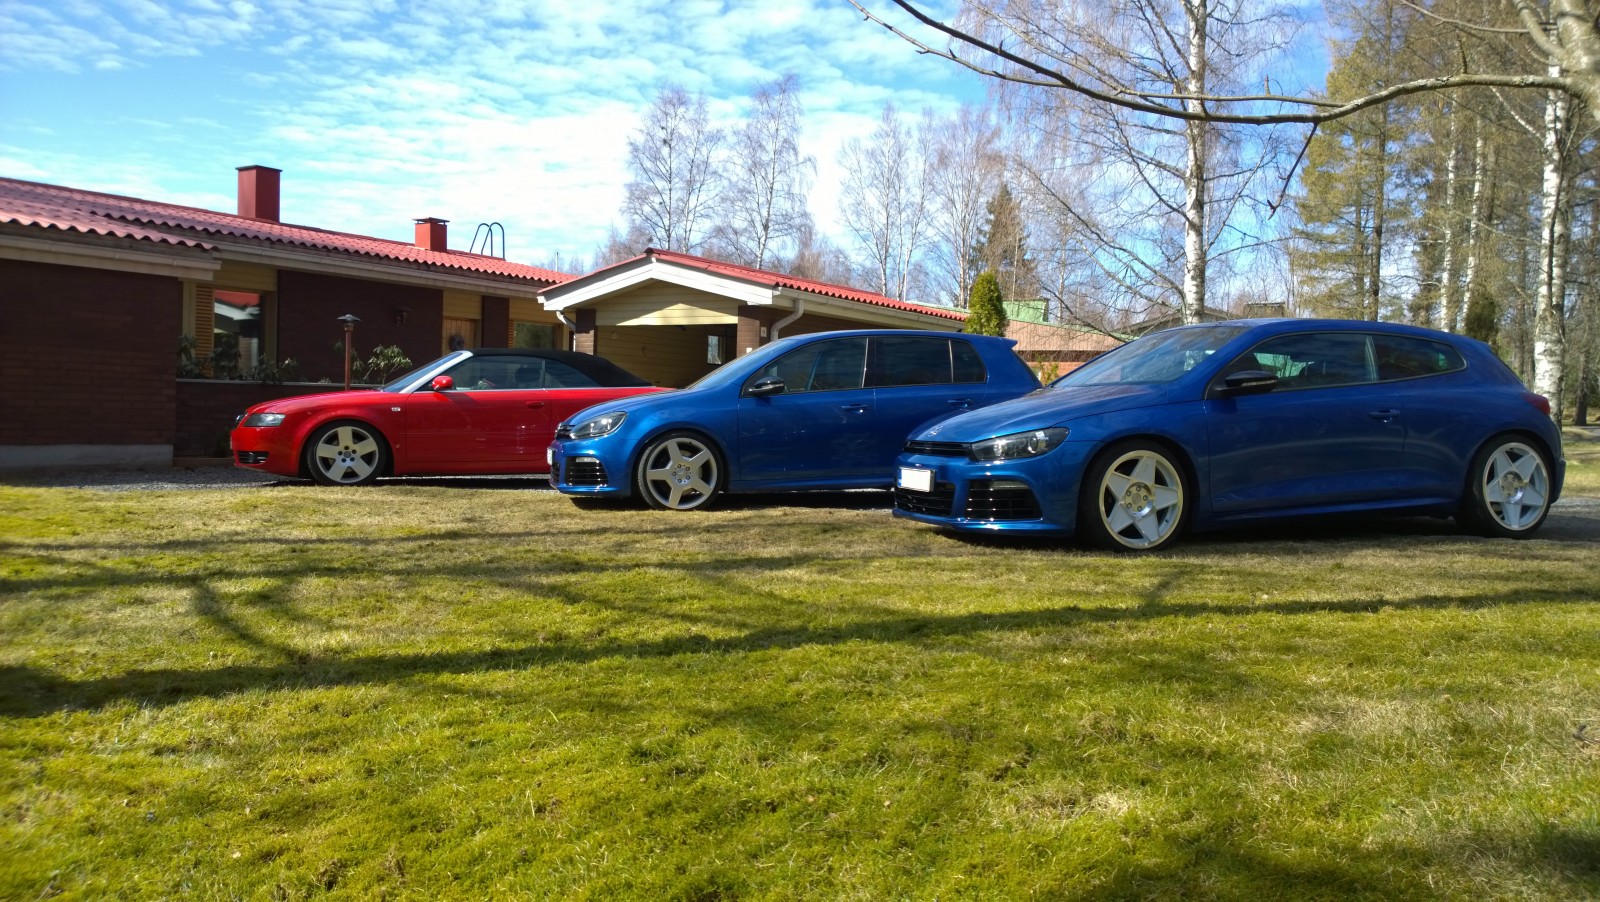
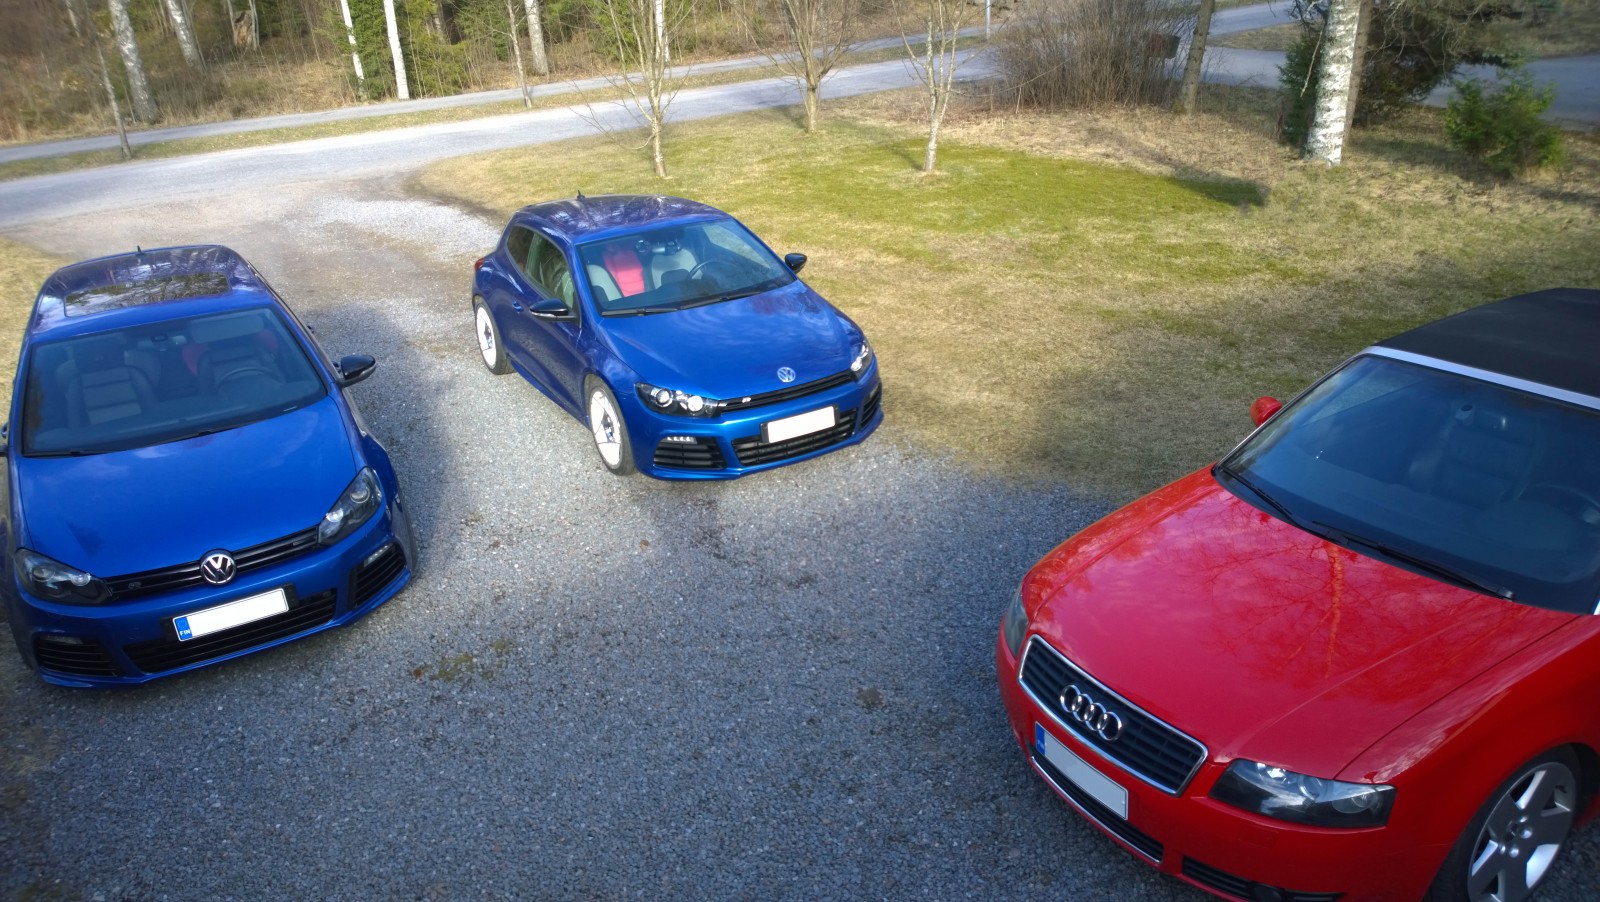
Now the trouble is choosing which car to take. The weather's finally good for the red one too.
Someone buy the Audi and make the choice easier!
2014-07-09 · Sold: Golf R
I decided to put the Golf up for sale, and it was gone in two days. Lovely cars!
Includes original English text and AI-assisted translations.