ARCHIVE / PAJALLE
BMW i3
Repairing Heikki’s first electric car after a crash: airbags, interior, door glass and front-end components.
2021-01-24 · Entering the electric-car era
The website's been quiet for the last few years, but we're still here! Over the past five or six months, we've been getting properly stuck into electric cars with Autokierrätys L&G and Kolarikorjaus P. Gullans.
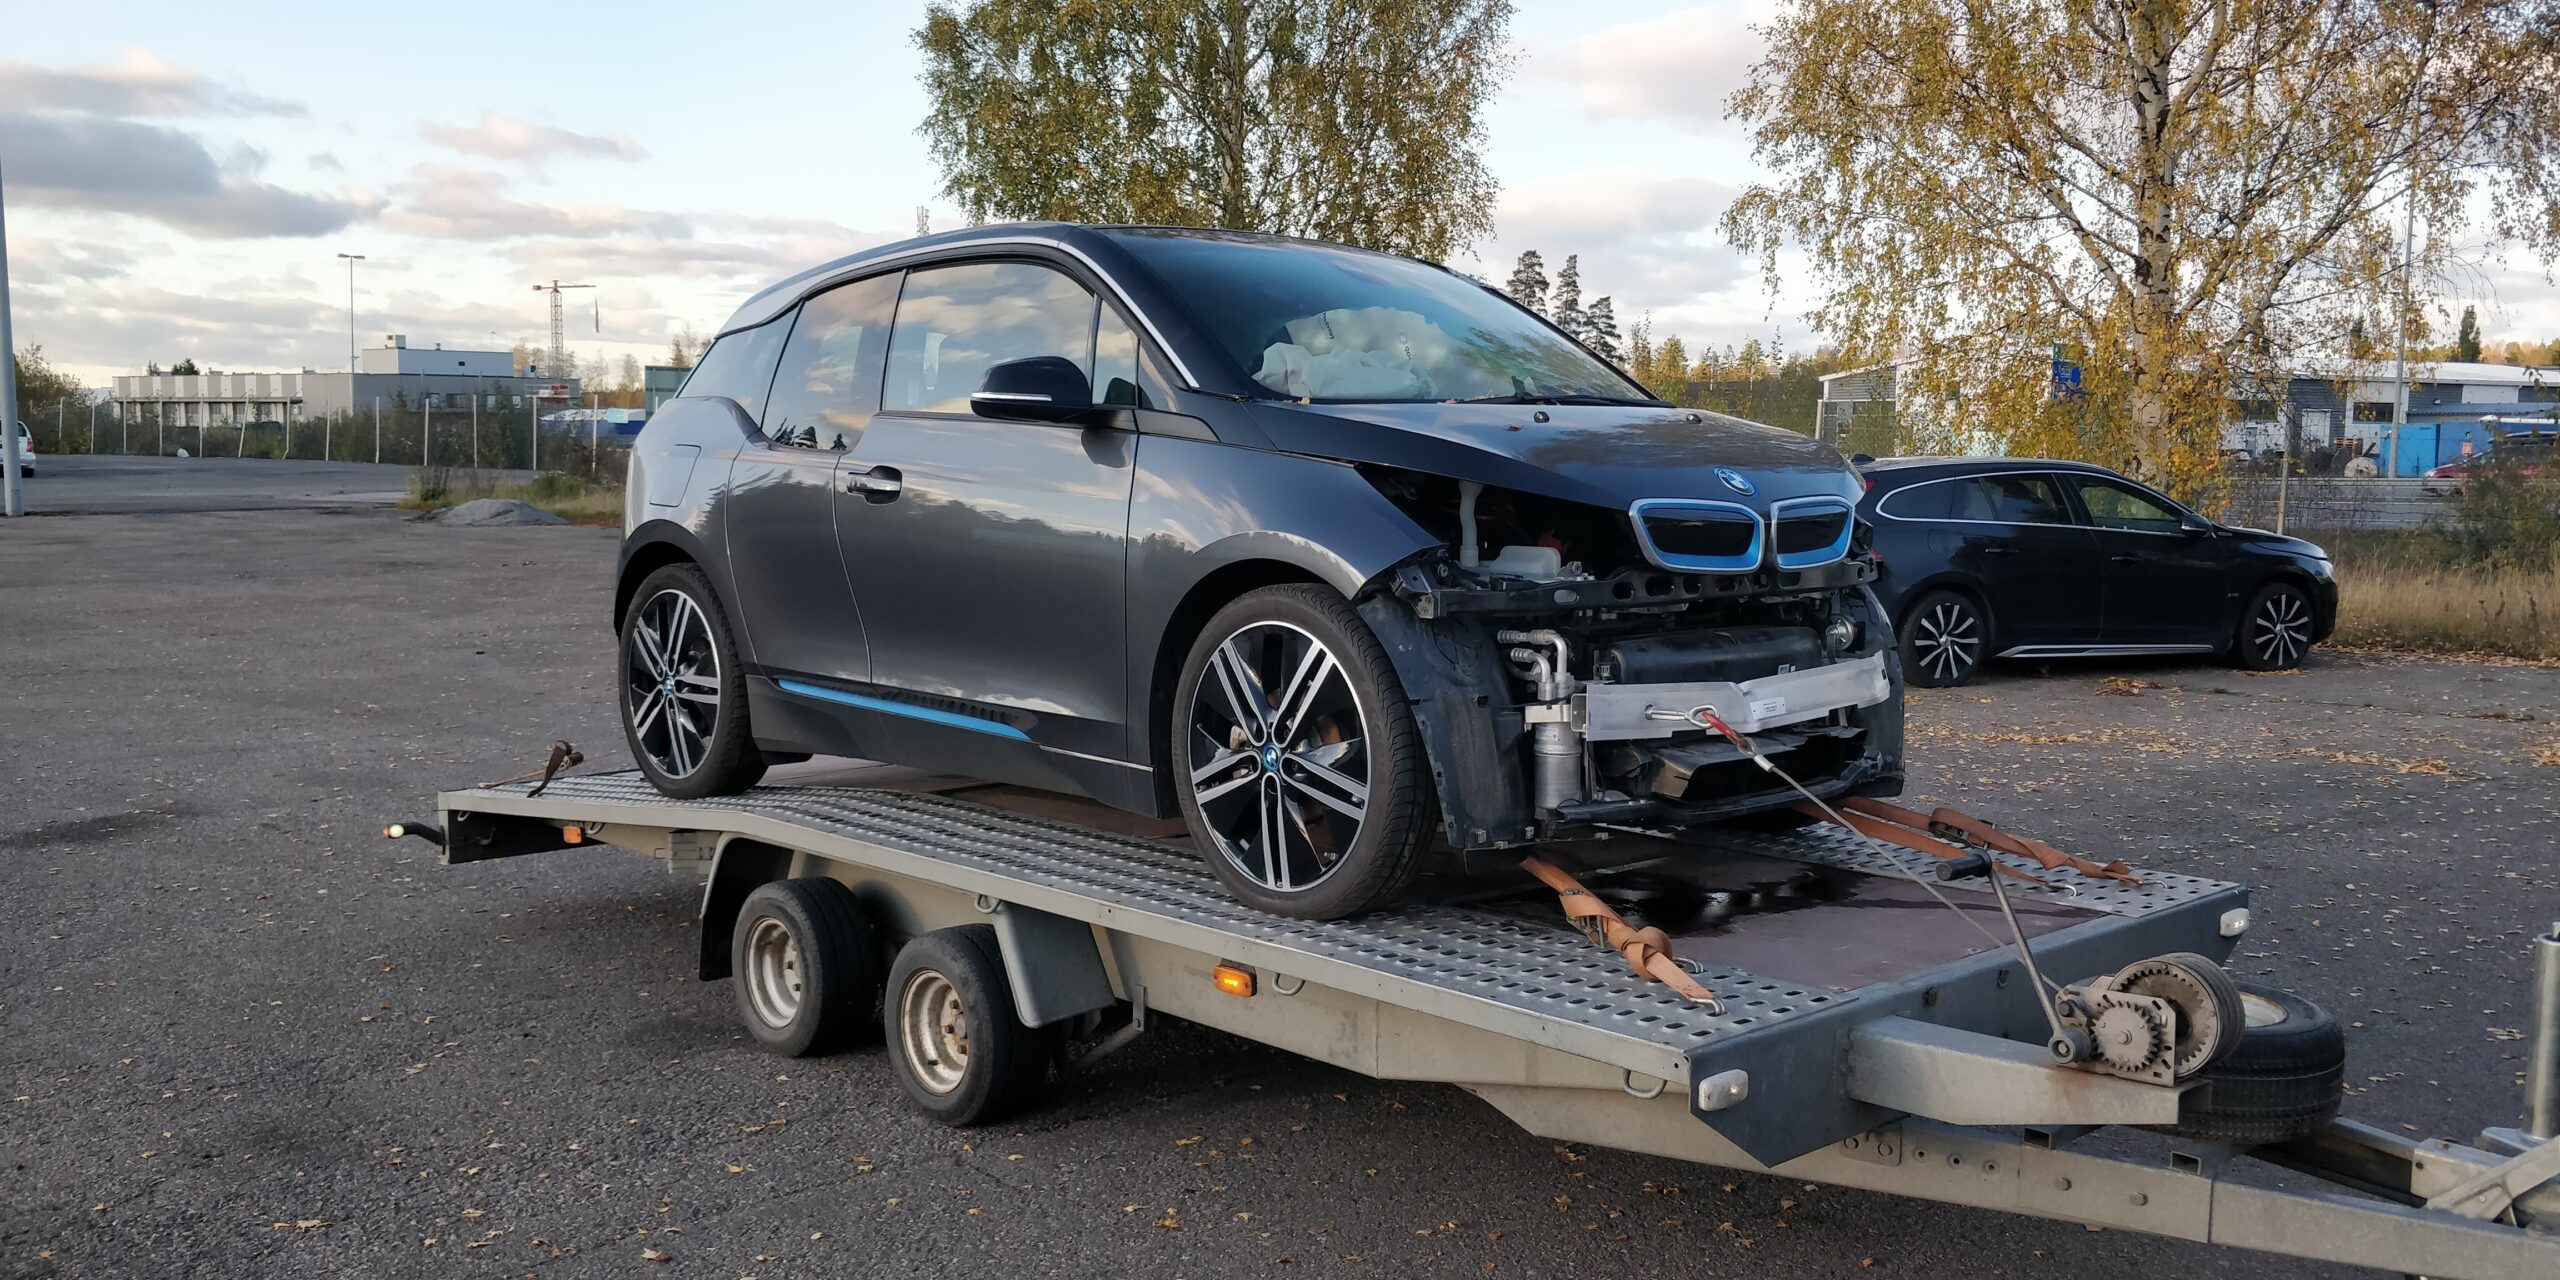
A story about repairing a crashed Tesla Model S is coming, but let’s start with the BMW i3. In the autumn, a 2019 i3 with the largest 120 Ah battery and about 15,000 km on the clock came up for sale. The damage looked fairly minor in the photos, and we bought it on impulse.
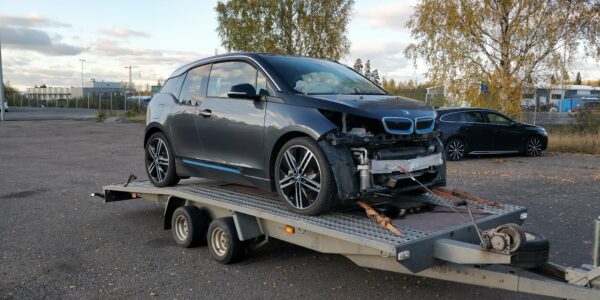
Autumn is approaching, with the i3 on the trailer. It had to be winched aboard because it could not yet be driven.
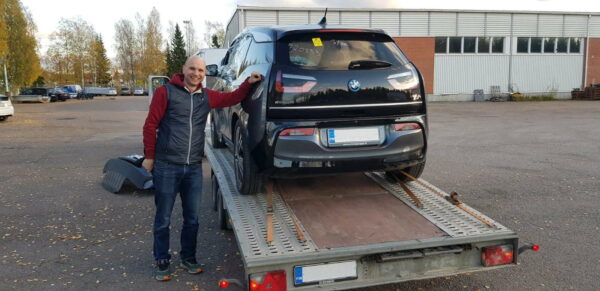
Heikki’s first BMW has quite a distinctive look.
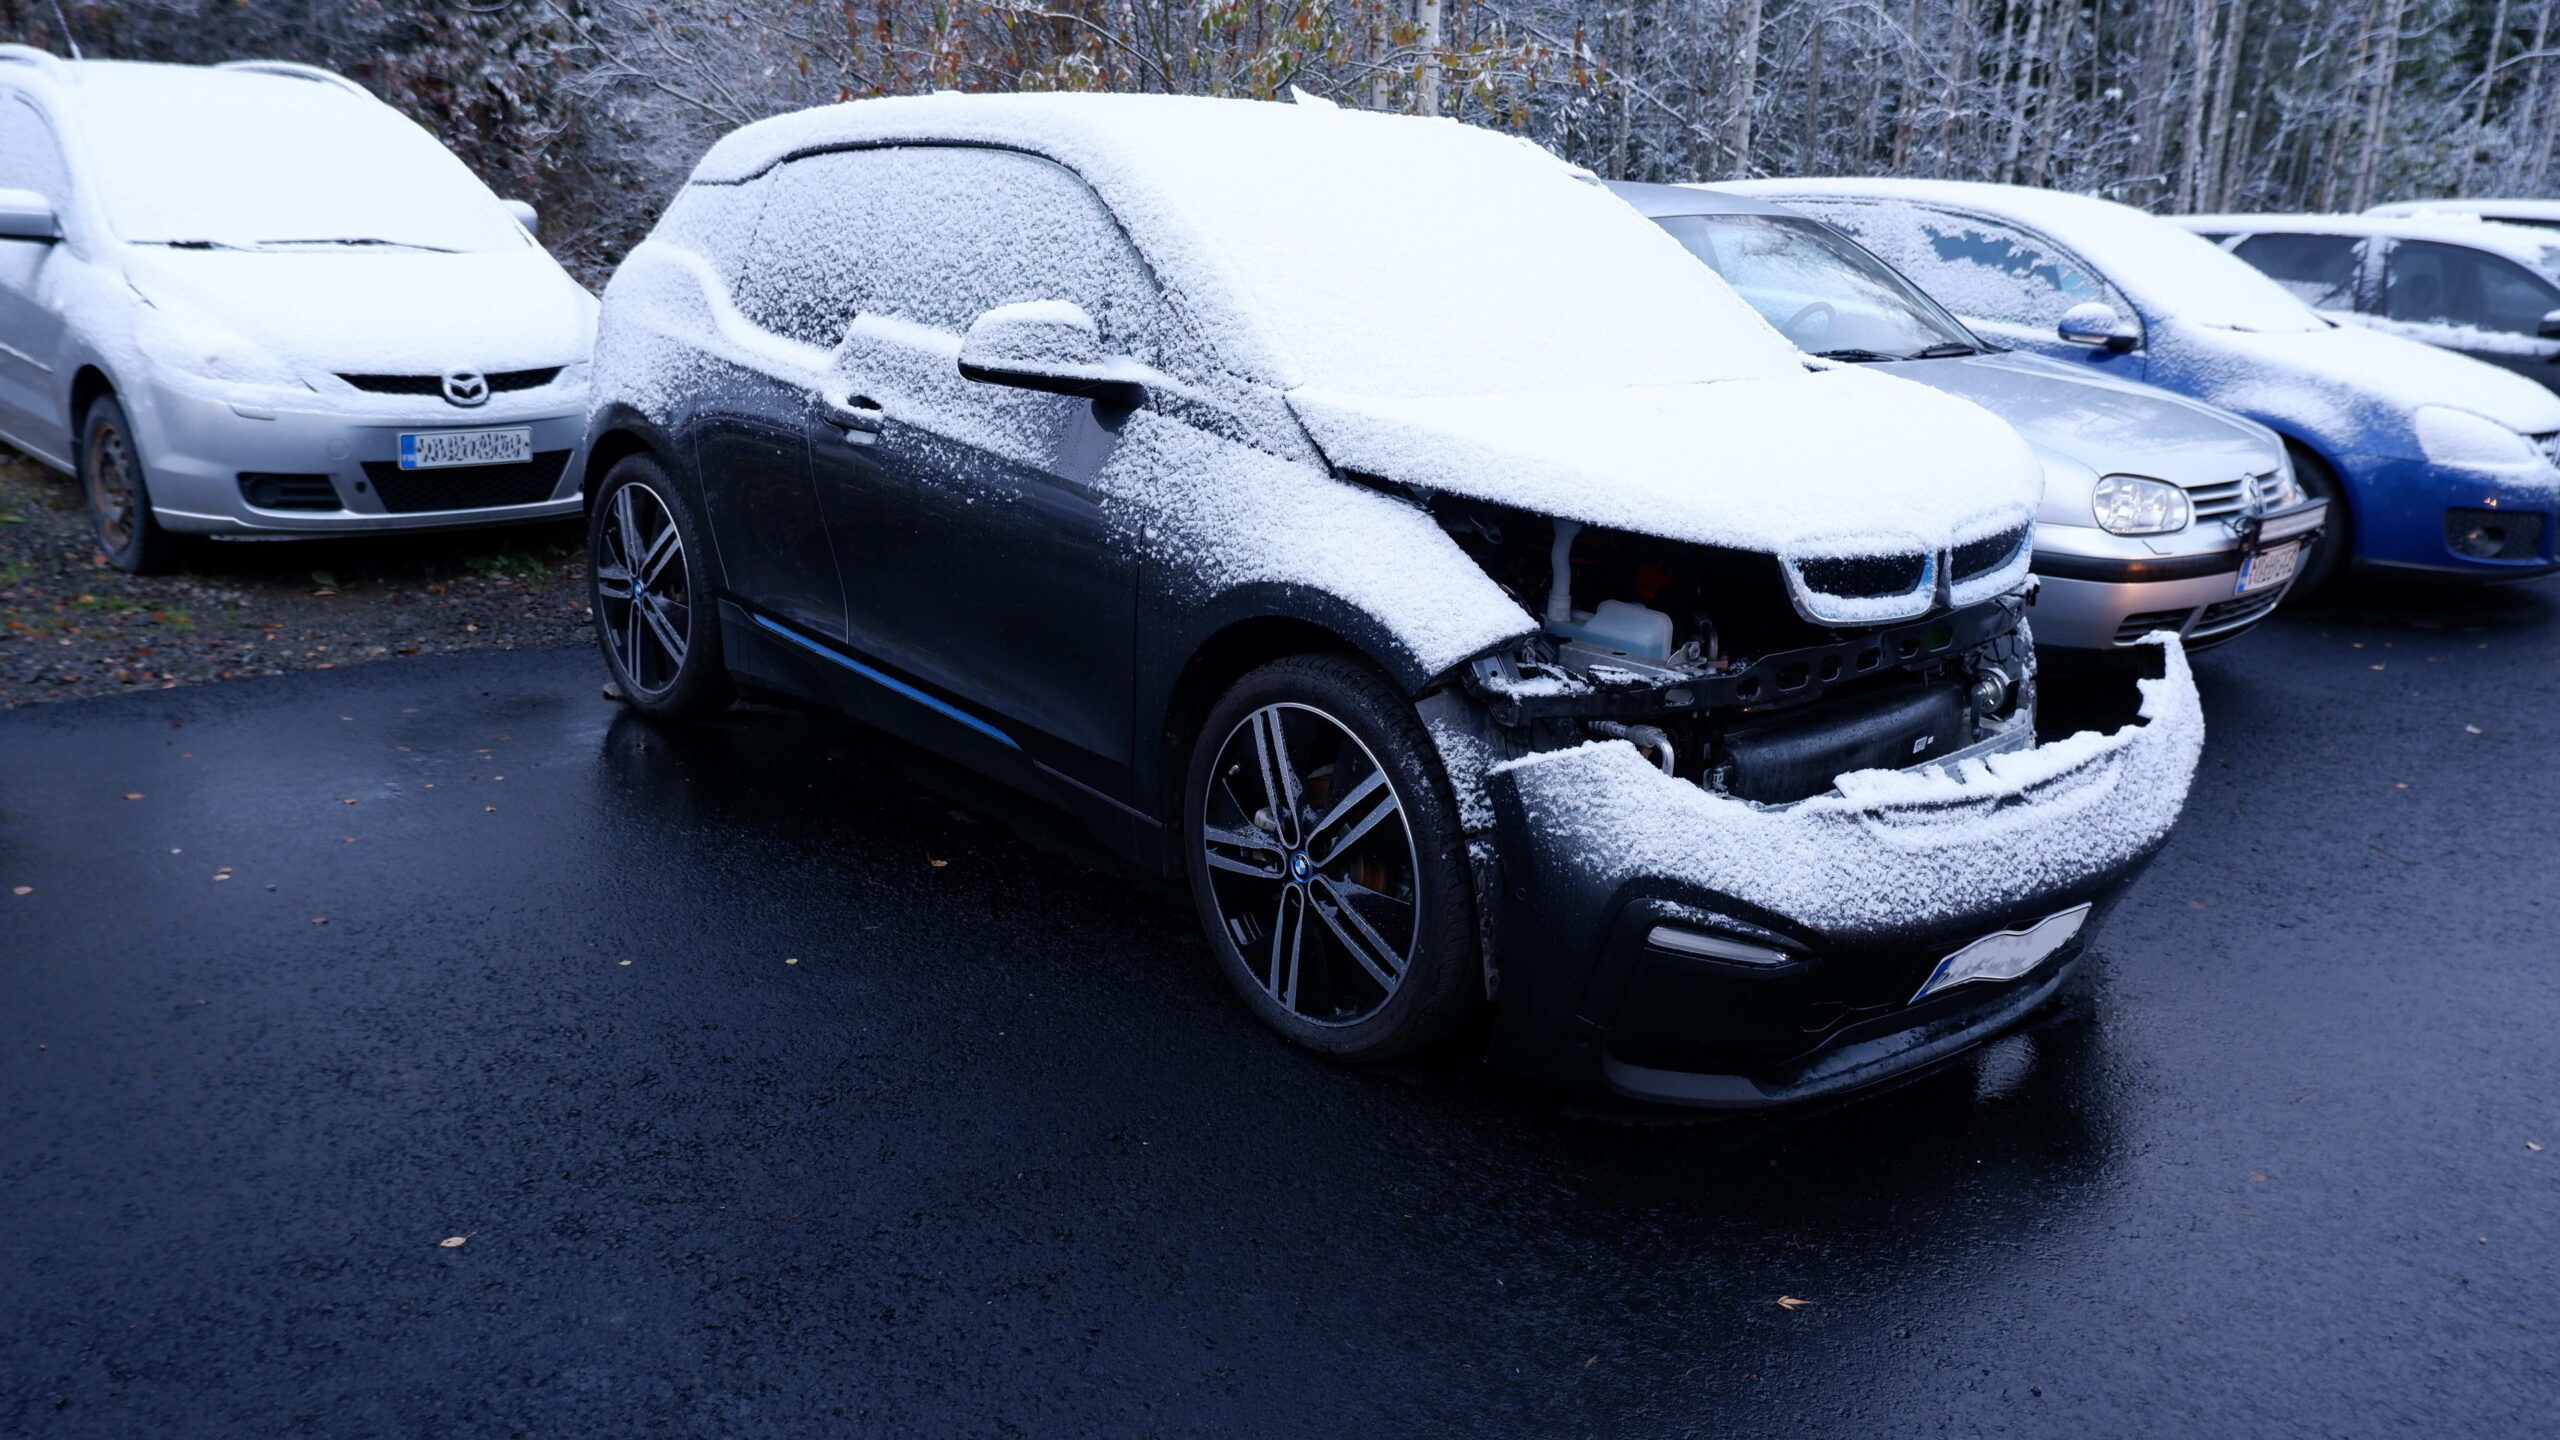
On 19 October 2020 we got a first taste of the coming winter.
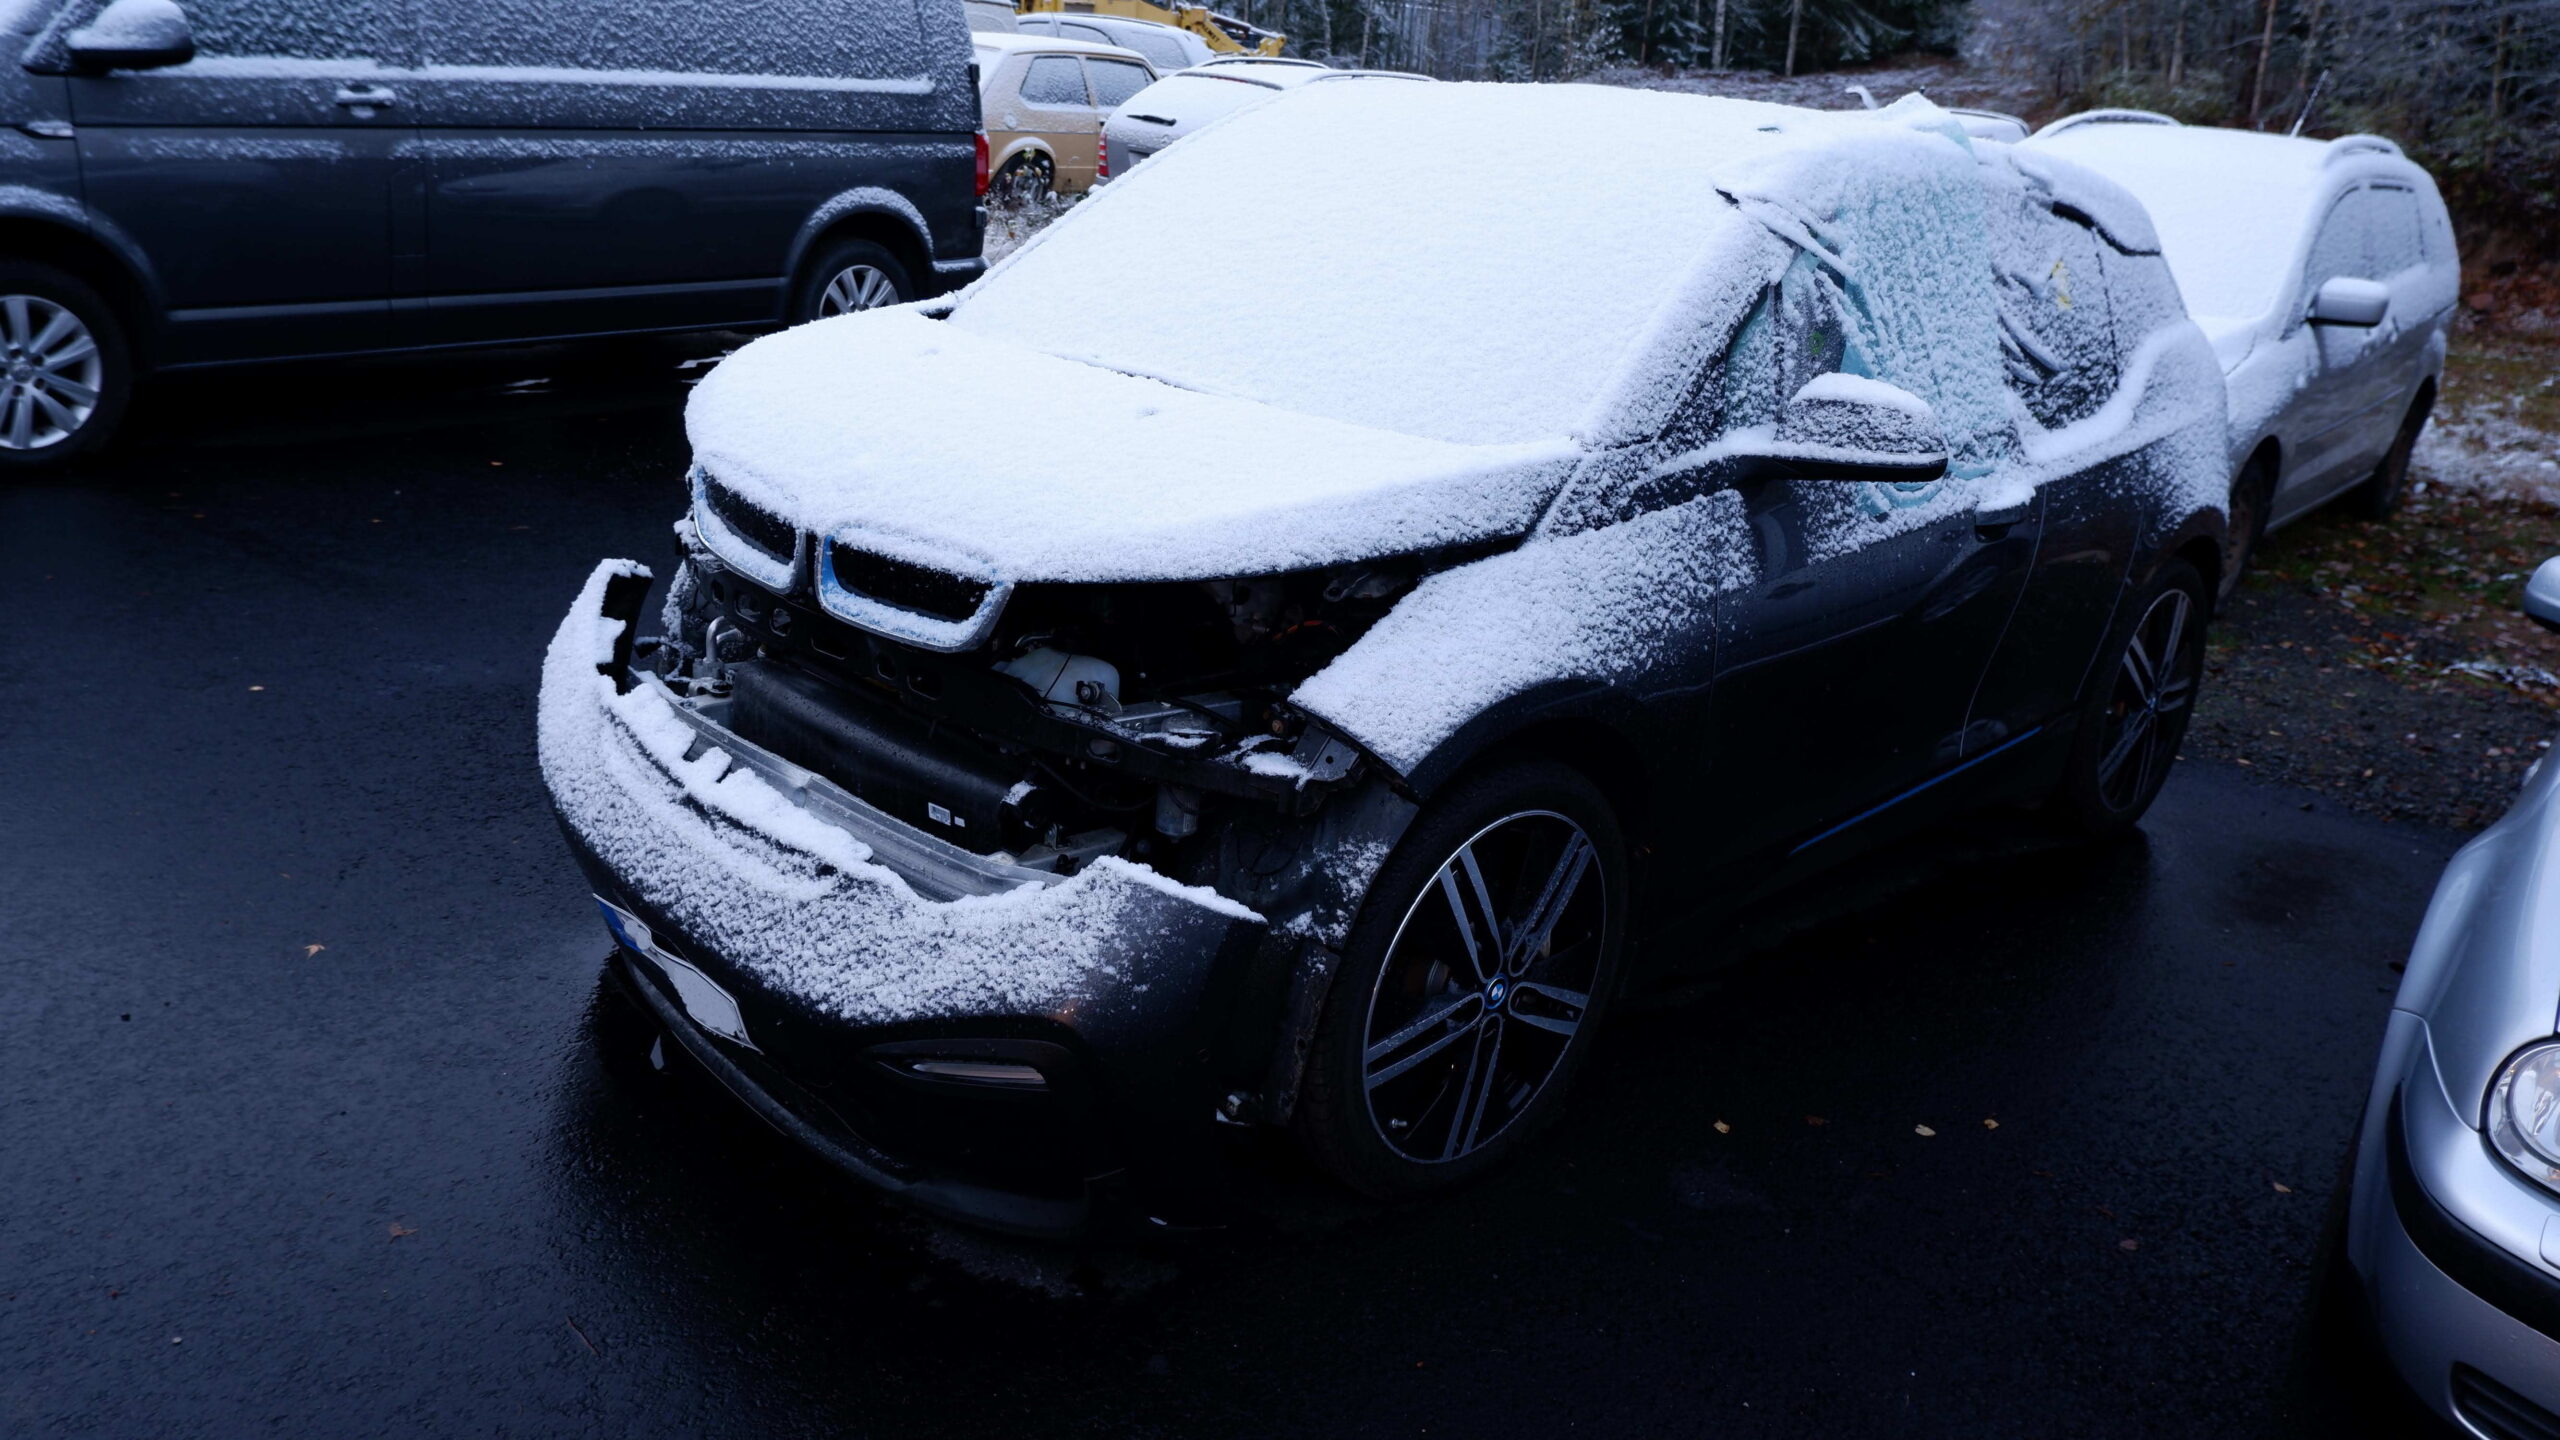
The driver's door glass was broken for some reason
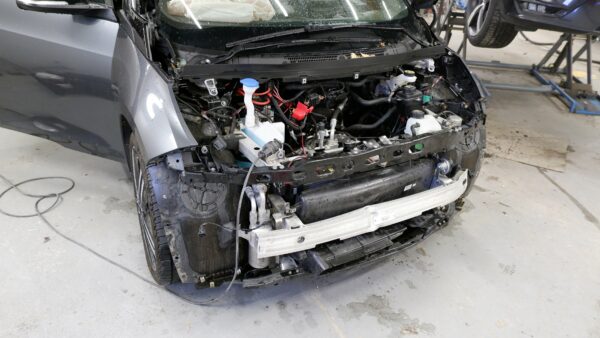
We brought the BMW inside and began removing the damaged front-end parts. There were no surprises: the damage was fairly minor overall.
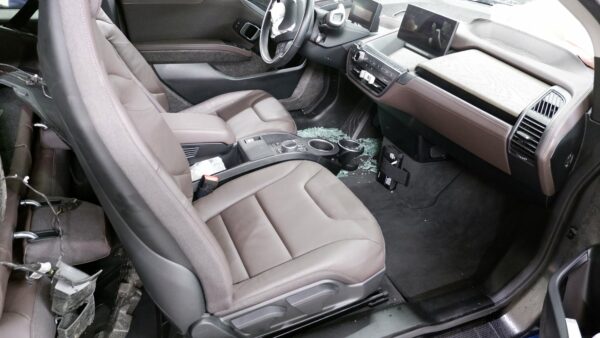
Inside, the usual safety equipment had deployed: the front airbags, seat-belt pretensioners and driver’s curtain airbag. There was also plenty of broken glass to vacuum up. It was slightly surprising that the airbags had deployed given the relatively minor front-end damage. We have seen much worse-looking crashes where they stayed intact.
The i3’s interior actually looks rather nice. Its B-pillar is integrated into the rear-hinged rear door, so opening both doors creates a wide opening. The dashboard looks pleasingly modern.
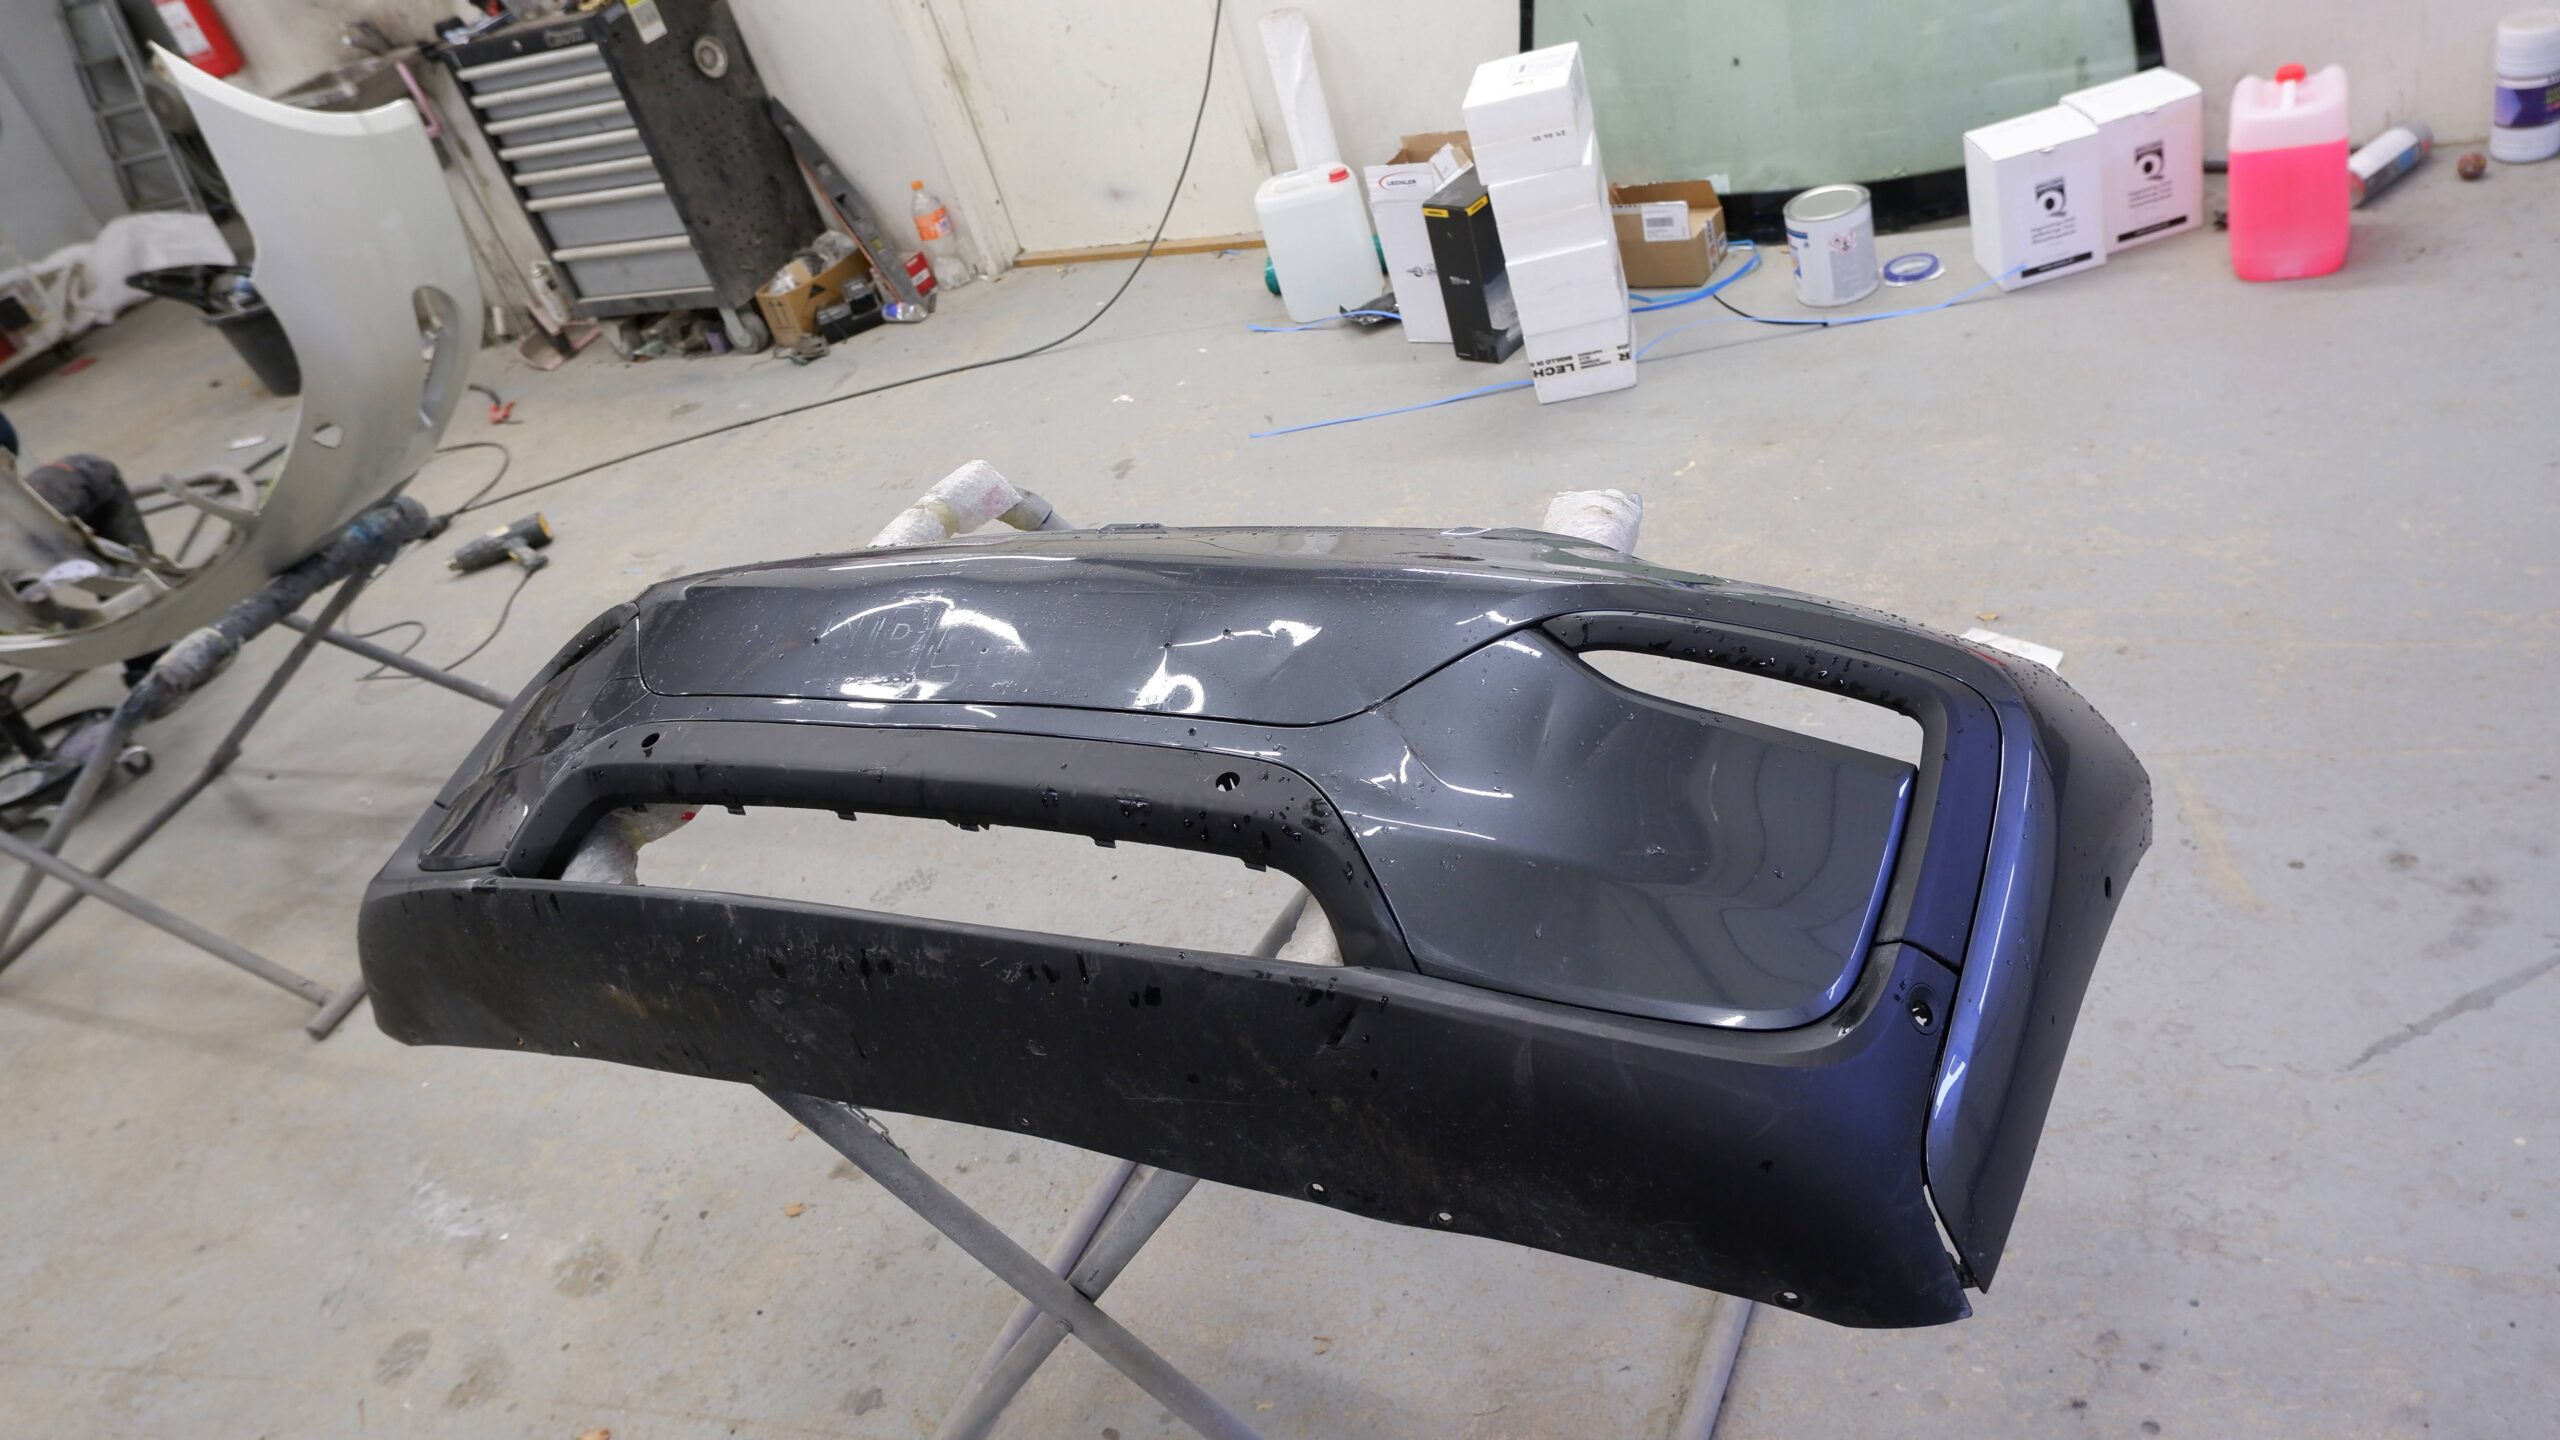
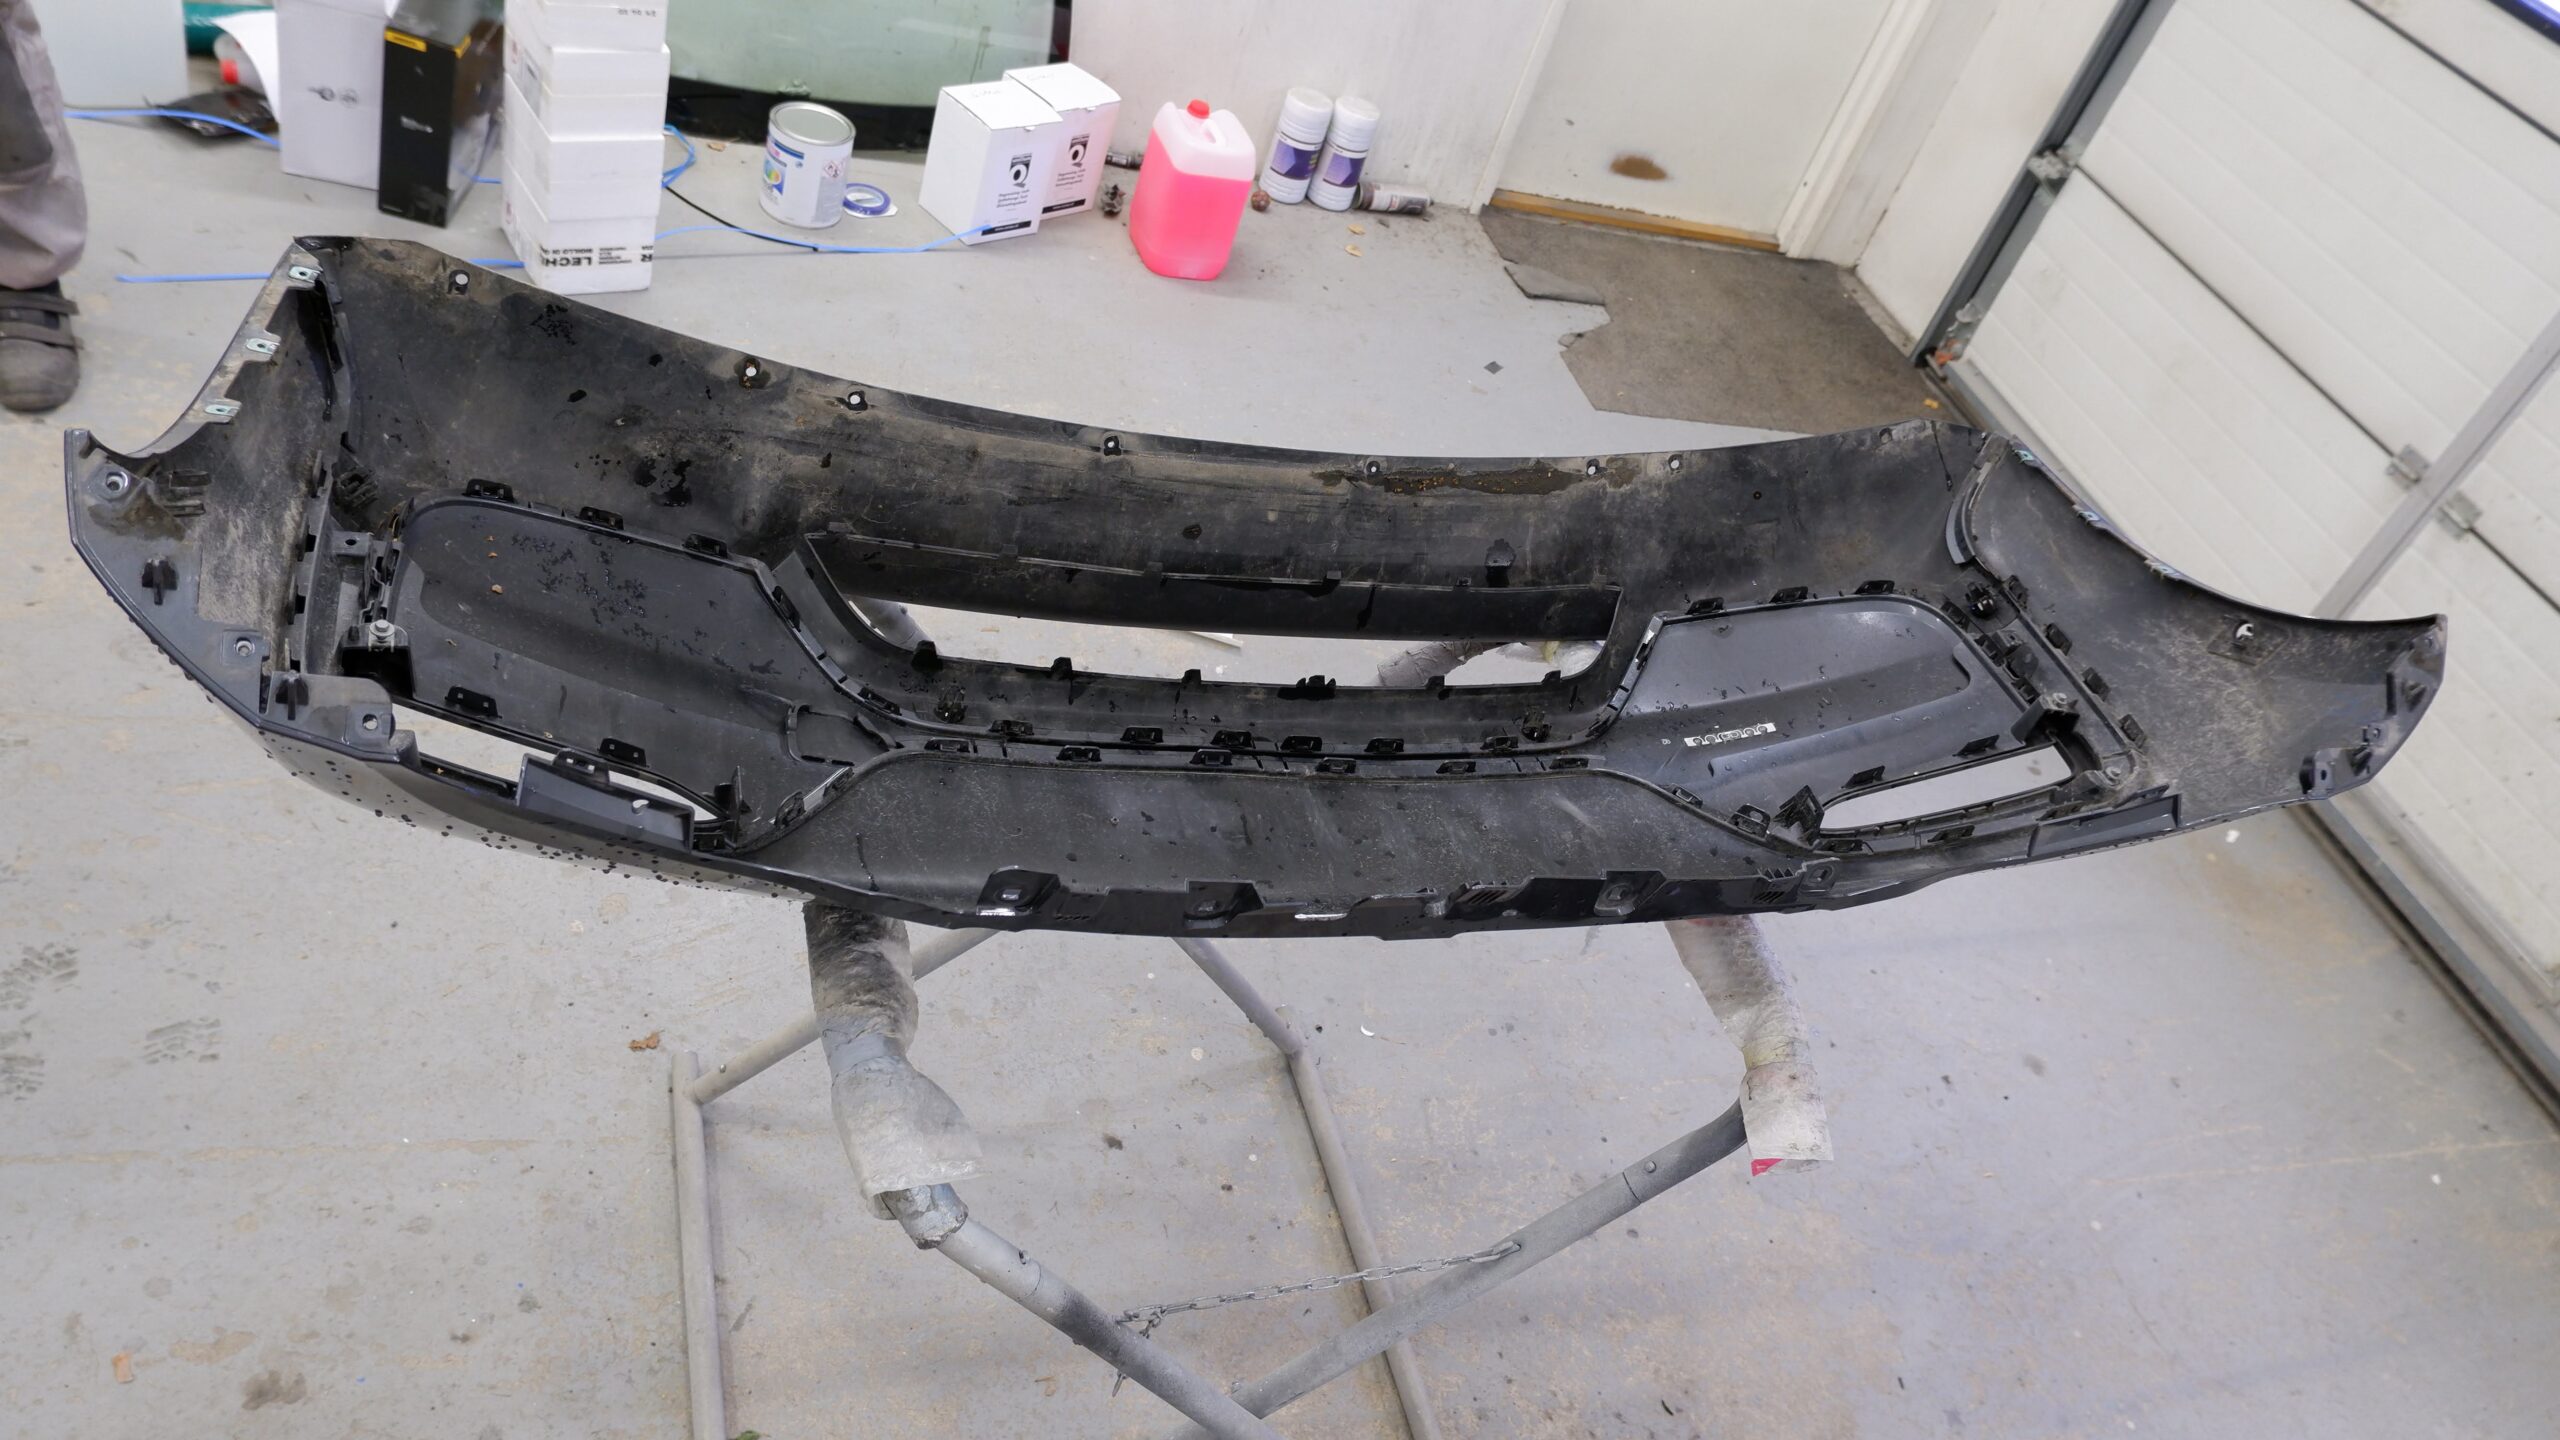
The bumper had flexed well in the crash and in the end only the lower skirt needed to be replaced.
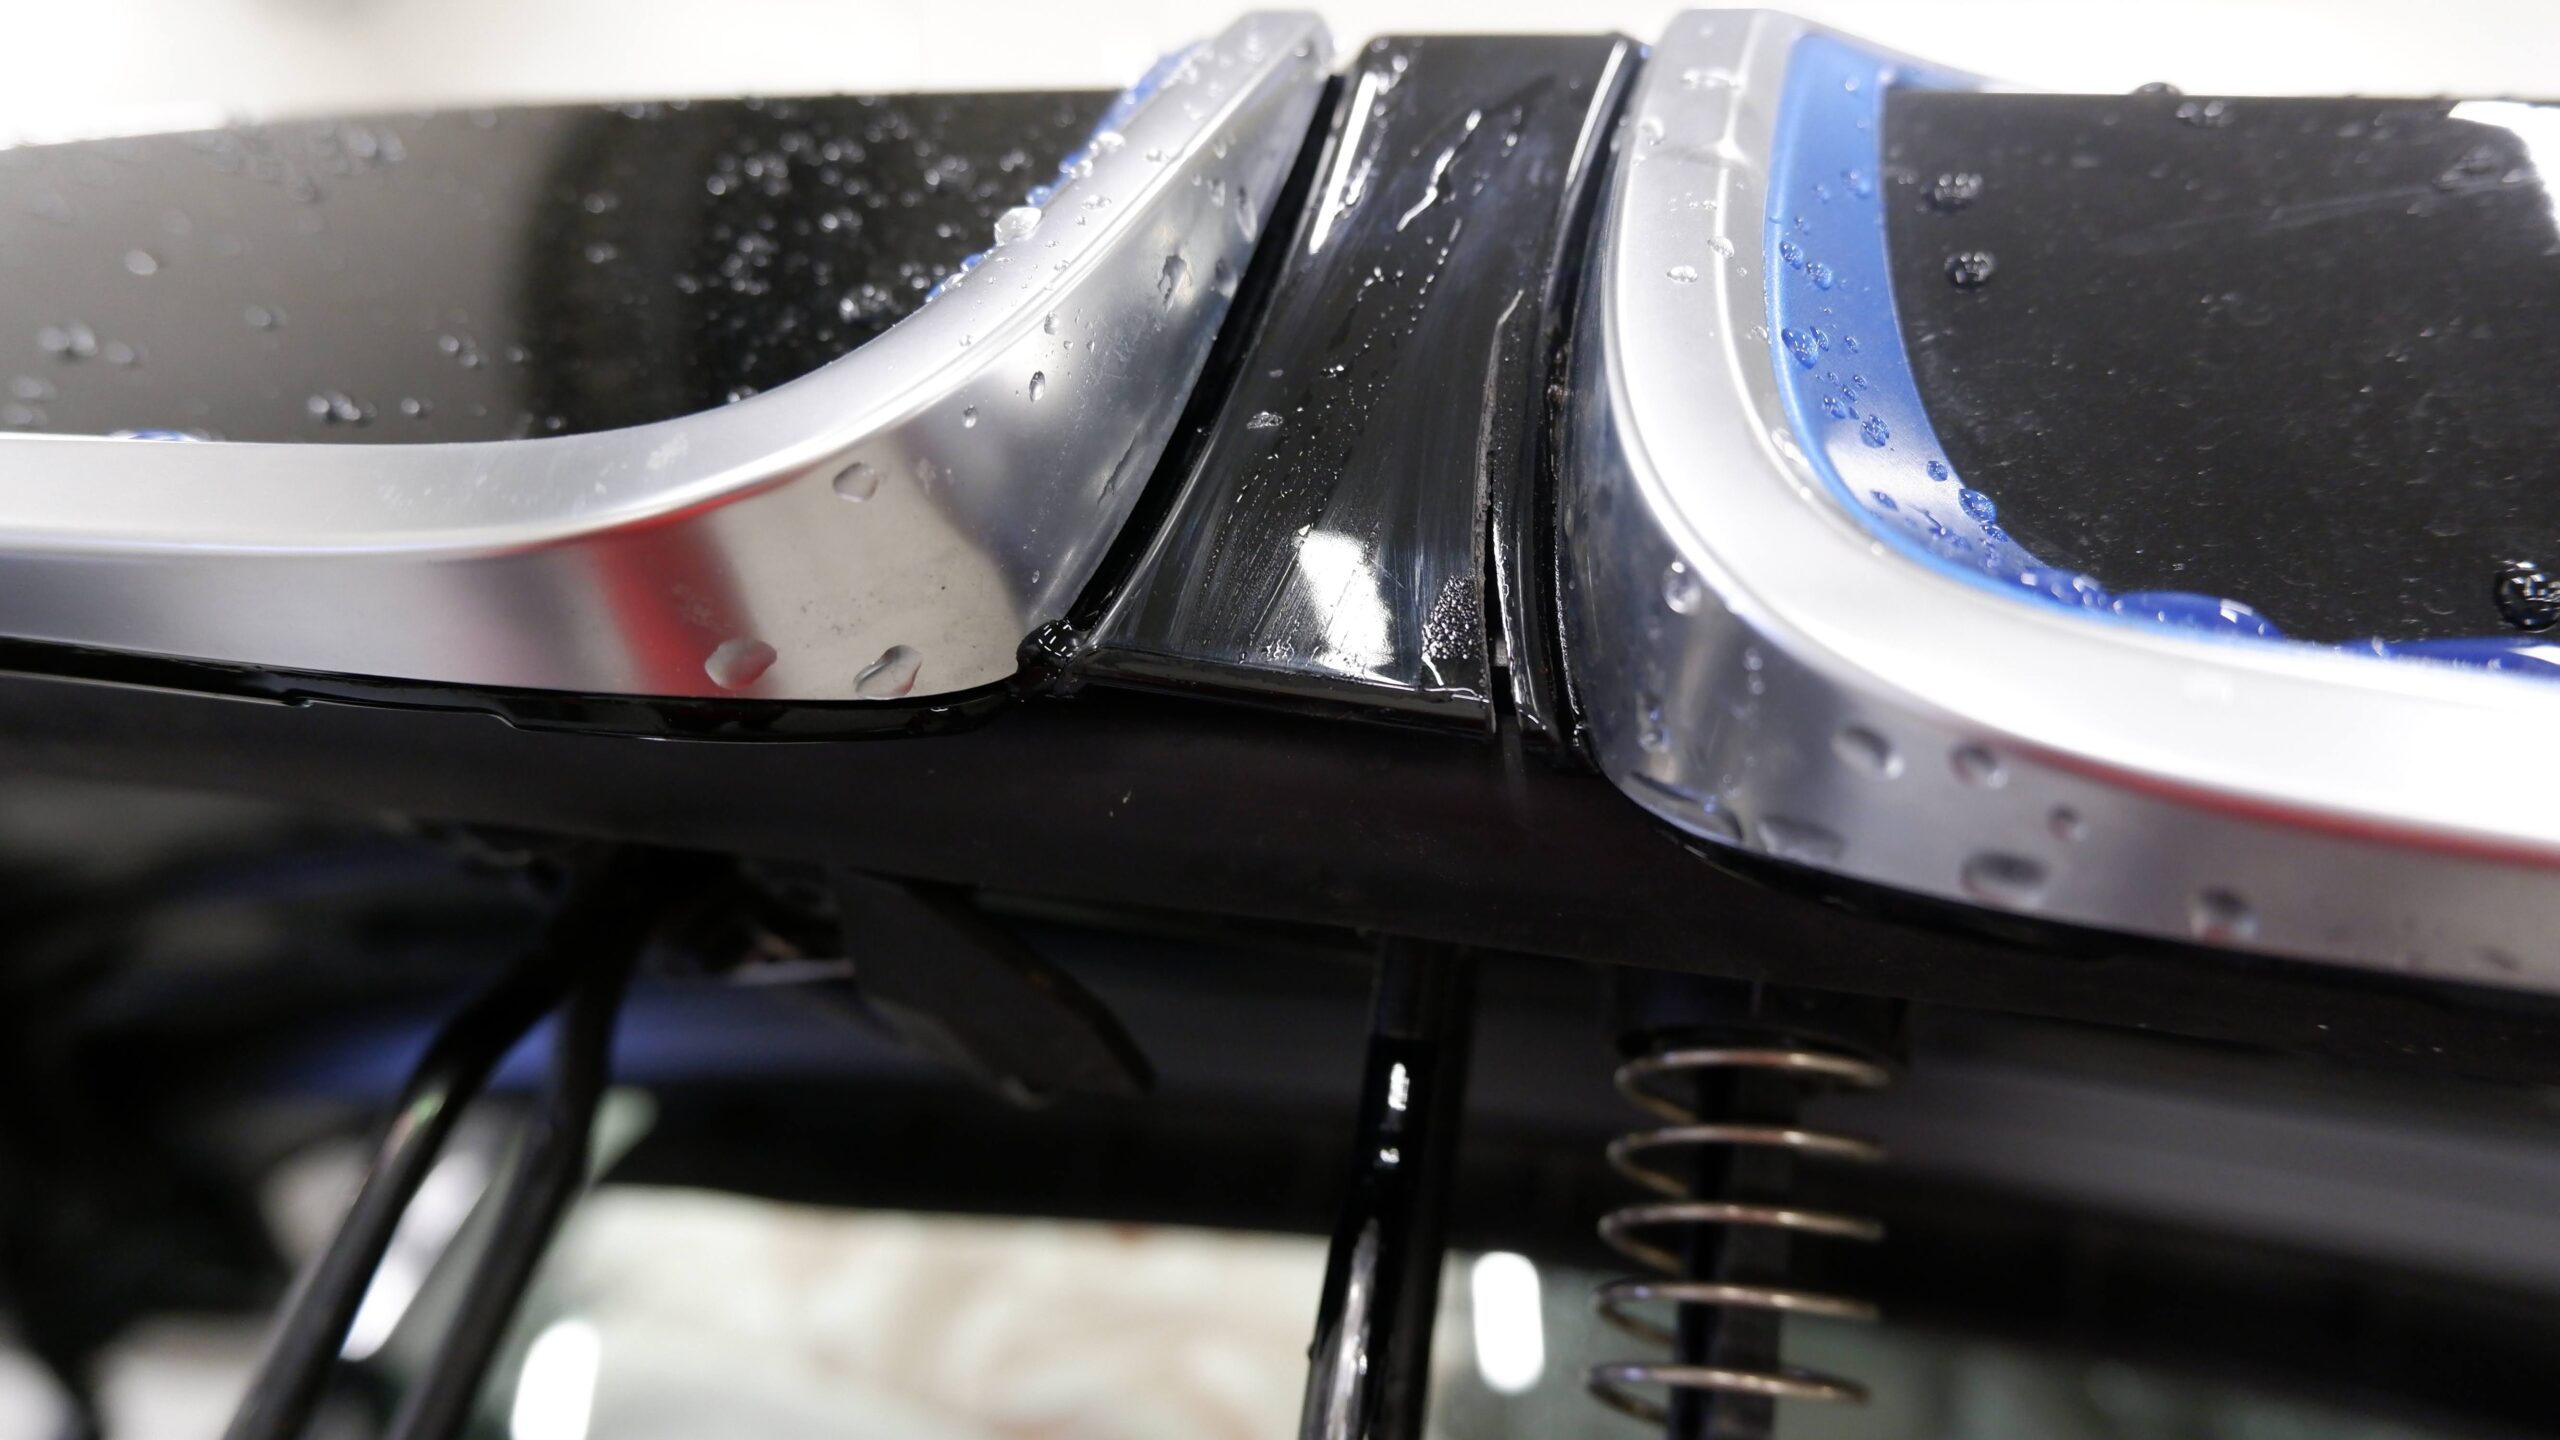
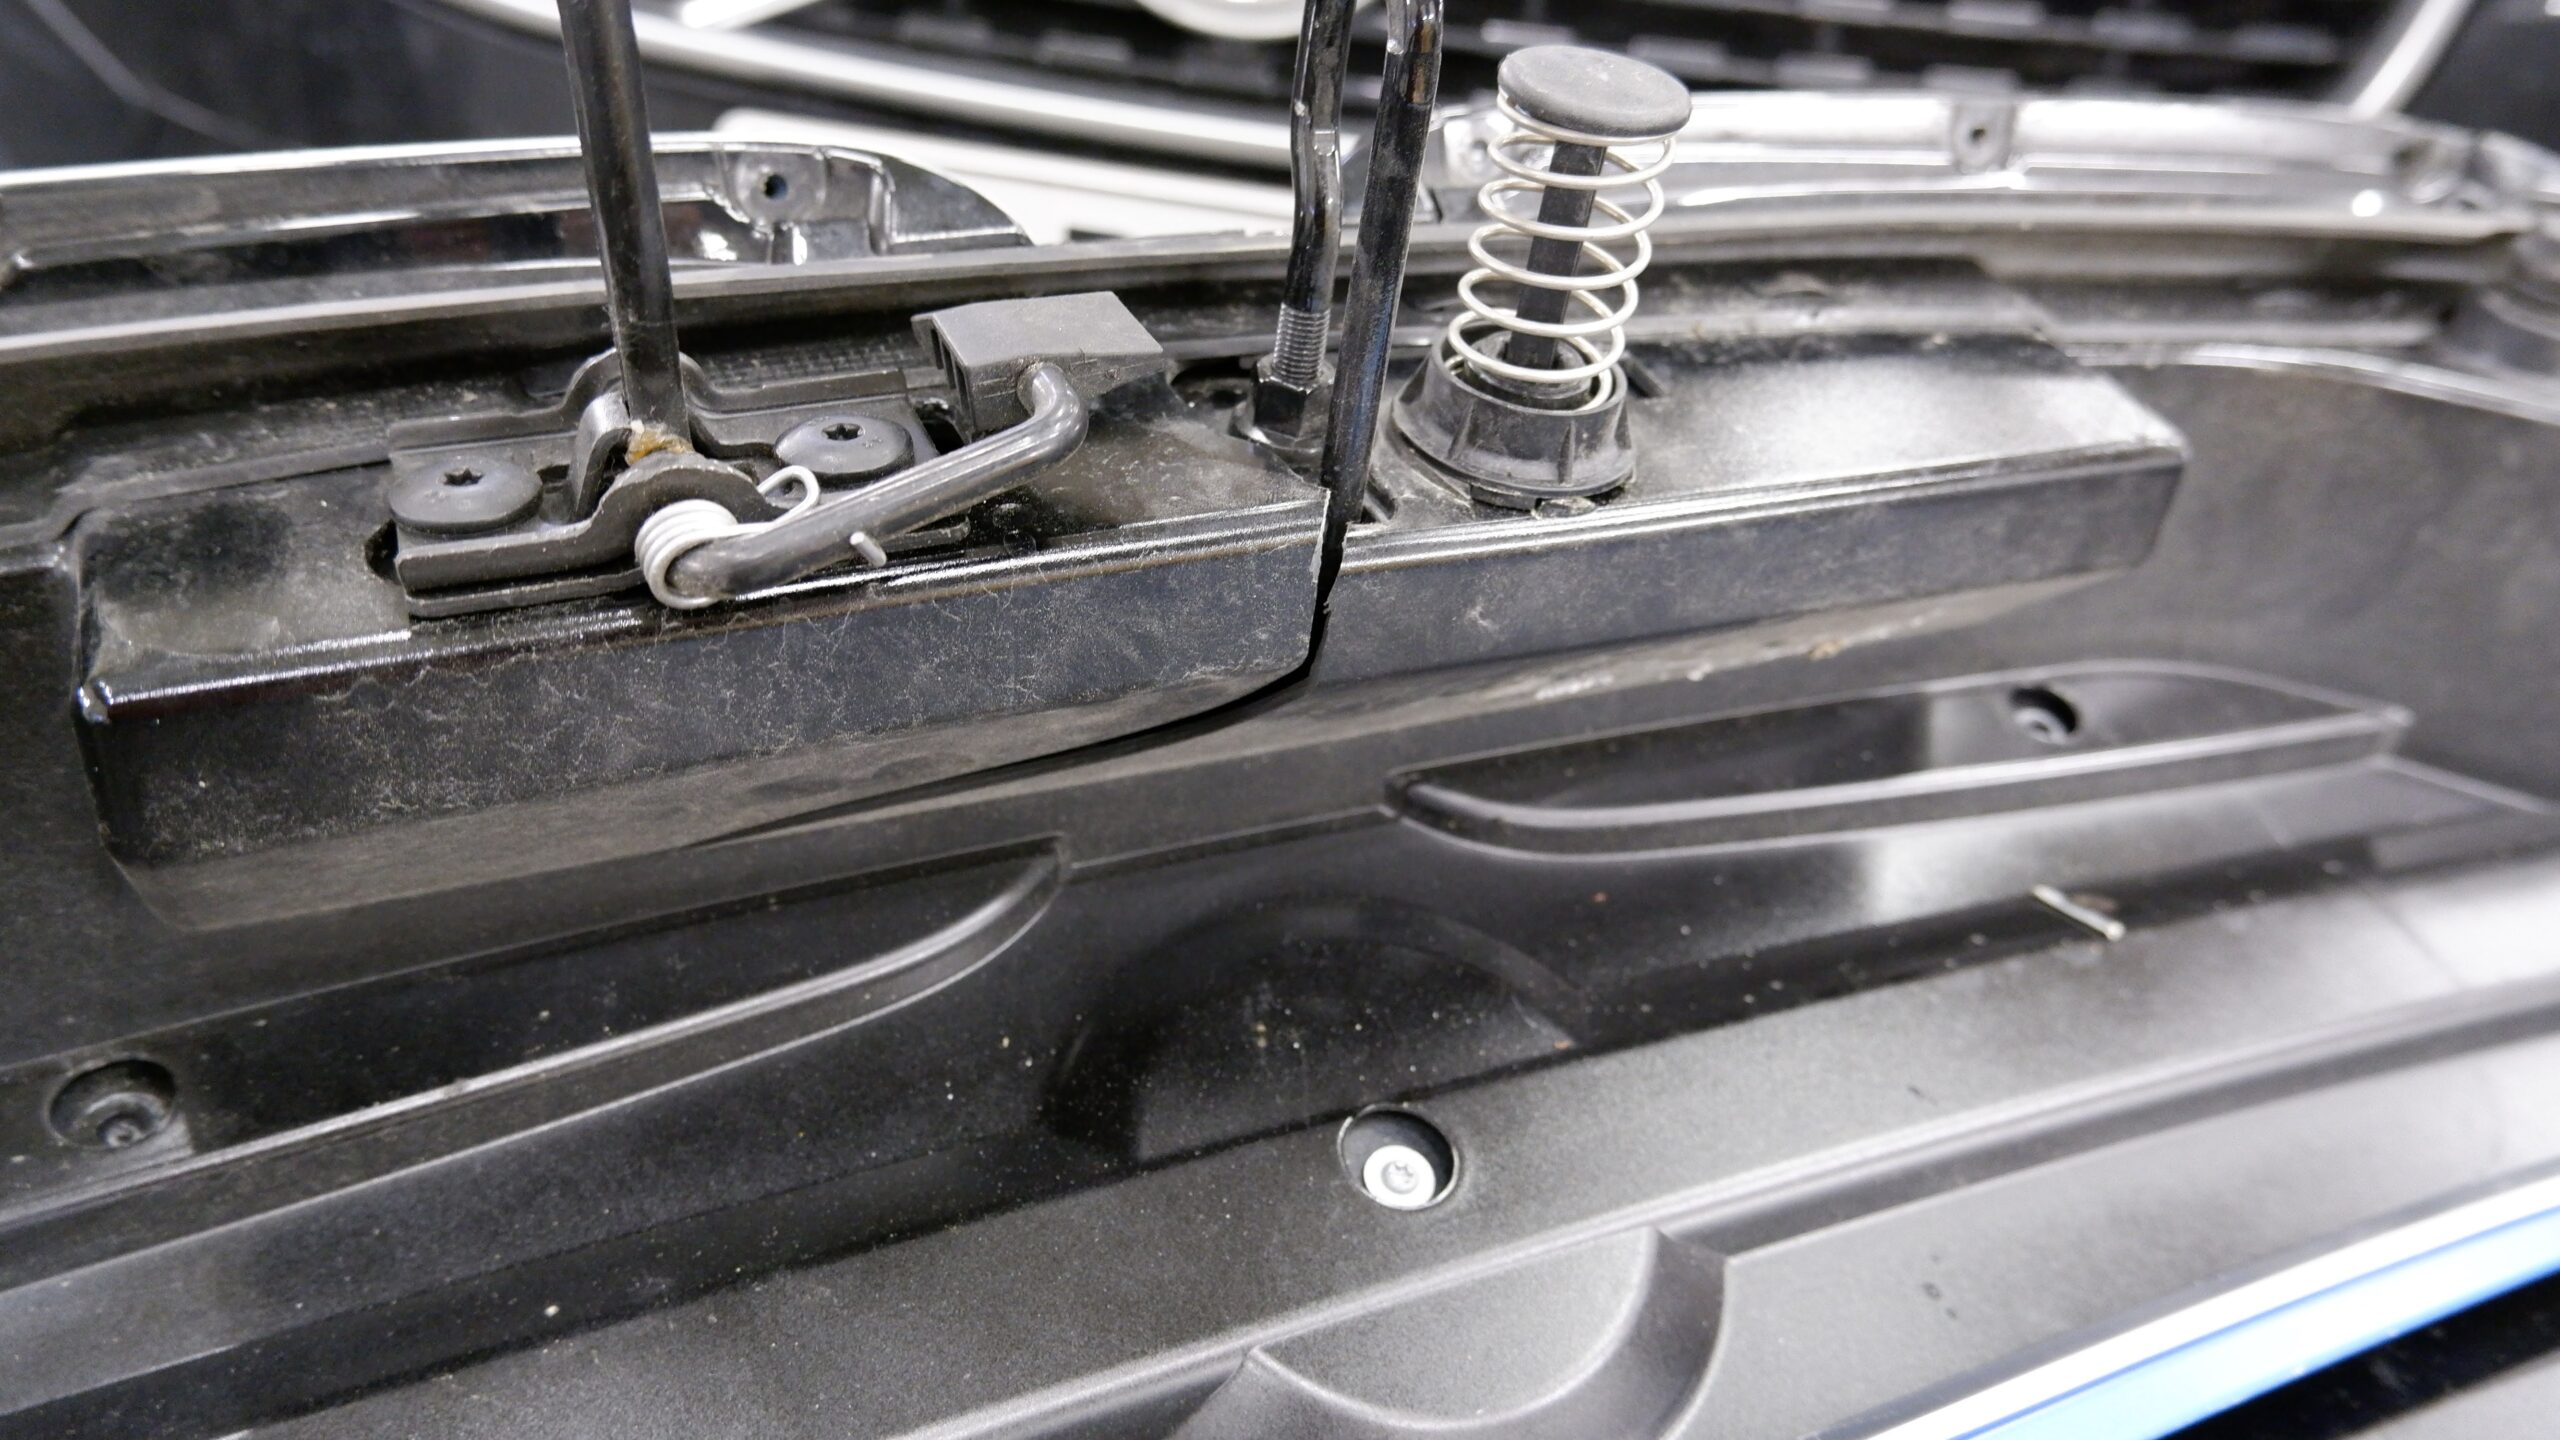
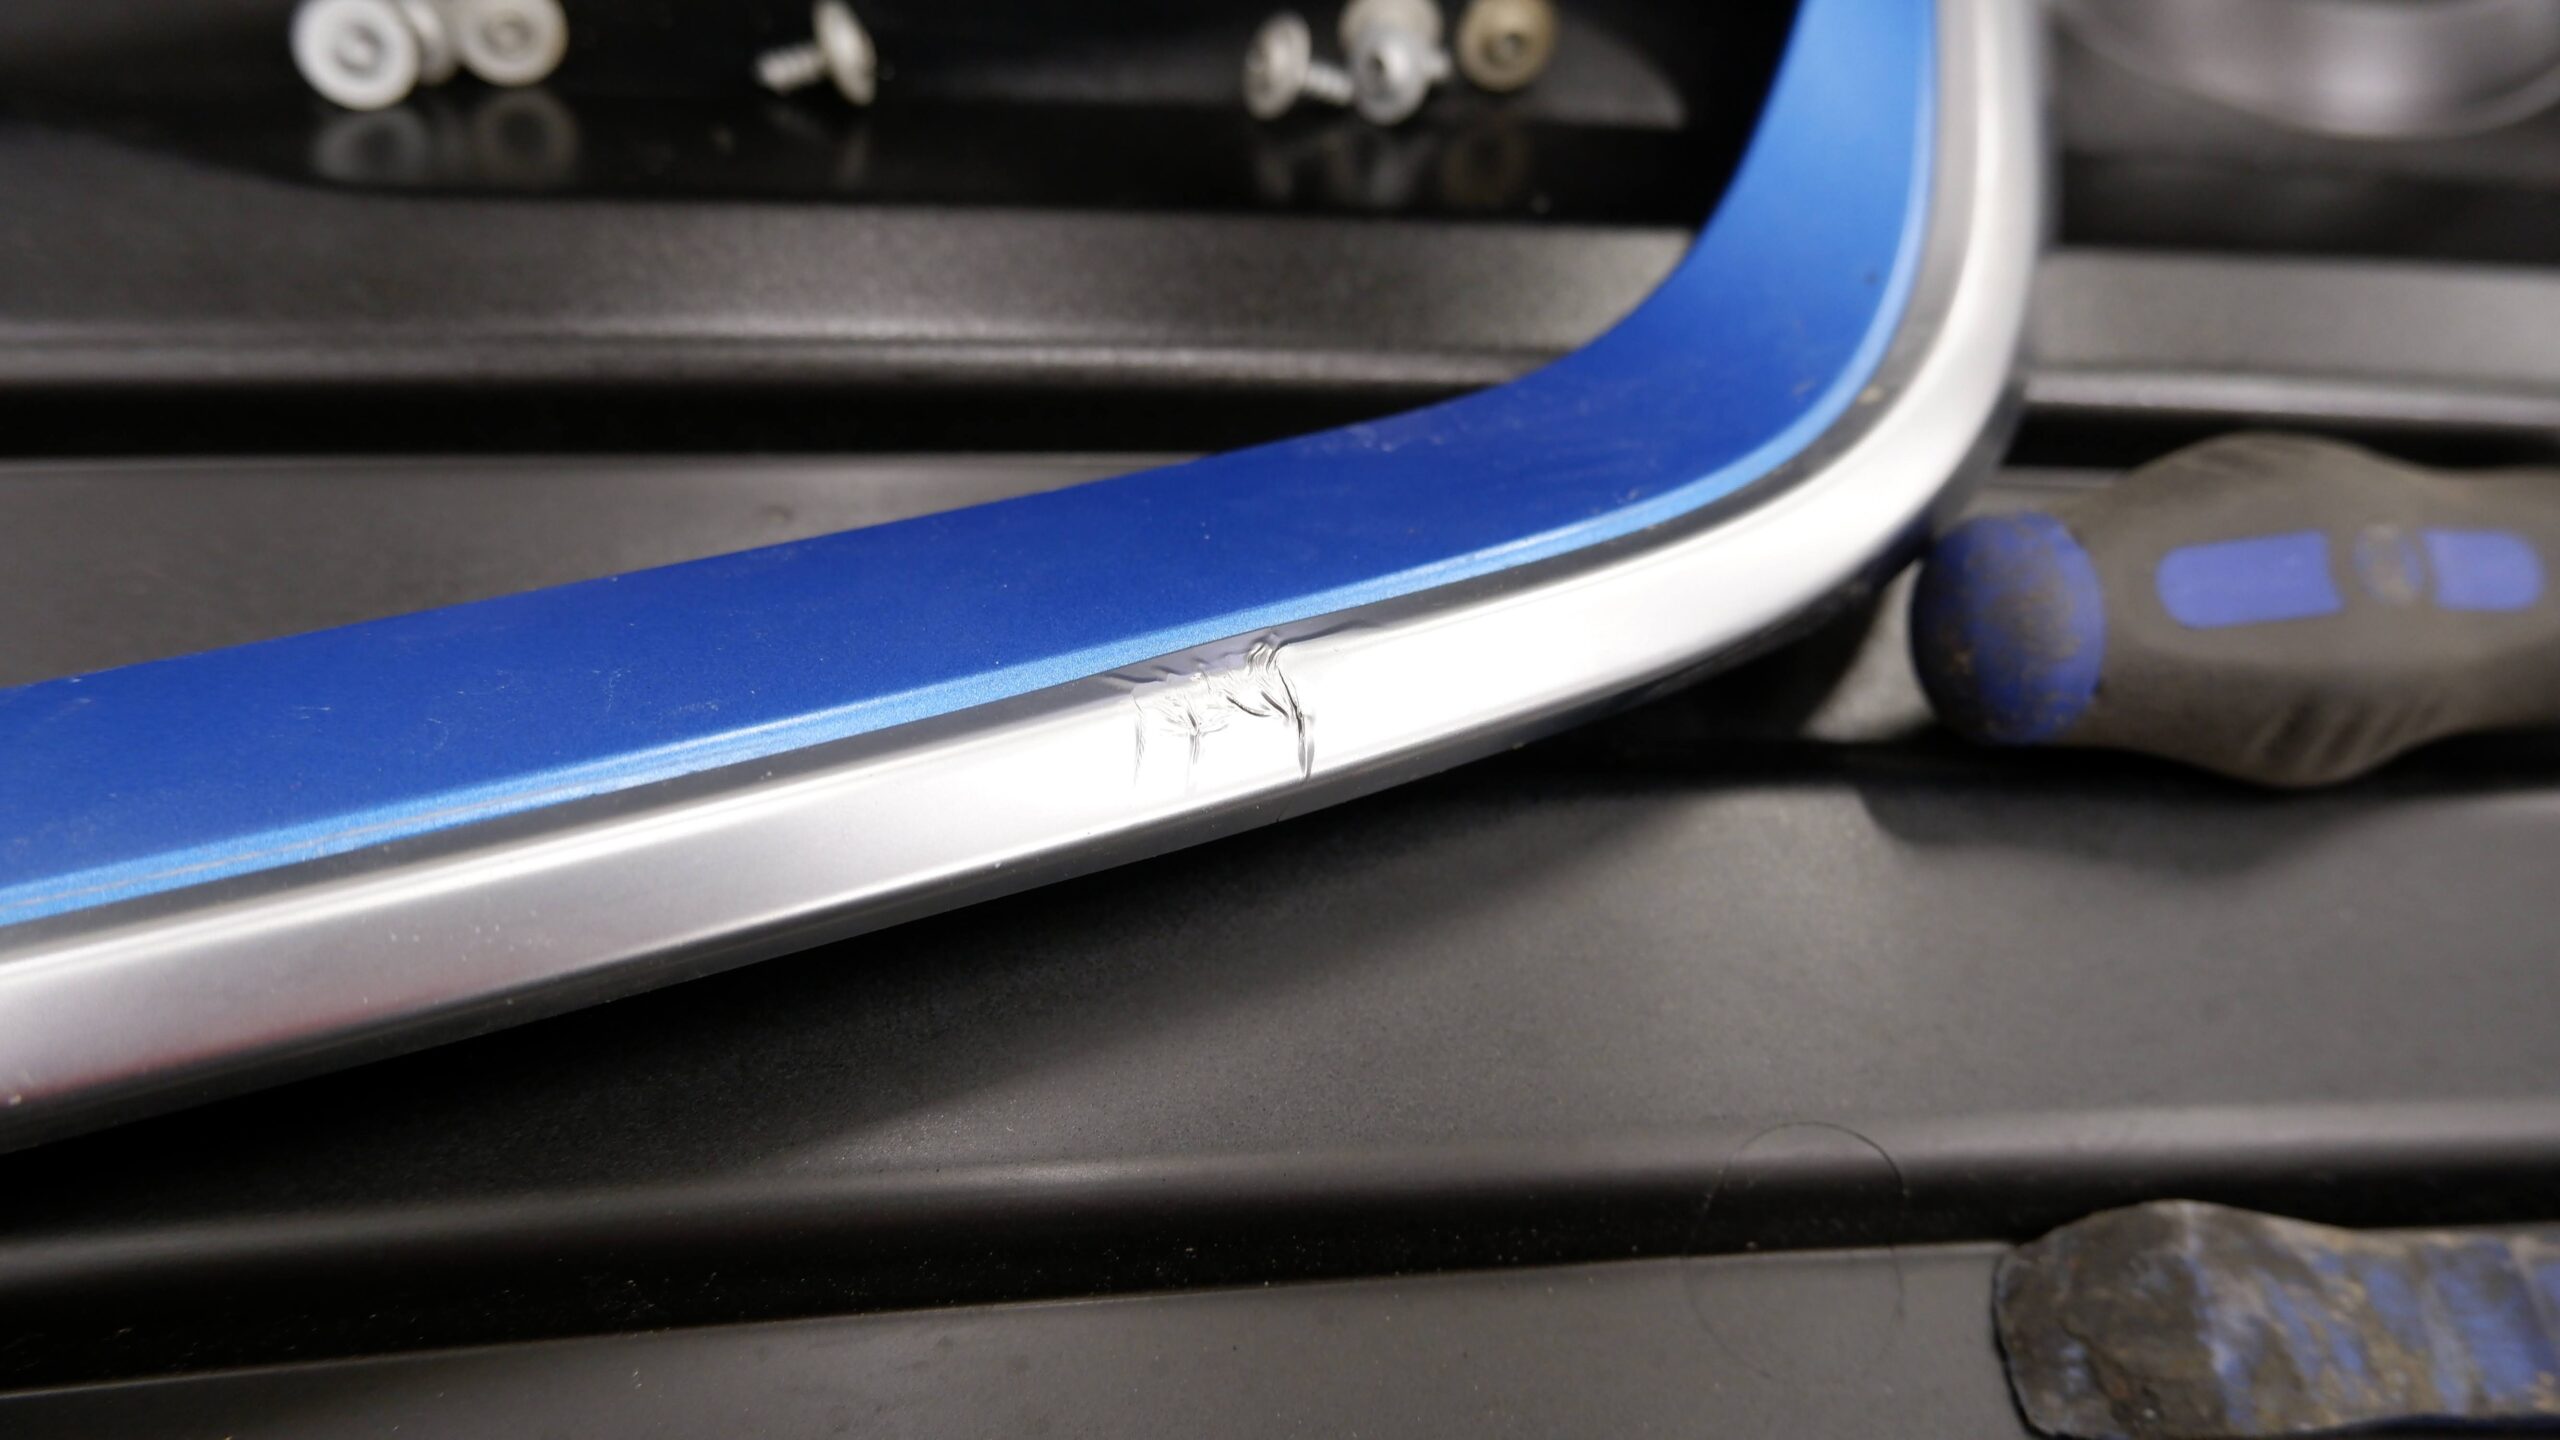
The bonnet was bent and needed replacing. Its outer panel is actually plastic, with a metal frame inside. A new one was inexpensive, so replacing it was easier than trying to work out how to straighten the bent frame.
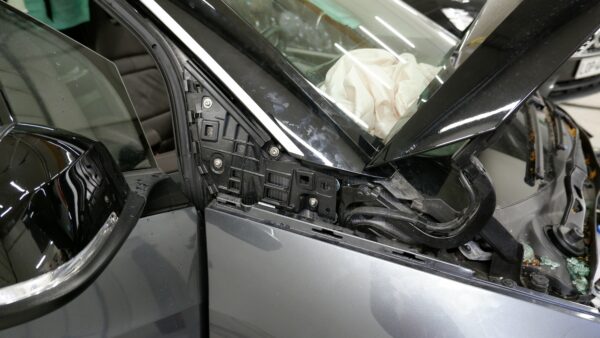
The bonnet hinges were bent too and needed replacing. Getting them out meant a bit more dismantling.
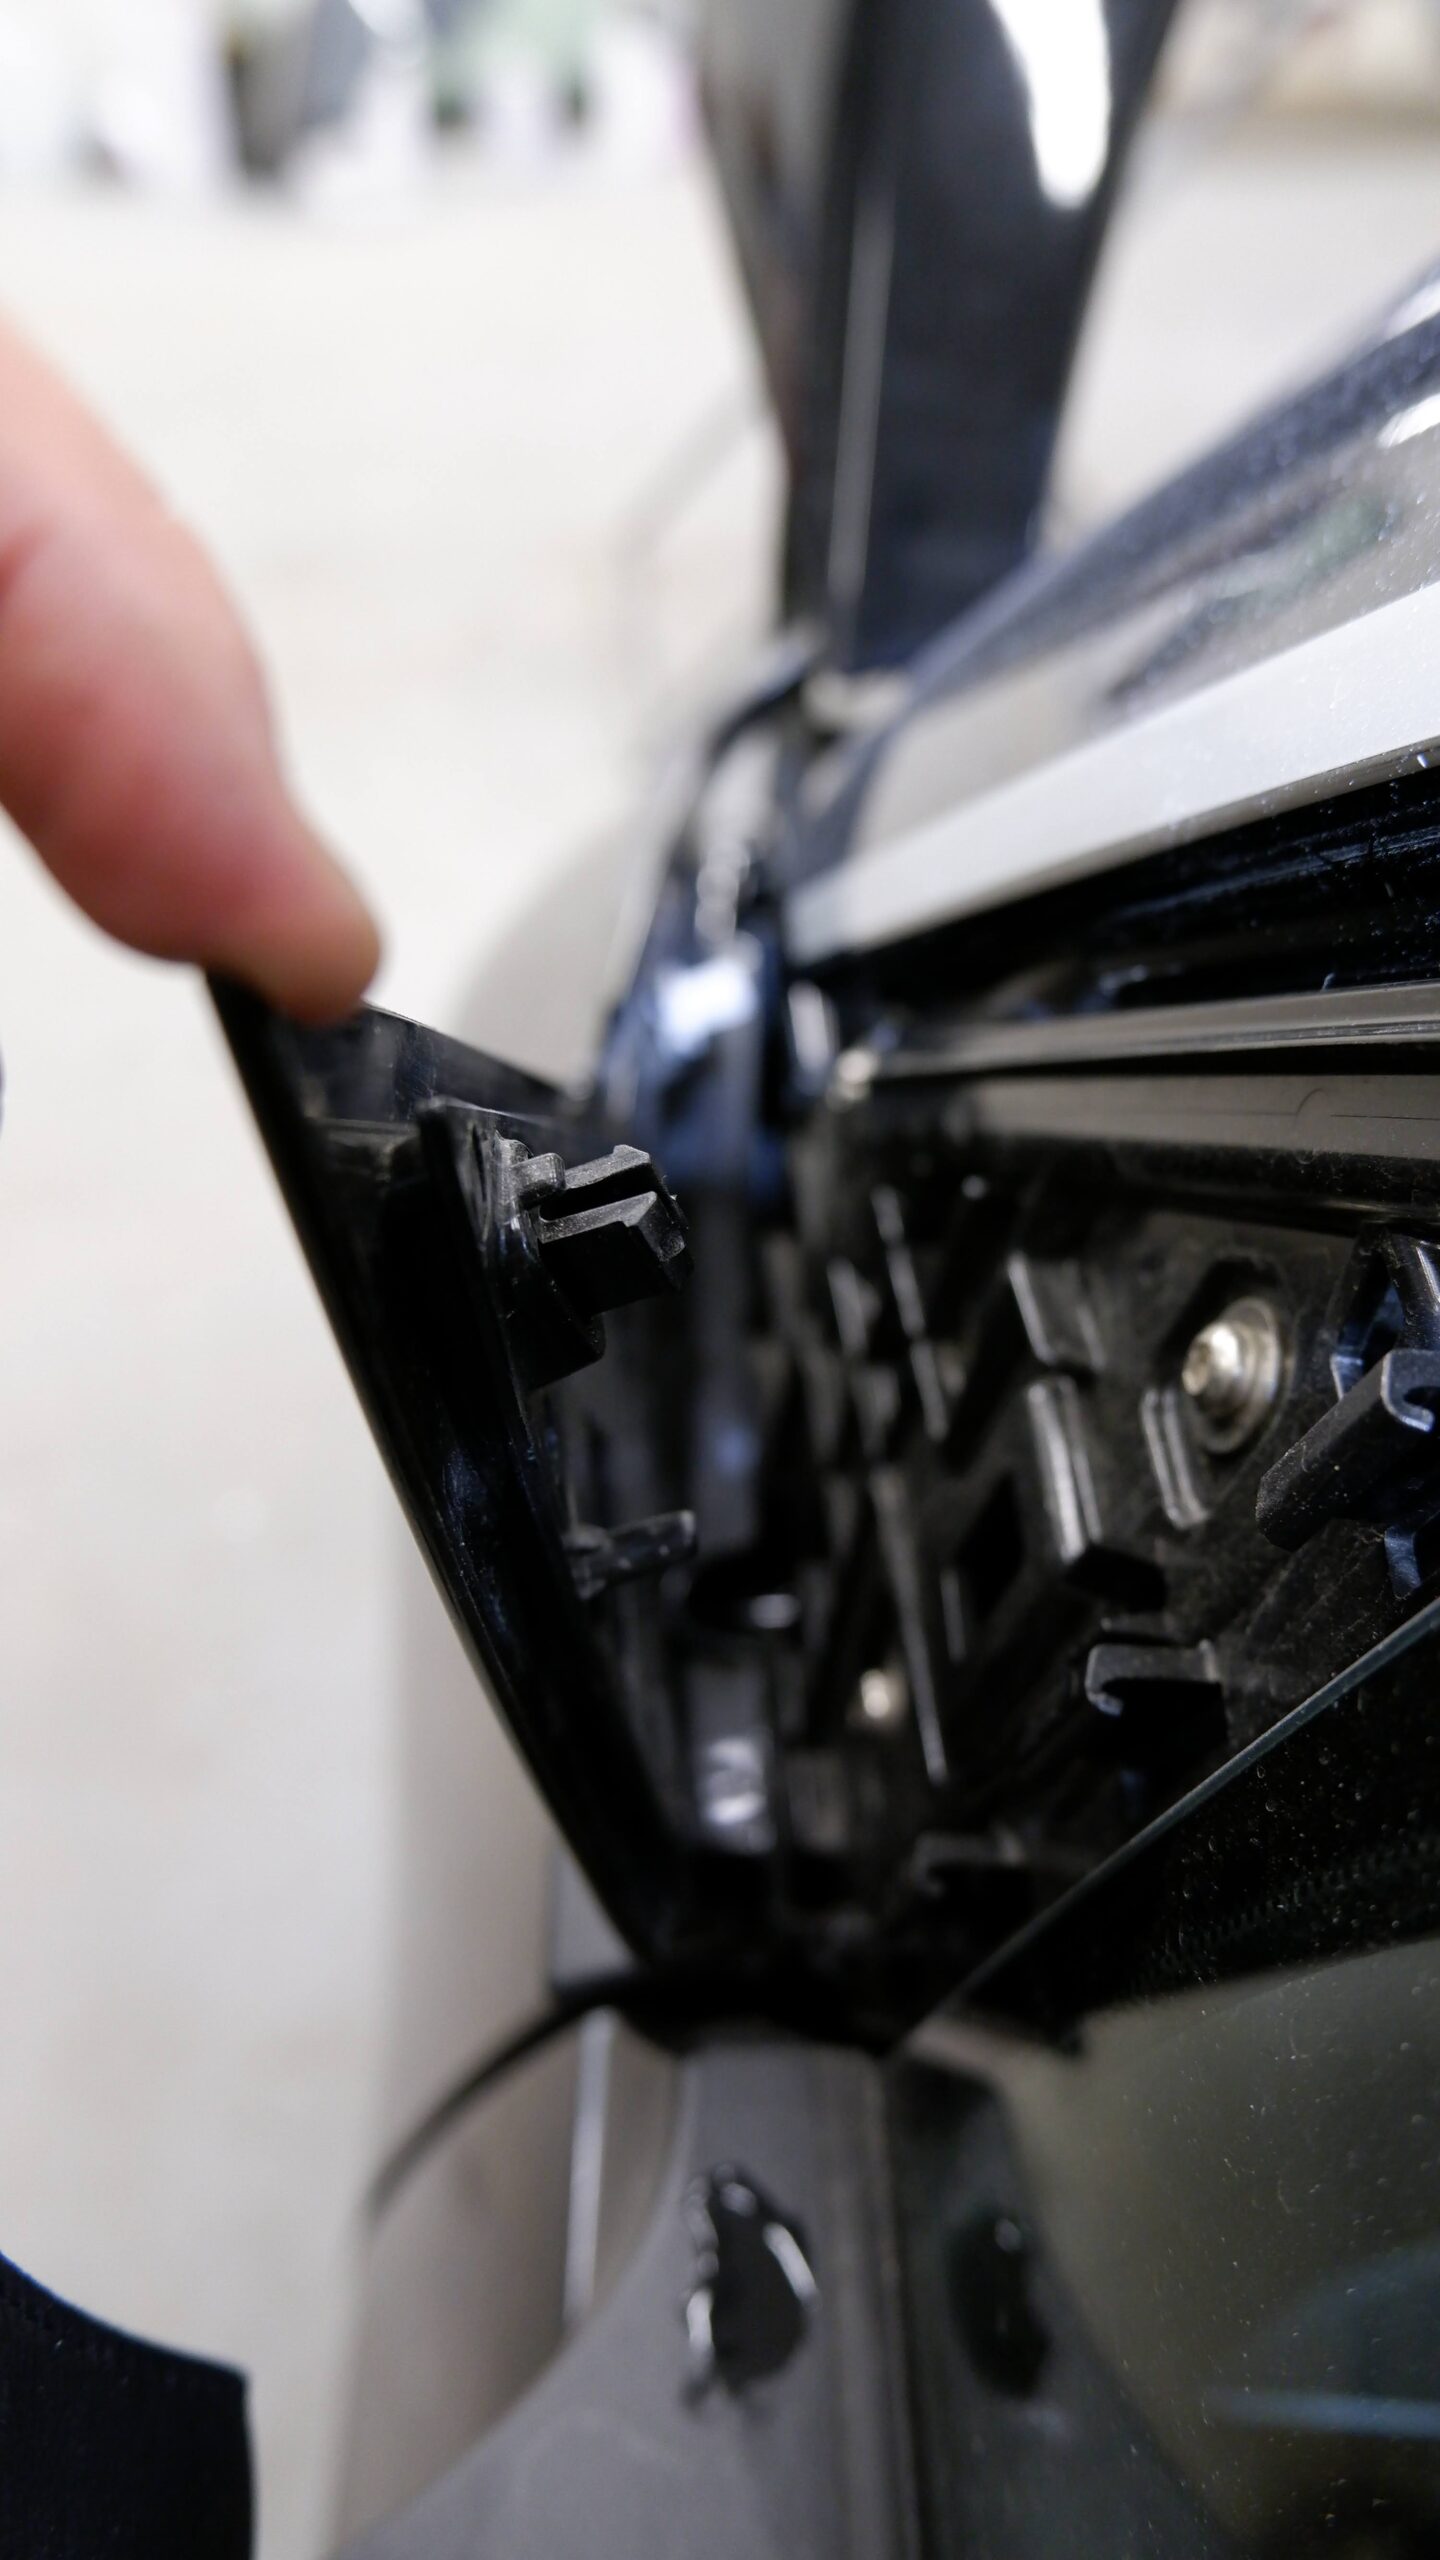
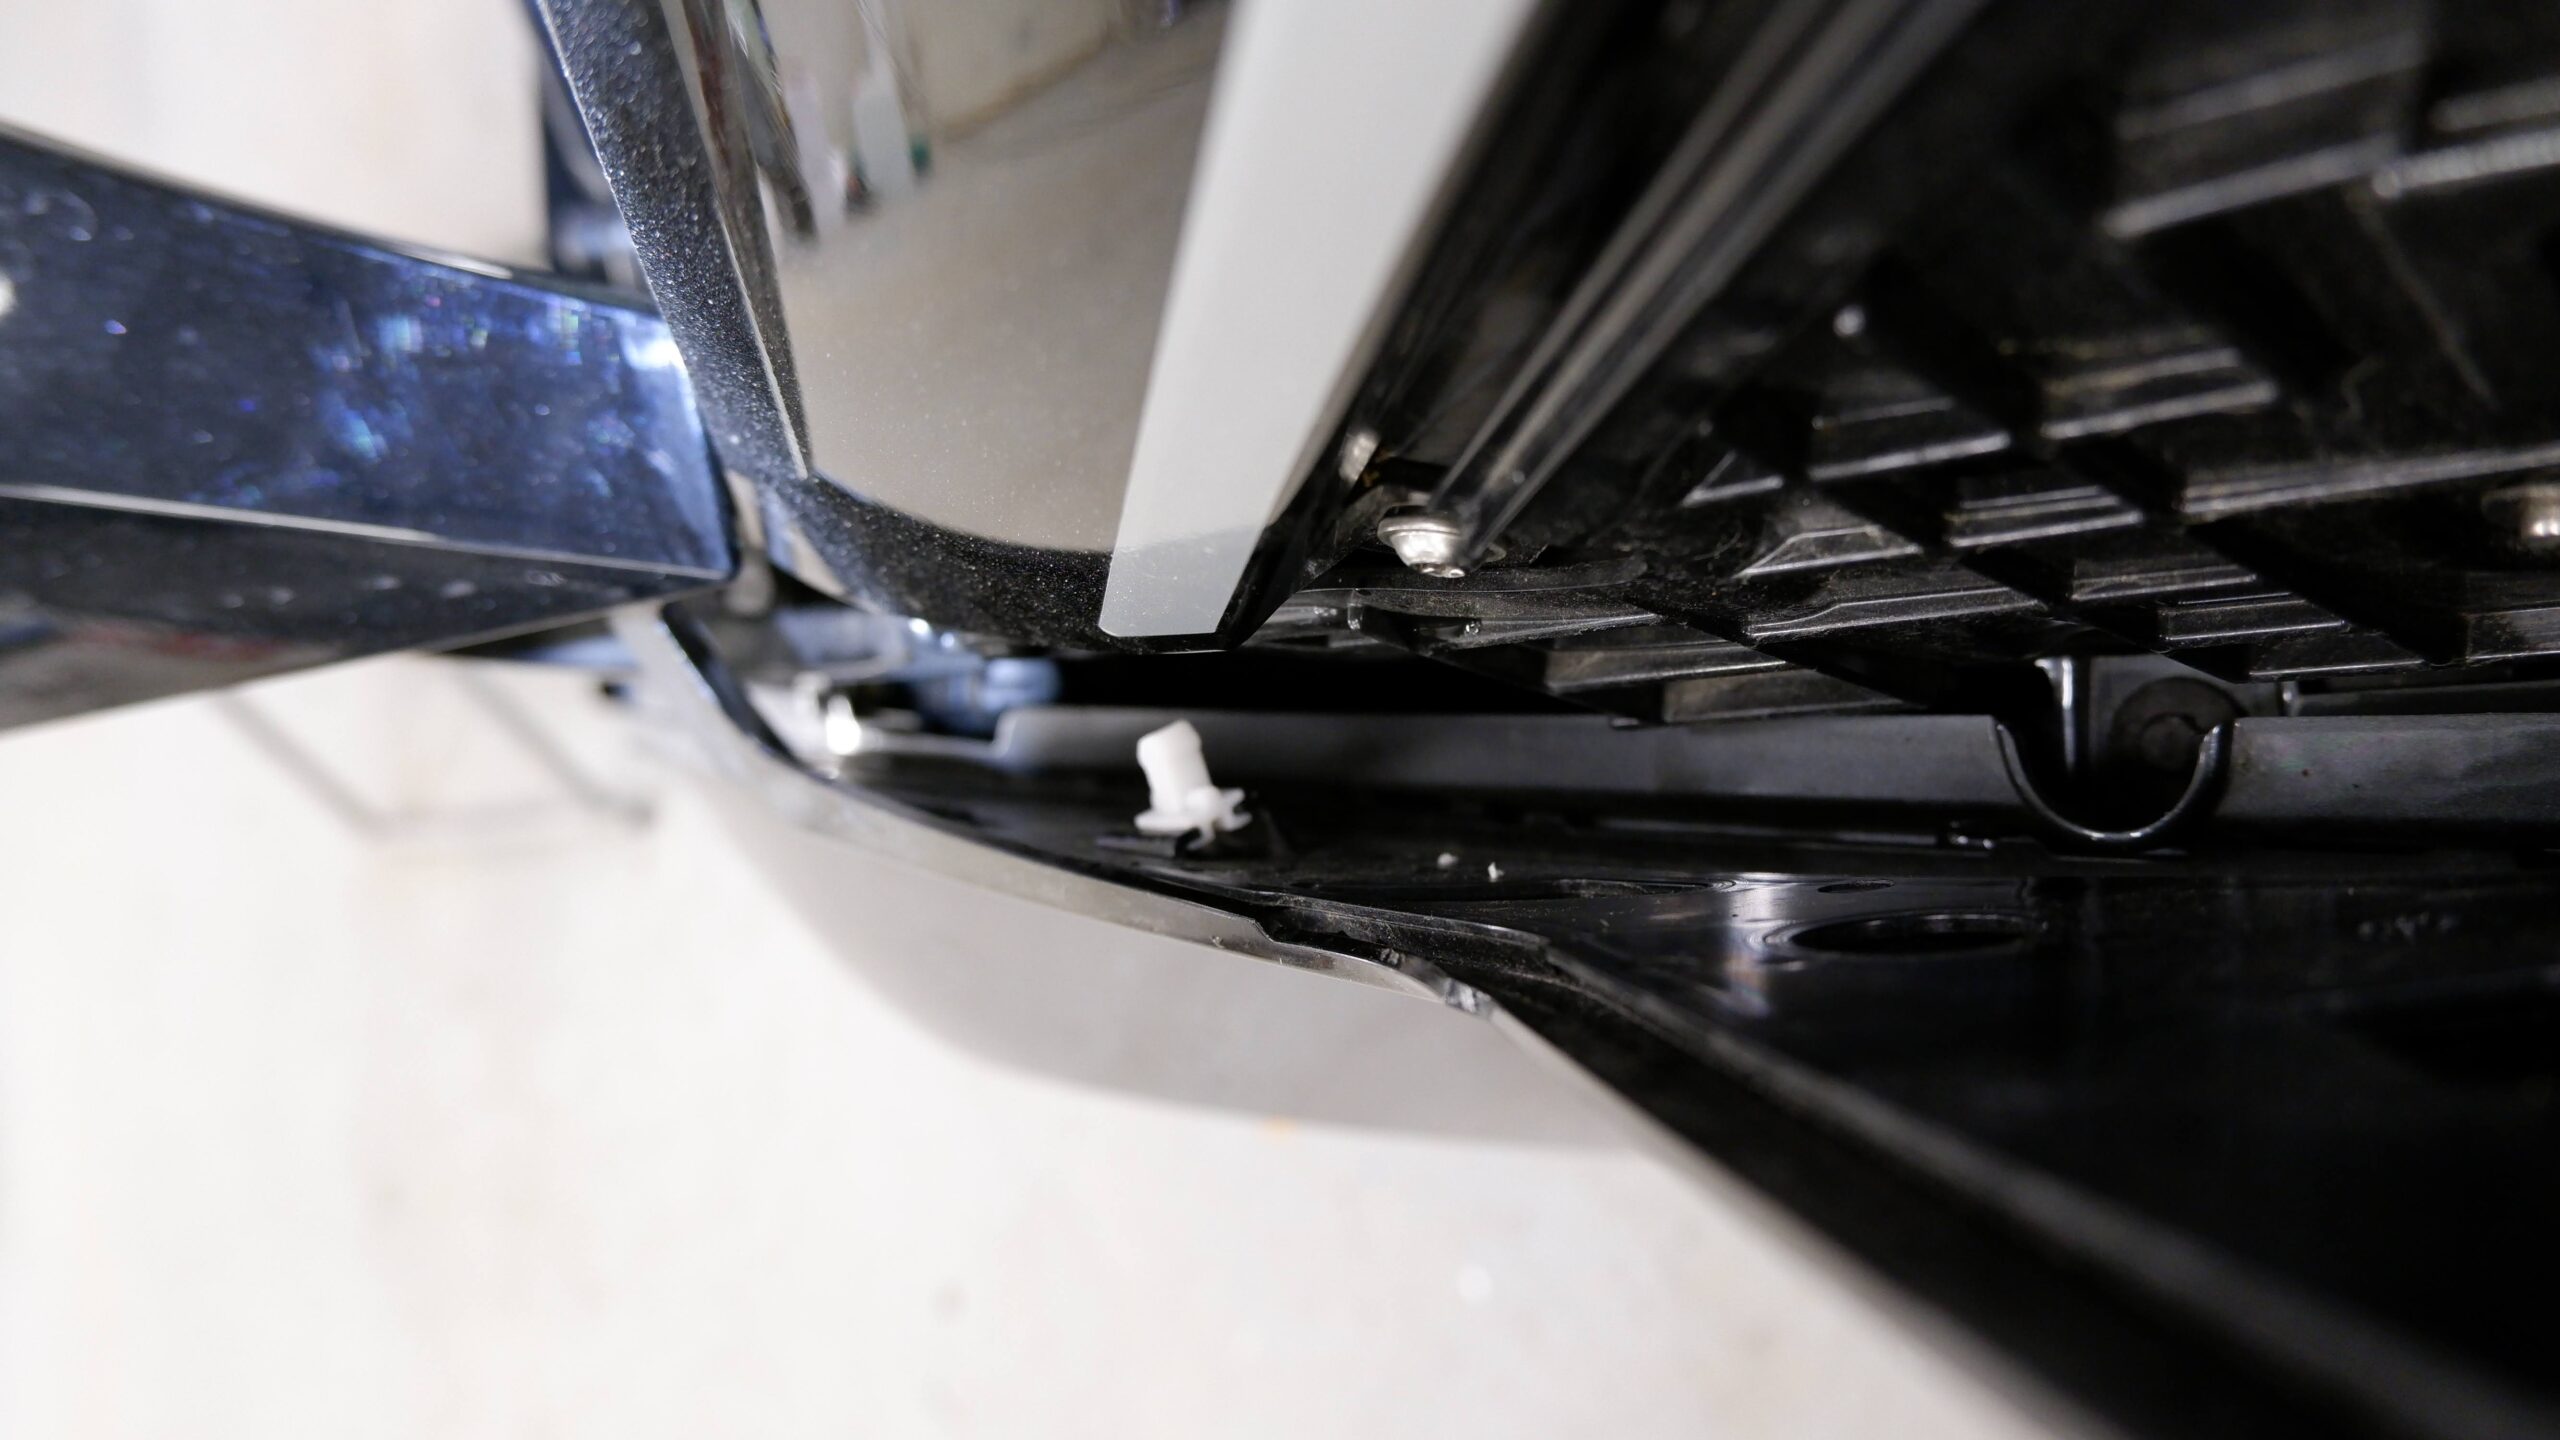
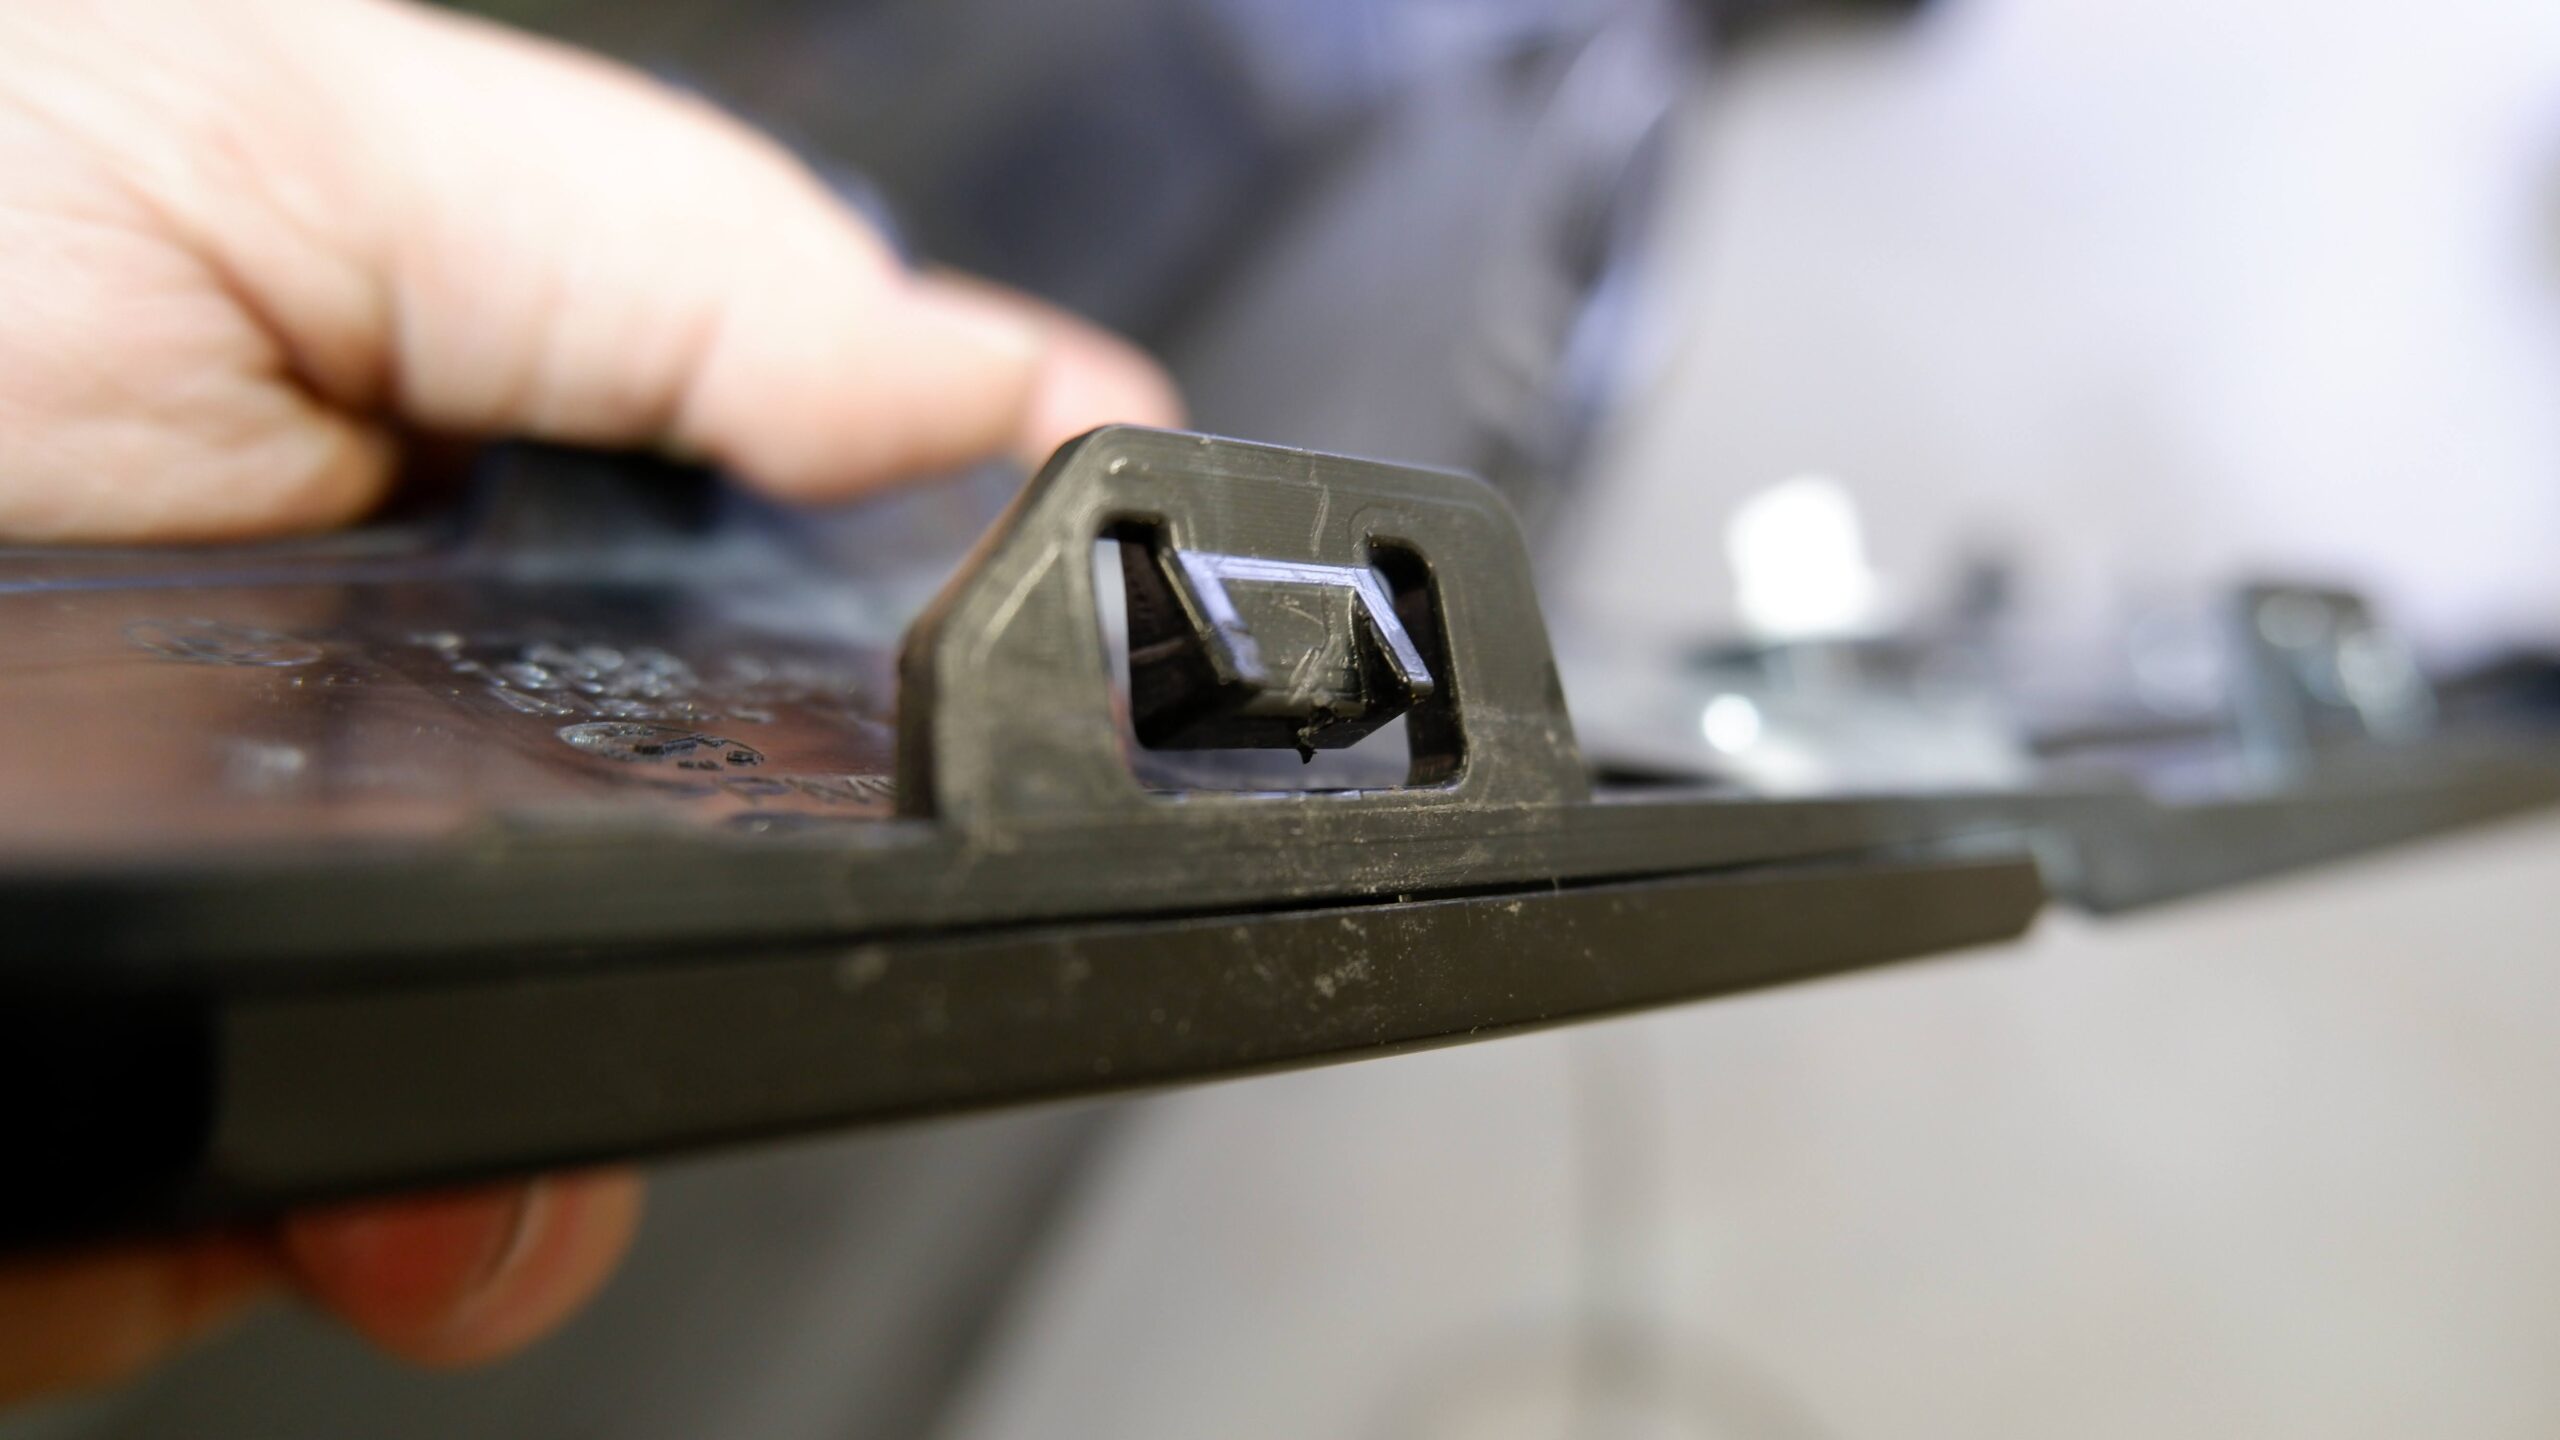
The hardest part of removing the hinges was getting the triangular A-pillar trim pieces off intact. The clips along the bottom edge are particularly tight and have to be released in the right direction. I broke one of the covers and had to replace it, though the part itself was not very expensive.
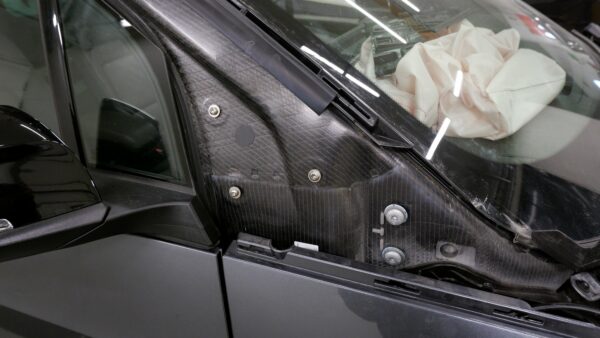
Hinge removed. The i3's body is carbon fibre — quite an exotic choice, and one that helps keep it light for an EV. With the 40 kWh battery, its kerb weight is 1,345 kg.
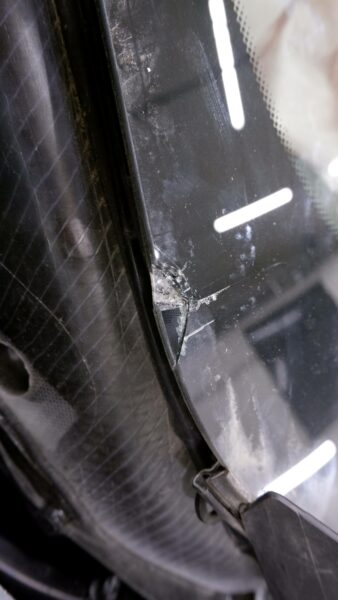
At first, the windscreen looked intact despite the passenger airbag deploying. No such luck. The corner of the bonnet had cracked it, almost entirely out of sight beneath the A-pillar trim.
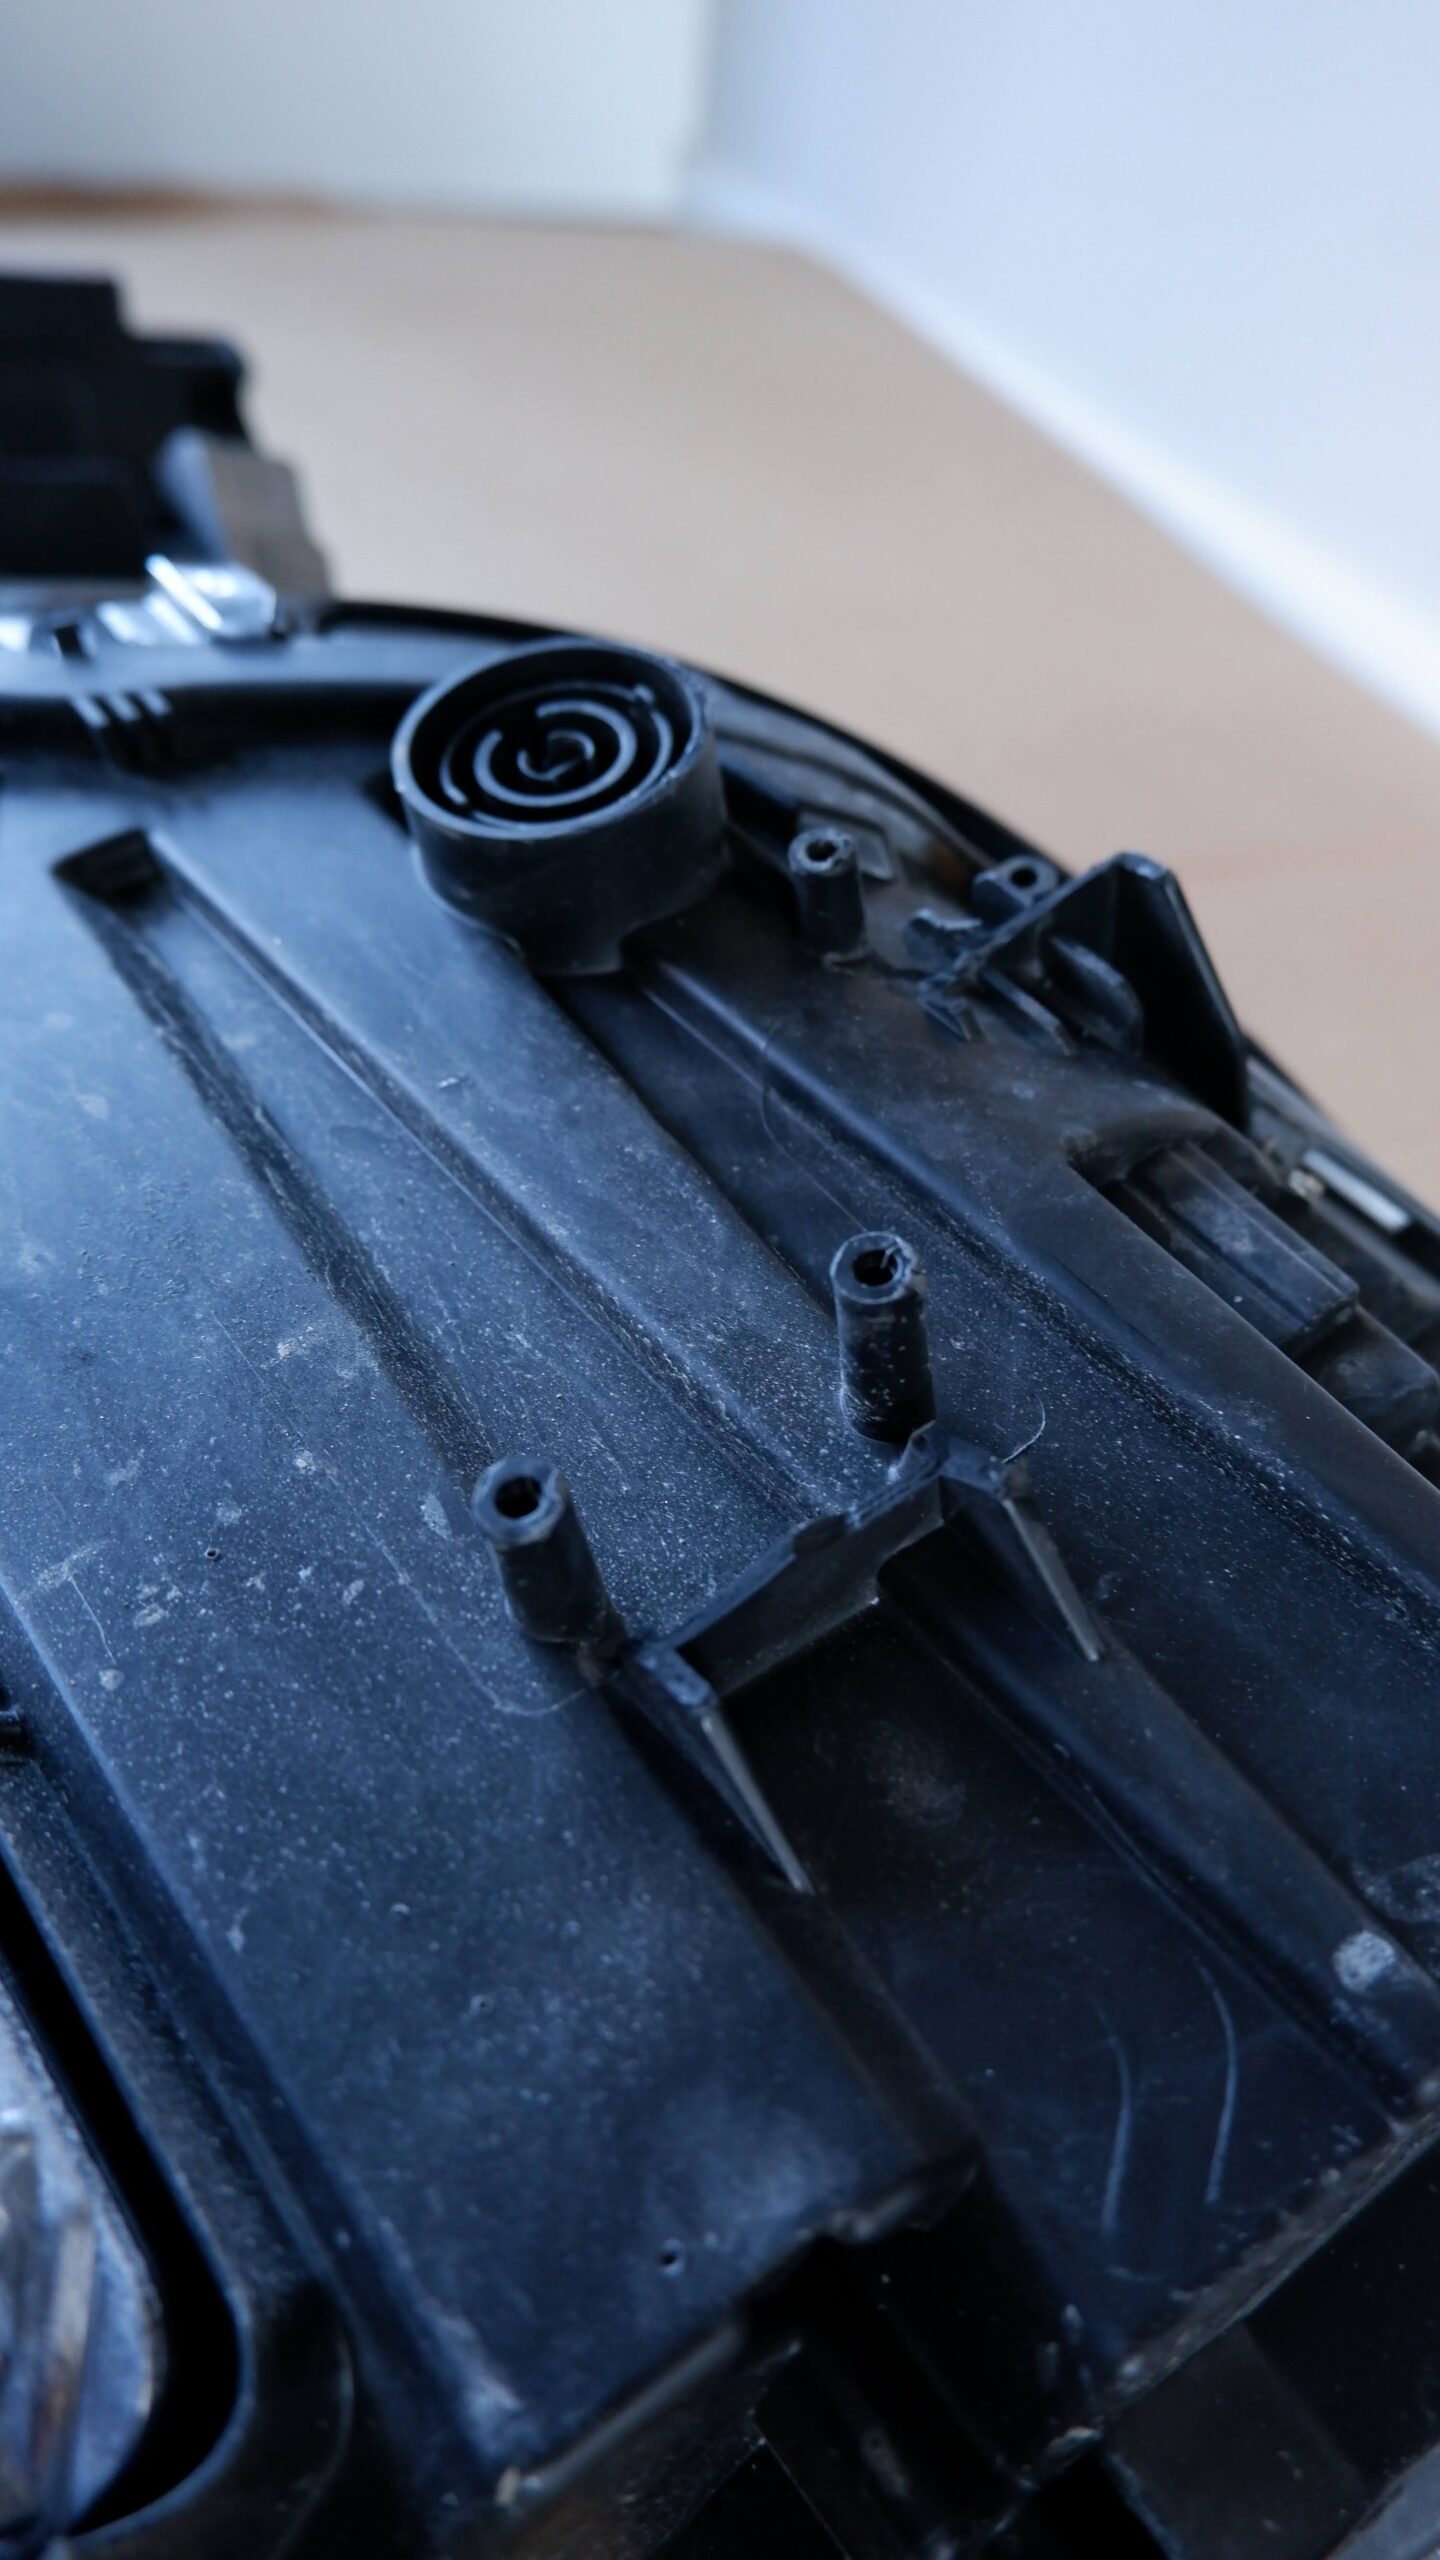
The mounting tabs on the driver’s headlight were broken. BMW designed the headlight to accept a bolt-on replacement tab kit, so a small defect does not mean replacing the whole expensive unit.
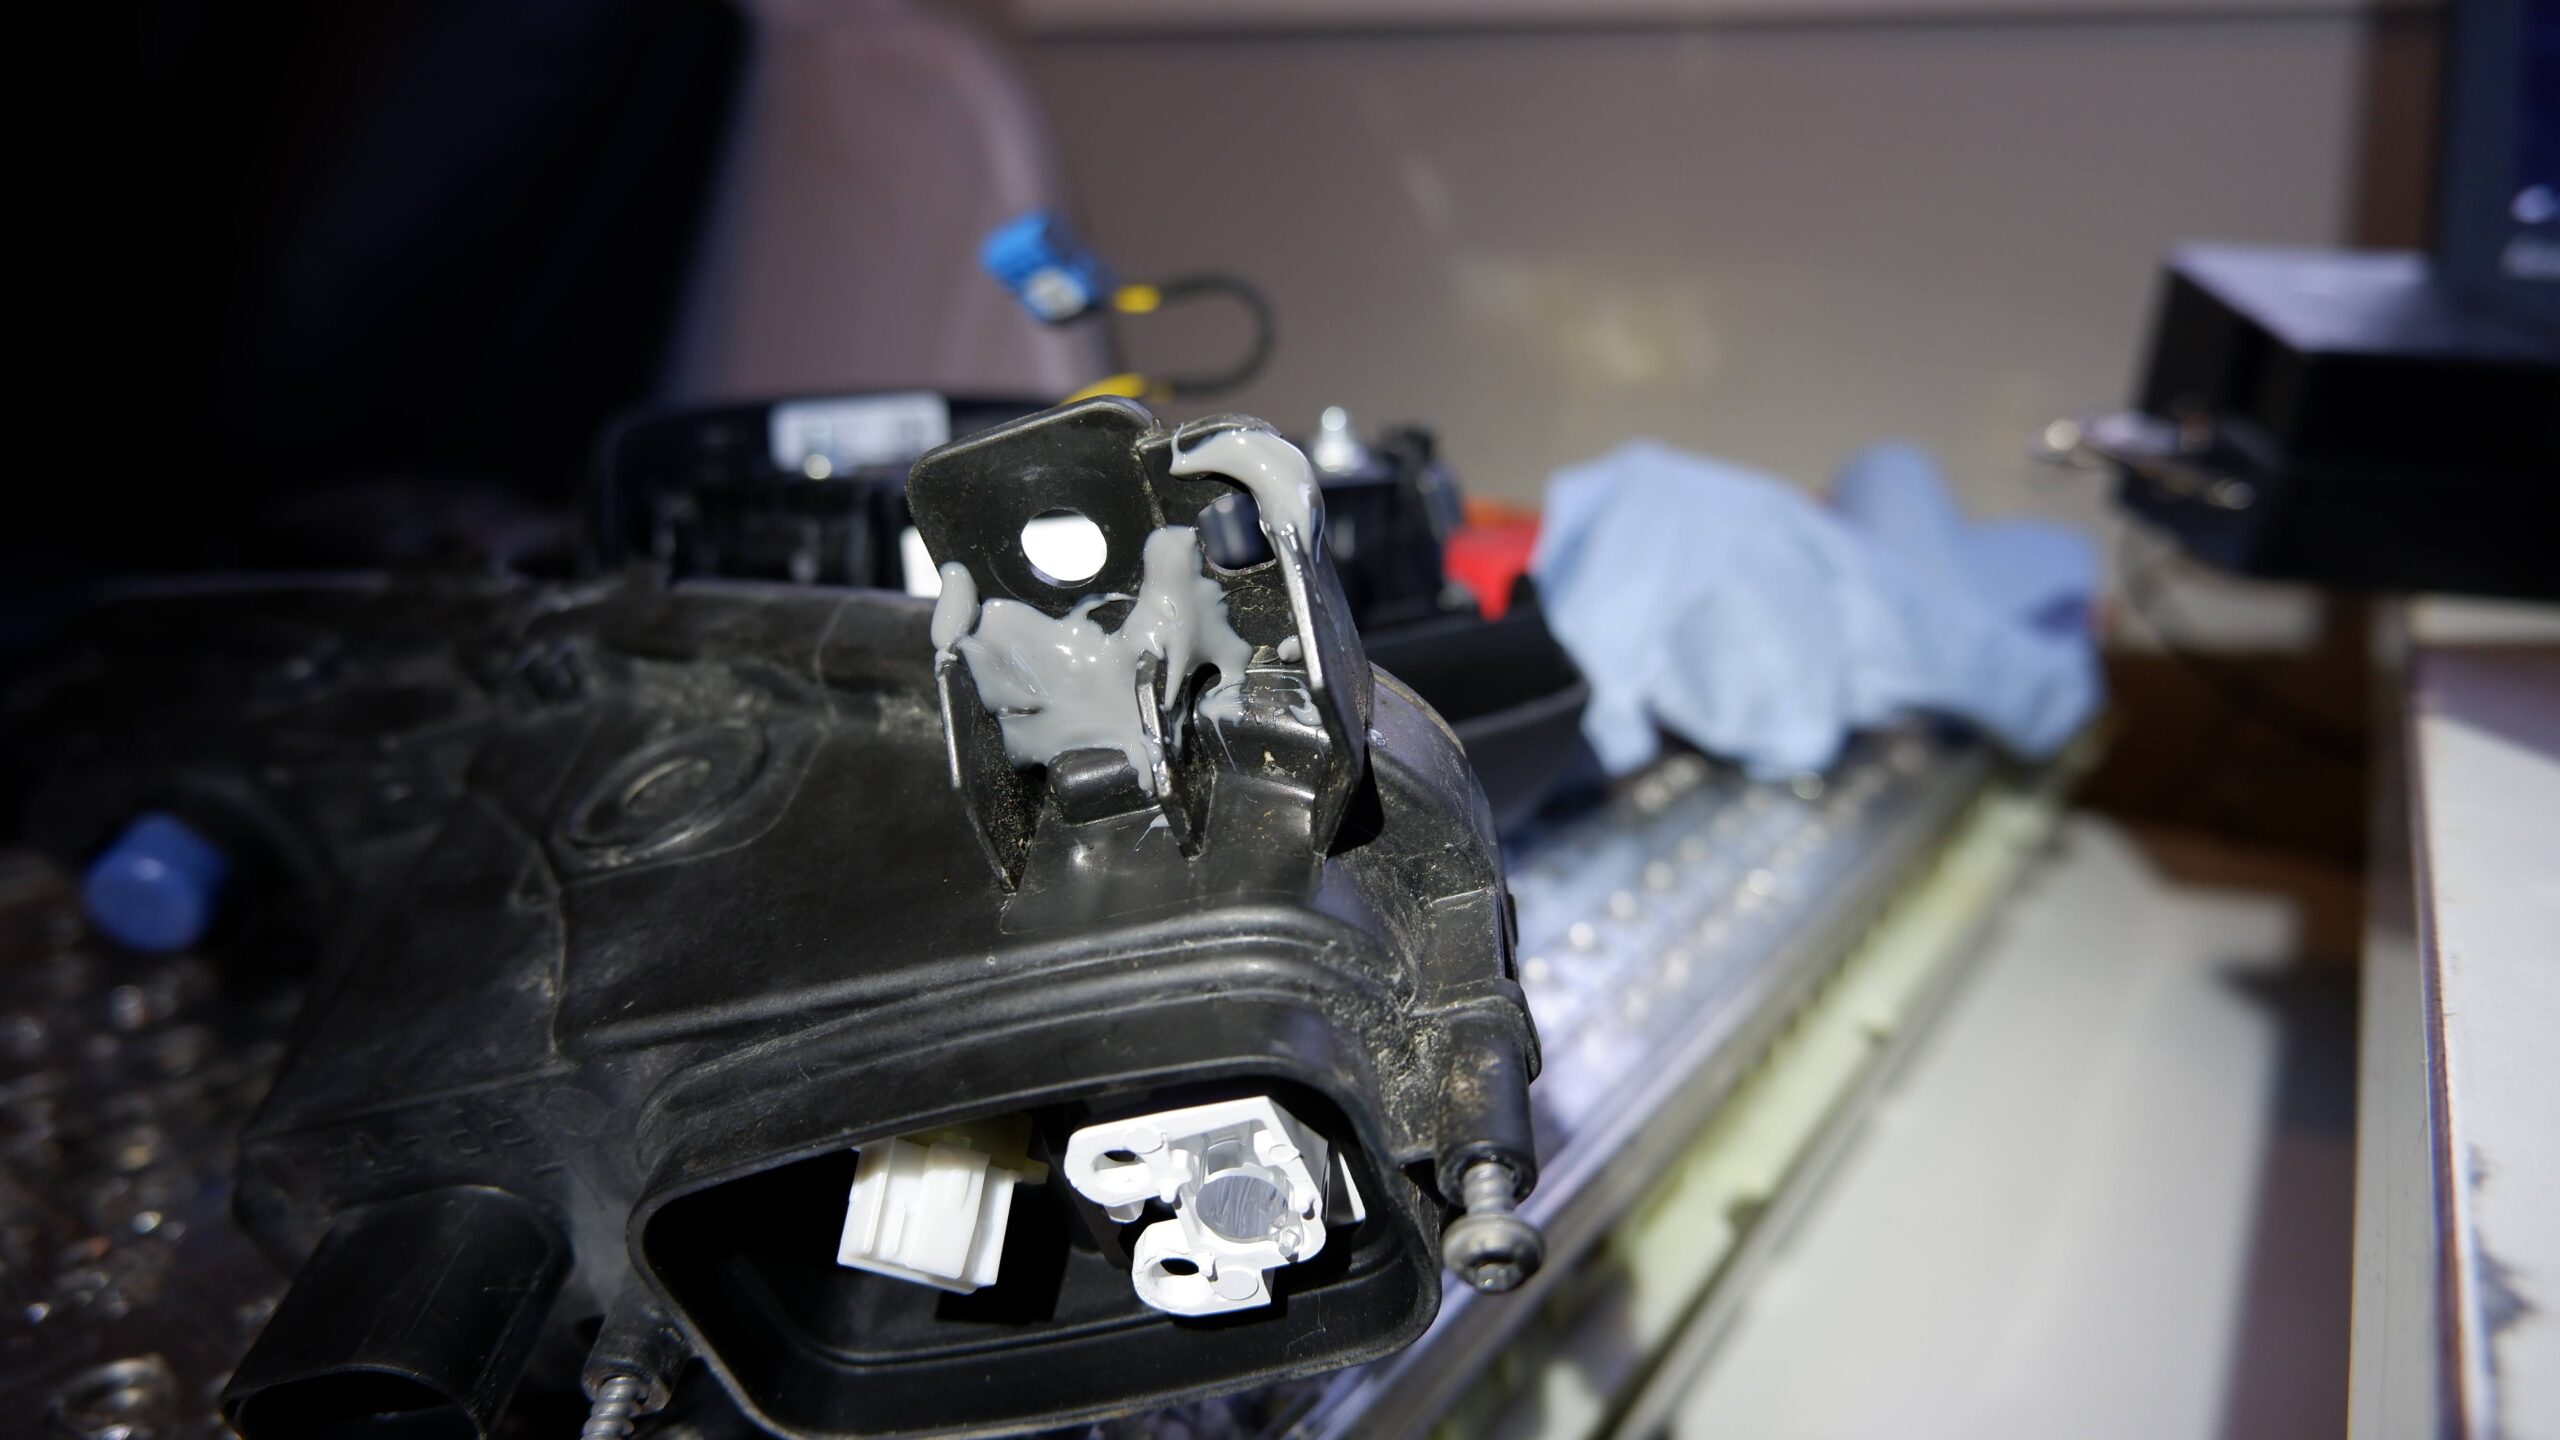
A broken mounting tab on the bumper indicator was repaired with adhesive.
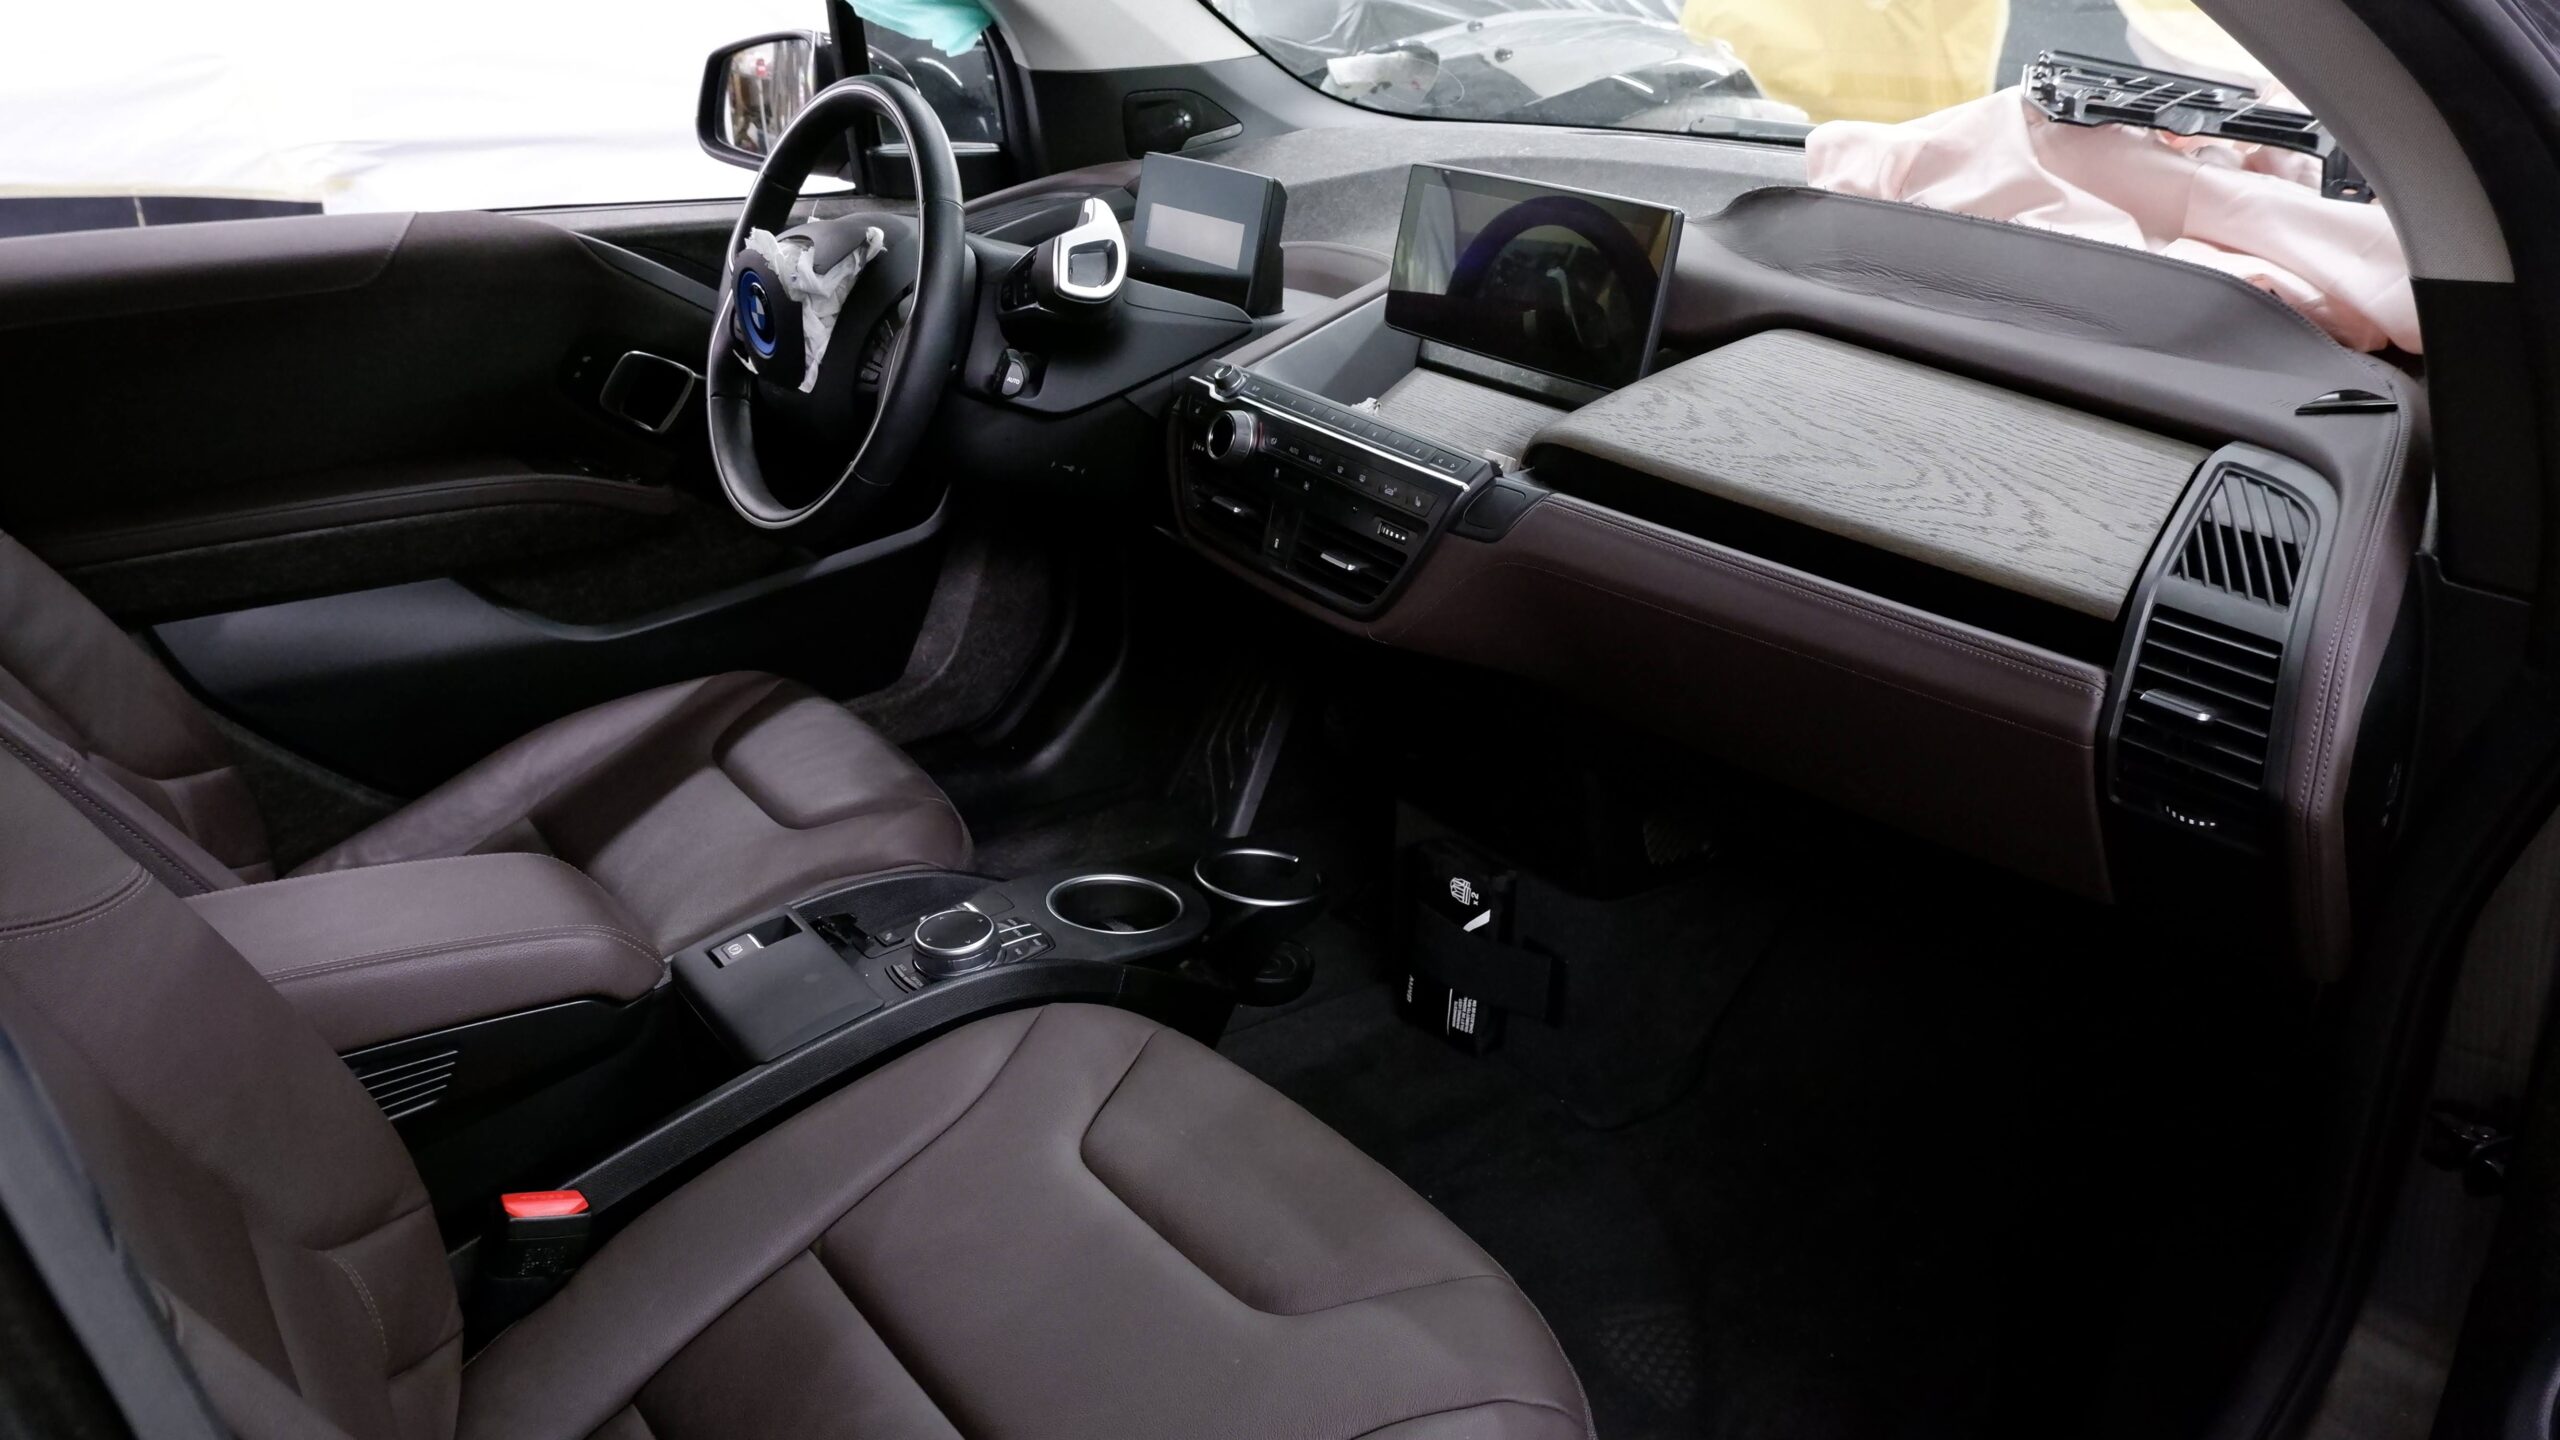
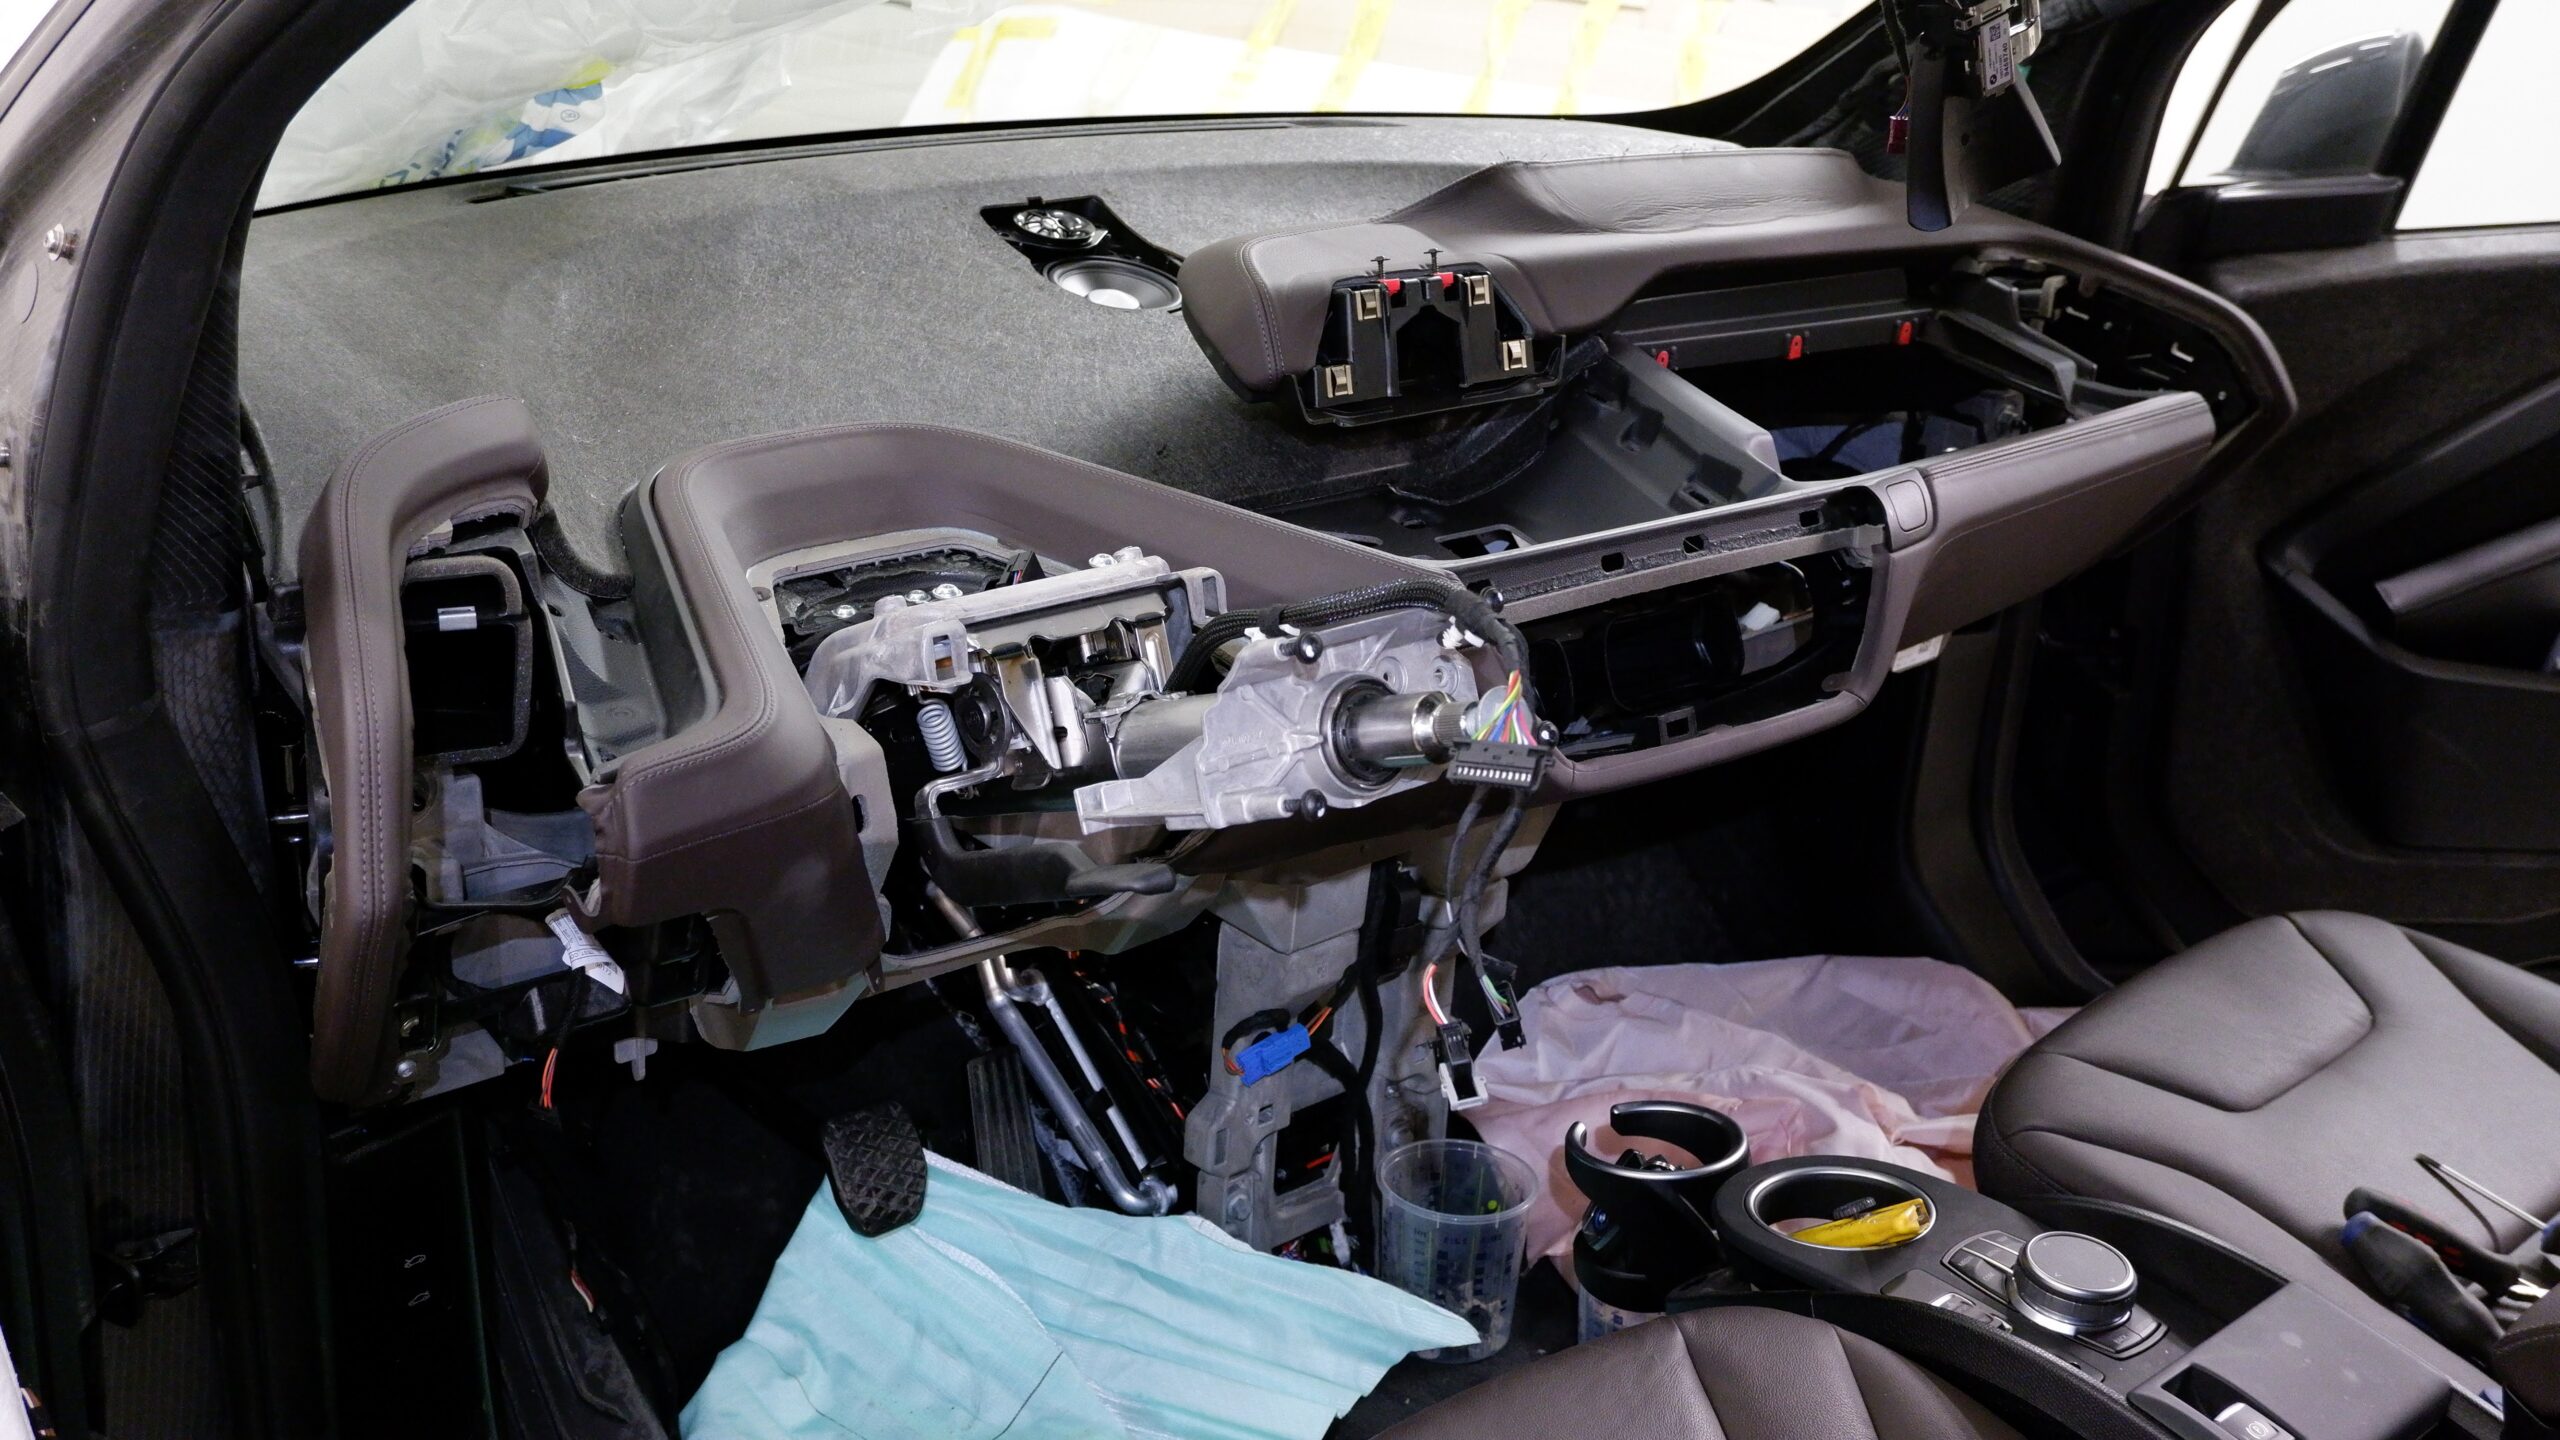
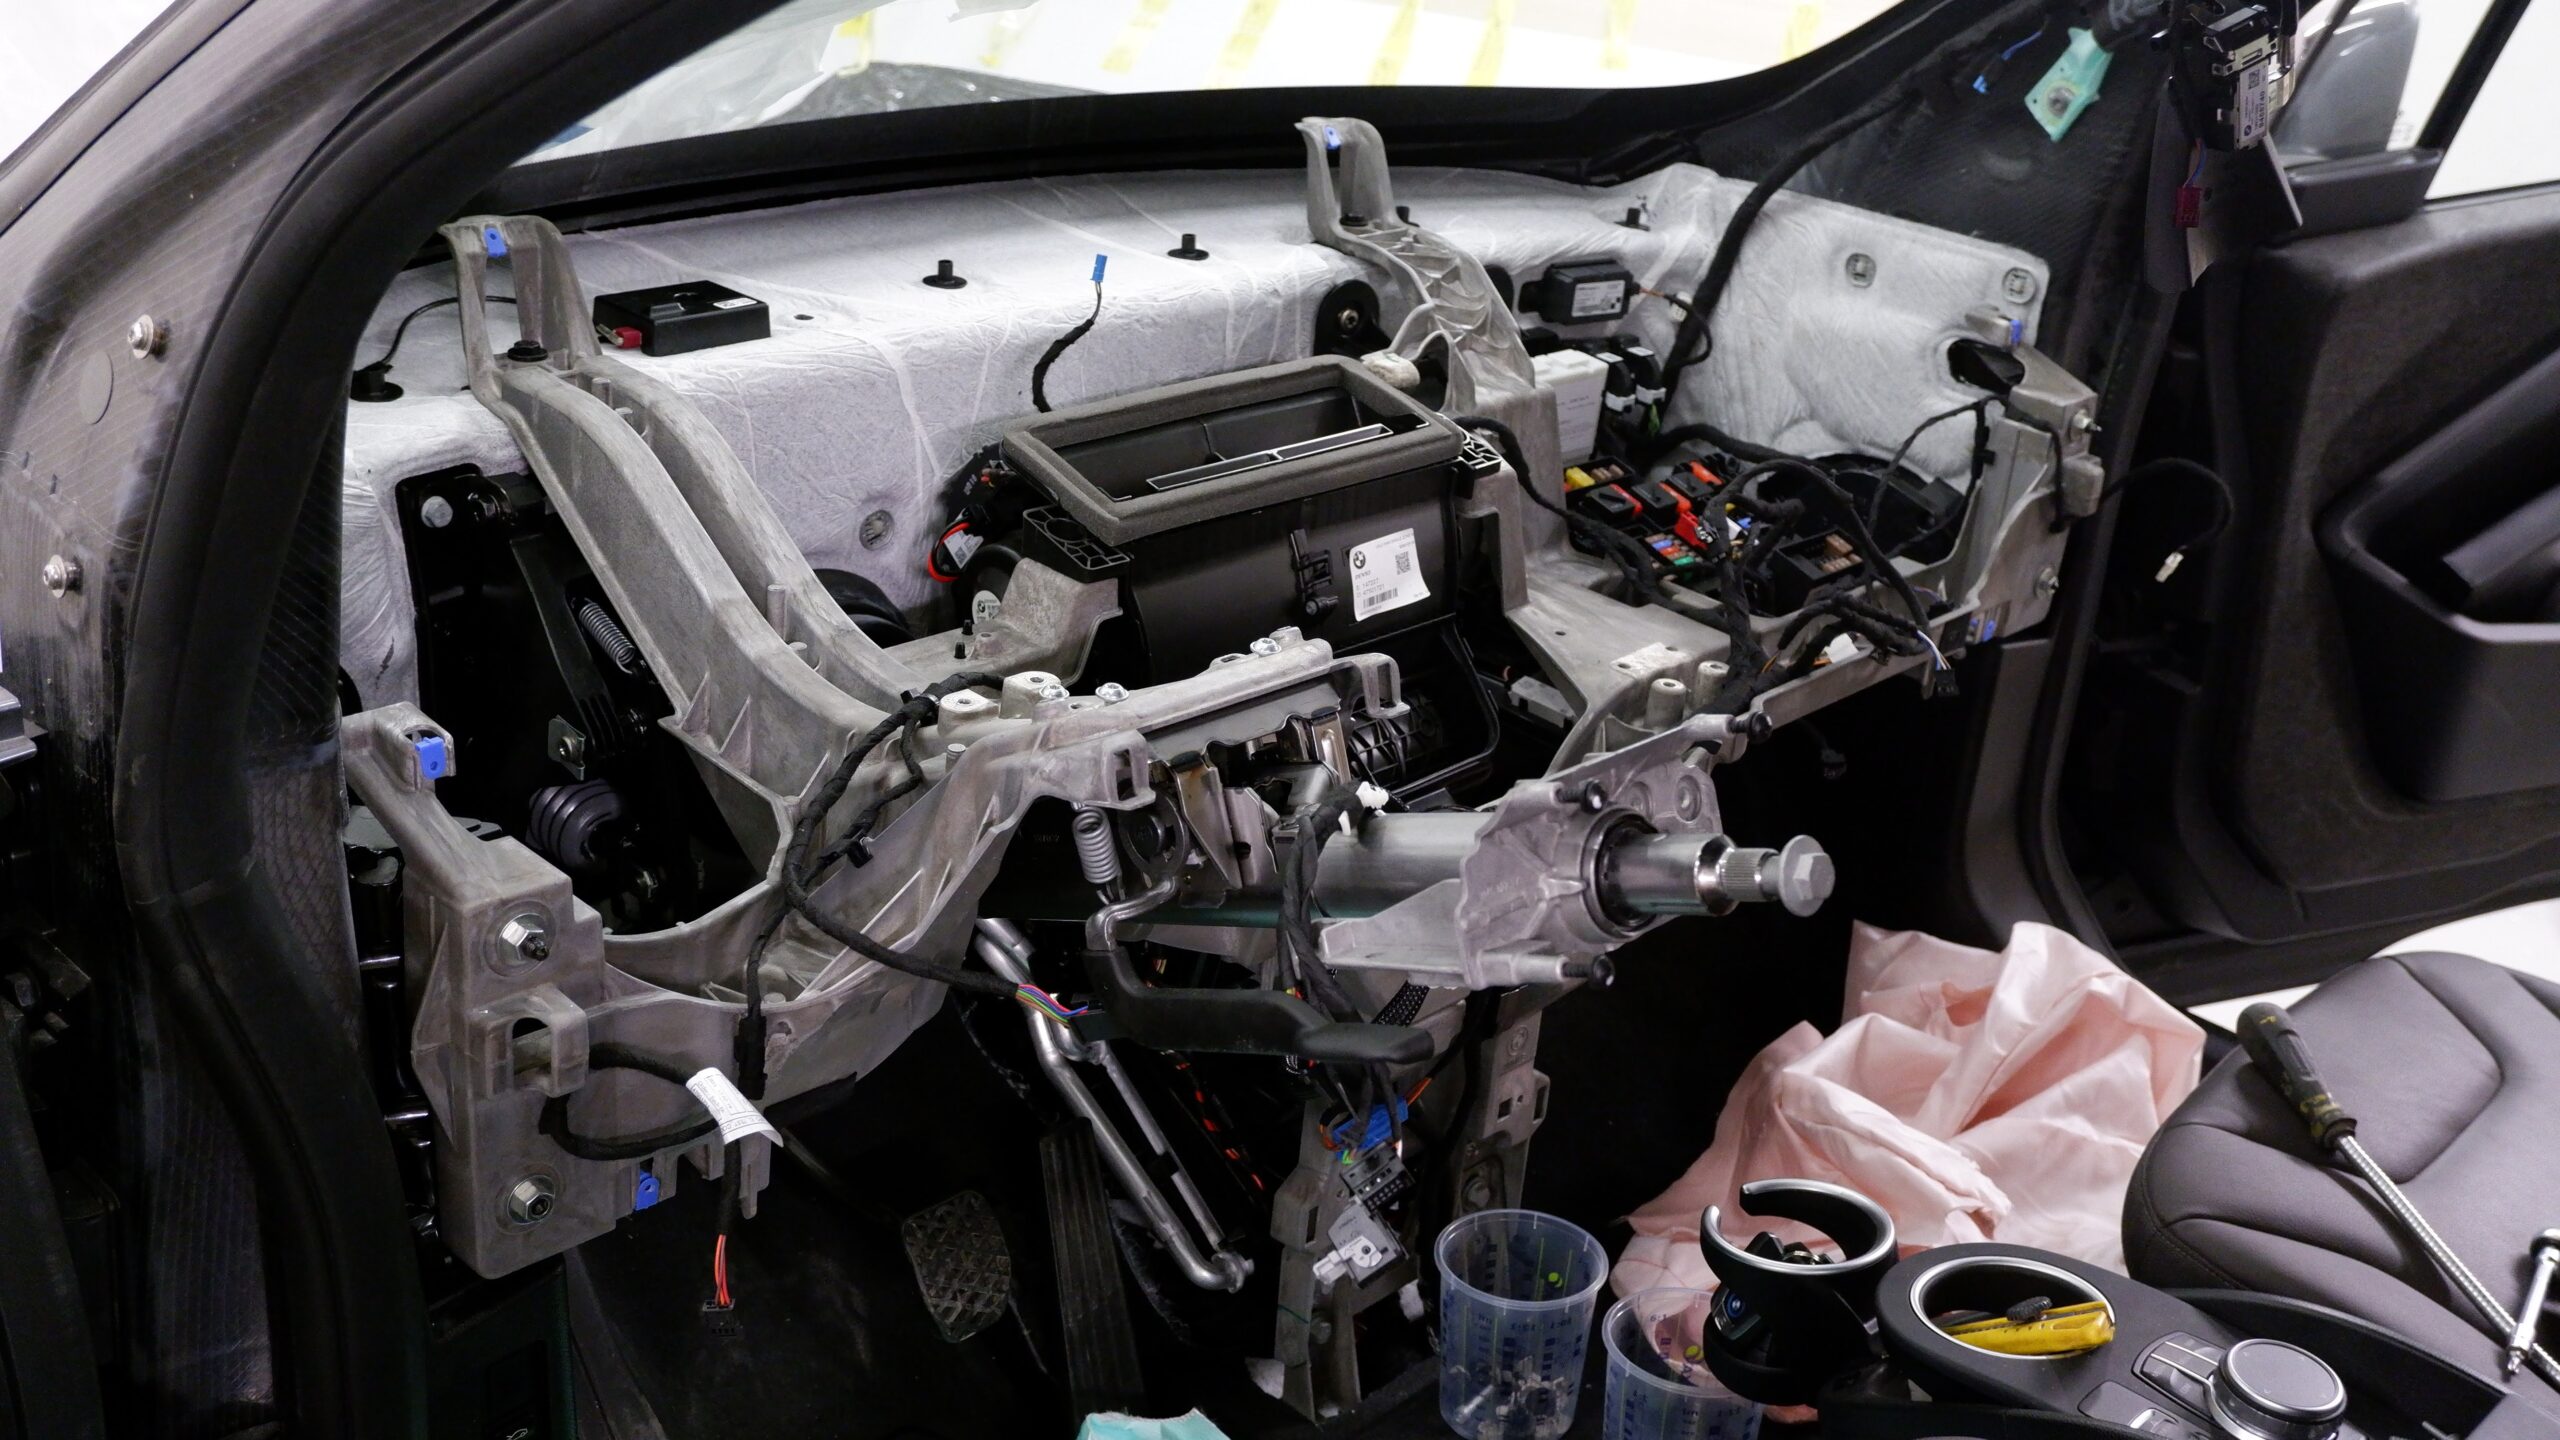
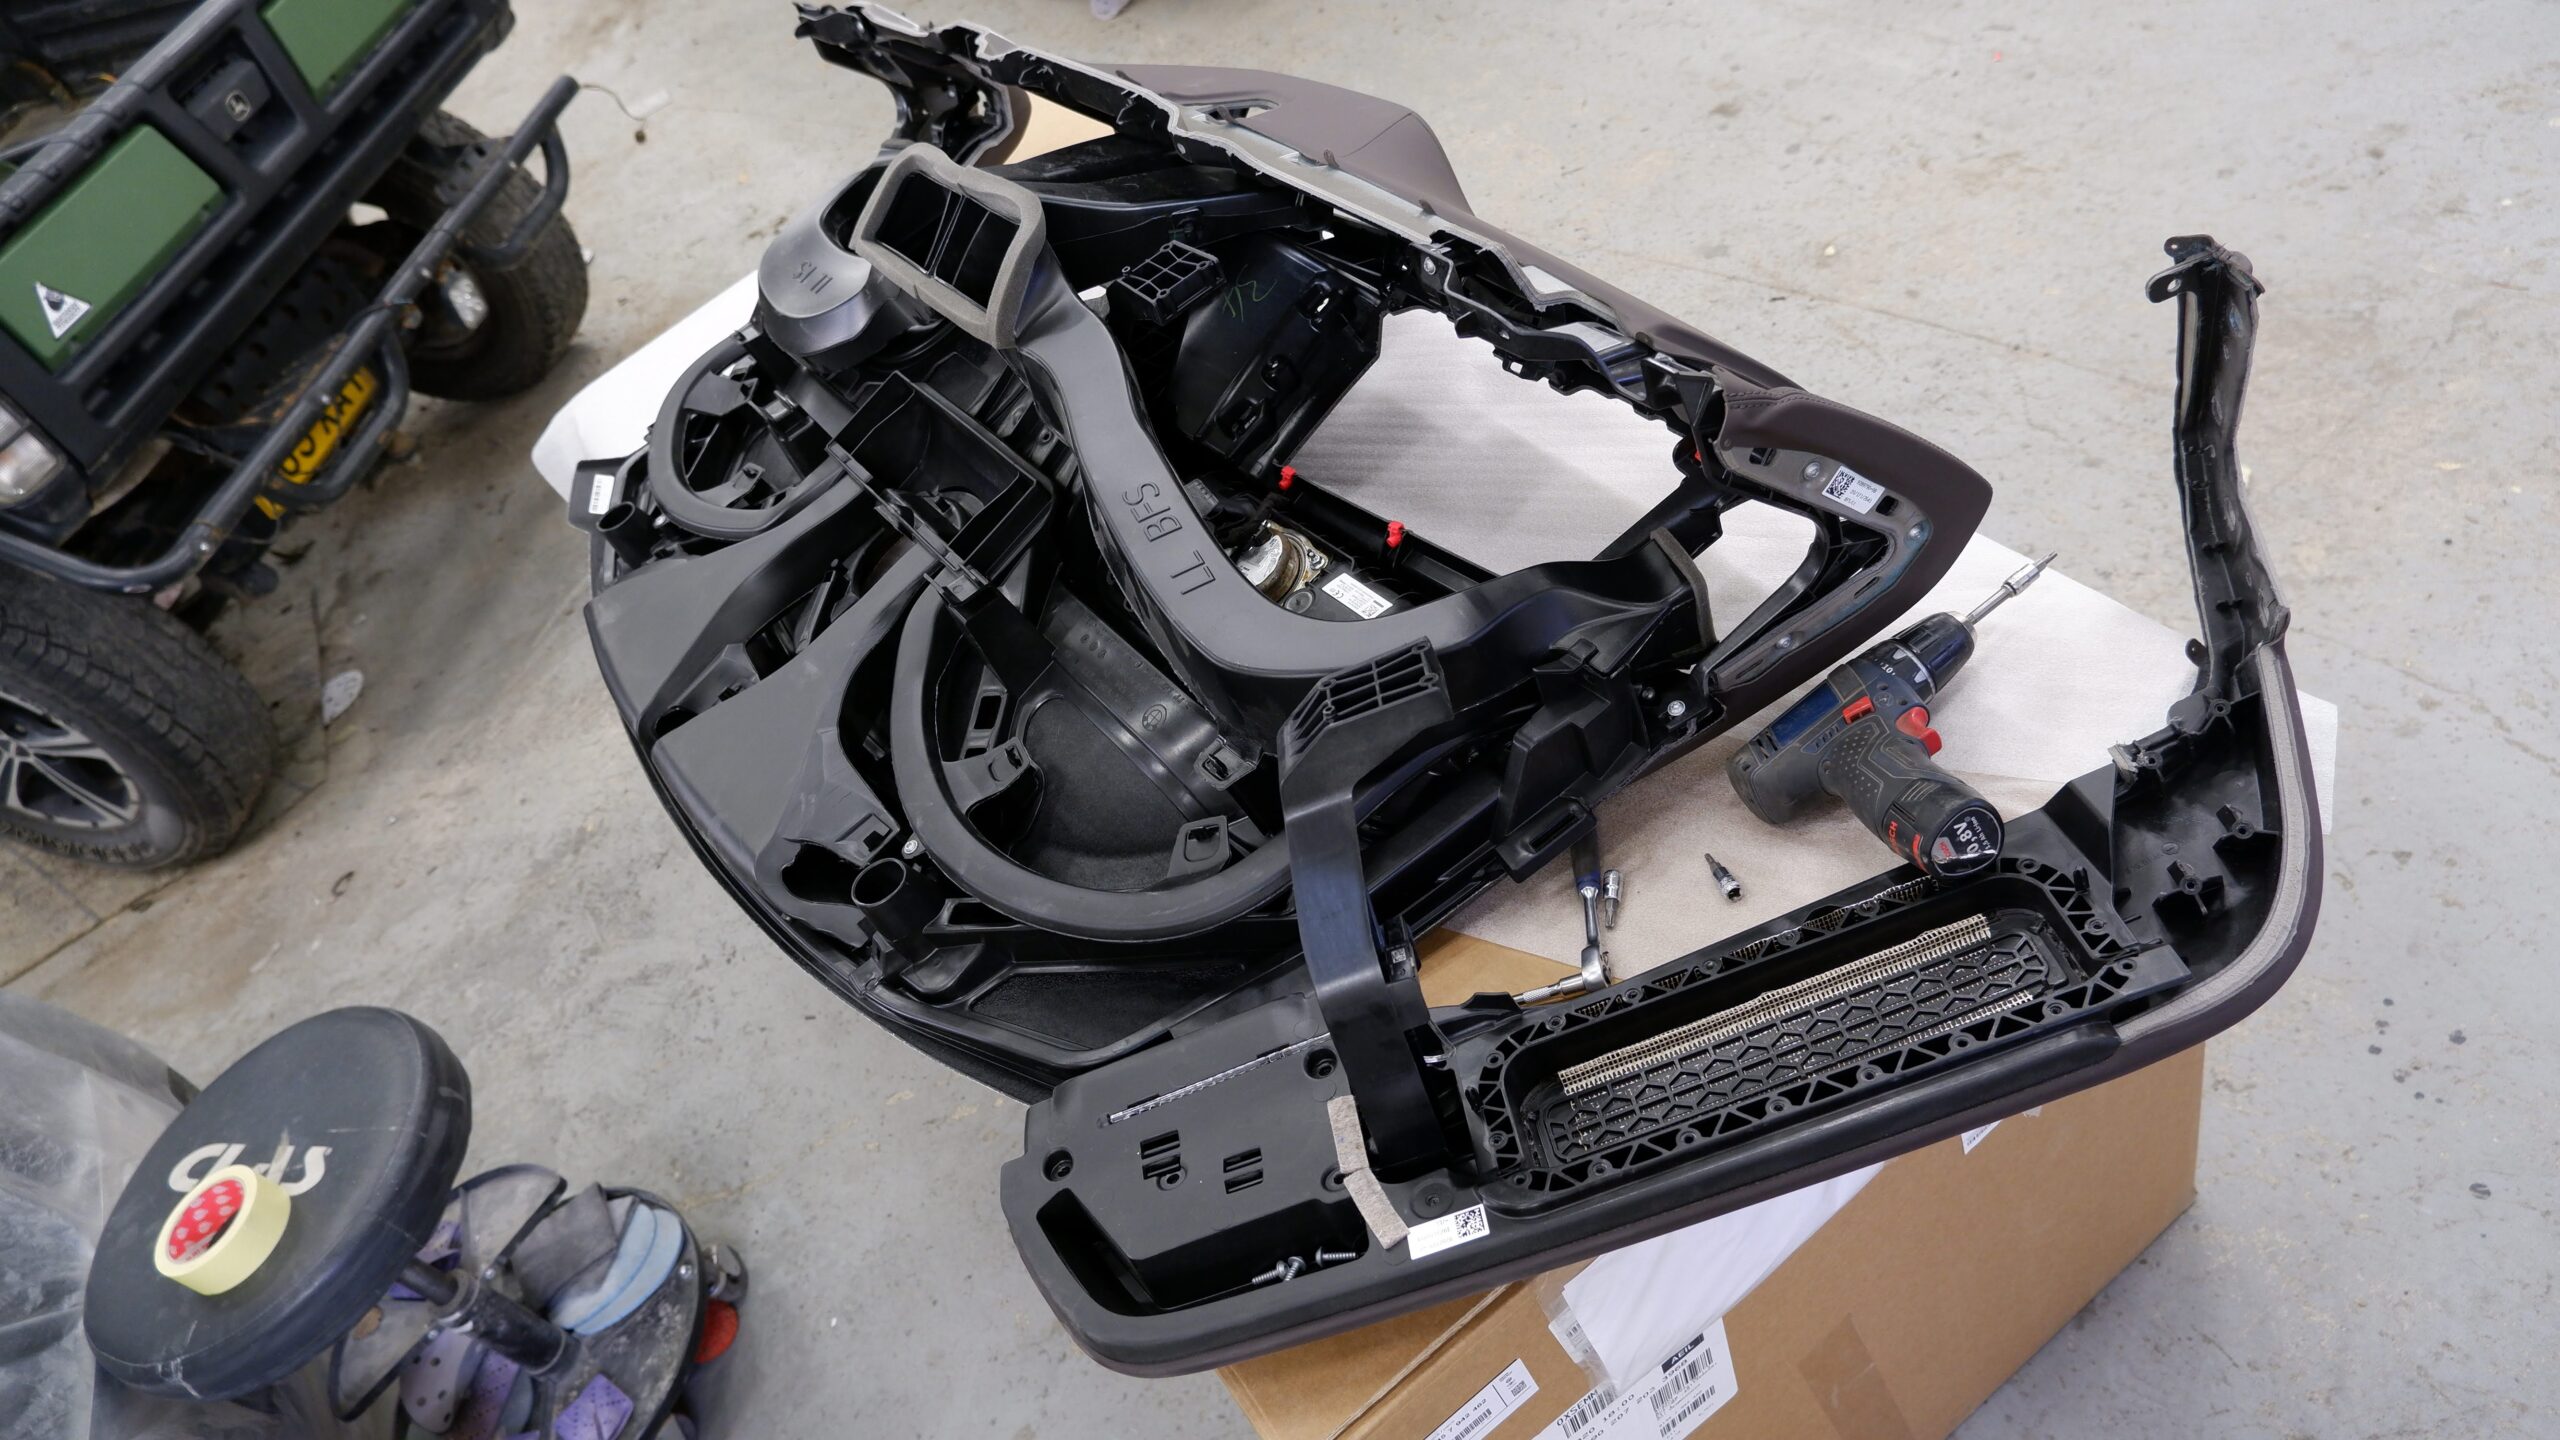
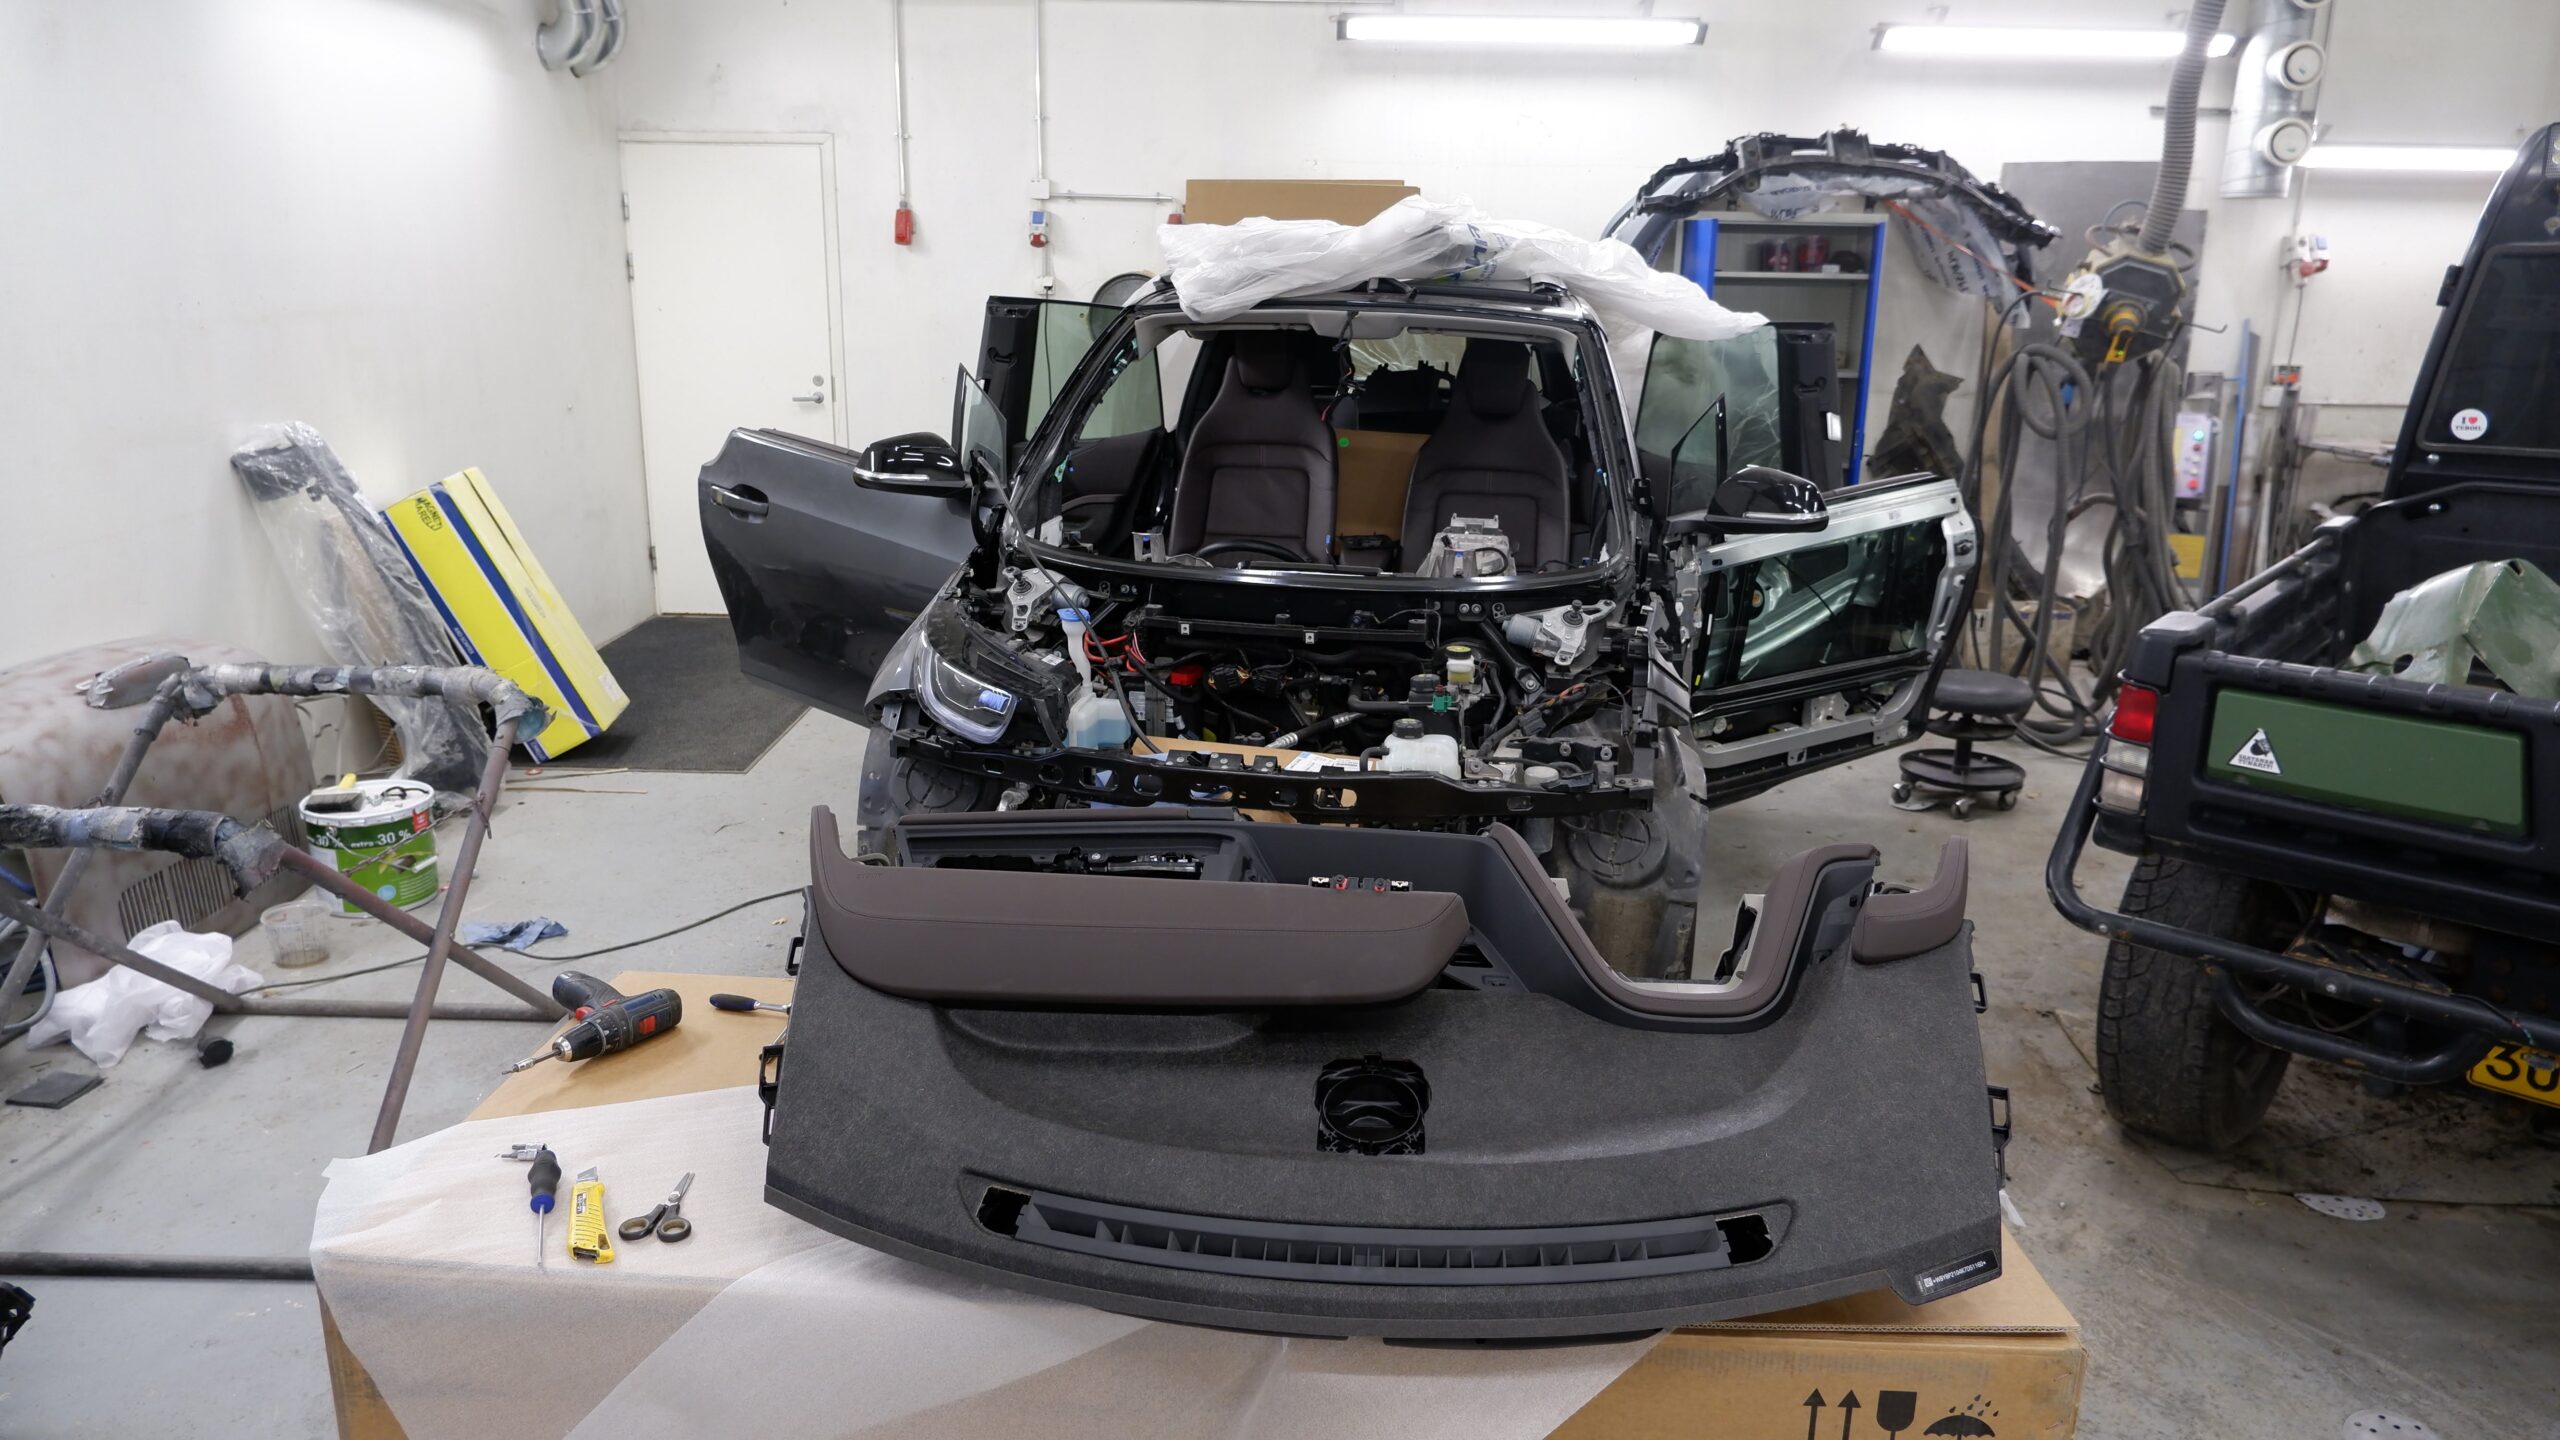
Having the windscreen out made fitting the dashboard easier.
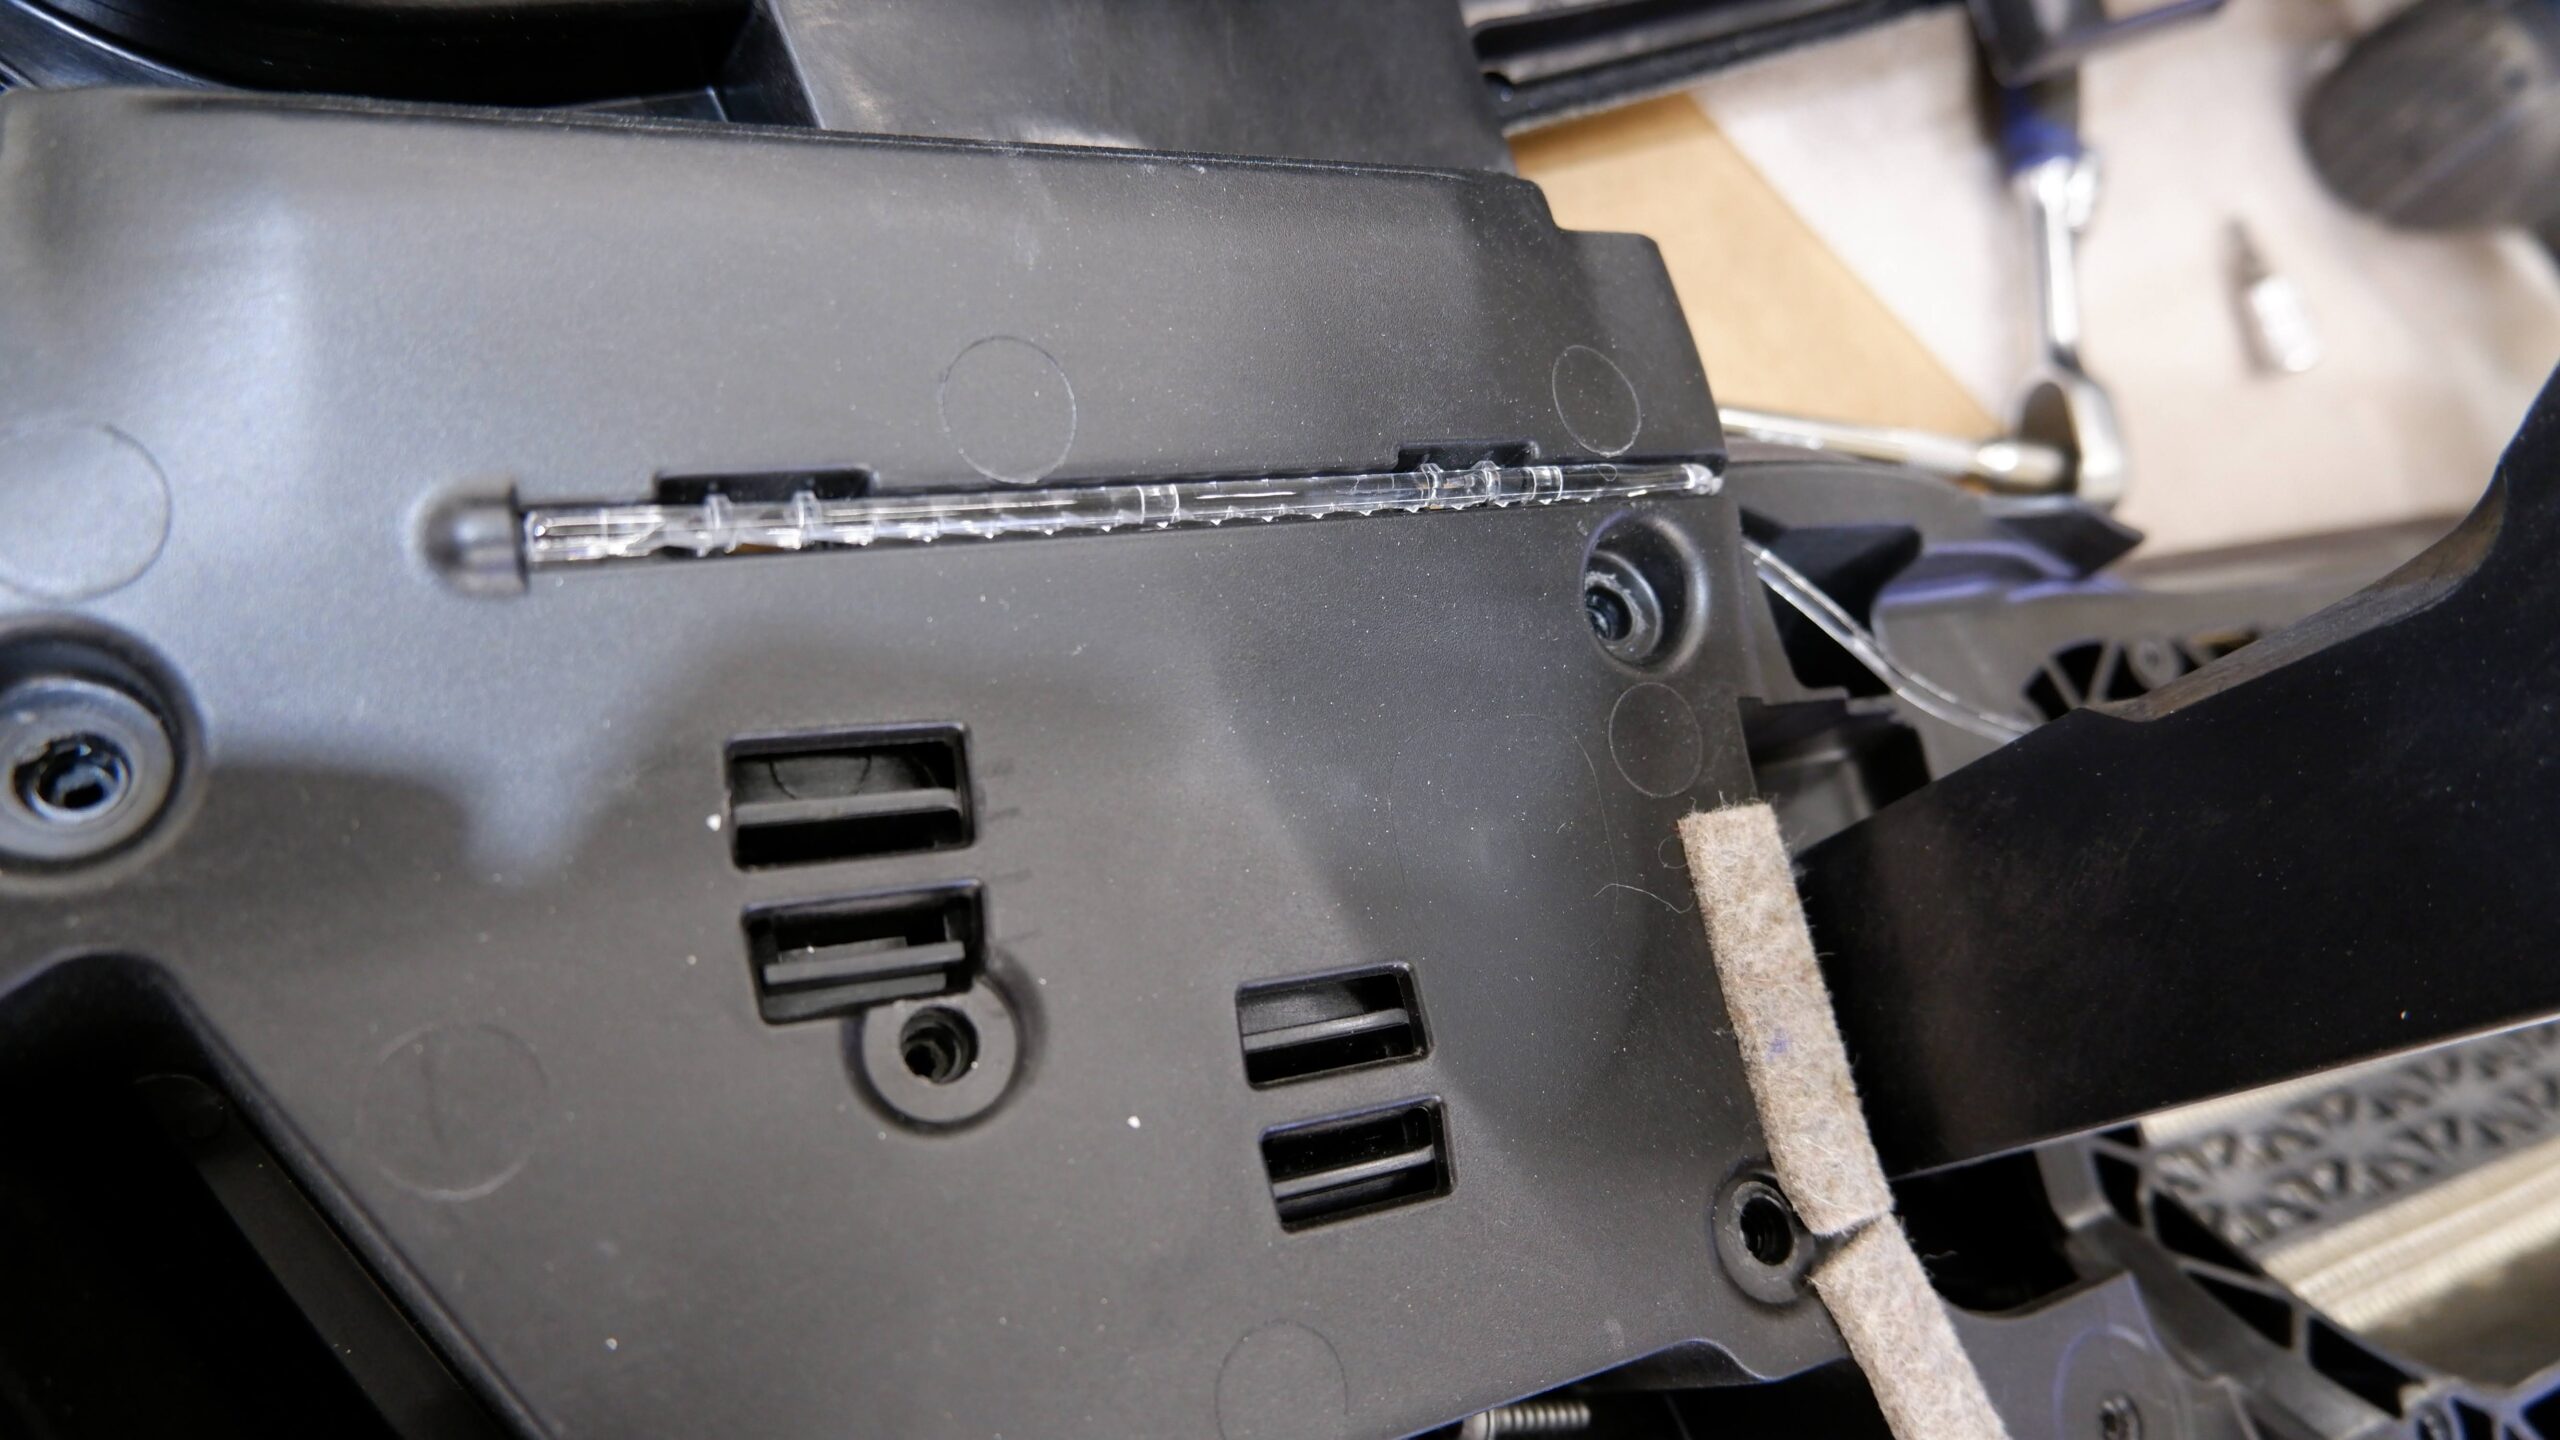
The passenger airbag meant replacing the entire dashboard and dismantling much of the interior. Although the section containing the airbag is a separate piece, it is not sold separately. The dashboard was by far the most expensive single part in this project, at almost €1,500, and the airbag costs another €750. Dismantling the dashboard is otherwise fairly straightforward. Take care with the optical fibre beneath the central display.
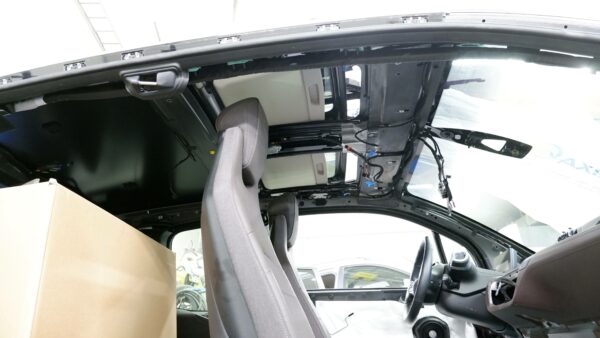
The headlining had to come out to replace the driver's curtain airbag. Fairly easy once we'd spotted the two screws accessed from above through the sunroof opening. The centre clip behind the sunroof is tight and awkward to reach, so needs care. The big door opening makes getting the headlining out easy enough.
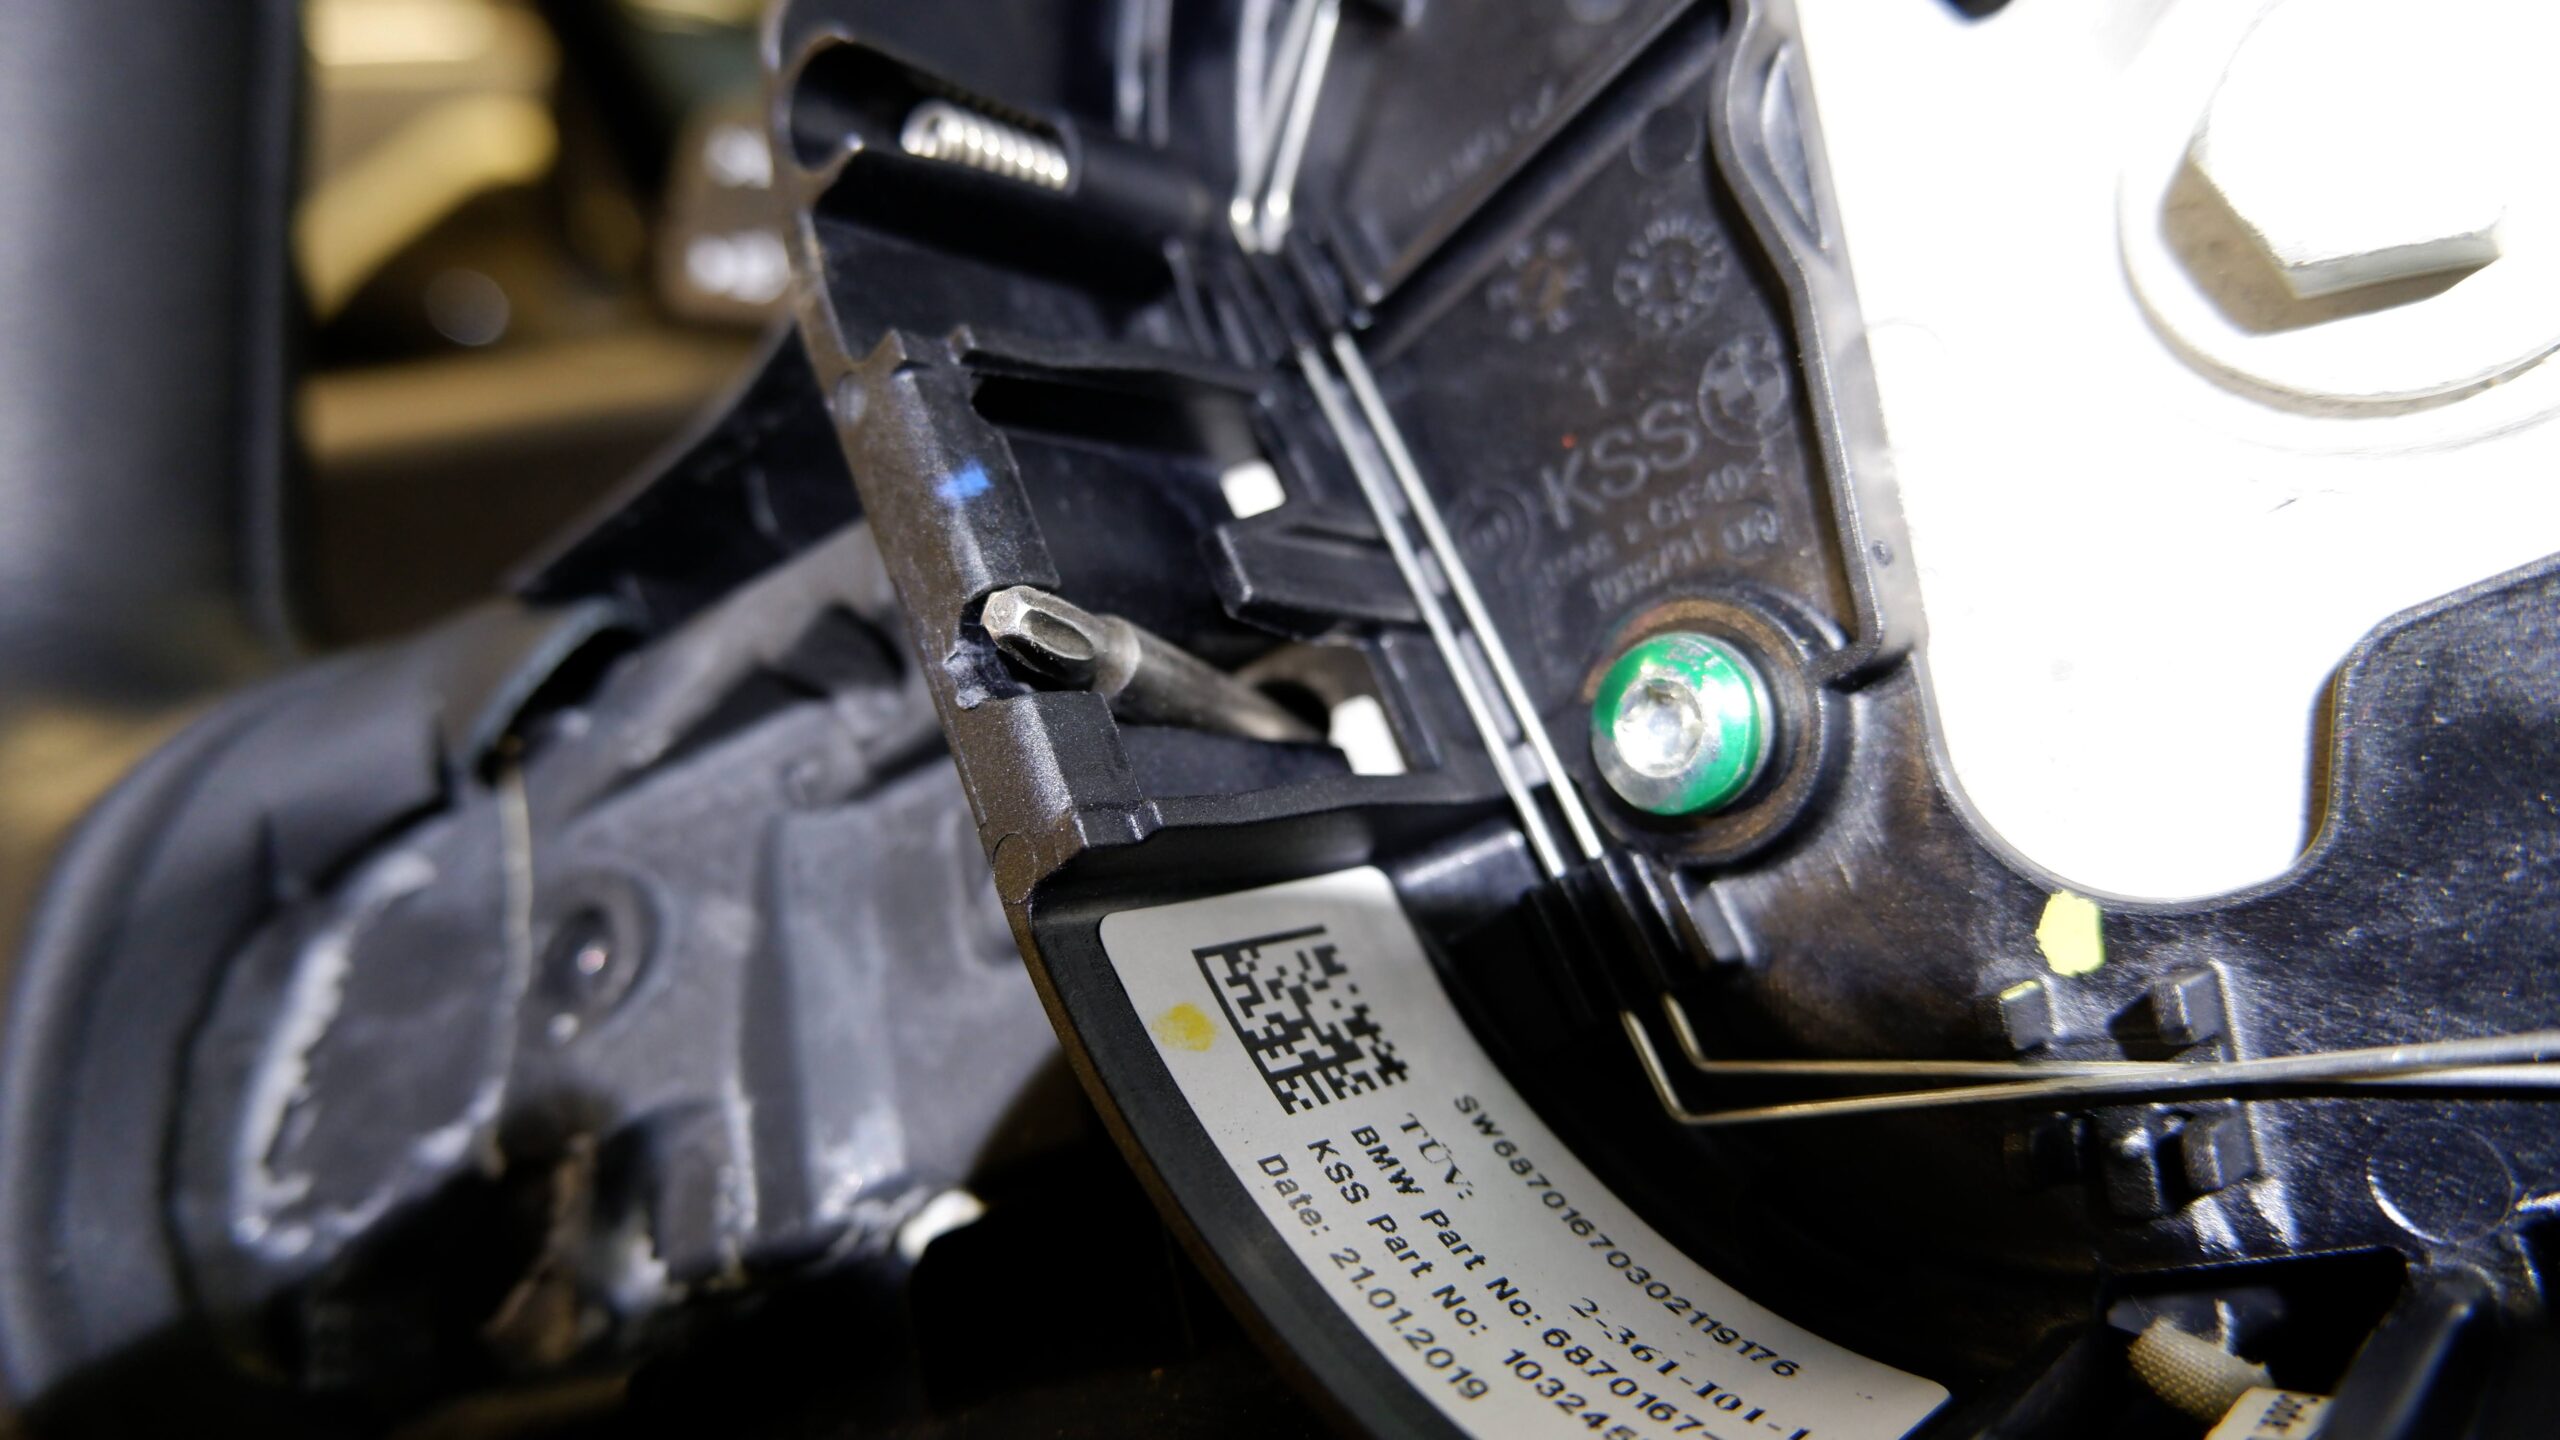
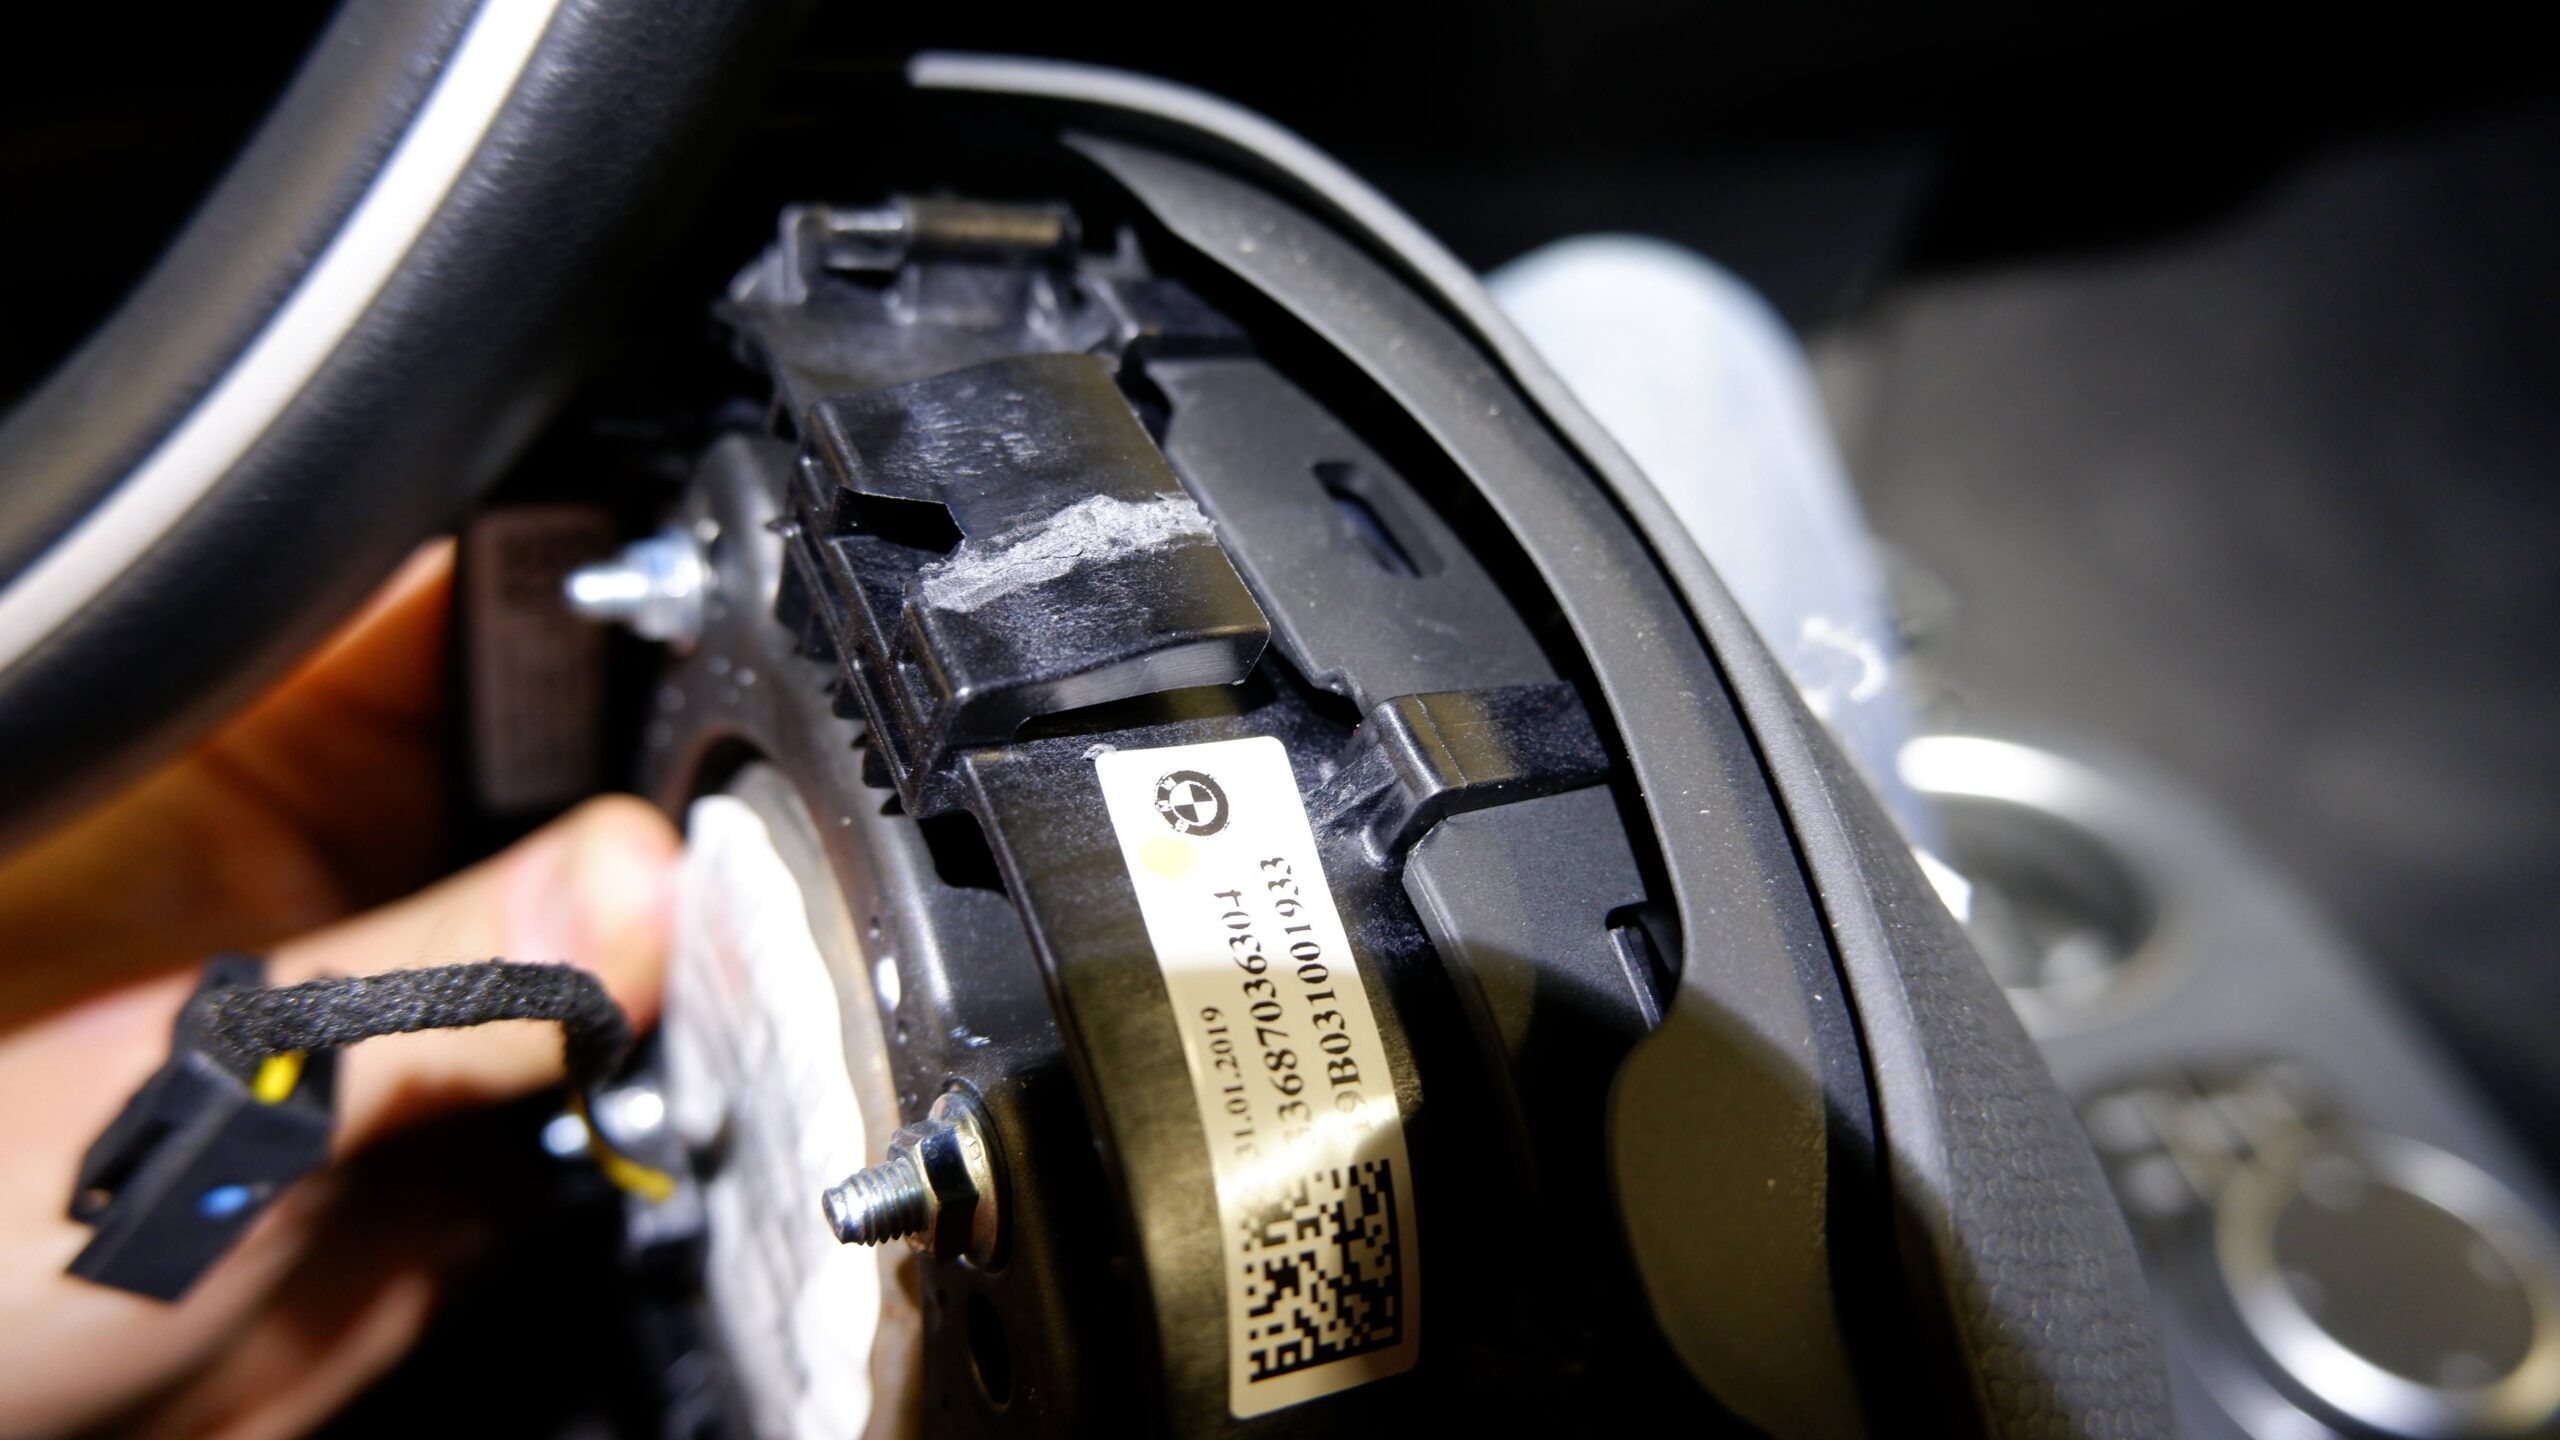
Removing the steering-wheel airbag is awkward the first time. There is a hole on each side at the back of the wheel. Insert a suitably sized screwdriver about 5 cm into each hole in turn and lever it sideways to release the central plastic clip. It takes some force, and releasing one side can easily make the other clip back in. Removing the steering-wheel buttons might help, but they do not come out easily either.
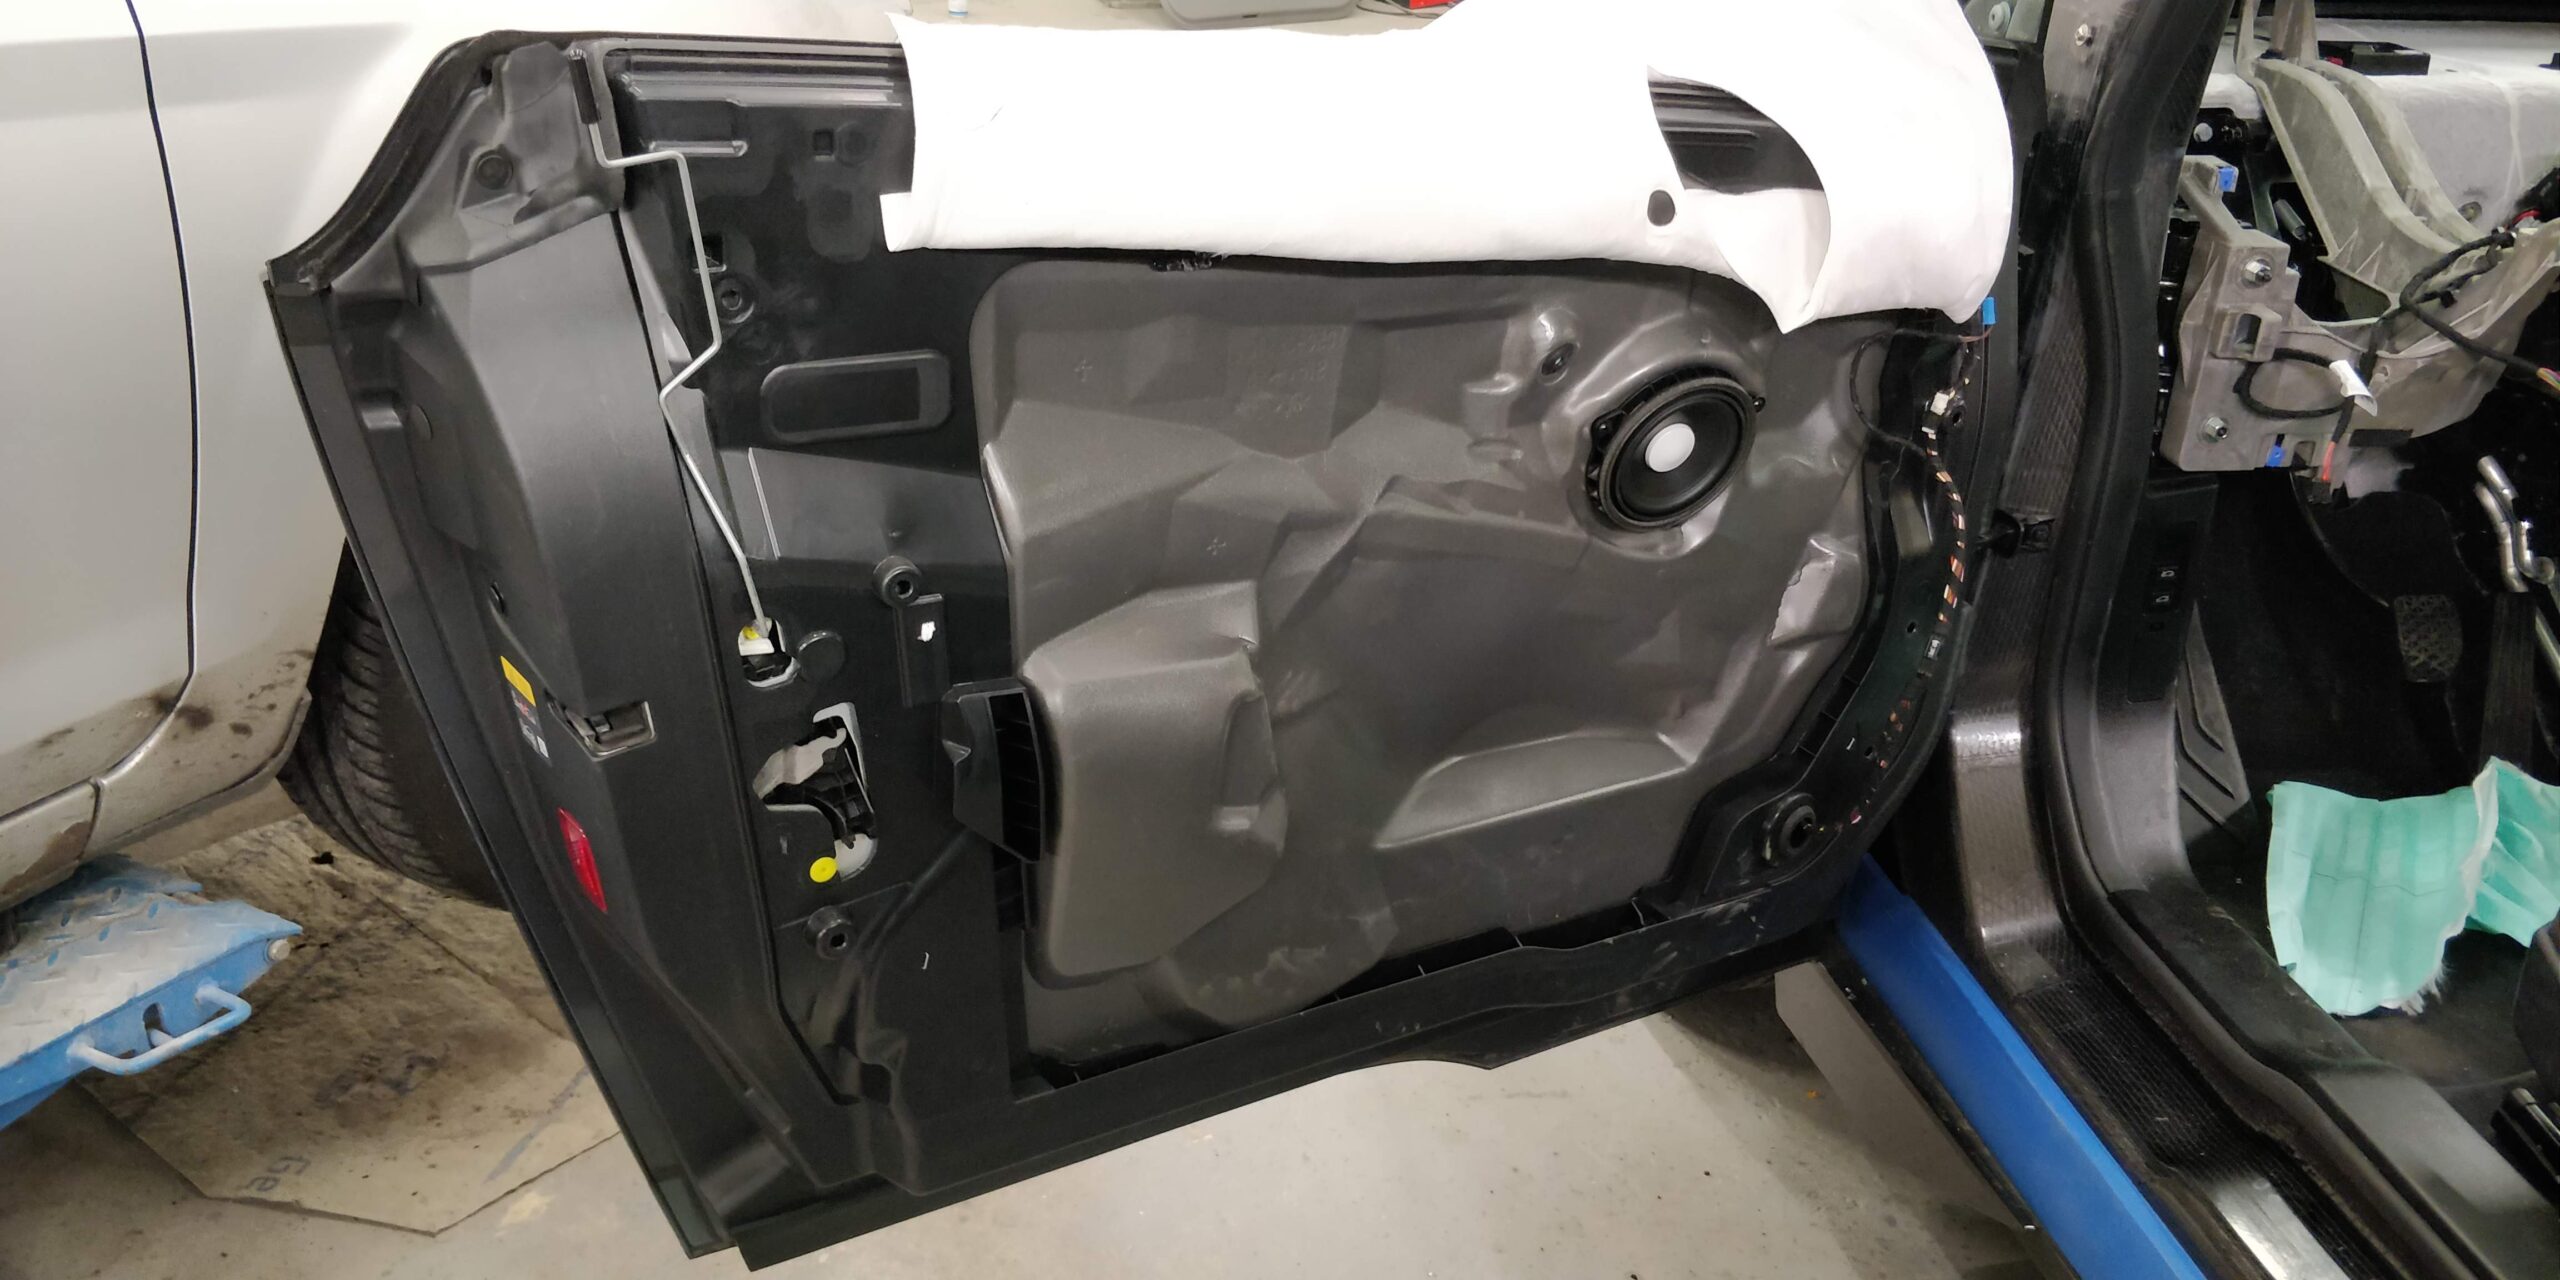
Door trim removed.
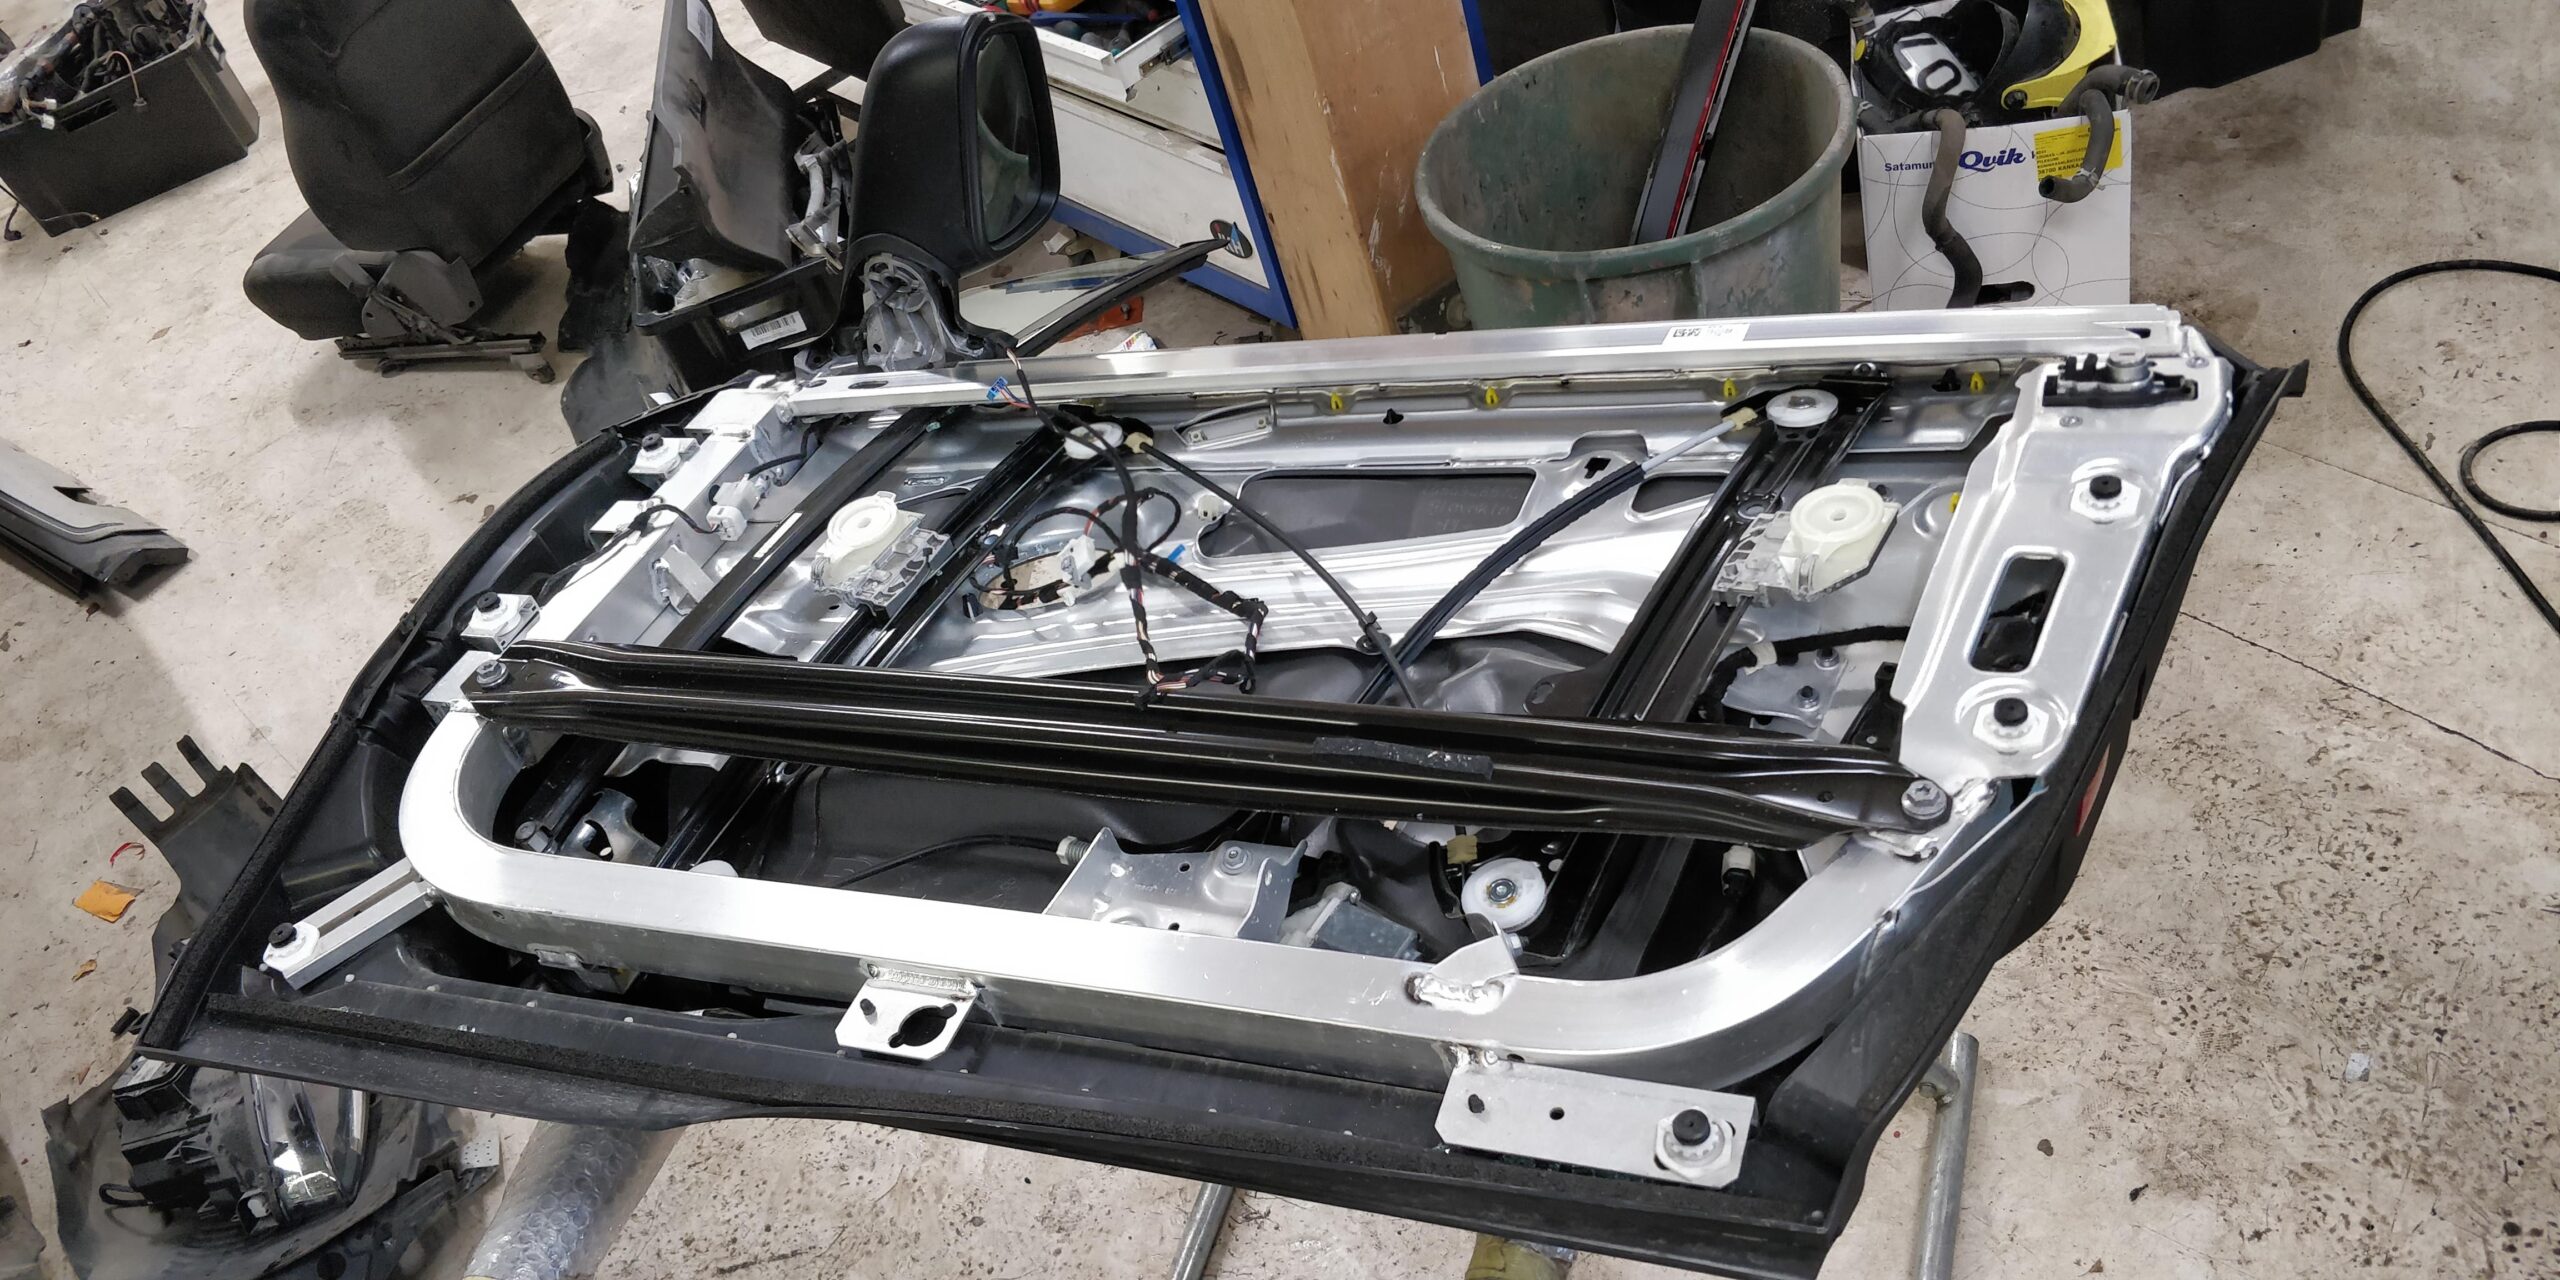
Door frame
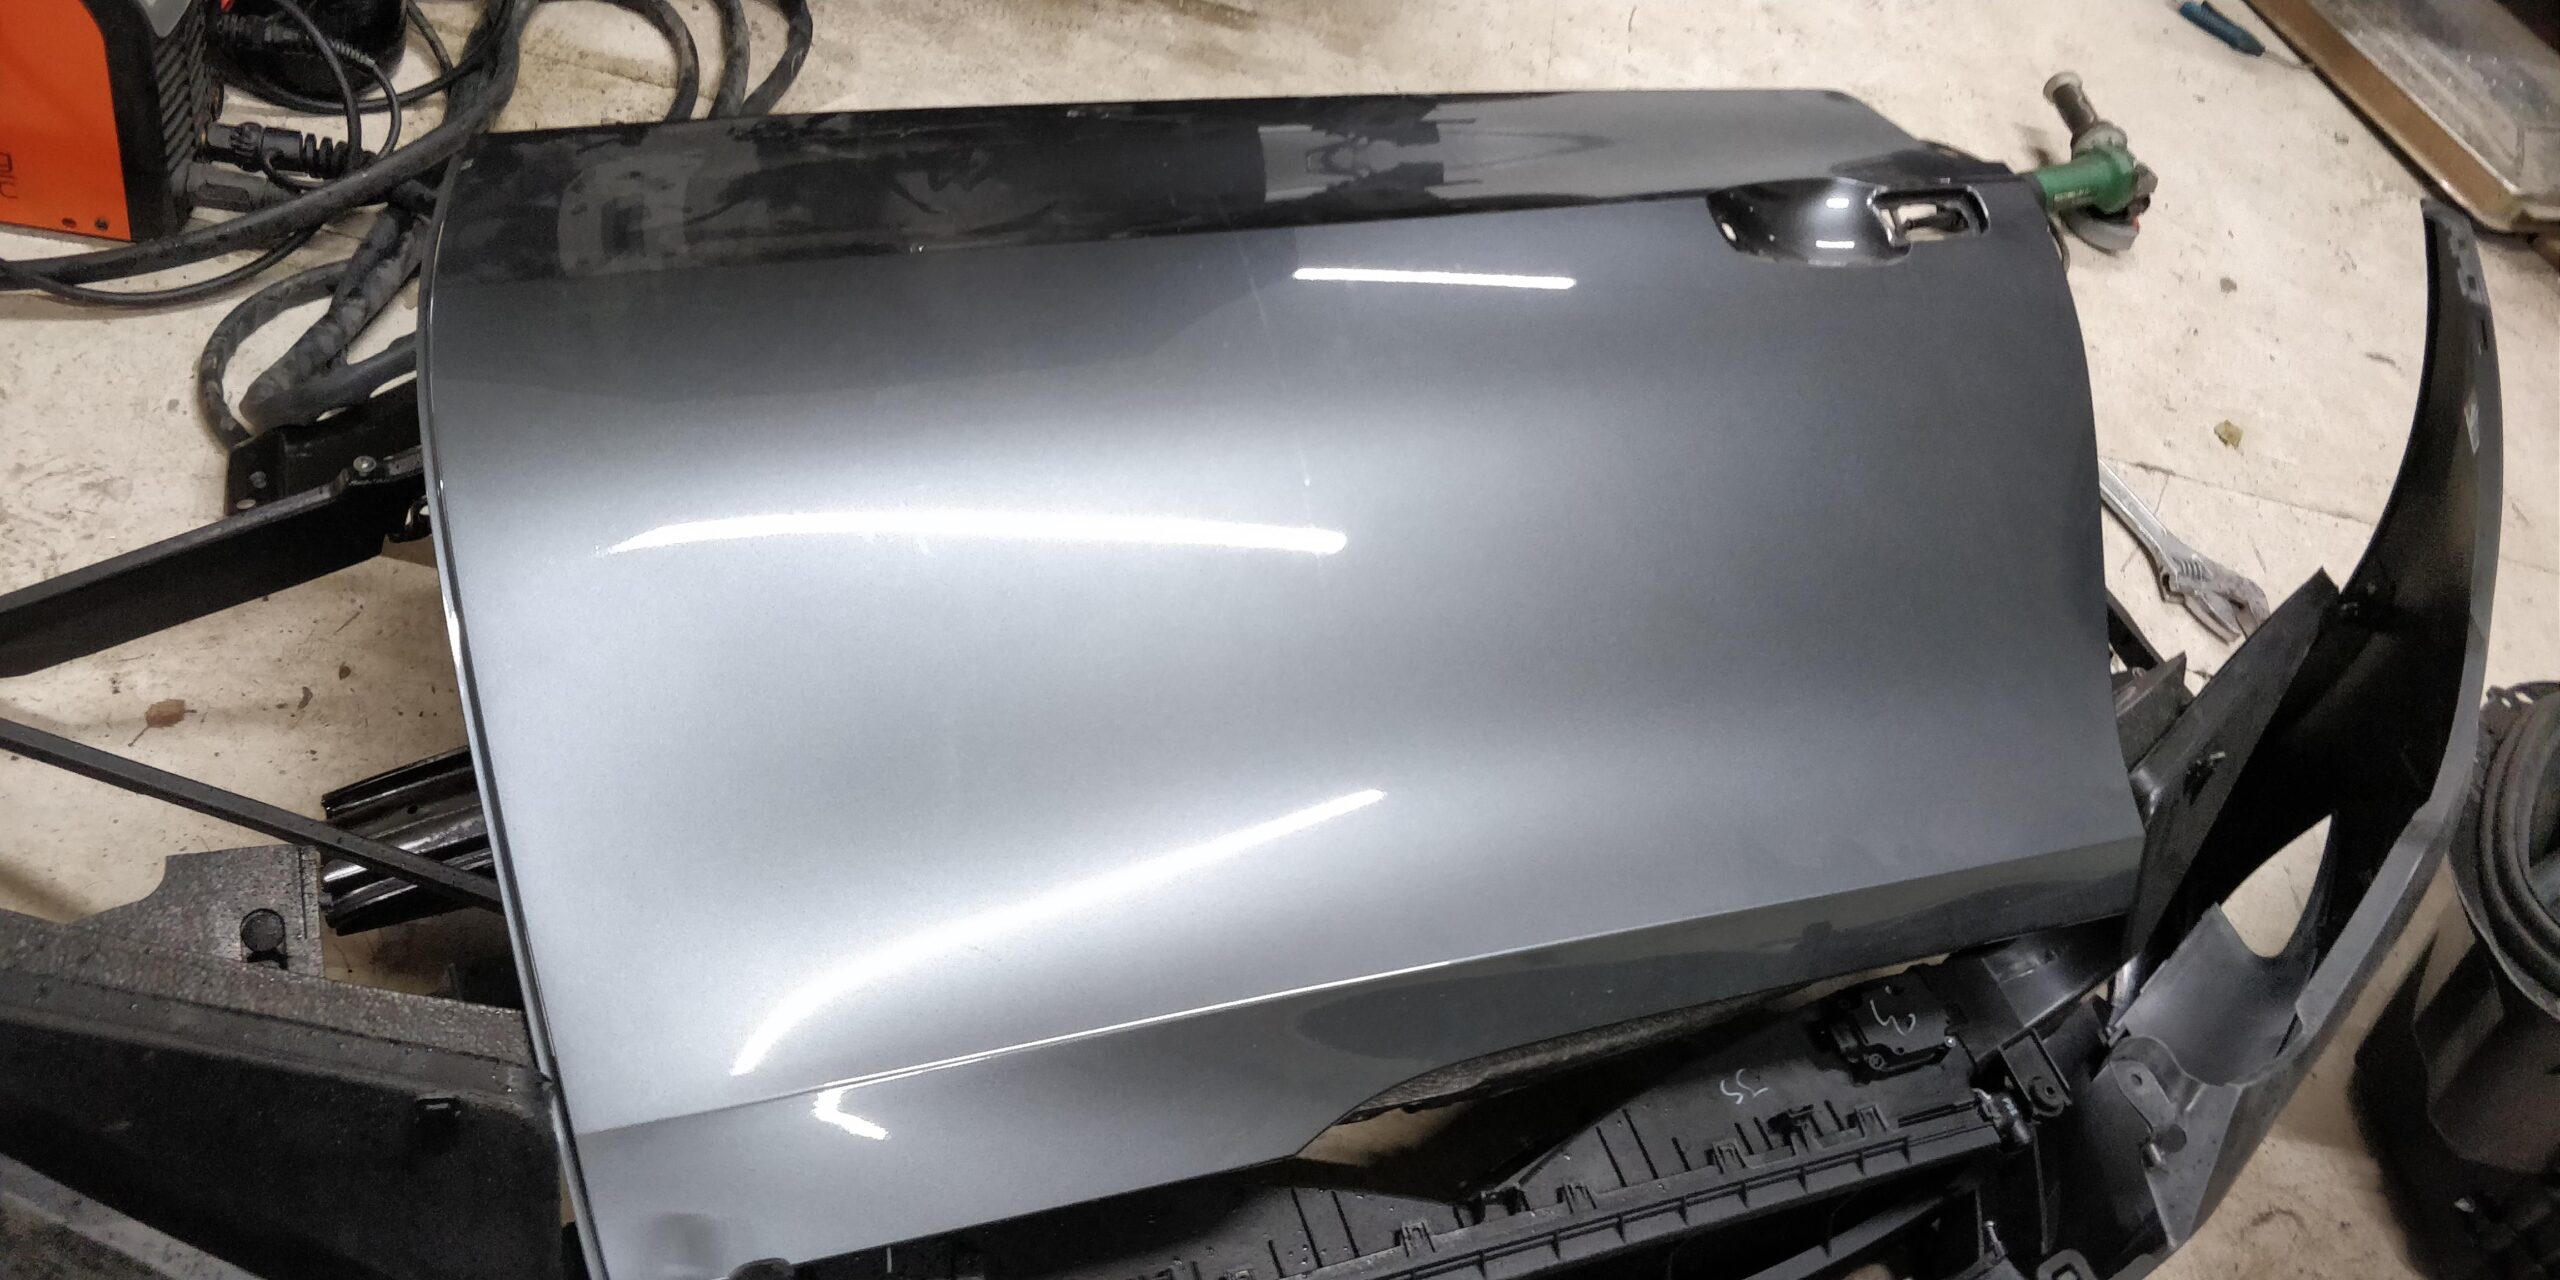
The plastic outer door skin removed.
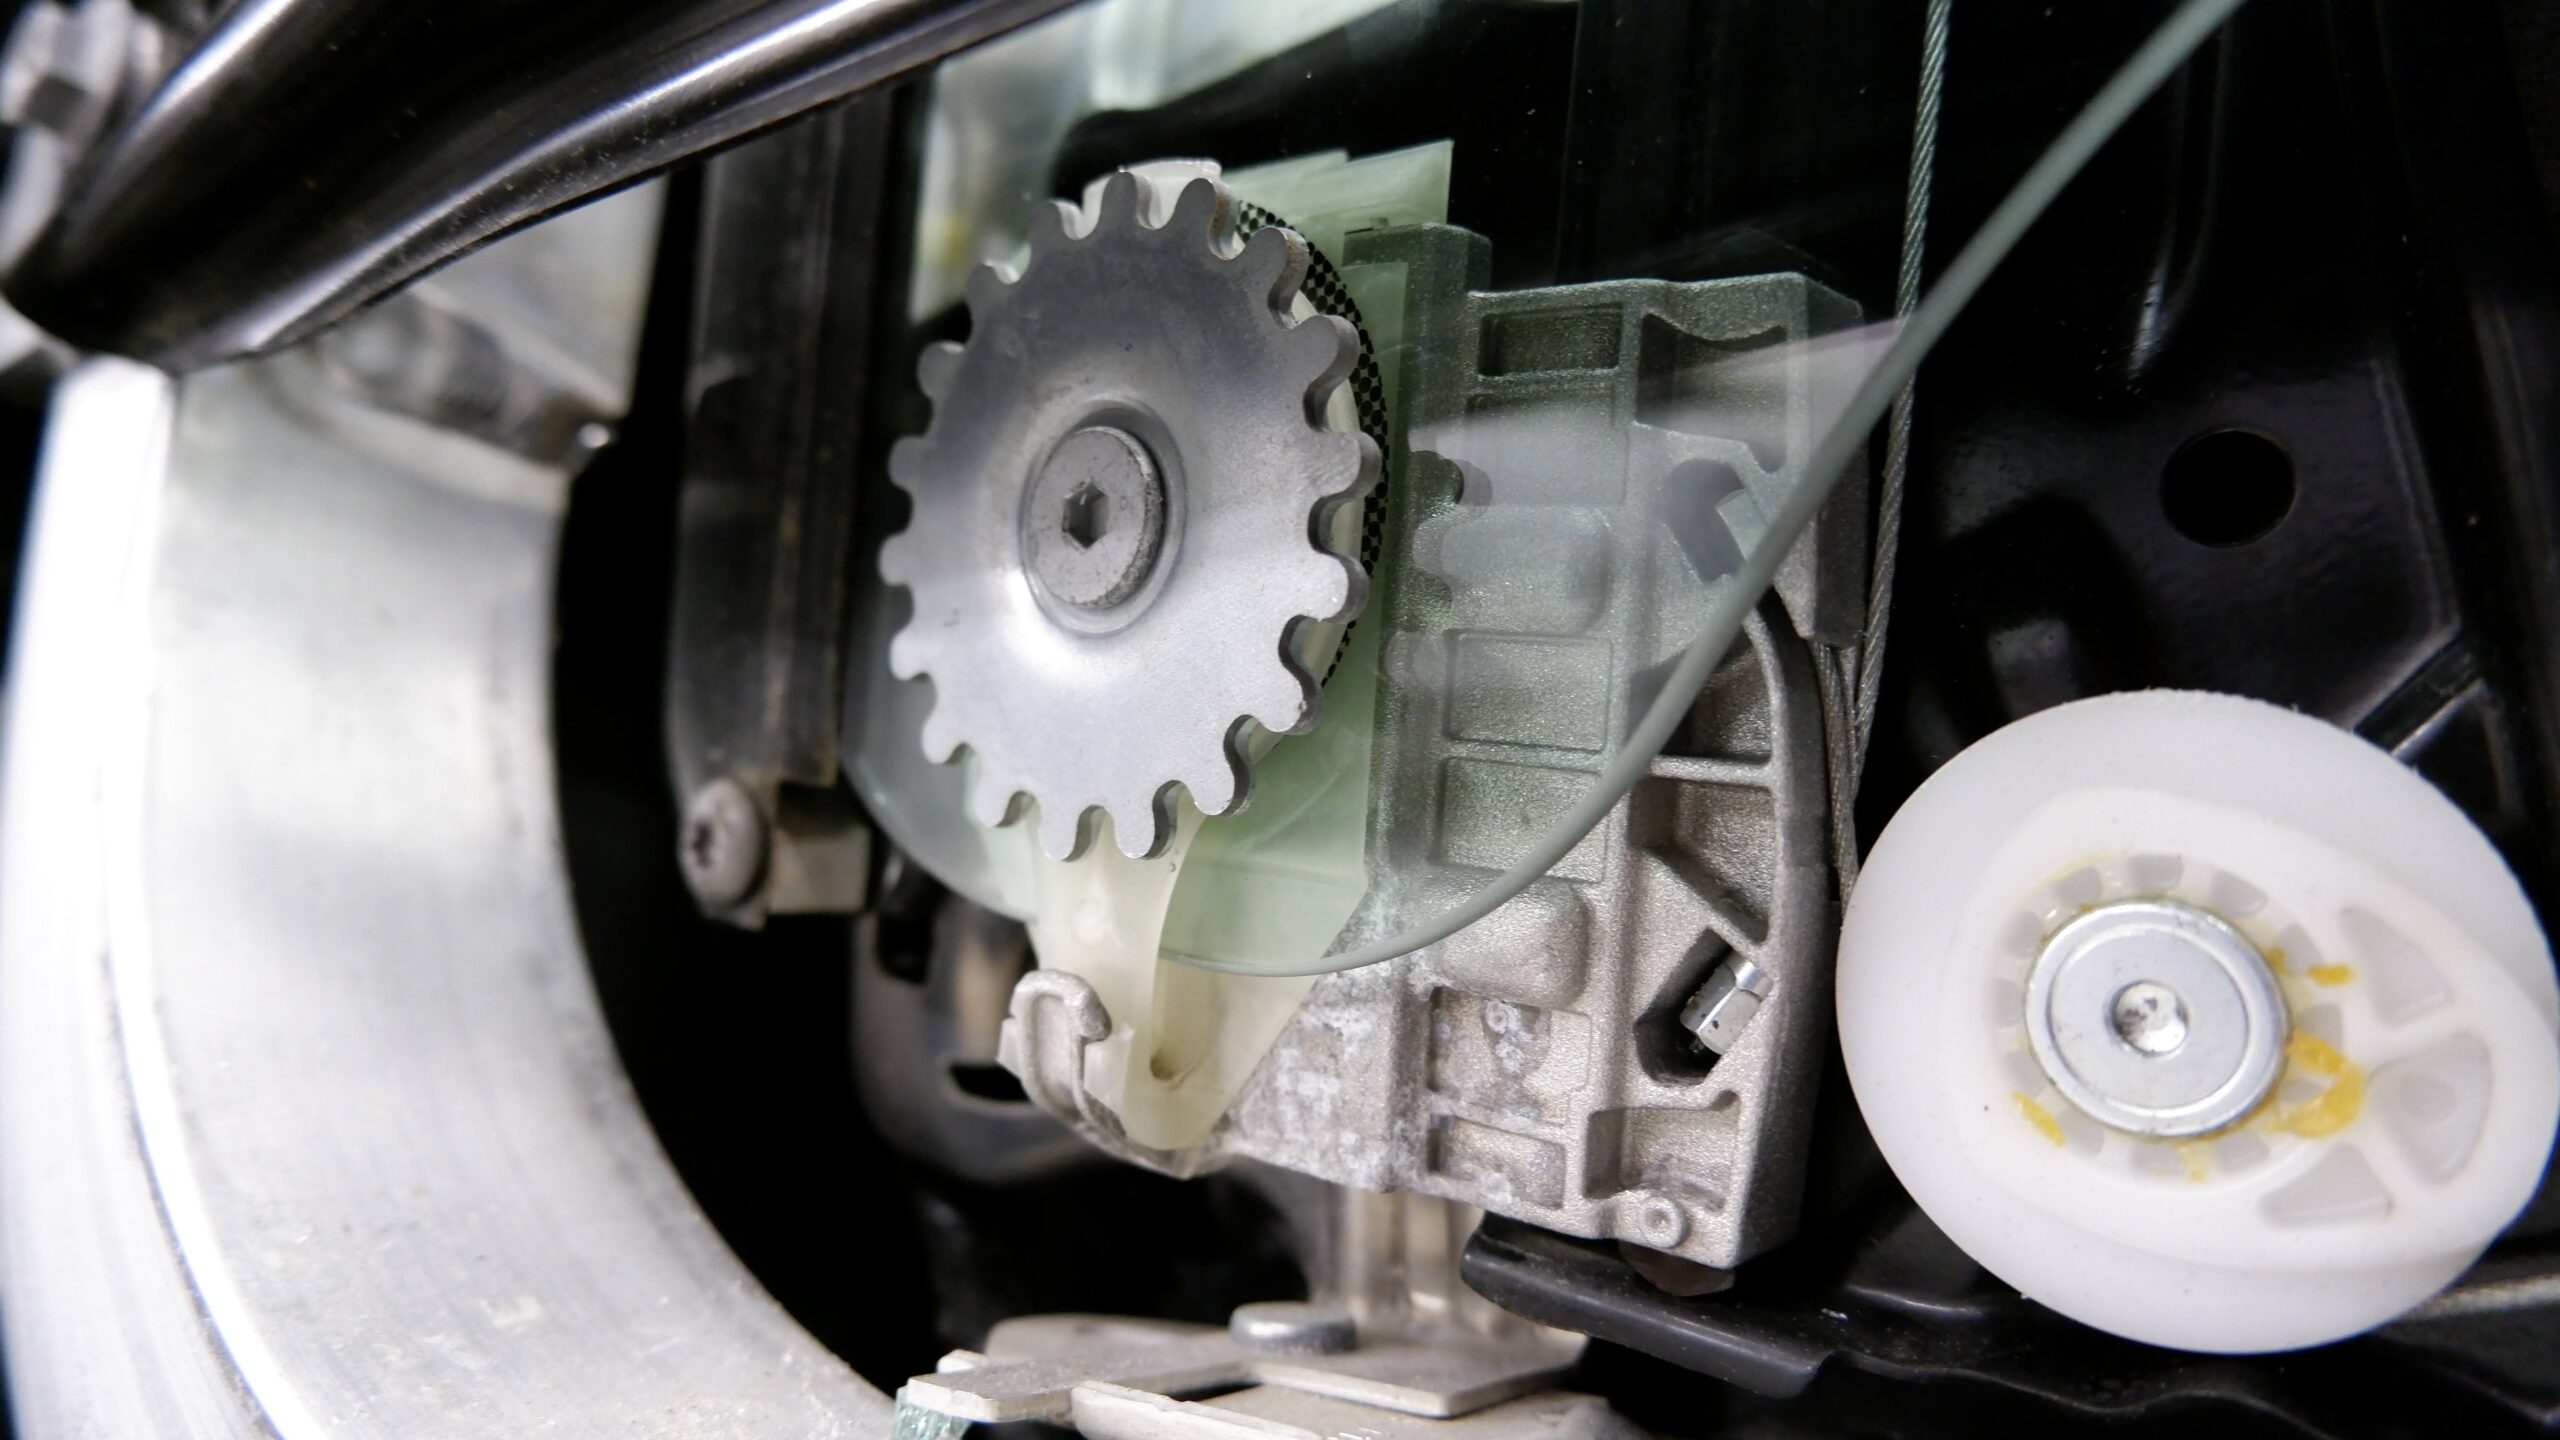
Window mounting bolt.
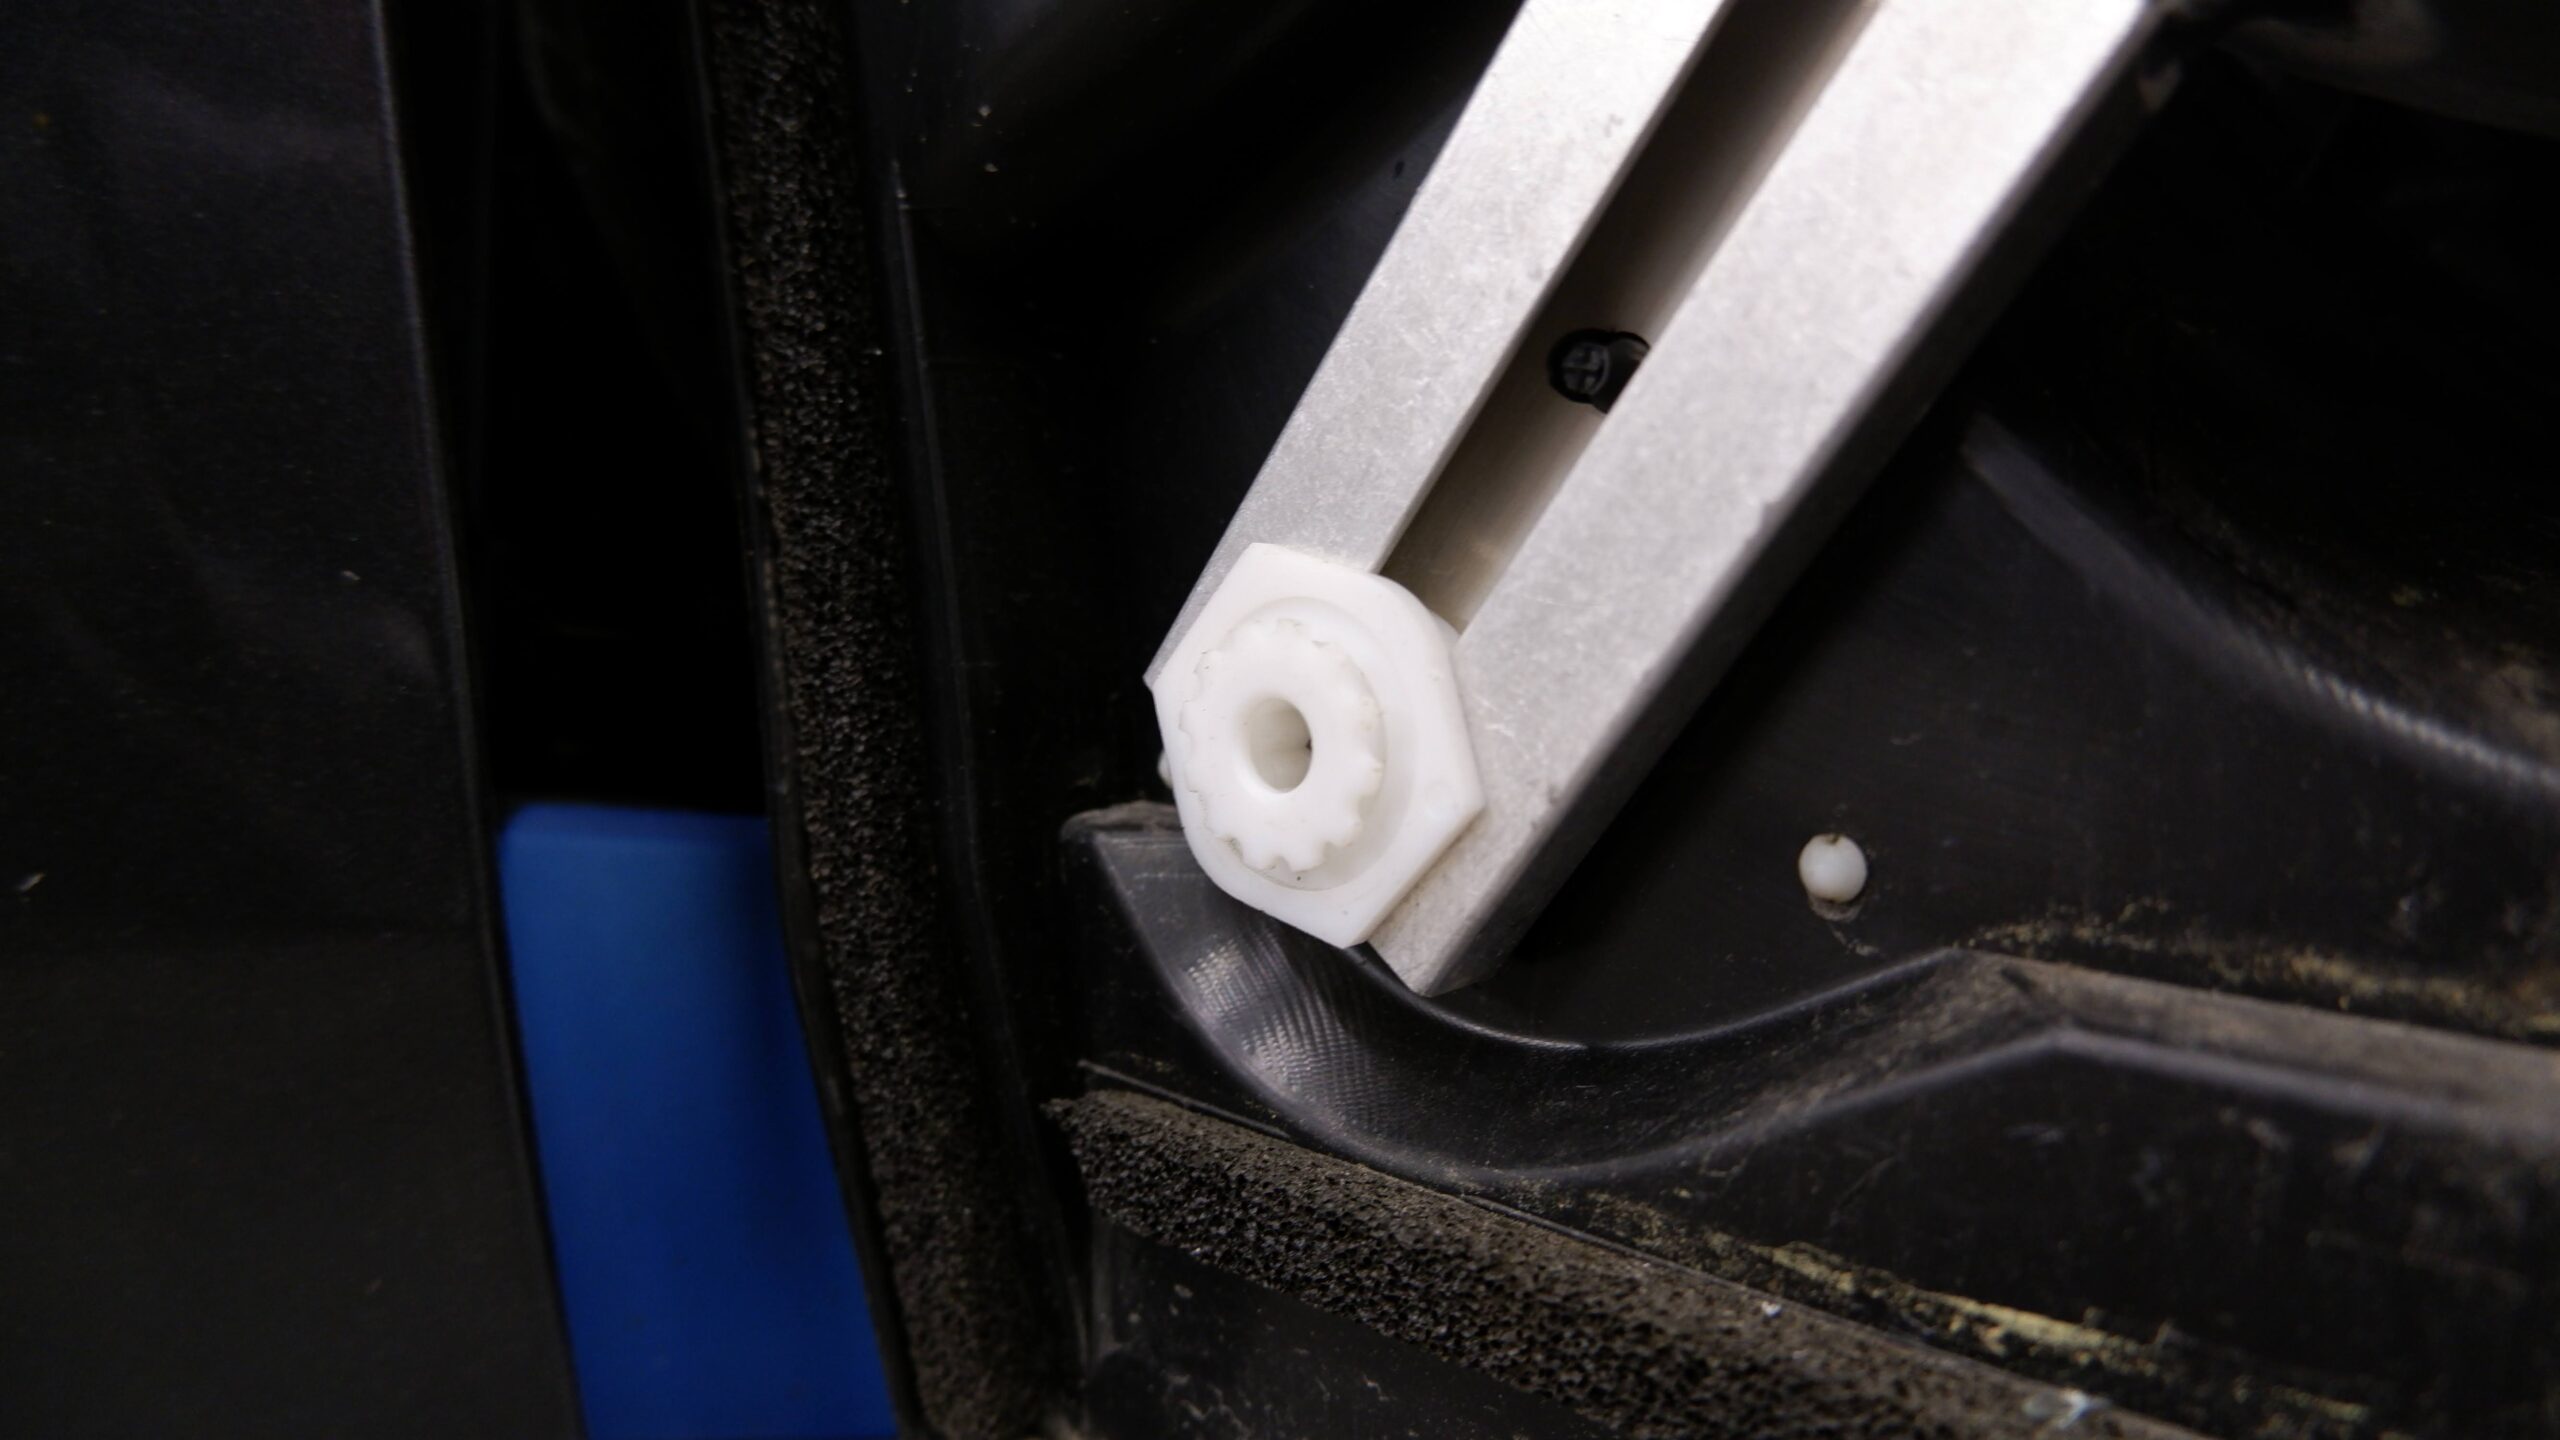
The outer door skin fits onto these adjustable mounts.
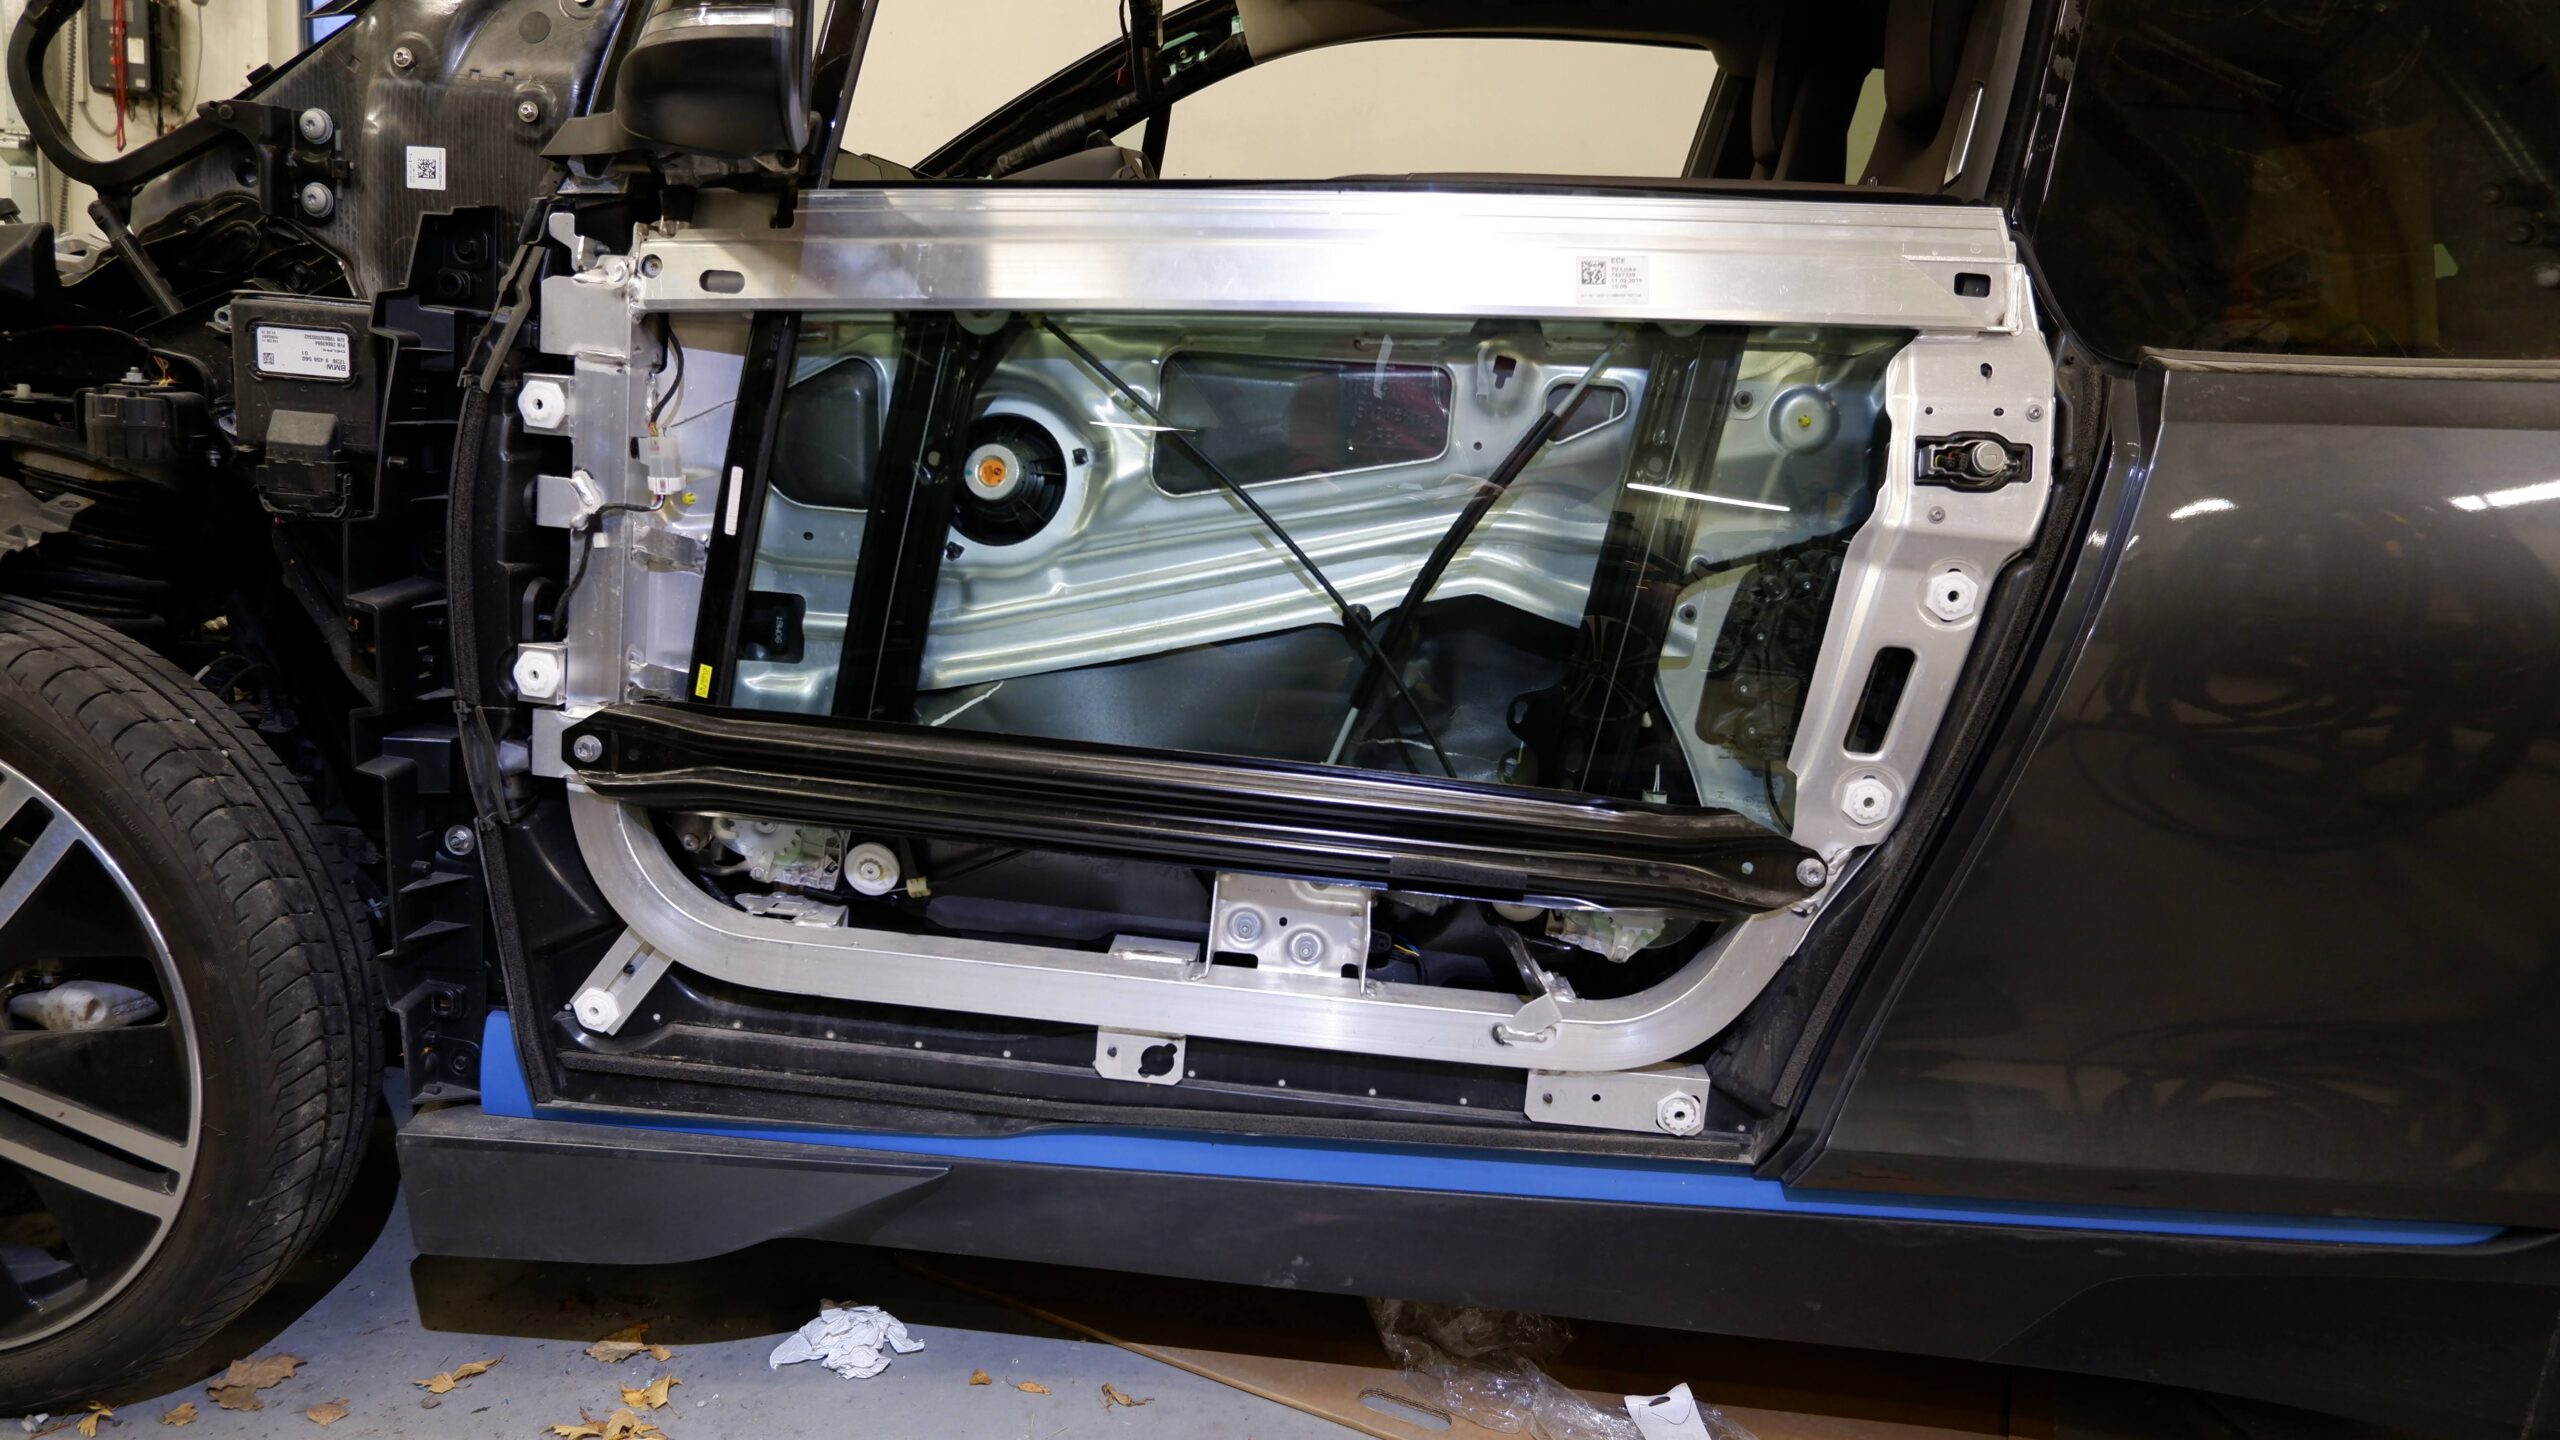
Glass in place
Fitting the door glass took some doing, as this model was new to us. Someone in an overseas Facebook group claimed removing the inner trim was enough. No chance, in our experience. Better to take the whole door off and put it on a bench. First remove the outer handle and lower mirror cover. Then prise the plastic door skin off its six clips; usually some break. Two bolts with large toothed heads hold the glass. A special tool lets you loosen those through the gap in the seal and adjust the window's position.
Taking the outer door skin off also let us vacuum out the broken glass properly. Unfortunately, I marked the panel while working on it, so that needed painting too.
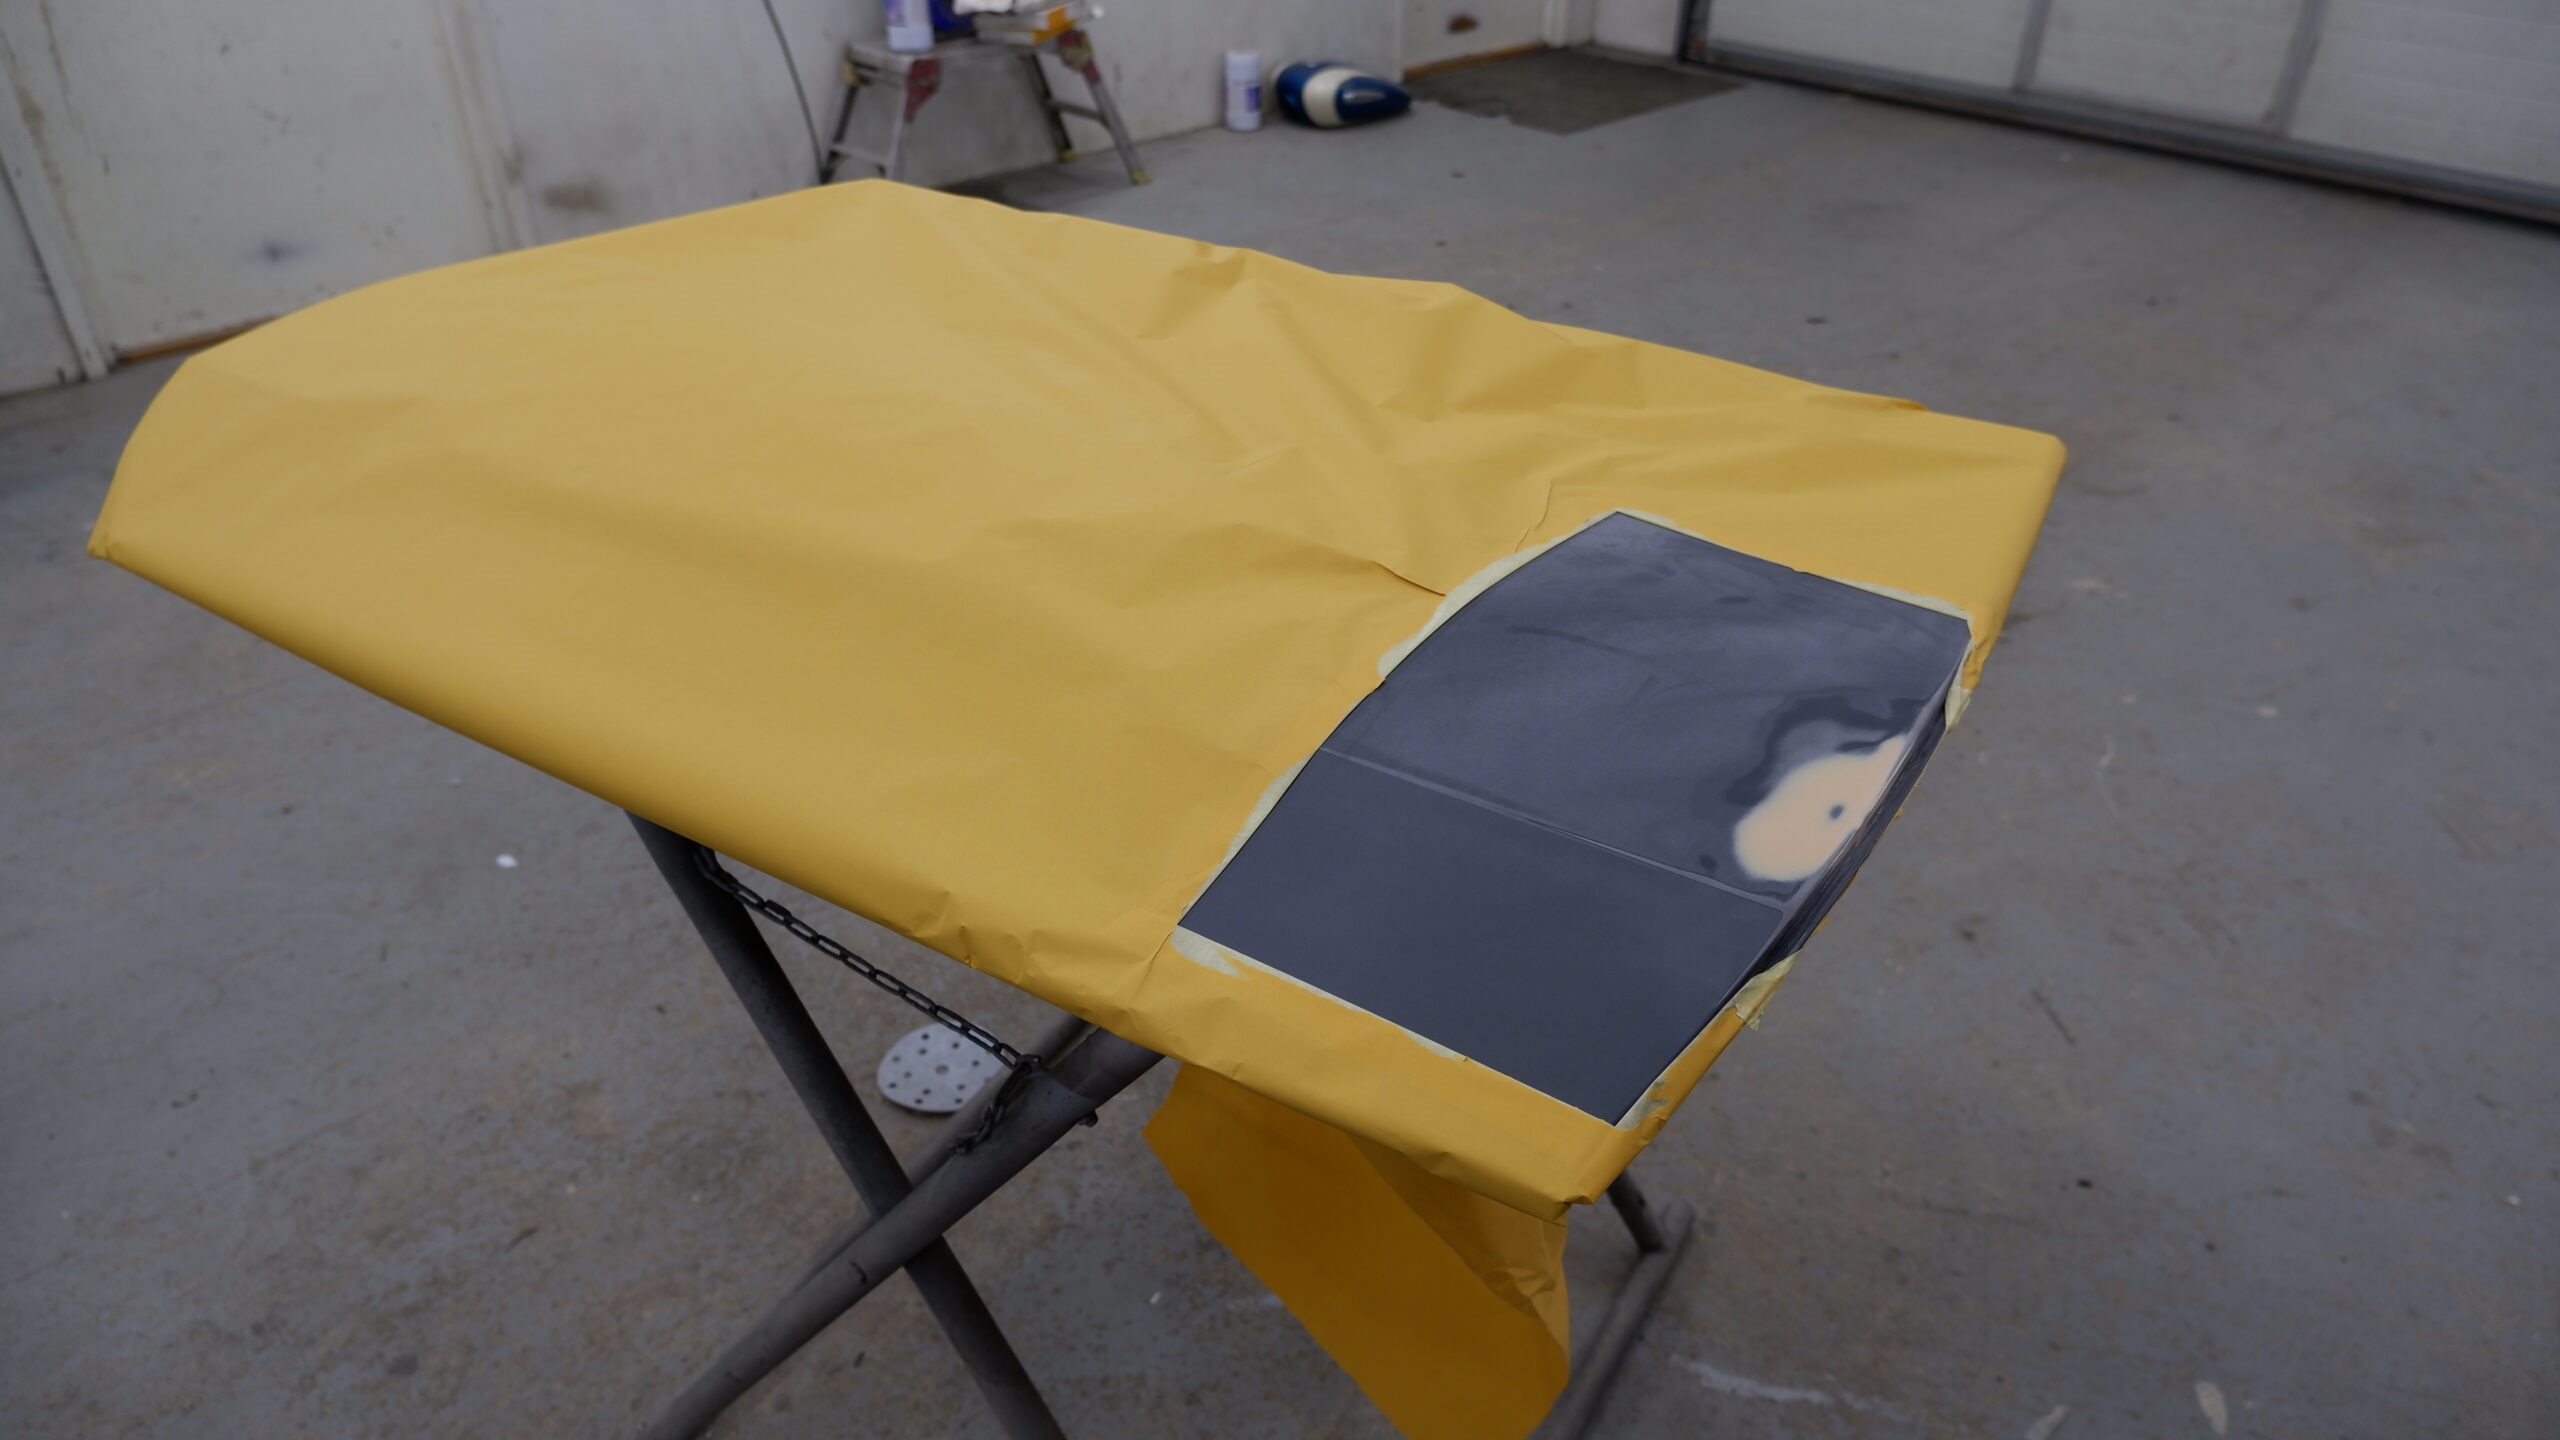
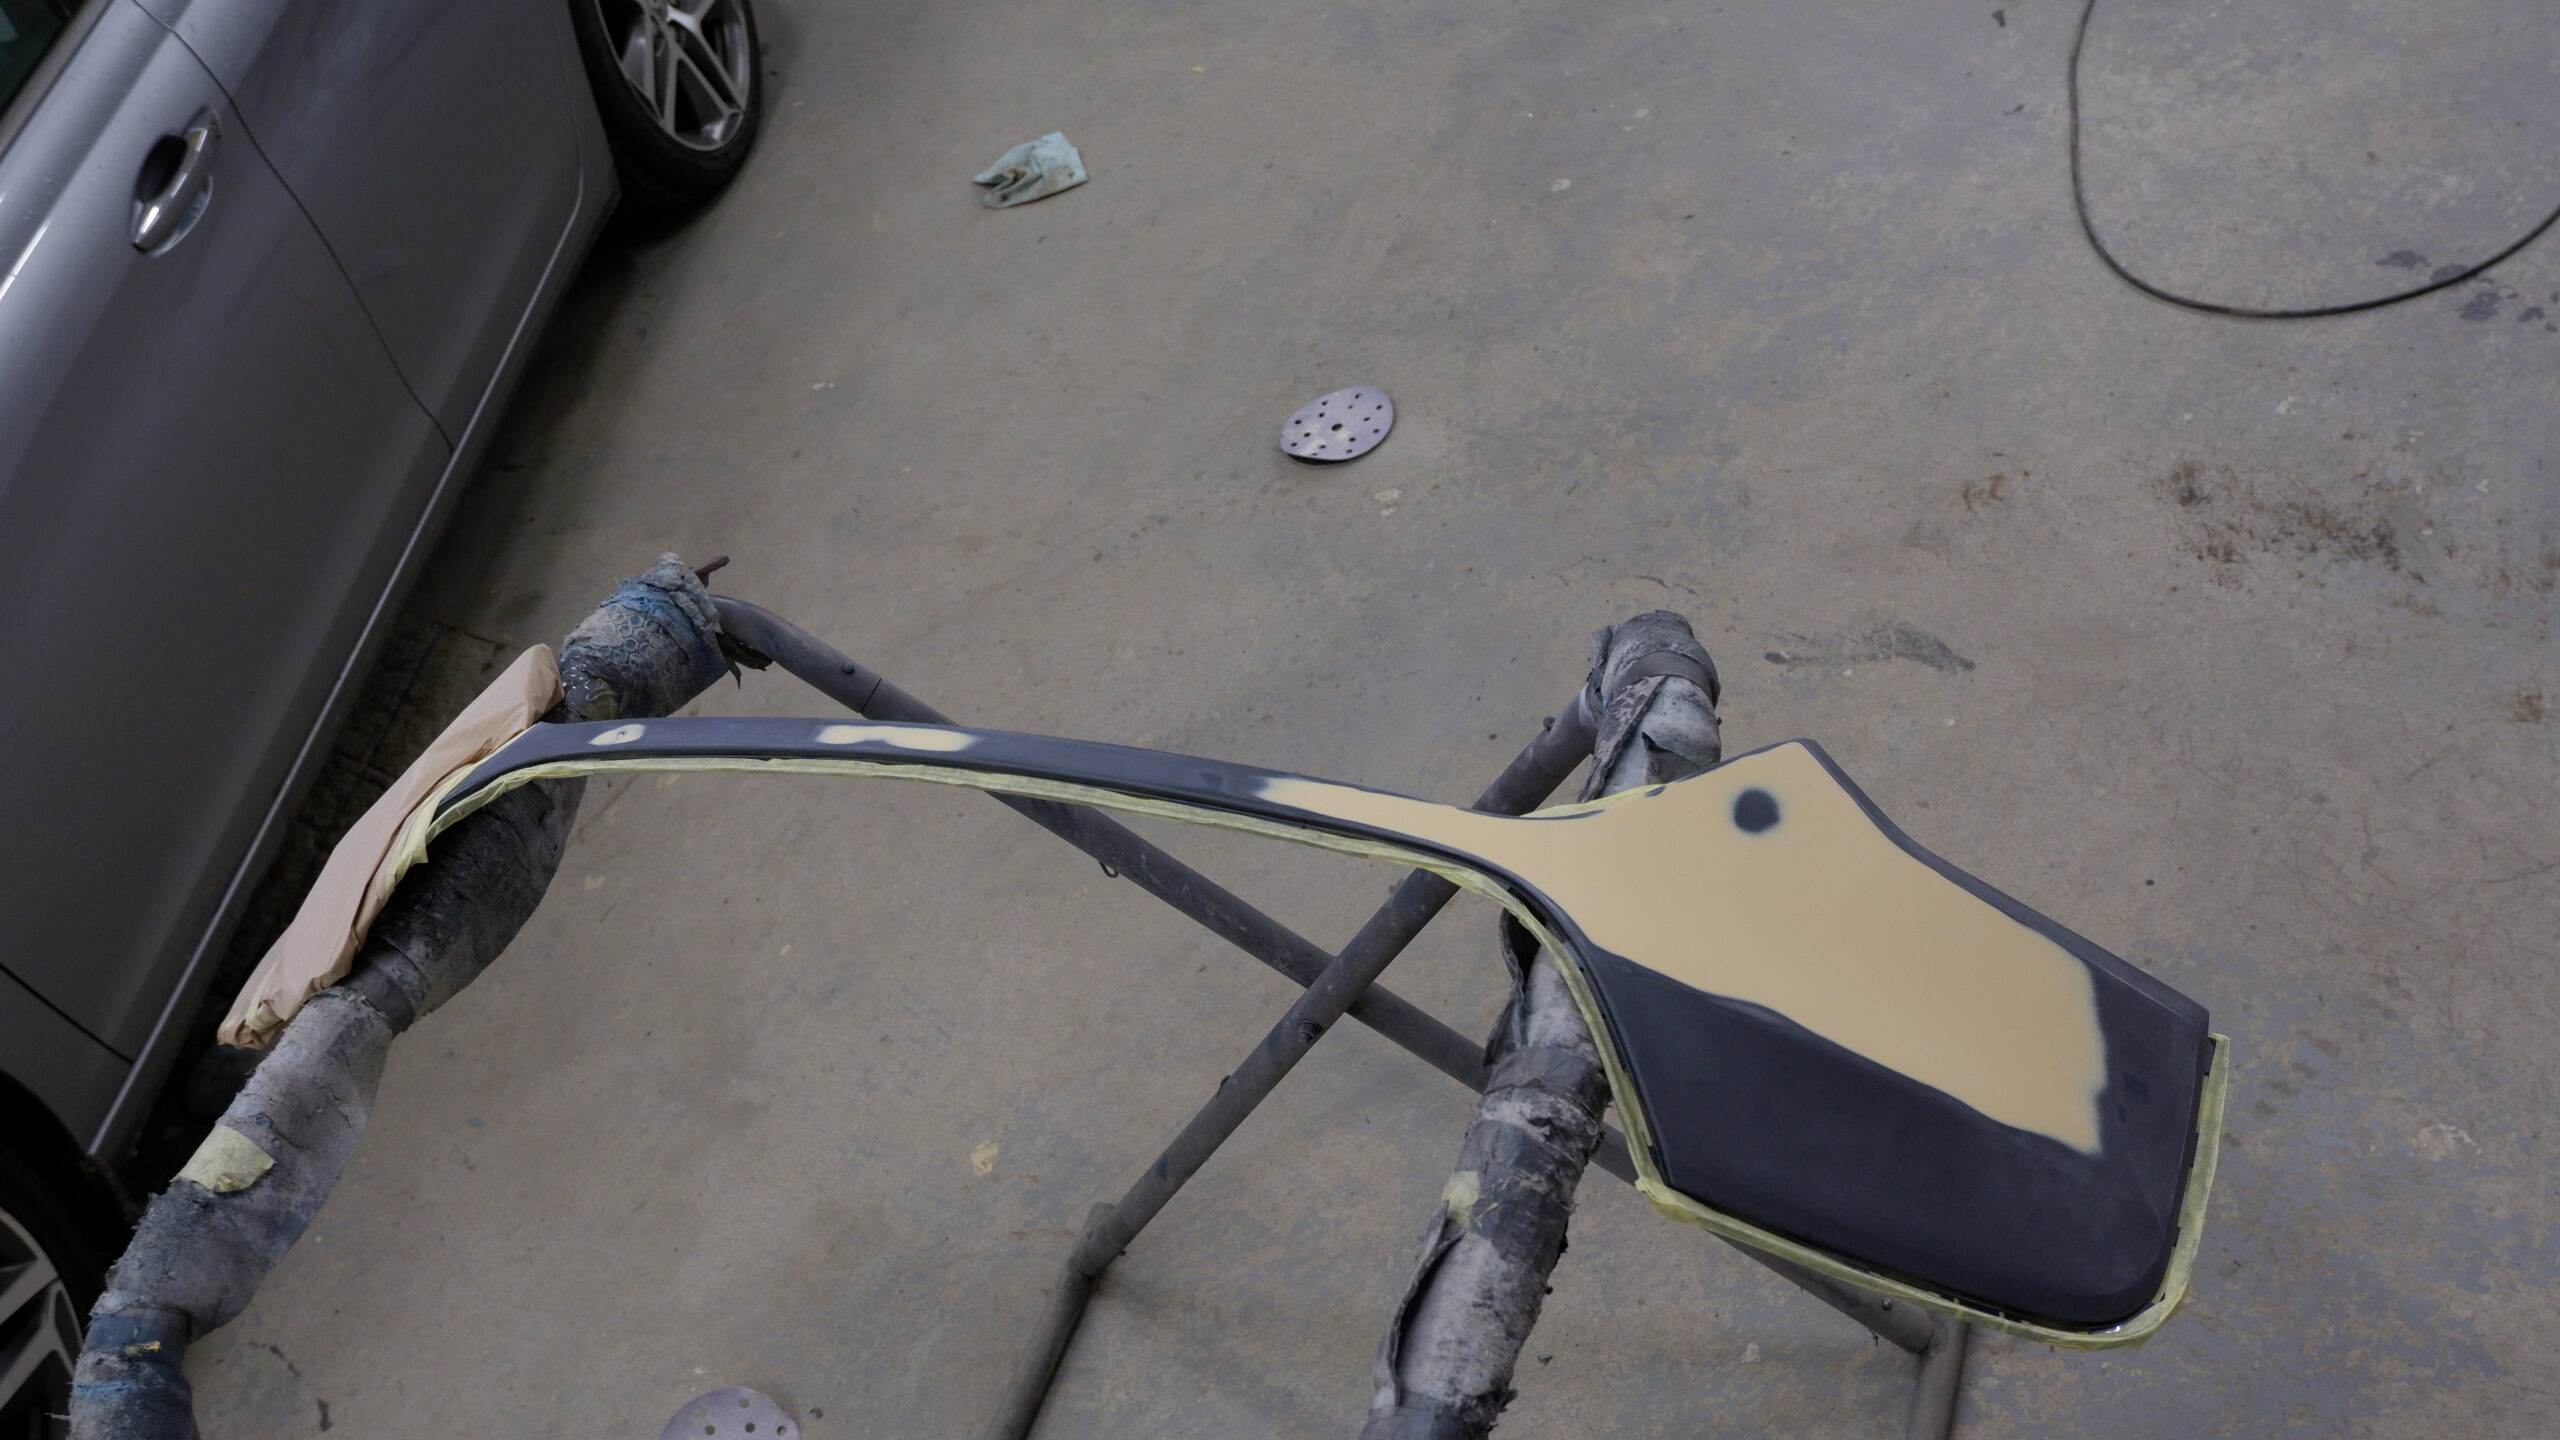
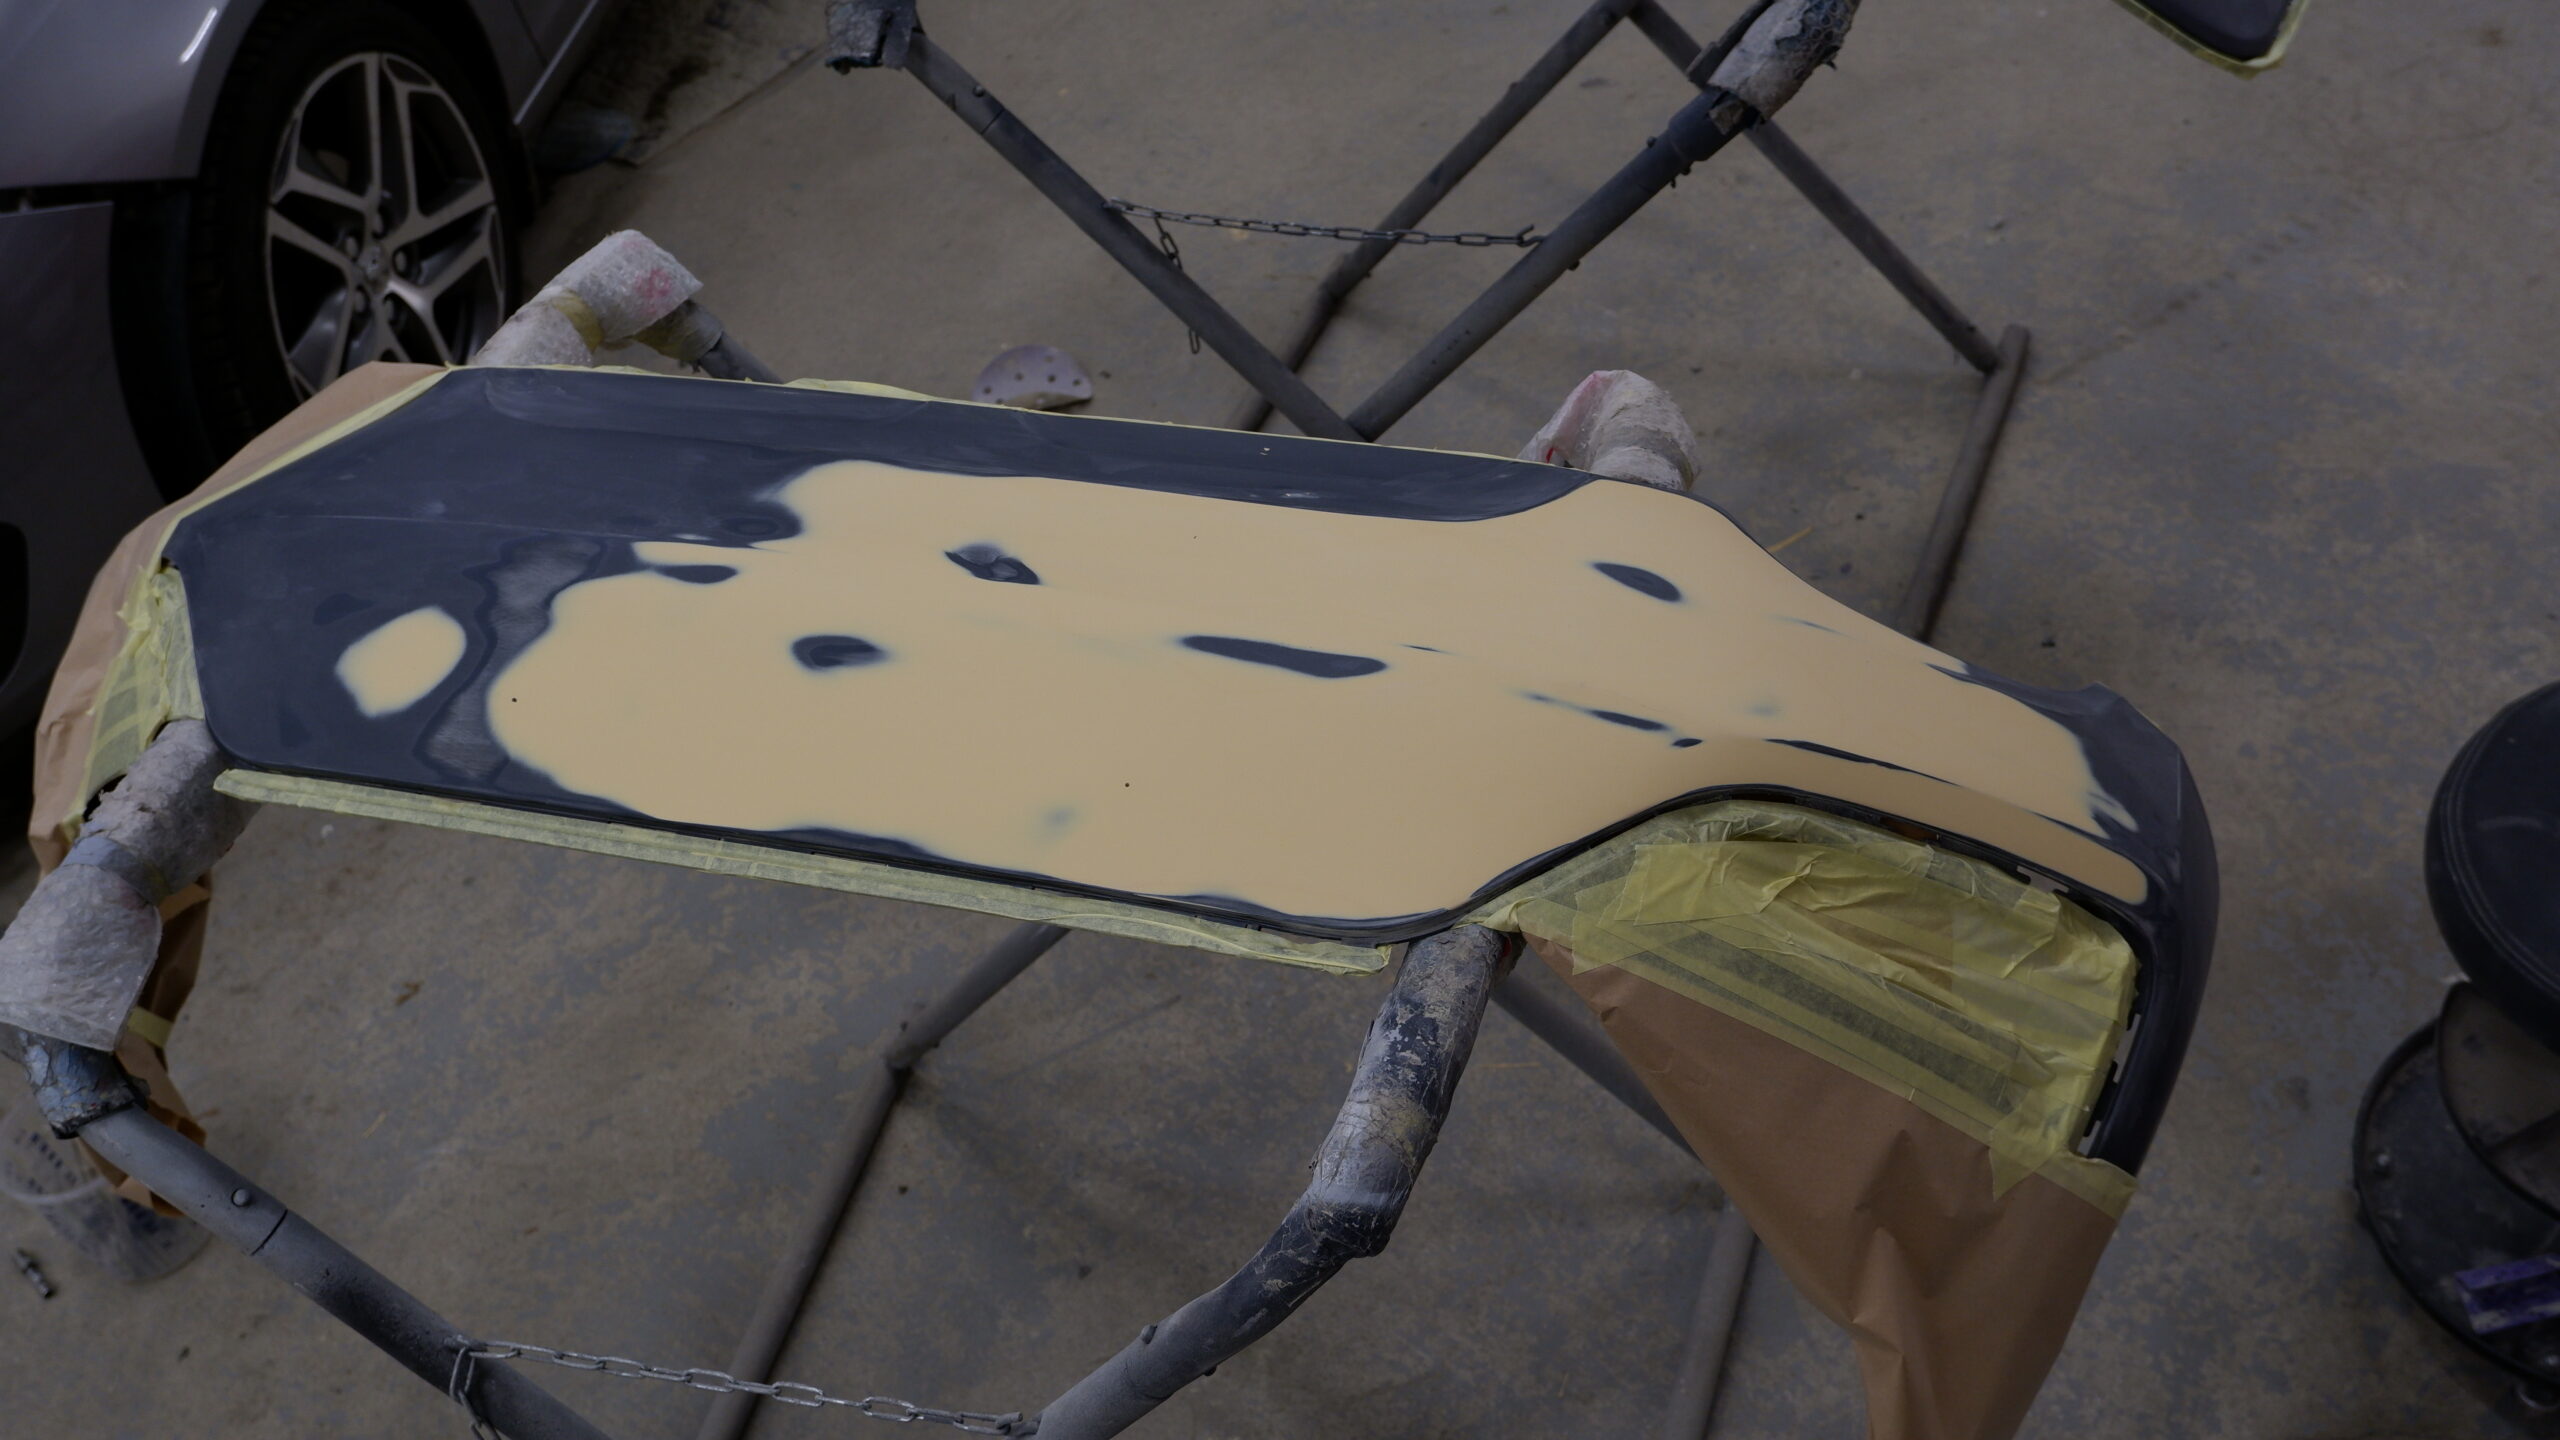
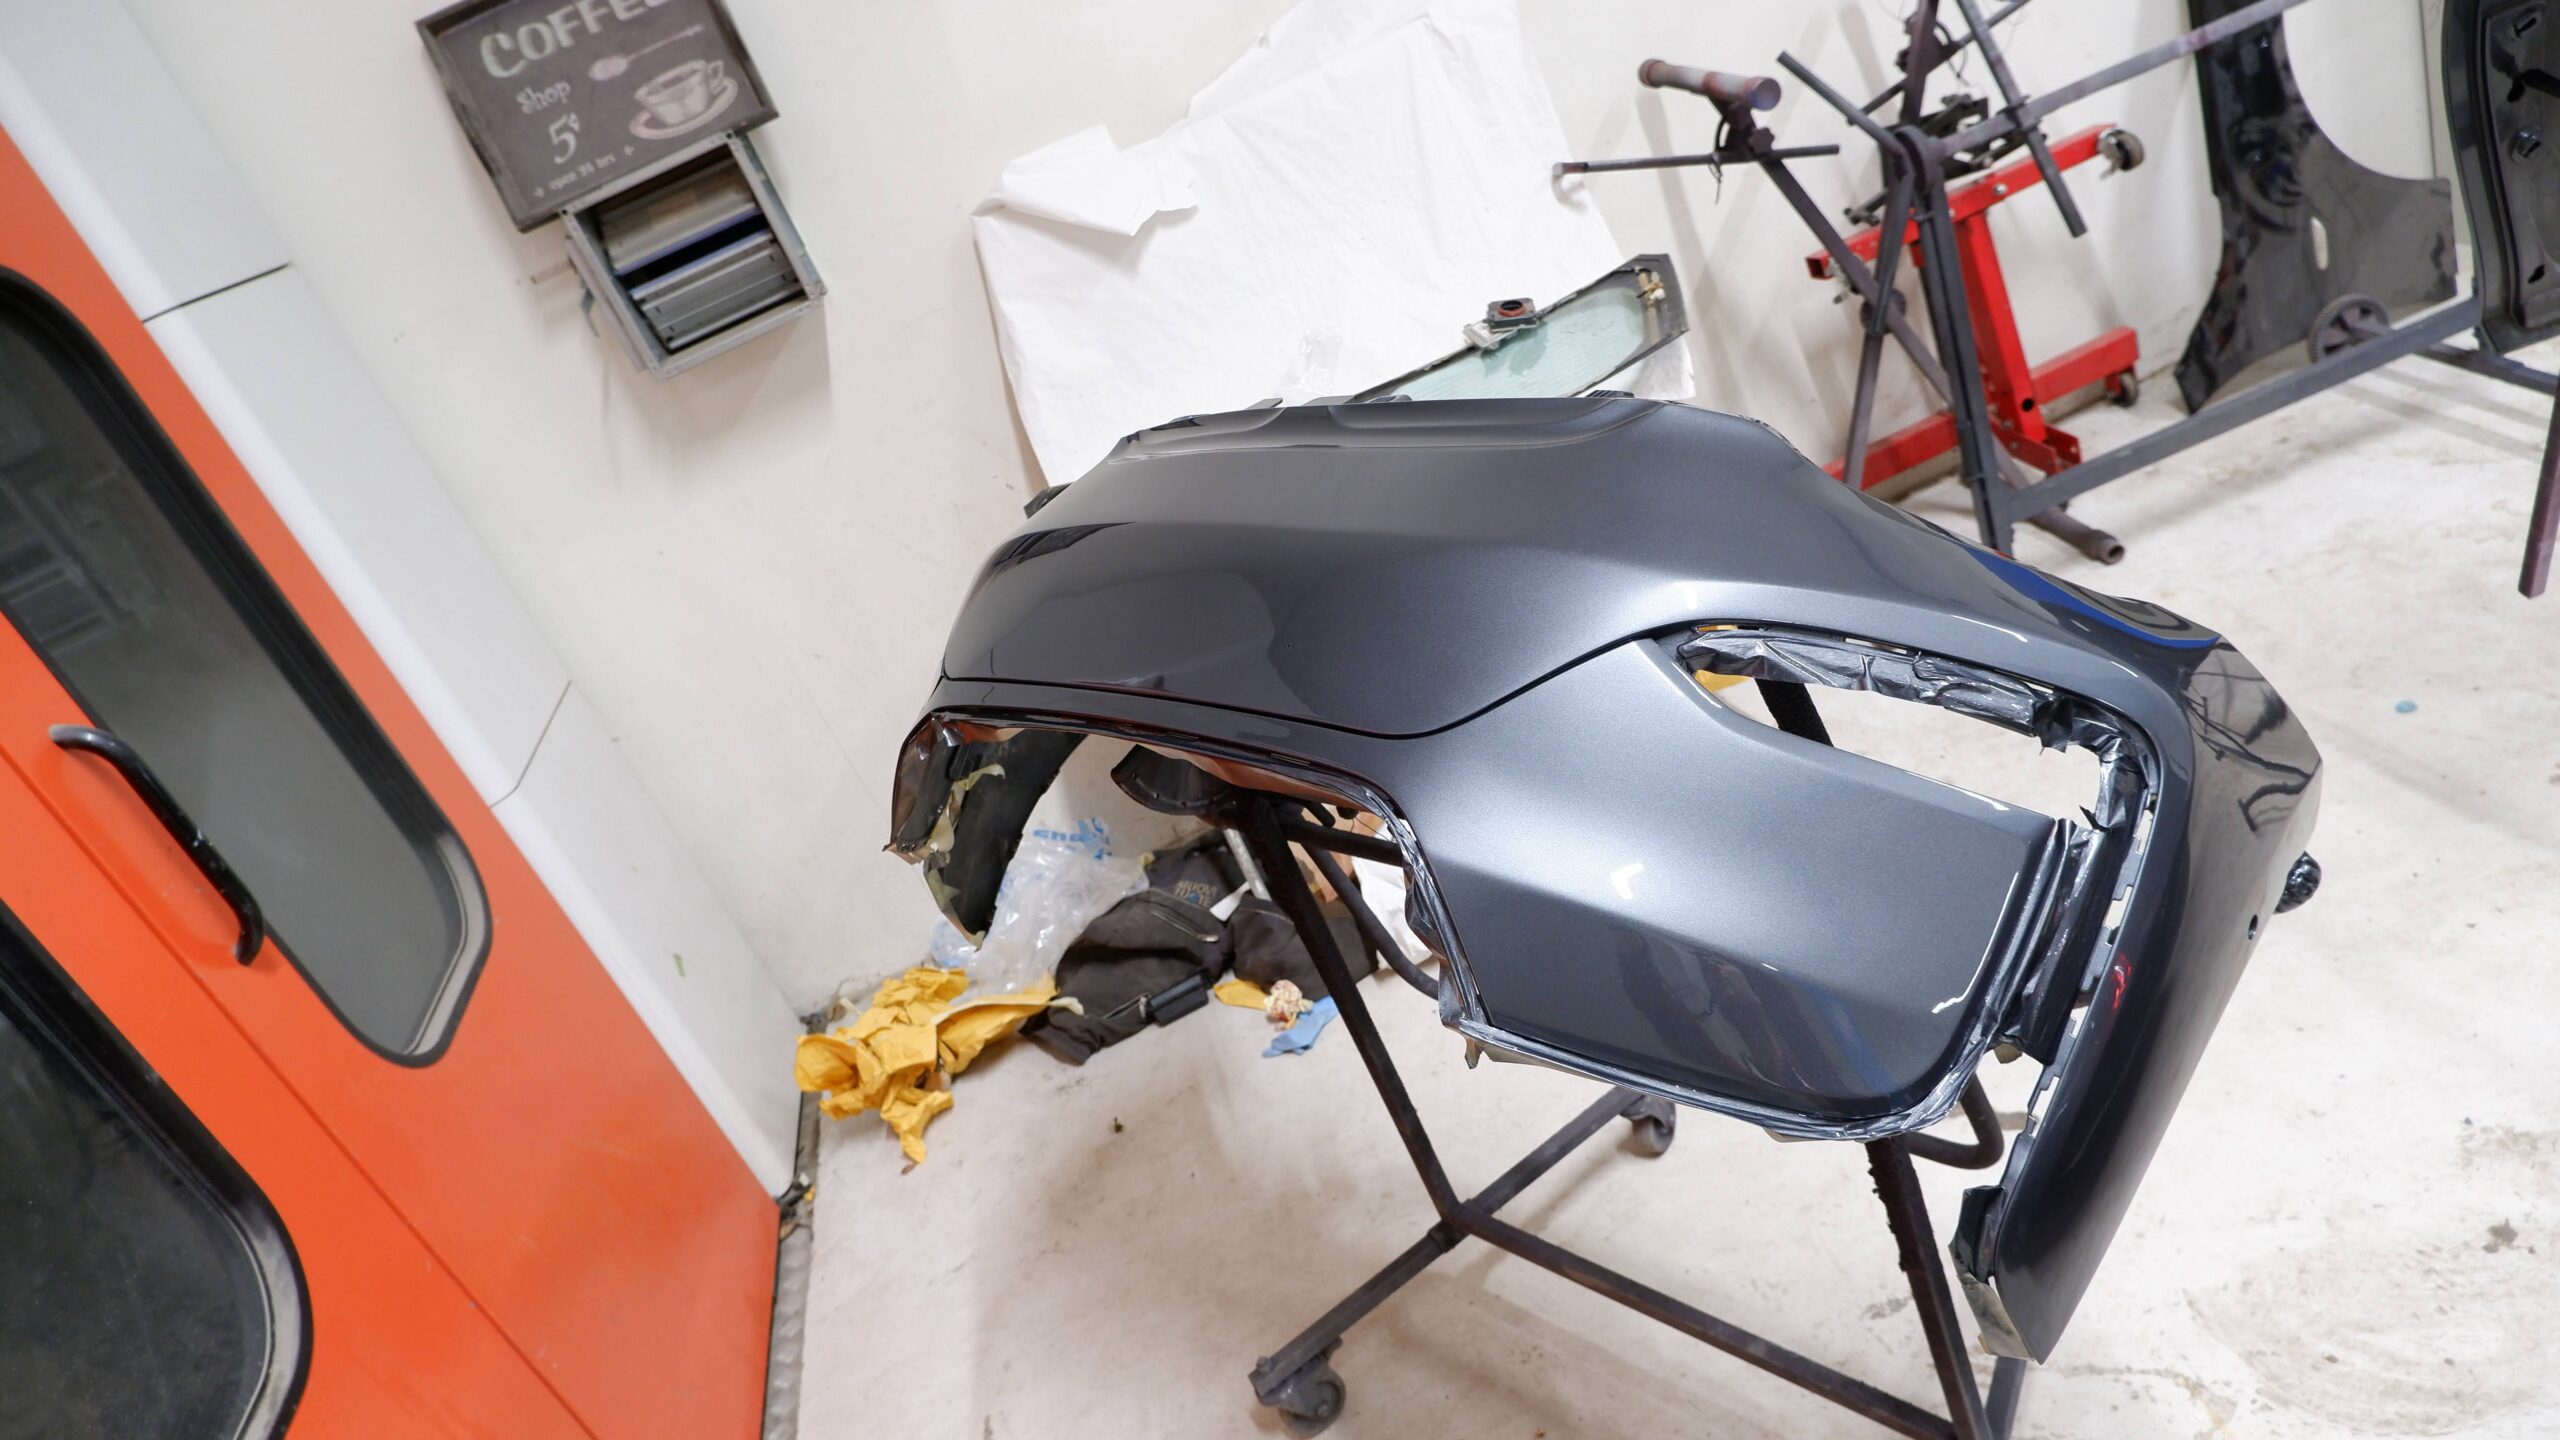
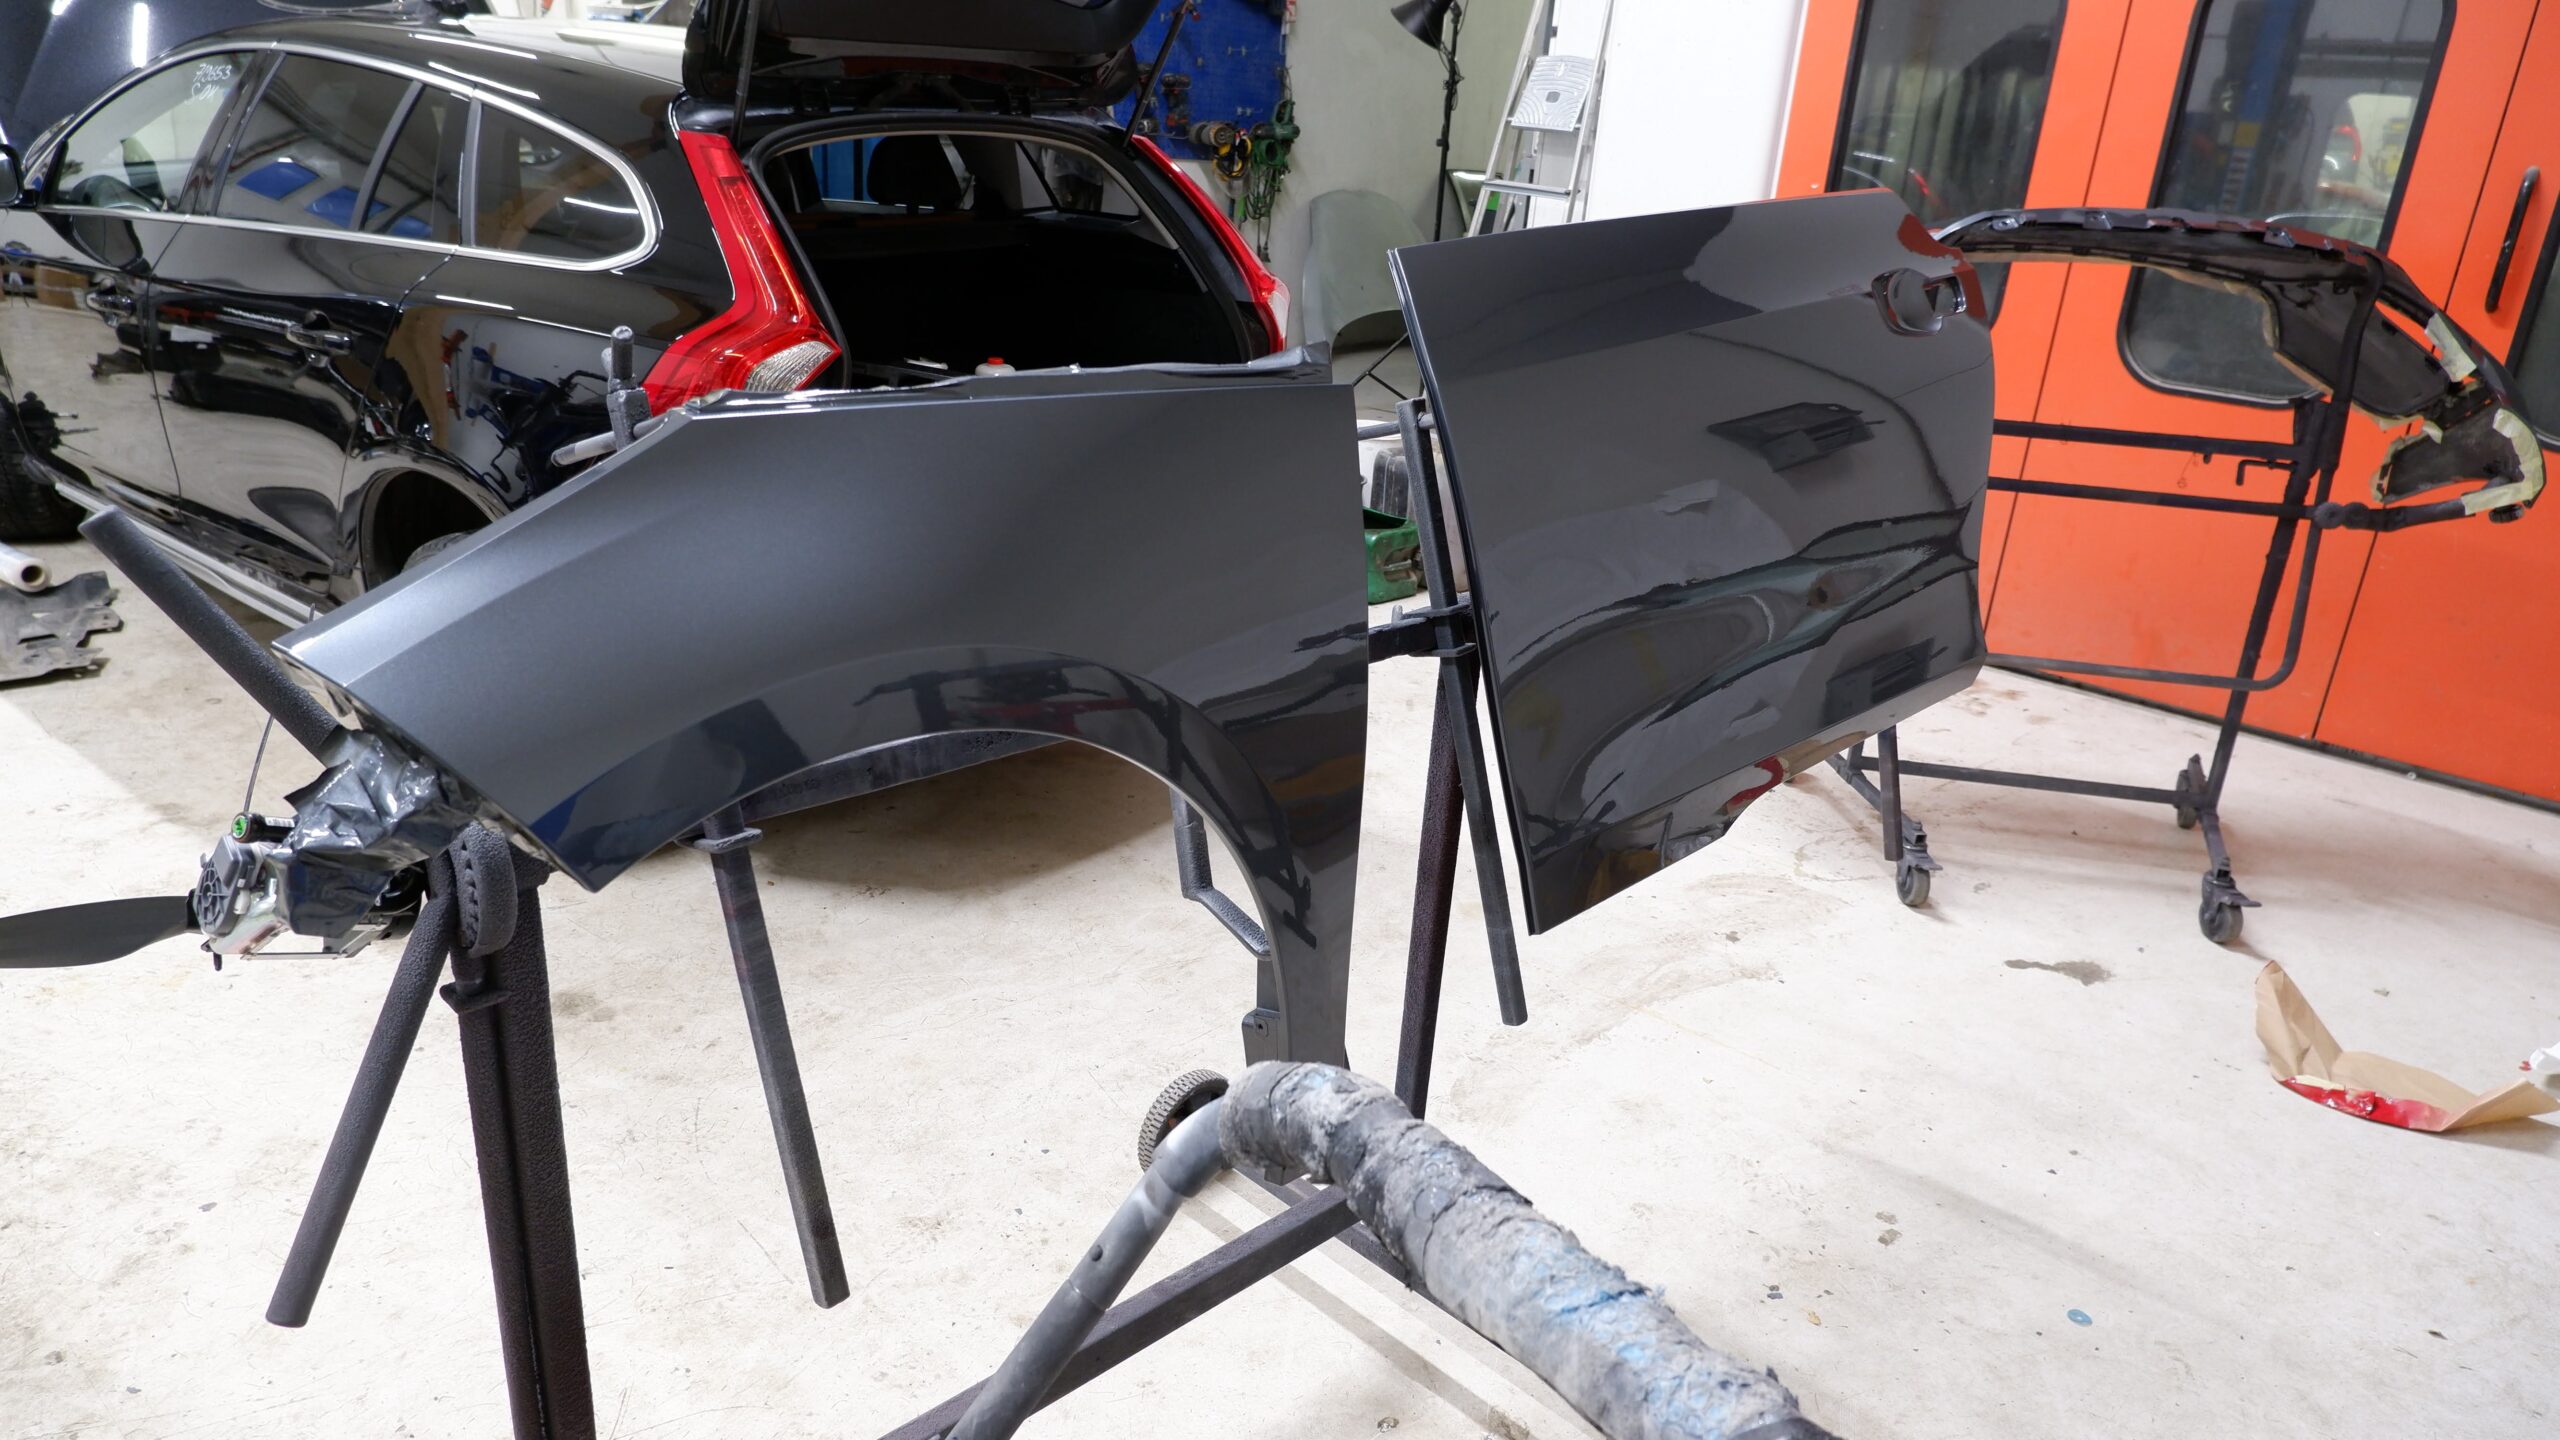
Kolarikorjaus P. Gullans painted the plastic body panels.
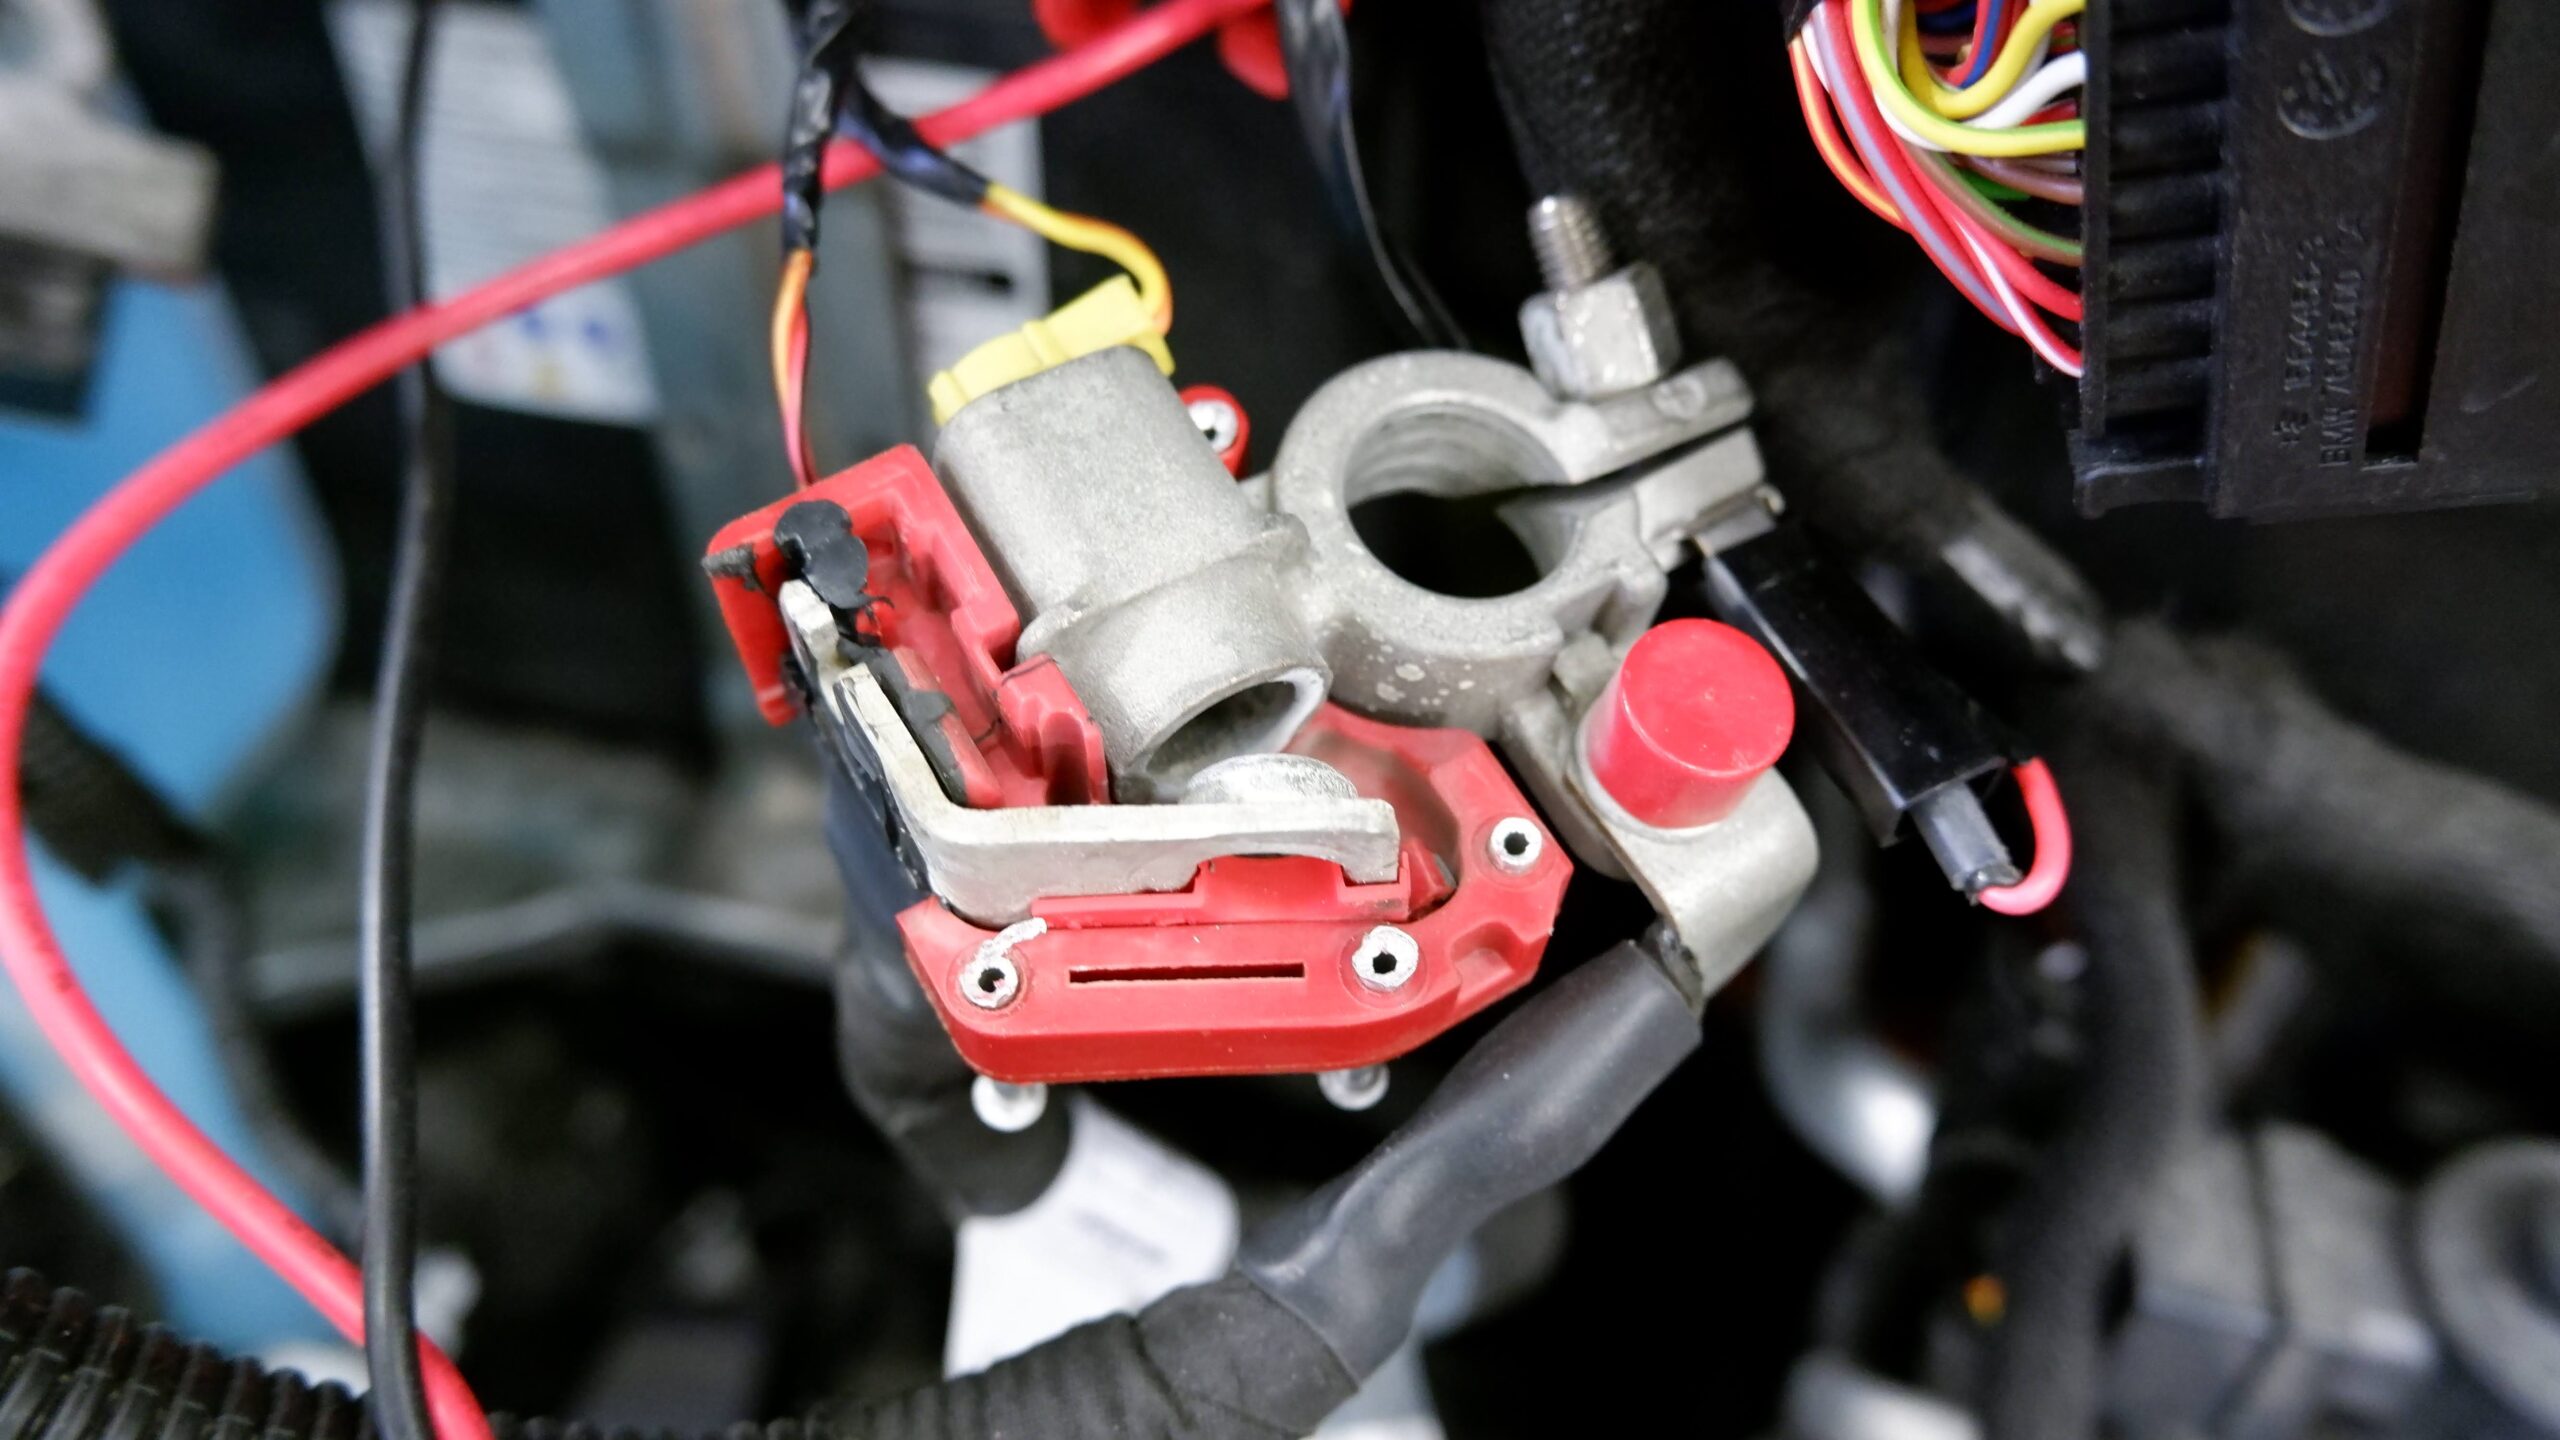
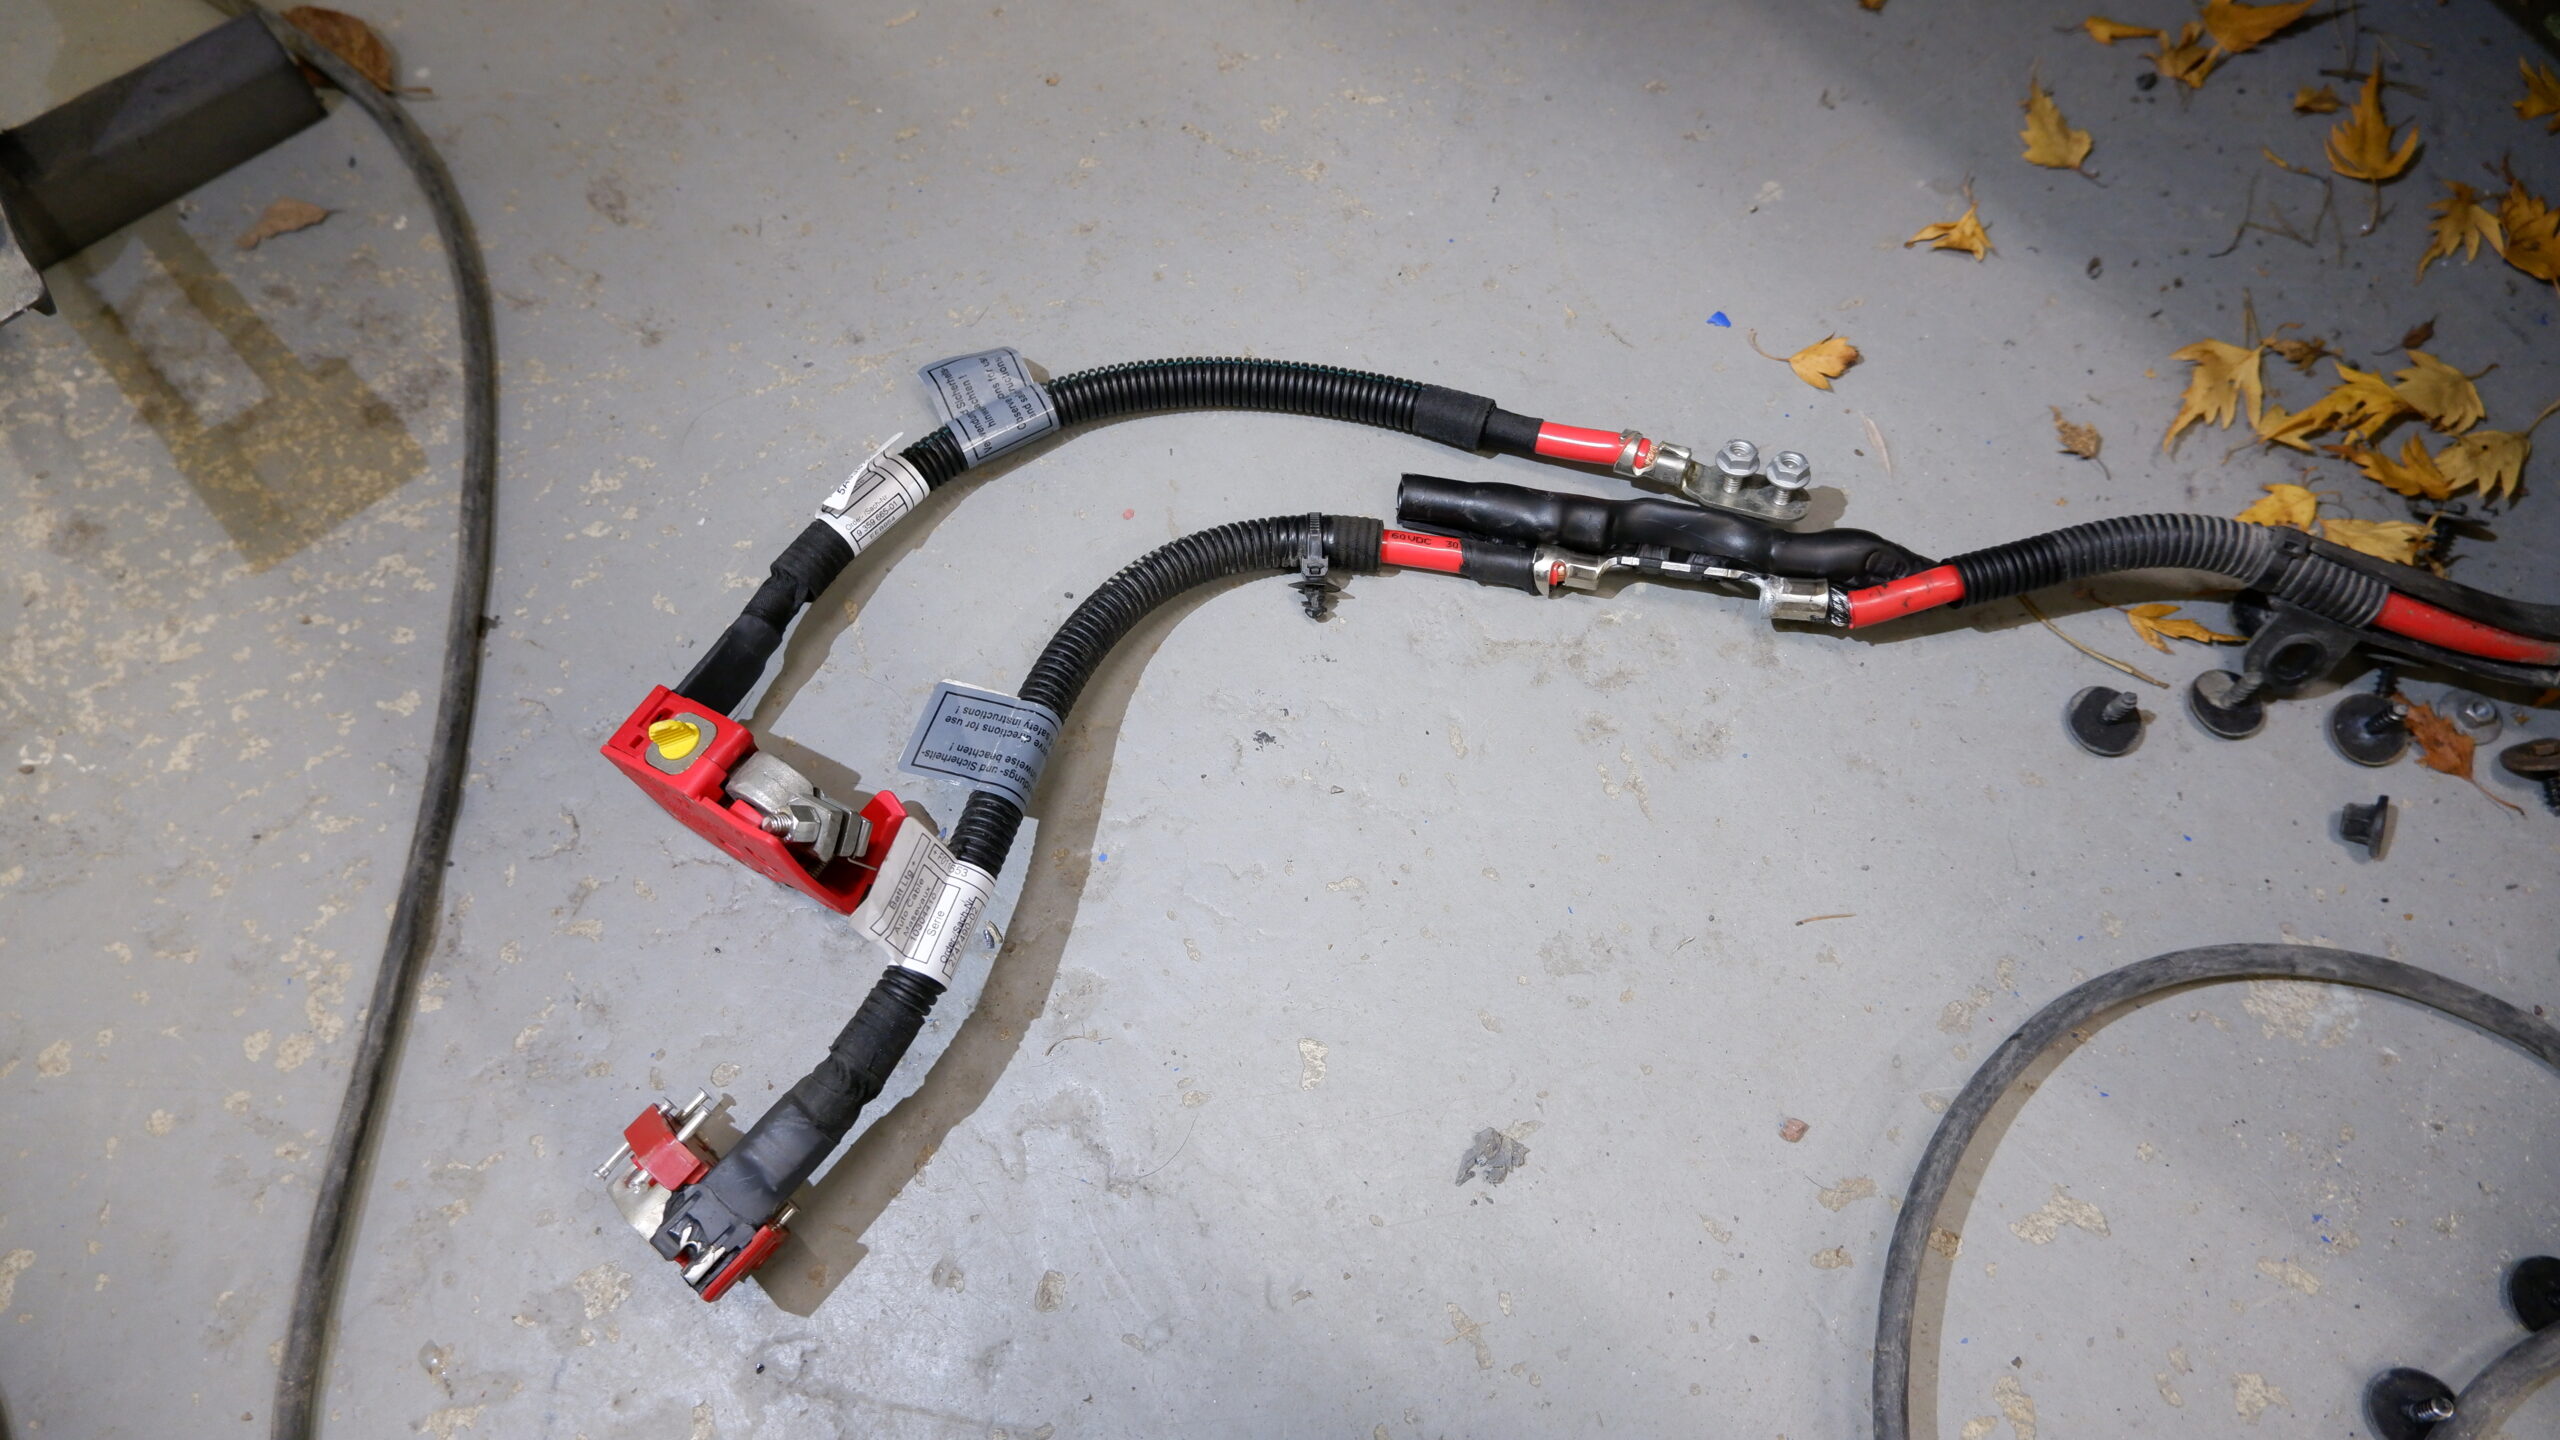
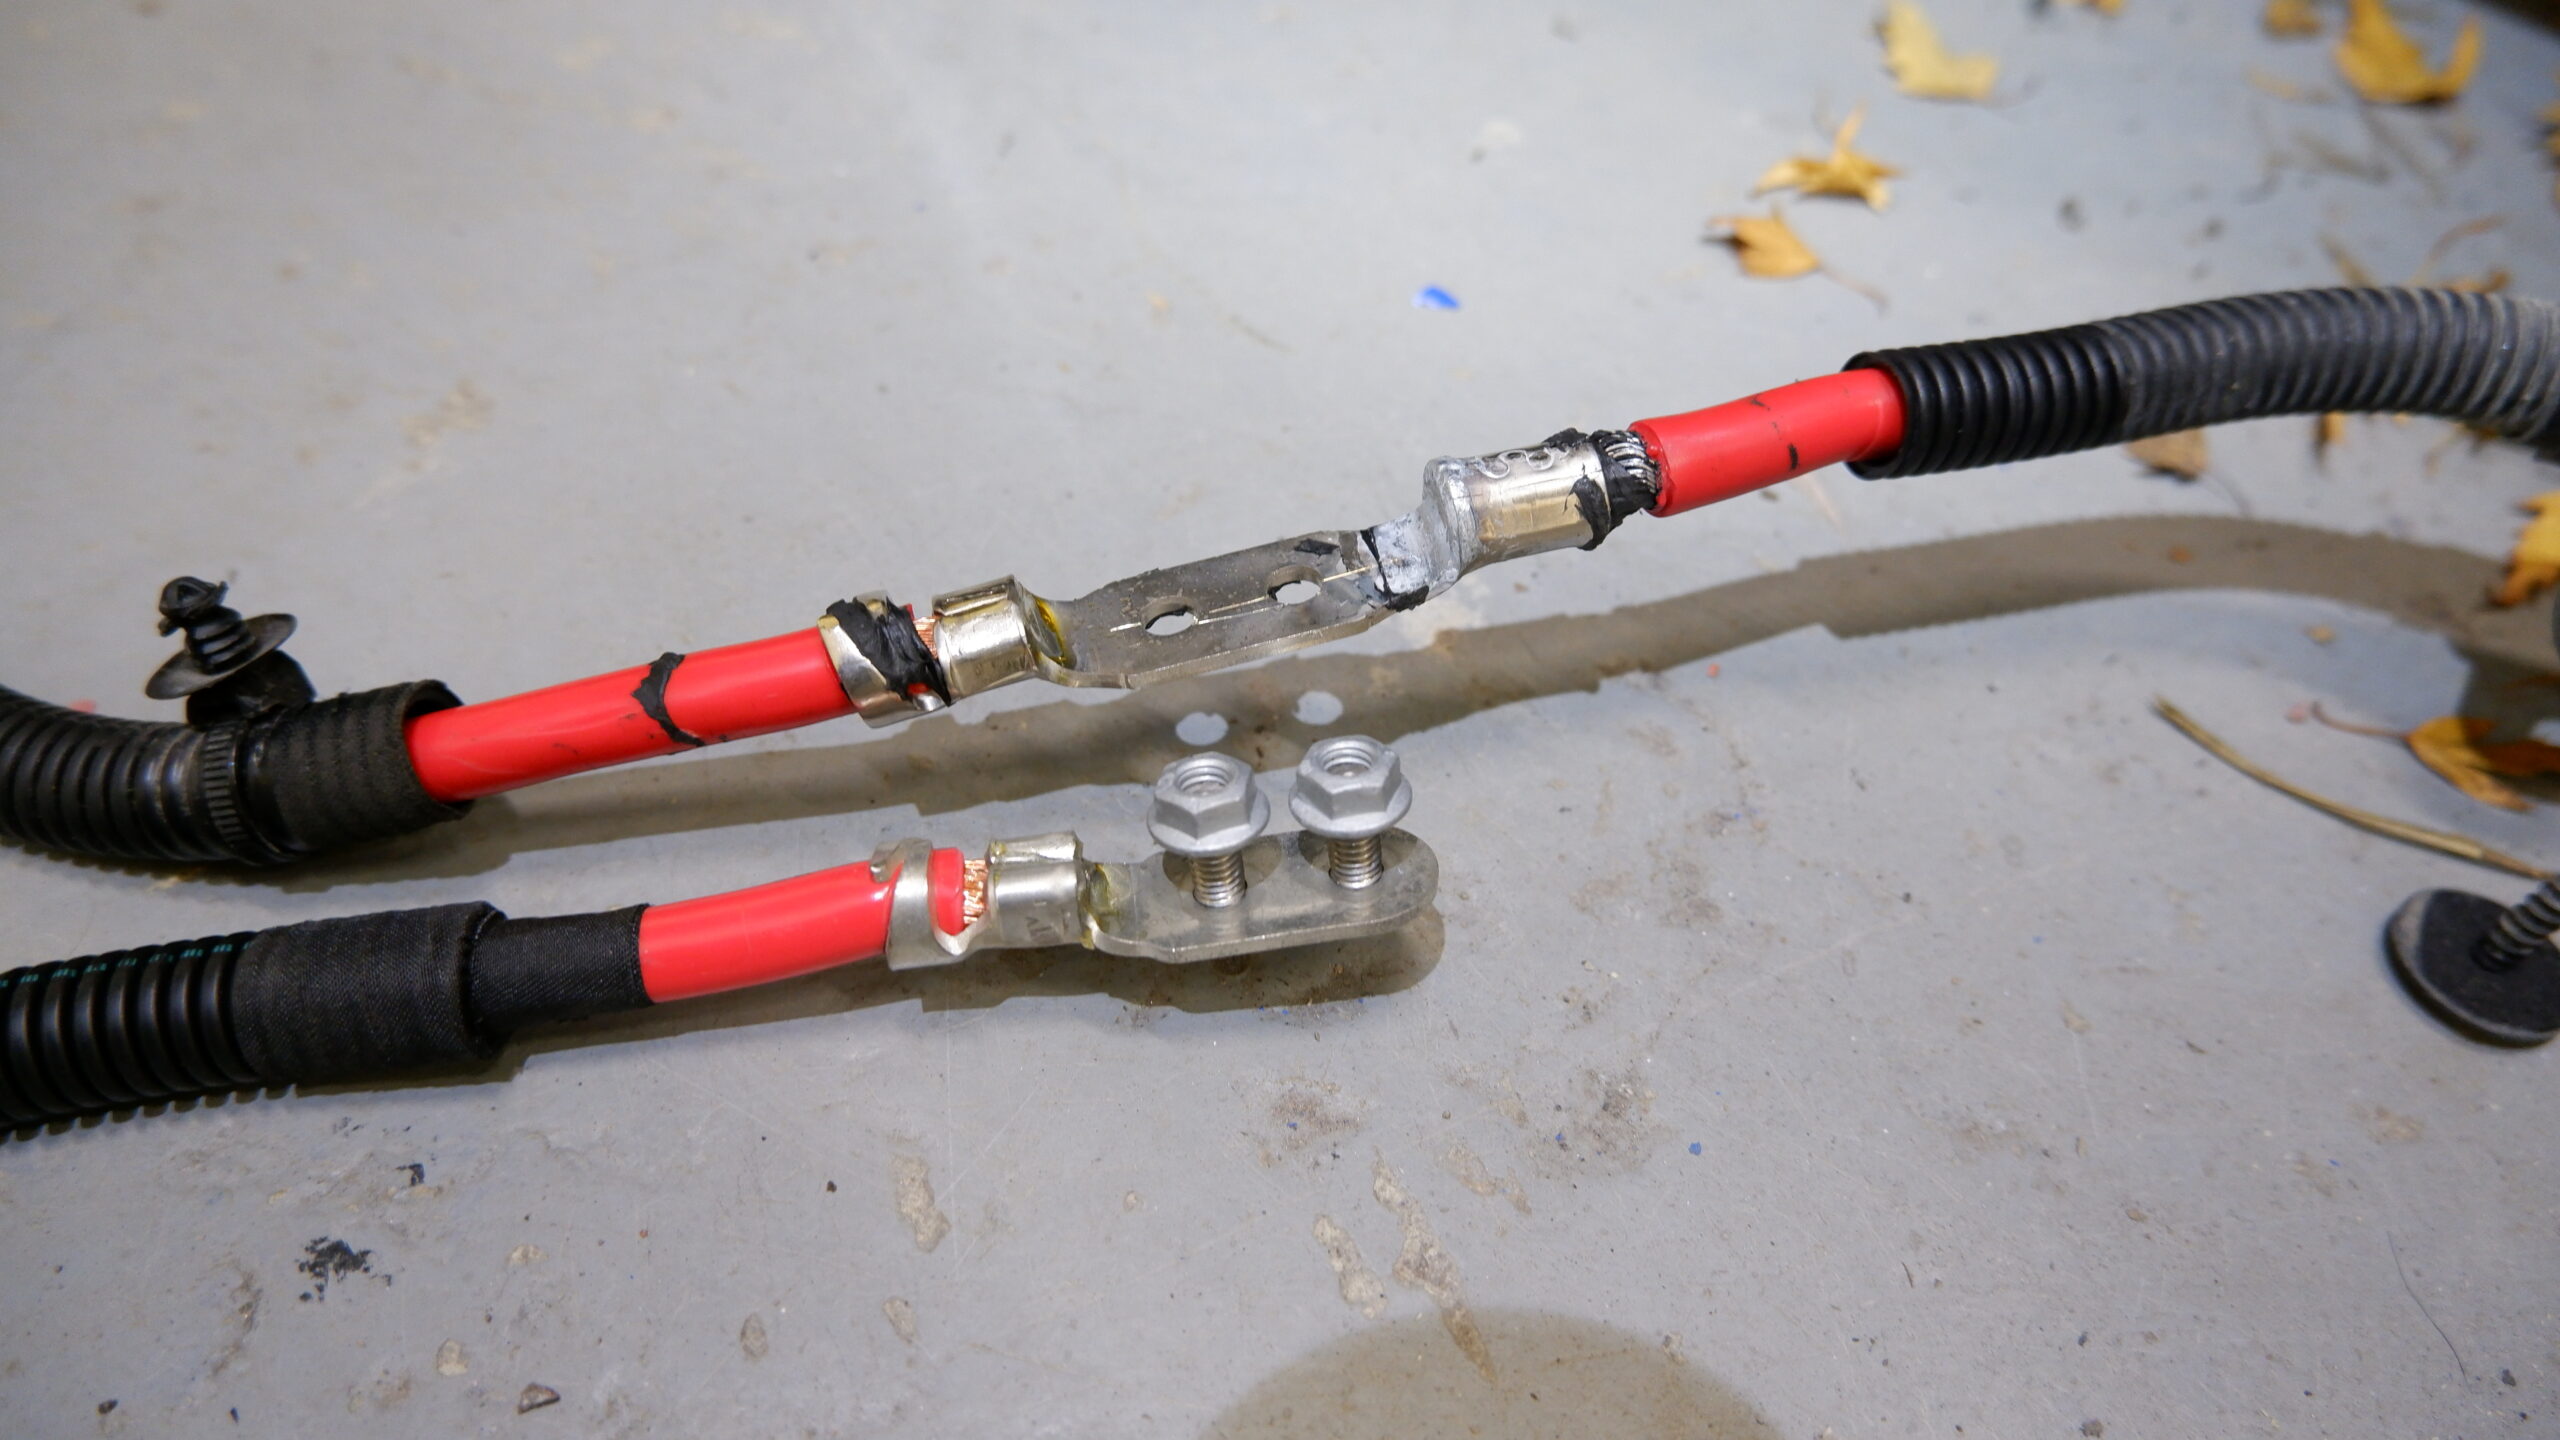
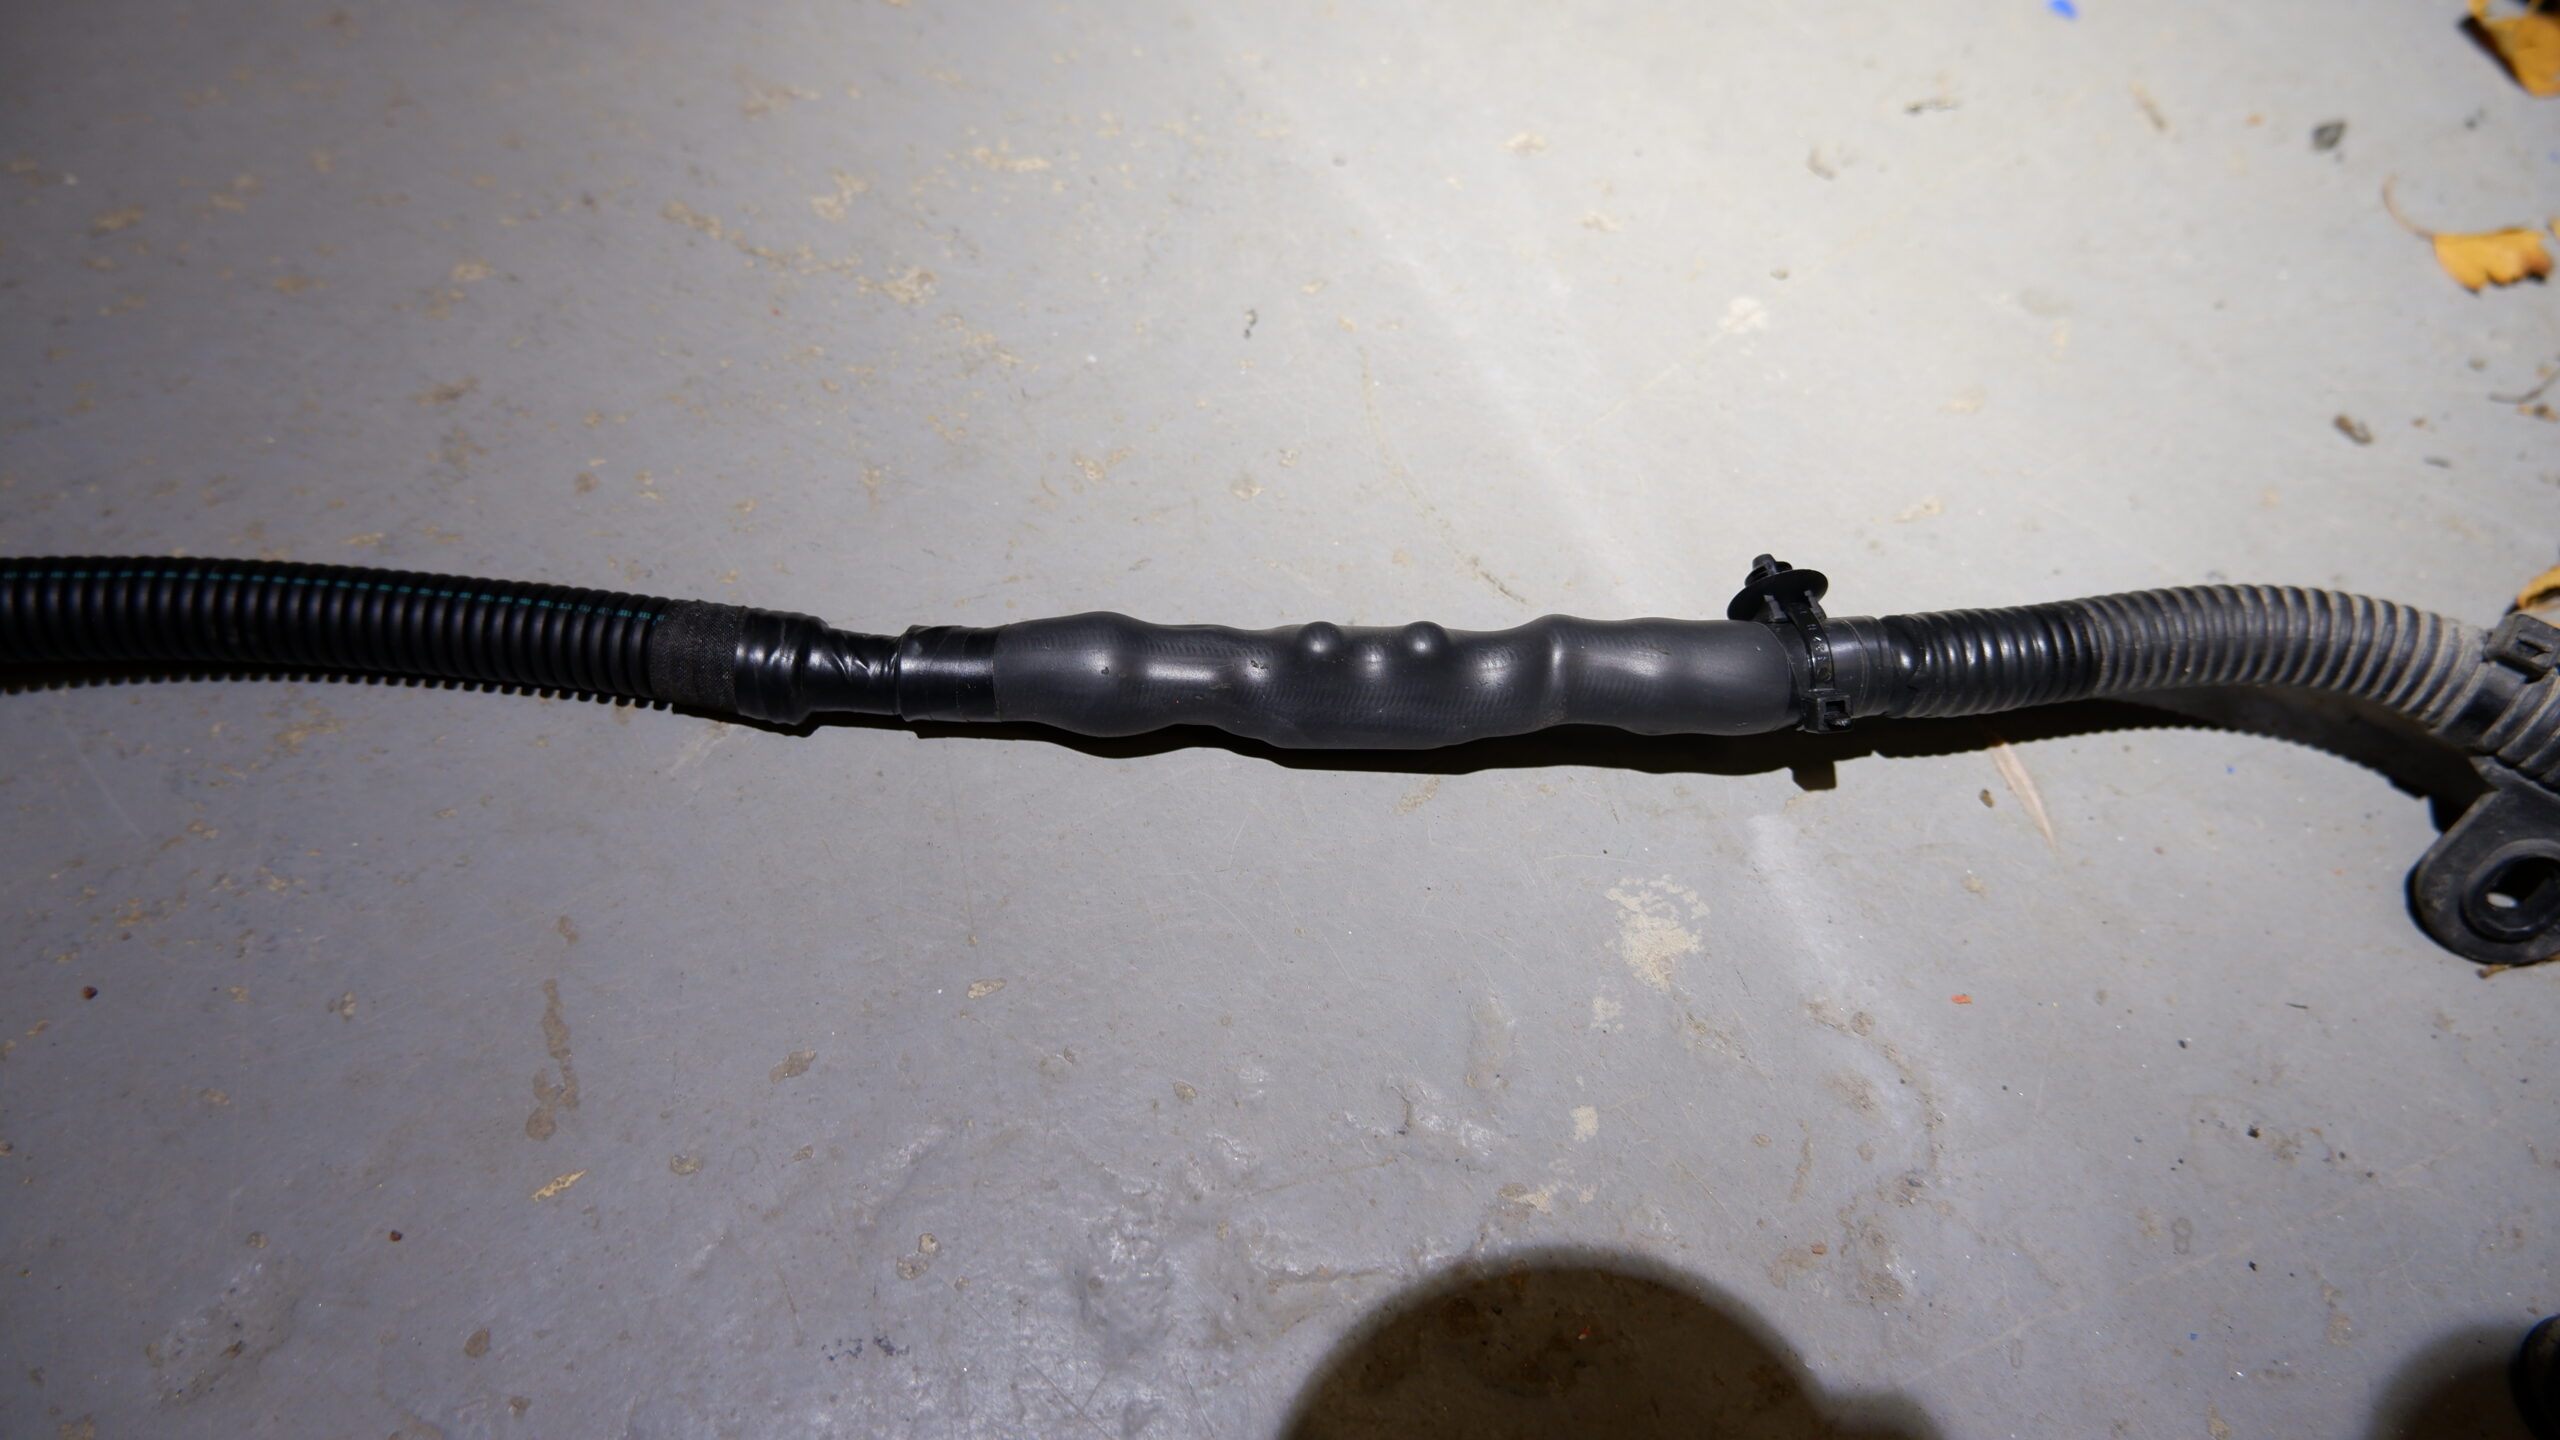
The positive terminal of the 12 V battery contains a small pyrotechnic charge that fires in a crash, automatically disconnecting the traction battery from the rest of the car’s electronics. The charge is not available separately, so a cable section has to be replaced, at about €250. The original cable already has a designated cut point for connecting the replacement section. Once the battery terminal was repaired, the traction battery came back online and the car could move under its own power.
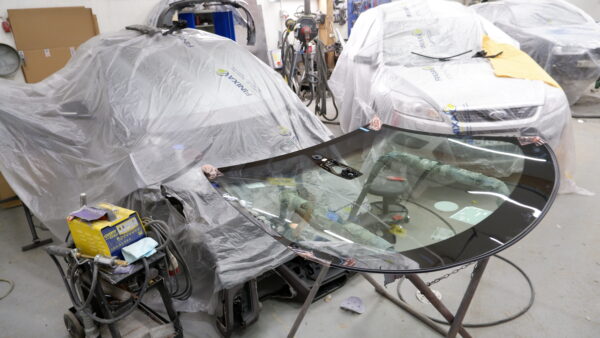
A big windscreen, but surprisingly light. About €300 for a new one.
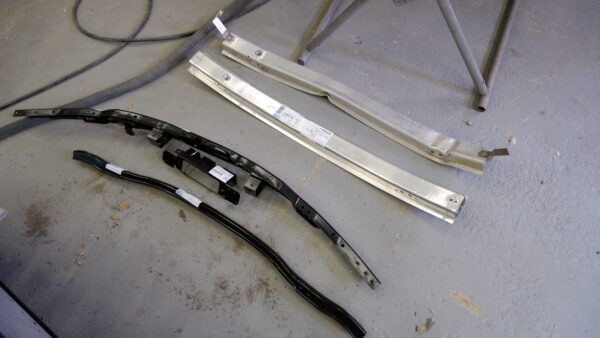
New front crossmembers.
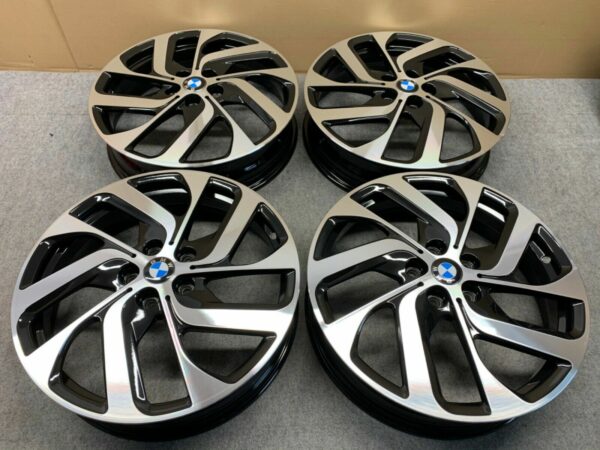
Winter was on its way, so we needed wheels for winter tyres. The i3's tyre sizes are rather exotic, and the choice was limited. There were no winter tyres available for its original 20-inch wheels. A few manufacturers offered studless tyres in 19-inch sizes, even the unusual 155/70 R19, but no studded ones. On a whim, I decided I wanted the early asymmetric wheels, with different versions for the left and right sides.
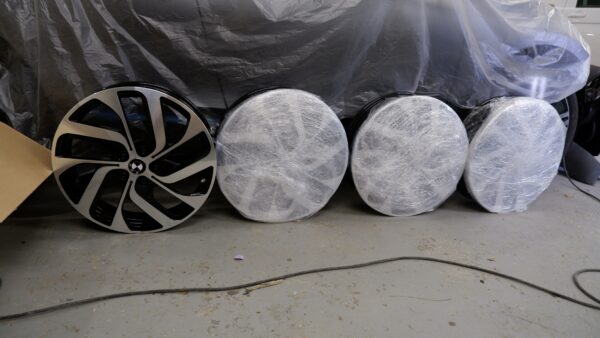
Of course, the eBay order didn't quite go to plan. Despite the listing photos, four identical wheels arrived. Two went back and two replacements were sent. A delay of just under a week didn't matter on this project, and we ended up getting the tyre-pressure sensors thrown in for free.
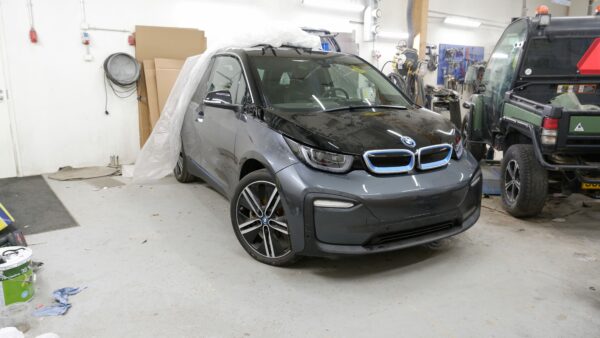
Almost done
After painting, the car went back together quickly. A few crash-related fault codes needed clearing — thanks to EV Diag and Matti Hautamäki — and it was ready for inspection.
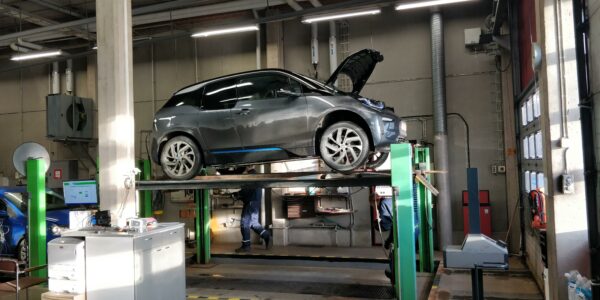
The local inspection station hadn't had one of these to examine before either. Still, it passed without any remarks once we'd found the VIN under the right-hand front seat.
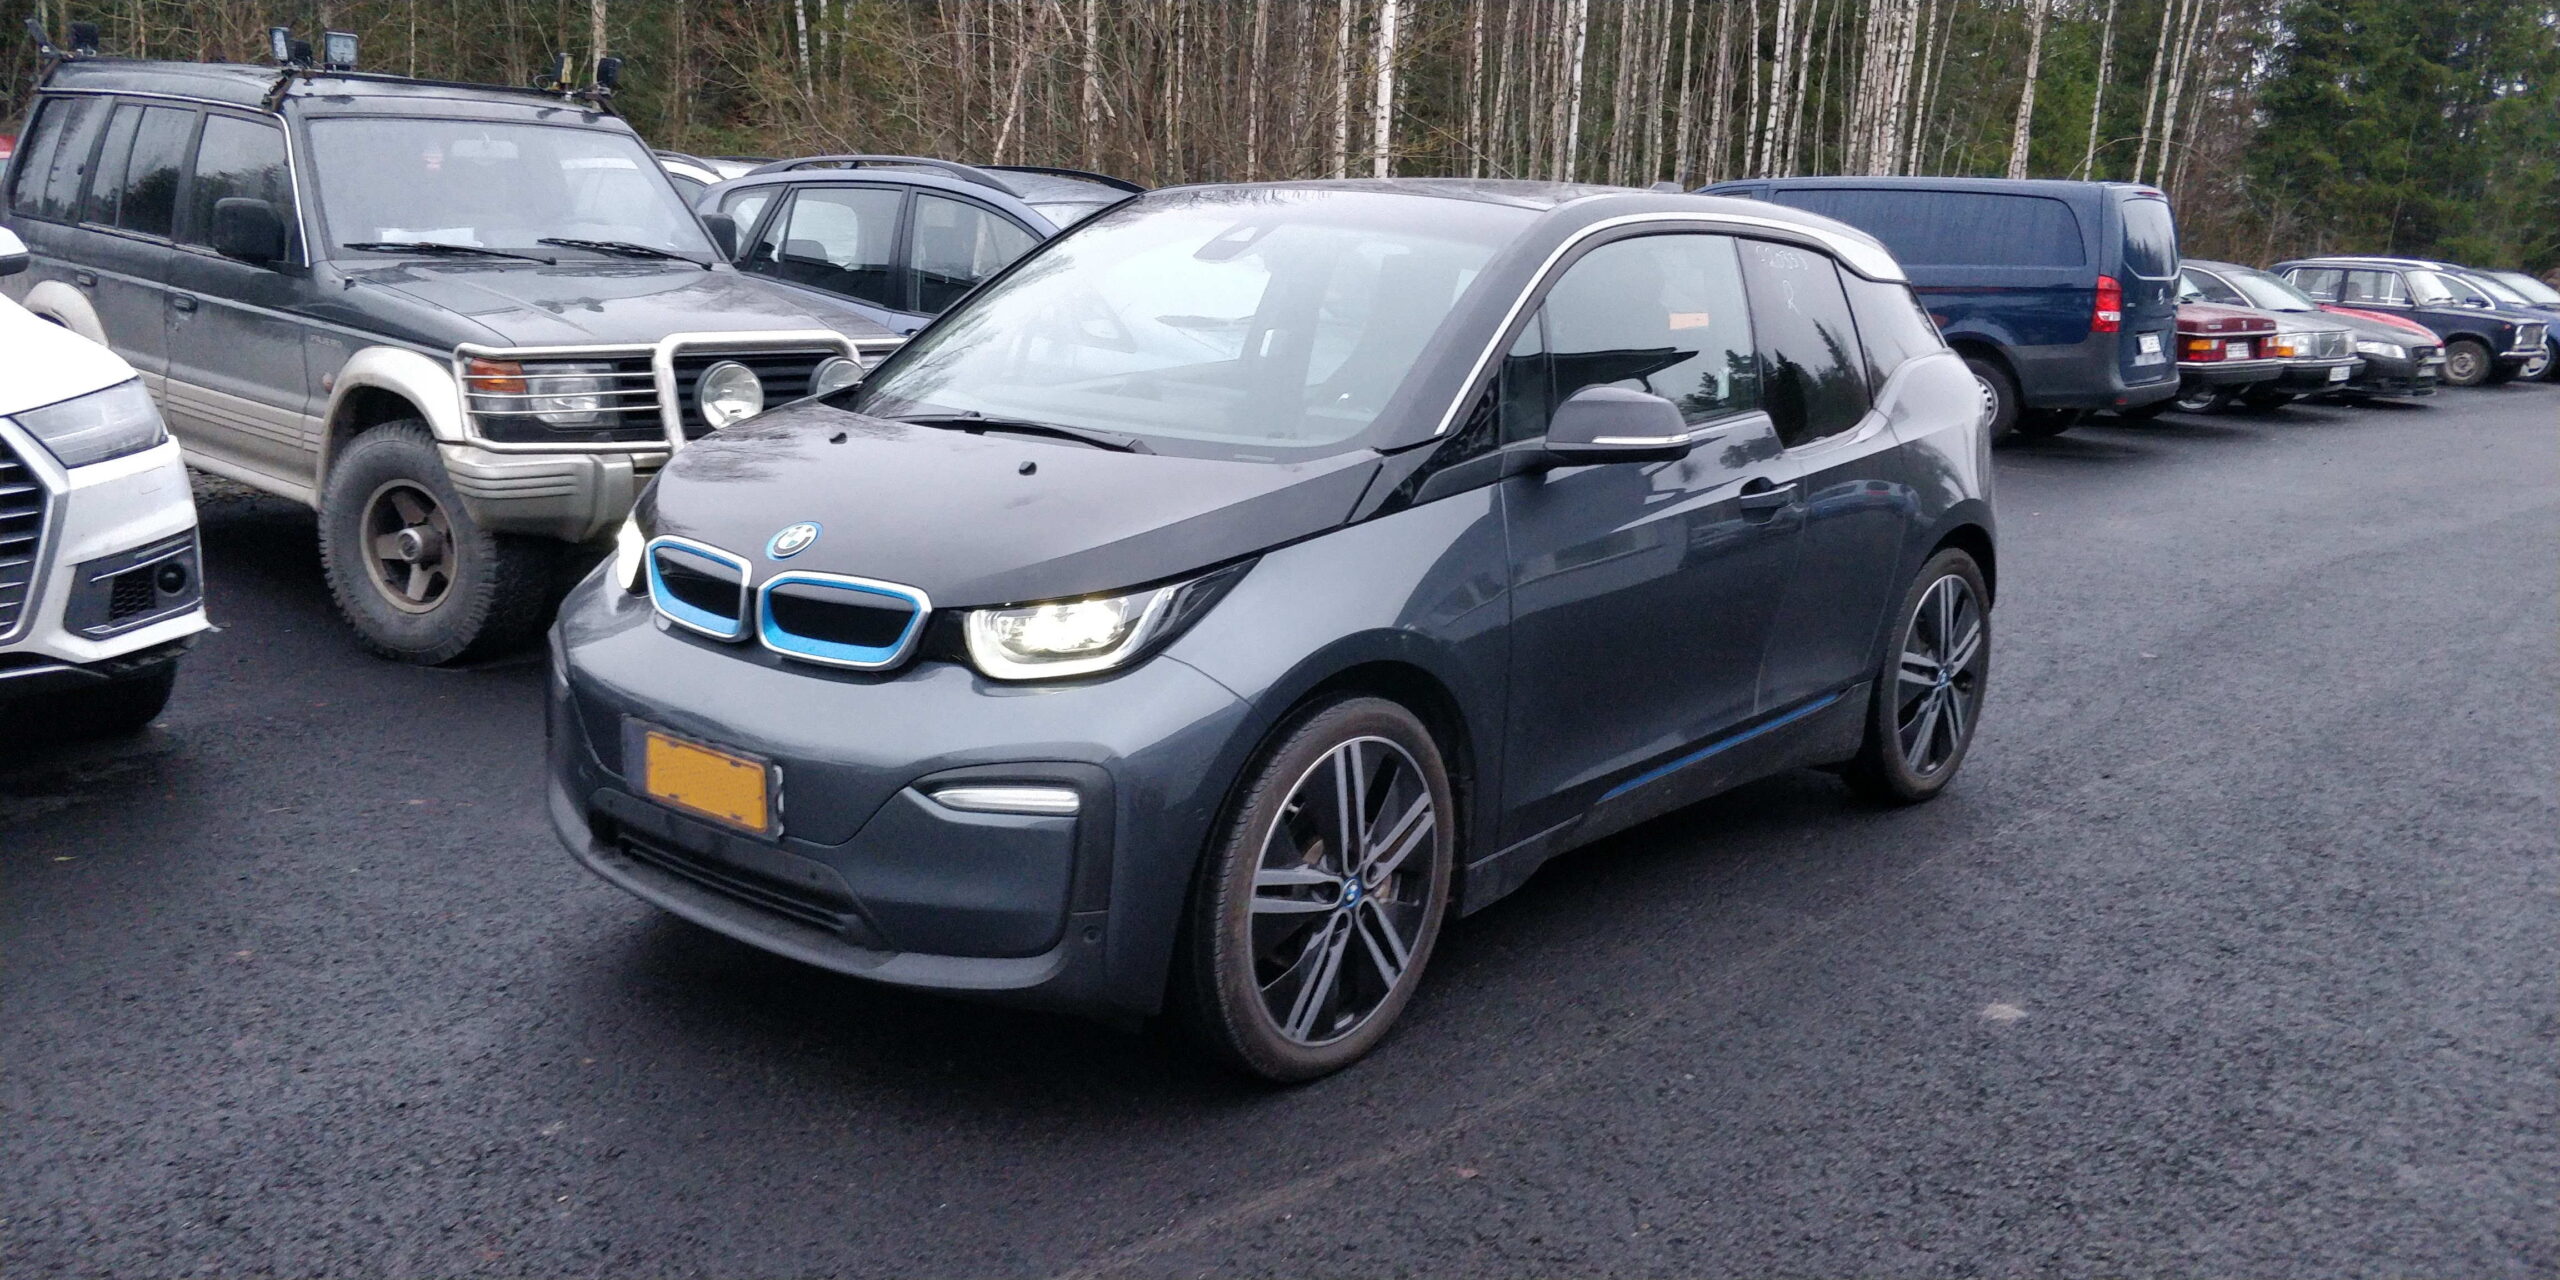
Project completed
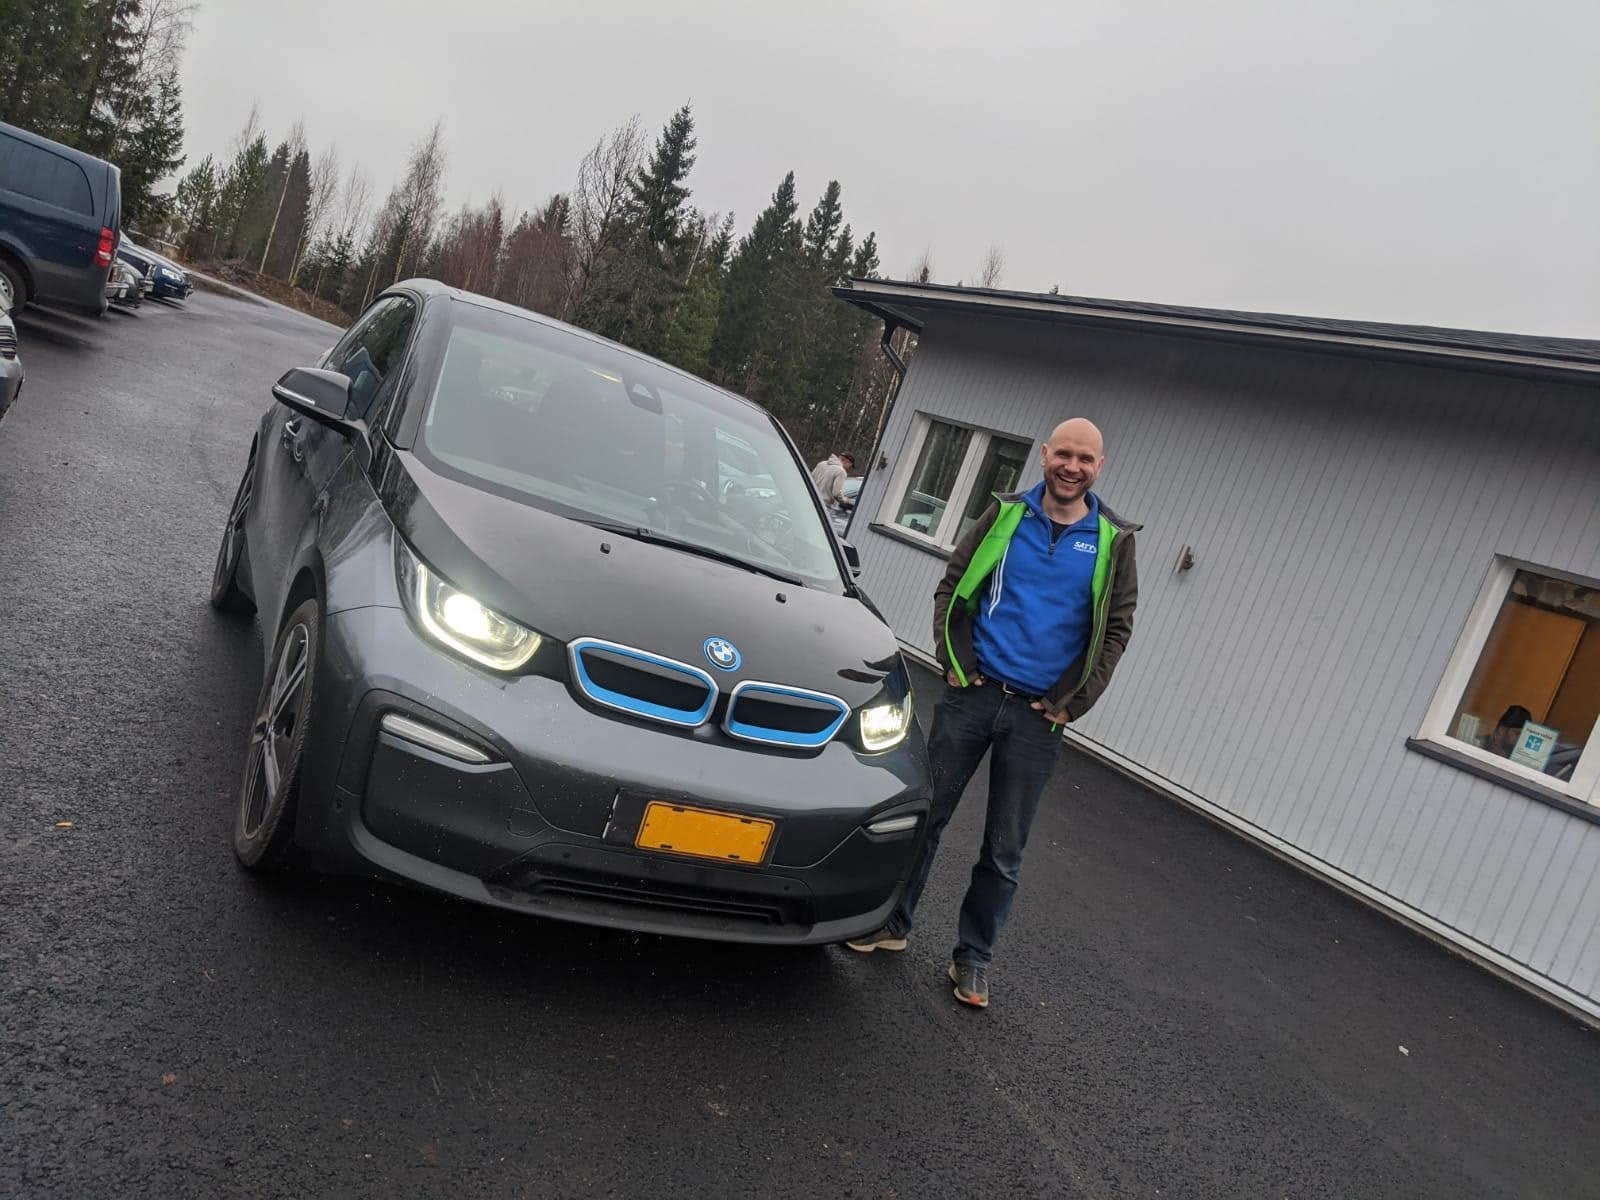
Happy owner
The i3 has been a fun project. Its looks divide opinion, but I have grown used to them and am quite happy to drive it. Despite being a small car, it is surprisingly roomy inside. Four seats will not suit everyone, but even the rear seats have plenty of space. Only the boot is a little small for family use; so far, that has mainly affected taking the dog along.
On the road, the i3 is great fun. Being electric, it responds instantly to the accelerator, and the 130 kW motor takes it from 0 to 100 km/h in about six seconds. Regenerative braking is strong, and you quickly get used to one-pedal driving, rarely needing the brake pedal. It is also very agile, almost turning on the spot.
Coming from Volkswagens, the i3 initially felt a little odd and its steering somewhat sticky, but I soon got used to it. Stability control makes it almost impossible to get the car sideways, however slippery the road. It also gets through deep snow surprisingly well on its narrow tyres.
At the time of writing, the i3 has been my daily car for about two months. The Scirocco has pretty much stayed parked. Local driving gives about 150–250 km per charge depending on conditions, perhaps more in summer. A lot of electricity goes into preheating on short trips: I warm the car before setting off, three or four times a day. That means charging overnight at home a couple of times a week.
The plan is to sell the i3 once the Tesla passes its inspection, hopefully soon.
Includes original English text and AI-assisted translations.