ARCHIVE / PAJALLE
Audi A4 Cabriolet
Heikki’s convertible Audi: buying the car, suspension and wheel upgrades, repairs and a change of colour to red.
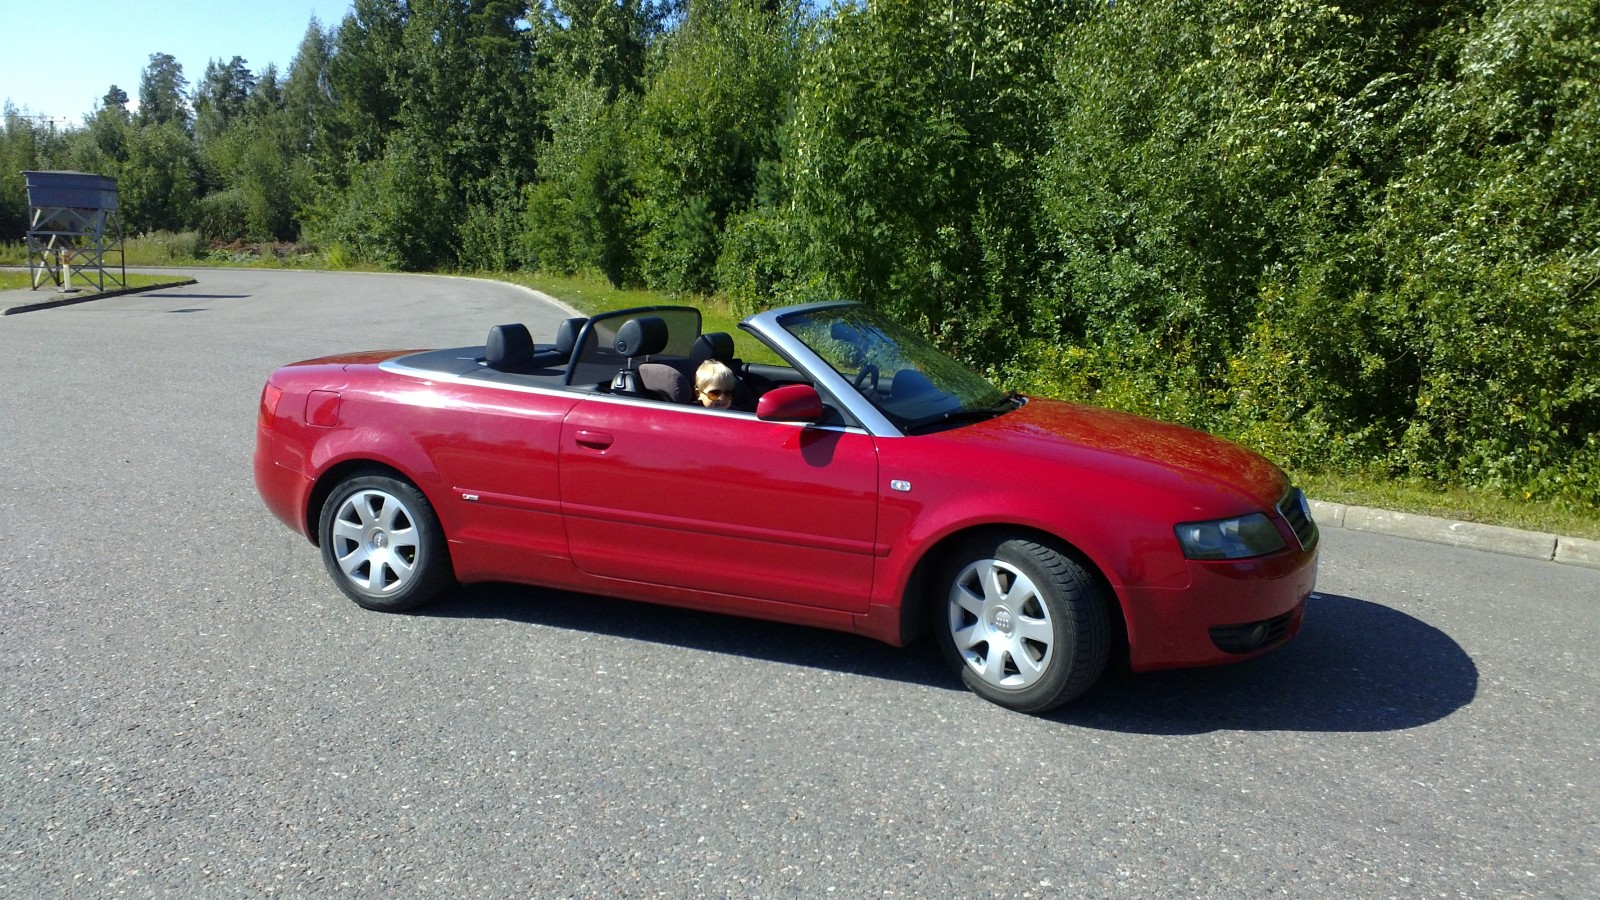
2012-08-19 · An Audi with the roof down
The summer hasn't exactly been warm, but a work trip to sweltering China must have gone to Heikki's head. Time for another convertible! The old TT had left fond memories of roof-down motoring, so out came Nettiauto and the other car sites. One complication: the yellow Octavia RS needed to go, and it hadn't exactly been flying off the shelf.
A VW Eos was the original plan, but there weren't many to choose from in Finland. The family insisted on rear seats. We looked at Golfs too, before settling on the A4 Cabriolet. Once we found a dealer willing to take the Octavia in part exchange, the deal was done.
It's a 2004 S-line 1.8T automatic, nicely equipped with sat-nav and front and rear parking sensors. There are 200,000 km on the clock, but that's barely run-in for the legendary 1.8T 😉
The paint needs attention, and there are a few other little jobs, but they'll wait. For the rest of summer 2012, we're just going to enjoy it. Mechanically, everything works as it should.
2012-08-19 · Wheels for the convertible
The modifications started as soon as we got it home. Factory 16-inch wheels on German-market winter tyres weren't quite the look for cruising around town. Luckily, the 18-inch A8 “Parabol” wheels from the TT and Leon were still in storage.
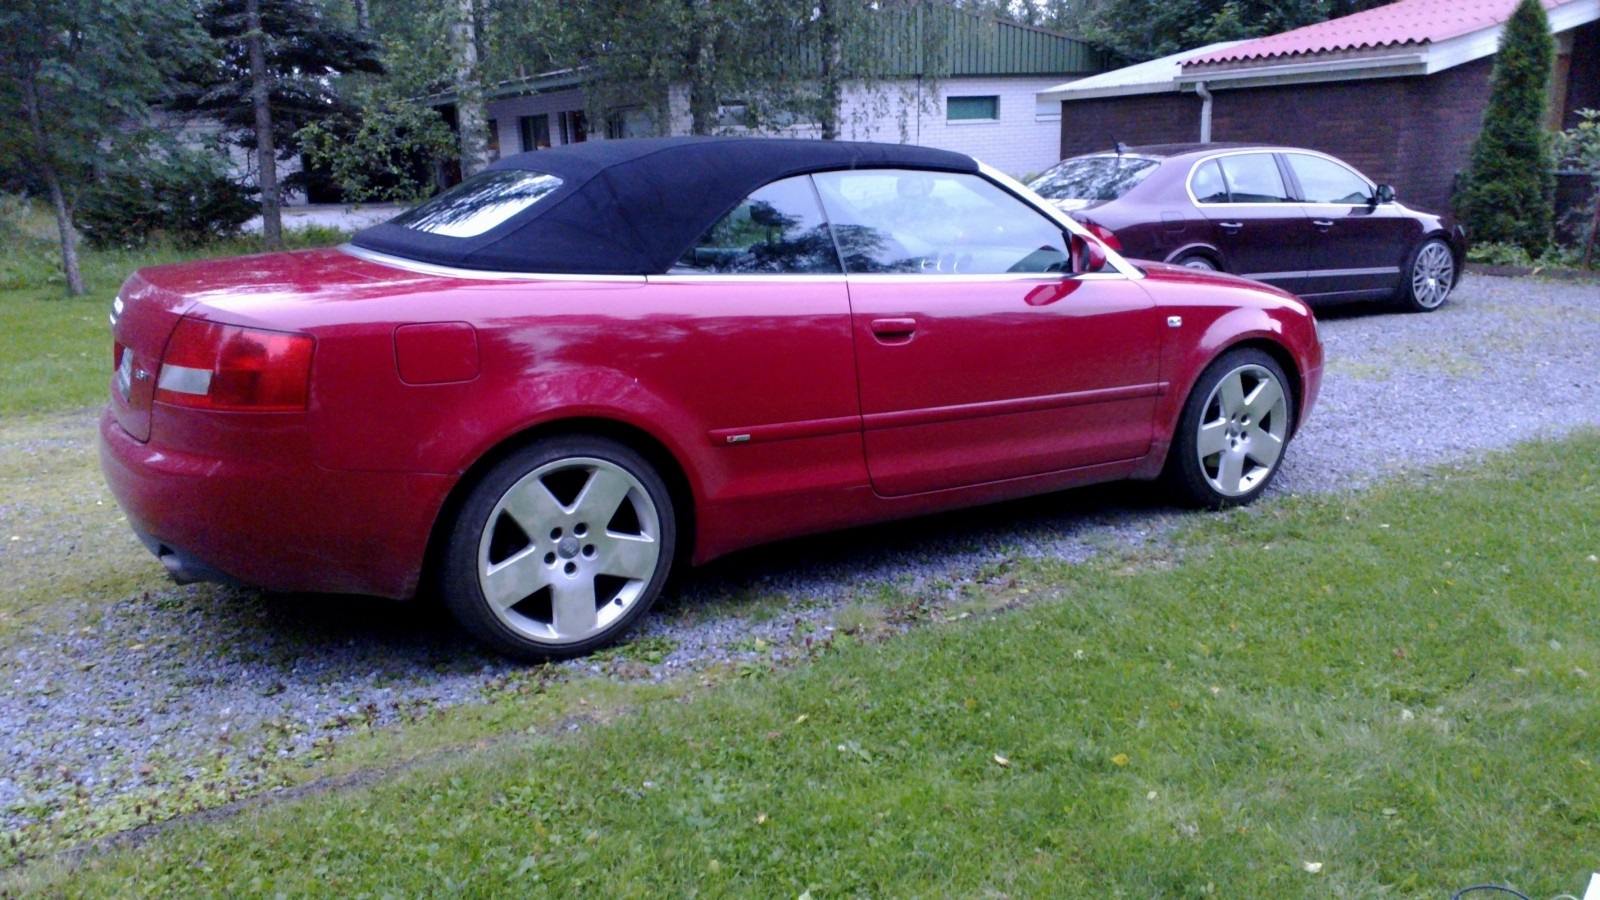
Now it's crying out to be lowered…
2012-08-19 · A4 lights
Being a German import, the Cabrio doesn't switch the headlights on automatically for daytime driving.
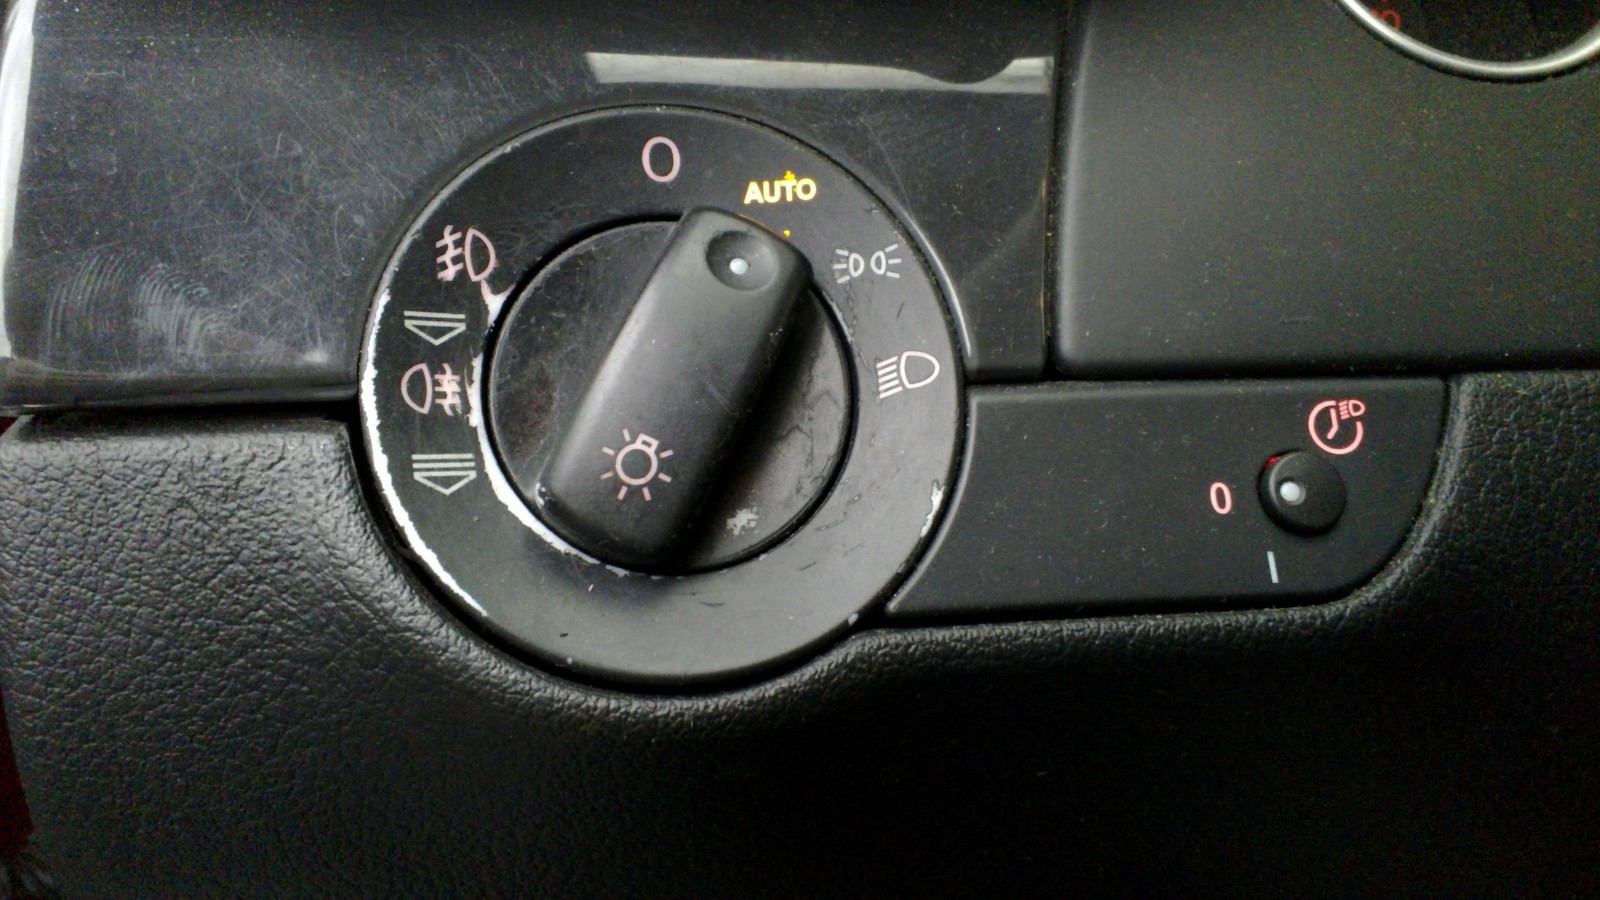
My German isn't quite up to the handbook, but apparently AUTO brings on the dipped beams when it gets dark enough. The little knob on the right switches coming/leaving-home lighting on and off. I wonder if AUTO can be coded to keep the dipped beams on all the time? Would covering the light sensor with tape work, or is there another trick…
Update, 20 August 2012: VCDS coding did the trick. The lights are now in “Finnish mode”.
Wanted: a less worn headlight switch.
2012-09-02 · Cabriolet lowered
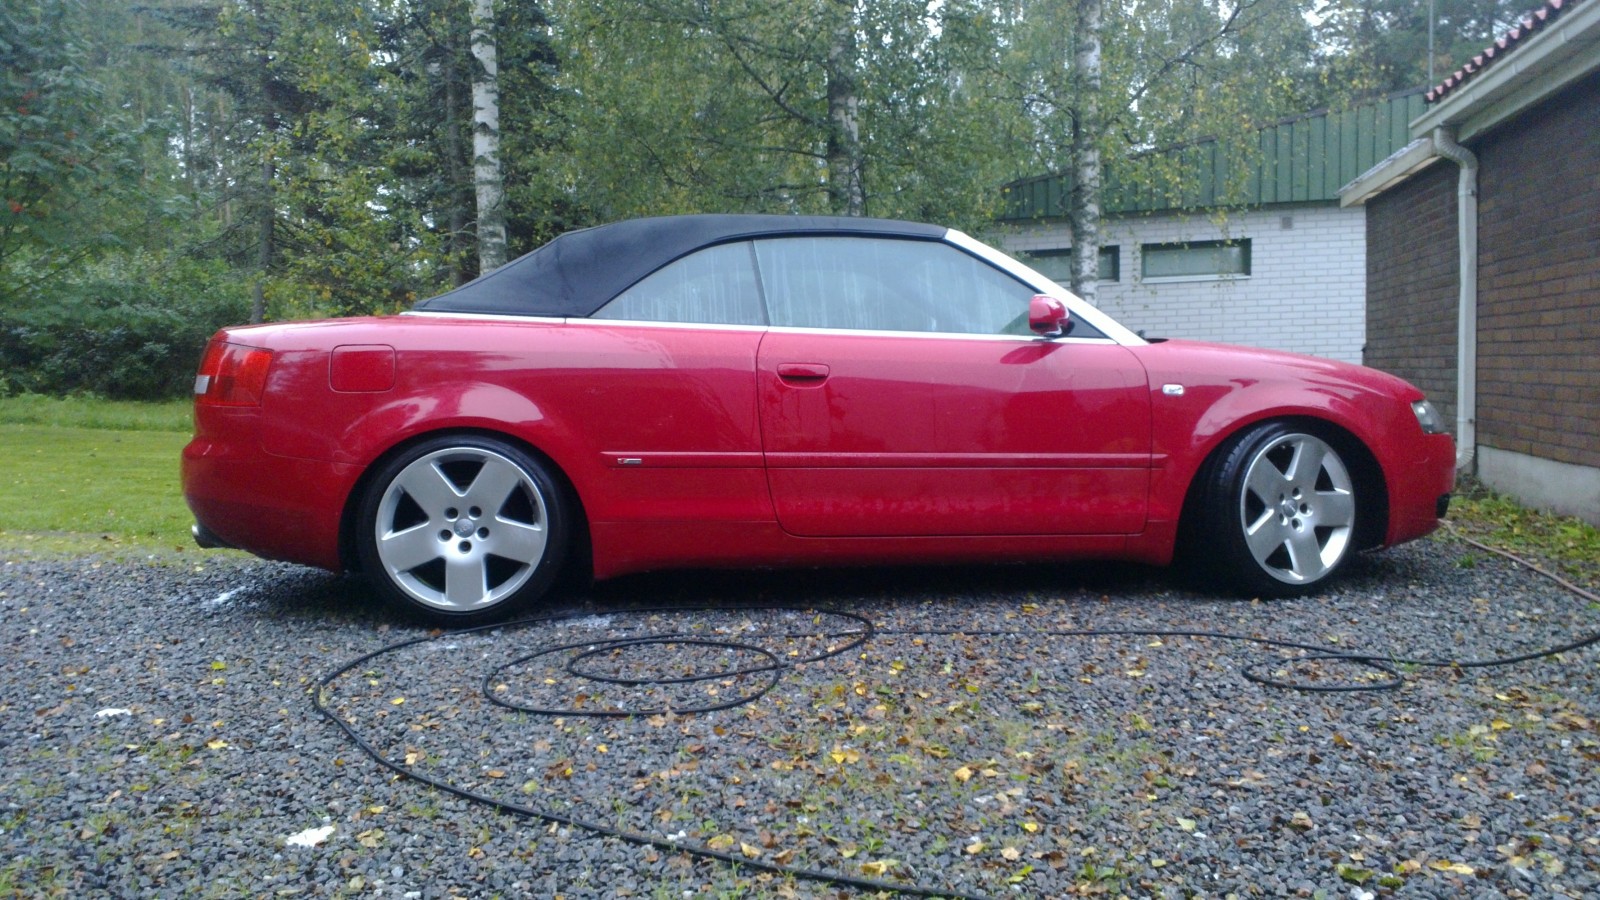
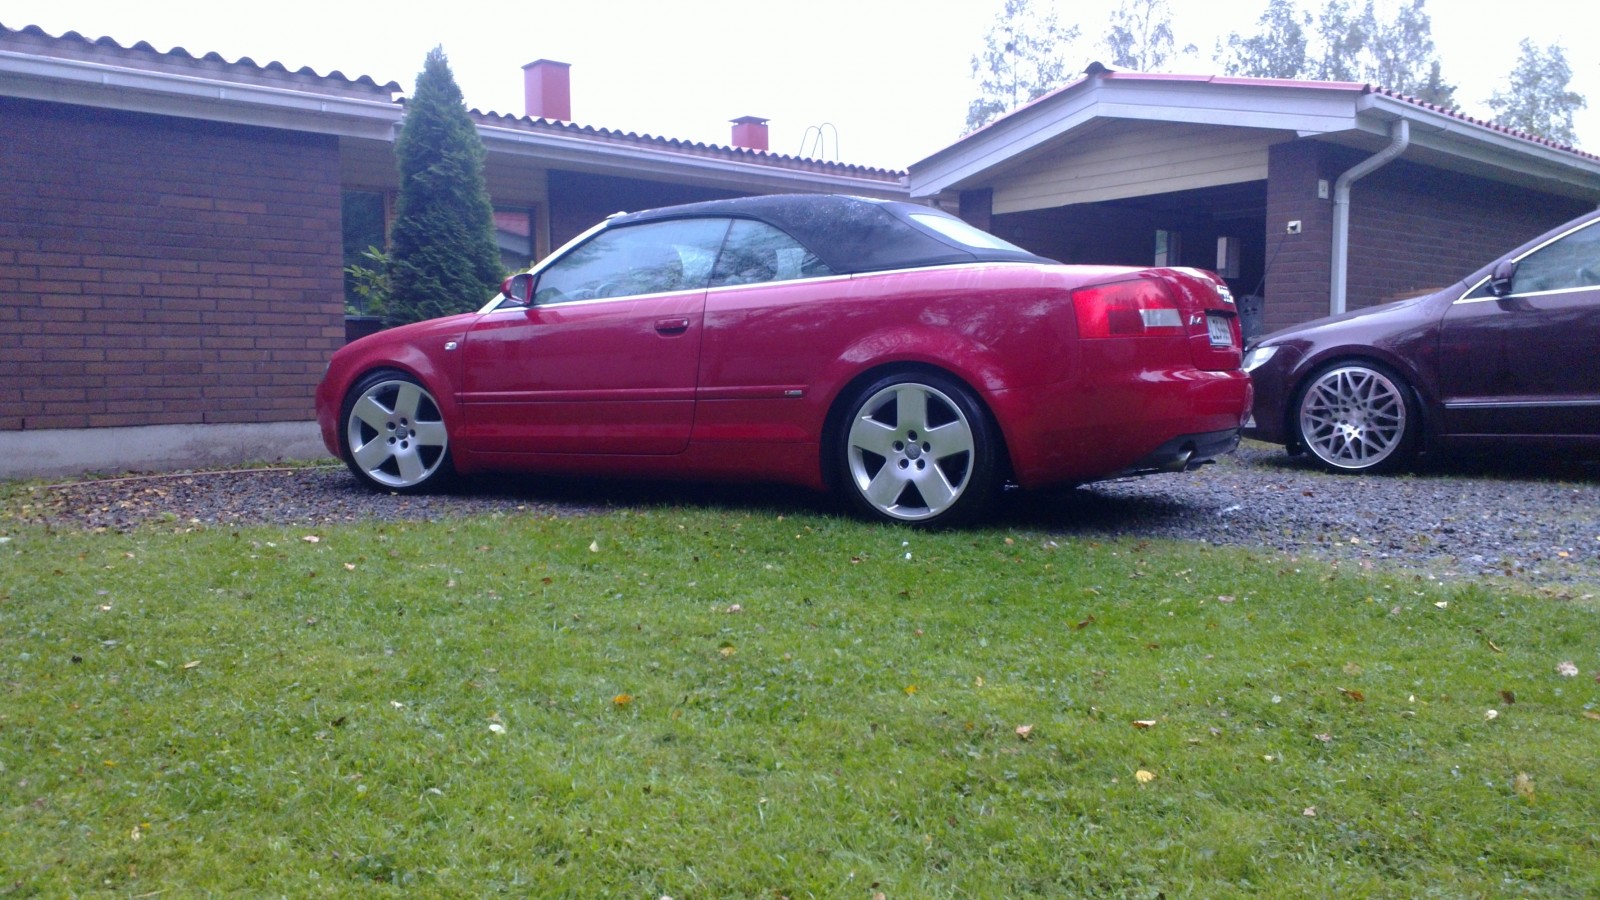
I lowered the Audi a couple of weeks ago, but hadn't got round to posting photos. It's on Eibach Pro-Street S suspension now. The rear is as low as it'll go, with the front adjusted to get the stance somewhere about right.
2013-02-24 · Driveshaft repairs on the A4 Cabriolet
Through the autumn, the Audi shook more and more under acceleration. Eventually, even hills brought on quite a vibration. At first we blamed the much-maligned Multitronic. Cue the comments: “I warned you about those gearboxes — why did you buy one?” I was already pricing up the seven-plate clutch pack and trawling the forums. Audifinns has plenty of discussion about Multitronic judder, including this thread. Some people there were certain it was the clutch pack, but pulling away in either forward or reverse had always been fine on mine, and still was.
That thread led me to check the CV joints. And there was the problem:
Short video of the inner CV joint
Both inner CV boots had split right through, and the joints had plenty of play. Parts ordered, car onto the lift.
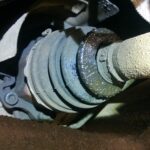
Almost all the grease had escaped from the CV joint.
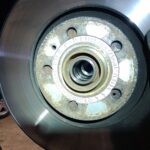
First, undo the outer driveshaft bolt with the impact wrench.
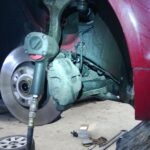
Undoing the inner joint bolts with an impact wrench and a long extension.
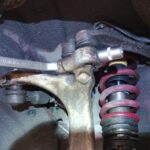
On the left, undoing the driveshaft bolts is enough. On the right, you also need to release a suspension joint — at the top, for example — so the hub can swing out a little. The exhaust runs beside the right-hand driveshaft and gets in the way.
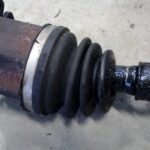
Another close-up of the split CV boot.
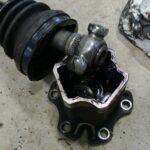
The joint takes a little persuasion with a hammer to come apart, and the same going back together. Small dimples pressed into the cup retain it. It does come apart and go back together, provided you're willing to give it a tap.
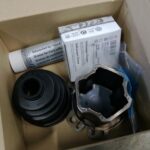
Repair kits from the main dealer. Both sides came to less than €300 after discounts.
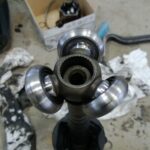
The new tripod joint going on. Check the old one for the correct orientation, then tap it fully home with a suitable socket and hammer.
The shaking is gone. And I still don't regret buying a Multitronic 🙂
2013-05-08 · Coming soon: repainting the Audi
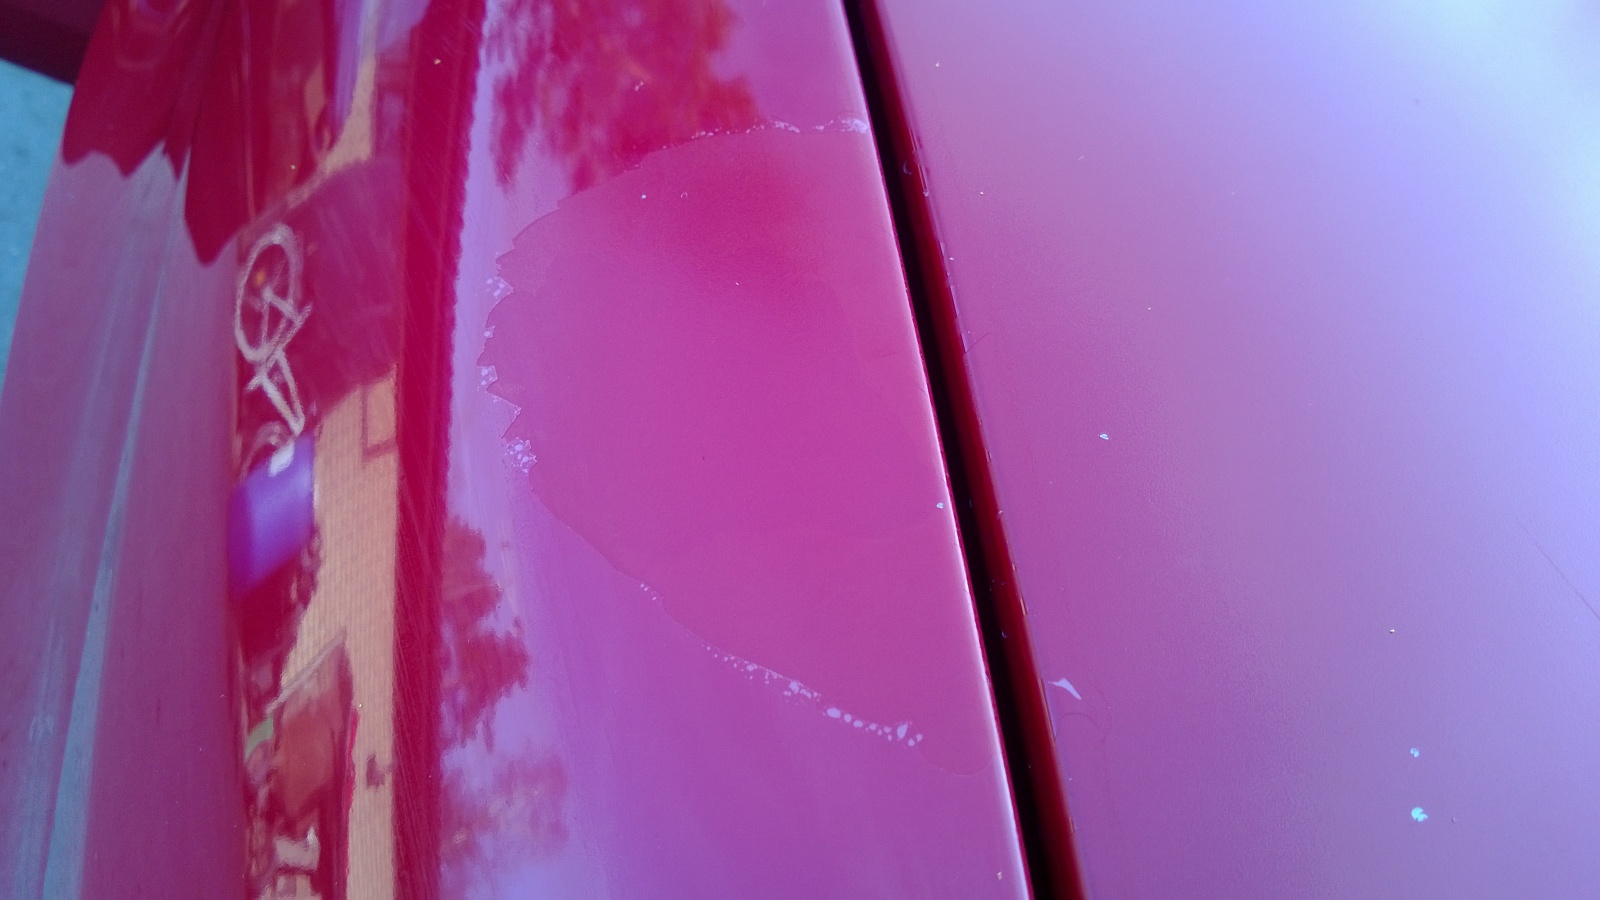
The Cabriolet's paintwork has needed a bit of attention…
The Audi's paint has needed attention since I bought it. Time to do something about it. Clear coat has been coming off the front just from pressure washing, and there are little dents here and there. It was resprayed during its years in Germany, and something clearly went wrong: the clear coat won't stay put. We'll wash and sand it off the whole front end, then respray the entire car. The shade will change slightly too.
Today we took the car to Autonasennus J. Järvenpää in Siikainen and started stripping it. Only the mirrors and side skirts came off before we ran out of time. It's our first time dismantling this model, so there's some figuring out to do. Tomorrow, bumpers and a few more bits, then paint preparation. Paint over the weekend and hopefully reassembly too… a lovely way to spend Mother's Day 🙂
Removing the mirrors:
First, remove the door cards. Screws are hidden beneath the trim strip, behind the electric-window switches and along the bottom edge.
Behind the tweeter grille is a screw holding the interior triangular panel, with the tweeter attached.
Remove the bolt behind that triangular panel.
Two more bolts under the seal on the hinge side
Ease the seal away from around the mirror mounting triangle.
Release the mirror wiring from its clips and unplug it from the door control module.
Lift the mirror upwards and off.
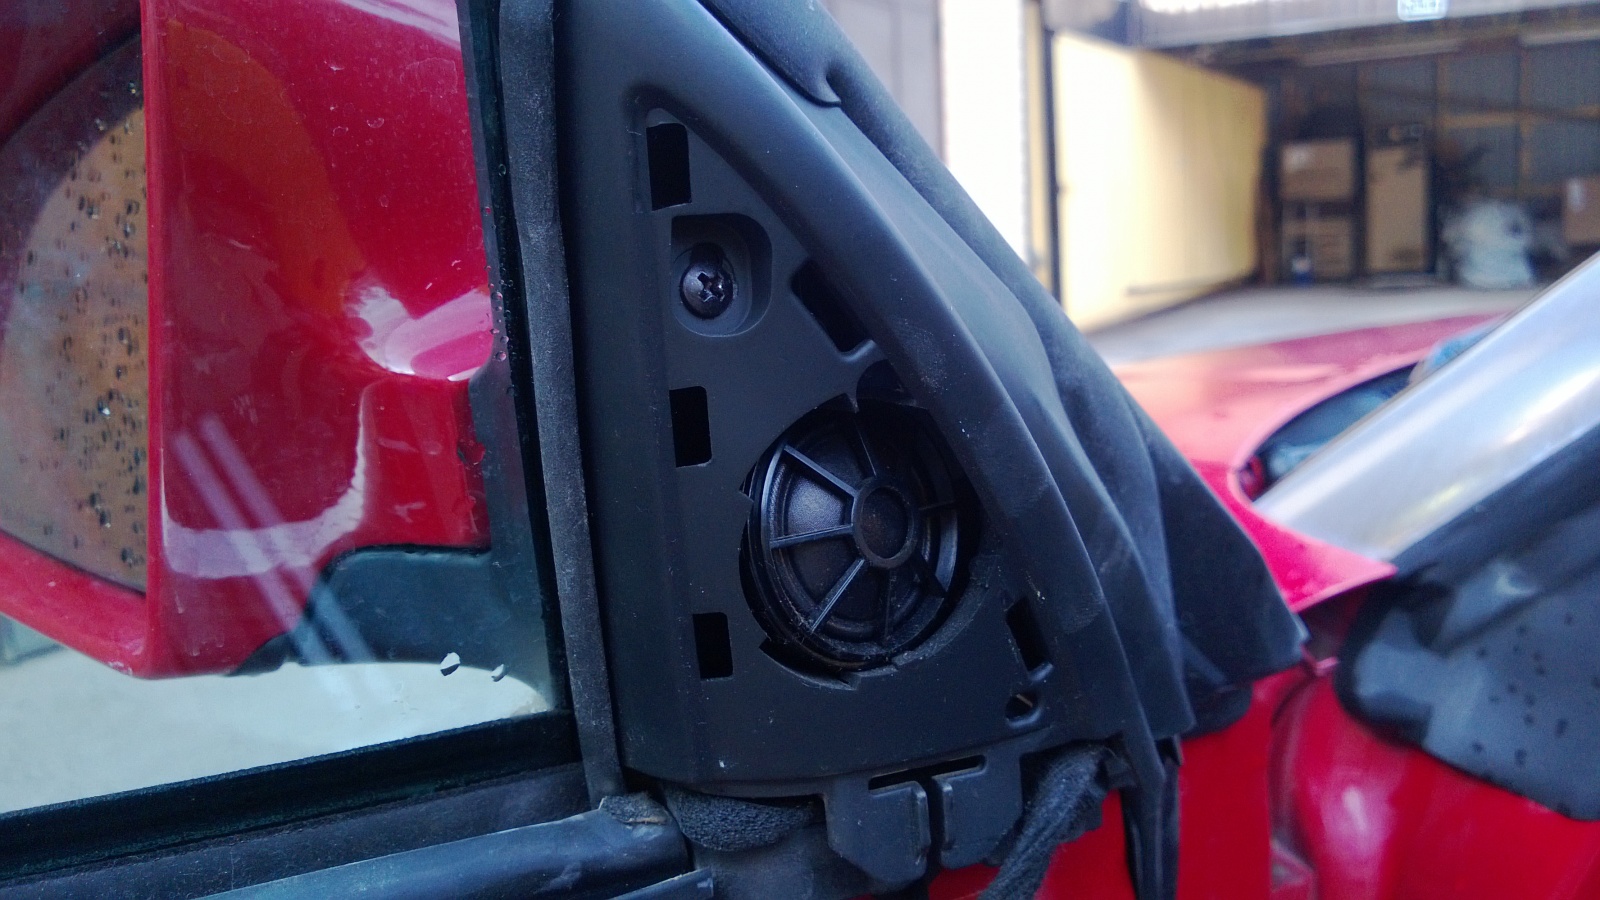
One screw releases the triangular speaker trim. Then remove the 6 mm bolt behind it.
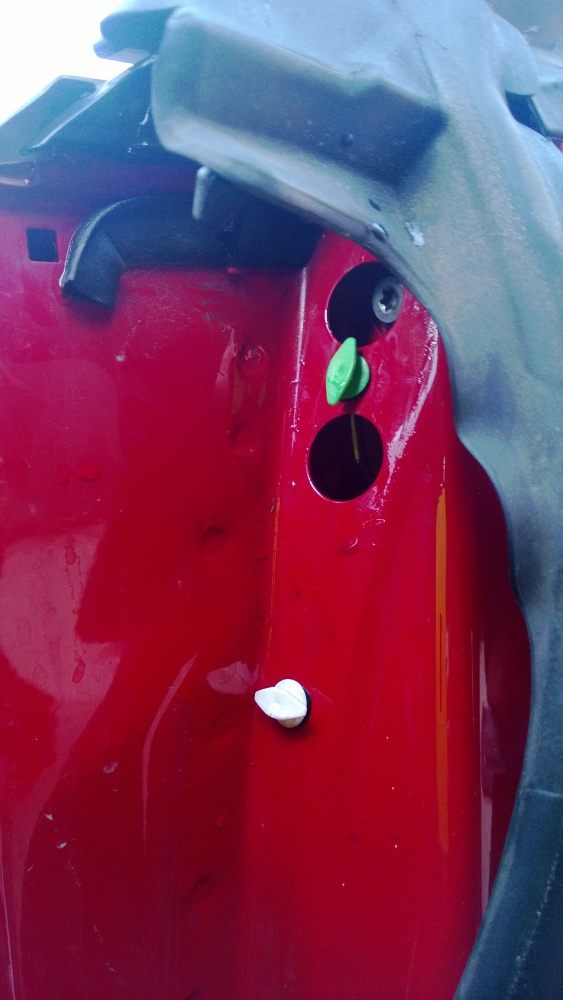
There are two more bolts behind the seal on the hinge side.
2013-05-09 · A4 respray, day 2
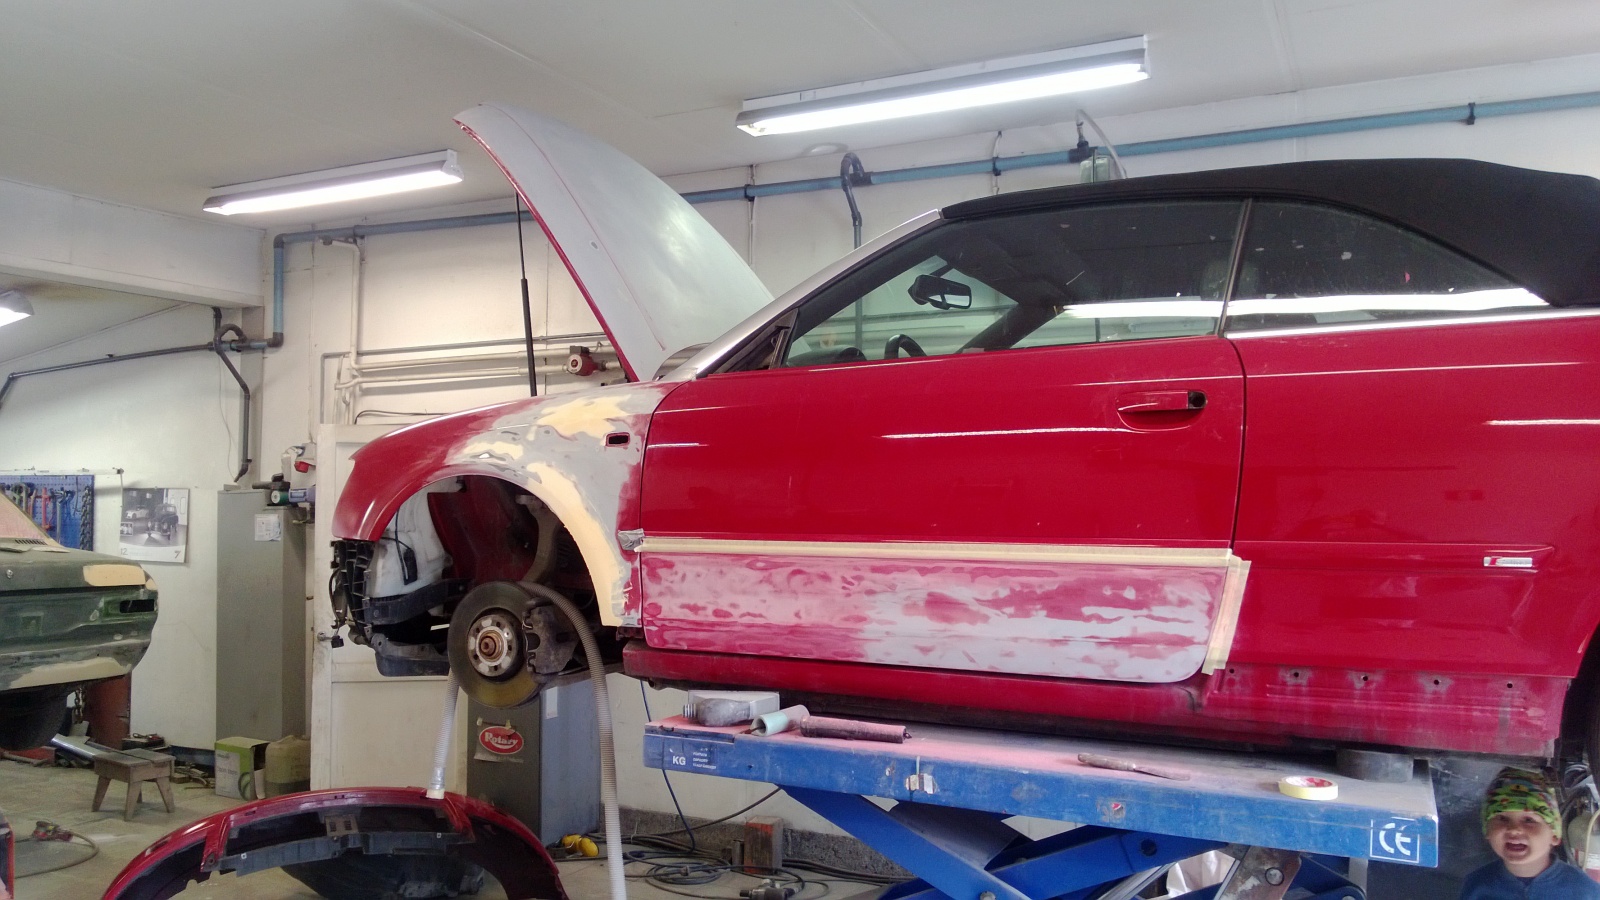
Sanding is coming along. Spot the little helper in the photo.
A full day today: more dismantling and paint preparation.
First, a little more on the side-skirt fixings, plus a few other dismantling photos.
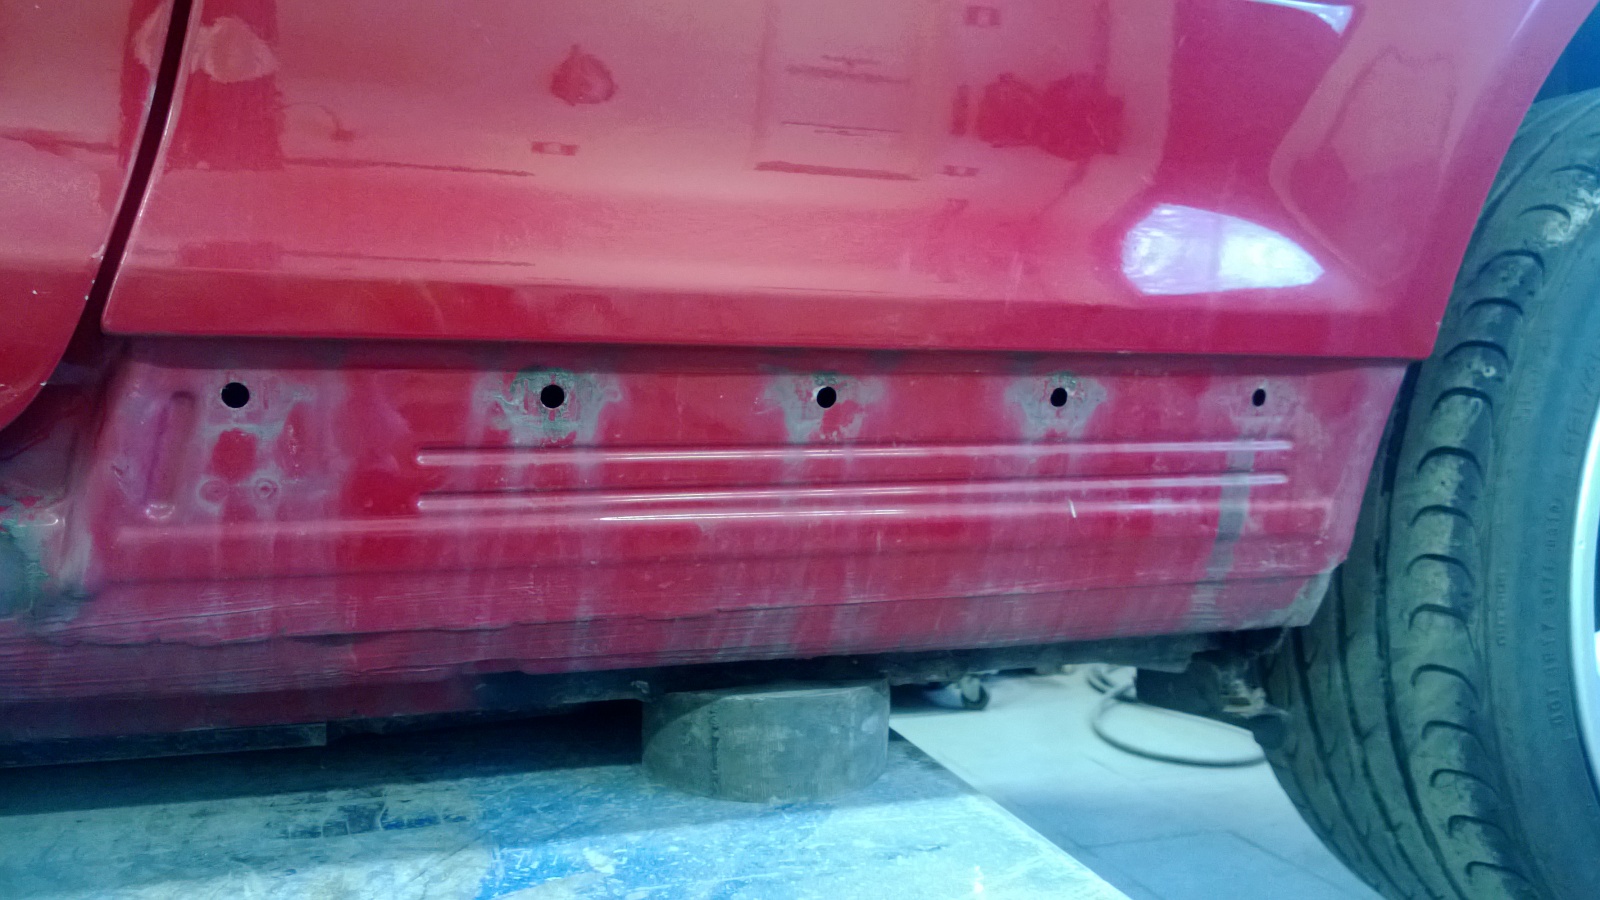
The side skirts use plastic clips as well as screws.
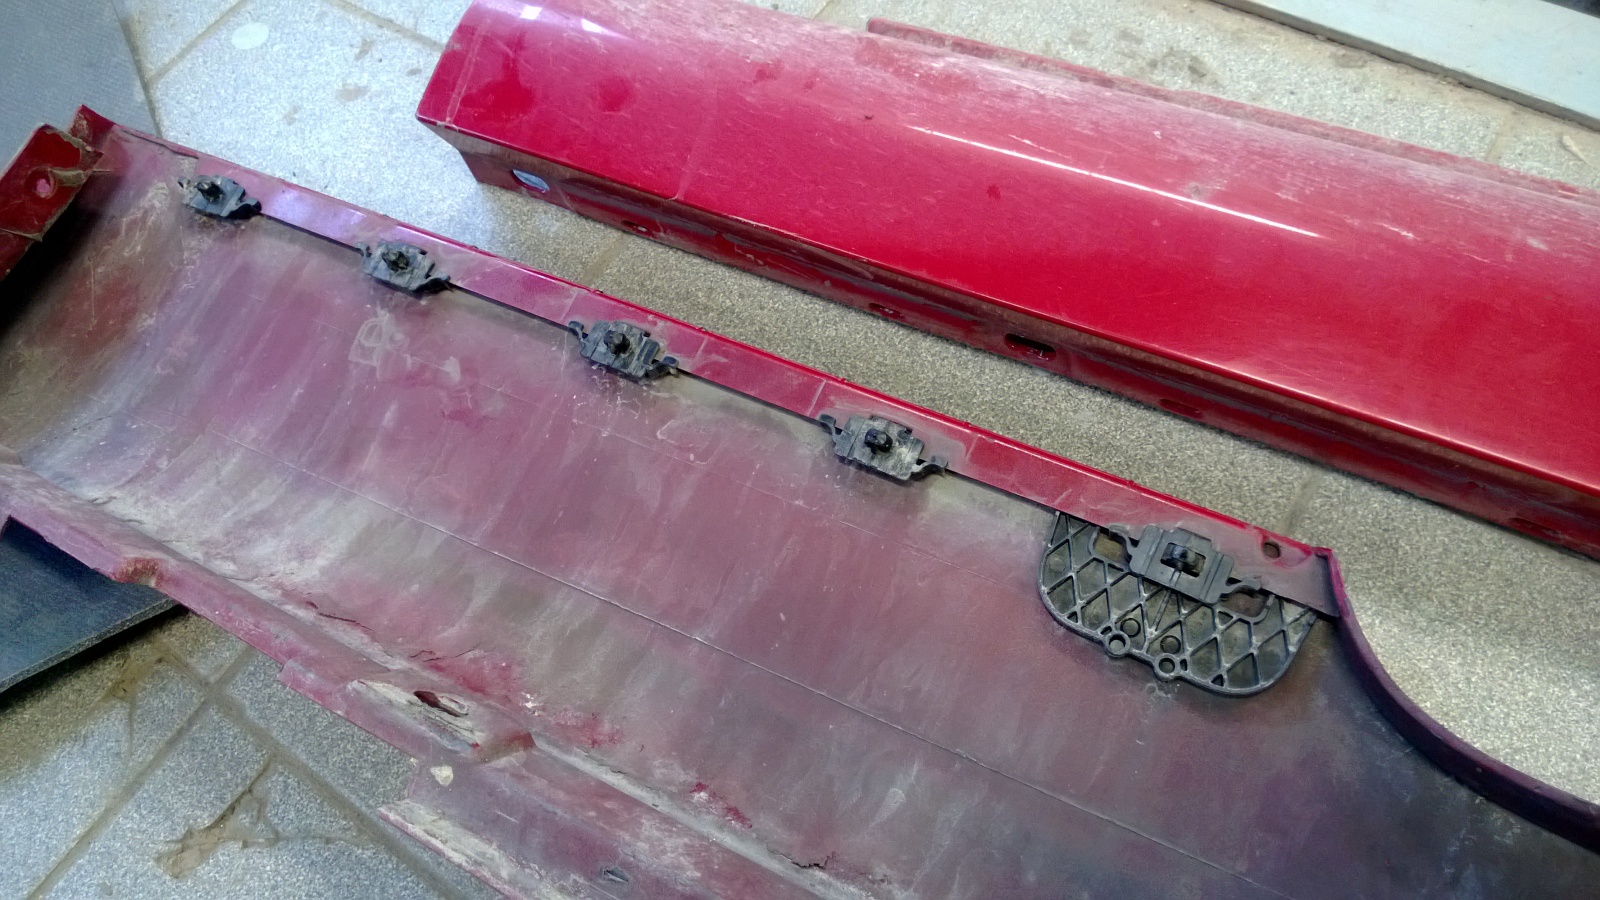
Here are the clips on the side skirt.
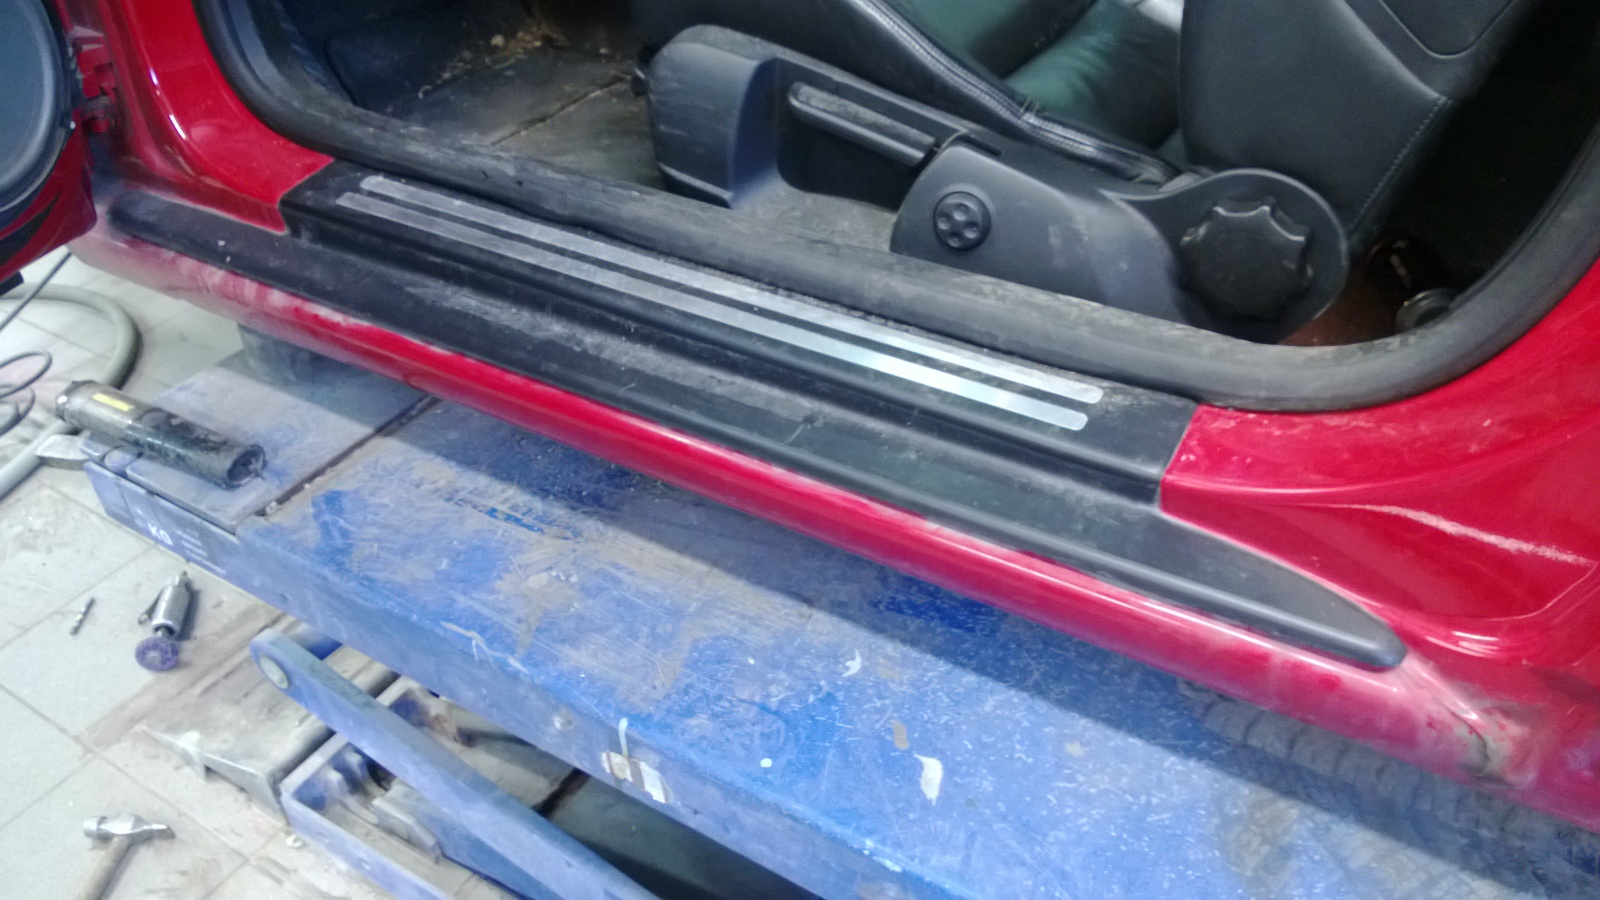
Screws are hidden under the sill trim and underneath the sill.
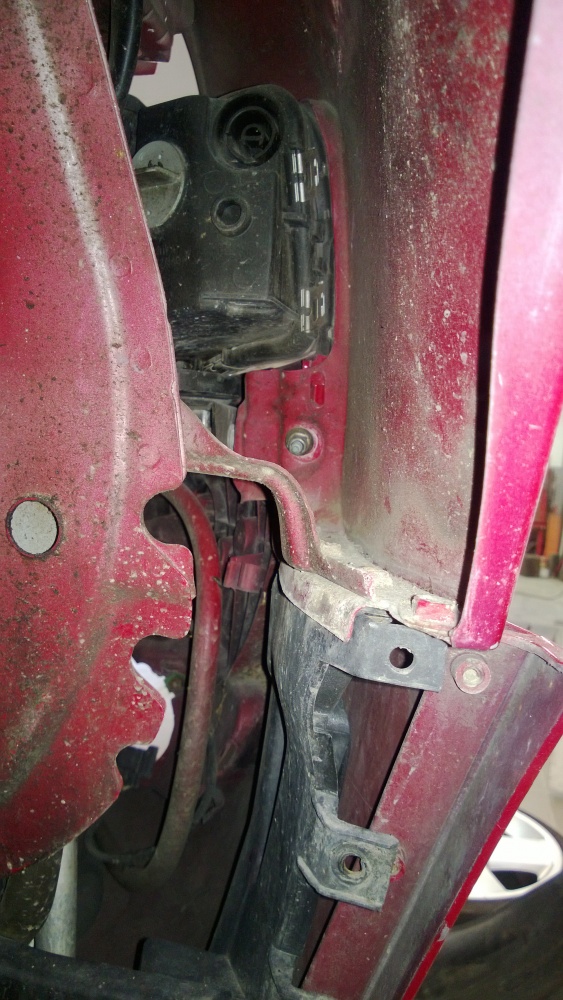
The awkward front-bumper screws are behind the wheel-arch liners, in the middle of the photo. Plenty of room on the right; the washer reservoir gets in the way on the left.
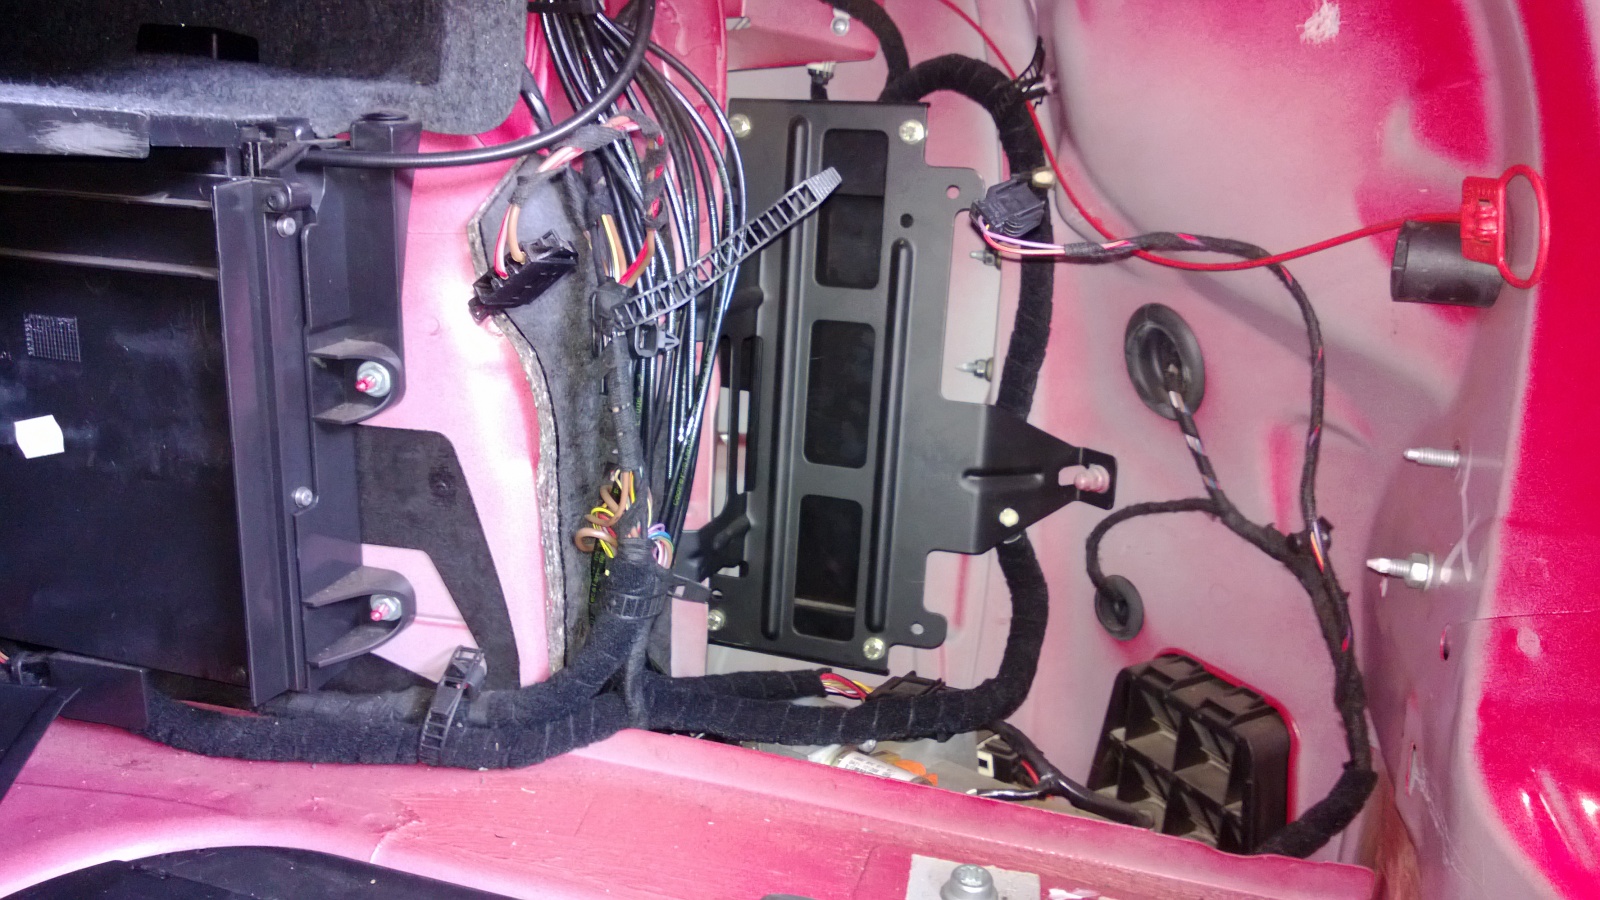
Almost all the boot trim has to come out to remove the rear bumper. There are four nuts on each side, accessed from inside the boot. You can also see the roof mechanism's control box and hydraulic pump, just peeking out at the bottom. A hit to that right rear corner could get expensive…
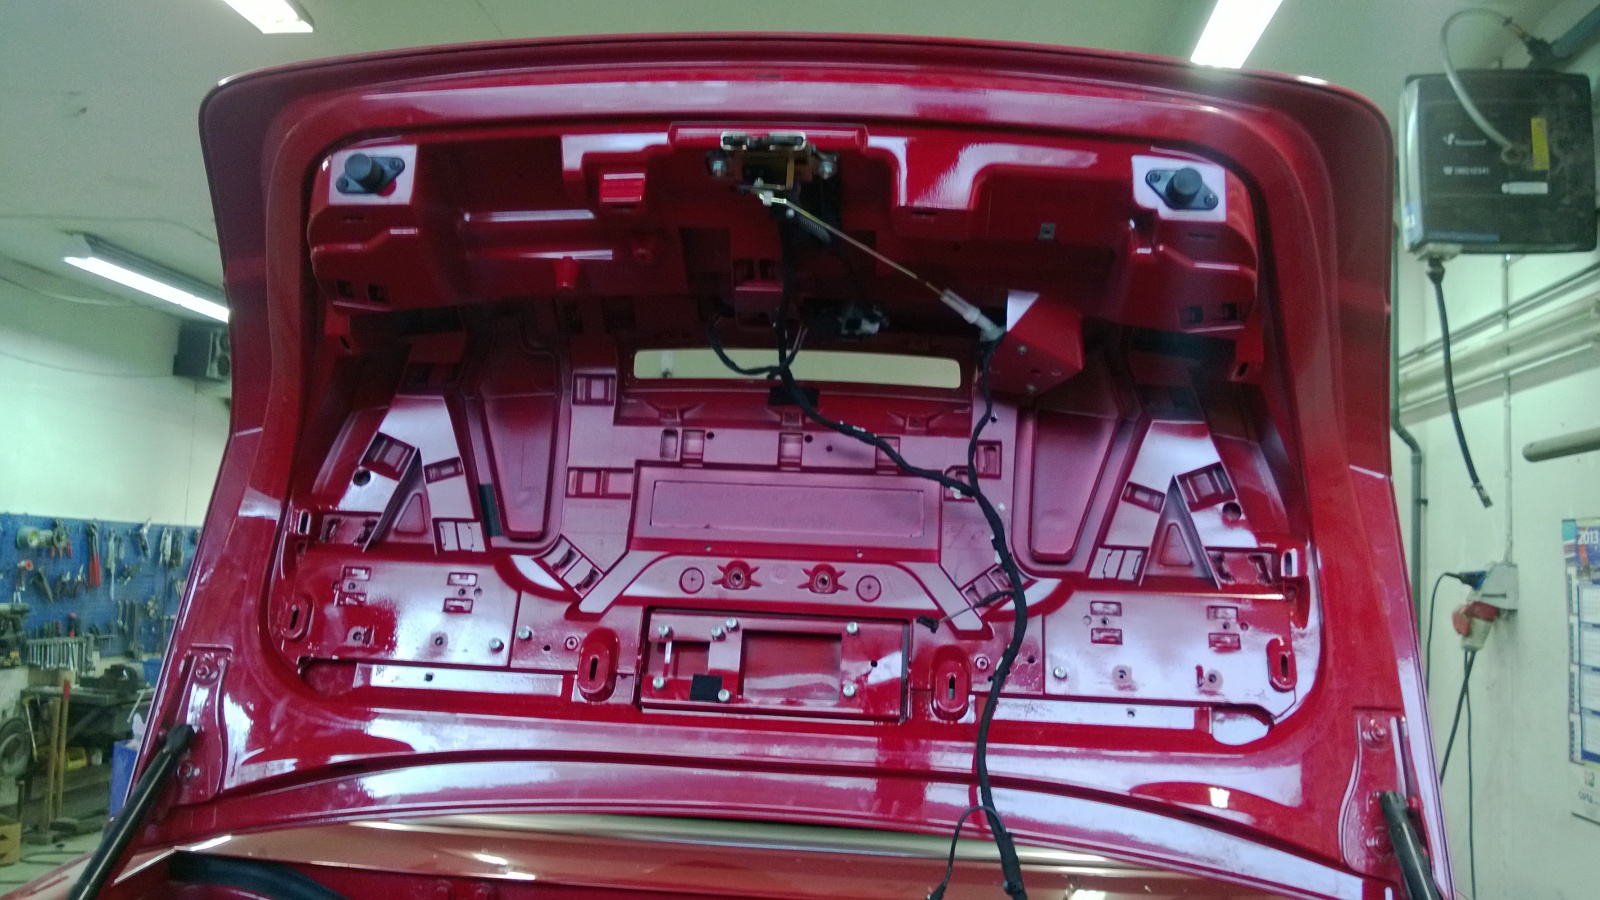
Boot lid nearly stripped. Must remember to photograph it with everything back in place. There are four antennas and a hell of a lot of wiring in there. The lid is plastic so the antennas can work through it.
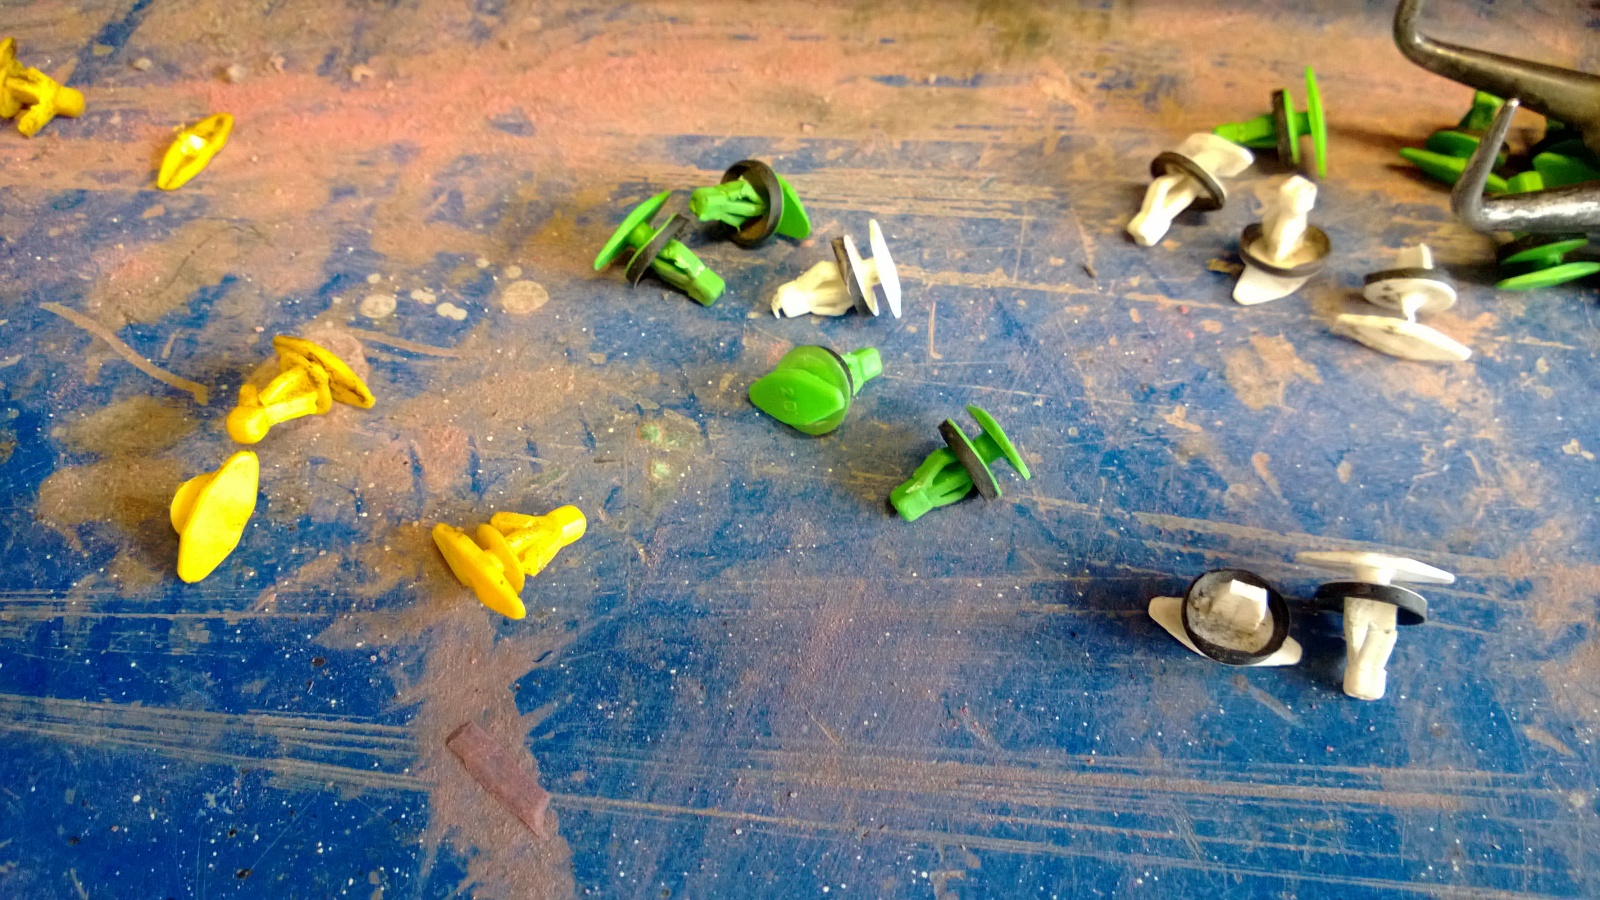
These clips hold the door seals. They break easily when removed. Only the green ones seem to survive reasonably well.
On to paint preparation. First, a short video of the clear coat coming off:
Then pictures...
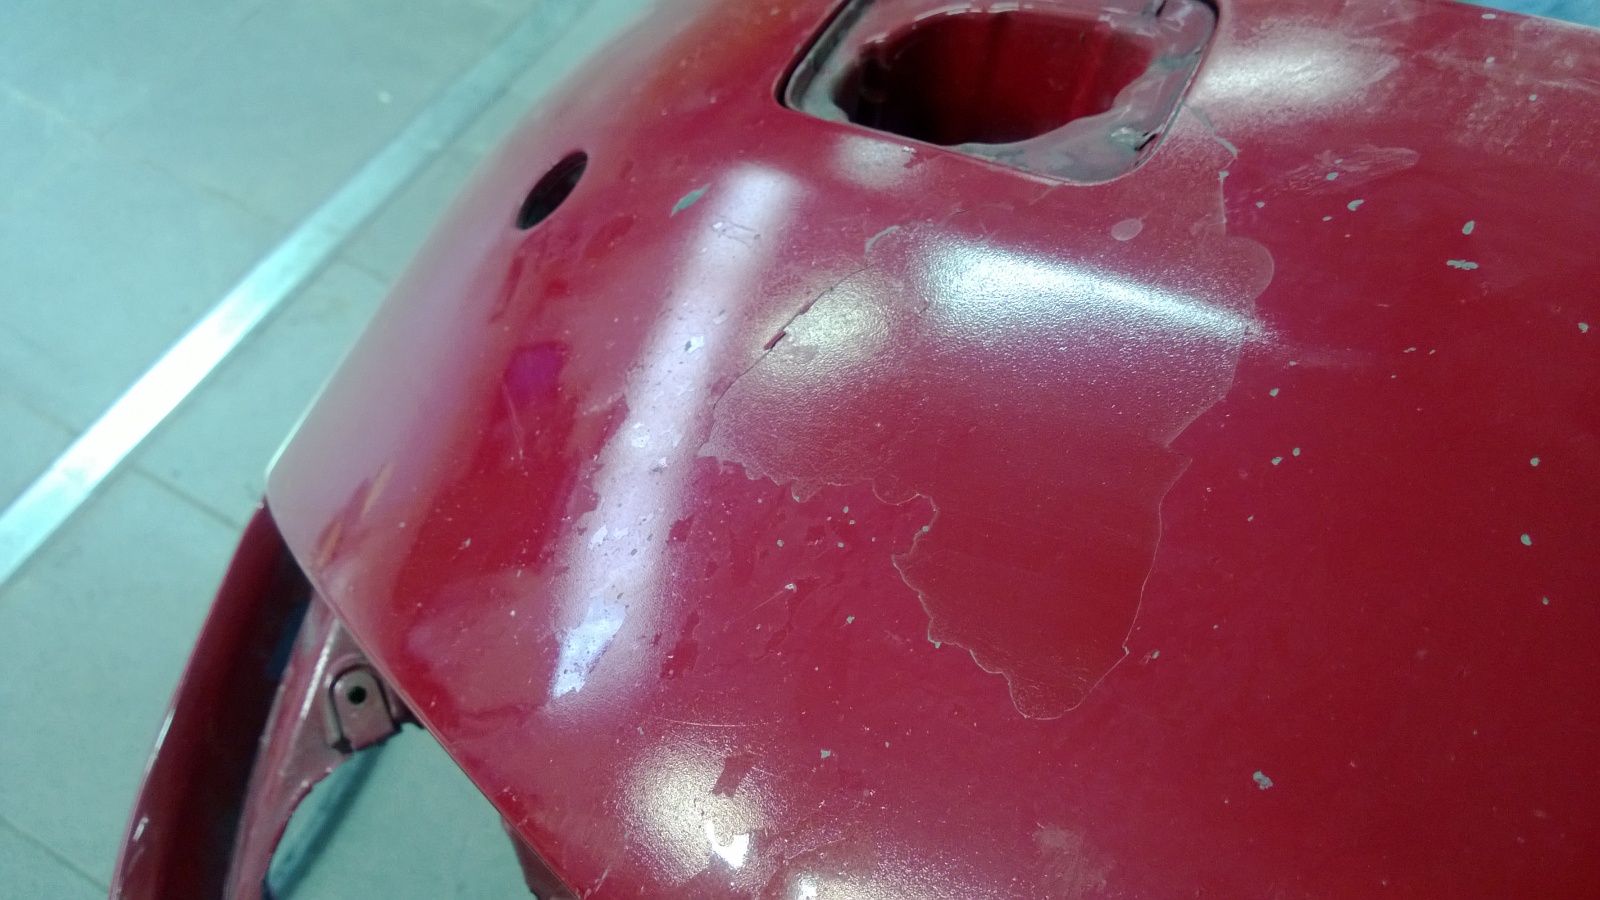
A close-up of the front bumper. First the pressure washer took off the clear coat, then the basecoat.
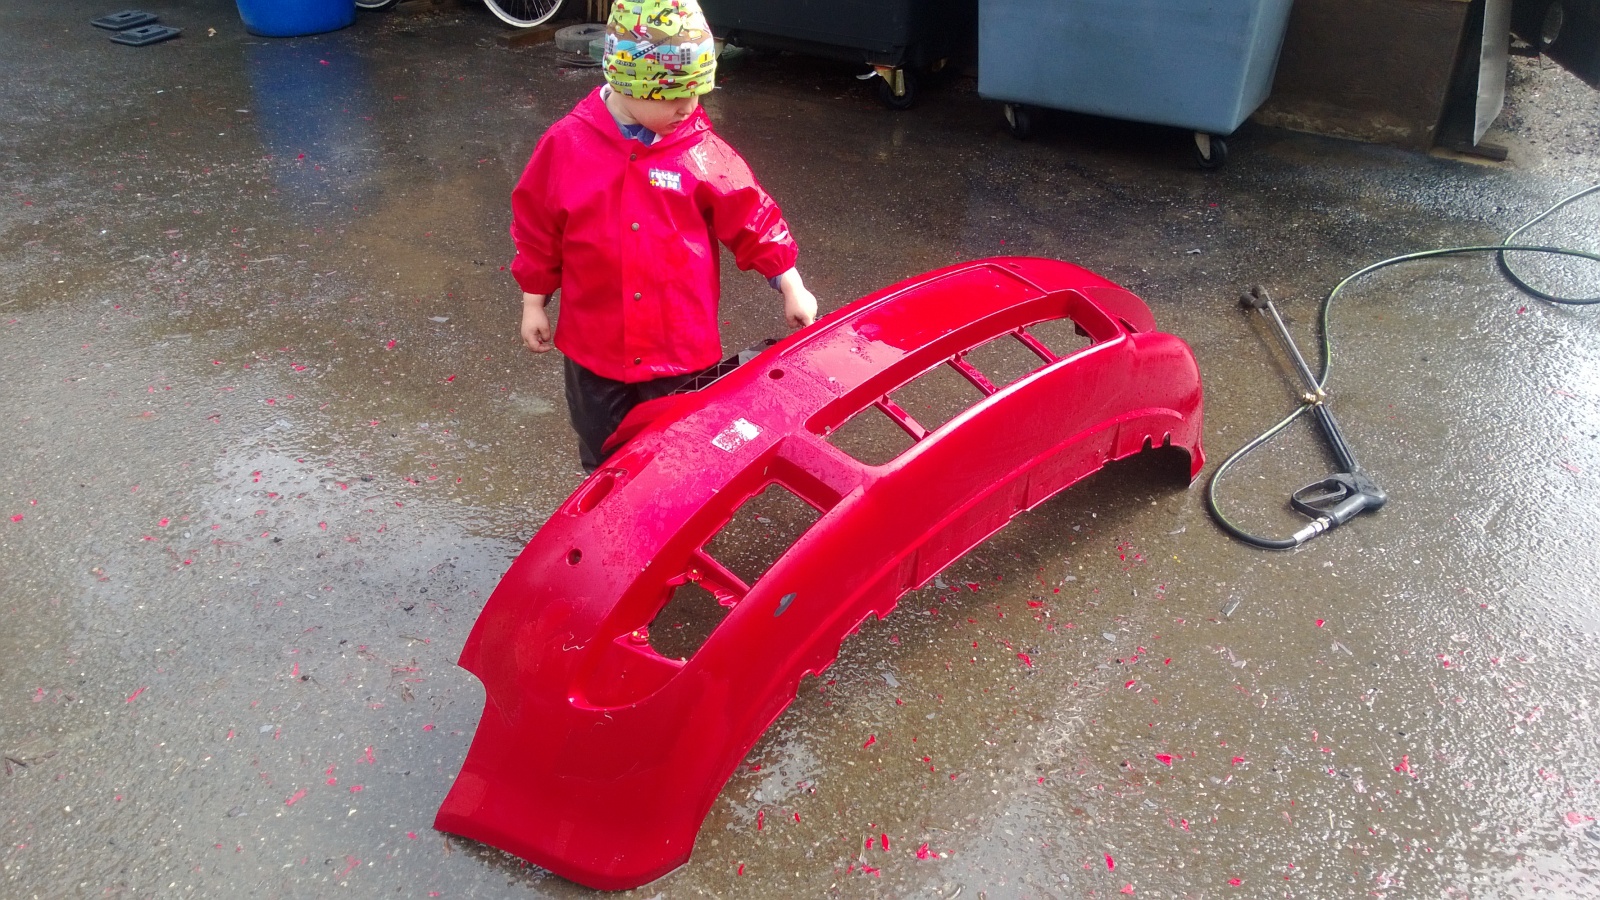
Front bumper pressure washing.
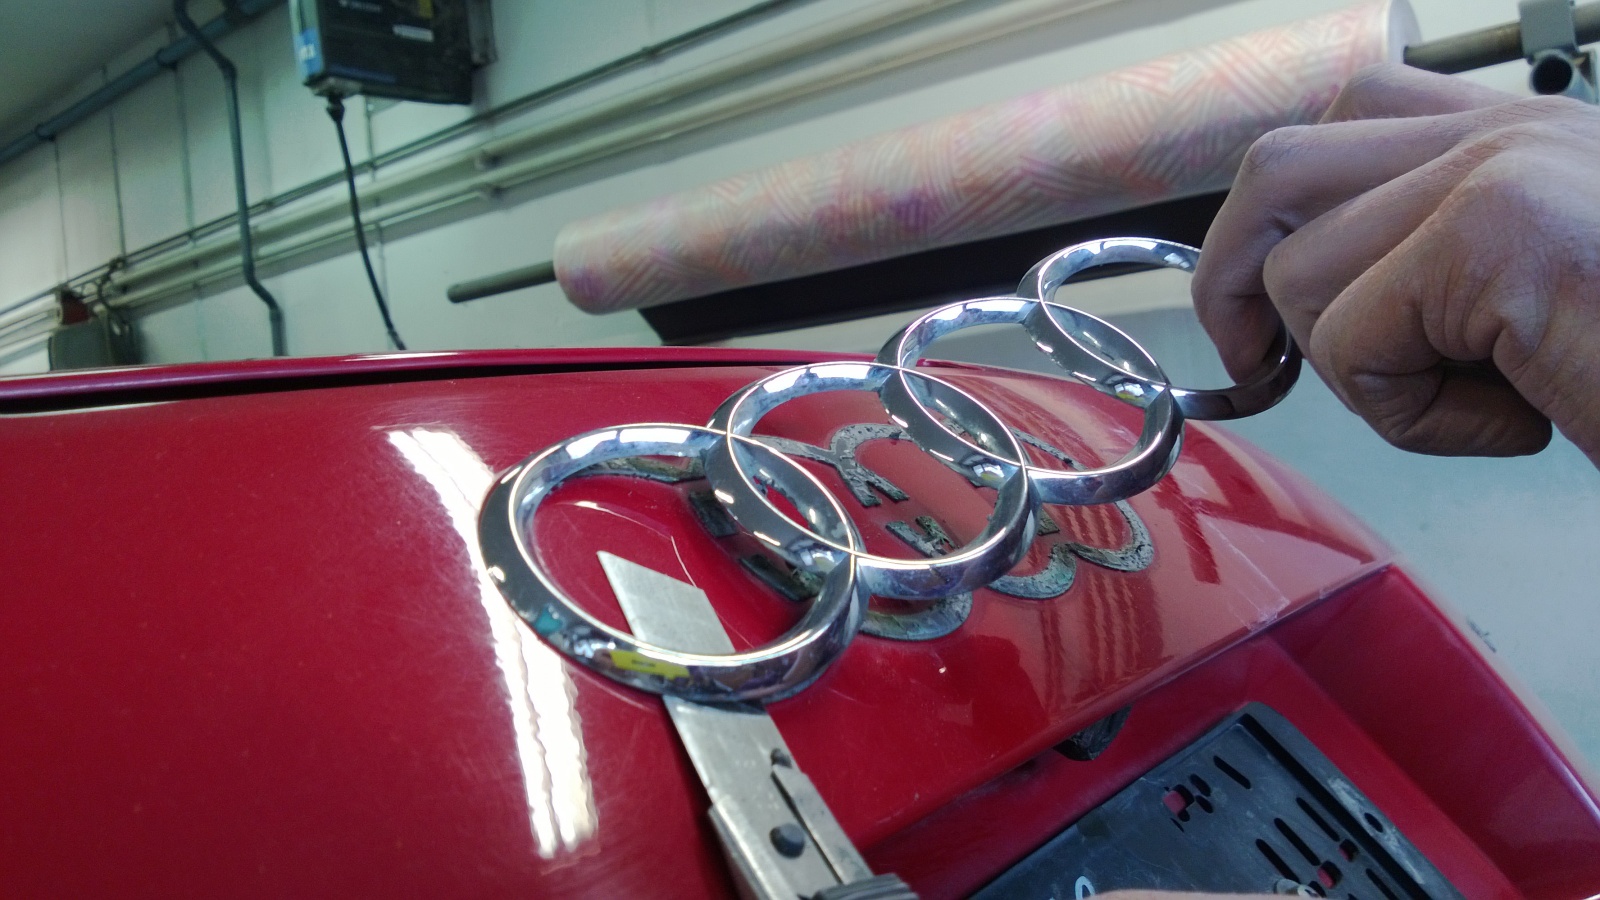
Removing the badges with a utility knife.
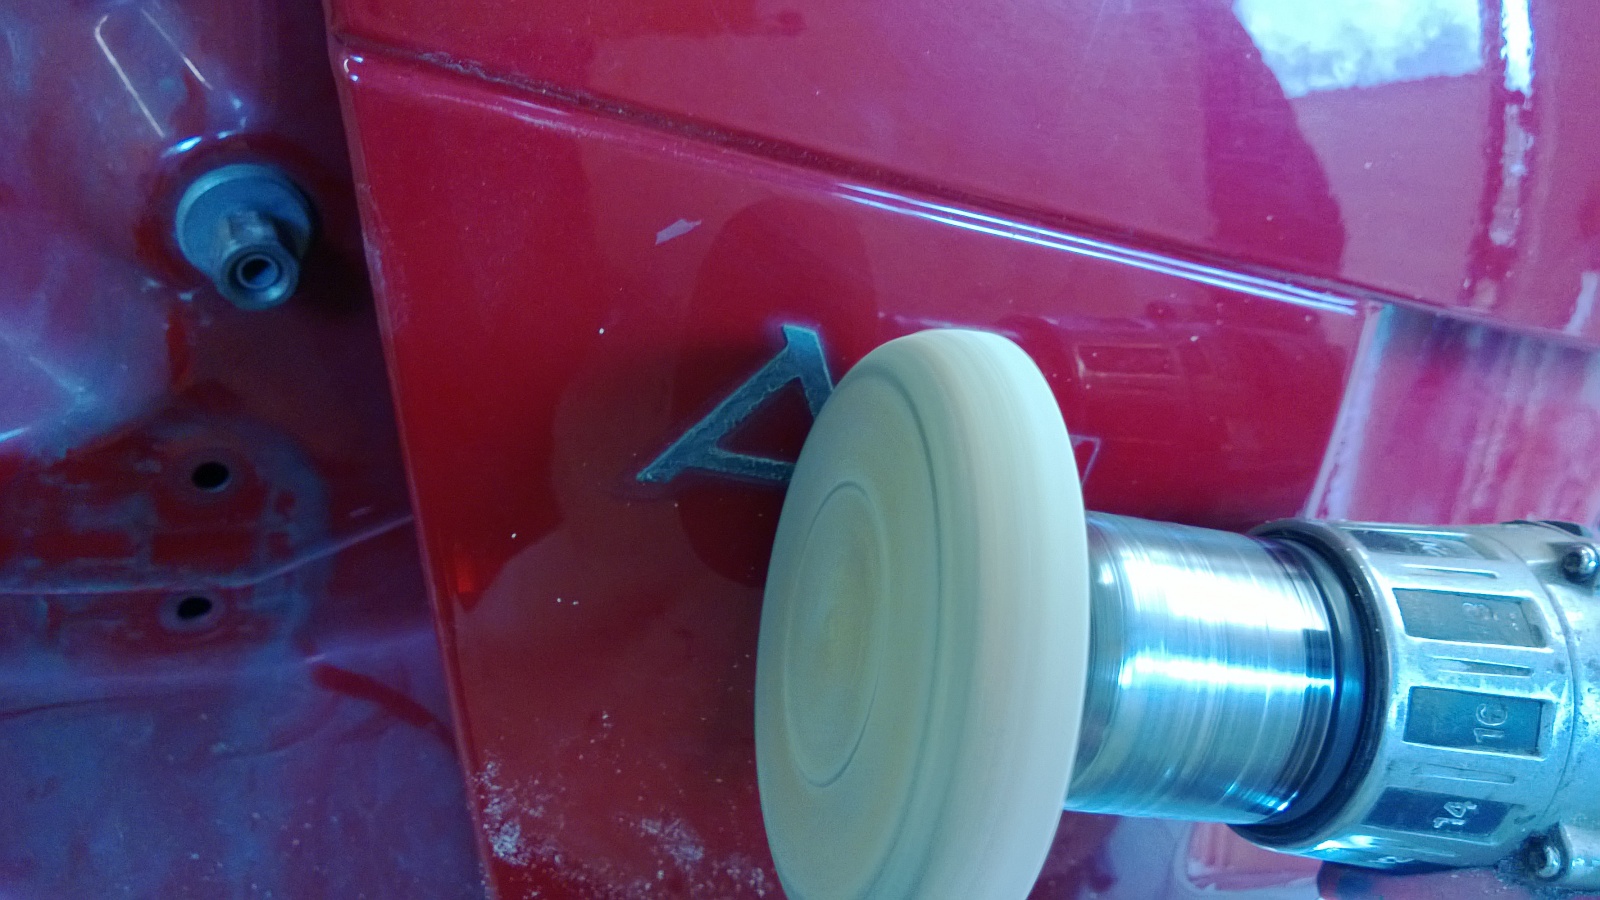
Removing the badge adhesive with a rubber eraser wheel.
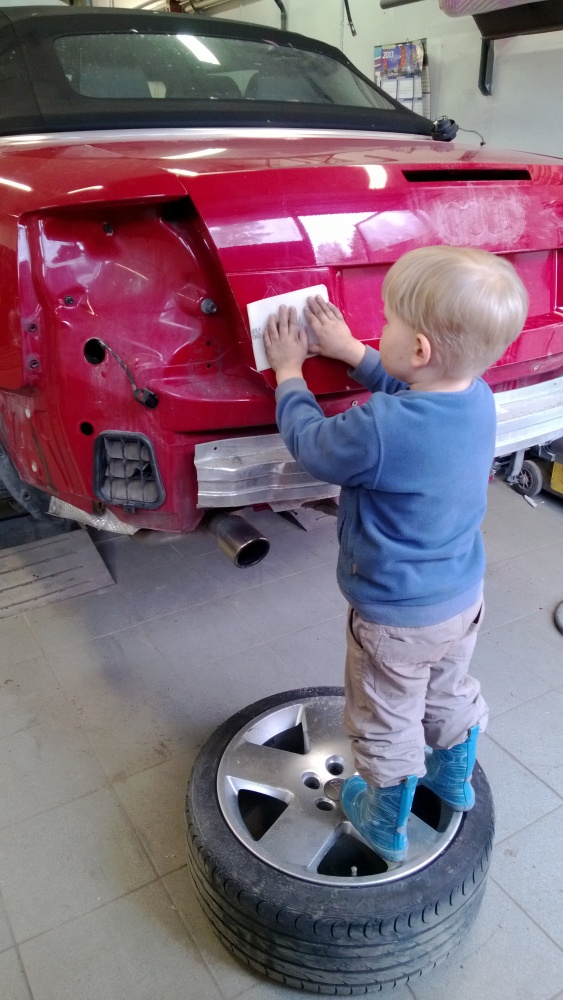
My little helper finishing the debadging with 600-grit paper.
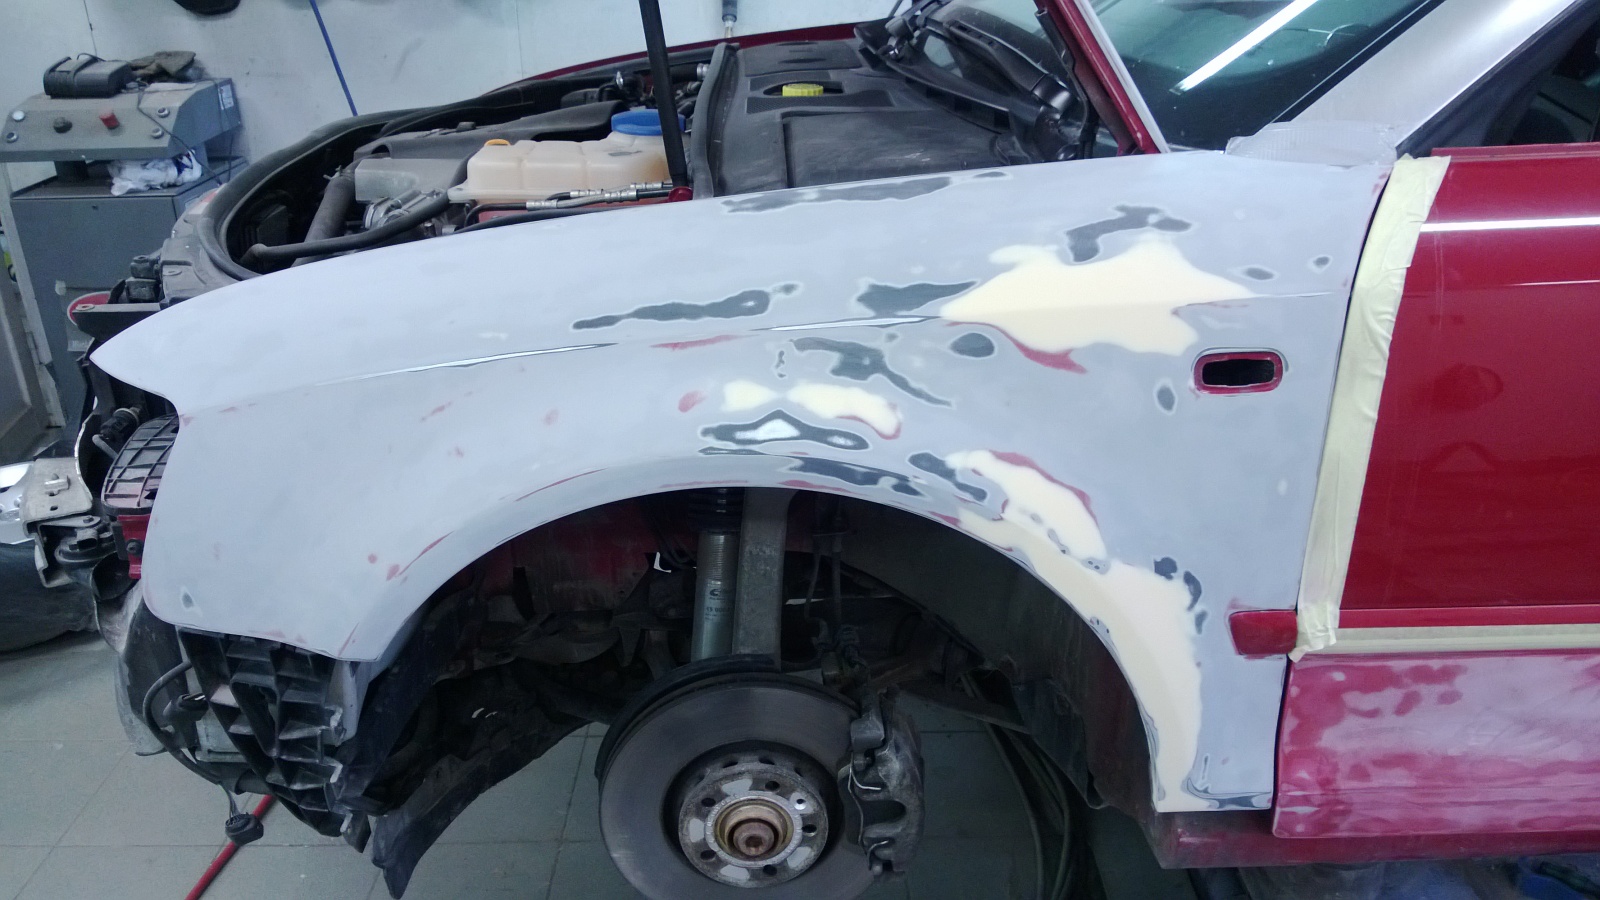
A few dents in the front wing needed some filler.
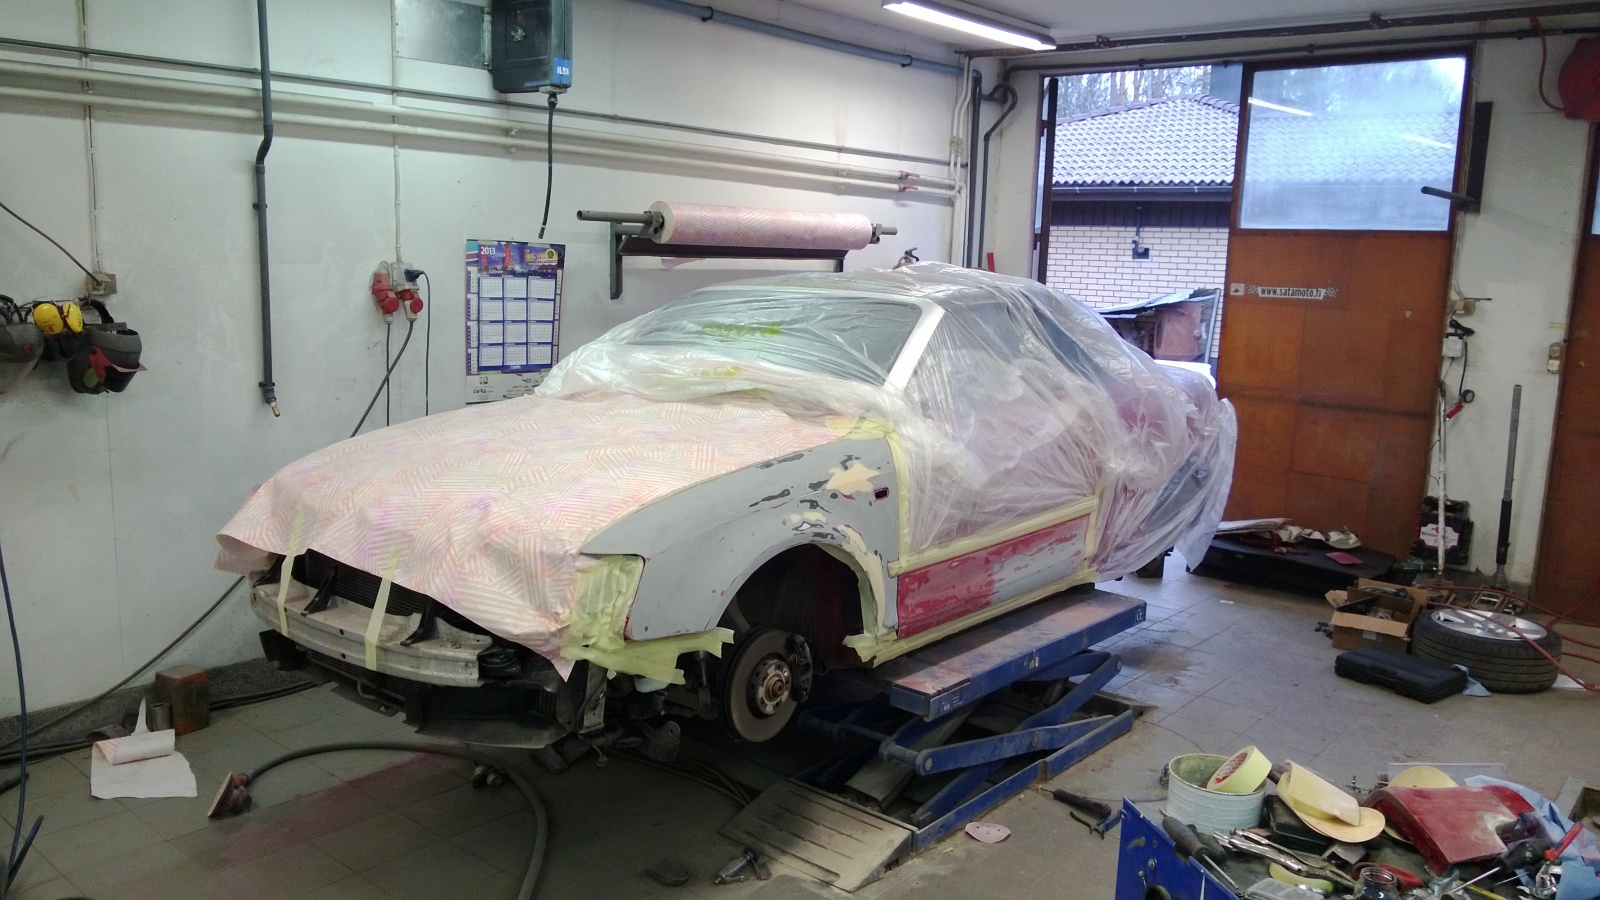
Next, primer-surfacer.
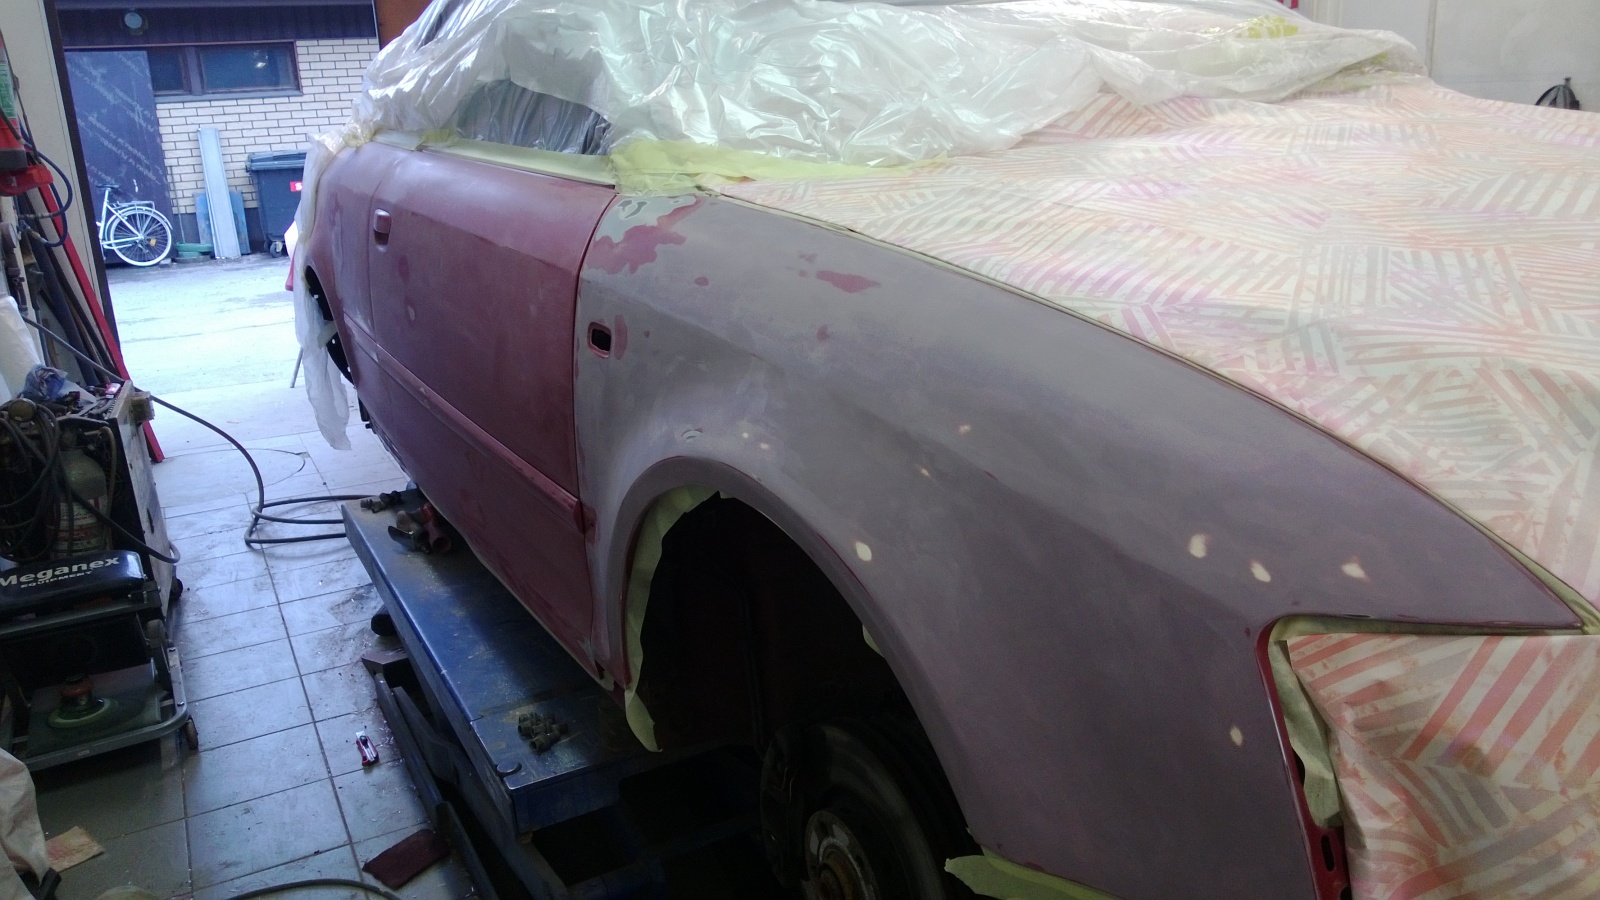
Right-hand side ready for primer-surfacer.
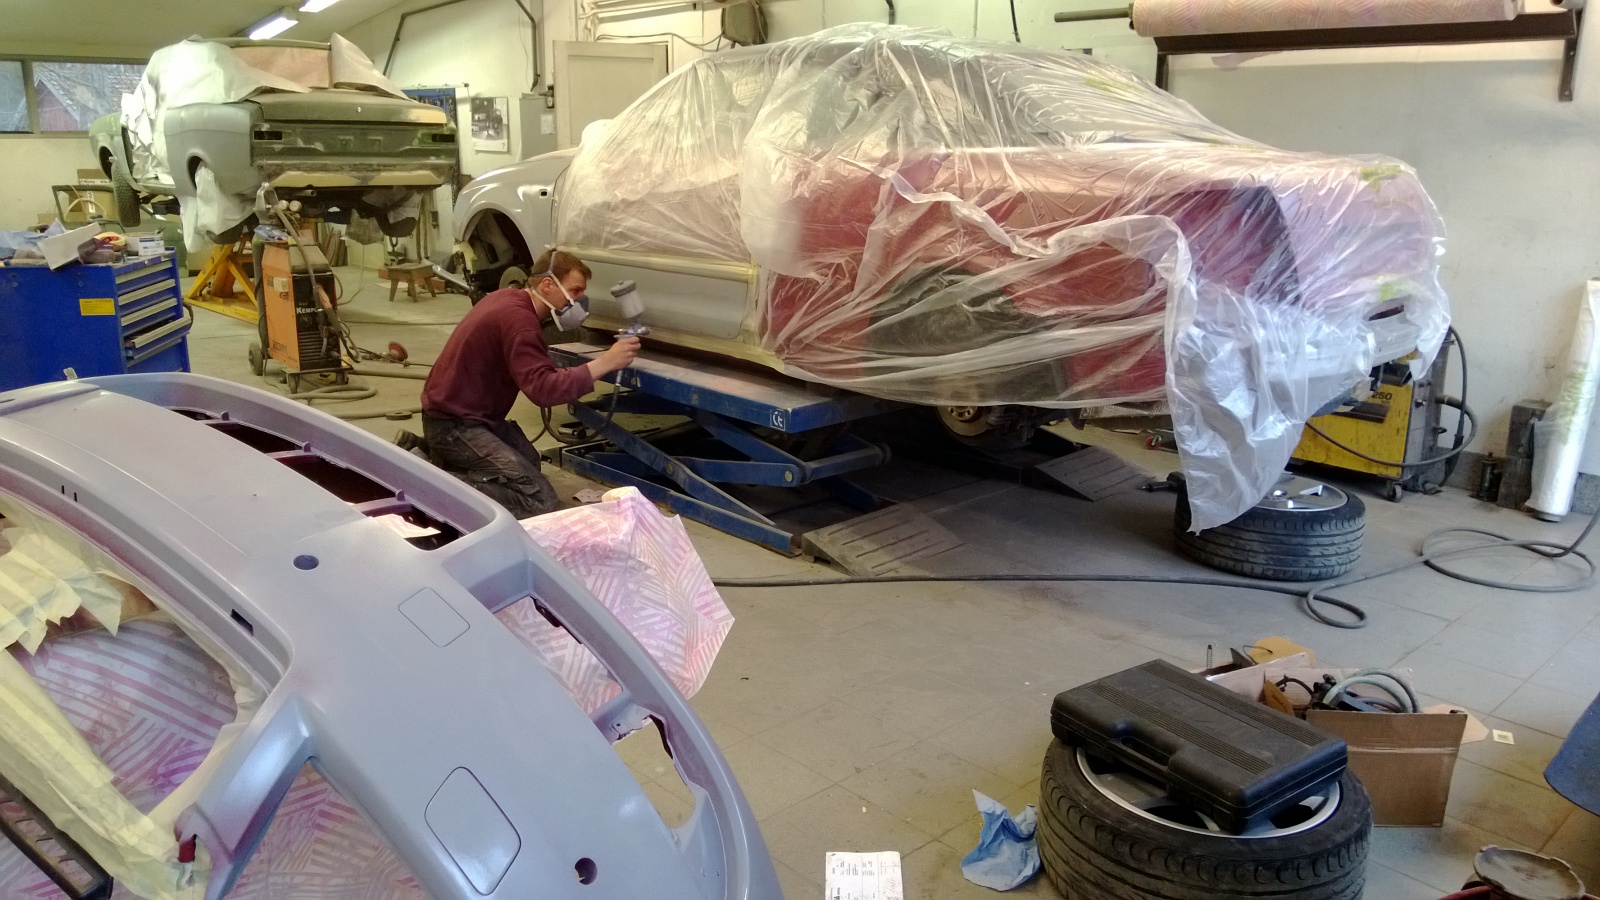
Jaska spraying the primer-surfacer.
2013-05-10 · A4 respray, day 3
Jaska finished the preparation today, and the car went to Kankaanpää for painting. Something a bit more visible tomorrow…
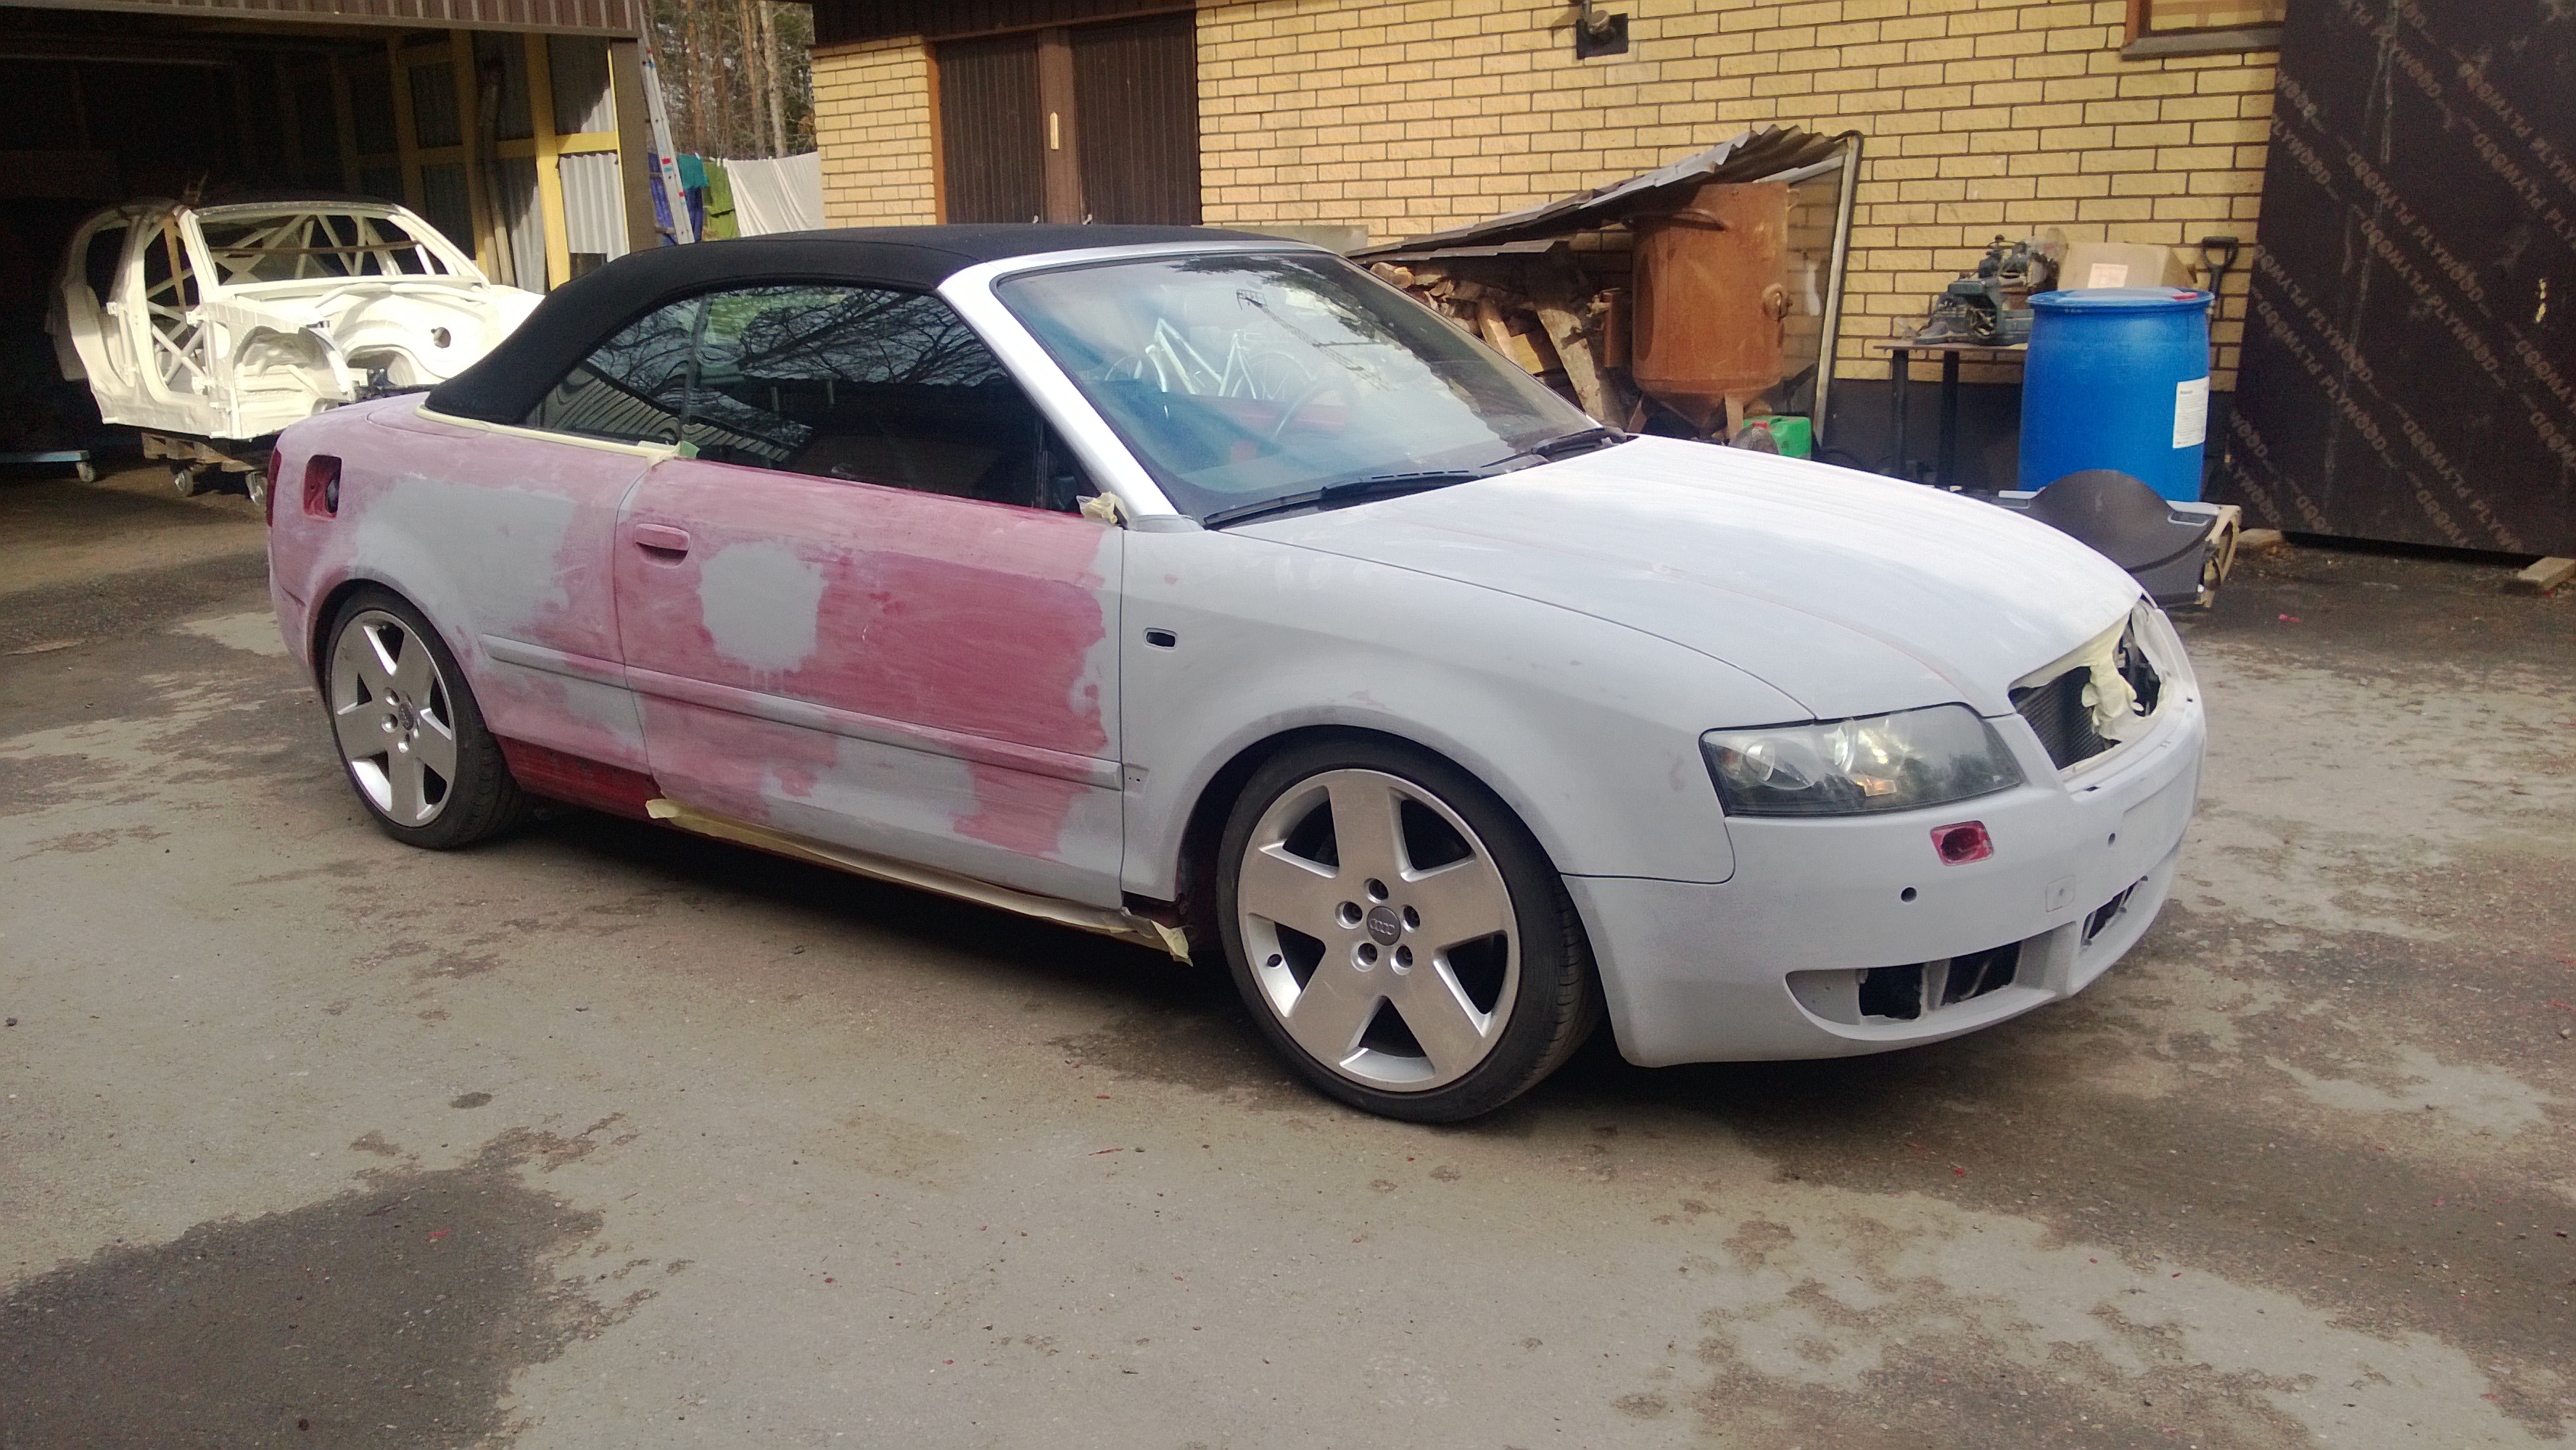
2013-05-11 · And It's going to be... Red!
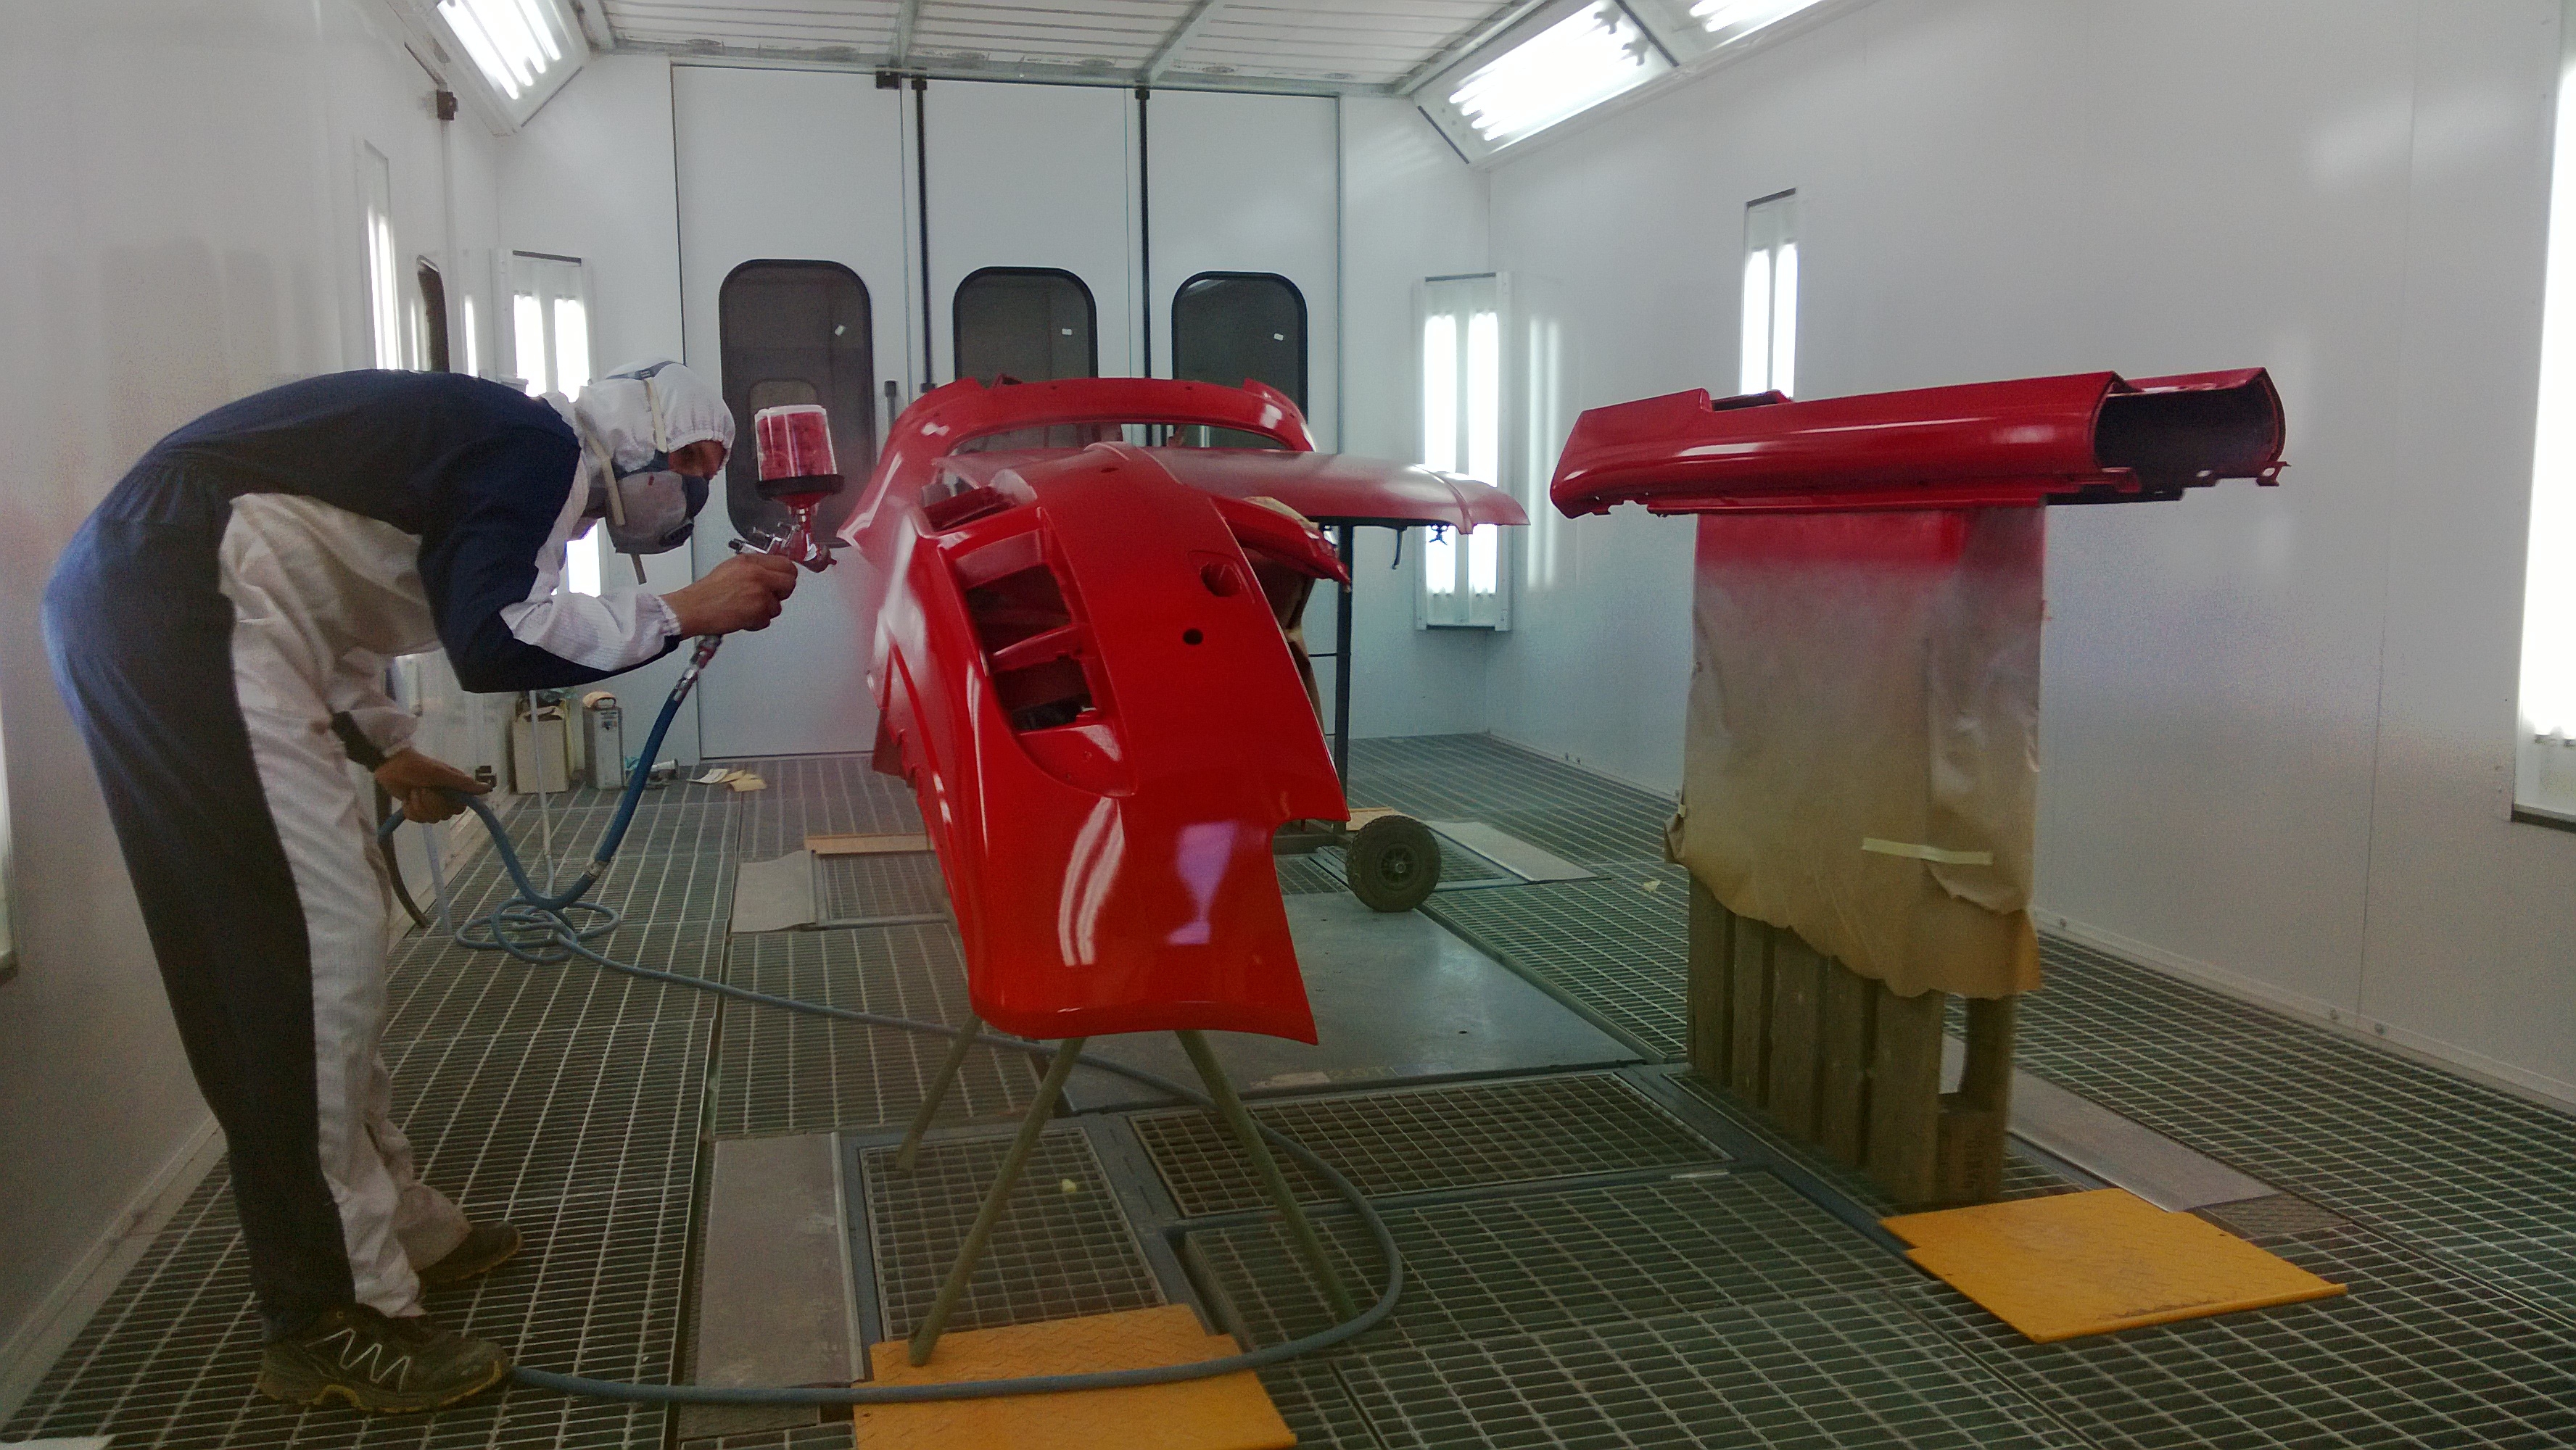
2013-05-13 · A4 respray, day 4
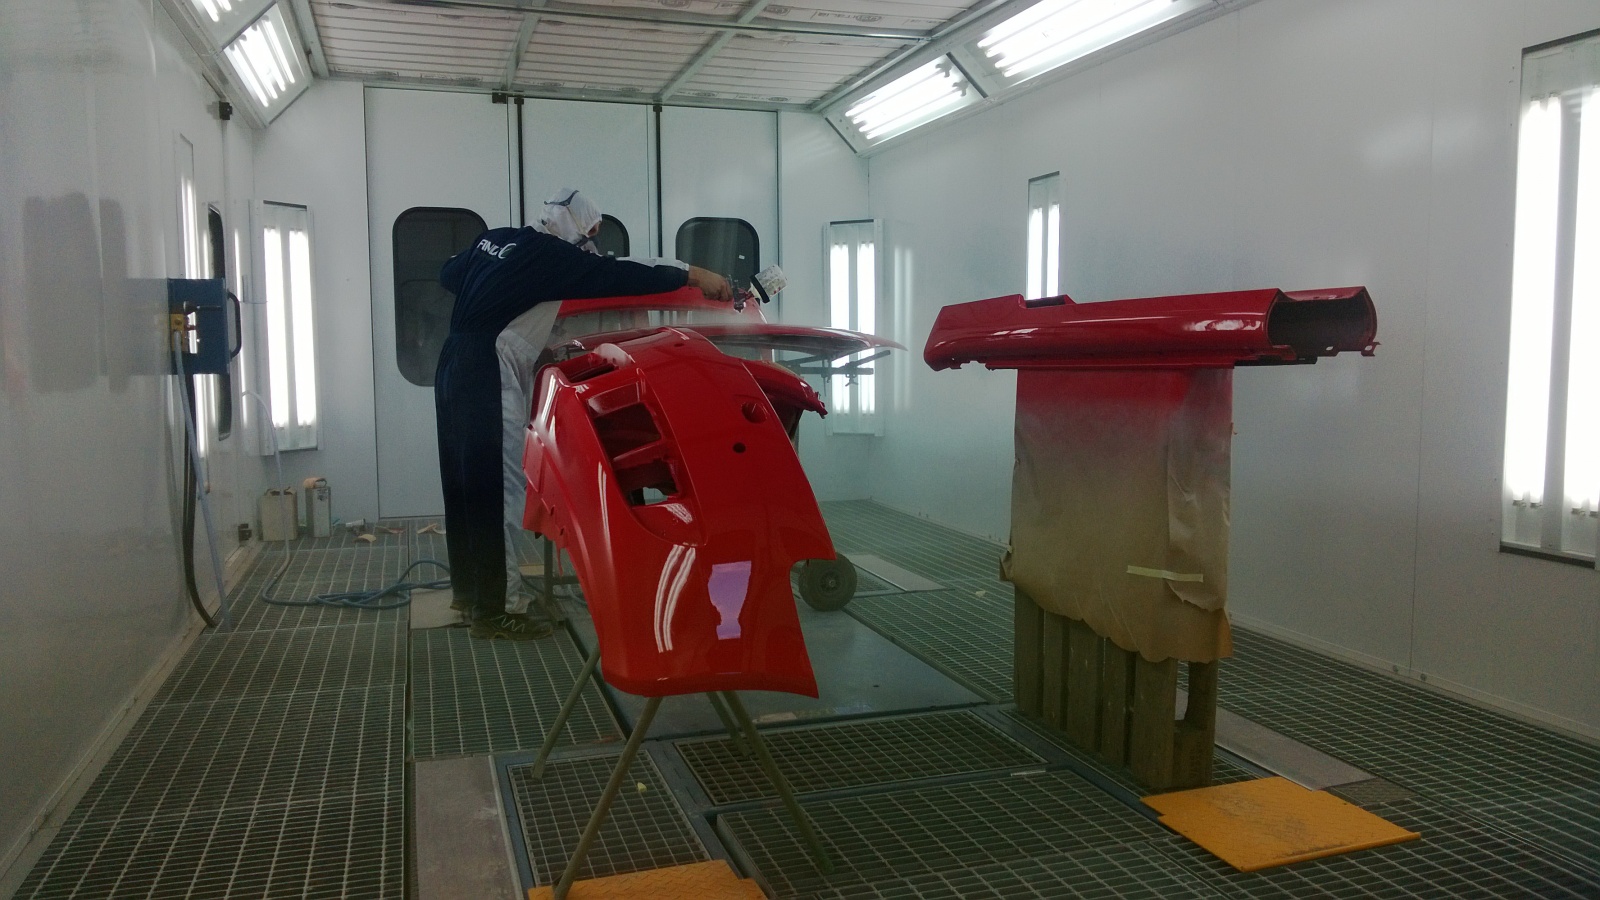
Day four began on Saturday morning at Petri Gullans' brand-new paint booth in Kankaanpää. Everything wouldn't fit in at once, so the bumpers, side skirts, bonnet and other loose parts went first. The car itself would follow that evening.
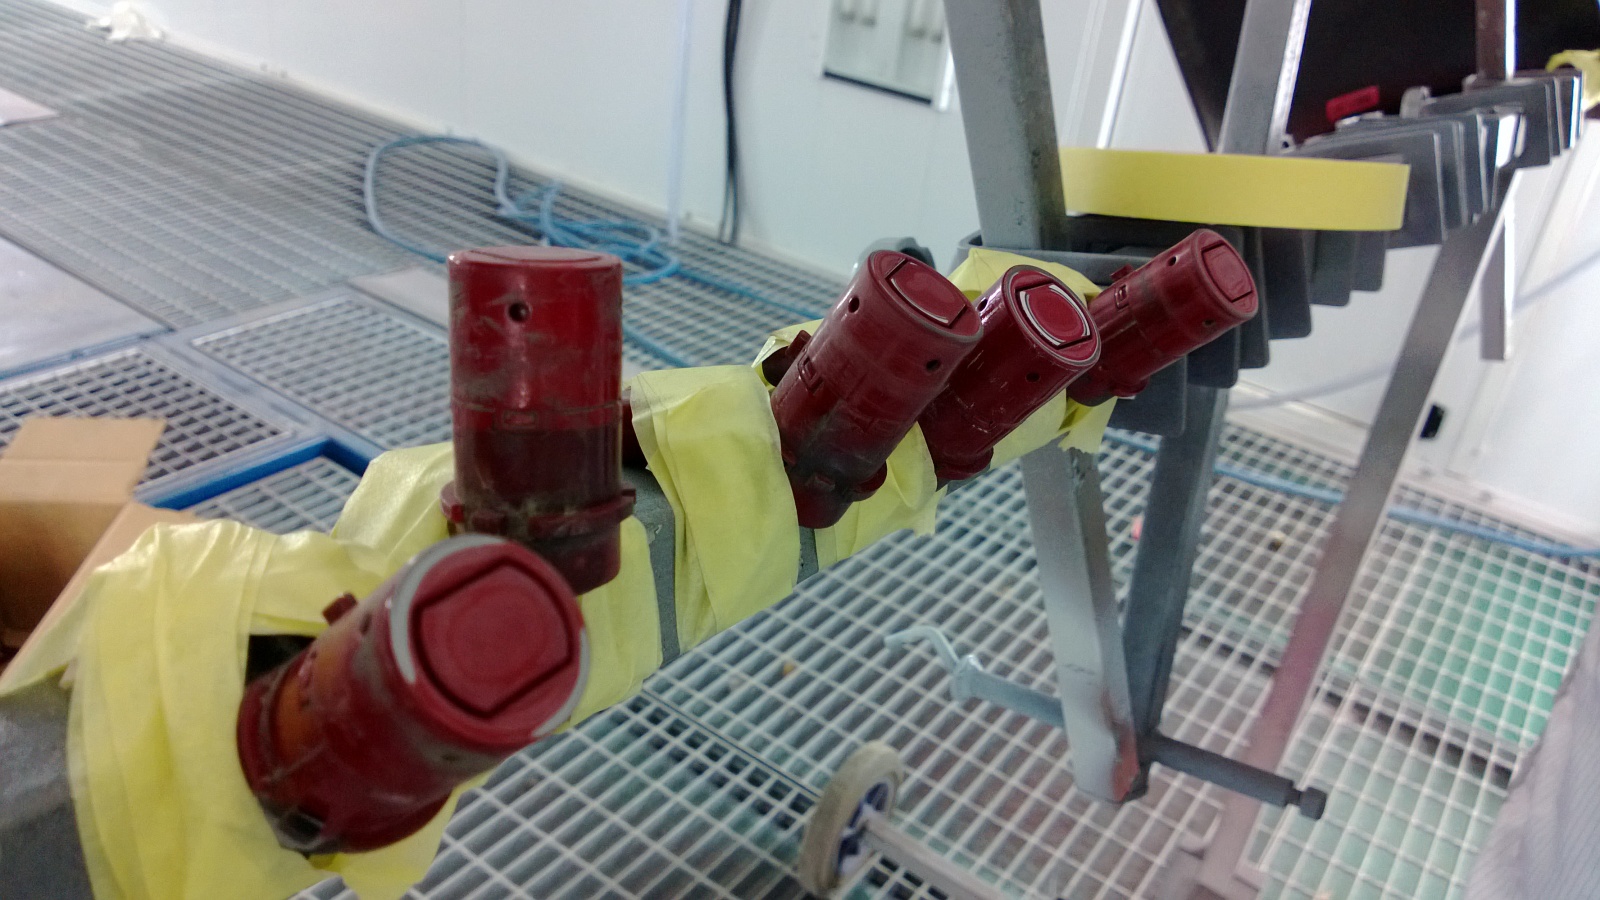
Parking sensors removed from the bumper and painted separately.
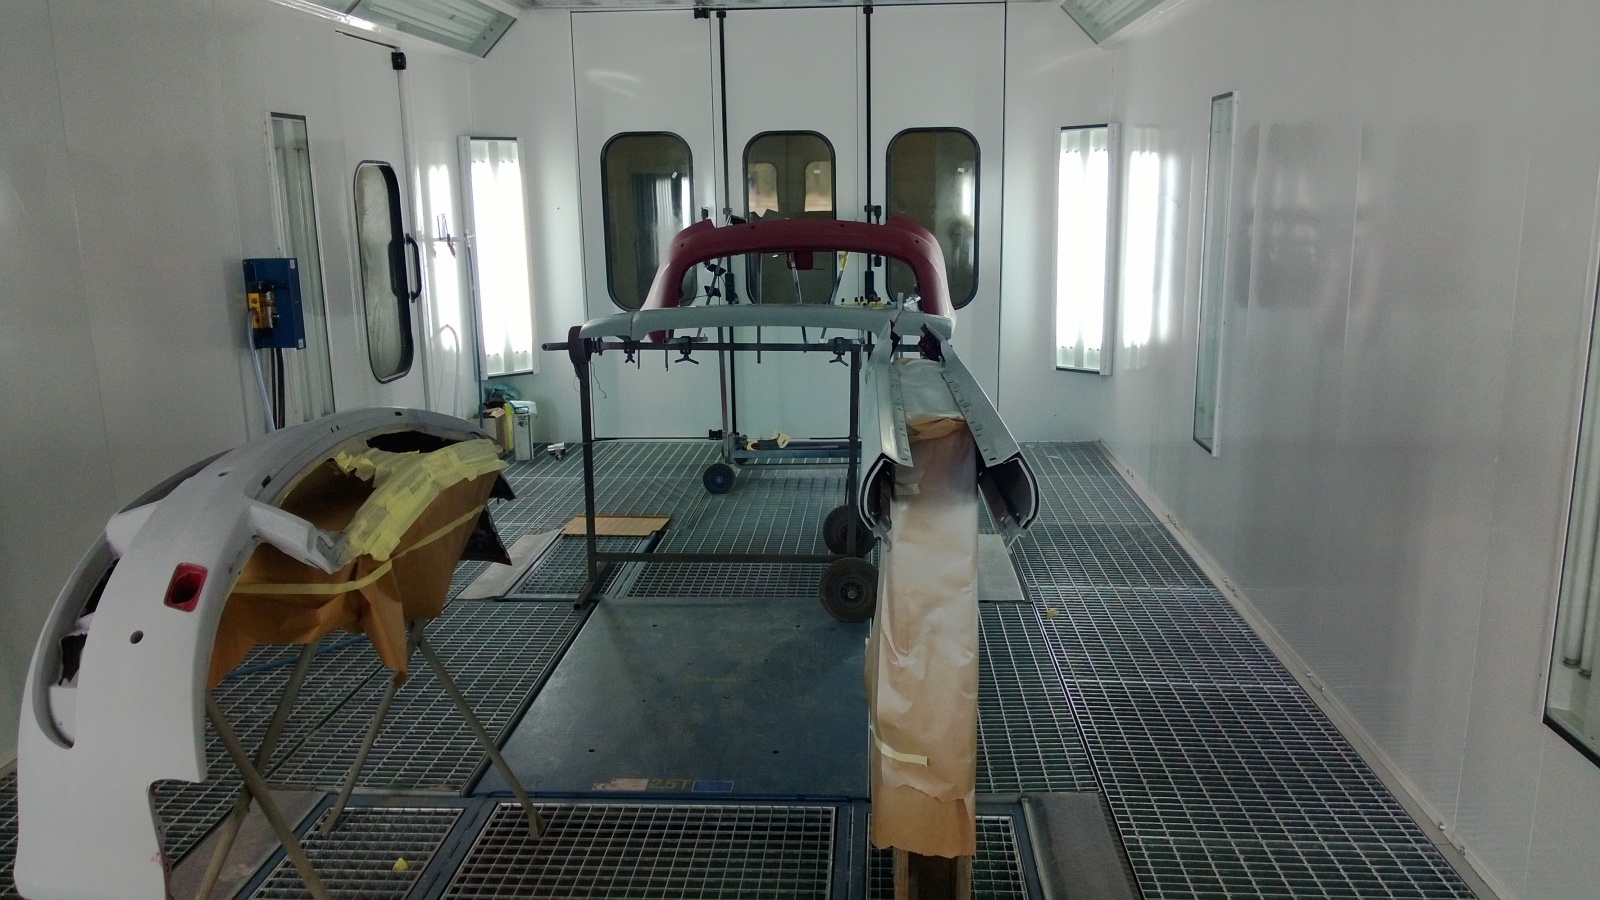
Side skirts, bumpers, bonnet and the other bits arranged in the booth.
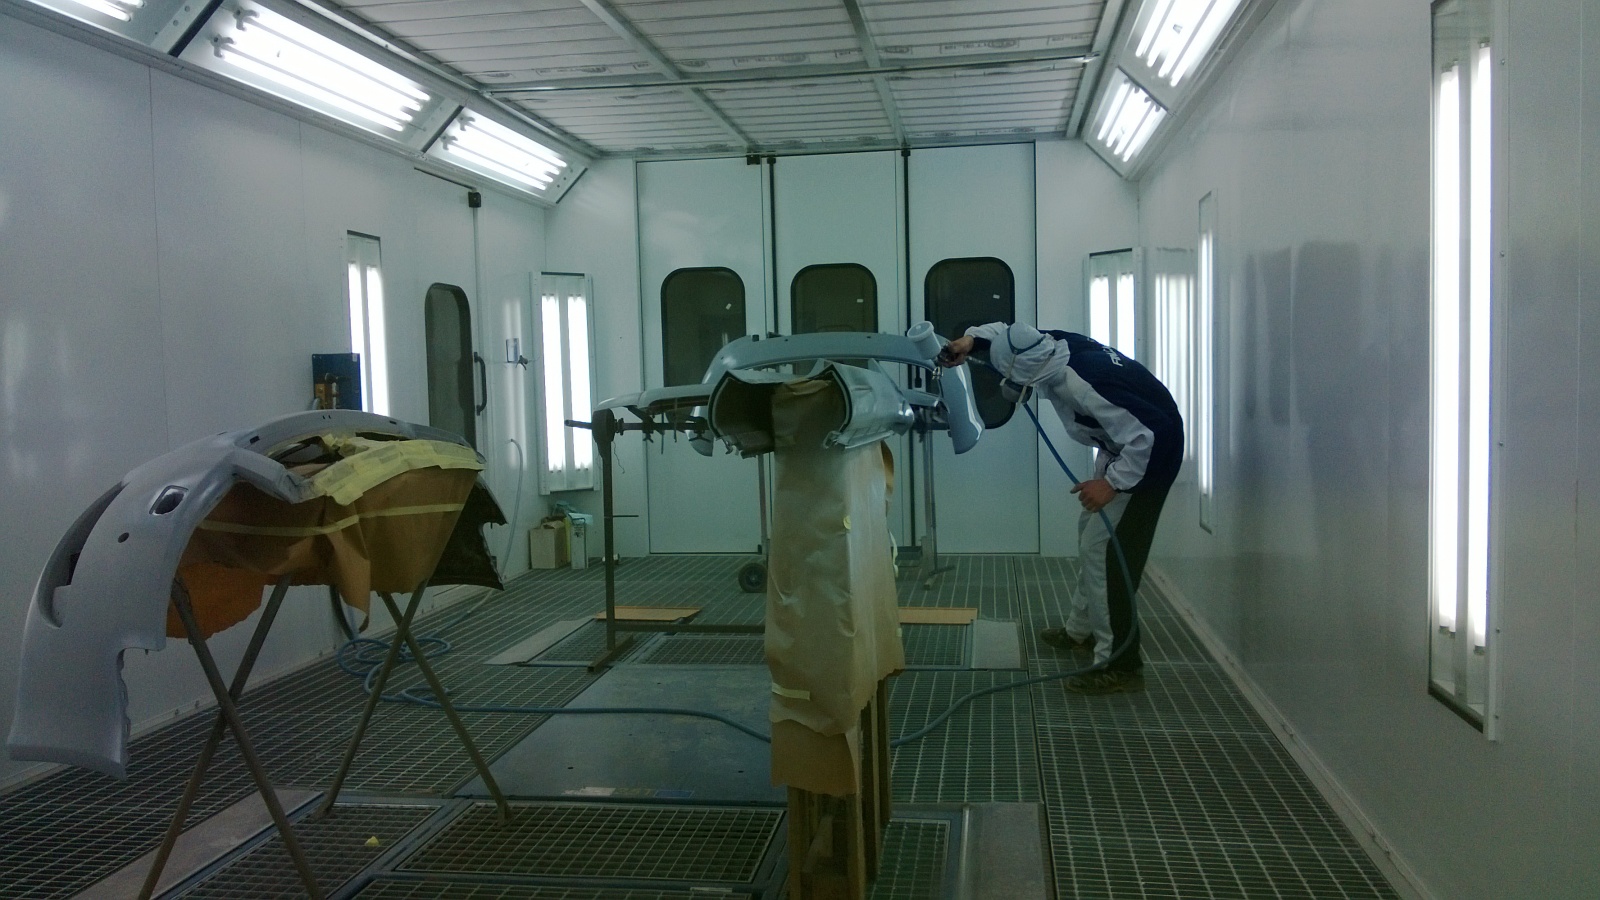
Primer first. Jari Järvenpää on the spray gun.
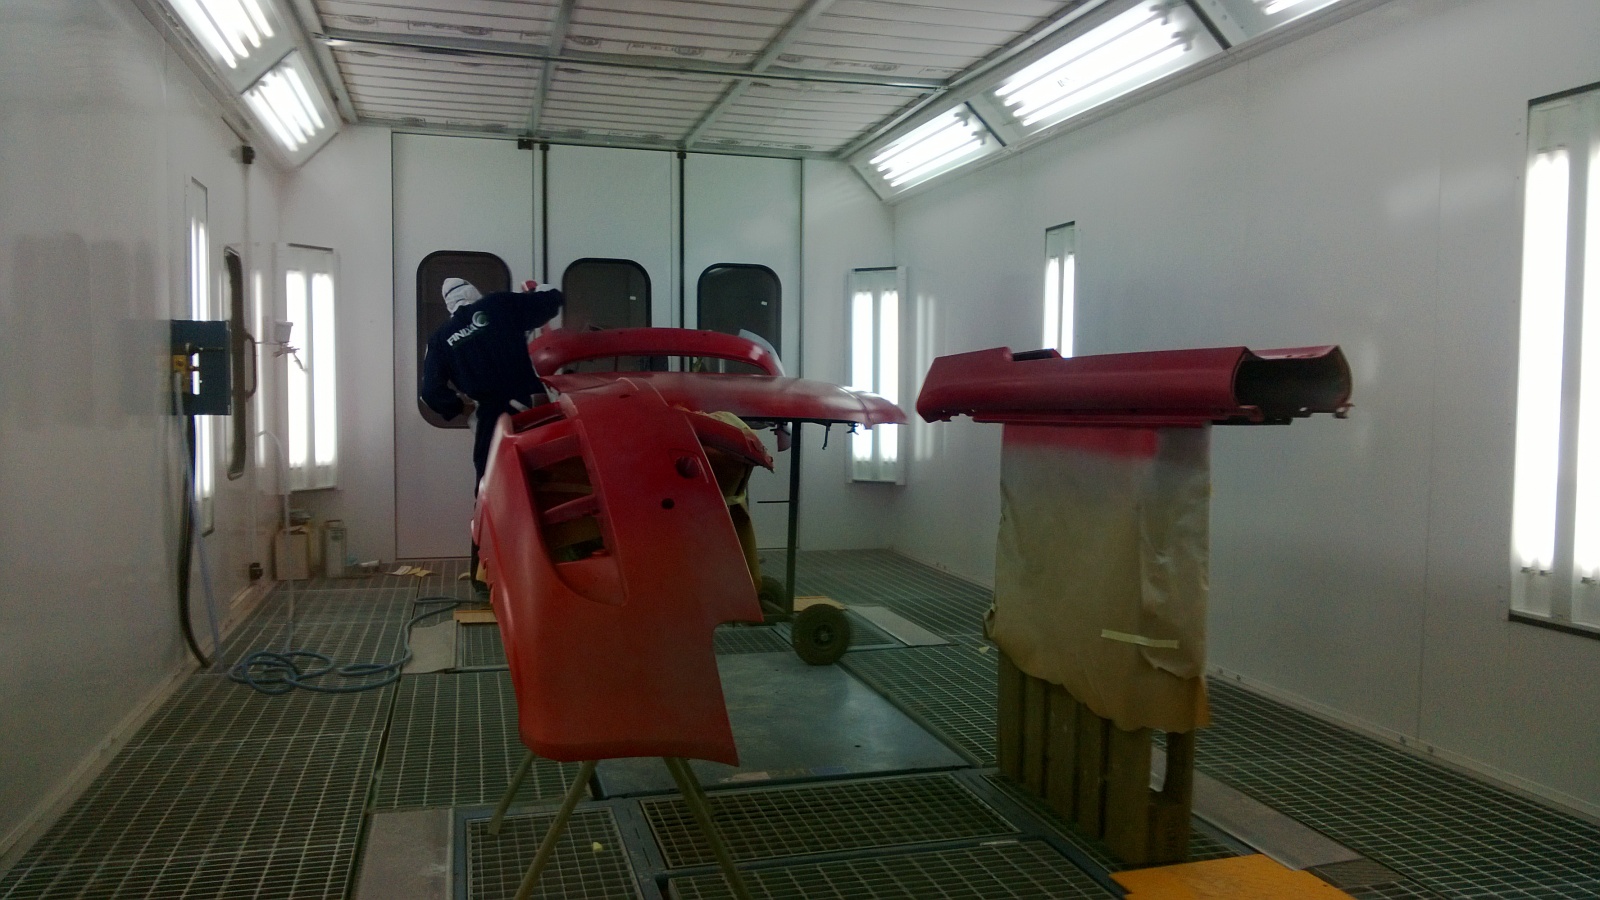
Then a few coats of colour.
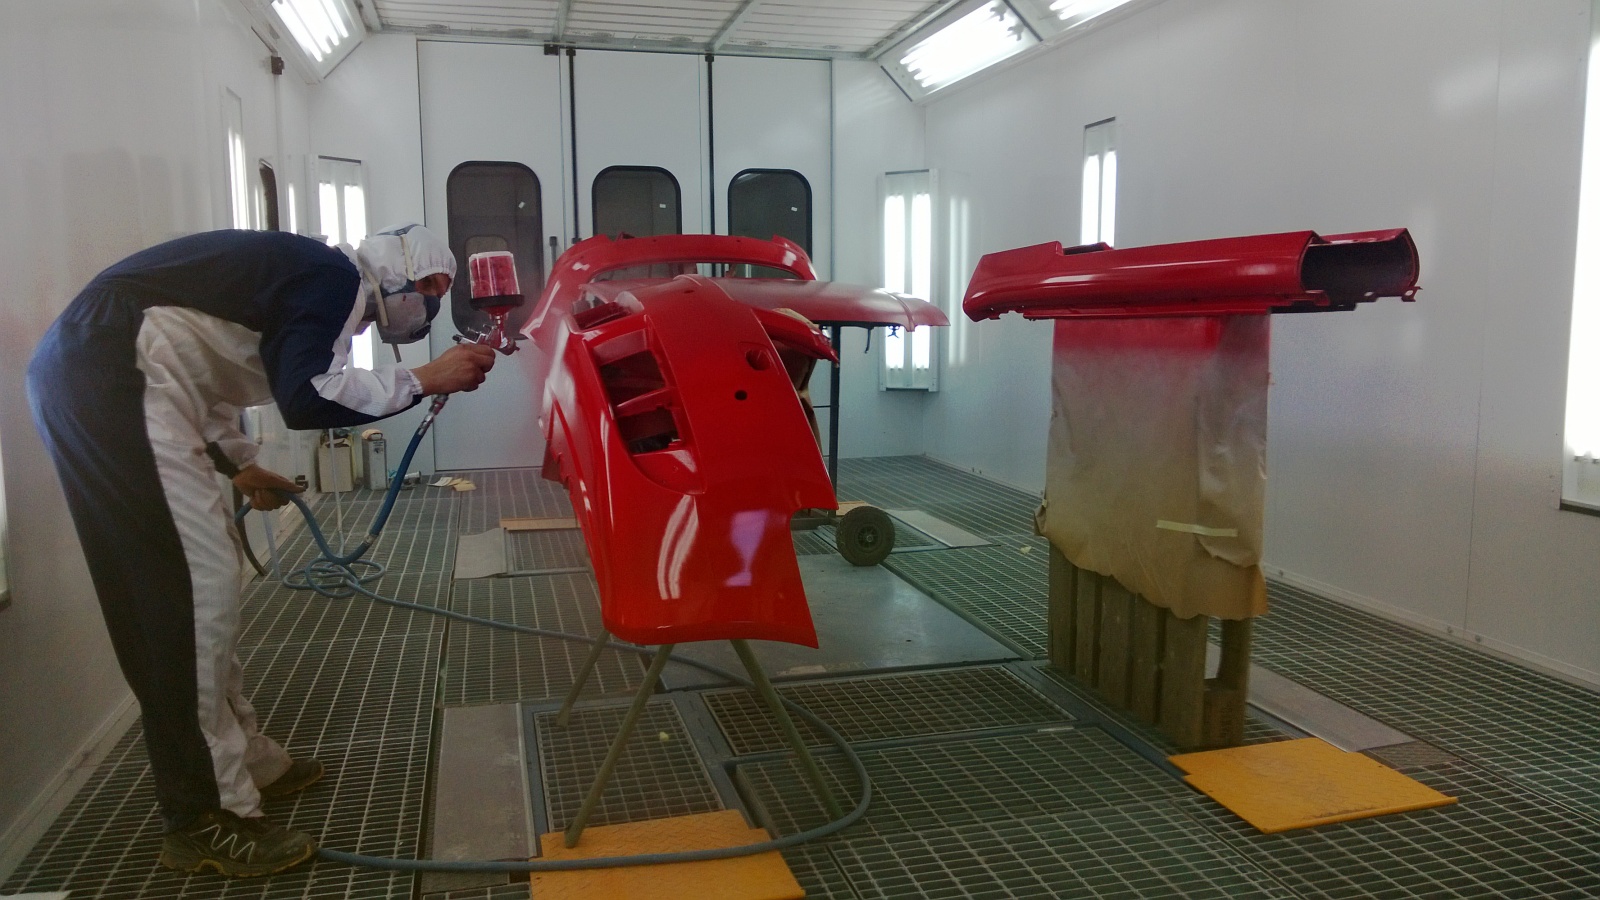
More basecoat…
Three coats of clear on top, then a few tens of minutes in the booth at 70°C.
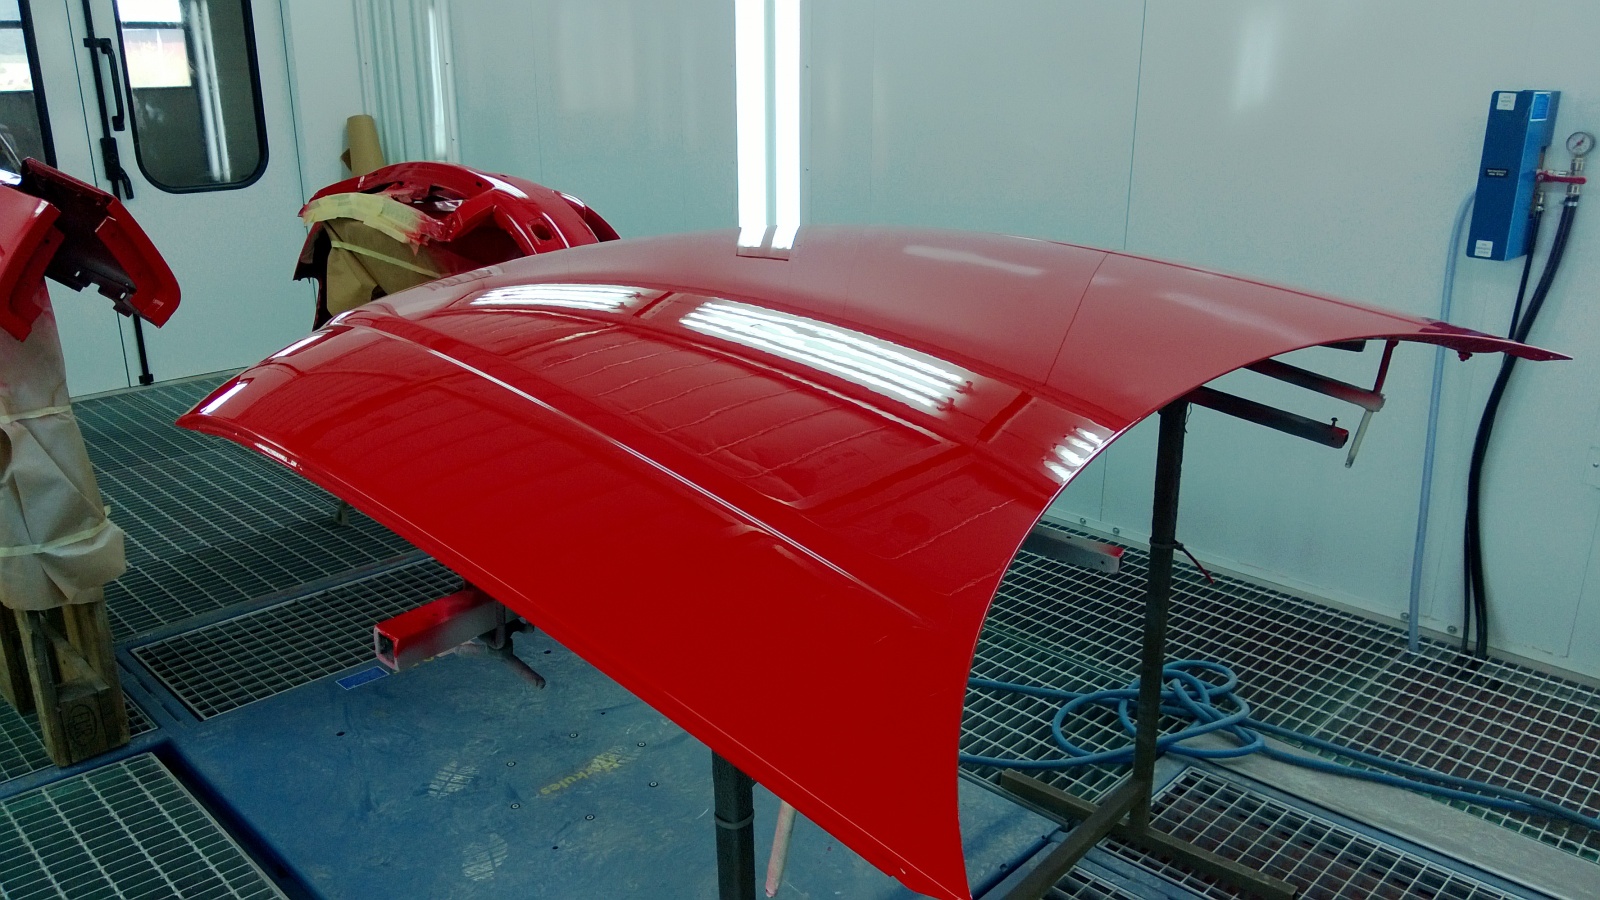
Bonnet out of the booth.
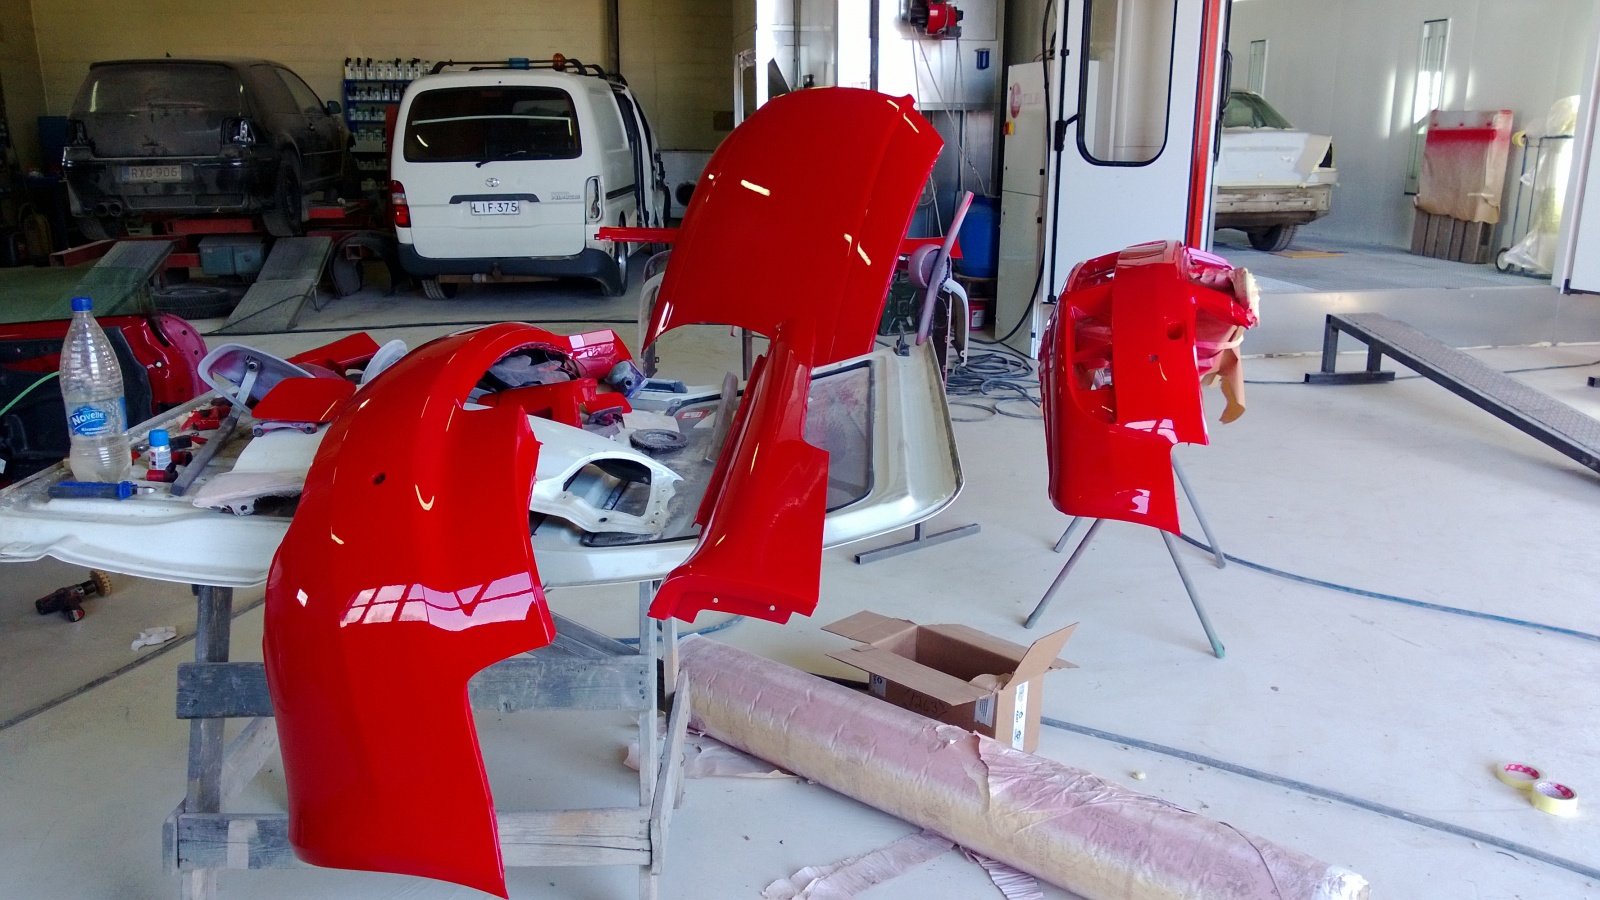
Parts painted. The beauty of baking the paint is that reassembly can start an hour later…
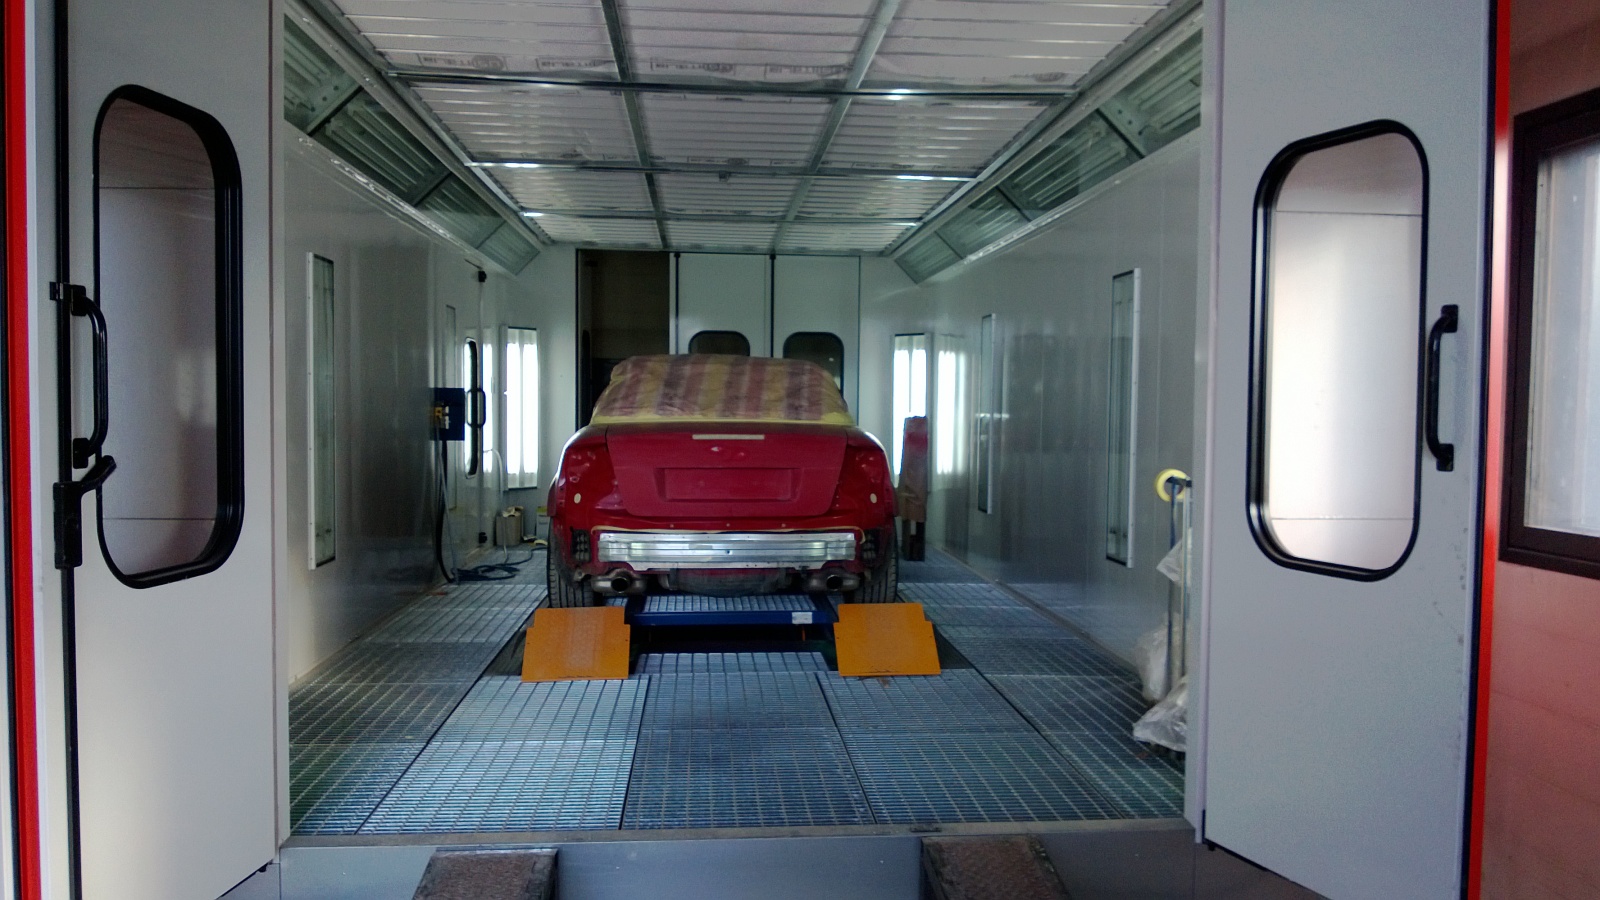
Now the car's turn in the booth. Petri's booth has a lift, making the lower bodywork a bit easier to paint.
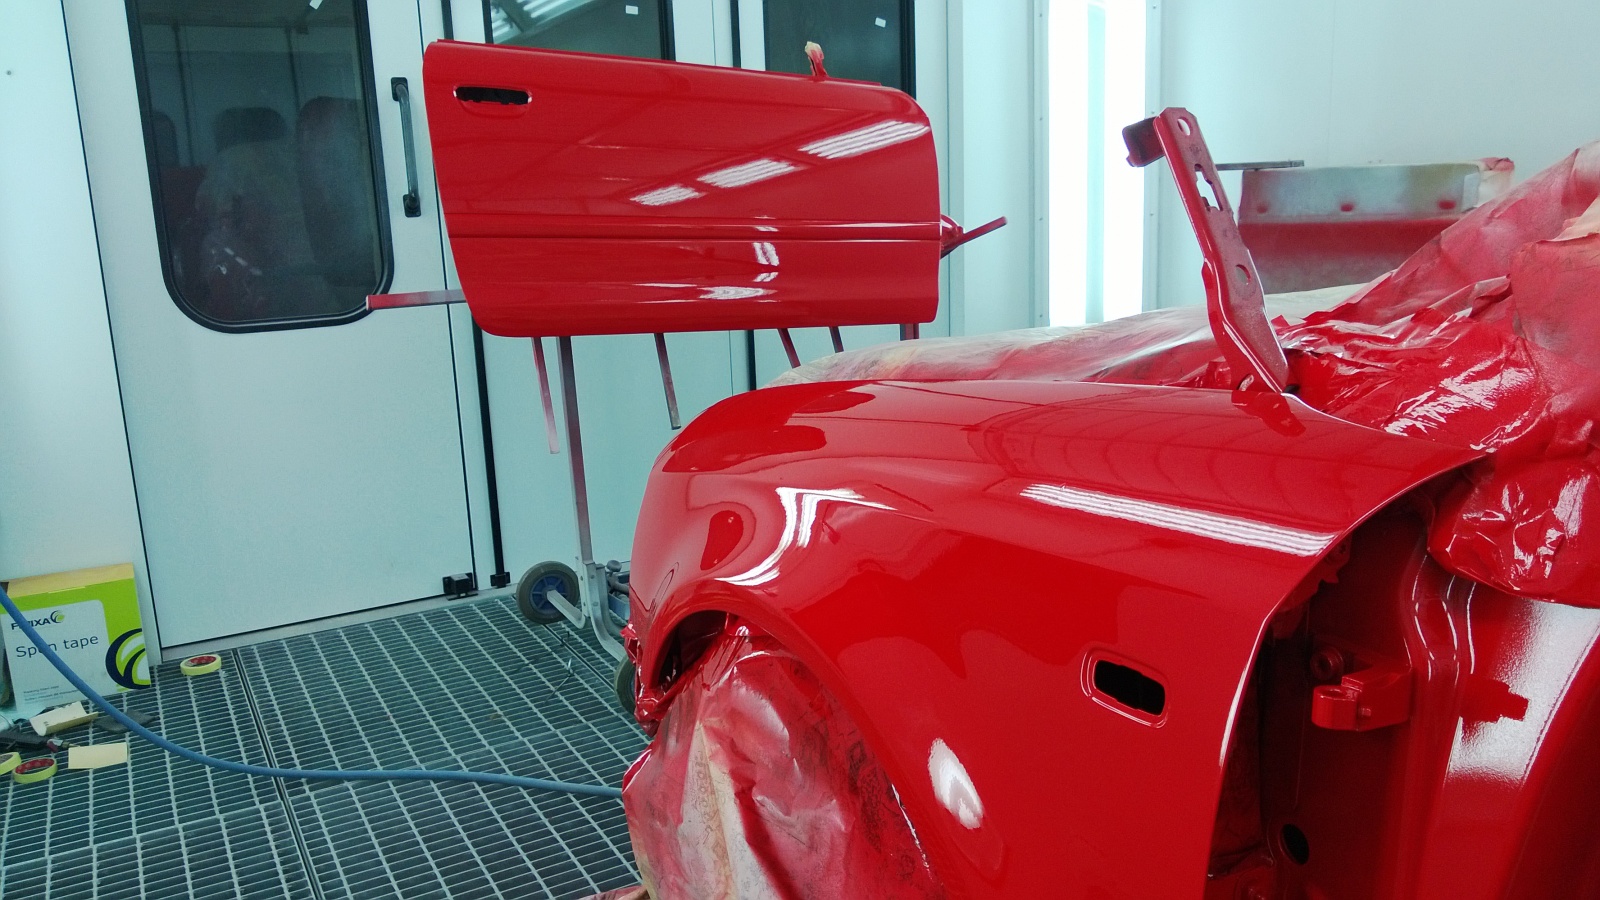
The doors were painted separately so that the door openings and the inside of the doors could also be painted.
A solid twelve-plus-hour Saturday.
2013-05-13 · A4 respray, day 5 — back on the road
Mother's Day, reassembly day. Nothing especially tricky, just putting all the parts back. Still, it filled another whole day, with breaks for Mother's Day cake. The car's nearly done now, just the side skirts to fit.
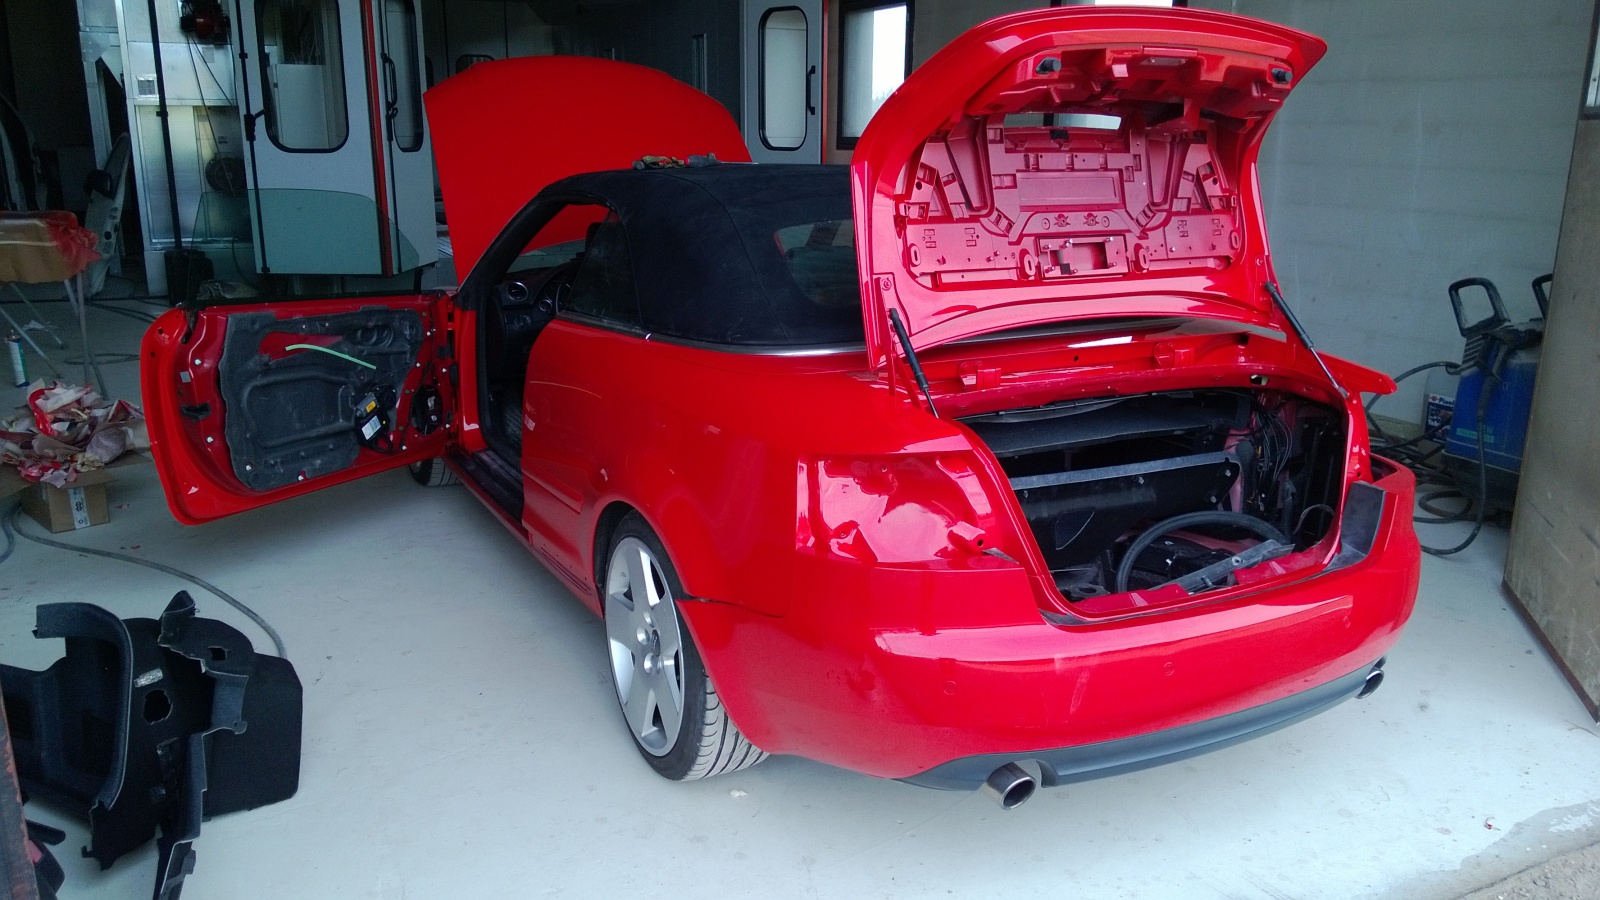
Reassembly in full swing. A pleasant Mother's Day putting a car back together.
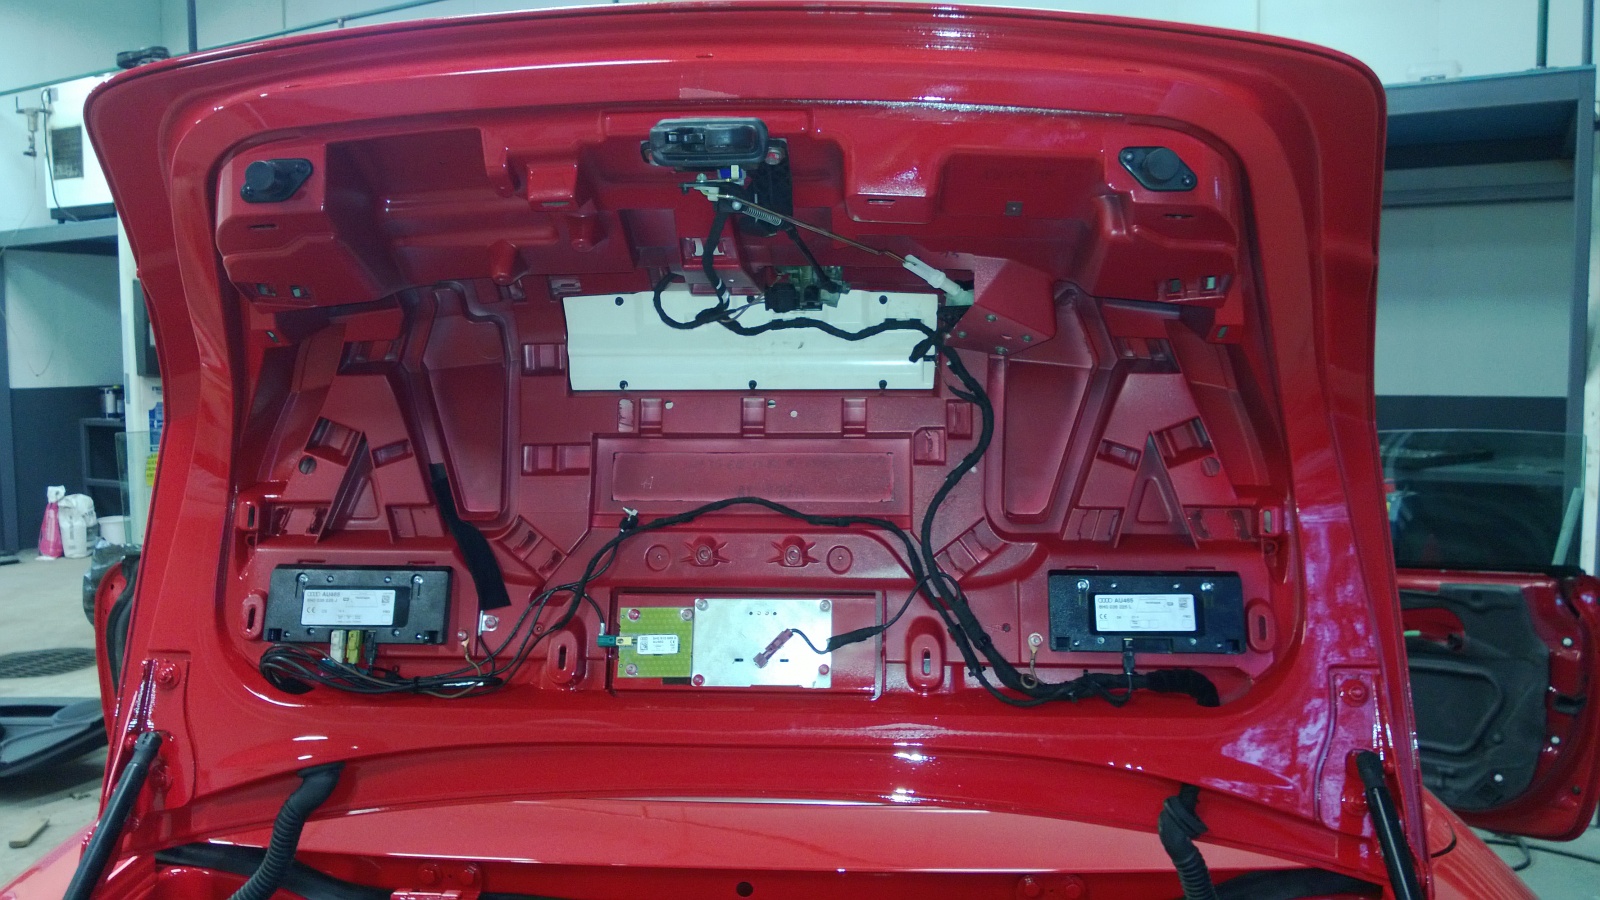
All sorts of antennas hide beneath the boot-lid trim.
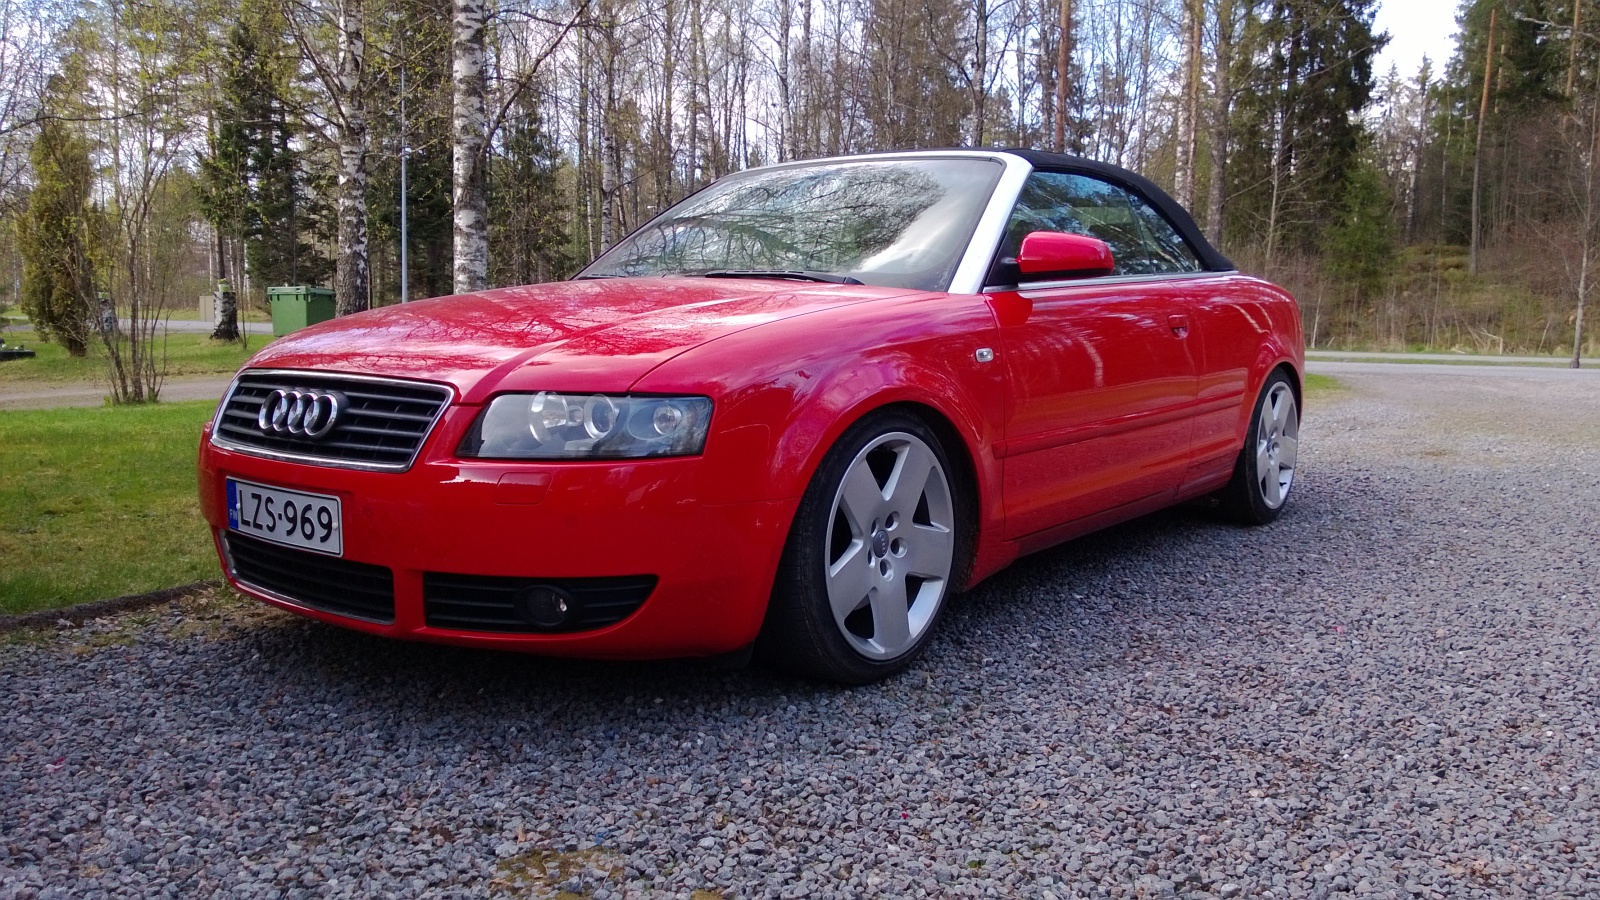
Nearly done. Still missing the side skirts.
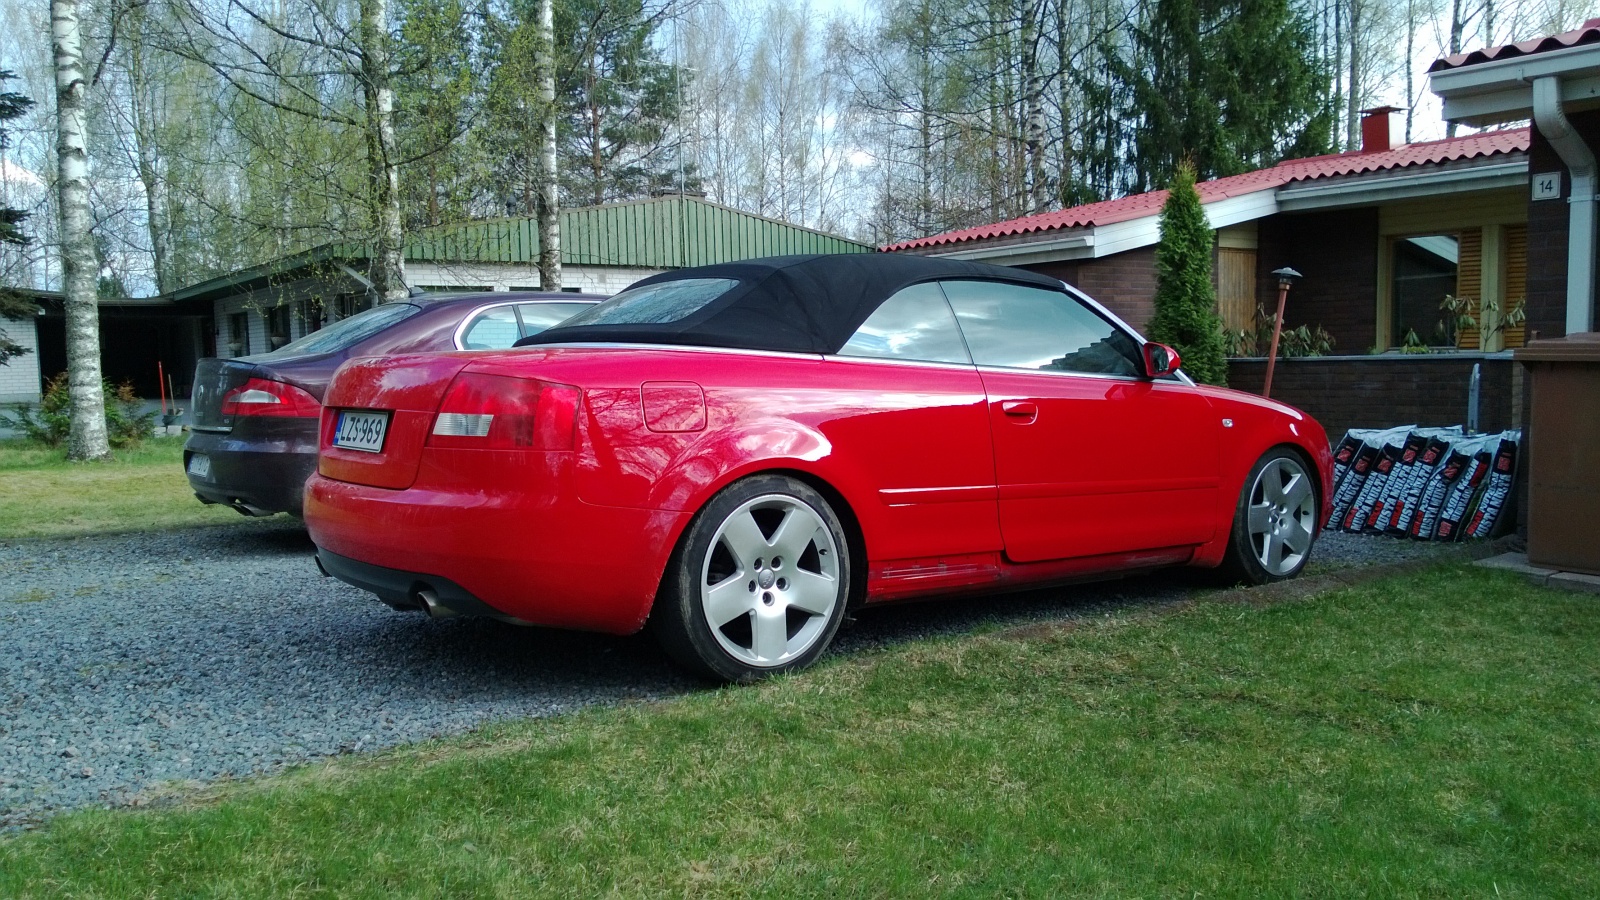
Rear three-quarter view.
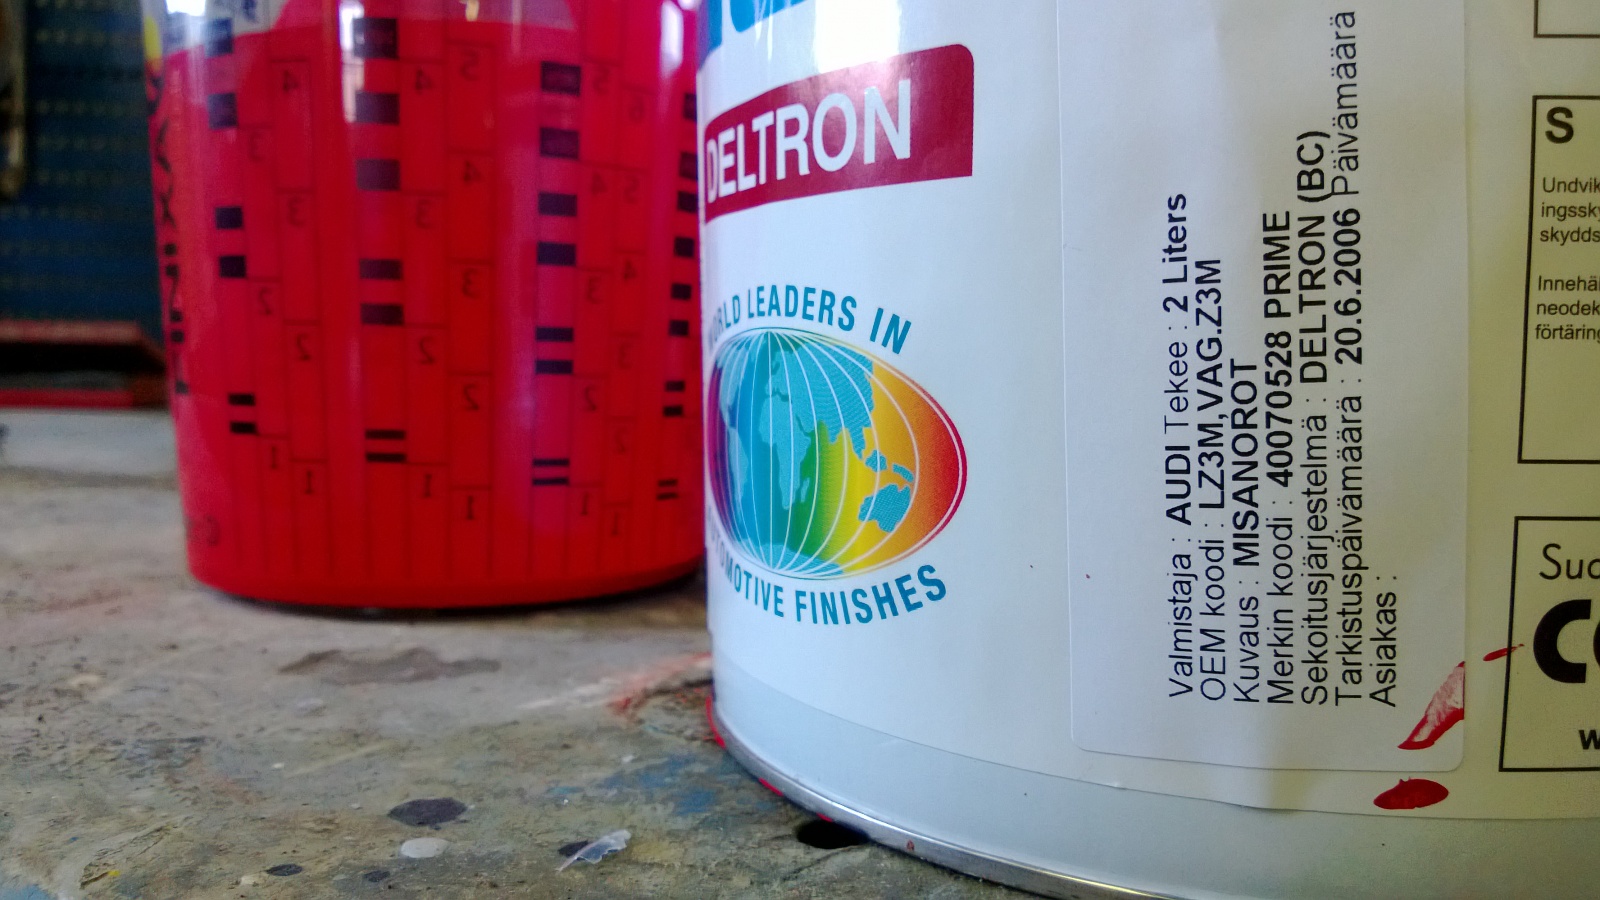
Here is the information about the color. LZ3M Misanorot.
More photos once everything's fitted and it's had a bit of a clean, especially inside.
Big thanks to Jaska, Petri and Pekka!
2013-06-07 · Ceramic Pro treatment for Audi
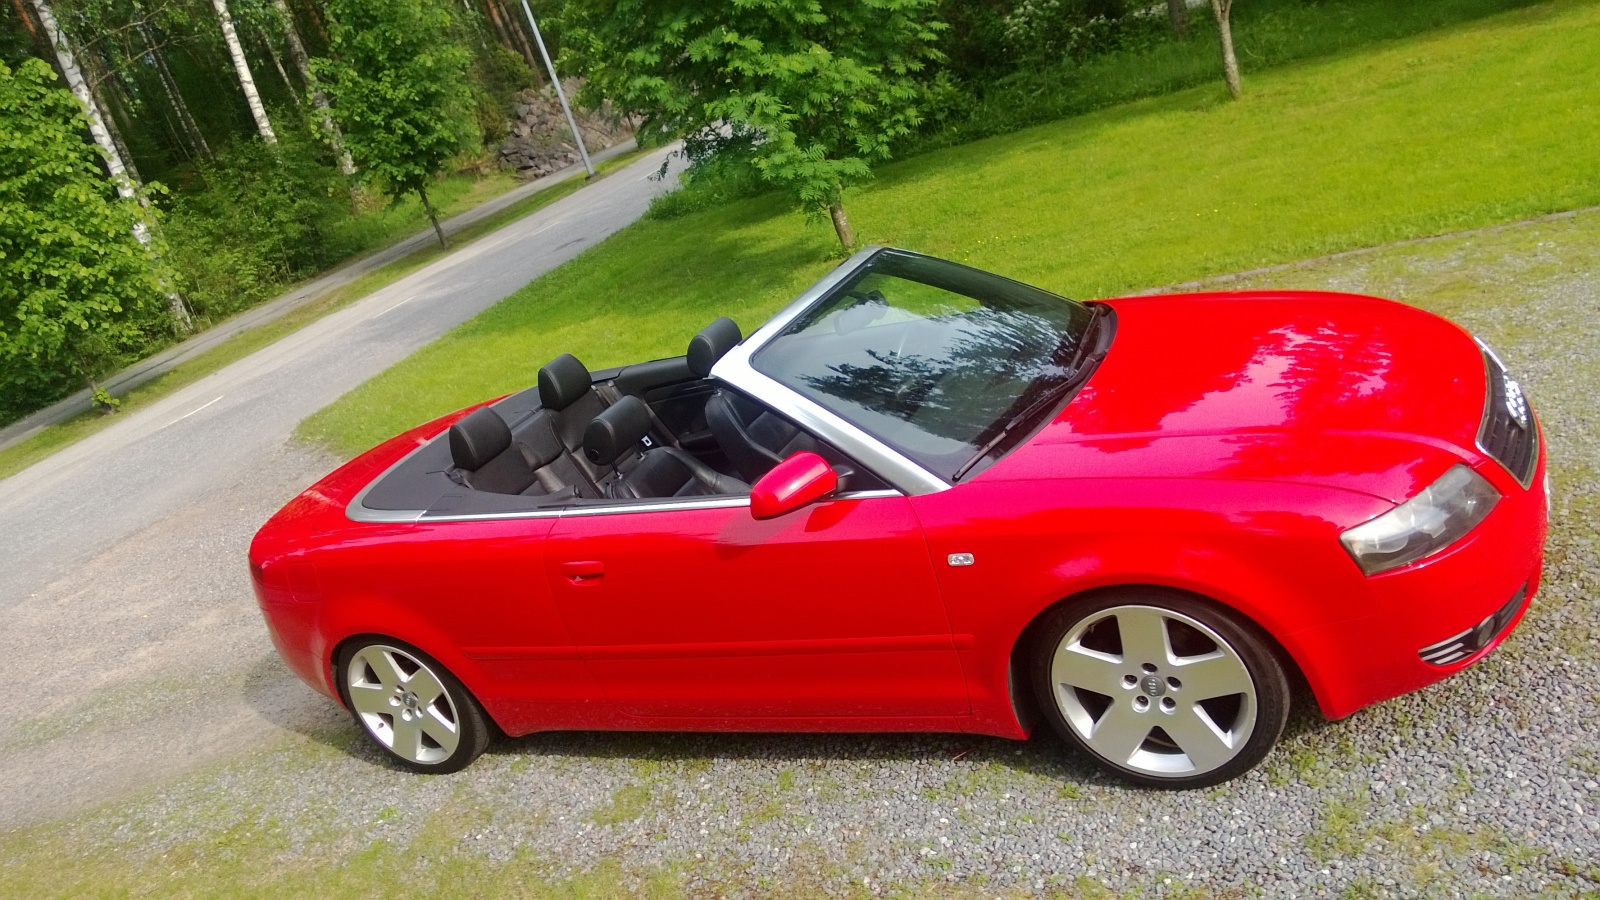
Out of curiosity, I had the Audi treated with Ceramic Pro 9H this week. The promise is at least three years without waxing: lasting shine, better scratch resistance and easier cleaning. Even solvent-based washing shouldn't remove it. It certainly looks good so far. I'm keen to see how it holds up. These nano-coatings are supposed to withstand automatic washes better too. The Audi can go through a brush wash without worrying about the fabric roof.
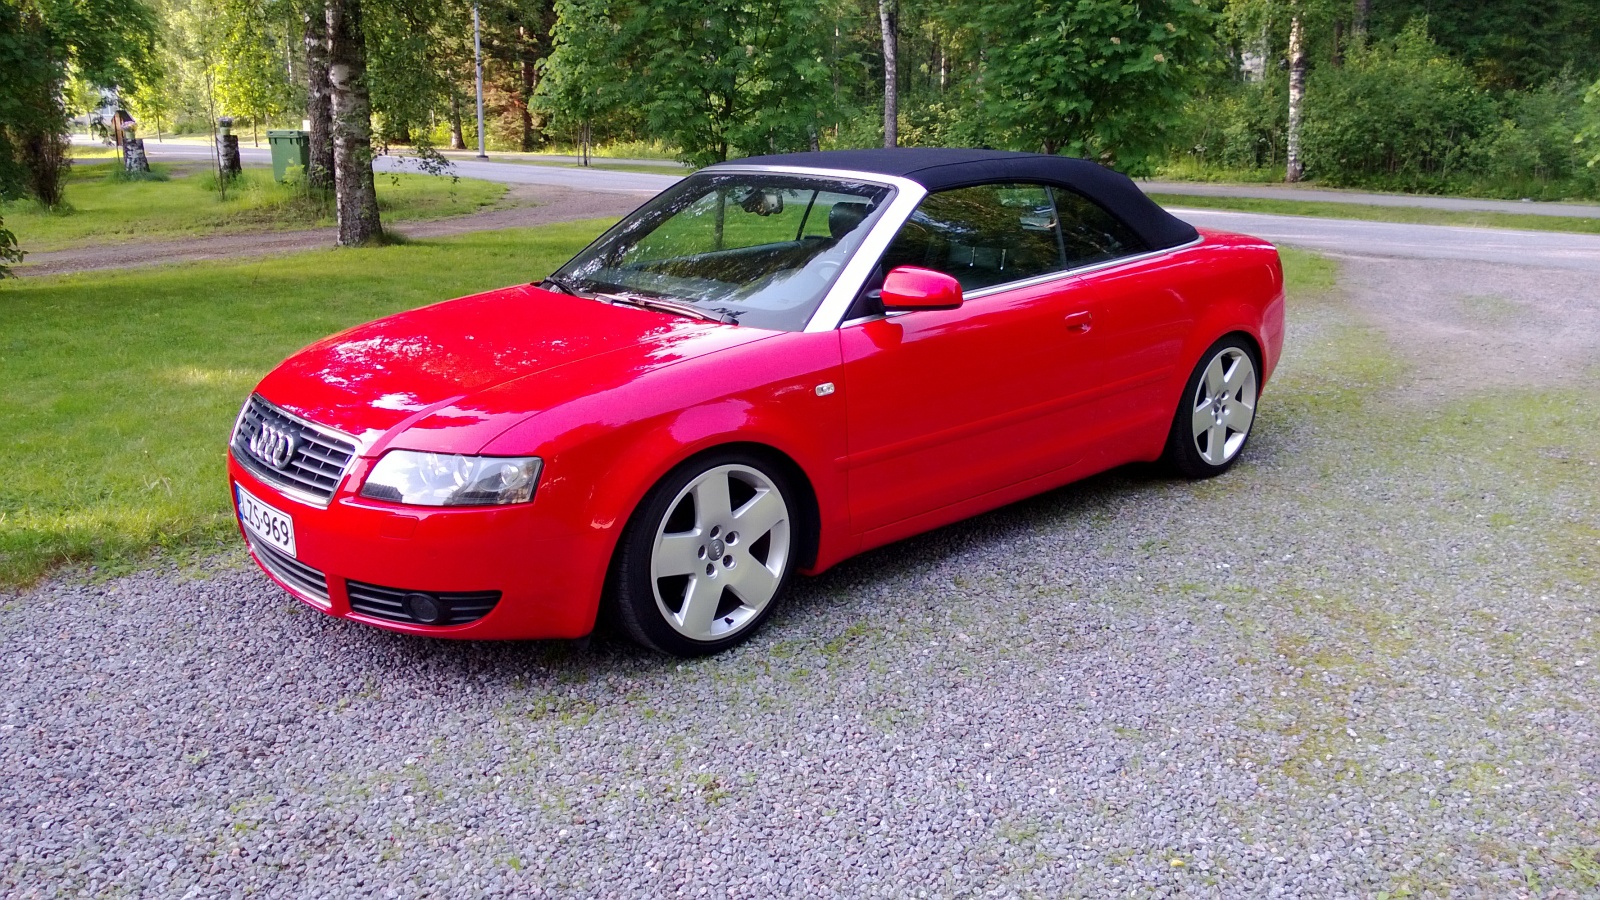
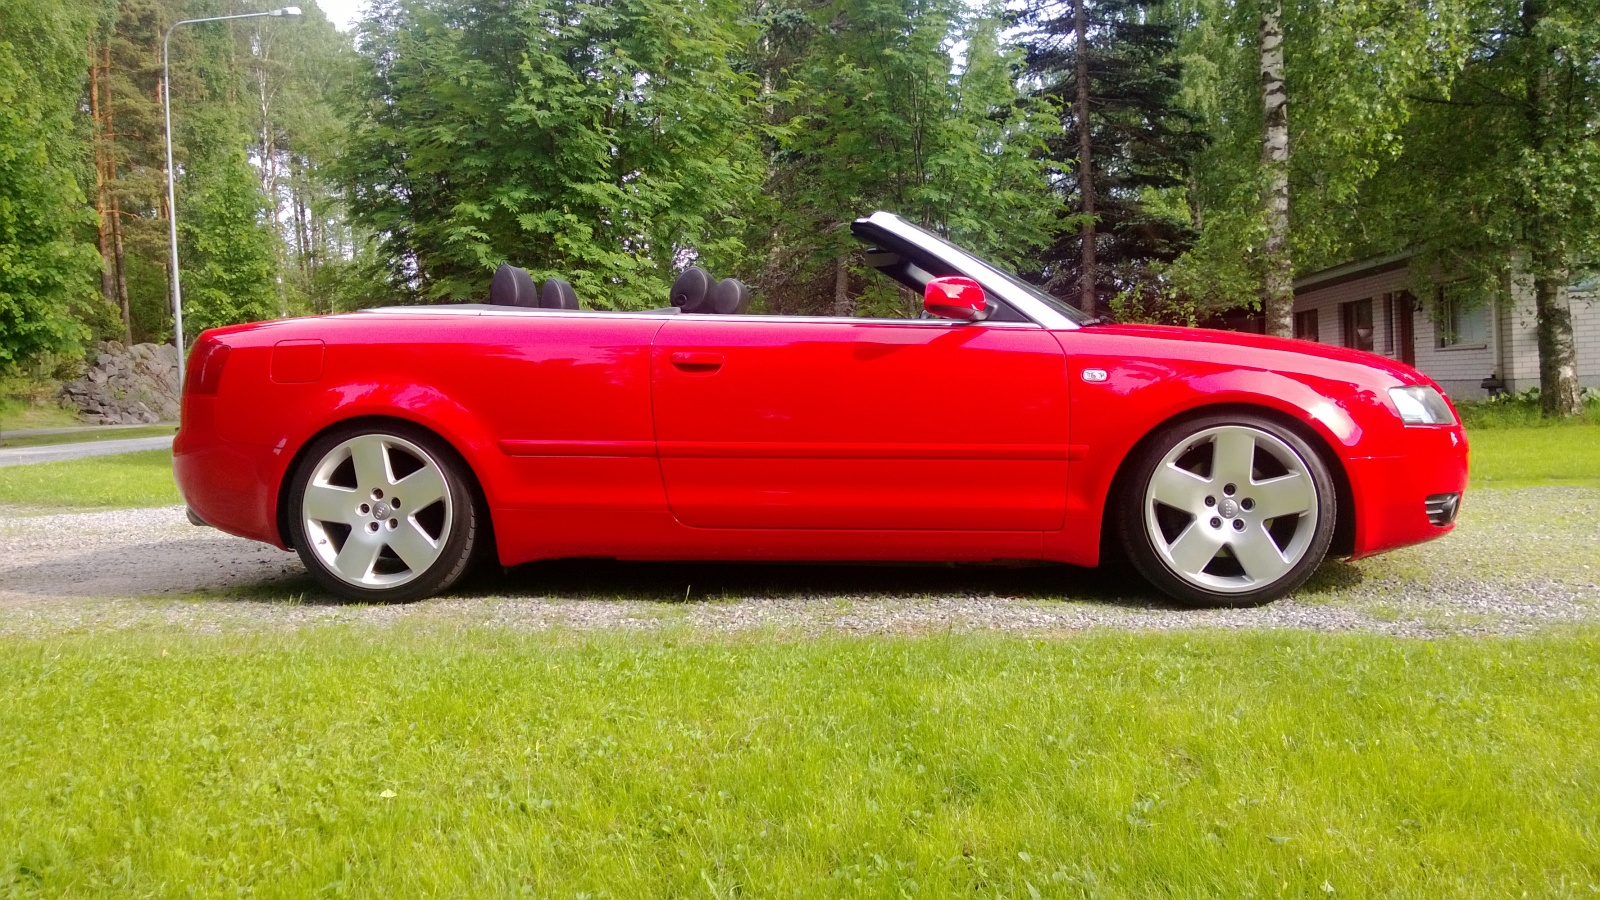
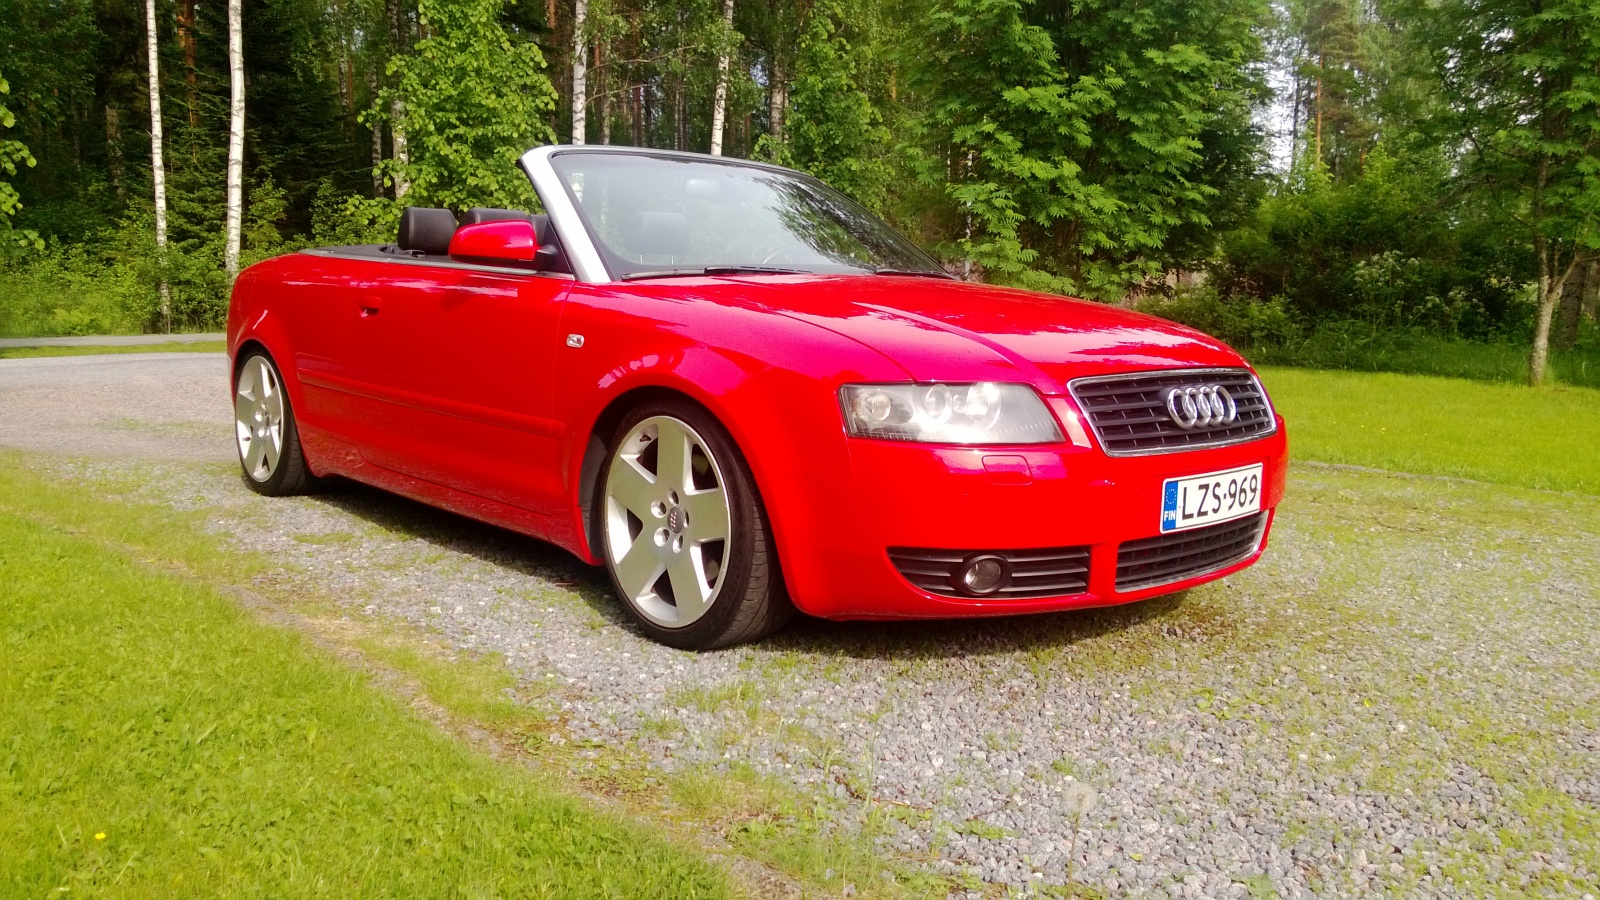
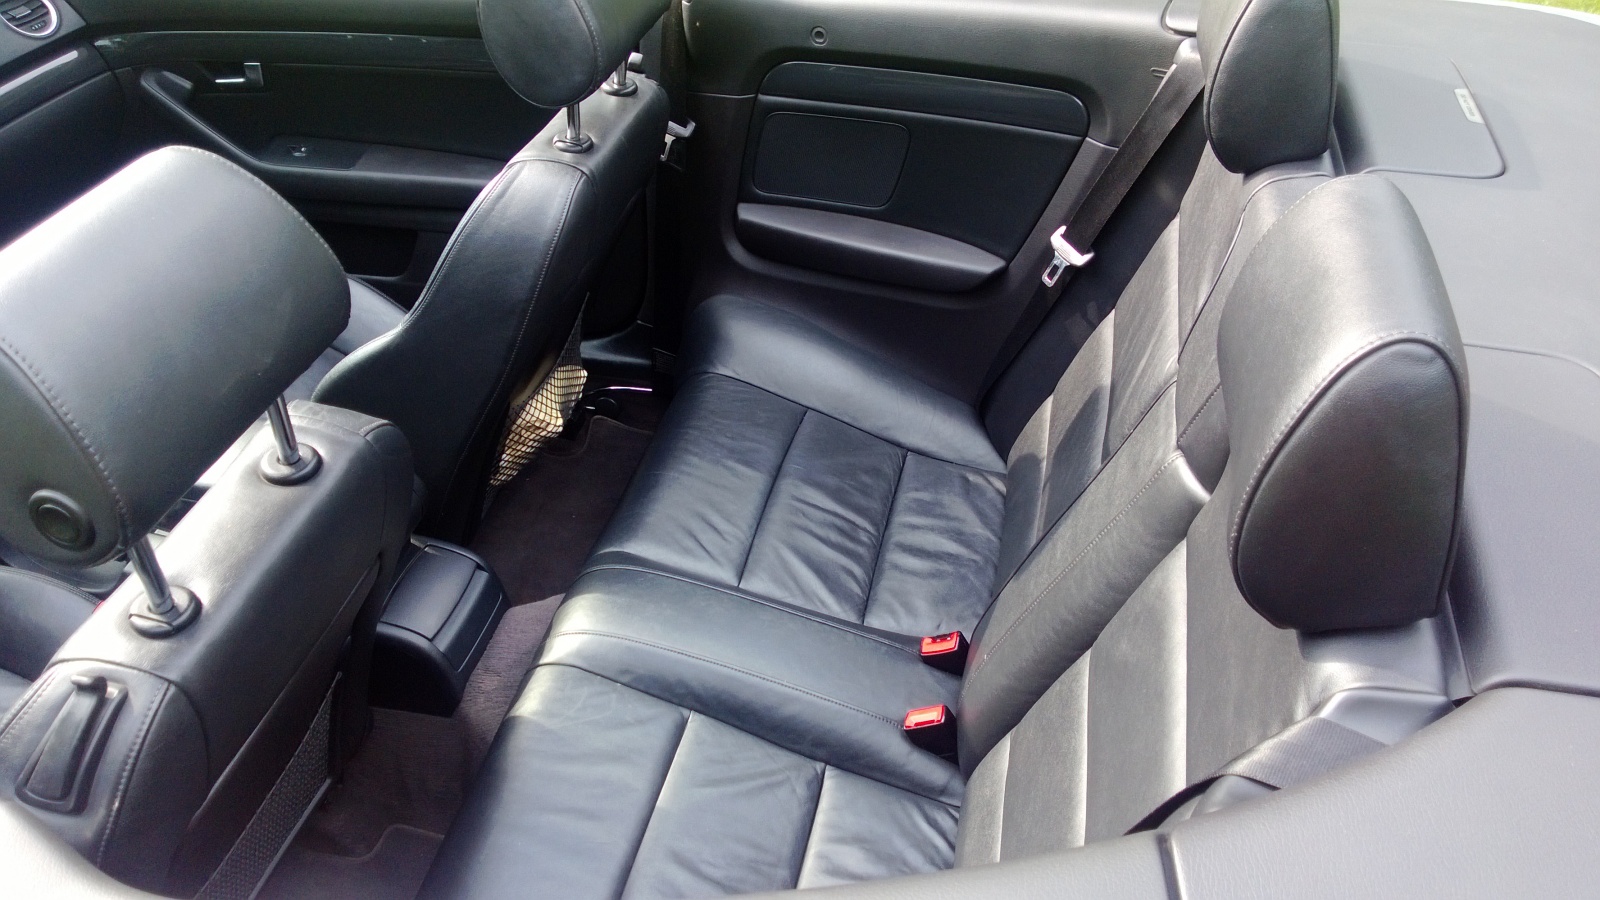
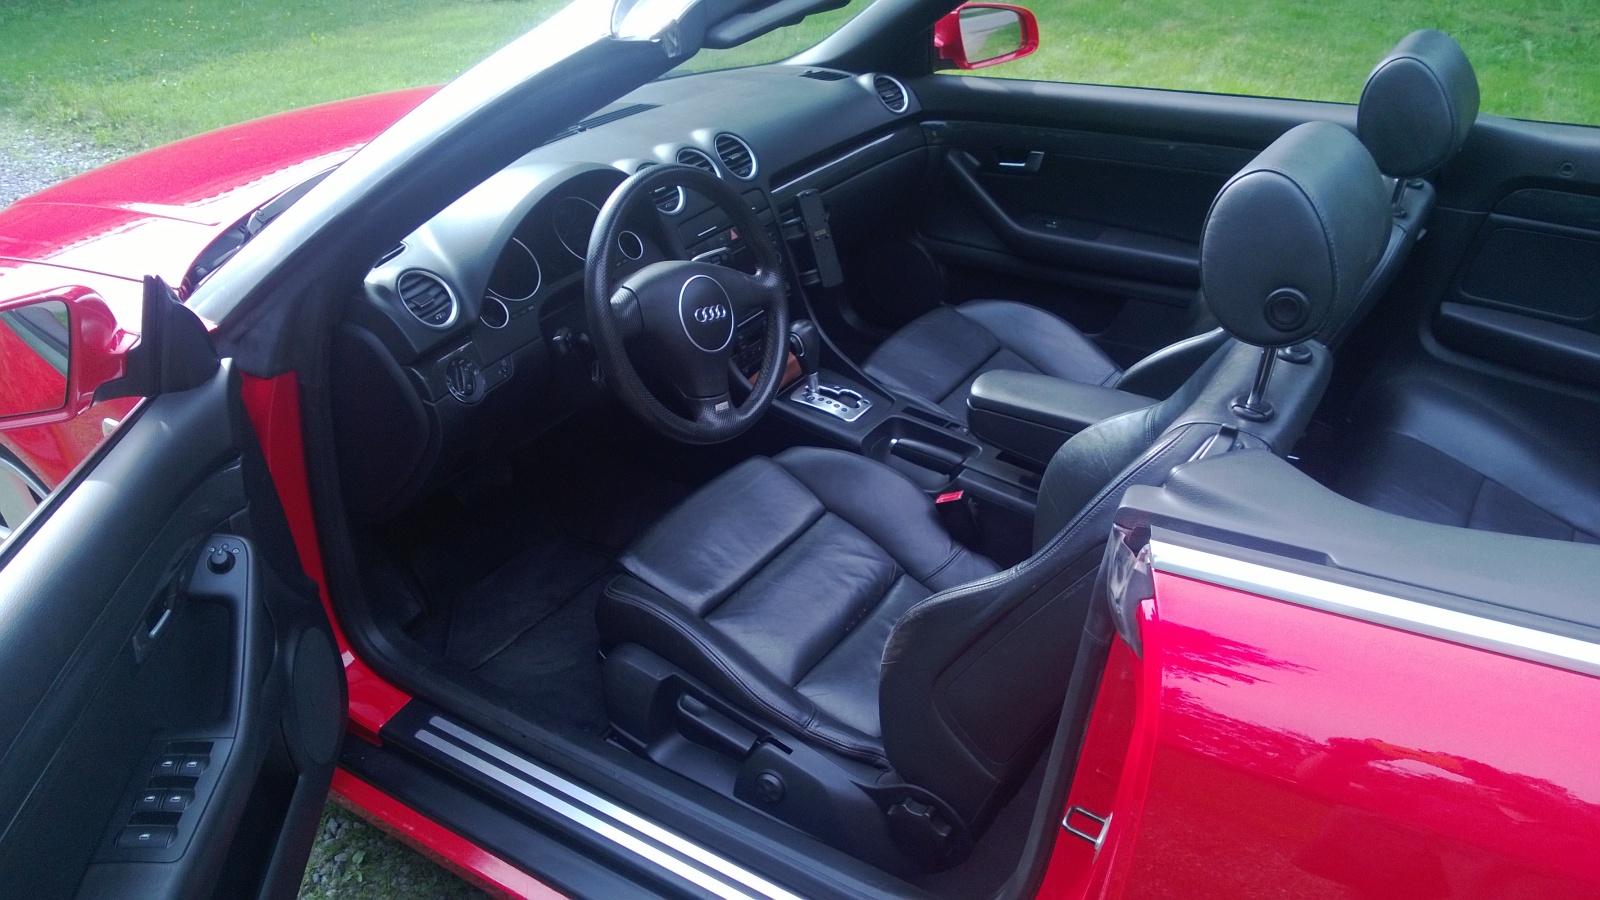
Juha Kallioinen at Kankaanpään Autopesu applied the coating.
2013-08-24 · Cabriolet with Rotiforms
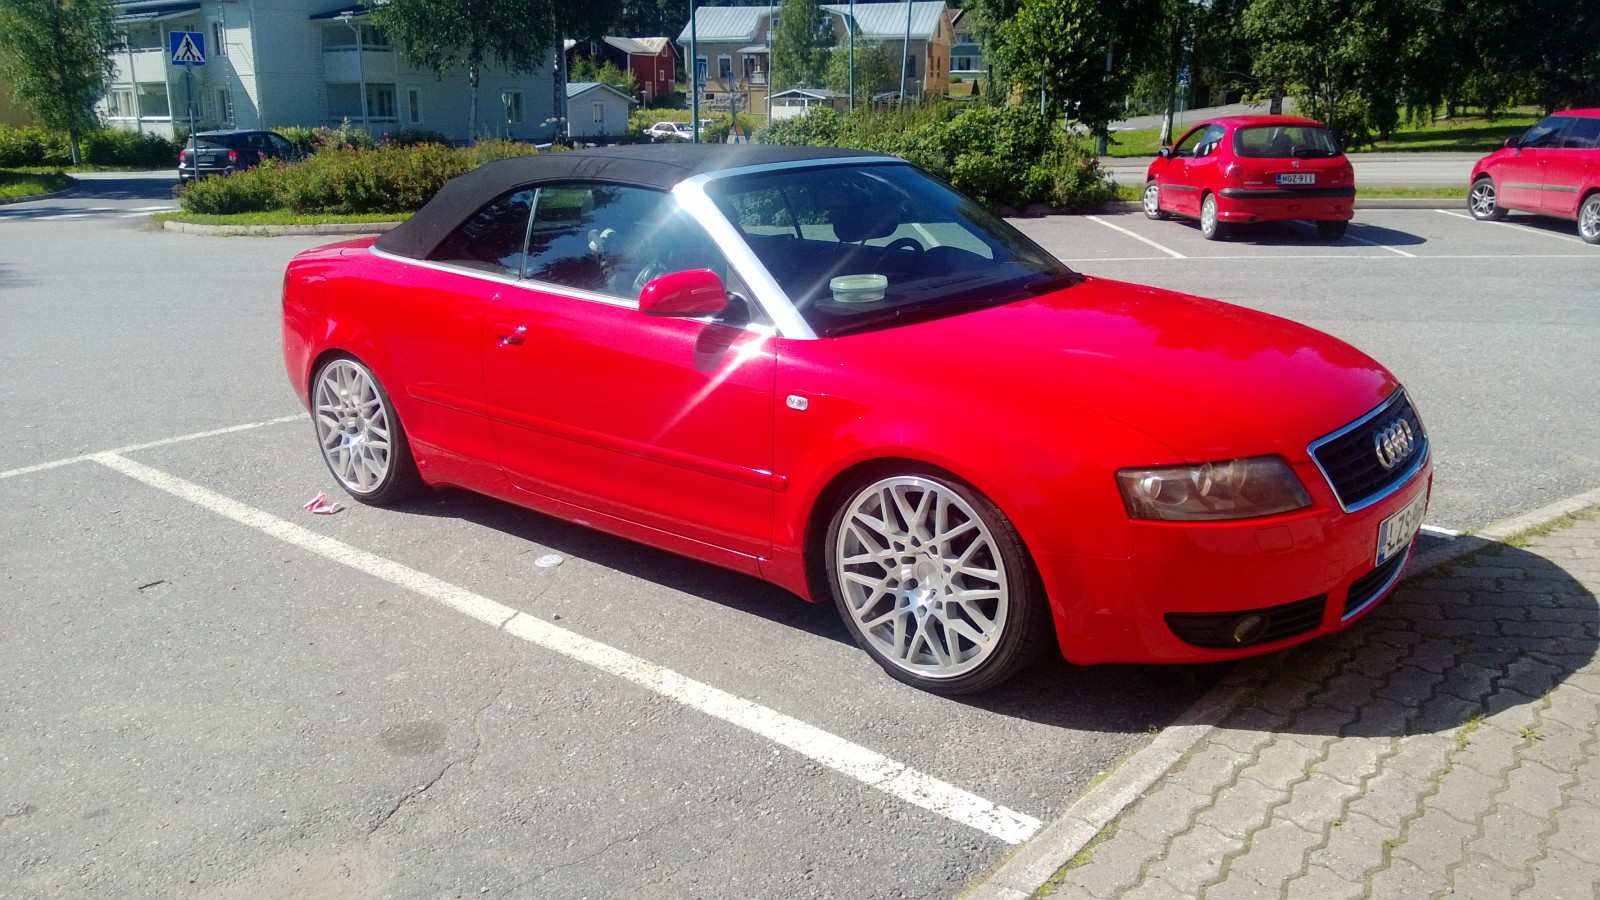
We tried the Rotiforms on the Cabriolet over the summer too.
2014-03-14 · A4 cabrio for sale
With all these R models filling the yard, something has to go. So the A4 is for sale. A good car, and summer's coming. Come and take it home!
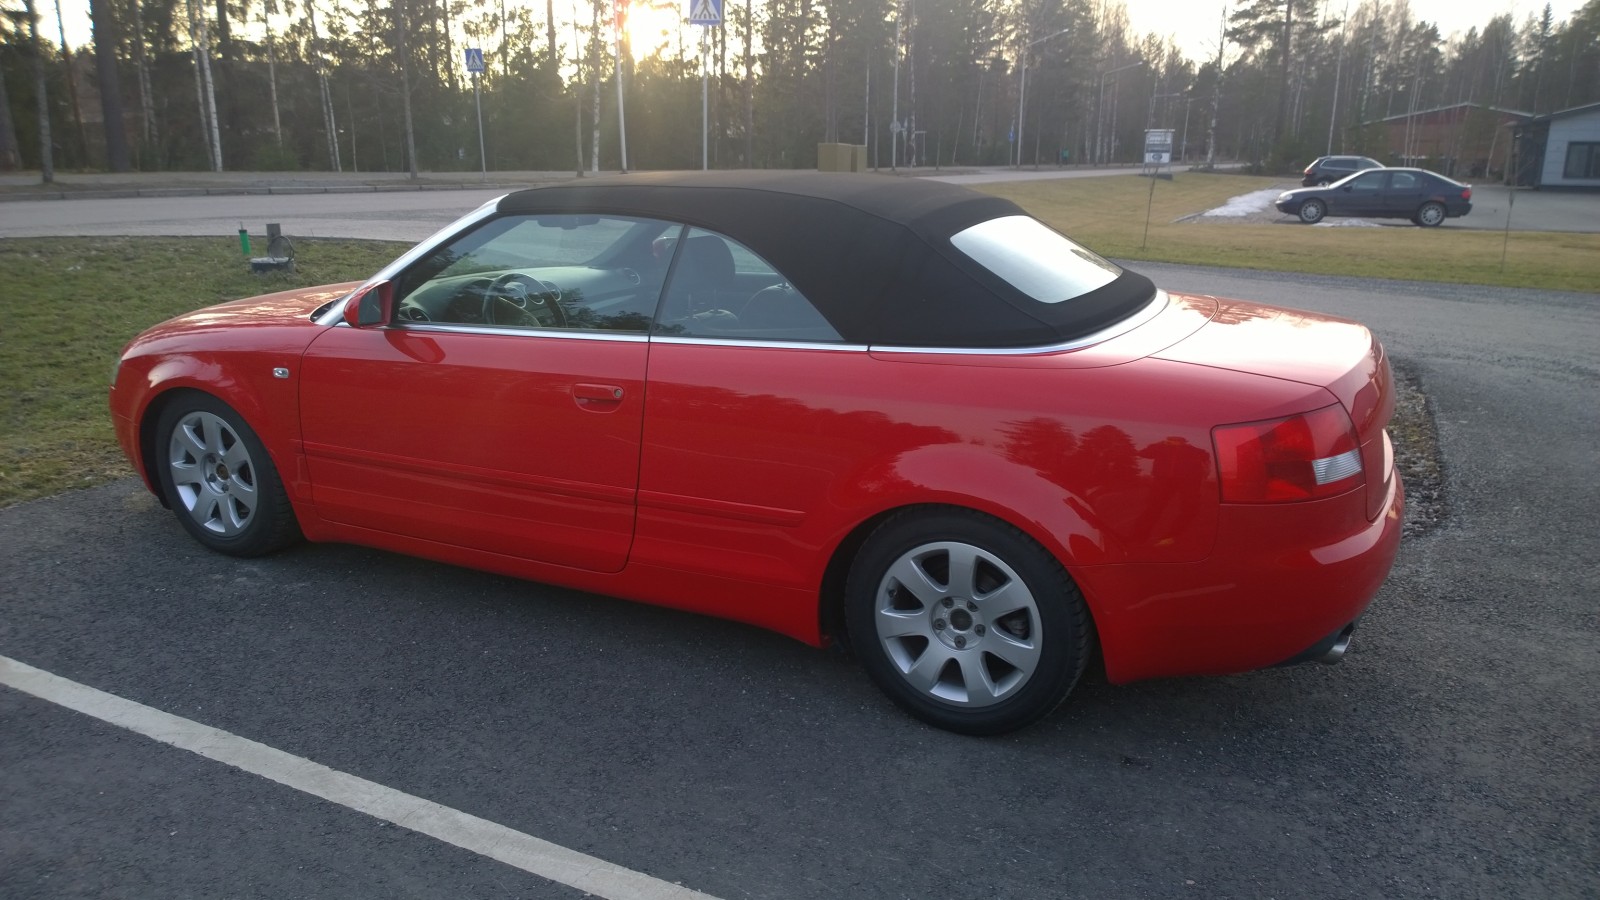
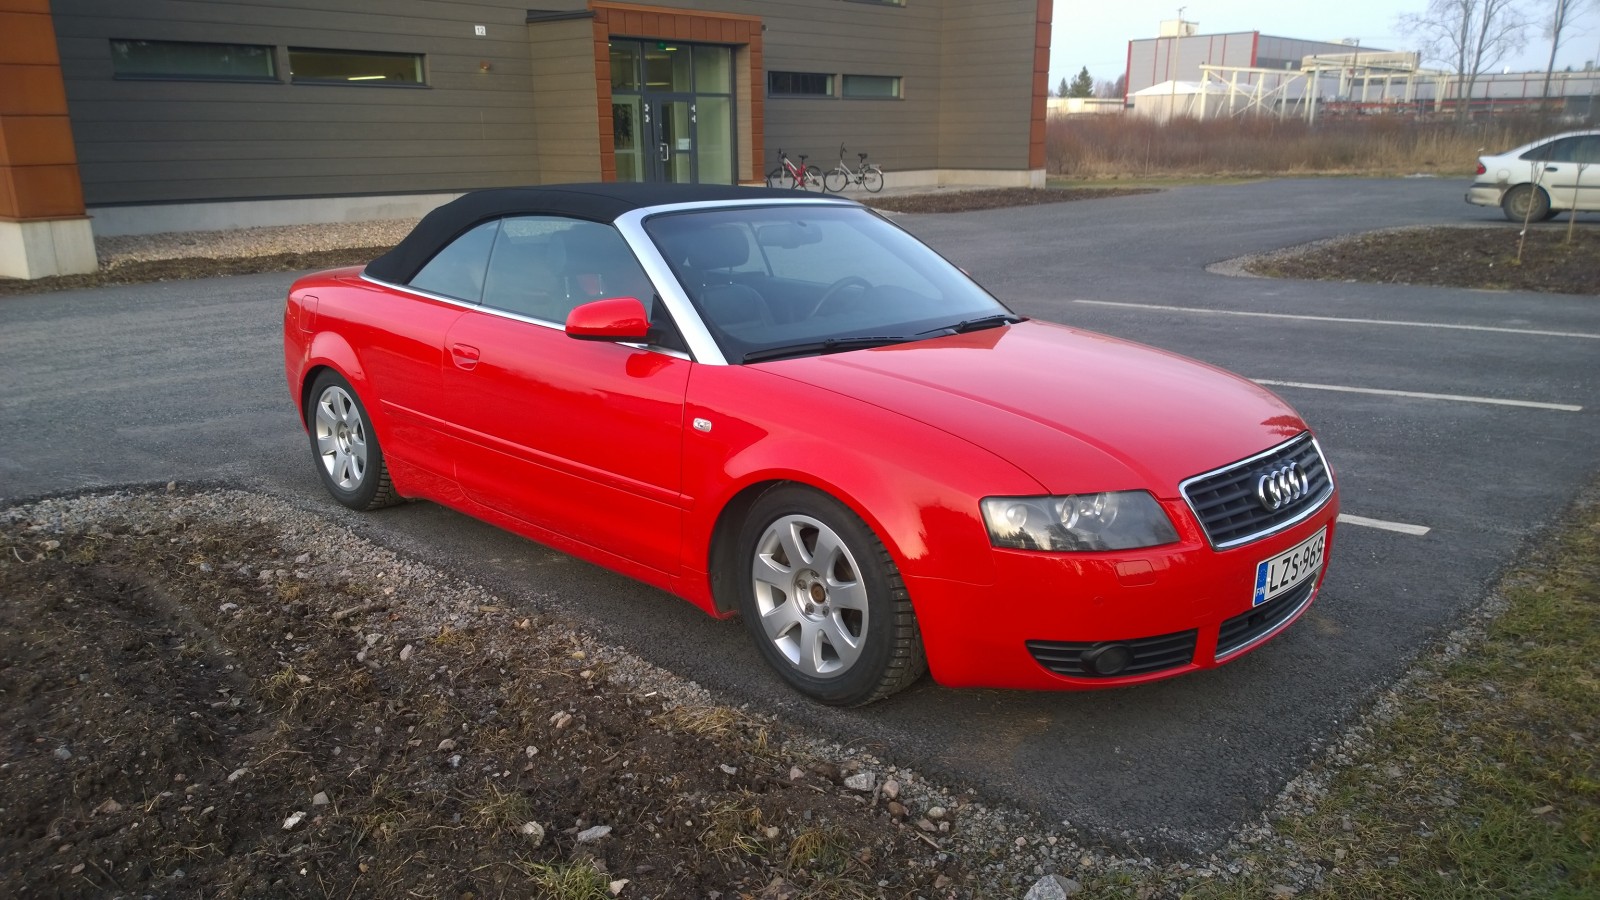
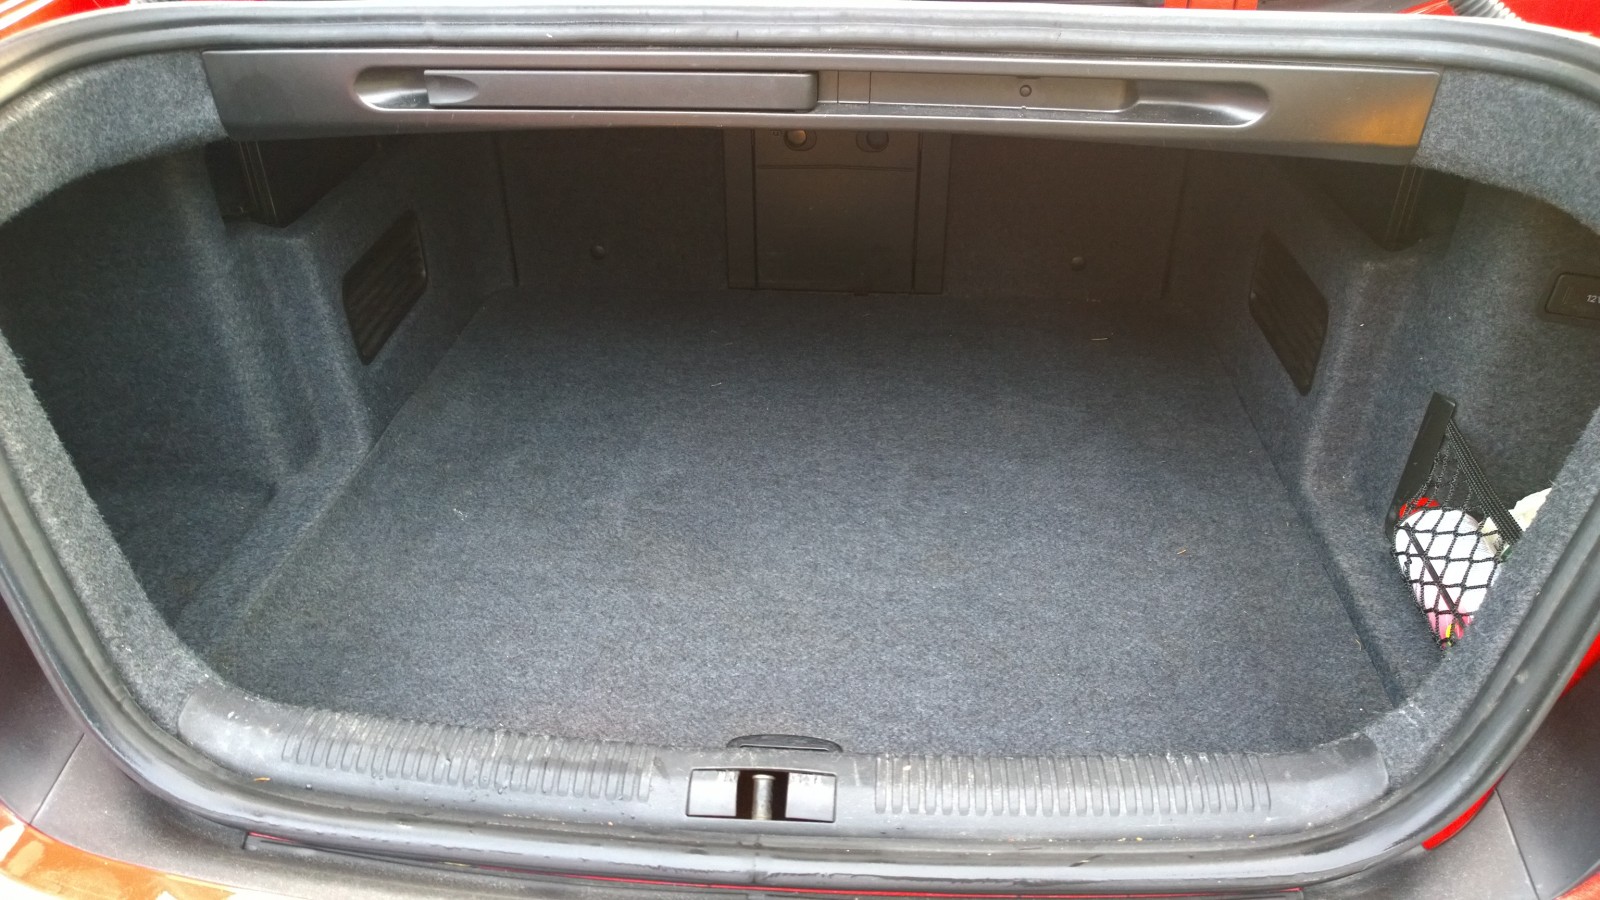
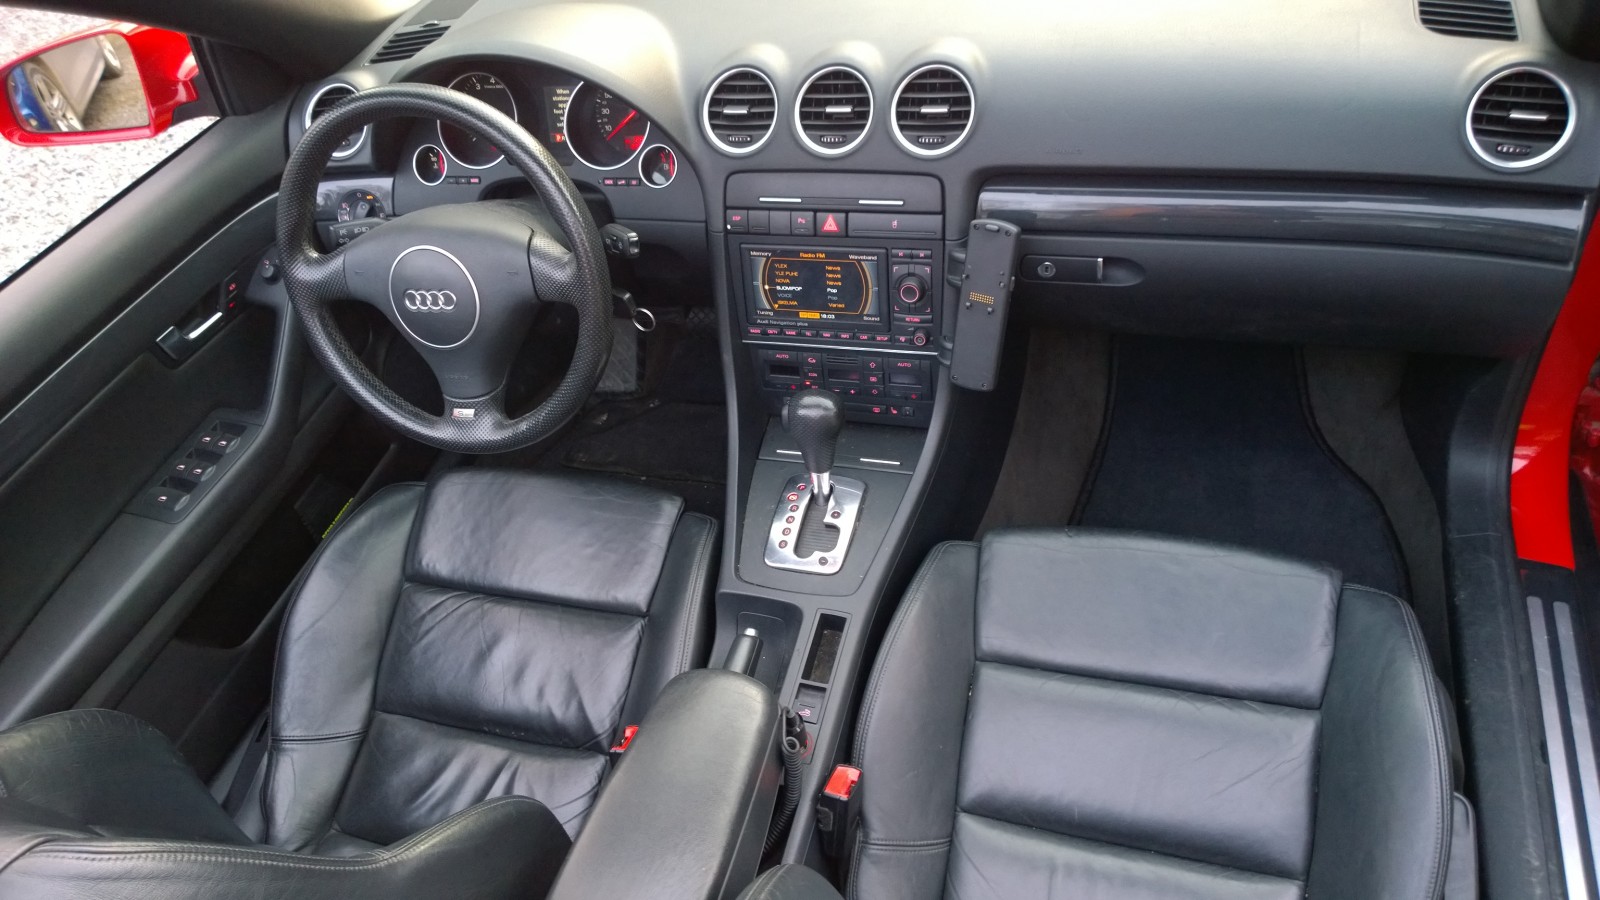
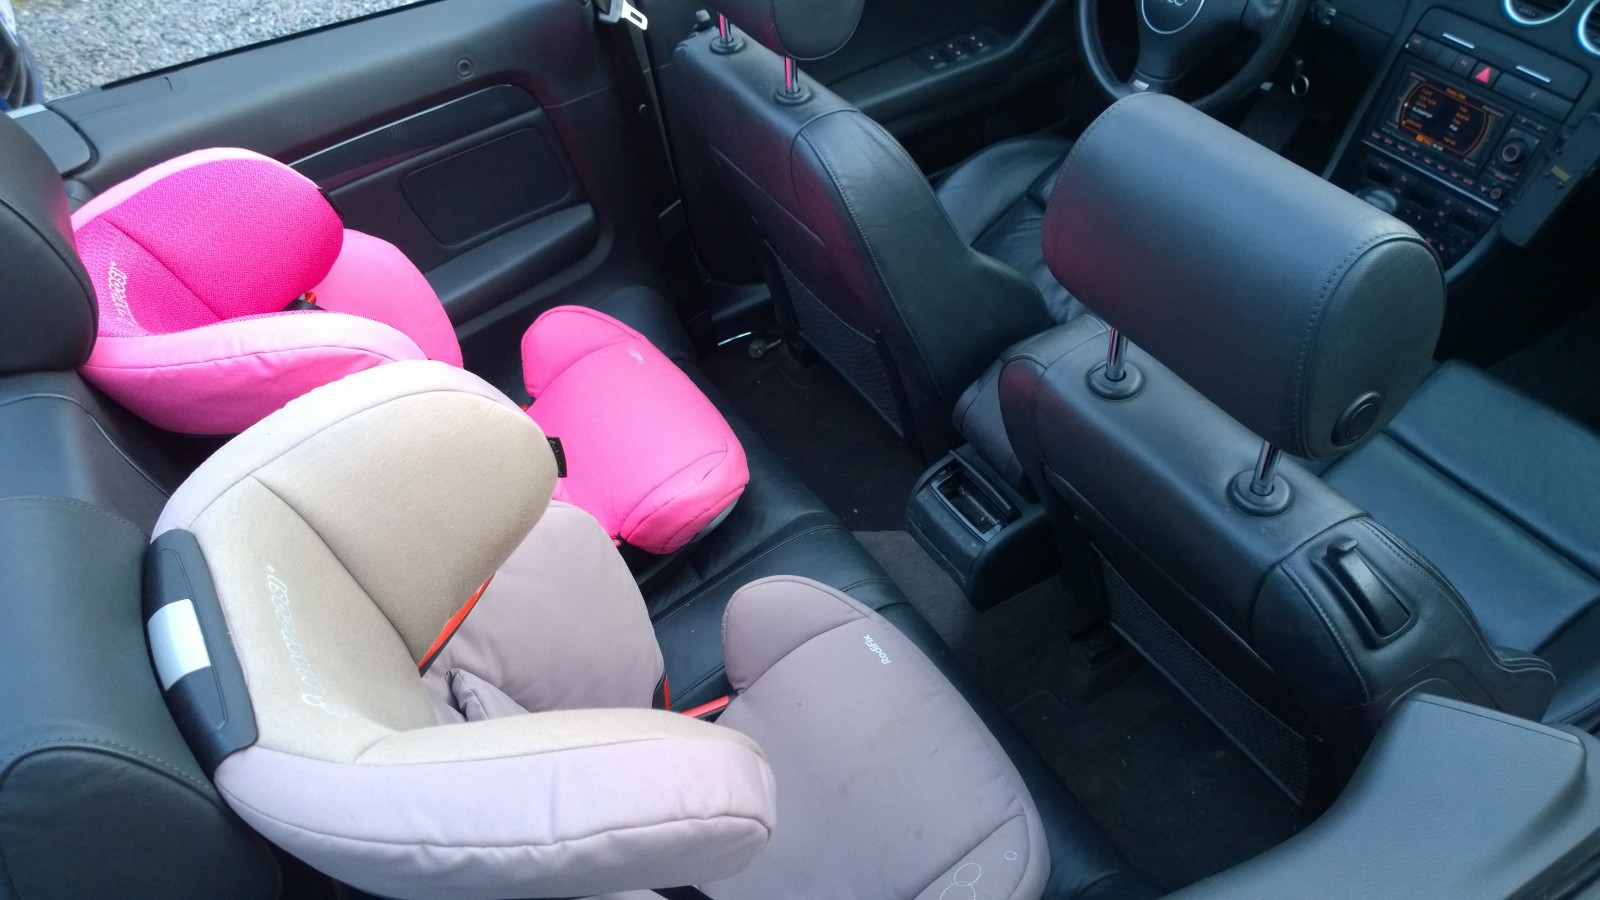
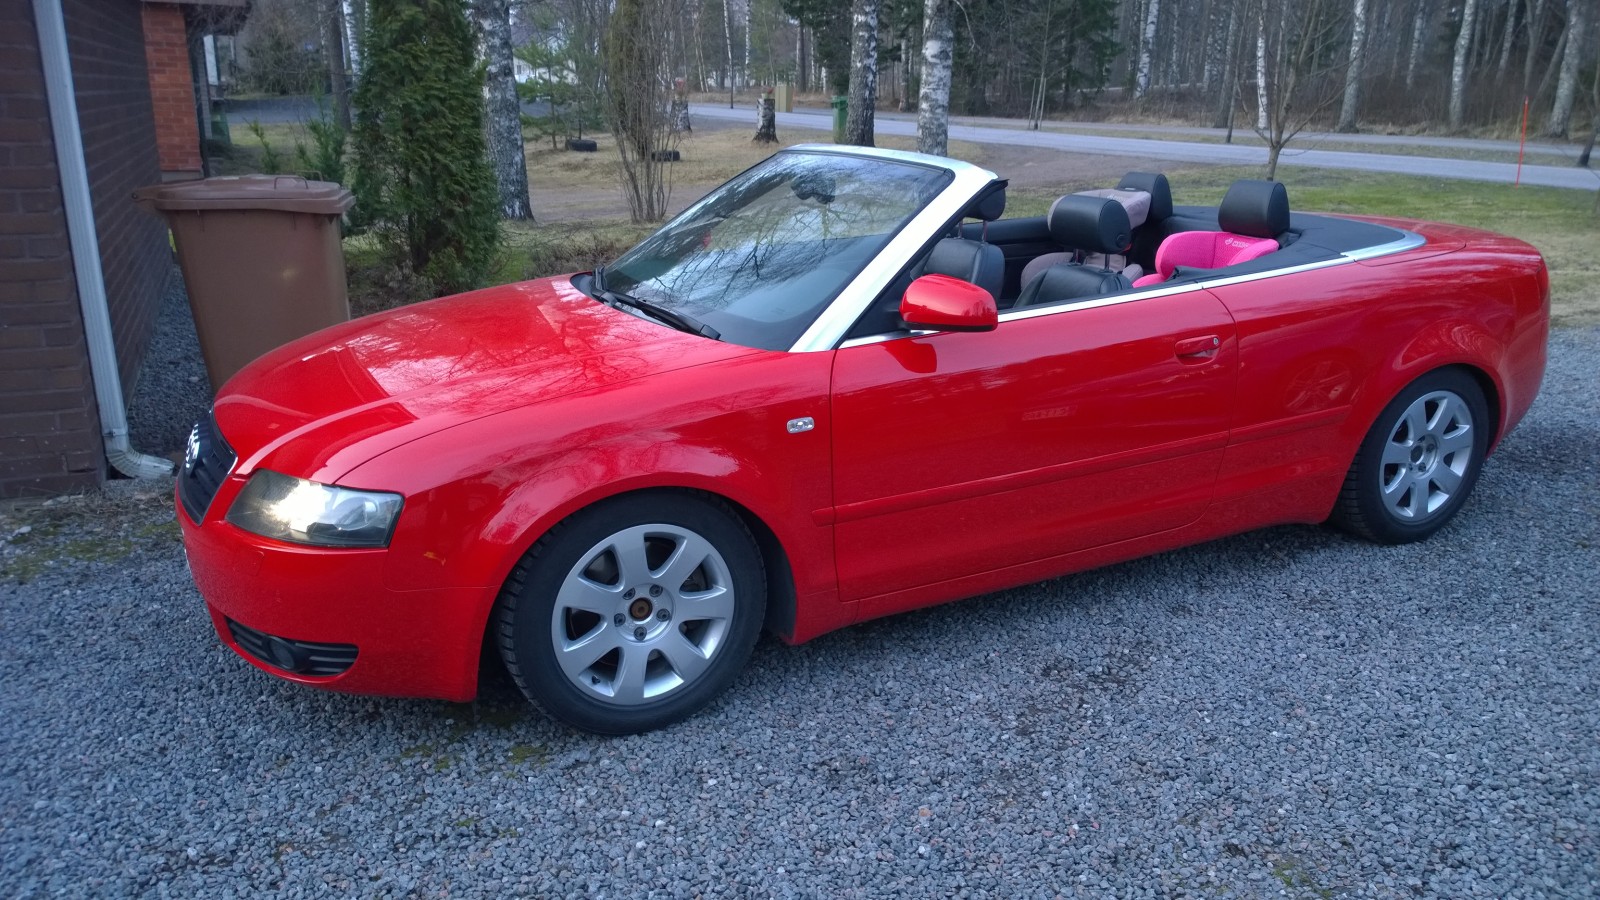
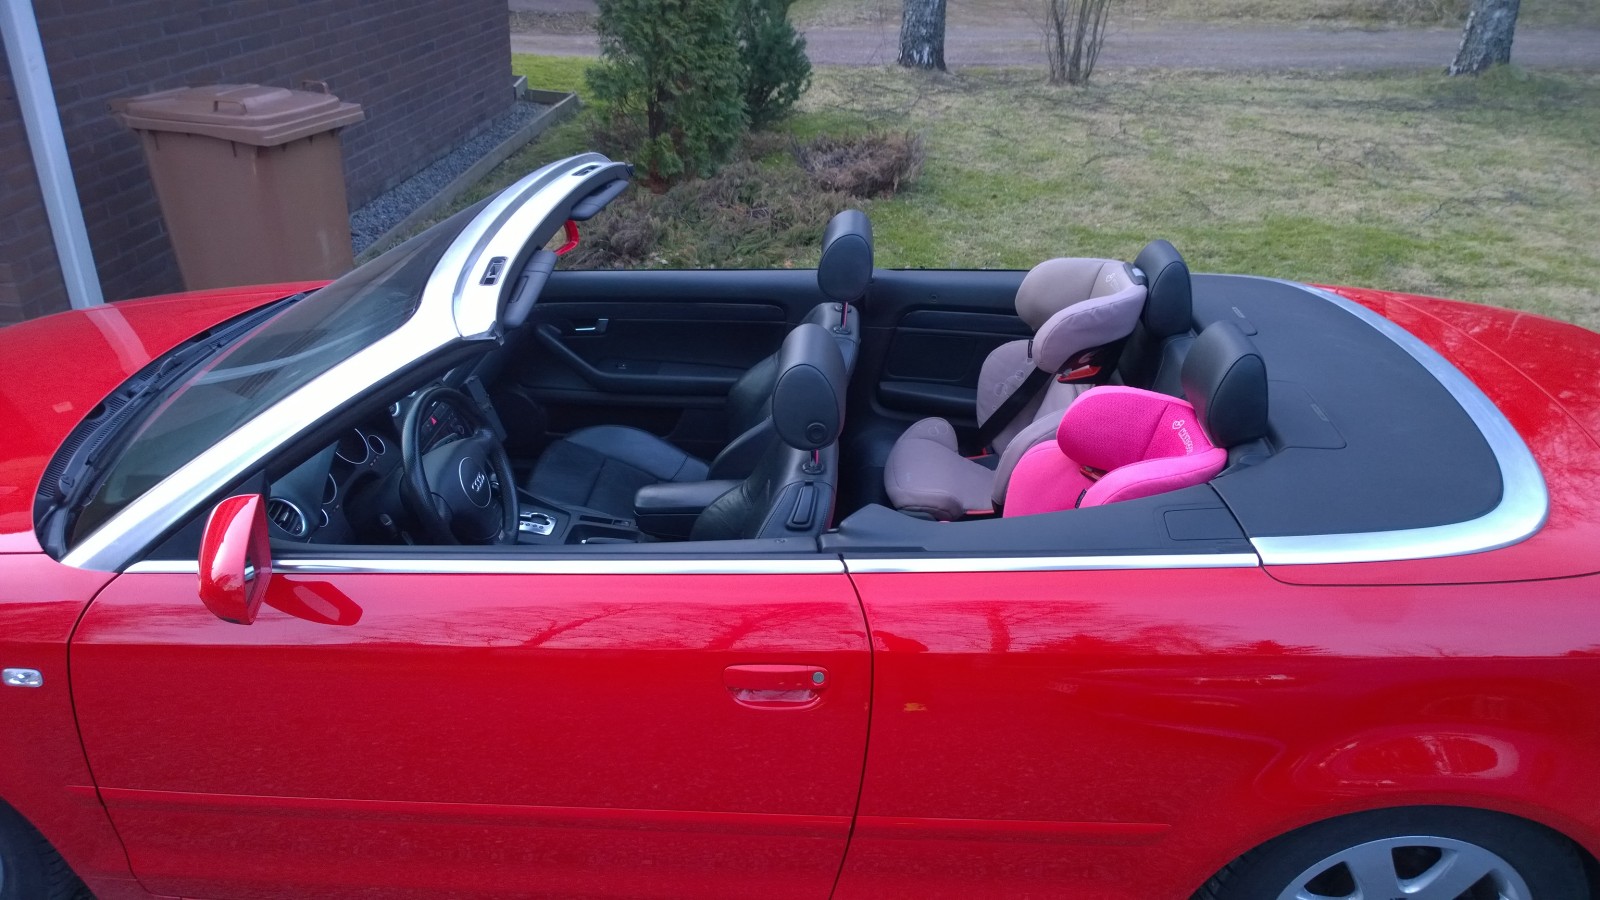
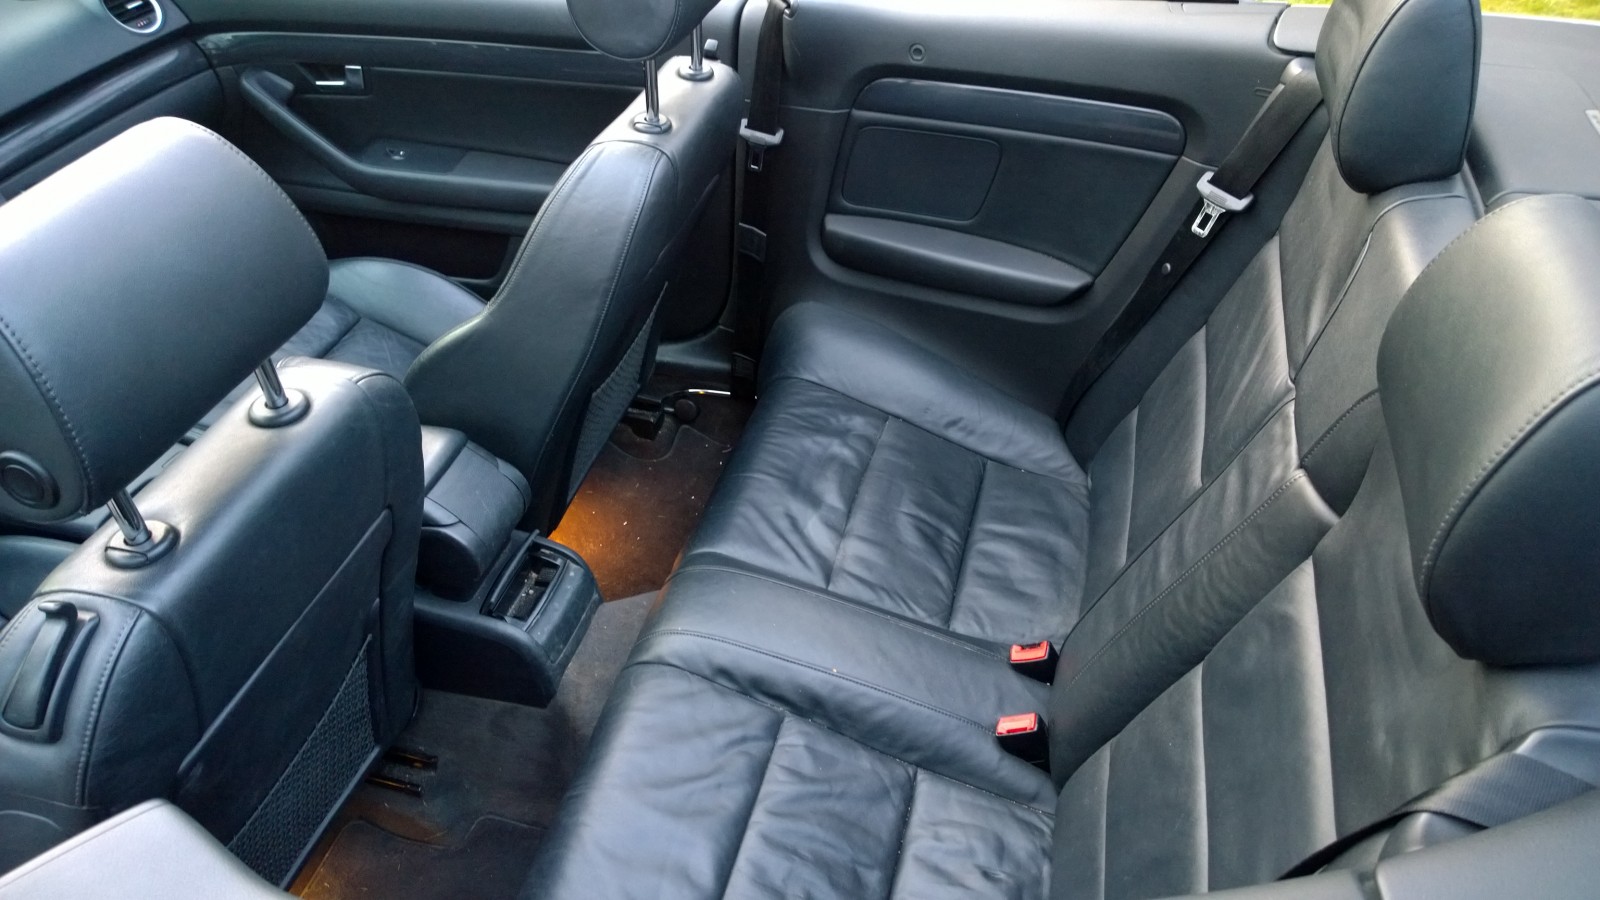
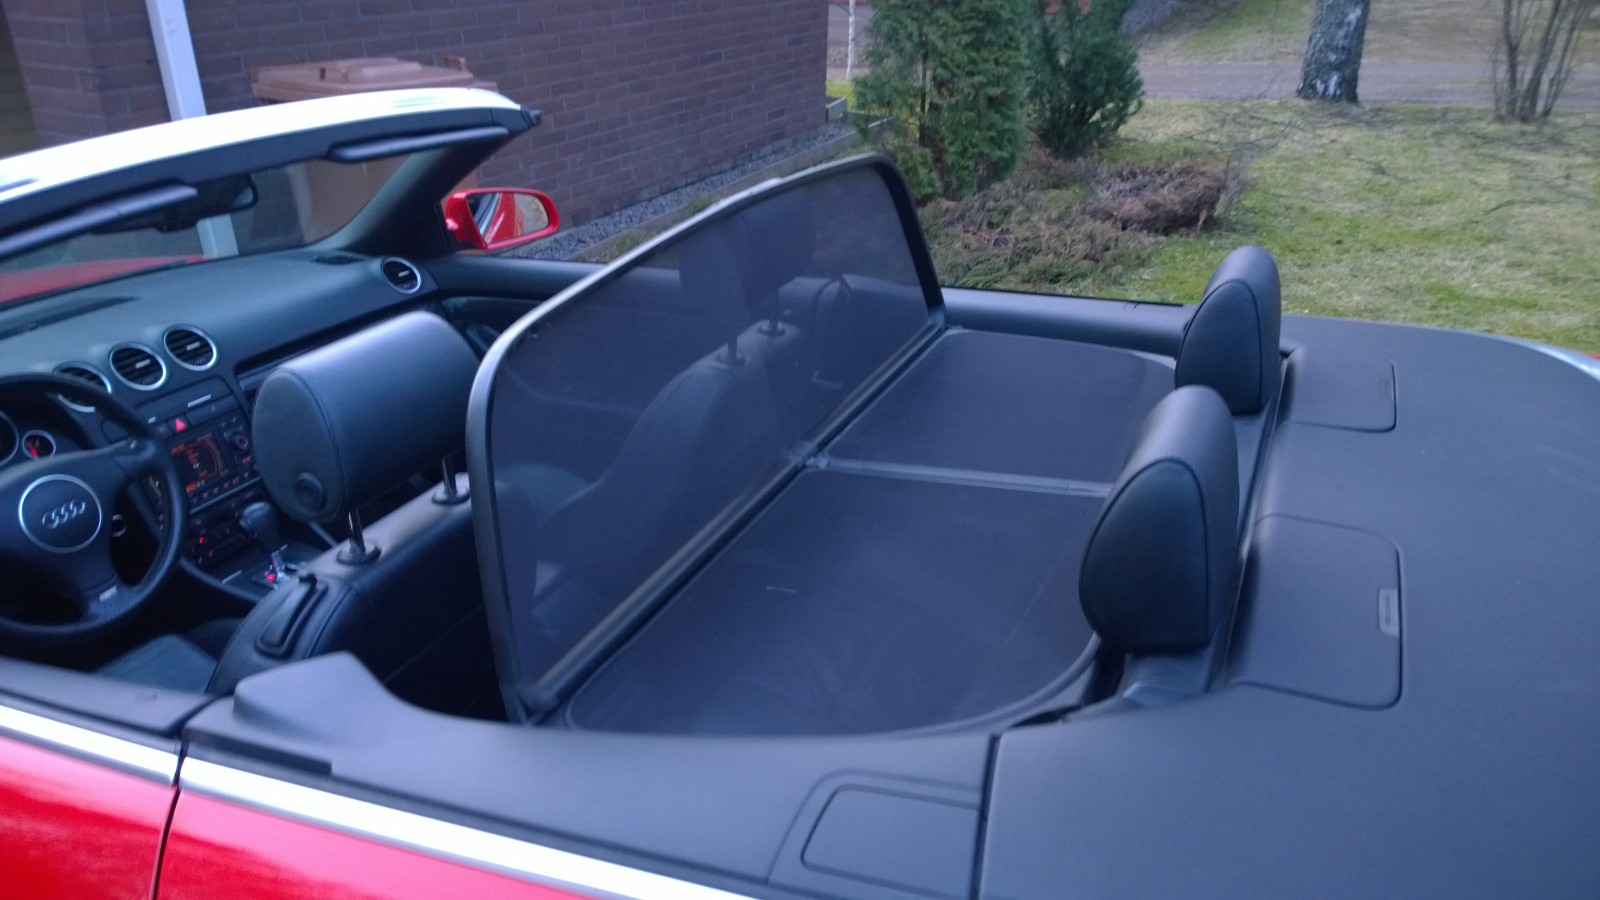
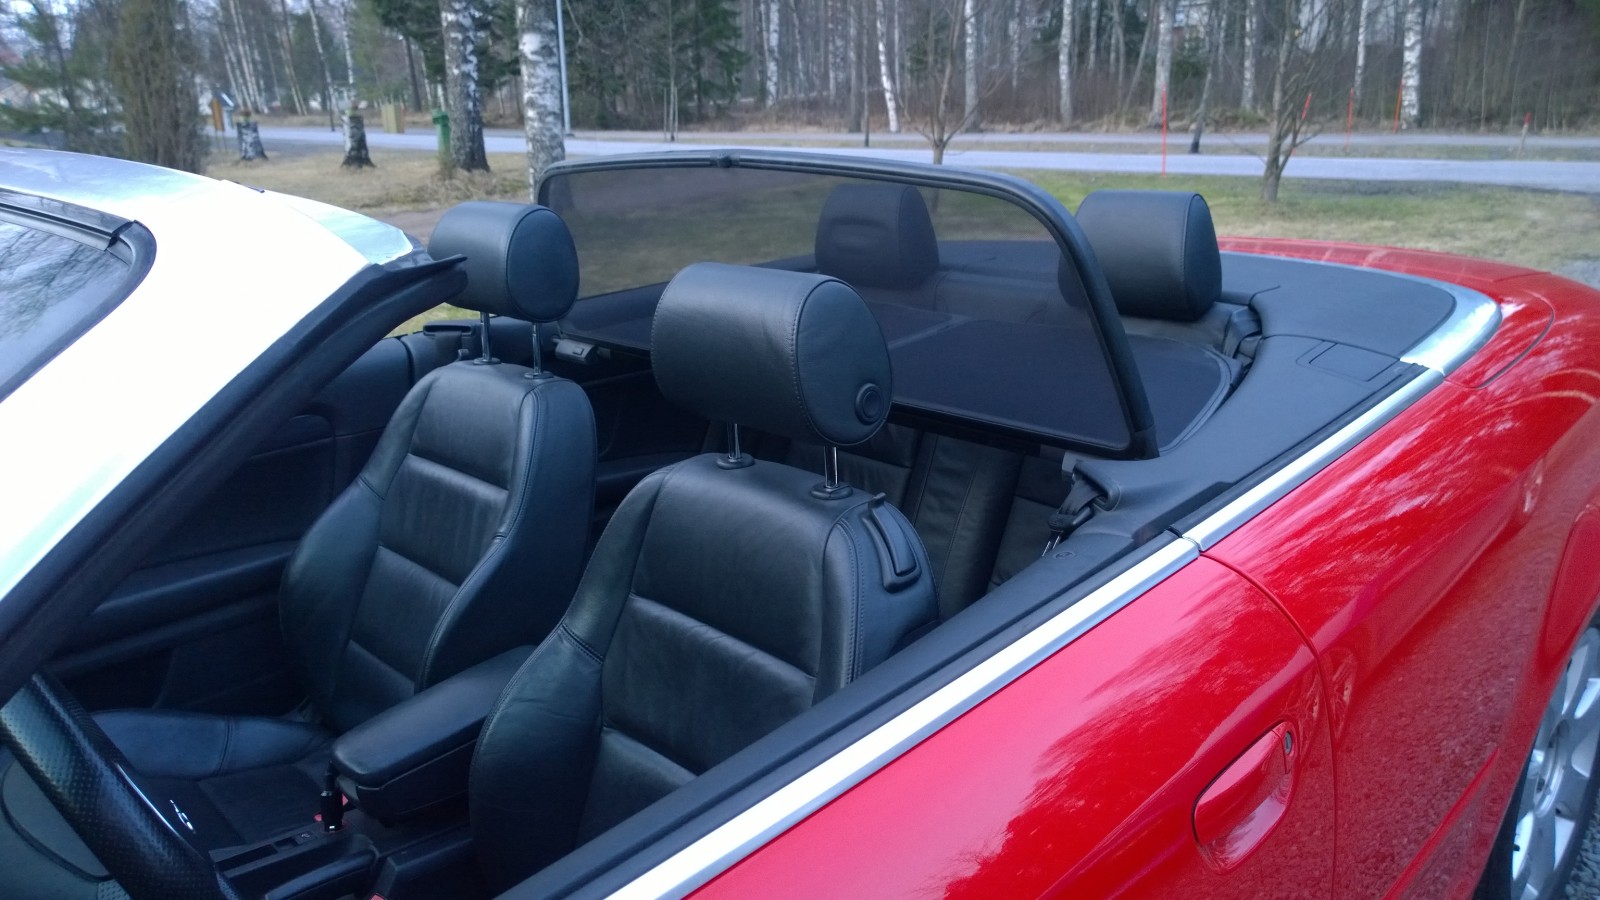
Price 15,900 euros. A reasonable price for a reasonable buyer.
040-500 6228

heikki@pajalle.com
Old posts related to this car here.
Includes original English text and AI-assisted translations.