ARCHIVE / PAJALLE
Volkswagen Eos
Jaska’s Eos gets an aerodynamic body kit and a later-model front end: comparing parts, modifying panels and finishing the conversion.
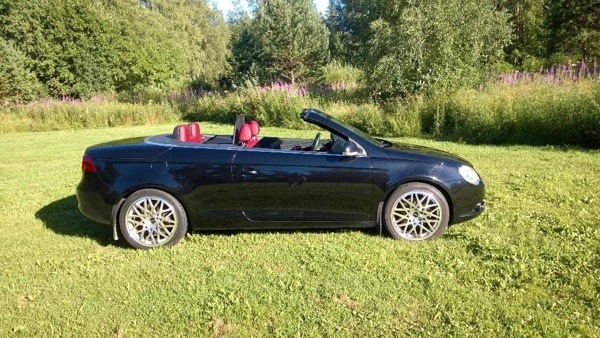
2014-07-23 · Eos
Jaska has mostly been posting updates on Twitter — follow @j_jaska and @pajalle — but here's a quick one for the site too. He bought a 2.0 TFSI Eos just over a week ago.
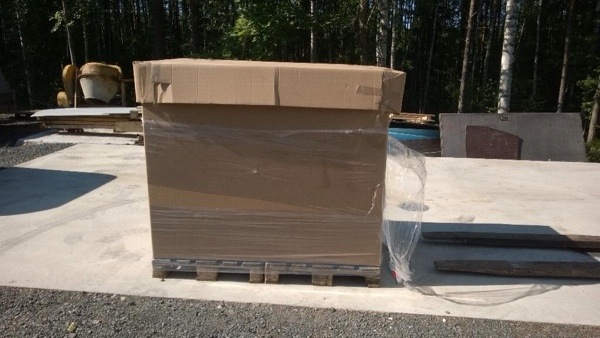
Today it received an aerodynamics package from Germany, more about the installation in the near future.
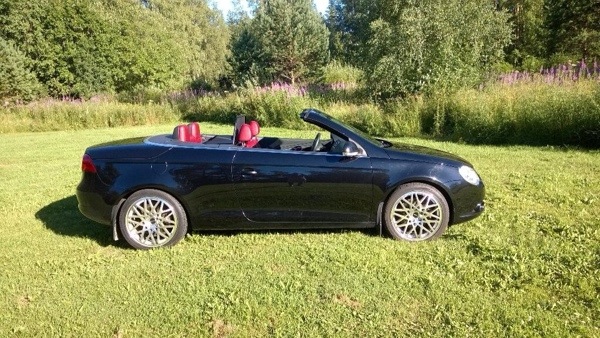
2015-06-04 · Eos front end swap
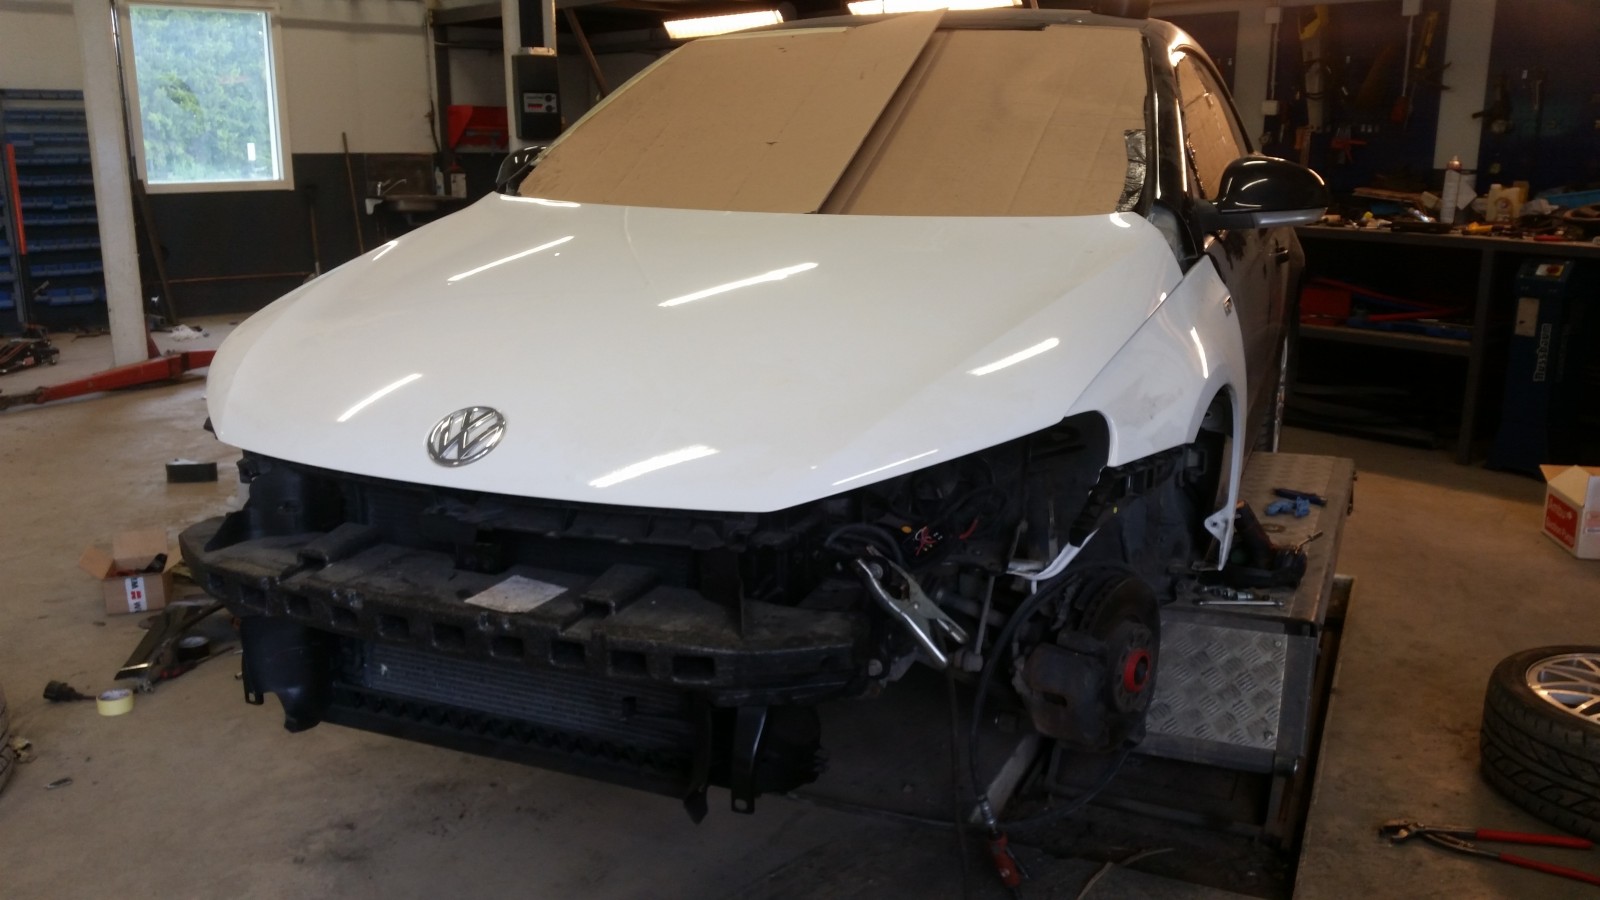
Jaska bought the Eos last spring. Almost from the start, we knew the front end would be changed. We'd seen a few Eoses abroad with Scirocco fronts, so naturally we had to try it ourselves. It's been a while since our last front-end swaps. Back in the day, we put Jetta fronts on Mk2 Golfs, Golf fronts on Ventos and vice versa. This one won't be quite as easy, but we'll get there…
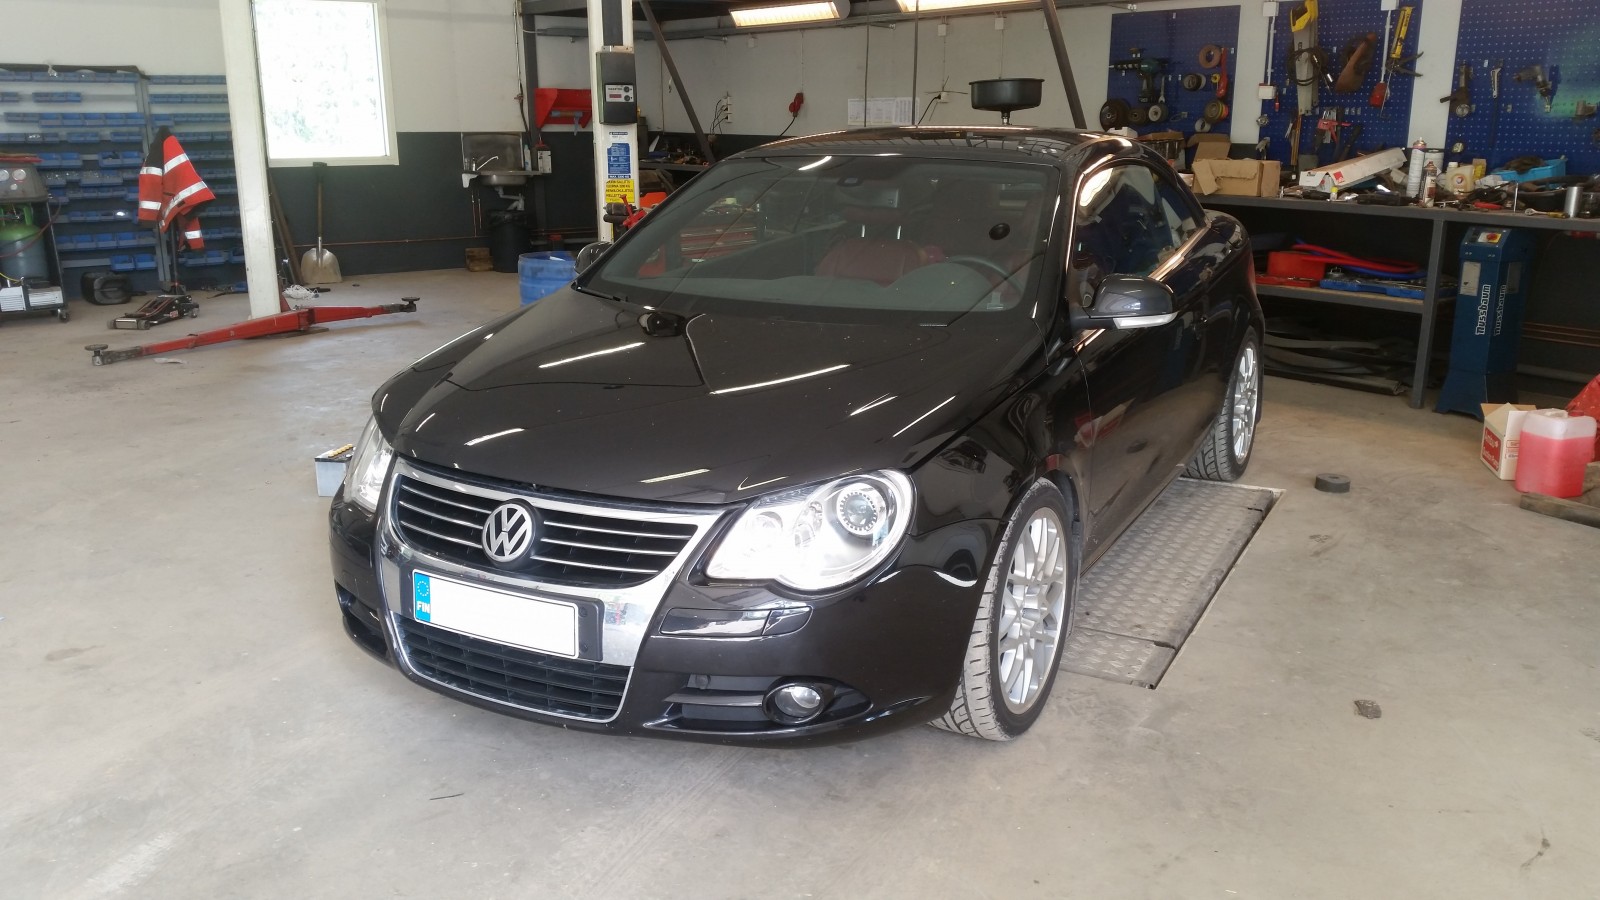
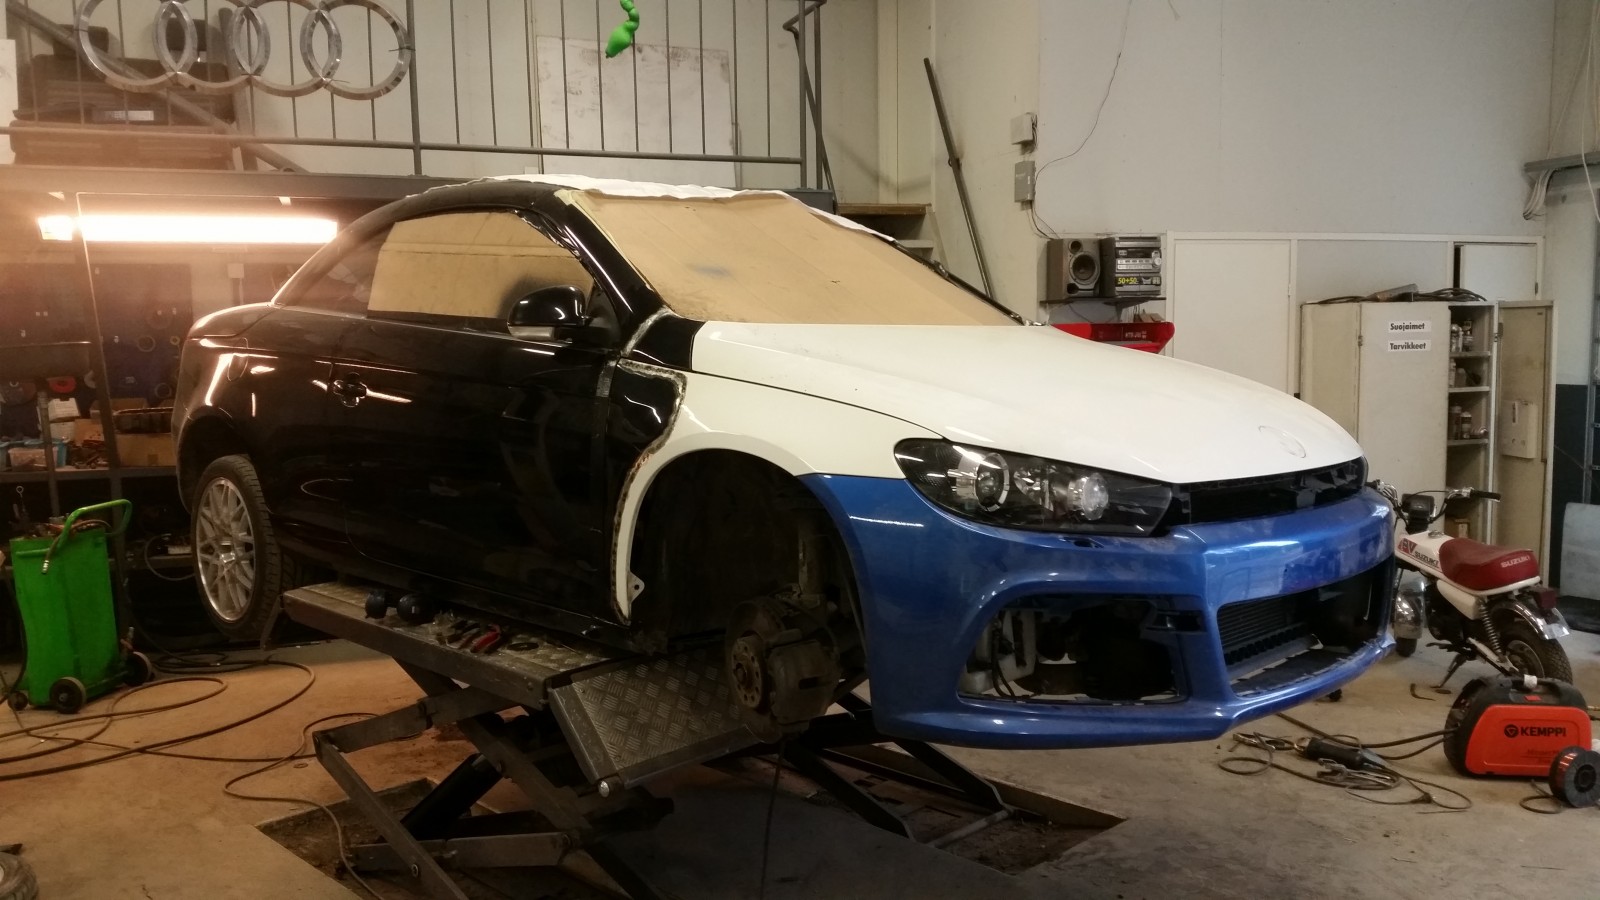
The starting point of the project – 2.0 TFSI Eos with an ugly front
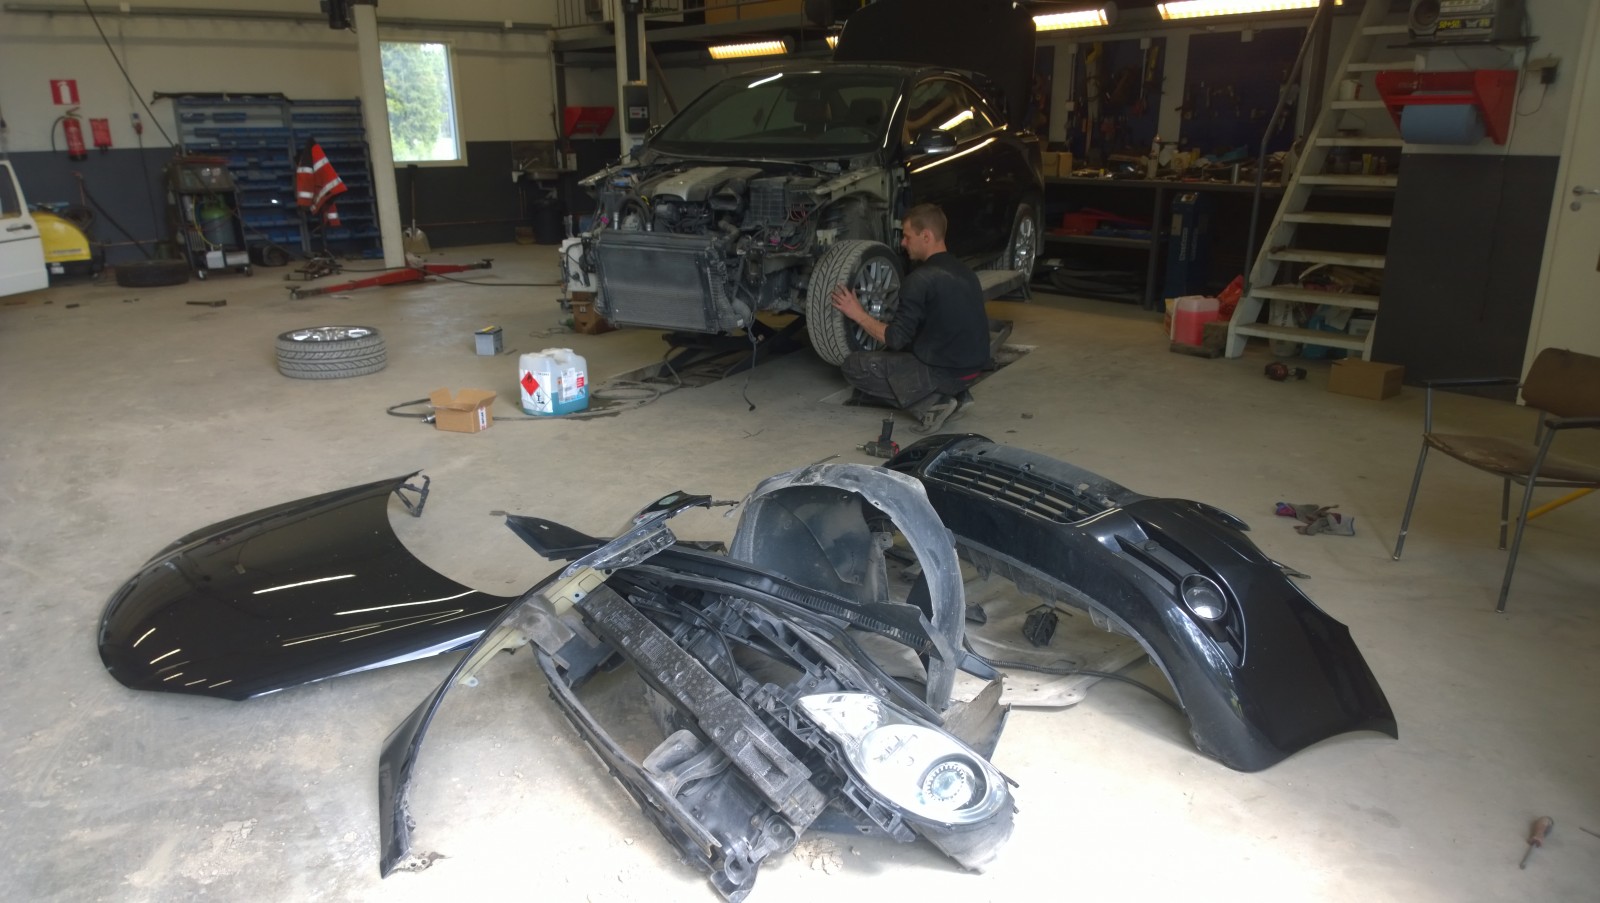
First, all the Eos front-end parts came off. Give us a shout if you need any!
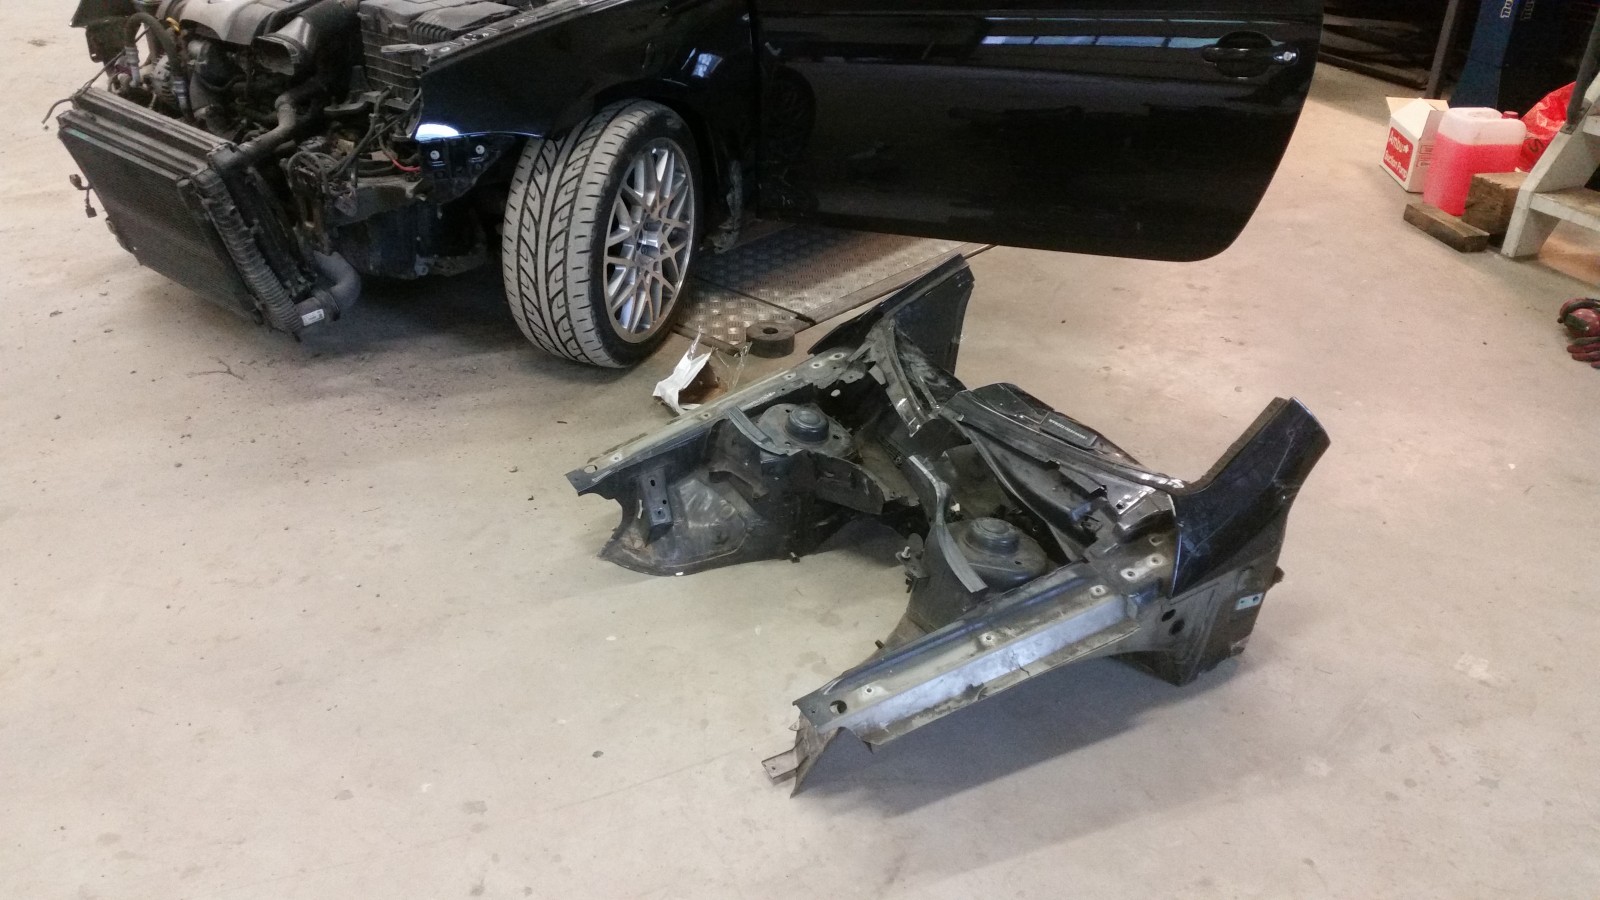
We bought a Scirocco front-end assembly on eBay, plus the required sections of upper chassis rail and A-pillar from a breaker.
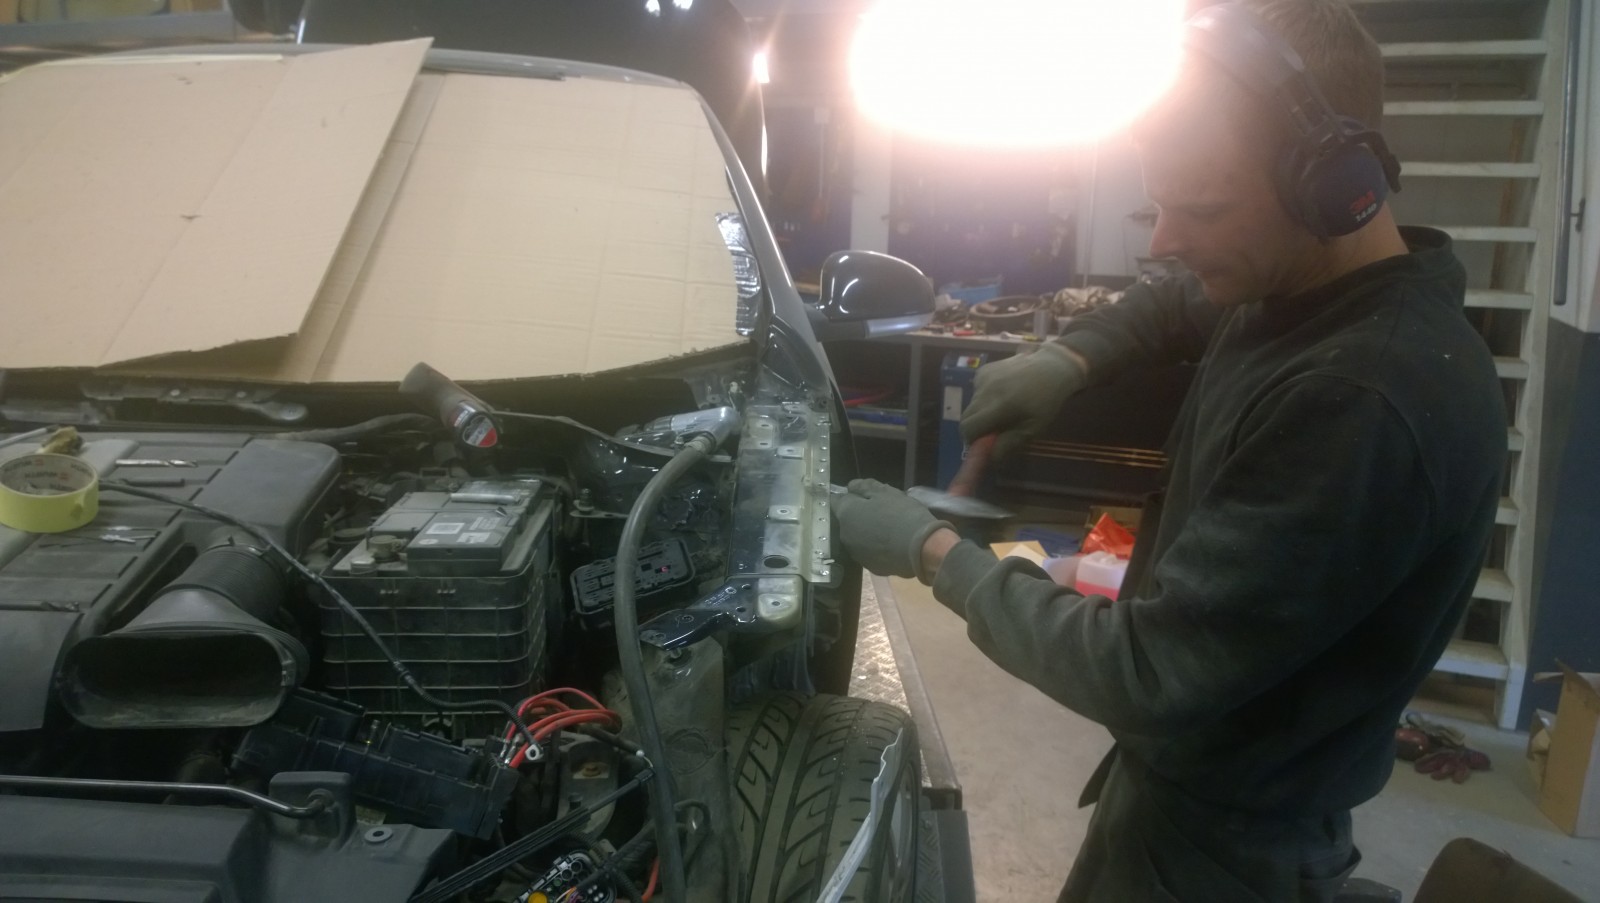
Jaska removing the driver's-side upper chassis rail.
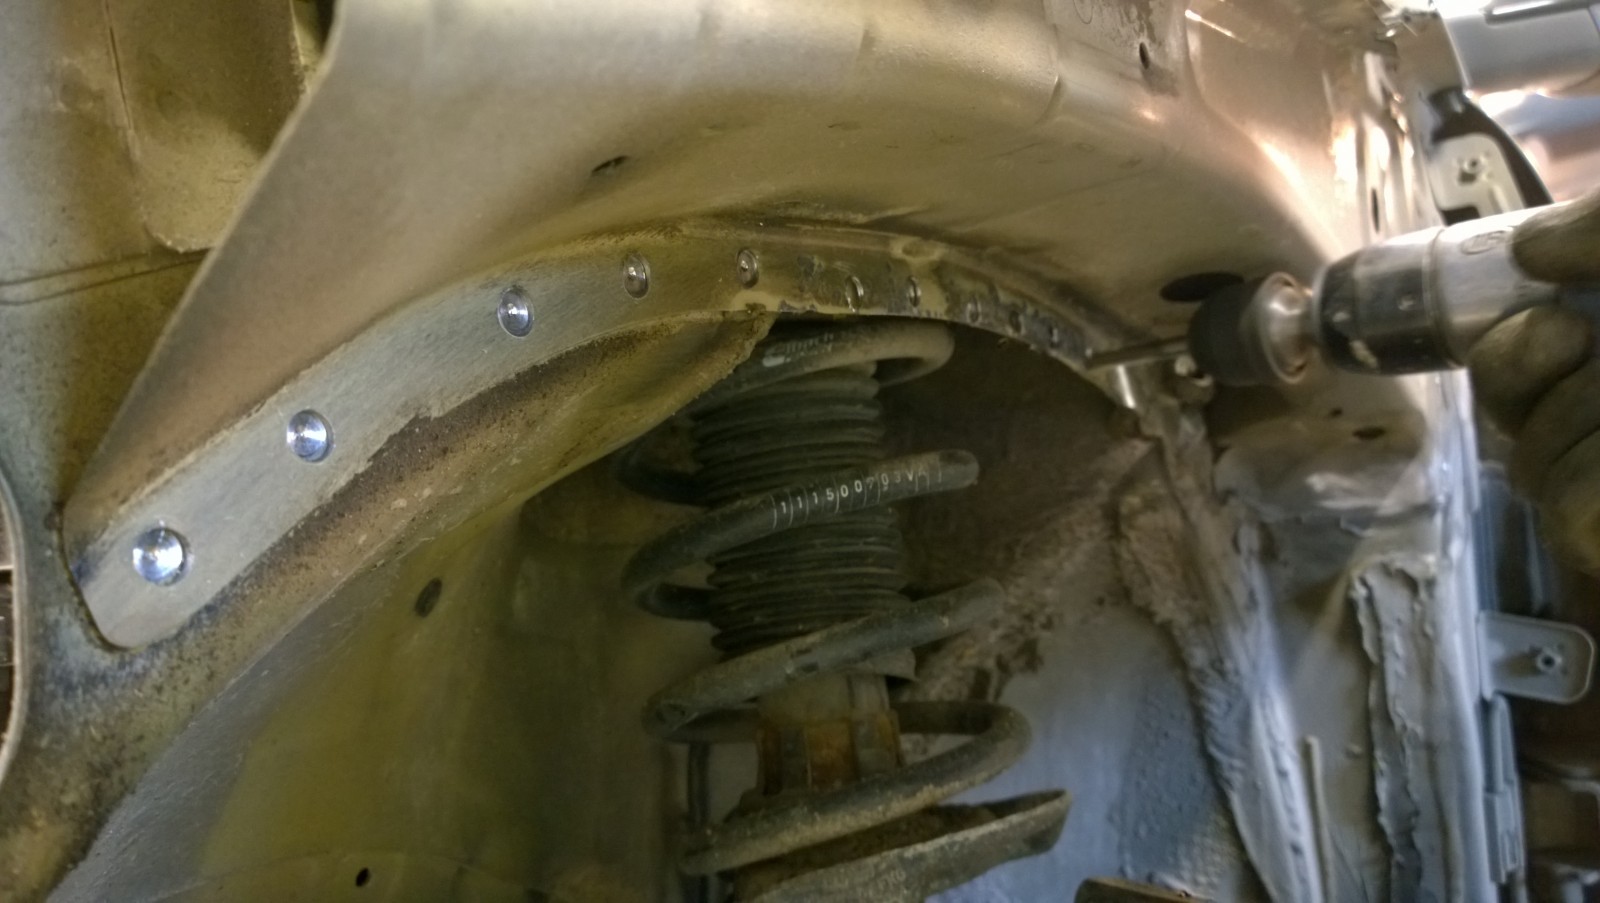
Drilling out the upper rail's spot welds.
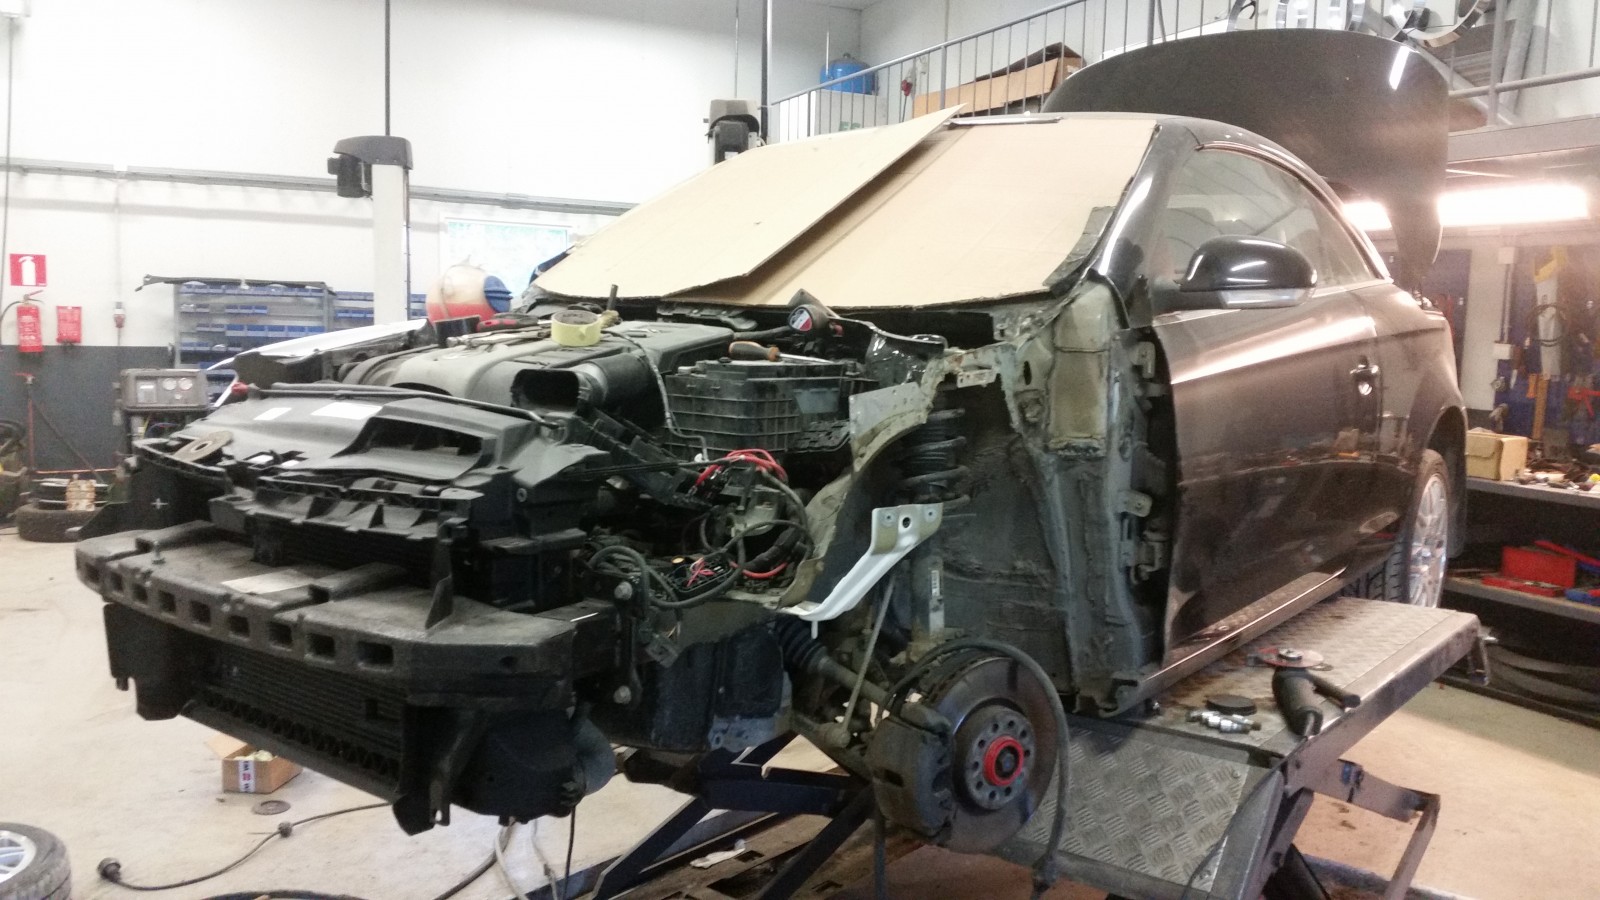
Driver's-side upper rail removed.
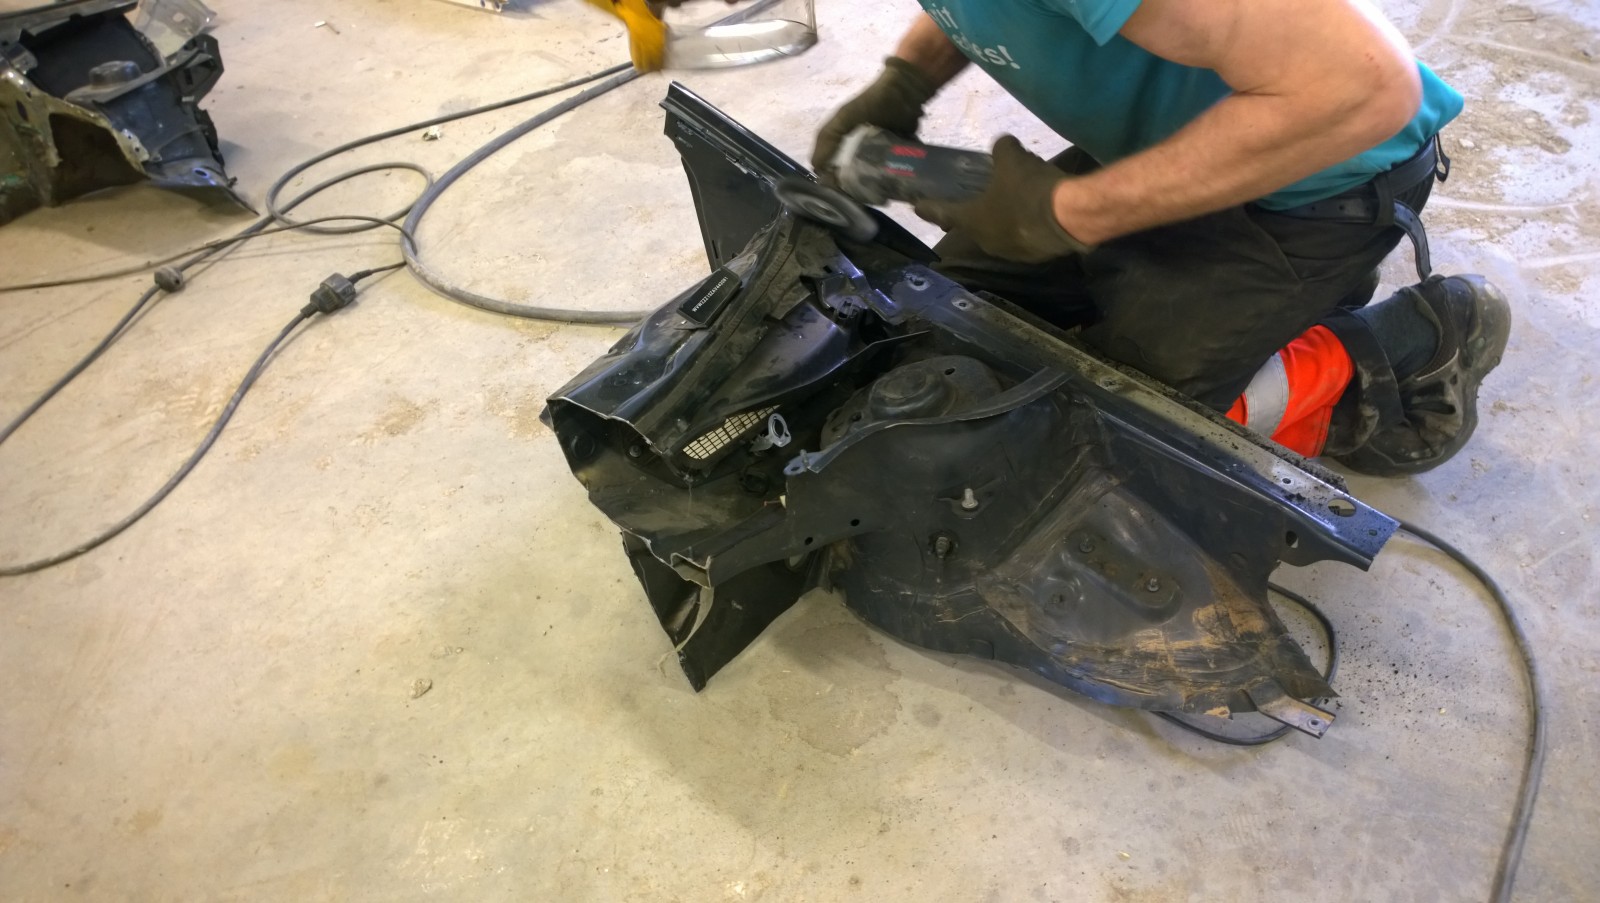
Pekka removing the Scirocco parts.
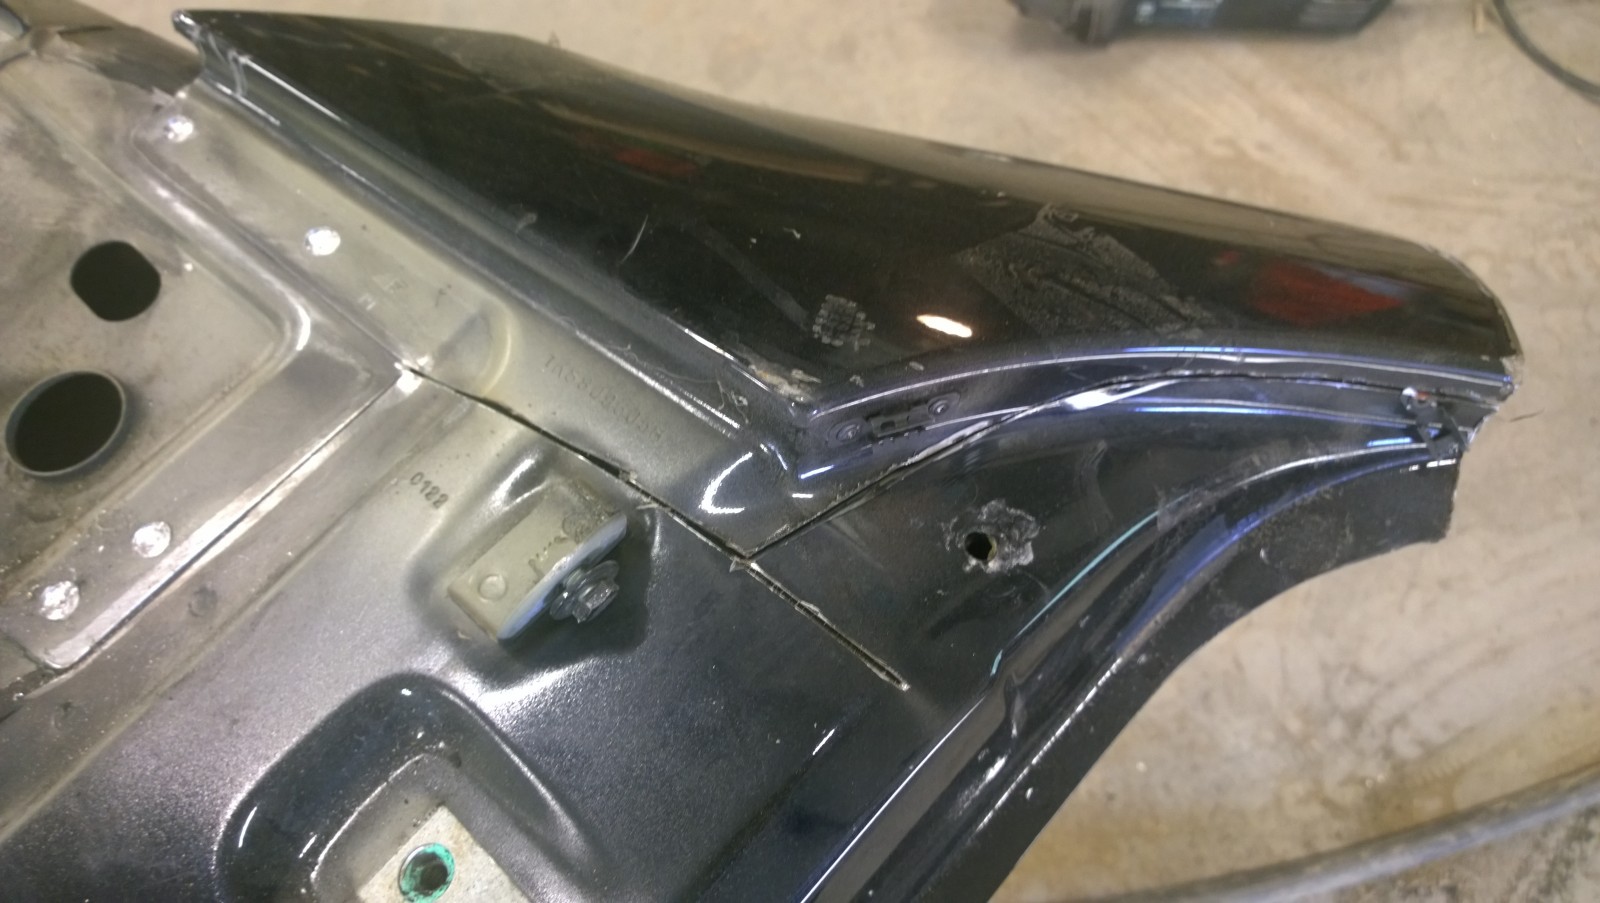
We need a section of the A-pillar outer panel.
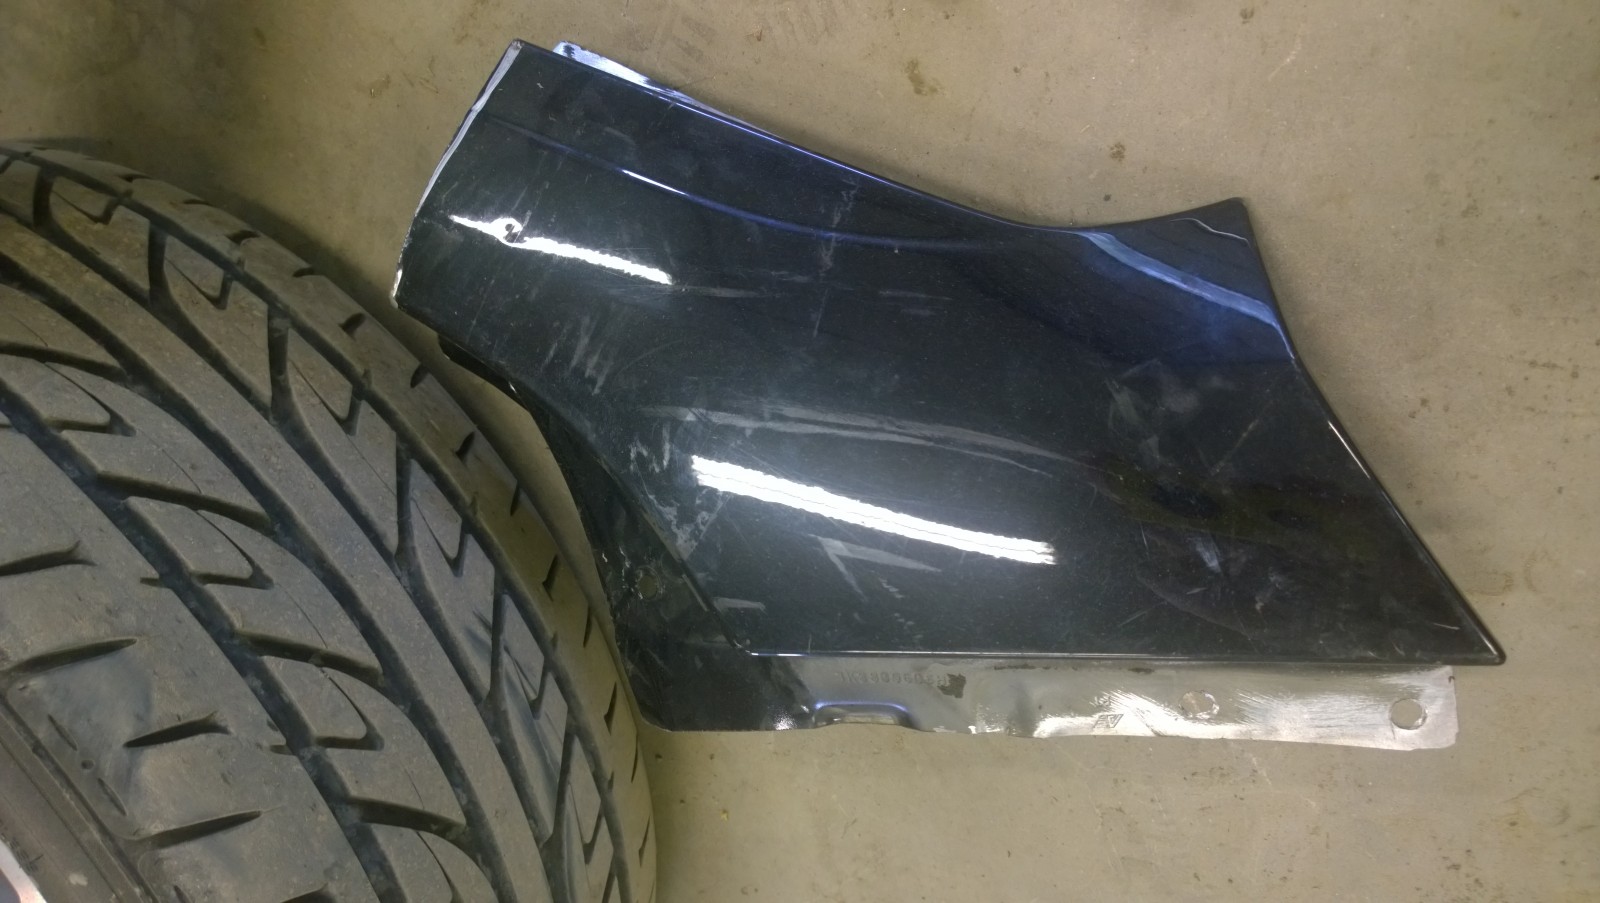
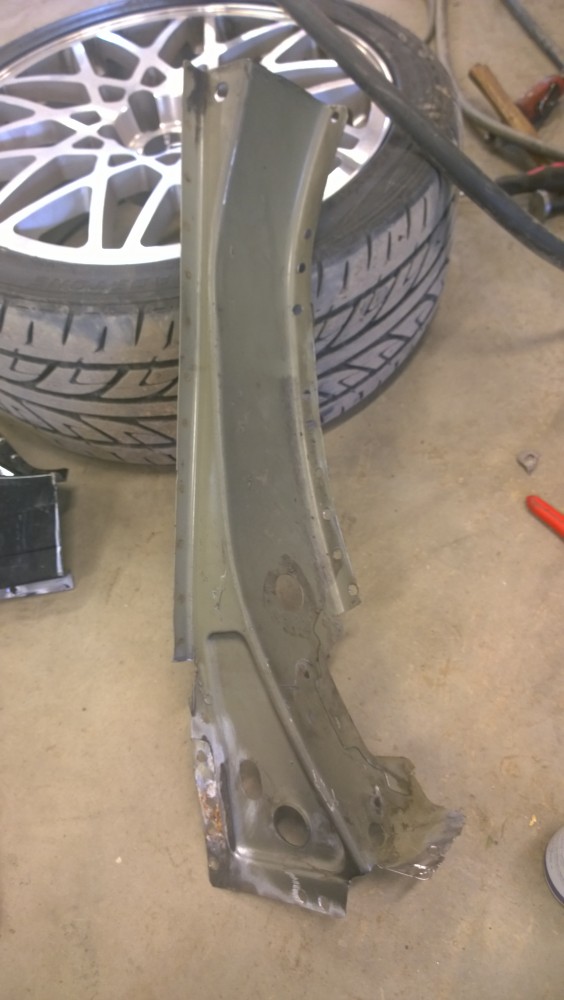
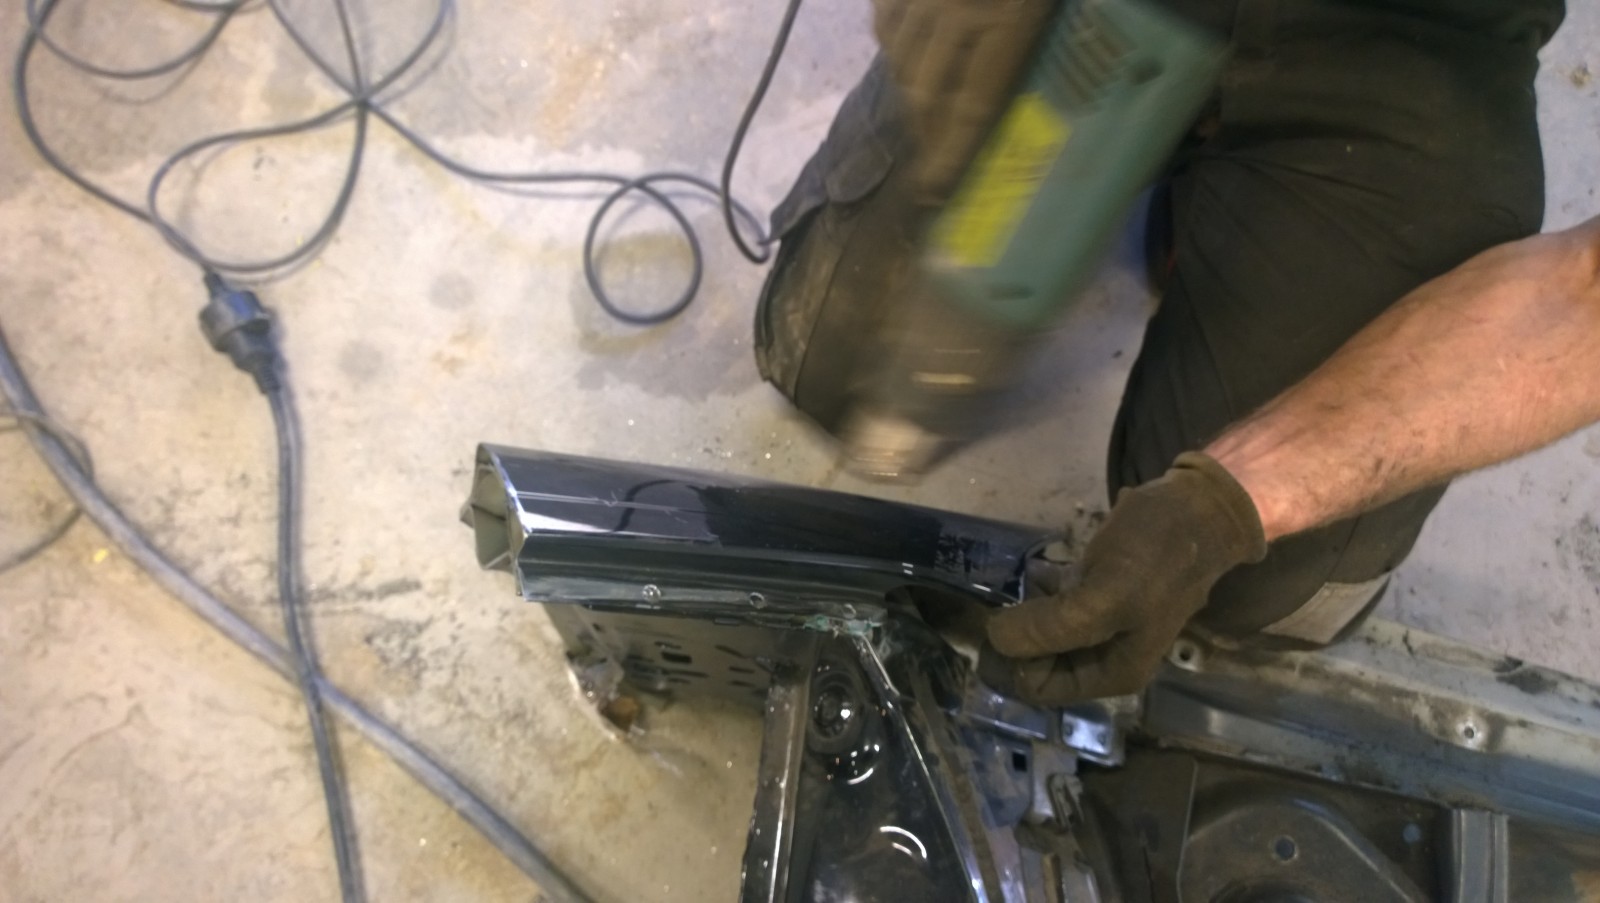
A little heat helped release the adhesive inside as we removed the outer panel.
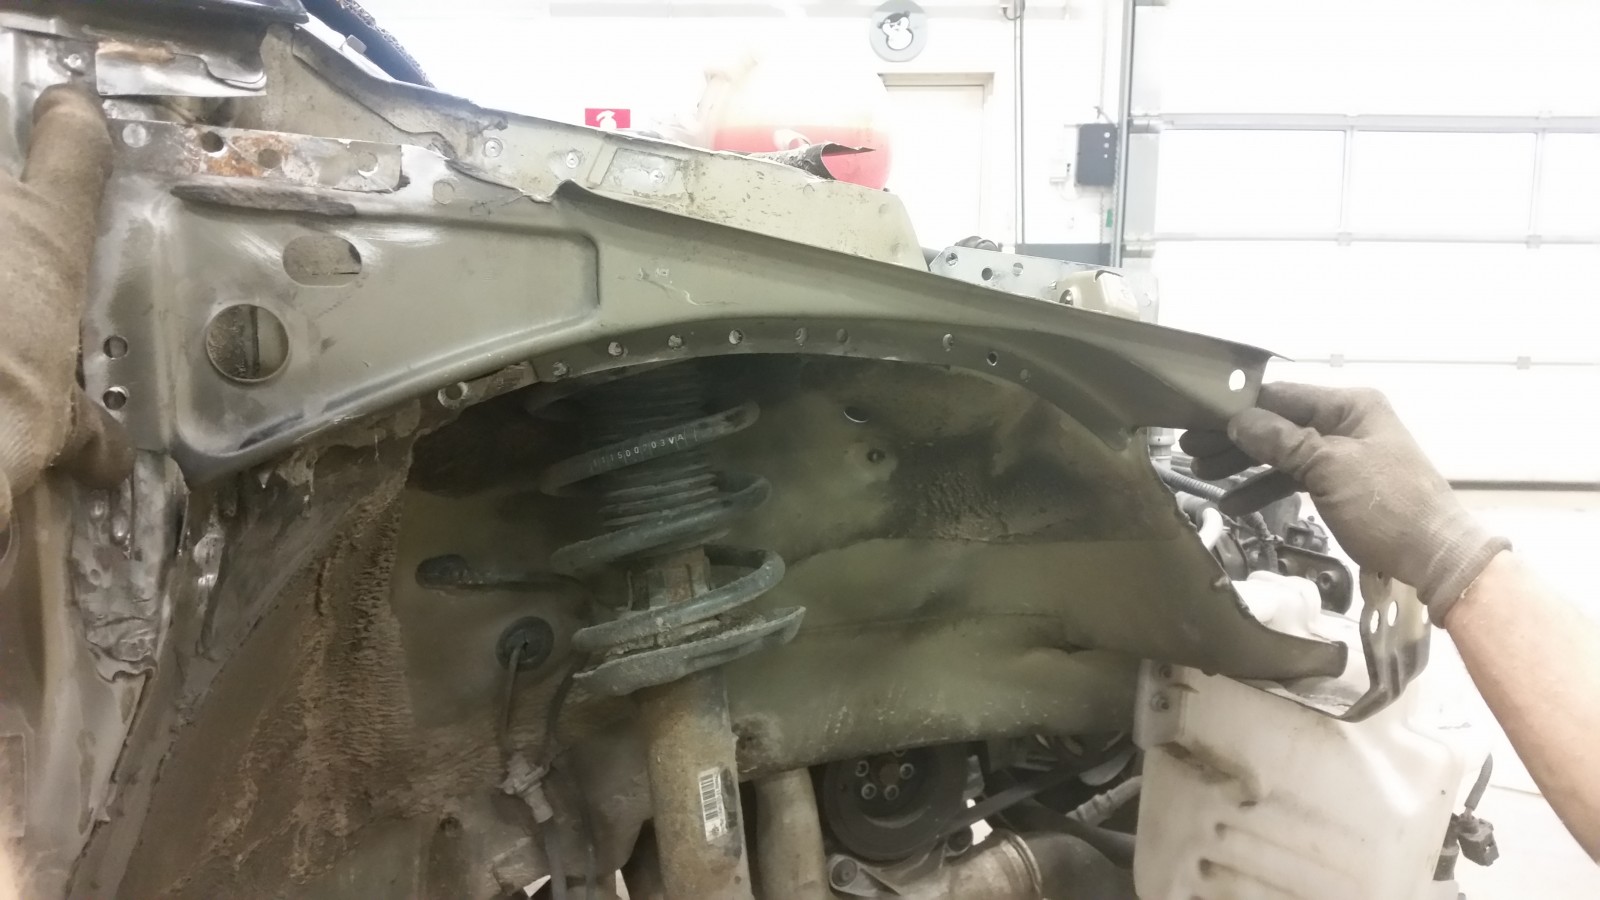
Test-fitting the lower section of the Scirocco's upper rail.
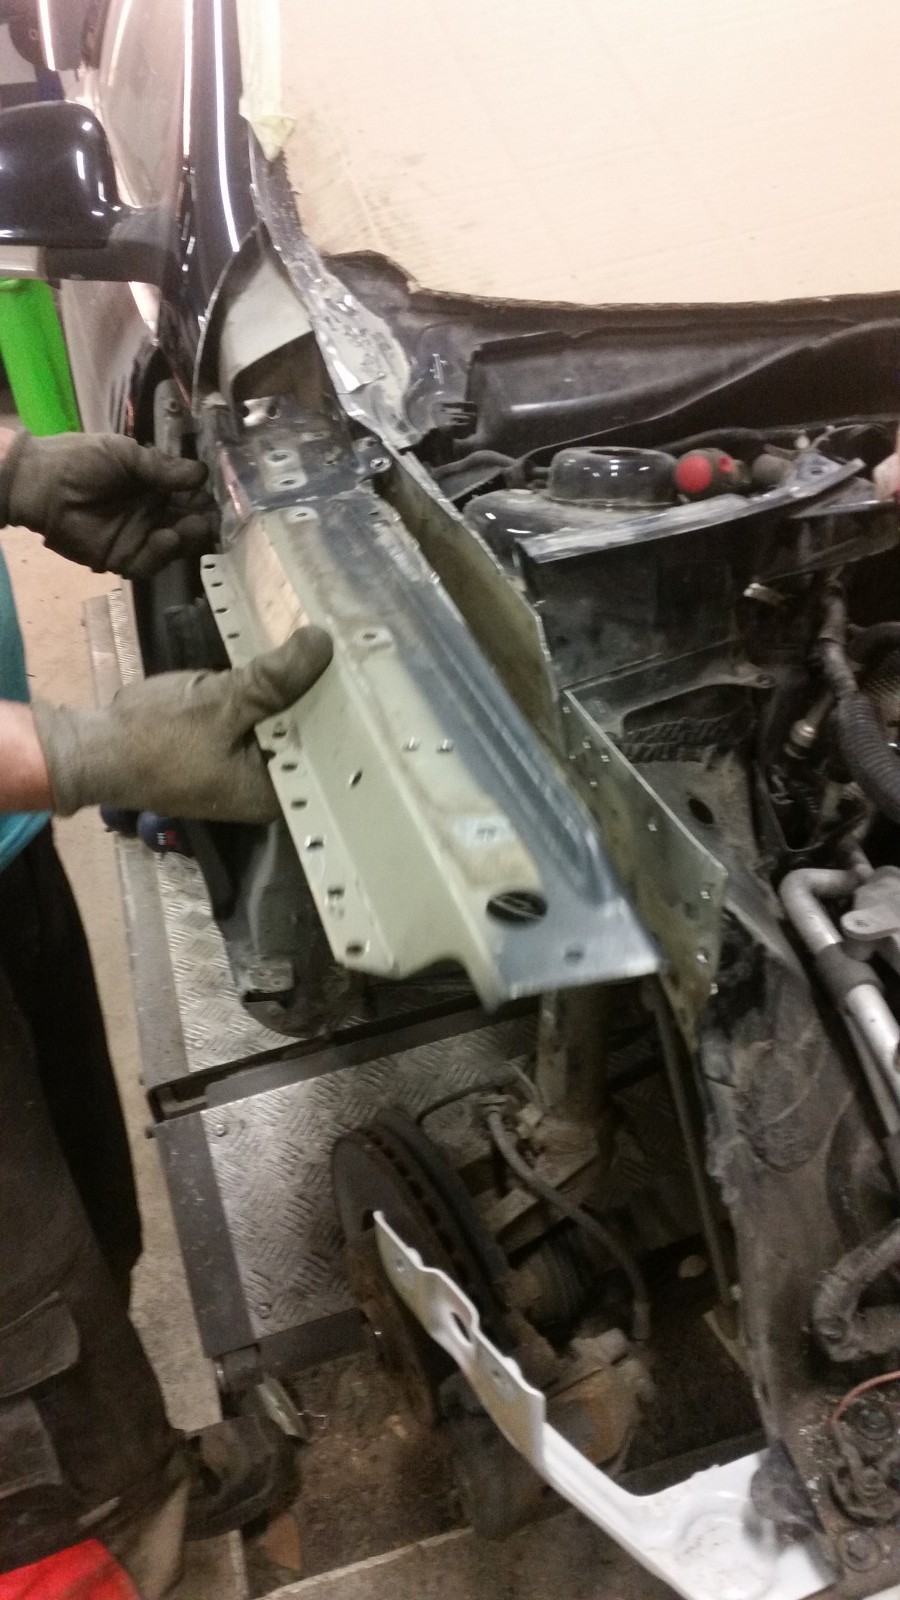
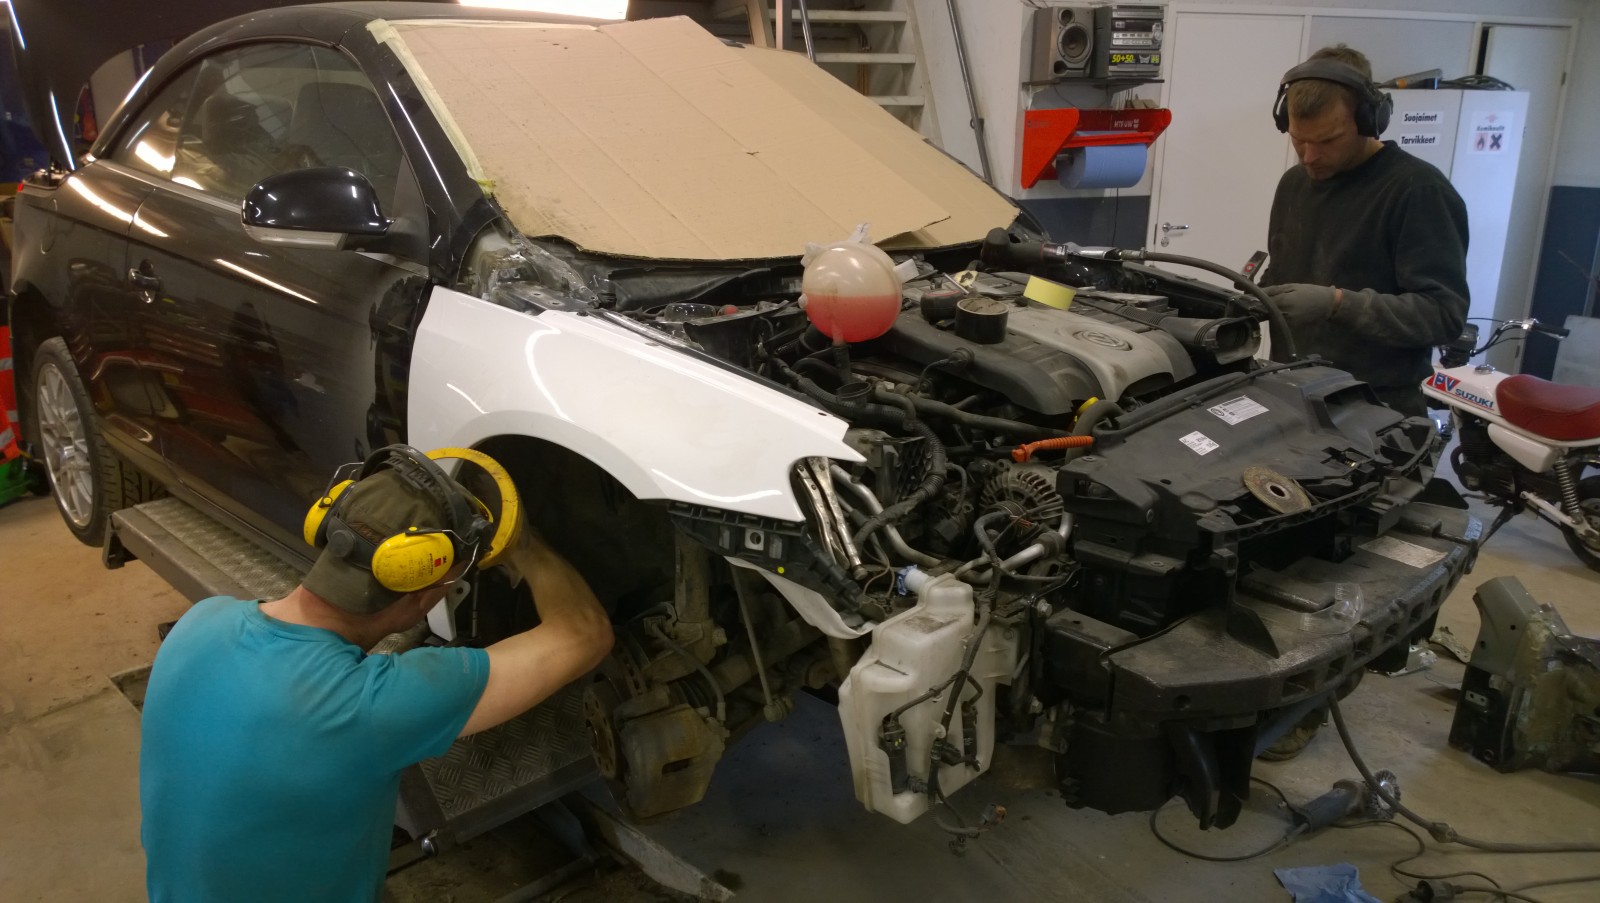
Pekka test-fitting the Scirocco wing while Jaska continues stripping the driver's side.
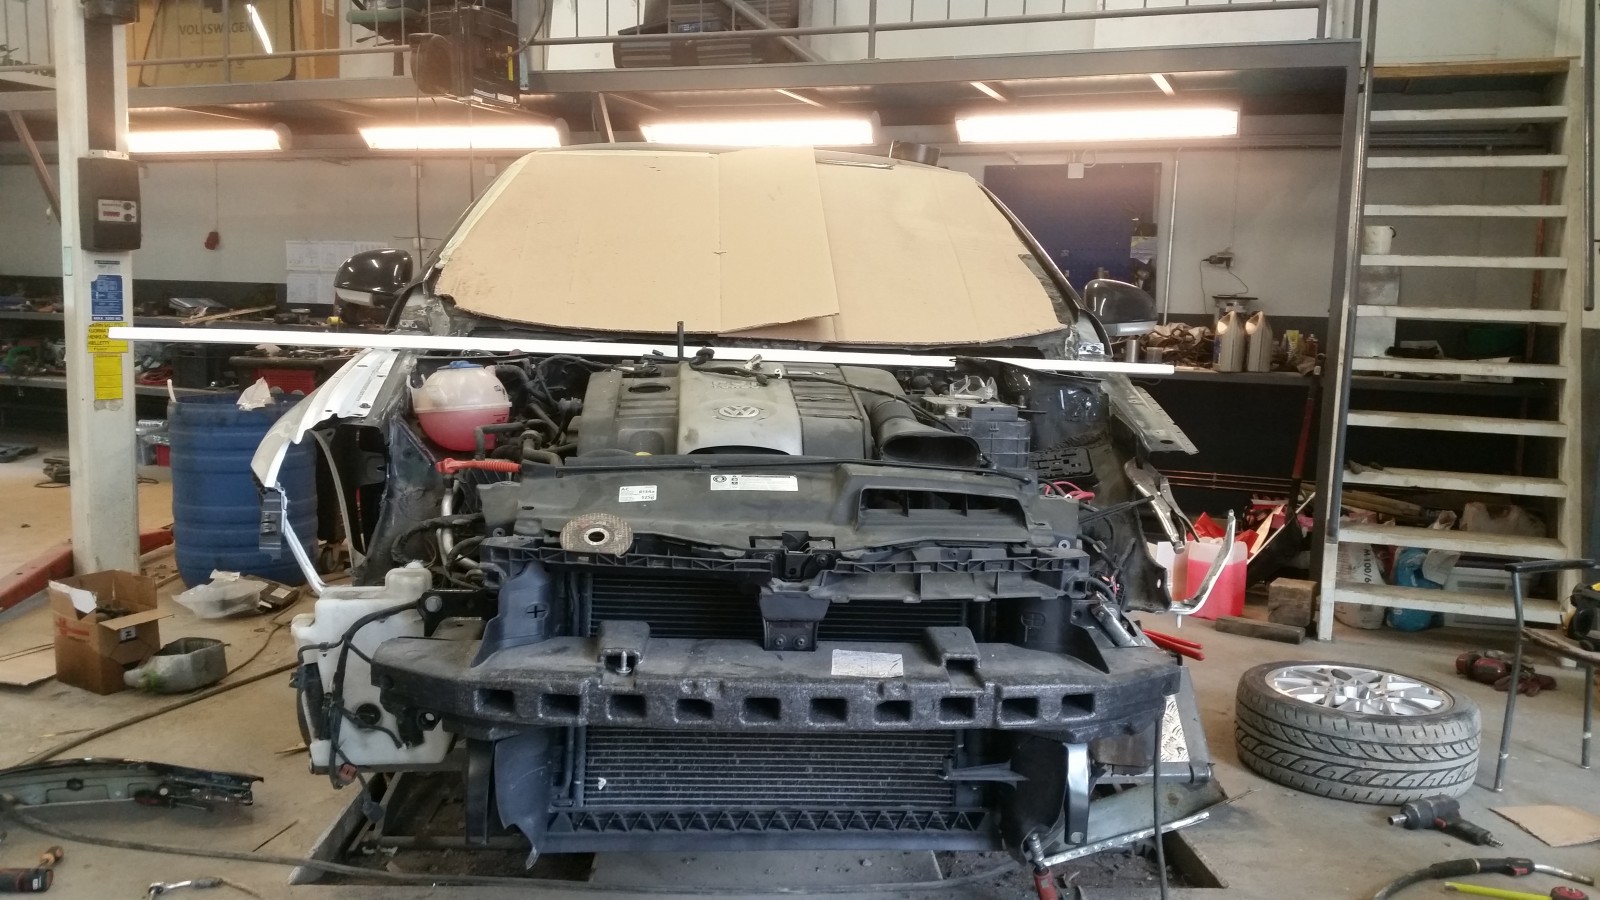
Scirocco front panel and bumper beam in place. At least this bit bolts straight on.
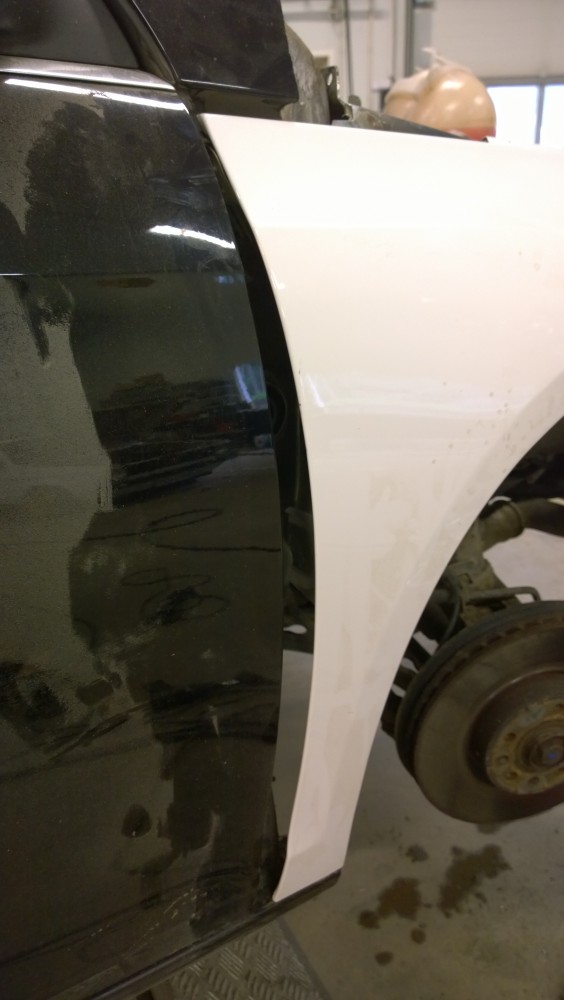
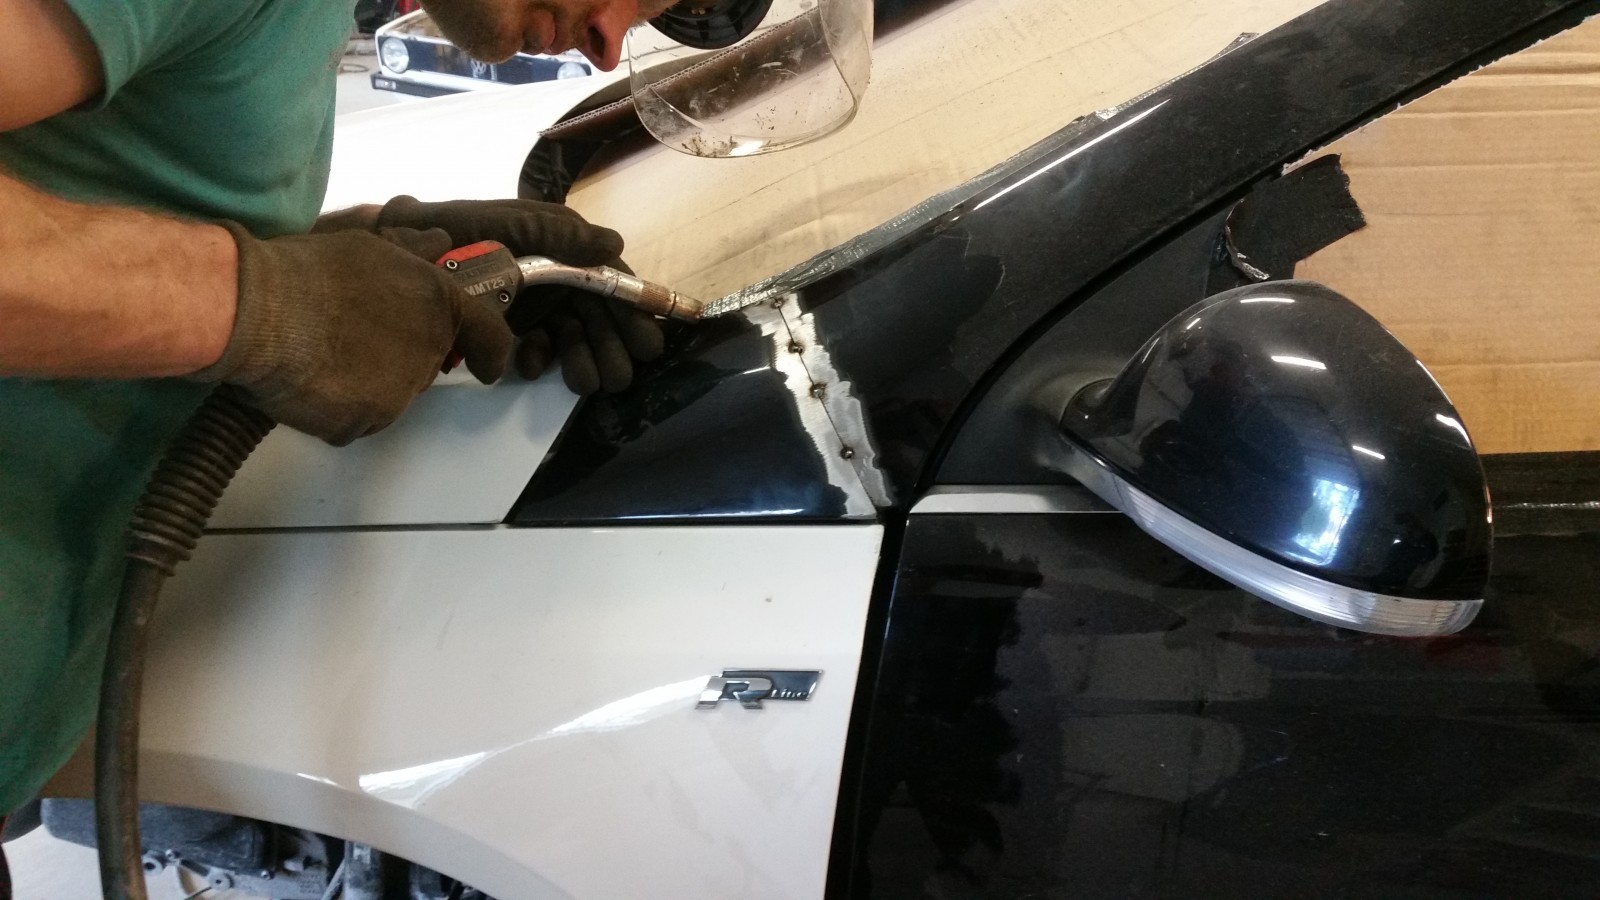
Here you can really see the difference in shape. The Scirocco is quite a bit fuller-bodied. We'll have to join the front section of each Scirocco wing to the rear section of an Eos wing.
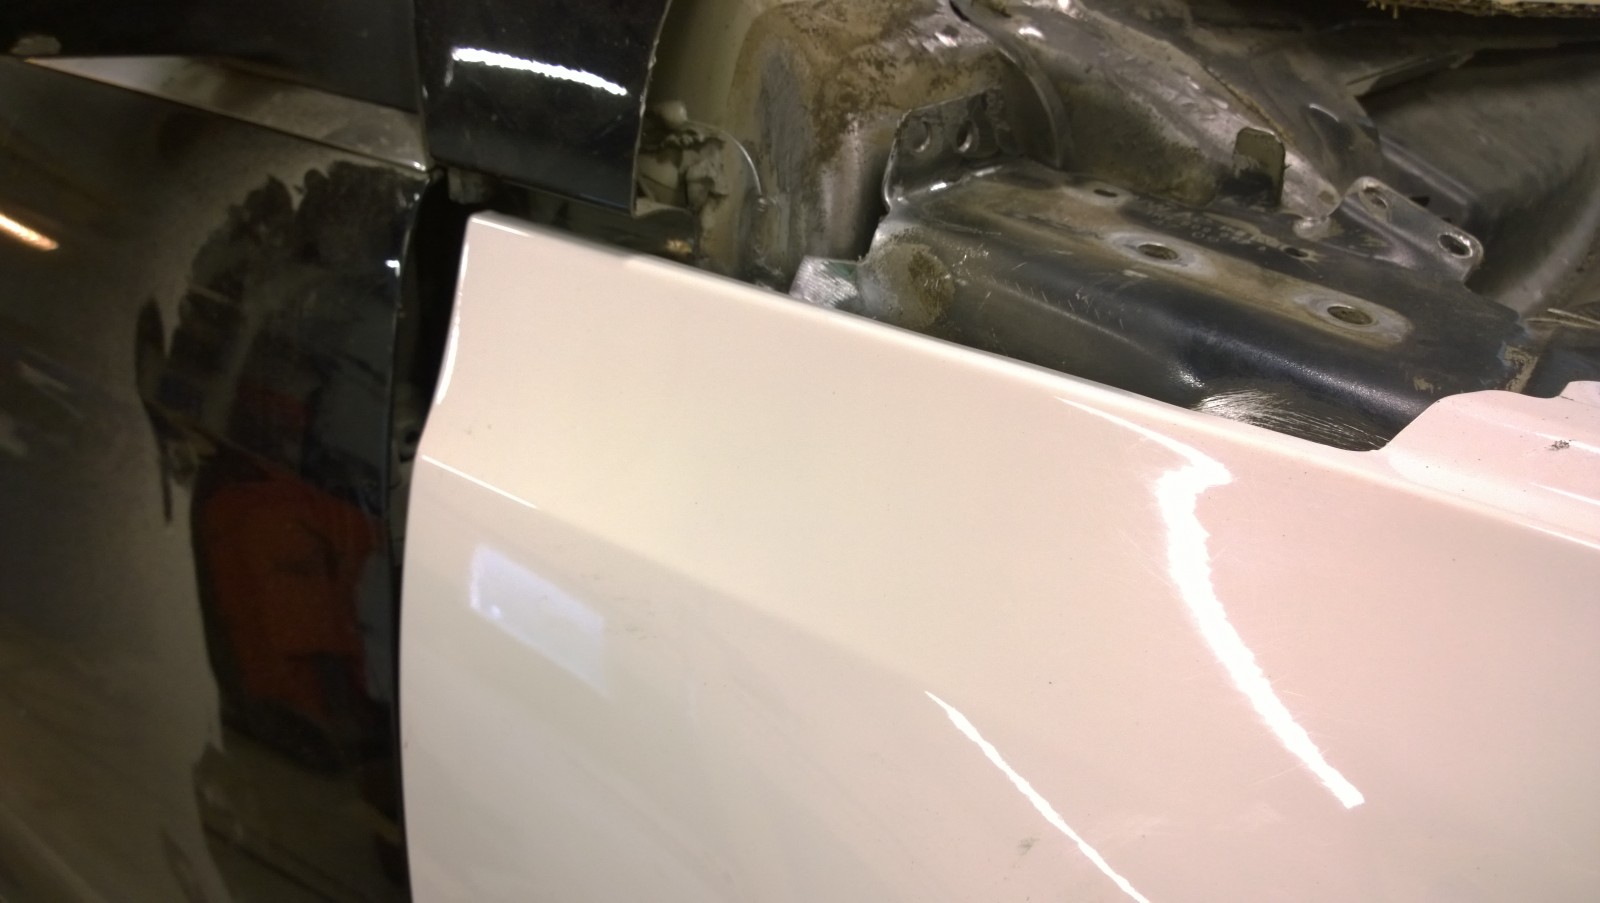
The top of the wing differs too, including the position of the body crease.
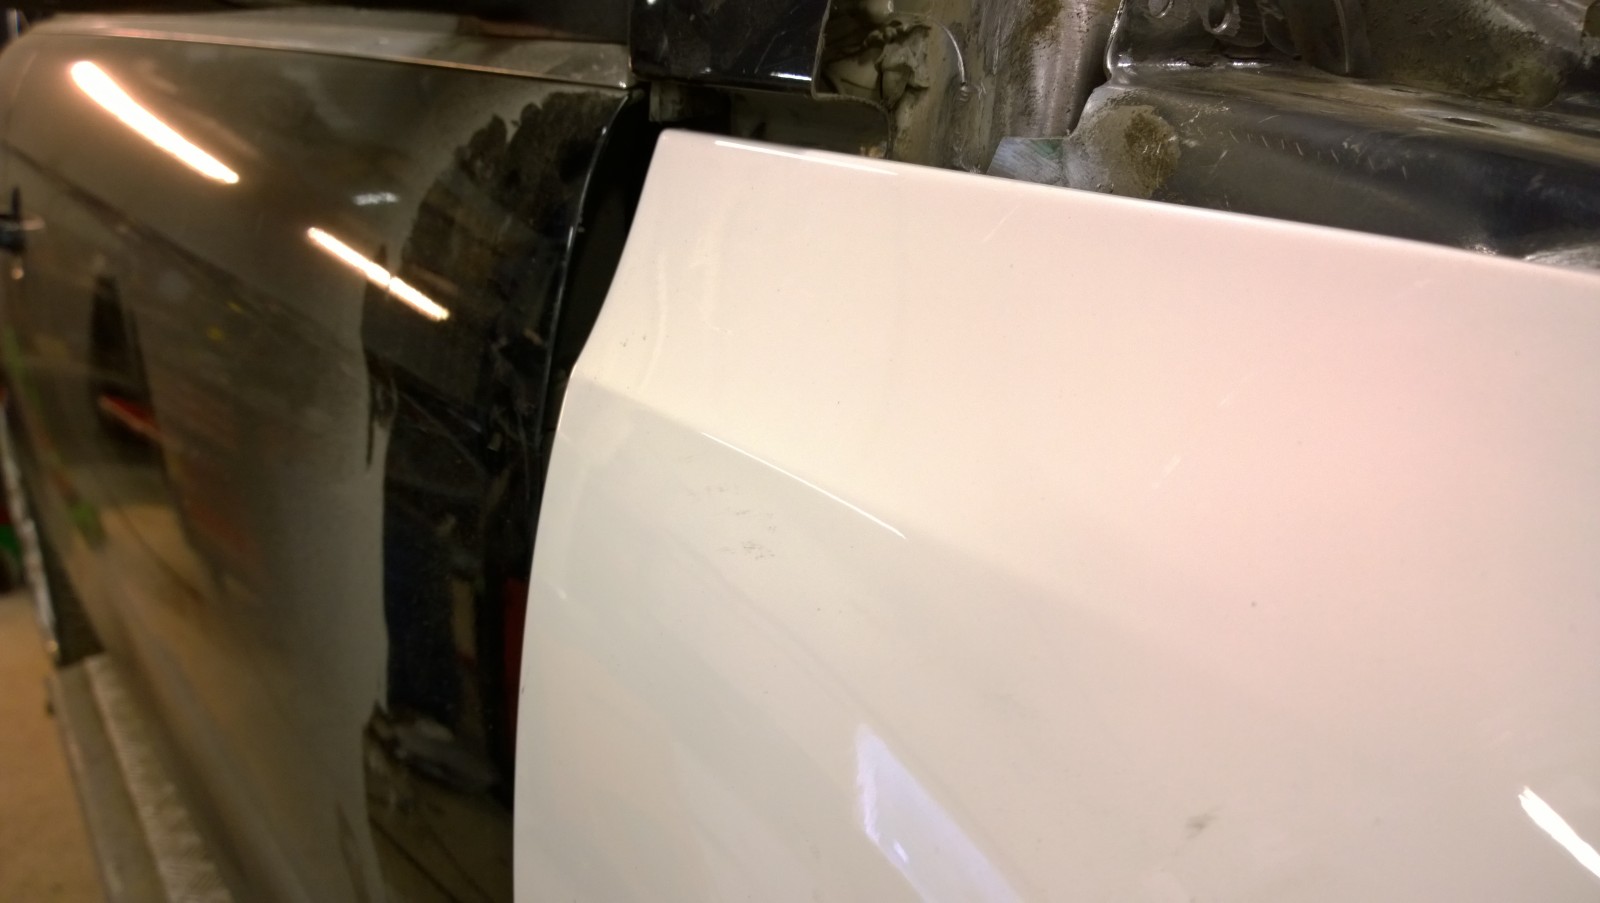
A good view of the different crease positions.
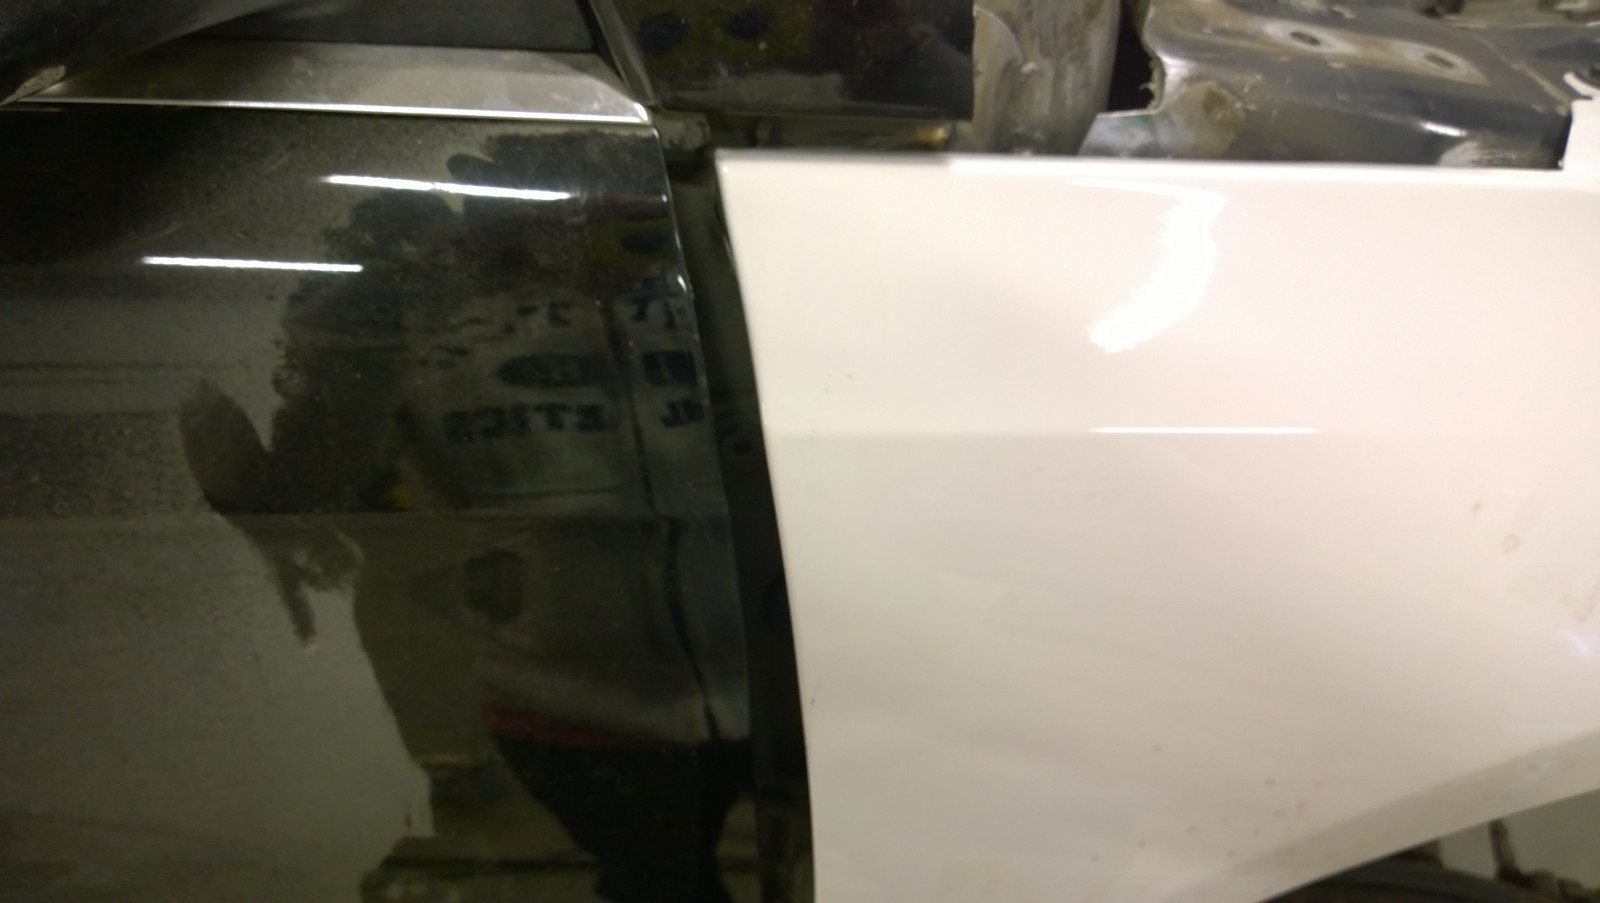
There's a bit of a gap left...
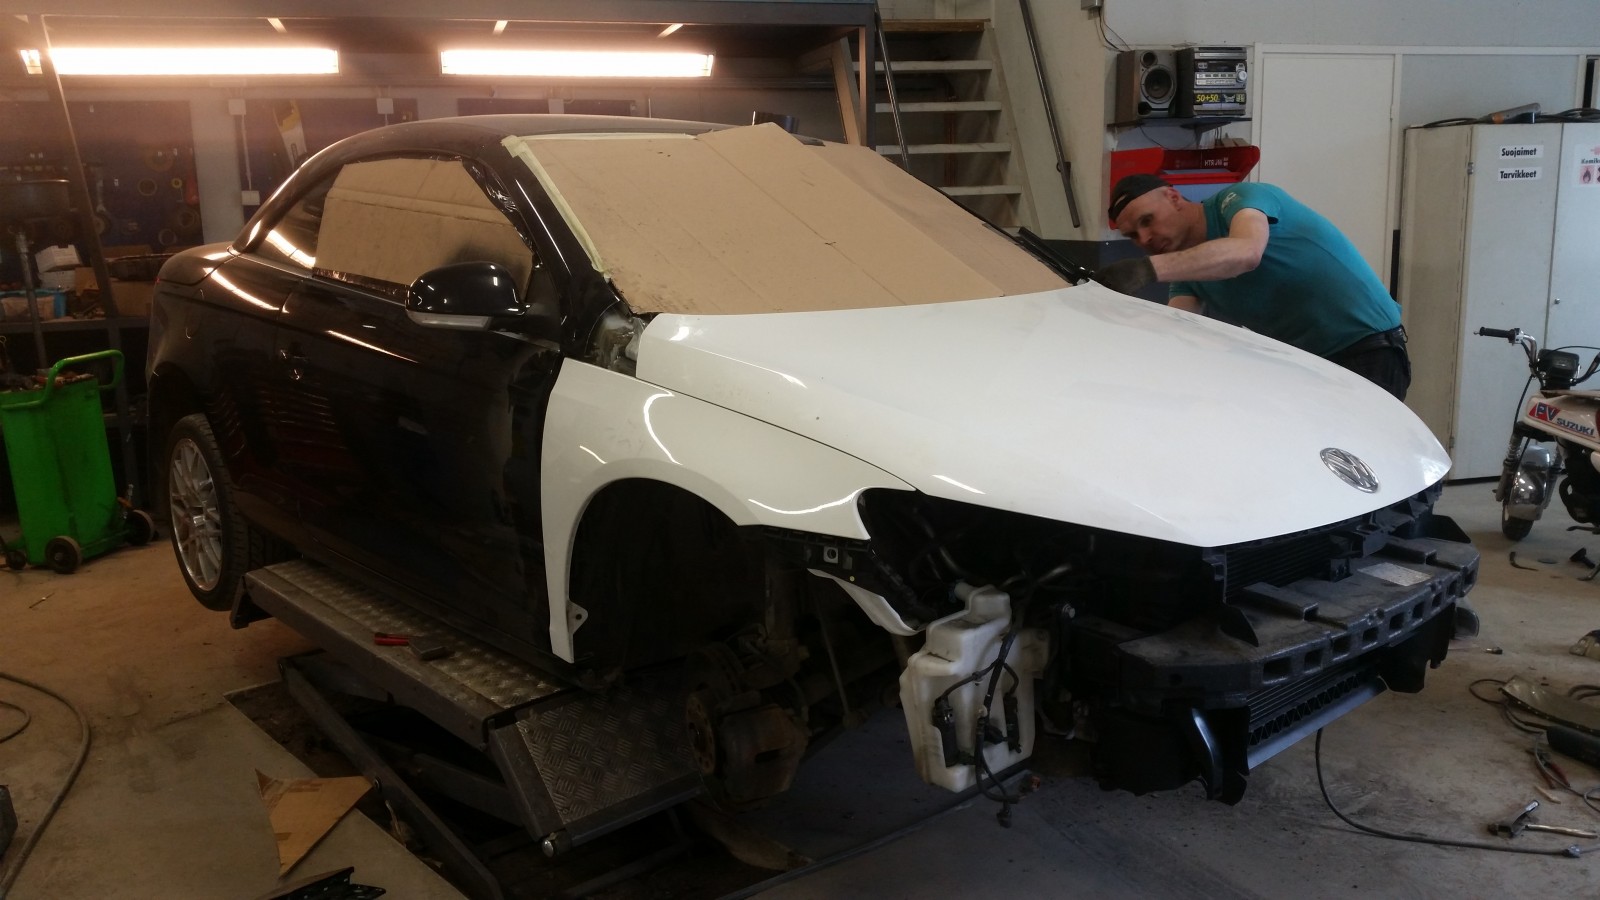
With the wings in place, we test-fitted the bonnet.
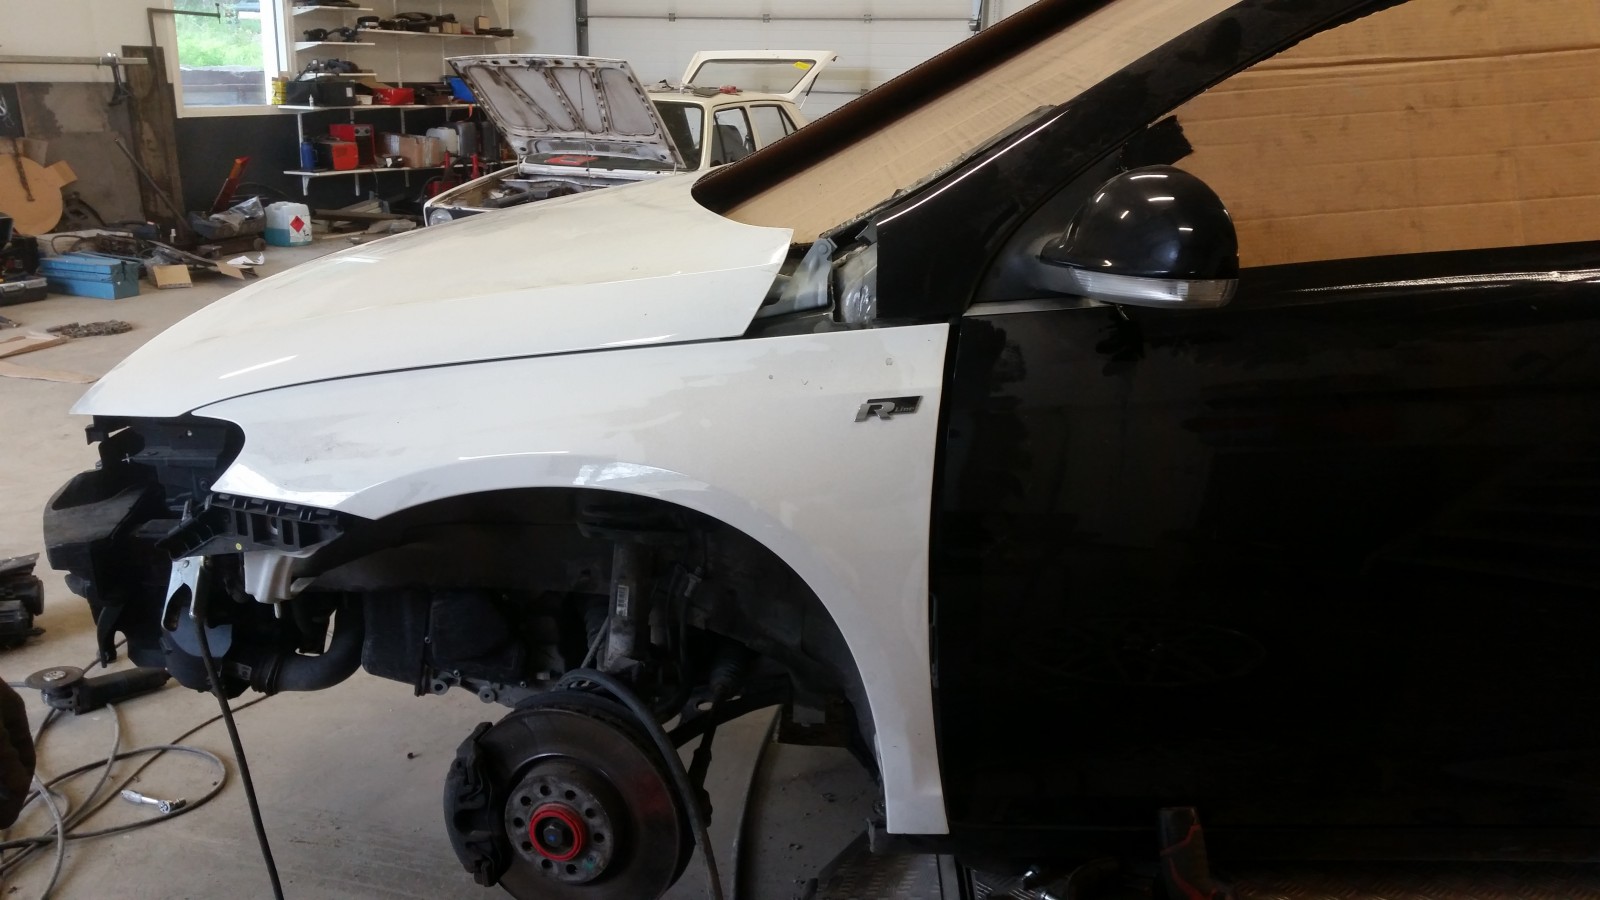
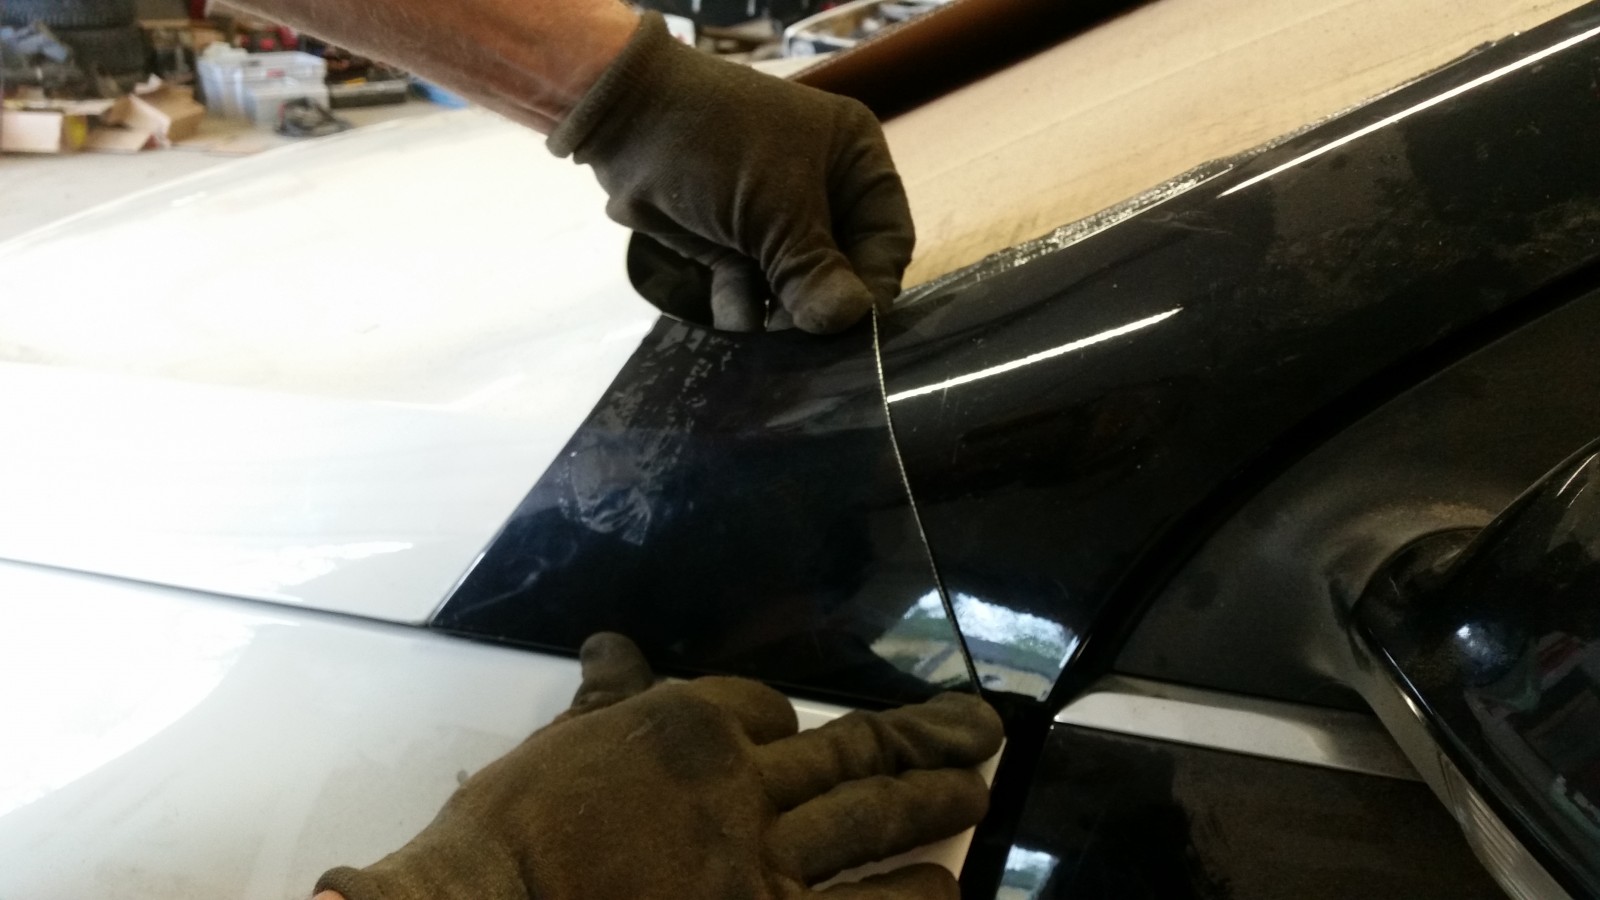
Shaping the A-pillar outer panels.
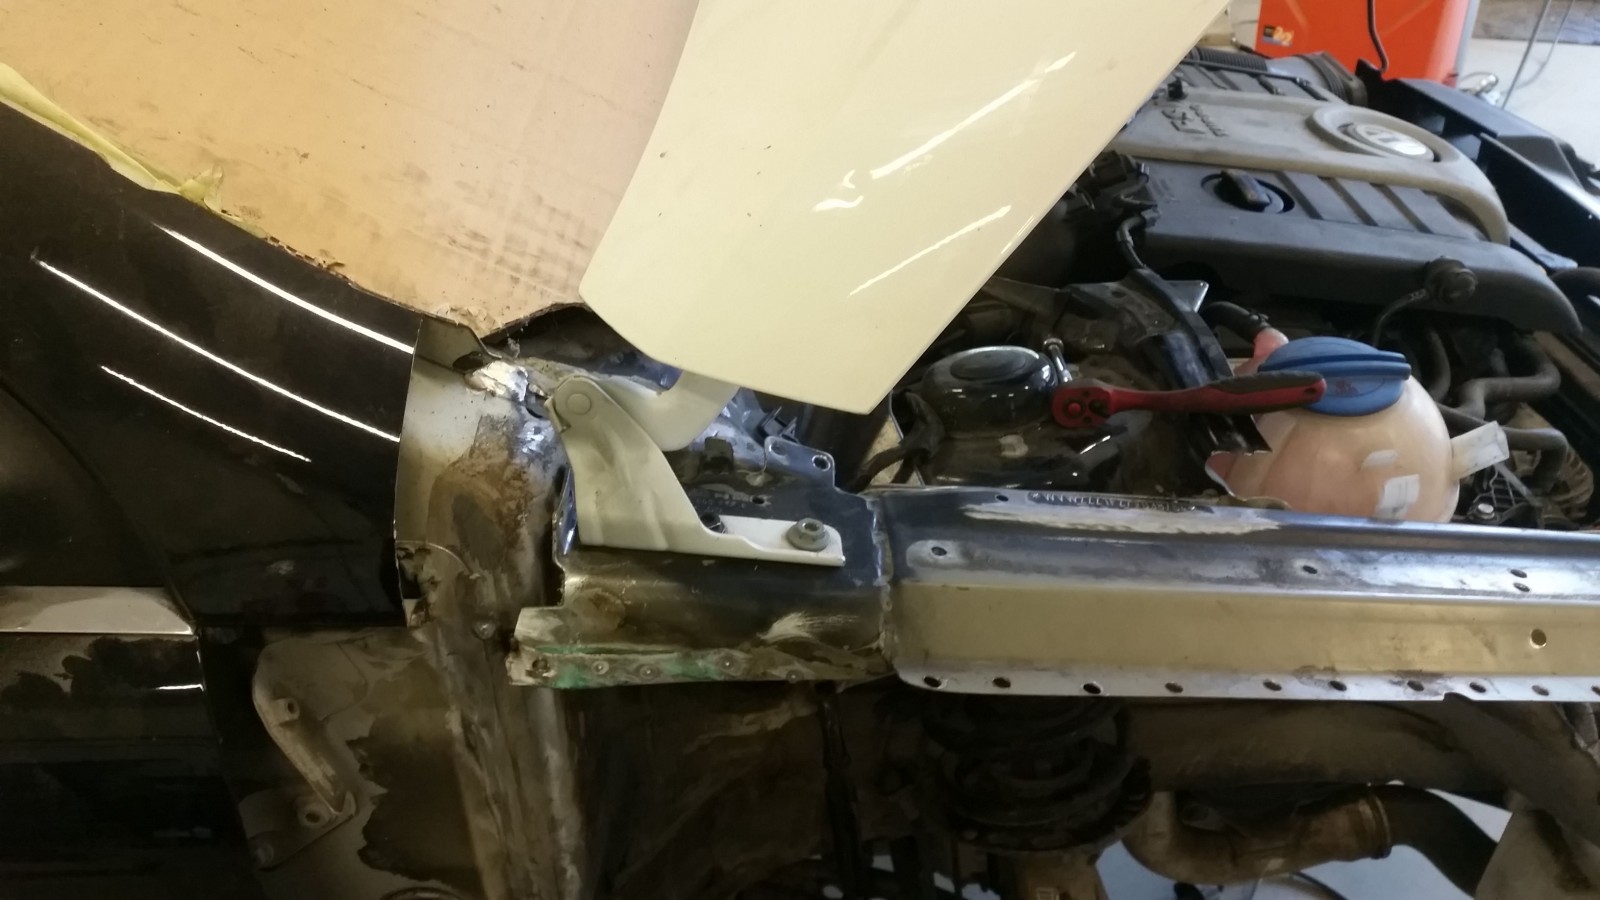
Hinges from Scirocco
This was done in four evenings - a new update is expected in the next few days...
2015-06-07 · Eos bodywork finished
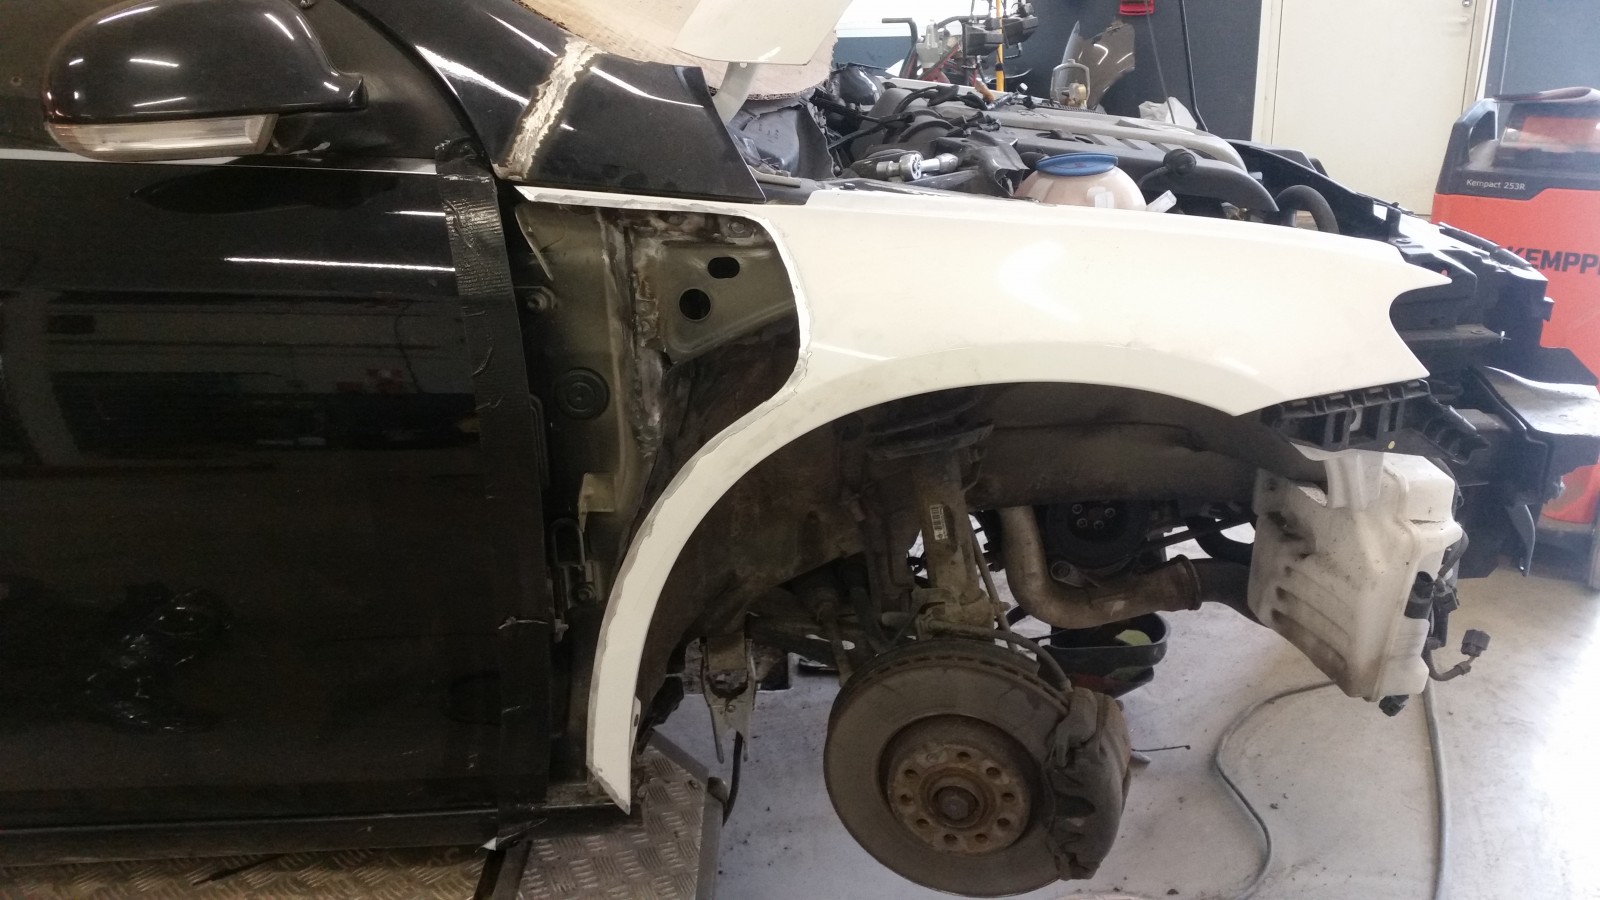
Better progress than expected today: all the Eos bodywork is finished.
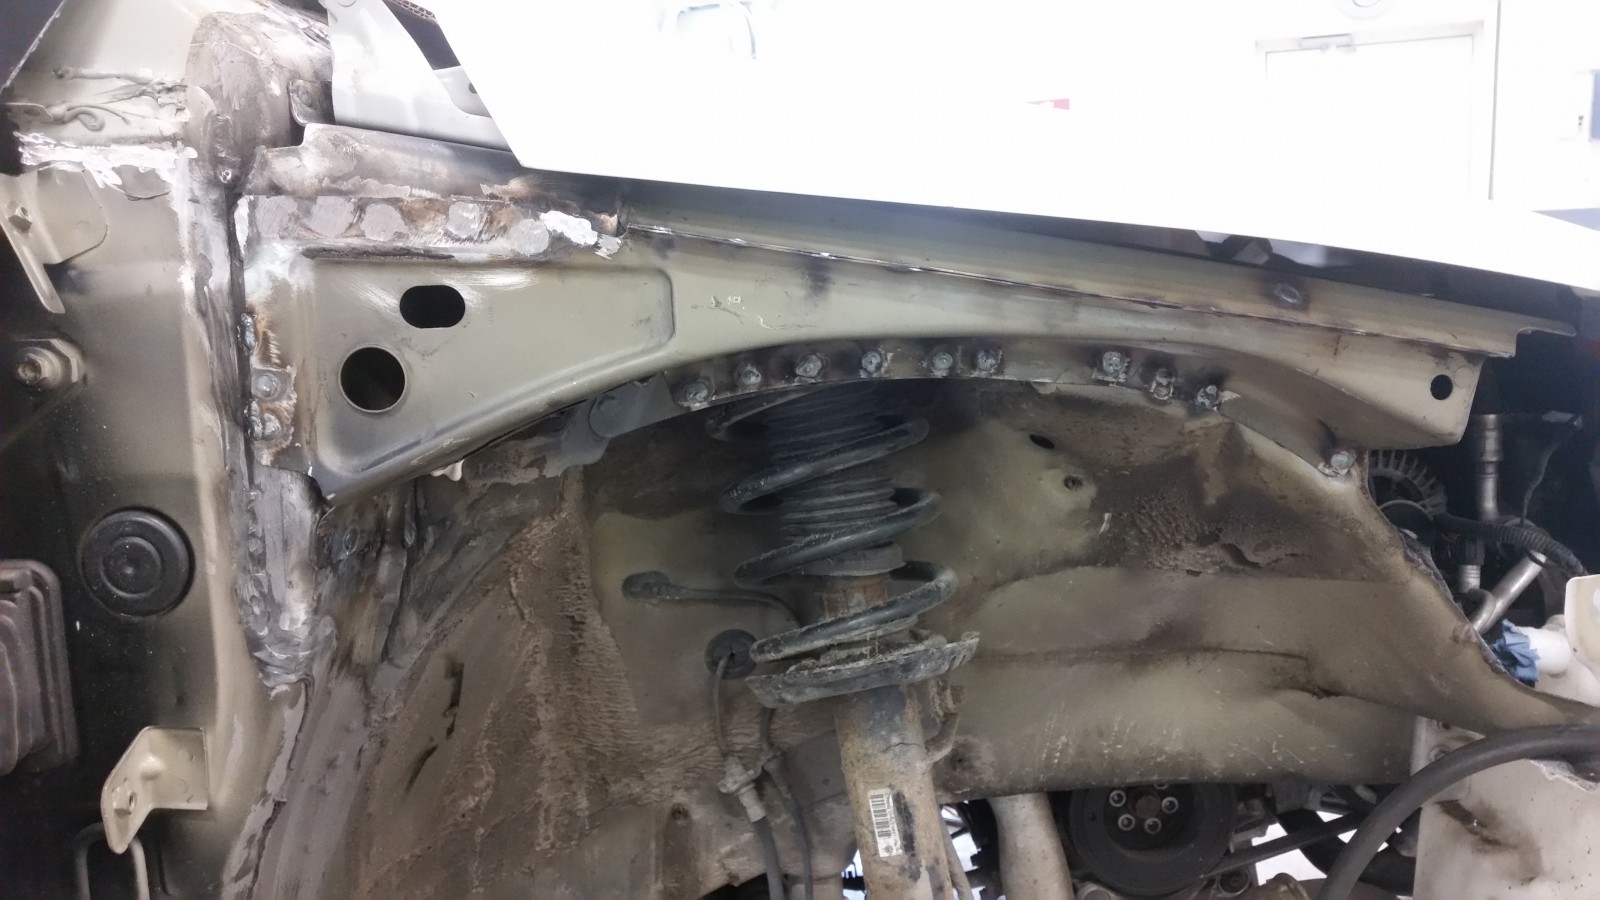
Upper chassis rail welded in.
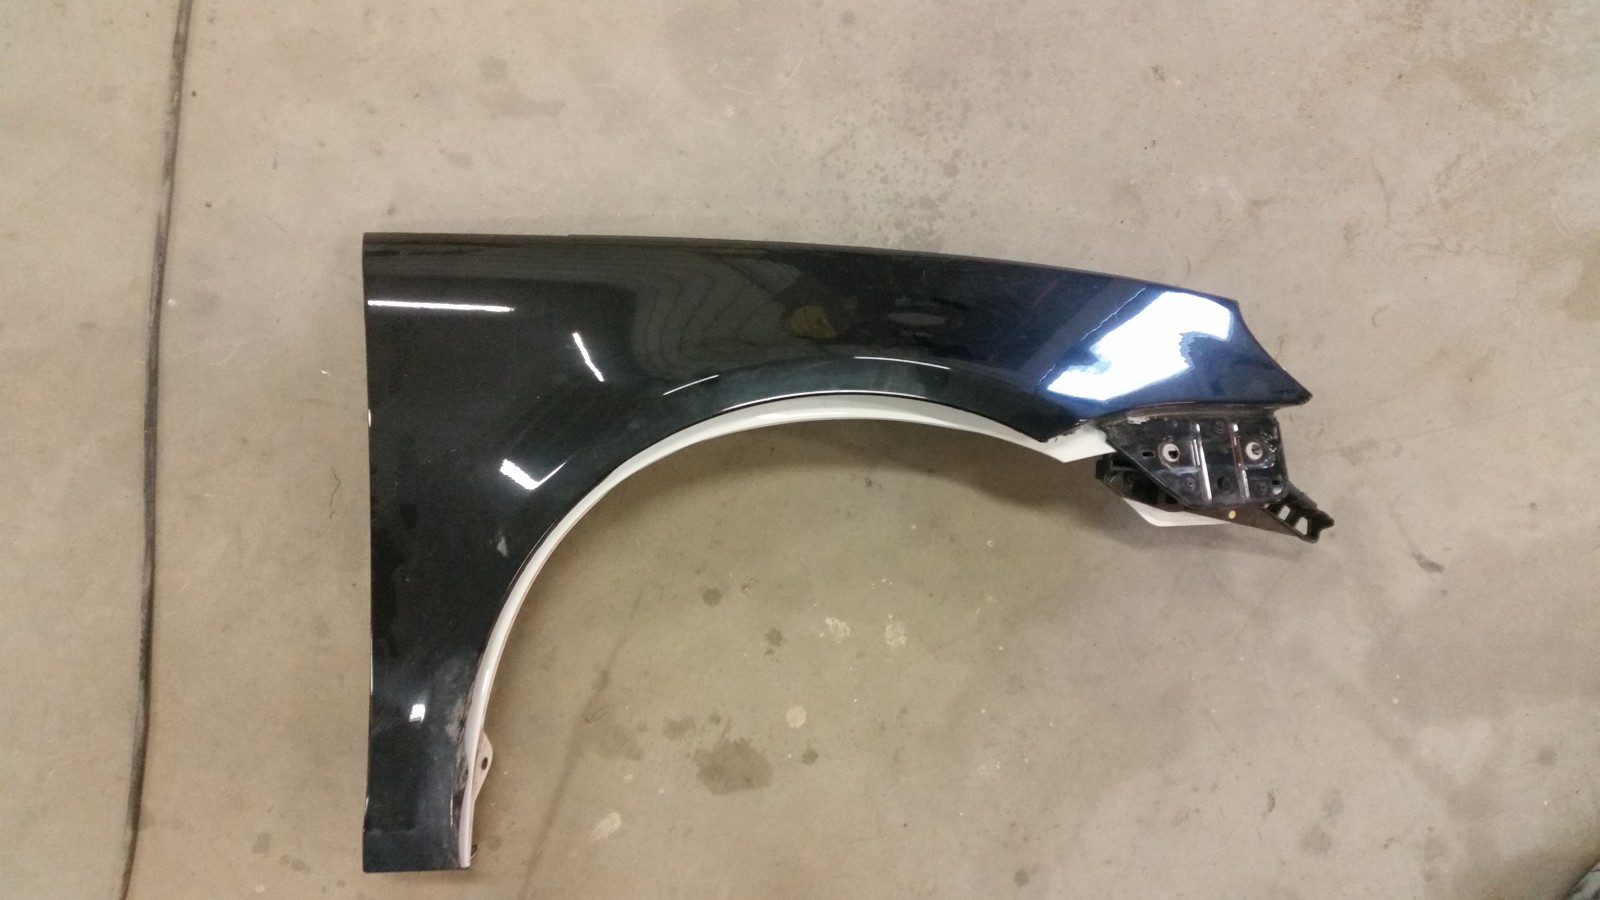
The wheel-arch shapes differ slightly, which needed accounting for when joining the wings.
Rear section cut off the Scirocco wing.
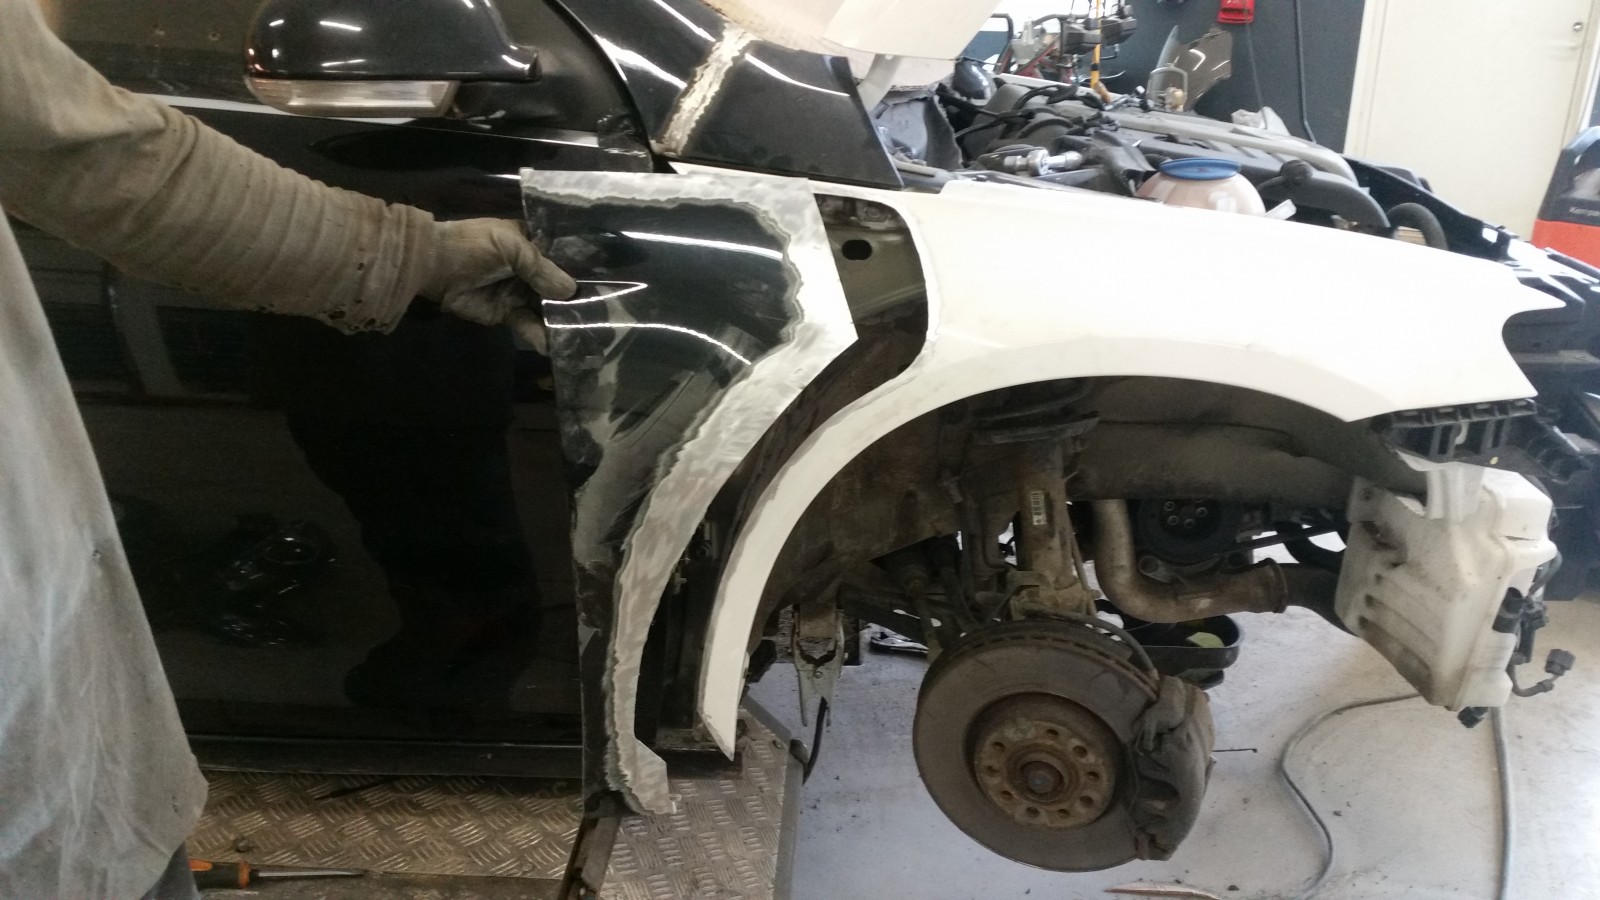
A section from the original Eos wing. The odd shape accommodates the different position of the body crease.
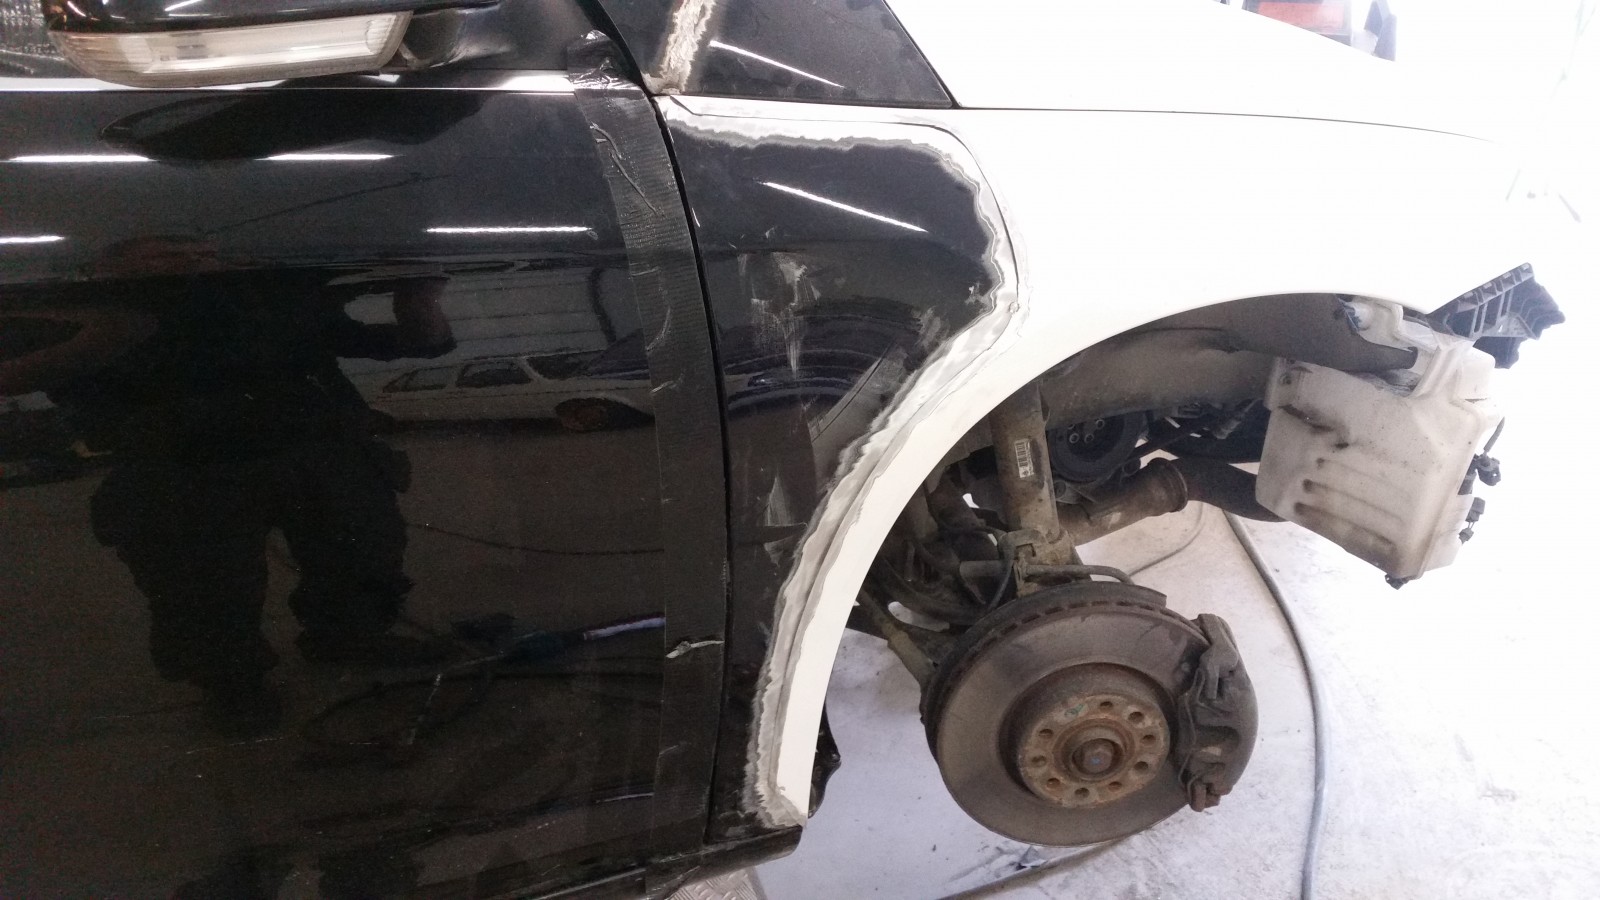
This is where we start welding...
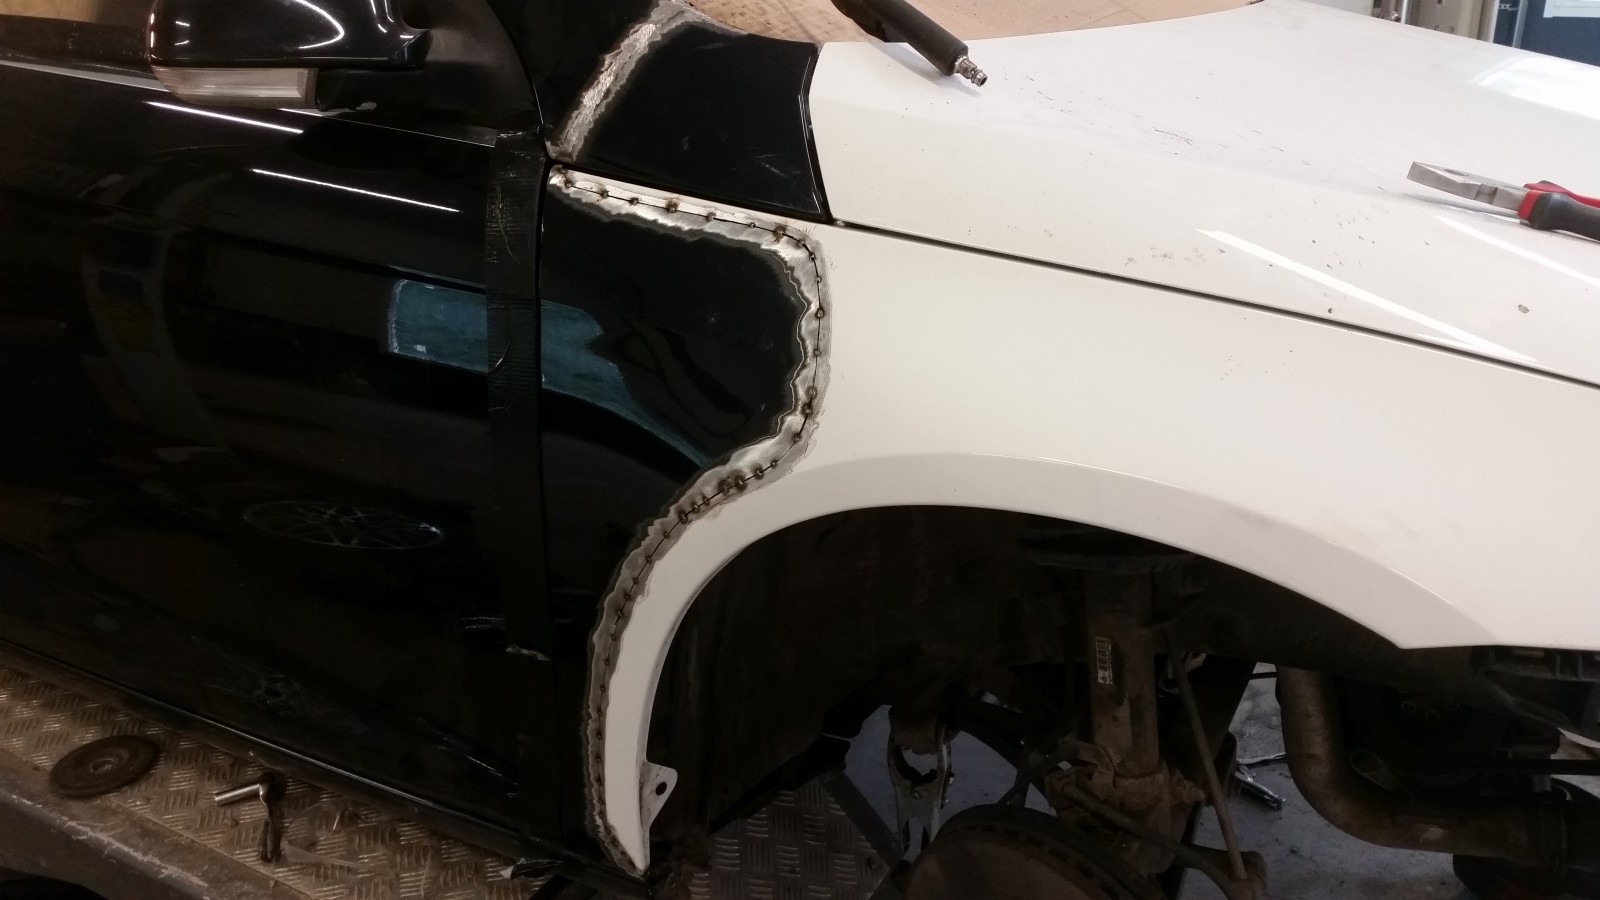
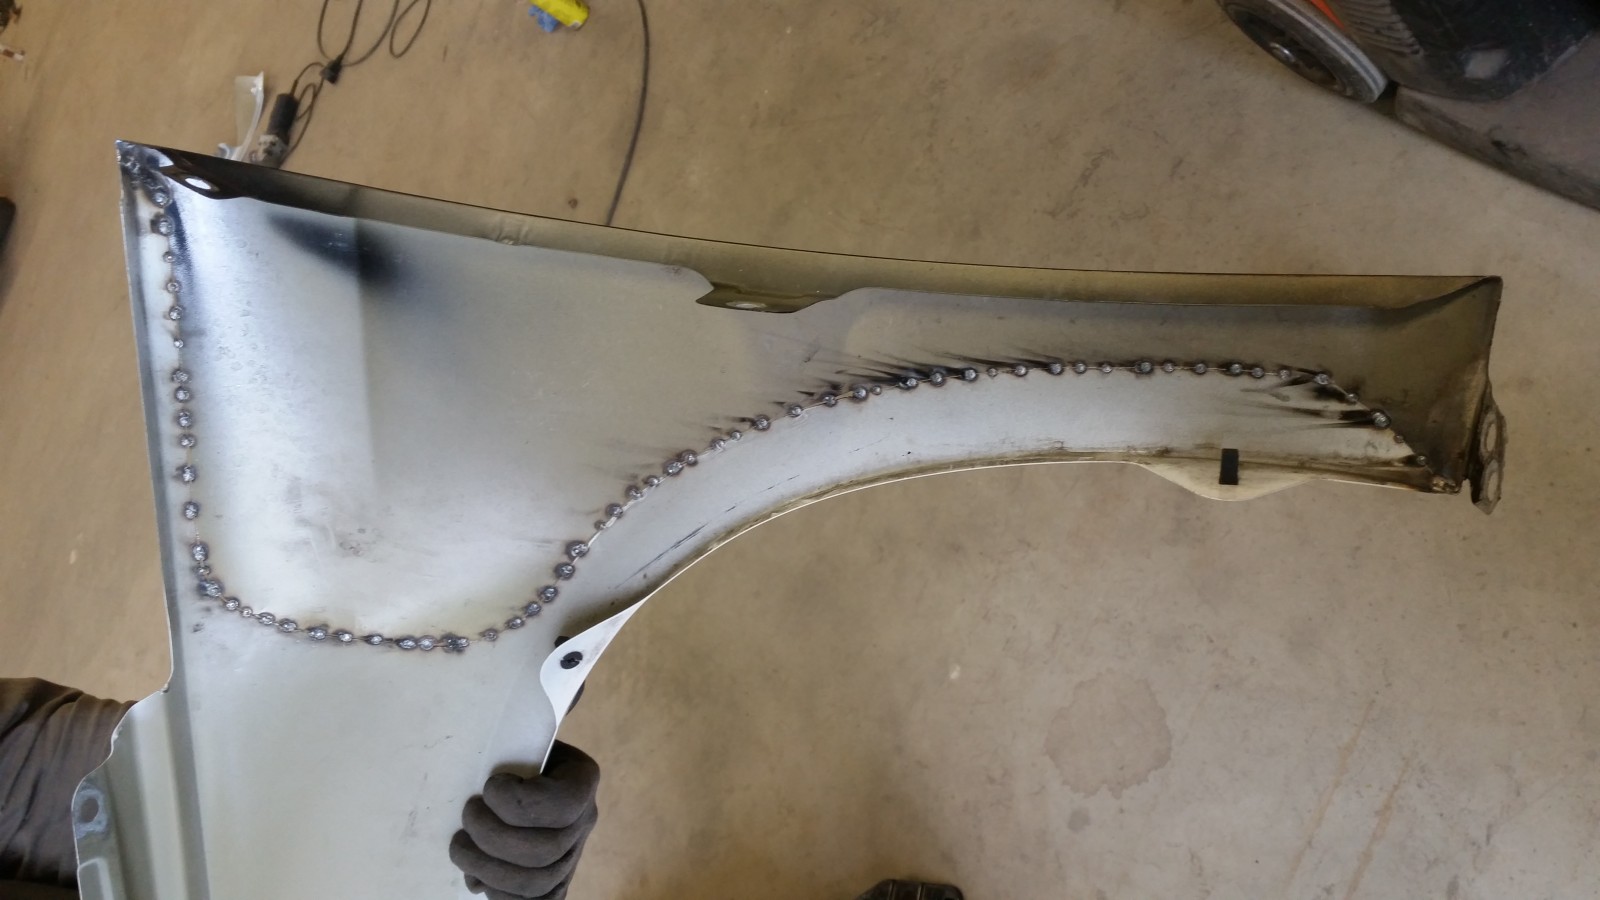
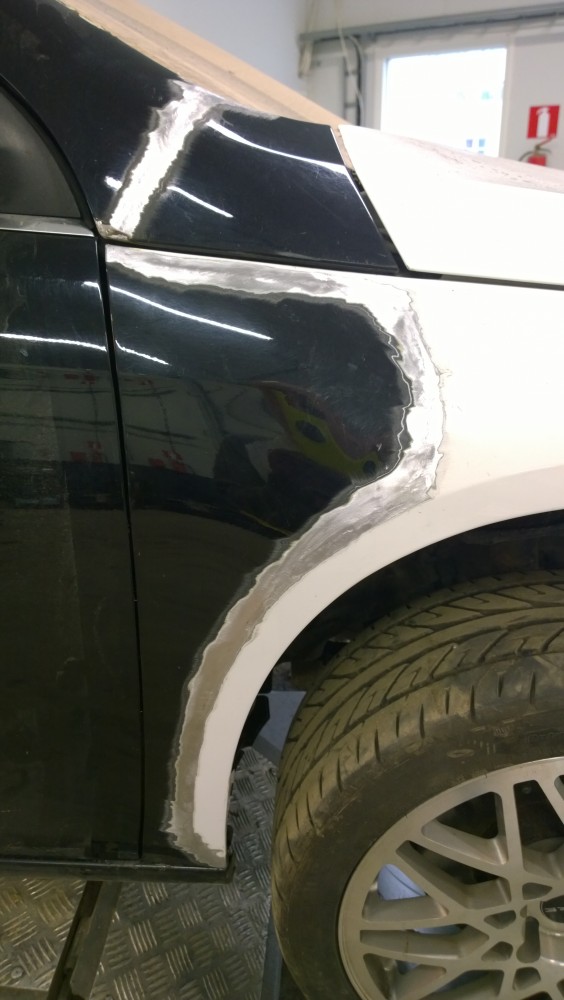
Welded and ground
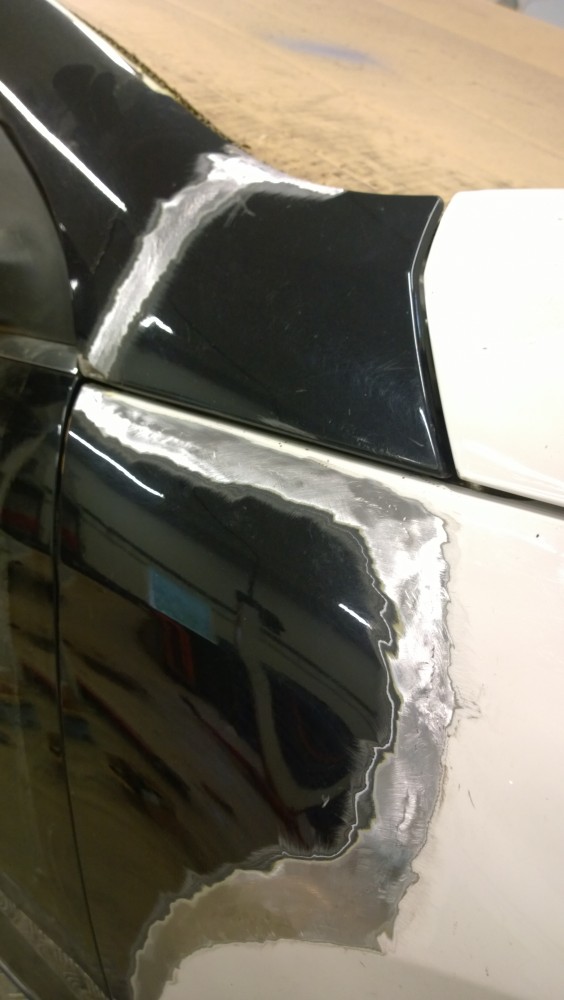
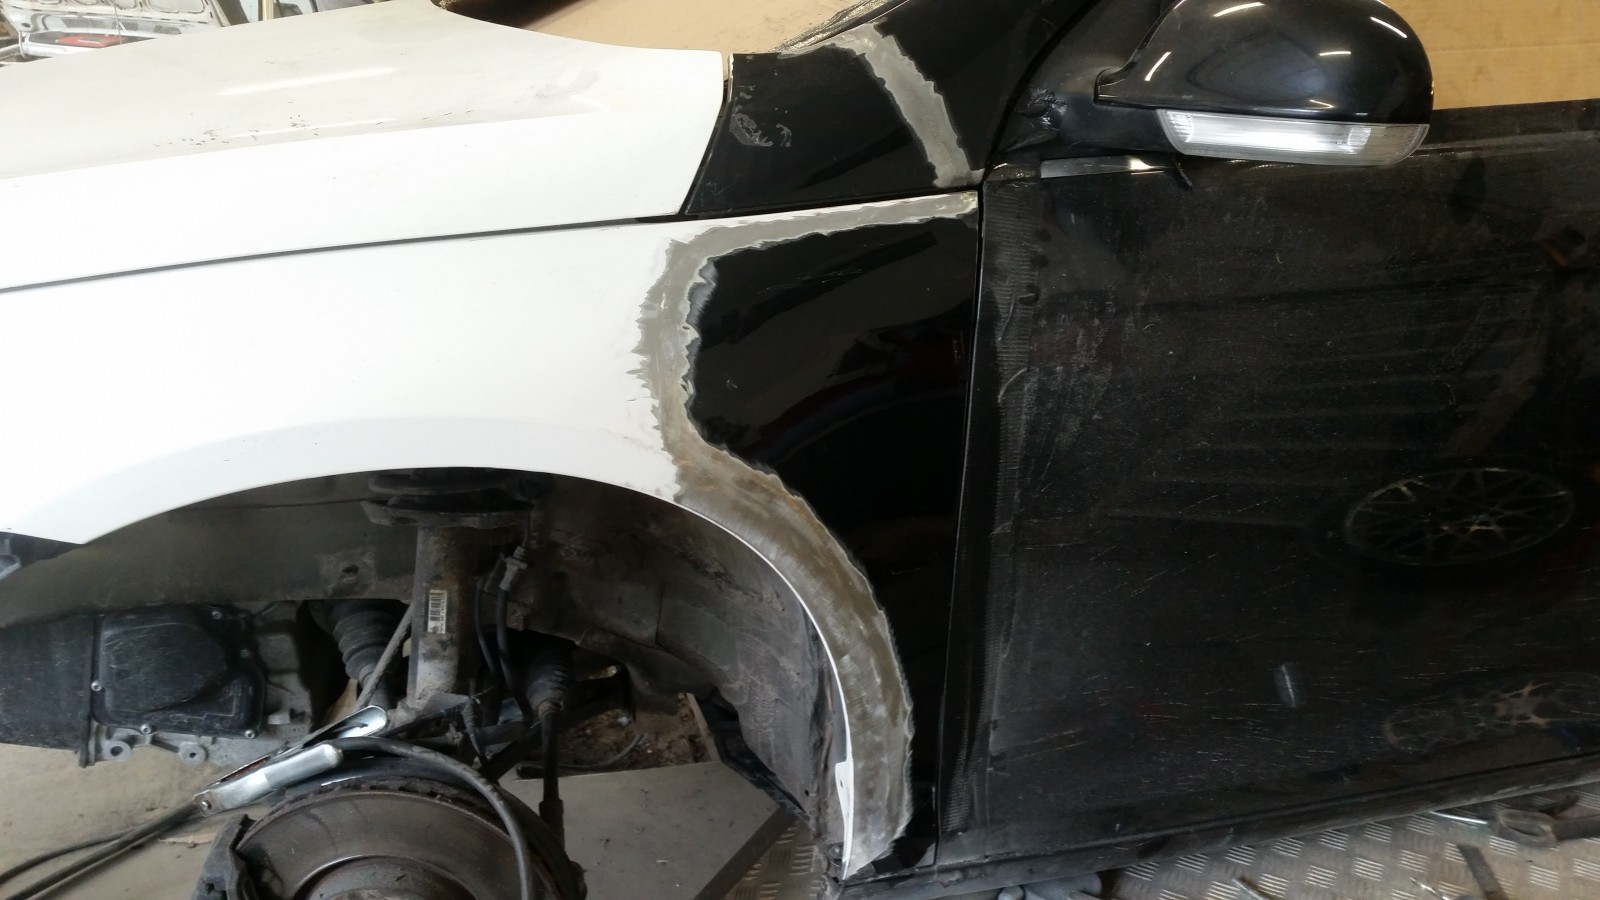
Ready on the driver's side
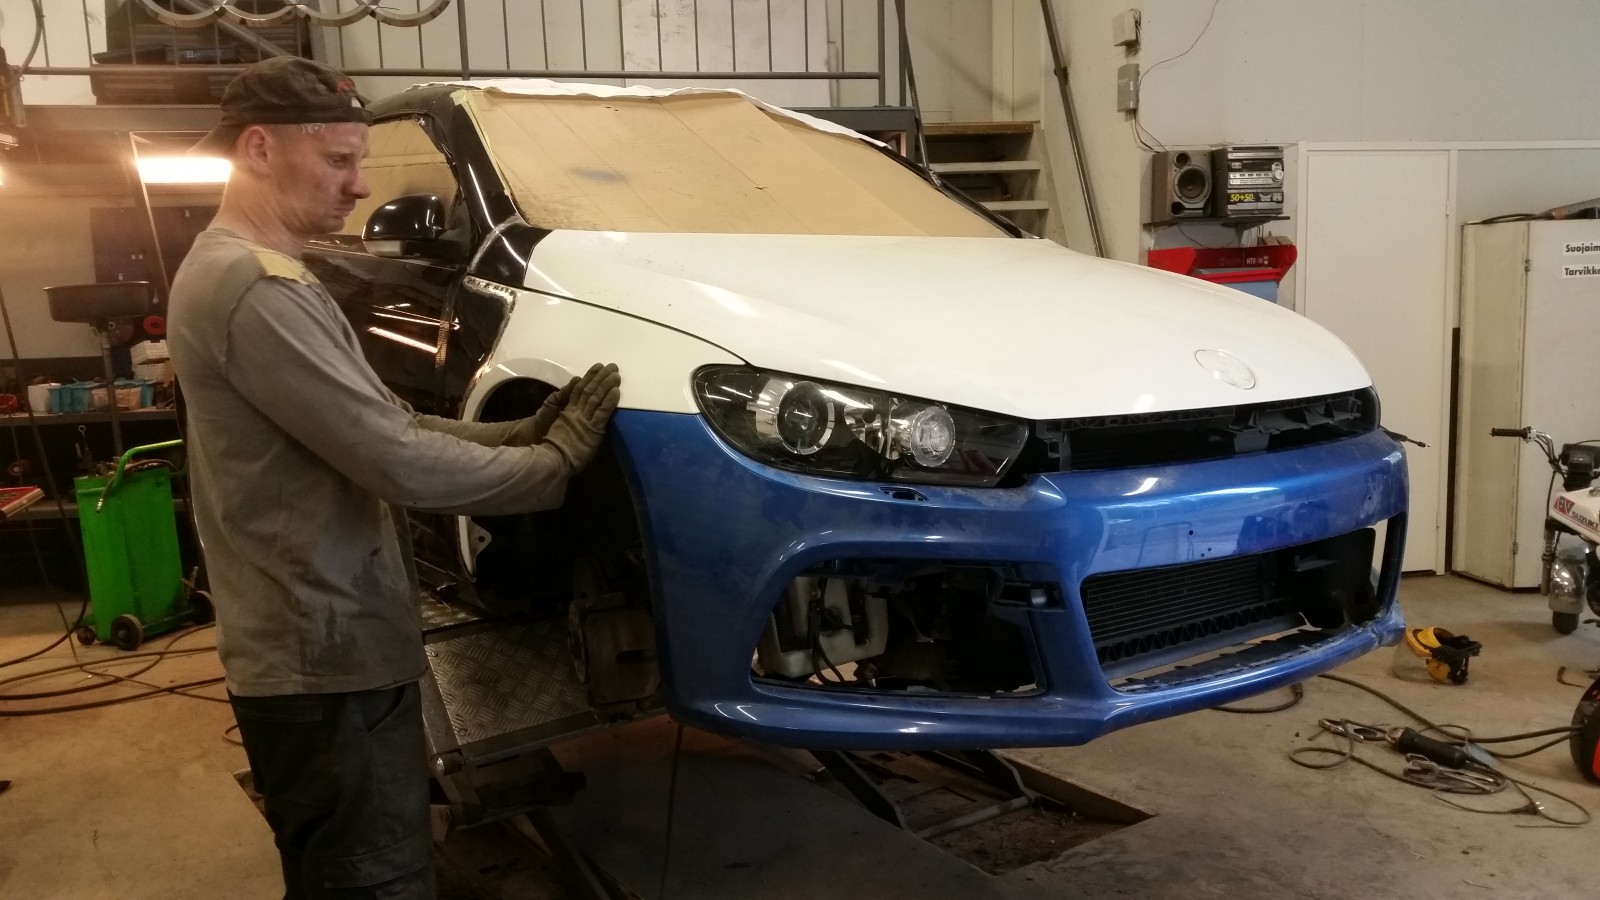
Finally, a chance to test-fit the bumper. Fits nicely.
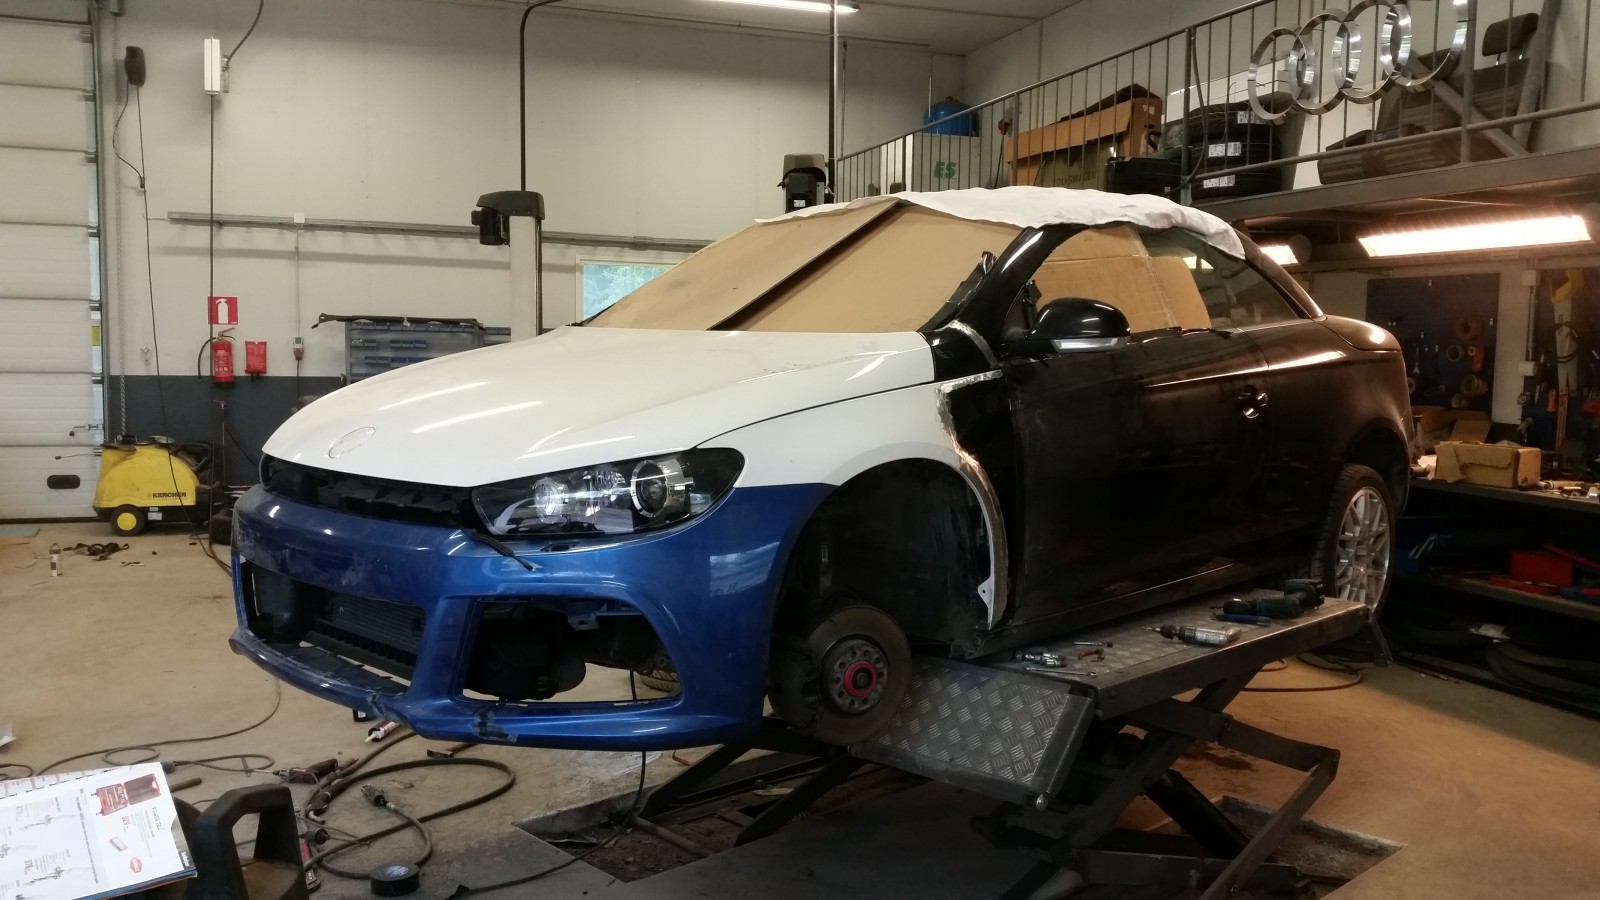
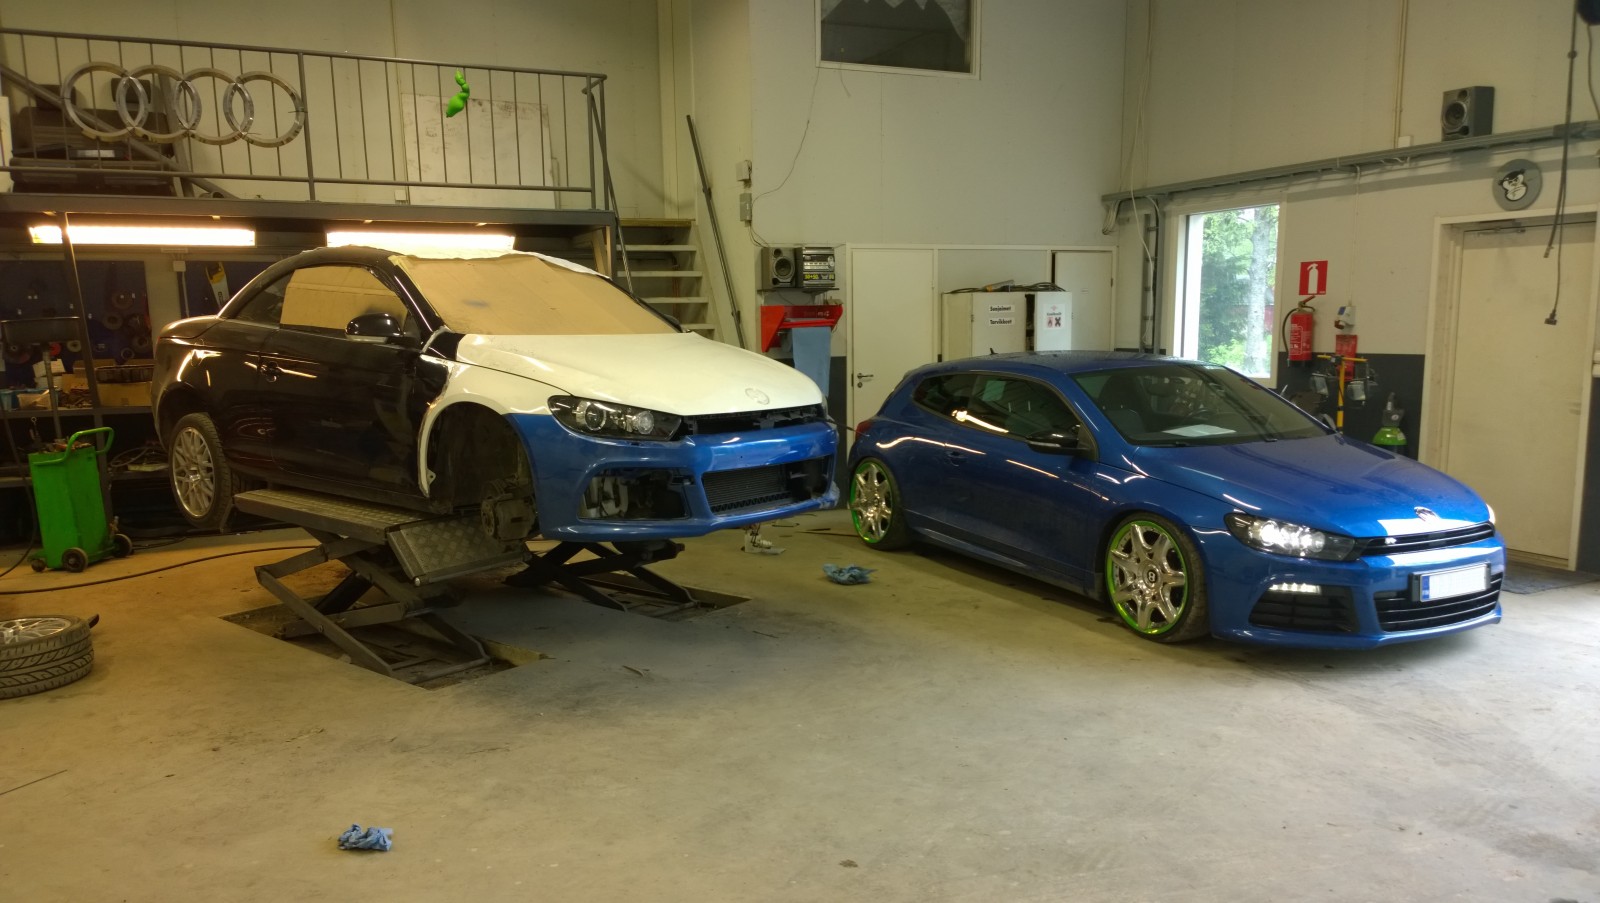
Two peas in a pod…
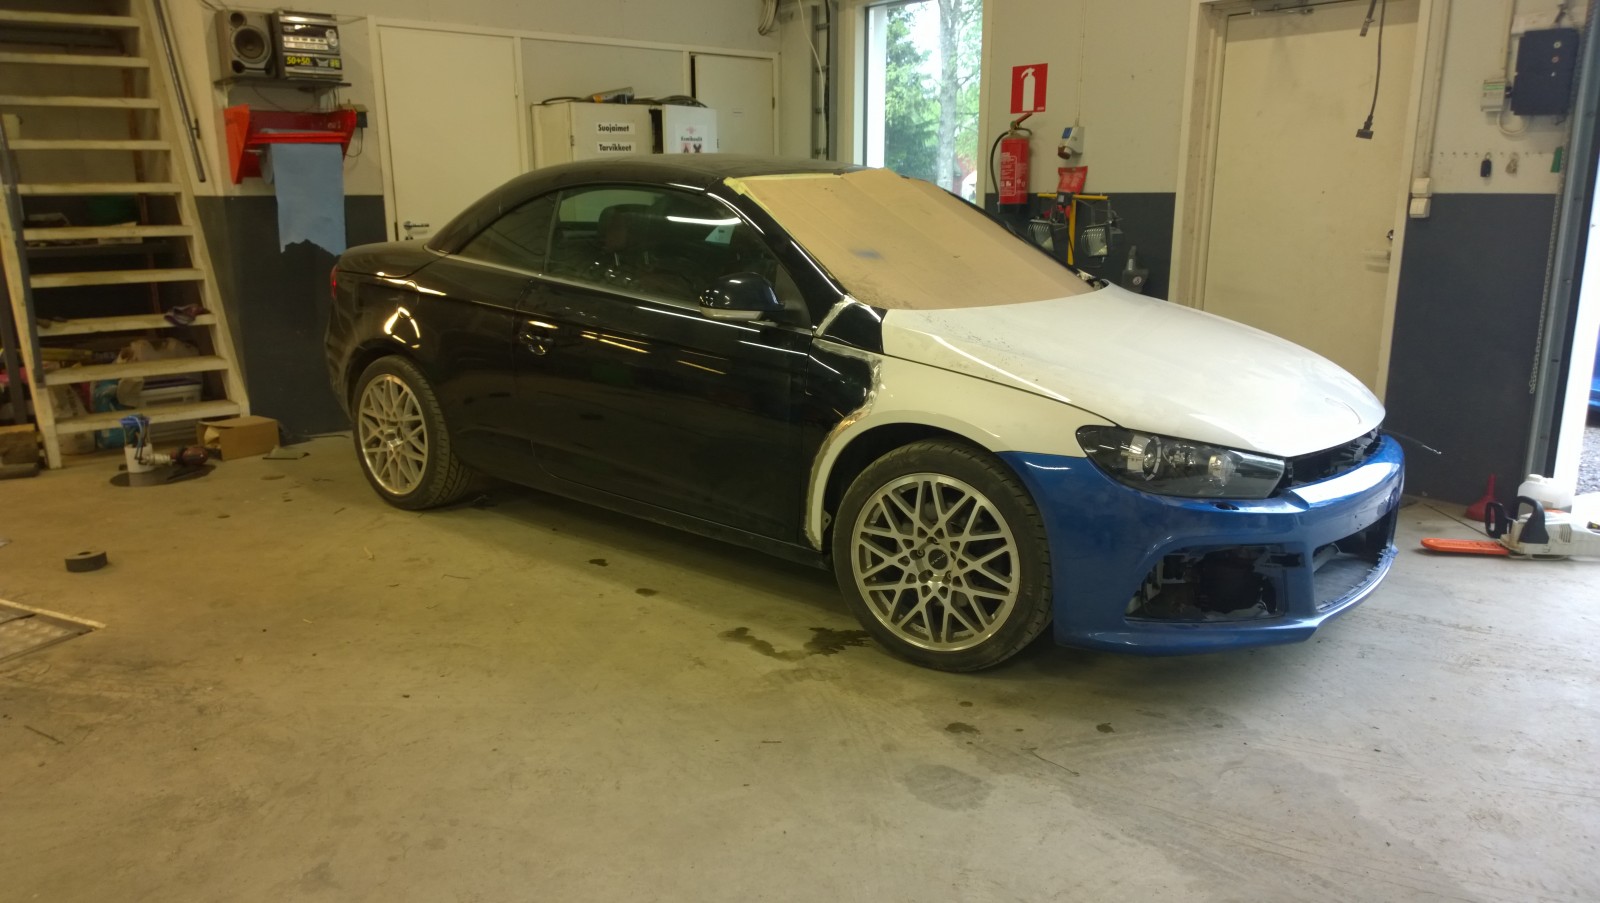
Just needs lowering and wheels a couple of inches bigger, right…?
A breather now, but the aim is to paint the front end next weekend.
Anyone got a suitable air-suspension setup going spare? 🙂
Includes original English text and AI-assisted translations.