ARCHIVE / PAJALLE
Audi e-tron
Turning a moose-damaged e-tron into Heikki’s family car, from roof and front-end repairs to the drivetrain, electrical work and finishing touches.
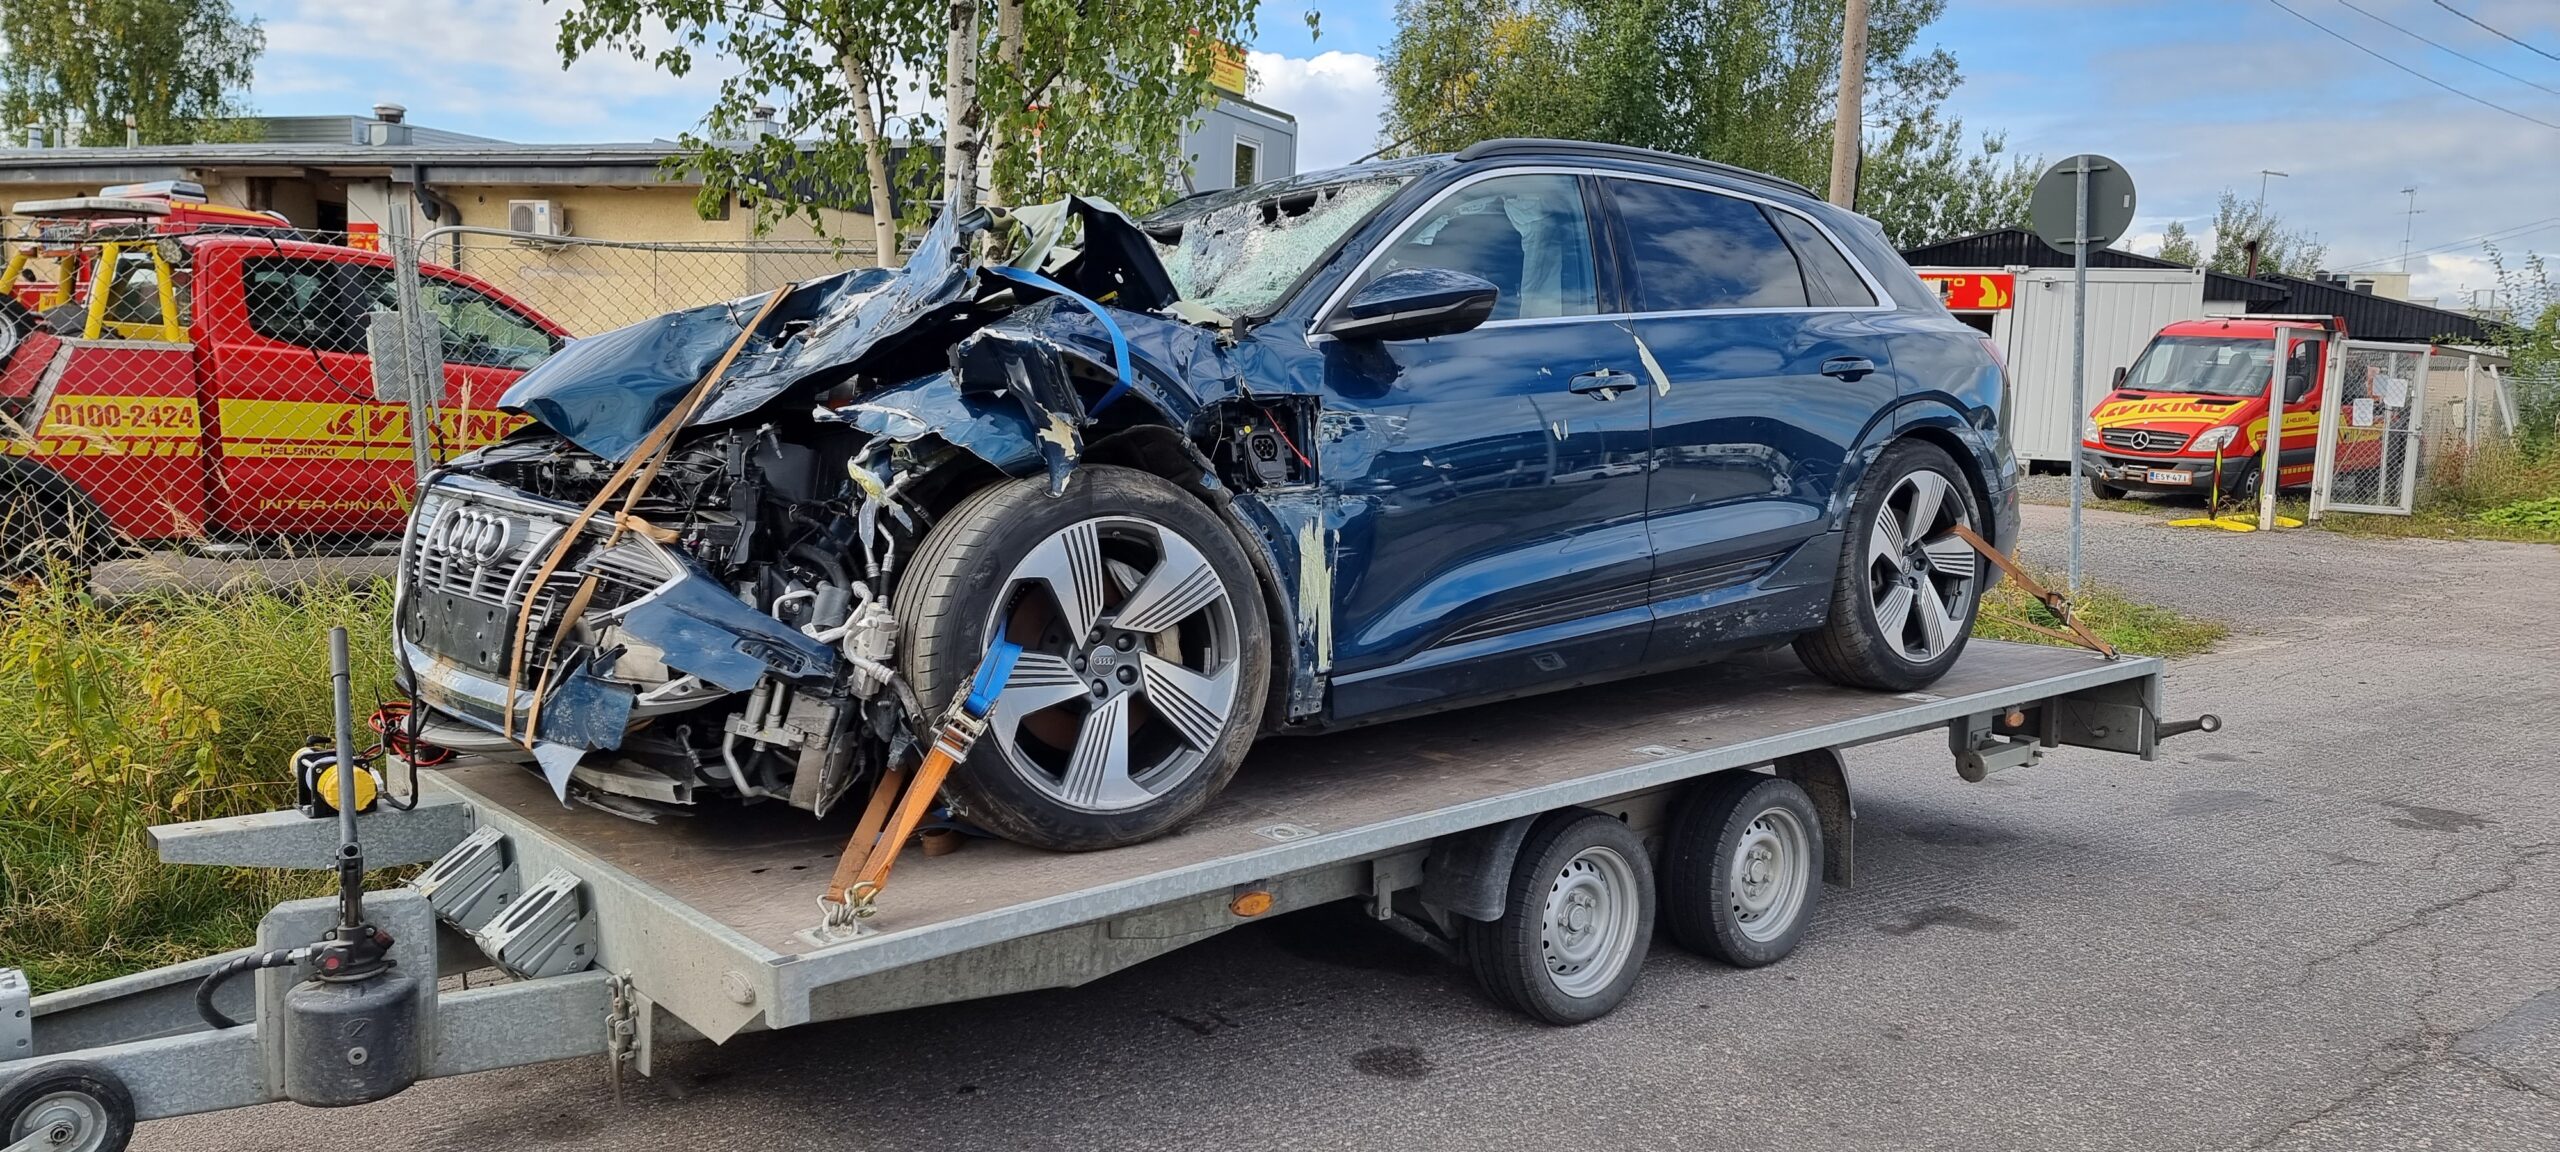
2022-03-30 · Audi e-tron
I've already bought the next project, so let's get the autumn and winter's family-car project written up first.
Having got a taste for electric motoring, Heikki's family started thinking about replacing the everyday Passat GTE with something fully electric too. We wanted to keep a towbar and a useful towing capacity, which narrowed the field quite a bit. Just then, a 2019 Audi e-tron came up for sale at SVT. After a few days of umming and ahhing, we bought it.
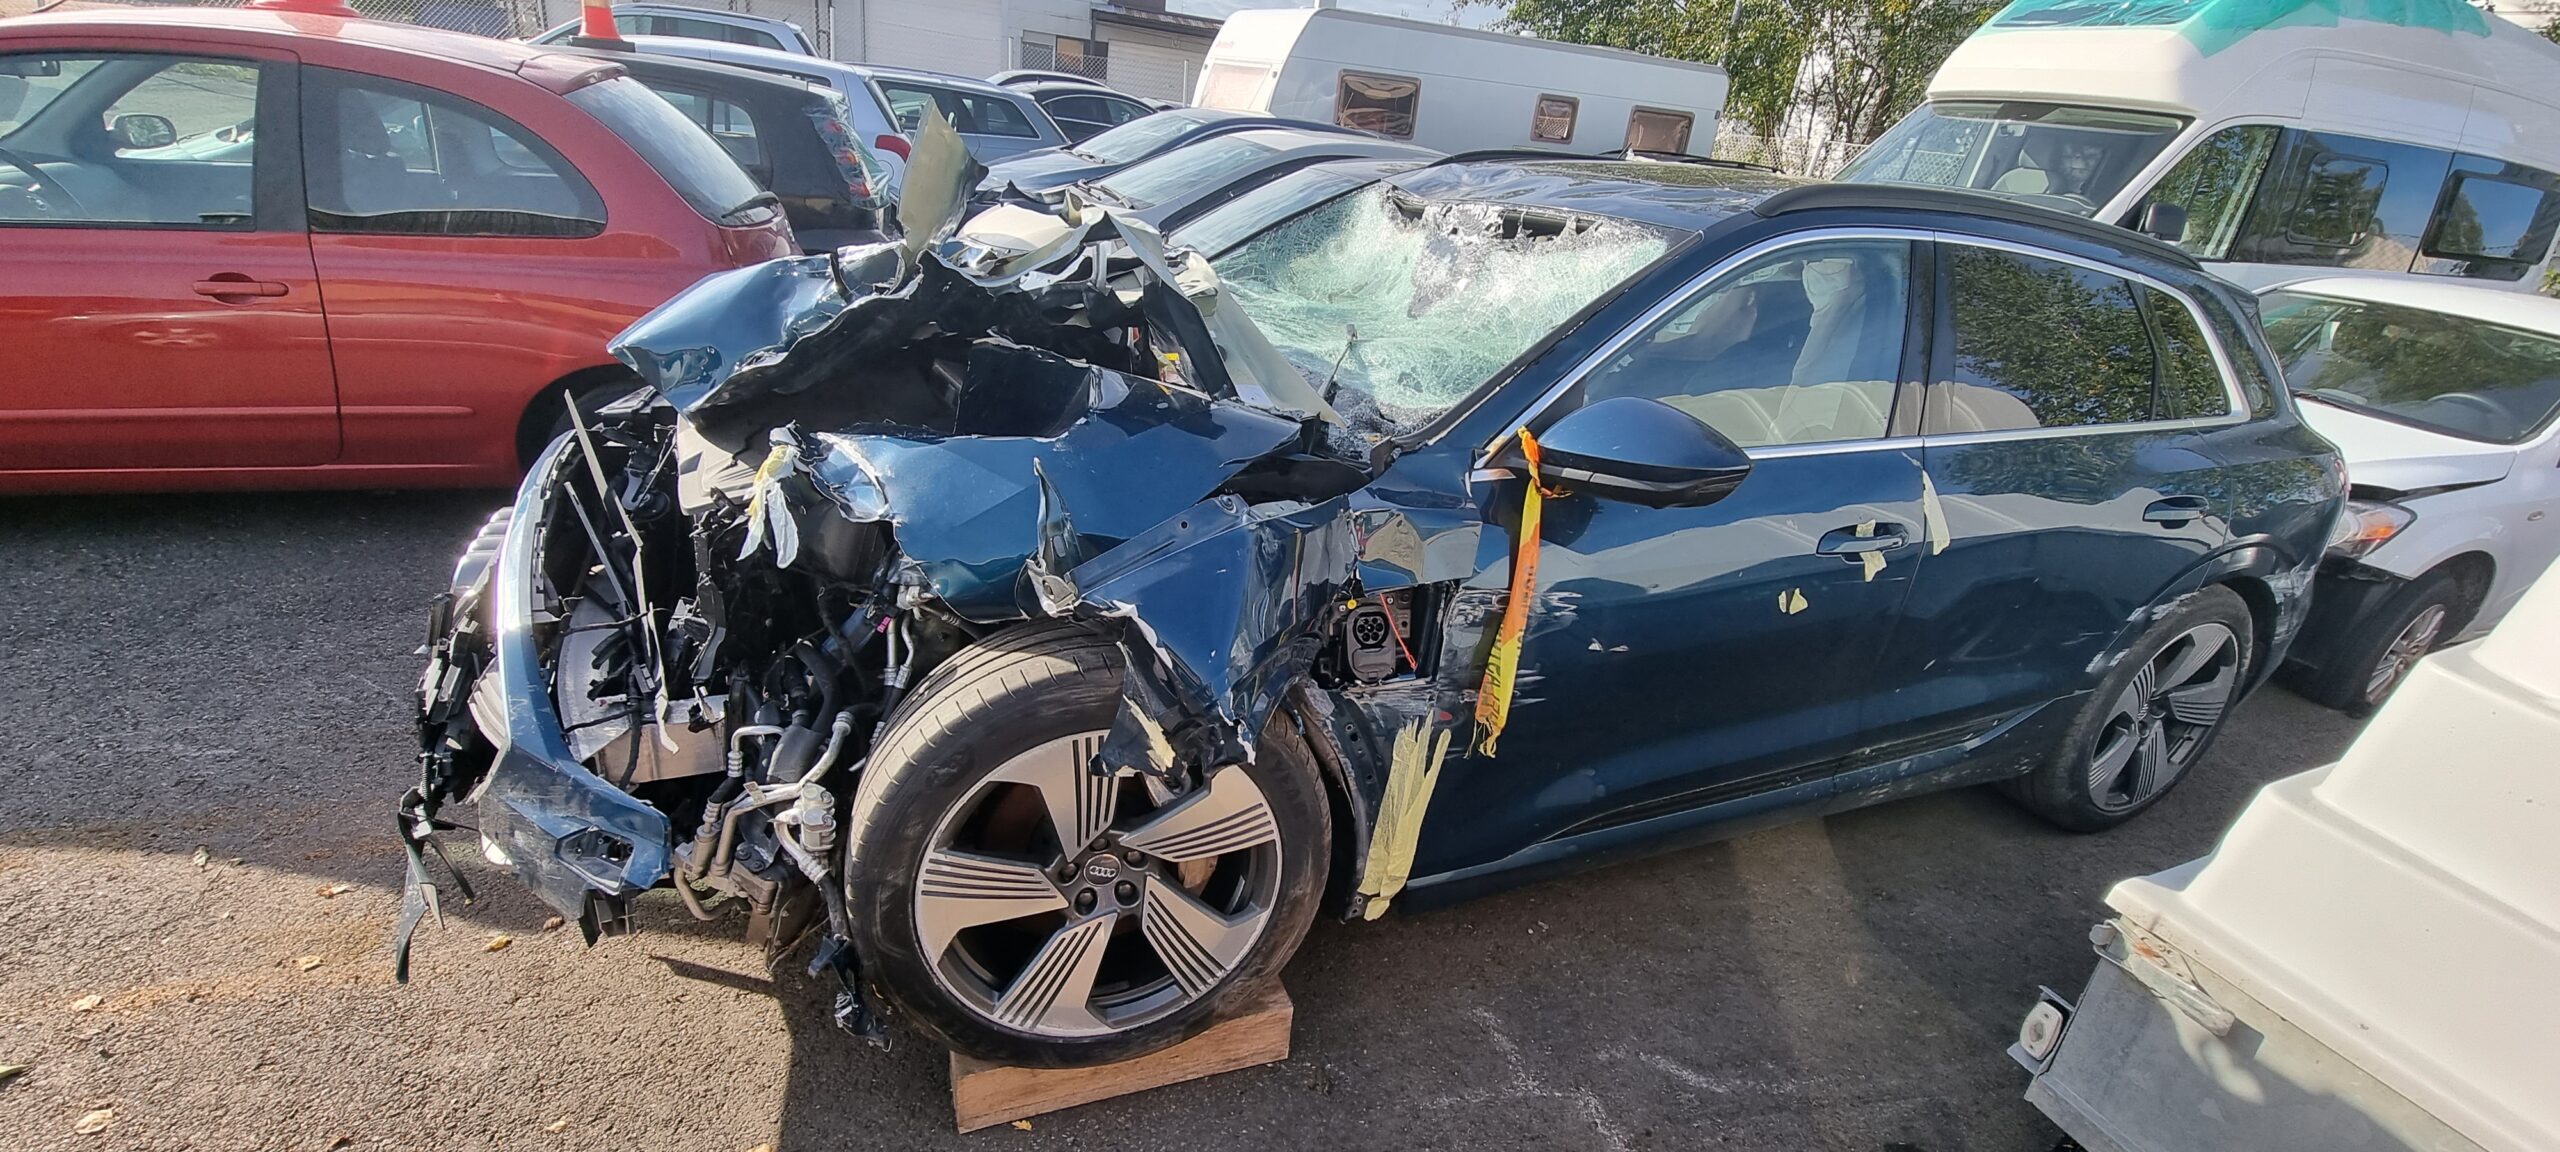
It looked pretty rough. That probably scared off a few other buyers.
The photos already made it clear that the car had hit a moose. The previous owner later explained that the animal had wandered onto the motorway and could not find its way out between the fences. The moose hit the windscreen at almost full motorway speed, after which the car’s left side struck the barrier. The safety systems did their job and nobody was injured. Almost everything at the front was broken. Torn aluminium outer panels make the damage look dramatic.
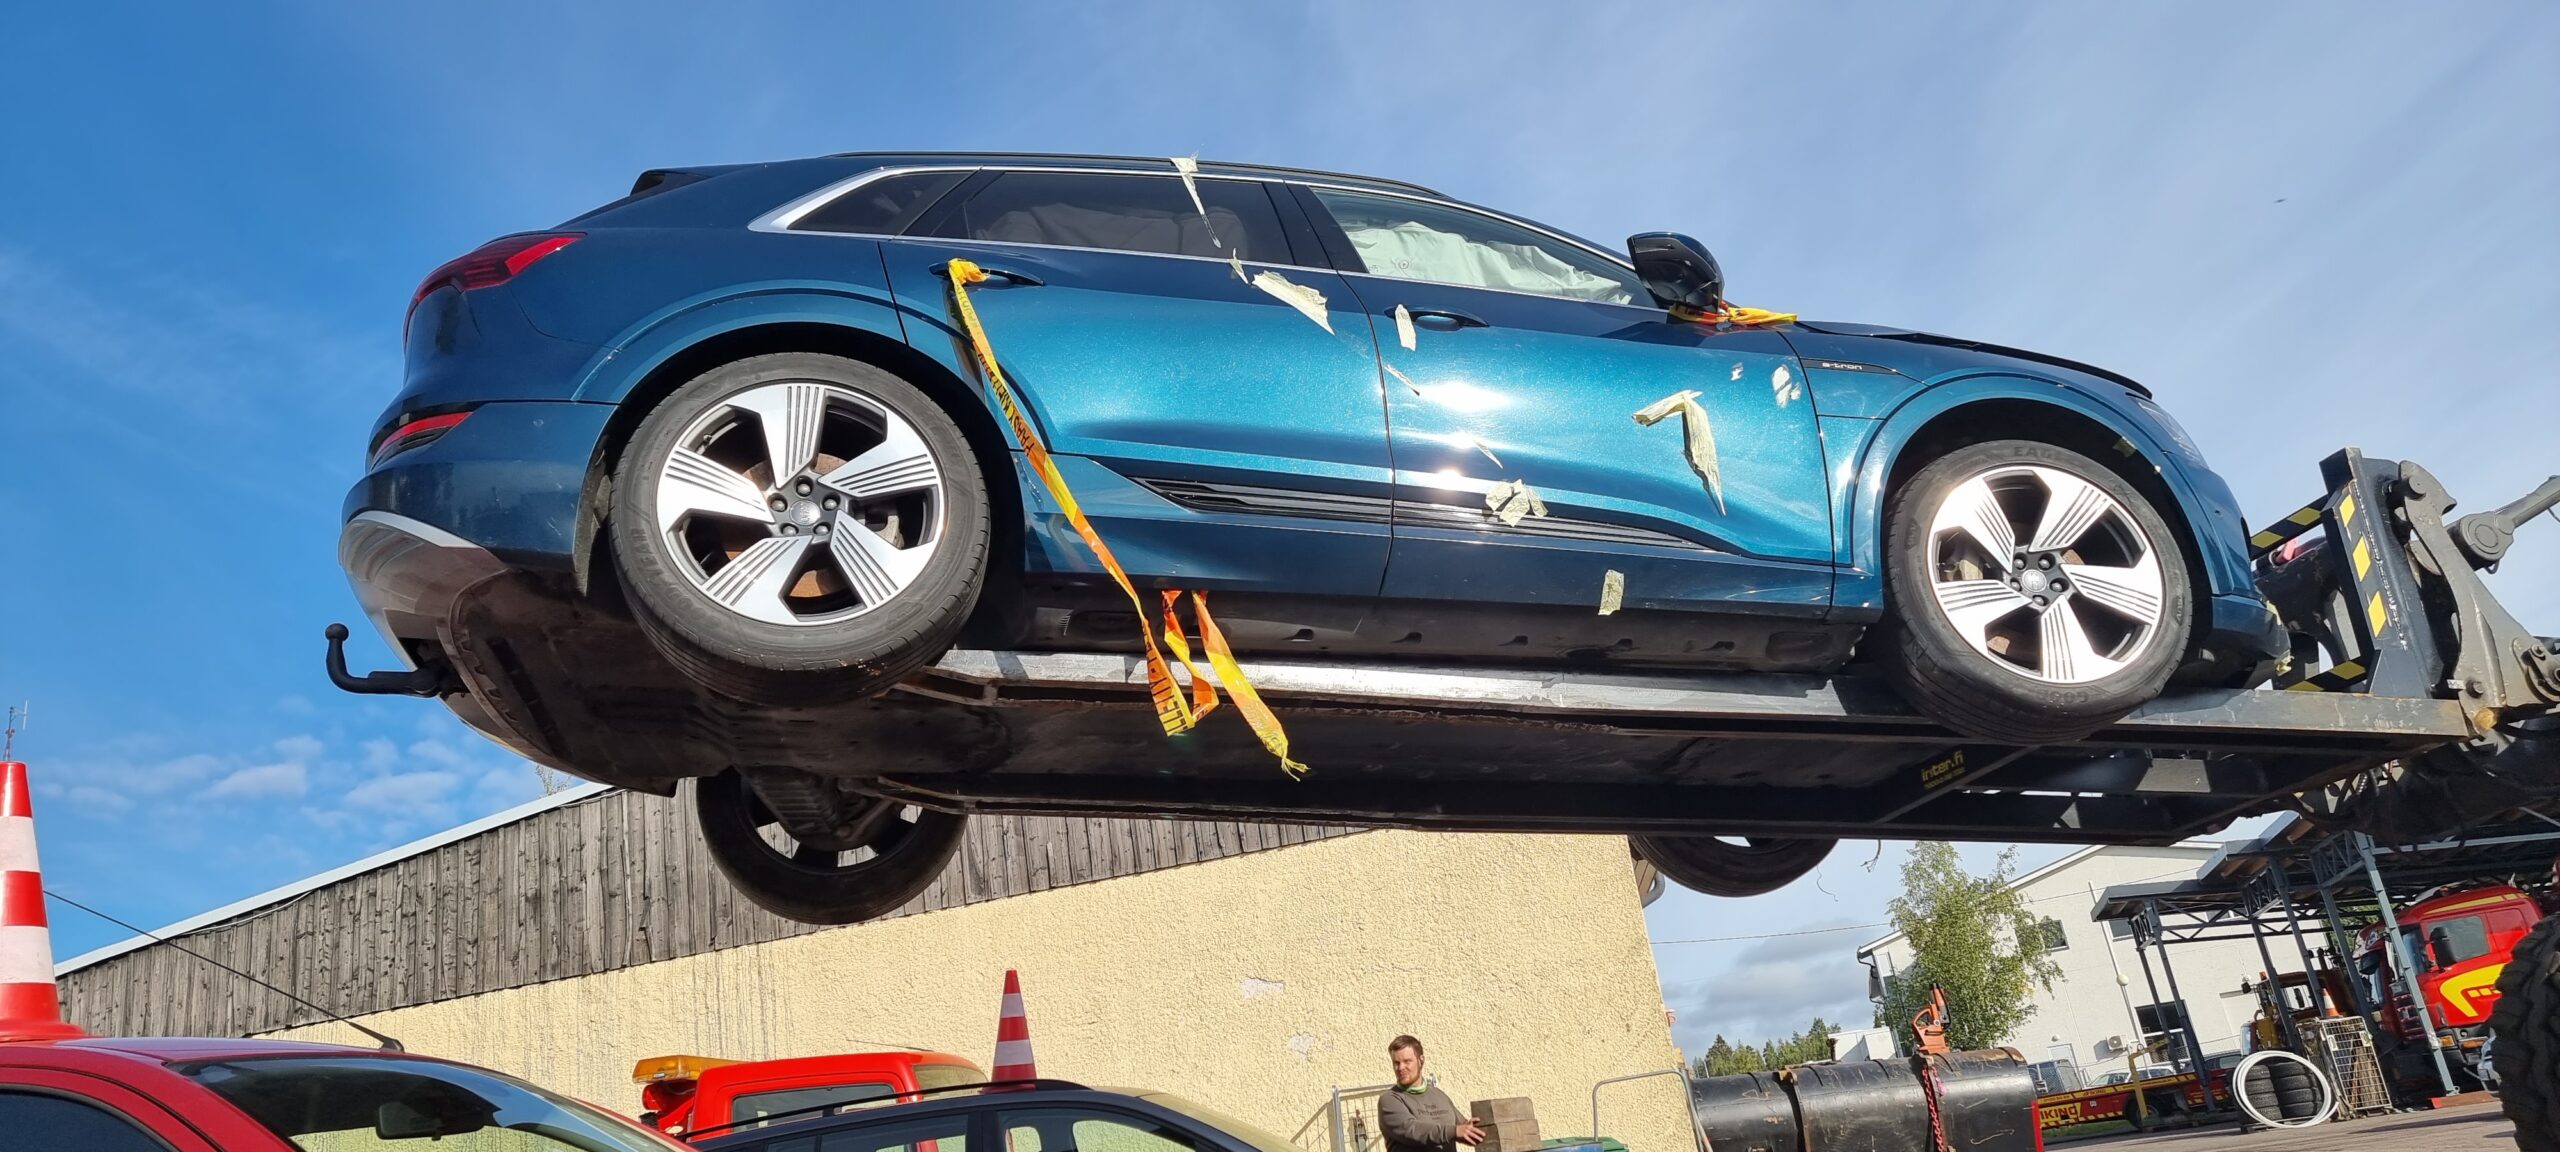
We had some help loading the car.
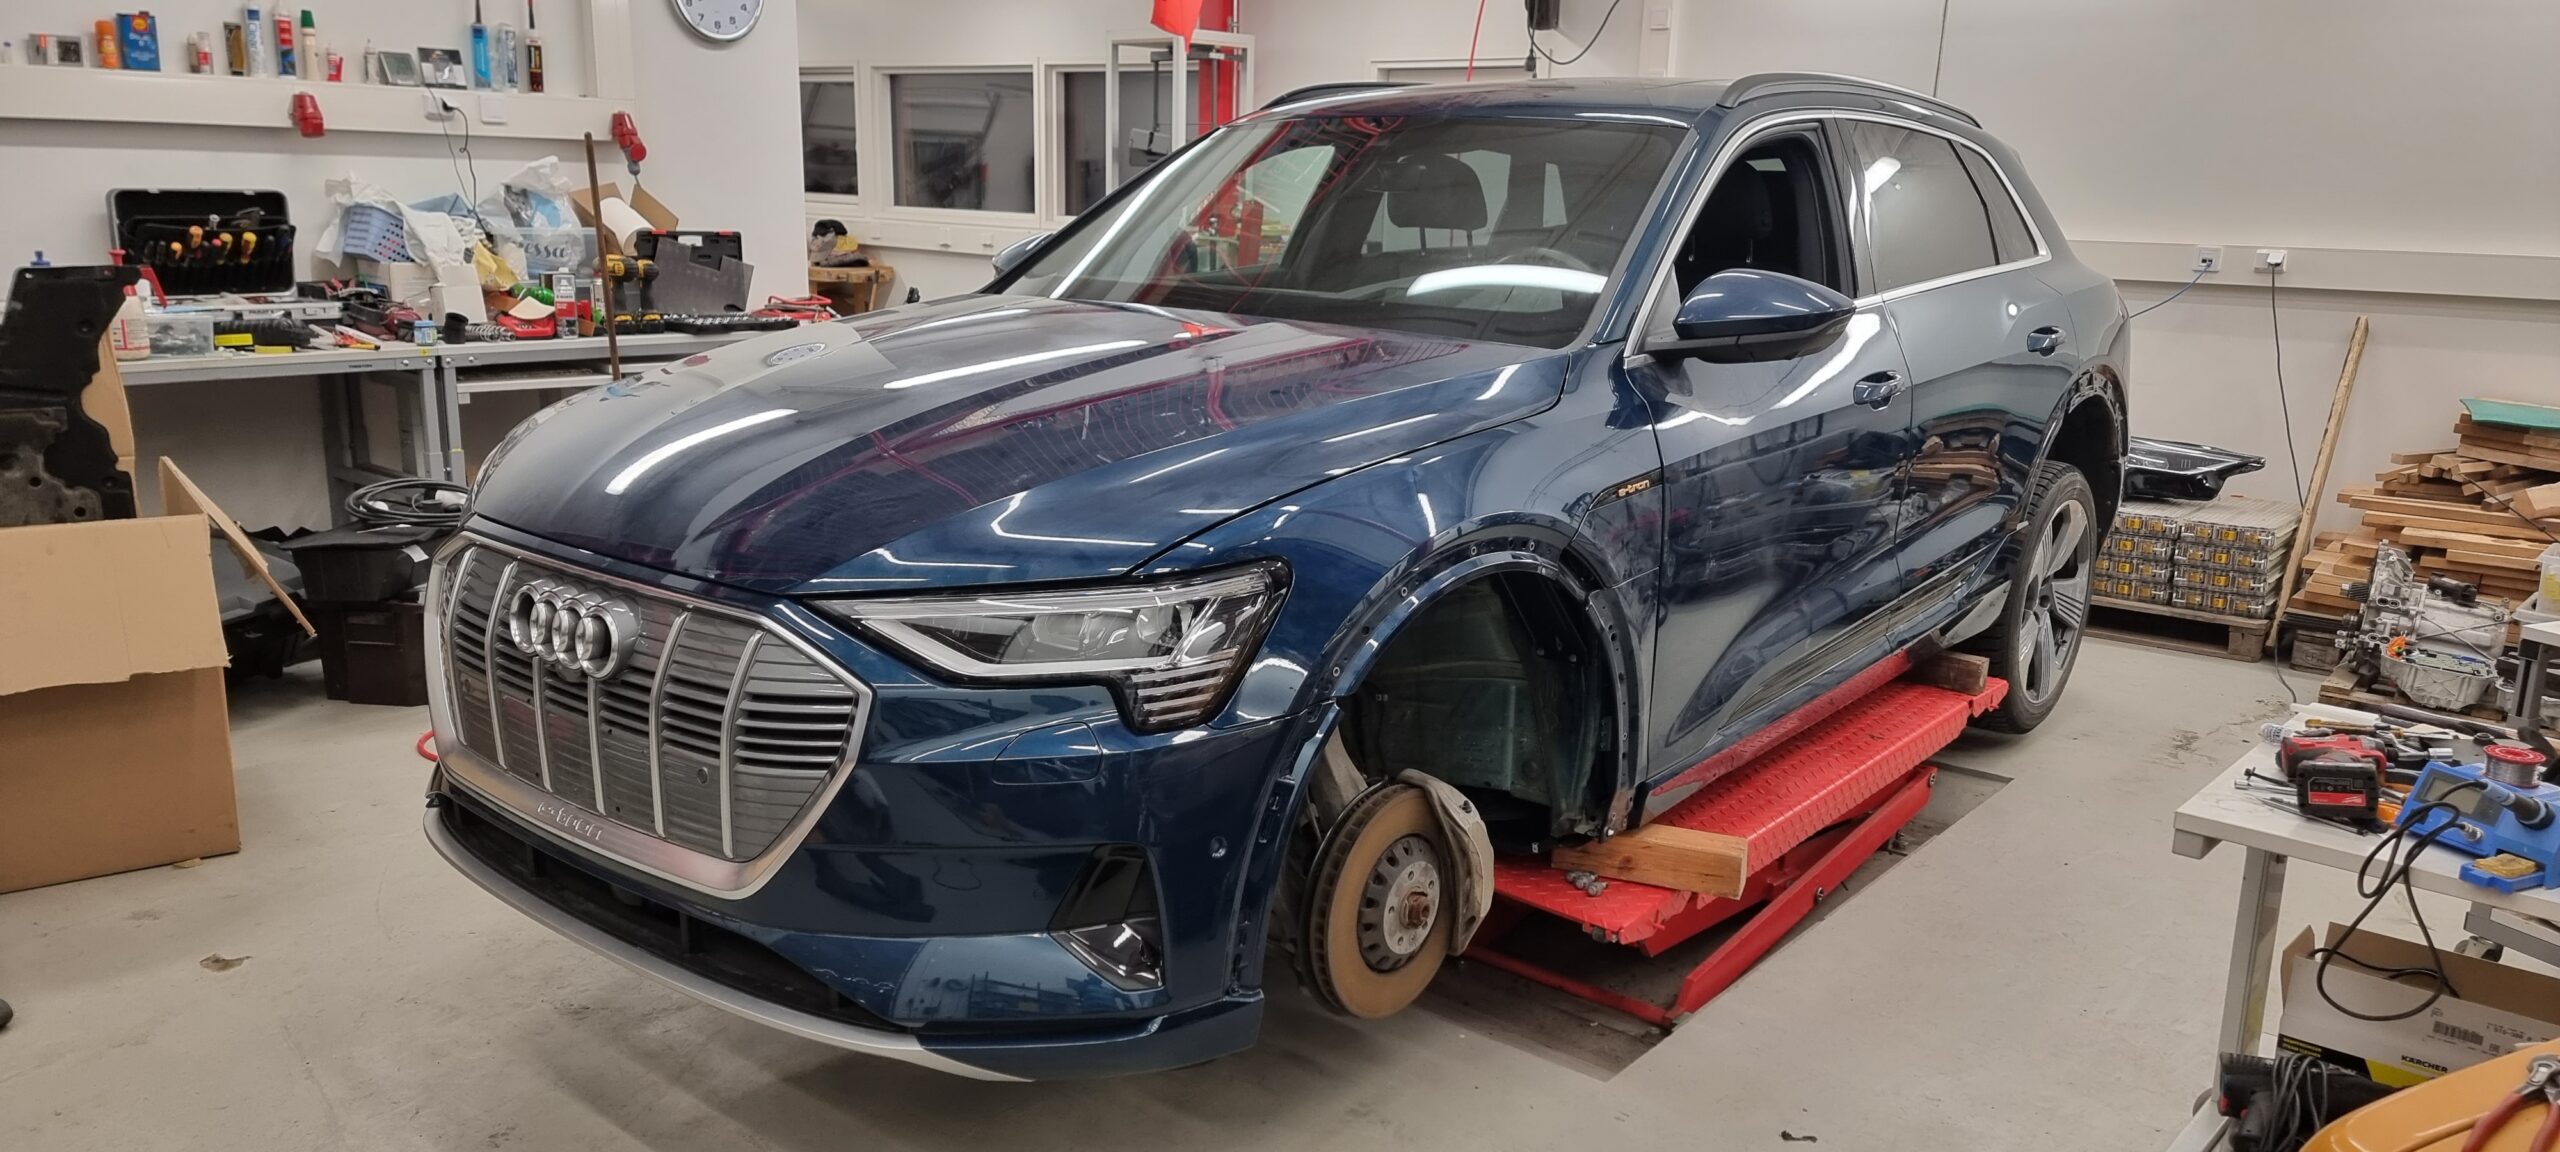
The right-hand side is completely undamaged. It's a 2019 car with about 45,000 km on the clock, imported used from Germany. Well equipped too: all sorts of driver aids, Matrix headlights, and it's the 55 version with the larger battery and more power.
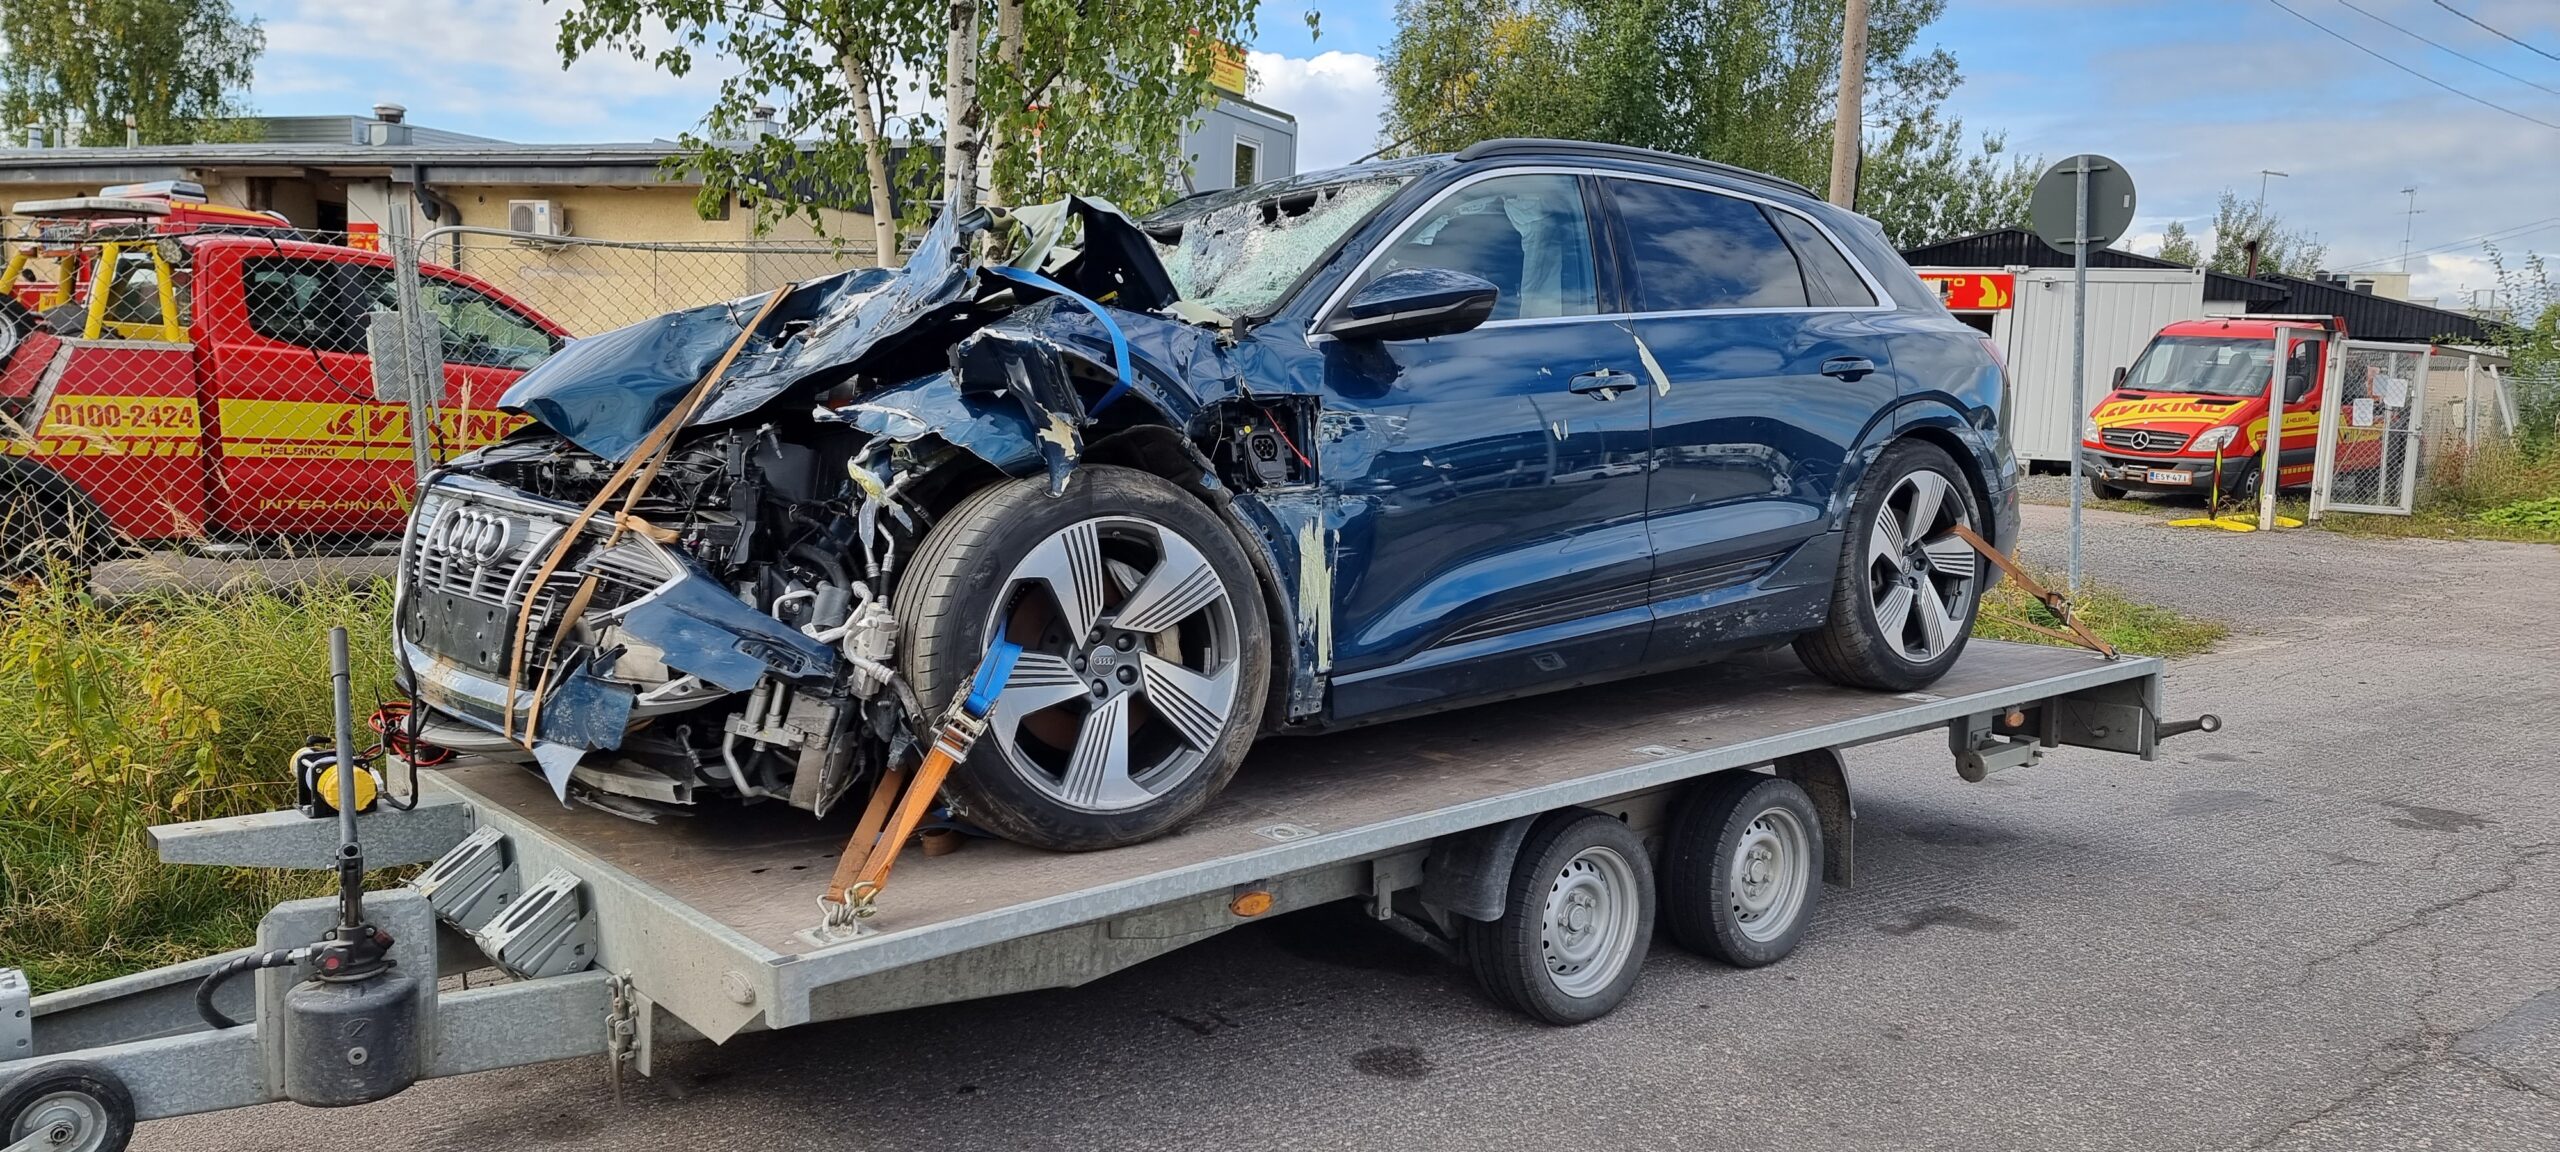
On the trailer in Vantaa. We tied down the loose front-end parts so they wouldn't fall off on the way home.
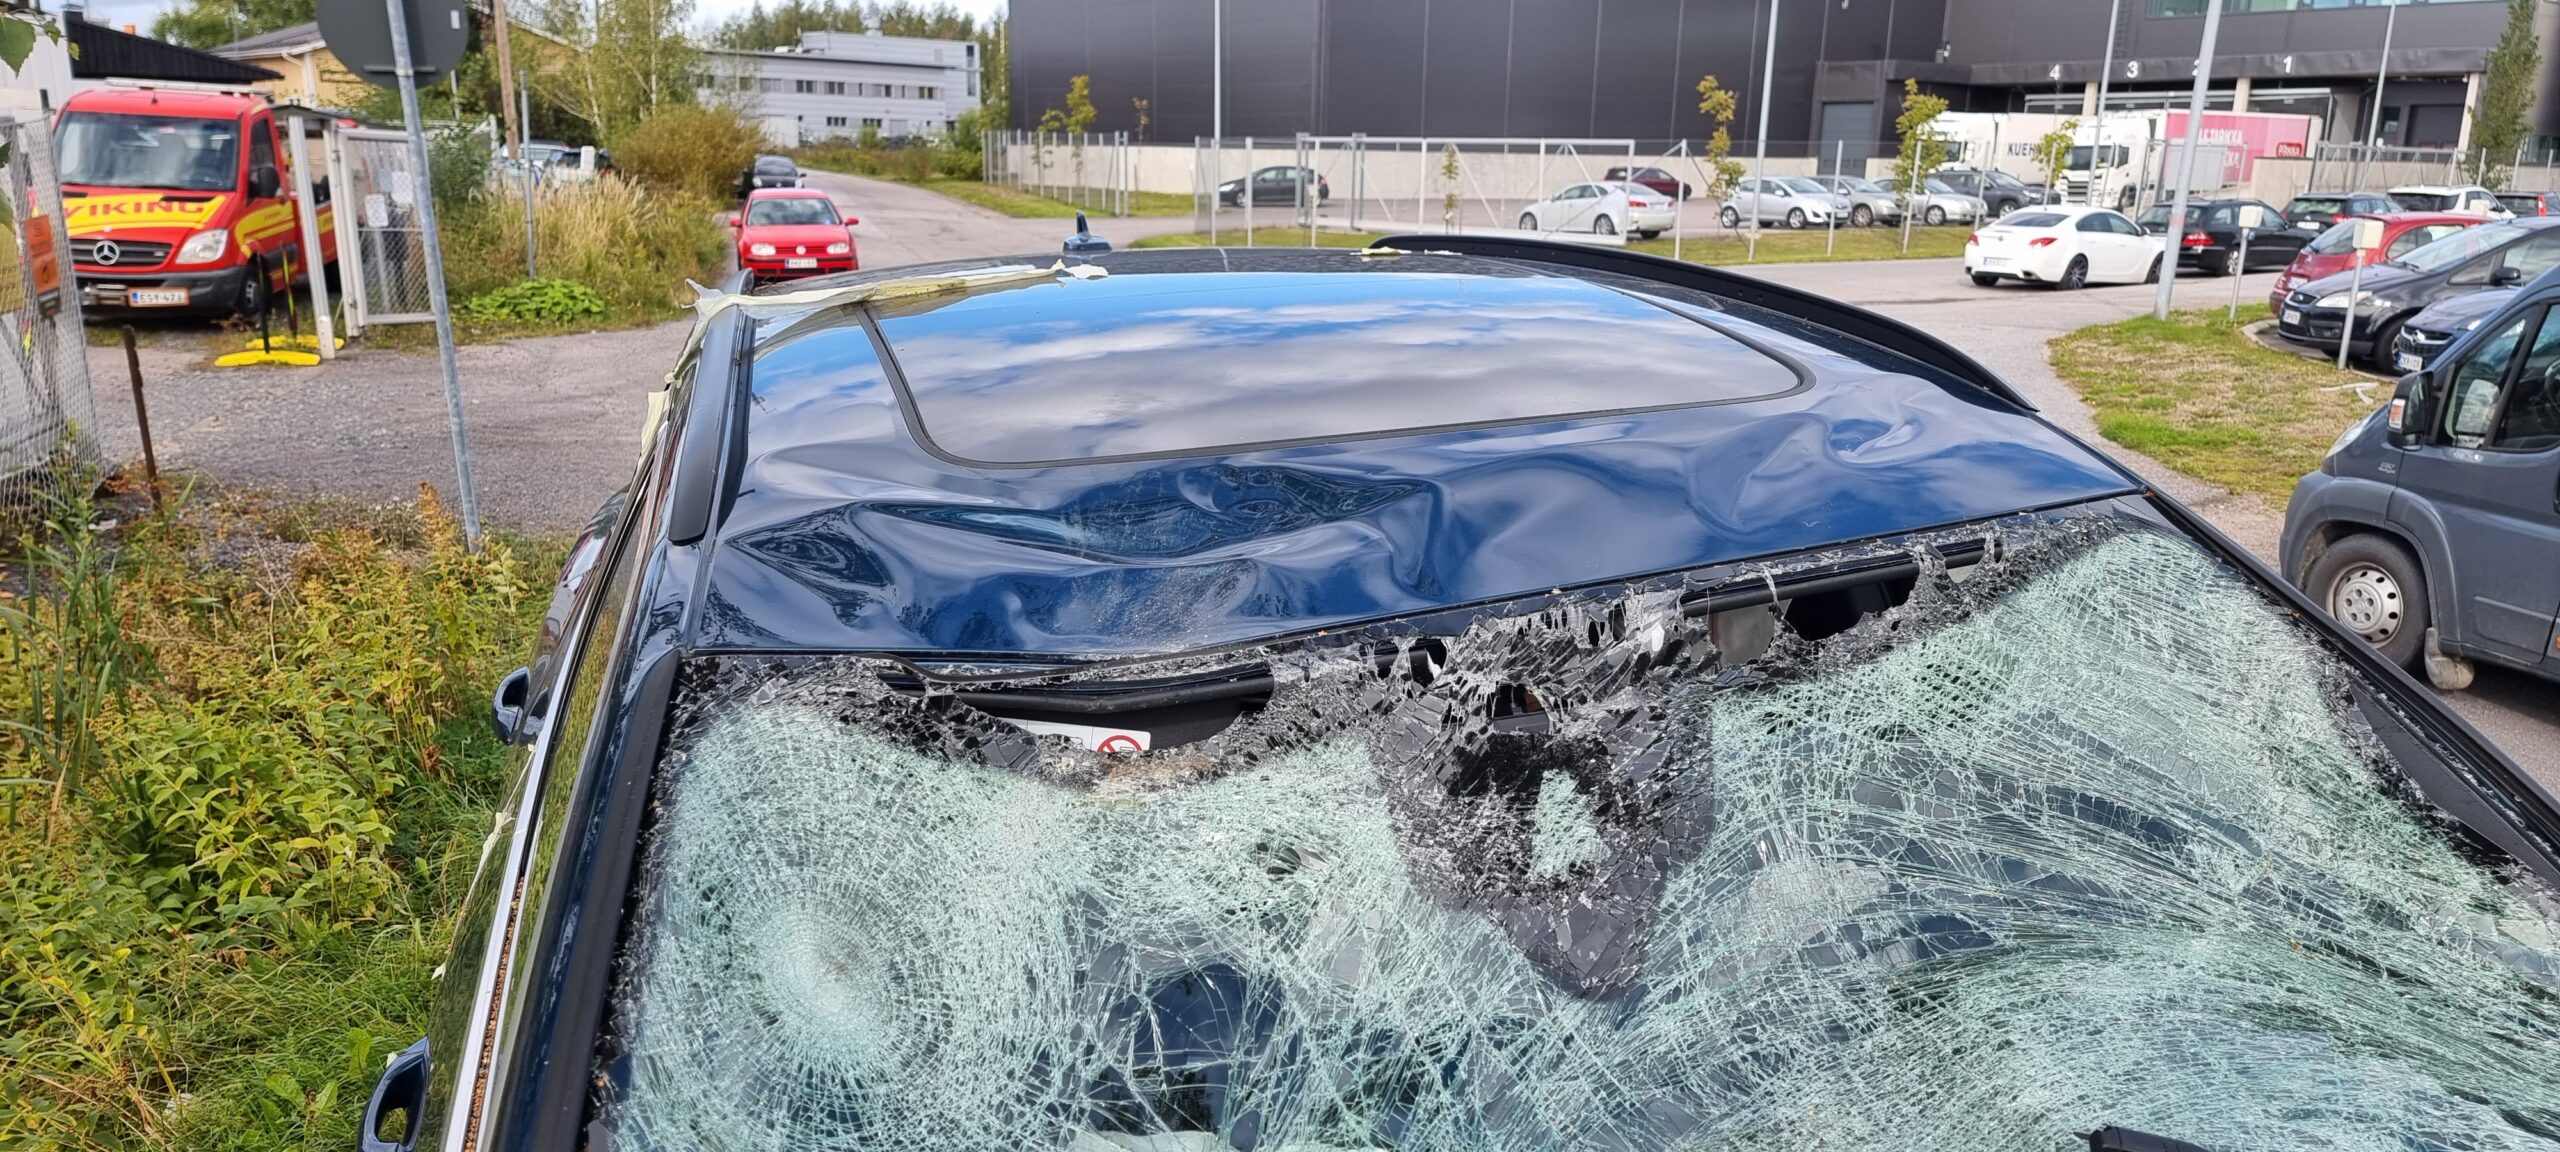
The worst of the faults can be seen here.
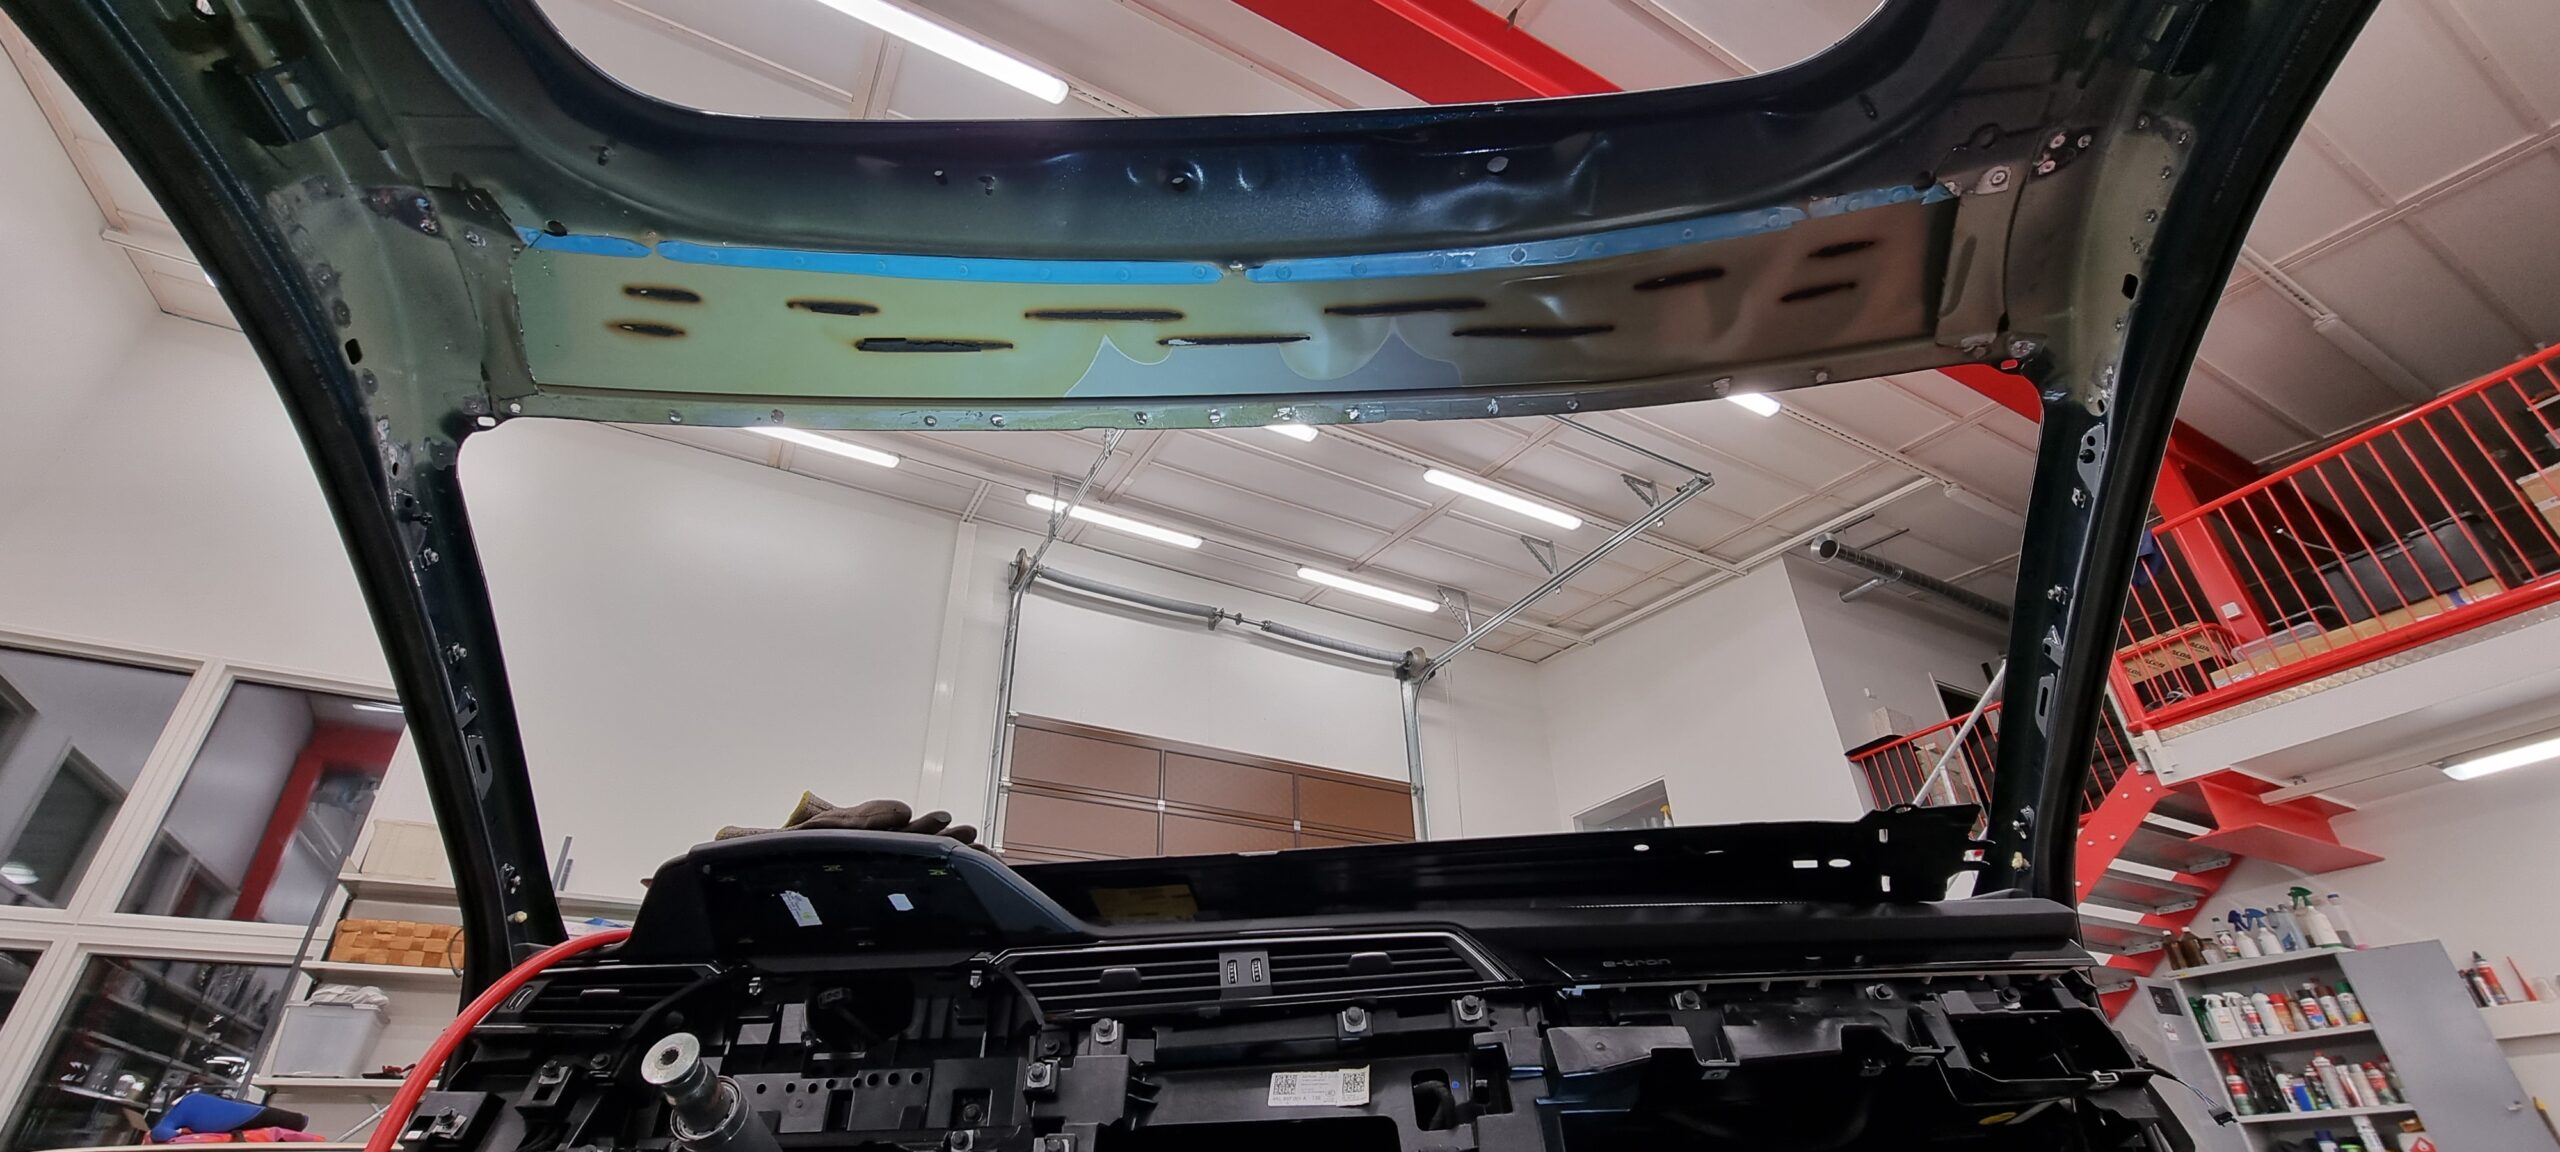
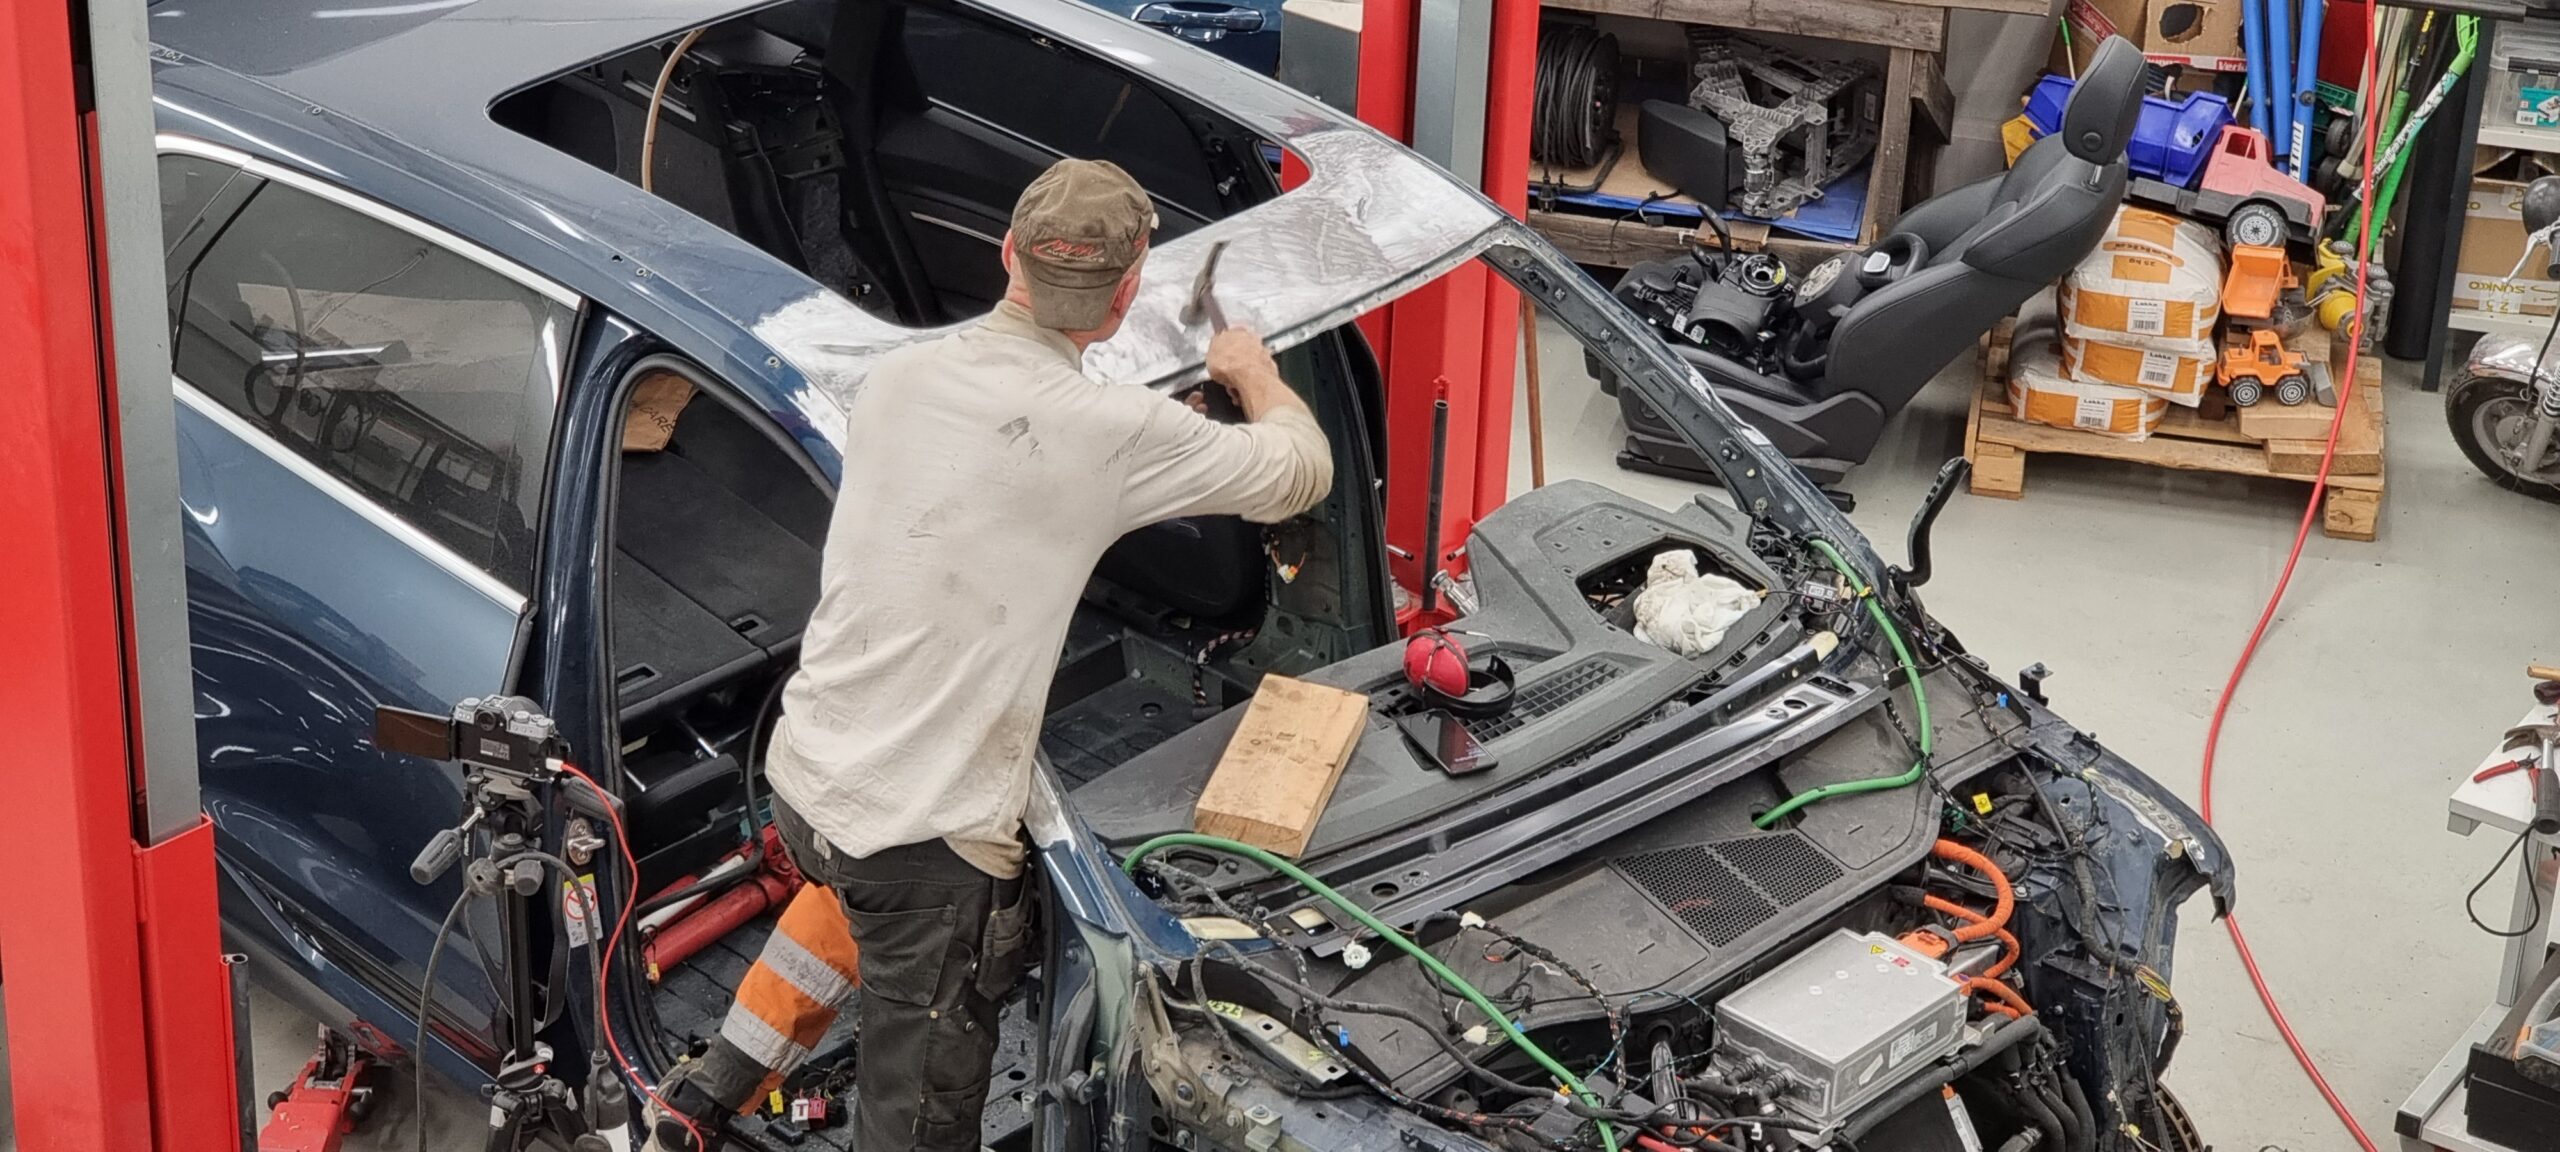
As the moose hit the windscreen, it pushed in the front edge of the roof too. Another unpleasant discovery was that the car had spent practically all of August outdoors, letting plenty of rain in. One person's scrap is another person's treasure — you'd hope someone might at least tape up the glass enough to keep the water out. Fortunately, the water hadn't damaged anything.
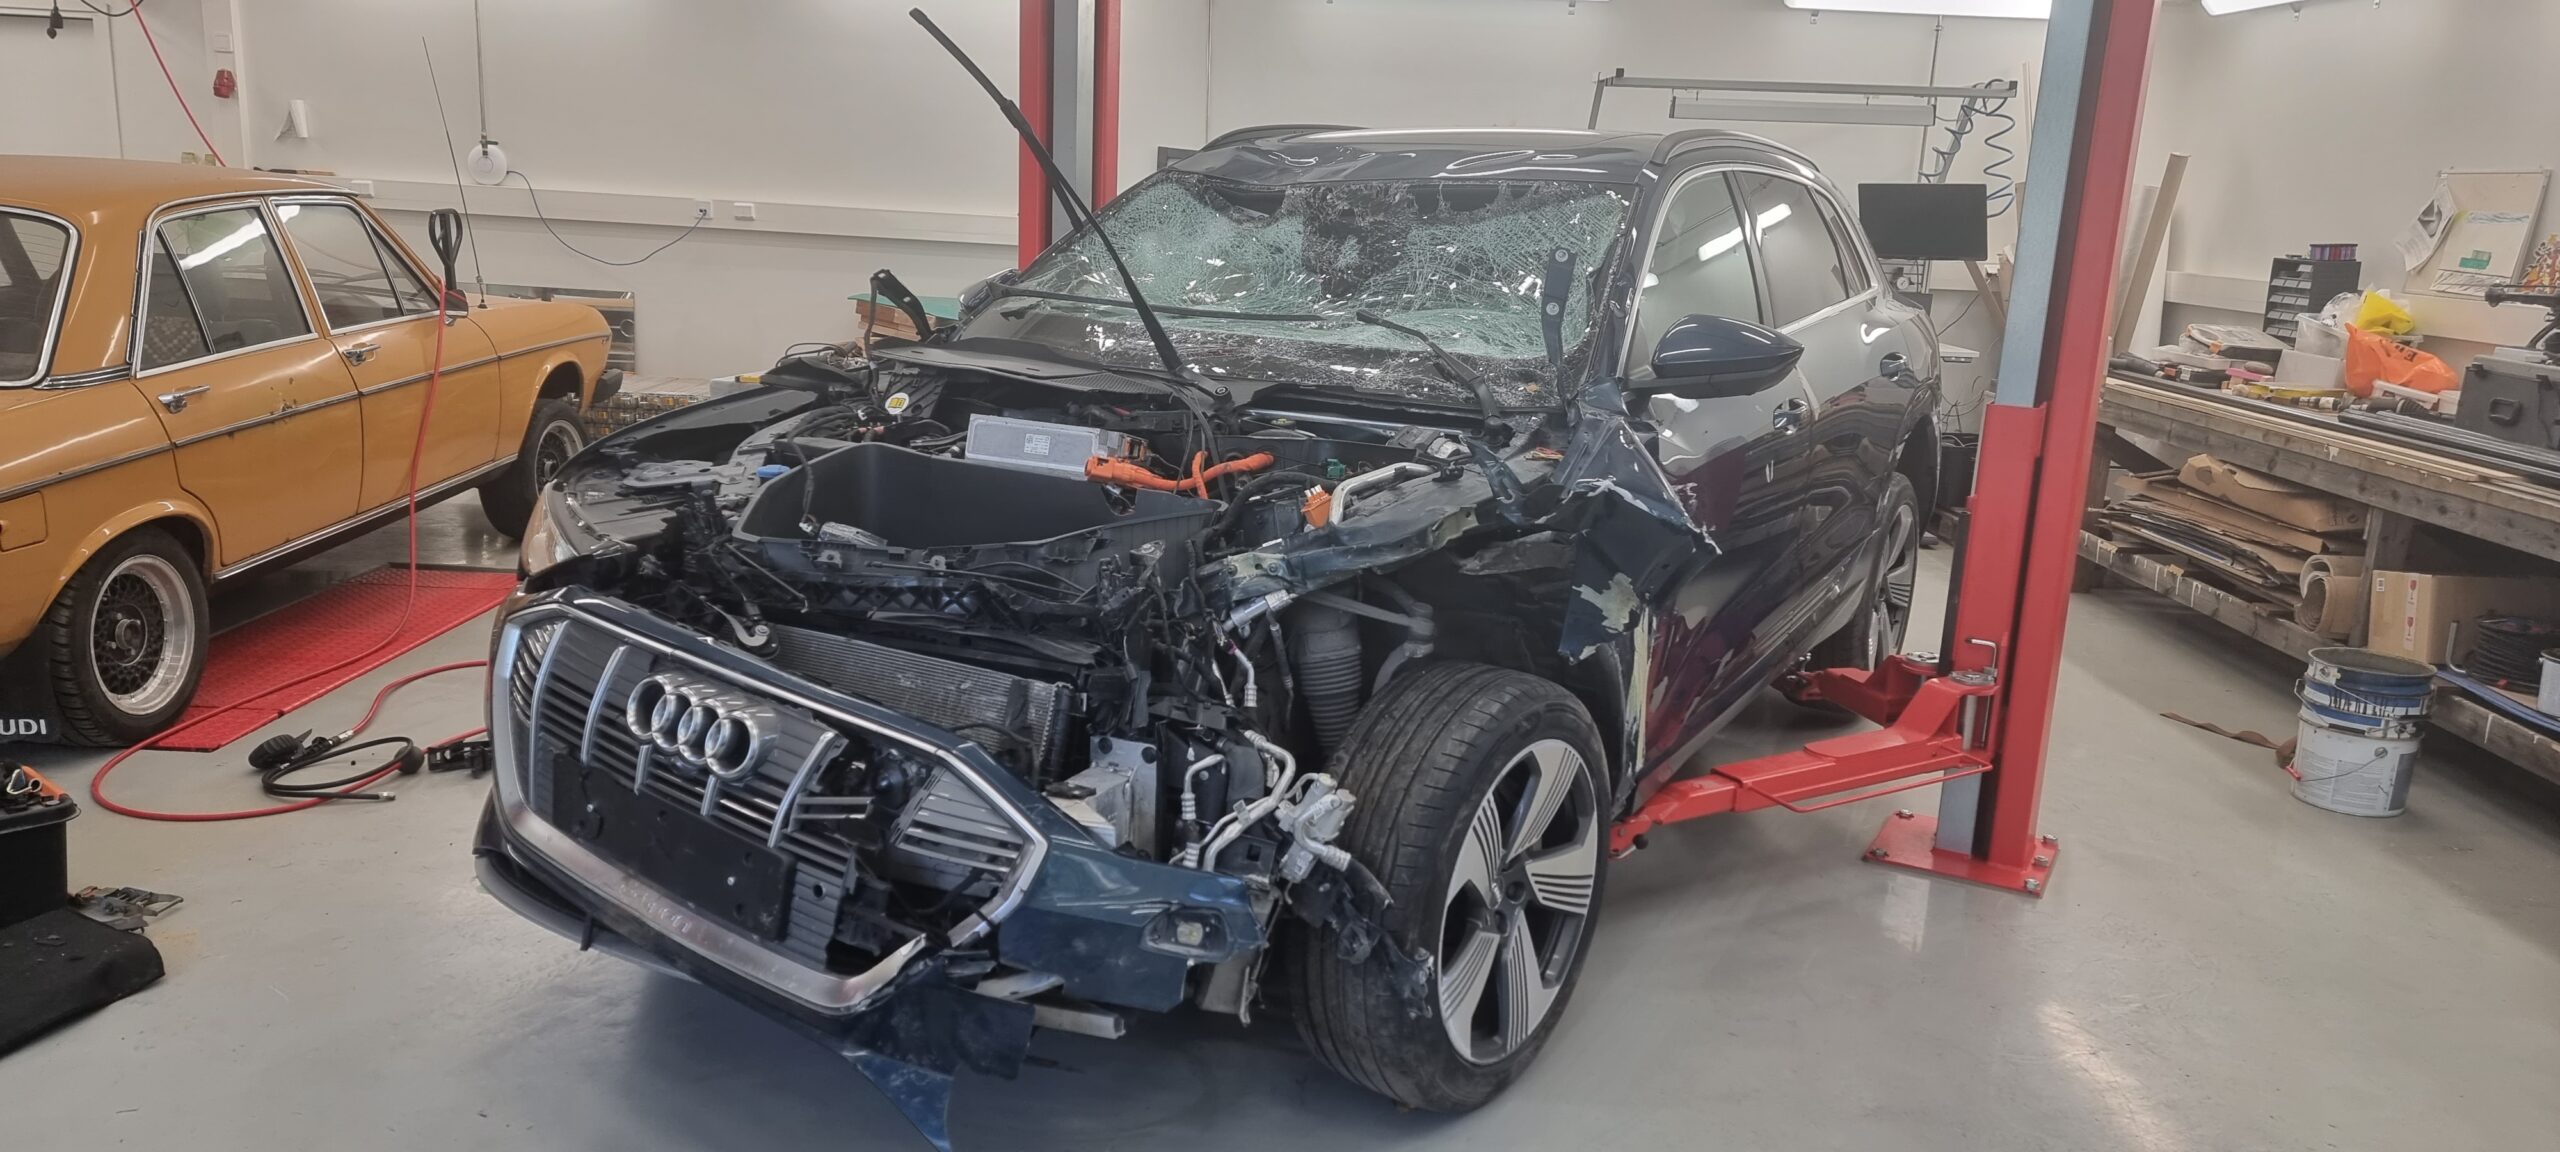
At home, we reversed the trailer straight between the lift posts and lifted the car off. So far, we hadn't had to push it an inch. A premium Audi from 47 years earlier in the background.
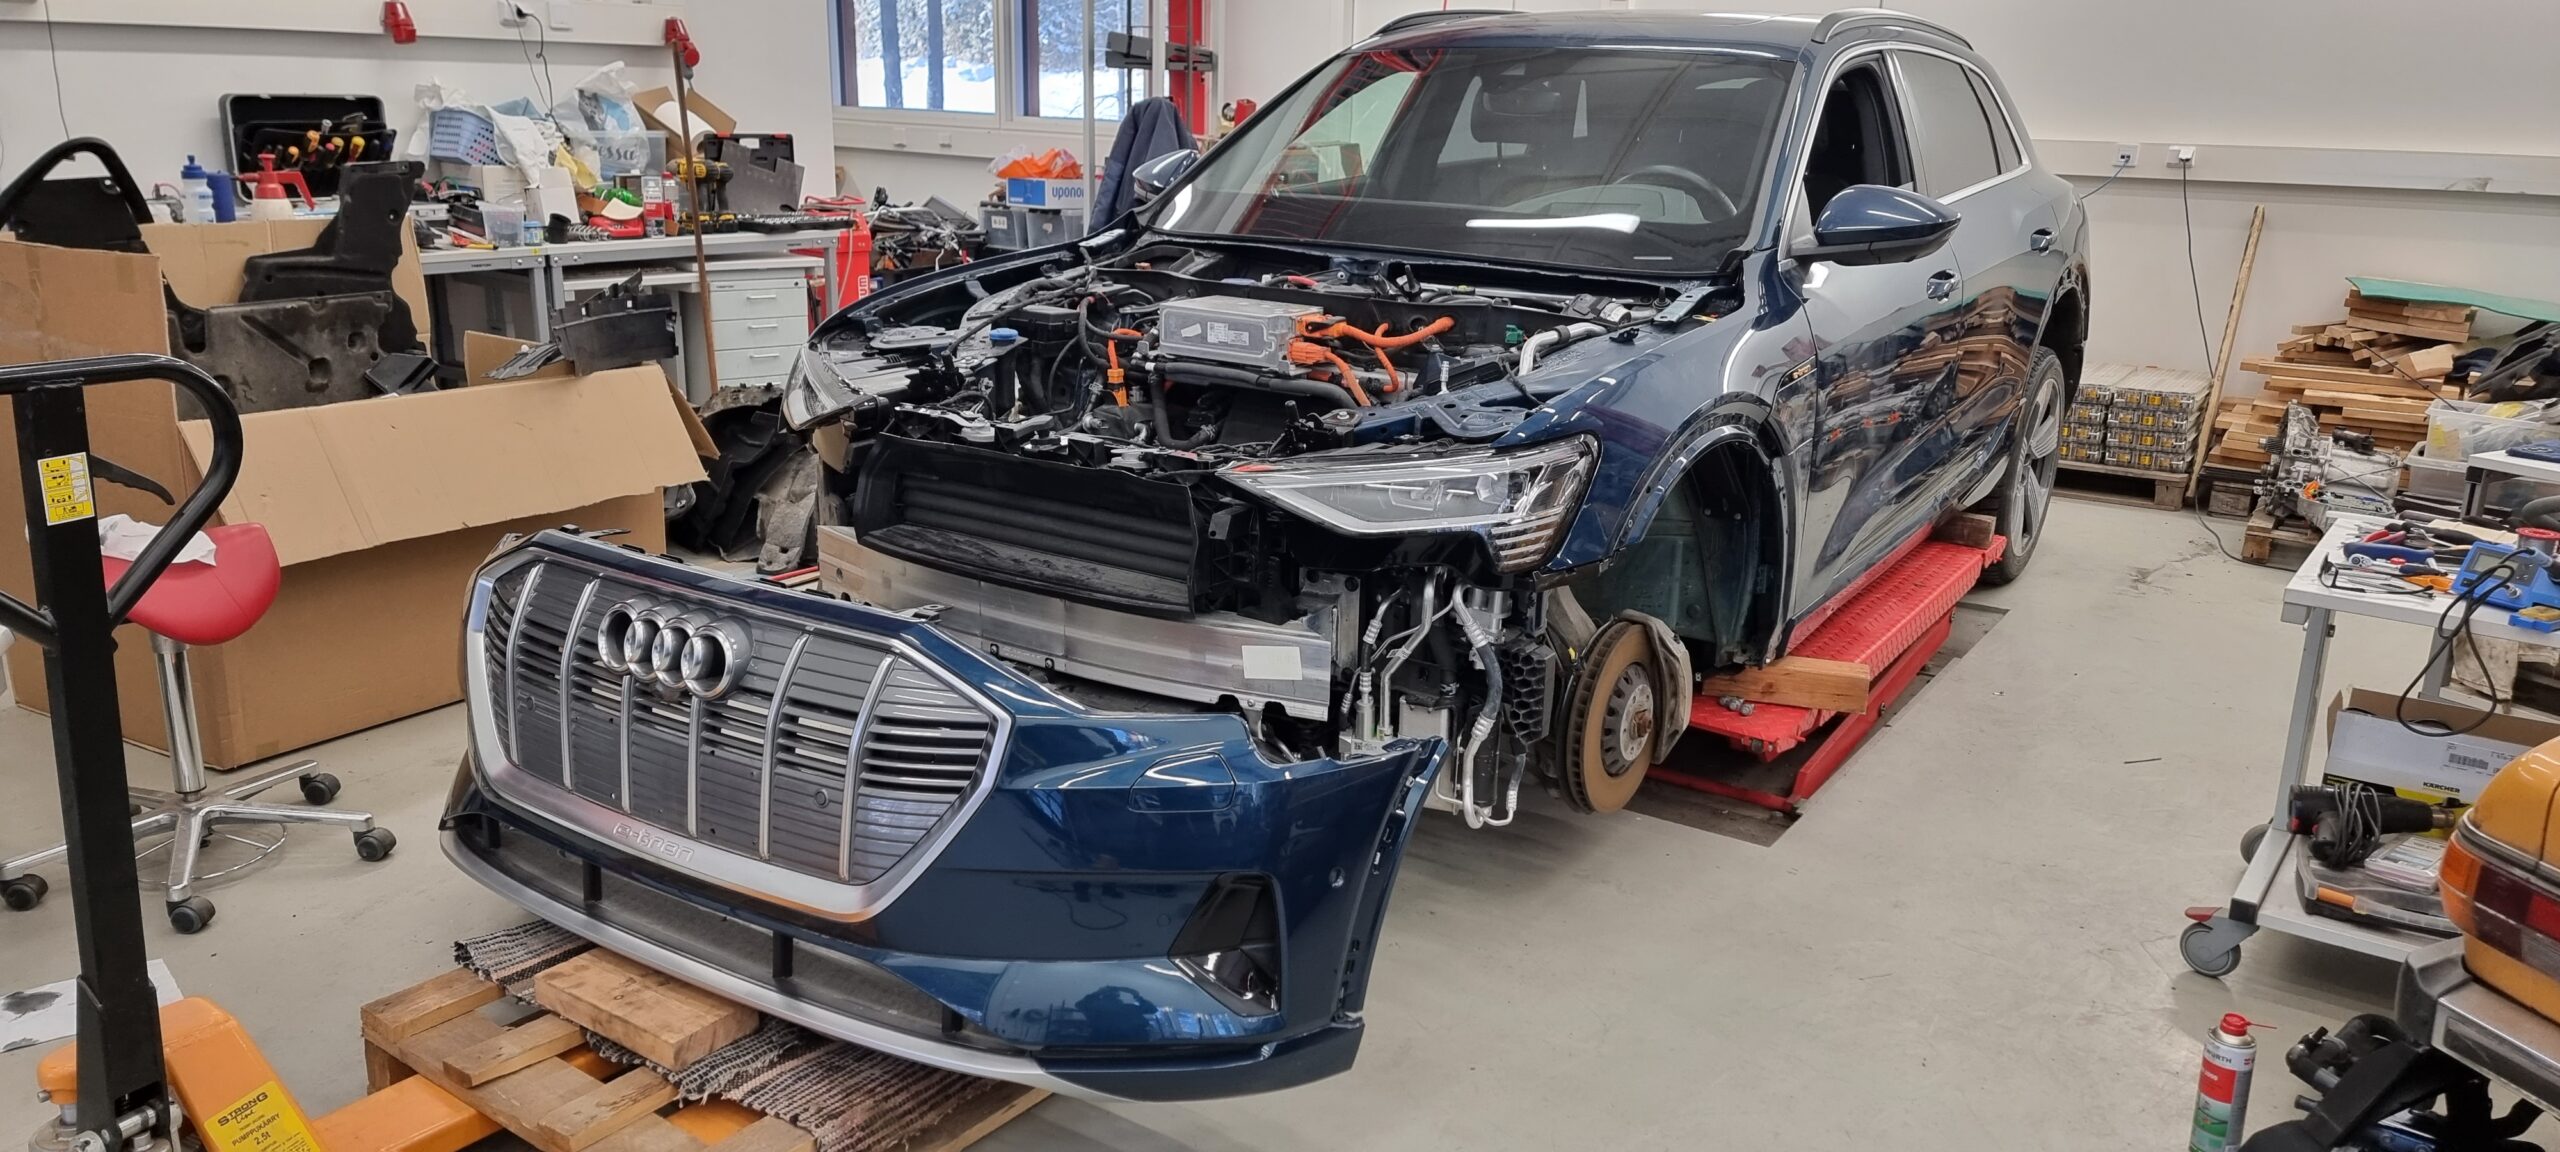
Part of the attraction was a complete front-end assembly on eBay, from a dismantled car in the same colour. Once we had inspected the e-tron enough to decide to keep it, we immediately ordered the assembly from Germany.
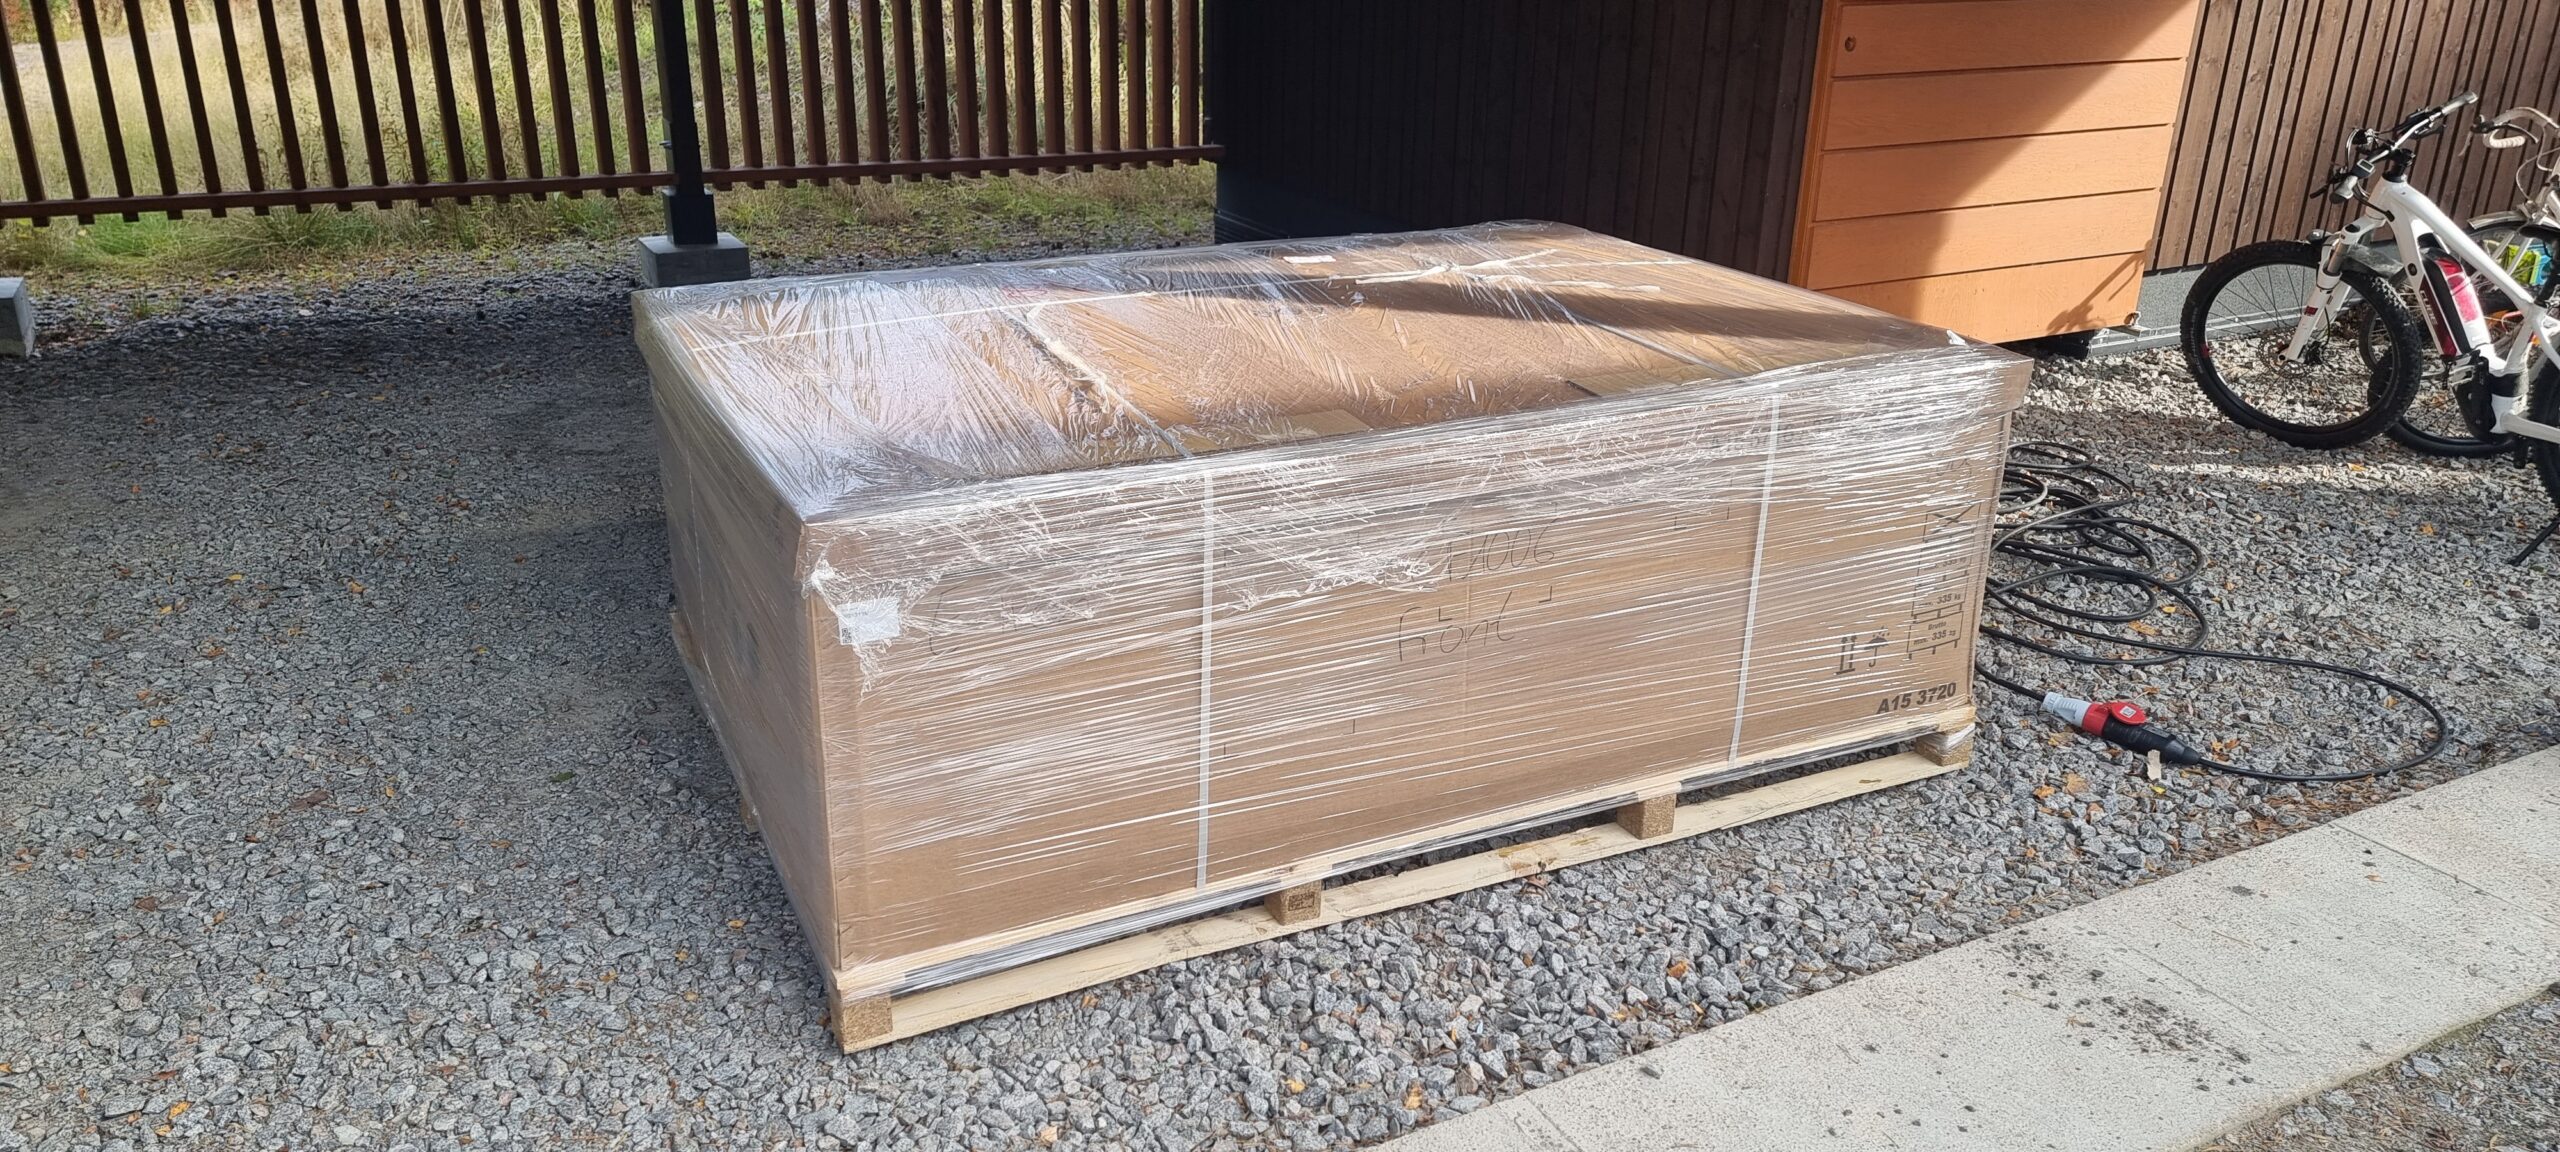
Package from Germany
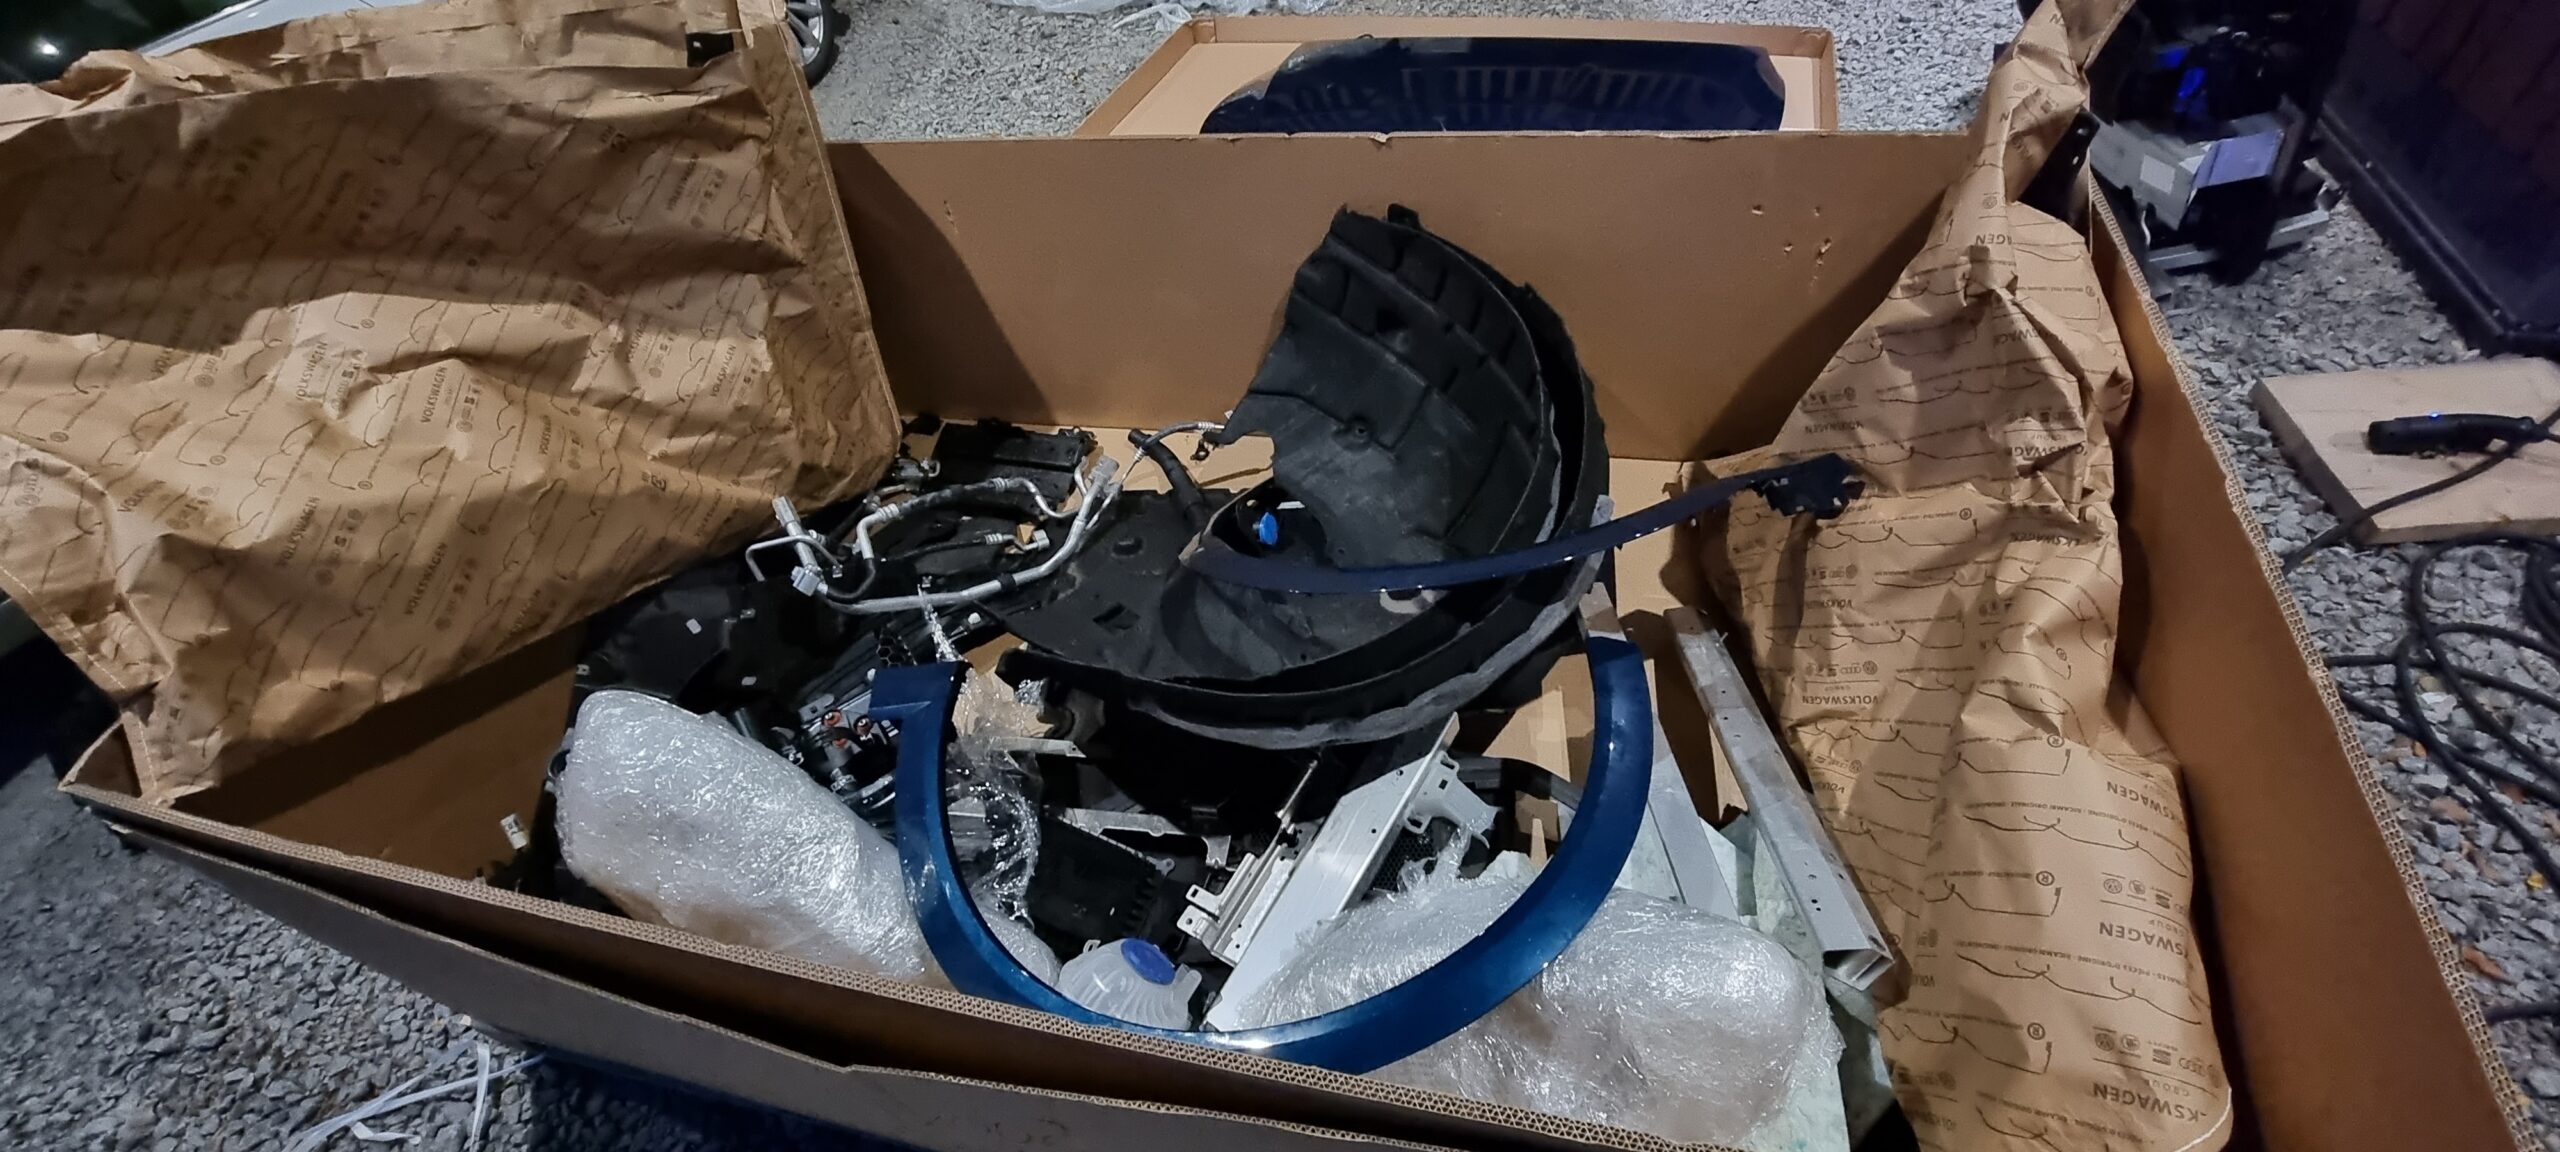
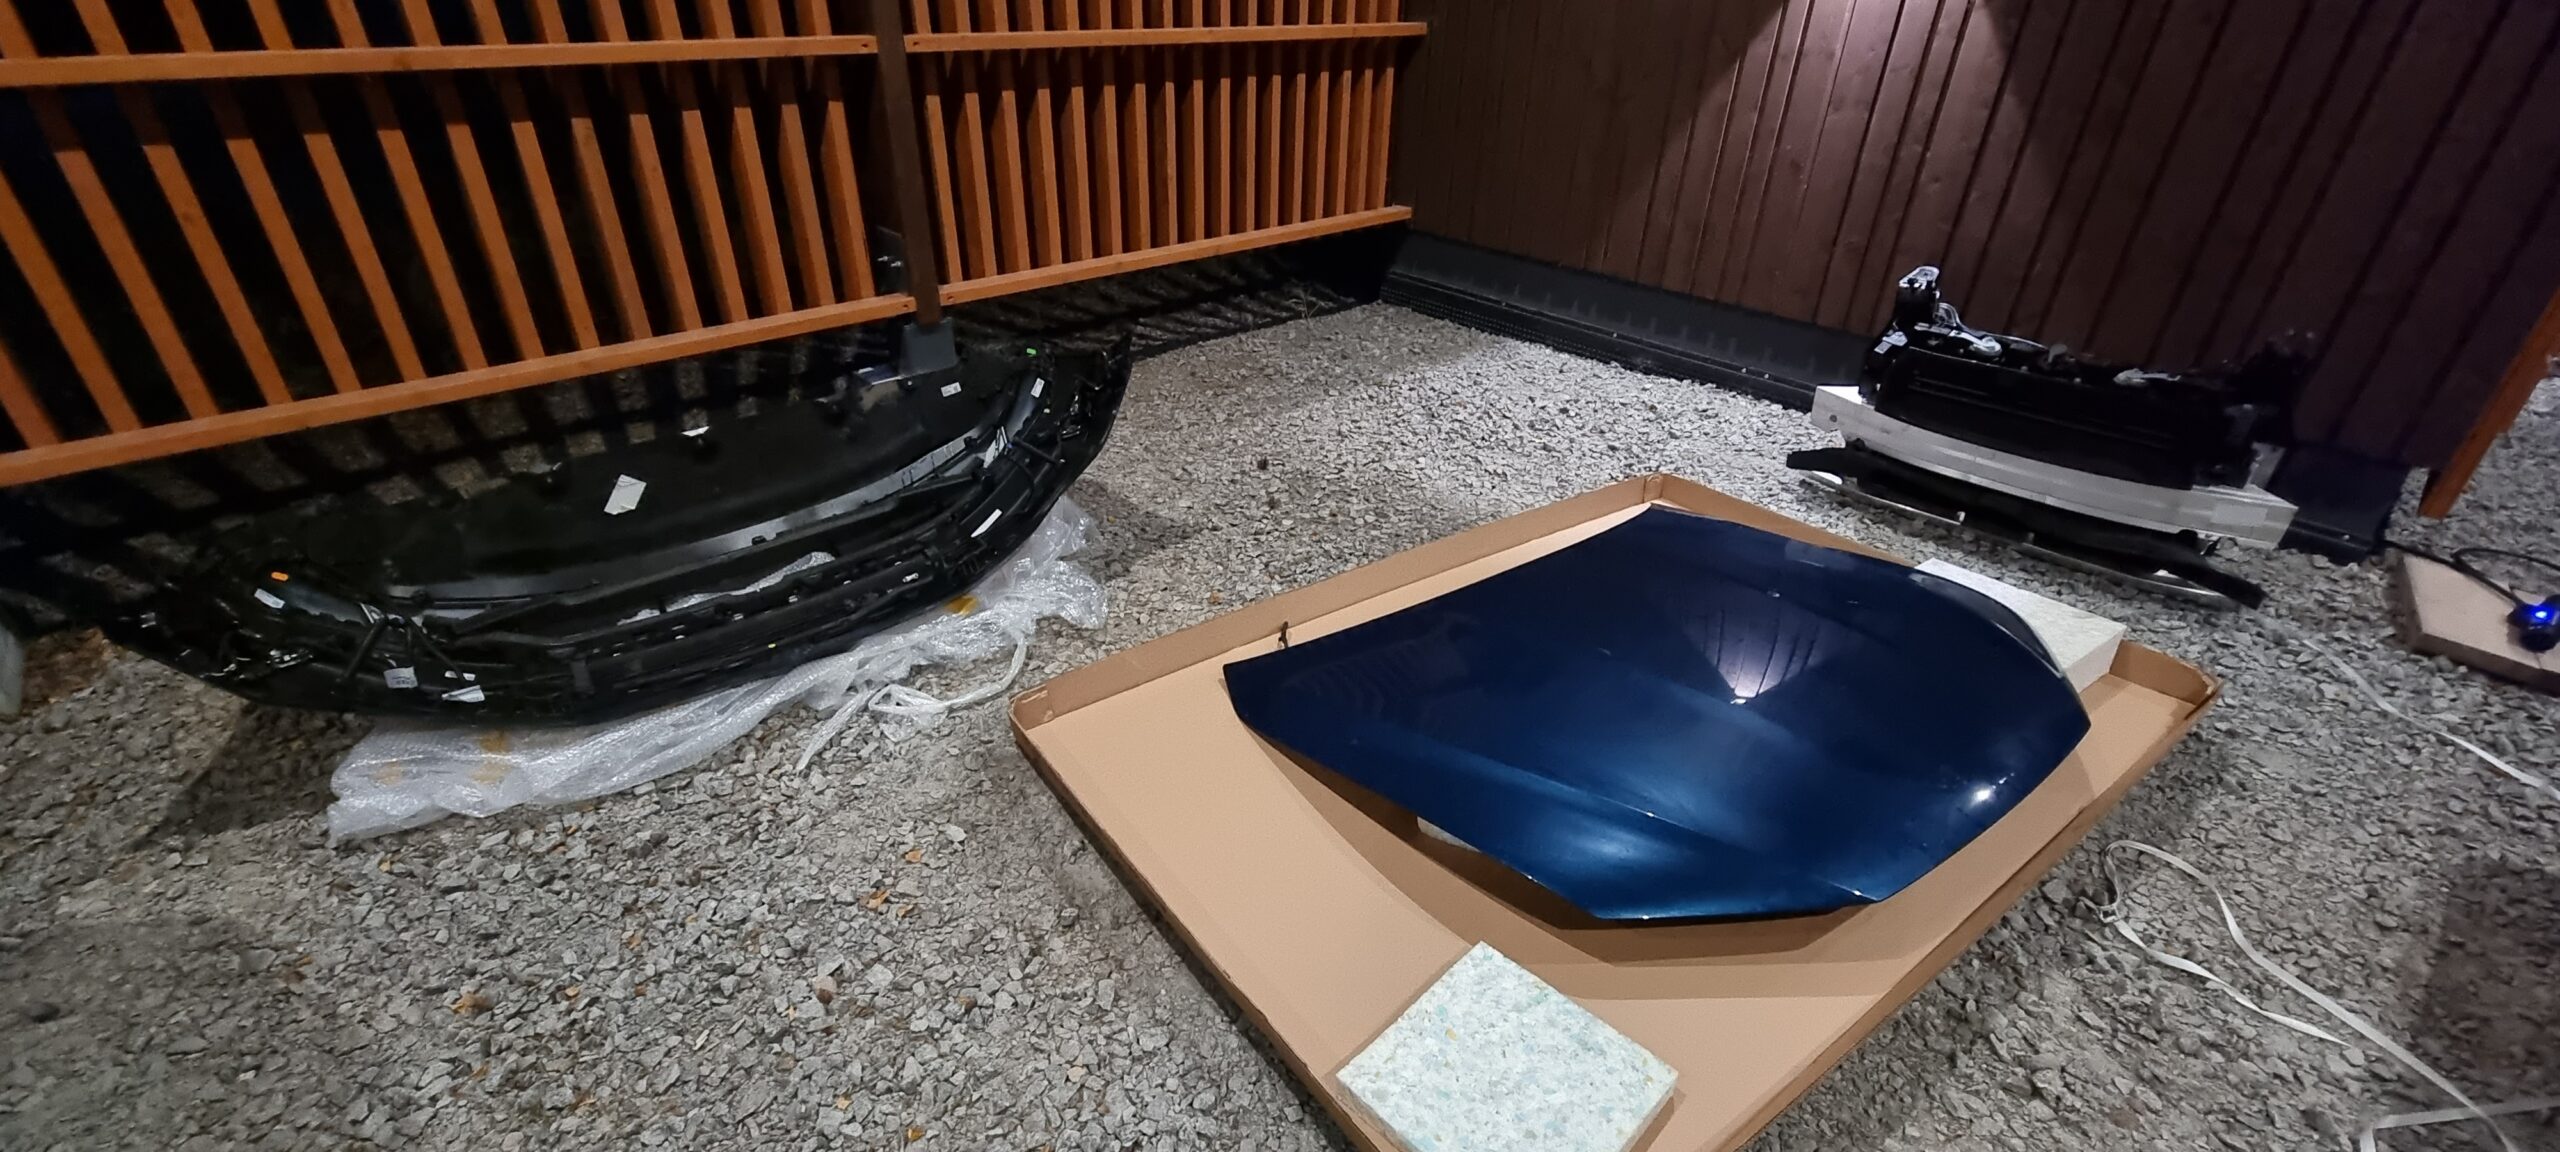
Replacement bumper and bonnet.
The package contained almost everything needed to repair the front. We ordered a few extra bits from the same place later, but buying it all together made life much easier than hunting down every part separately. It cost €7,500 and came from a factory test car with only a few dozen kilometres on it. We later discovered it had been built for China, so the number-plate mounting, among other things, was the wrong type.
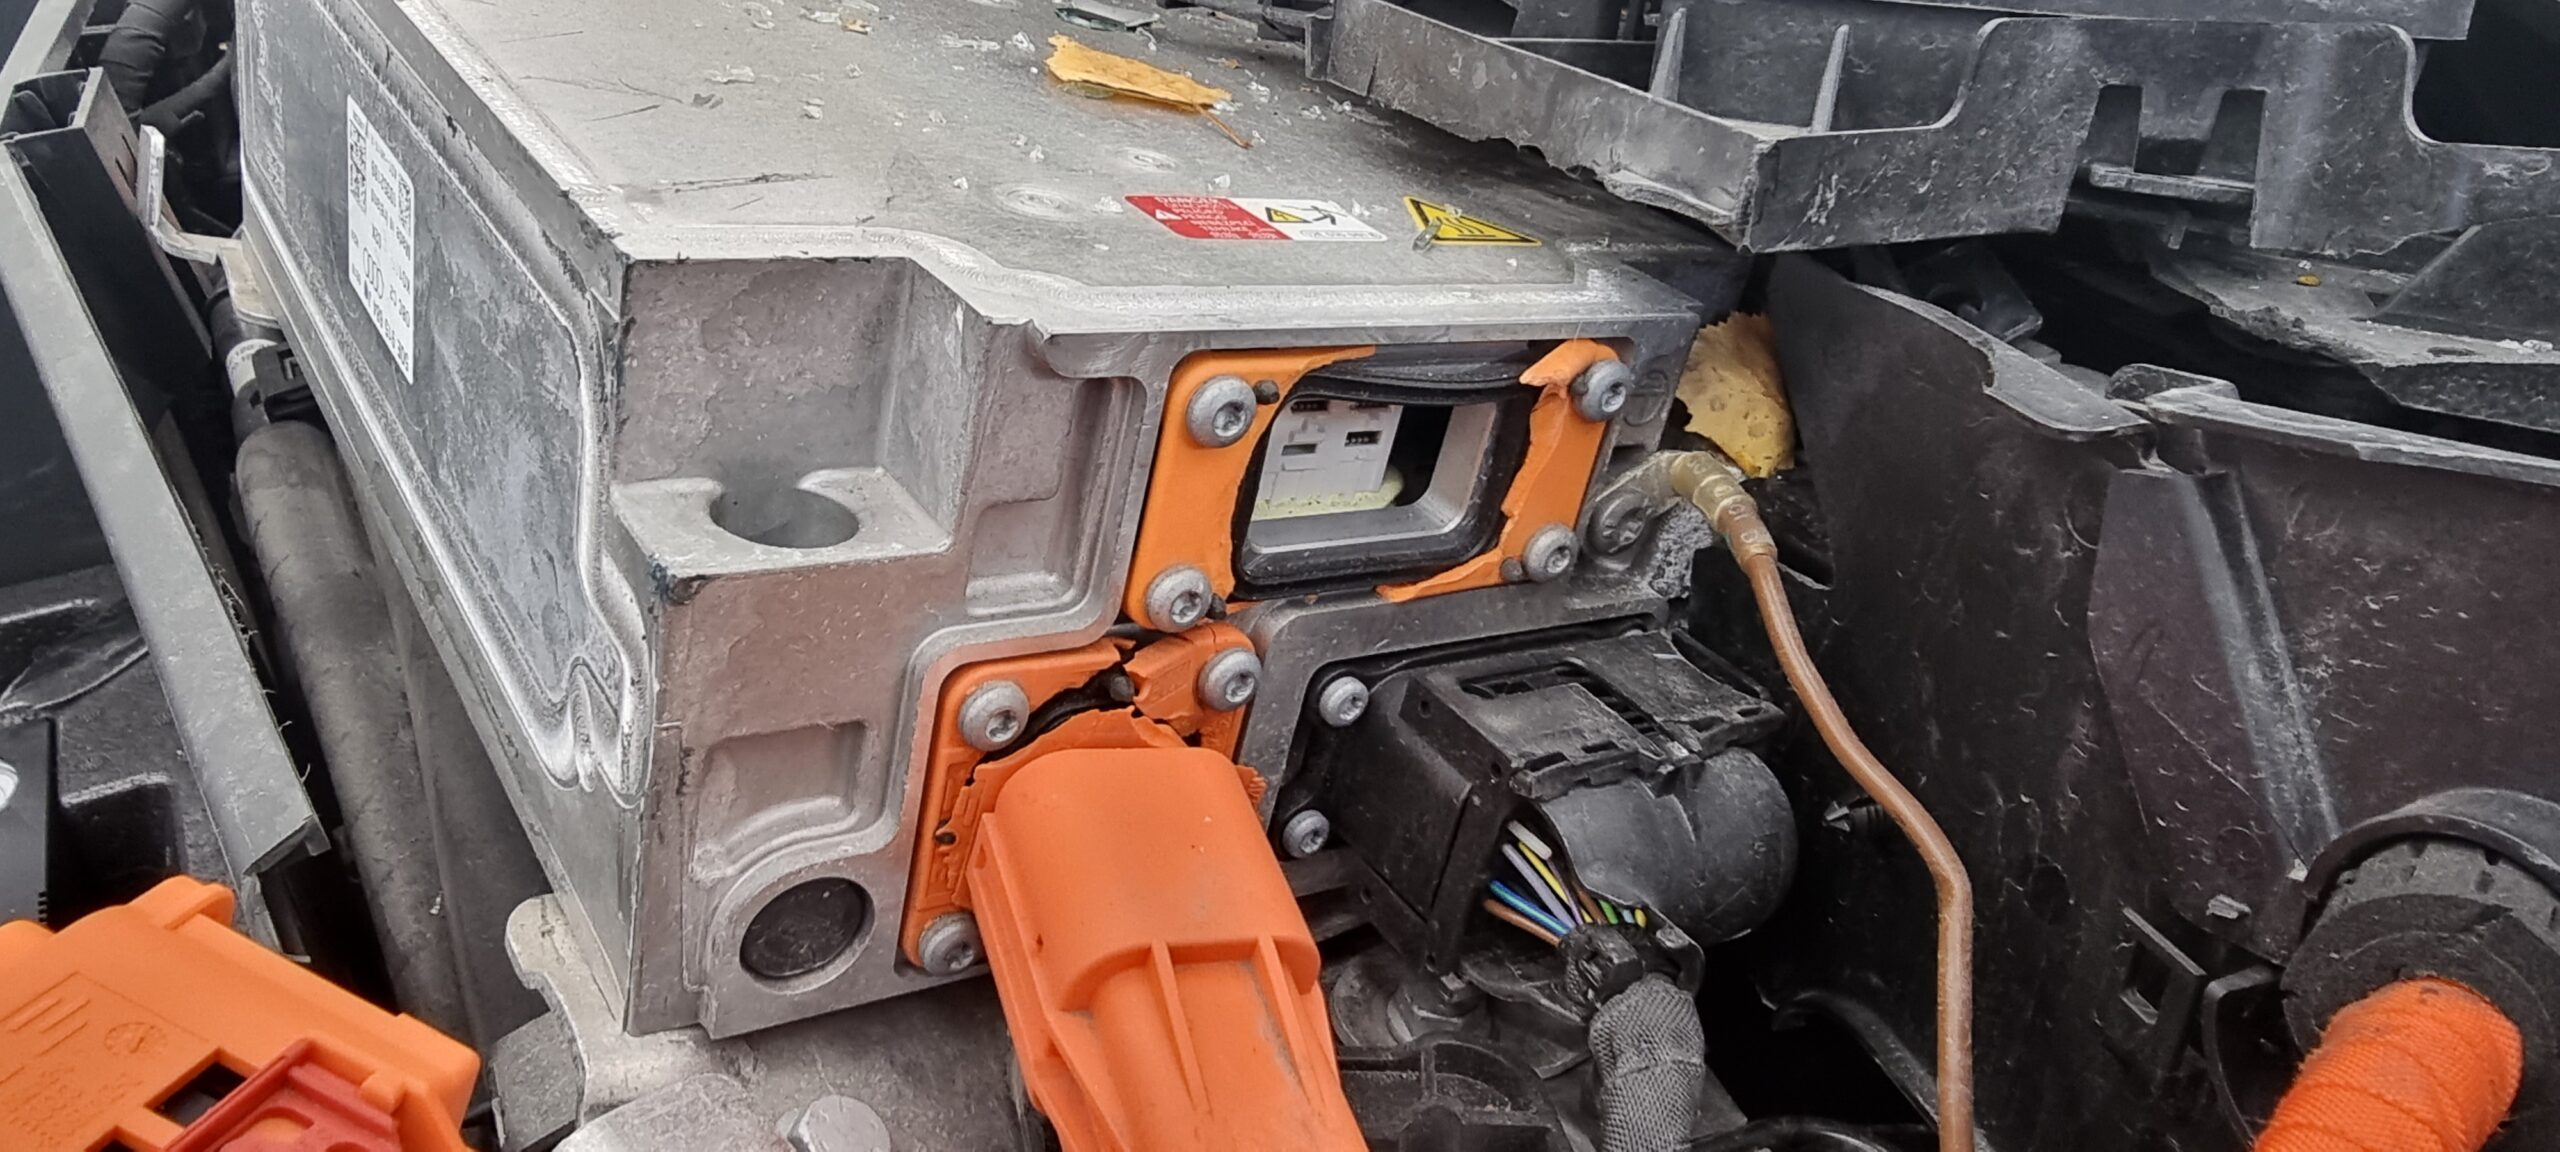
The onboard AC charger sits at the top of the “engine bay”, and some of its connectors had broken. Even if the electronics inside were fine, the unit had to be replaced: the charger couldn't be dismantled.
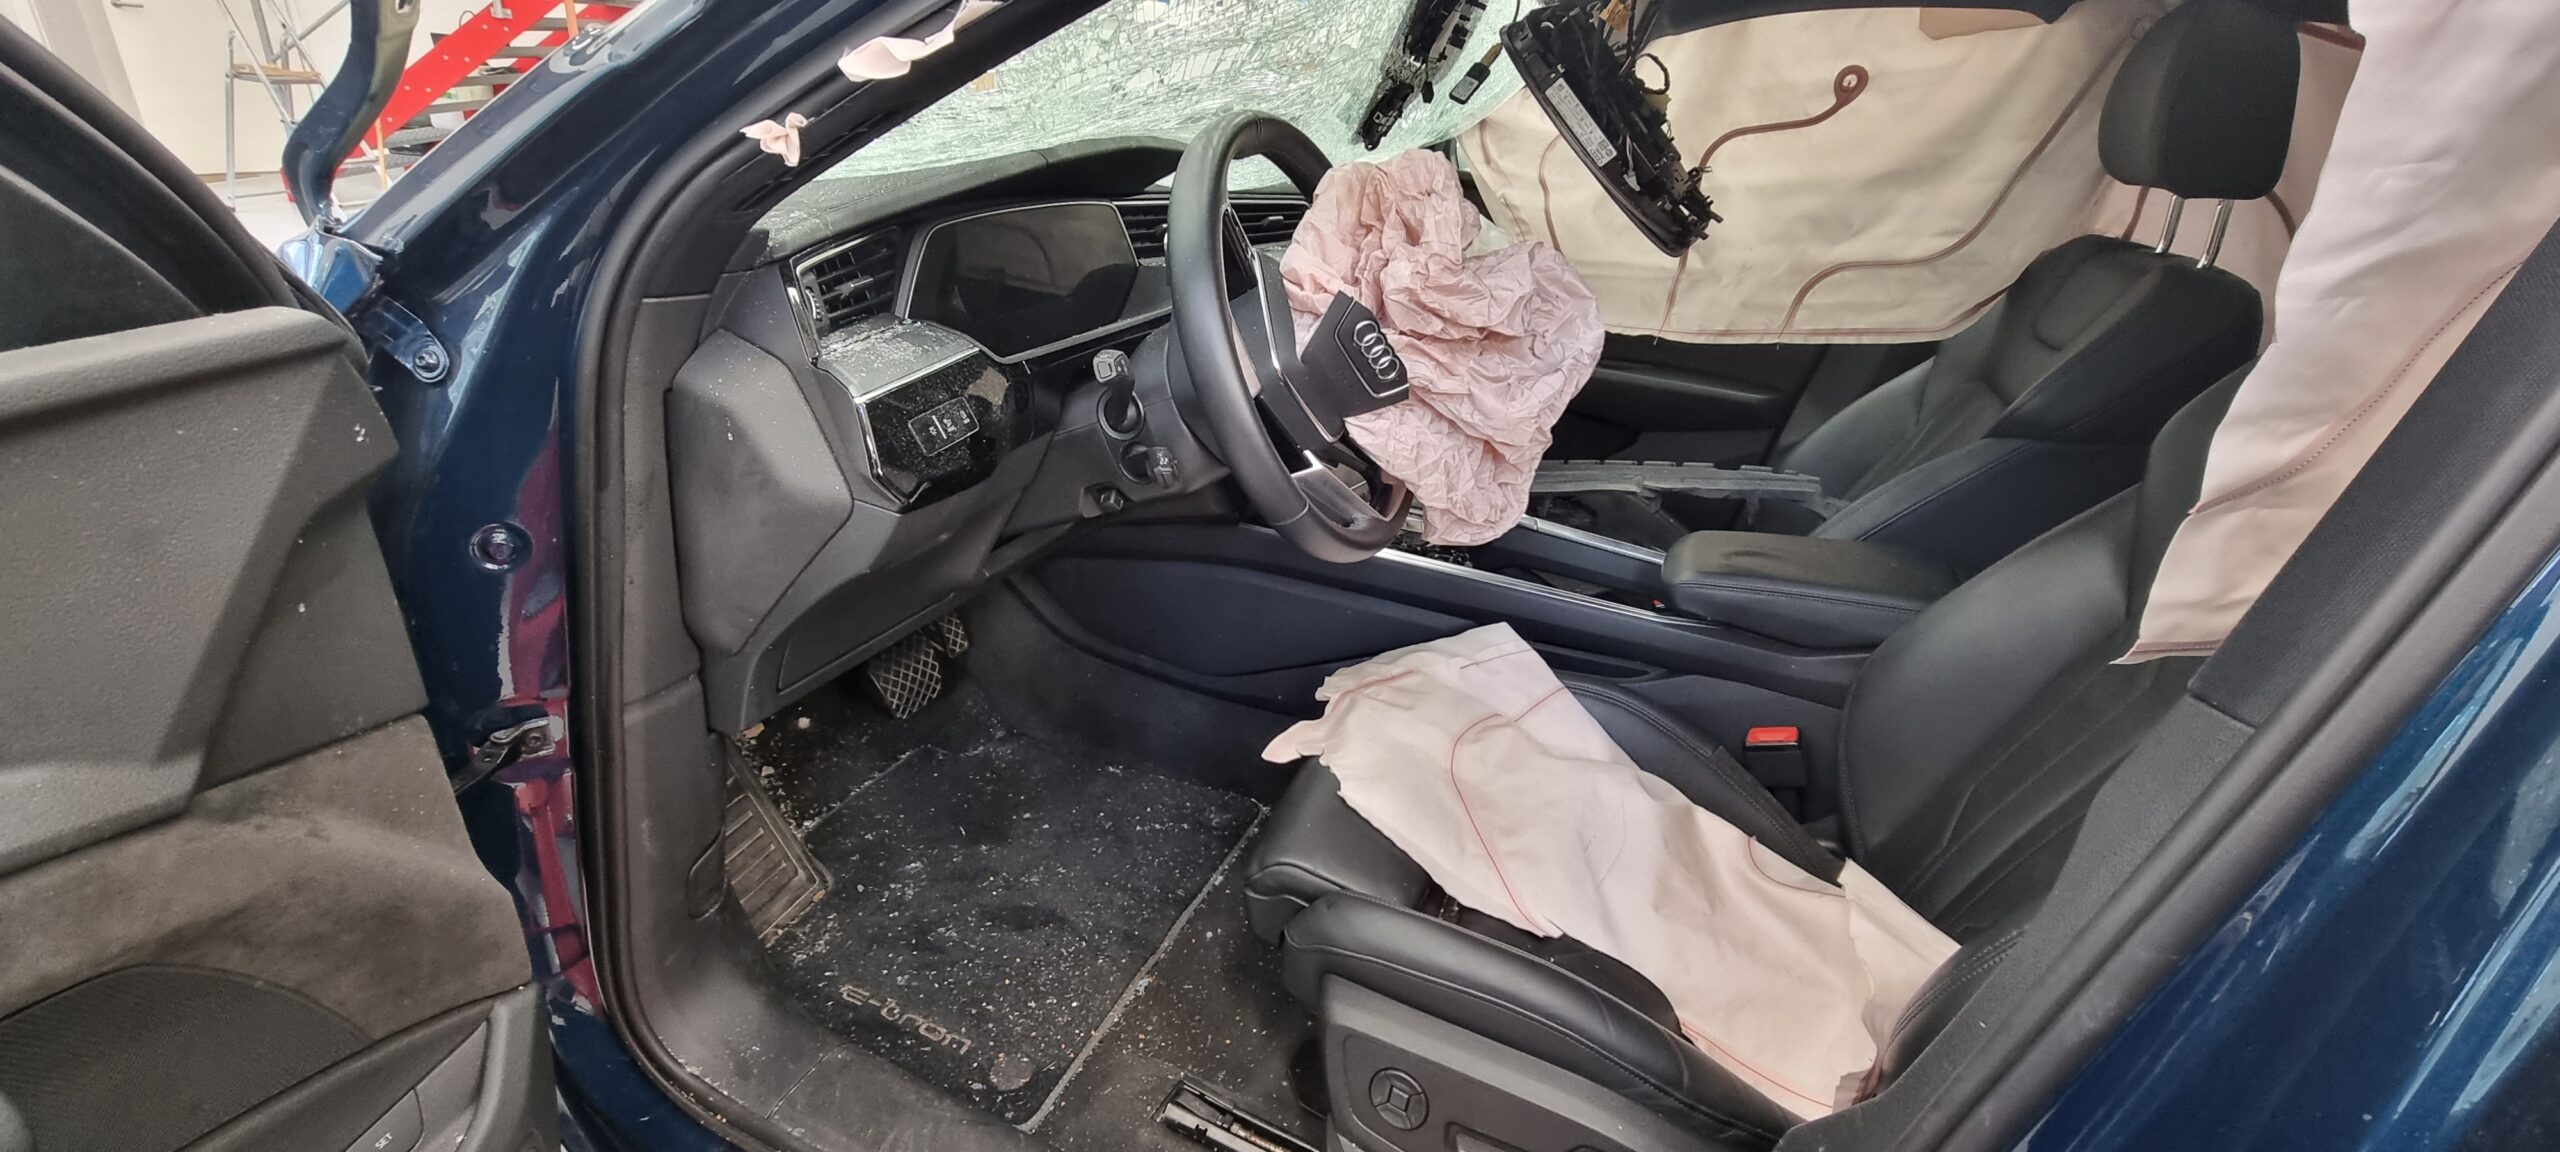
Inside, airbags and seat-belt pretensioners had deployed. Fortunately, the seat airbags were intact; almost everything else needed replacing.
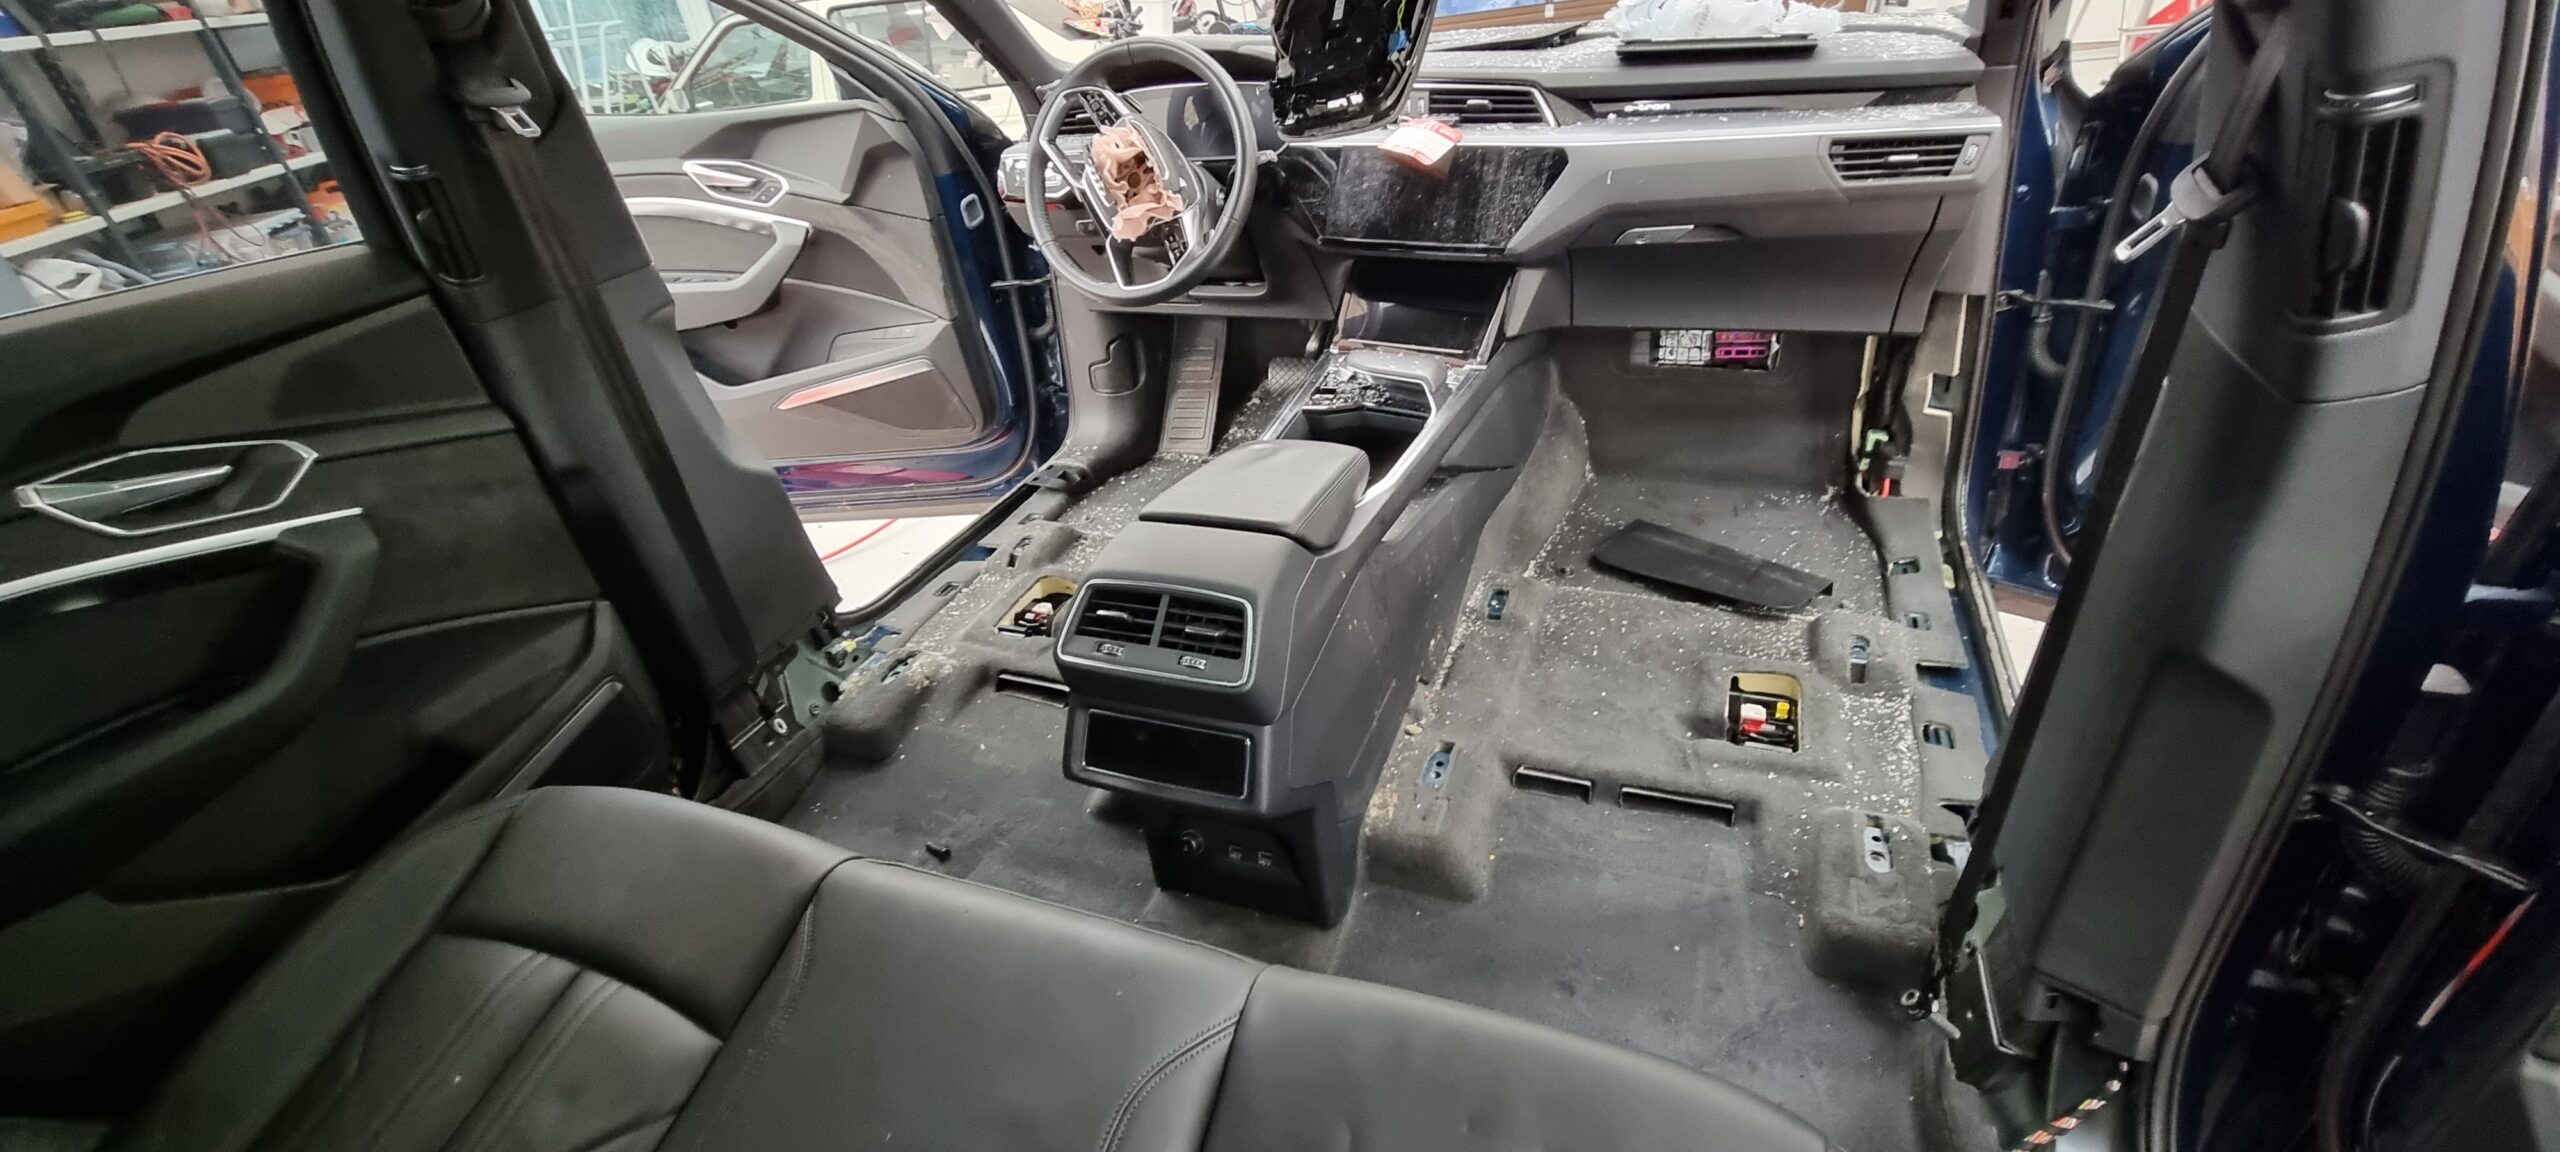
First, we stripped the interior so the carpet could dry. It was soaked after the August rain. We already knew repairing the roof would make enough mess that the interior was better off out of harm's way anyway. Replacing the airbags and belts would also have meant taking much of it apart later.
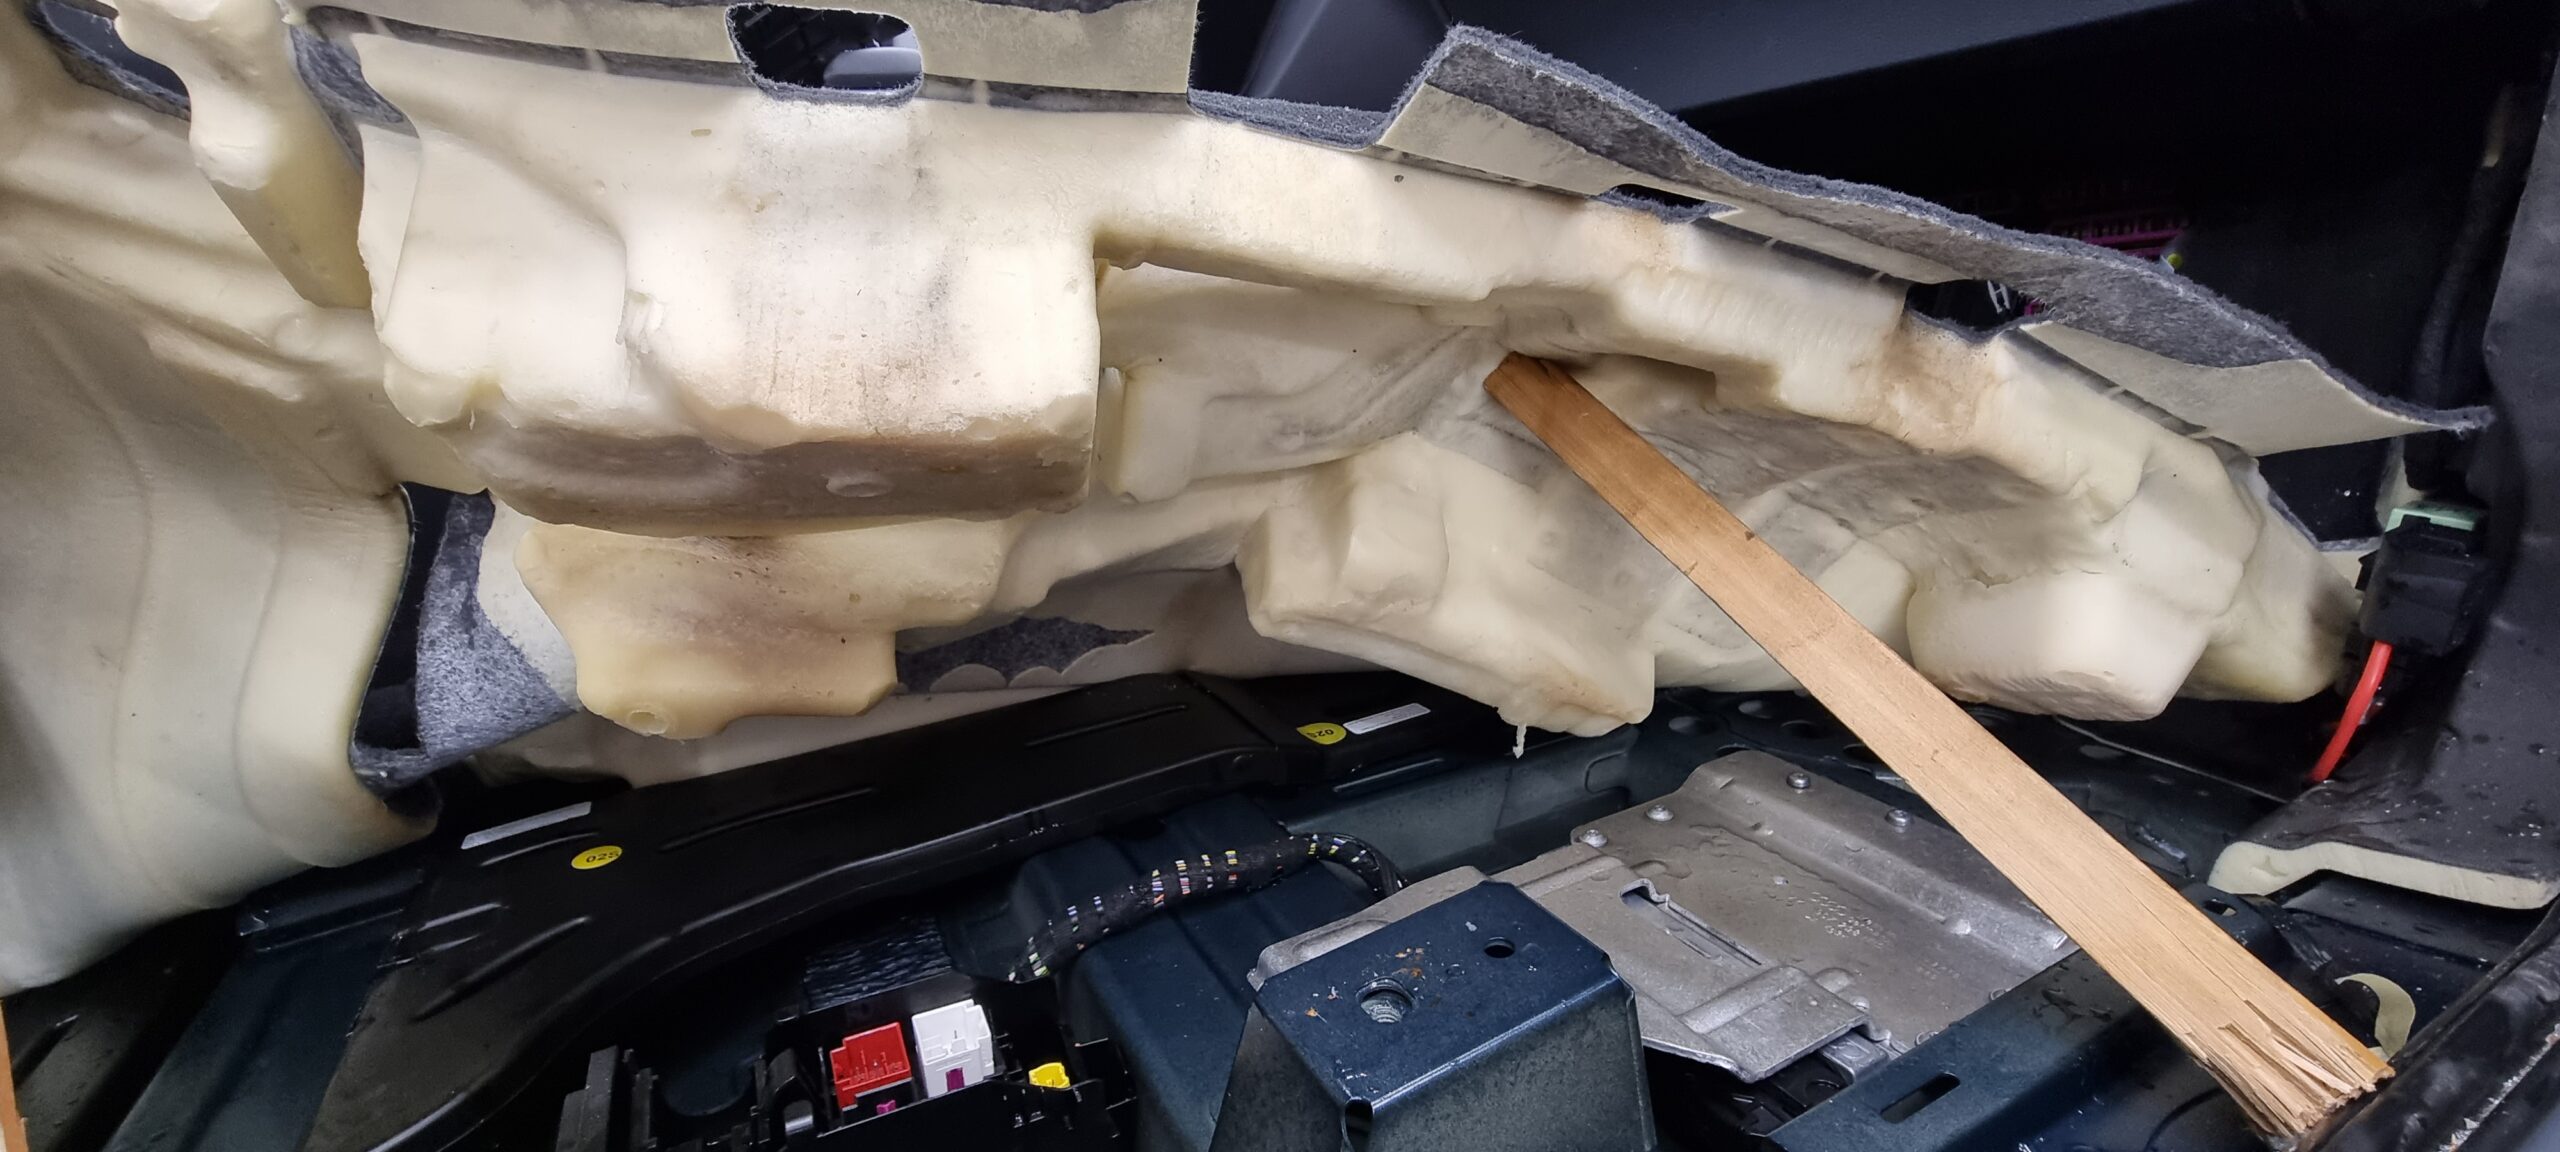
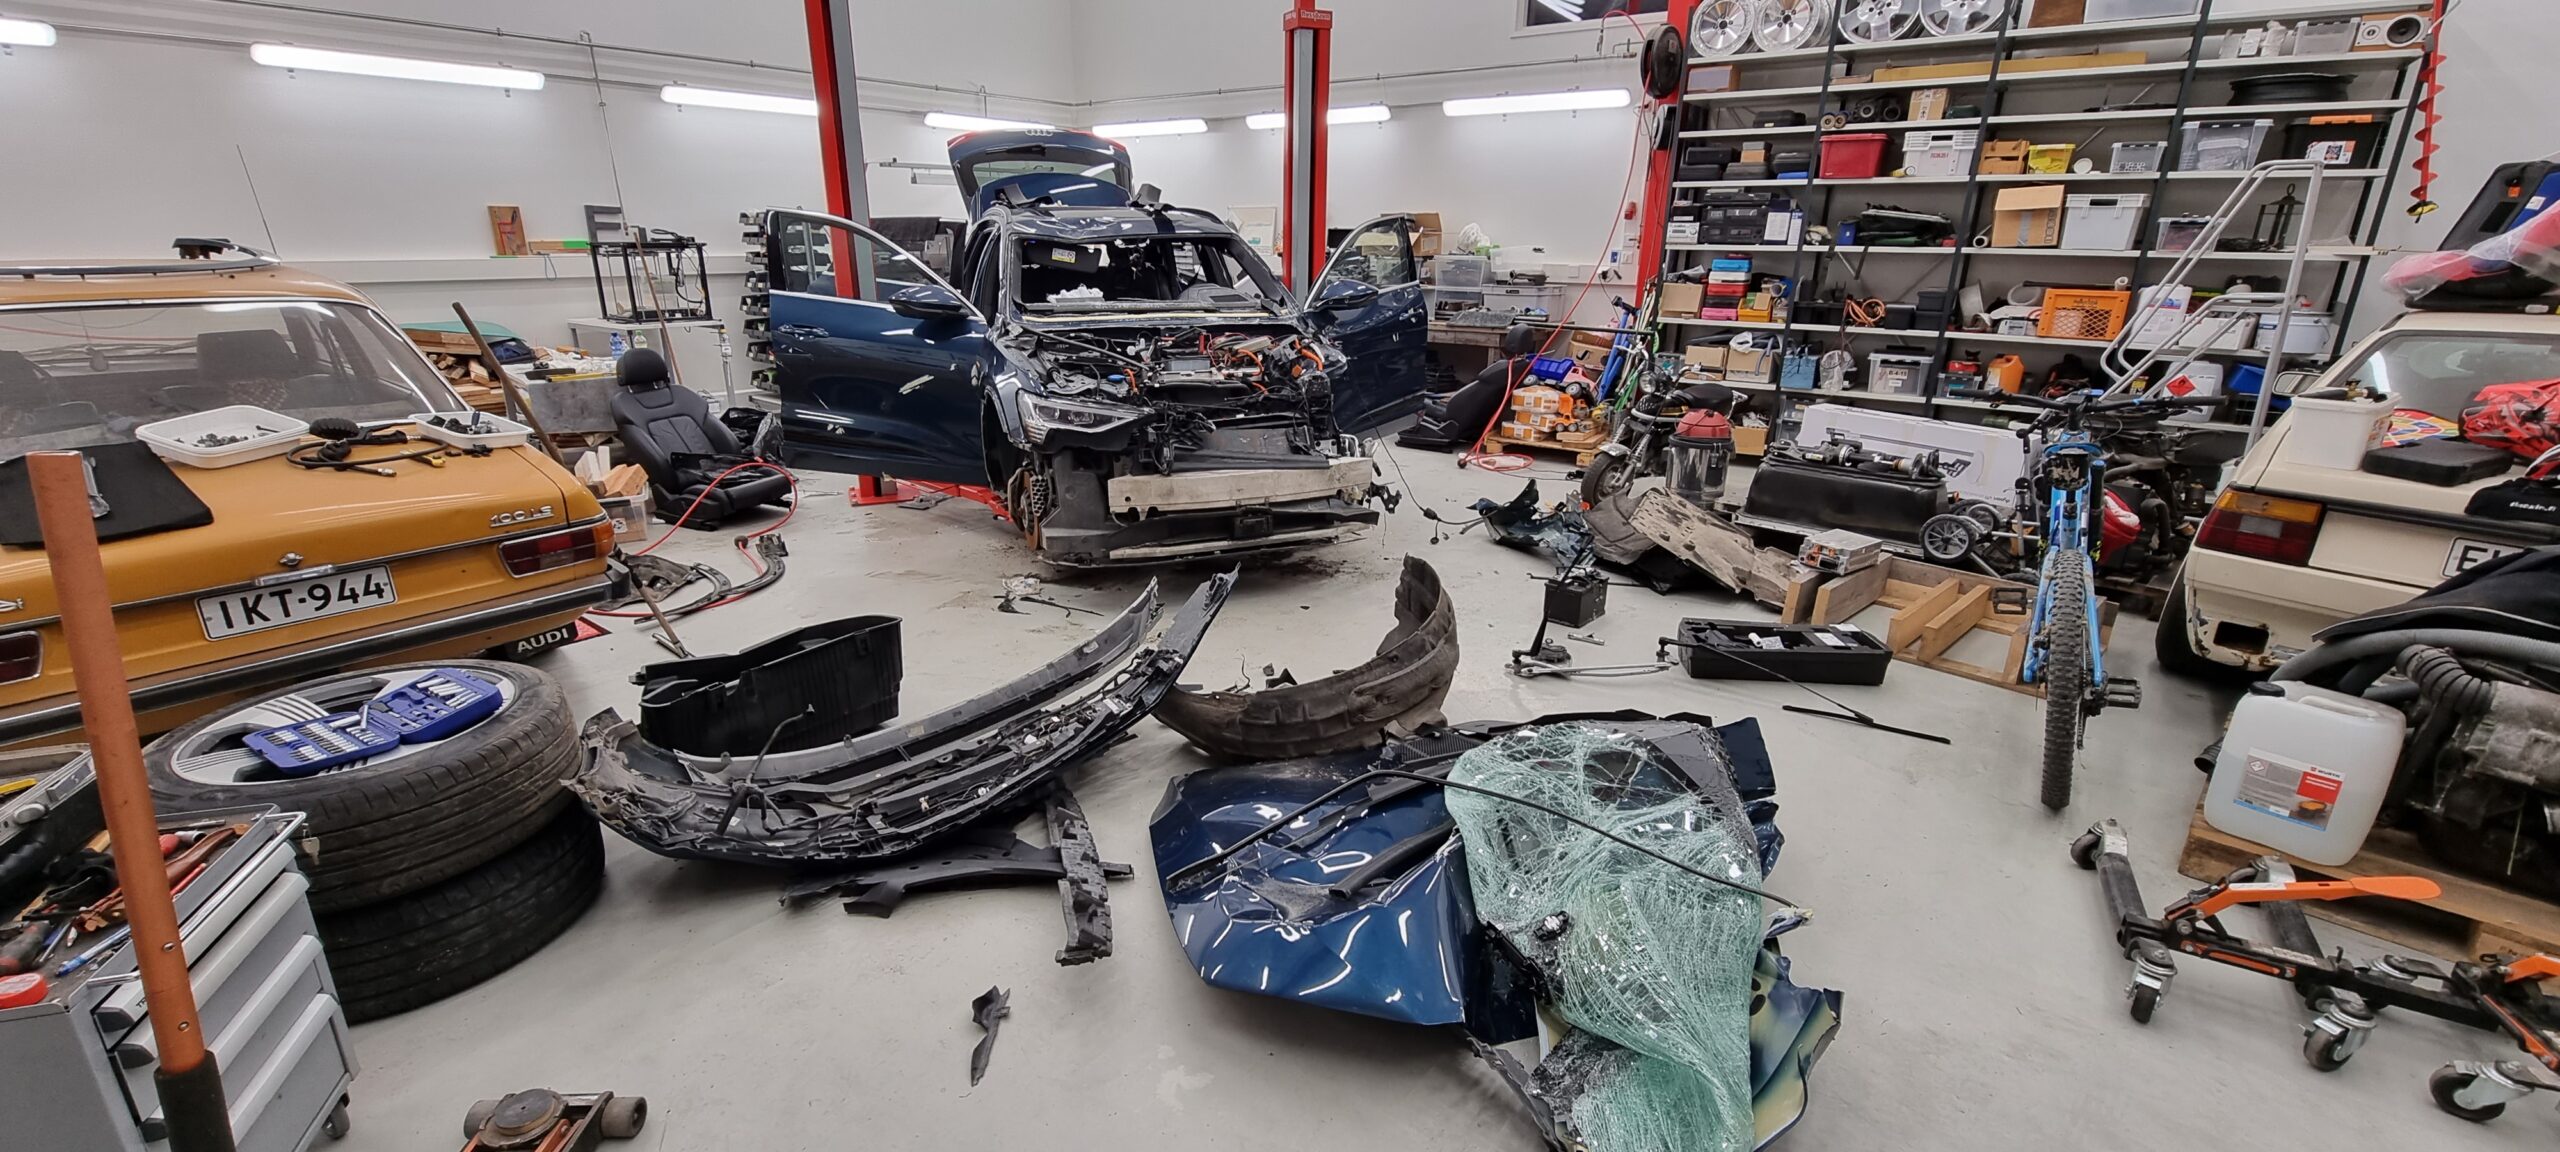
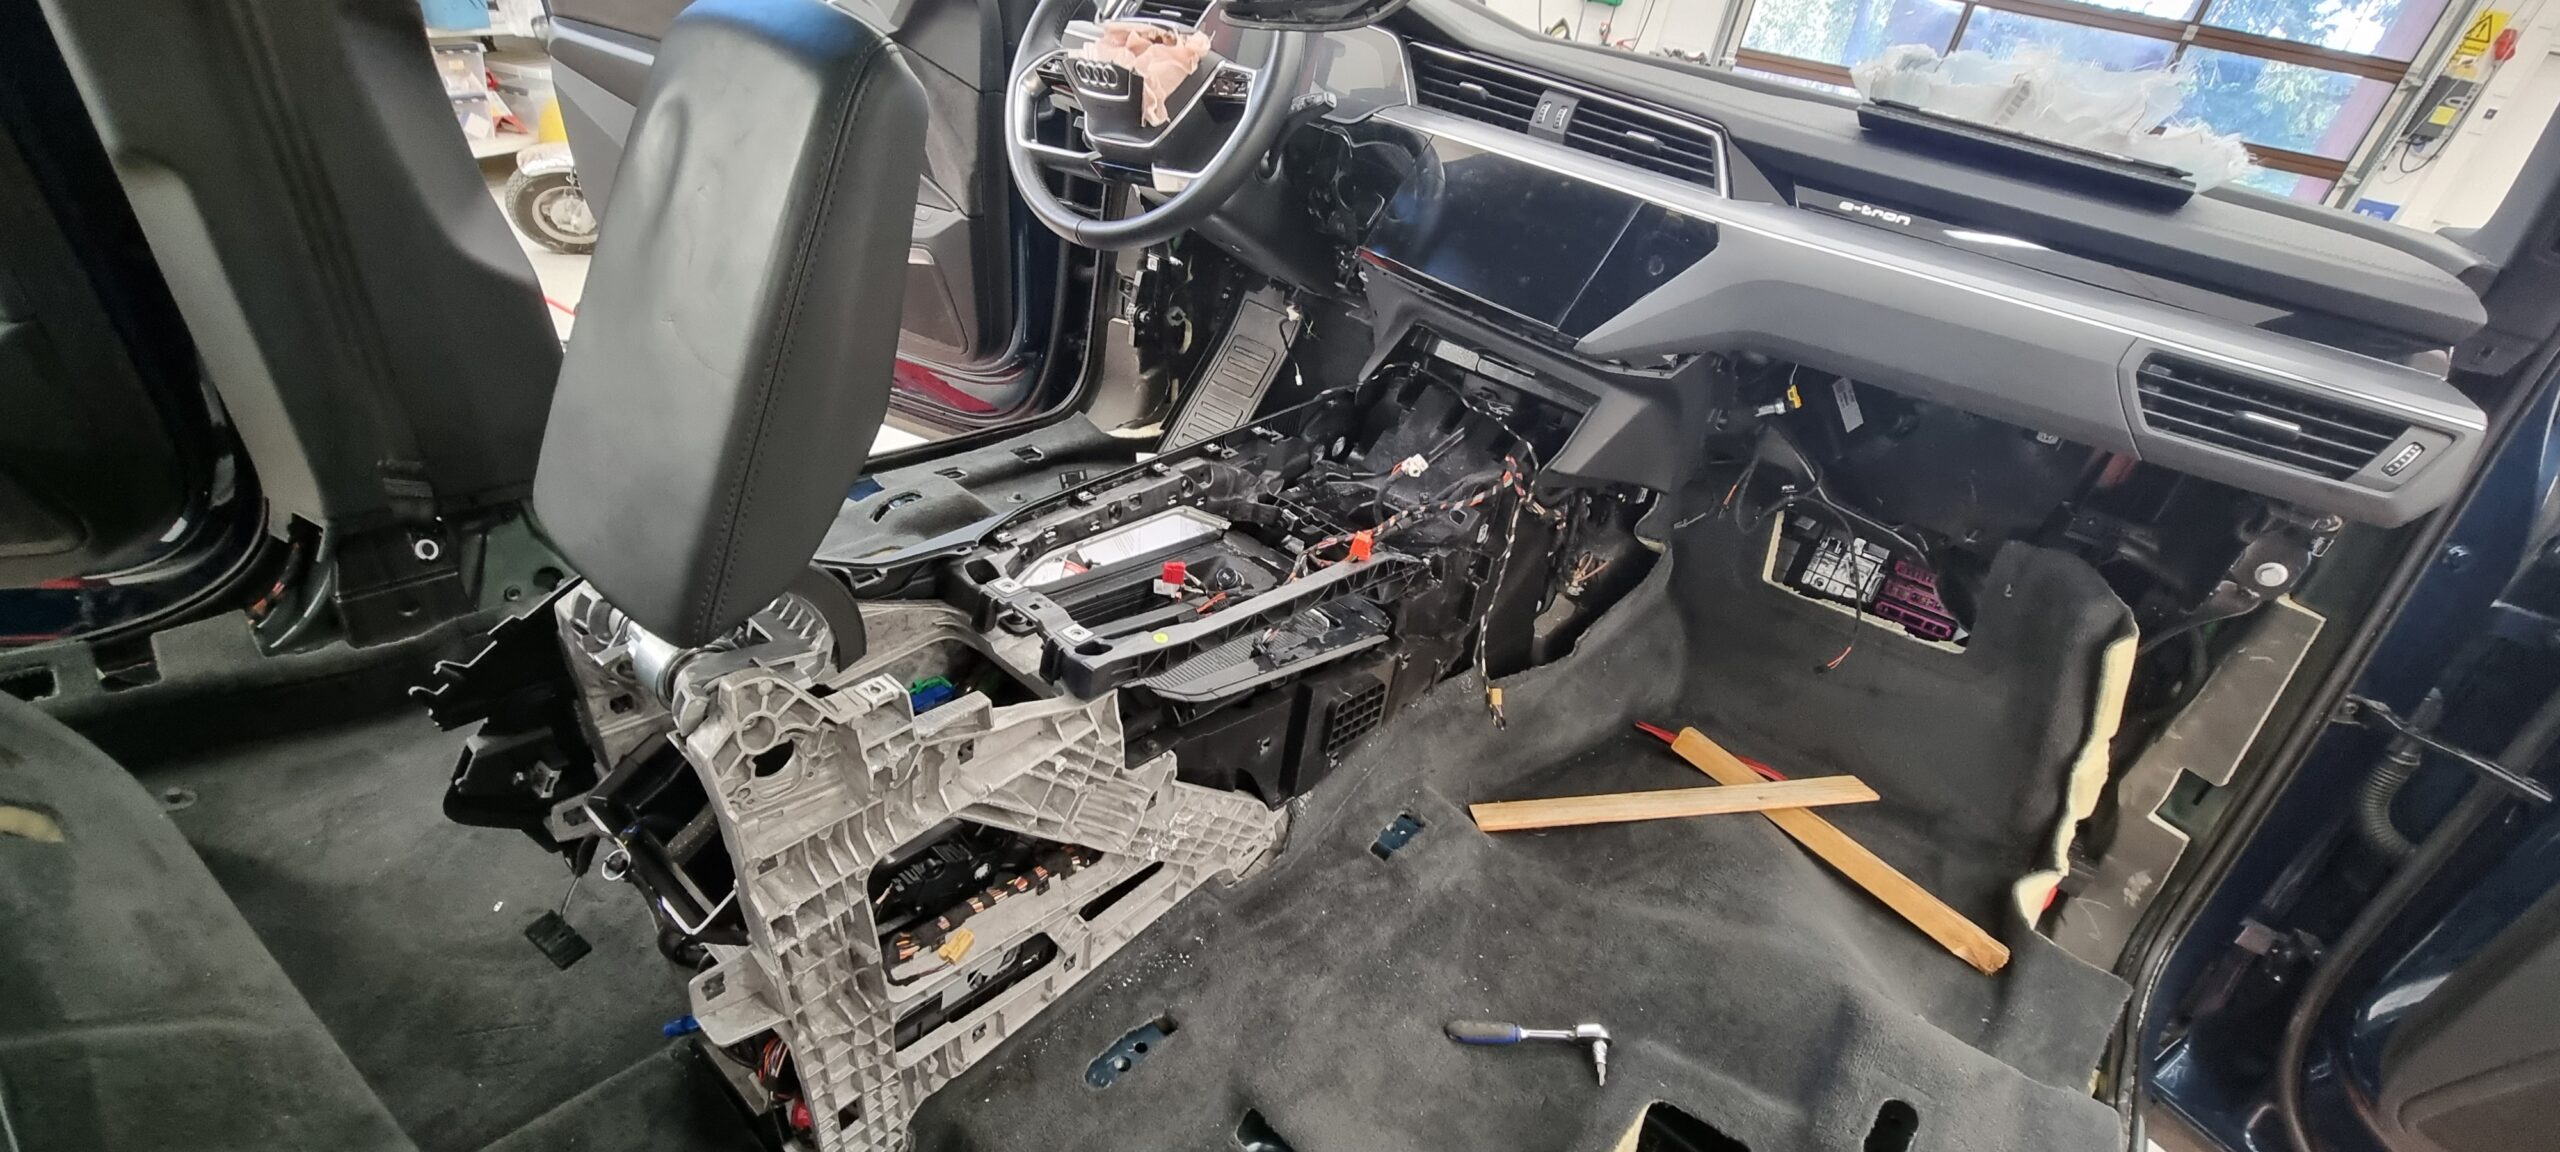
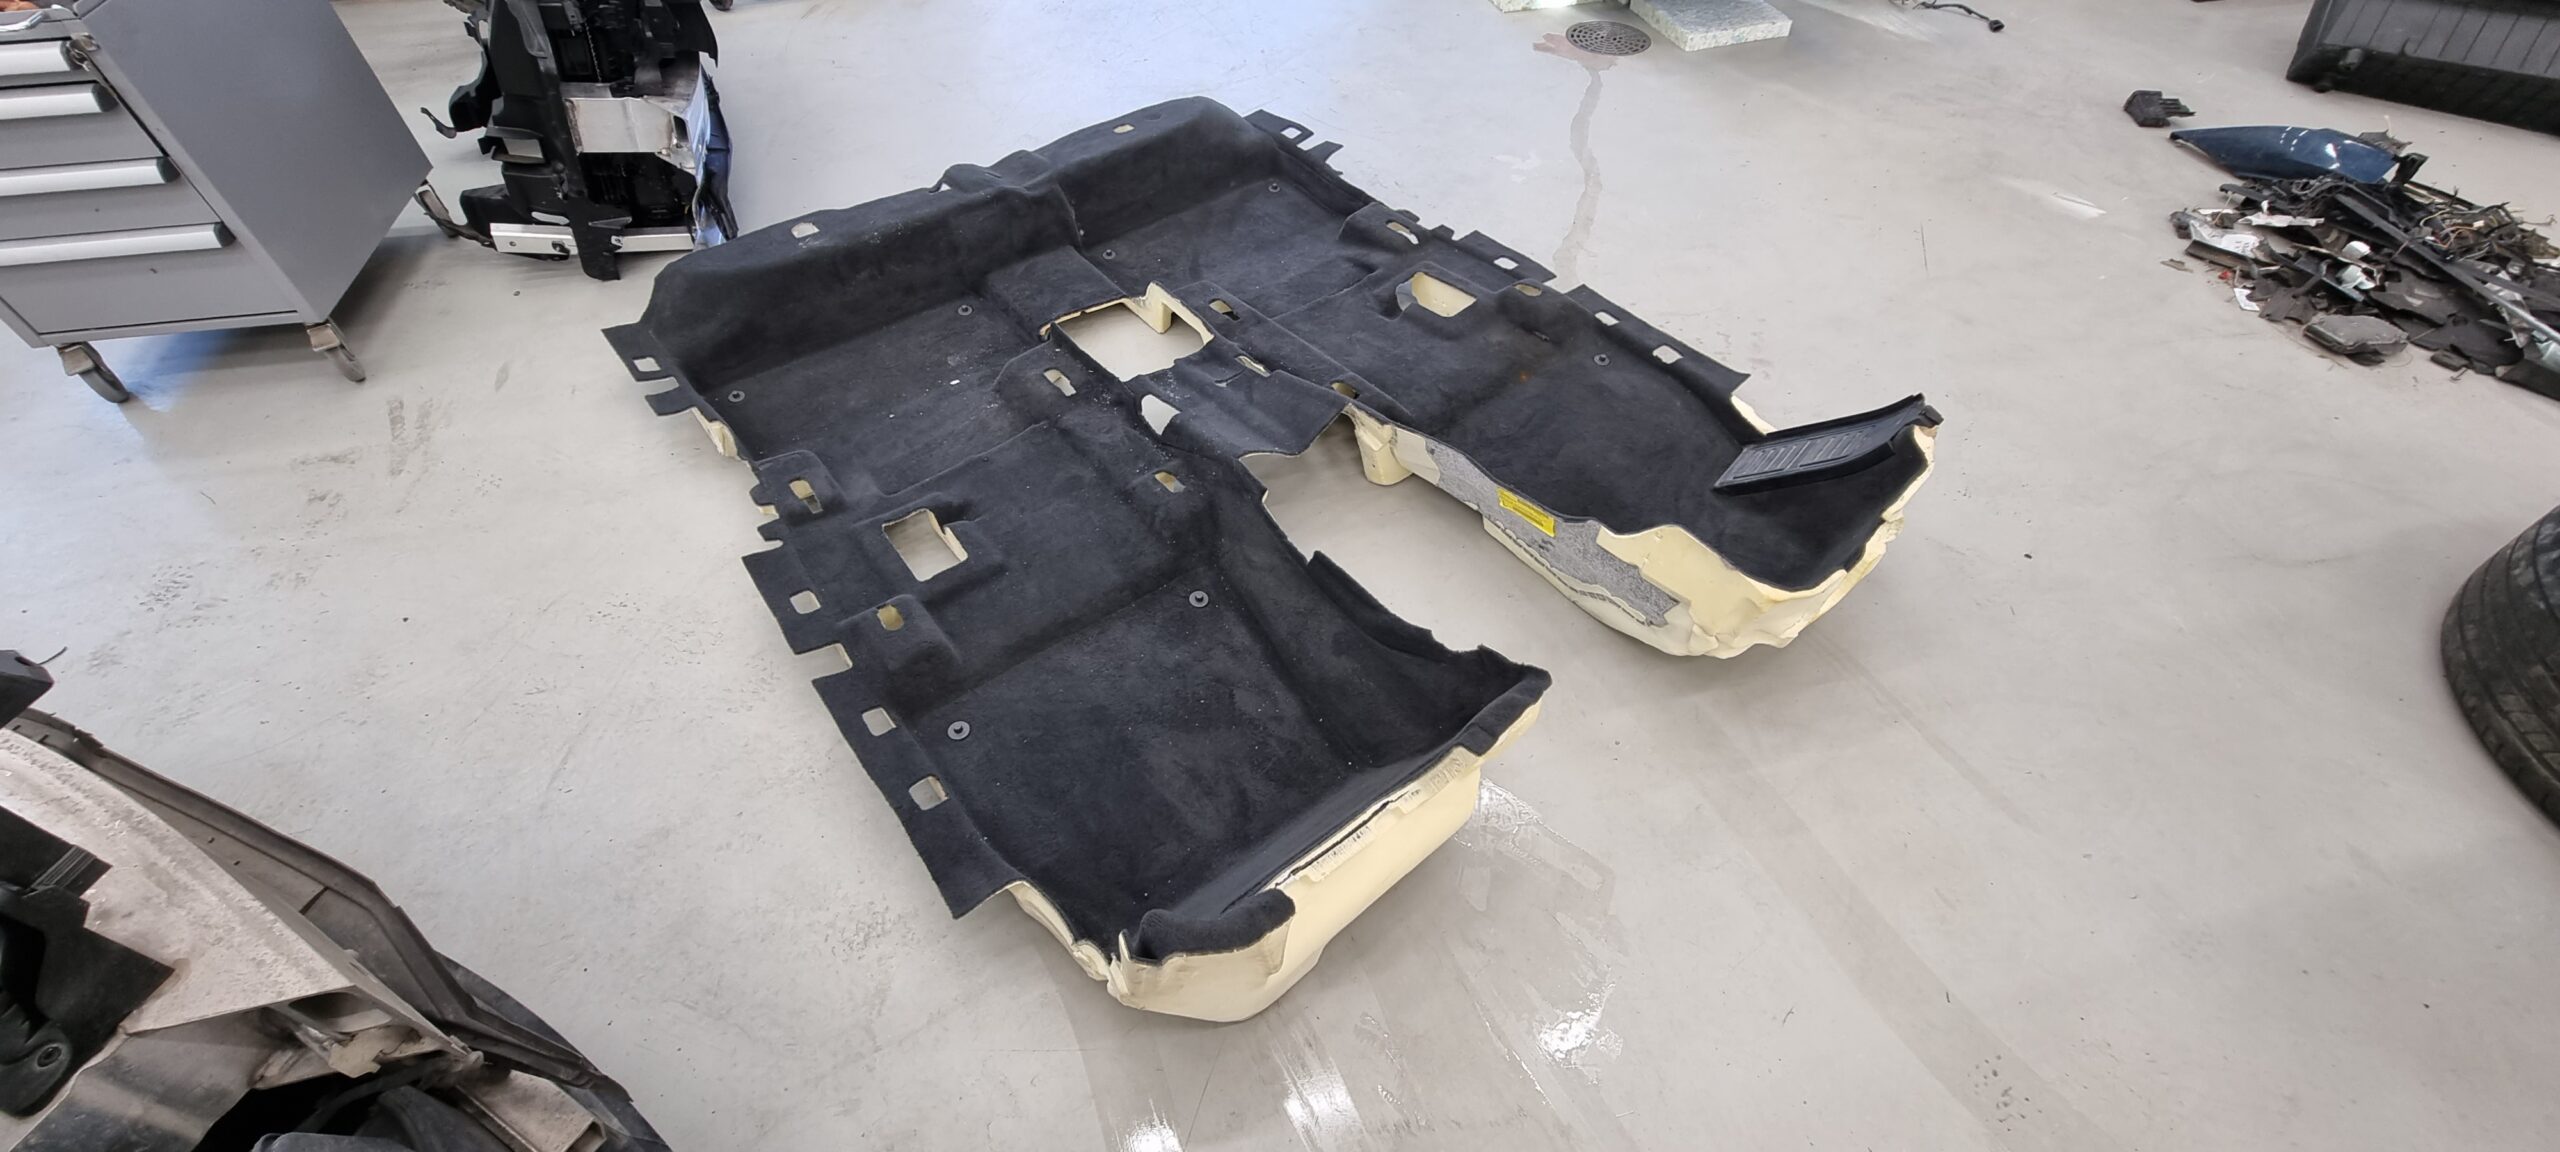
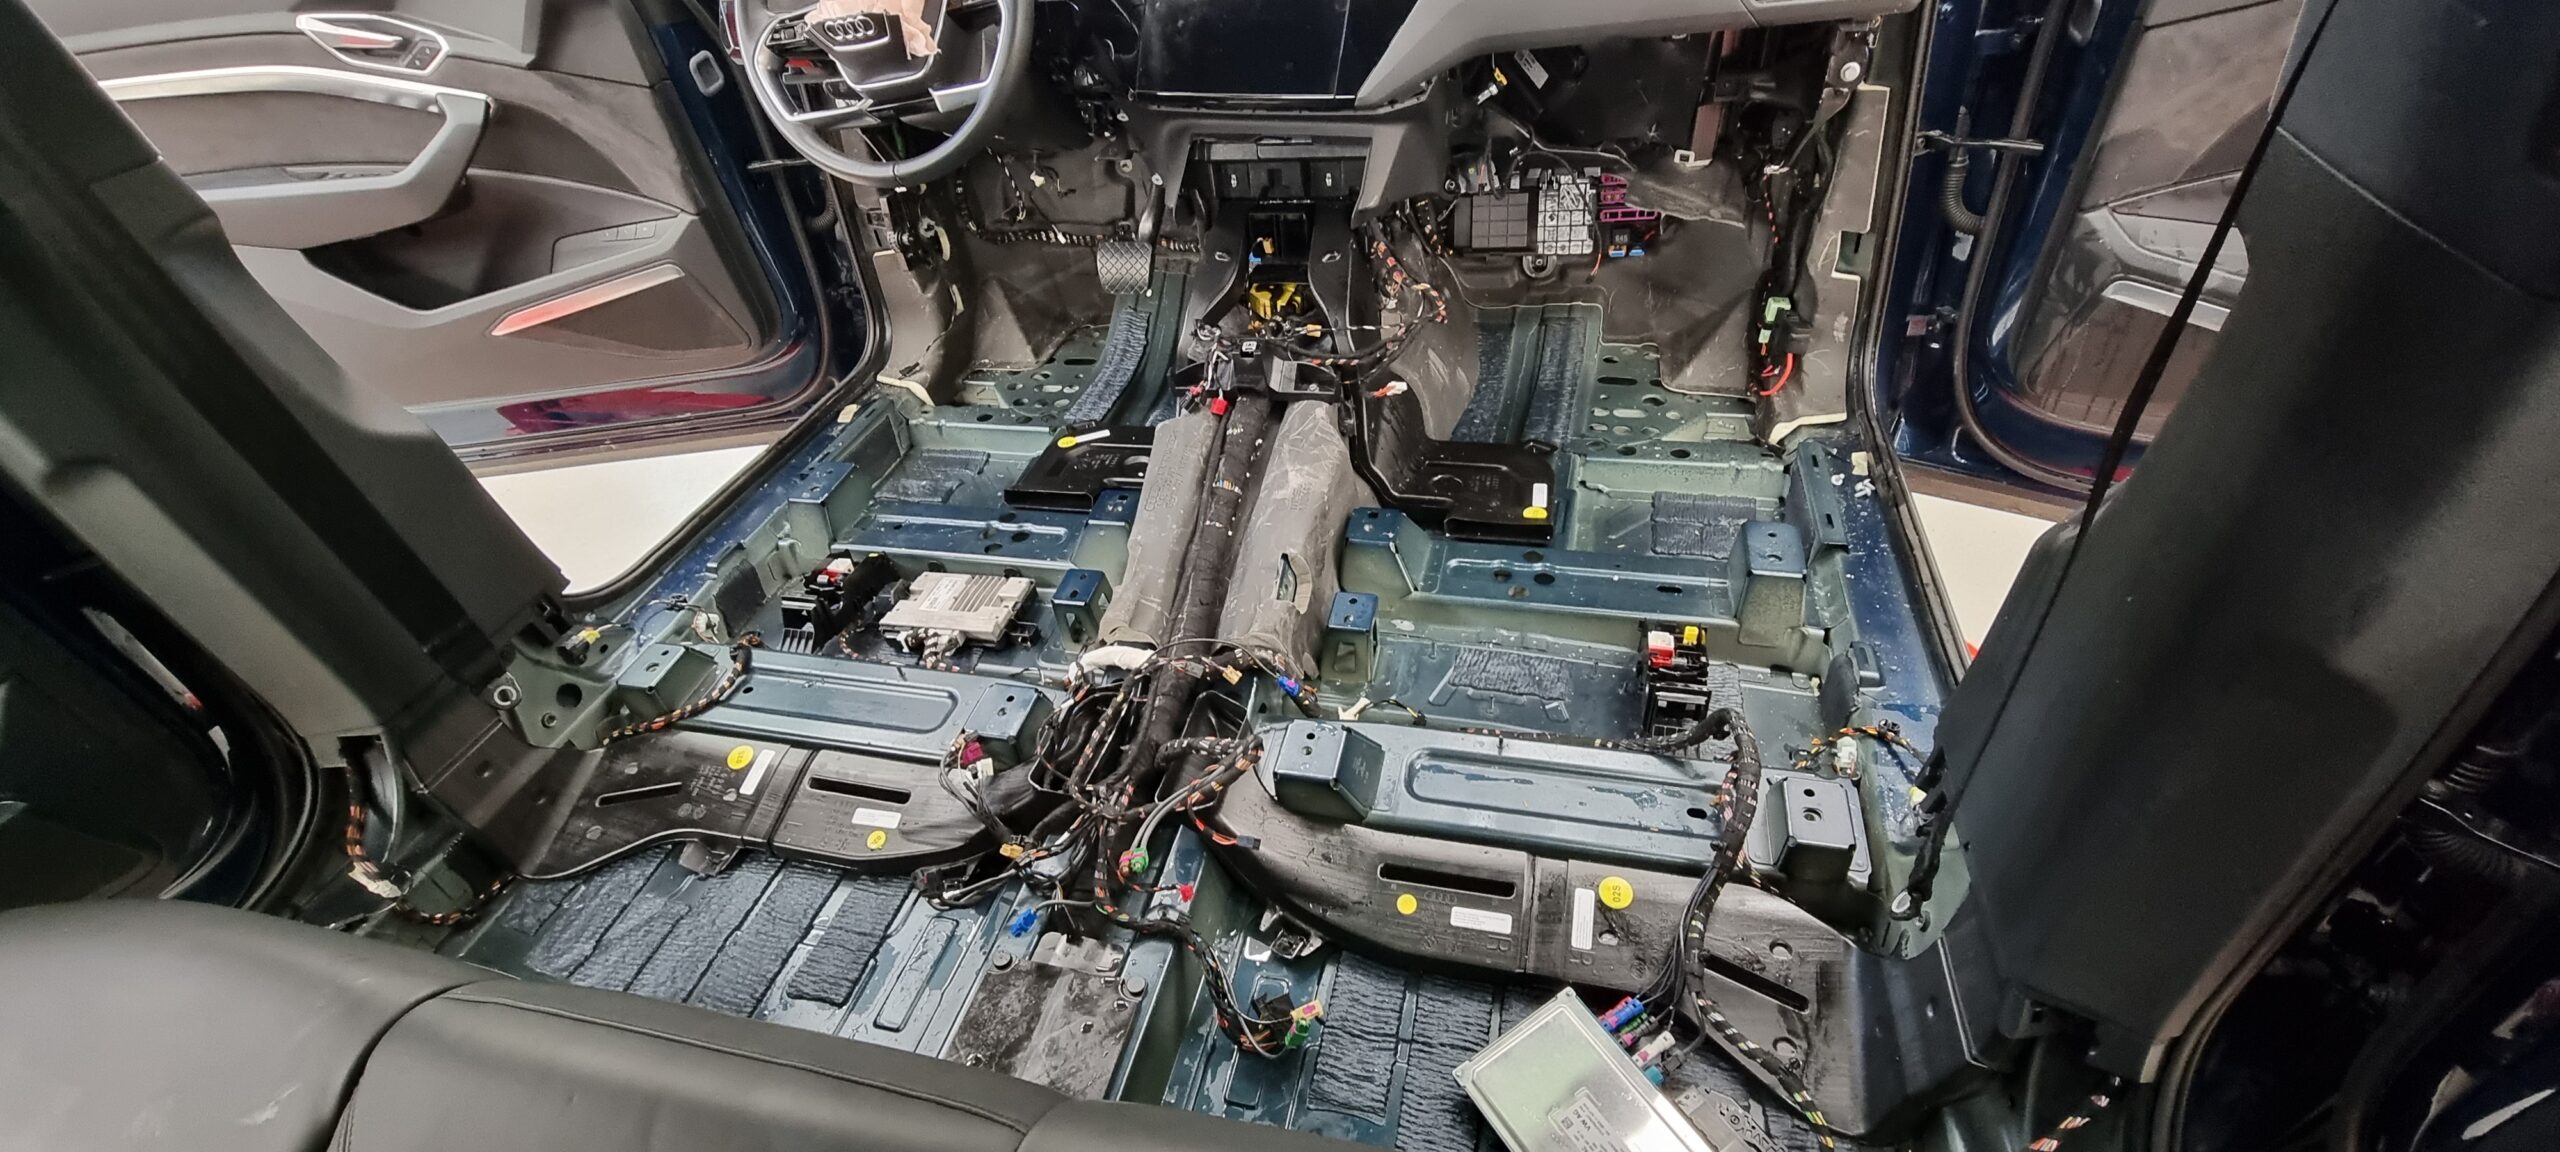
The garage slowly filled up with removed parts. The centre console was quite a masterpiece of German engineering. I must have spent at least half a day on that alone, taking it carefully on my first attempt so I wouldn't break anything. The instructions from erWin really earned their keep. If you haven't come across it, erWin is Audi's own service for downloading repair instructions, wiring diagrams and so on. An hour's access cost less than a tenner, and that was enough to download practically everything needed for a project like this. All the interior removal and refitting instructions, for example, came in one big PDF.
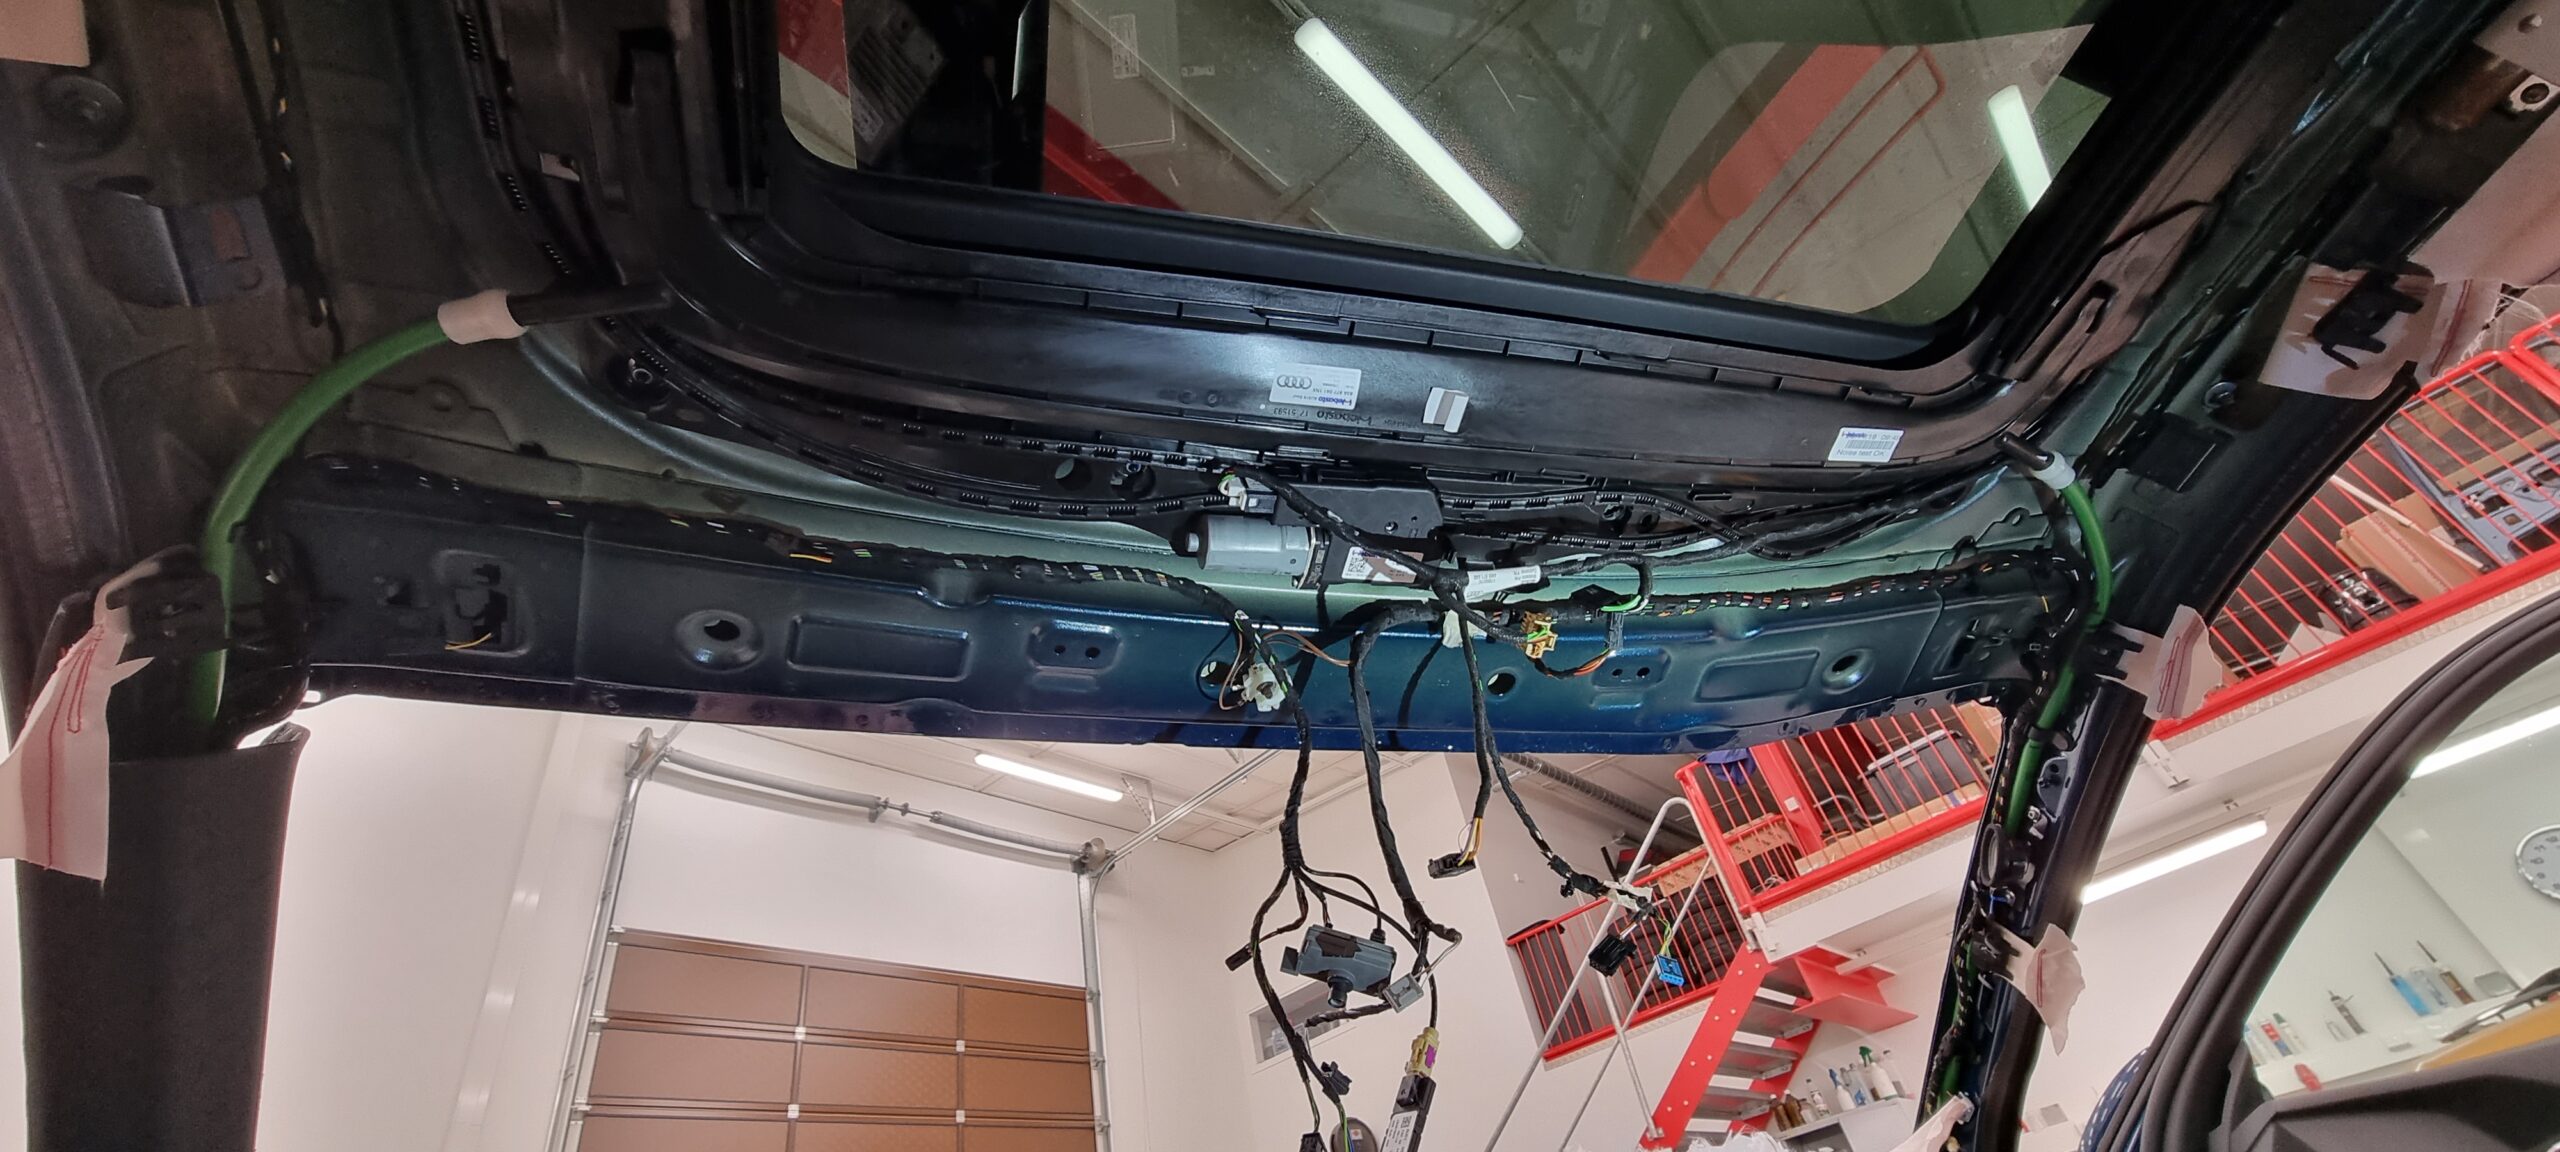
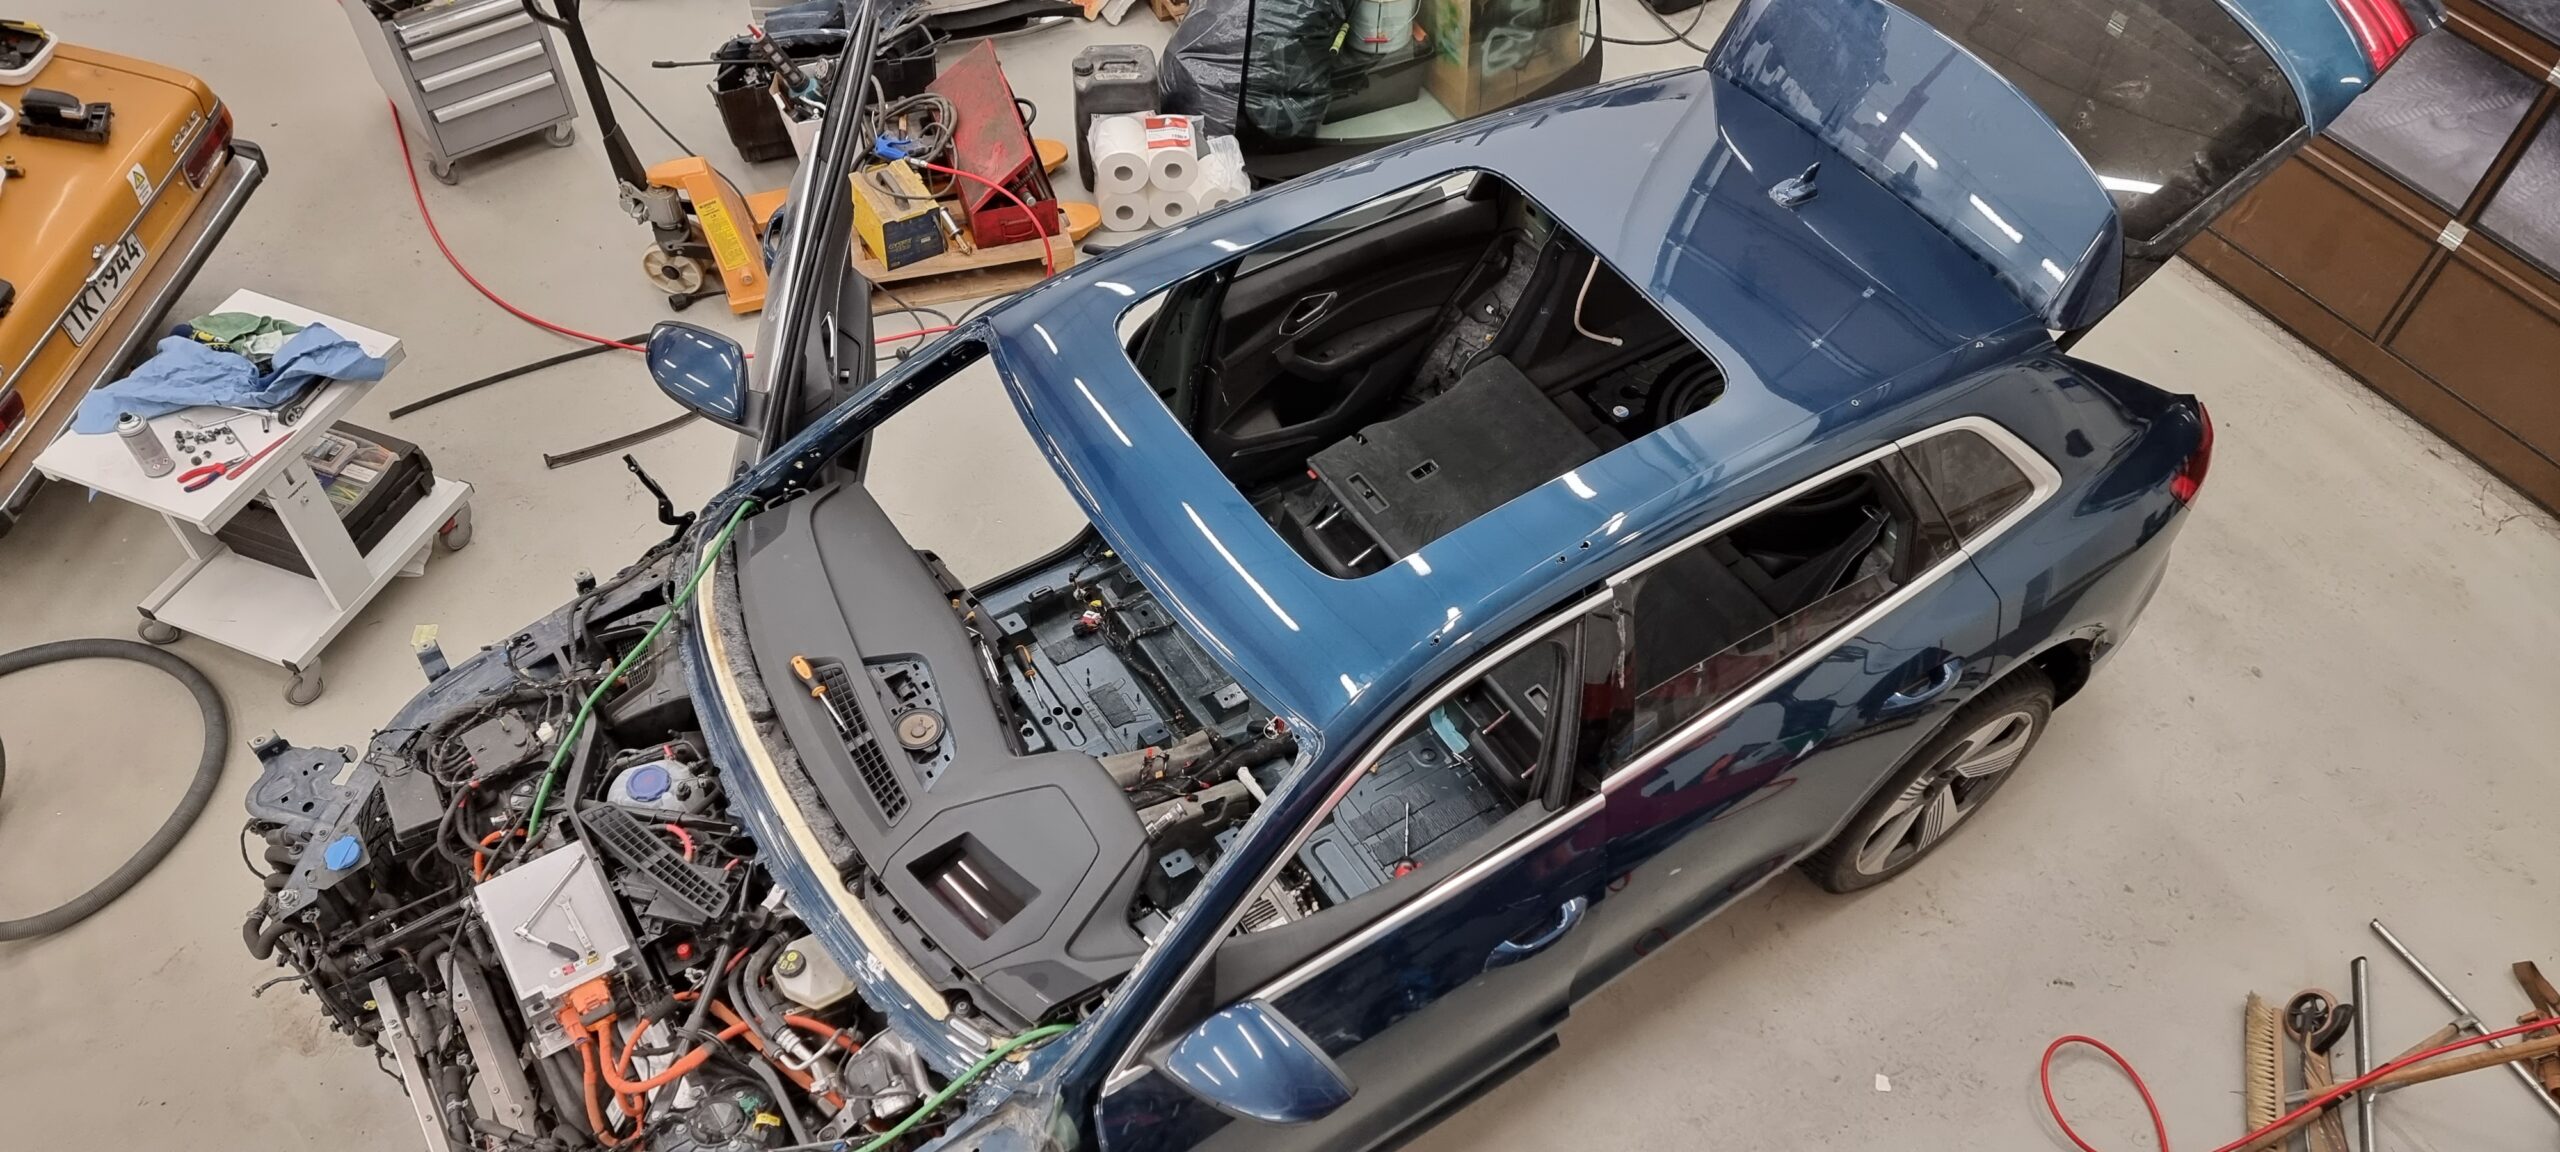
Once the windscreen was cut out, we could lower the headlining and take it out of the car.
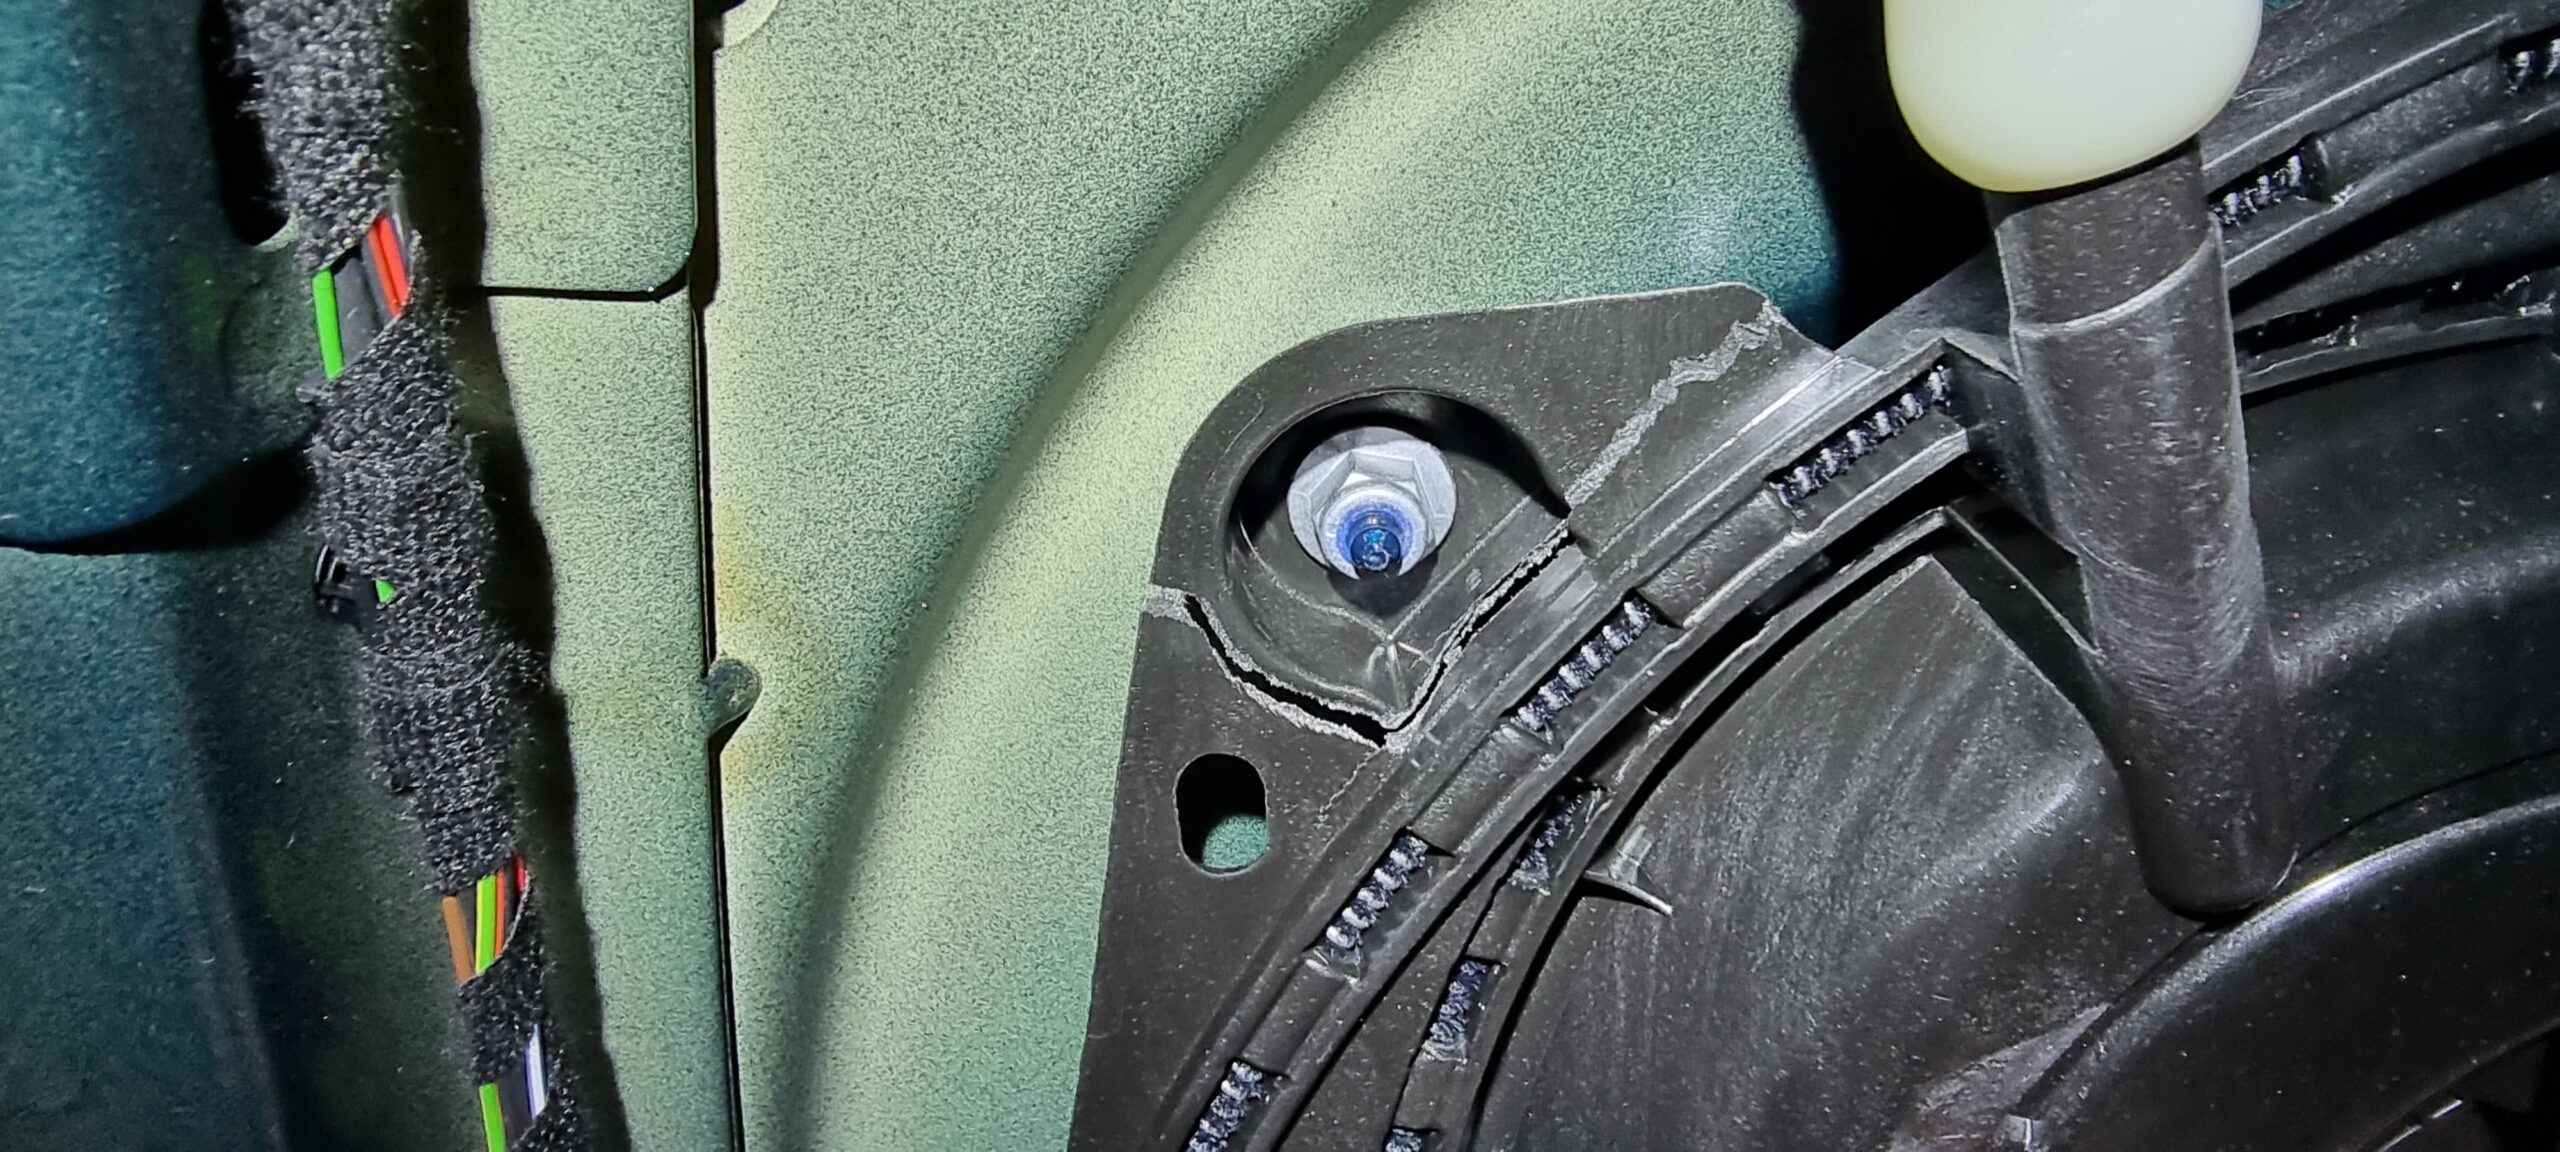
Amazingly, the sunroof had survived. Just a few mountings on its frame were broken, and plastic adhesive sorted those out.
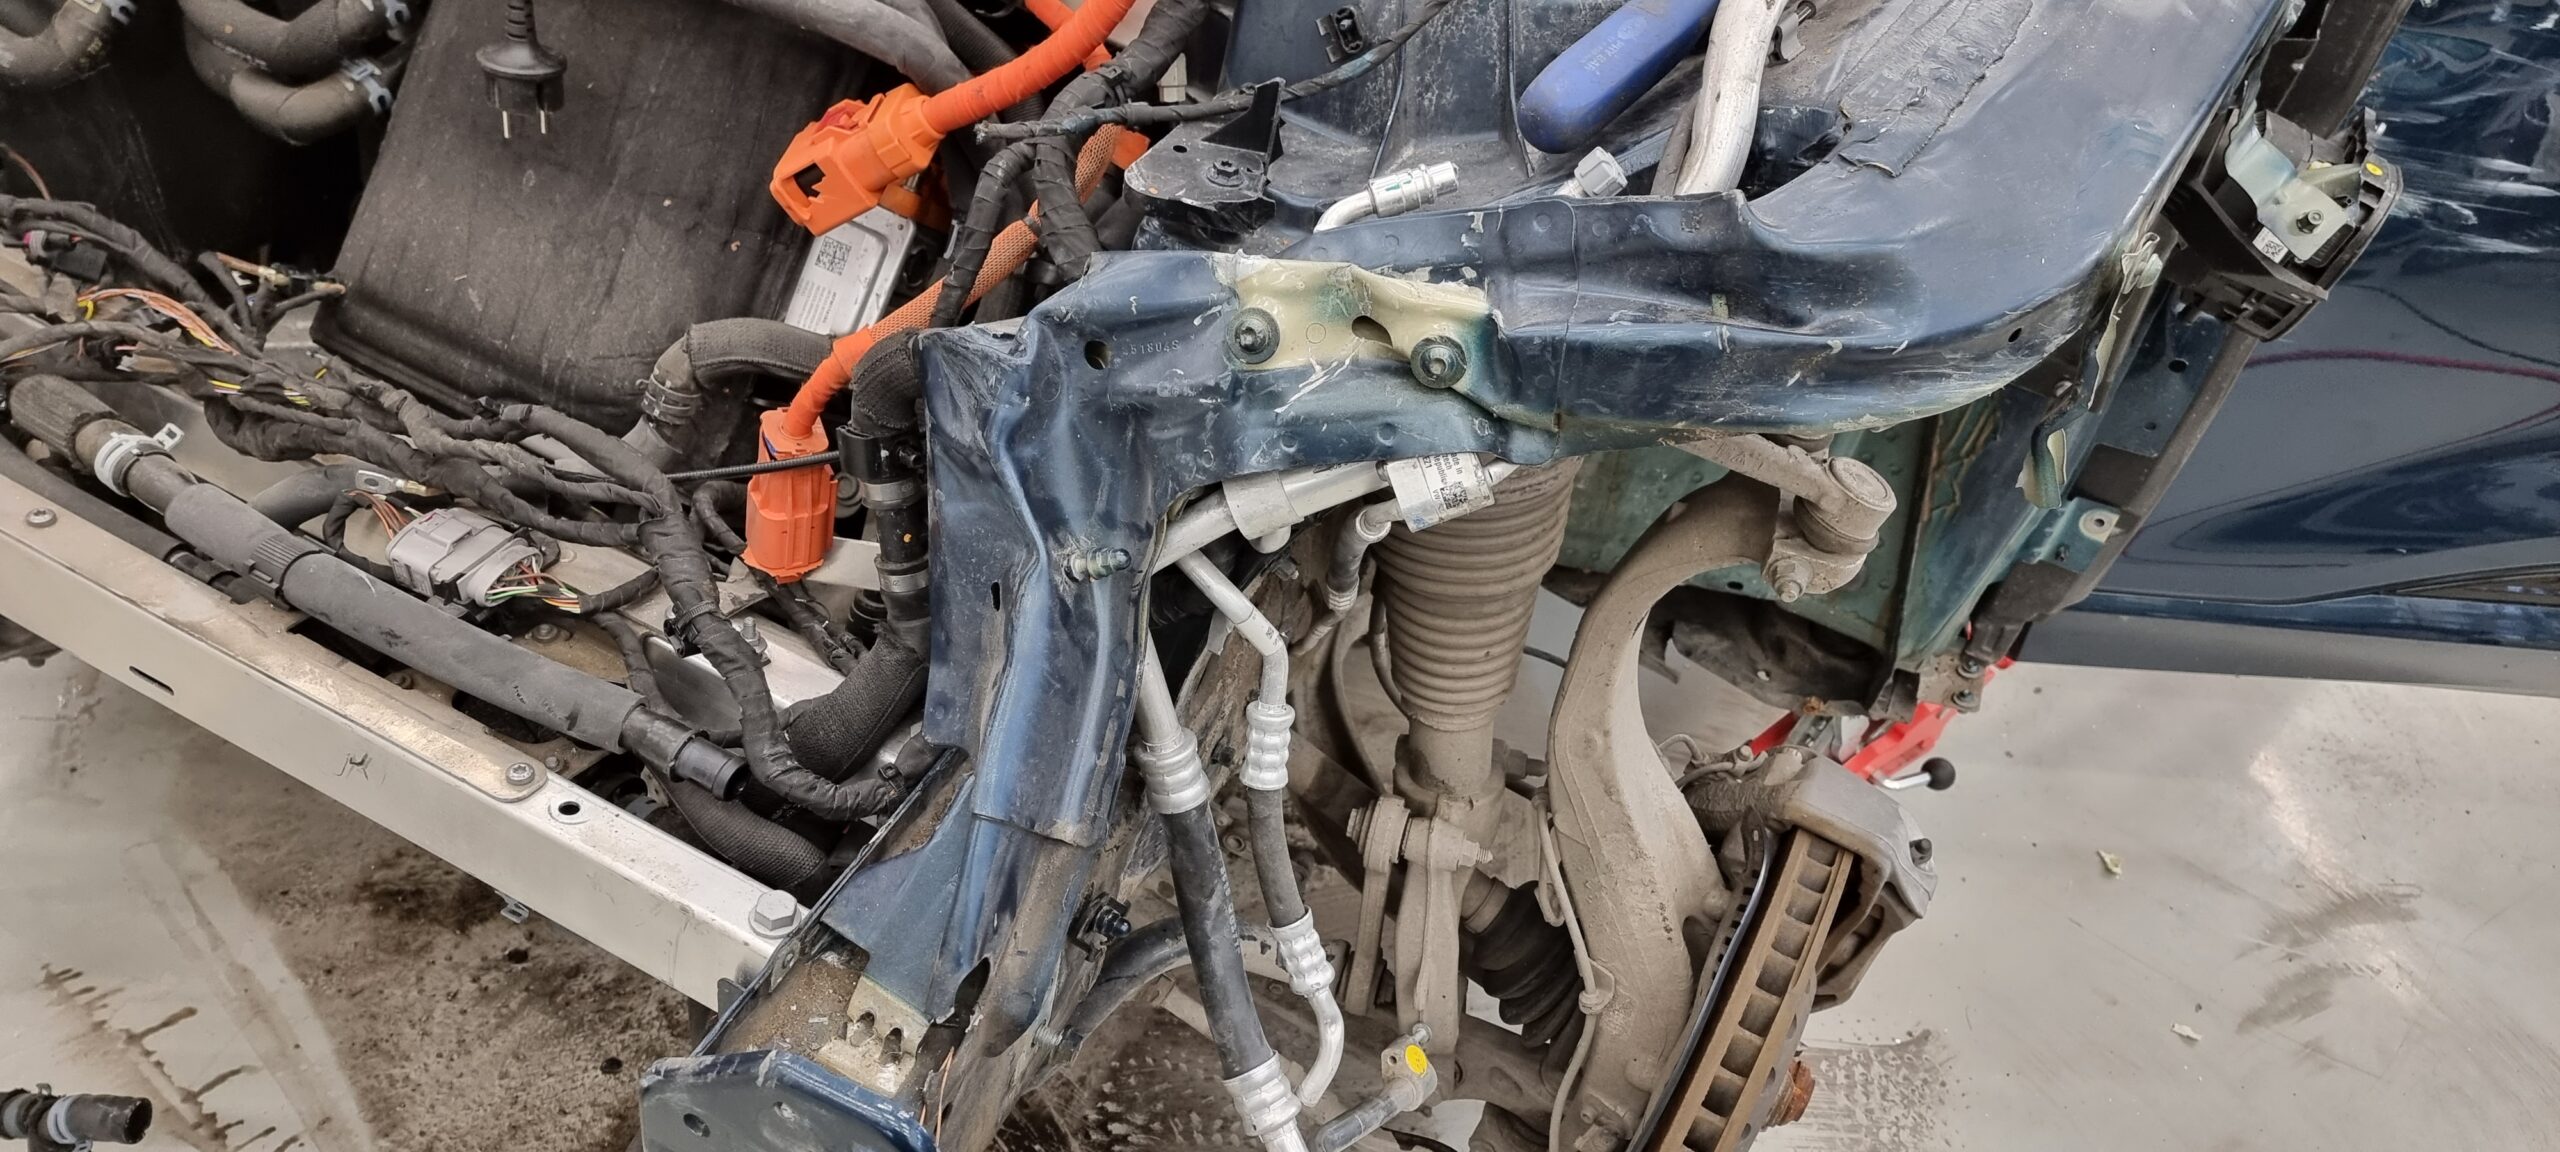
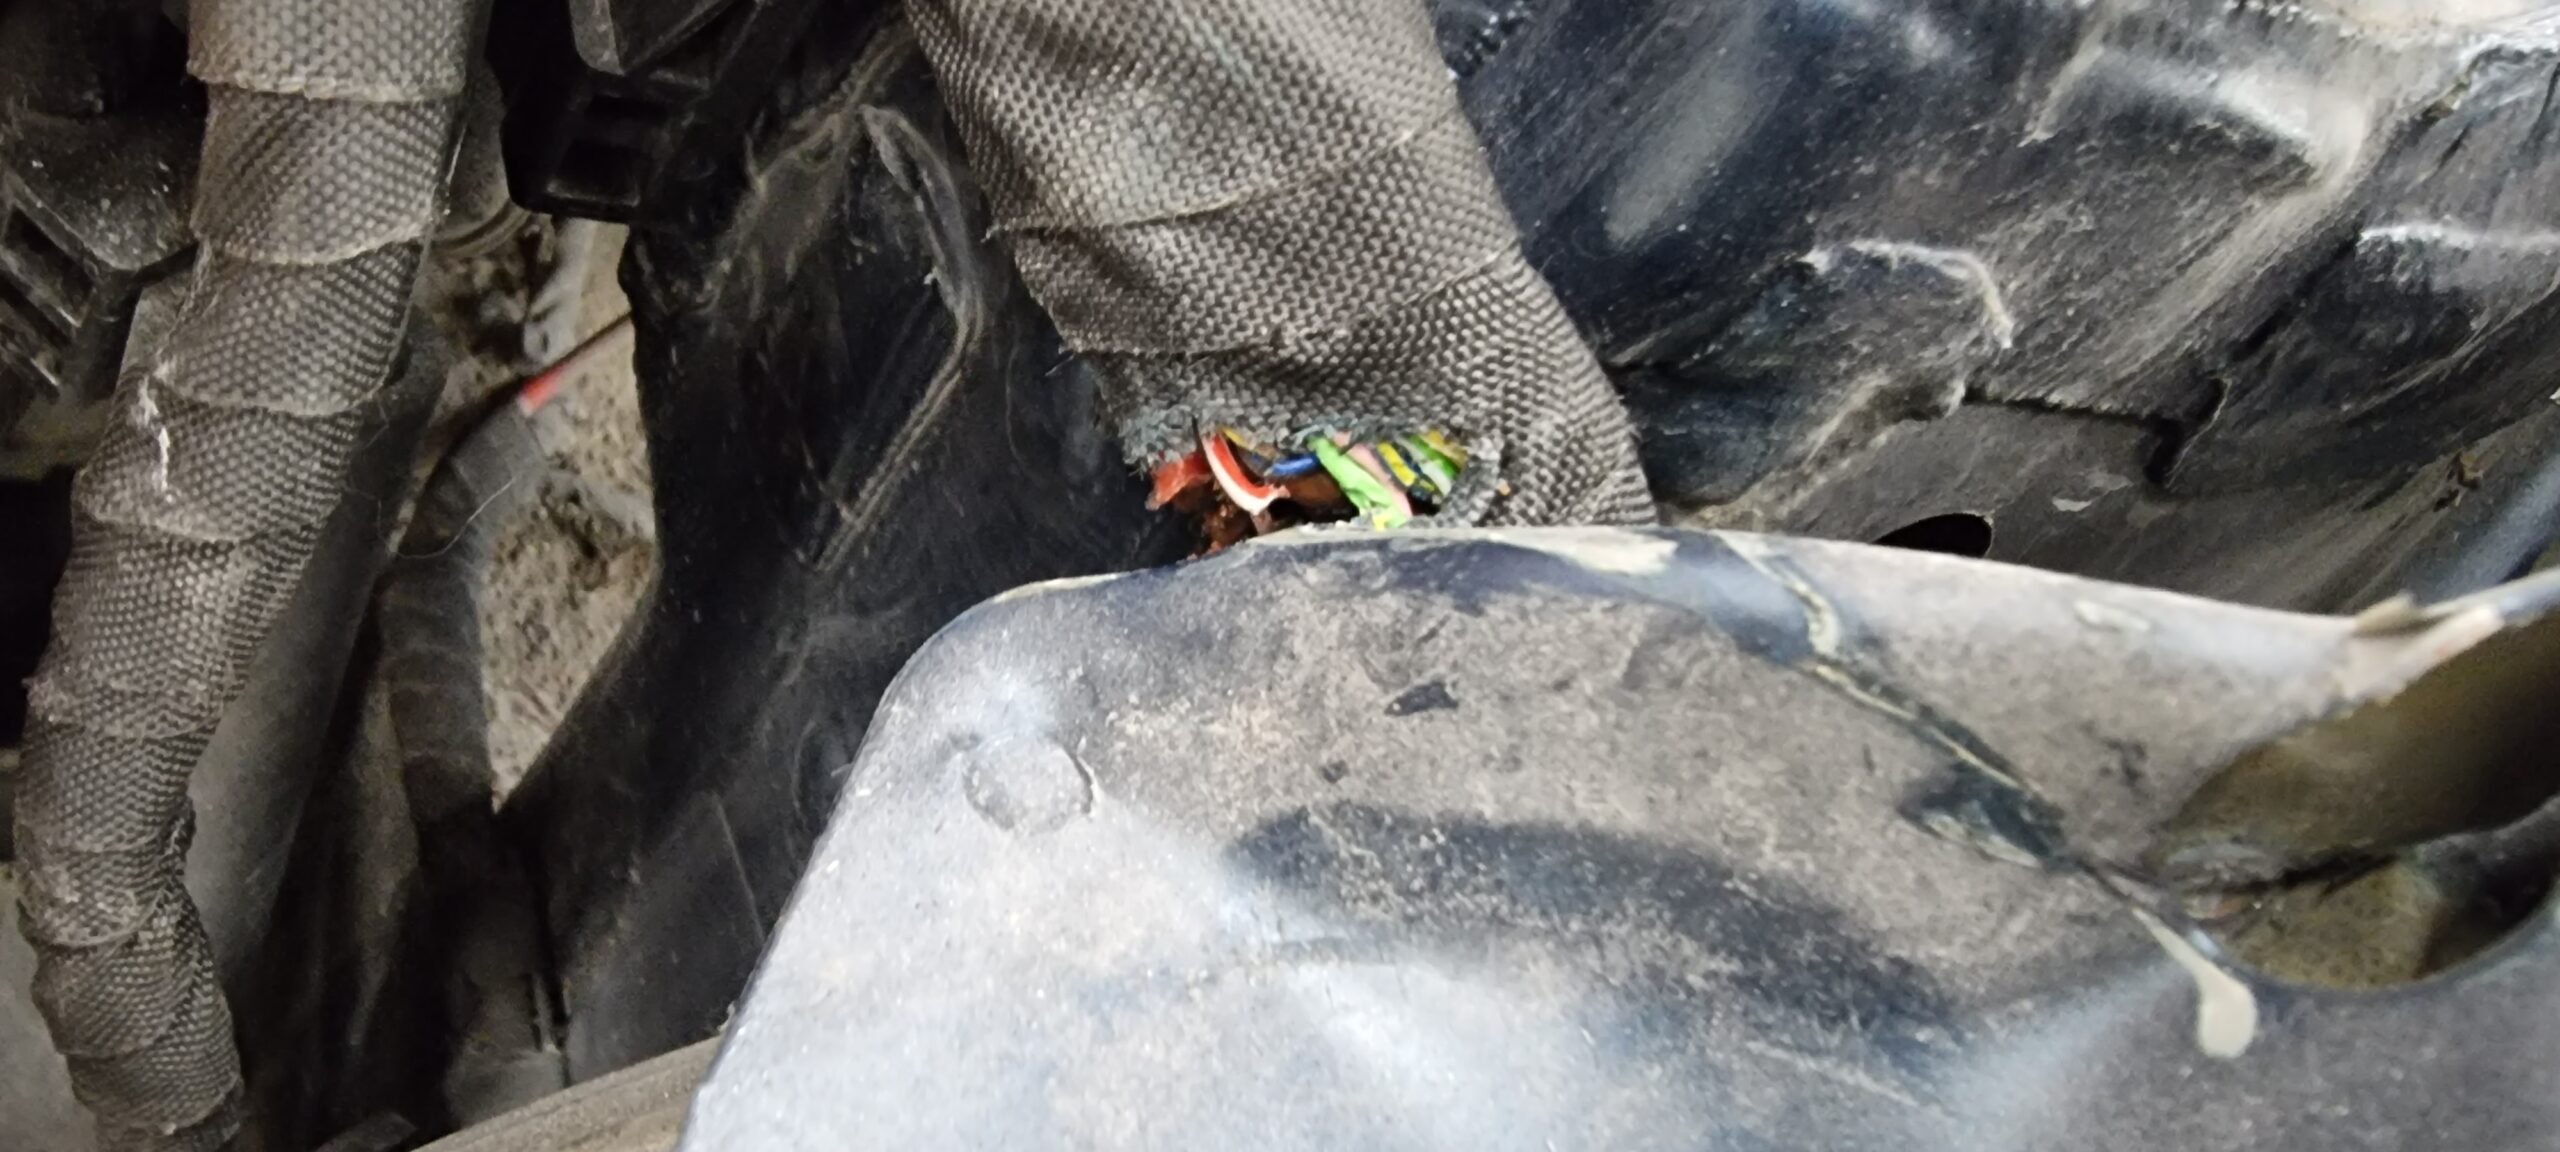
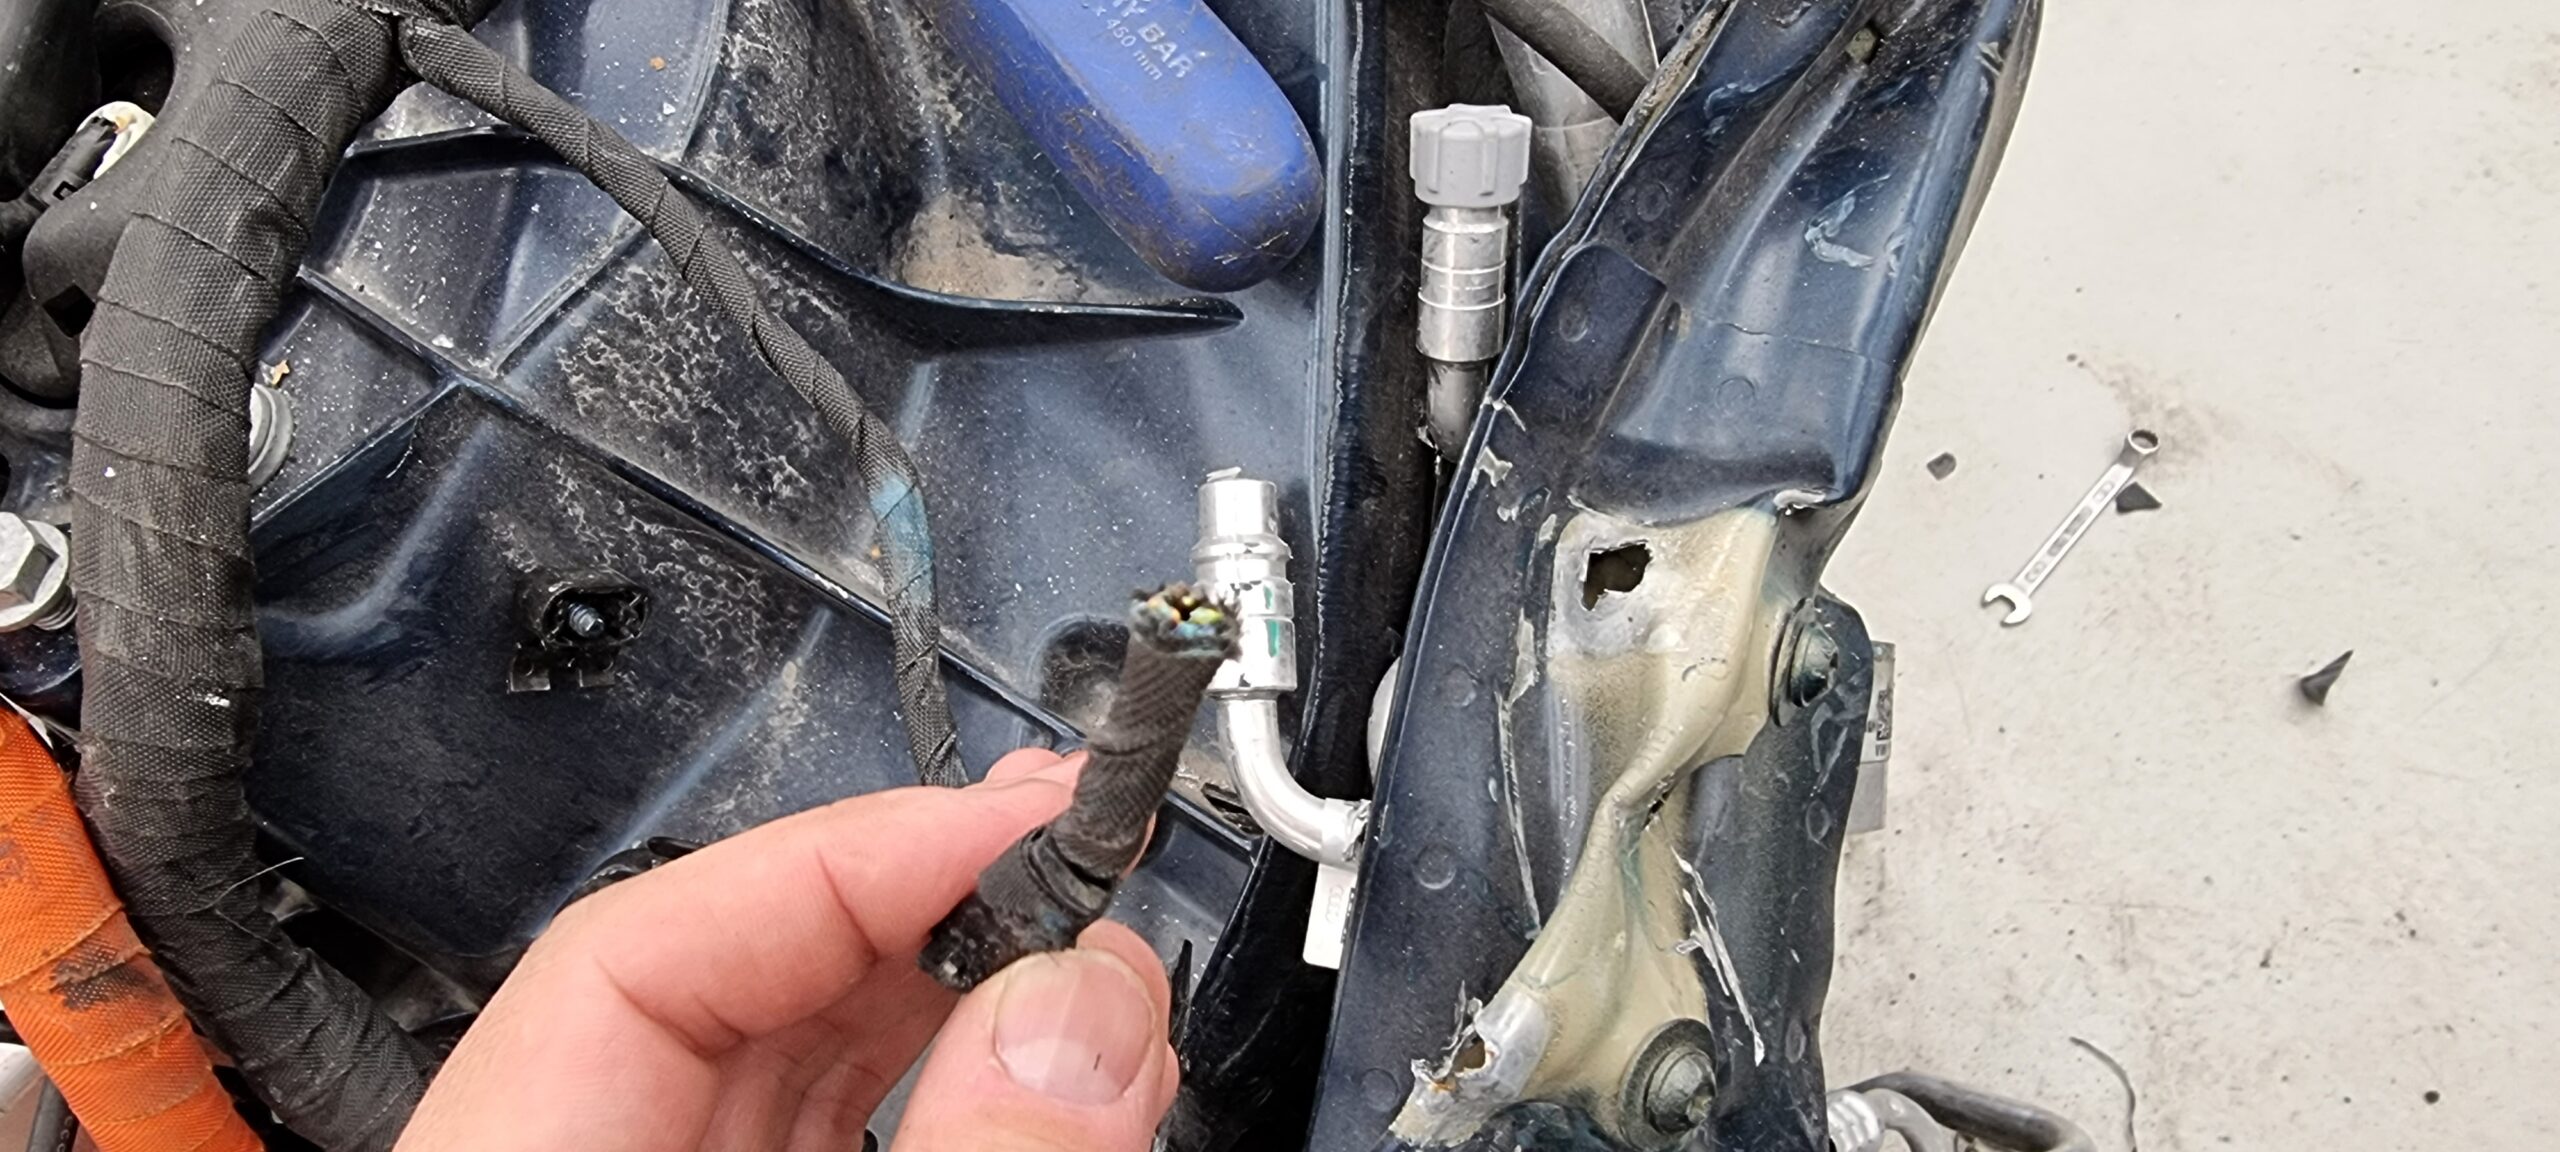
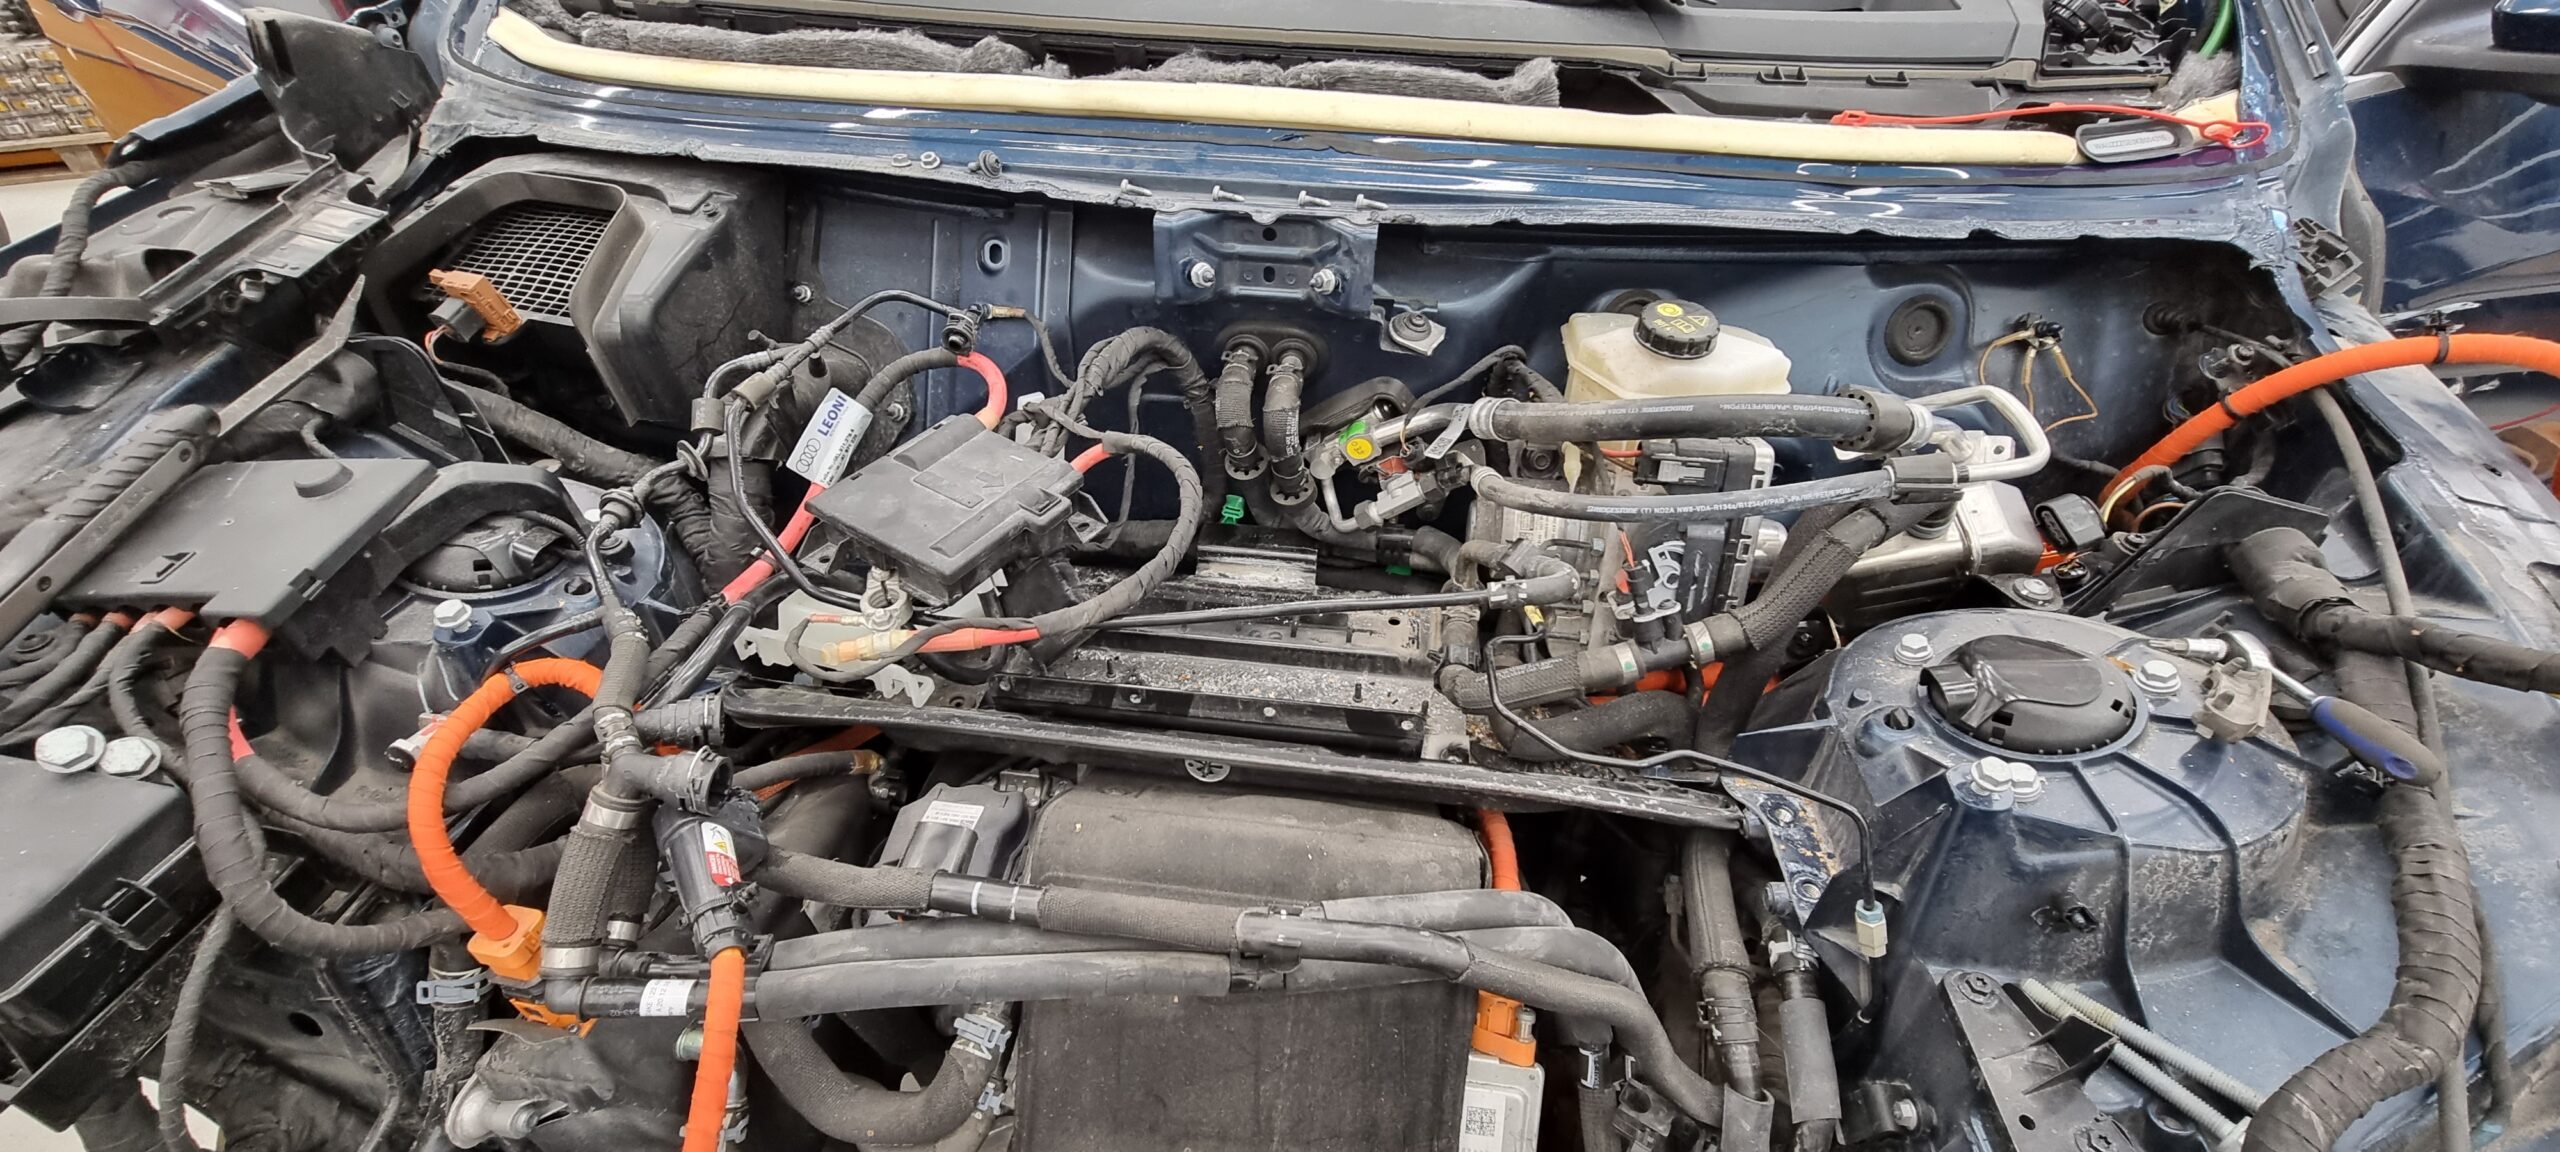
The upper chassis rail at the left front was badly bent and had damaged some wiring as it moved. We measured the strut top's position straight away: thankfully, that was still where it belonged, so there hadn't been any major distortion there.
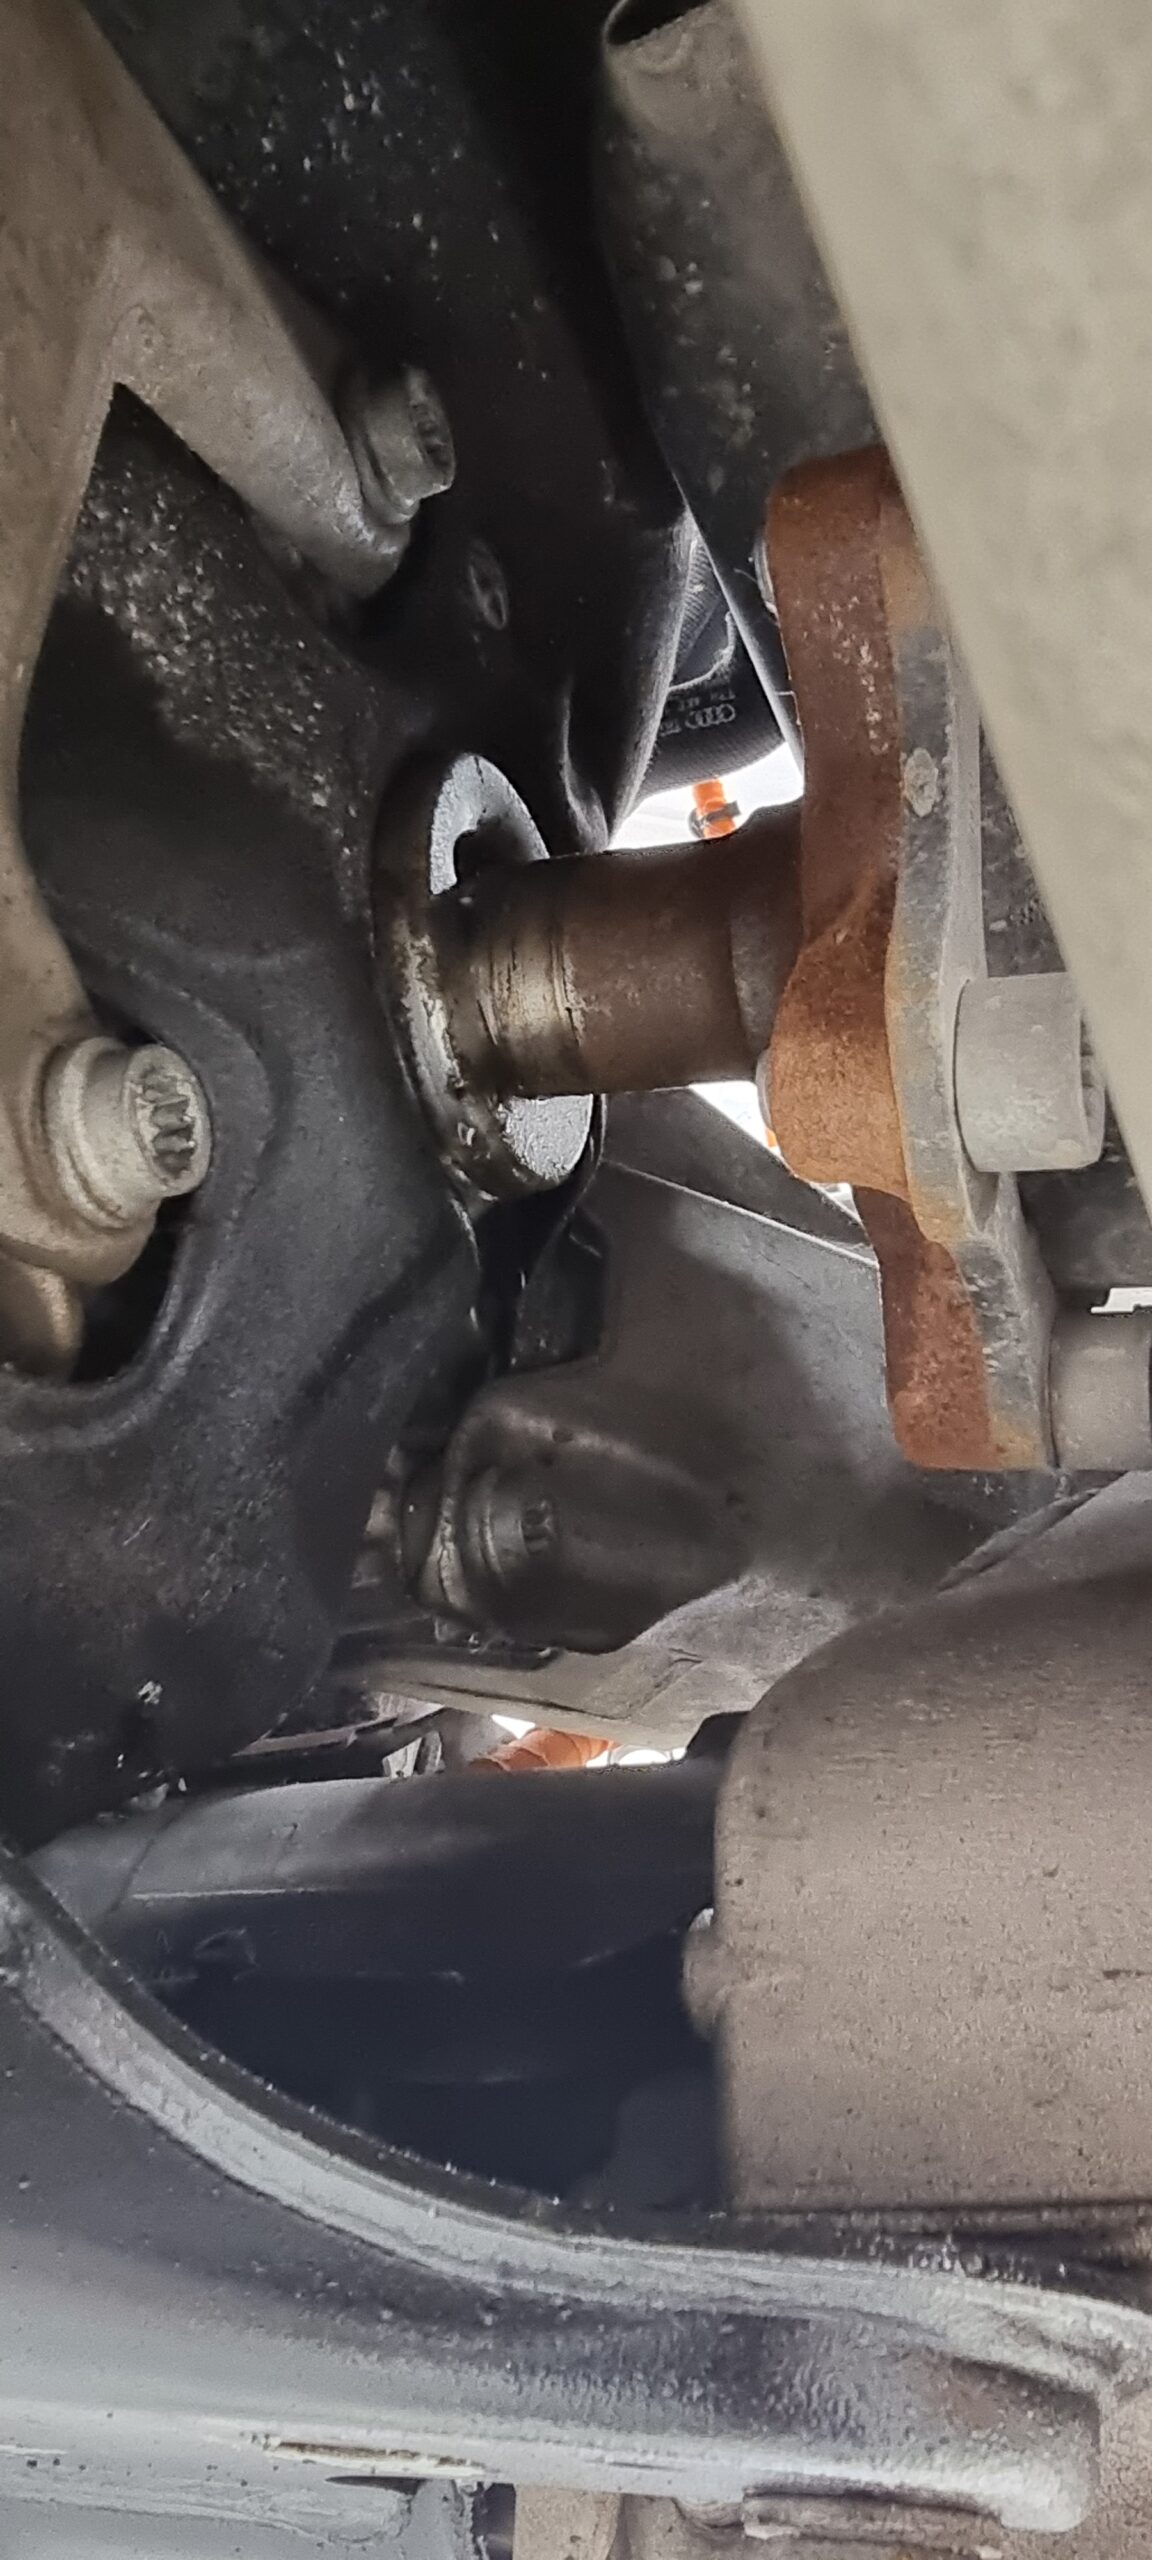
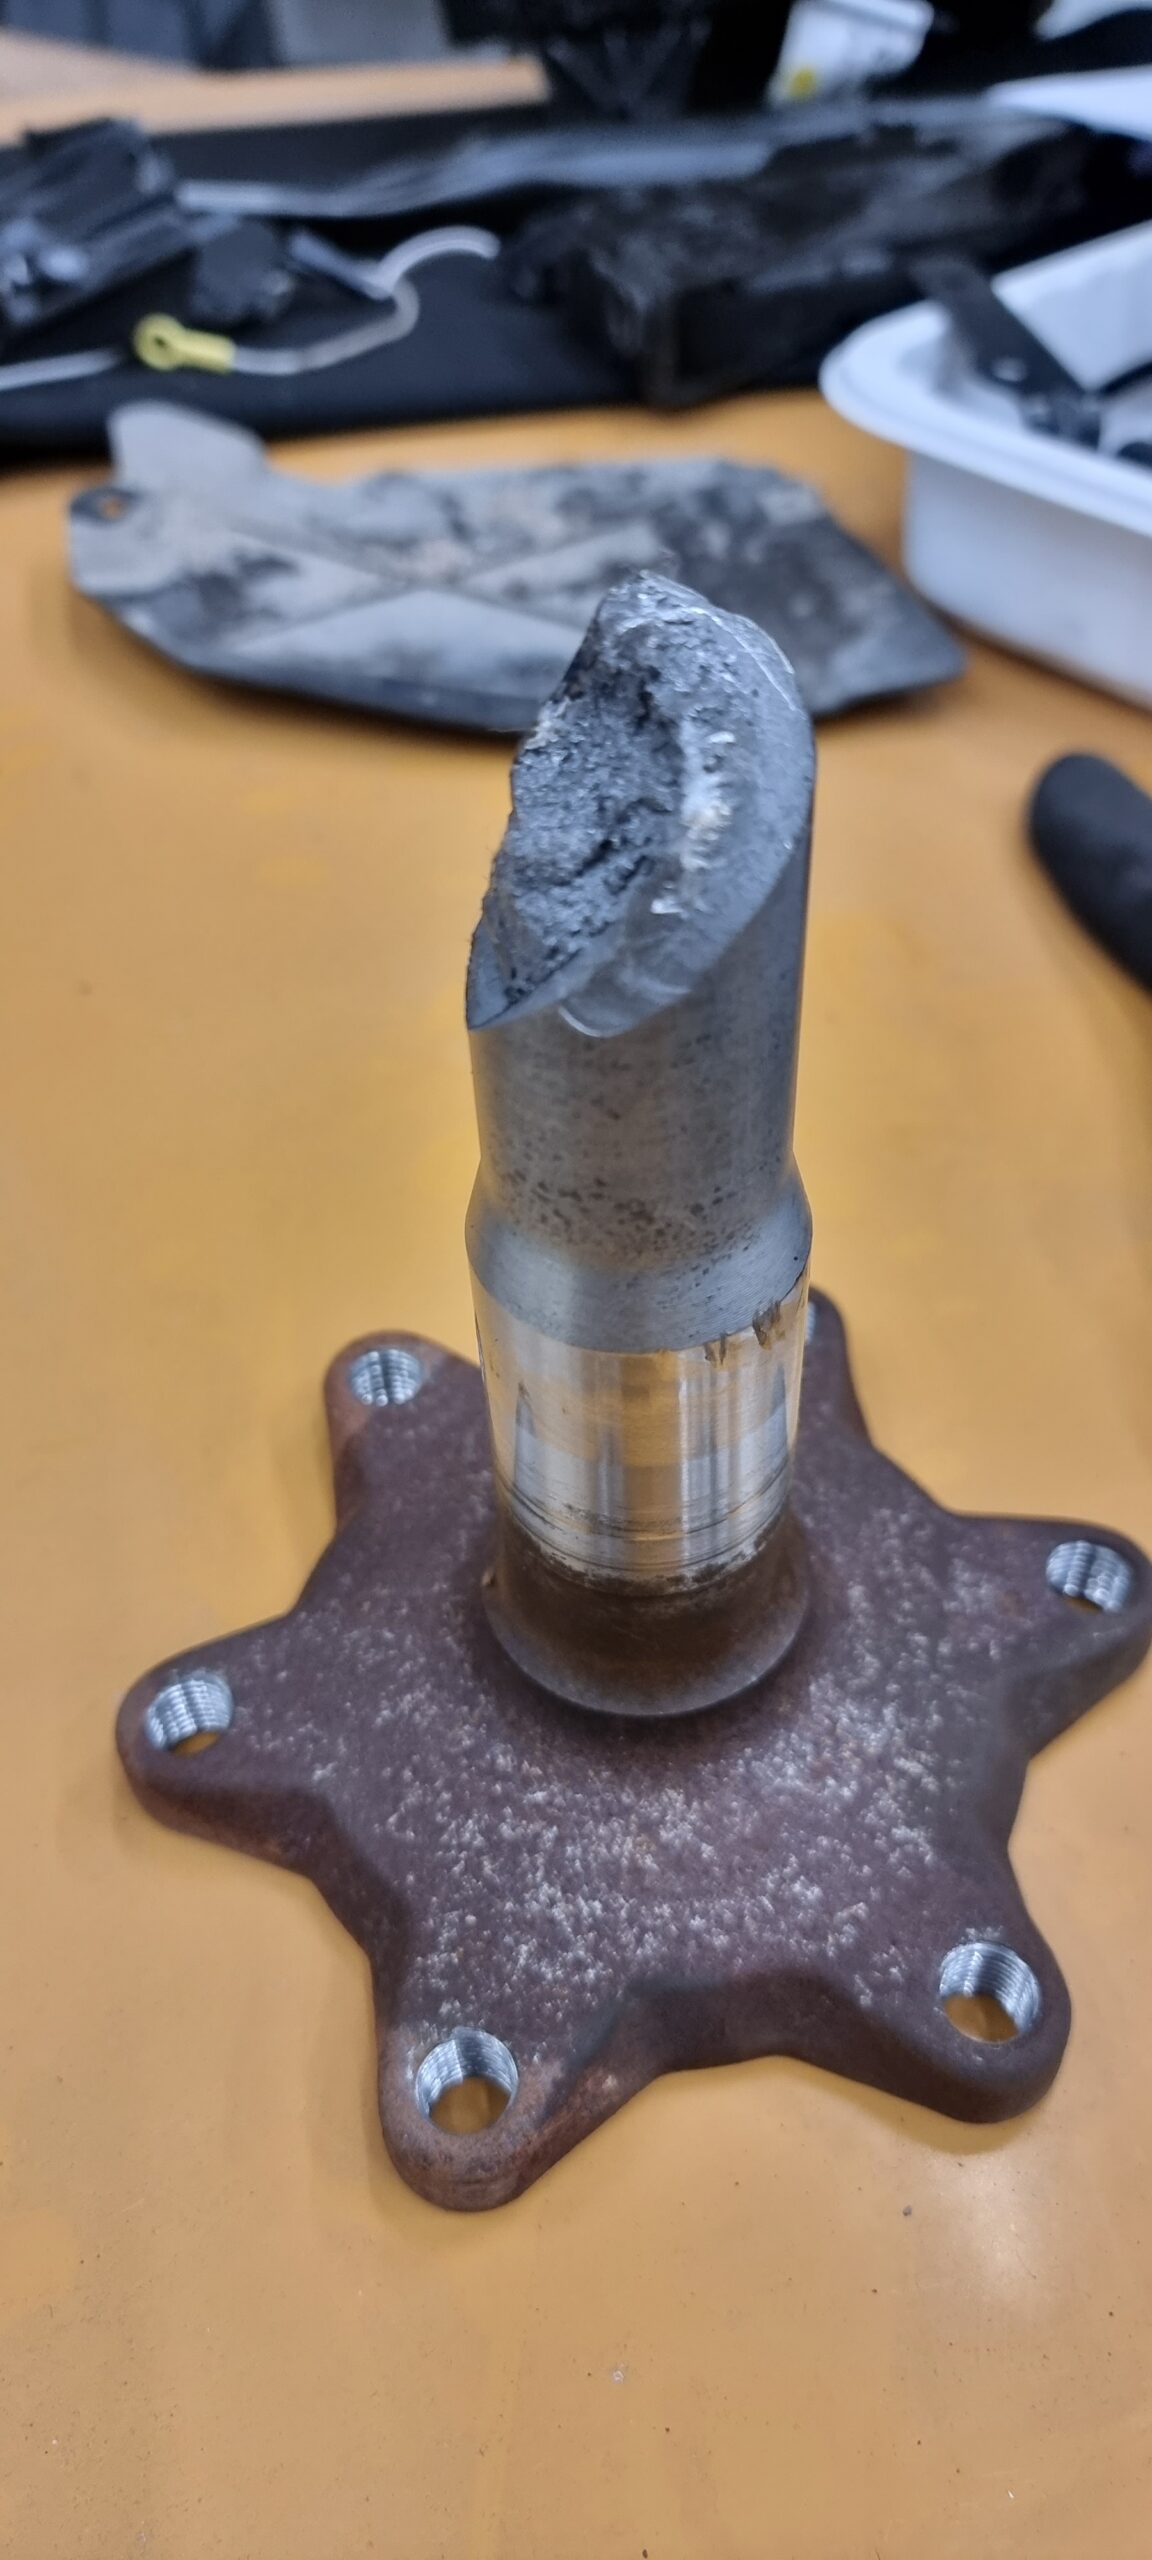
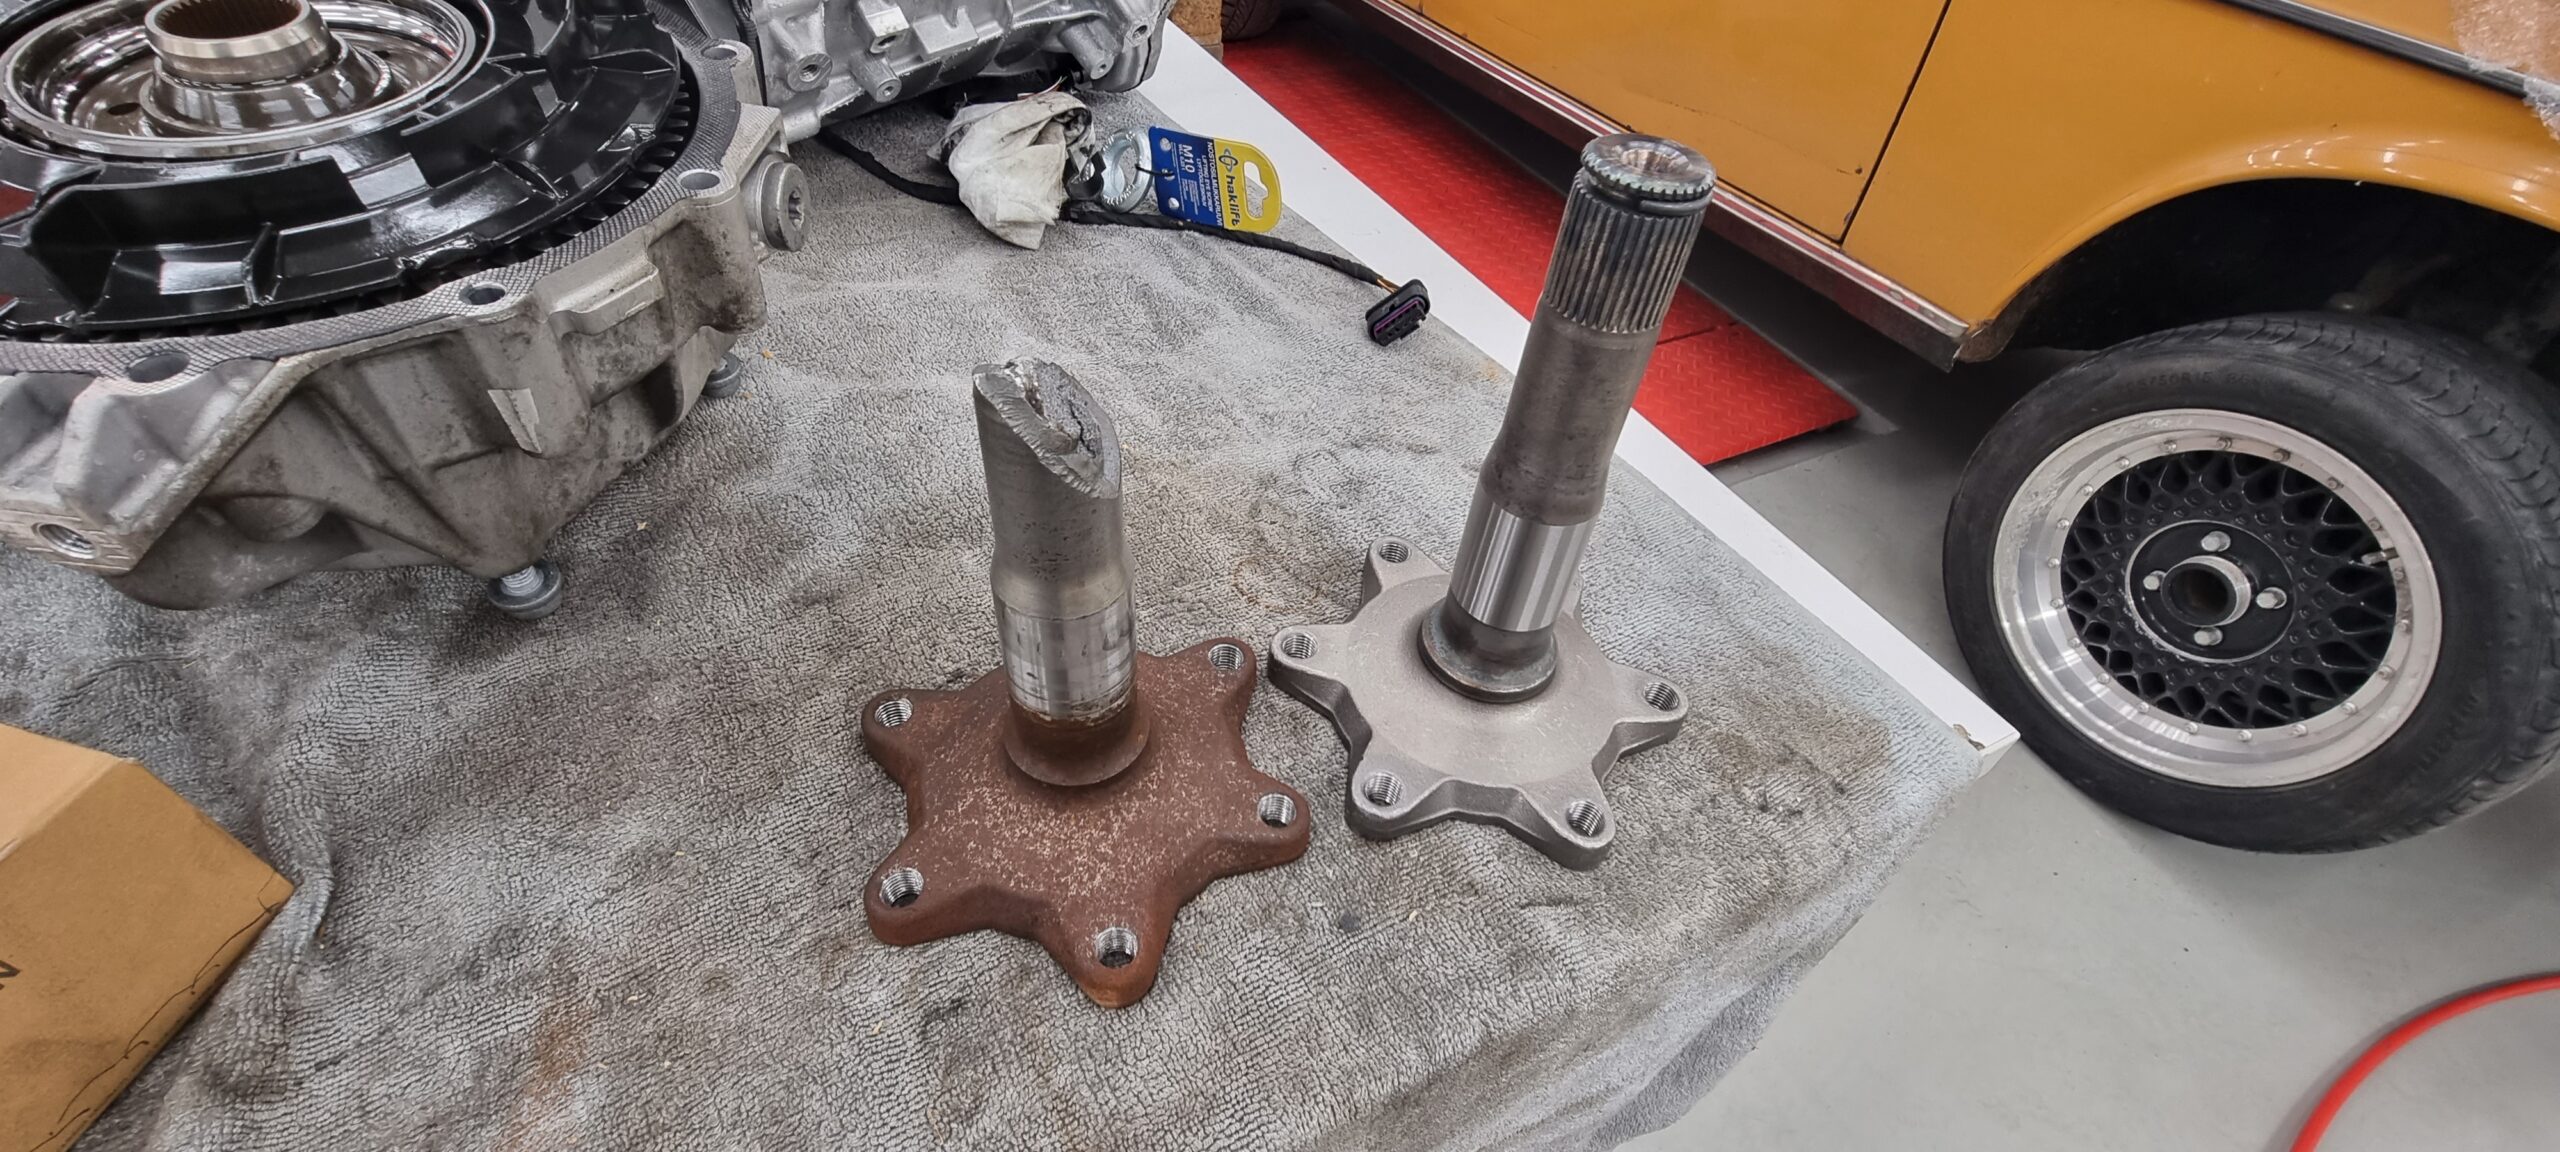
The only major nasty surprise appeared a few days into dismantling. One wheel wouldn't turn properly with the car on the lift, so I investigated. The right-hand driveshaft flange was wobbling about. Once the driveshaft was off, the flange practically fell into my hand. Nothing for it but to drop the front drivetrain out.
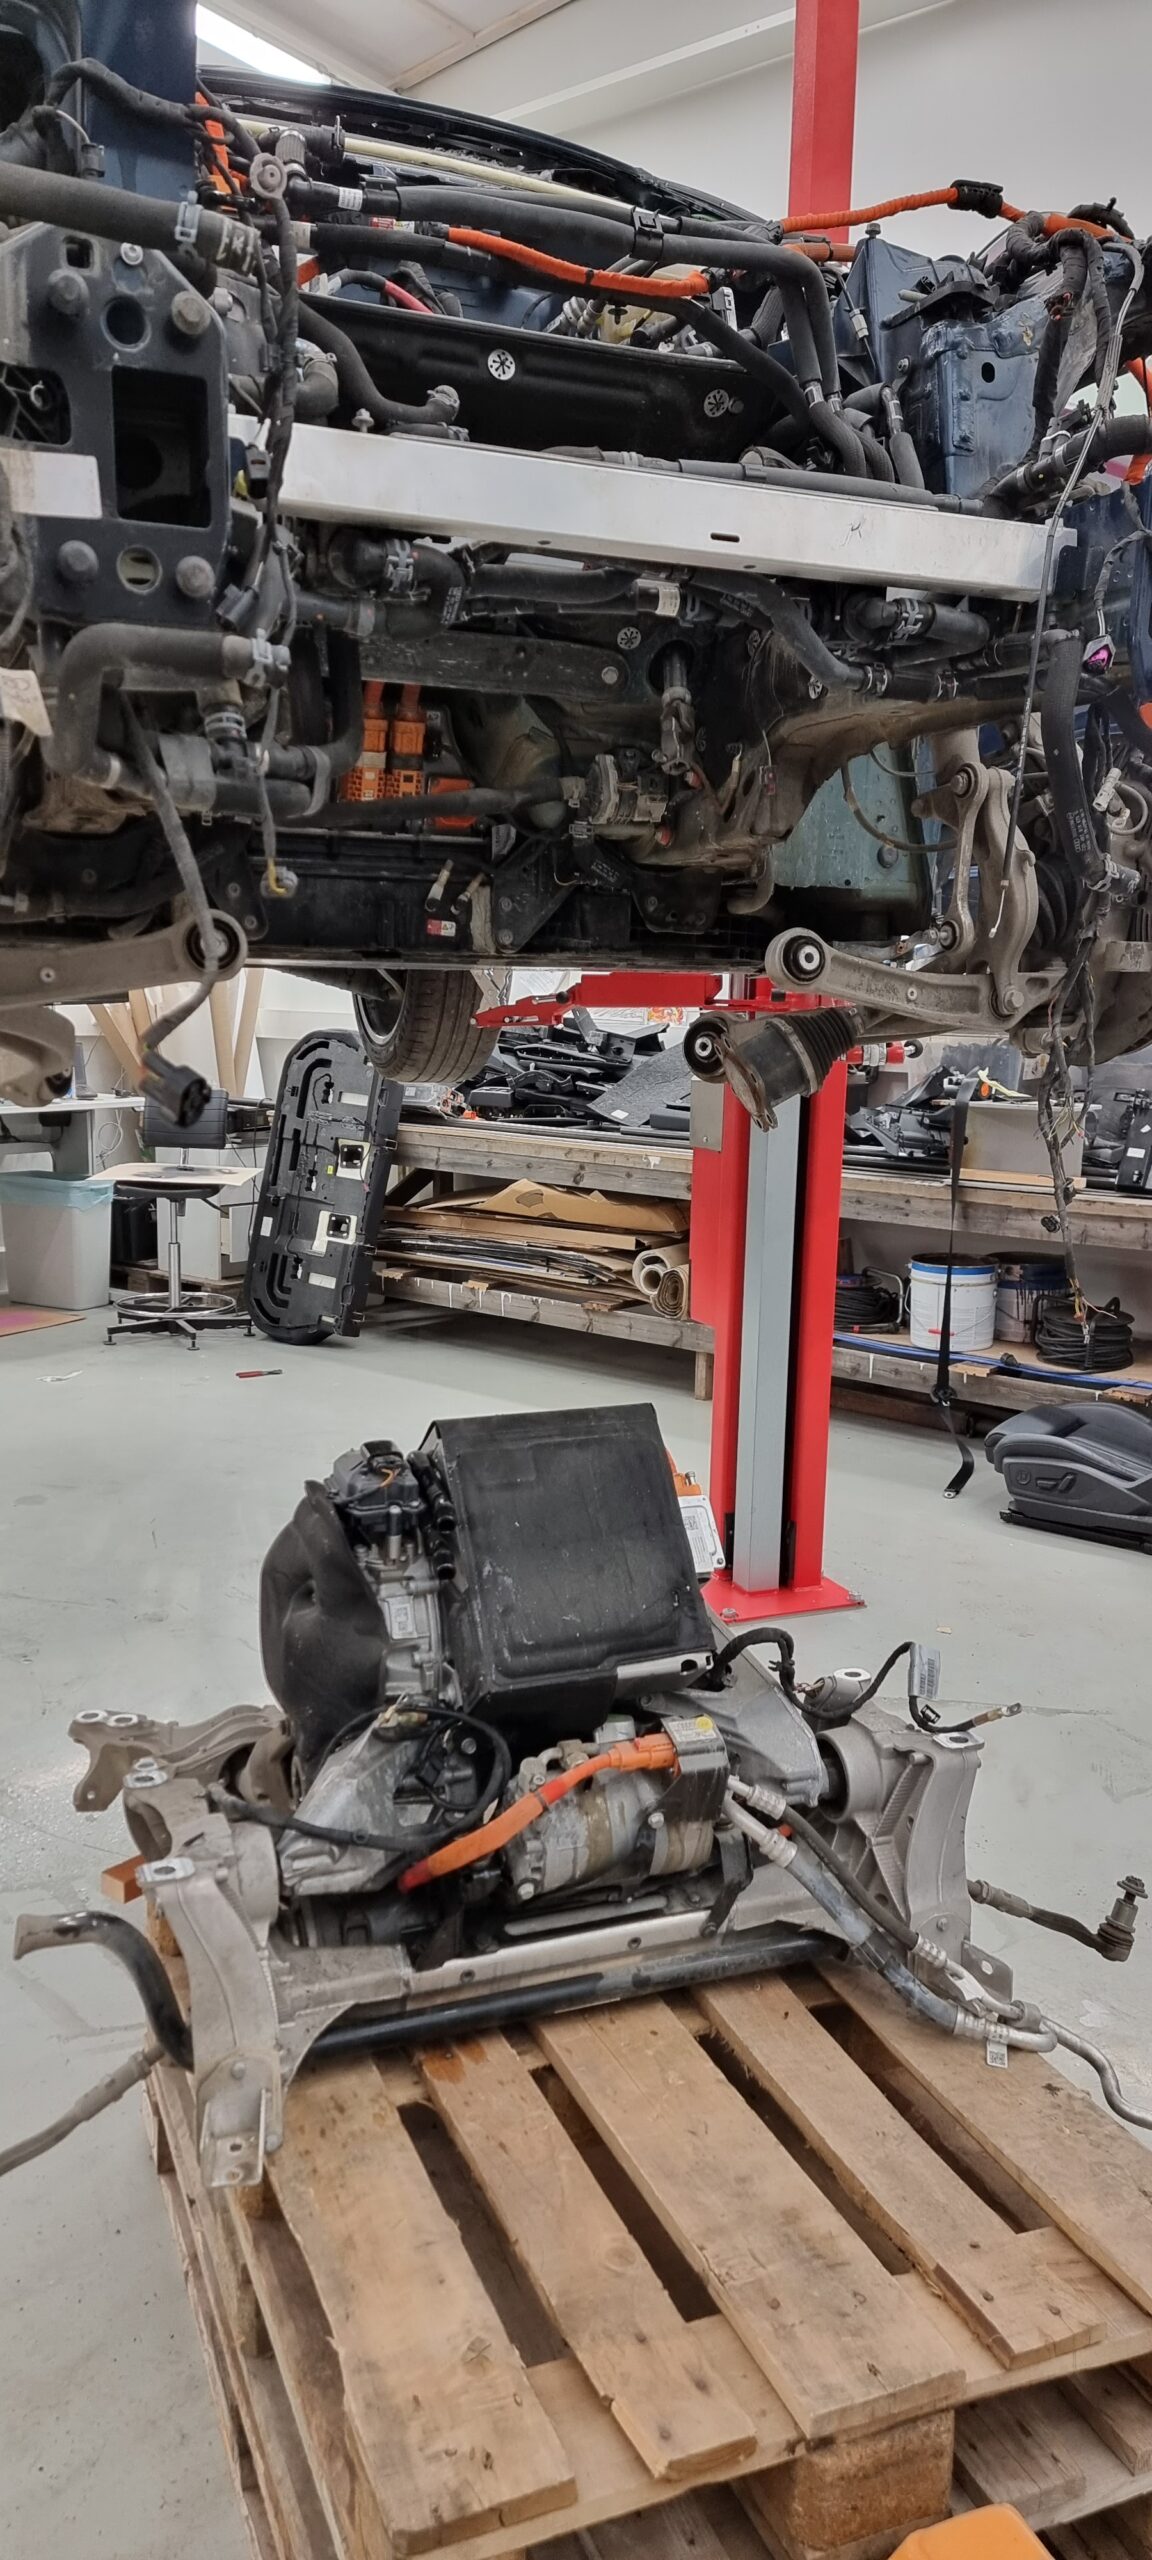
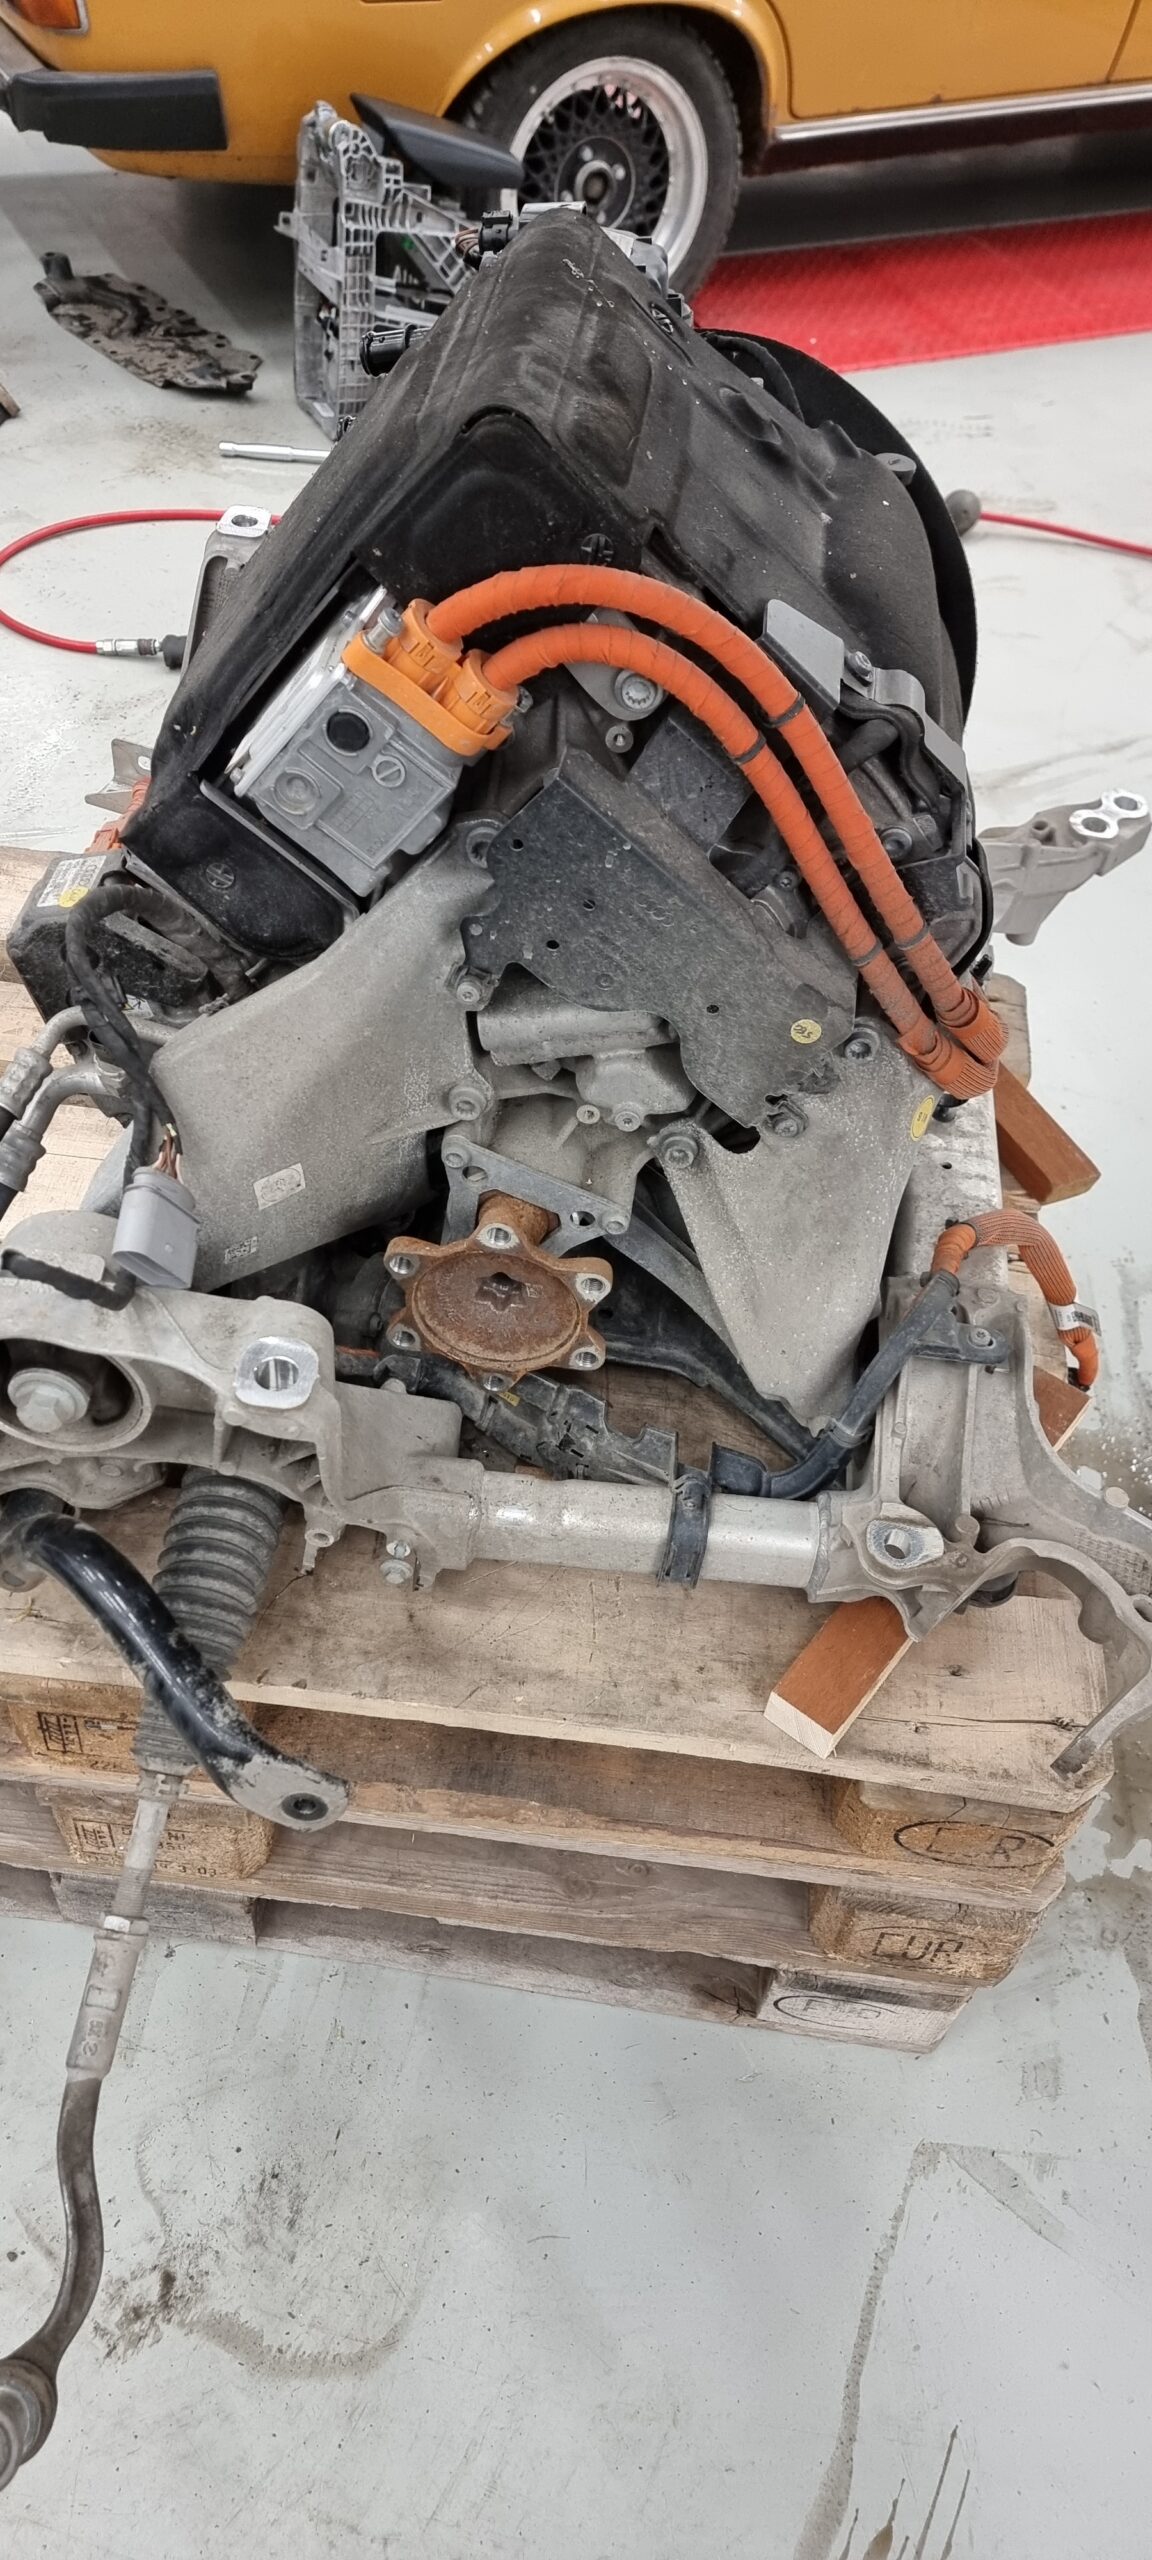
Front drivetrain on a pallet.
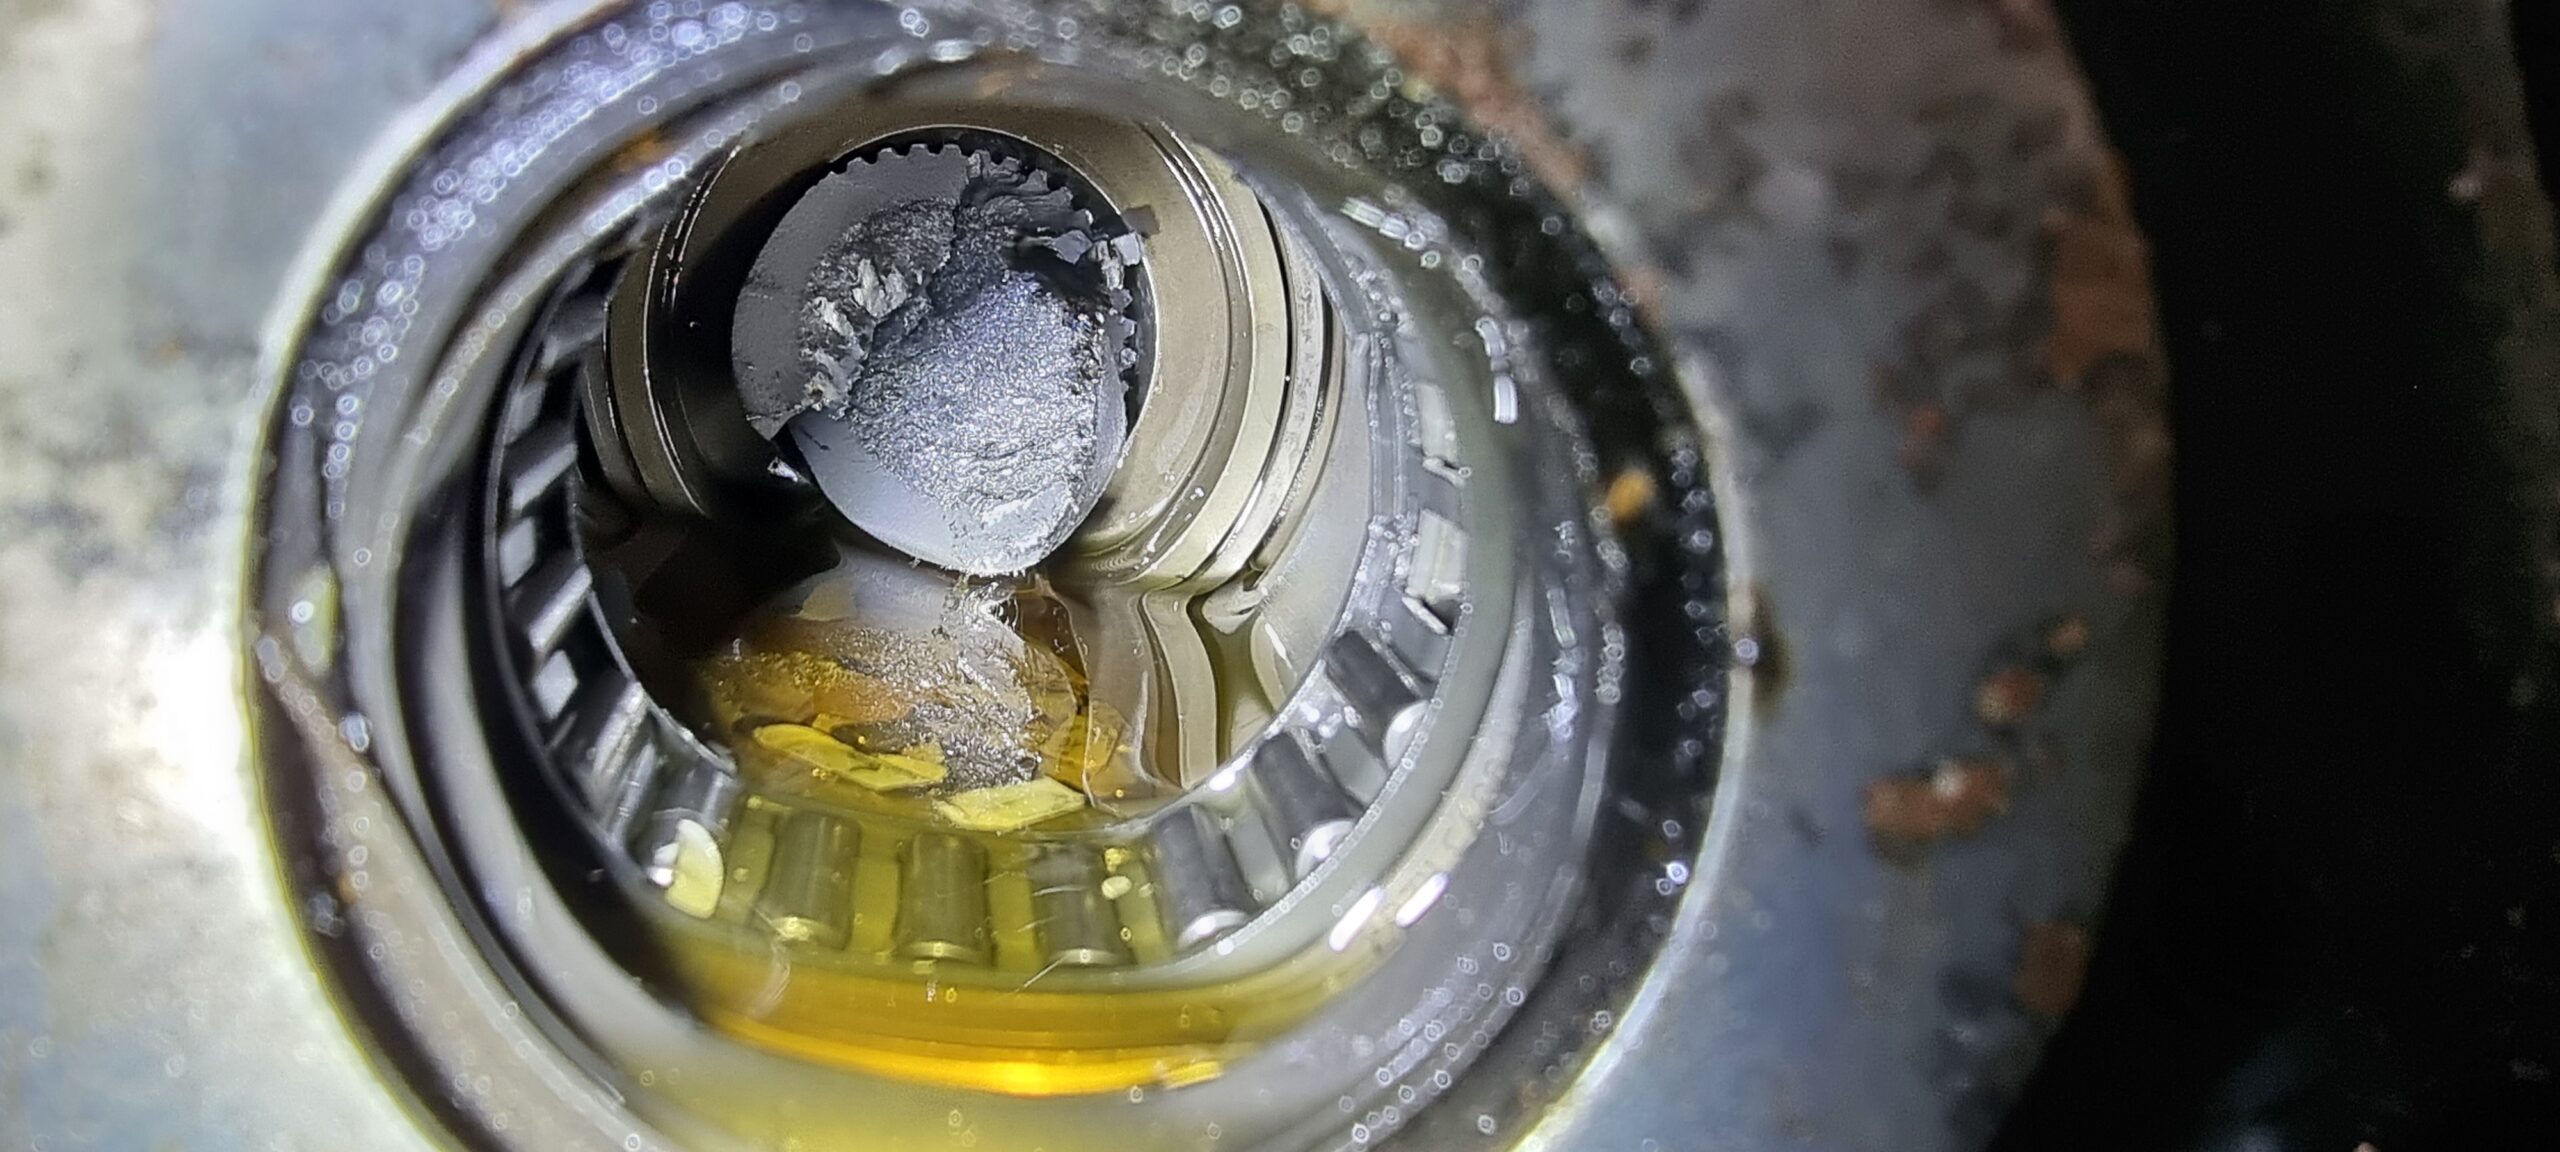
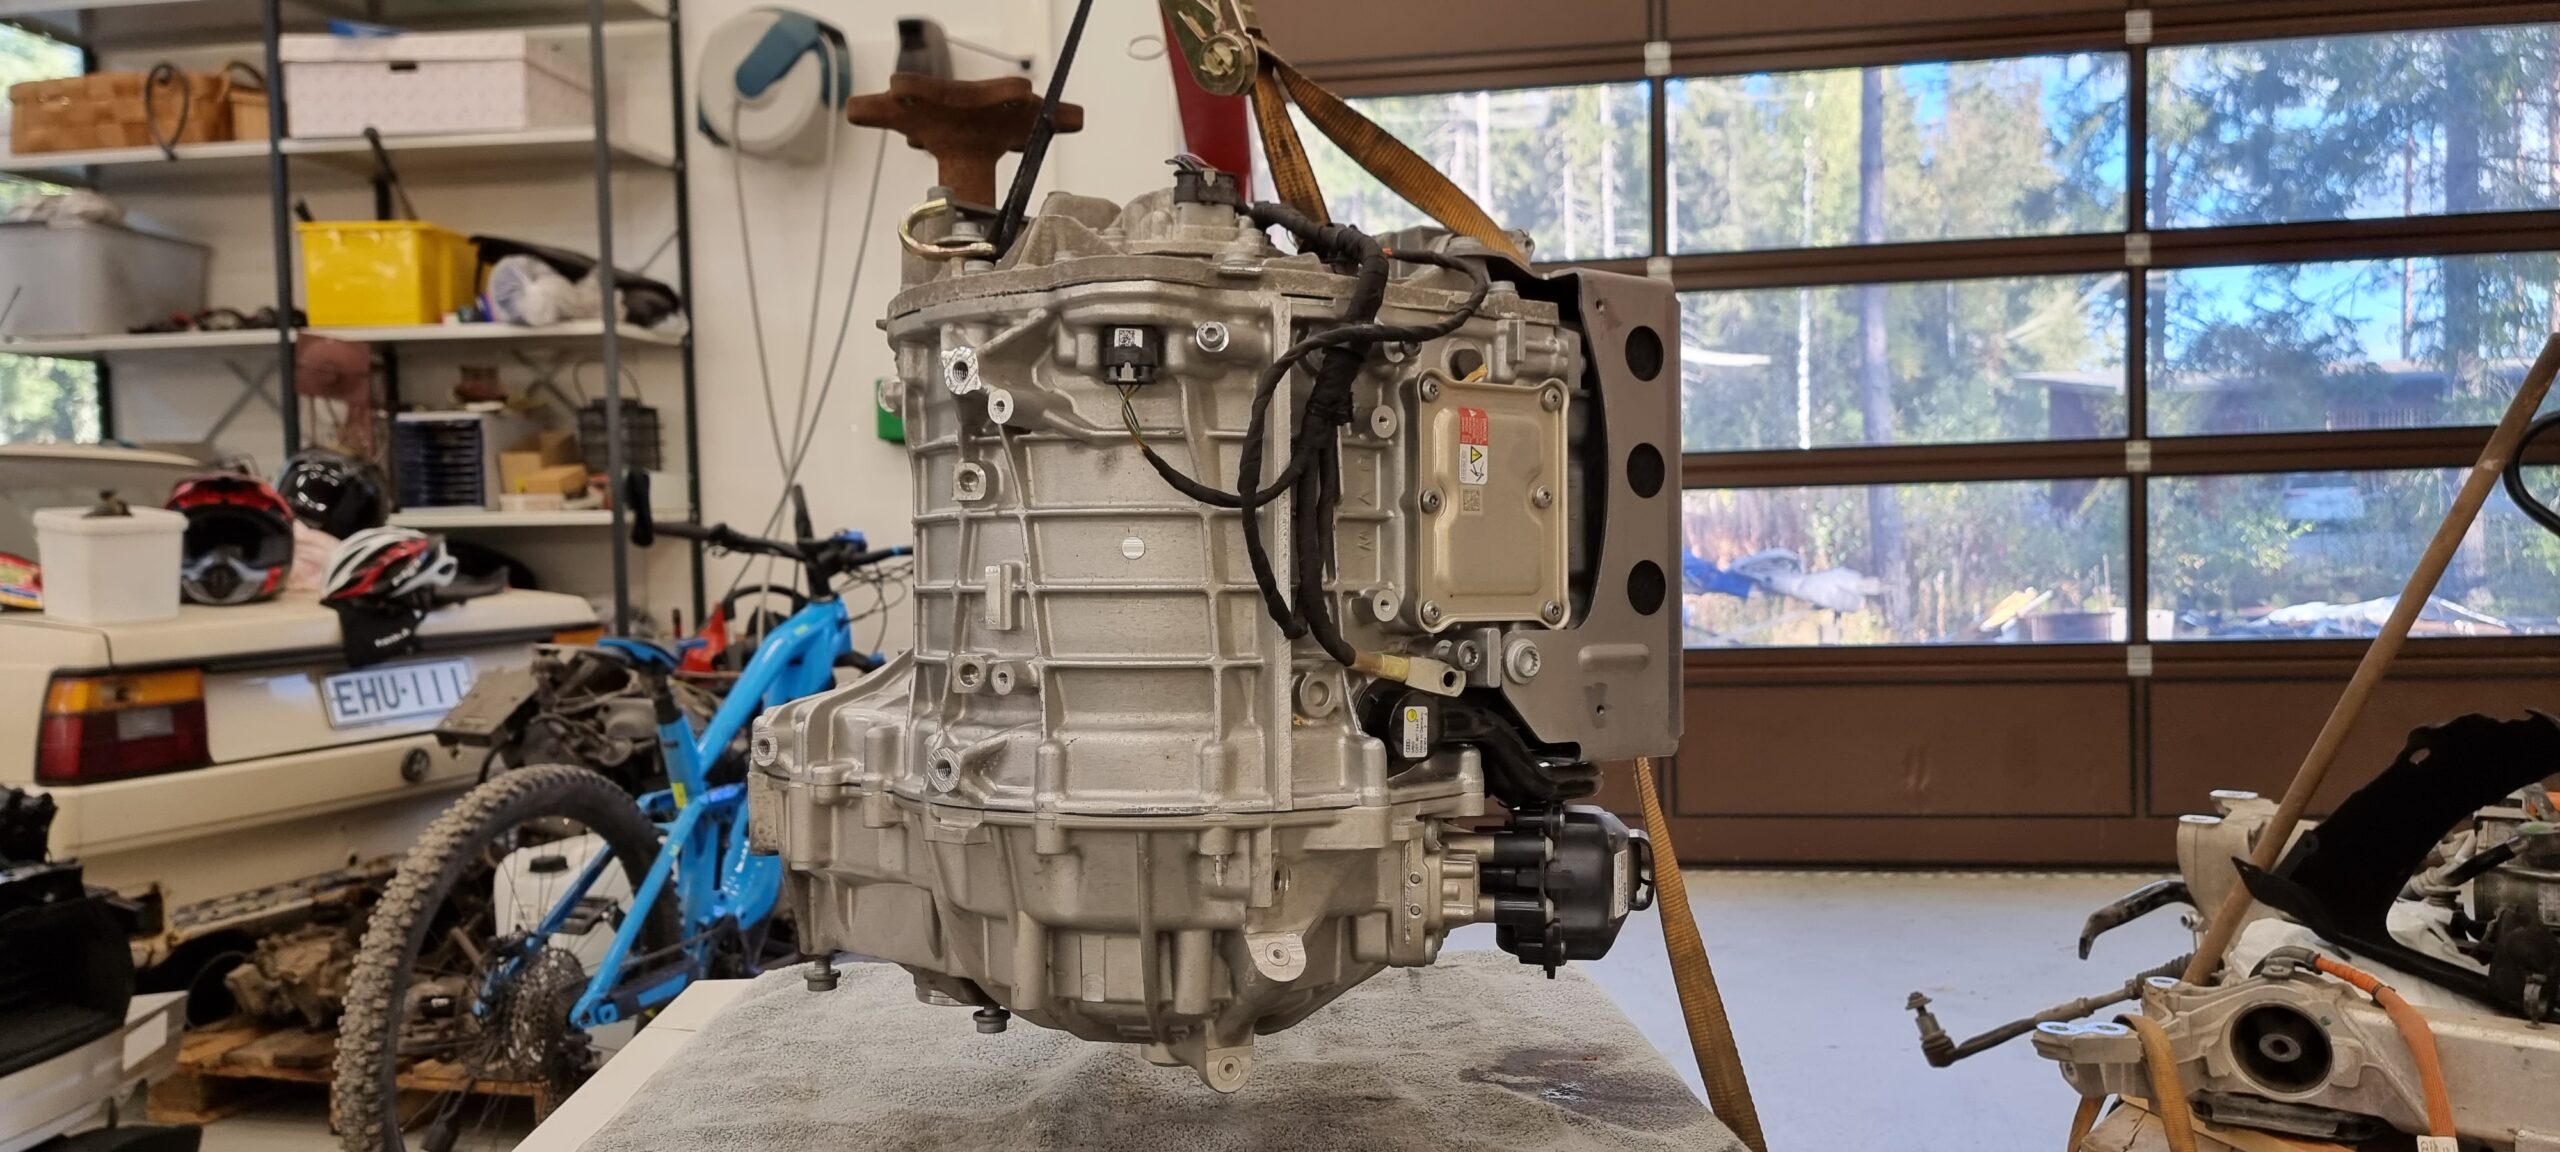
According to the instructions, the gearbox comes out vertically.
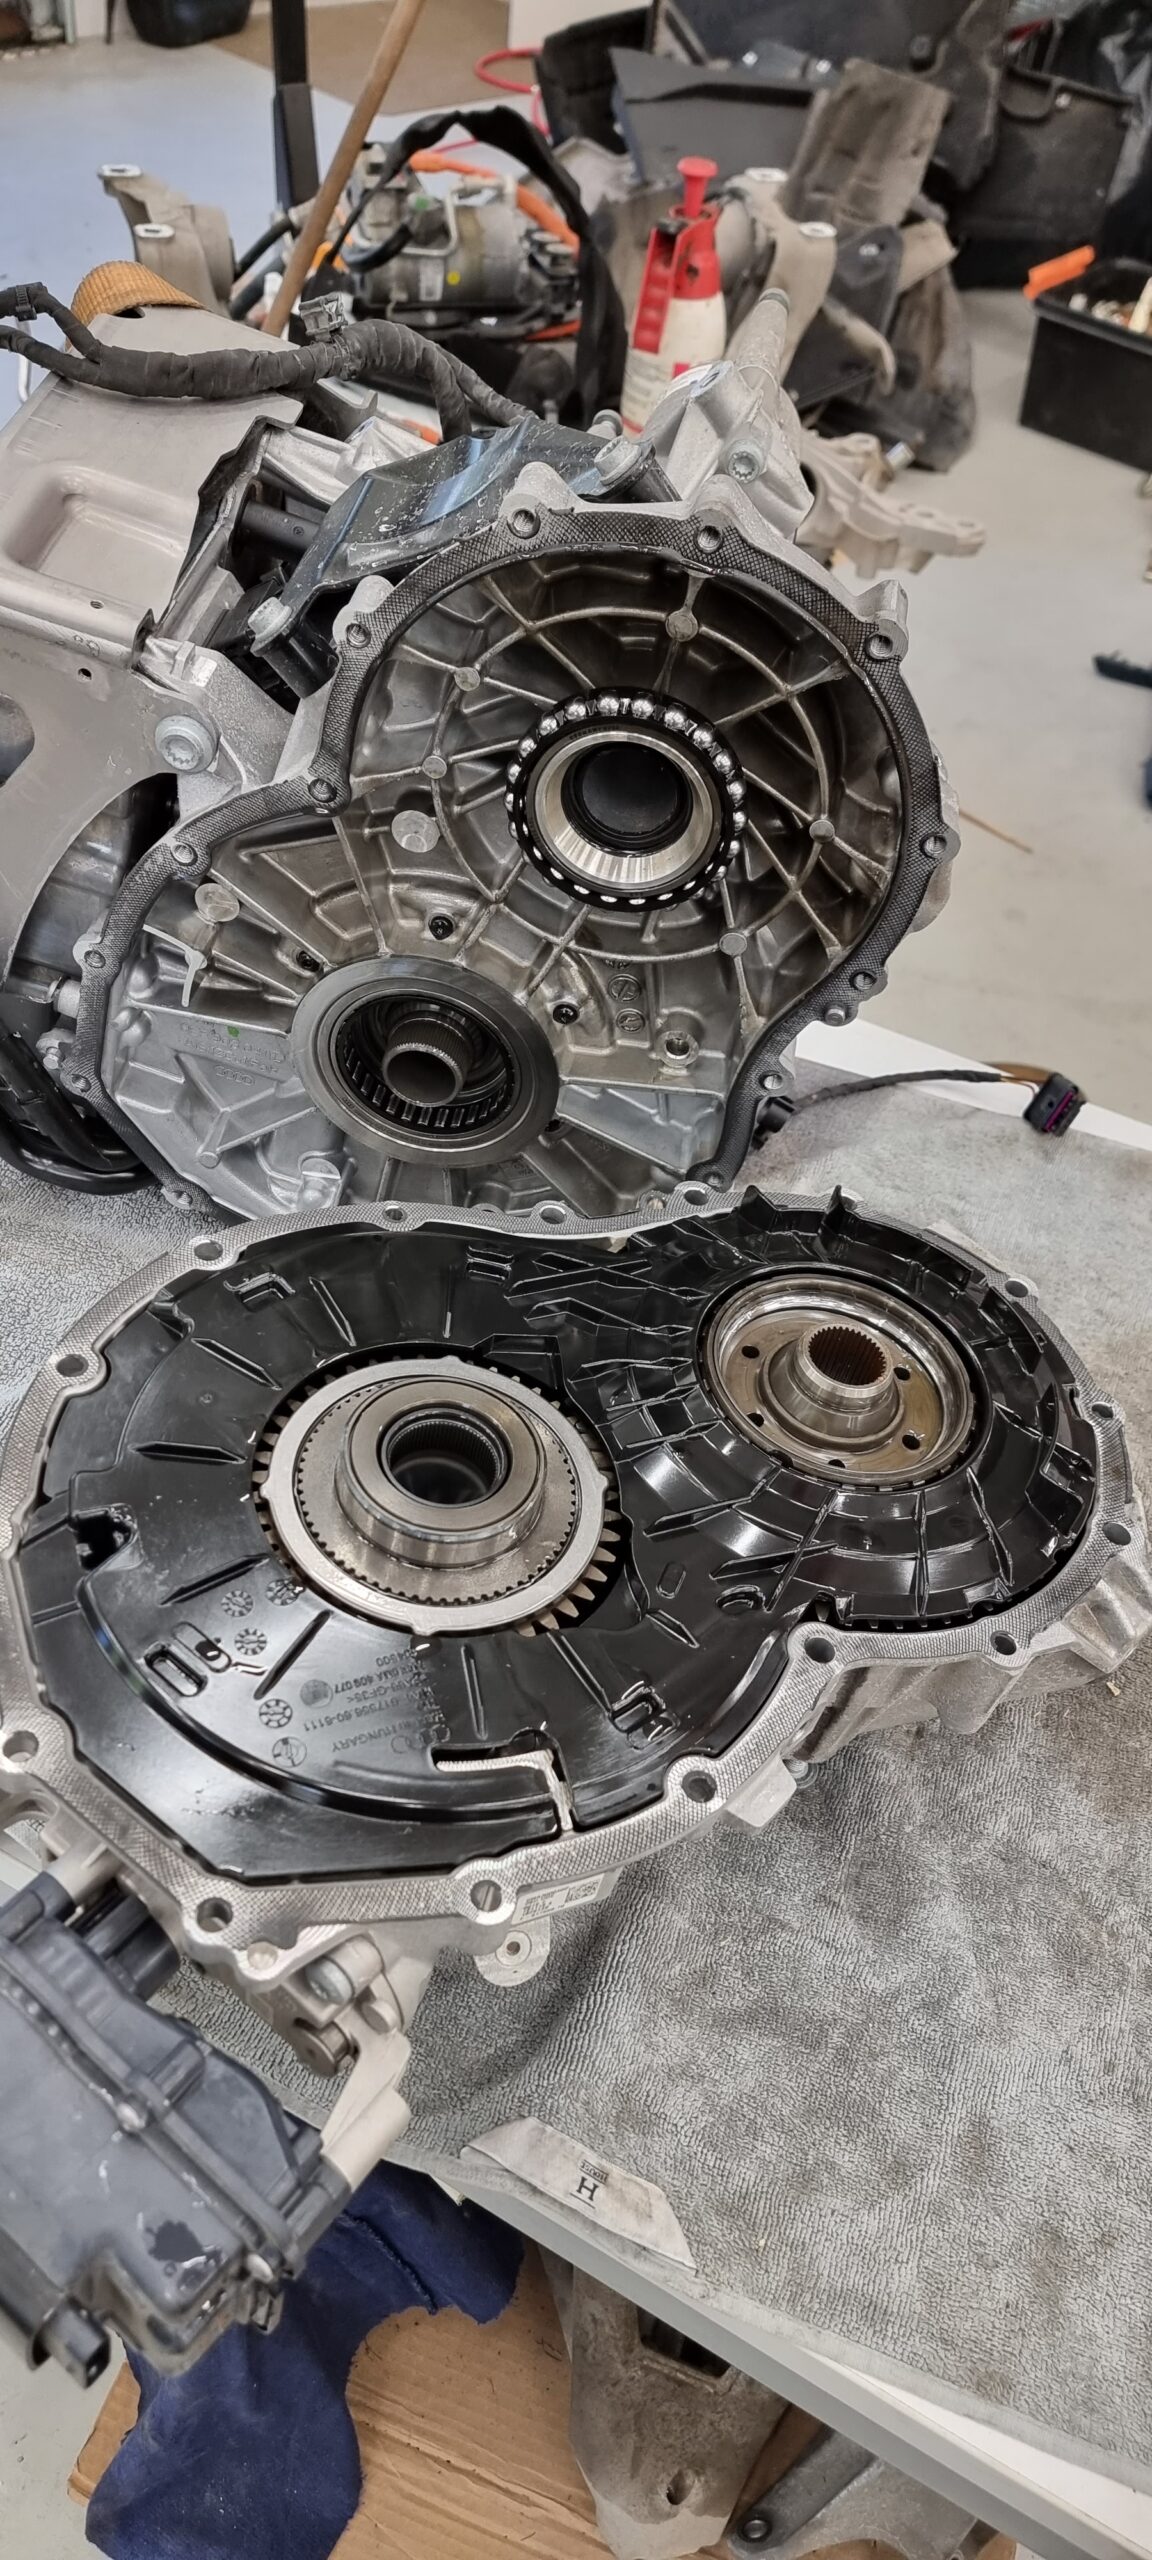
Gearbox removed.
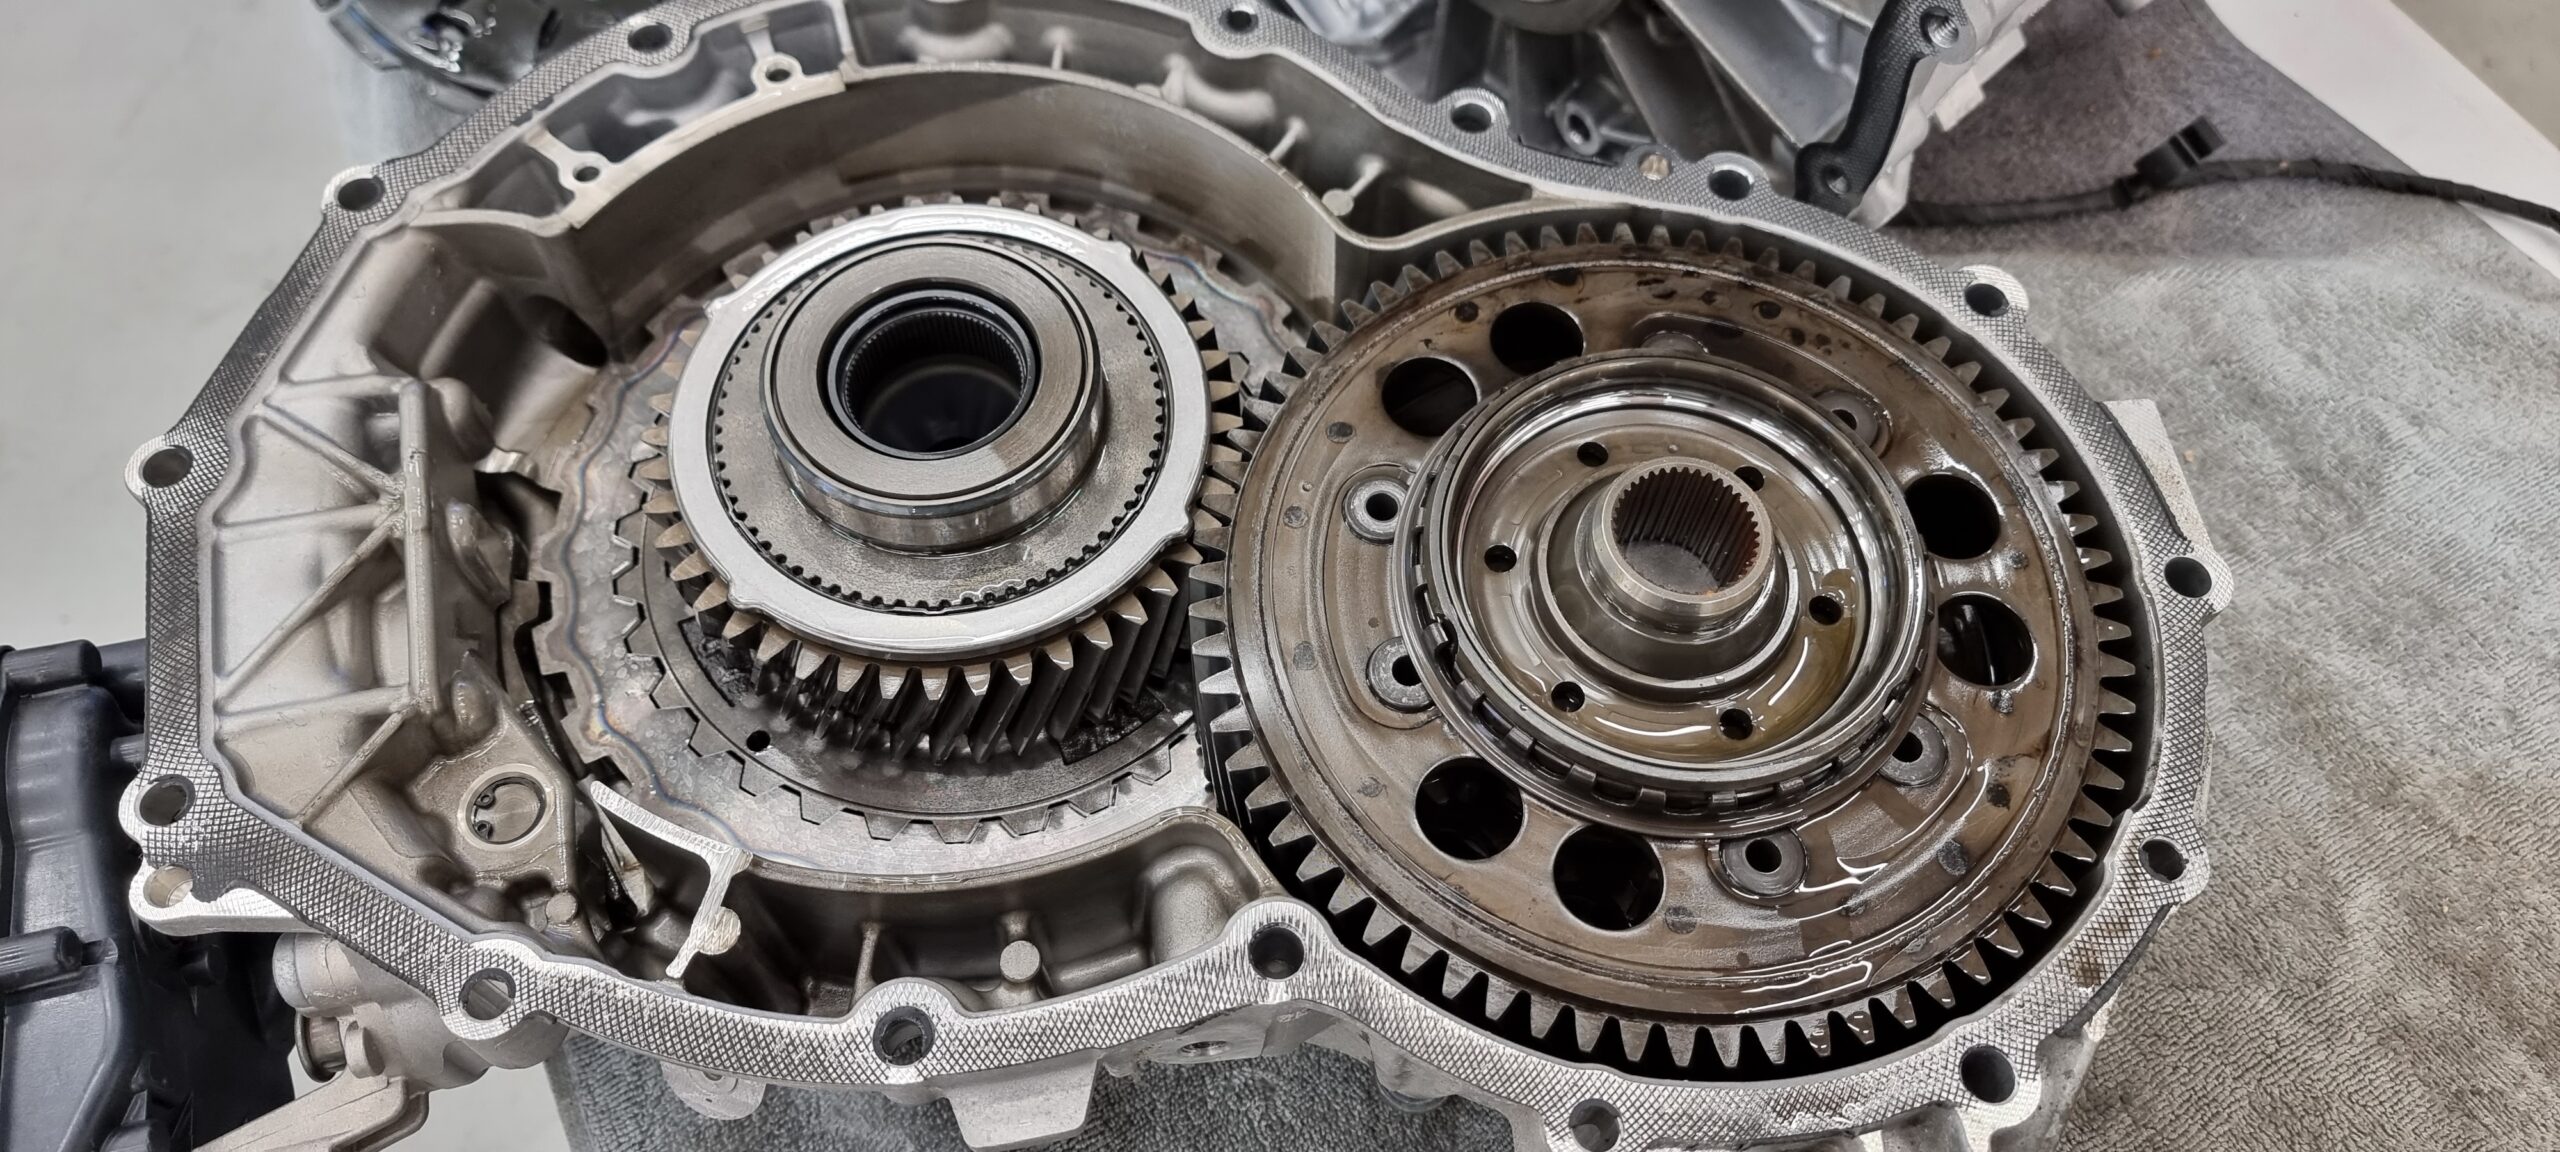
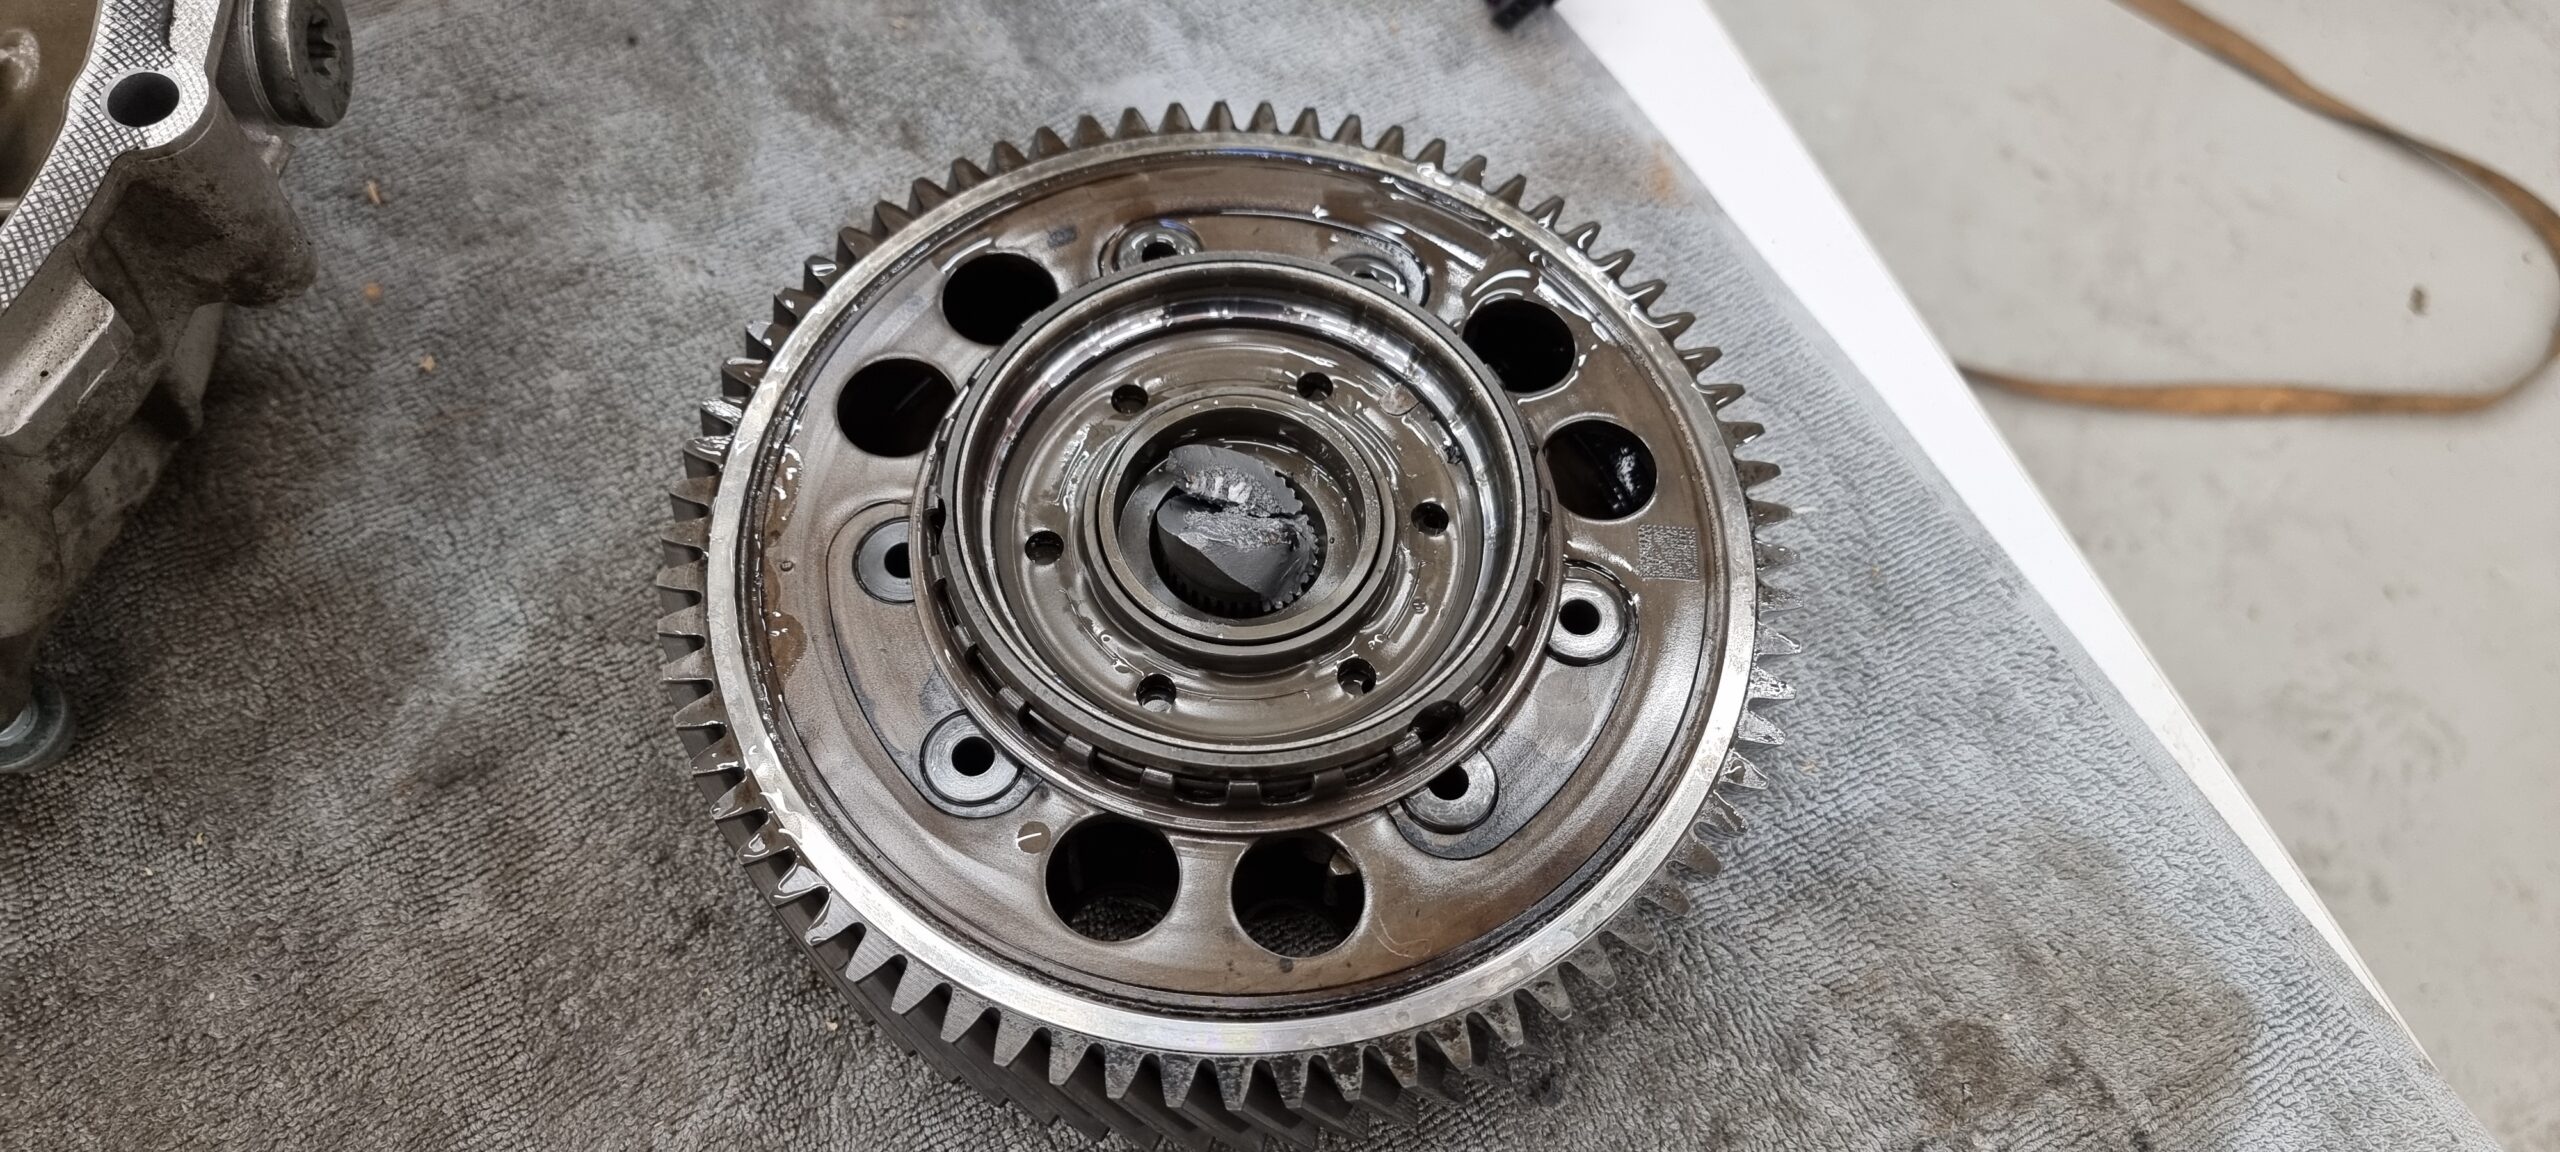
Differential
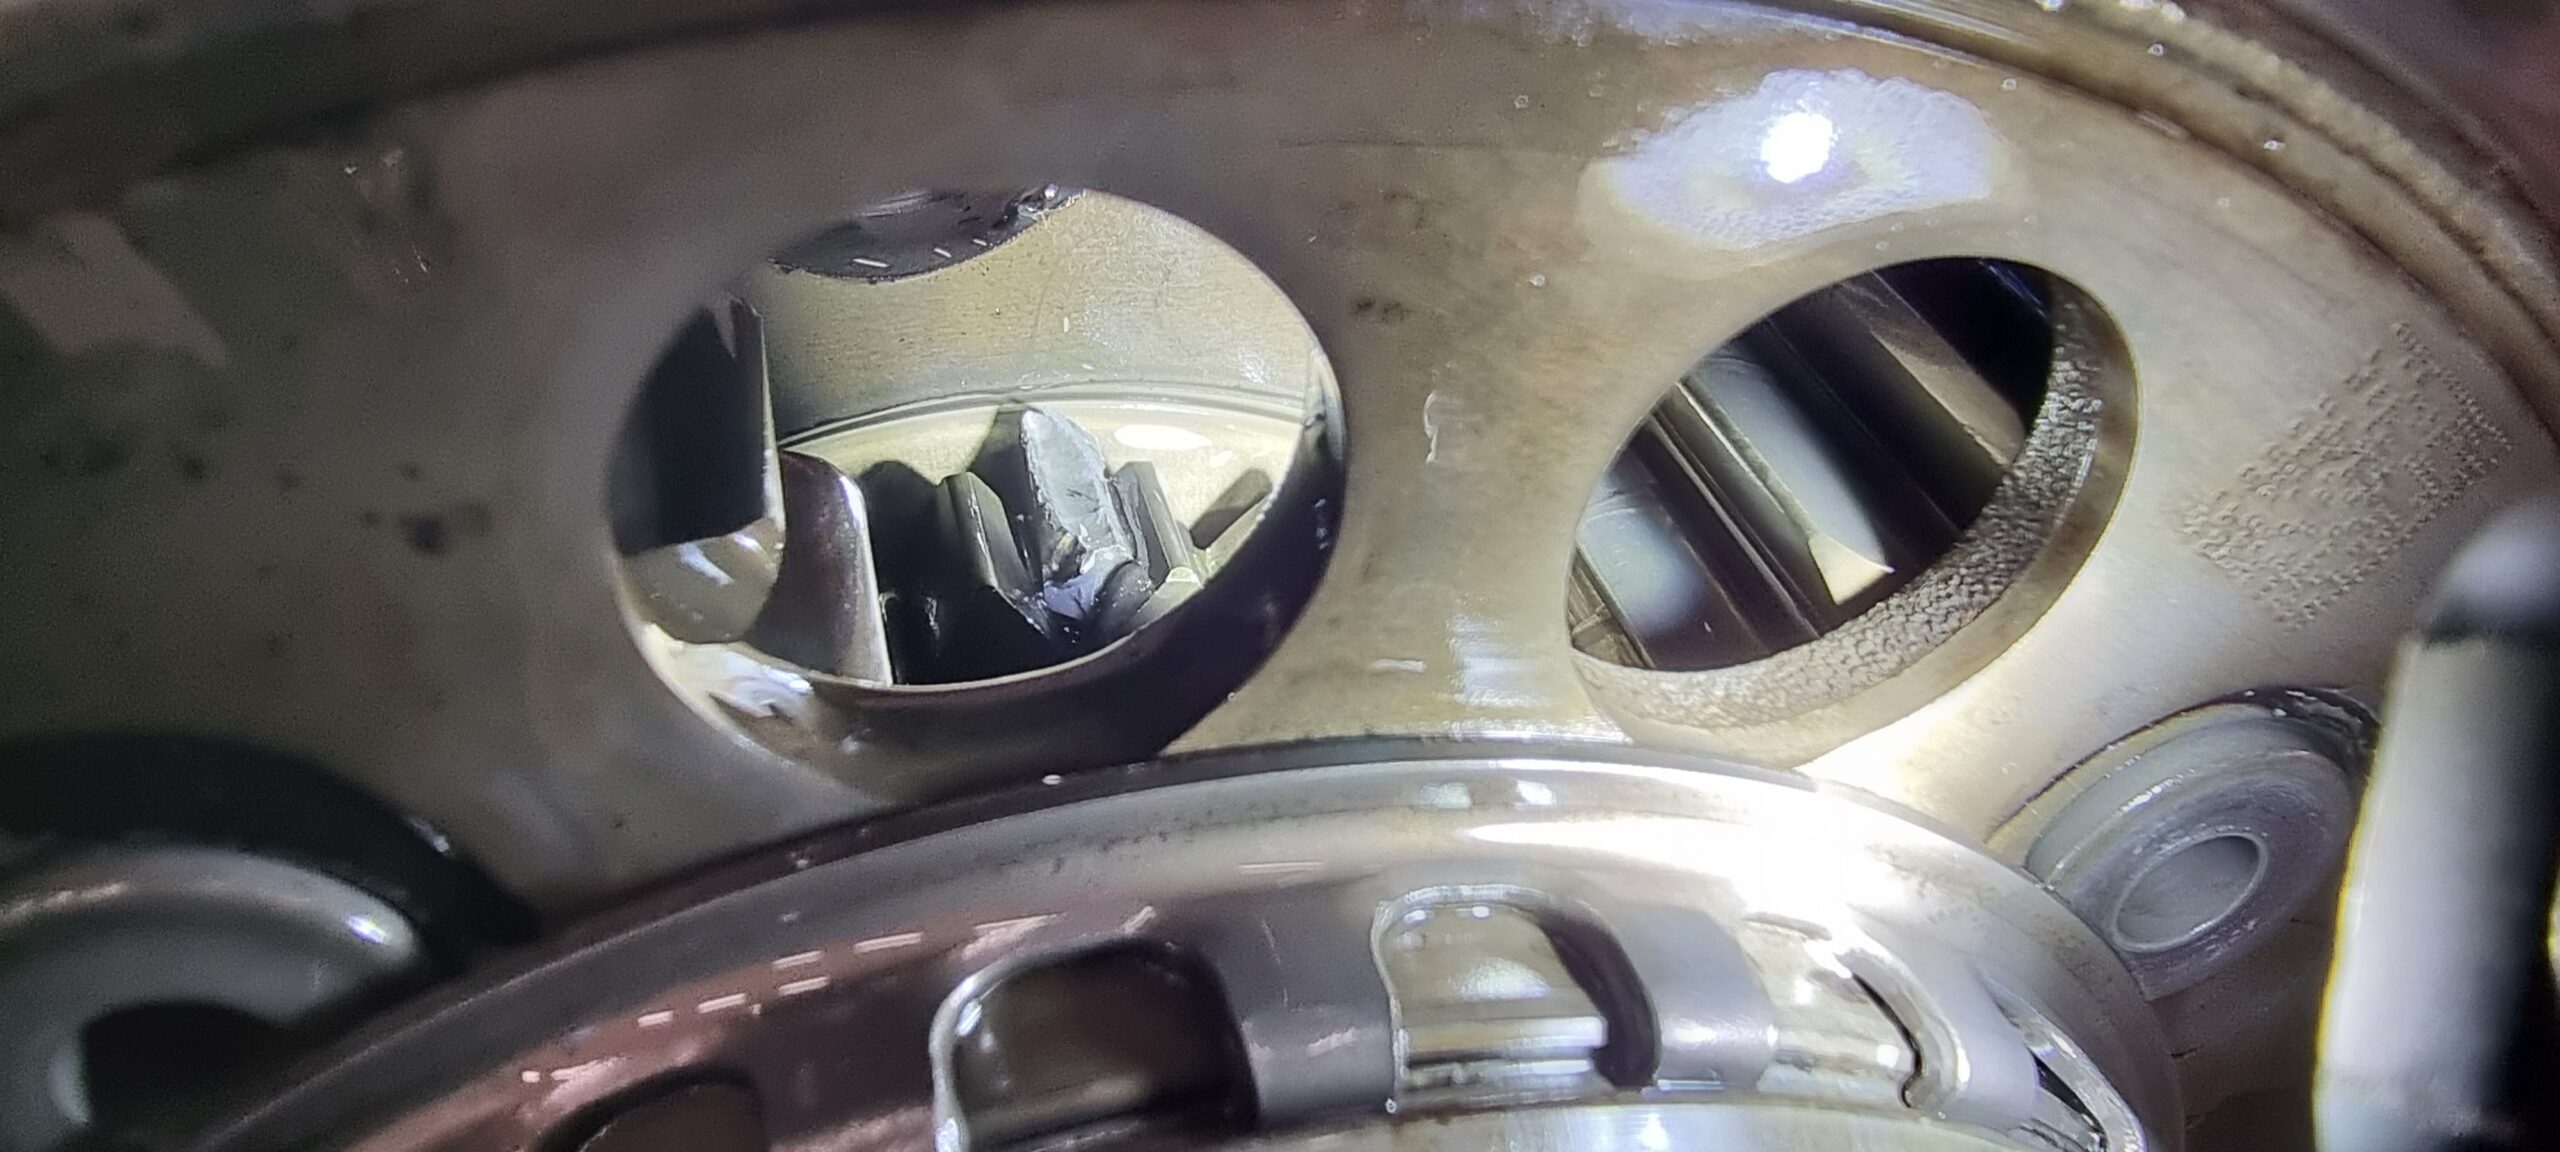
Differential gear missing teeth
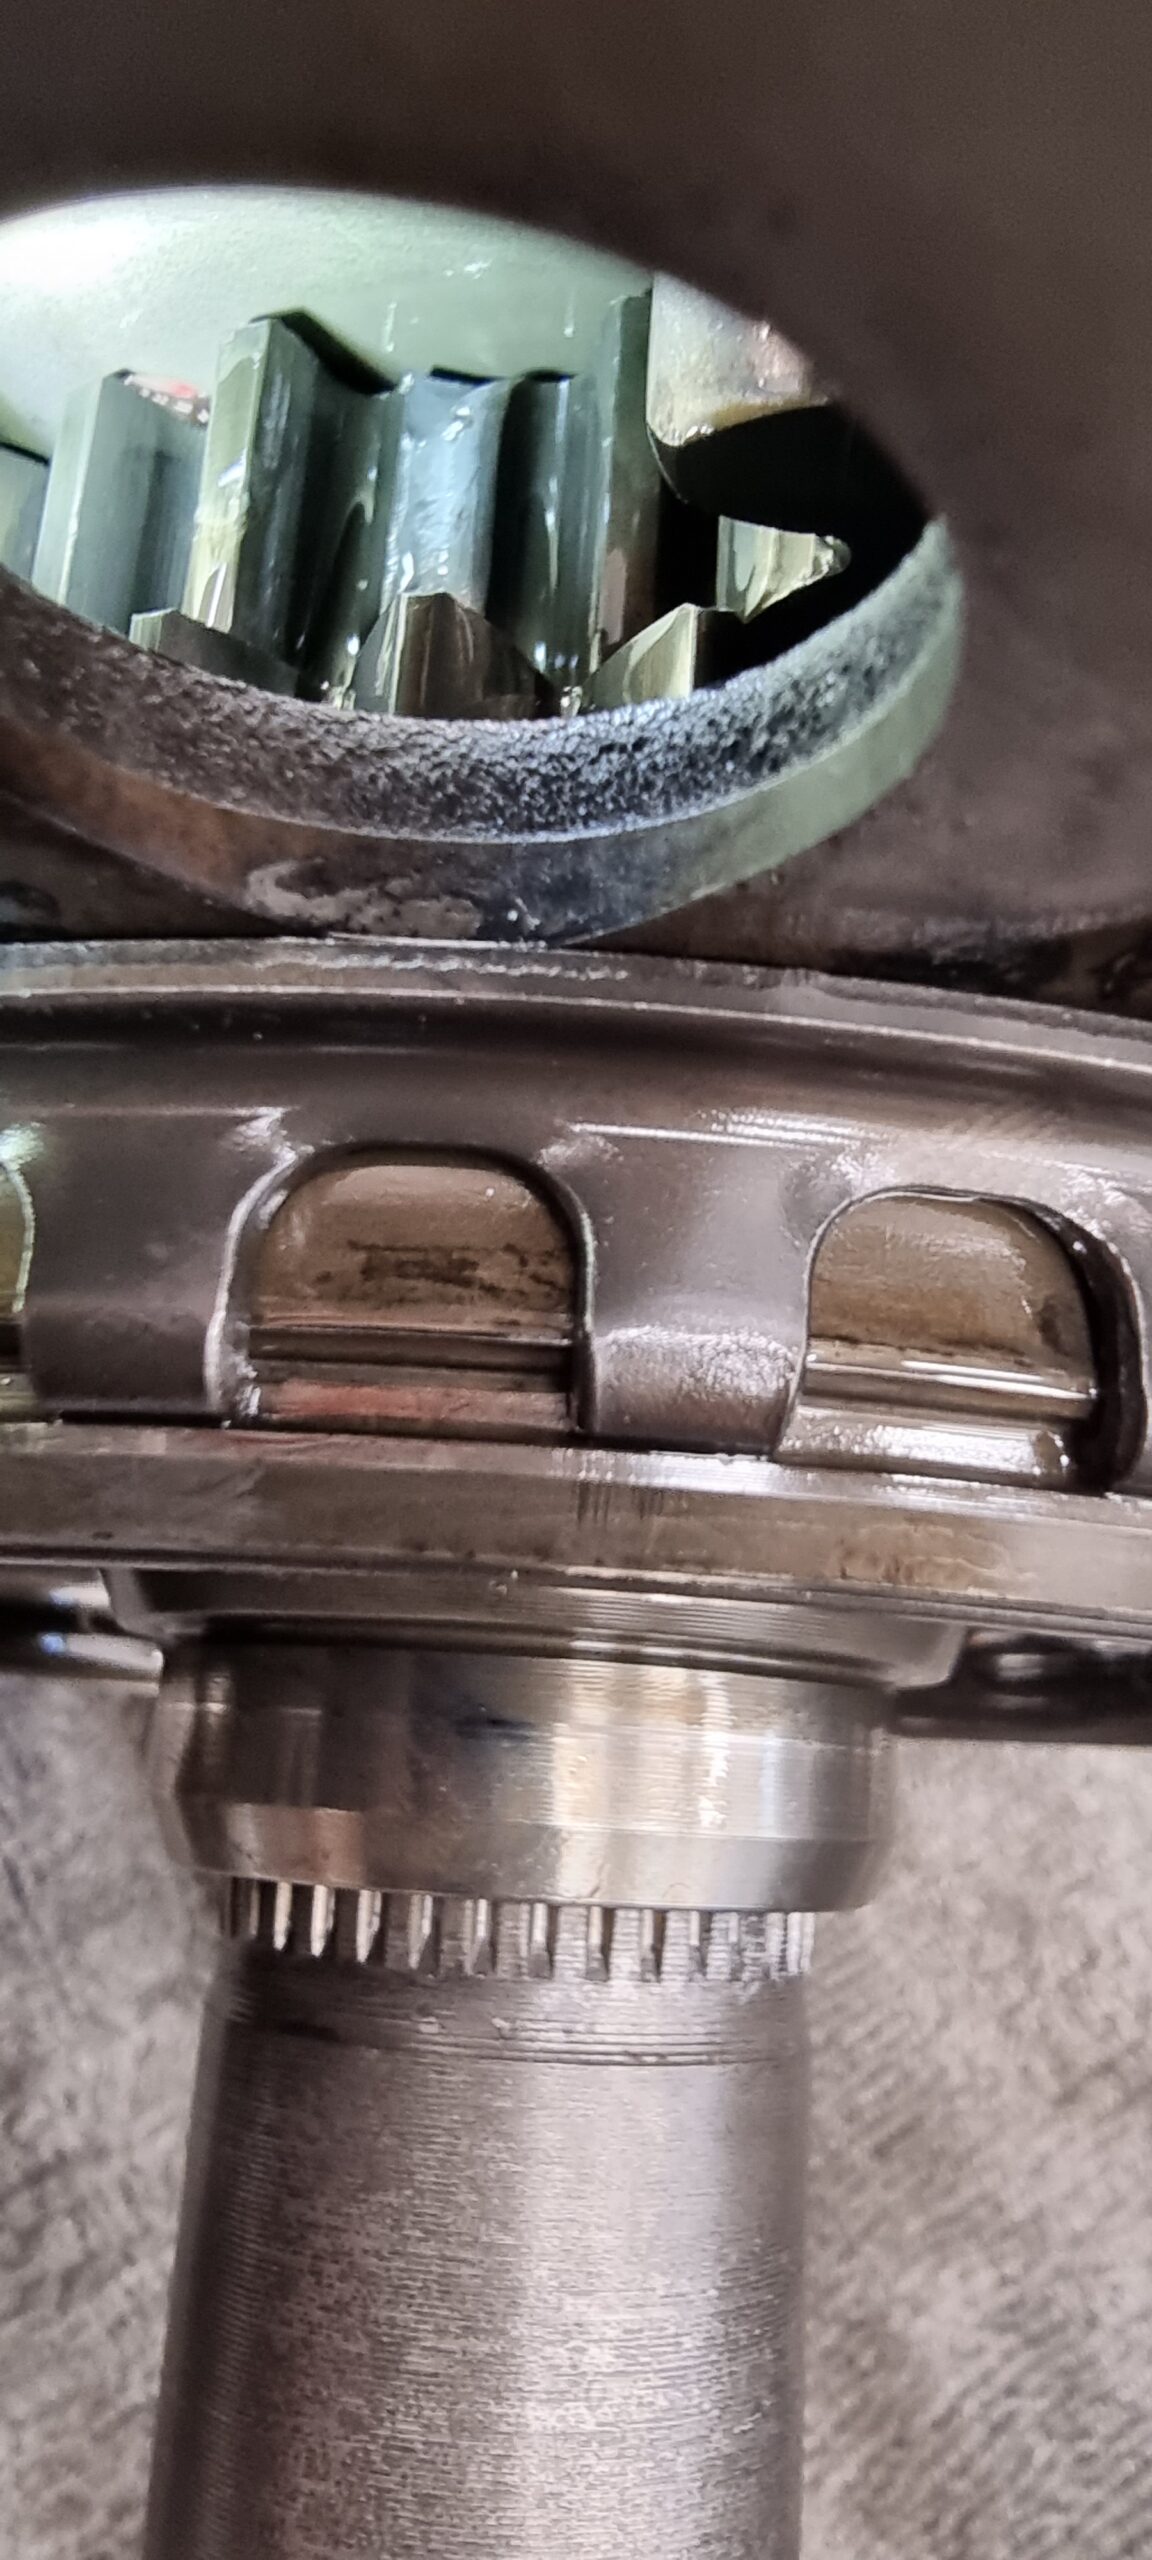
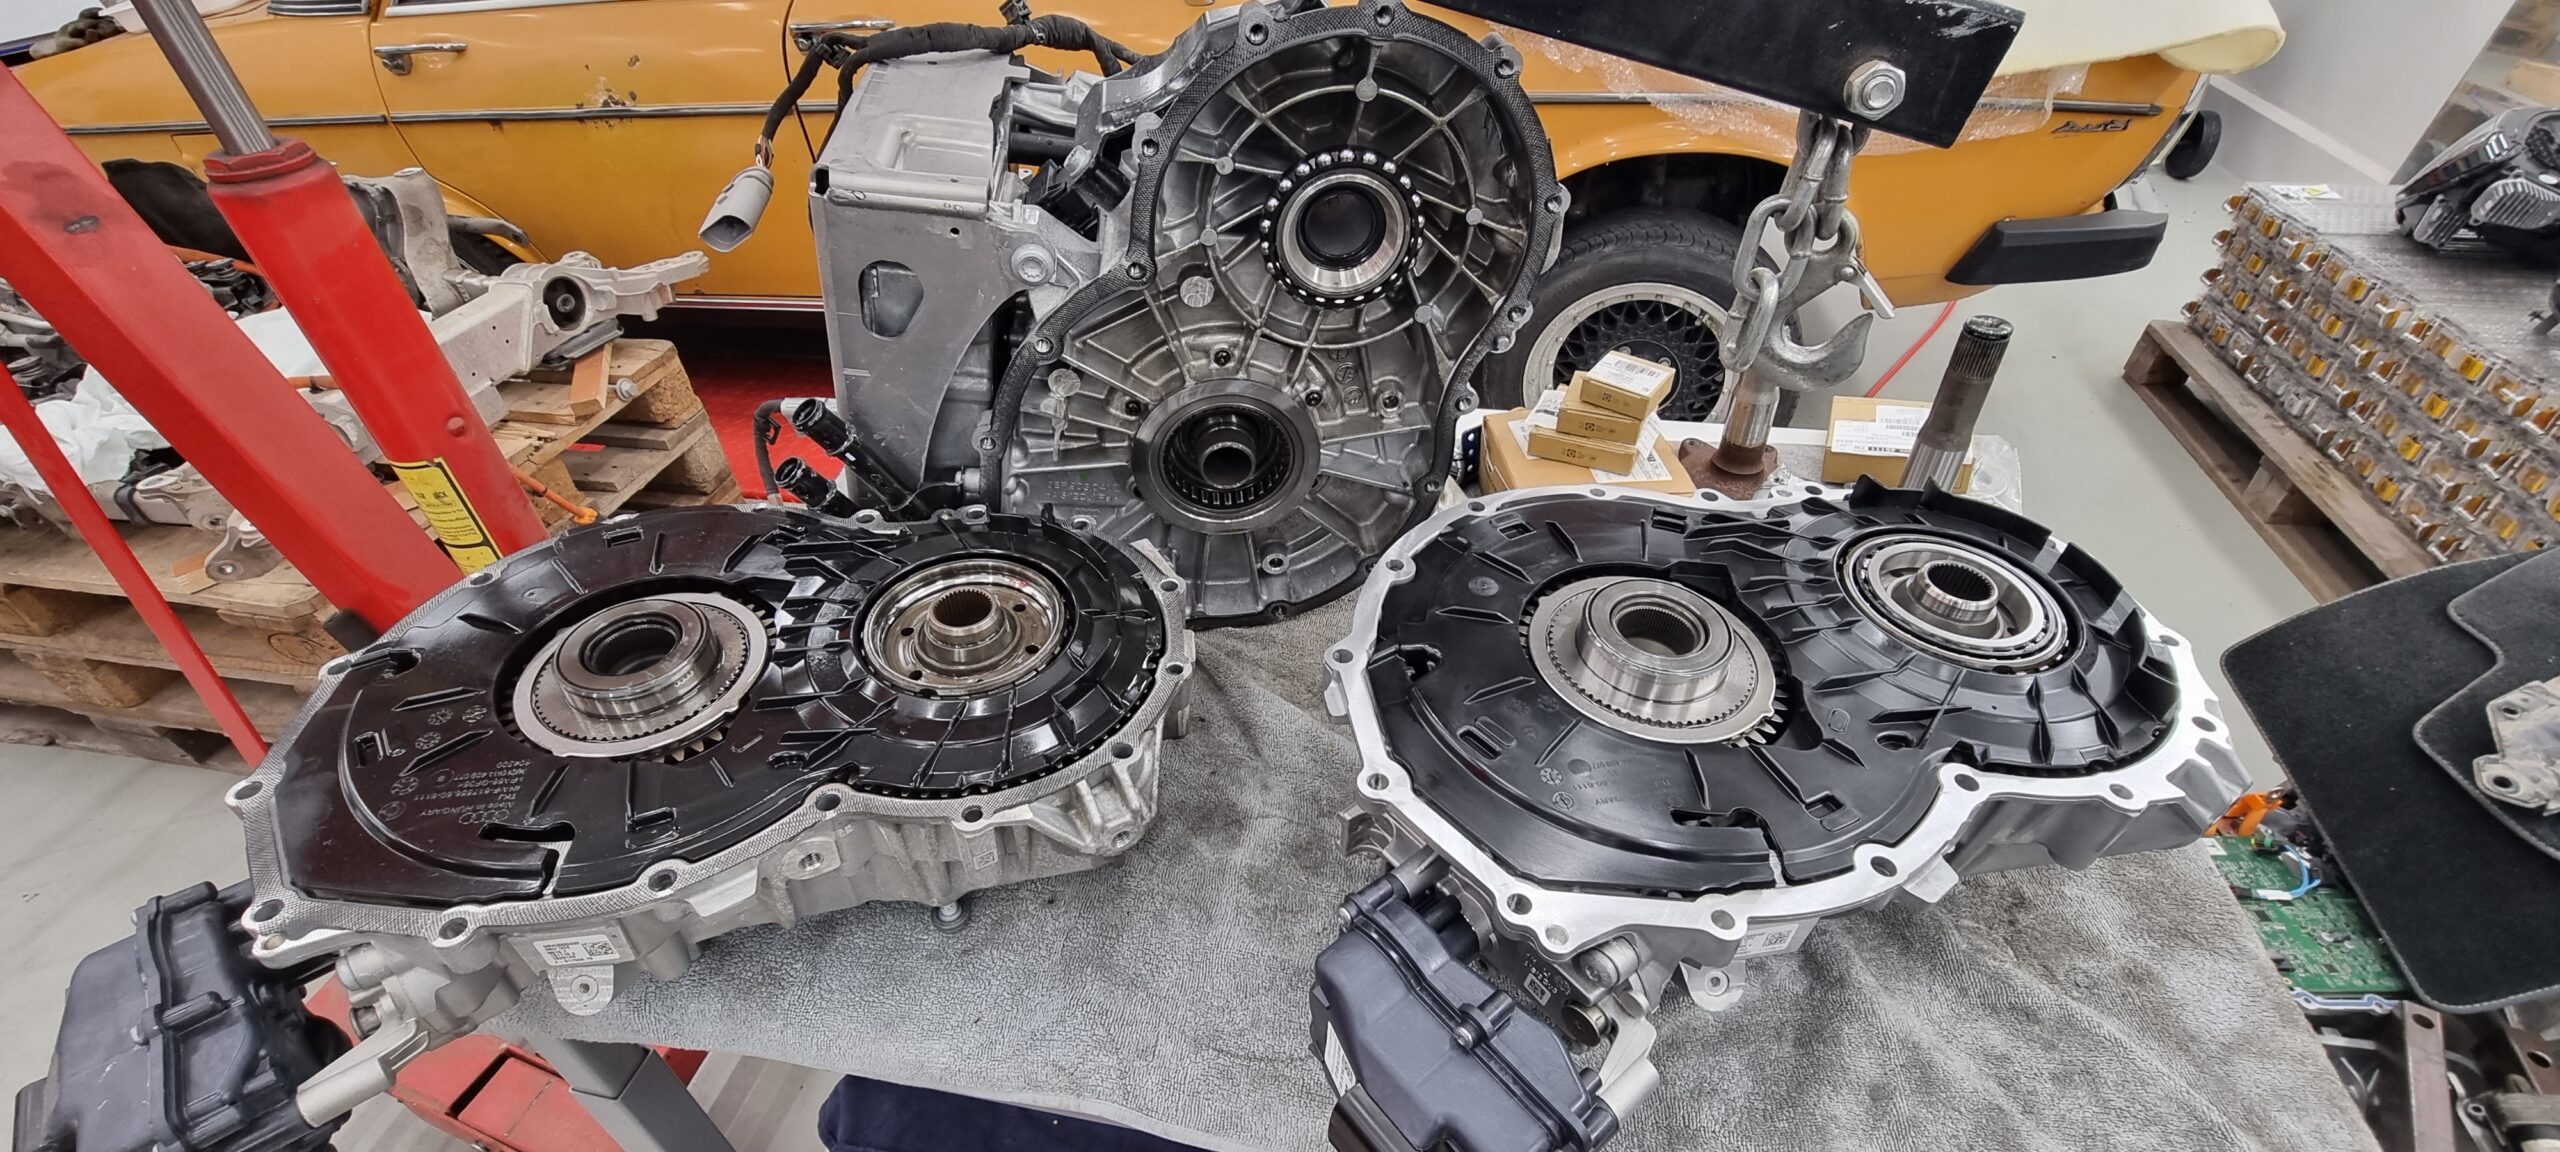
New gearbox.
Dropping the drivetrain out of an EV is actually pretty quick. No fuel lines or exhaust to worry about. A few connectors, coolant hoses and subframe bolts, and you're nearly there.
With the front drivetrain apart, we found broken differential teeth as well as the snapped driveshaft flange. That explained why the driver's-side wheel wouldn't turn even with the parking lock released. How it had happened was the interesting bit. Most likely, that wheel had suddenly locked as it hit the motorway barrier. The load went through the drivetrain, and the weakest points turned out to be the opposite flange and the differential teeth.
Of course, the differential wasn't available separately. Luckily, a complete new gearbox was only about €1,400, so it didn't make a huge dent in the budget. Extra work, though.
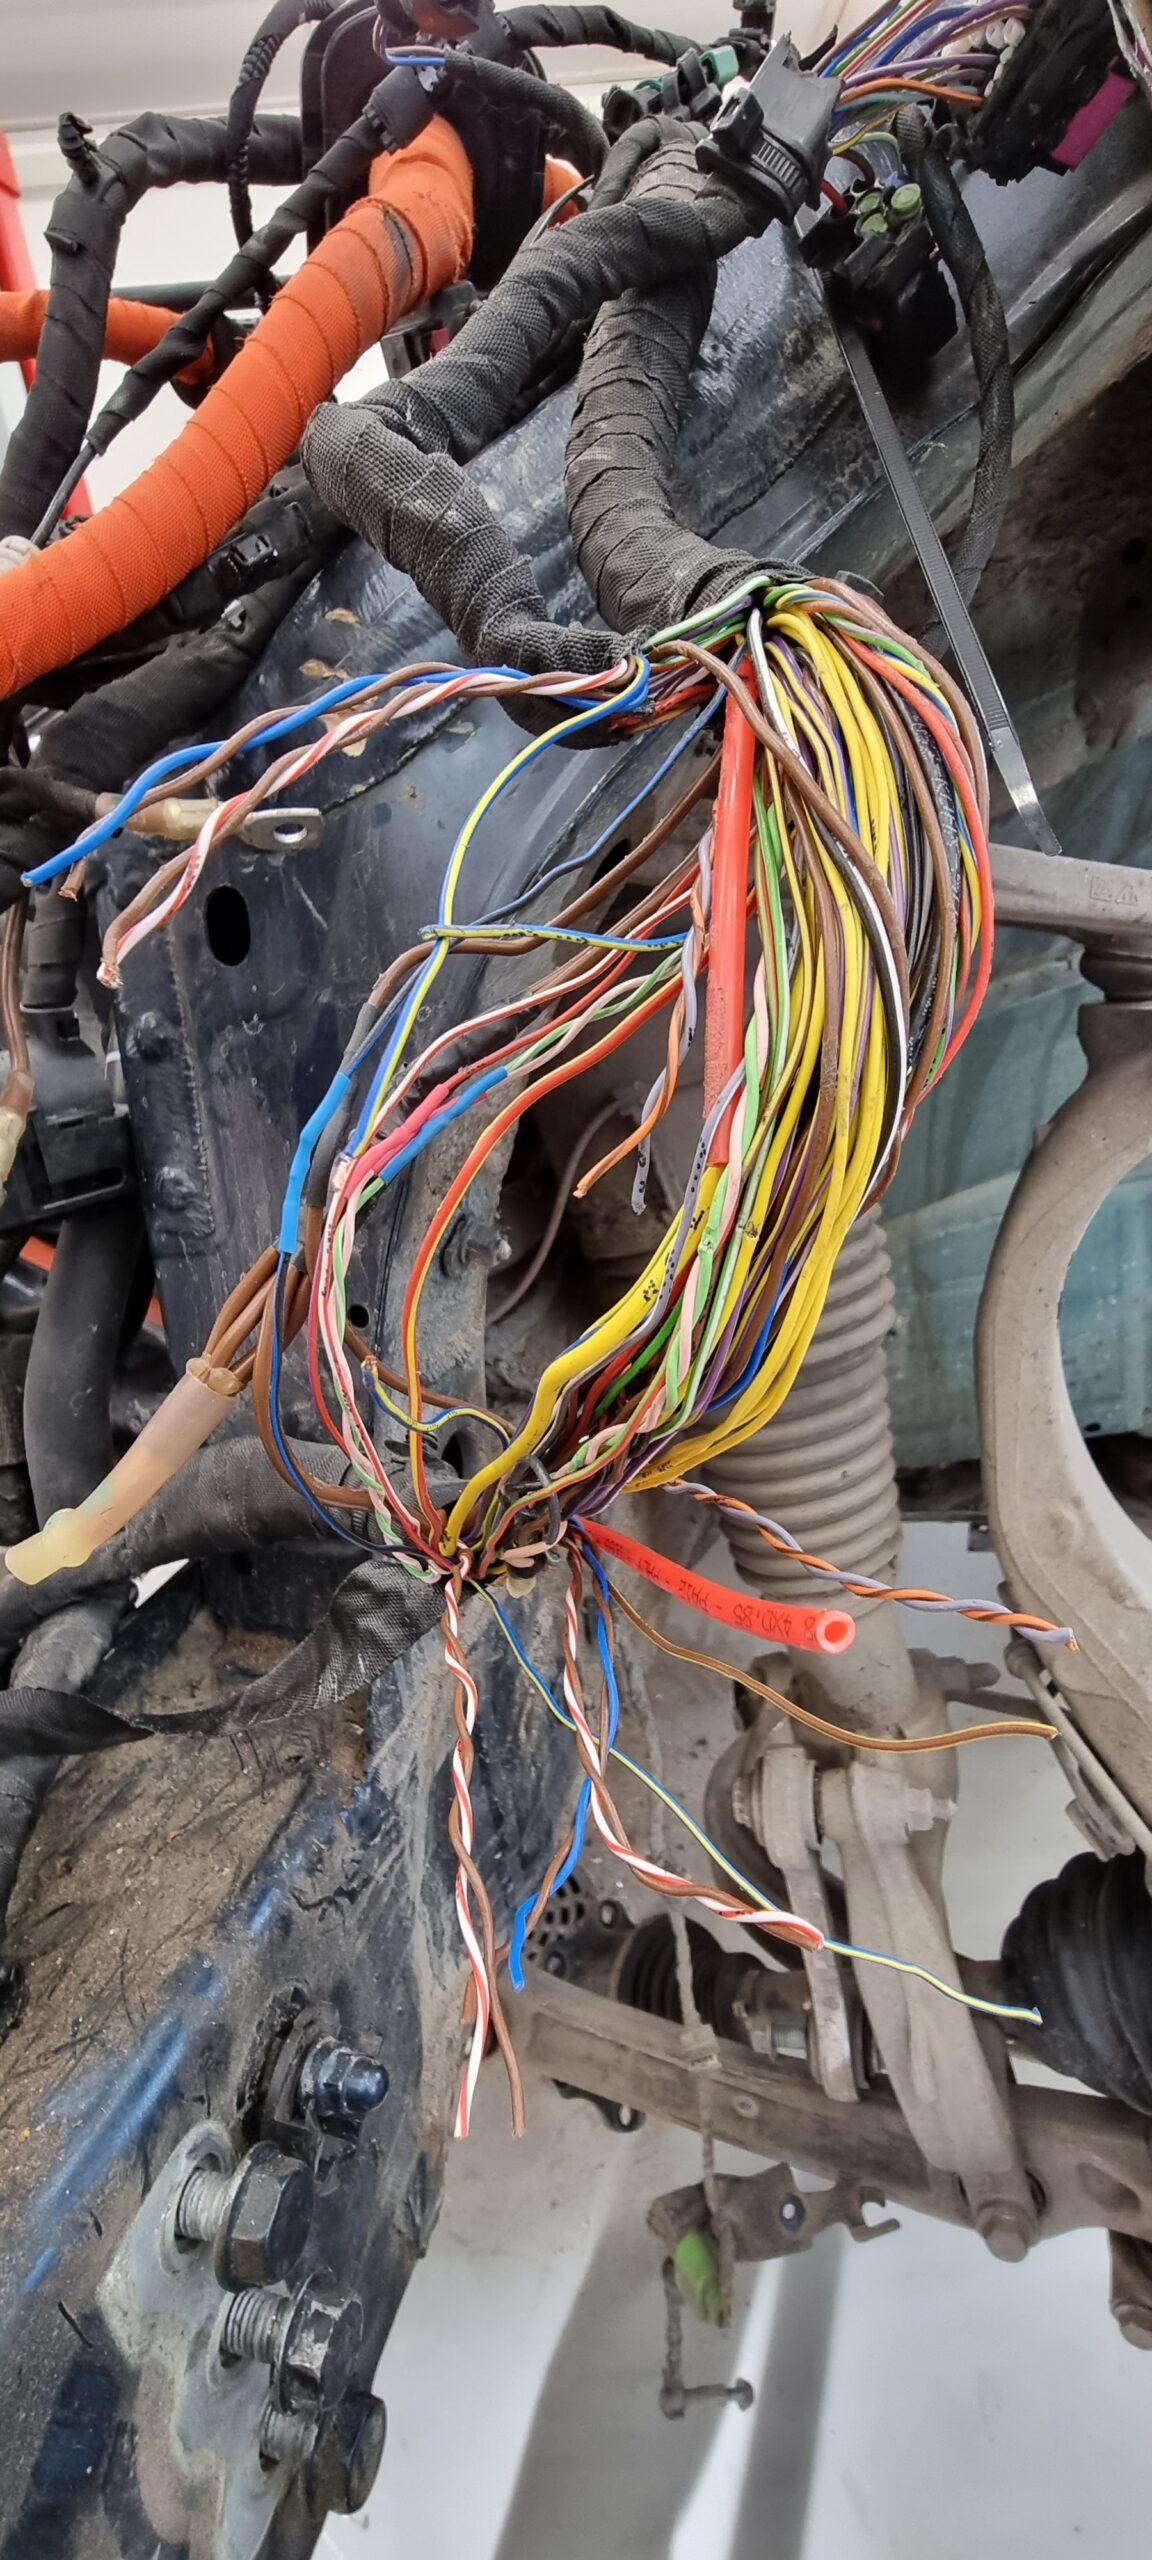
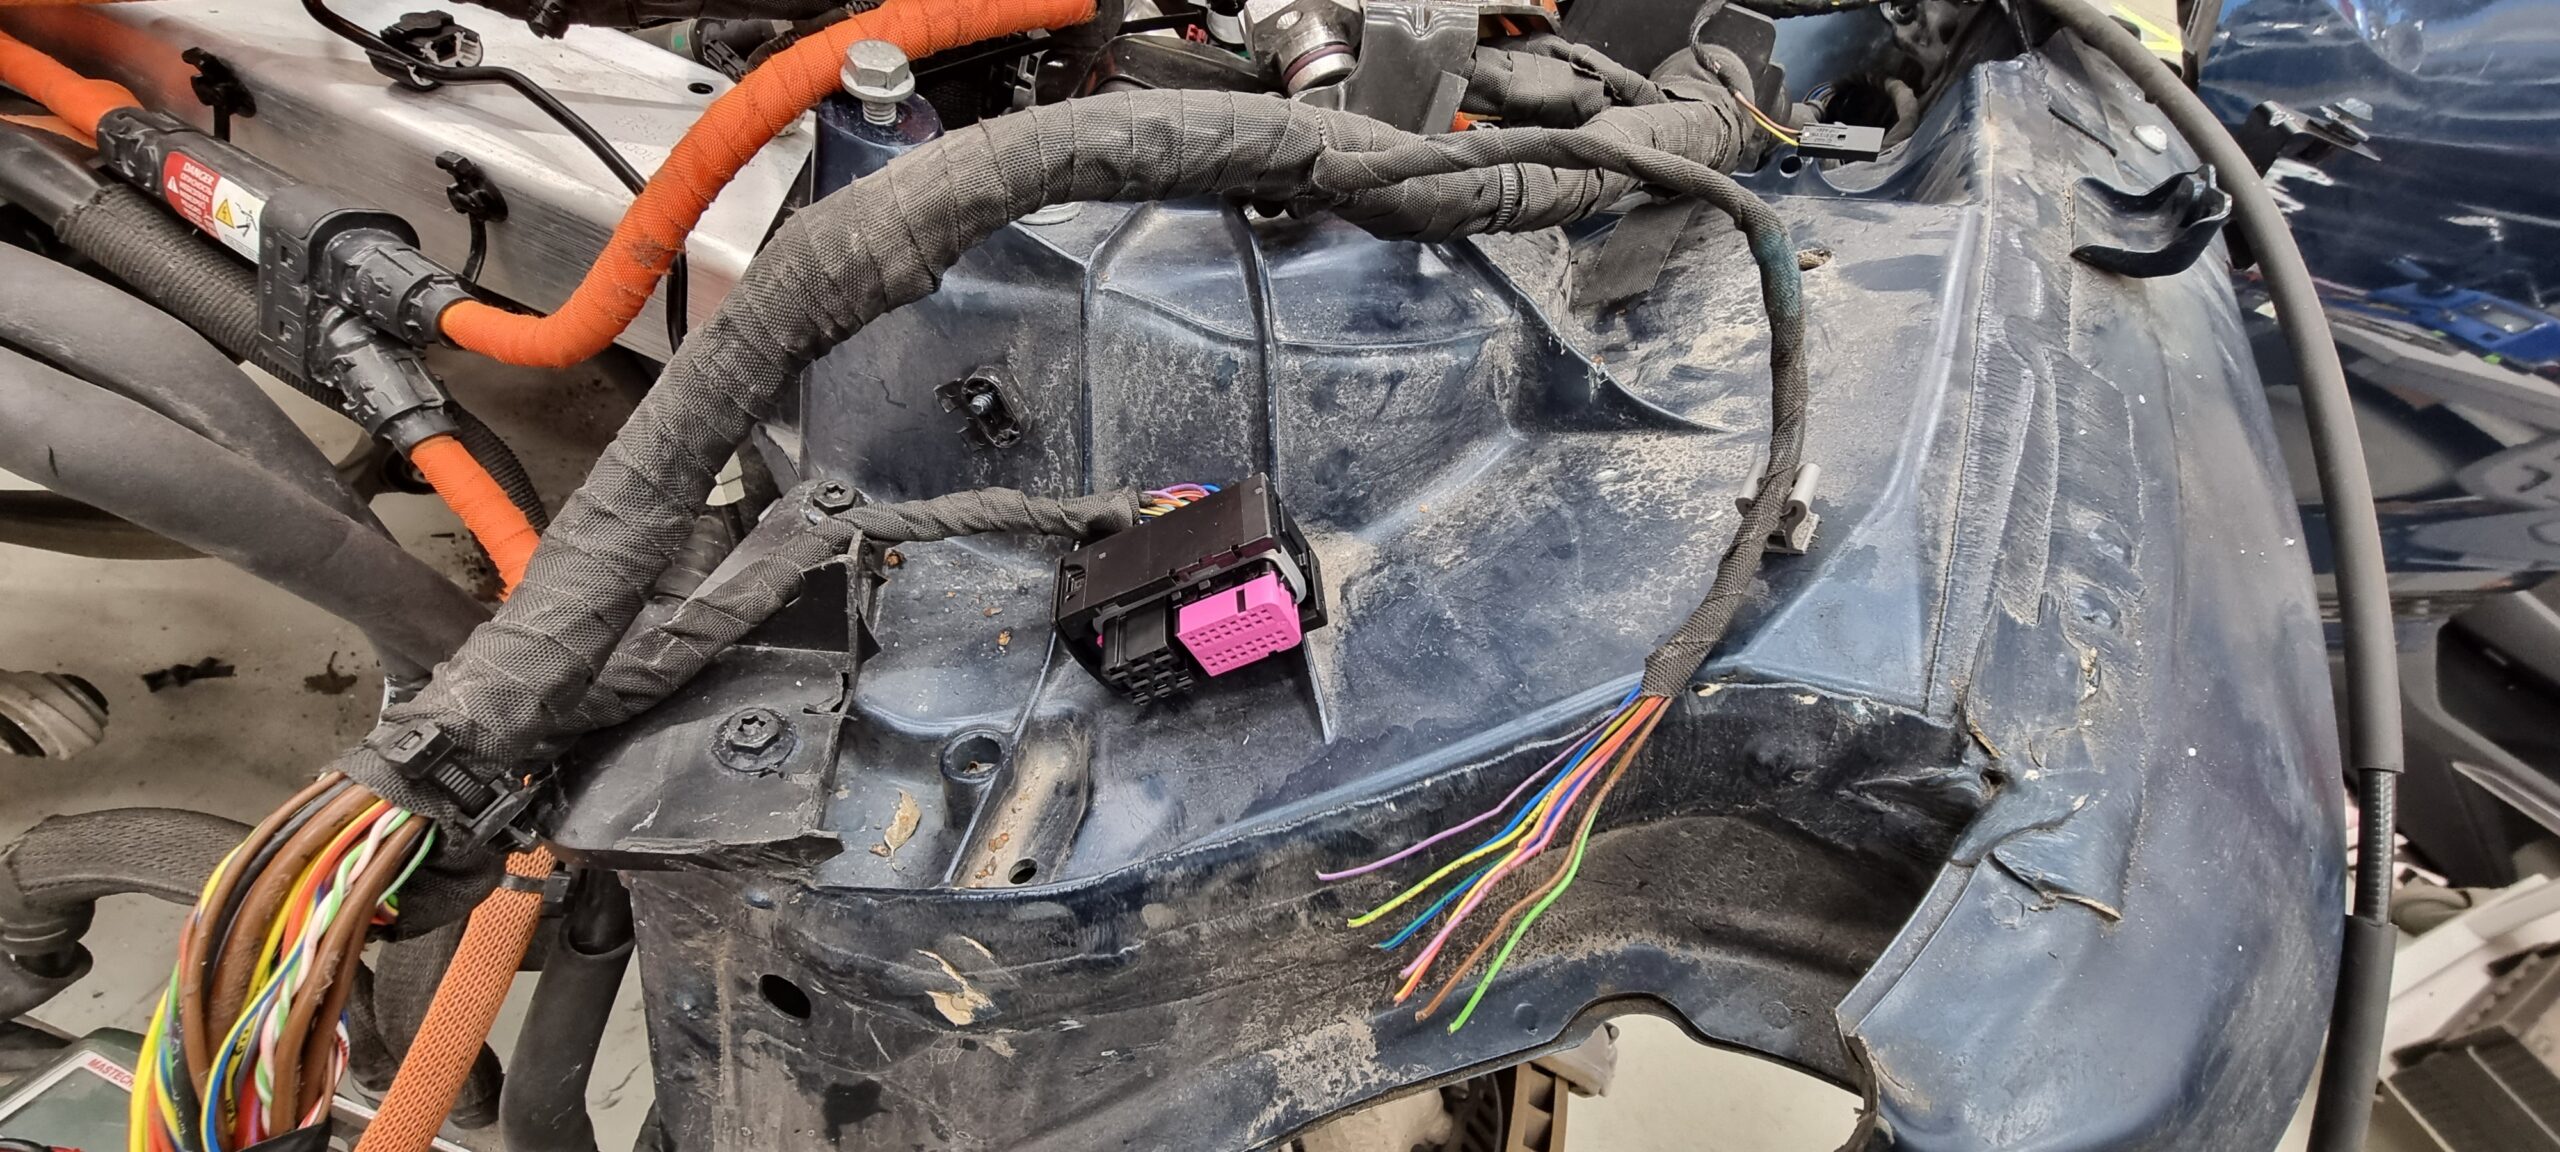
The wiring loom kept me busy for several hours. A few connectors needed replacing. The thermal-management controller connector in the photo had “a few” pins, and extracting them all to transfer into the new housing took some doing. Replacing the whole loom would have been ridiculous — practically the entire car would have needed stripping. The repair turned out well and everything worked. The air-suspension line also needed an extra joint.
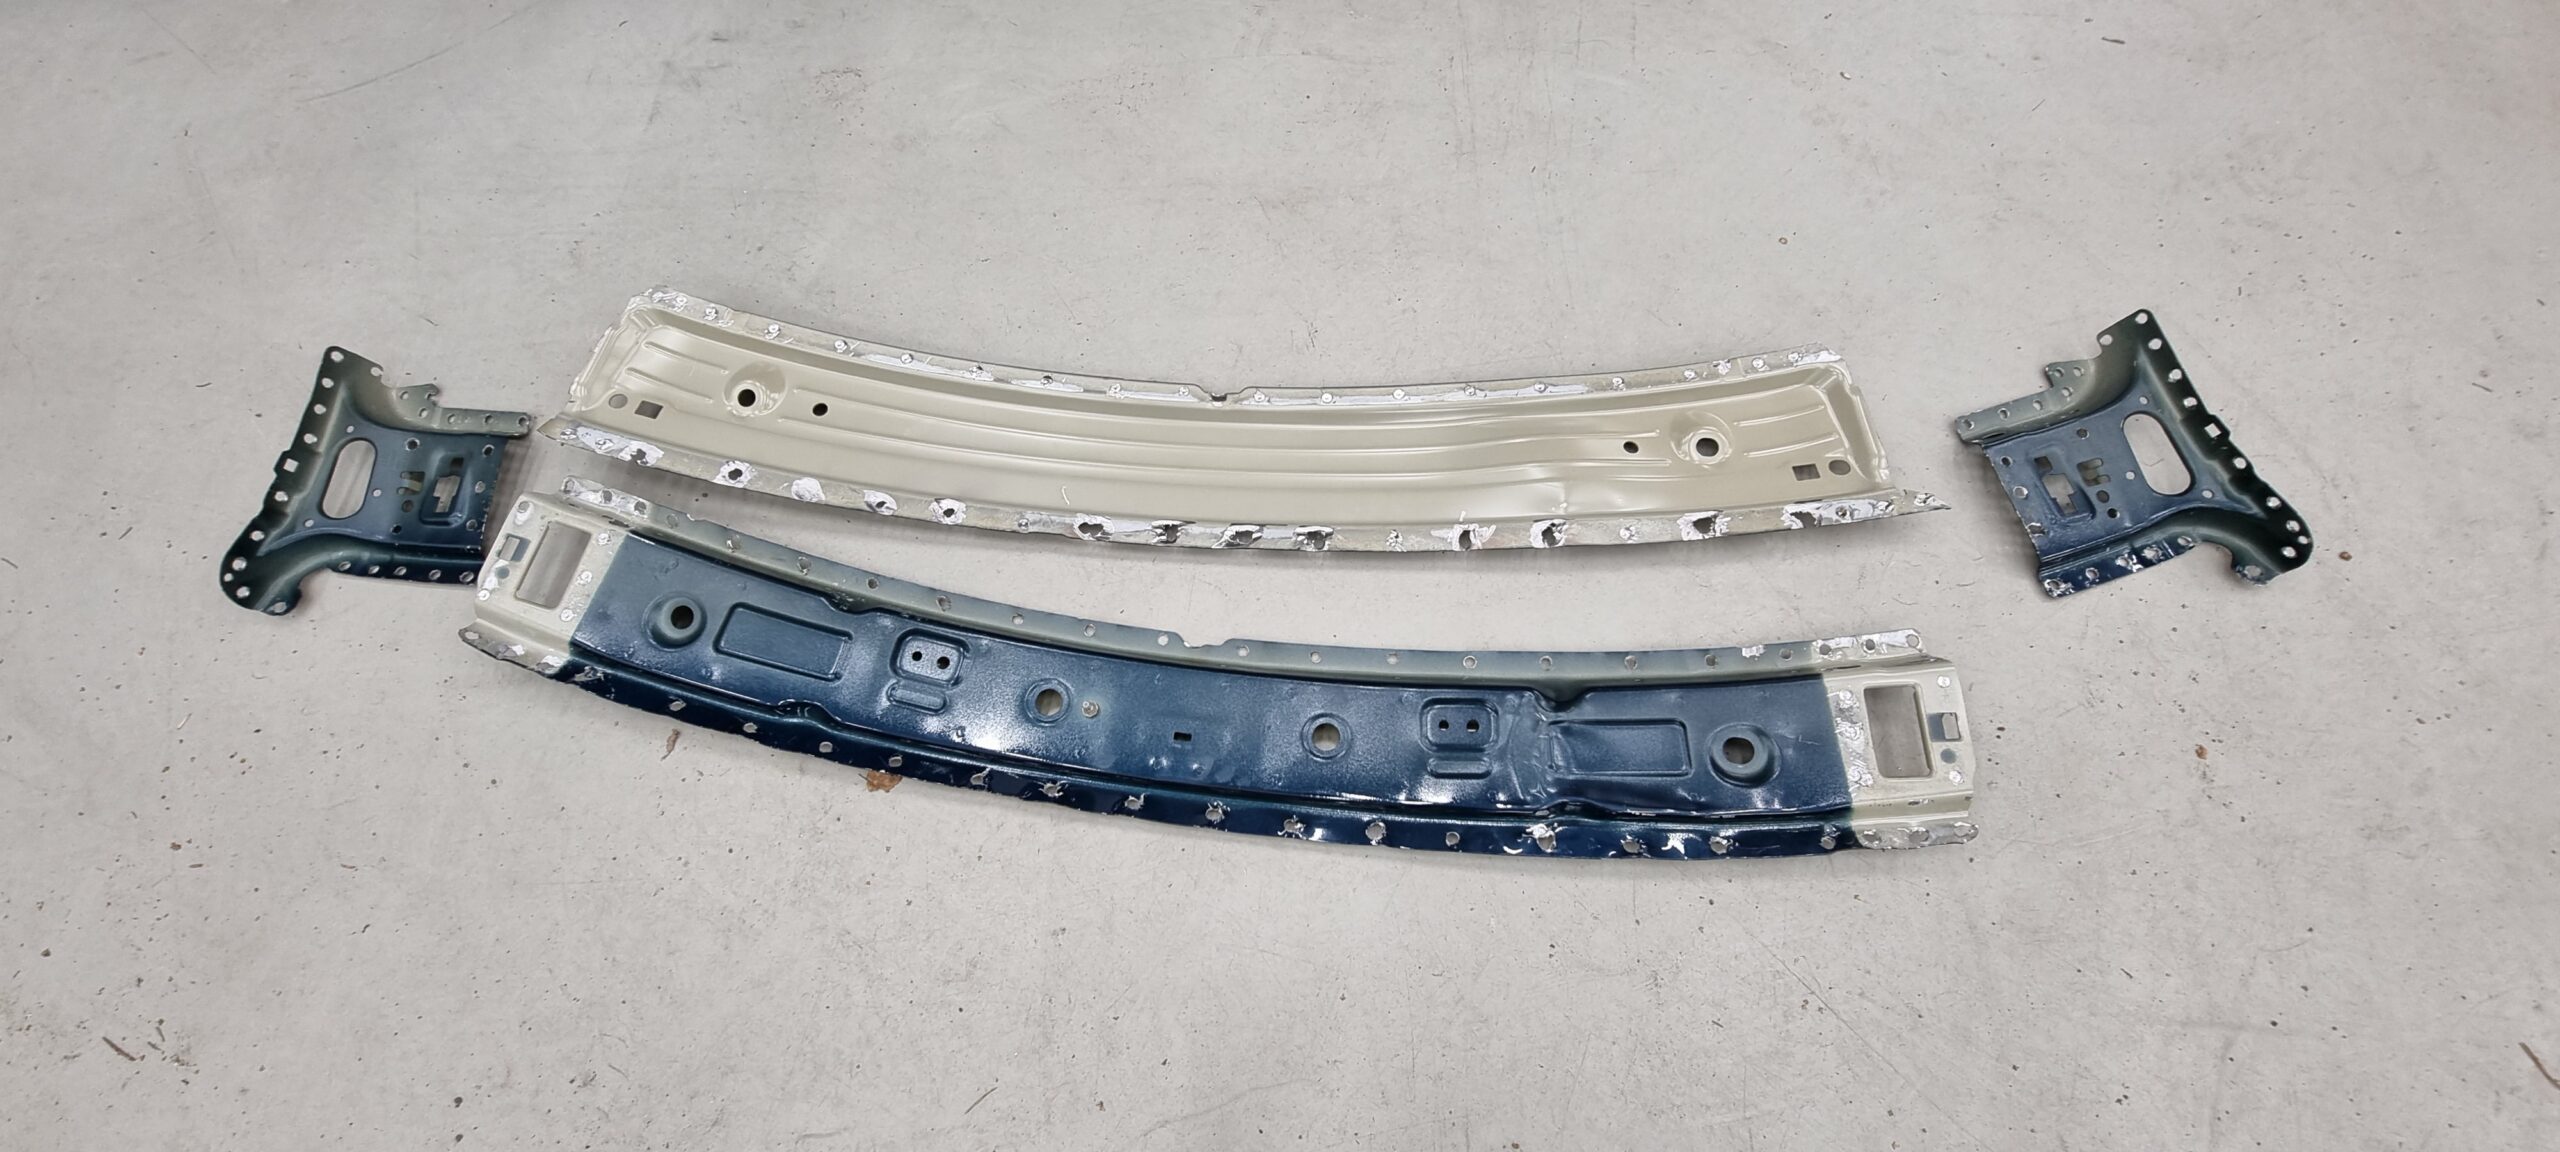
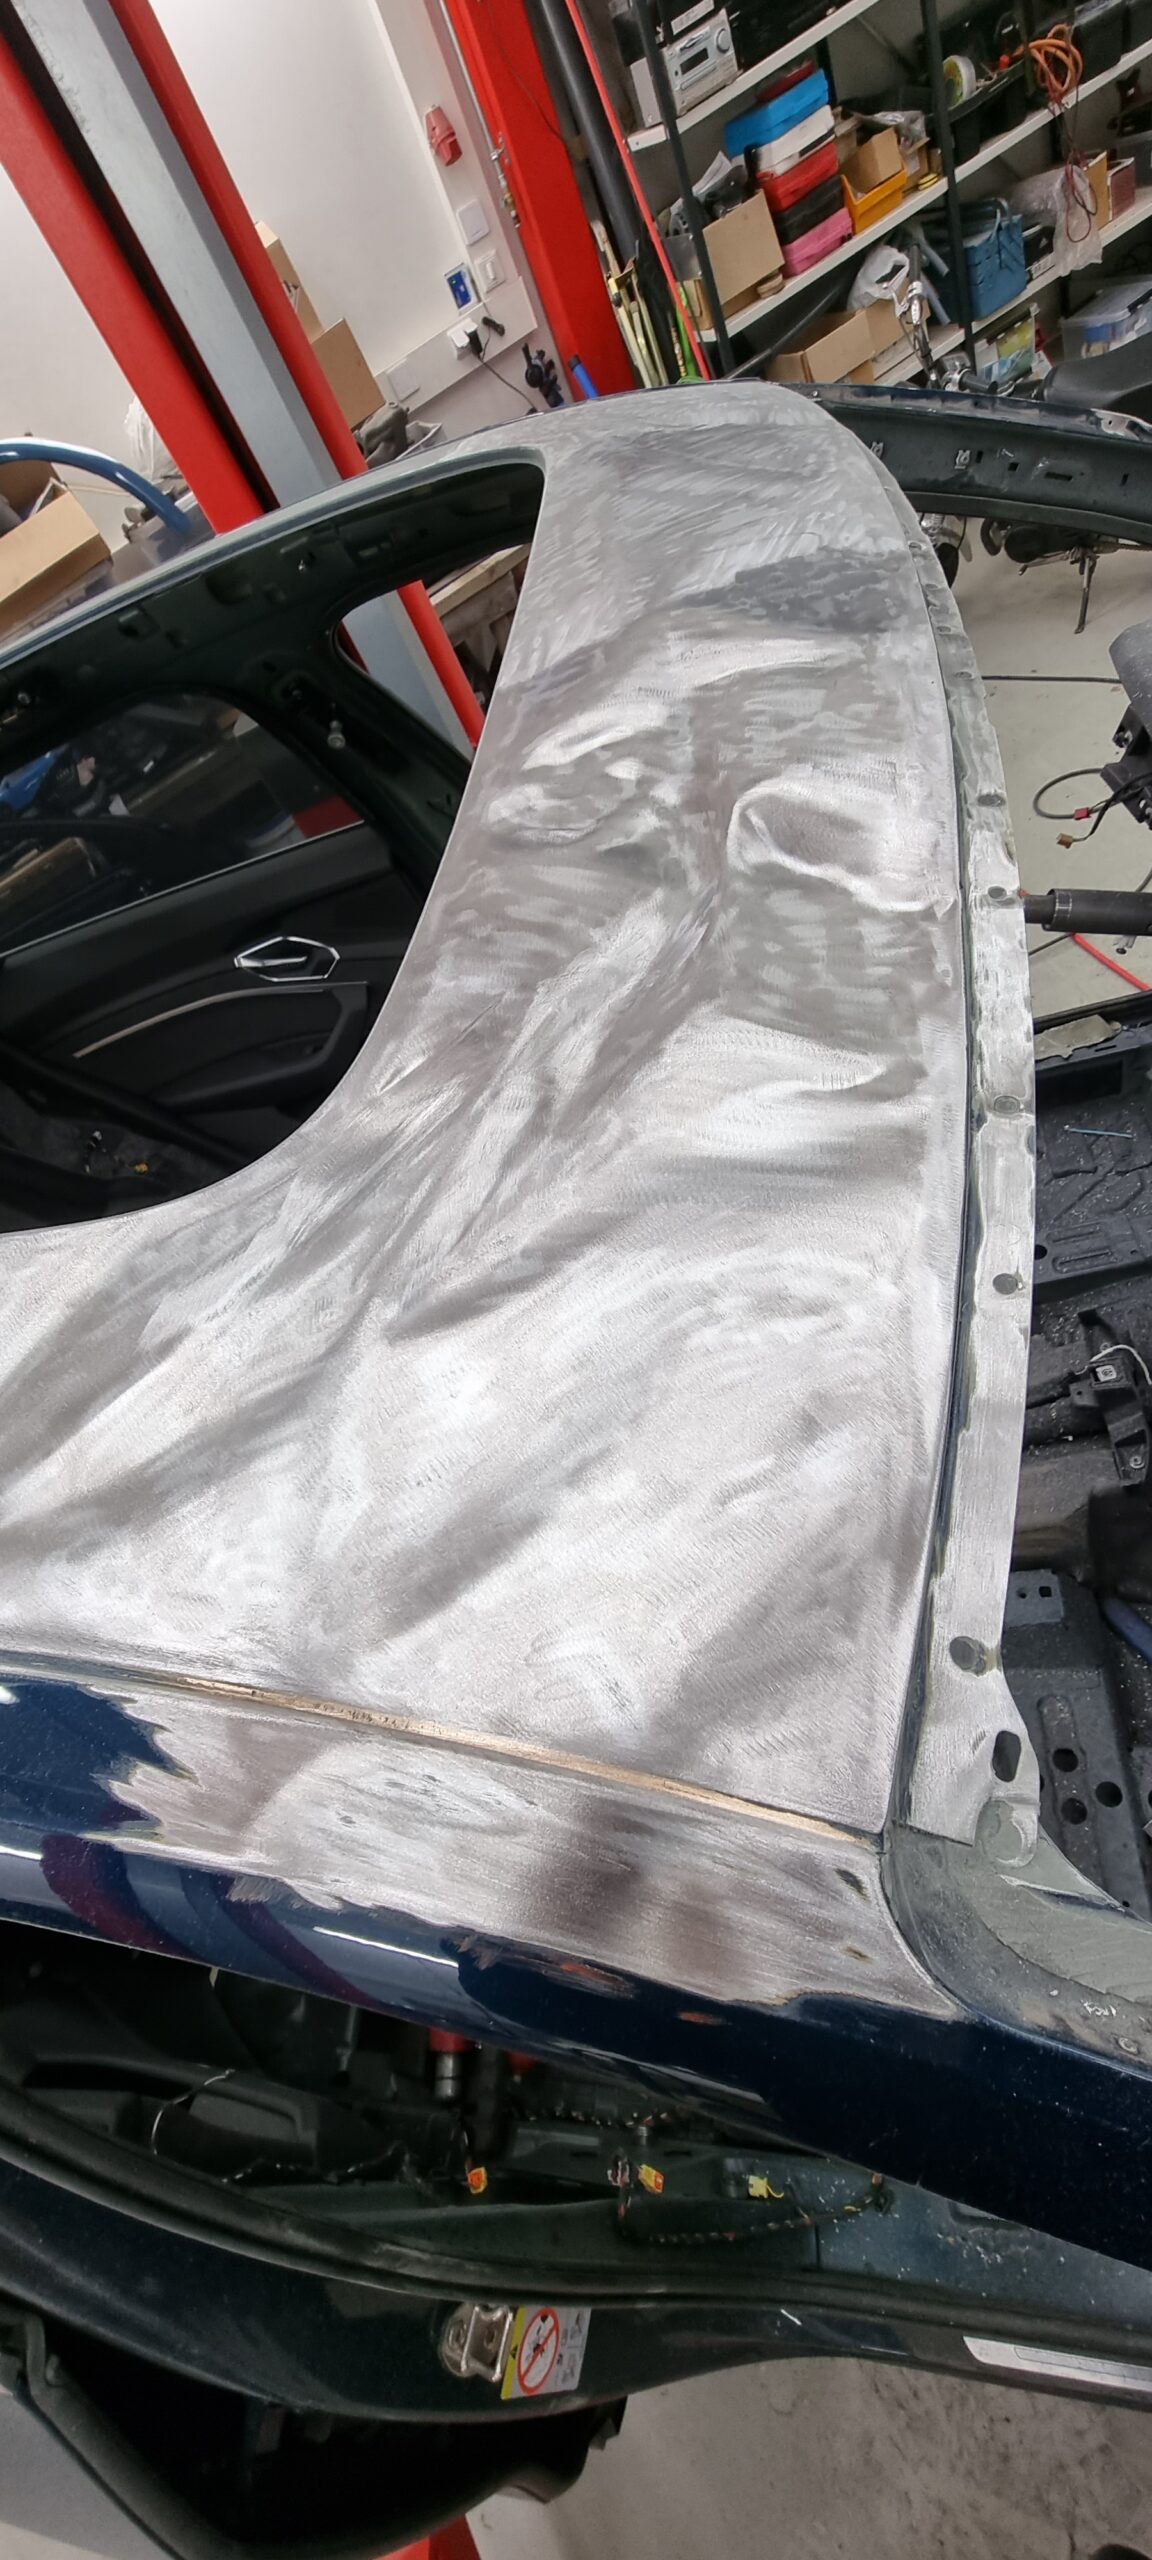
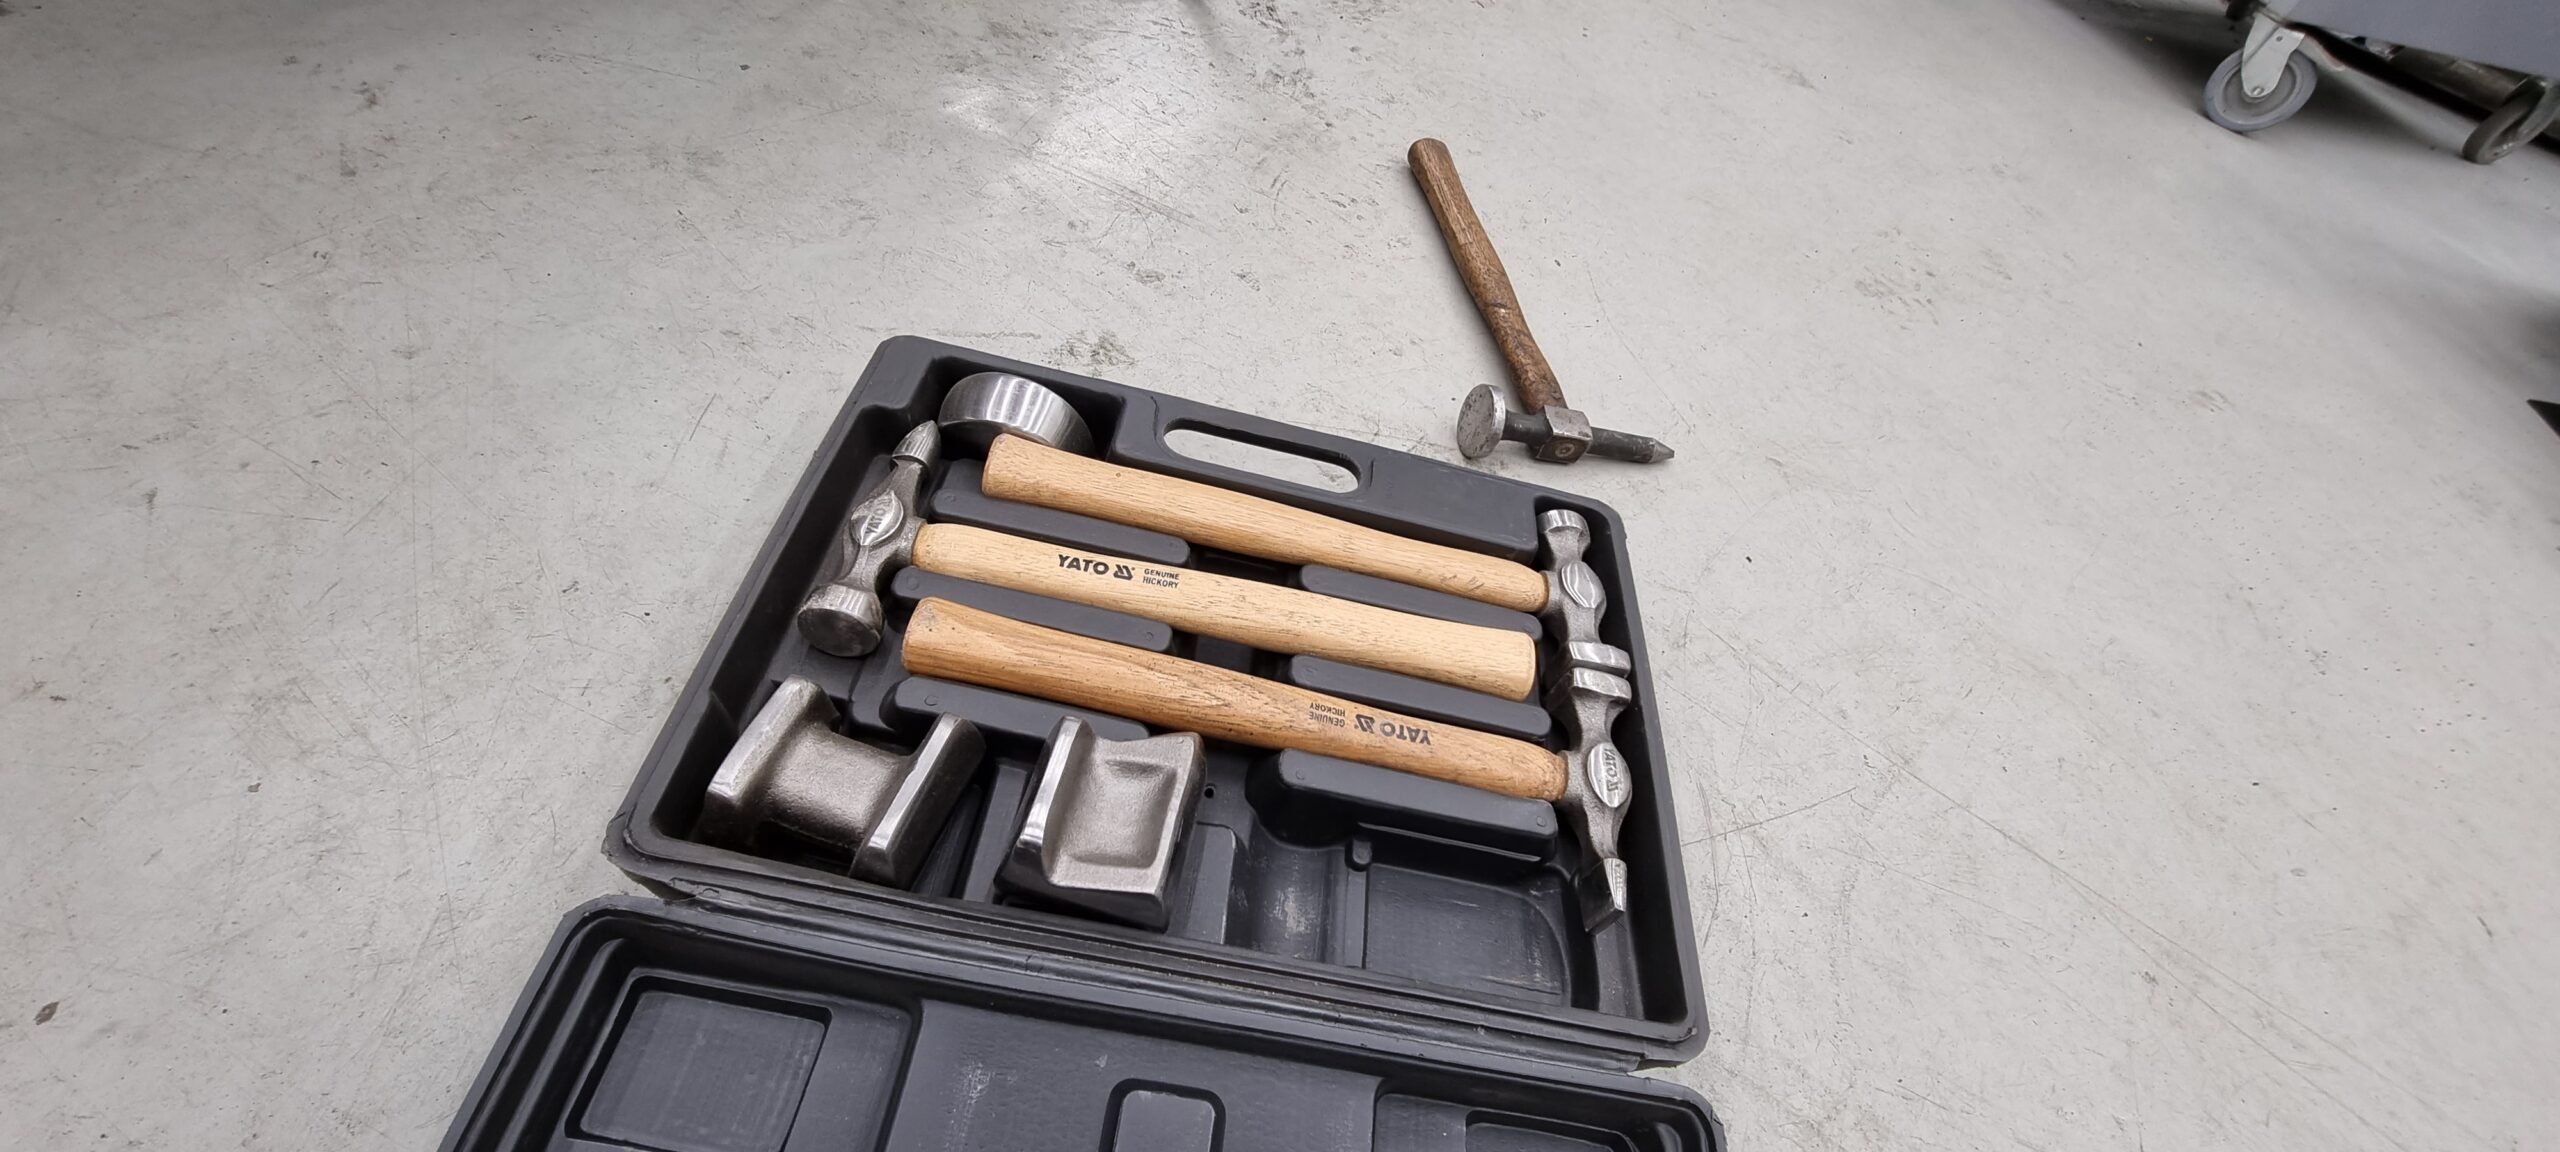
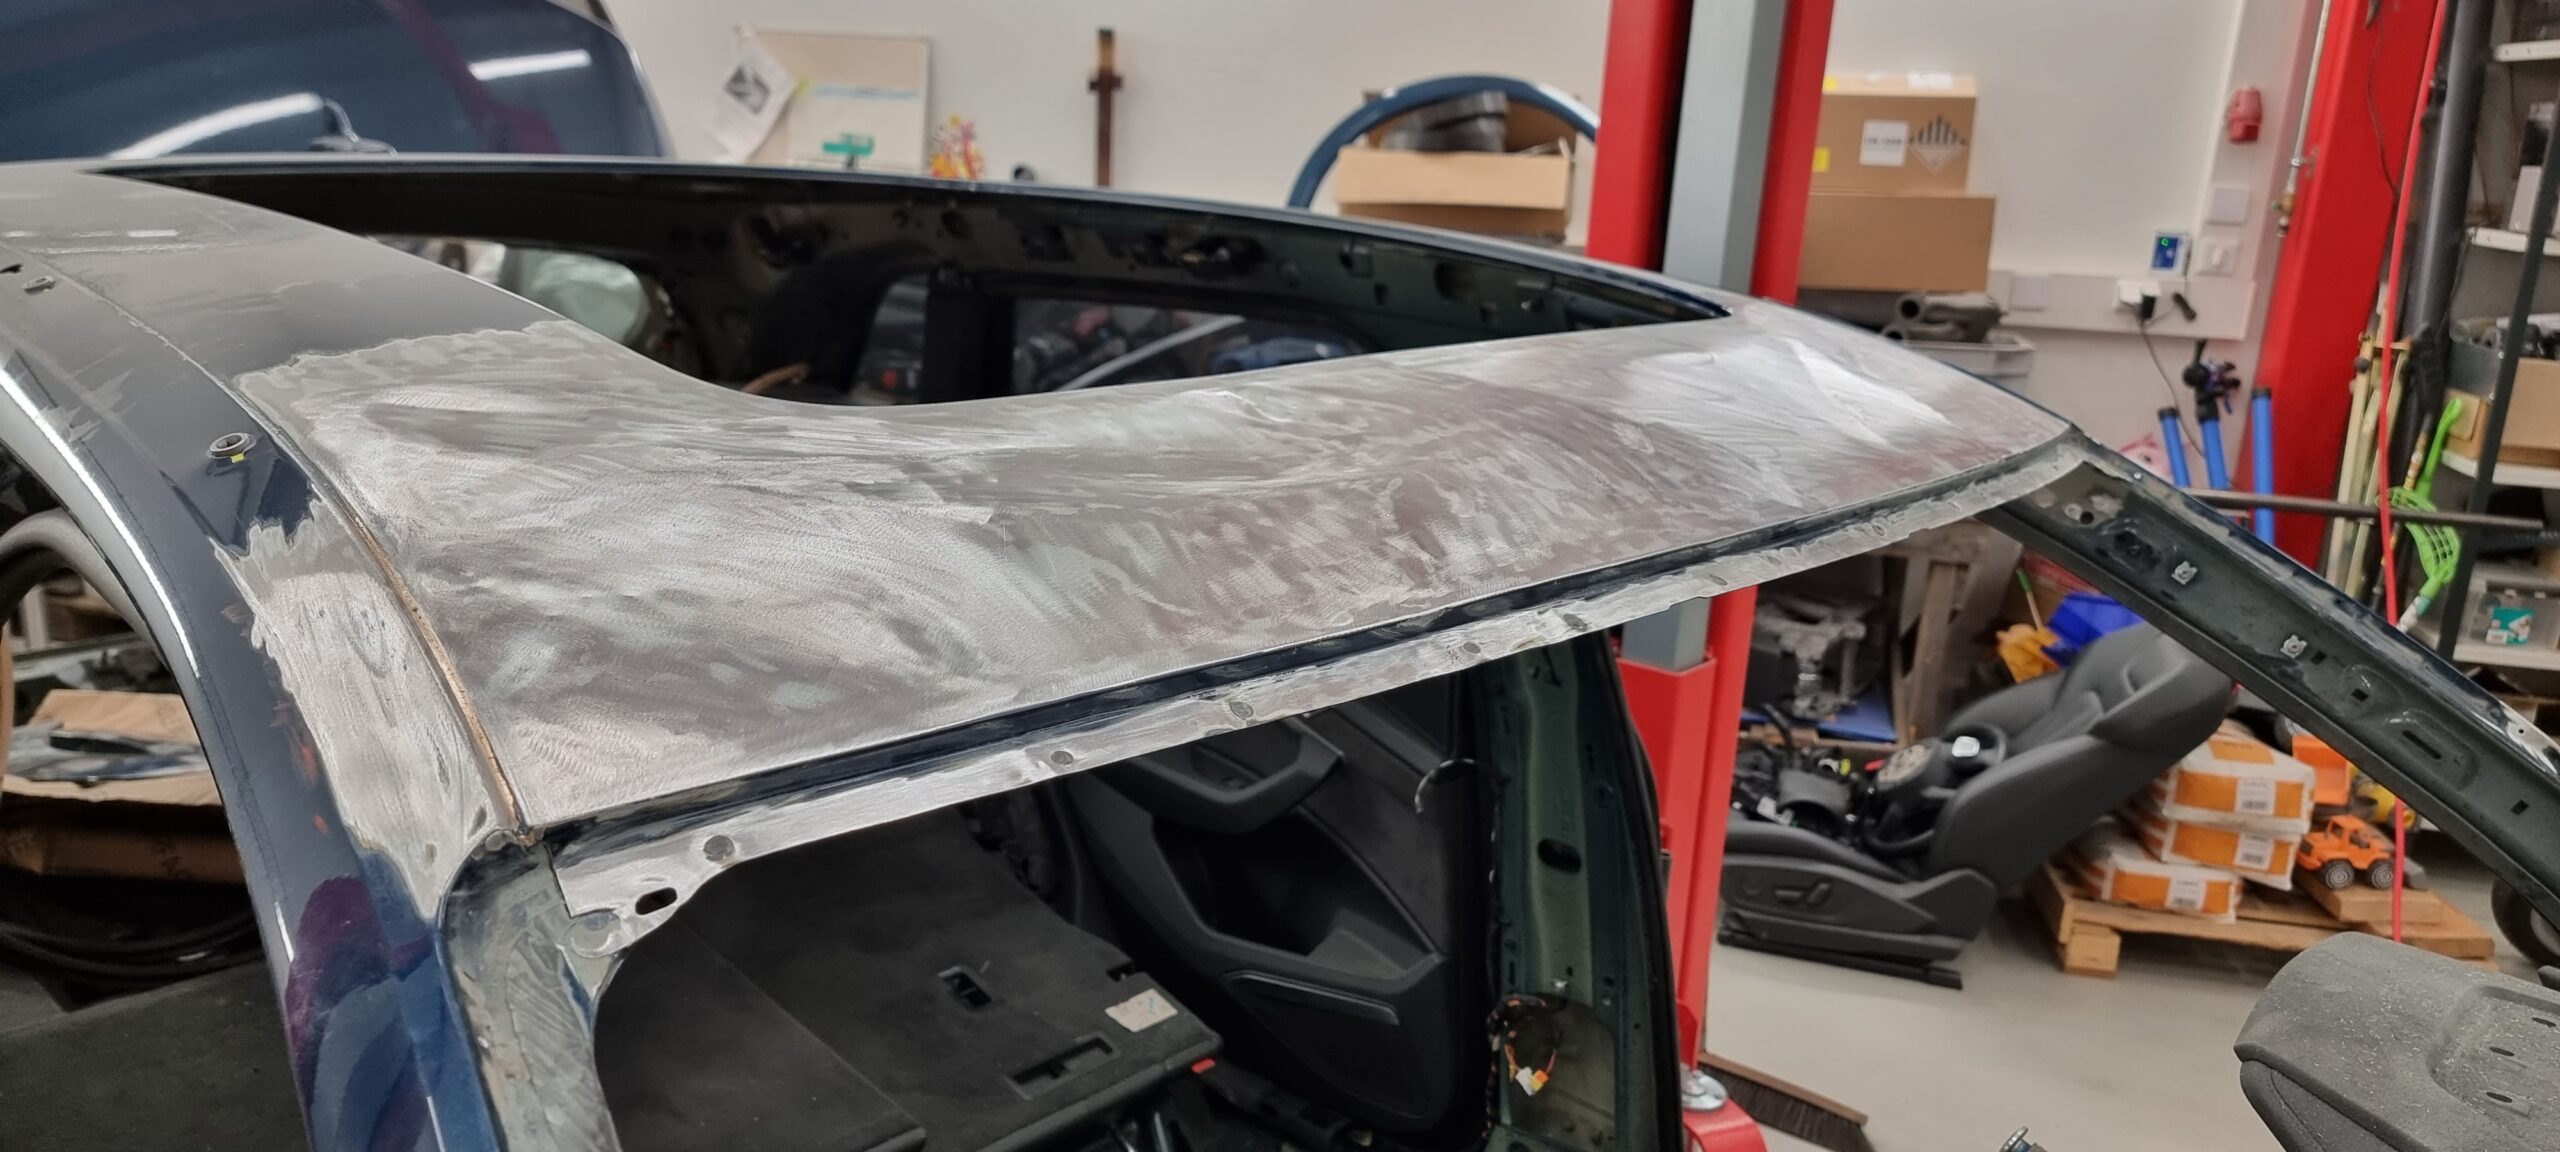
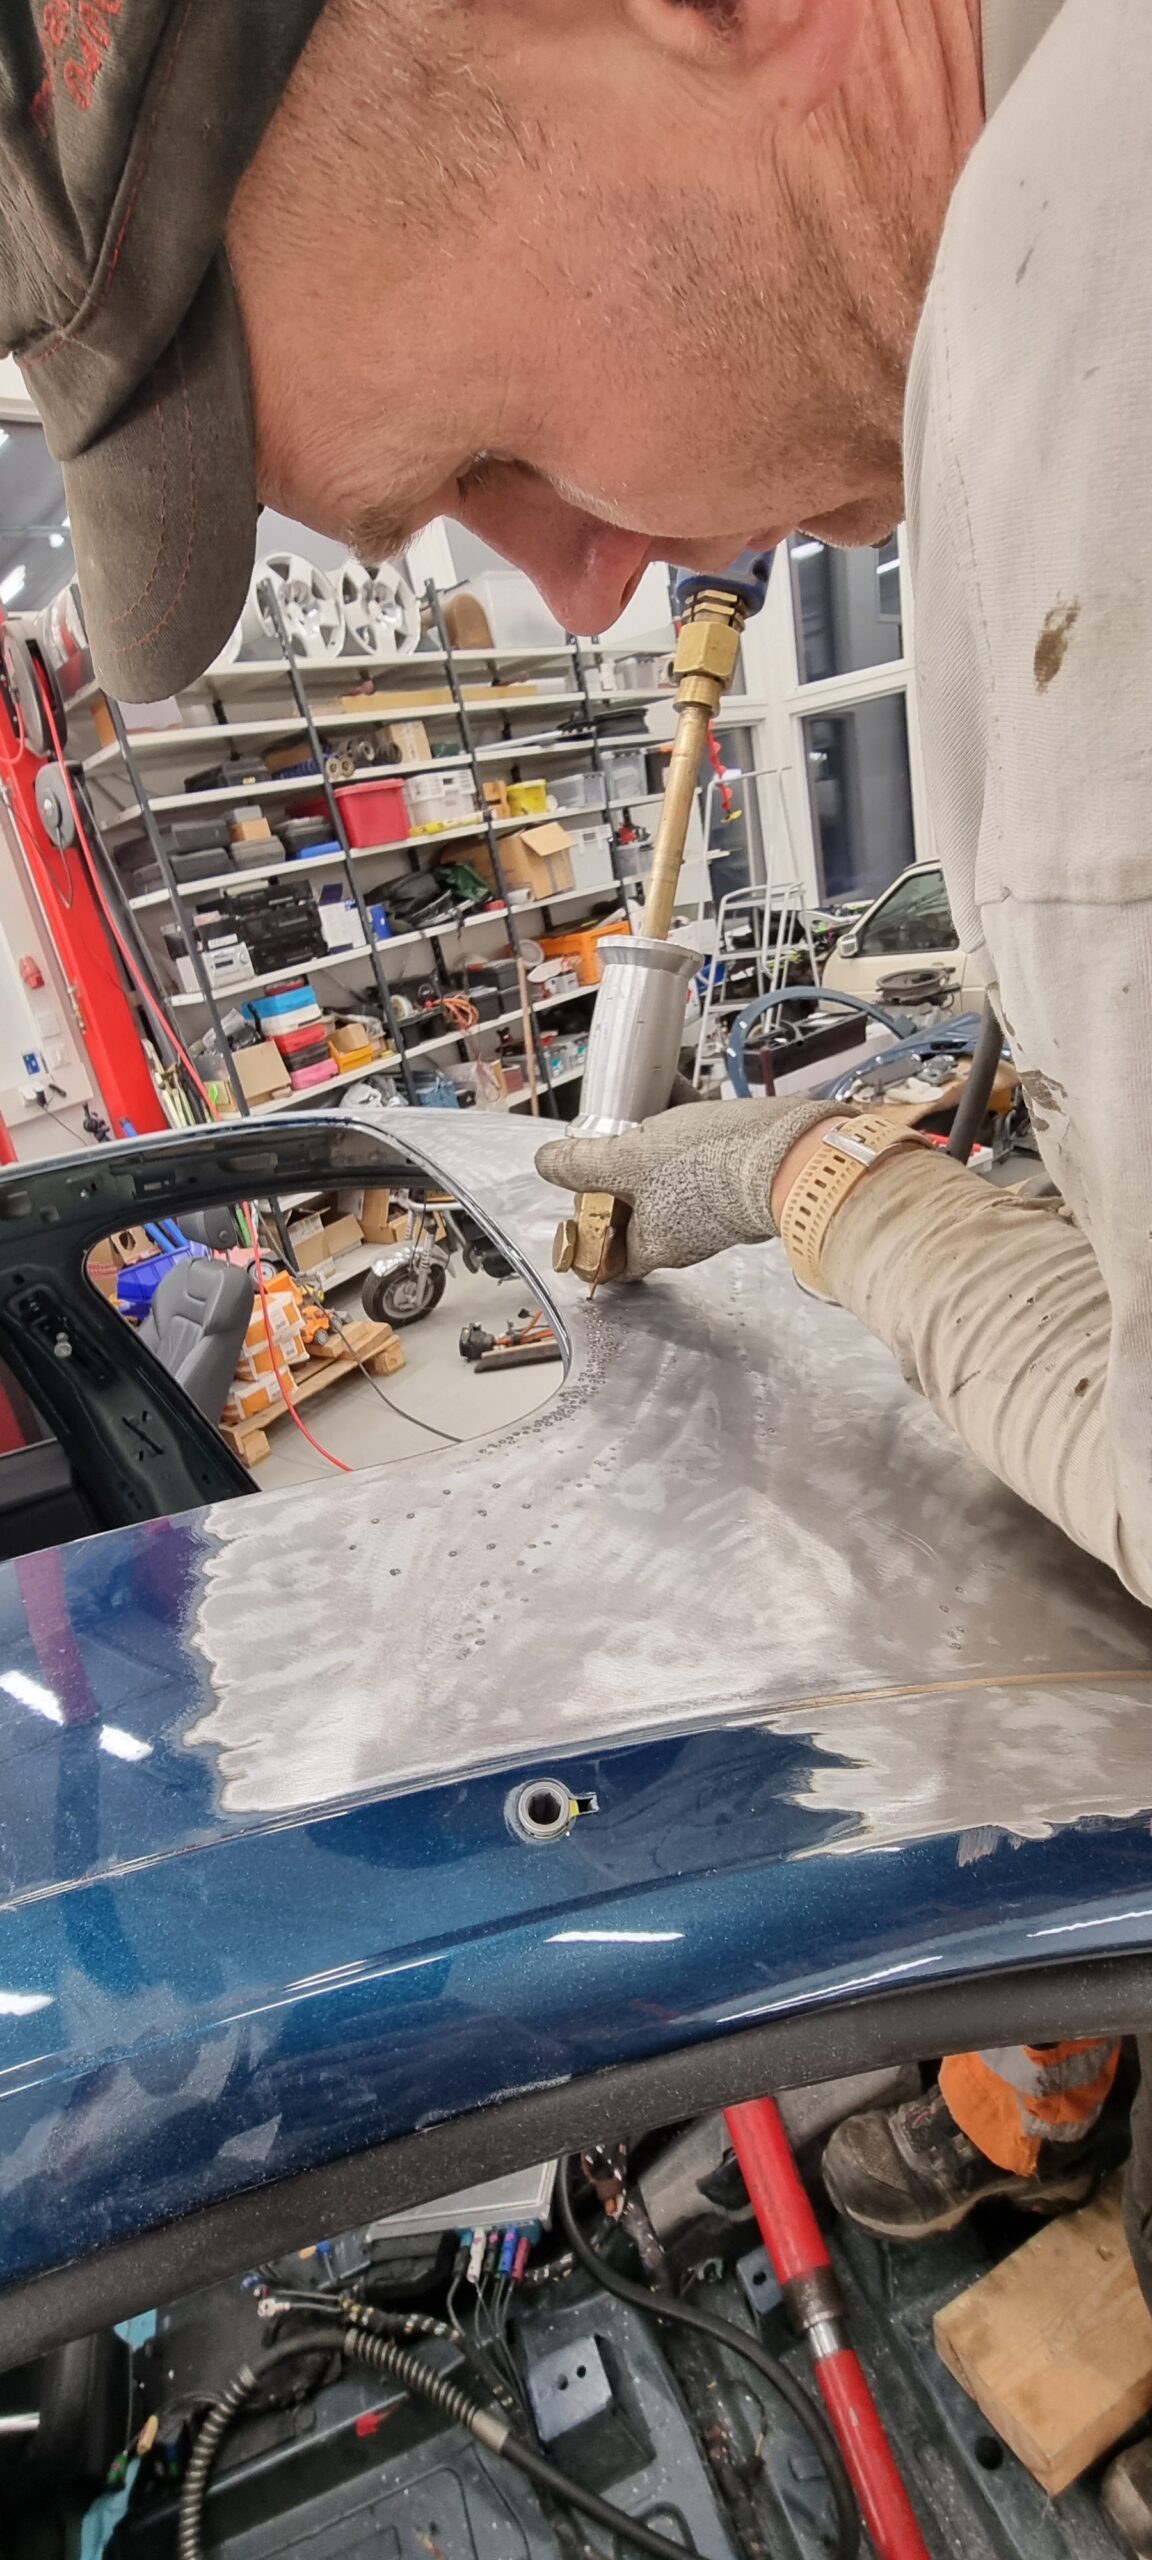
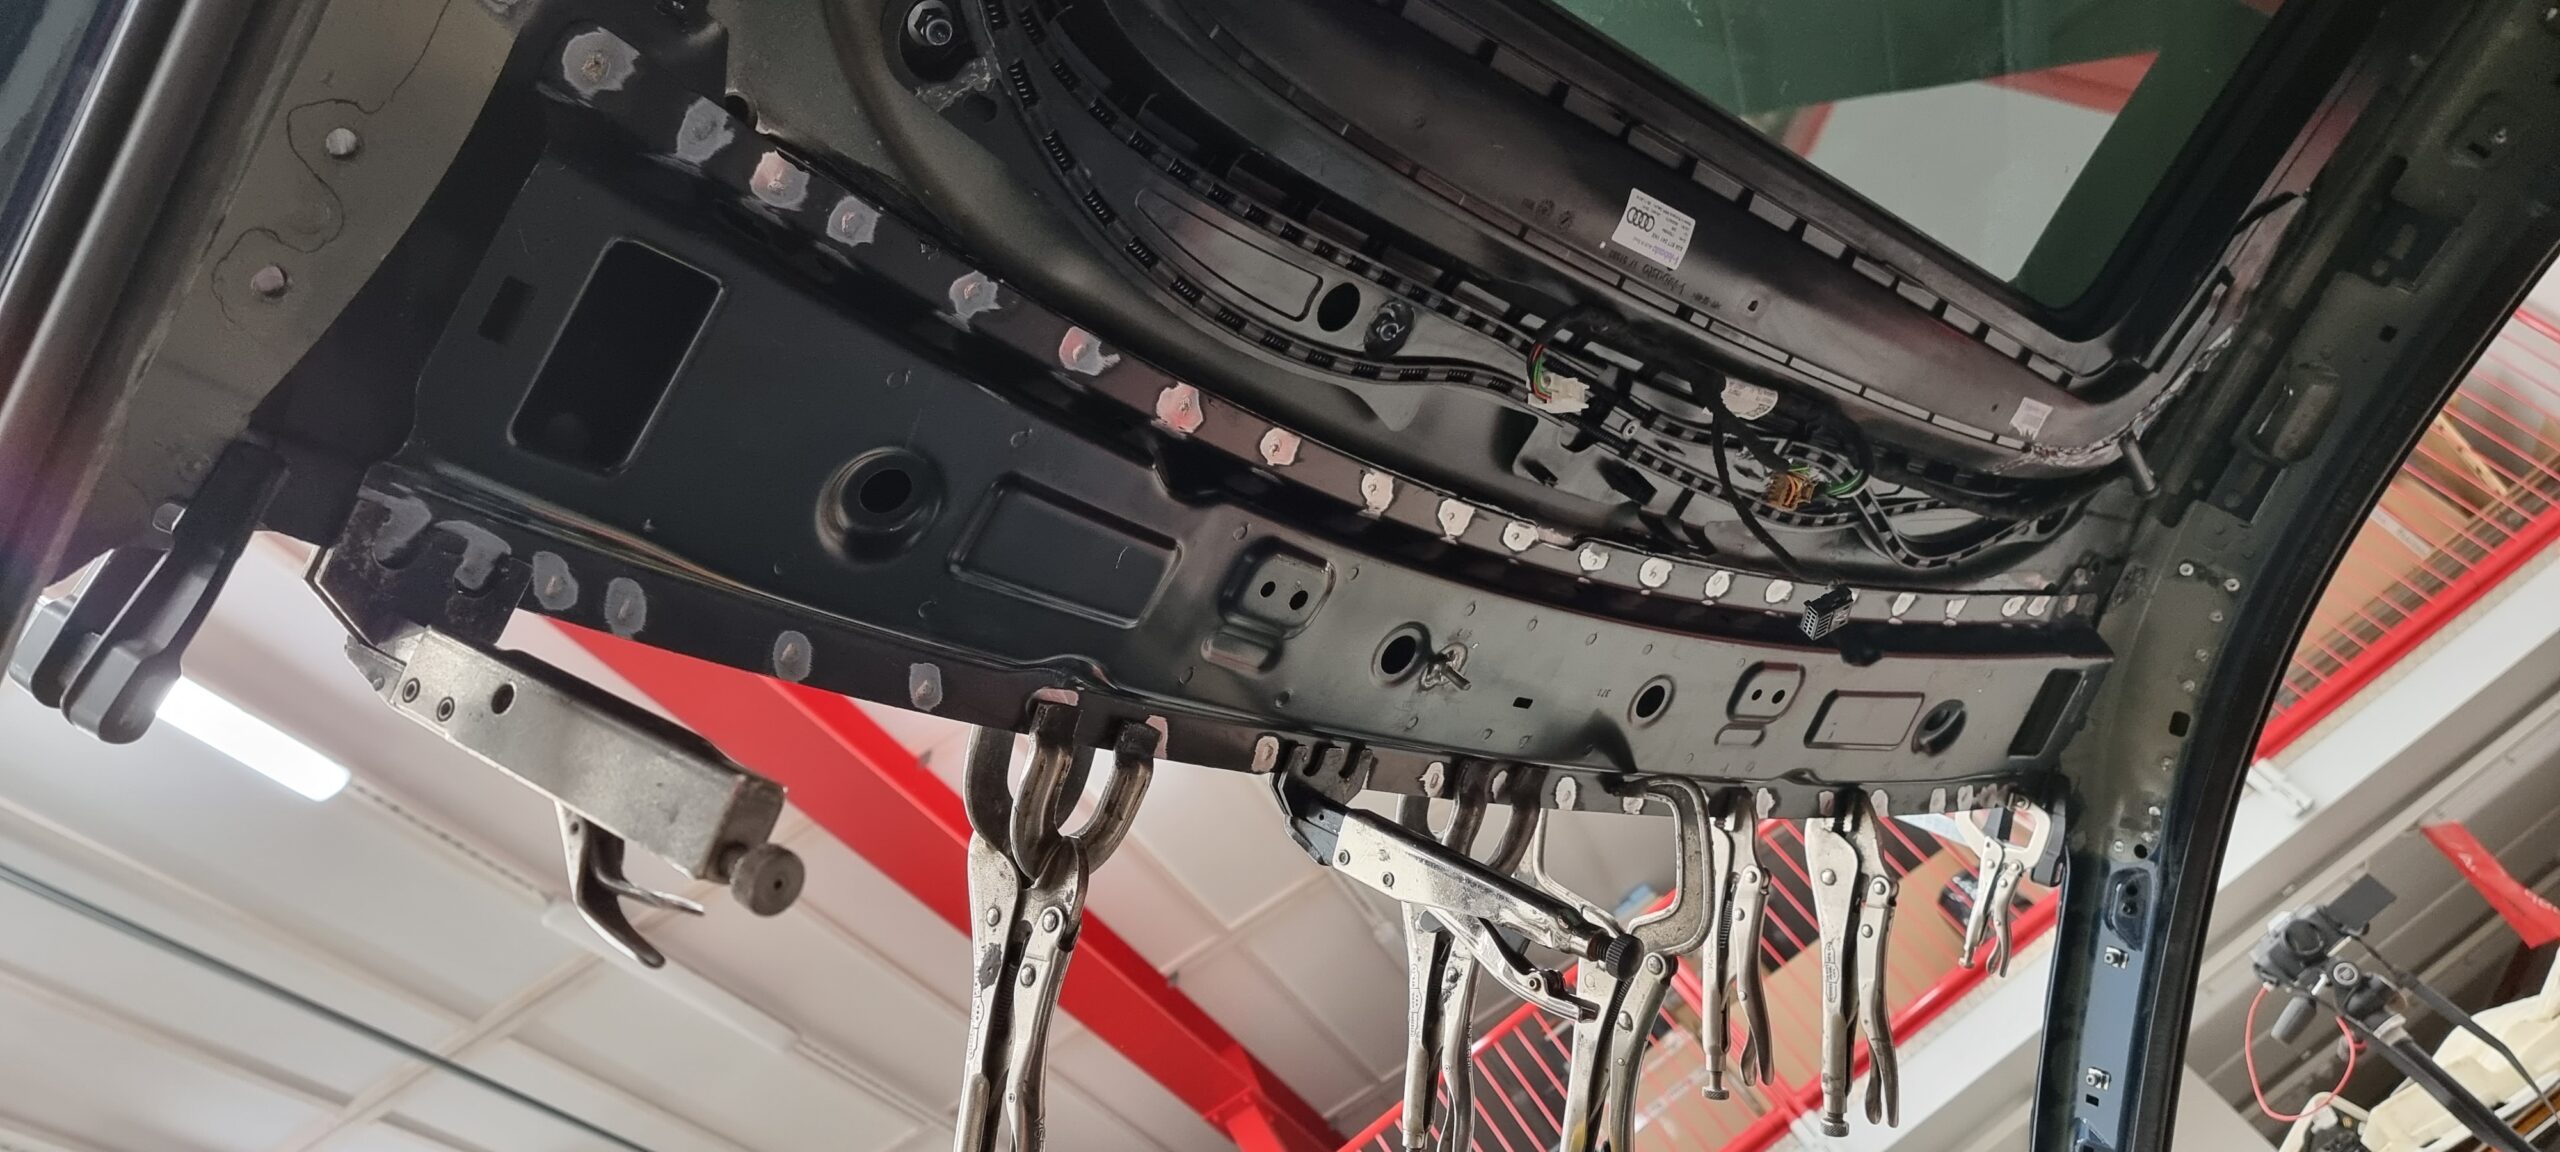
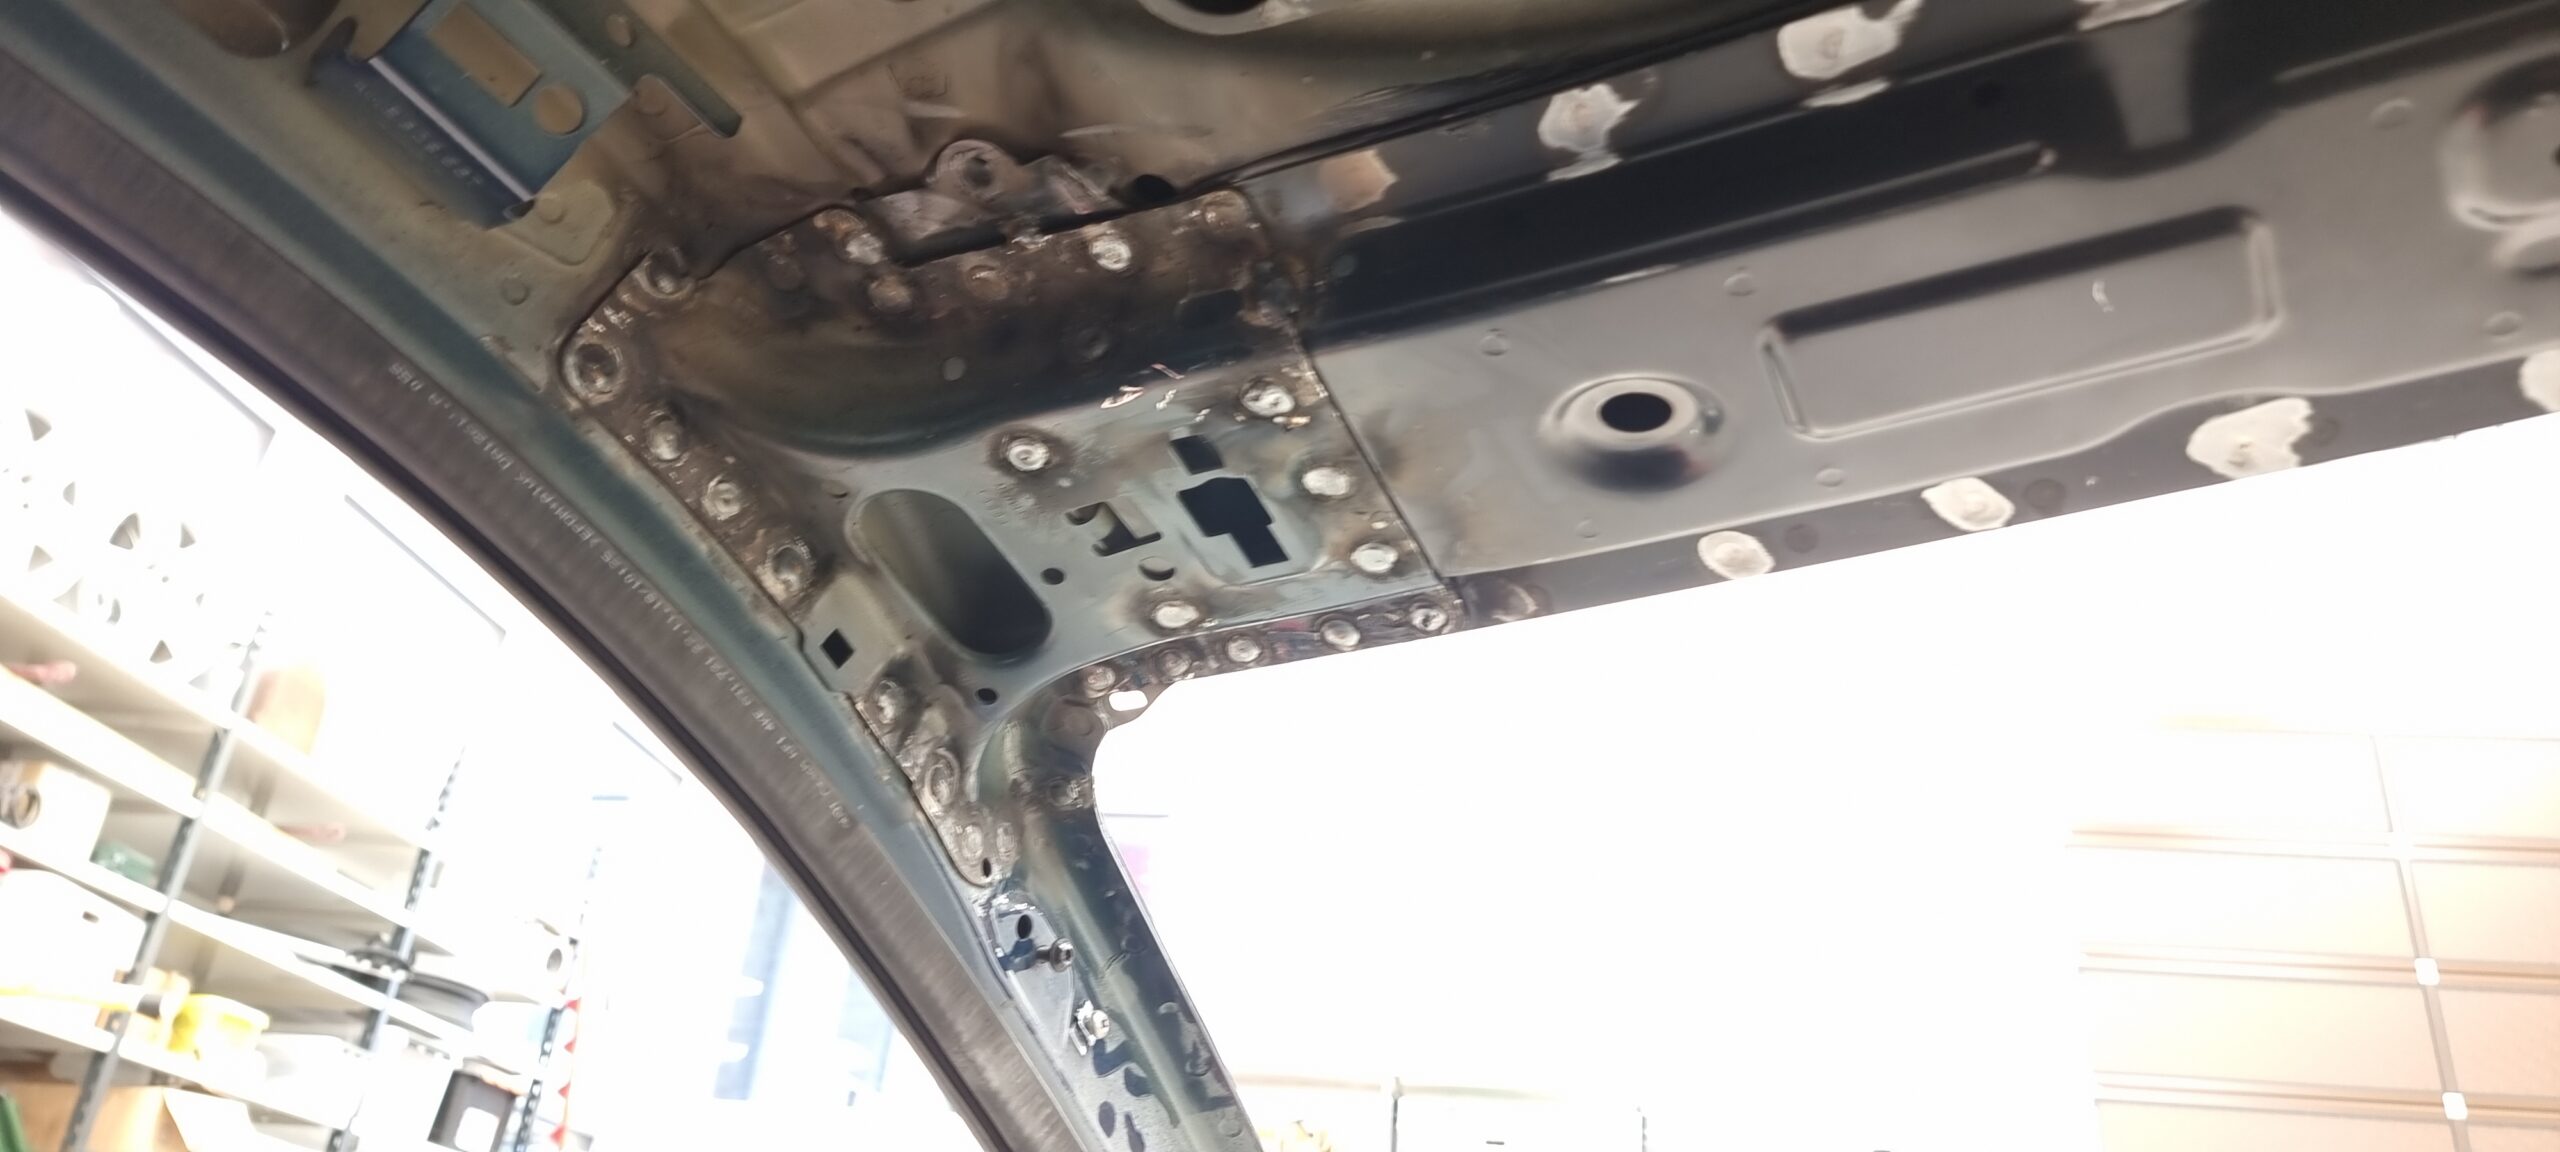
Next, the roof. With the sunroof out, we jacked the front edge roughly back into position and considered our options. Removing the entire roof skin was one possibility, but we decided to work from underneath instead. We drilled out the front reinforcements, giving us room to straighten the roof skin properly with panel-beating hammers and dollies.
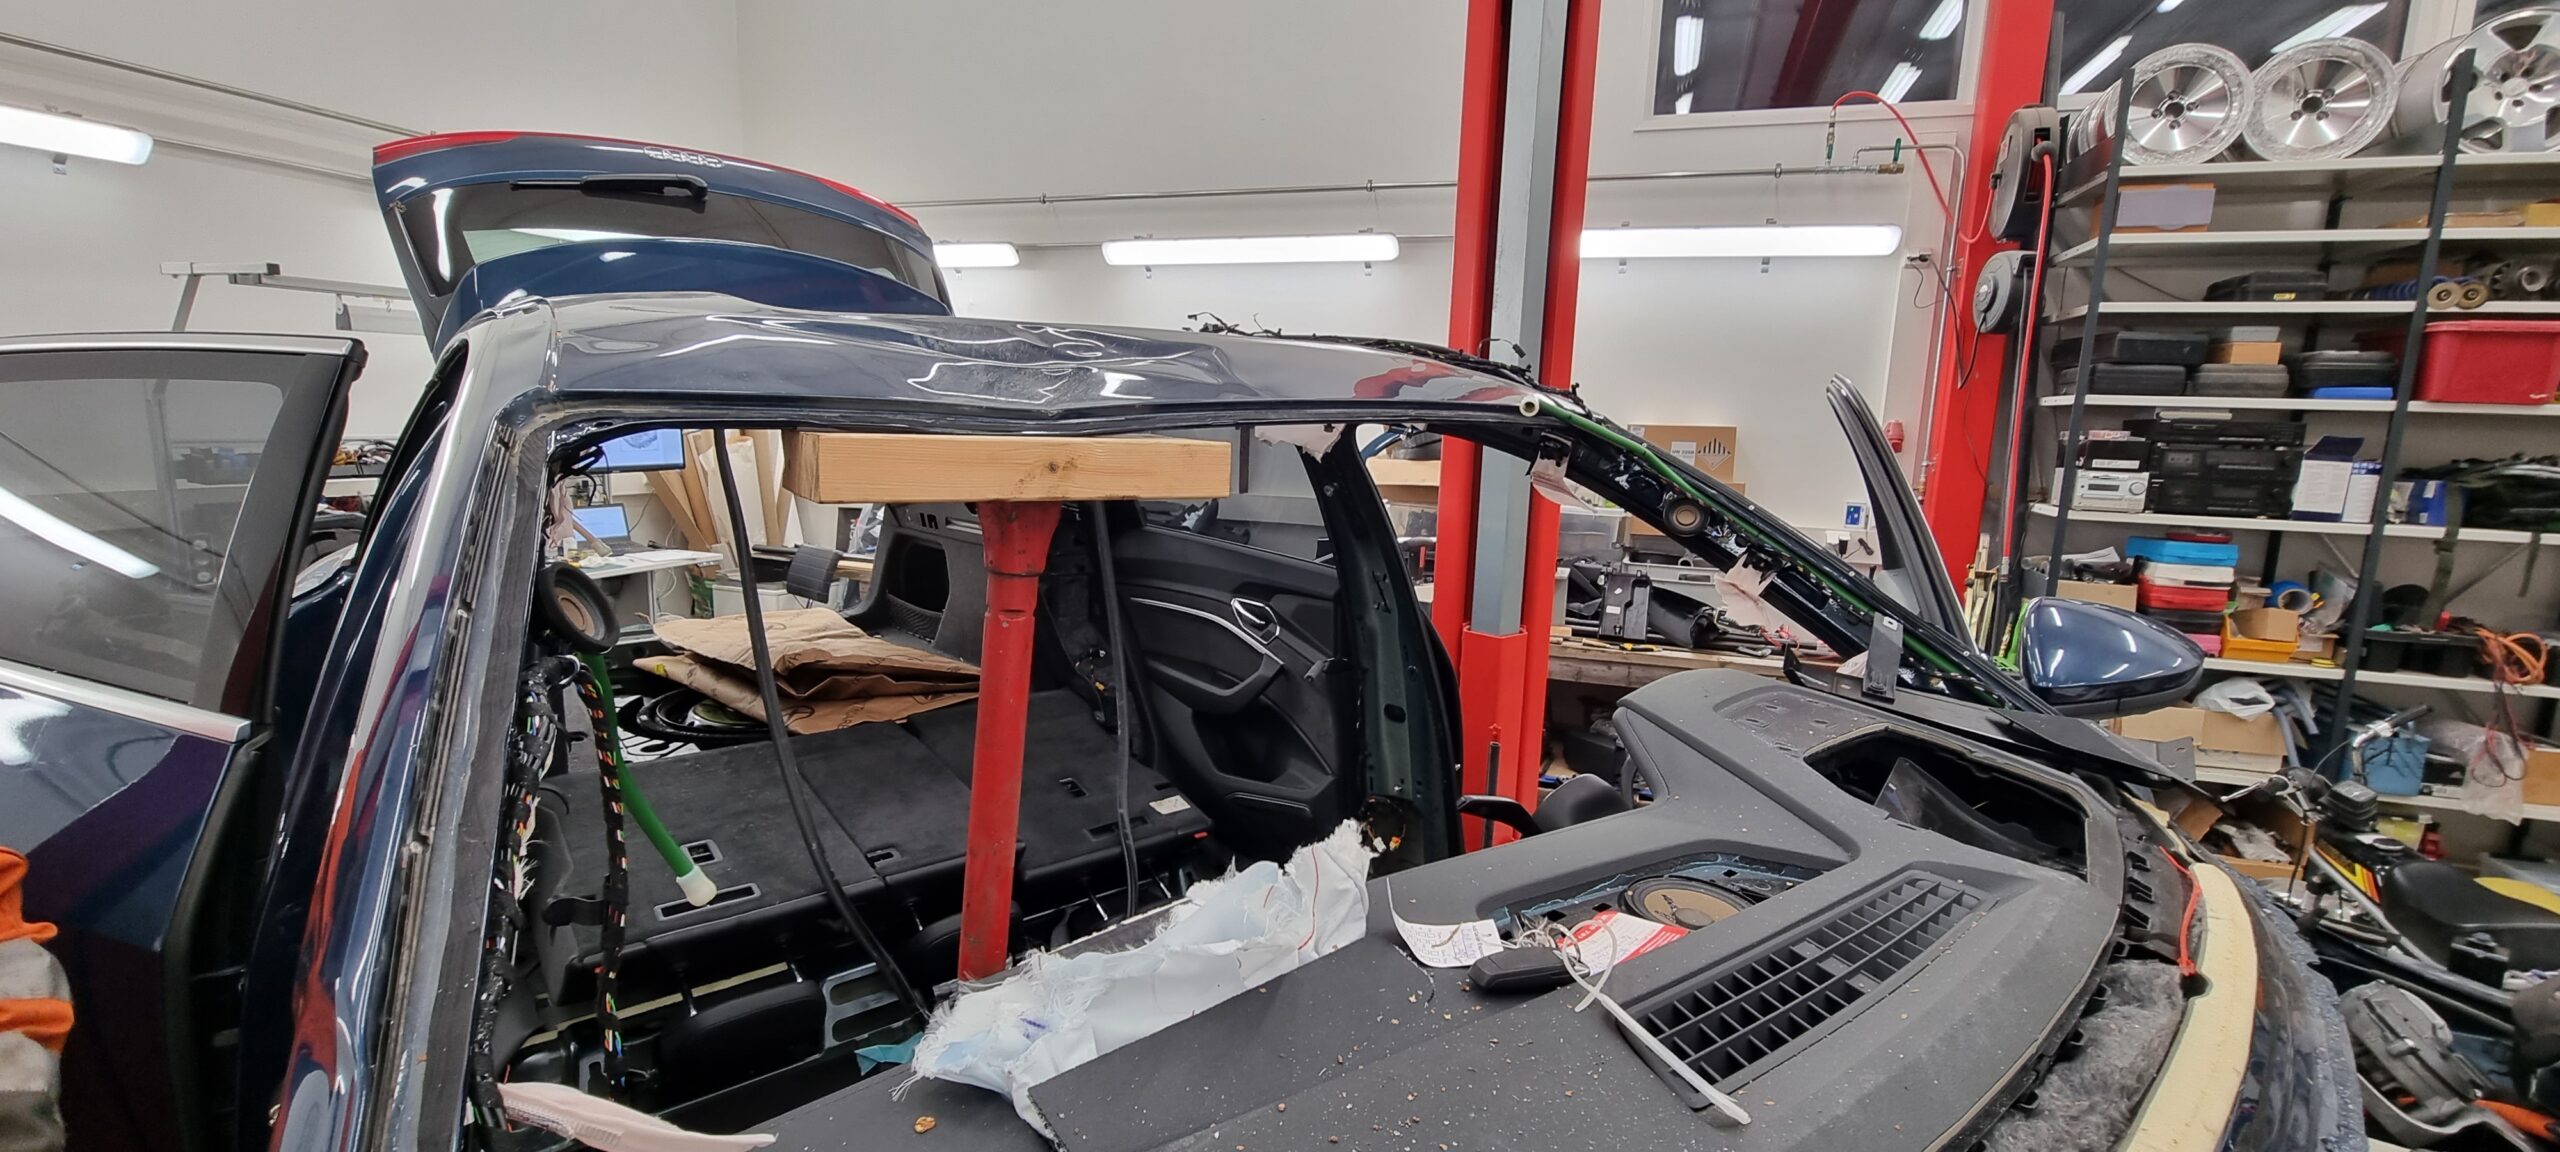
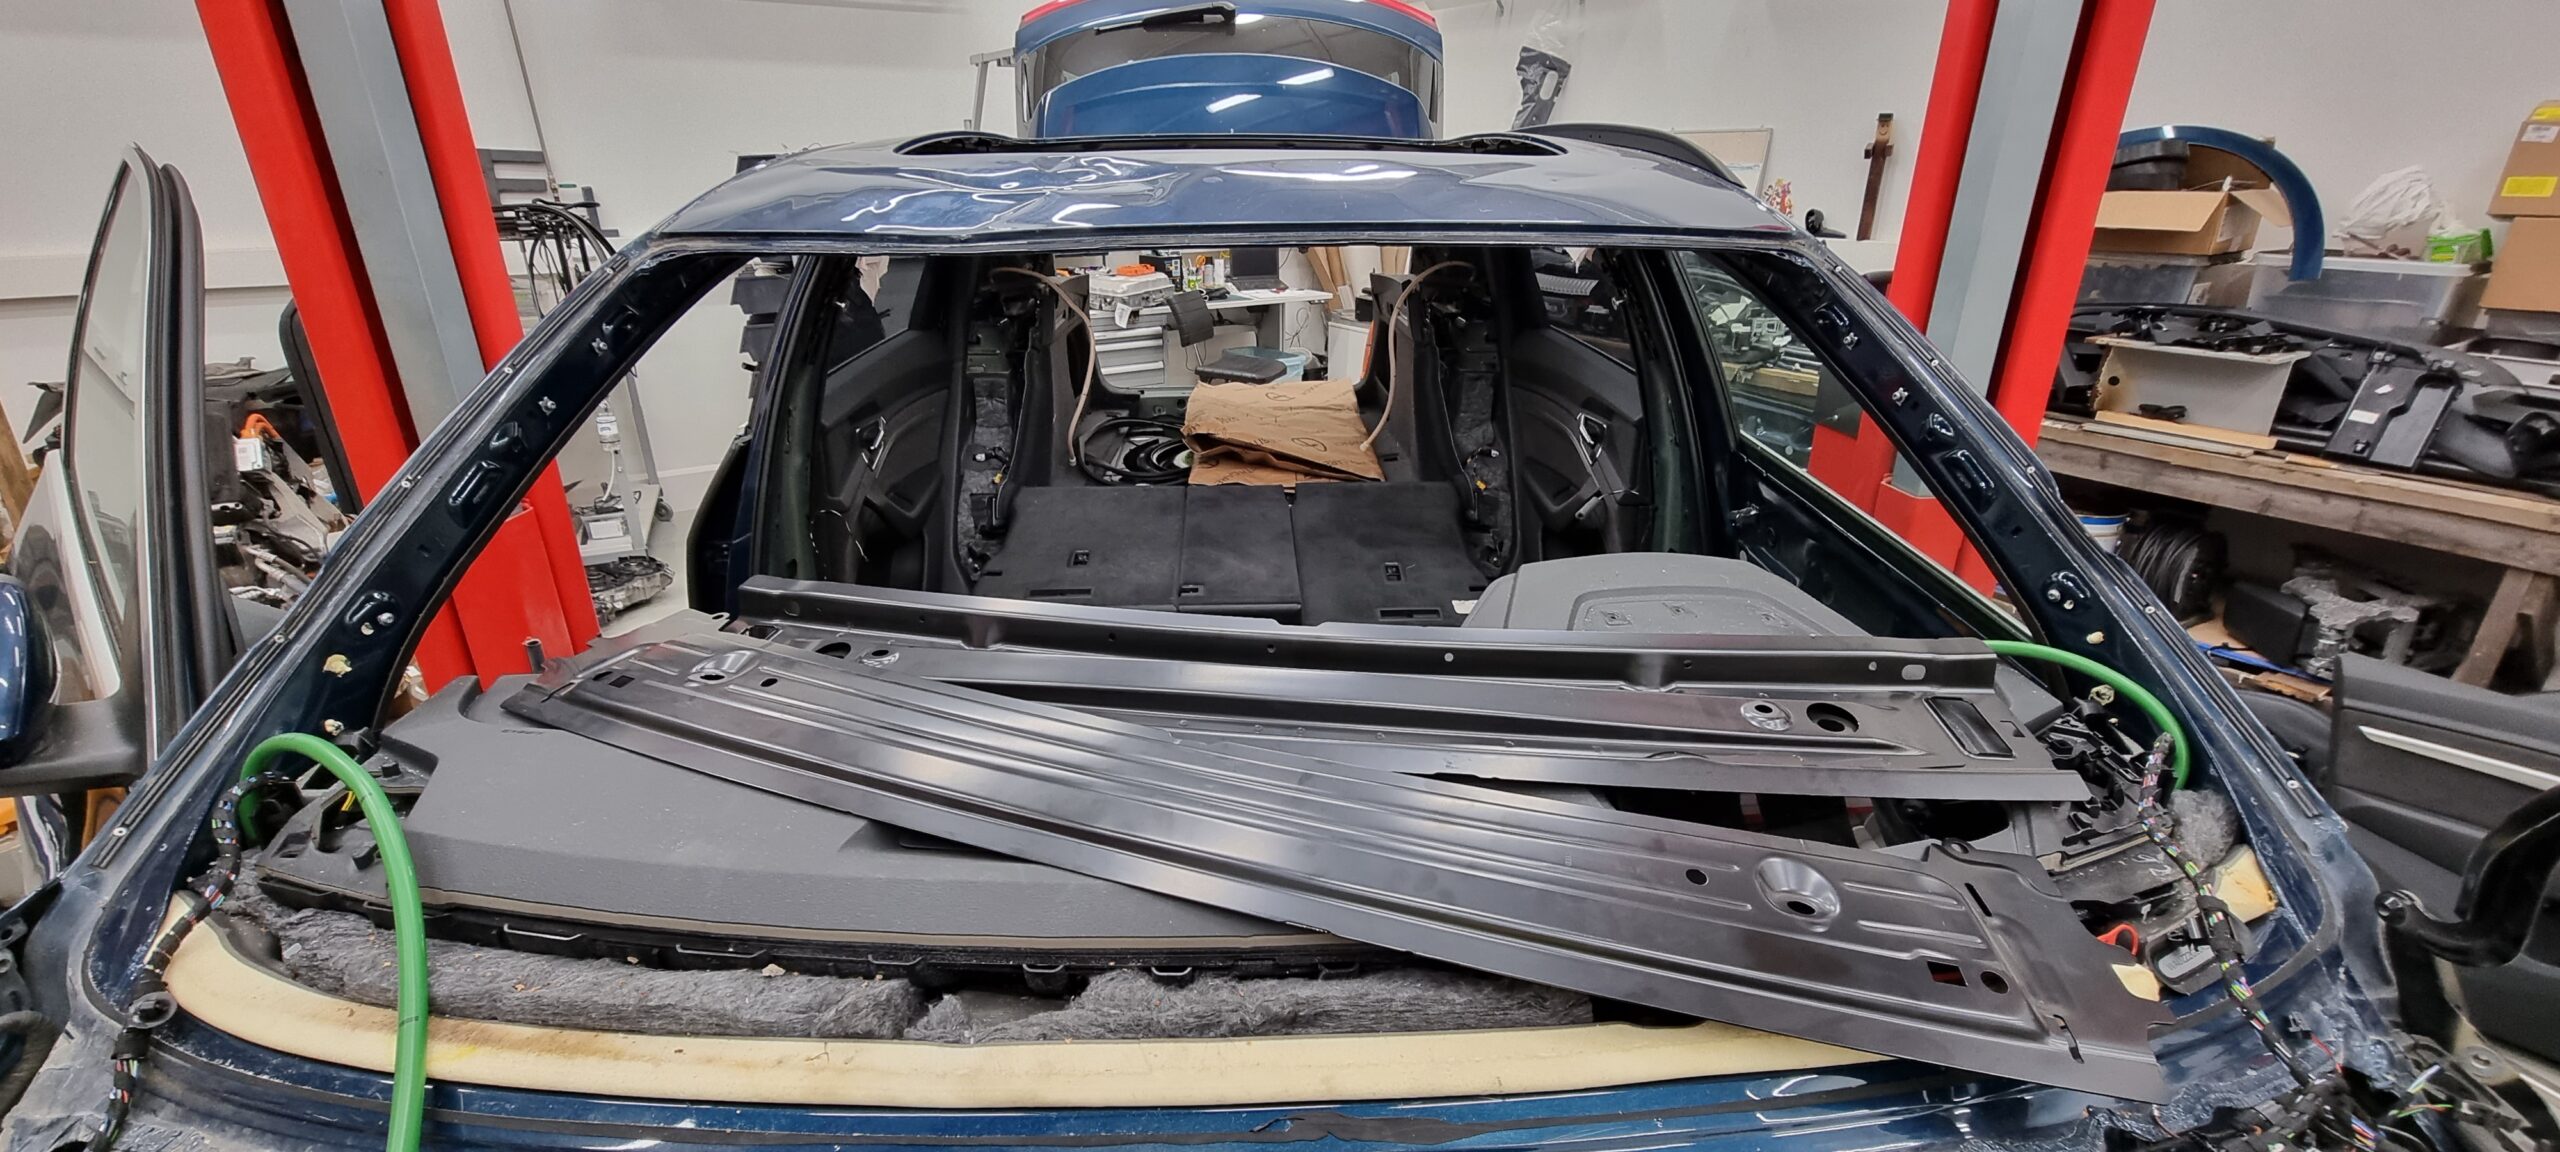
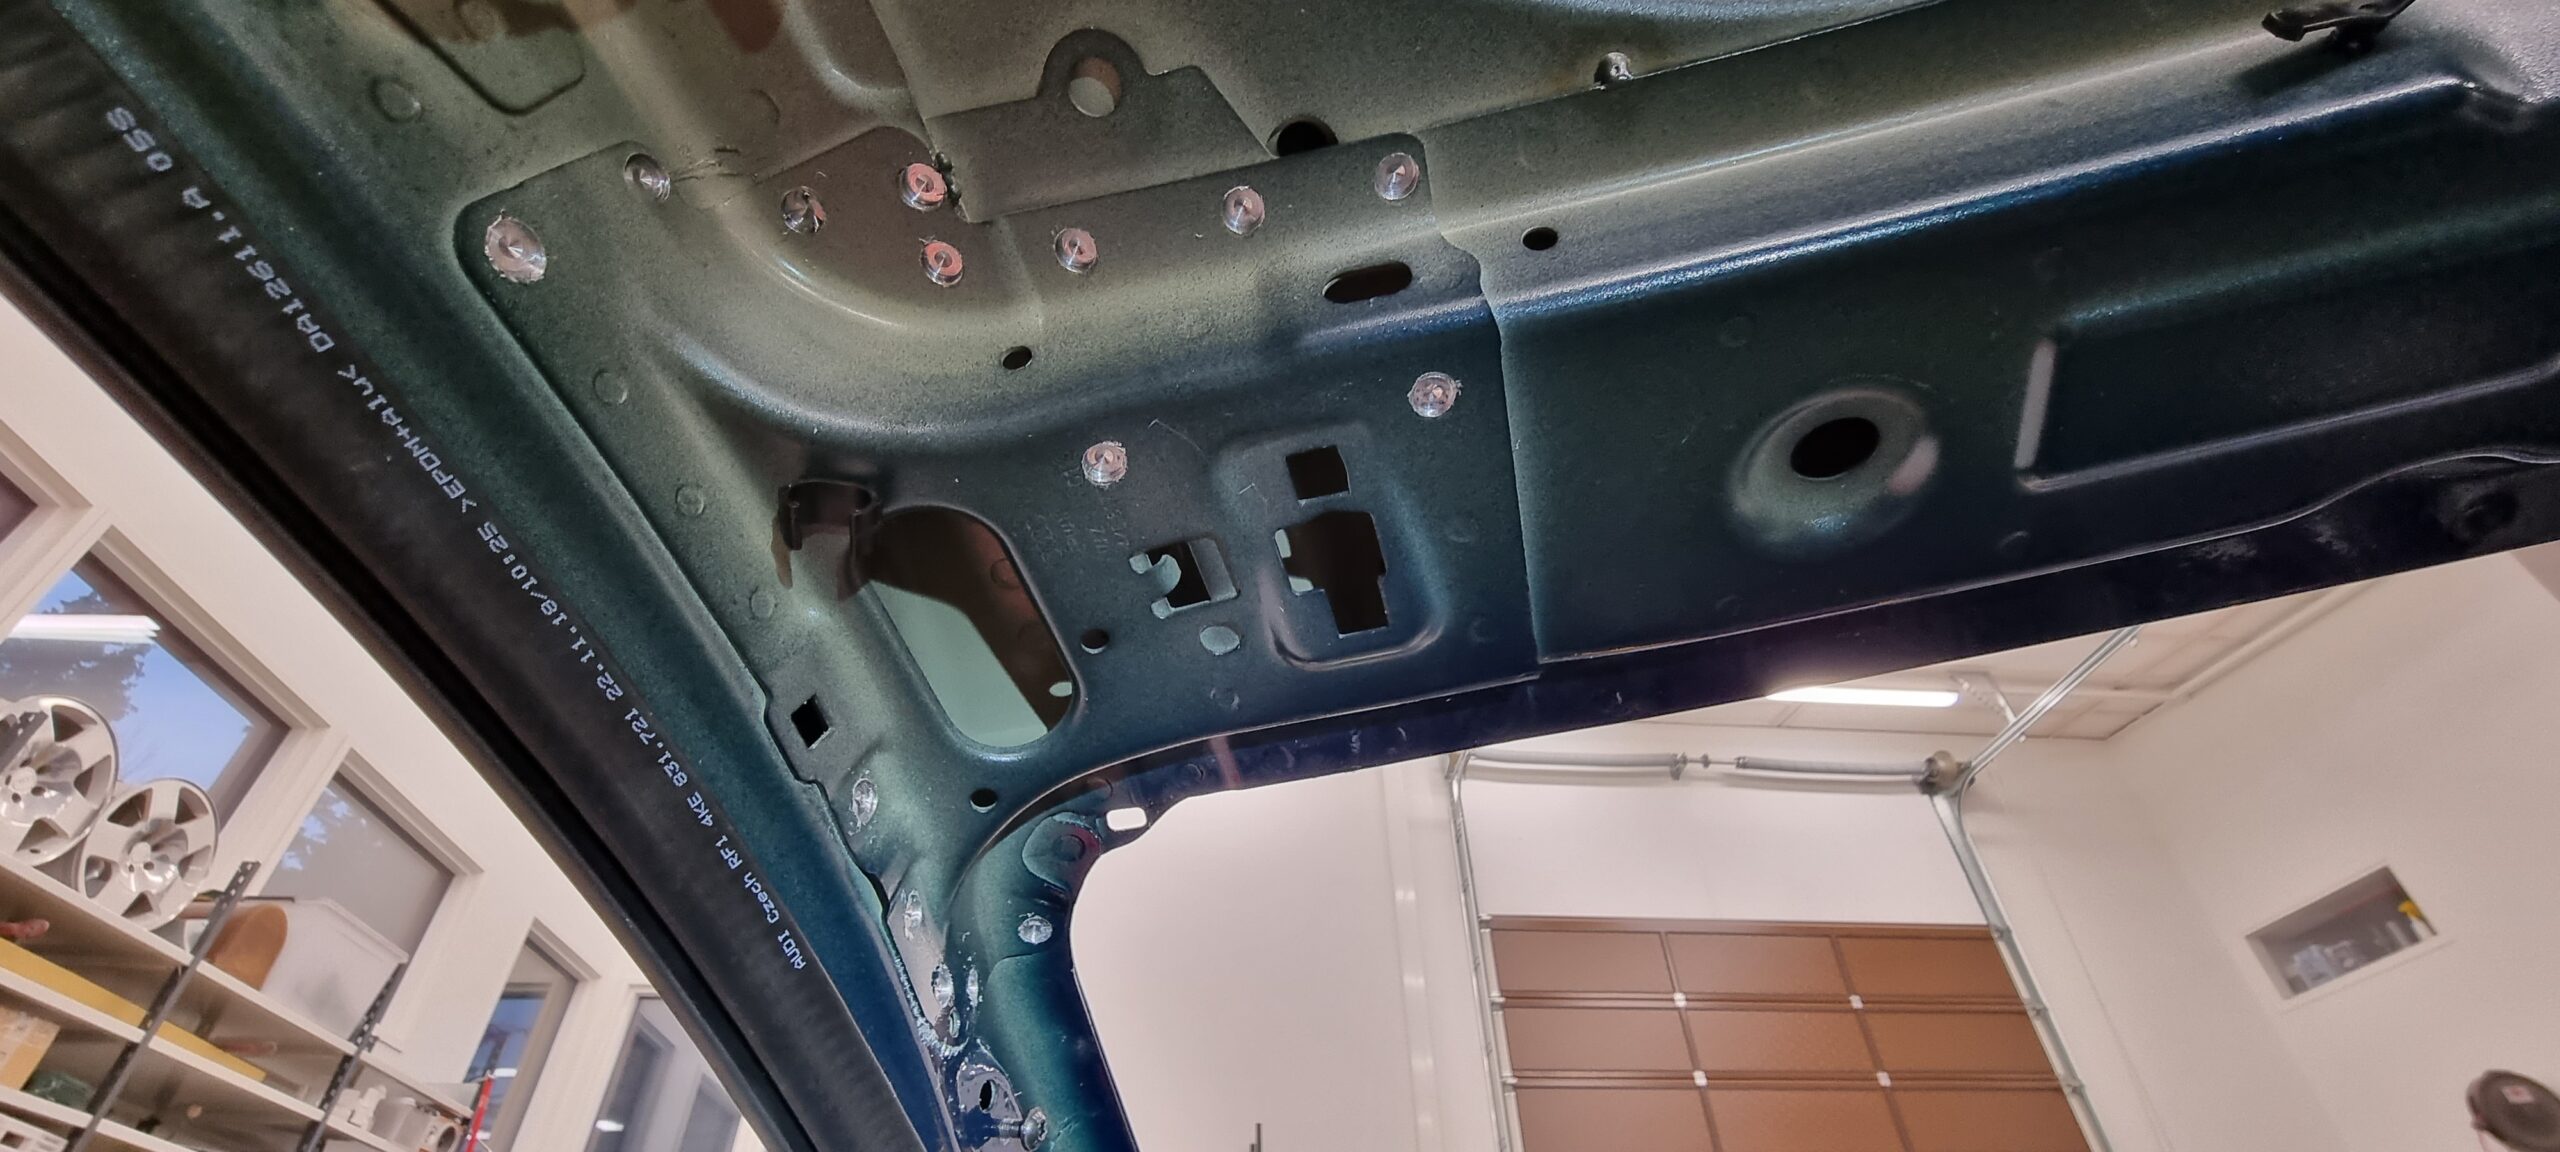
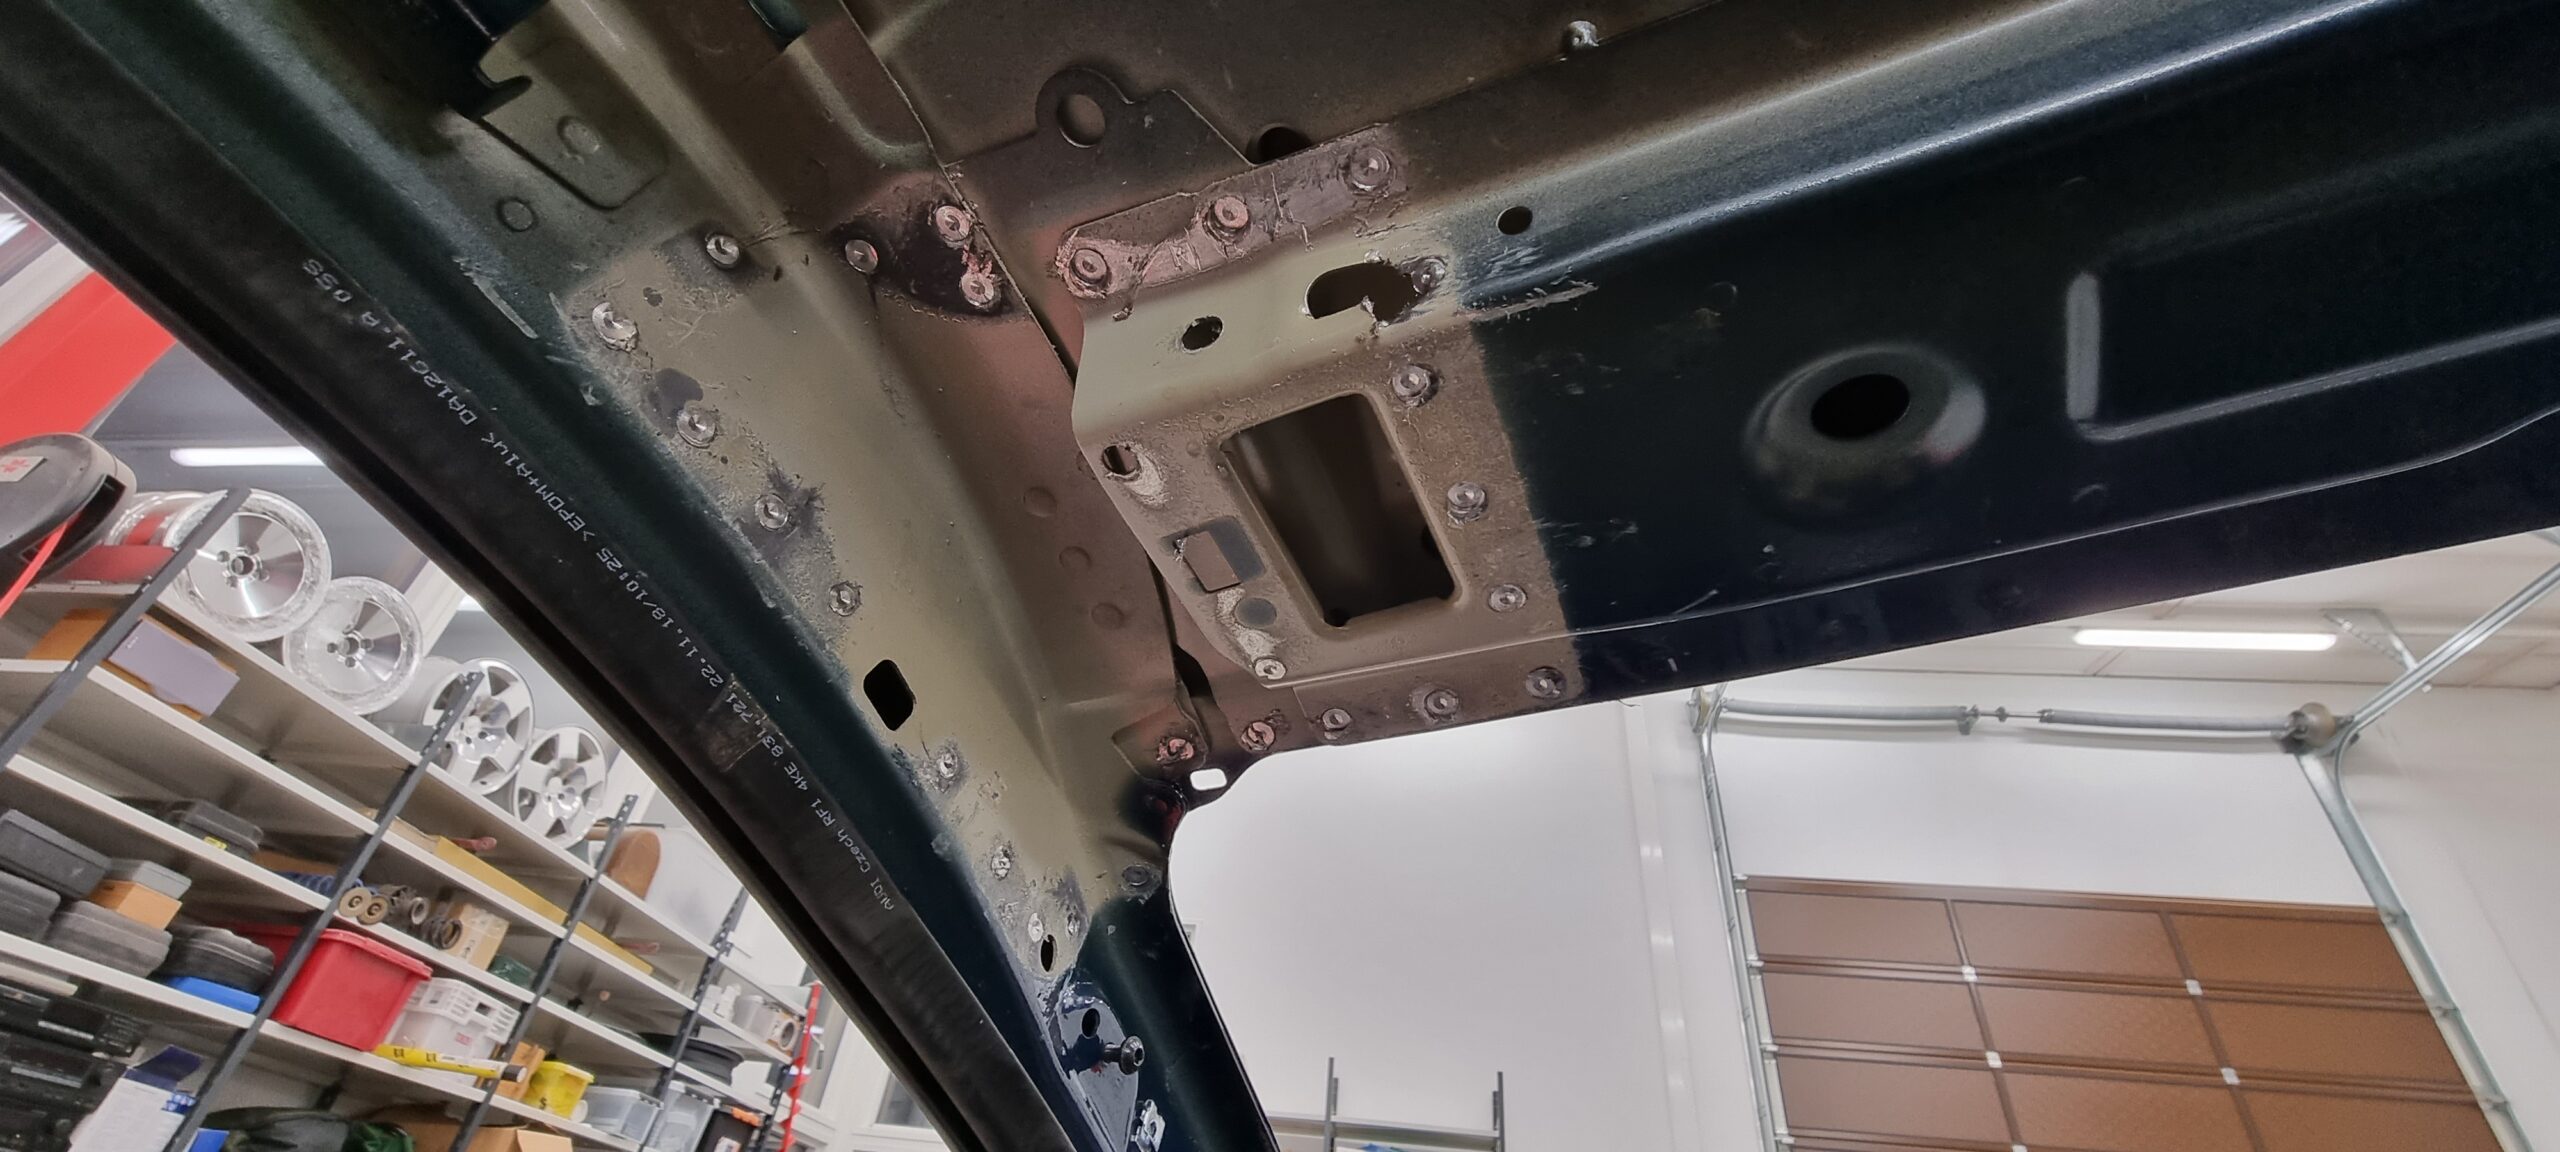
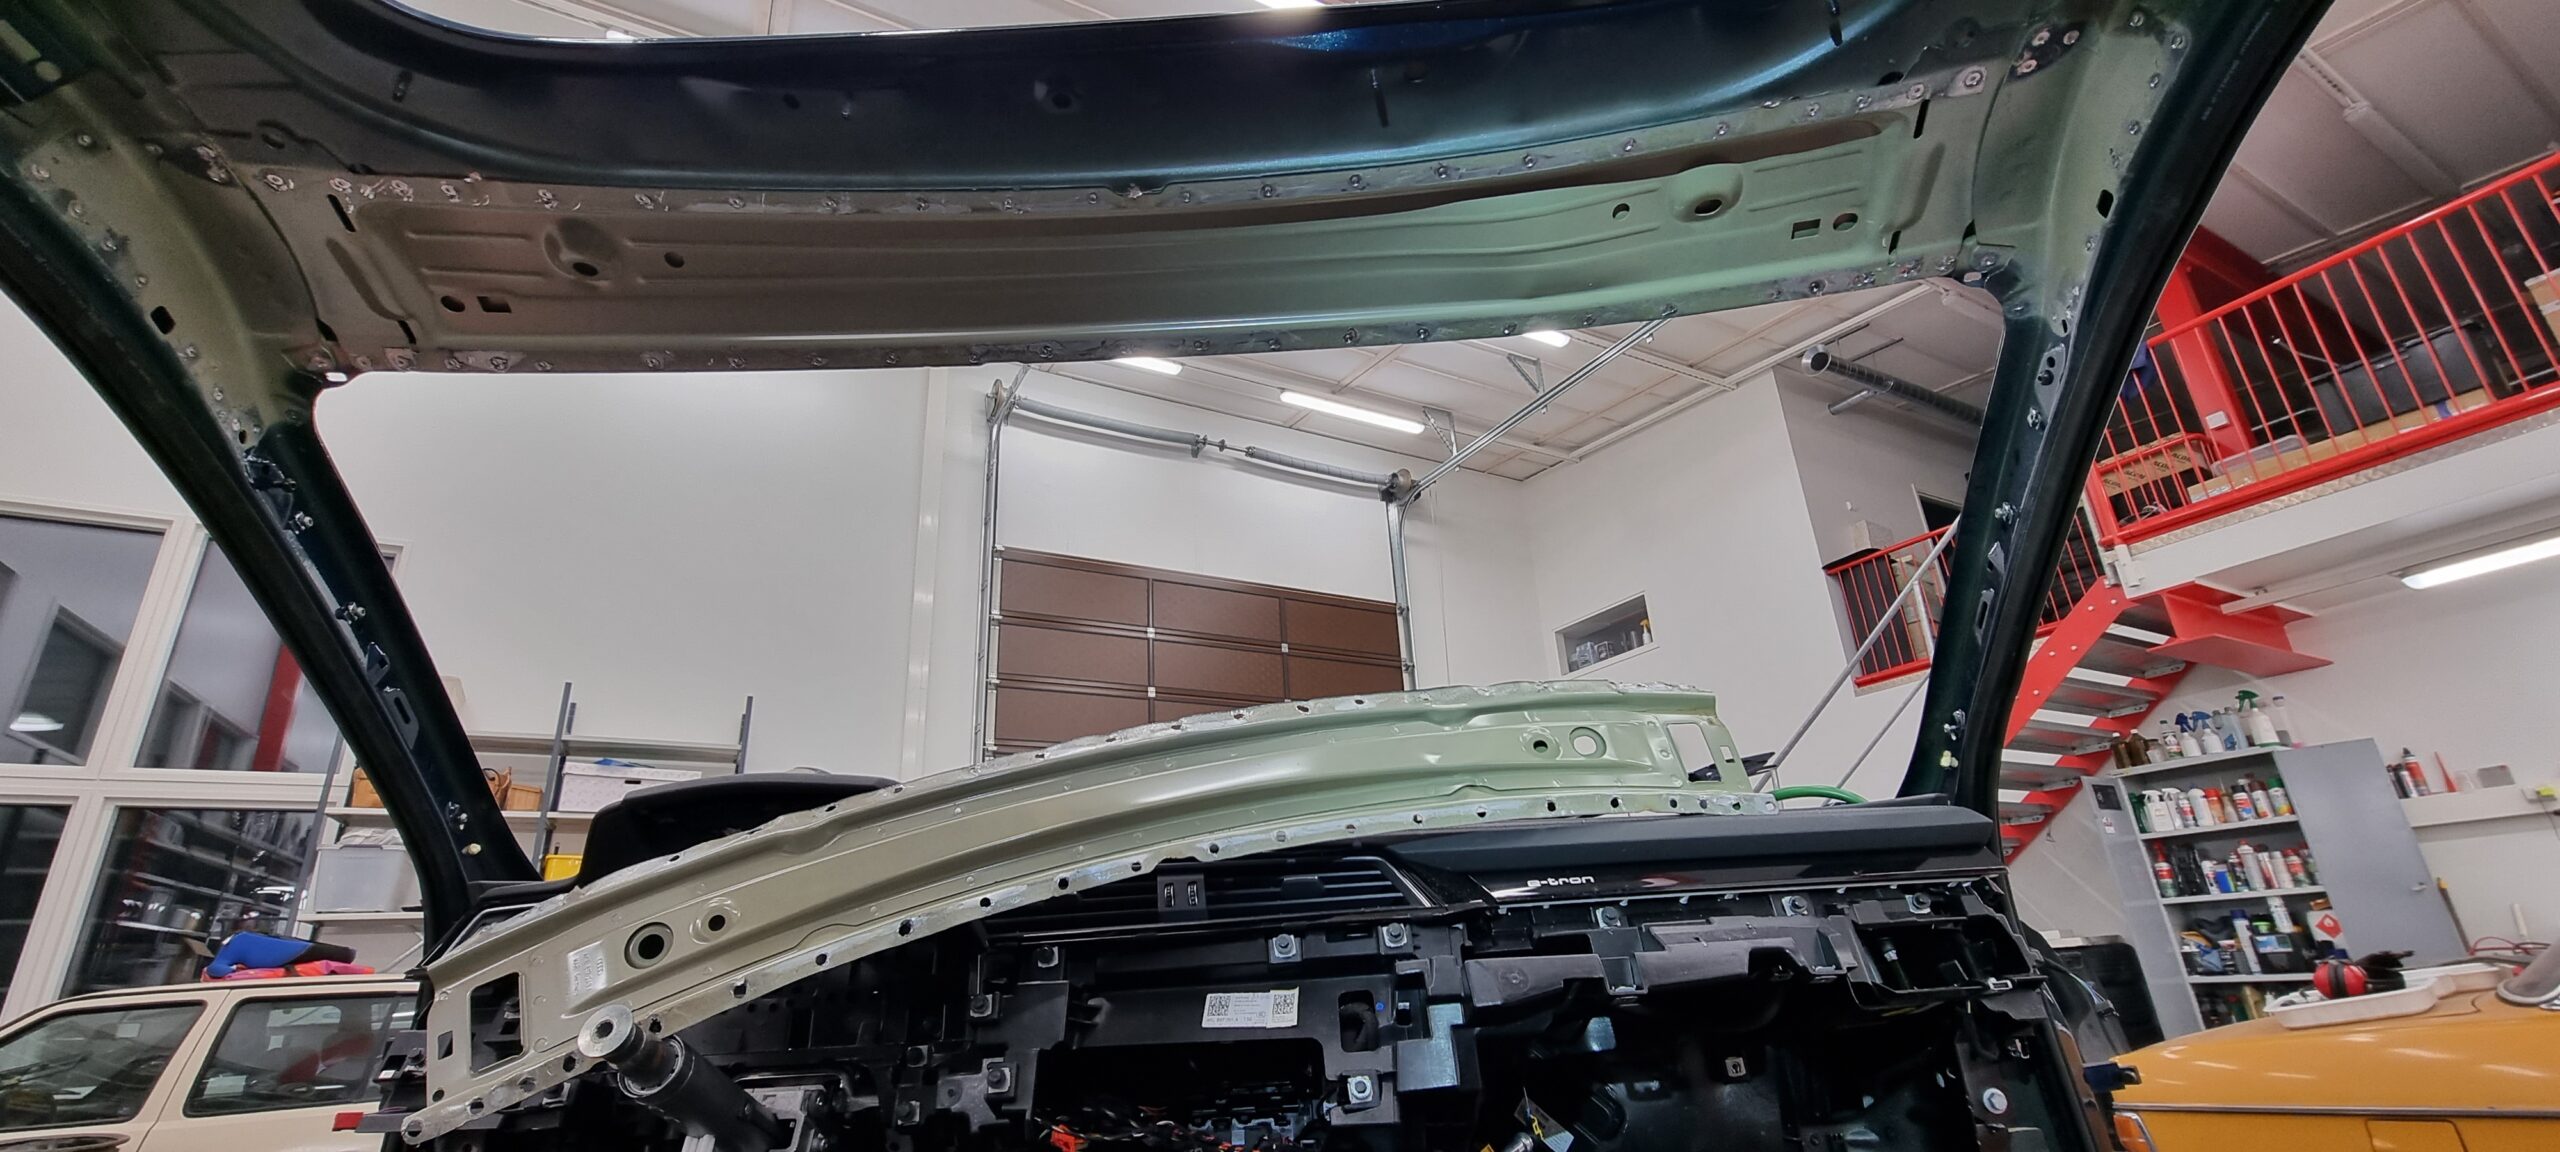
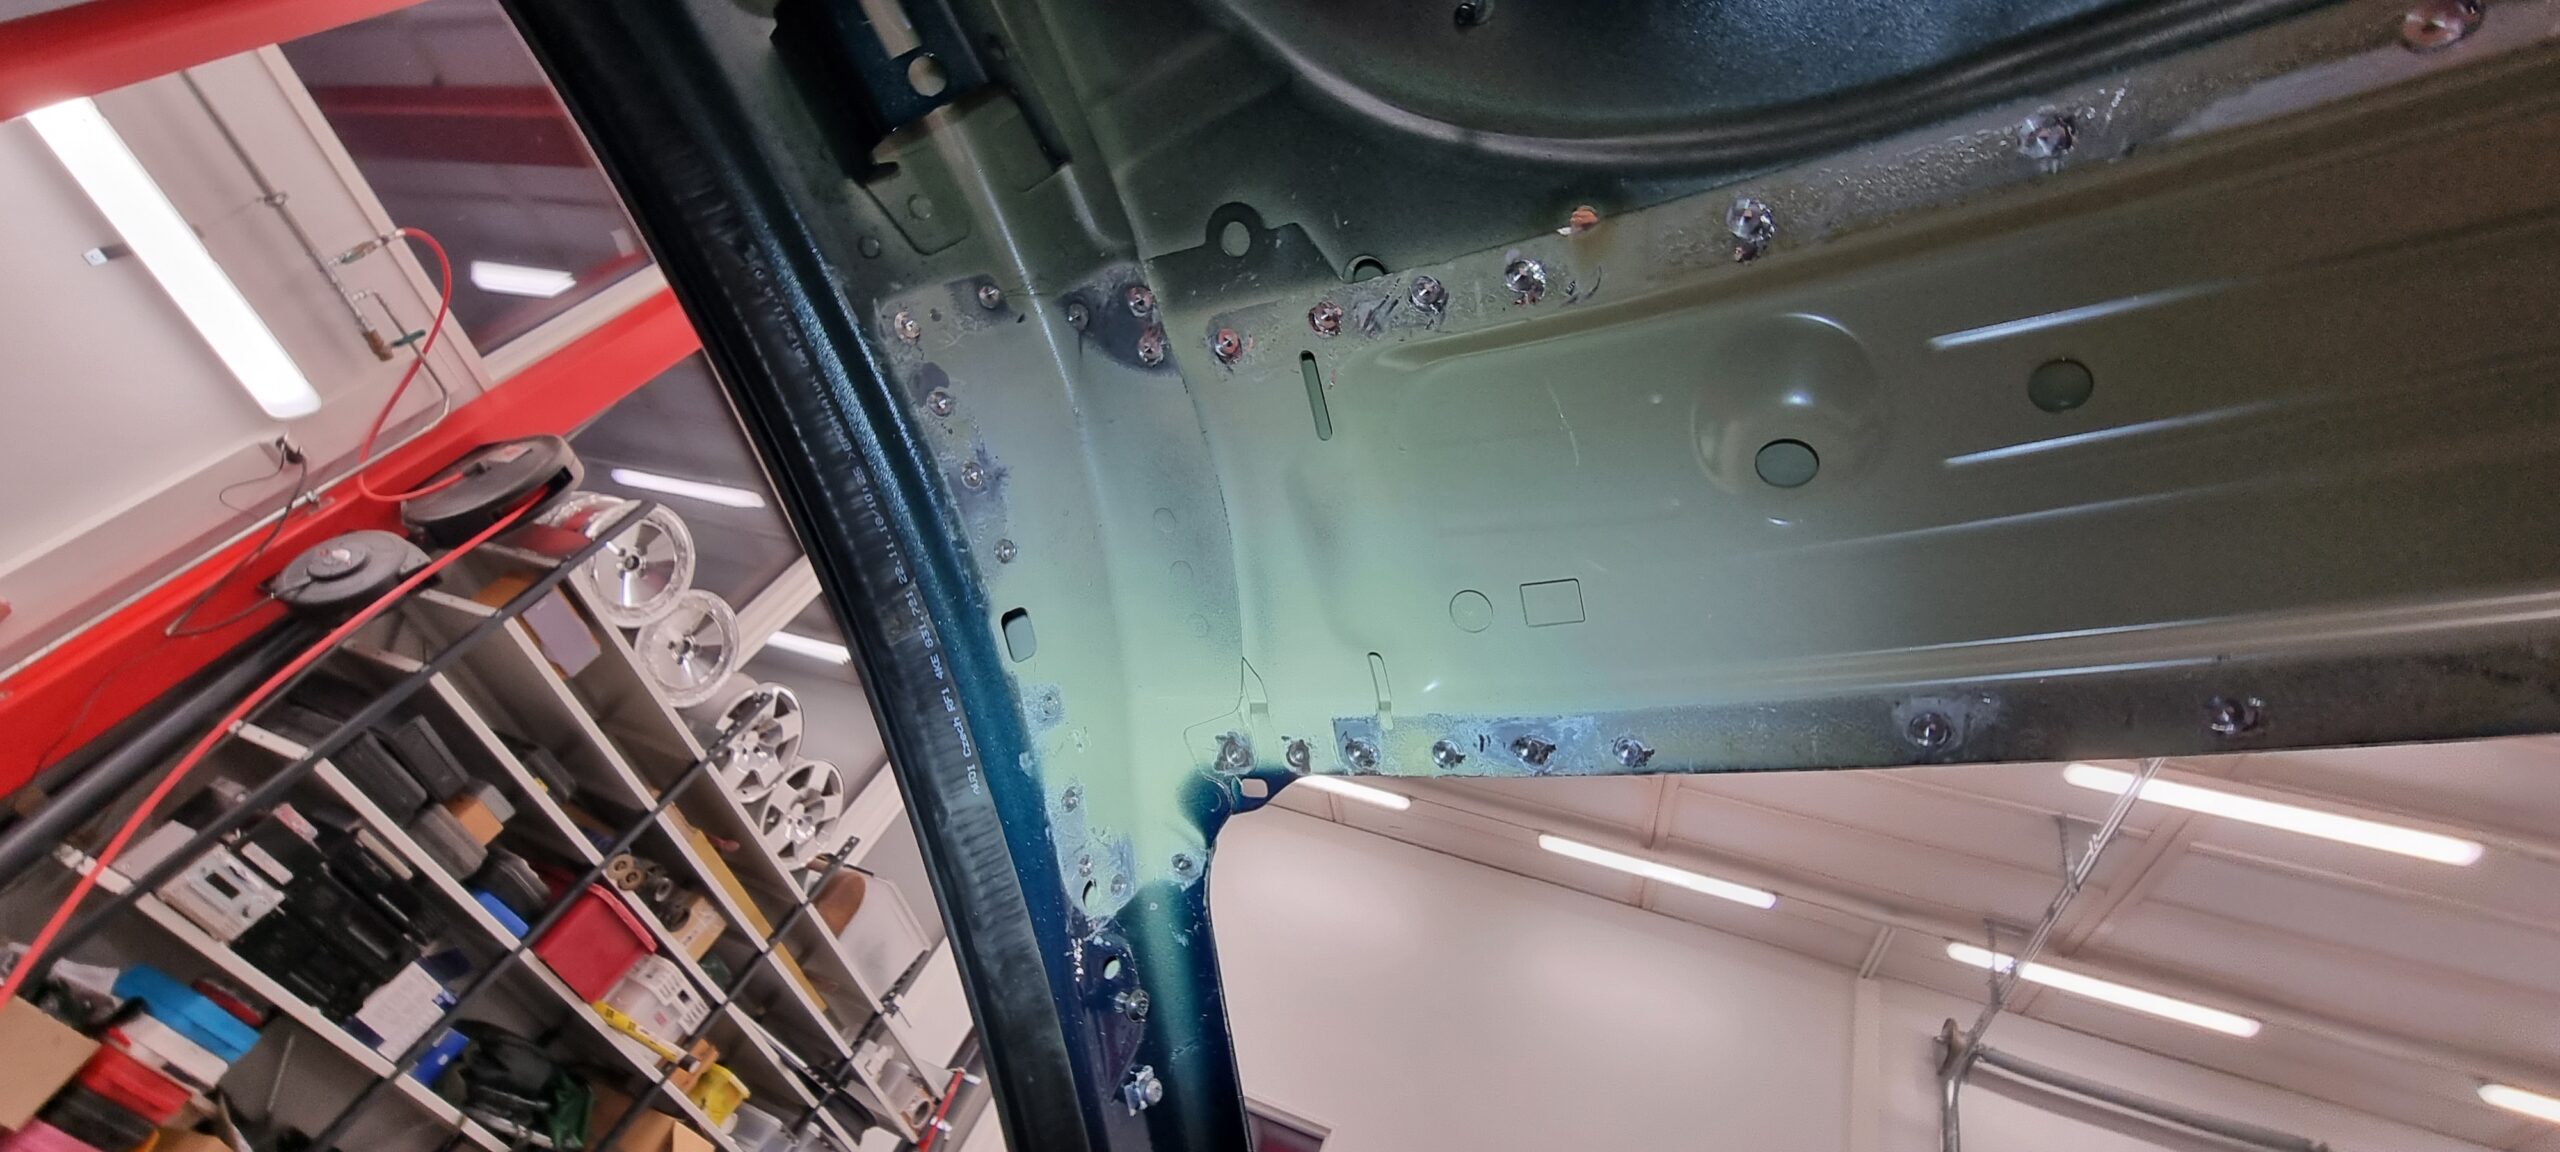
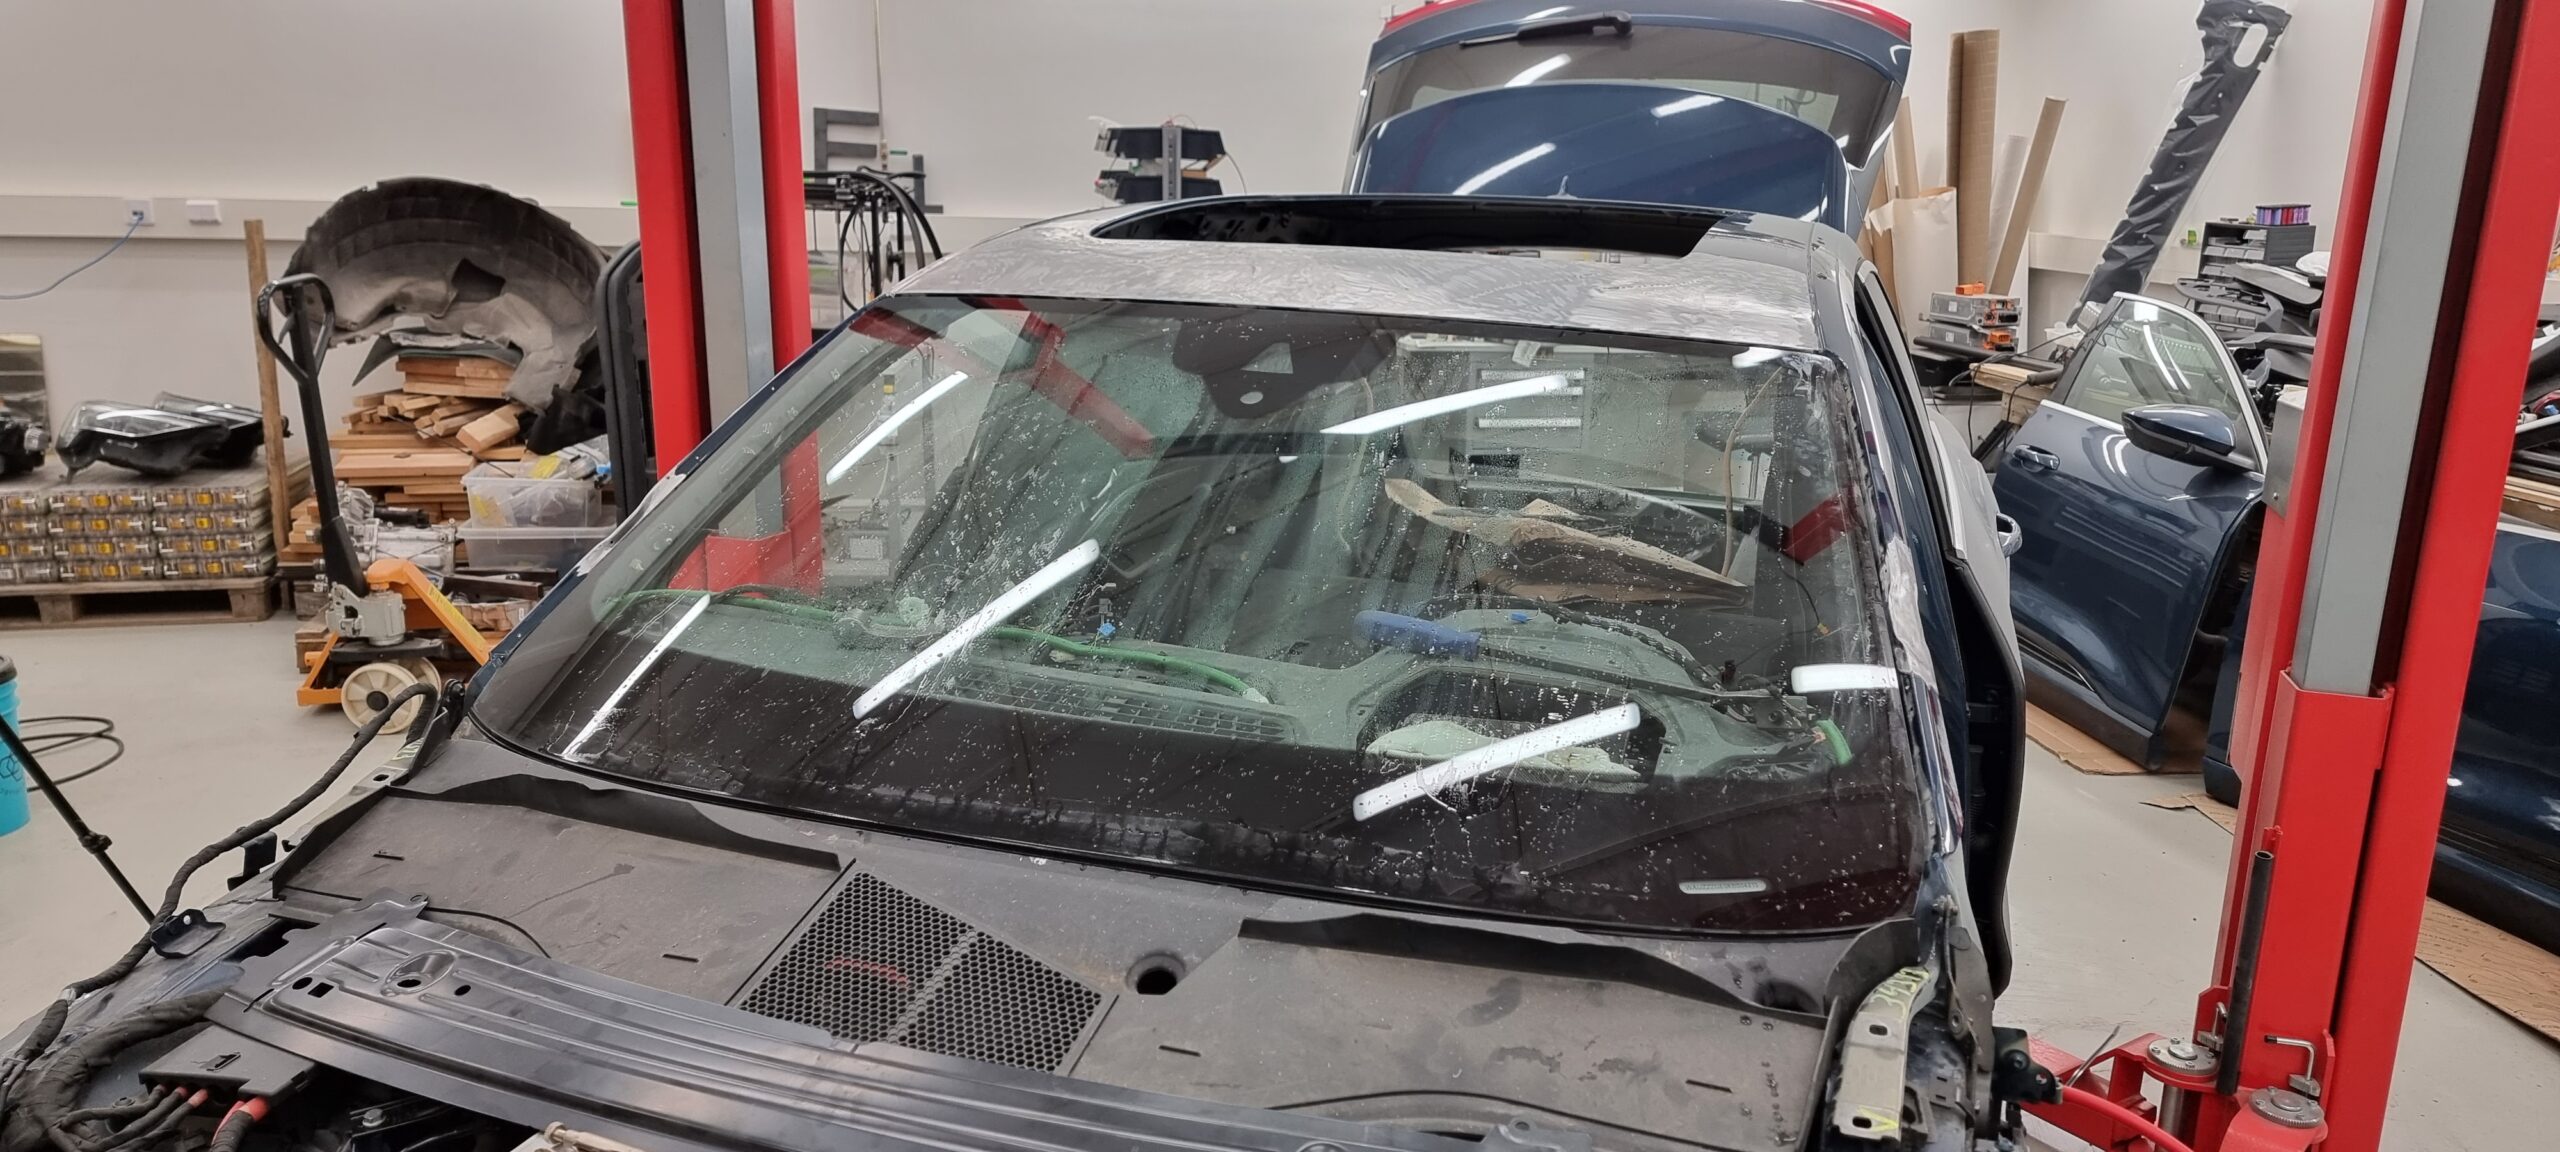
The windscreen fits nicely.
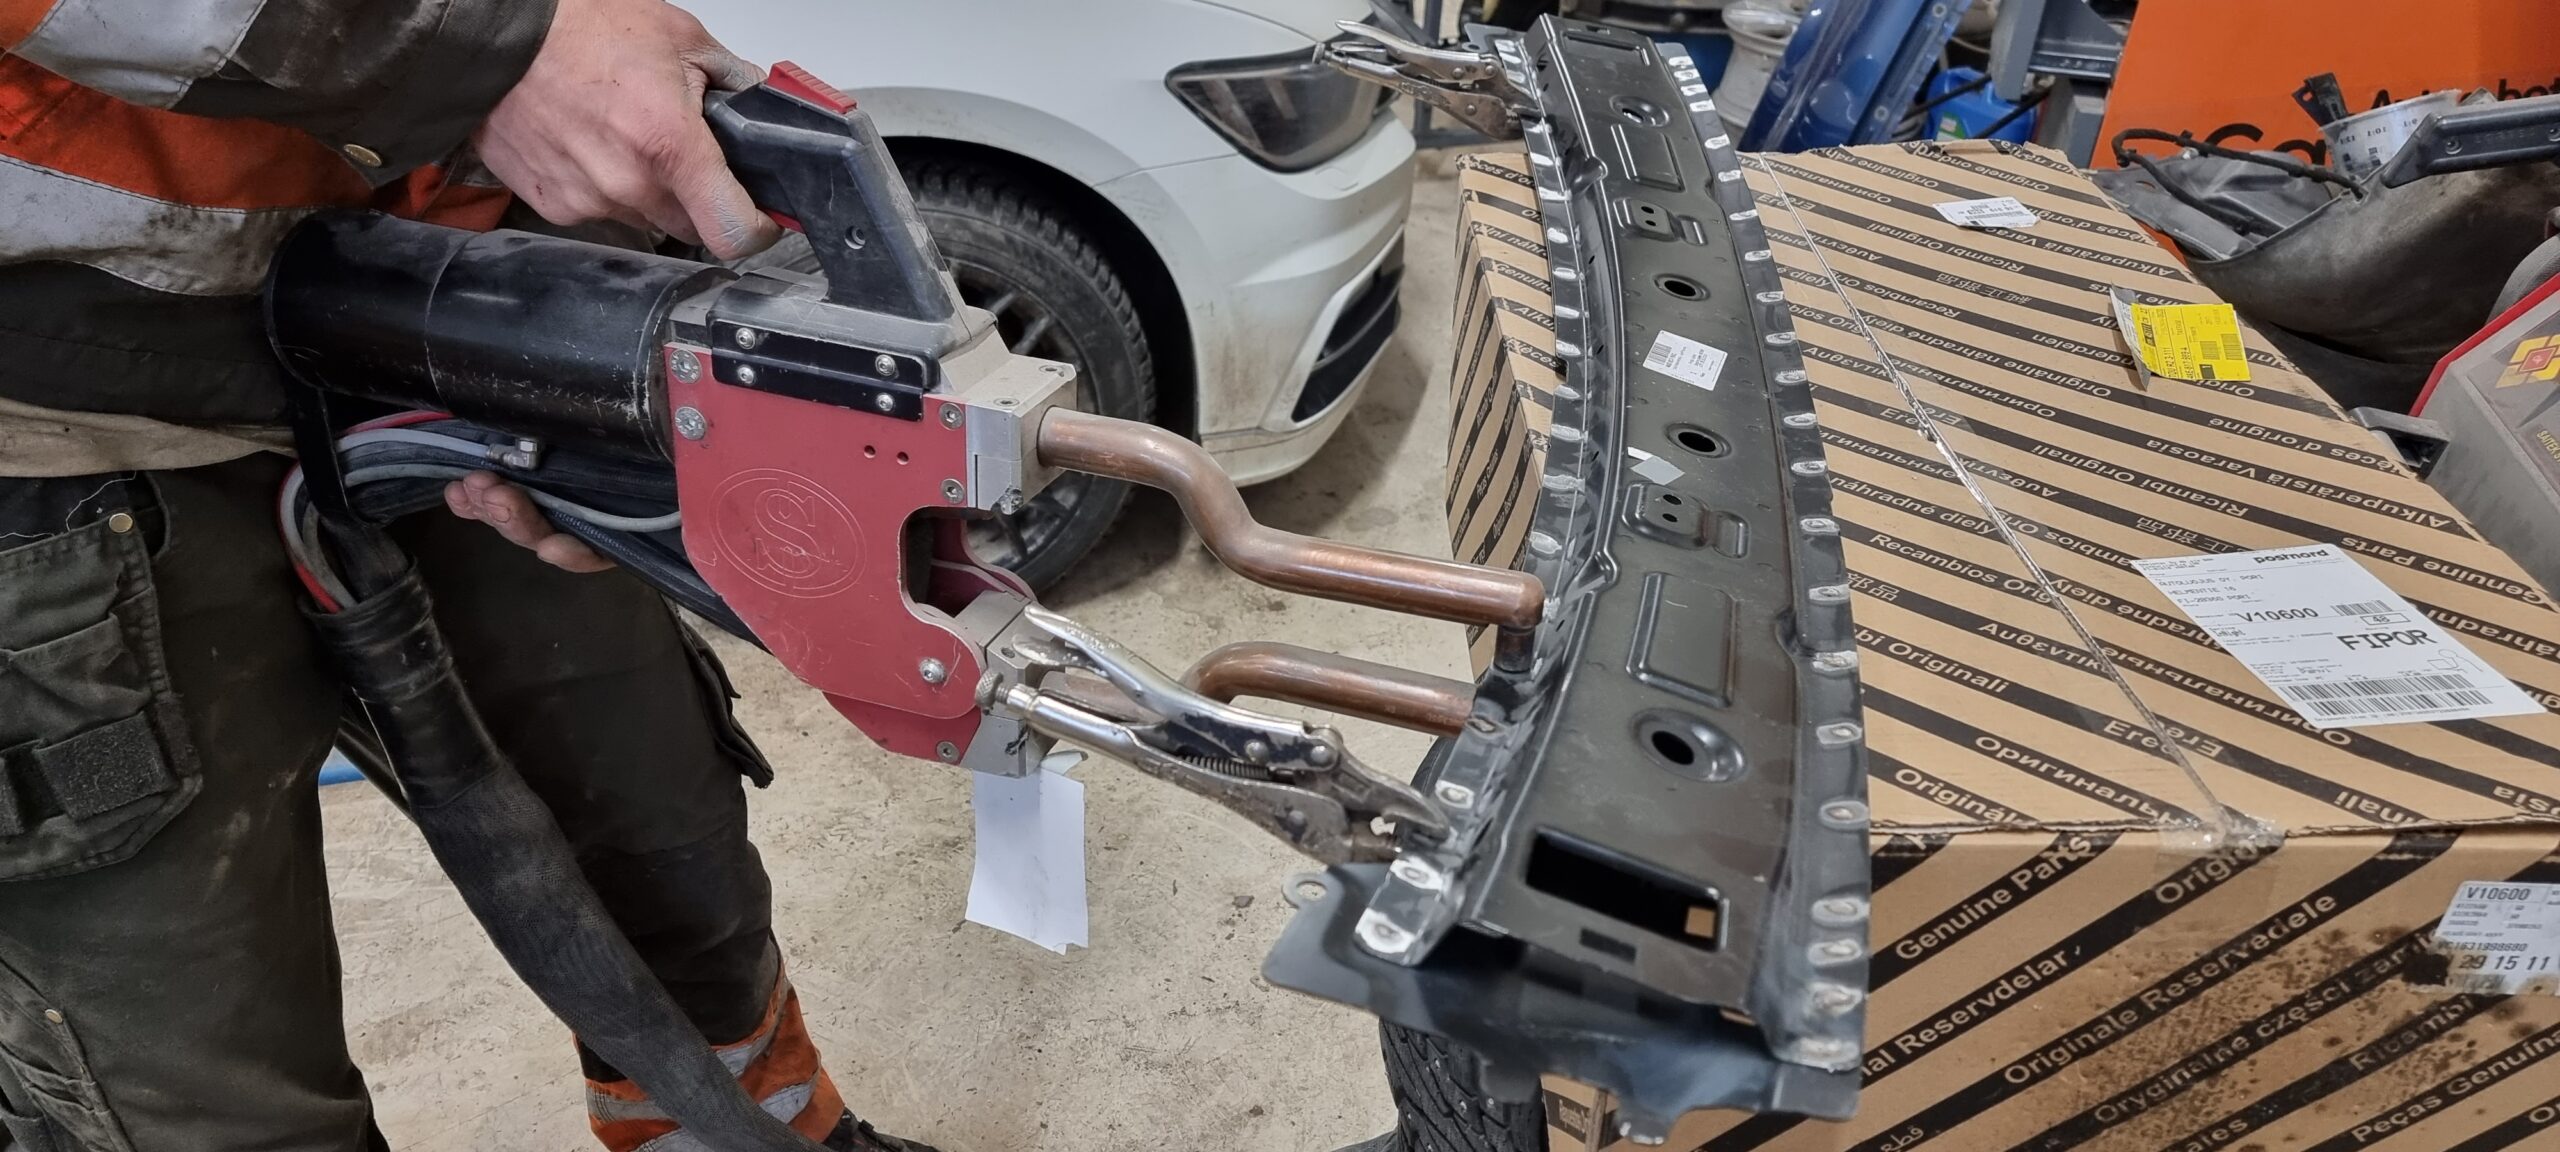
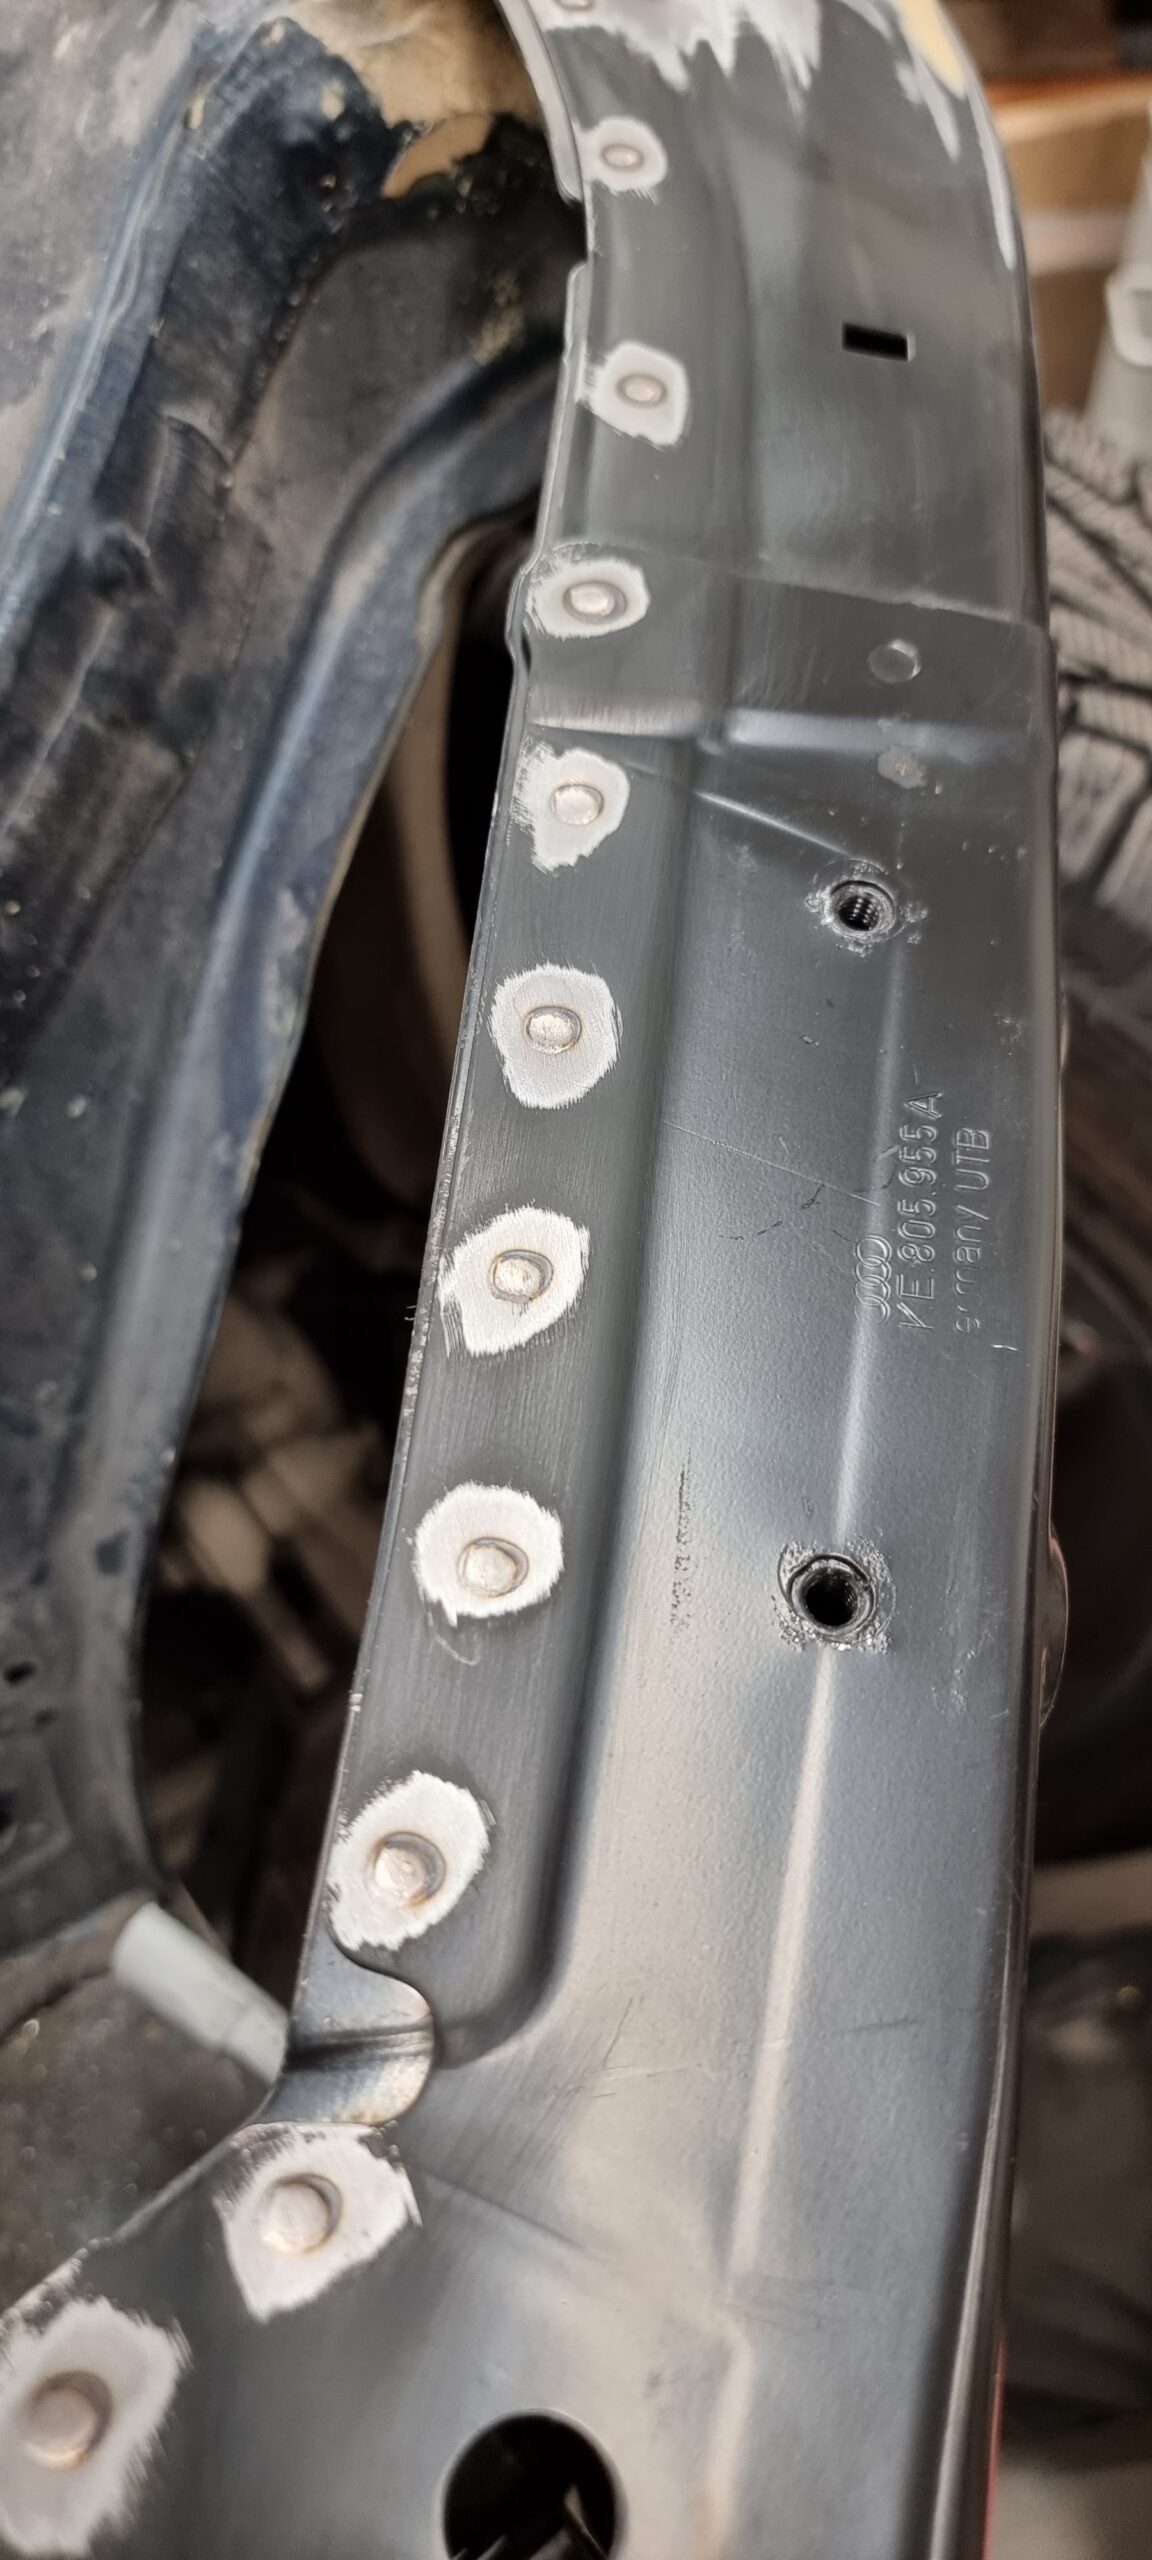
New reinforcements went into the front edge, spot-welded together, and the reinforcing beam was bonded and welded back into place. That came out really well.
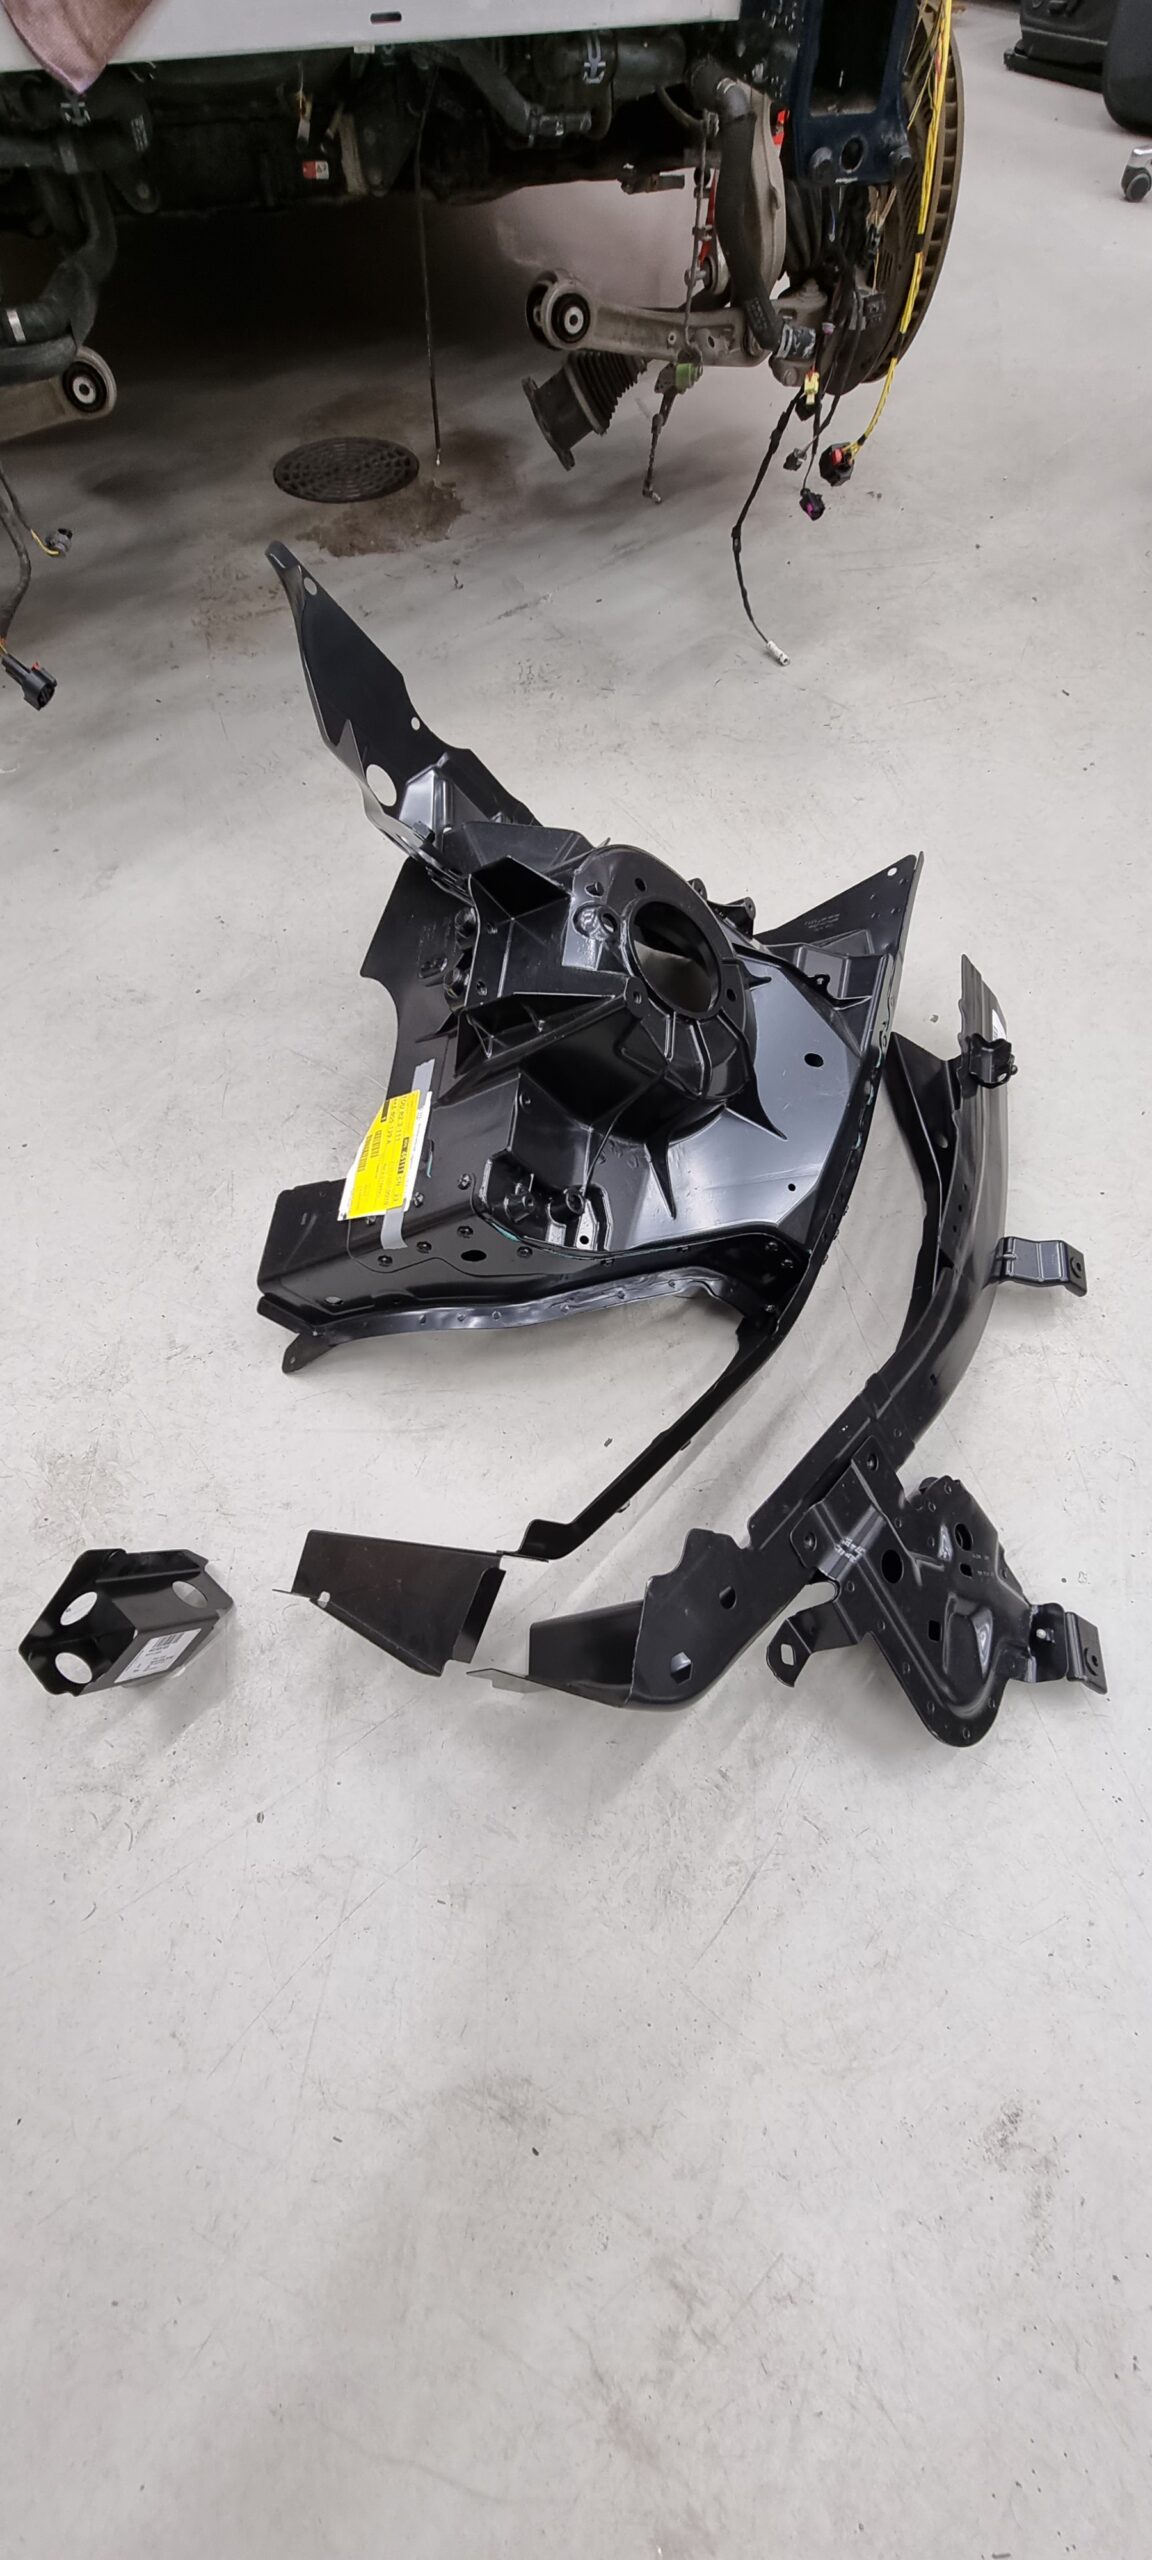
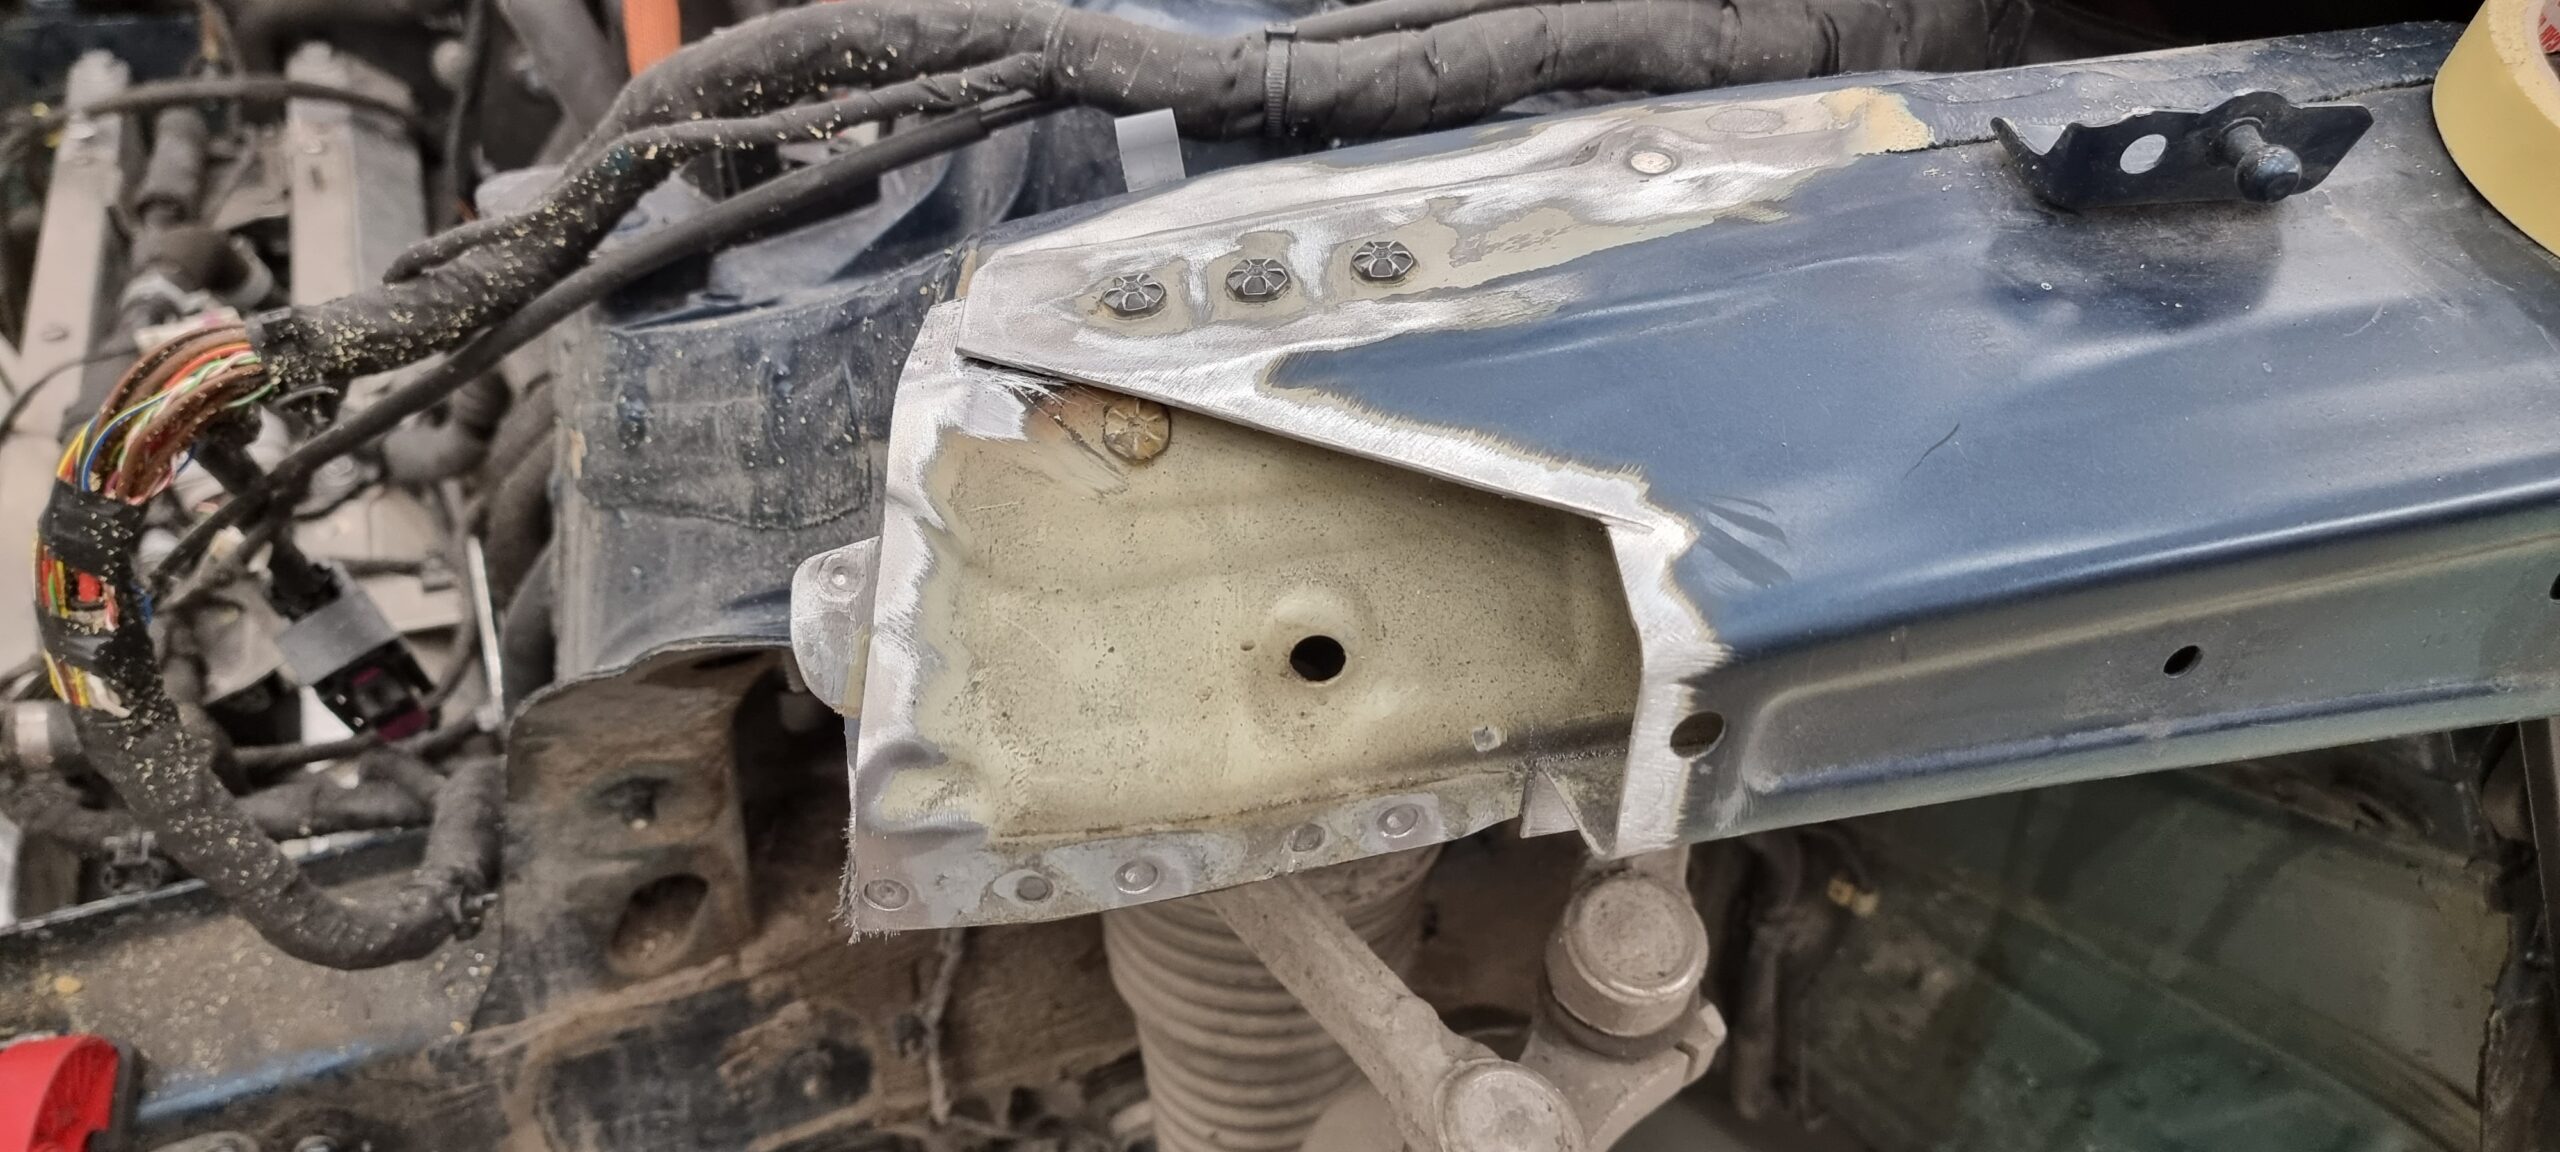
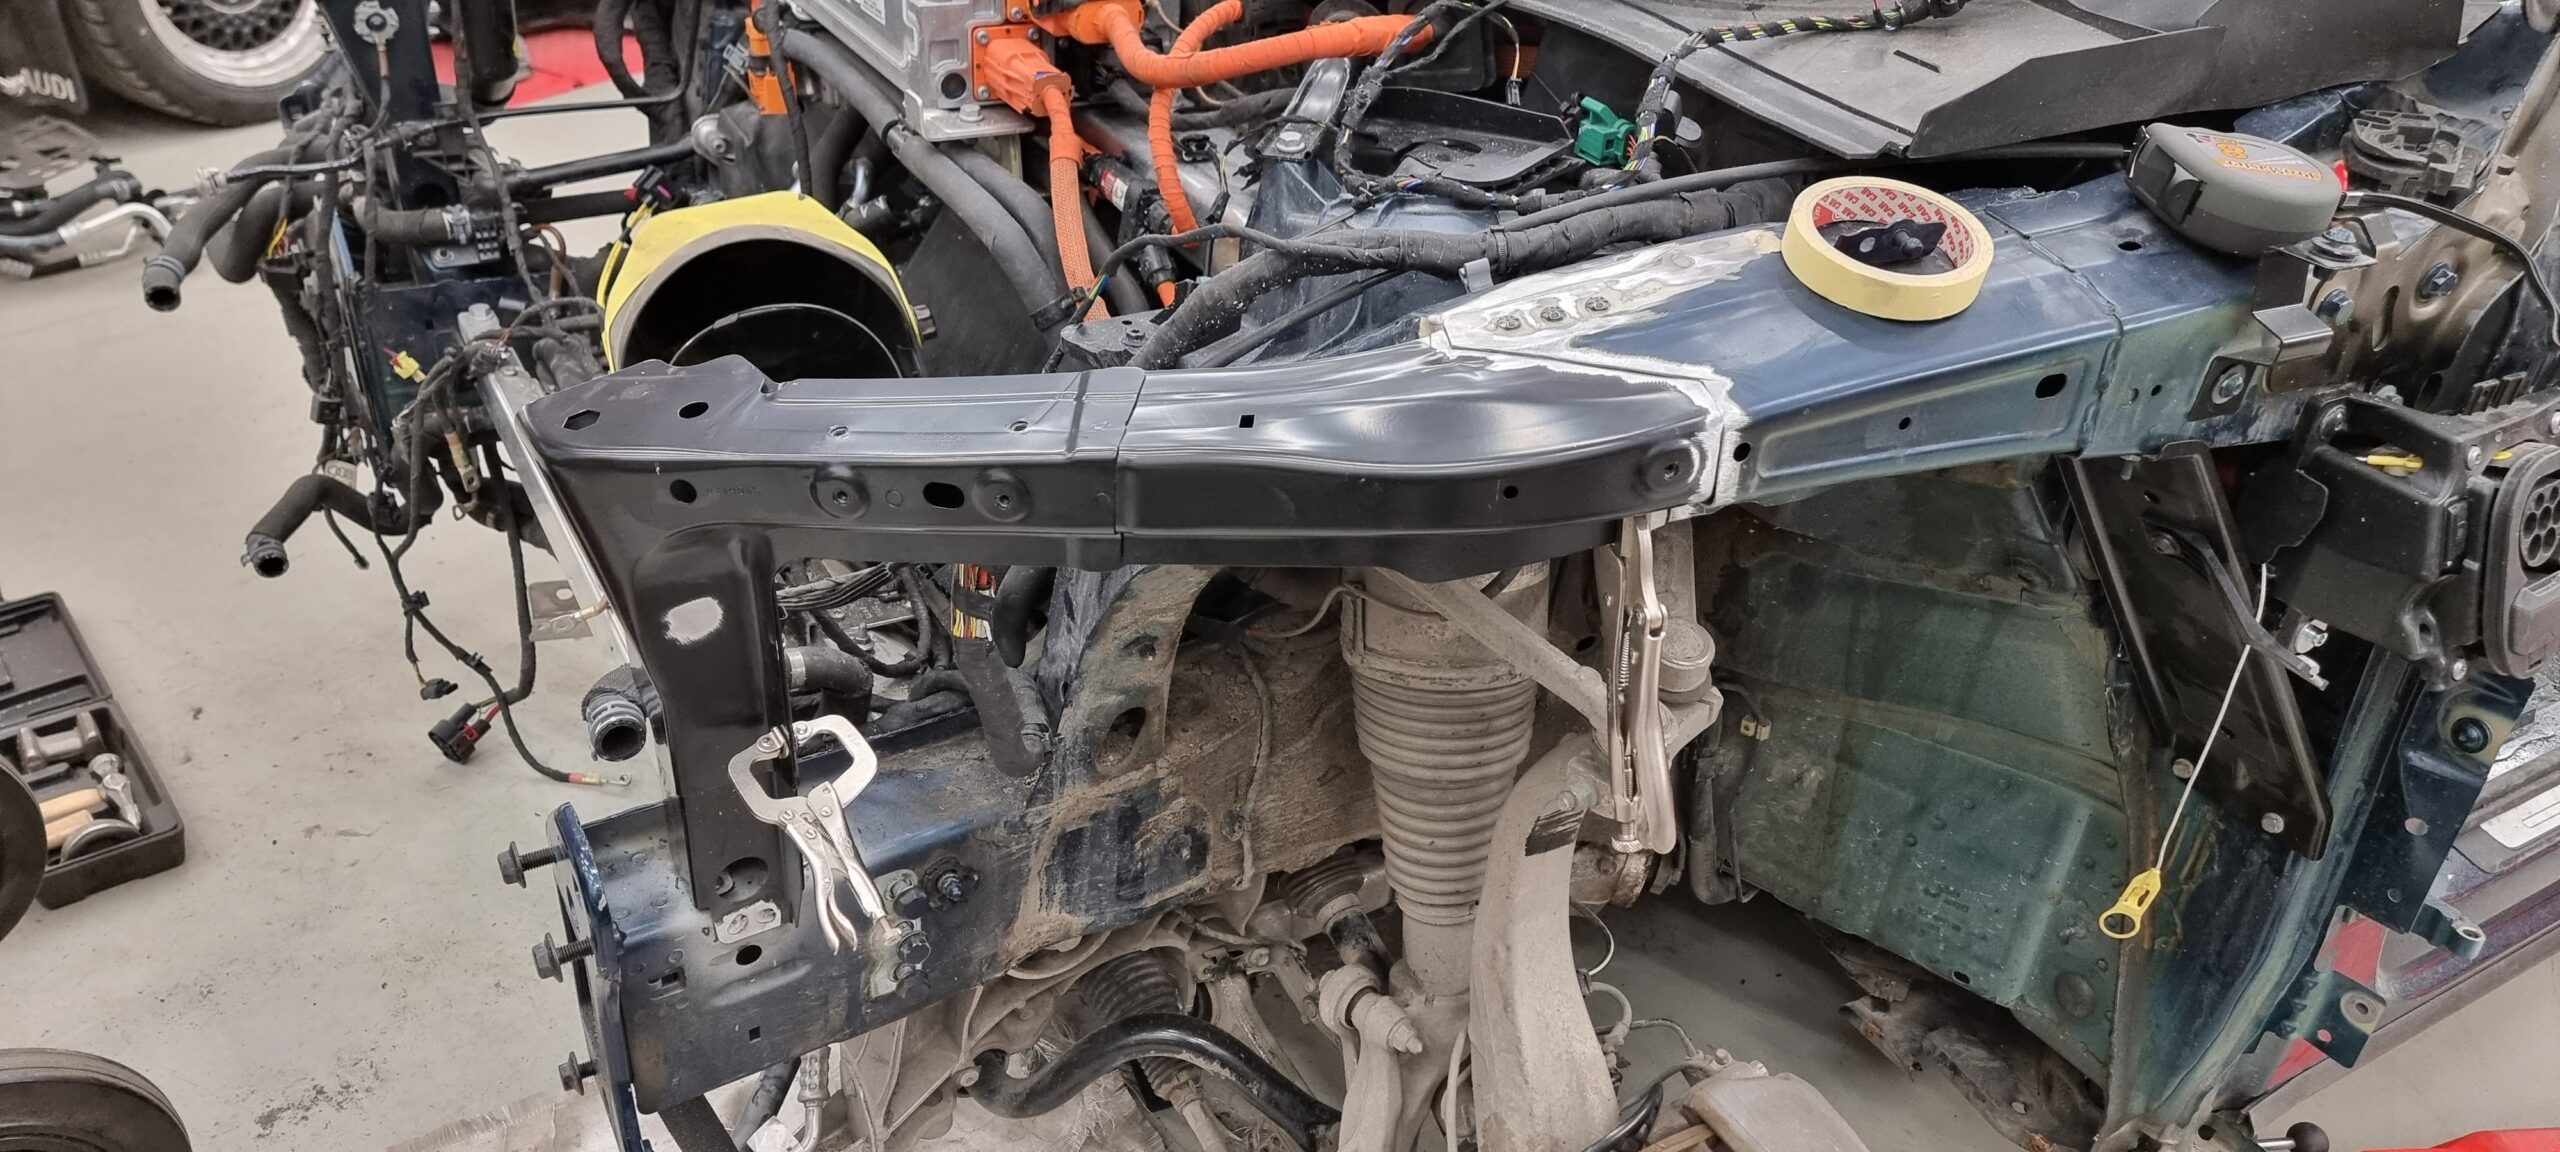
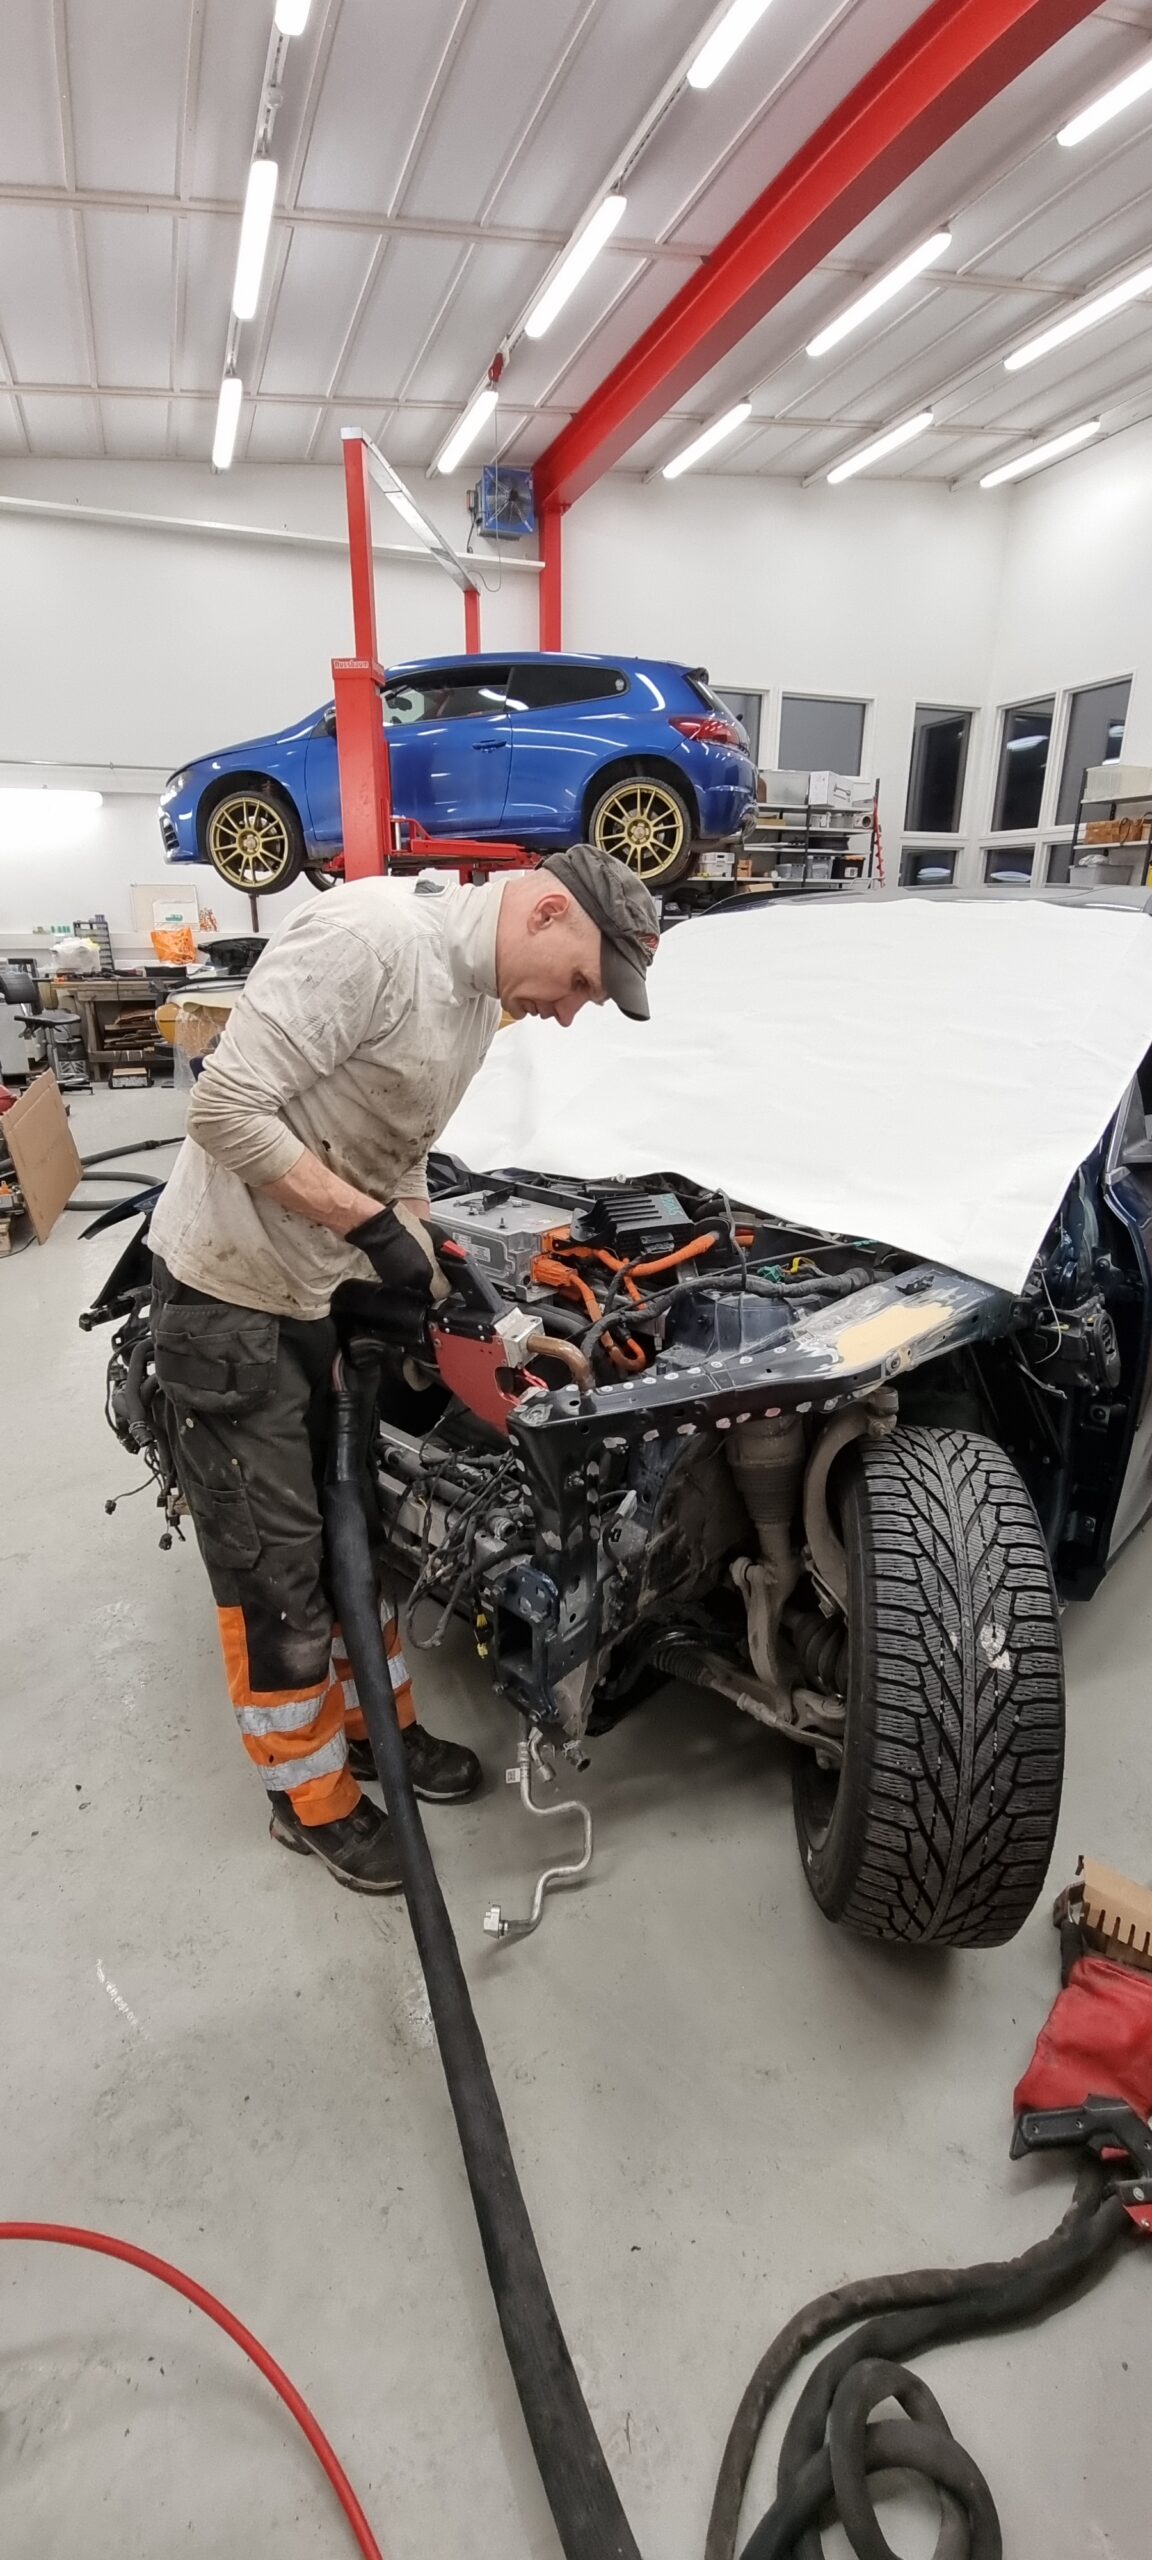
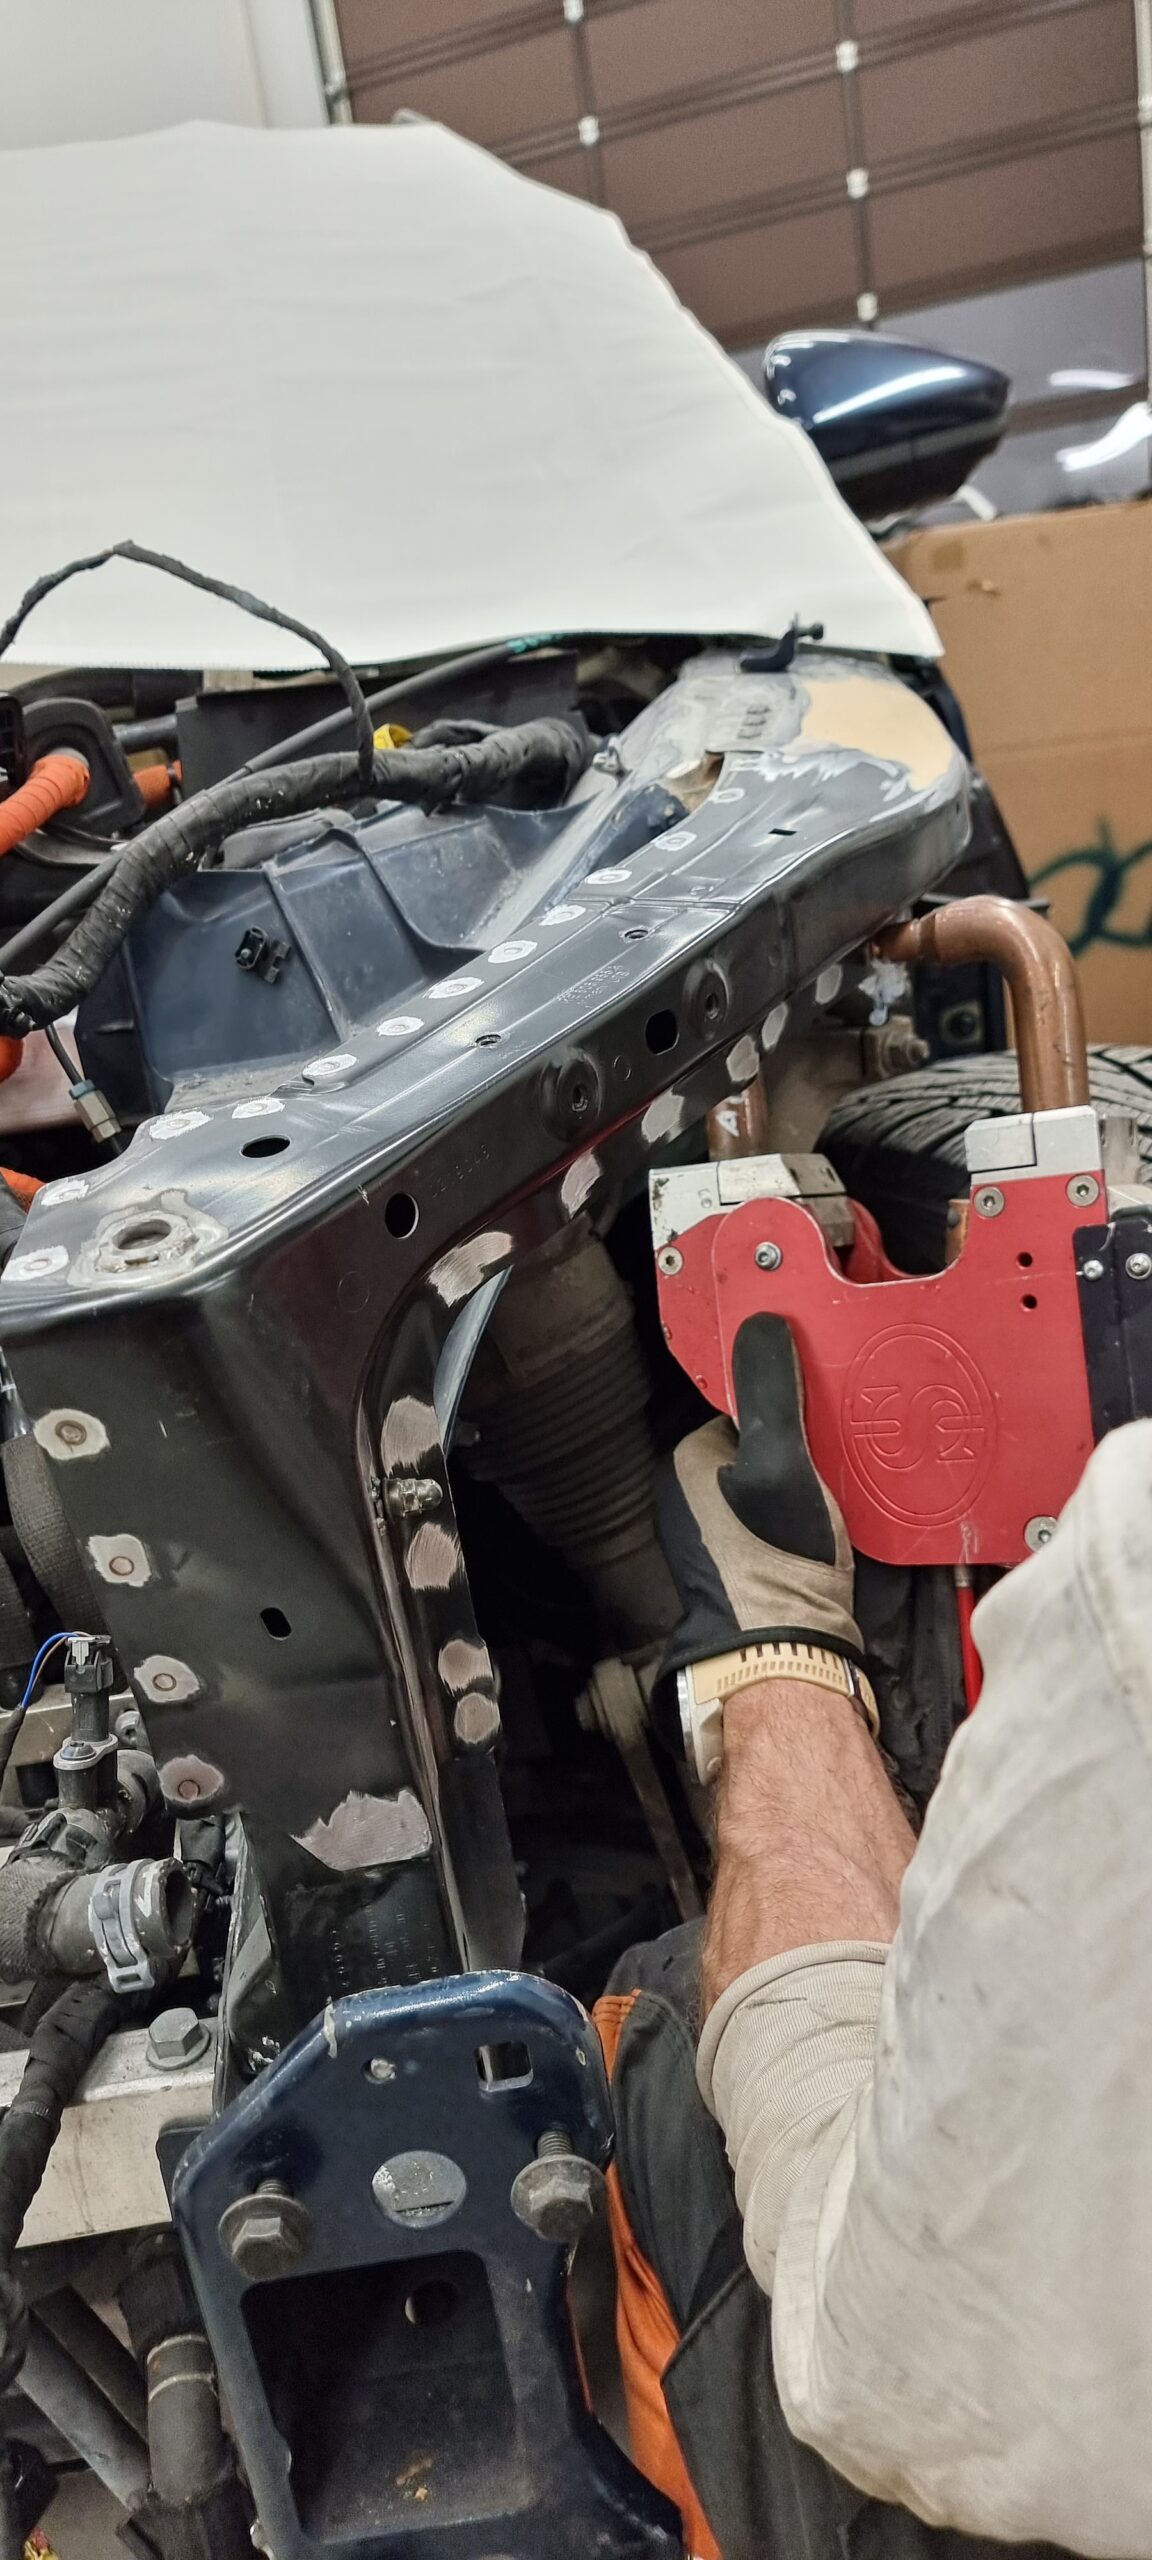
All the parts making up the damaged upper chassis rail were replaced too. The strut tower was exactly where it should be, so only the rail itself needed replacing. Finishing it had to wait while the spot welder went away for repairs.
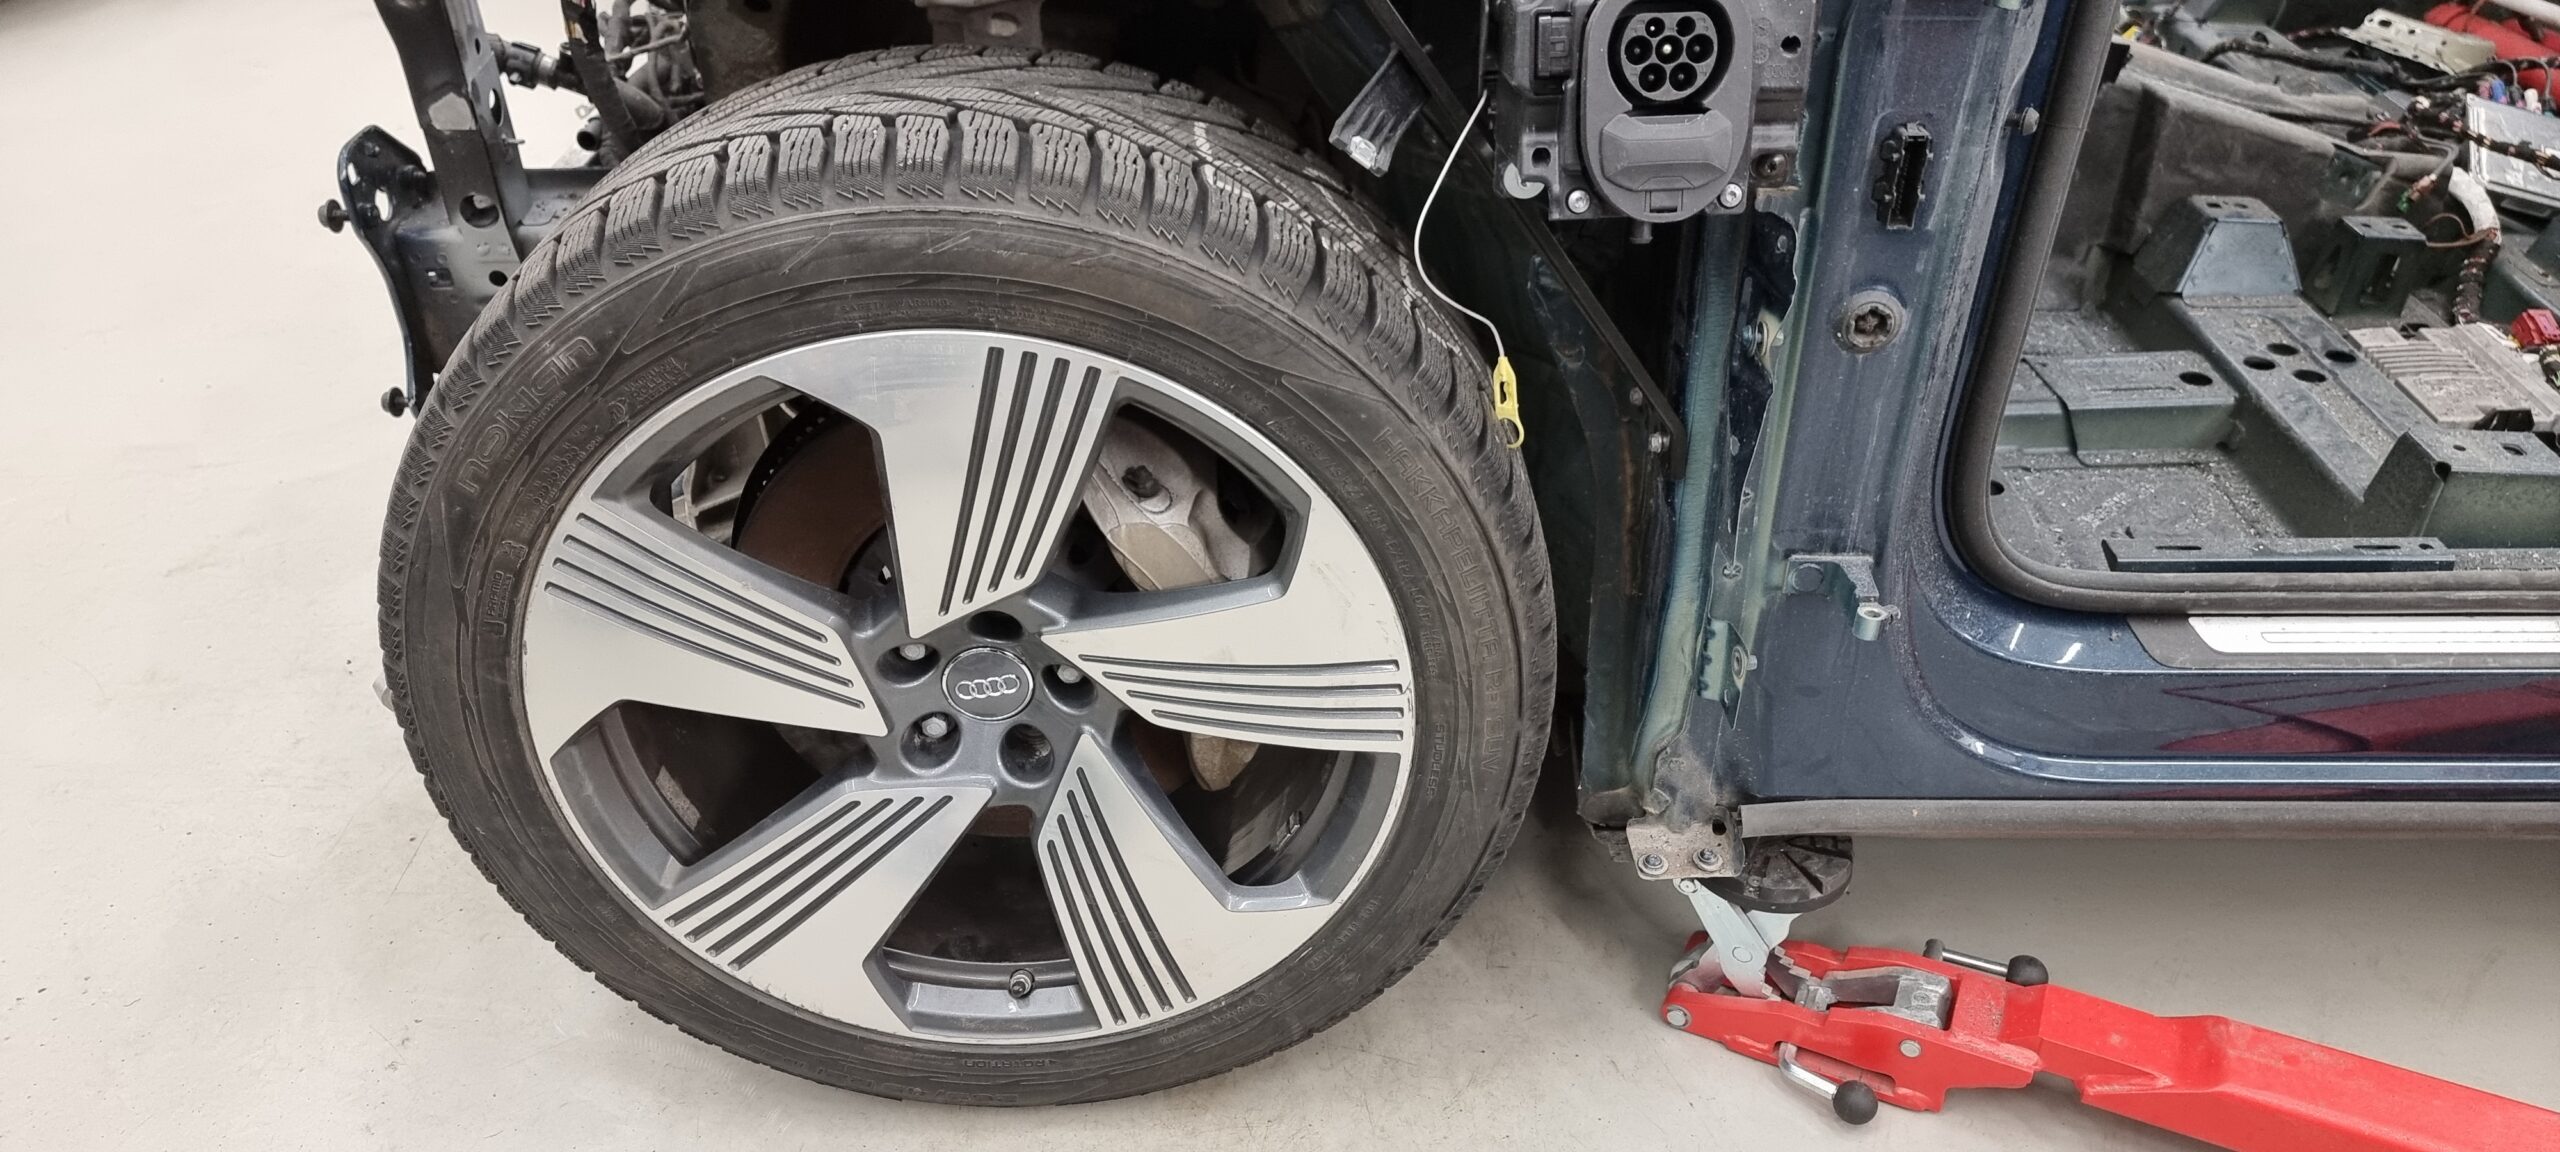
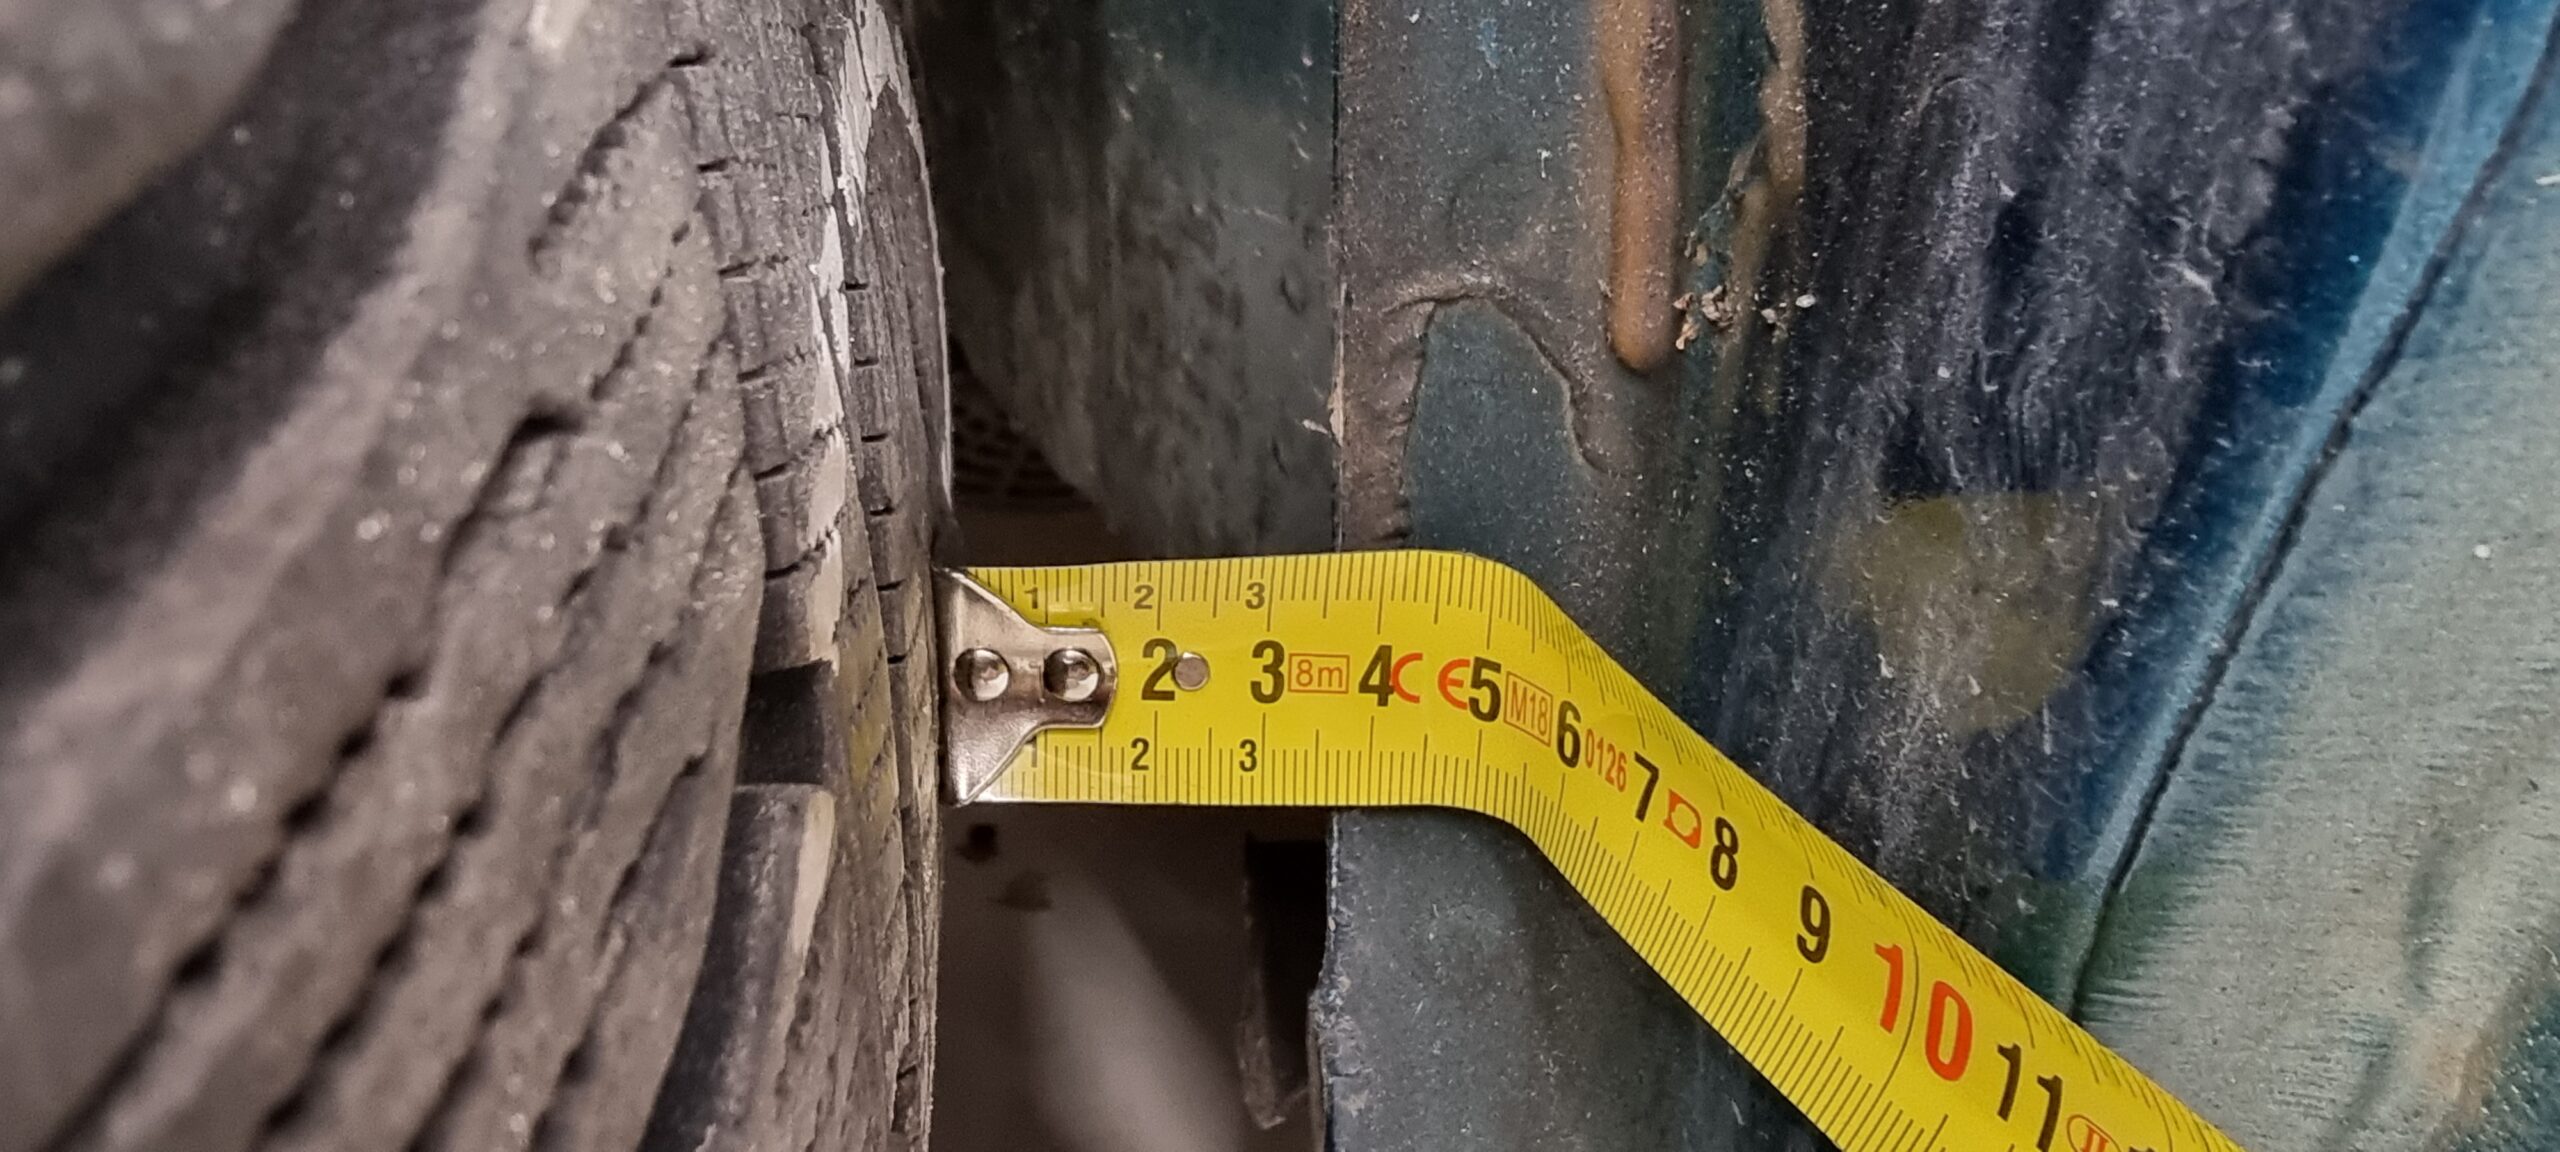
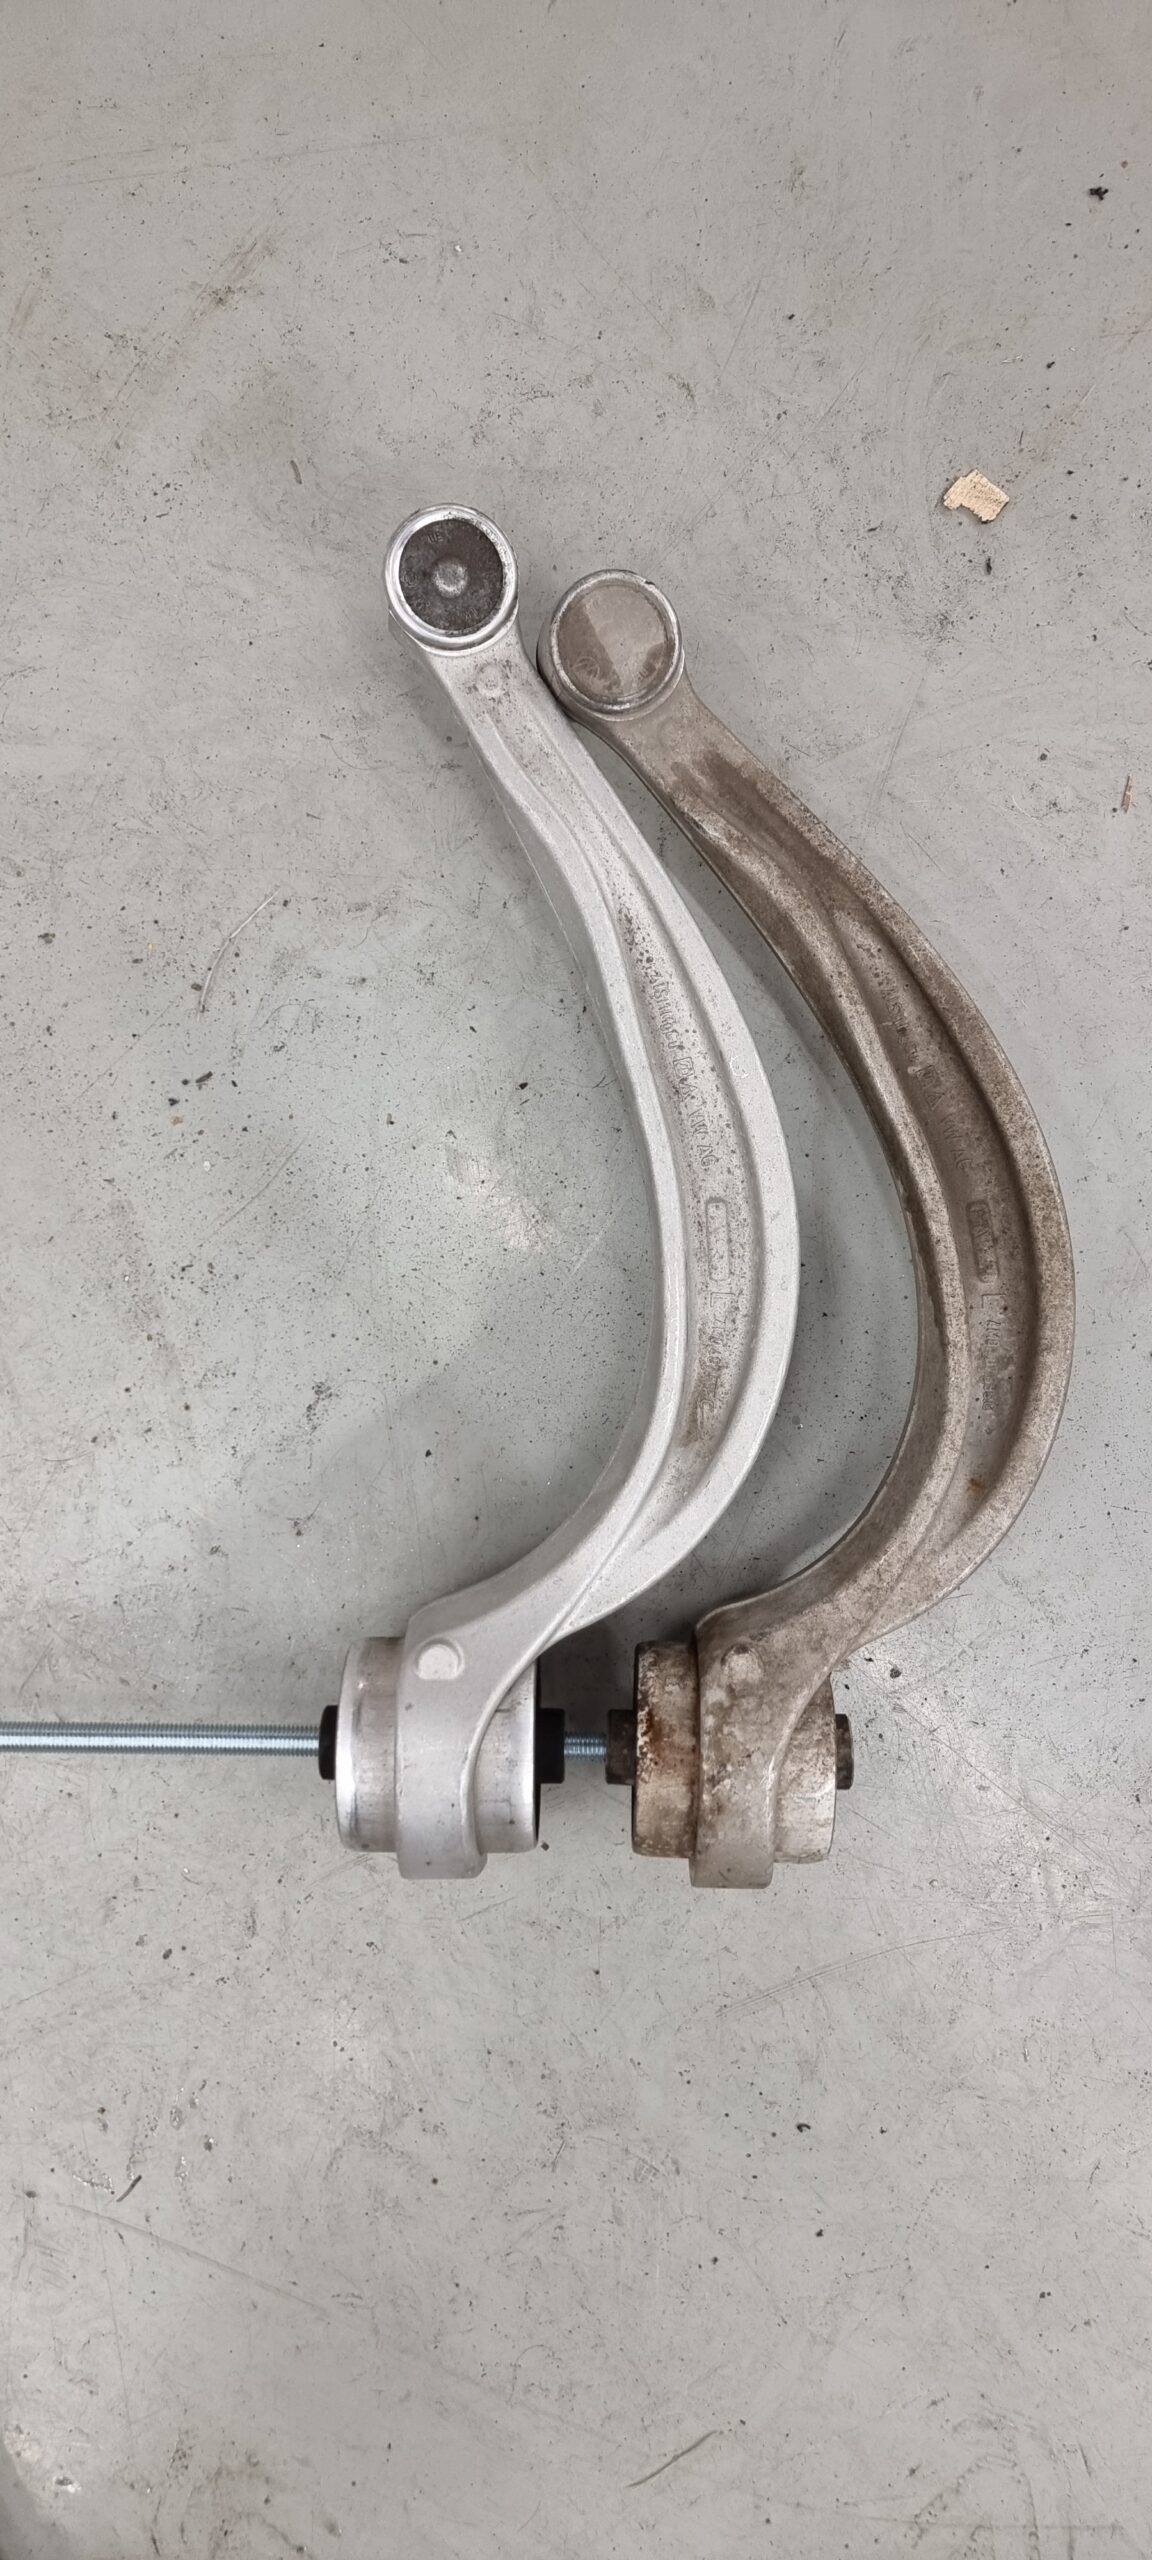
Looking at the car, I noticed the driver's-side front wheel sitting further back than the other one. That pointed to a bent control arm. Another eBay find, and soon swapped over.
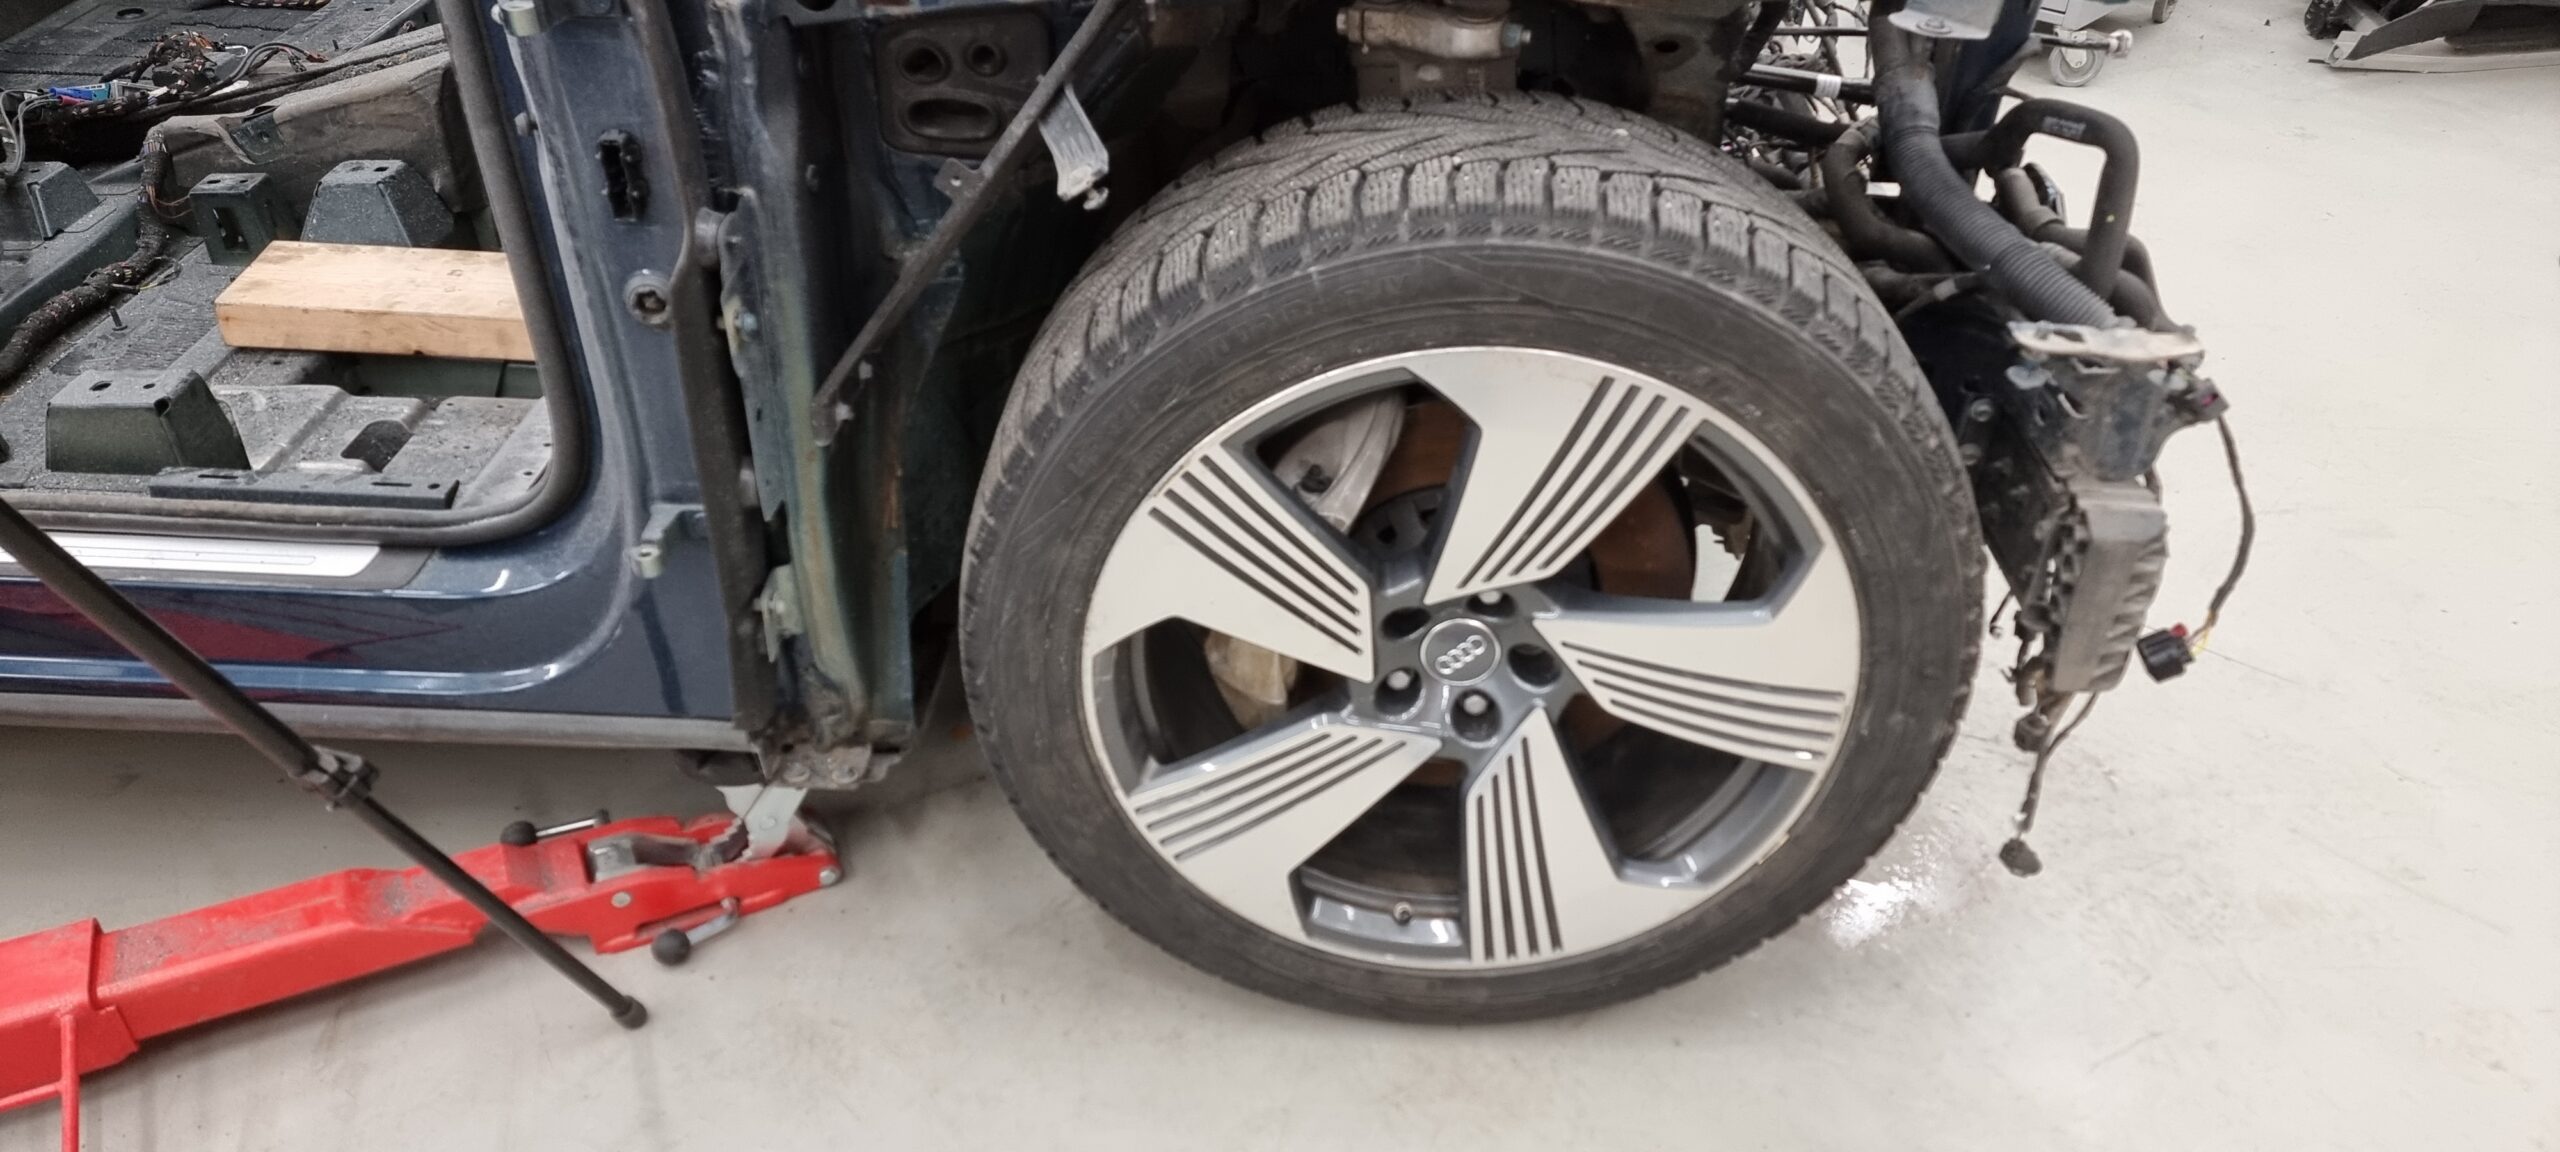
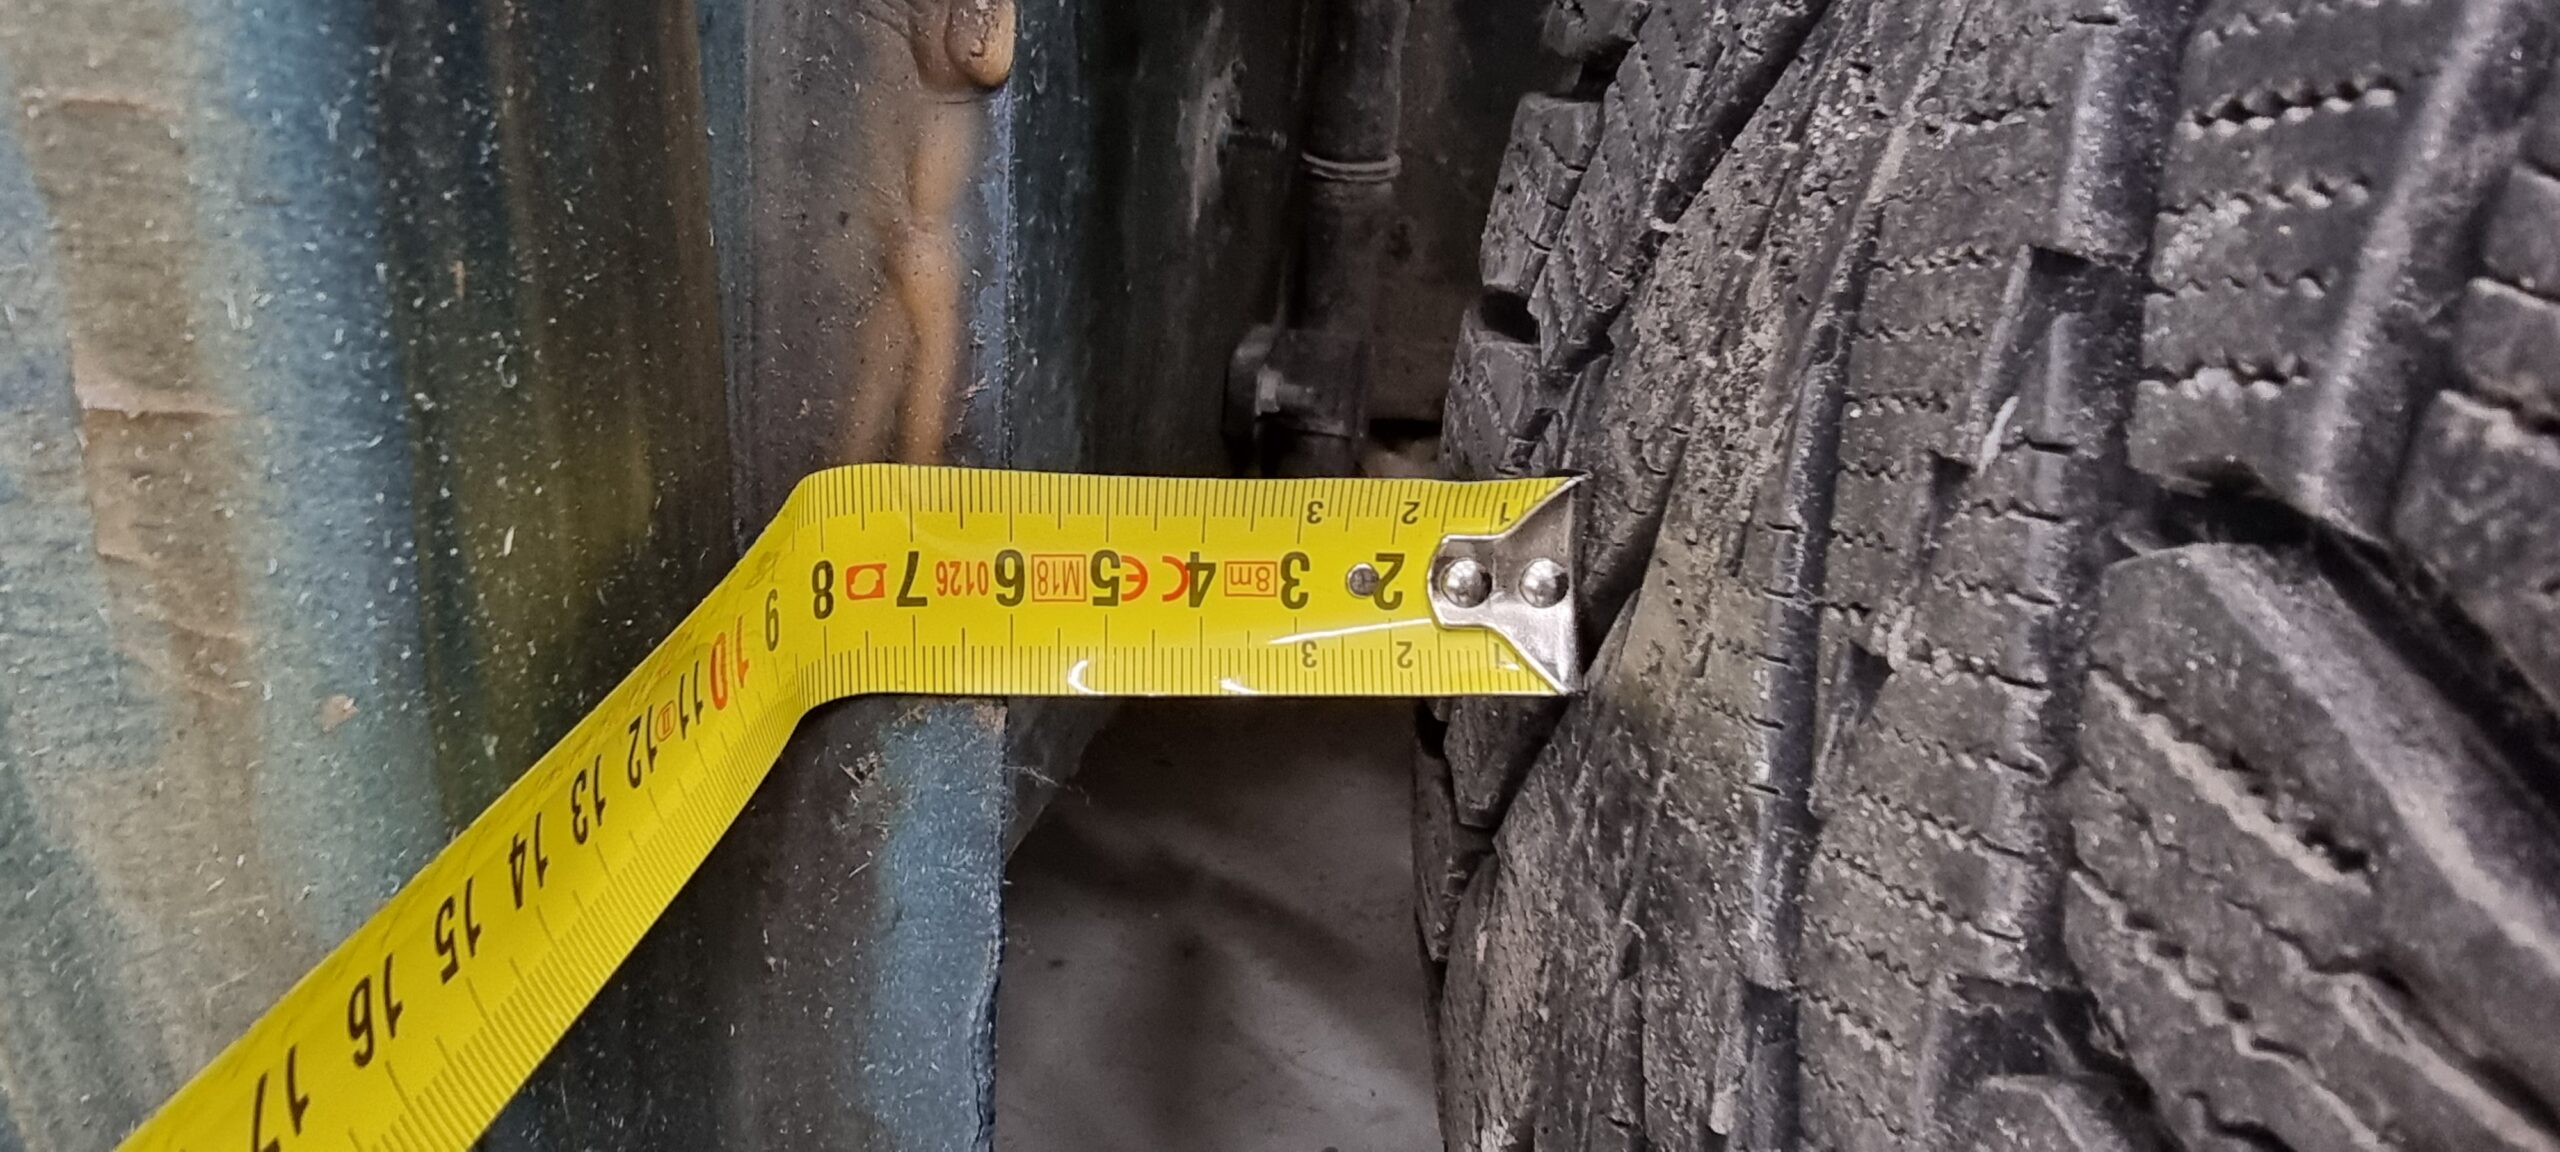
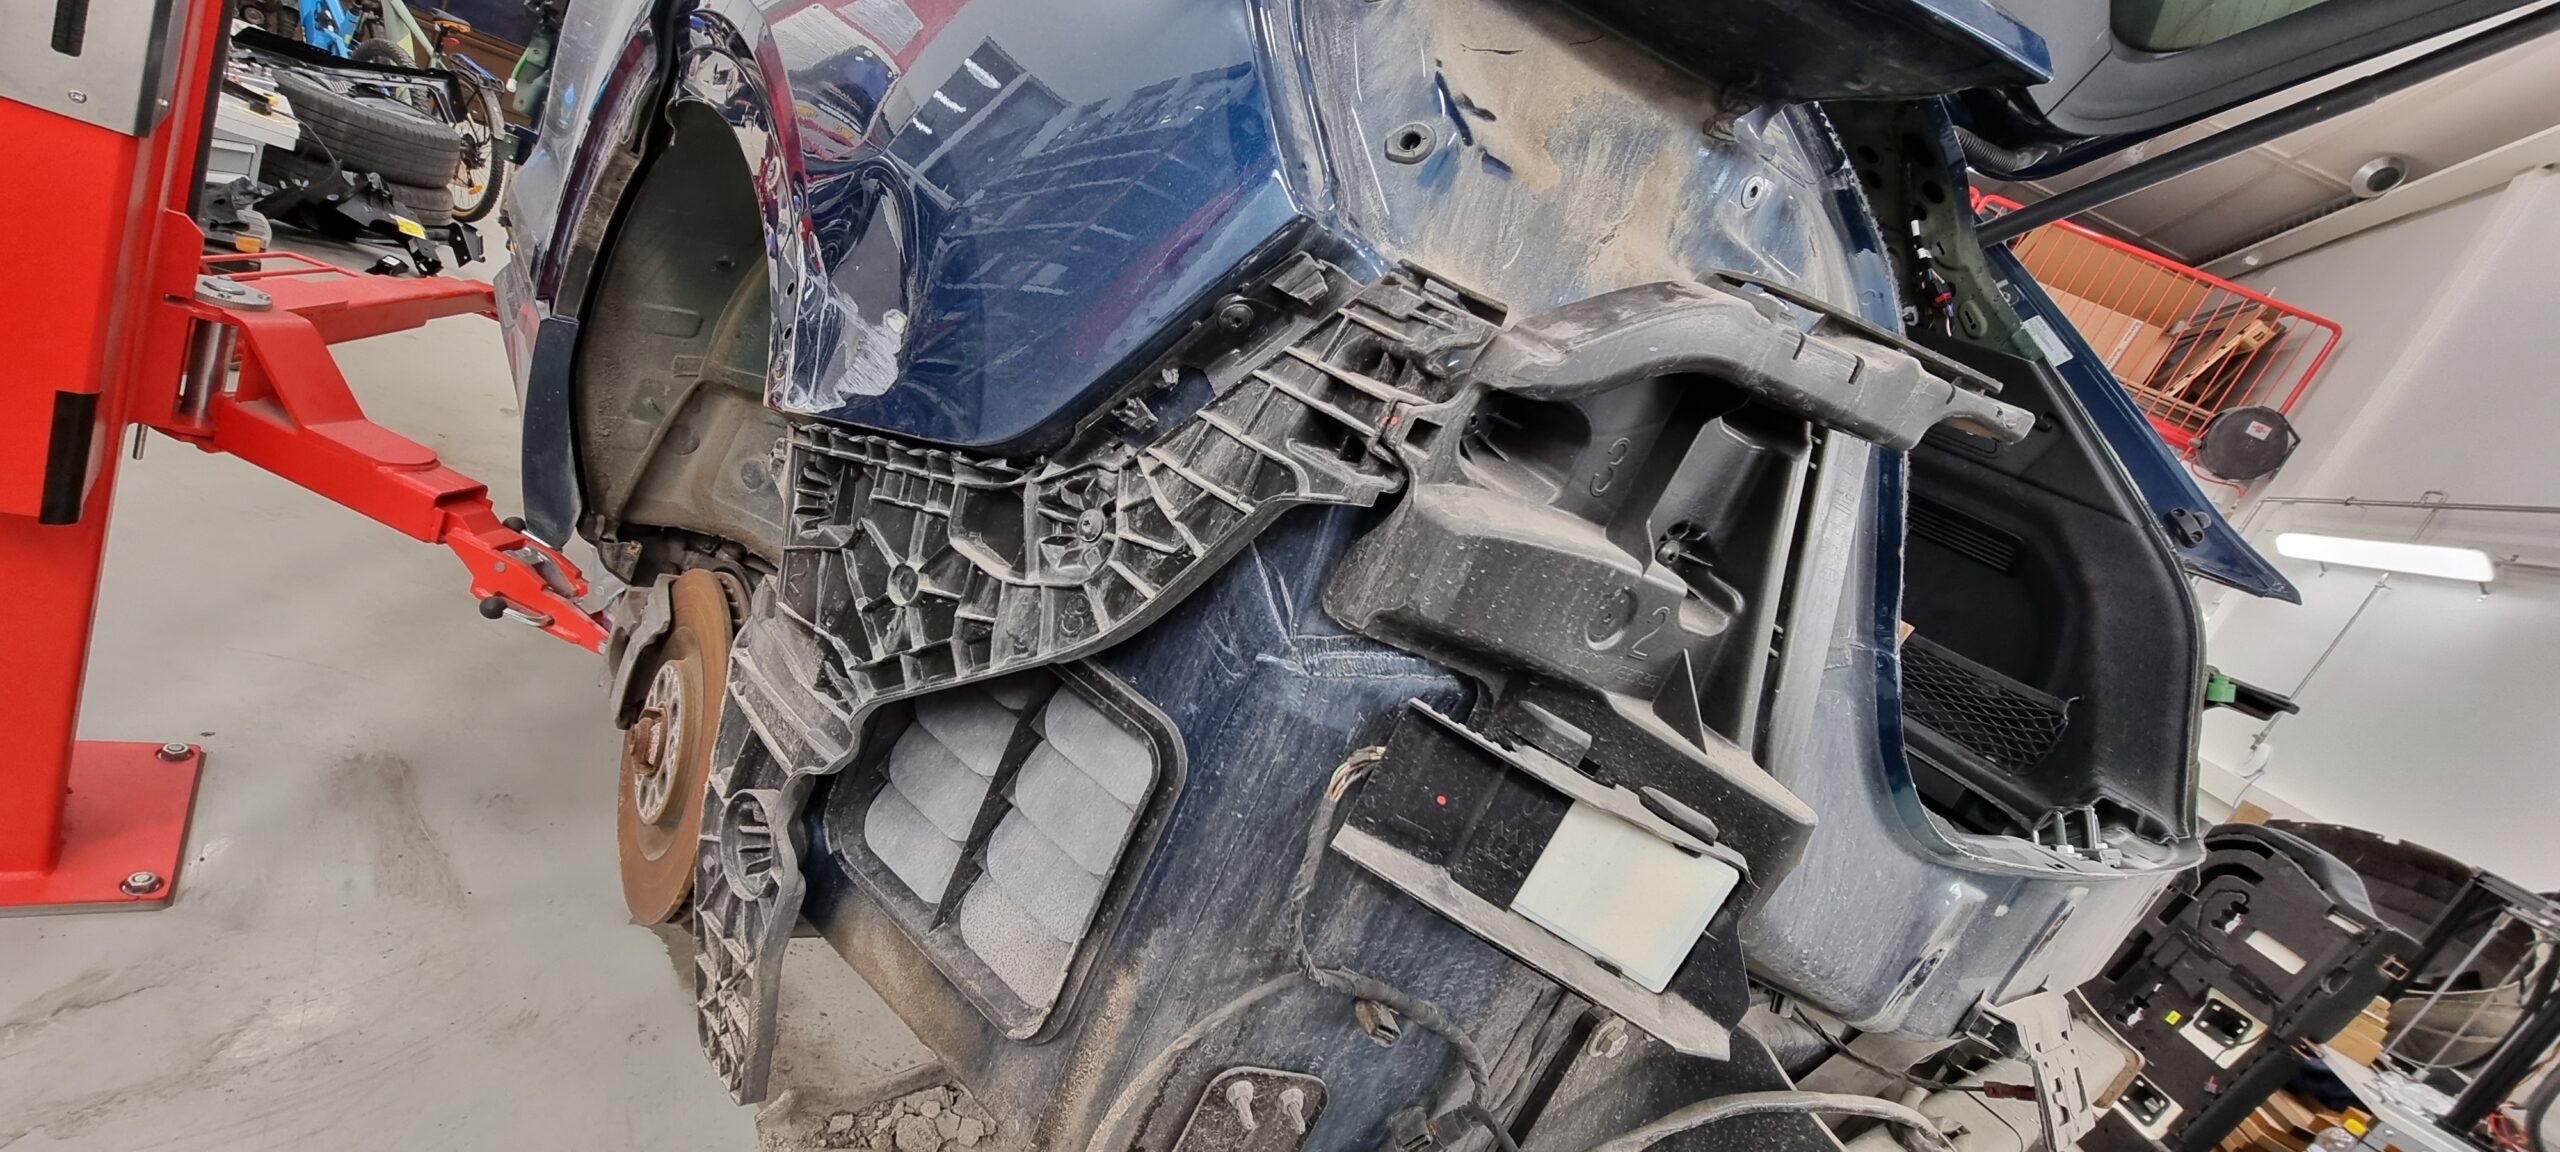
The rear bumper had to come off too: the rear corner had taken a small knock against the motorway barrier.
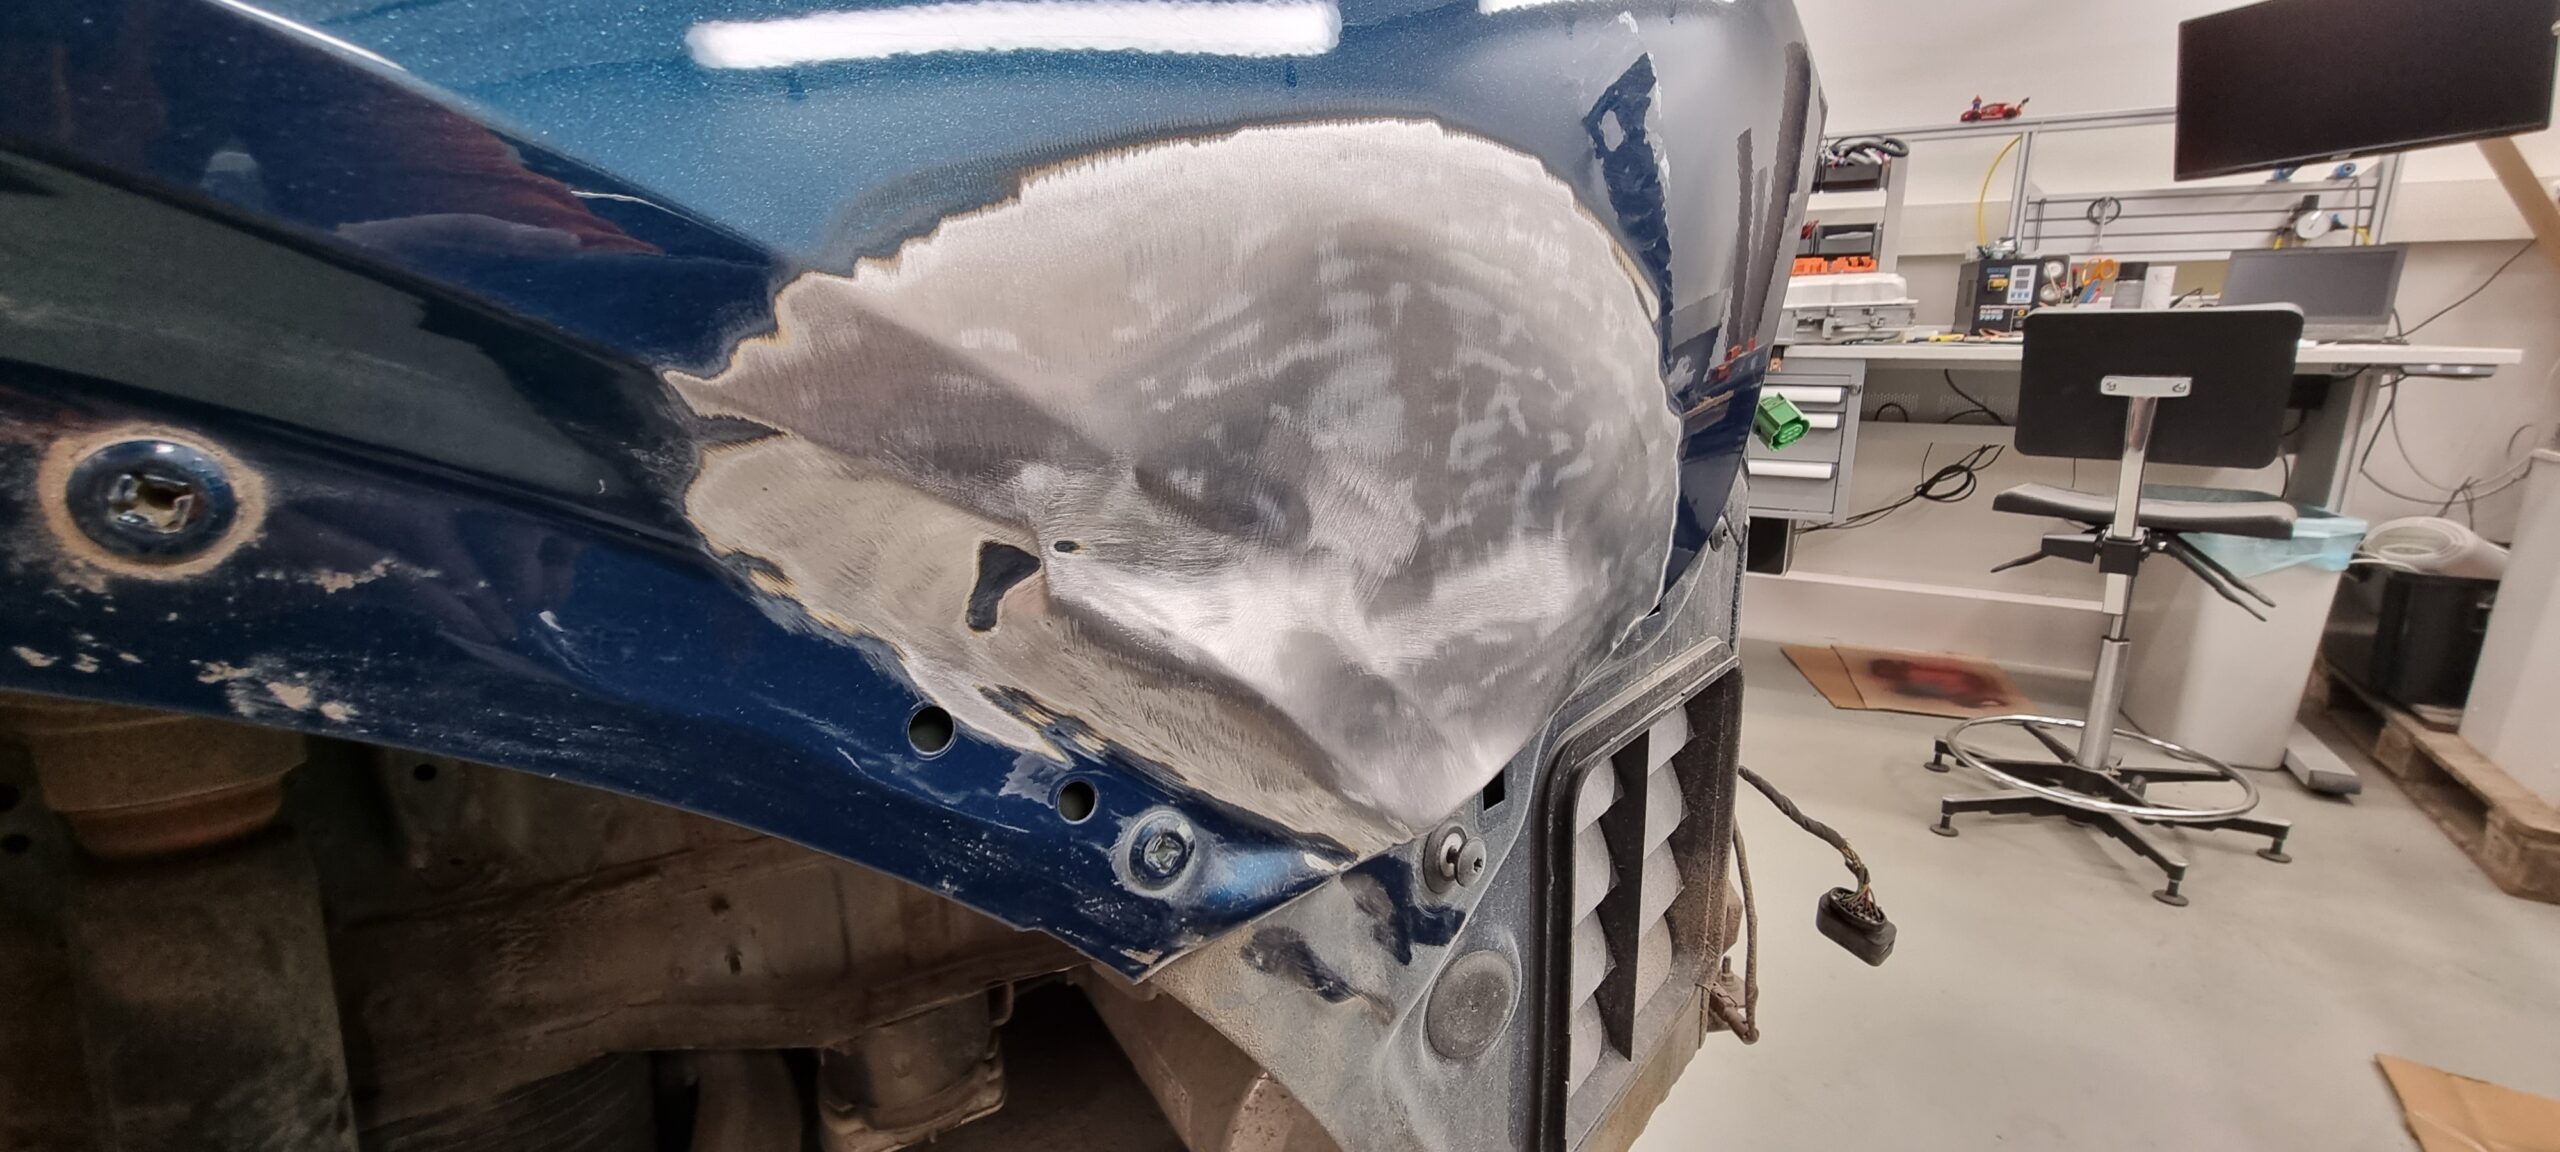
Paint off before straightening
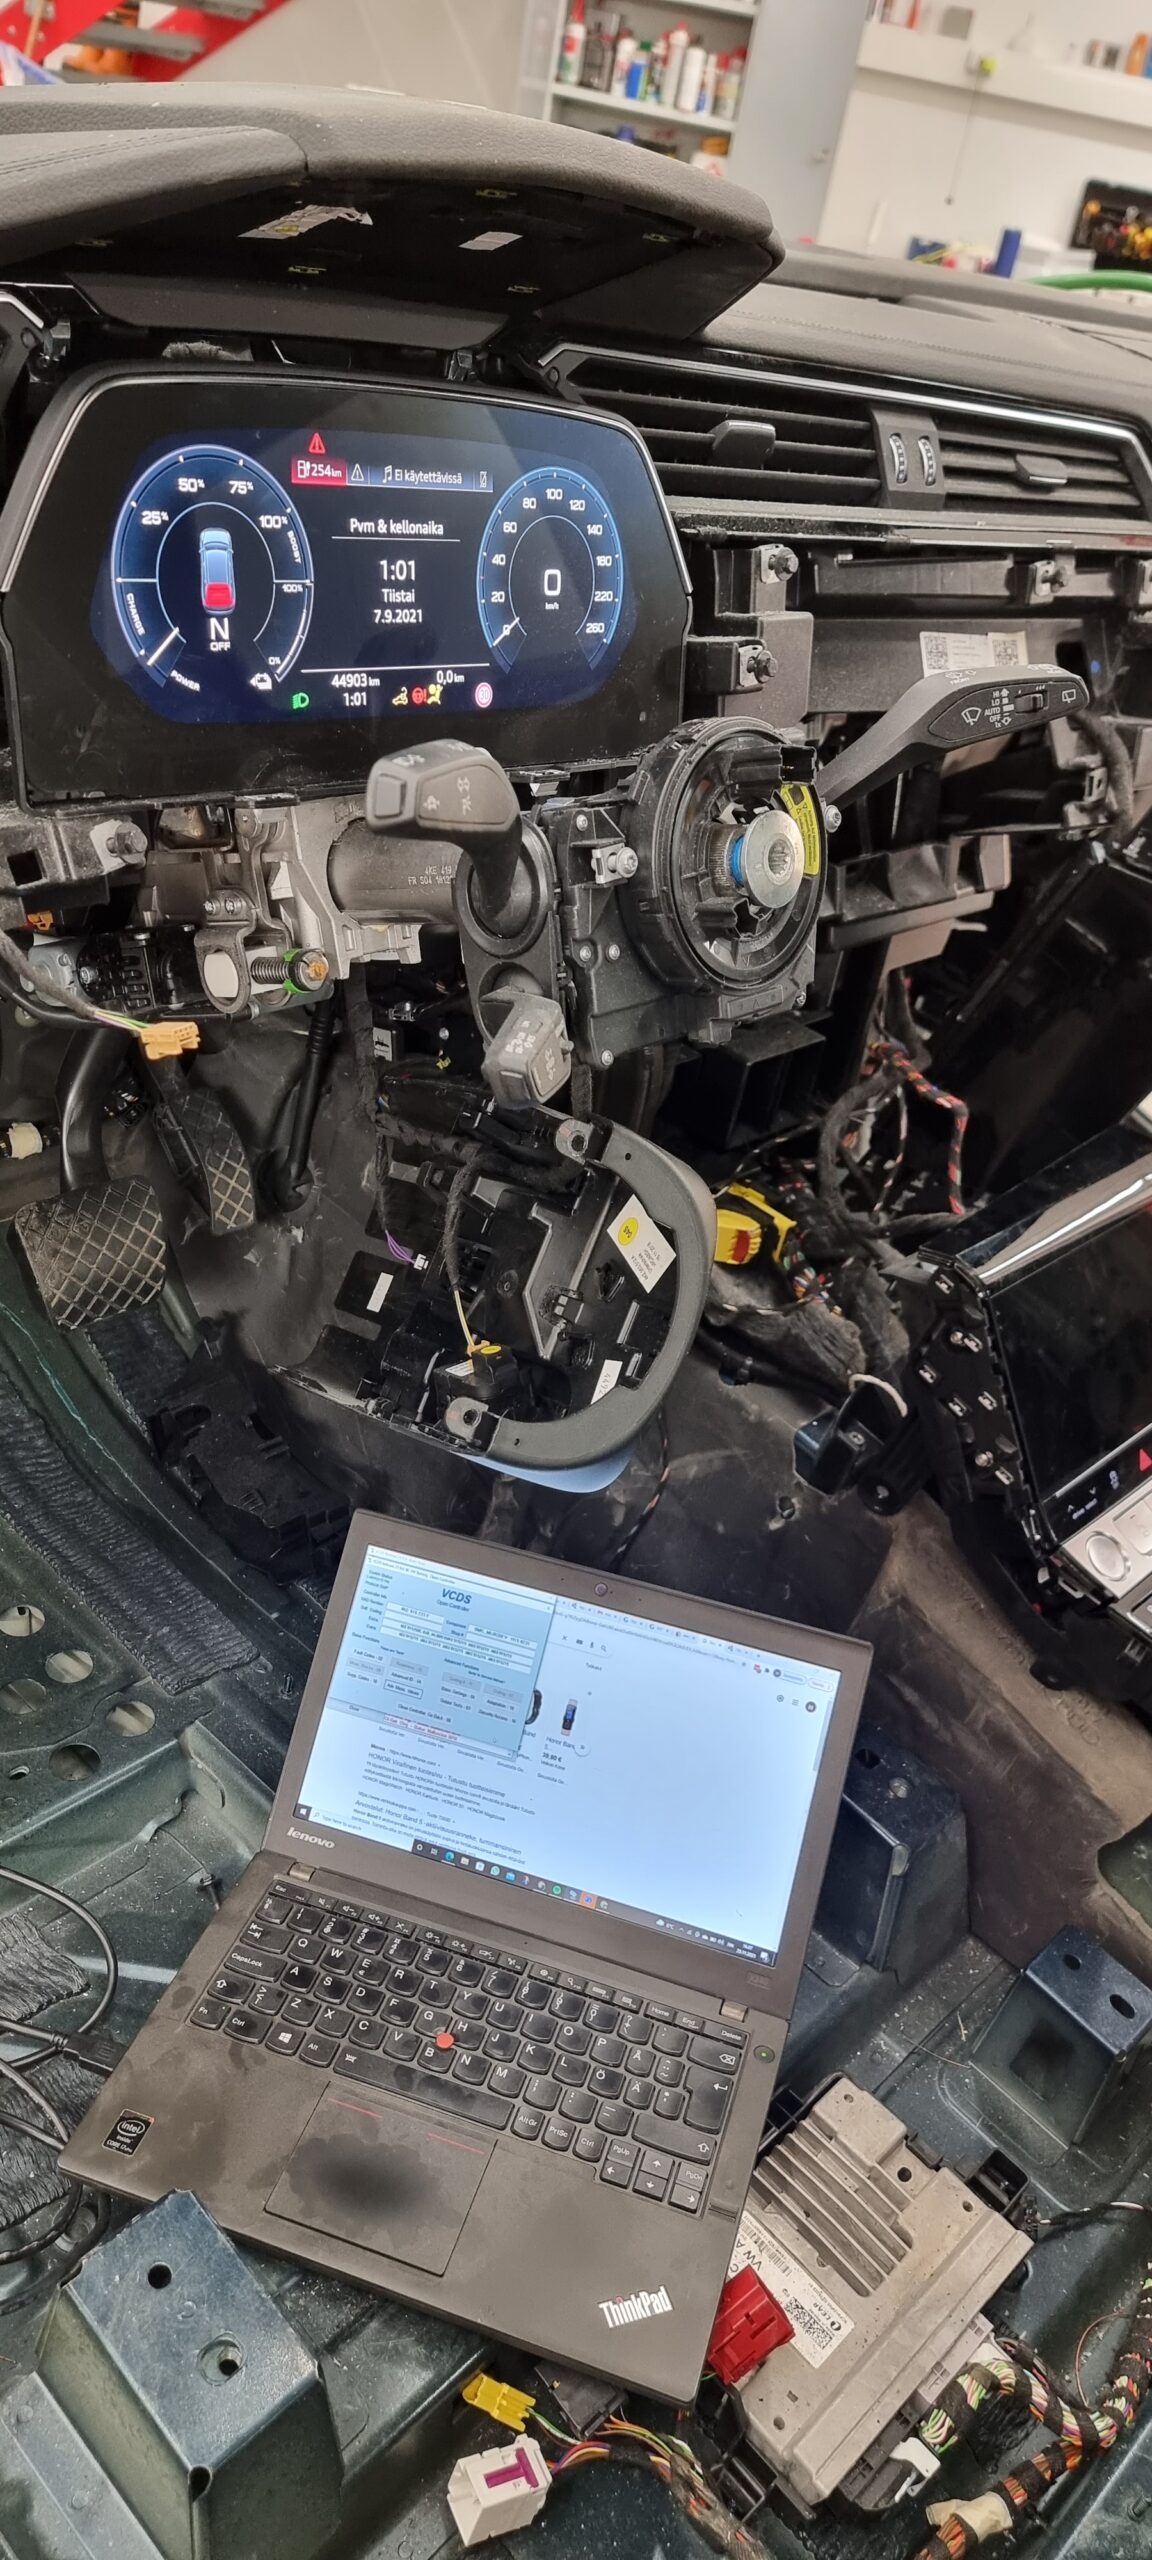
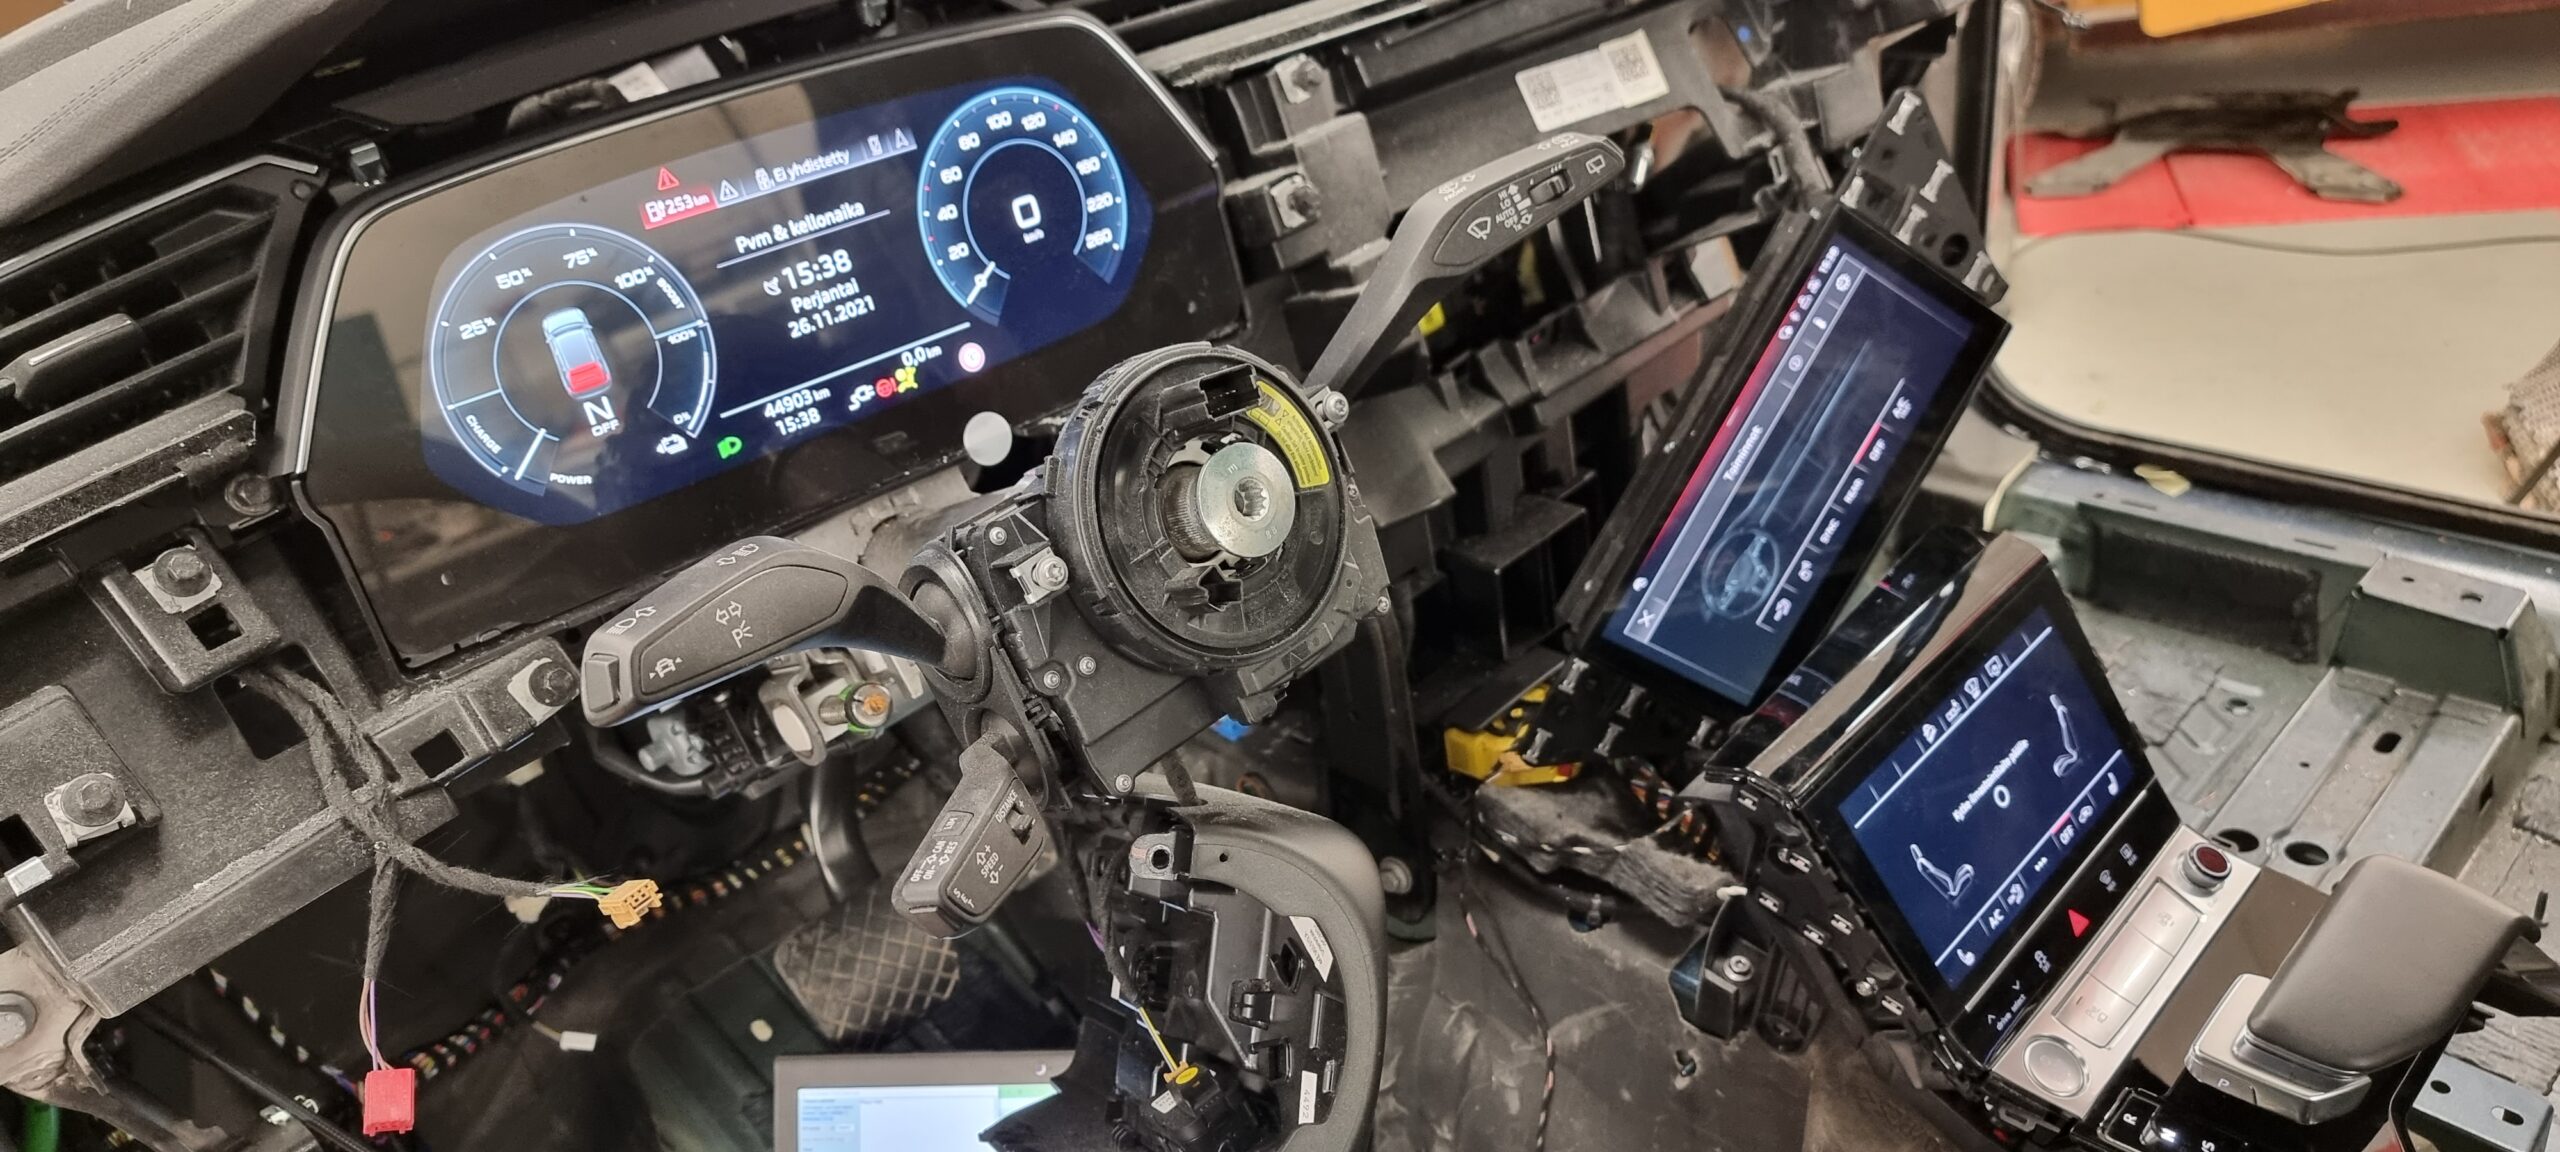
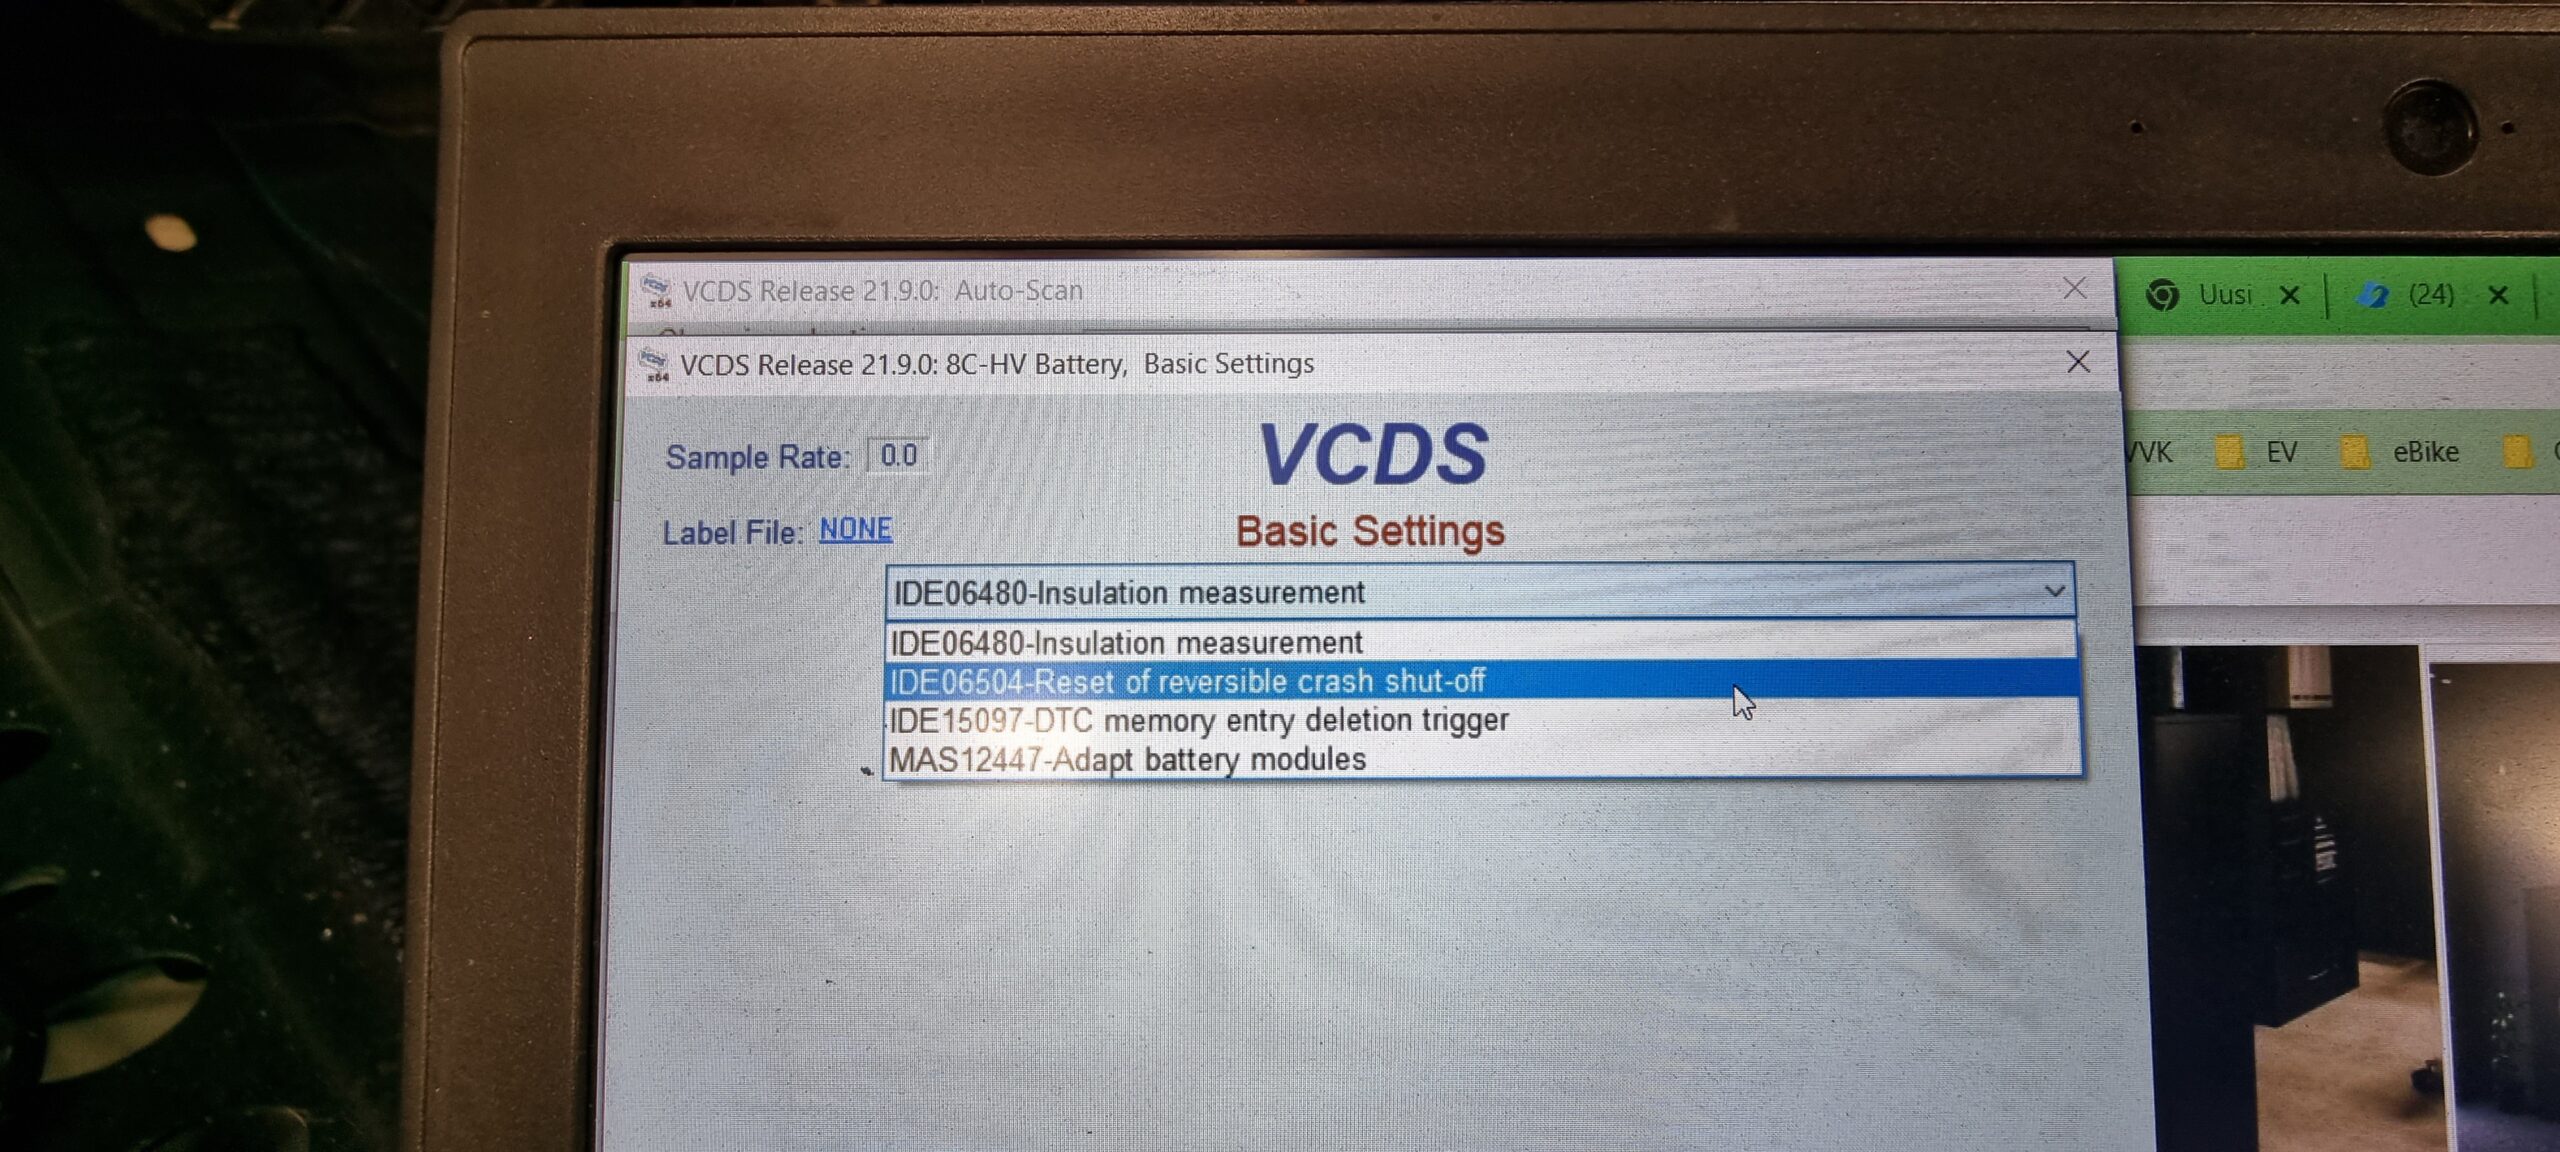
We also spent some time investigating fault codes. Enough modules had to go back in to bring the car to life, with the aim of getting it moving under its own power. VCDS cleared the crash-related faults from the high-voltage battery, but the car still refused to start.
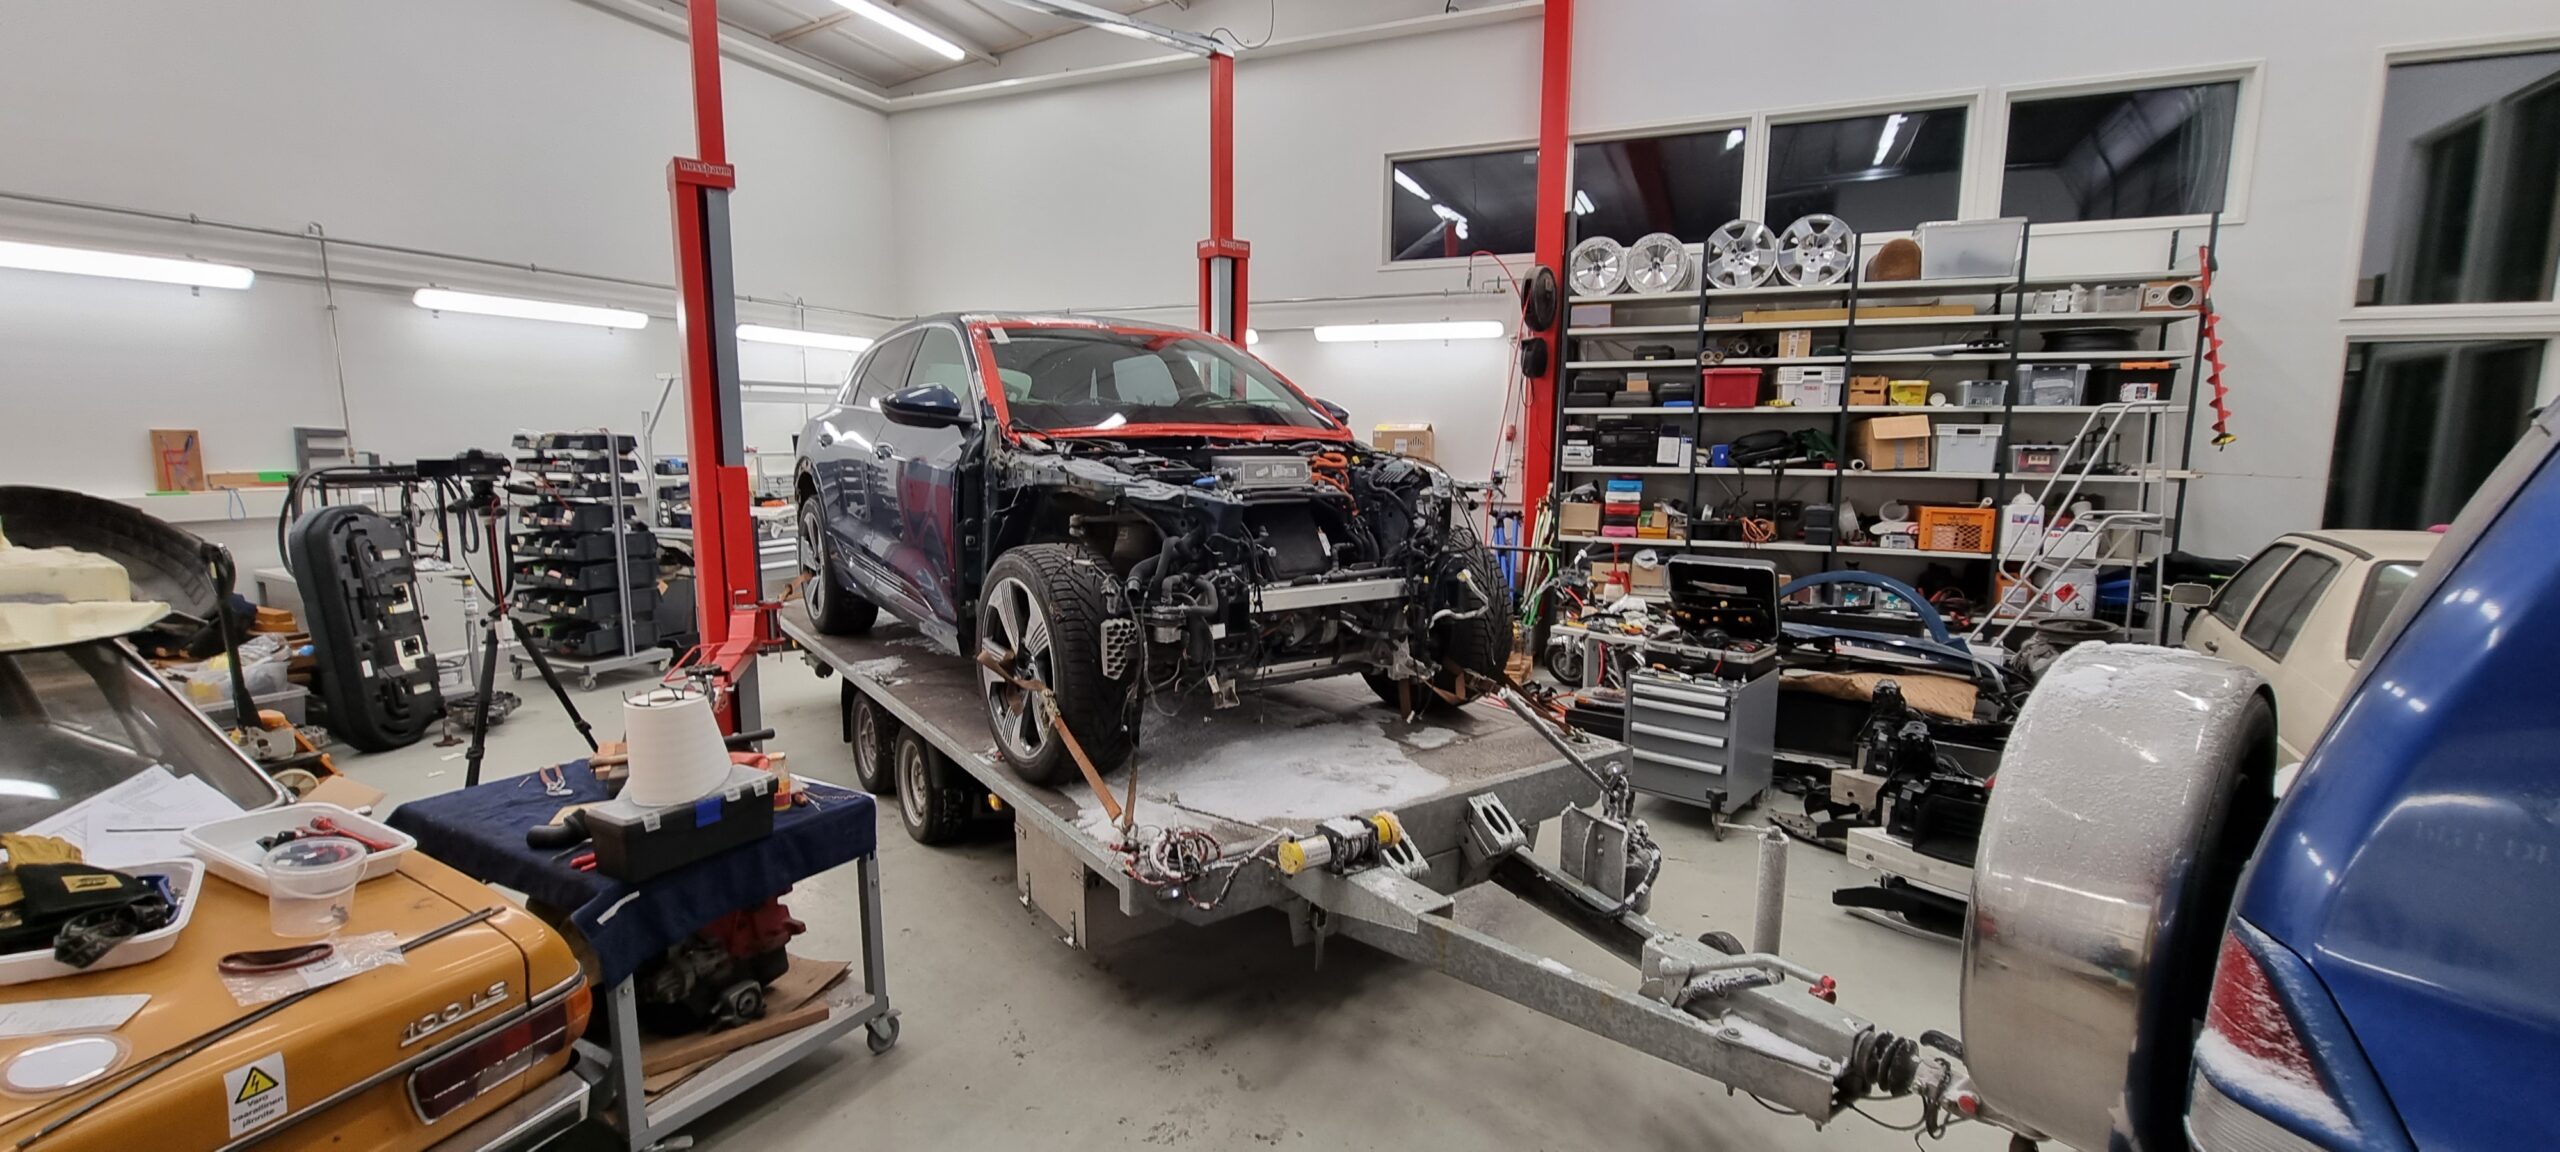
In early December, it went straight from the lift onto the trailer again, this time heading for the paint shop at Kolarikorjaus P. Gullans.
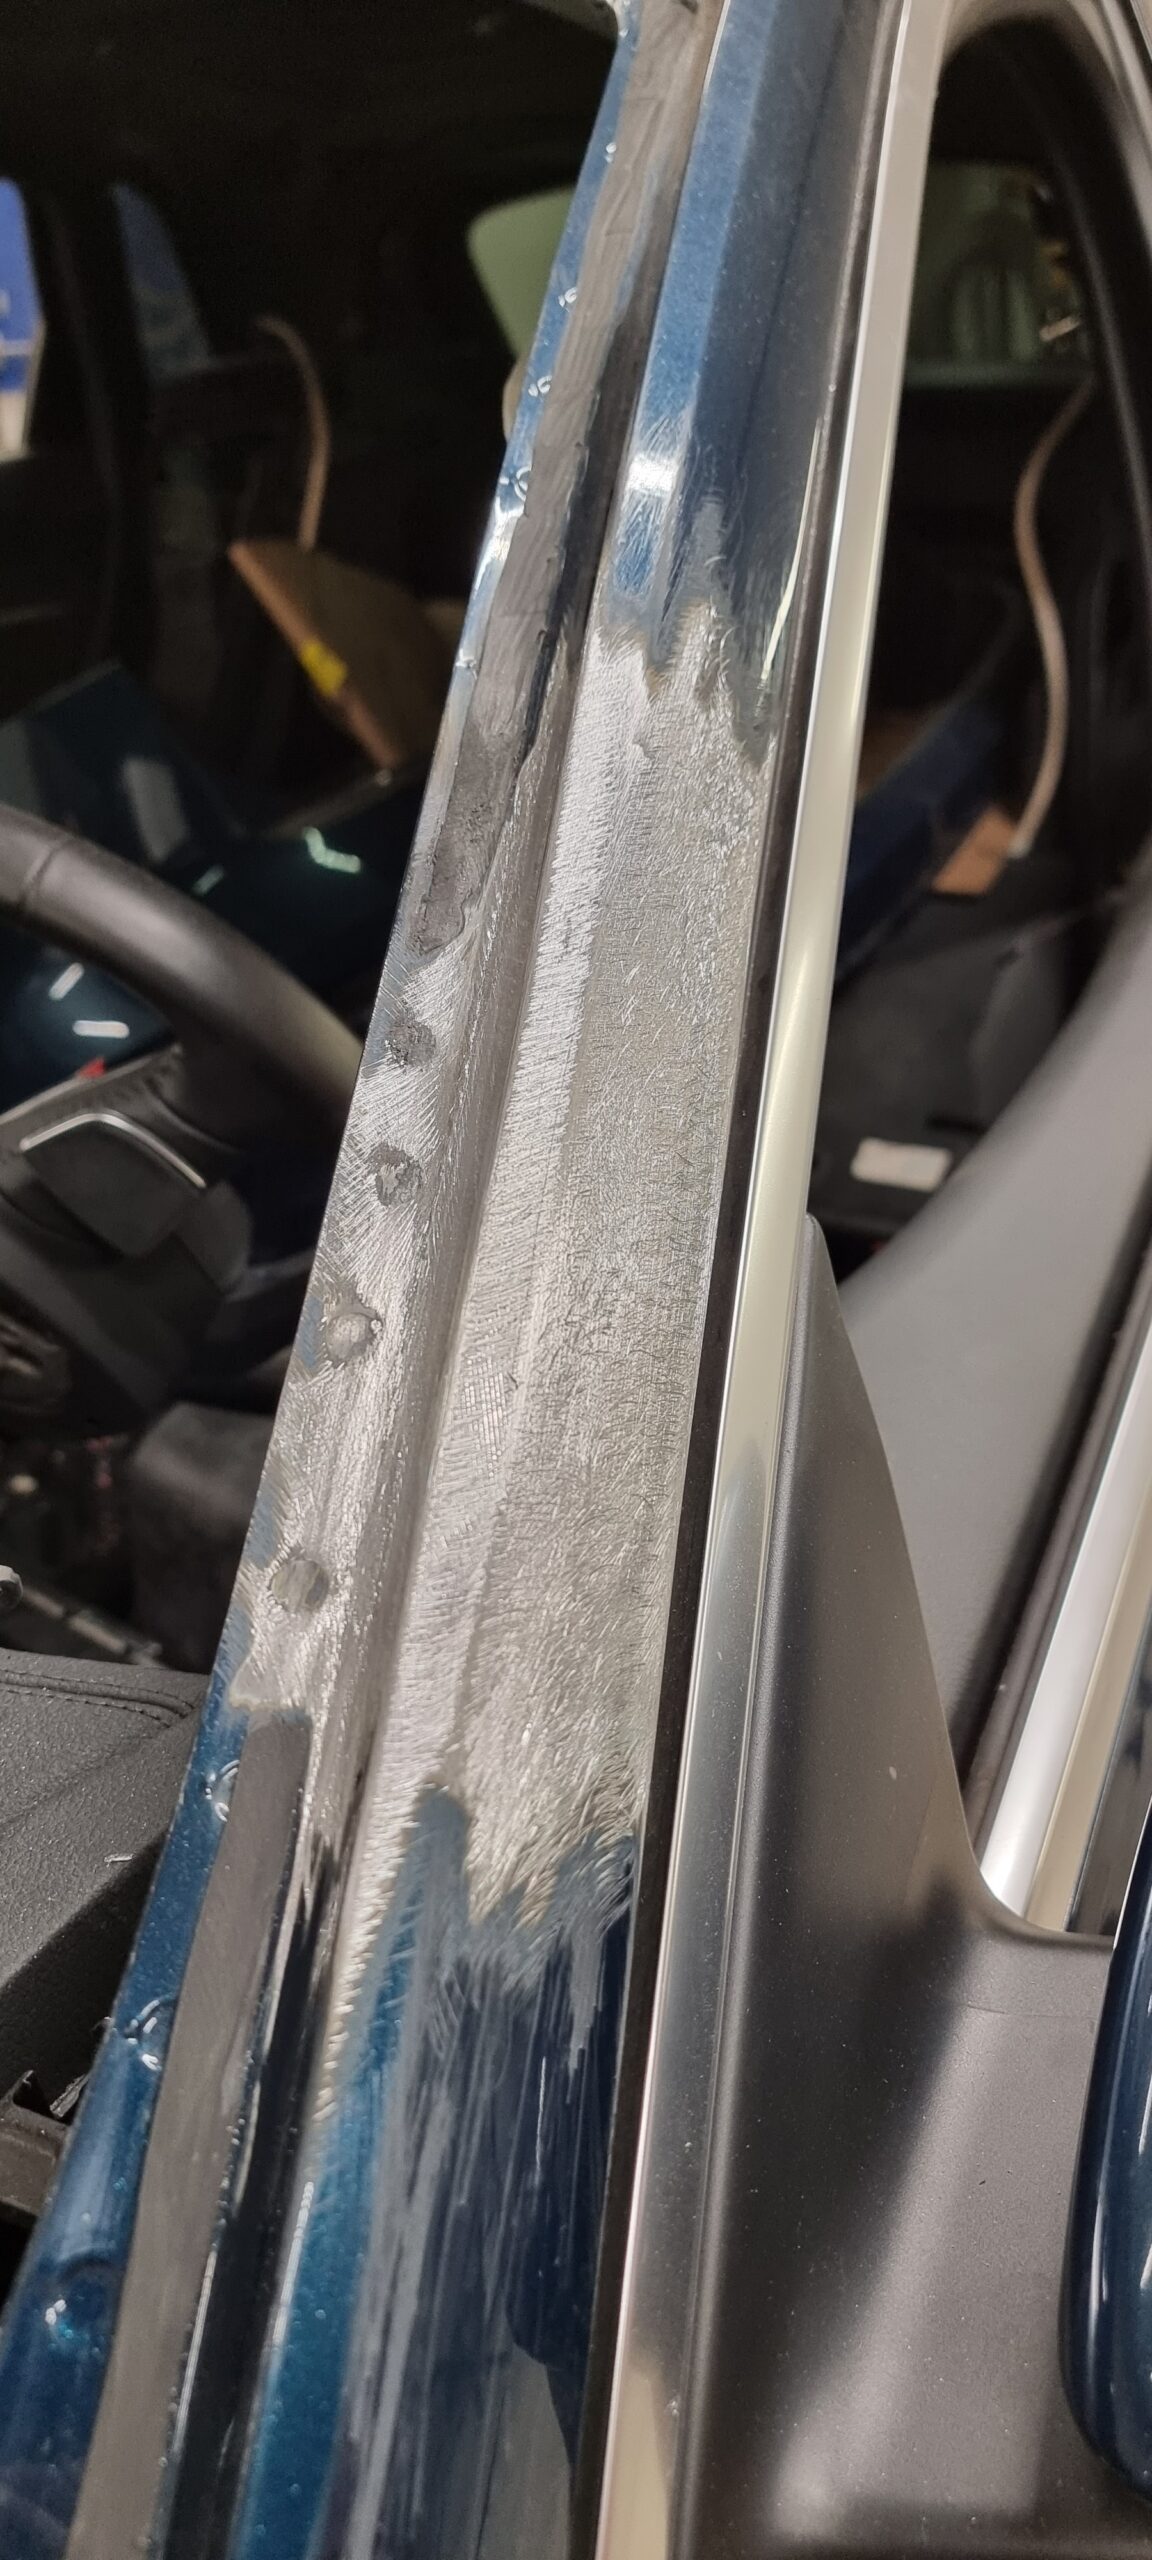
Body solder on the A-pillars.
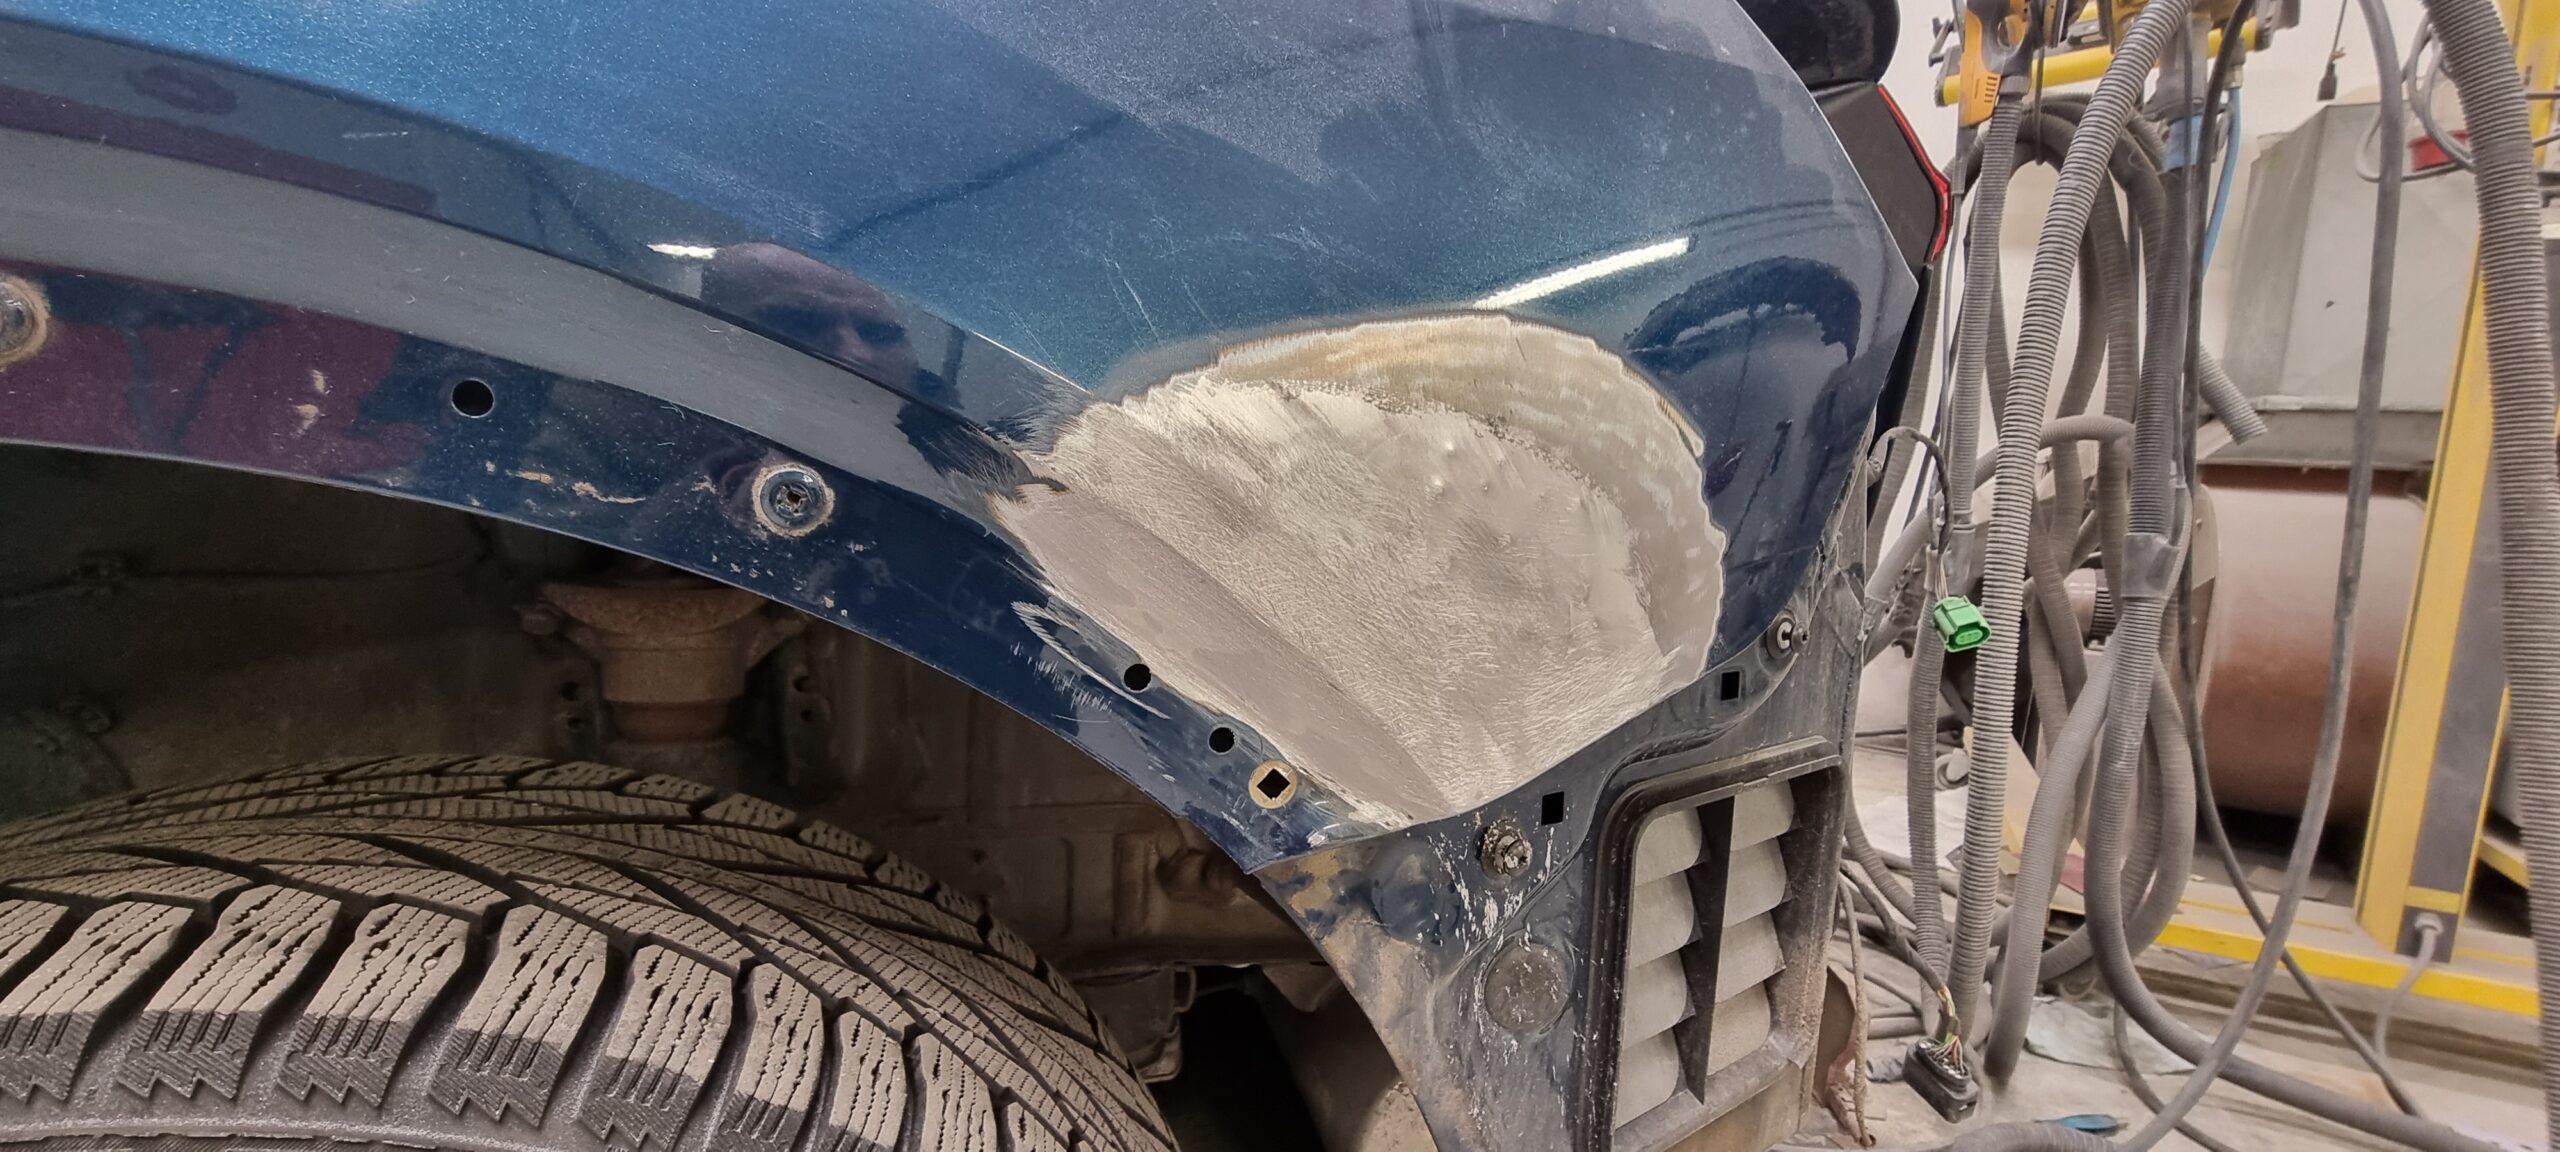
Rear corner straightened and solder-filled.
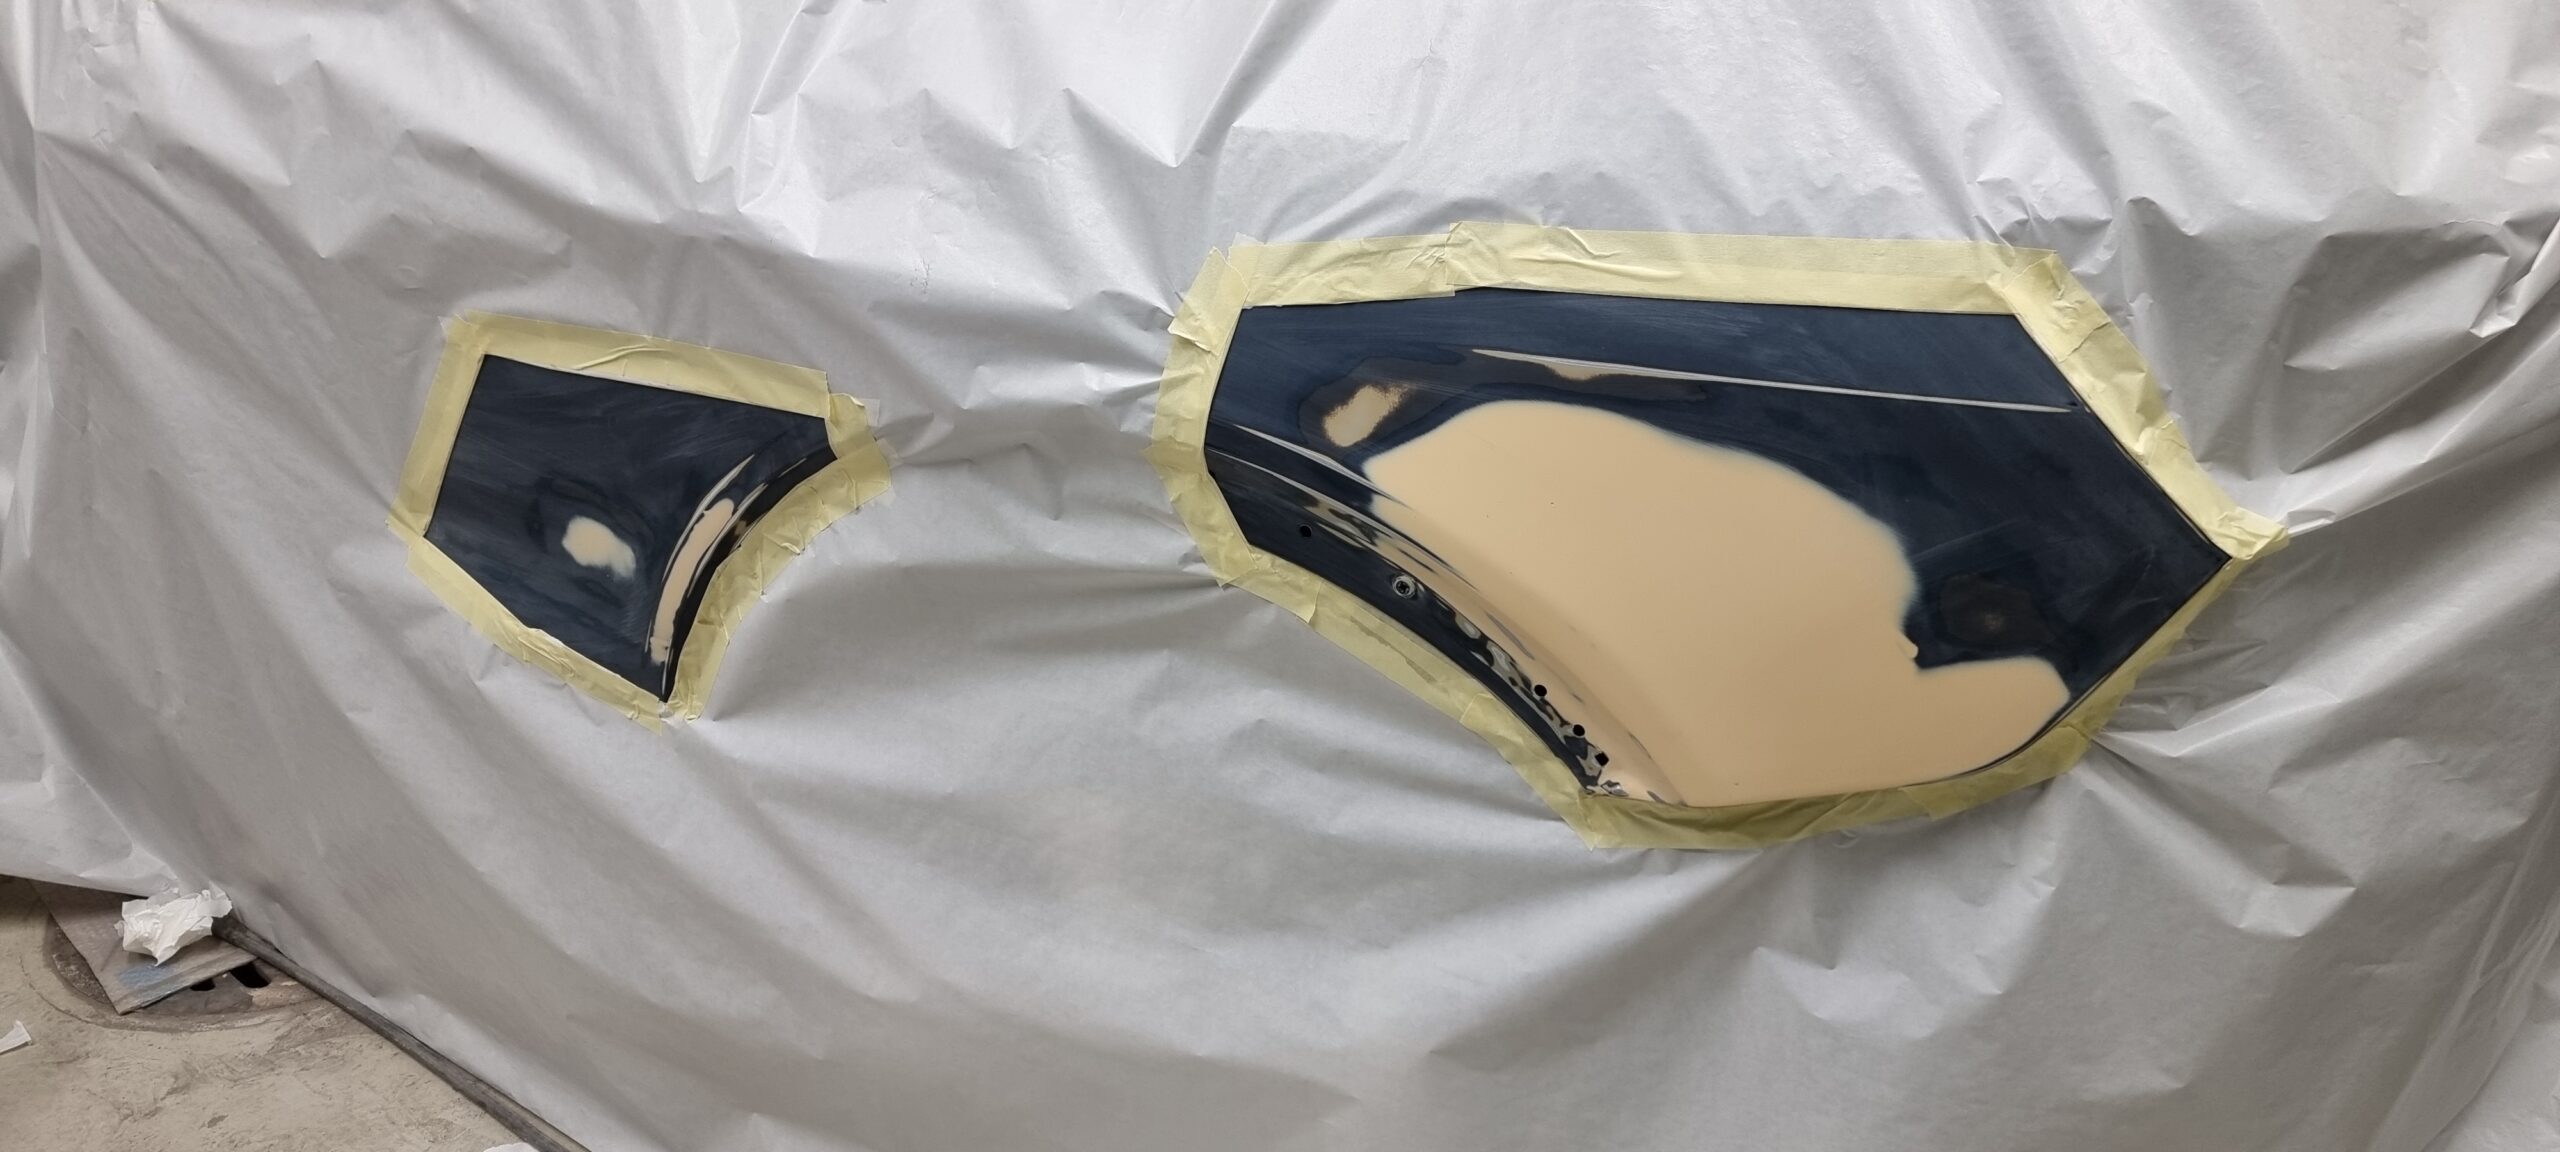
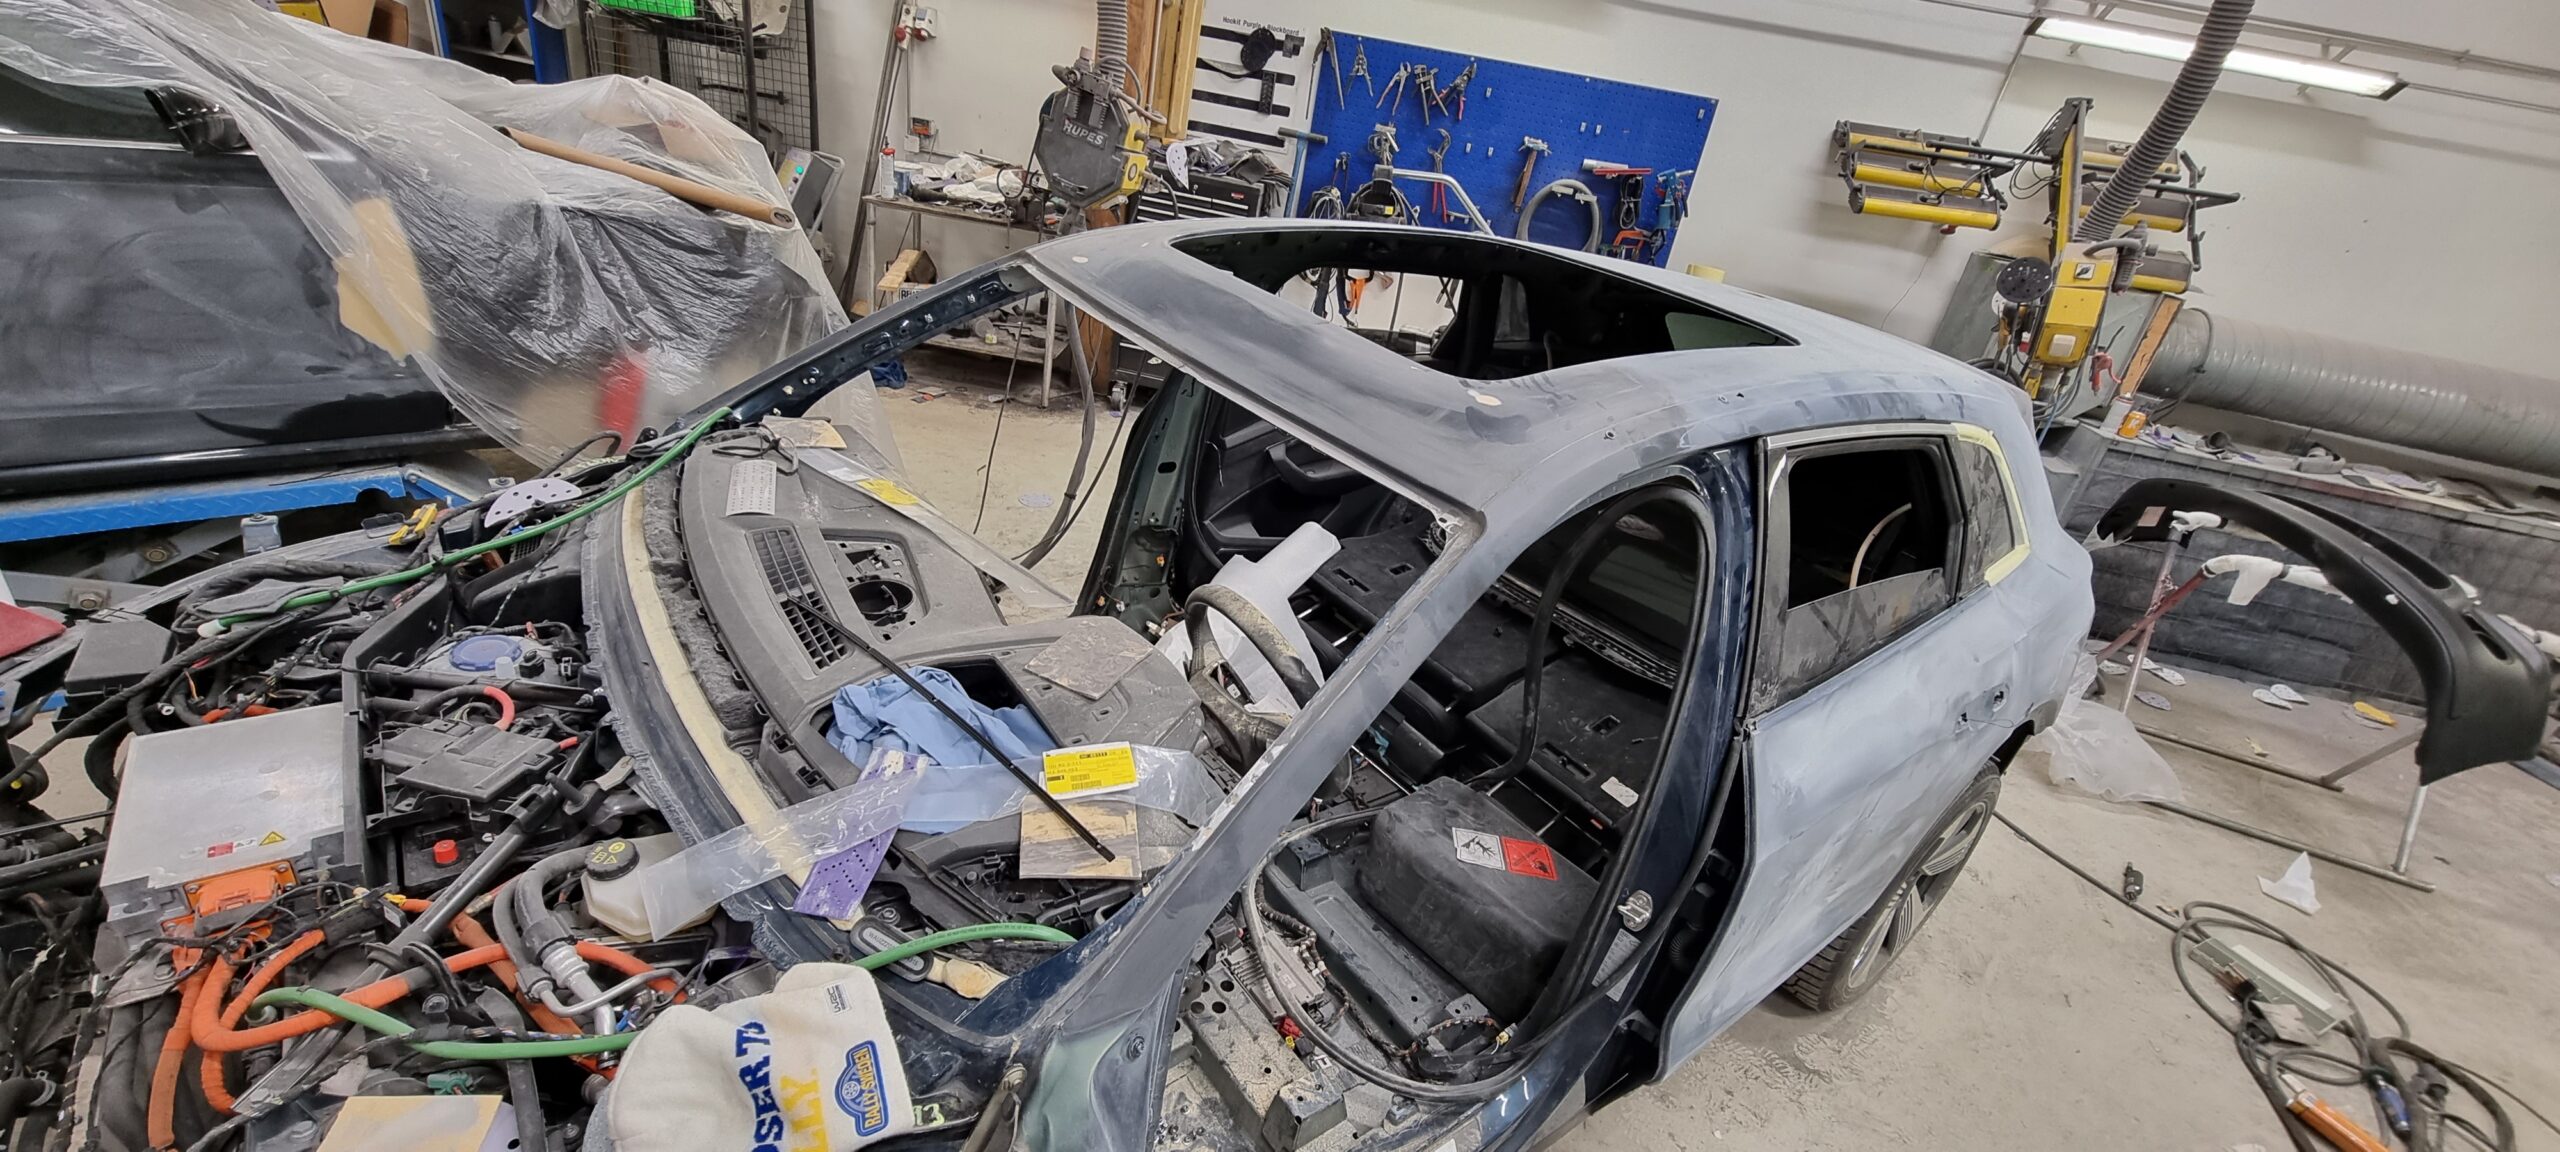
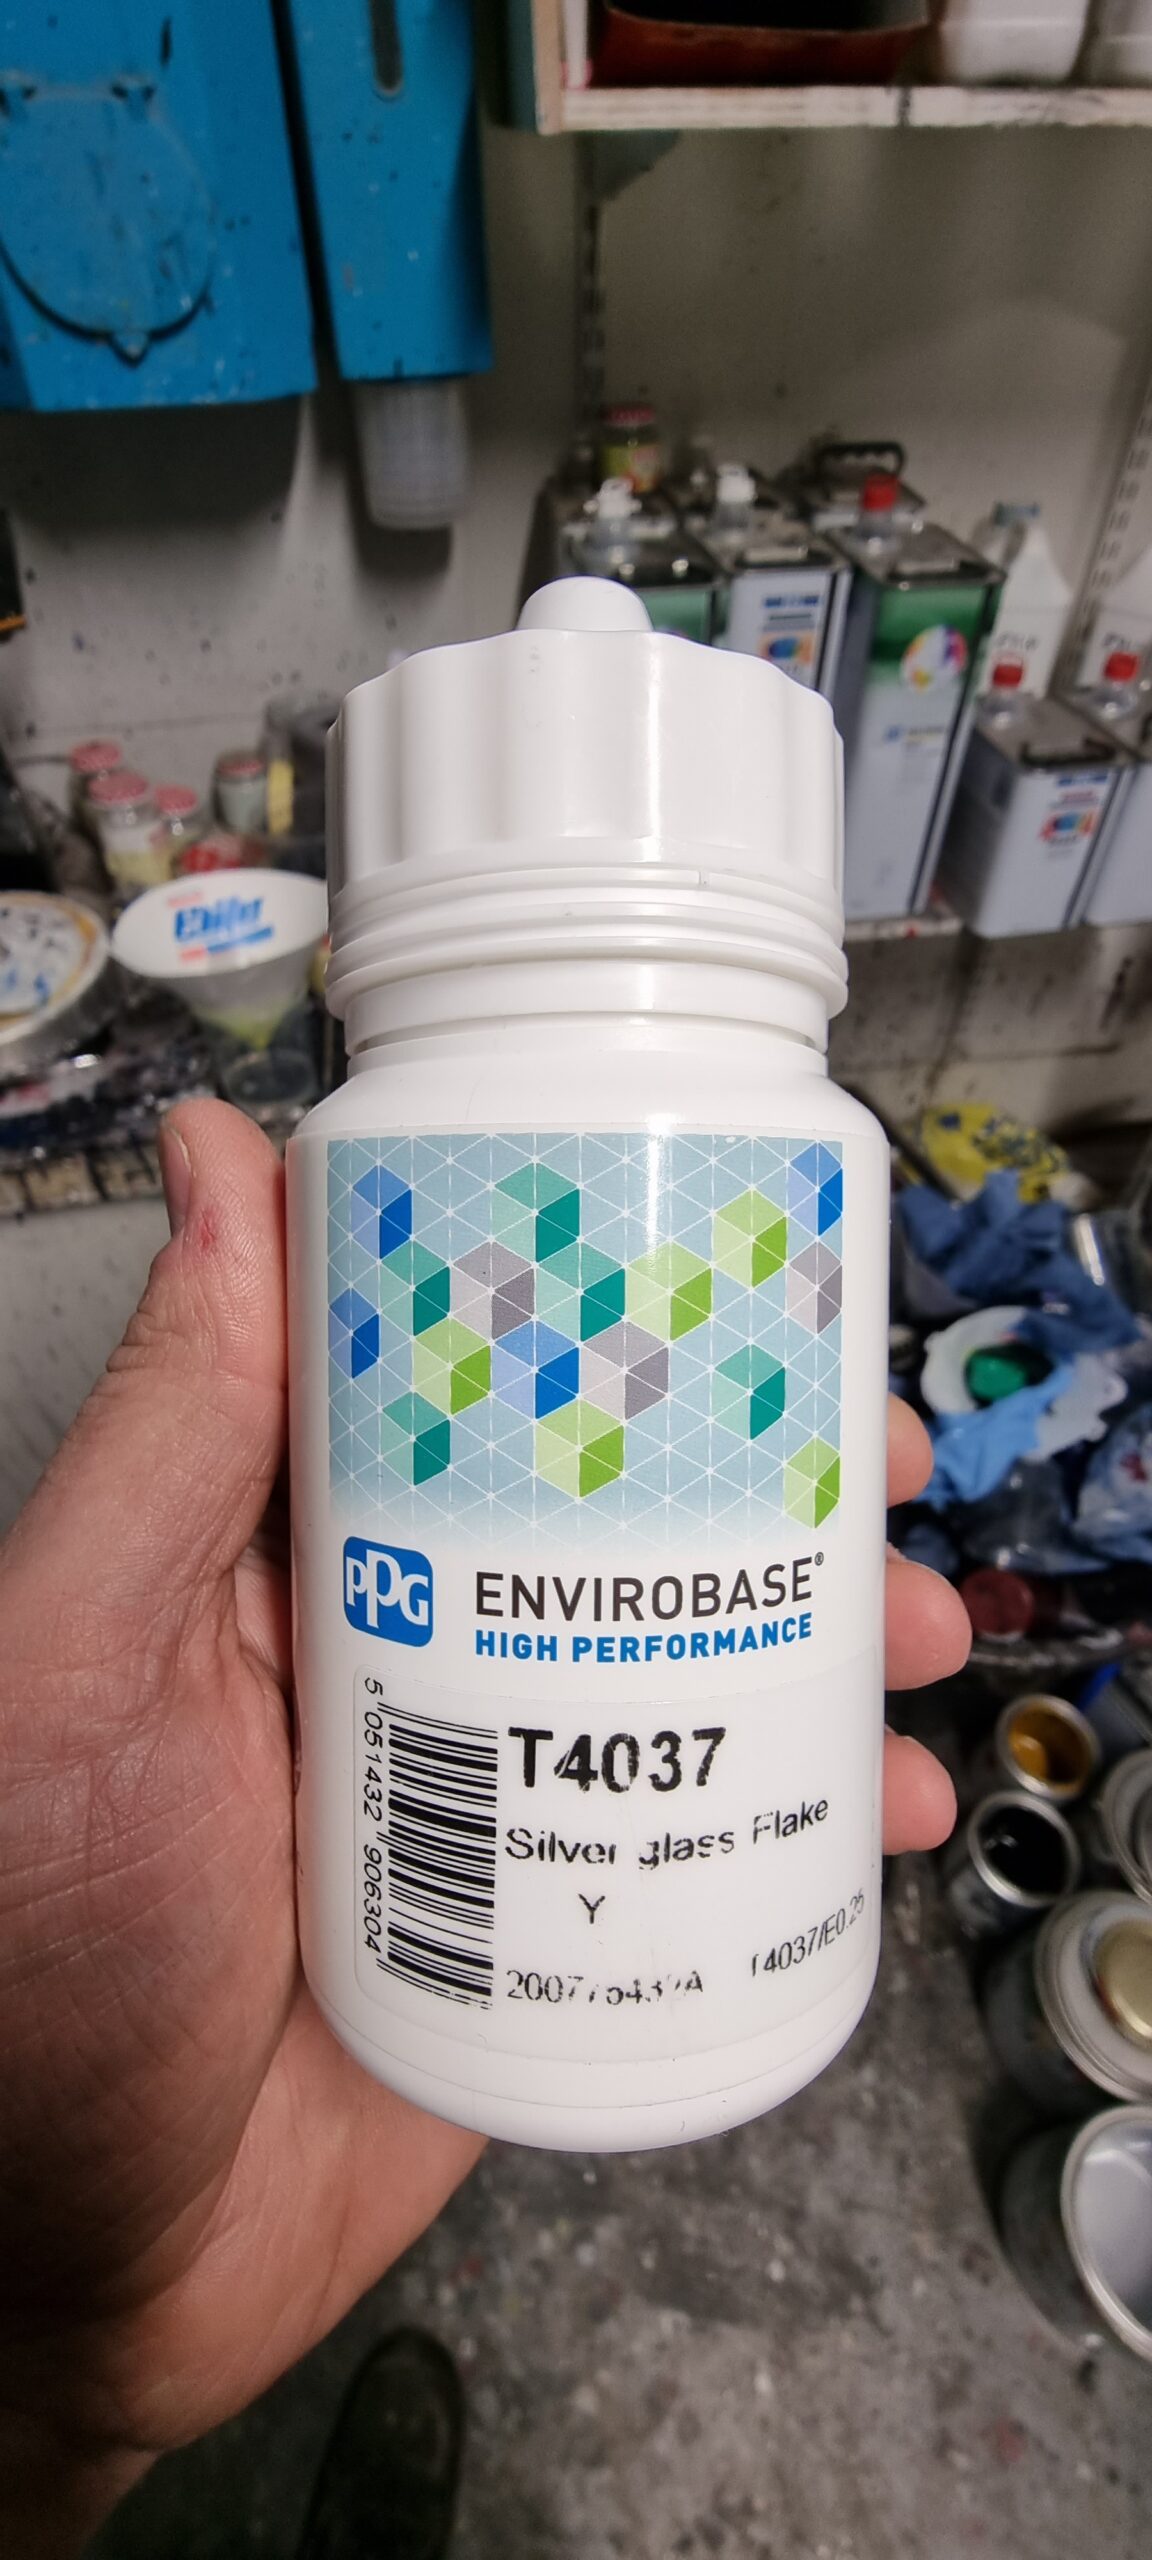
Glass flakes in an expensive bottle.
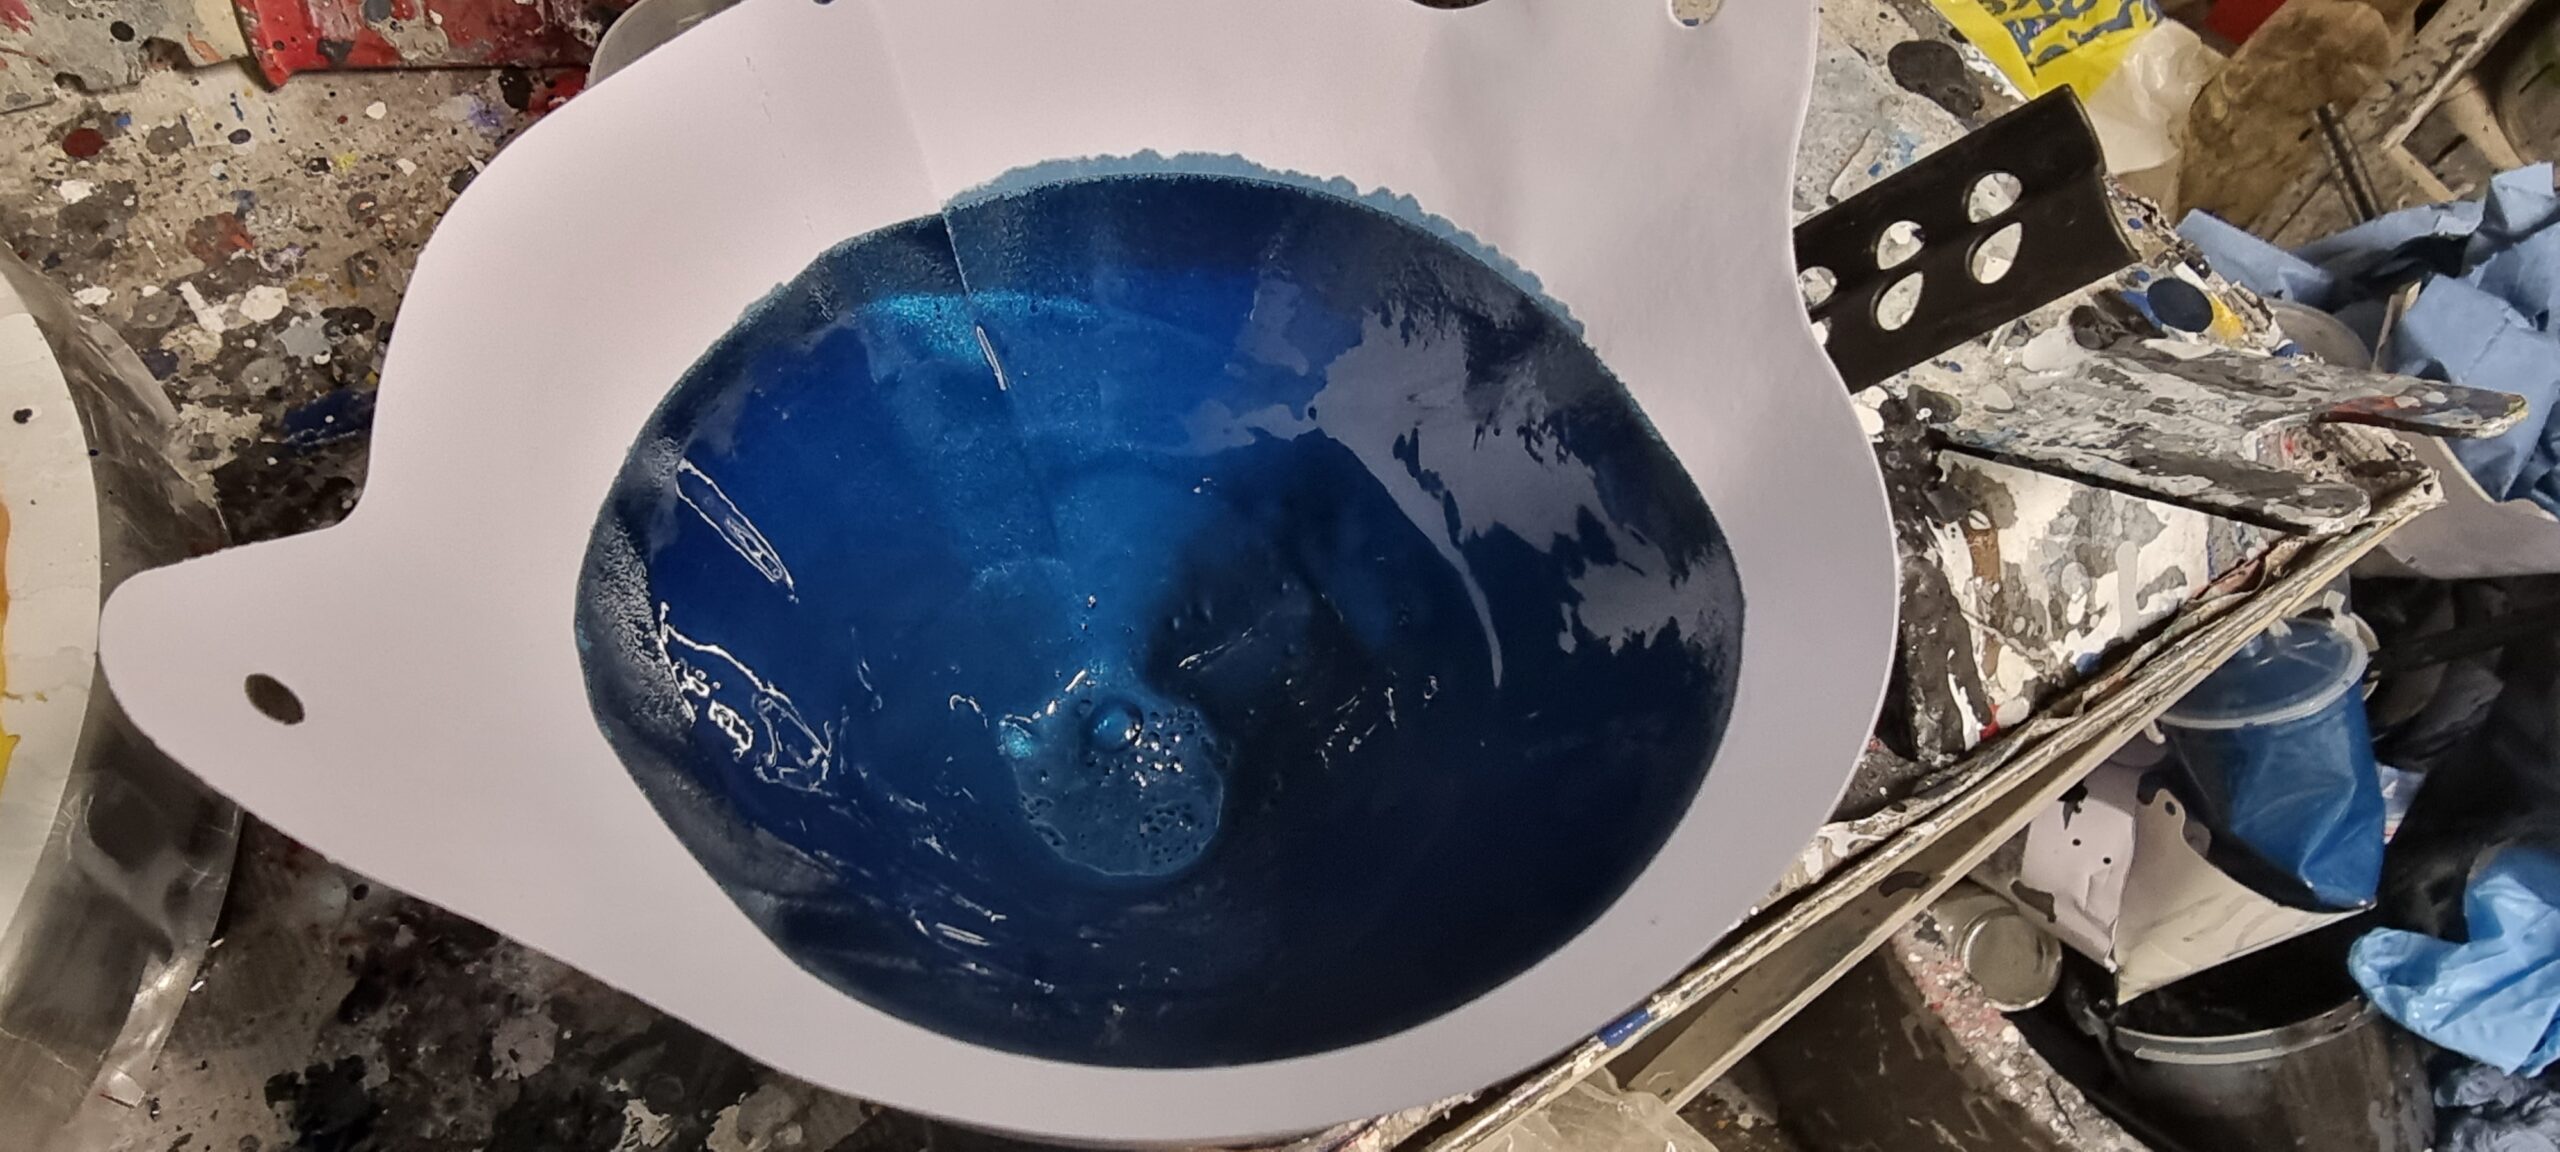
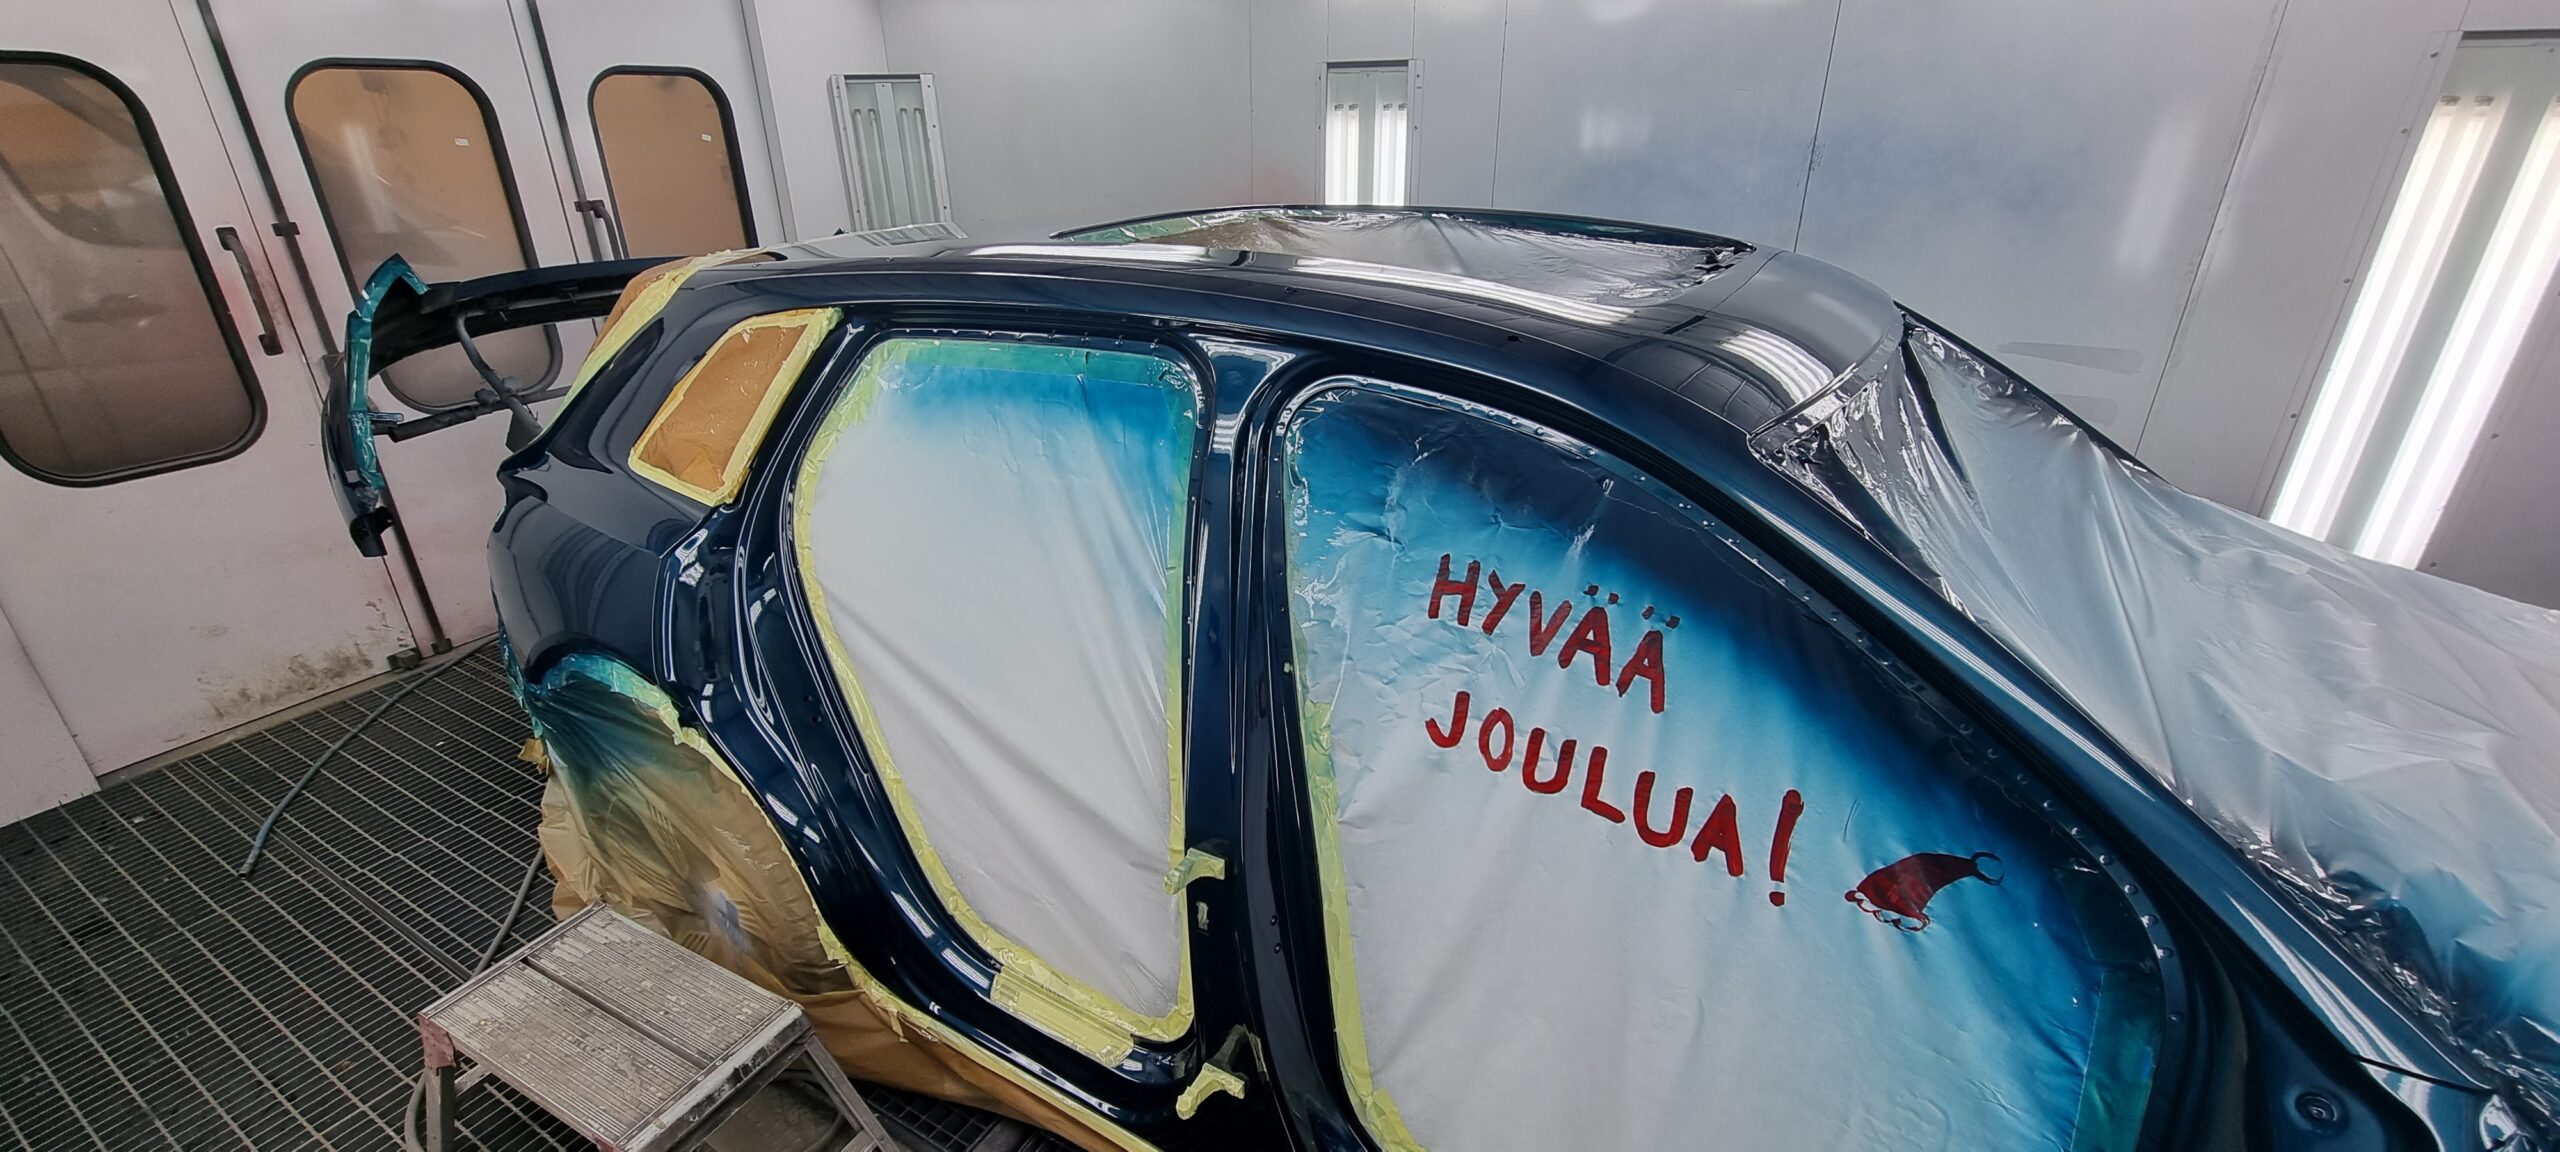
The paint shop took care of the final preparation: filler on the roof, repairs to the A-pillars, and straightening and filling the rear corner. The colour, Galaxyblau, proved tricky. The first supplier's shades didn't match, so we had to try another. Fine glass flakes mixed into the paint give it a lovely sparkle in the right light.
The painter promised to have it painted for Christmas, and sure enough, the colour went on the day before Christmas Eve. Looking good!
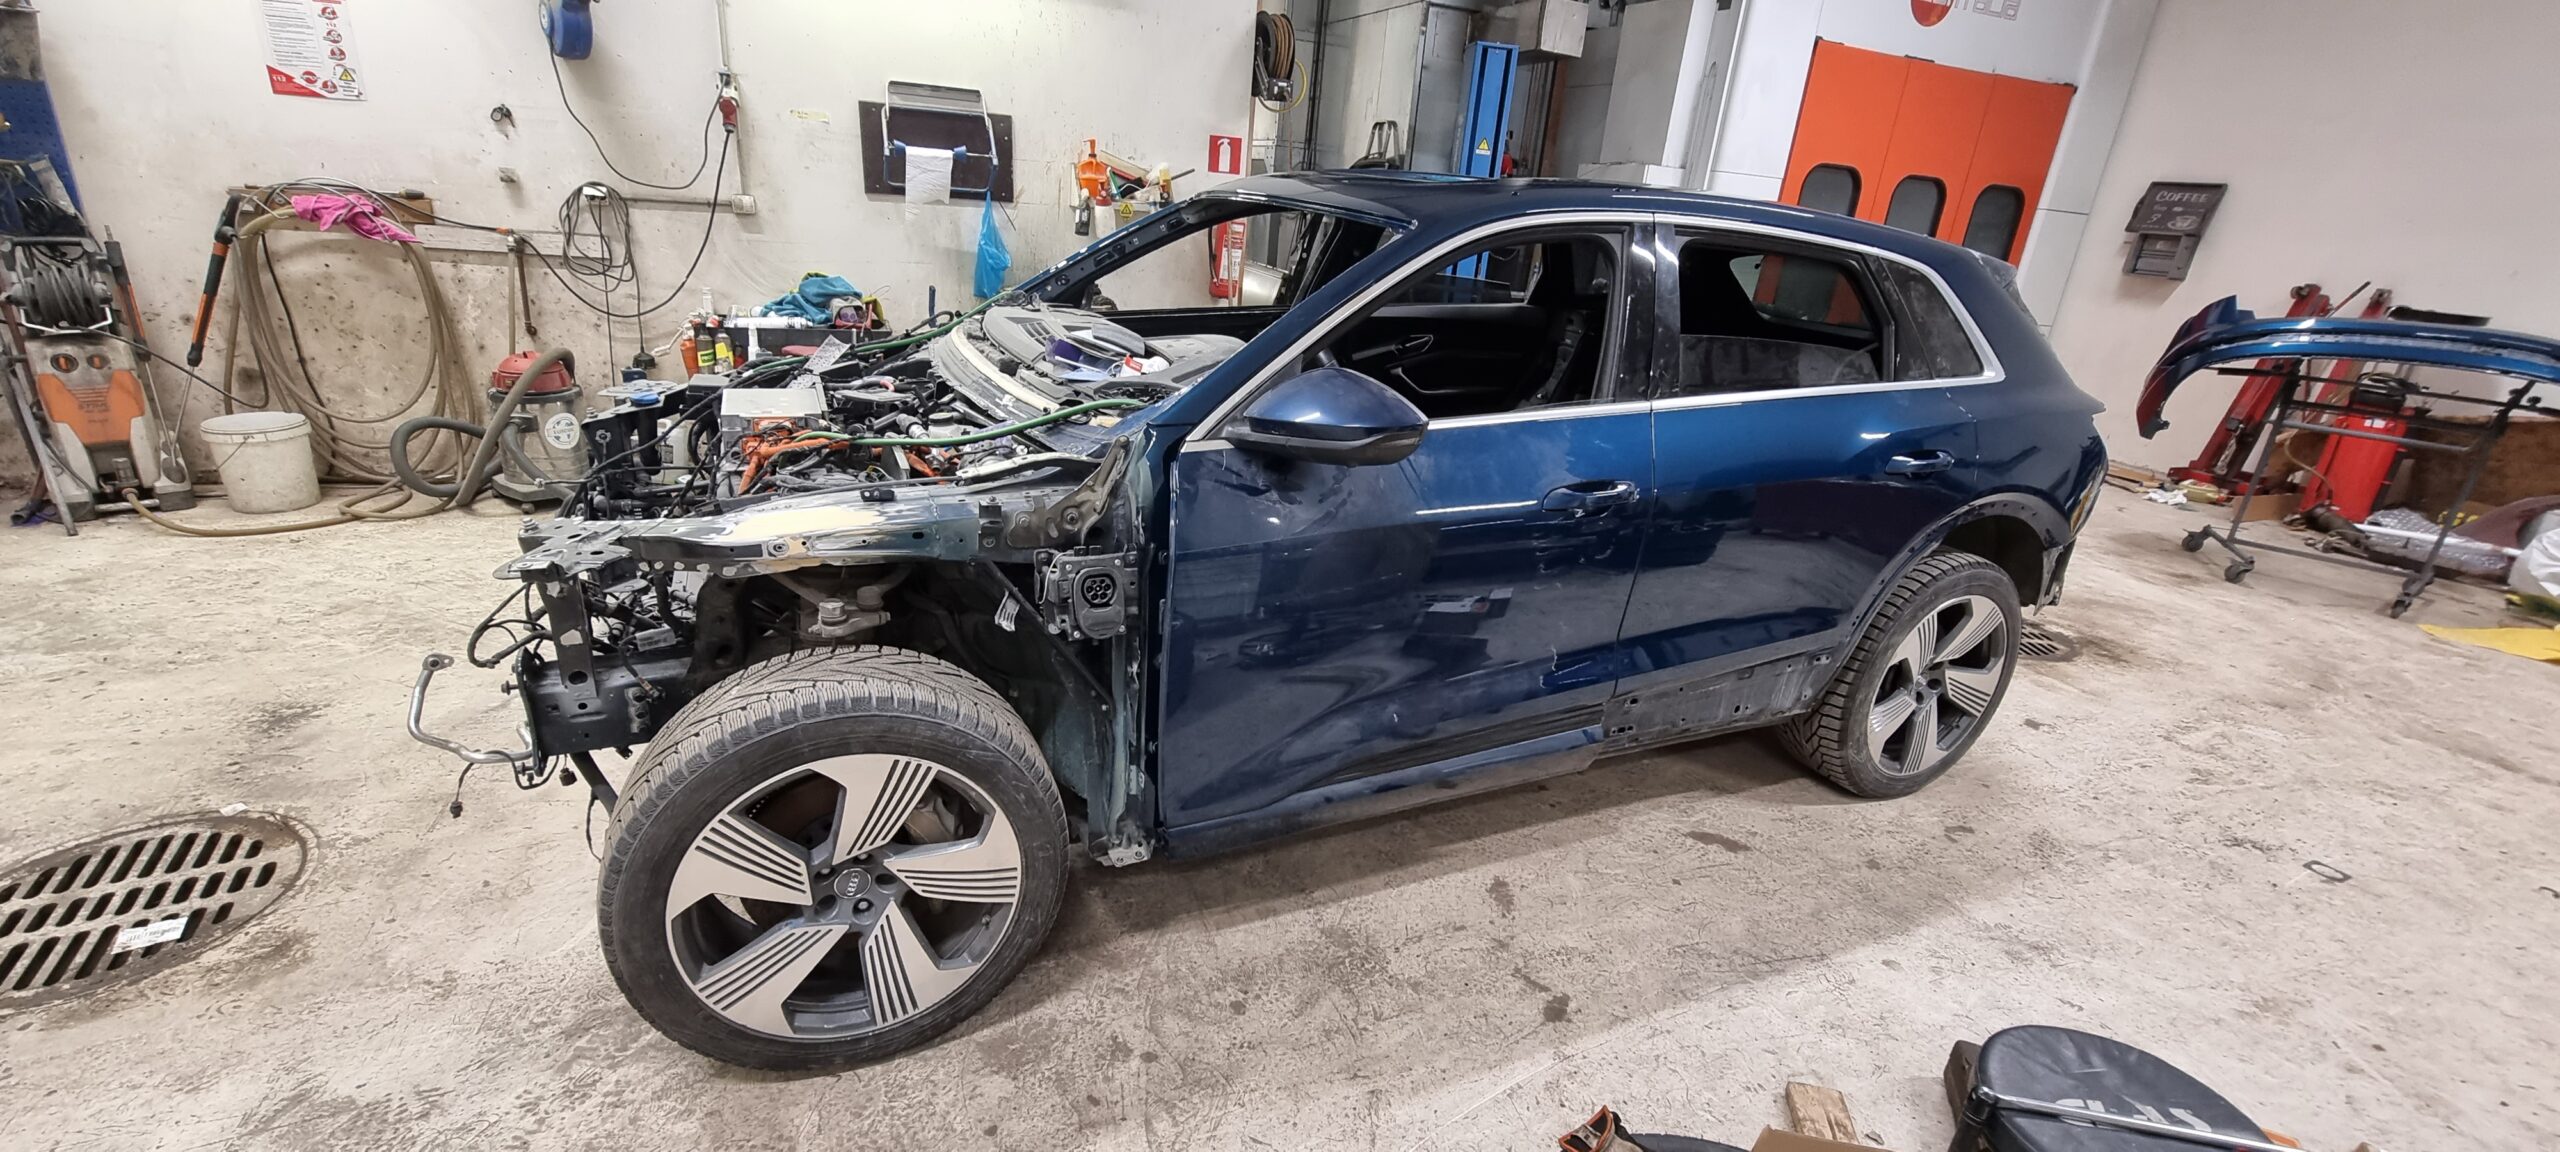
We even had a Christmas miracle. After the paint booth and a little reassembly, it was time to move it back onto the trailer — and it drove under its own power! Eventually we worked out why it hadn't before: the doors weren't fitted. These VW Group electric contraptions insist on having their doors closed before they'll drive!
The driver’s door was also replaced with one from the same donor car as the front-end assembly. I was a little concerned about the colour match. The rear door and rear quarter were repainted, the front door came from the German donor, and the right-hand doors are original. Nevertheless, the colours match well even though we did not blend every adjacent panel.
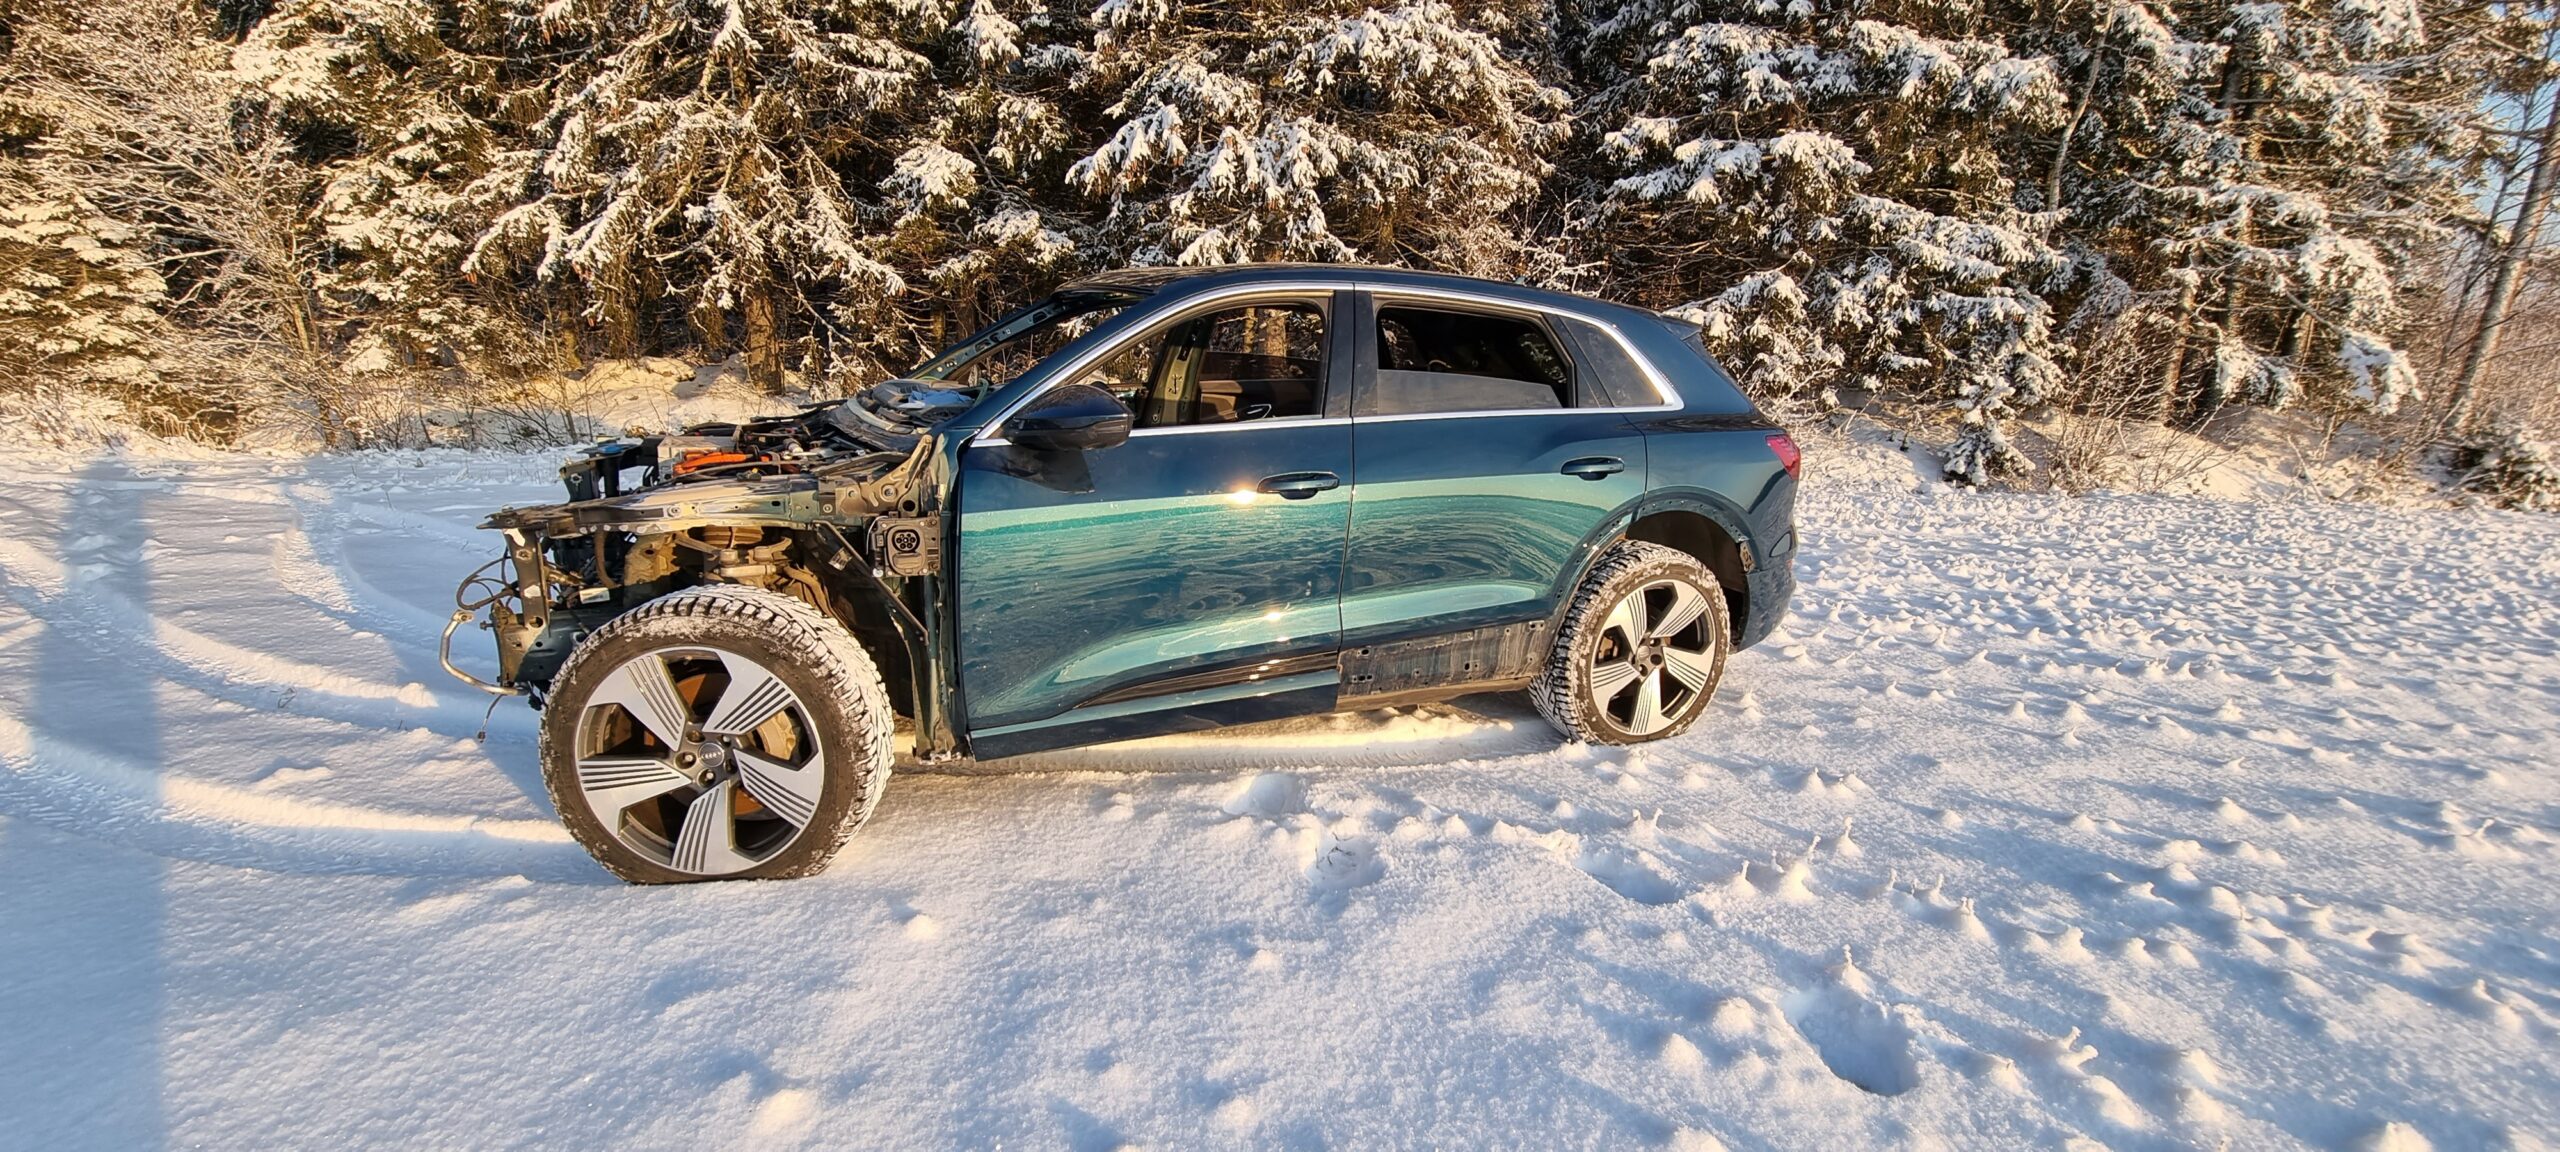
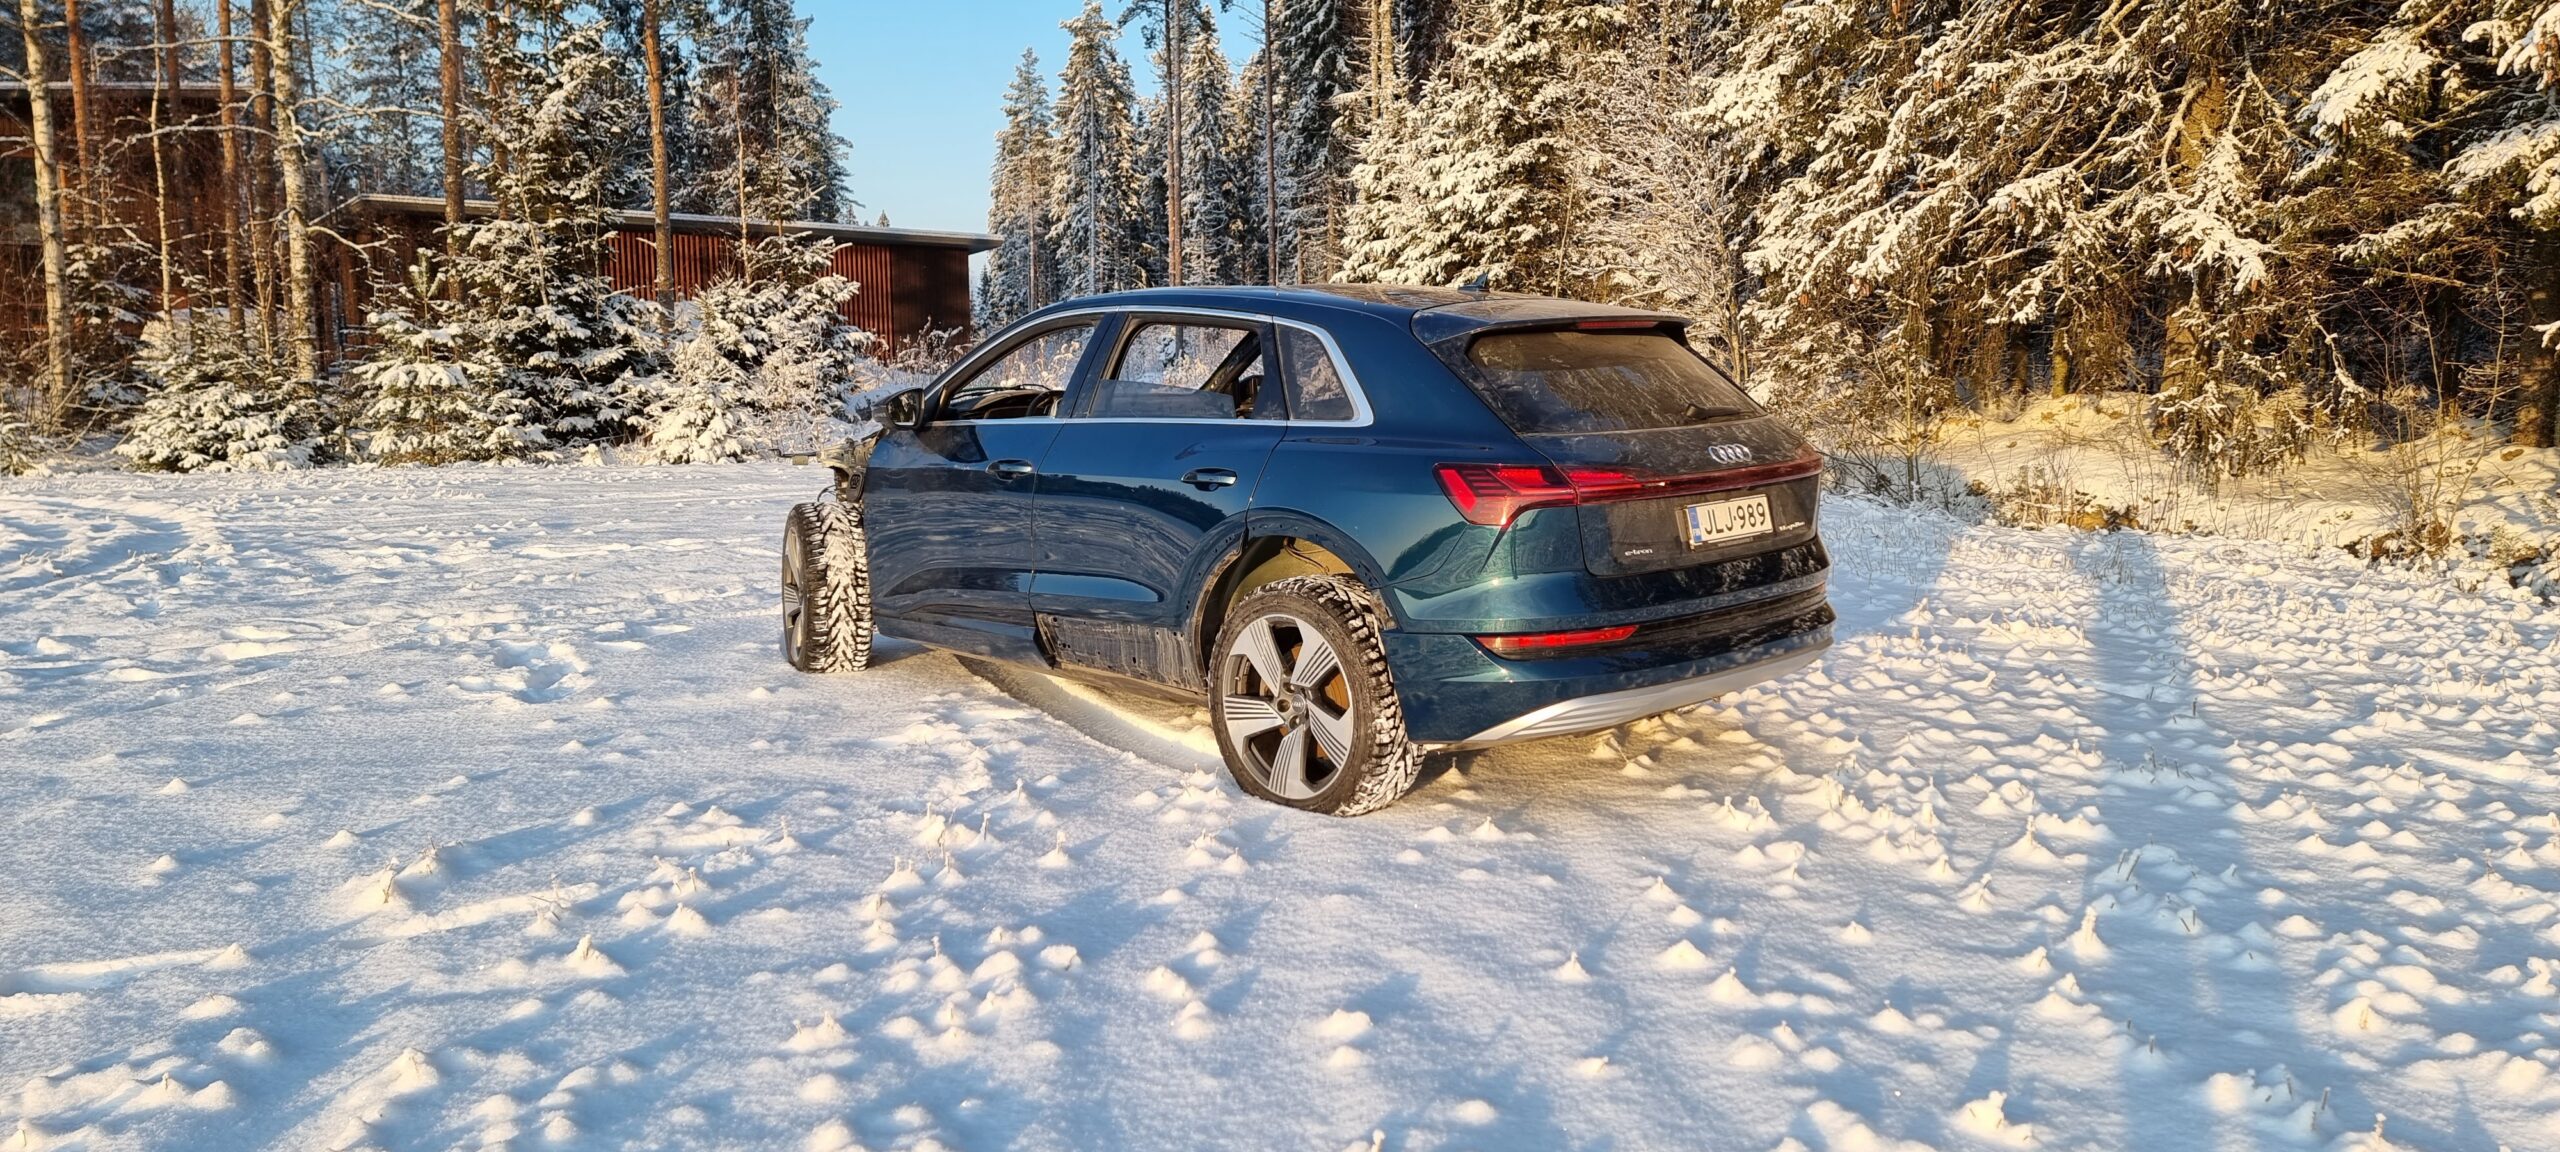
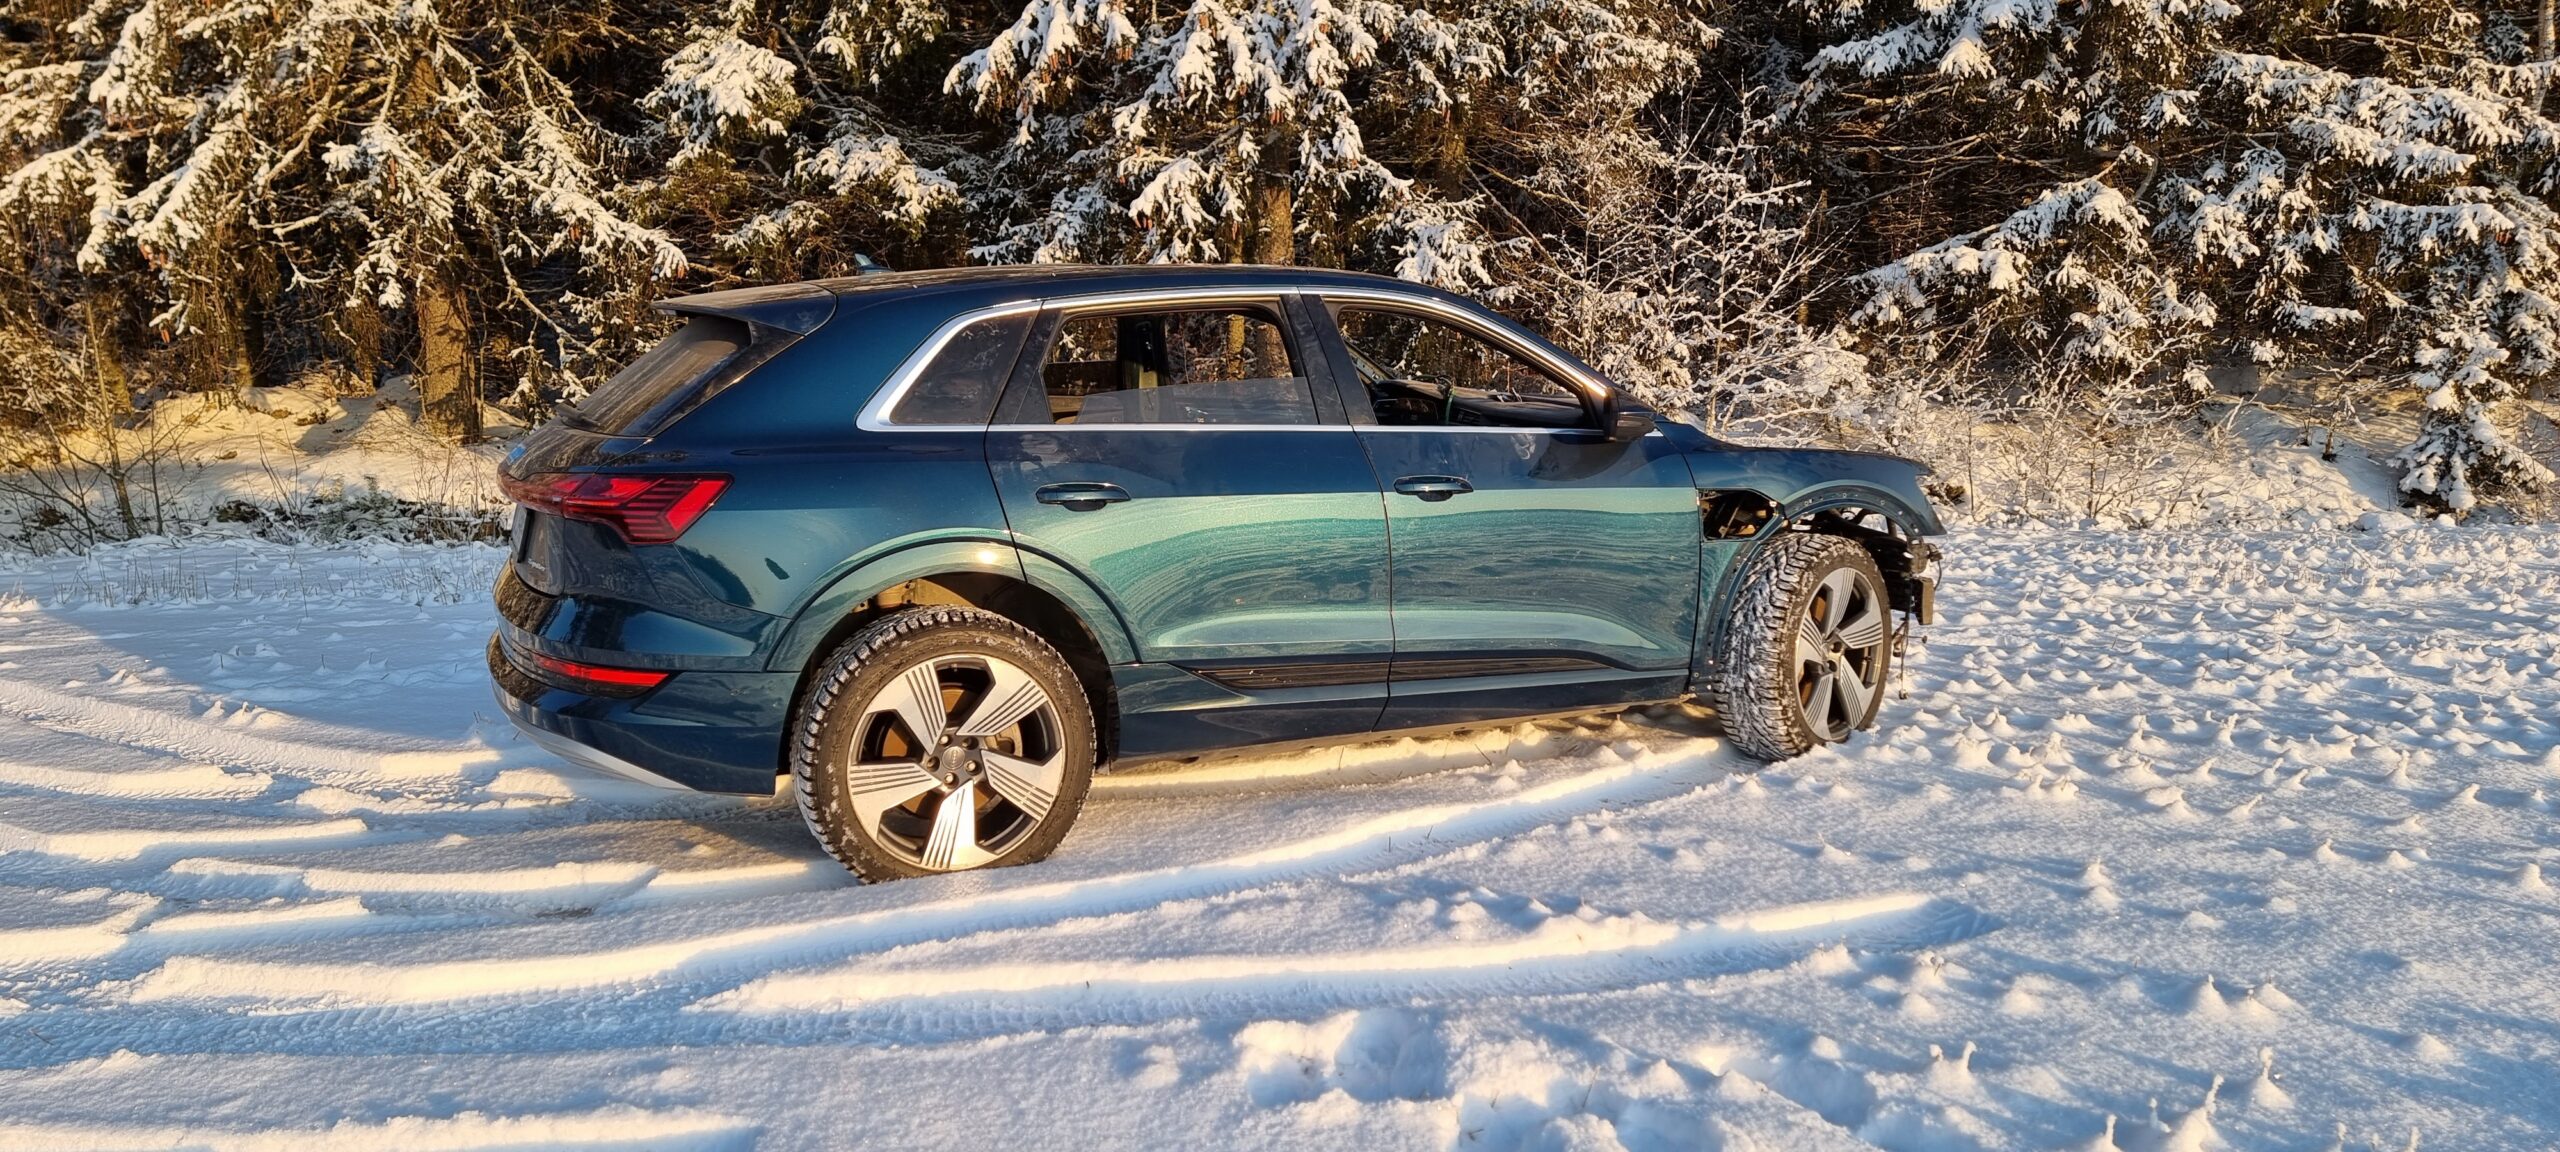
After Christmas, we brought it home and took a few photos in the afternoon sun. Much easier to find a good spot for photos now that it could move under its own power.
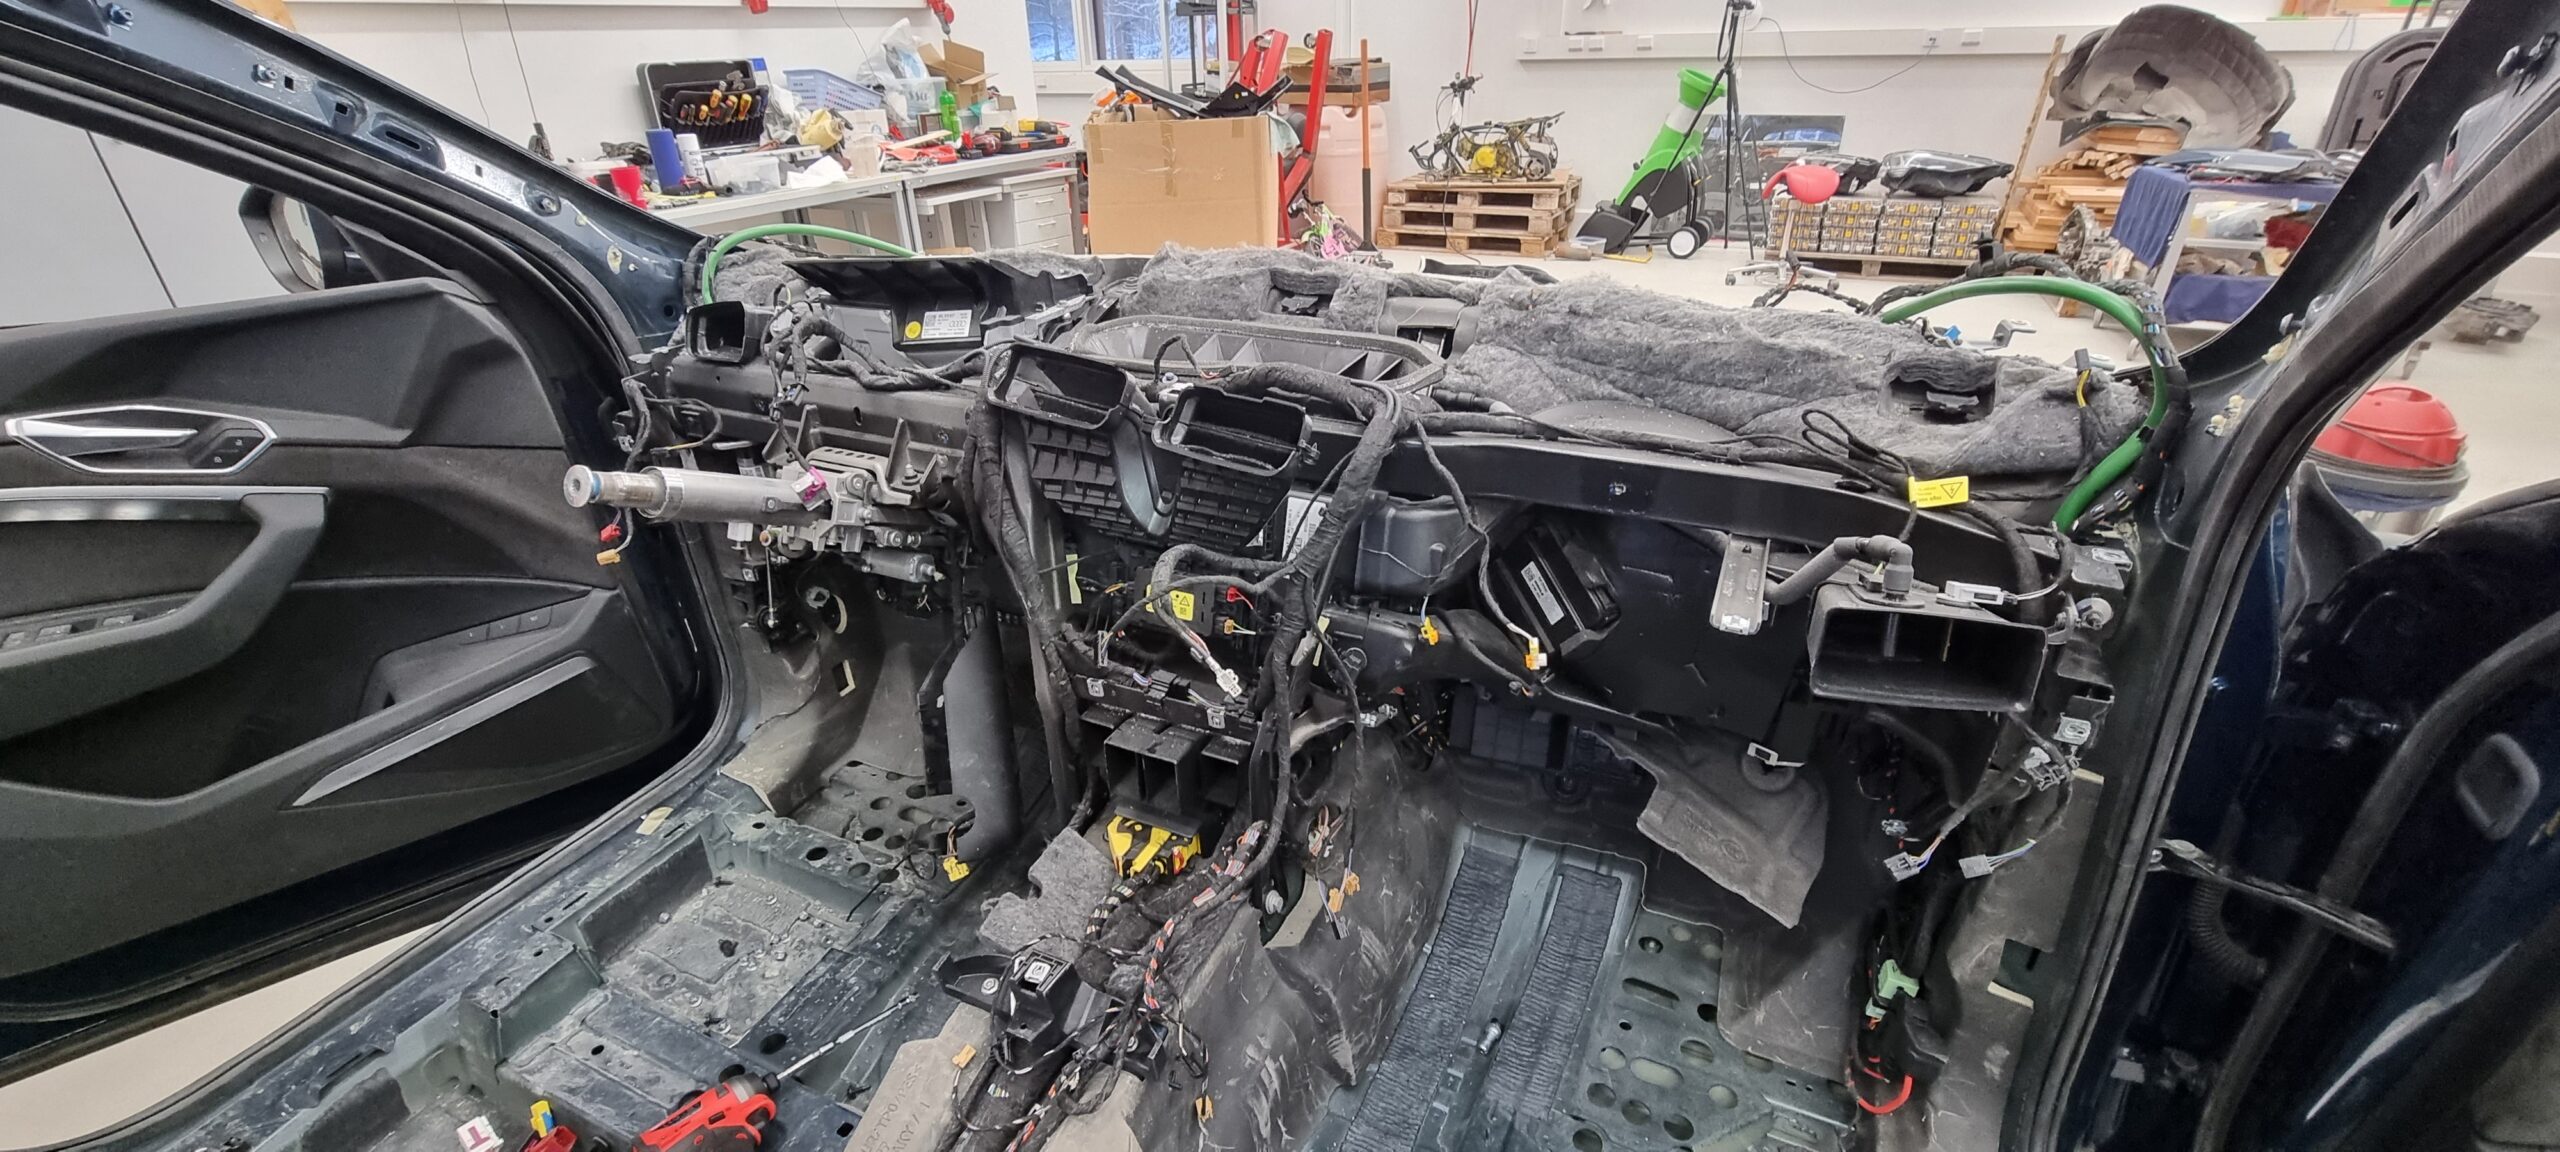
Replacing the dashboard.
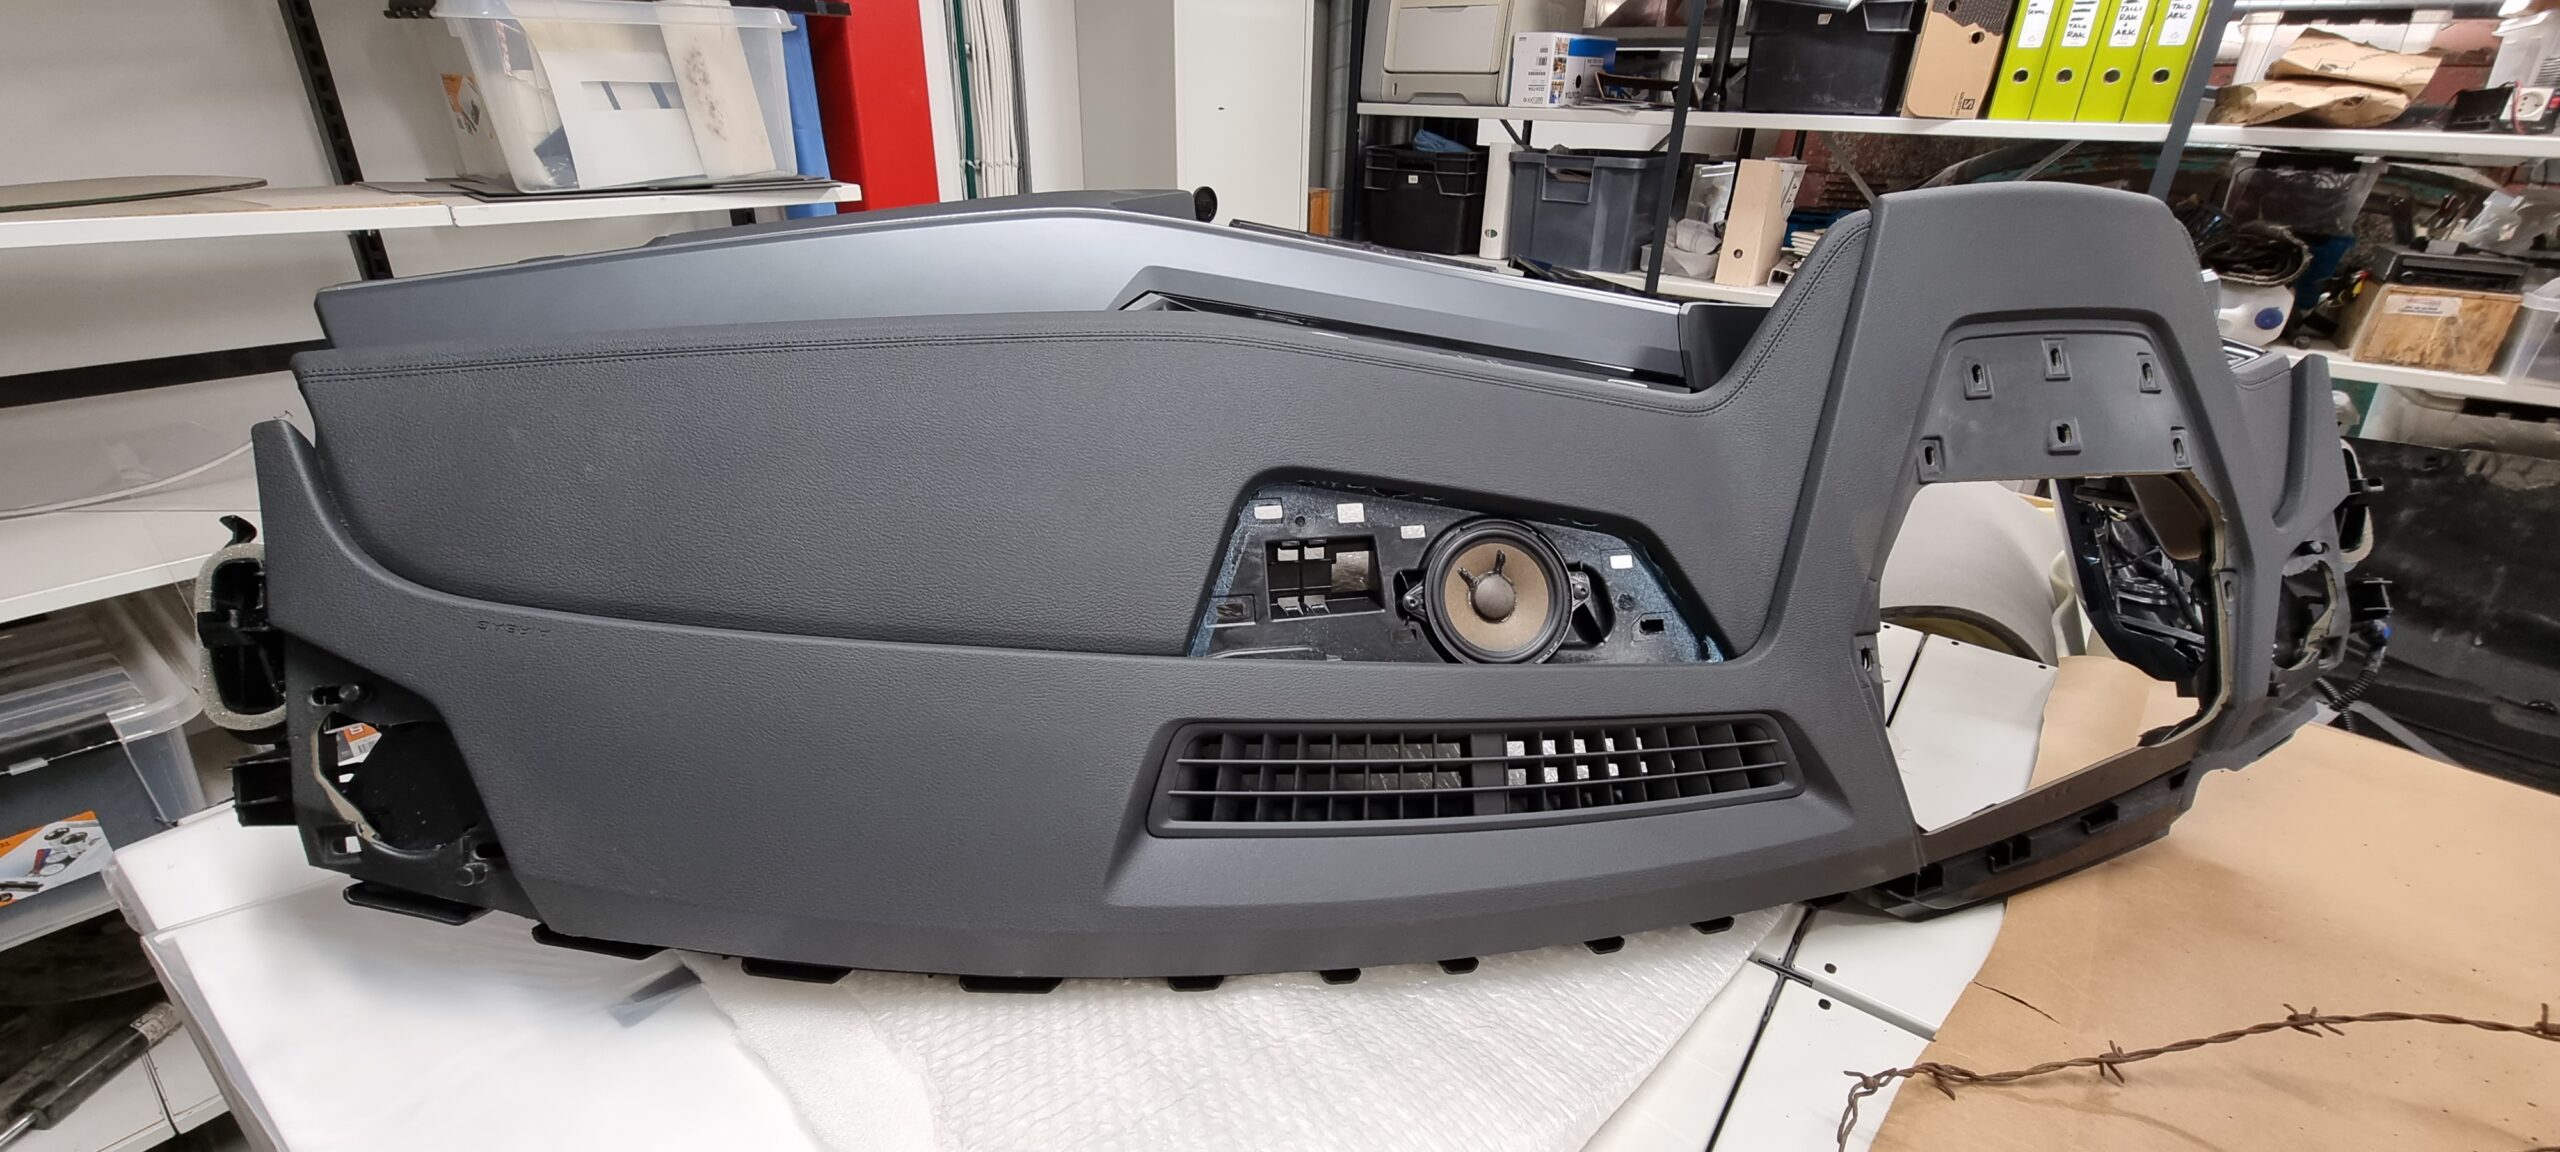
The "new" dashboard was found in Norway
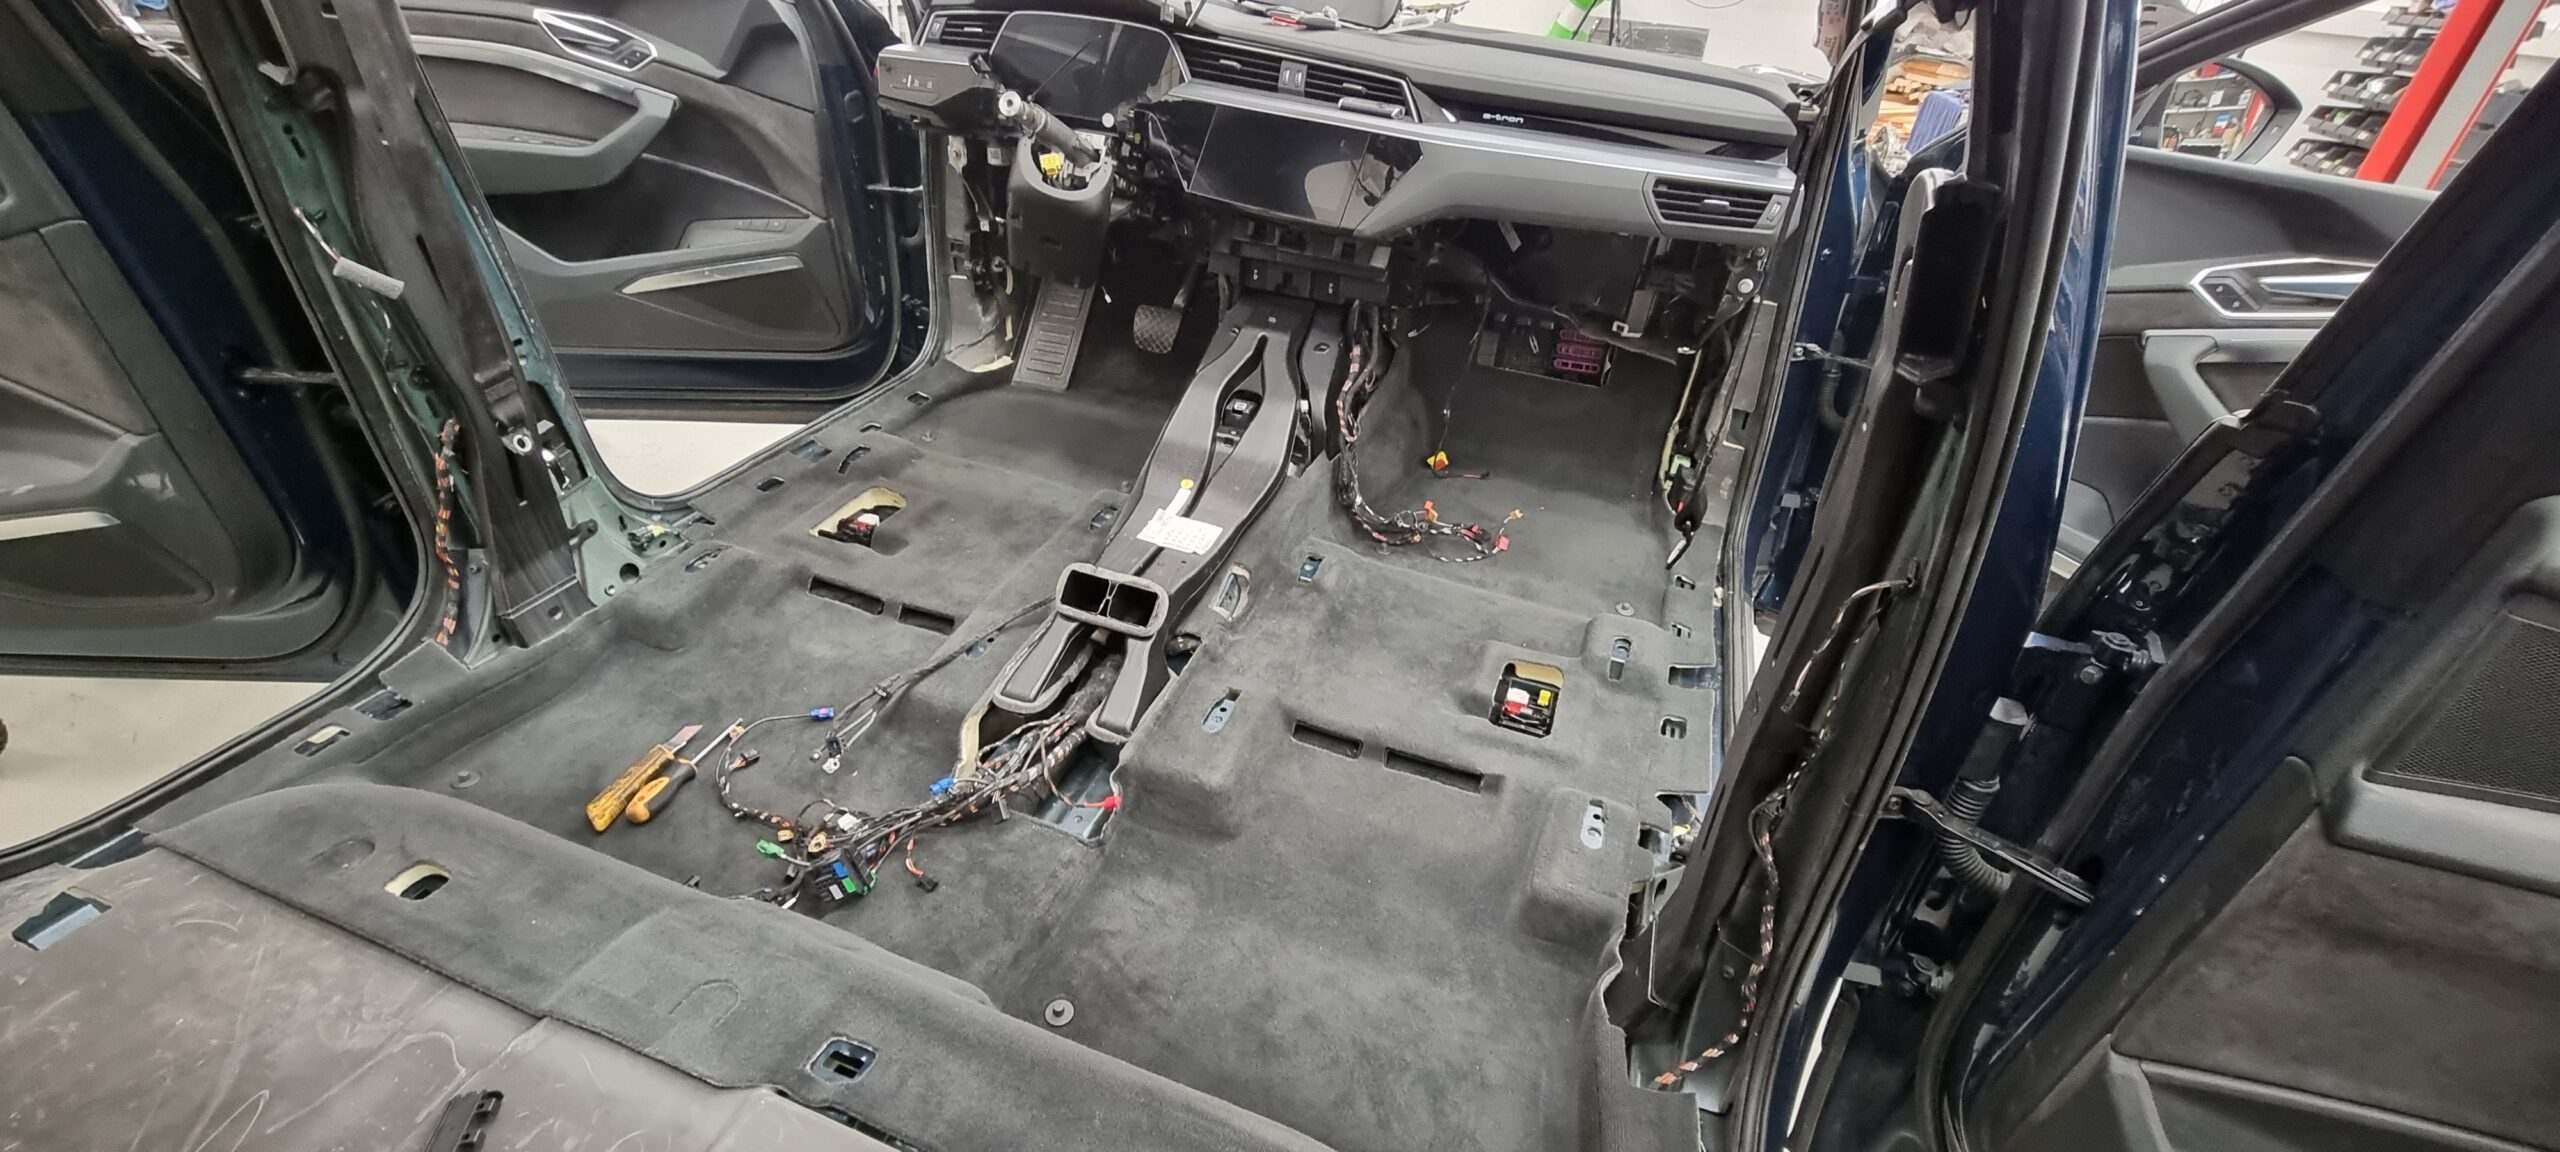
The dried-out carpet back in place.
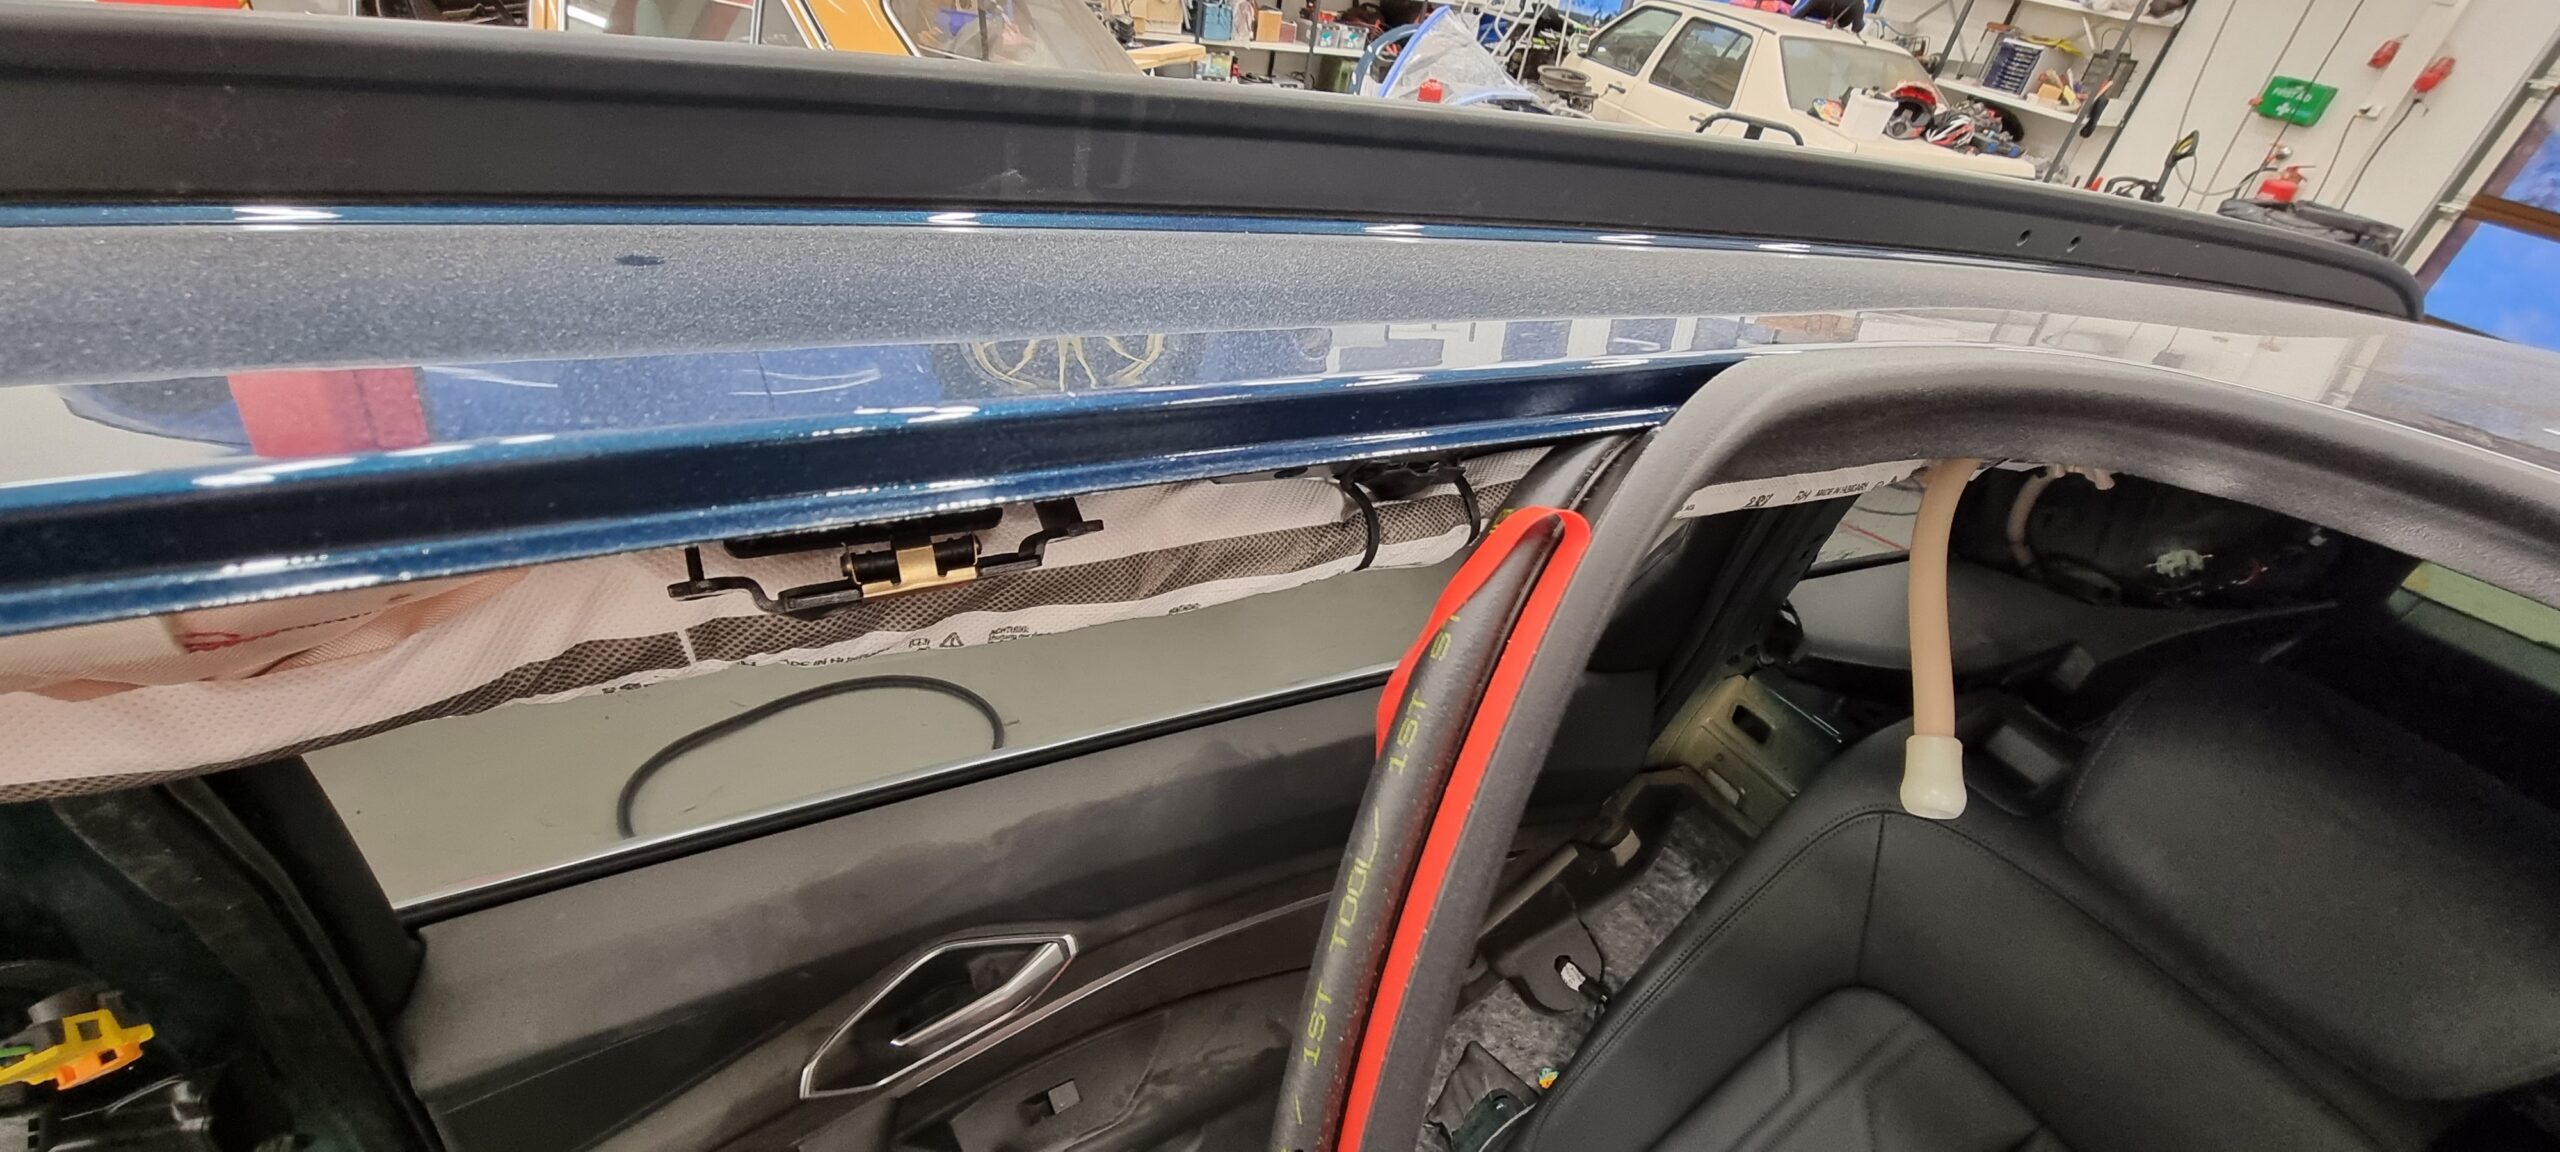
A new seal for the sunroof
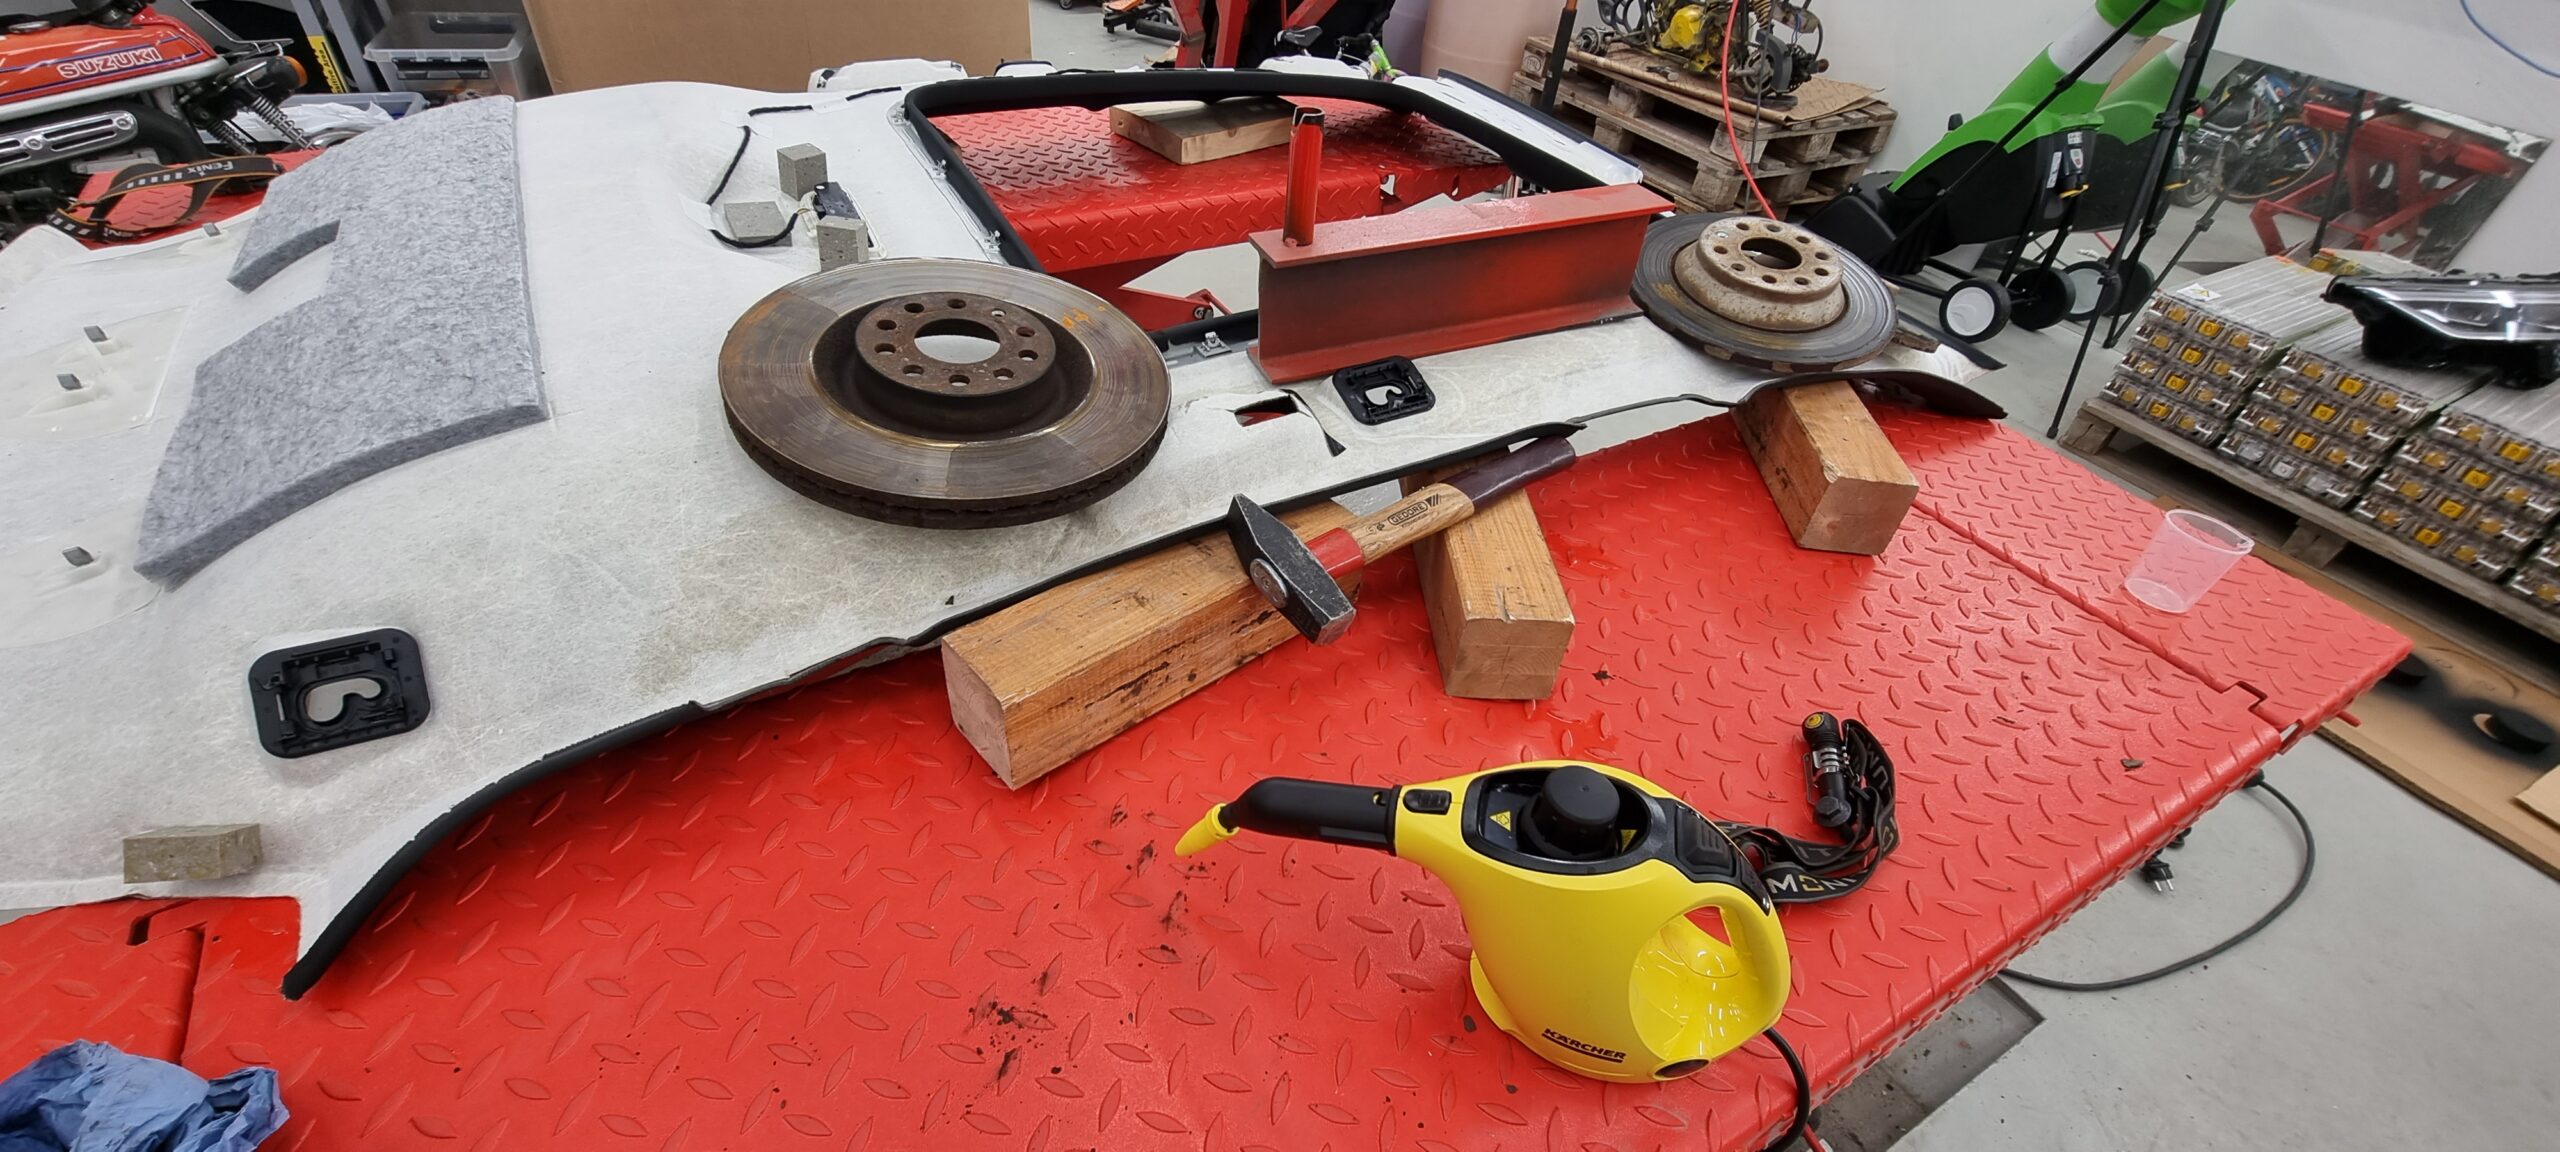
A little steam helped get the creases out of the headlining.
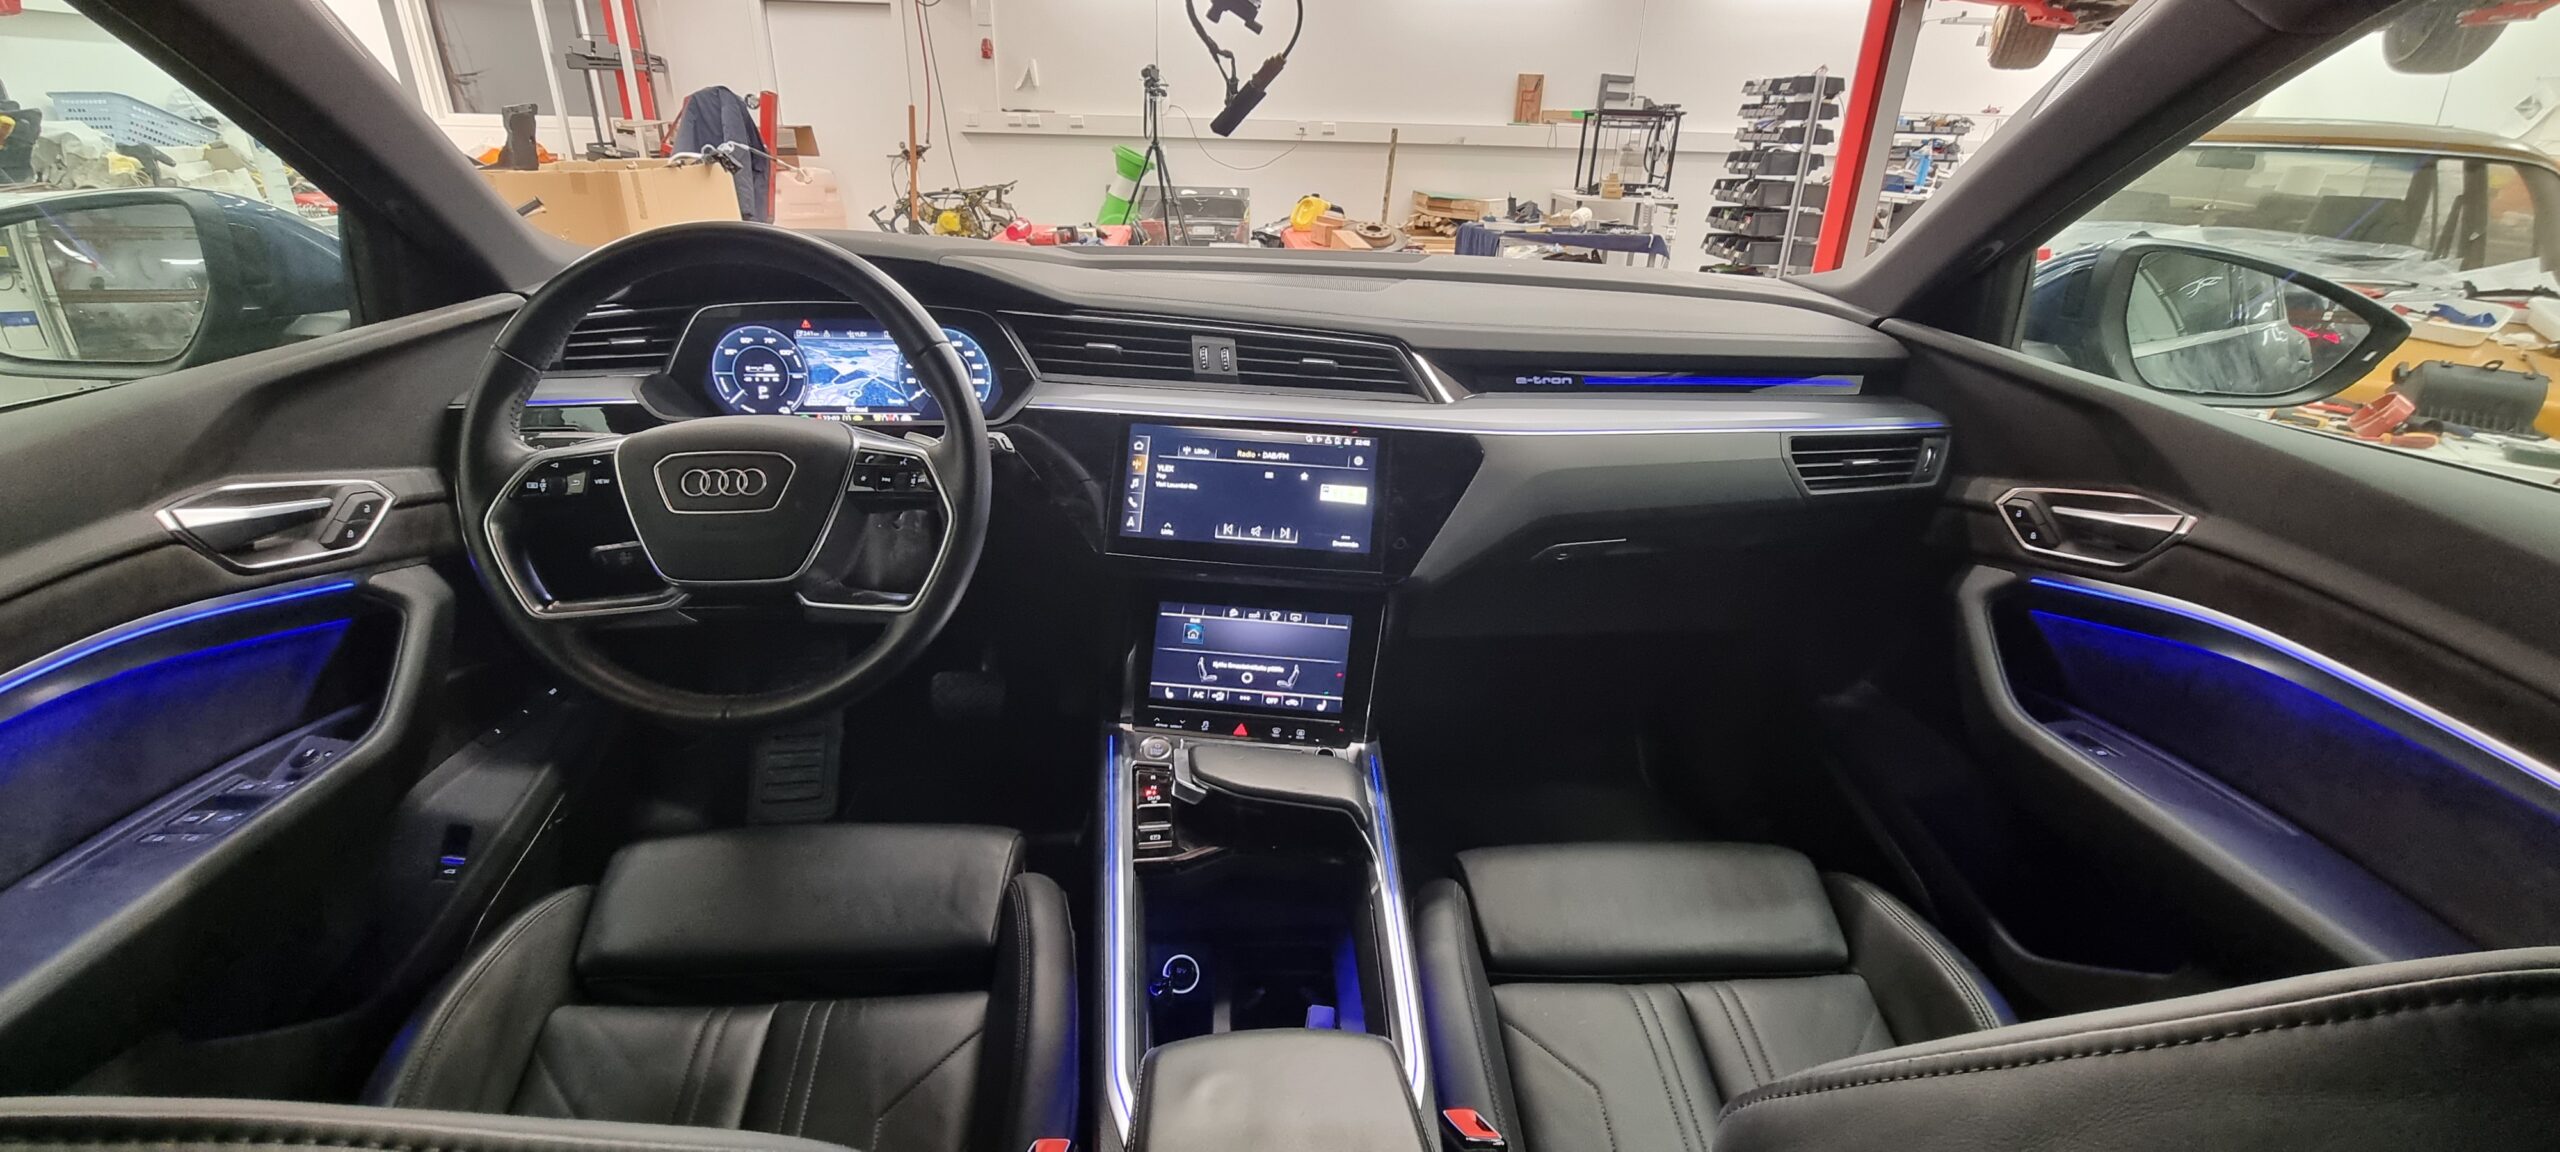
The interior is almost complete
Putting the interior back together easily swallowed a whole day. That might not even have been enough.
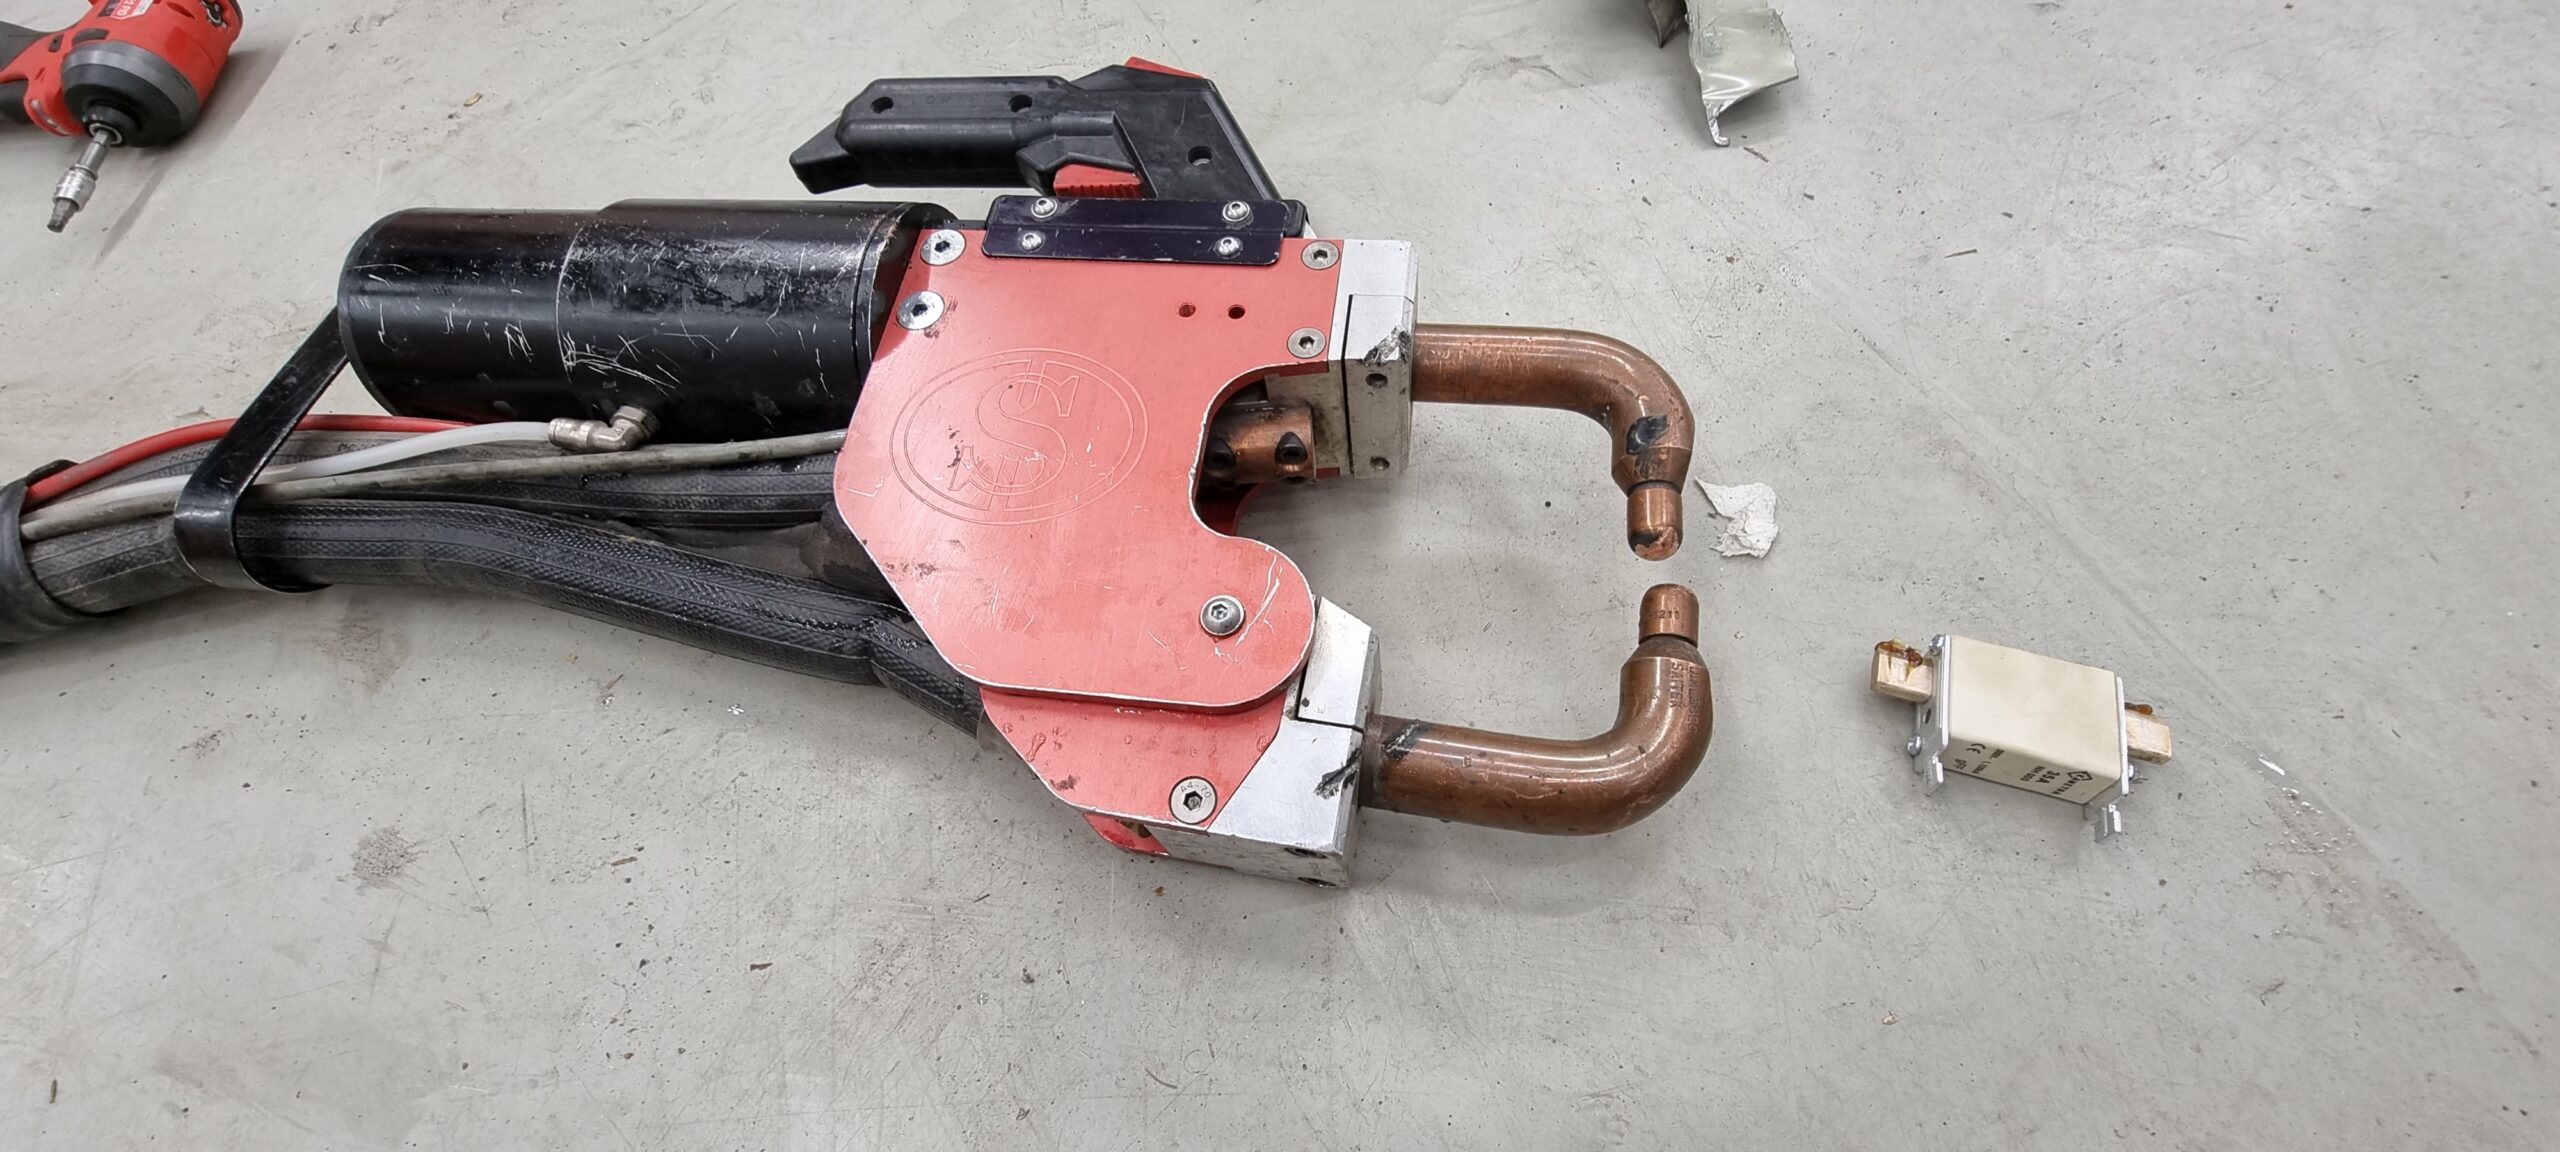
The spot welder only came back from repair at this point. It gave the 35 A fuses a hard time, but we got the front corner welded up.
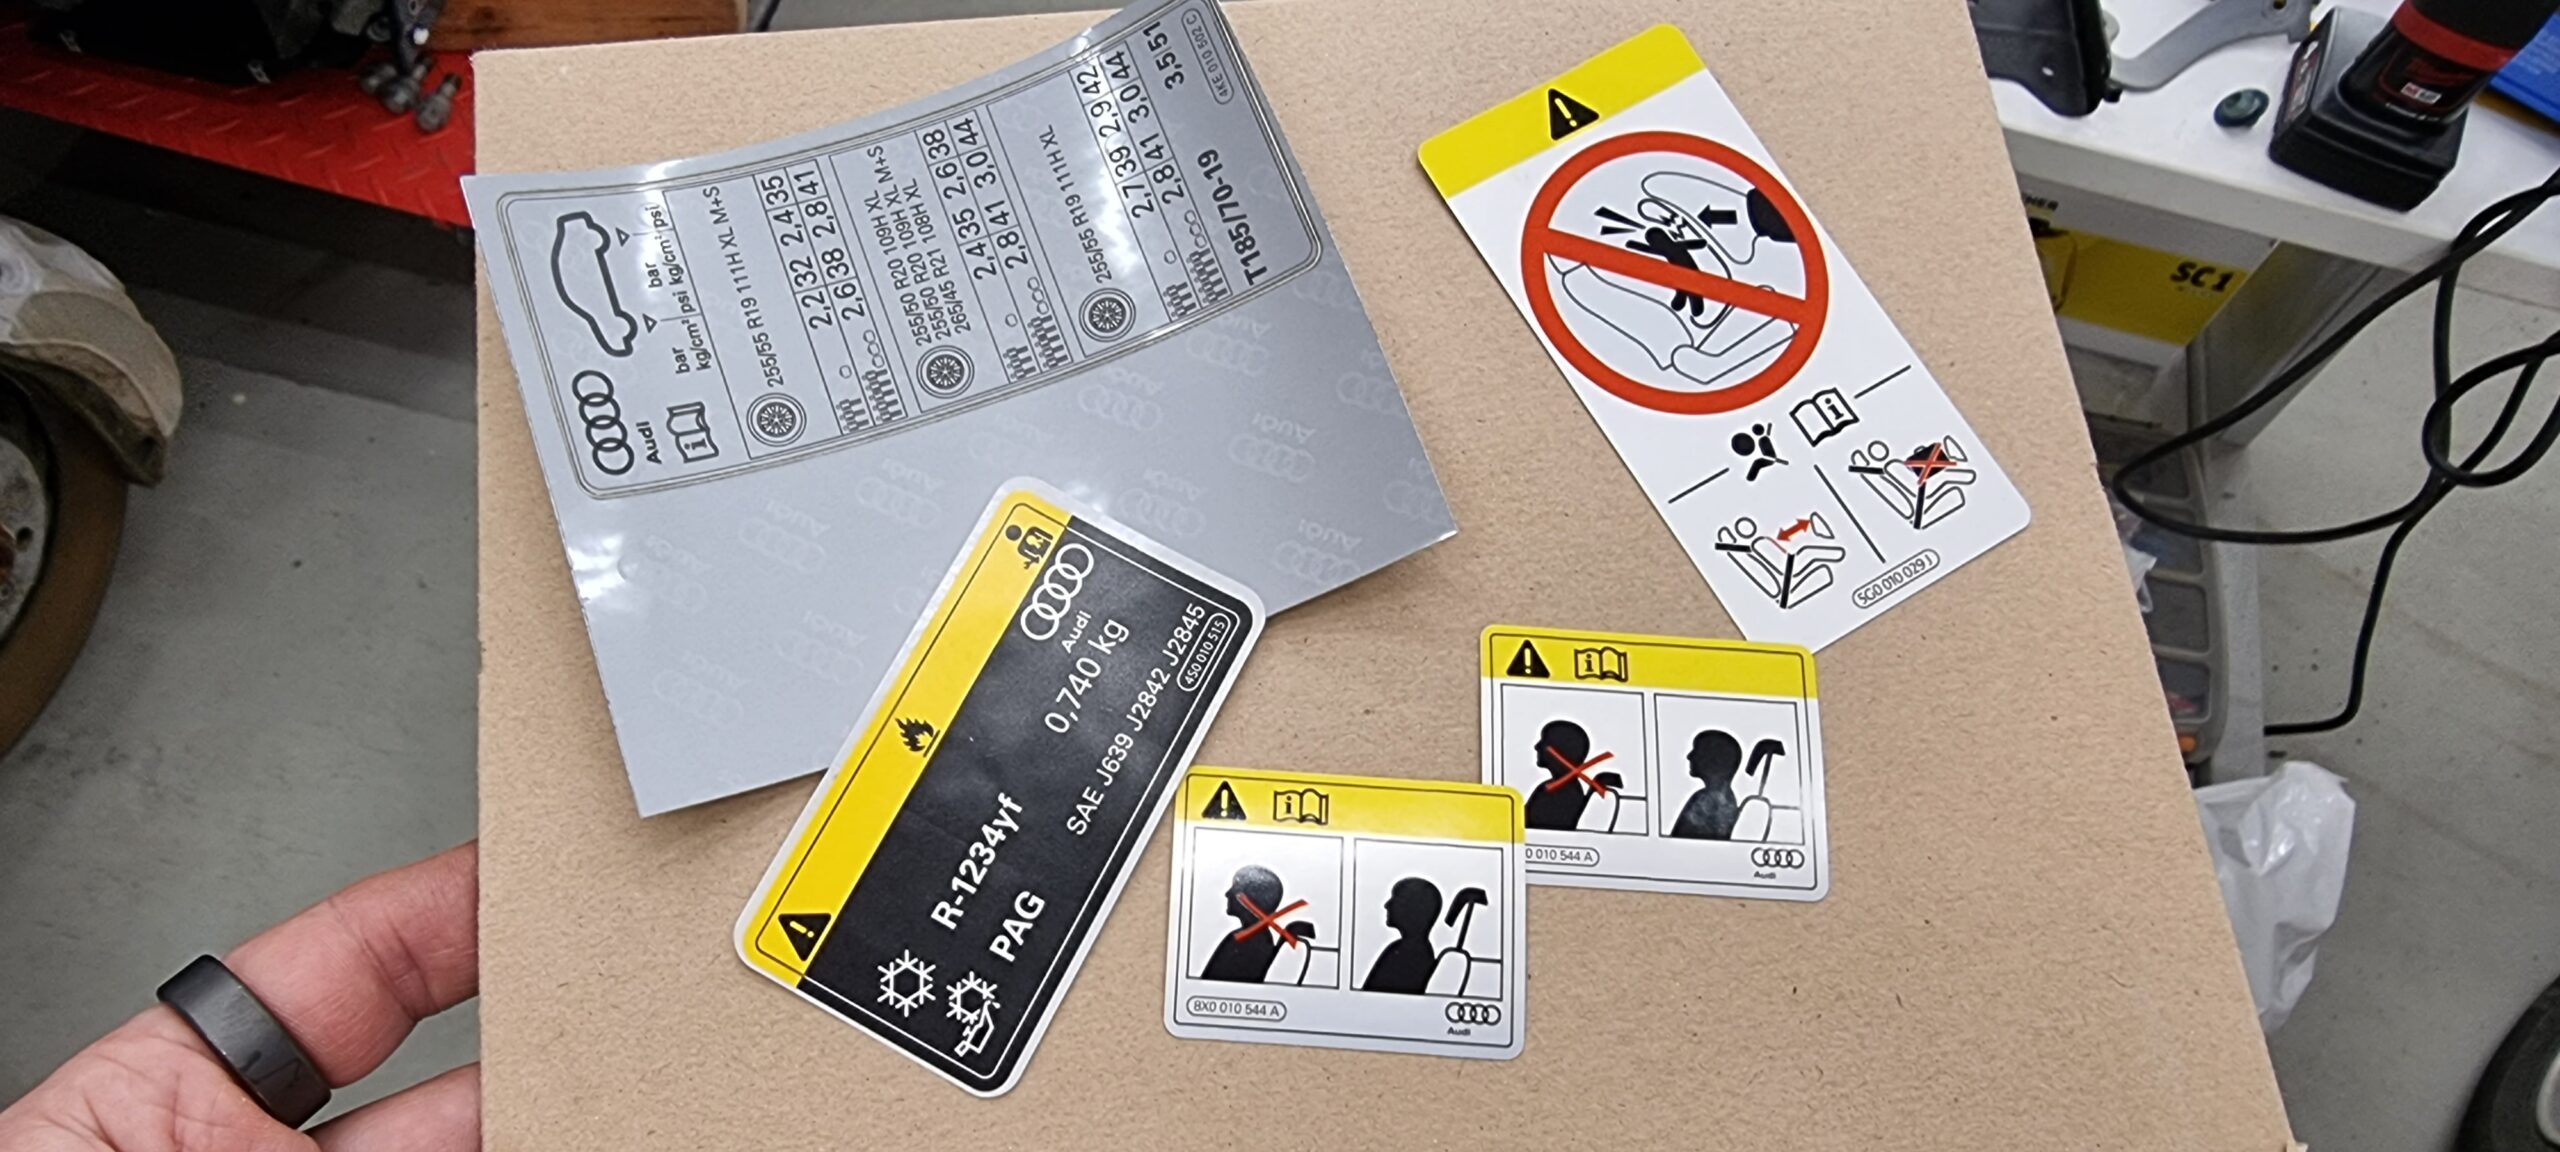
New stickers
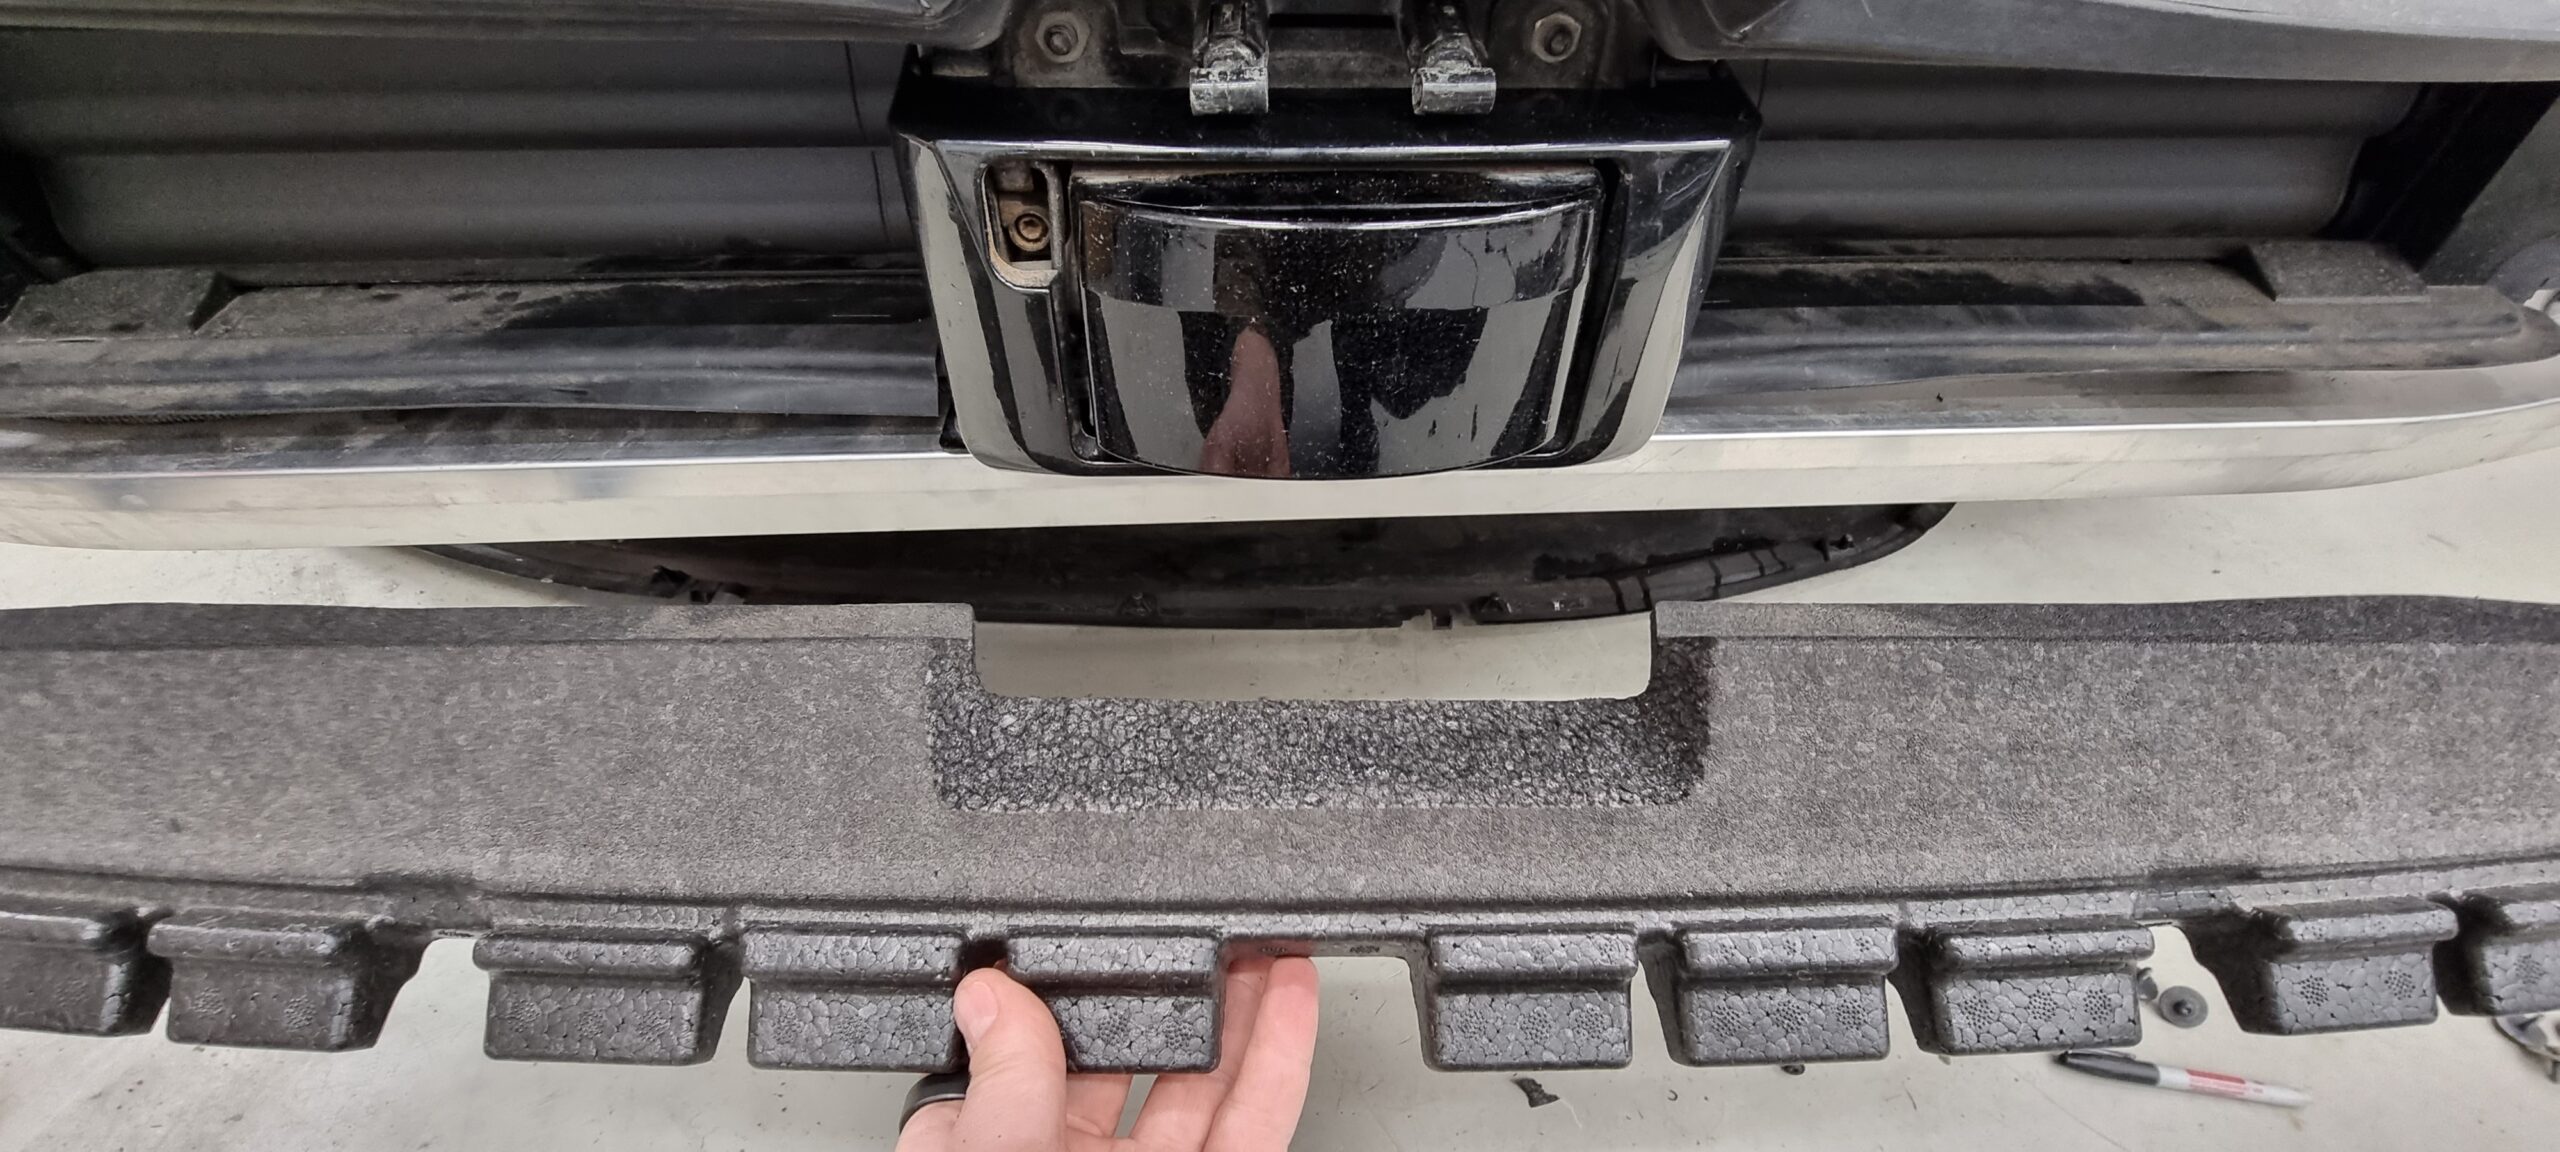
Hole for lidar
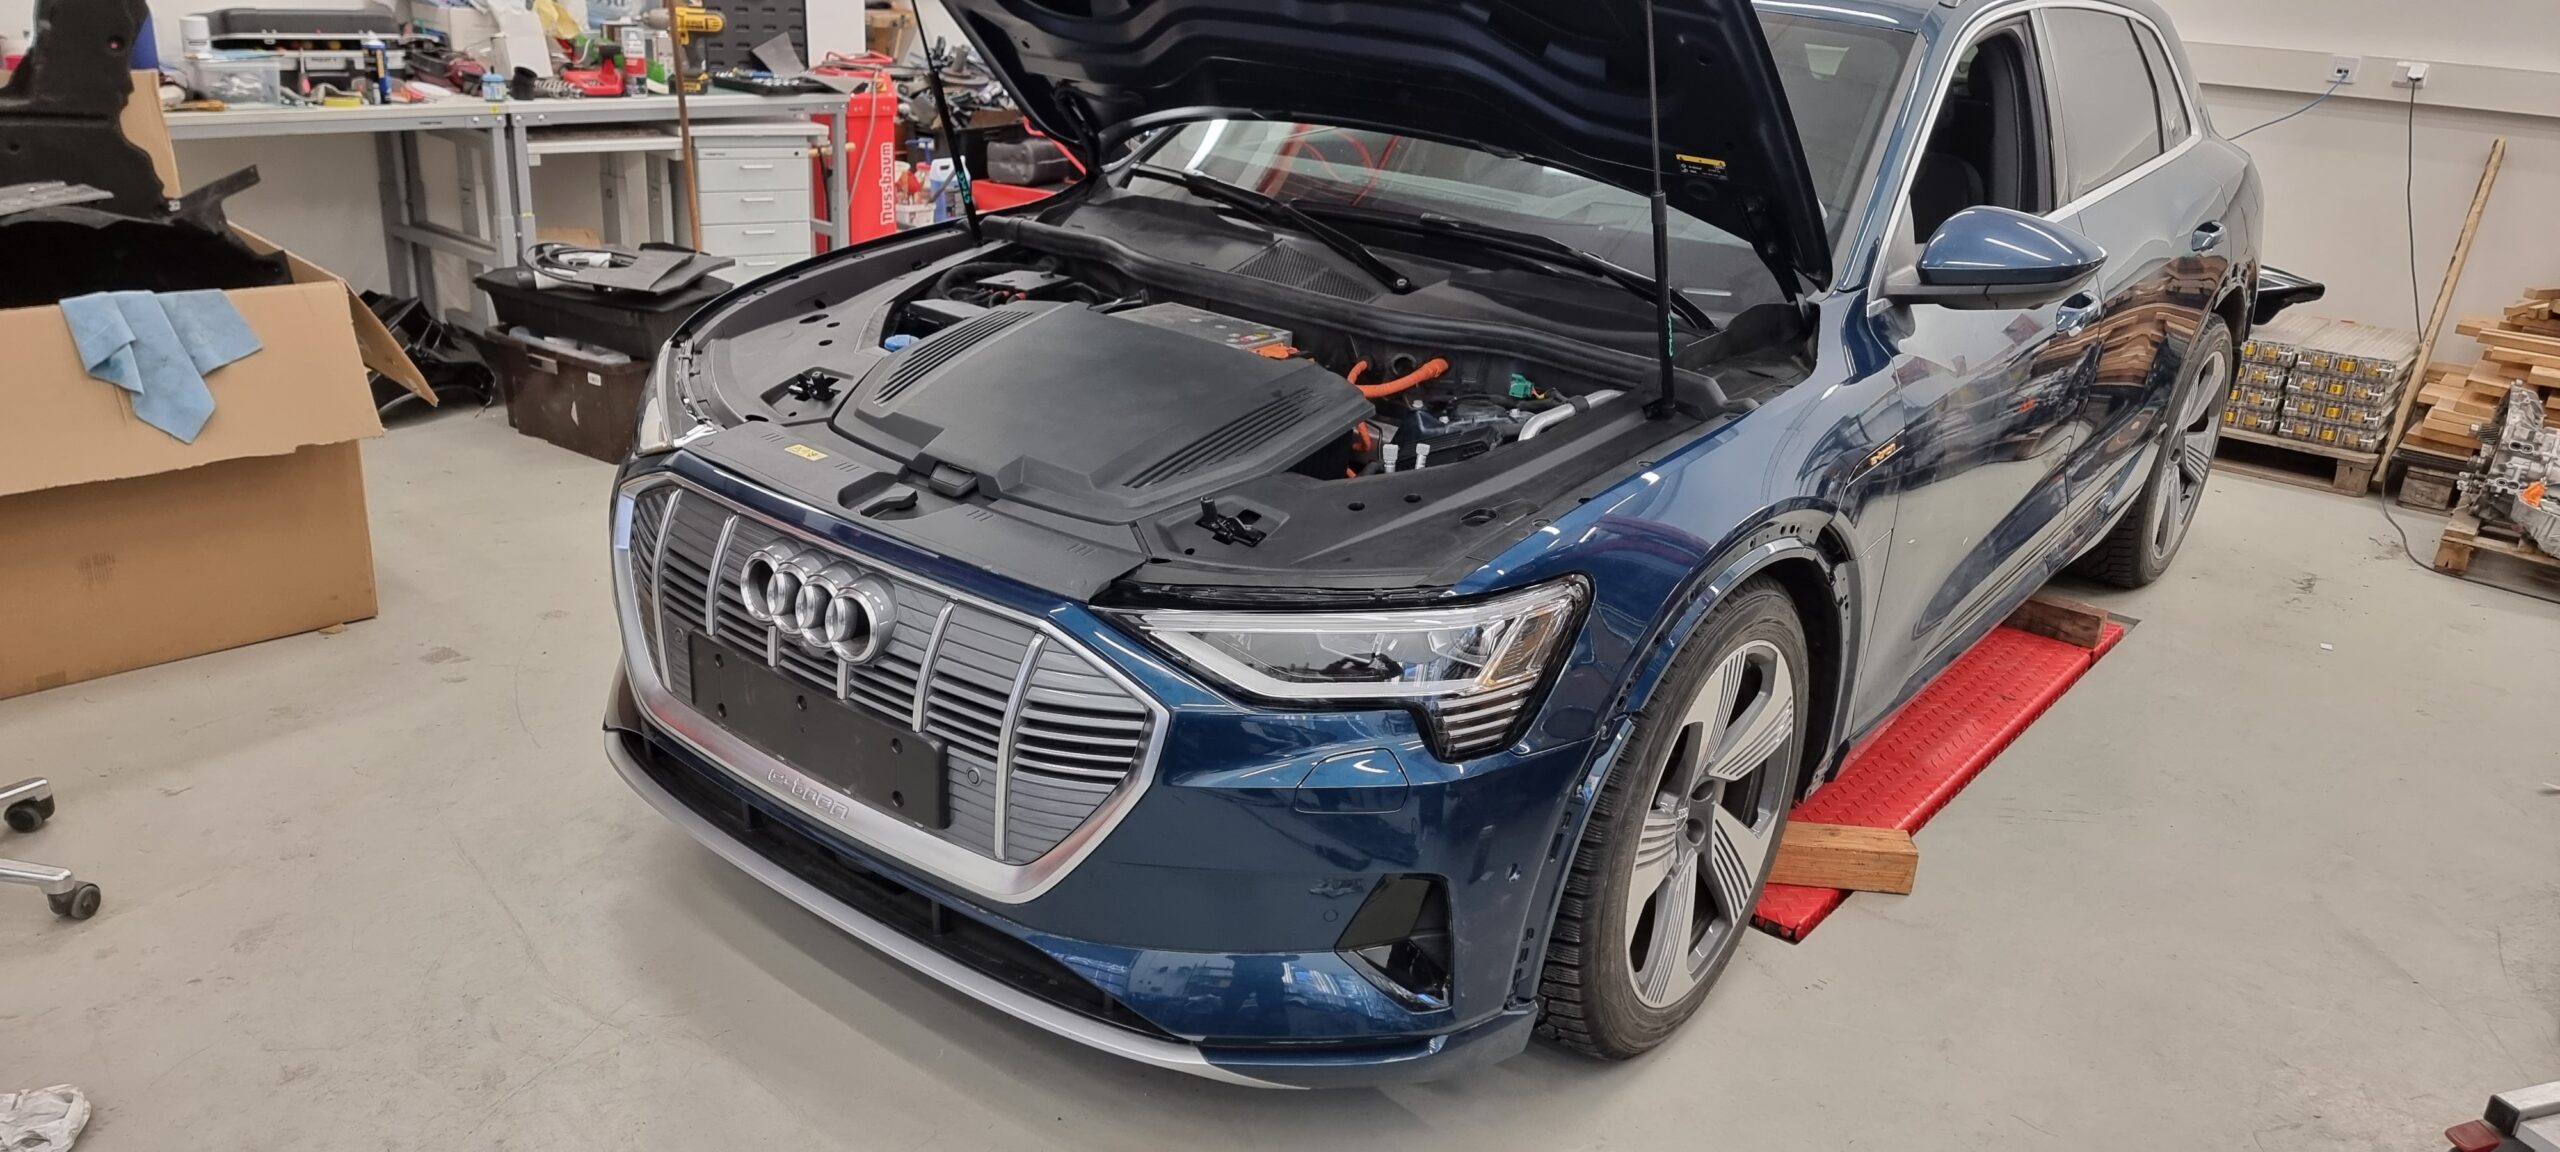
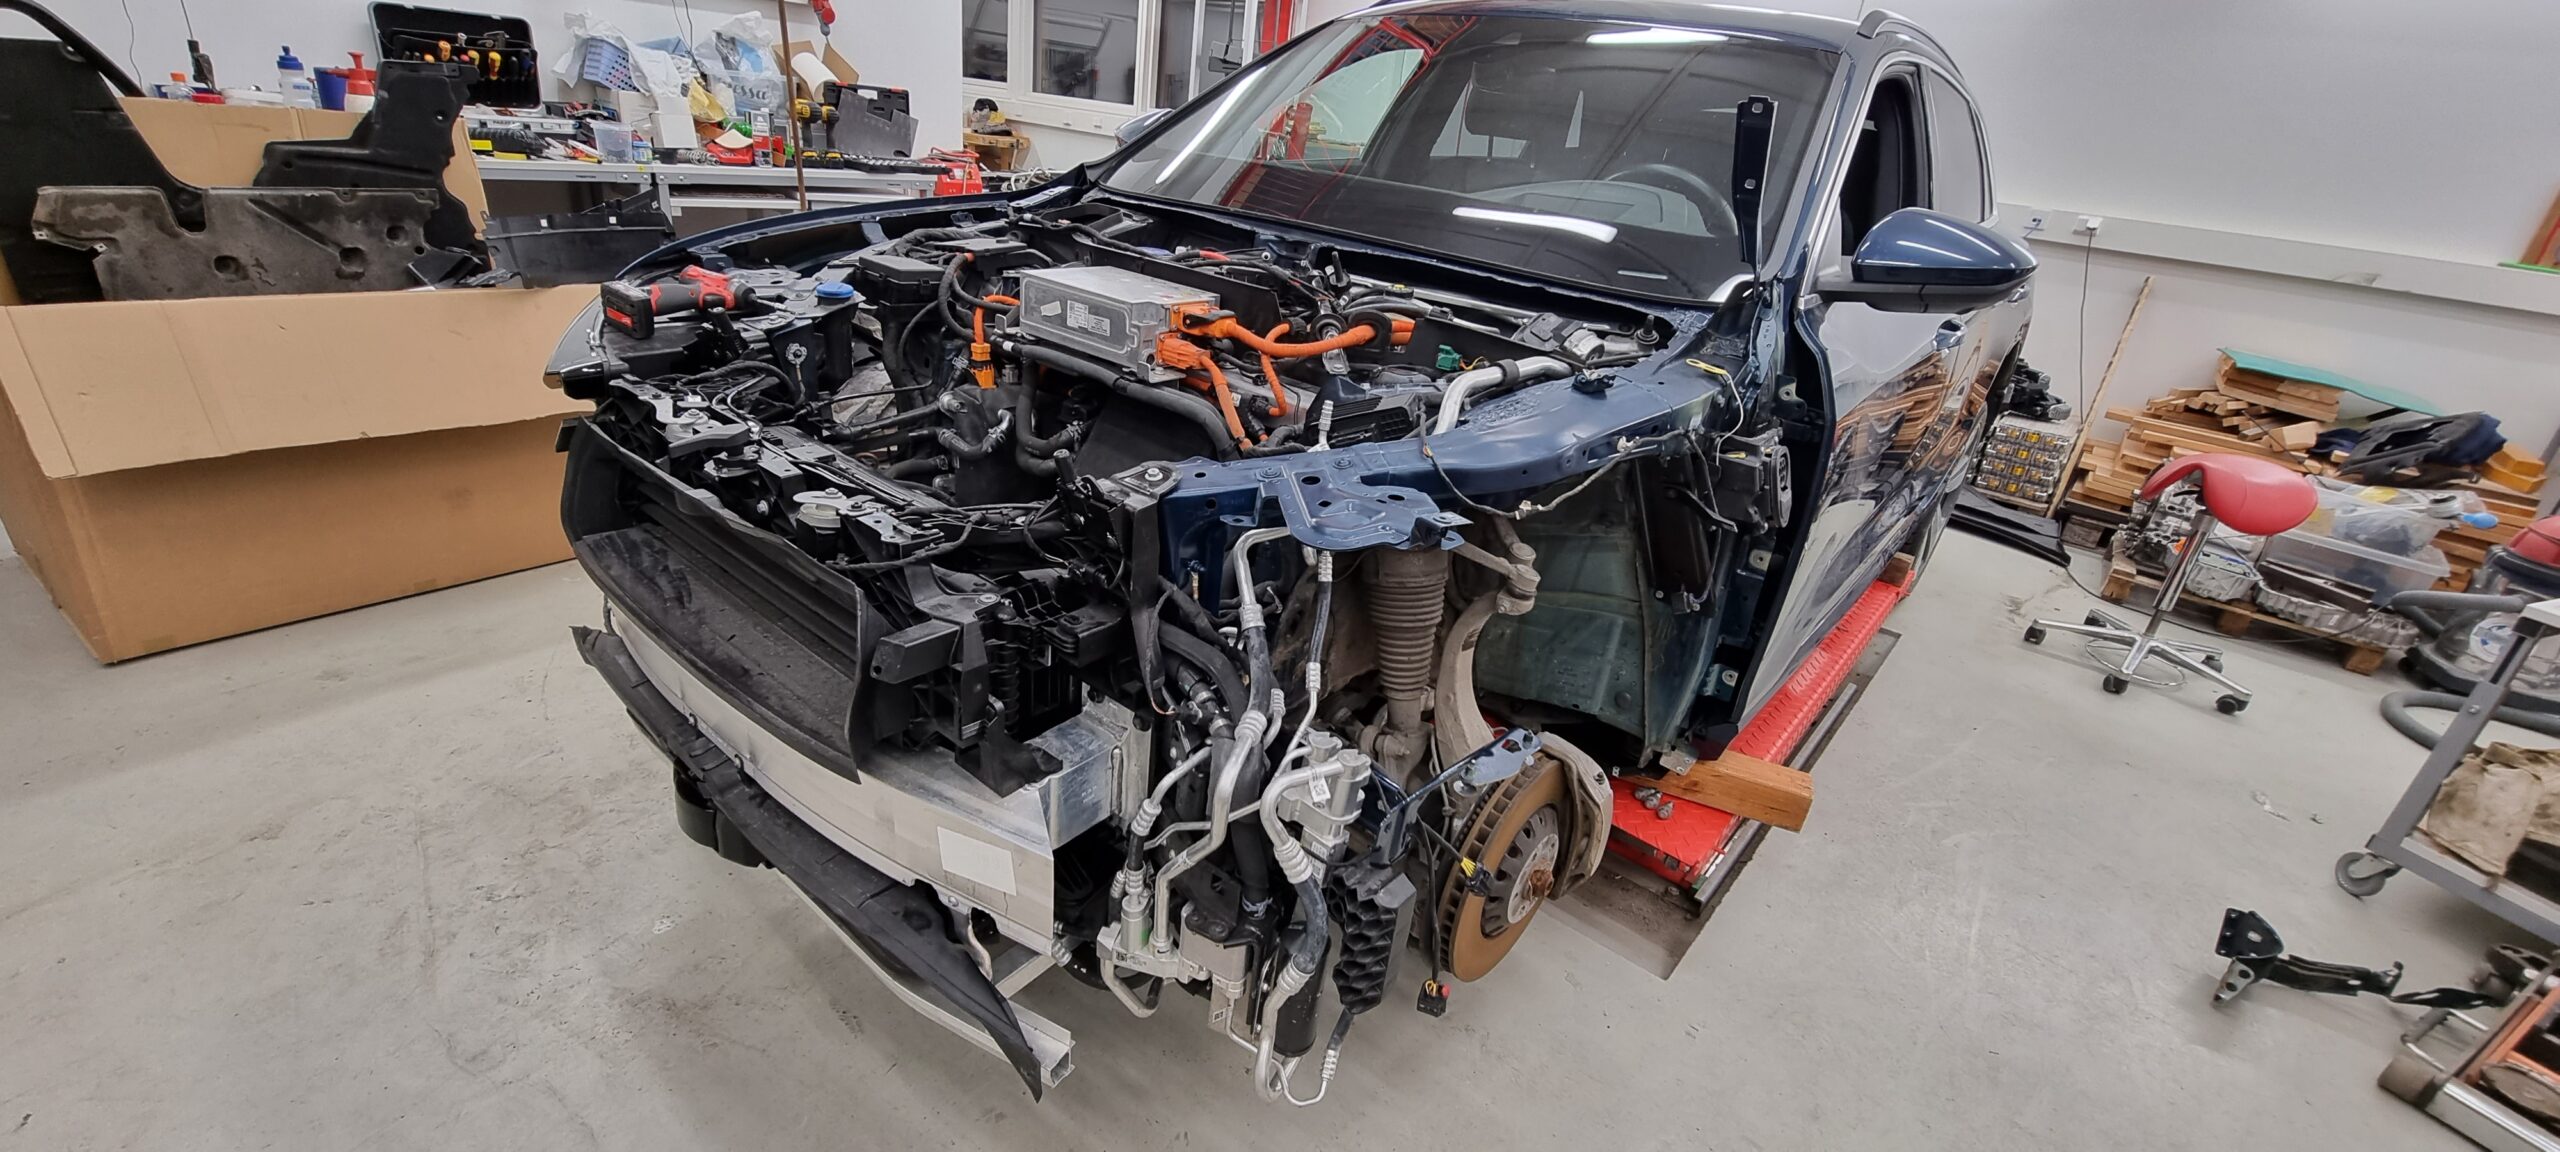
Front end back together.
At last, we could assemble the front end, which didn't take long. The energy absorber along the lower edge of the front bumper needed a small modification: the Chinese-market donor hadn't had lidar.
The head-up display needed some attention too. Something had marked its protective film in the crash, and the mark showed up in the image on the windscreen. I made a replacement from PET film bought by the metre — one metre, to be precise. Worked brilliantly. The HUD has become one of my favourite features.
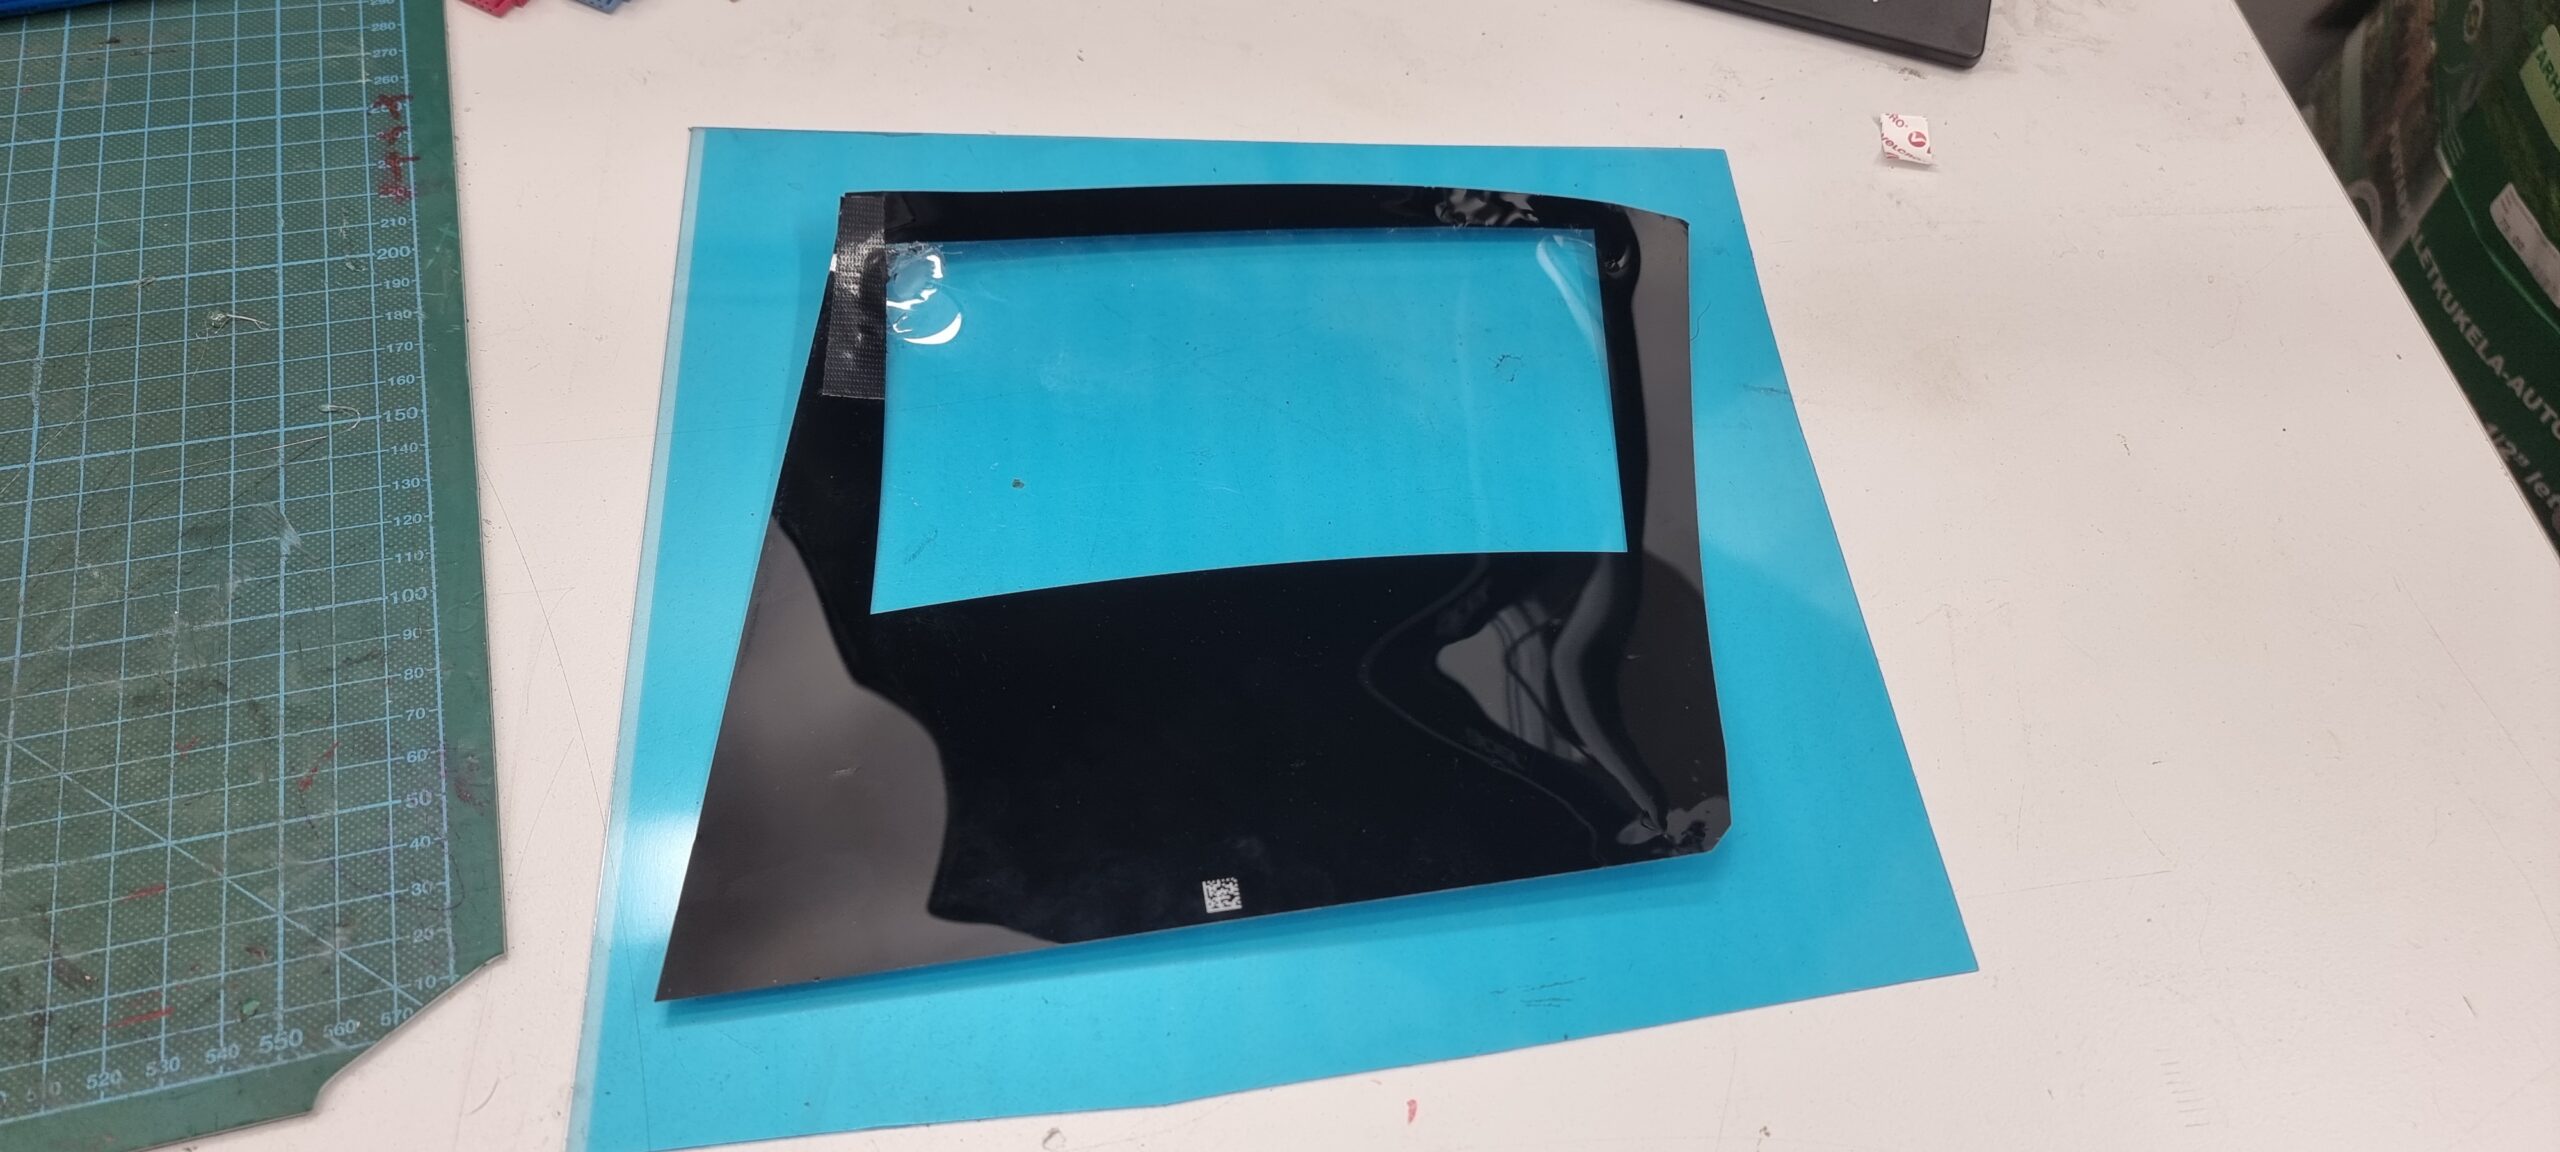
A new "protective glass" made of PET film
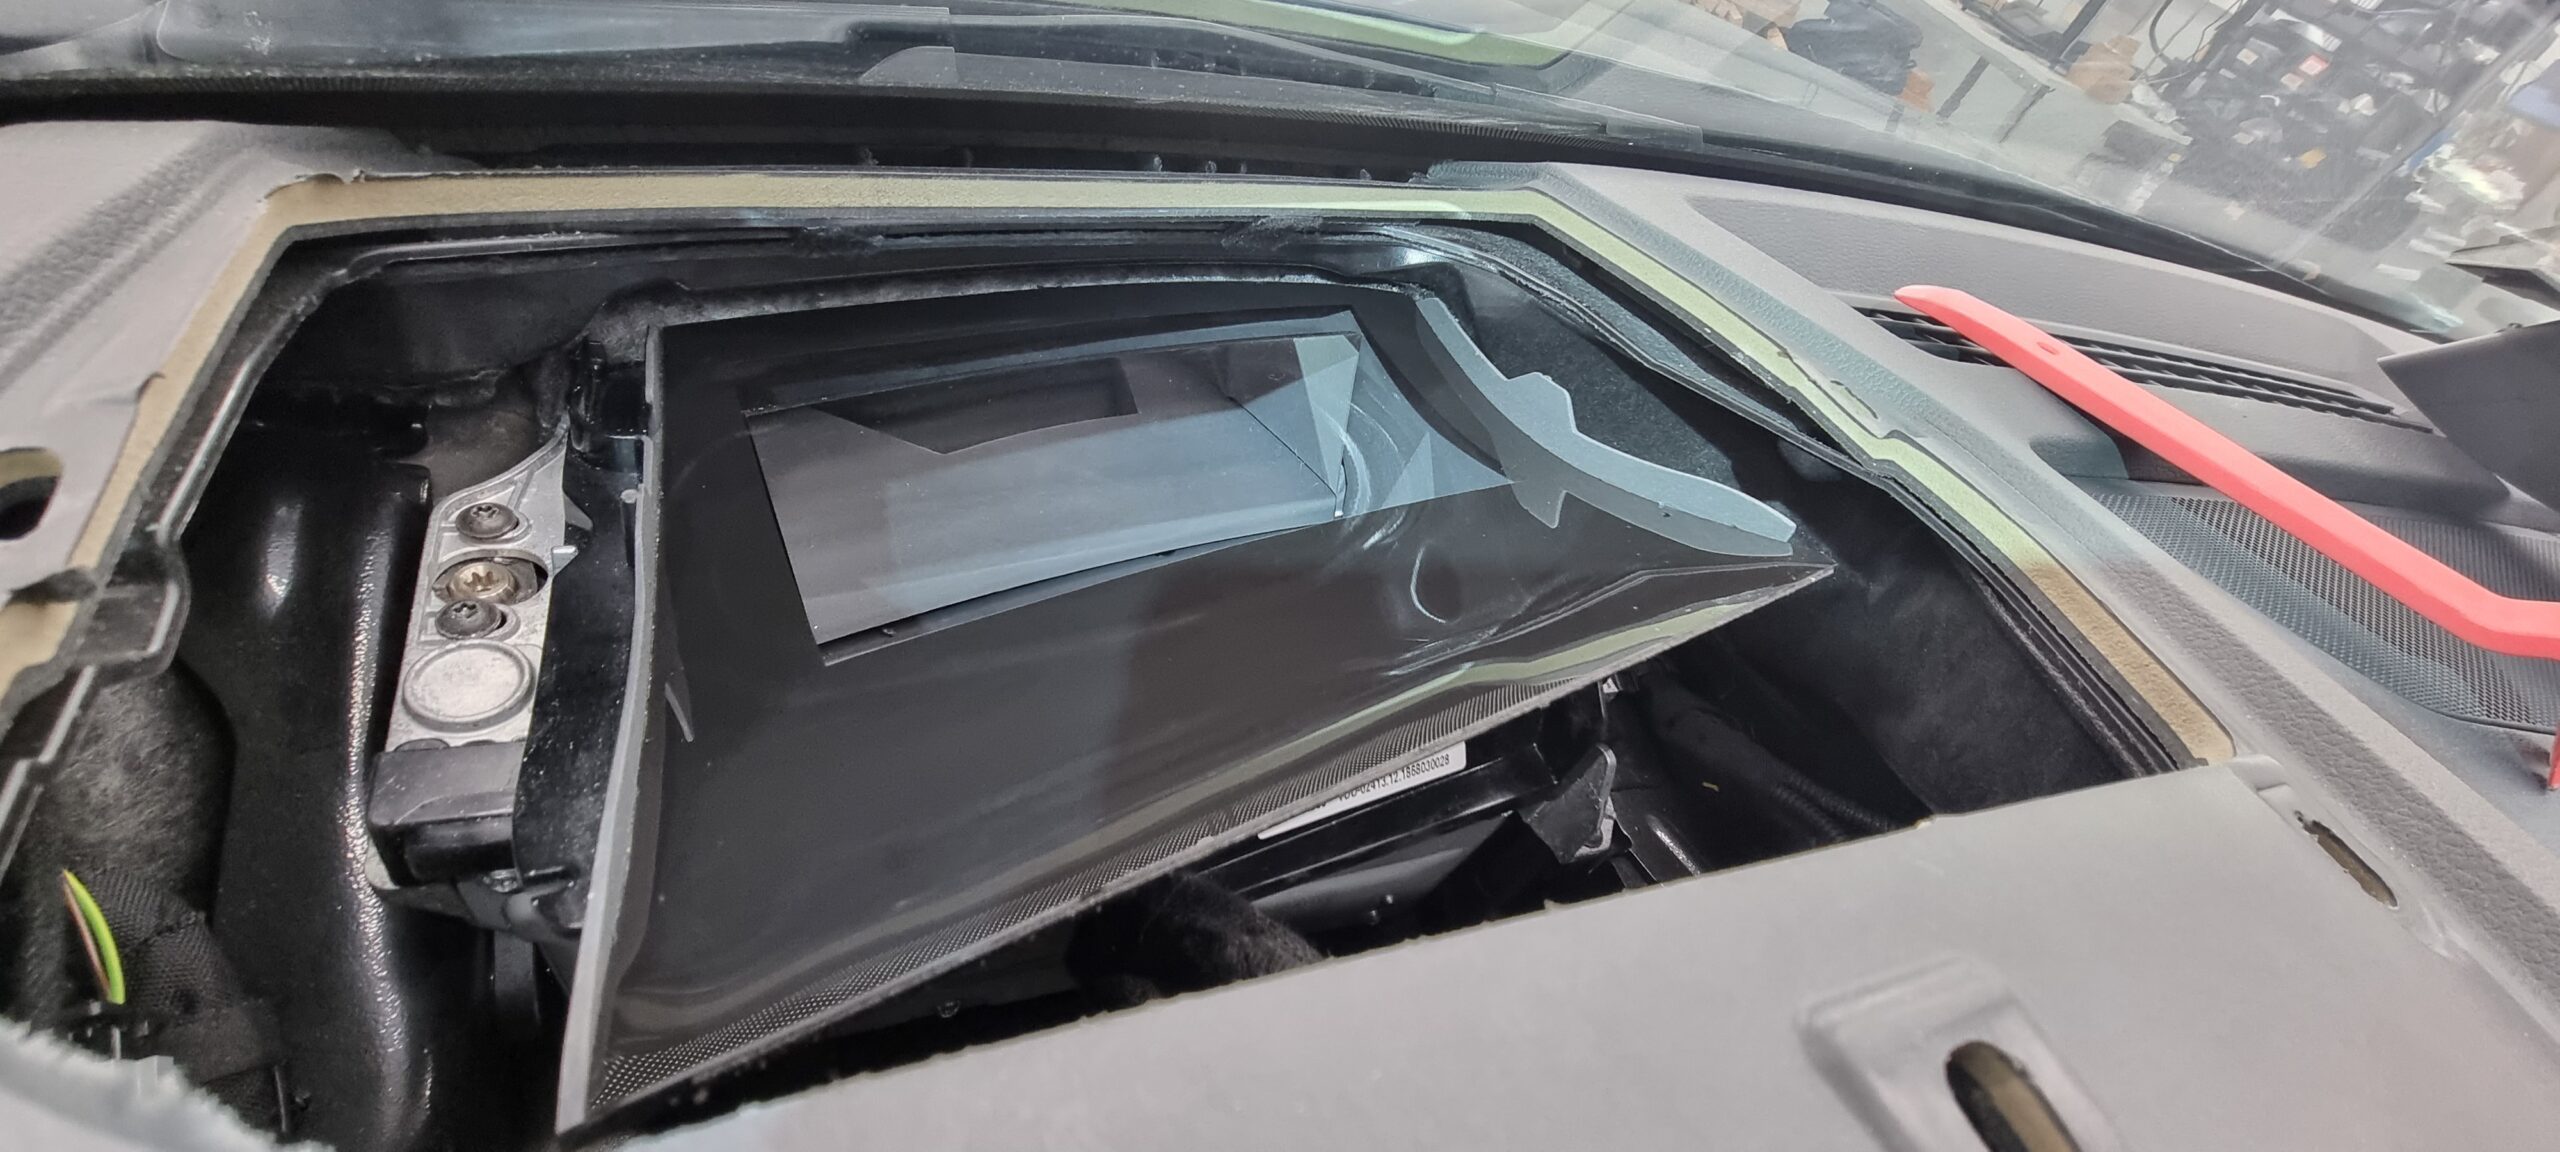
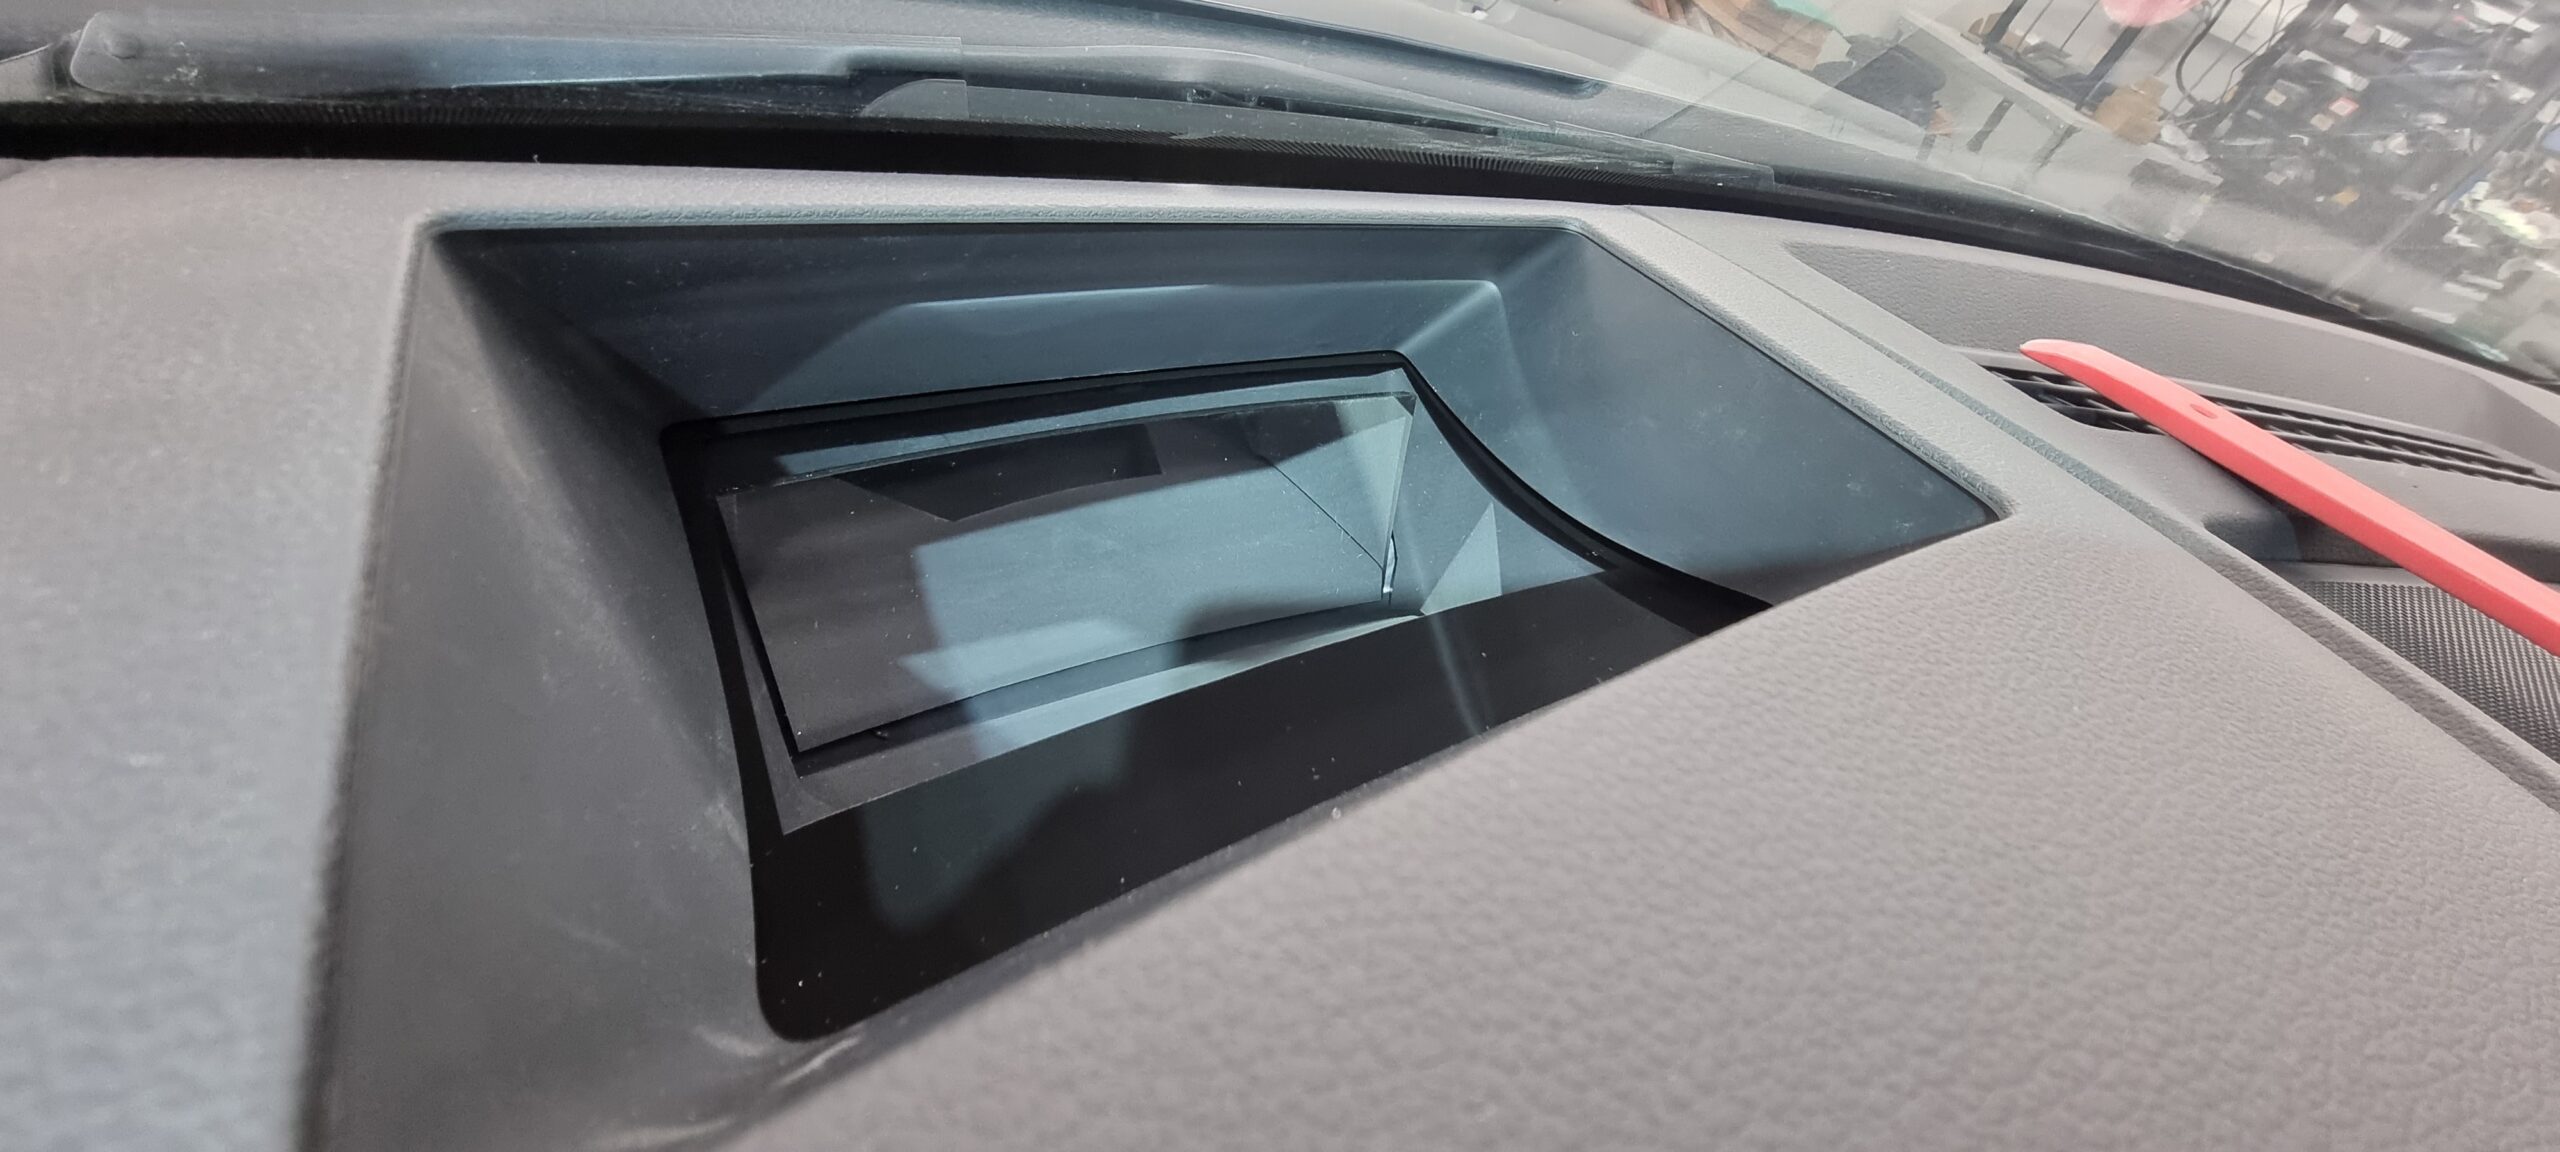
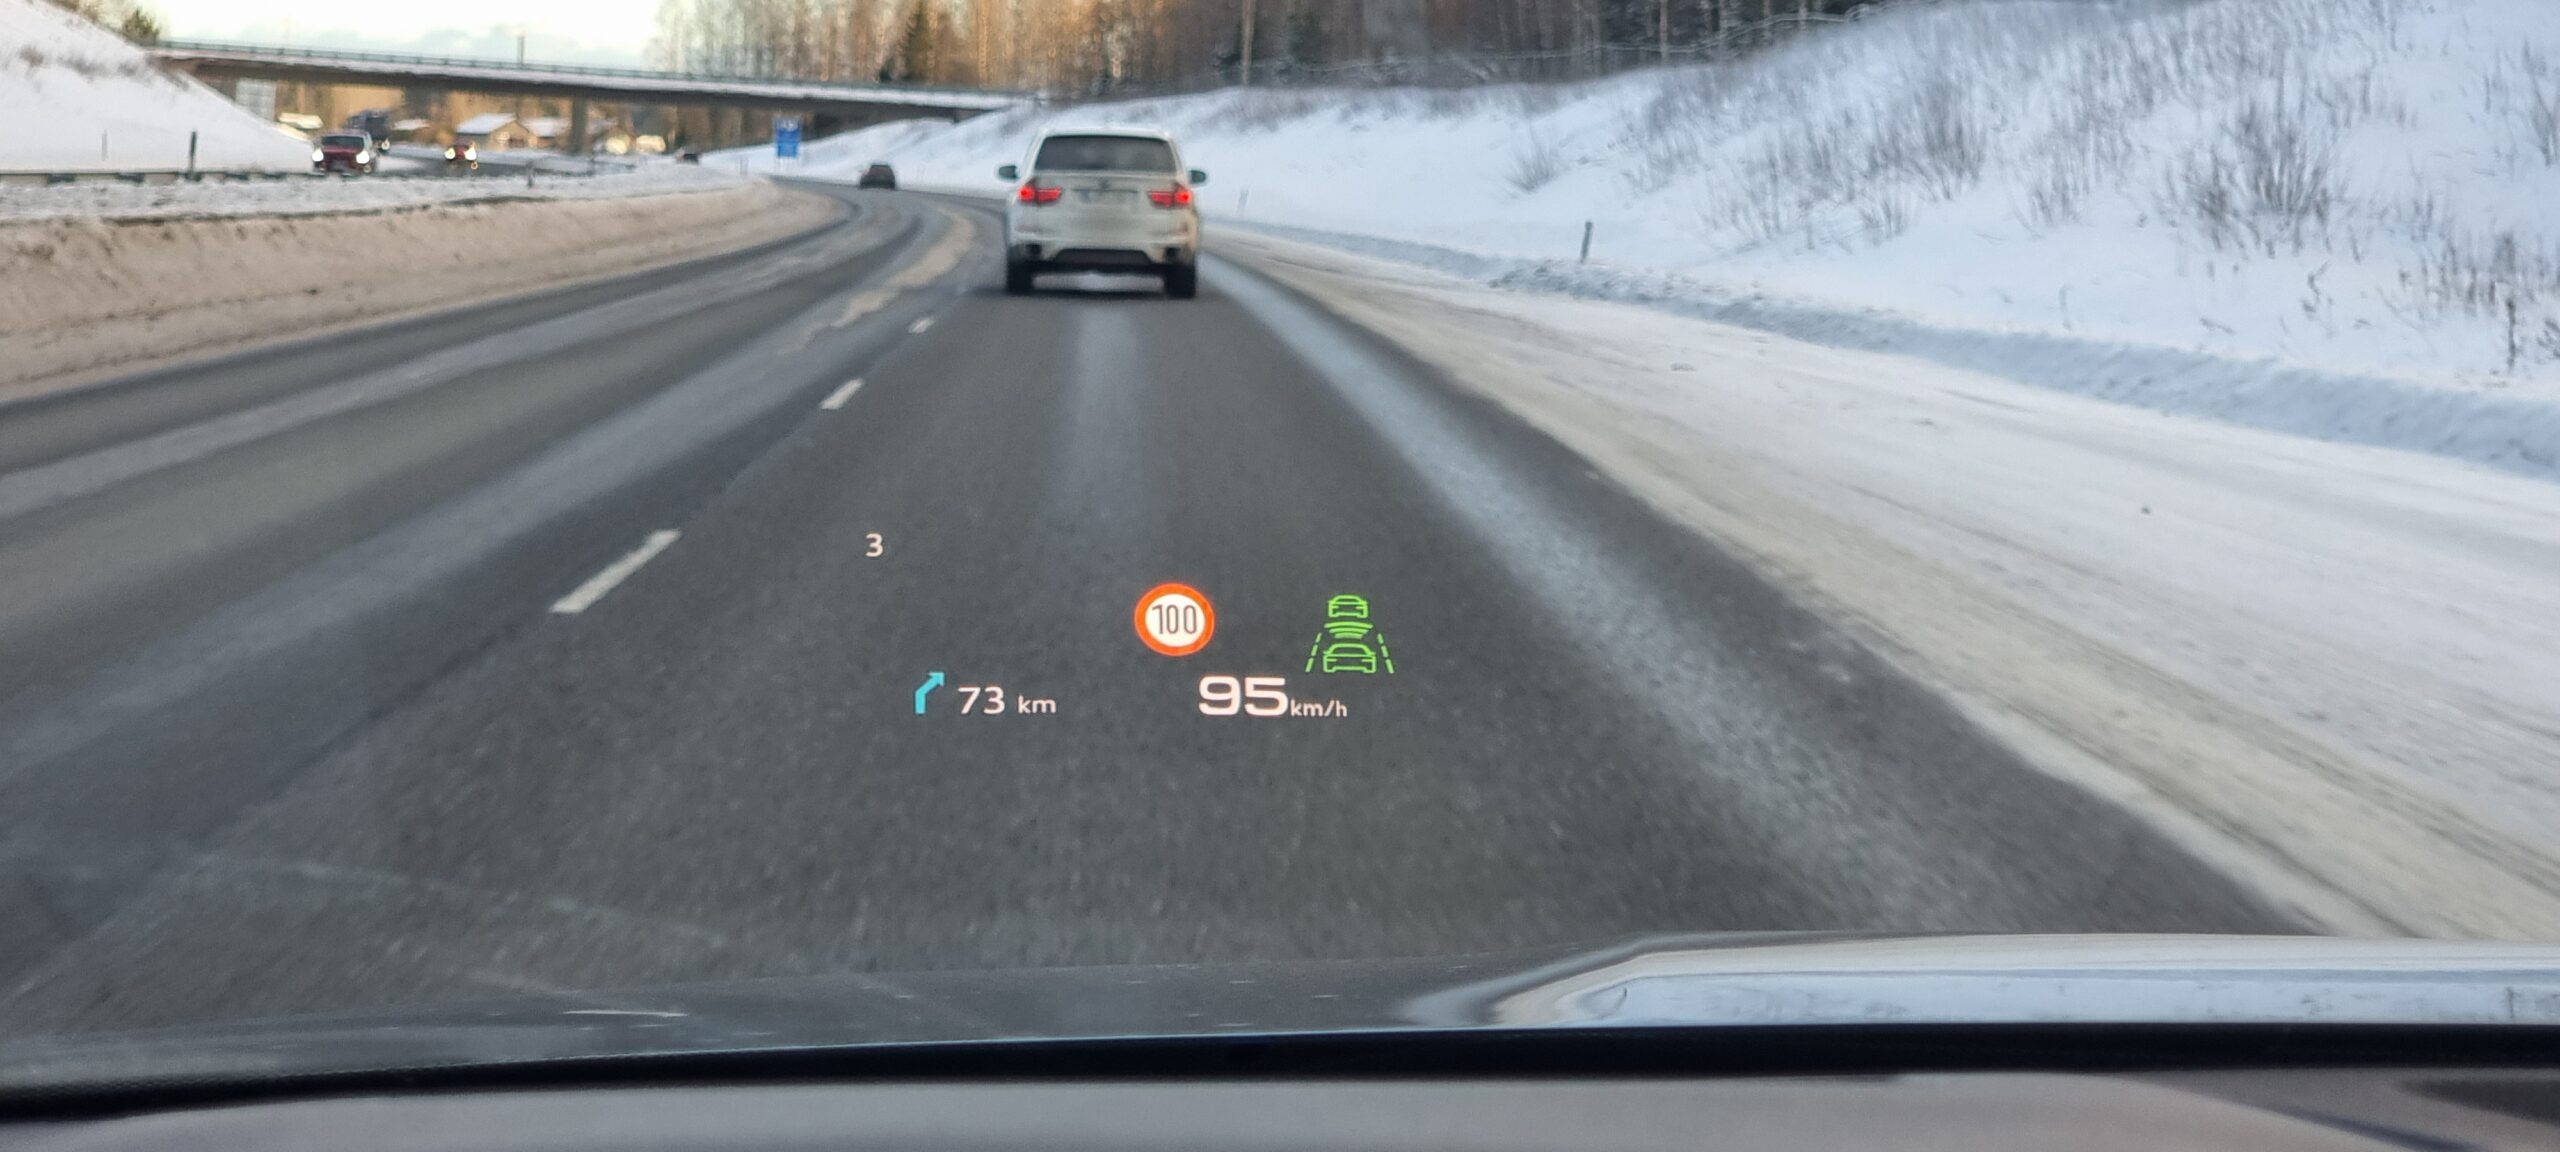
Works well
The Audi also visited Käyttöauto in Pori, where they calibrated the seat belts and front radar sensors, cleared some fault codes and carried out control-module adaptations. It finally passed inspection at the end of January, with no issues. Nearly five months of work, finished at last. Almost.
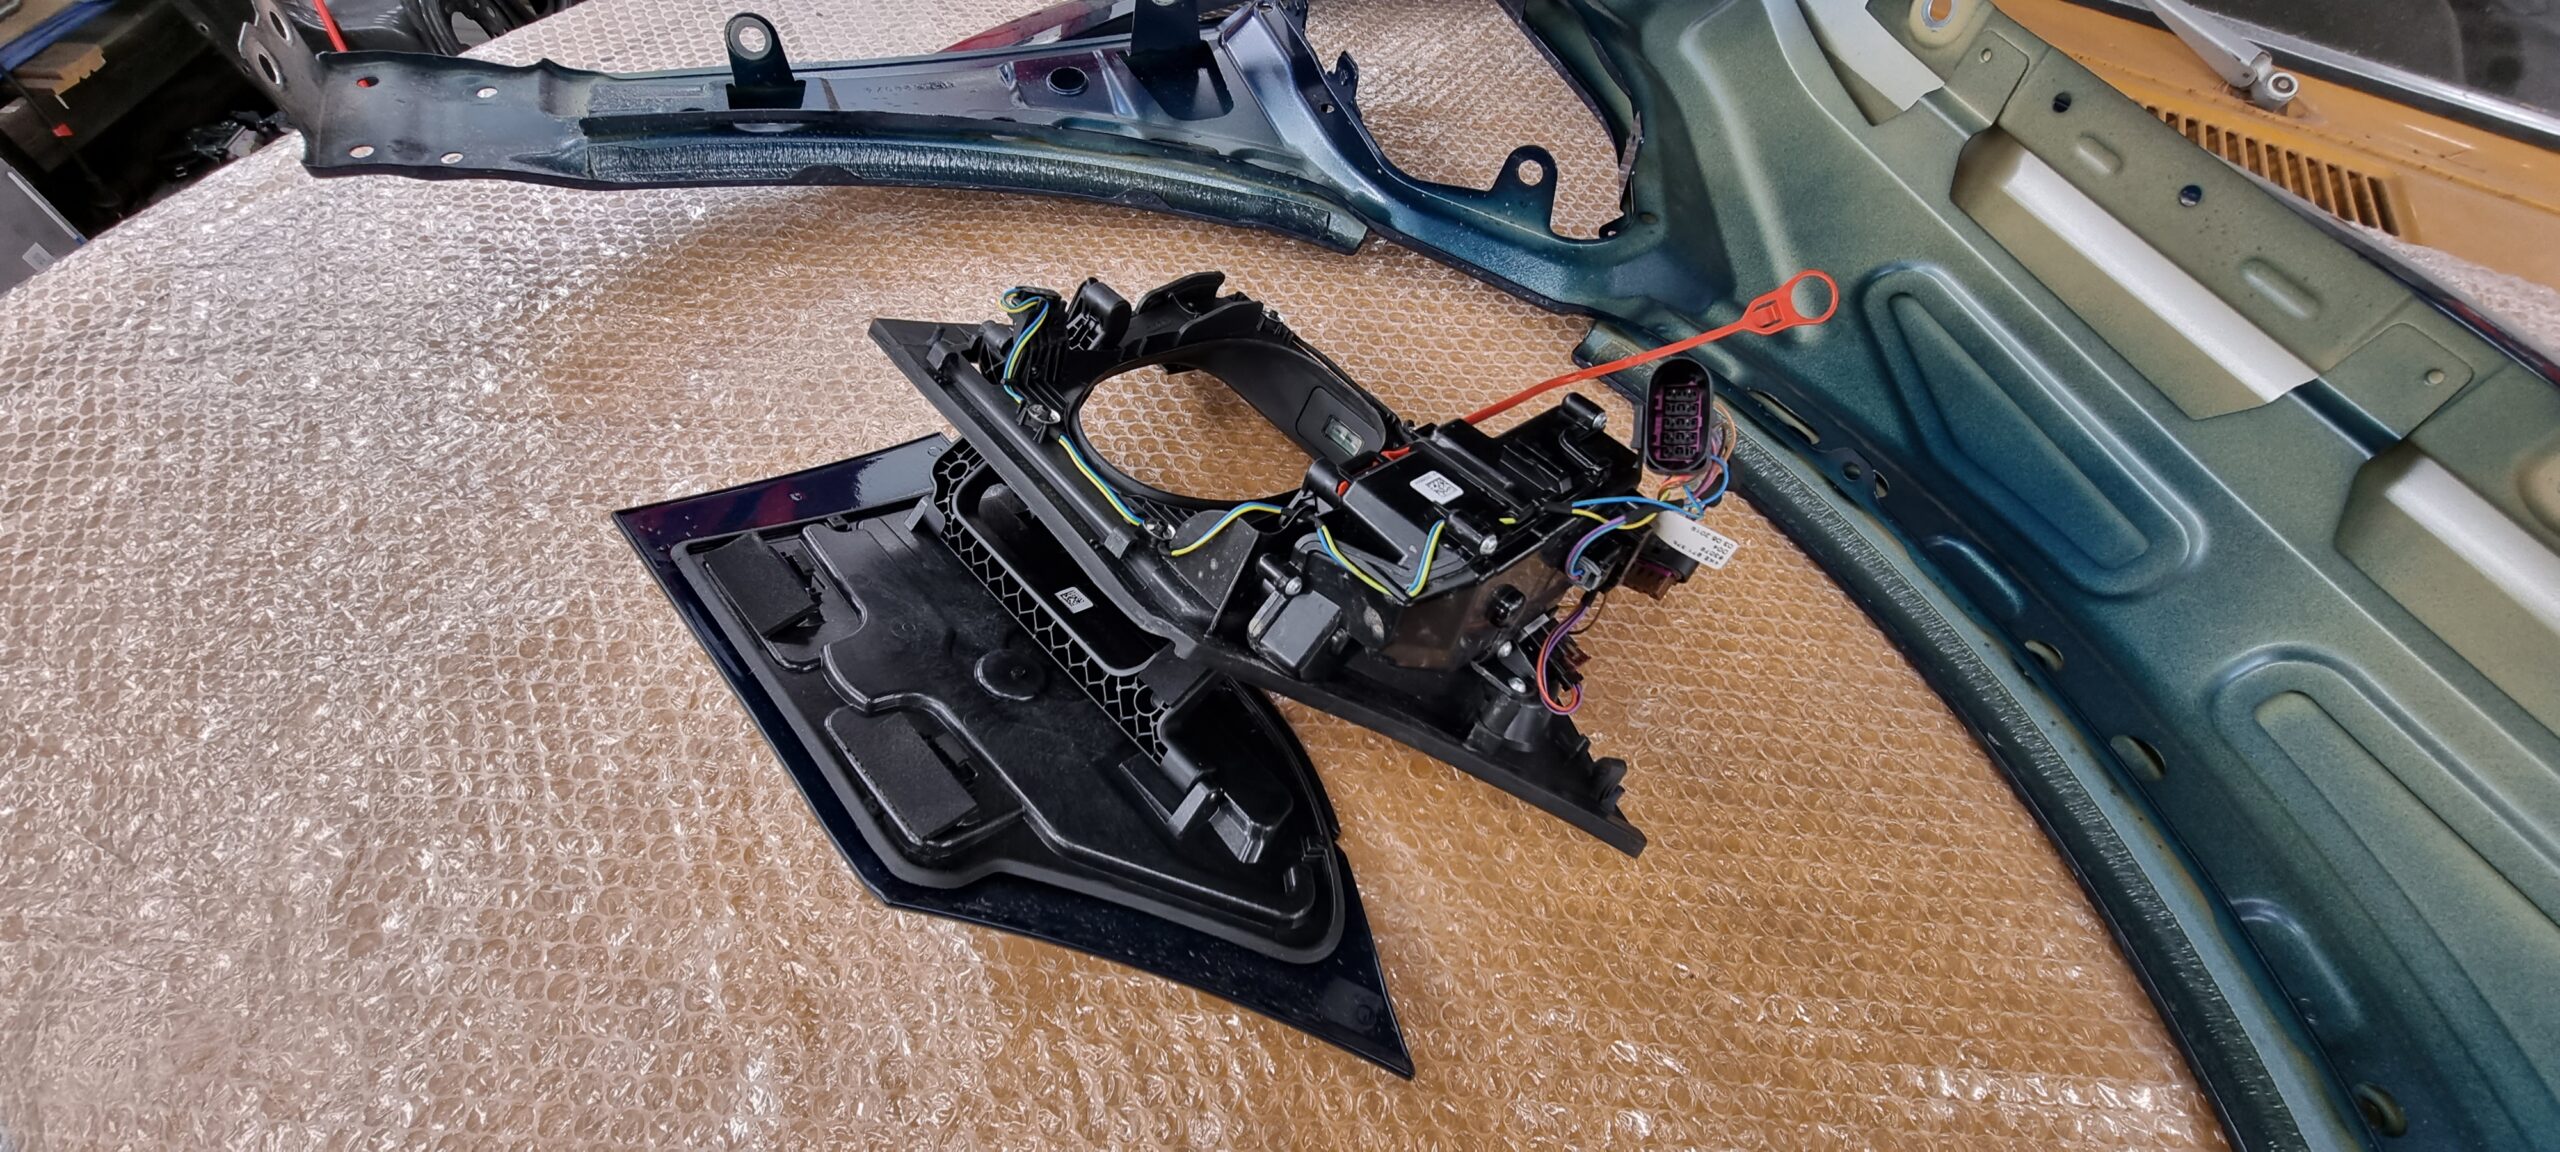
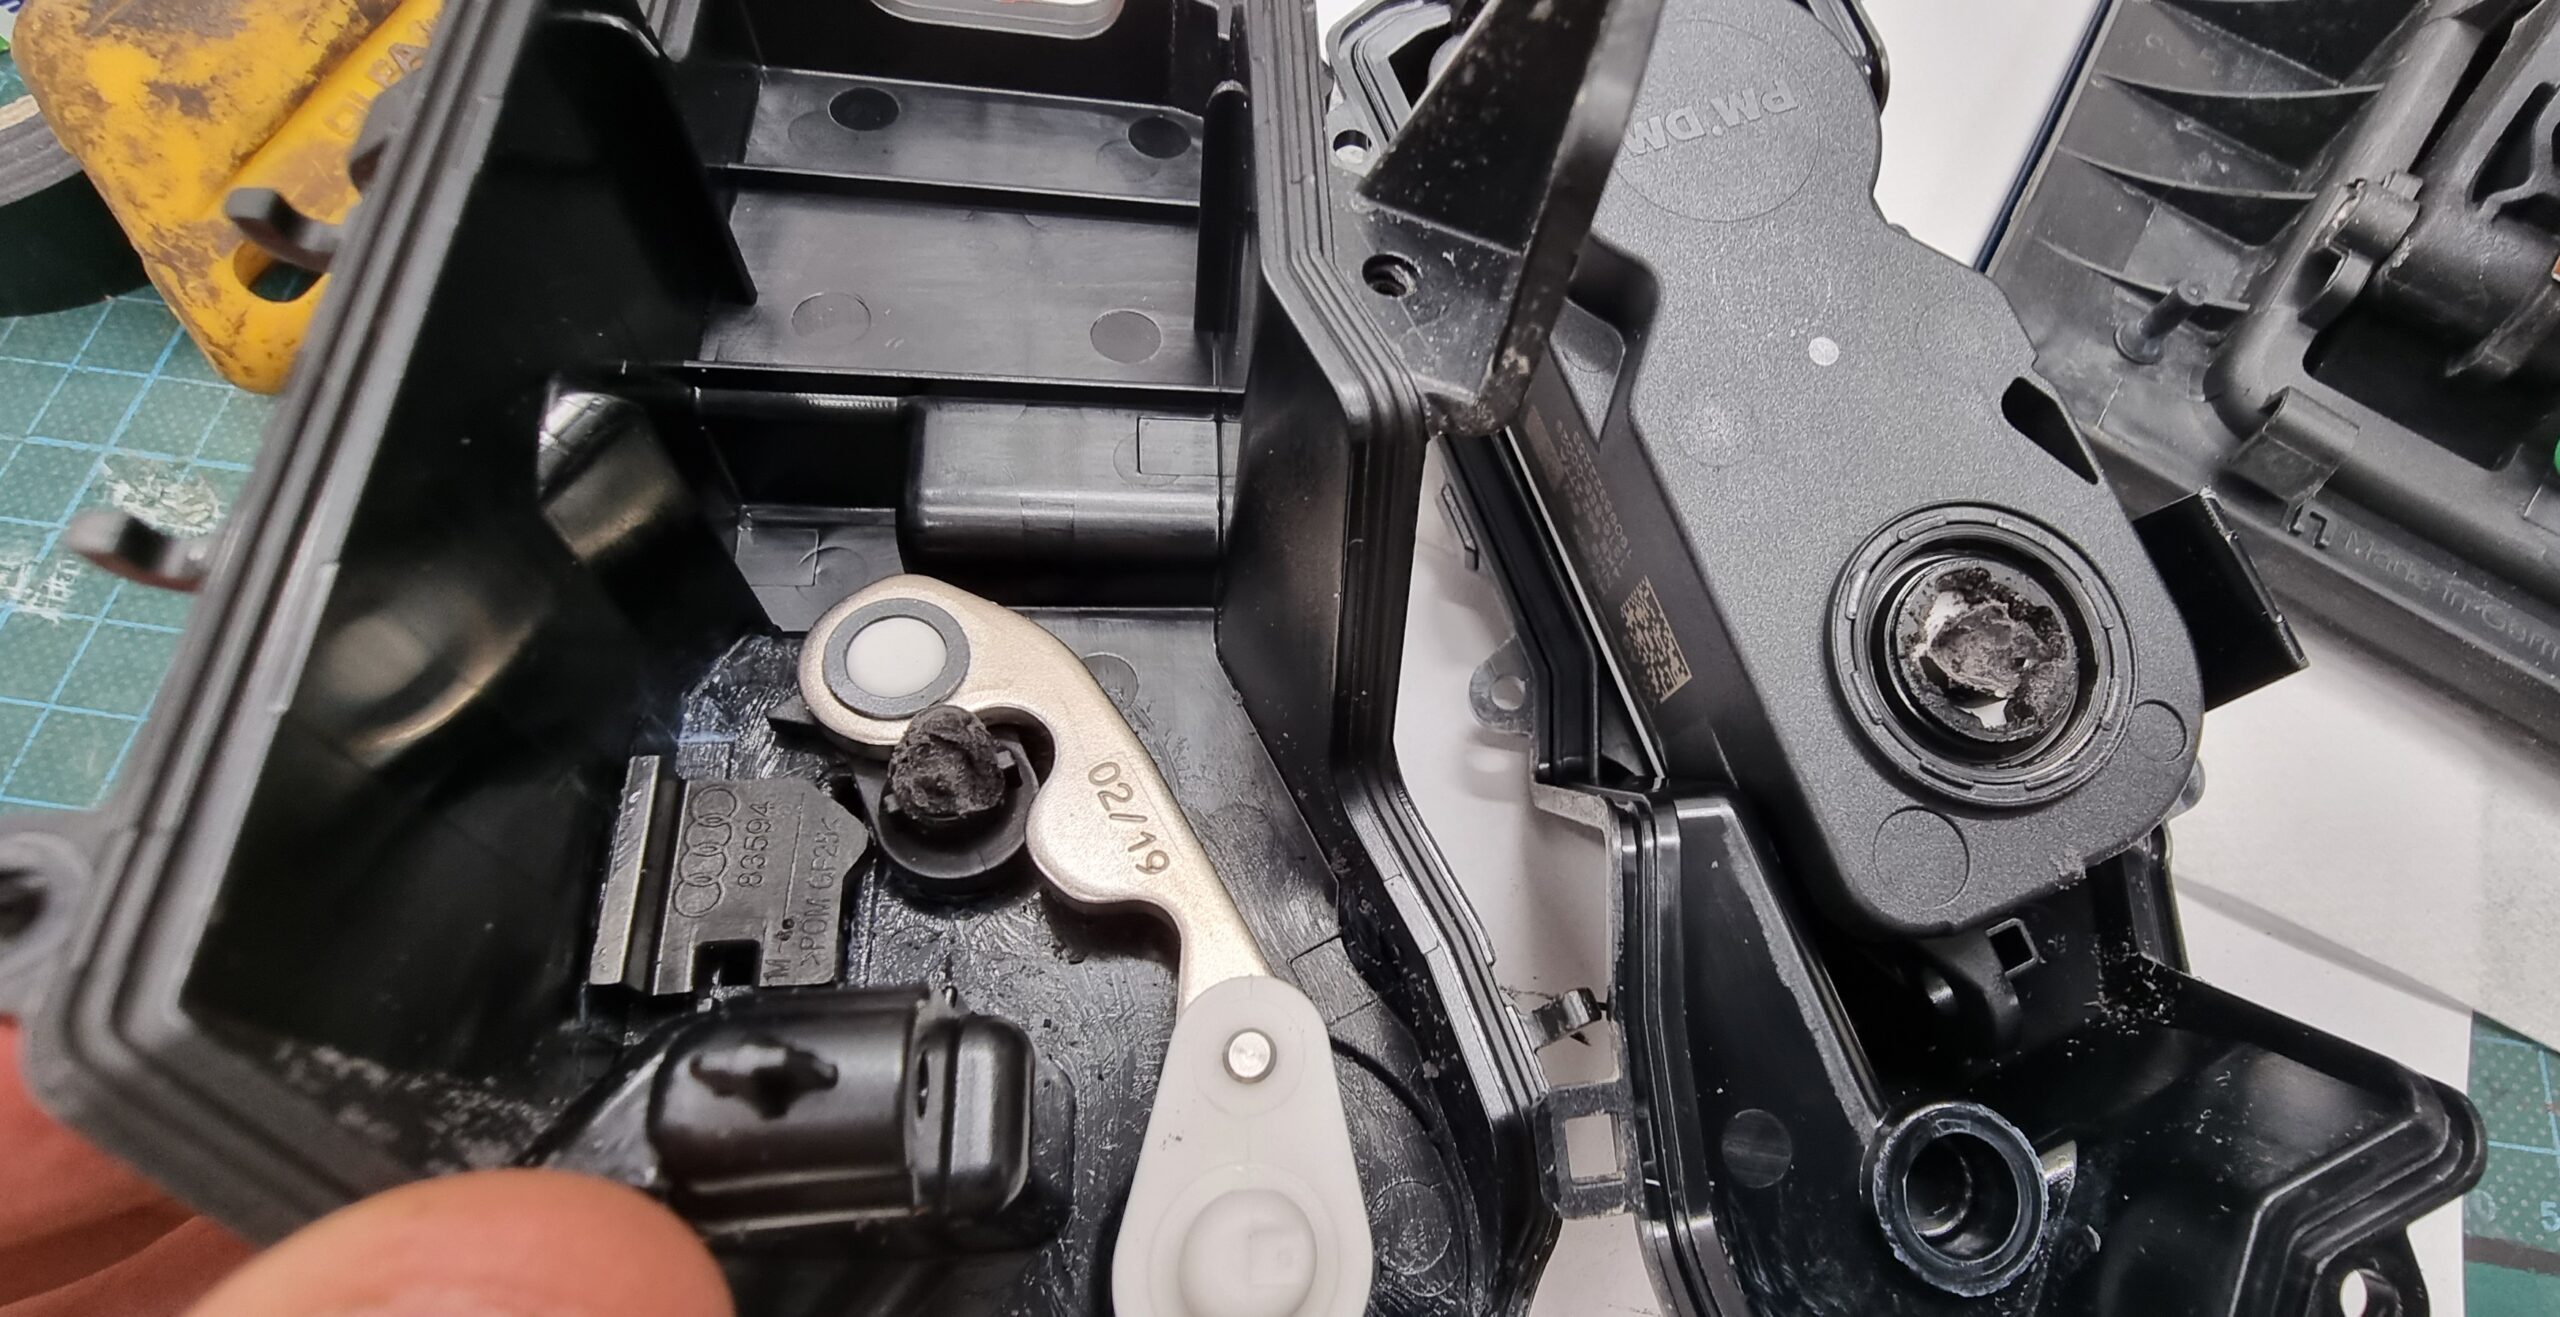
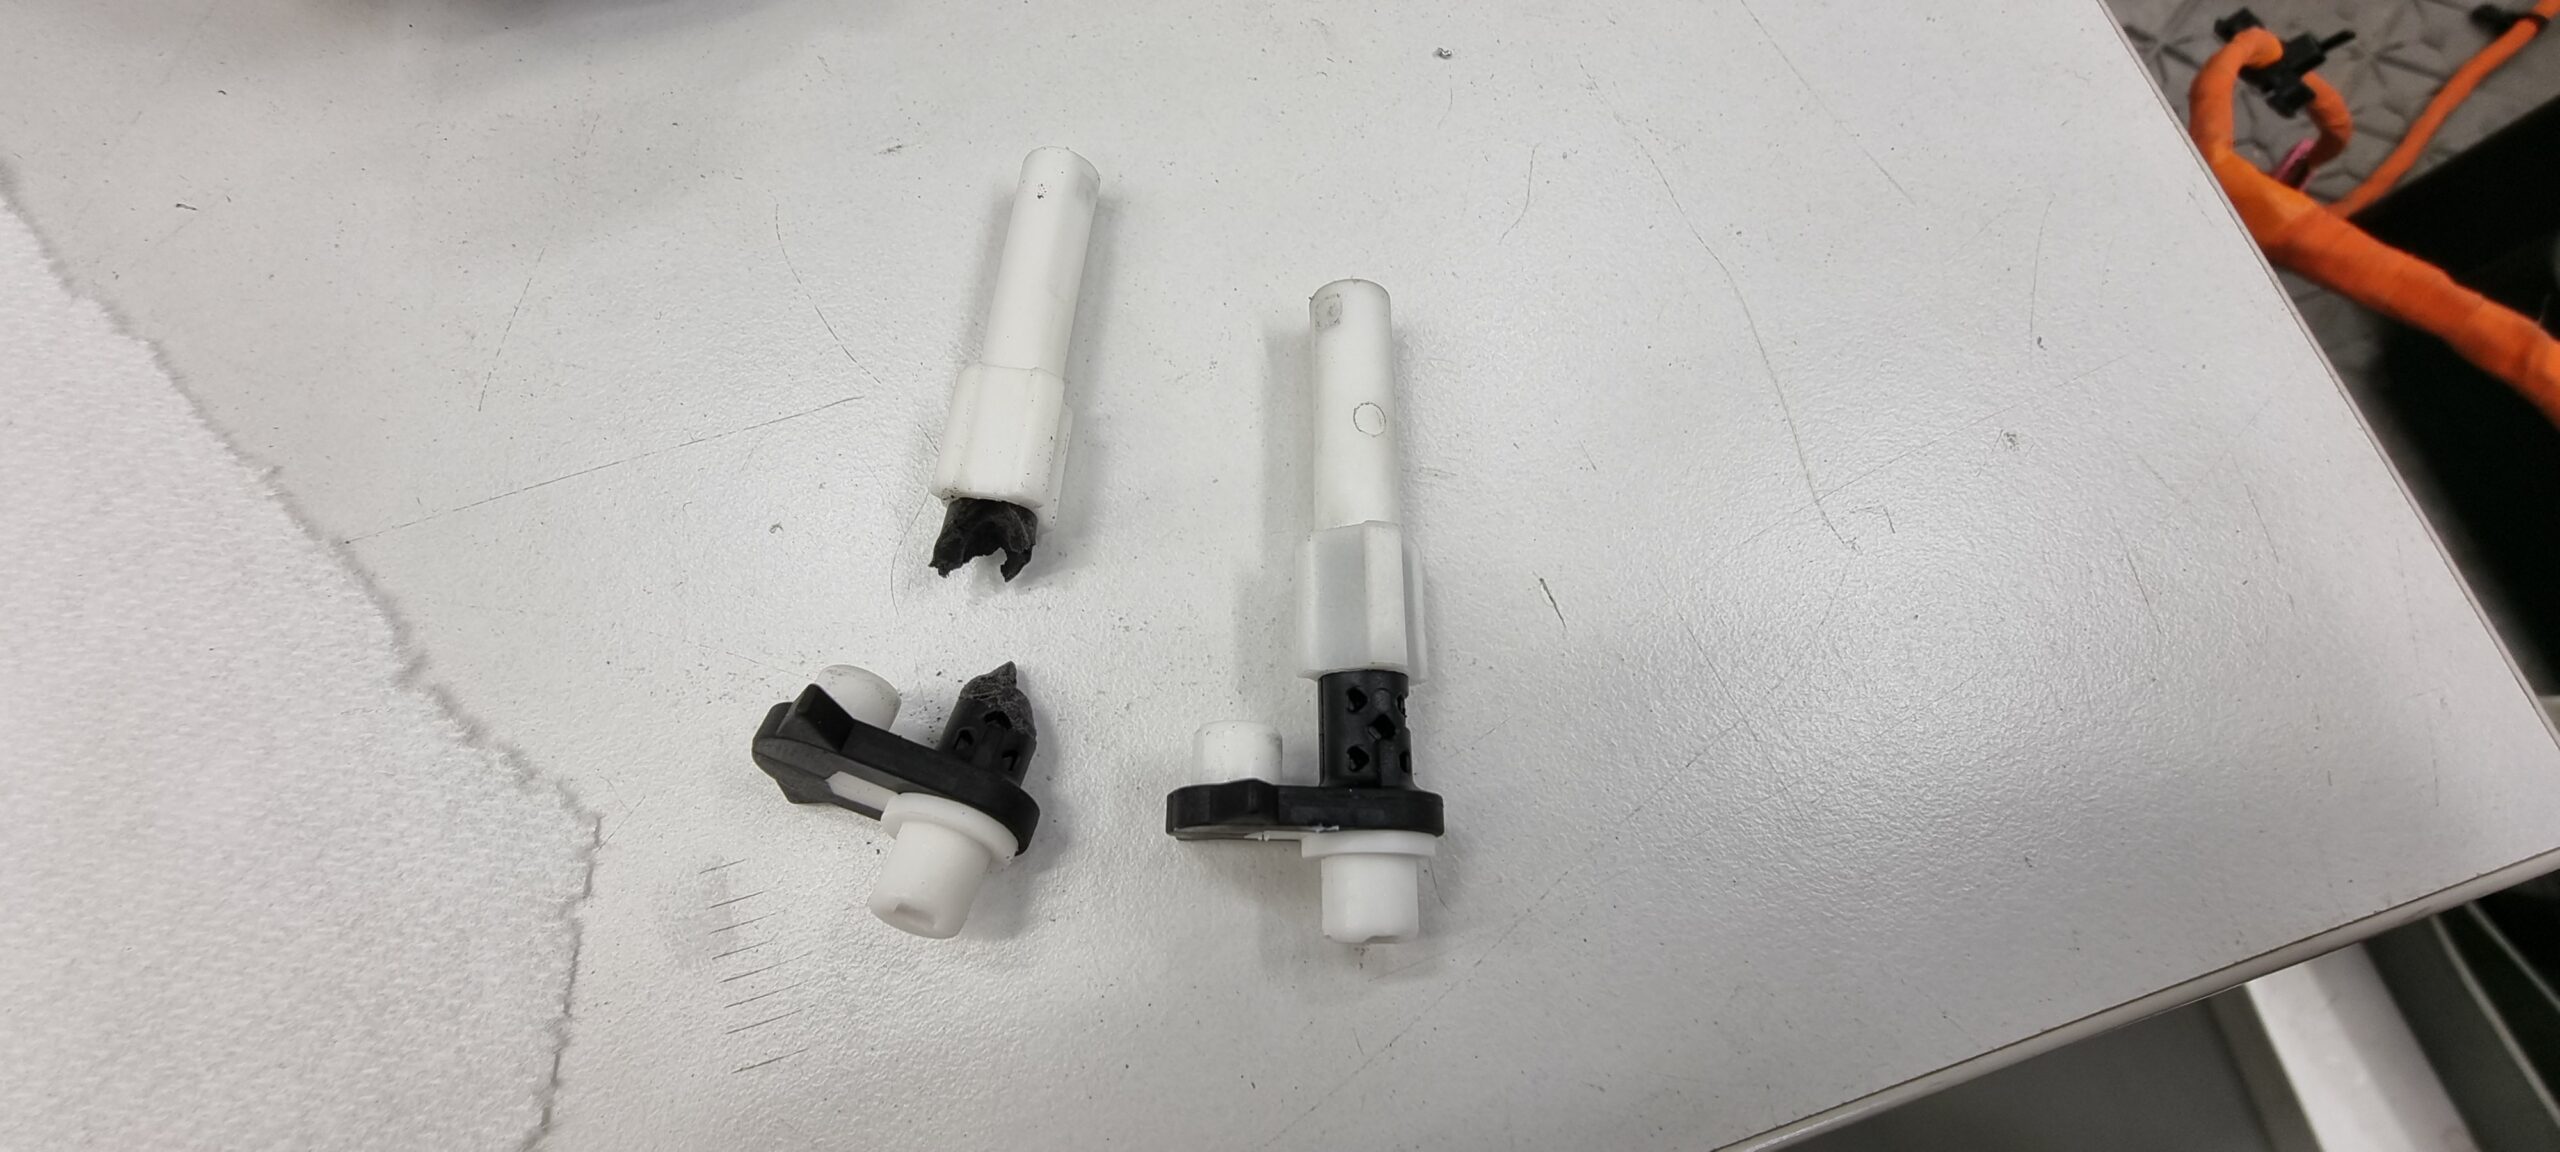
The motorised charging-port cover wasn't behaving, so out came the wing and charging-port assembly. An intermediate shaft in the motor mechanism was broken — this was the replacement part from Germany. Luckily, I'd kept the original damaged charging-port assembly, and it donated the part we needed.
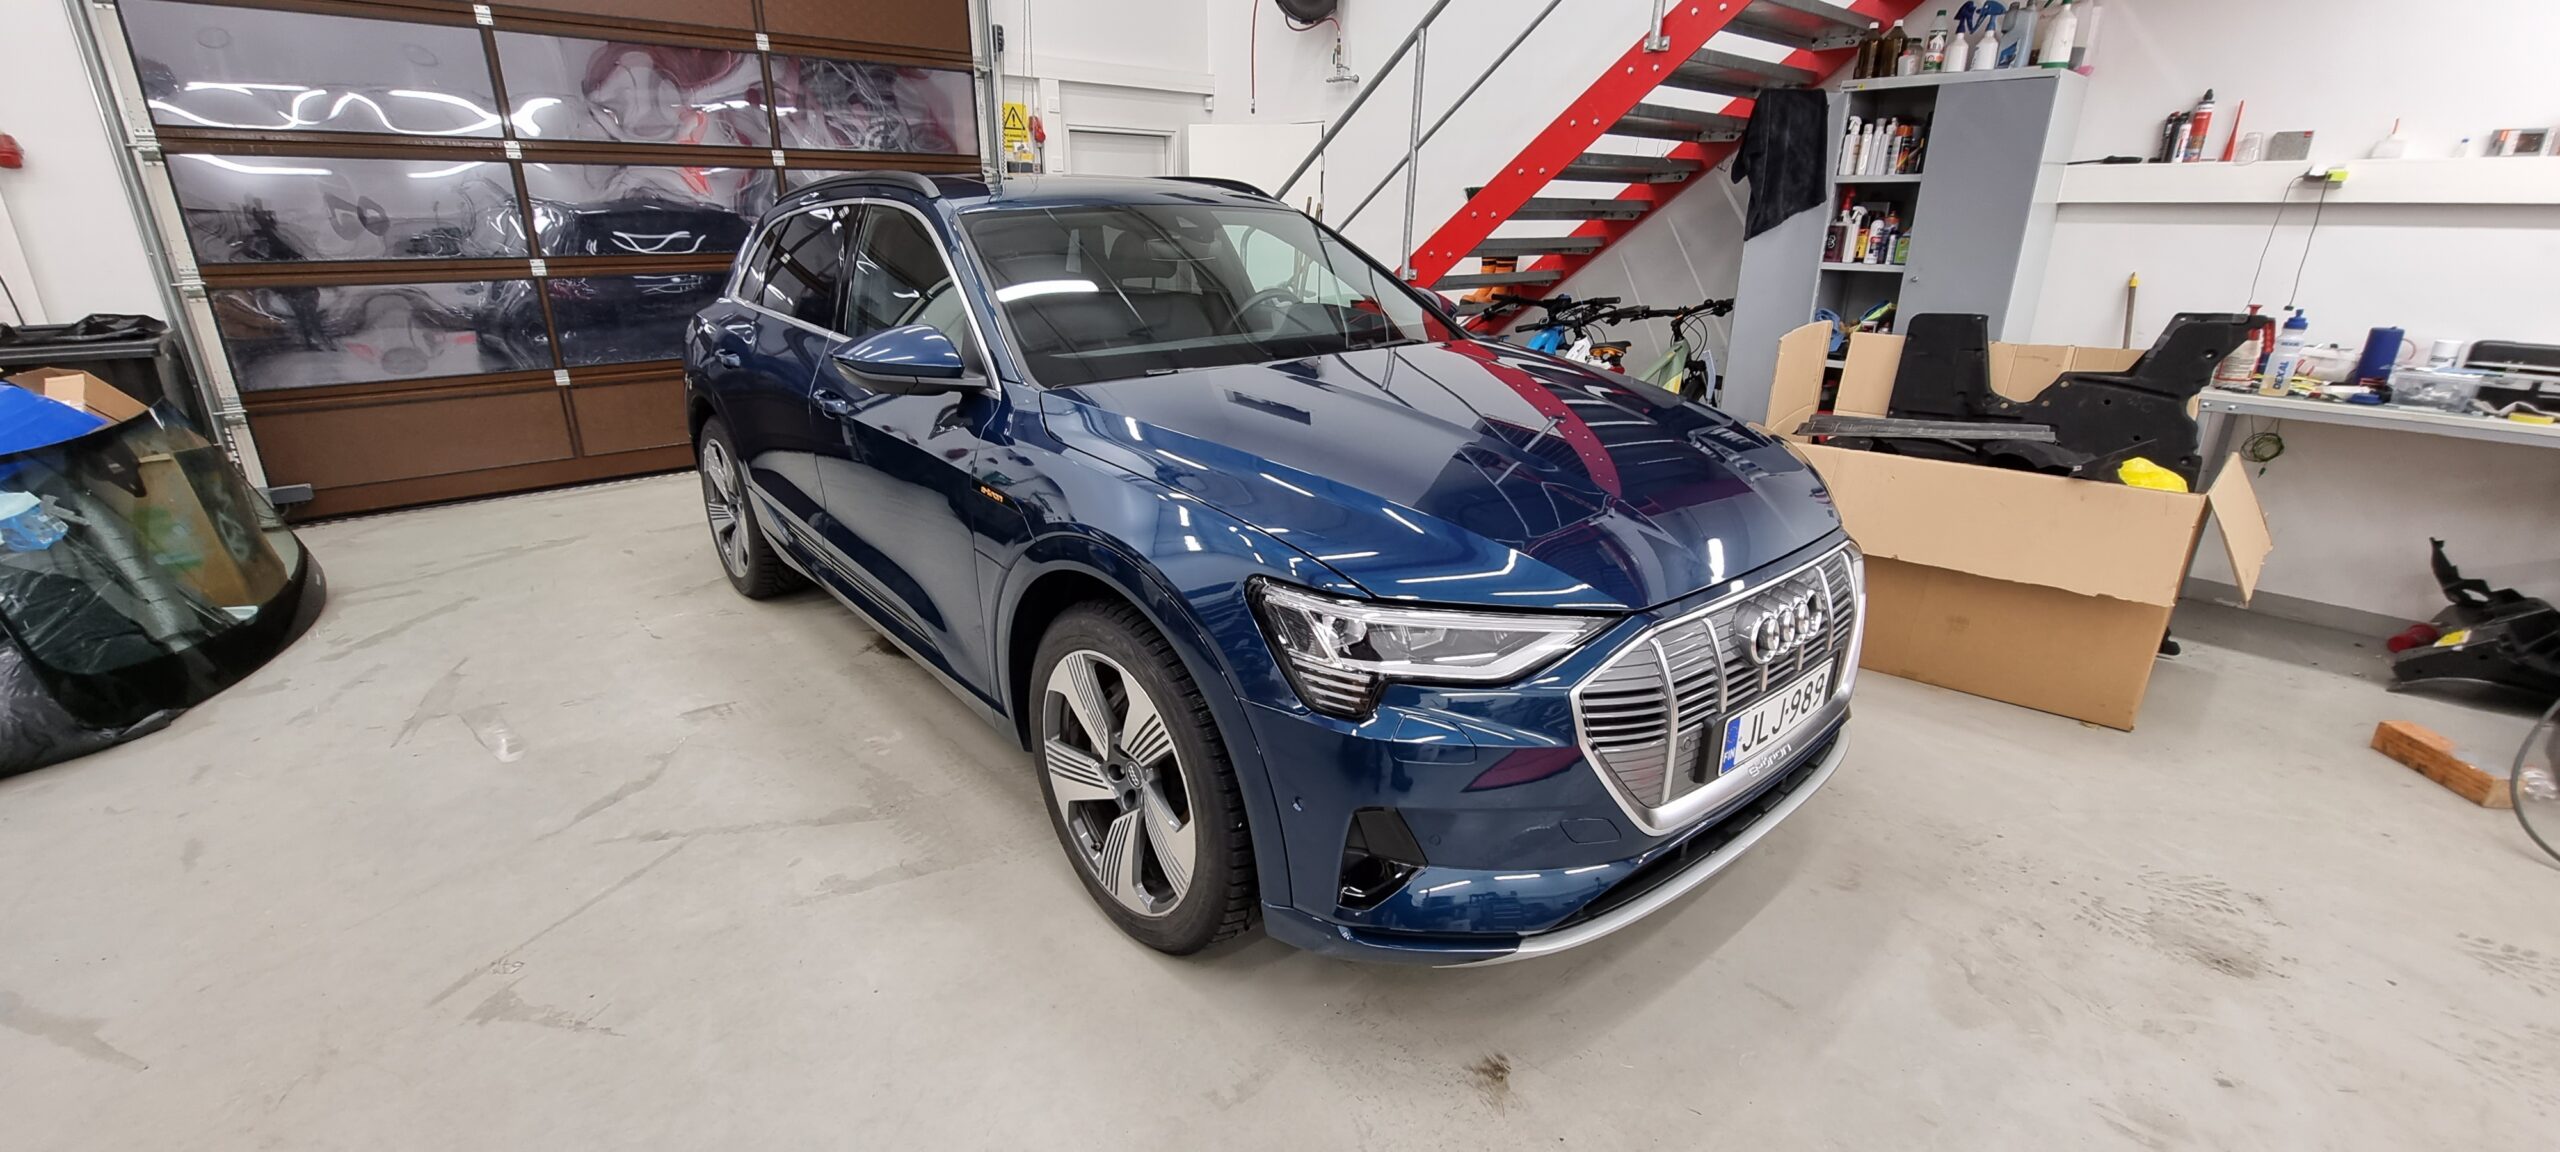
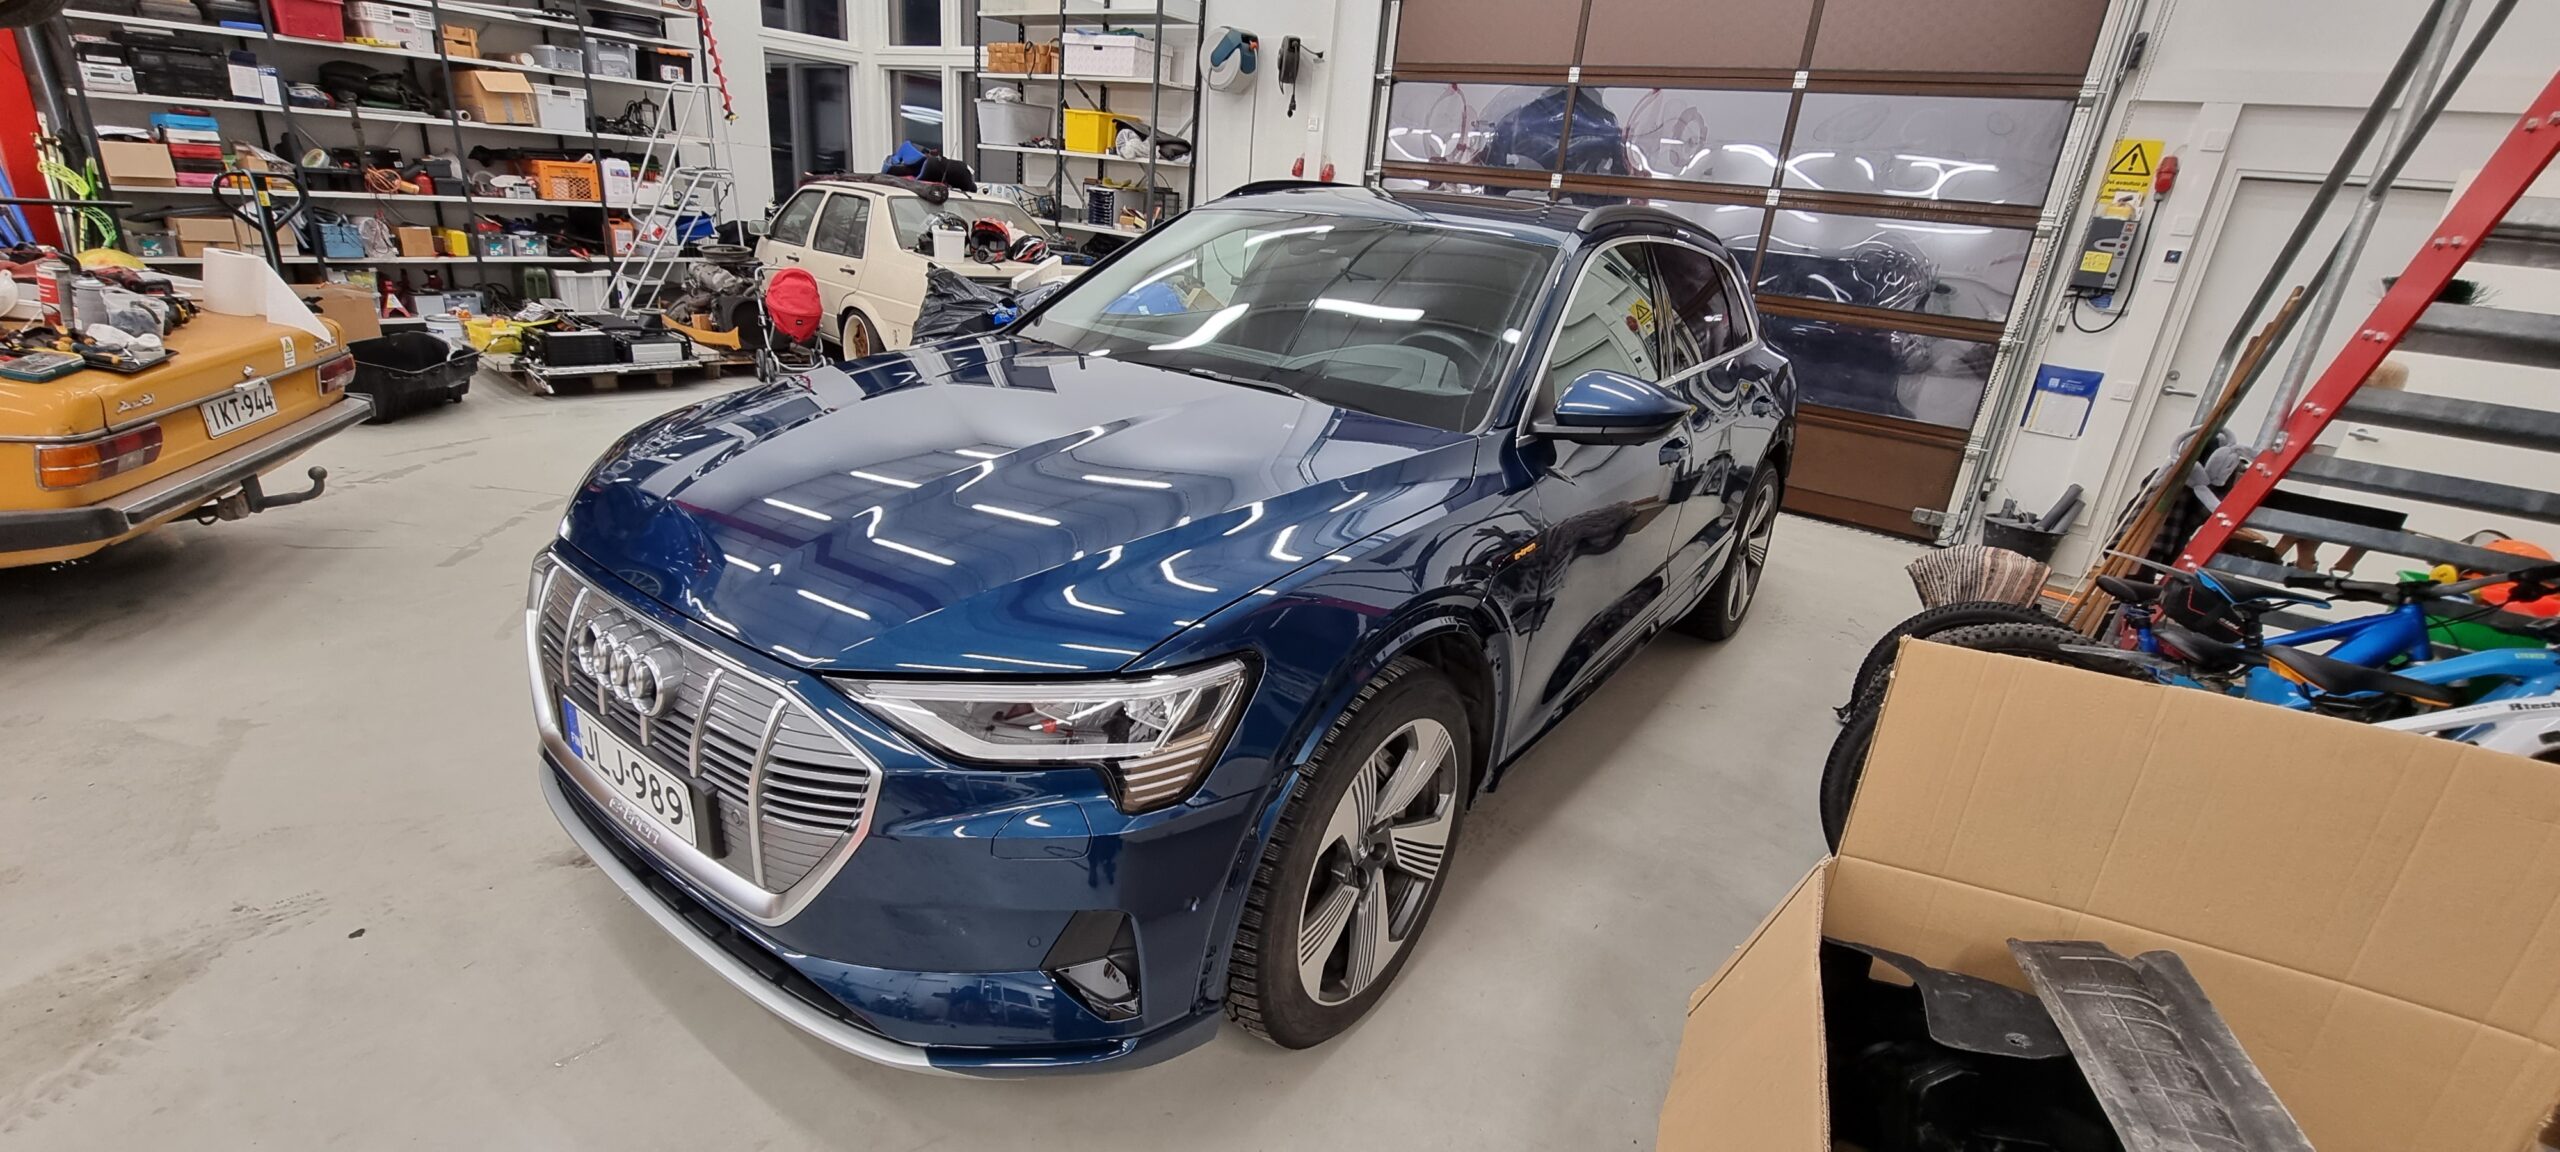
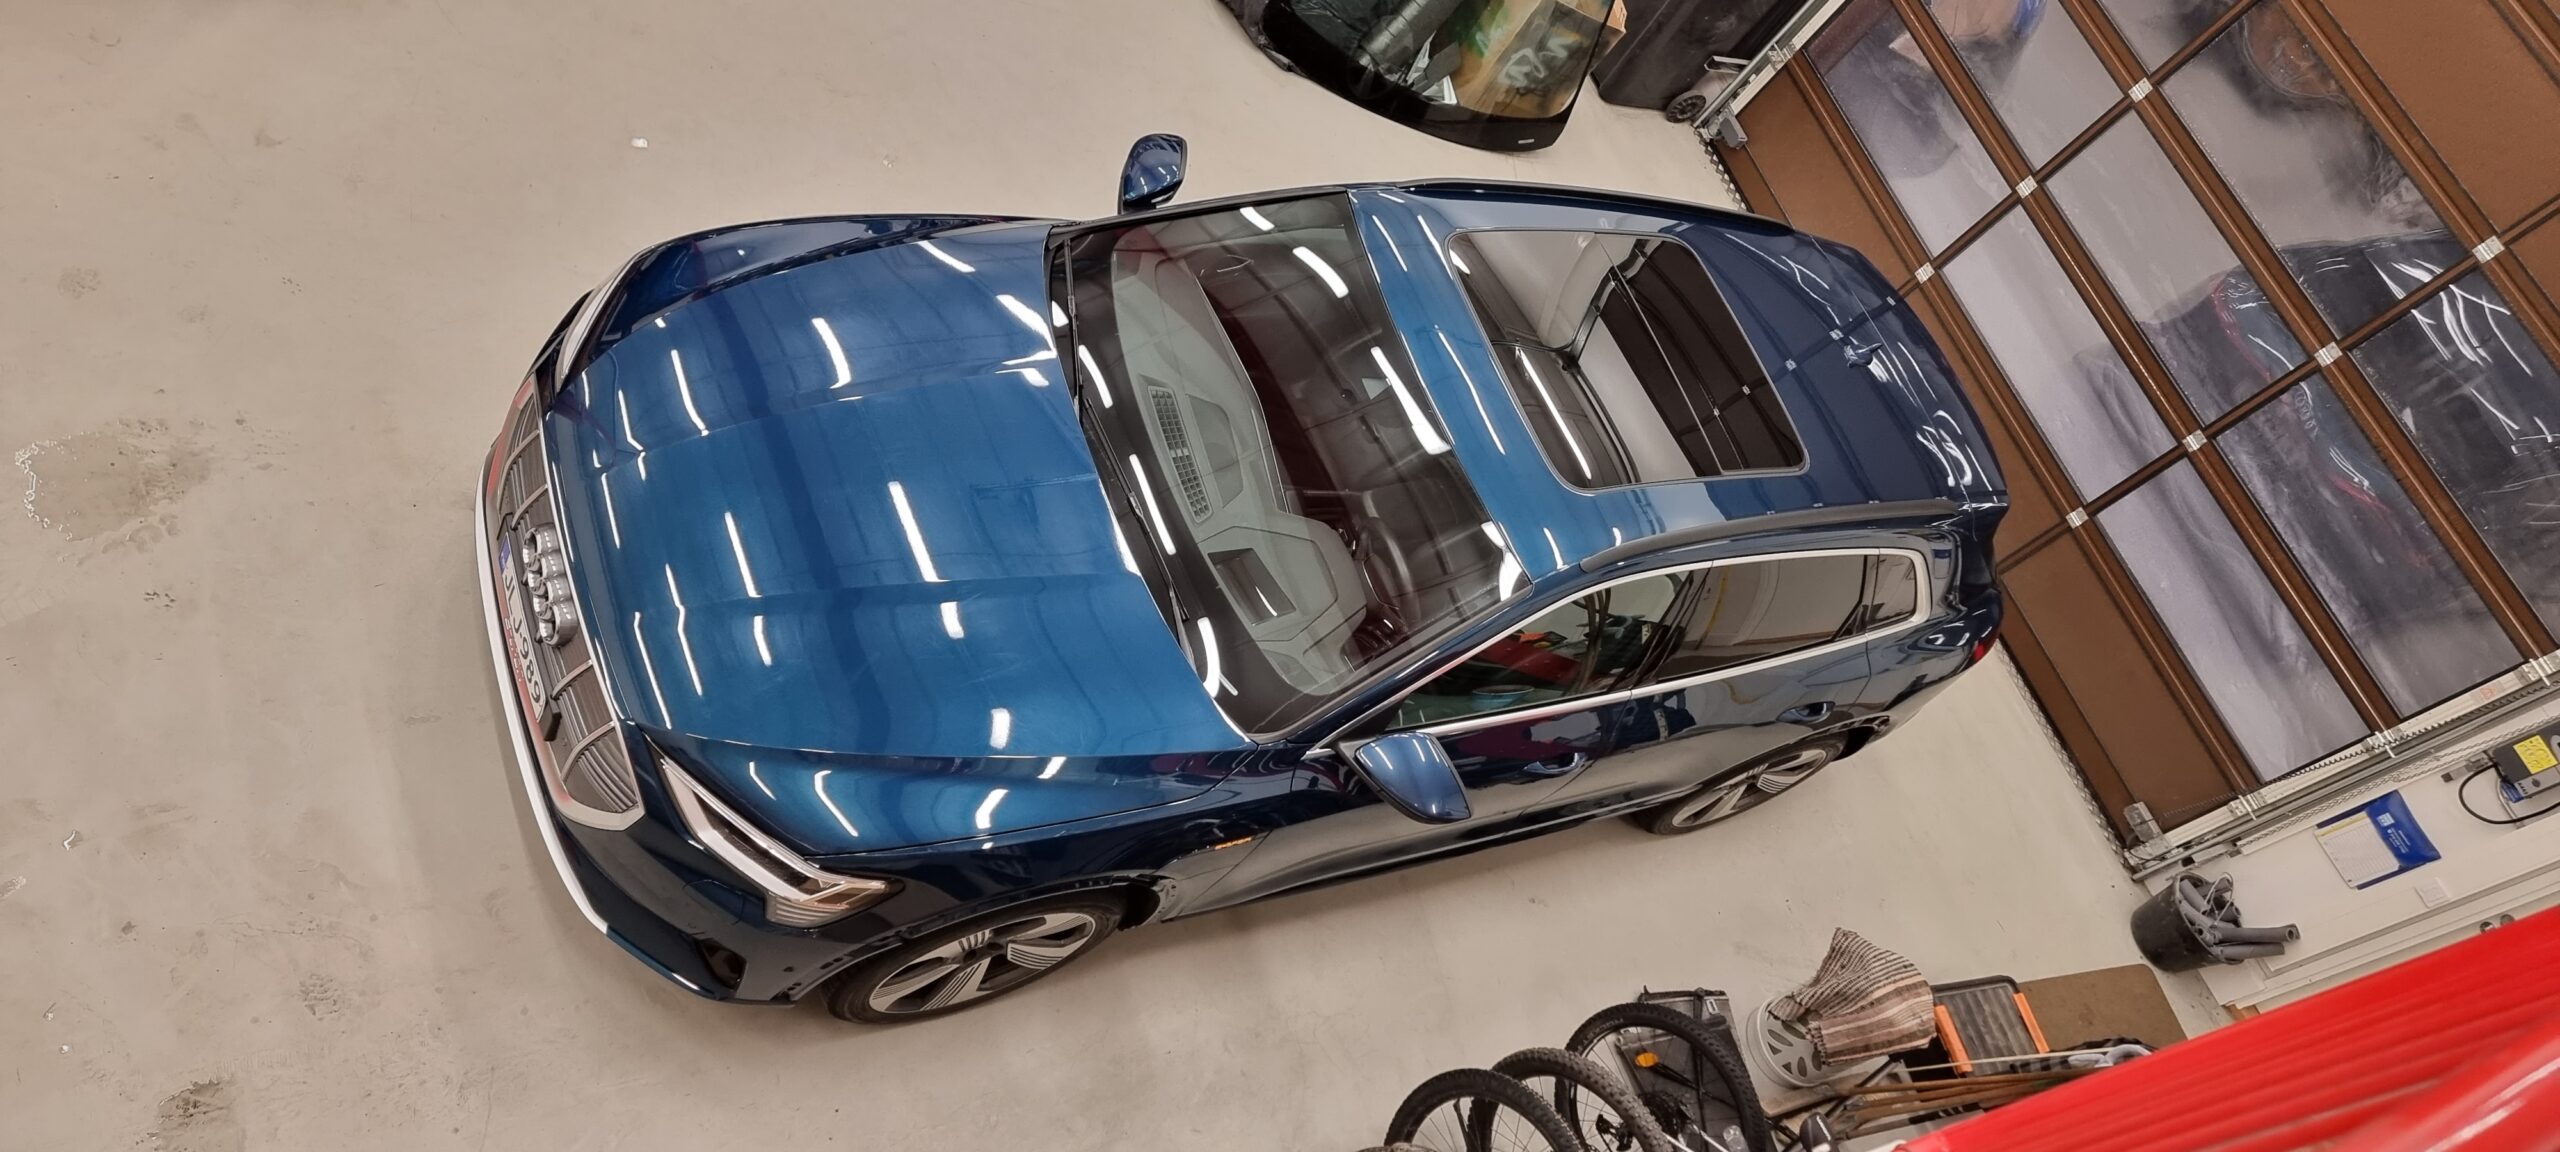
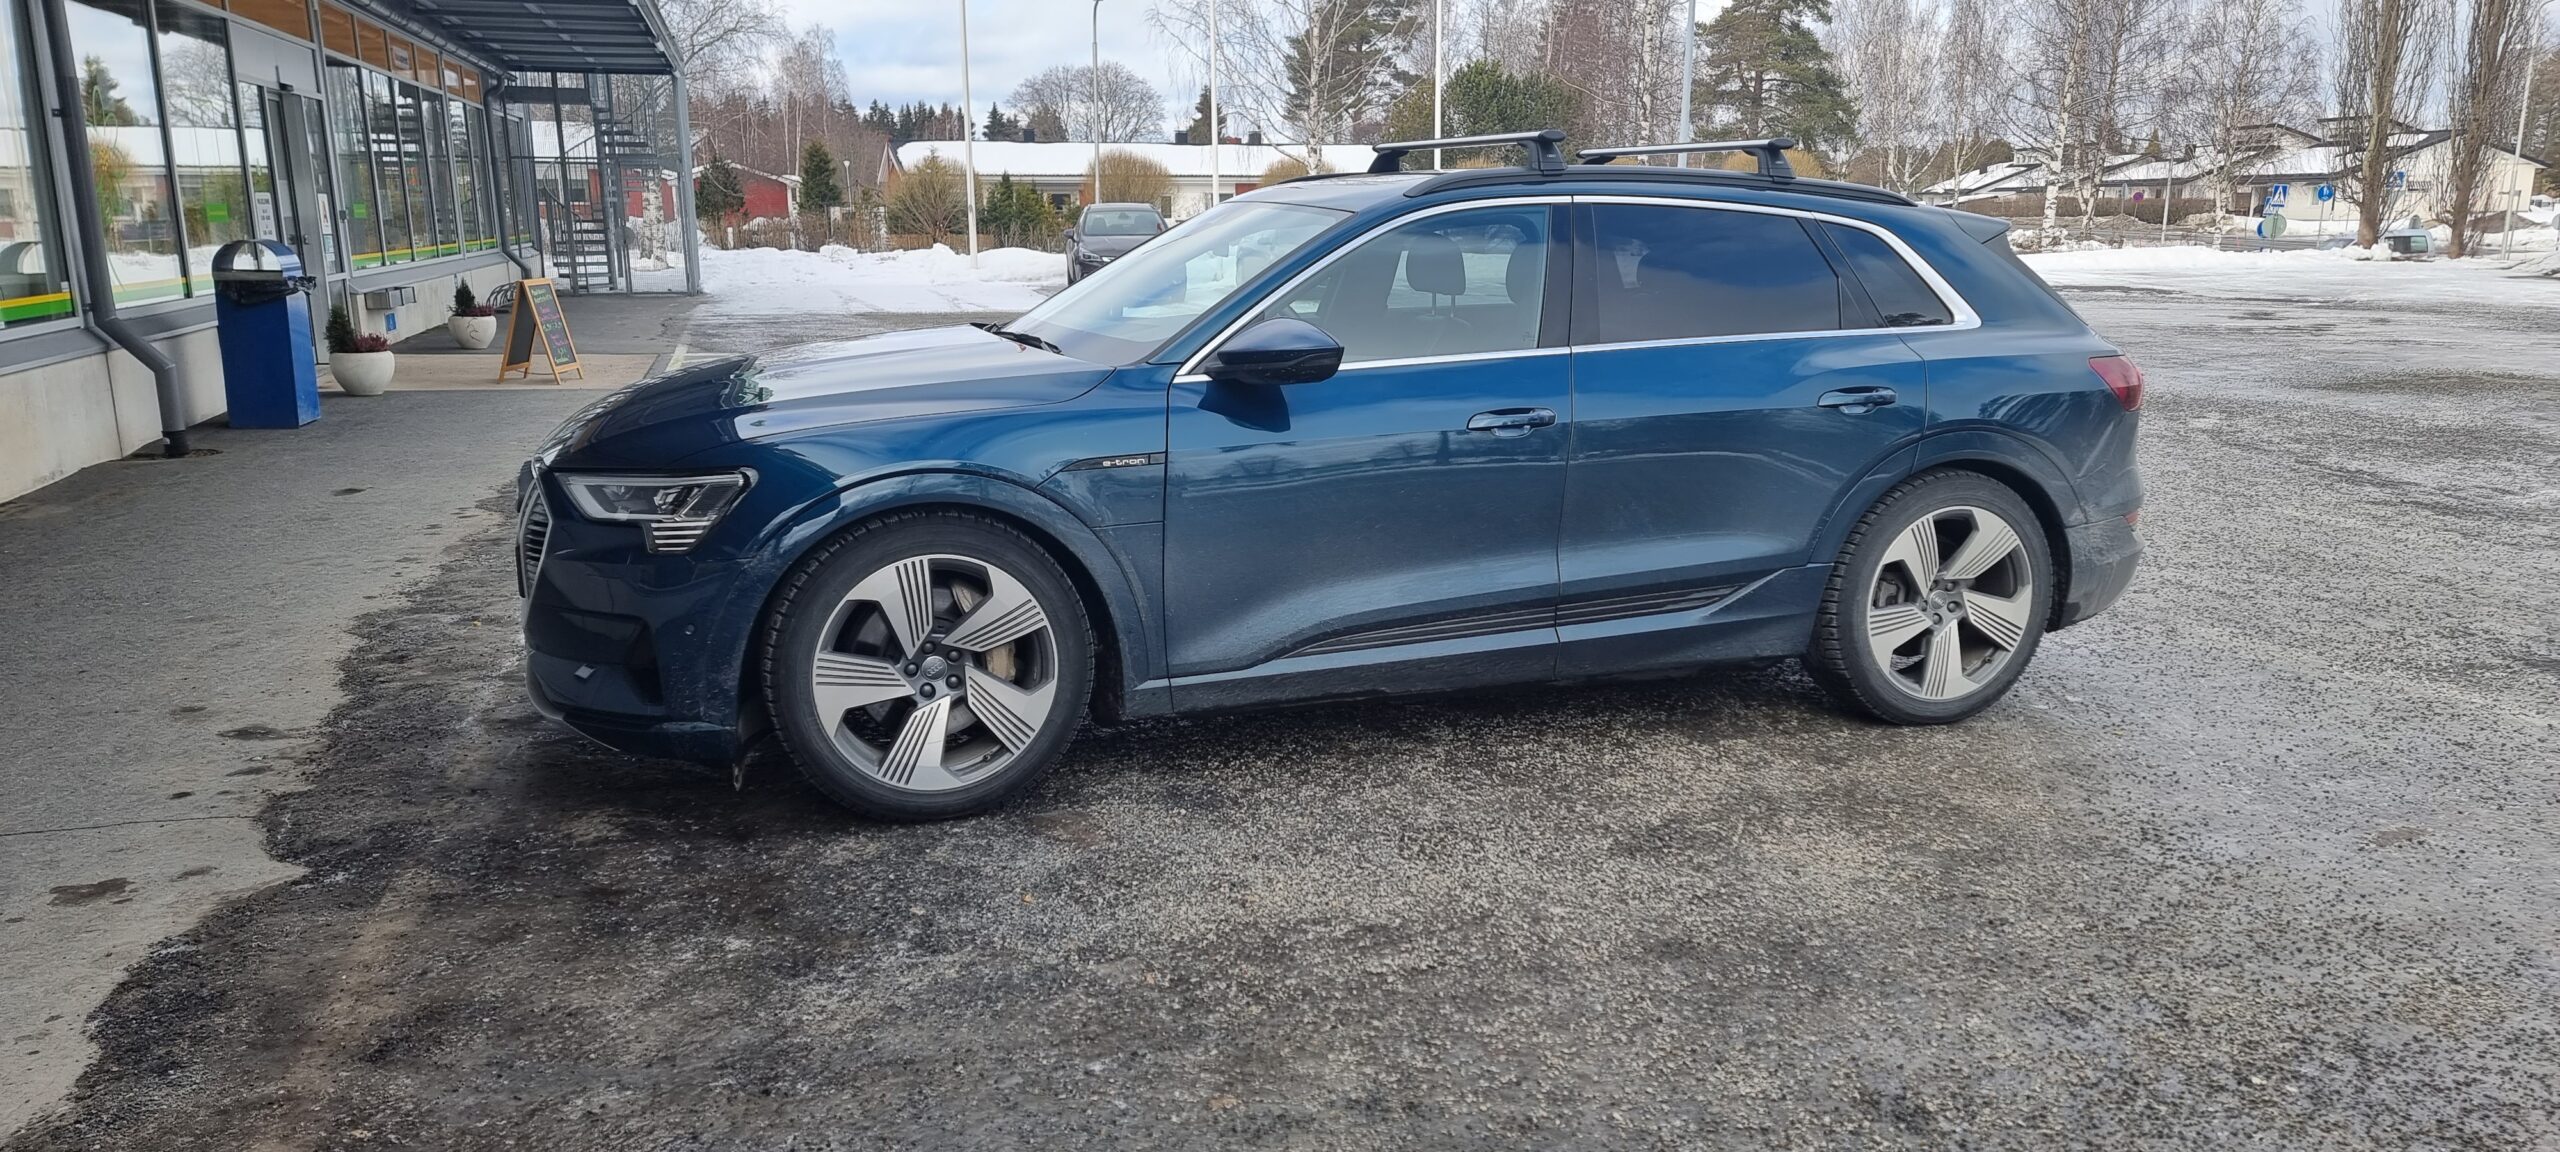
No other modifications this time, apart from a slight drop in ride height through software and a set of roof bars. A family car is a family car…
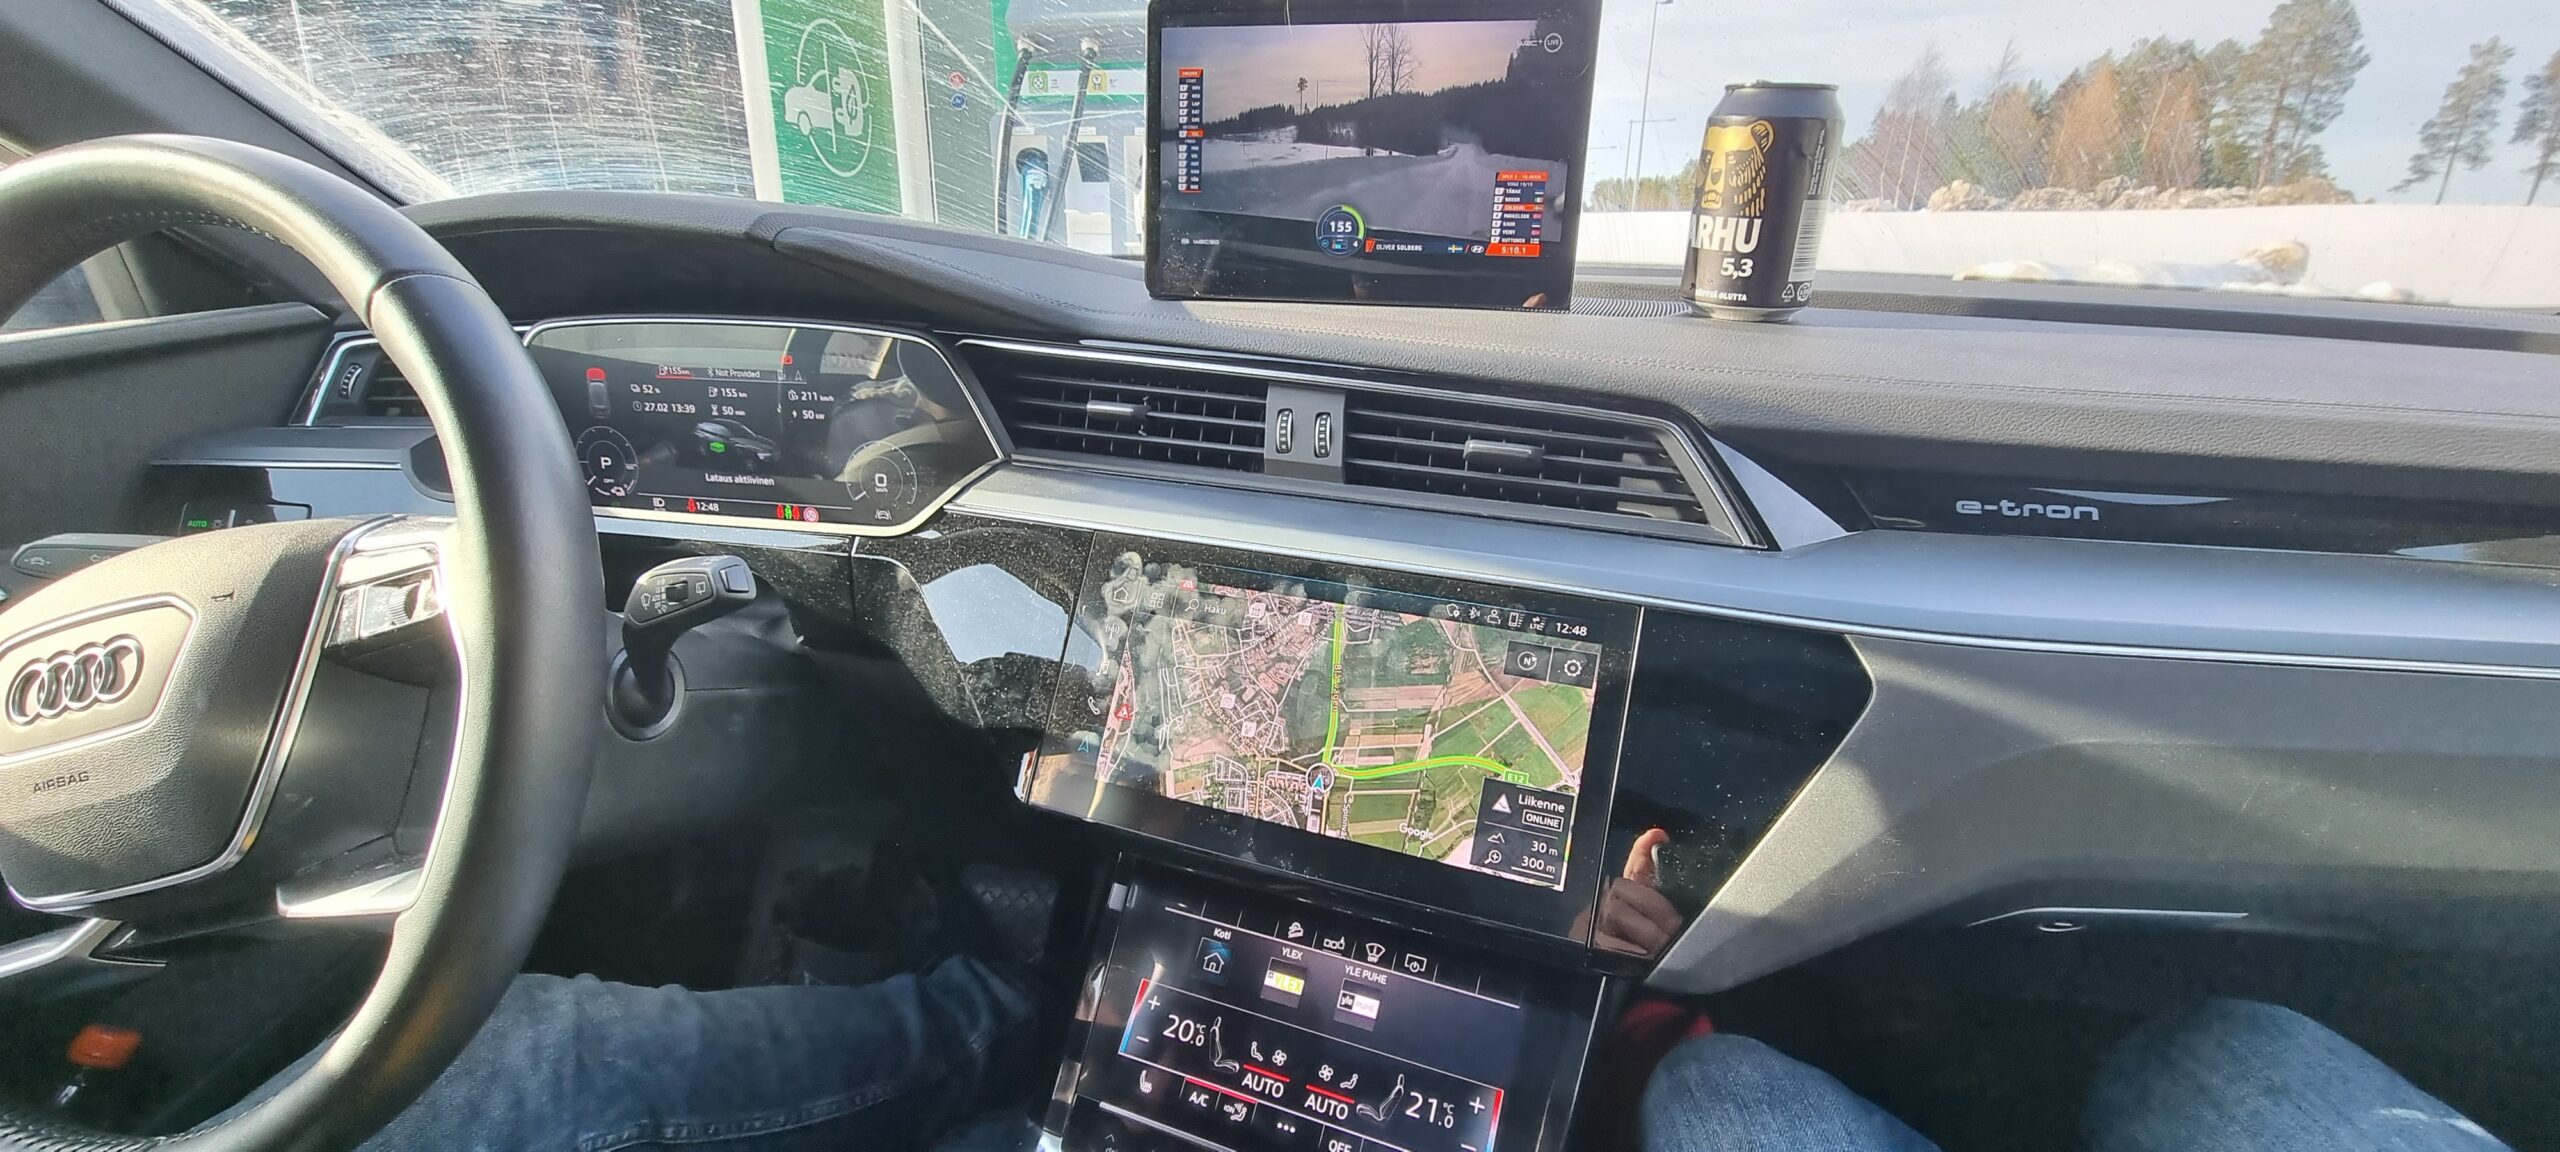
The proper test came on a trip to Sweden to watch the WRC rally. Here we're watching the Power Stage while fast charging on the way to the port. Our ferry left too early to watch that stage in person. The car was brilliant, and being electric was no inconvenience on the rally trip.
After a couple of months behind the wheel, I can say the e-tron is a lovely bit of kit. It uses a fair amount of electricity, but otherwise it's great. Given a choice between this and the Model S Tesla in the drive, we almost always take the Audi first. The lights, seats, handling and quietness are the first improvements that come to mind. The heater works properly too, unlike the Tesla's — there's still a fault we haven't sorted. The overall feeling of quality is simply better. The Tesla does win in a few areas, mainly a bit more power and, in some situations, easier-to-use screens. If you're considering an e-tron as the family EV, we'd warmly recommend it.
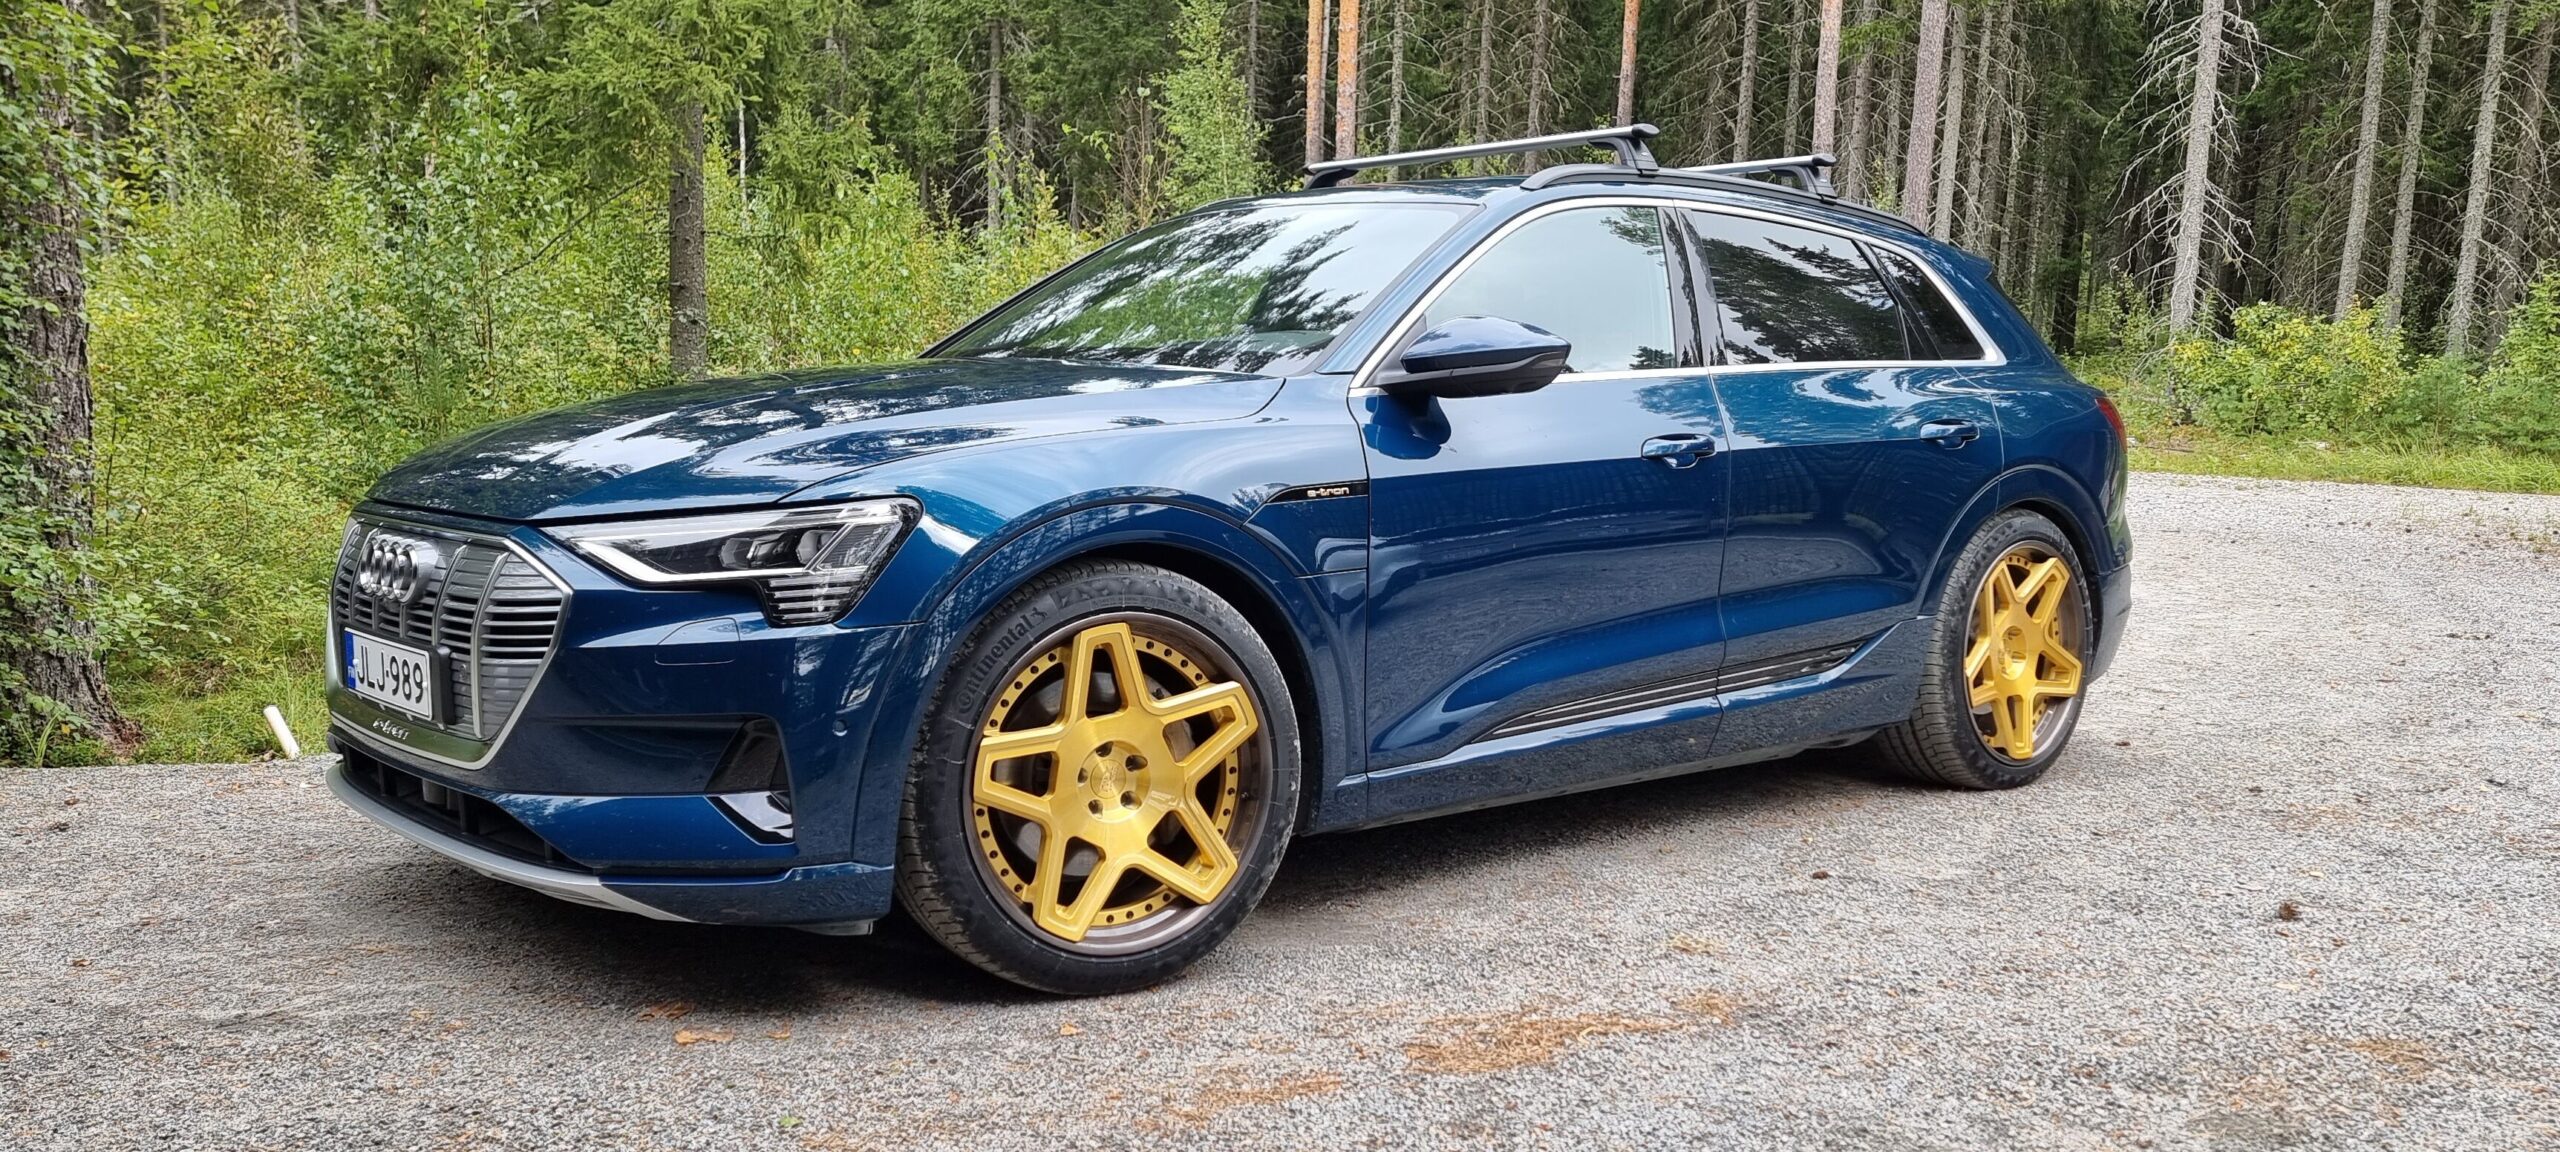
RMX Forged “Paksu on a diet”, 22×10 ET27.
In late summer 2022, we fitted wheels a little larger than the originals. RMX supplied them, custom-made for this car. We started with their “Paksu” design — Finnish for “fat” — but wanted a lighter look. Hence the working name: “Paksu on a diet”.
Includes original English text and AI-assisted translations.