ARCHIVE / PAJALLE
Tesla Model S Raven
Crash repairs on a Model S: bodywork, safety systems, paintwork and air suspension.
2021-02-23 · 17th birthday and a new Tesla project
Pajalle.com turns 17! I registered the domain on 23 February 2004, although some of the projects go all the way back to the 1990s.
Autumn and winter have kept me busy with electric cars. Time to introduce a new project — although this one has actually been going on since September.
Tesla Model S Long Range 2020
I bought a 2016 P90D Model S for Autokierrätys L&G to dismantle. Then an almost-new Long Range turned up at an insurance auction. The donor was a pre-facelift car, but I figured plenty of its parts would still be useful. After a bit of thought, I bought this one too.
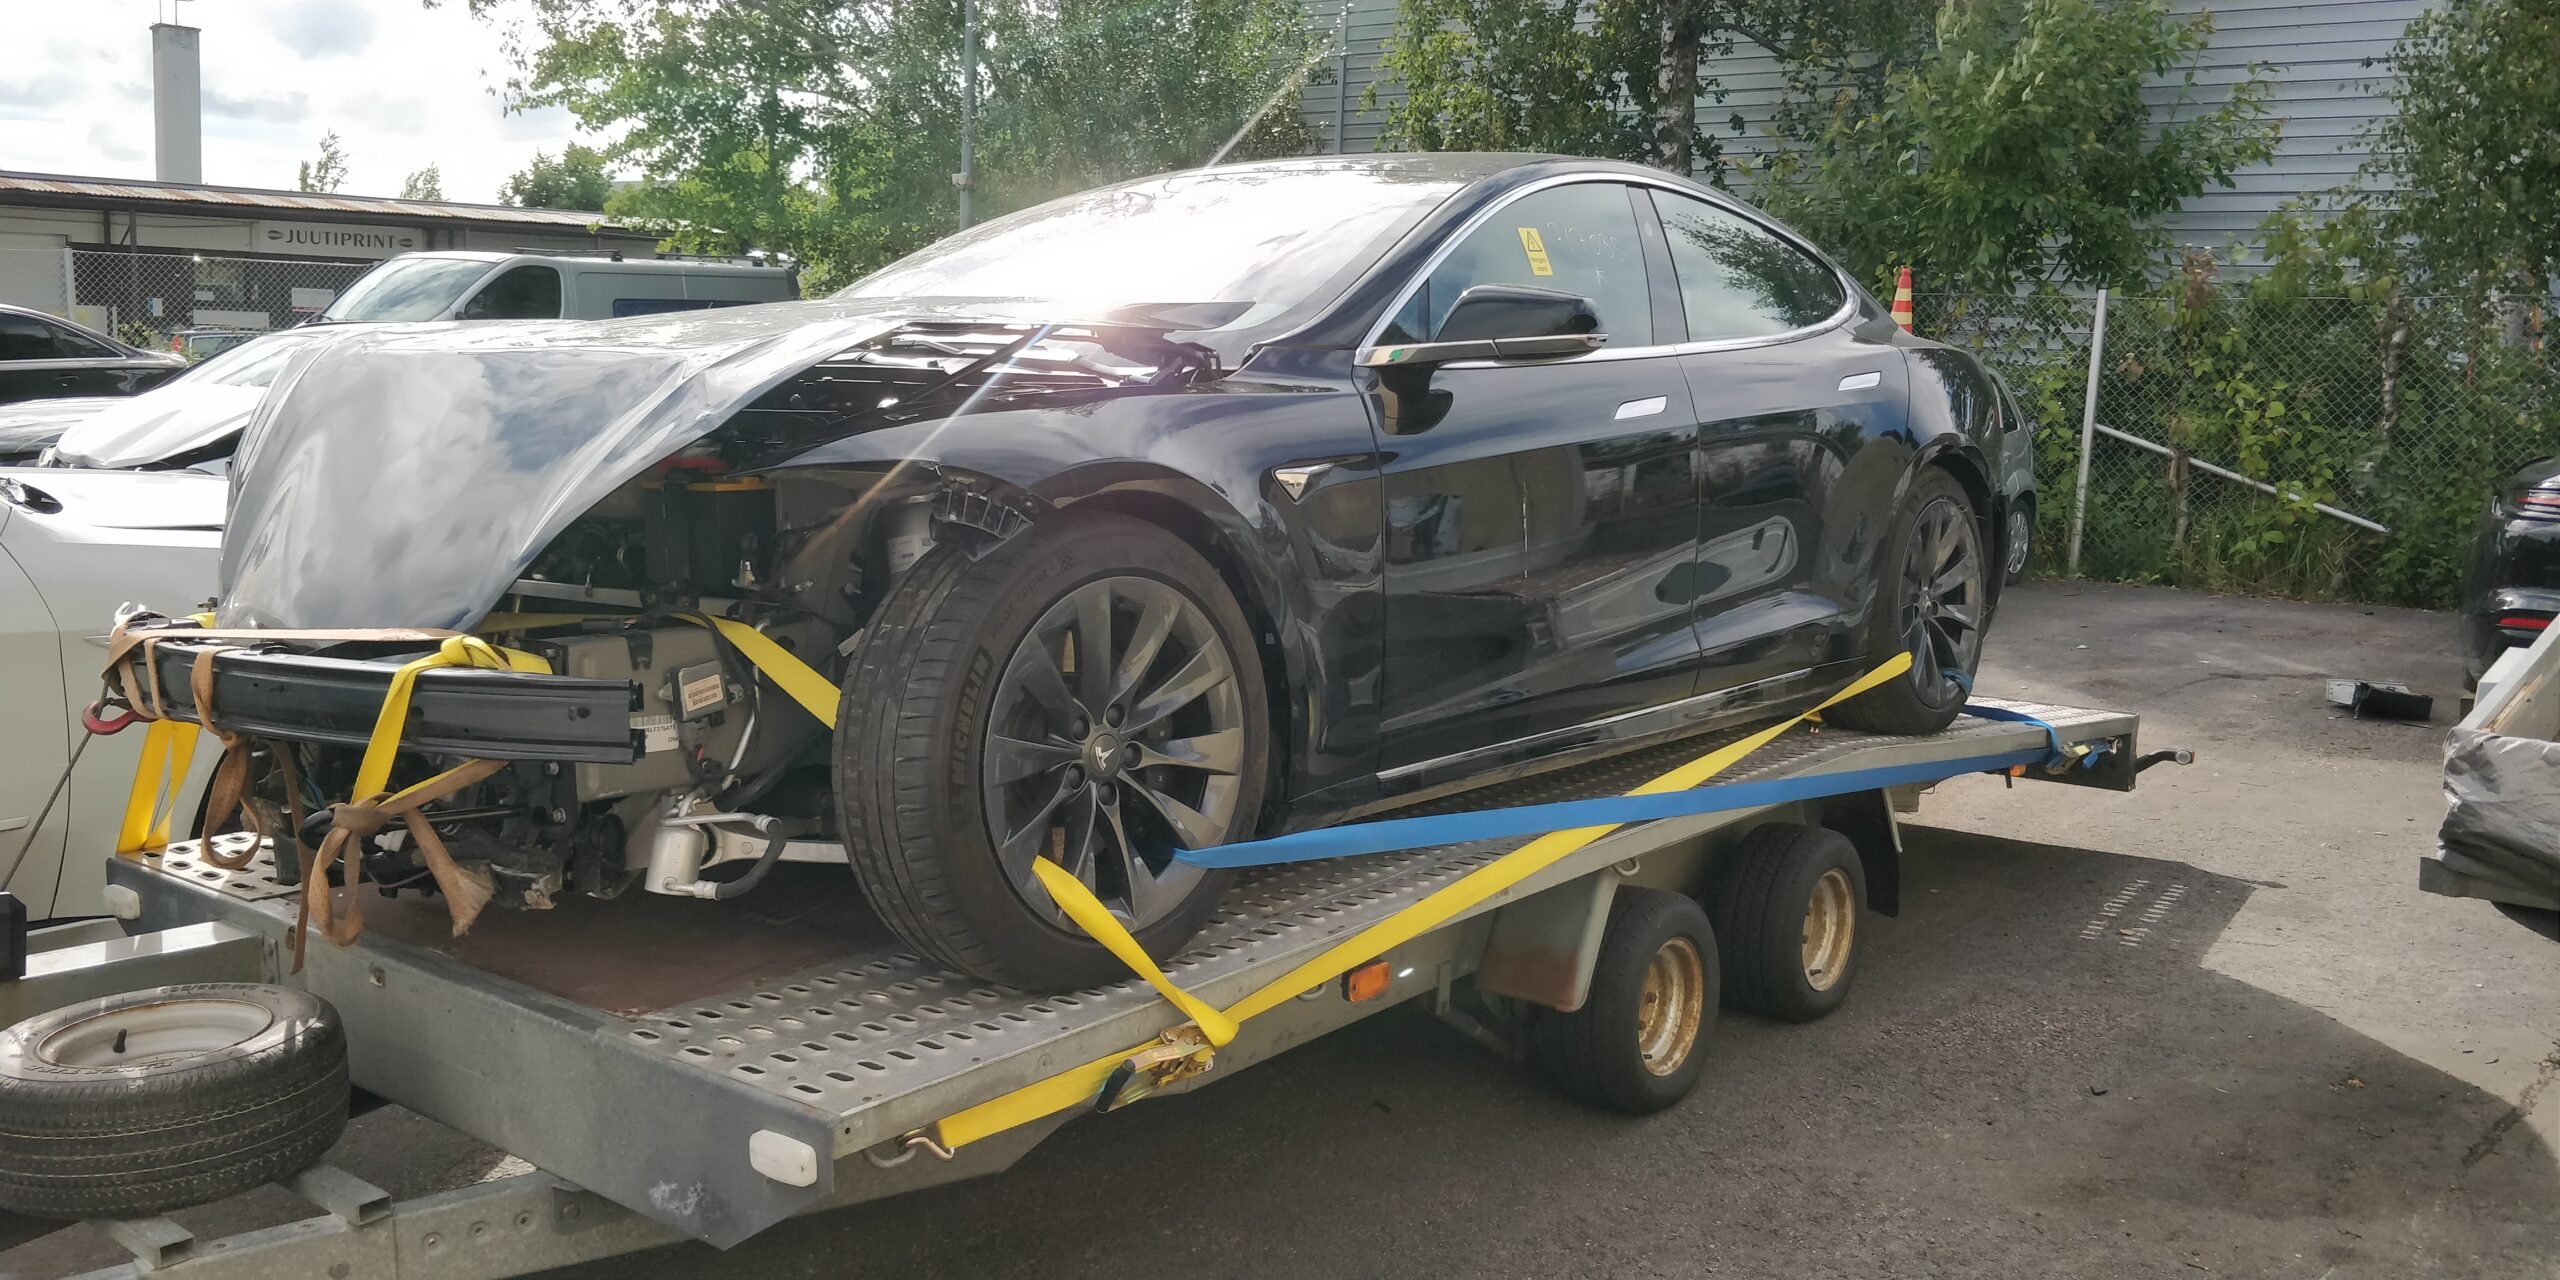
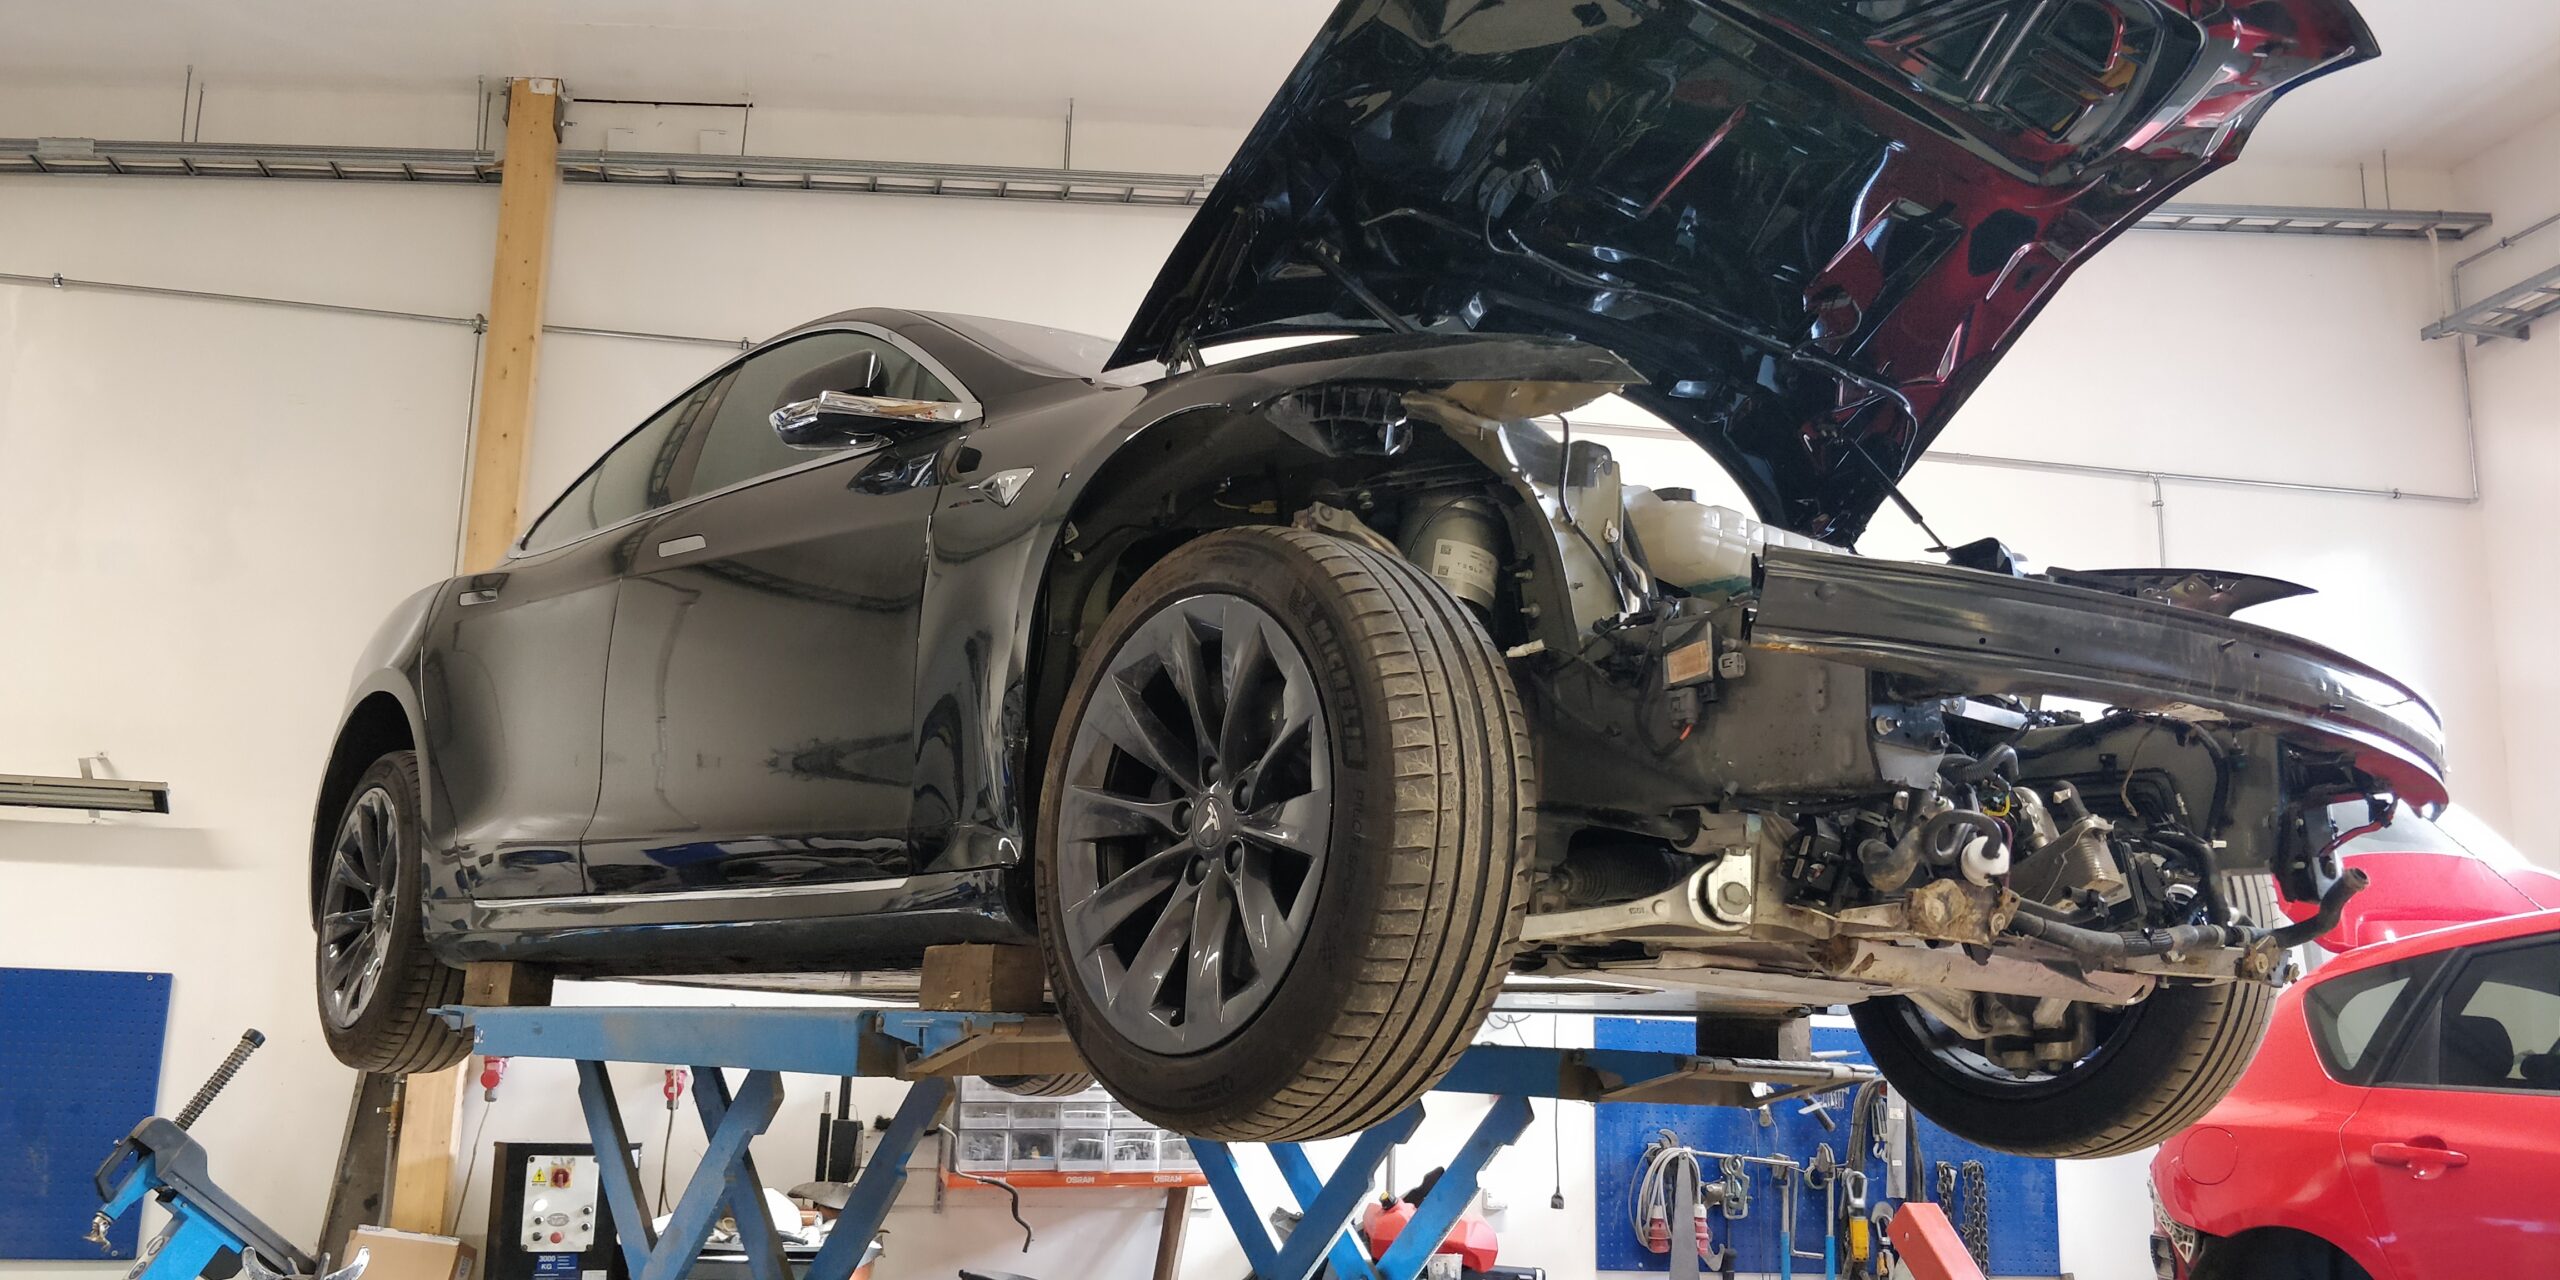
The car had gone off the road into a ditch and hit an embankment, doing quite a bit of damage to the front. The accident happened only about 50 km away, but the car had ended up at Autoklinikka in the capital region for a damage assessment. It was written off, and that's where I came in.
This project is a joint effort with Kolarikorjaus P. Gullans and Autokierrätys L&G. I've been working on an EV recycling project at Auto-LG over the autumn and winter, with a BMW i3 and this Tesla being repaired alongside it.
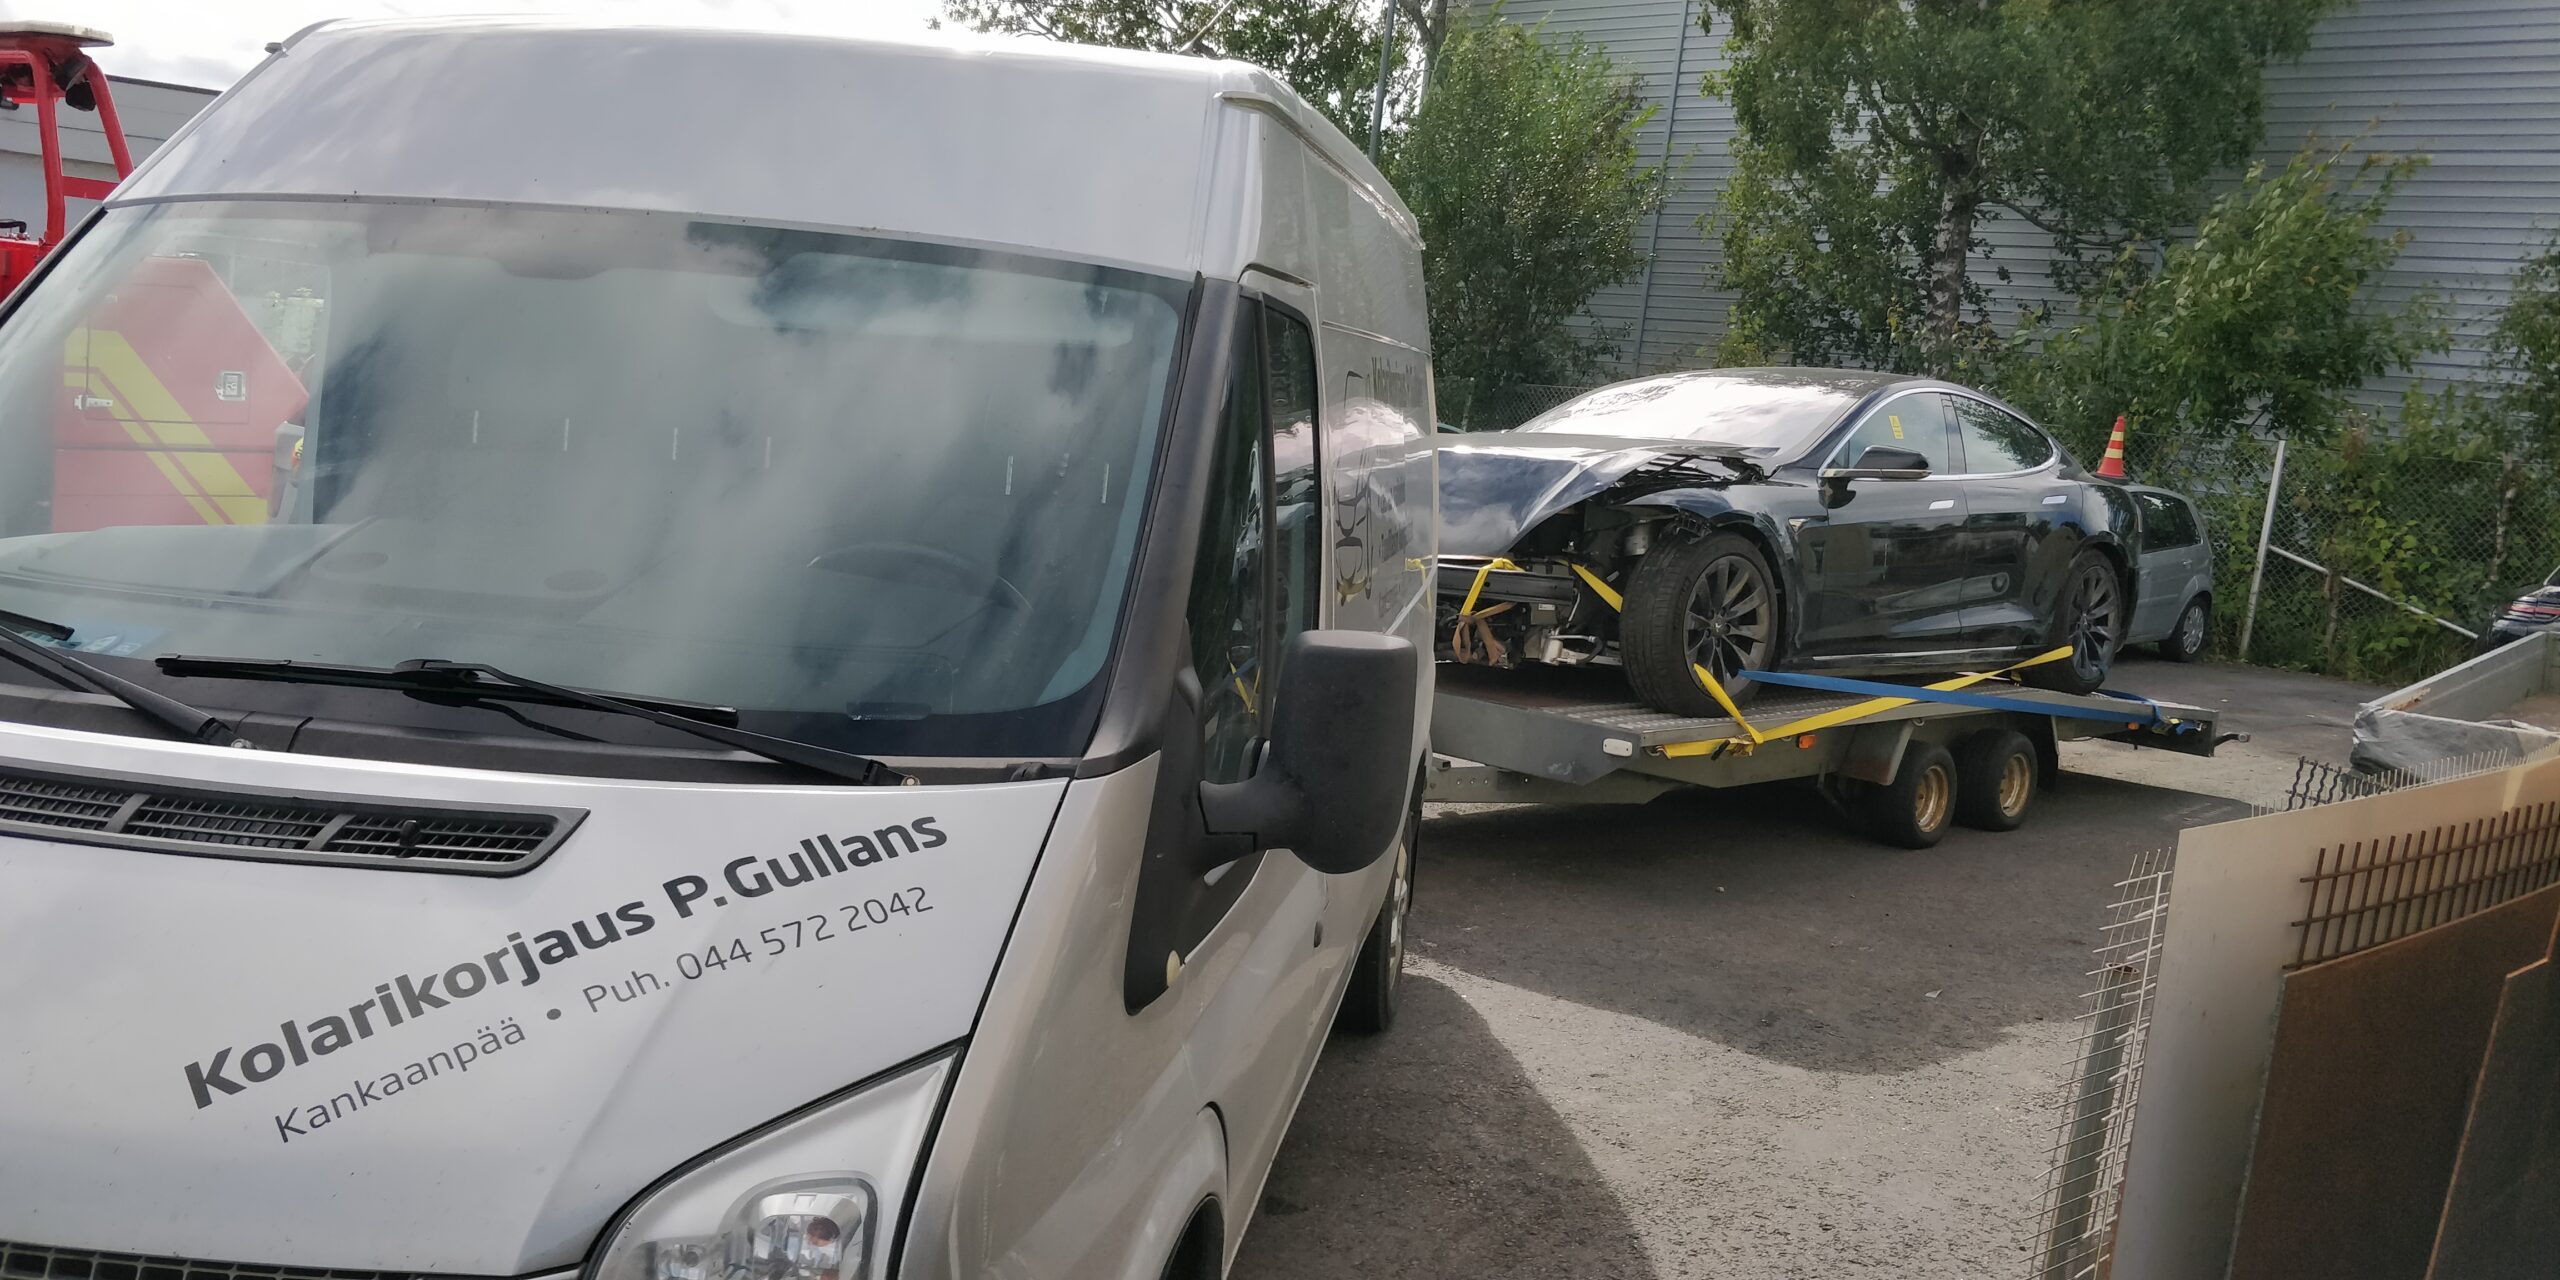
In cooperation with Kolarikorjaus P. Gullans and Autokierrätys L&G.
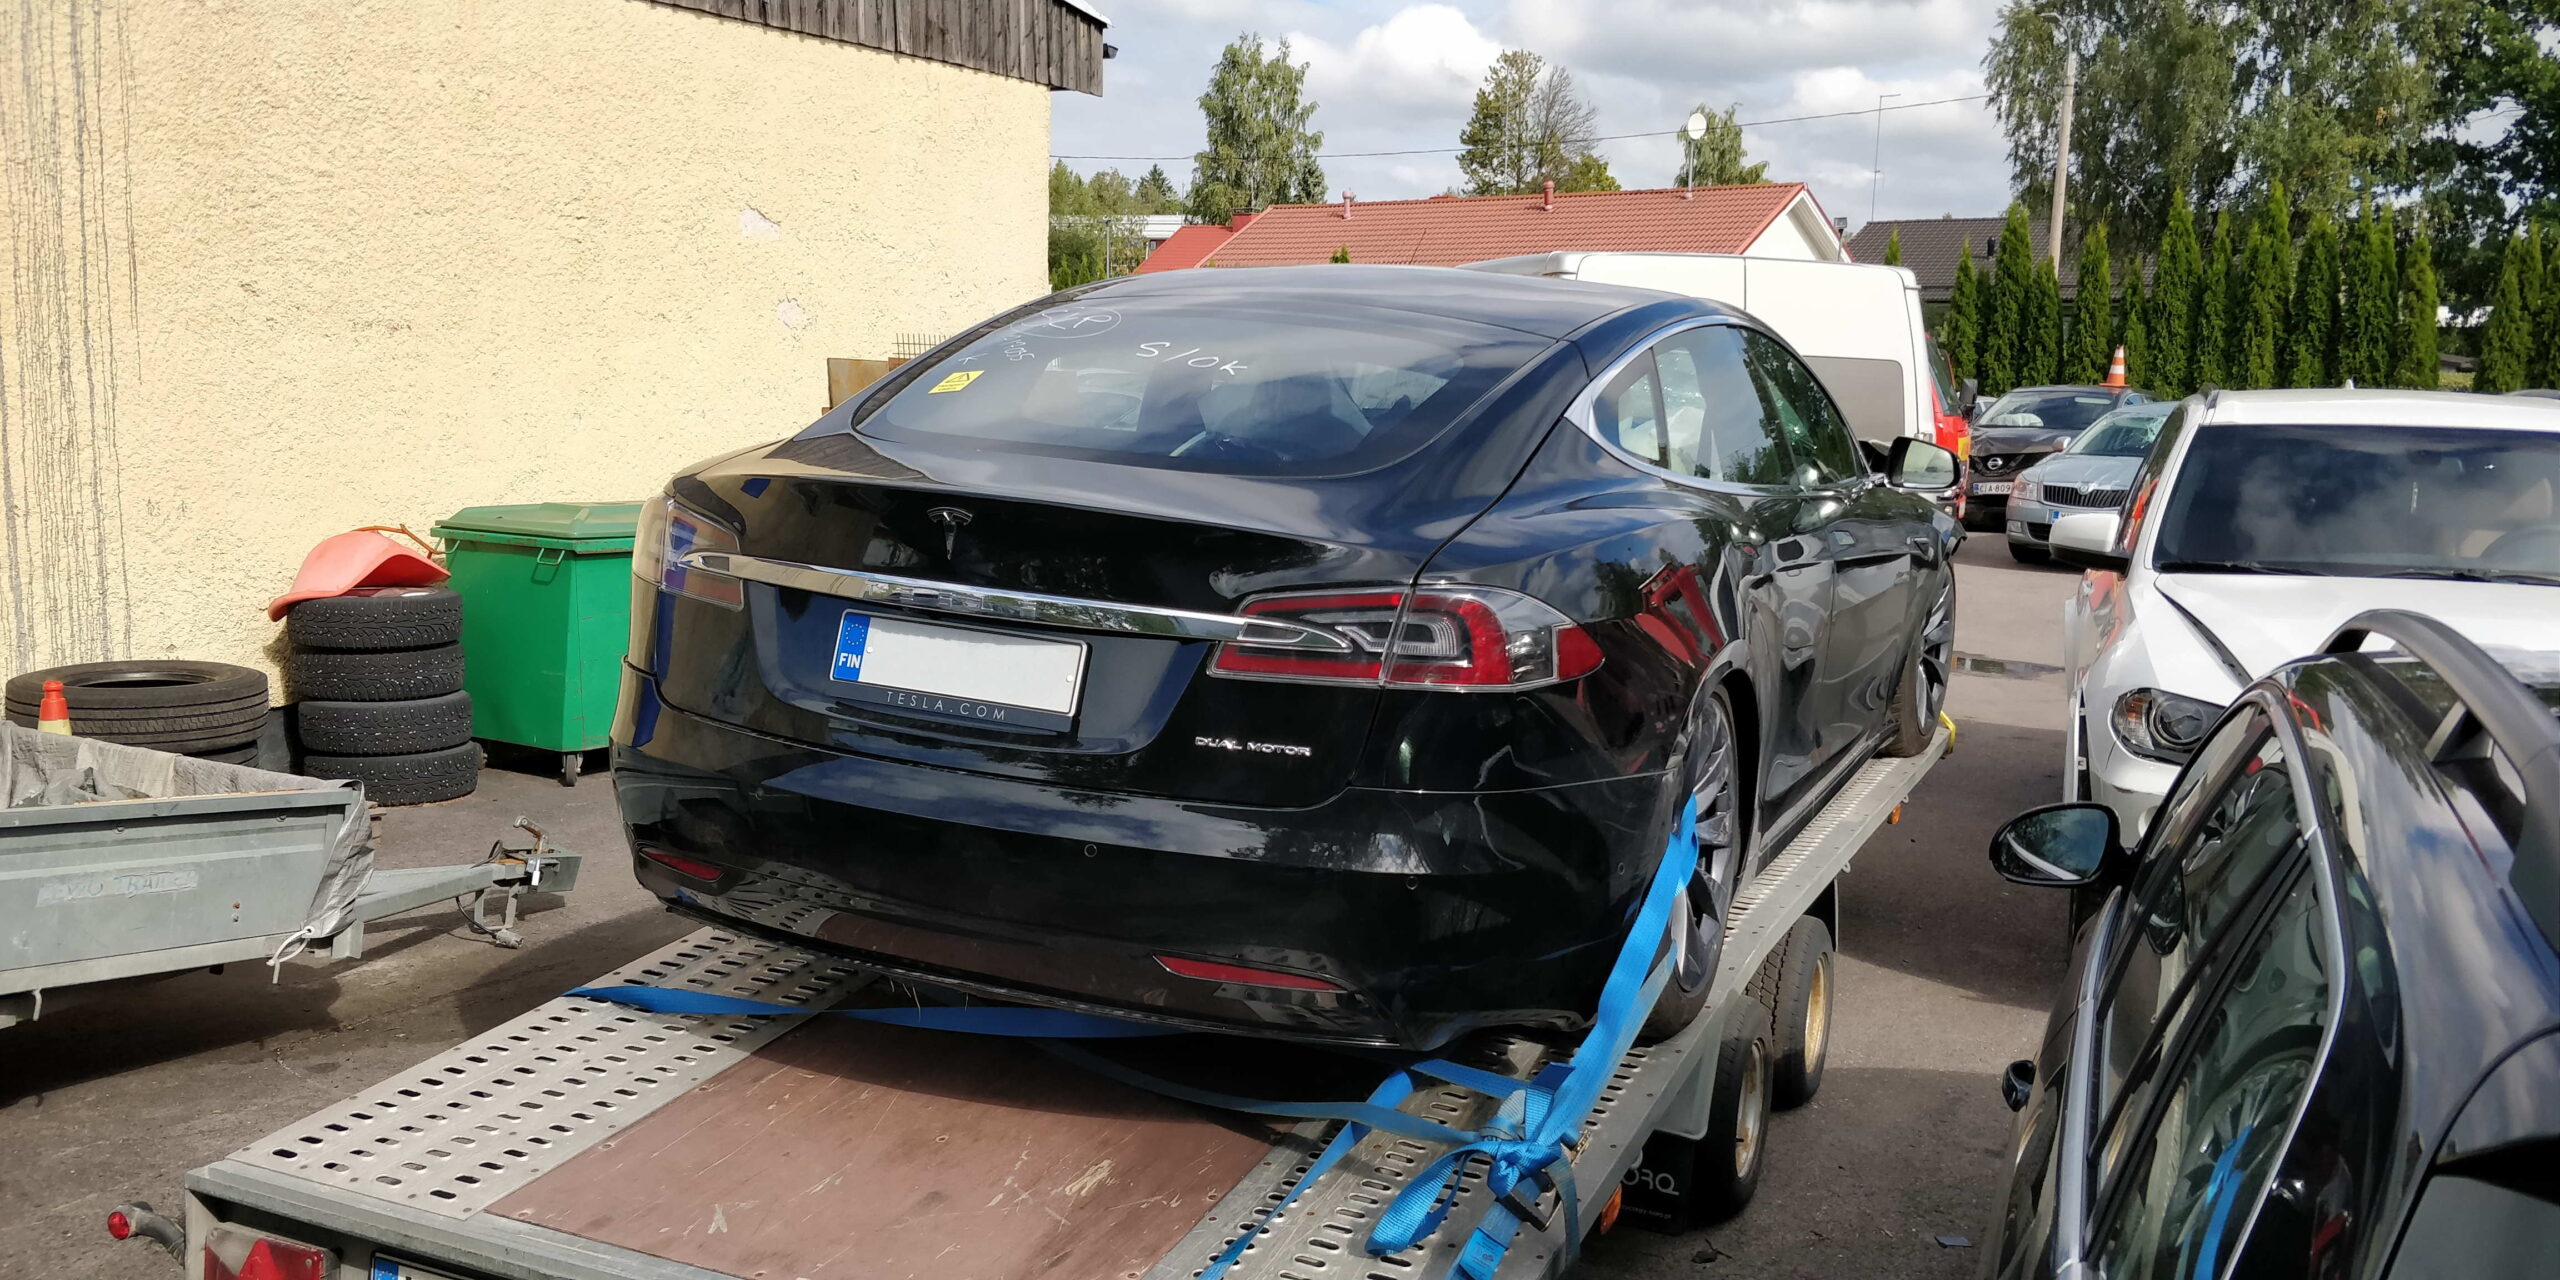
It took quite a bit of winching to get the car loaded in Vantaa.
Loading was awkward on the right-hand side: the rear had dropped and the front suspension was broken.
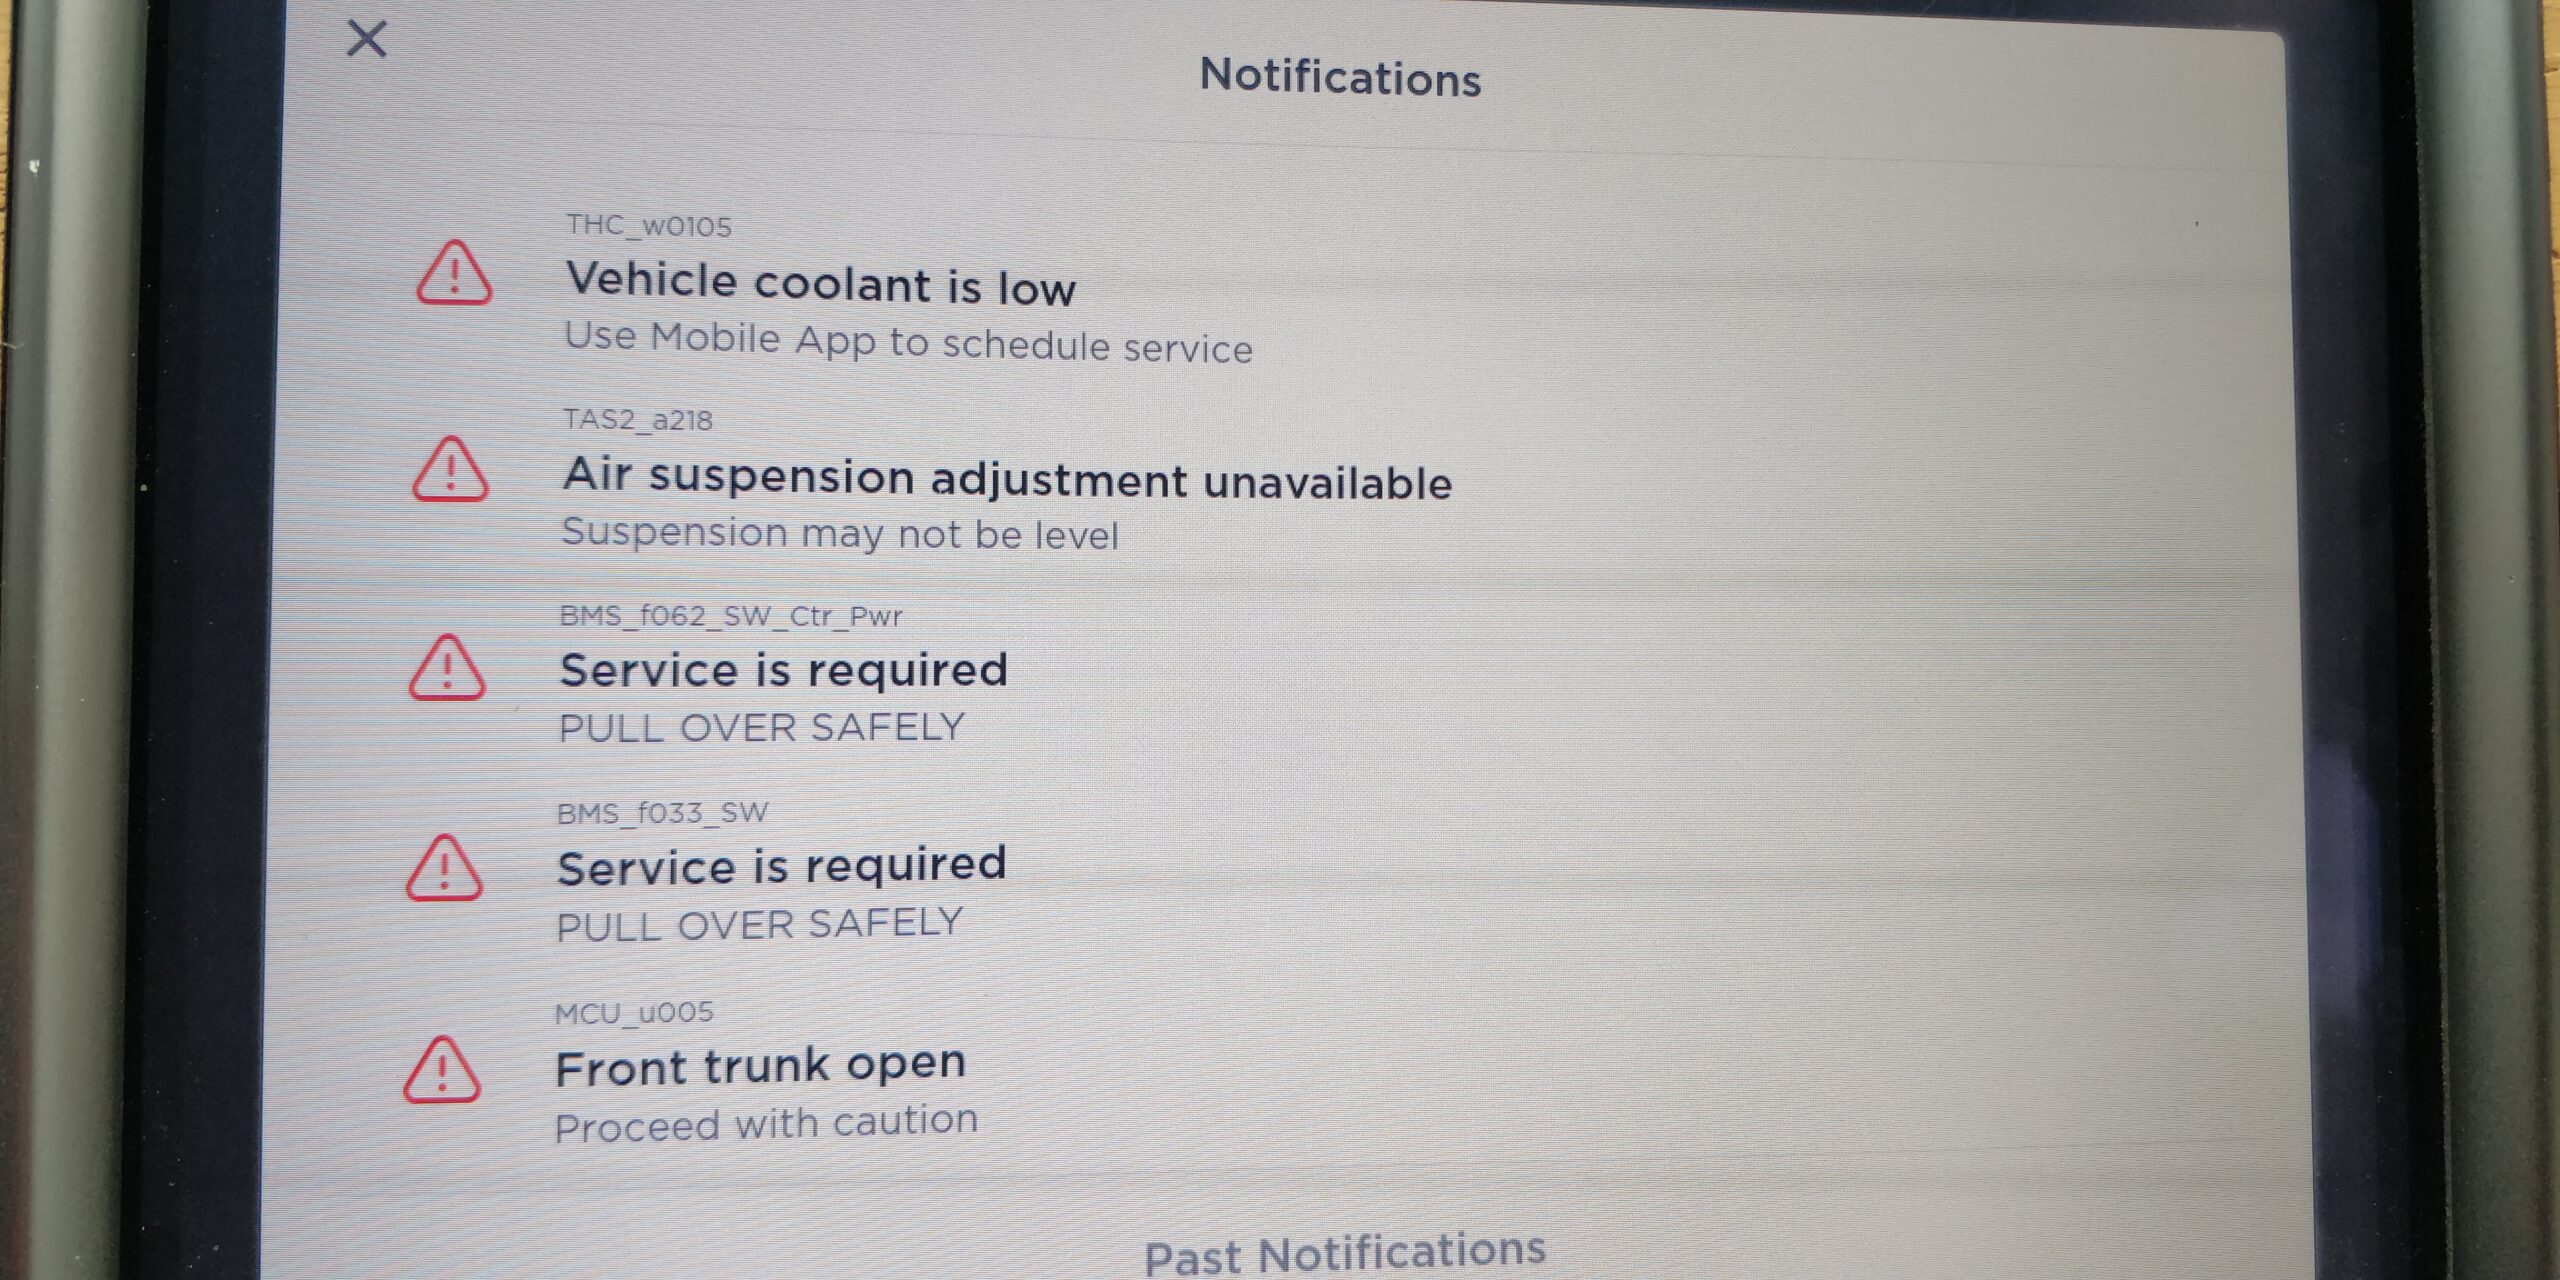
Reconnecting the 12 V battery terminal under the bonnet brought the door handles to life. That got us inside to try the basic functions — and read a rather long list of alerts.
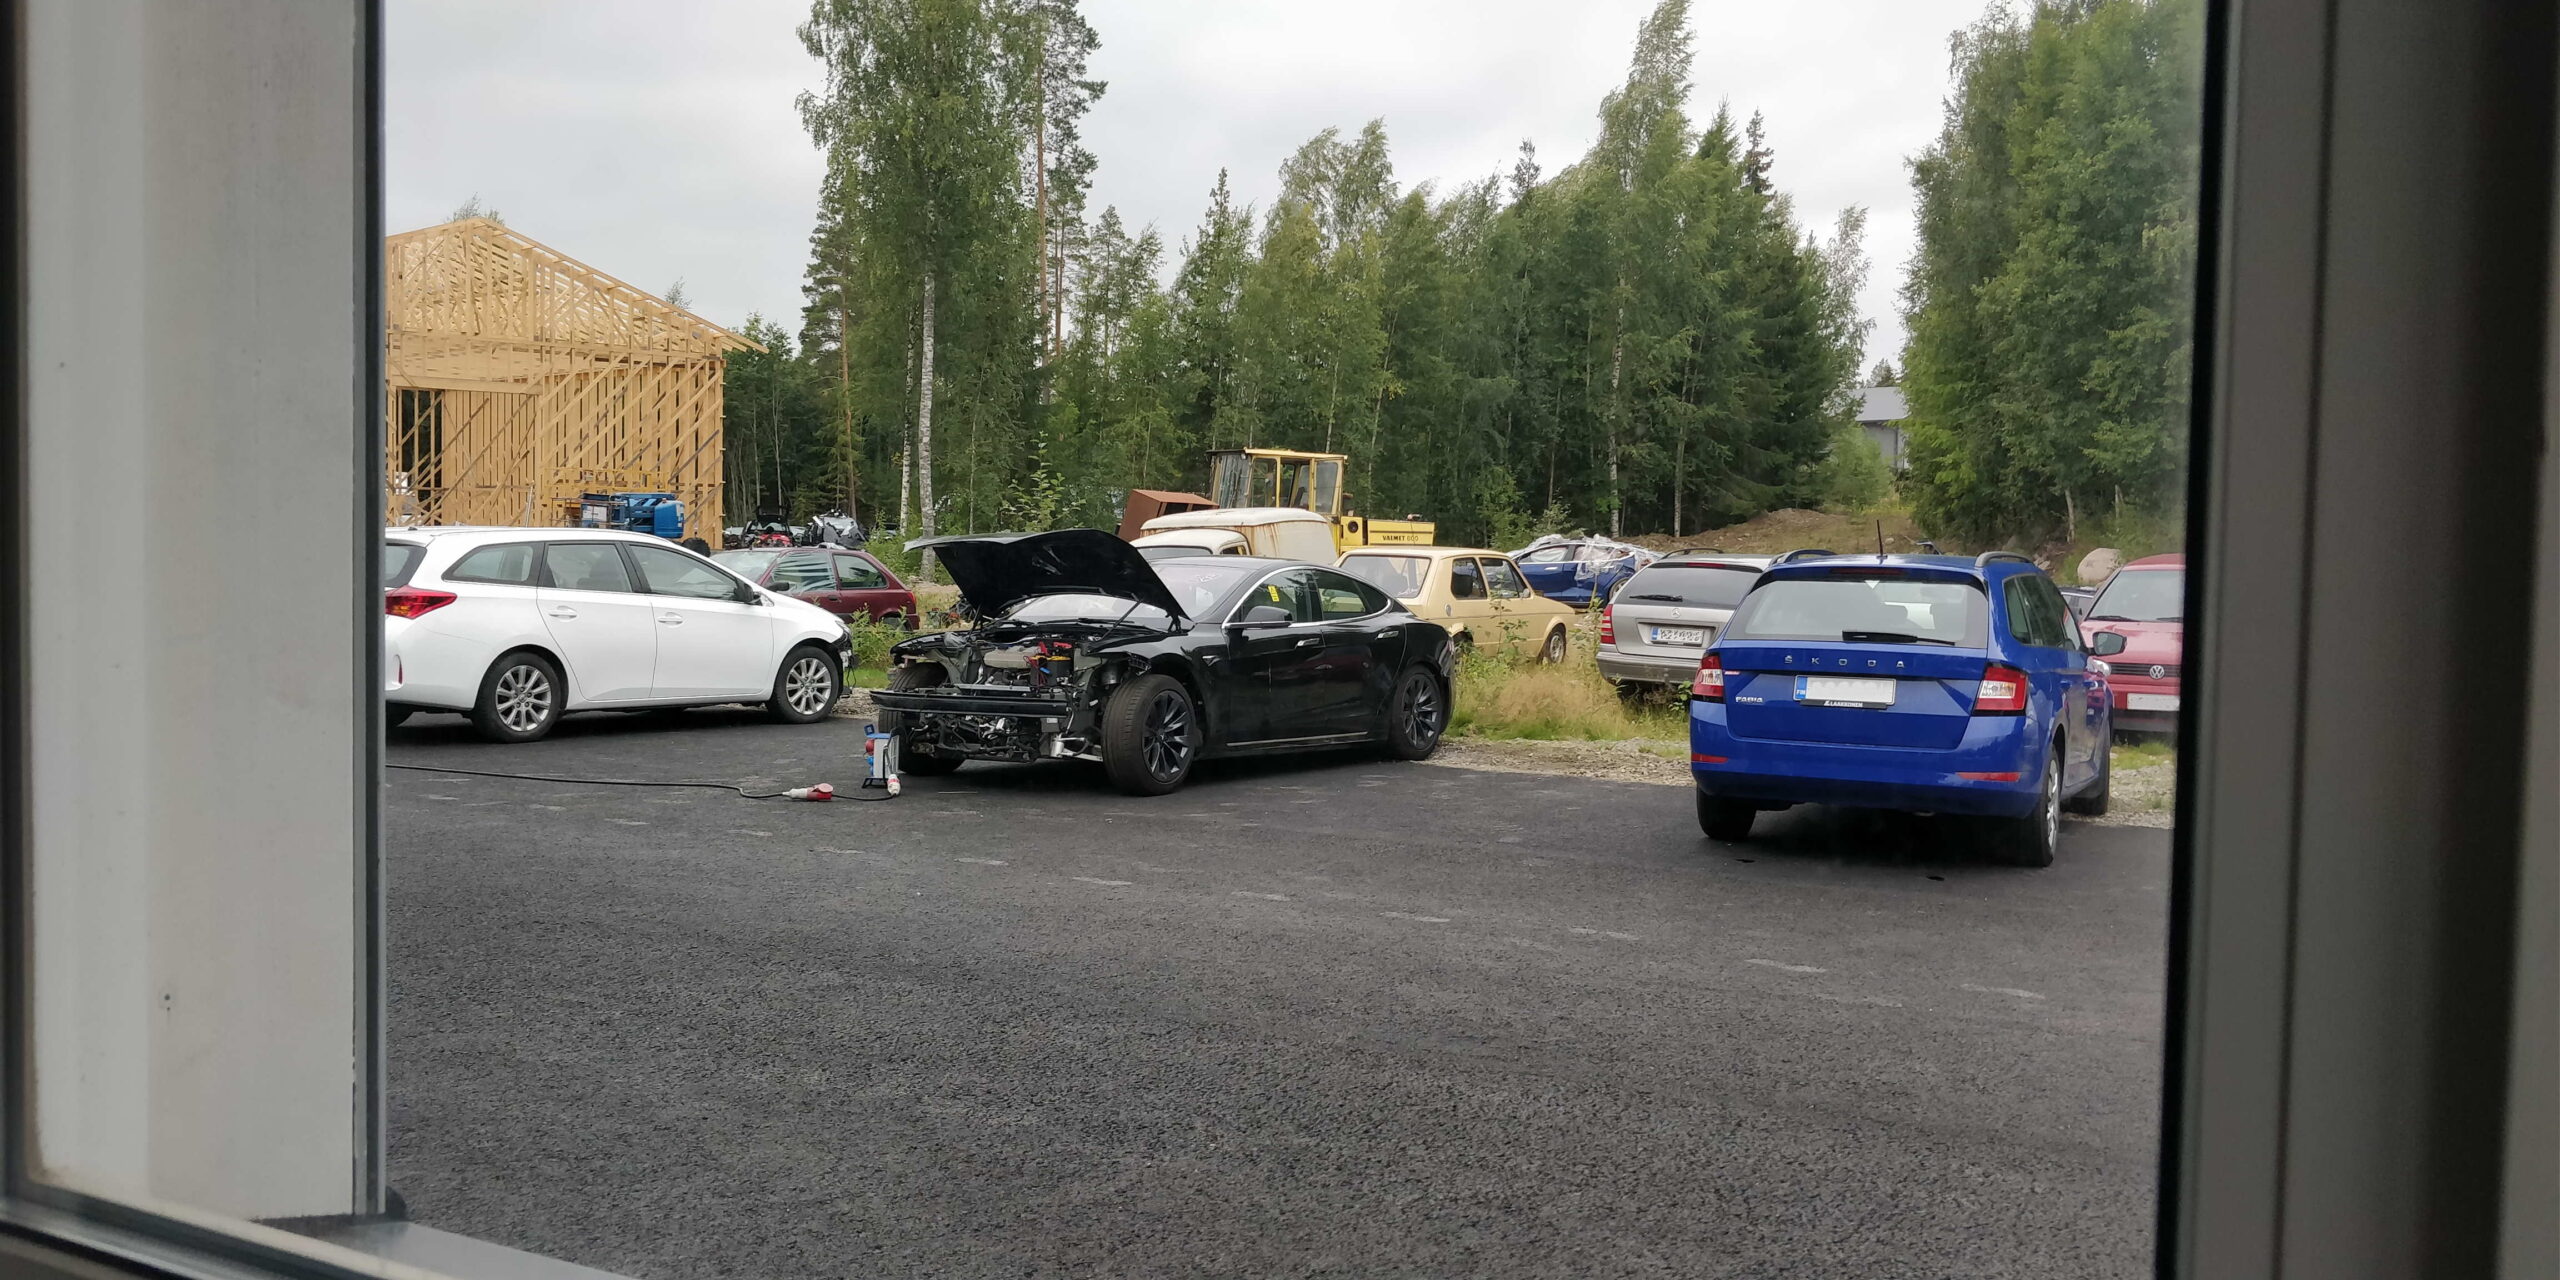
A view of the new project from the office window.
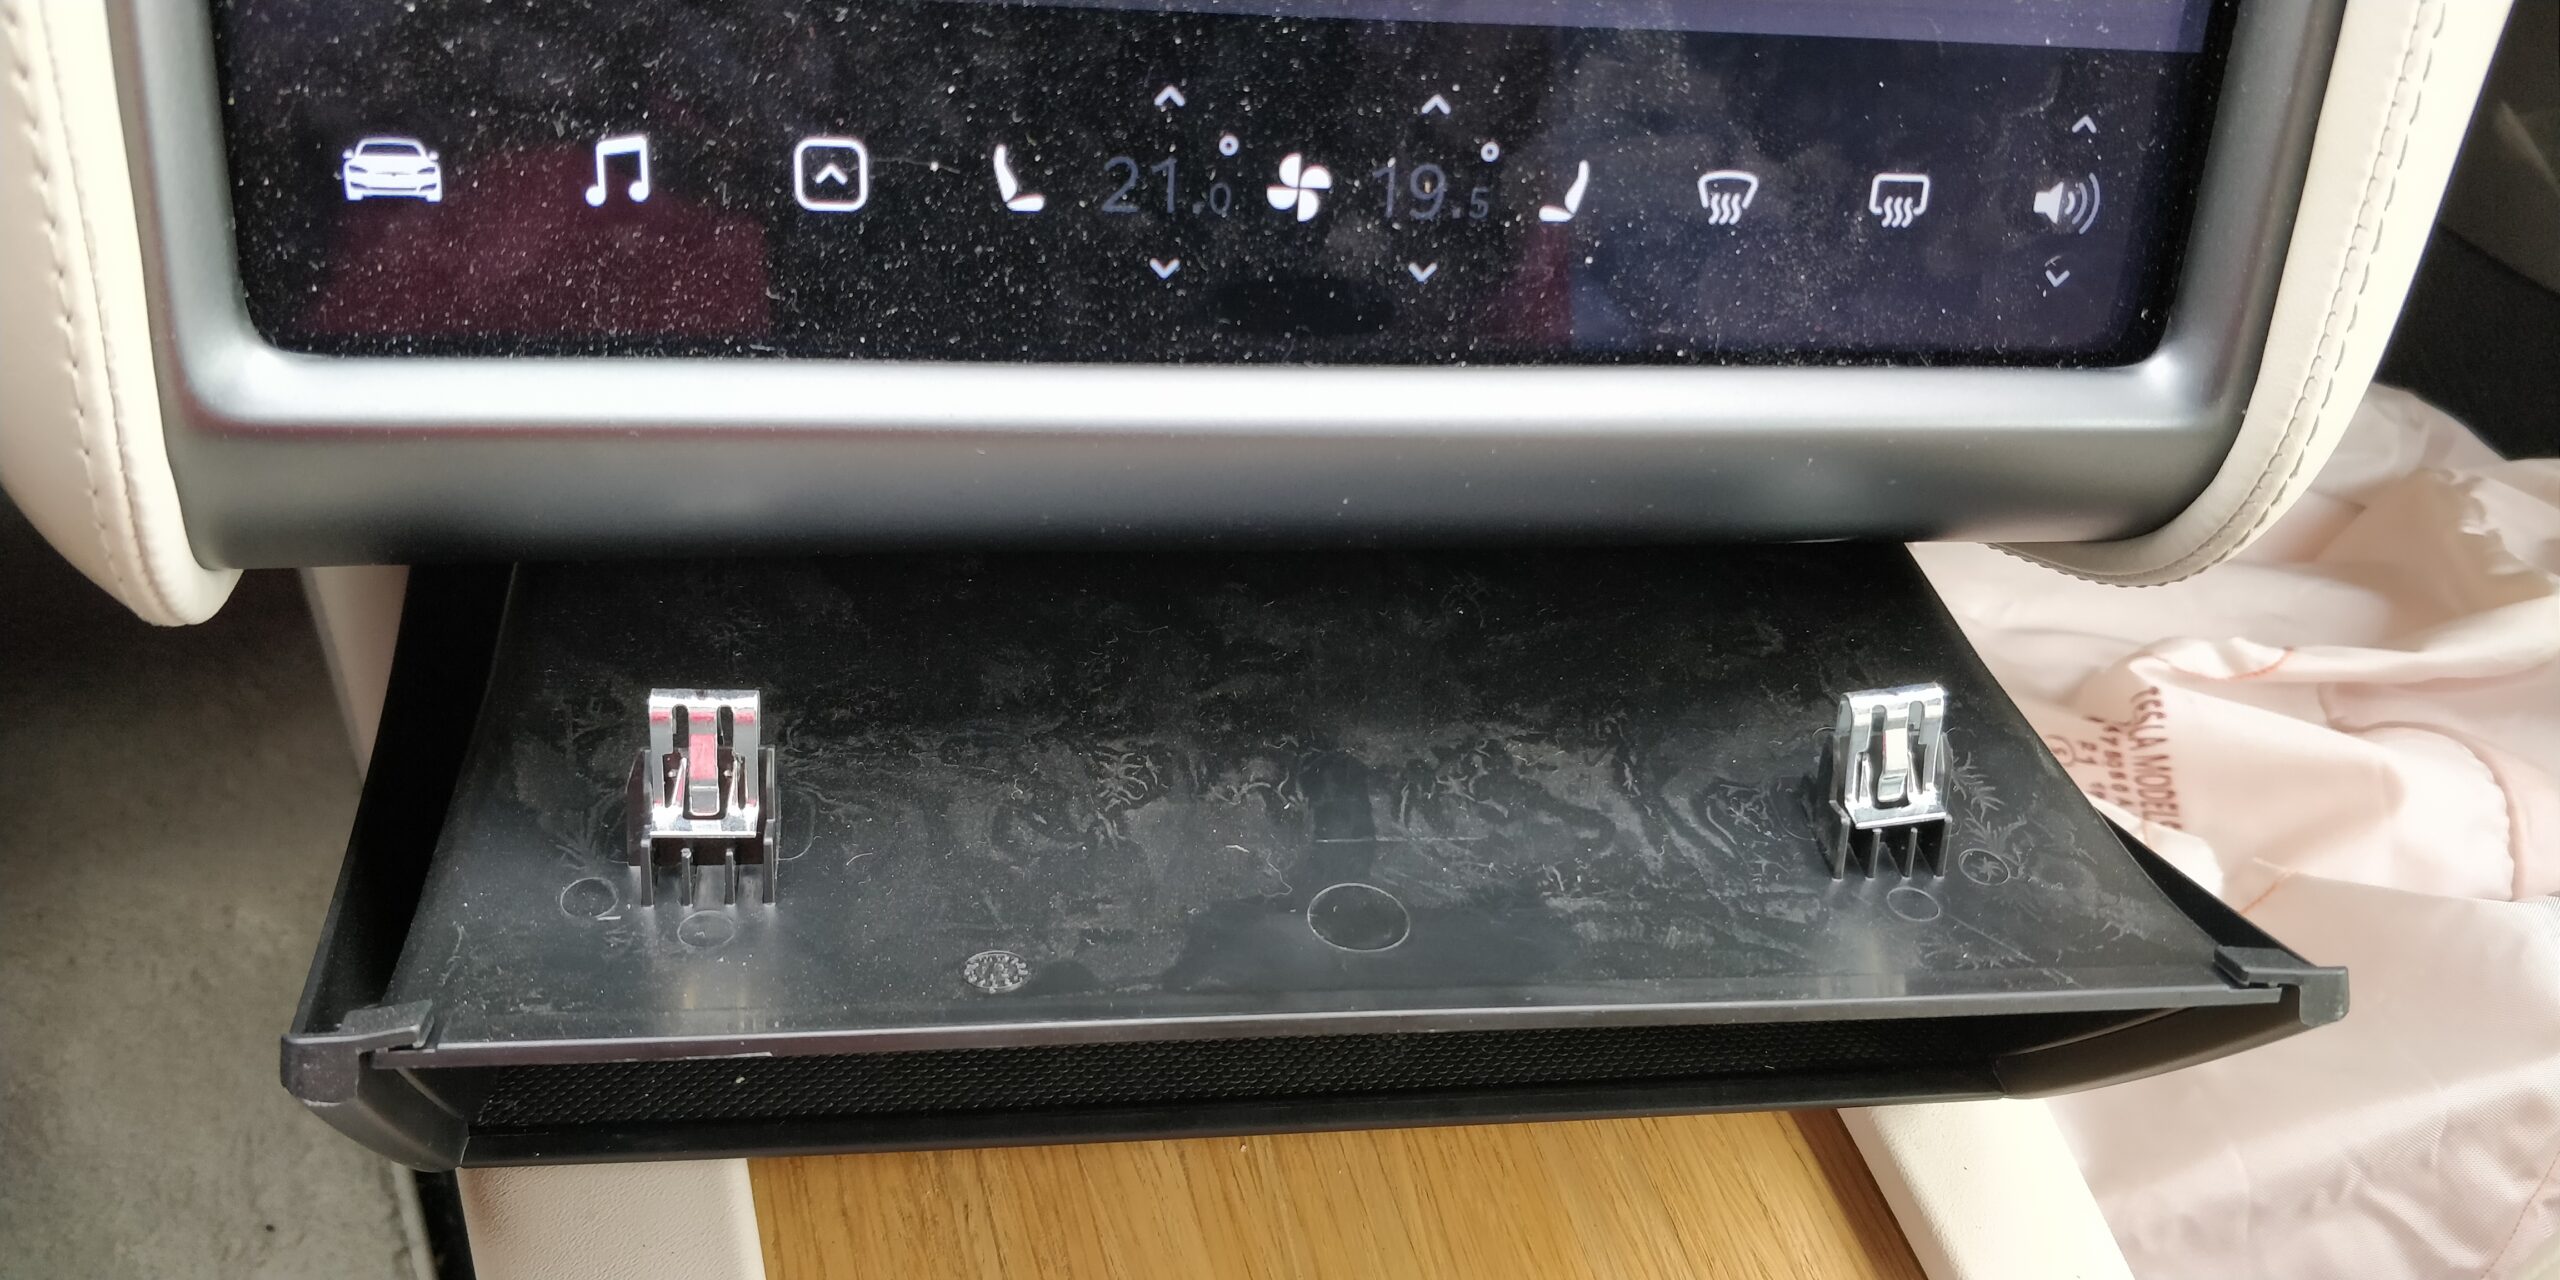
The diagnostic connectors live behind the cubby below the centre screen. It takes a fairly firm push downwards to release the clips and get the cubby out.
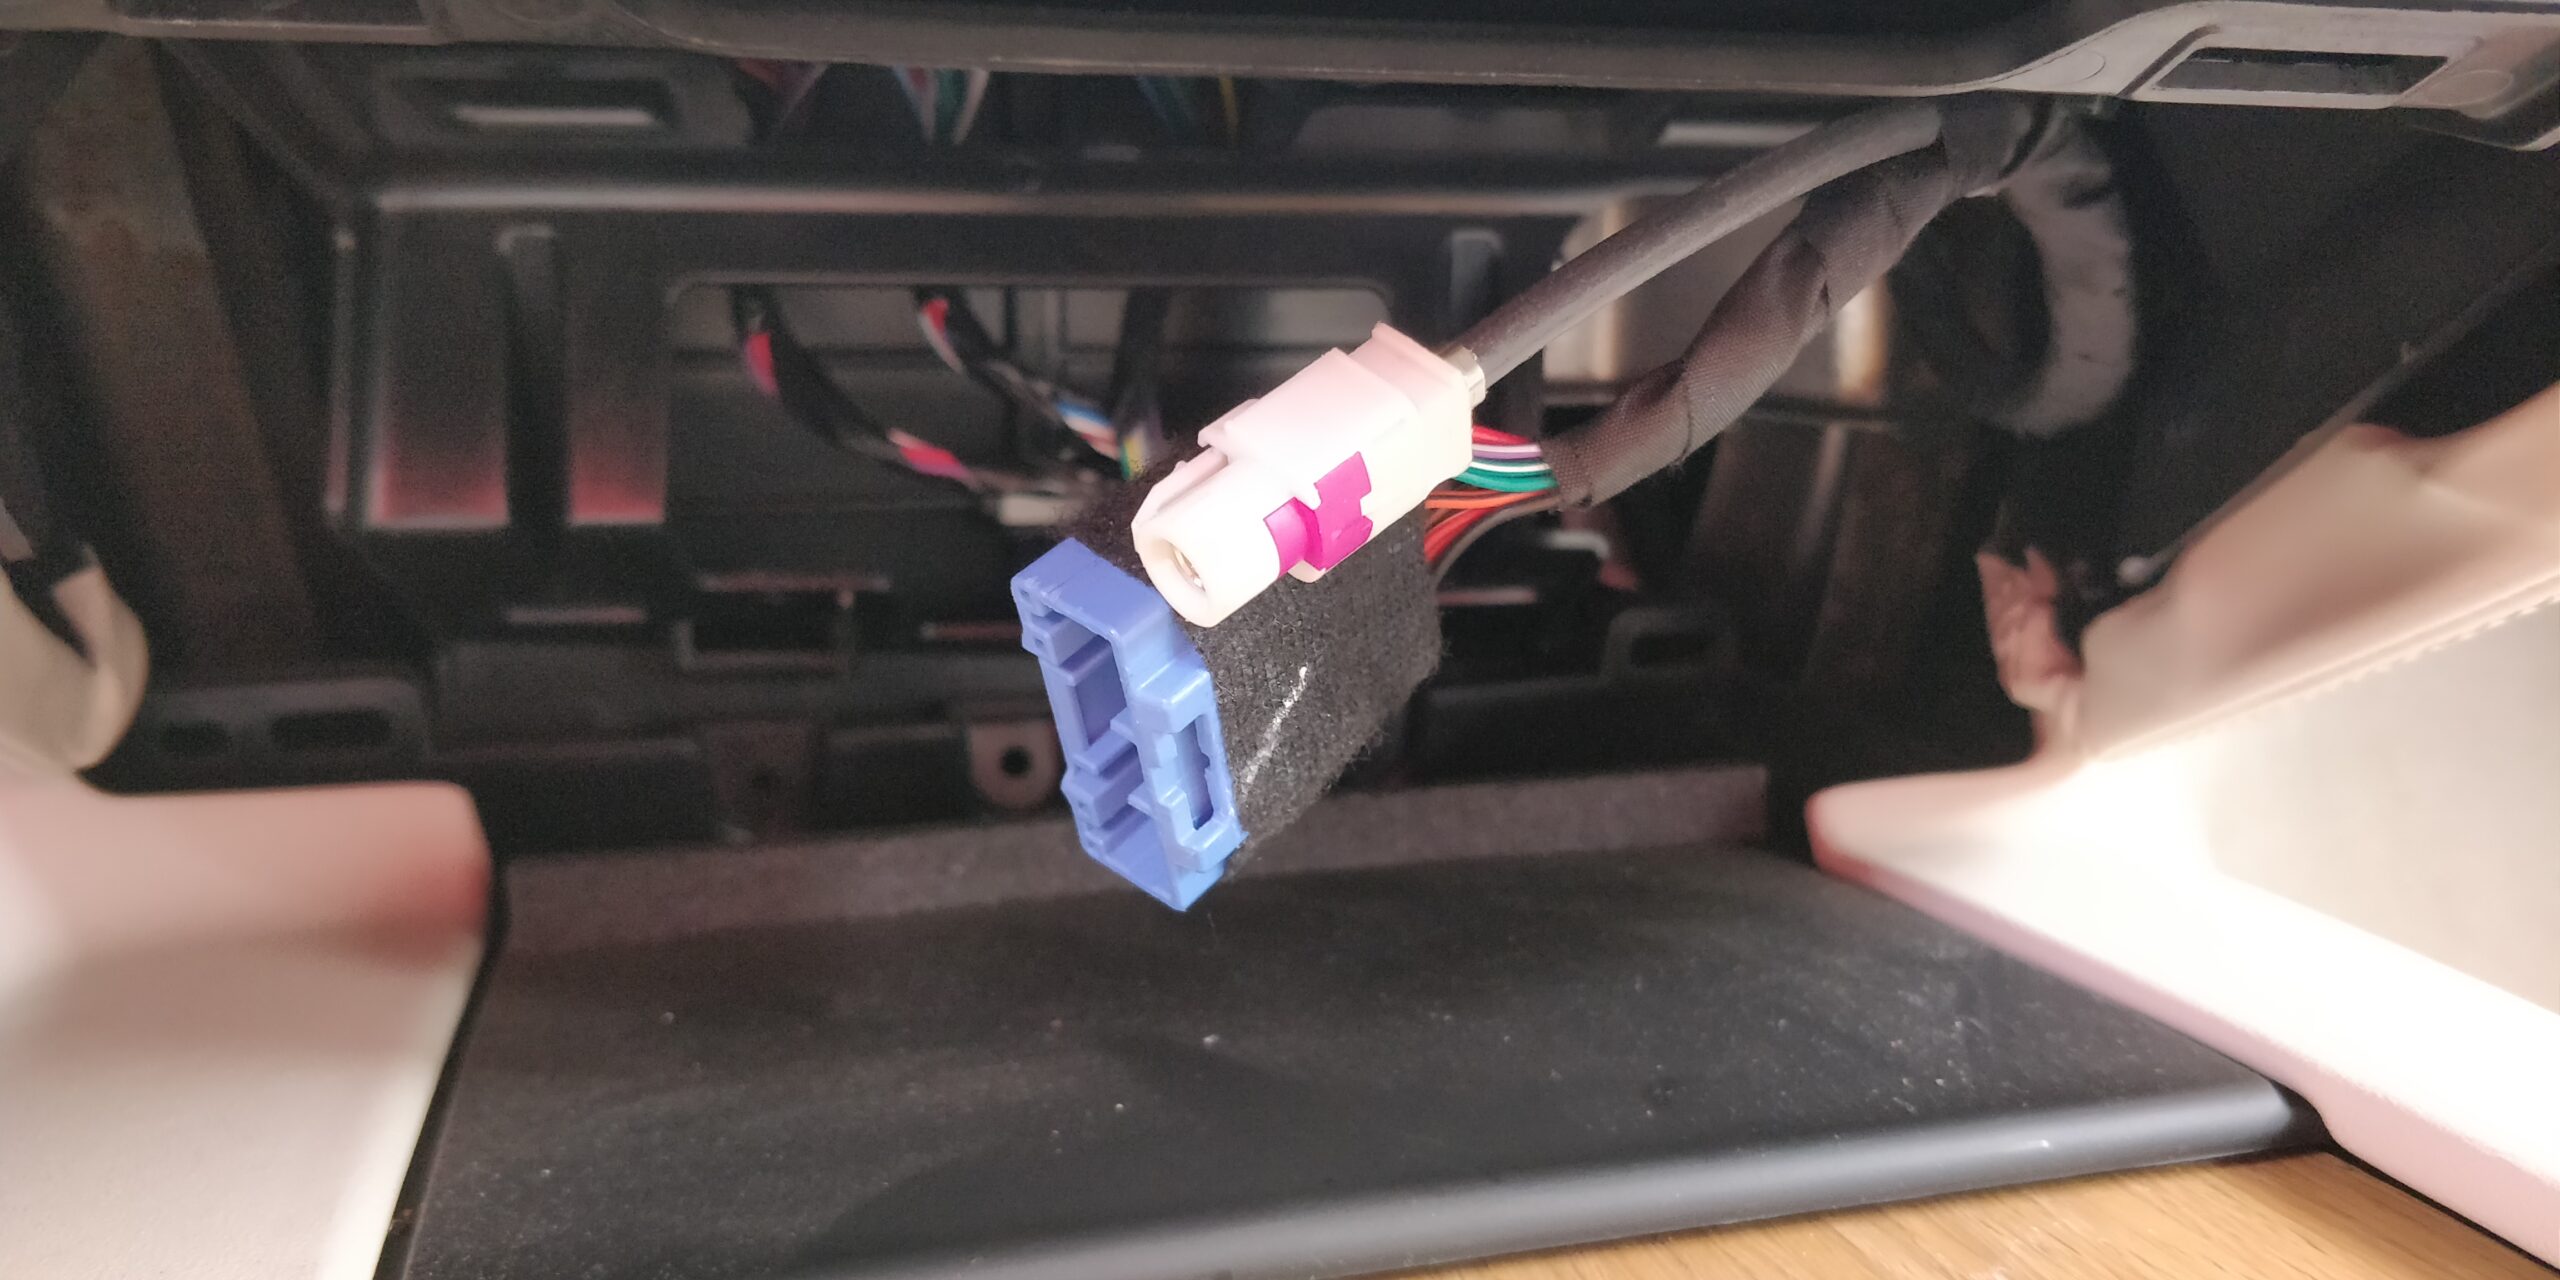
I ordered the adapters from abroad. The blue one connects to an OBD Bluetooth dongle; the white one is the Fakra-to-Ethernet adapter.
Teslas were new territory for me, so there was plenty to learn. At the time, there wasn't diagnostic software available to independent repairers, but Scan My Tesla and a Bluetooth dongle on the blue connector let me read some basic battery data. Naturally, I was keen to have a look. No battery alerts, and a little over 50% charge remaining. With the high-voltage battery disconnected, that charge wasn't being used up while the car sat waiting.
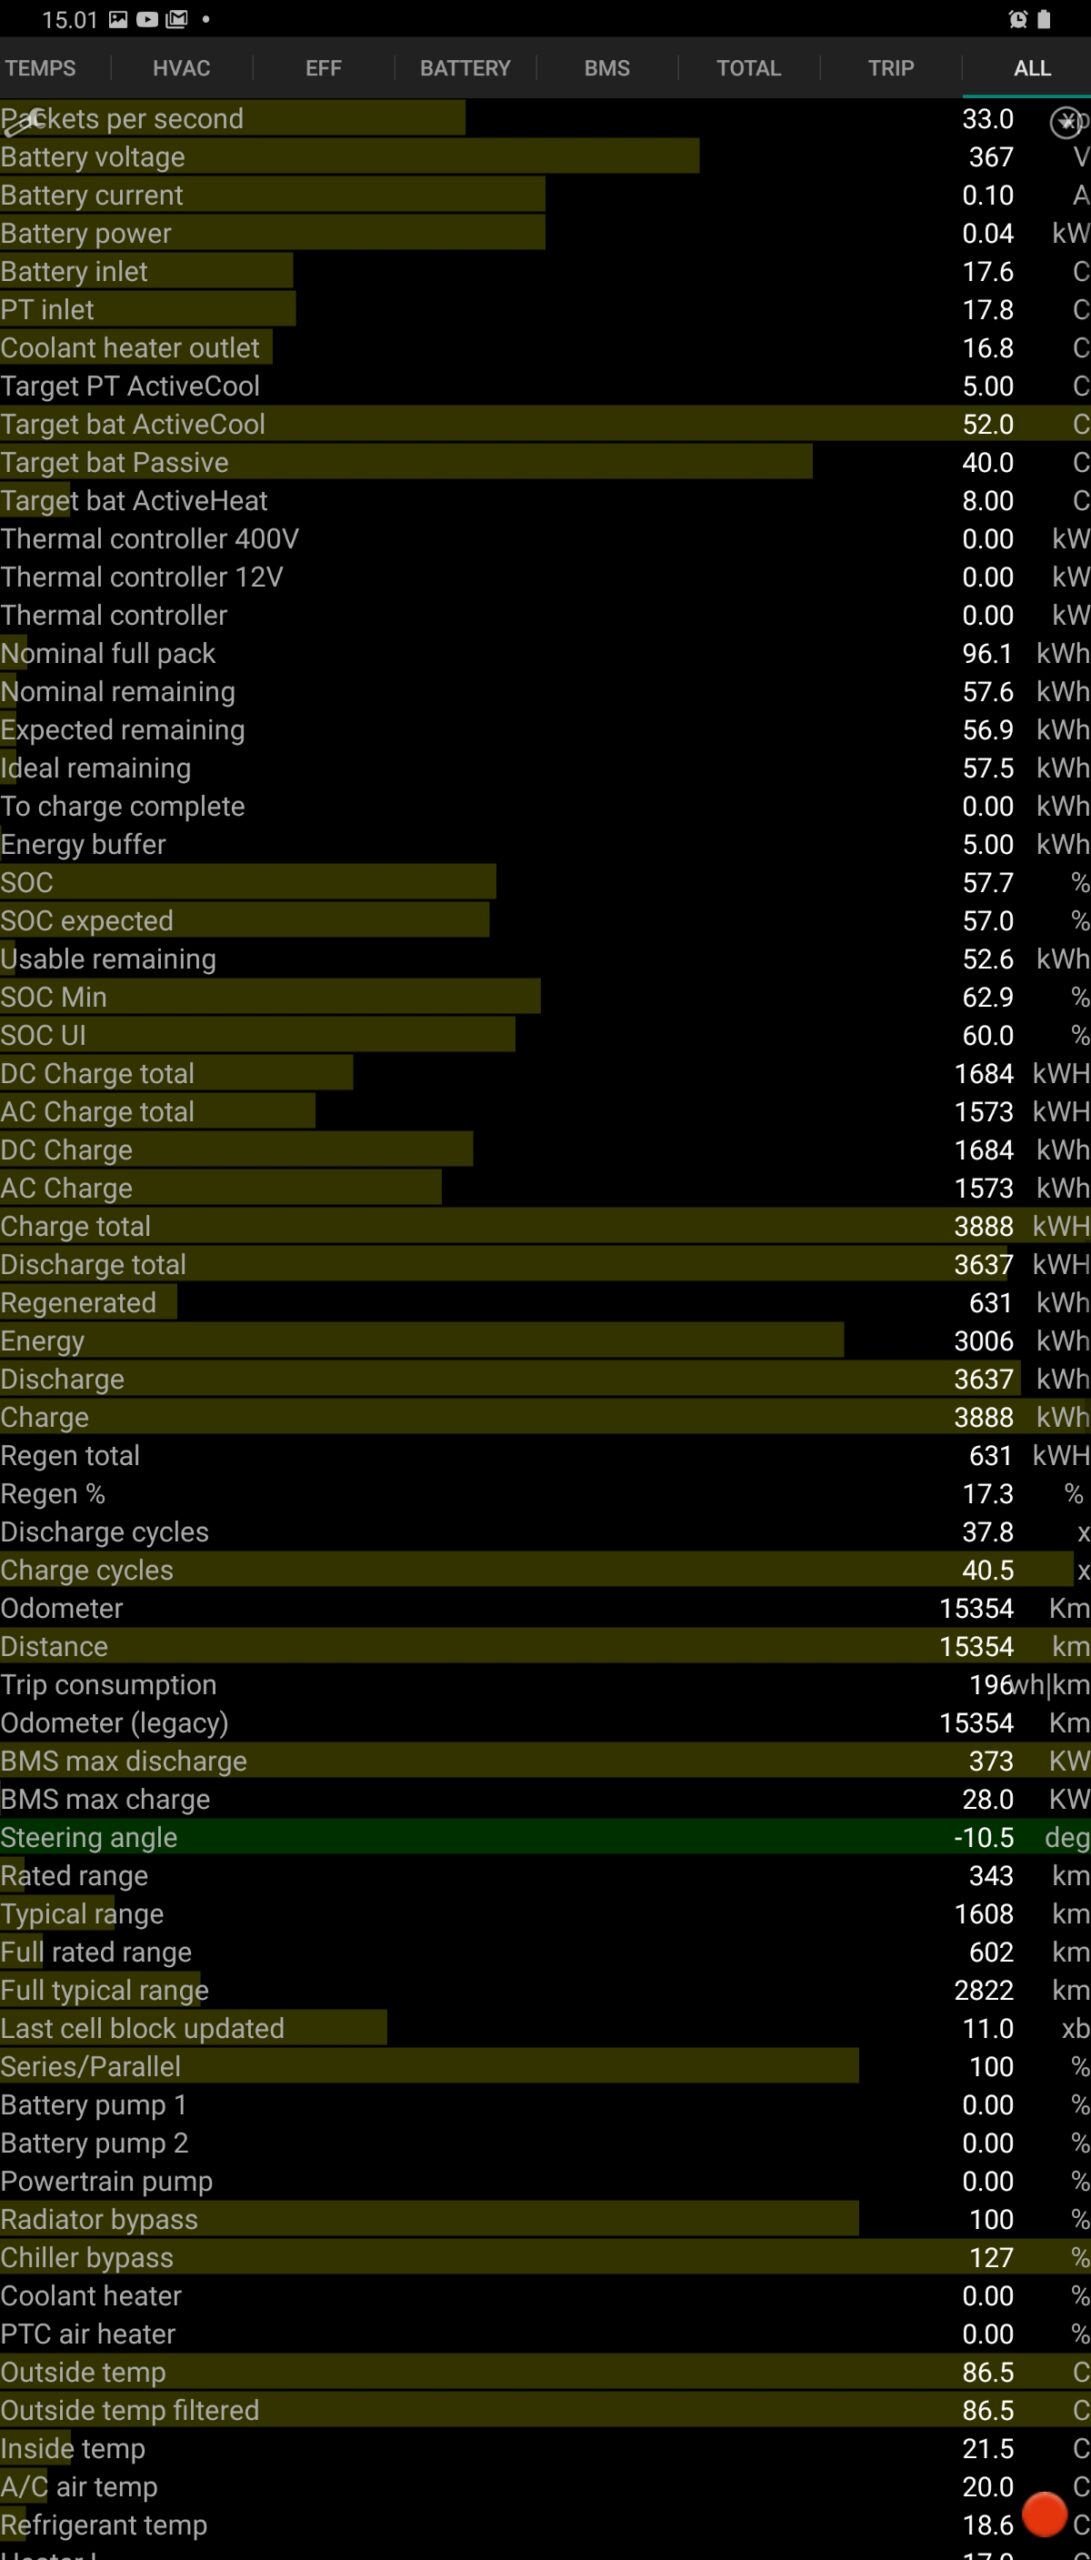
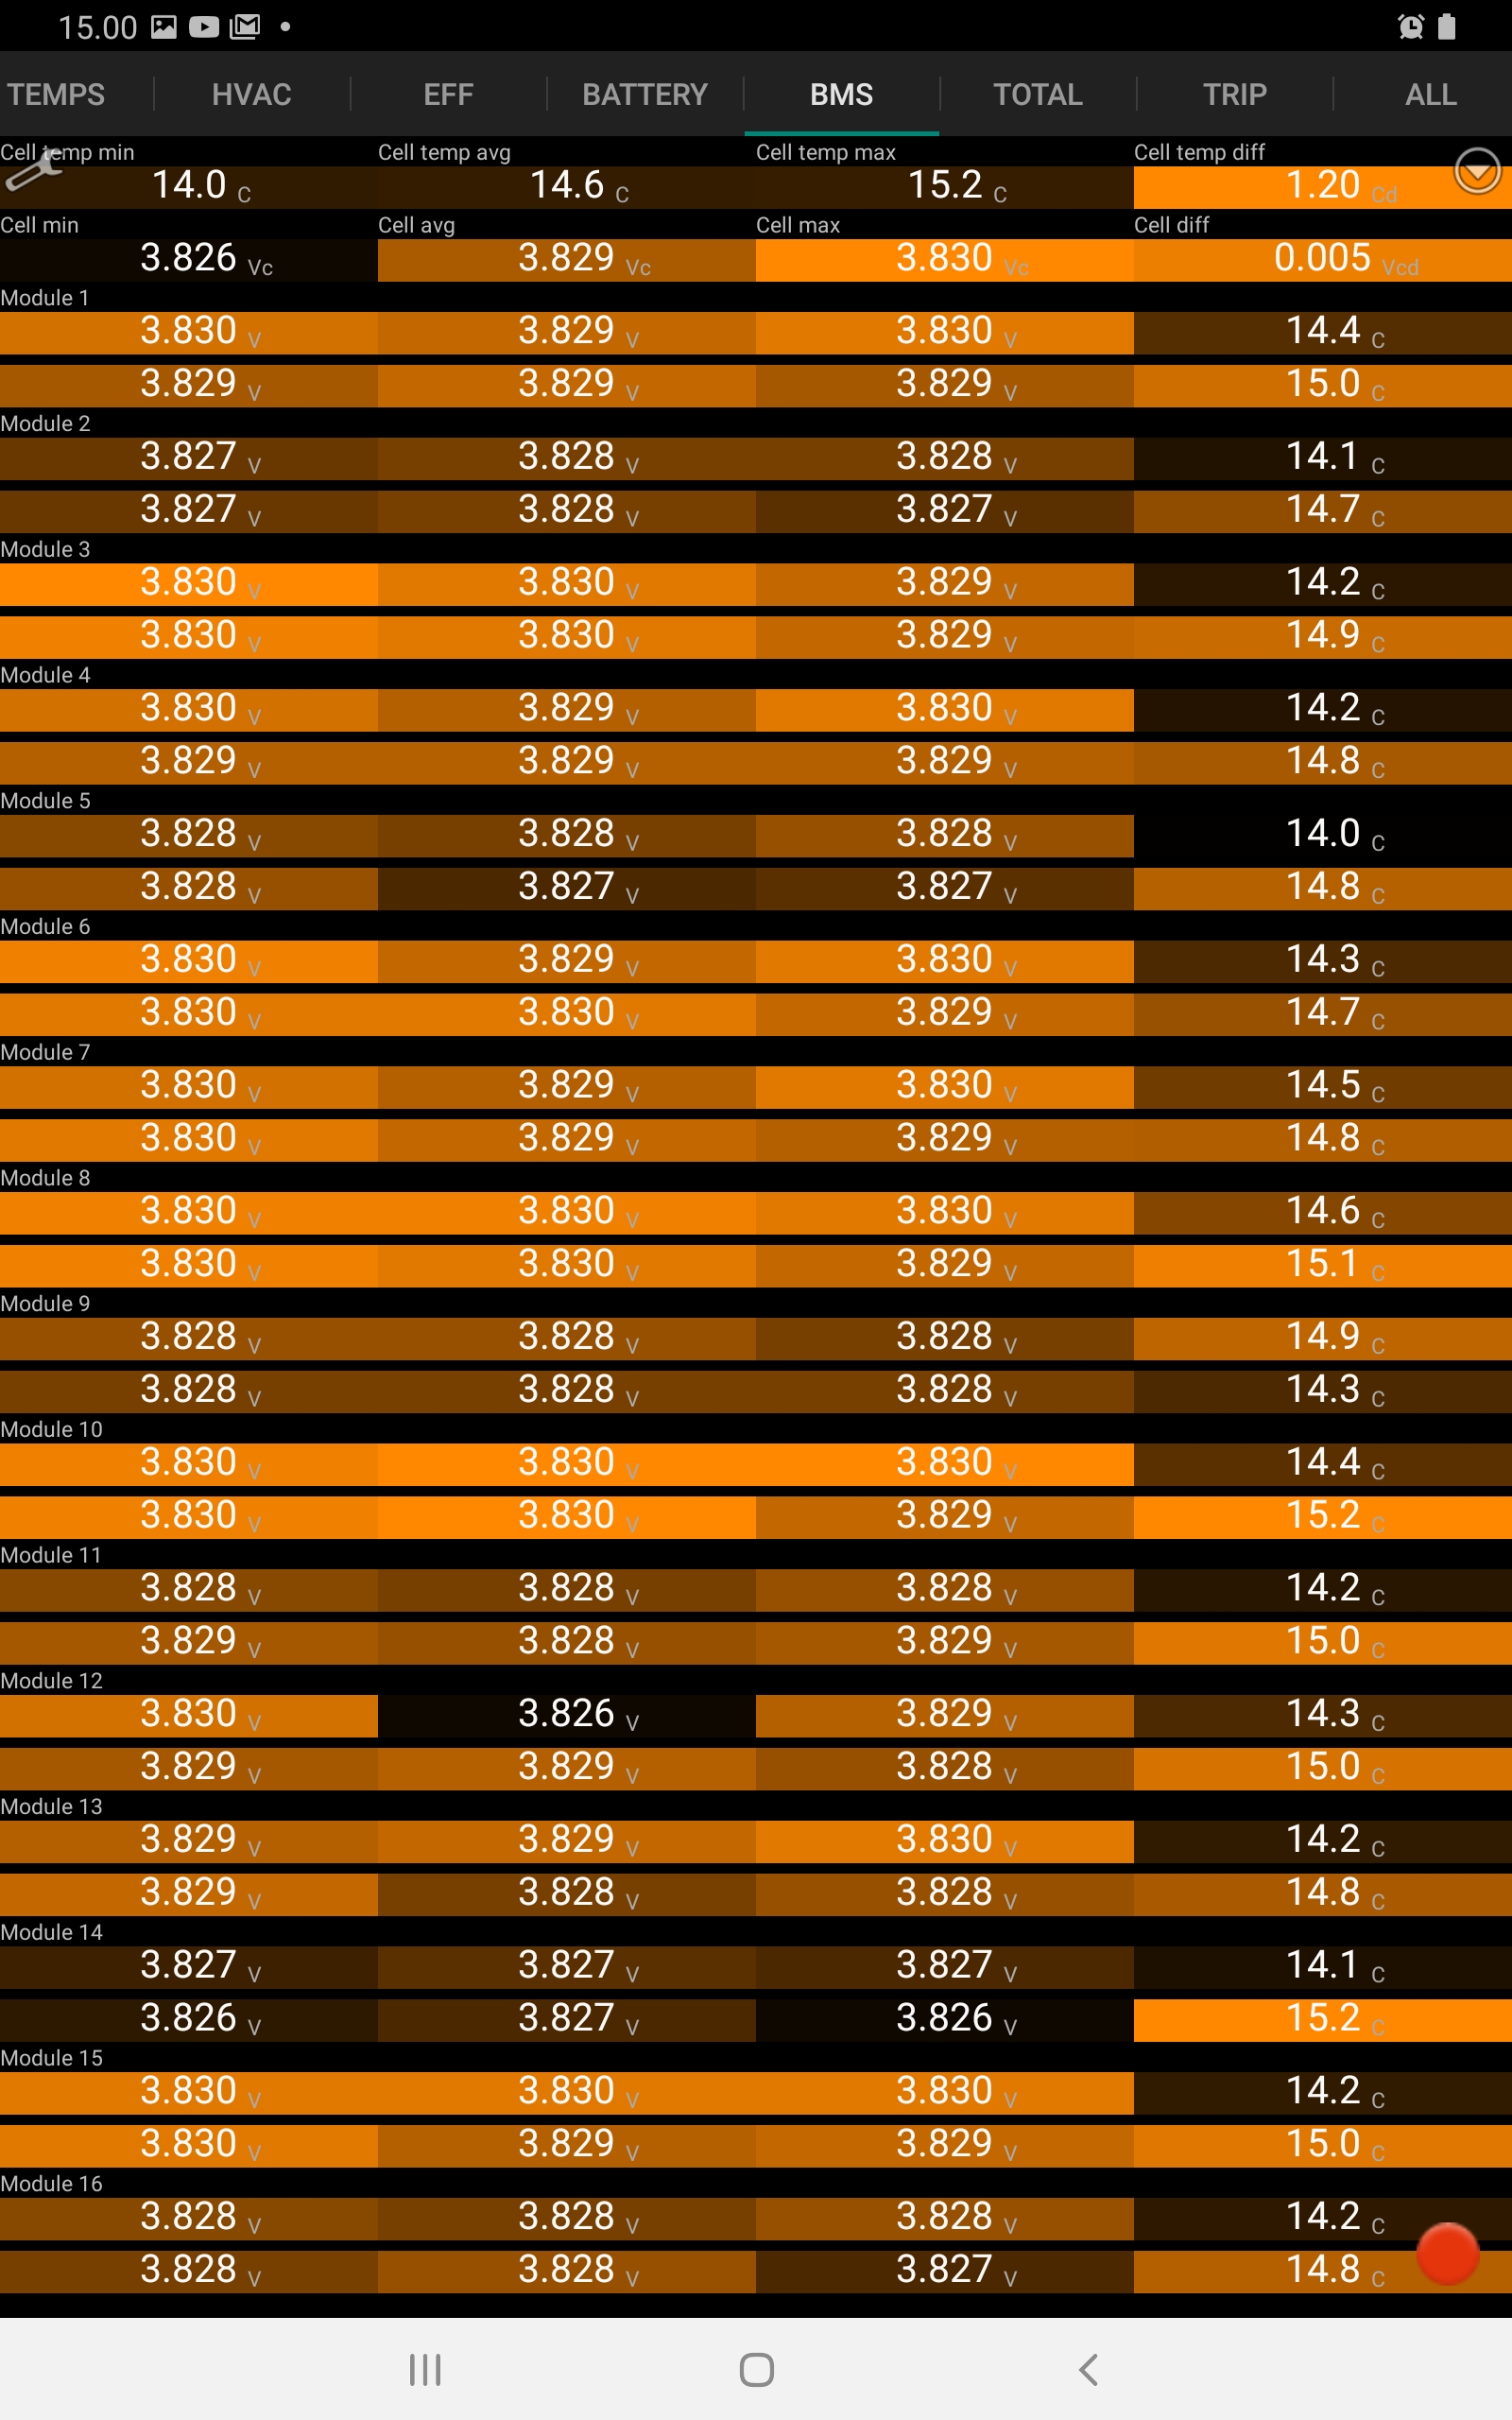
The cell-group voltages looked nicely balanced, with no alerts.
Onto the lift. I hadn't worked out how to get it driving yet, so we pushed it.
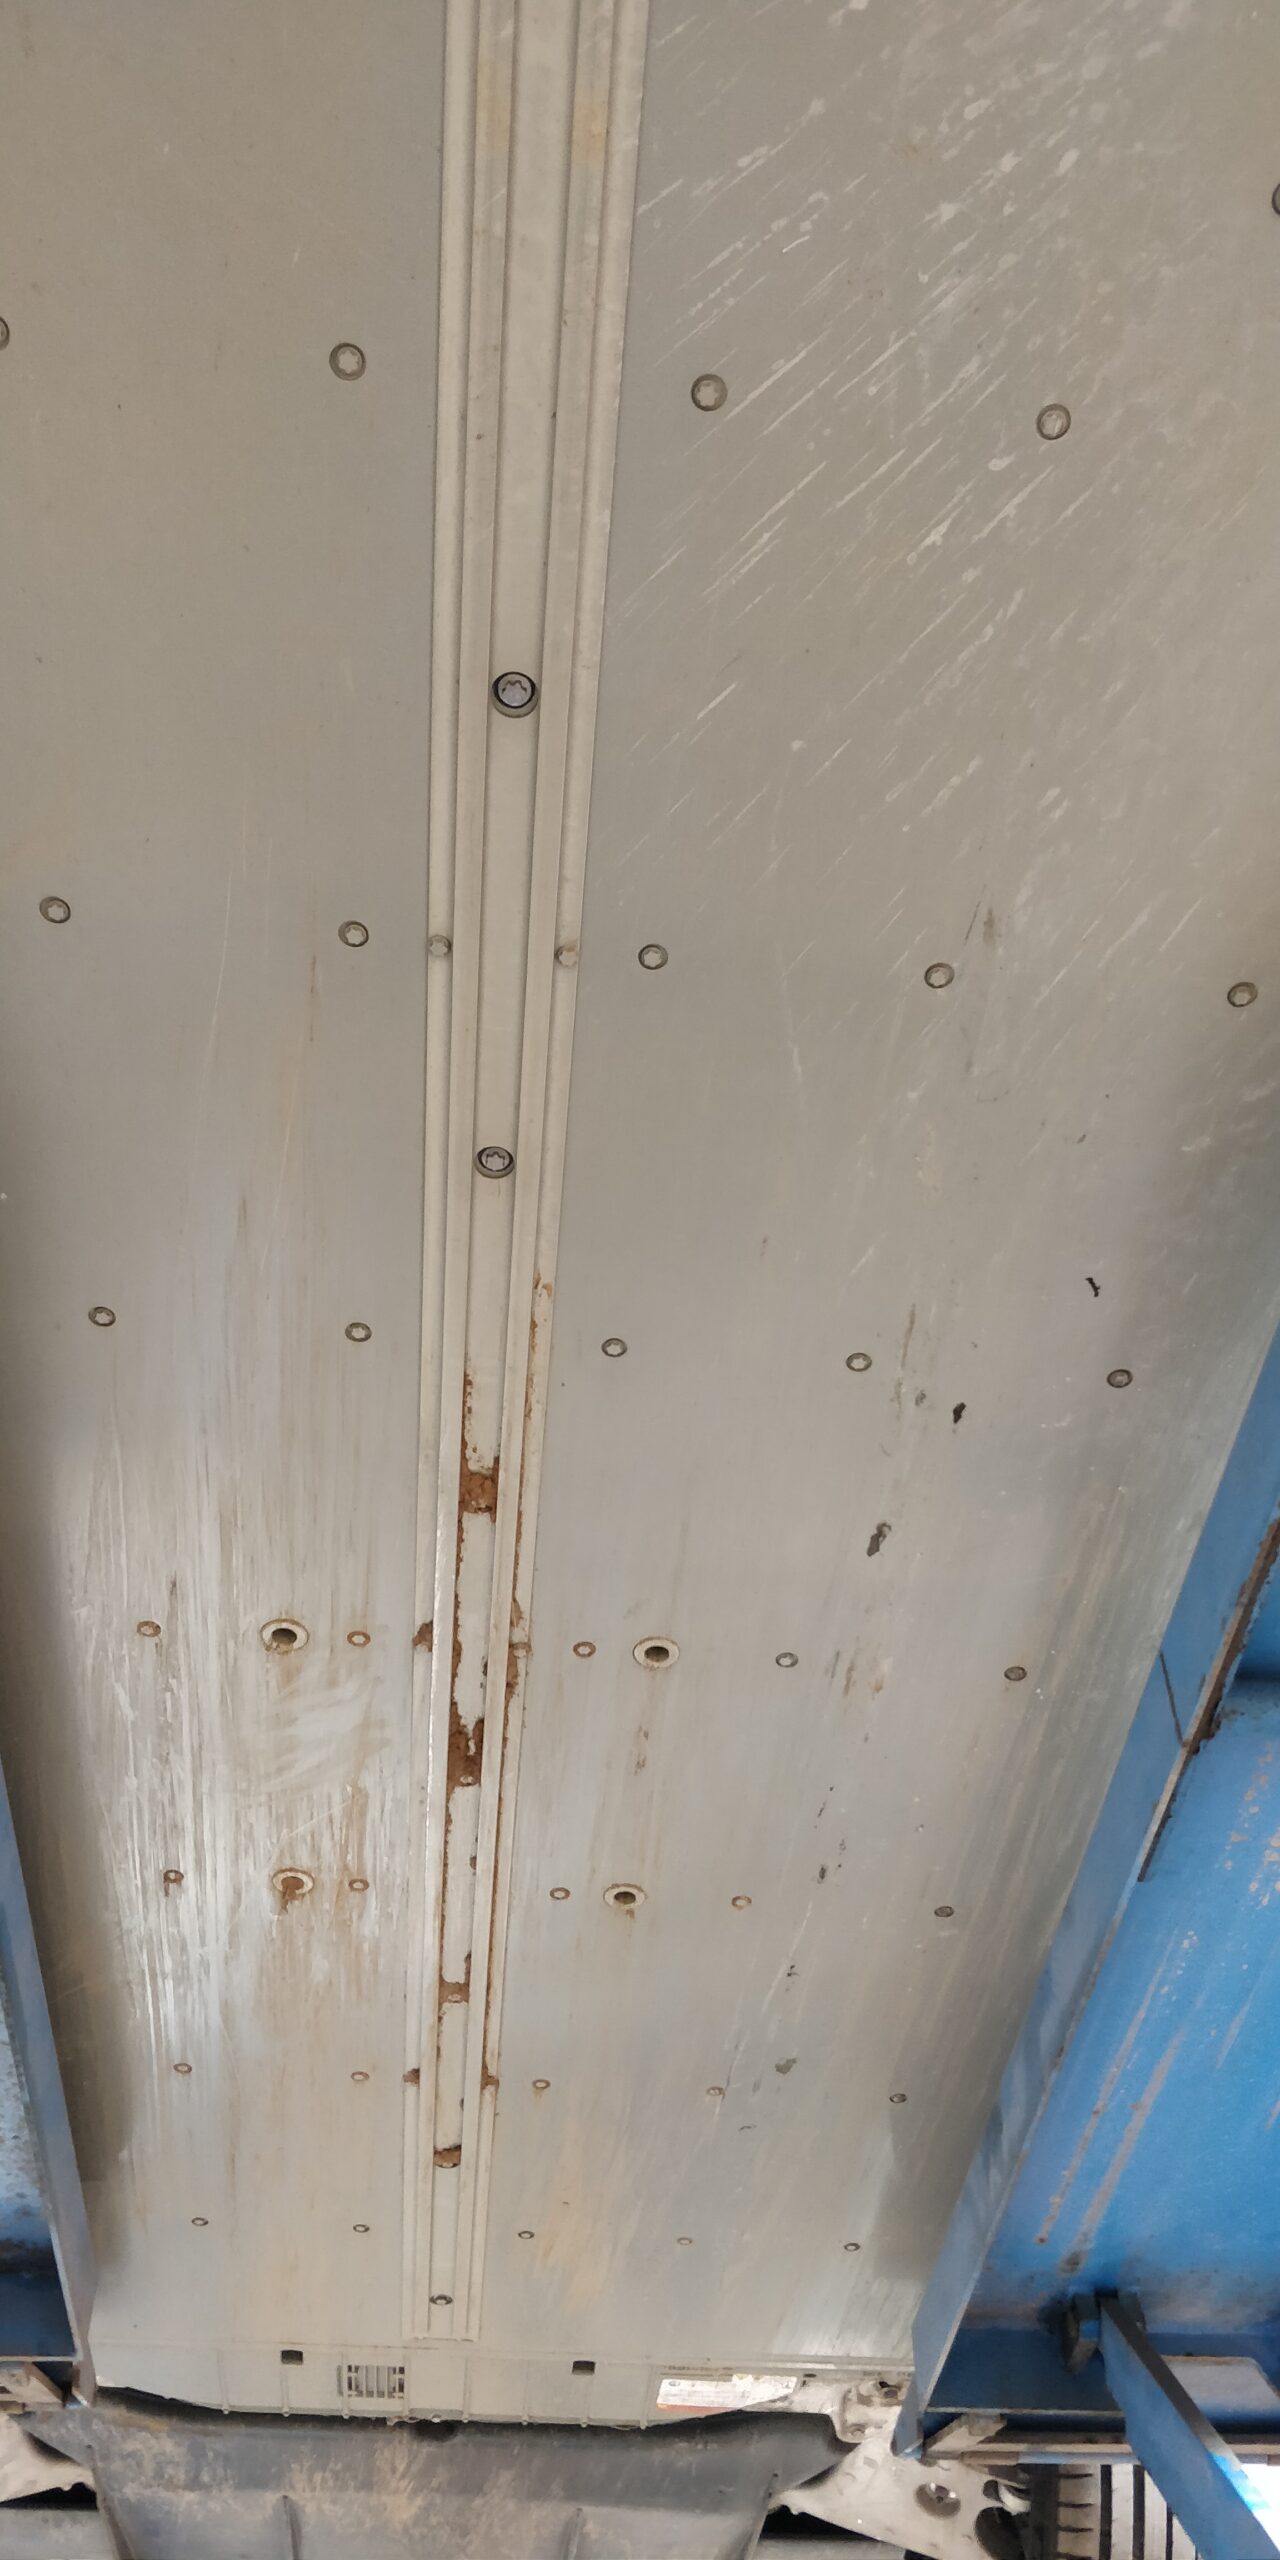
The battery is an expensive part, so it was a relief to find just scratches and dirt from the ditch underneath. The sturdy aluminium housing can take a few minor knocks.
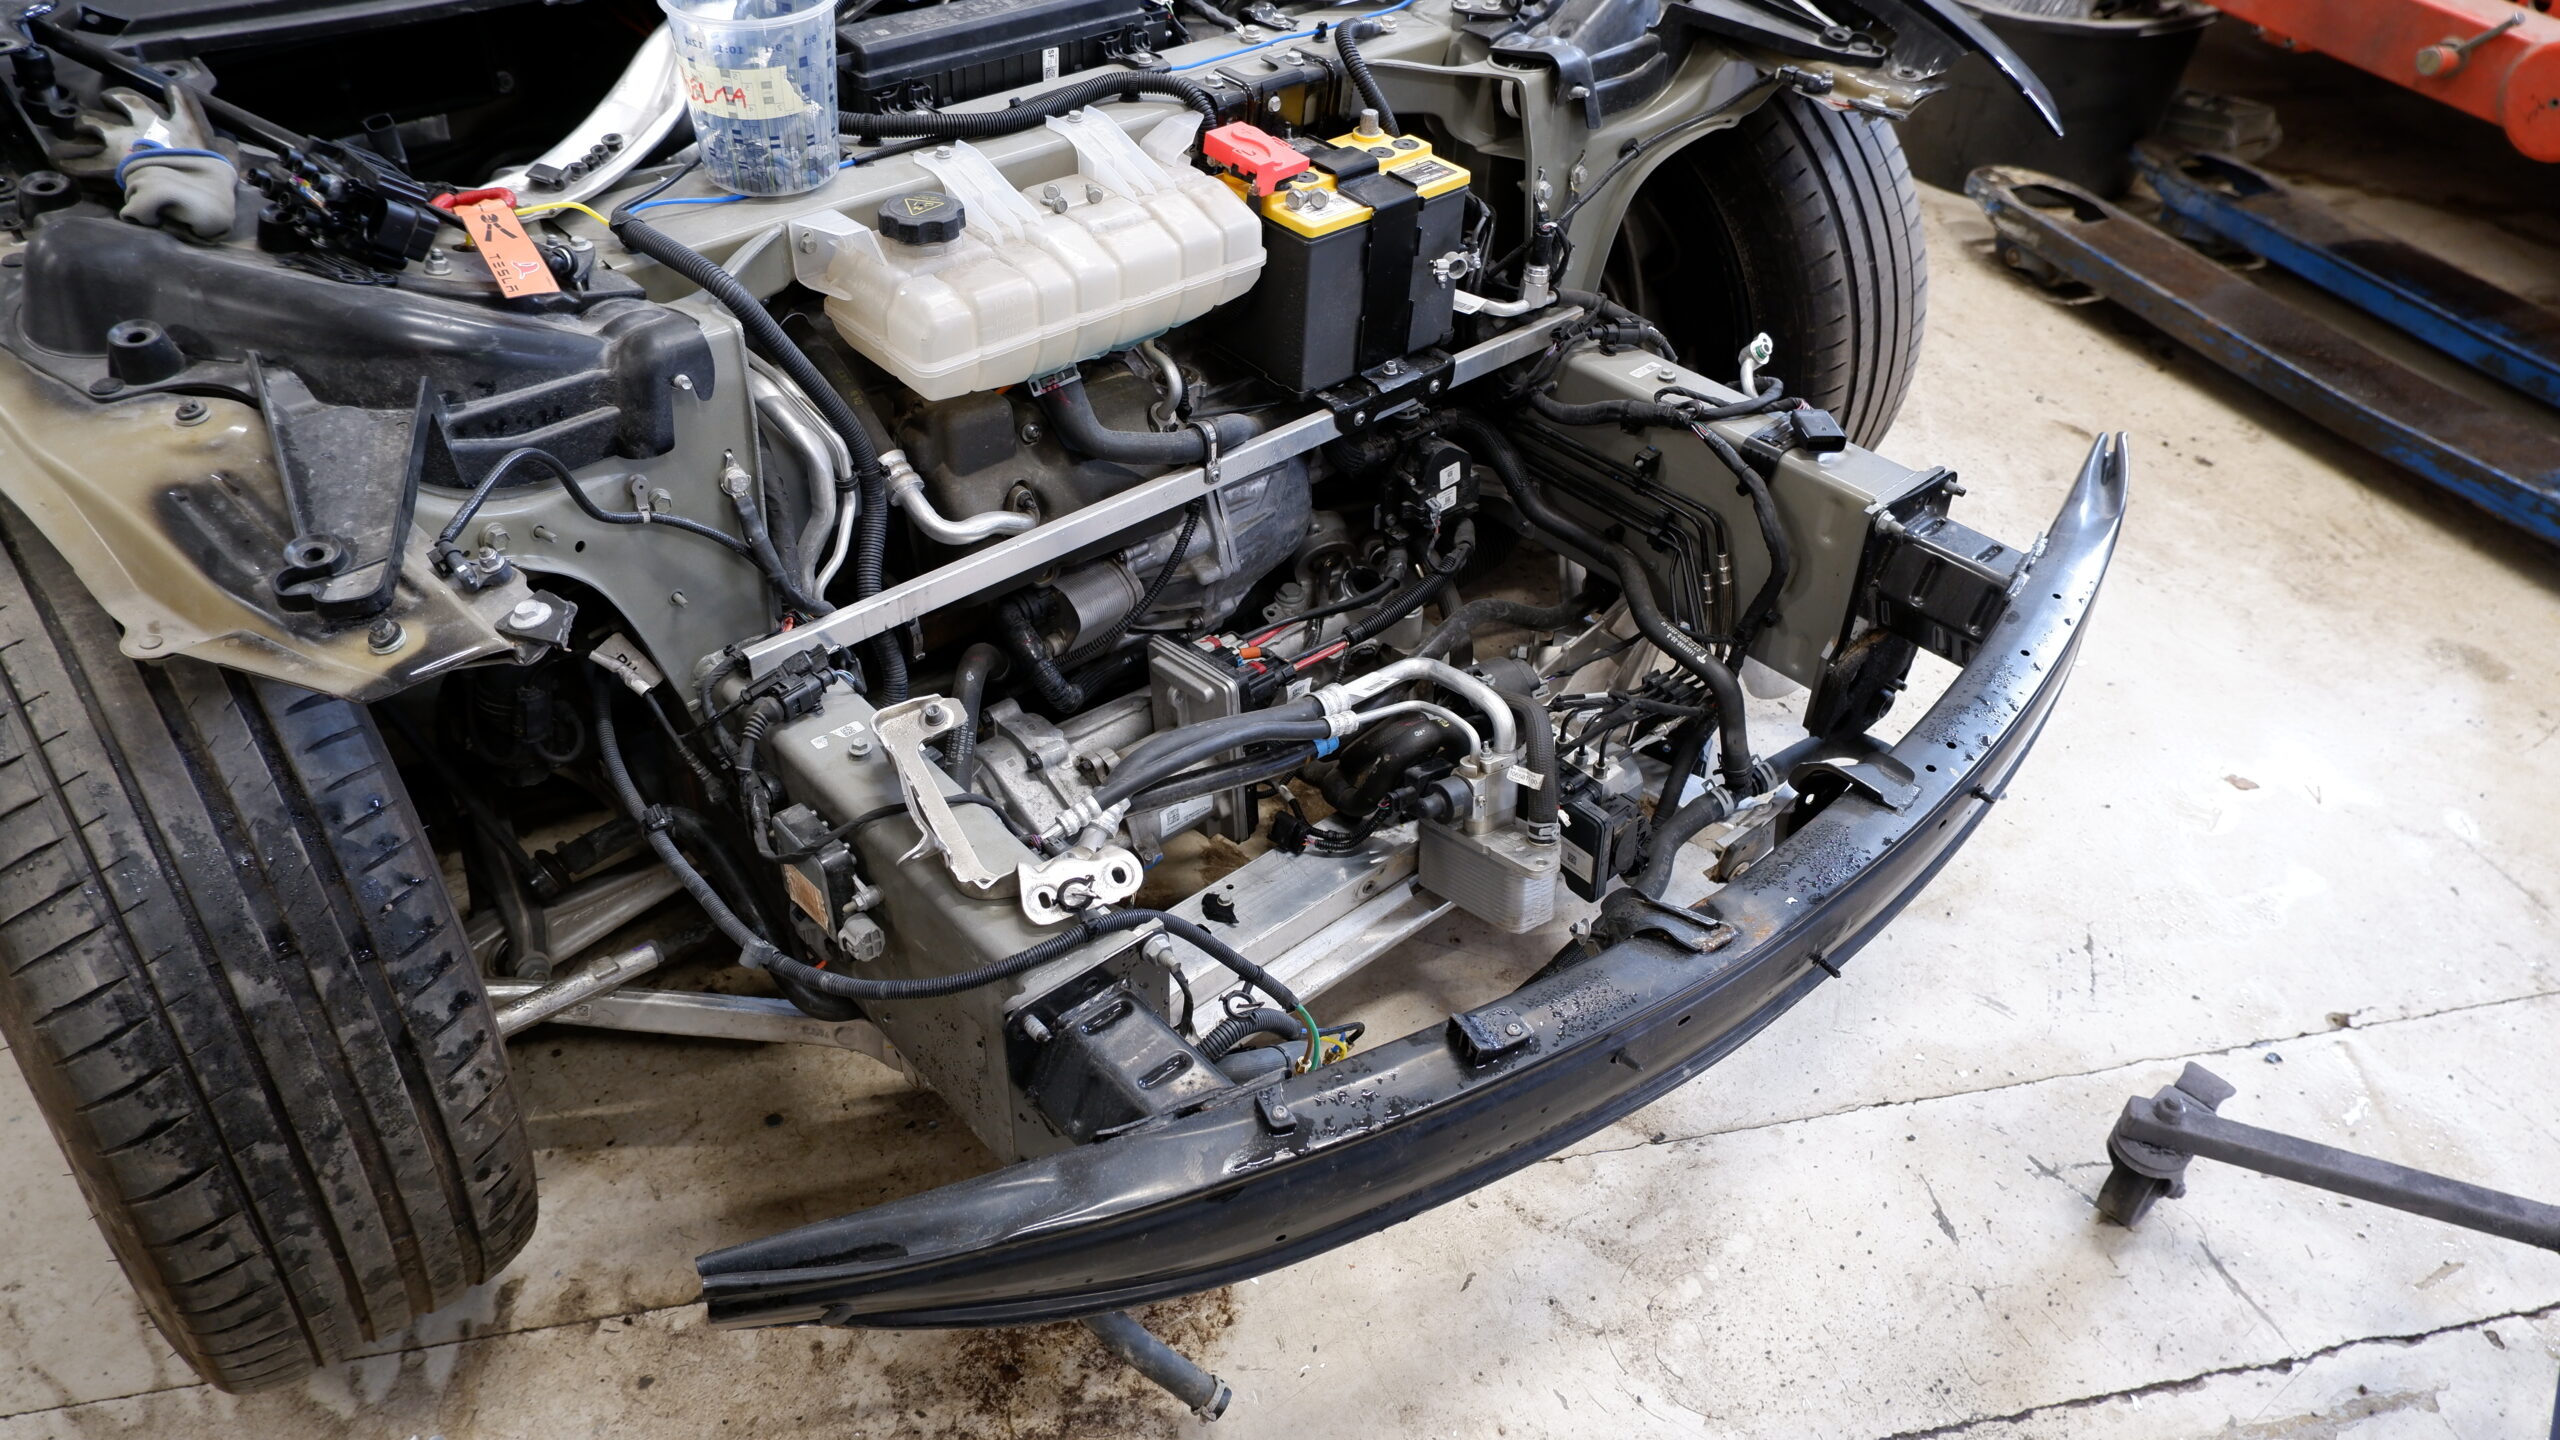
Pretty much everything at the front was broken. Autoklinikka had already dismantled most of it for the repair estimate, leaving us little to take apart. The parts list took considerably longer. We'd never stripped a newer Tesla before, and with the front already apart and many broken parts thrown away, there wasn't much left to use as a guide.
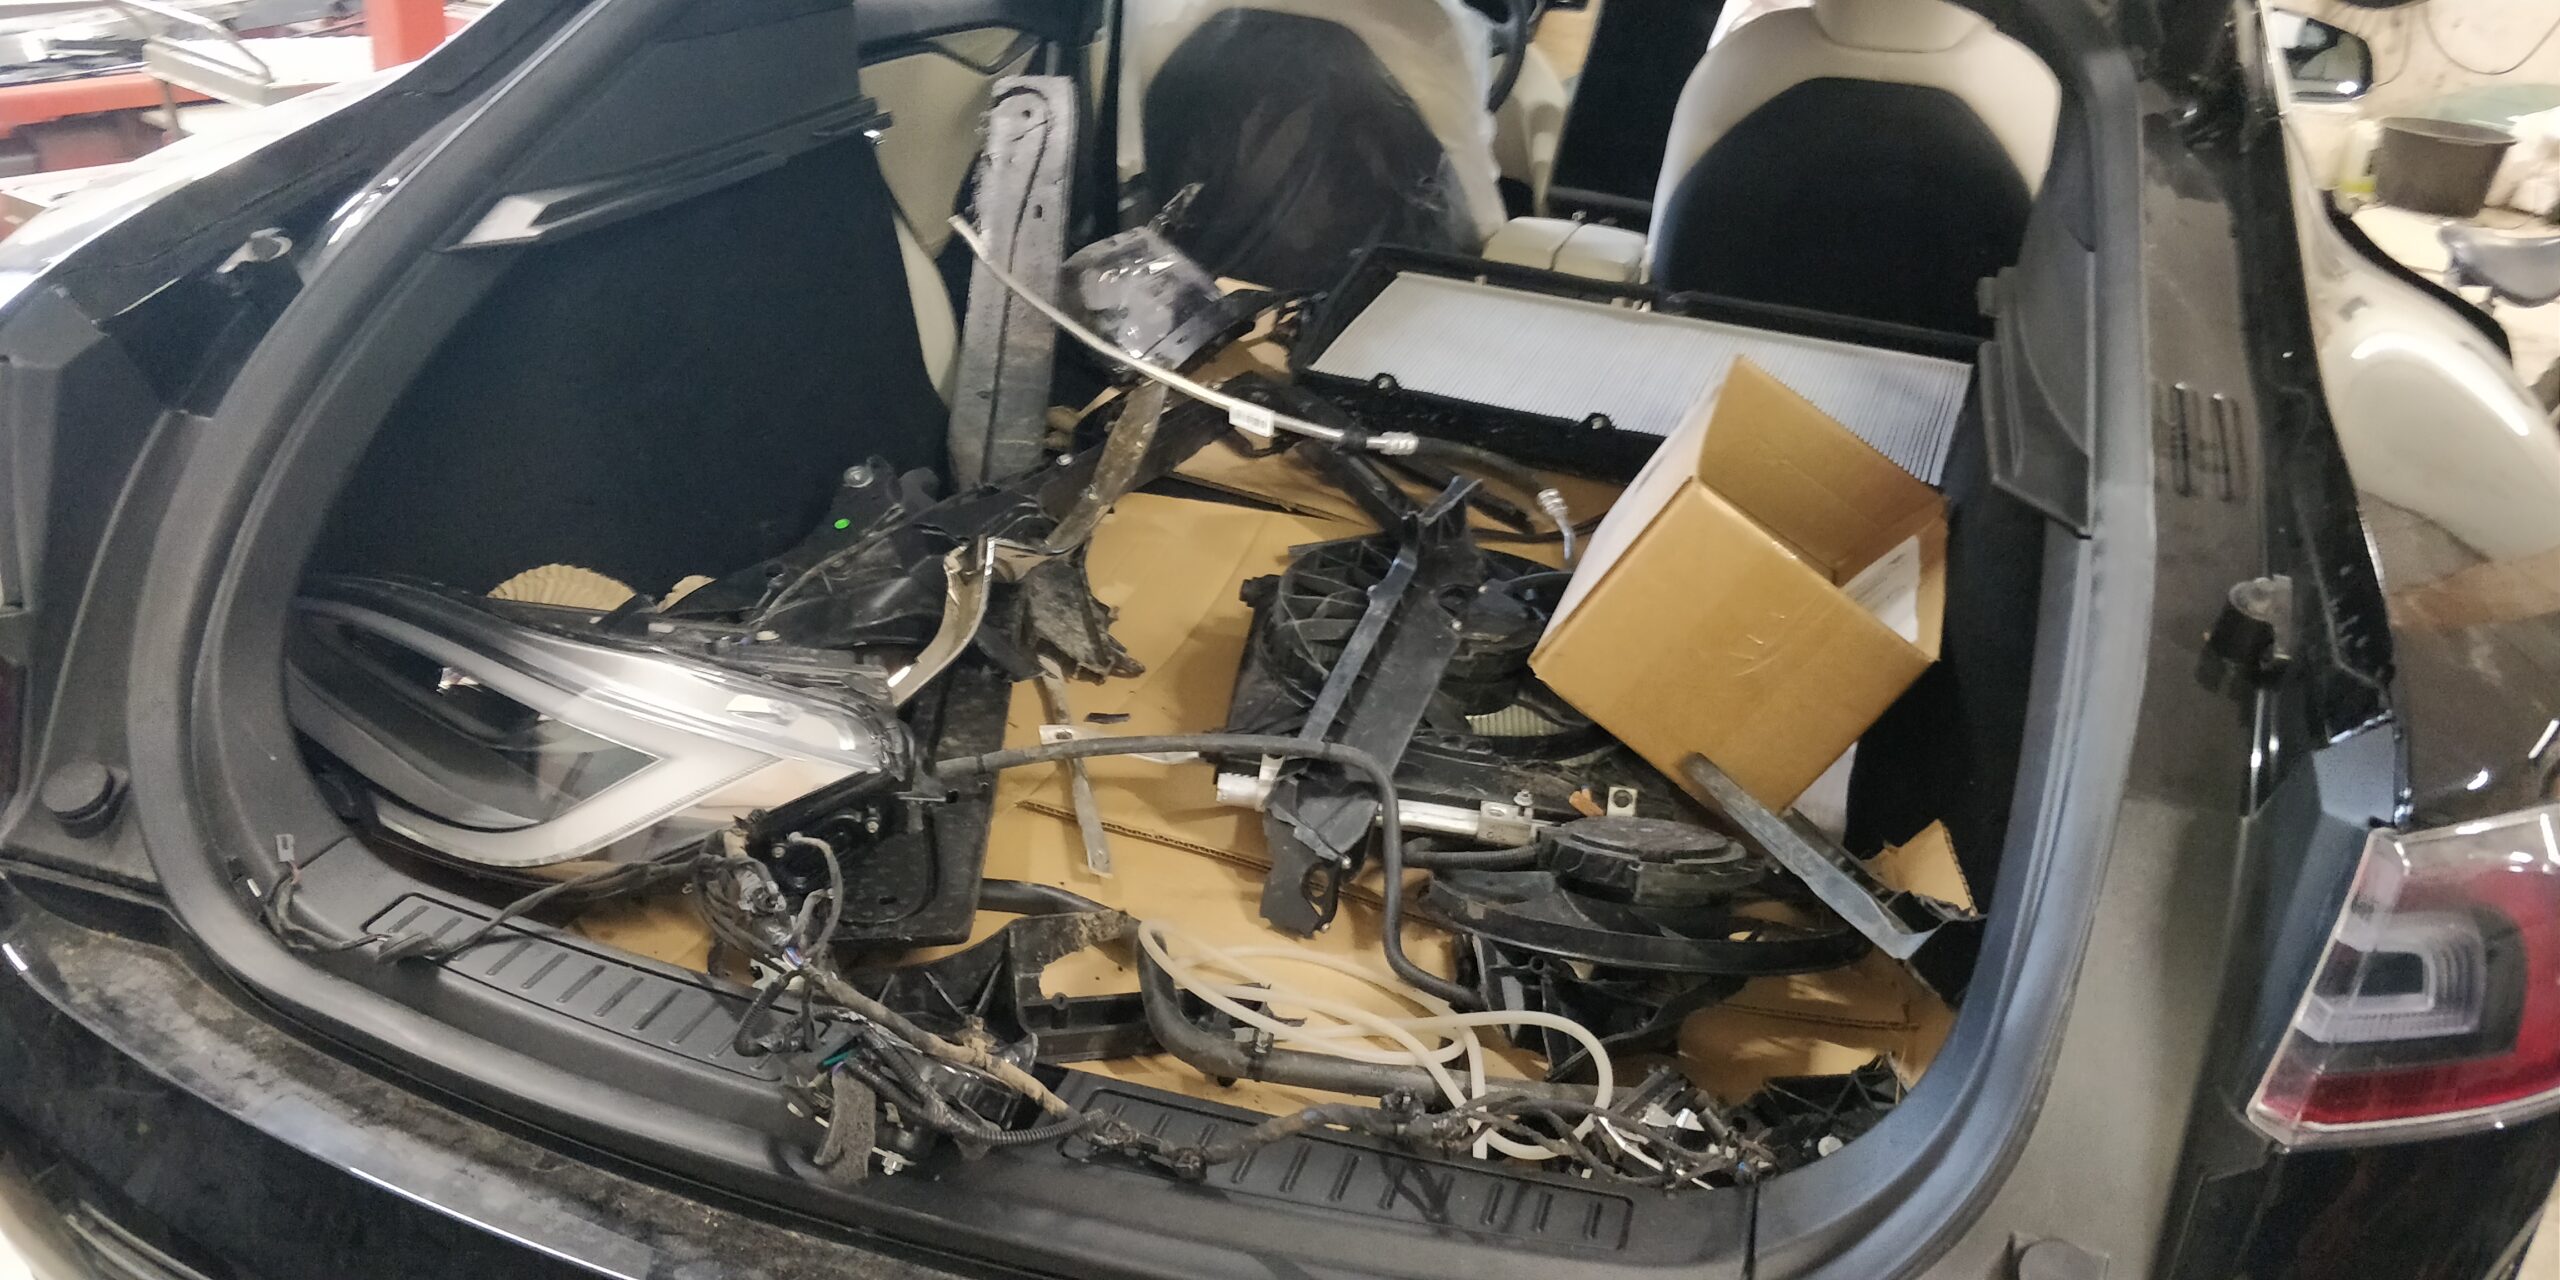
At least the boot was stuffed with assorted broken parts, and a few intact ones, so we weren't starting entirely from scratch. Turning them over and comparing them with the donor car nearby gradually revealed what went where and what we needed to buy. Another big help was Tesla's online parts catalogue. We worked through it diagram by diagram to build the shopping list. It turned out surprisingly accurate, with very few parts needing follow-up orders.
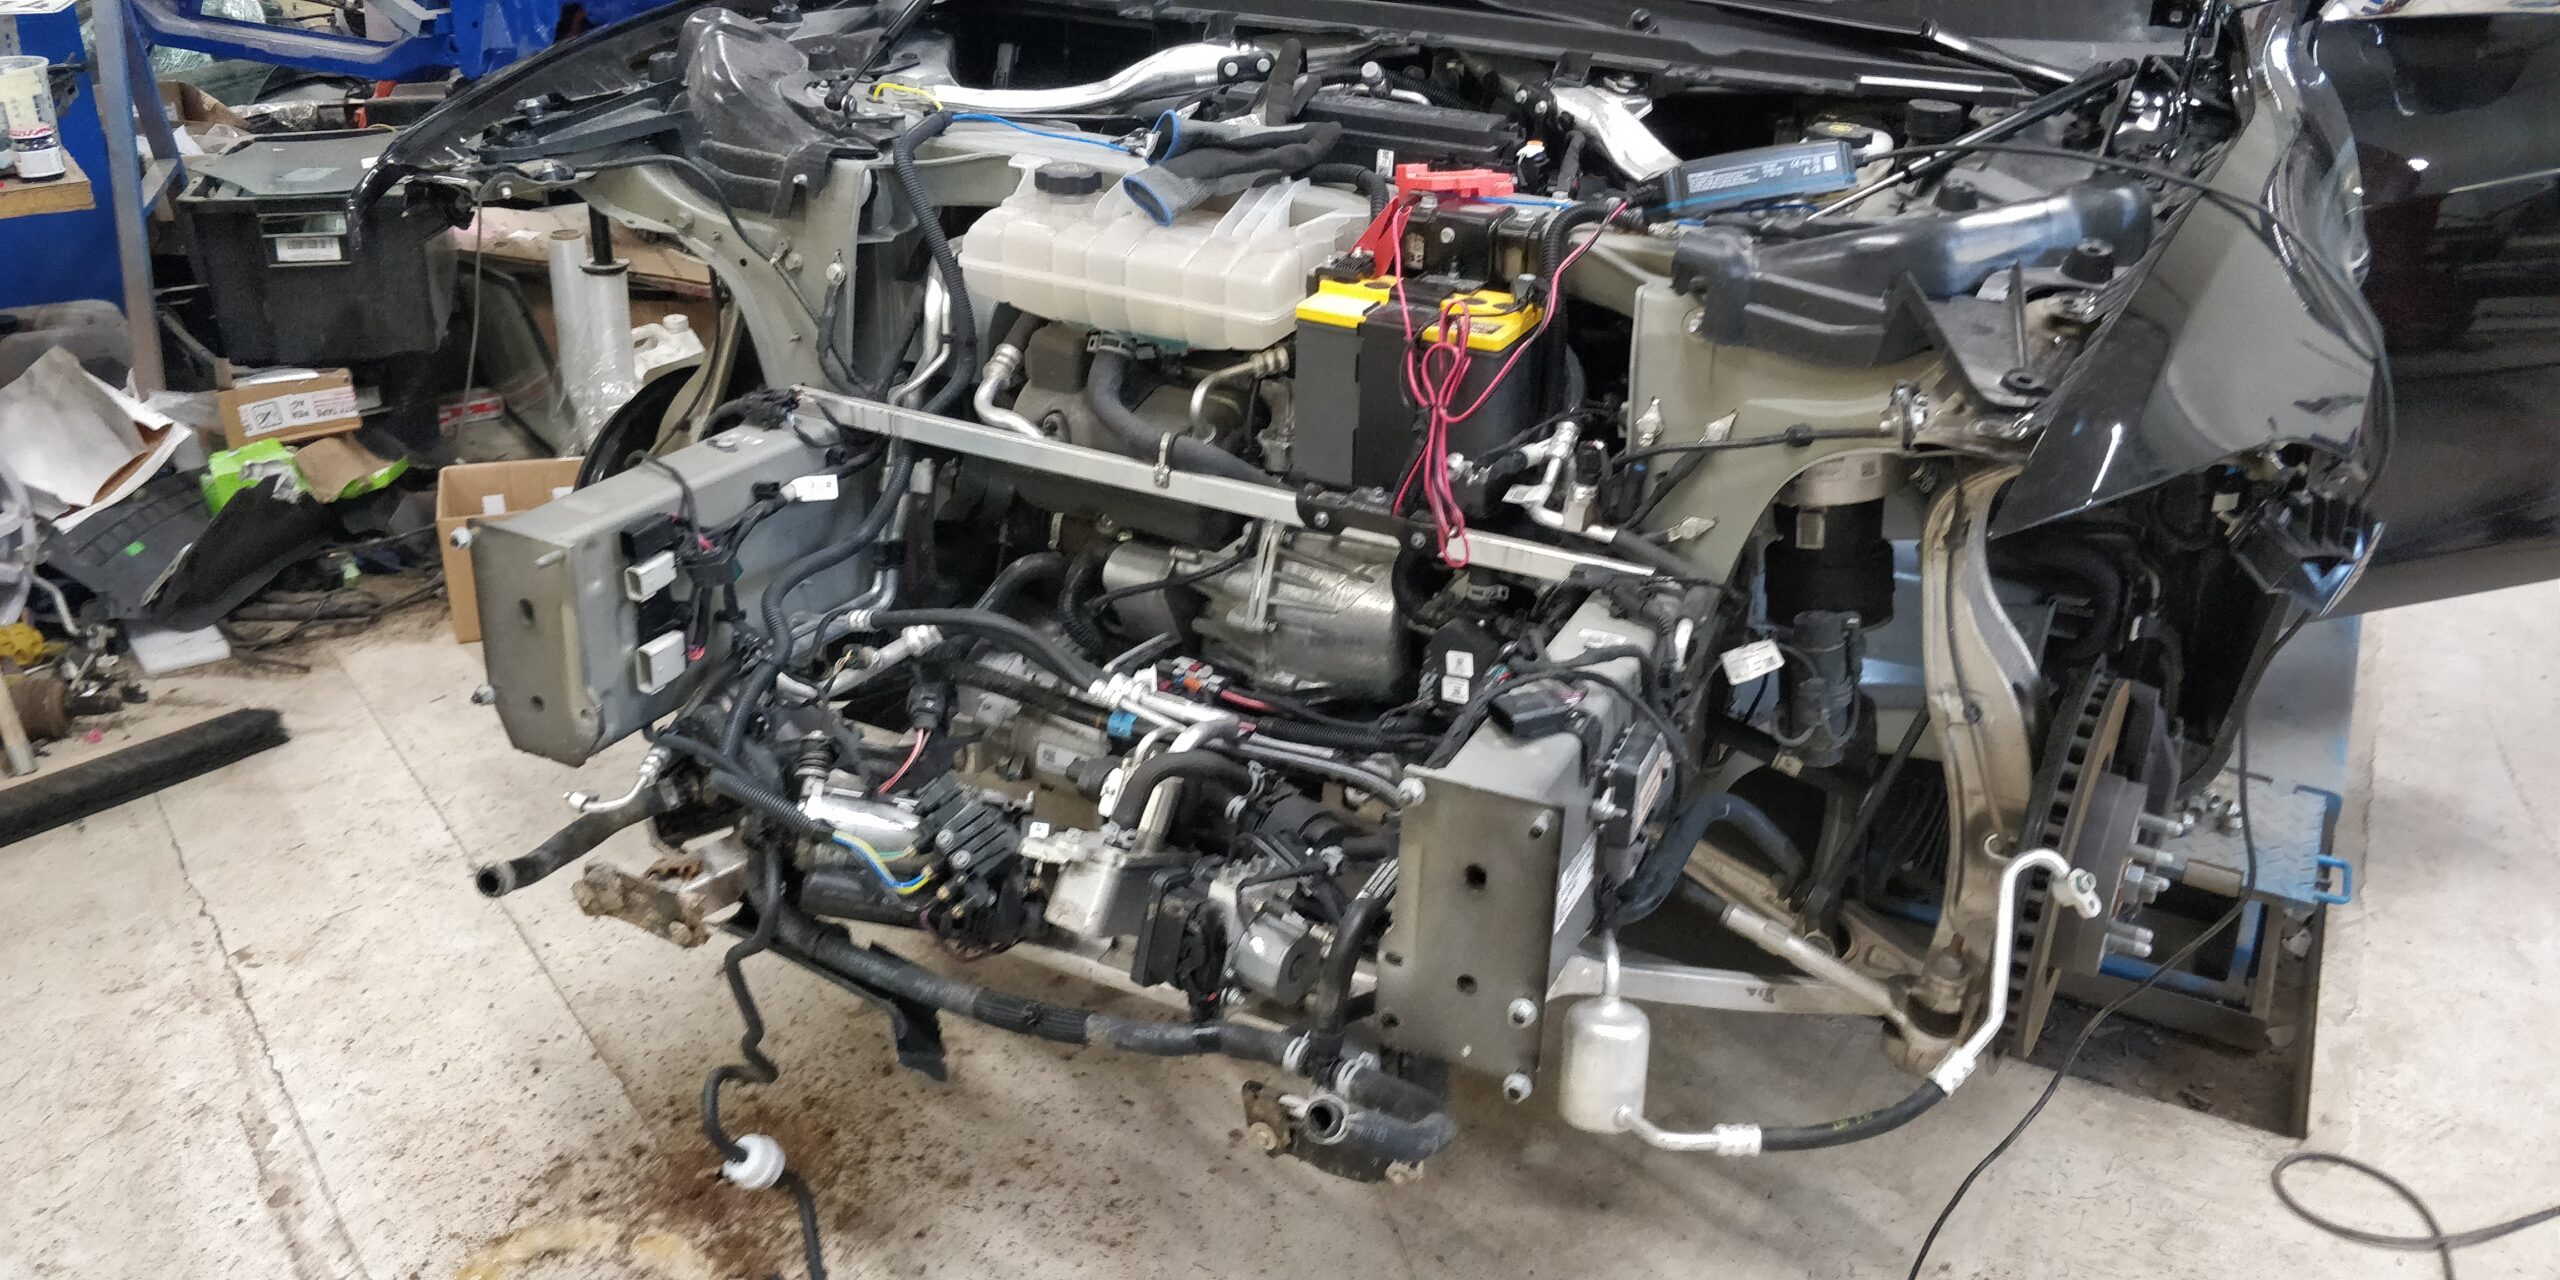
The air-suspension compressor mount was smashed. The chassis rails, thankfully, were straight. Those aluminium rails can't just be pulled straight on a jig — damaged ones have to be replaced. Glad we didn't have to go there.
Before the high-voltage battery was connected, the 12 V battery needed charging frequently. Those screens drain it surprisingly quickly.
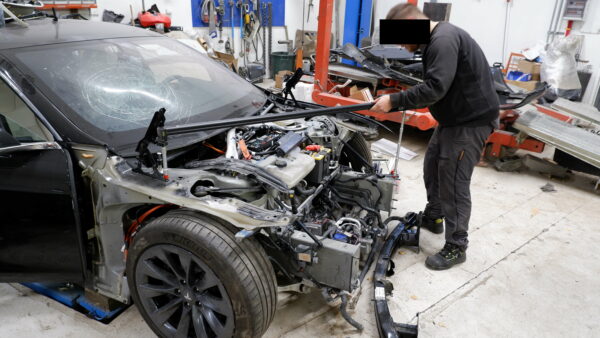
The measurement guy checking the diagonals with the Autorobot.
The photo above also clearly shows the windscreen broken by the airbag. A replacement was reasonably priced.
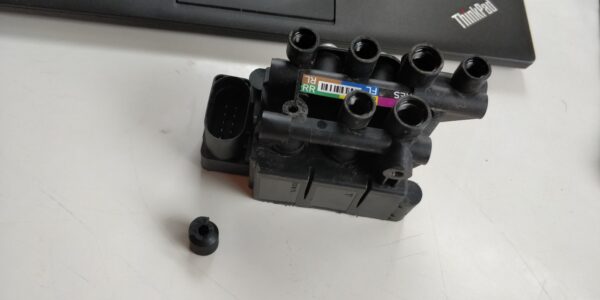
One outlet on the air-suspension valve block had broken off, leaving the right rear corner on the deck.
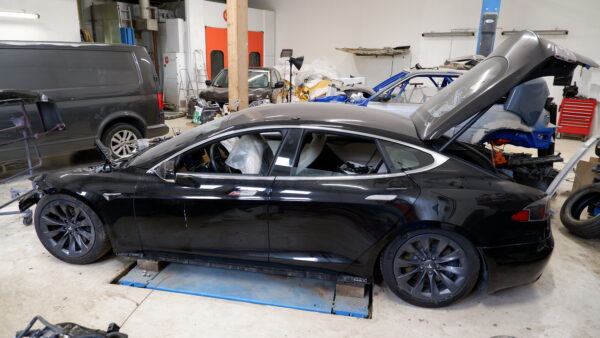
With the valve block removed, the whole car dropped. Luckily, there were still wooden blocks under the sills to support it.
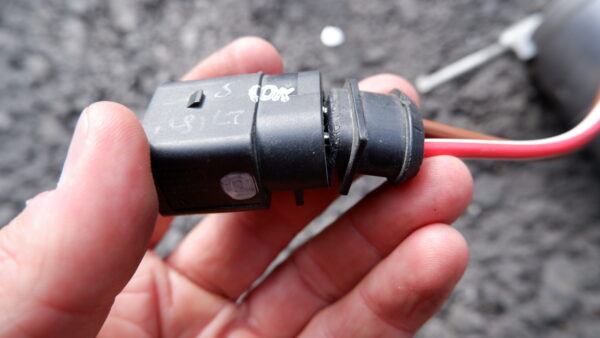
The compressor connector is also a VW part: 1J0973852.
More on this over the next few weeks.
2021-04-03 · Replacing the airbags
Tesla would only sell airbags to its authorised repairers, of which there were just a few in Finland, so we had to source them elsewhere. Well, it worked out a bit cheaper too.
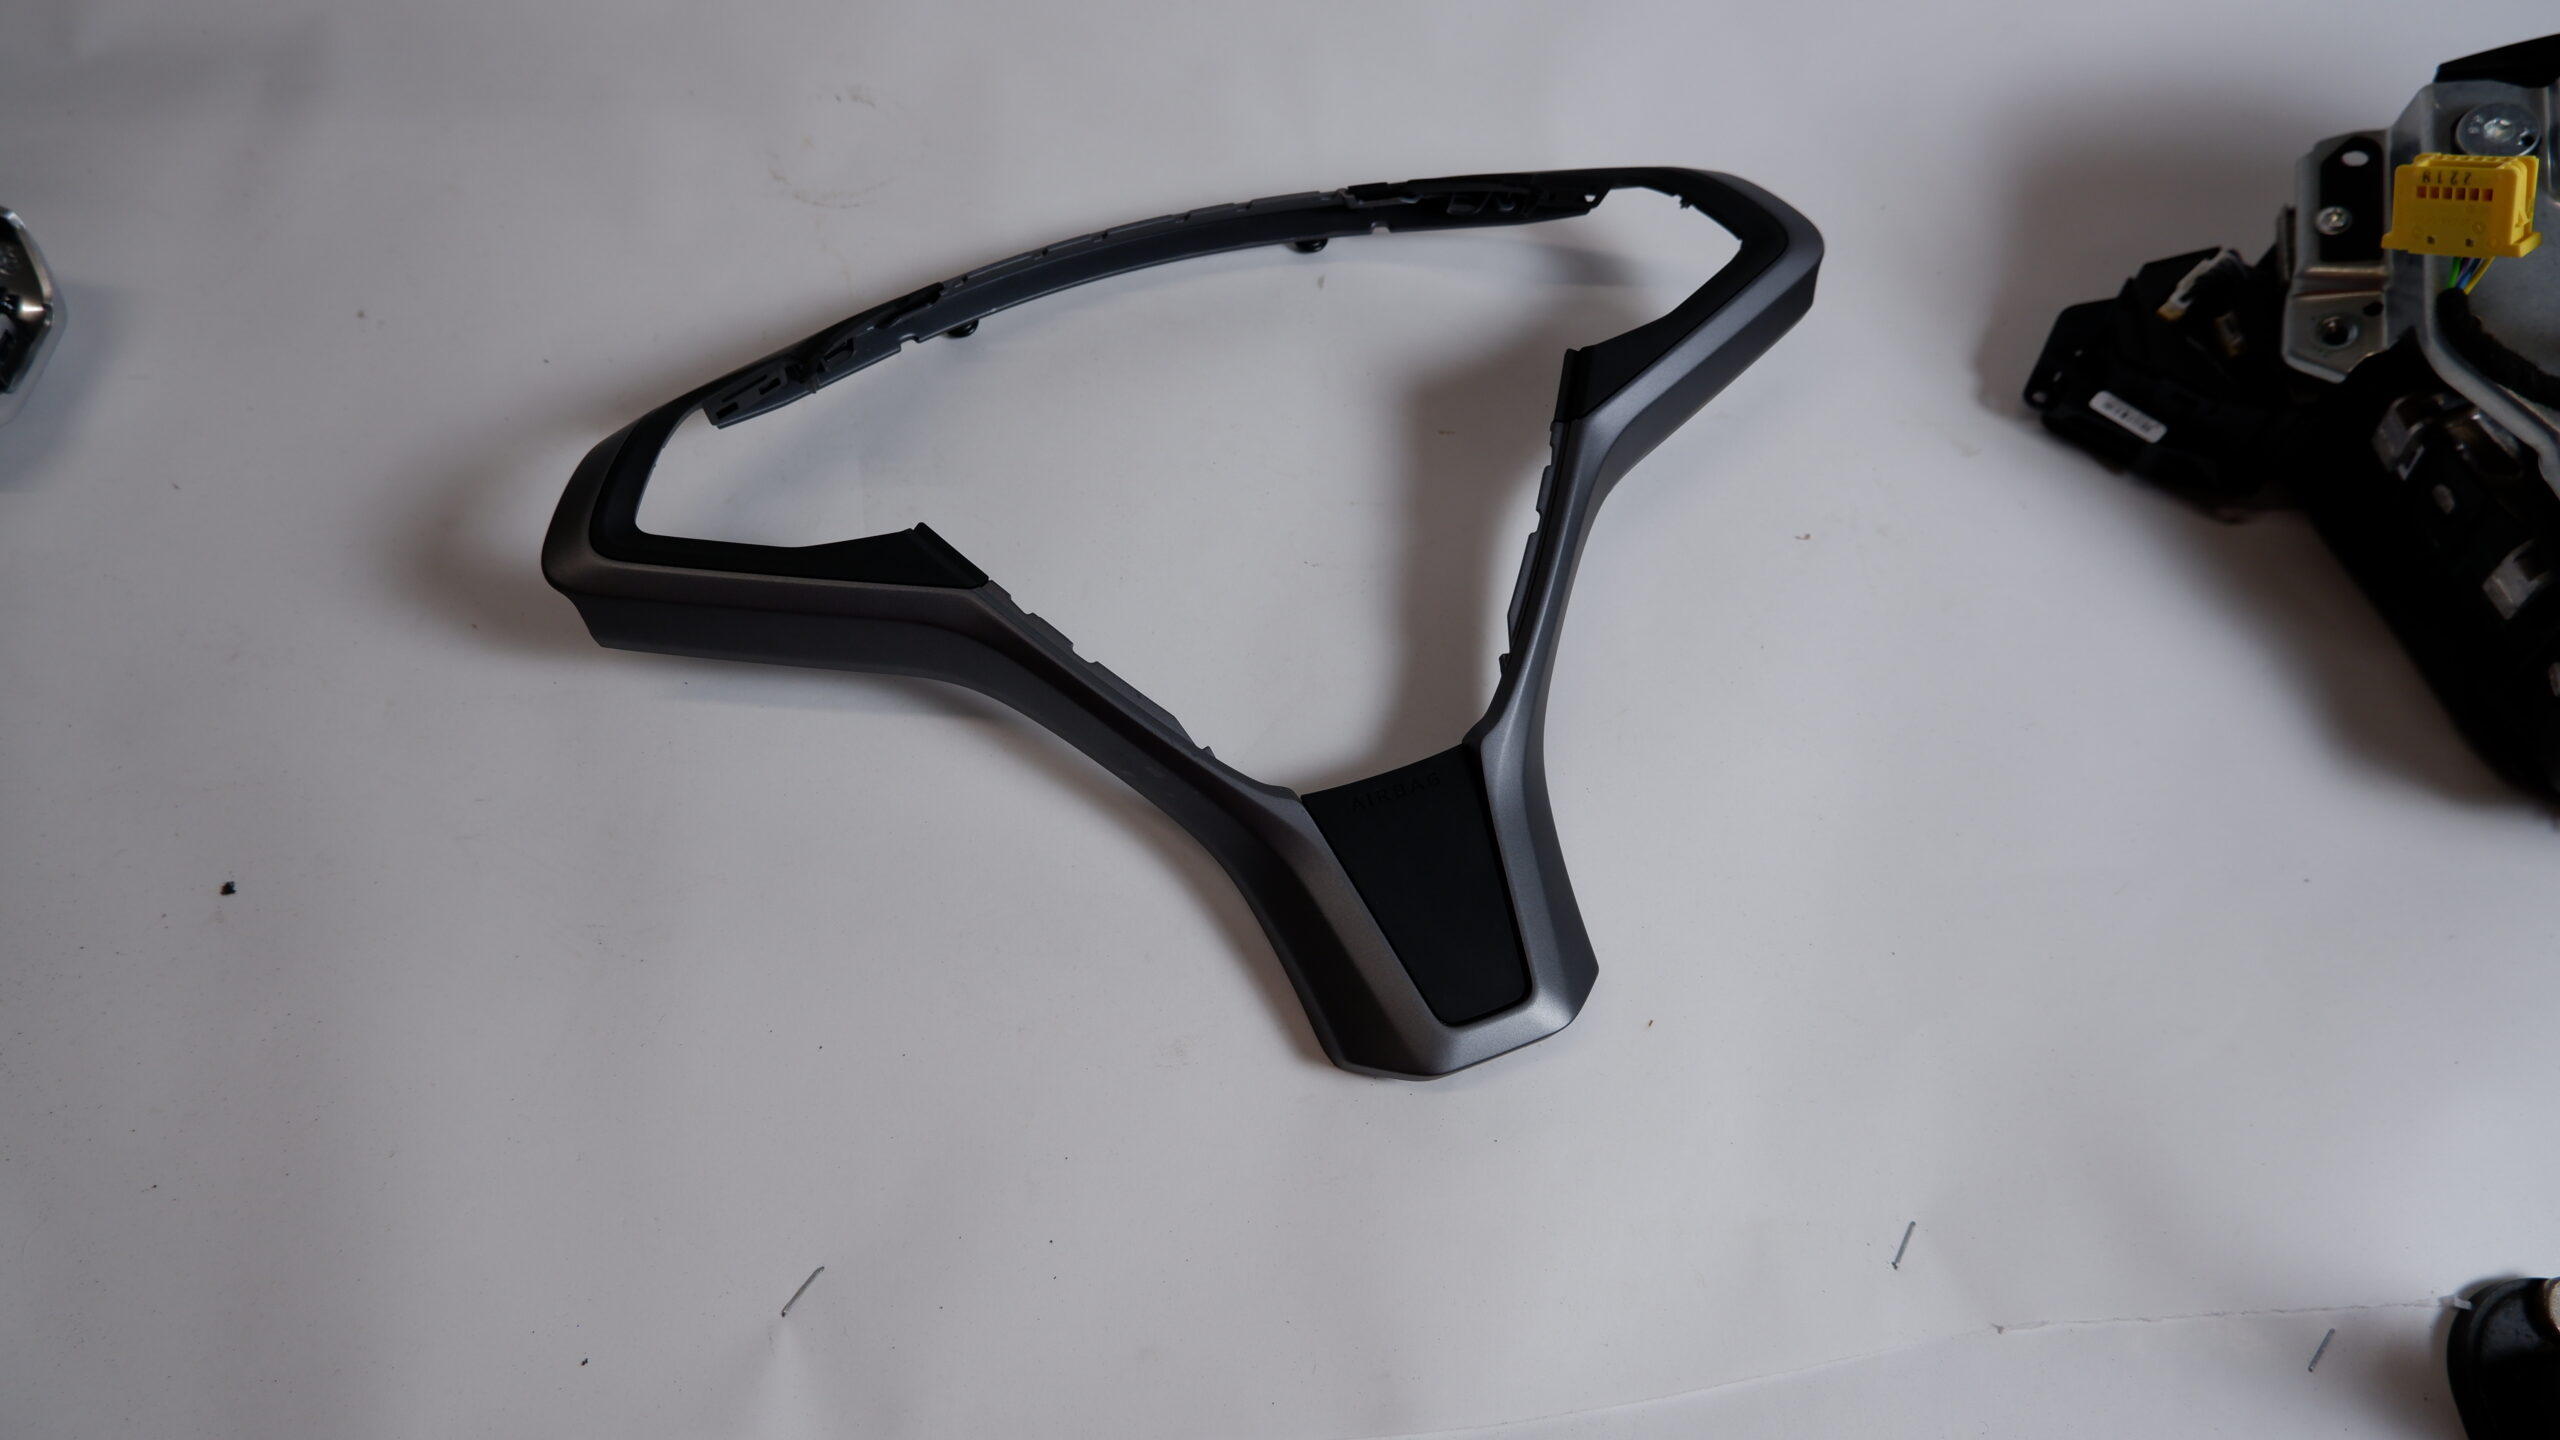
The replacement airbag had a different-coloured surround, so we transferred the surround from the car’s original airbag.
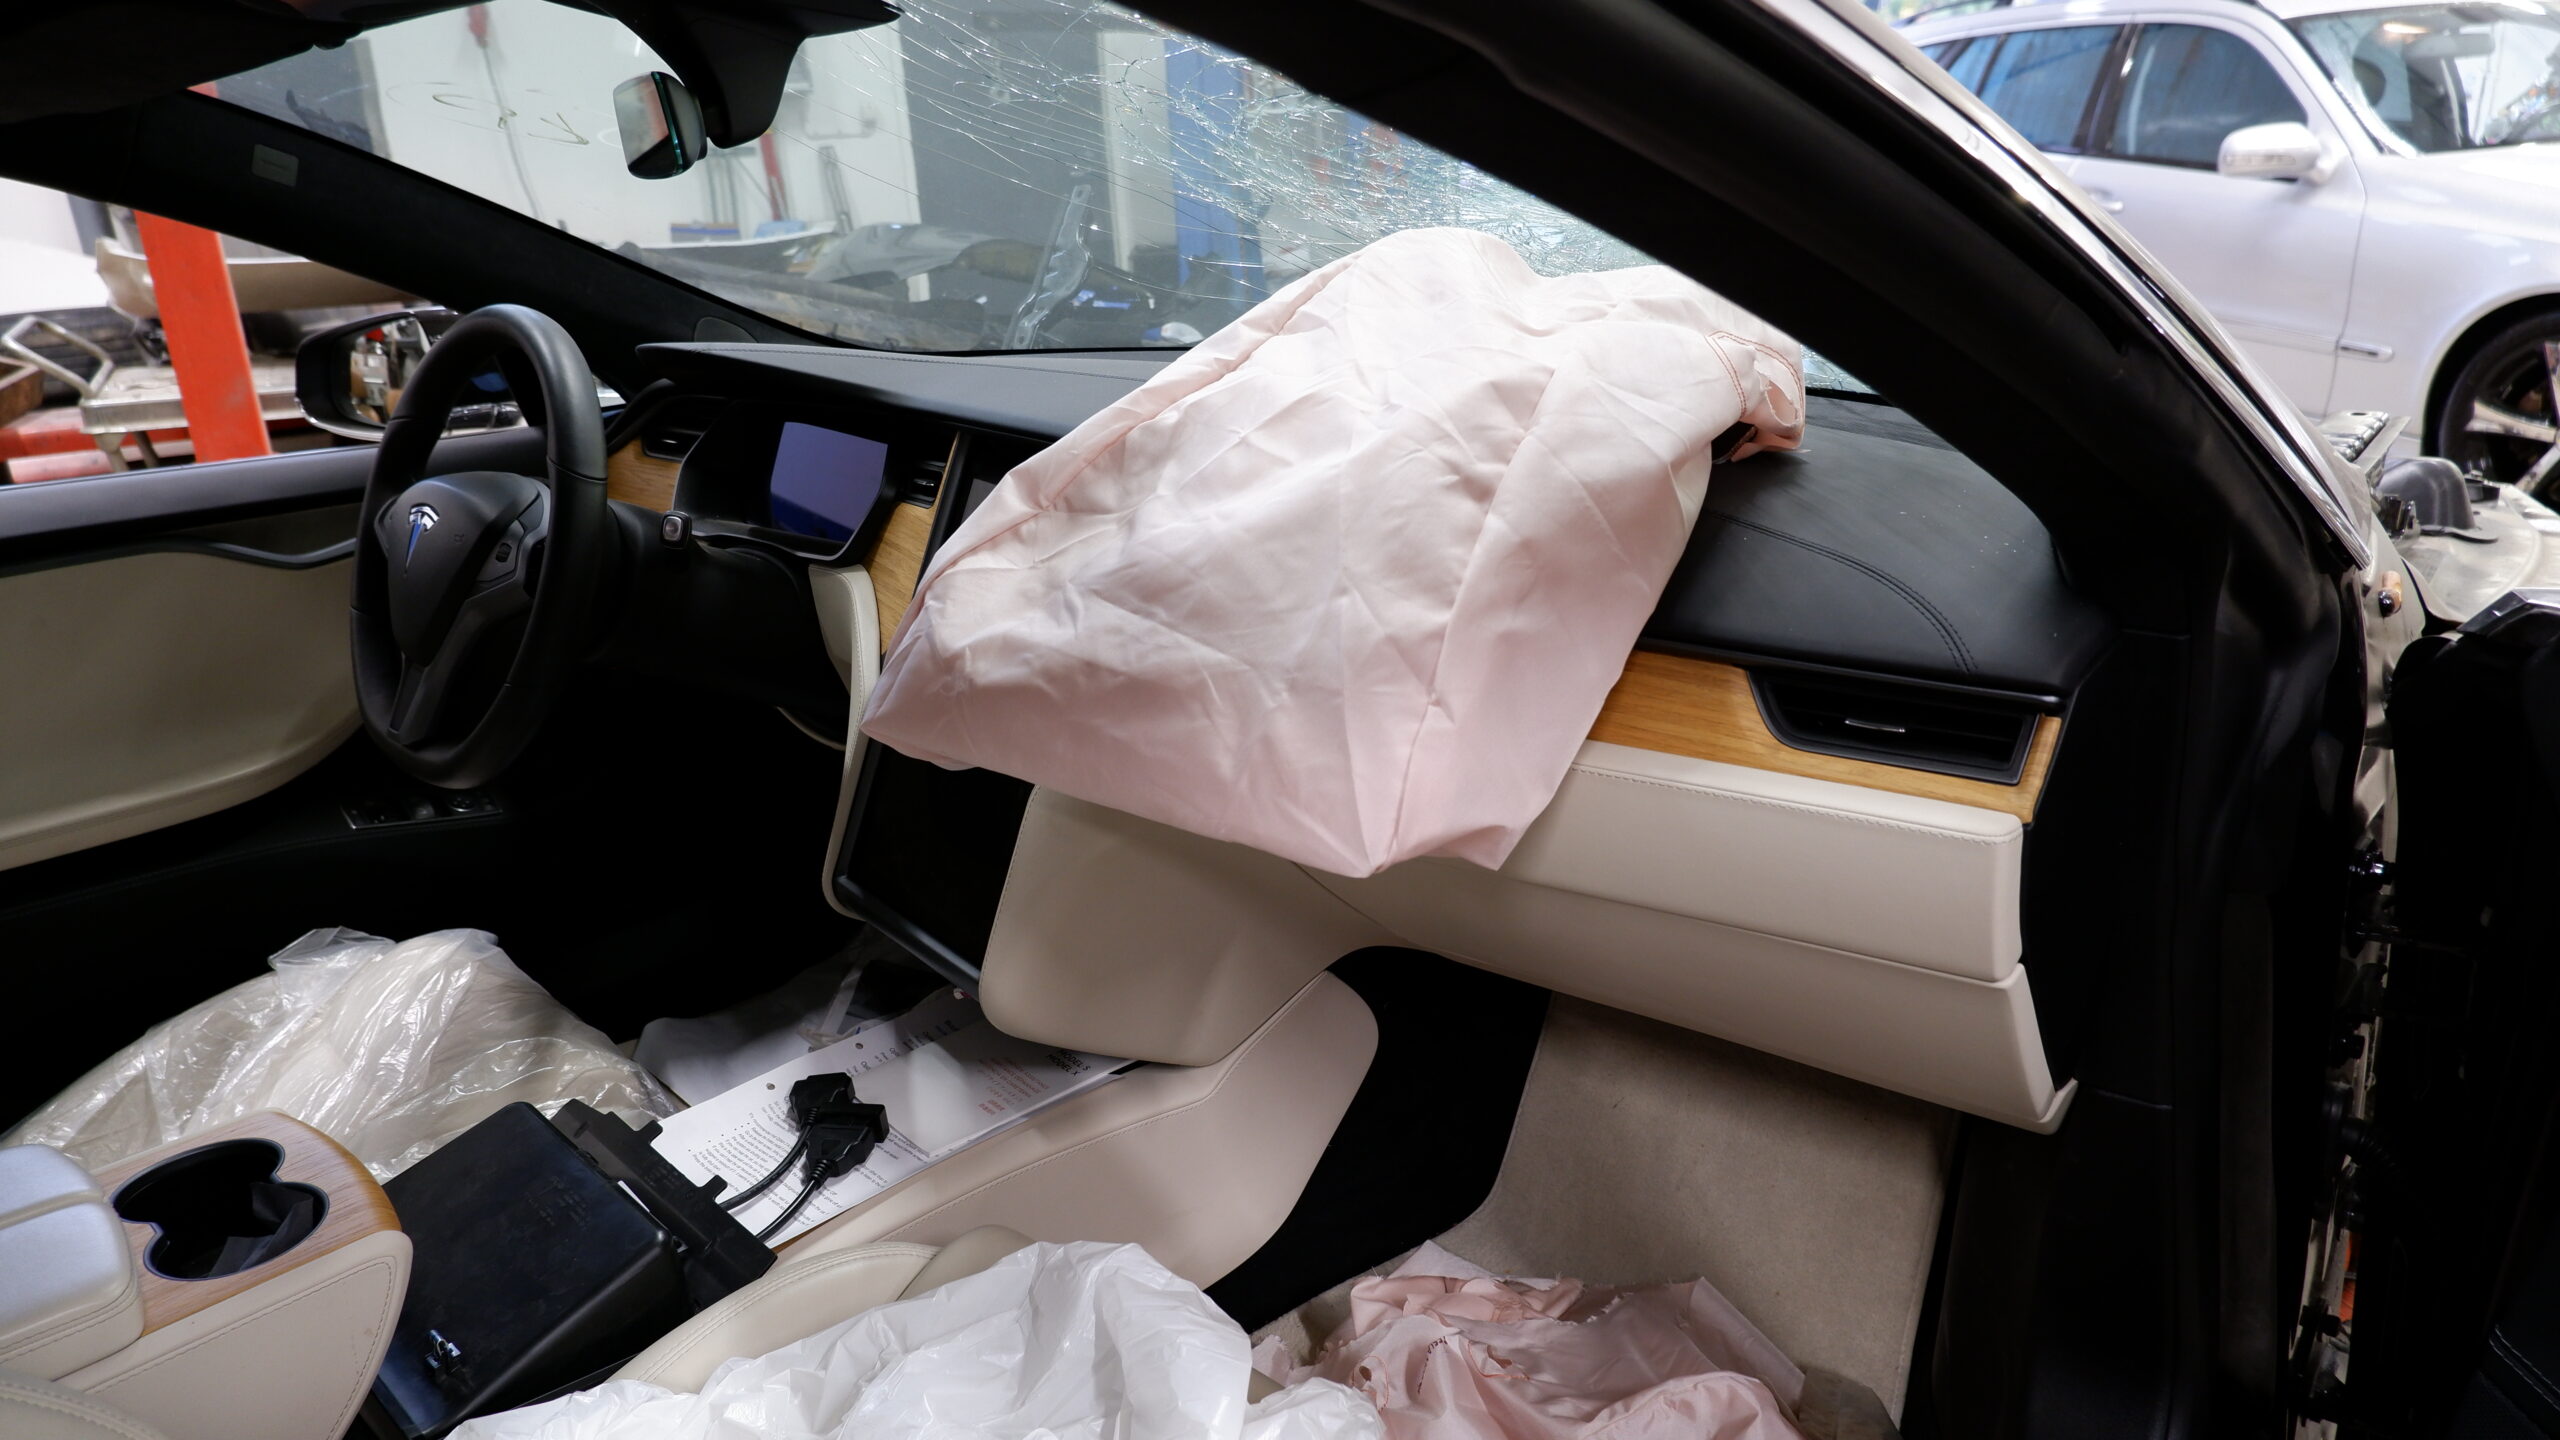
The steering-wheel airbag has been replaced, and dashboard dismantling is next. The steering wheel itself does not need to come off.
Along with the passenger airbag, the dashboard top needs replacing. First out is the glovebox, which hides the two airbag mounting bolts. Before it can come out, the light-coloured trim around it needs to be pulled off. FixYourTesla.com has useful instructions for this and plenty of other dismantling and reassembly jobs.
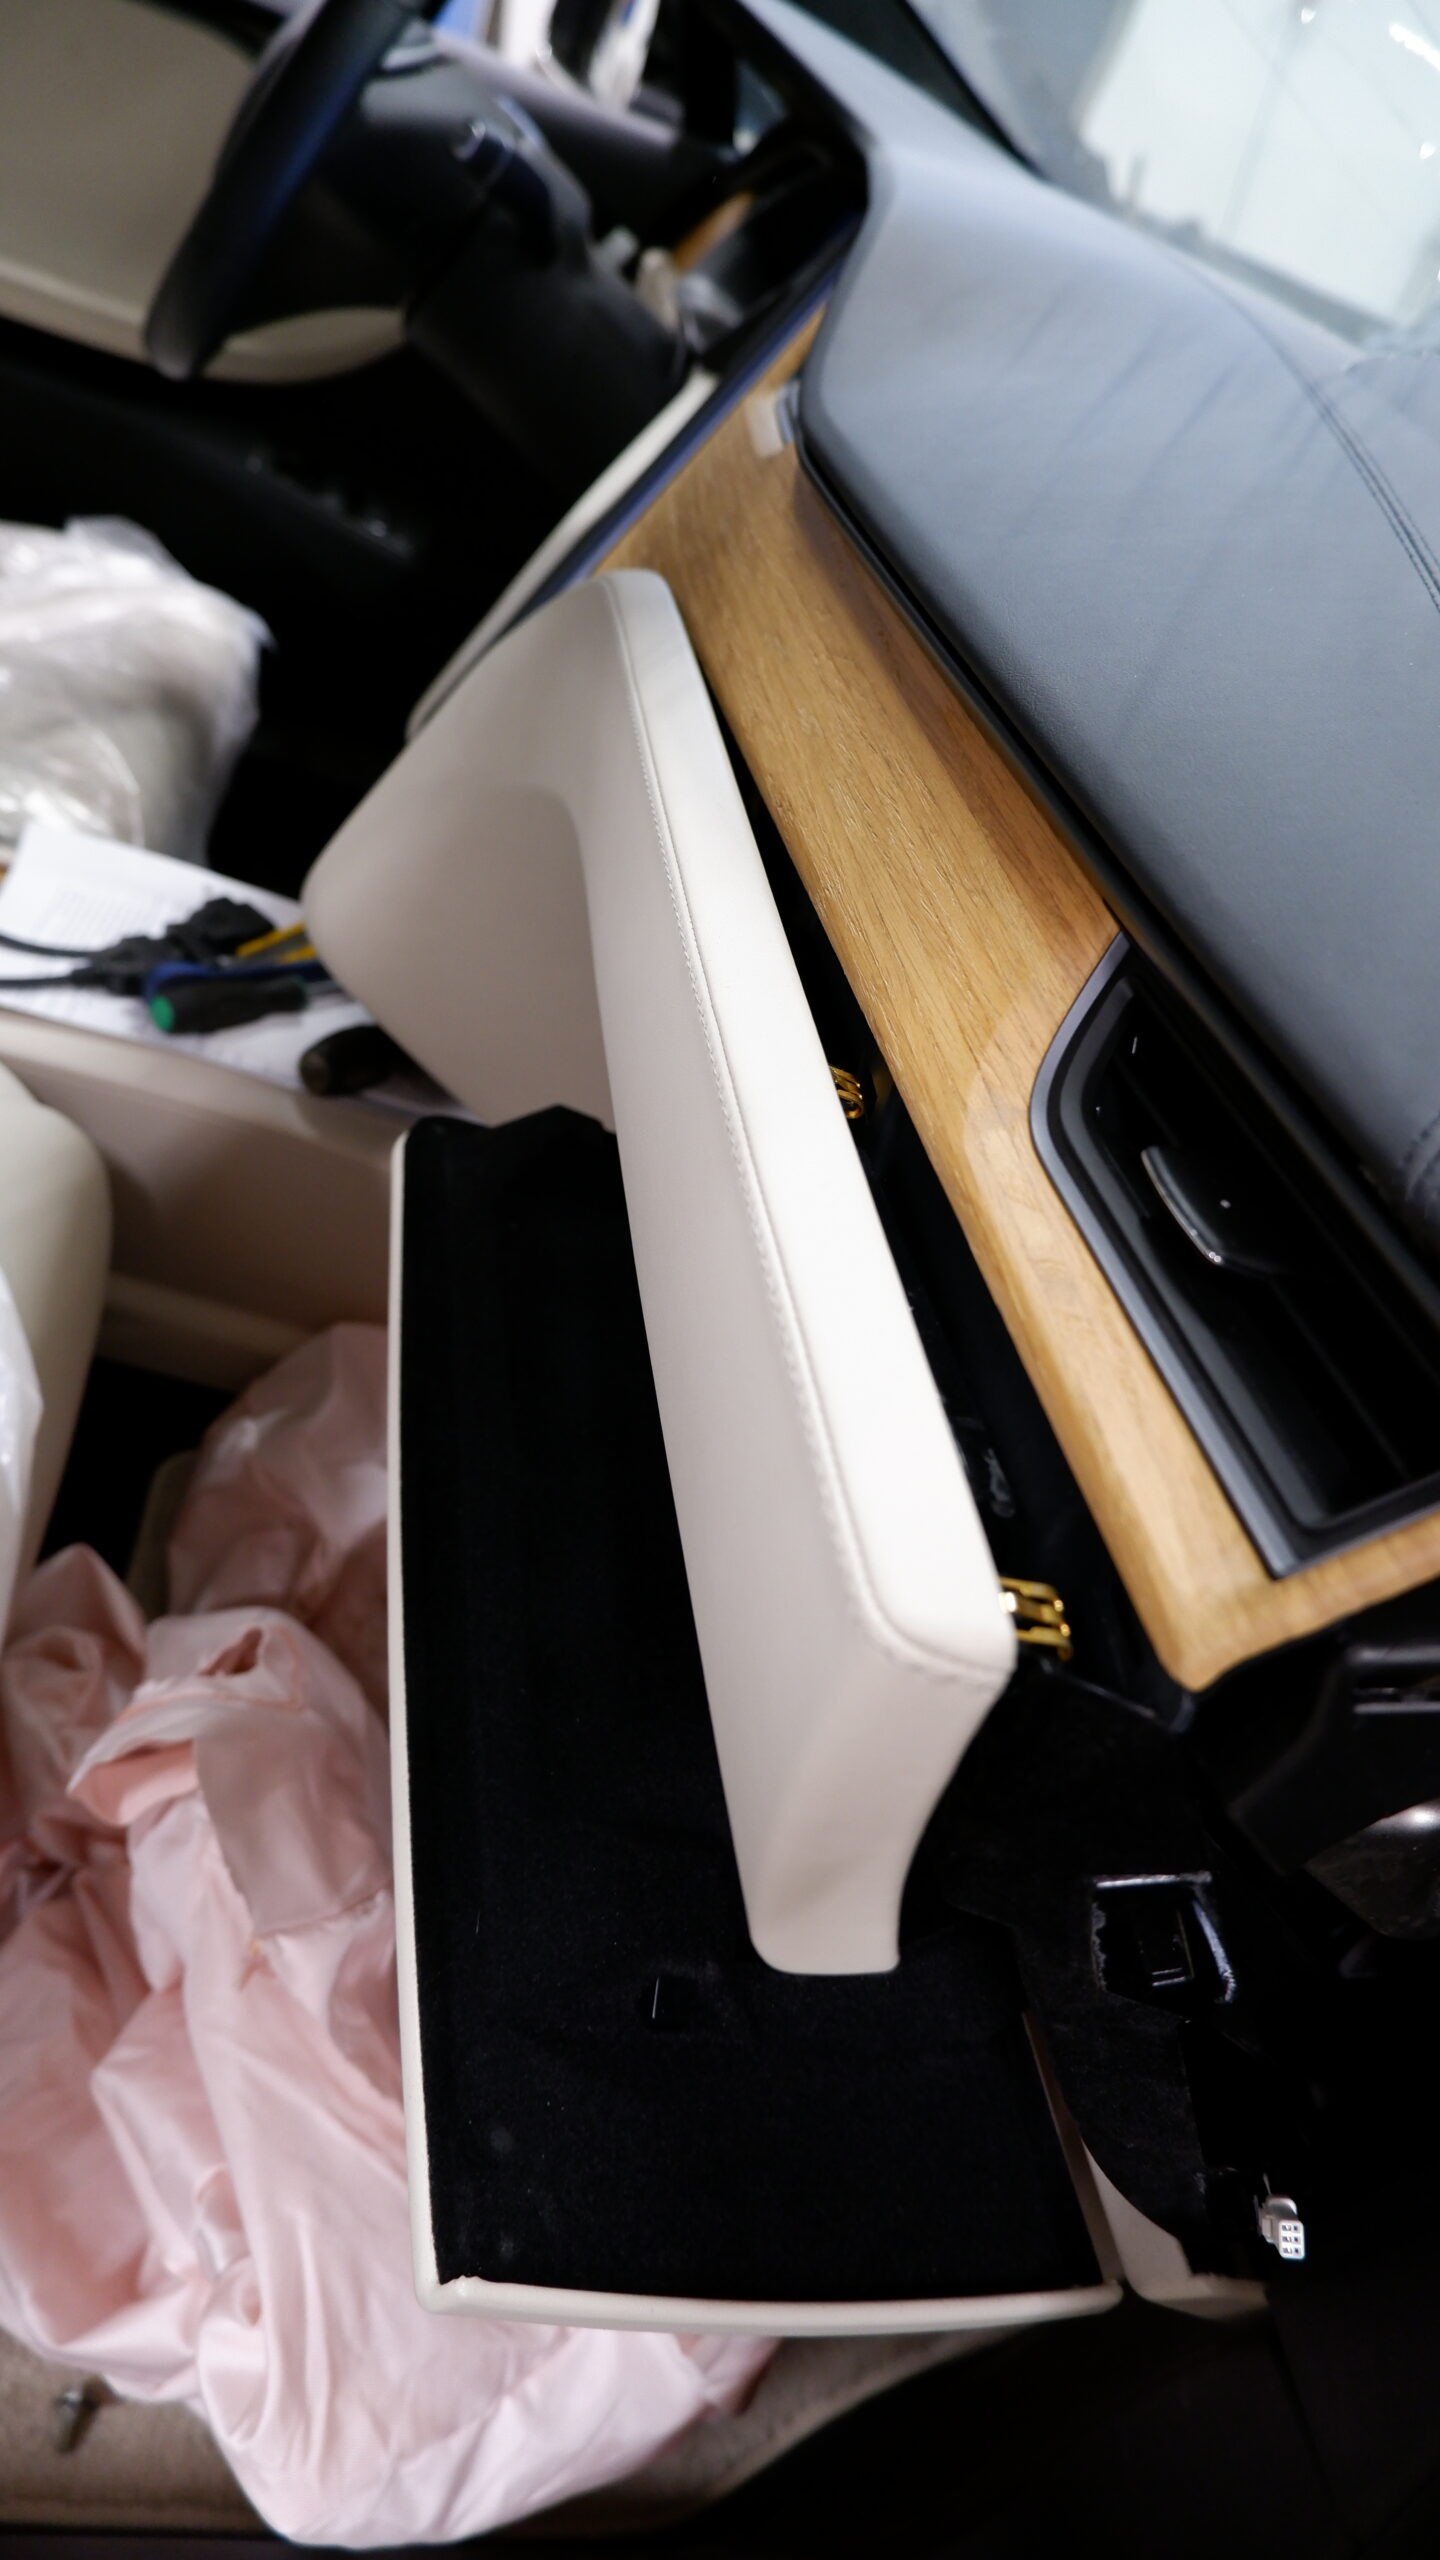
The trim pulls straight out.
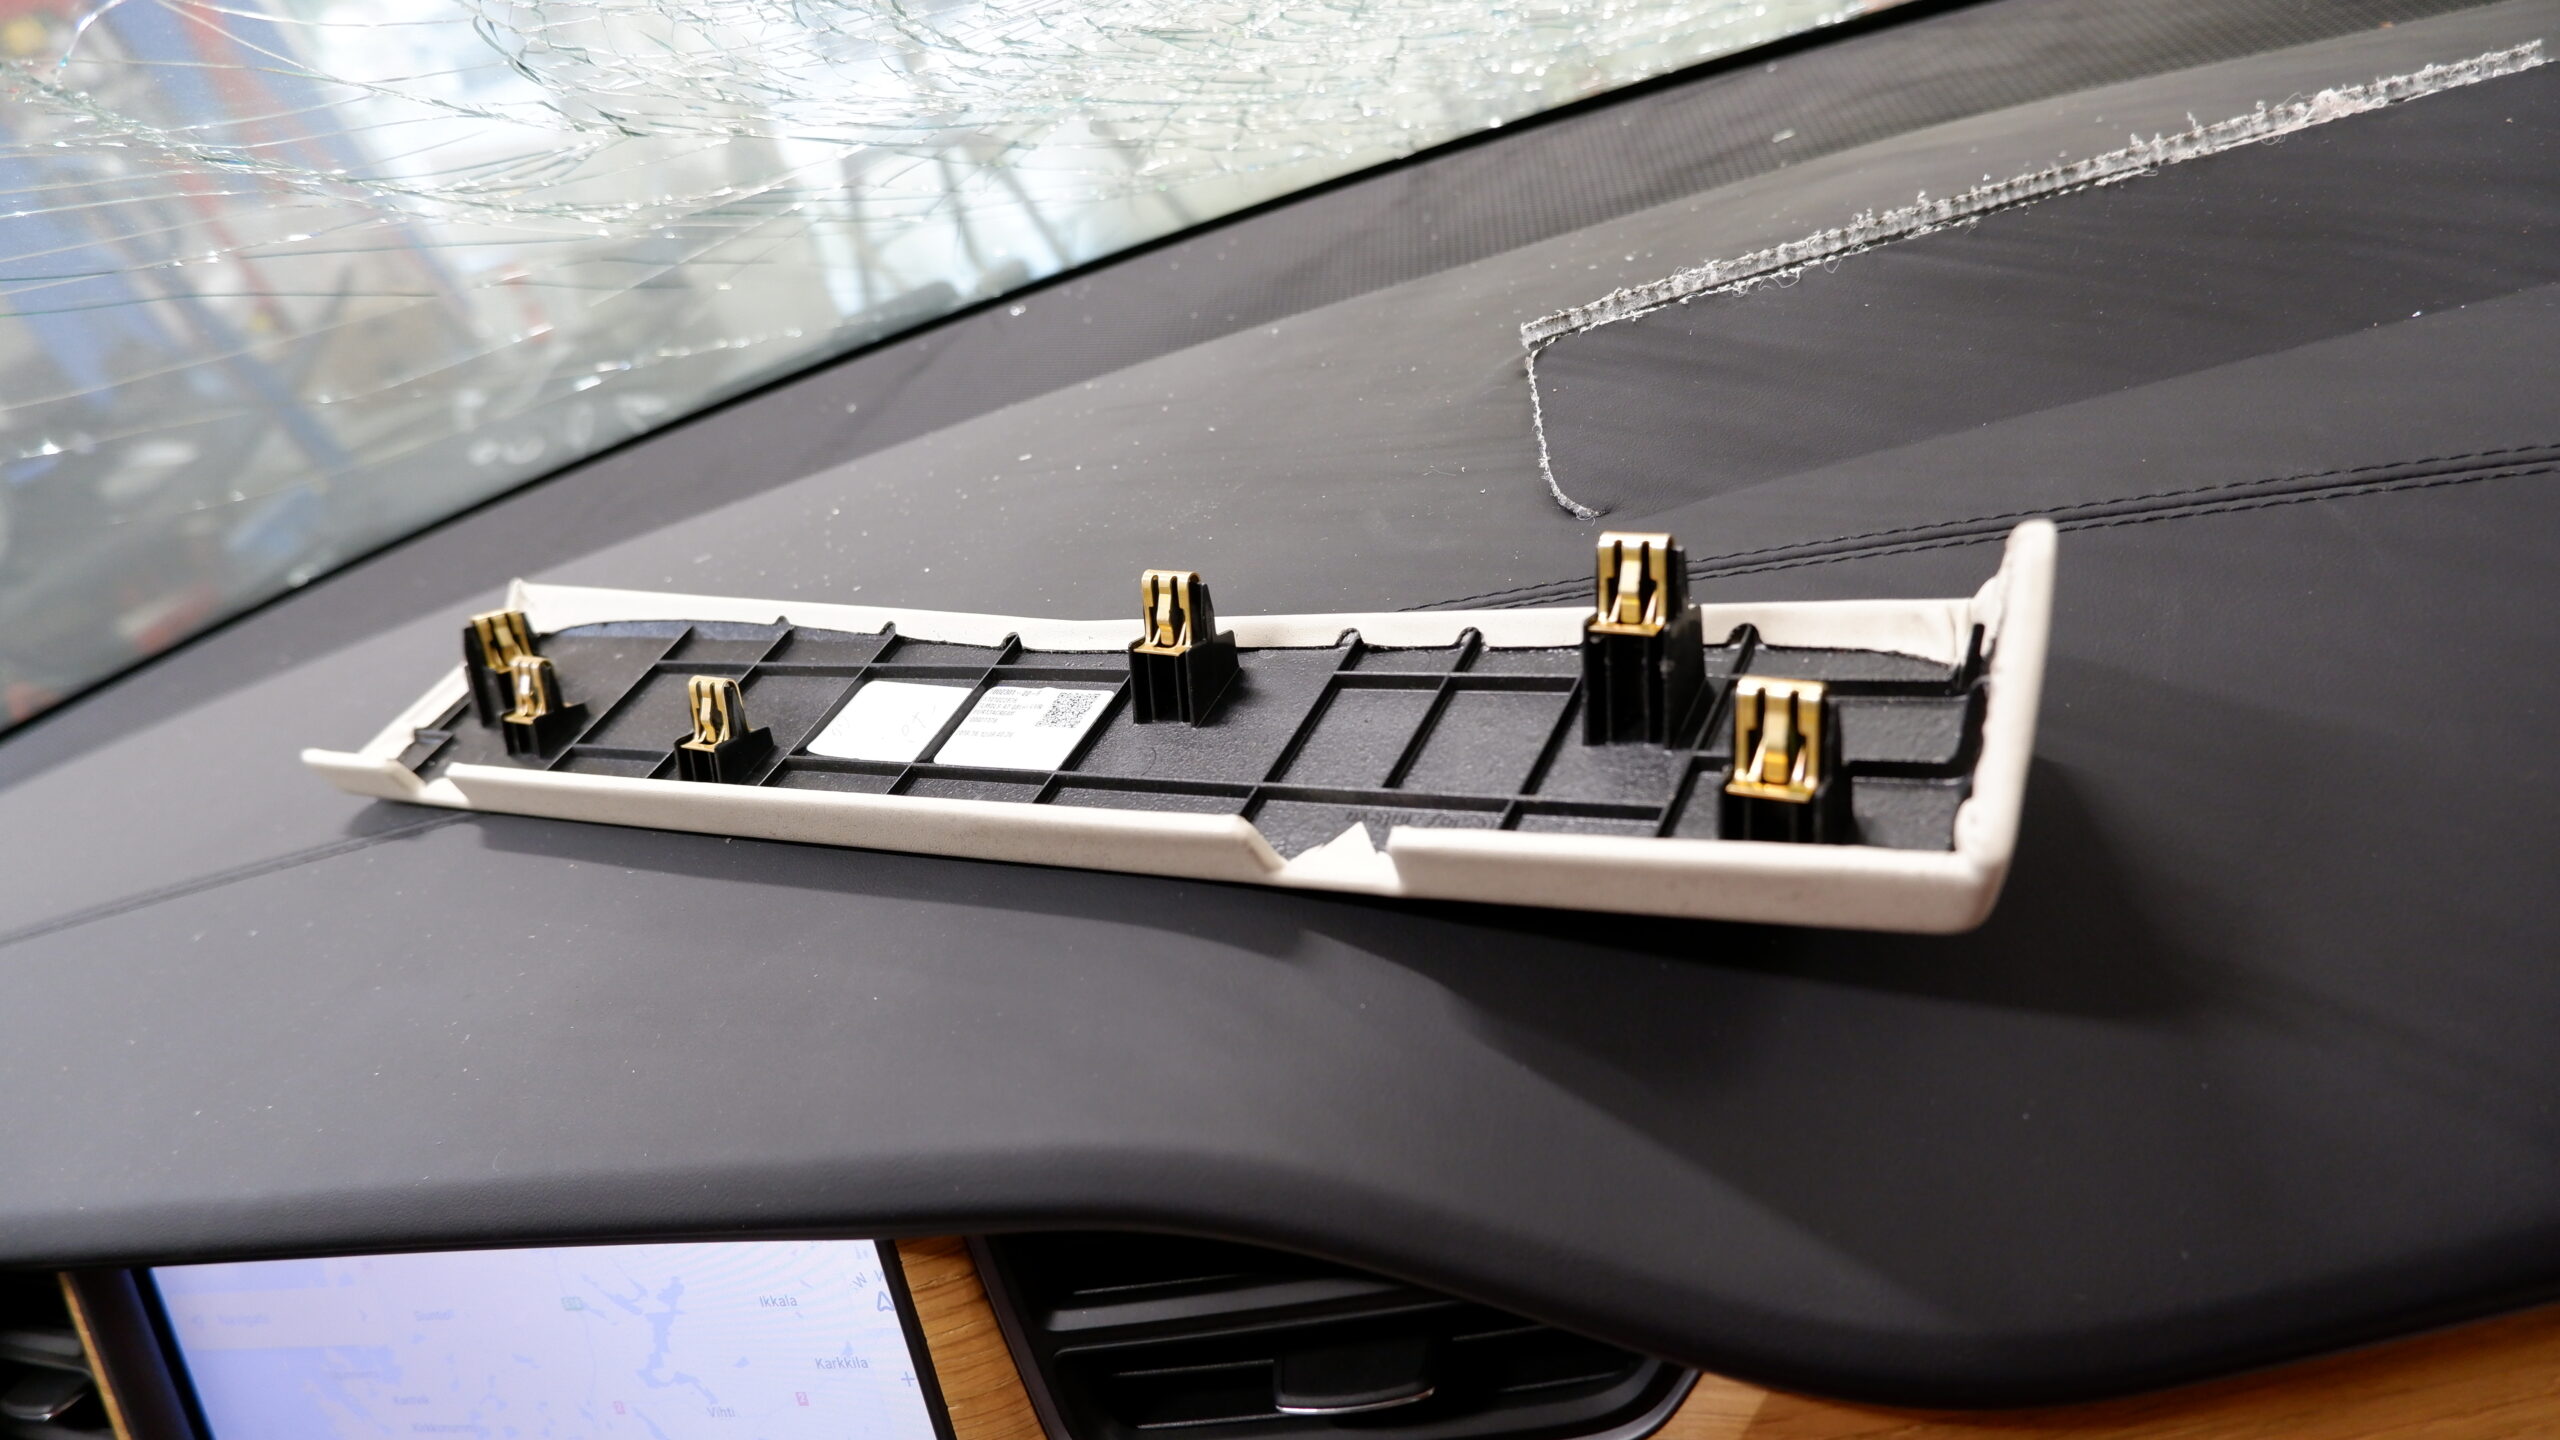
Trim below the glovebox removed.
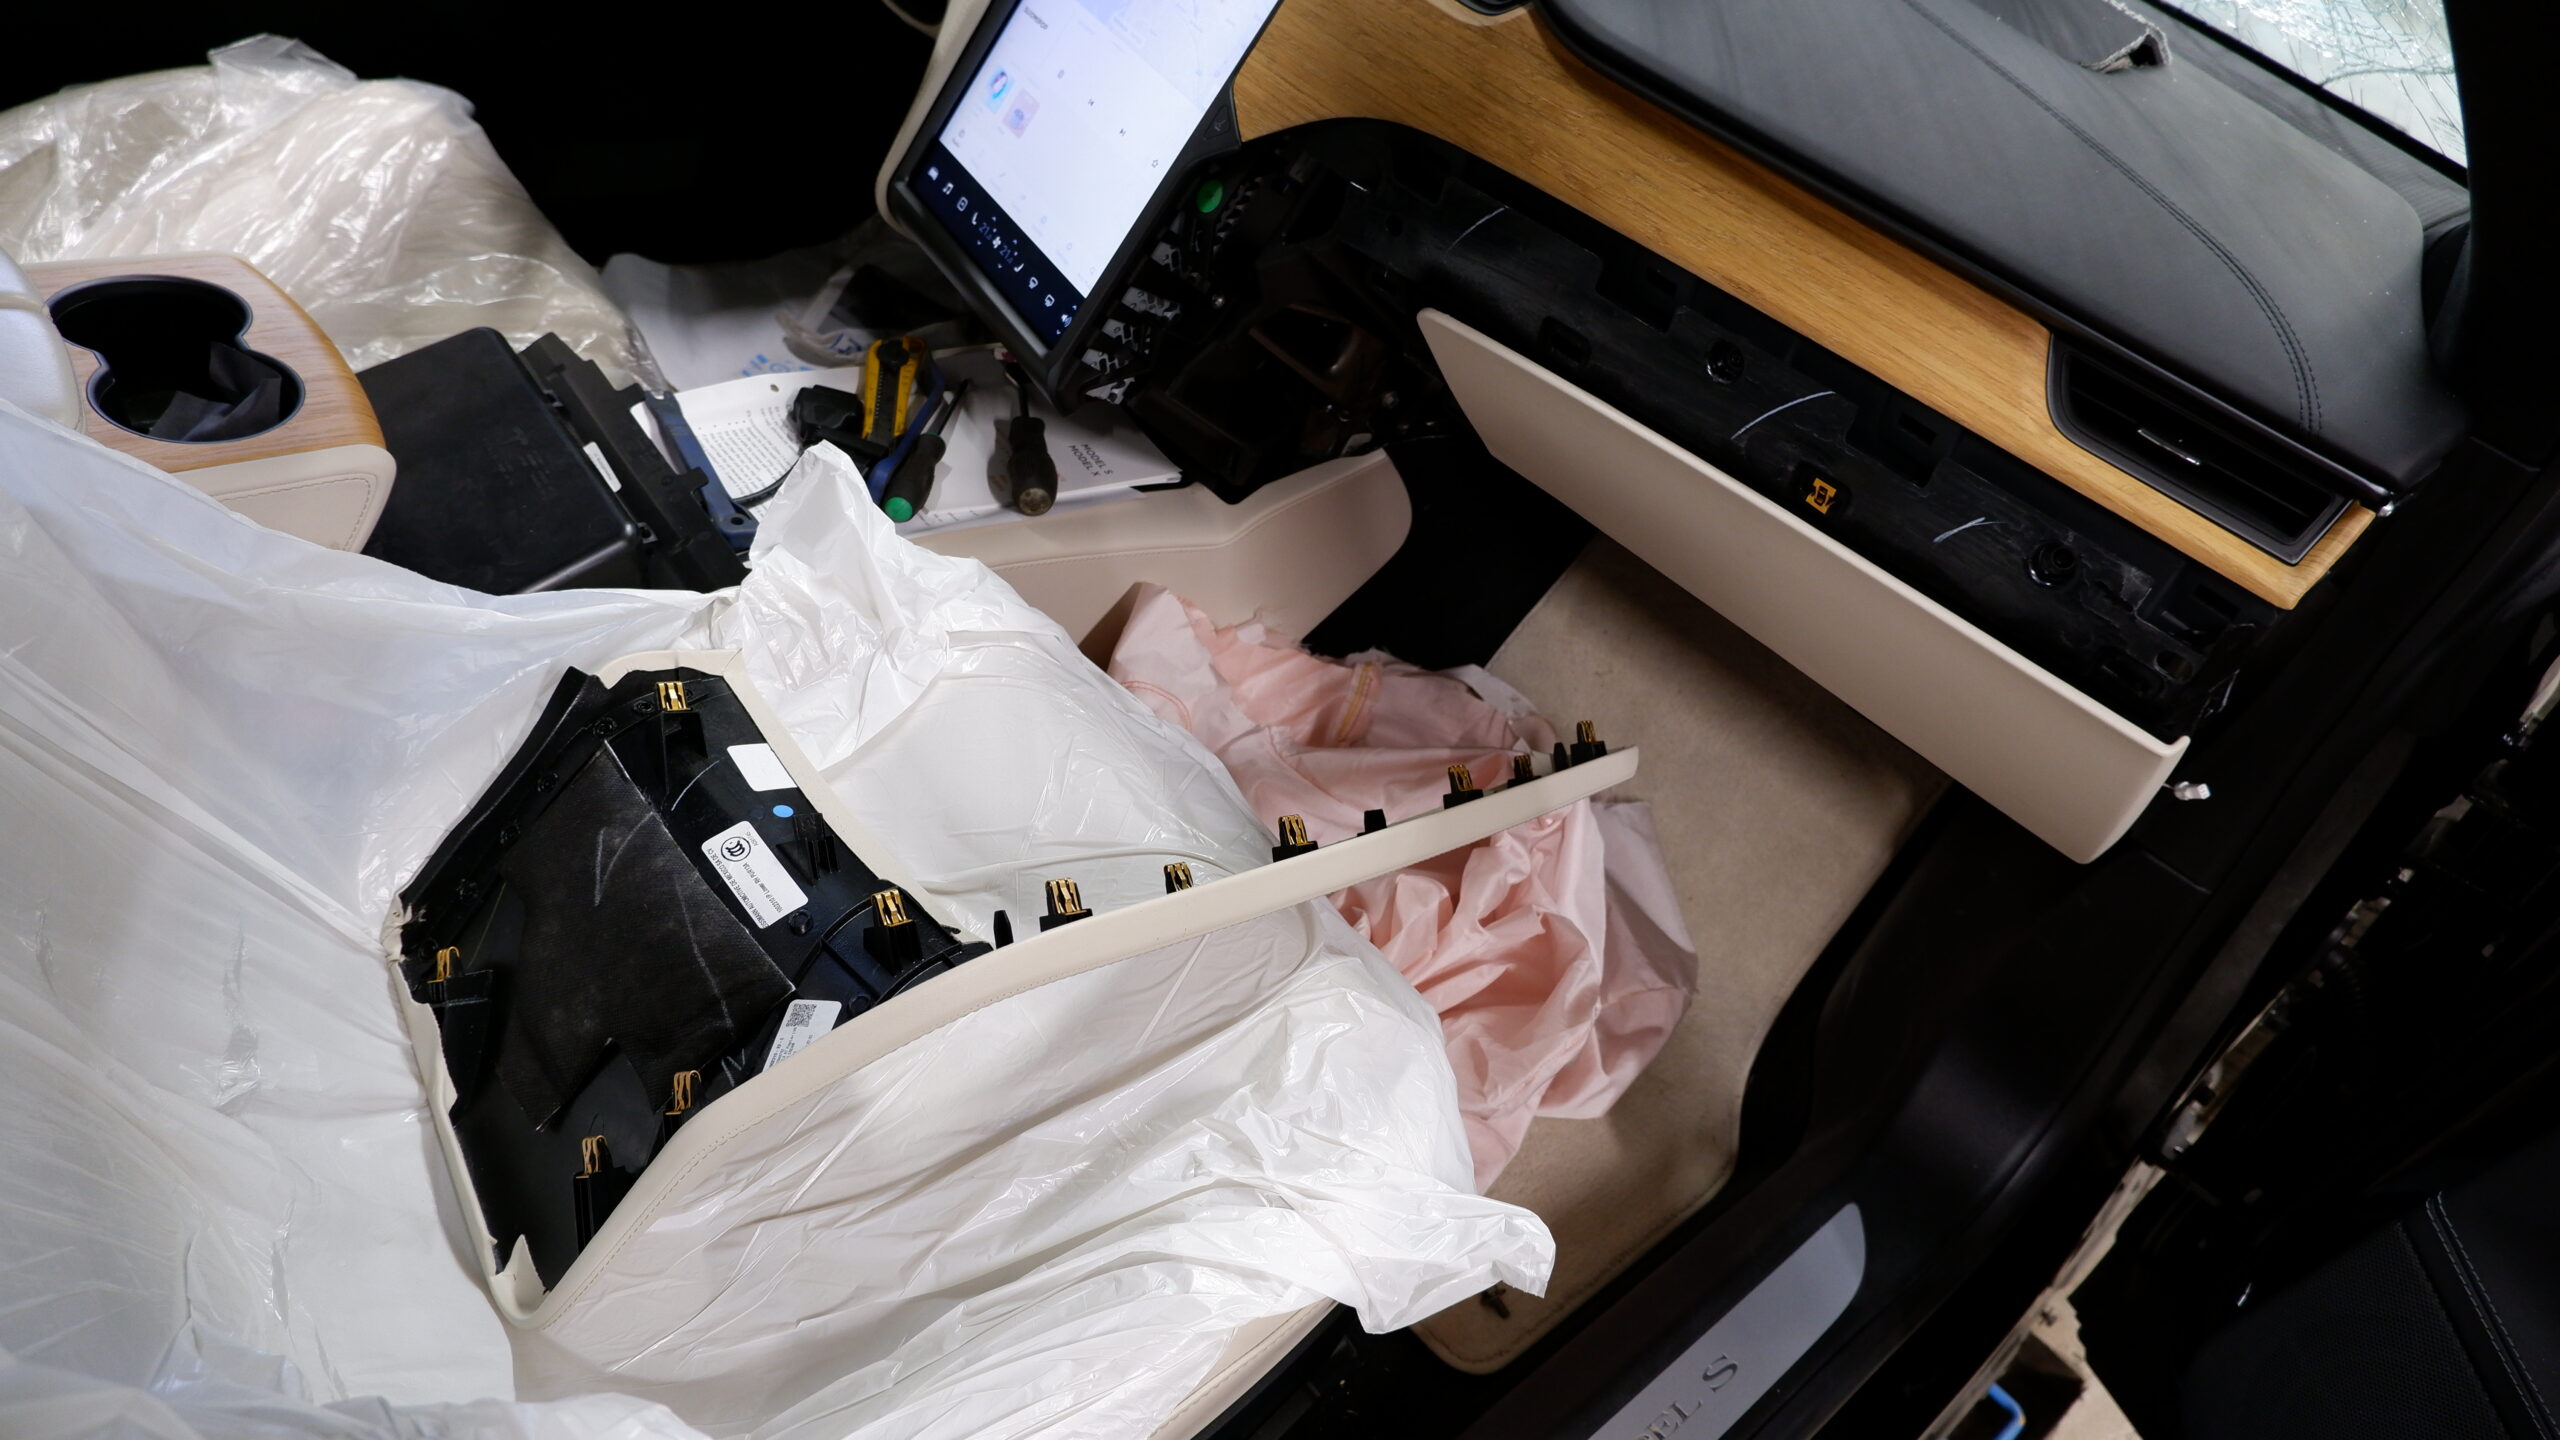
Trim around the glovebox removed.
The glovebox is held by six Torx screws. Pull it out and disconnect its wiring. The Autopilot computer is behind it; undo its four mounting nuts and lower it enough to reach the two passenger-airbag mounting bolts.
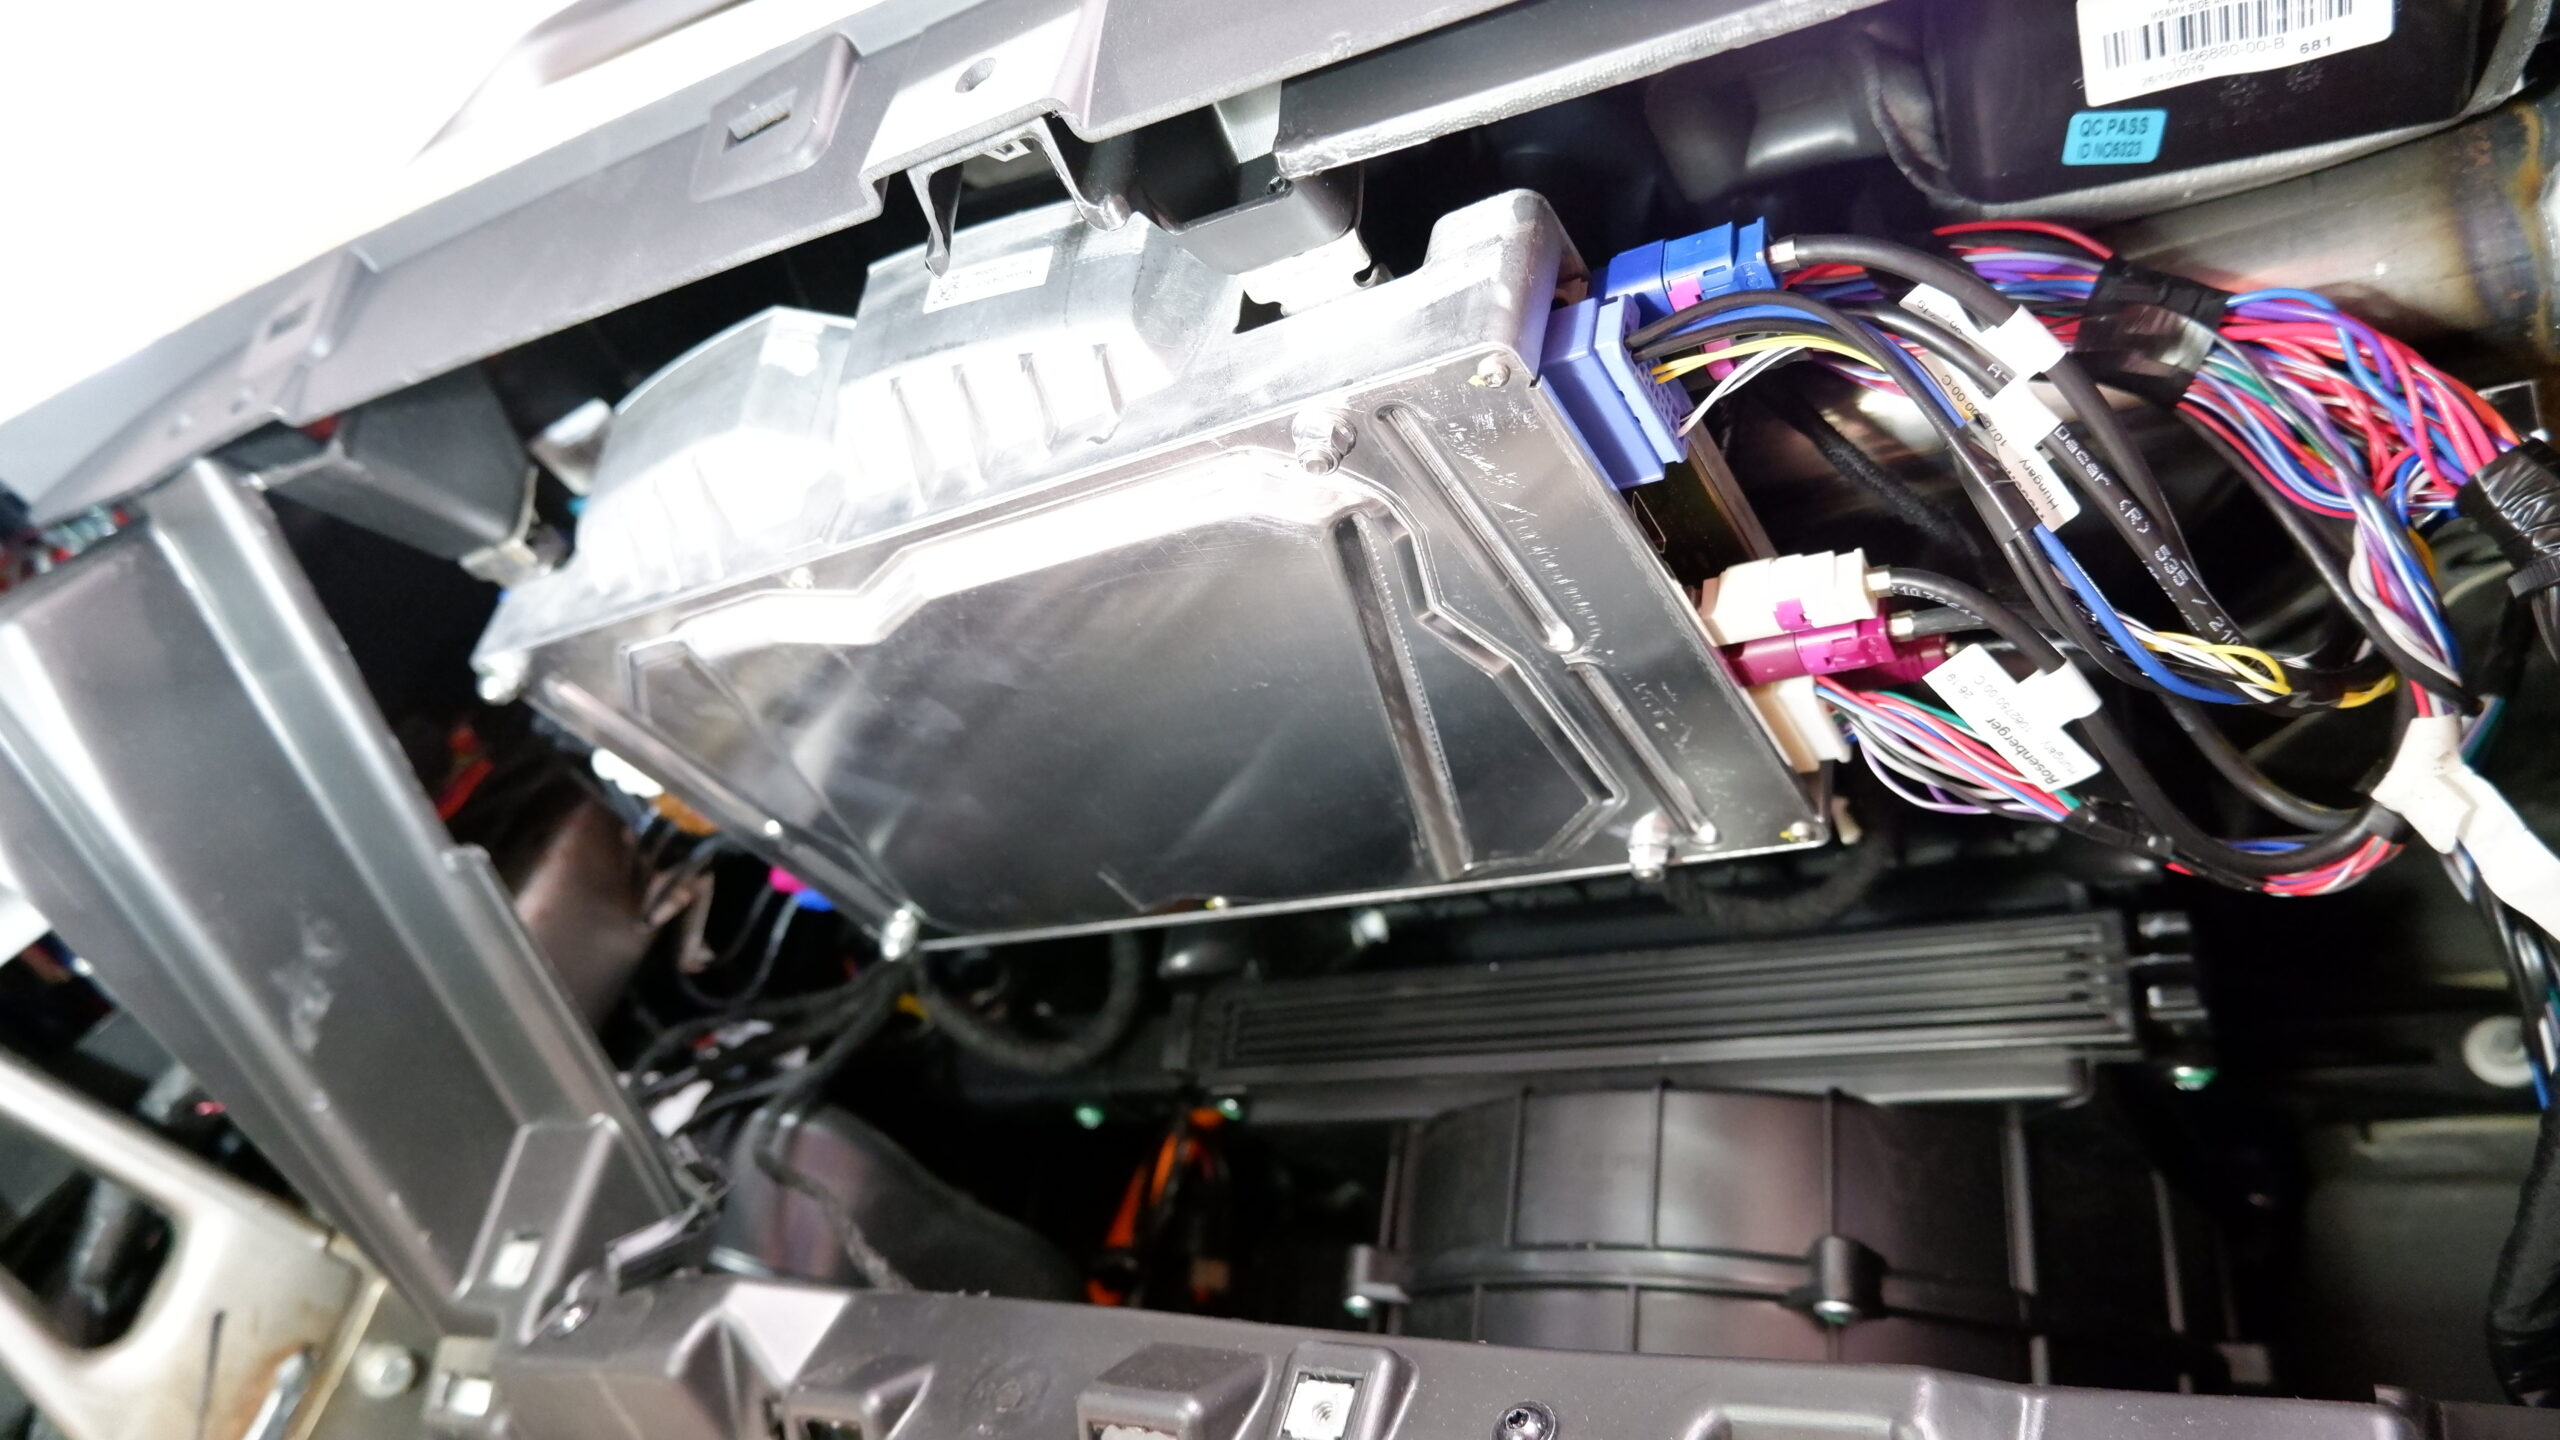
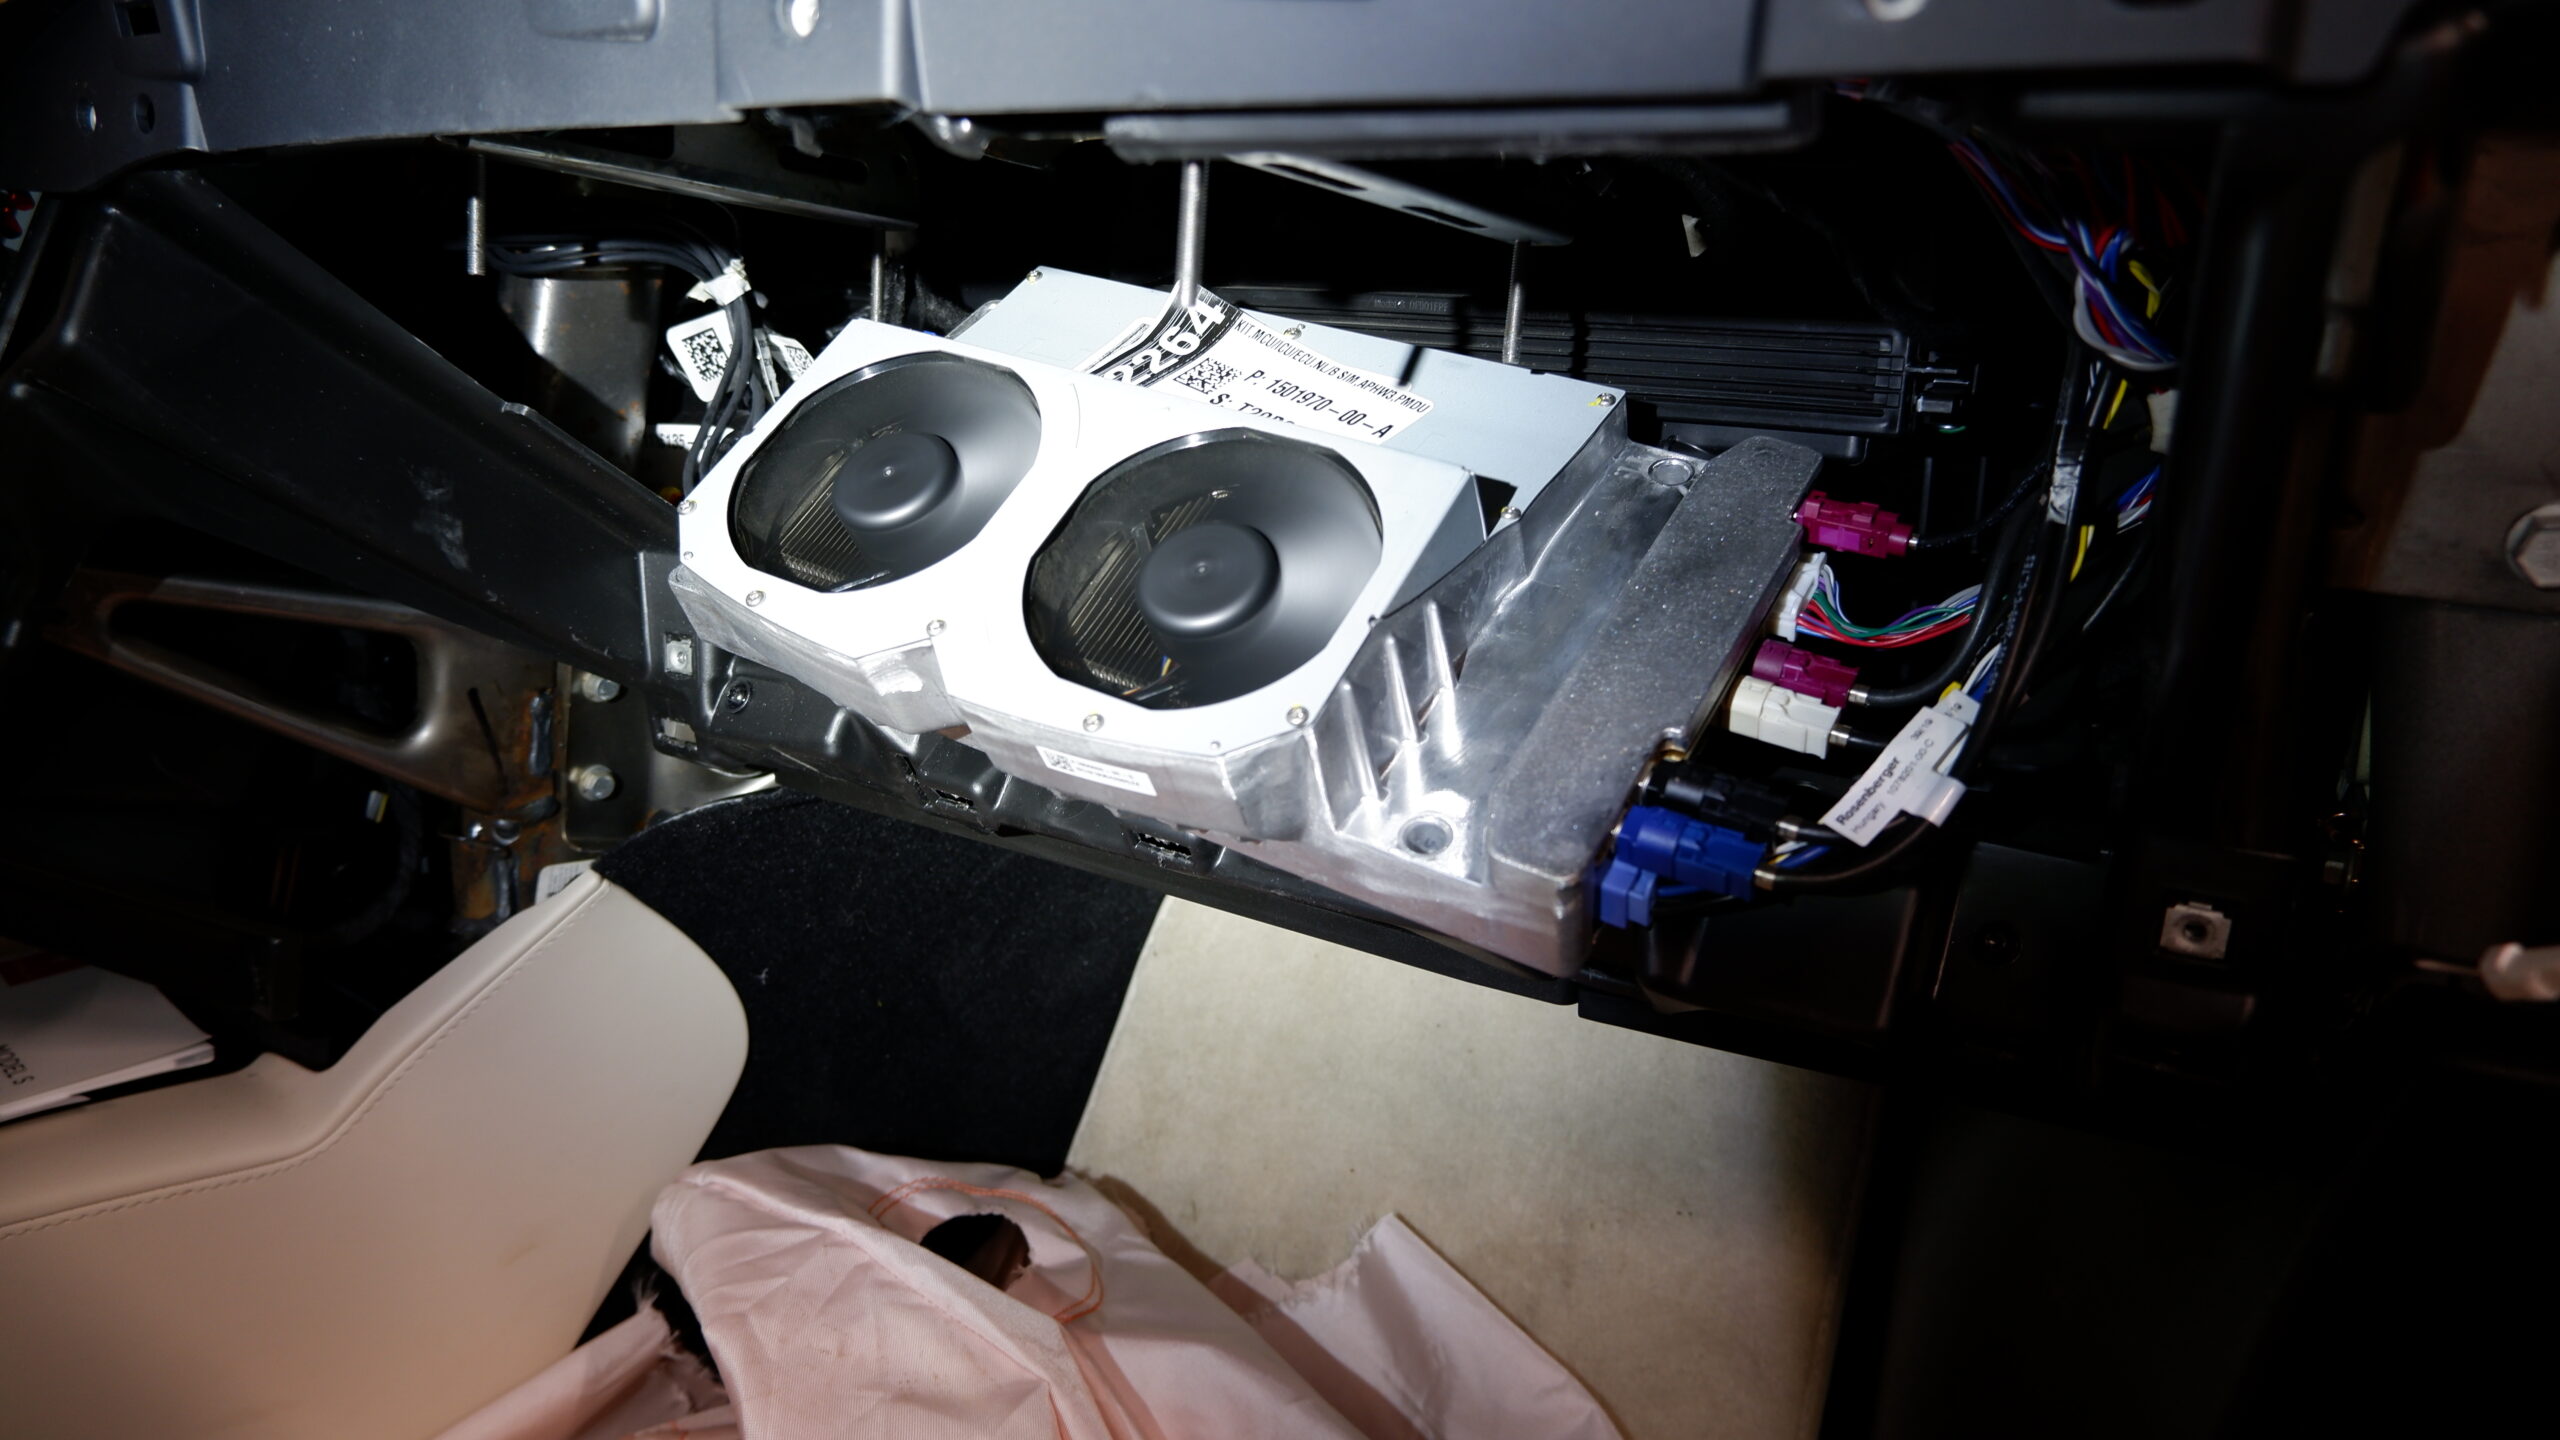
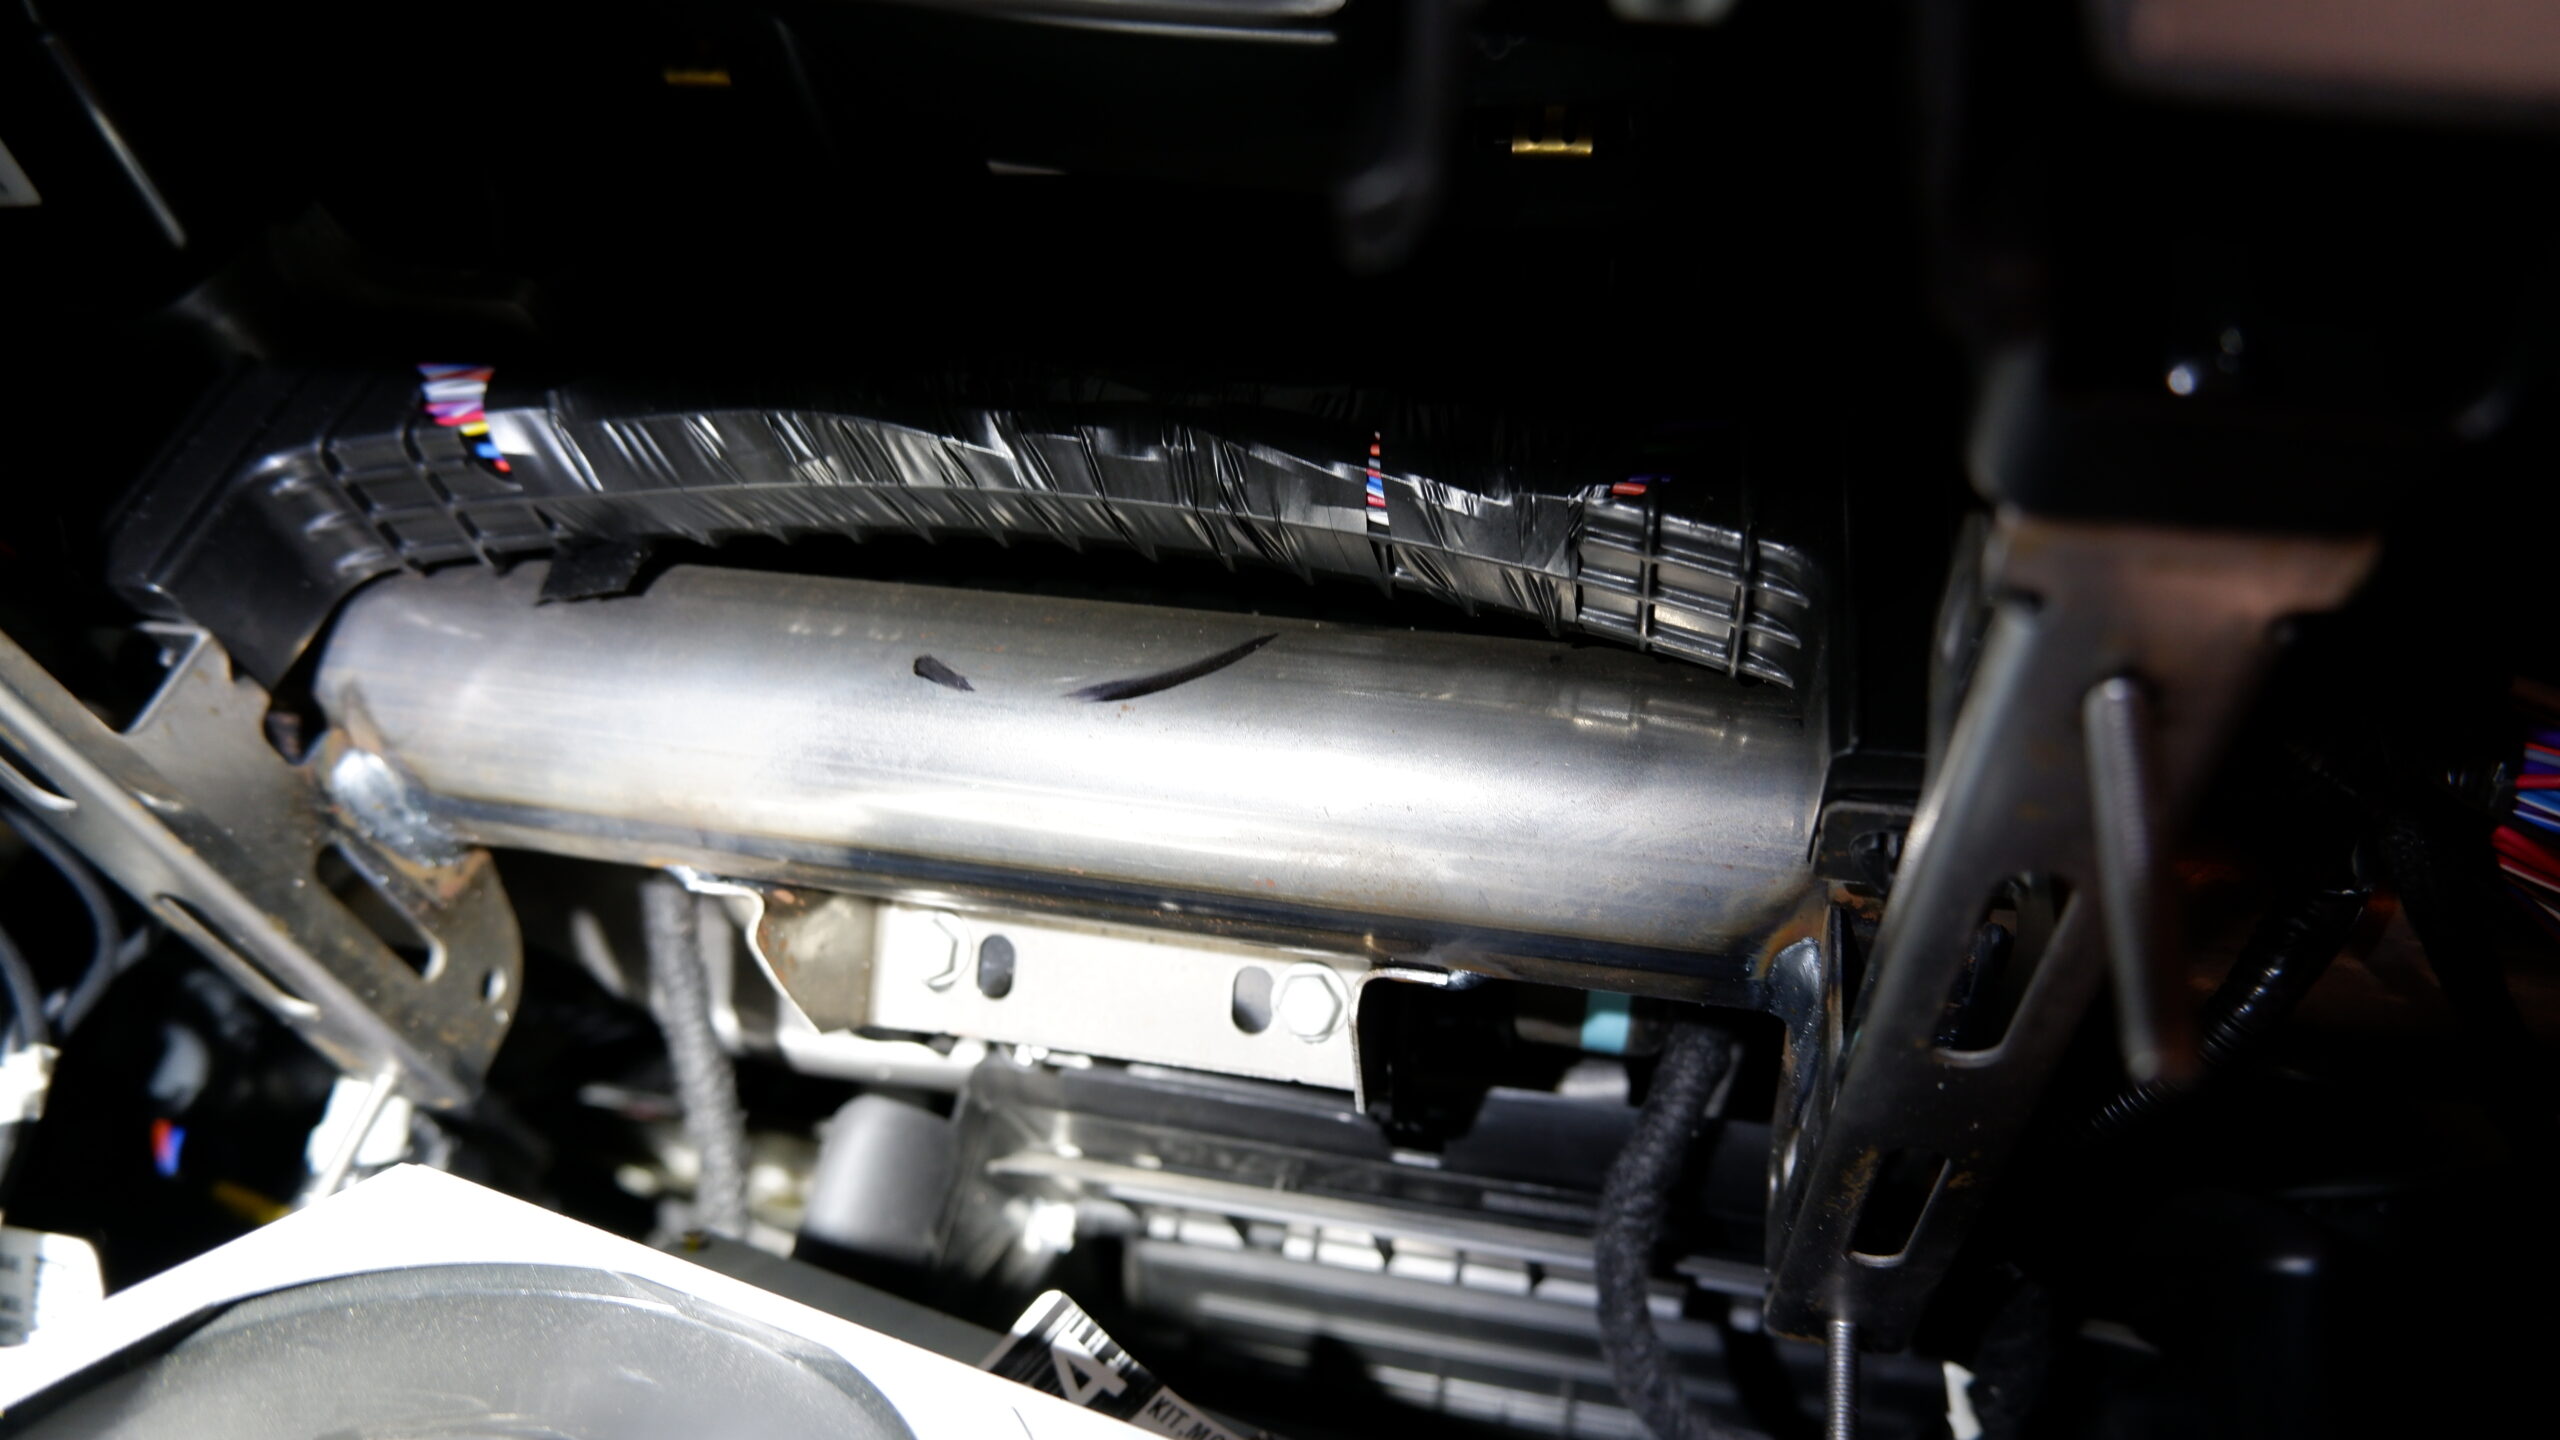
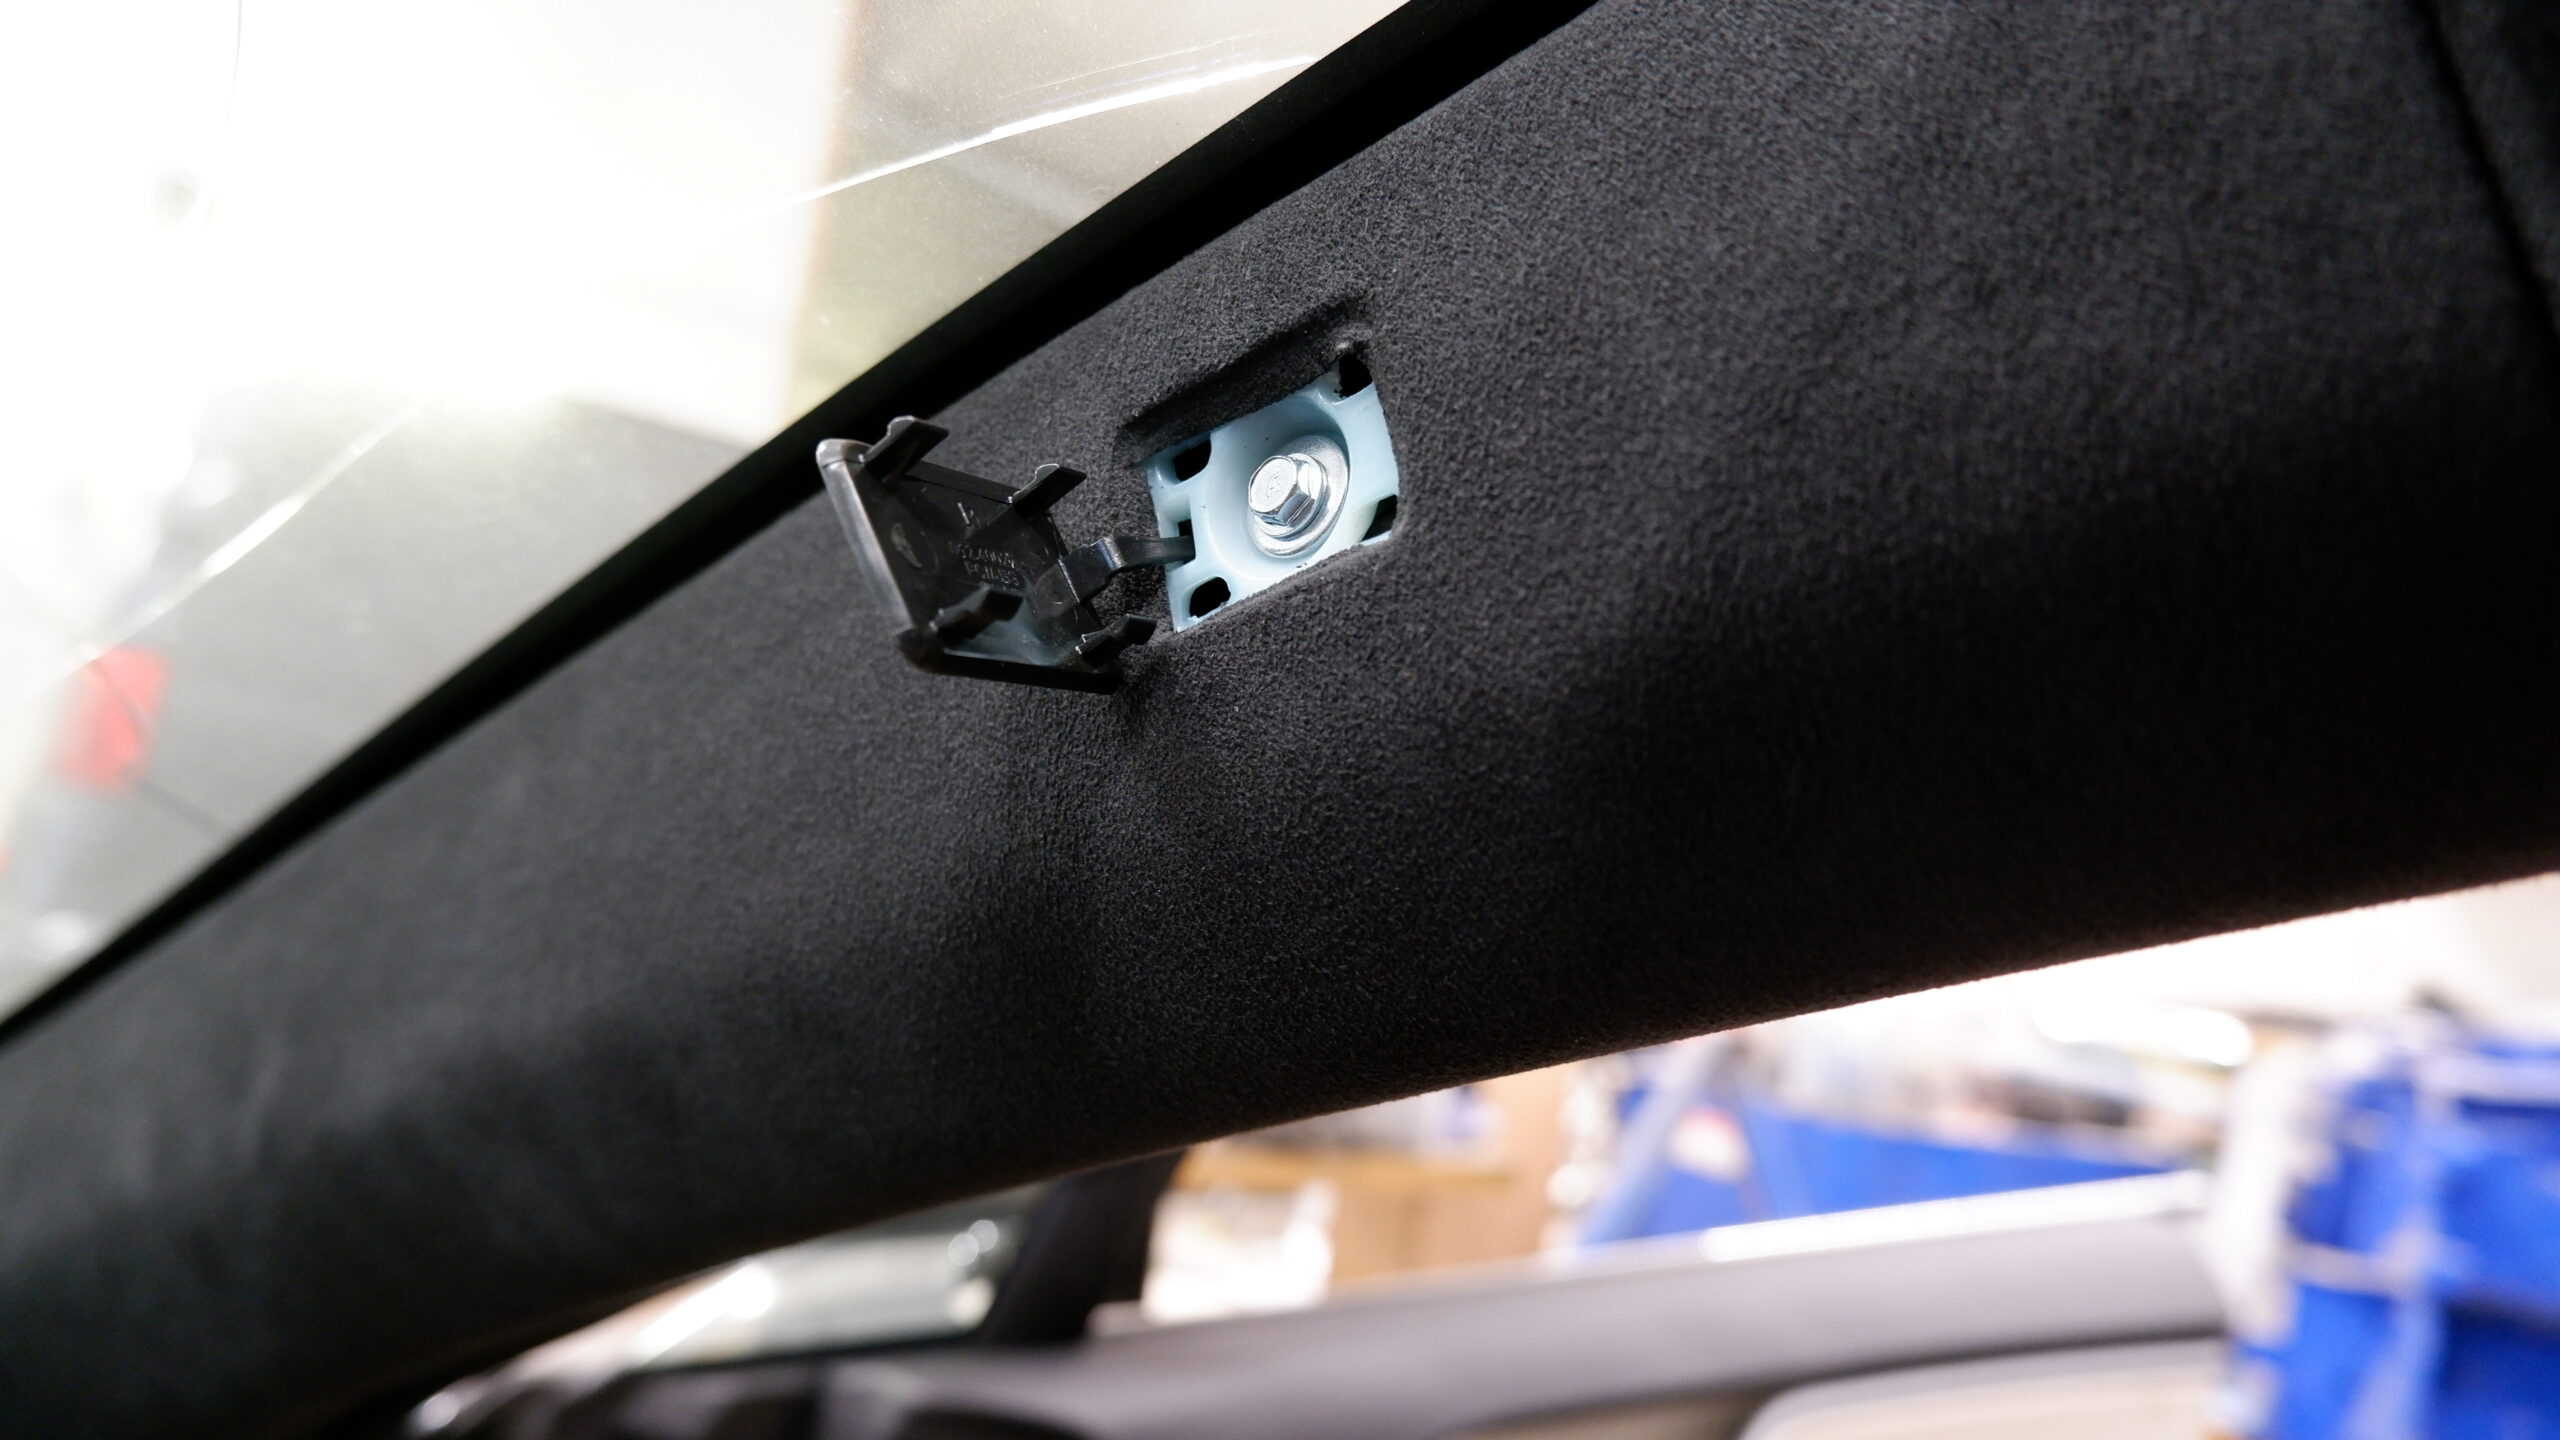
Next, the dashboard top. Start by removing the A-pillar trims; the only screw is behind the airbag badge. The bottom ends put up a fight, but a bit of patient twisting and manoeuvring gets them free.
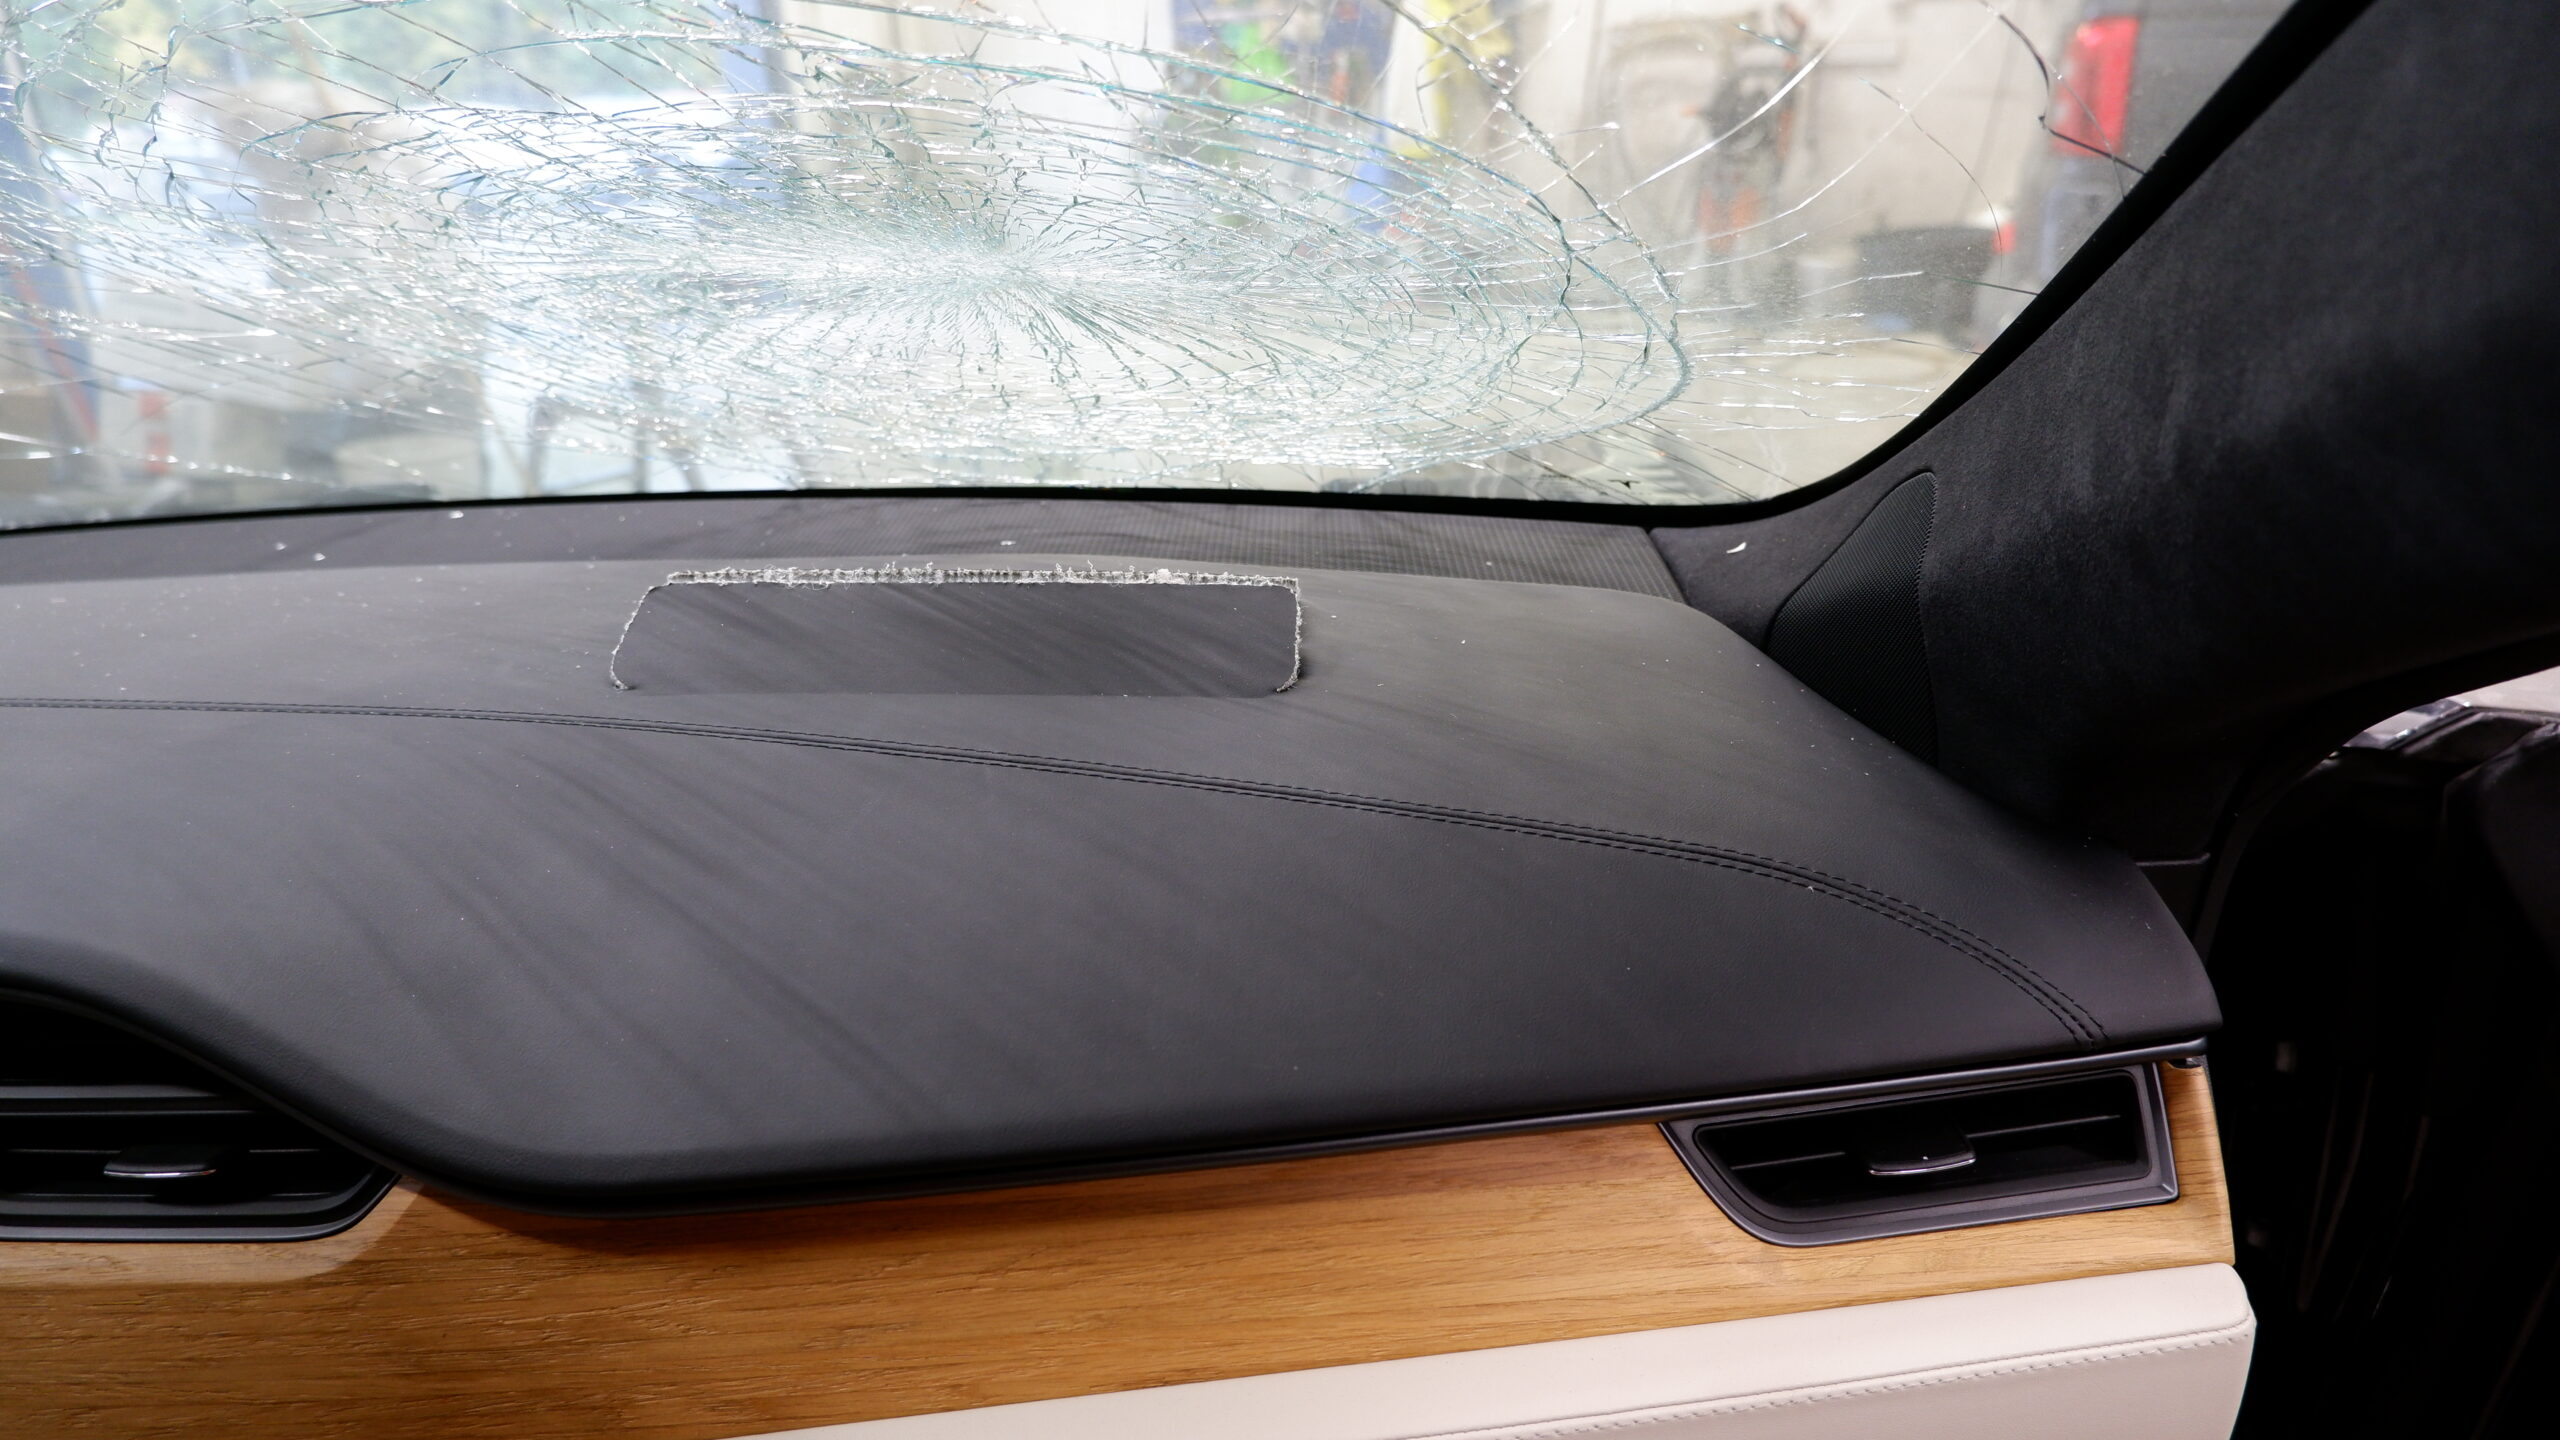
There are mounting screws at both ends of the dashboard, plus two behind the plastic trim above the instrument cluster. Gently prise the edge of that trim down with a plastic trim tool. The dashboard top then lifts upwards, releasing the spring clips one by one — and there are quite a few of them.
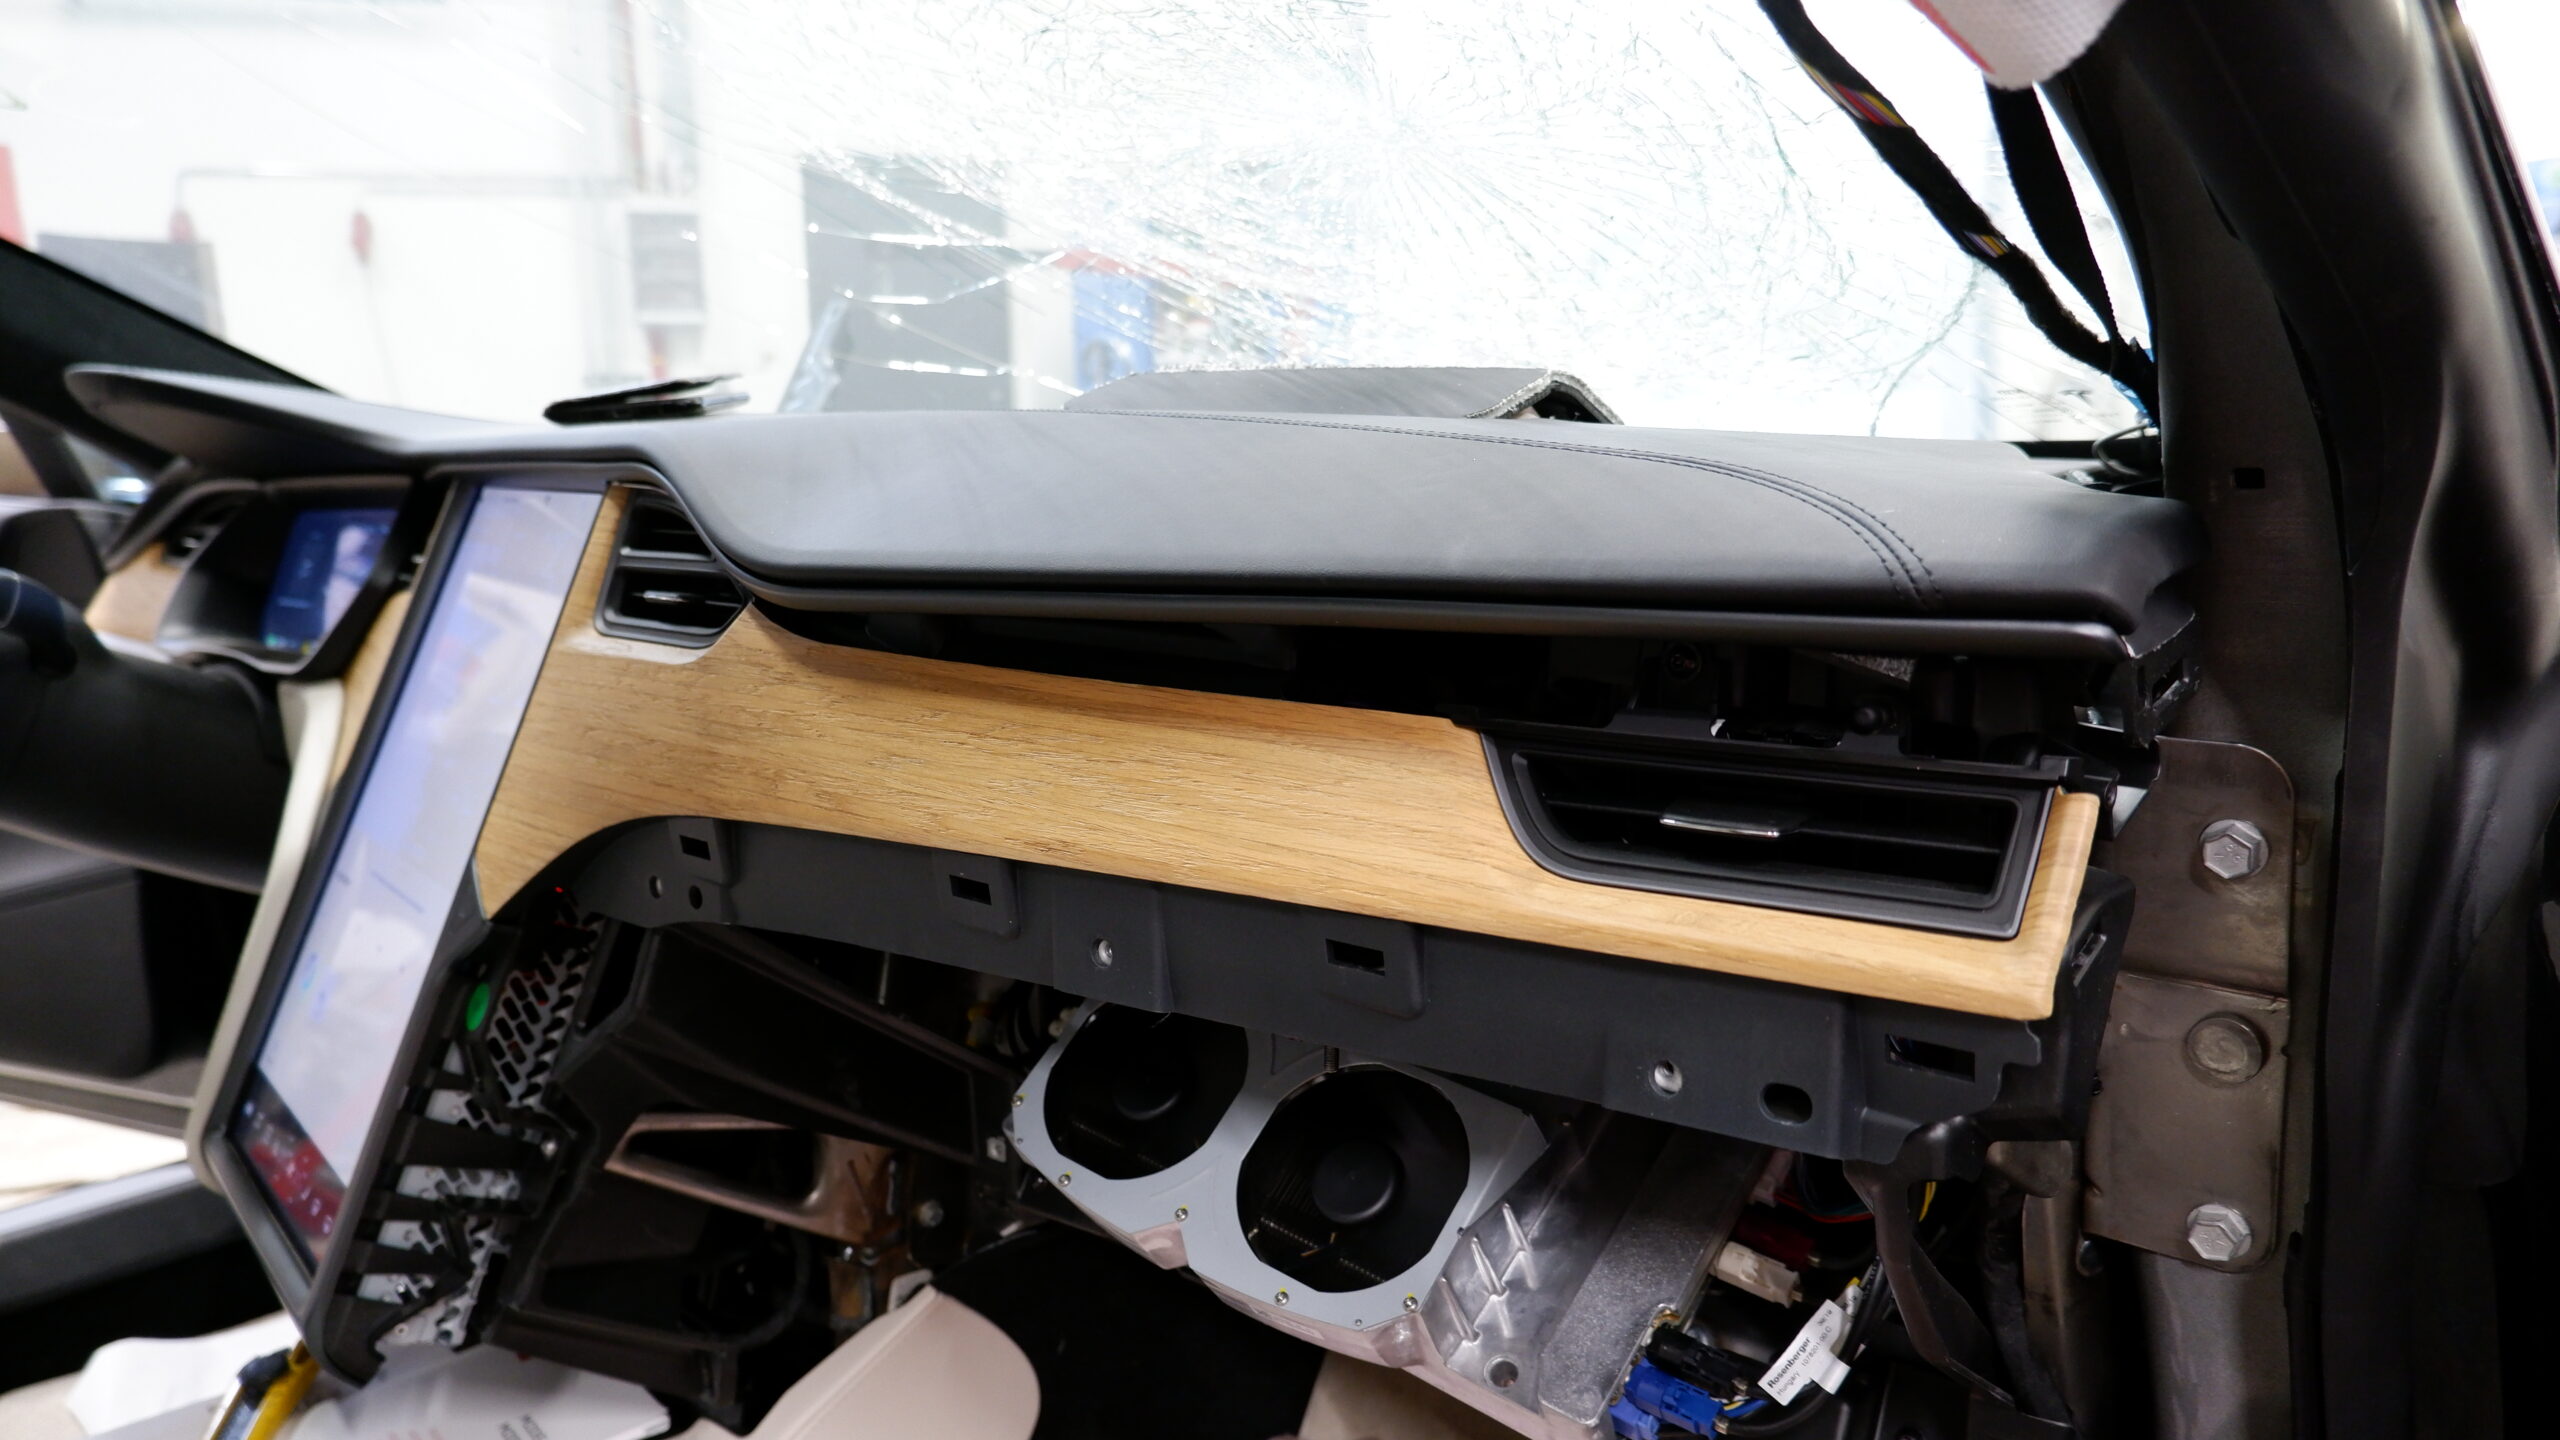
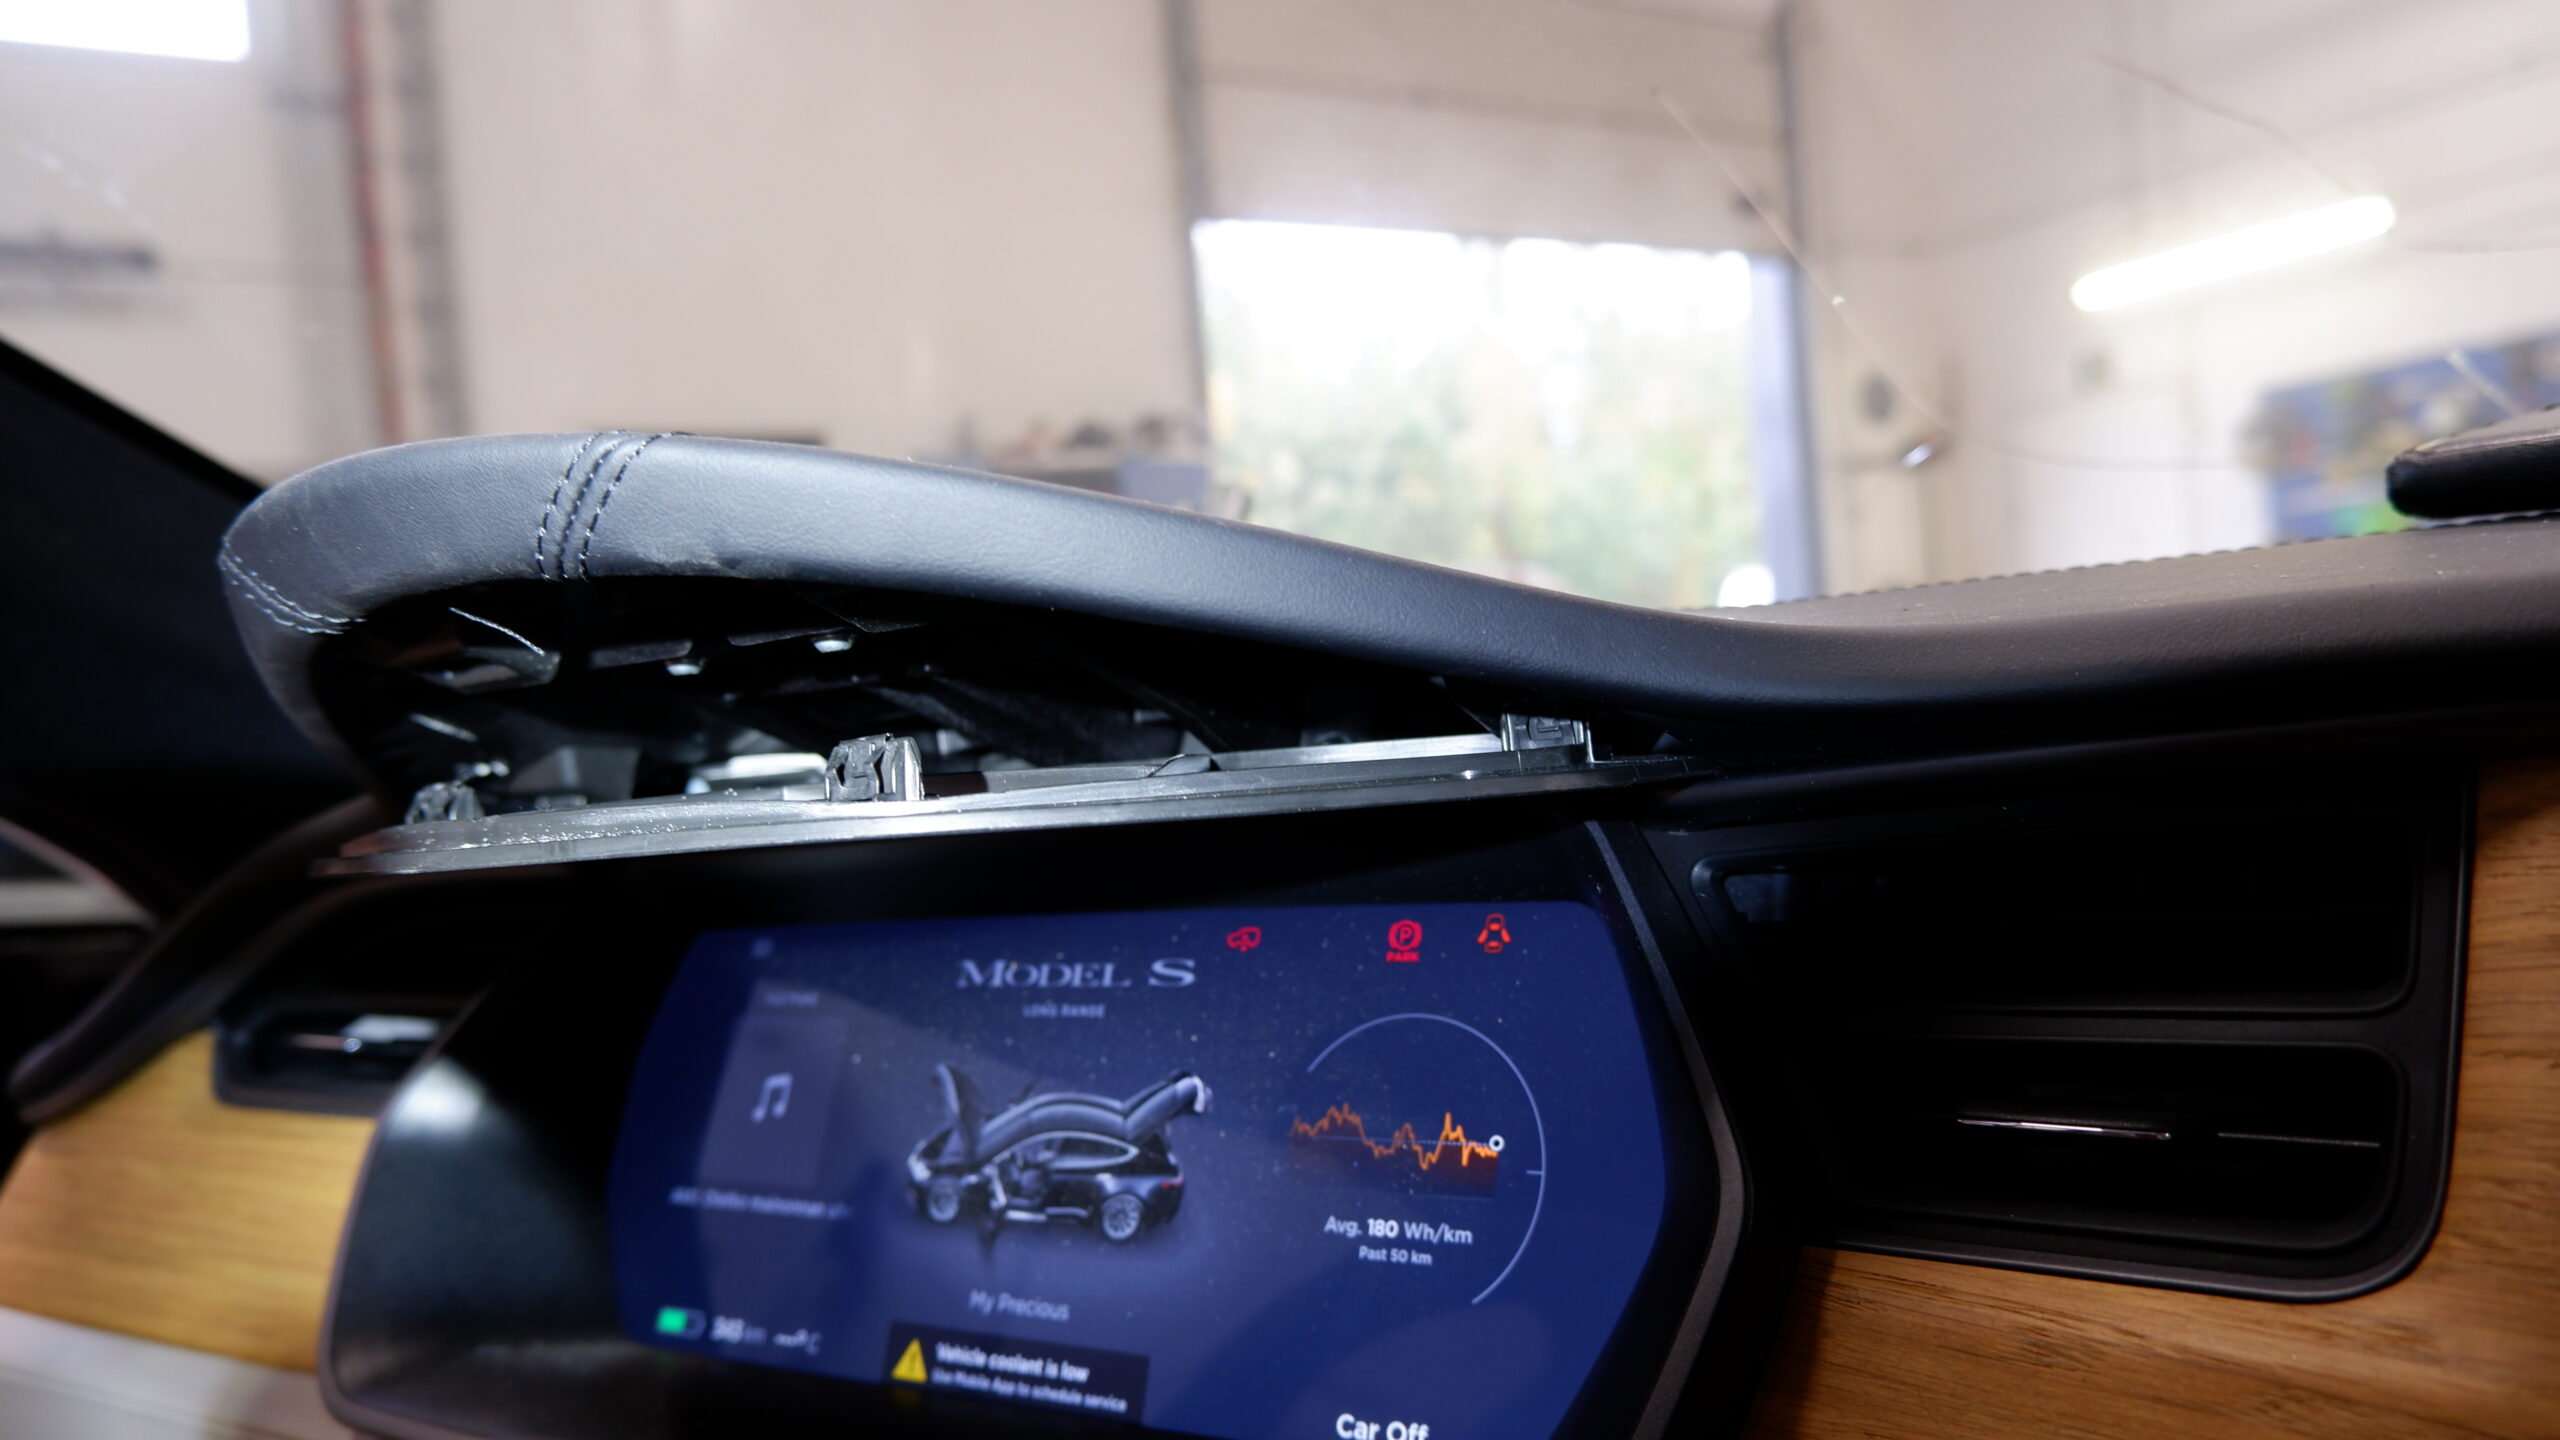
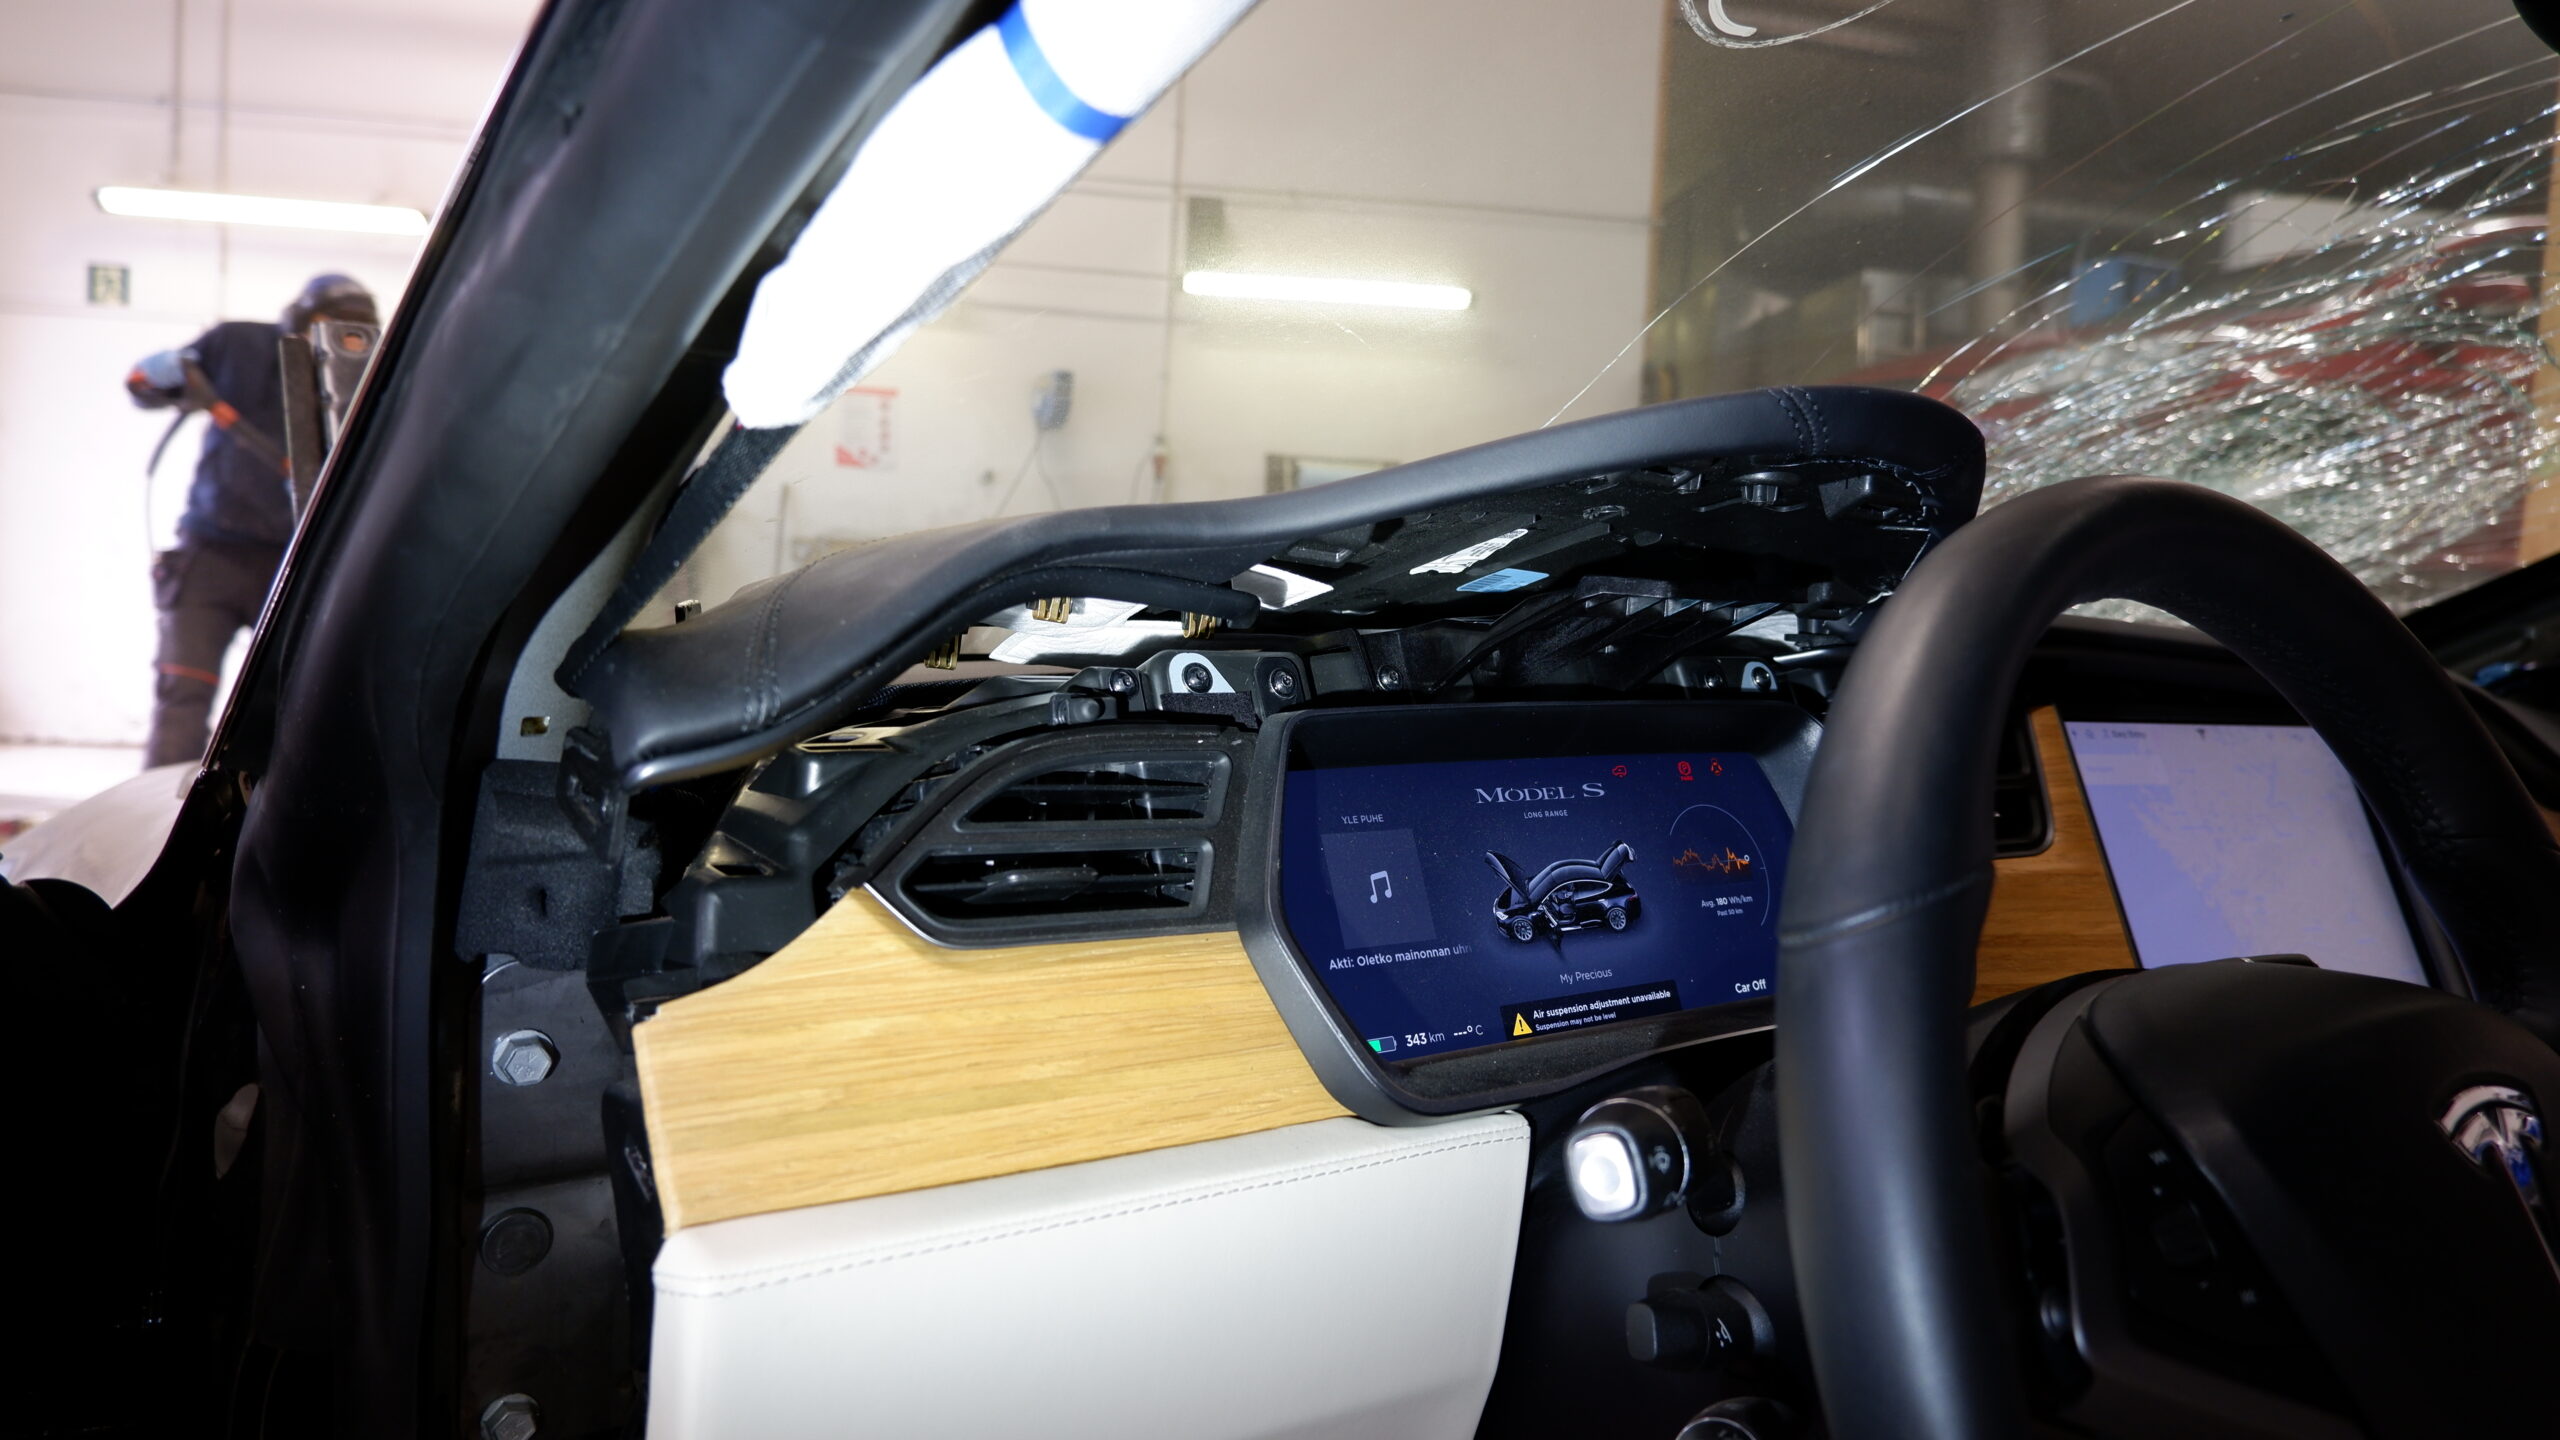
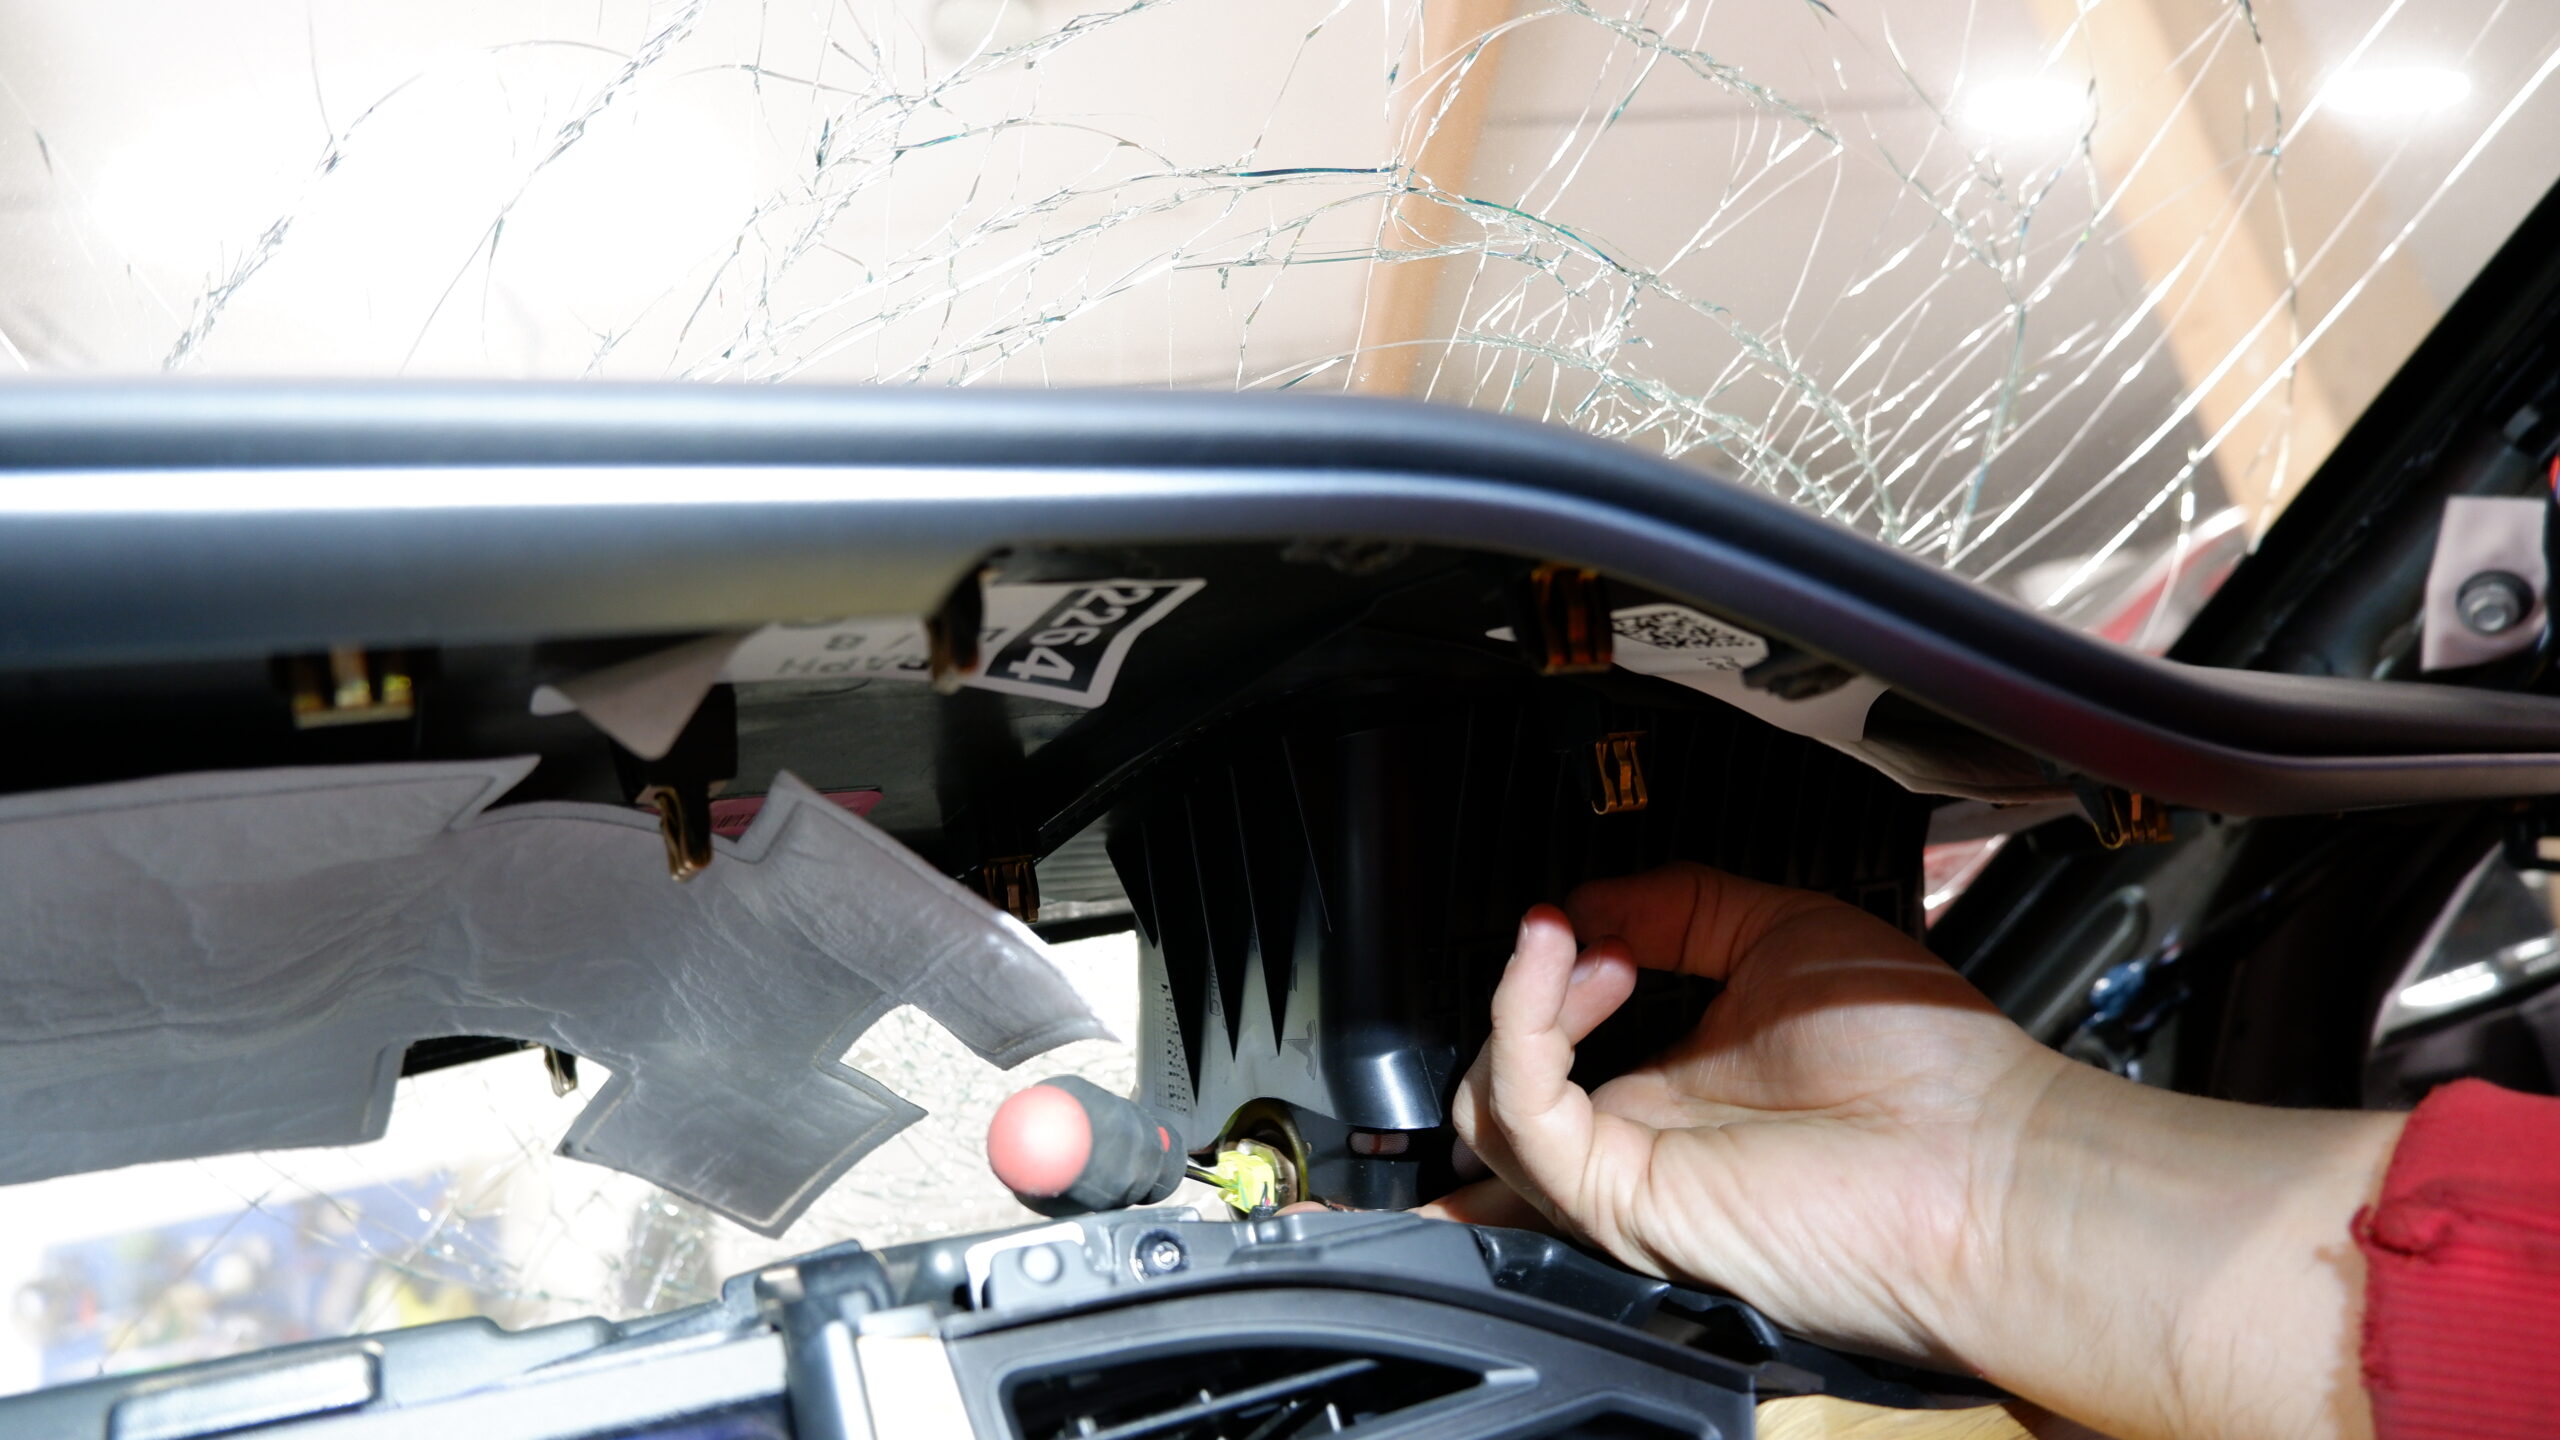
Finally, remember to unplug the airbag wiring. Release the lock in the middle of the connector first.
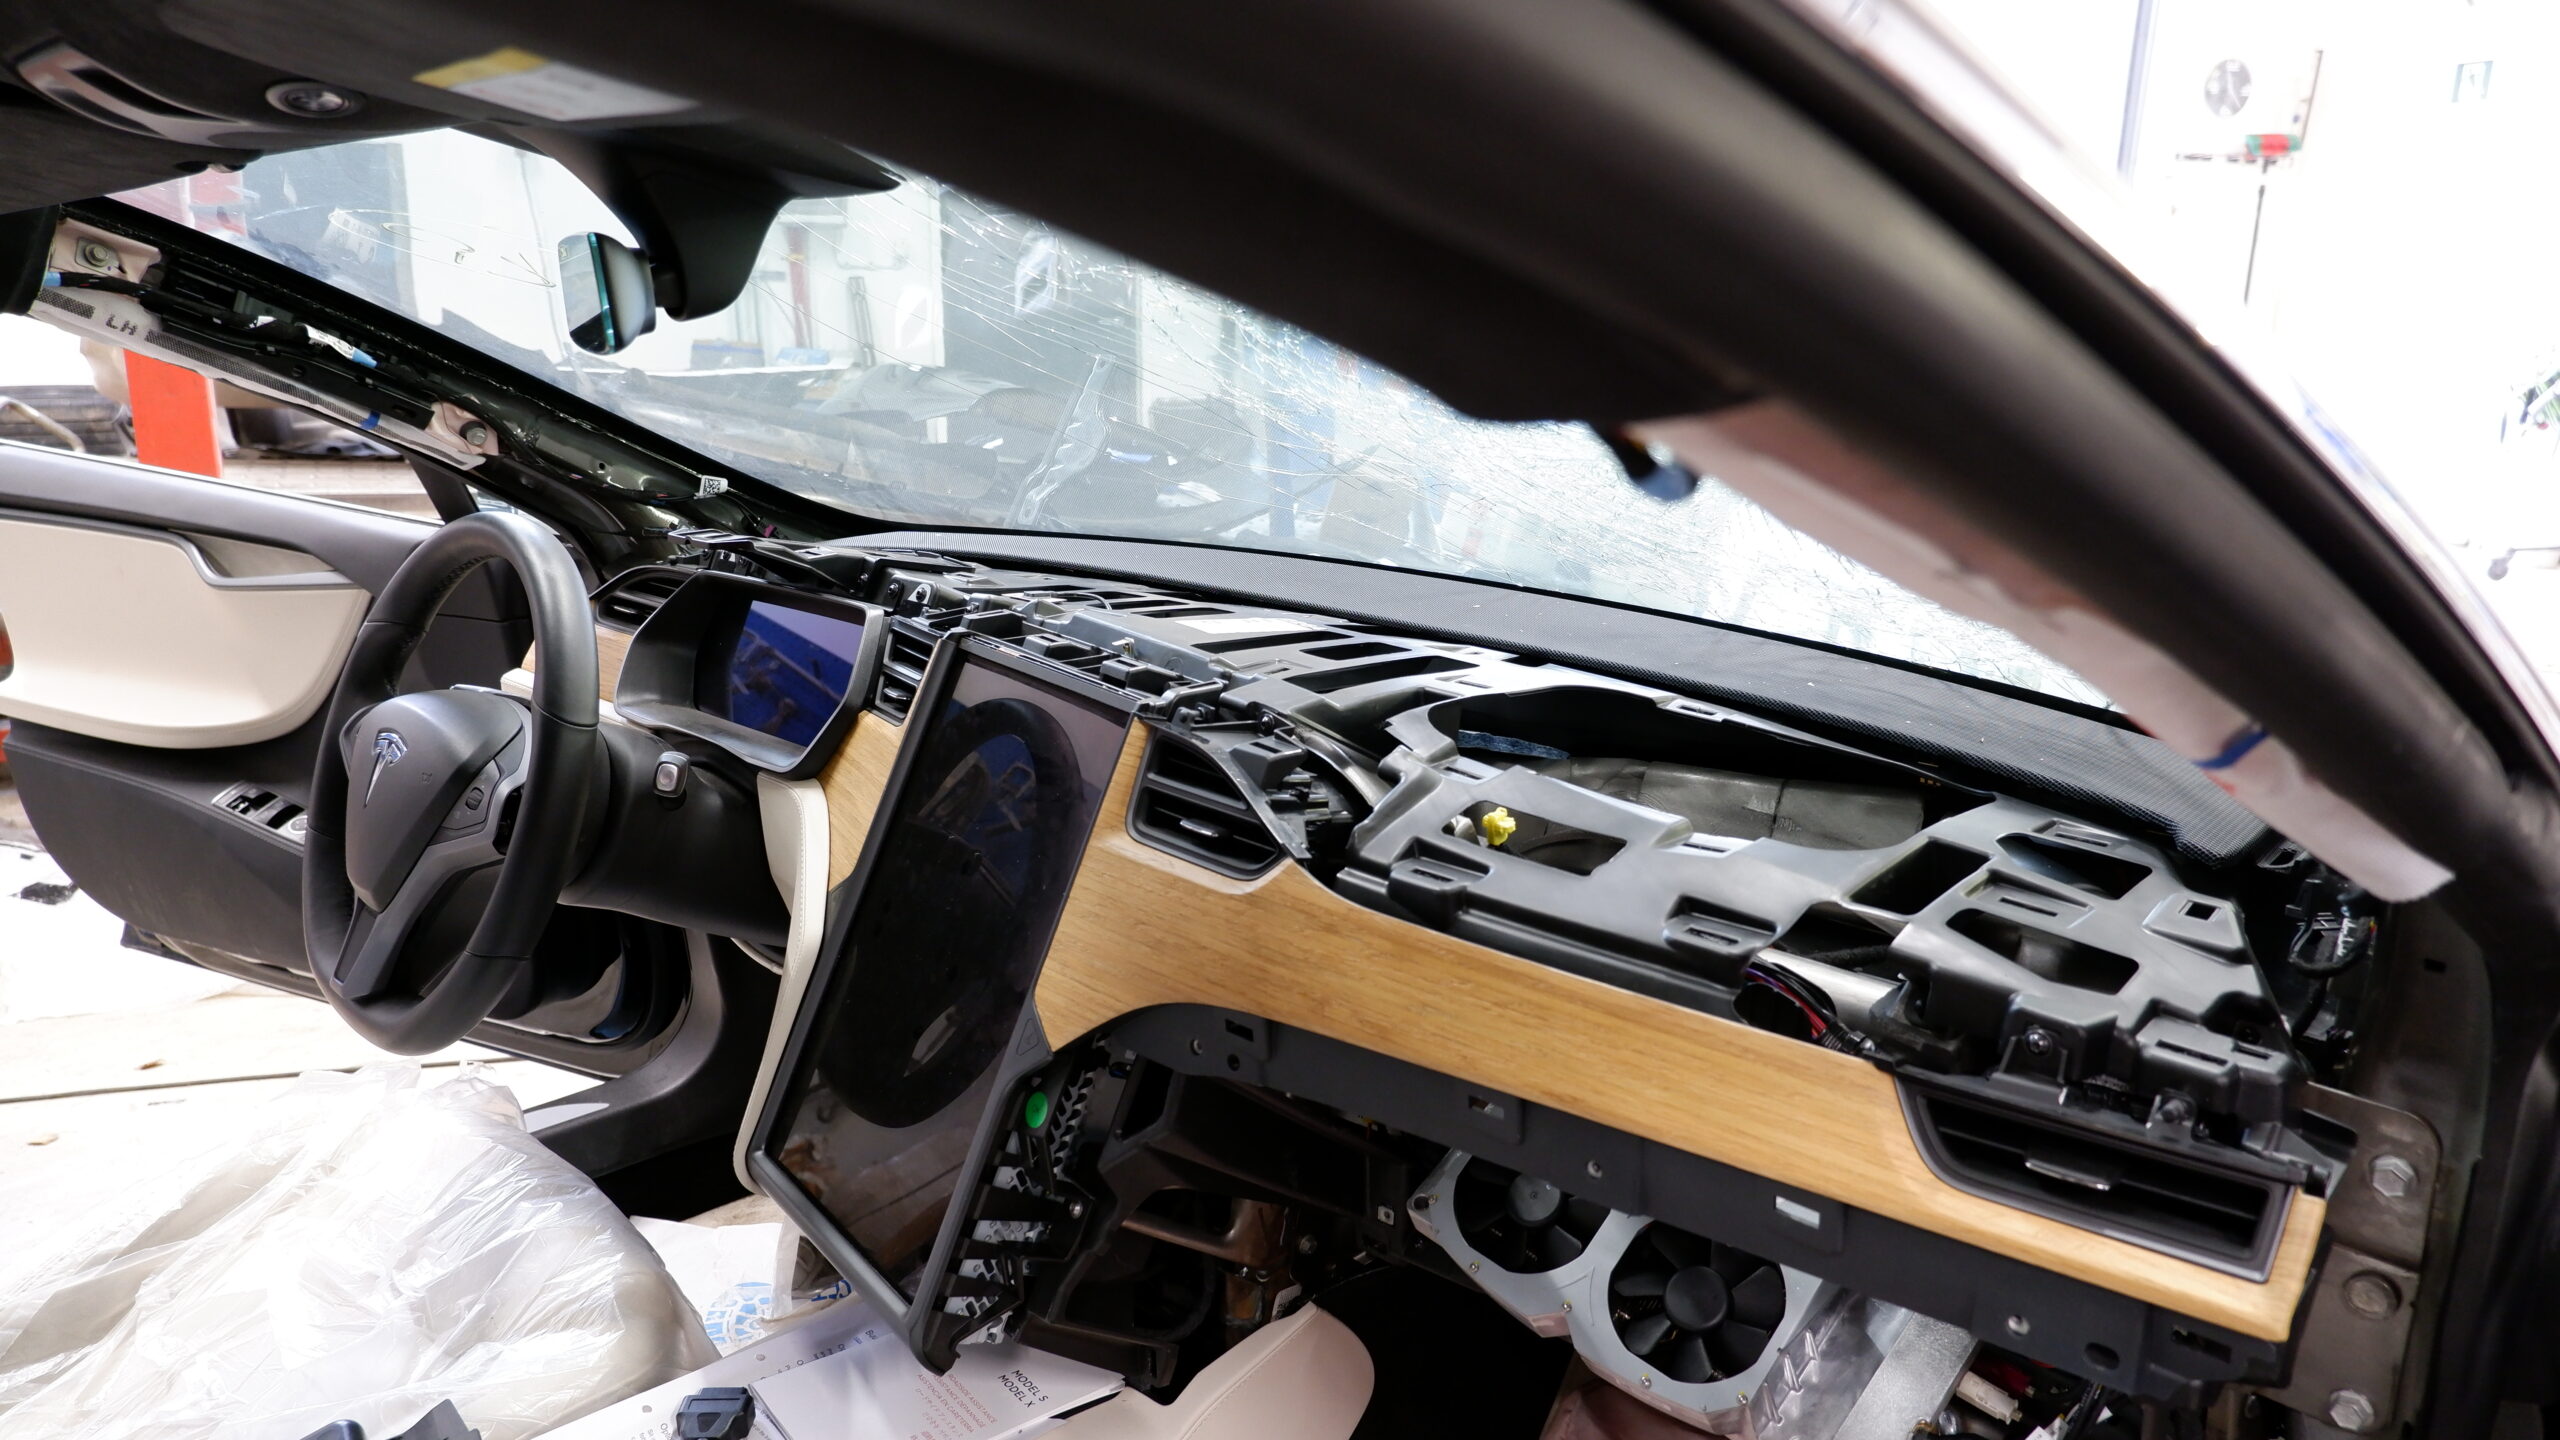
Dashboard top removed.
The trim strip along the front edge of the replacement dashboard was a different colour too. We swapped it over to preserve the original colour scheme. It is plastic-welded in place, so we ground away the mounting points and bonded the car’s original strip to the replacement part.
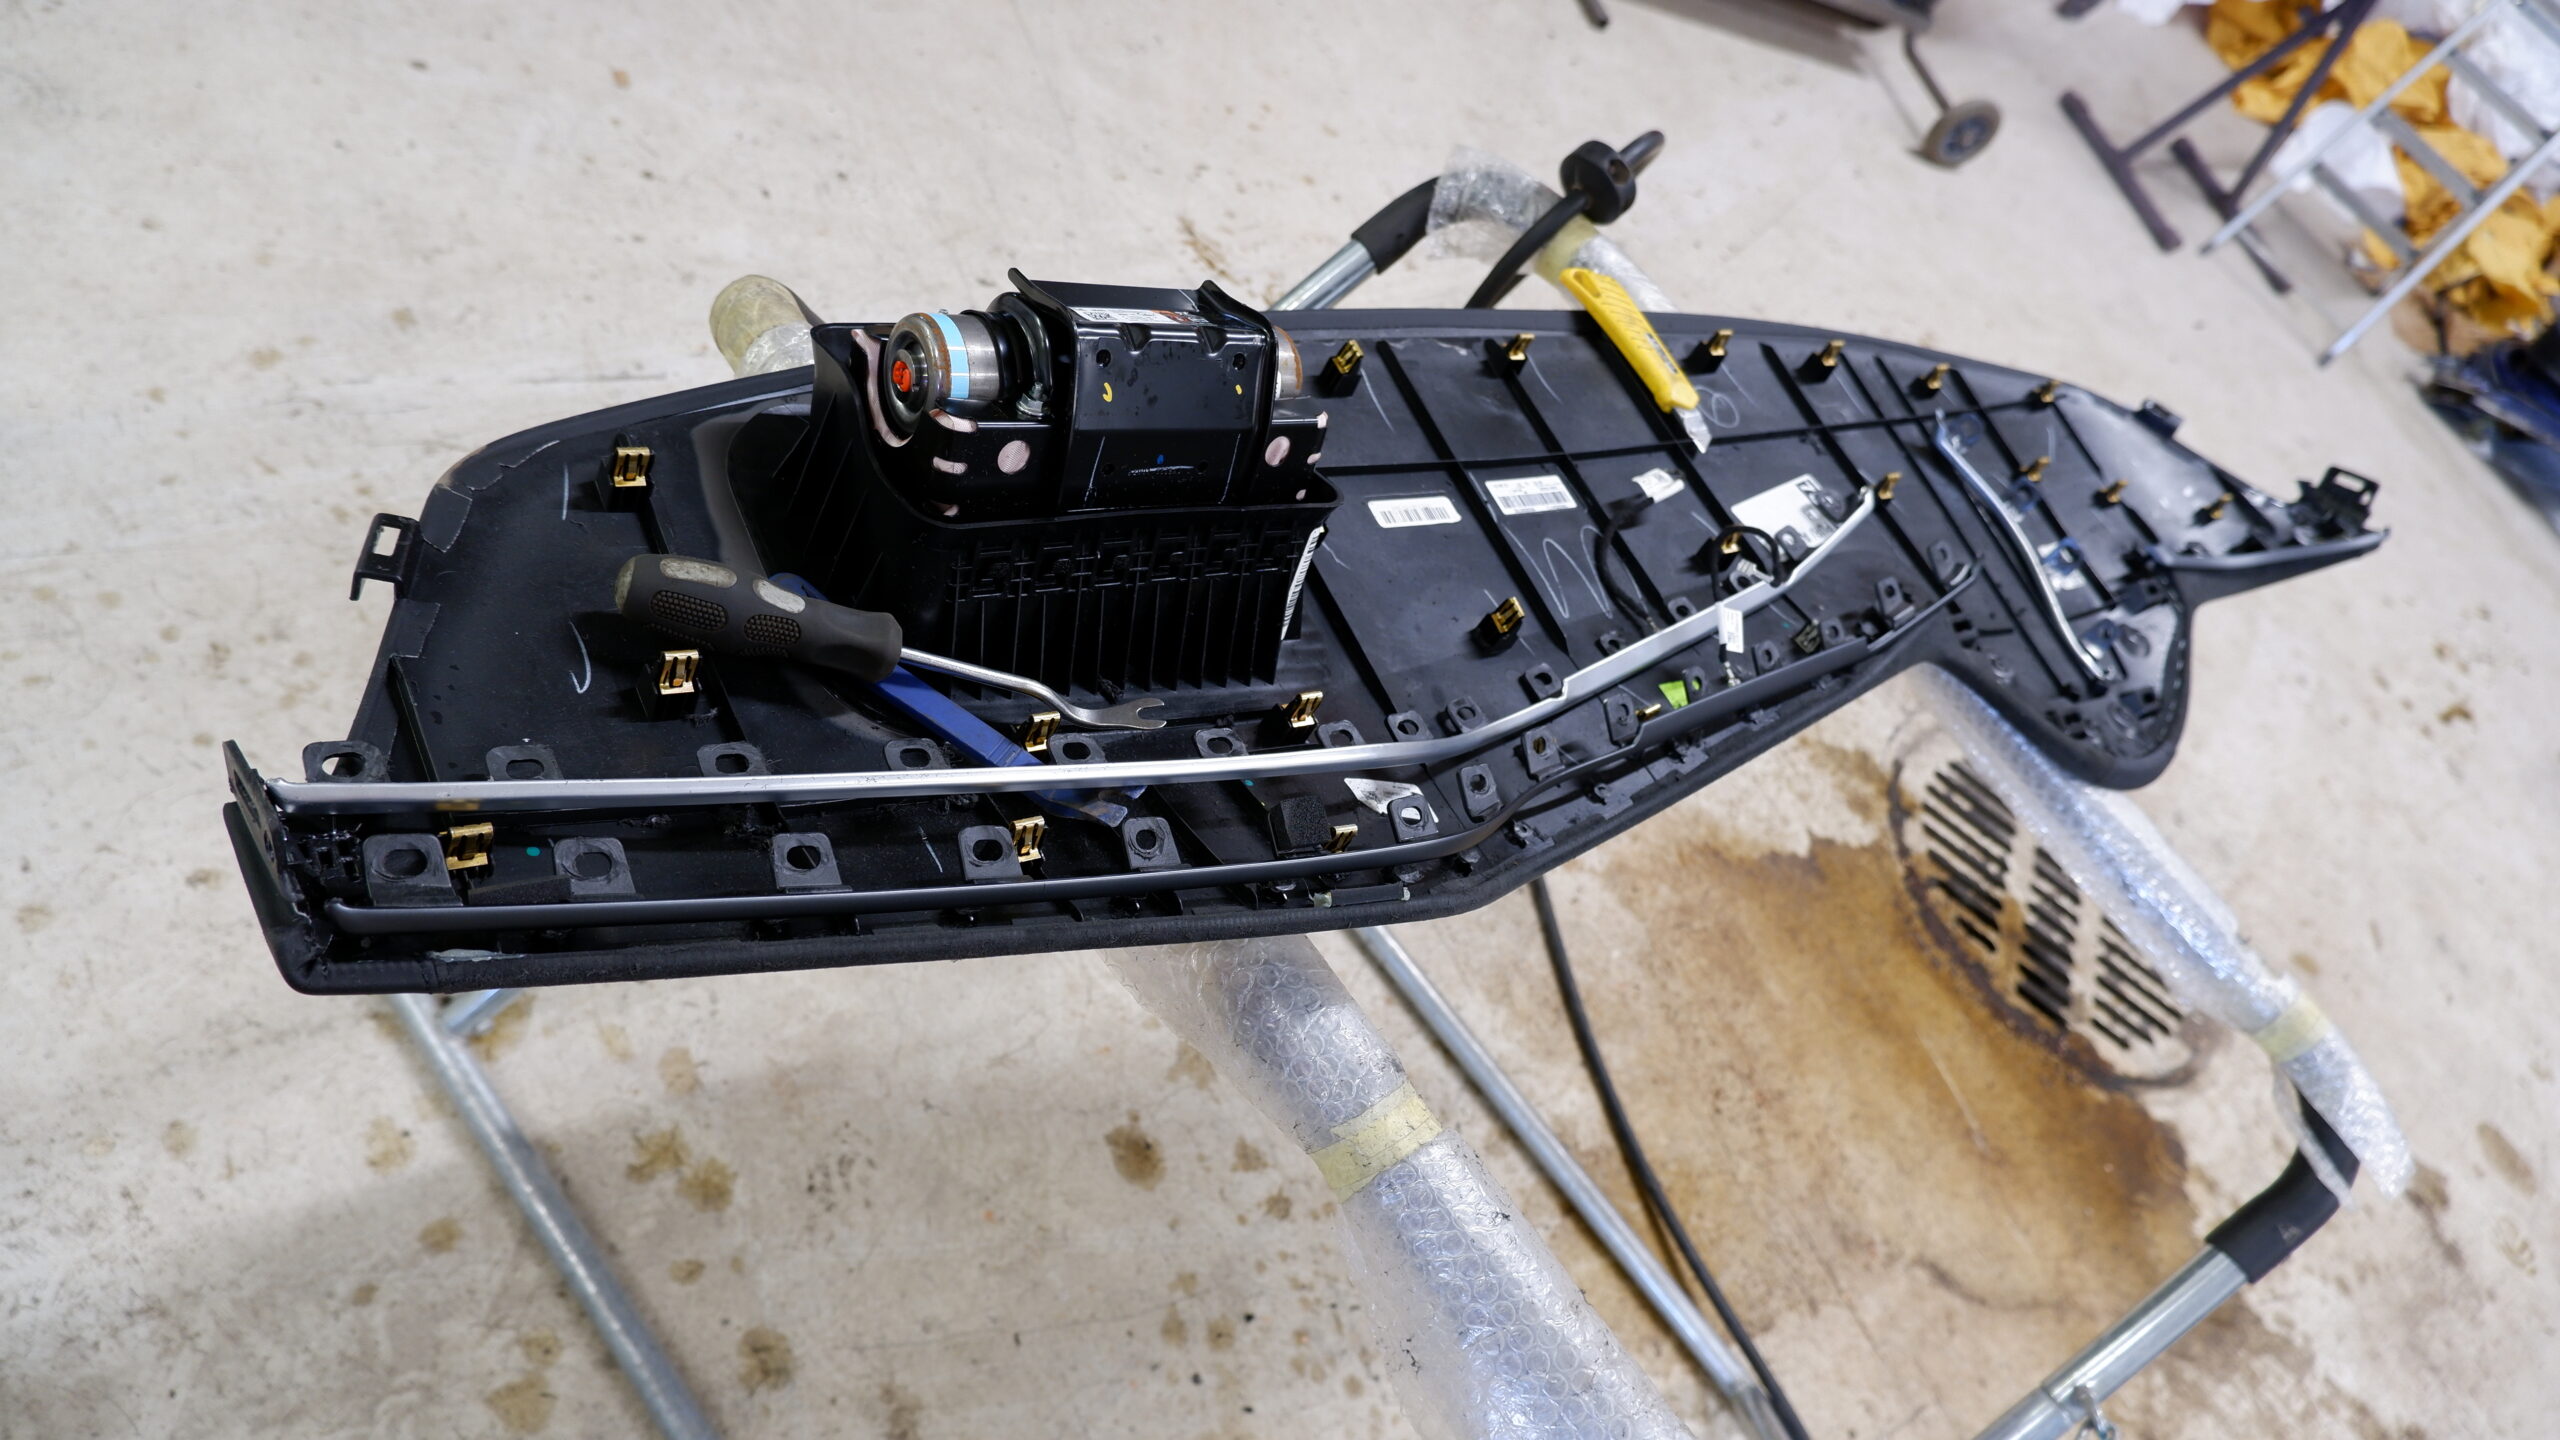
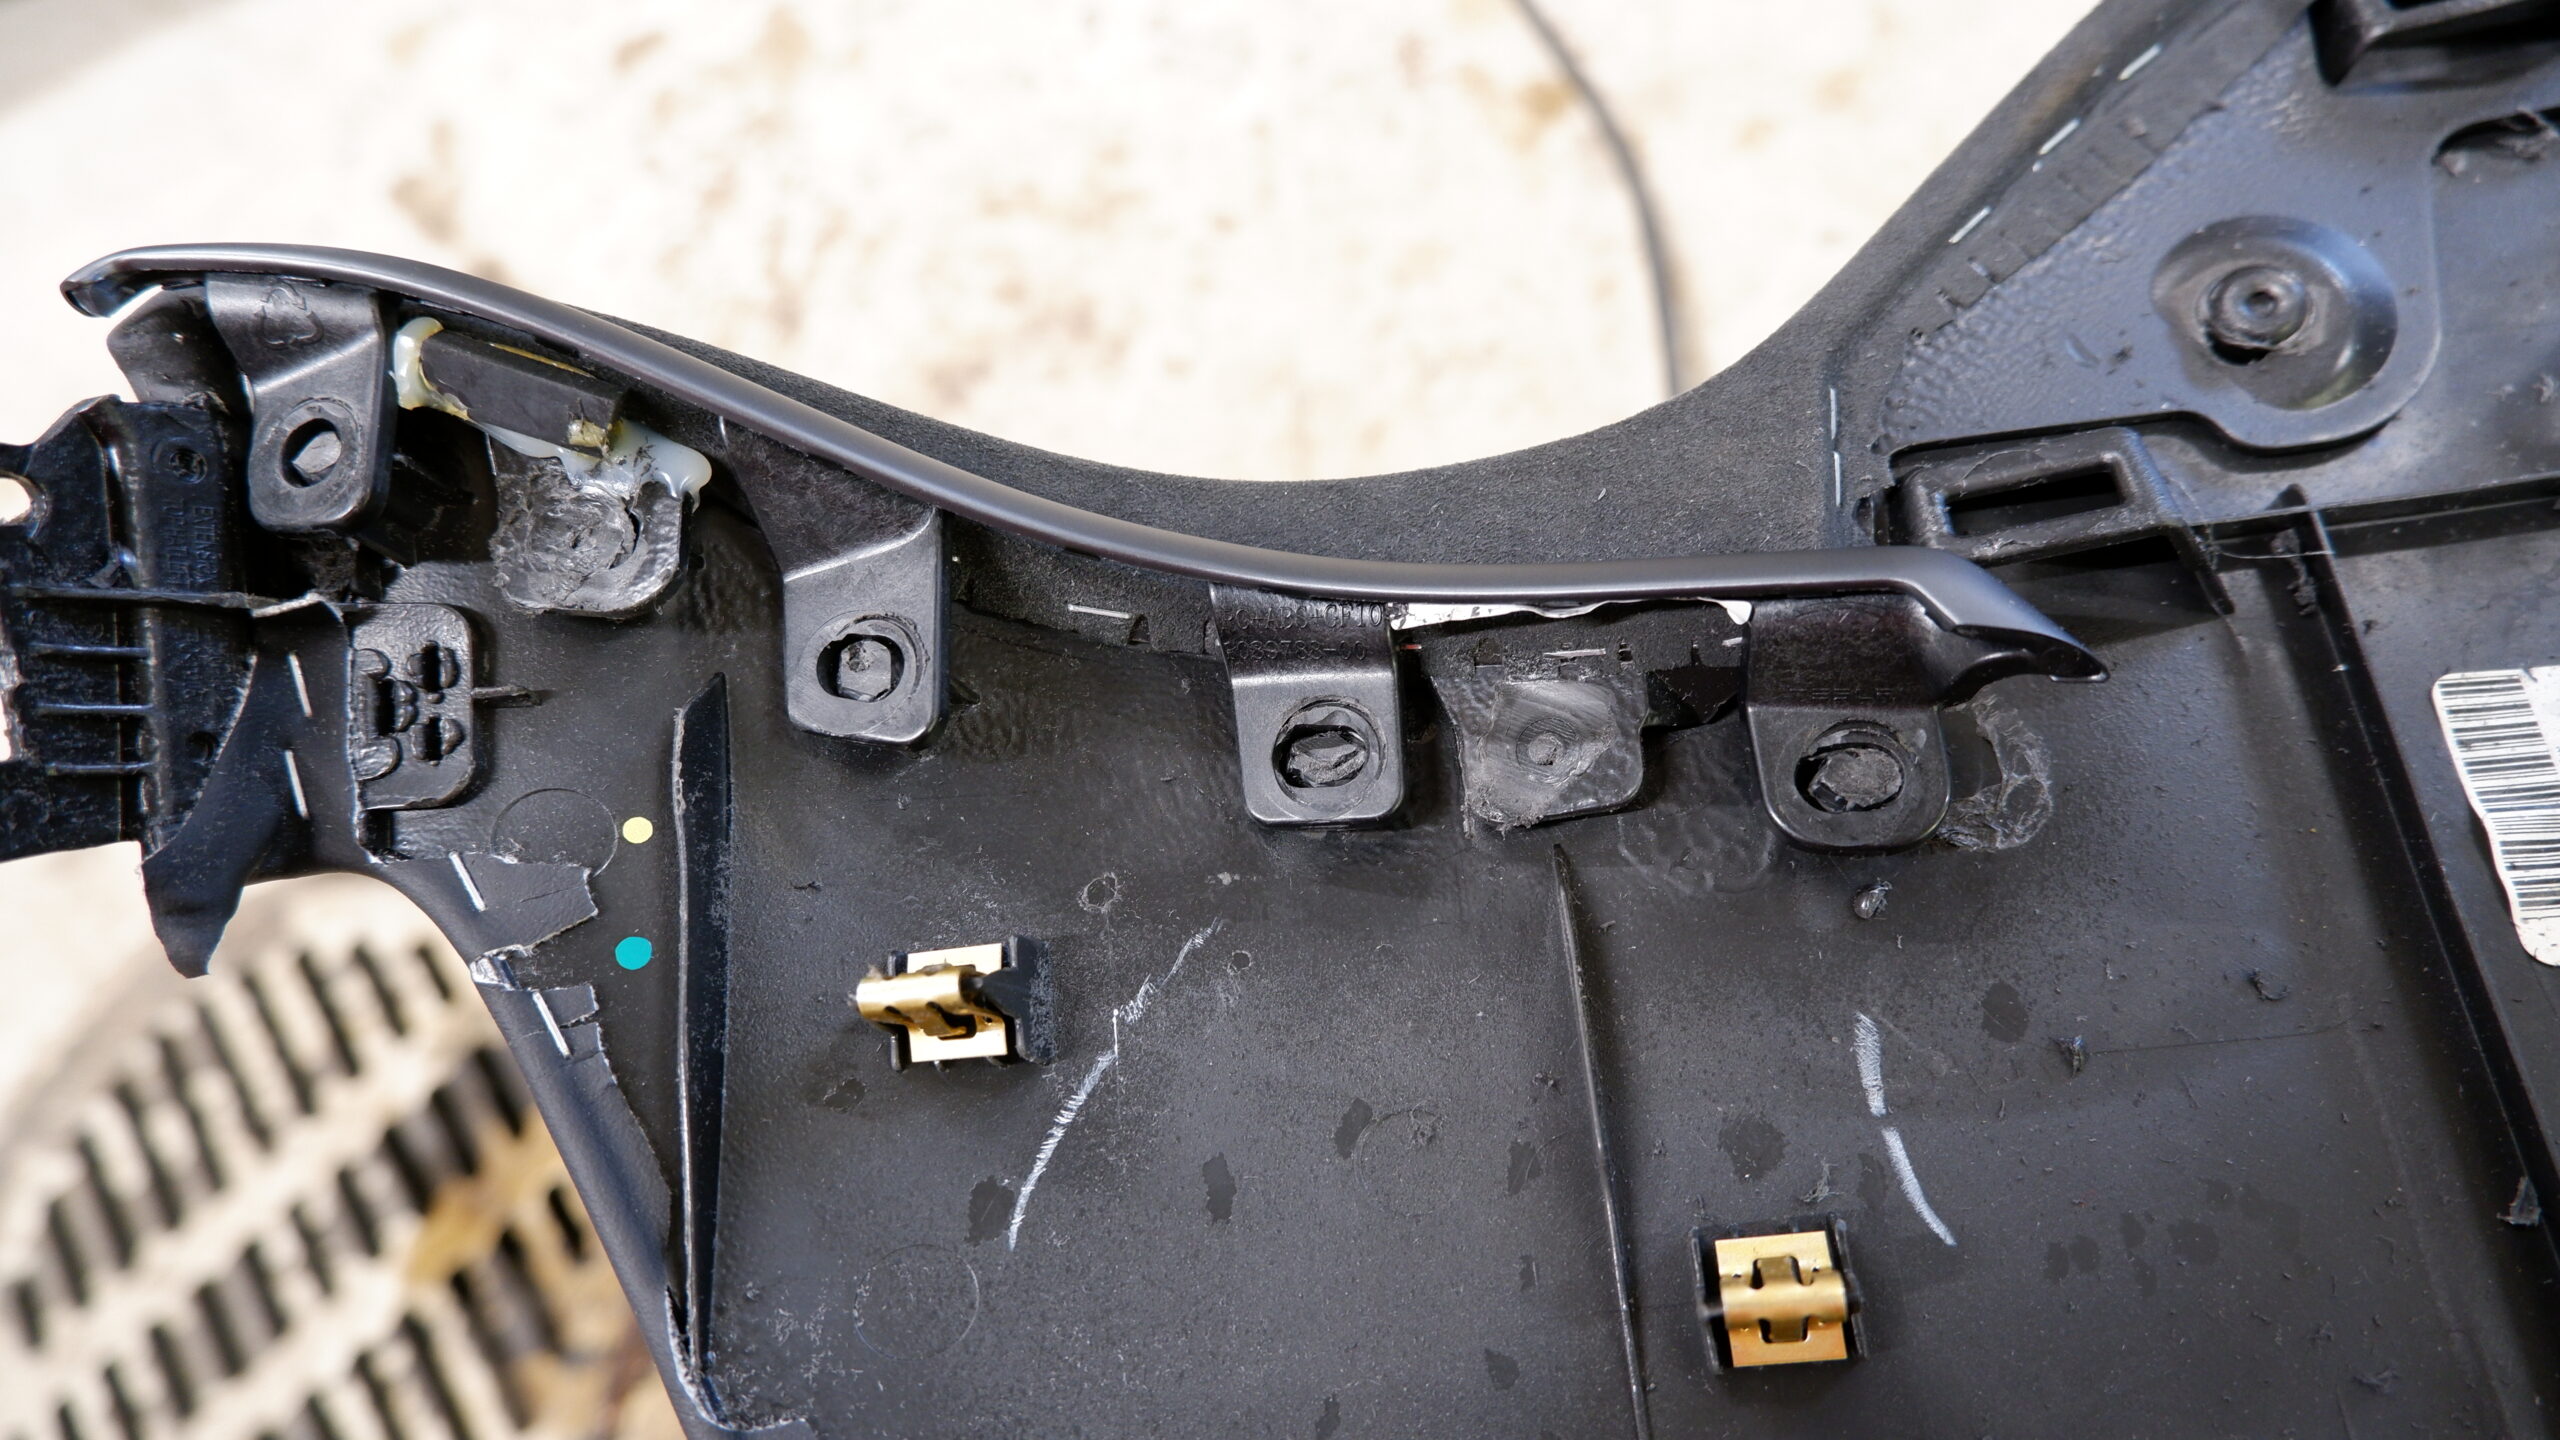
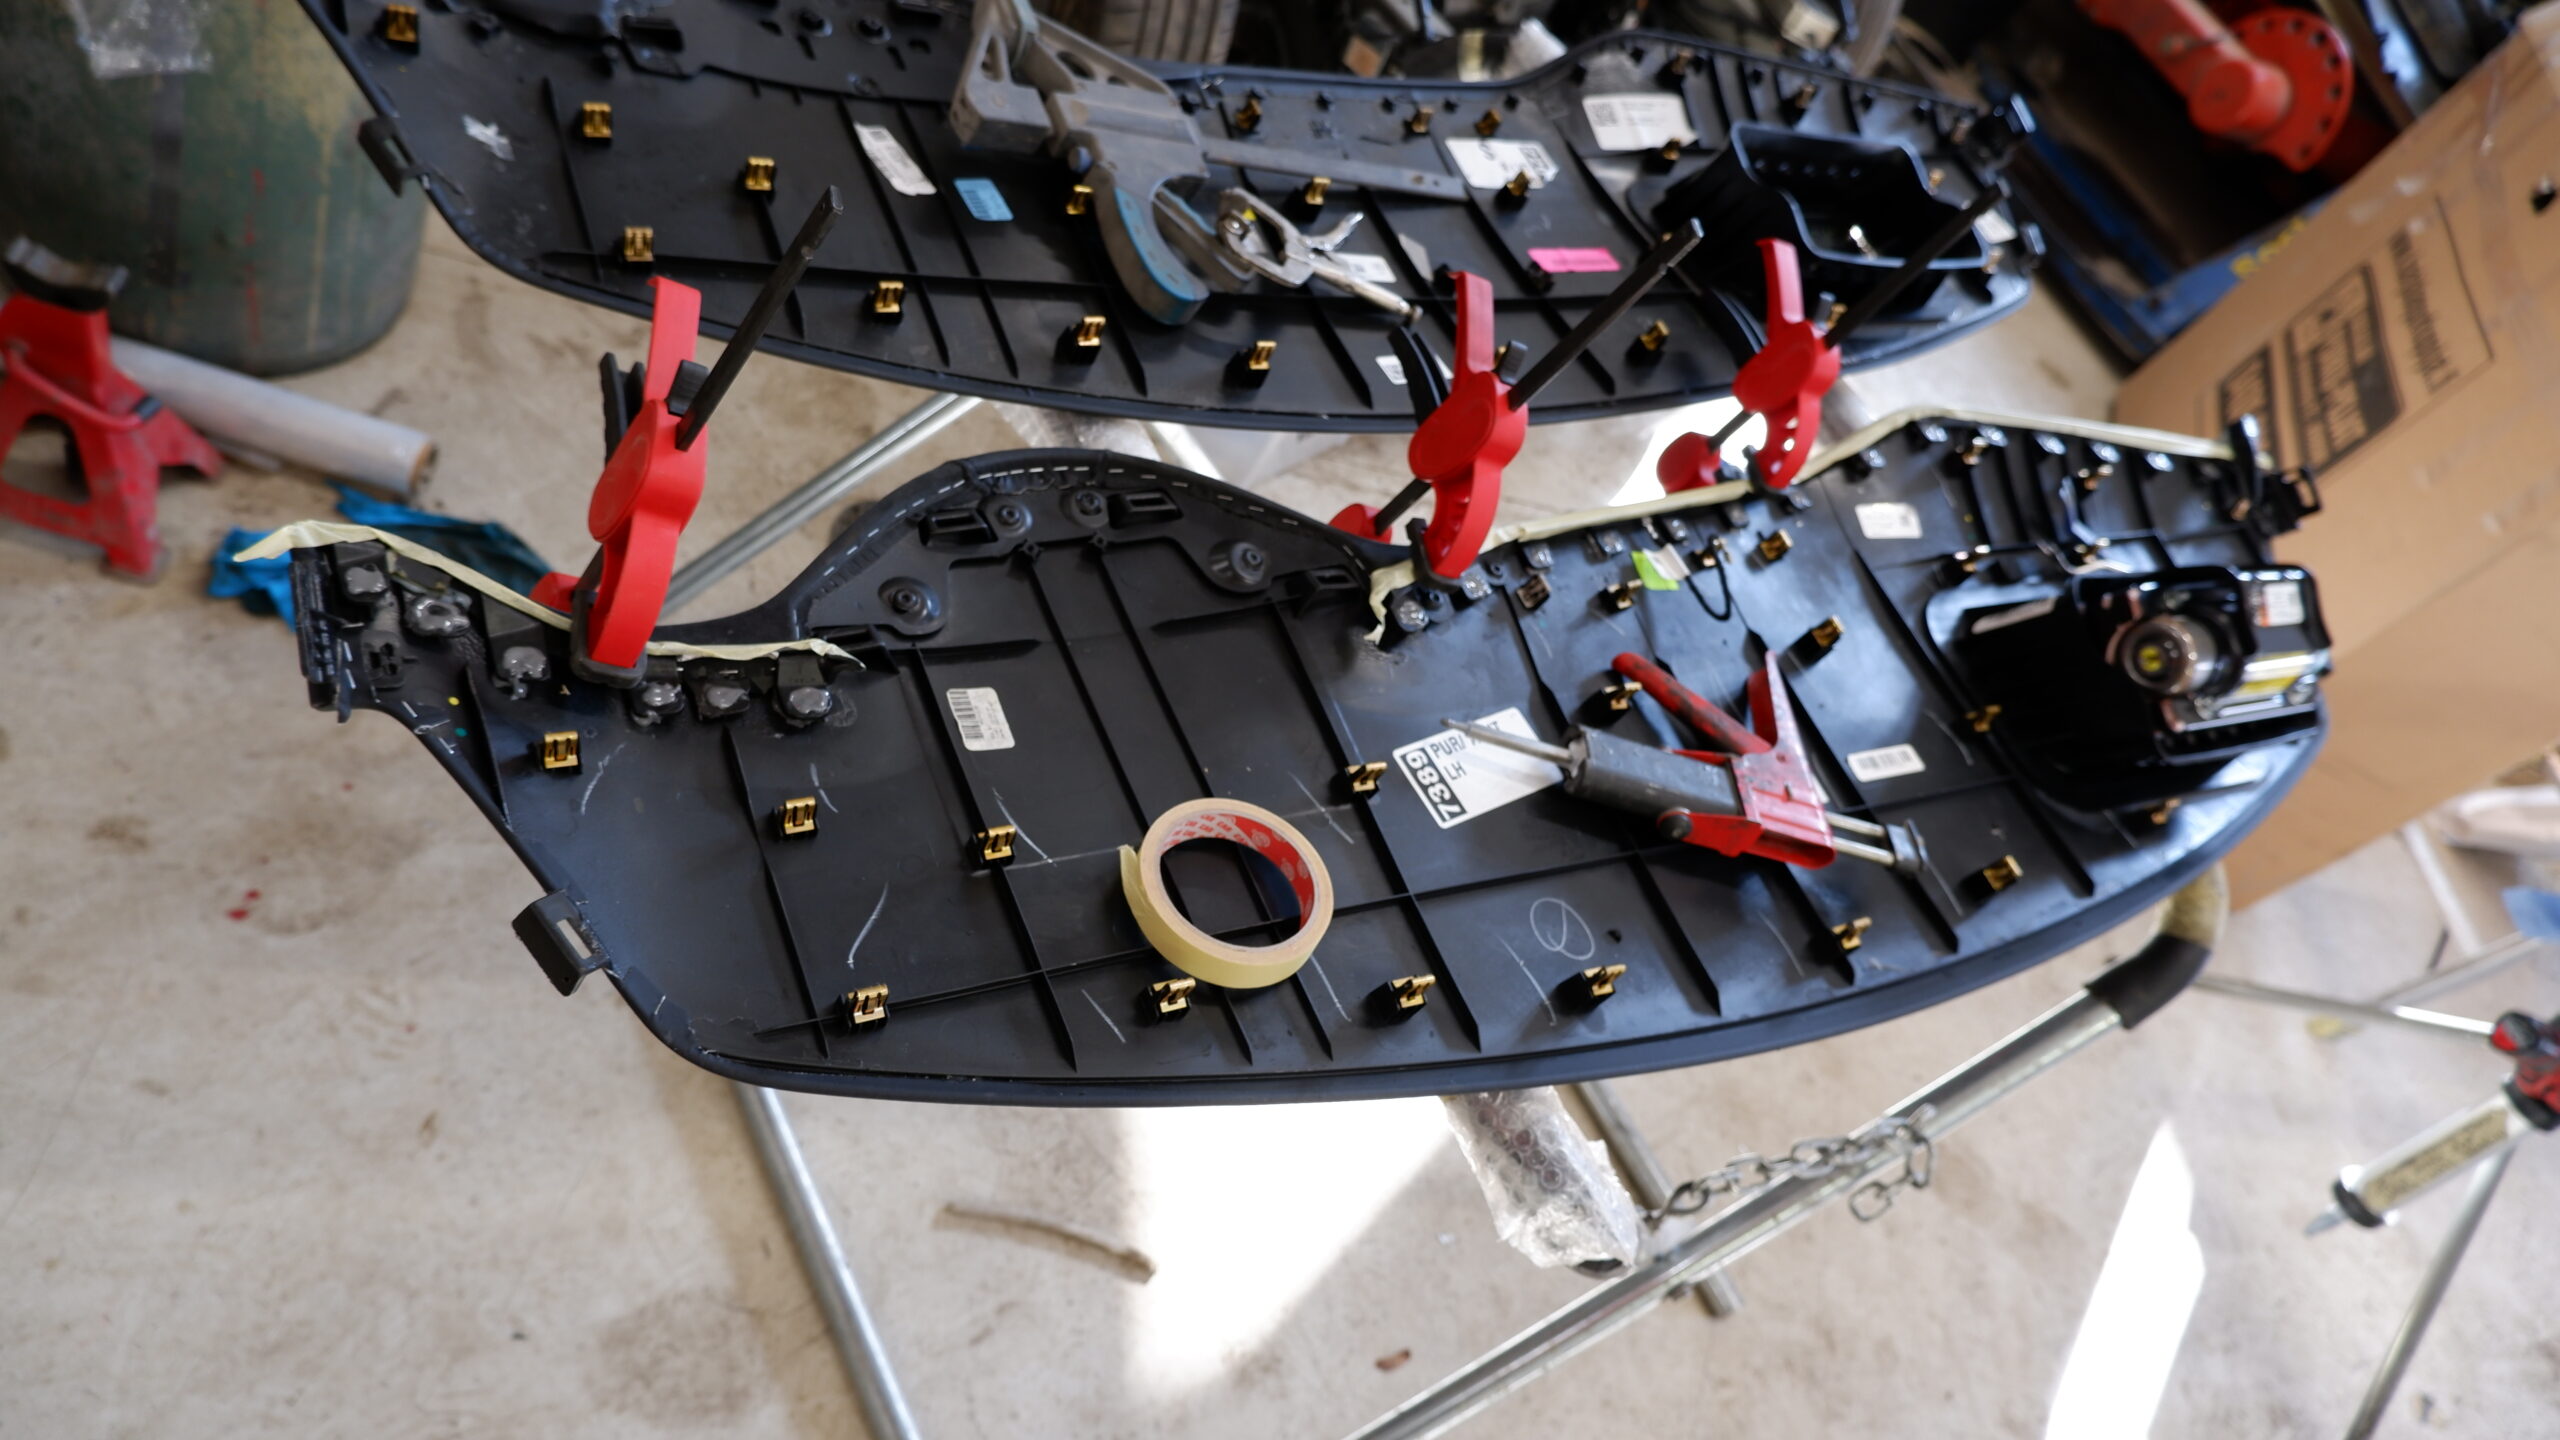
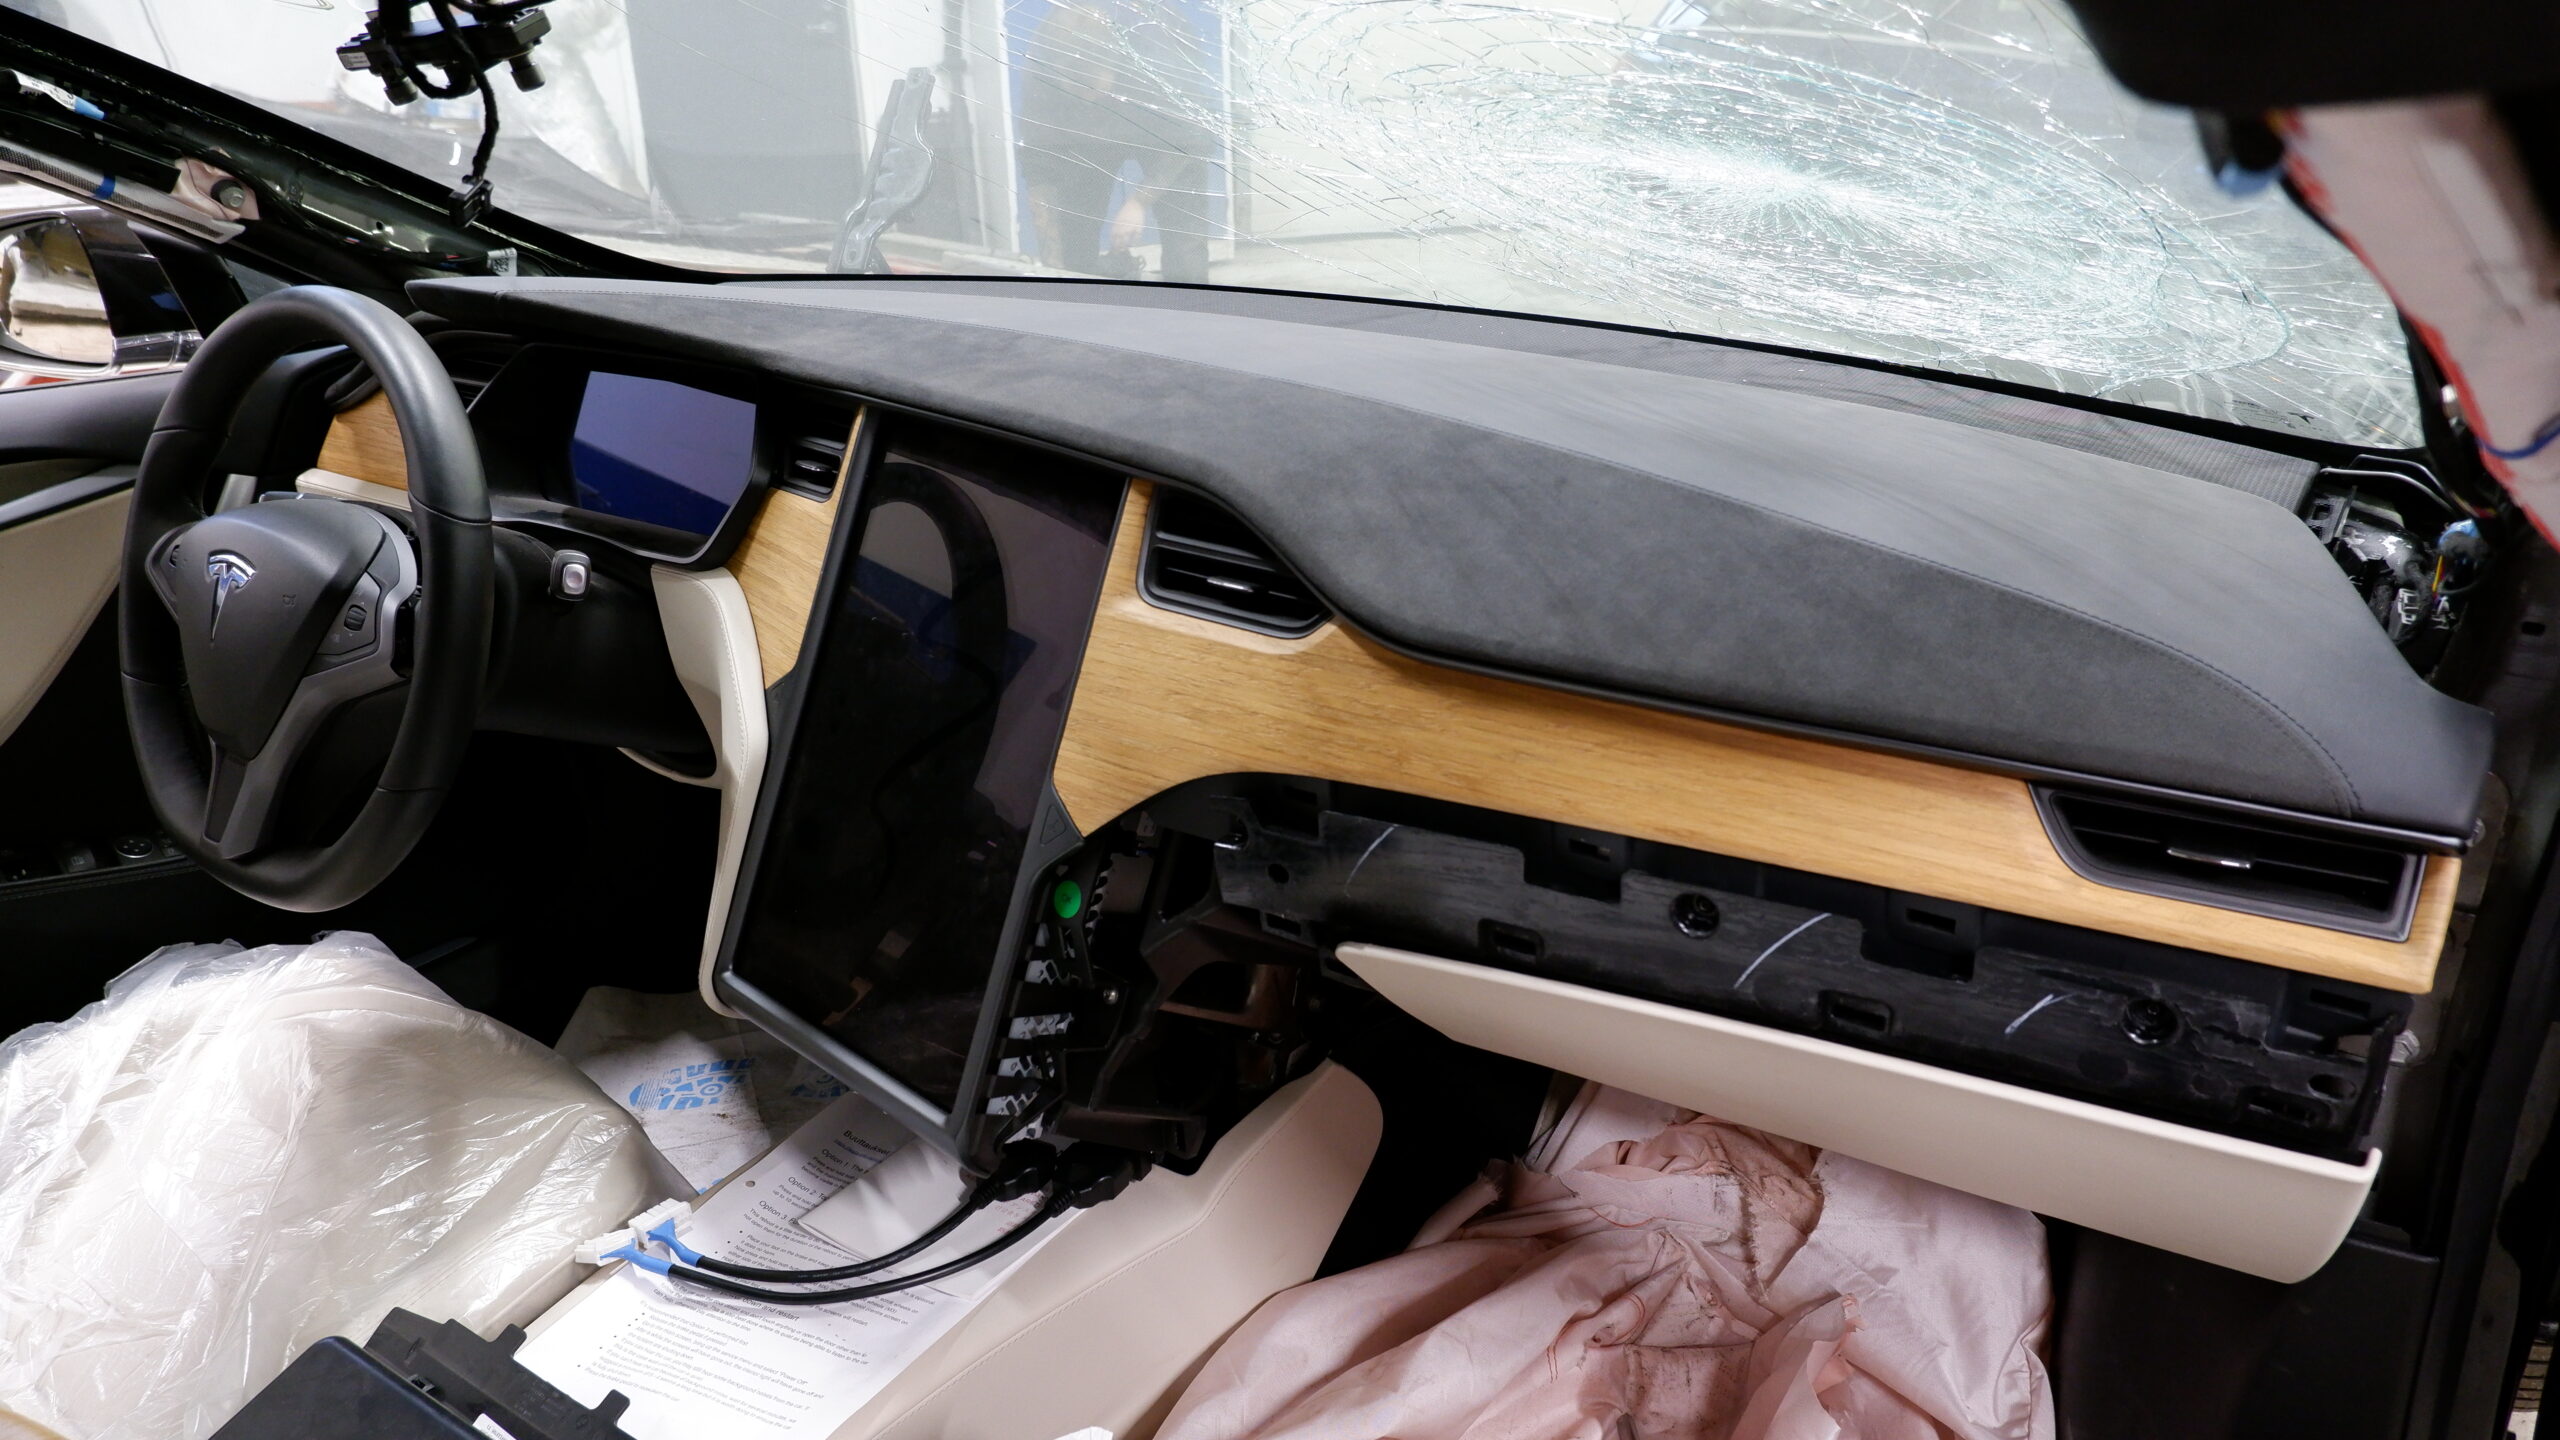
The airbags have been replaced and the dashboard top is back in place. The replacement differs from the original: its front edge is Alcantara, whereas the old one used the same PU material as the rear edge of the replacement. We think the black Alcantara works well, as the A-pillars and headlining already use it.
We replaced the front seat belts too, as the pretensioners had fired in the crash. Unfortunately, we forgot to take photos. Once the trim was out of the way, it was a fairly straightforward job, following the instructions at fixyourtesla.com.
Although Tesla wouldn't sell us airbags, anyone could buy the seat belts and pretensioners from them.
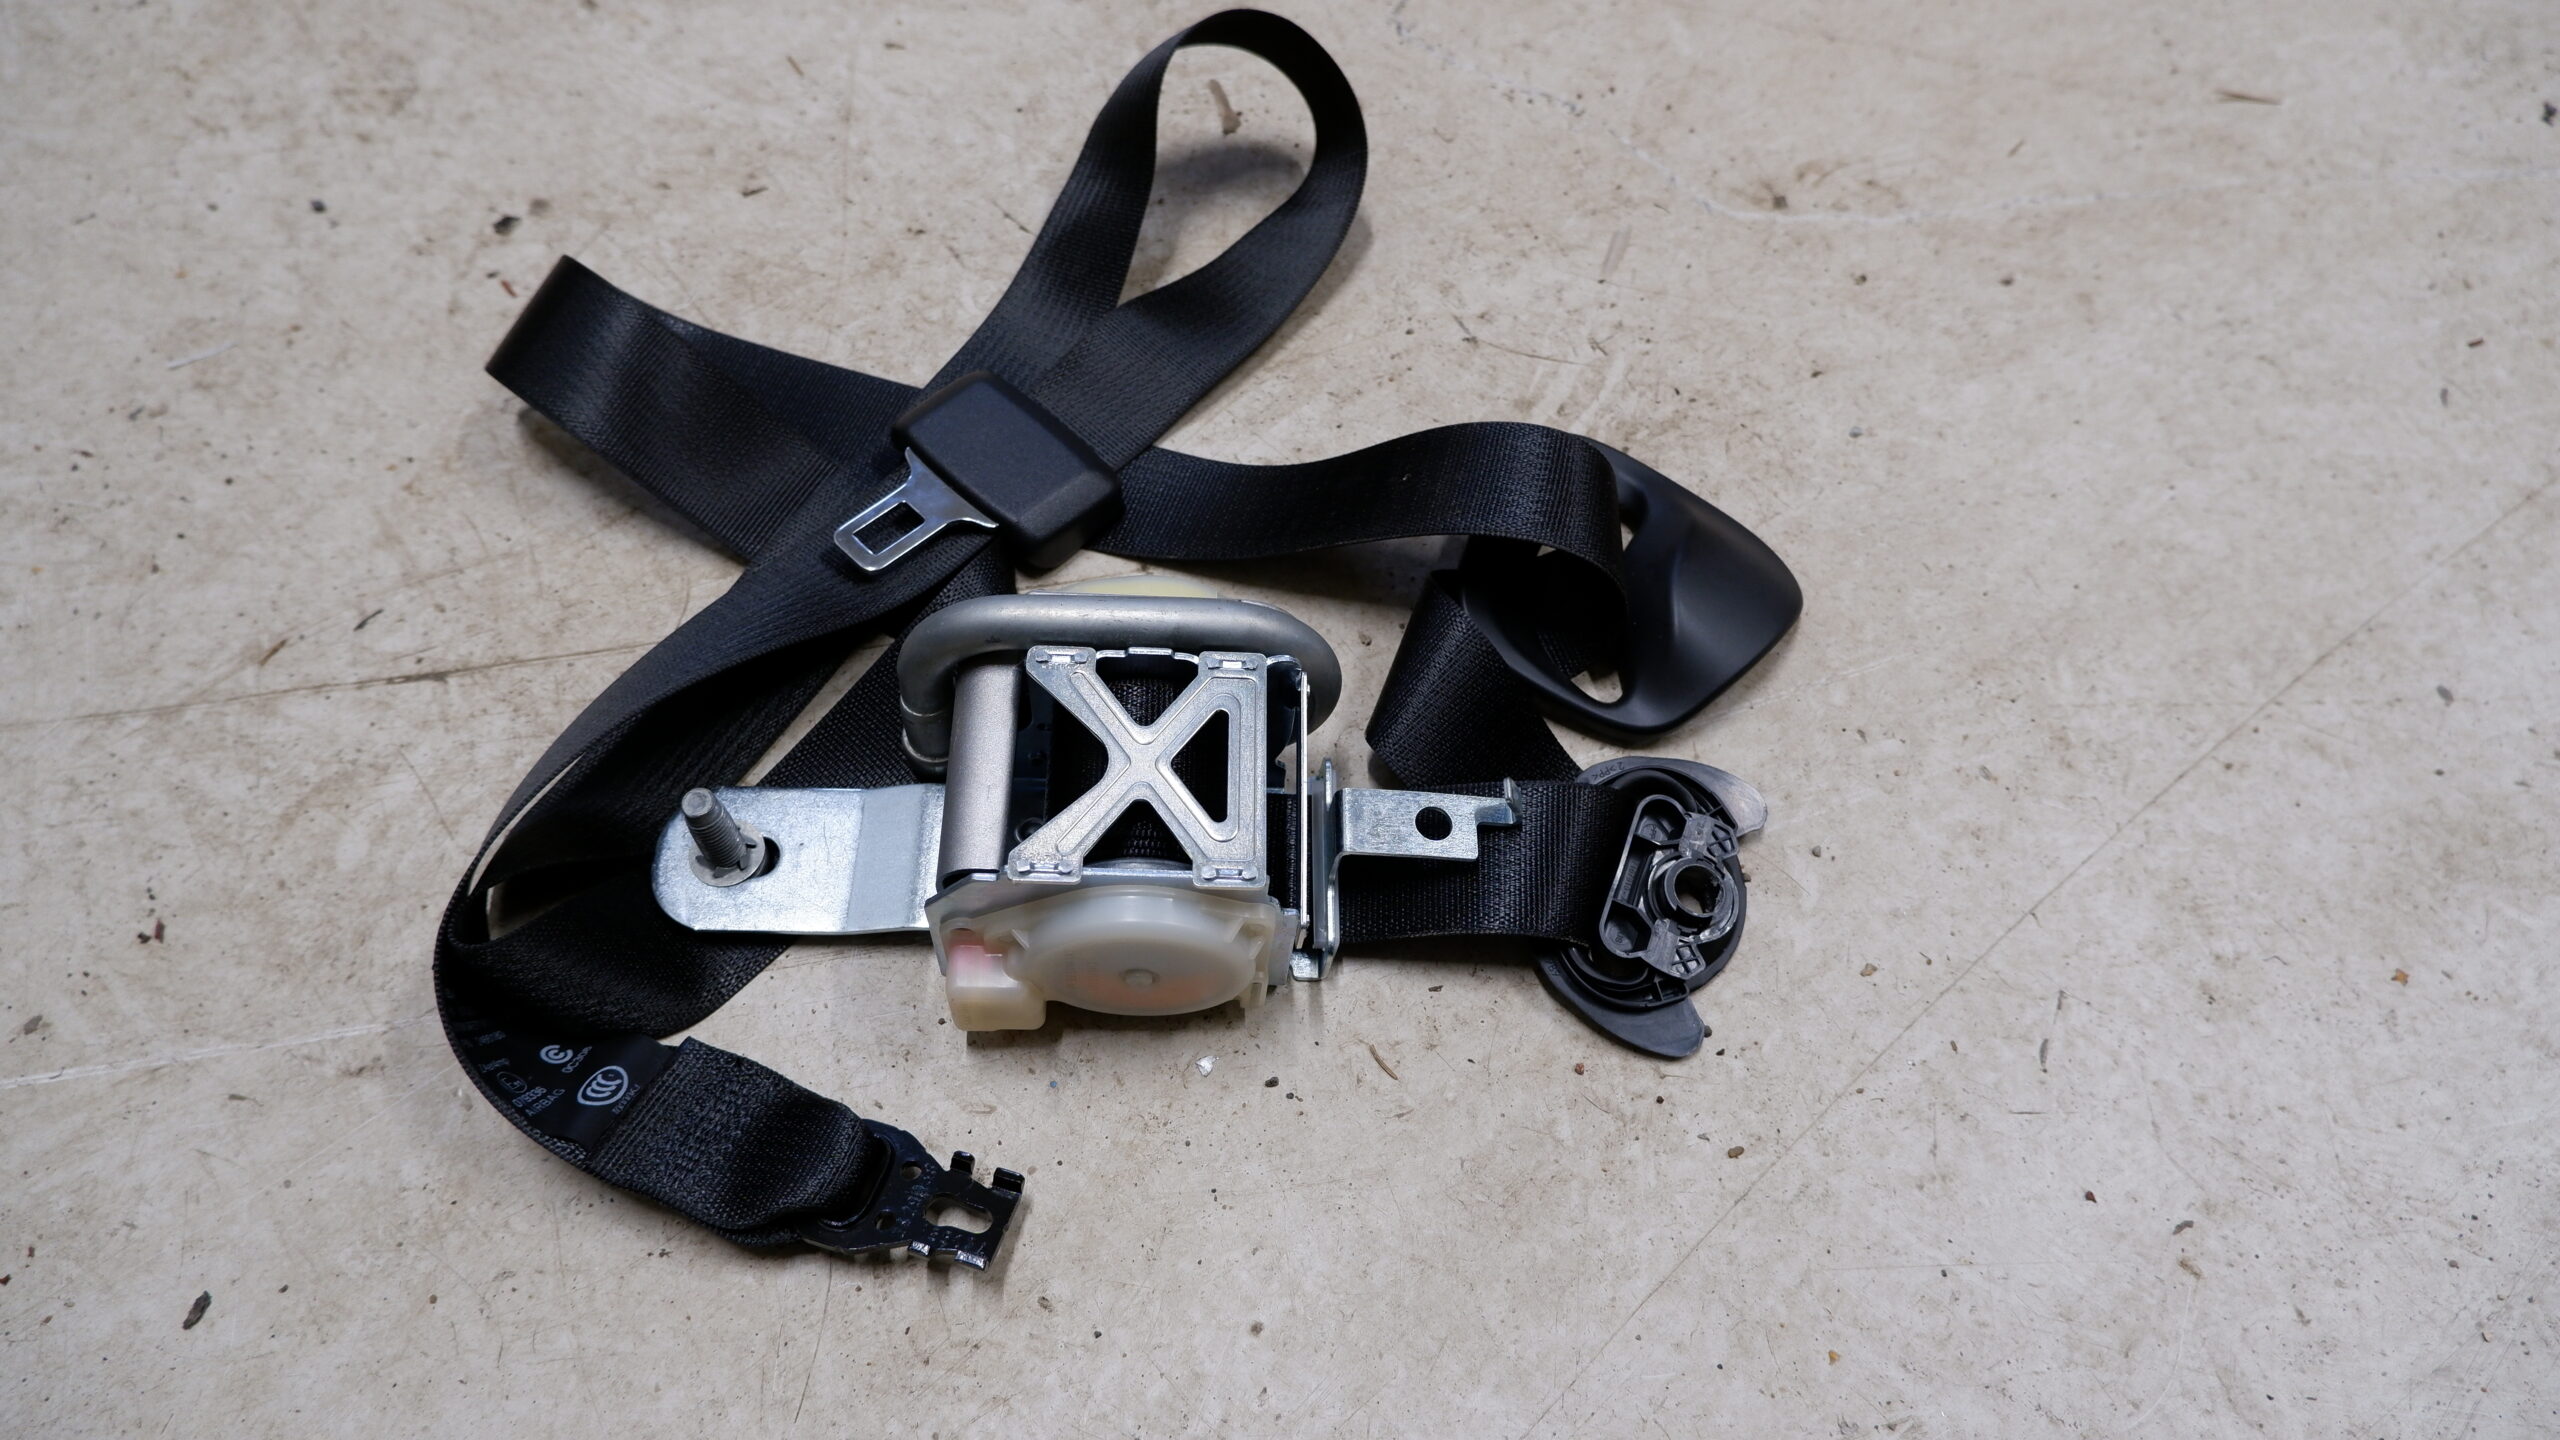
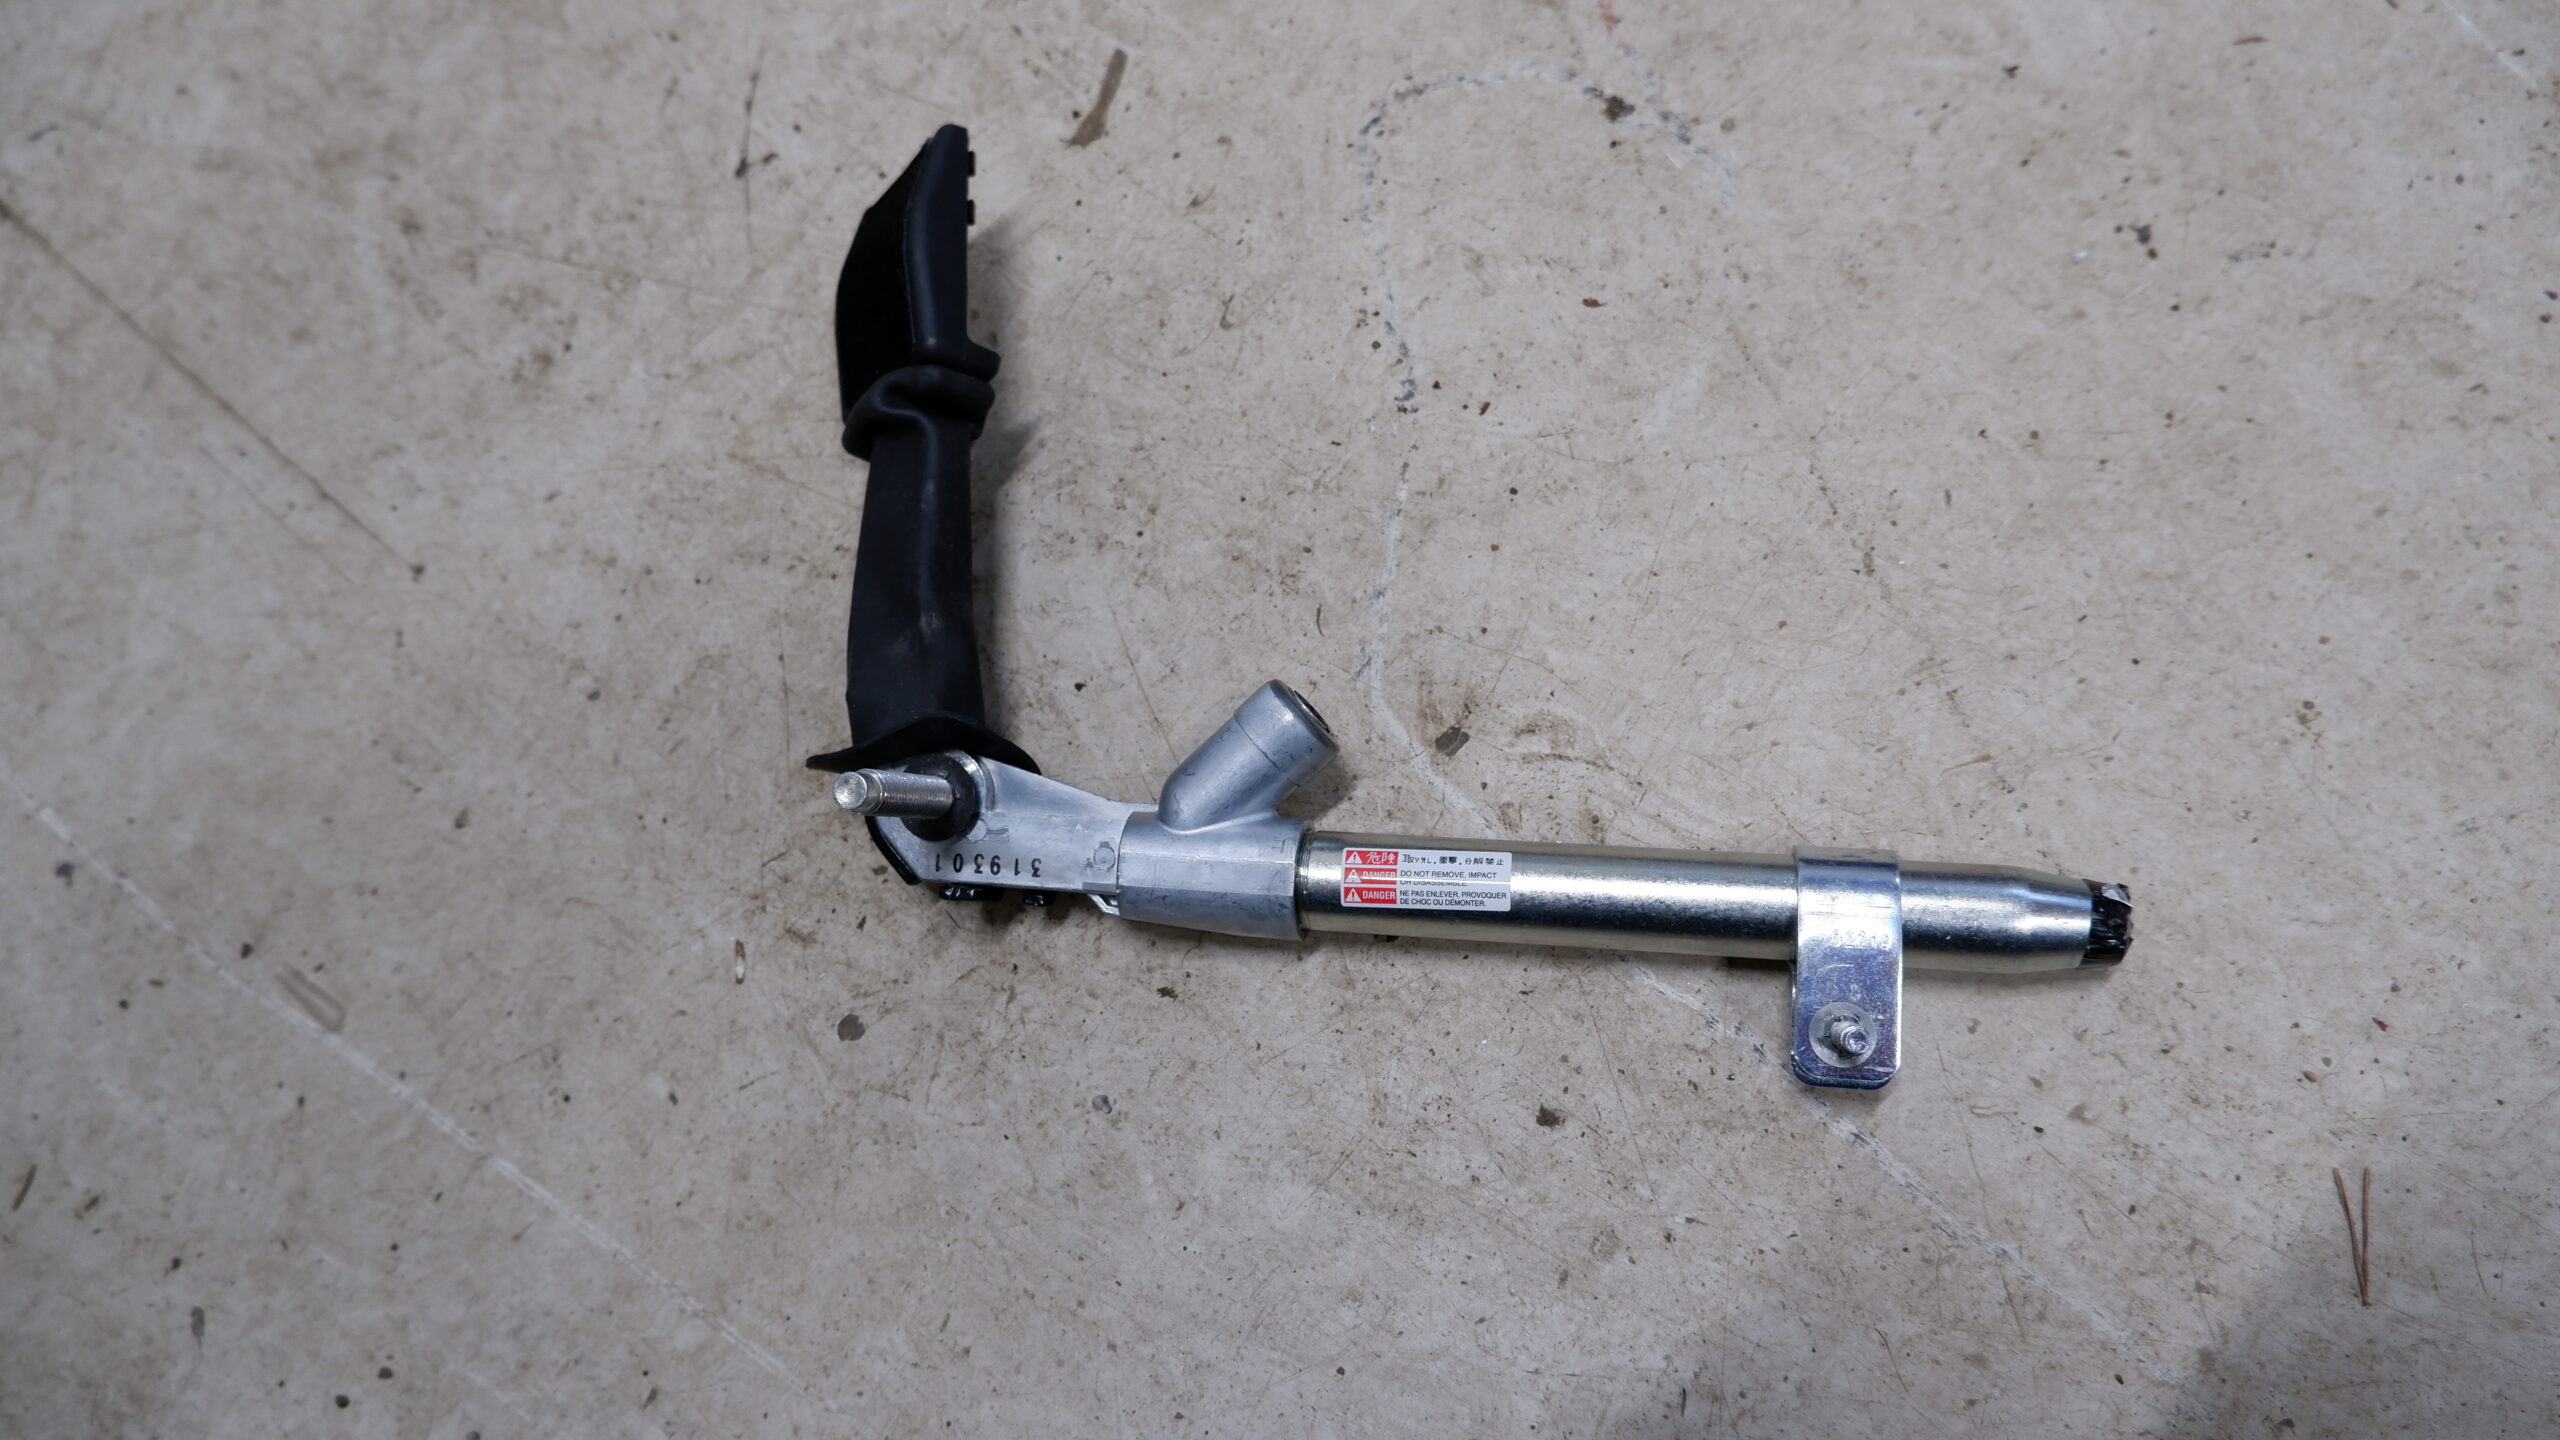
Clearing the airbag fault codes turned out to be rather more complicated. More on that later.
2021-12-09 · Tesla gets some colour
Oops, another long gap between updates. Let's see if I can still remember what happened last year!
First, I needed to get the car moving. The first responder loop was missing from the front luggage compartment — that's the loop firefighters cut after an accident. It runs through the high-voltage components, and opening it tells the battery management system to disconnect the 350 V supply.
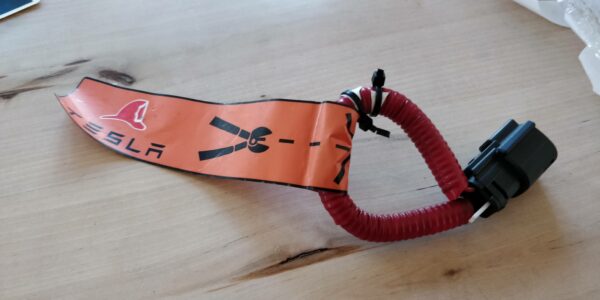
The replacement loop came from eBay, if I remember correctly.
The loop was back in place, but the car still wouldn't move. The battery's pyrofuse was intact. Eventually I found a fired pyrofuse on the side of the fusebox in the front luggage compartment.
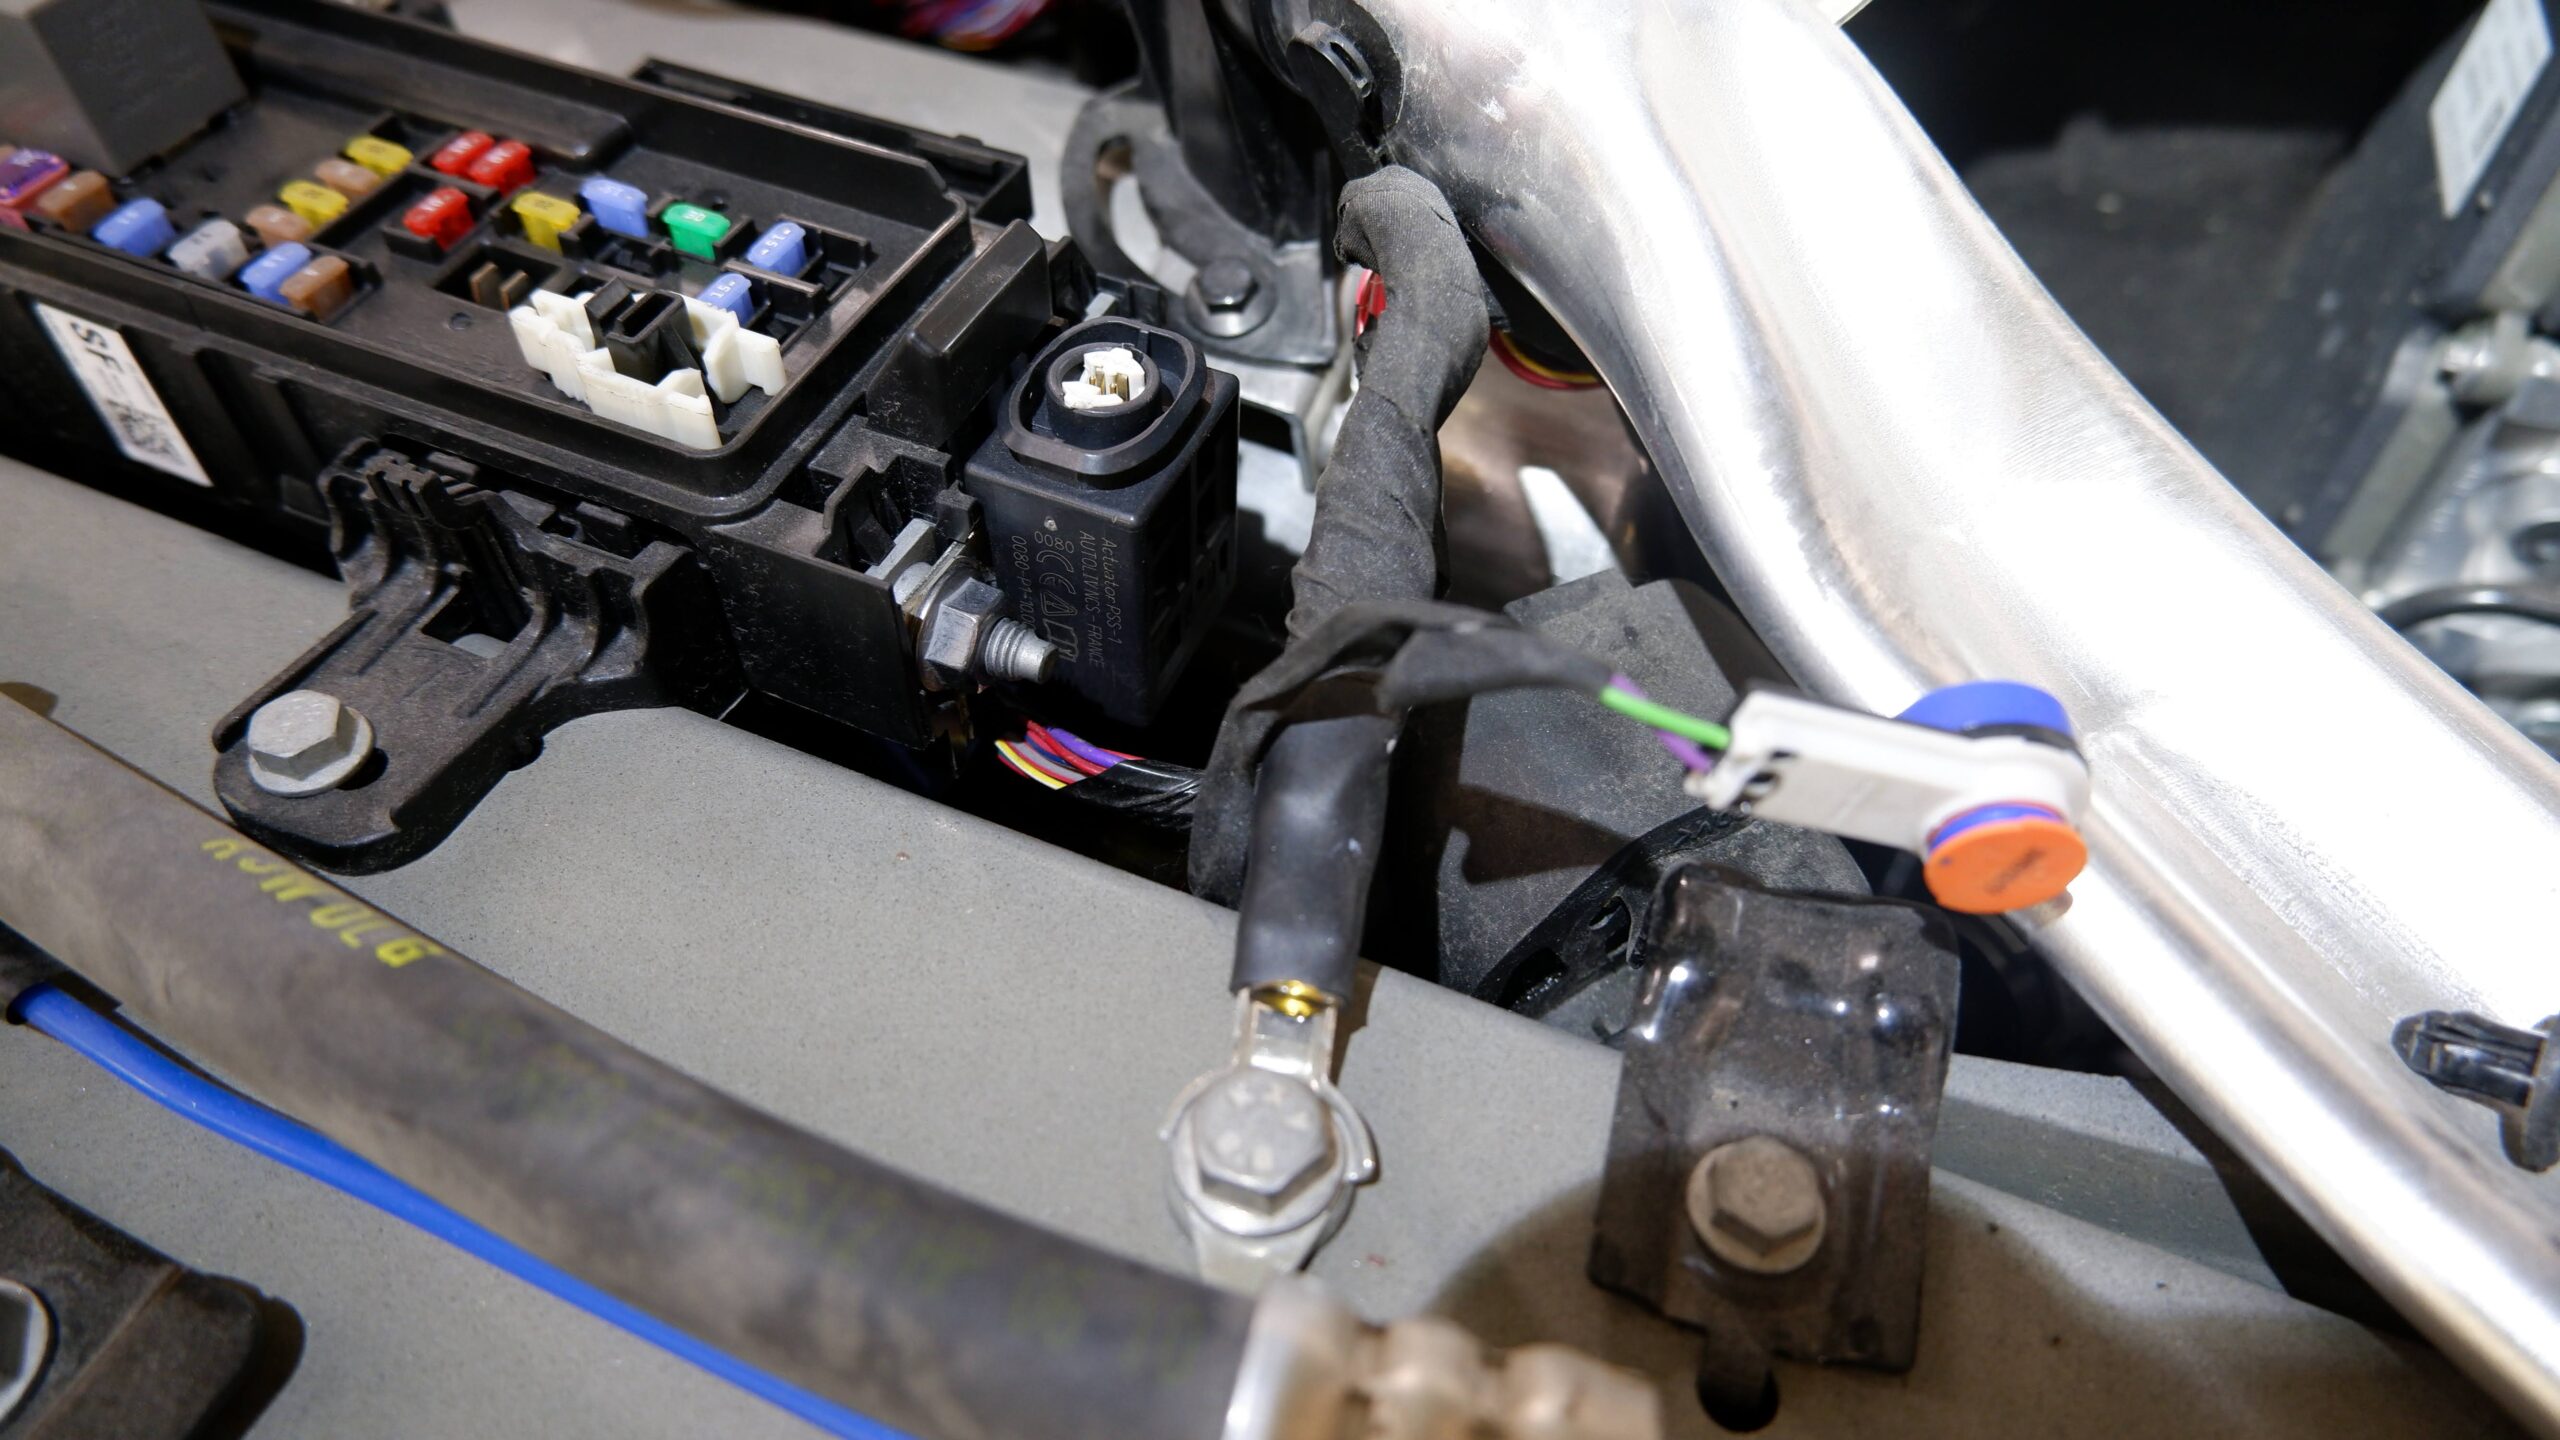
The pyrofuse at the end of the fusebox.
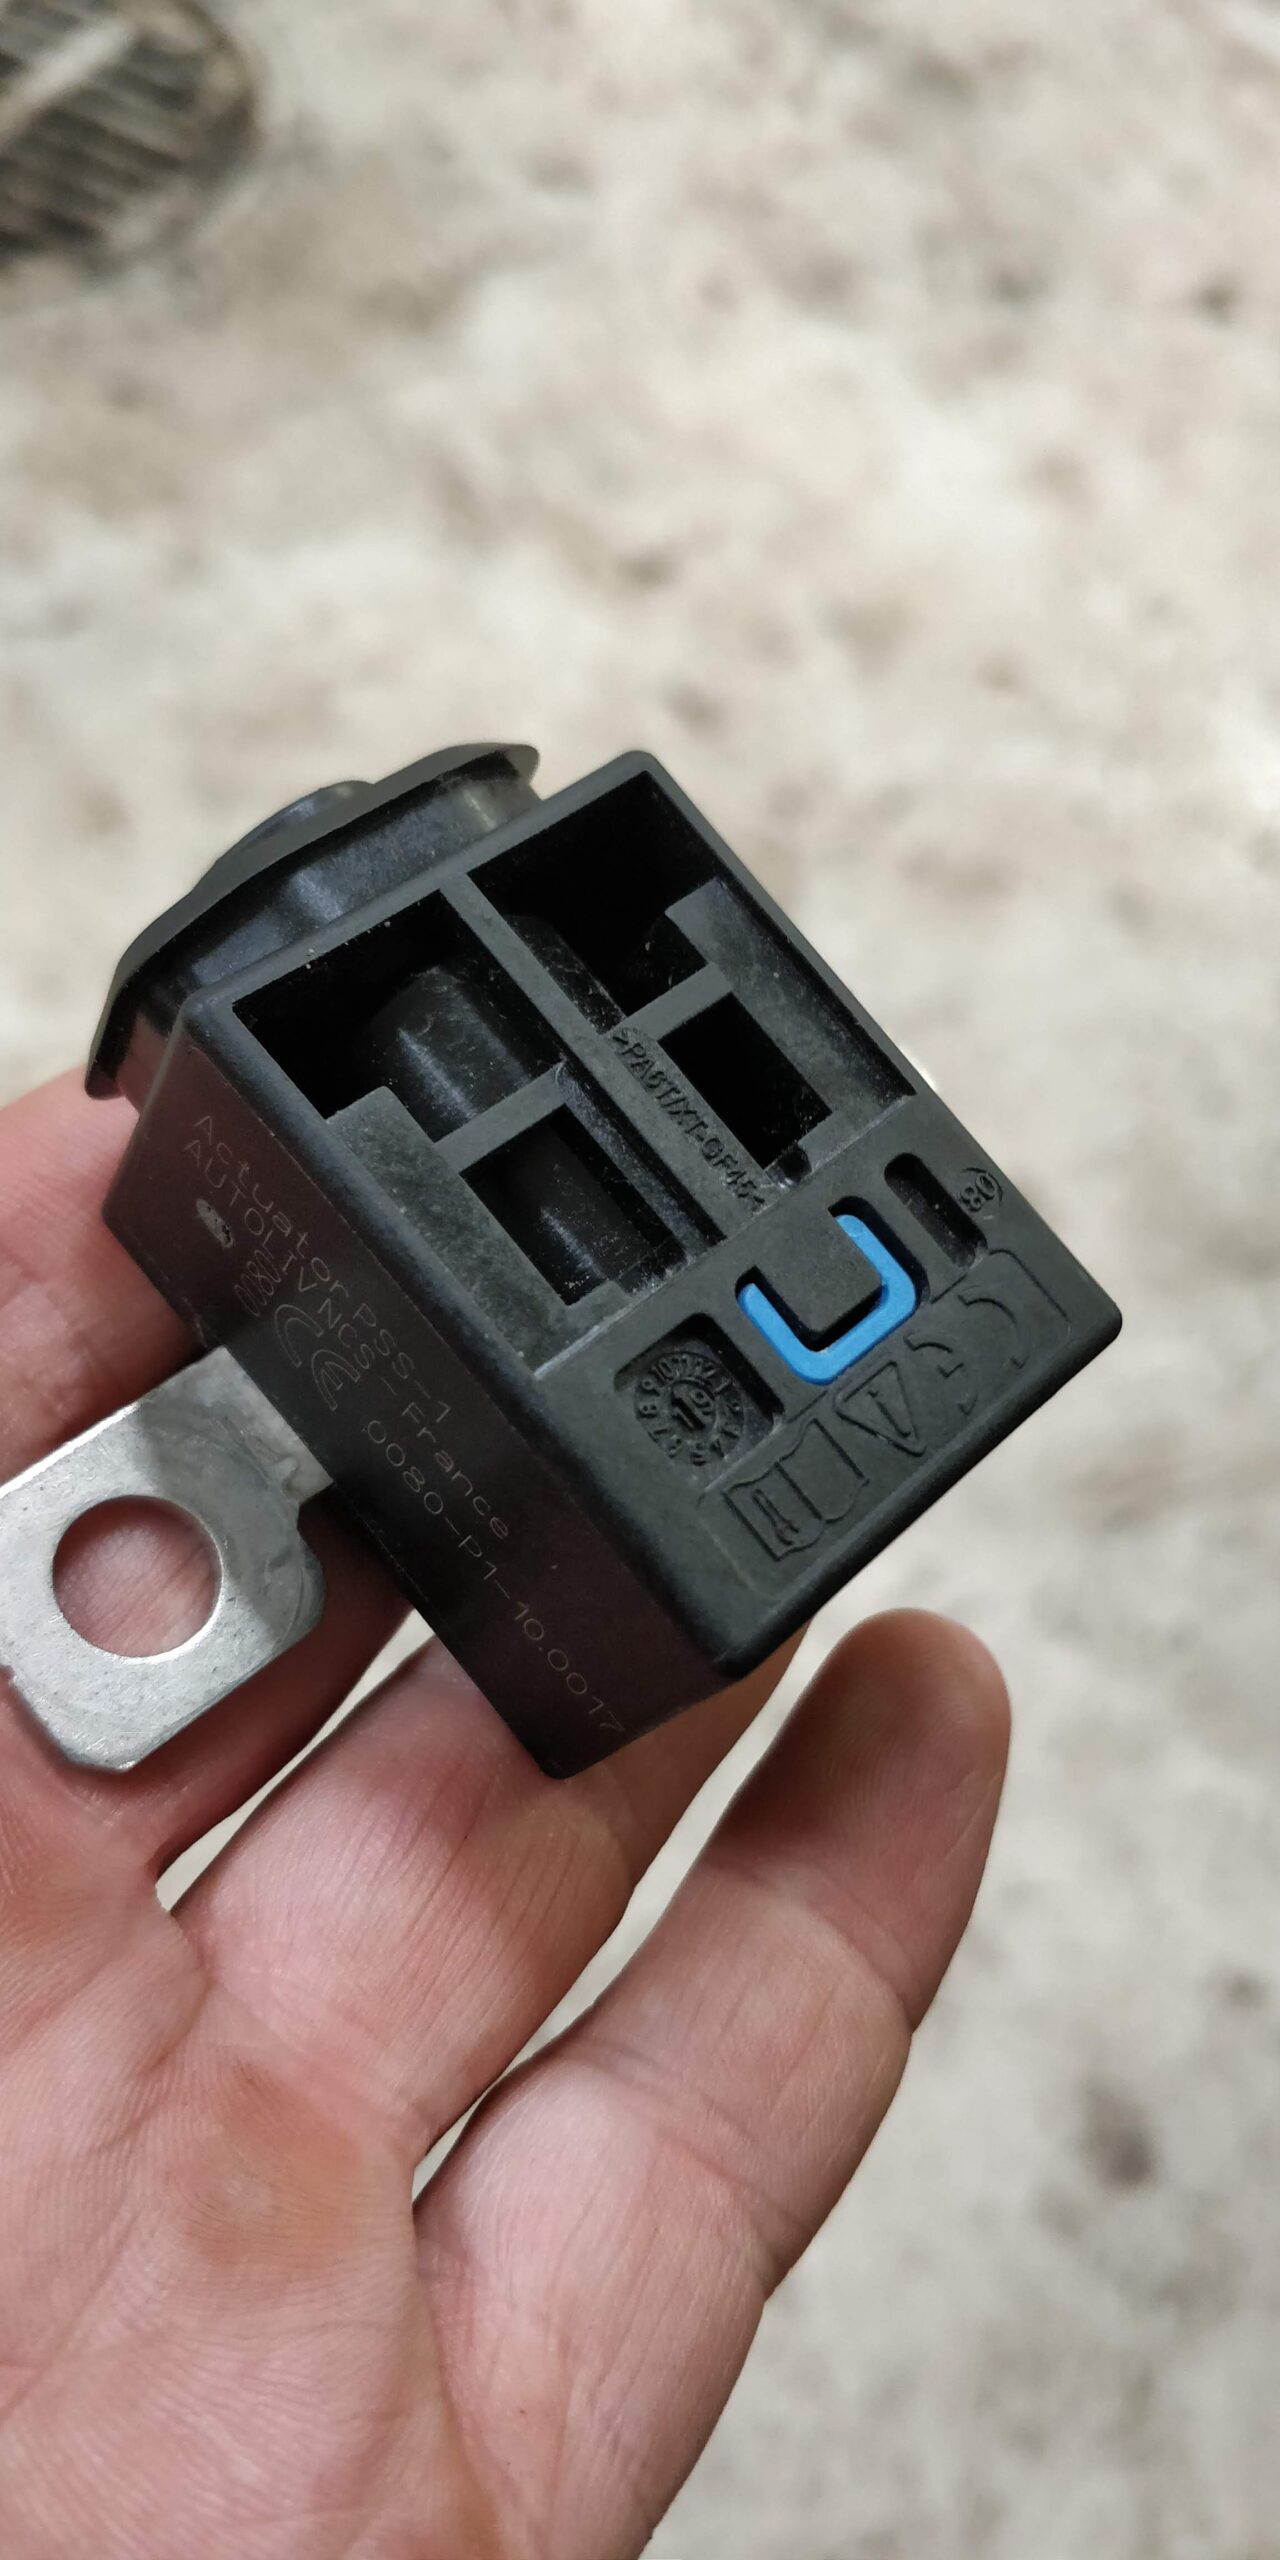
The fired pyrofuse removed.
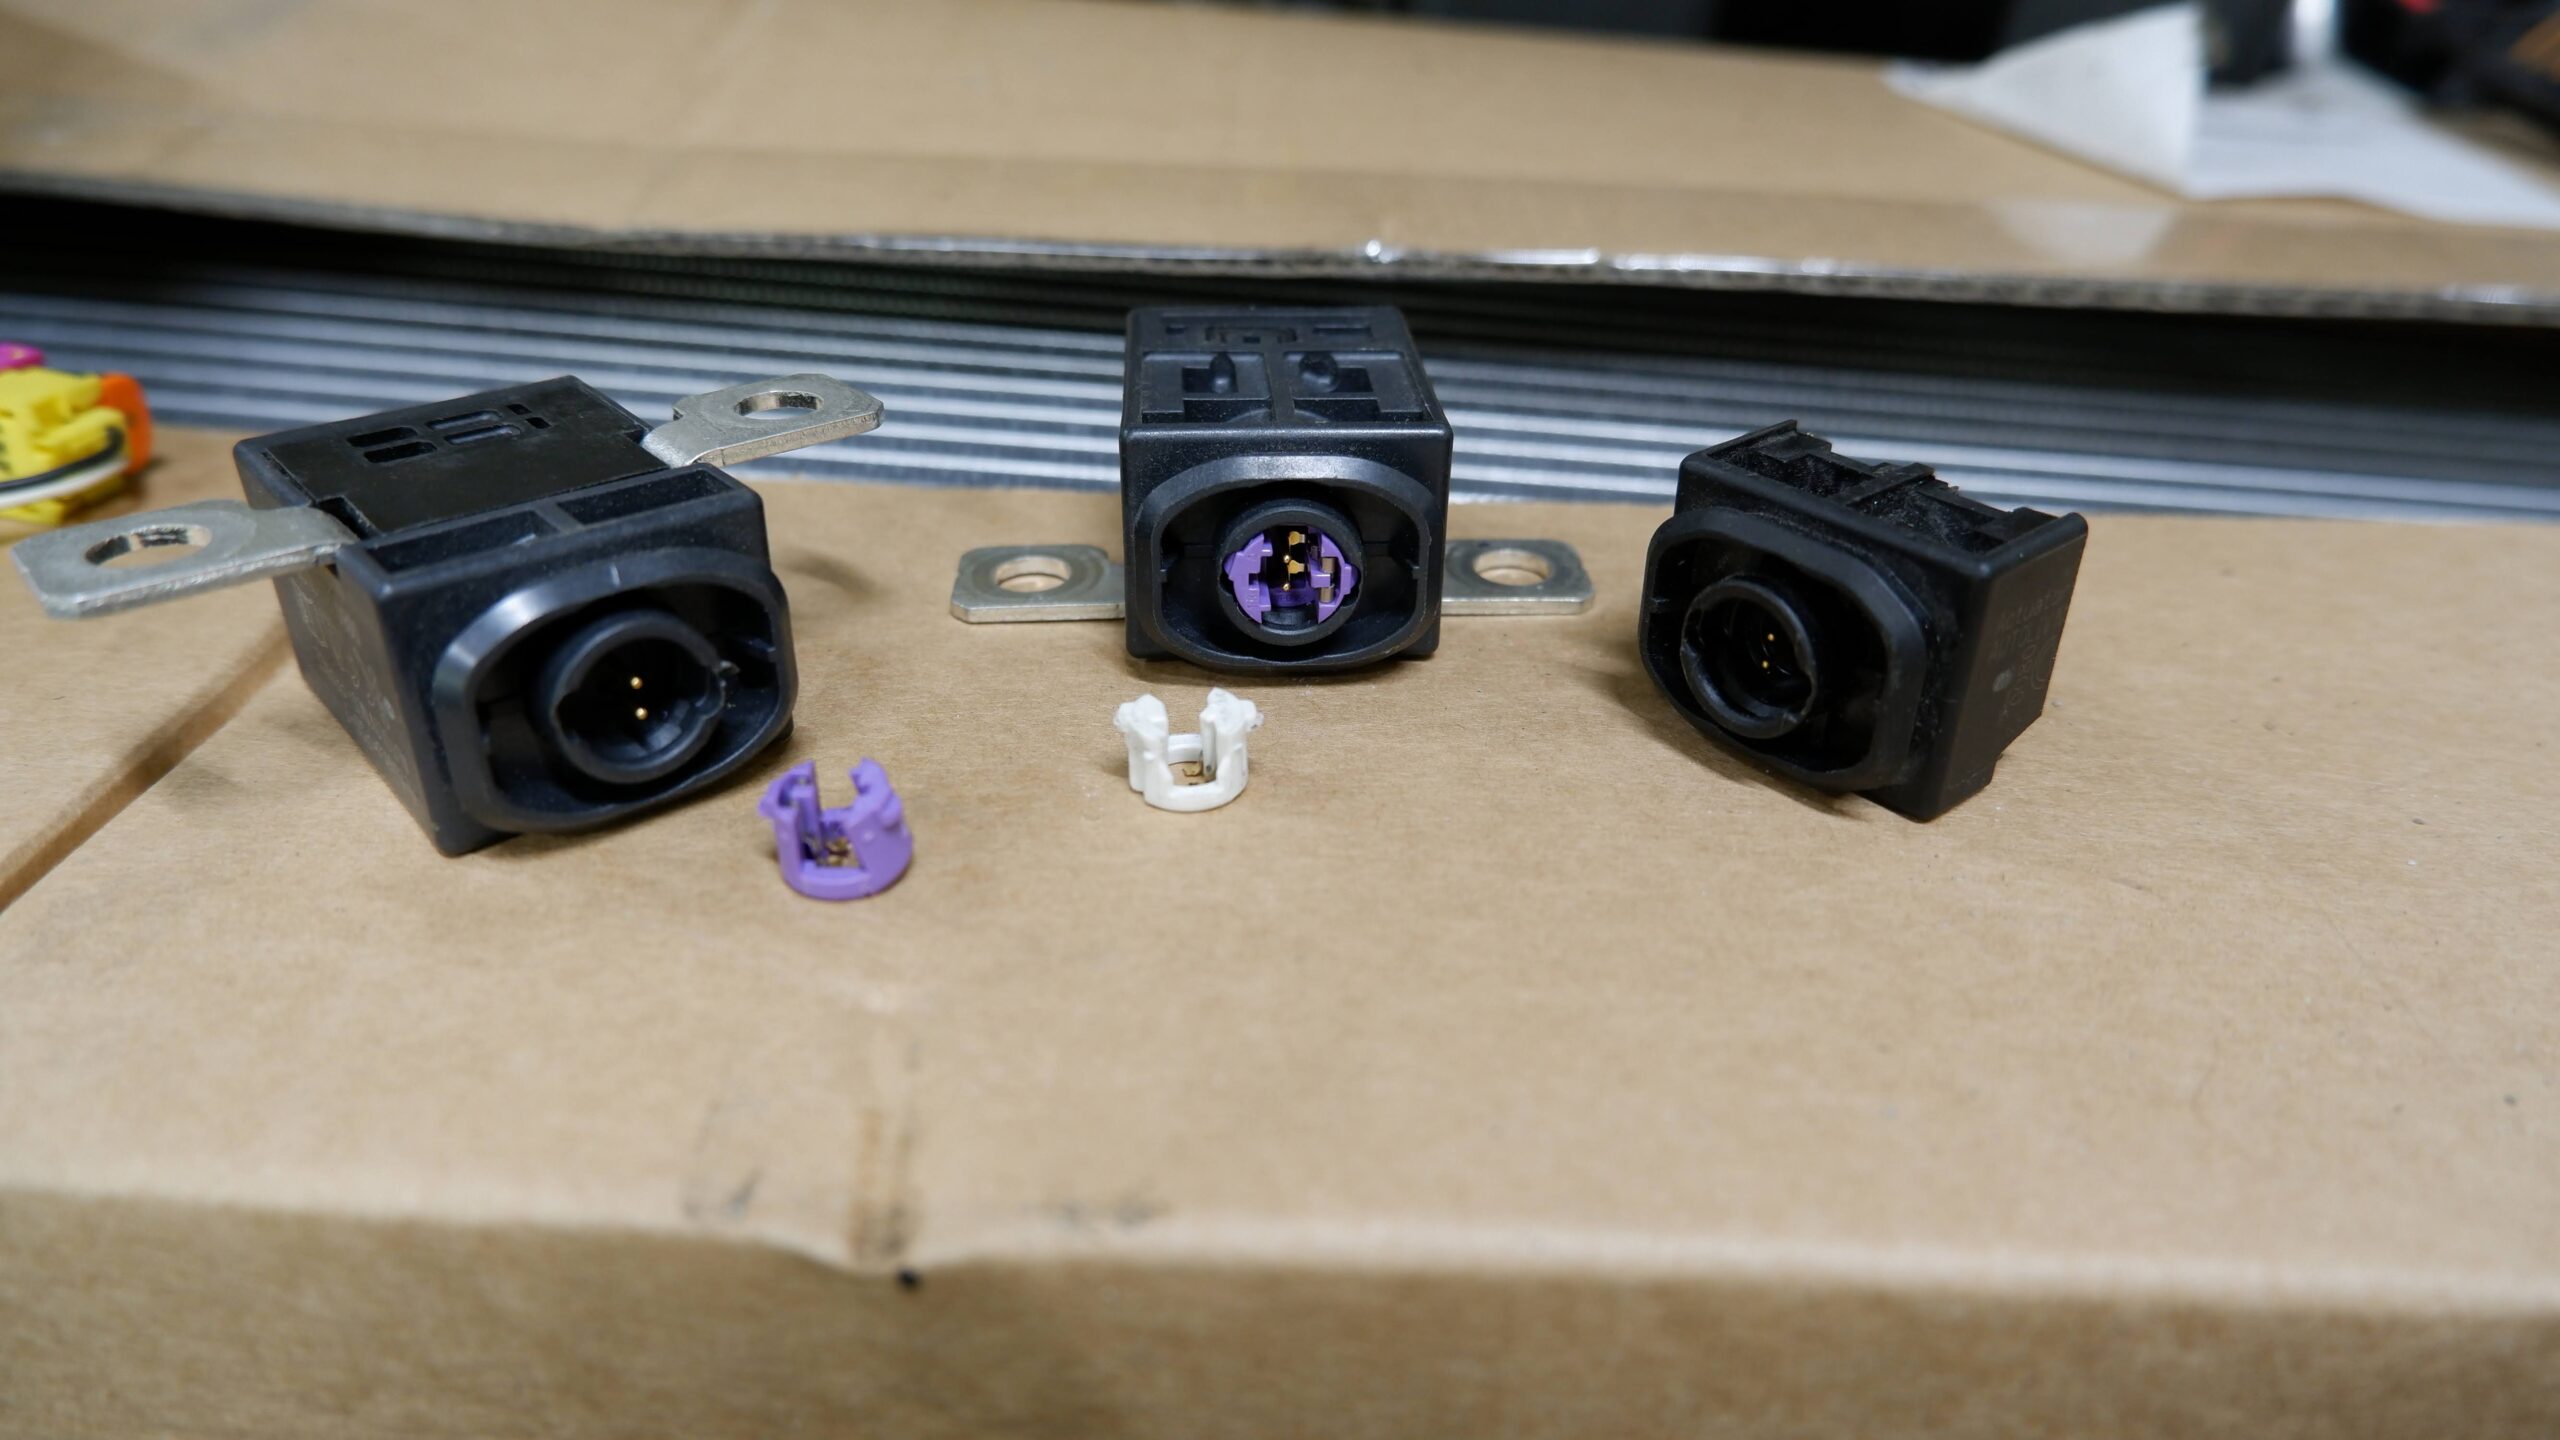
The equivalent Audi pyrofuse.
Tesla wouldn't sell the fuse to independent repairers at the time. An Audi part was otherwise identical, apart from a plastic connector piece that could be swapped over. In went the replacement, click-click went the contactors, and the car moved! That was a good moment.
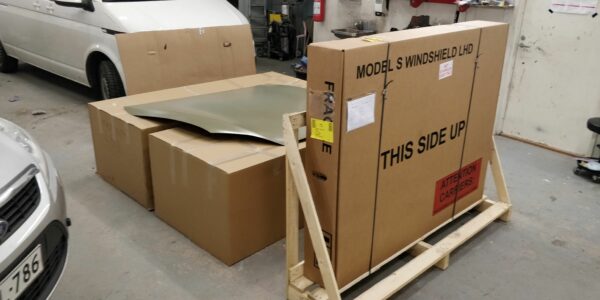
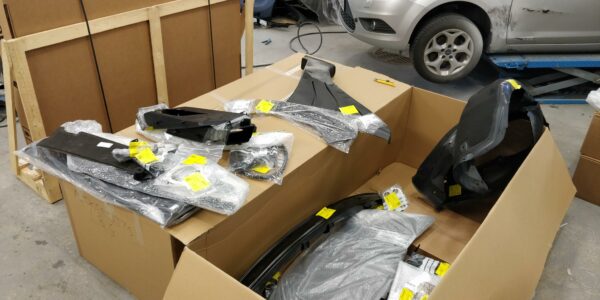
Christmas came in late October: almost €15,000 worth of new parts arrived.
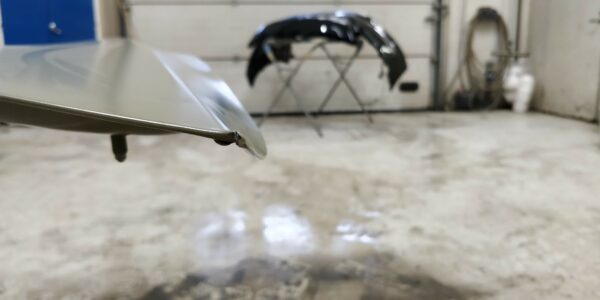
One corner of the bonnet was bent.
A bonnet-hinge mounting stud had come loose.
We repaired the bonnet, and Tesla compensated us for it. They offered a replacement, but we couldn't wait for another one. The follow-up parts orders came with free shipping.
We replaced the windscreen before deciding to change the colour. Otherwise, we'd have painted it first.
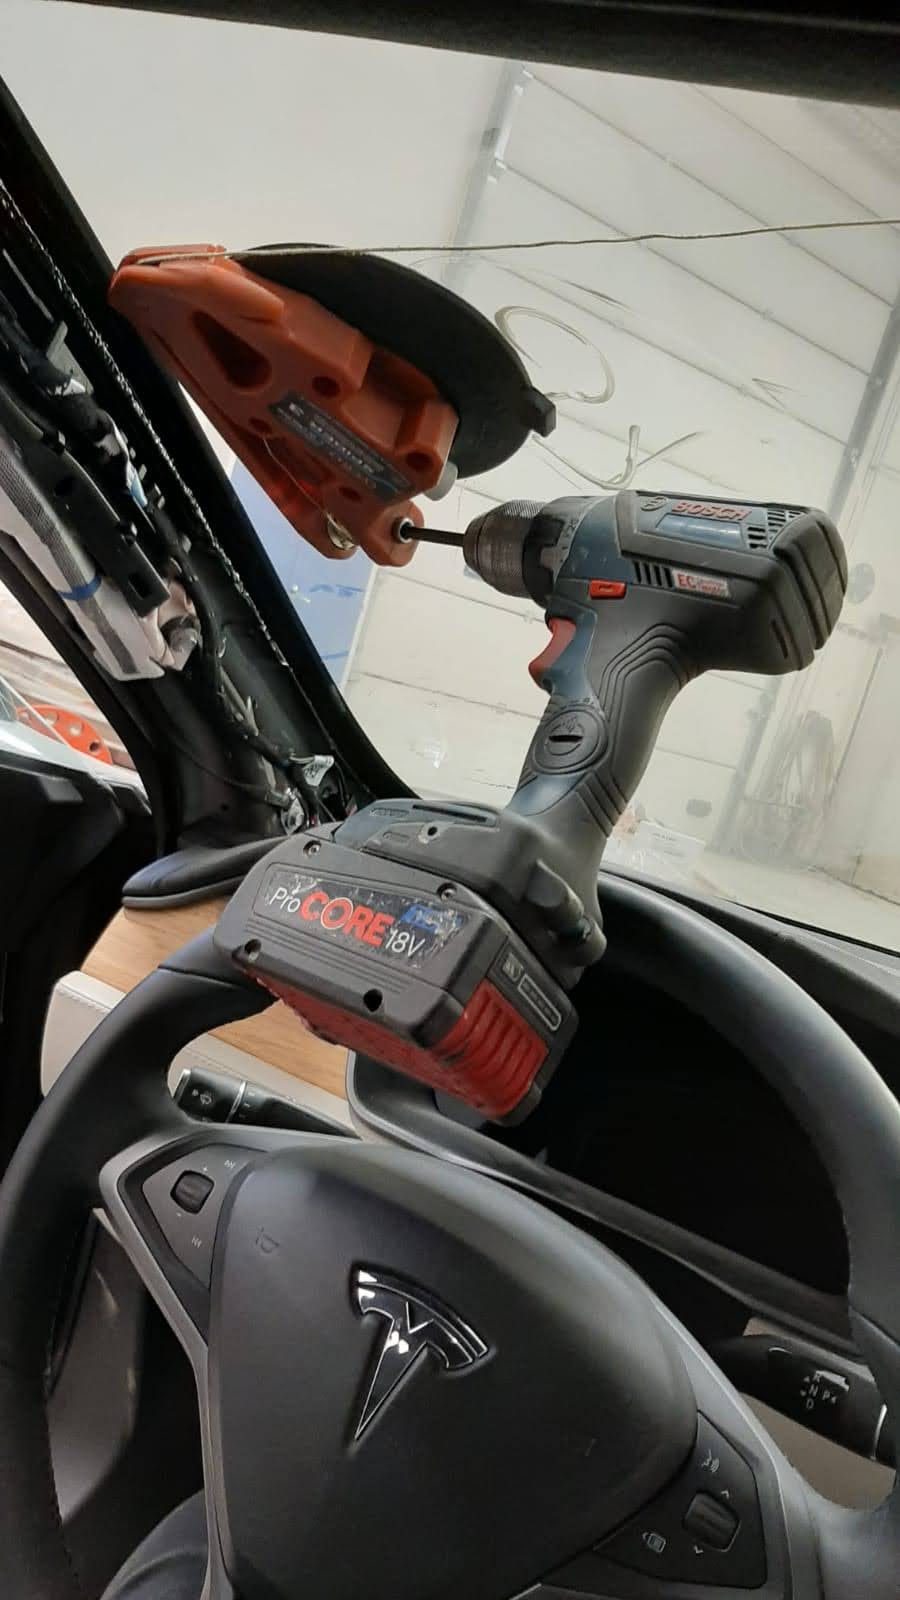
Cutting out the old windscreen with wire.
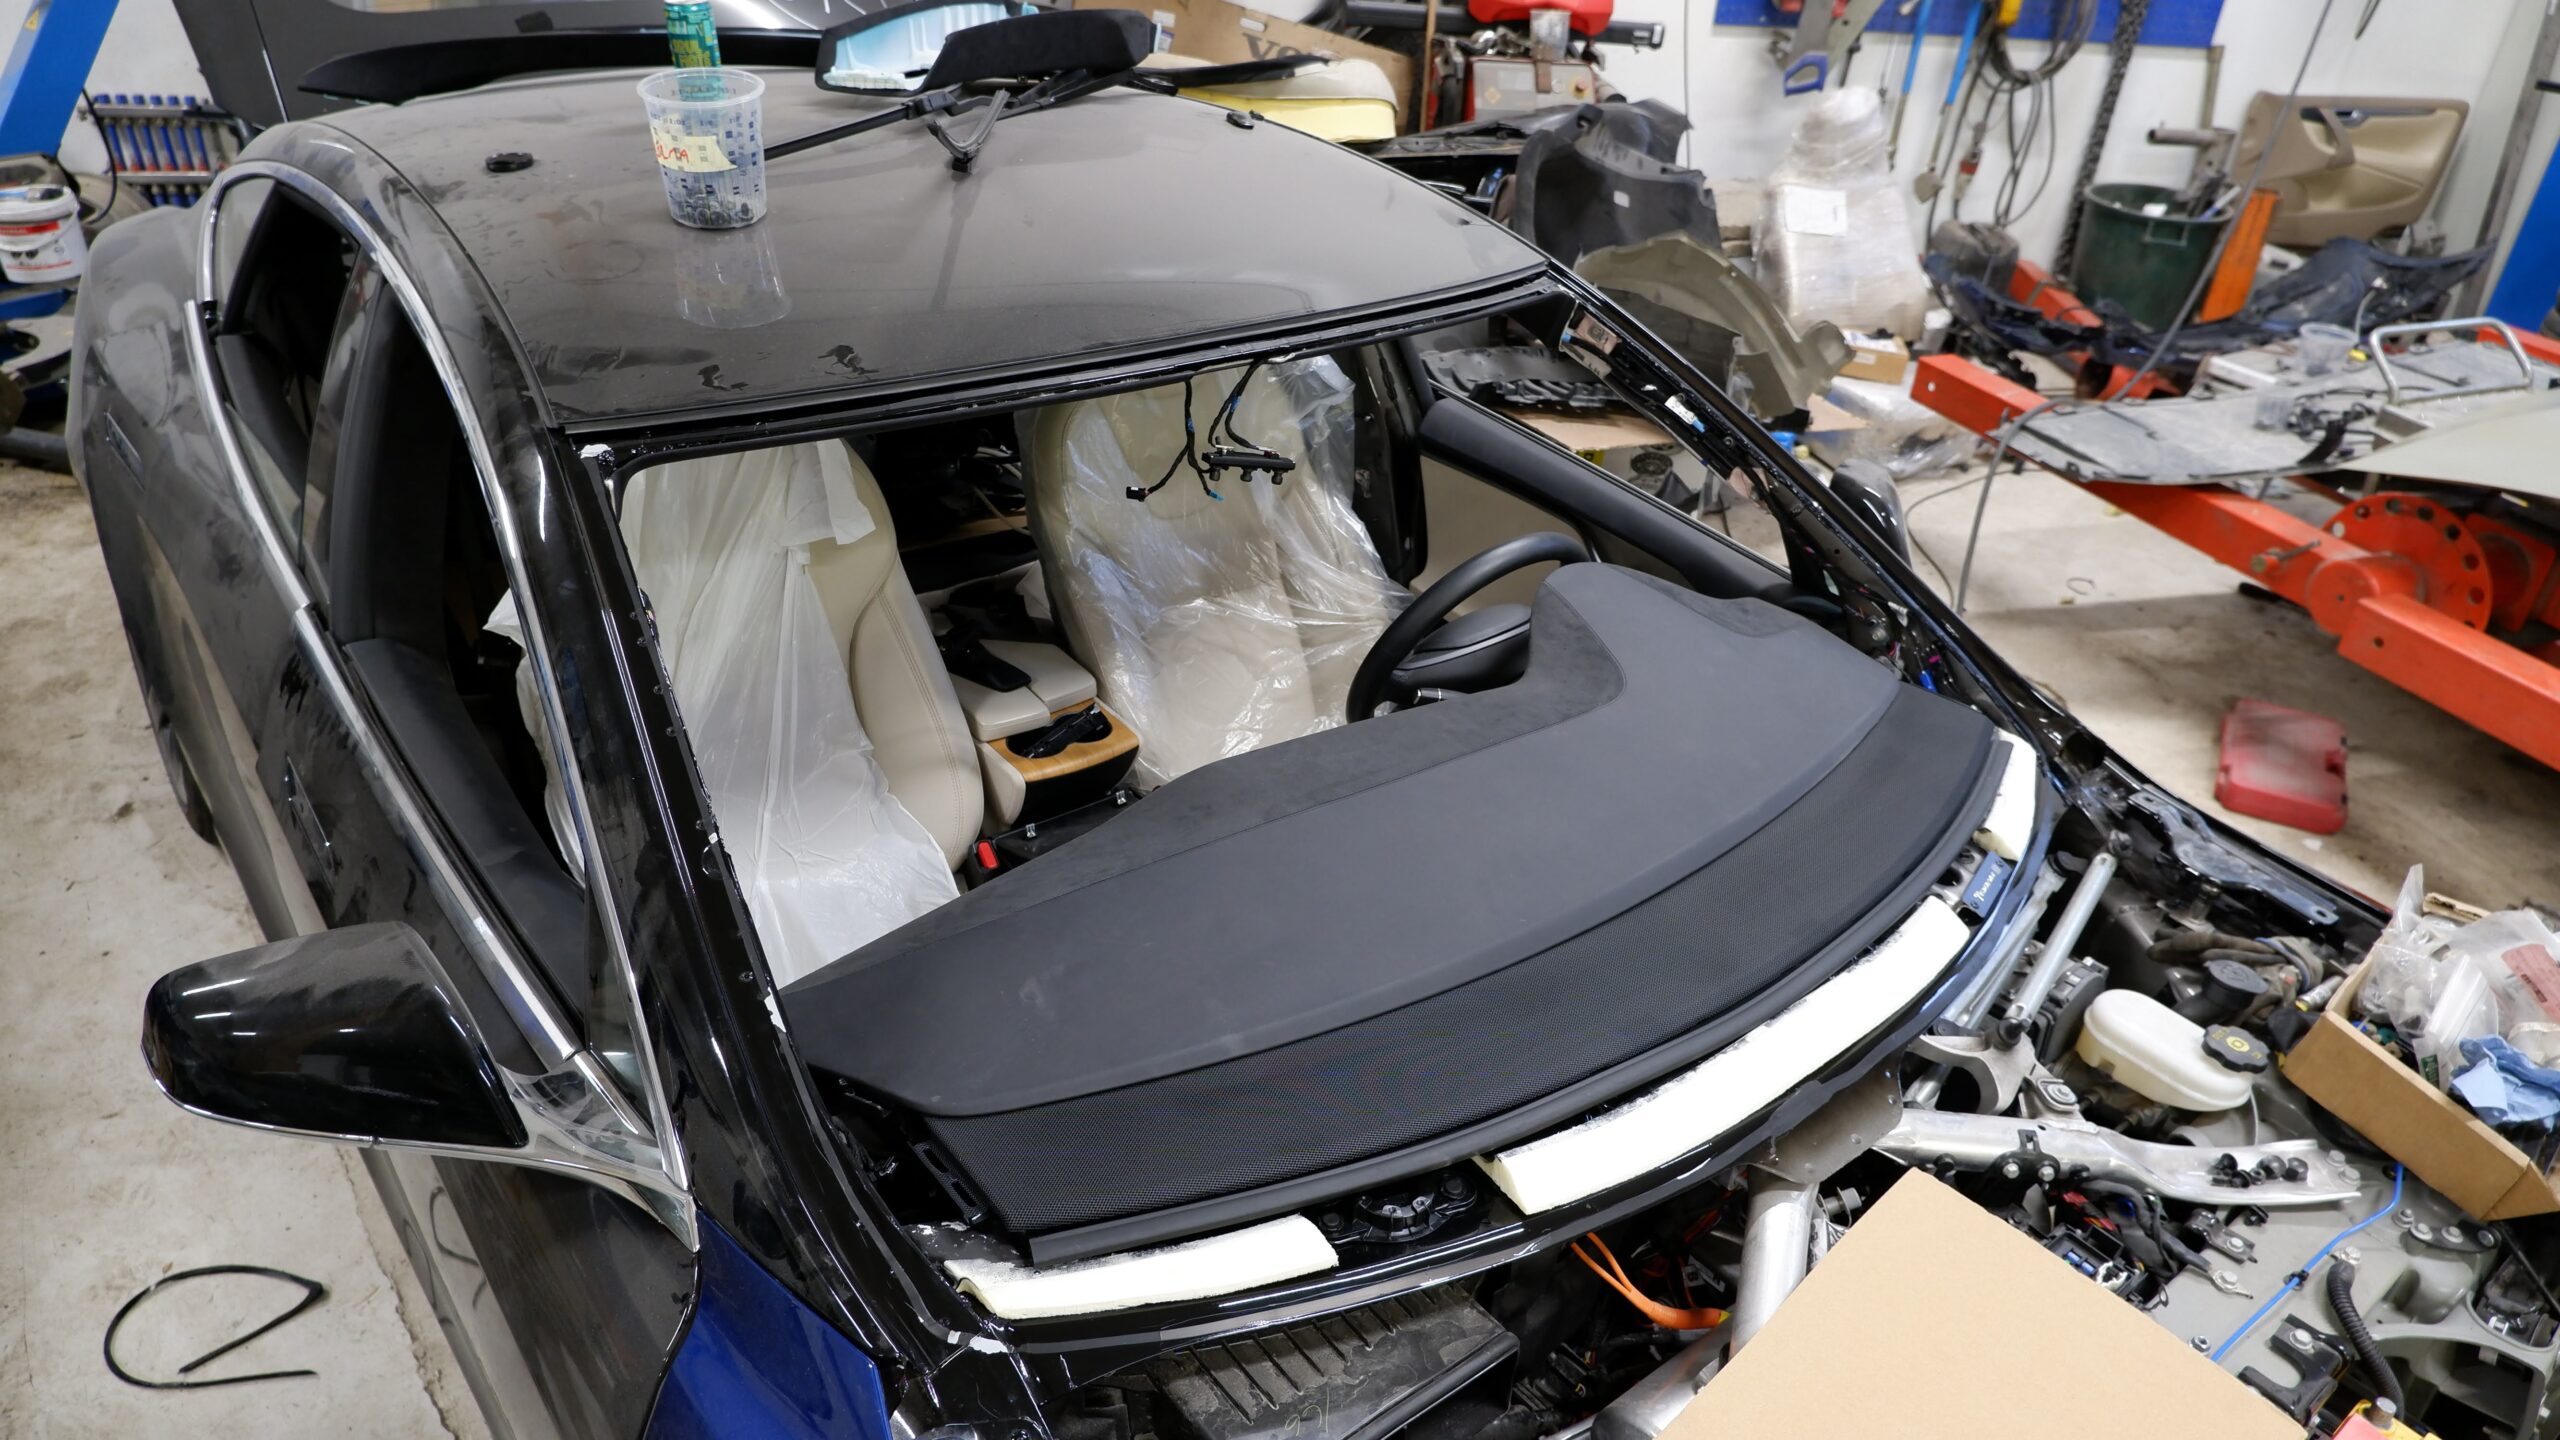
Cleaning up the windscreen aperture.
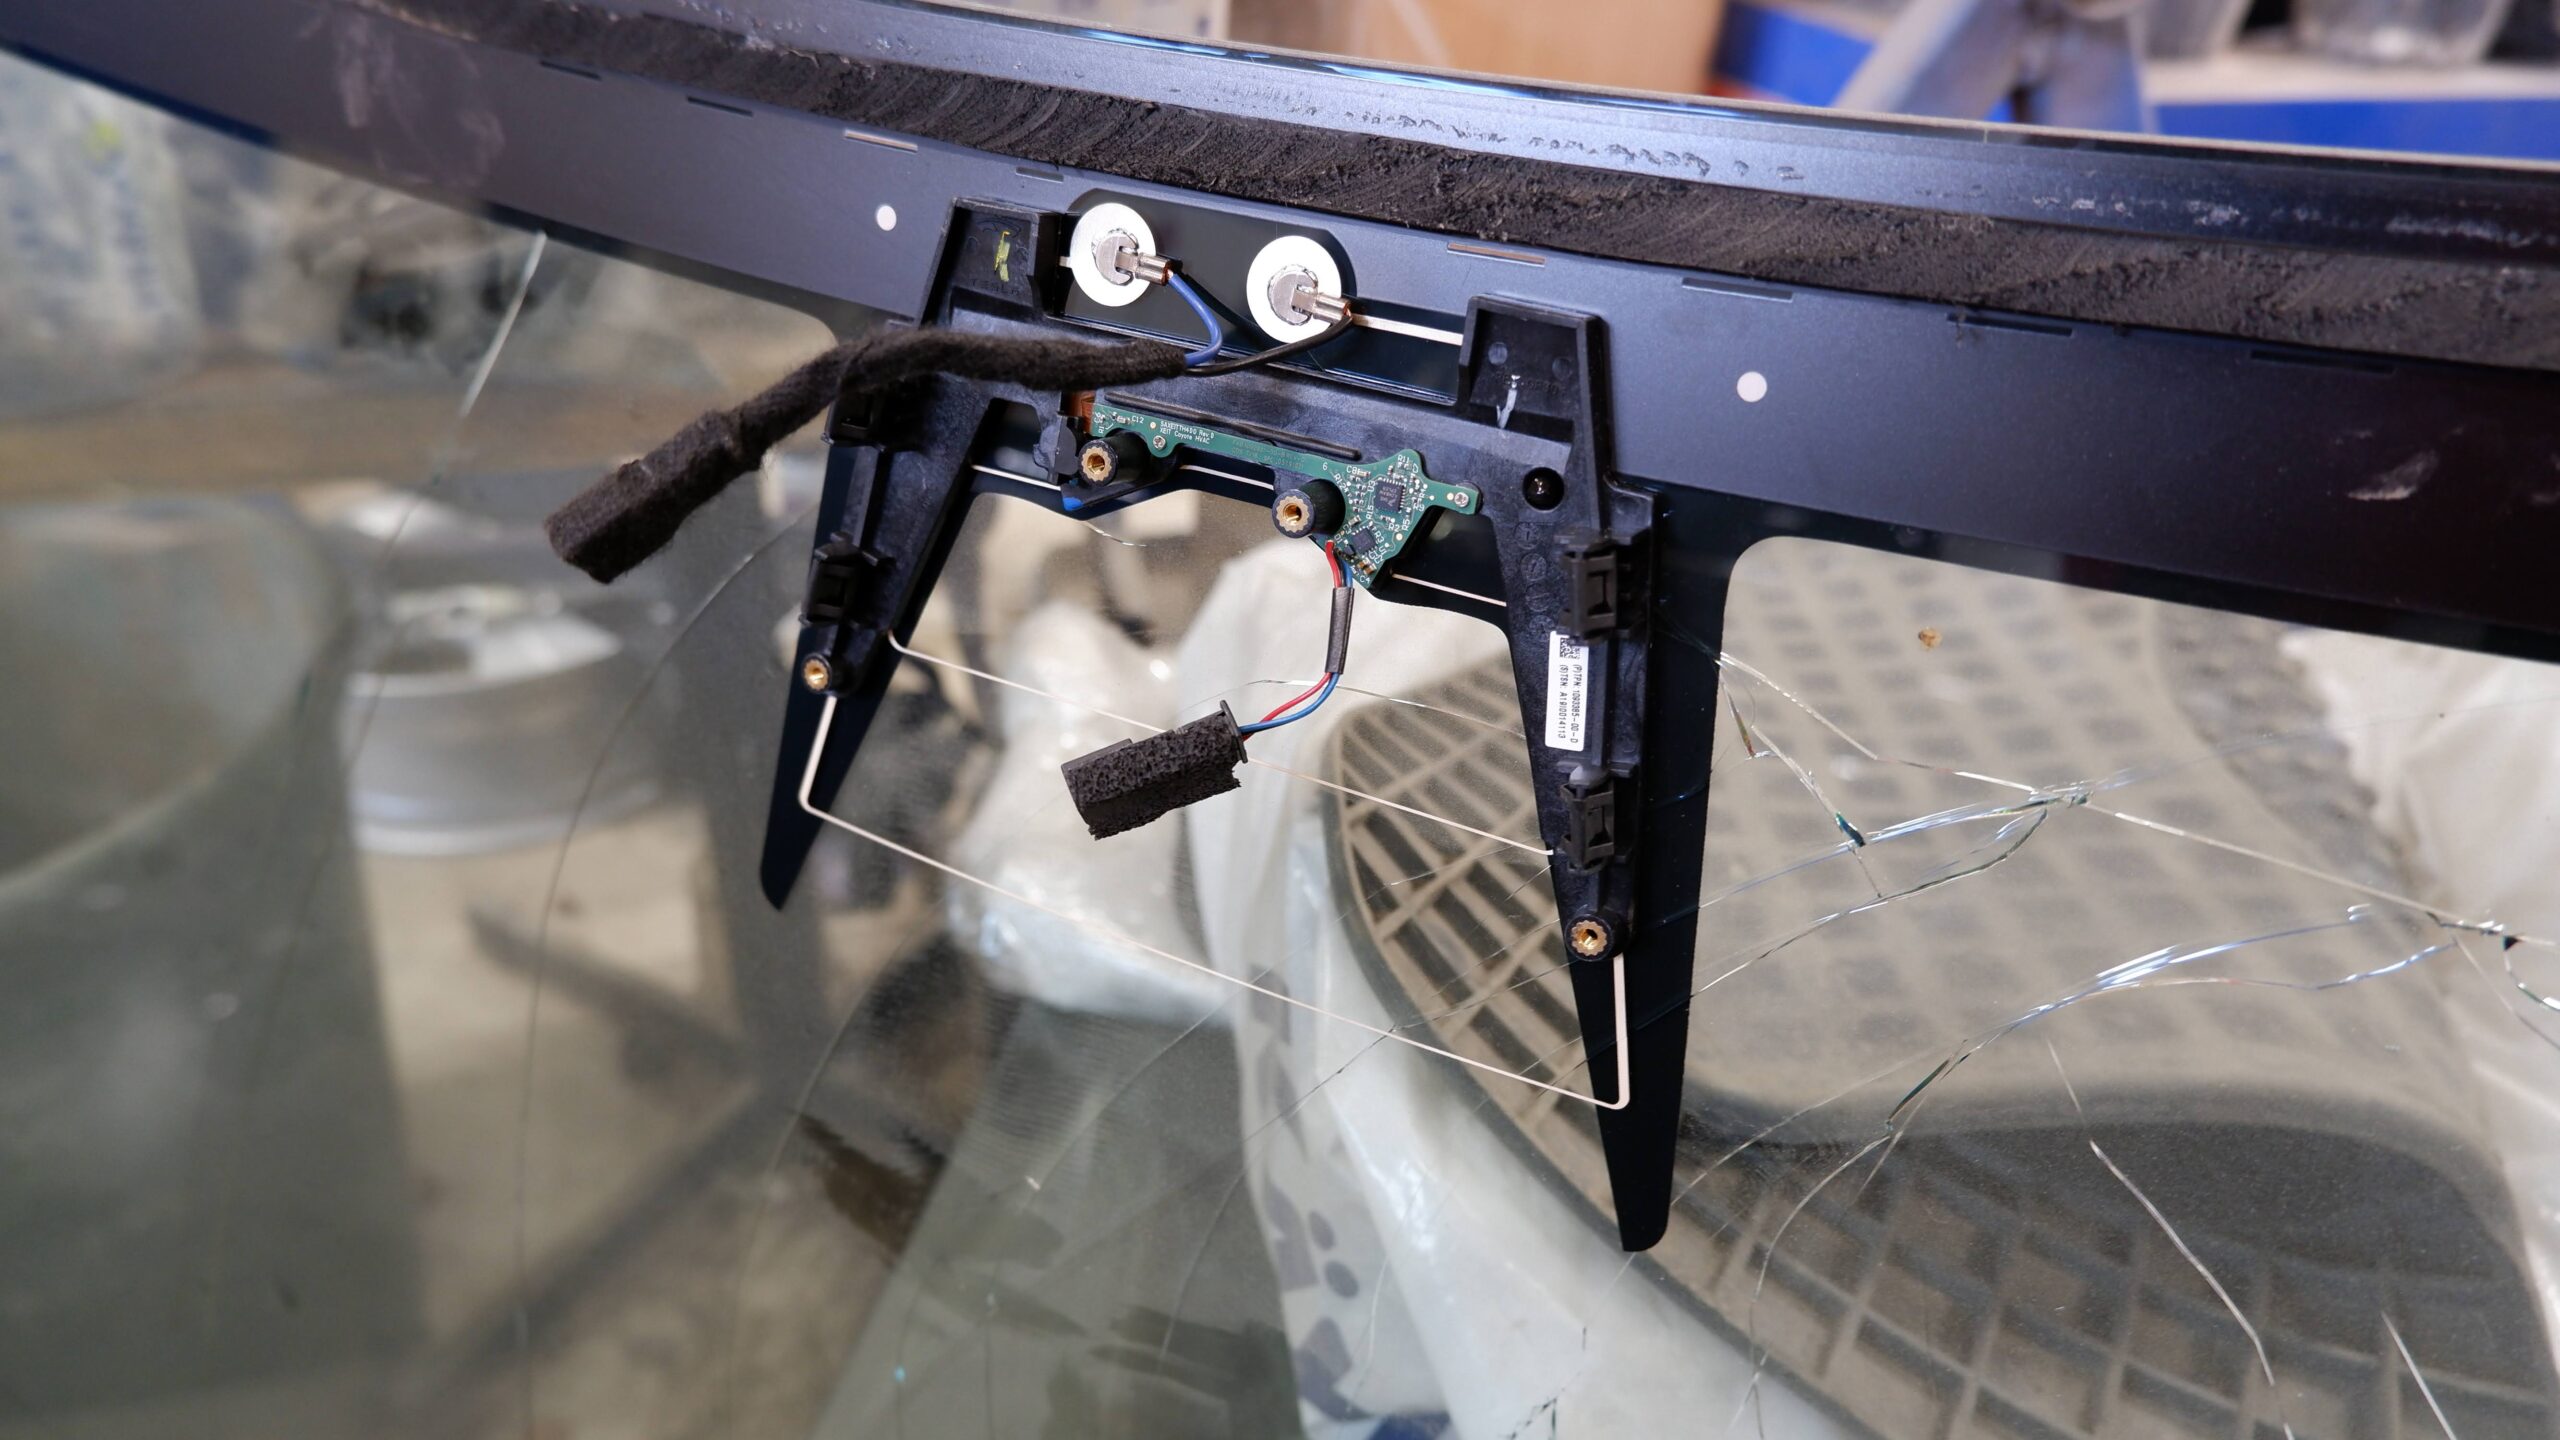
Removing the camera hardware from the old glass.
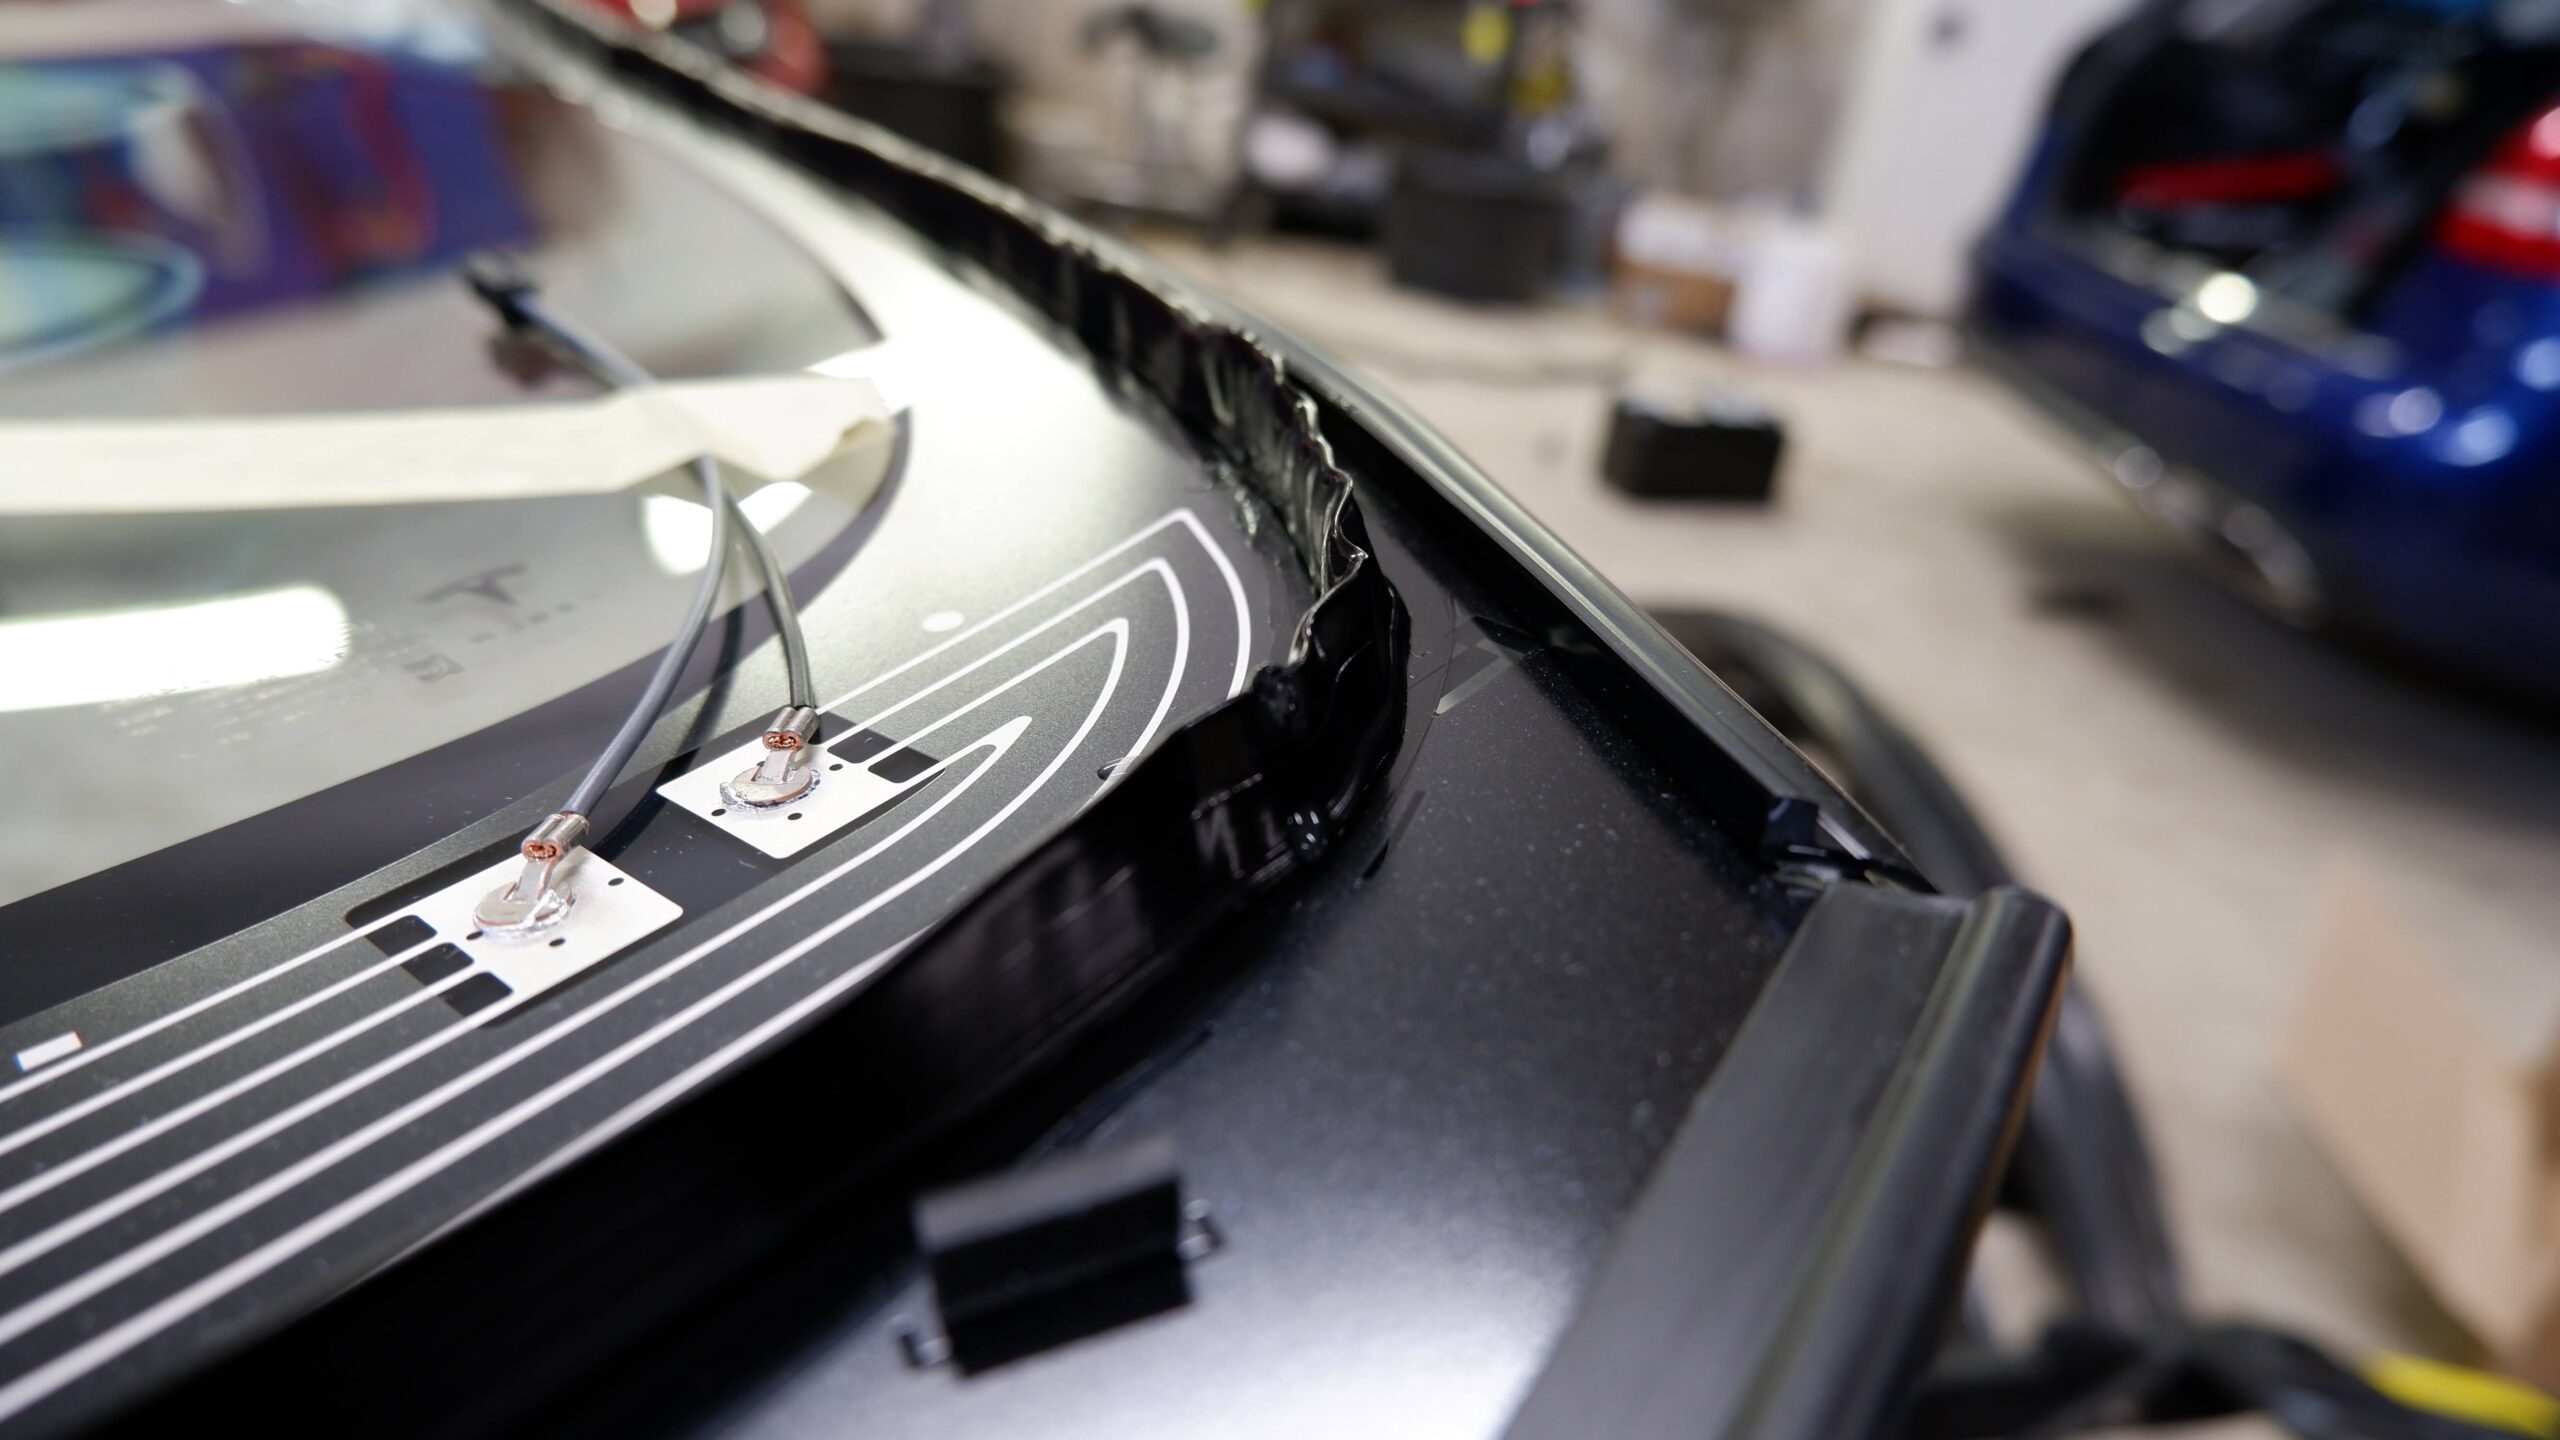
A bead of adhesive on the new windscreen.
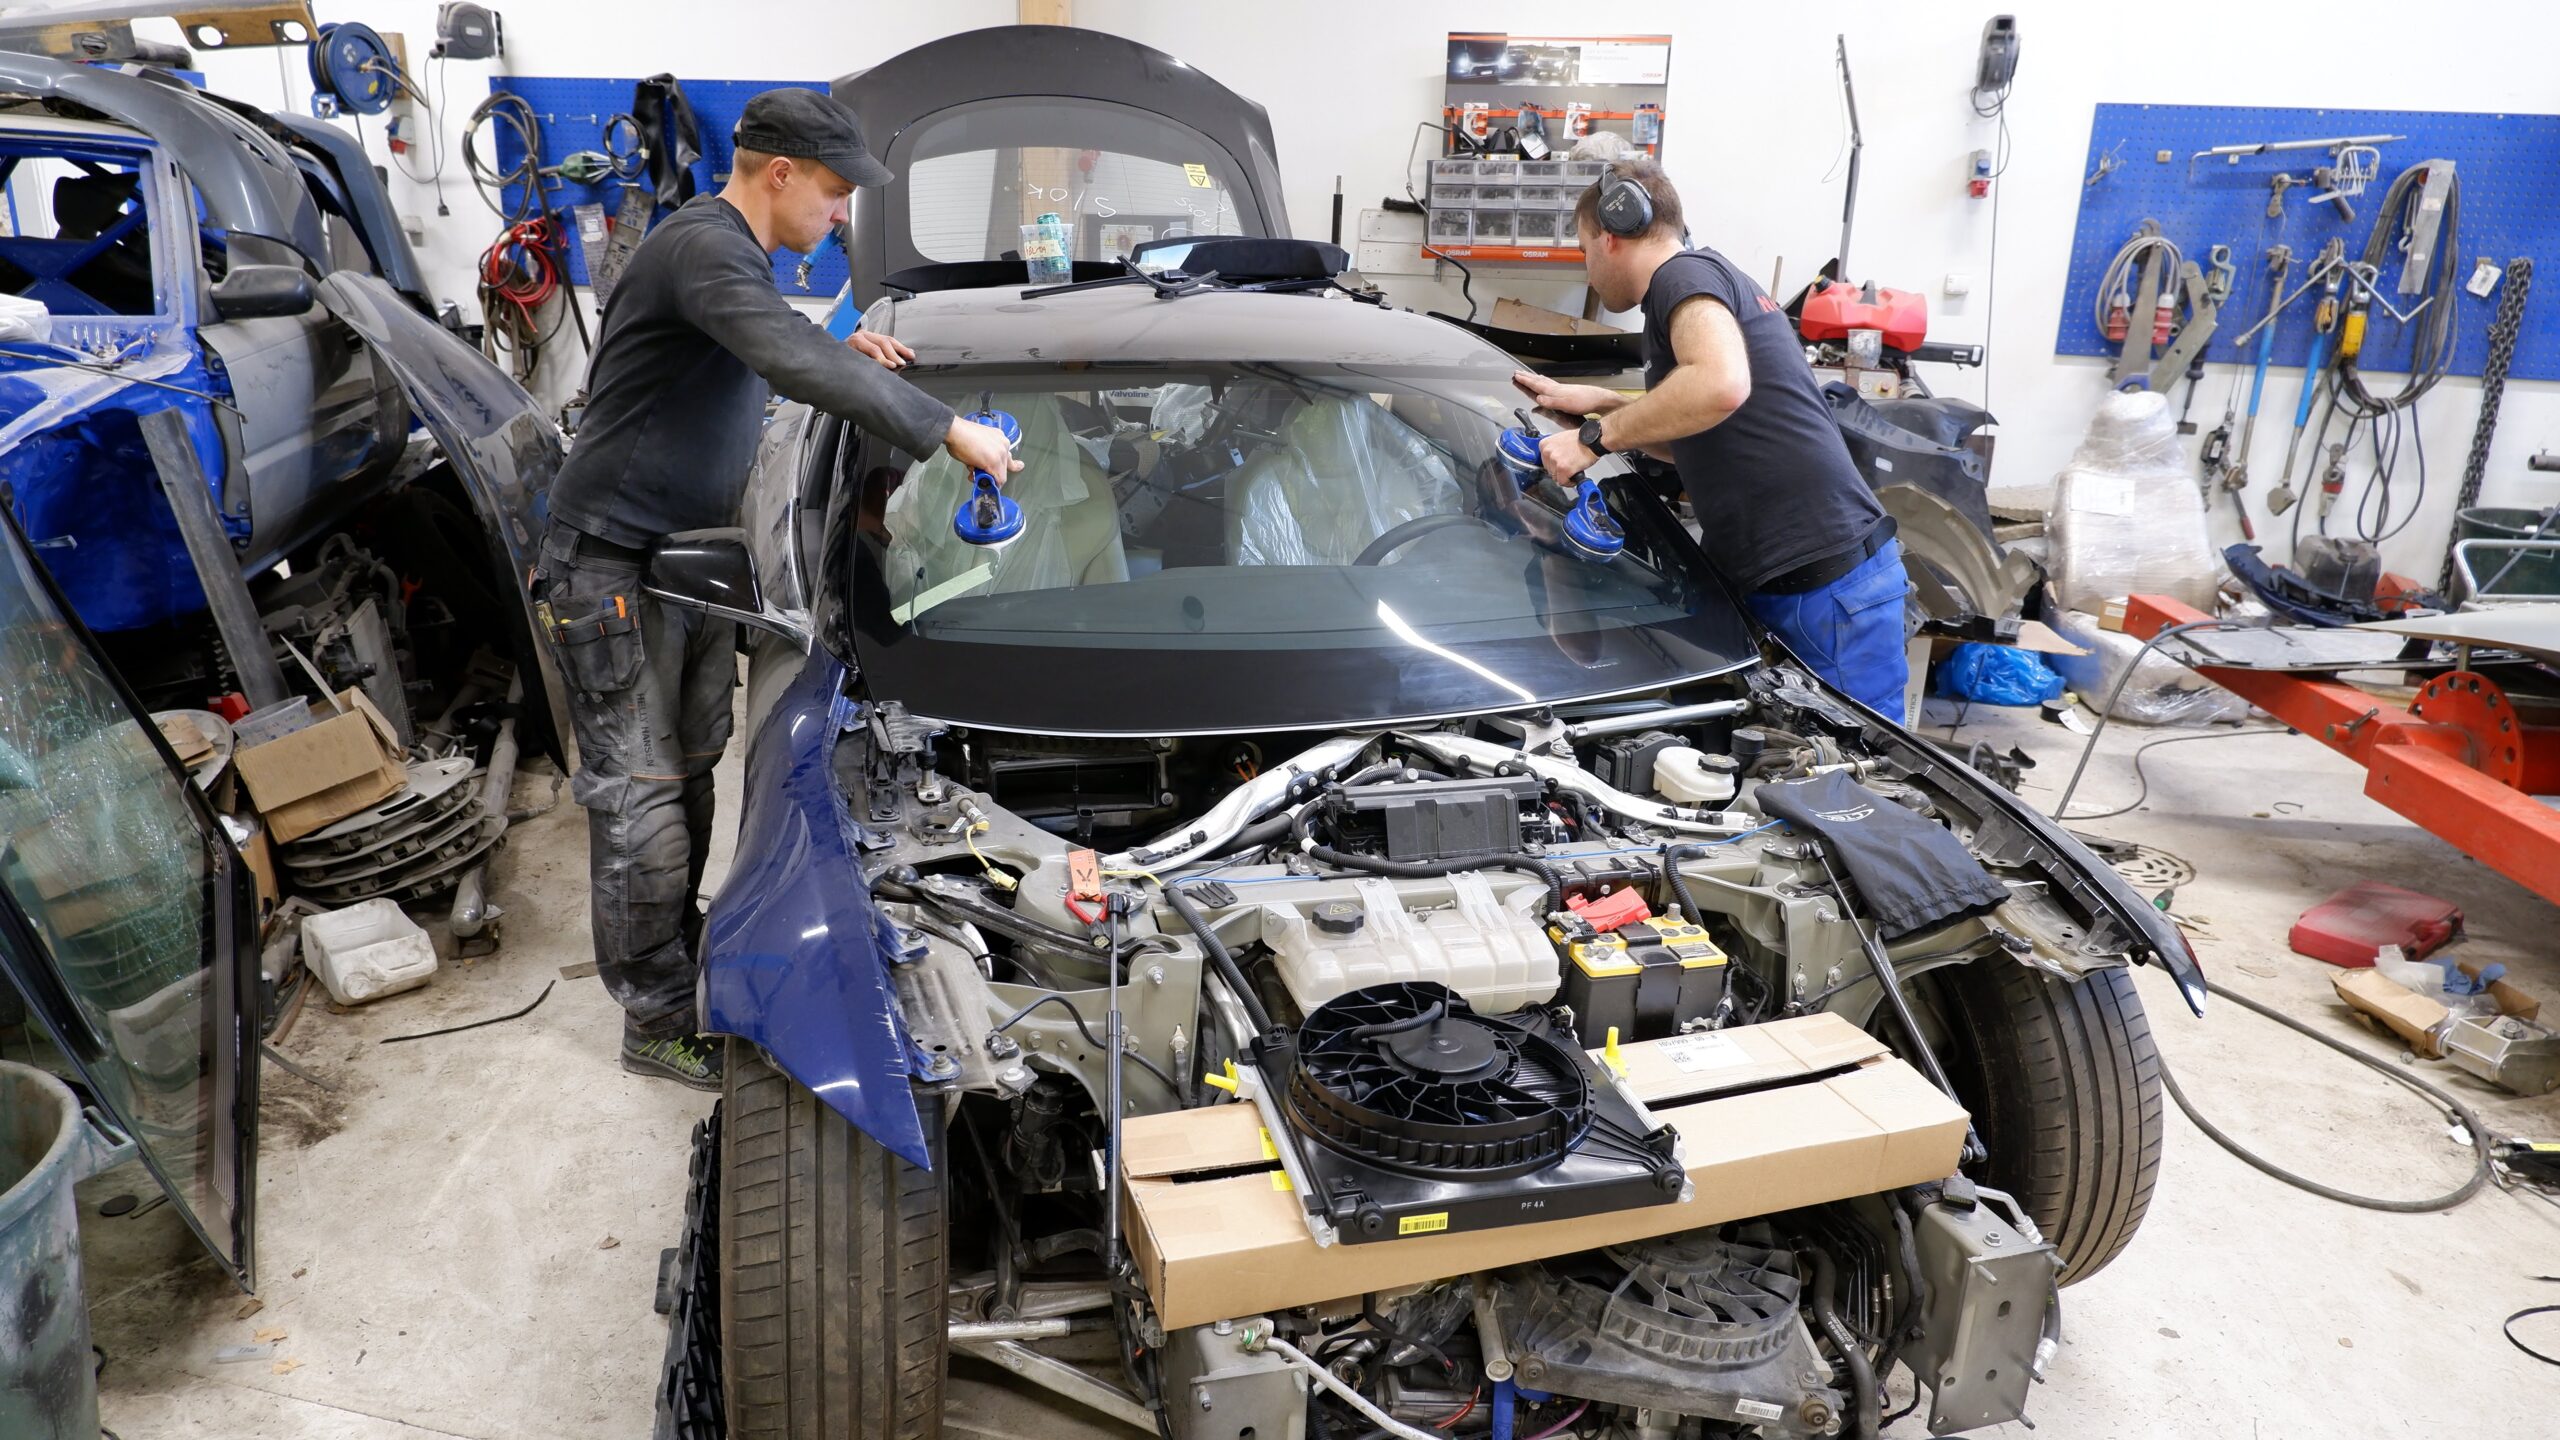
New windscreen in place.
Then back to assembling the front end.
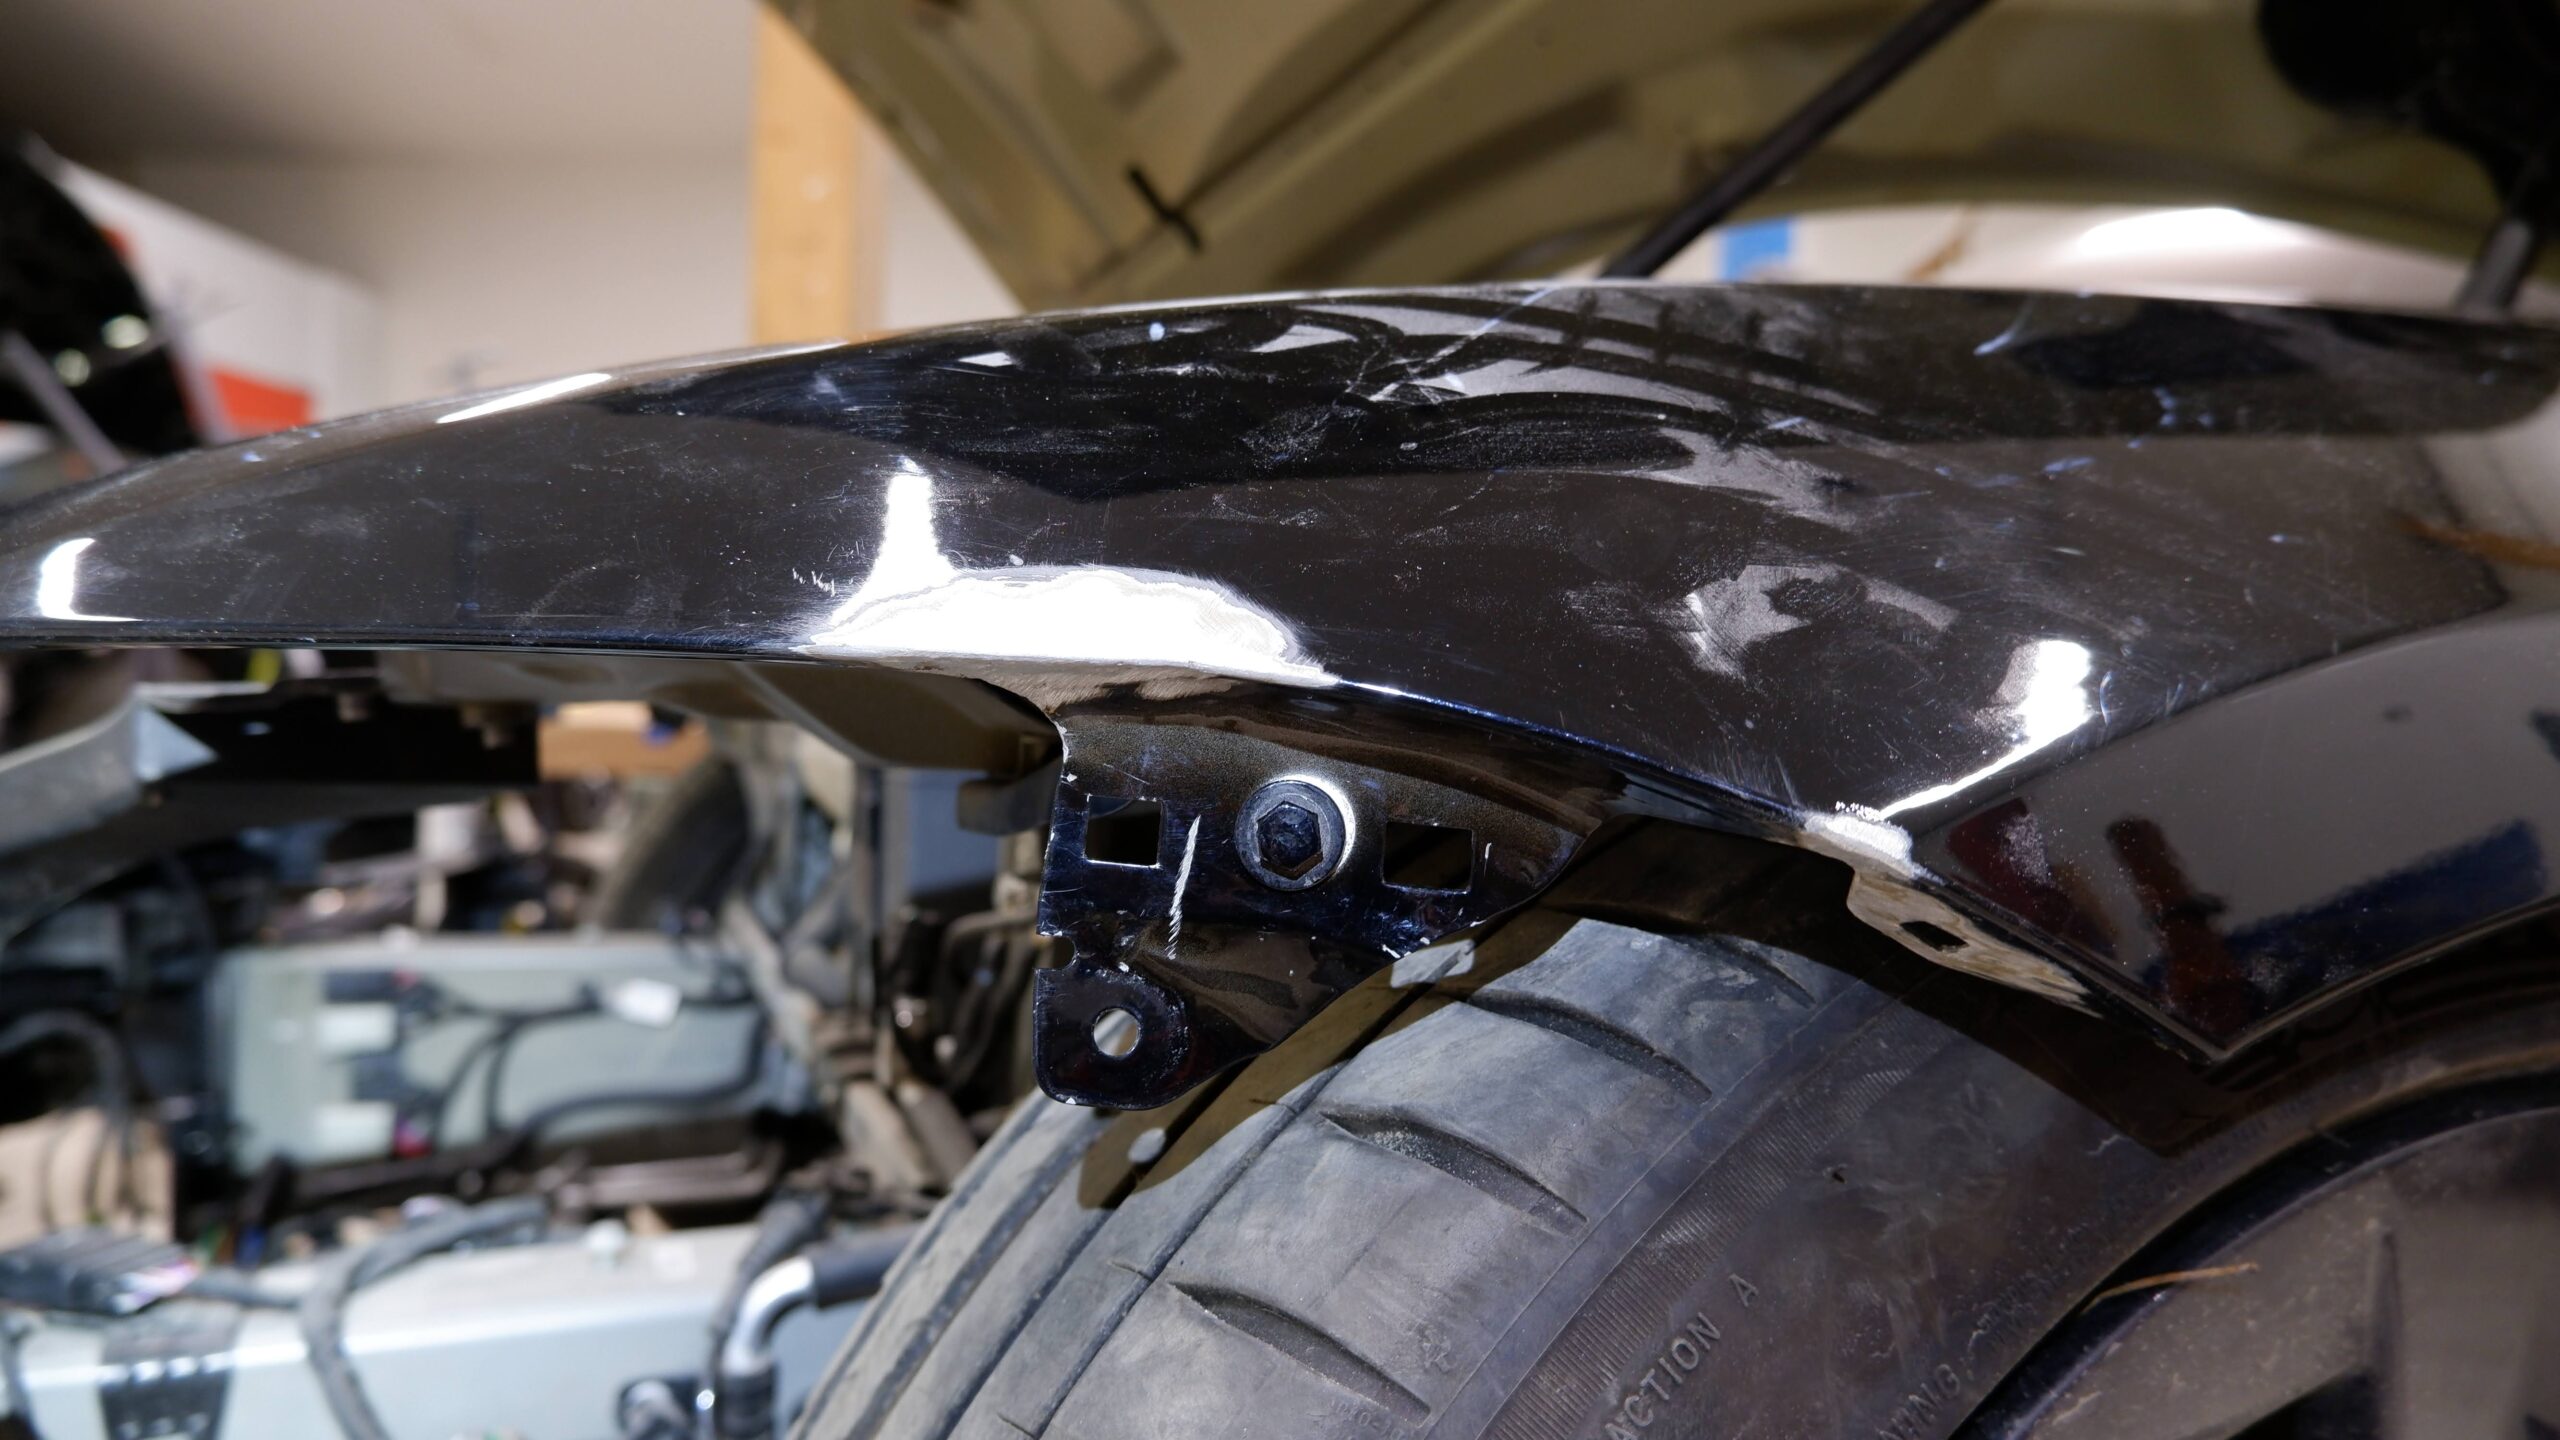
Repairing a small blemish on the driver's-side front wing.
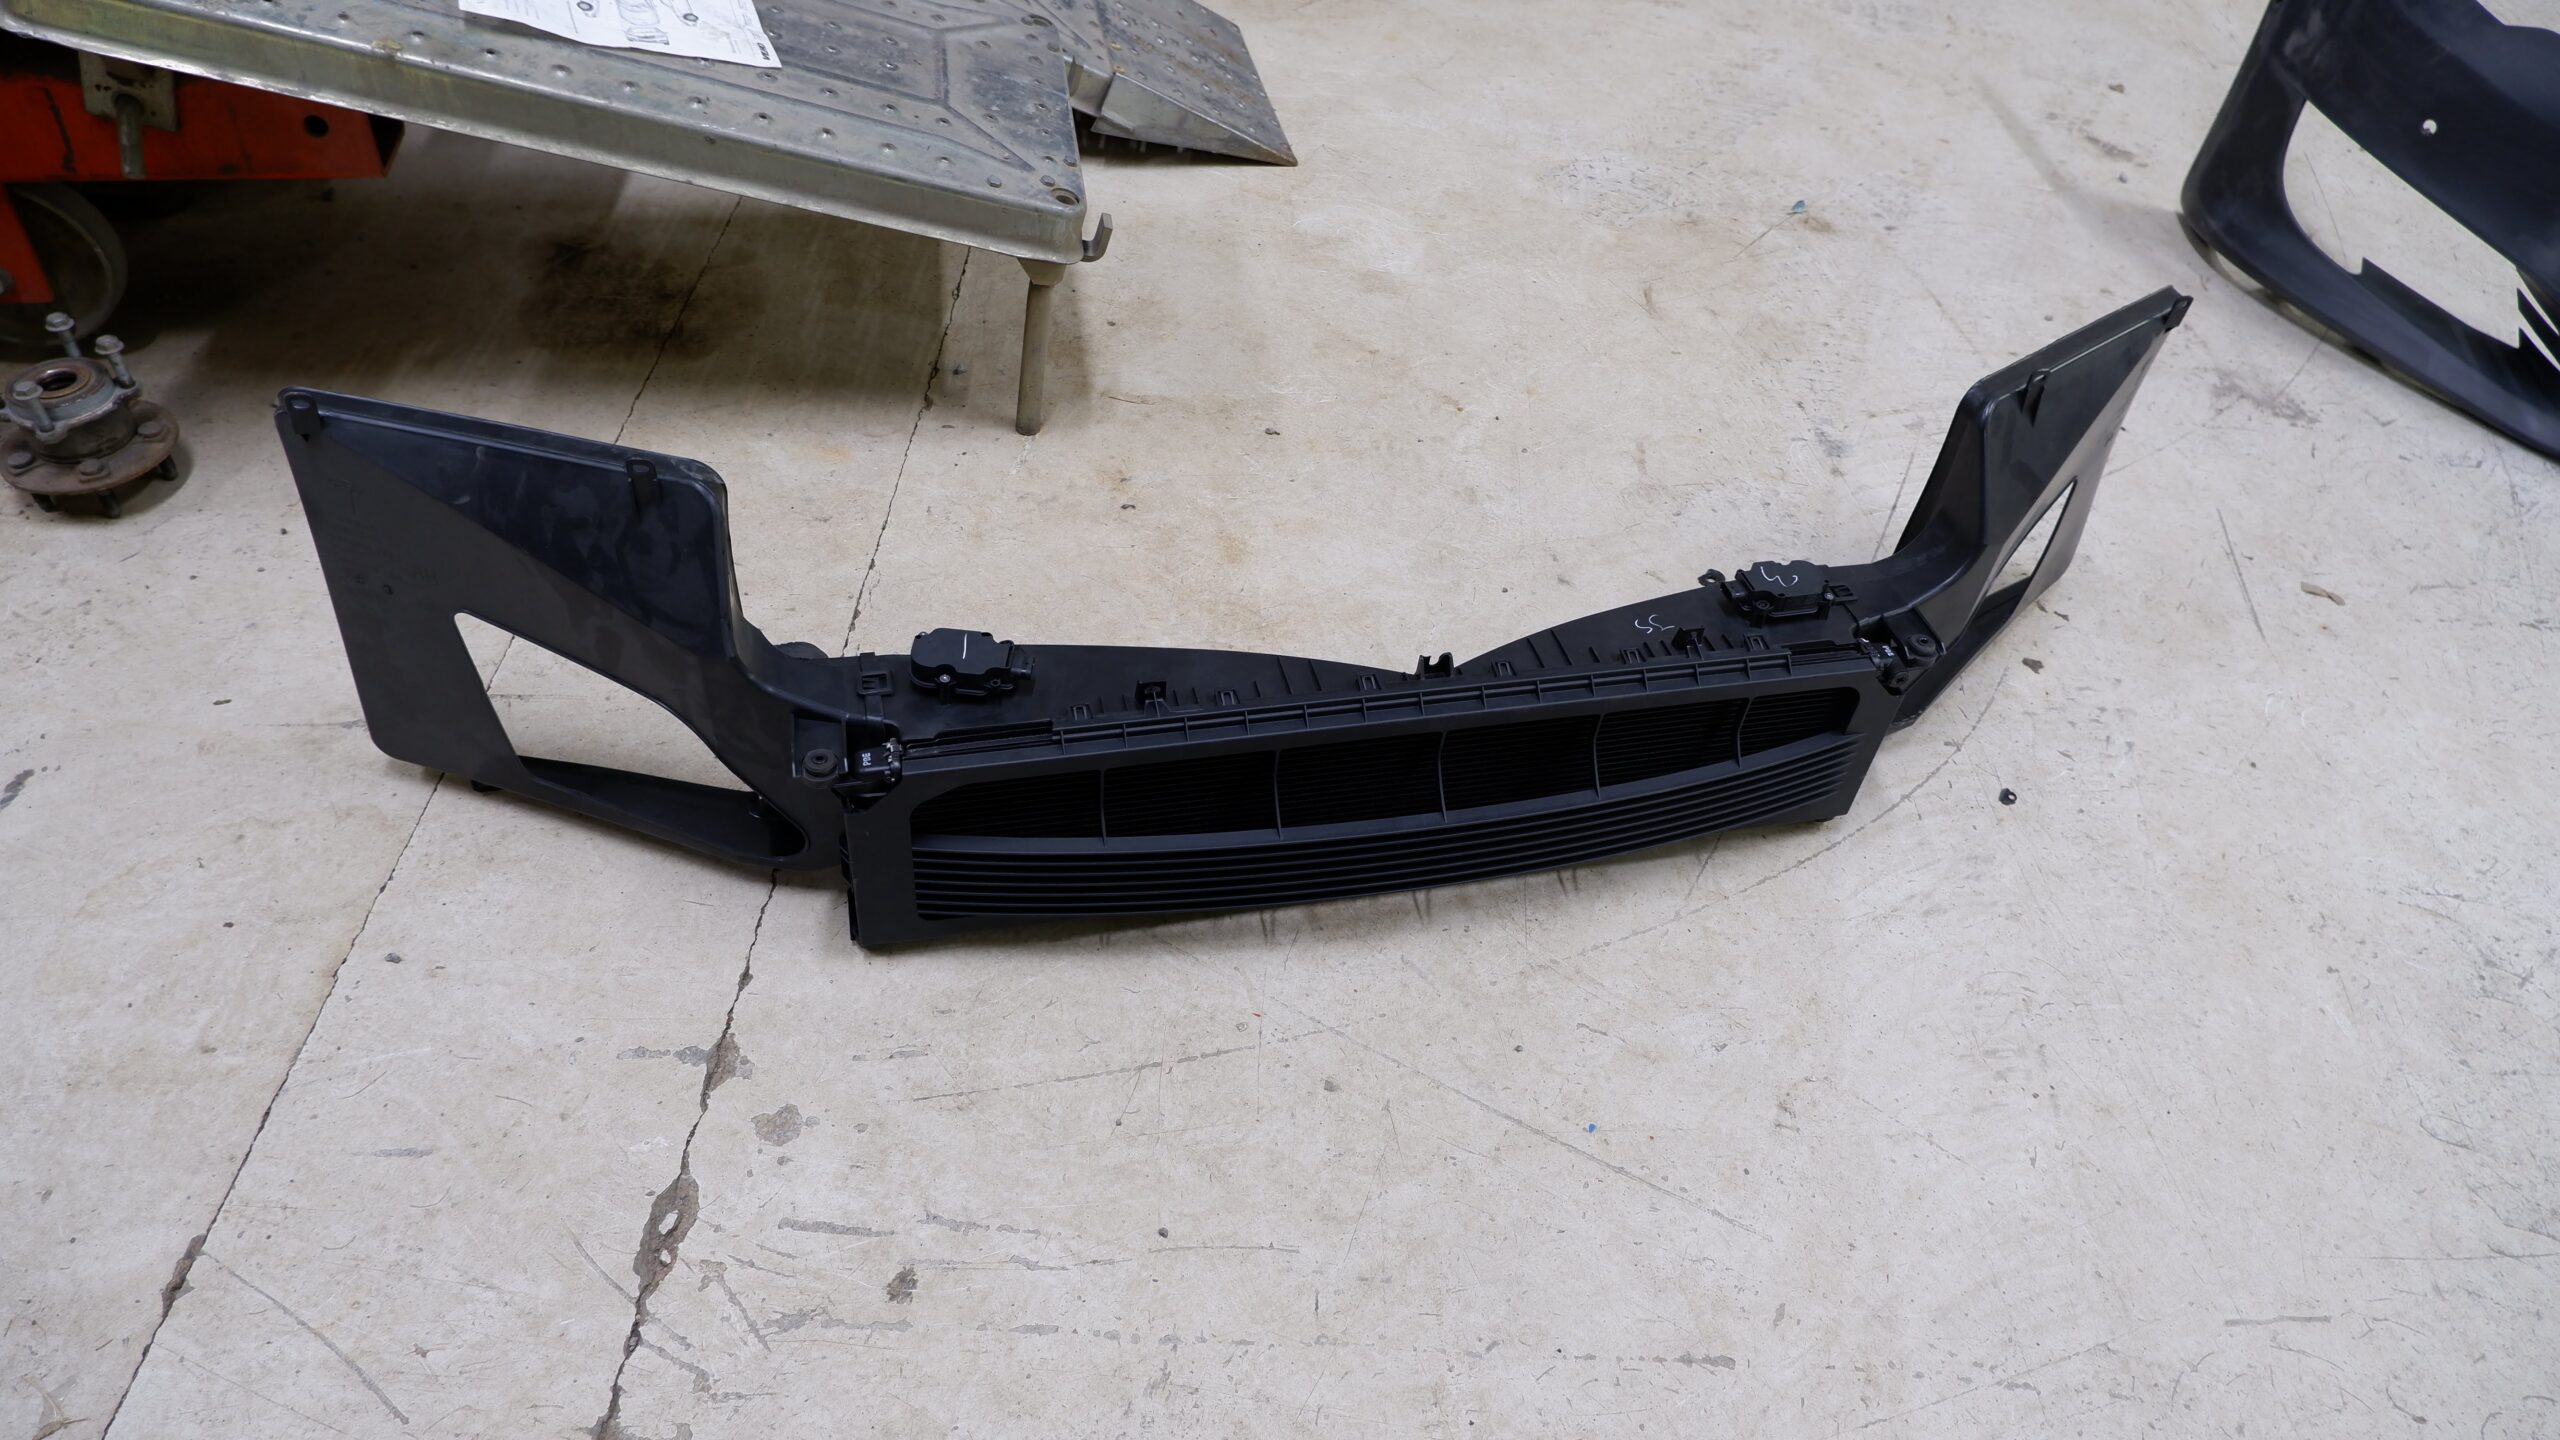
Assembling the front end.
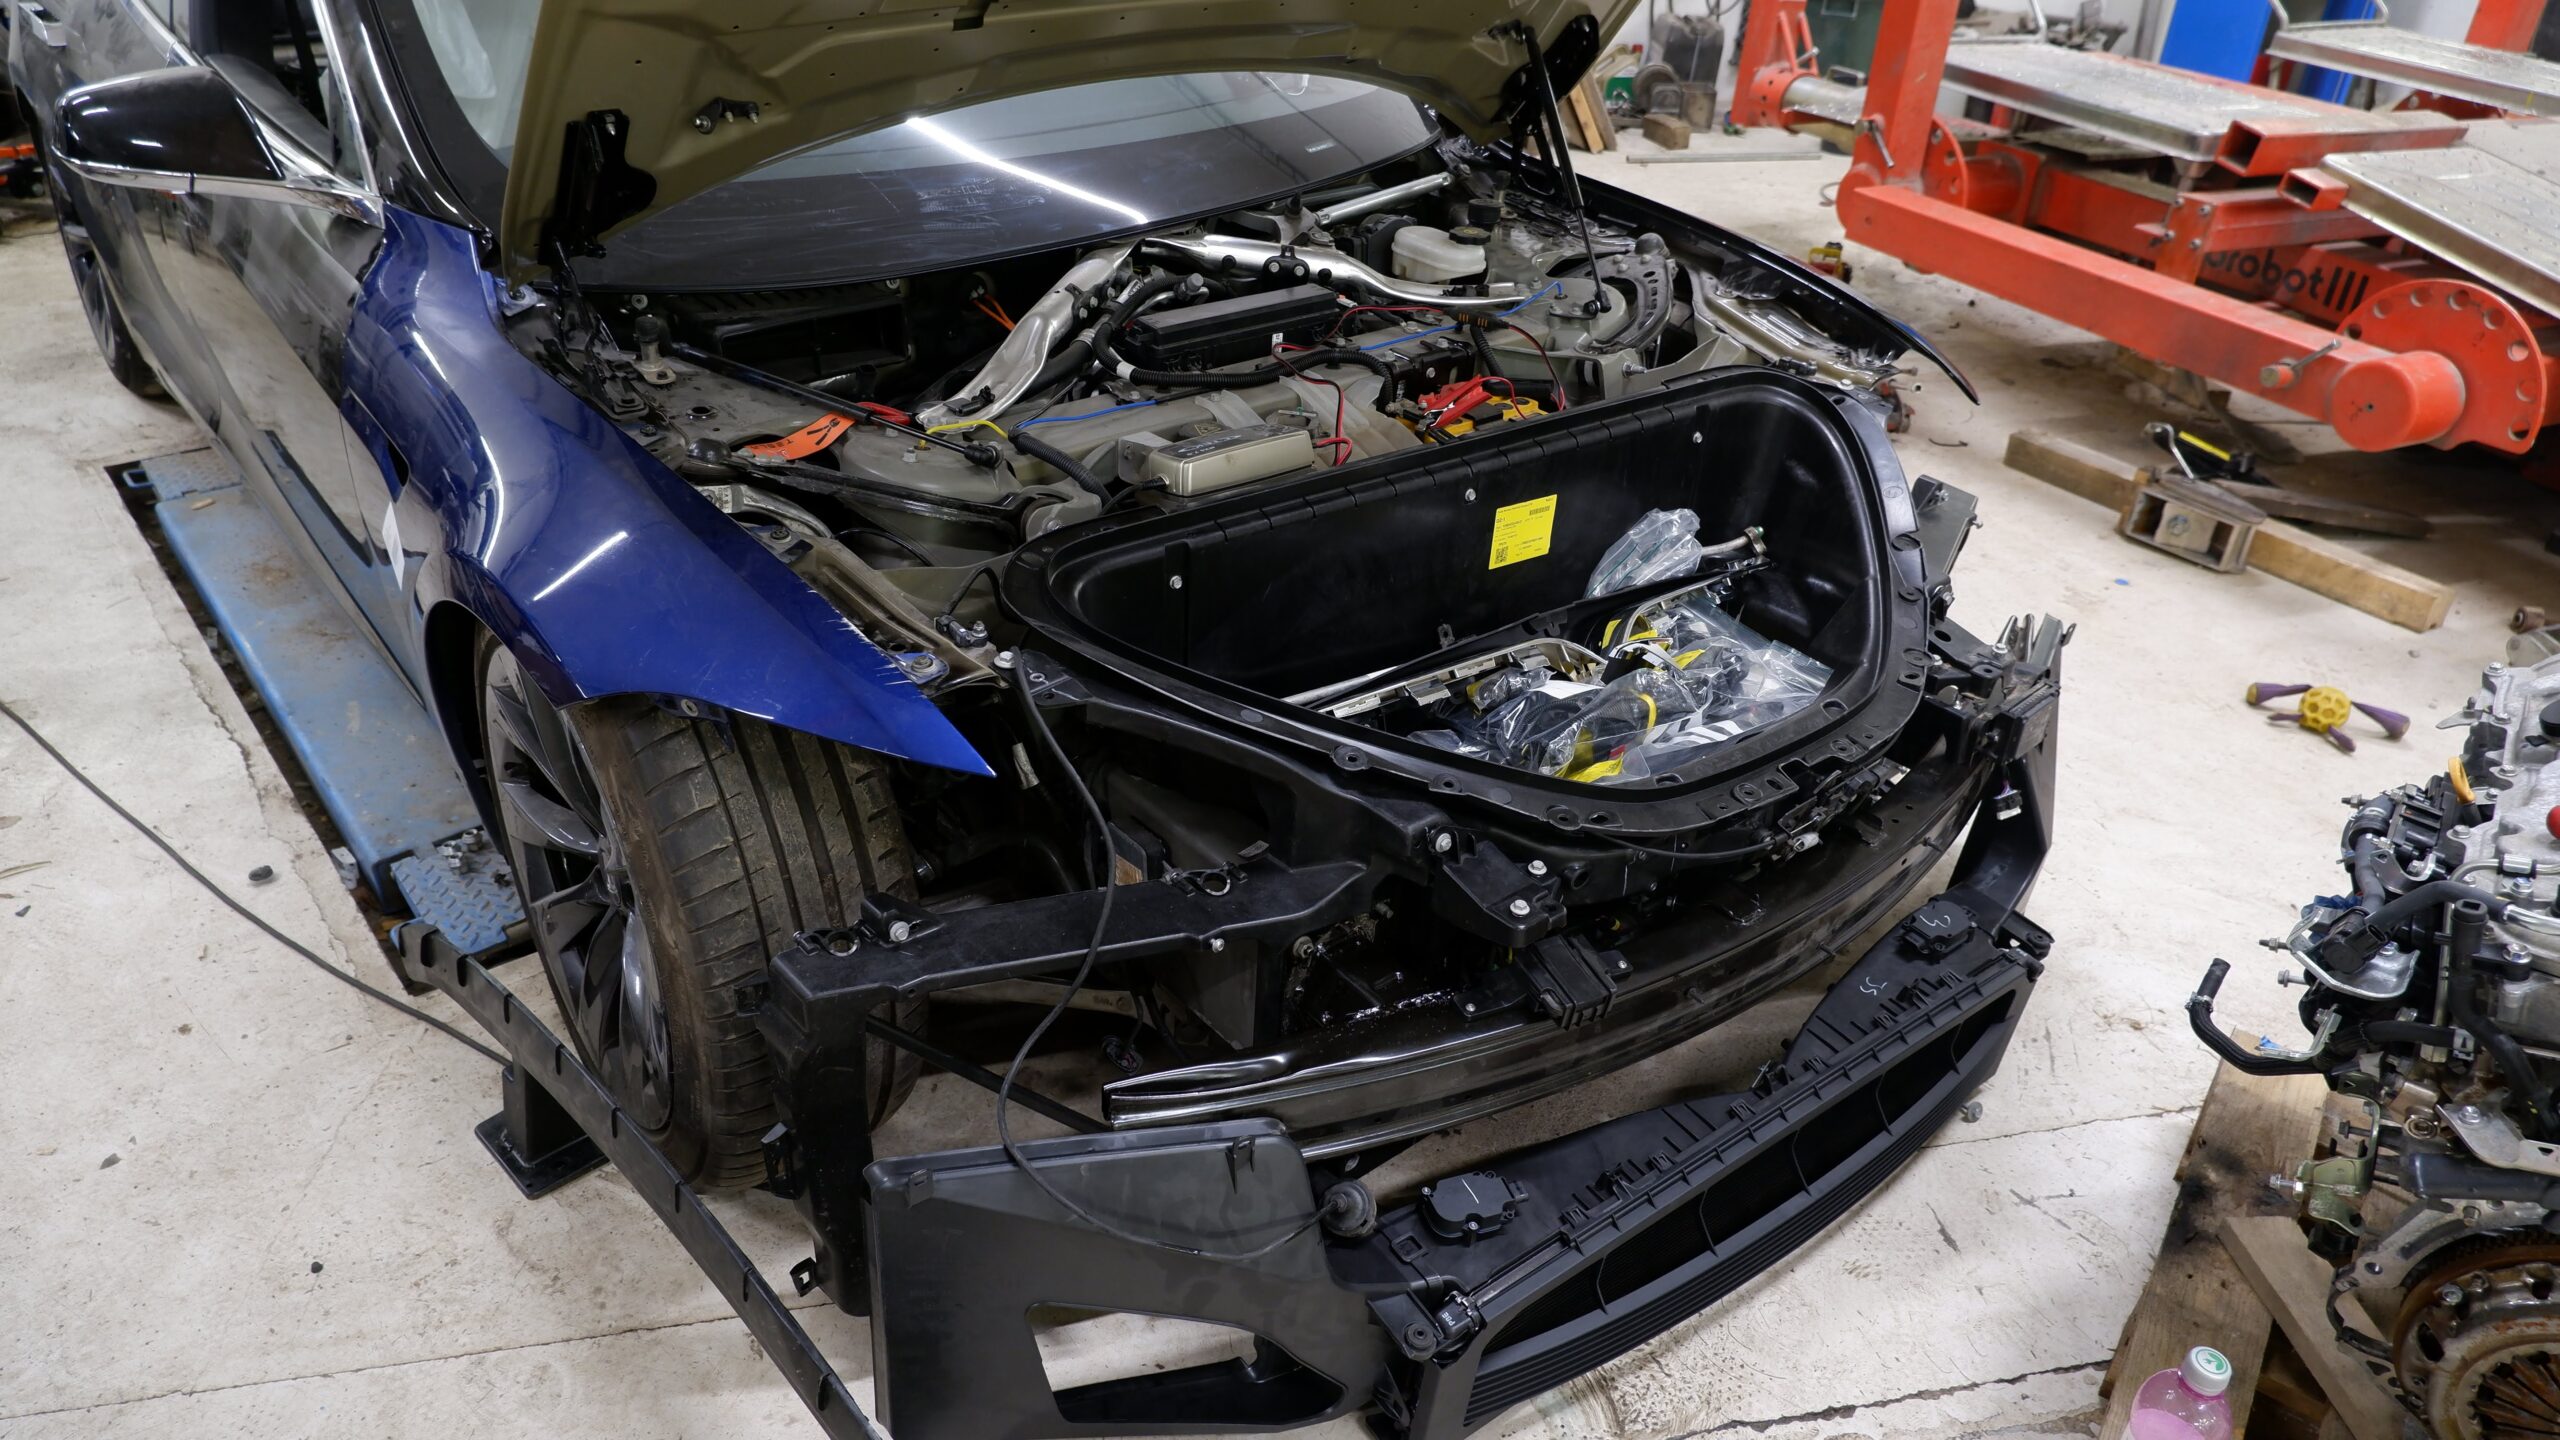
It's starting to look like a car again.
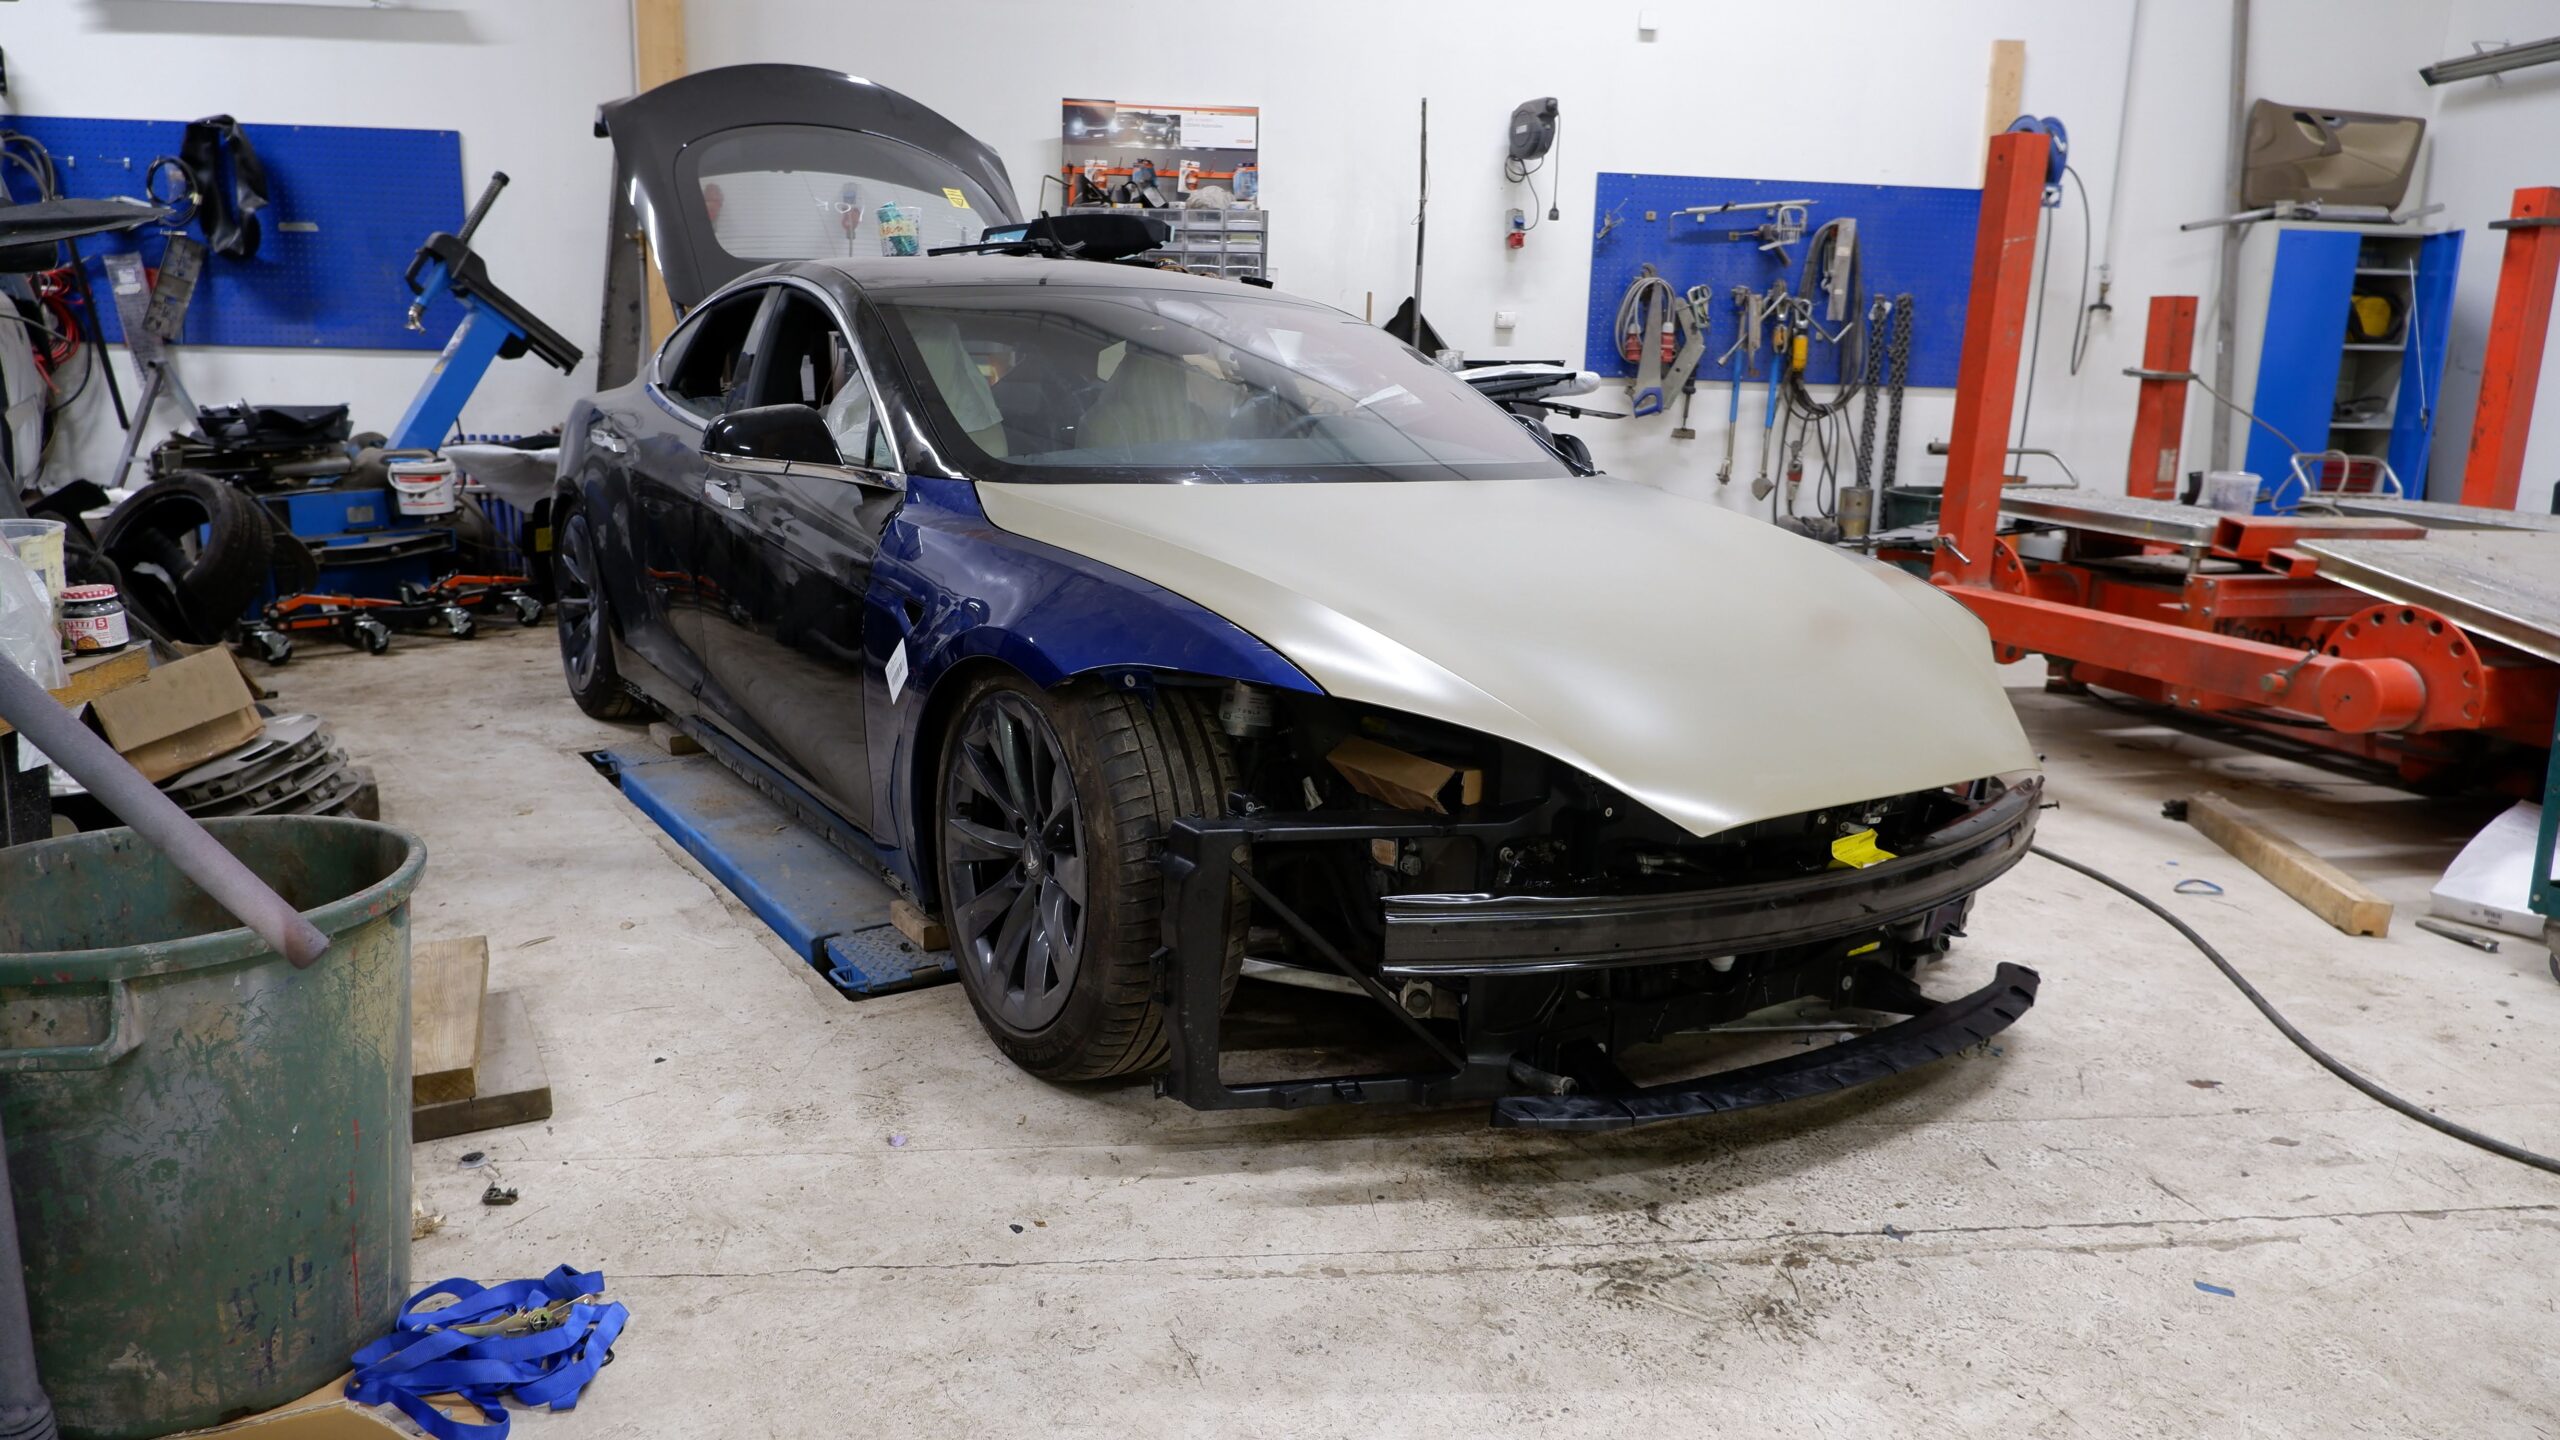
Test-fitting the bonnet.
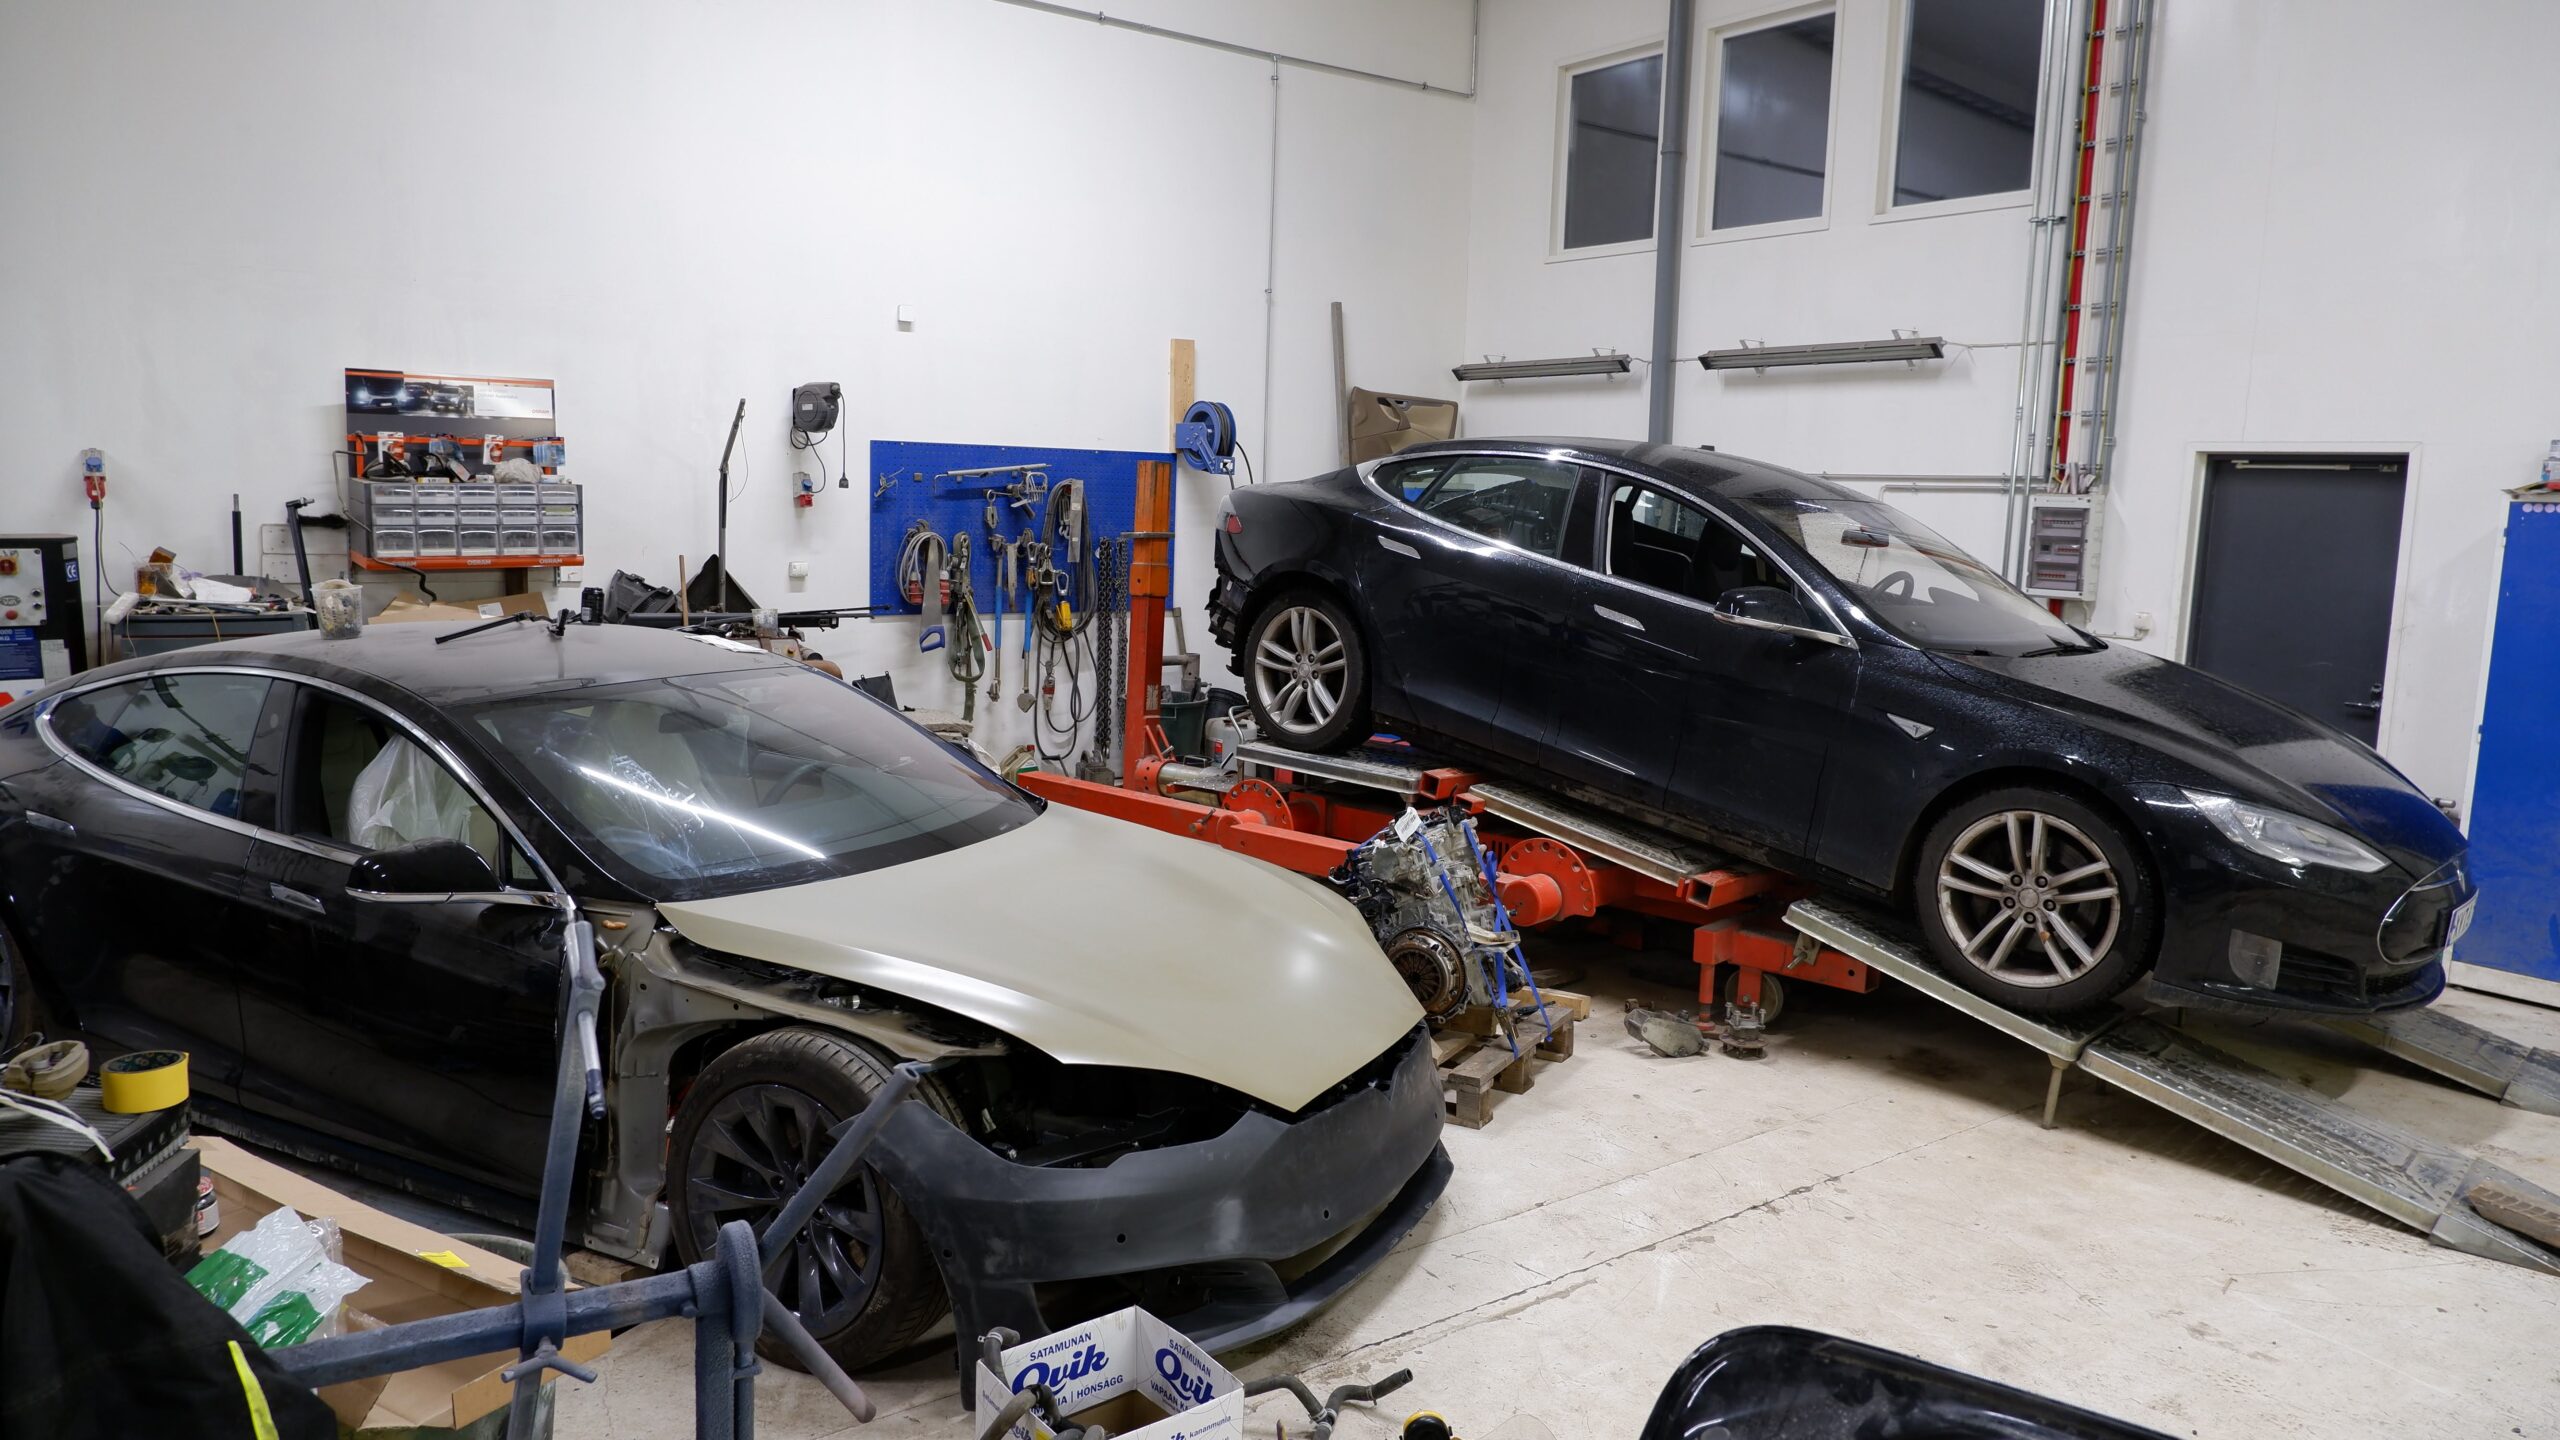
There was another Model S being repaired at the same time.
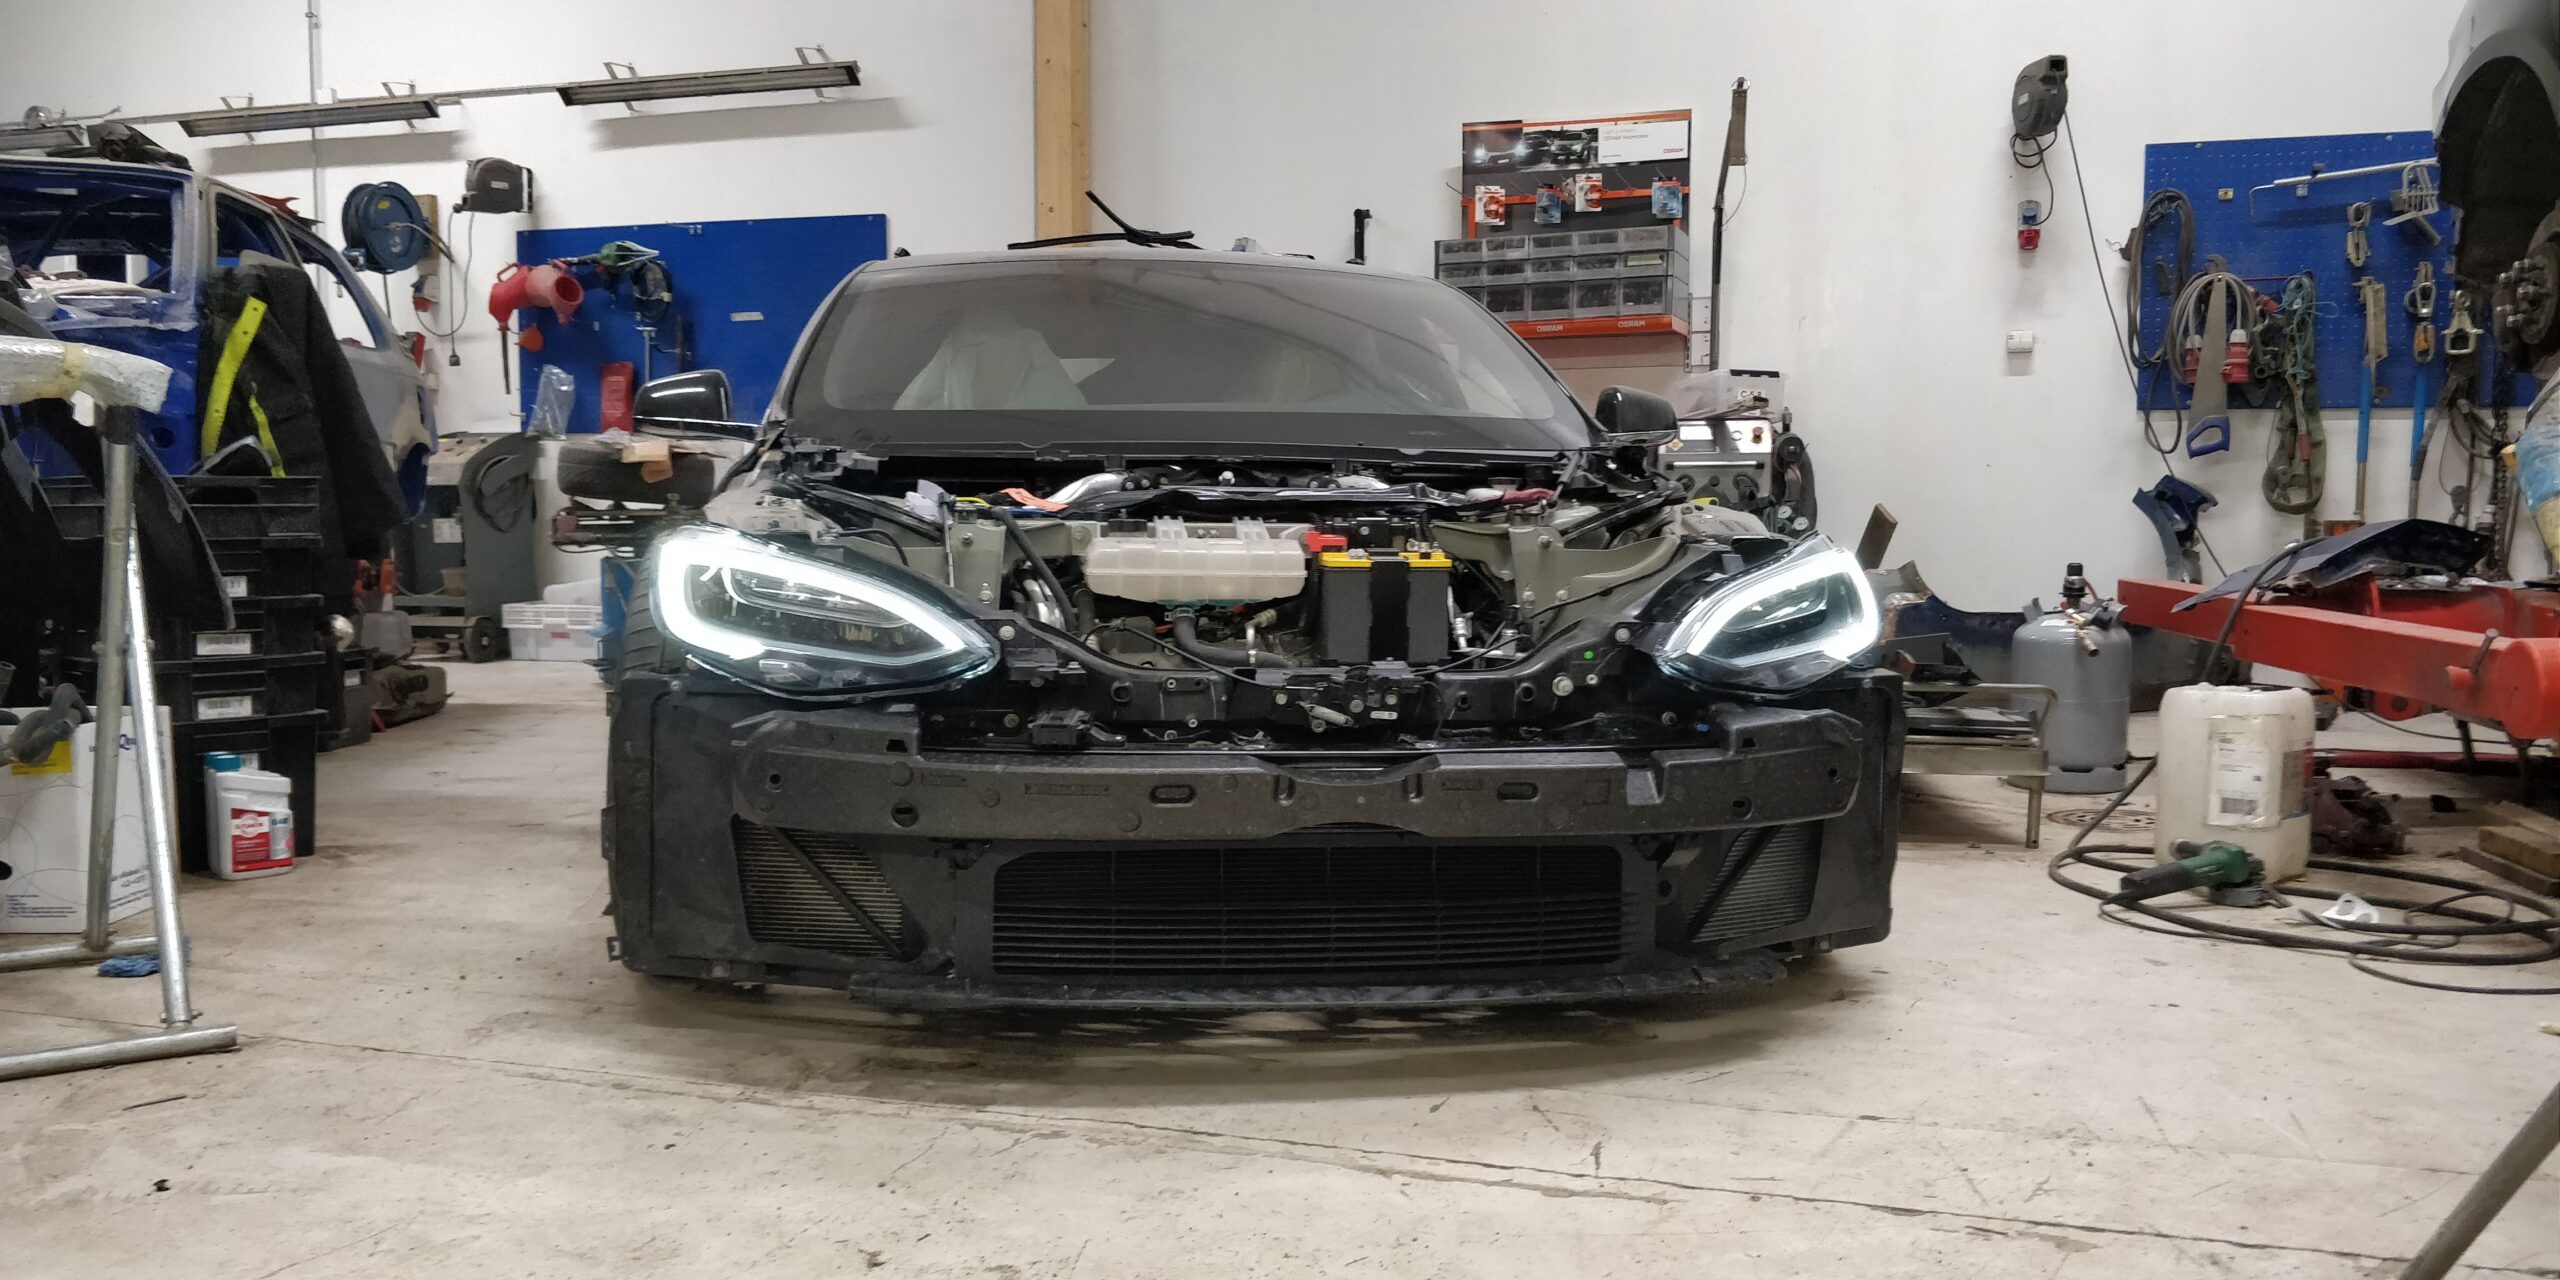
Looking mean.
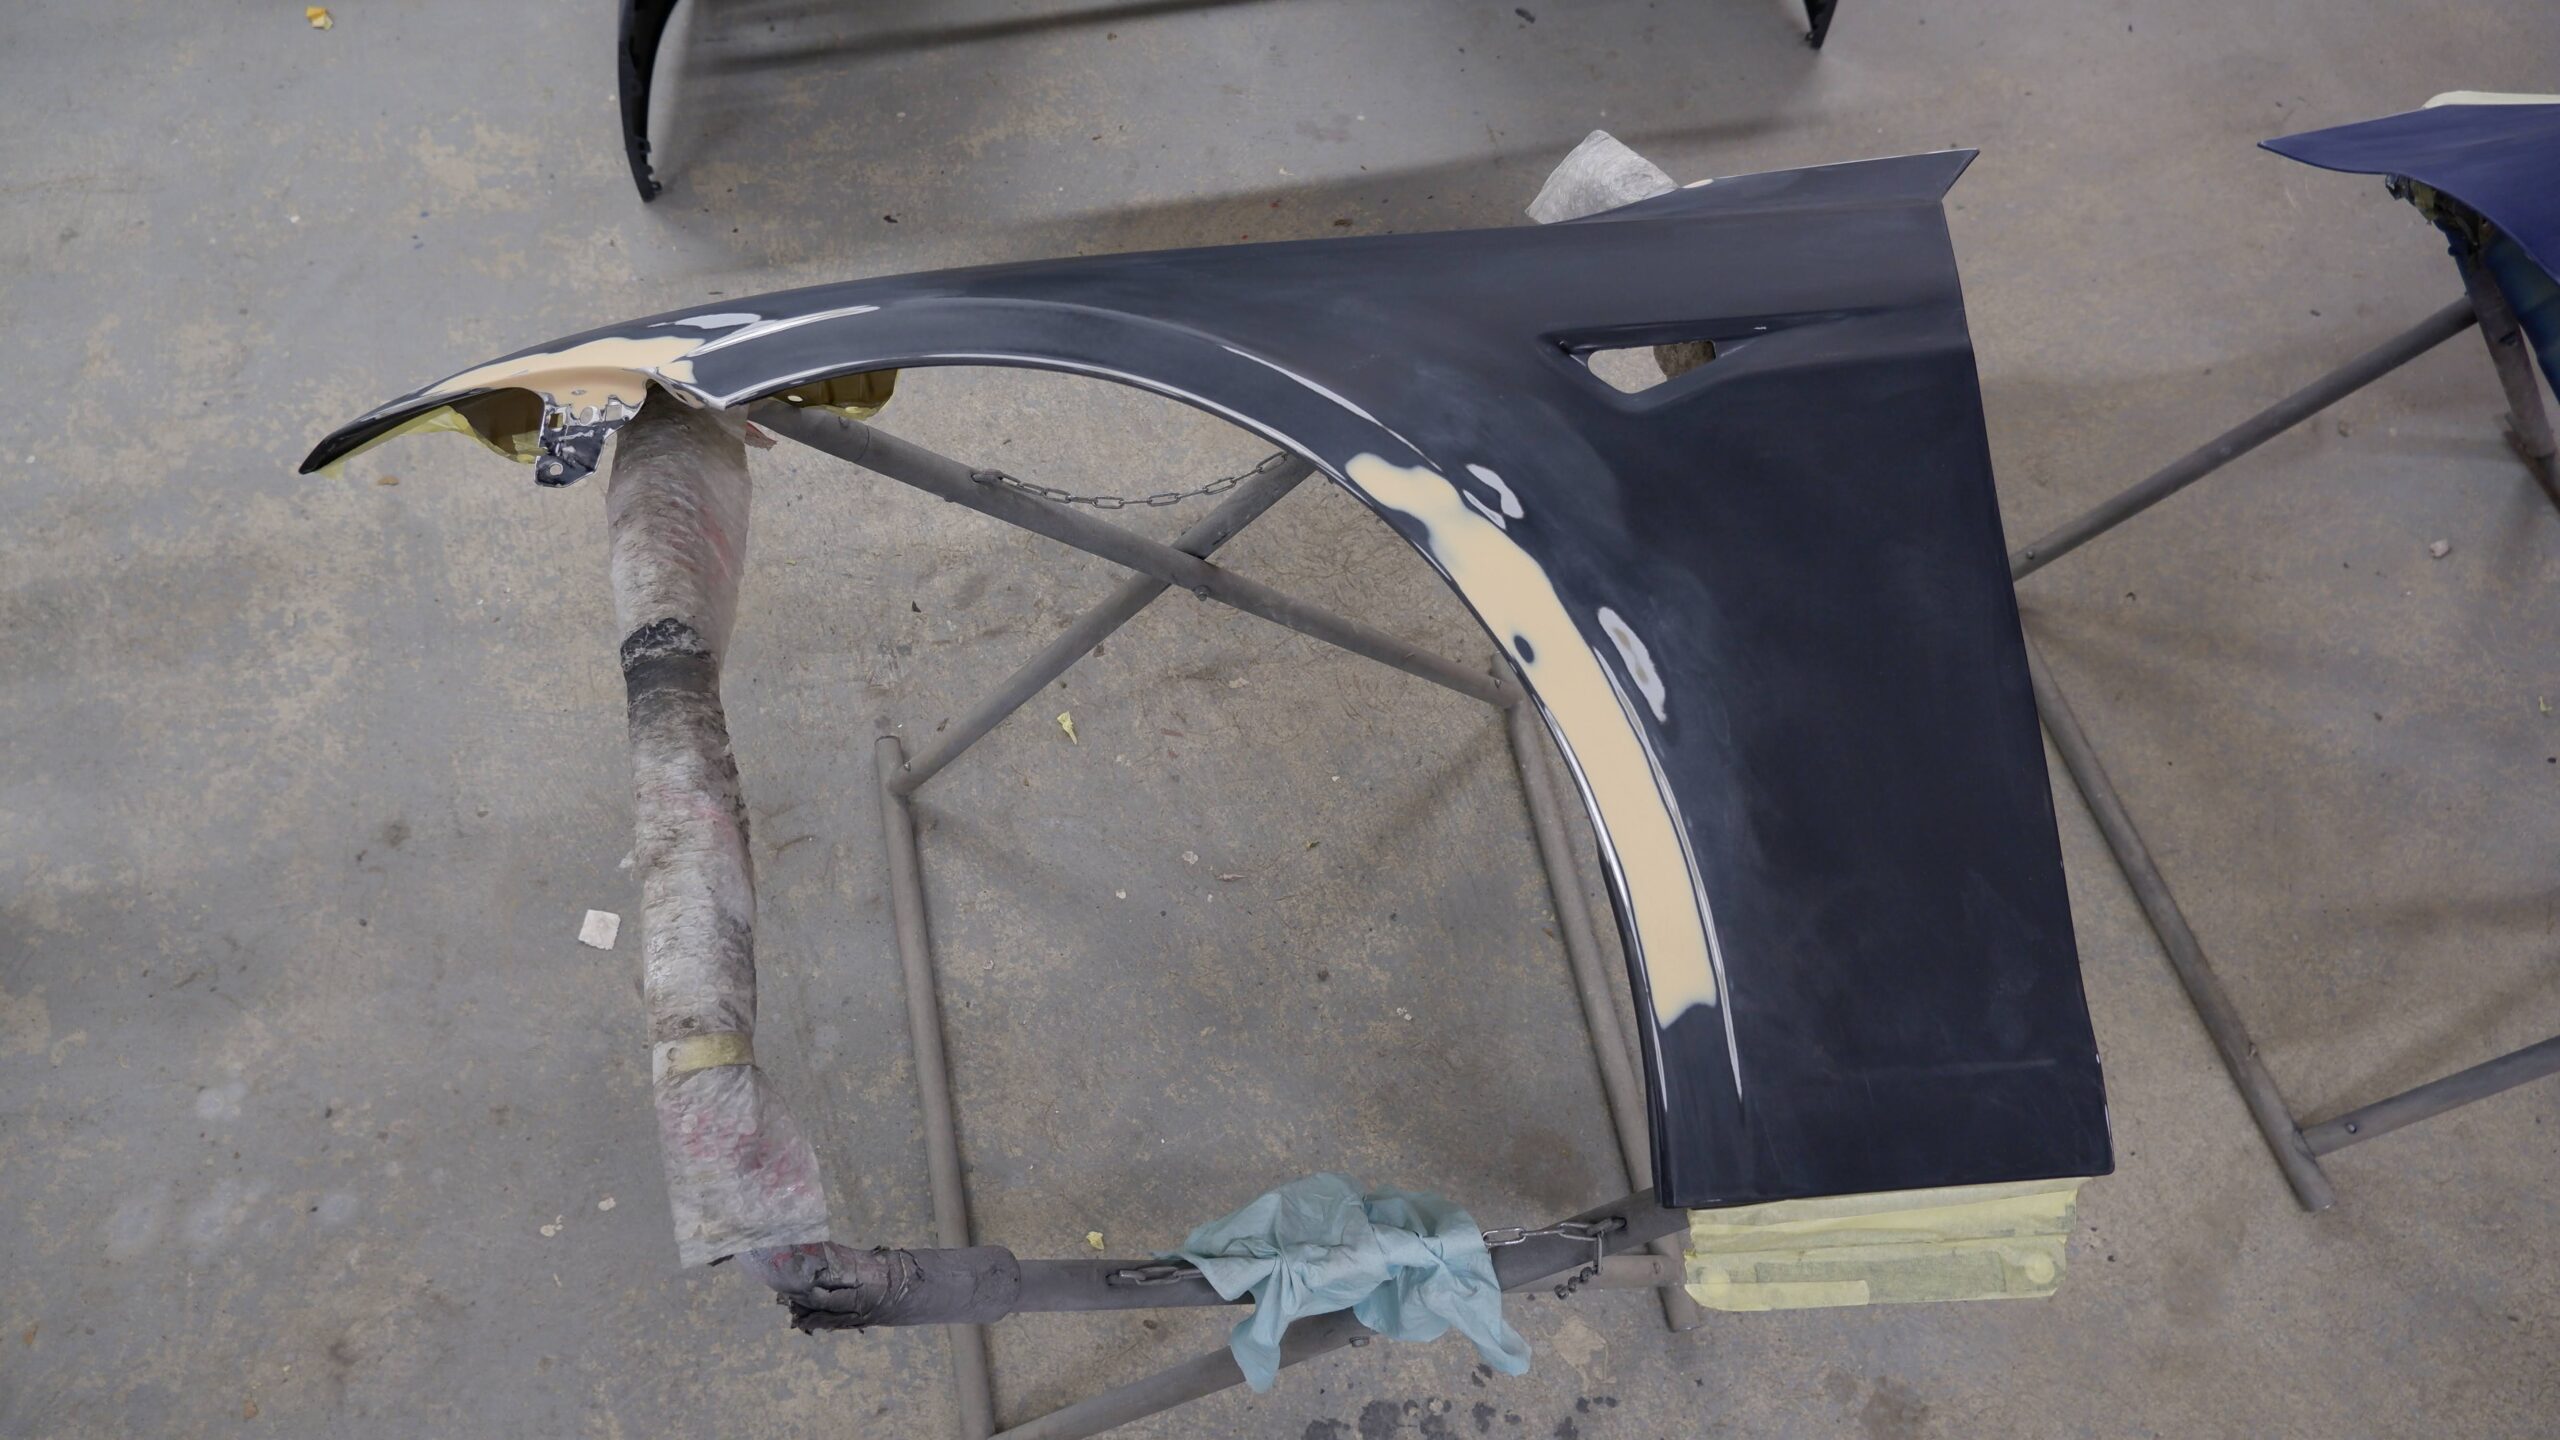
A bit of body filler.
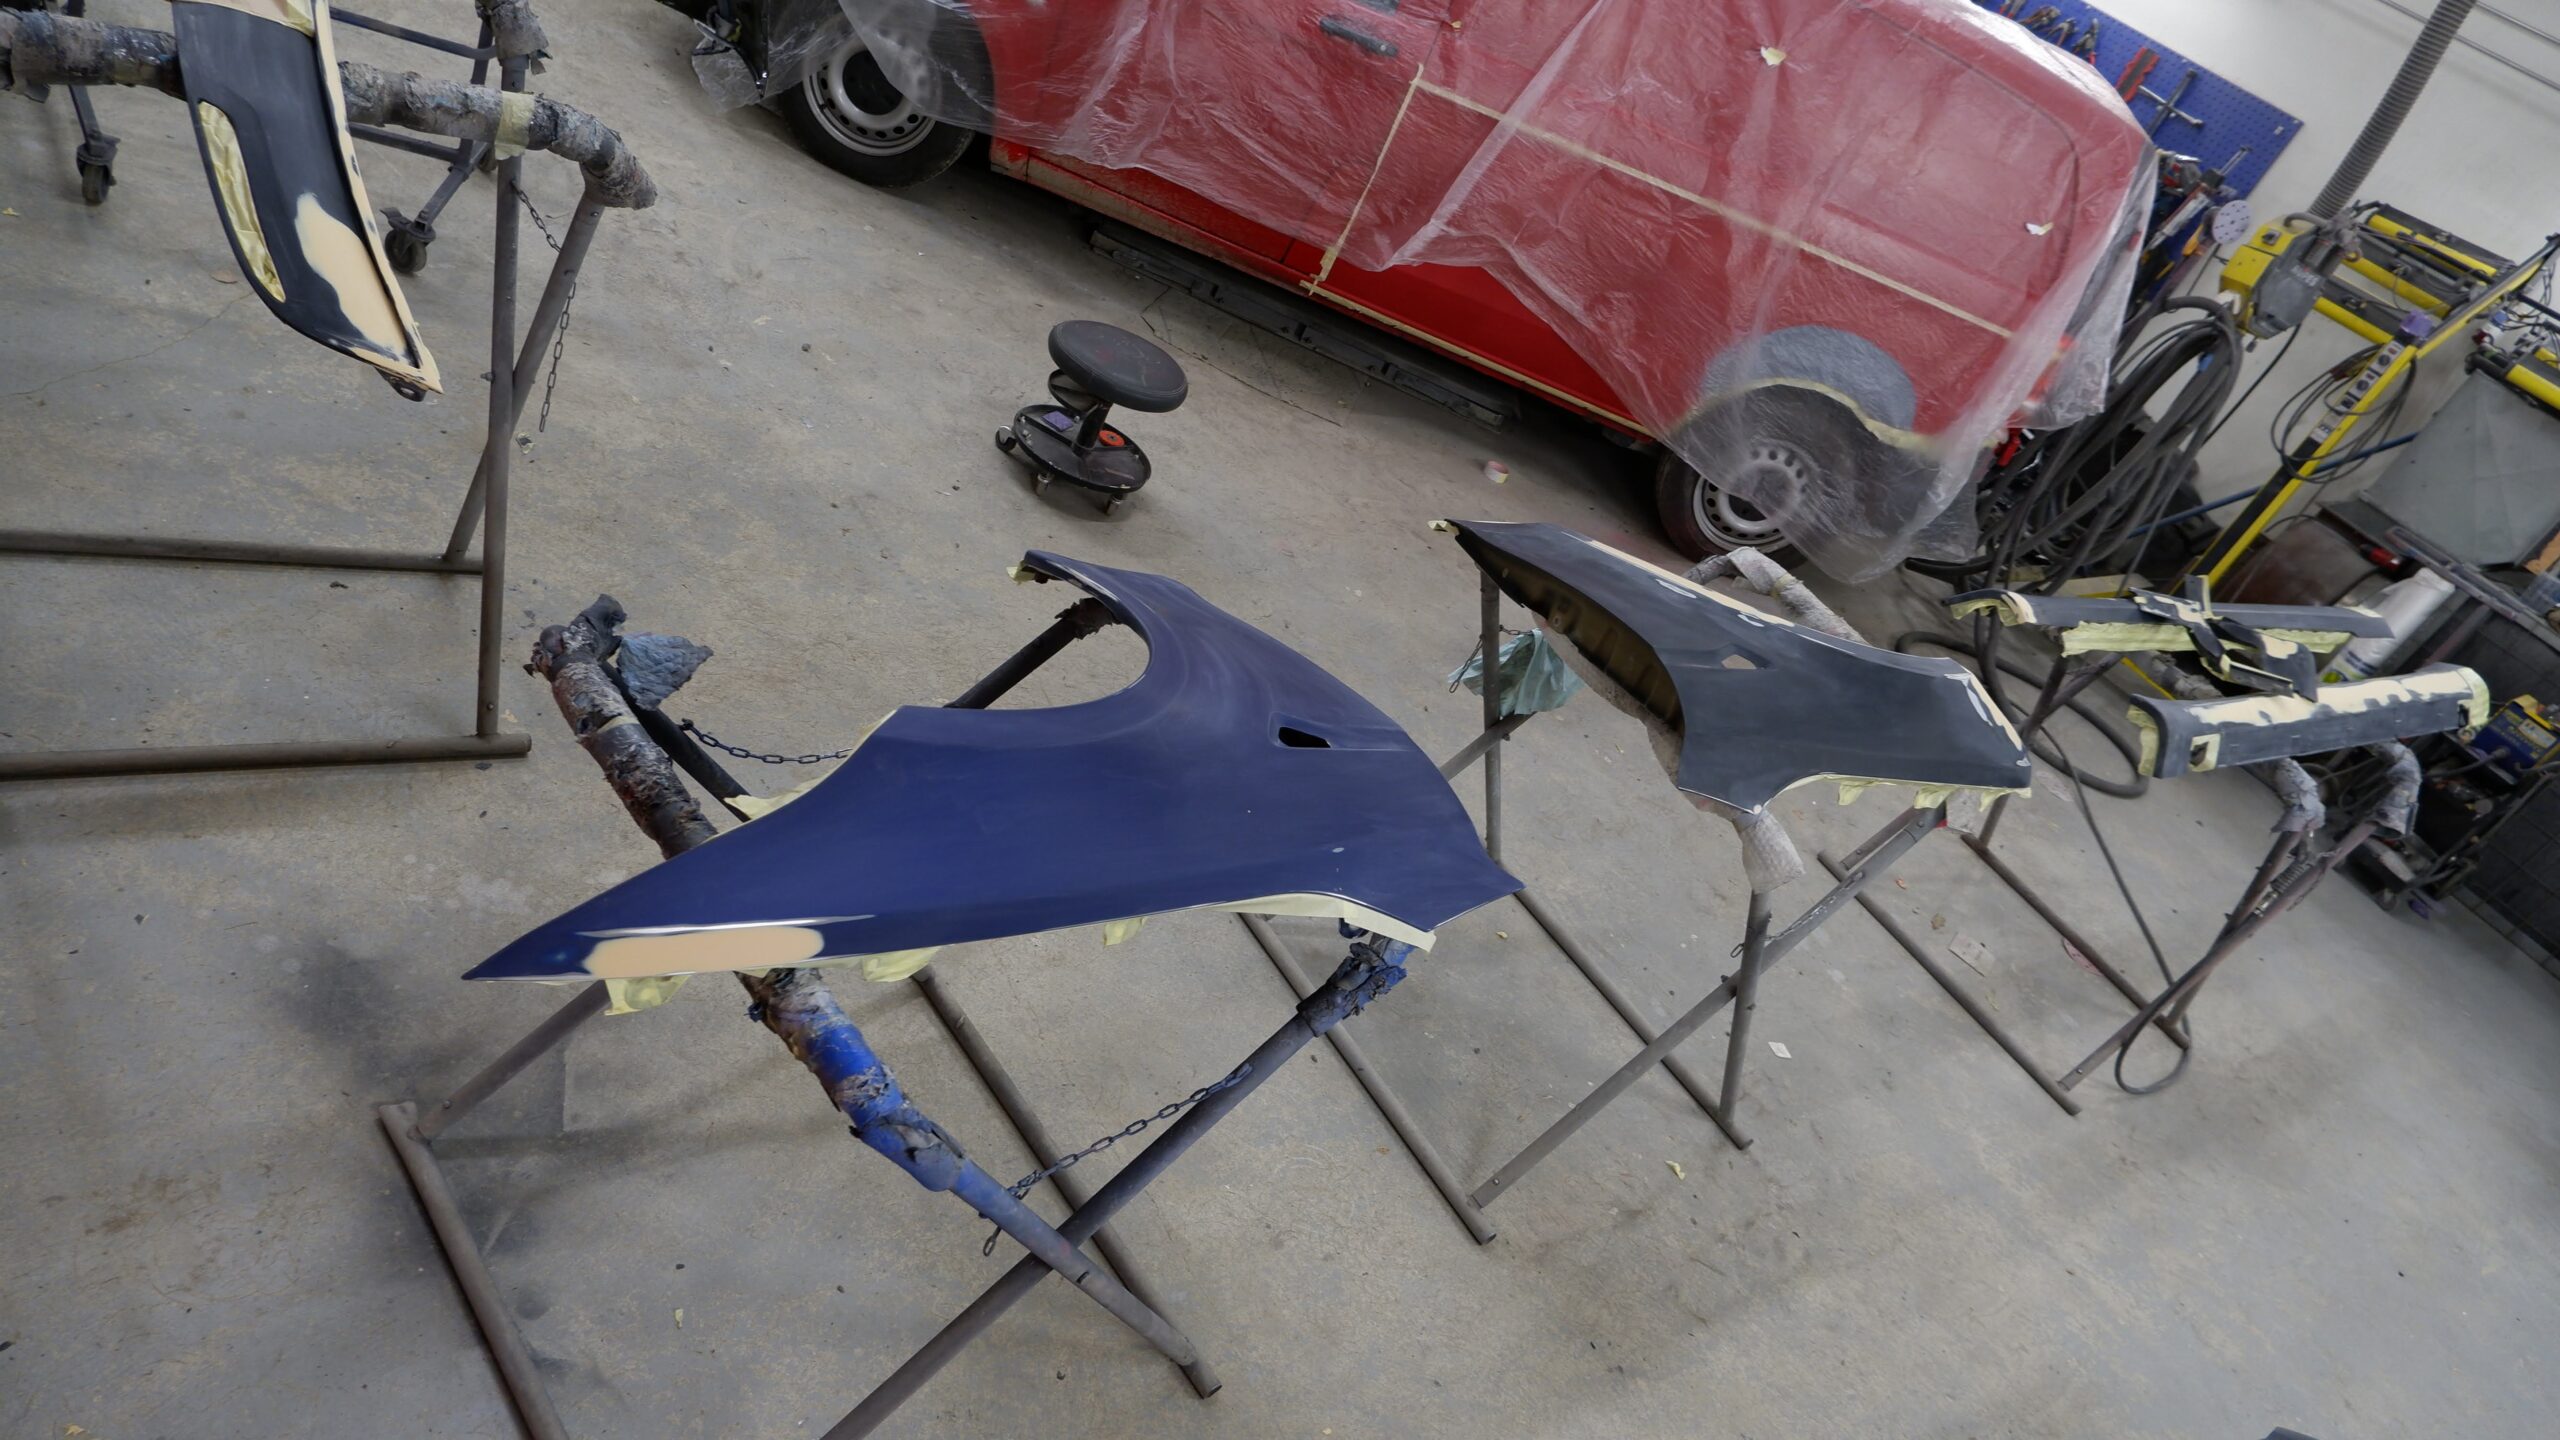
The other front wing came from the donor car.
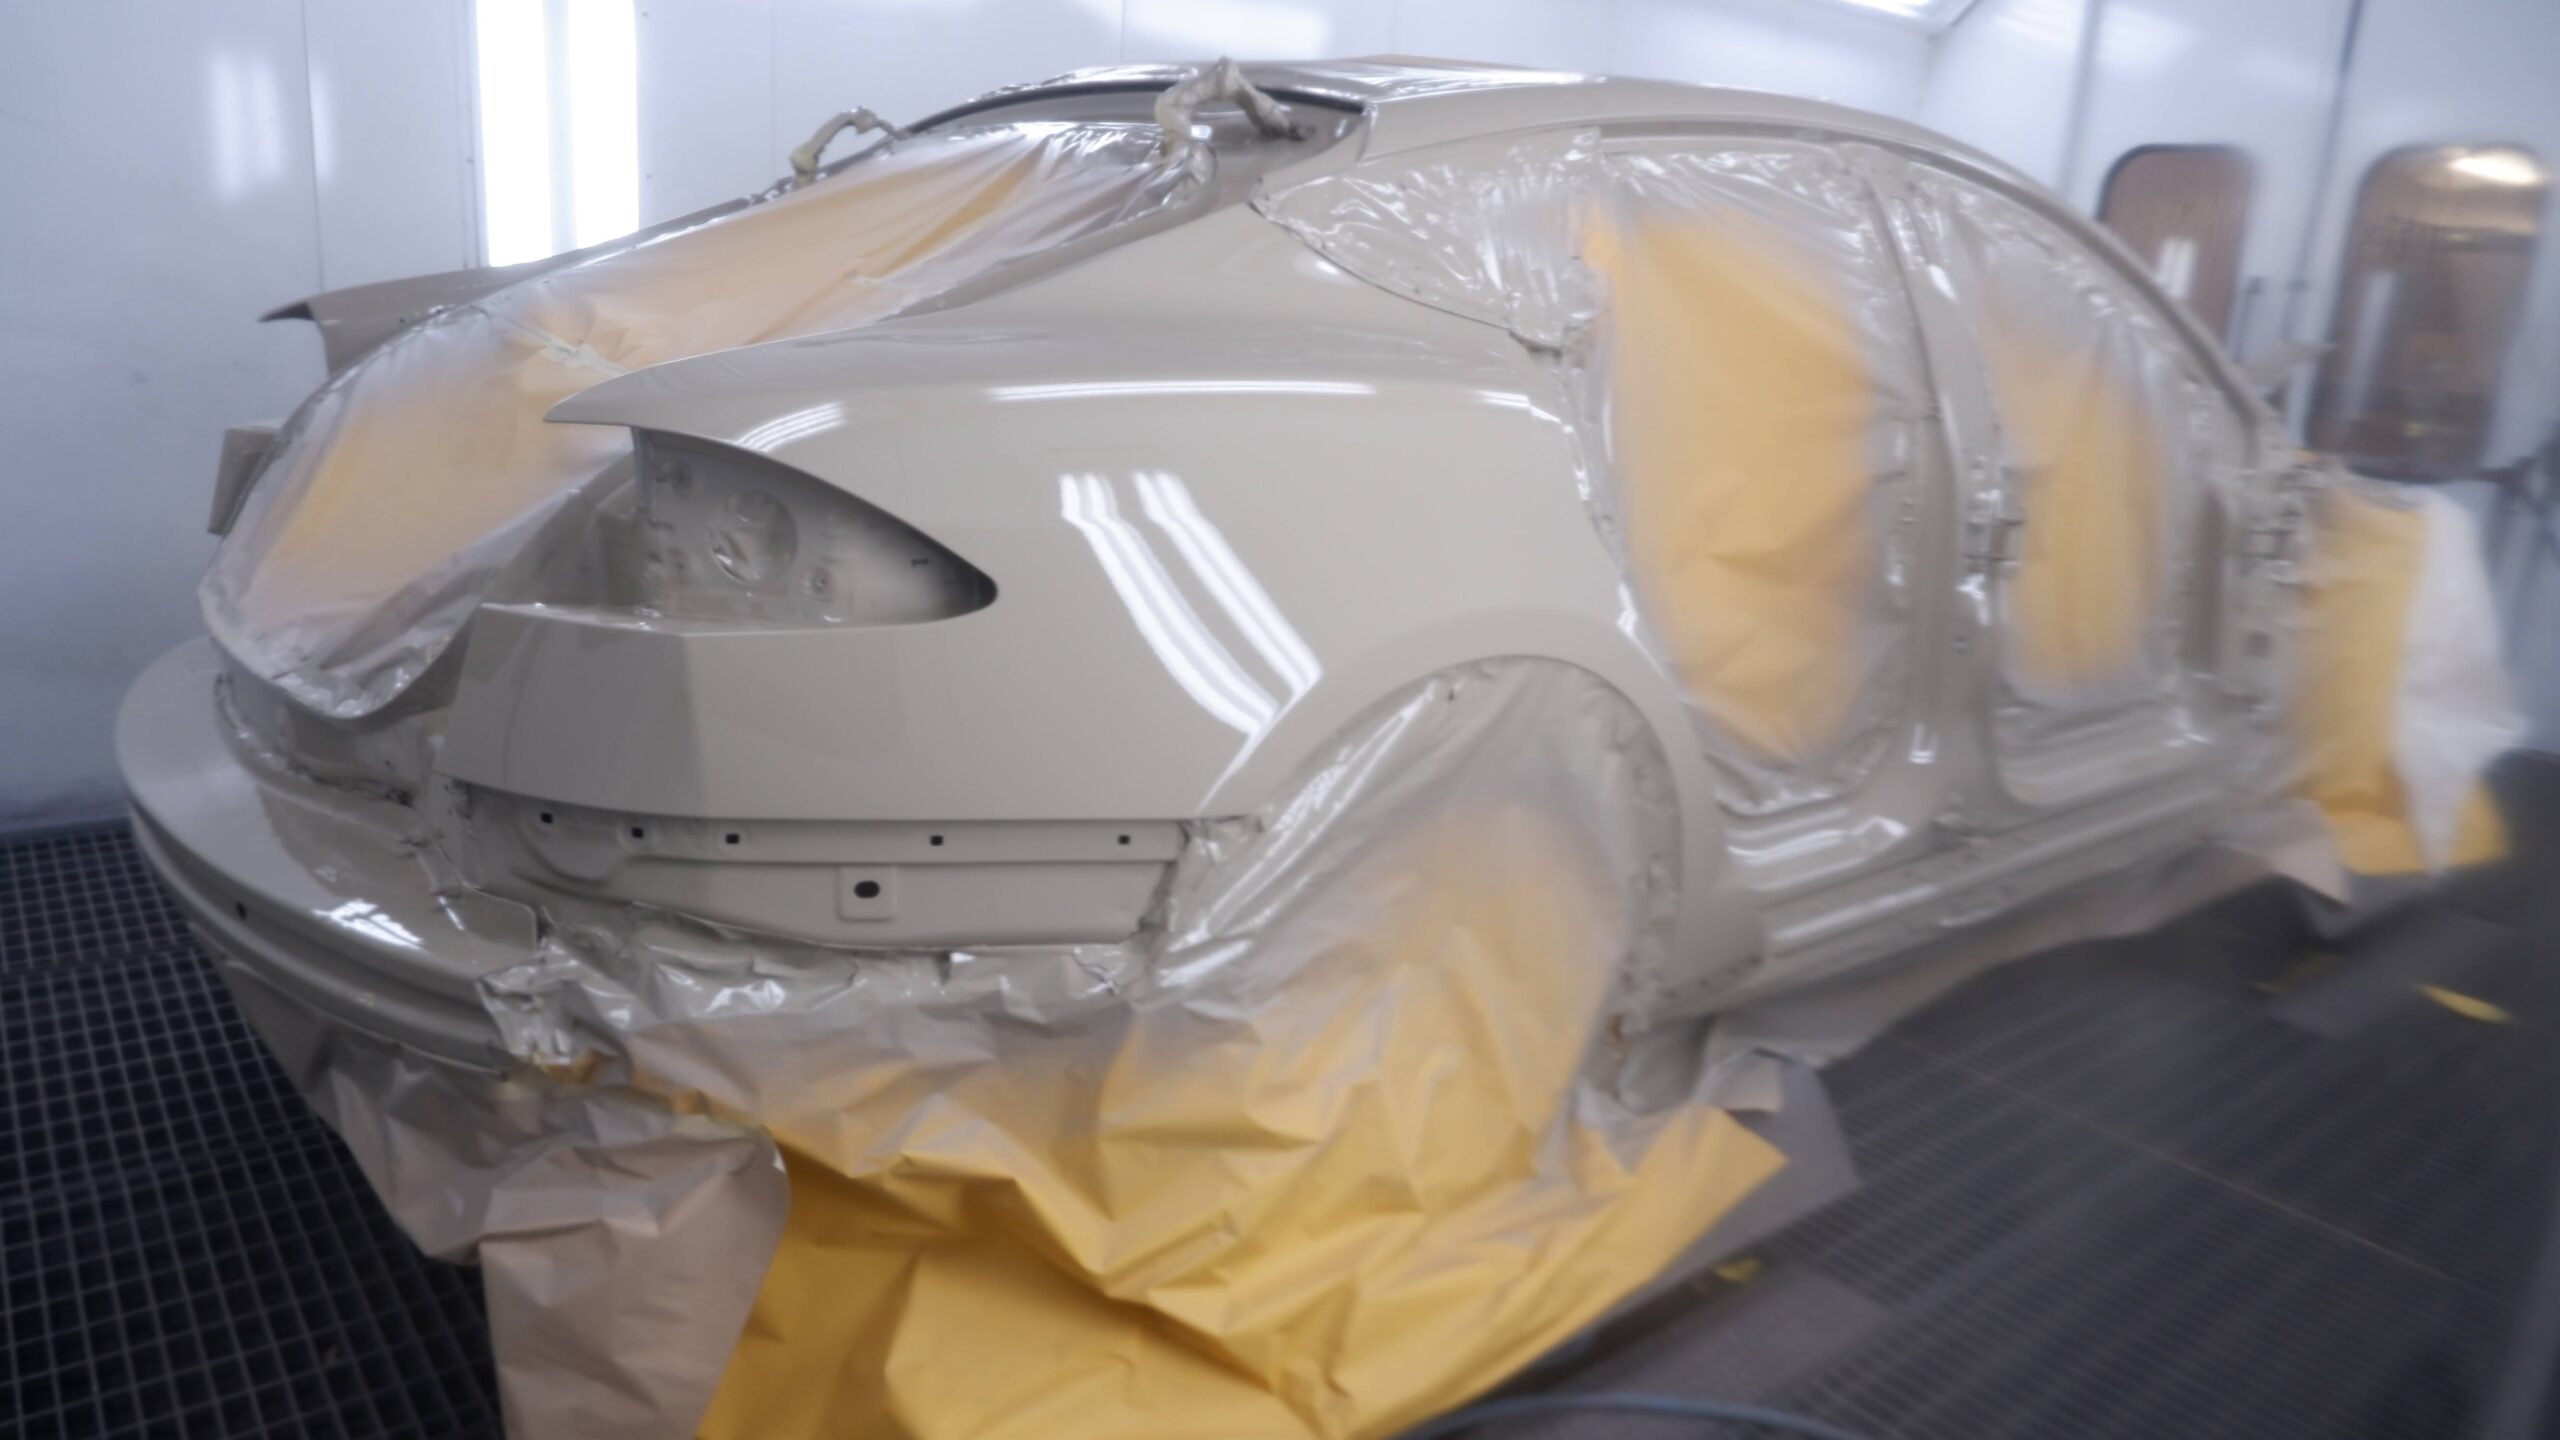
A few days before the car was ready for paint, the painter said that if I really wanted a colour change, now was the time to decide. That got me thinking: with half the car being painted anyway, surely stripping the rest was only a small extra job? I've never liked black, because it nearly always looks dirty. So the strip-down began: doors, tailgate, chrome roof-side trims and the rest.
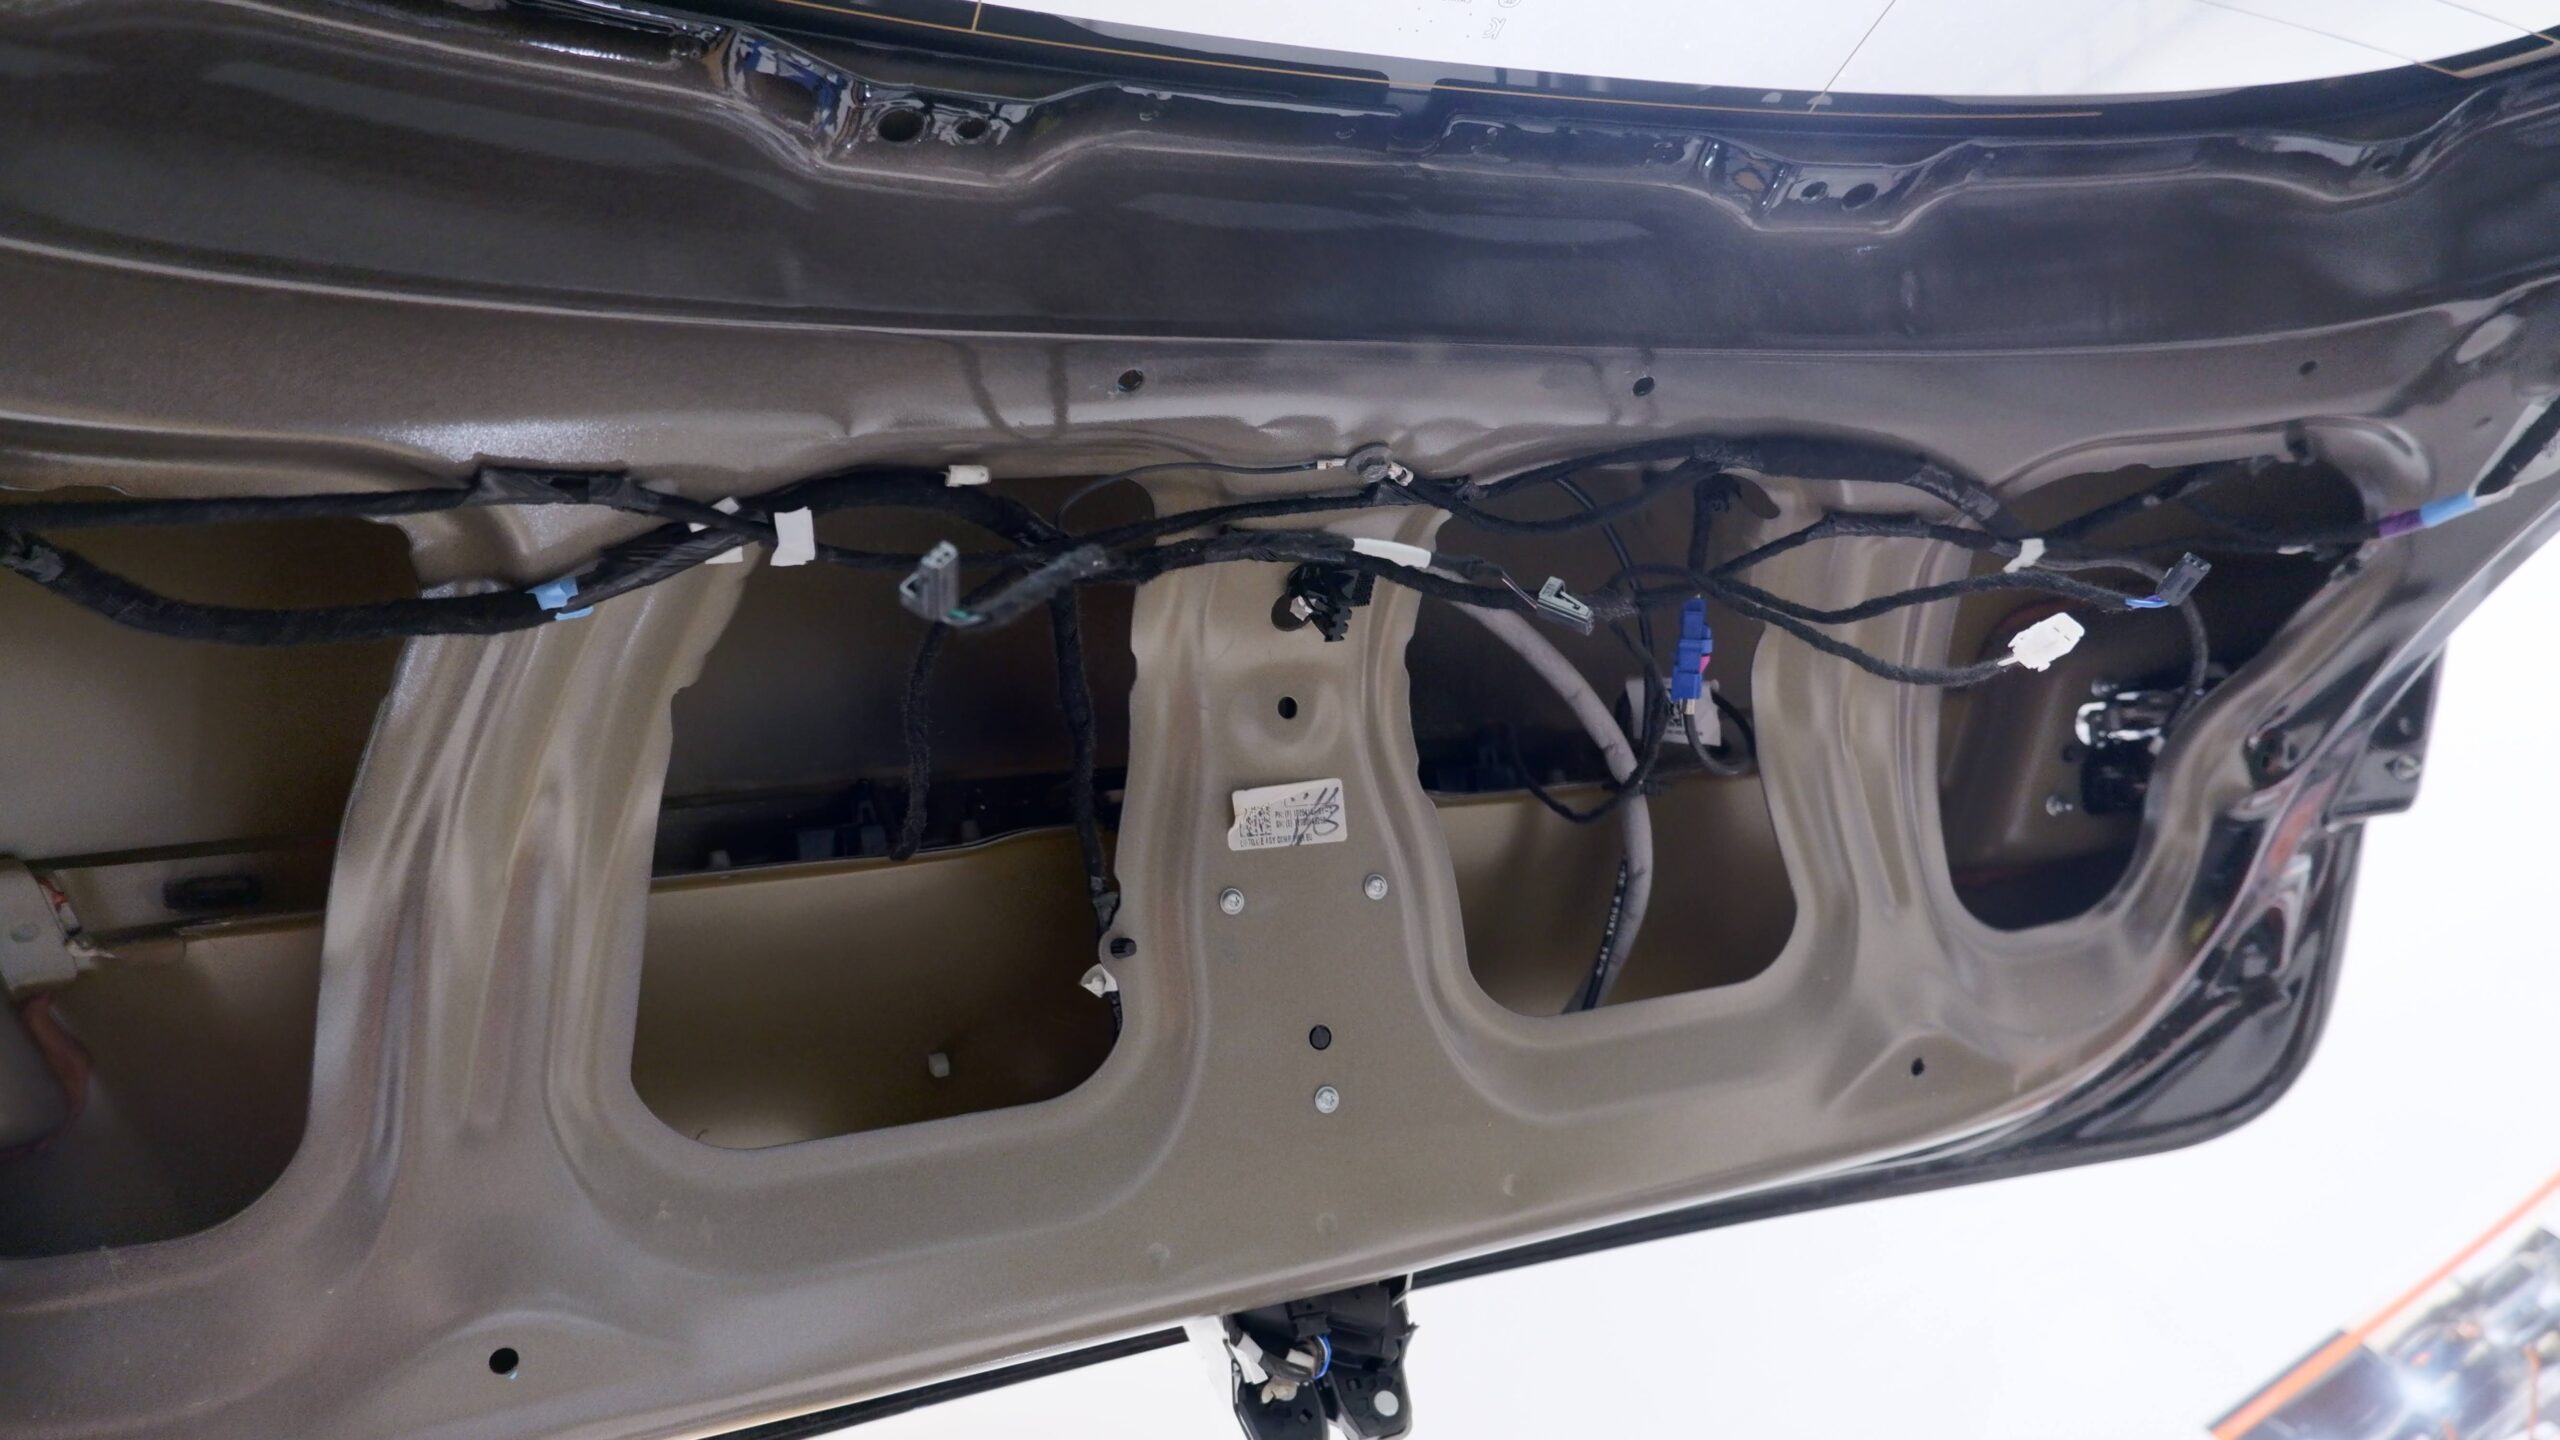
A reference photo of the tailgate wiring.
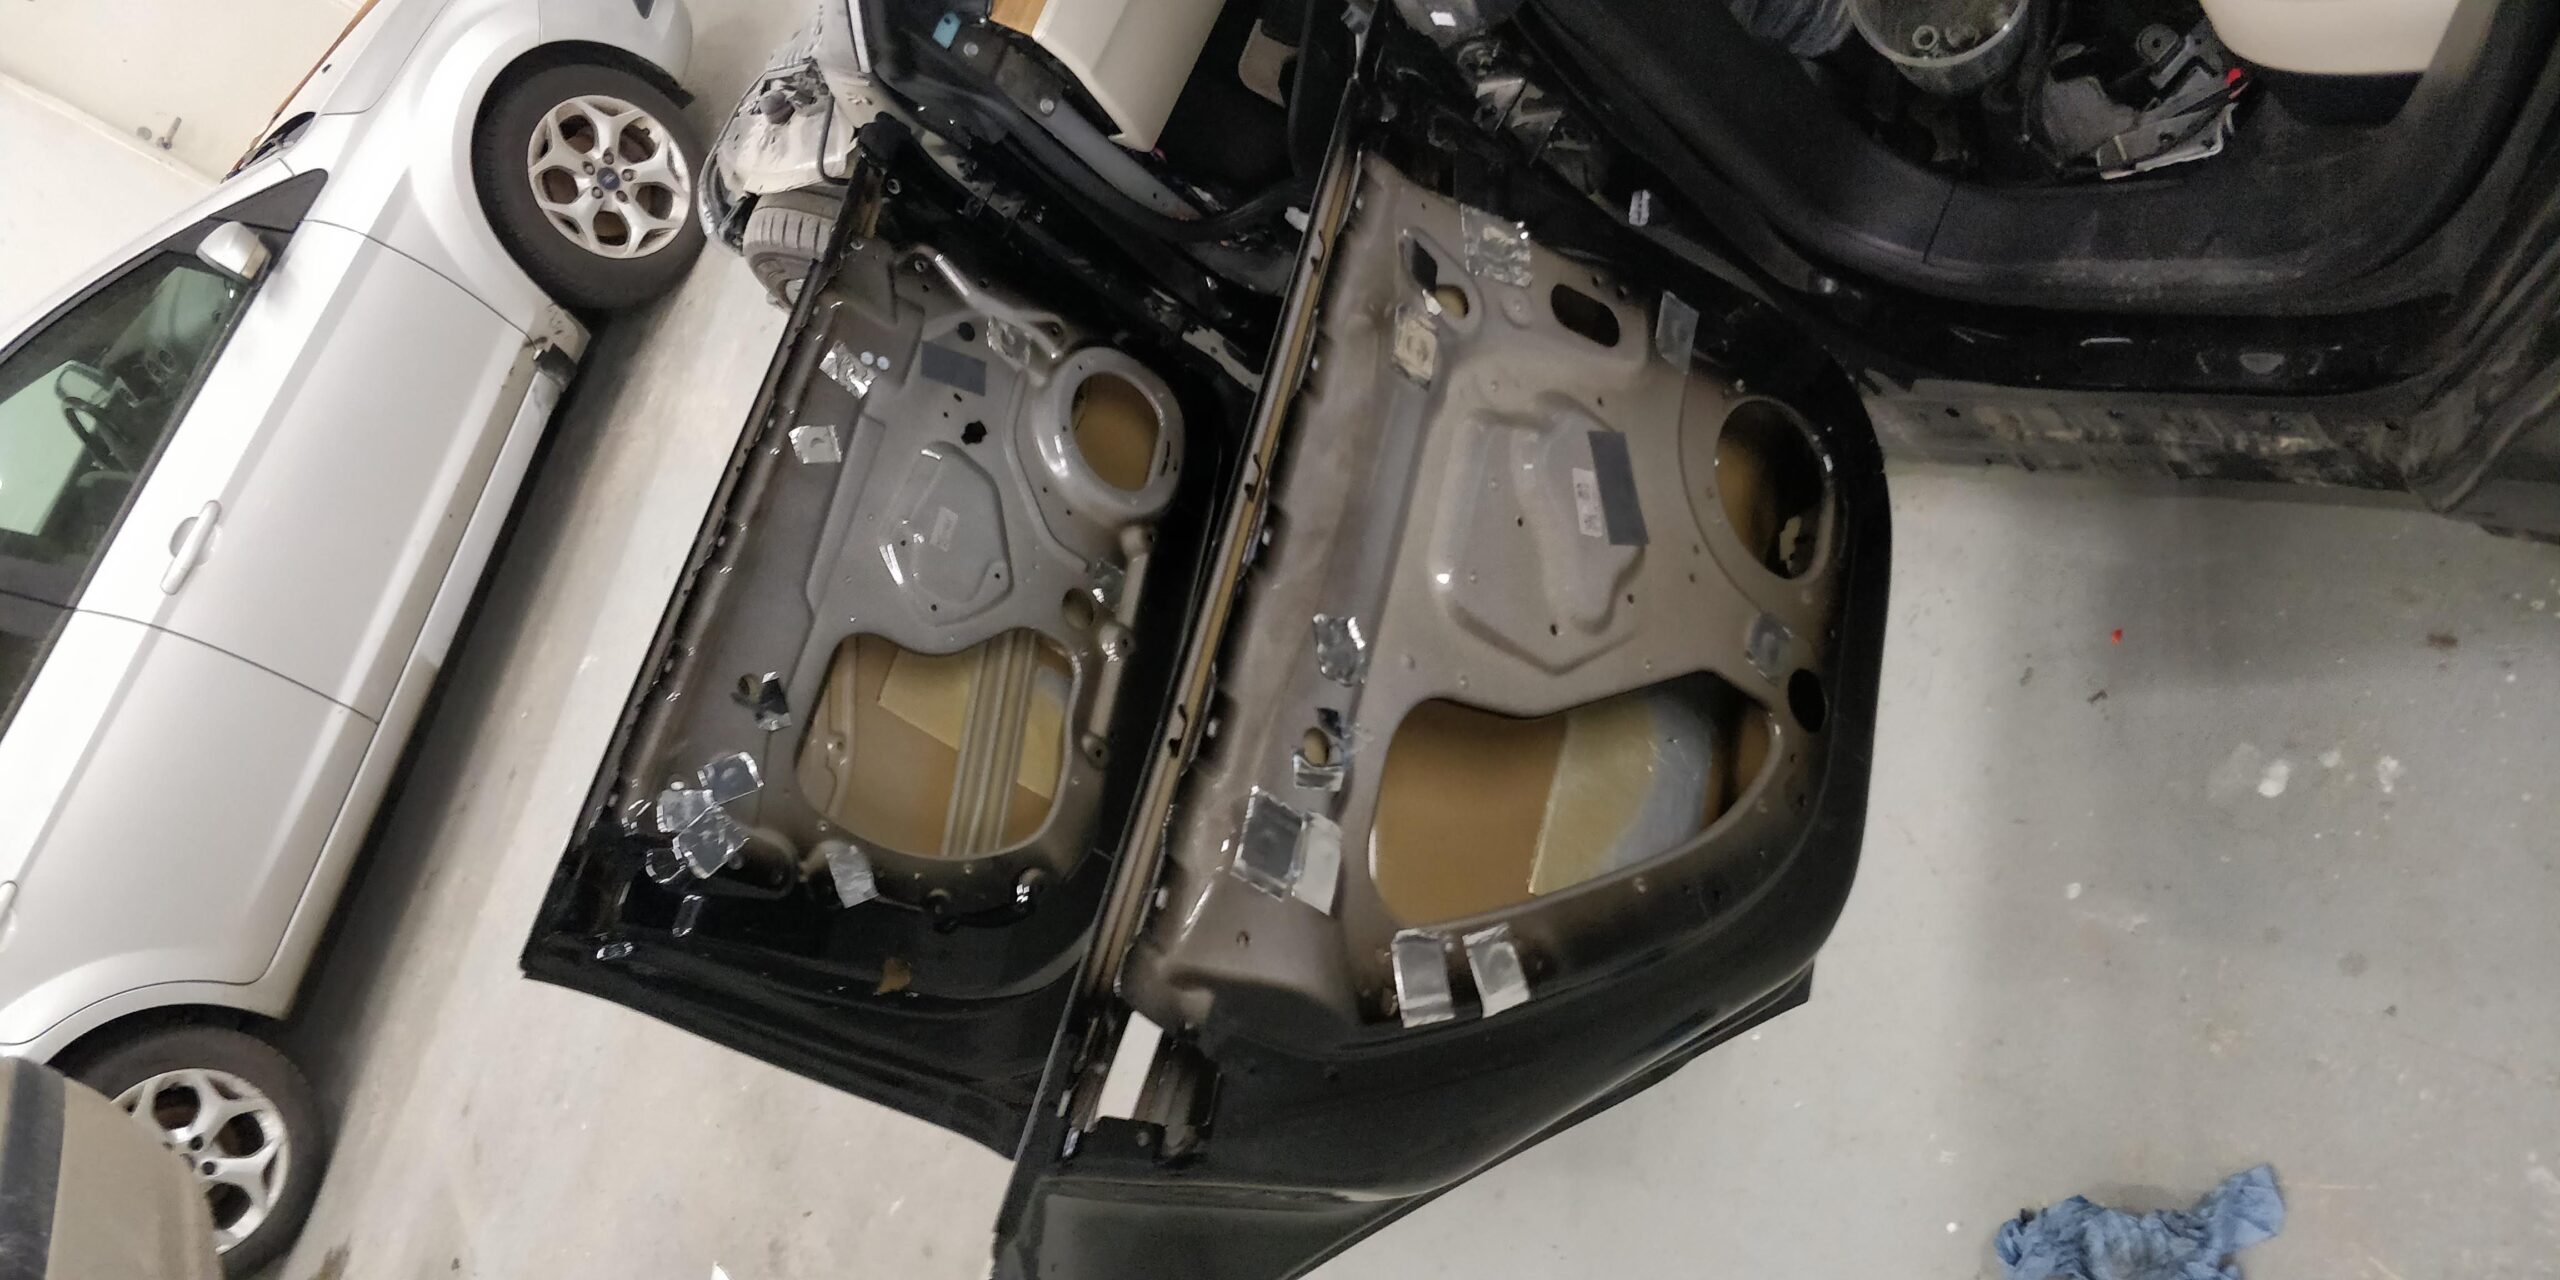
Doors stripped.
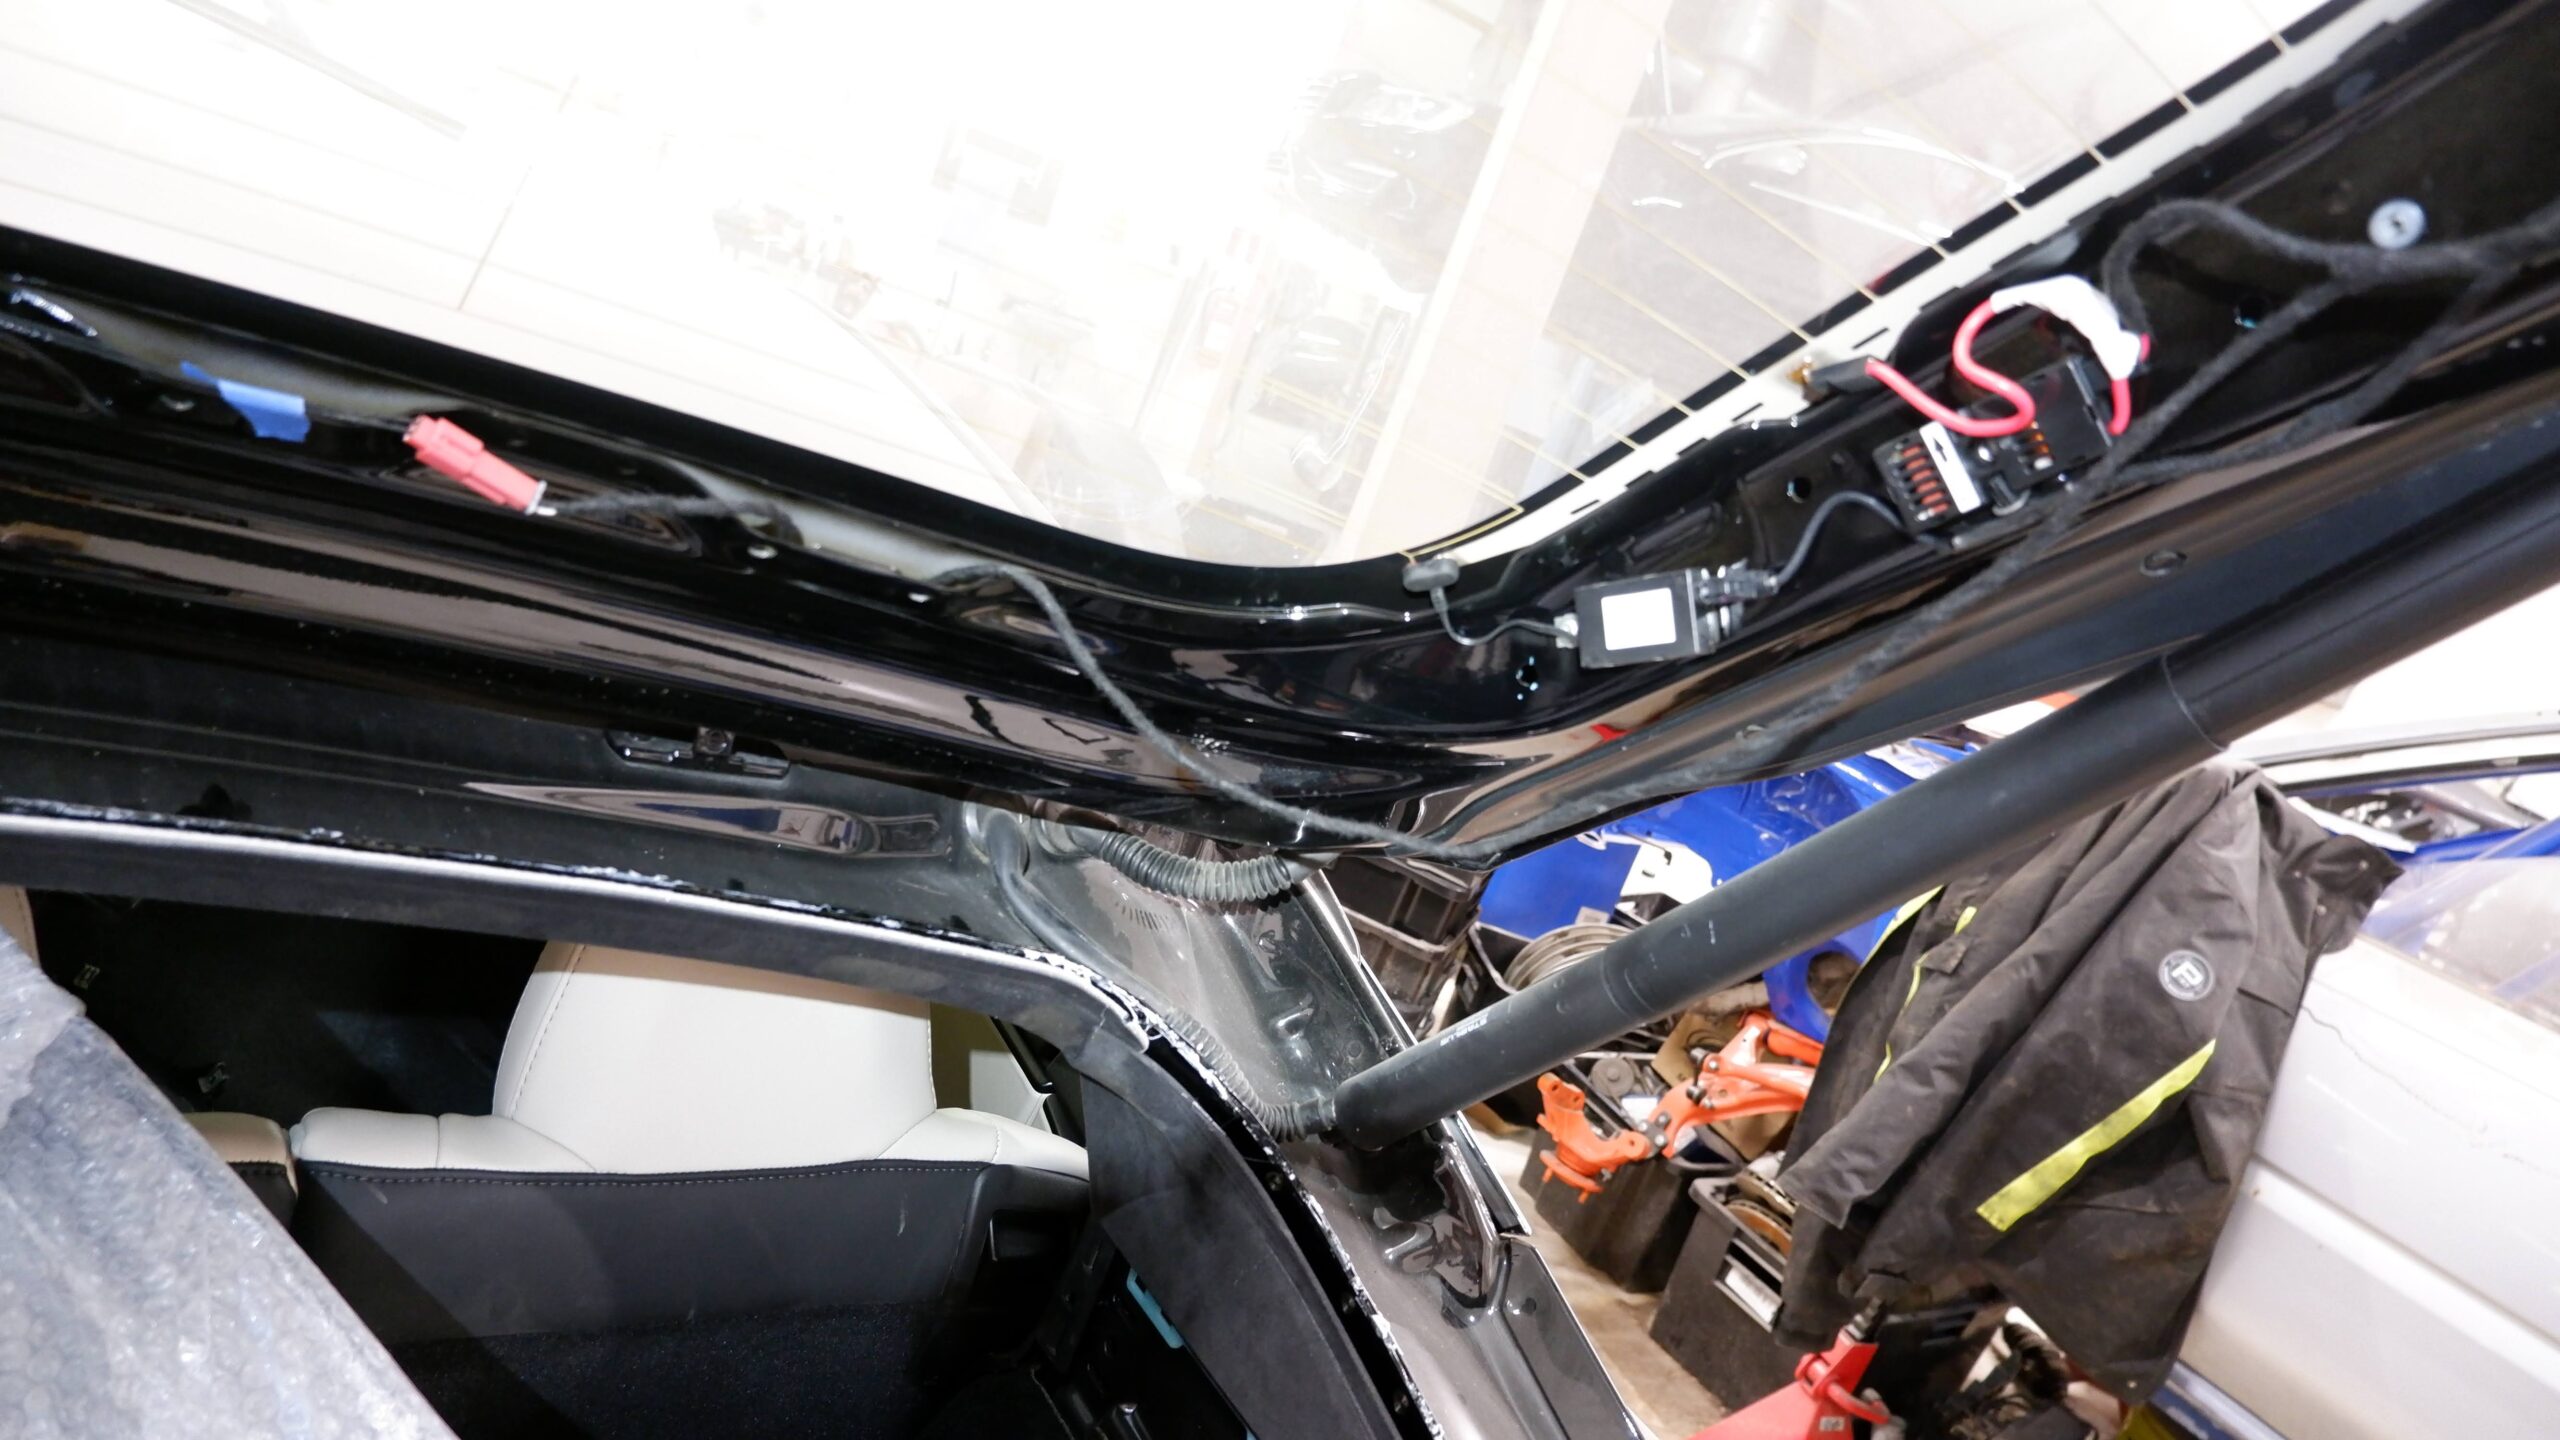
Another photo to remind me where the wiring goes.
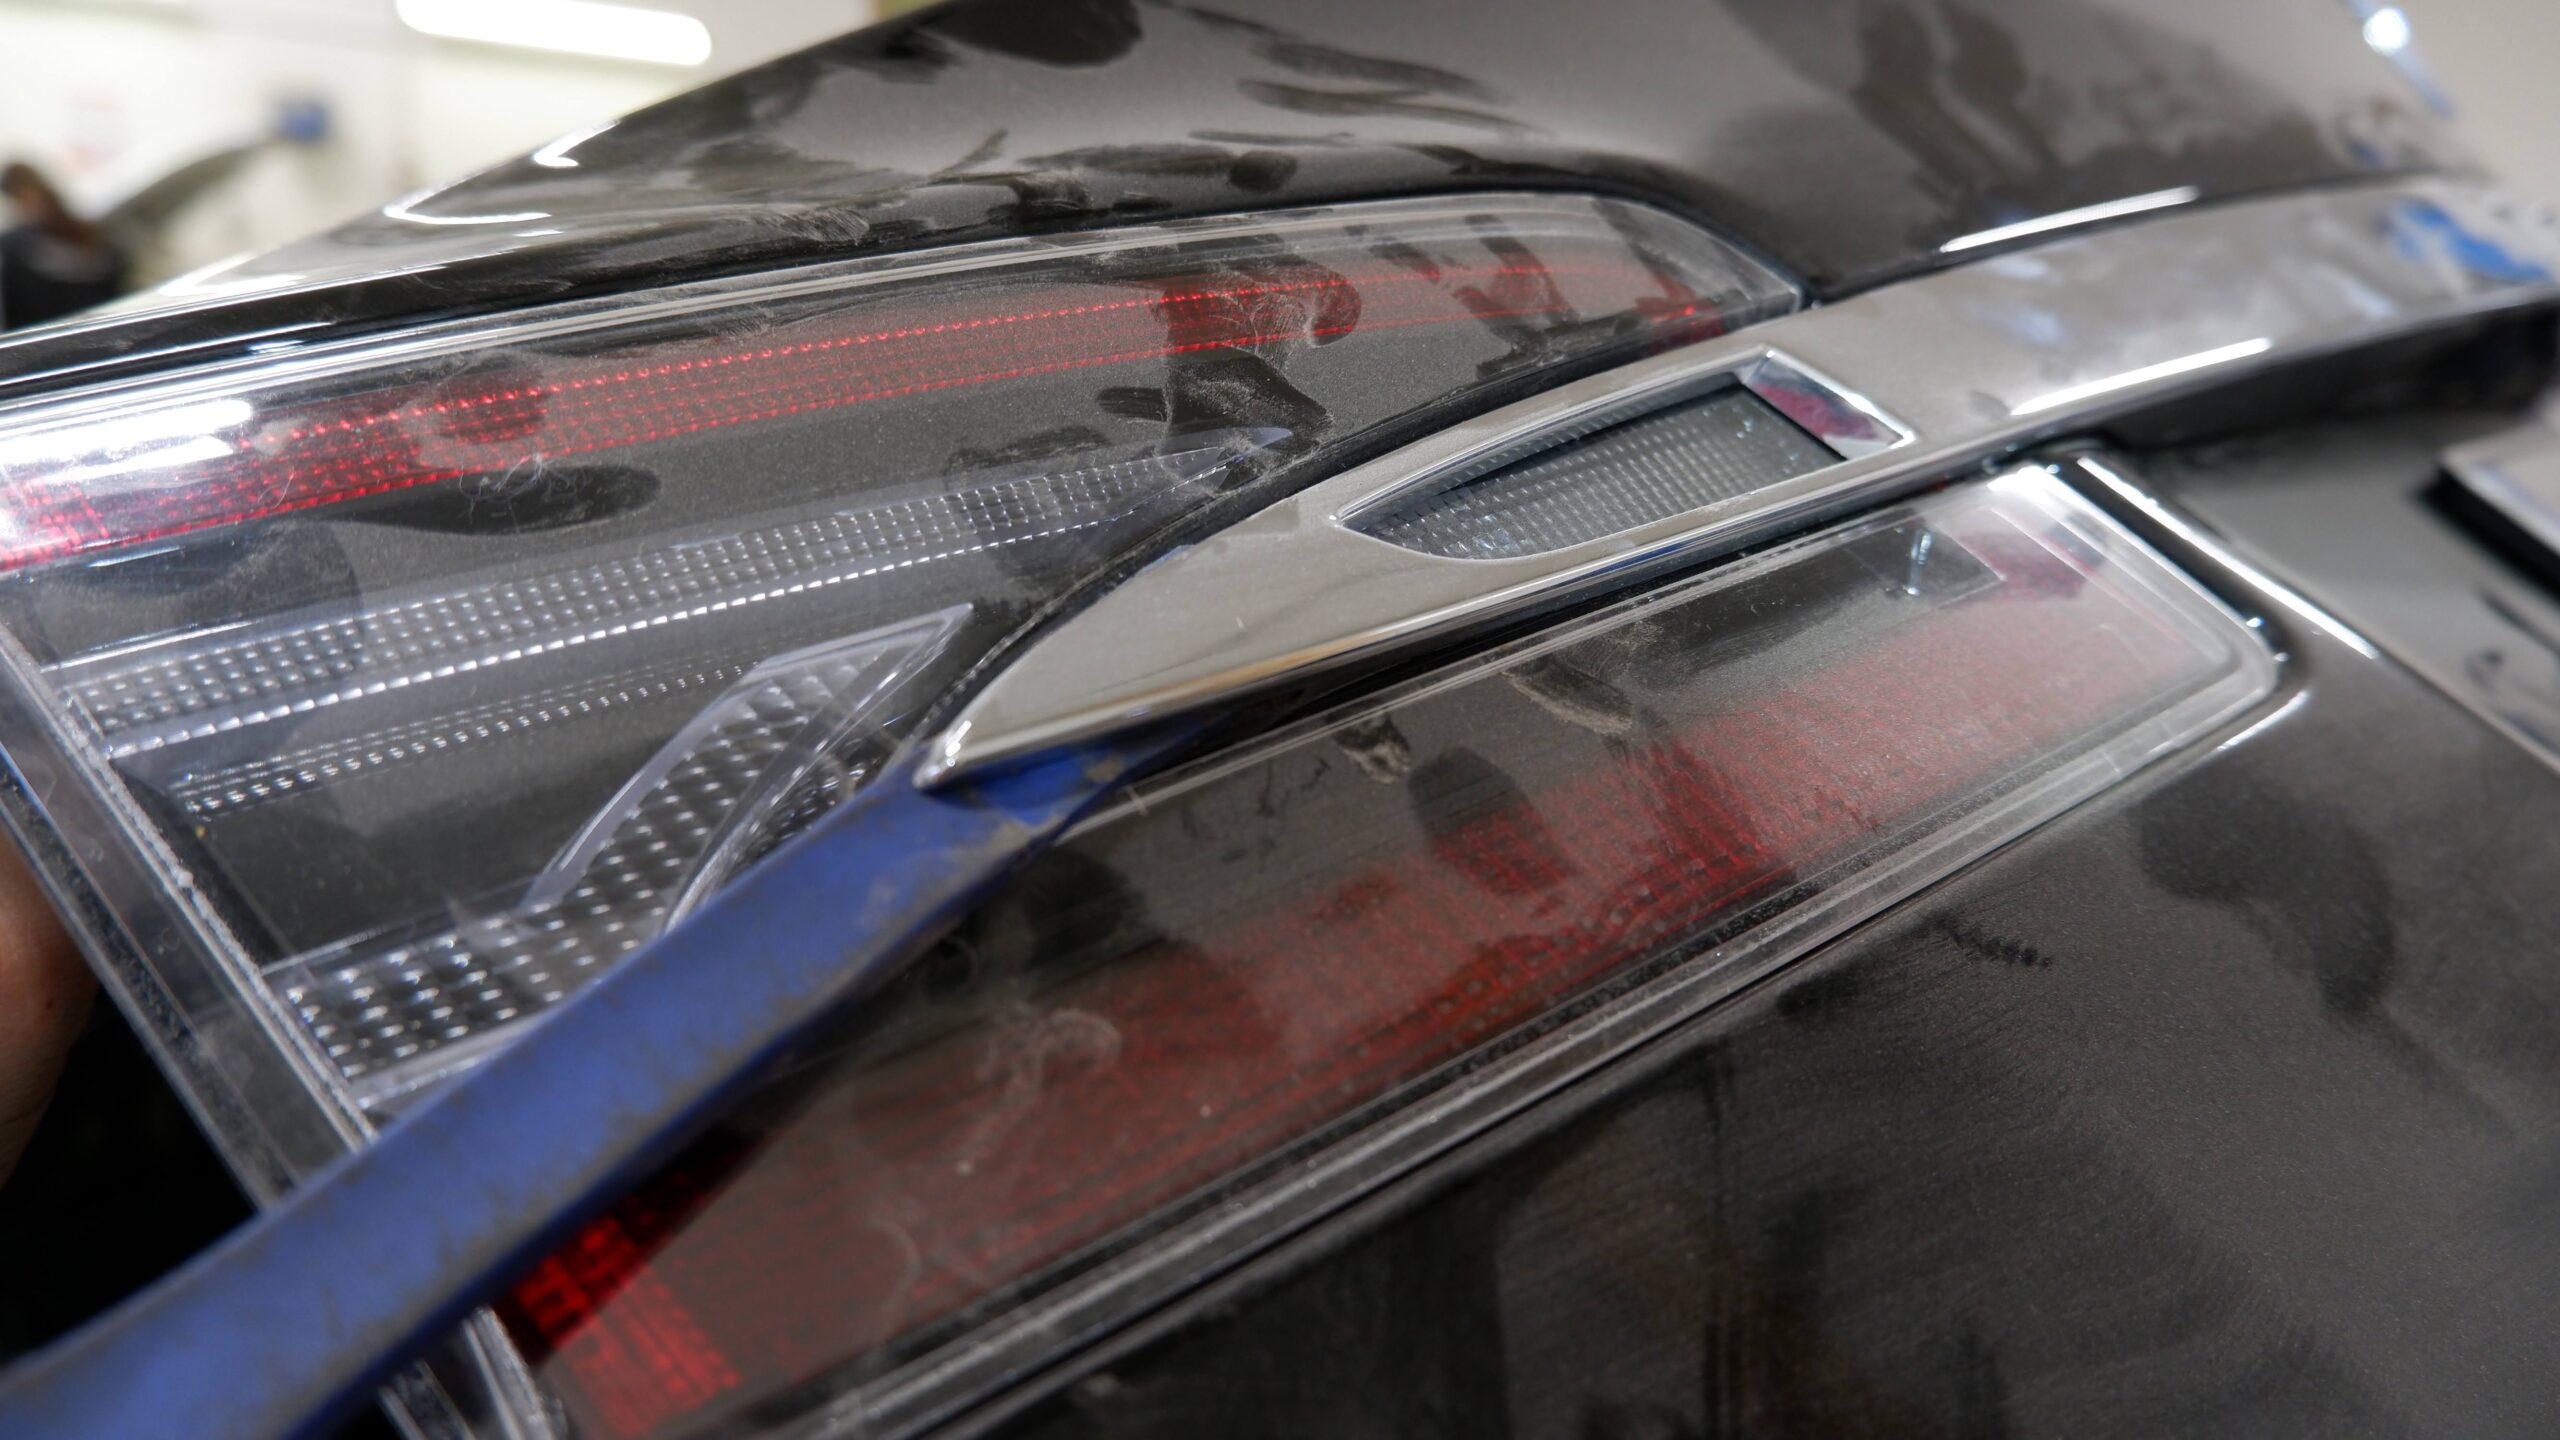
The chrome strip on the tailgate is taped to the rear-light unit.
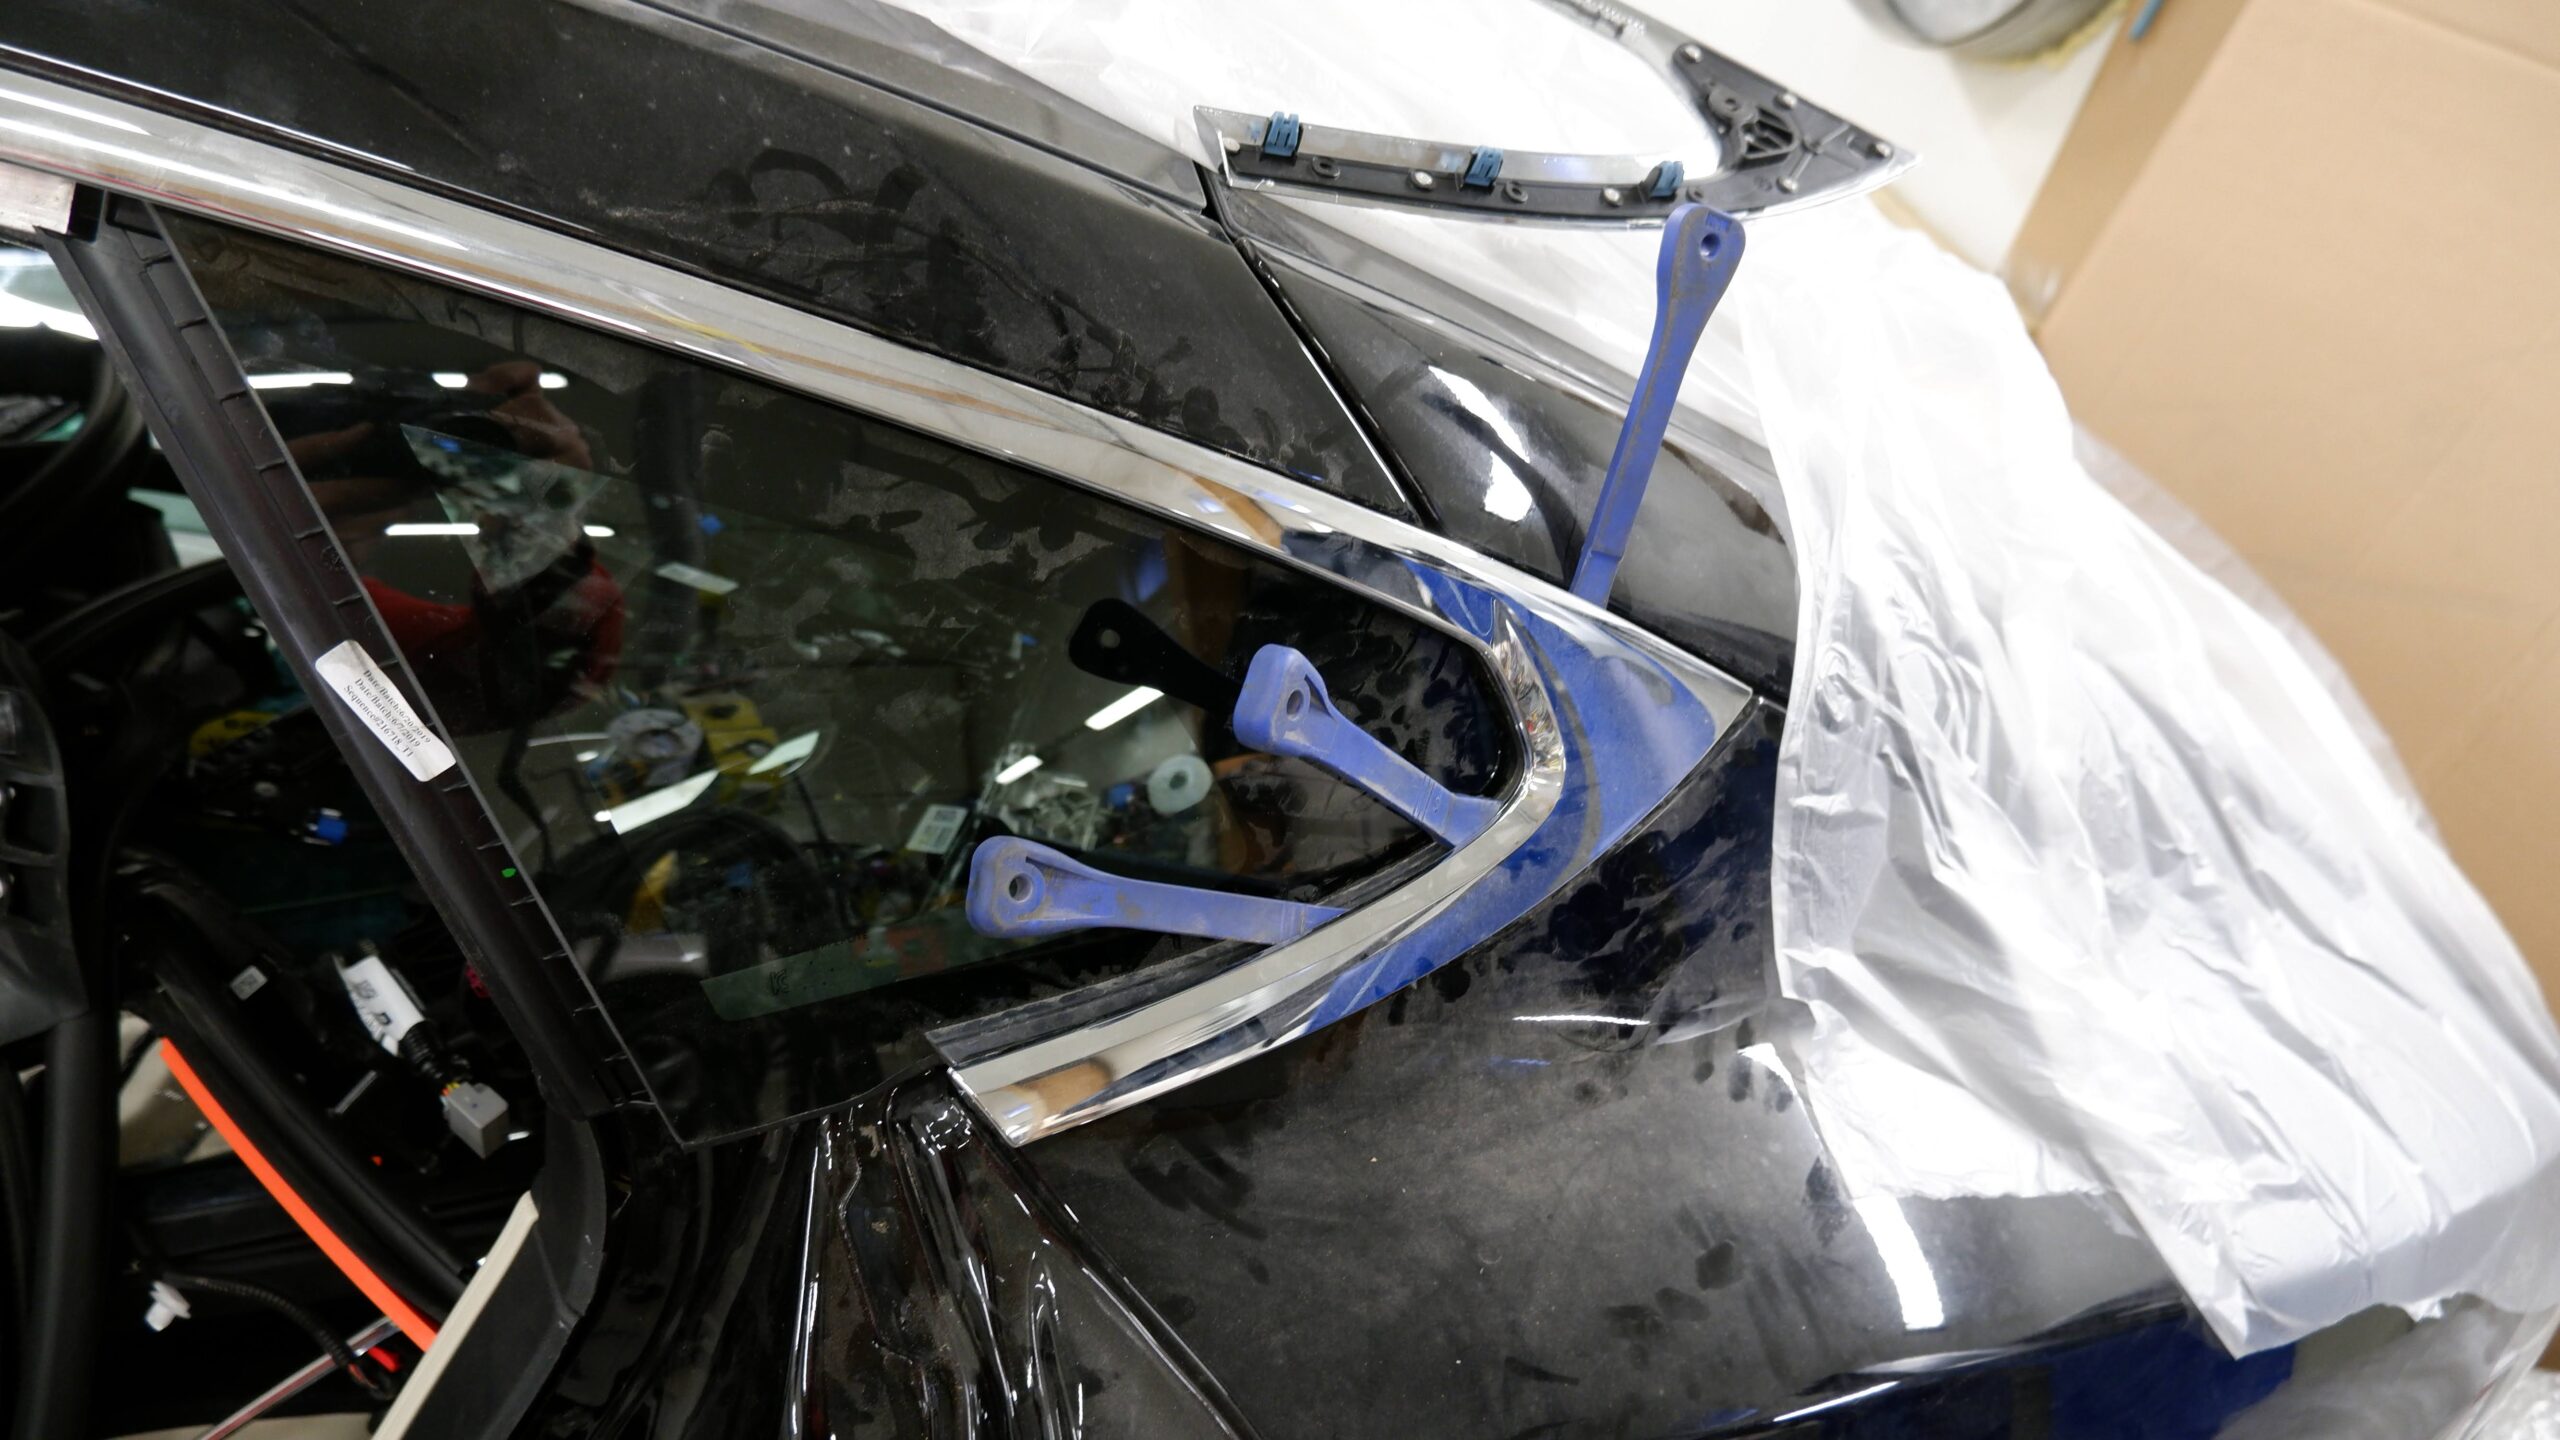
The chrome trim along the side of the roof is also glued at the rear…
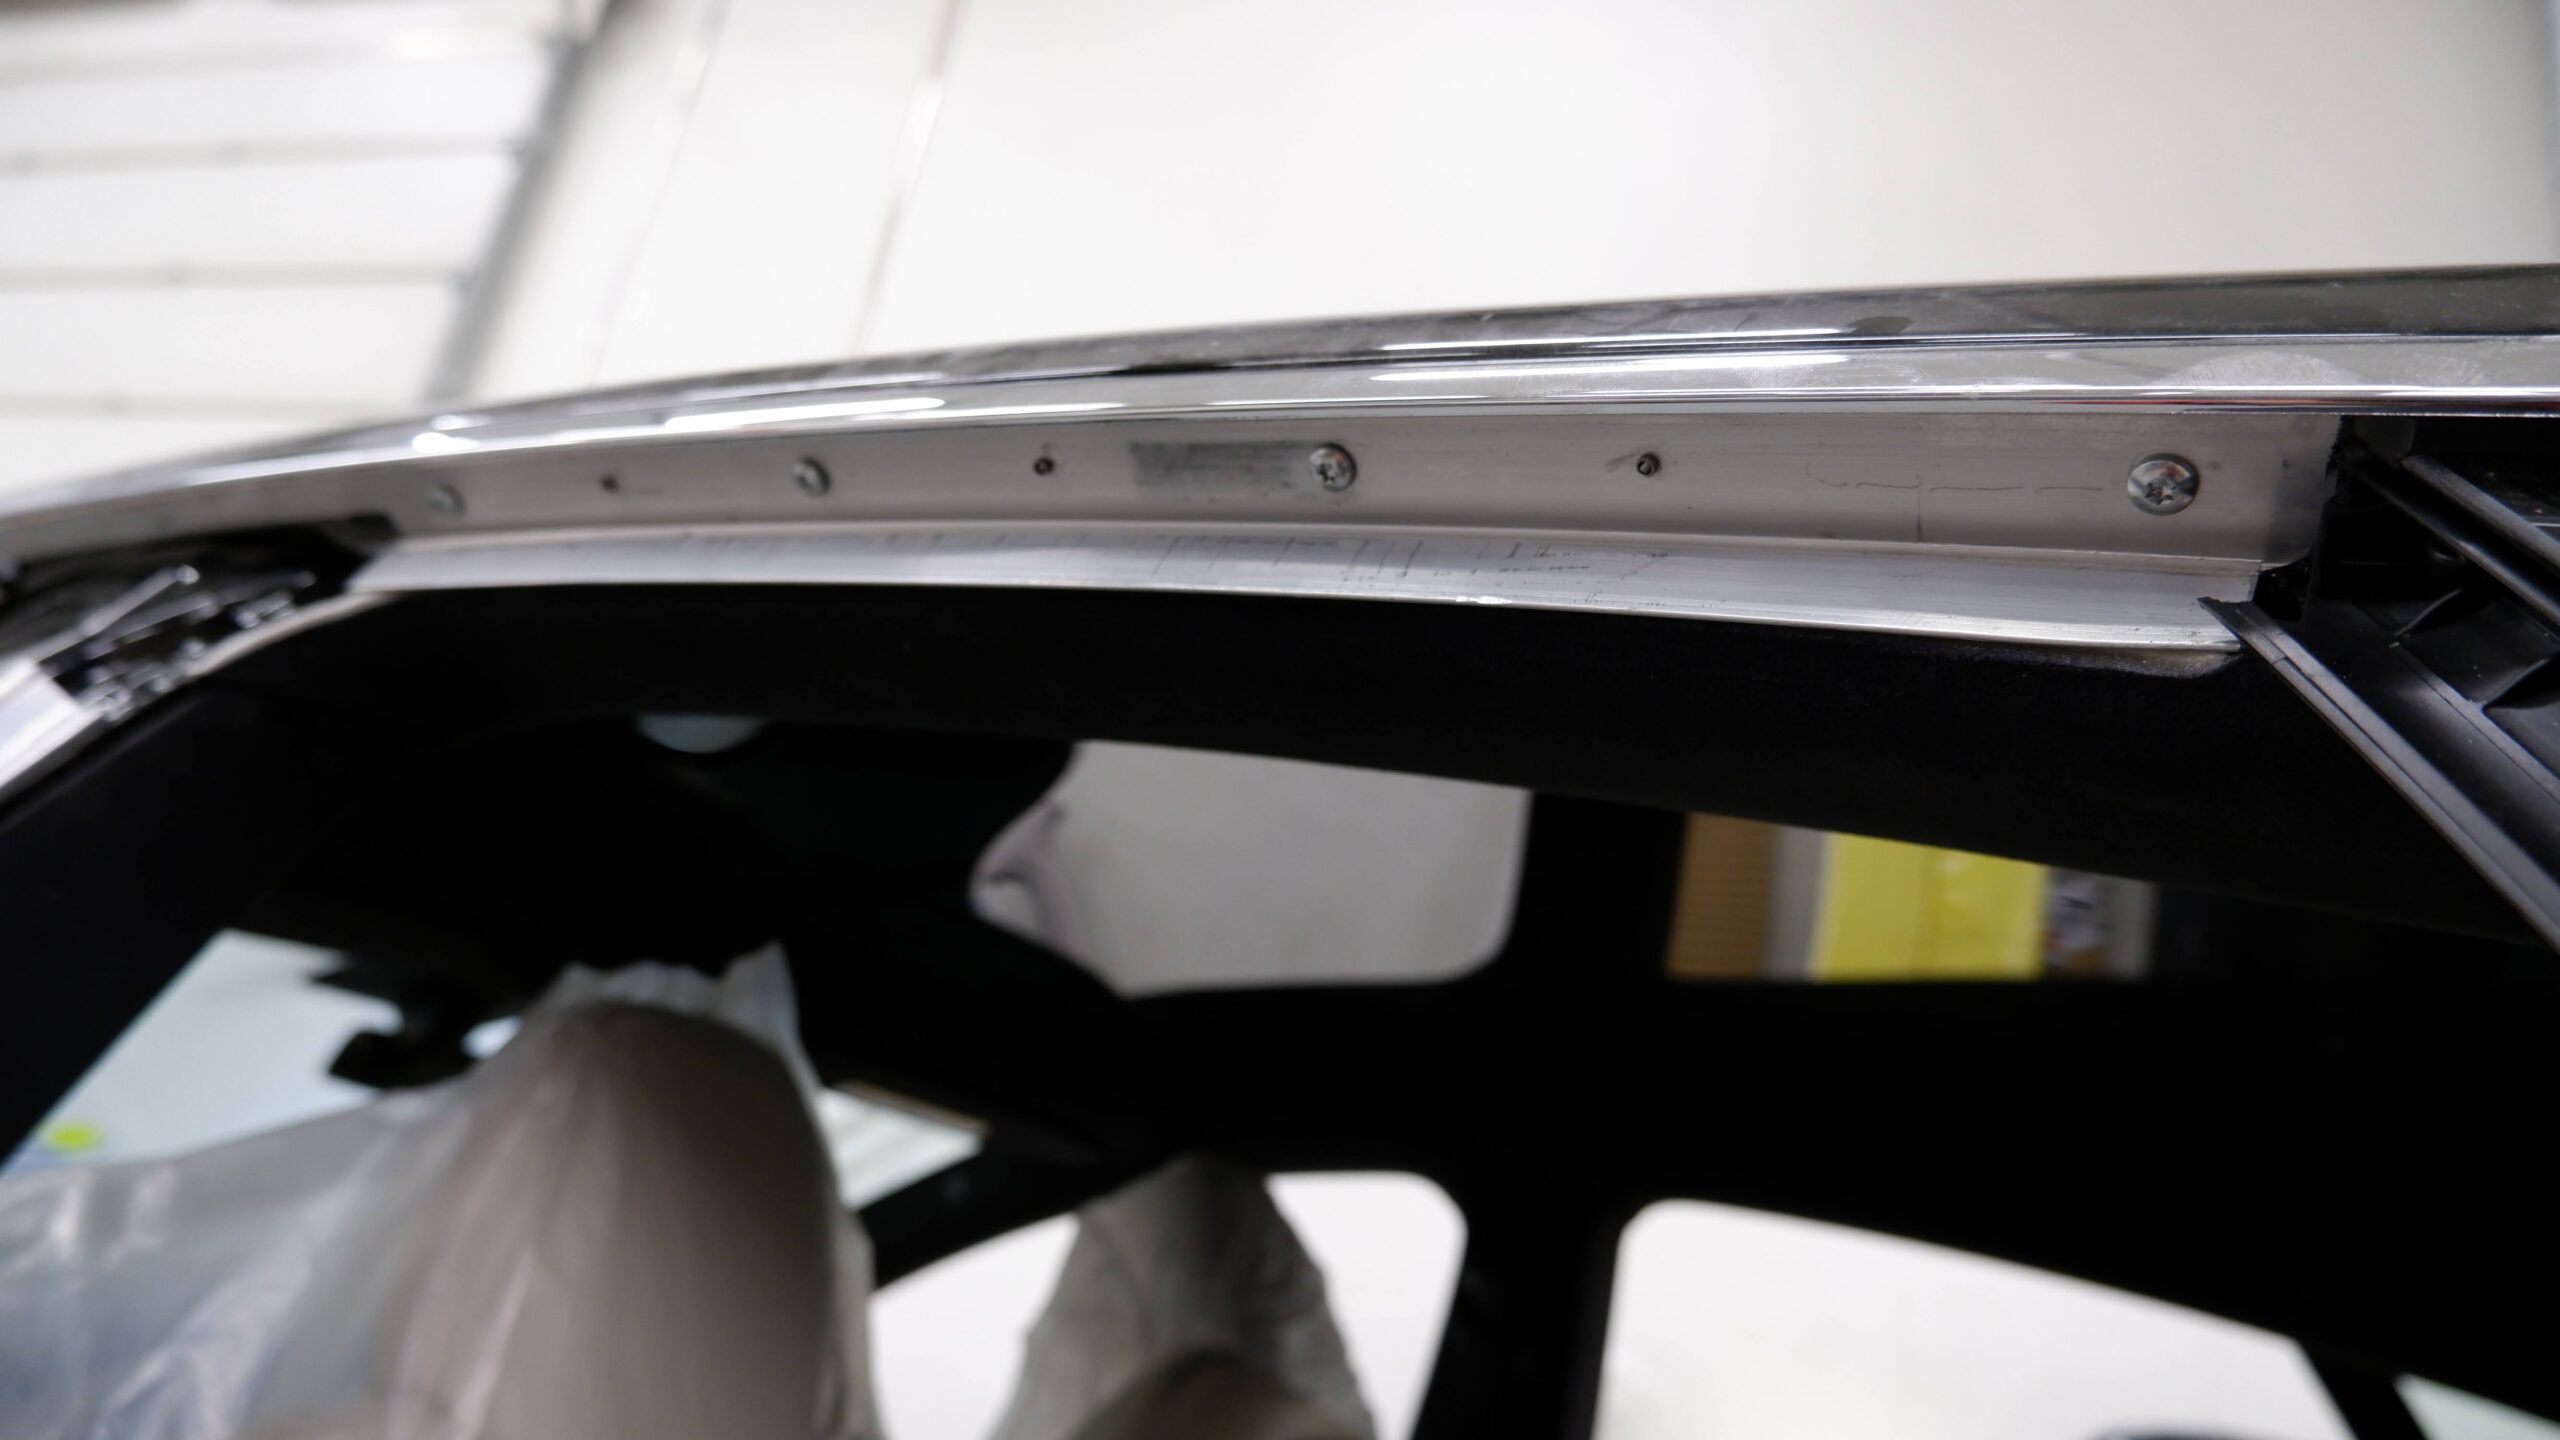
…and screwed in place.
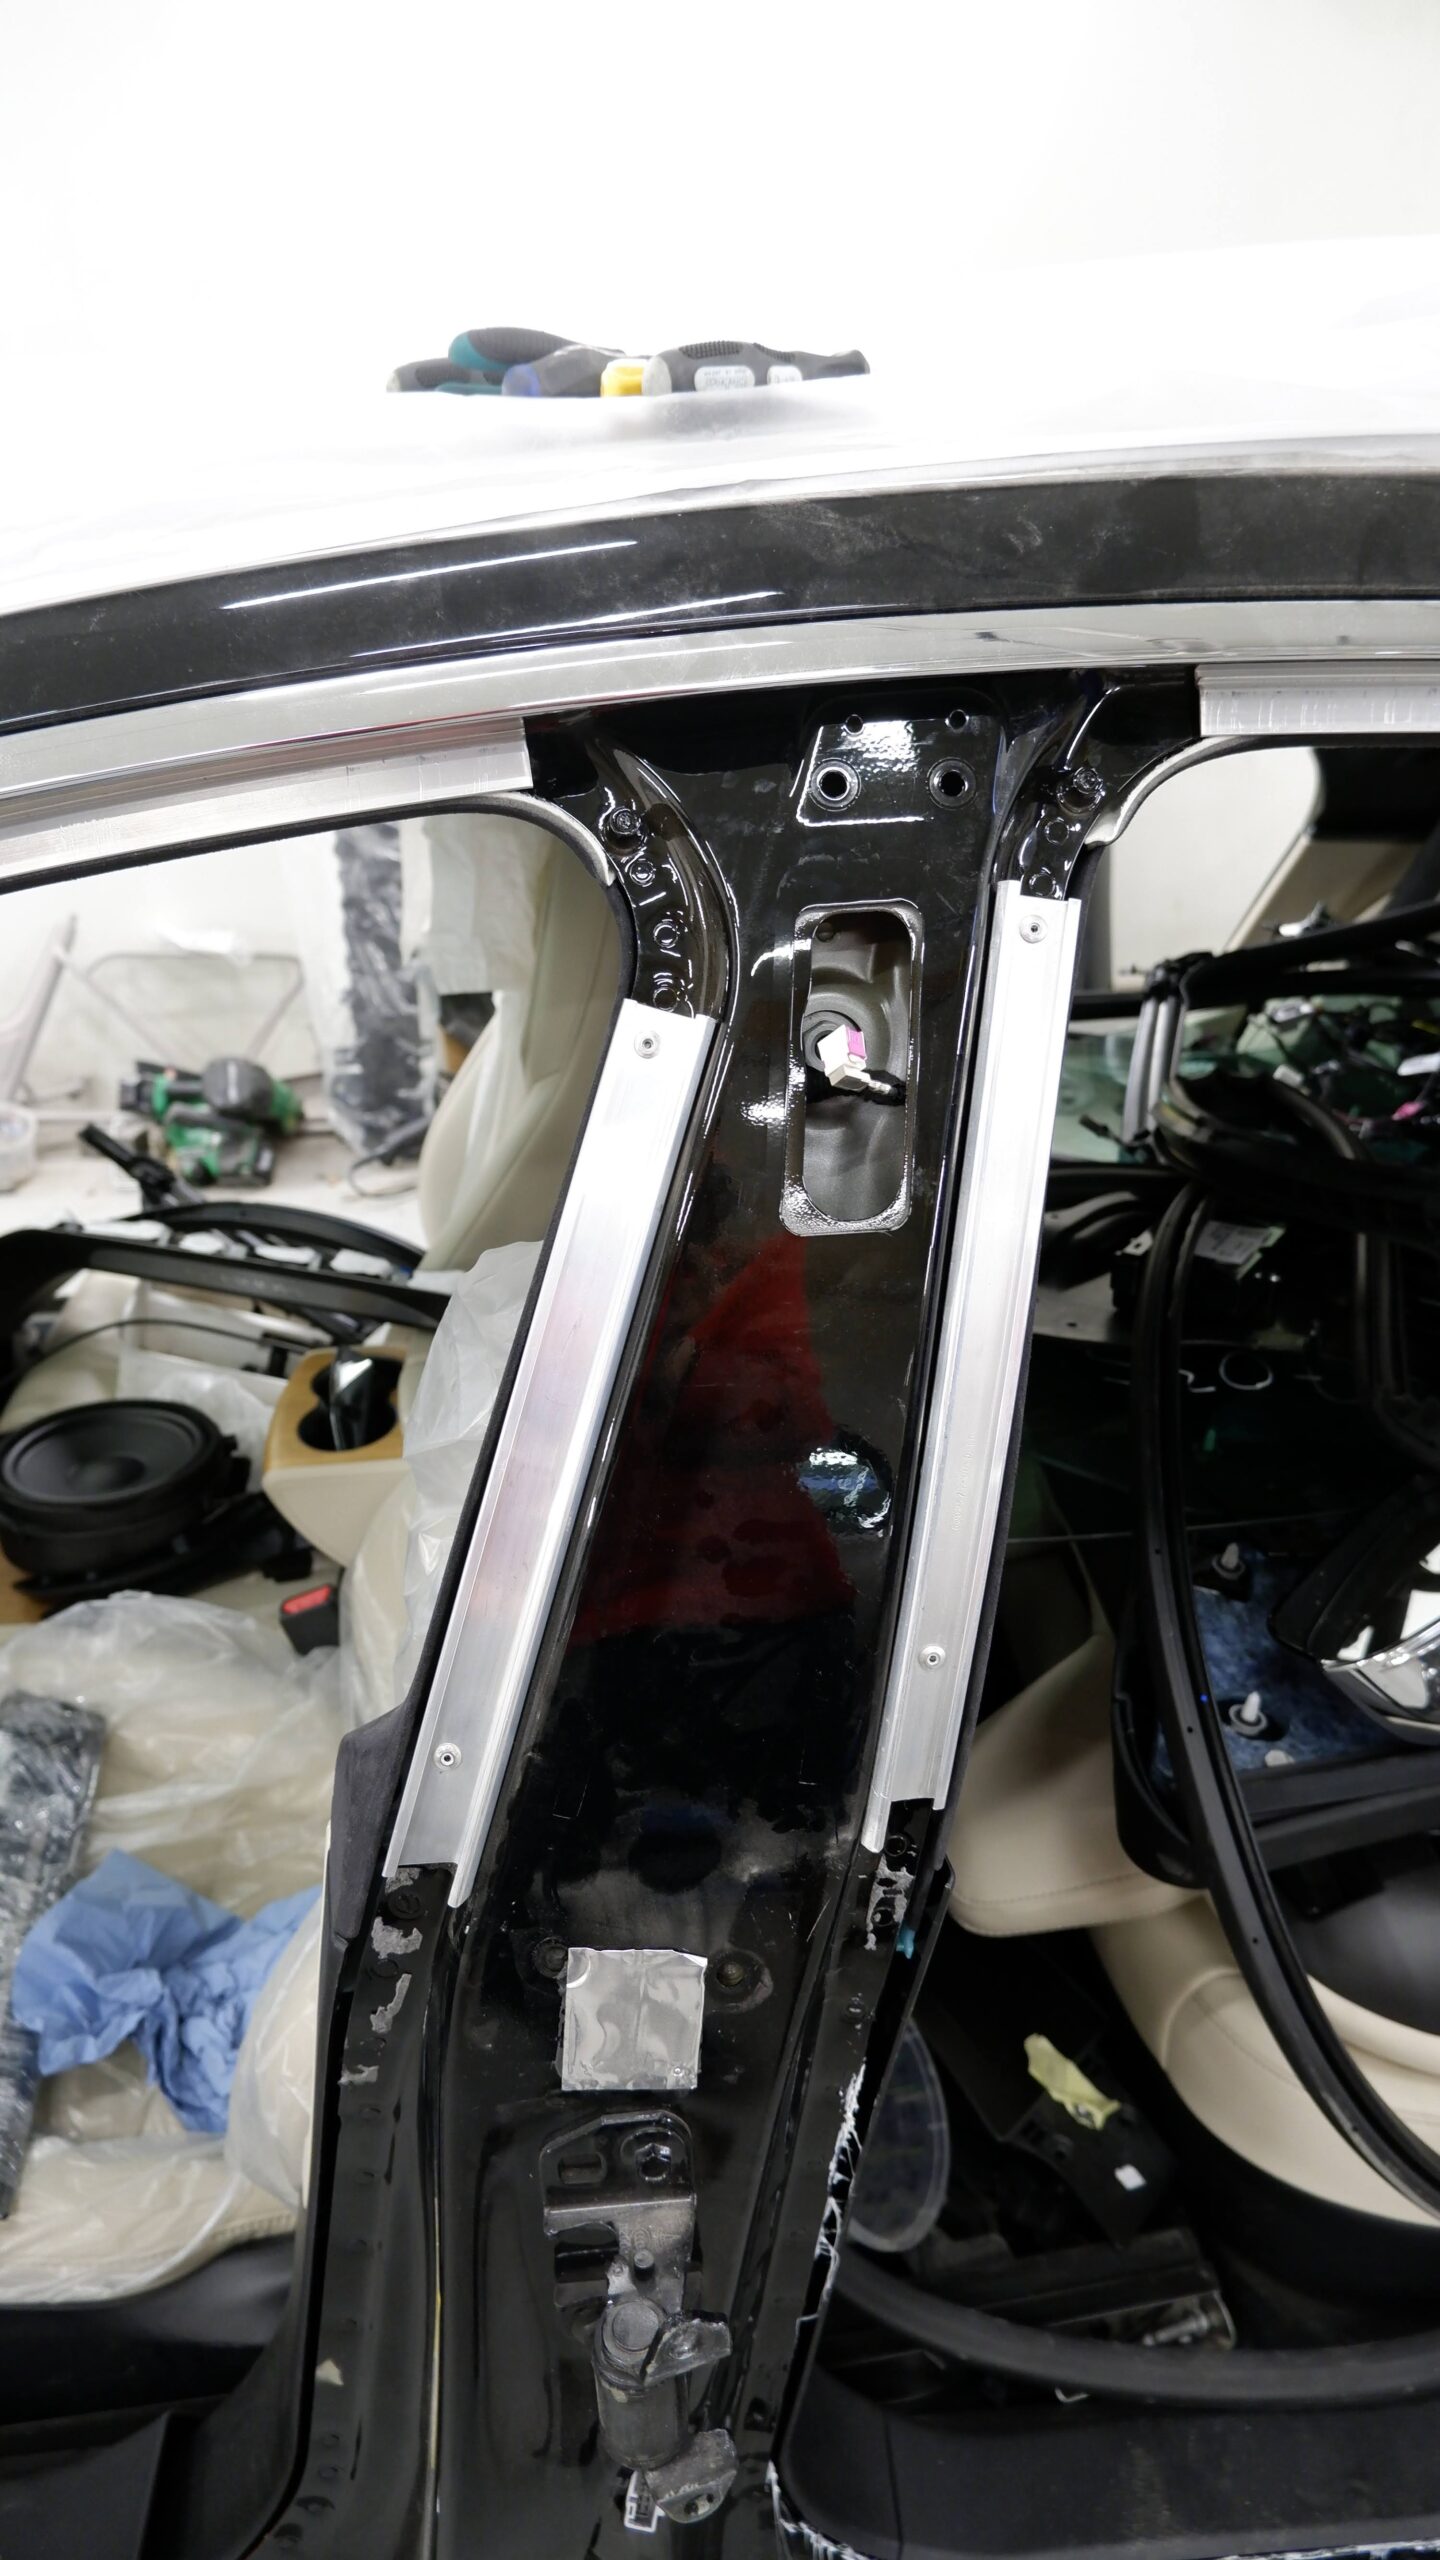
The glass panel on the B-pillar, with its camera, is held on with double-sided tape as well as a few screws.
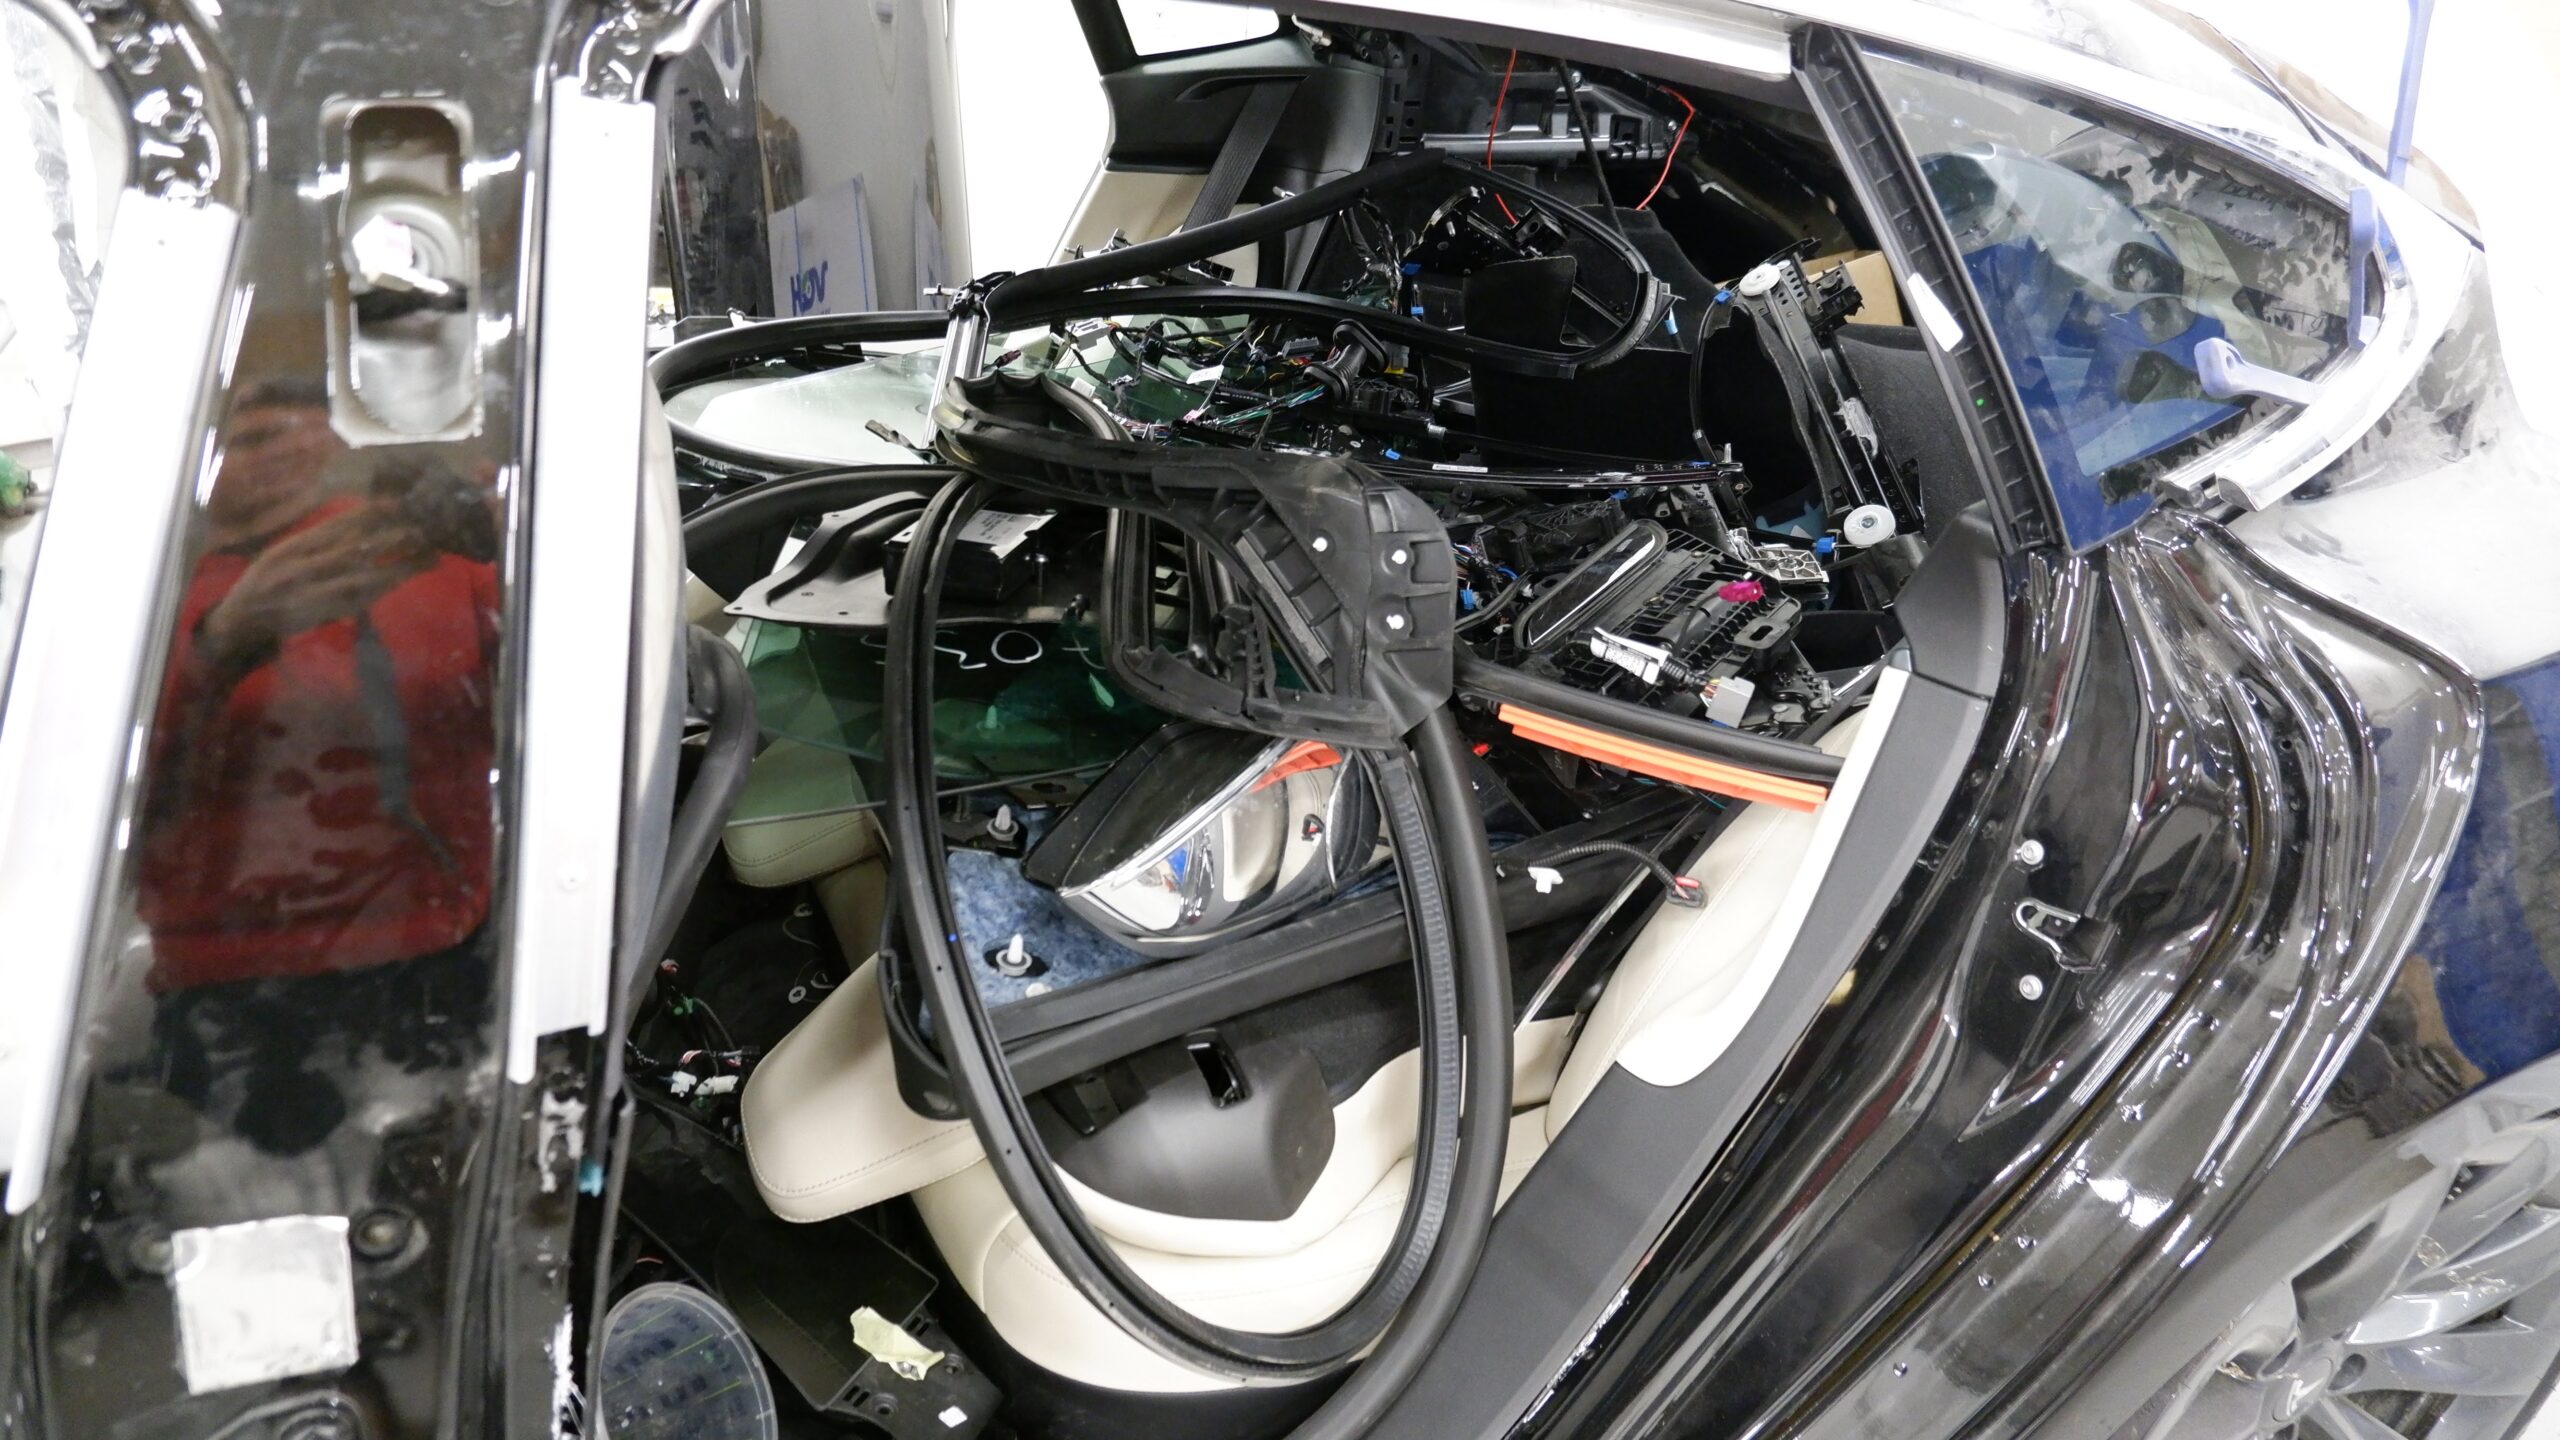
All the bits we took off were stored inside the car.
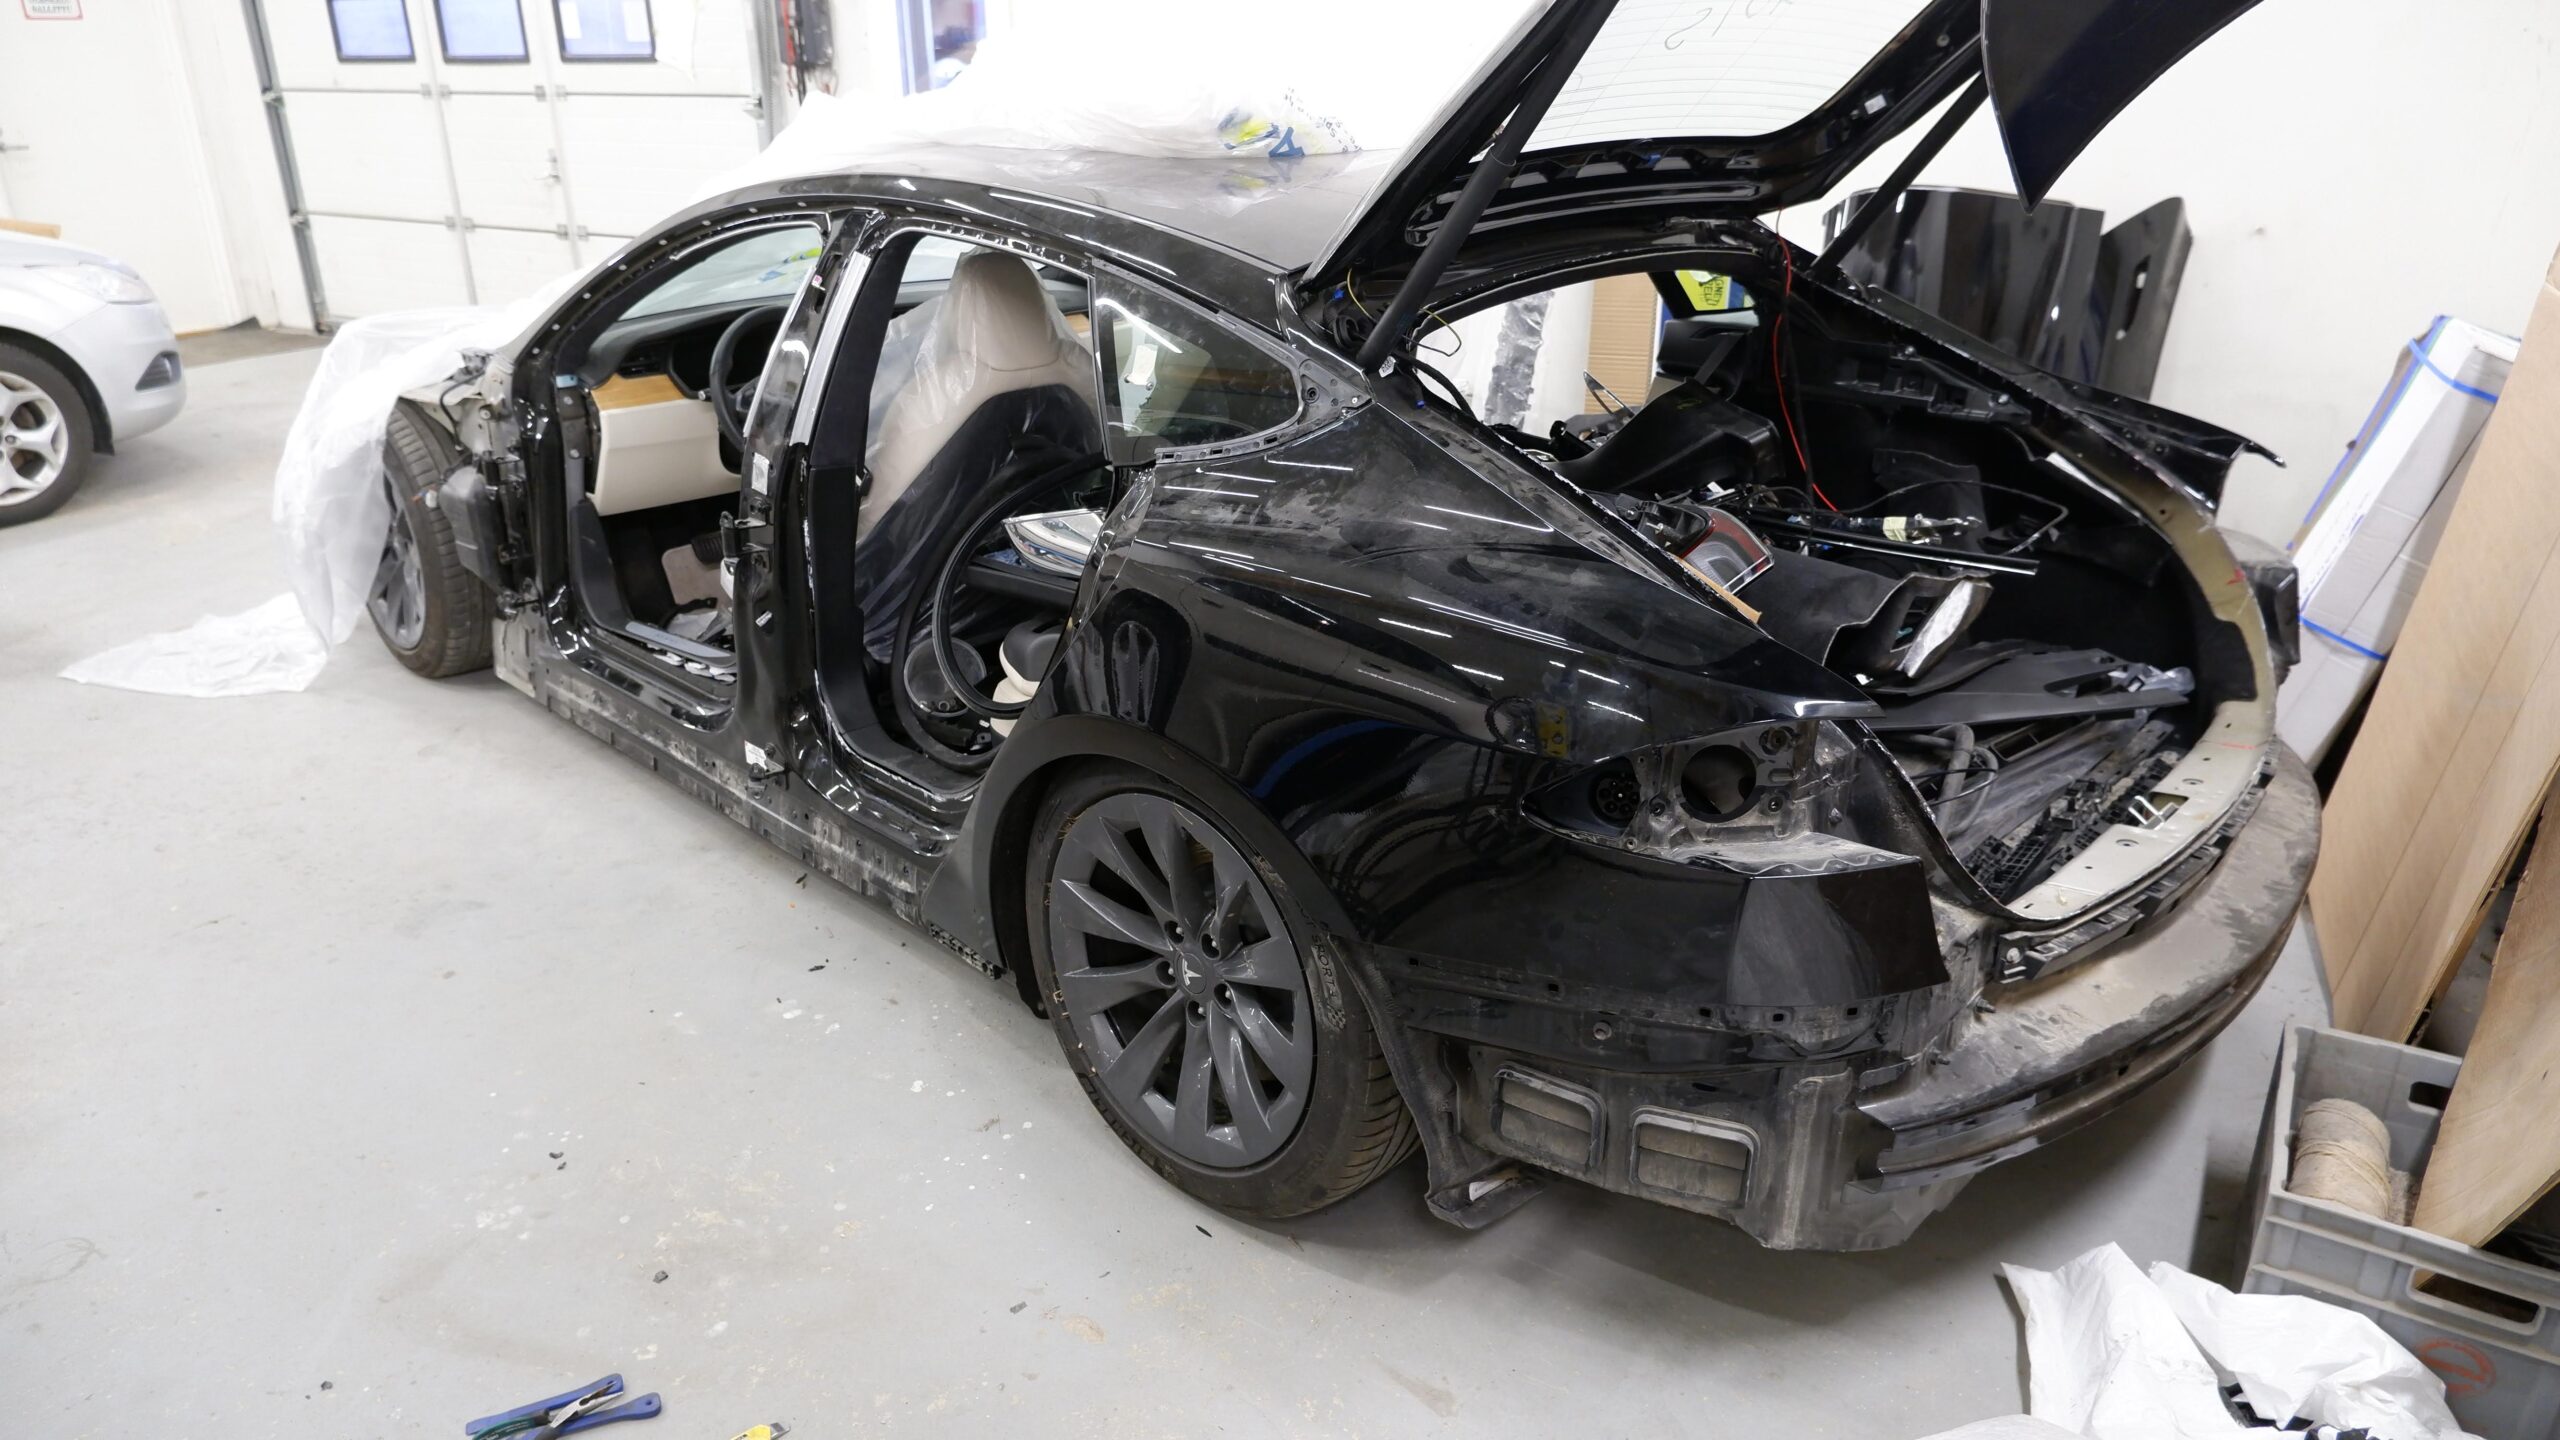
It turned into quite a job in the end.
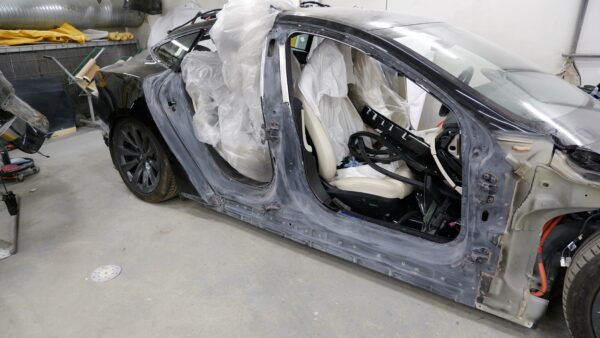
Scuffing the door apertures ready for paint.
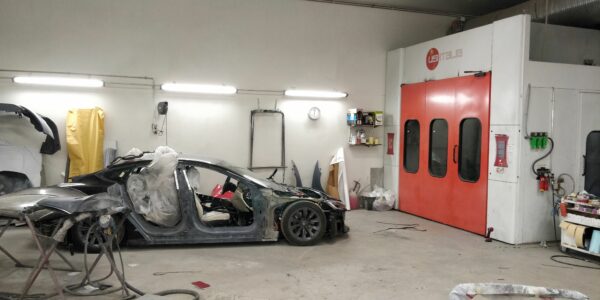
The air suspension still wasn't working, so the car was sitting on the deck. We even needed bits of wood to get it into the paint booth.
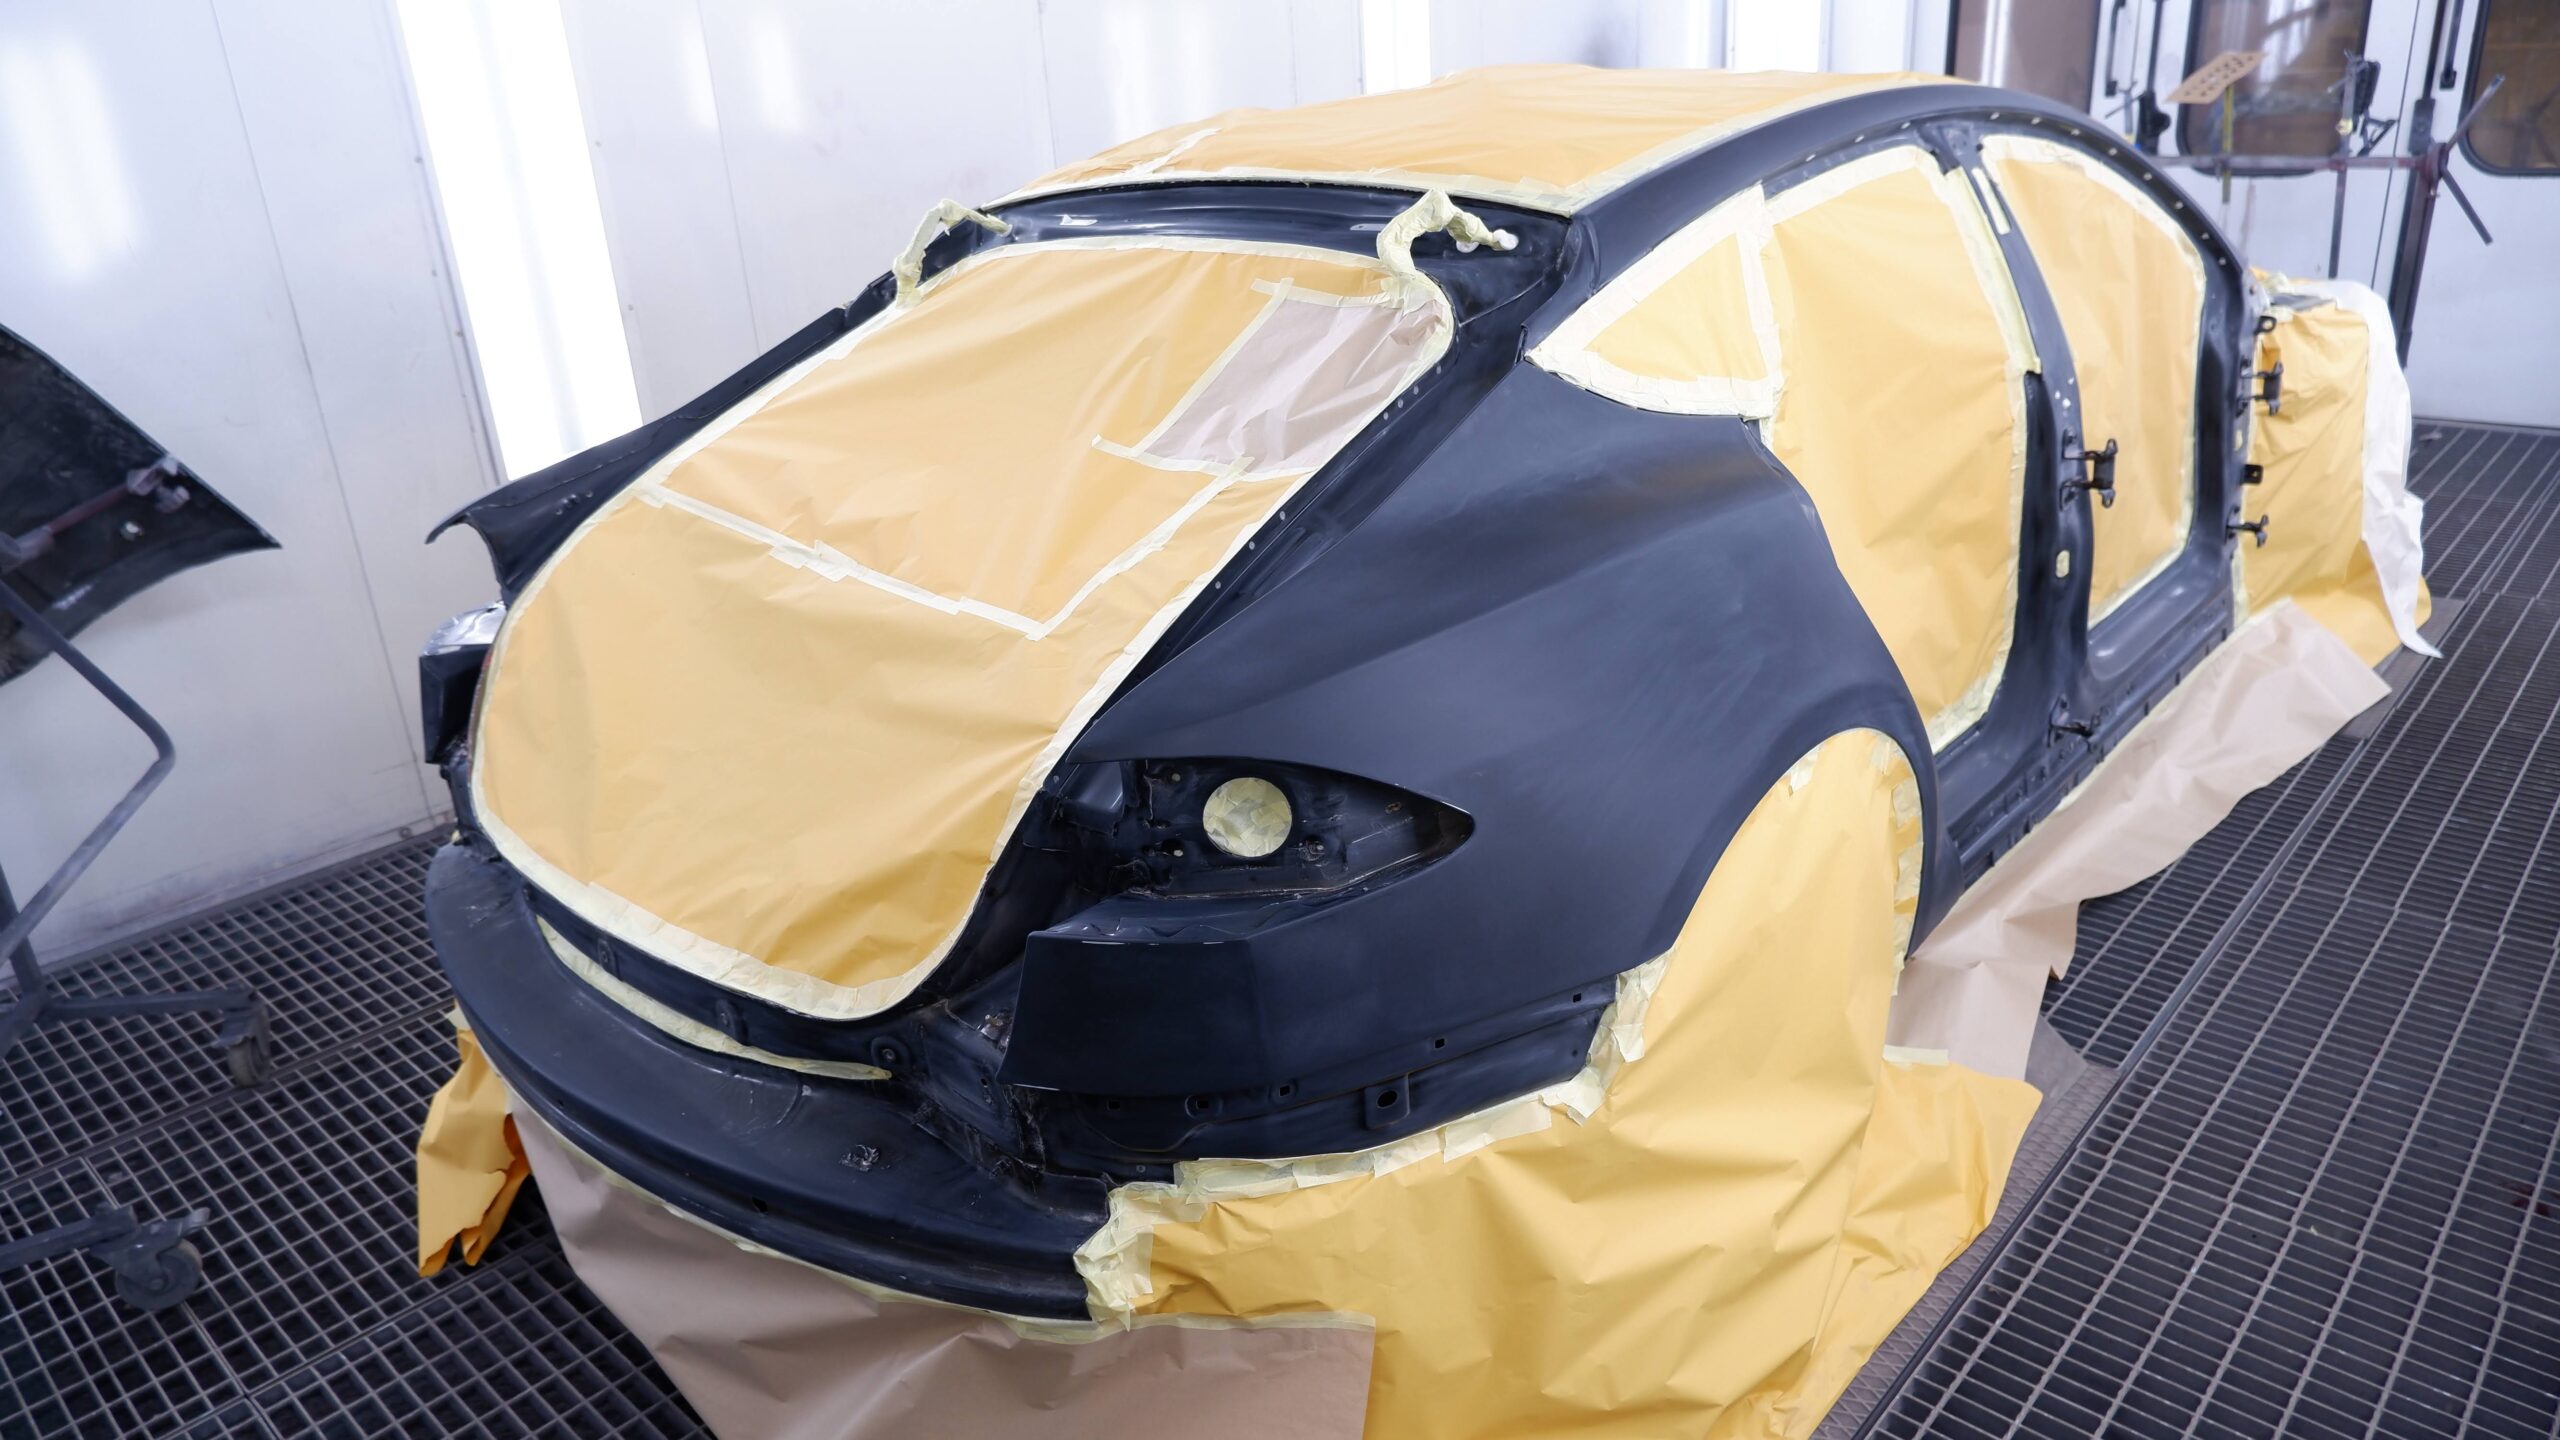
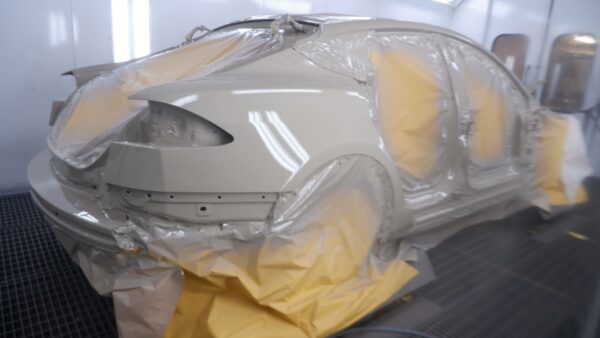
Masked up in the paint booth.
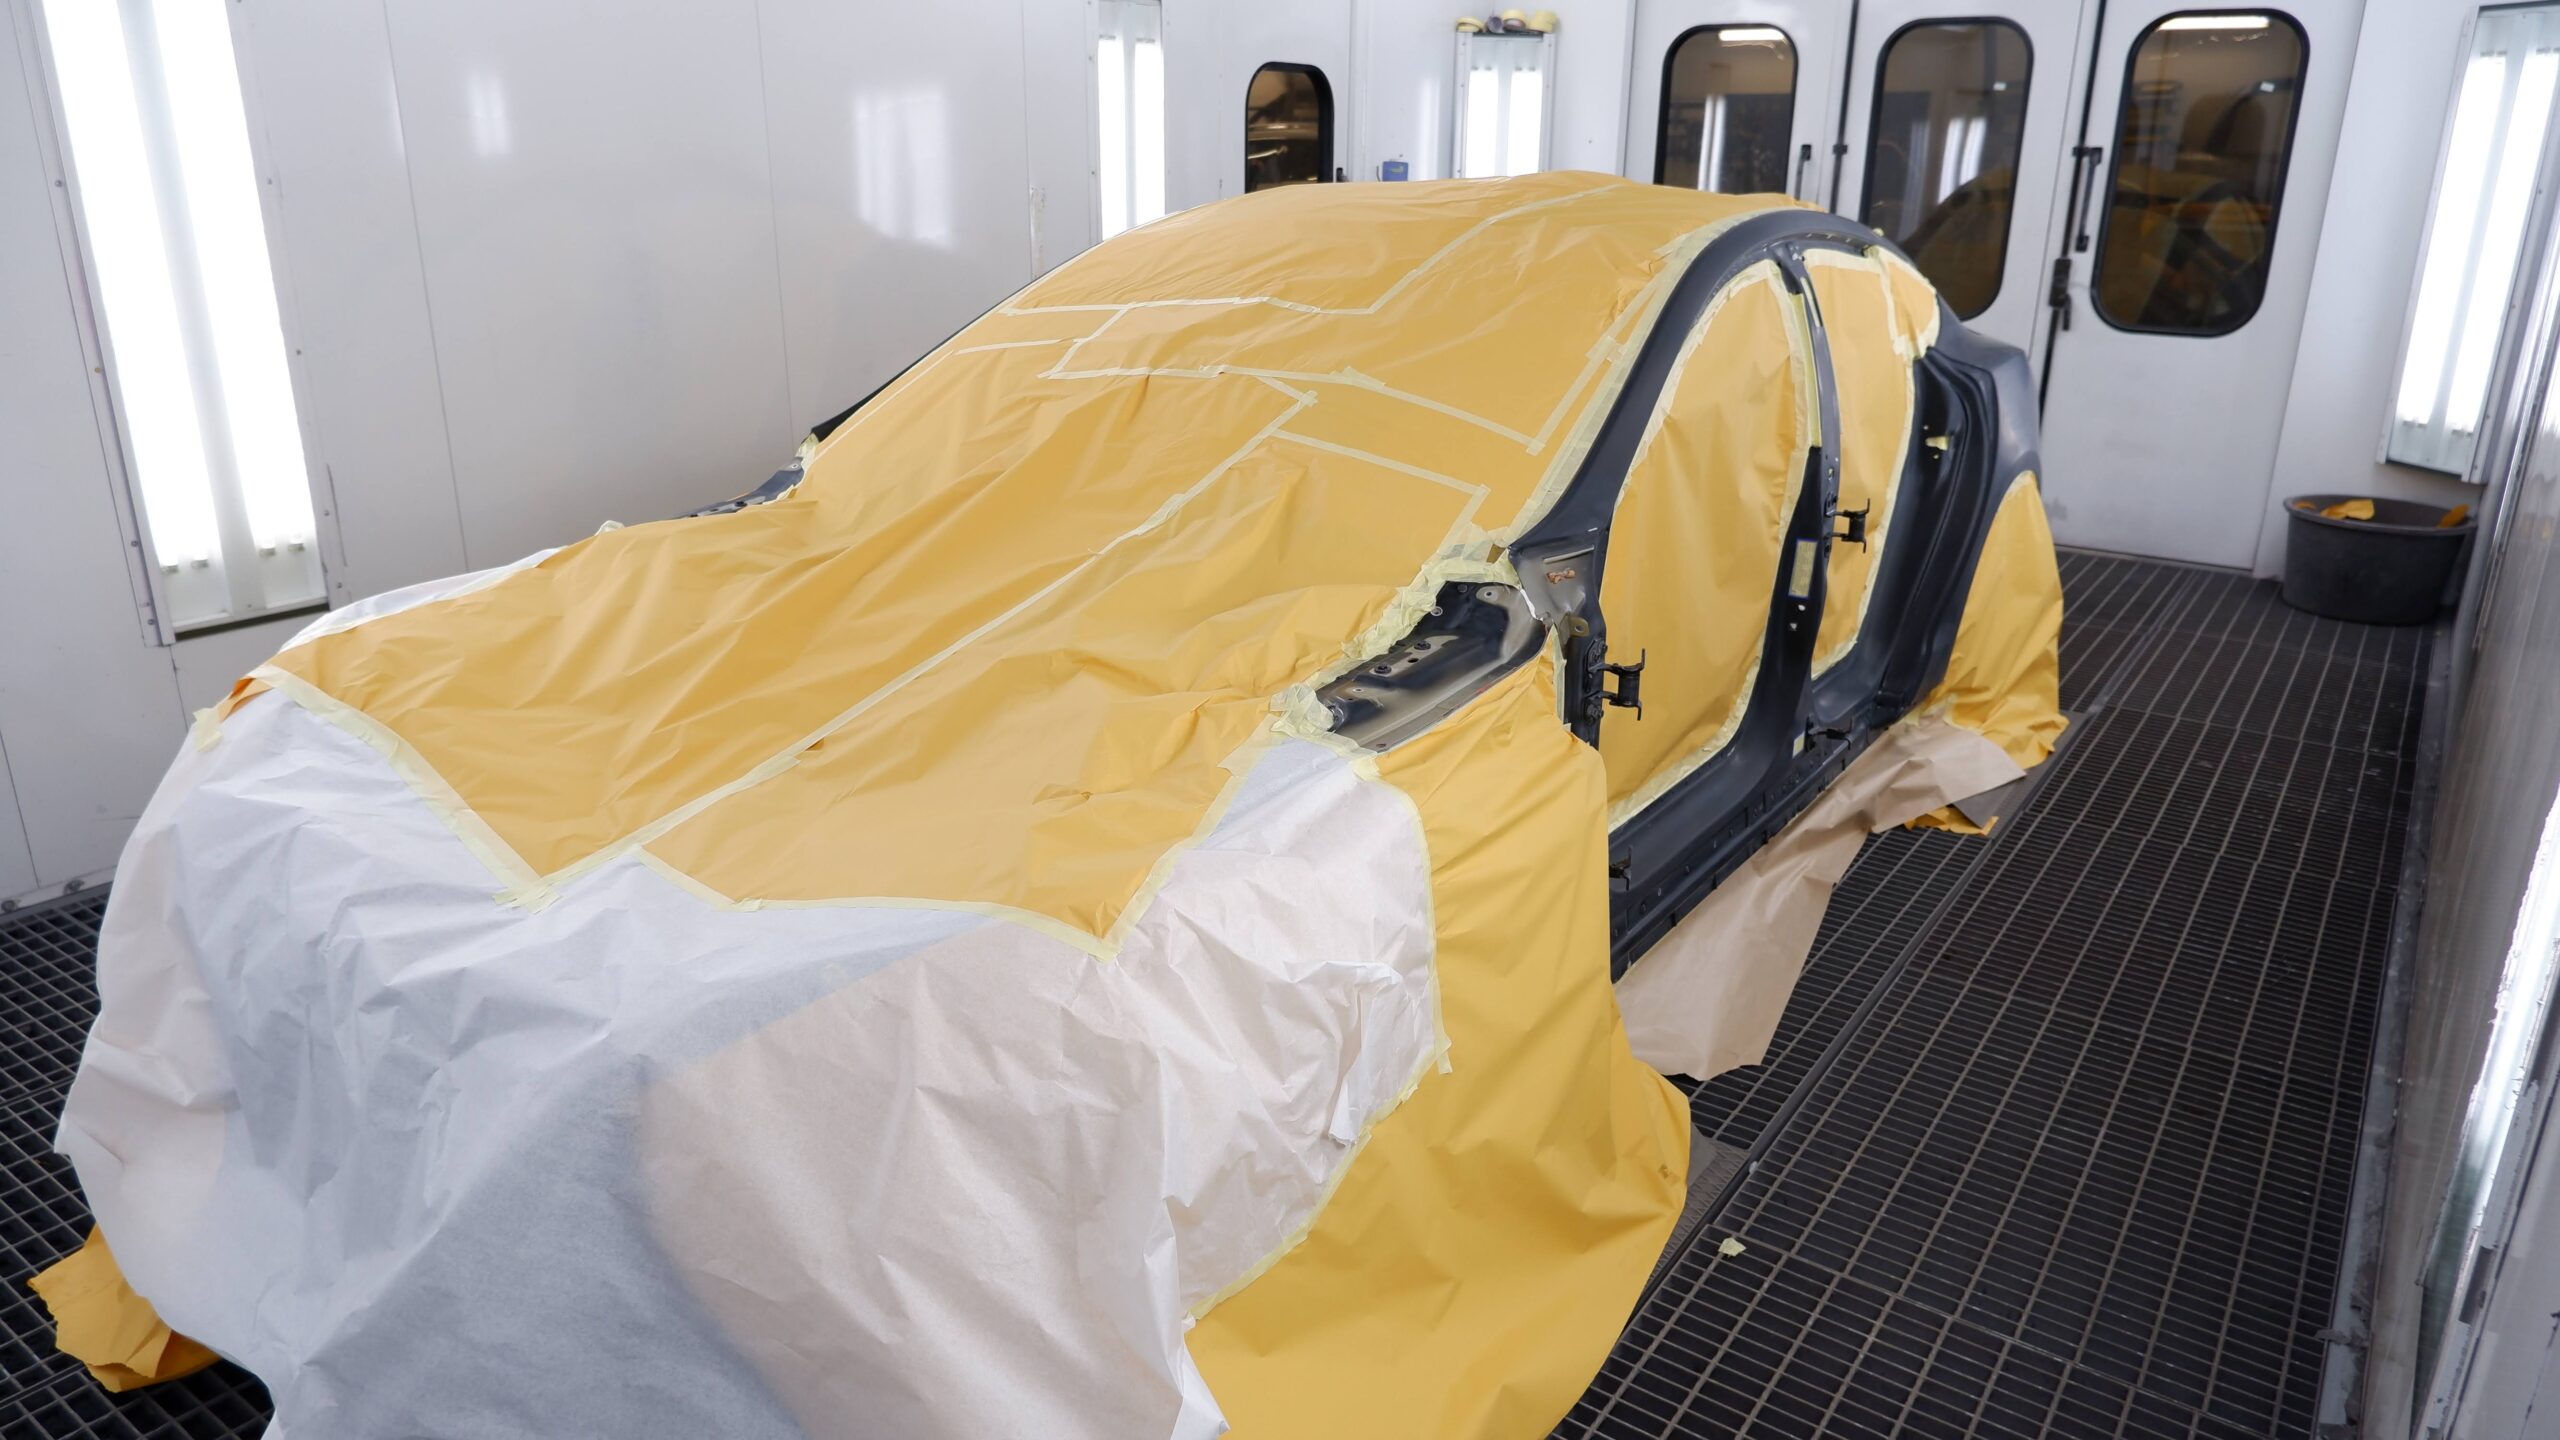
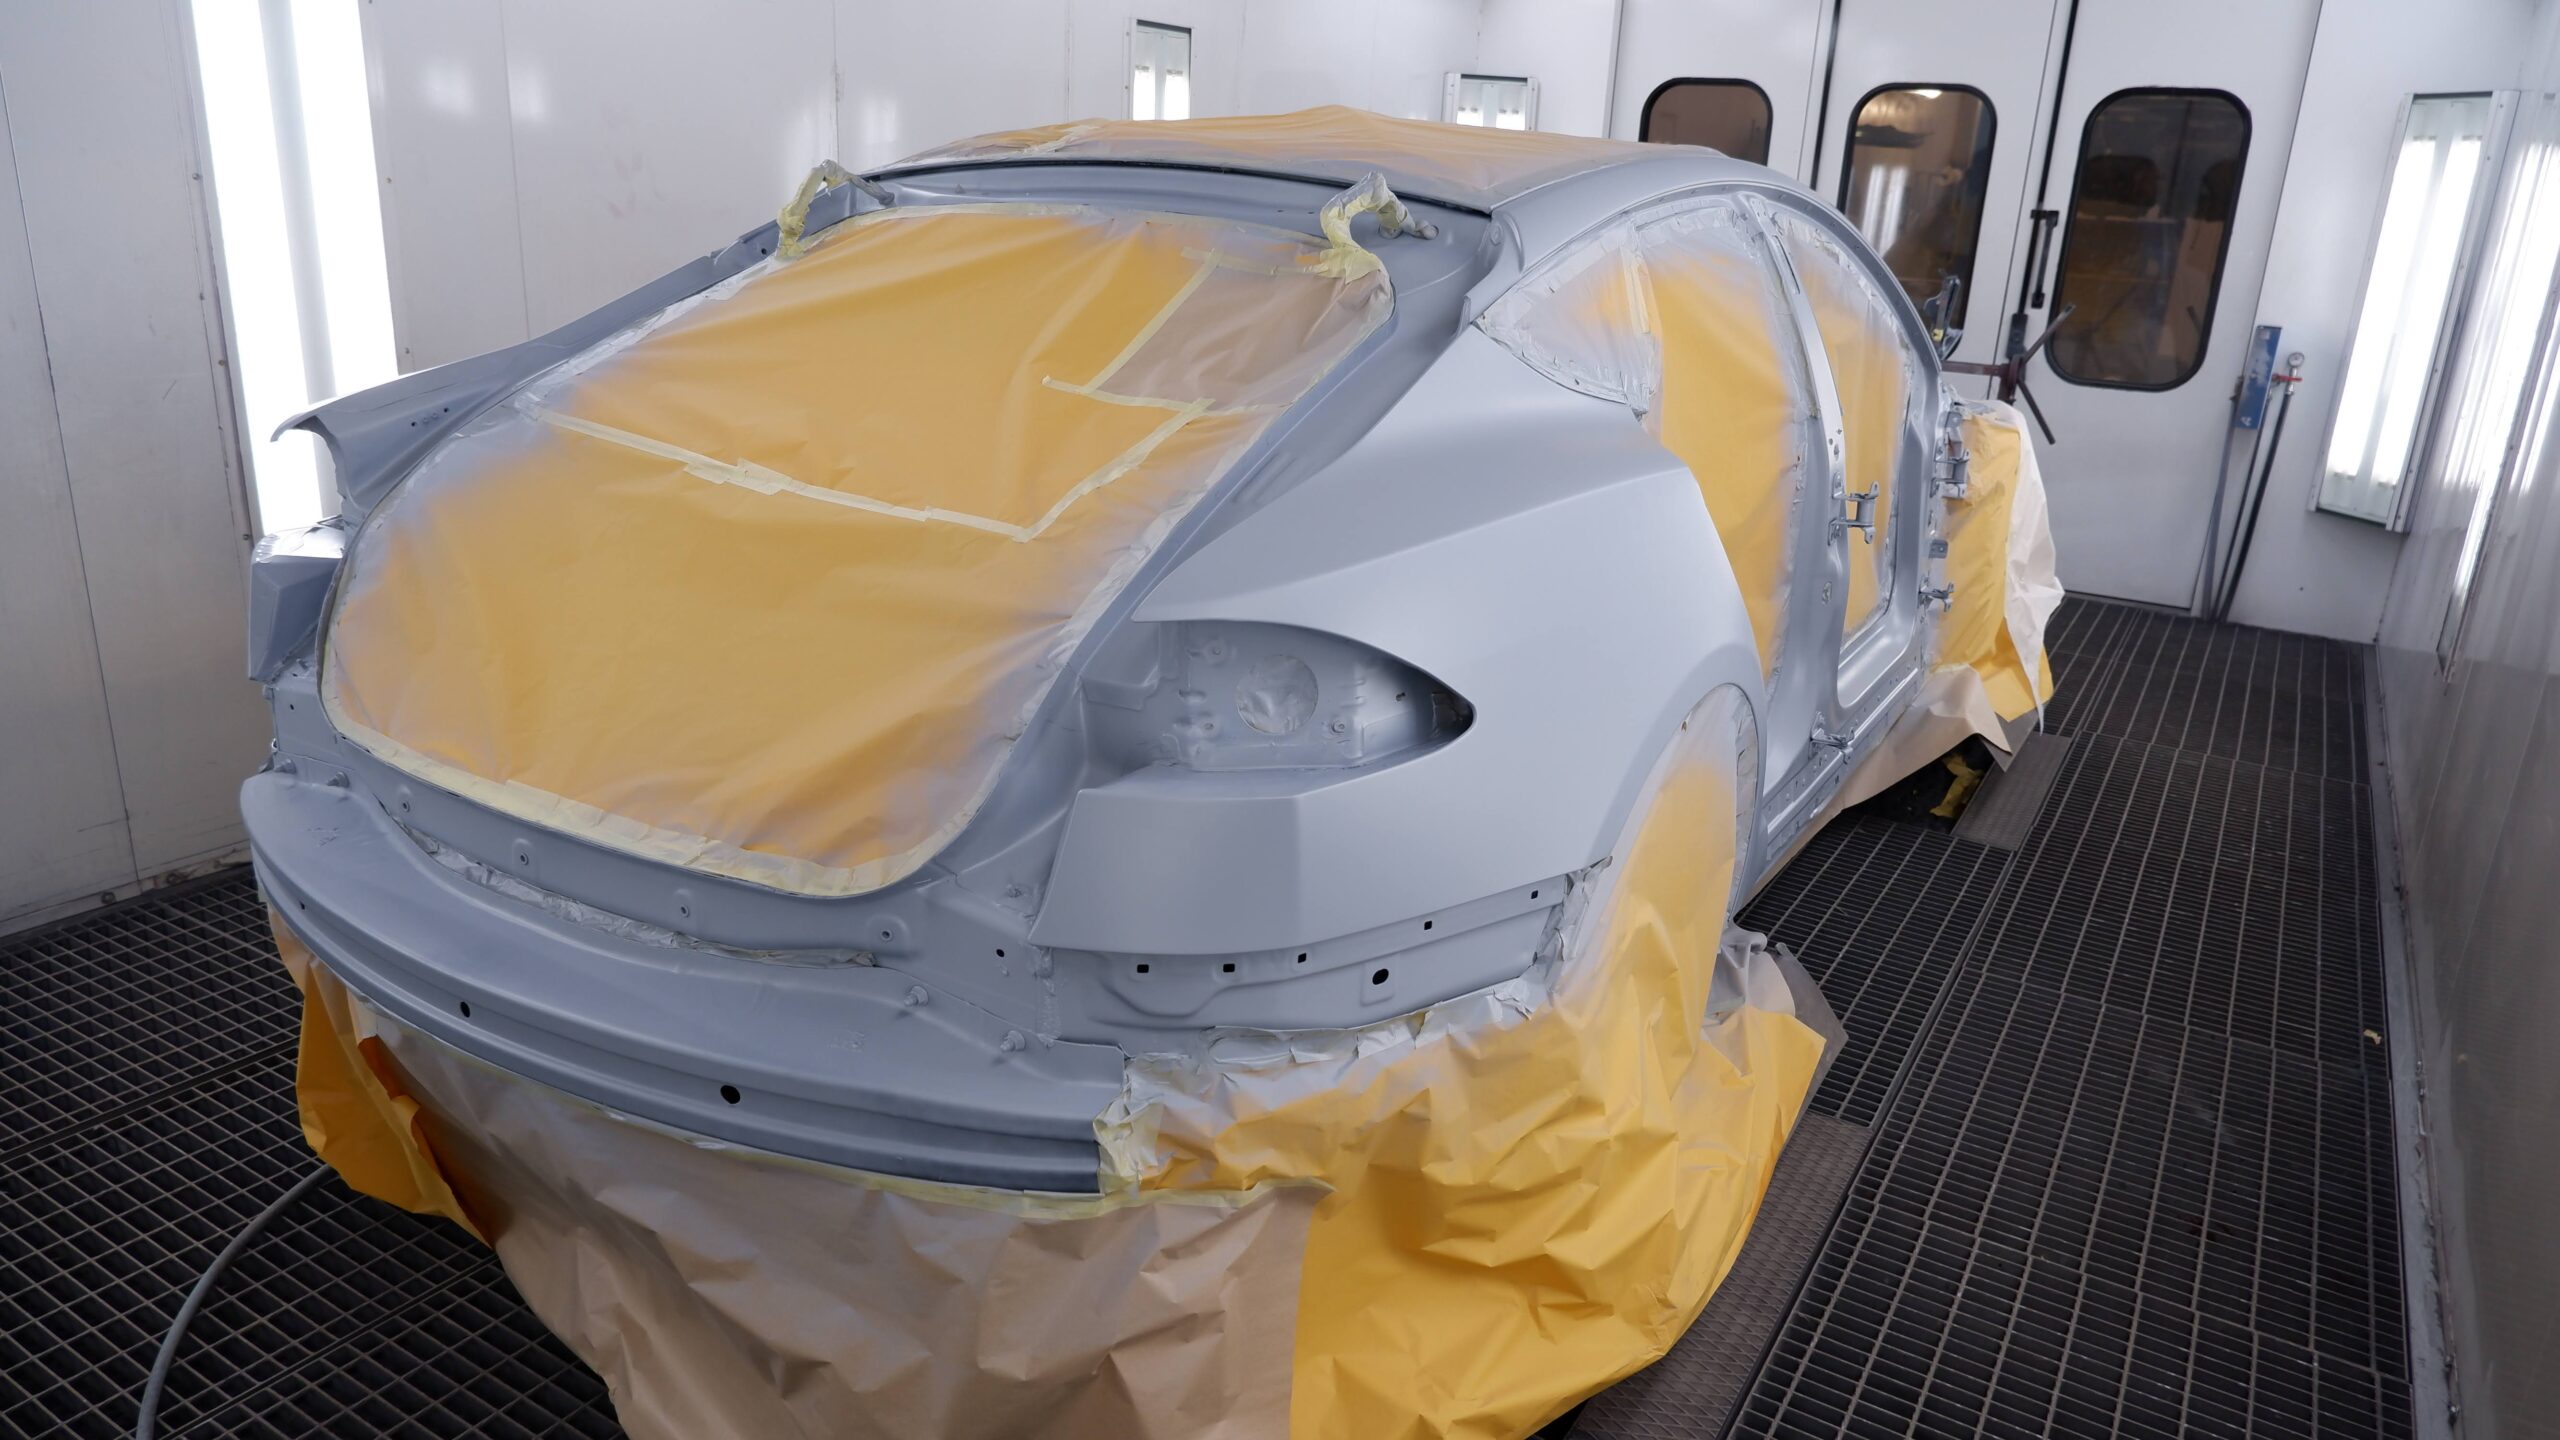
Primer-surfacer on.
We spent ages choosing the colour. At least three hours. Eventually we found something suitably stylish and miles away from Tesla's standard colours: Mocha Latte from Audi's Exclusive range. Unfortunately, it was so exclusive that nobody could find a mixing formula anywhere.
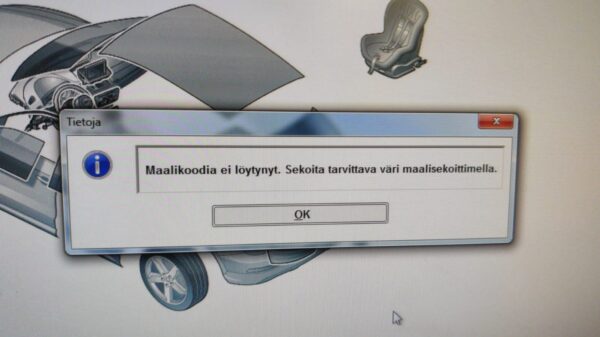
Mocha Latte is a secret.
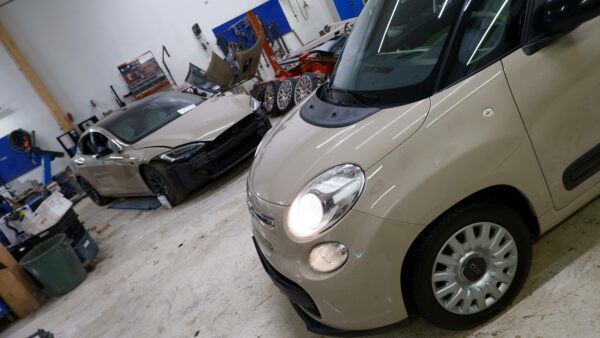
Then we discovered that Fiat/Chrysler's Mocha Latte is practically the same colour — or at least very, very close. So that's the formula we used.
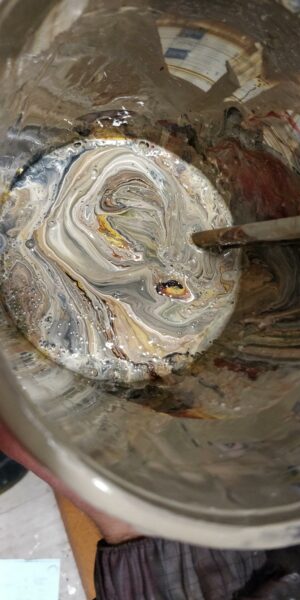
It took a little getting used to at first, but I soon fell in love with it.
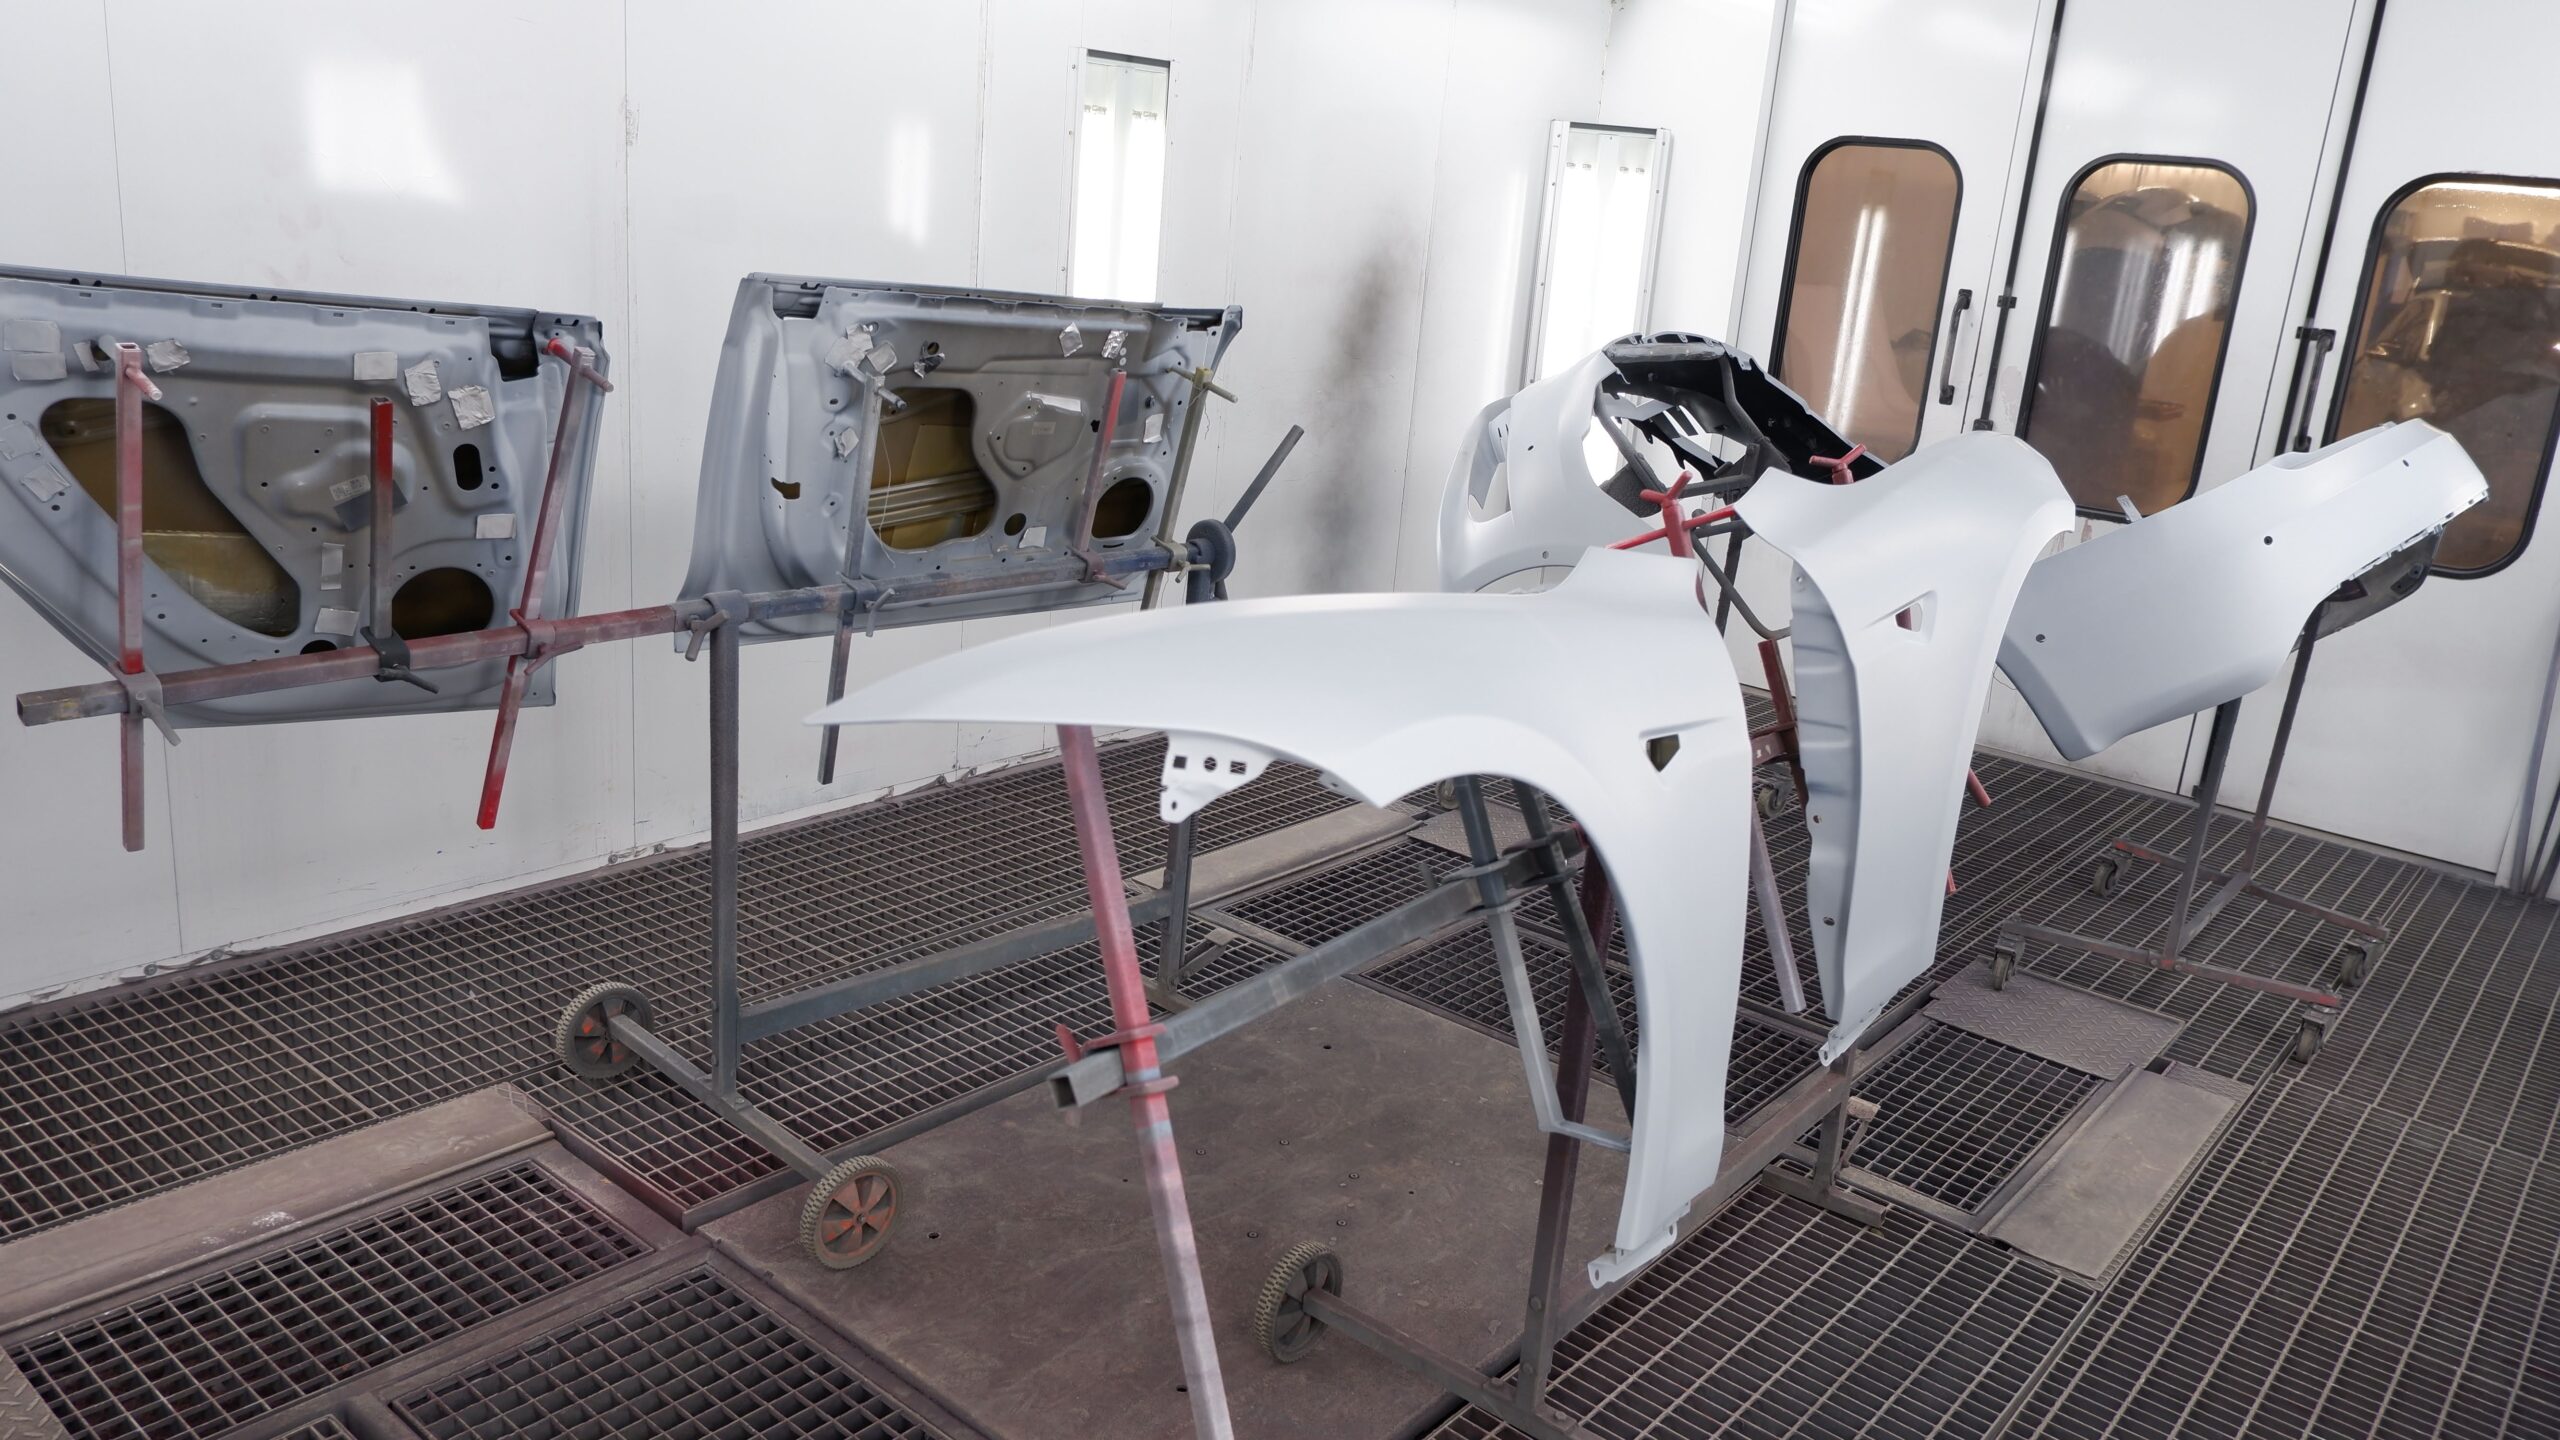
Painting the loose panels and parts.
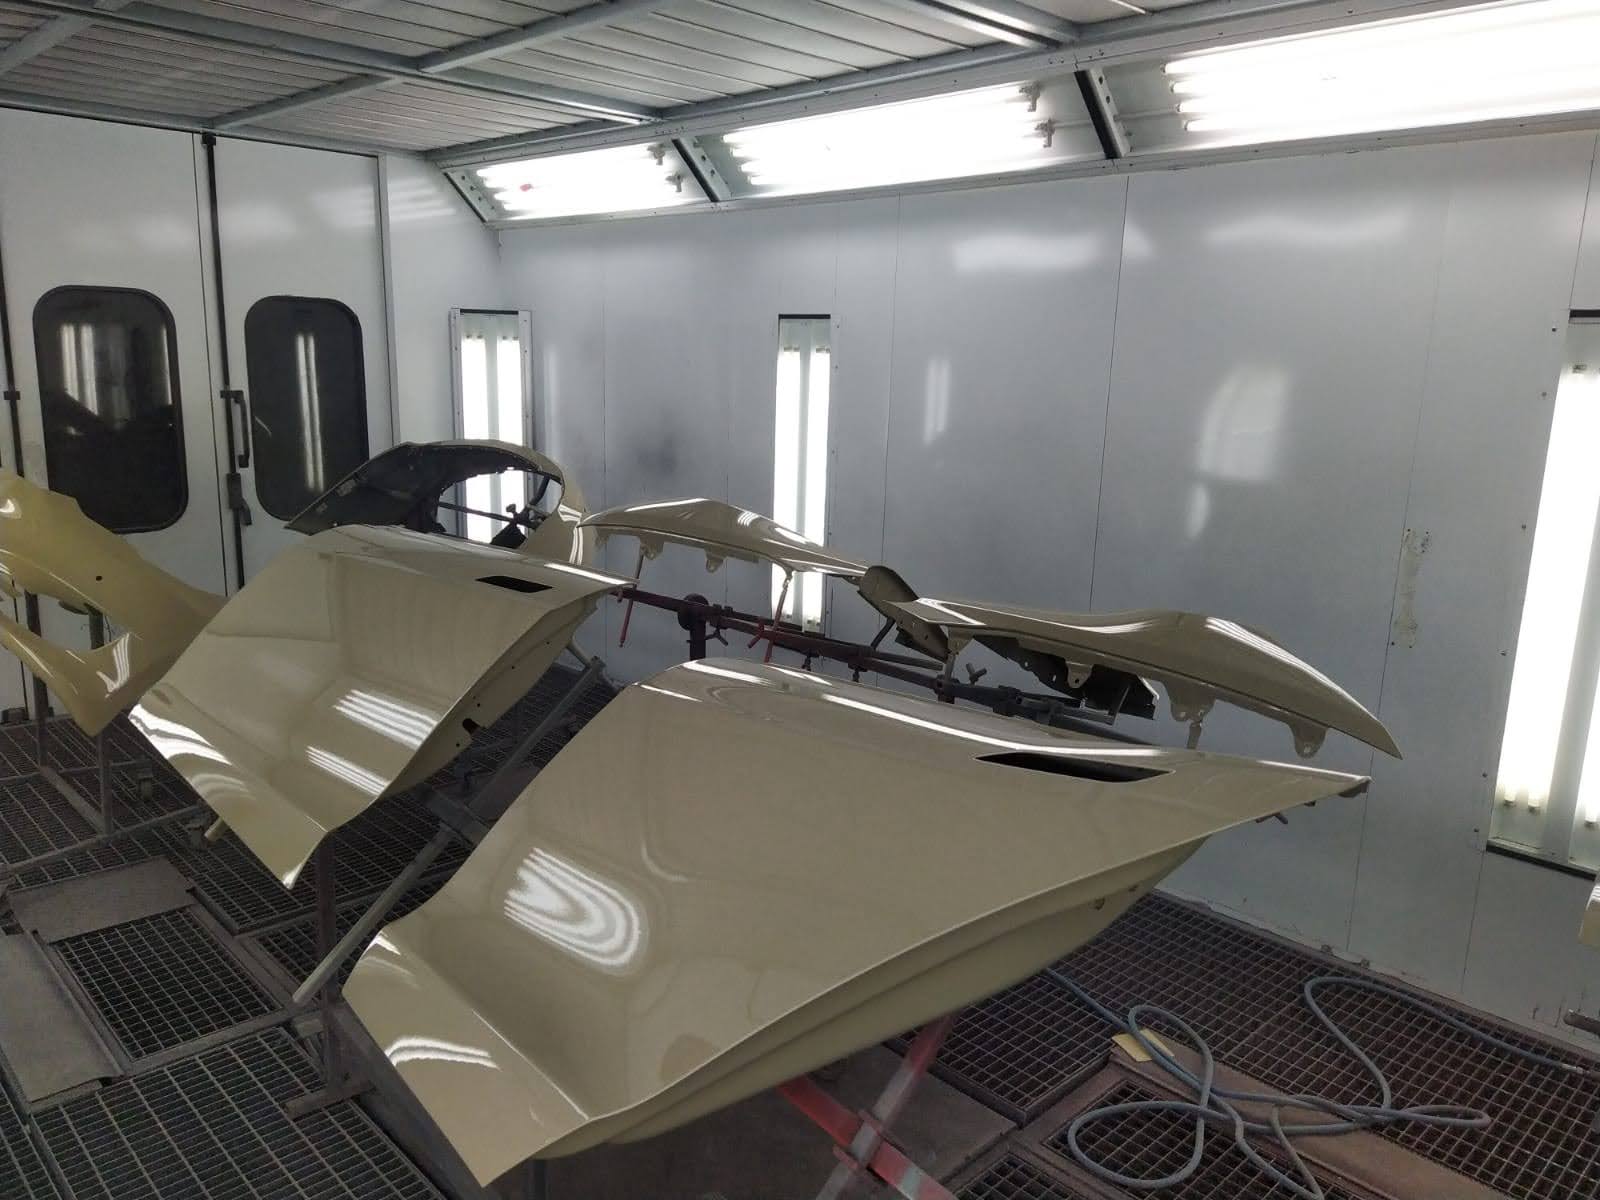
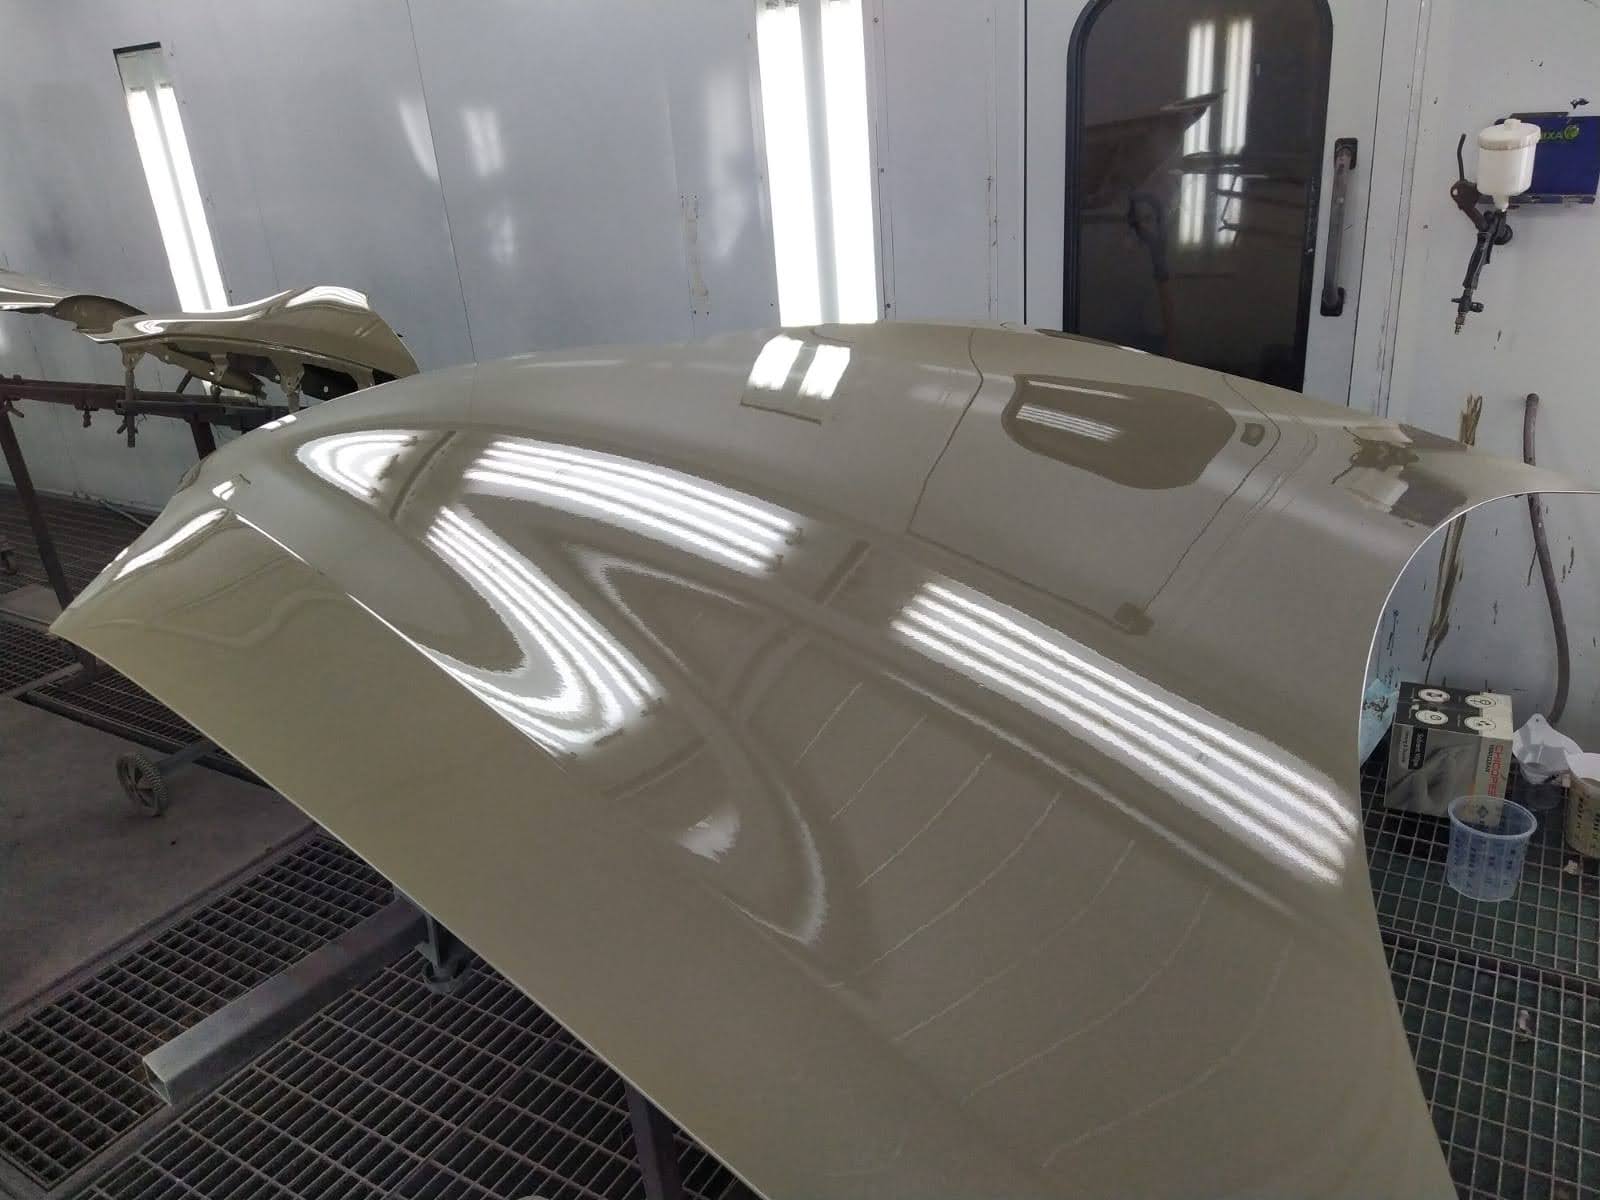
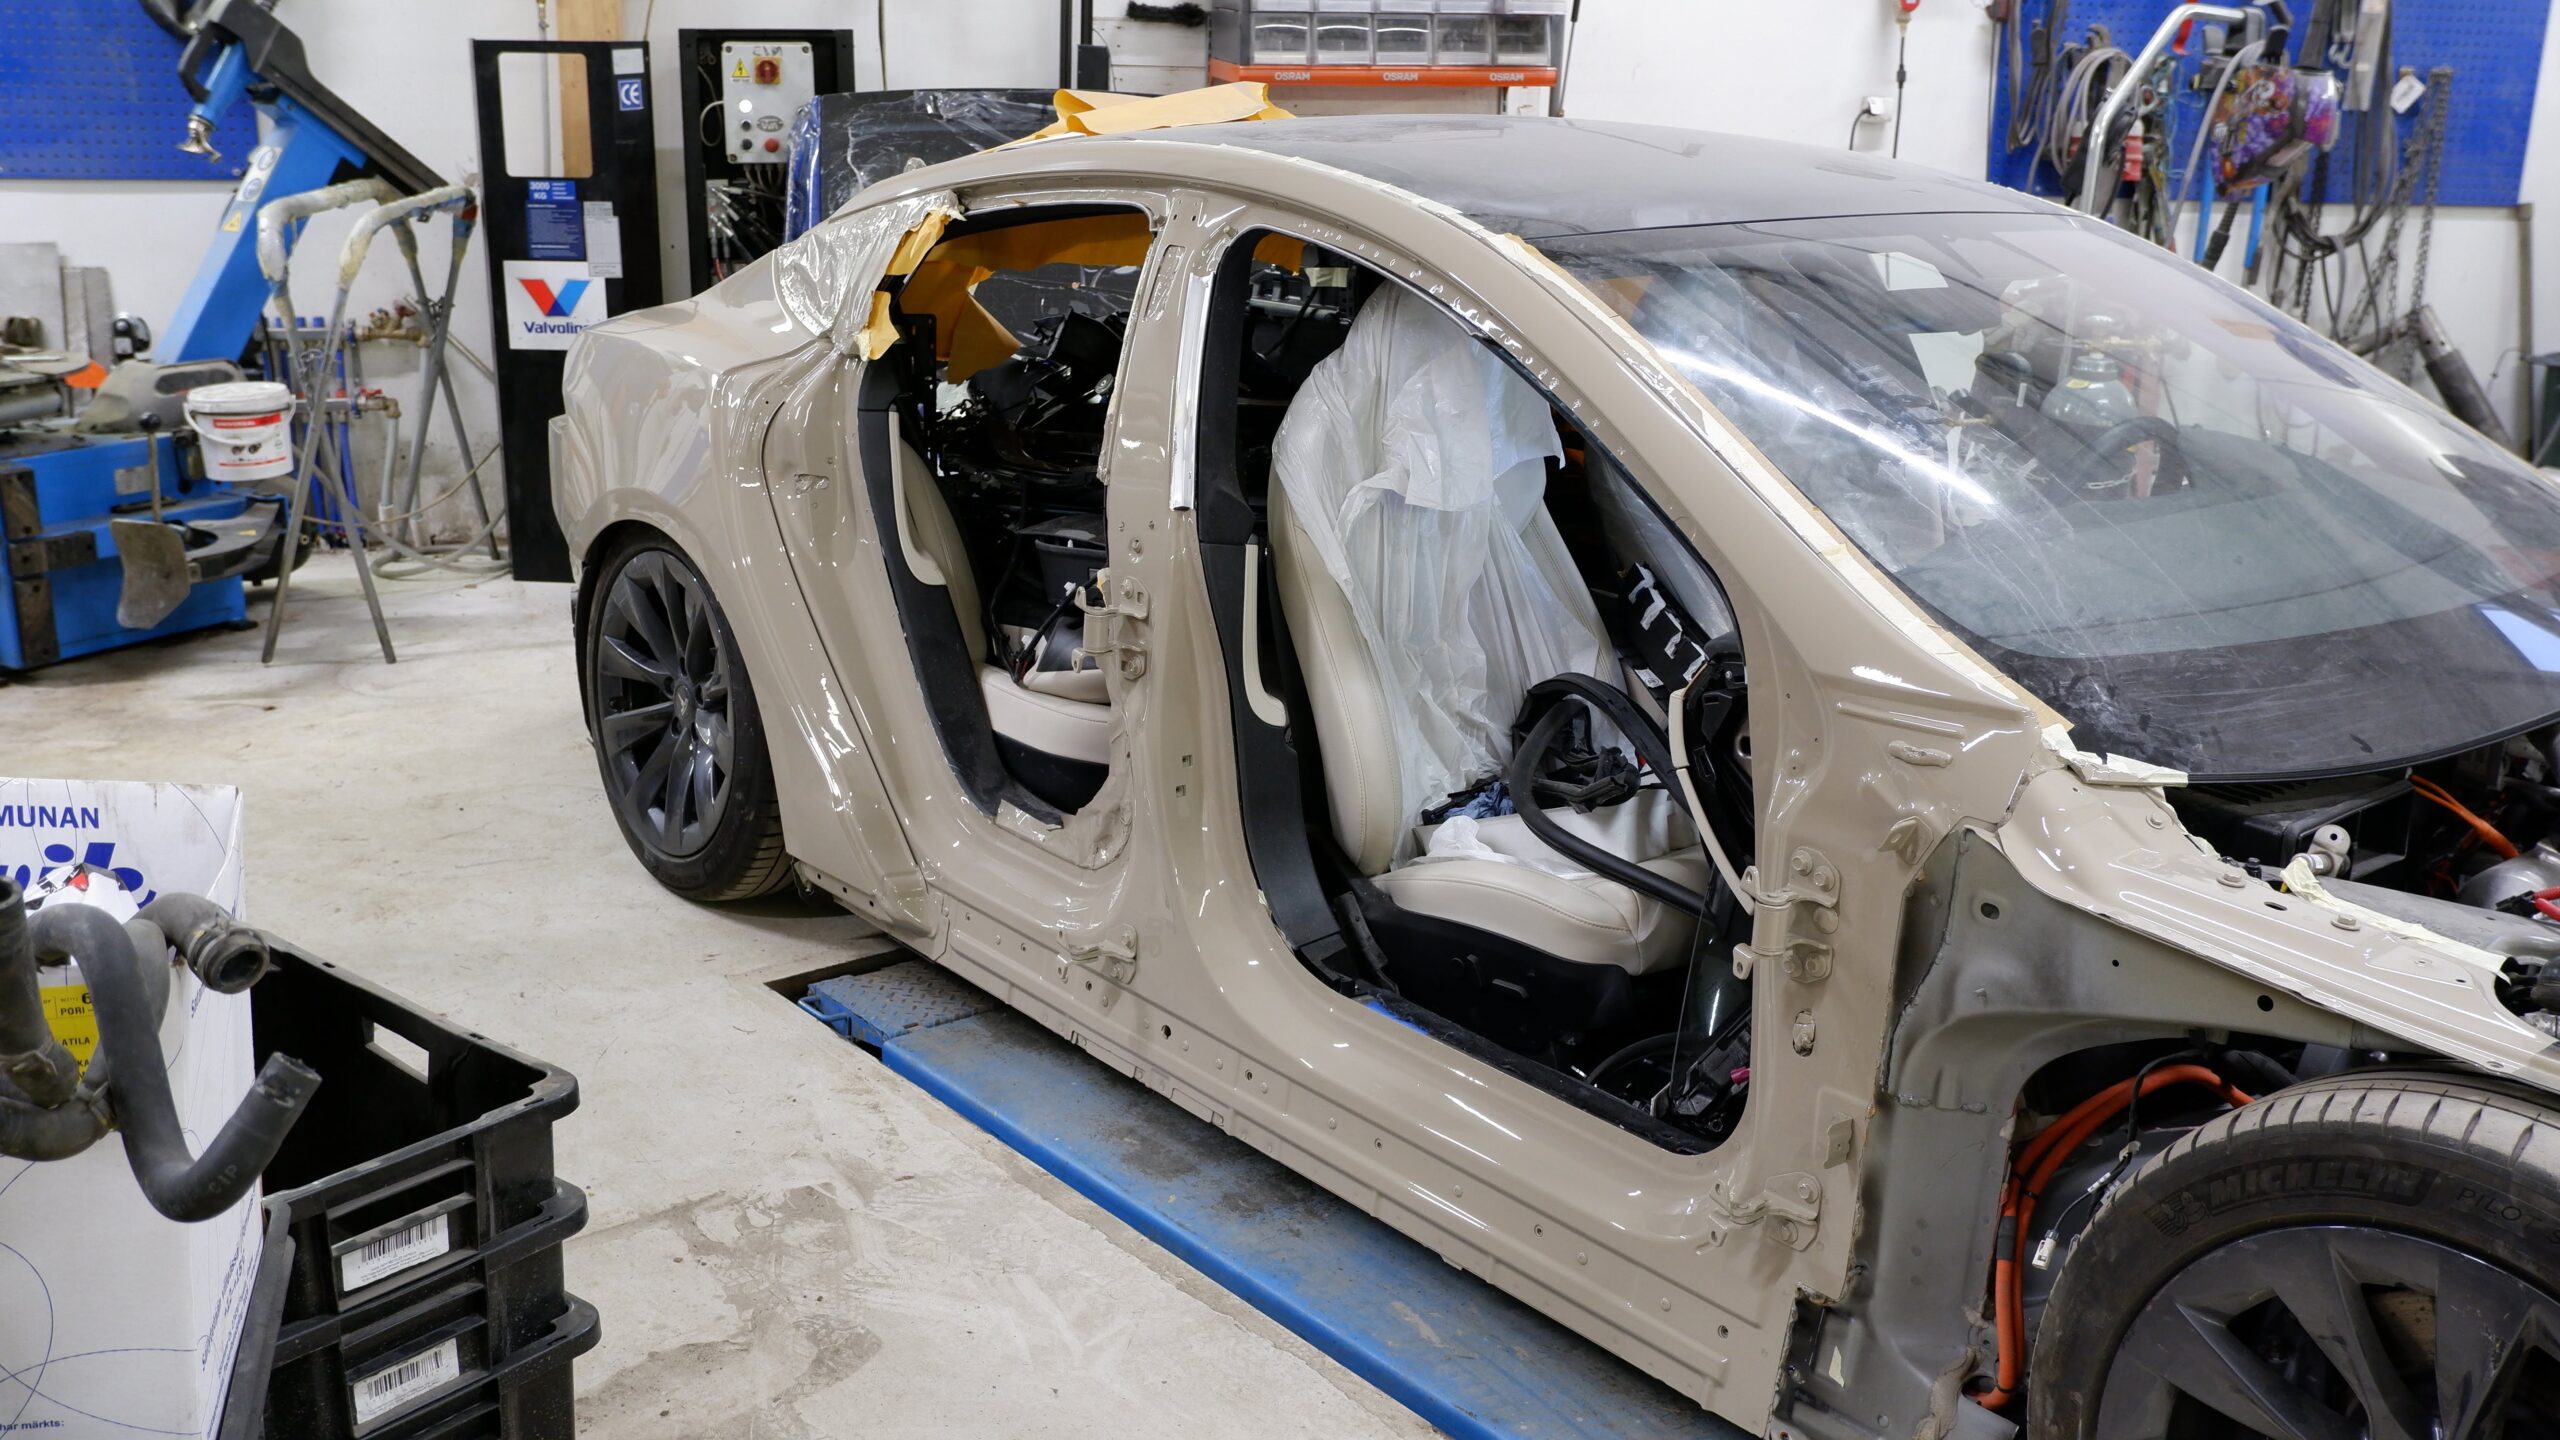
Out of the booth and time to put it all back together.
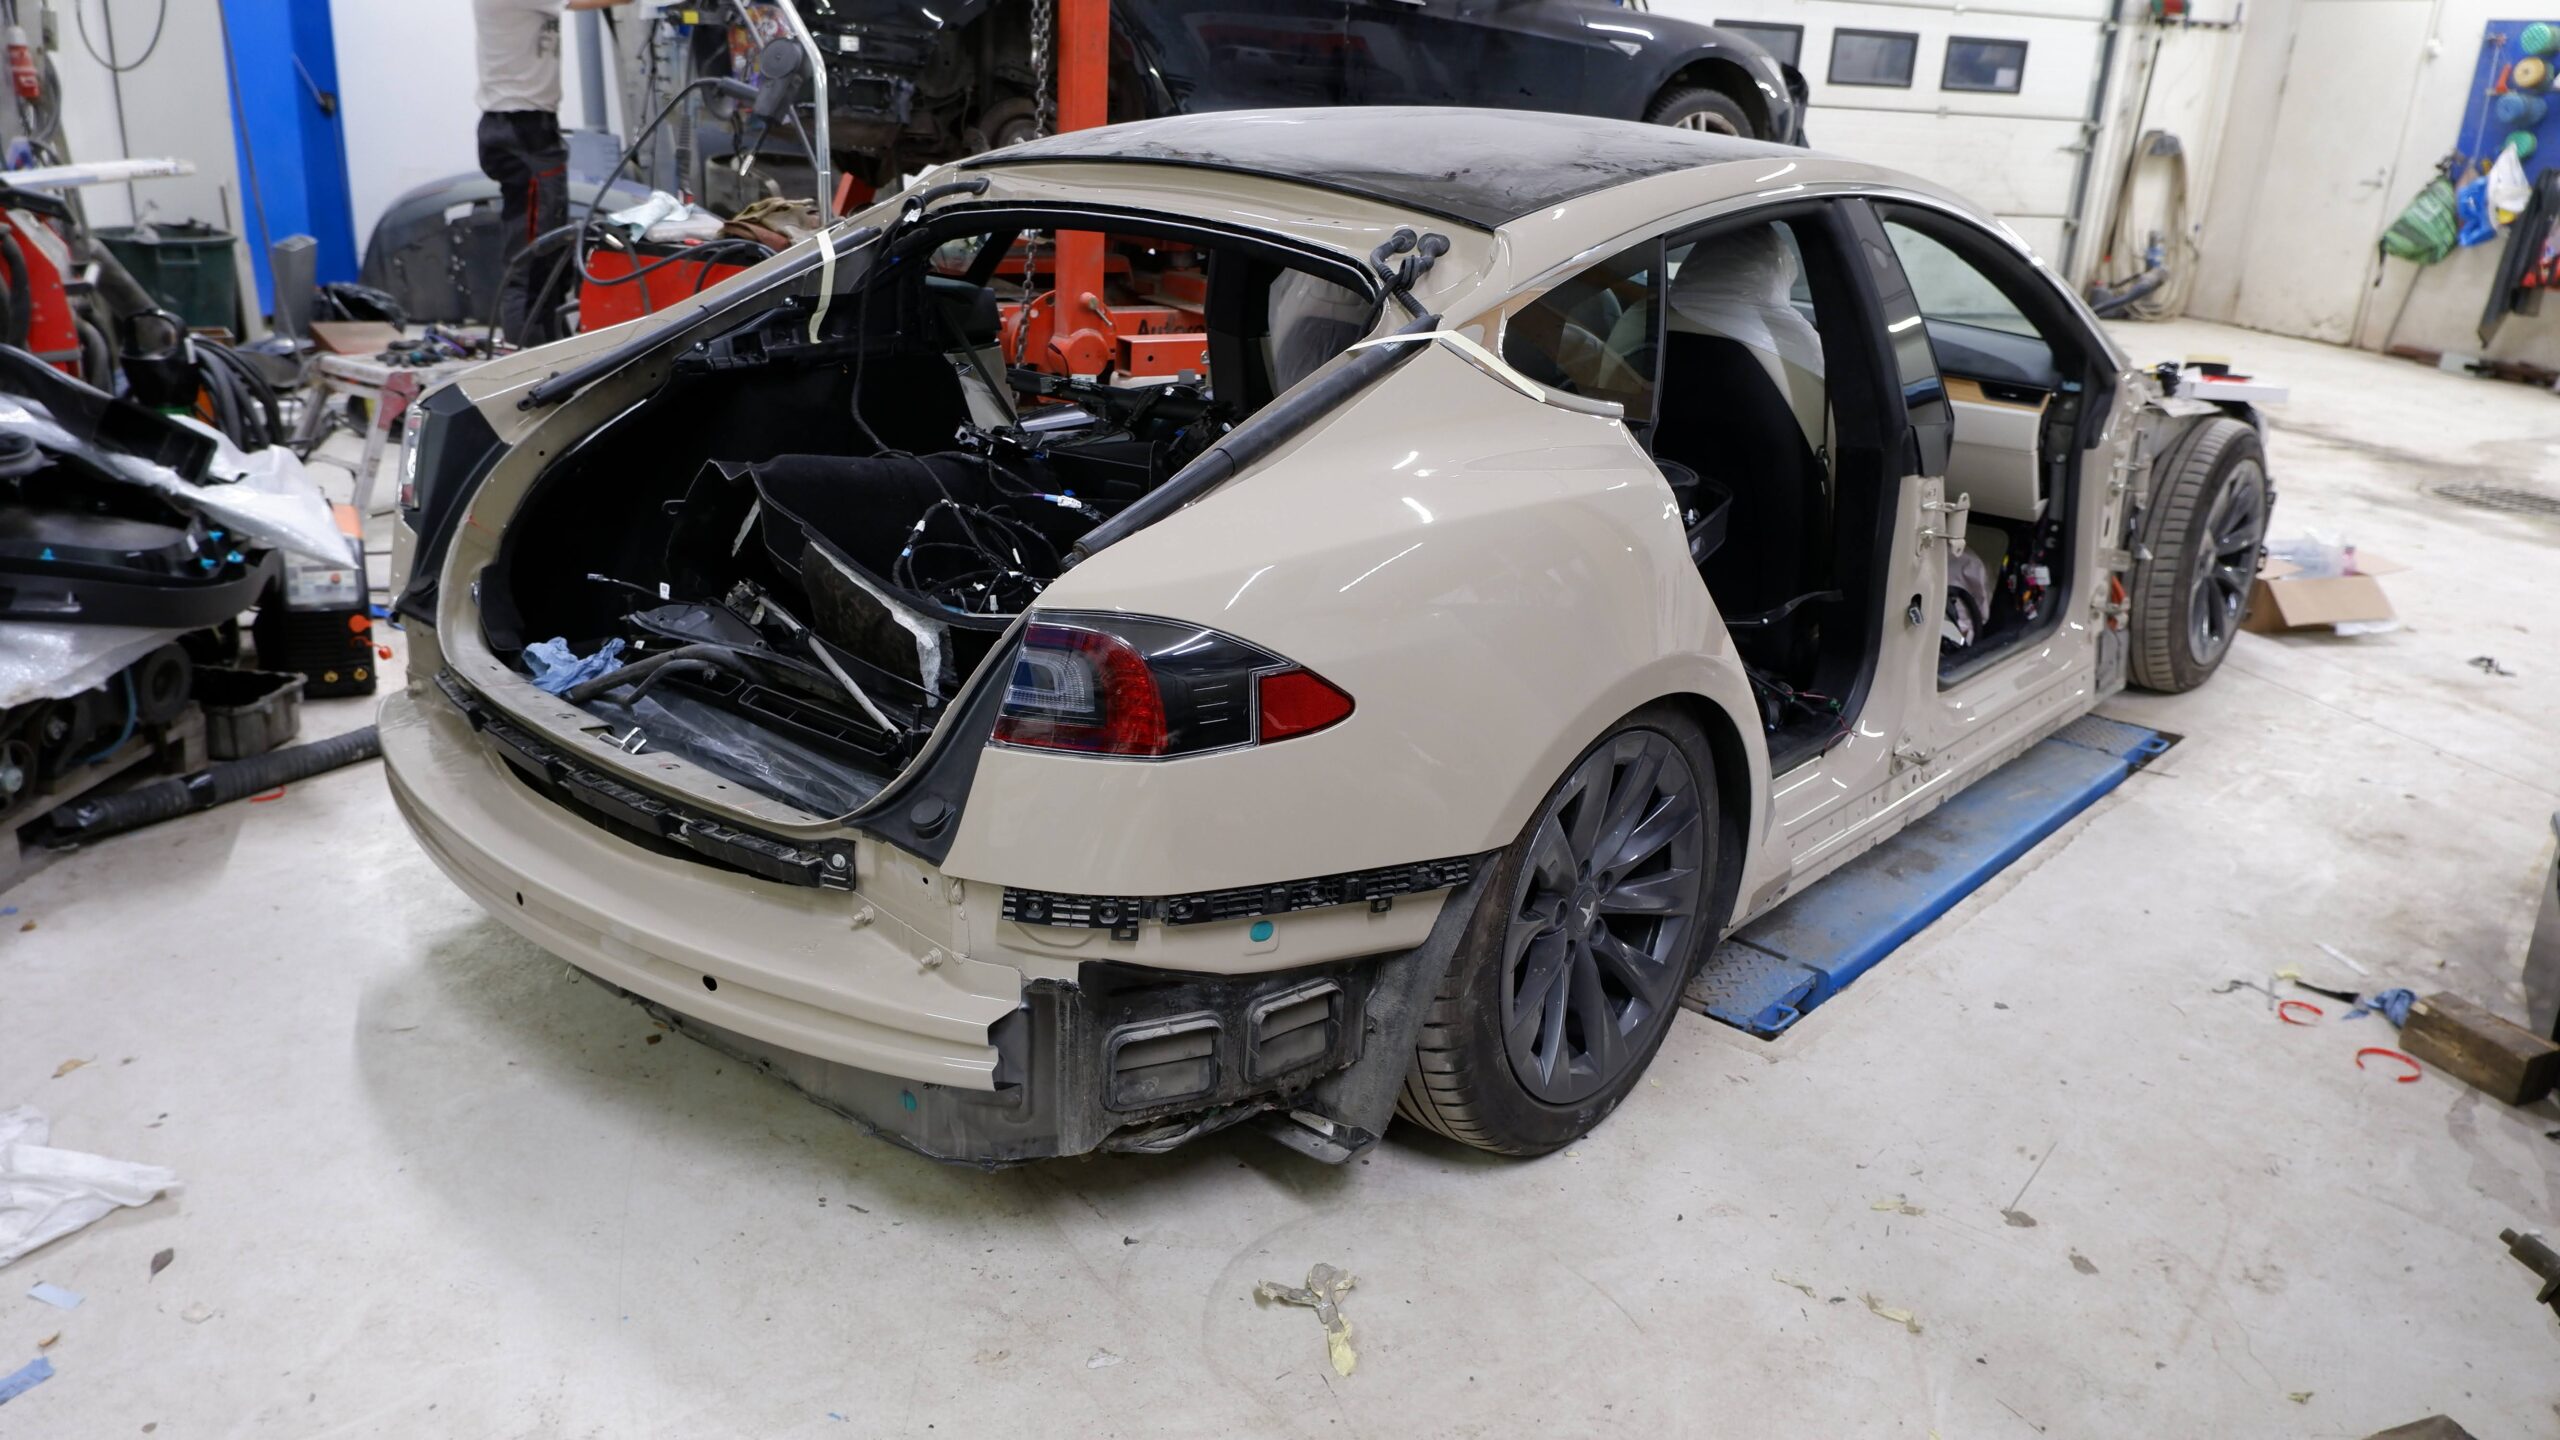
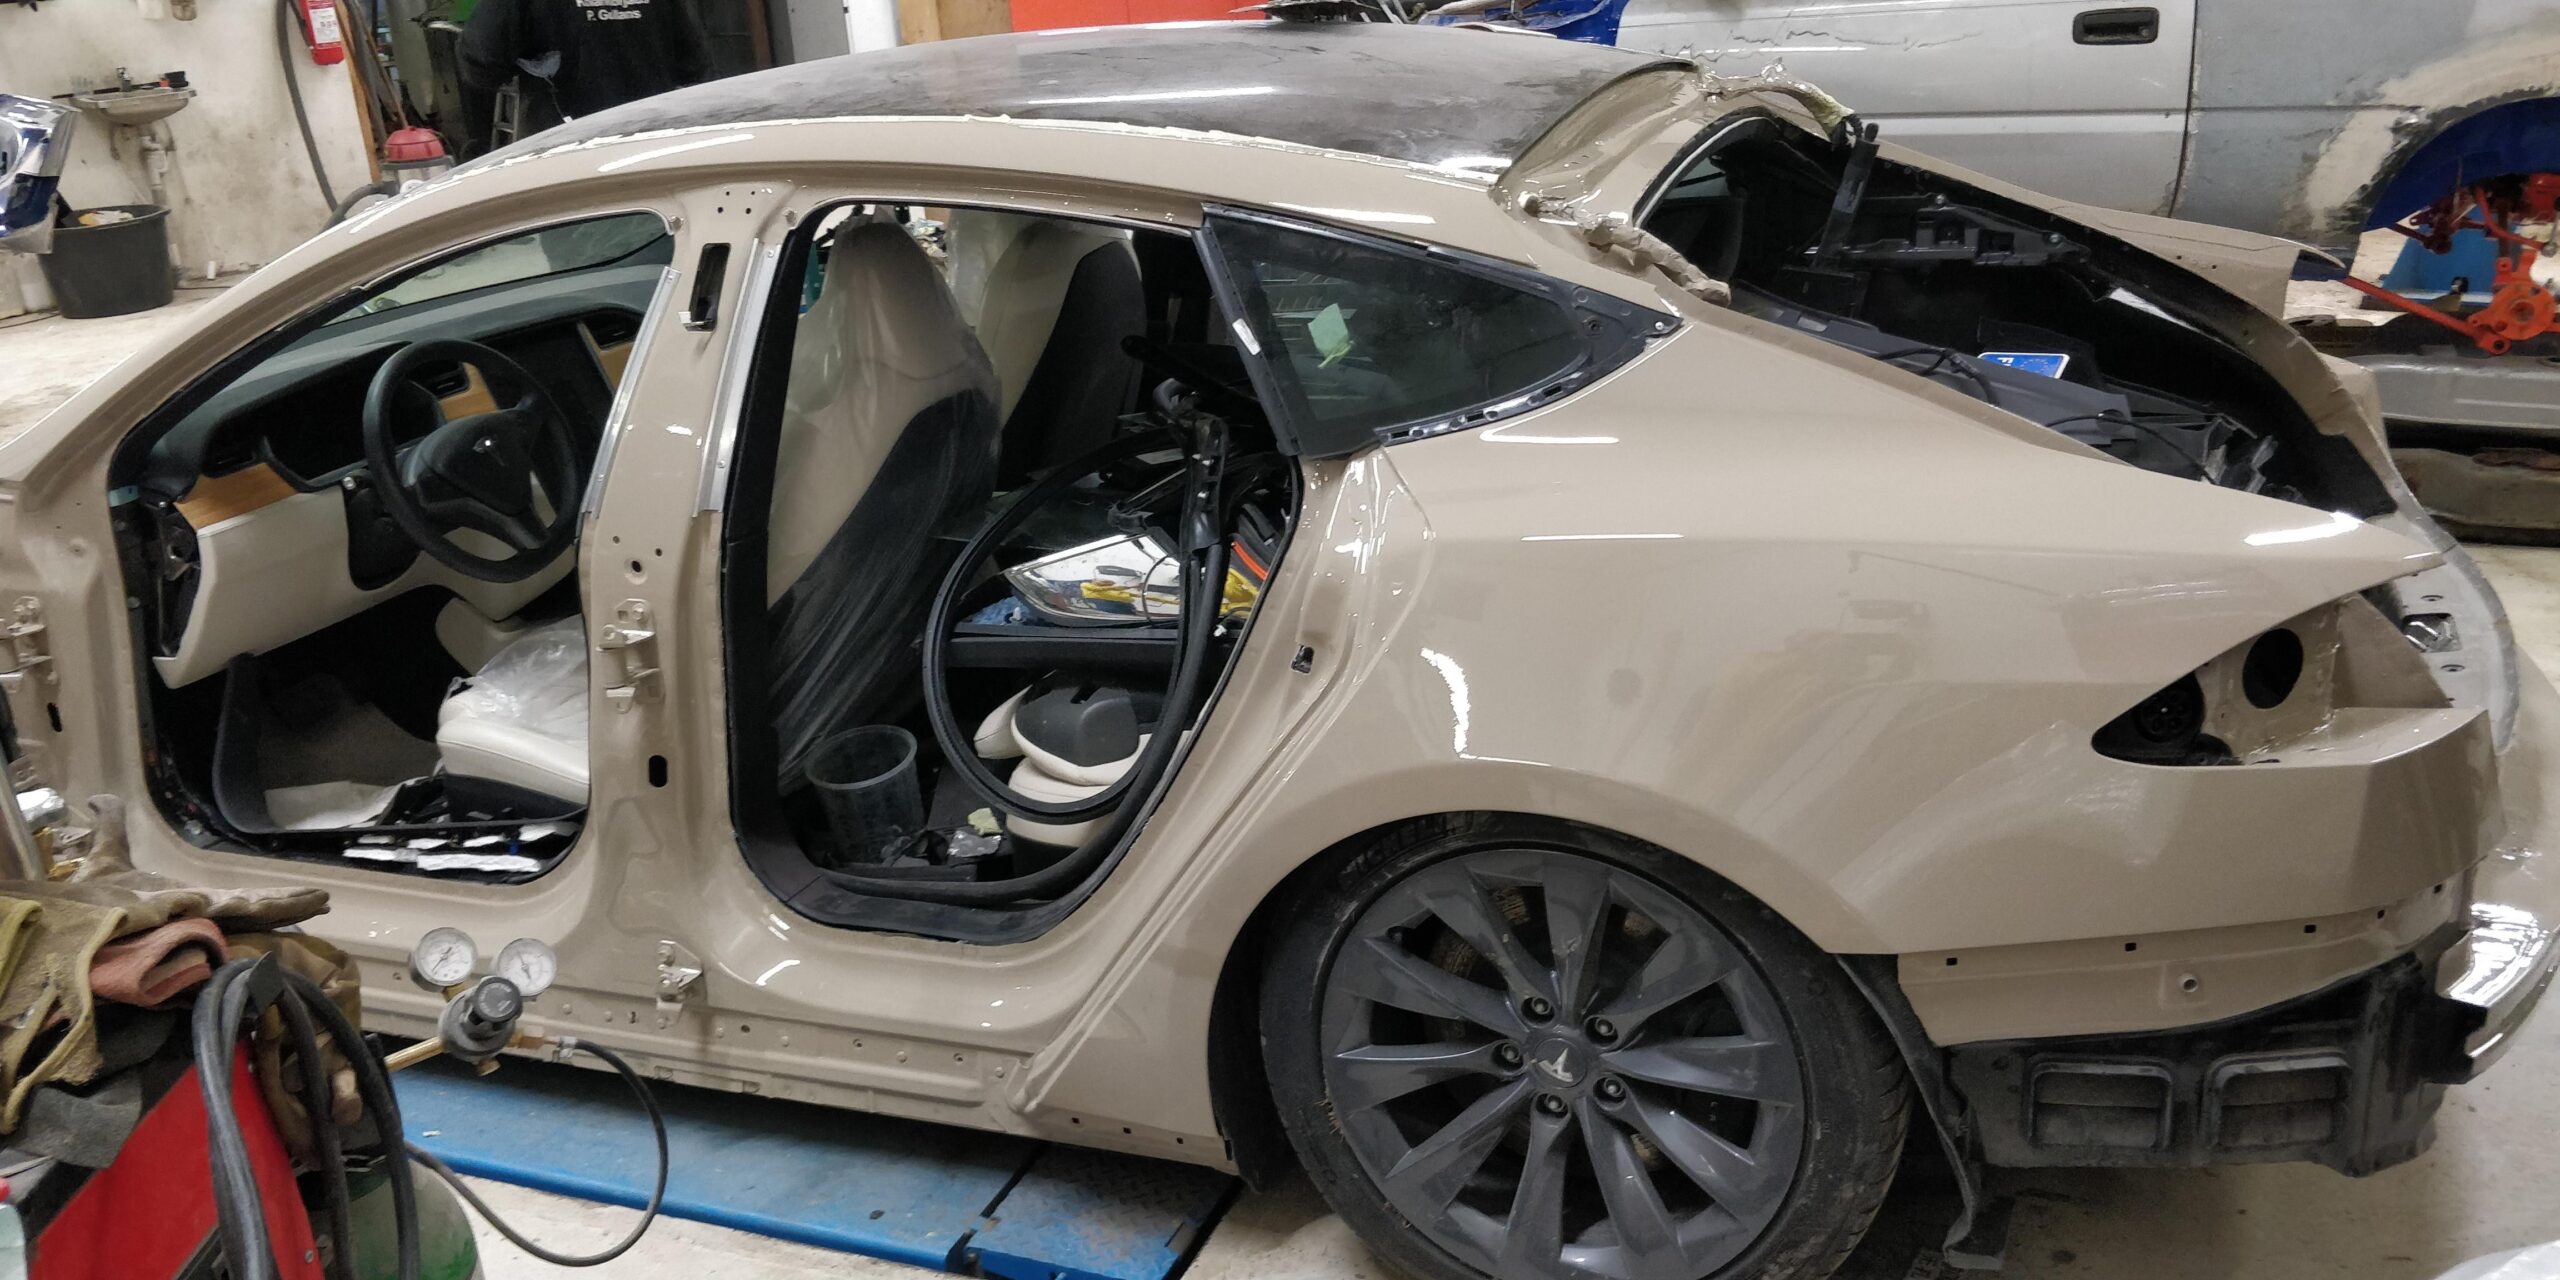
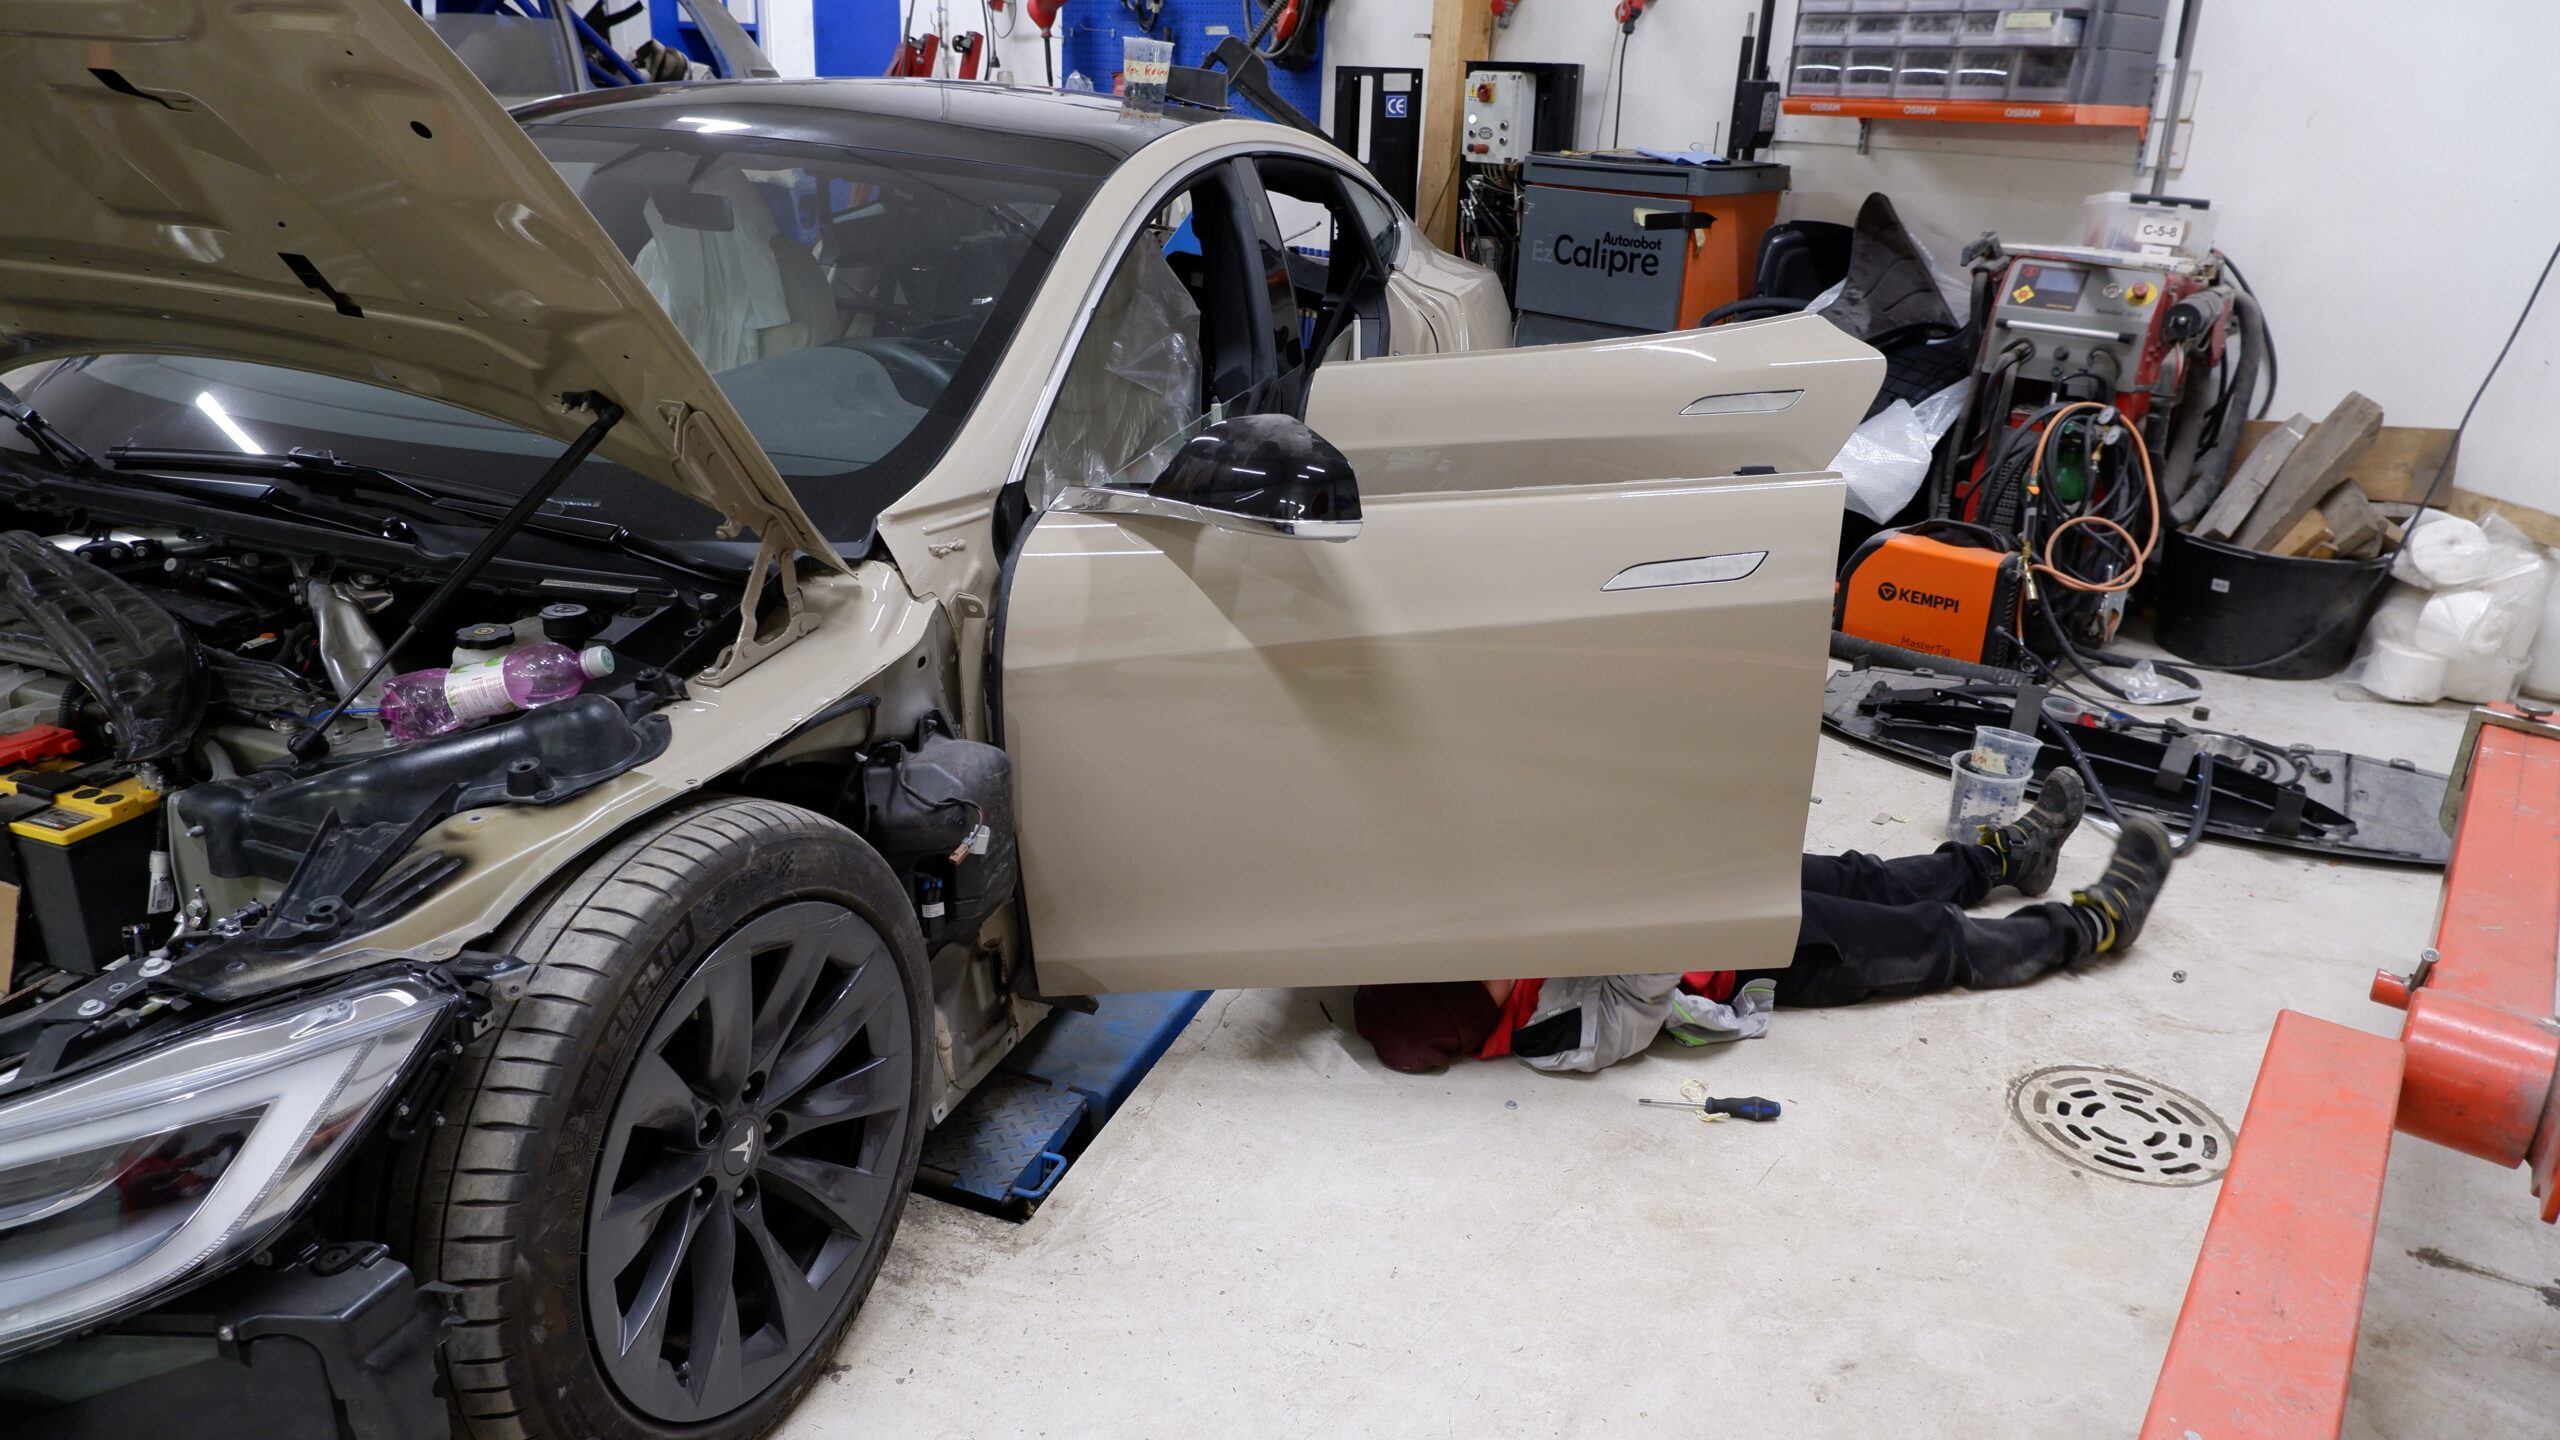
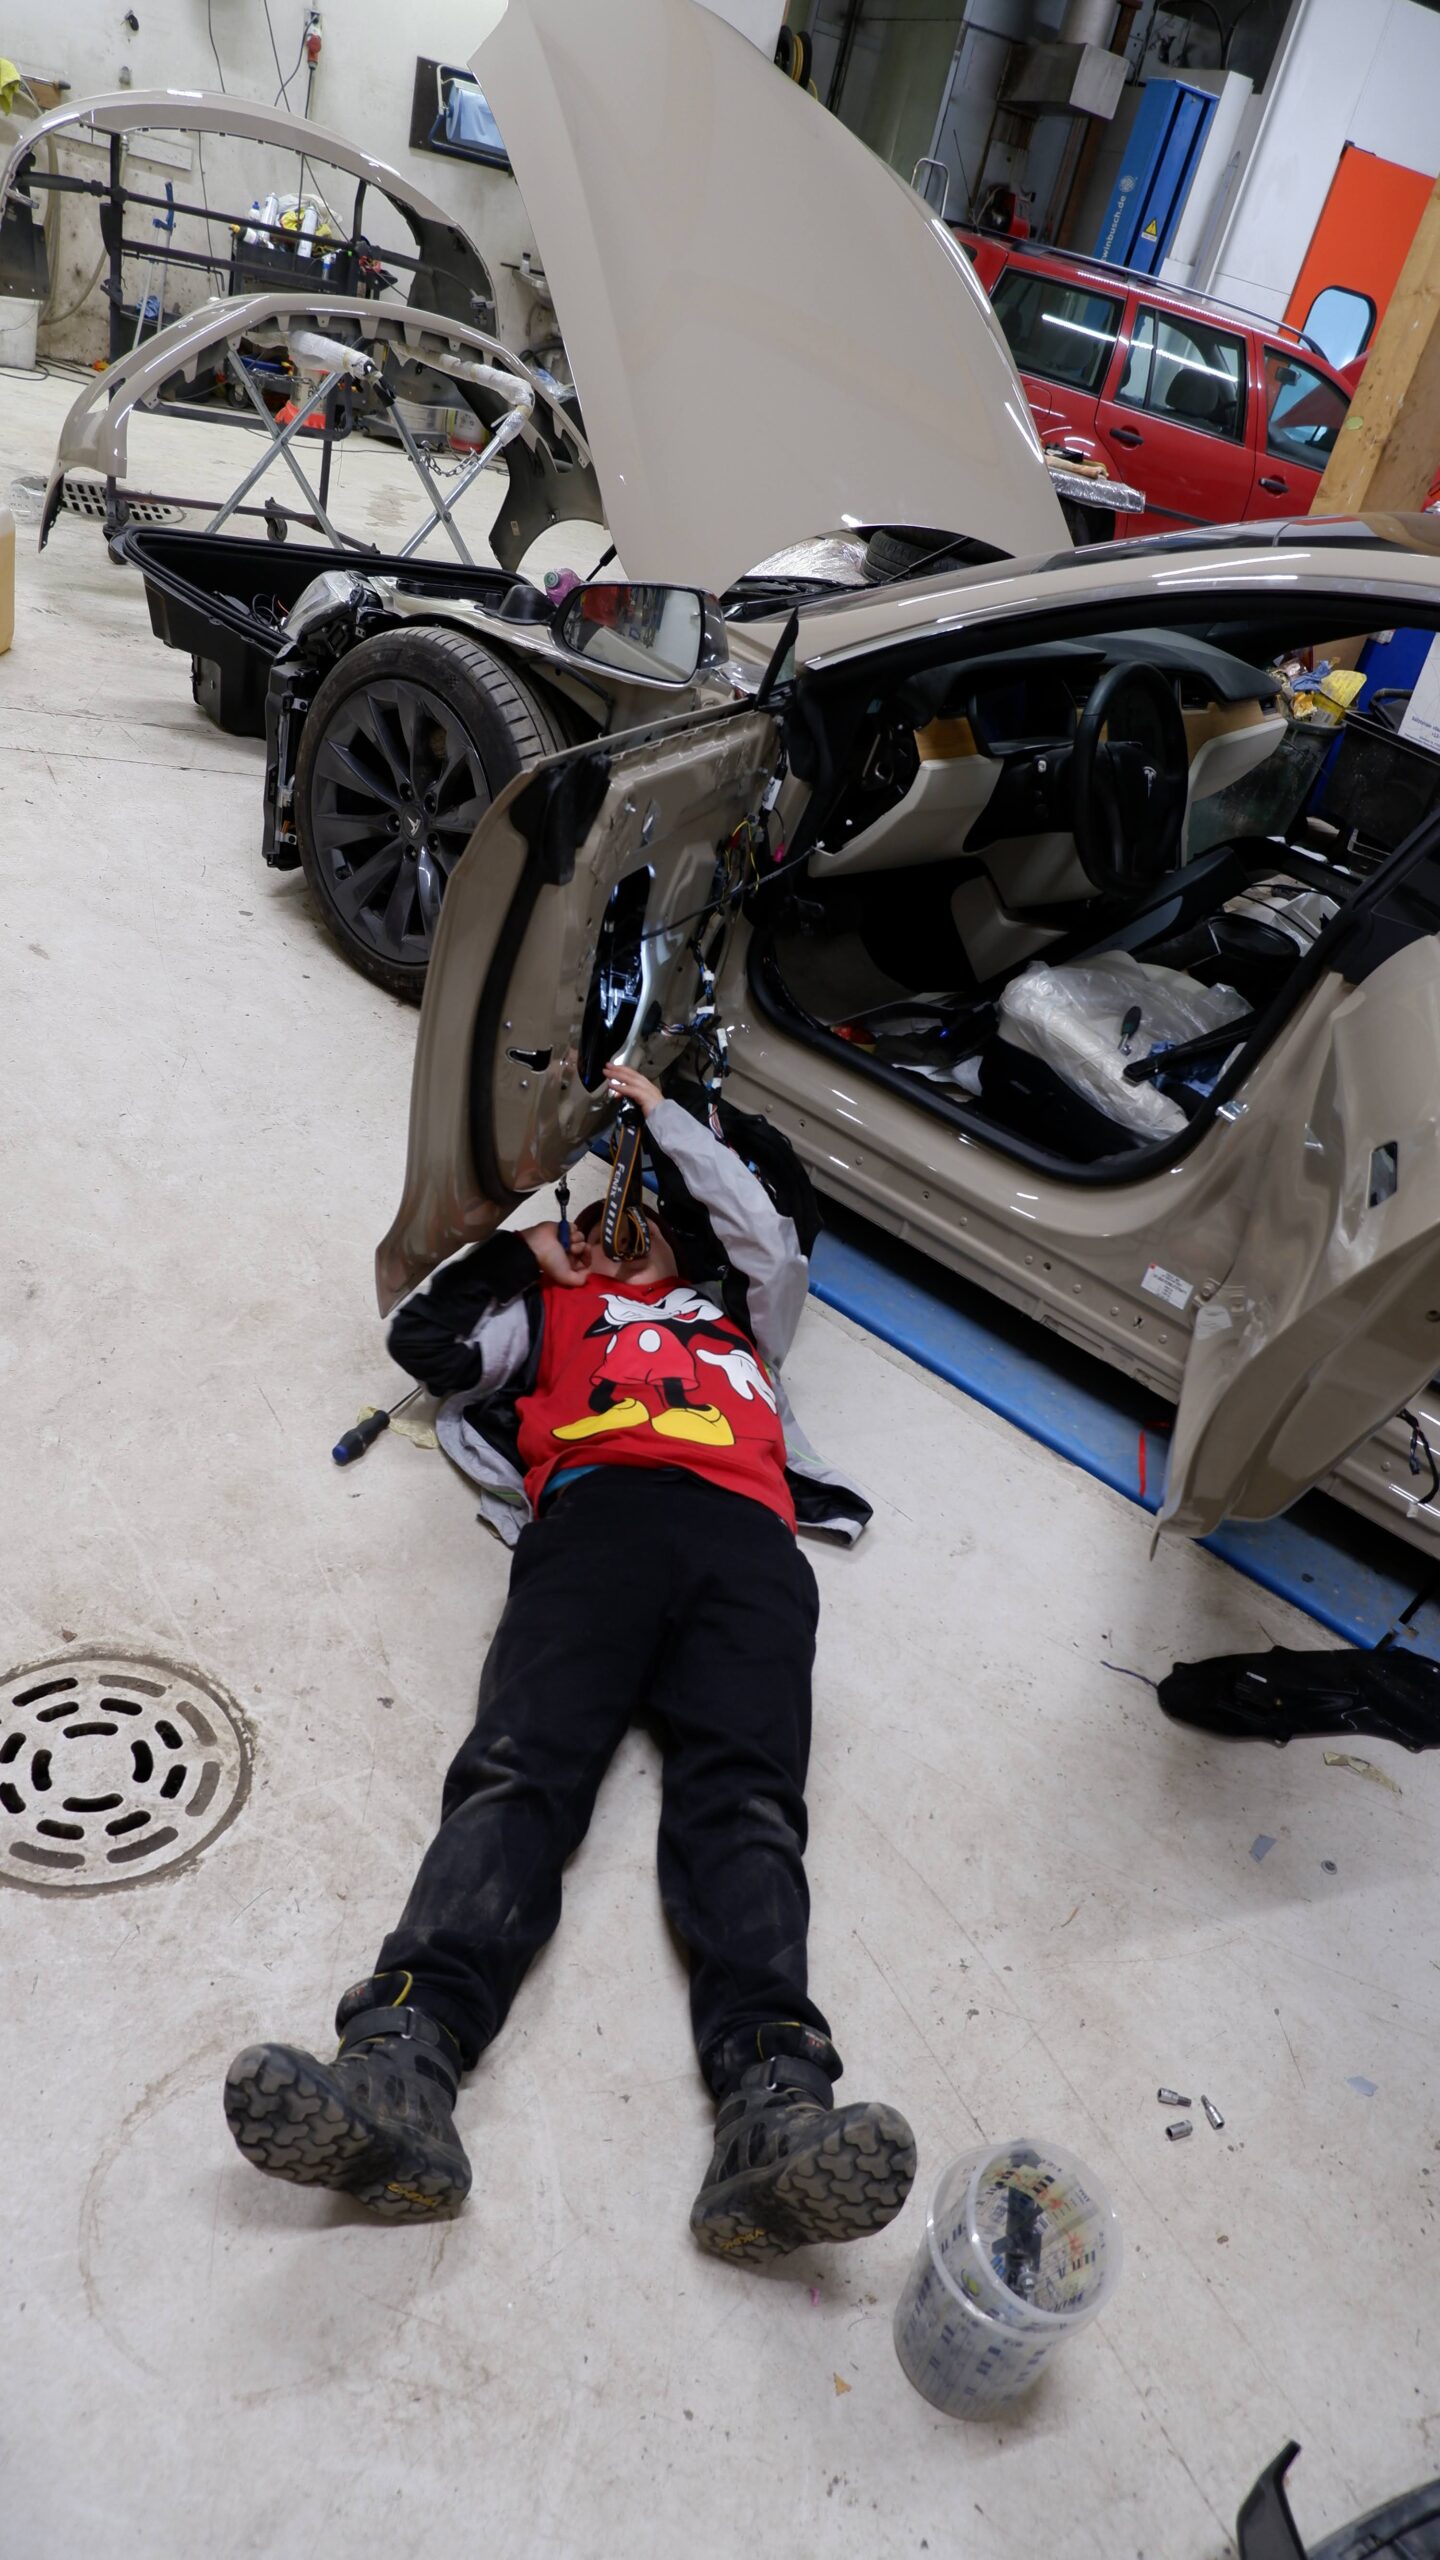
I even got my son to come and help in the garage once.
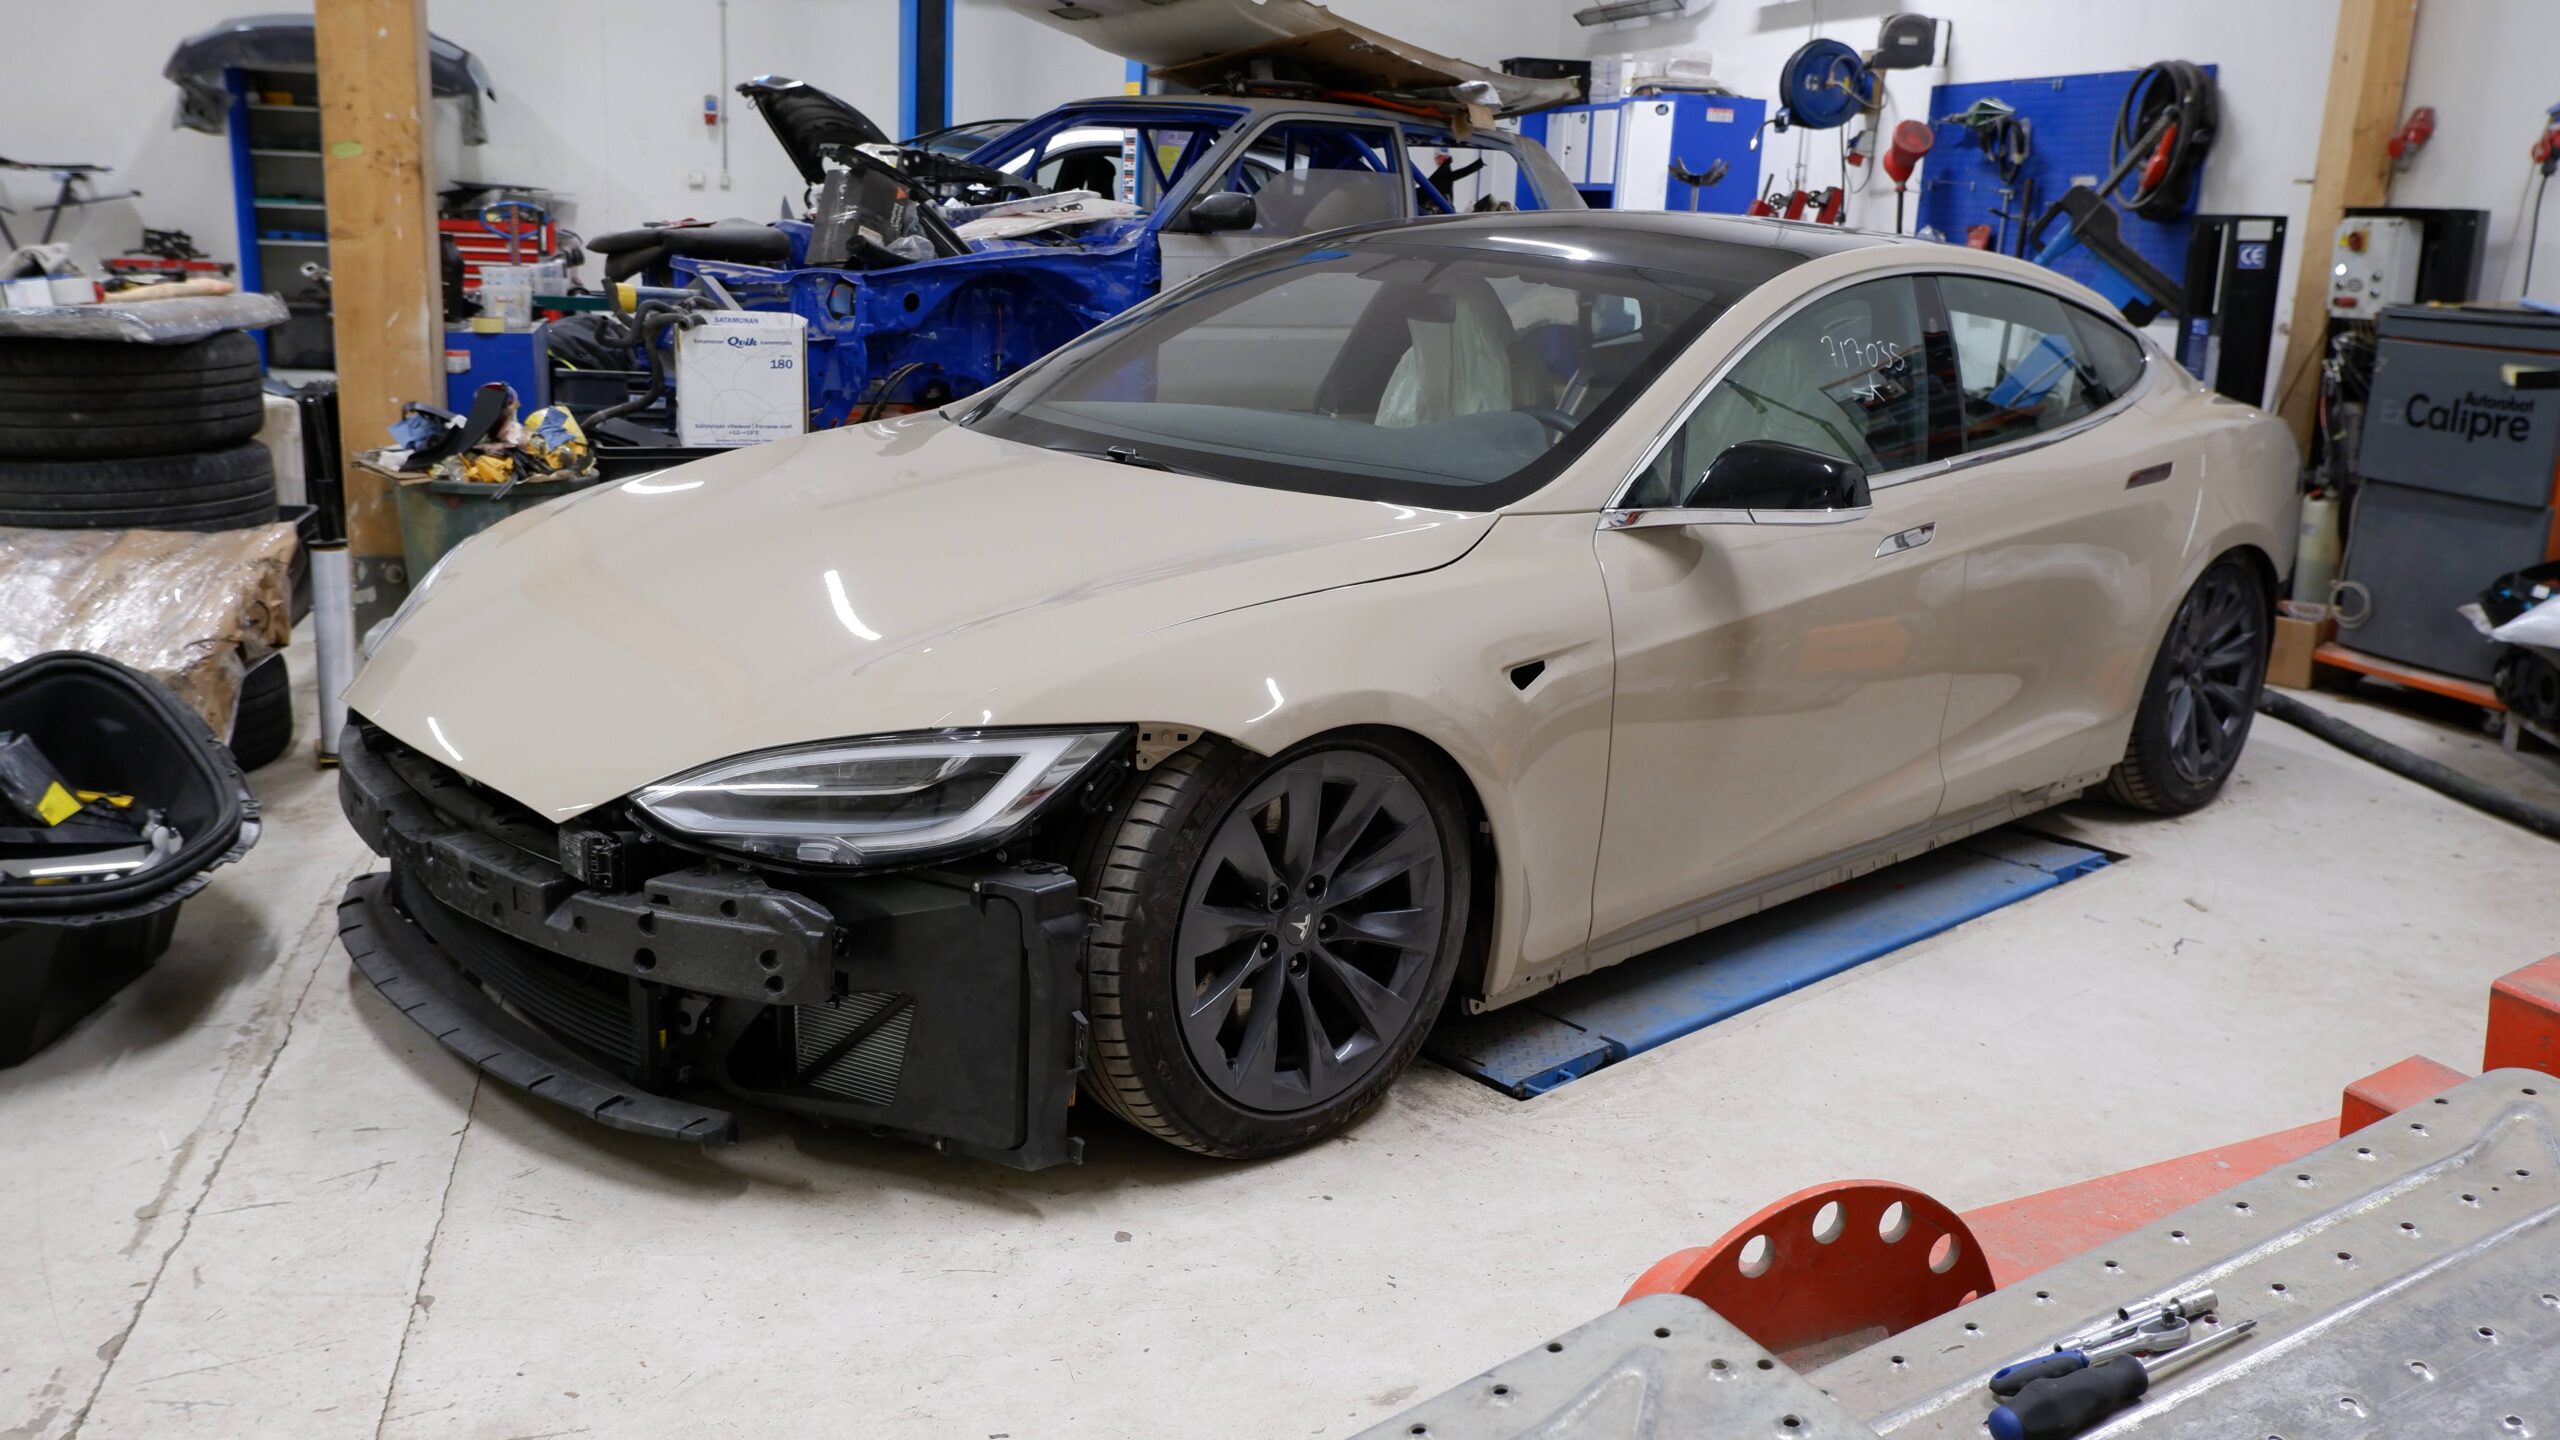
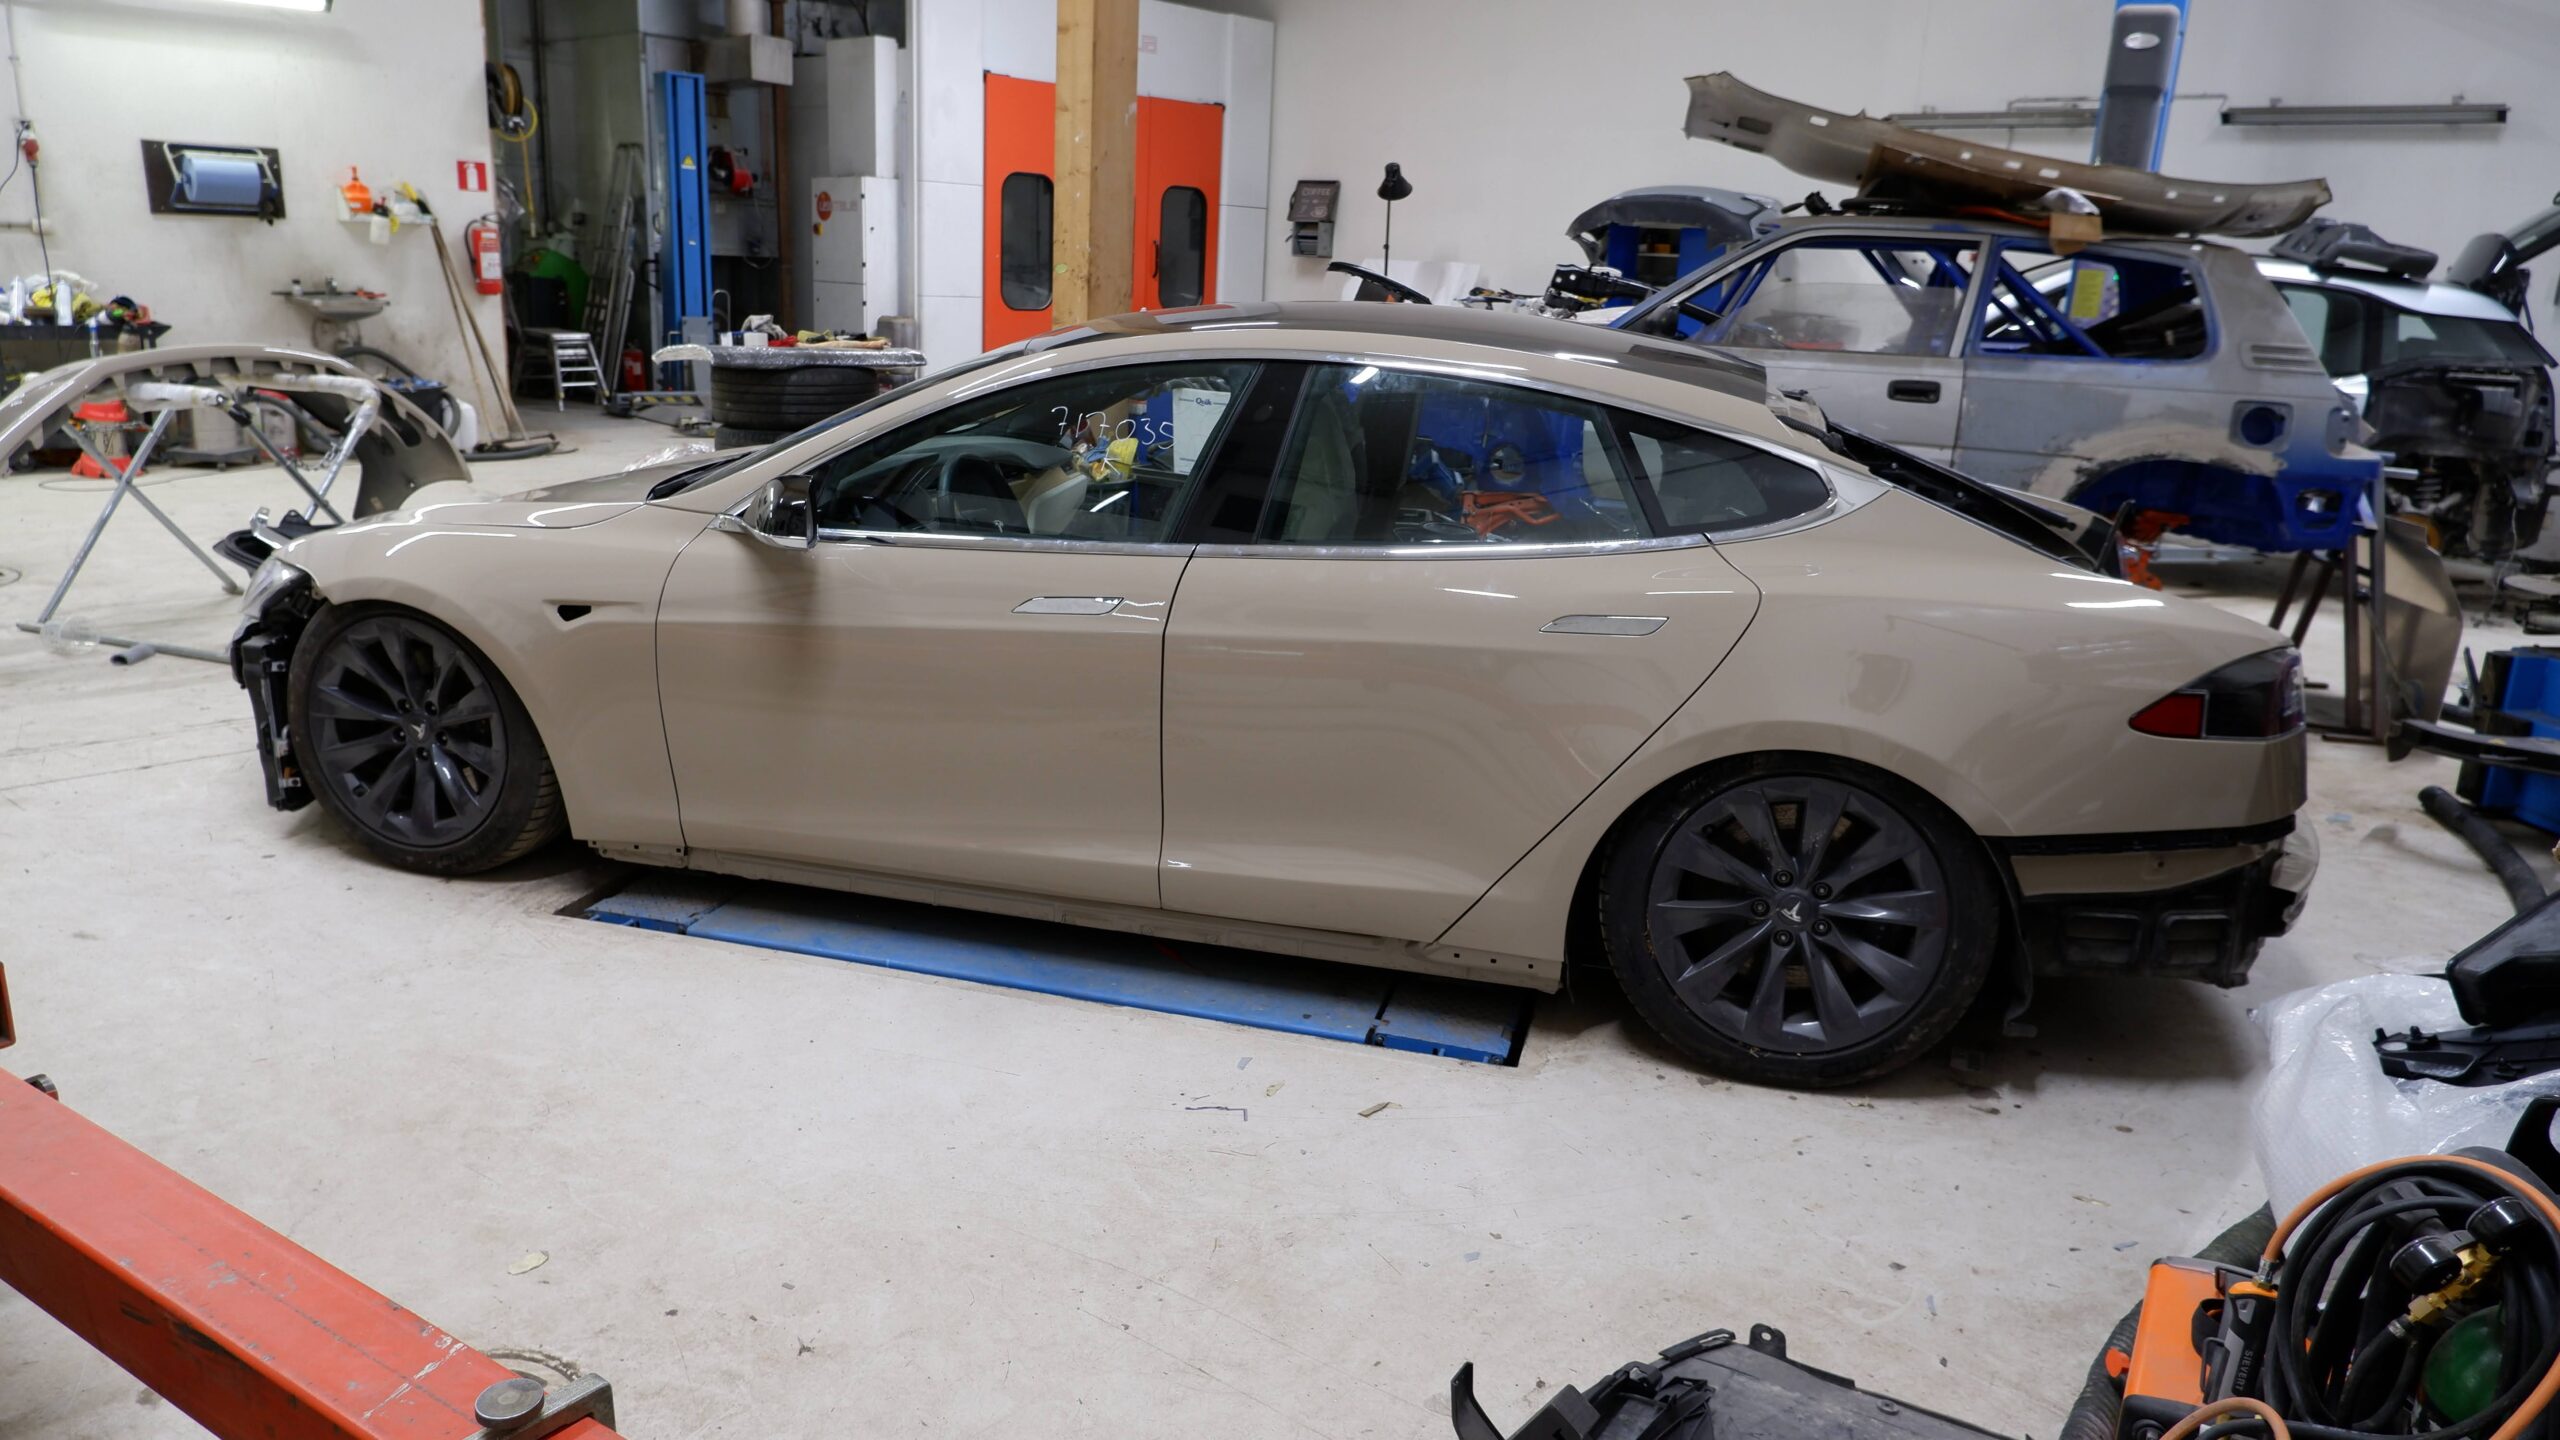
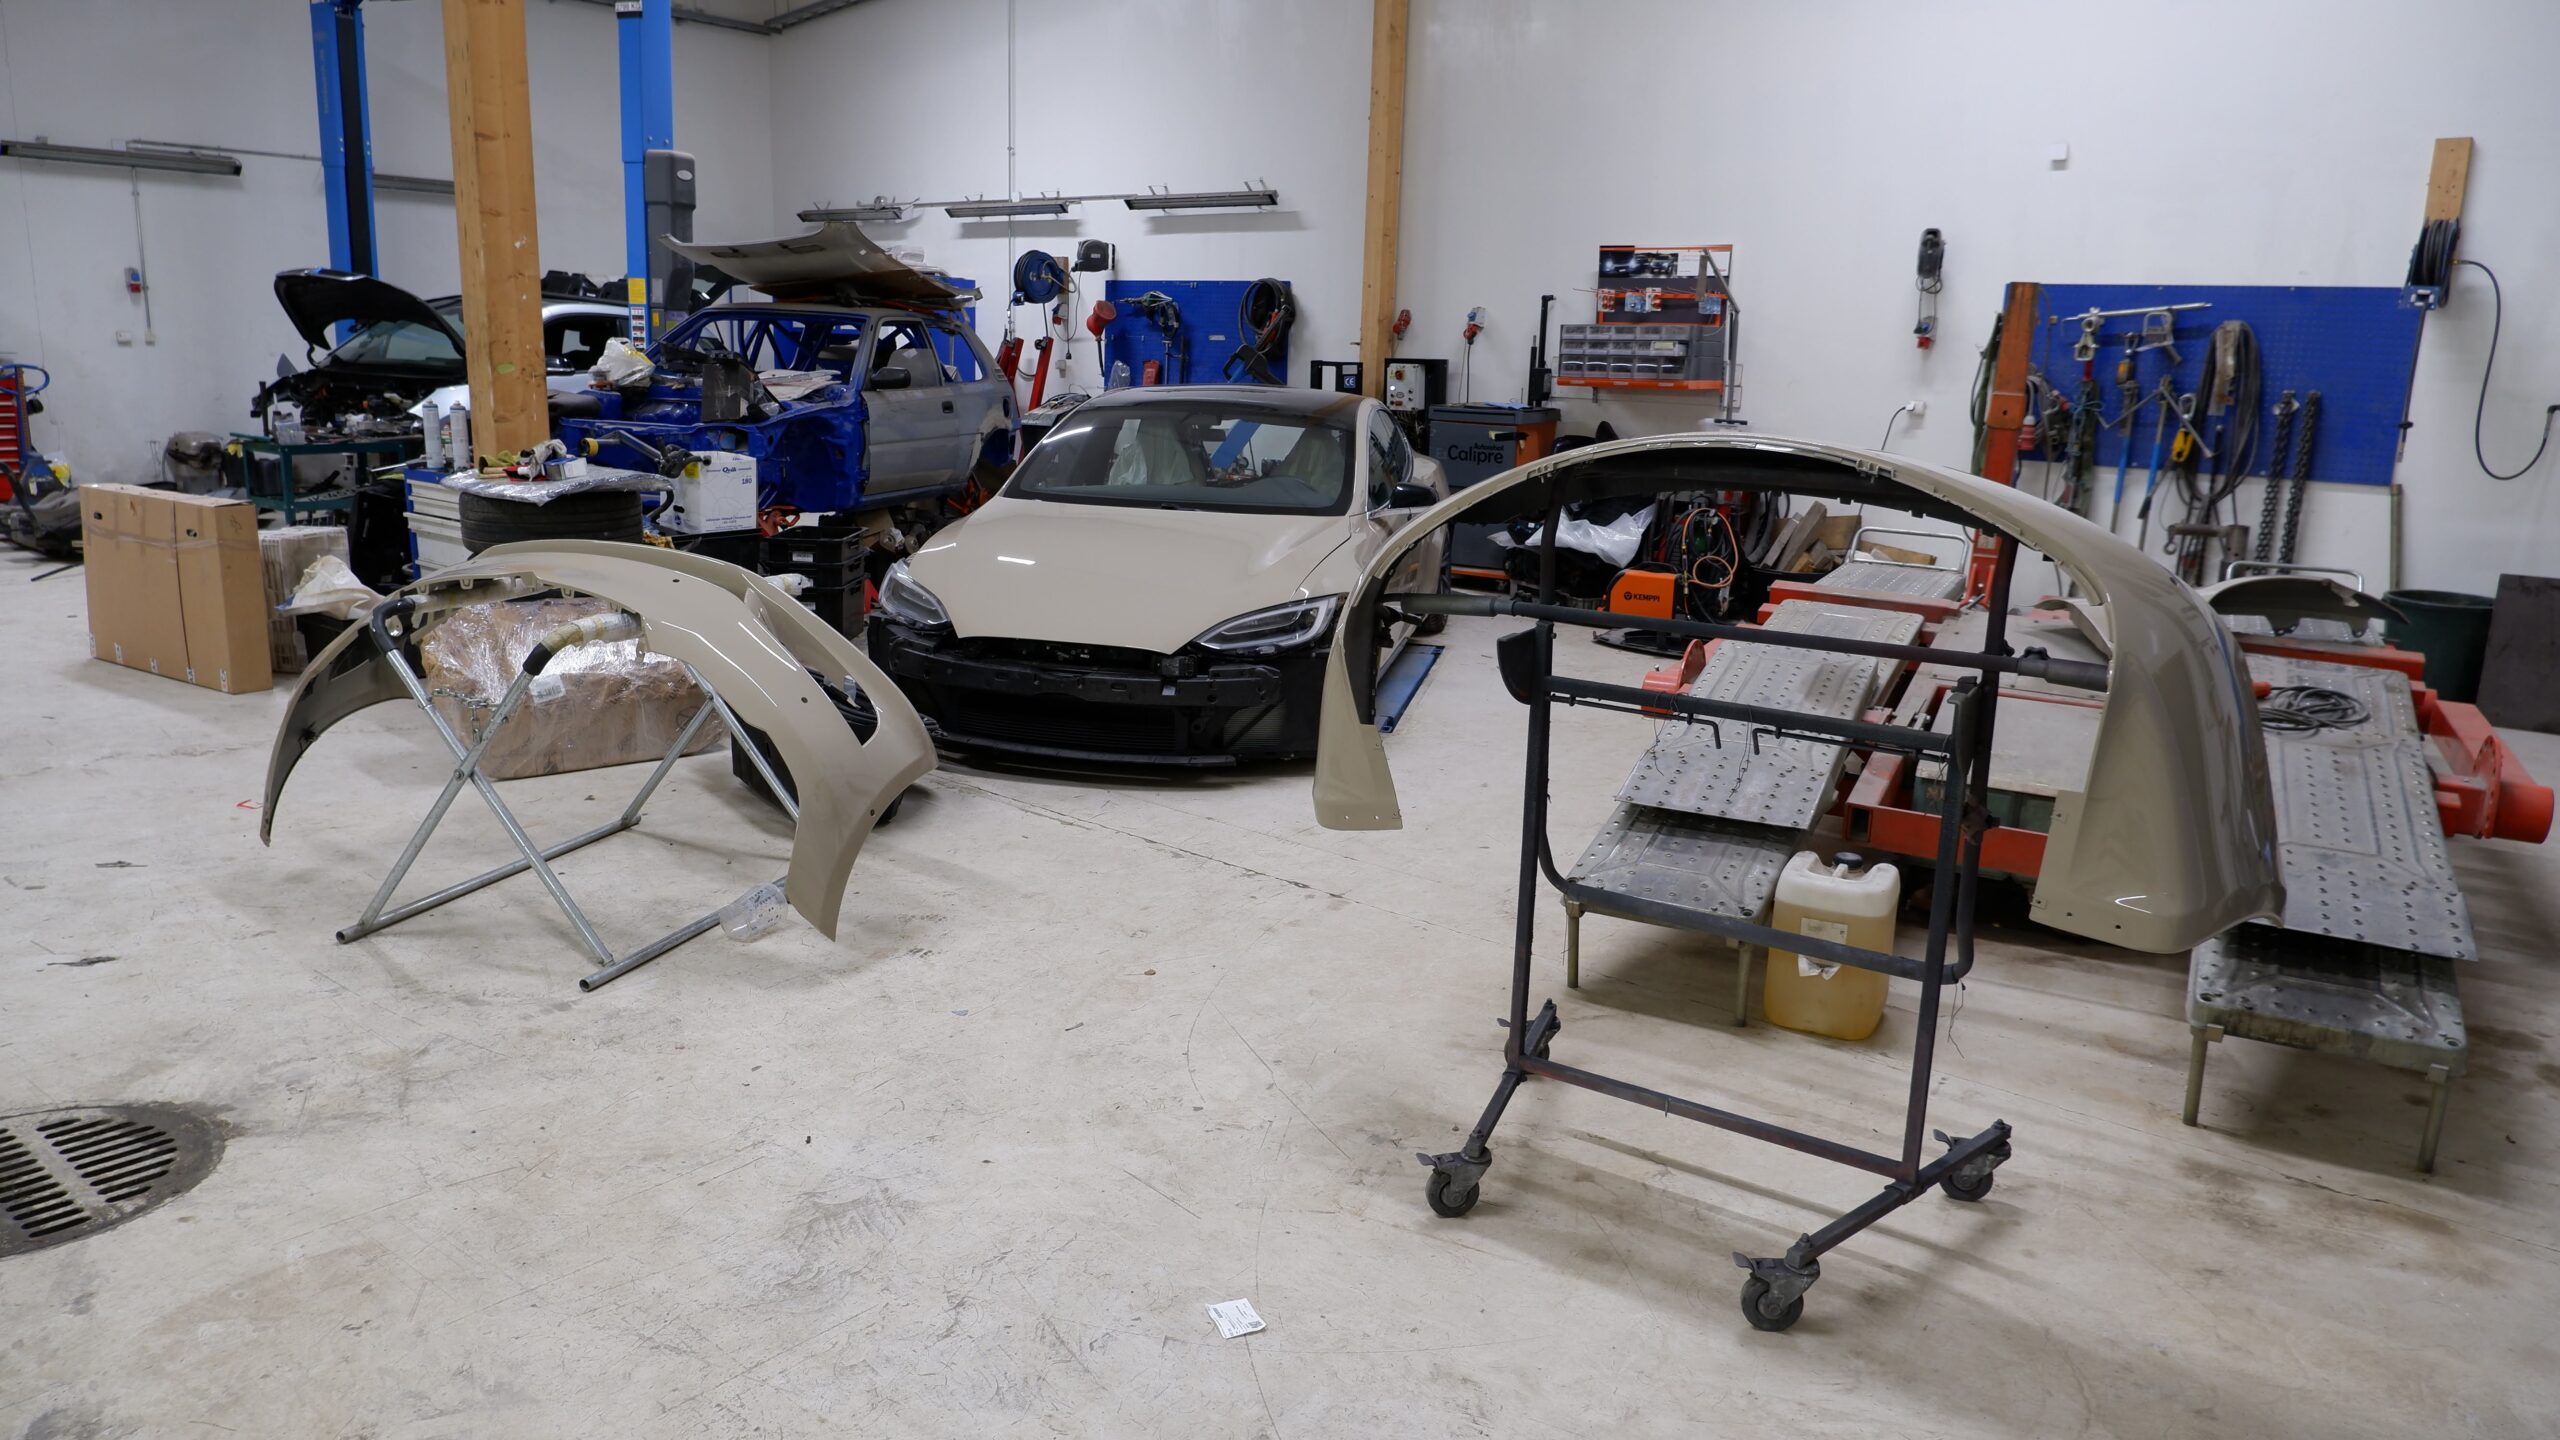
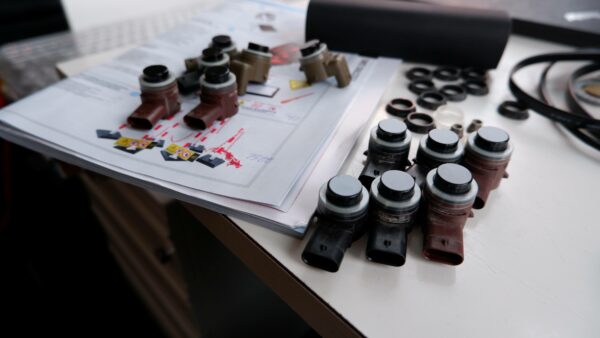
Mustn't forget to paint the parking sensors too.
Surprisingly, the fog lights had survived apart from a few scratches, so we refurbished them.
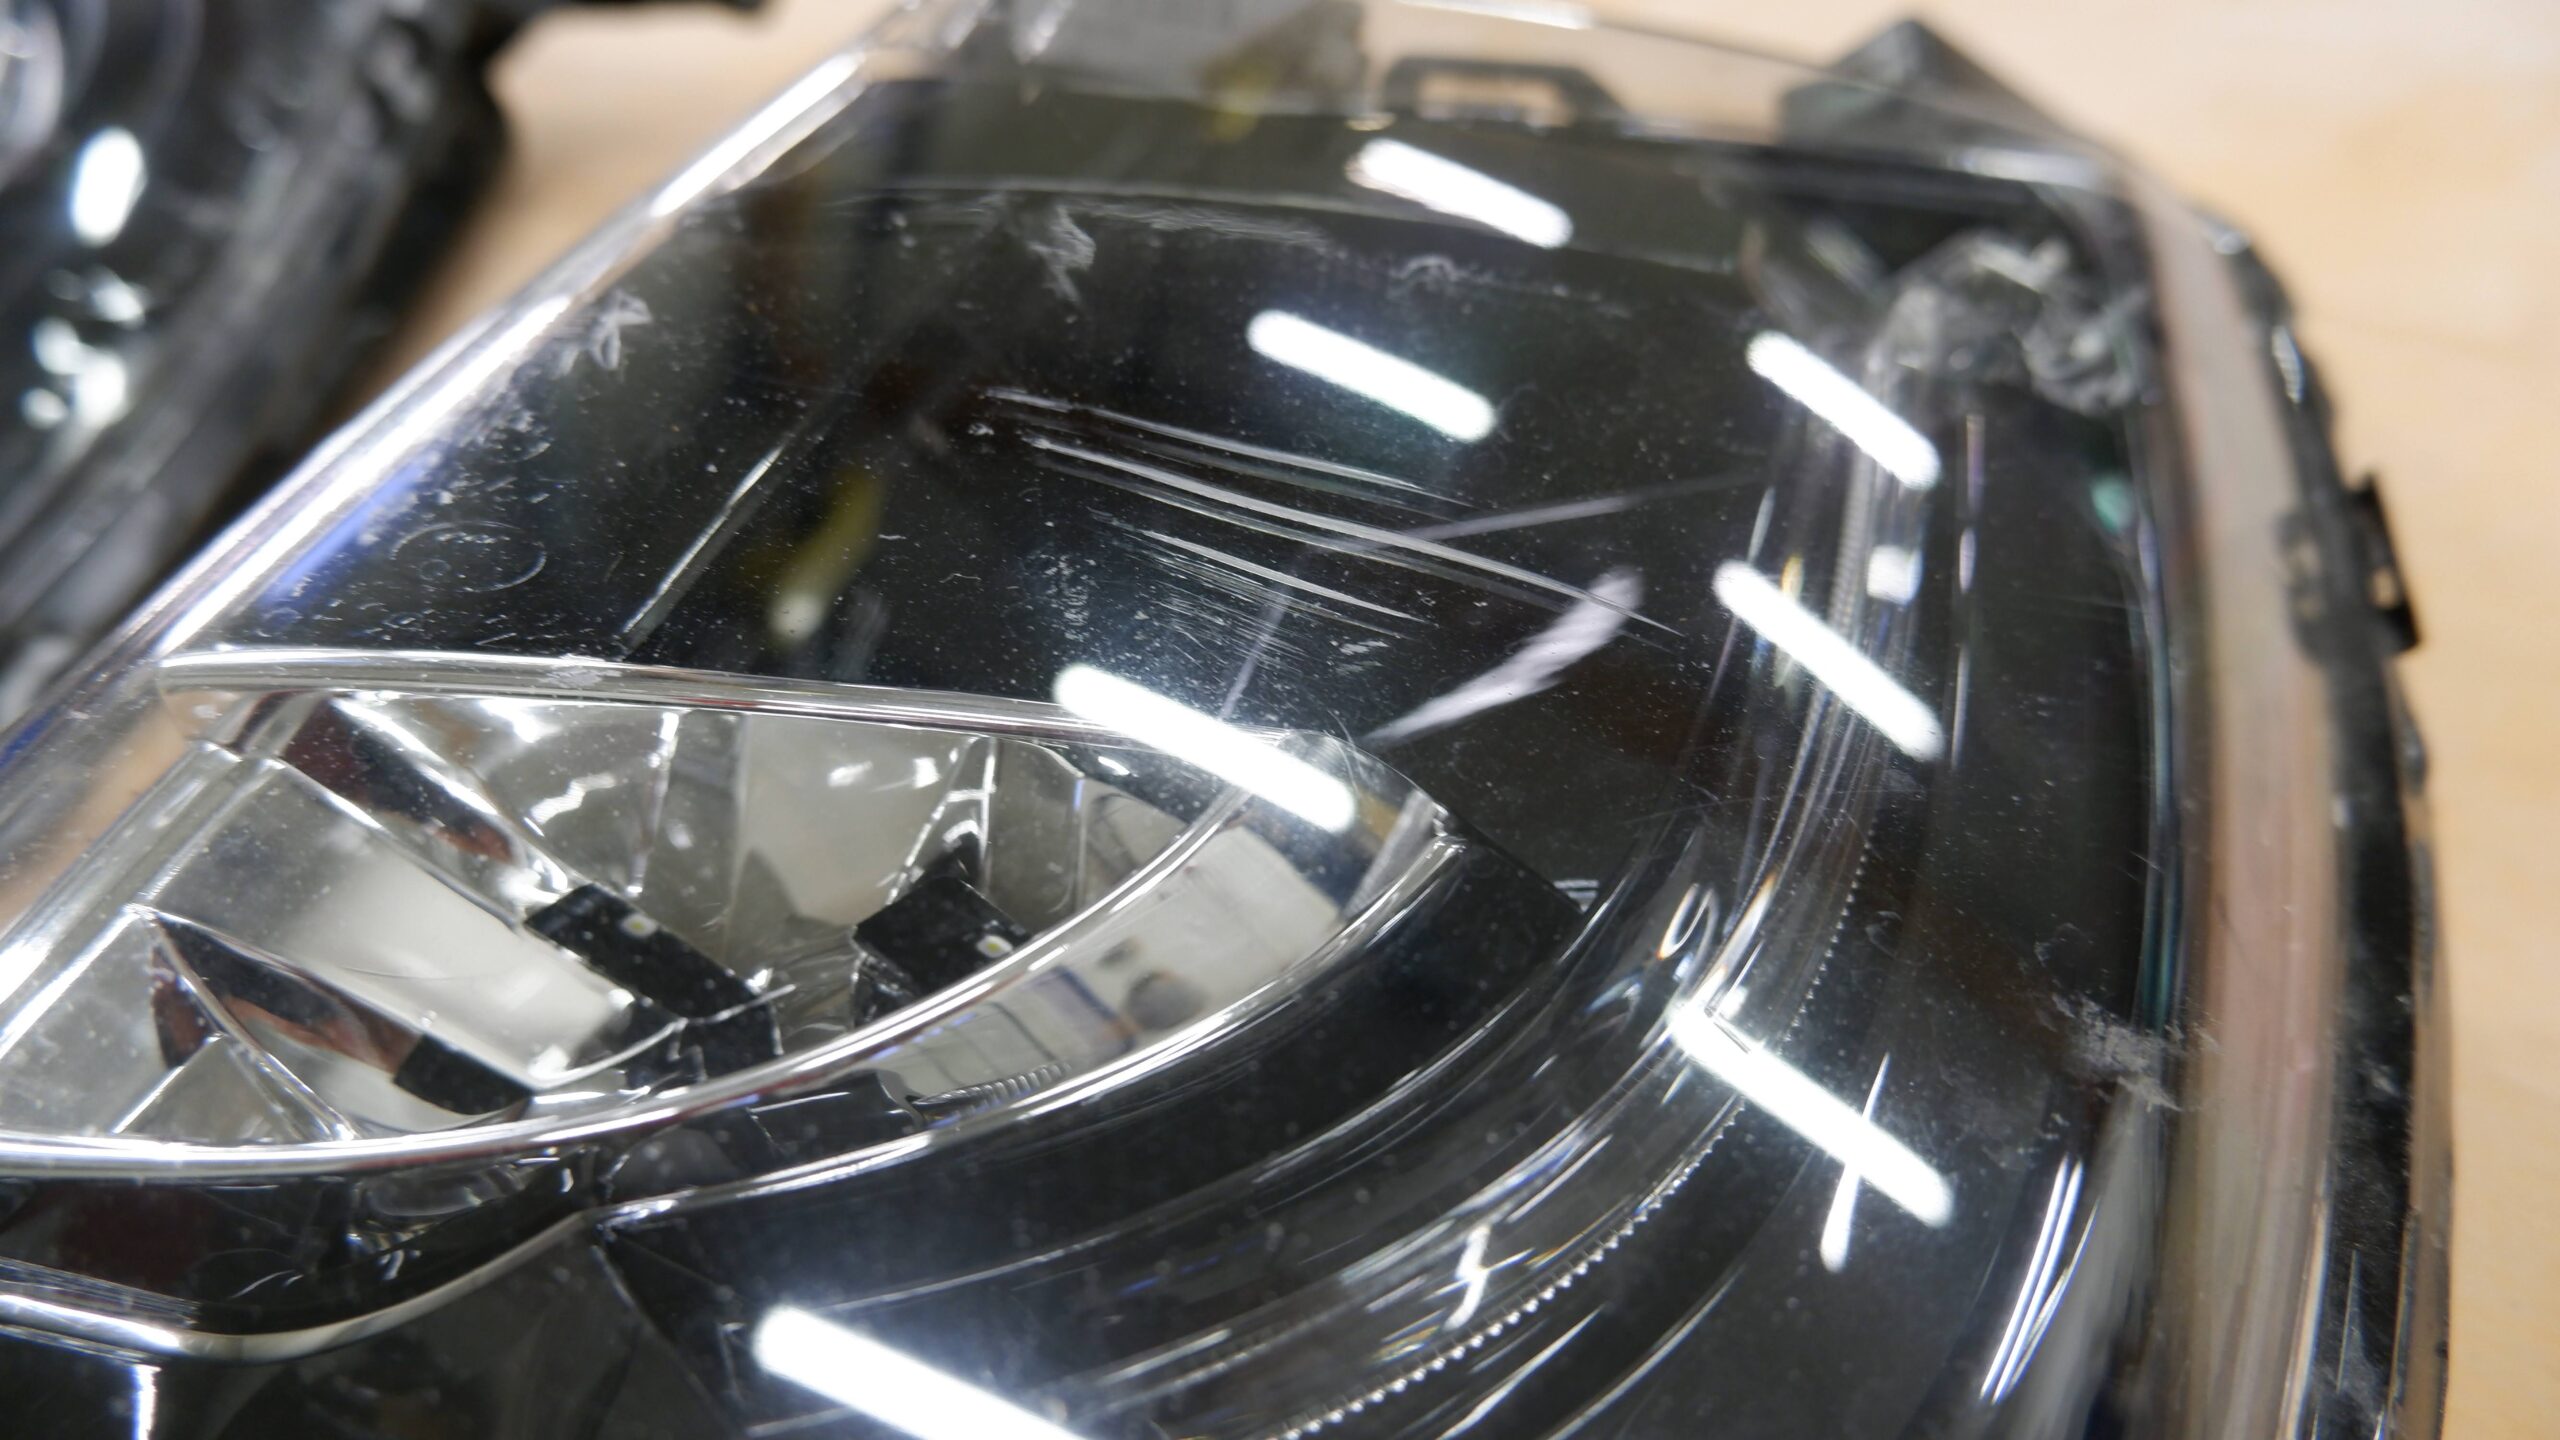
Scratch
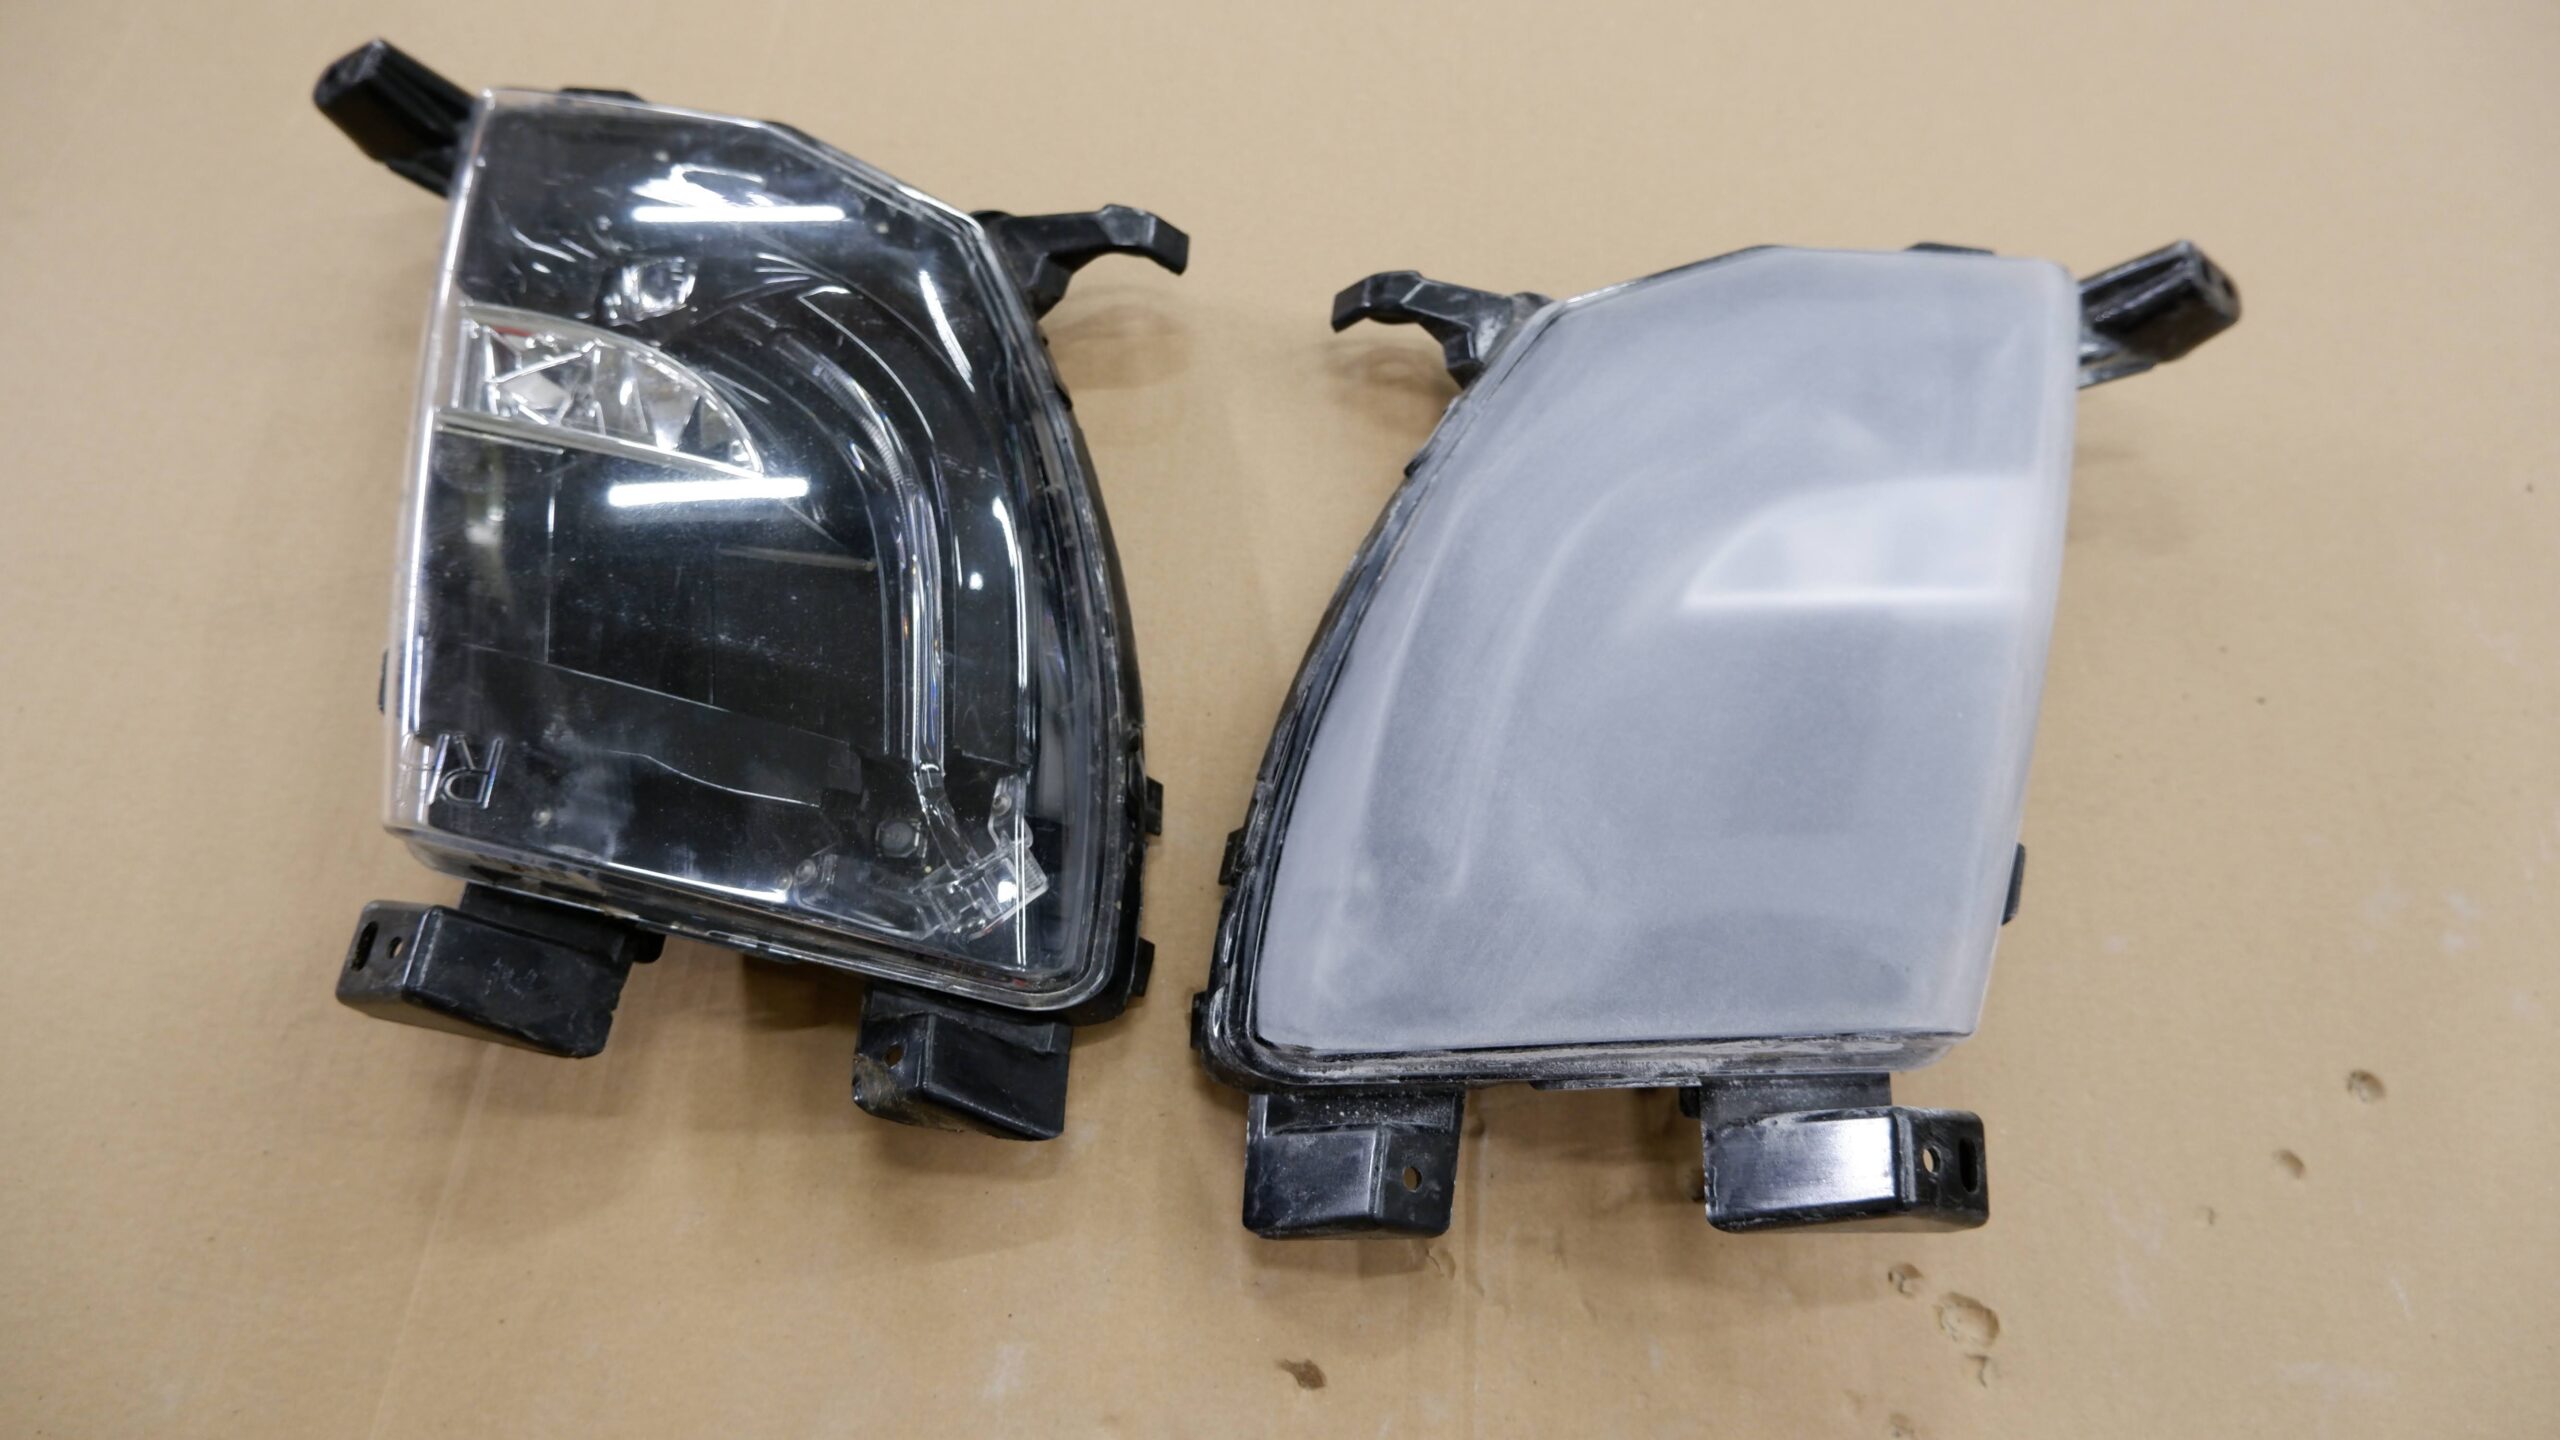
Sanded to a matt finish.
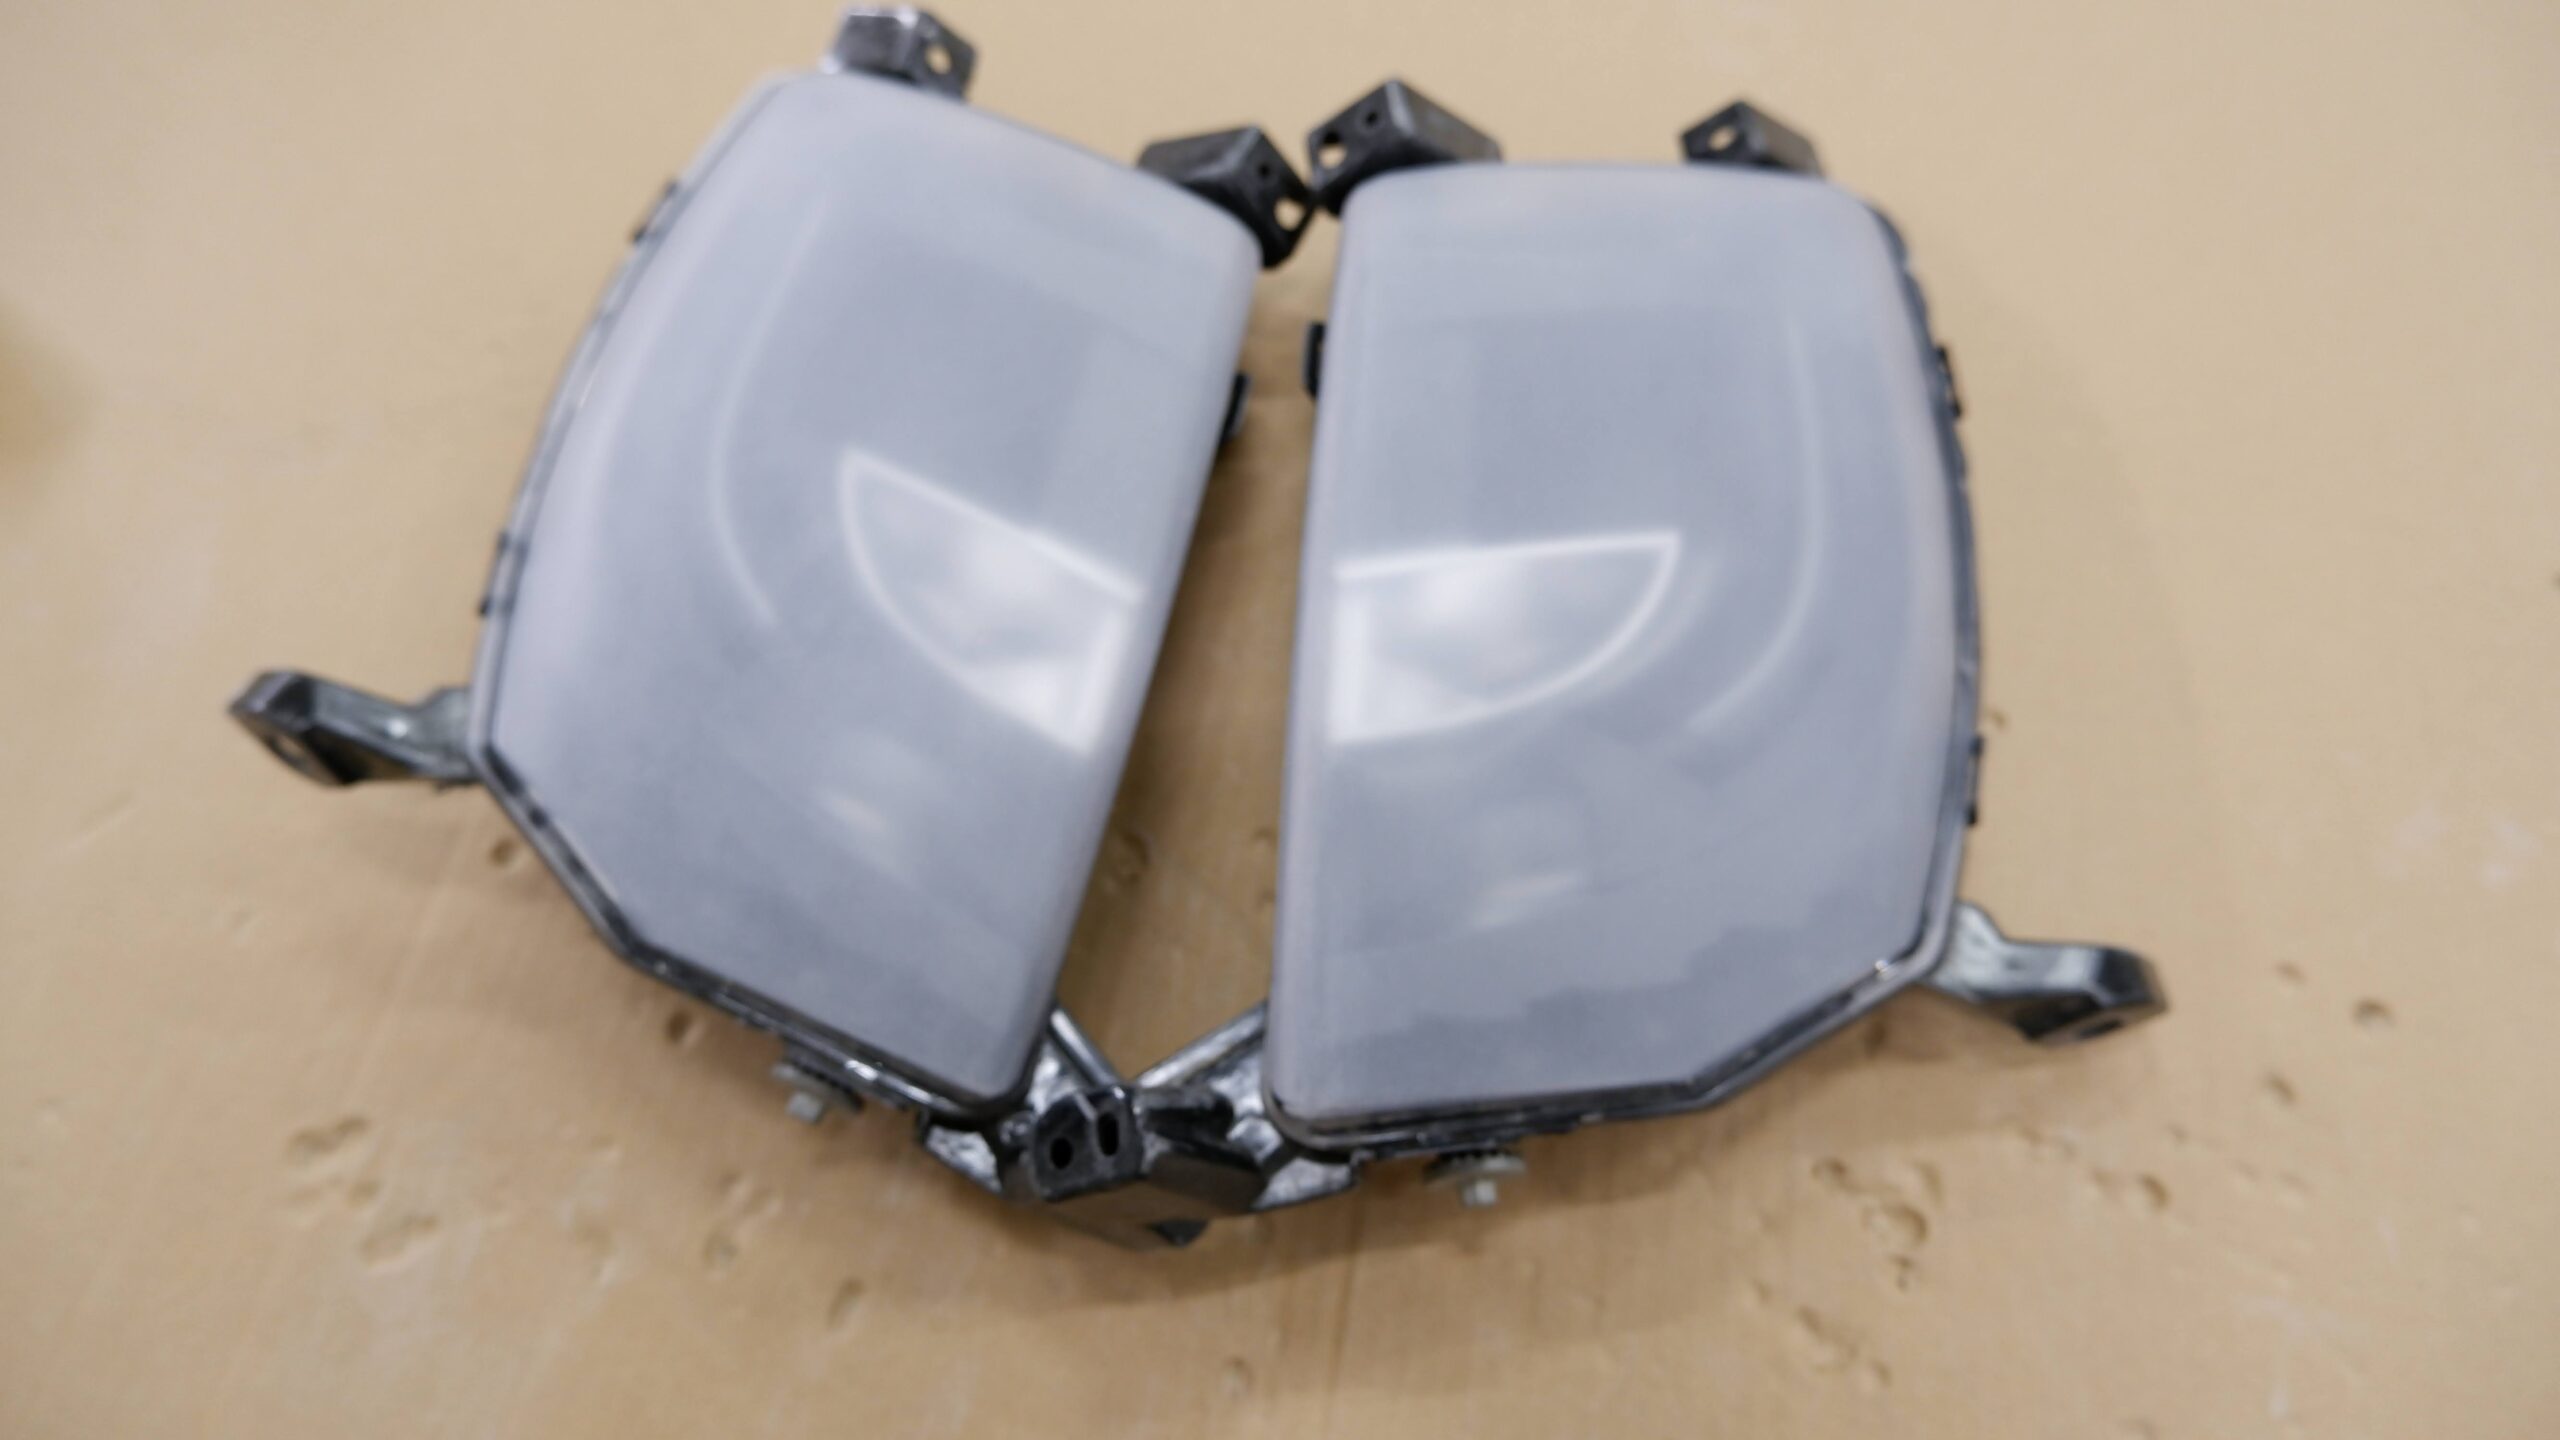
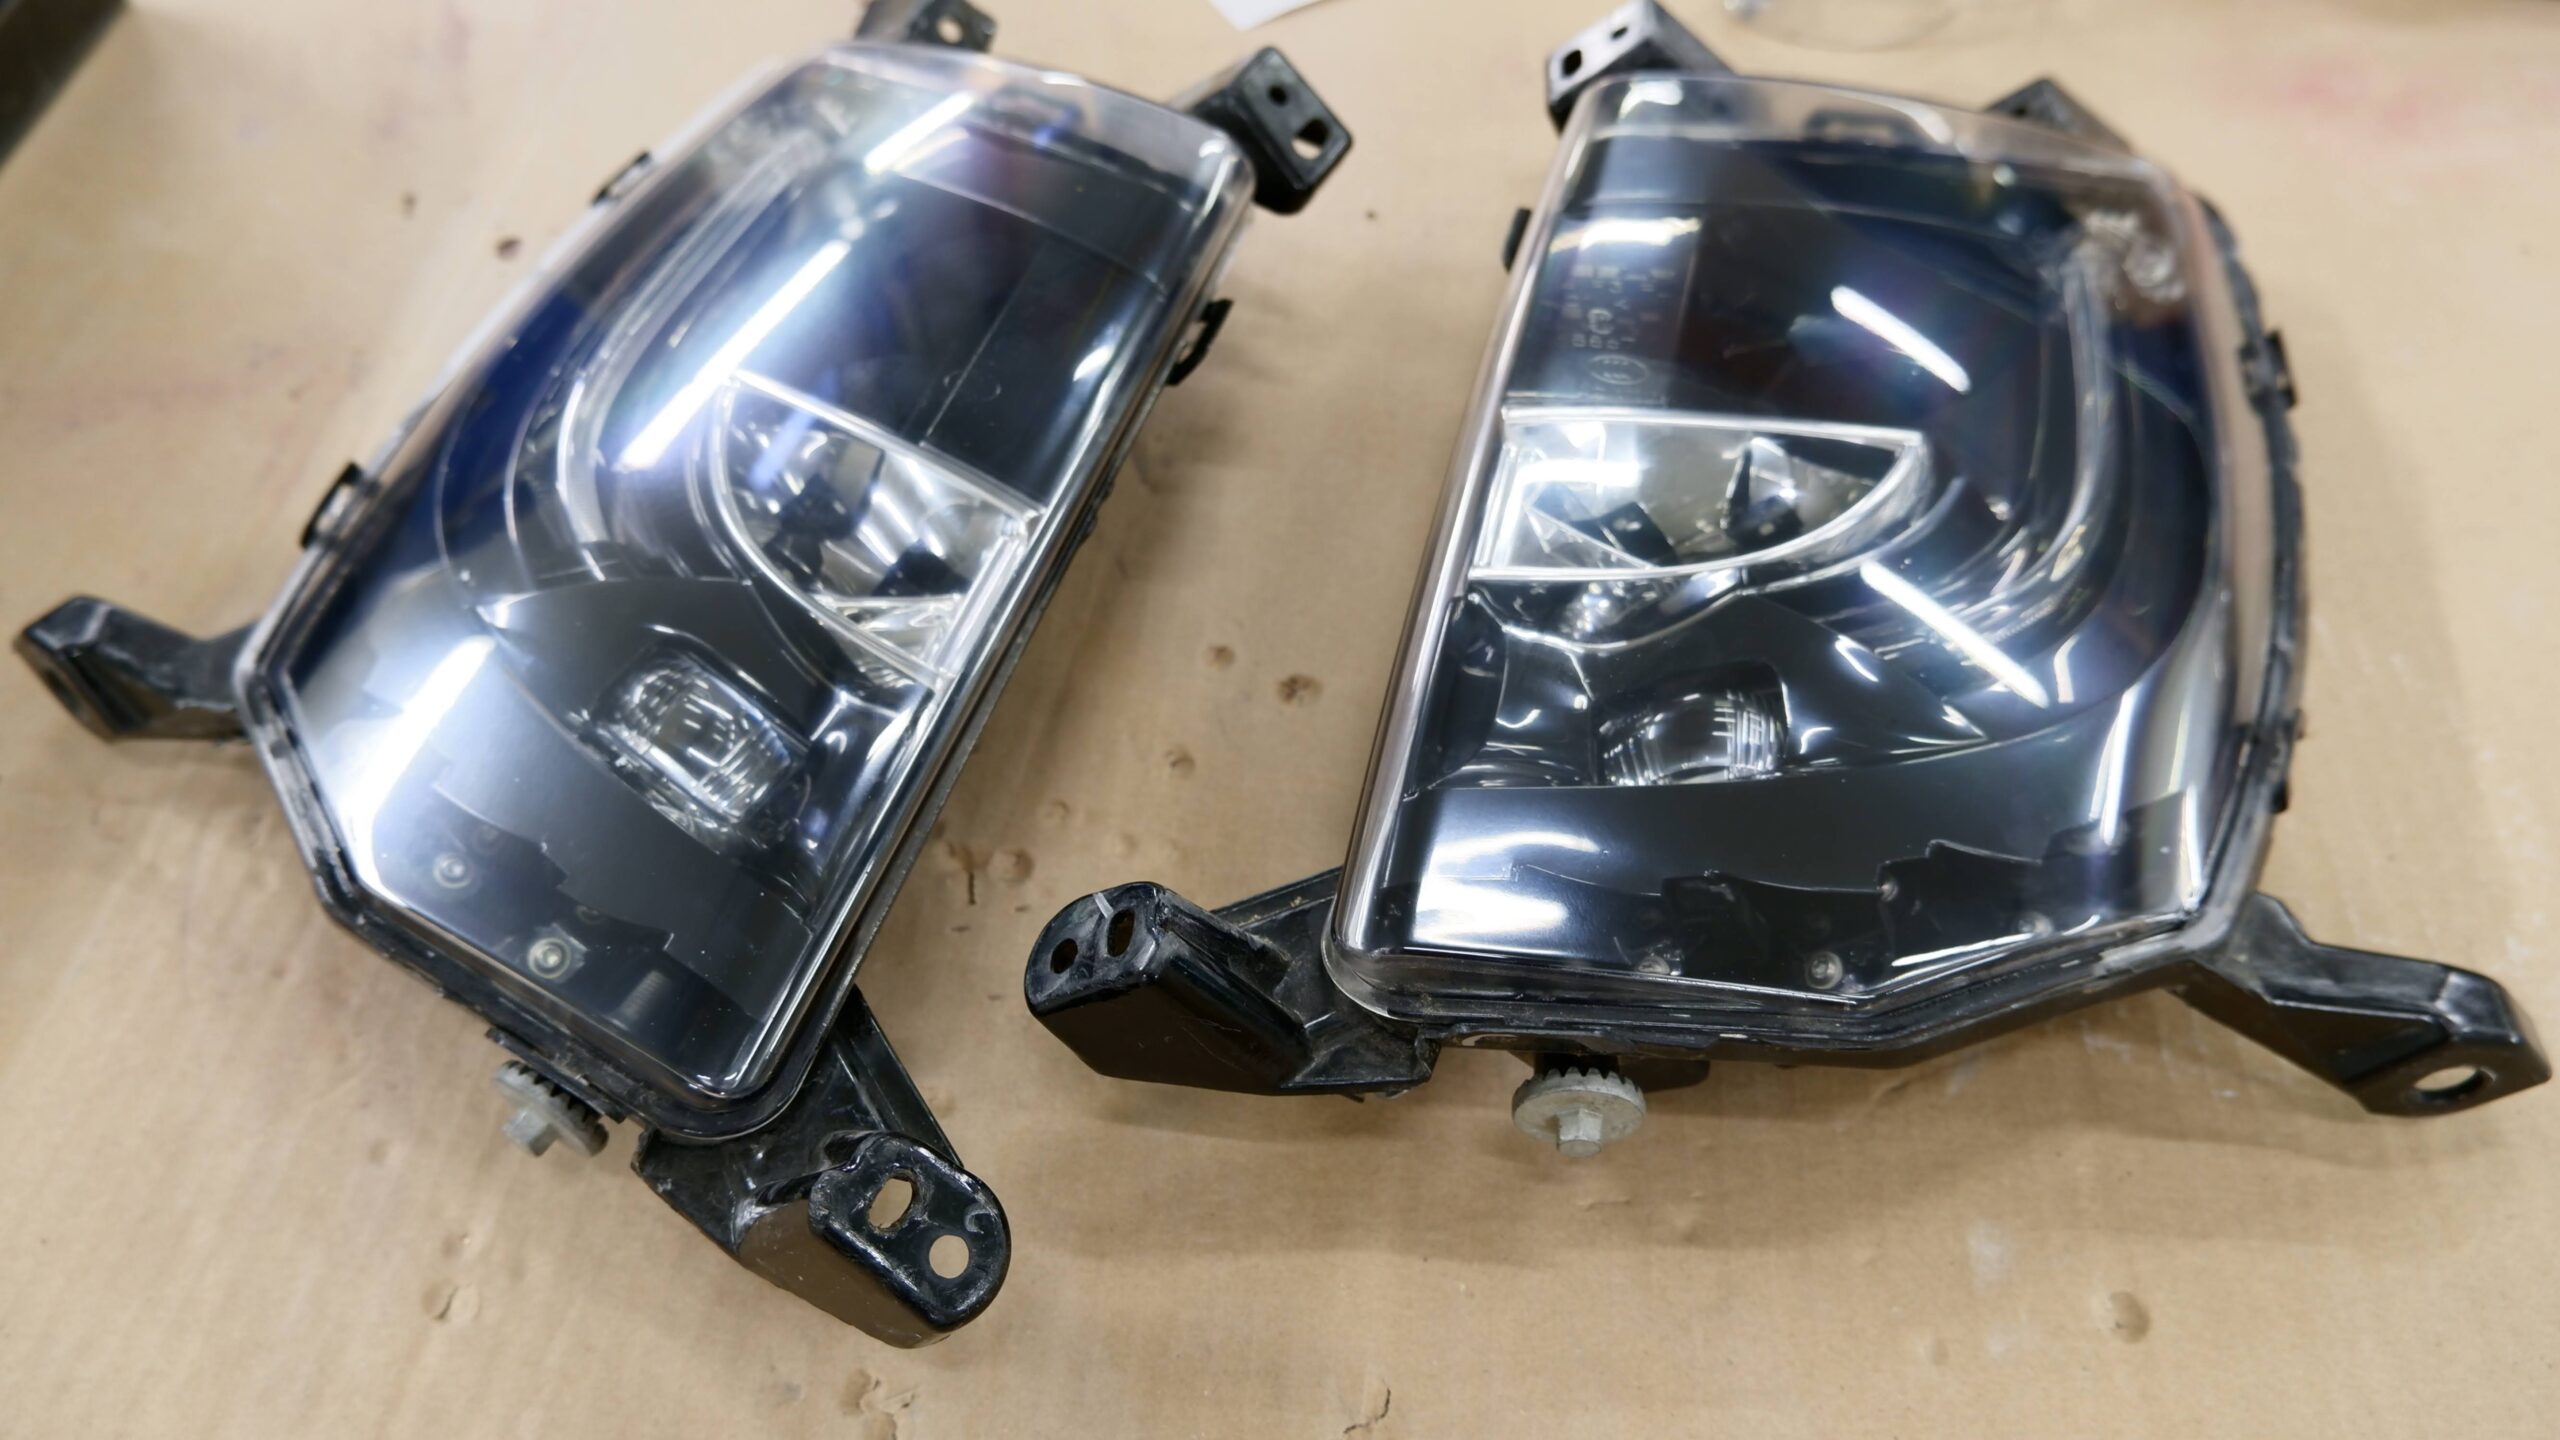
Clear coat on. Good as new.
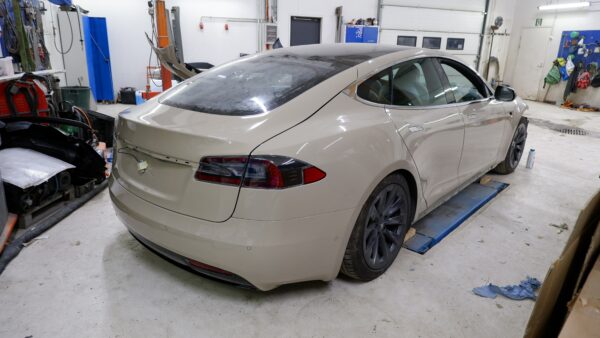
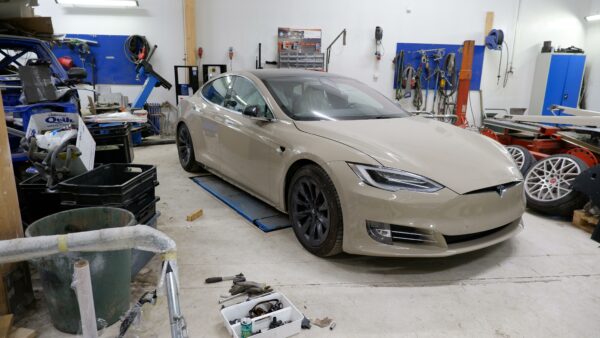
A funny moment at Gullans' workshop: a Fiat came in for a new windscreen. And what colour was it? Mocha Latte, of course!
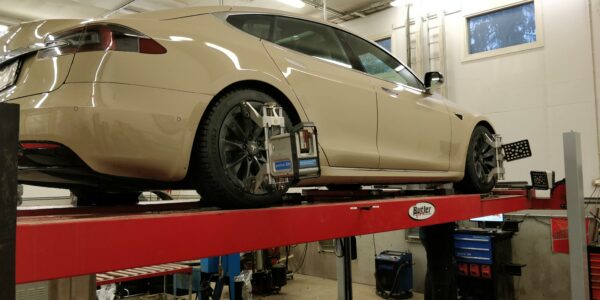
With a bit of fiddling, we got enough pressure into the air suspension to bring the car up to ride height and set the wheel alignment. That revealed one more slightly bent control arm, which needed replacing.
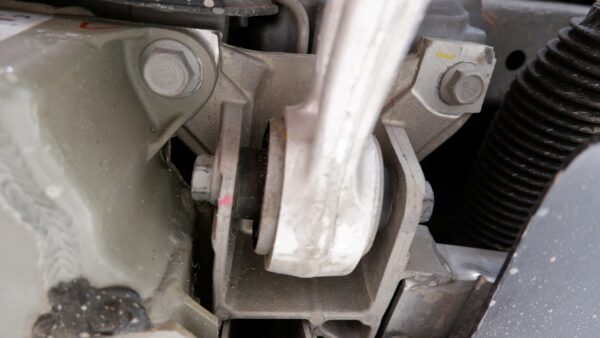
An interesting detail: you can't get the lower control-arm bolt out intact without removing the high-voltage battery.
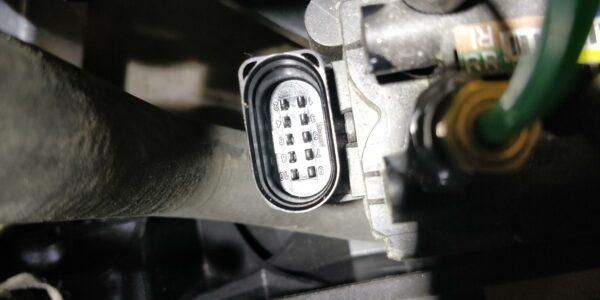
Here's the connector on the air-suspension valve block. Applying power to the right pins opened the valves; powering the compressor at the same time let us inflate the air springs one corner at a time.
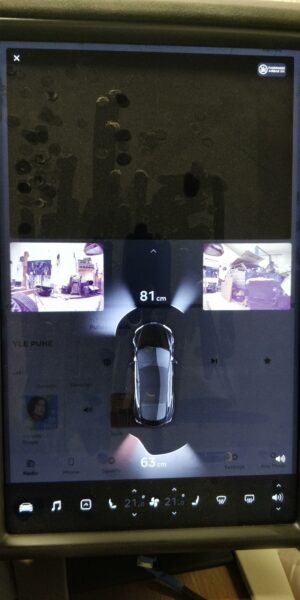
Unexpectedly, the reversing camera stopped working during the paint job.
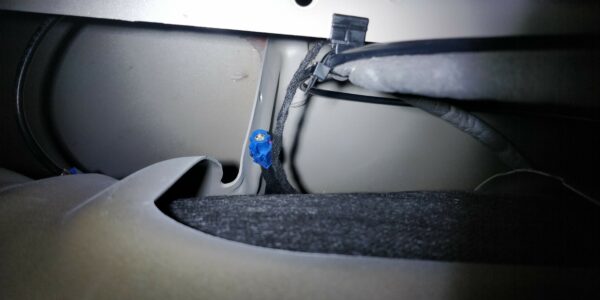
The culprit? A connector we'd left unplugged during reassembly.
Next time: the exciting tale of getting the air suspension working, clearing the airbag alerts and finally getting the car through its inspection.
2022-01-02 · Back on the road — and expensive lessons in air suspension
Last time, the Tesla was pretty much back together and ready for inspection, apart from a couple of stubborn fault codes — alerts, in Tesla-speak. They were also keeping the air suspension out of action. After a crash that fires the airbags, these particular alerts don't clear just because you've repaired the car. Normally, a Tesla clears its faults as the problems are fixed.
Getting those faults cleared turned into quite an adventure. This one's going to be a bit more of a blog post.
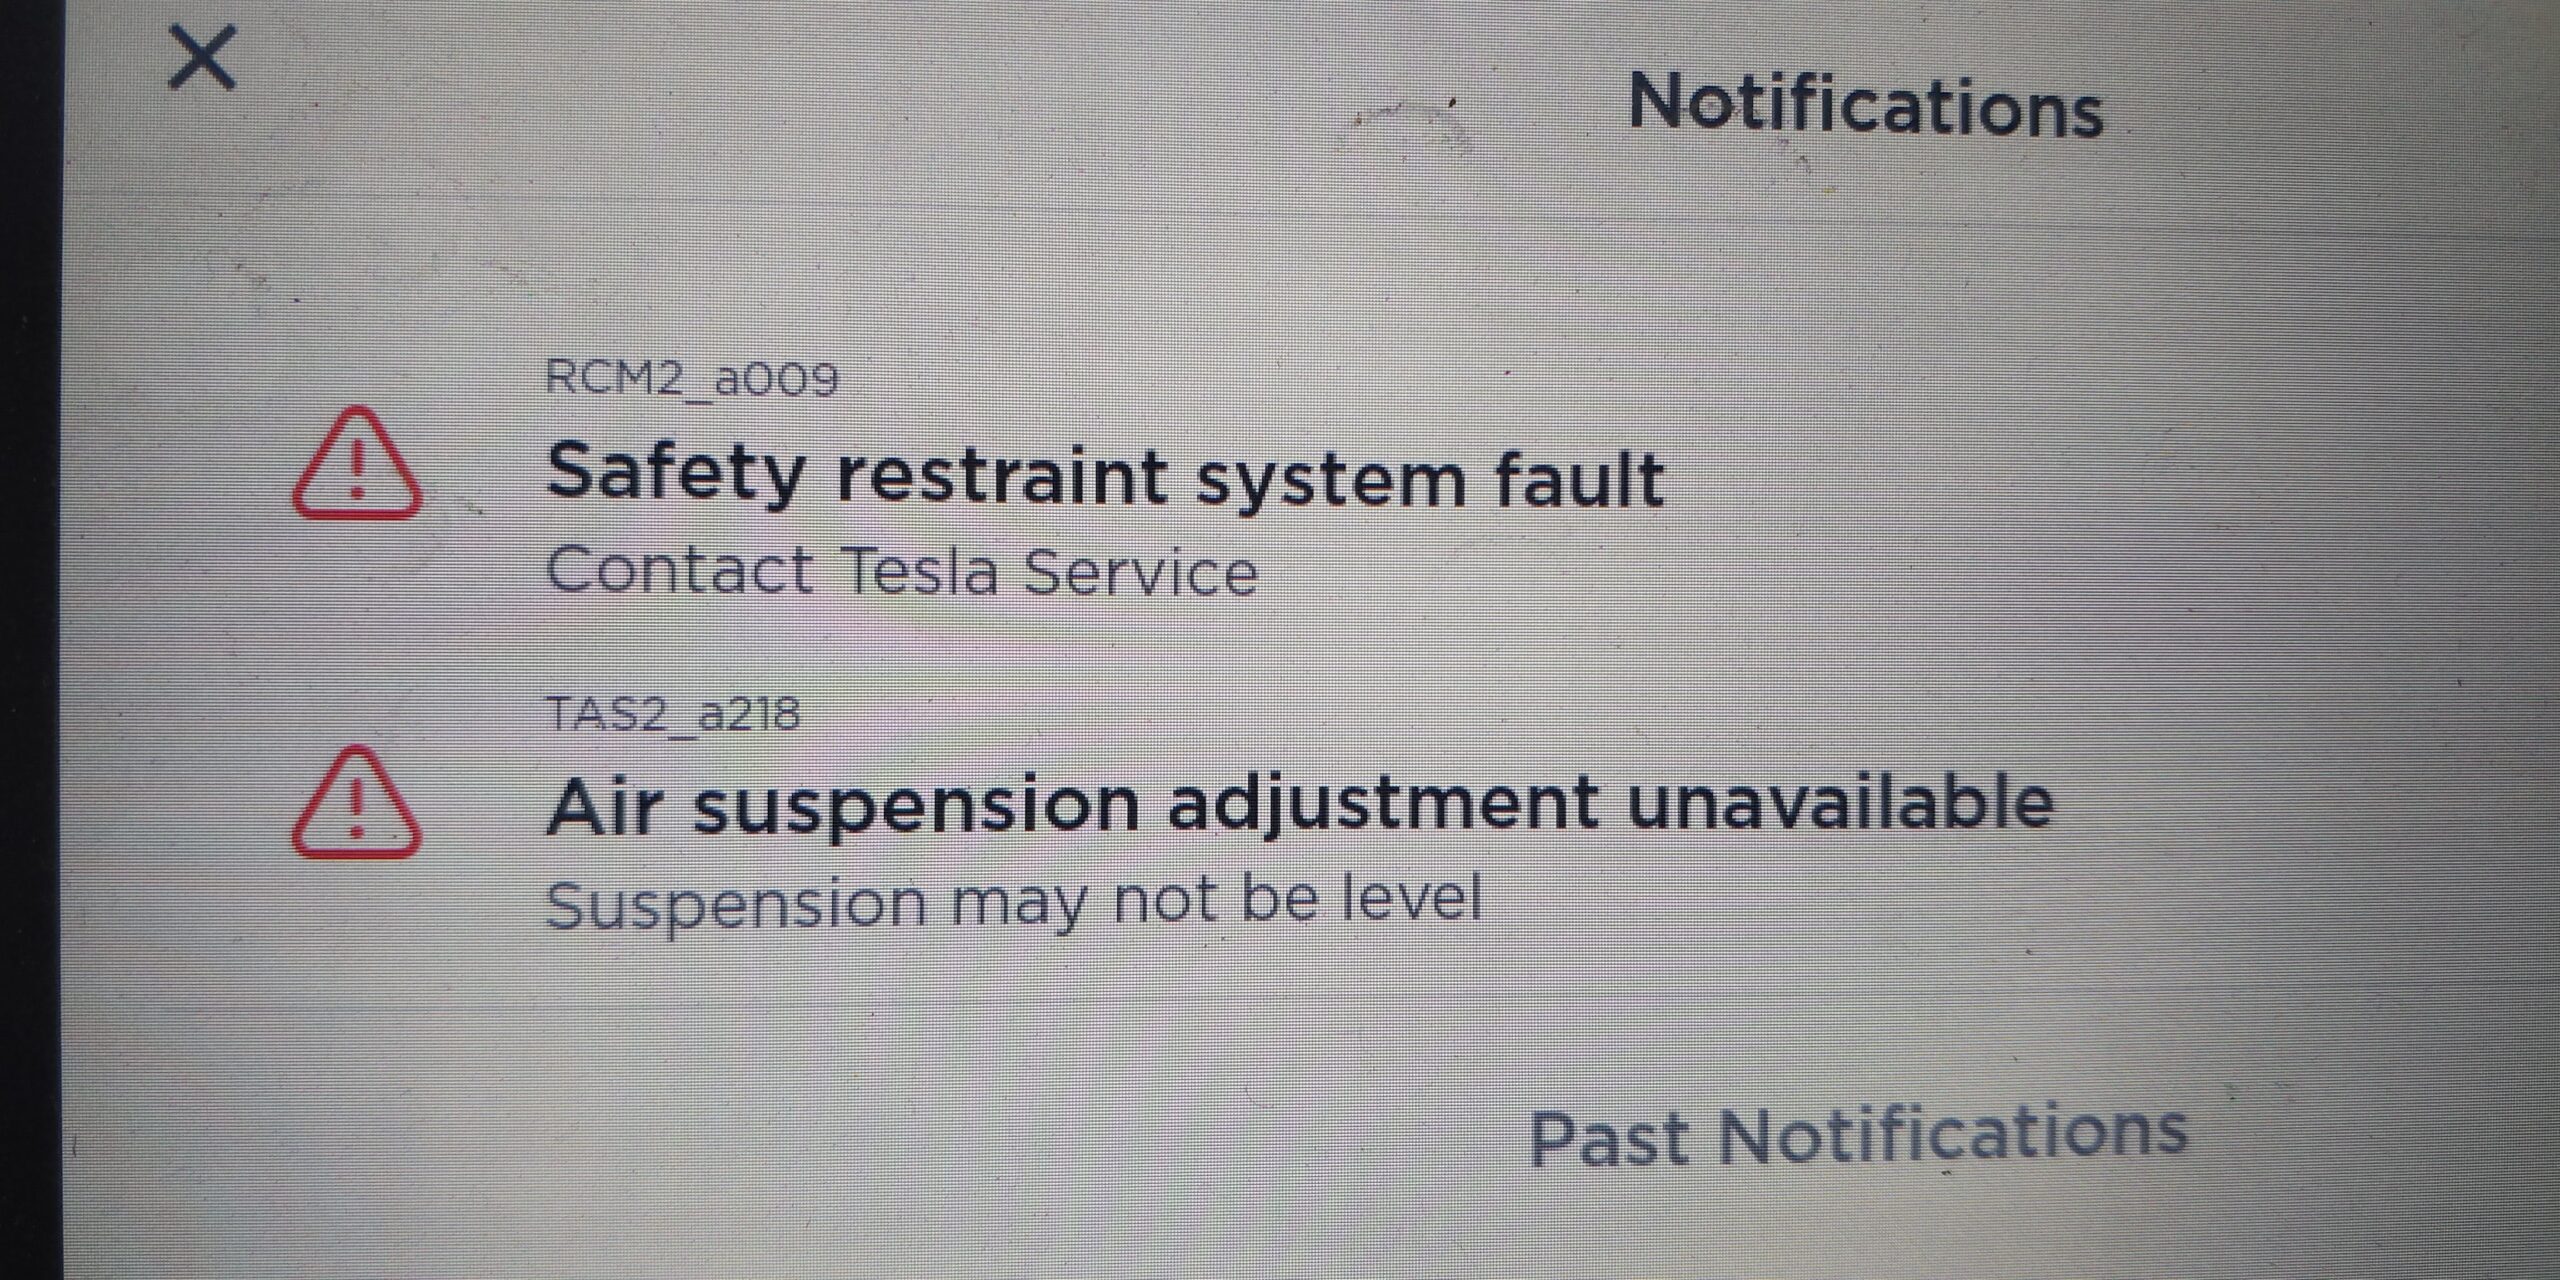
Alerts remaining after the repair
It was December 2020. With no diagnostic tools available from Tesla, I contacted them: I had a slightly unusual case, could they clear the faults? After explaining the situation, I got an appointment at Tesla's Lempäälä service centre for mid-January, about a month away. On the phone, they said it was the first case of its kind in Finland. So the Christmas holidays were spent waiting.
I had already tried to get access to Toolbox, Tesla's own service software. According to service.tesla.com, you could create an account and buy time-limited access to repair instructions and Toolbox. I created an account, but activating it with a credit card simply wouldn't work. I contacted their European support several times. They kept passing me around and never got back to me, despite promising to. “Another team handles that.” I came away with the impression that they didn't actually want to grant access, and that the website existed just to meet EU requirements. My mates were already telling me to take Tesla to court.
On 13 January, I drove to Lempäälä. The air suspension wasn't working, and the front started sinking on the way. I was a bit nervous about how far it would drop, but made it there fine. I handed over the car and keys as soon as they opened, then settled down with my laptop to work and kill some time. A couple of hours later, they called me into a meeting room. Apparently, it wasn't going to be that simple. They admitted they hadn't done their homework properly: Tesla policy meant they couldn't touch the car until it had passed a high-voltage test. They couldn't even give me a price beyond “it won't be many thousand euros”. Before that, I'd need to submit an application explaining how the car had been repaired and which electrical systems I'd worked on. They also handed me SC-15-00-006, Salvage-Titled Vehicle Notification, explaining the loss of warranty and Supercharging on crash-damaged cars. Then came SC-18-00-007, Owner Notification and Acceptance of Unperformed Repairs, with spaces for vehicle details and signatures. That form was never filled in.
I'd heard about Supercharging being disabled on crash-damaged cars, especially in the US. I hoped it was an American thing. I'd been in touch with a British owner whose repaired car had similar faults cleared by Tesla, and his Supercharging still worked.
I was pretty annoyed by now. They wouldn't clear the faults because, they said, touching the car would put their staff at risk. Yet they'd recharged the air conditioning as requested and adjusted the headlights. I'm not sure how that worked with the air suspension disabled and the front sitting noticeably lower than the rear. All told, this wasted trip cost just under €400 and my Supercharging access. Well, at least the air conditioning was charged.
On the way home, I stopped at McDonald's in Pirkkala to try DC fast charging. It worked. The front kept sinking, but I made it home. I'd already described my situation in a Facebook group, and a guy contacted me during the journey to say he might be able to help. He had contacts in Eastern Europe. Somewhere along the way I decided Tesla could keep their tools — we'd fix it without them. That's where the next interesting chapter began.
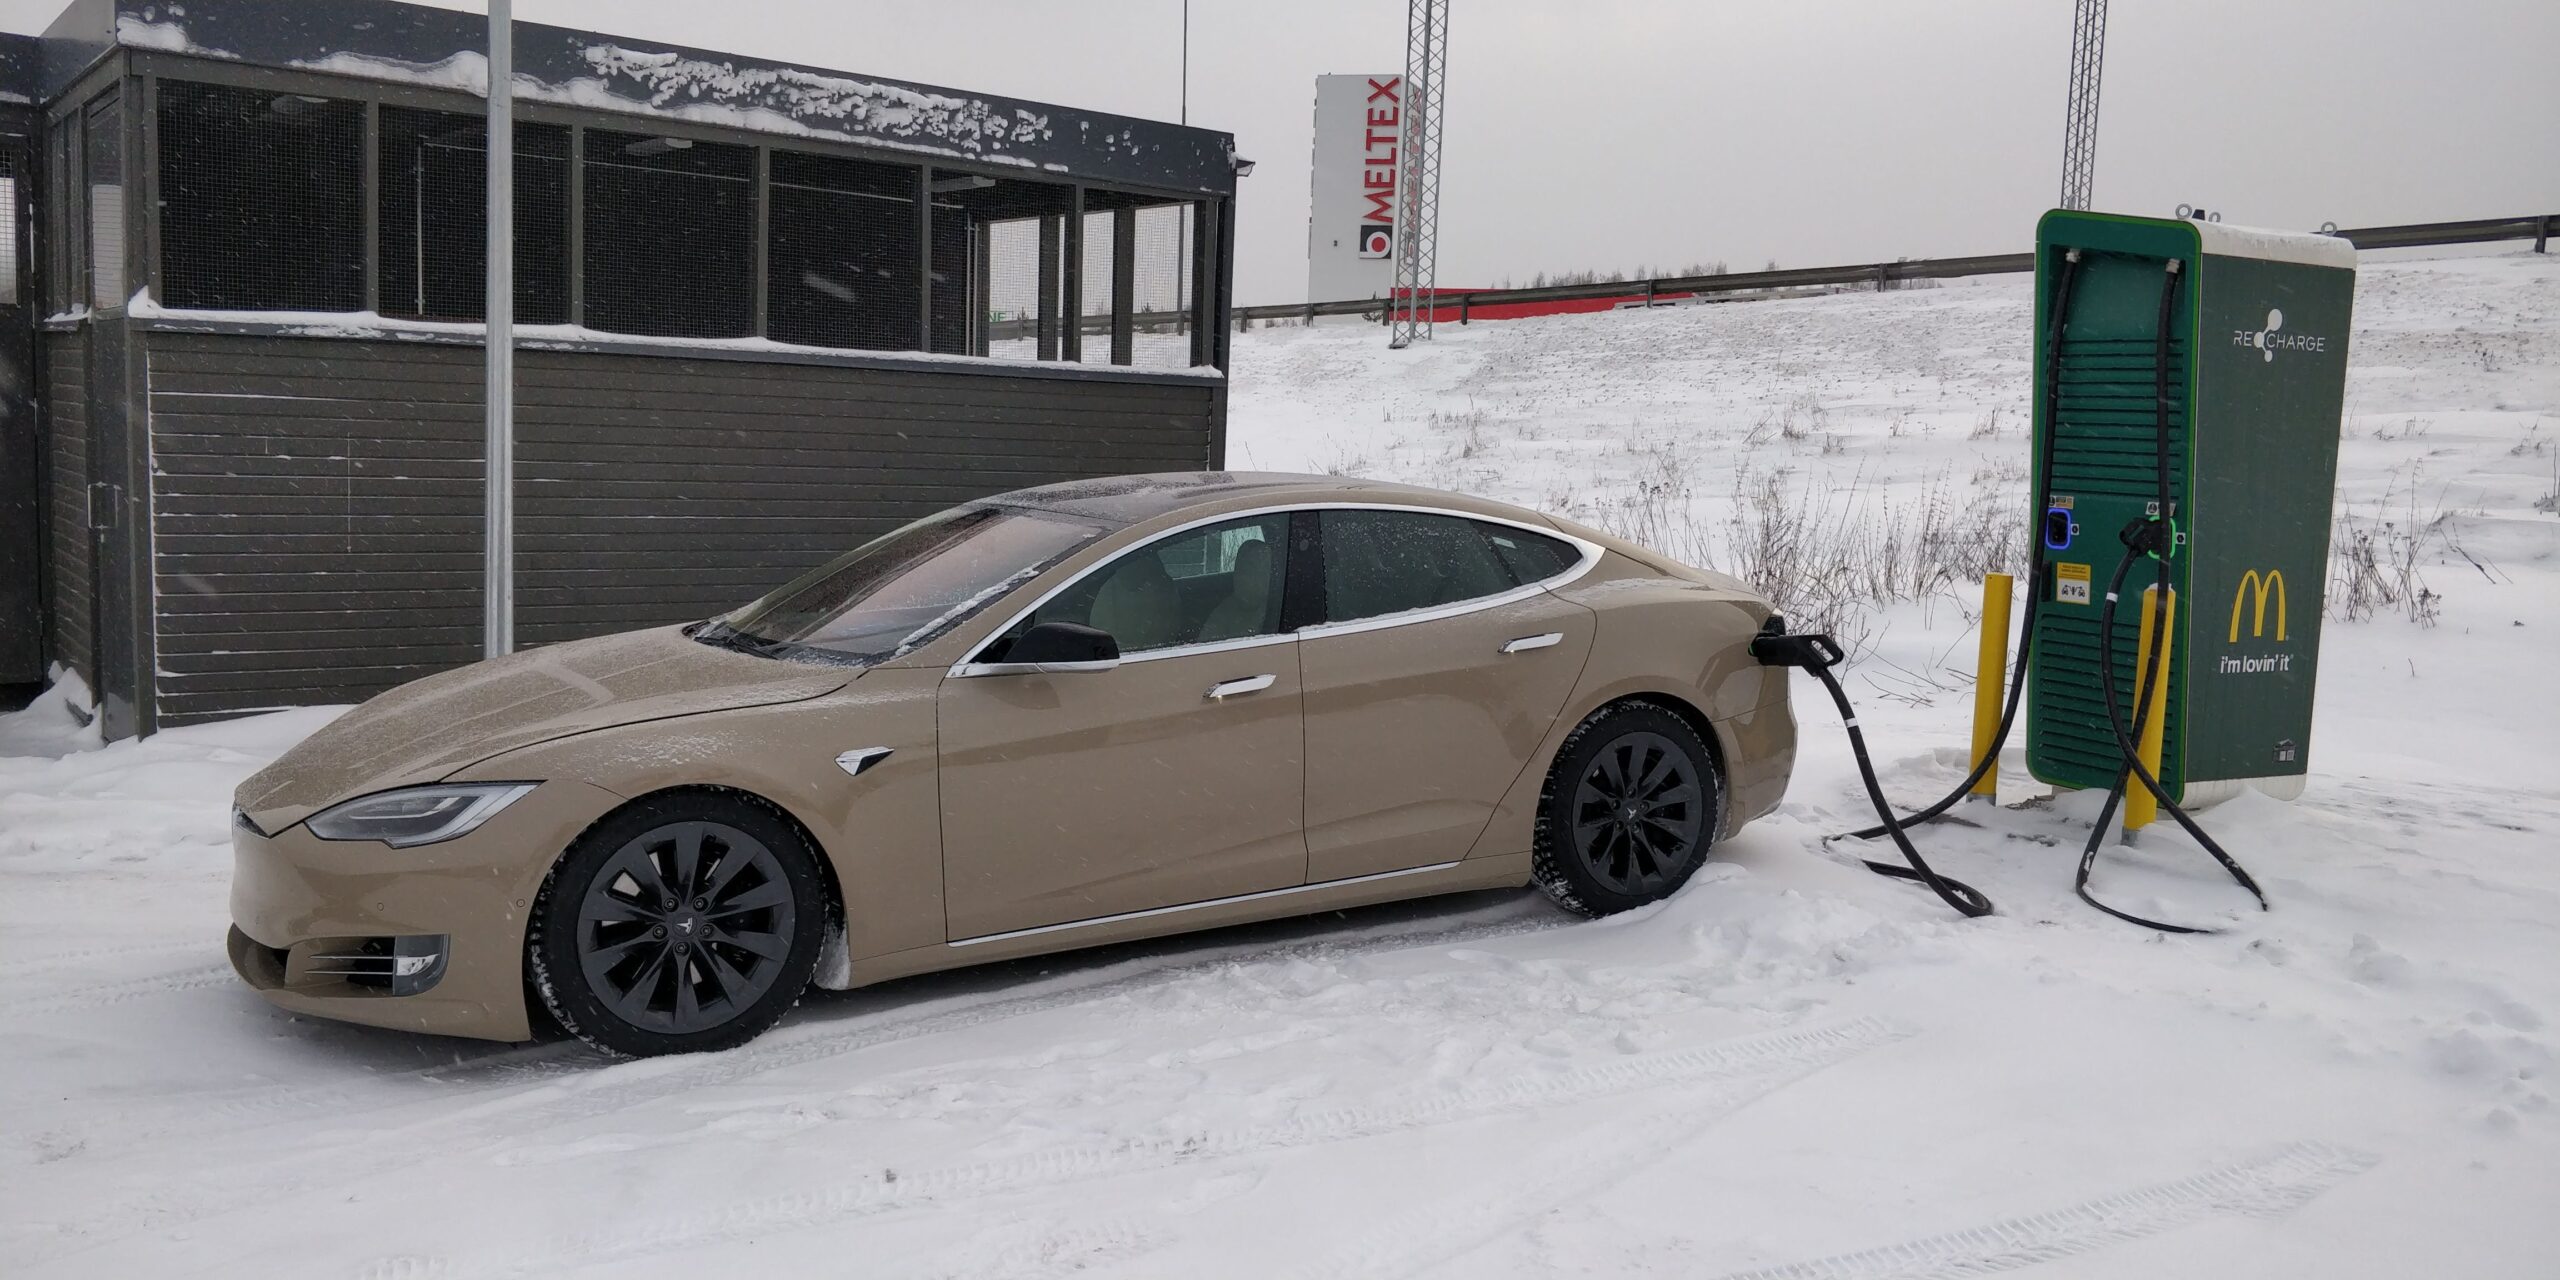
Testing fast charging in Pirkkala, the front end is a little too low.
The Eastern European contacts needed the car online so they could connect to it remotely over a VPN. I bought the router they recommended, and a week or two later we were ready to try clearing the faults. I'd already bought a Fakra cable for Tesla diagnostics that autumn. This time, it connected to the Autopilot computer's cable behind the glovebox, then to the router and over the VPN to their computer.
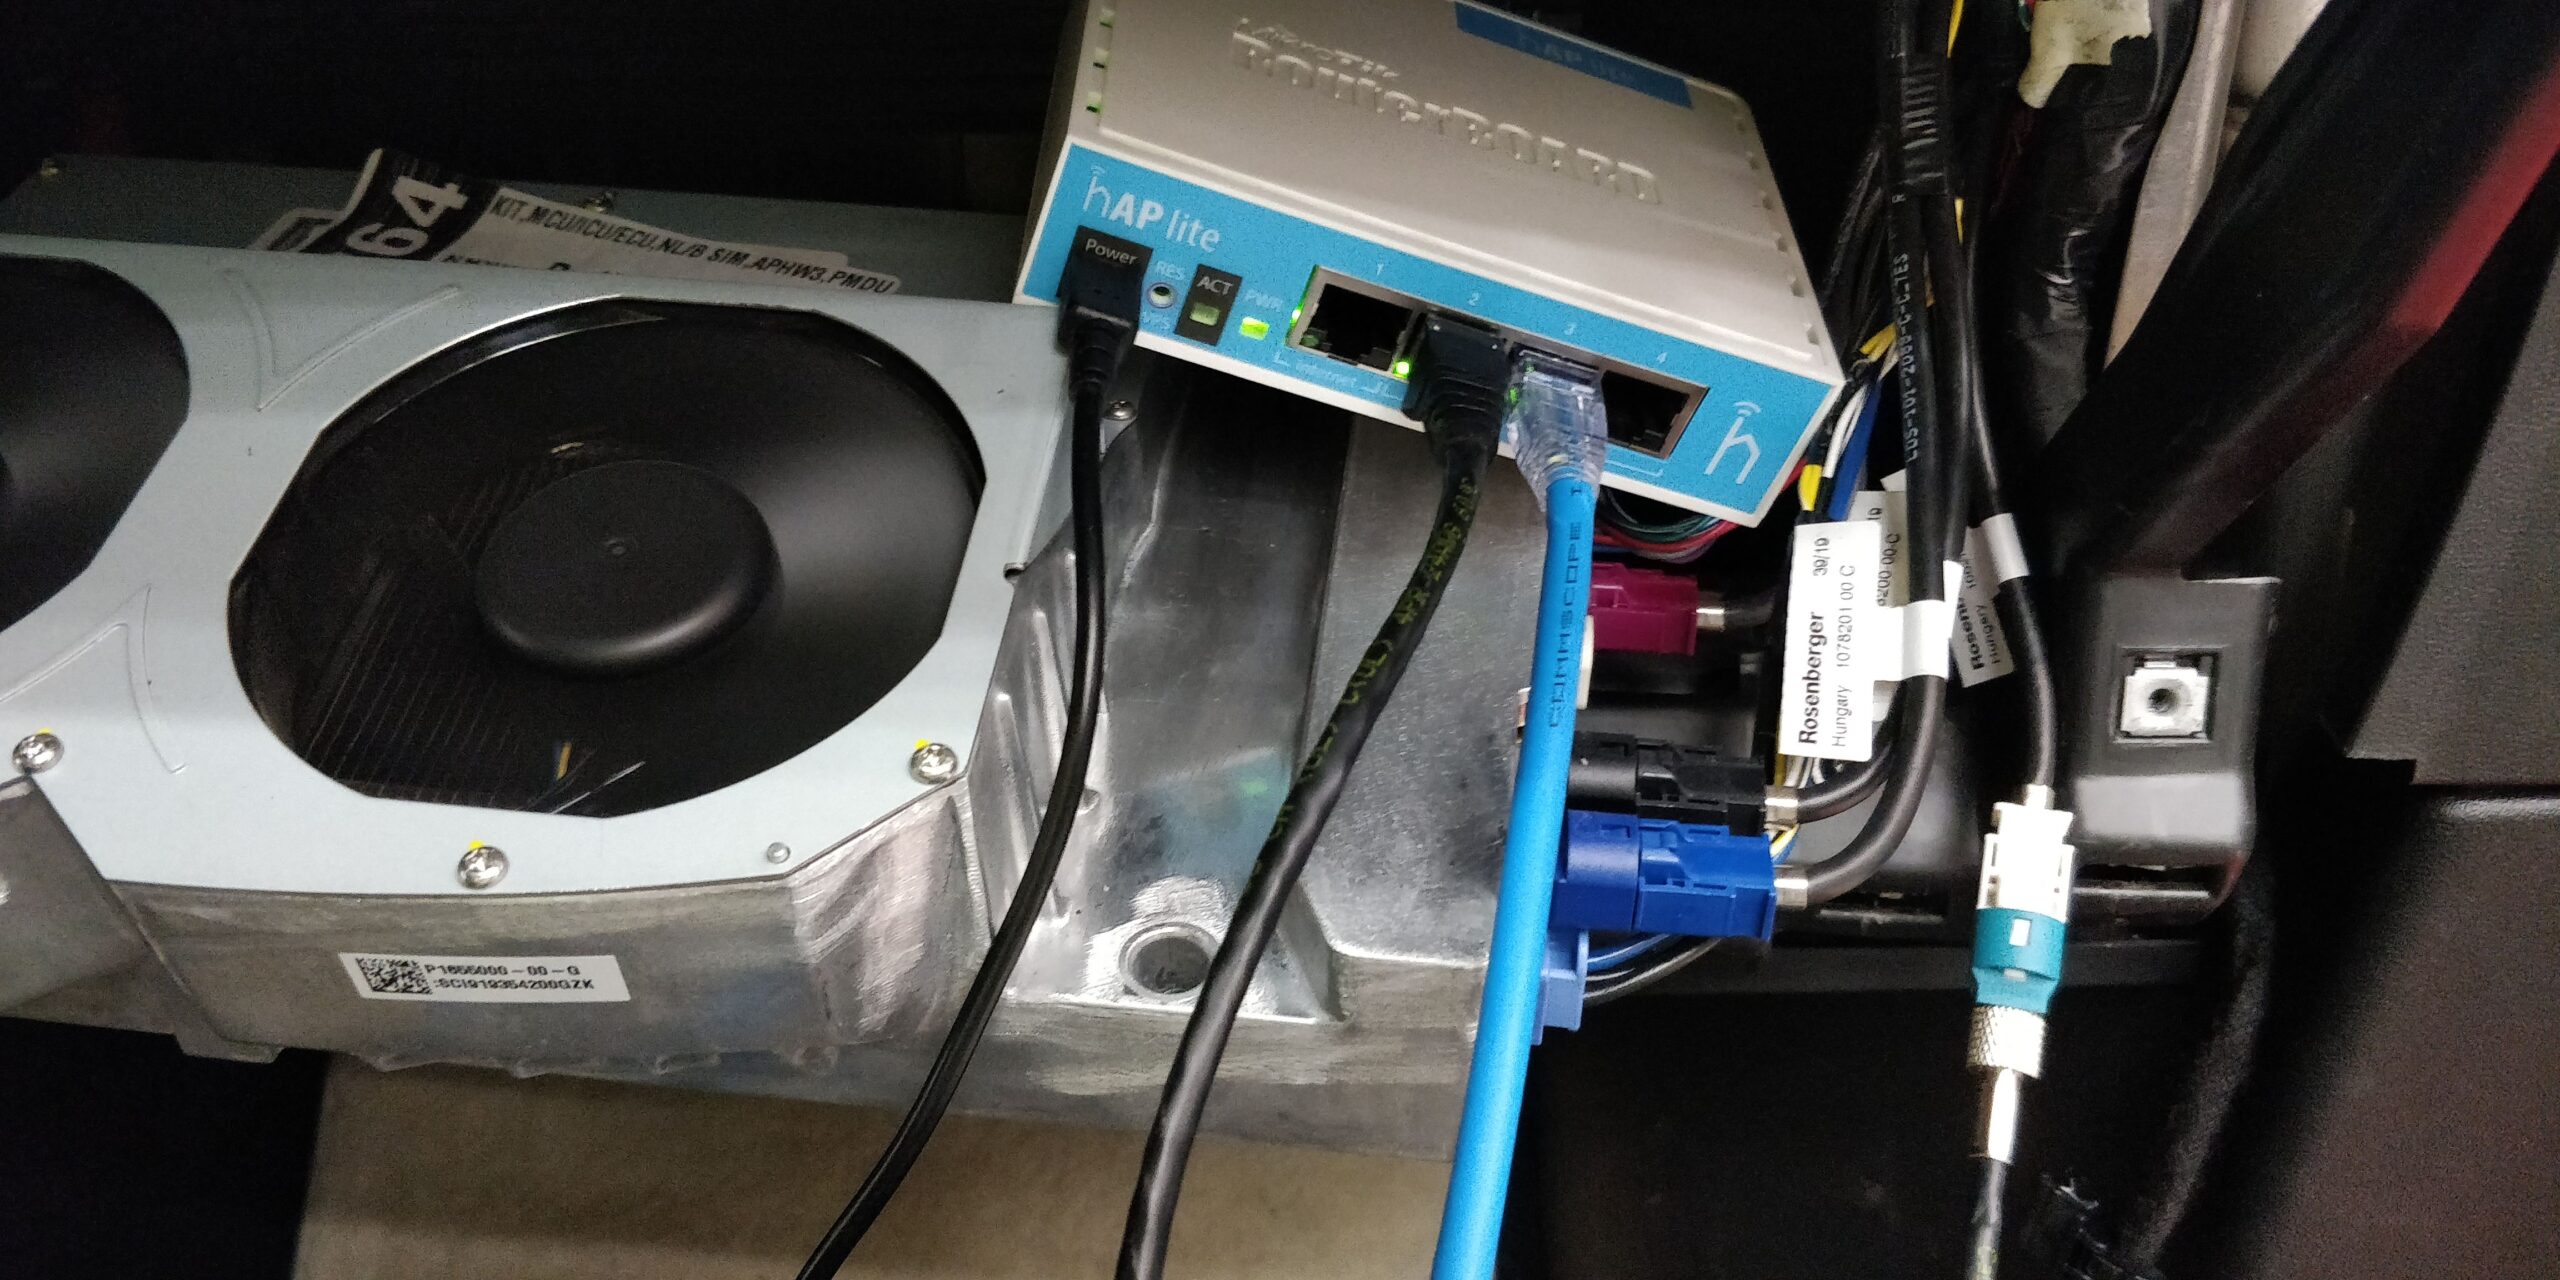
A VPN connection to Eastern Europe through the router.
I didn't fully understand what was happening at the time, but they got the car into Factory Mode straight away. I watched the screen and followed their instructions online. Occasionally, they asked me to reboot or install software updates, arriving just like the car's usual over-the-air updates. Apparently, they were performing a software redeploy — reinstalling the software. I still don't know exactly what else they did. I assume they had Toolbox.
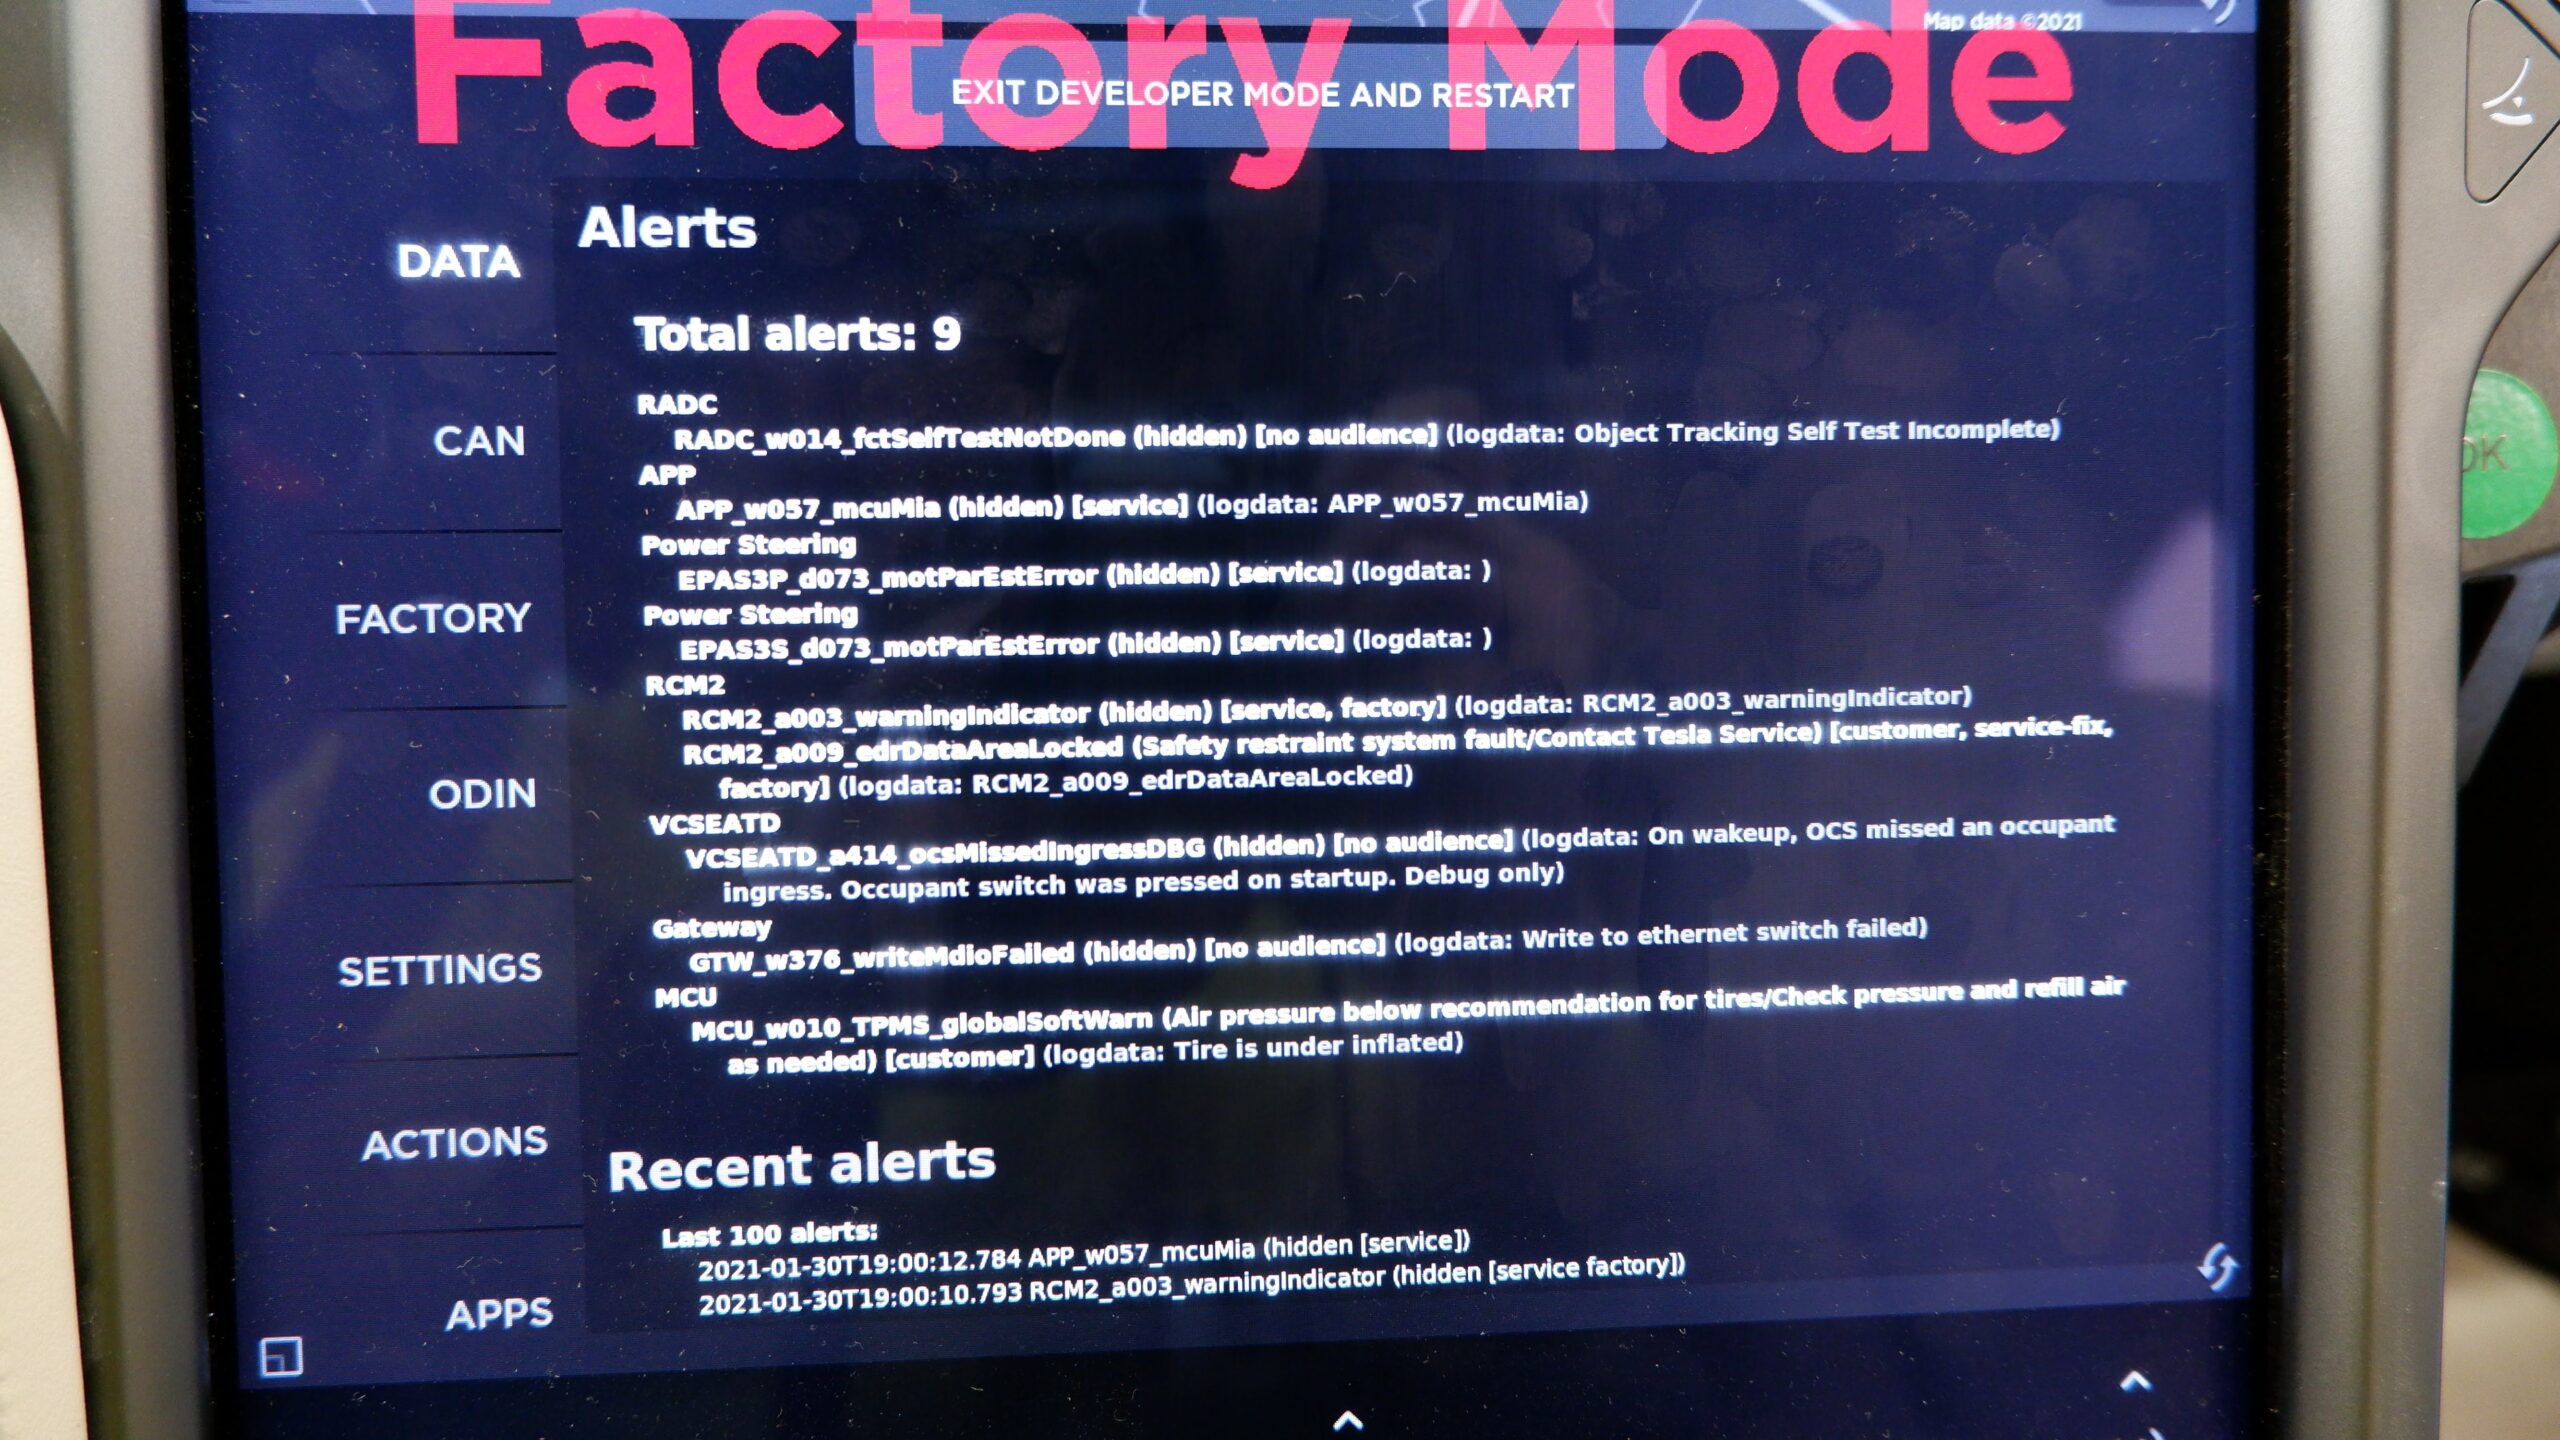
Factory Mode shows more detail about the alerts, including some the driver doesn't normally see. The RCM2 fault is the relevant one here: it's what kept the airbag warning light on.
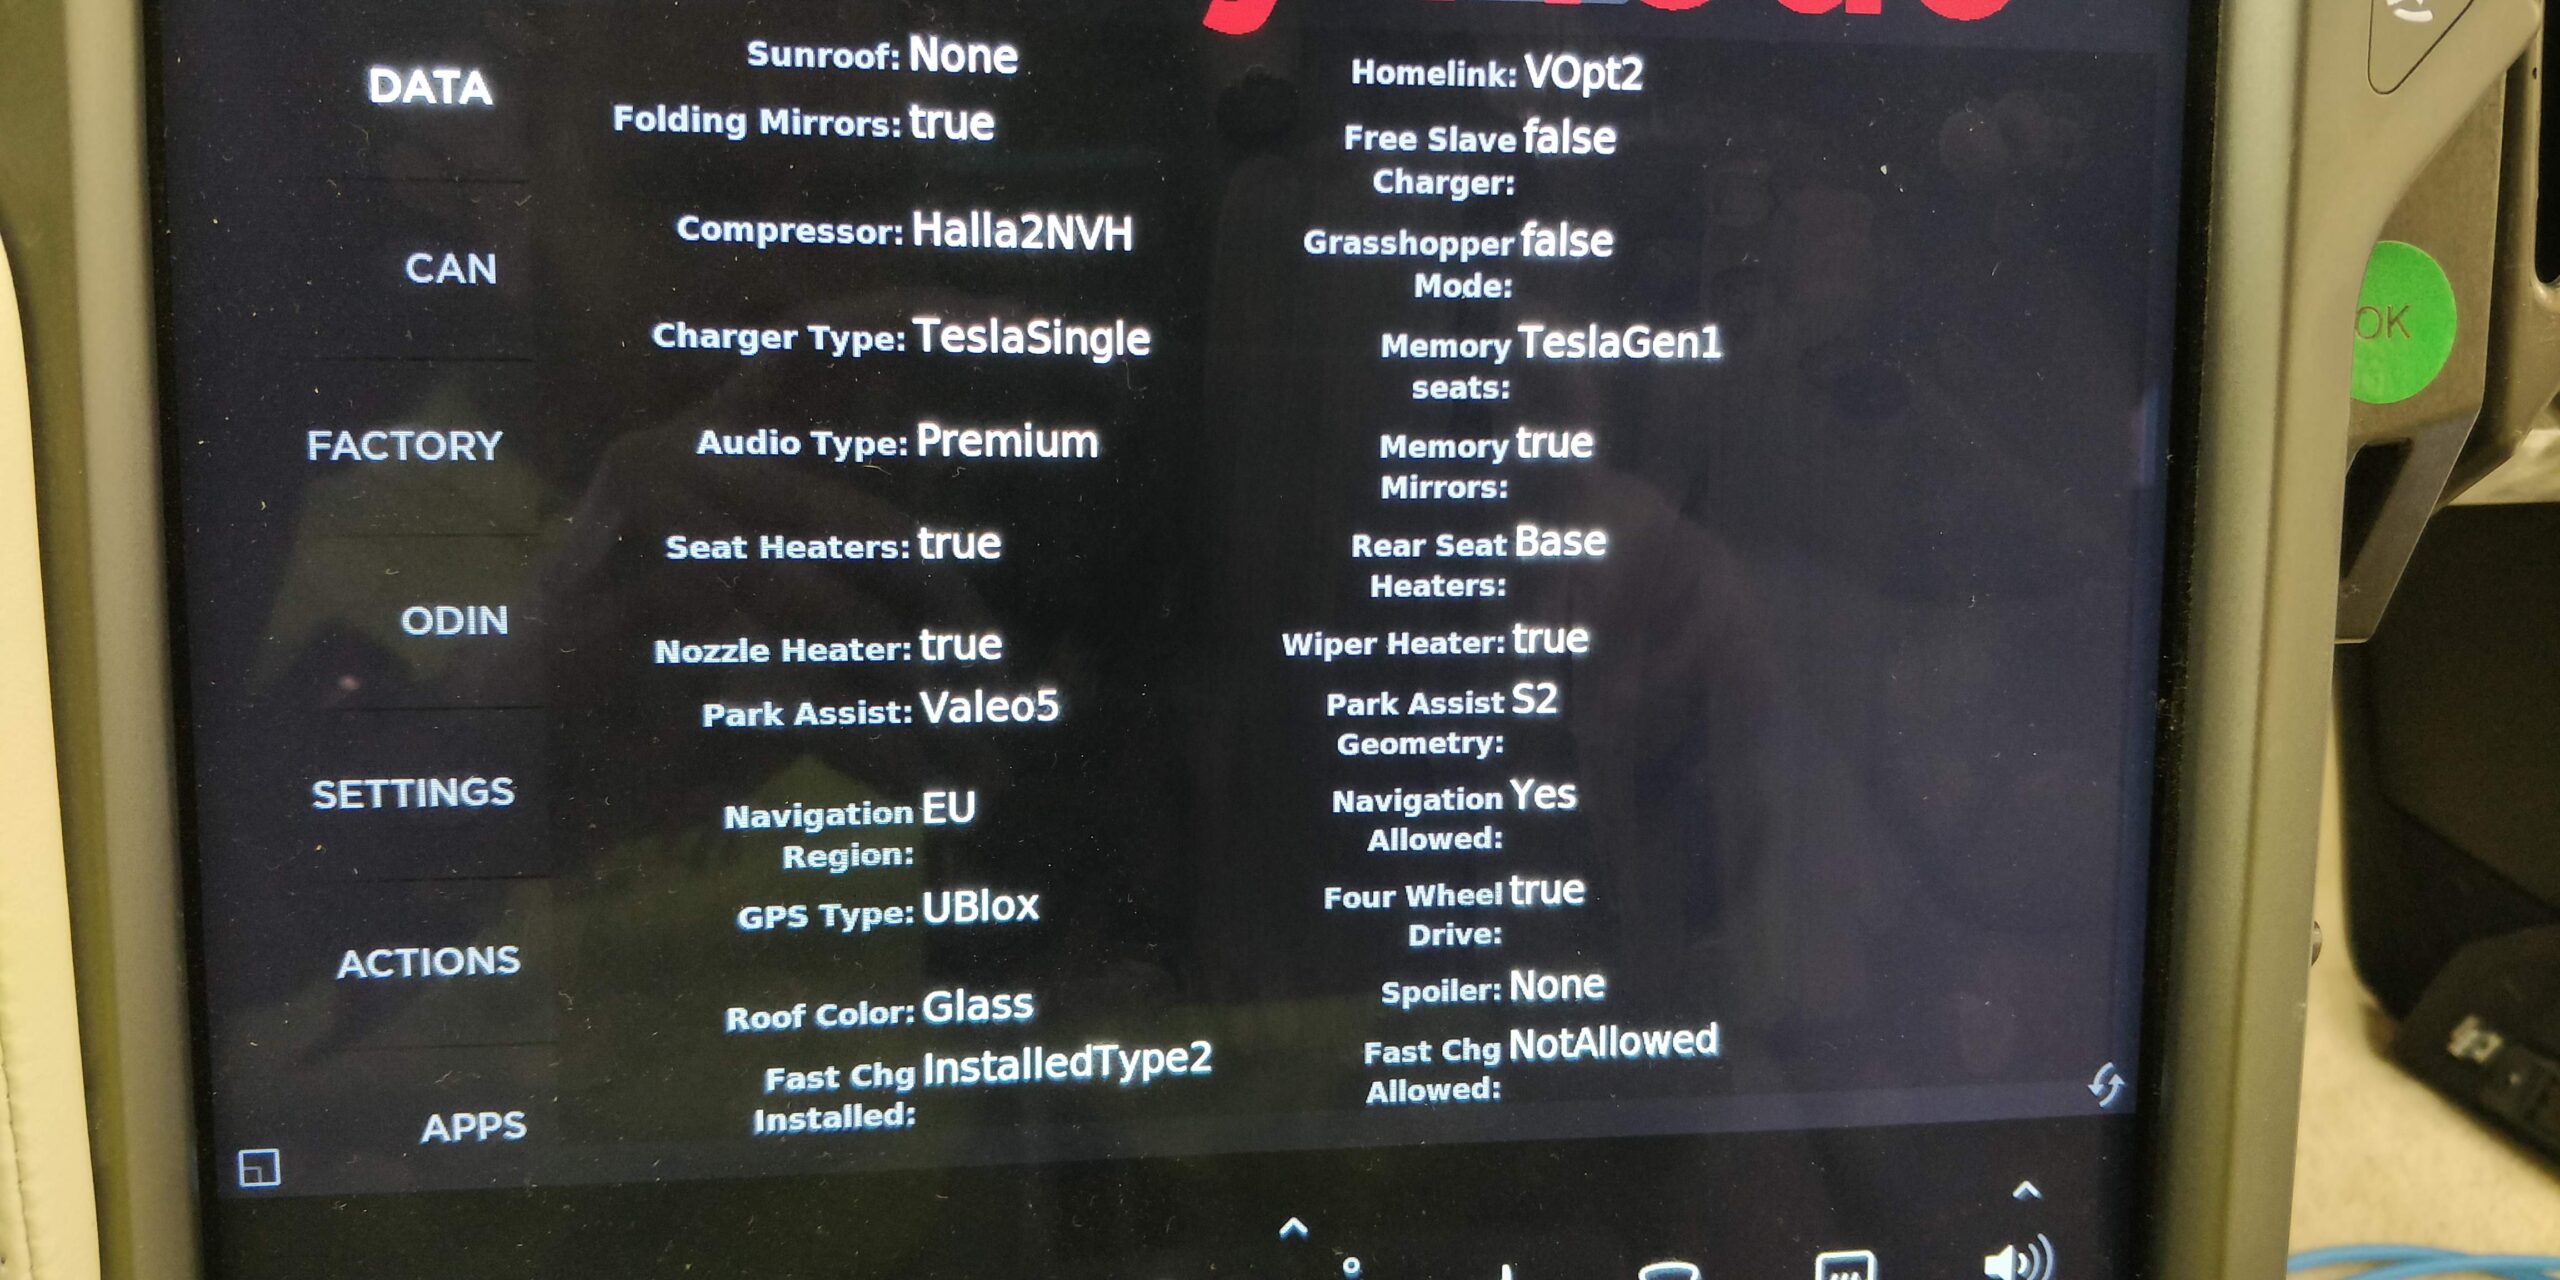
Fast Chg Allowed: Not Allowed
These steps got the air suspension working and cleared its alert, but the airbag fault remained. They tried older firmware too, without success. The remaining option was to remove the airbag control module and send it to them.
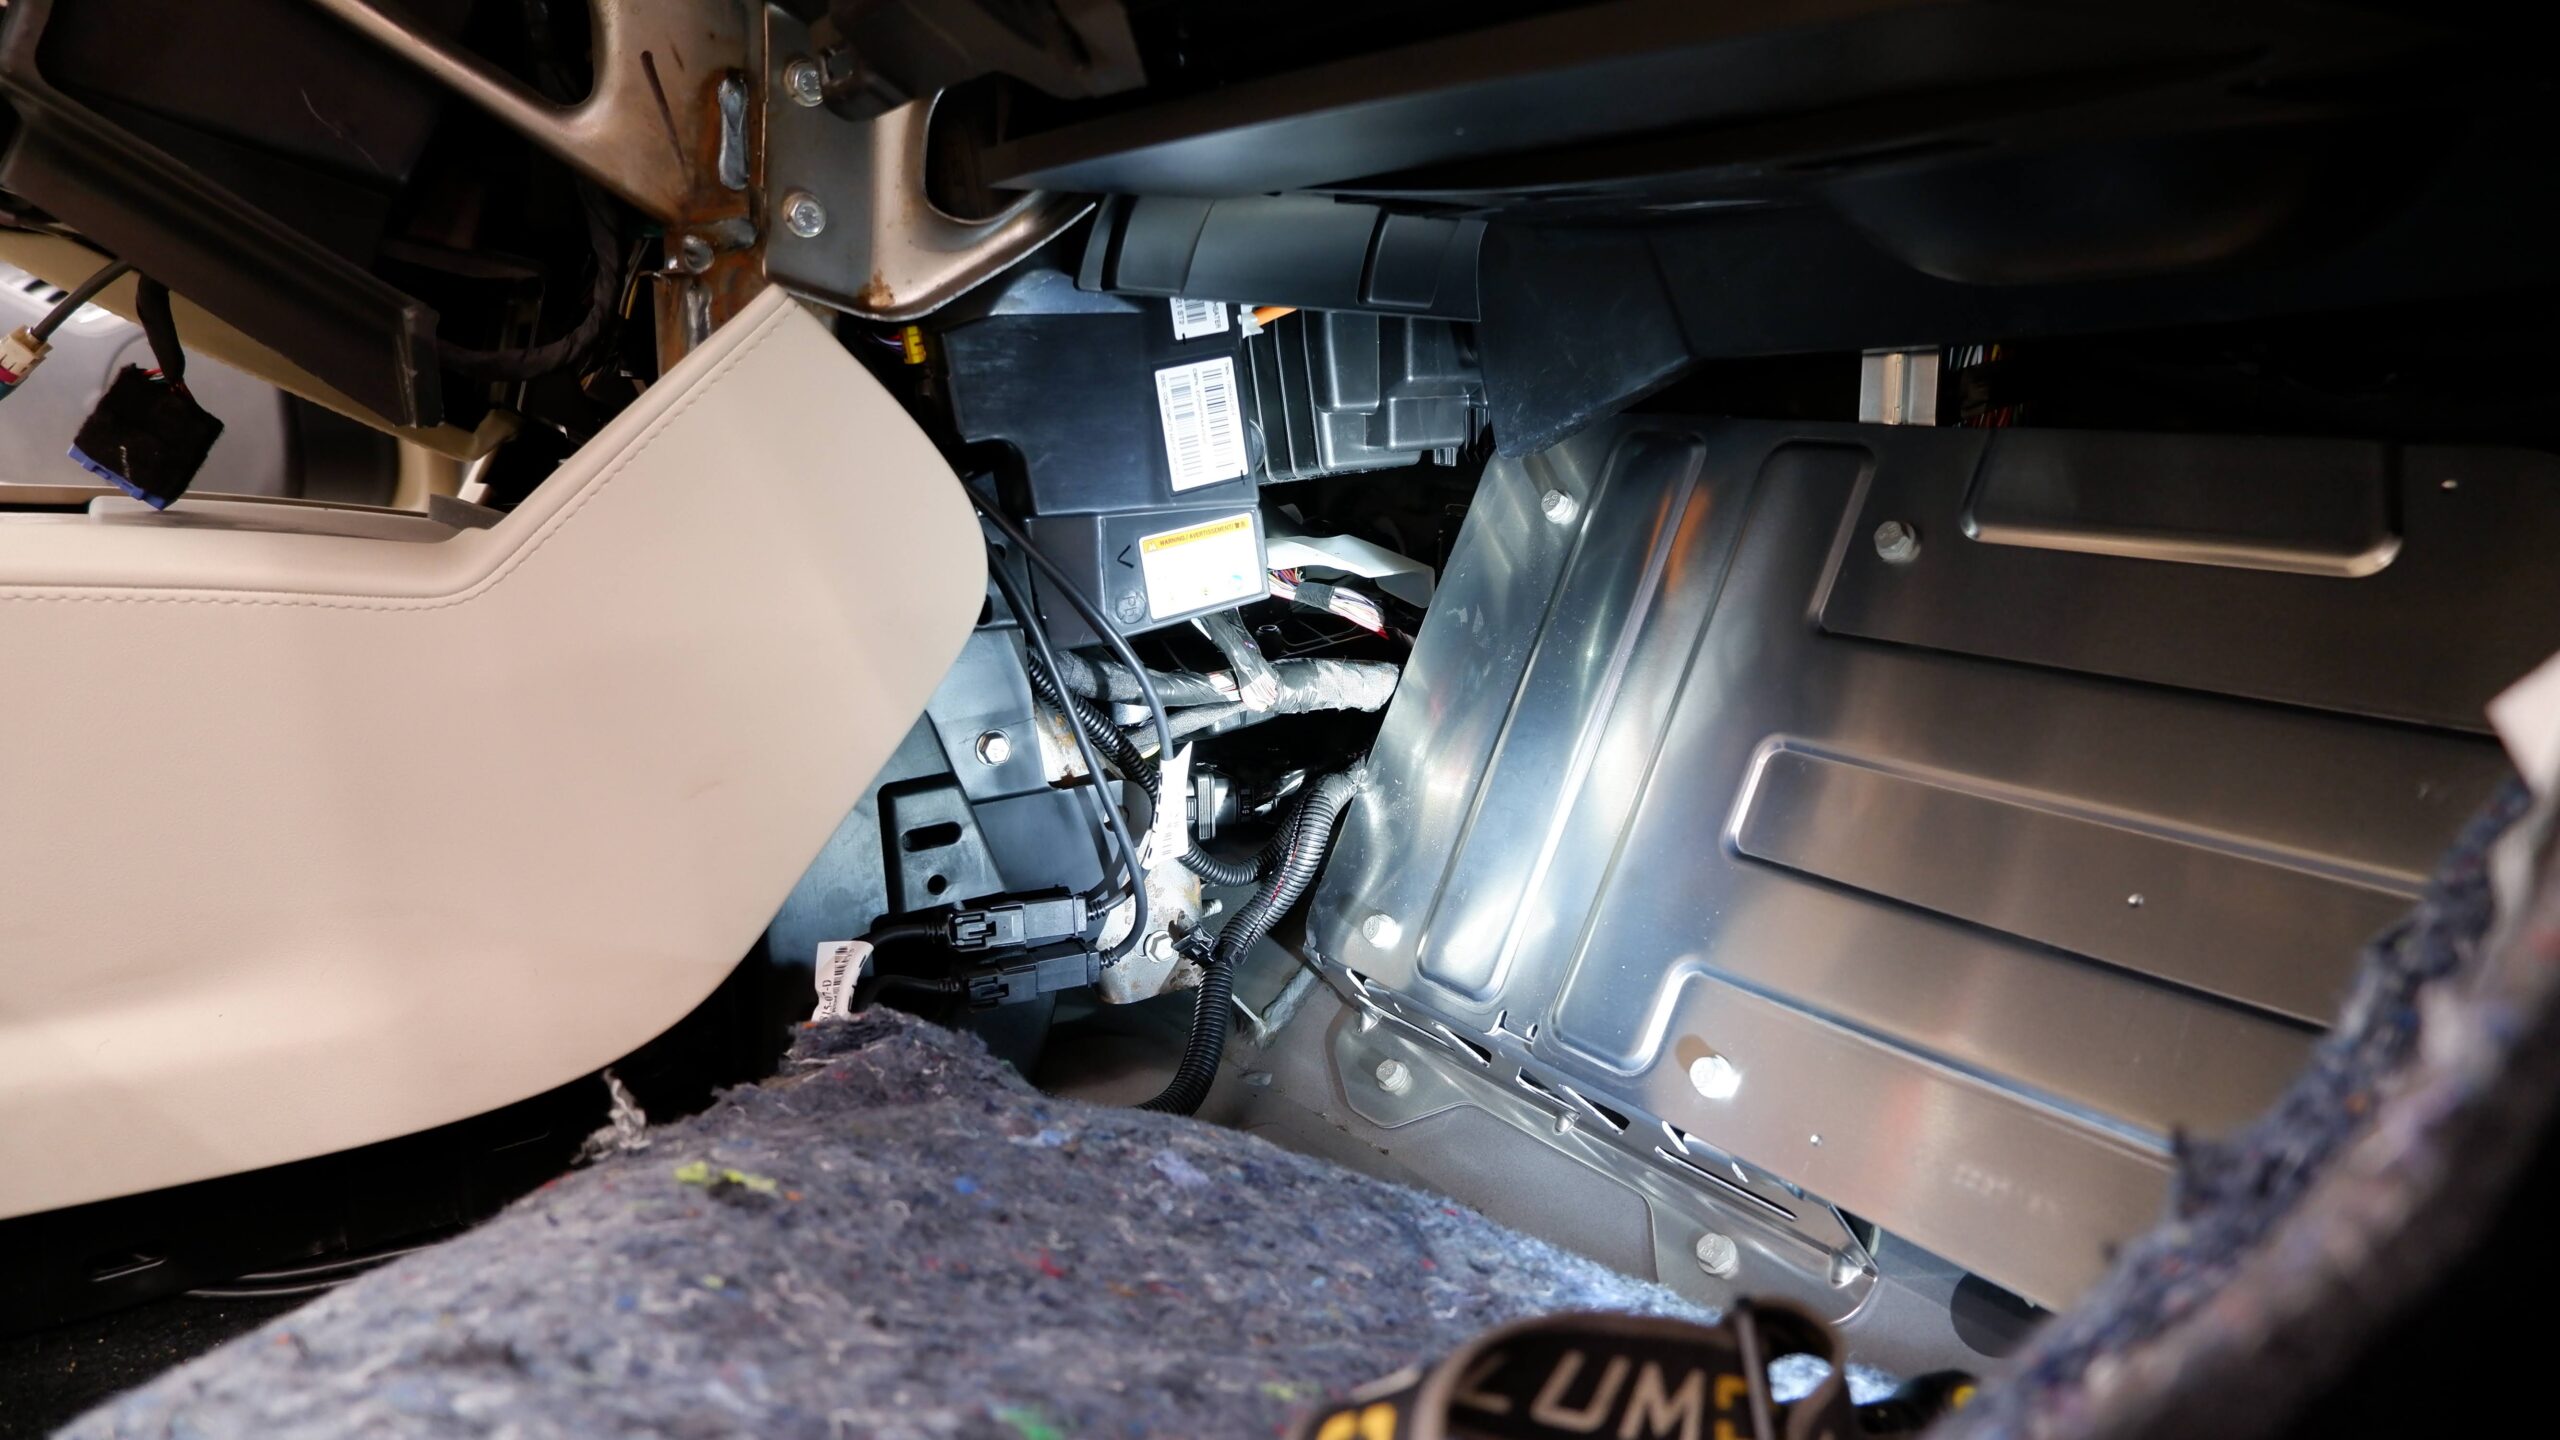
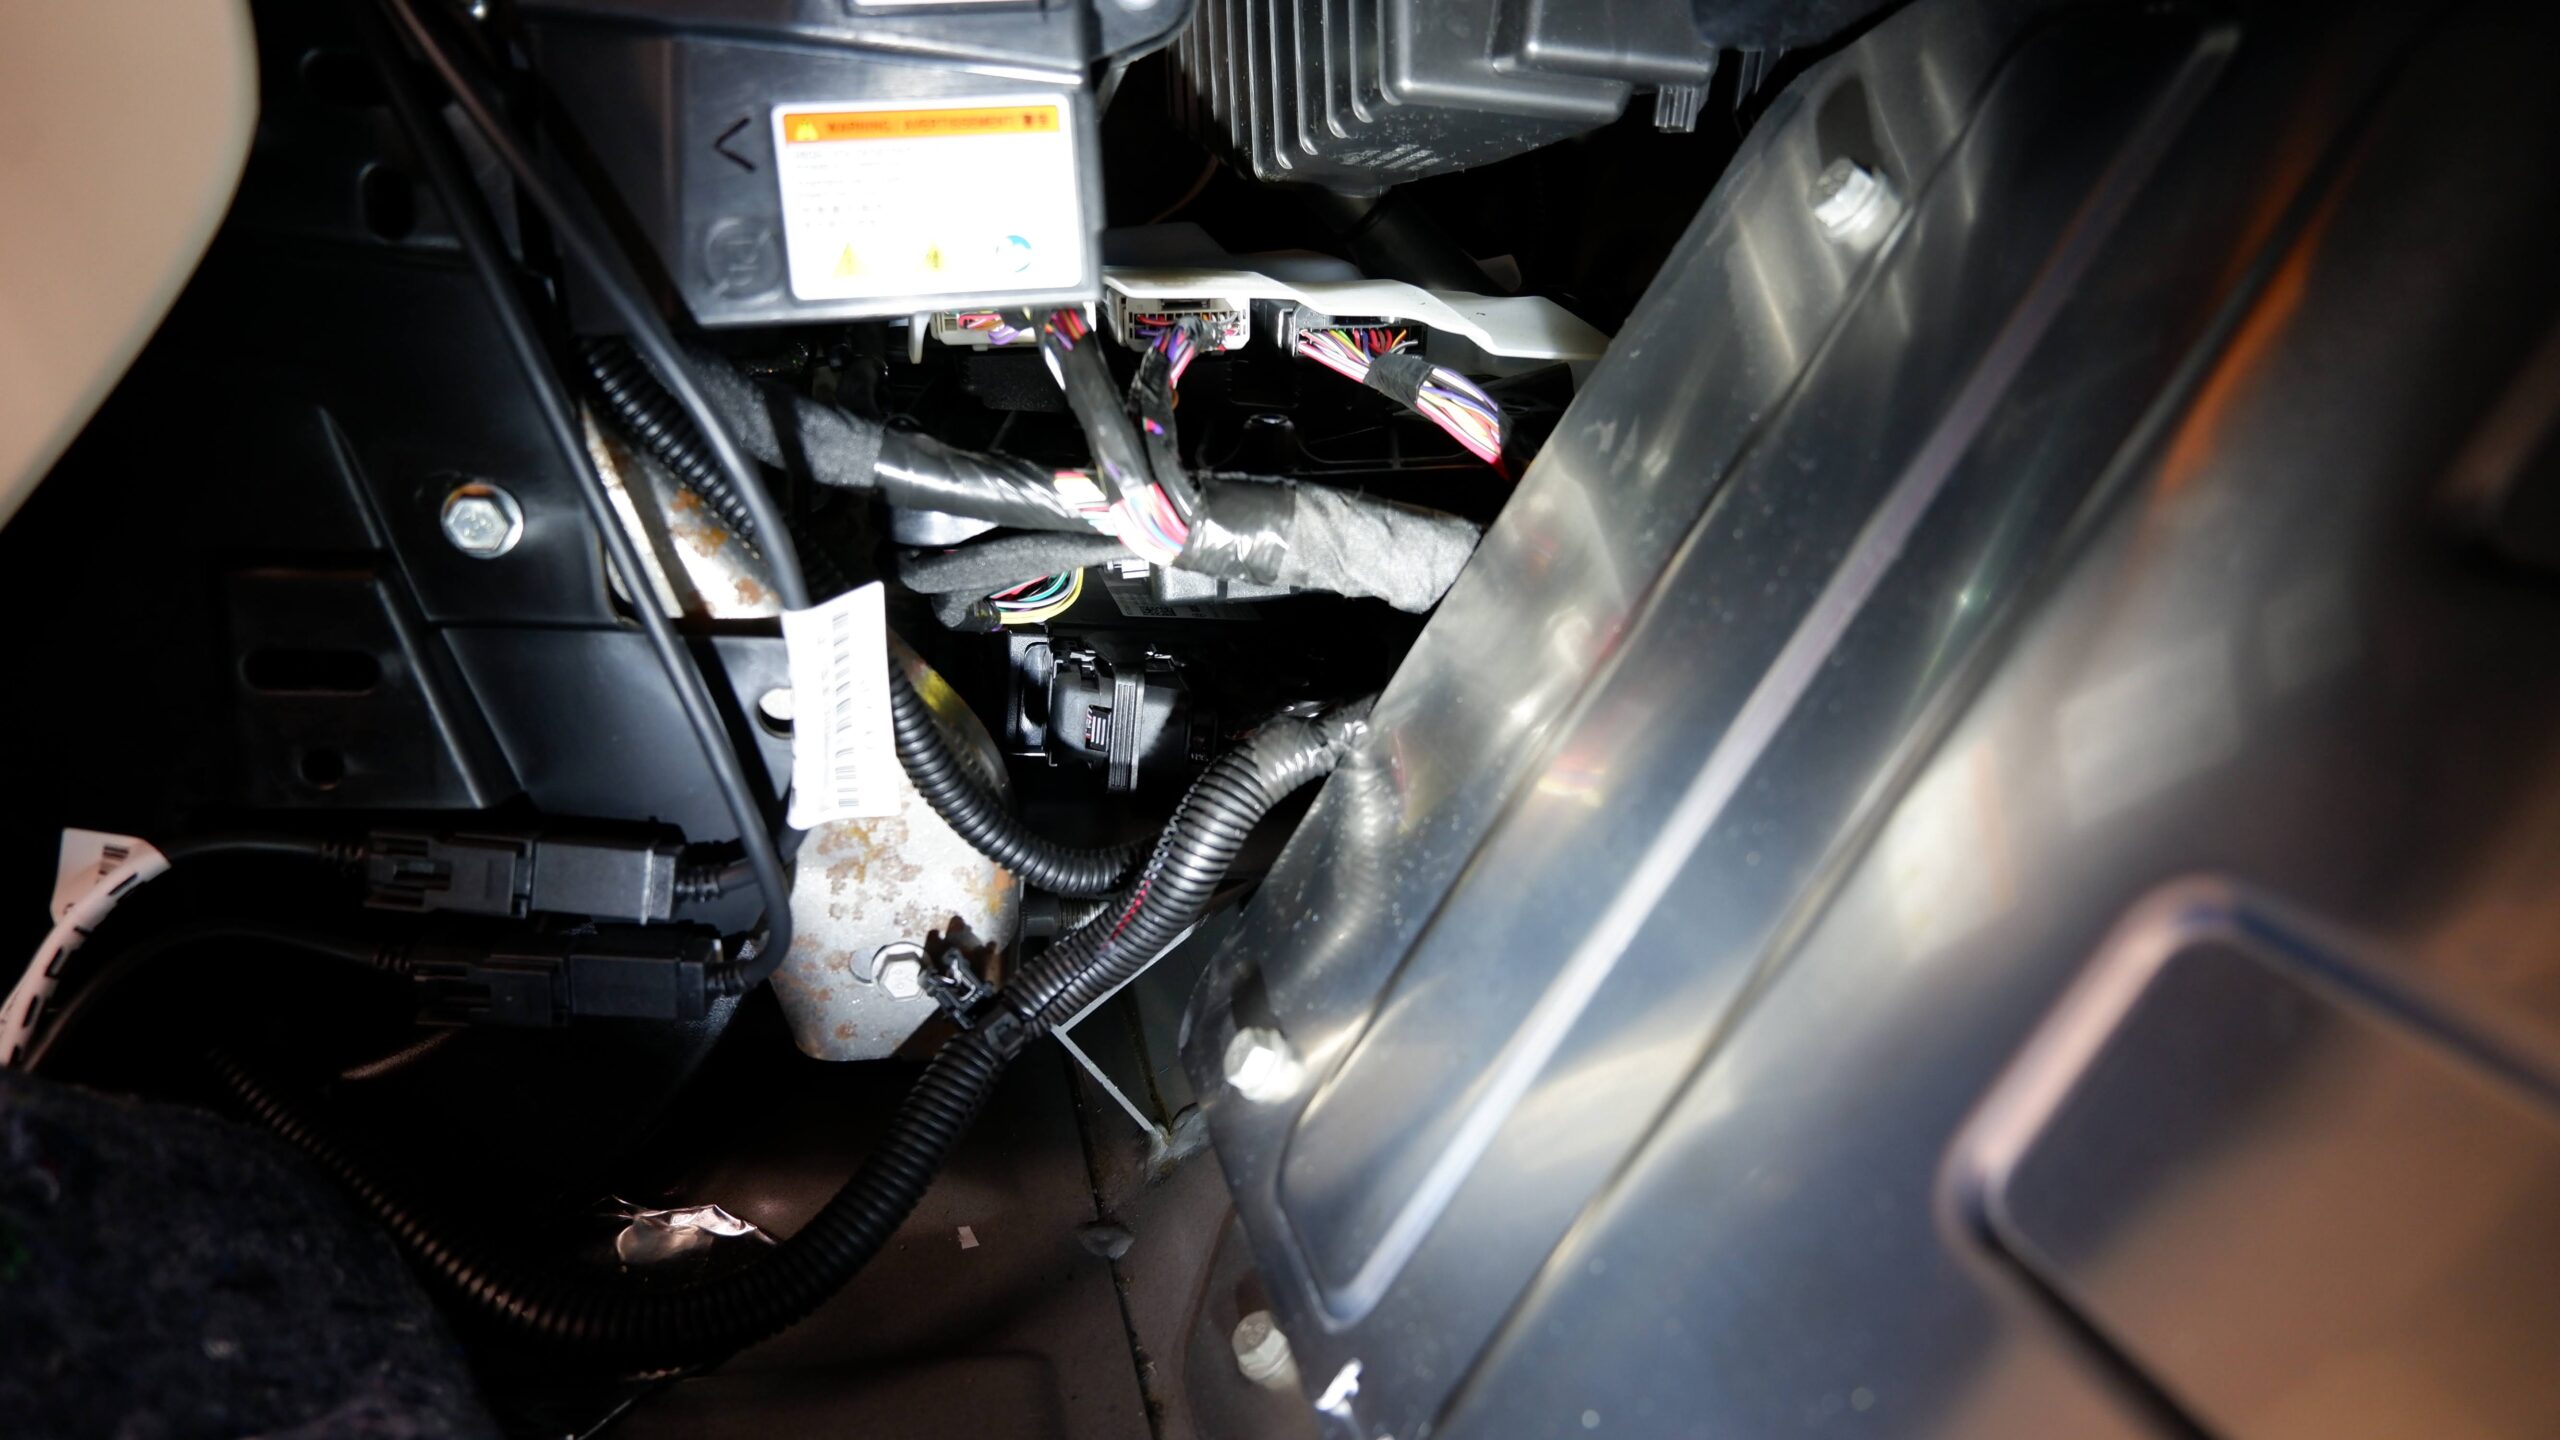
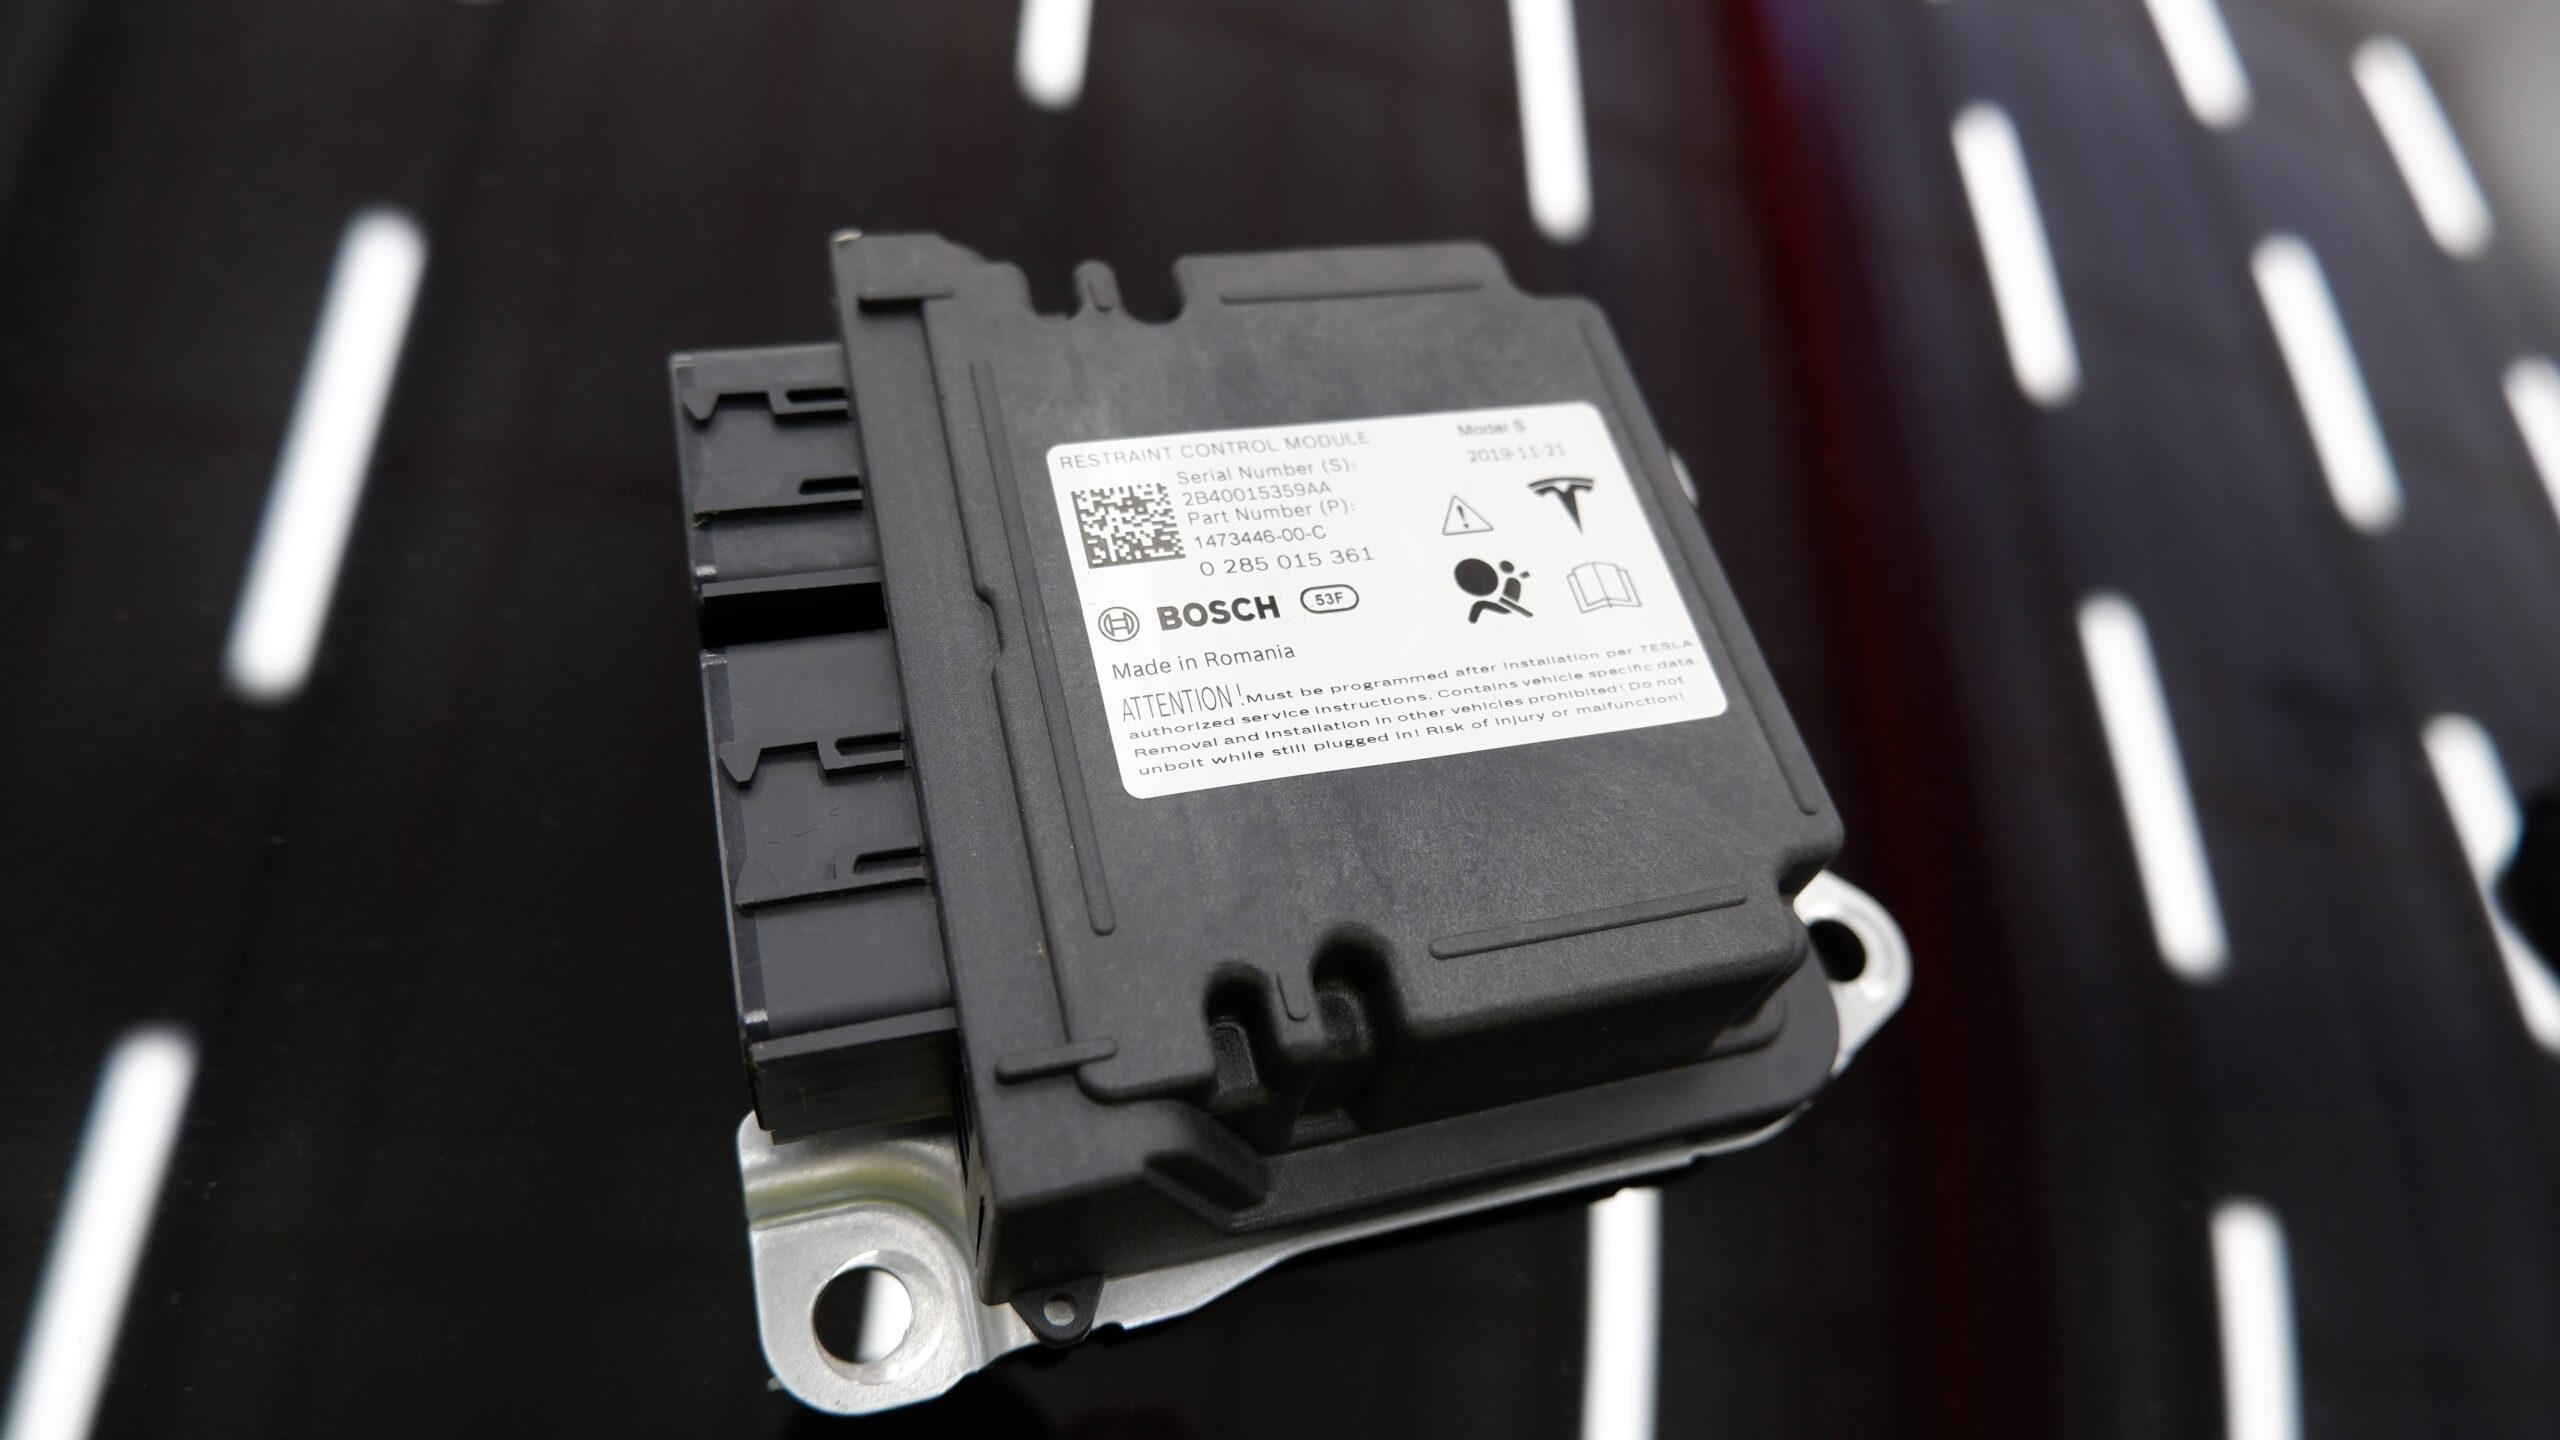
The RCM is tucked away awkwardly under the dashboard, at the front of the centre console. With a bit of fiddling, I got it out and sent it off to Eastern Europe. It was a long trip: about a month before the box came back. Plug it in, and voilà — no fault code! For the first time, the car was completely sorted. Or so I thought…
More air-suspension trouble
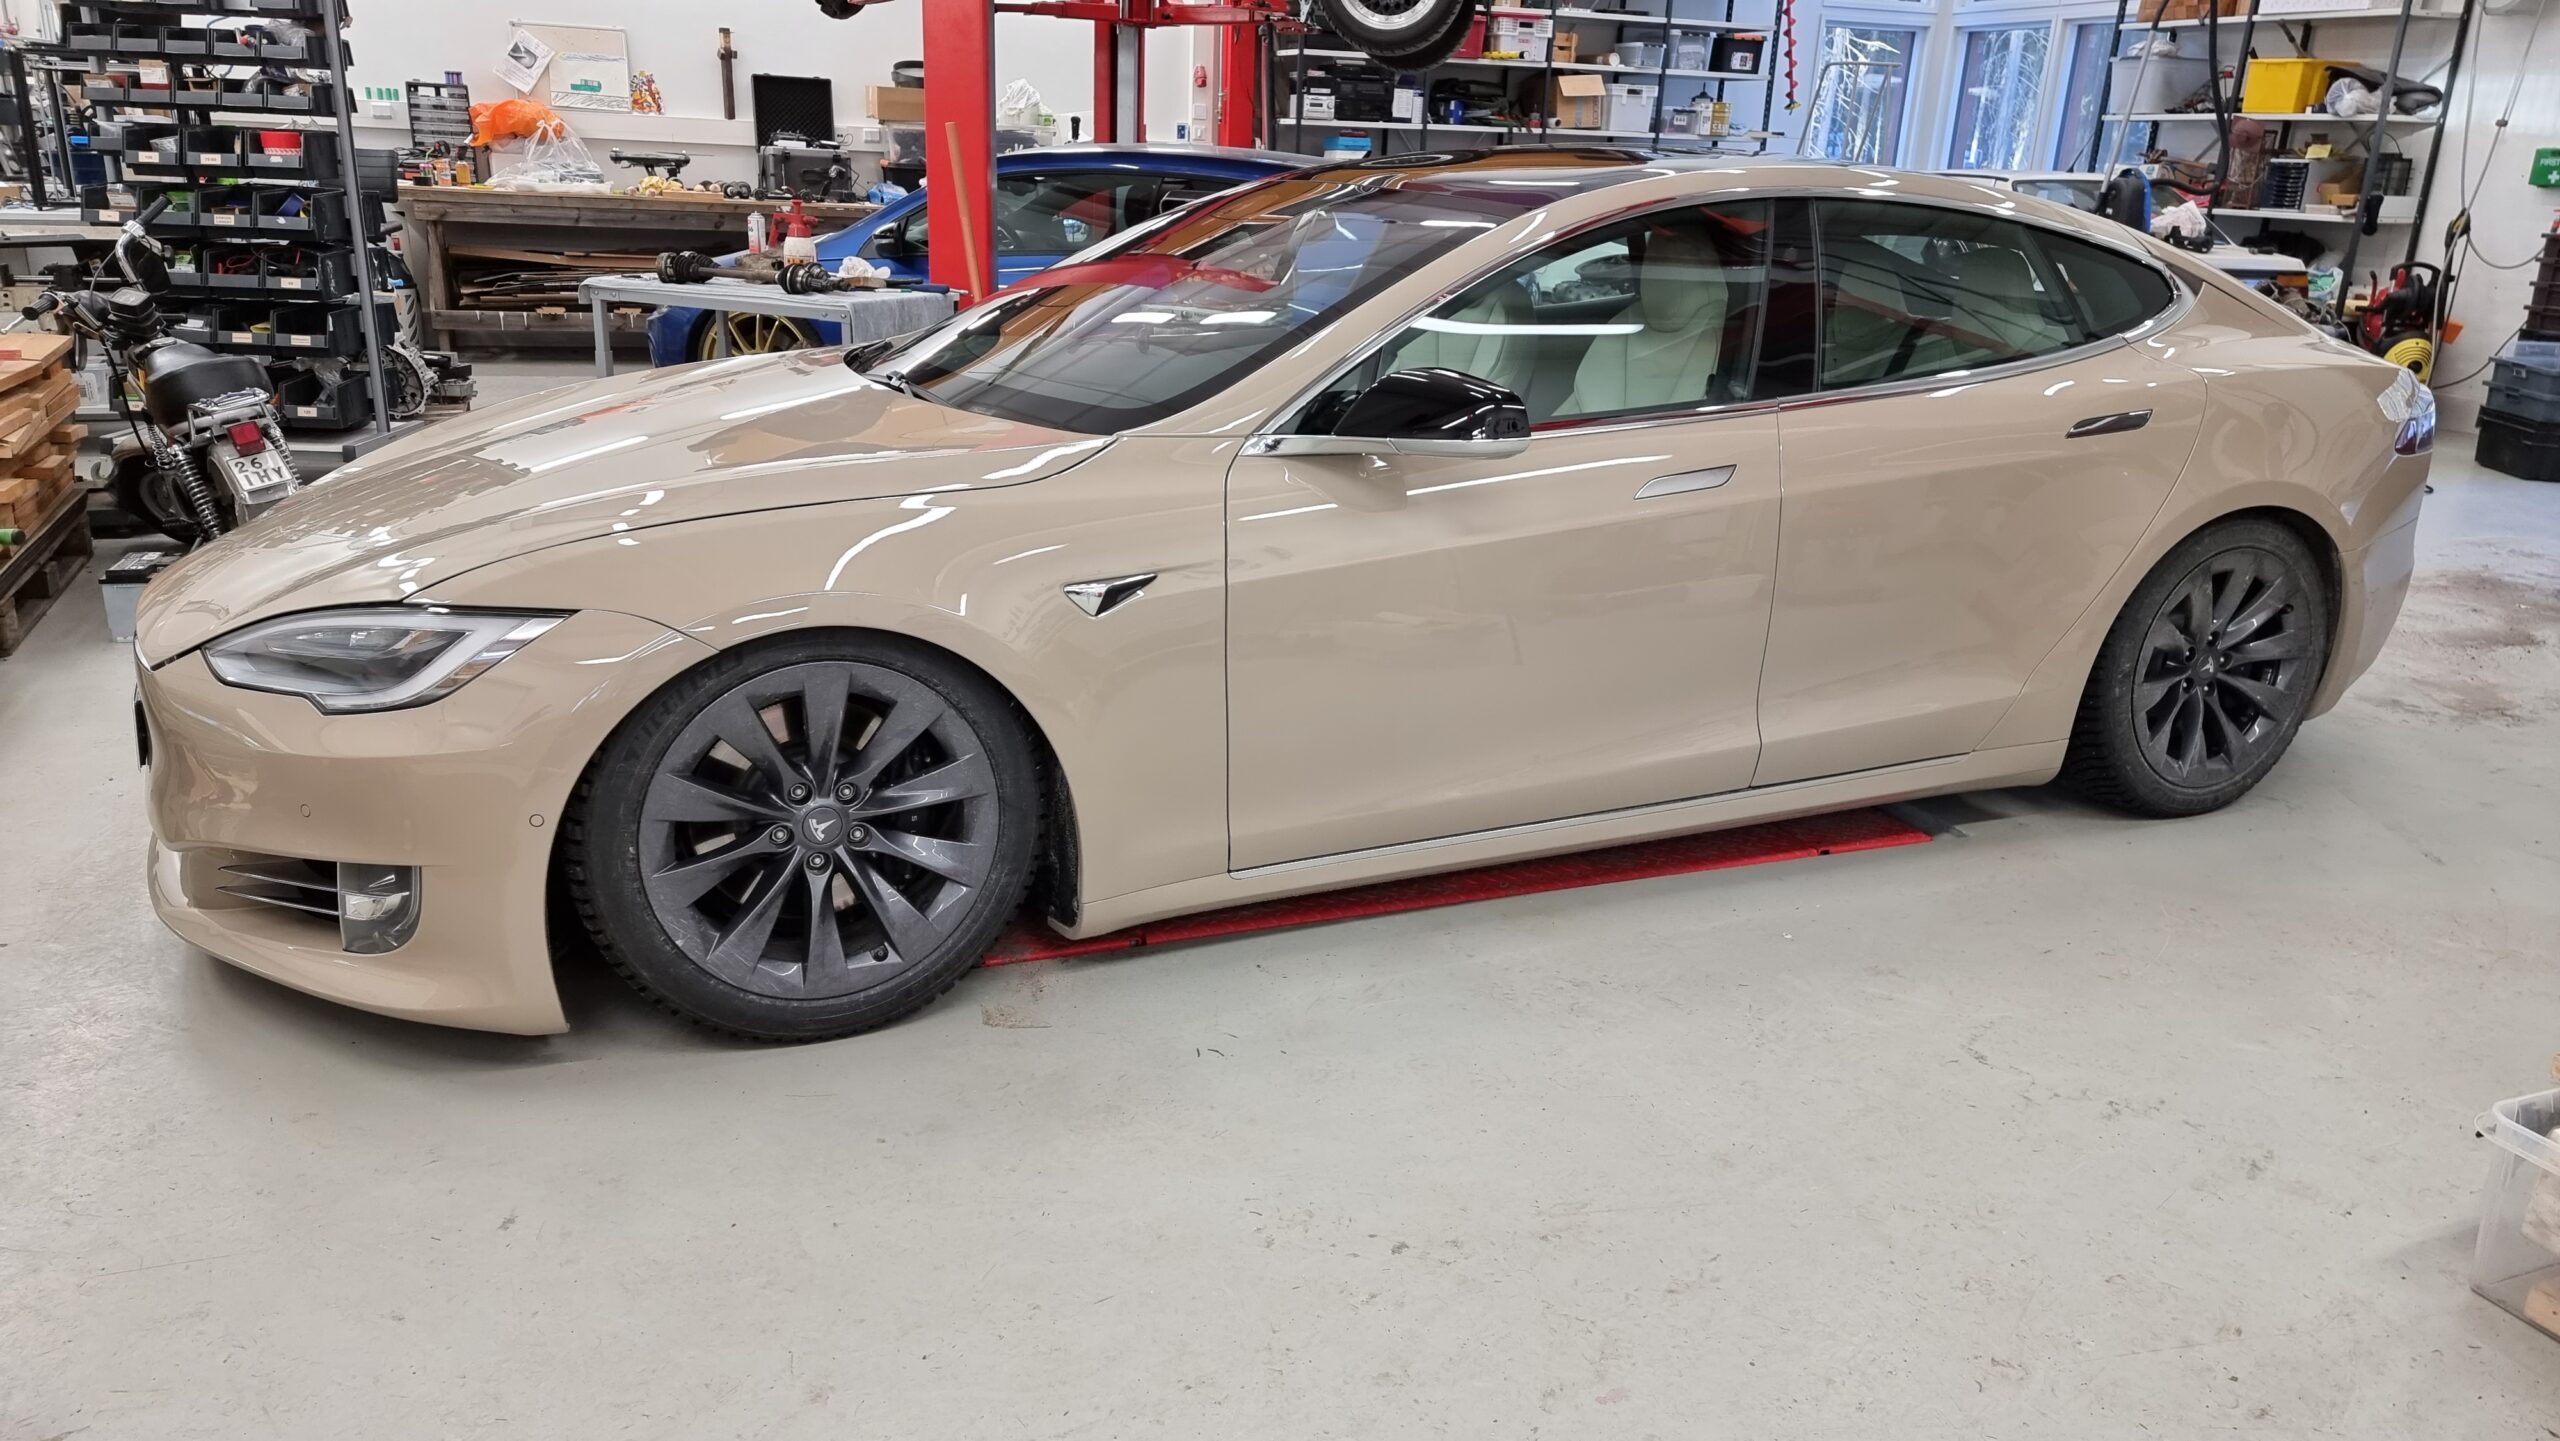
Number plates on, front end on the deck.
The car was finally sorted, and passed its inspection in late March 2021. Except that the front kept dropping overnight. I spent ages hunting for a leak. Perhaps the valve block? Its lines had been open during the repairs, and the block might have taken a hit in the crash. No leak there, though. Eventually I removed the whole front air strut, and there it was. It was the same corner where I'd replaced a control arm, so I assumed crash damage and ordered a new strut. €1,500.
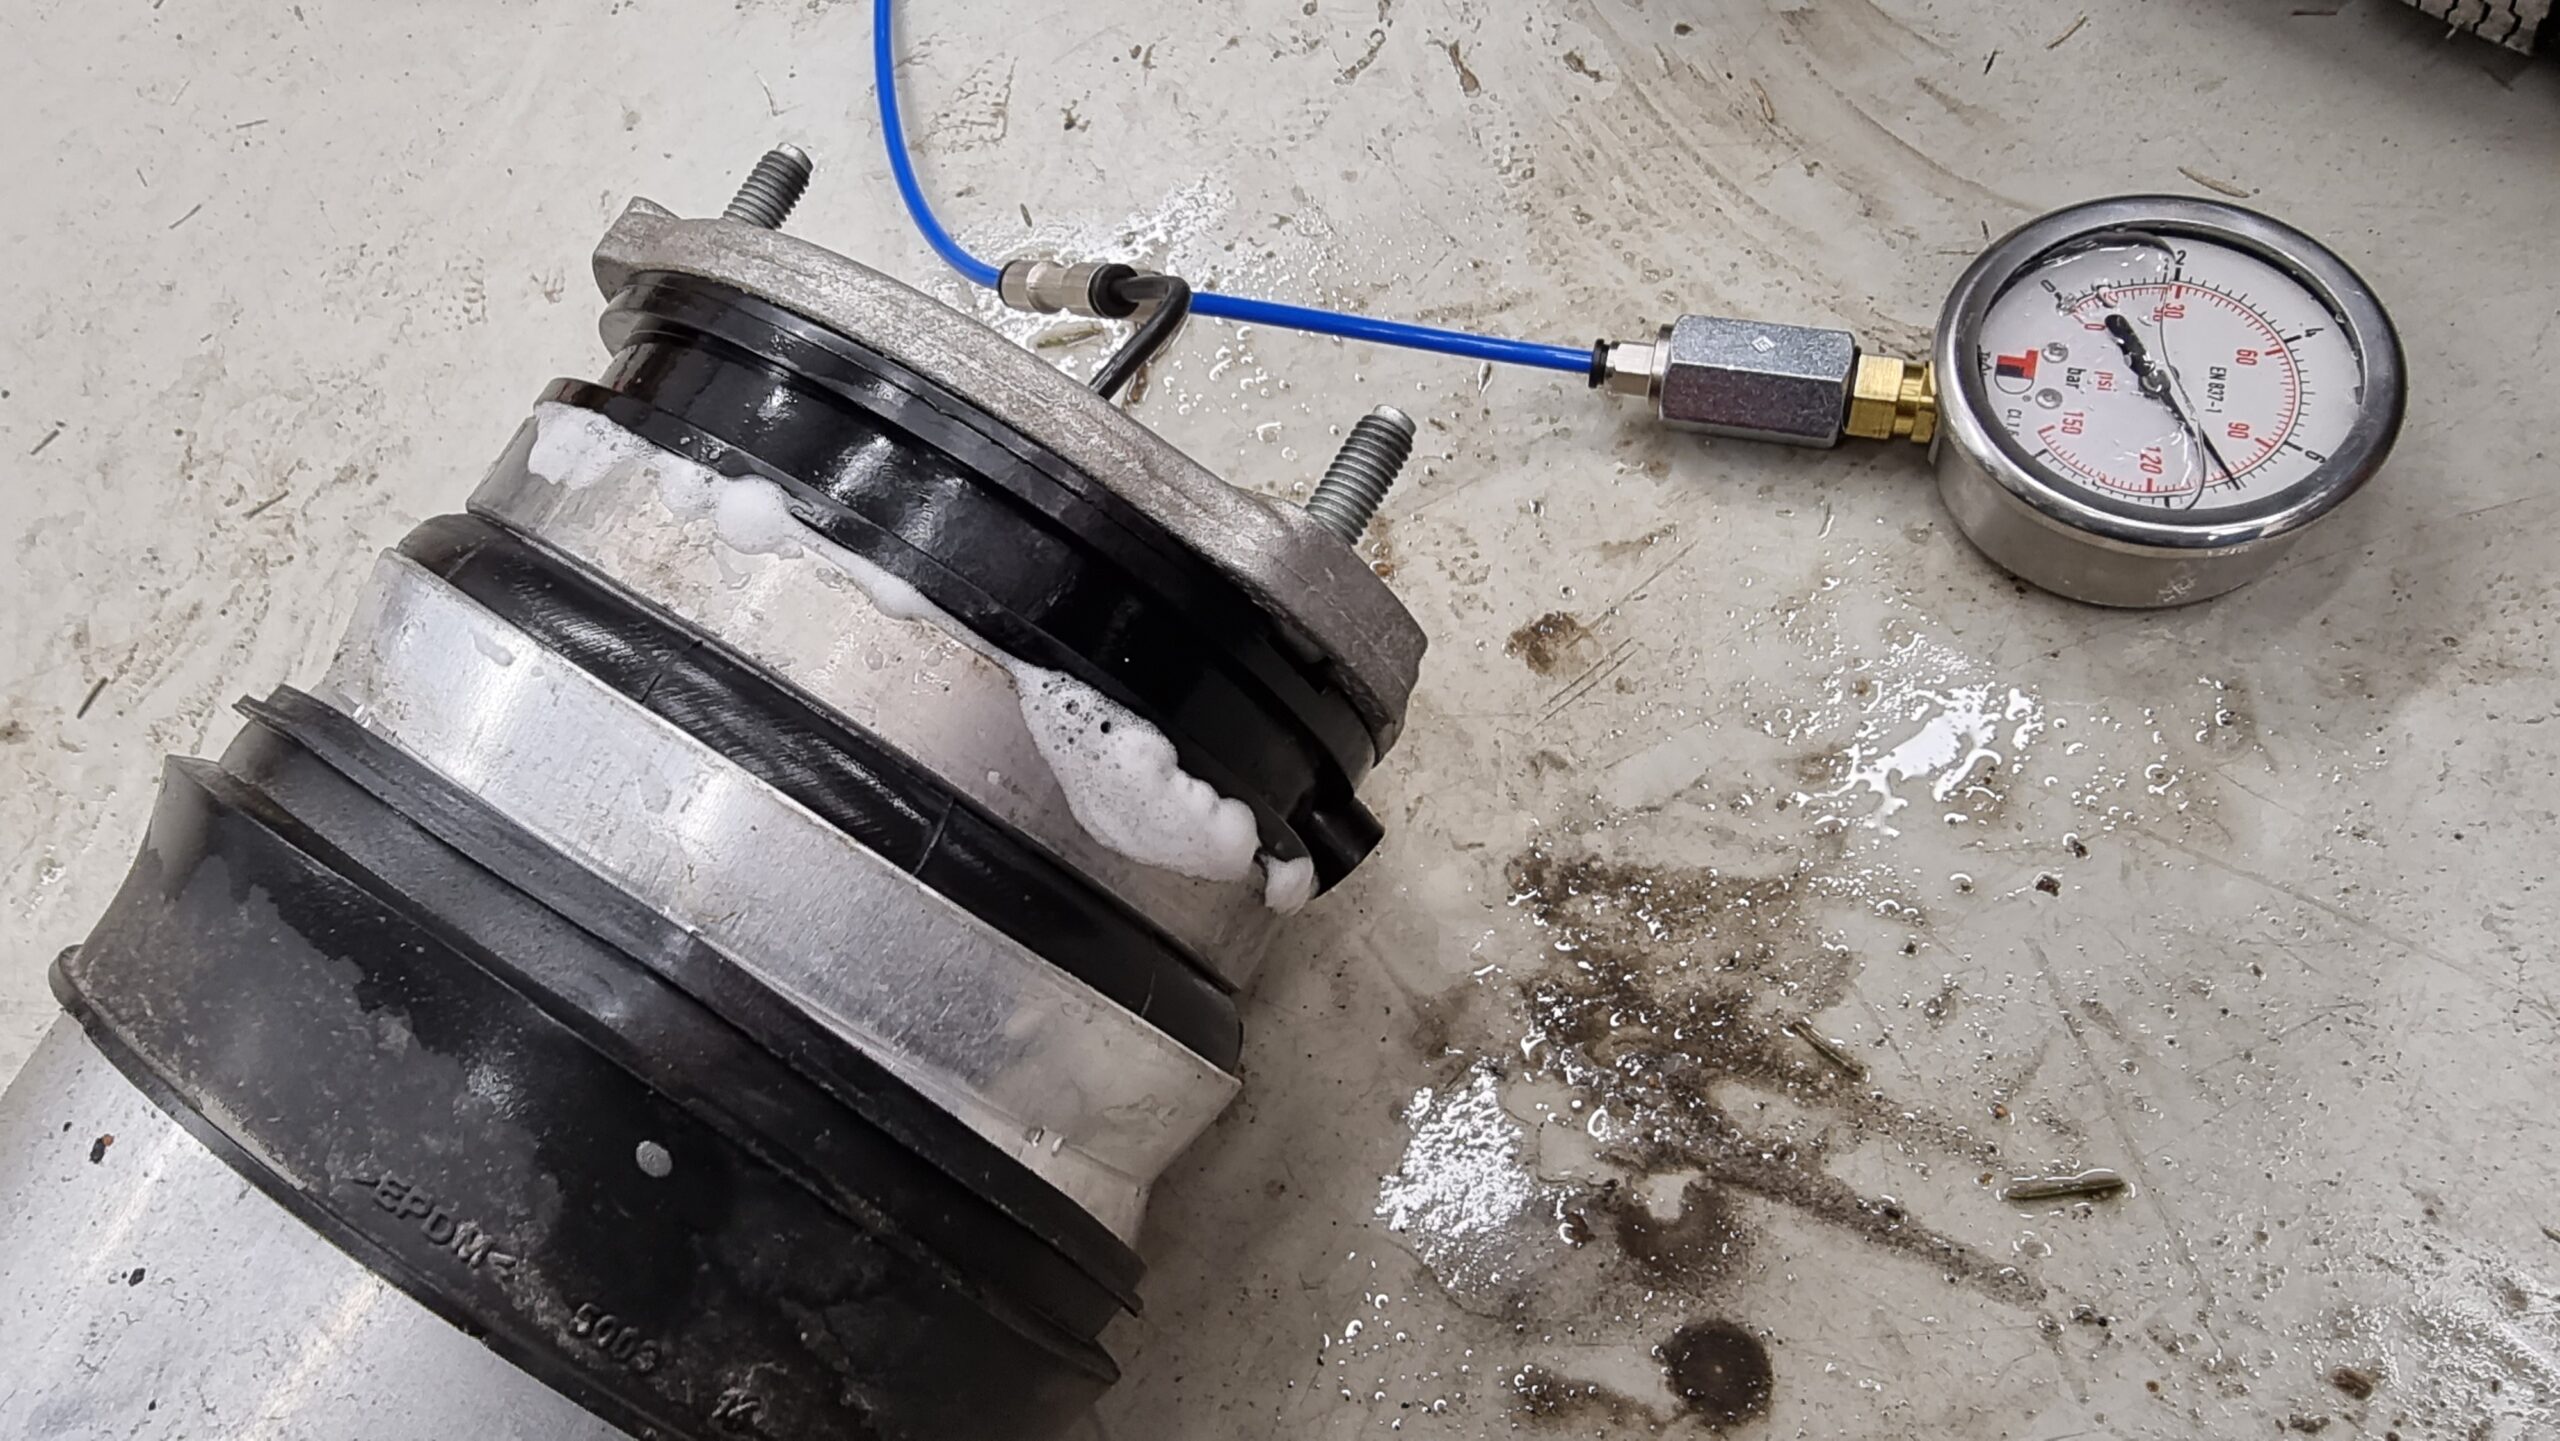
Pressurise the air spring with the compressor, spray on some leak detector, and there come the bubbles.
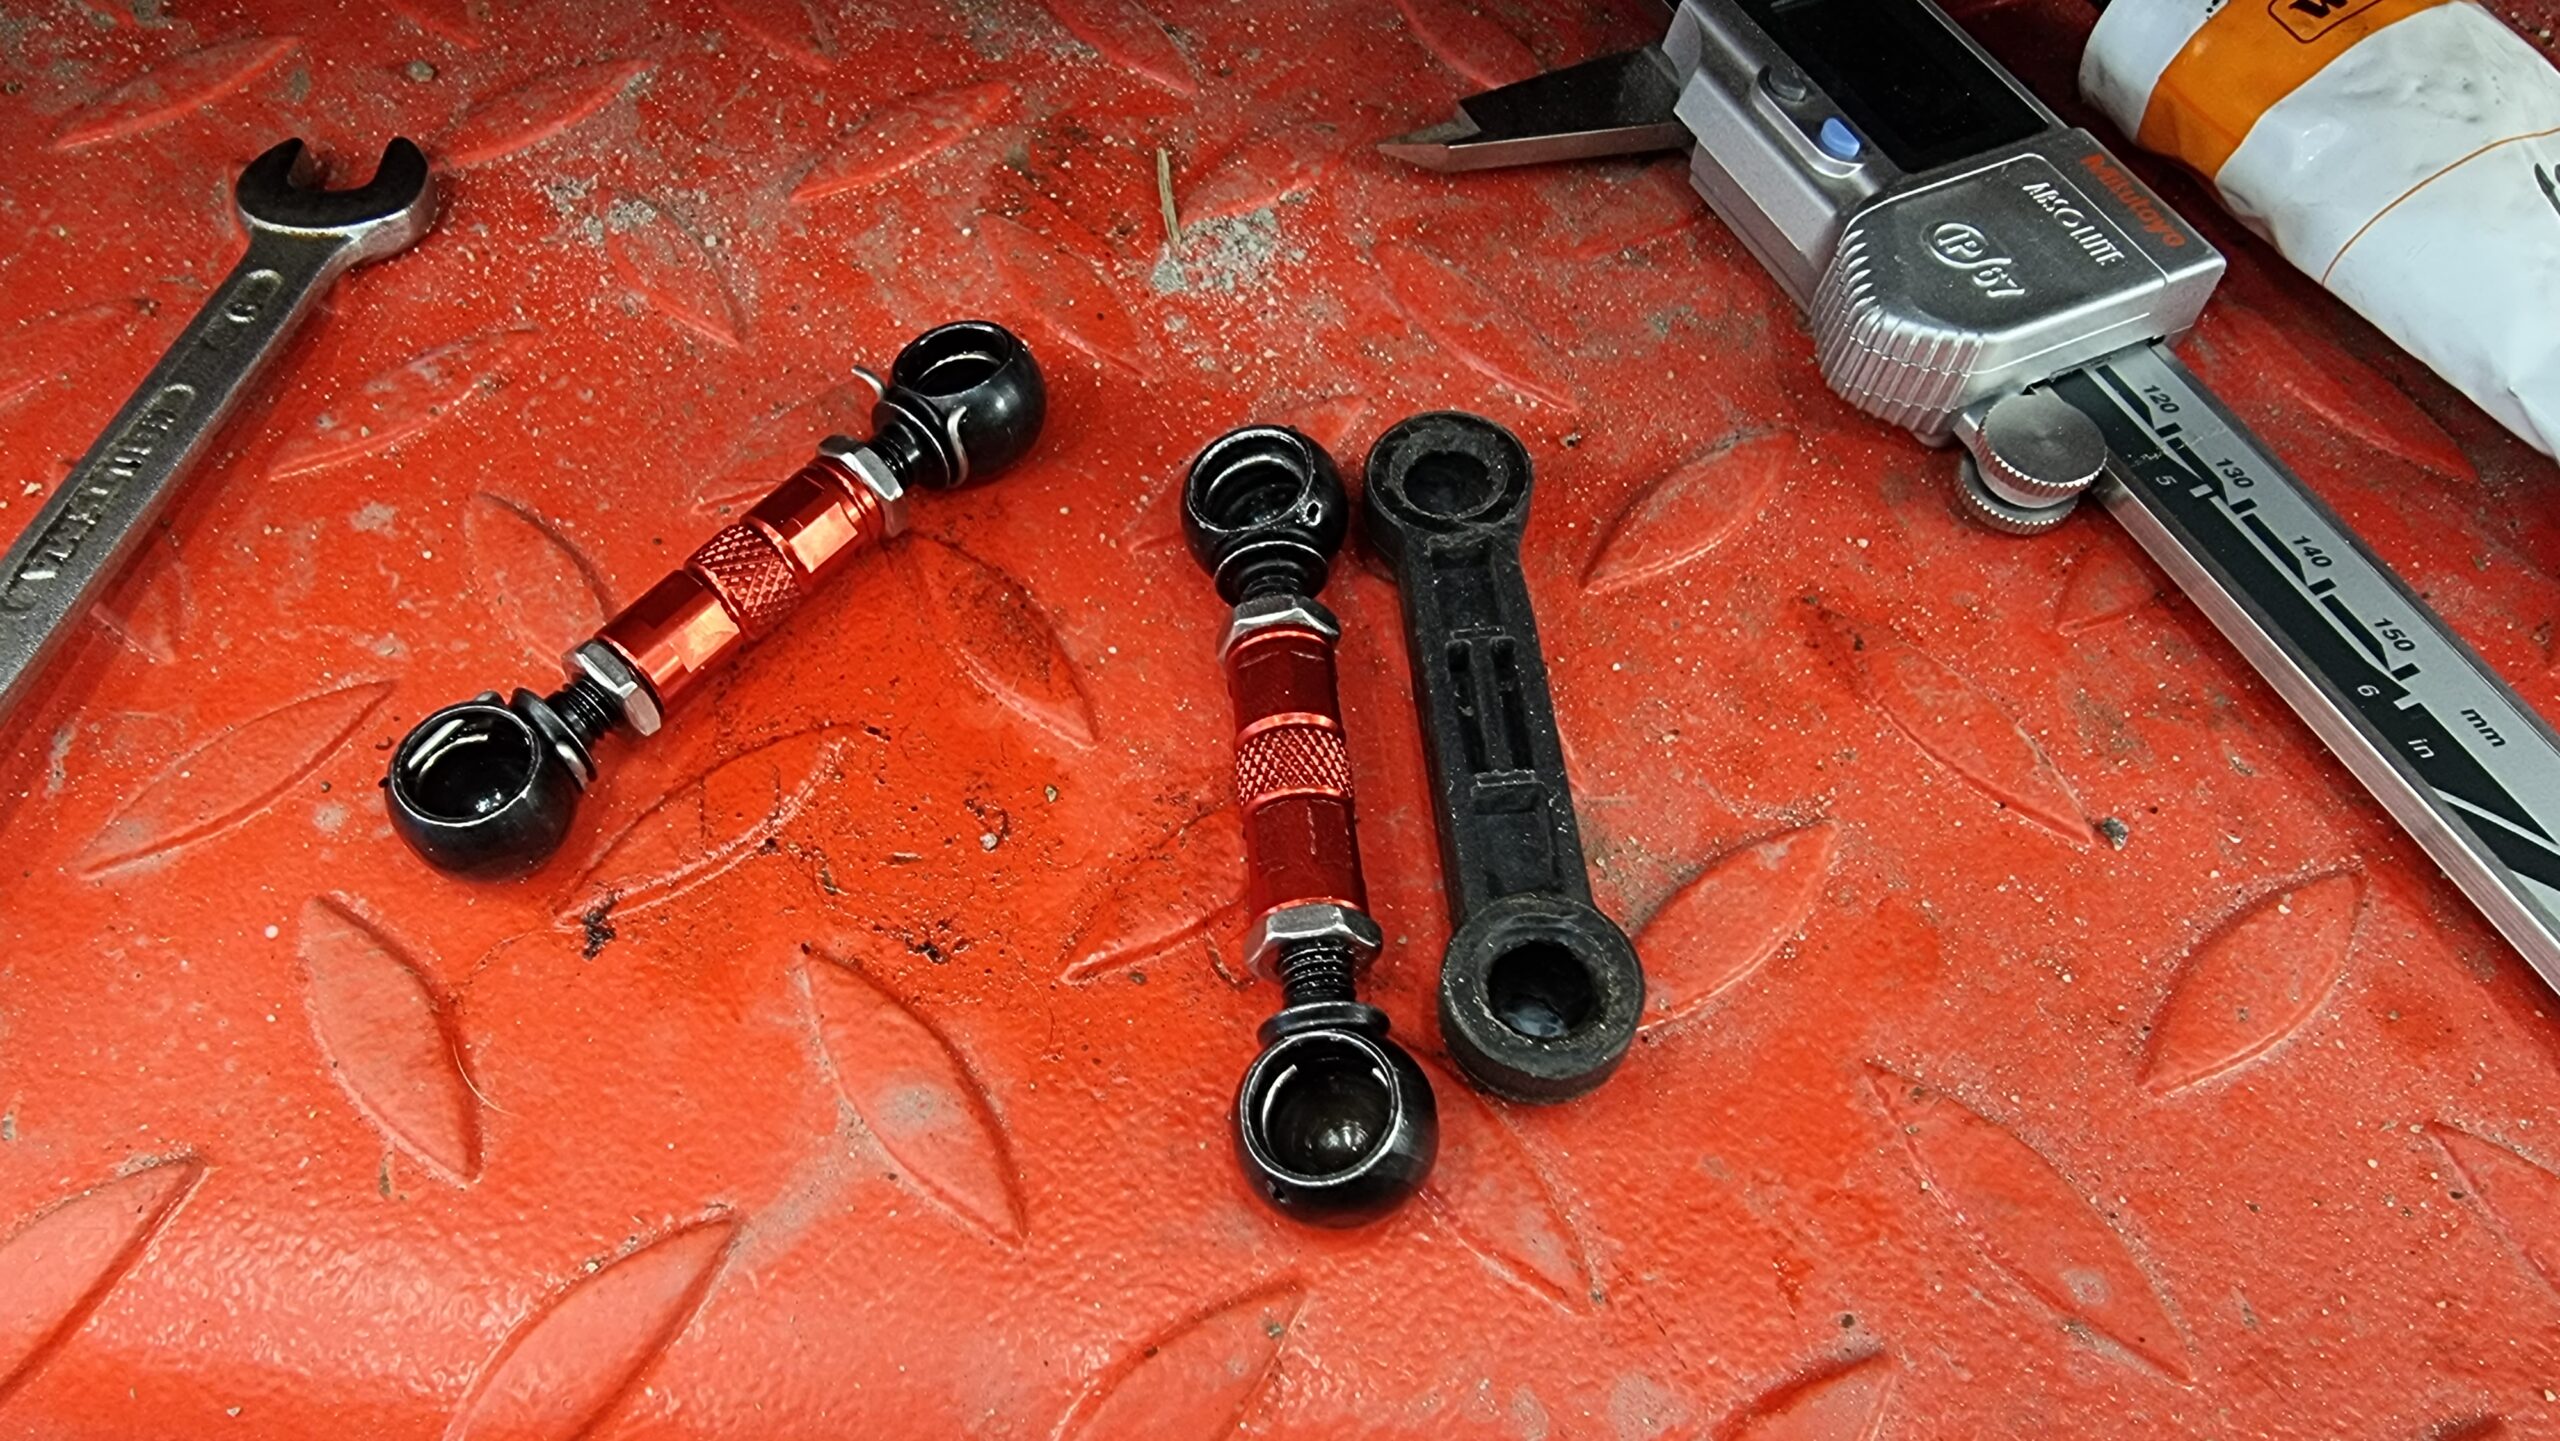
While I was fiddling with the suspension, I fitted adjustable links to the ride-height sensors and lowered the car by just under 5 cm.
Summer-tyre season was coming, so I ordered some Momo wheels from Rimfix. I'd considered RMX's own custom wheels too, but the lead time was too long. The Momos were made to fit the Model S, with the right centre bore and offset. Just one snag: the threaded ends of Tesla's driveshafts are ridiculously long, leaving no room for the wheel centre caps.
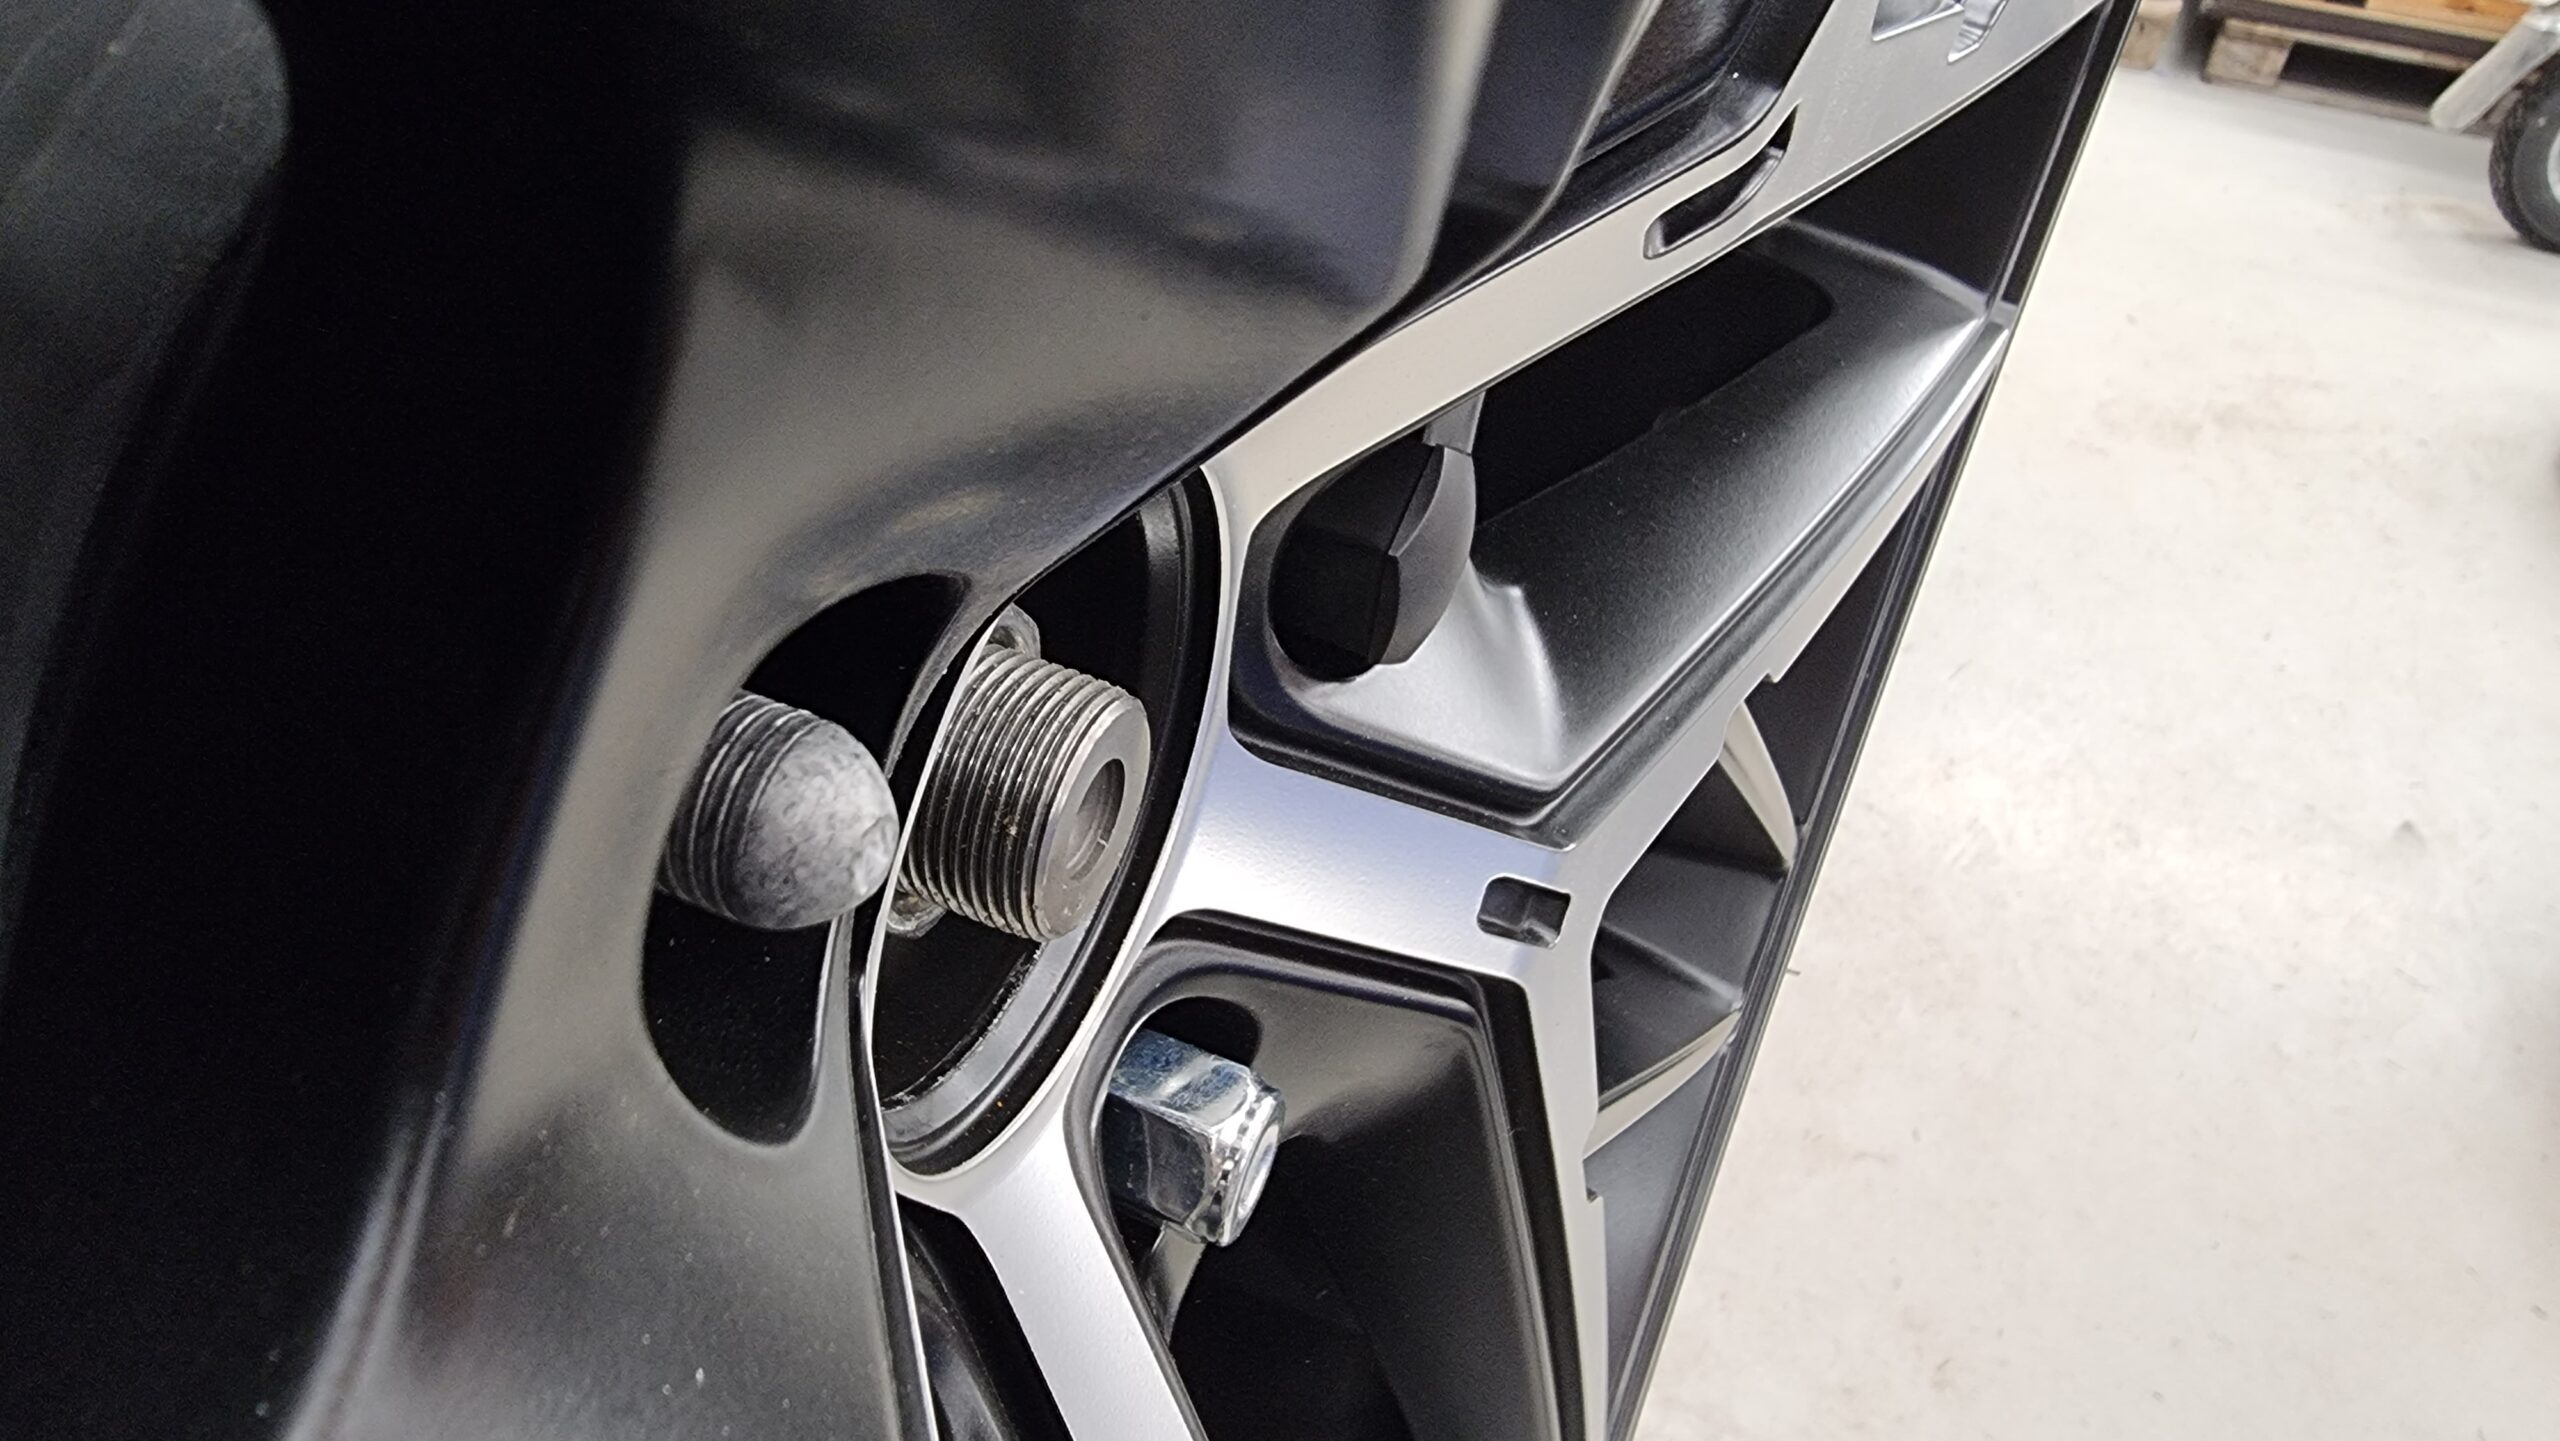
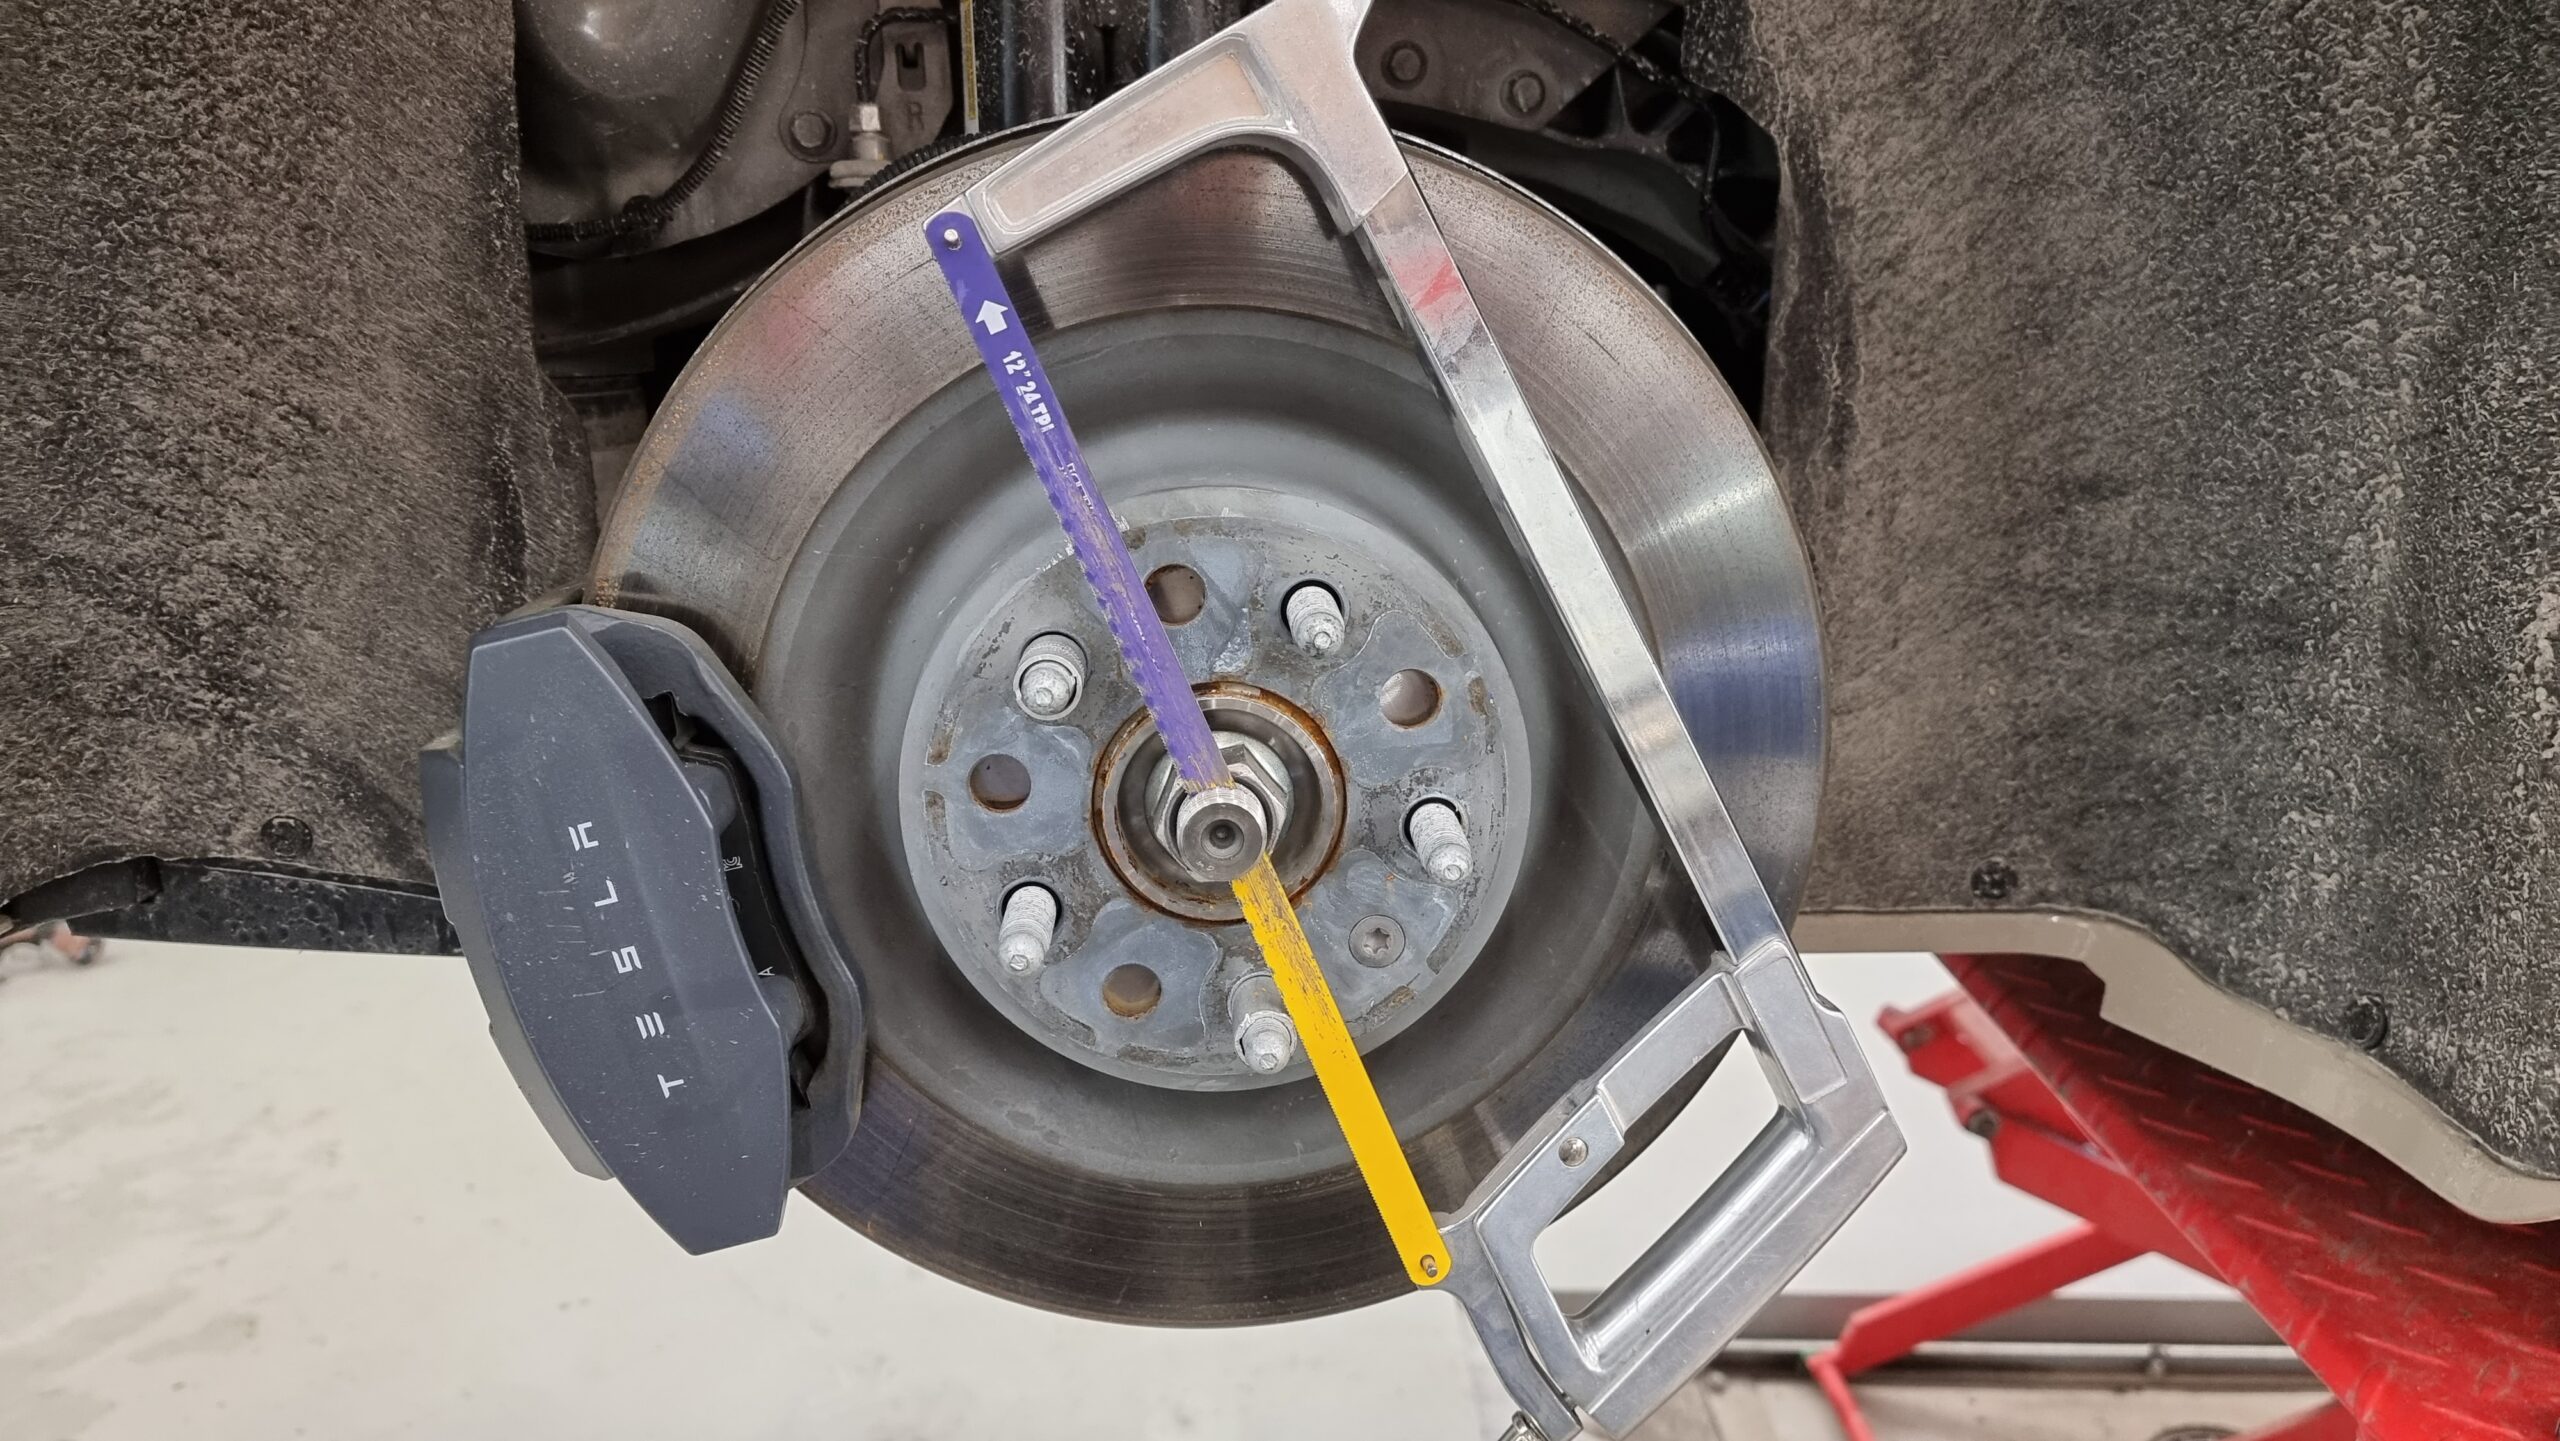
The solution turned out to be fairly simple. I didn't fancy removing the driveshafts, so I hacksawed the excess thread off in place. Worked up a sweat, but it didn't actually take that long.
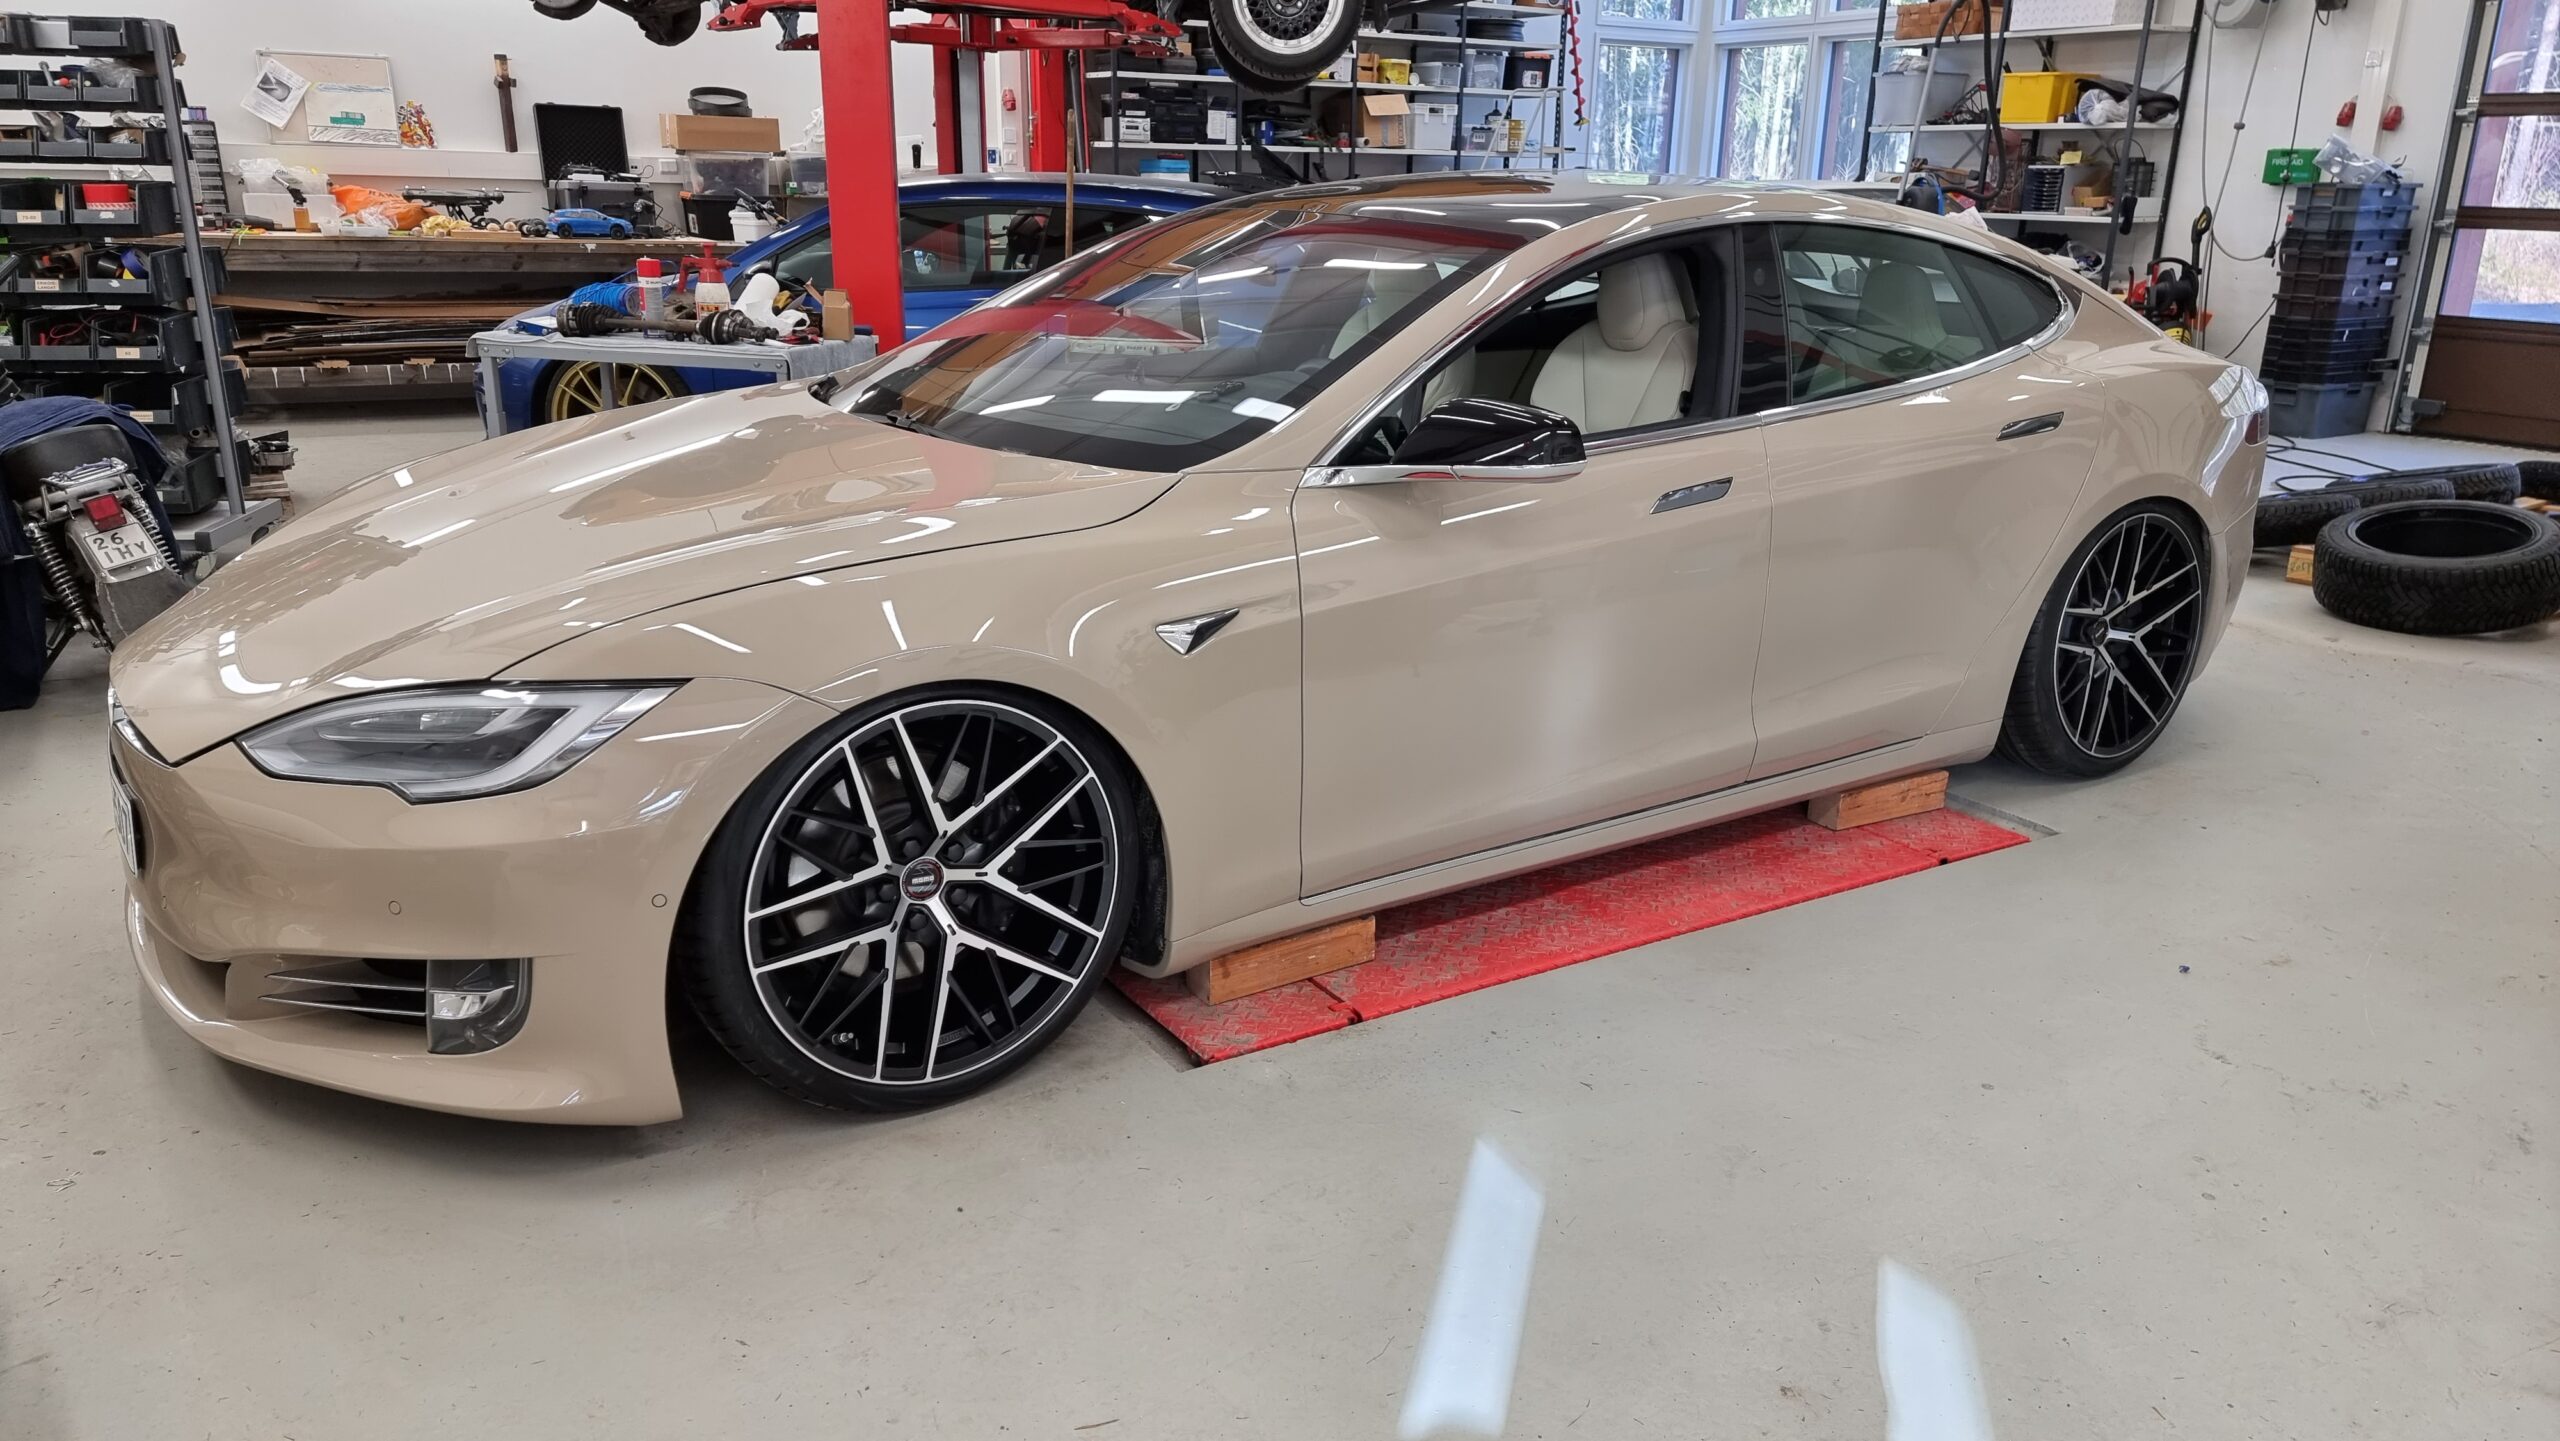
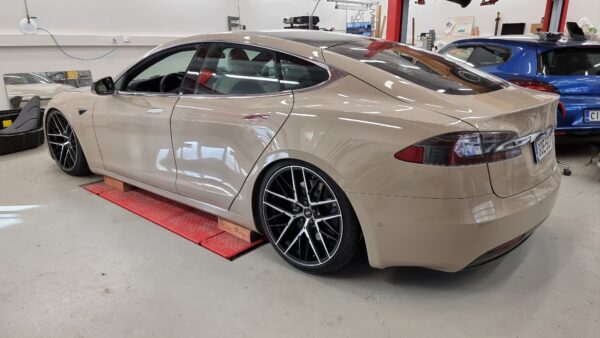
Looking good. Air springs empty, with 10 cm wooden blocks under the lifting points. The wheels are 9.5×21, ET 32. I also had the car treated with Ceramic Pro that spring.
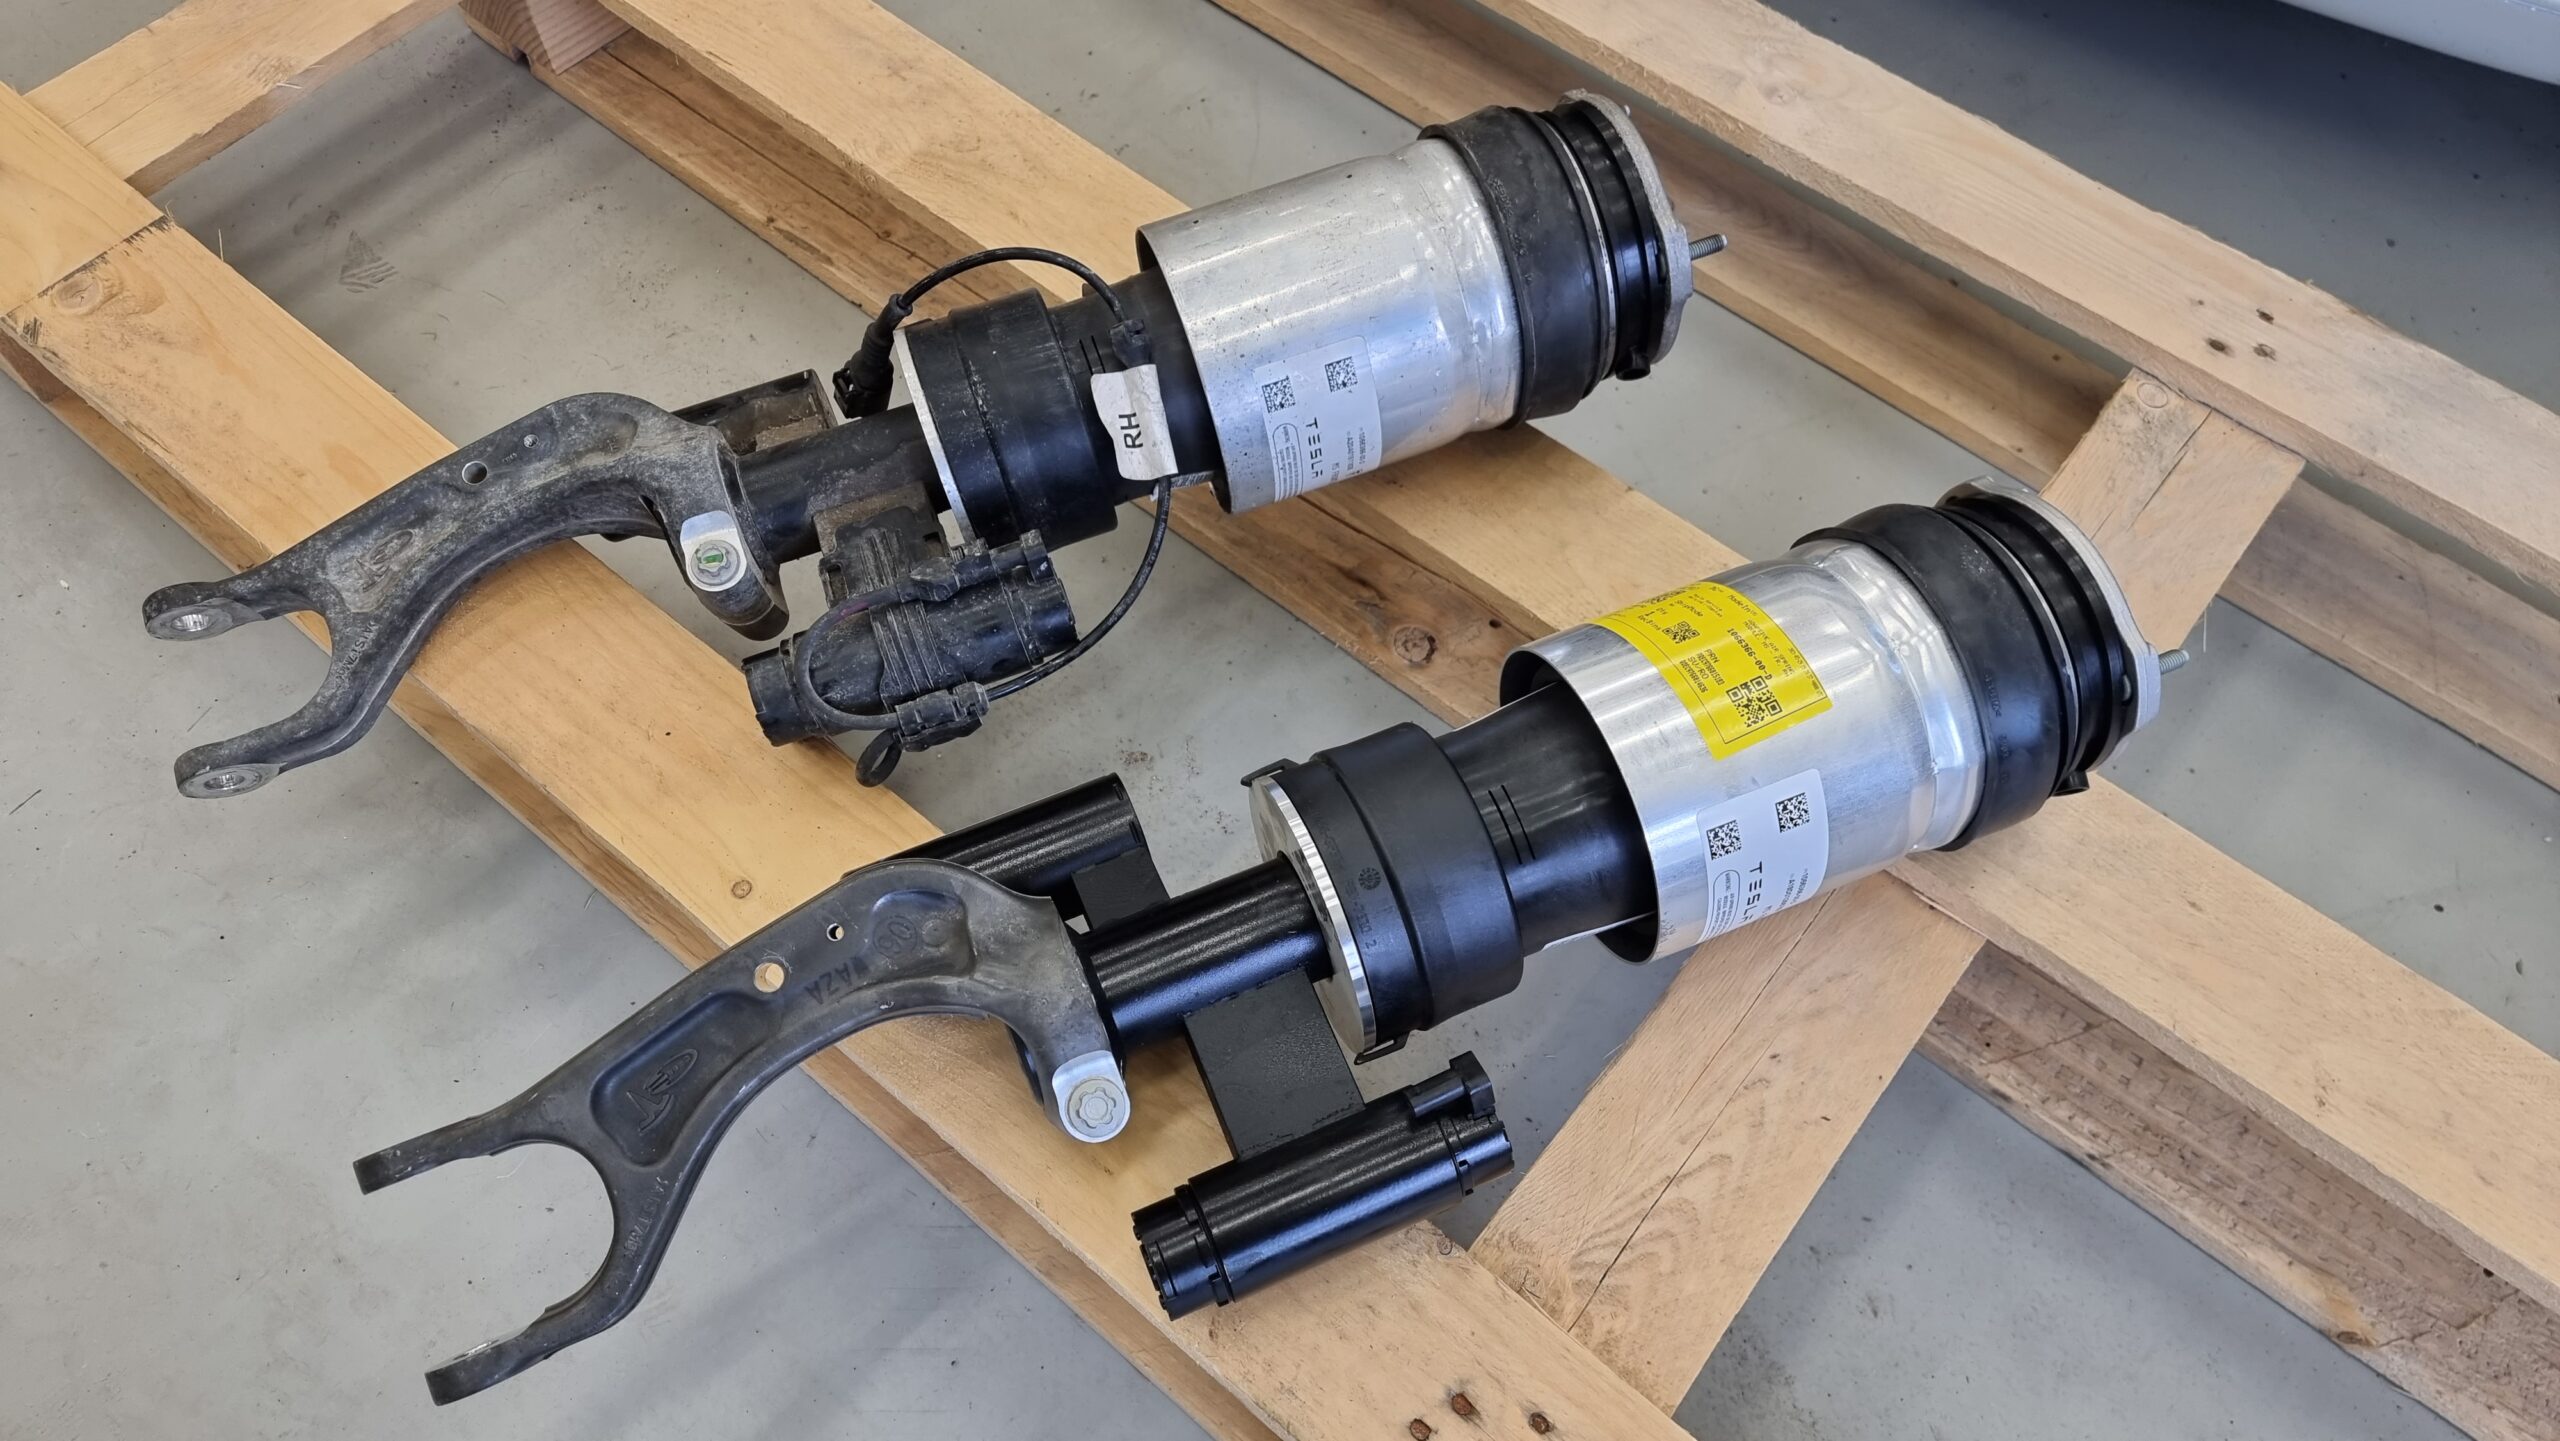
New front air strut. Only the cable needed transferring from the old one.
Some people warned me the suspension would need calibrating after changing the strut. It didn't. New strut in and back on the road. For two days. Then the rear gave up.
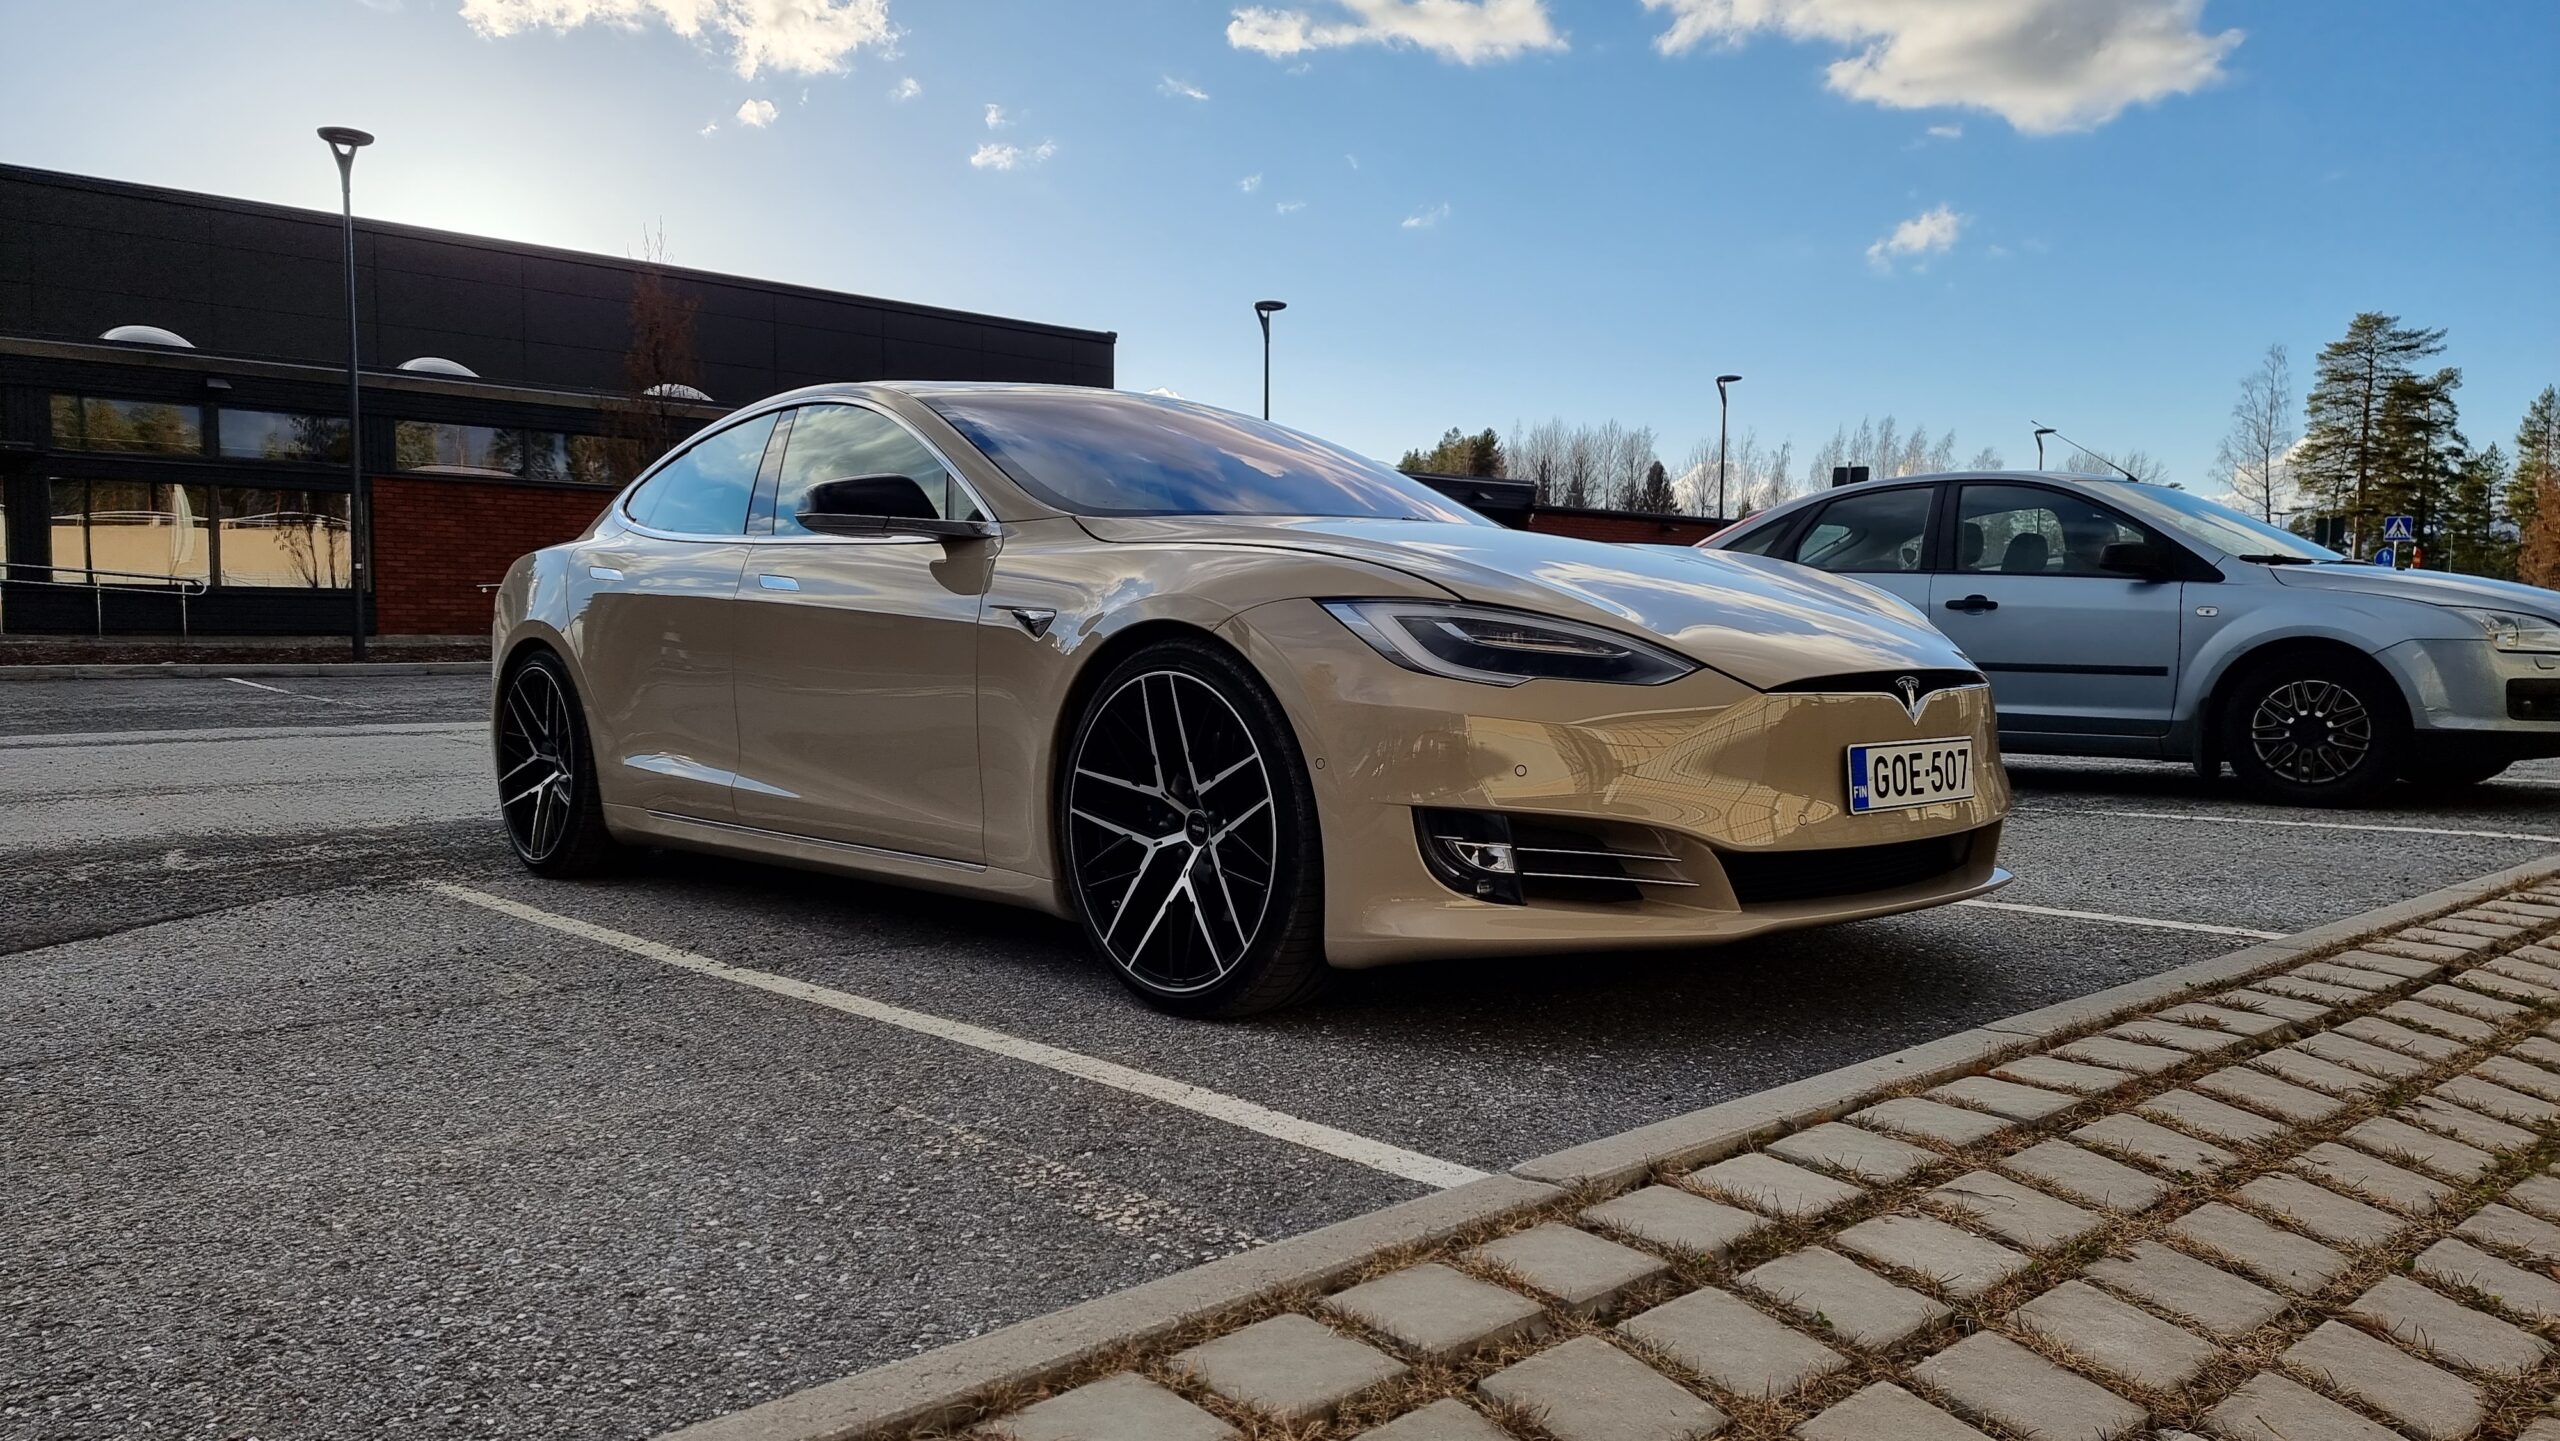
Parked up. The rear might be a little too low…
There'd been an odd knocking from the right rear on gravel roads, rather like an exhaust knocking against the body on a combustion-engined car. Then, on the school run, came a little pop followed by a hiss. The rear dropped to the deck. One burst air spring. I hadn't got round to putting it on the lift to investigate the noise. All right, maybe there was a bit of laziness involved too.
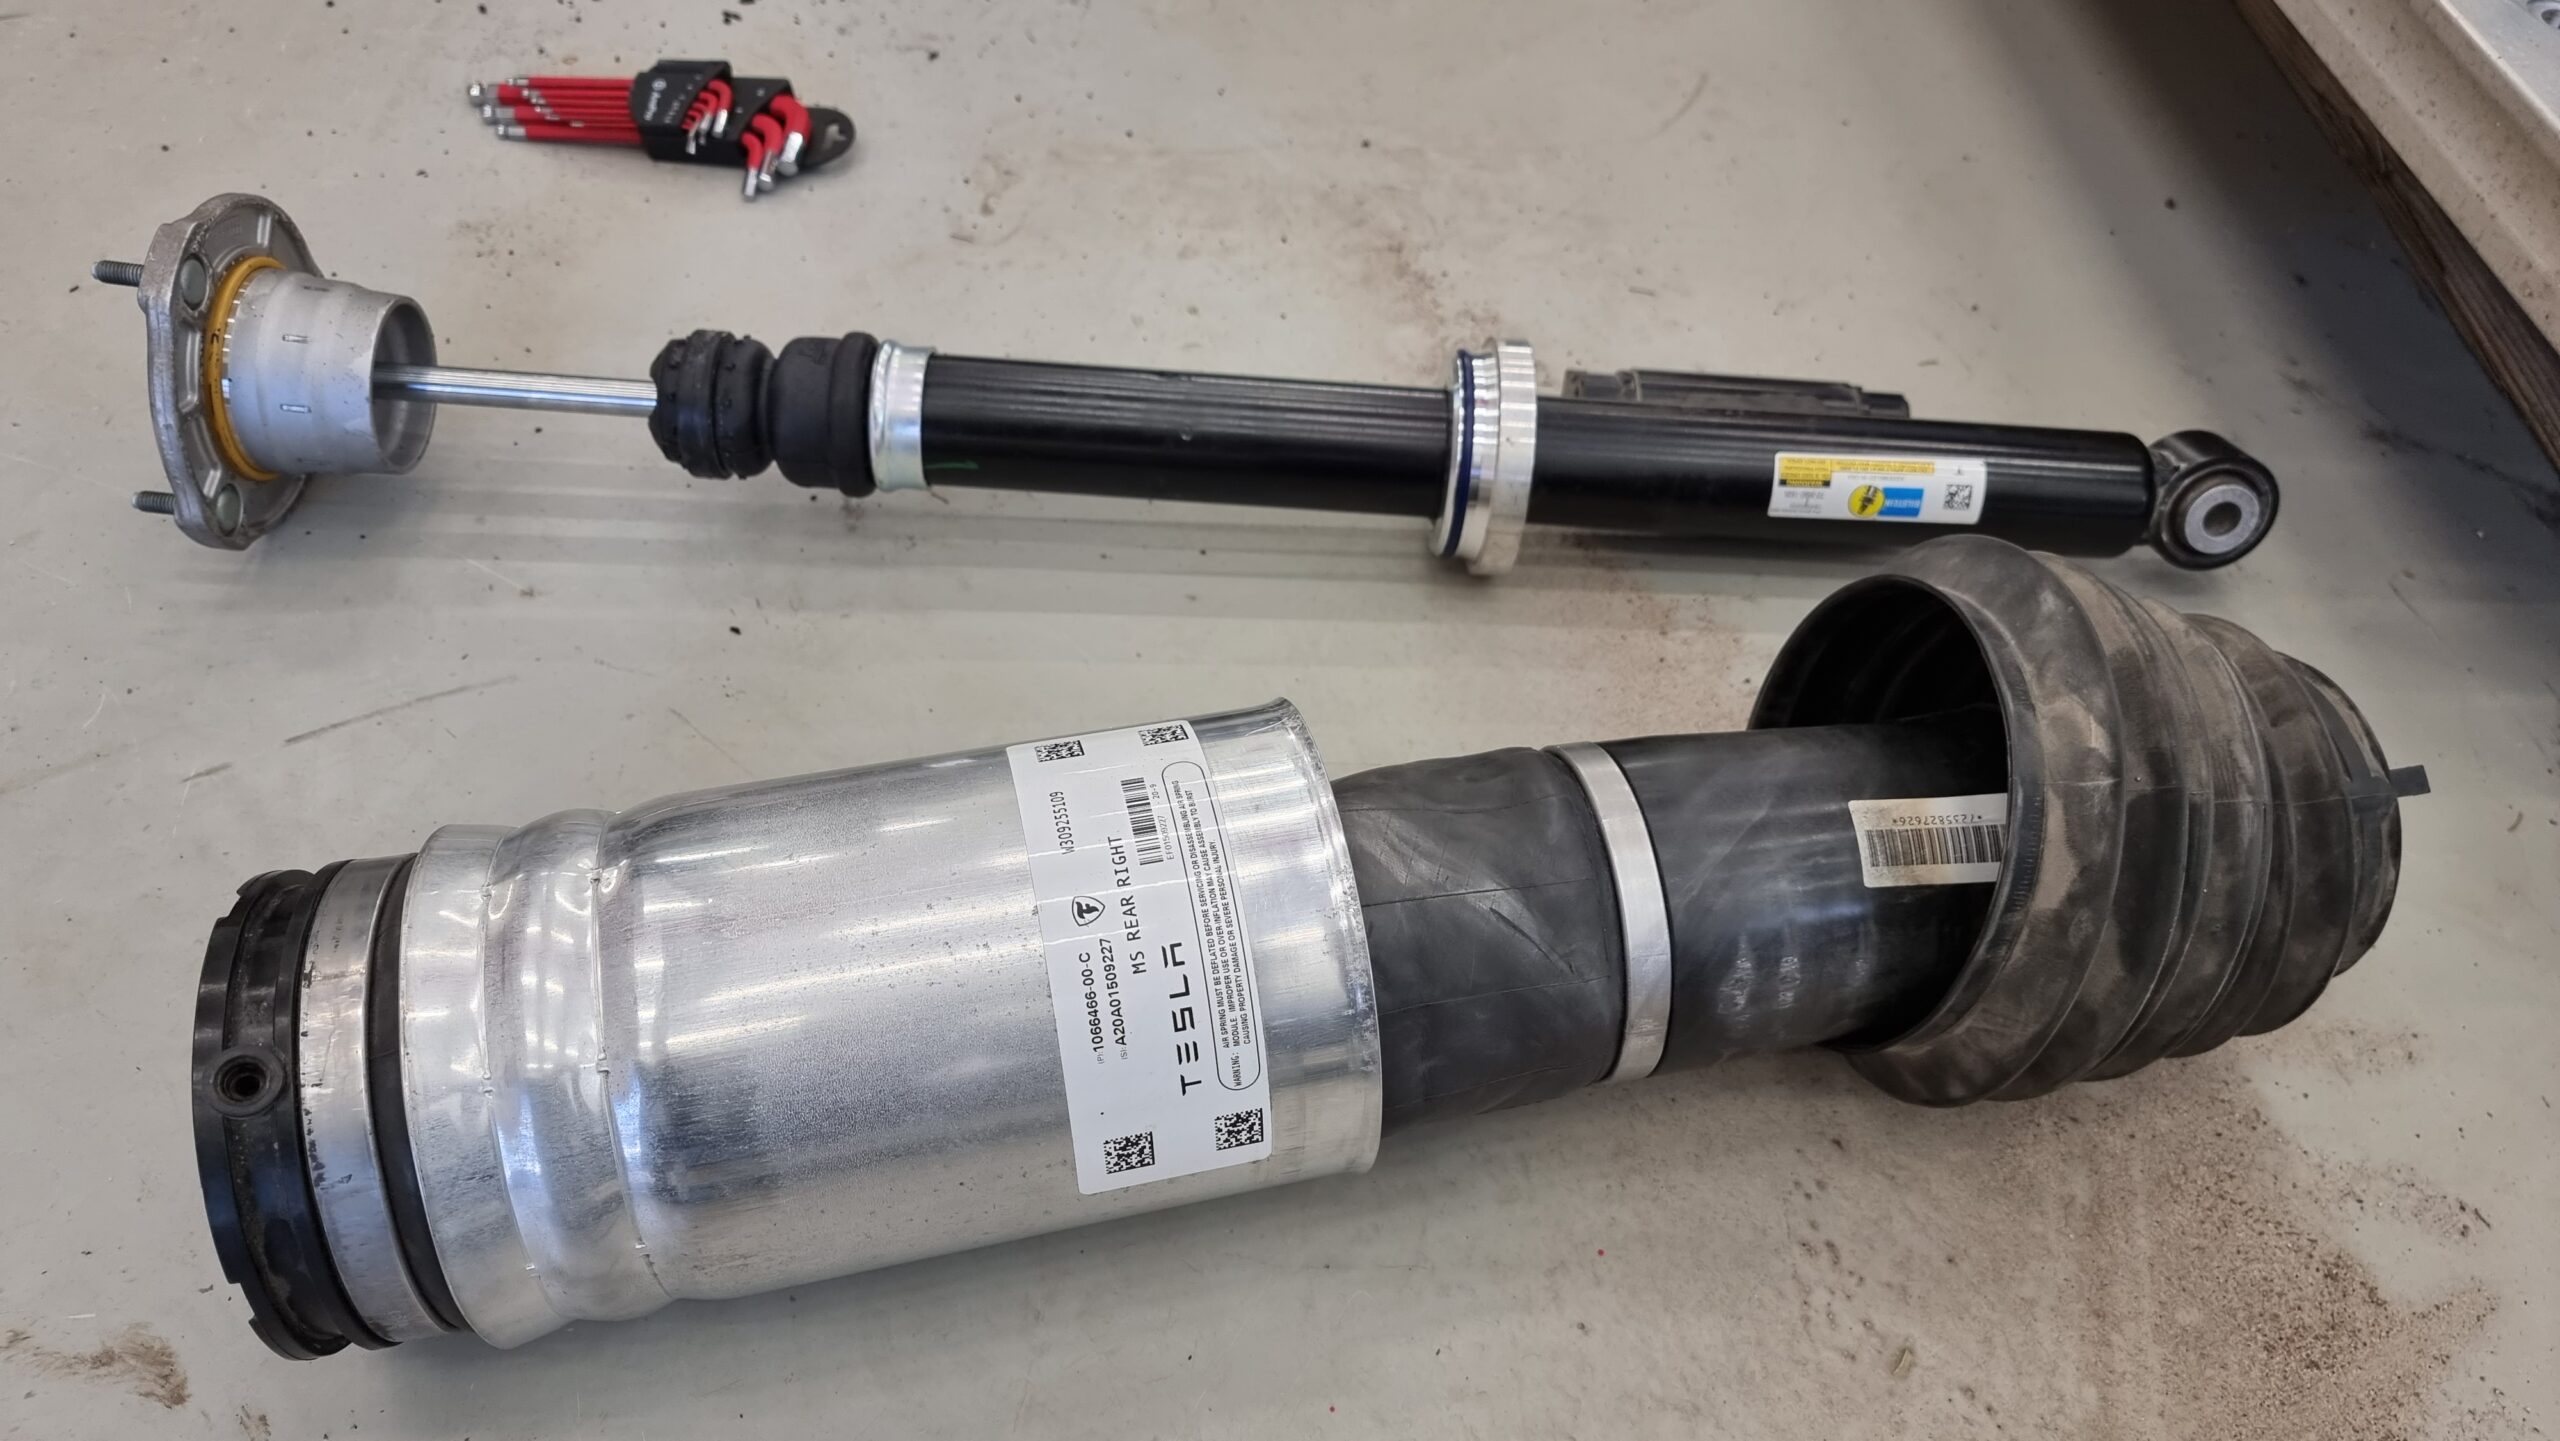
Tesla rear air strut dismantled.
This time, I decided to take a closer look. I dismantled the rear strut, hoping to replace just the air-spring bellows. Couldn't find one for sale anywhere, though.
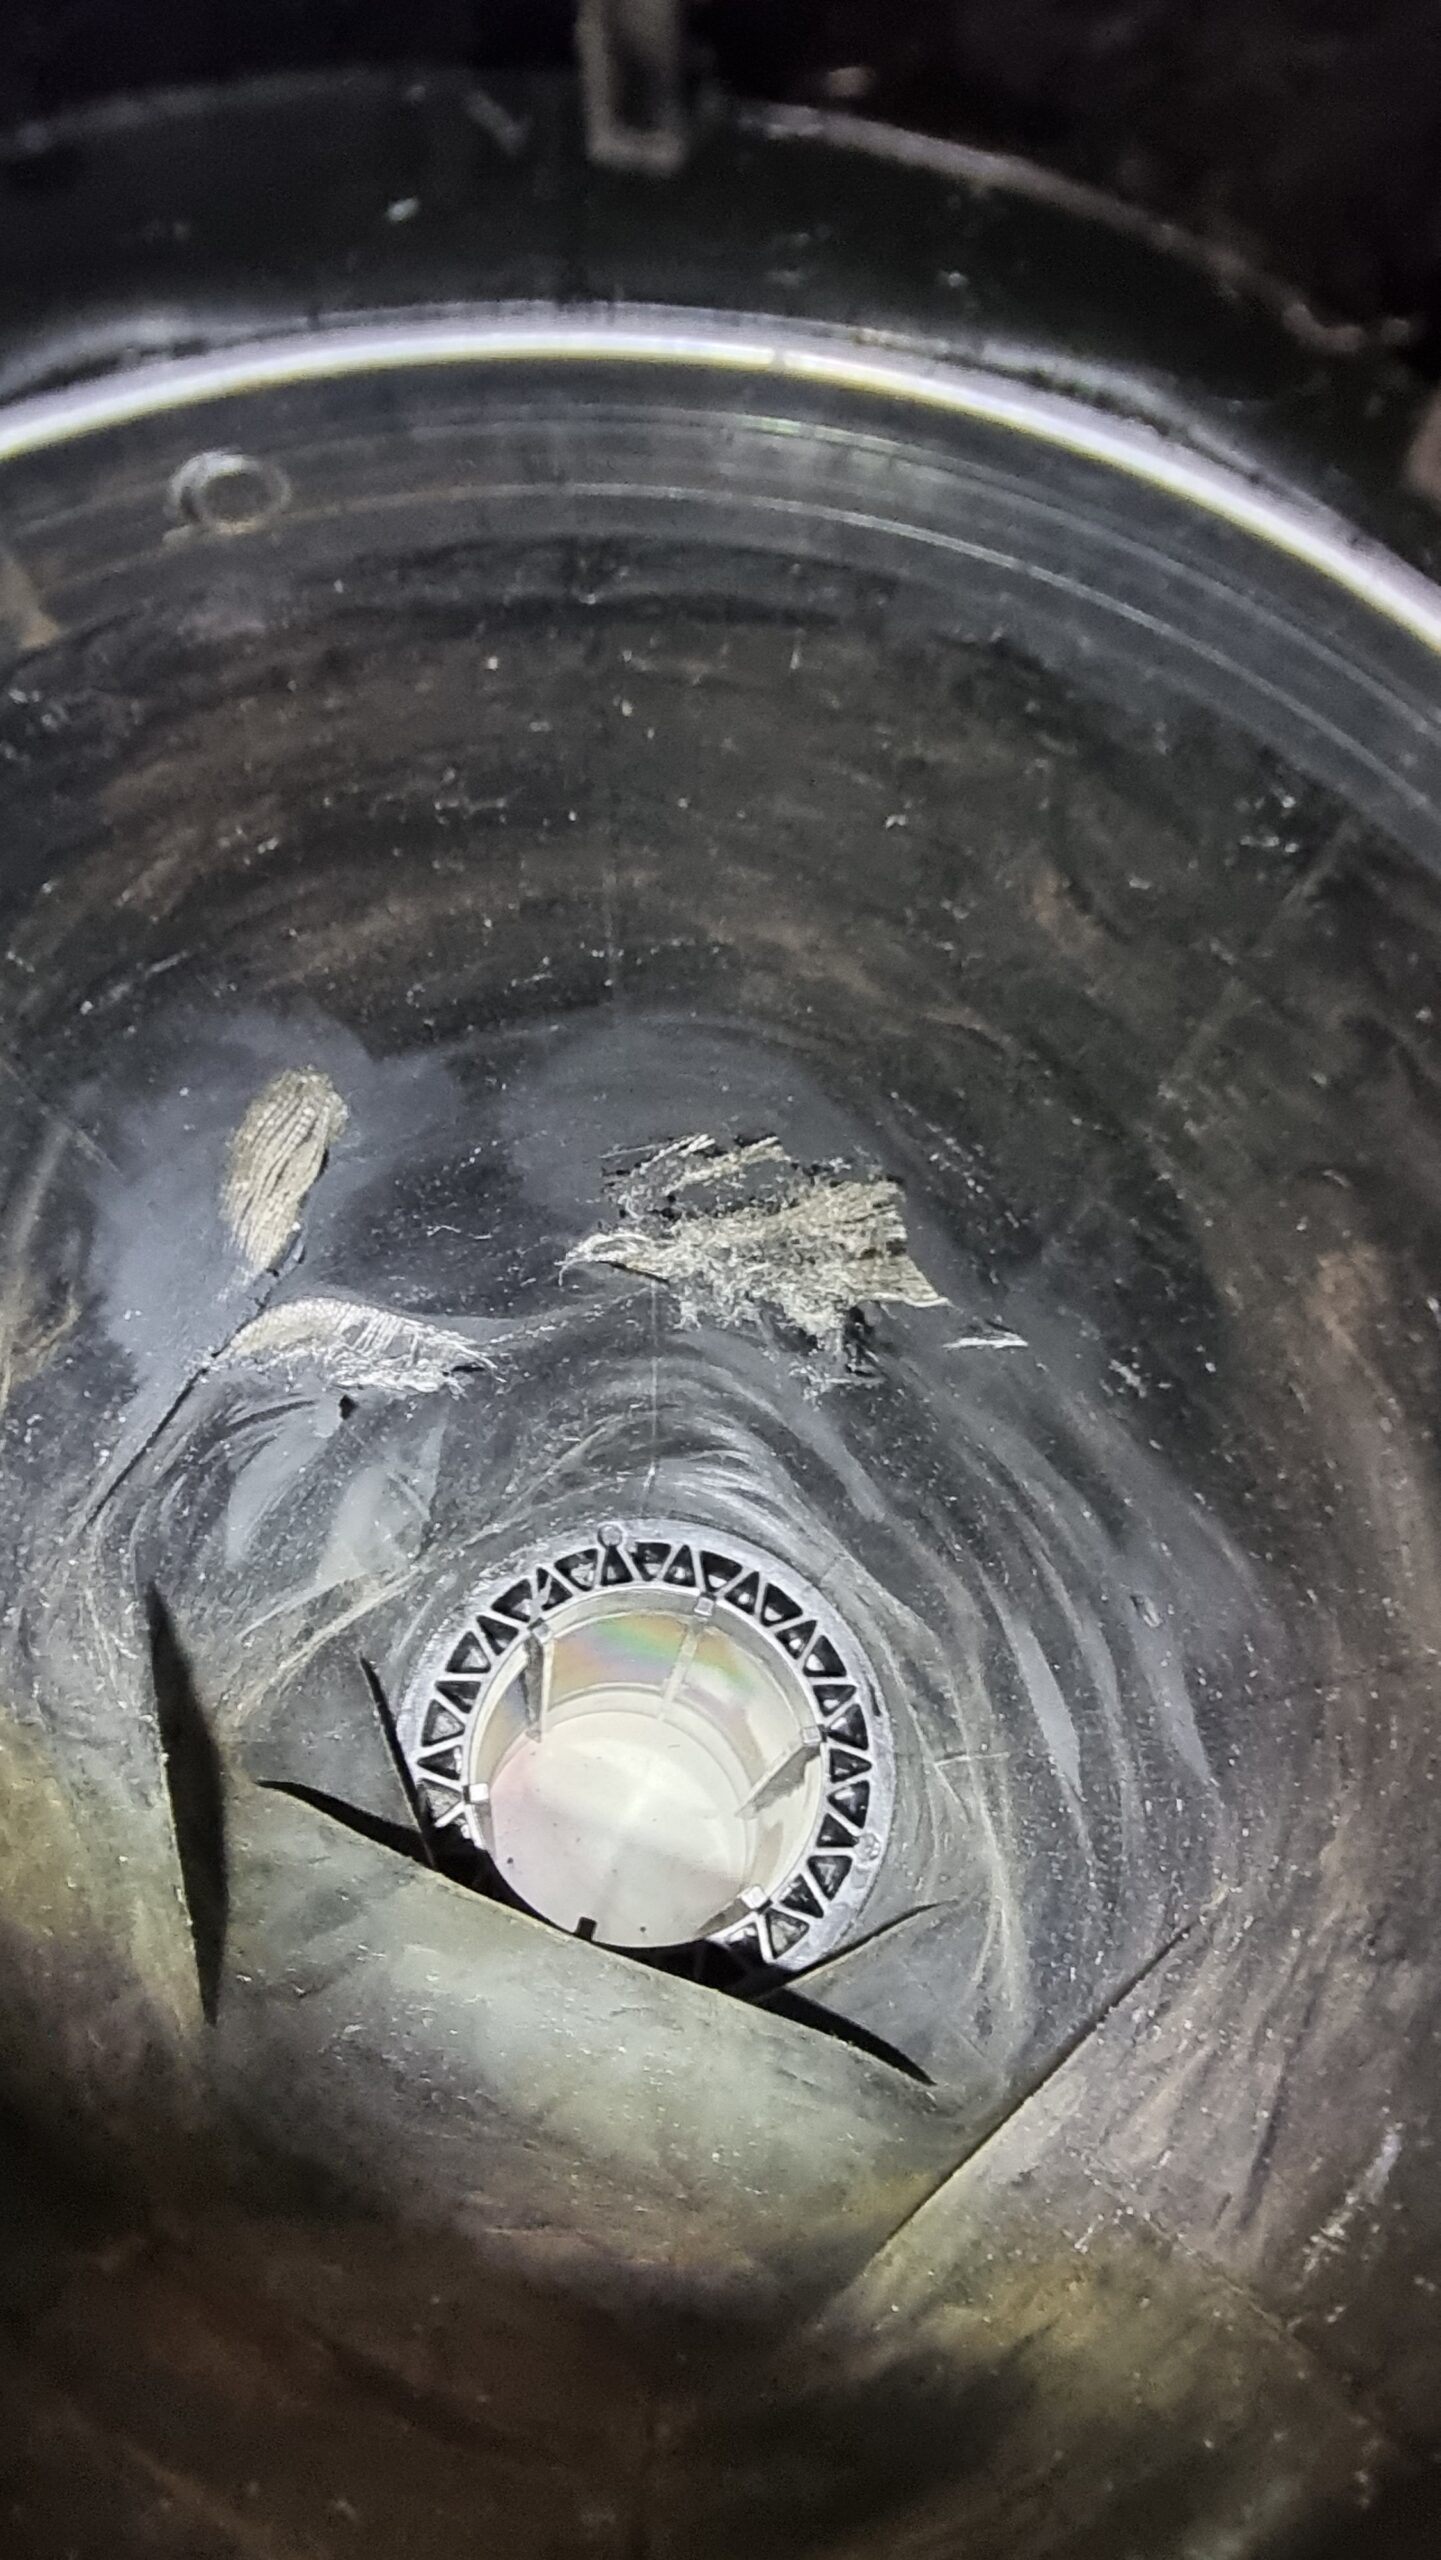
Apparently, the bellows had folded over while the car was sitting right down. When I powered the compressor, the system pressurised but the fold stayed trapped inside the aluminium sleeve. Driving gradually wore a hole through it. Back into the wallet for another strut: another €1,500. This time there was one in stock in Vantaa, so at least I avoided the two-week wait I'd had with the front one.
And of course that wasn't the end of it. A few weeks later, the front started sinking again. This time it was the driver's side.
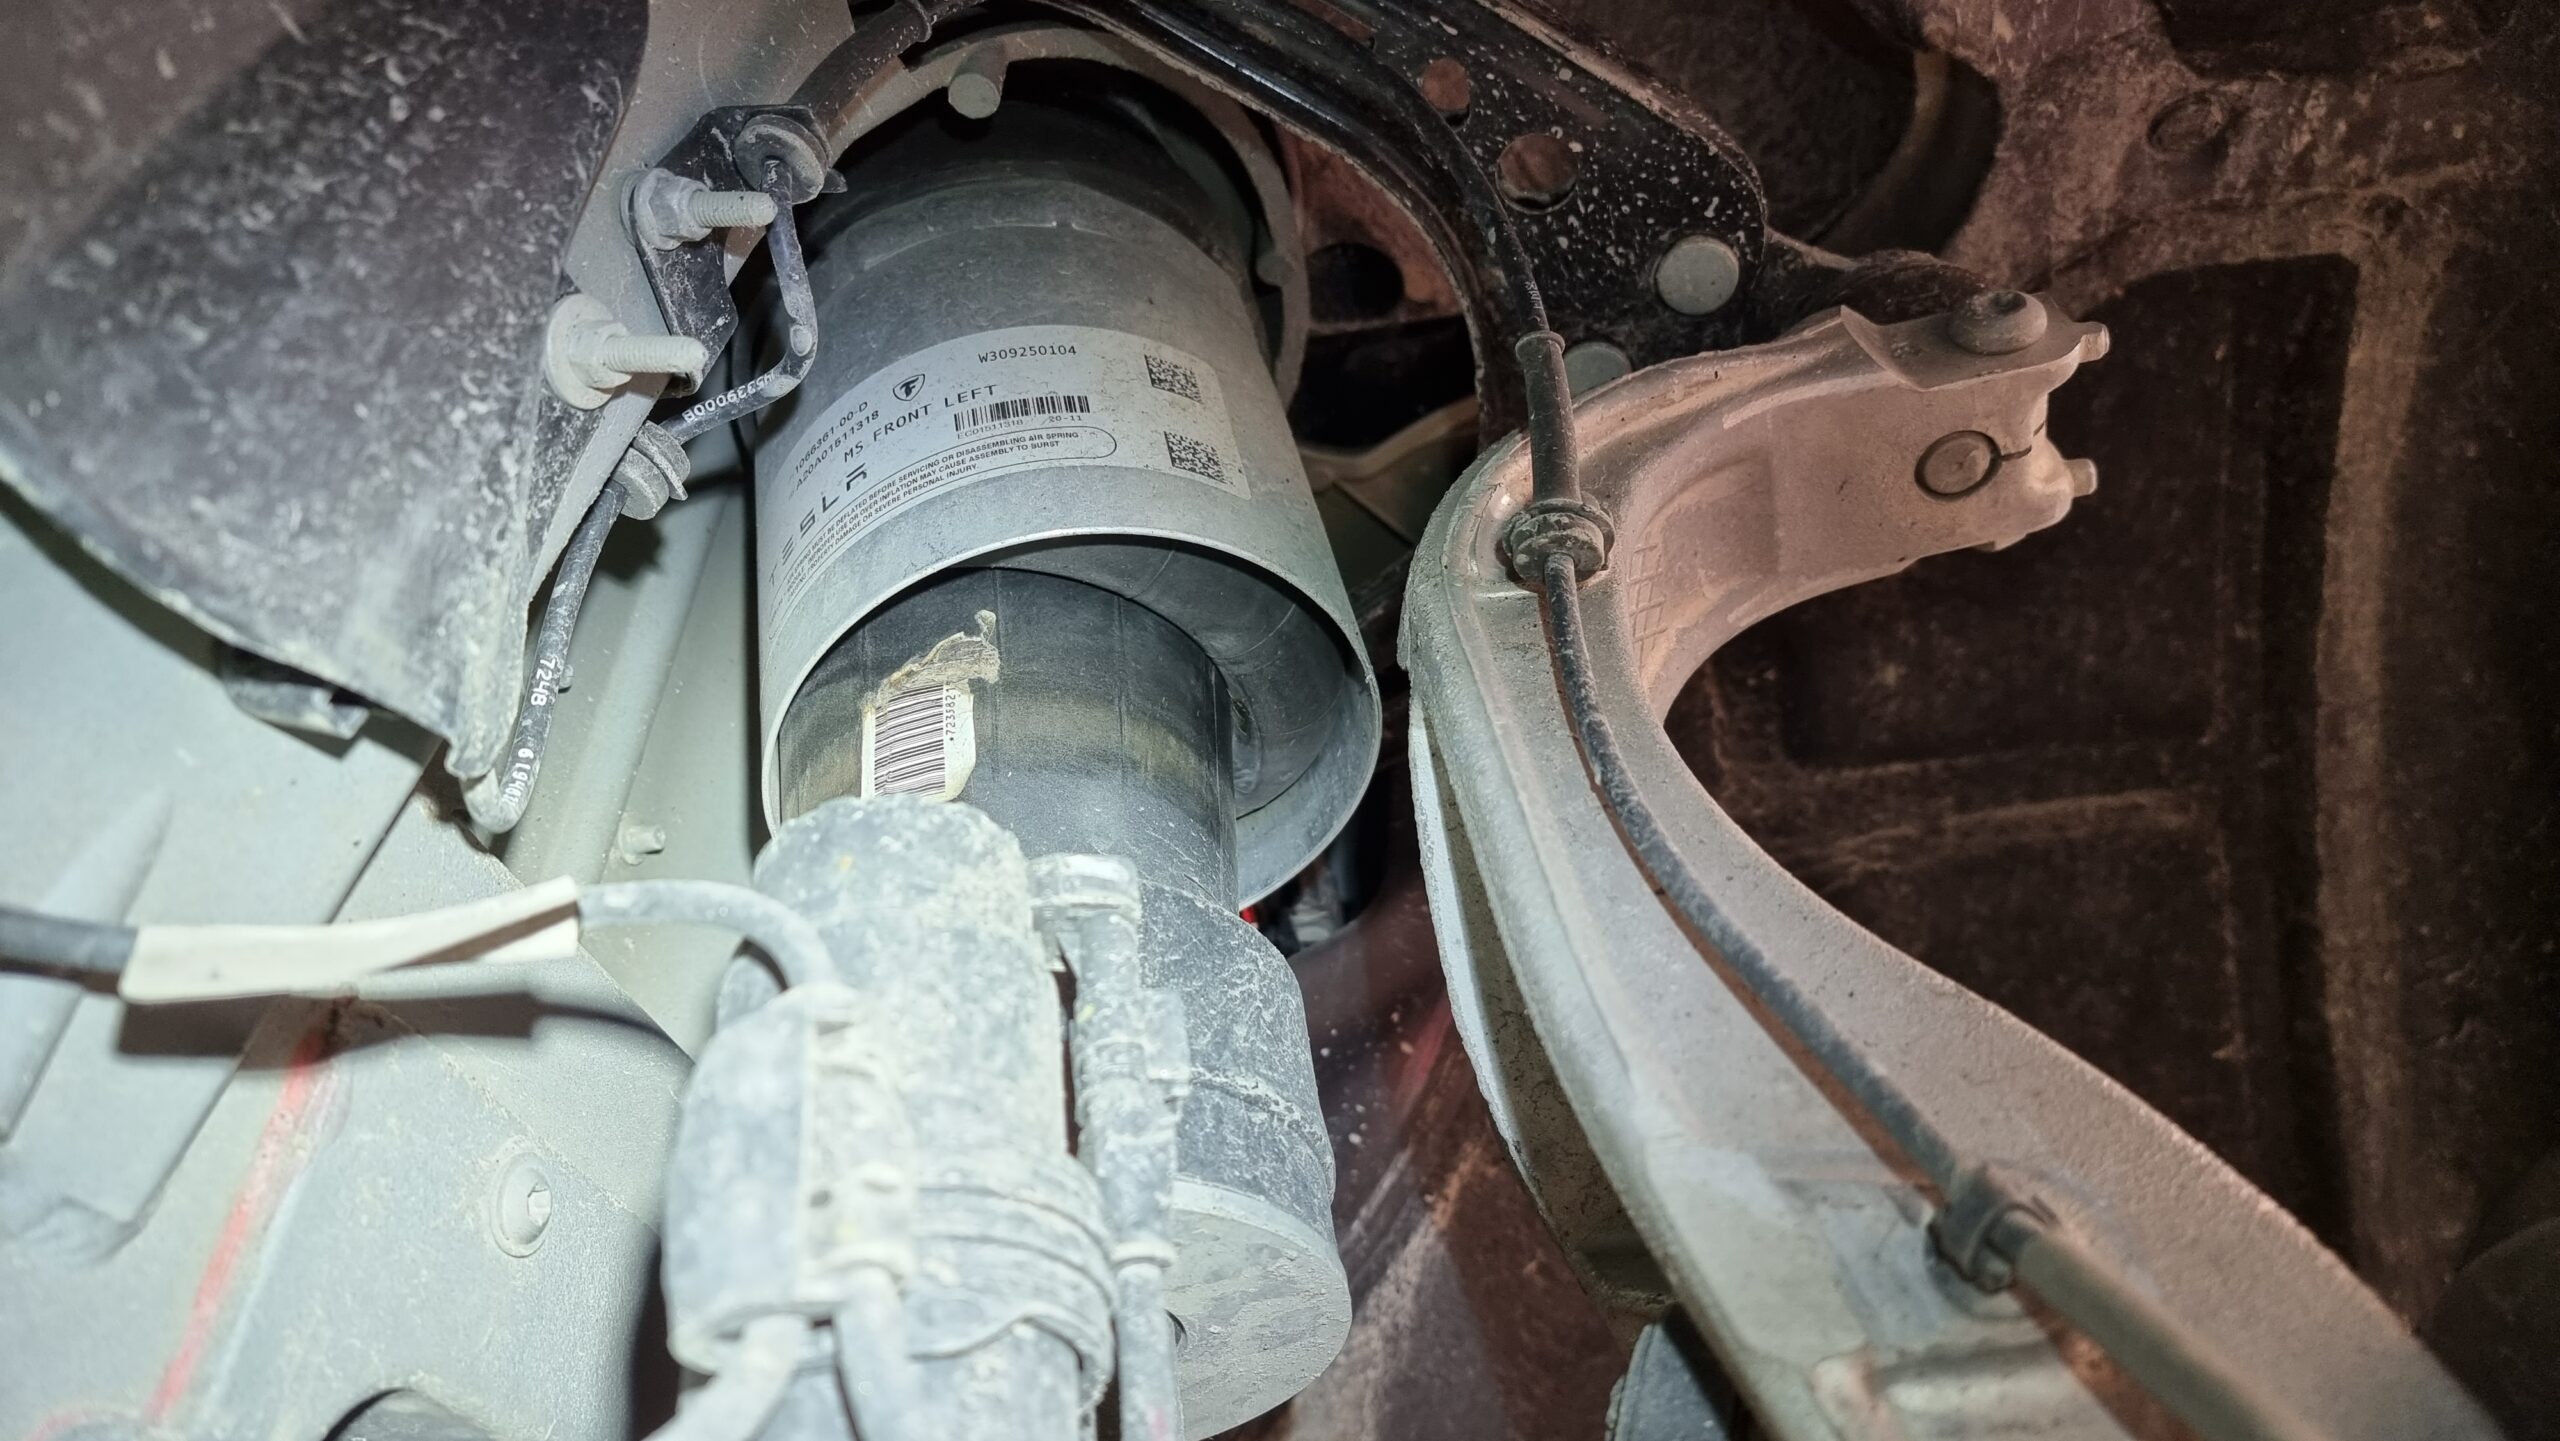
I hadn't thought to check the front struts while dealing with the rear one. Again, a deflated bellows had folded awkwardly inside its aluminium sleeve and slowly rubbed through. The original right-front failure was probably the same thing, but I hadn't realised it then either. Now the bangs I'd heard while manually filling the suspension after painting made sense. I'd been powering the valve-block and compressor pins; the noise was the bellows finding their position inside the sleeves.
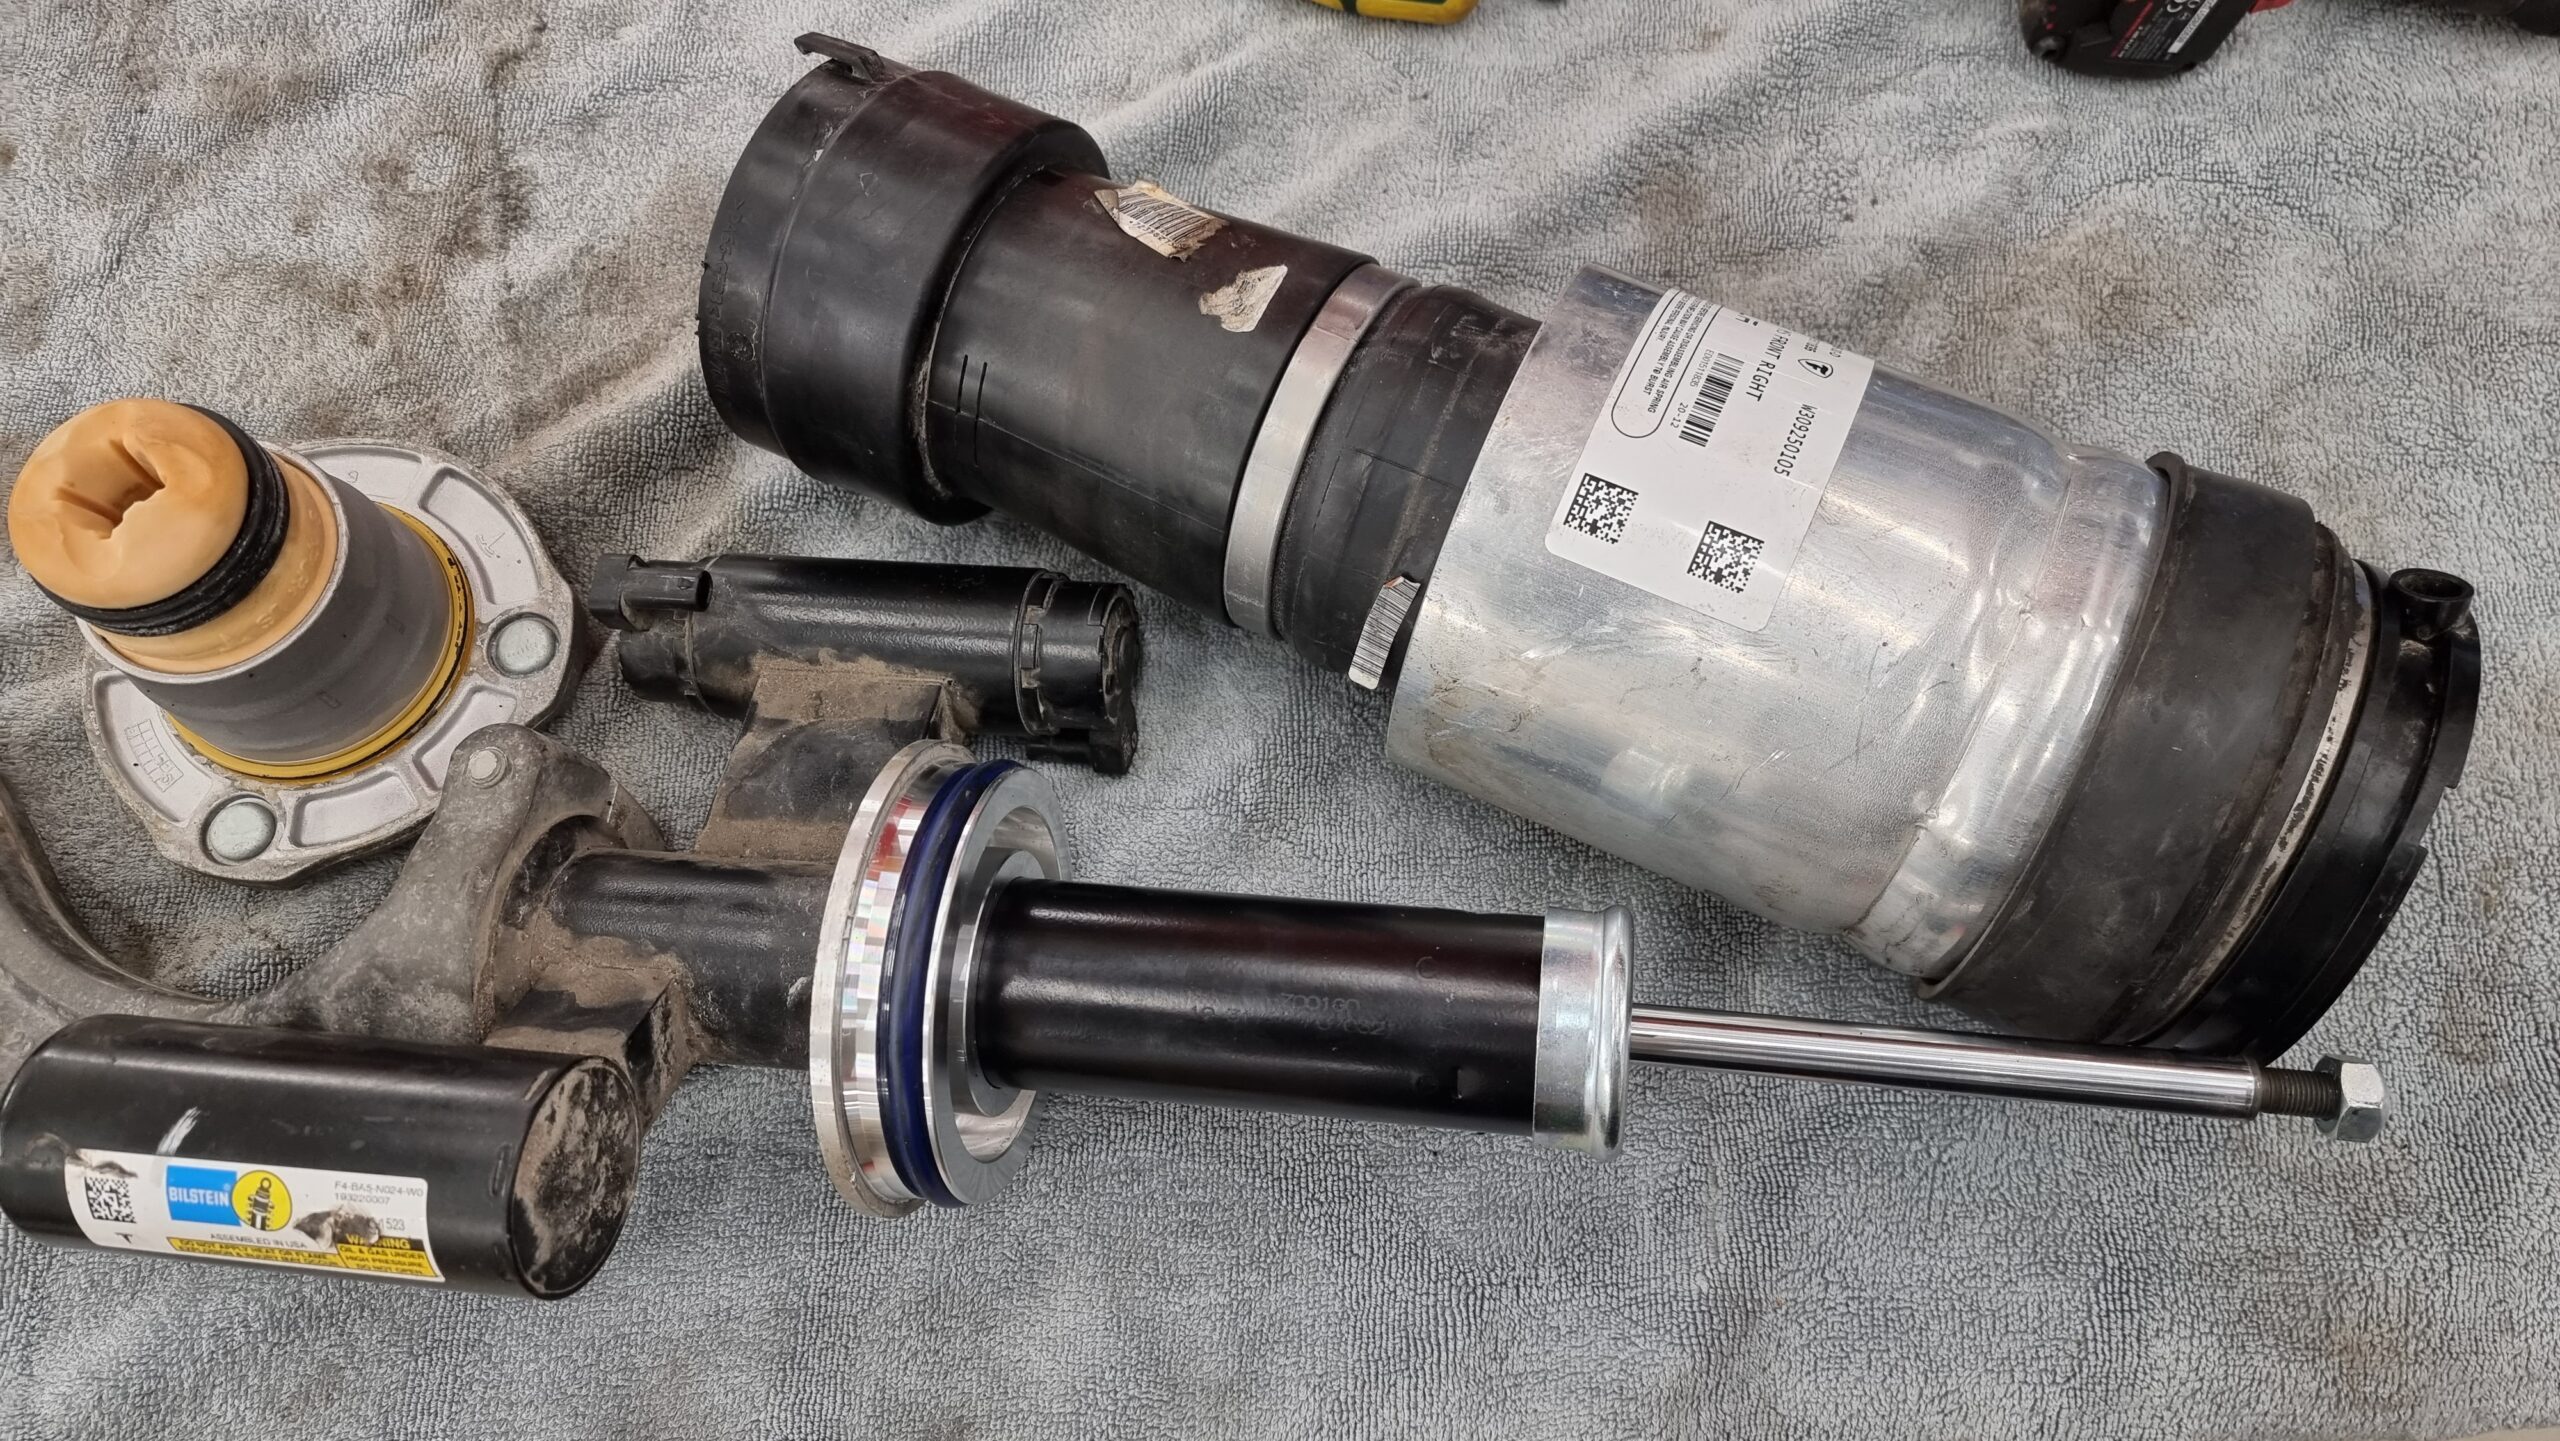
Front air strut dismantled.
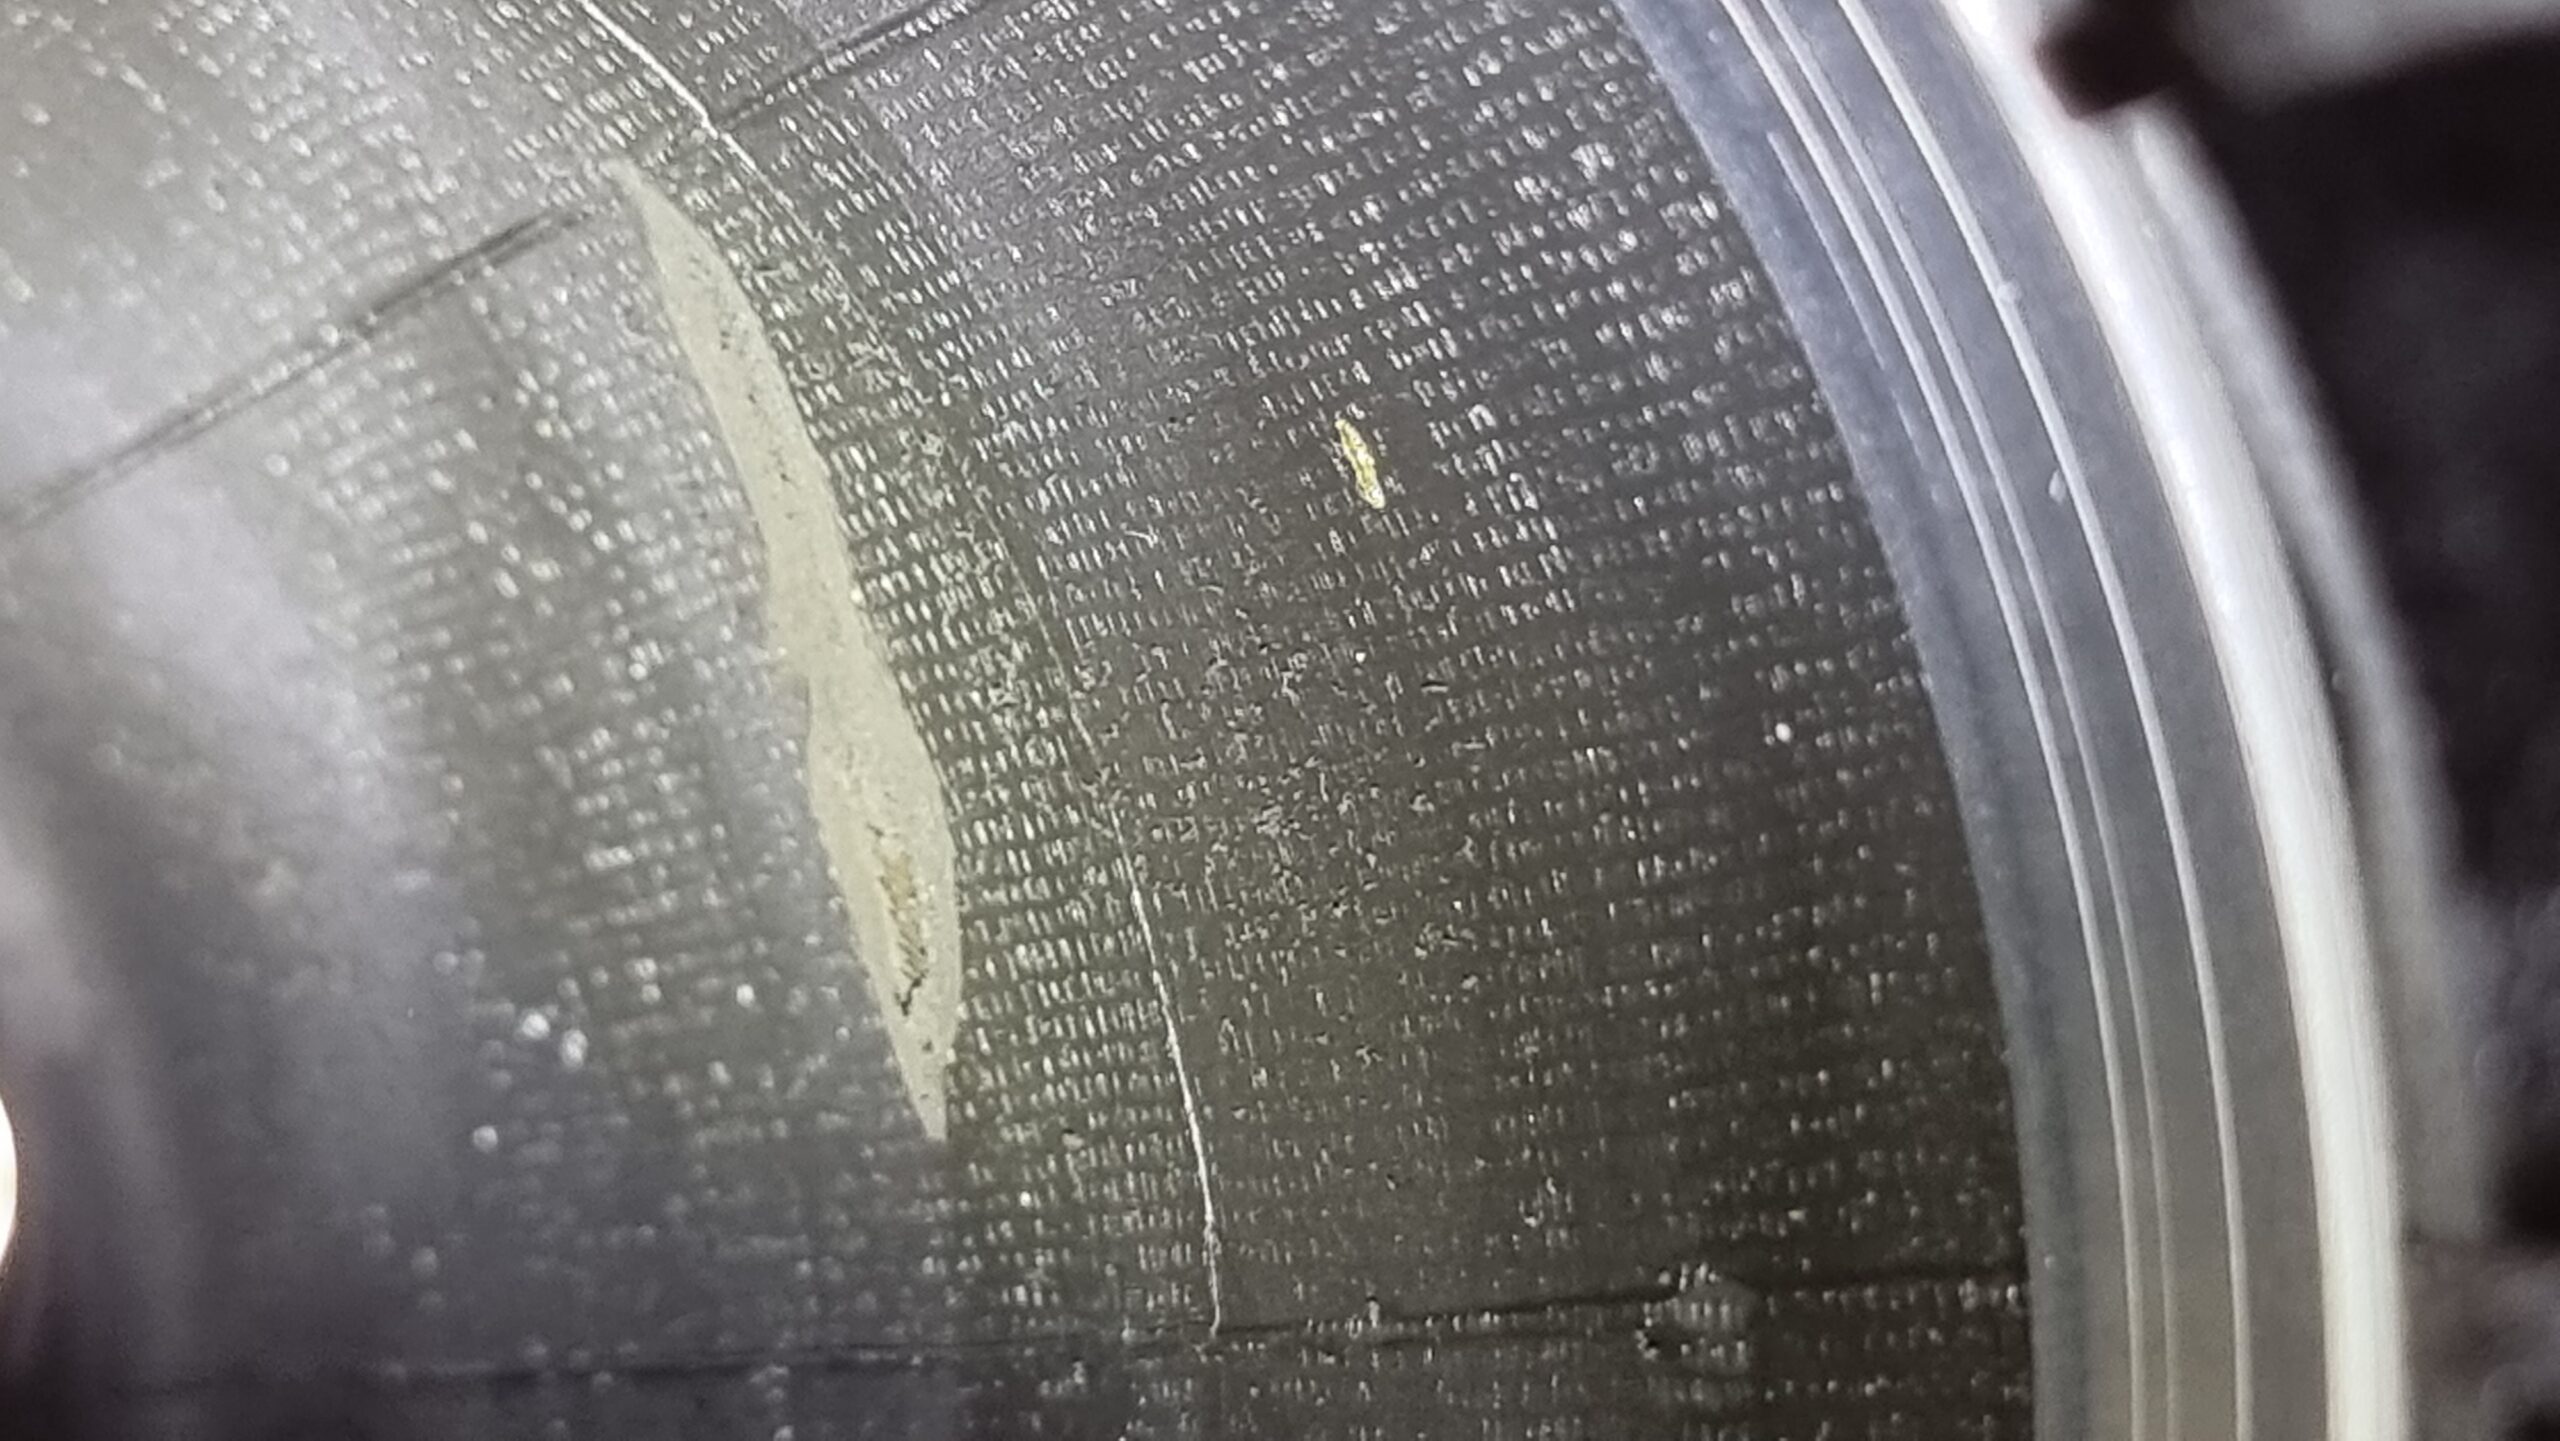
A worn patch on the inside of the bellows. Just a small leak — I did wonder if it could be patched somehow… but ordered another new strut anyway.
Three struts at €1,500 each later, I'd paid for my lesson. Now I knew how to fill an empty system so the bellows sat properly inside their sleeves and stayed intact. Be careful with this: try to get at least some pressure into the system while the car is still on the lift with the bellows extended.
So now I've got three low-mileage Tesla dampers on the shelf. Maybe replacement bellows will become available at some point.
Fast charging works
Tesla disabled Supercharging, but DC fast charging still works on other networks. The configuration in Factory Mode shows it too: Fast Charging is NotAllowed, but Other Fast Charging is Allowed. There are no fast chargers near home, and I haven't travelled much within Finland, so 98% of charging has been AC at home. I have made a few longer trips, though. In the photo below, I'm trying the Kempower charger at McDonald's in Pori.
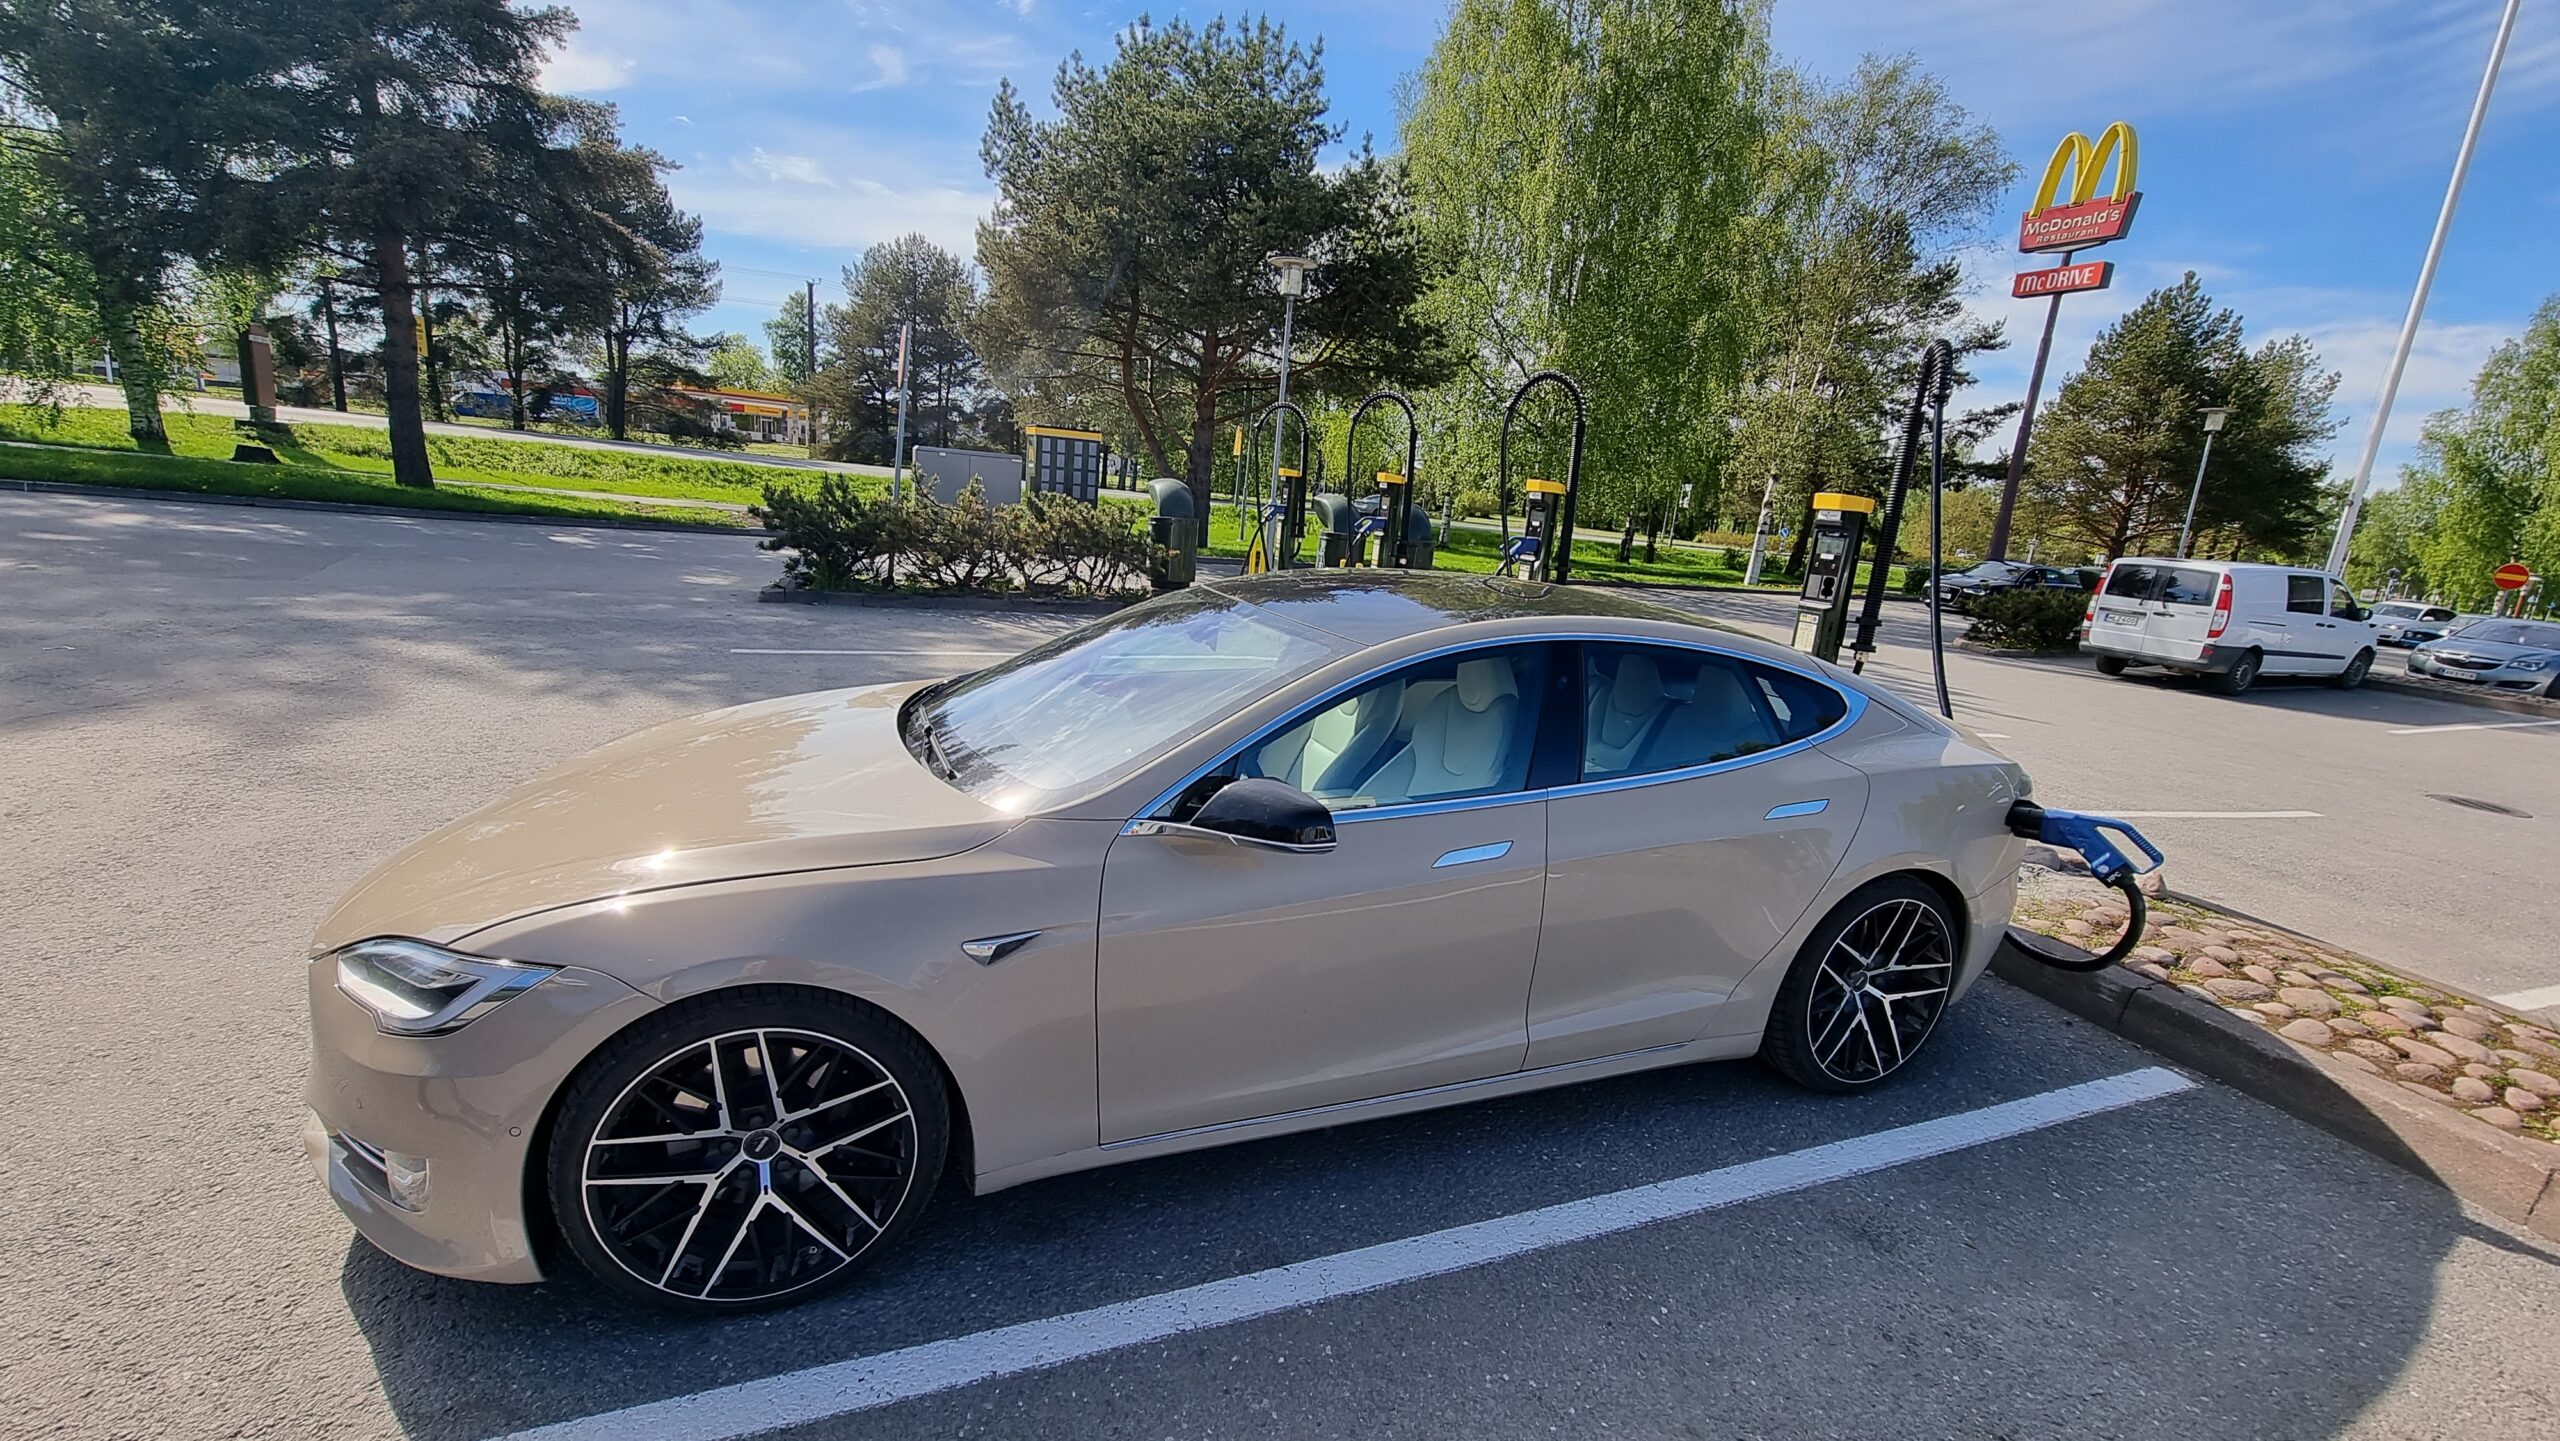
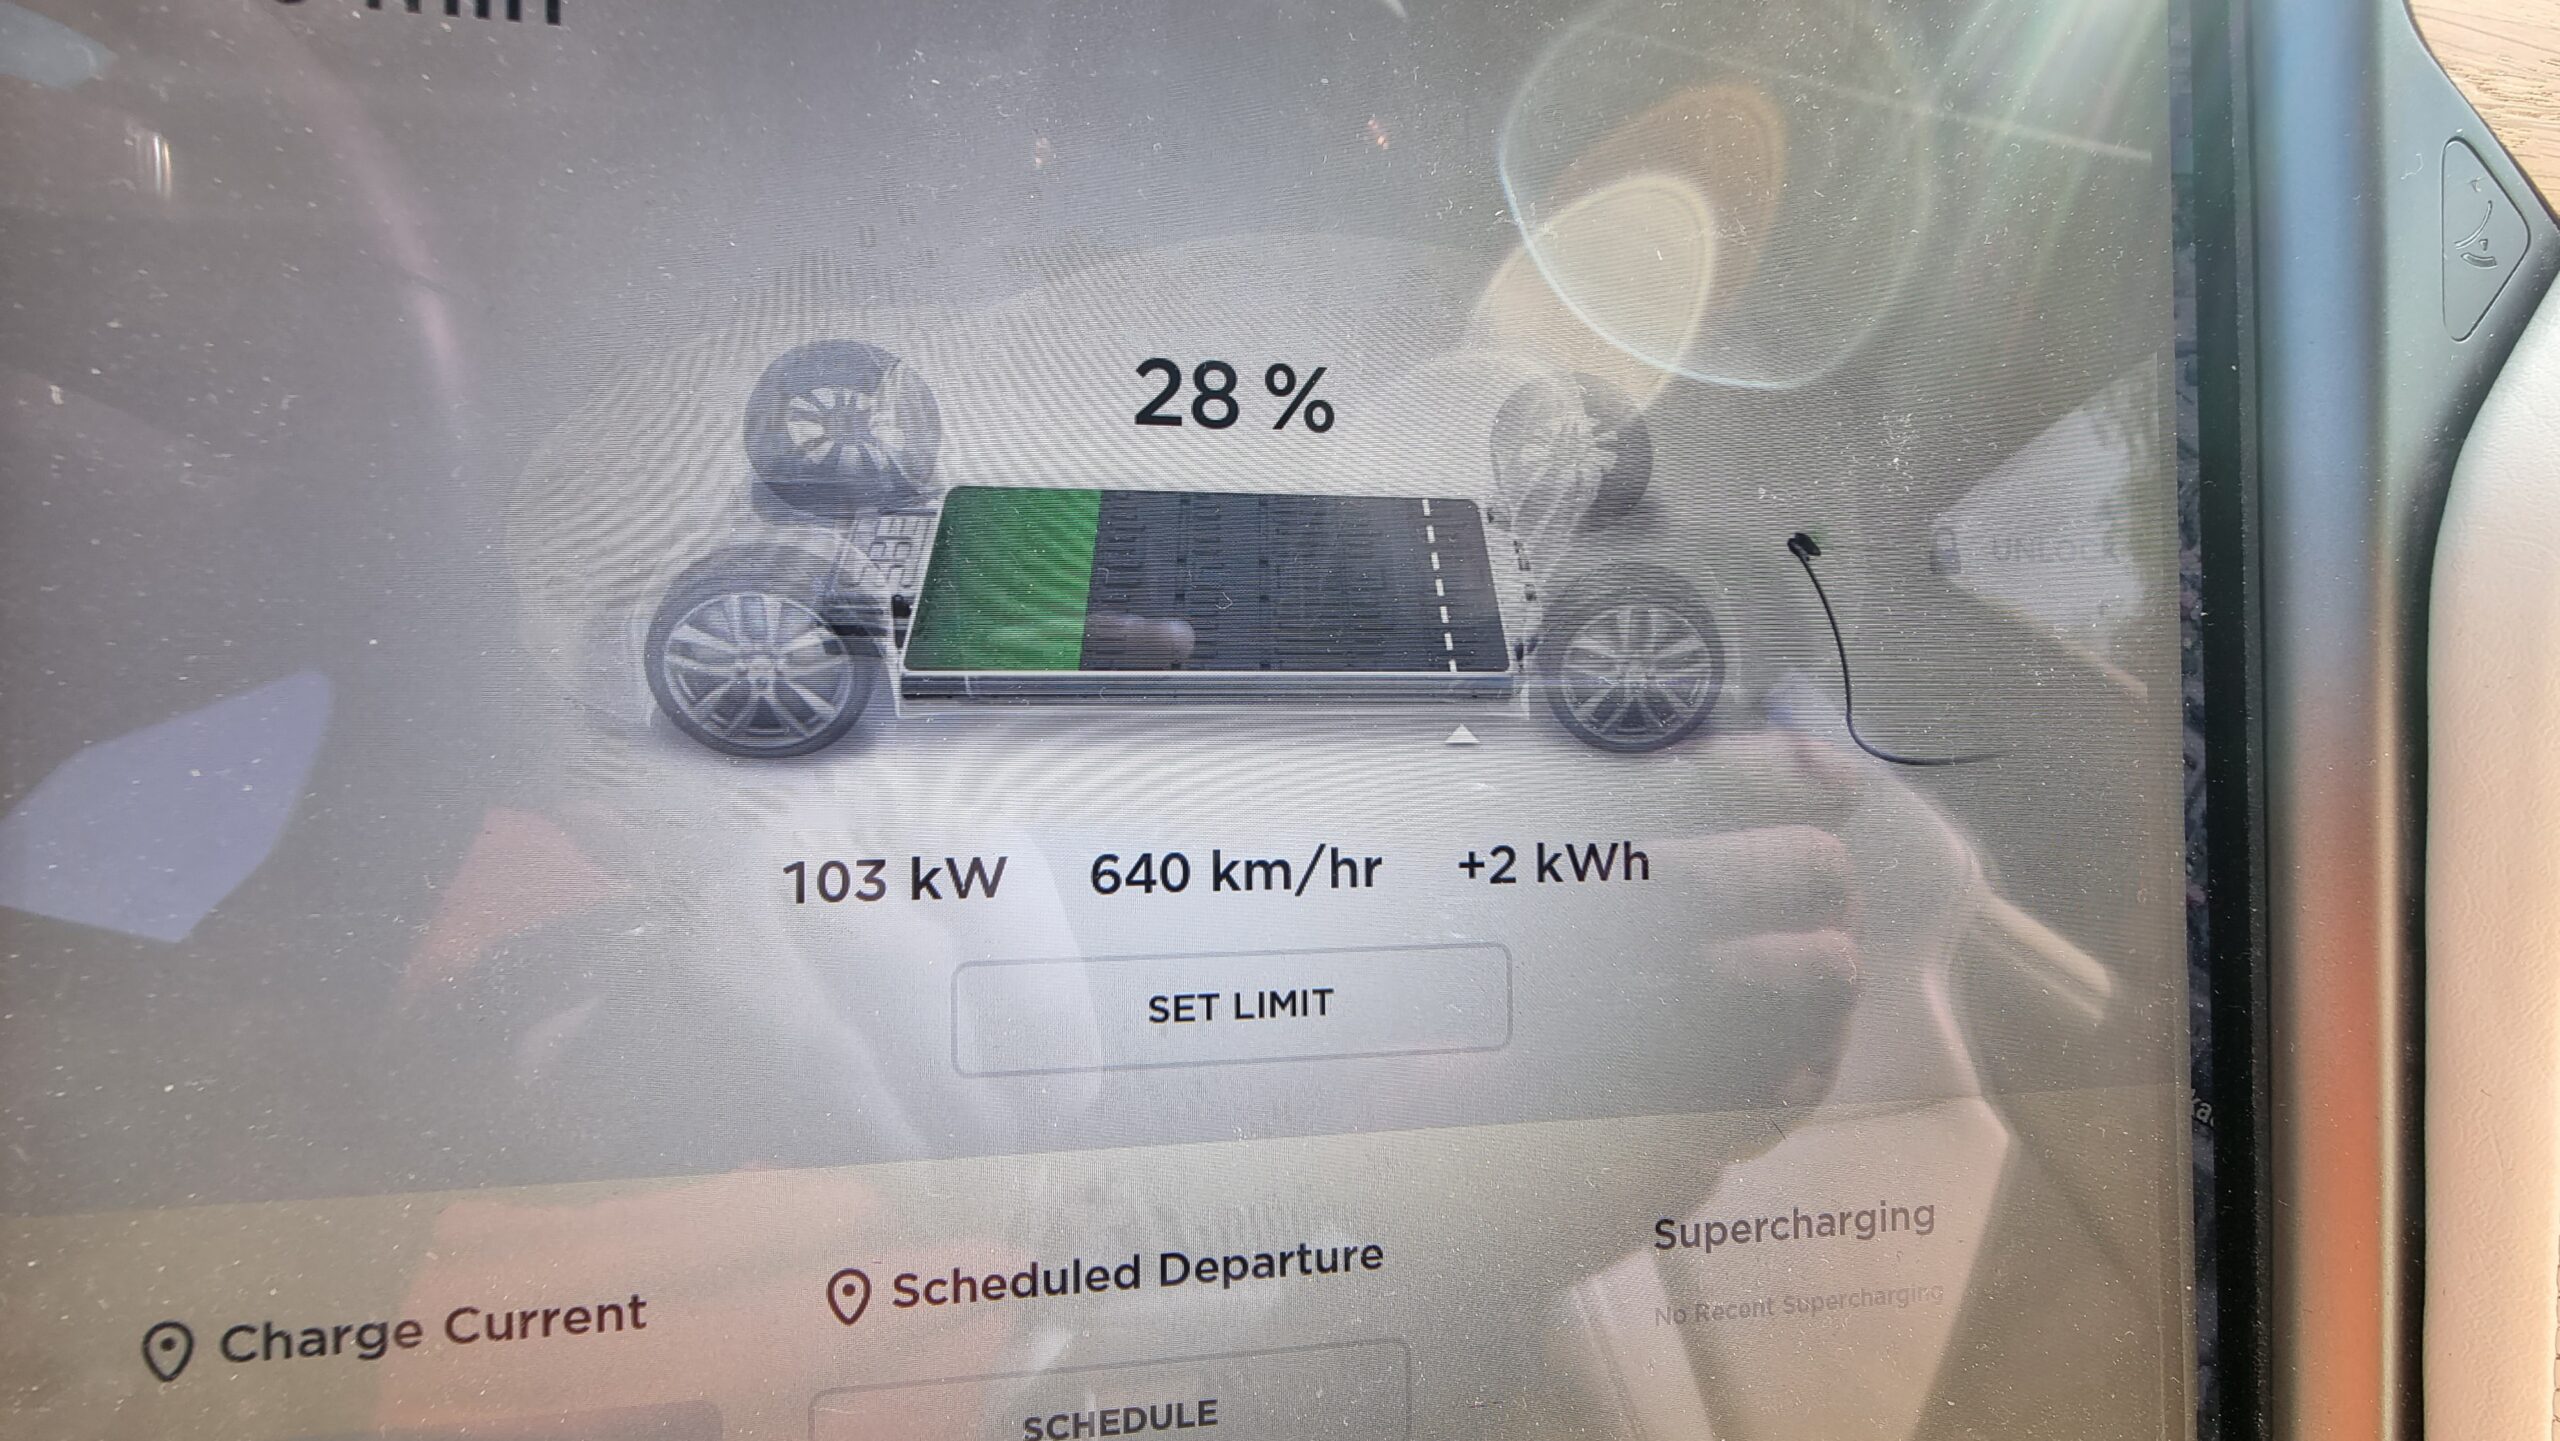
Up to 150 kW, if I remember correctly.
Looking back
I'm writing this about a year after first thinking the car was fixed: just clear a couple of fault codes and get it inspected. With the air-suspension trouble and everything else, I've really only been driving it properly since about May. I bought it for myself and intend to keep it a good while, unless something clearly more tempting comes along. The Model S is a lovely car, especially considering the design is ten years old. You just have to overlook how difficult repairing it has been made for enthusiasts and independent workshops.
In the spring, we bought equipment for Autokierrätys L&G that lets us do more ourselves: put cars into Factory Mode, change some configuration settings and so on. Tesla keeps making this harder with newer updates. Previously, for instance, older firmware could be installed. Recent updates have blocked that, at least for now. The older Tegra-based MCUs also work differently from the newer Intel Atom units.
In the autumn, Tesla finally opened up paid Toolbox access. I tried it for a couple of days at €175 a day, but even that doesn't let you do everything. It's the external version; I'm sure Tesla's own service centres have more functions available.
We've gained a huge amount of Tesla experience over the year. Together with Autokierrätys, we can now offer various servicing and repair jobs when needed. This year's work has included replacing an air-conditioning compressor, repairing and replacing door handles, and replacing PTC cabin heaters.
My car has no Tesla warranty left, but that doesn't worry me. Over the year, I've gained enough experience and contacts to feel we can find a way to fix whatever comes up. We support the right to repair and are willing to put in some effort to keep things moving without the manufacturer's special tools and prices. Losing Supercharging doesn't affect my life at all: there are enough high-power chargers appearing that journeys are as manageable as for other EV drivers. All told, the car still cost significantly less than a comparable undamaged car this new would have.
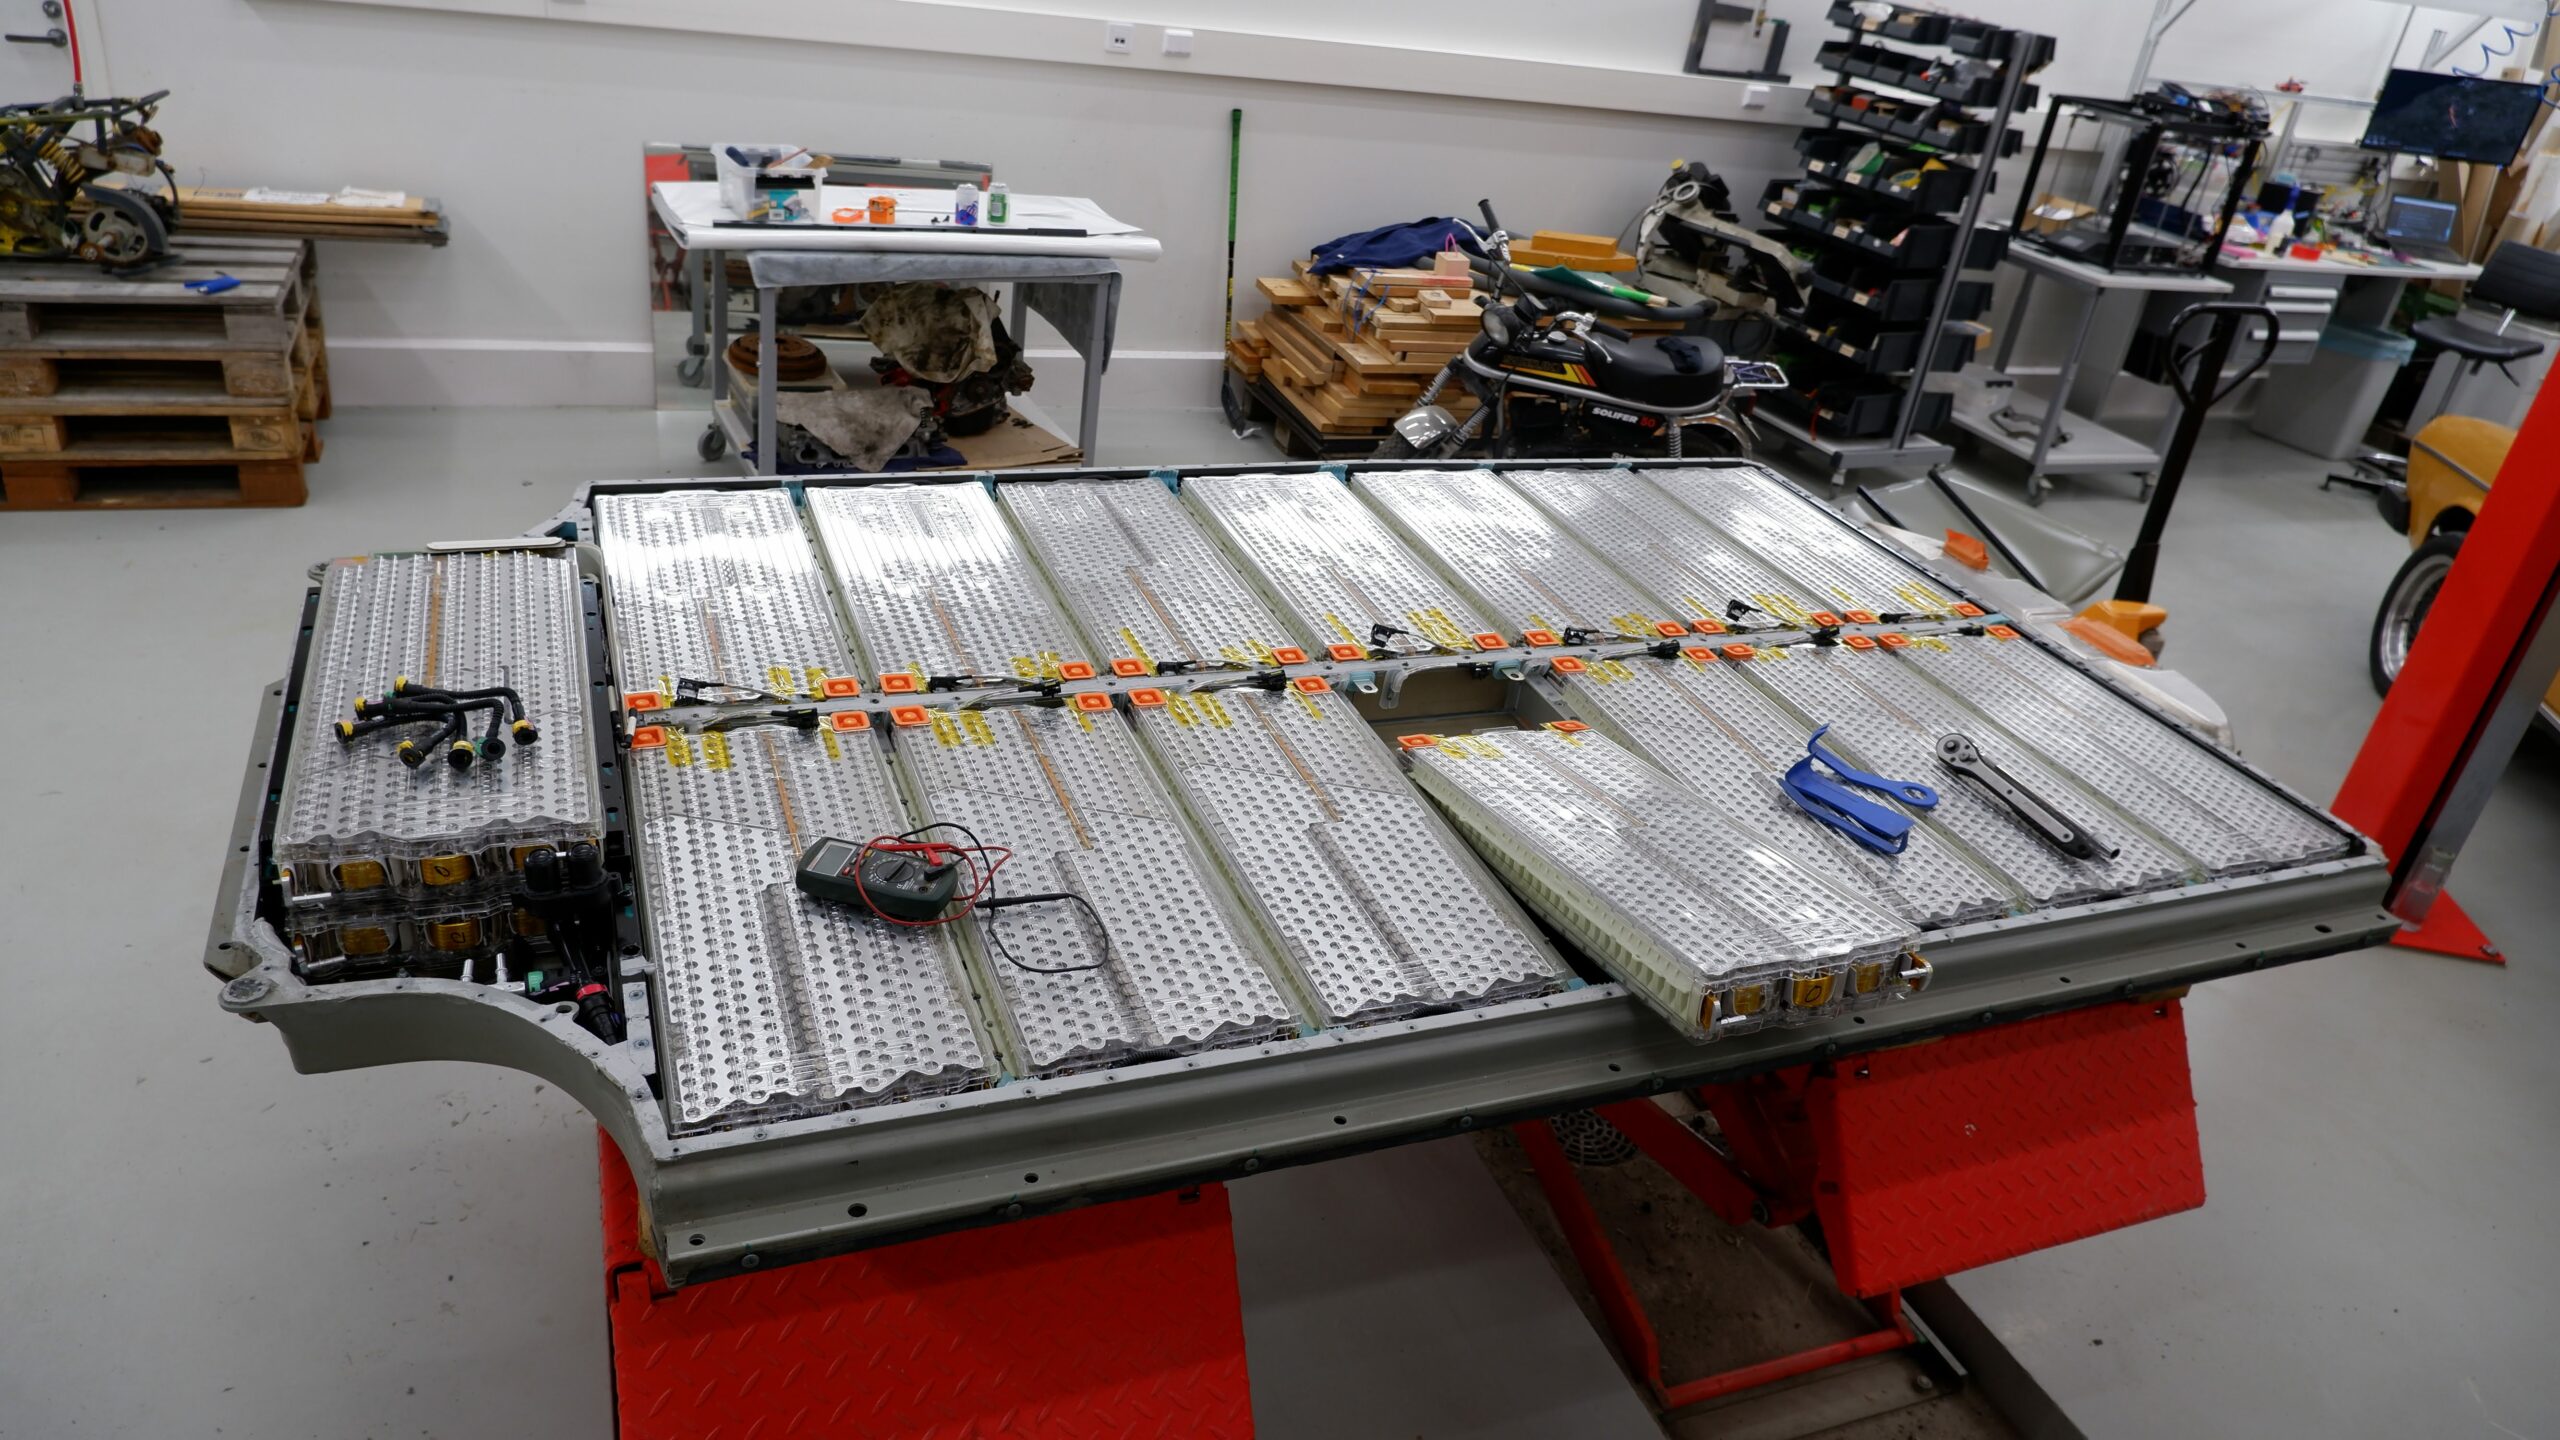
In autumn 2020, I also dismantled a Model S battery to learn about it. It was fully working, and the modules are going into a hobby project. Having seen inside, I reckon we could repair a faulty battery too if needed.
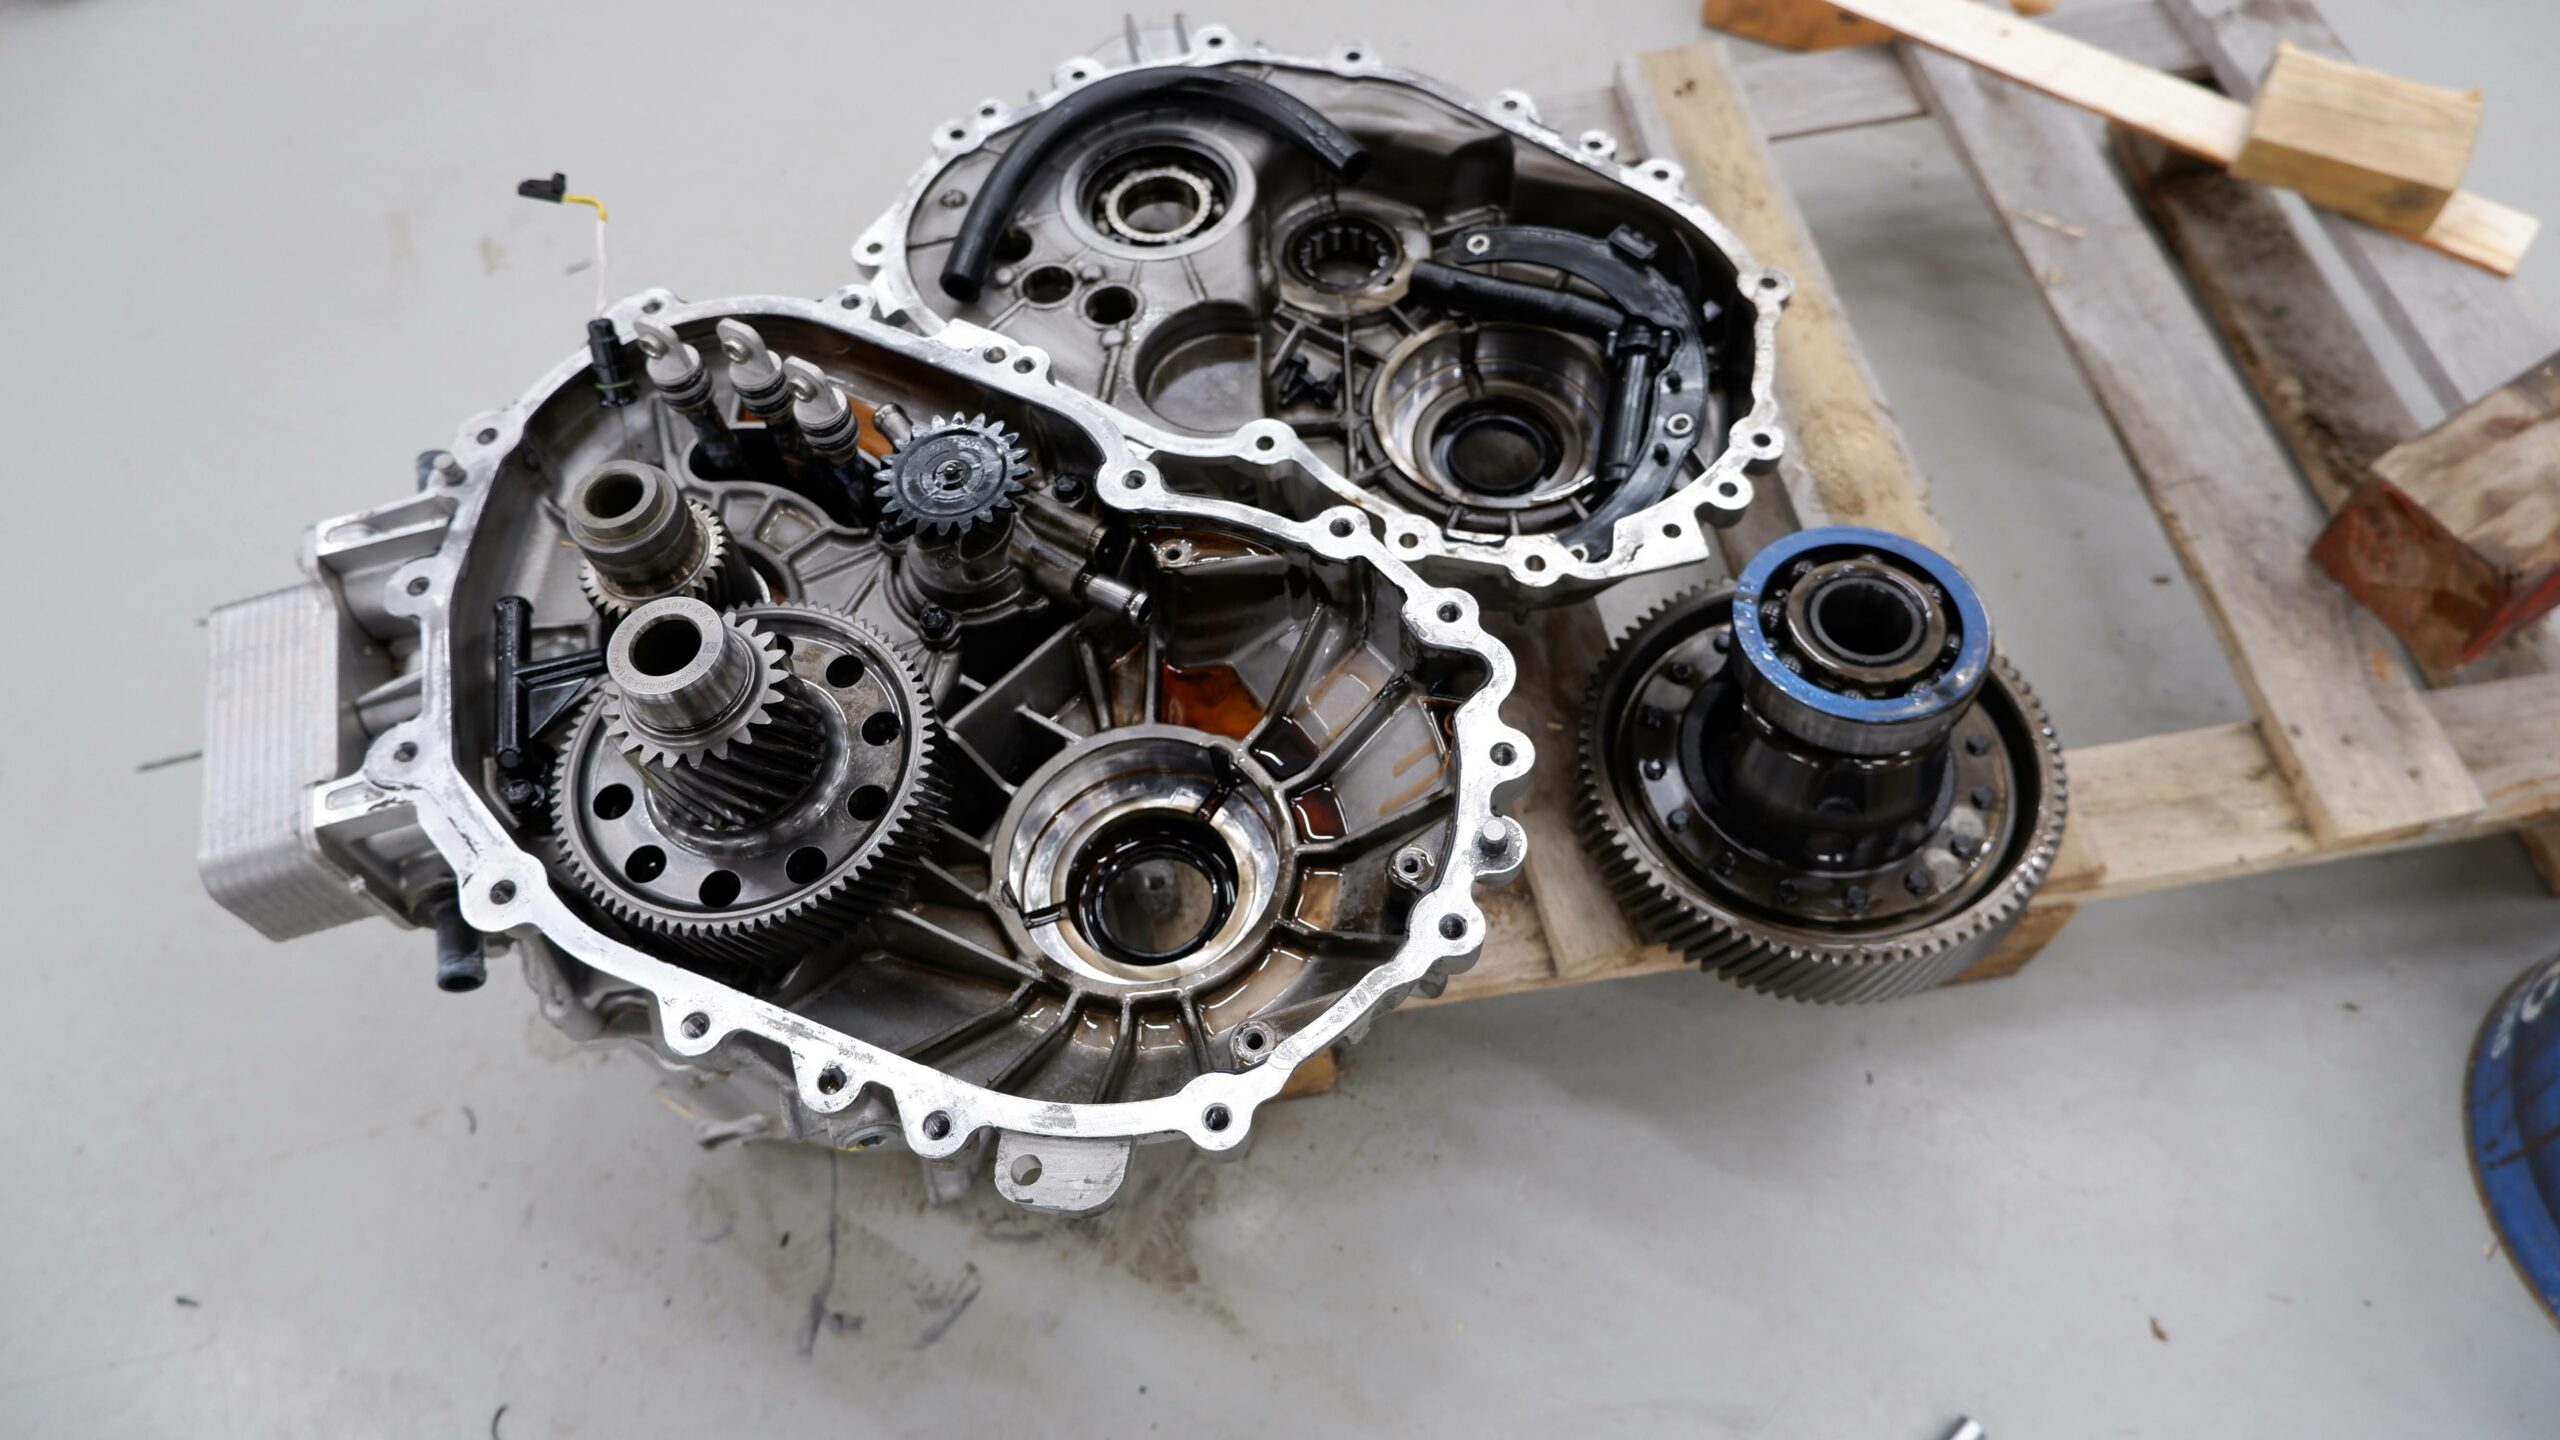
A front drive unit stripped down for a hobby project. The idea is to reverse its direction of rotation — and perhaps fit a limited-slip differential too.
Speaking of cabin heaters, winter has brought heating problems. The cabin warms up, but not properly. In colder weather, I need the fan and temperature flat out just to keep the front windows clear. A working Tesla heater isn't this rubbish. I still haven't found the fault: I've replaced the PTC heater and measured all the heater sensors. No alerts from the heater, either.
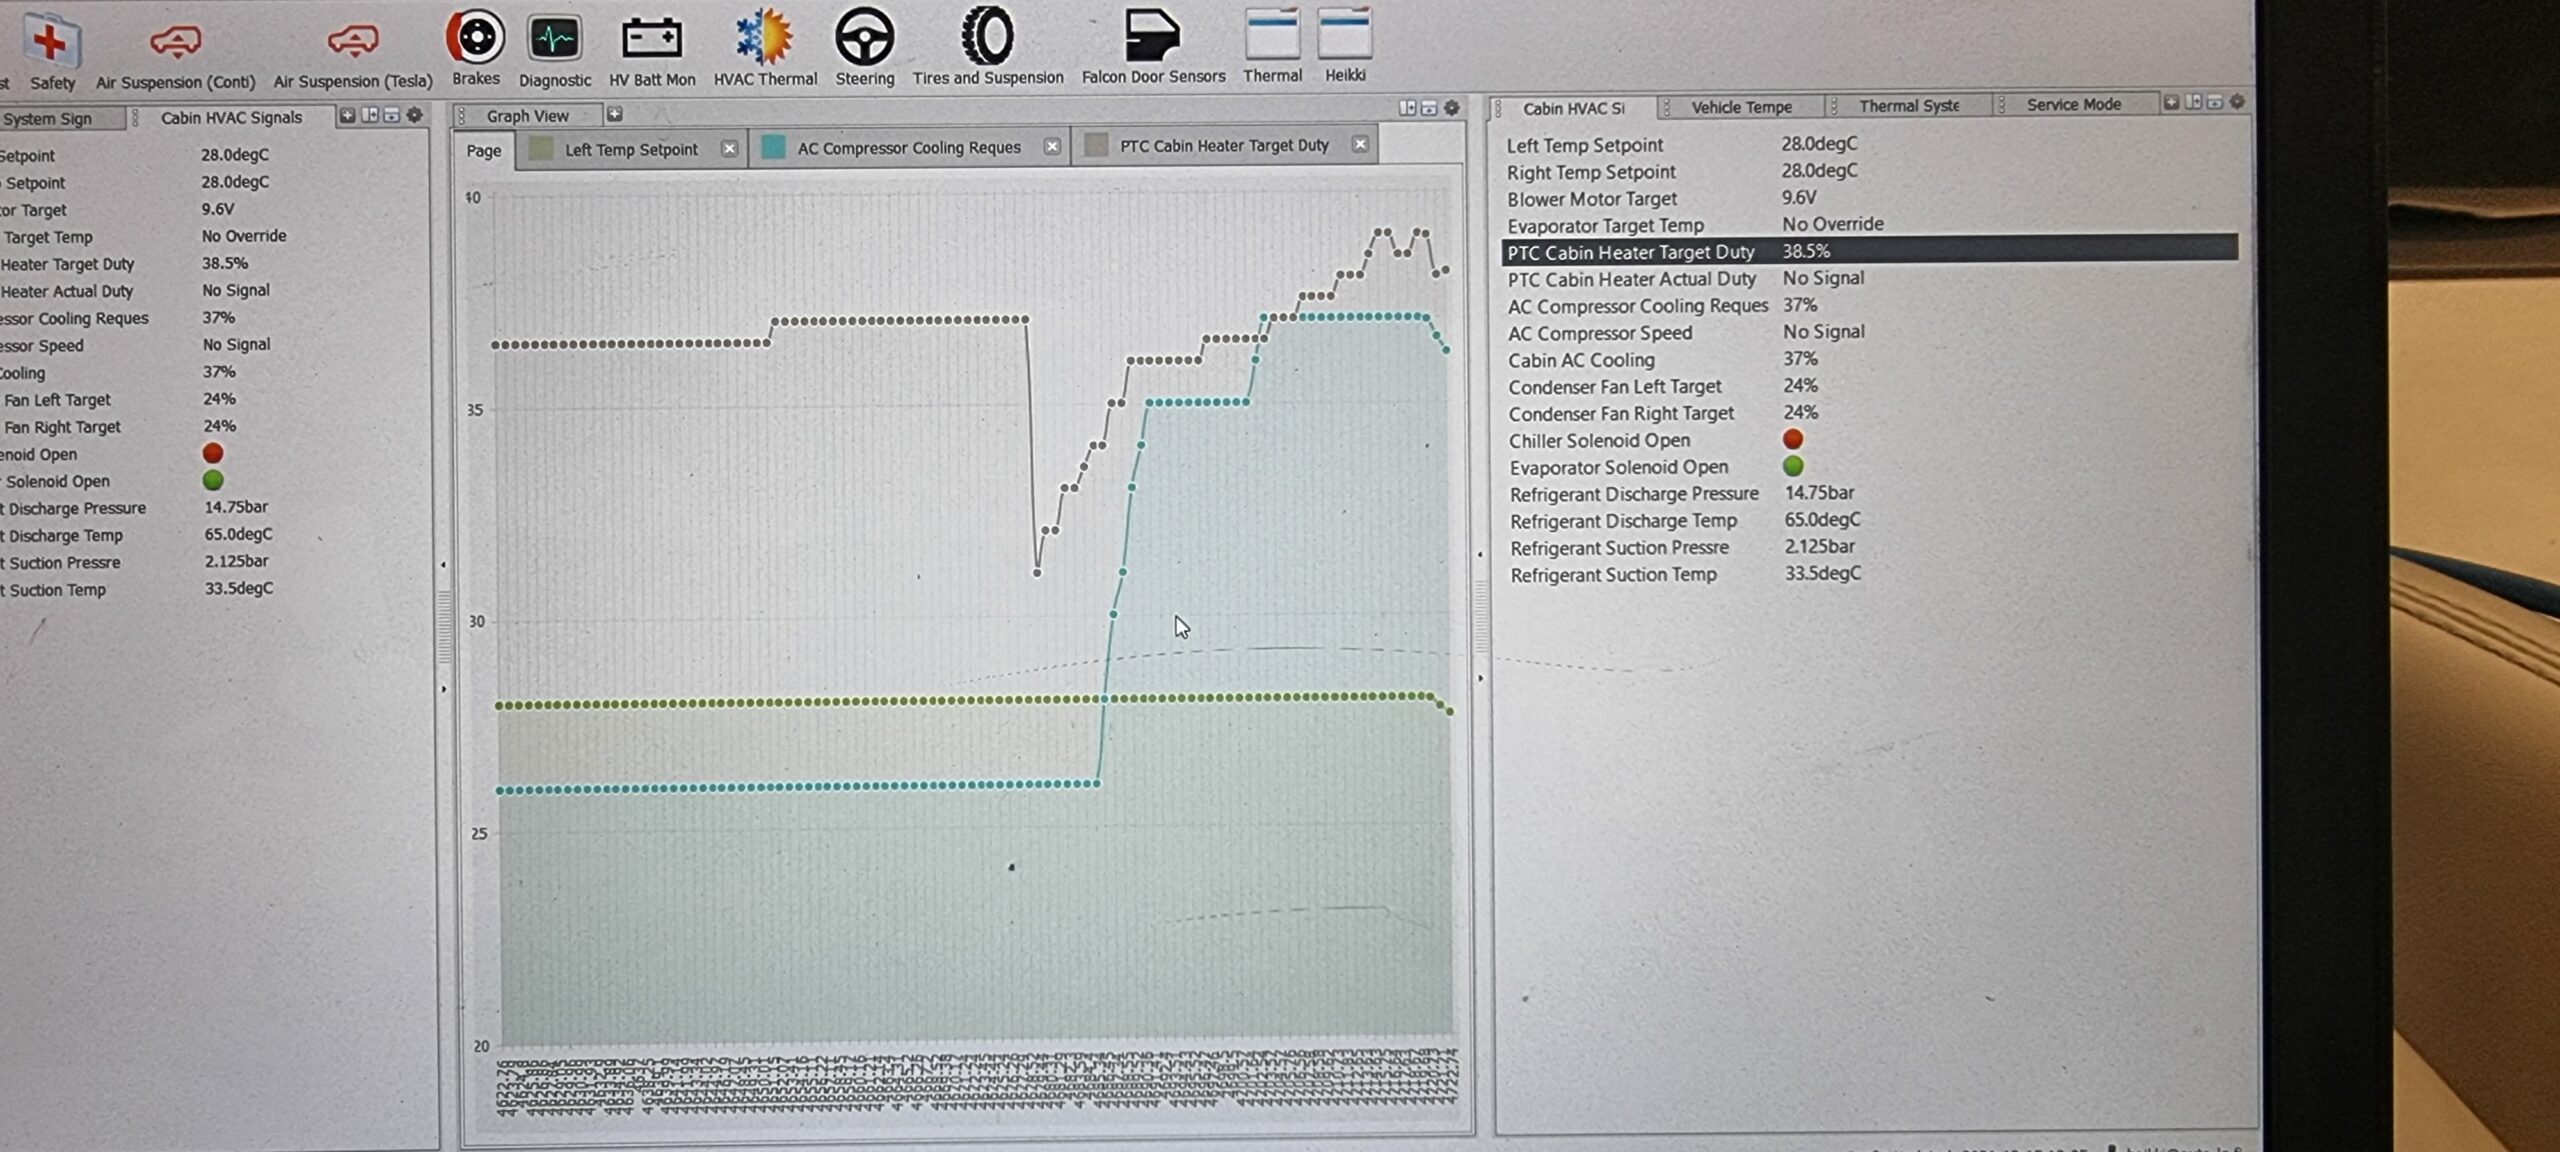
Toolbox shows Target Duty at 38.5%, even with maximum heat requested.
Heating trouble has plagued quite a few Teslas this winter. PTC heaters and fuses have been replaced on Model S cars, while plenty of Model 3s and Ys have been off the road with heat-pump problems. Judging by Facebook groups, Model X owners have had trouble too. Sometimes manual settings need fiddling with just to maintain sensible temperatures and keep the windows clear while driving. The Californian carmaker still has a little to learn about northern conditions, lovely though the car otherwise is. Frameless windows and flush door handles can also be a nuisance if you can't keep it under a carport.
The next project, an e-tron, shouldn't have those particular issues. I'd like to think its heater will just work without a fuss.
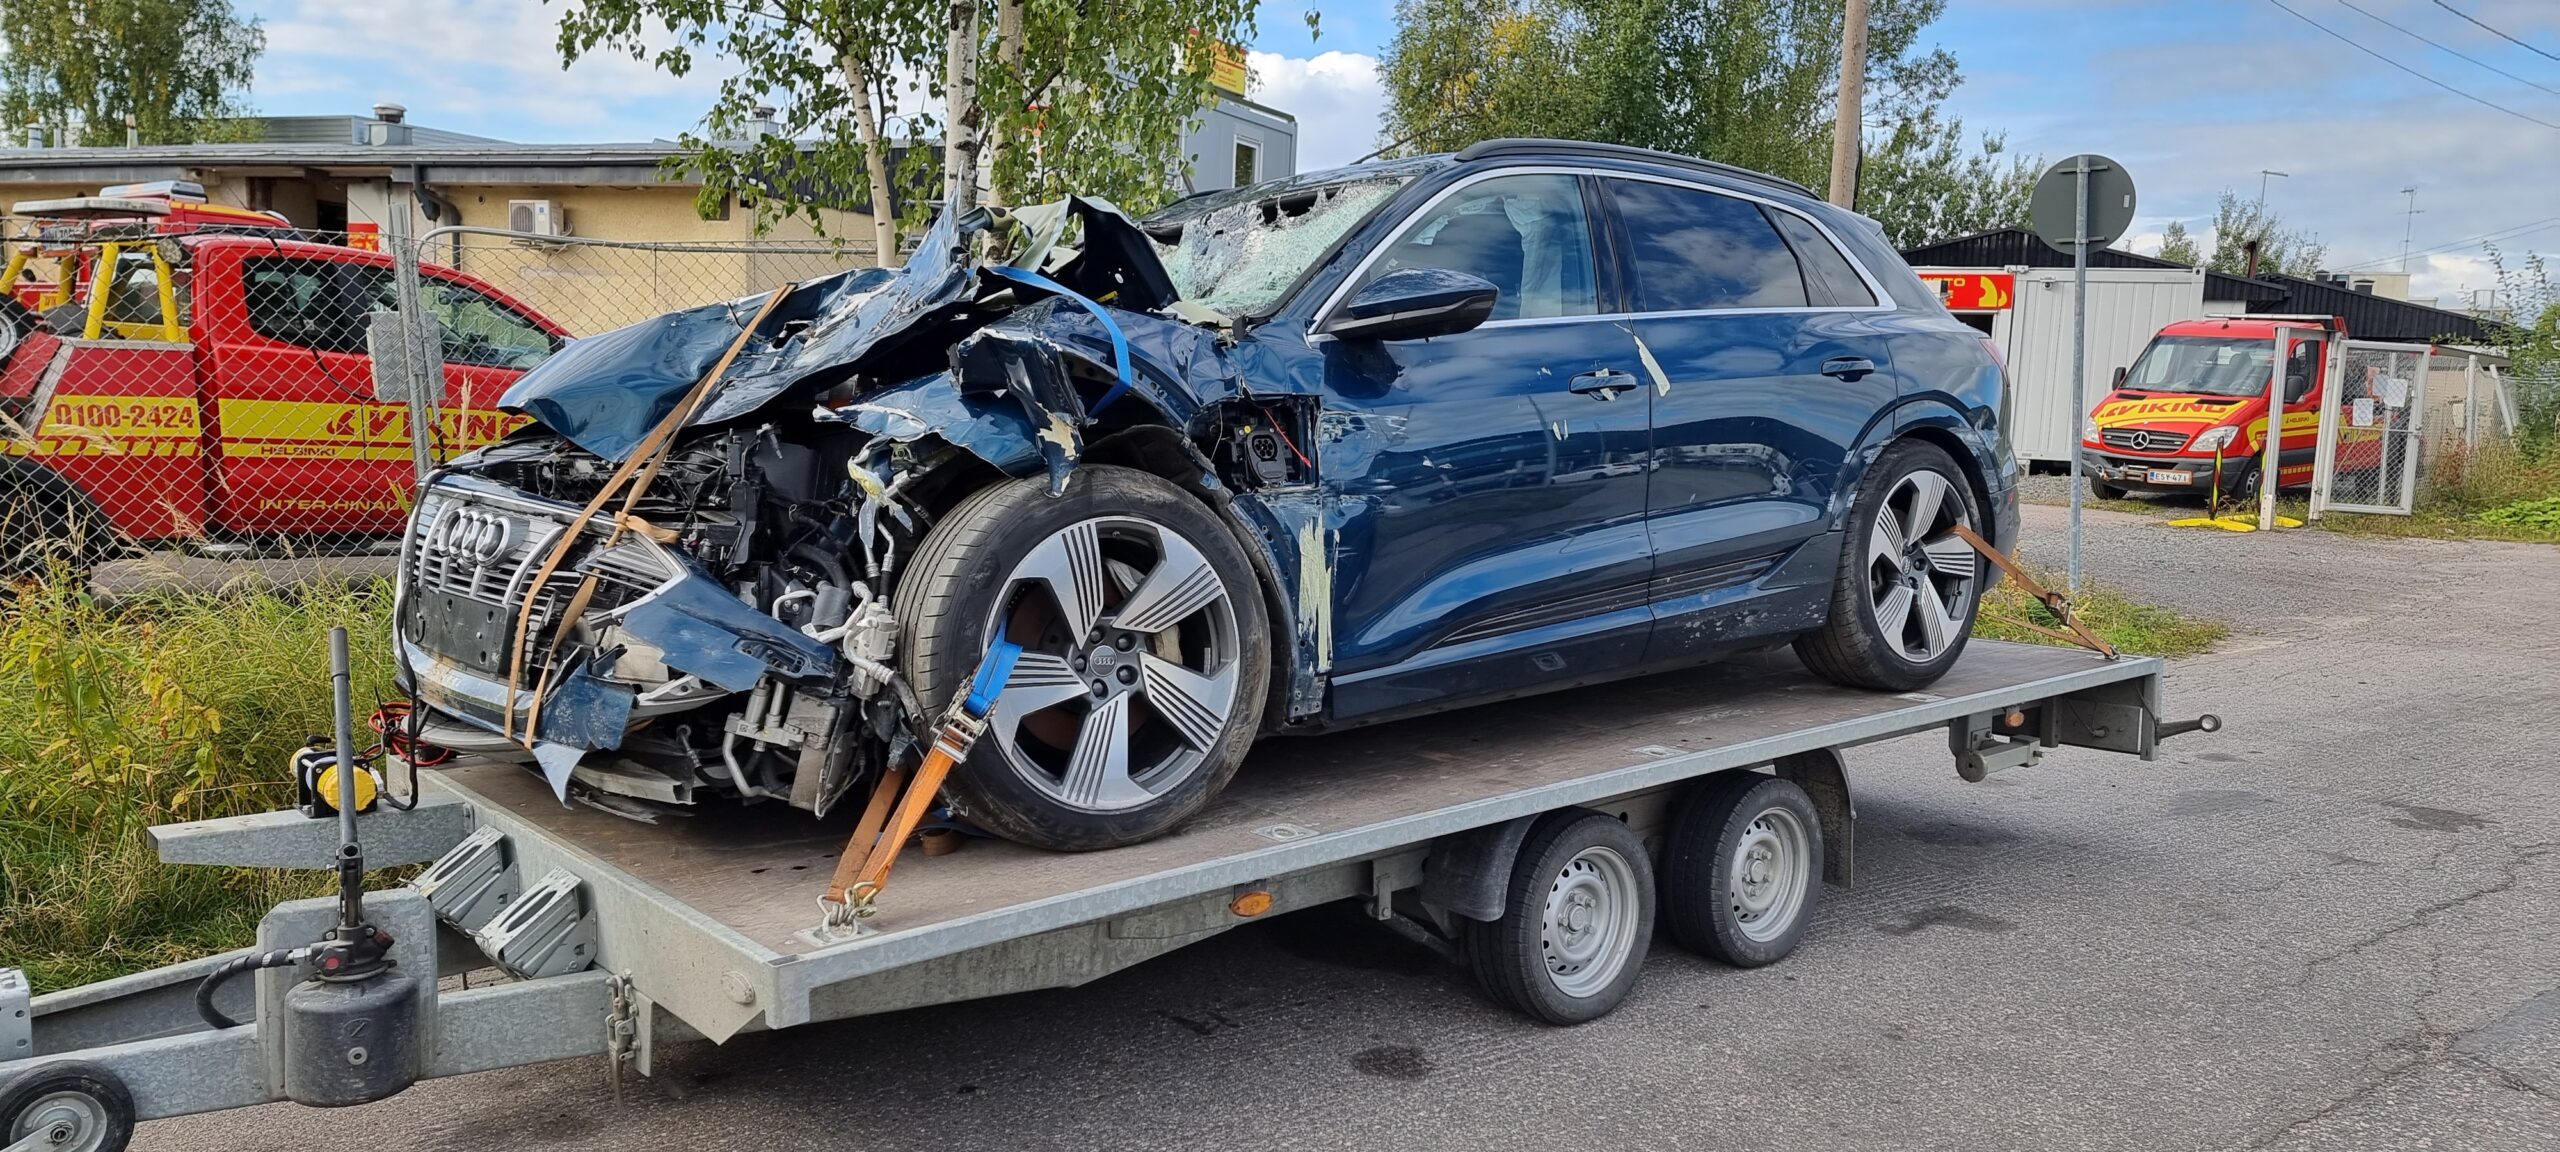
The next project
Includes original English text and AI-assisted translations.