ARCHIVE / PAJALLE
Golf 3 GTI TDI
Originally a petrol 8v GTI, converted into a 110 hp GTI TDI.
Engine swap, part 1
Sorry, not translated yet :(
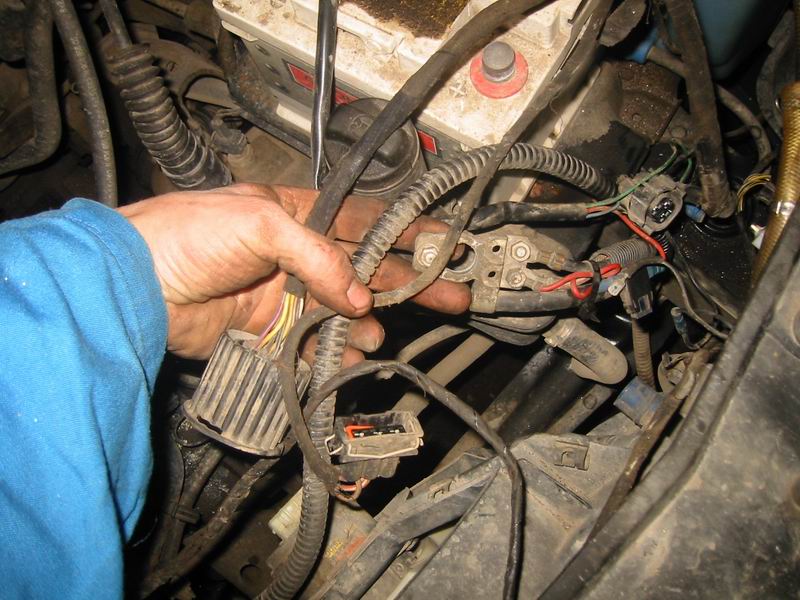
19:23. We start by stripping the front end. It only takes a few minutes on a mk3: disconnect a few electrical plugs, the bonnet release cable, coolant hoses...
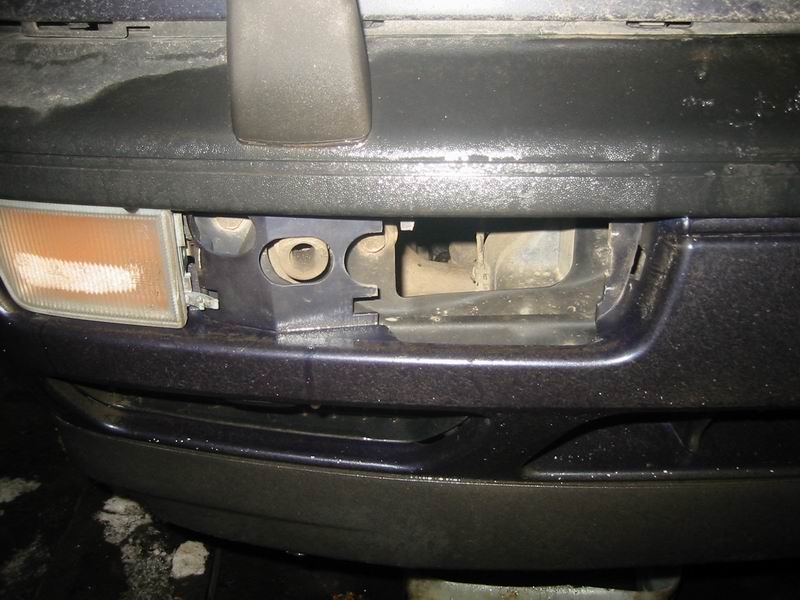
...the bolts under the covers beside the indicators...
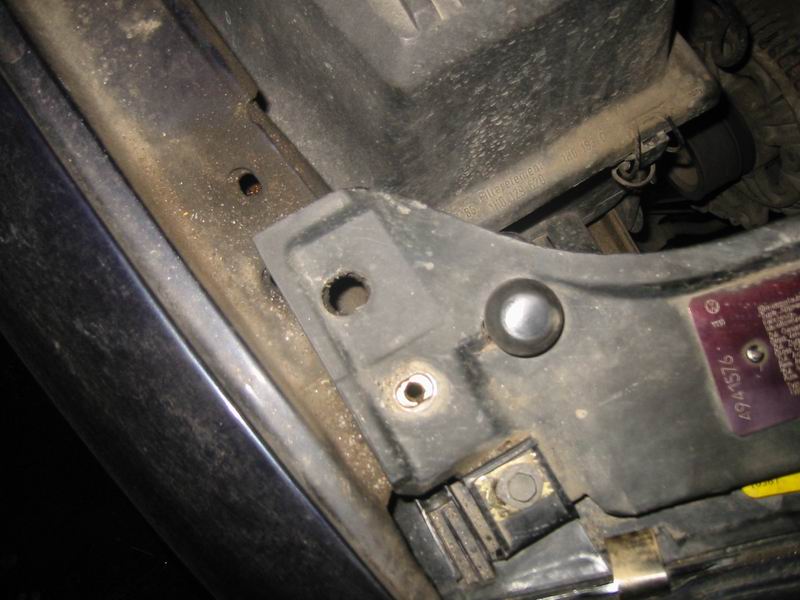
...and the others in the upper corners of the front panel.
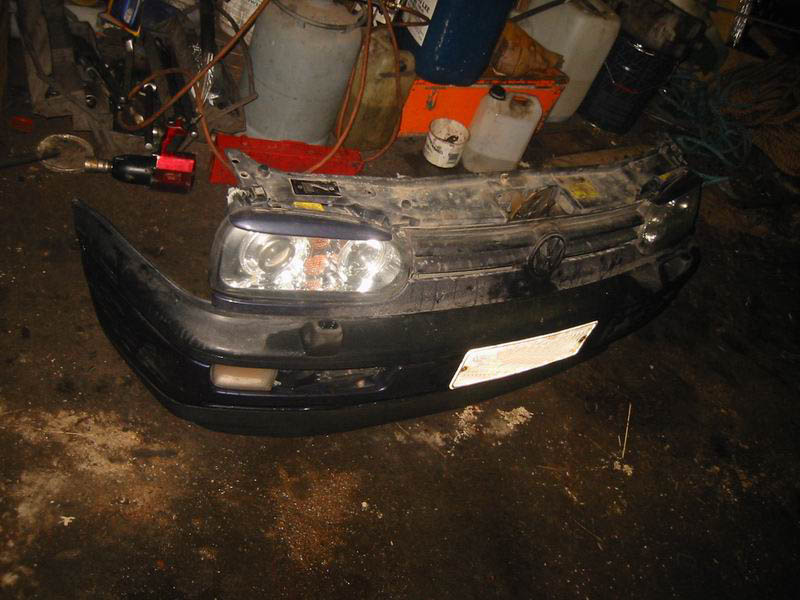
19:27. Remove the little plastic clips from the arch liners and there we are: the front end is off.
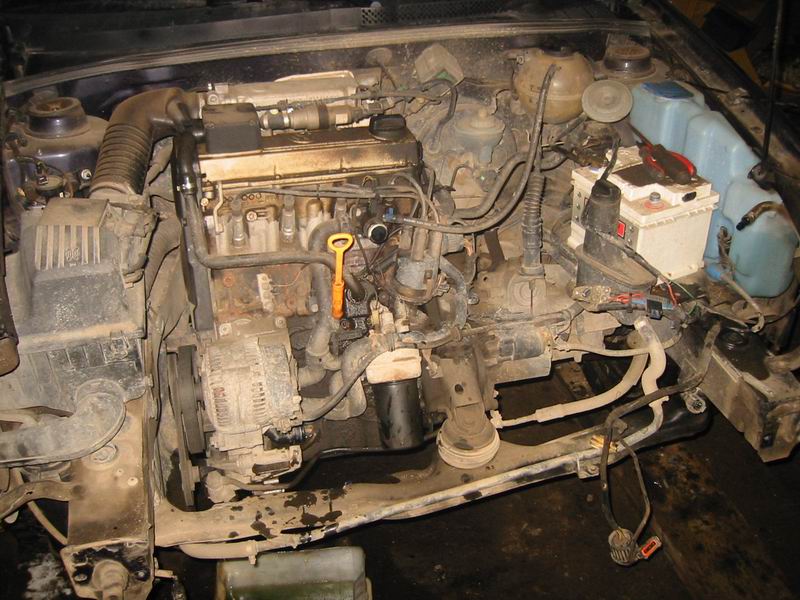
Like this. A little more wiring to disconnect and a few bolts to undo...
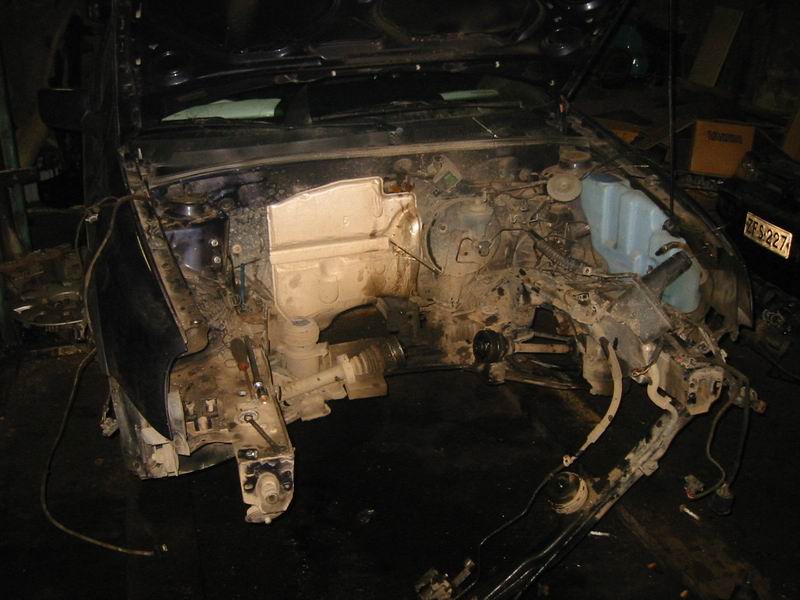
21:20. ...and a couple of hours after starting, the engine is out.
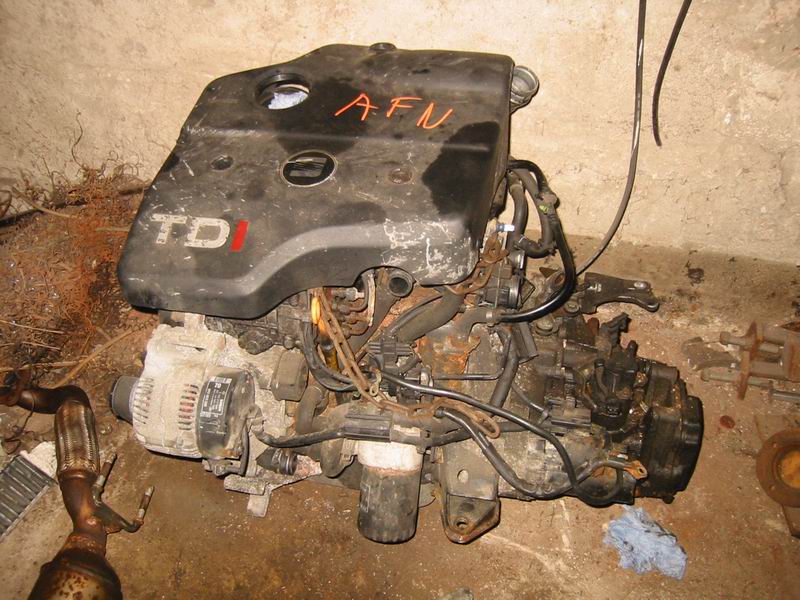
Now to fit its replacement. A diesel, surprisingly enough. Equivalent to the engine in a genuine GTI TDI, although this one came from a 1999 Seat Ibiza. 110 hp and, among other things, a variable-geometry turbo.
Engine swap, part 2
Saturday. Things are looking worse. Comparing the Golf and Ibiza front-end and engine looms... different wire lengths, connector locations and colours. Peksi spent a long time looking for an AFN Golf loom, but they seem very scarce in Finland. Practically the whole day goes on puzzling over the Golf and Seat wiring diagrams, which aren't great. First we spend hours looking for the diagnostic wires...
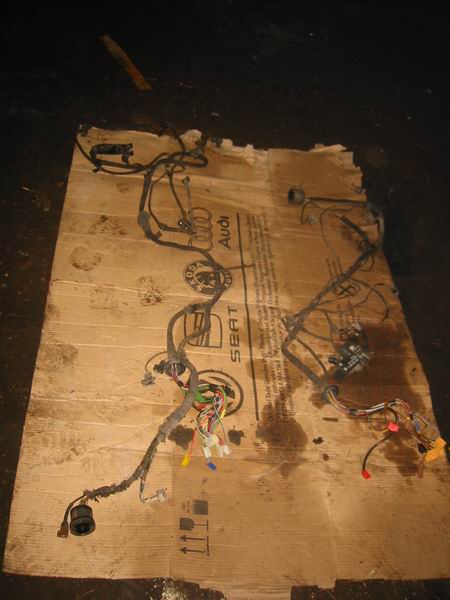
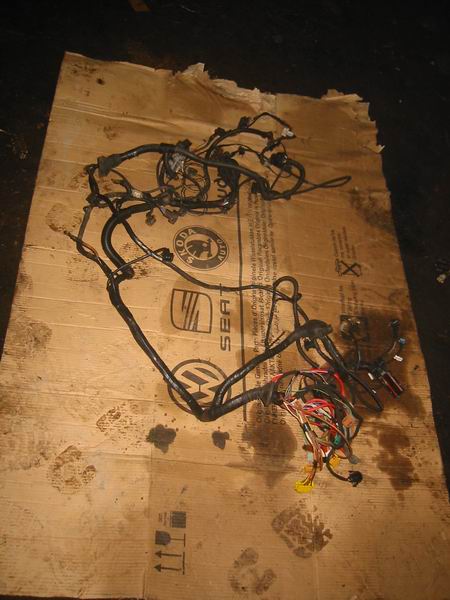
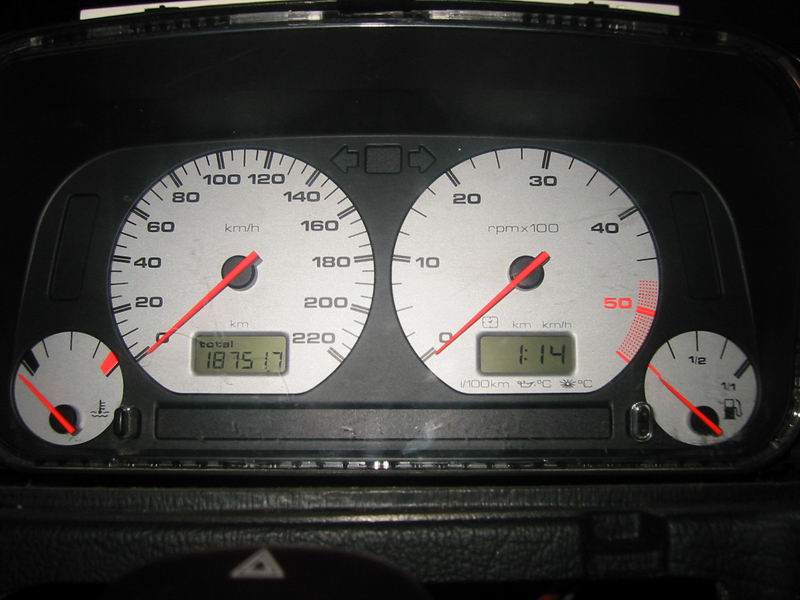
...then the Ibiza instrument cluster causes trouble. No power, until Peksi finally realises it is missing an earth wire.
On top of all this, the immobiliser comes from a Transporter, so the wiring certainly isn't easy. It would have been simpler if whoever removed the Ibiza engine had also saved the immobiliser before taking the front end to the scrapyard.
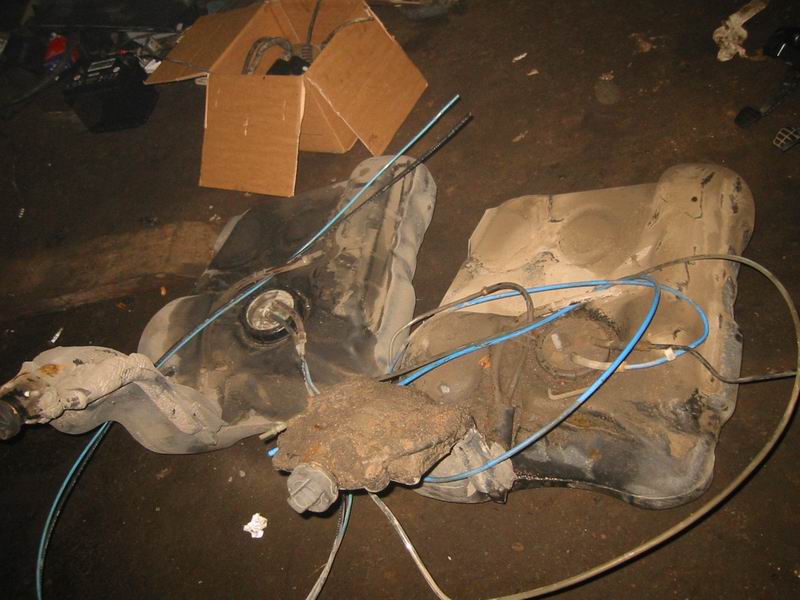
Then the fuel tank and lines.
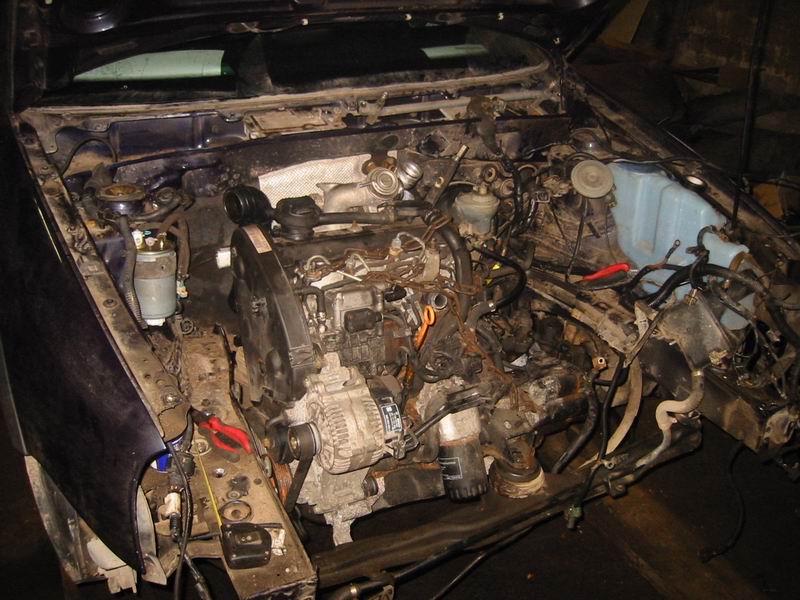
Sunday morning, engine installed. Much of the wiring connected, plenty still to do. Besides the immobiliser, several other useful bits went to the scrapyard with the front end, including a whole bundle of vacuum hoses and other small parts.
After the engine, the exhaust. The next problem was the front exhaust hanger, which didn't seem to get along with the petrol GTI's anti-roll bar.
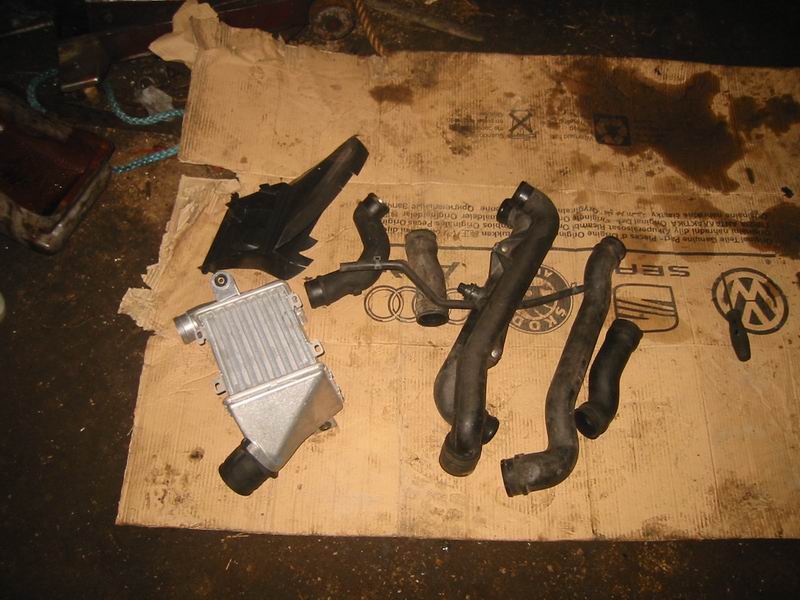
Next, the intercooler.
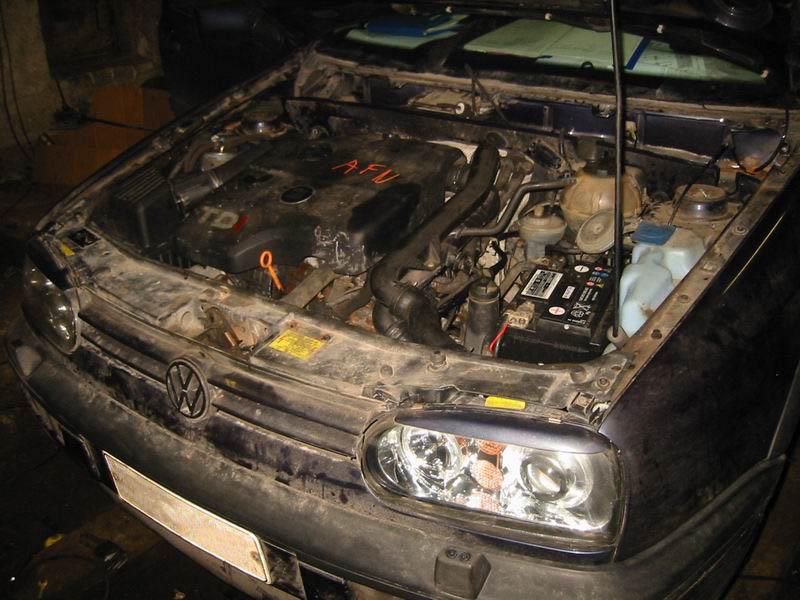
By Monday evening almost everything is together; just the Transporter immobiliser to sort out. We managed to teach it the key, then ran into trouble pairing it with the ECU.
Tuesday. Project finished. The immobiliser behaved itself and agreed to pair with the ECU. Test drives done, plenty of pull... now for some cheap diesel motoring. Well, the modification inspection first, of course...
Some tuning
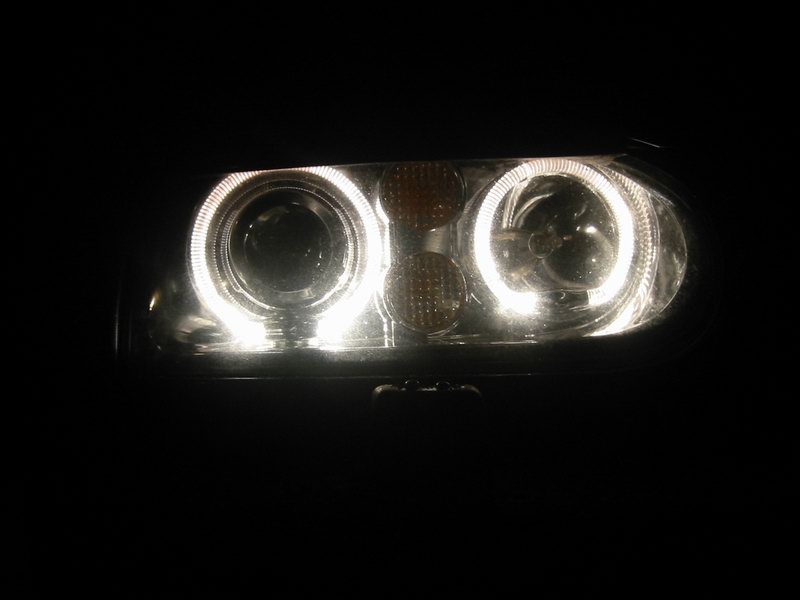
Angel Eyes headlights.
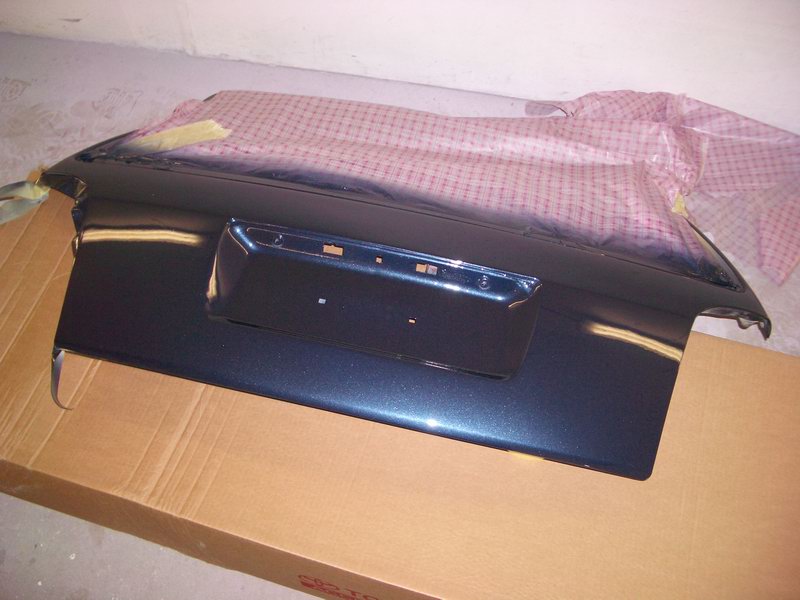
Peksi narrowed the number-plate recess in the tailgate.
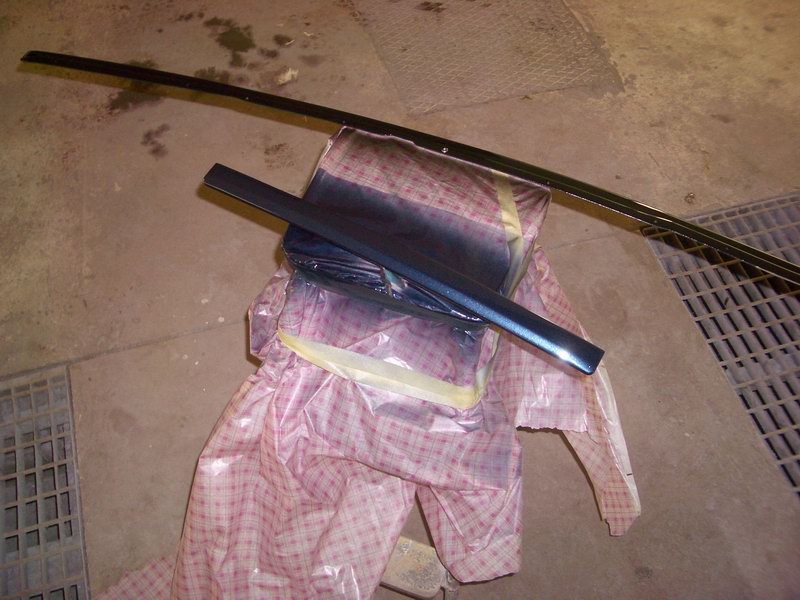
The tailgate trim also had to be narrowed. The piece behind it is the Corrado's grille spoiler. From now on a solenoid will open the tailgate.
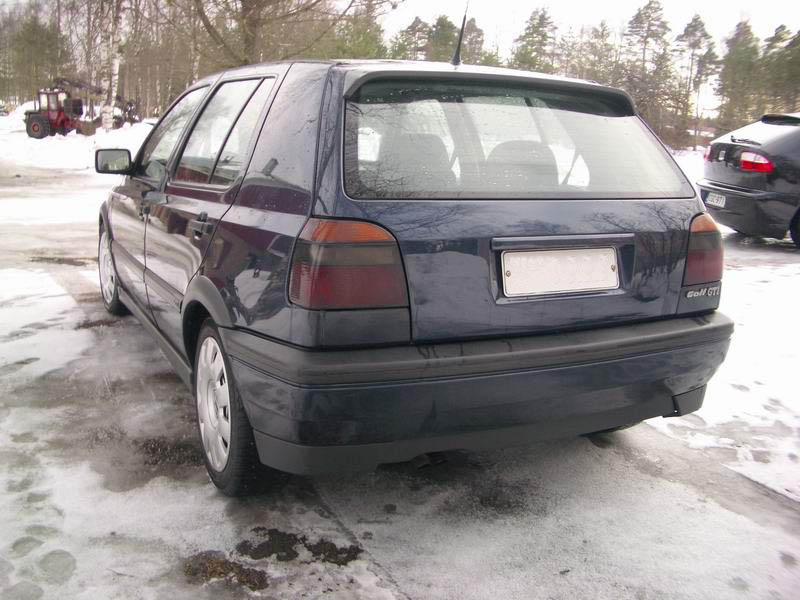
The tailgate fitted.
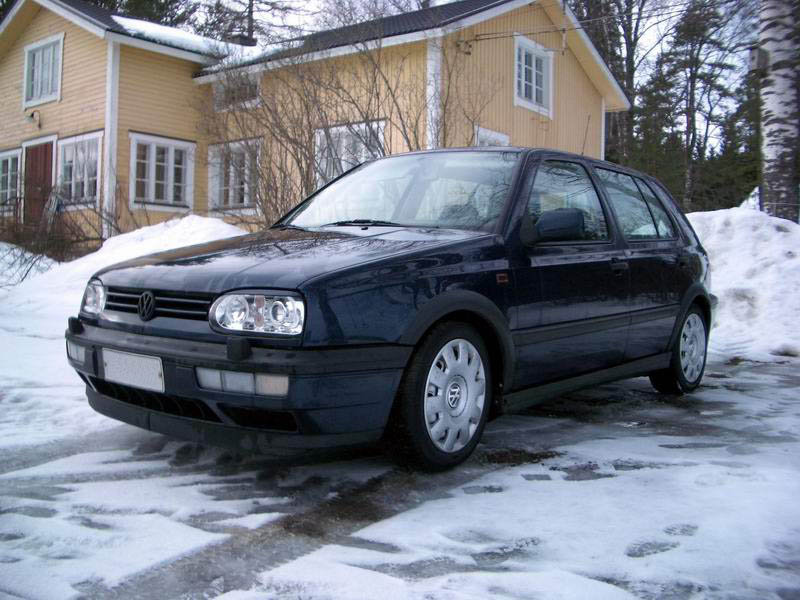
The Golf's winter look. This car was eventually sold in late 2004.
Includes original English text and AI-assisted translations.