ARCHIVE / PAJALLE
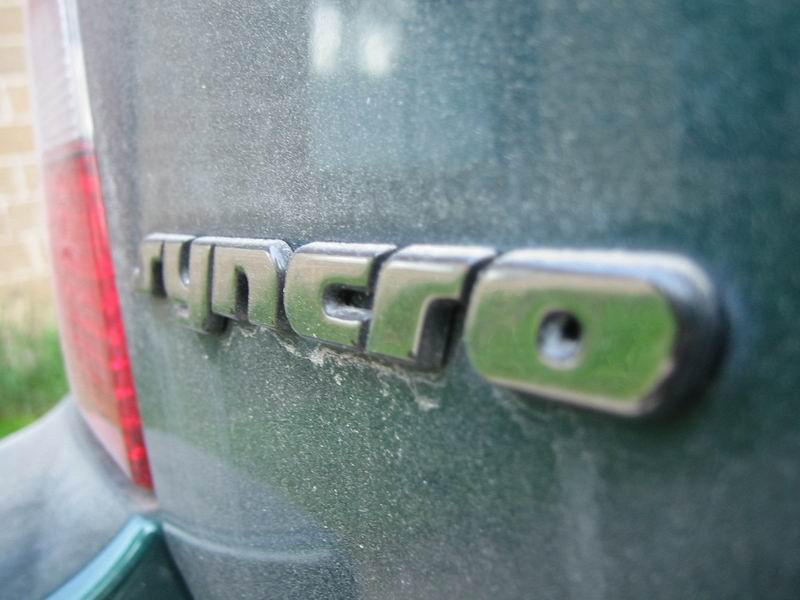
Golf 3 Variant Syncro
The Syncro TDI that stayed with Pekka for about a month.
Tax-free
Not translated yet :(
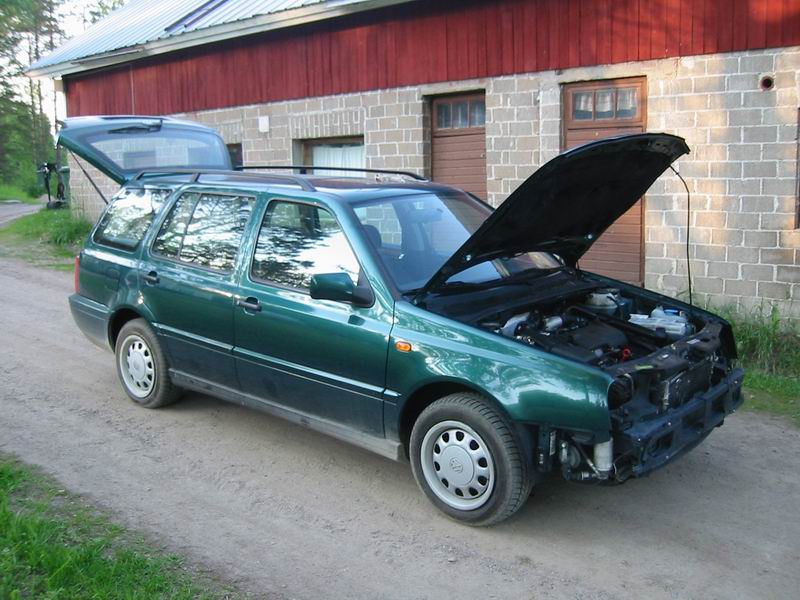
This is the car that arrived. Excellent bodywork, front end partly dismantled. Fully running.
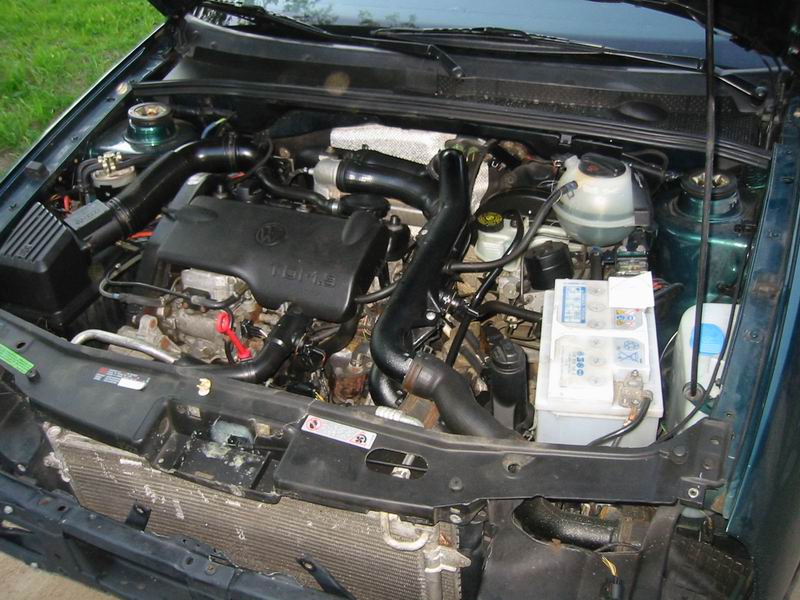
The familiar, dependable 1Z: a 90 hp TDI.
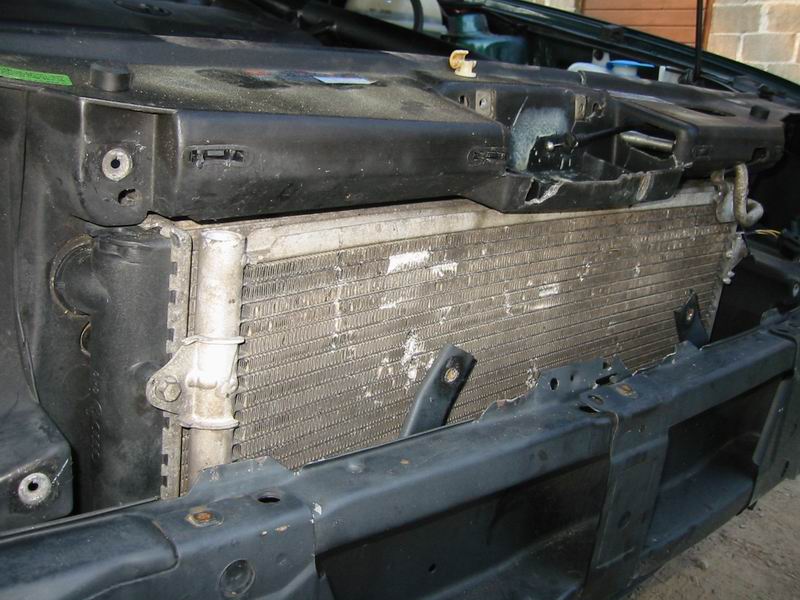
The front panel would otherwise be fine, but for some reason the bonnet has been forced open.
There is a small hole in the air-conditioning condenser, which was later taken into account in the tax assessment.
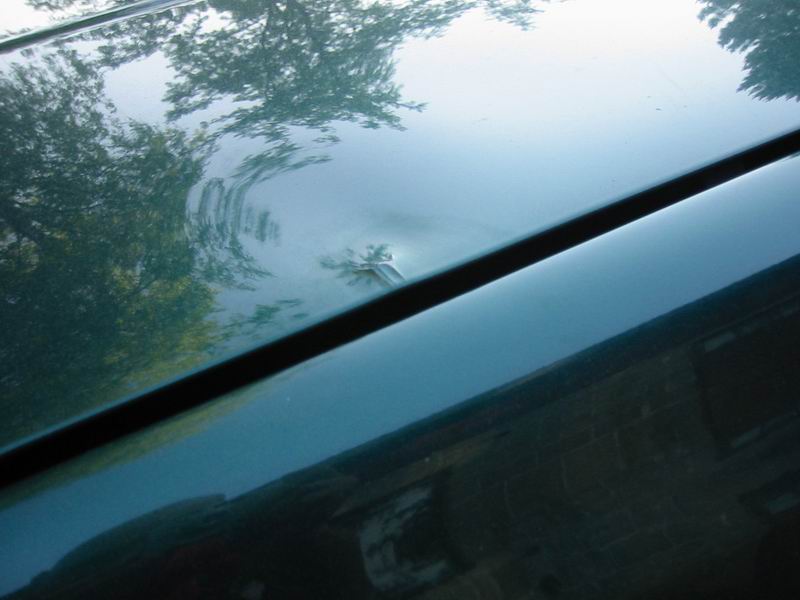
The bonnet was bent a little by the impact and by being forced open.
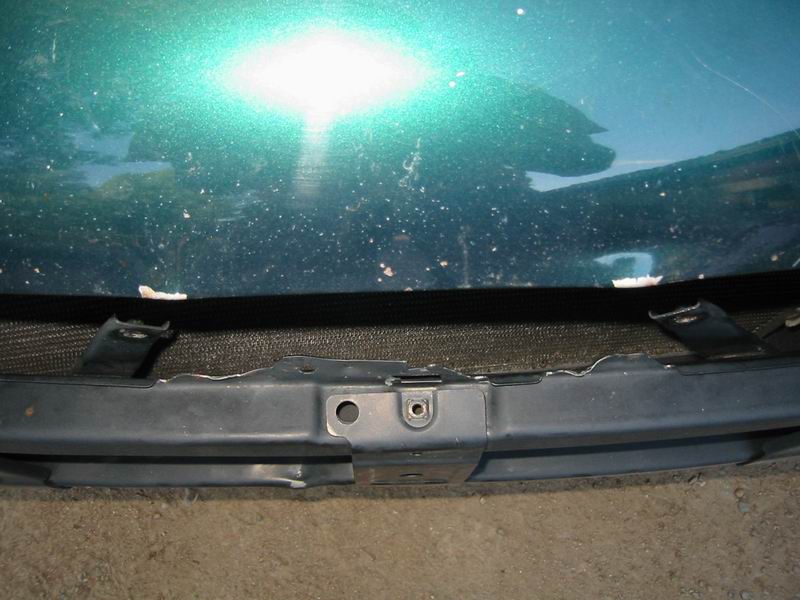
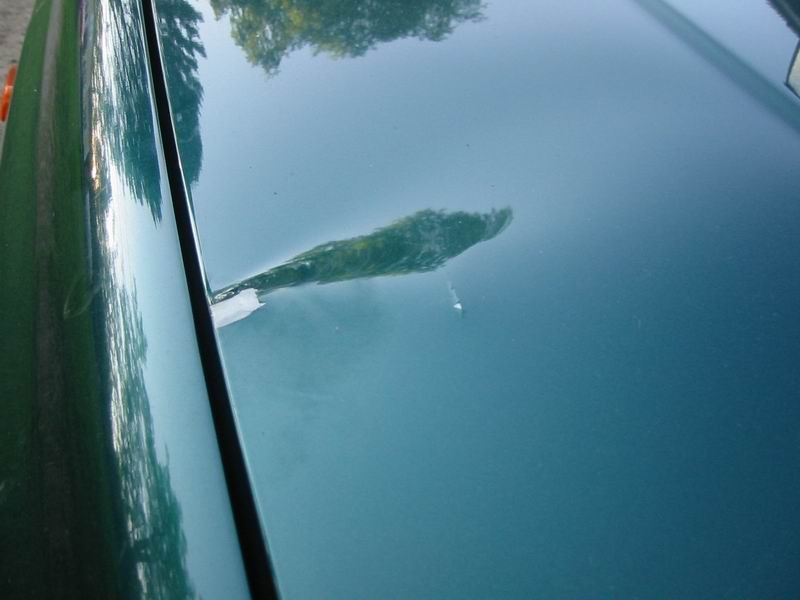
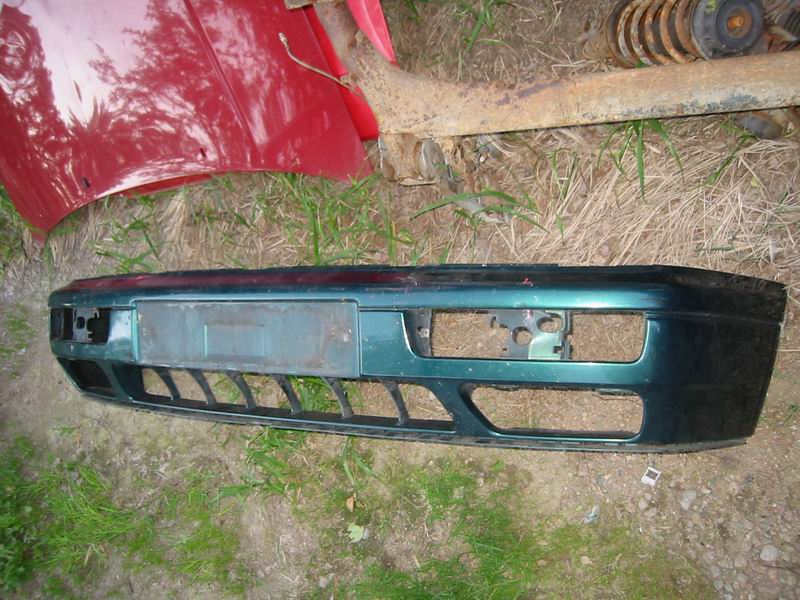
The front bumper was almost intact too. A slight knock above the left indicator should disappear with light sanding and paint. No headlight washer holes :)
Before presenting the car to Customs, it needs a roadworthiness check at an inspection station. That means repairing it enough to pass... We also had the full registration inspection done at the same time; it remains valid for three months. If the tax decision arrives within that time, registration is just paperwork.
The inspection went smoothly apart from the brakes: that station couldn't test a four-wheel-drive car, so they had to approve the brakes without measuring them :) The inspection cost 128 euros.
For the Customs inspector we had to fill out forms listing the equipment and any faults affecting the car's value. An annoyingly large number of equipment boxes had to be ticked... Then we took the papers to Customs, where they photographed the front end. Customs had actually advised us beforehand: 'Whatever you do, don't repair too much.'
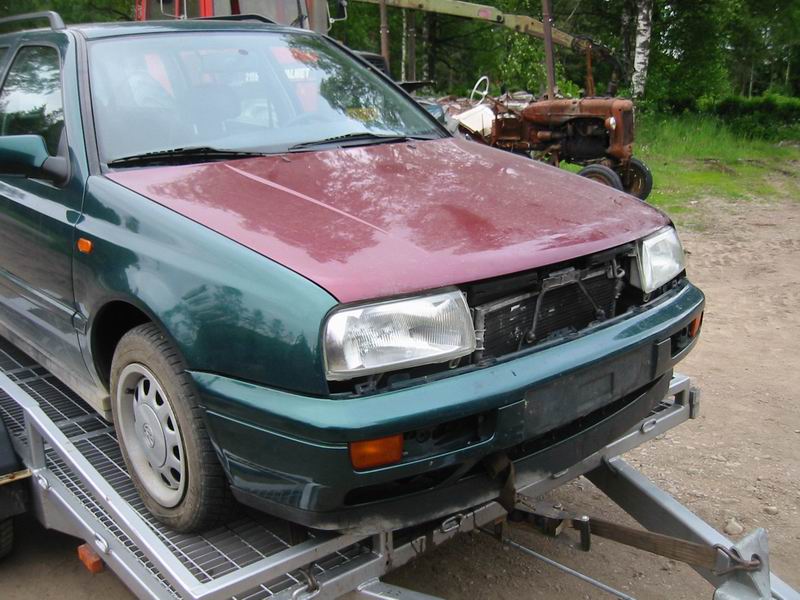
As for the repairs, Pekka basically changed the lights and attached the bumper skin so the indicators could be fitted. Replacing the bonnet was a little extra, but necessary because a Golf bonnet doesn't fit with Vento headlights and there were no spare Golf lights nearby.
Nothing remarkable at the Customs inspection. The man said very little, just that small dents didn't matter. Fourteen euros across the counter and we got temporary sticker plates. These allow three months of driving while waiting for the tax decision; only the owner and family members may use the car on them. The ten-day rule was relaxed because the Customs officer understood that registration could not have begun earlier: the car came through an intermediary and the papers were delayed somewhere along the way.
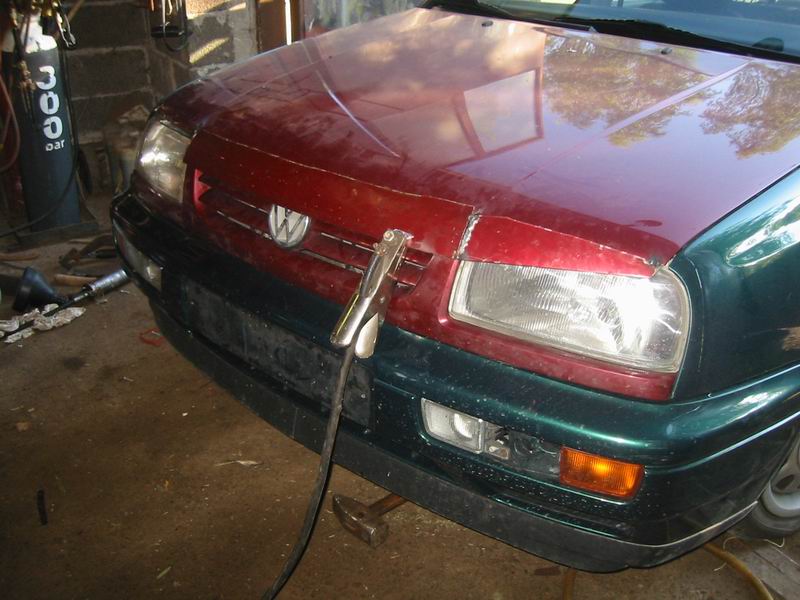
Once the car has been shown to Customs, work can begin, as subsequent modifications no longer affect the assessed taxable value.
The bonnet extension is made from three sections cut from the leading edge of a Golf bonnet.
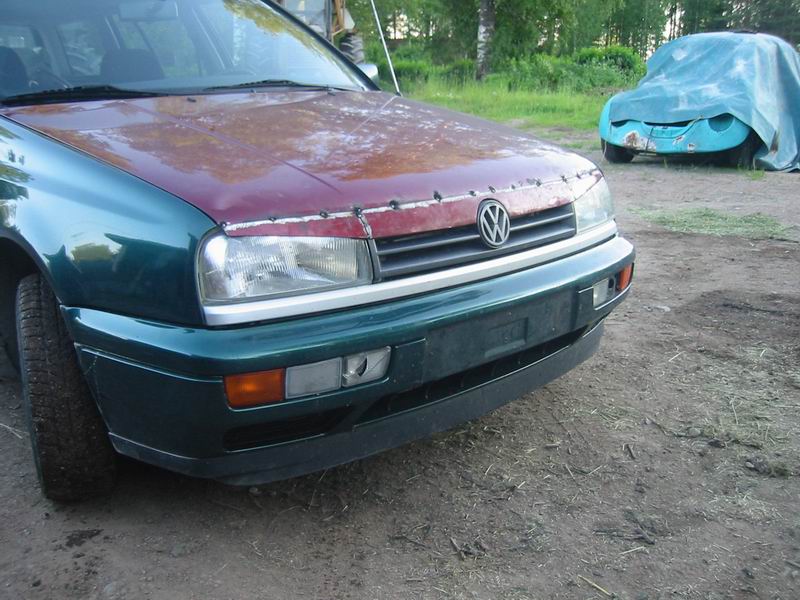
A badgeless grille? Nooo... old news, everybody has one...
In the end that extension was cut the hell off anyway... it really was rather ugly!
The tax decision eventually arrived, and it was cheap. The tax was 3,096 euros.
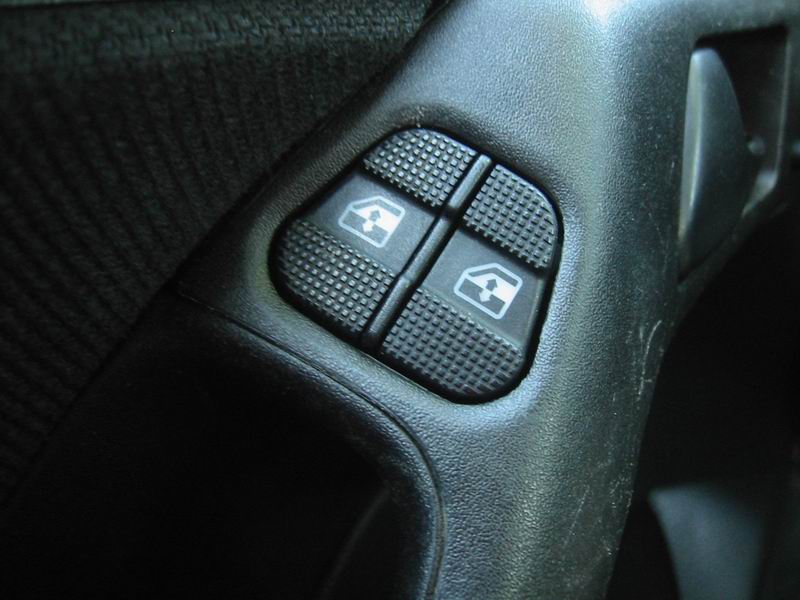
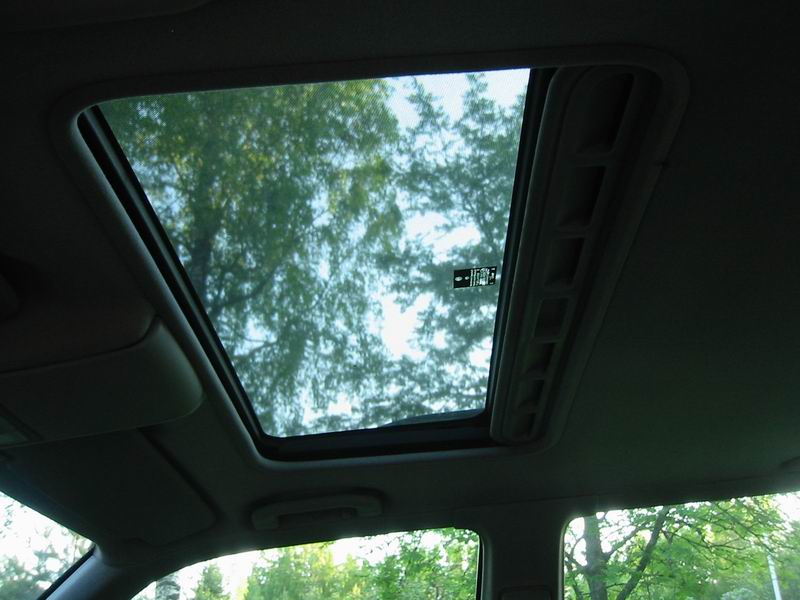
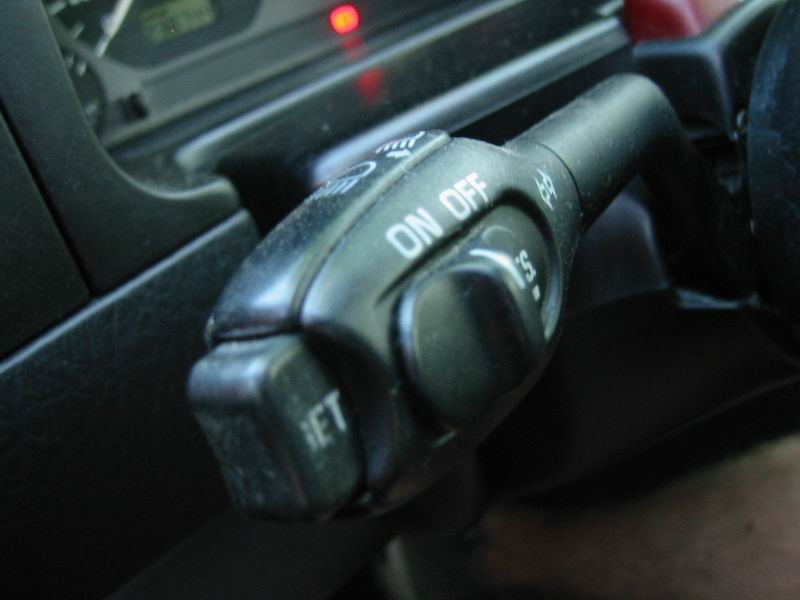
Taxed extras: glass sunroof, automatic climate control, front electric windows, ABS, two airbags, cruise control...
Special notes: cracked front panel, broken air-conditioning condenser, missing grille, bumper damage, Vento headlights and a different-coloured bonnet fitted. Deduction: 8%.
Equipment
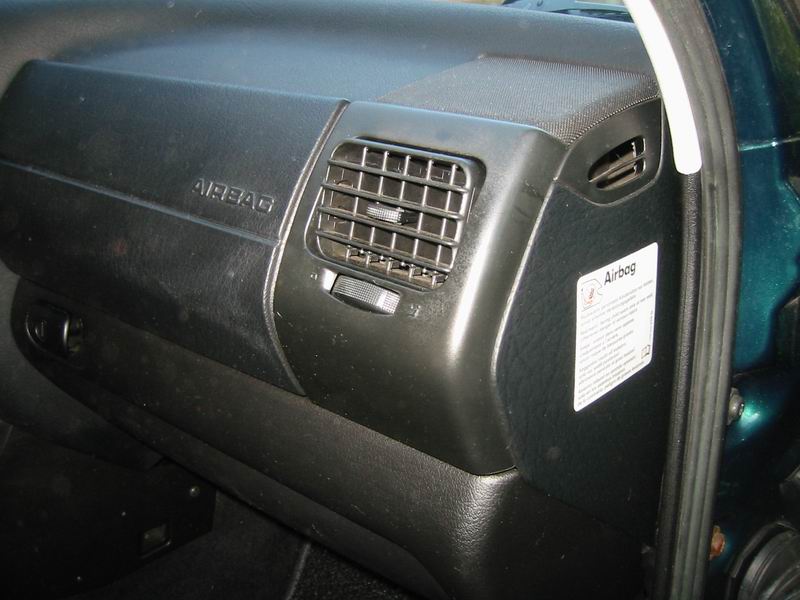
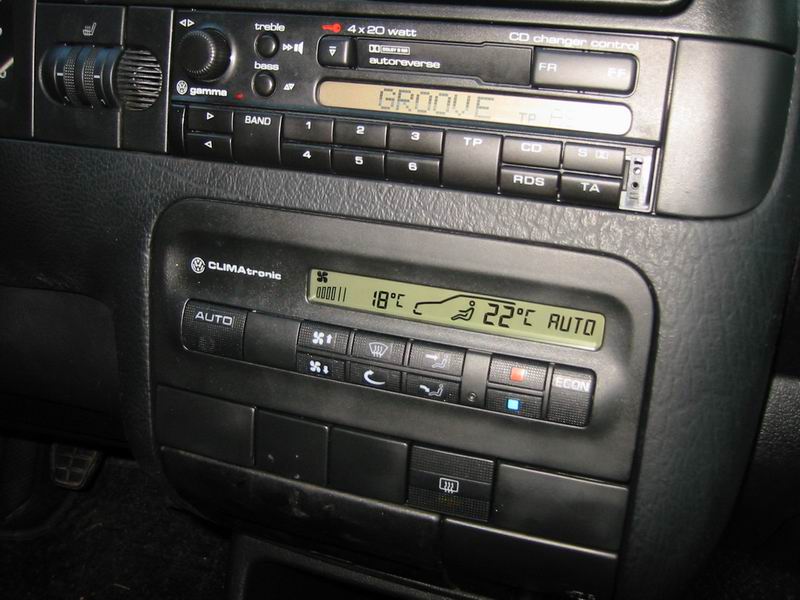
Now for the equipment:
Dual airbags, automatic climate control, front electric windows, VW Gamma cassette player :), heated seat, sunroof and cruise control.
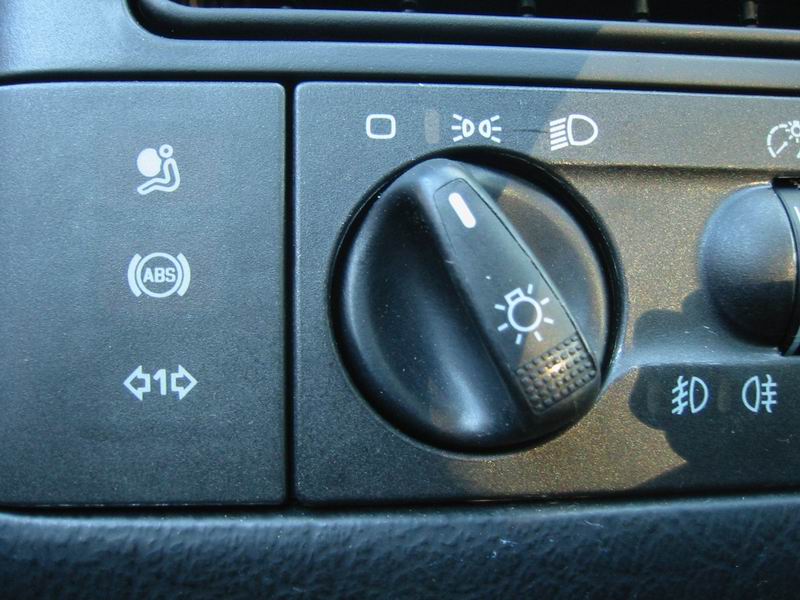
The top warning lamp is for the airbags, the middle one for ABS. Guess what the bottom one is?
It indicates whether the trailer indicators are working, a feature of the factory towbar...
There are fog lights too.
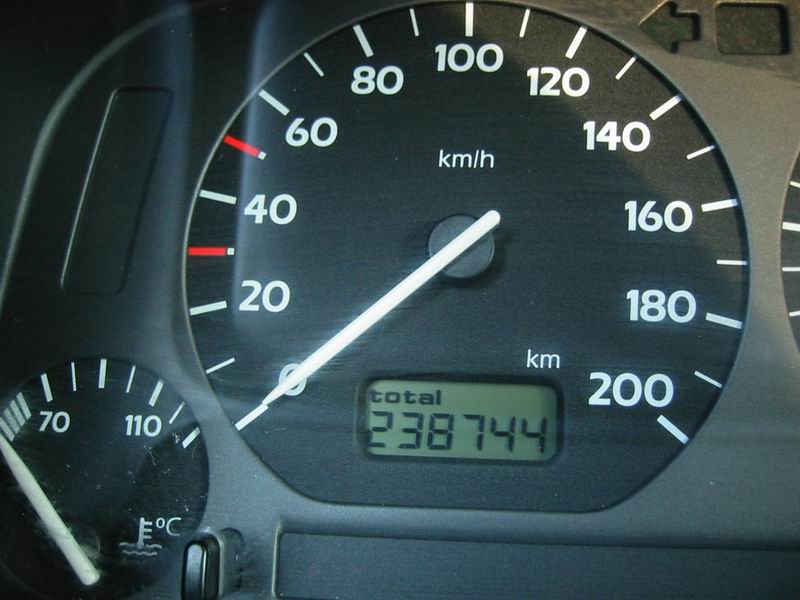
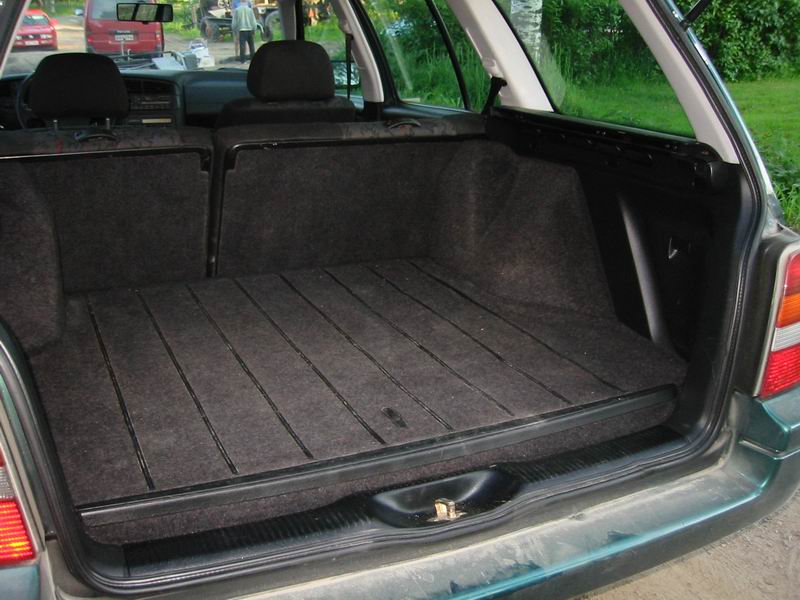
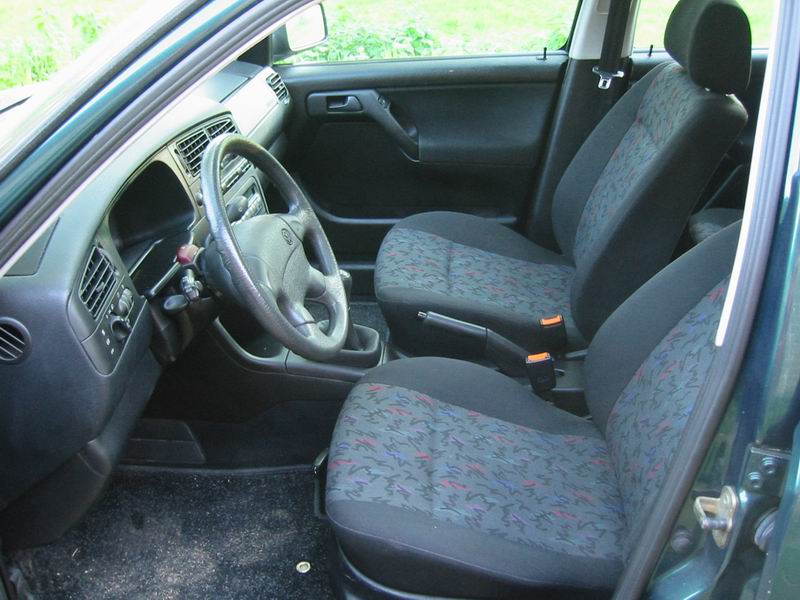
This import's mileage may actually be genuine. It came with a complete service book. The car is extremely tidy throughout and looks as though it was detailed quite recently.
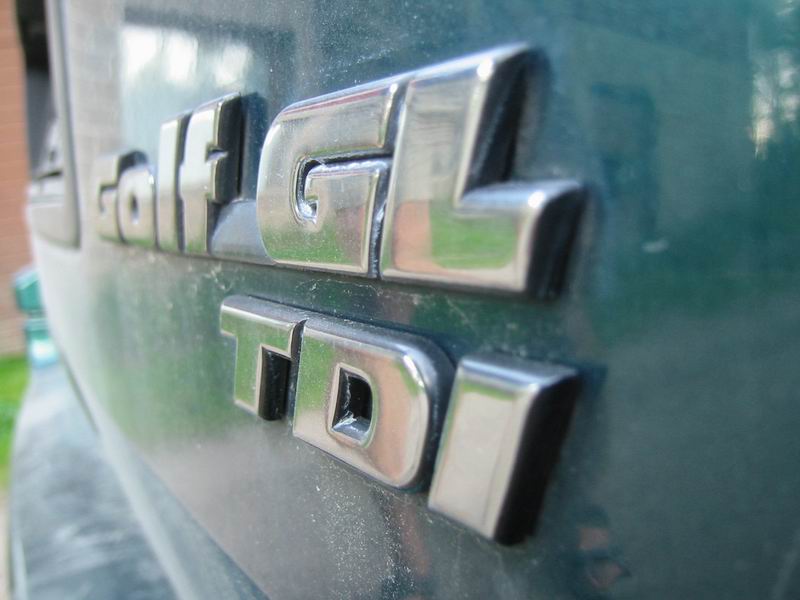
Chip tuning
We've had tuning chips fitted to all sorts of cars; this time we decided to try changing them ourselves. We bought pre-programmed chips and got to work.
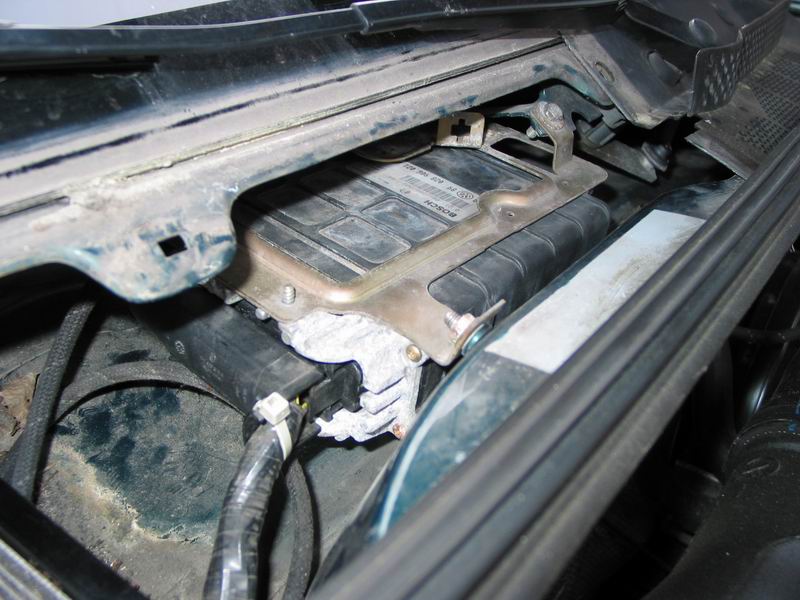
The engine control unit, or ECU, lives below the windscreen. Remove the plastic cover and there it is between the cabin filter and wiper mechanism.
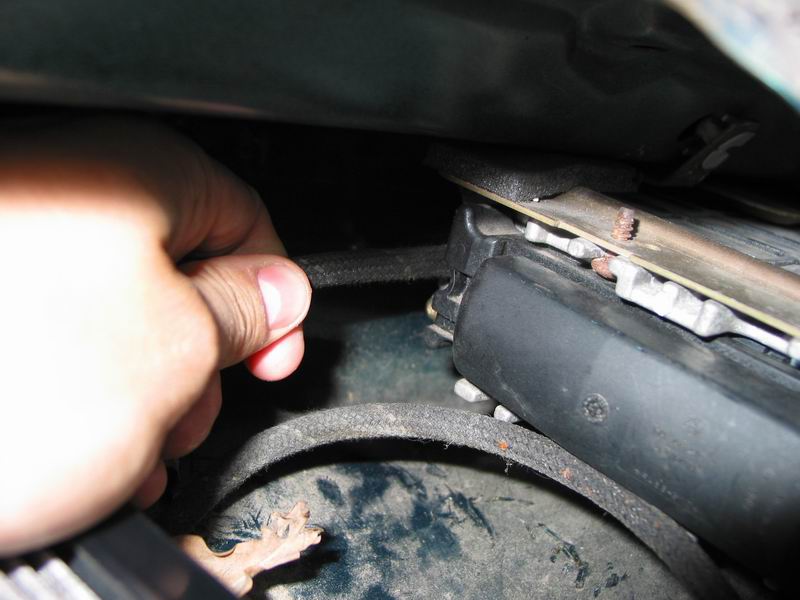
First disconnect the boost-pressure sensor hose.
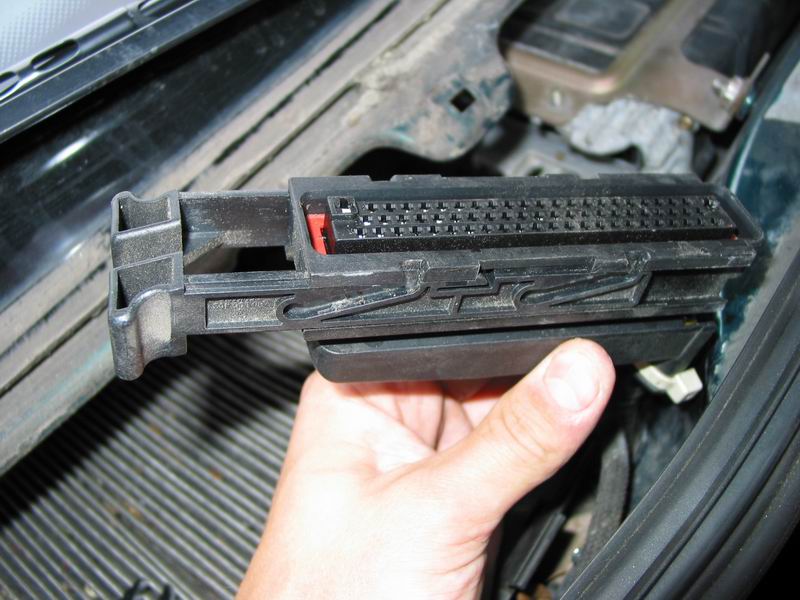
Then unplug the ECU wiring connector. First pull the clip visible on the left firmly to the left; the connector then comes off without force.
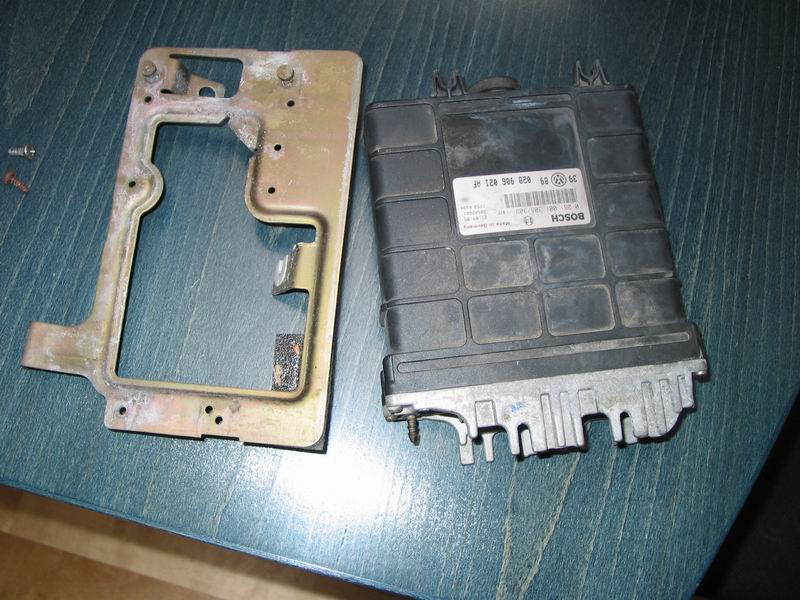
A few bolts and nuts undone and the ECU is out. Remove its bracket too, held by a couple of cross-head screws.
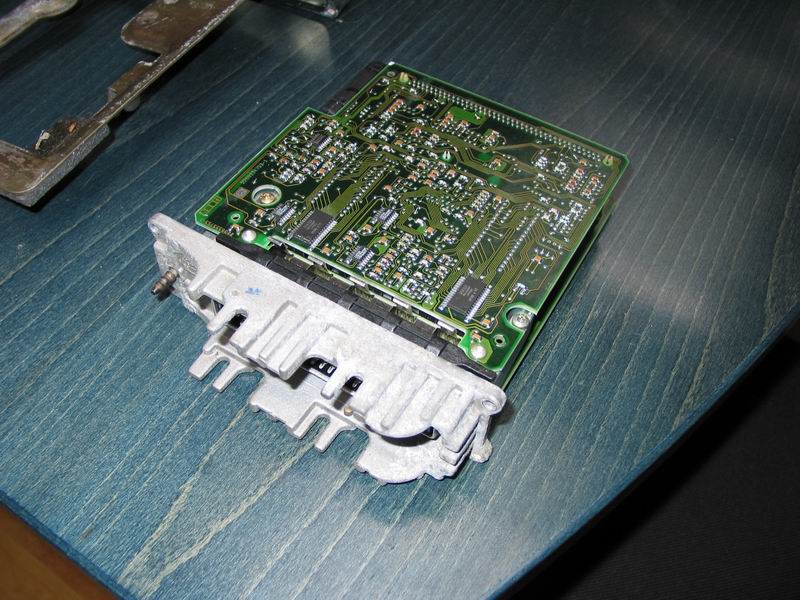
Four Torx screws open the ECU. A small tug releases the black plastic case. Inside are two circuit boards stacked together.
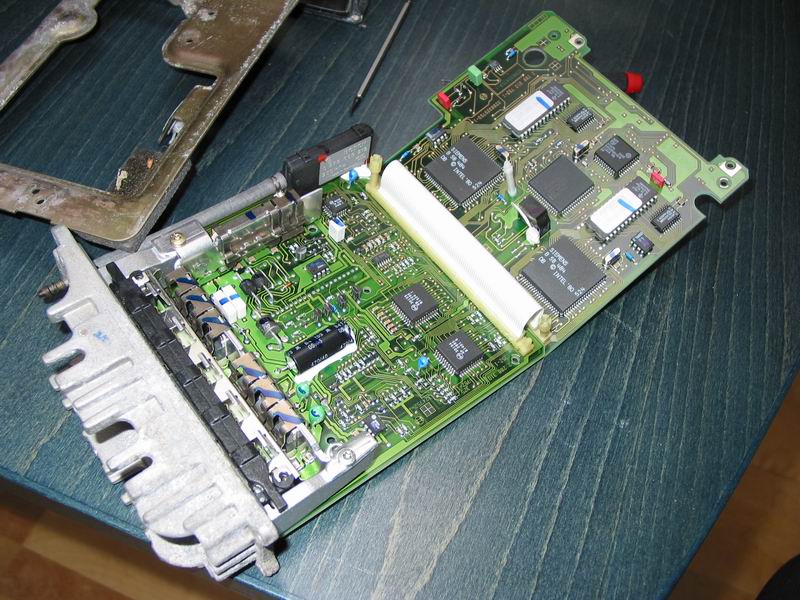
Undo a couple of smaller Torx screws and the boards can be unfolded side by side.
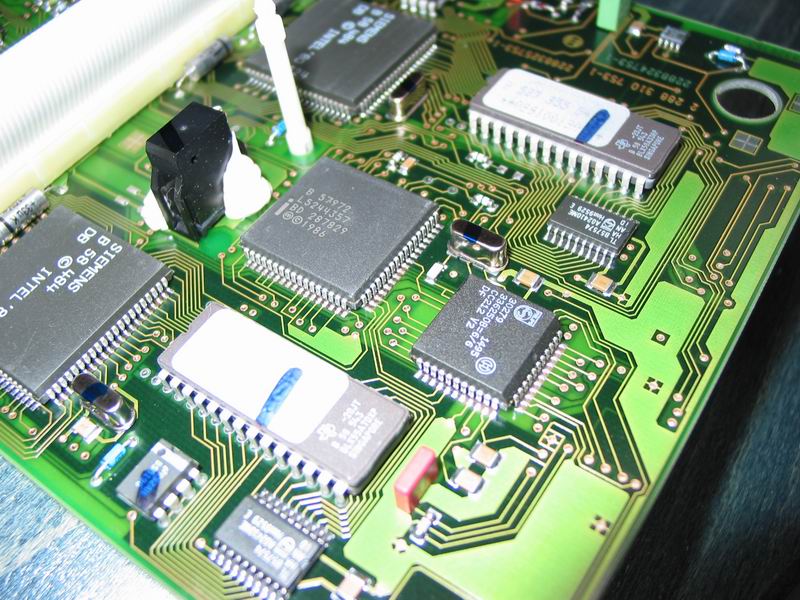
The chips to replace are marked with a pen. The original chips are soldered through the circuit board, not surface-mounted.
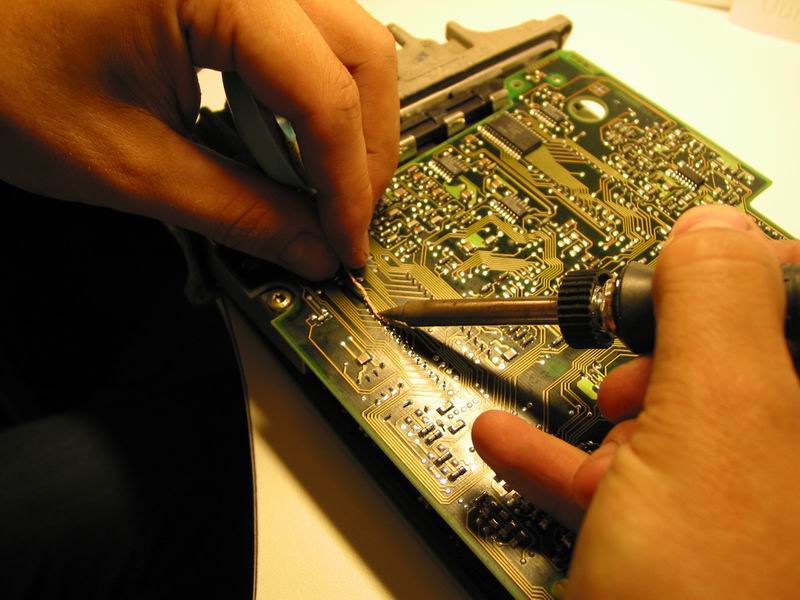
Using desoldering braid and a soldering iron, remove the solder from the underside one pin at a time... this is not a job to attack with just any old iron.
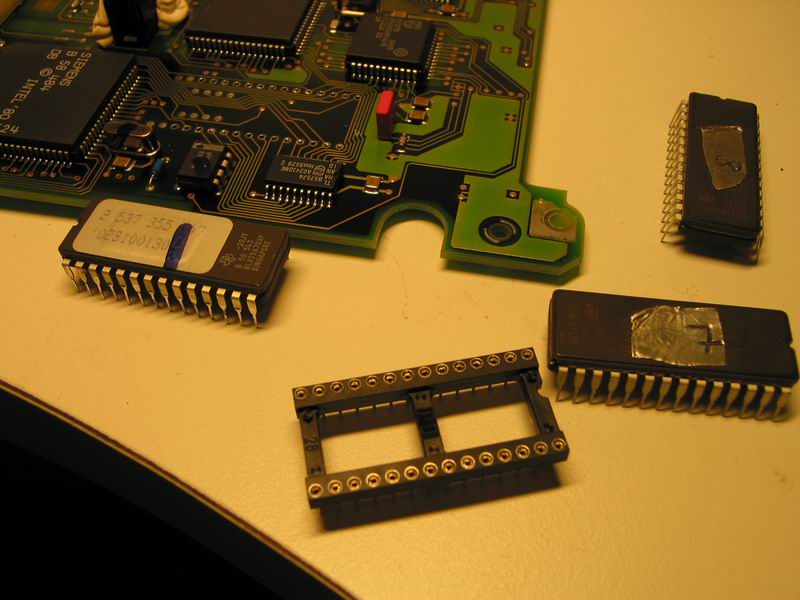
On the left, an original chip removed. In the middle and right are the parts that replace it.
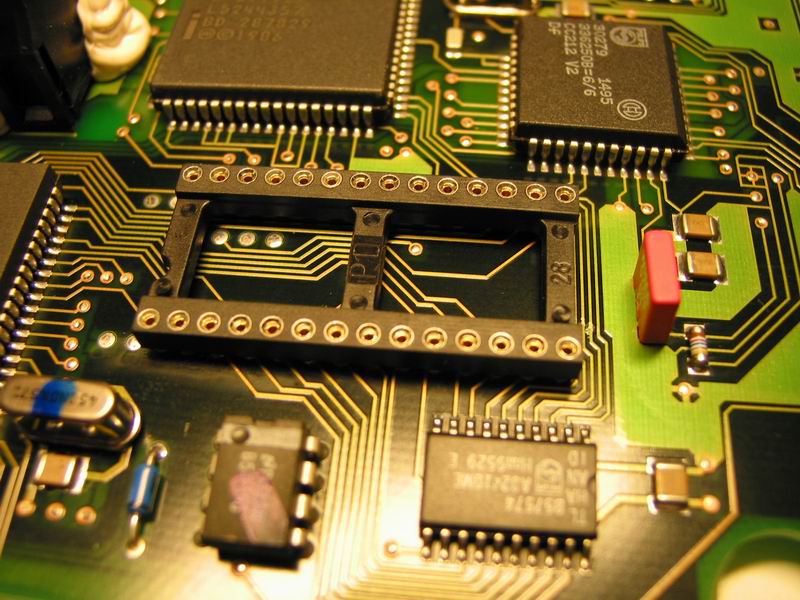
The tuning chip is fitted in a socket, making it easy to return to the original or fit another chip without soldering.
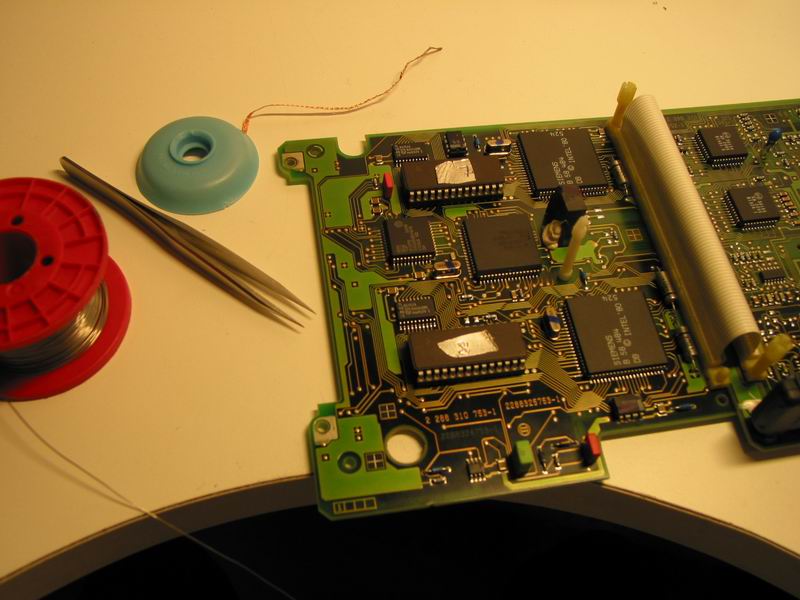
Both chips installed and the job done. The chips are essentially EPROM/EEPROM memory that can be erased and reprogrammed, with UV light in this case or electrically for the appropriate type. In newer cars, reprogramming is possible through the diagnostic port without physically touching the ECU.
Then reassemble and refit the ECU in reverse order and take a test drive... It works!
Includes original English text and AI-assisted translations.