ARCHIVE / PAJALLE
VW Jetta Syncro
The long story of Heikki’s all-wheel-drive Jetta: rust repairs and mechanical upgrades, its 2014 return to the workshop, and the start of the Africa trip in winter 2026.
A second car
In summer 2006 Heikki moved back to his home region in northern Satakunta. Tampere's blue buses don't run very often out here, so a second car was needed for his girlfriend to get to work too. We thought hard for a couple of weeks. The budget was ten thousand euros, and we test-drove a few mk4 Golf GTIs.
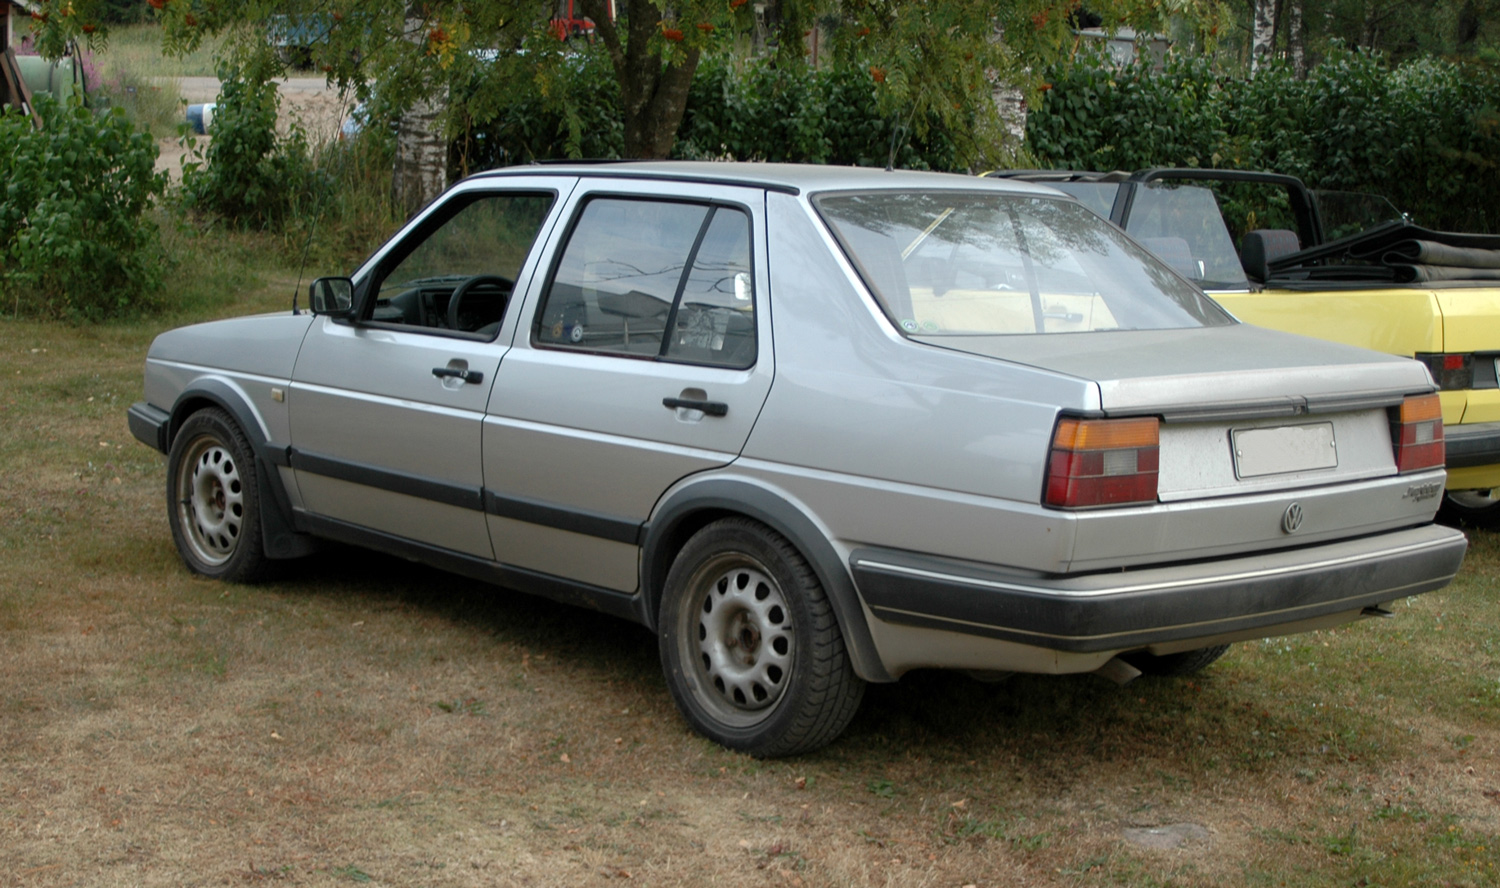
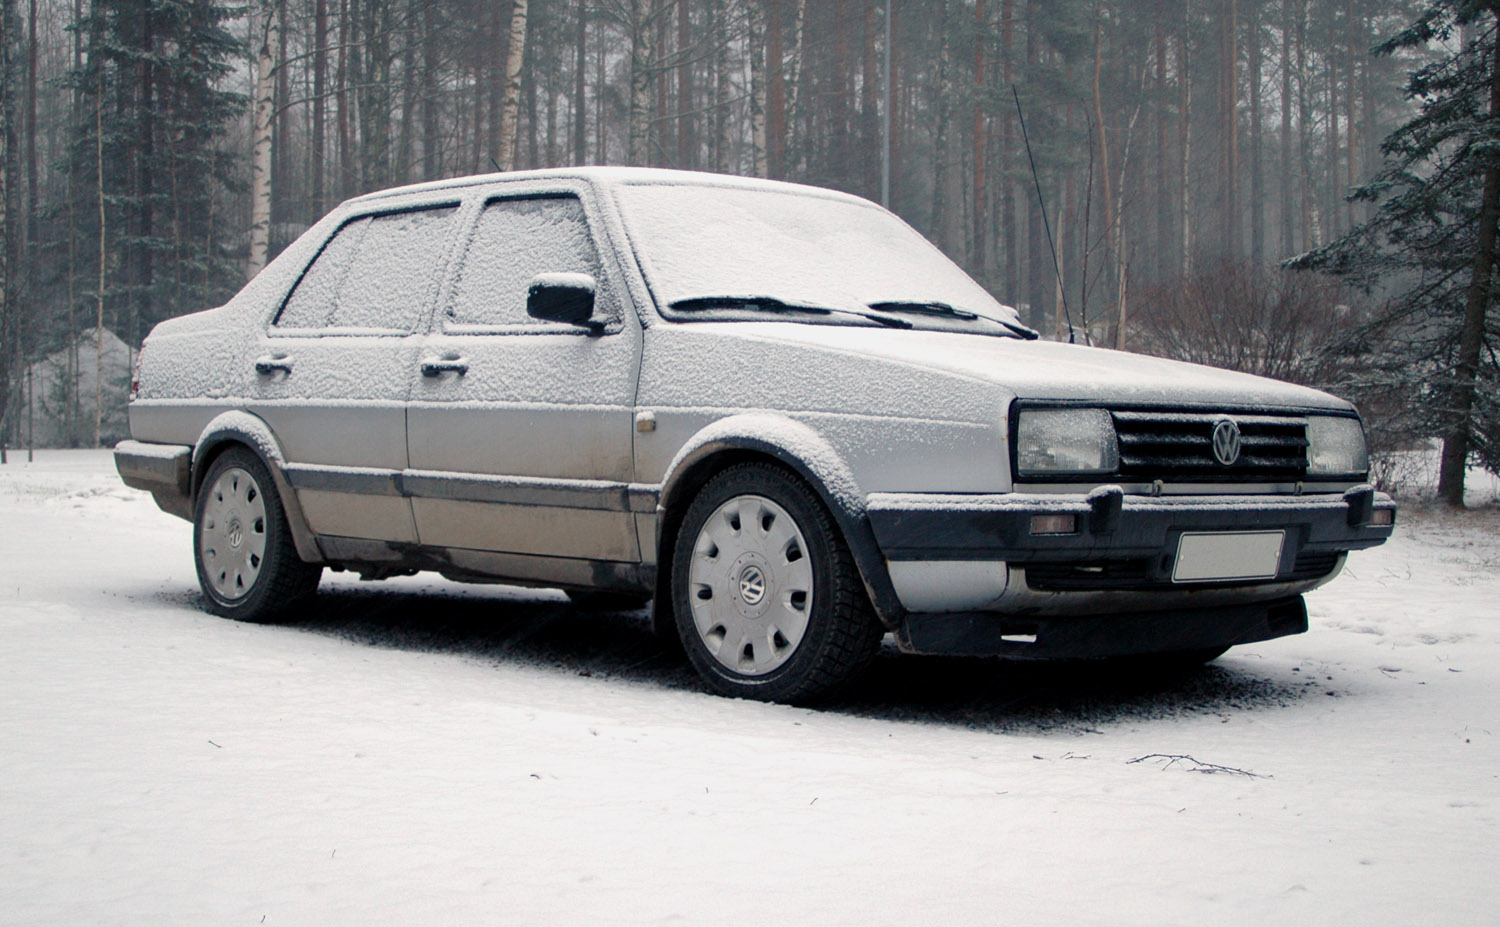
Then inspiration struck. A friend had a Jetta for sale, so it was back to our roots and behind the wheel of a mk2. Not just any Jetta either: a genuine factory four-wheel-drive Syncro Jetta, originally sold in Finland.
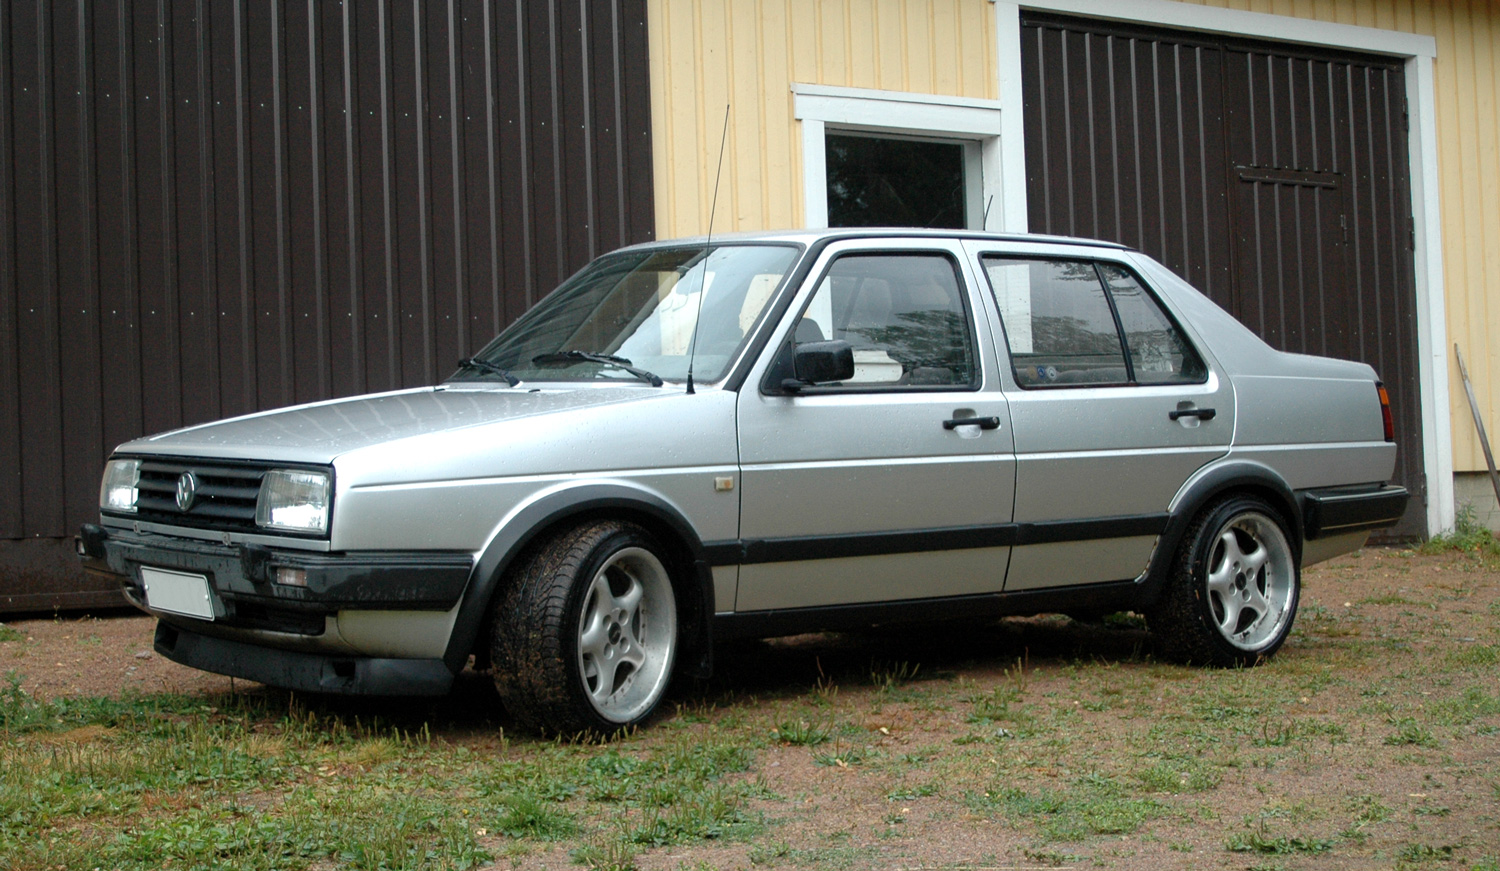
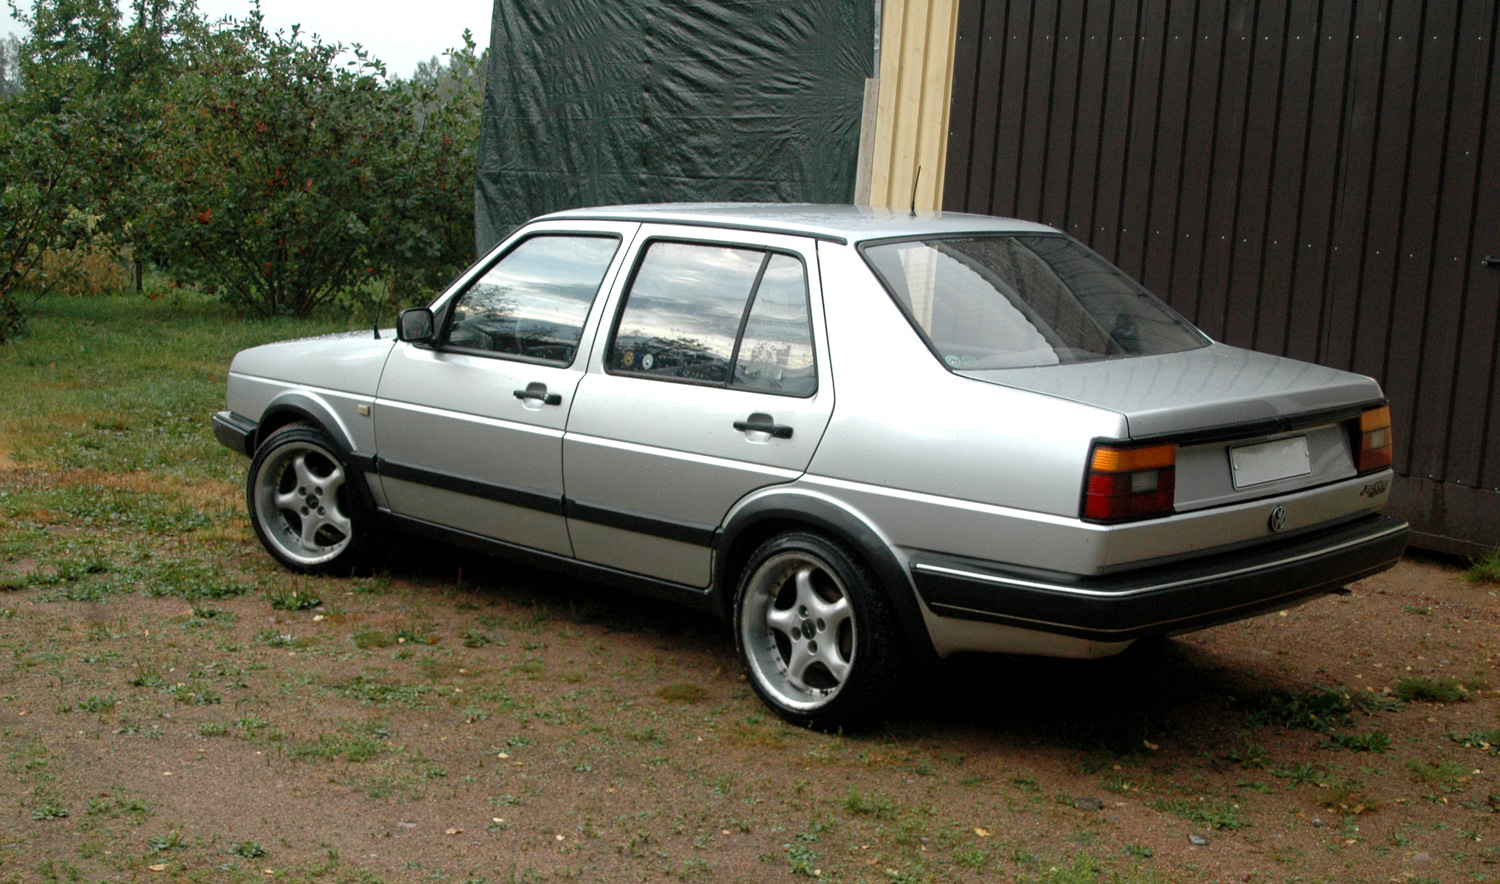
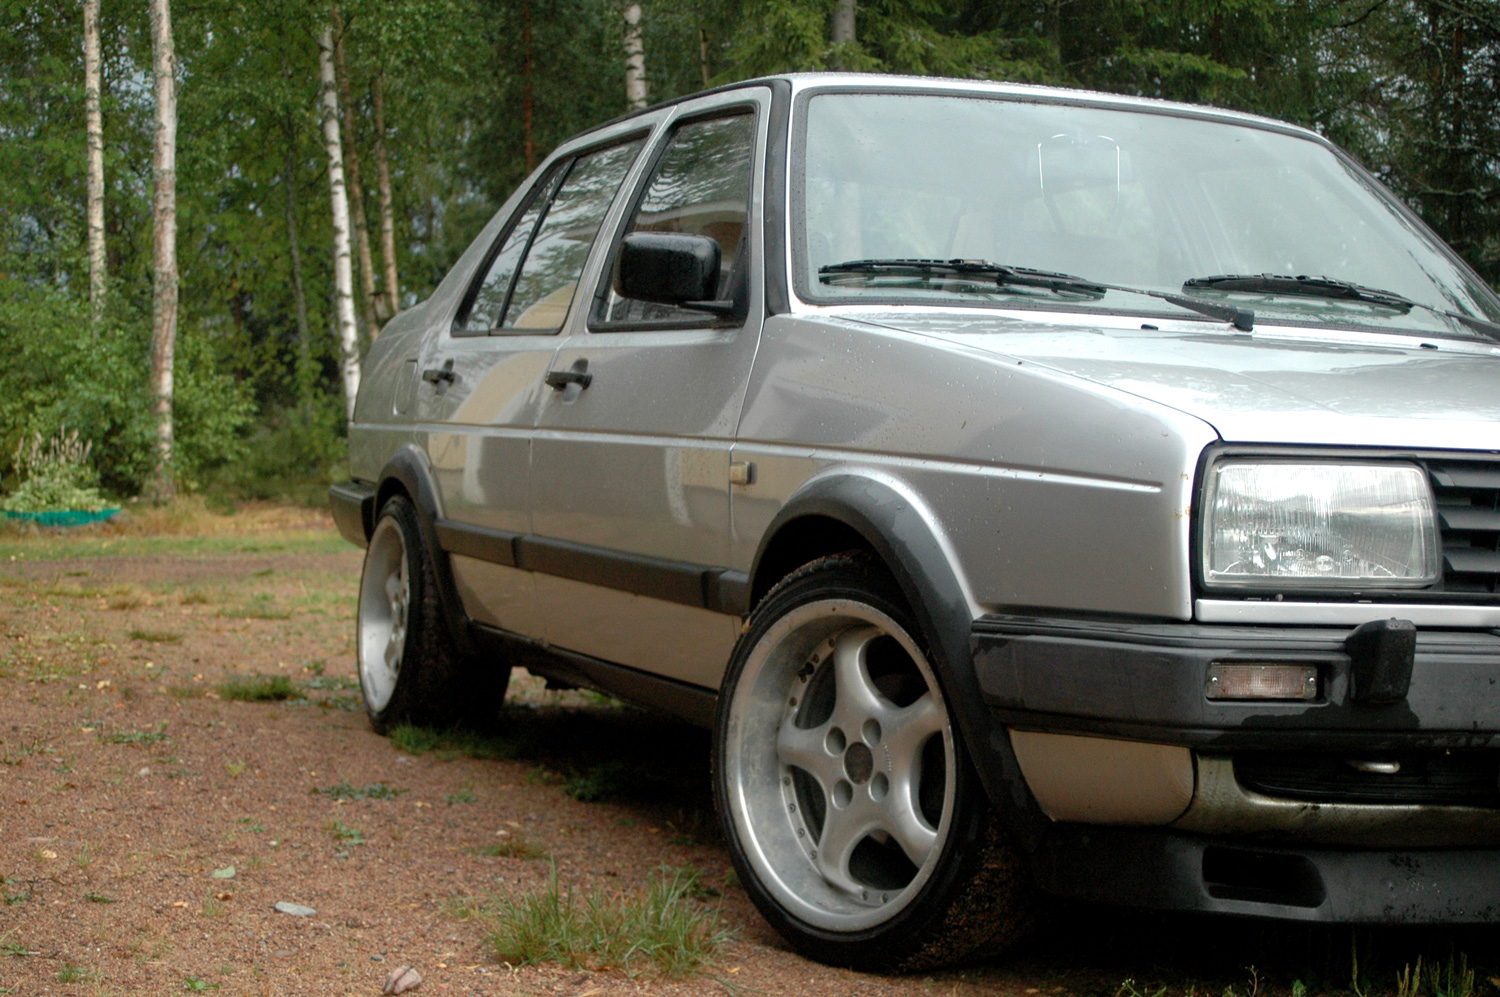
The Jetta arrived on 13-inch wheels; the first photo already shows the extravagant upgrade to 15-inch steels. Power comes from a 90 hp 1.8 GU with 330,000 km behind it.
My brother bought some bargain 16x9-inch Borbets, Design R ET30, for his Cabrio. Of course they didn't fit... but naturally they fit the Jetta!
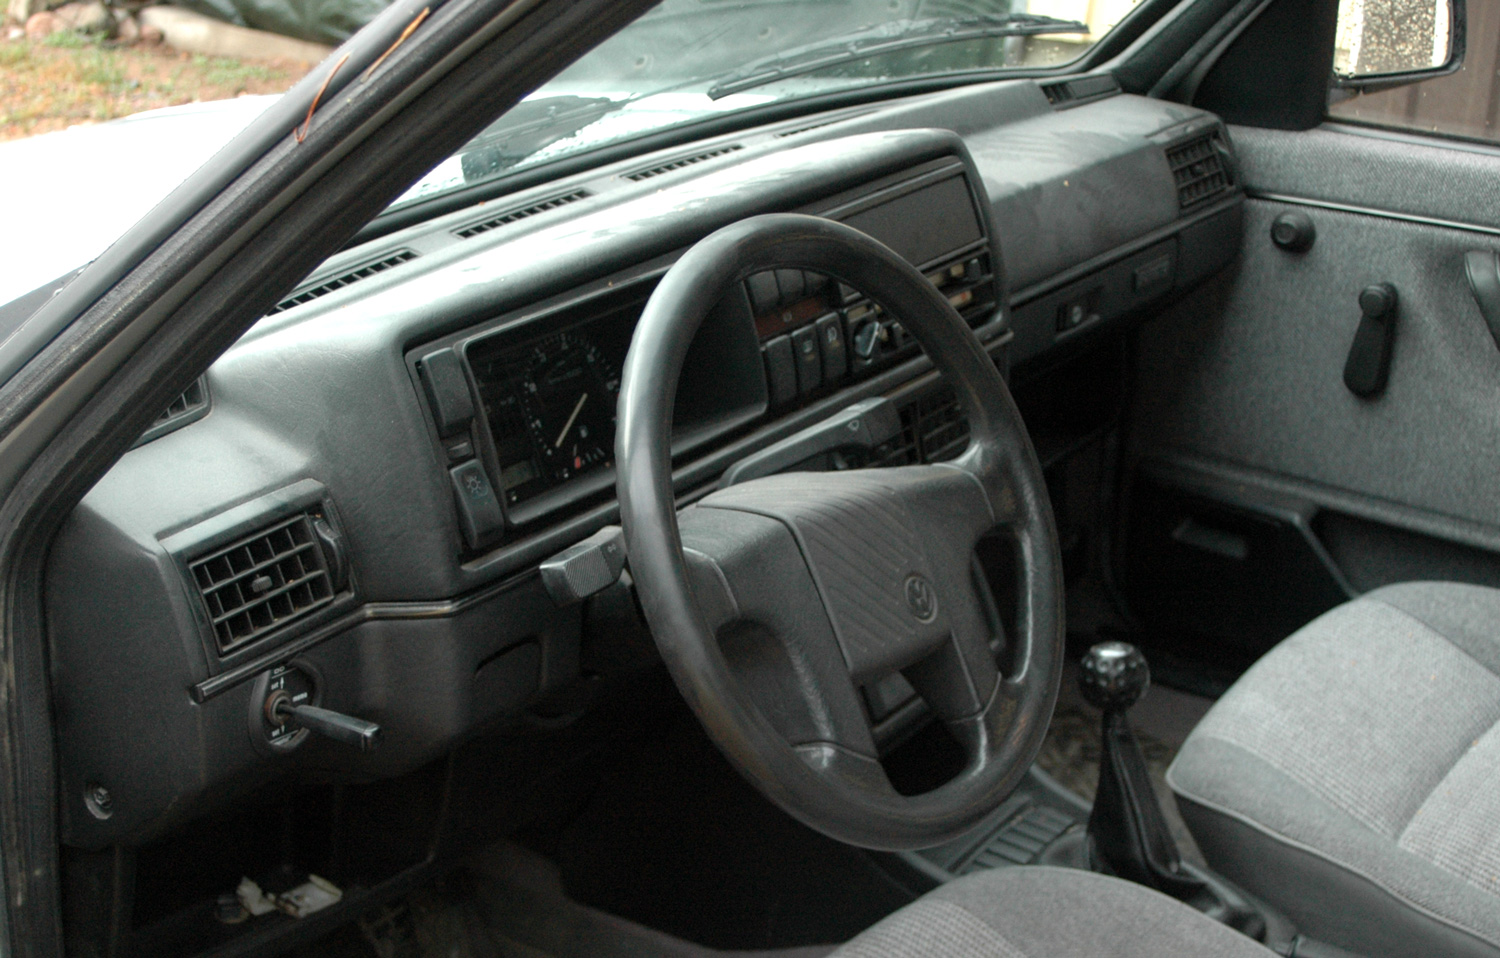
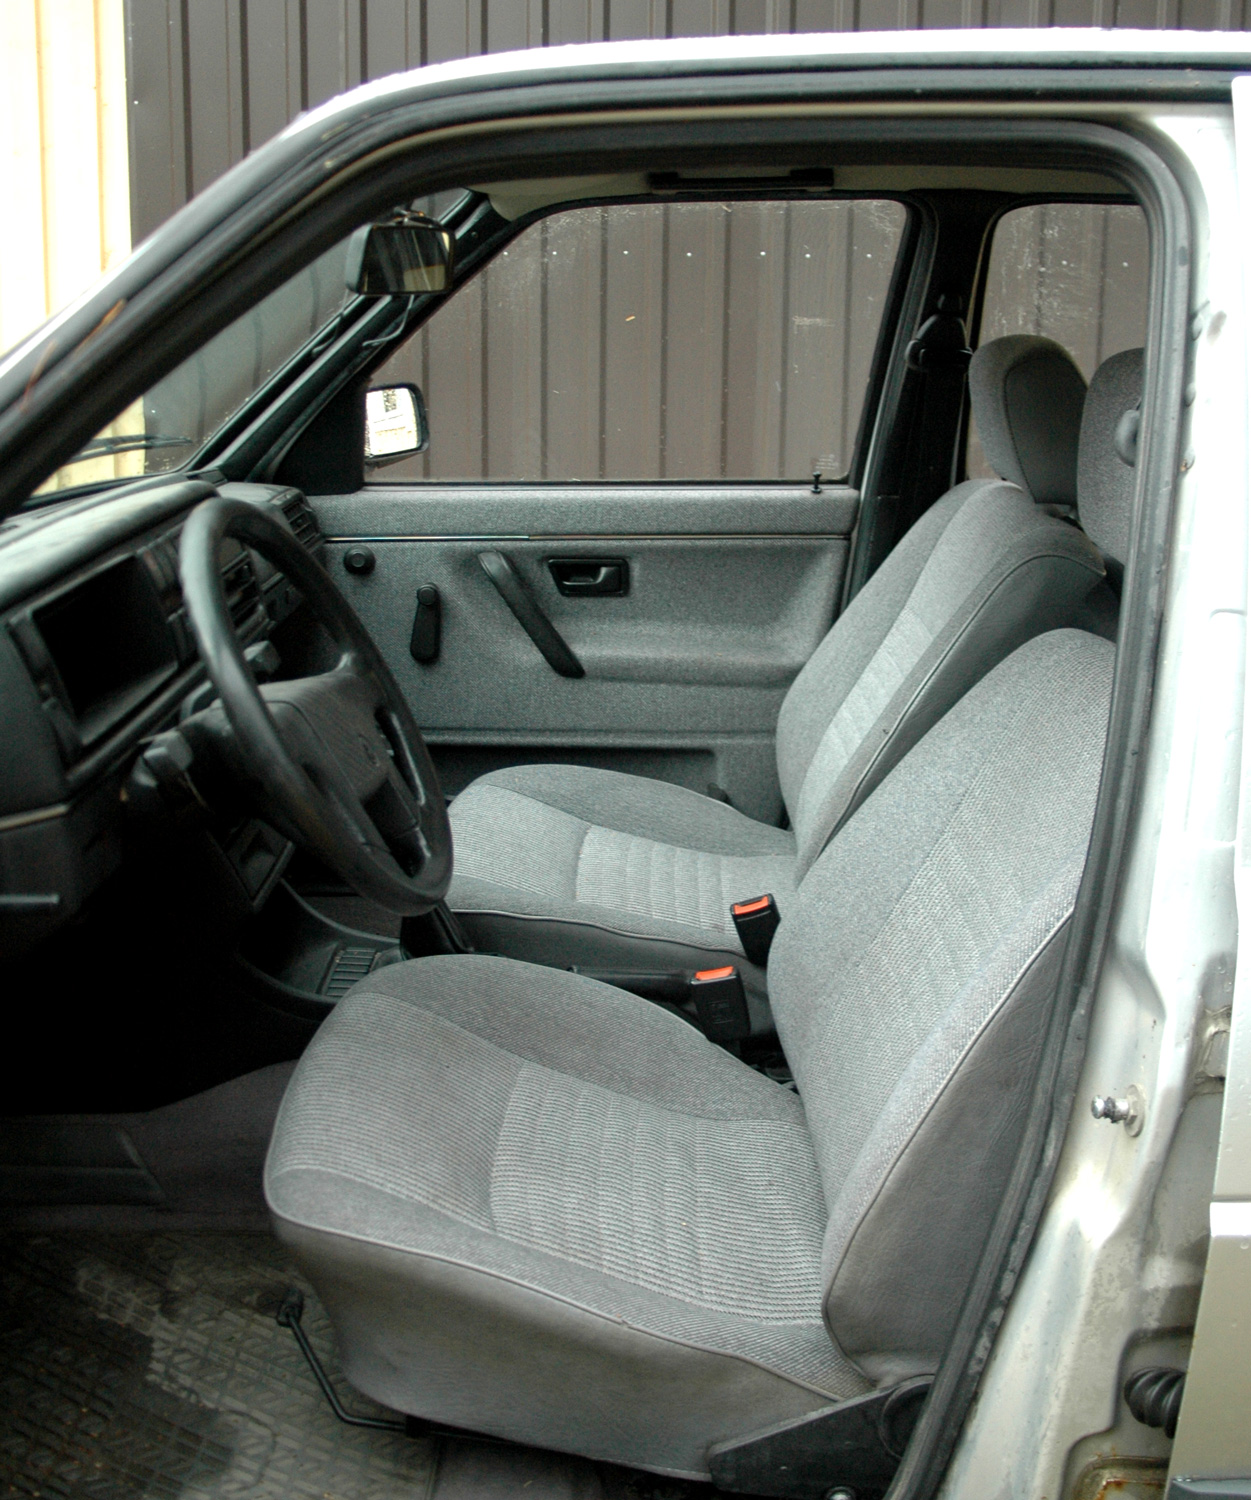
The interior is reasonably tidy. A sunroof, of course, and factory central locking. A little VDO cruise-control stalk adorns the dashboard.
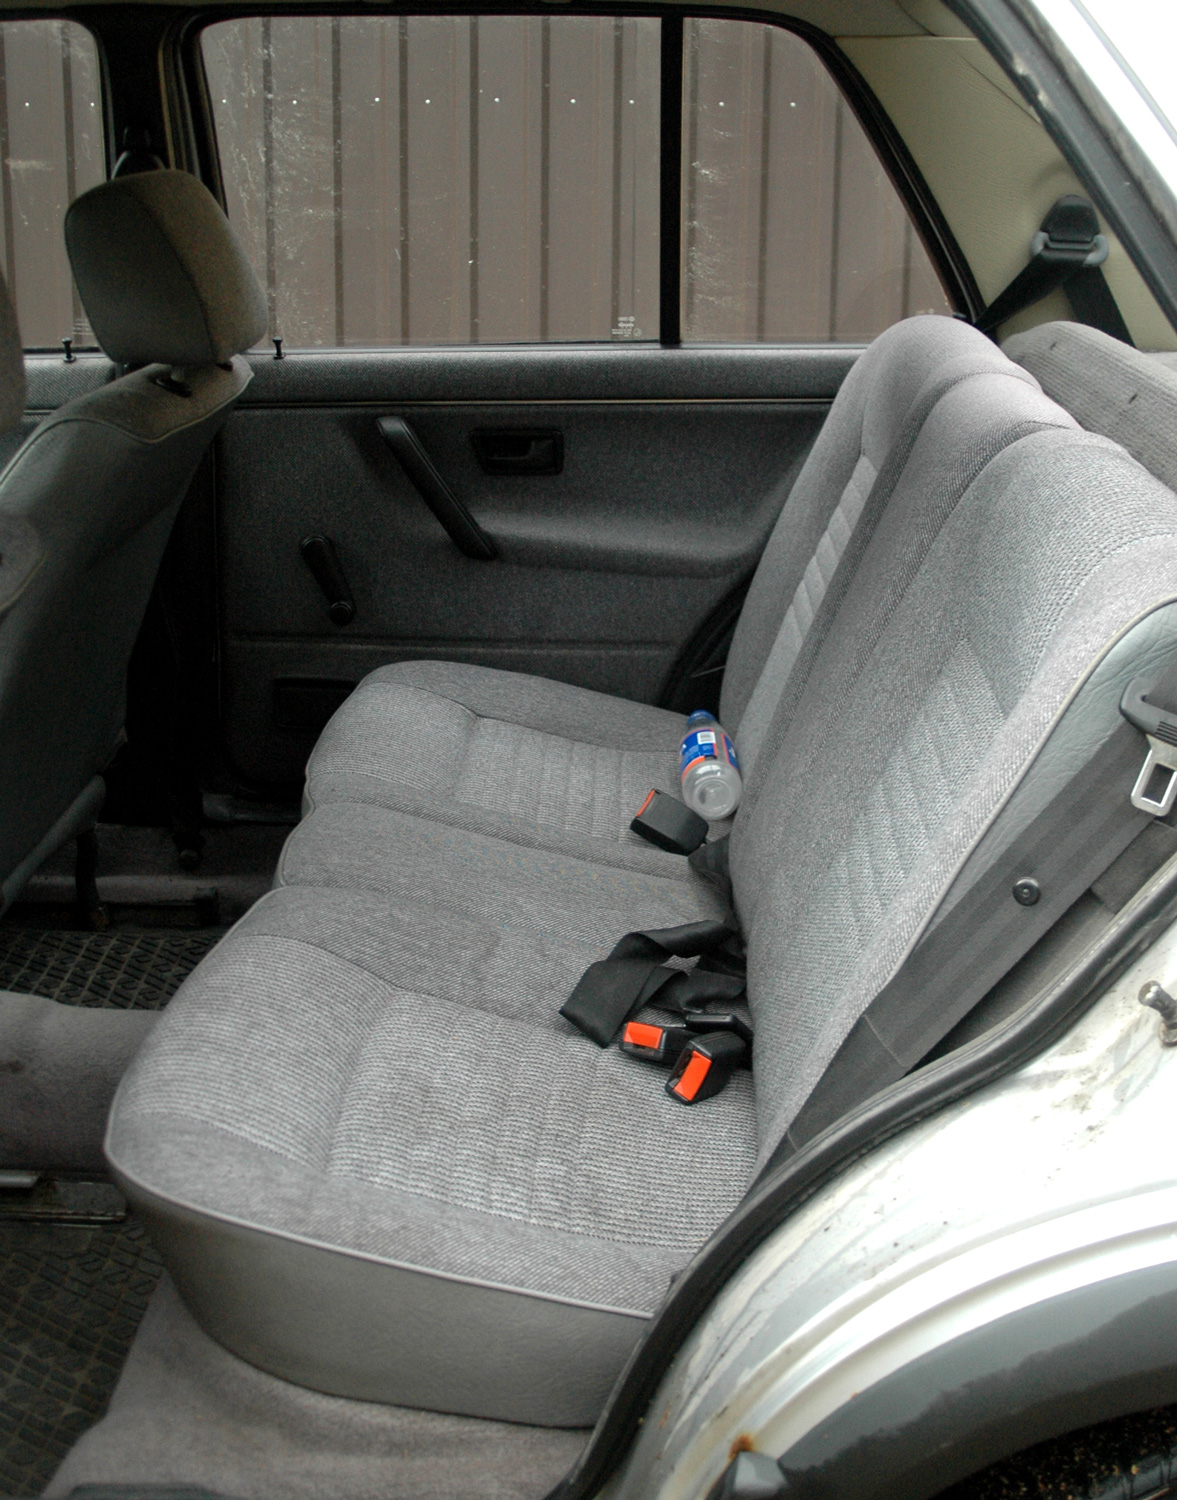
The rear seat has a folding backrest, something the front-wheel-drive version doesn't have.
Tackling the rust
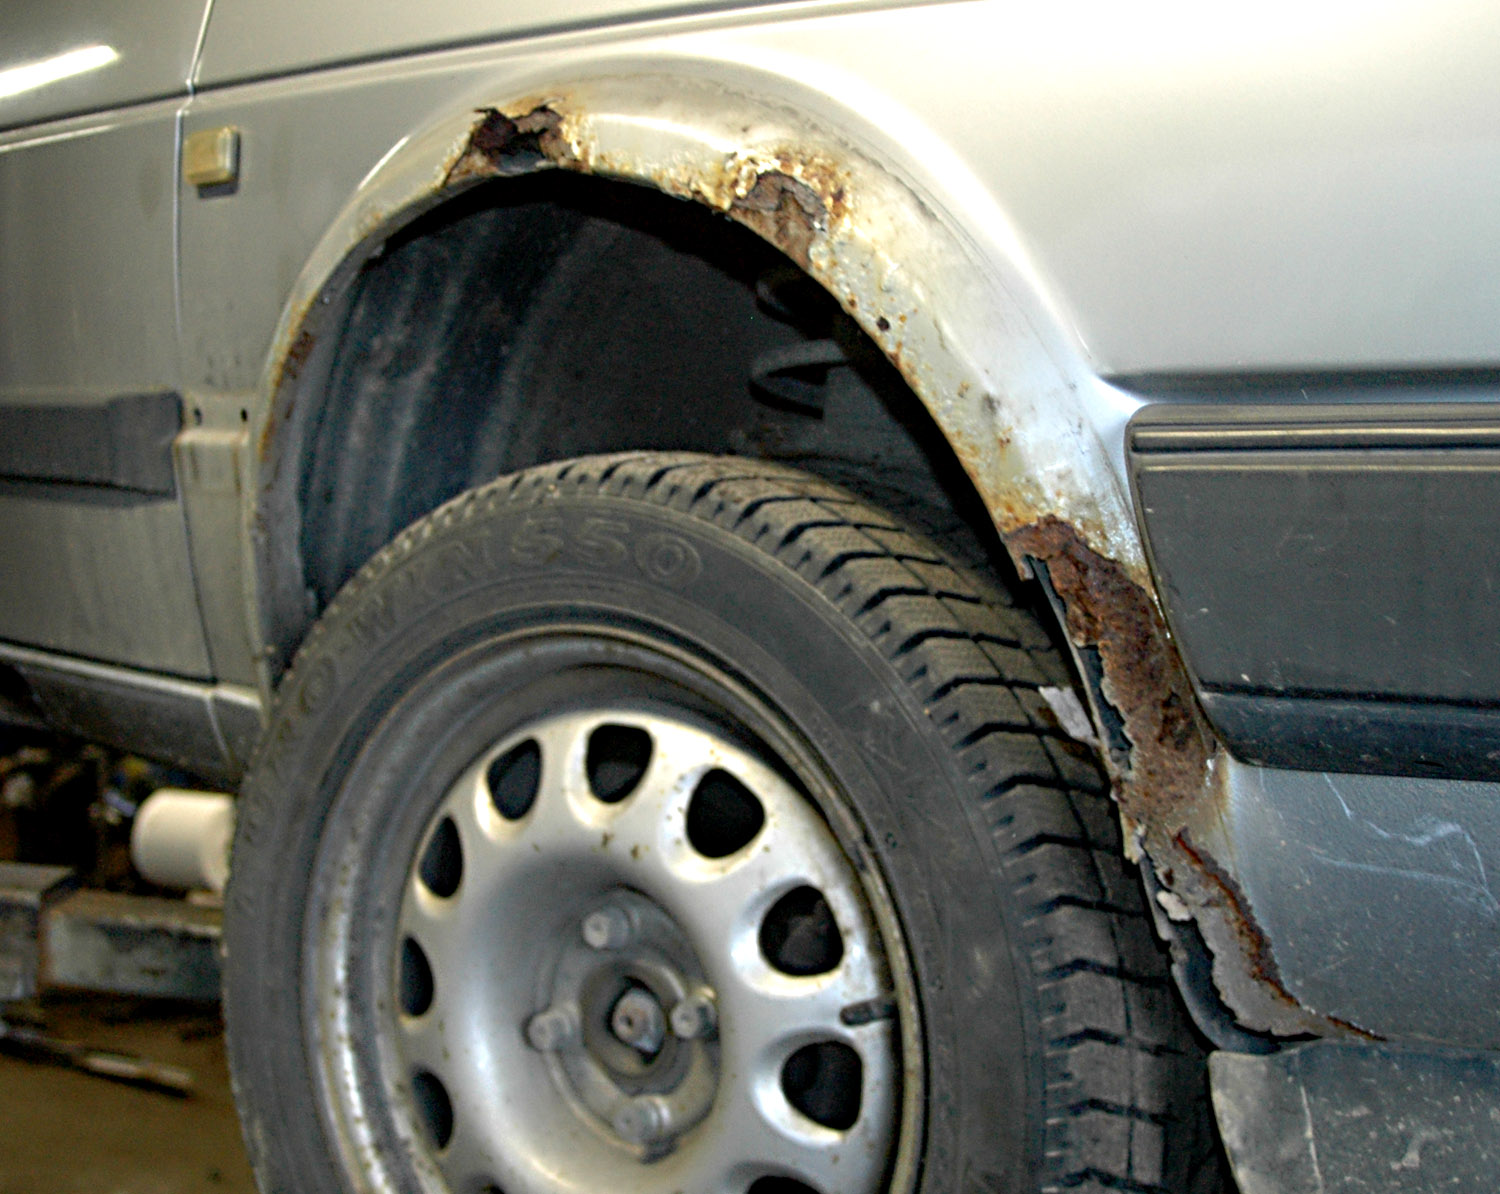
The spring 2007 inspection was approaching. We knew there was some rotten metal and couldn't really present it like that. Both sills needed replacing, as did the front and rear sections of the rear inner arches. Once we started digging, a little more welding turned up...
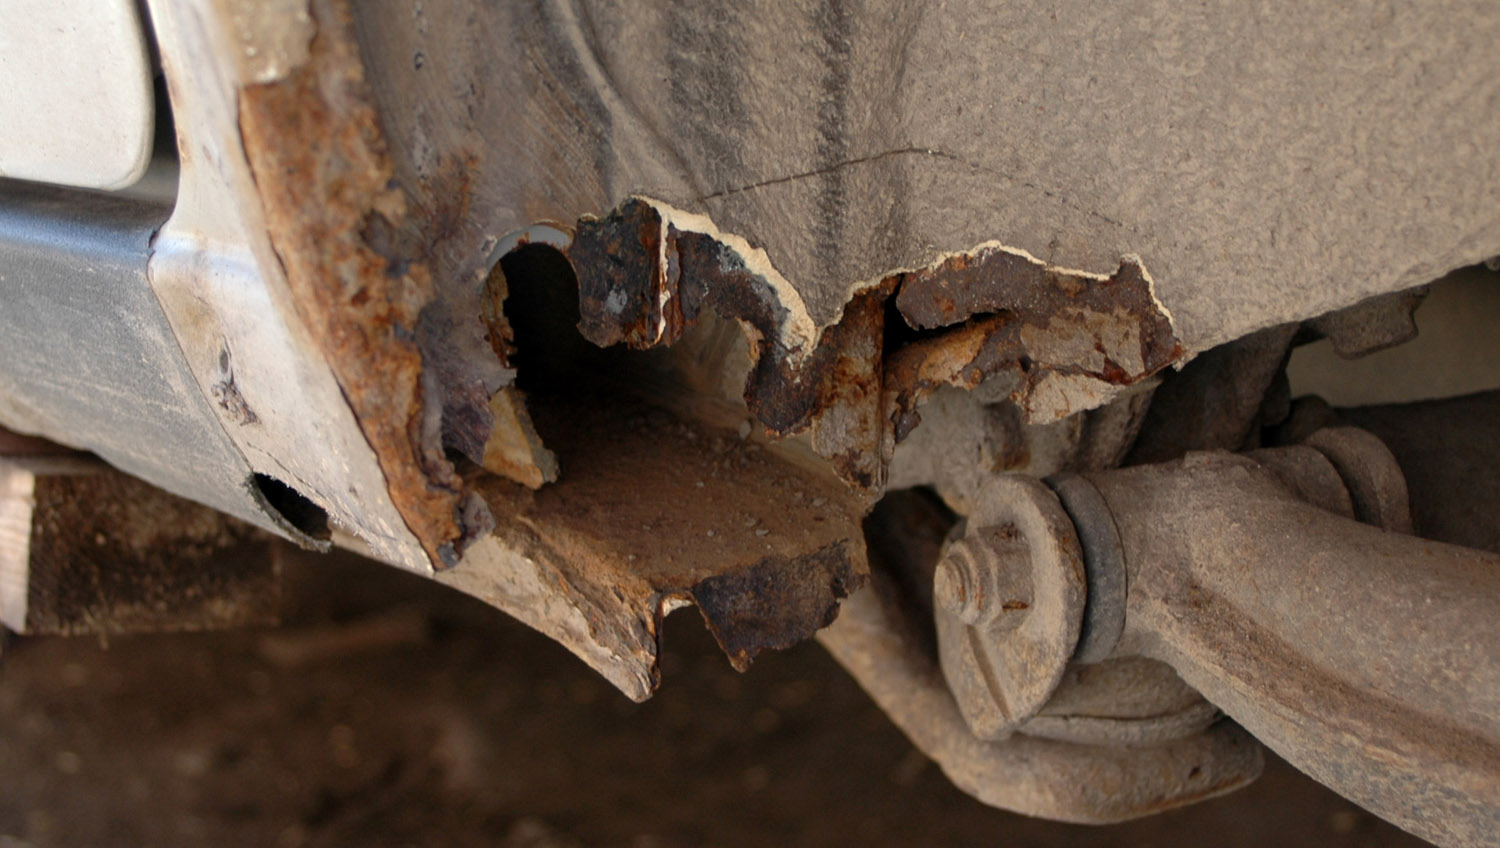
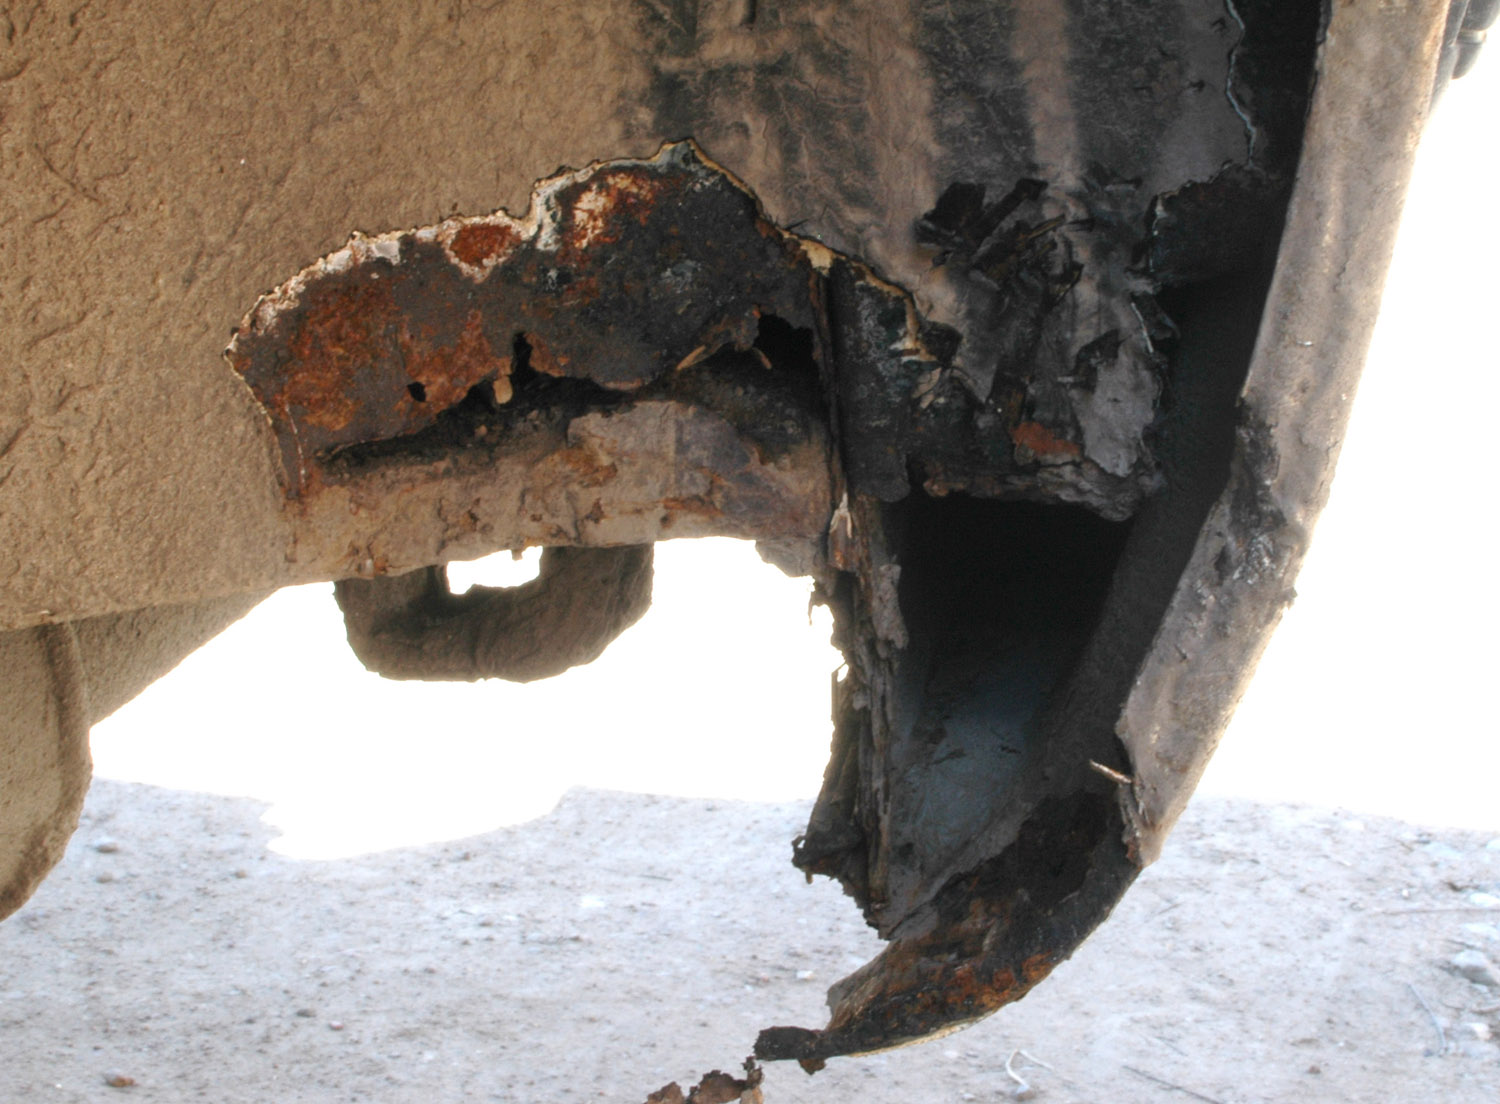
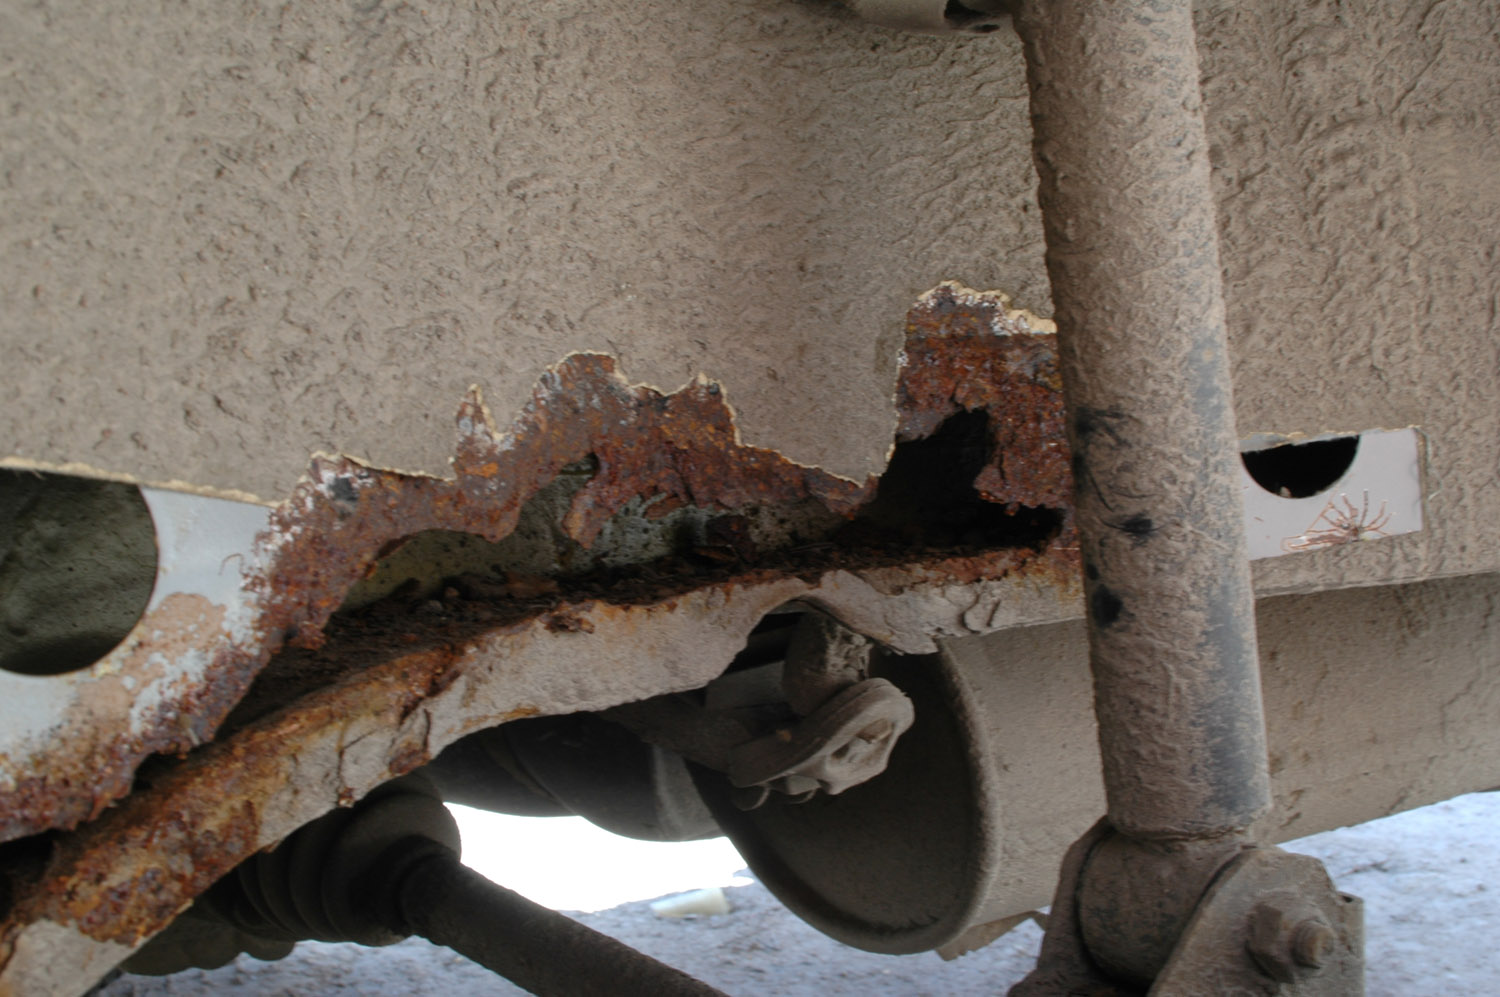
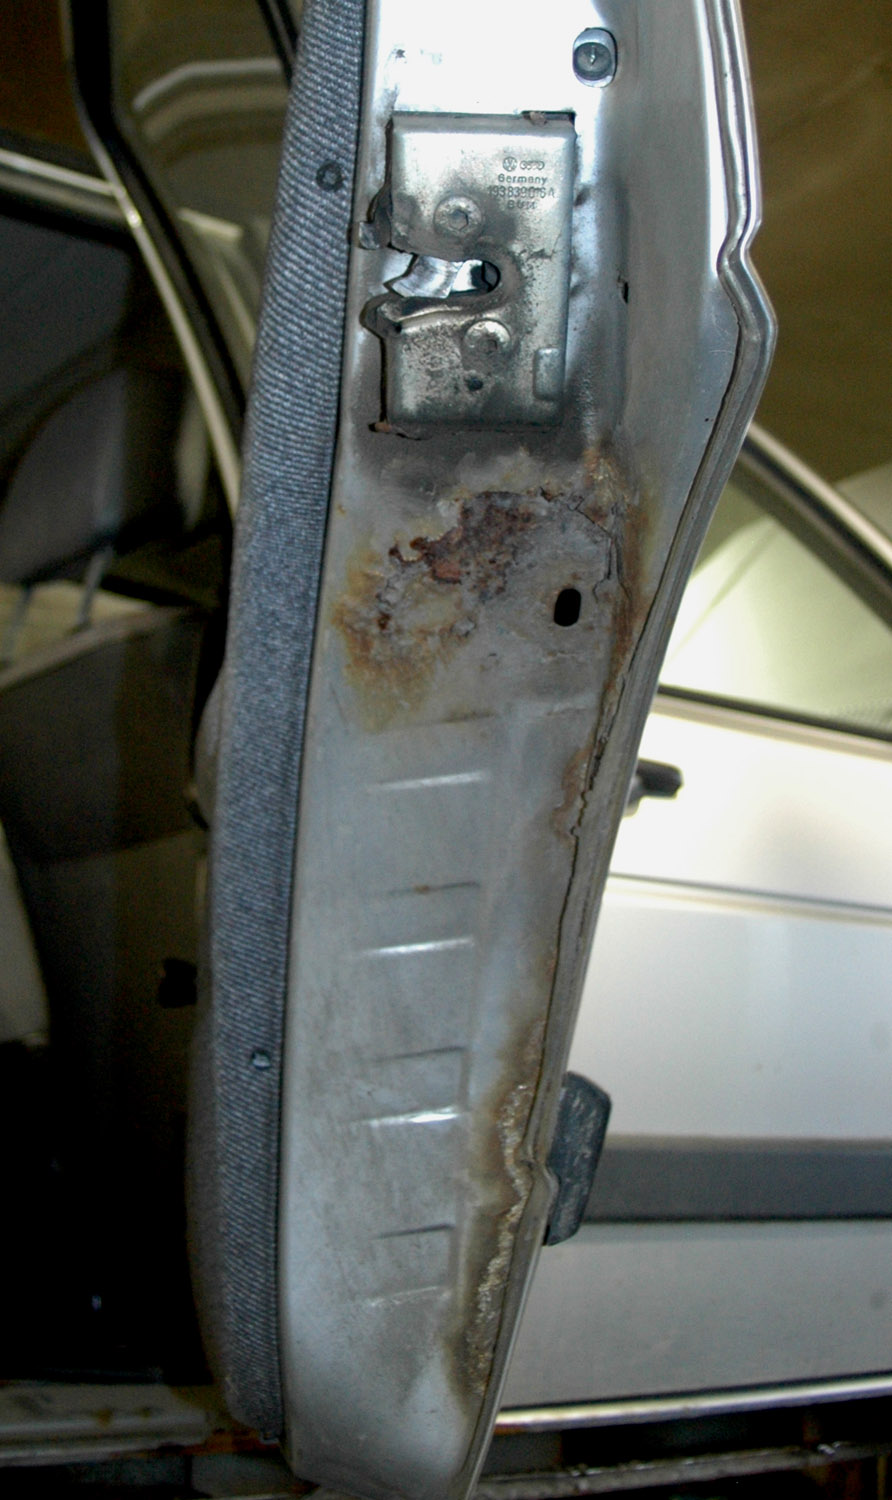
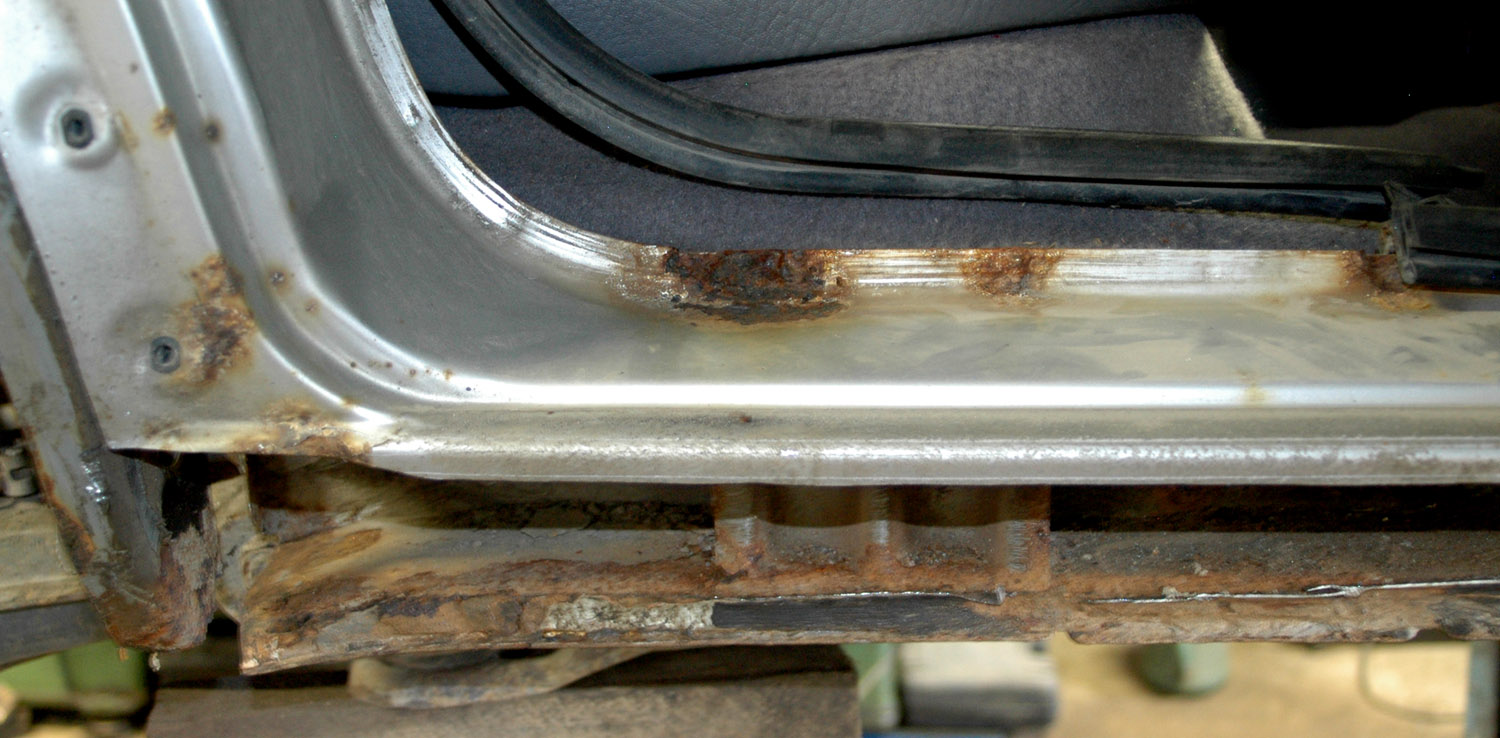
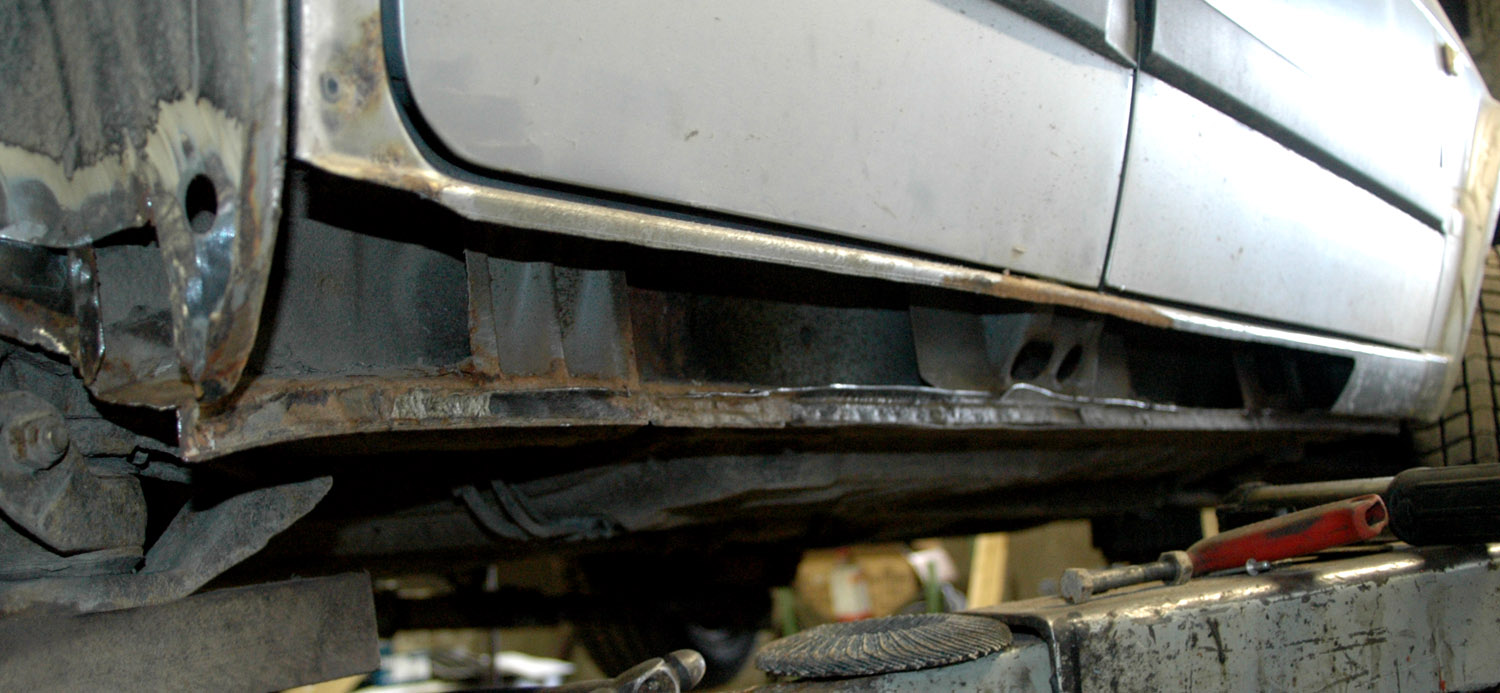
The sill cut open. At least the inside is usable.
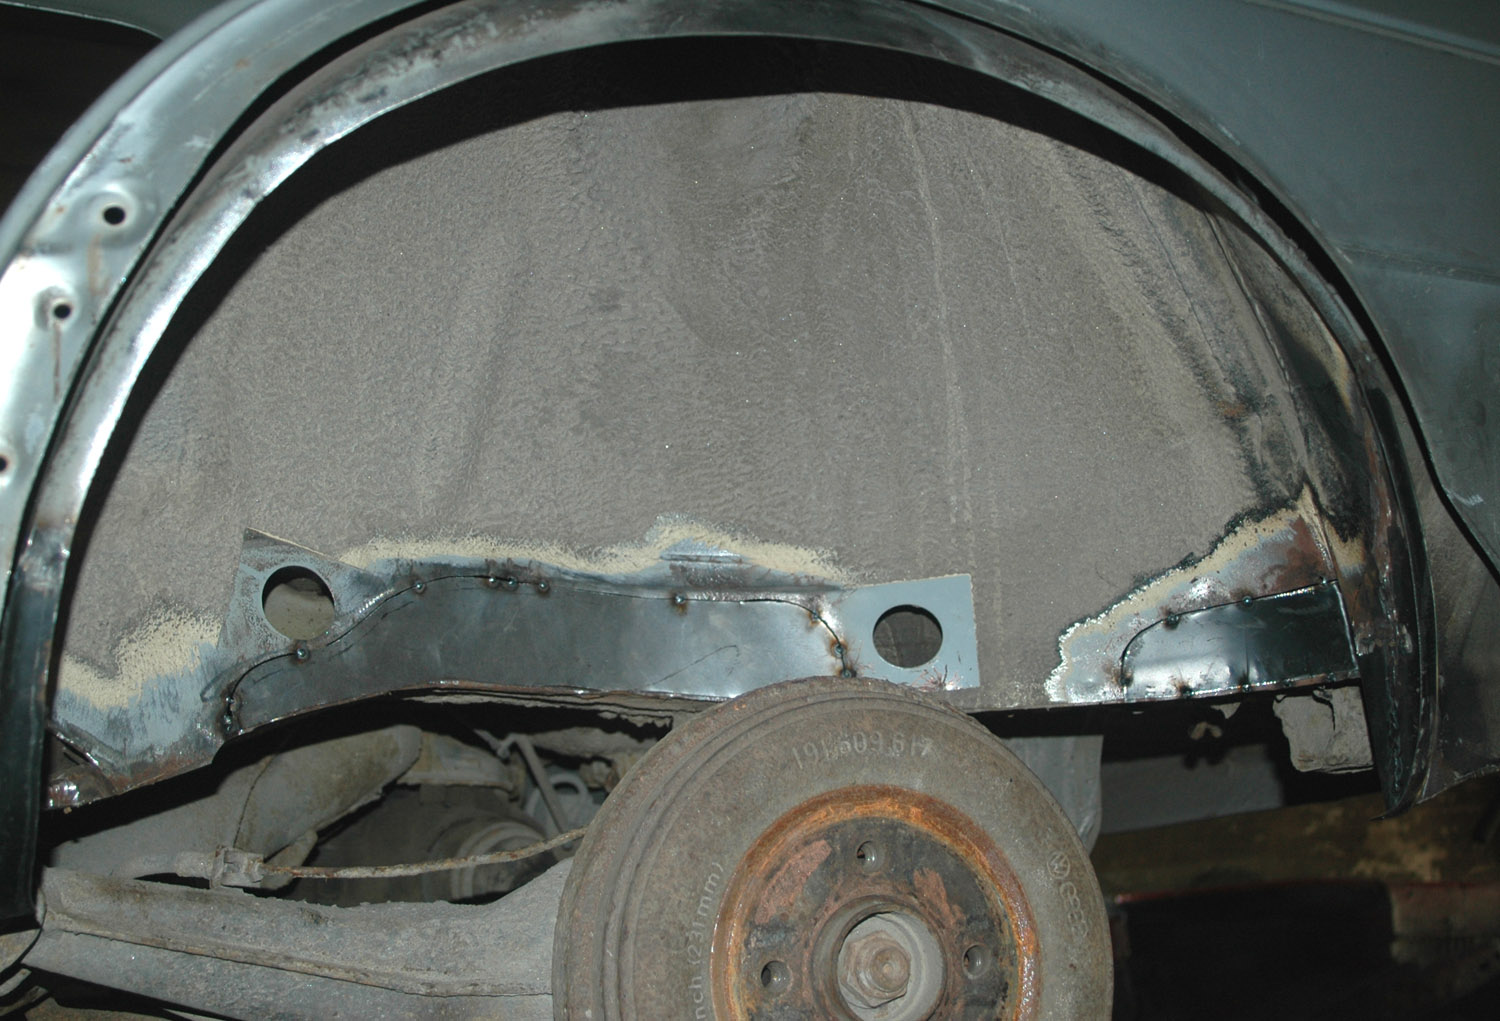
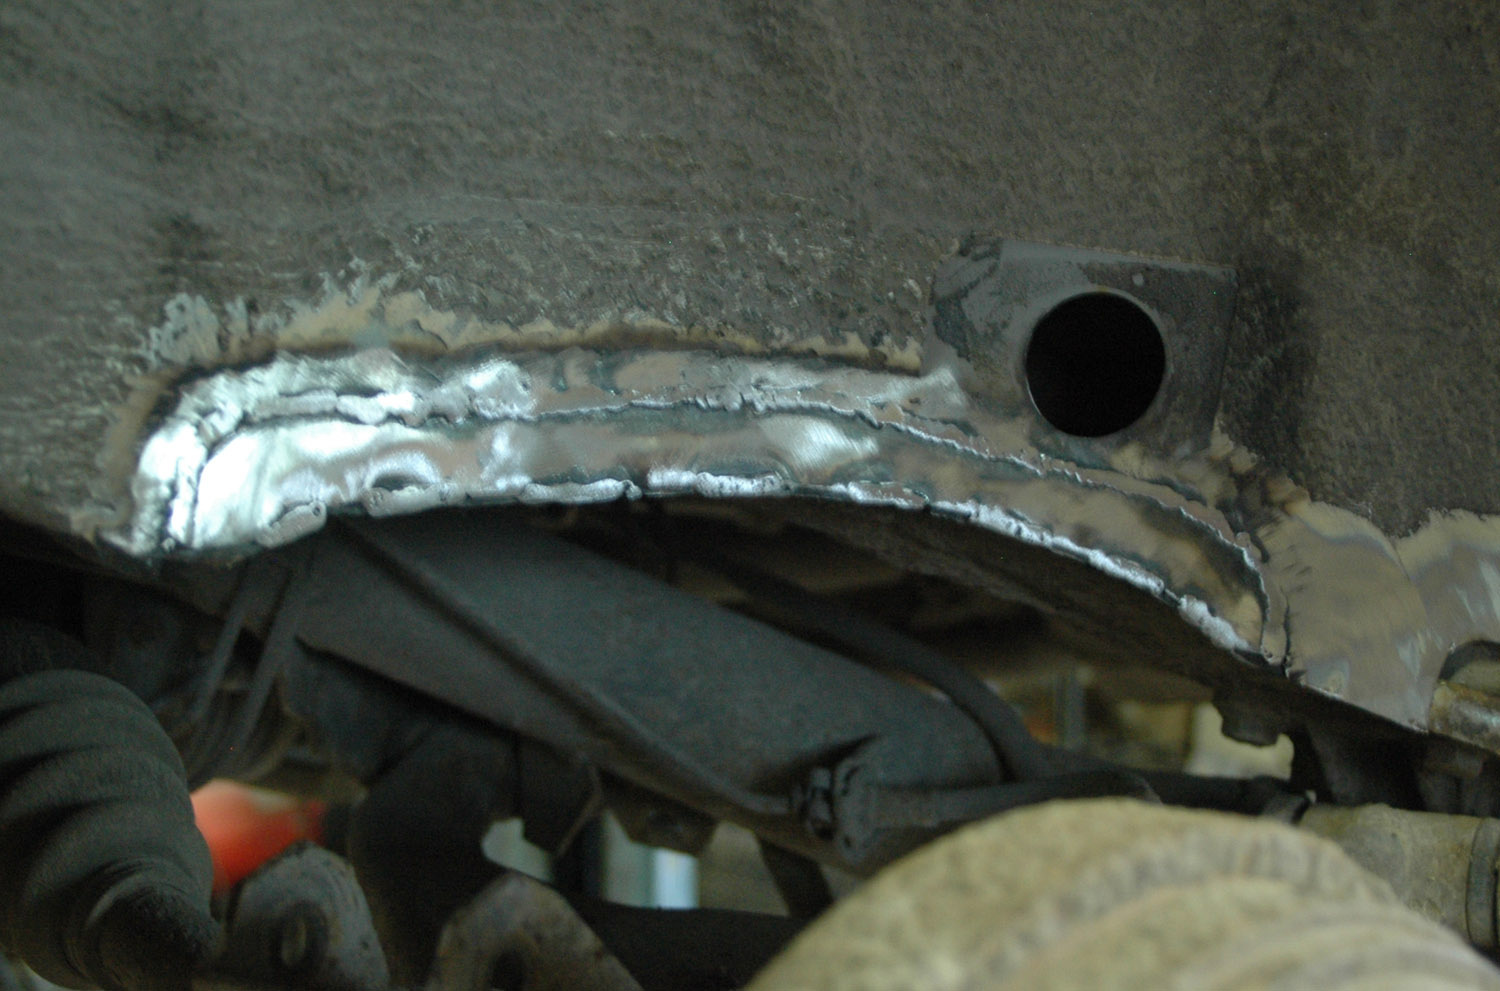
First we patched the inner arch behind the shock absorber.
Rear wheel arches
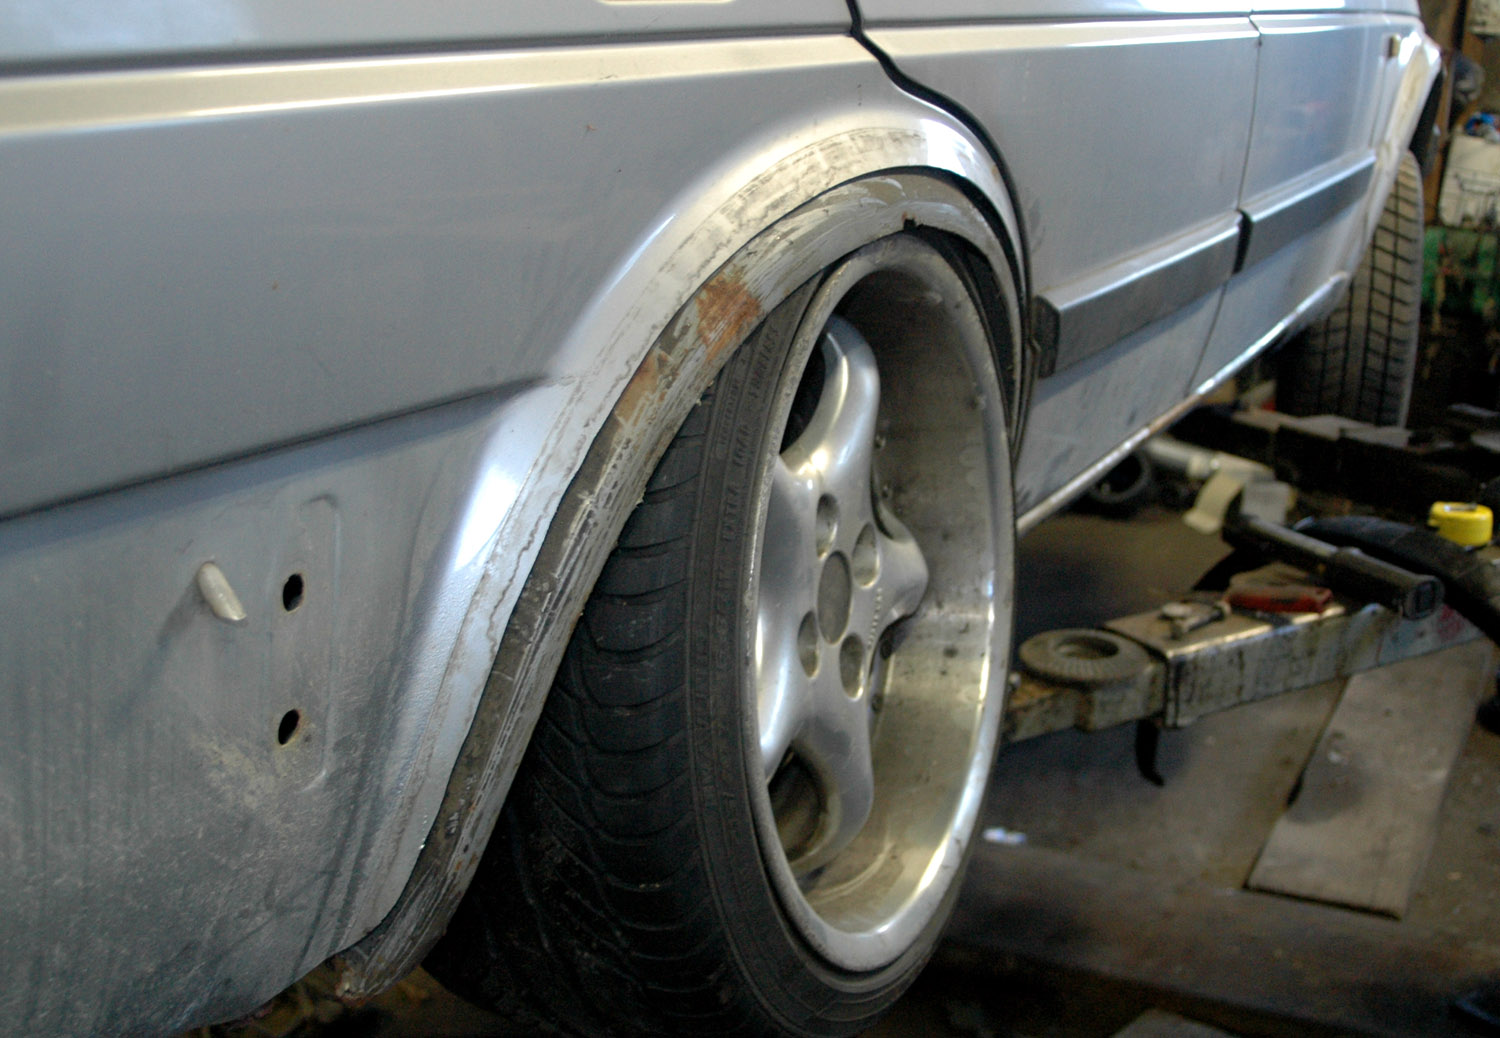
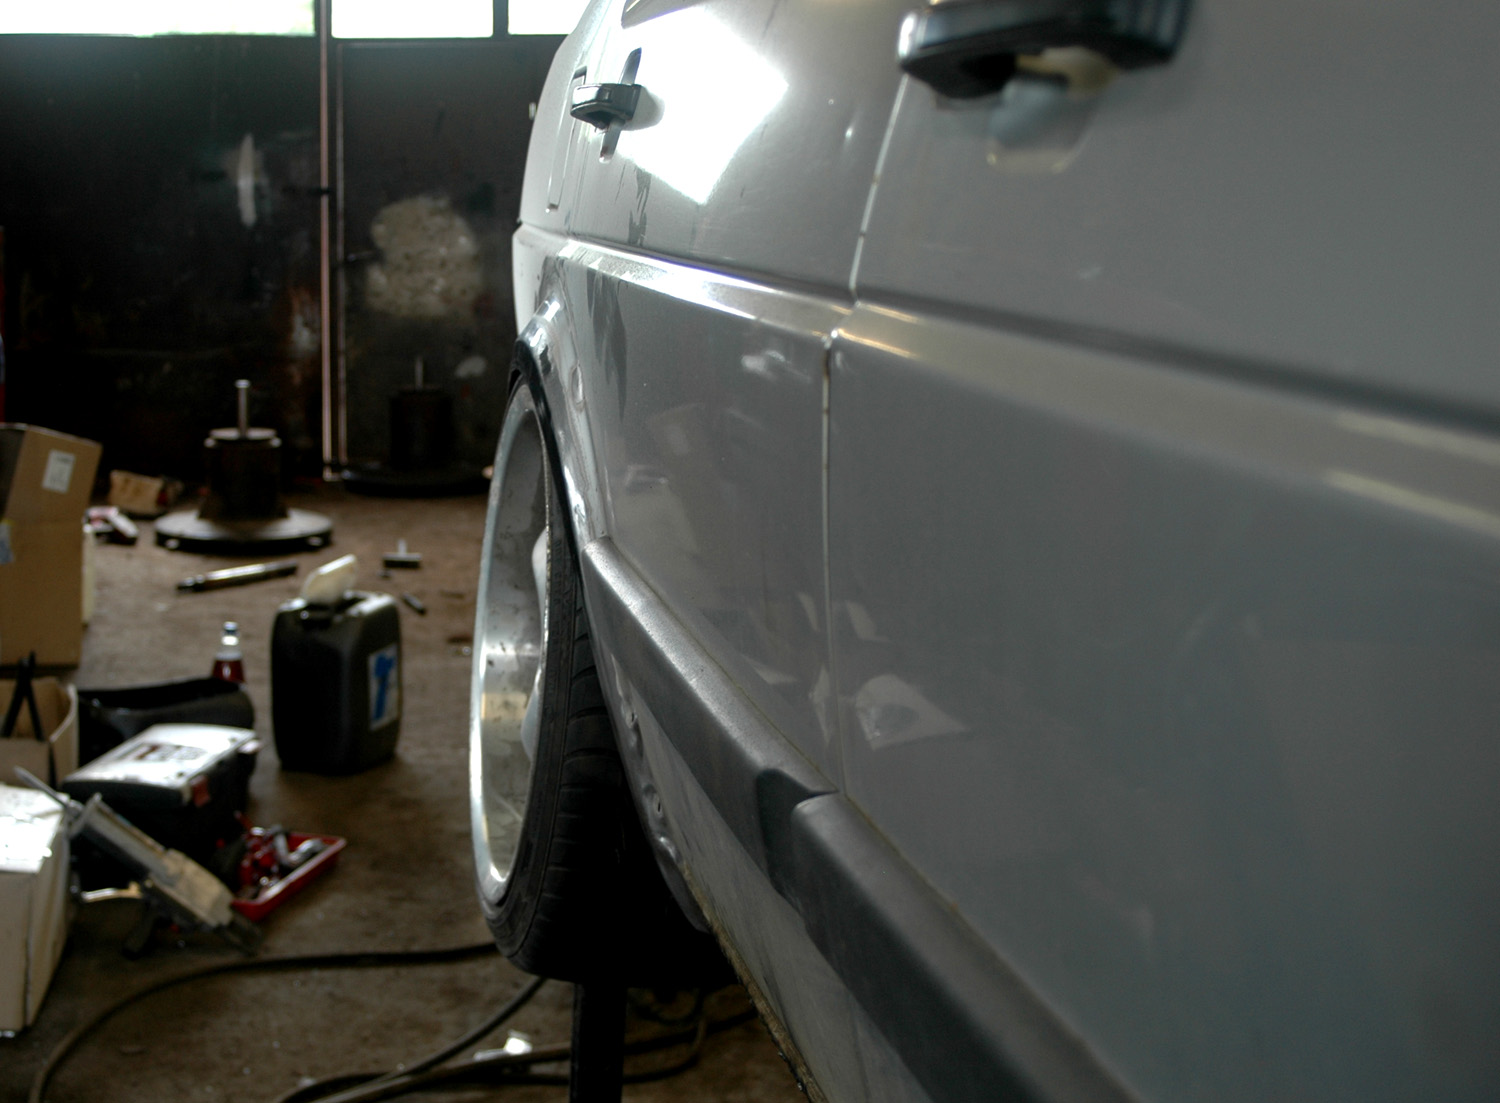
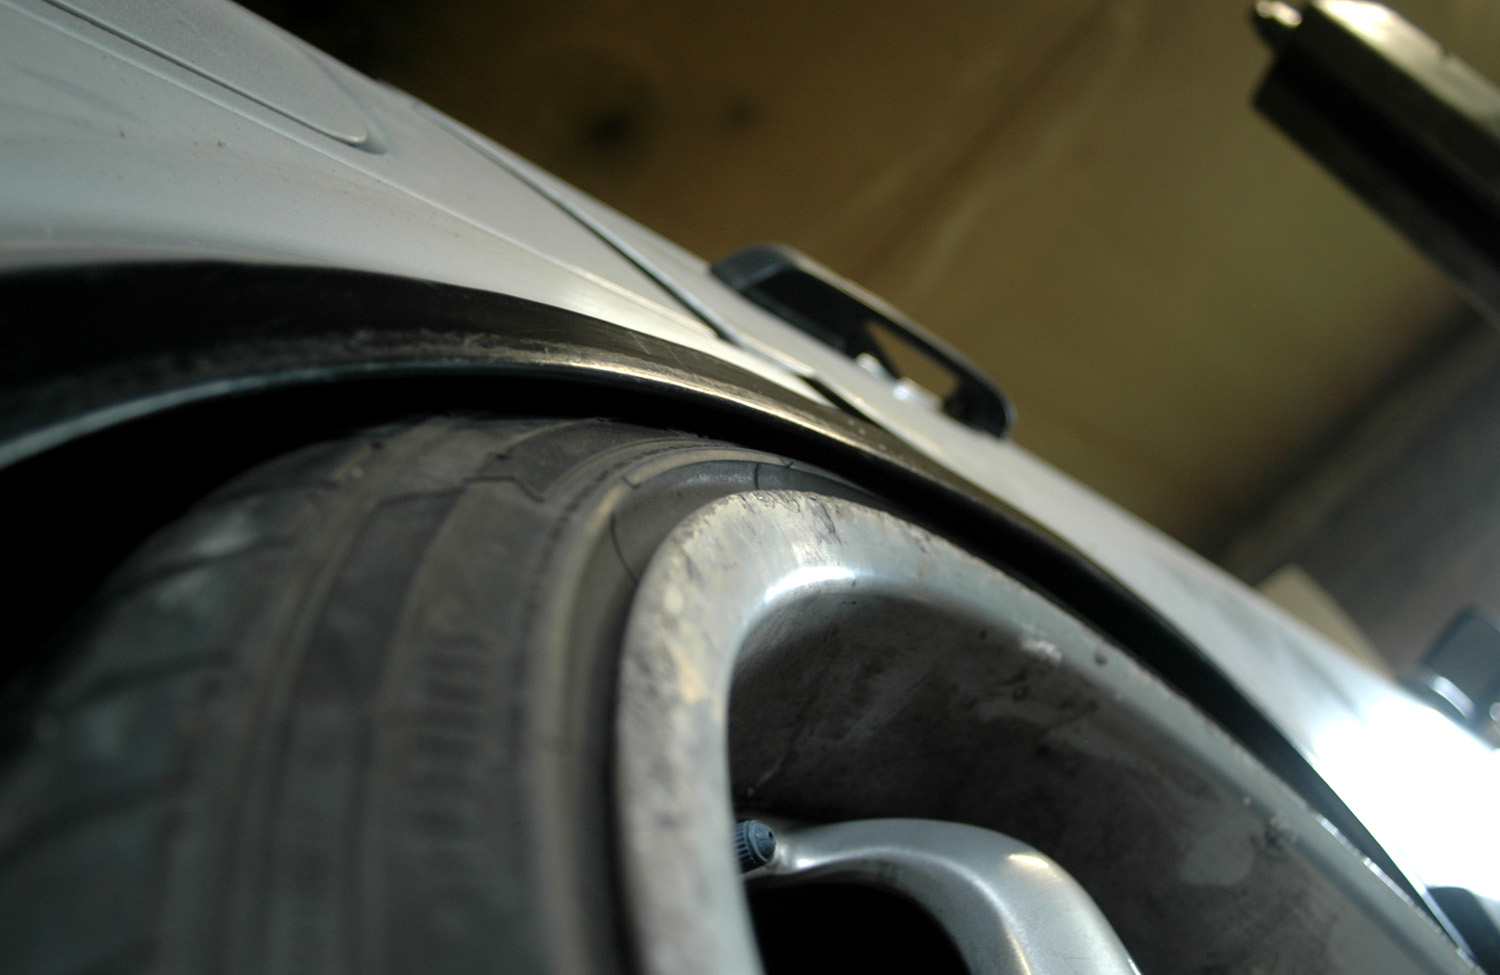
Initially we planned to widen the replacement rear arch like we had on the Corrado. Trial-fitting the 9-inch ET30 wheel showed that removing the lip—or rather folding it as on newer cars—was enough. Neither tyre nor wheel touched the arch at any point.
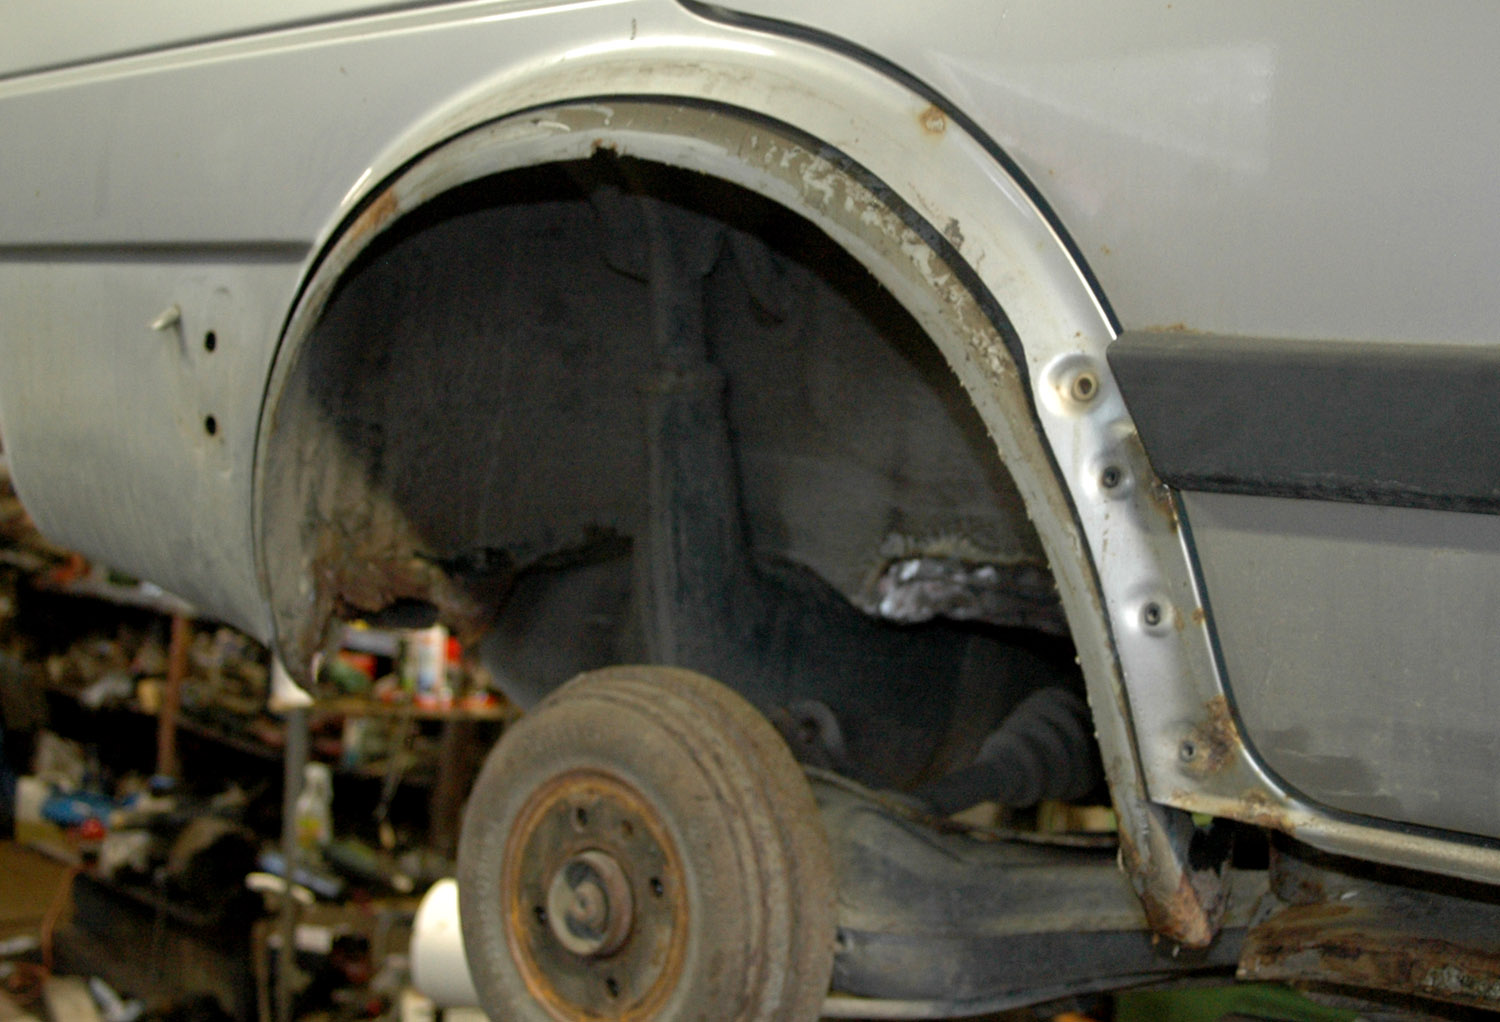
The outer rear arch skin and the lip of the inner arch cut away.
With this much lowering, the camber is starting to look 'right' too :) Off to the air-suspension shop?
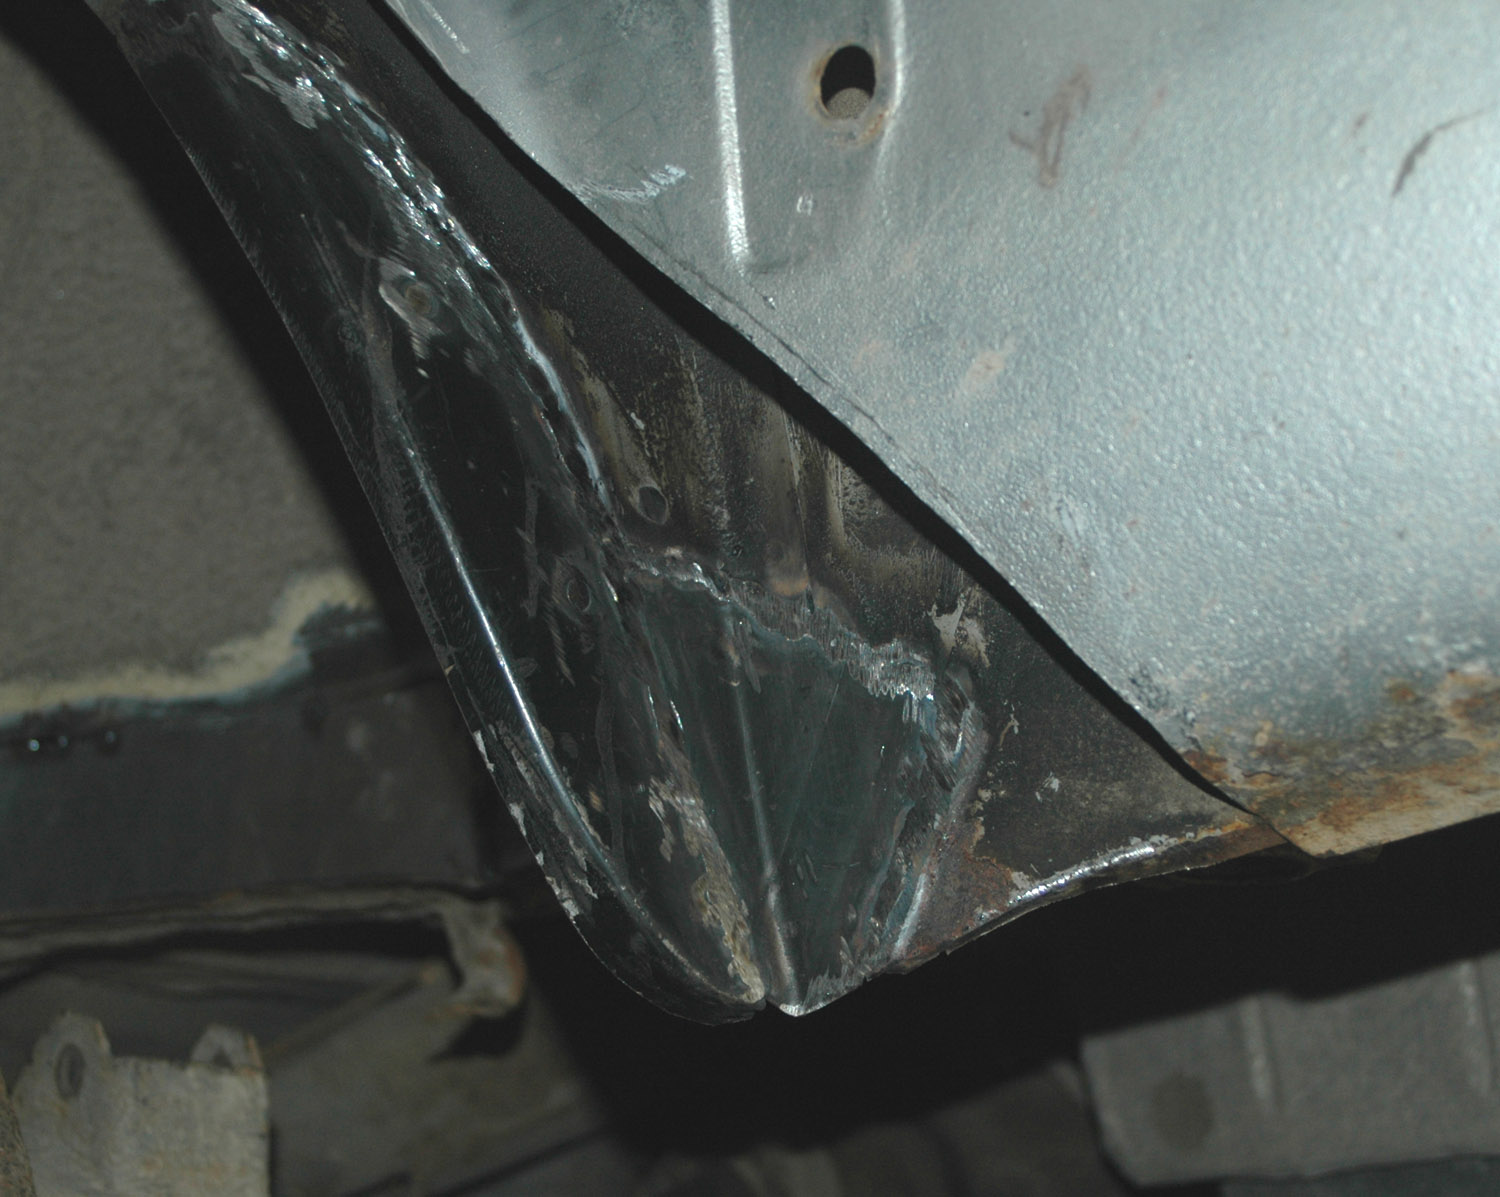
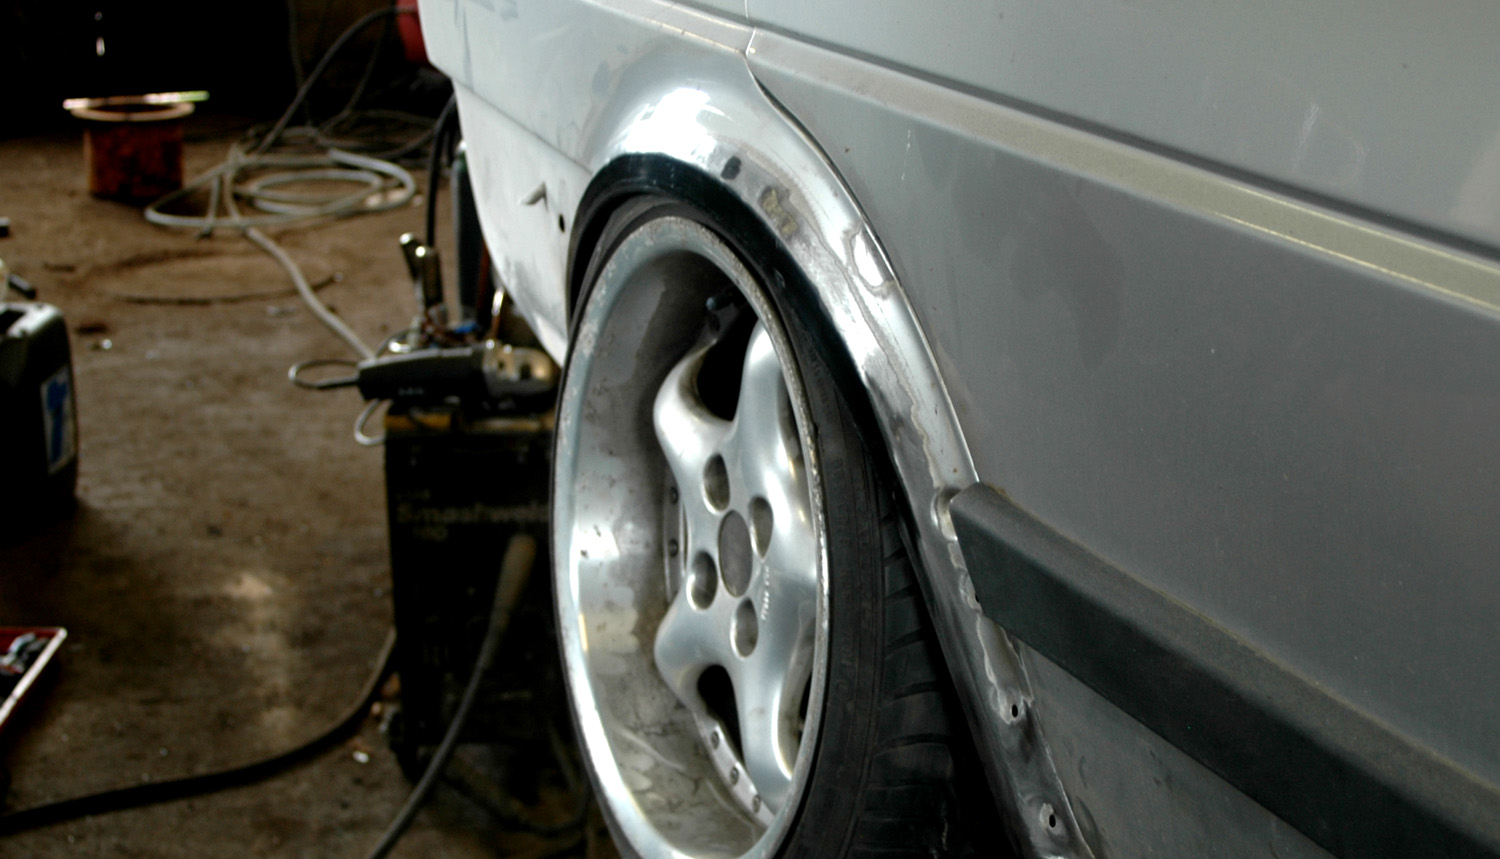
The finished arch. The outer skin was folded around the inner arch. The two were not welded together, but bonded with body adhesive.
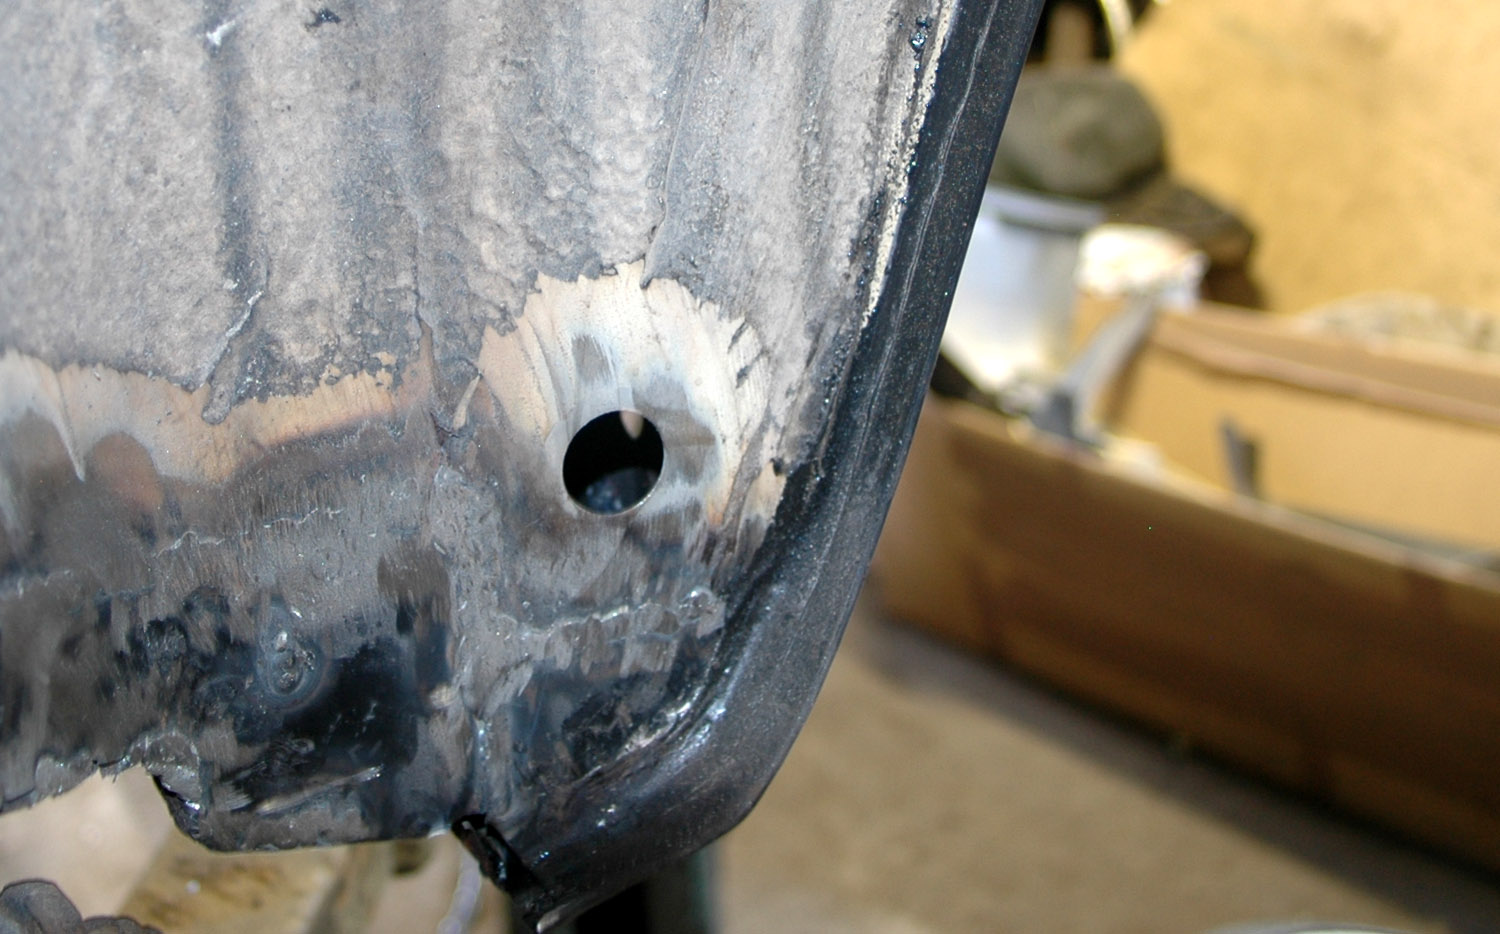
A close-up from inside.
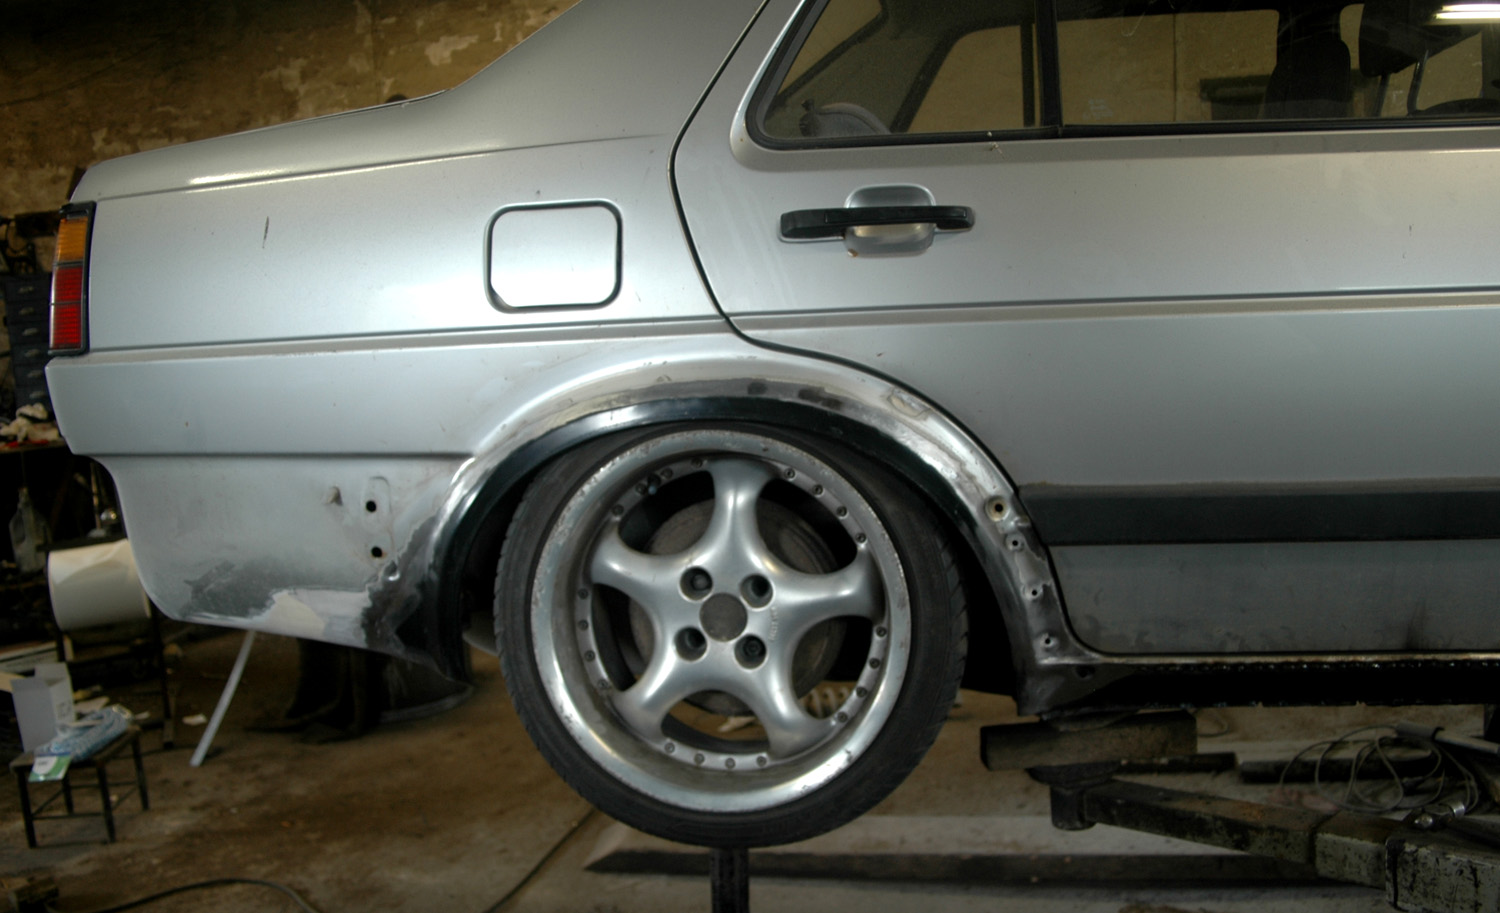
This setup just fits a 9-inch ET30 wheel under the arch while still looking completely standard from outside.
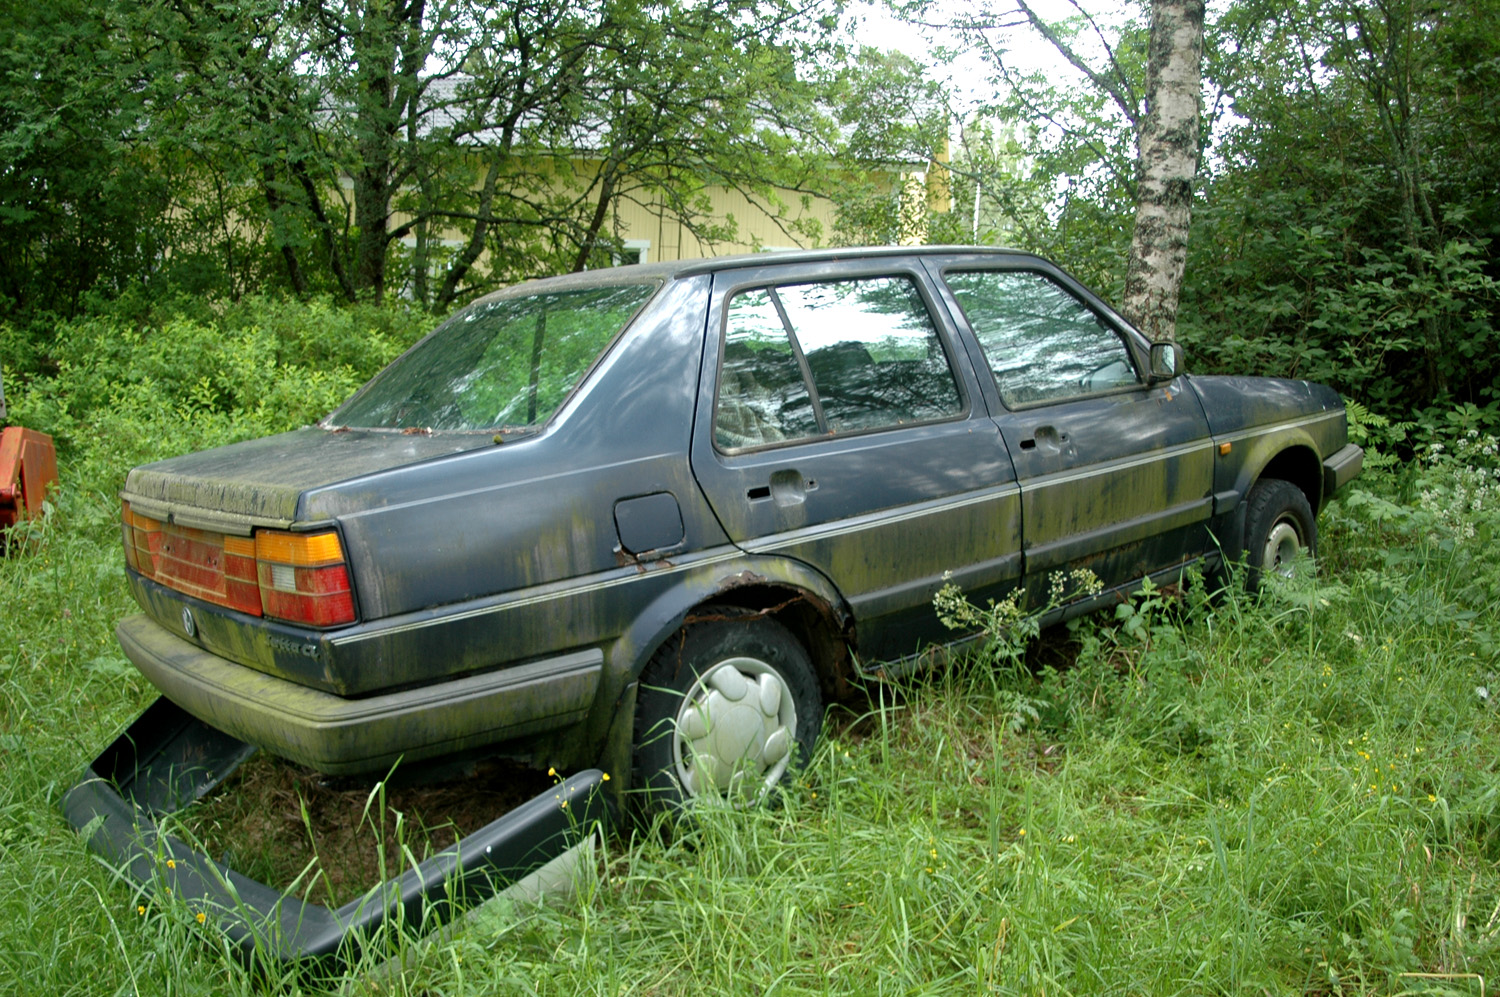
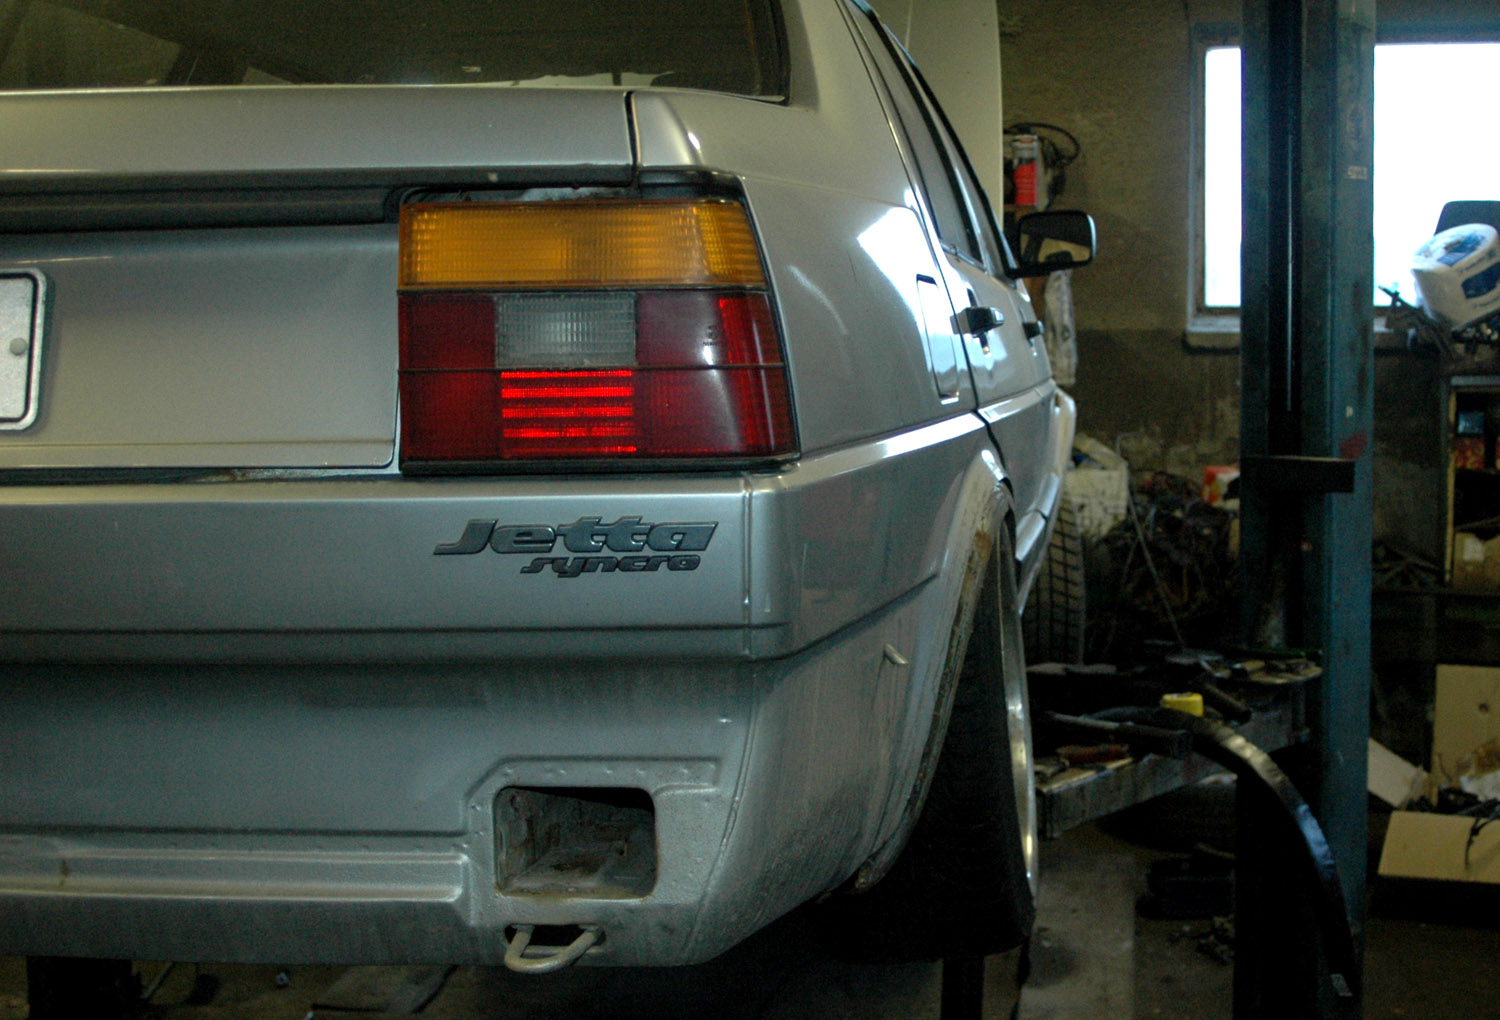
Luckily there is a donor car up on the hill too. It can provide front wings, a rear door and other small parts. Note the wonderfully retro panel between the rear lights :)
Floor and front arches
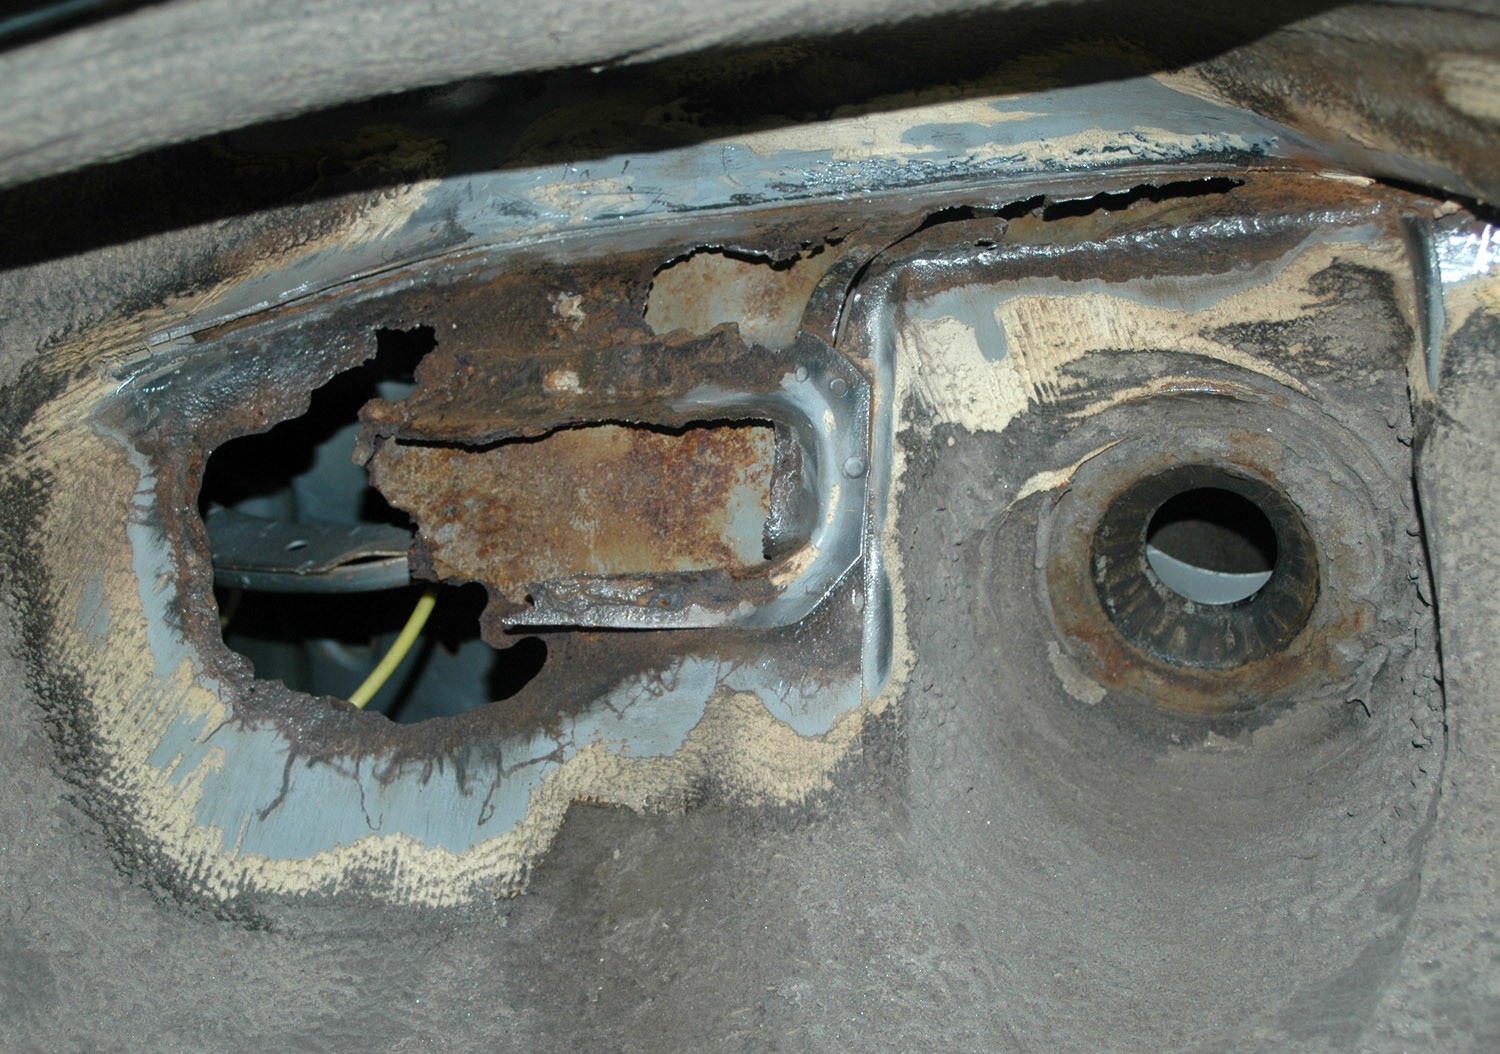
Finally, a couple of fist-sized holes turned up behind the fuel filler pipe. Almost nothing remained of its mounting...
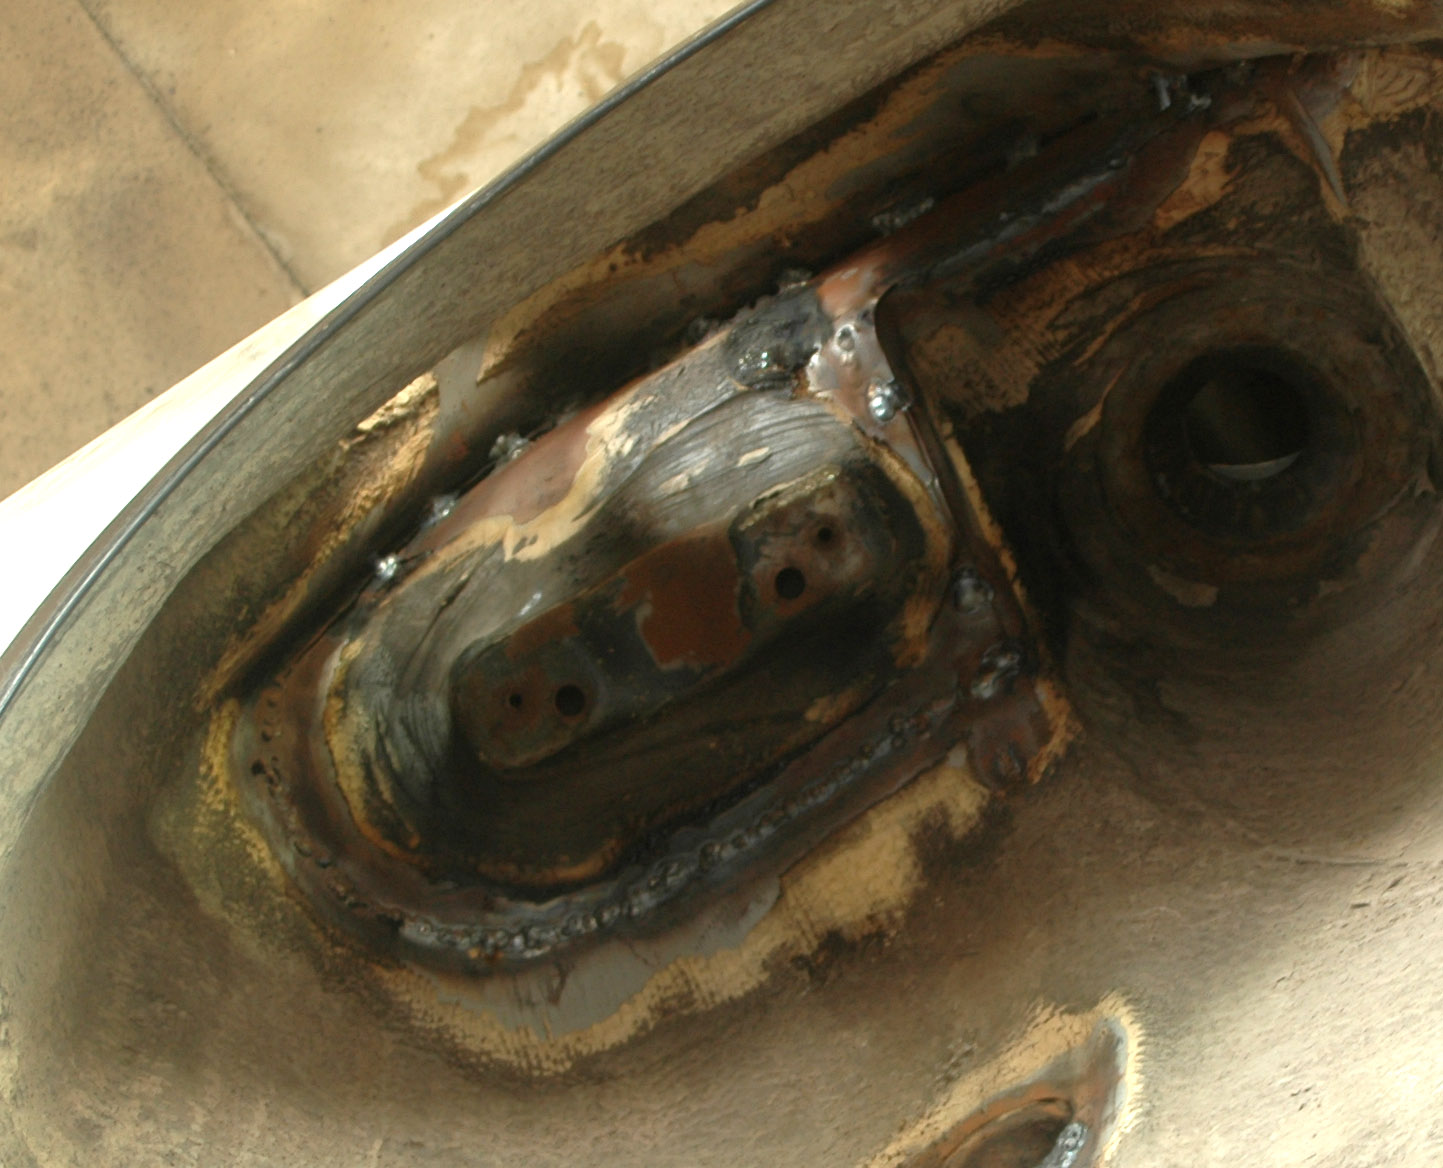
The repair patch welded in. The rest of the floor was pretty rotten too. It had been patched in various places before, but practically all those repairs and a little more needed redoing. Removing rust and old underseal alone took days.
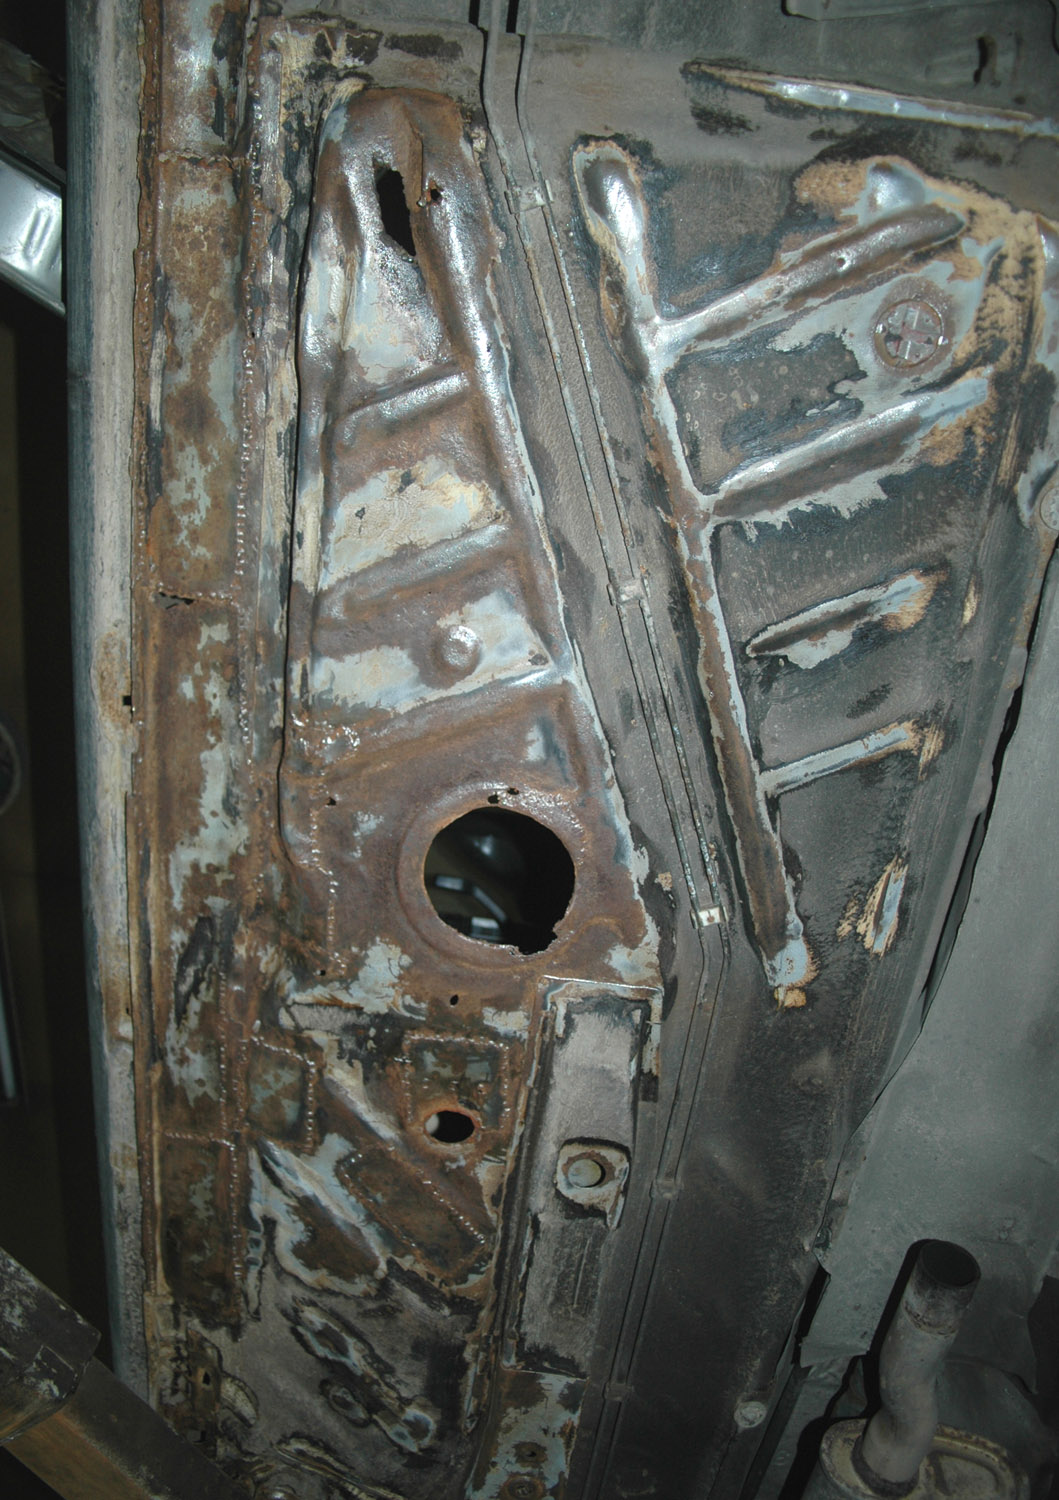
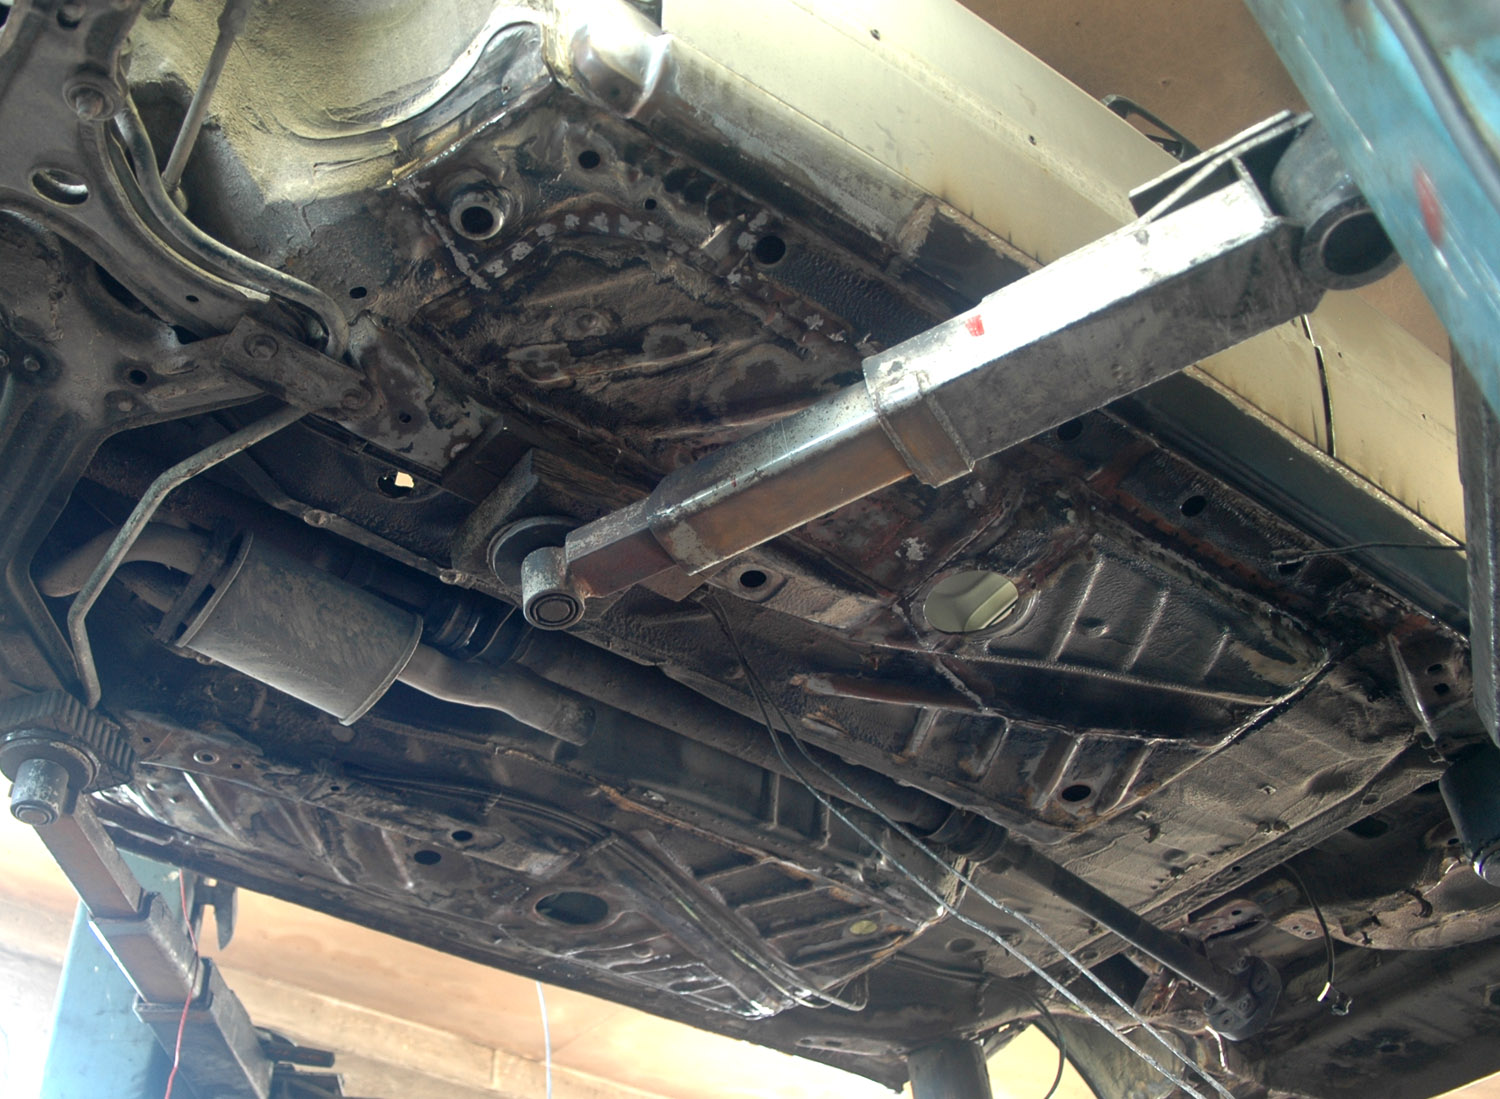
The repaired areas were protected with anti-corrosion primer and mostly polyurethane sealer too, protecting the seams against stone chips and similar damage.
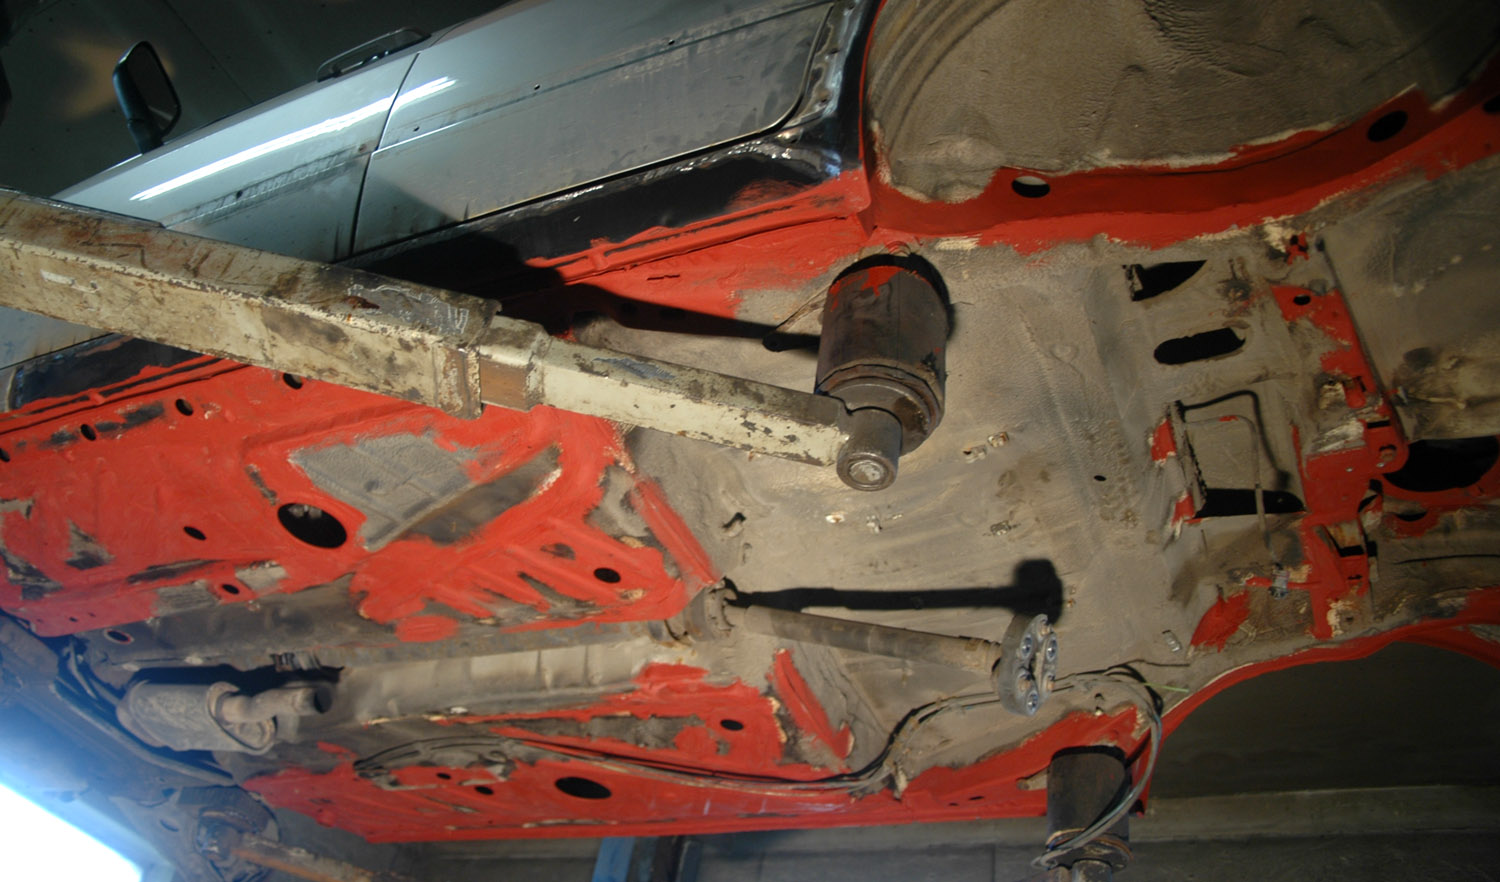
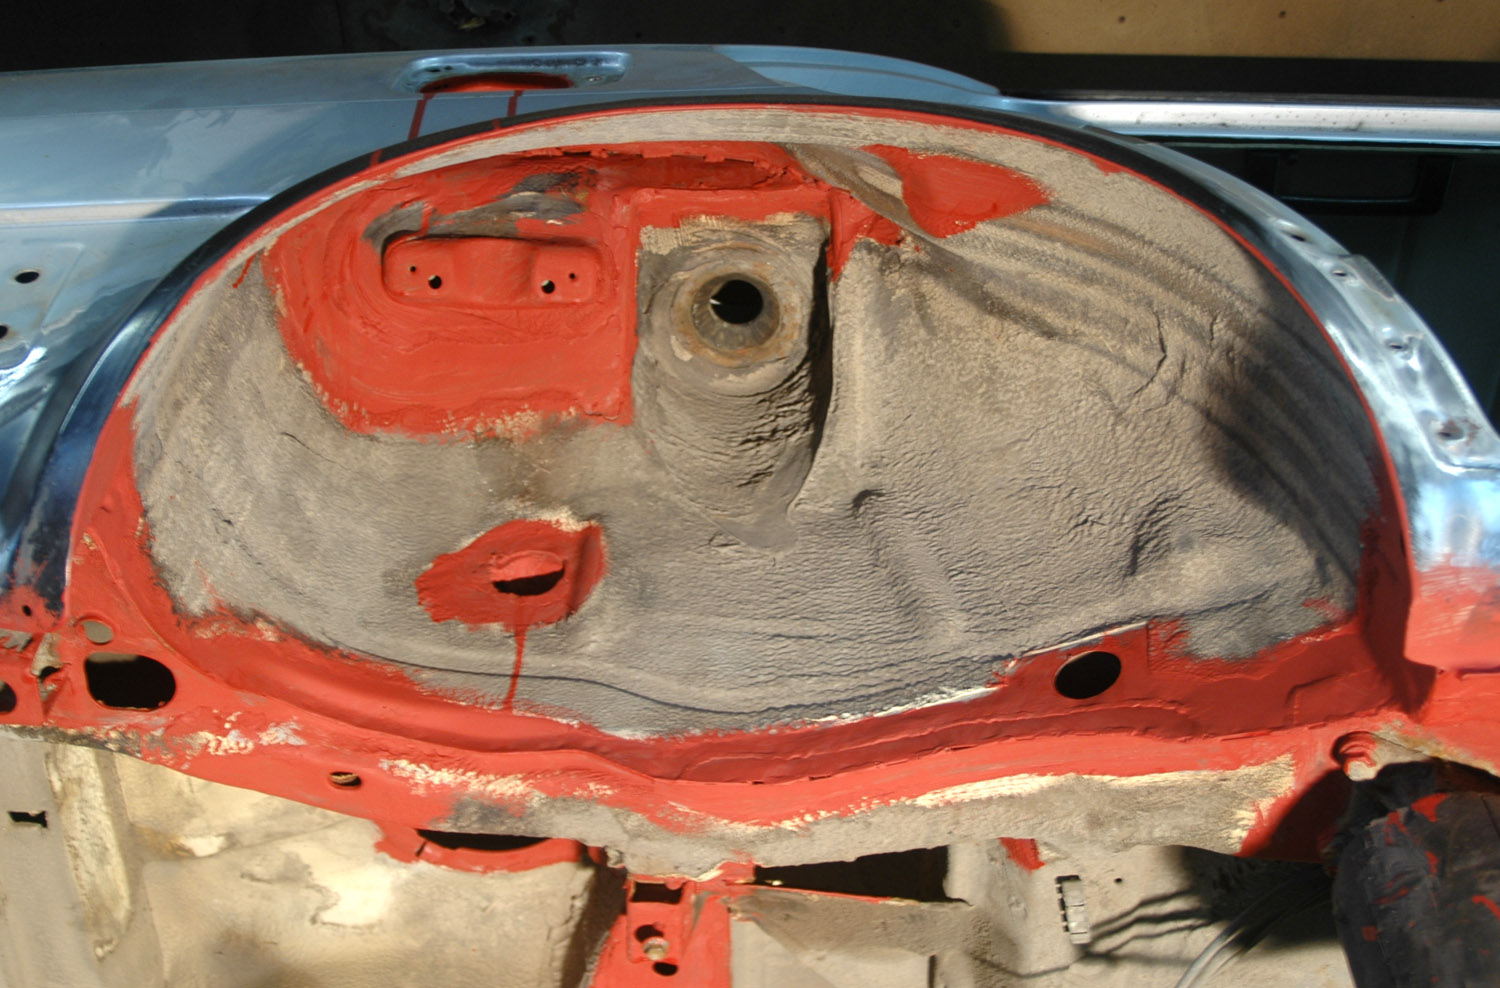
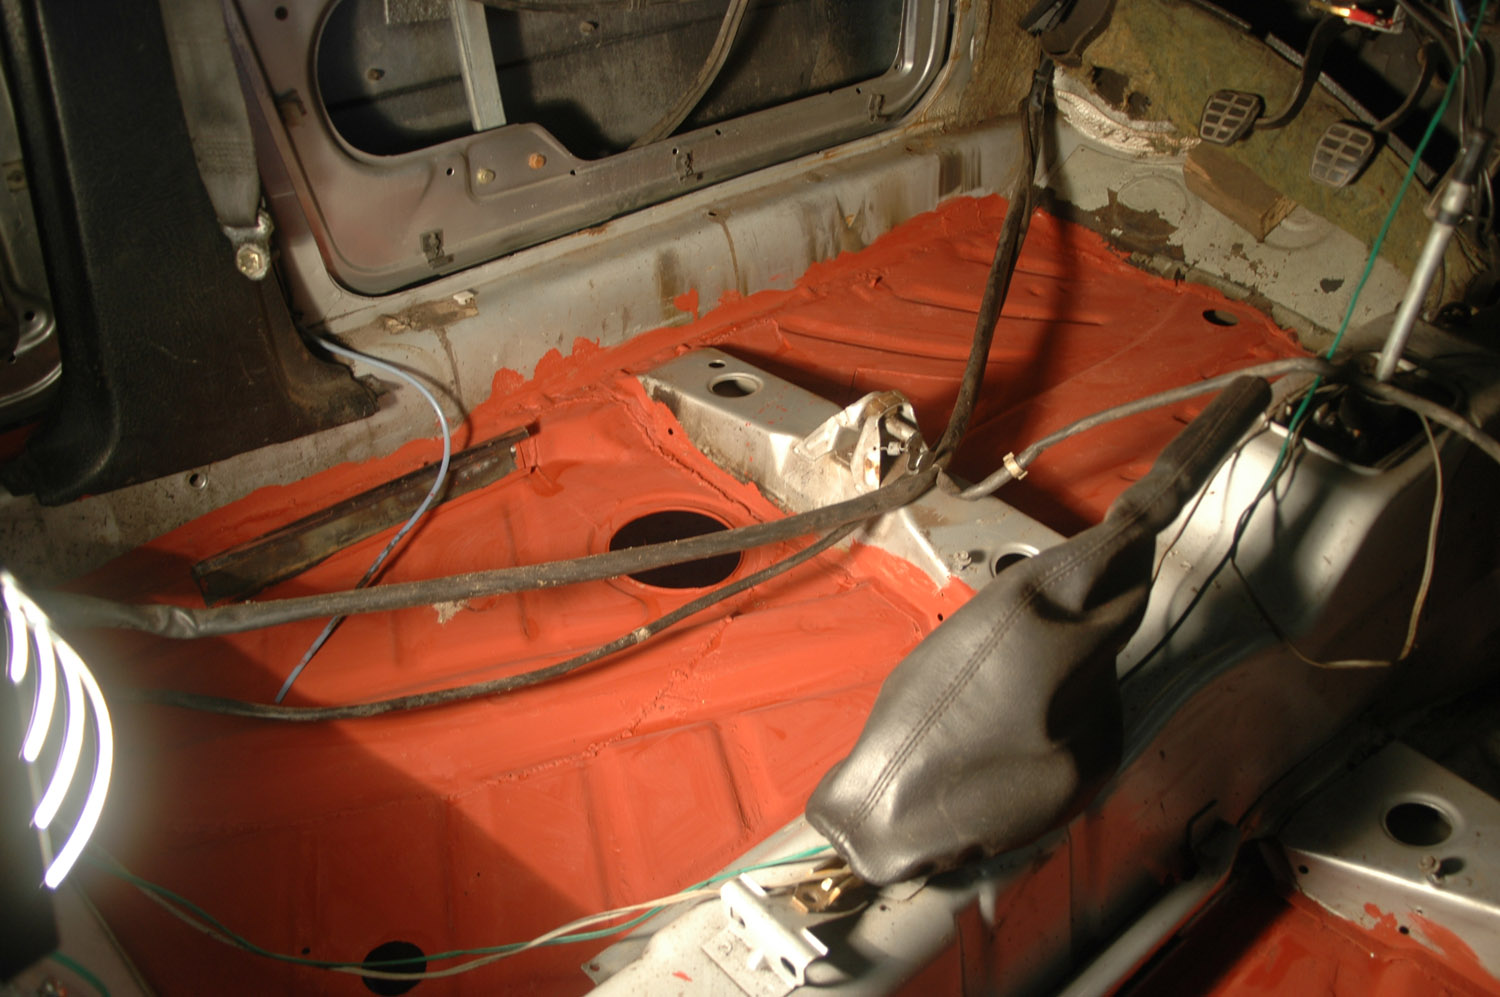
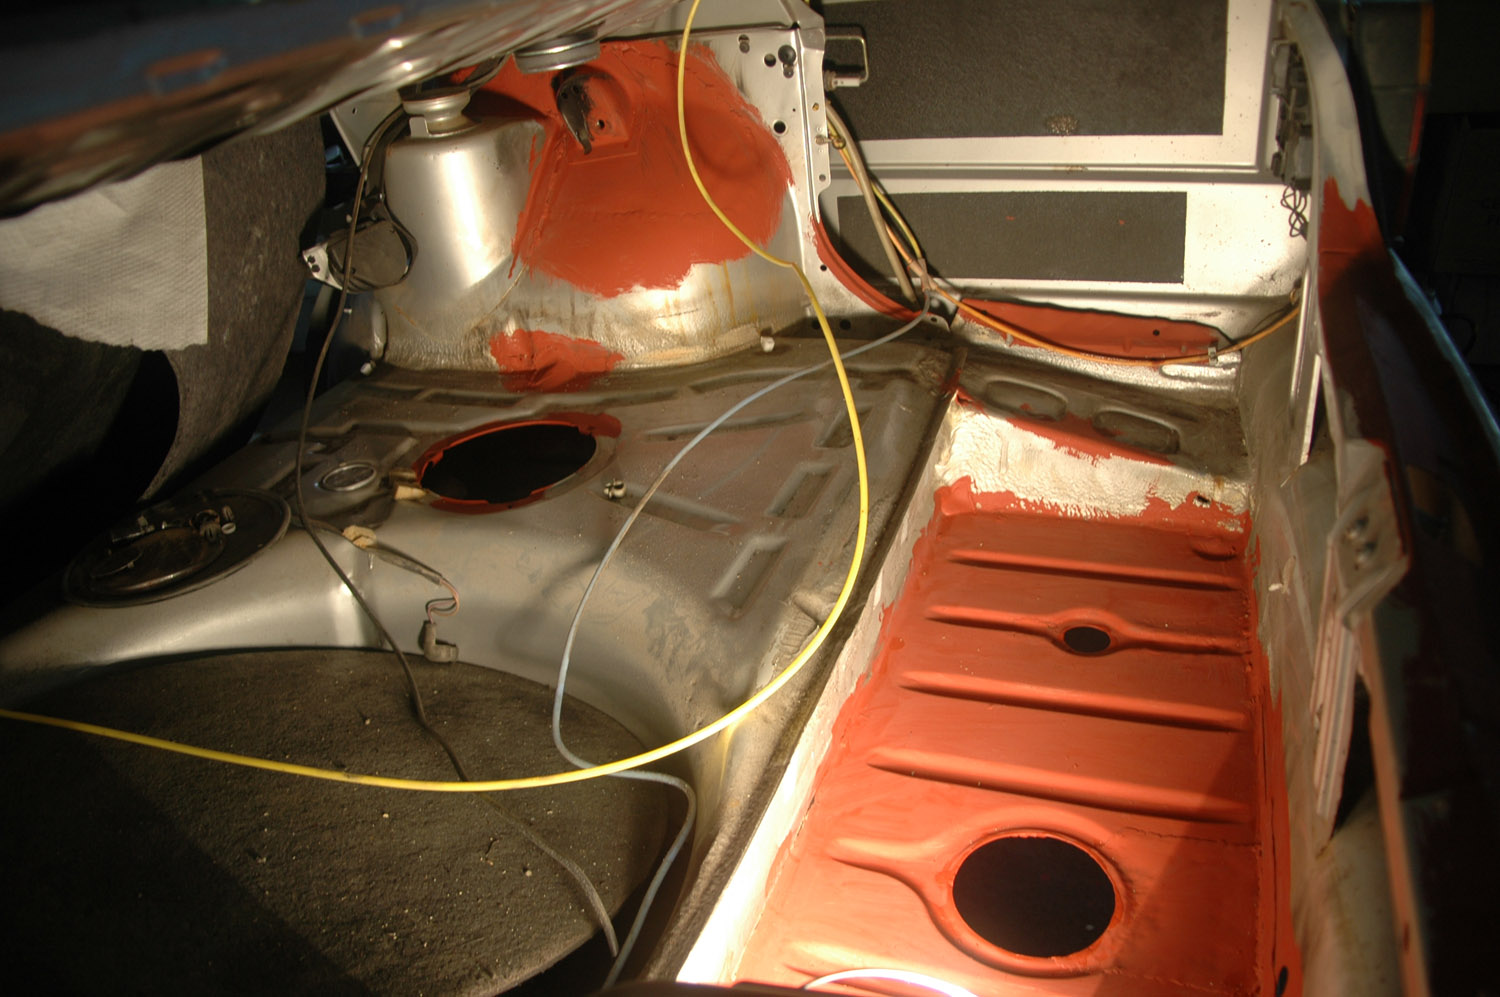
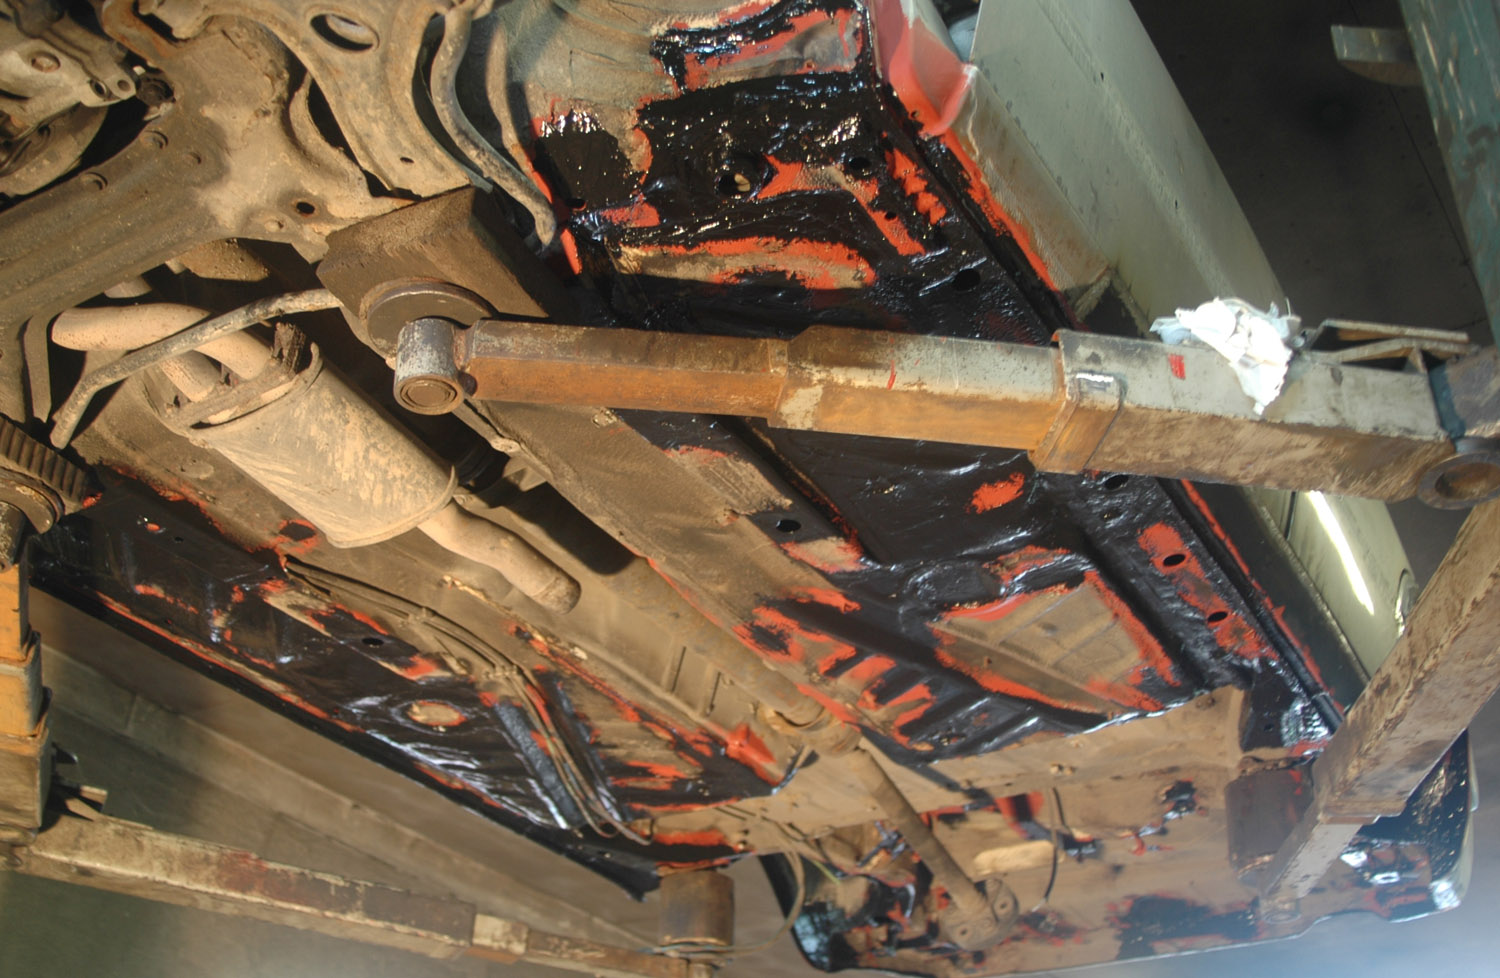
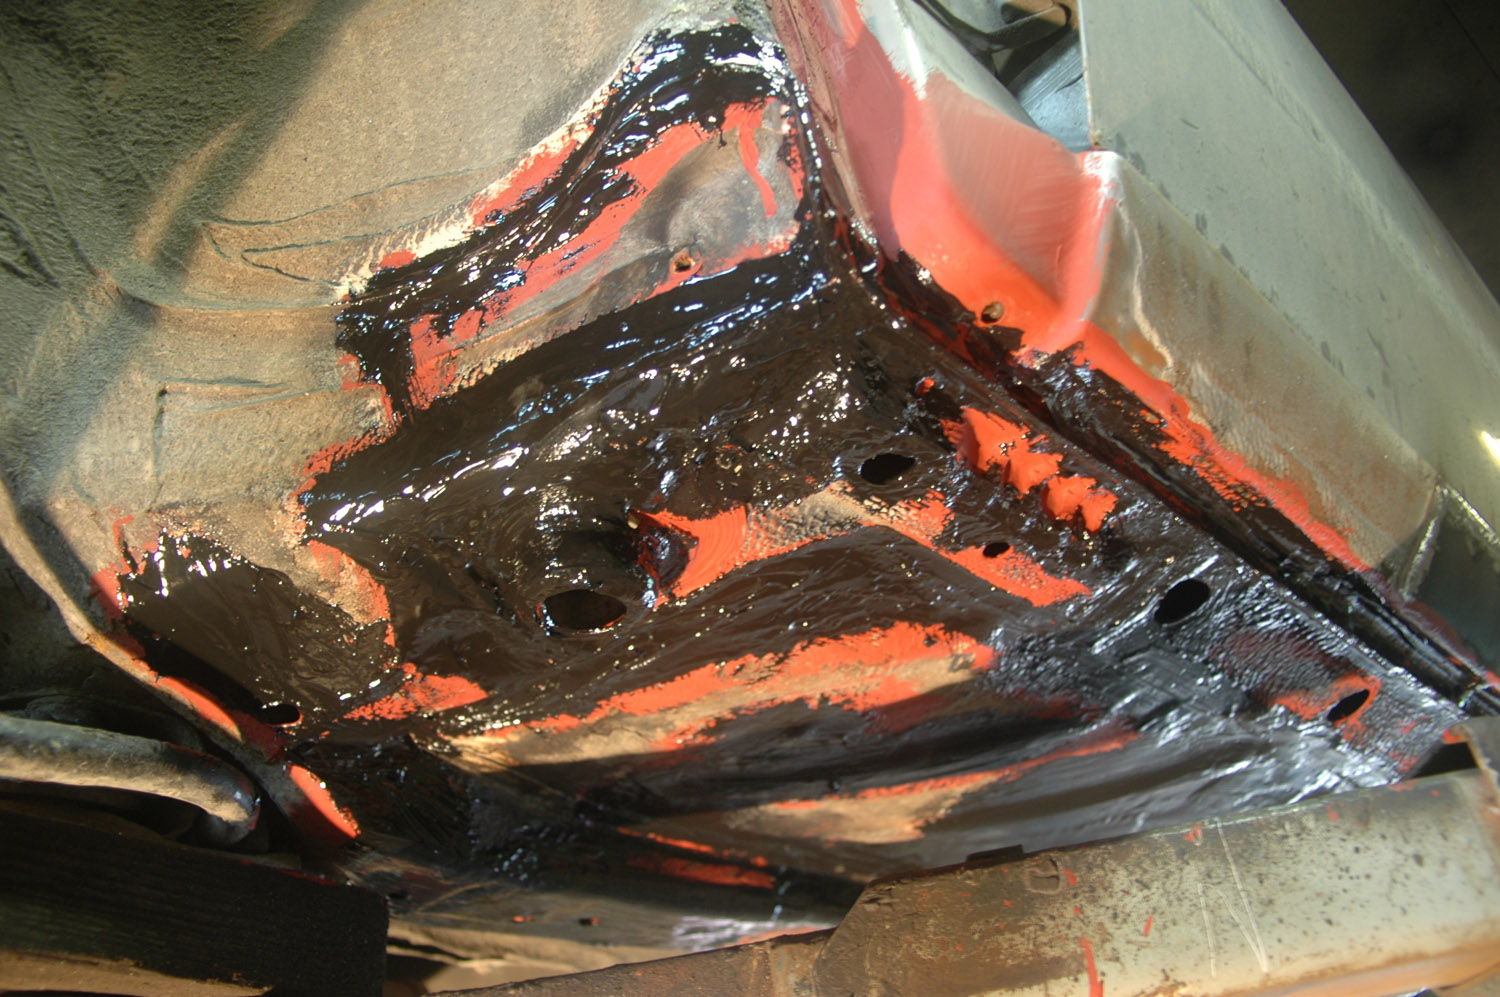
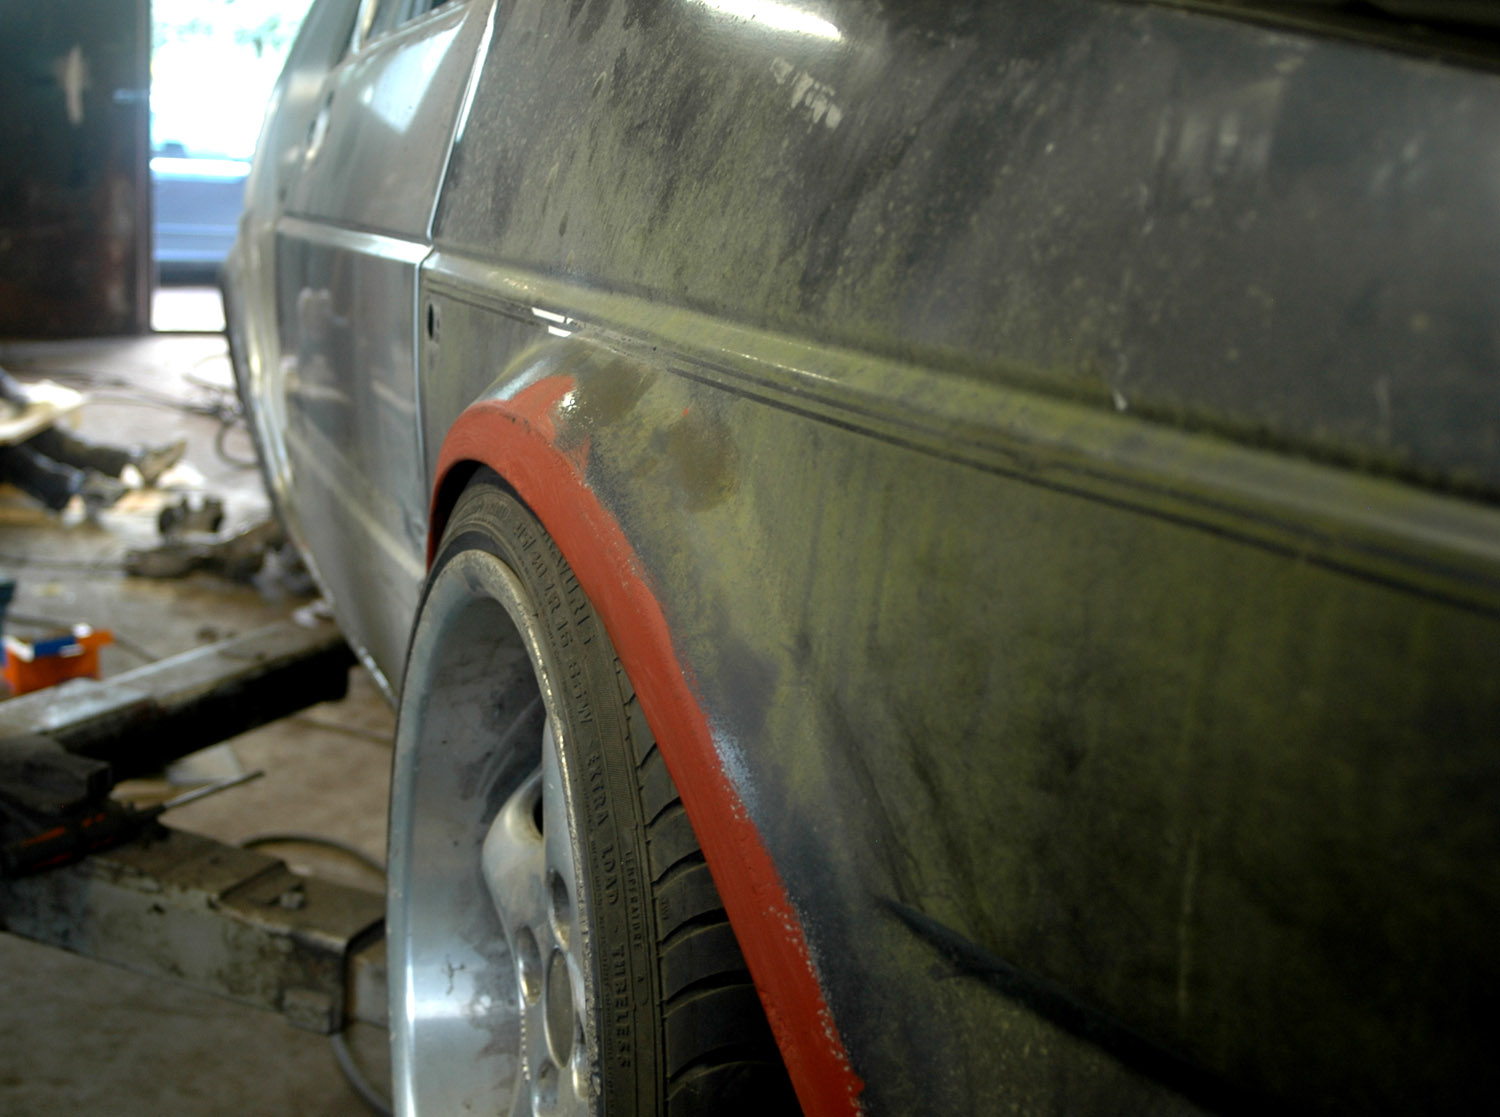
The front arch lips were also folded in and tapped outward slightly so the same ET30 wheels would fit at the front.
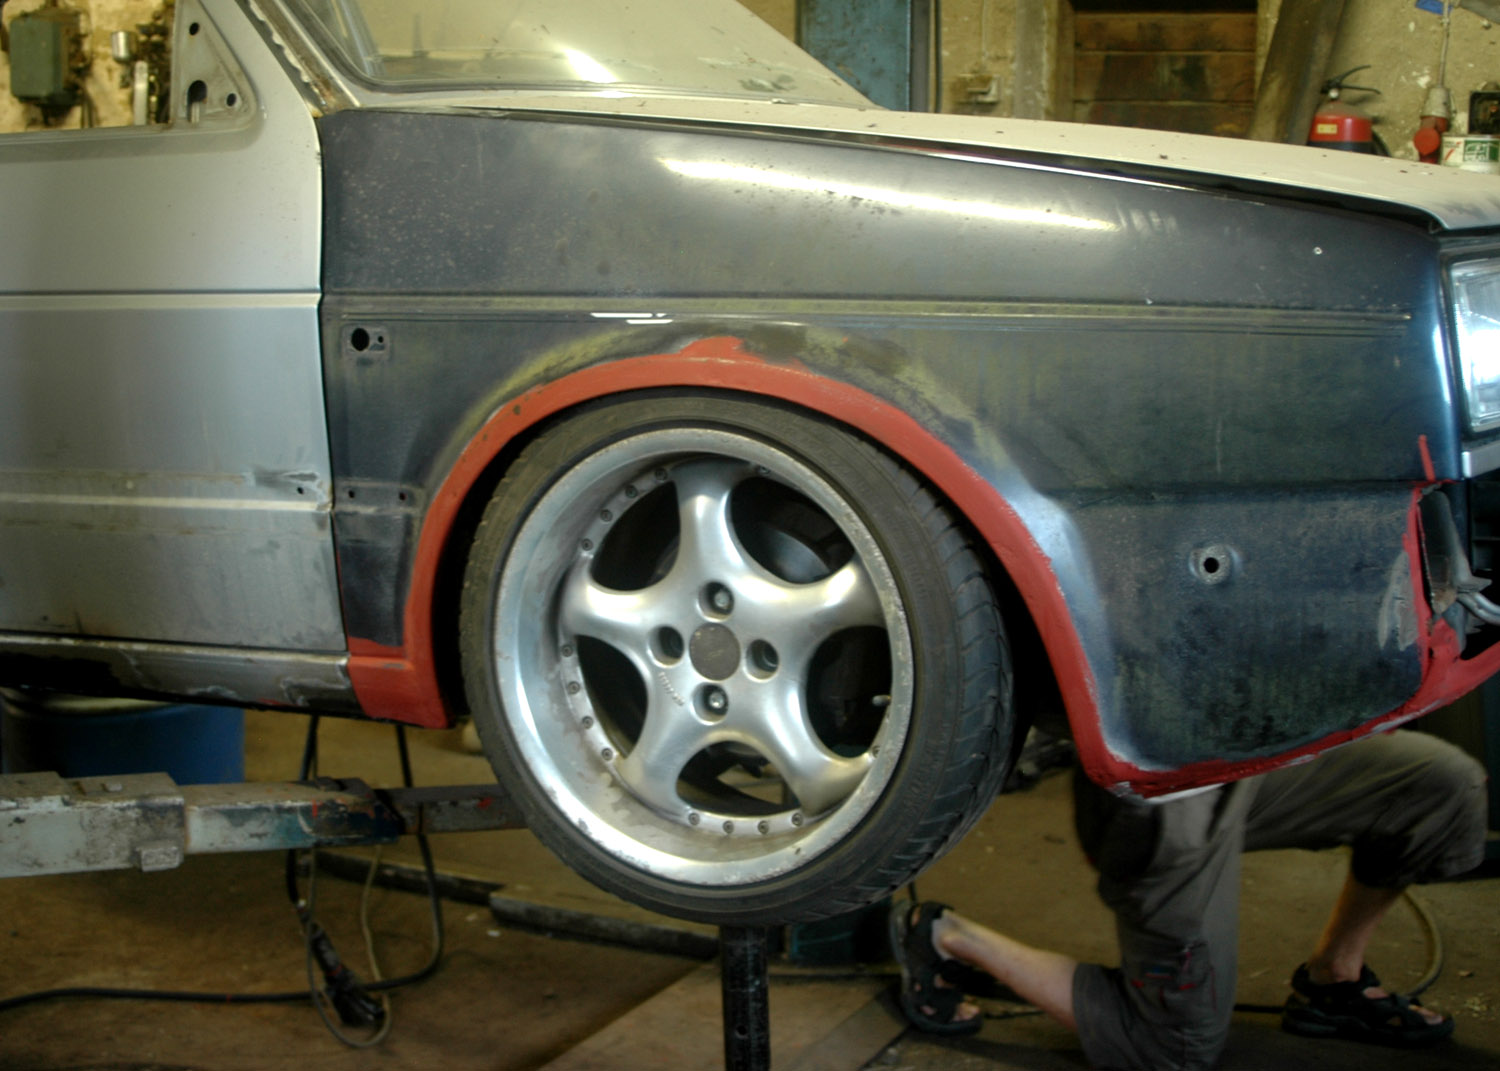
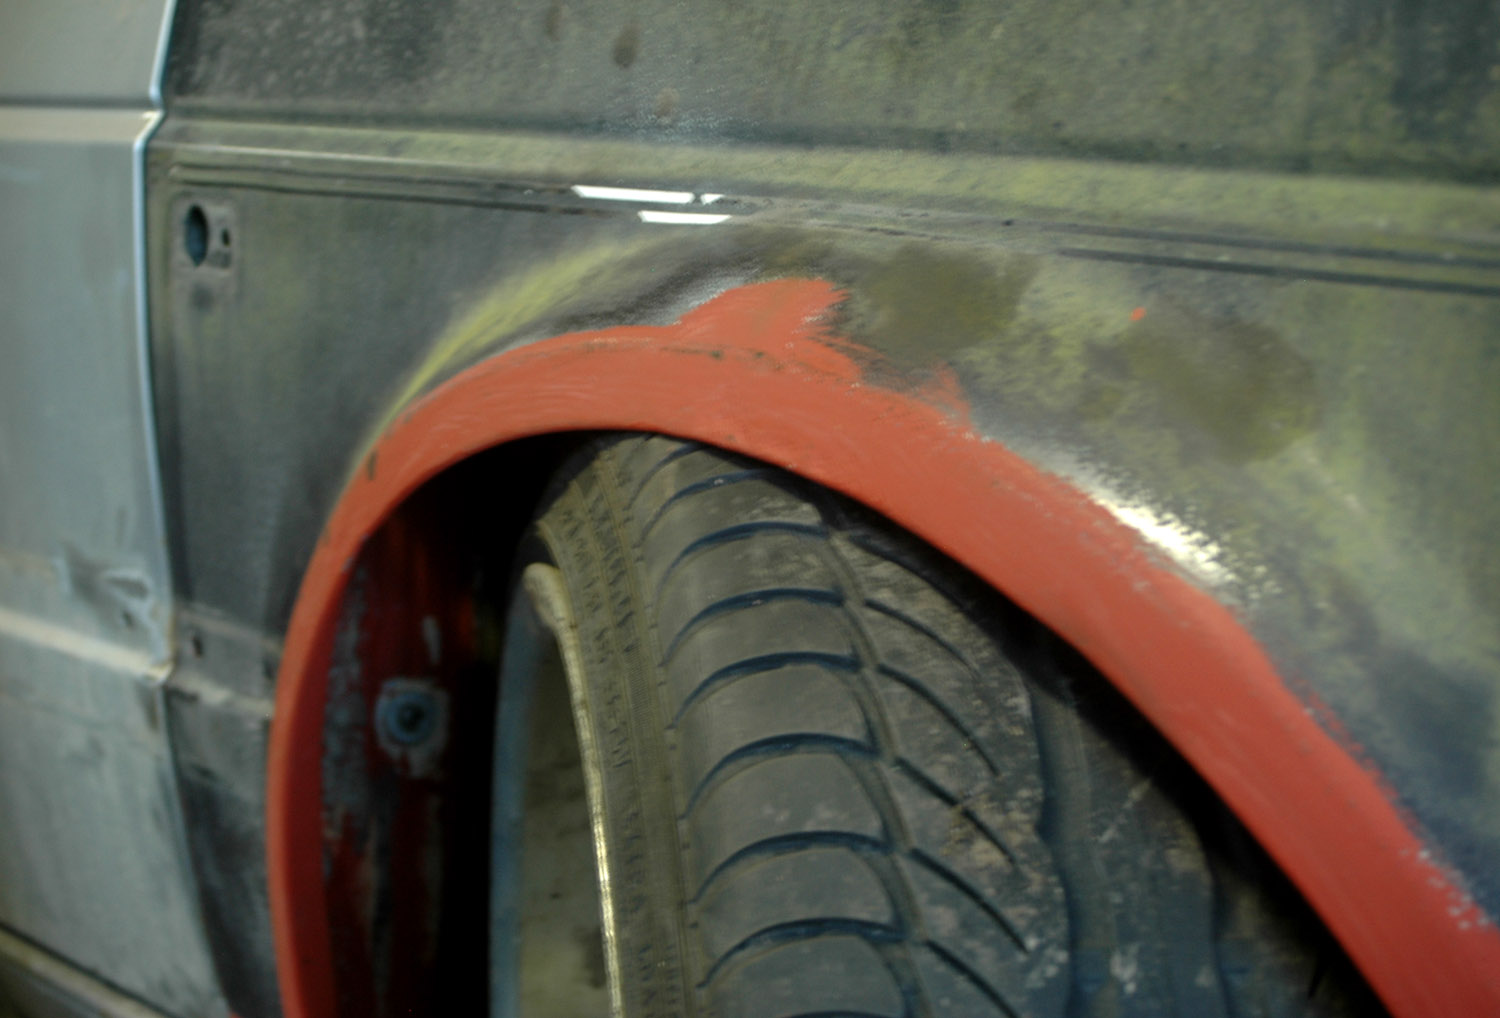
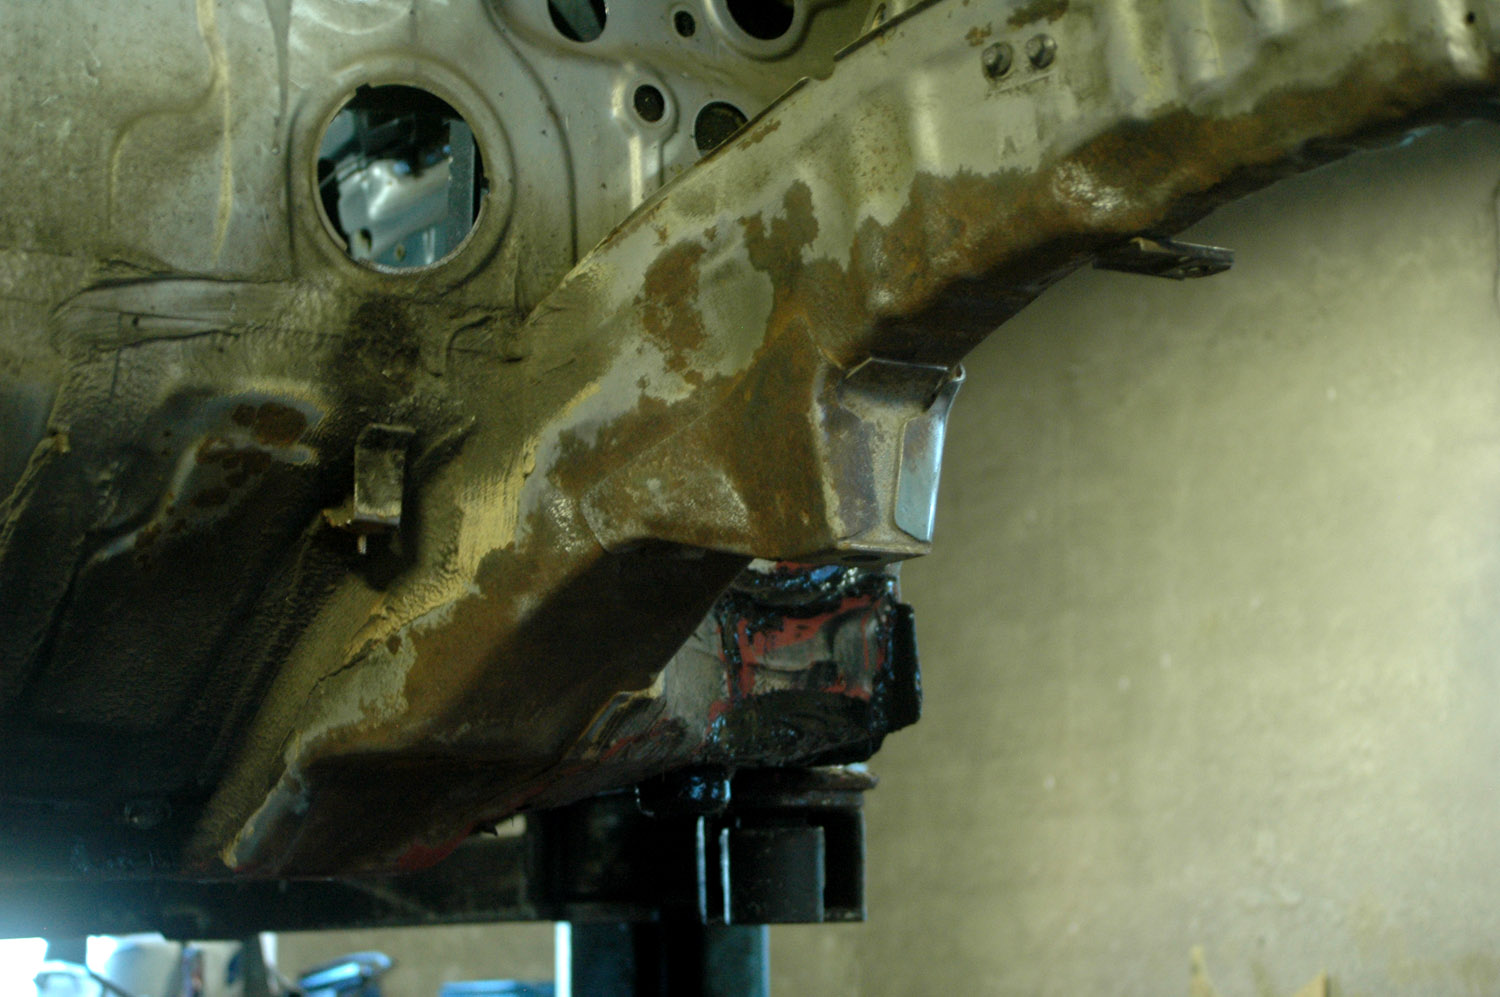
The front chassis legs had gone a little brown too... a thorough clean-up and the same protection for those.
Drivetrain
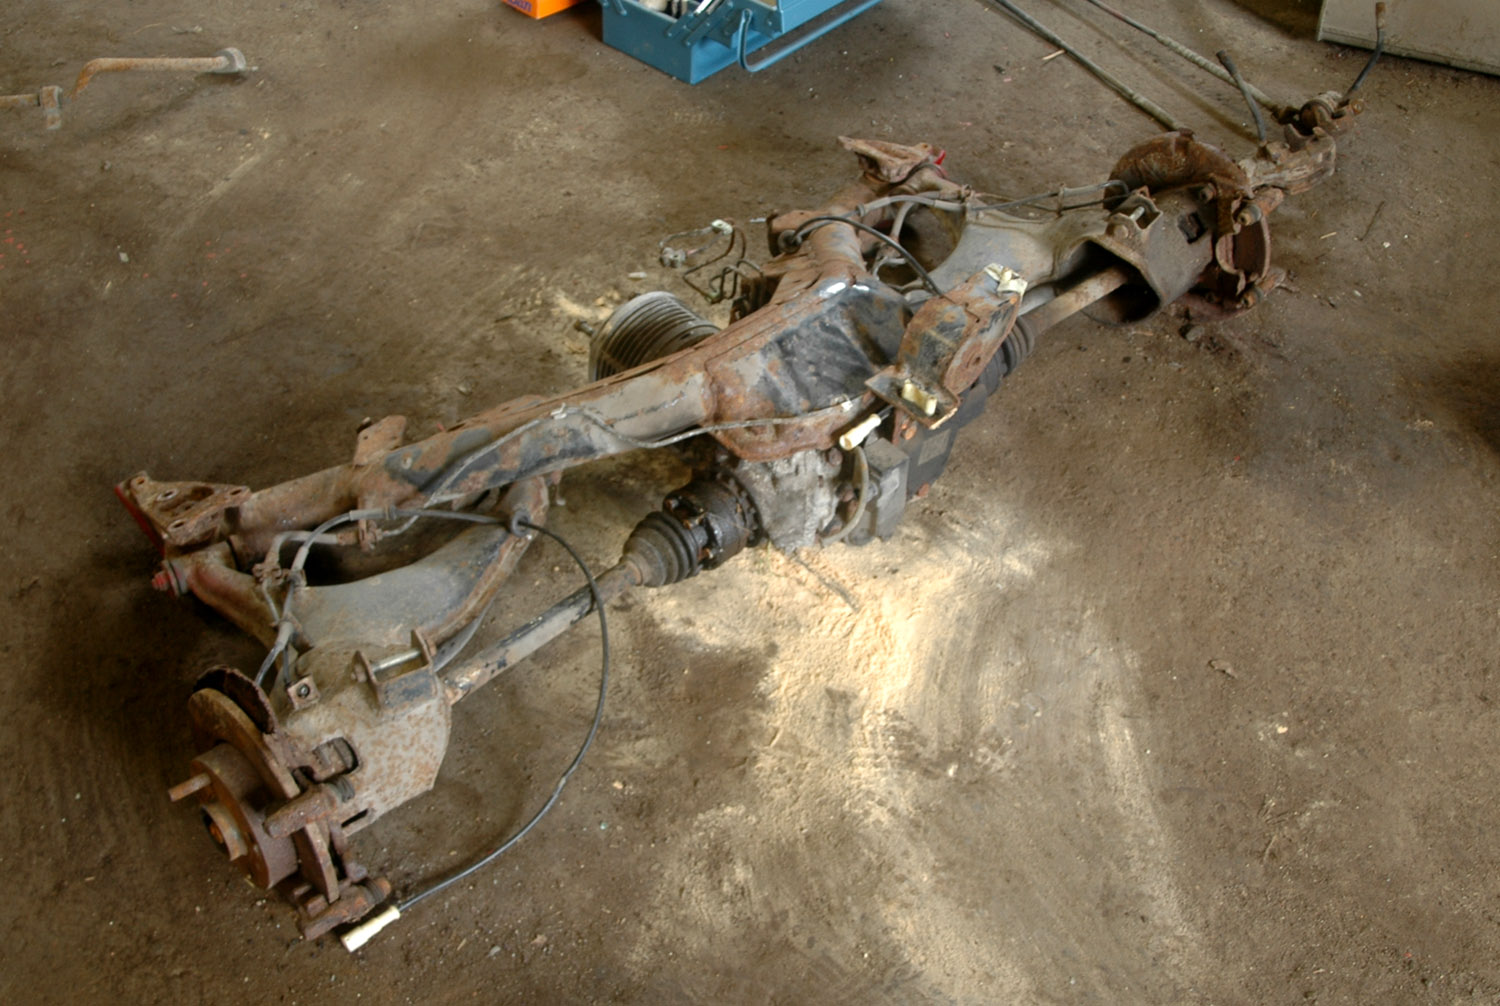
The axles were dropped for rust removal. Looking at them on the floor, we decided to upgrade the brakes as well. Front and rear disc brakes came from a Rallye.
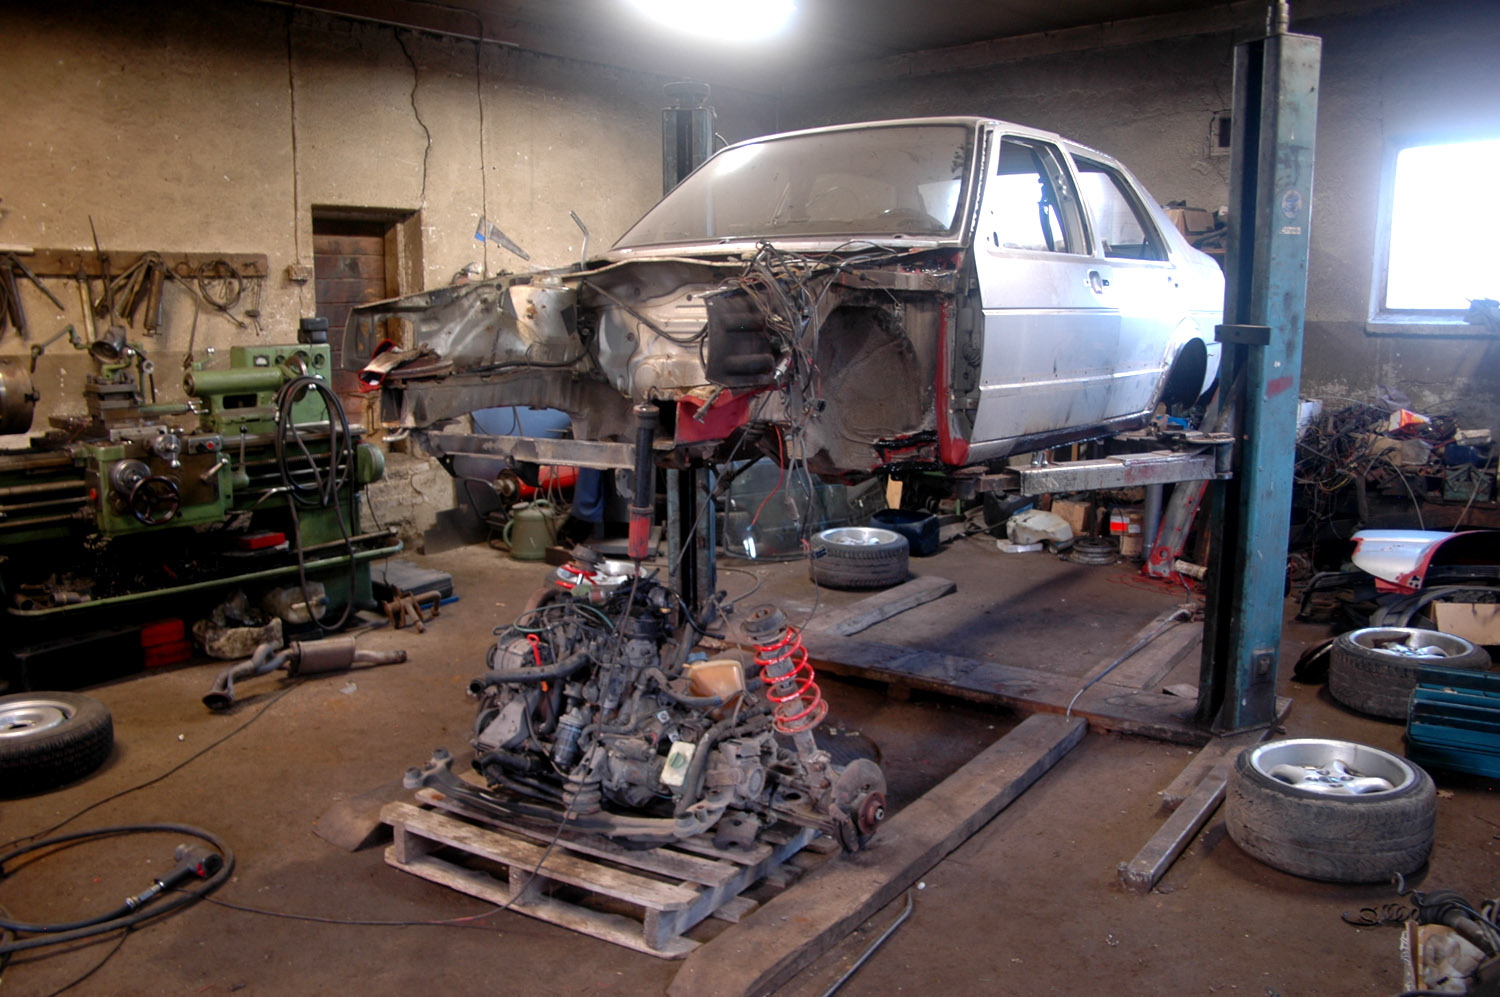
Engine, gearbox and front axle on their way out. Besides the brake upgrade, the drivetrain got a boost: the Rallye's G-supercharger, intercooler and pipes were added. Wiring and engine management were updated to Rallye specification too, meaning the later mk2 electrical system.
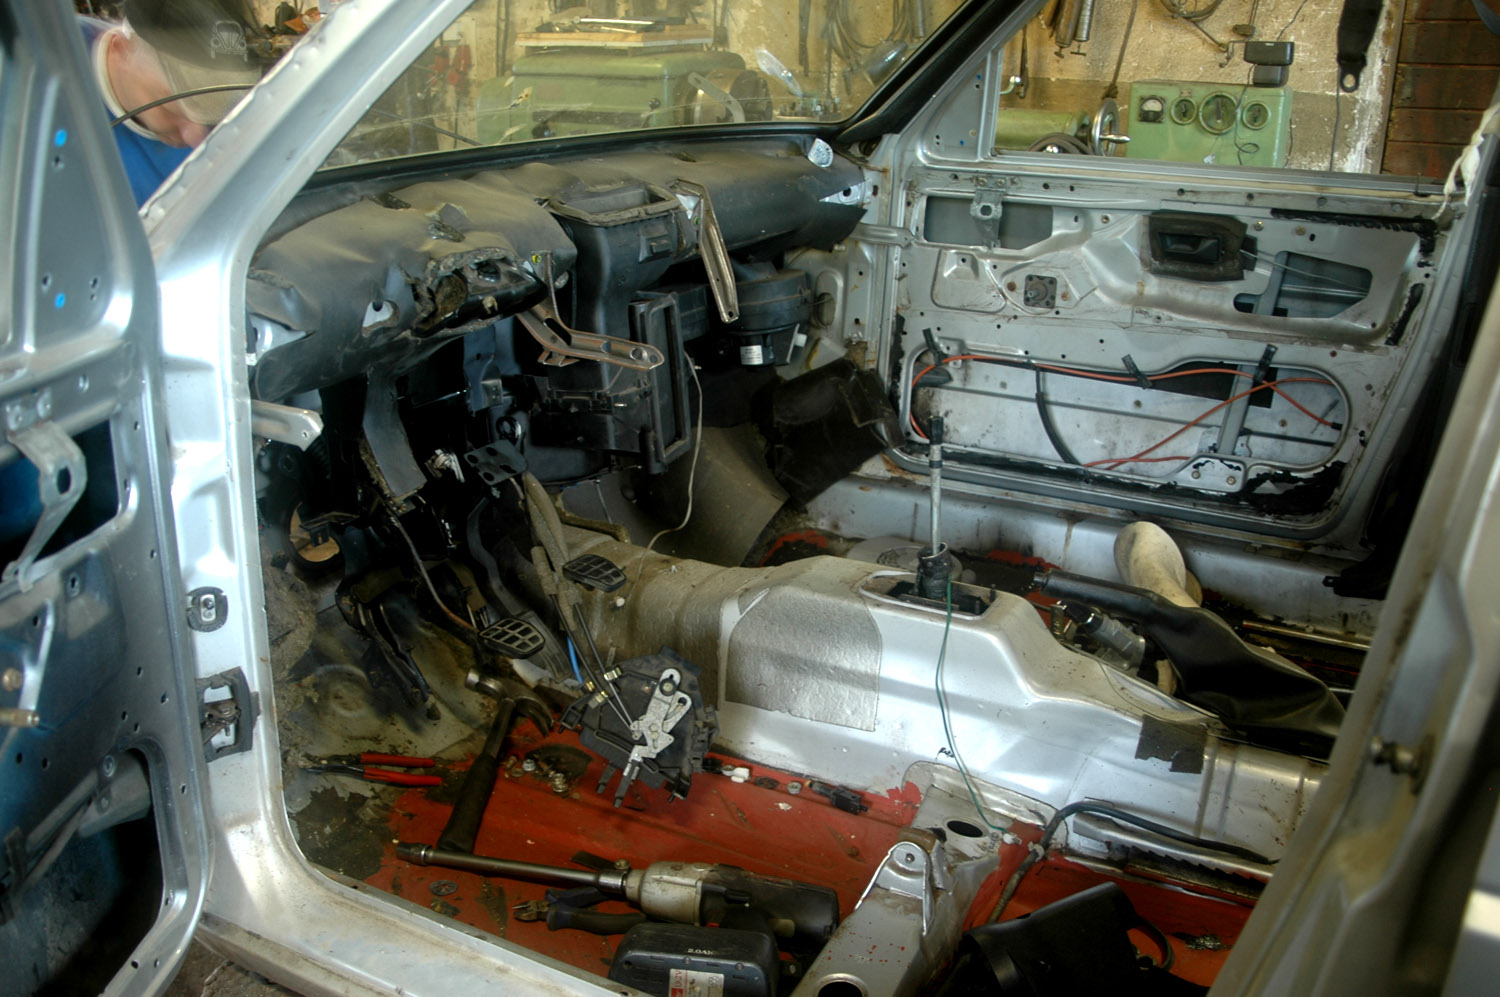
The dashboard came out for the electrical upgrade.
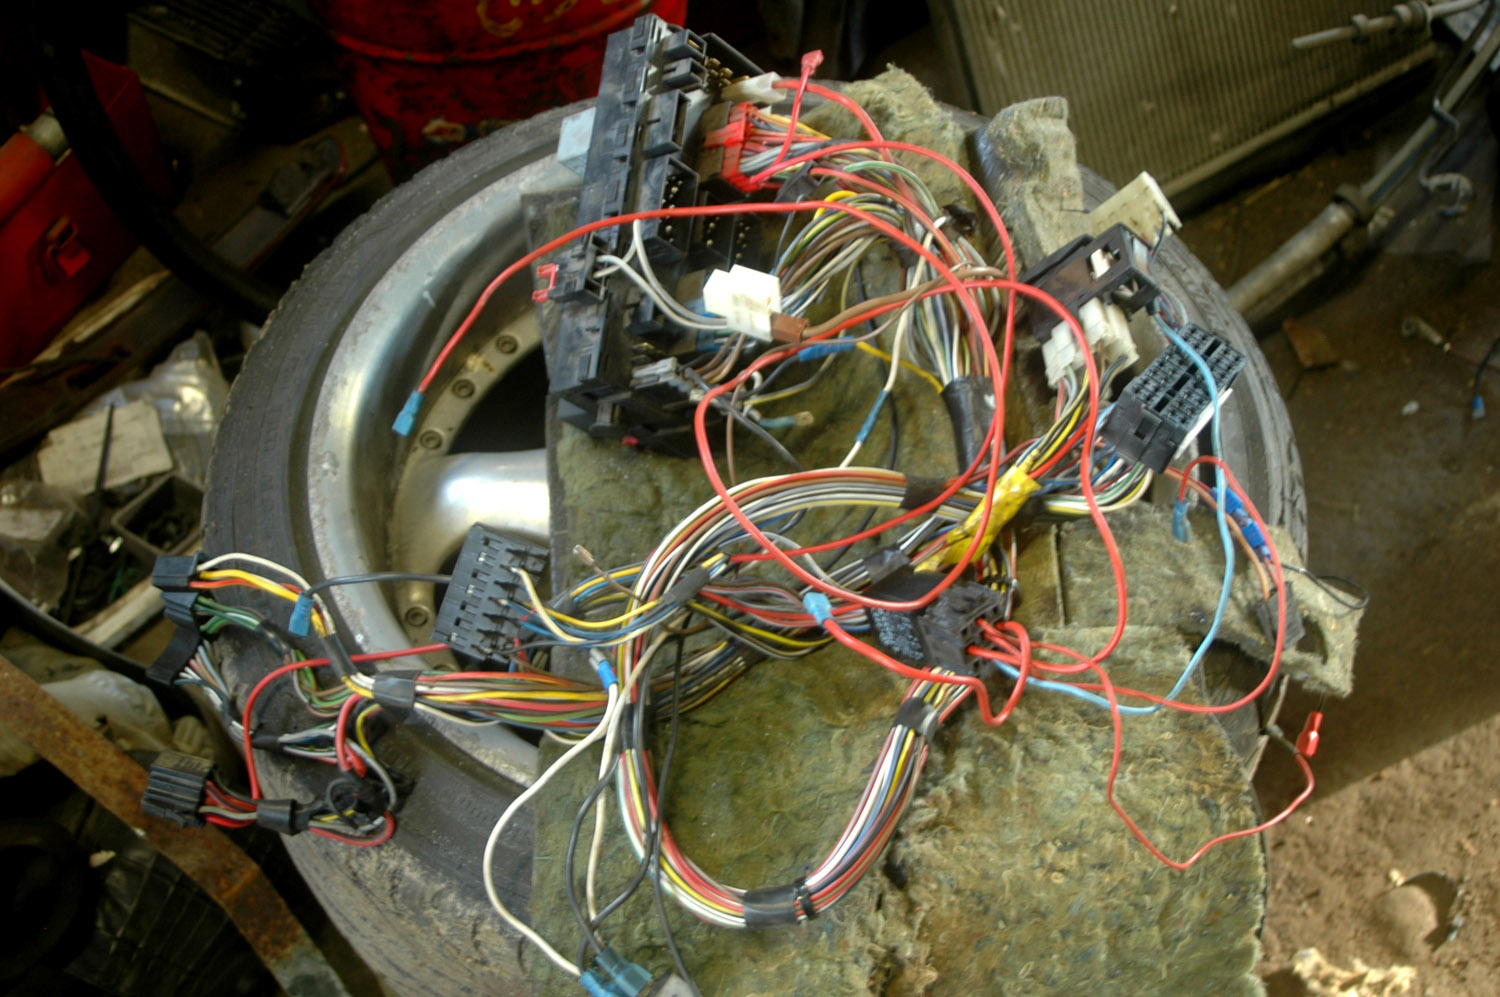
The older wiring heading for the dump...
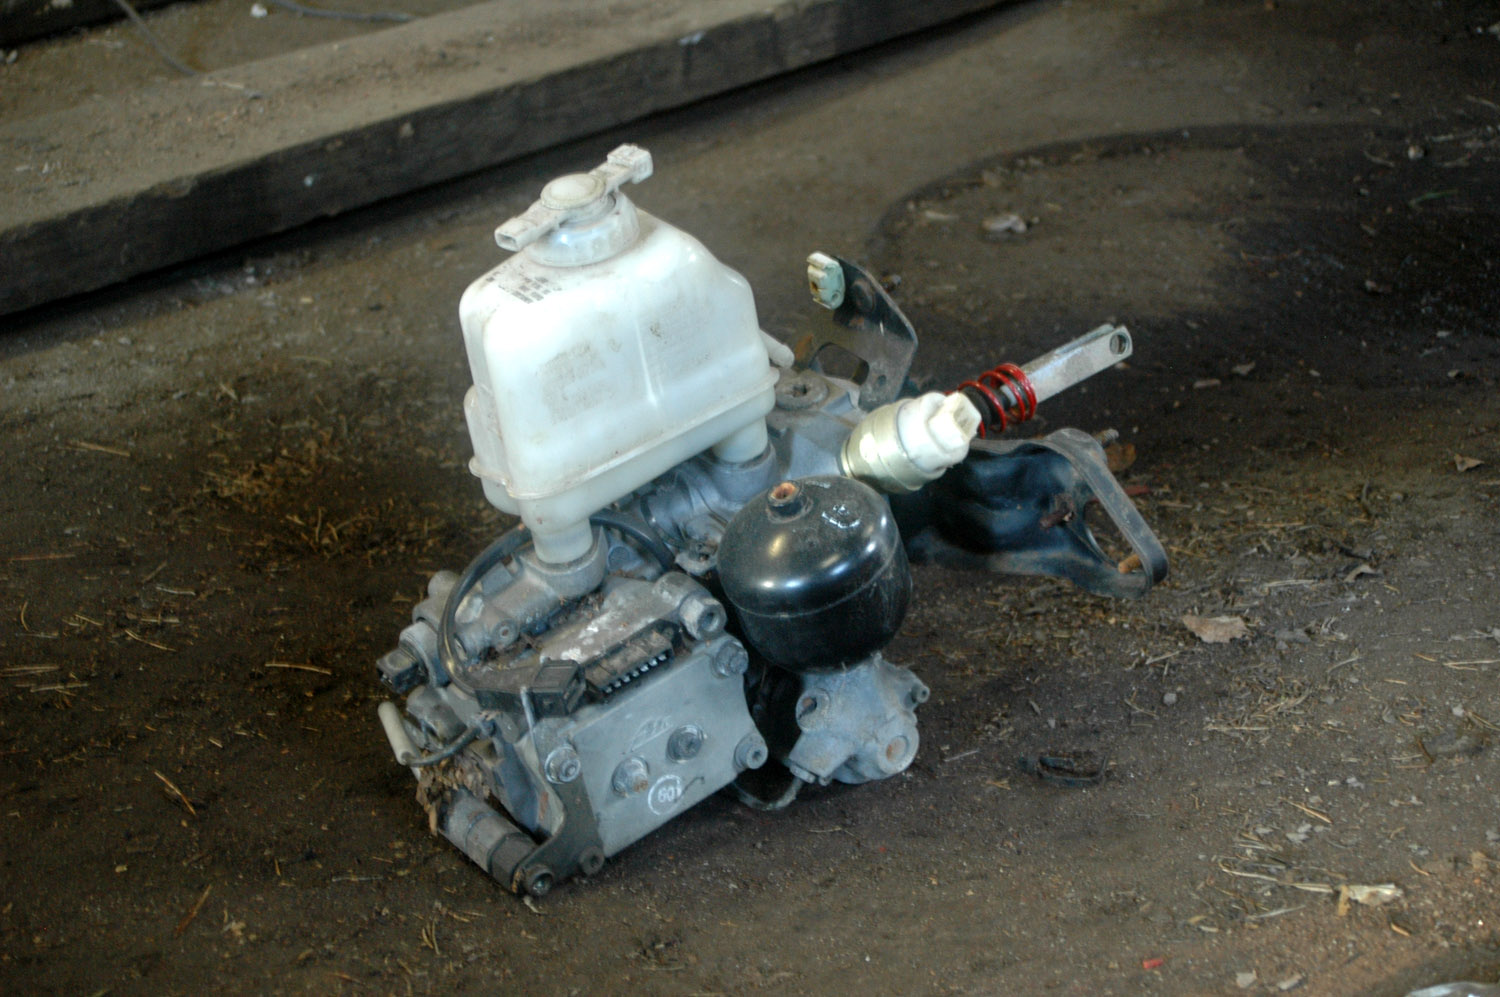
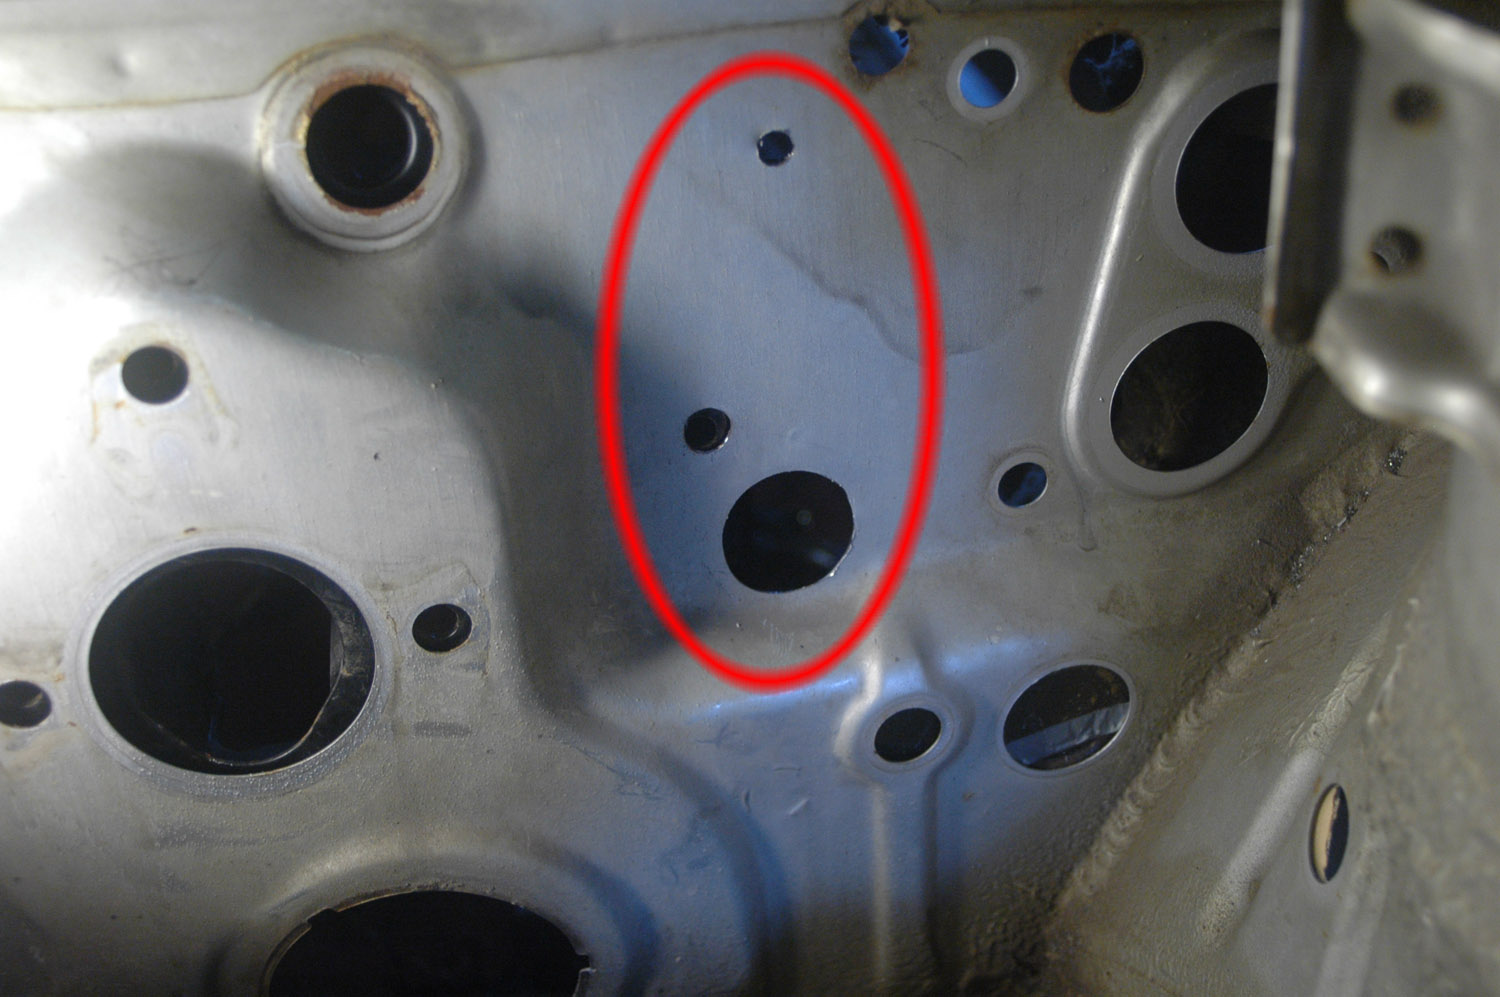
The Rallye had ABS, so we decided to transfer that to the Jetta while upgrading the brakes. Surprisingly it worked on the first try, despite the donor not having been driven for years. A few extra holes were needed in the bulkhead to mount the pedal assembly and ABS pump.
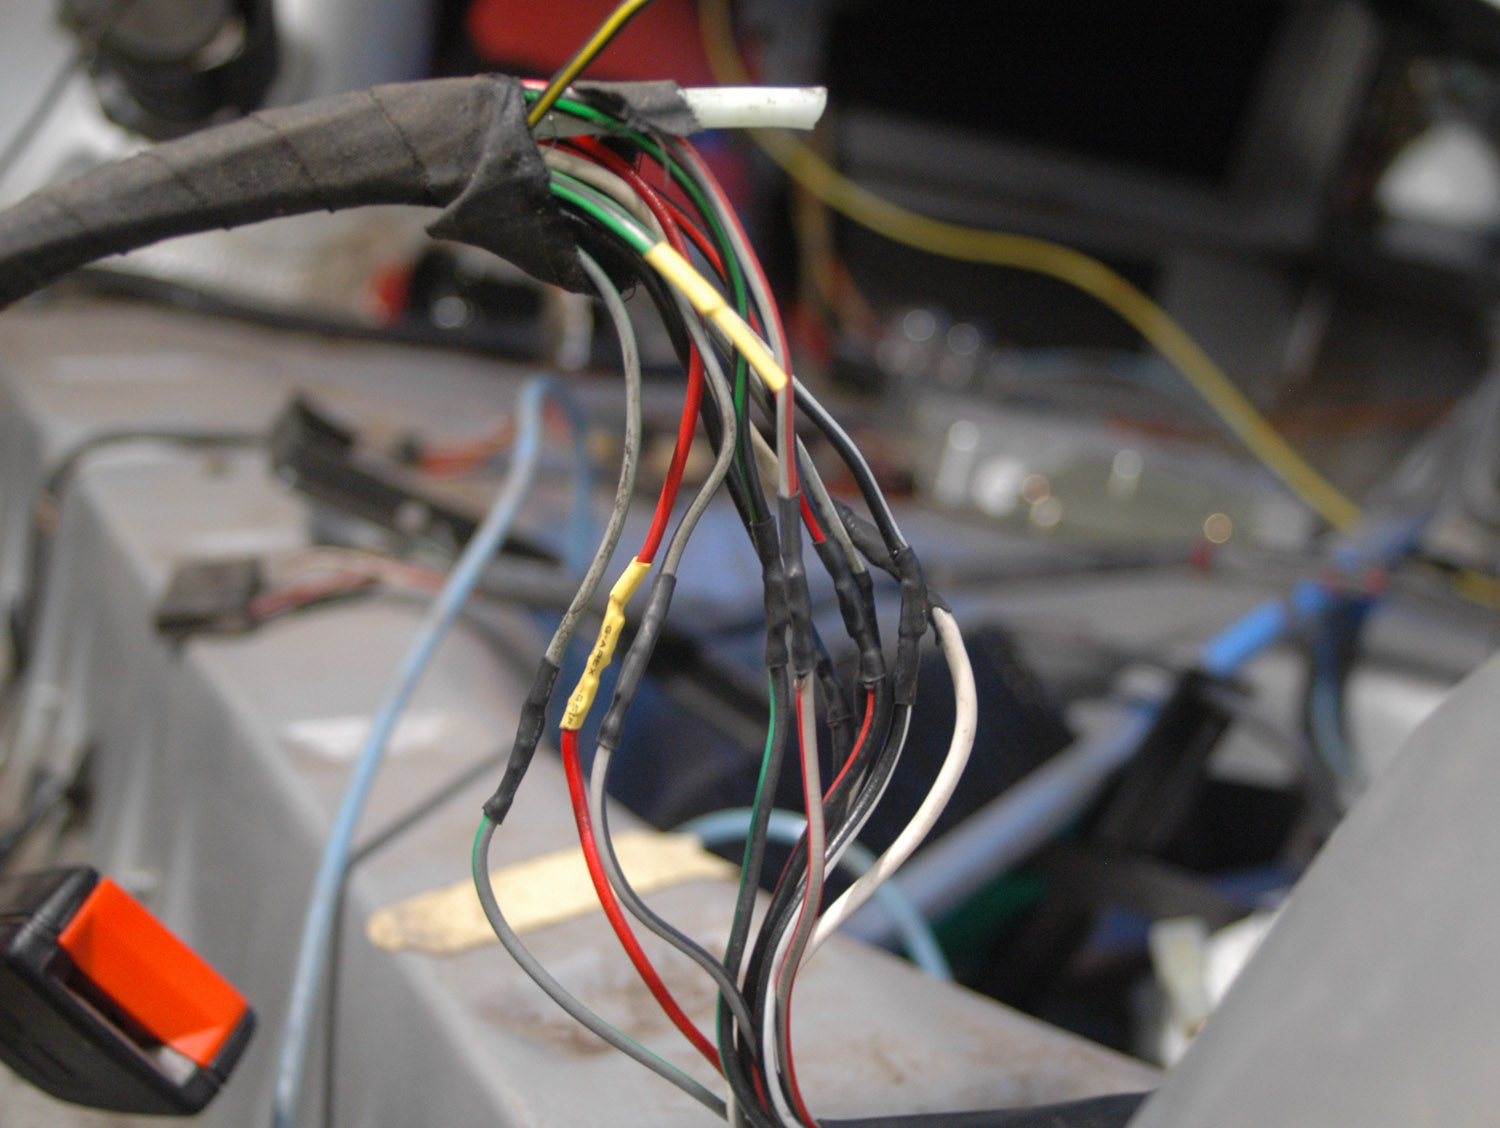
The rear wiring loom also came from the Rallye, as the Jetta's original wasn't directly compatible with the newer electrics. It needed a little extending.
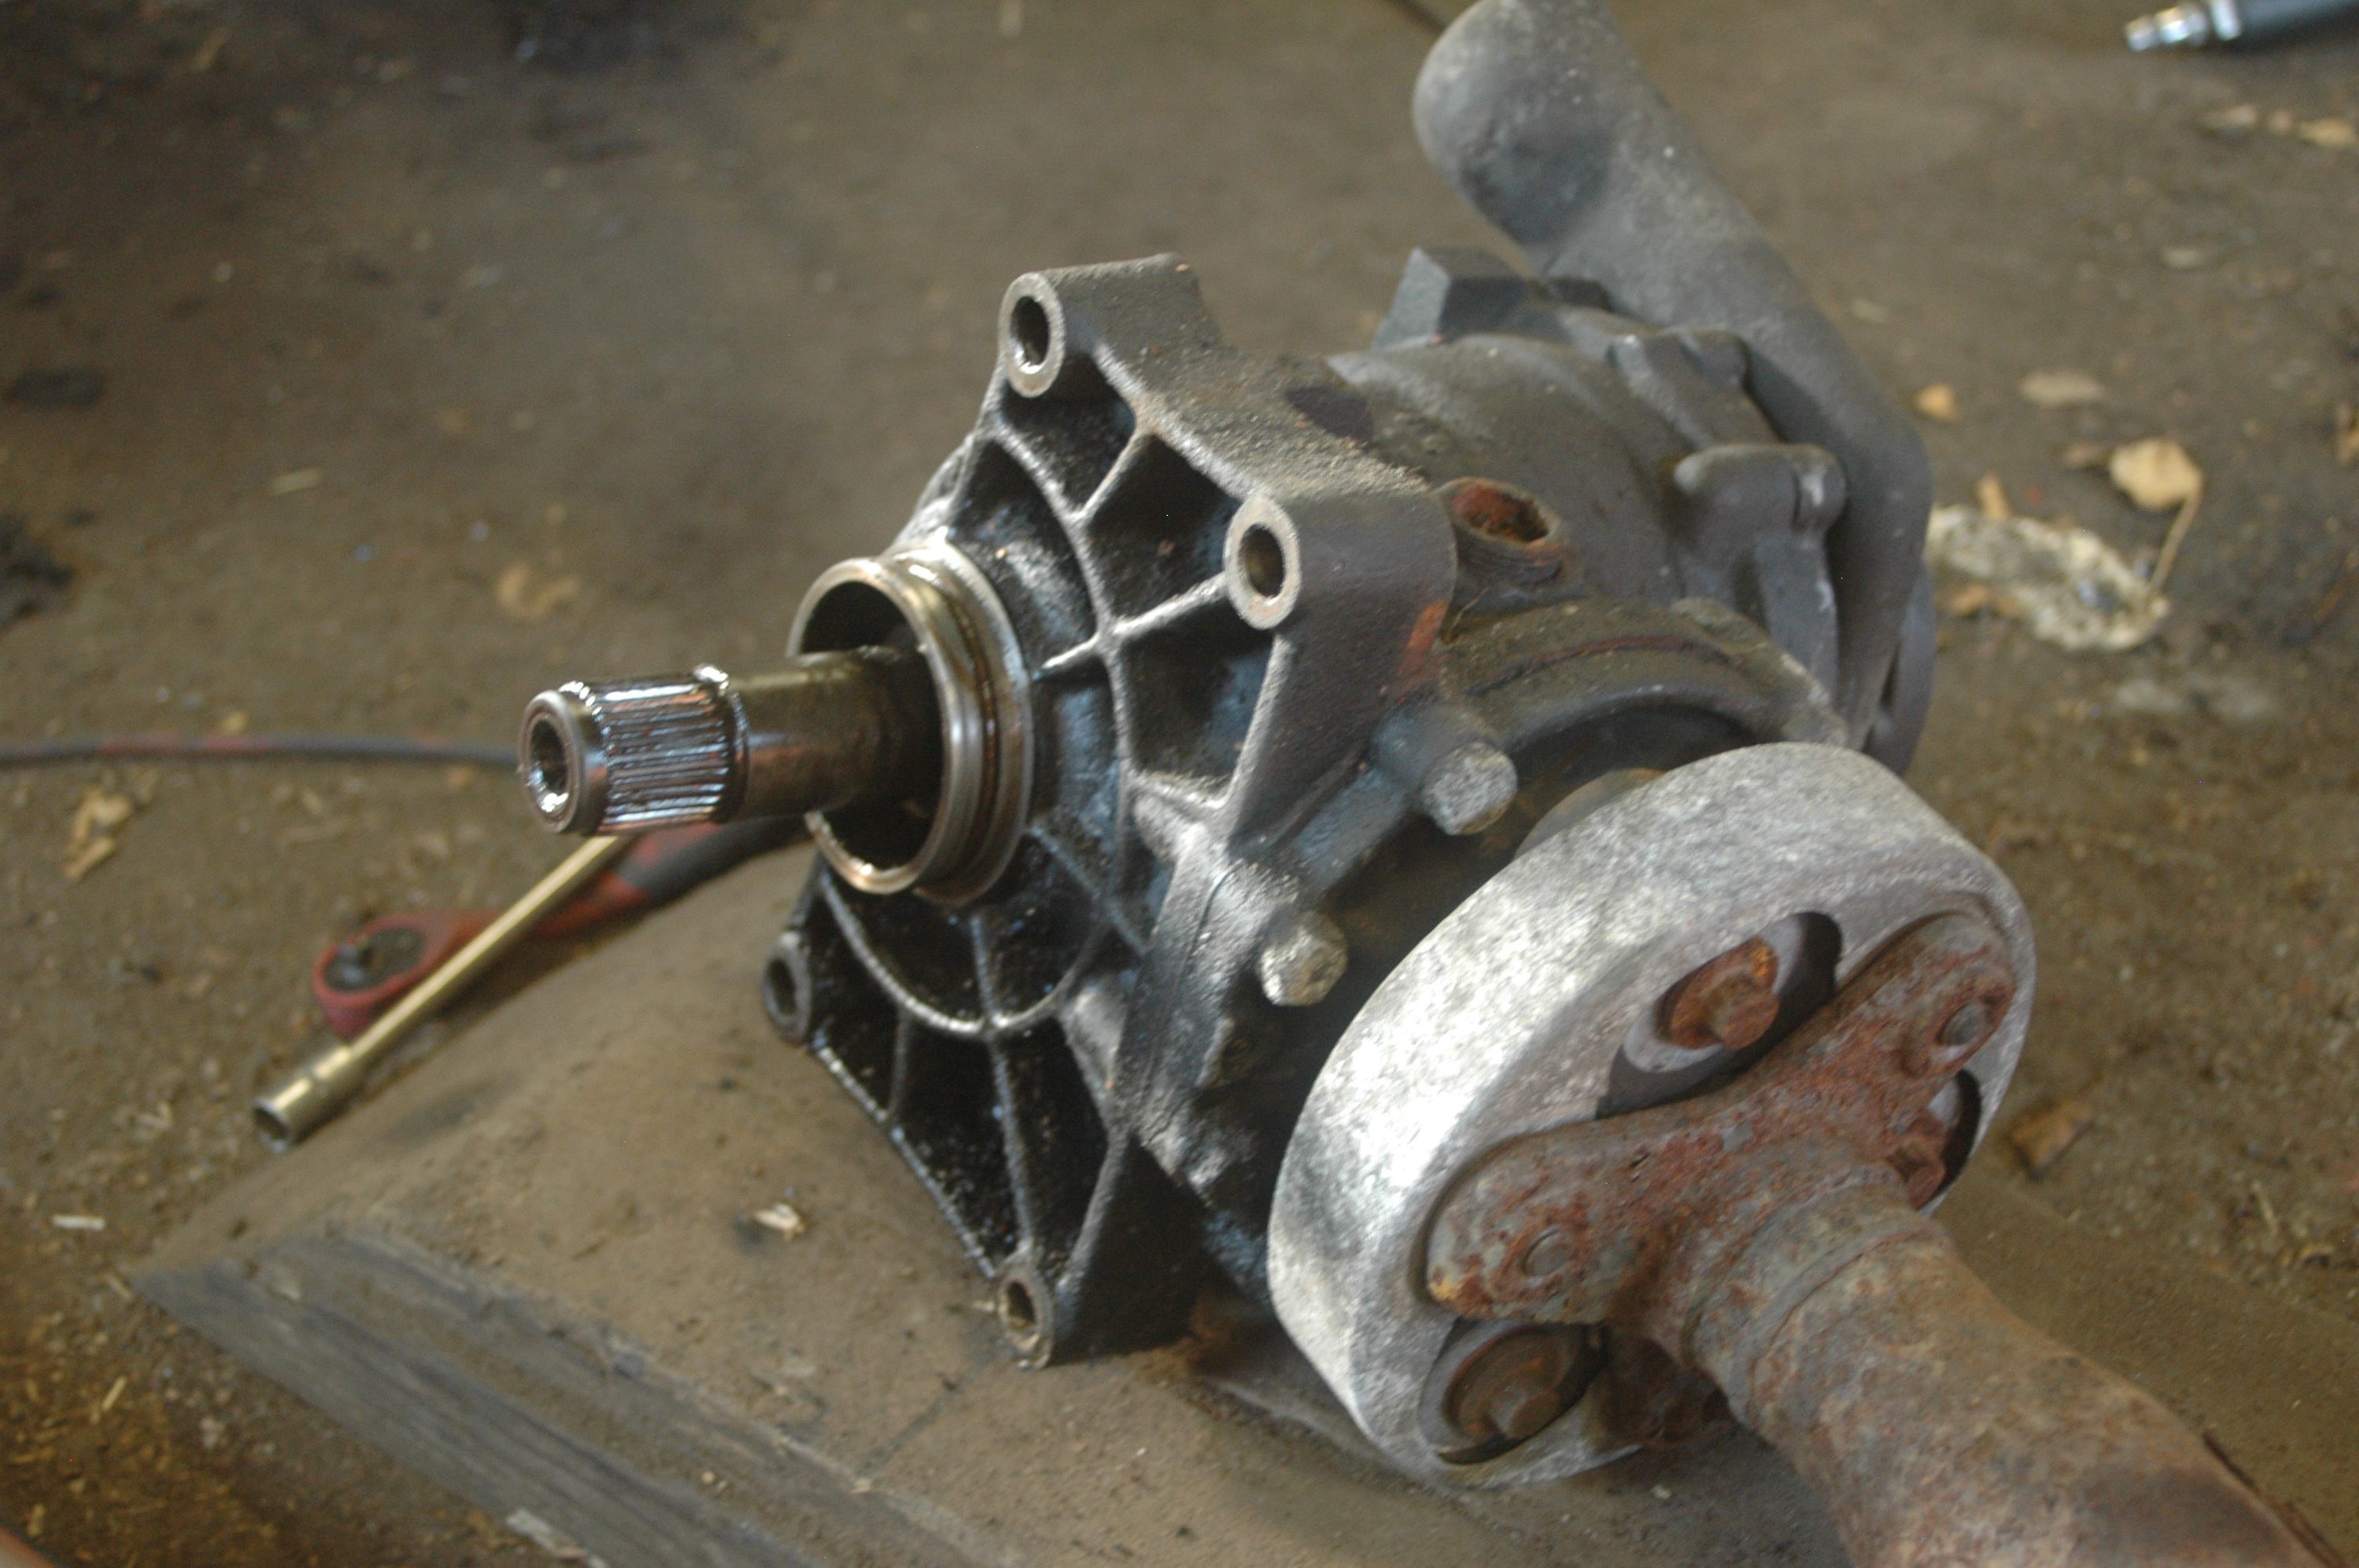
While the gearbox was on the floor we removed the front angle-drive unit and replaced some oil seals and other seals. On a Syncro the unit bolts where a normal front-wheel-drive gearbox has its right-hand driveshaft flange, making that driveshaft shorter than the front-wheel-drive version.
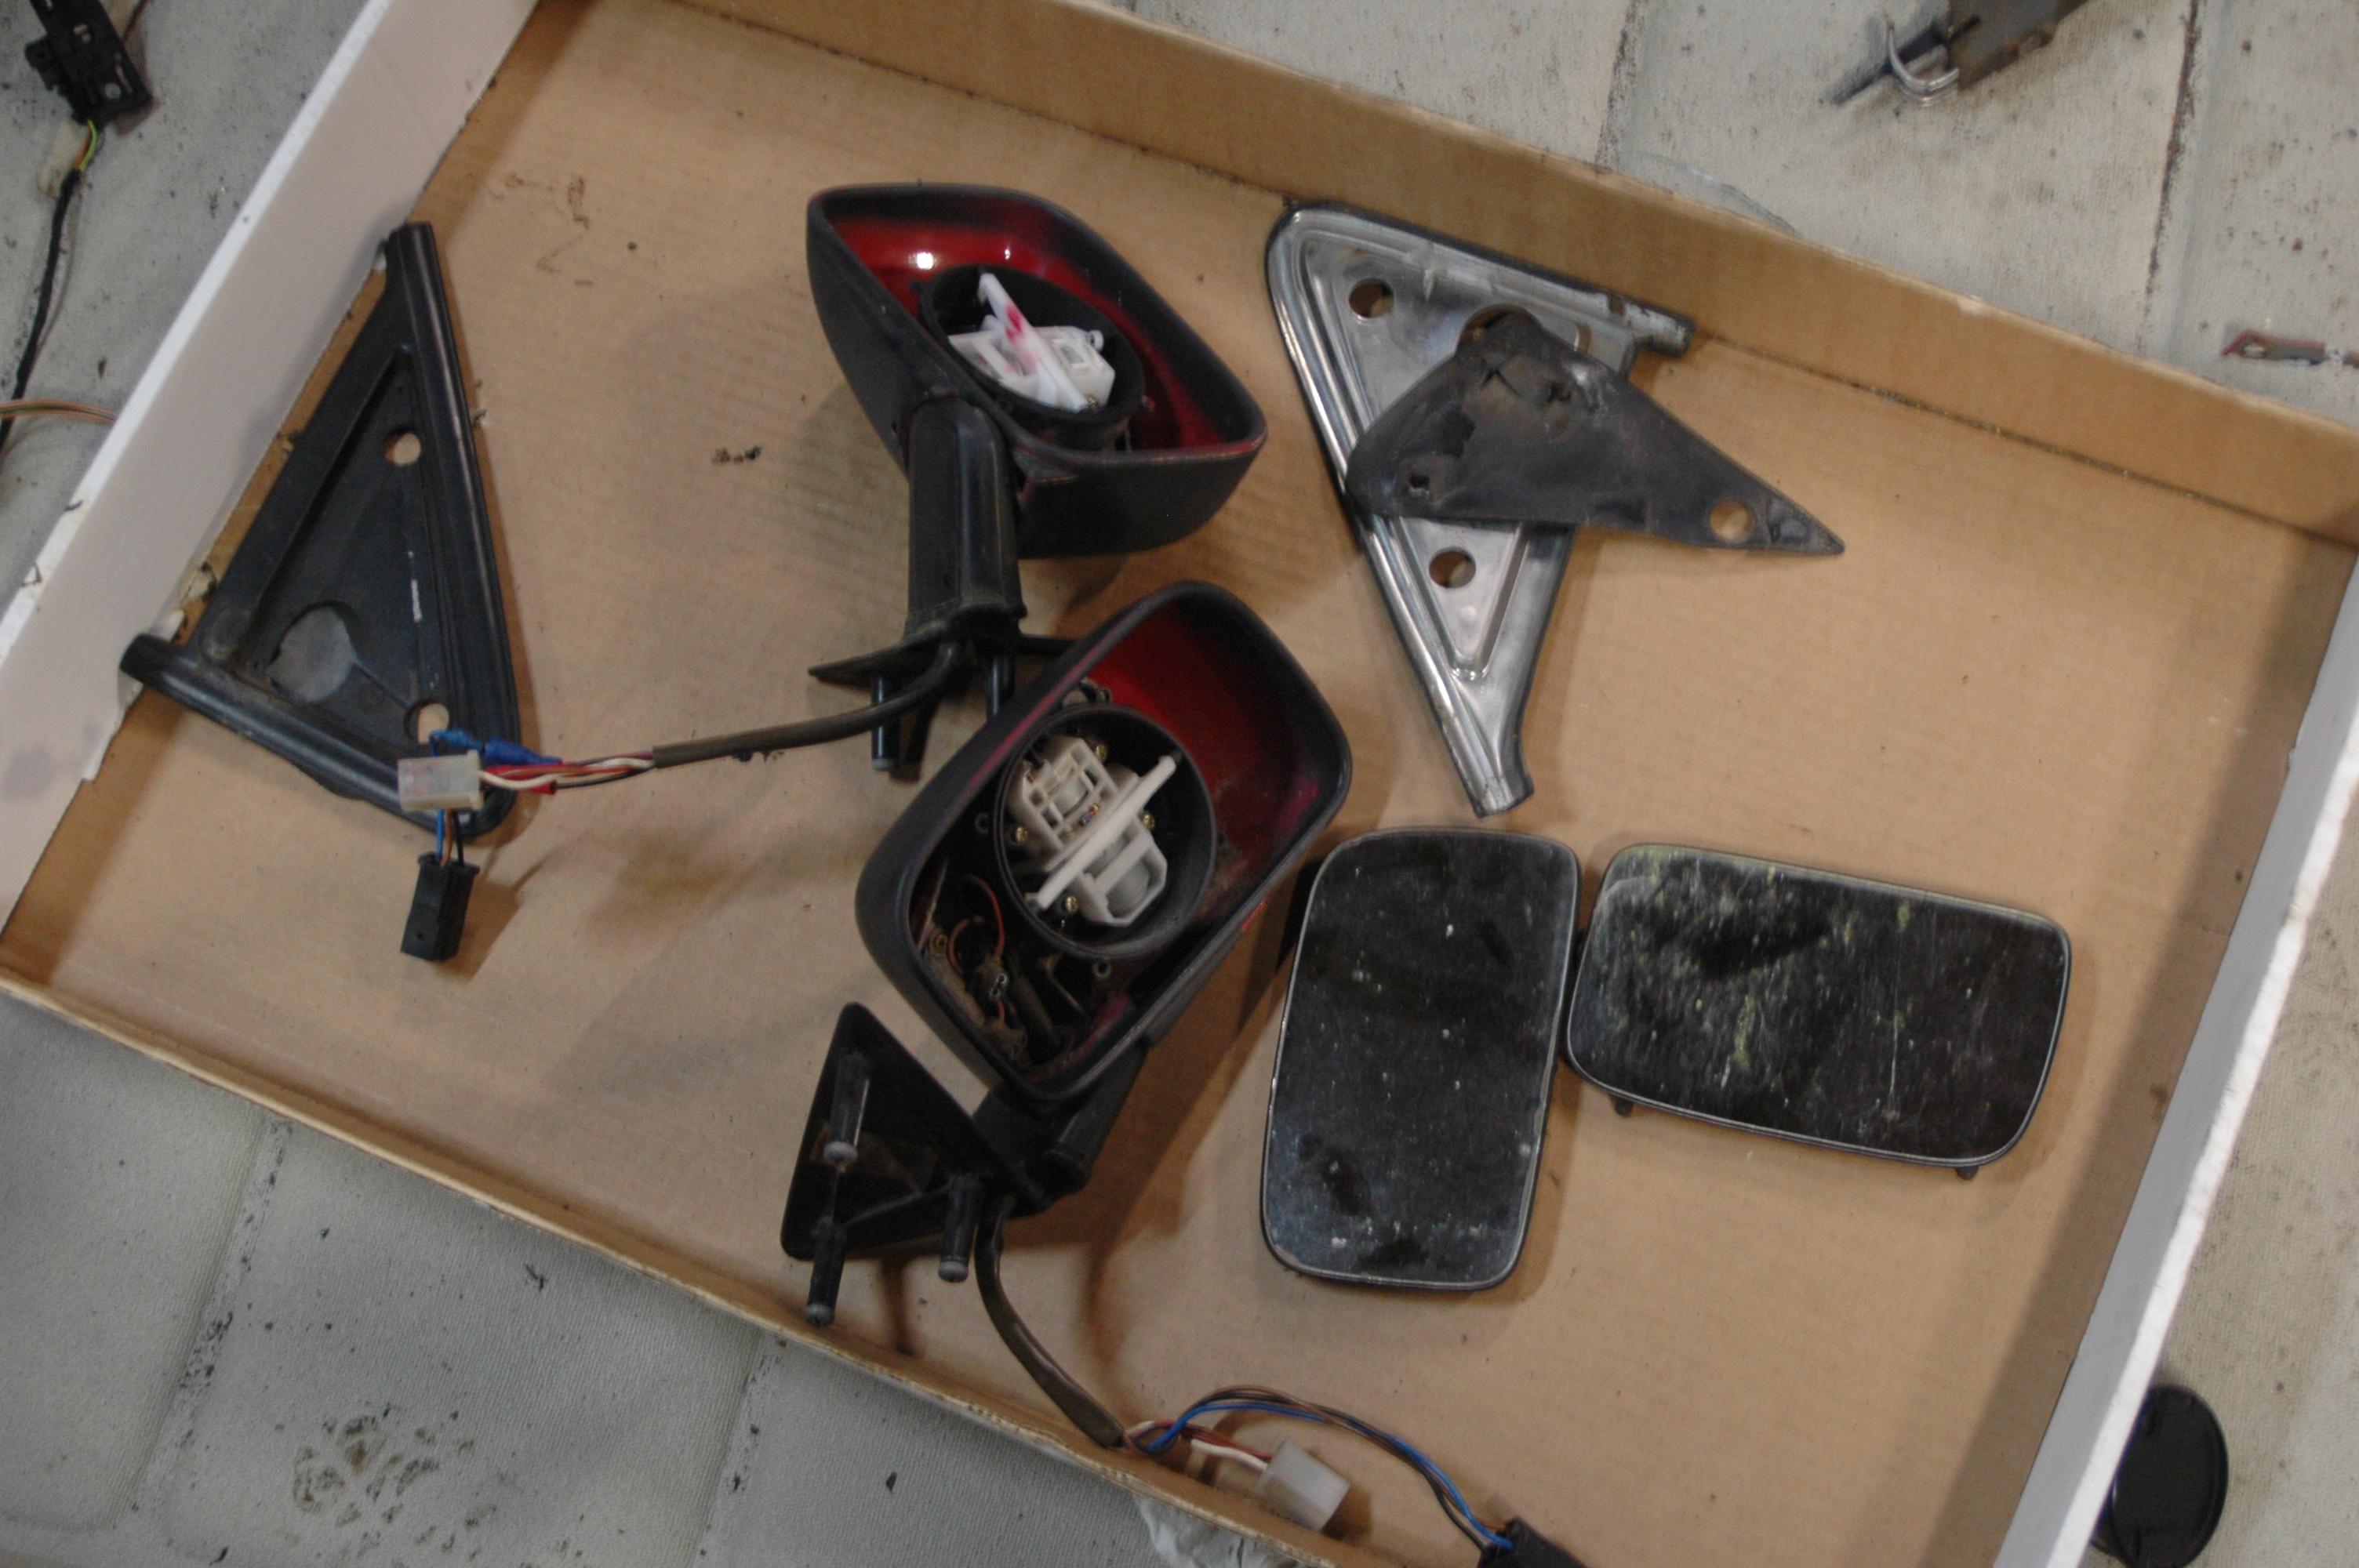
People sometimes claim Golfs and Jettas were built around the heater matrix. Not quite: some models were actually built around the electric-mirror wiring loom.
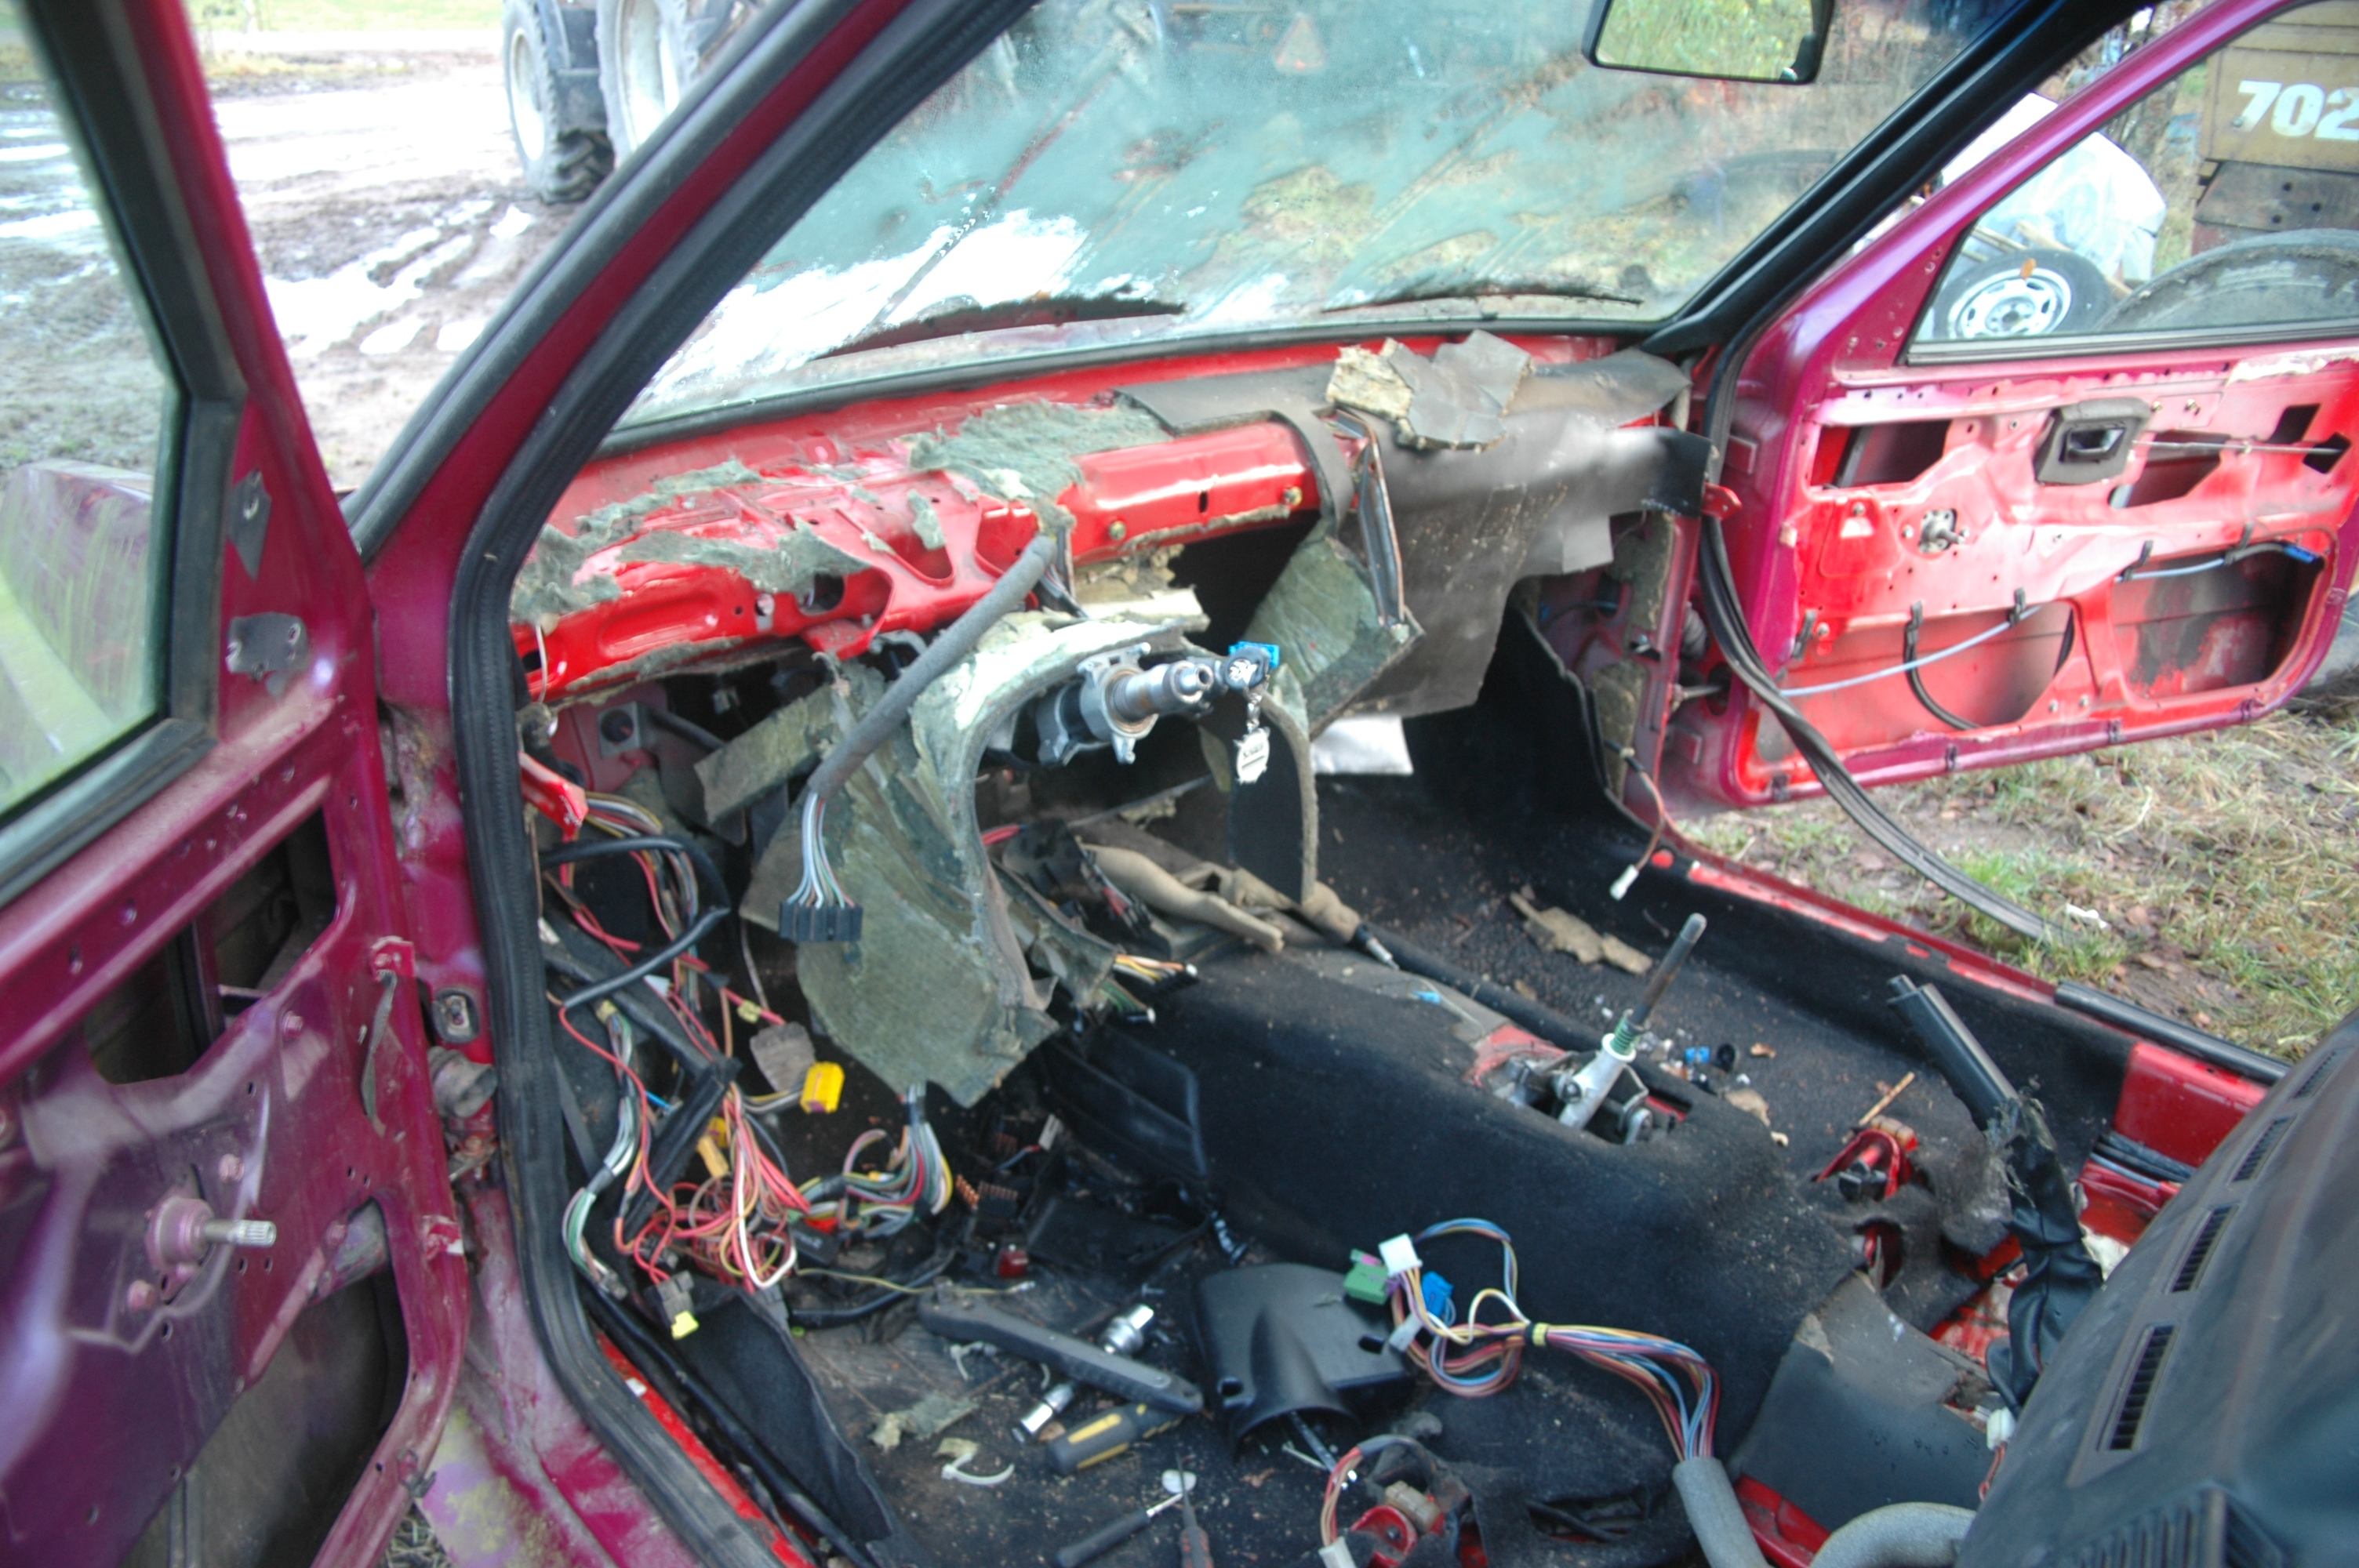
The donor Rallye's interior after removing the loom. It runs underneath the sound insulation behind the dashboard.
Paint and upholstery
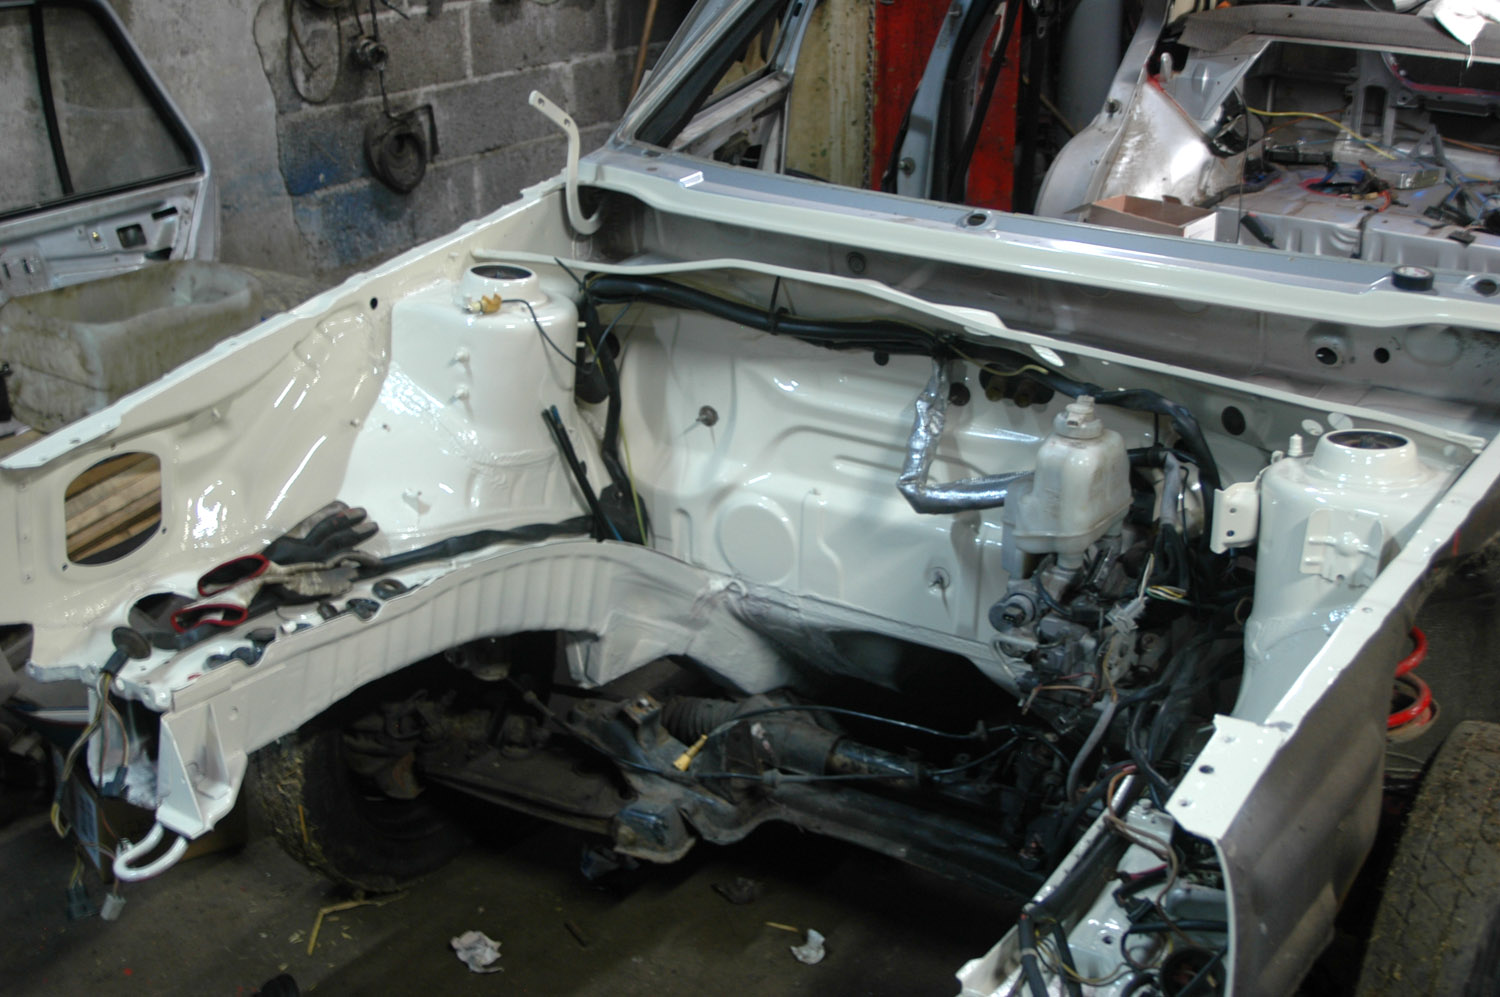
The Jetta's engine bay was painted at home, then the car was made driveable and taken to Autoasennus J. Järvenpää for the main preparation and painting. Here the bay is painted and some wiring and brake parts are already fitted.
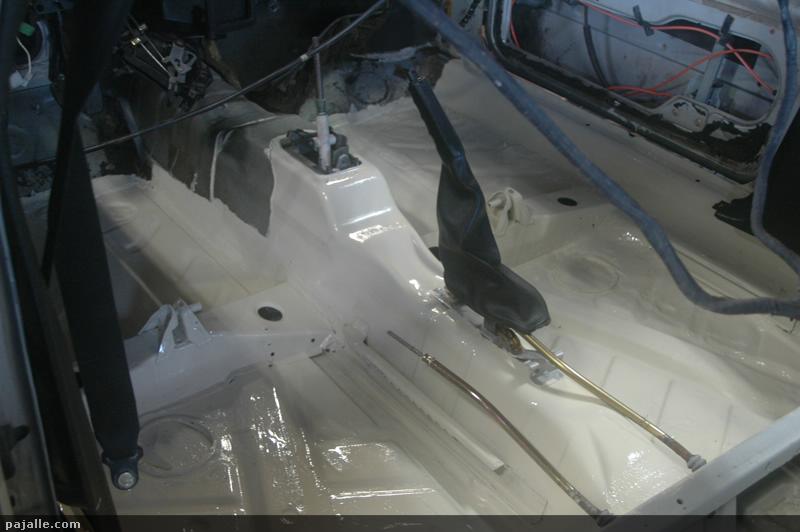
The interior floor was painted the same shade.
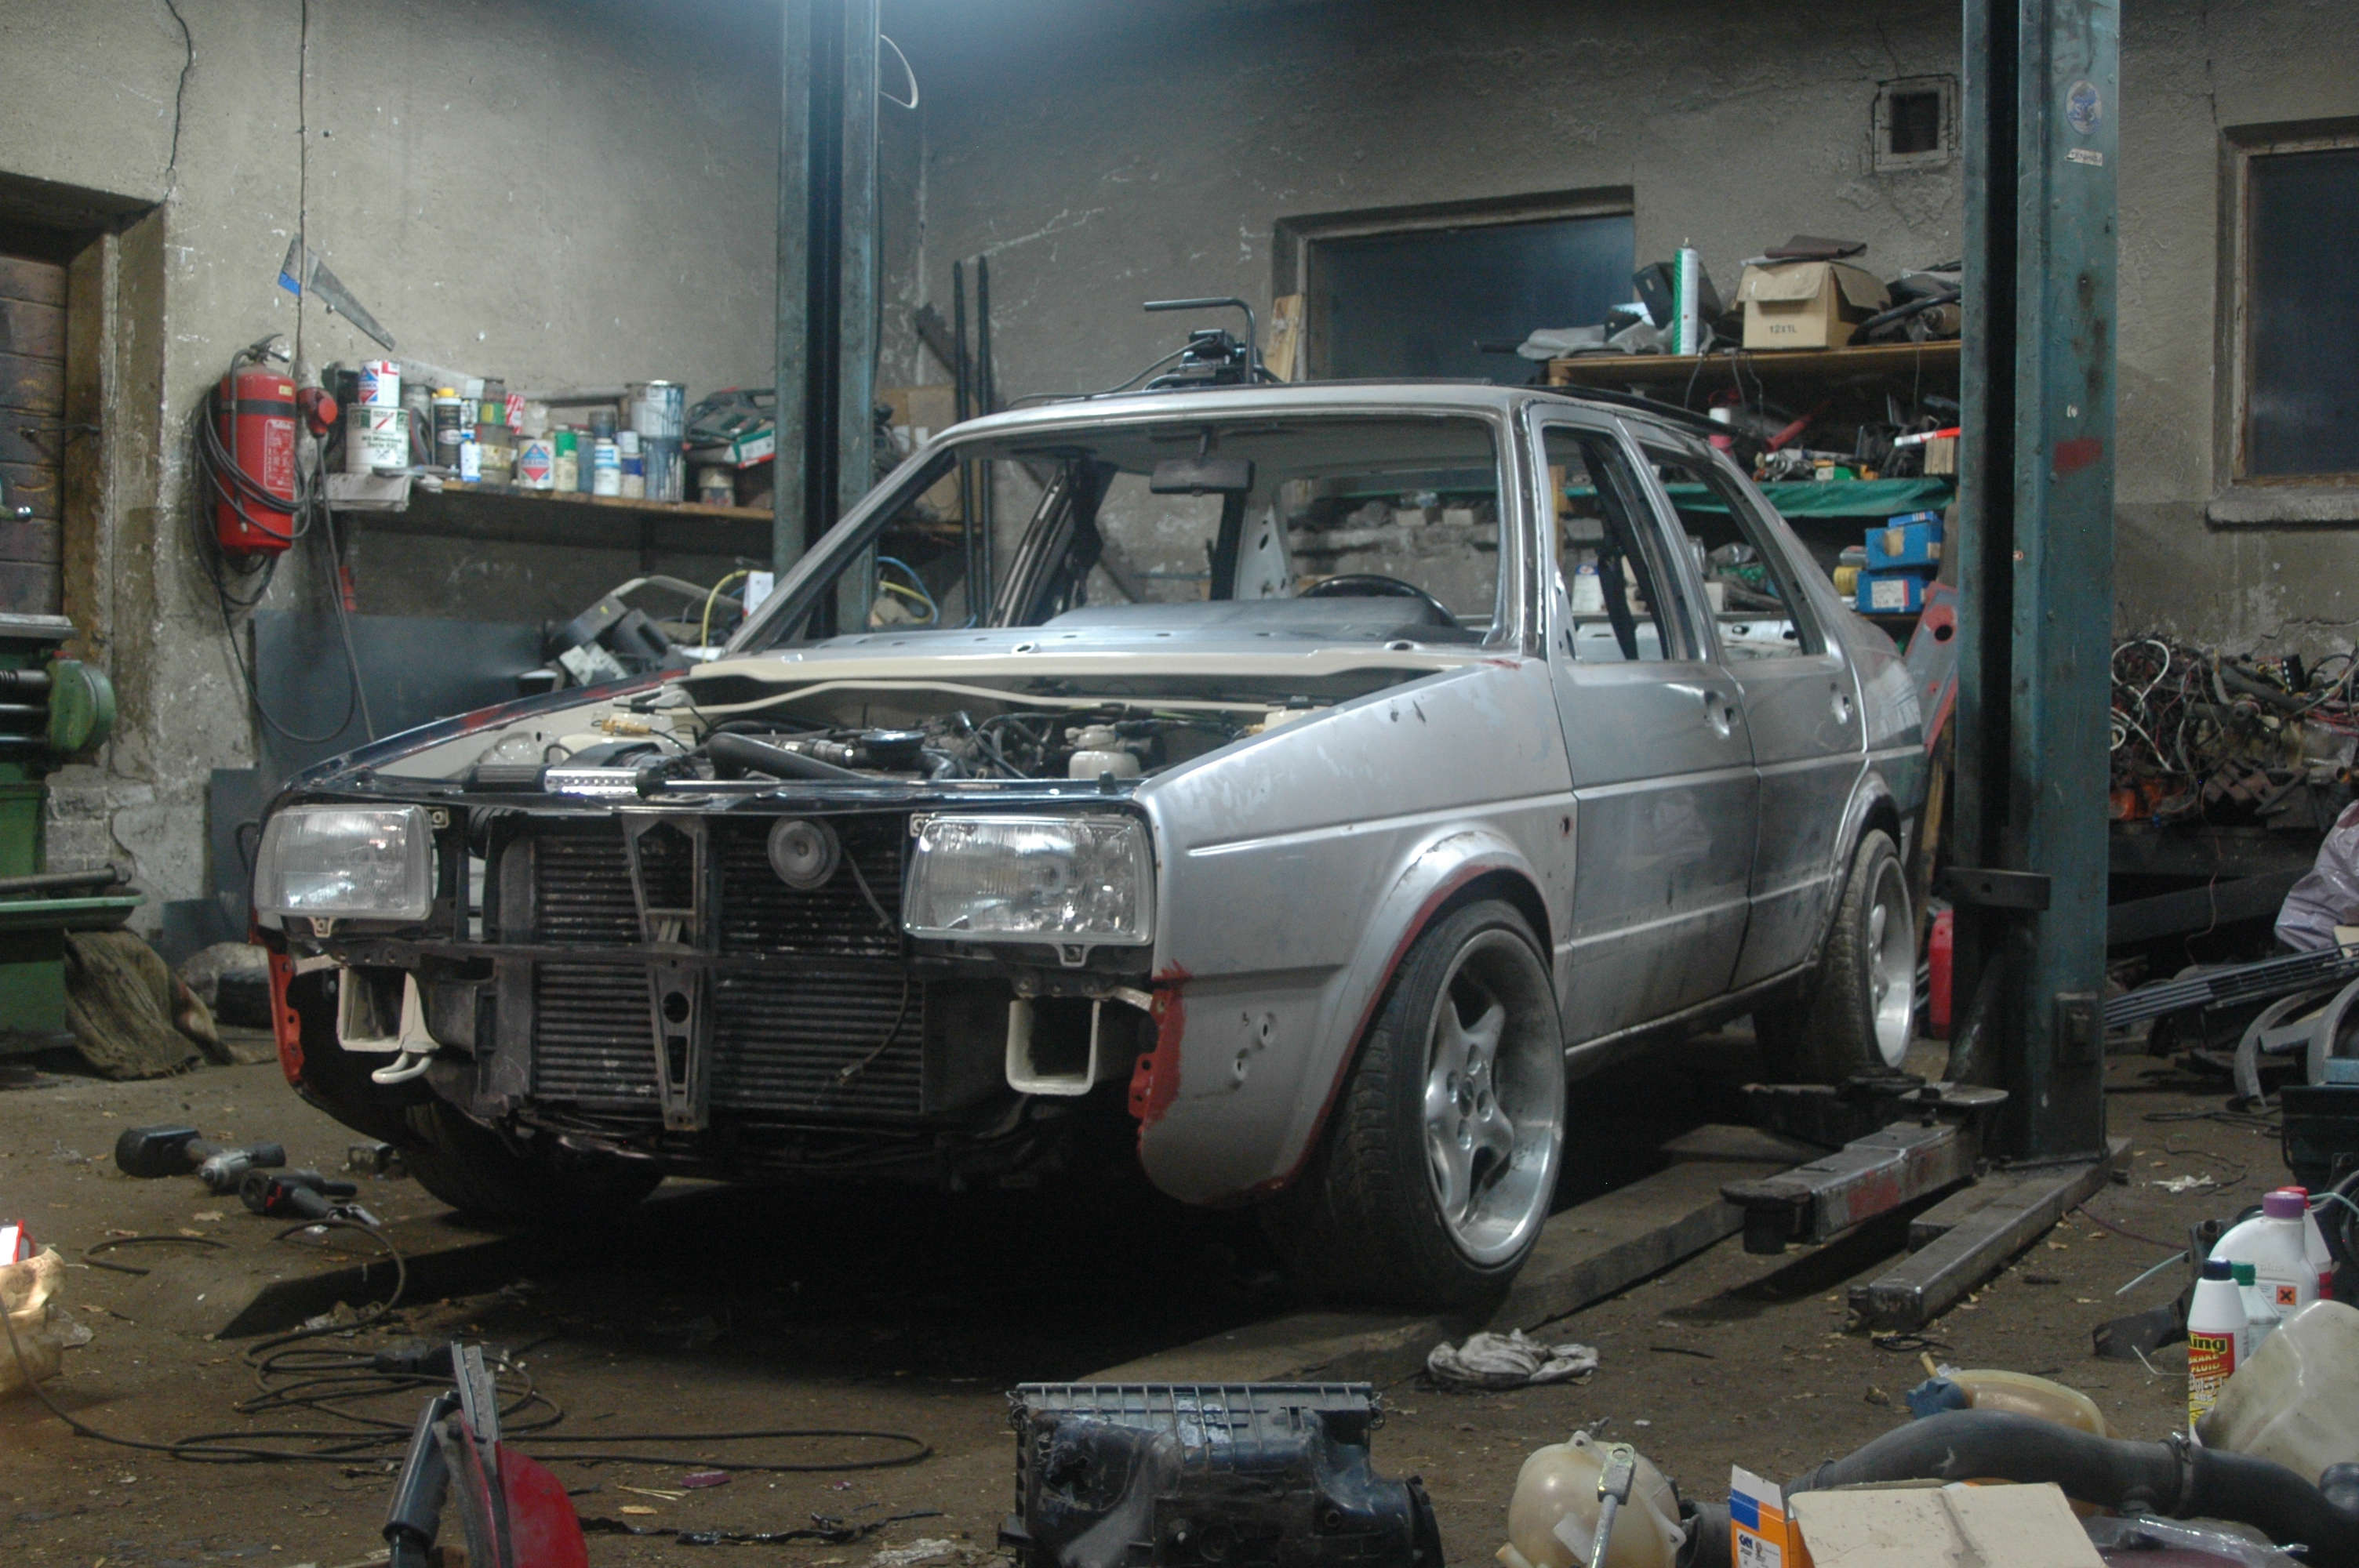
Then back into running condition. The fairly large Rallye intercooler is visible at the front.
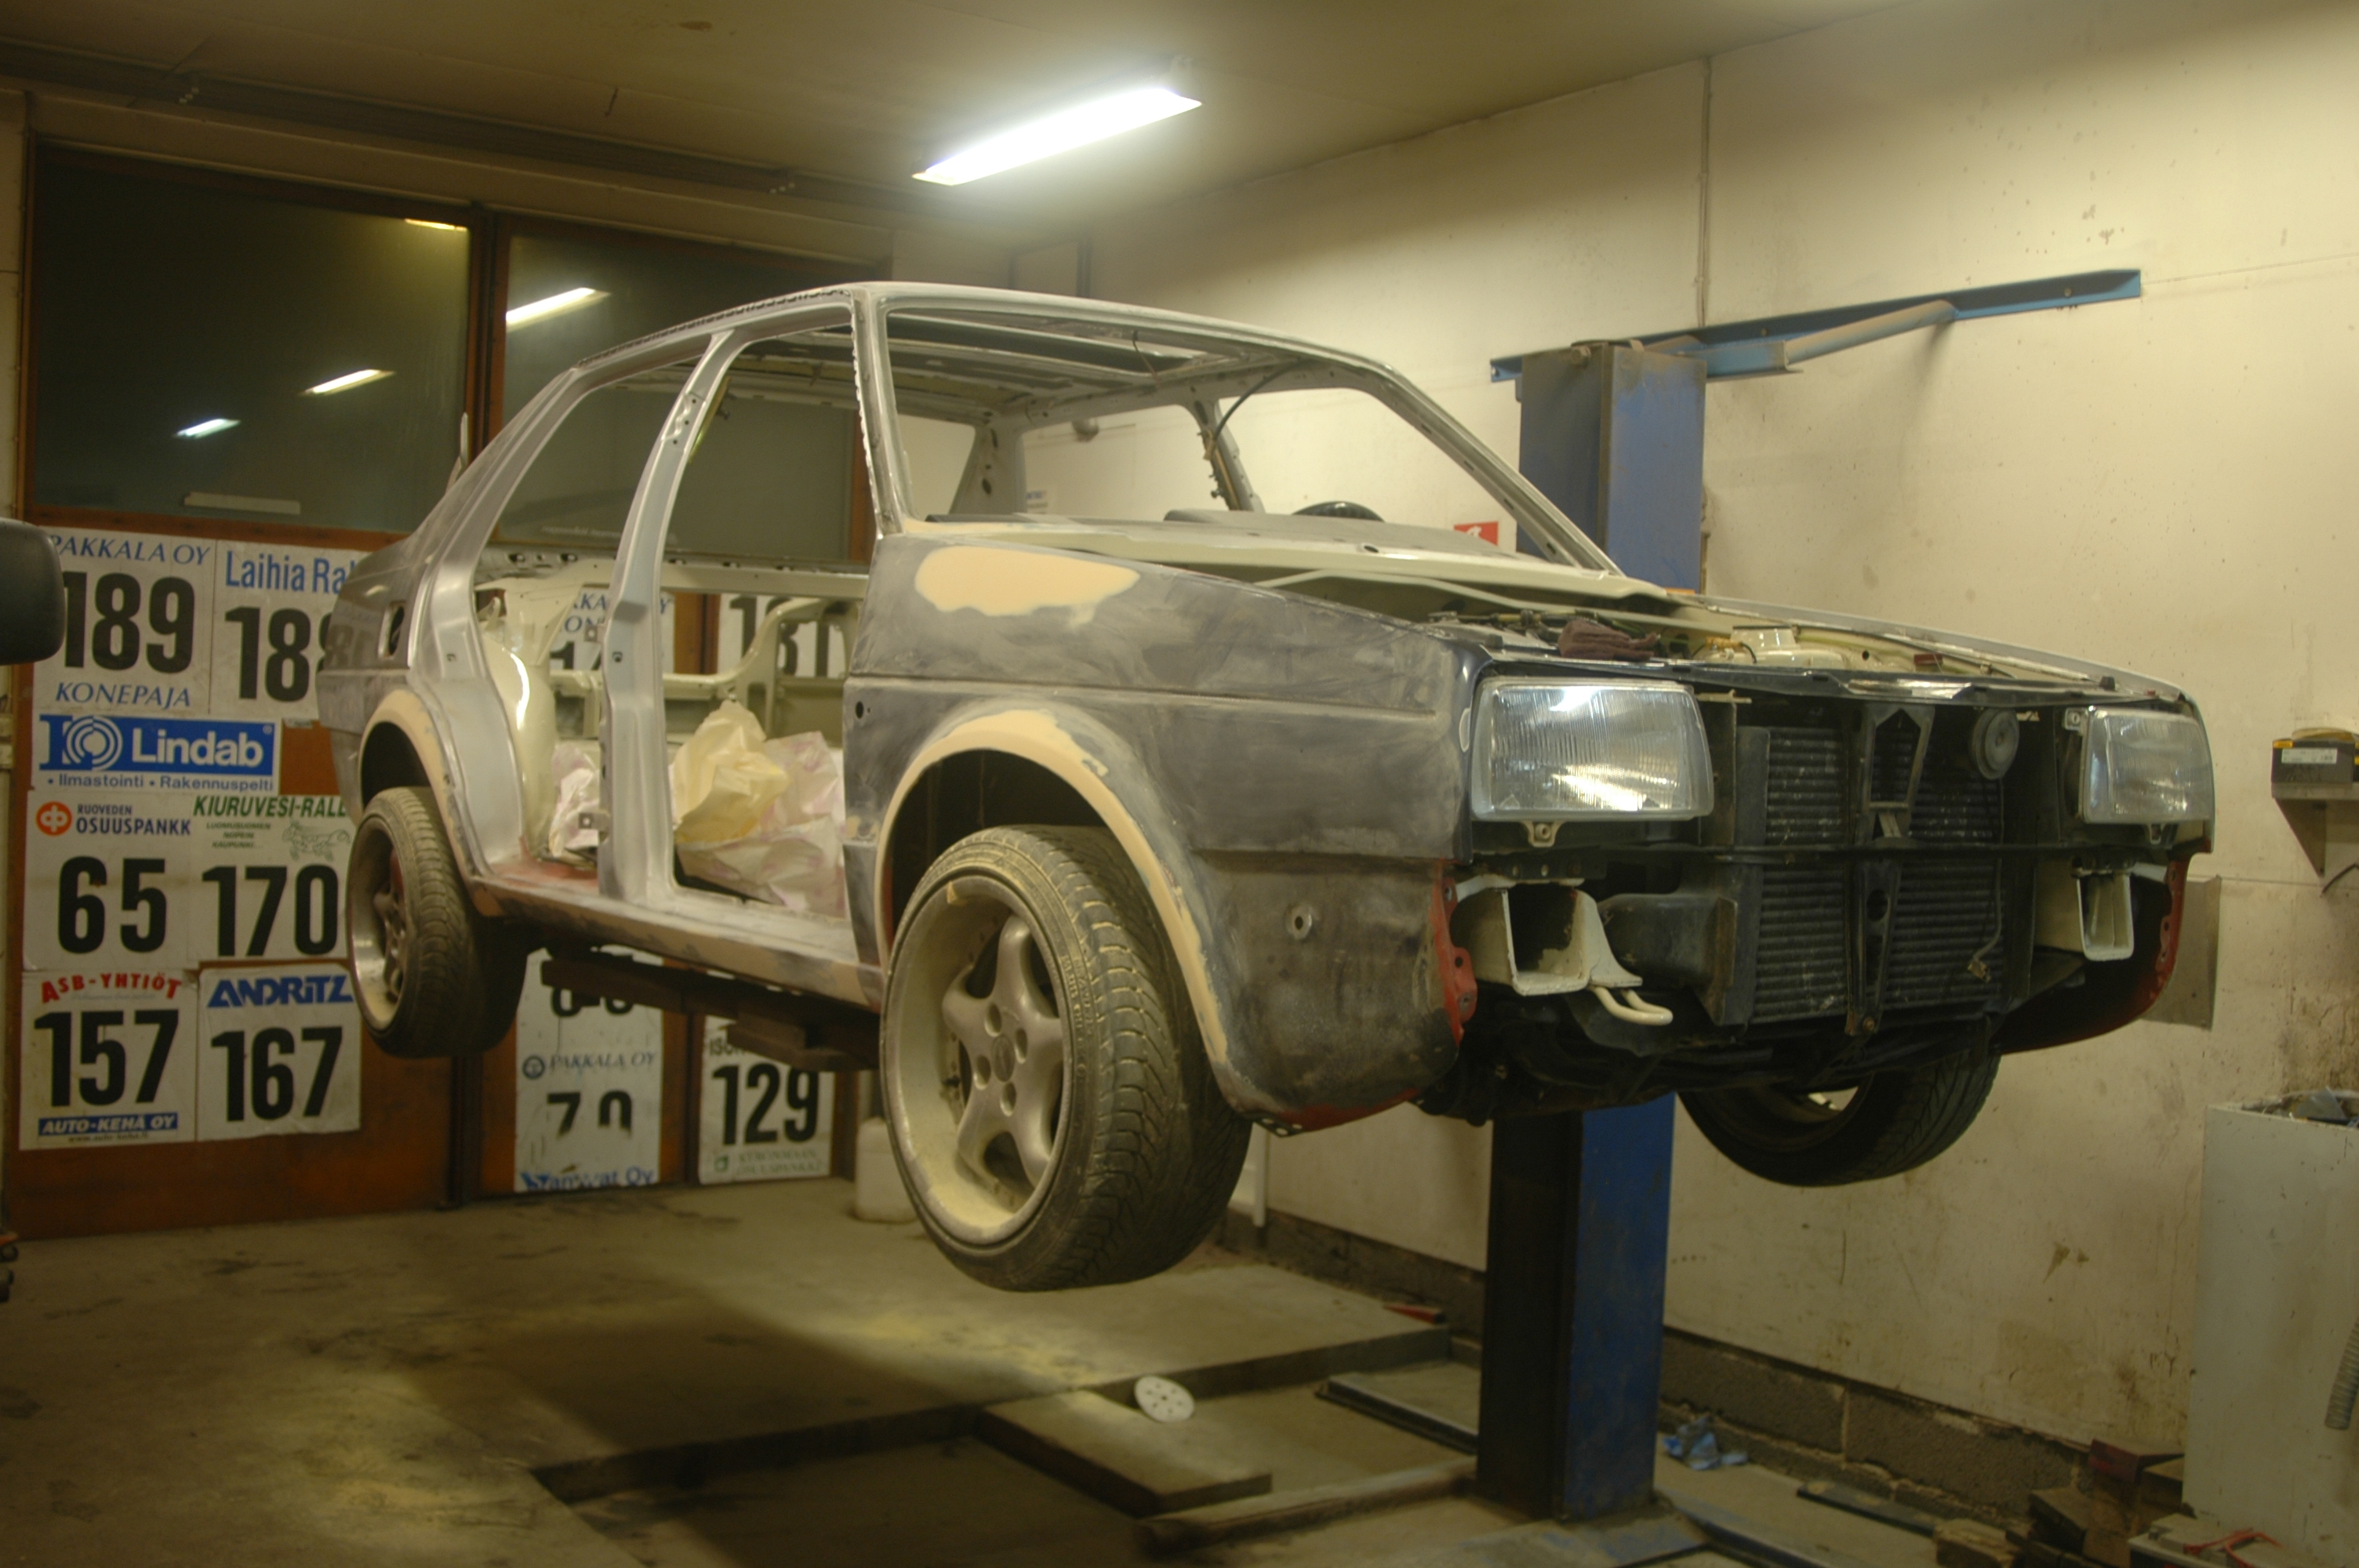
Preparation on Järvenpää's lift...
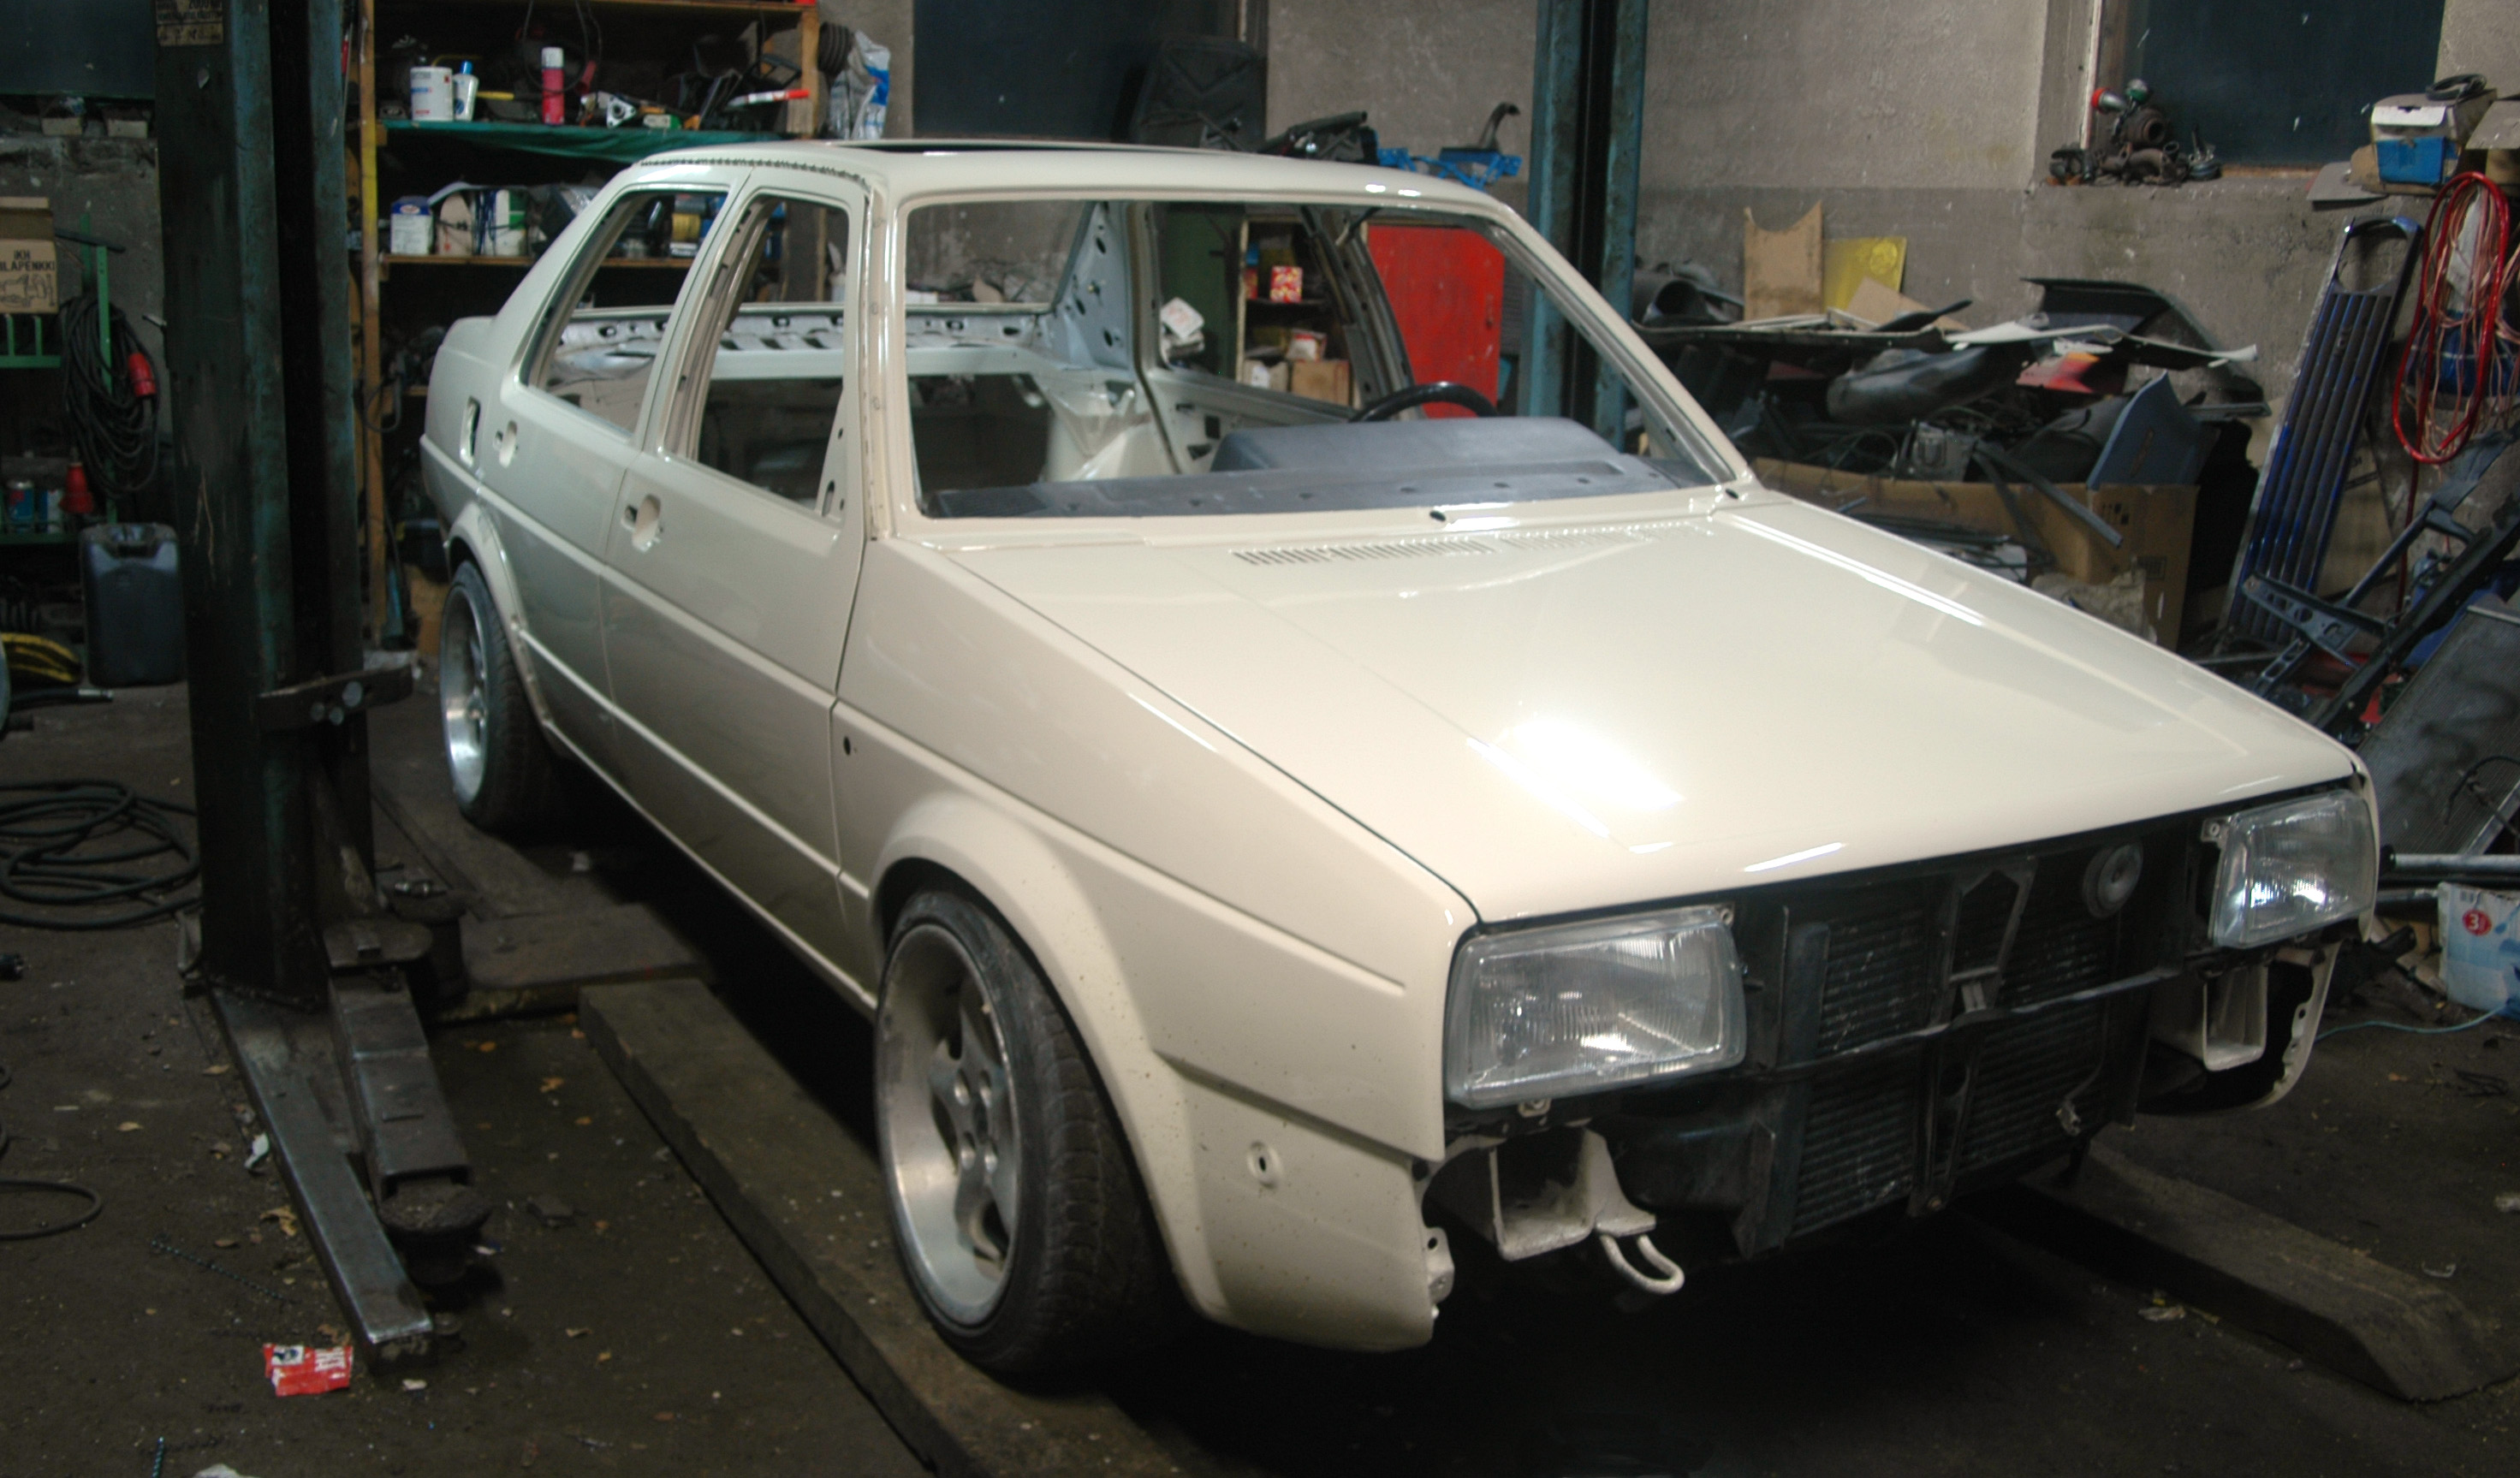
...and suddenly back home in fresh paint. The colour is New Beetle Harvest Moon Beige.
Looks suspiciously like a German taxi :)
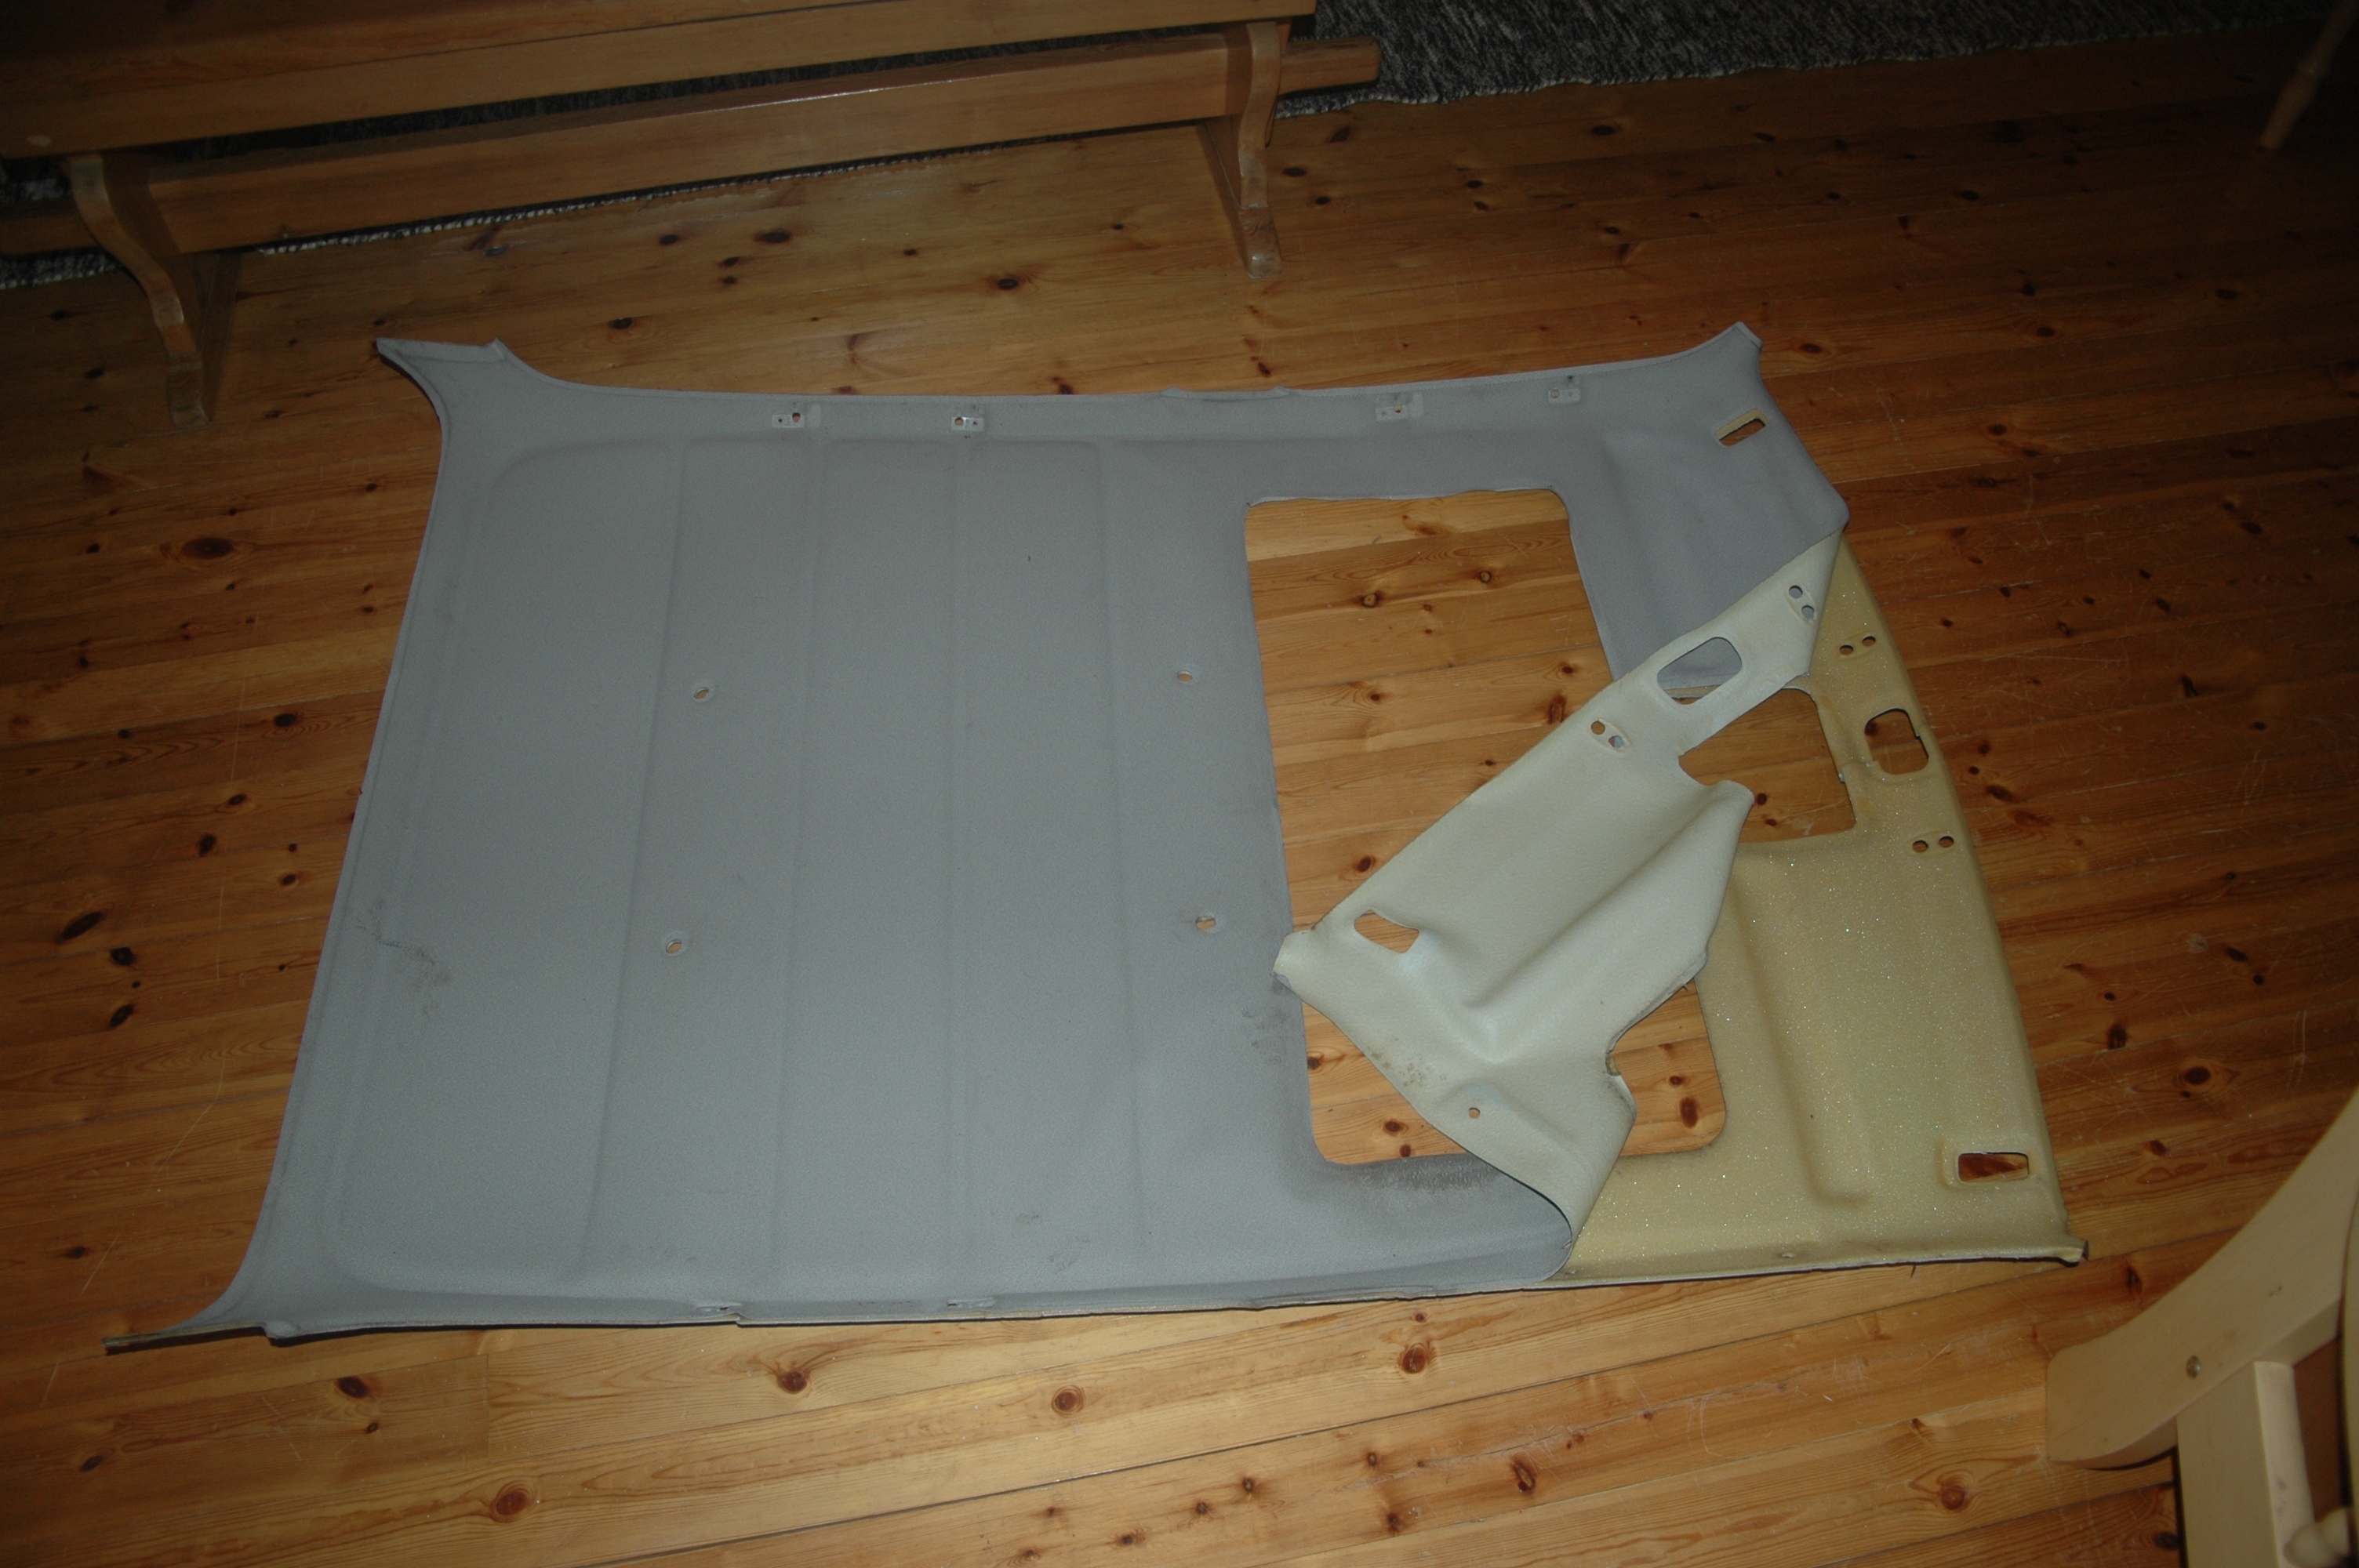
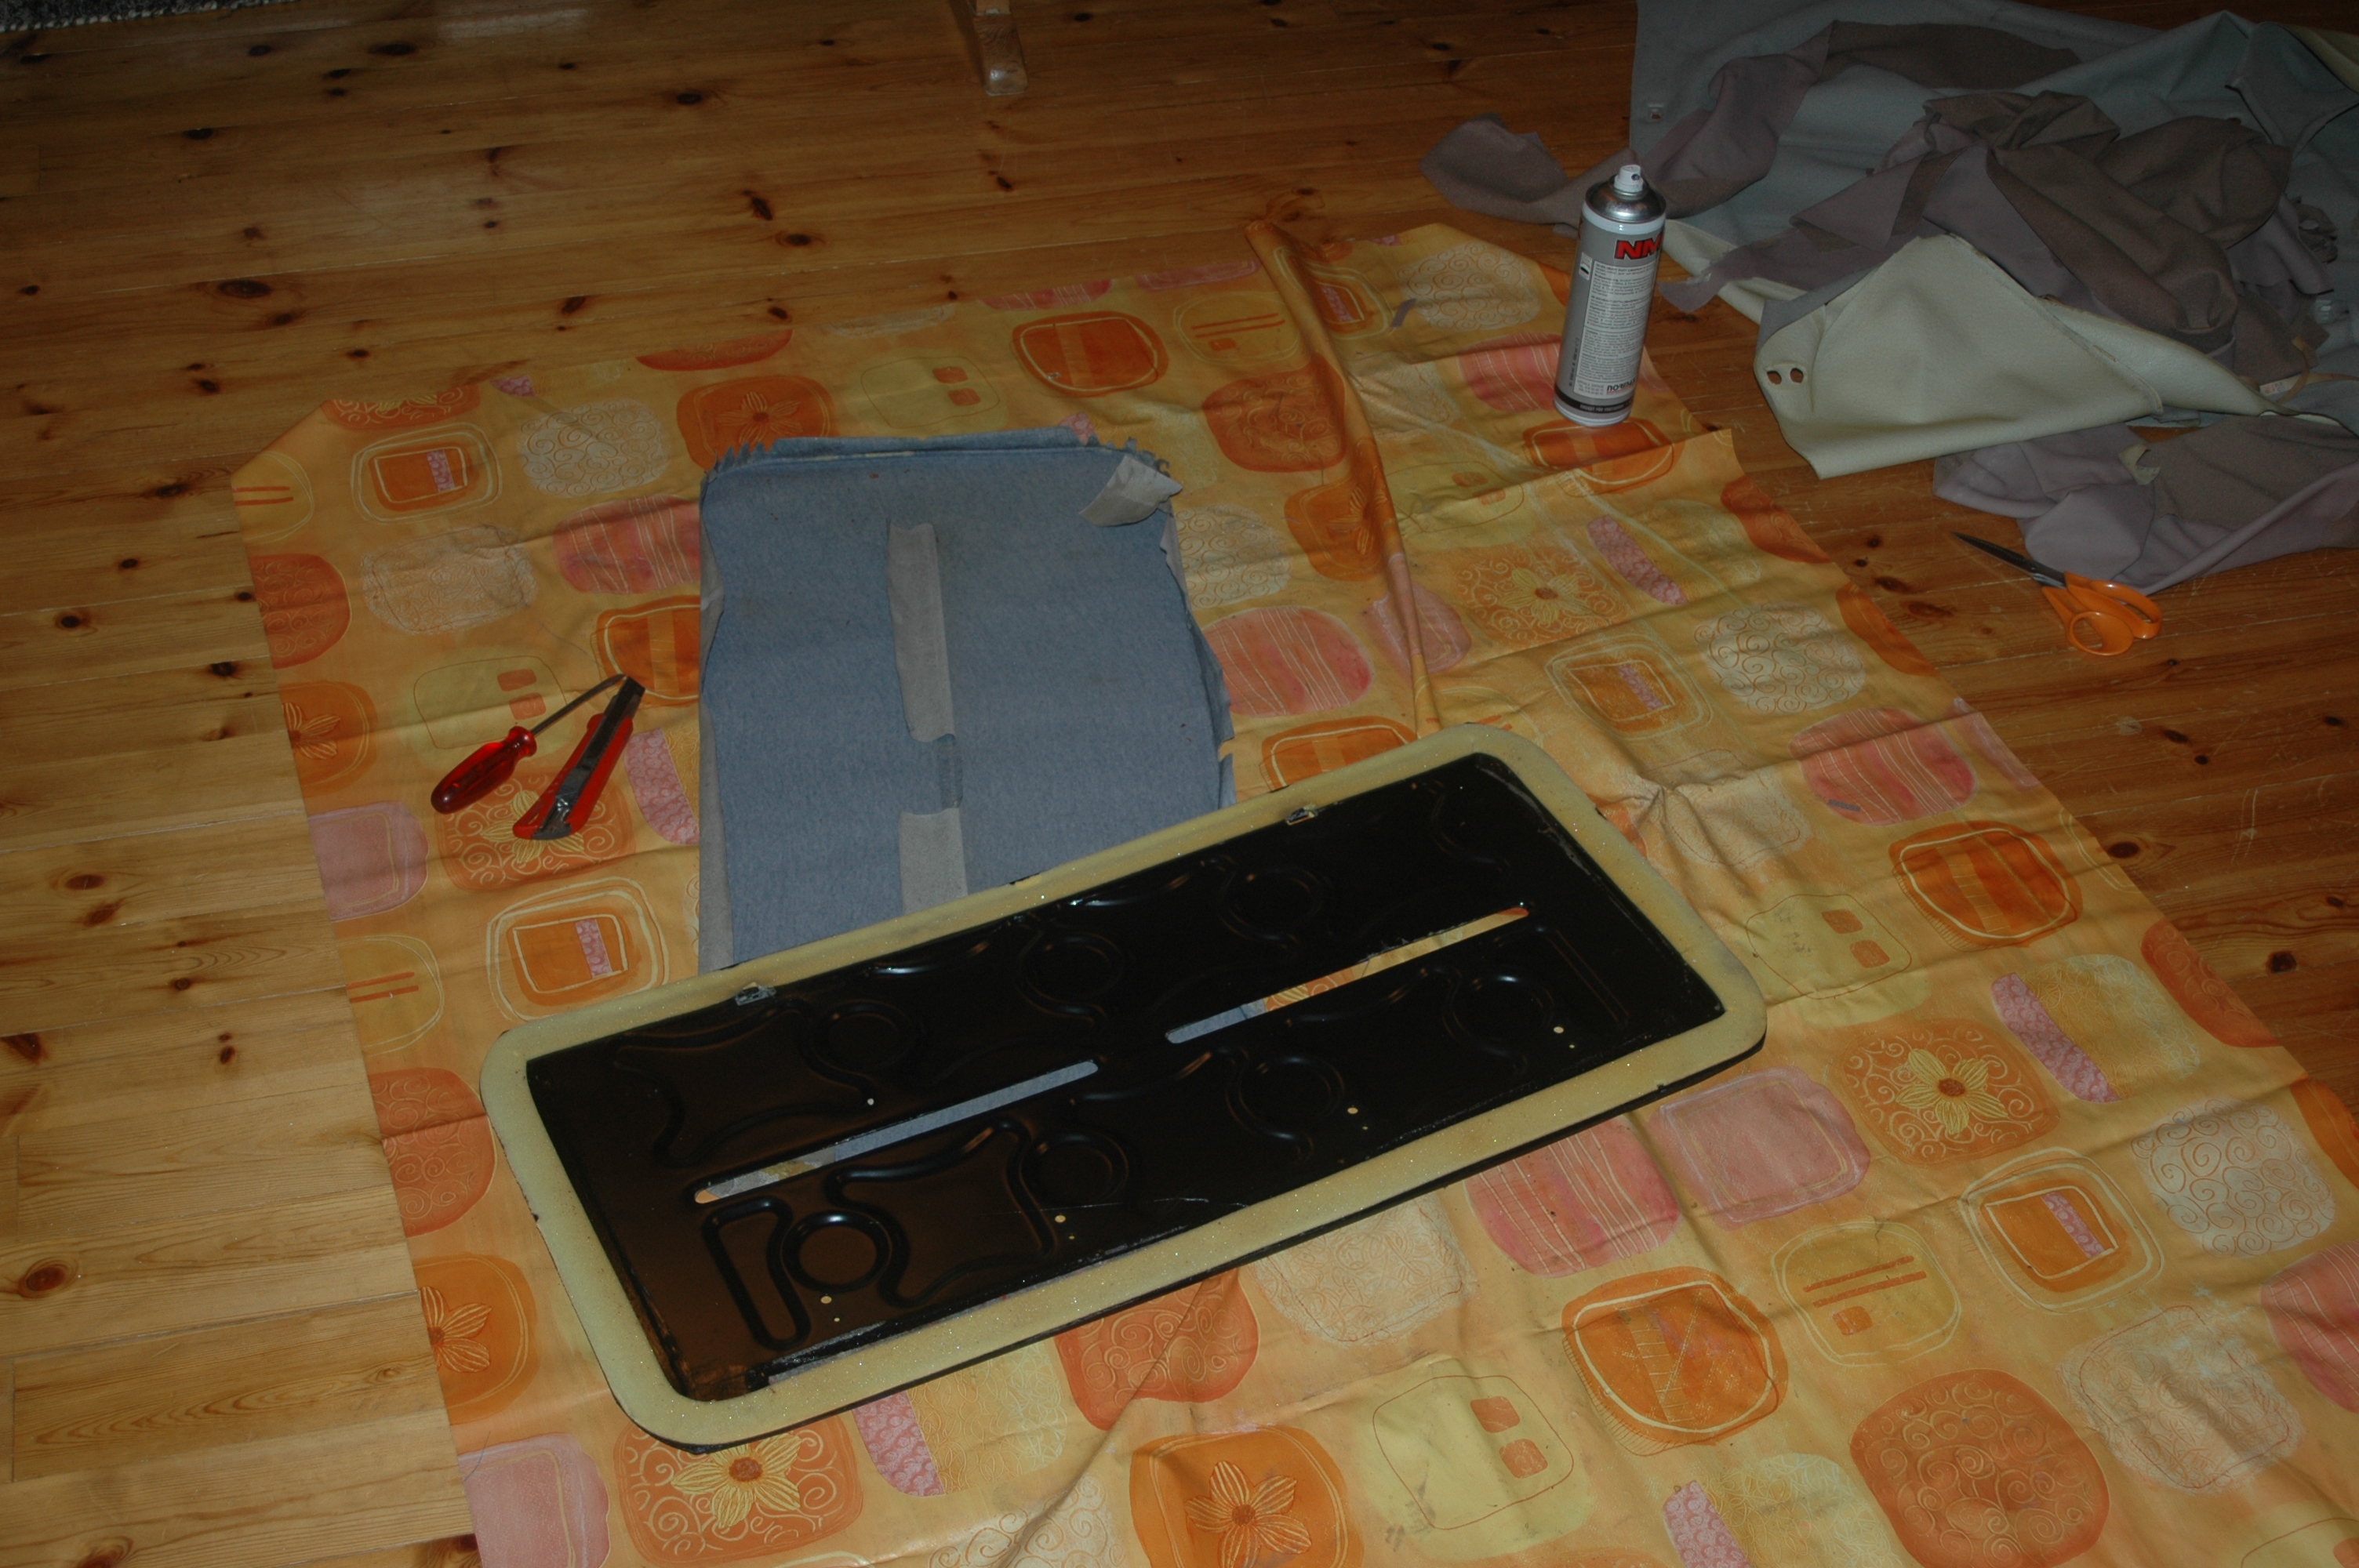
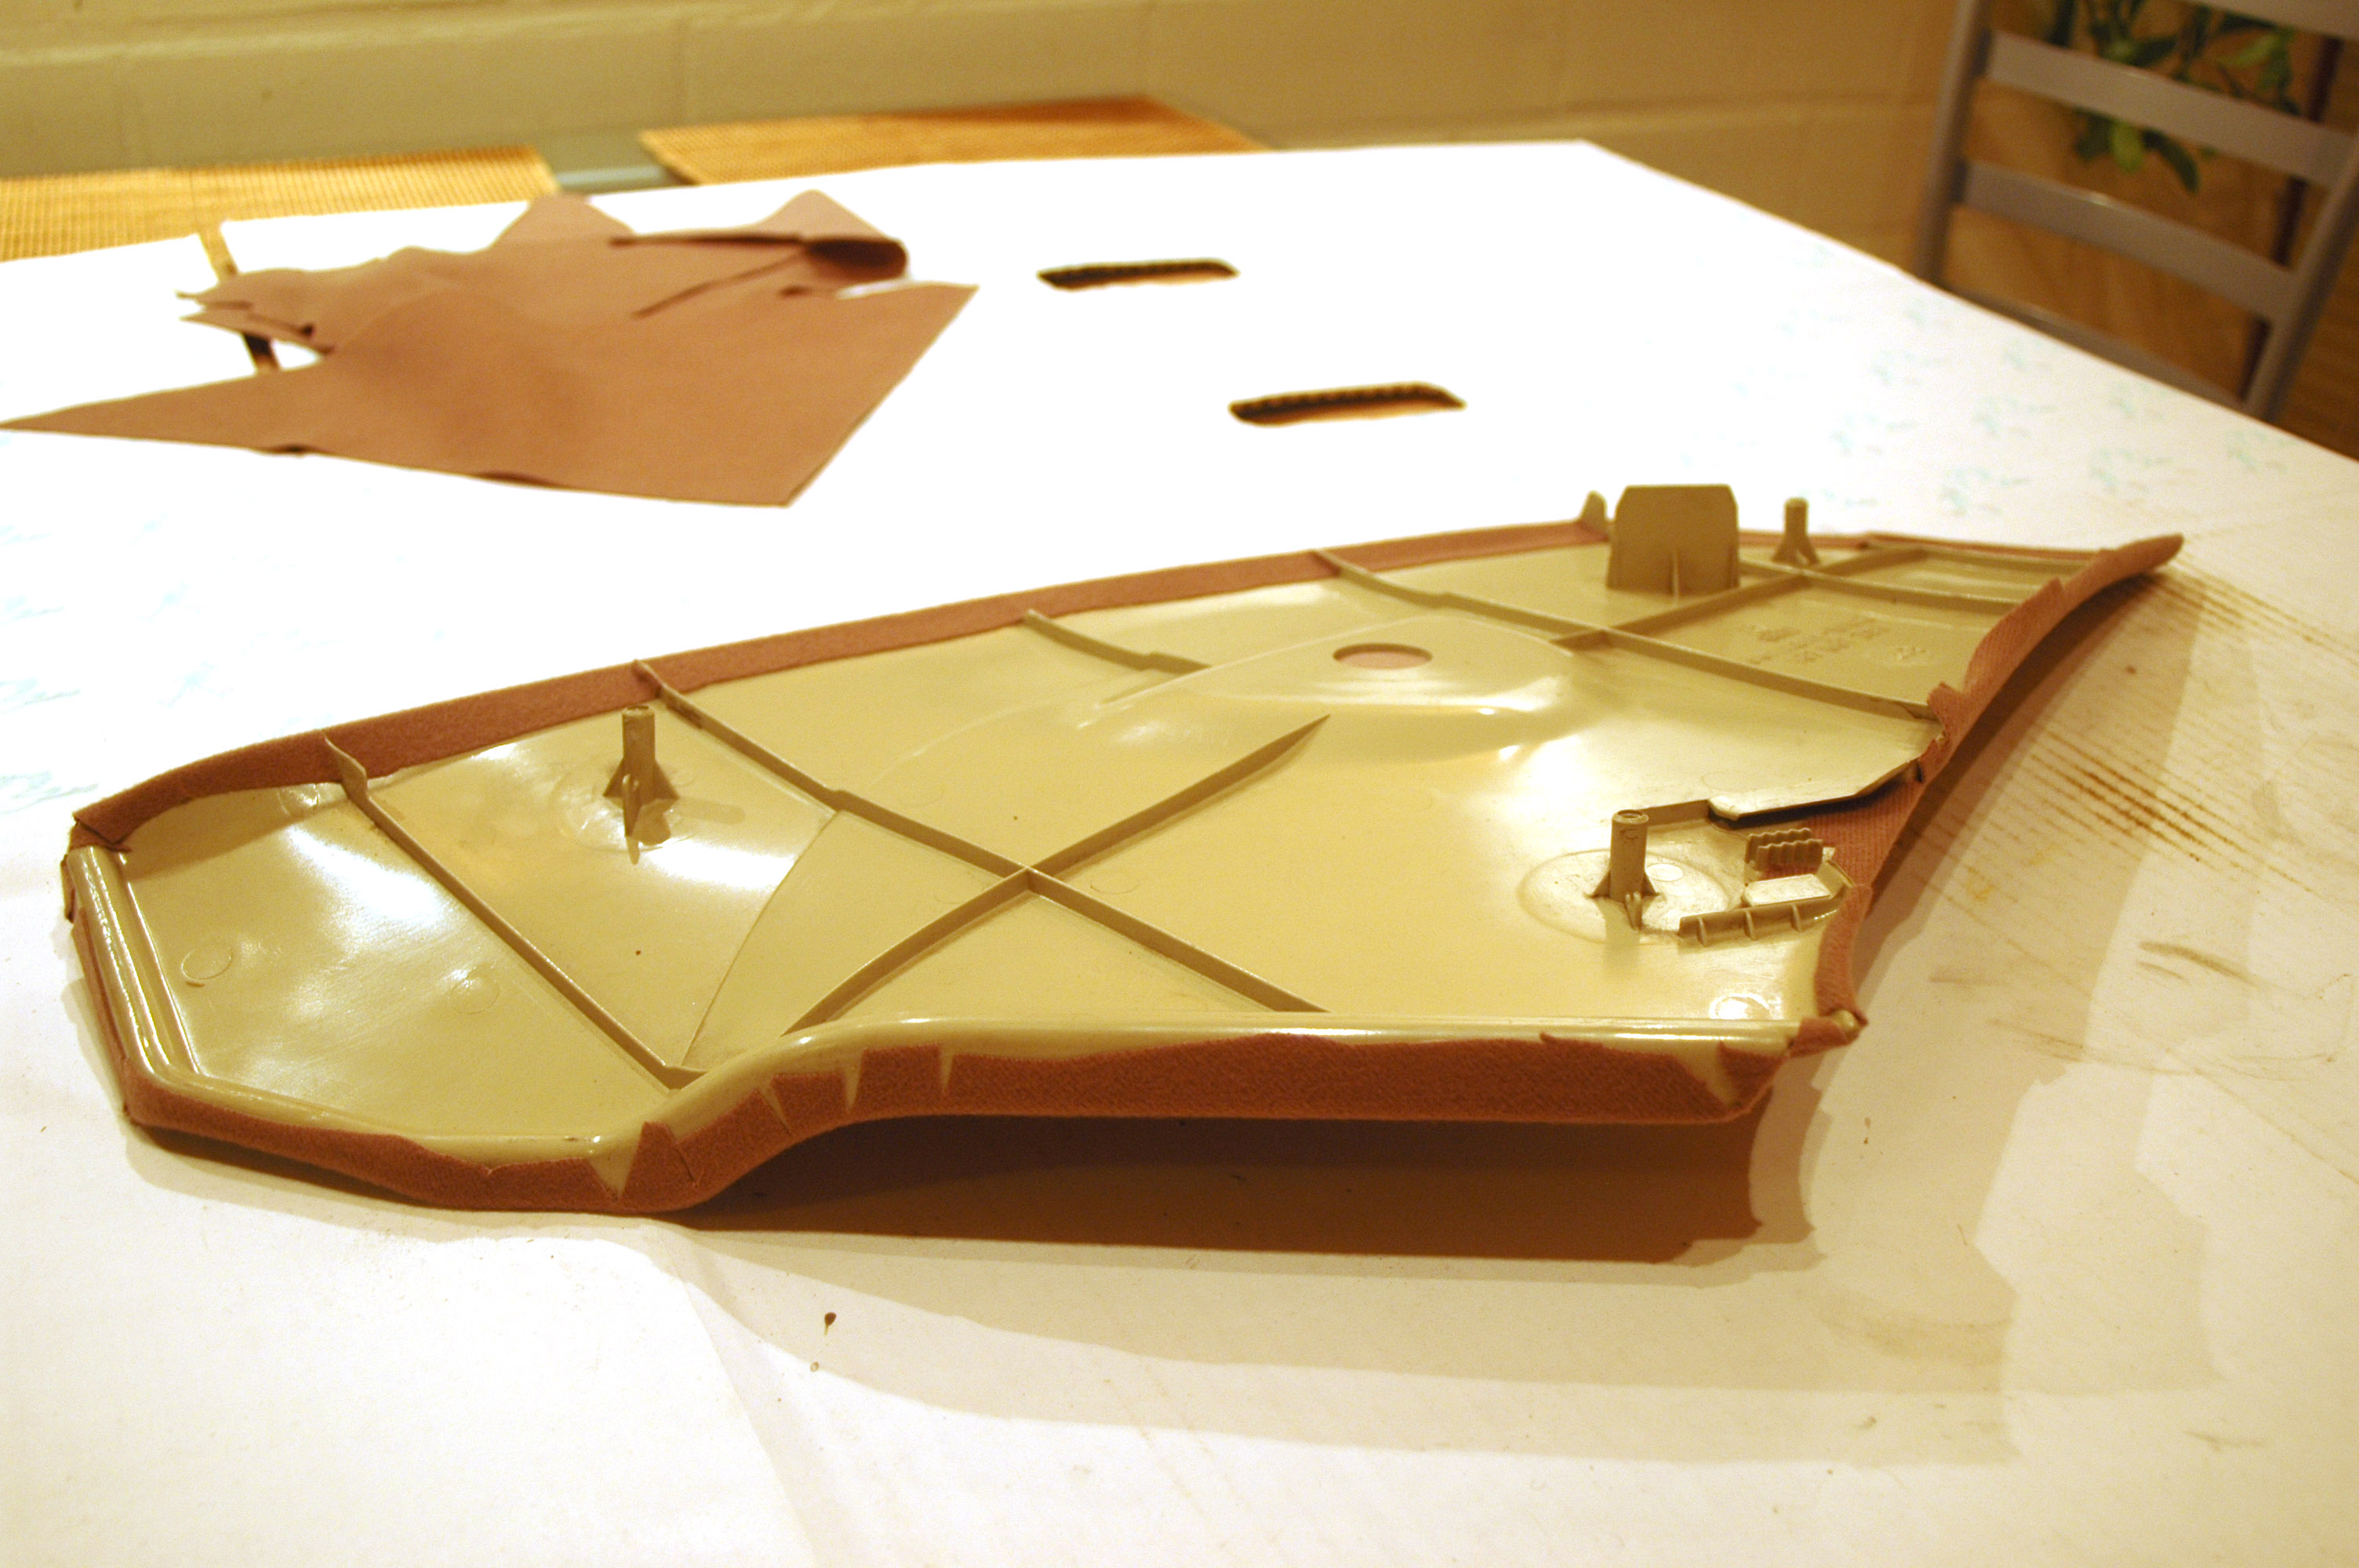
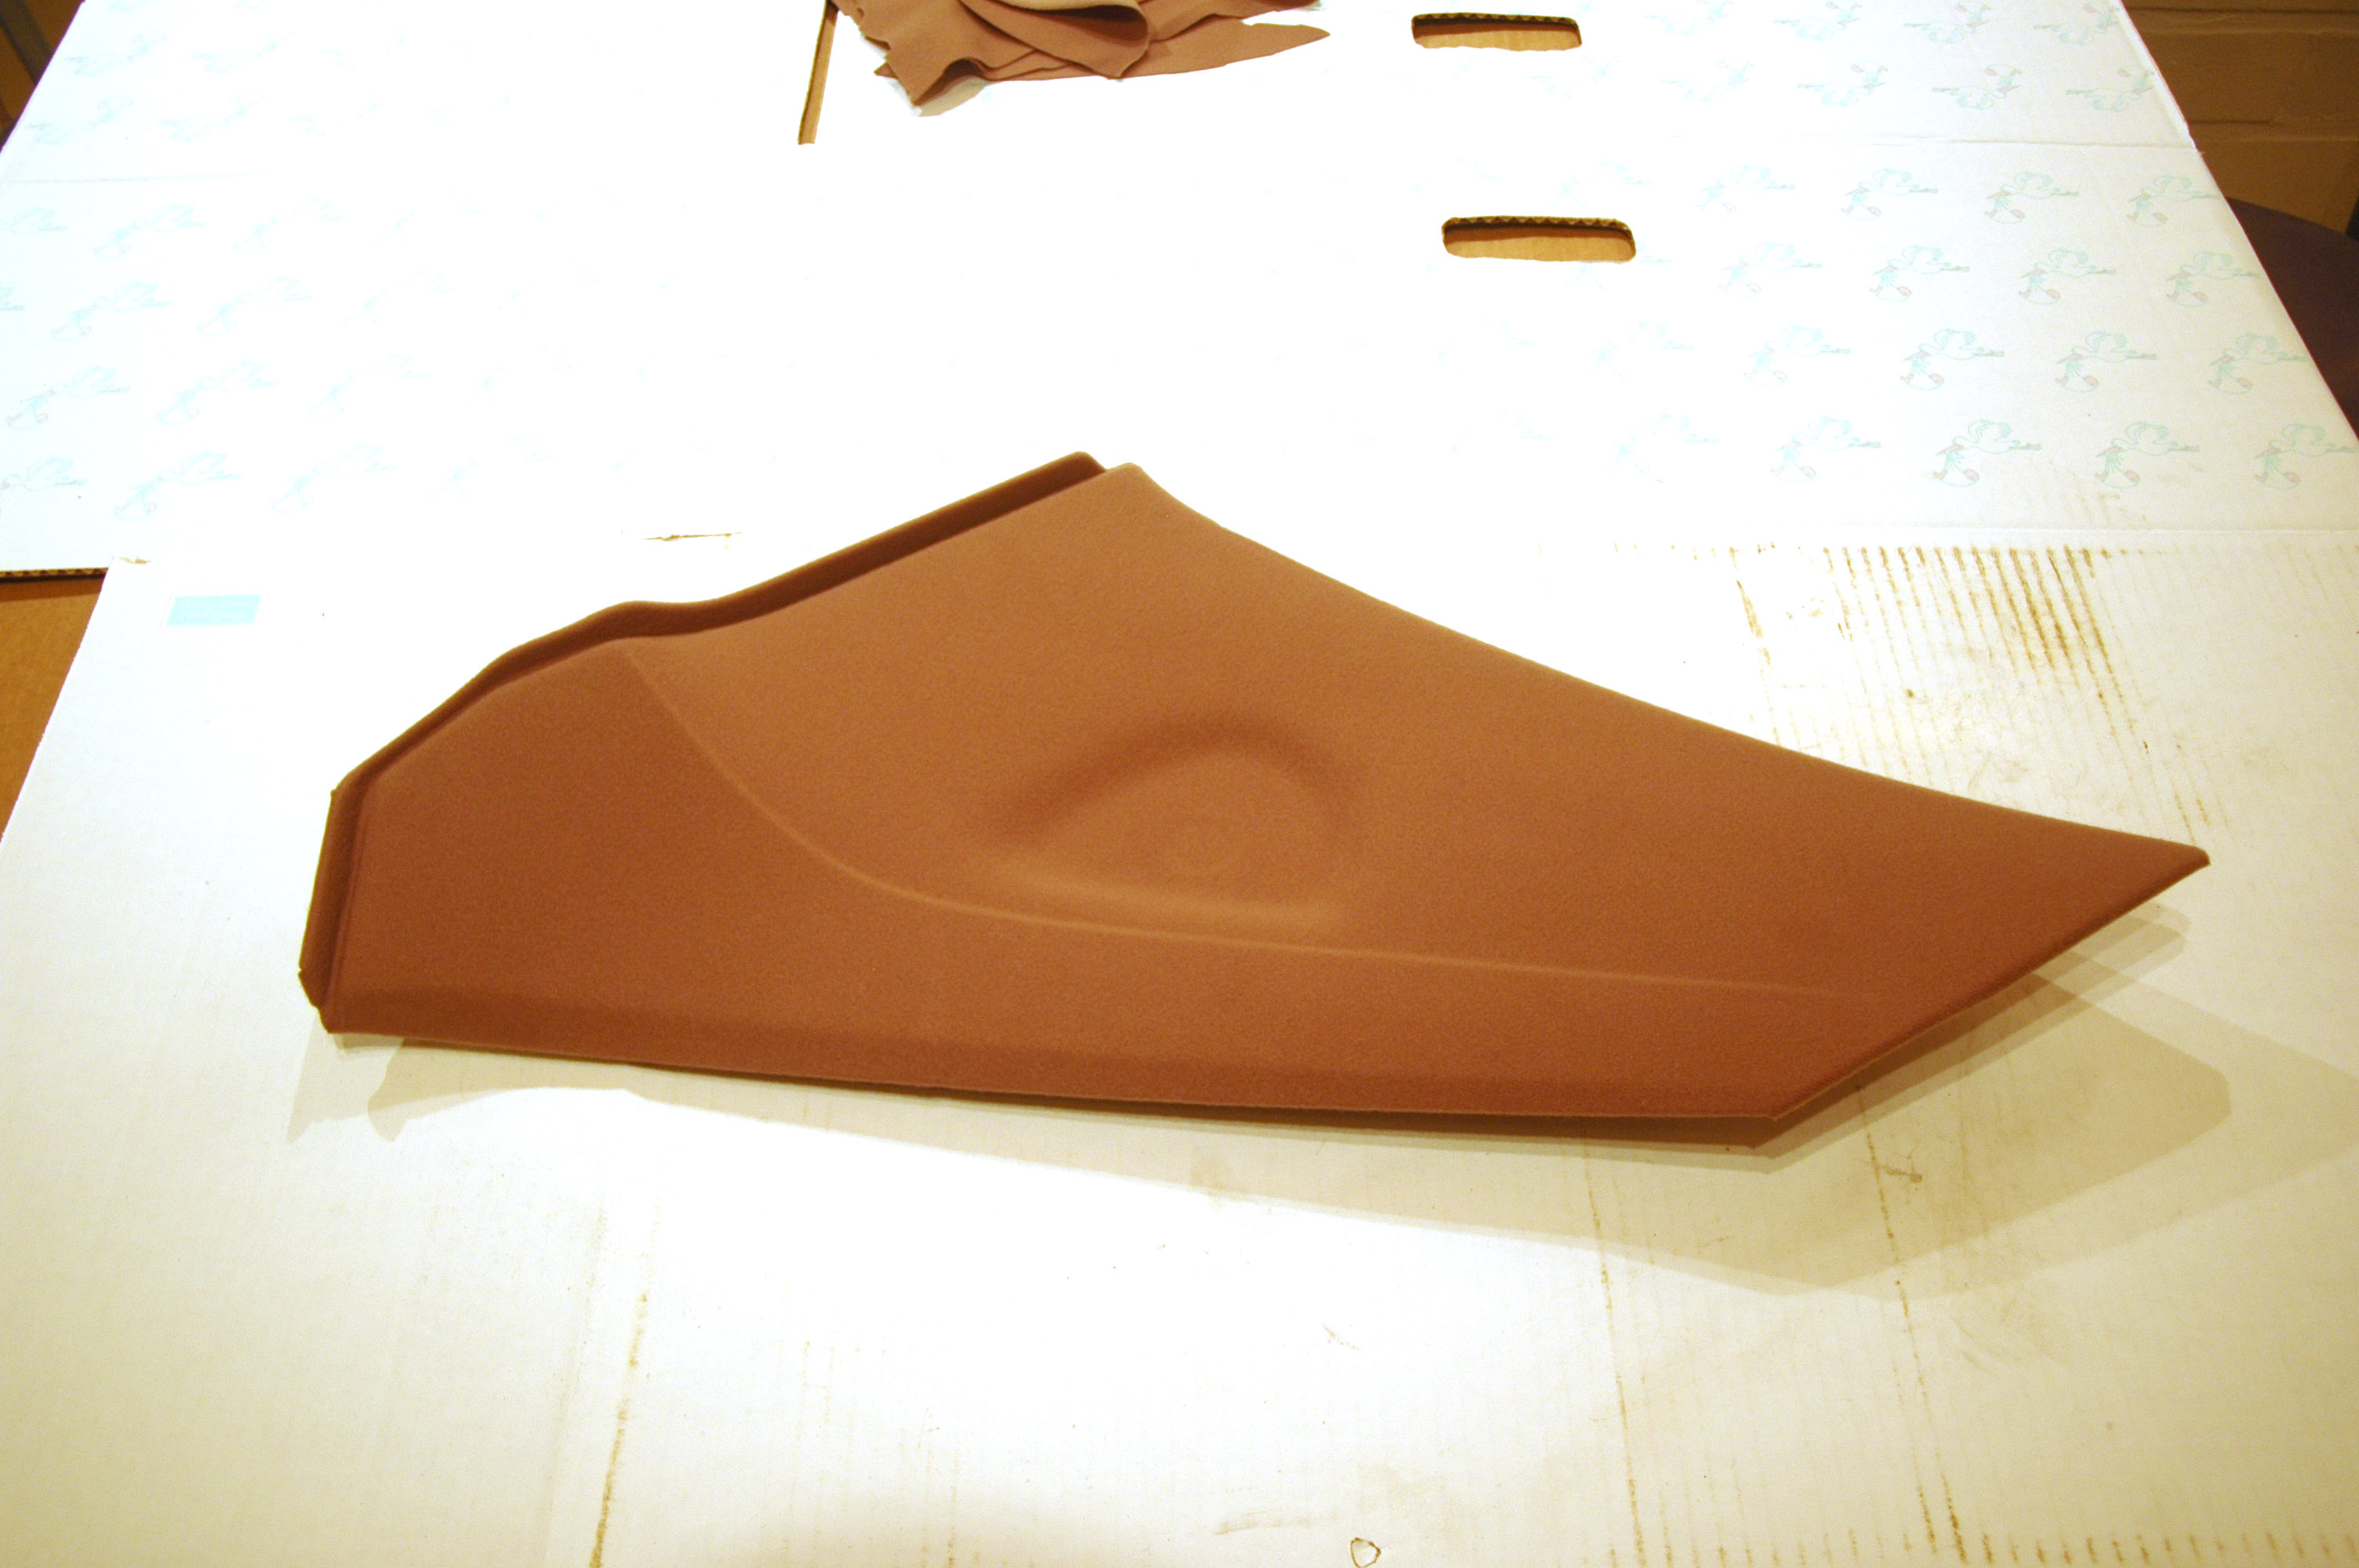
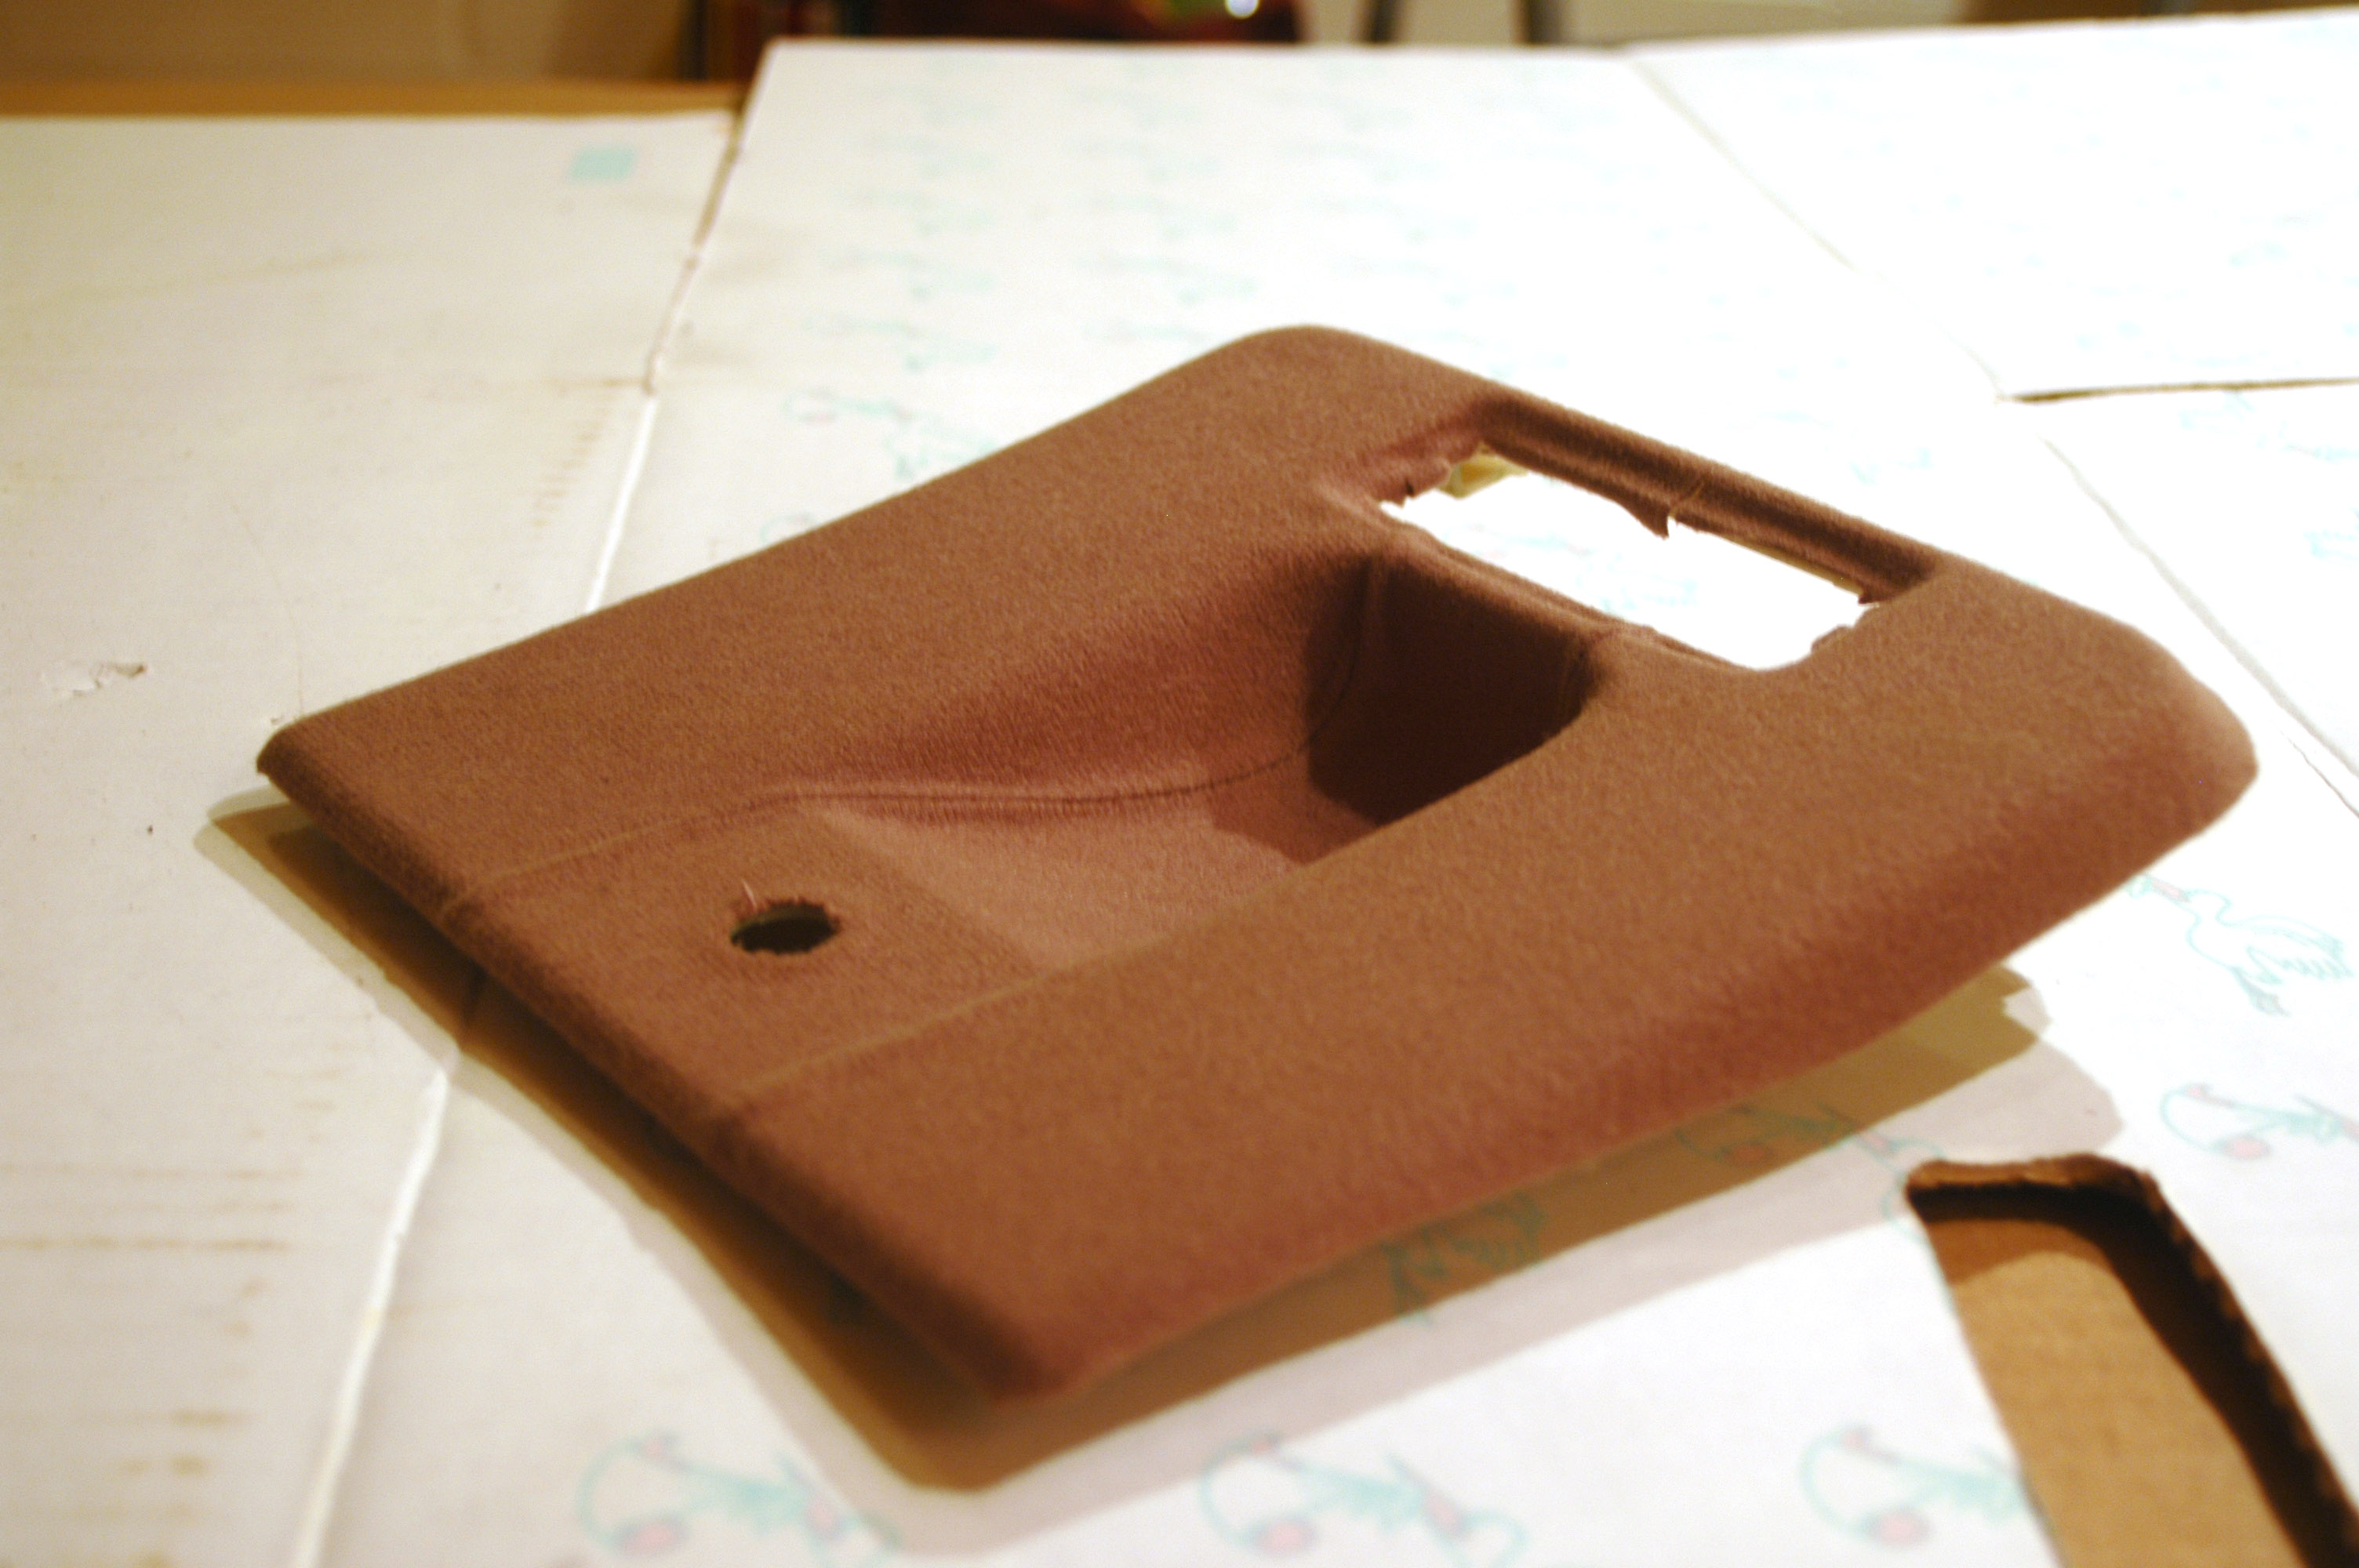
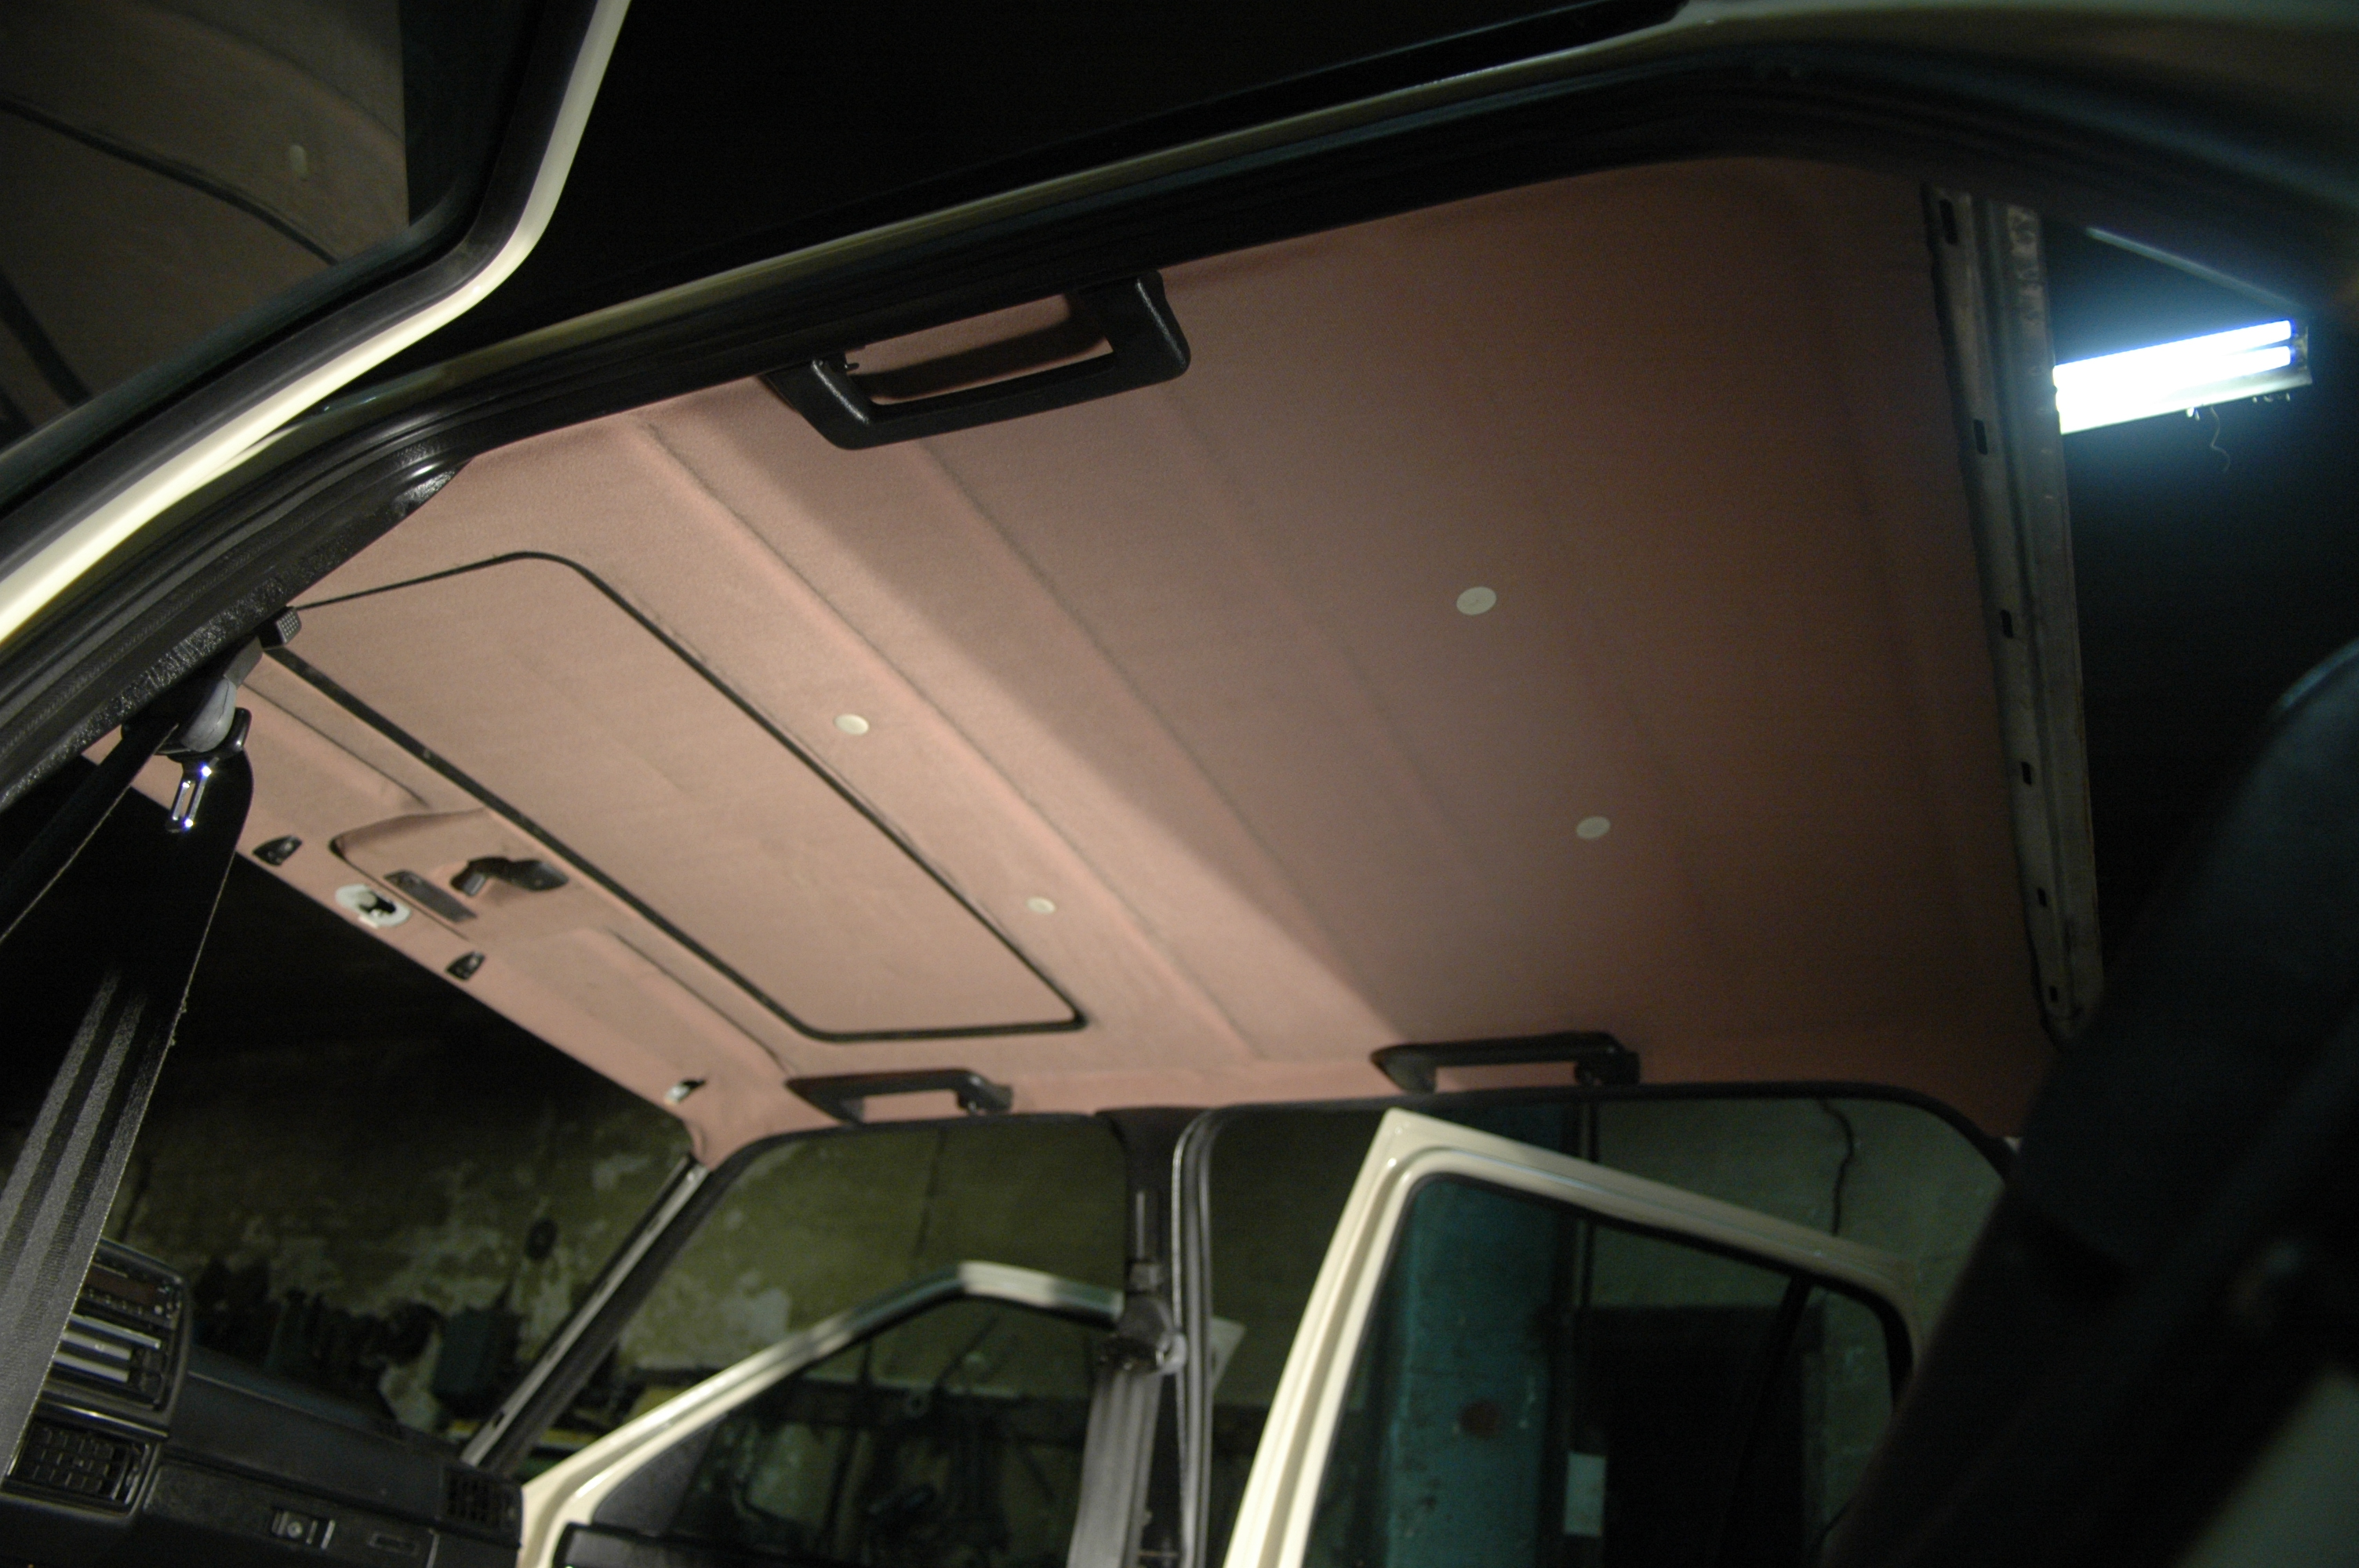
While the car was being painted, the interior trim got attention. The sunroof had leaked at some point and the headlining was awful. Its surface was stripped and new light-brown fabric glued on. The pale C-pillar trims and roof panel were covered in the same material. It didn't work perfectly first time; it needs doing again with better glue...
Assembly and modification inspection
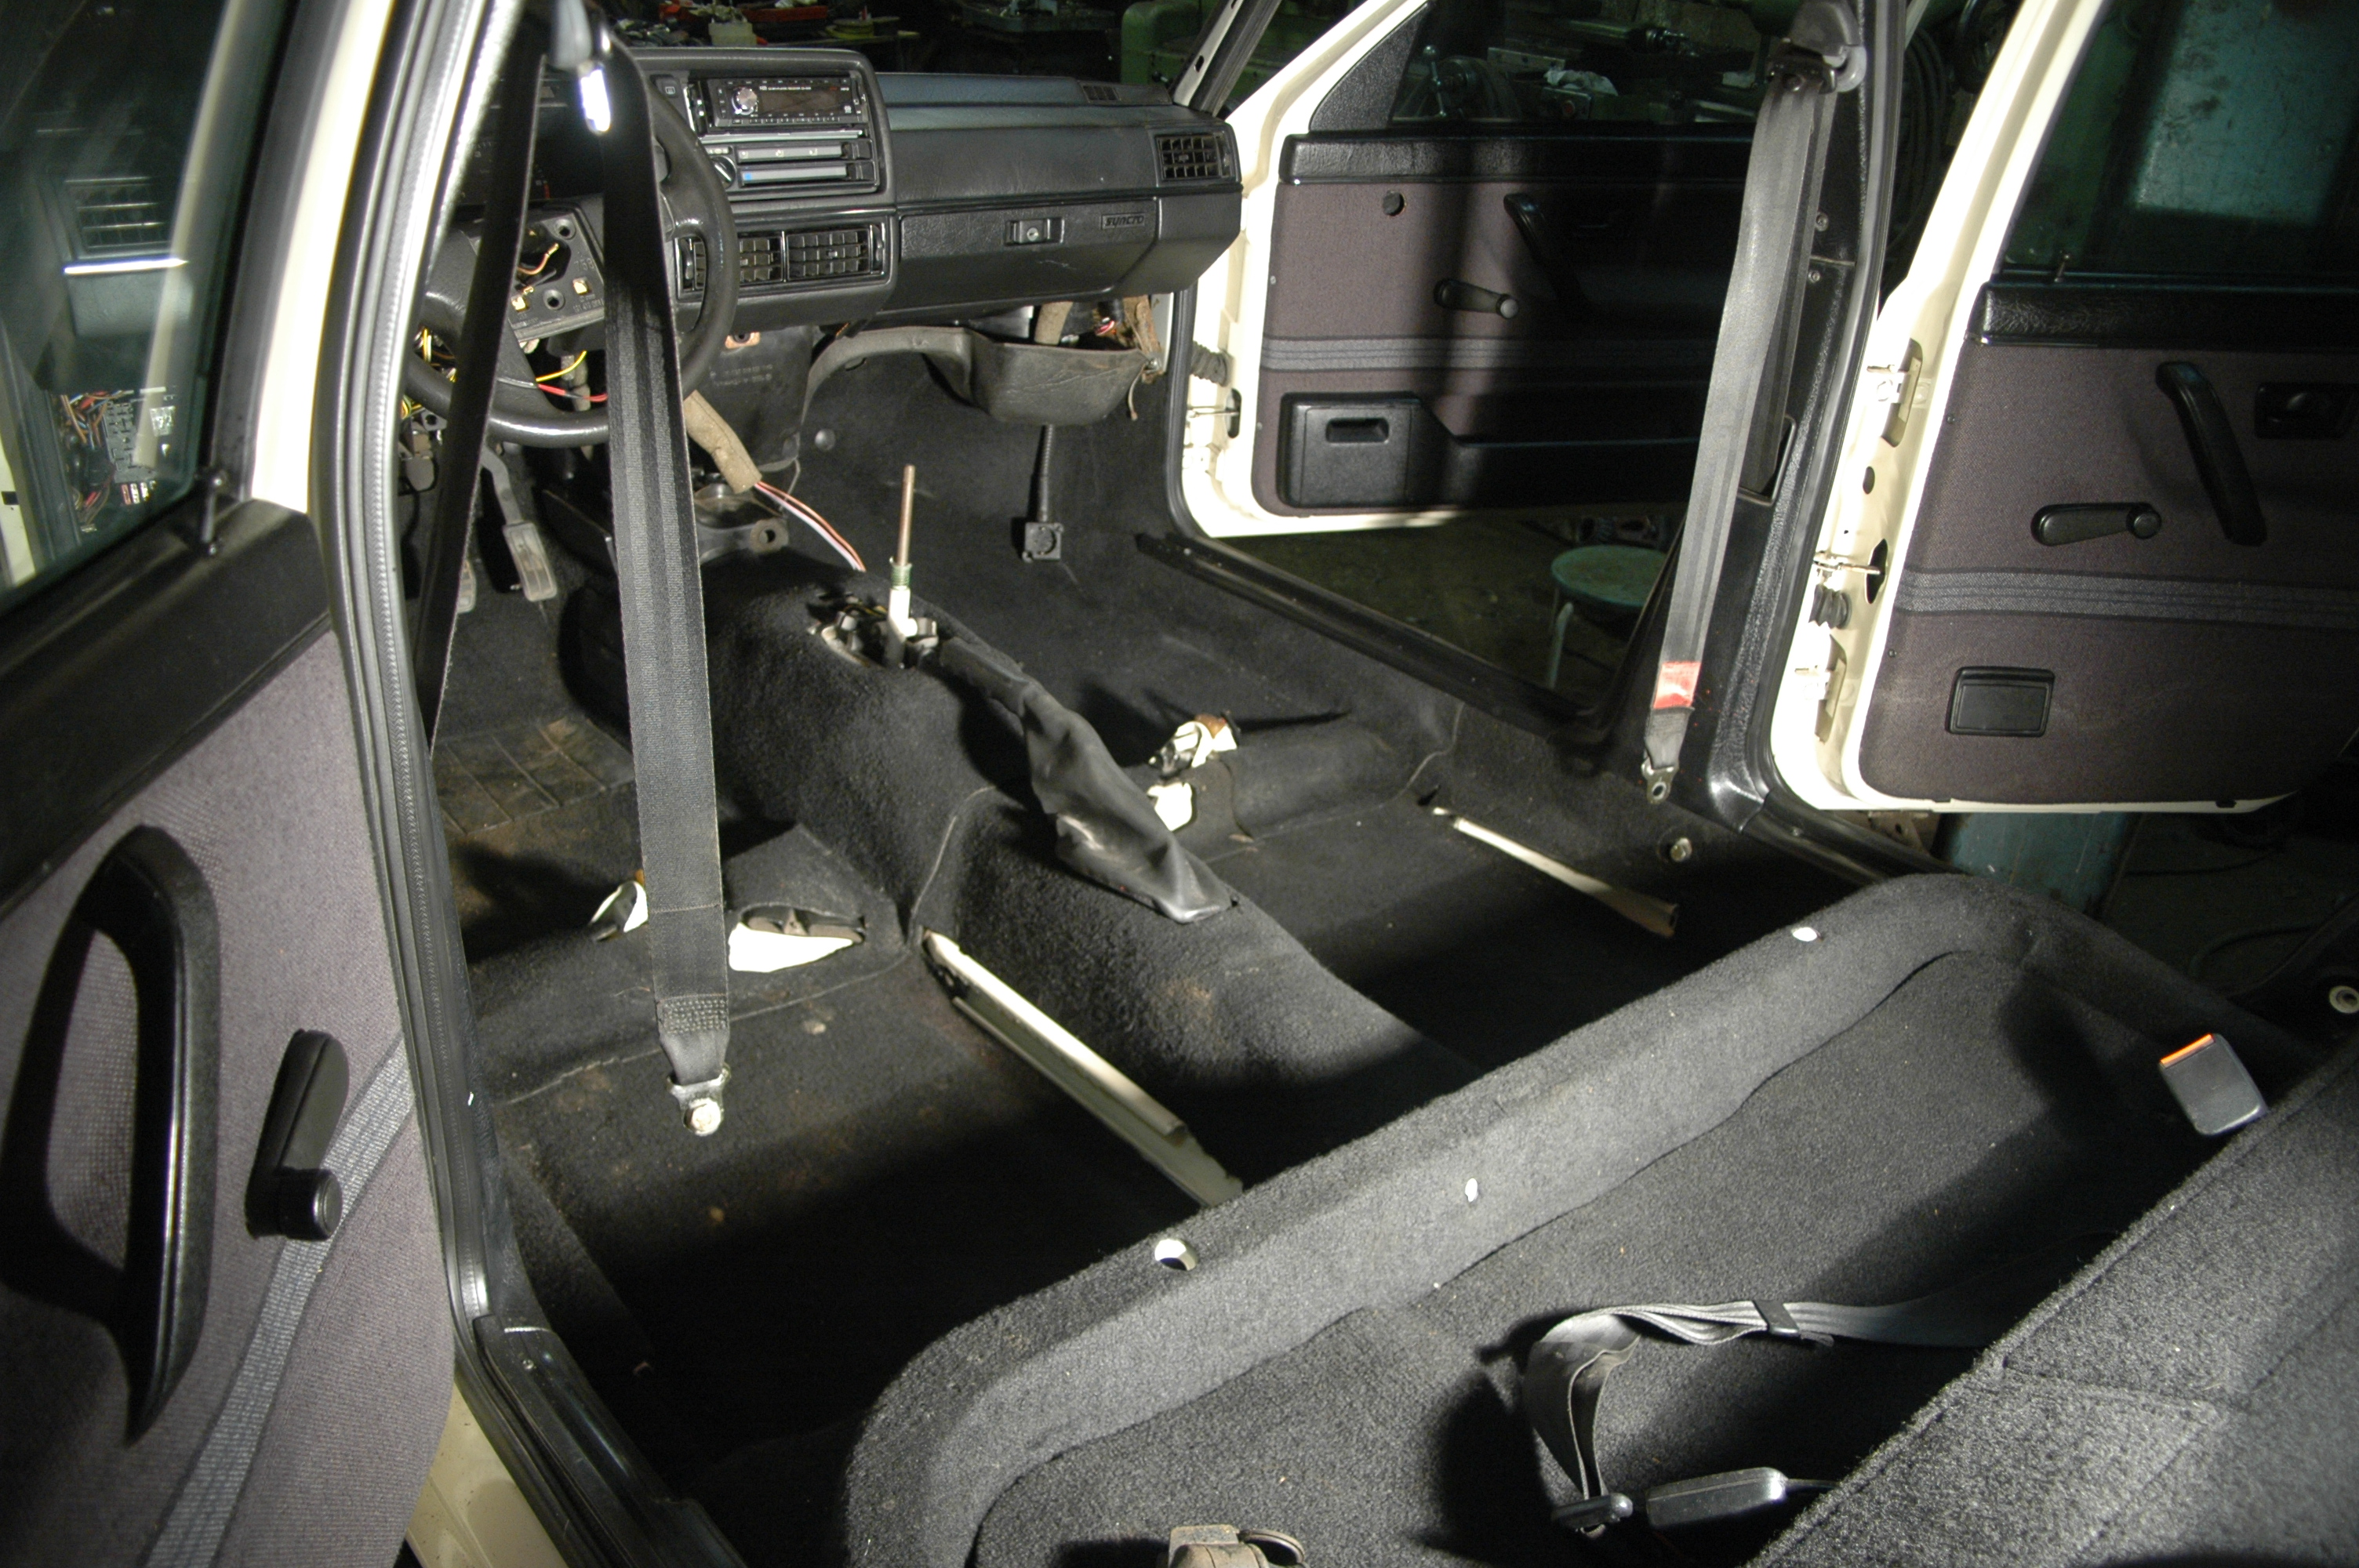
The blue-grey interior was replaced with darker trim. The black carpets came from the Rallye too...
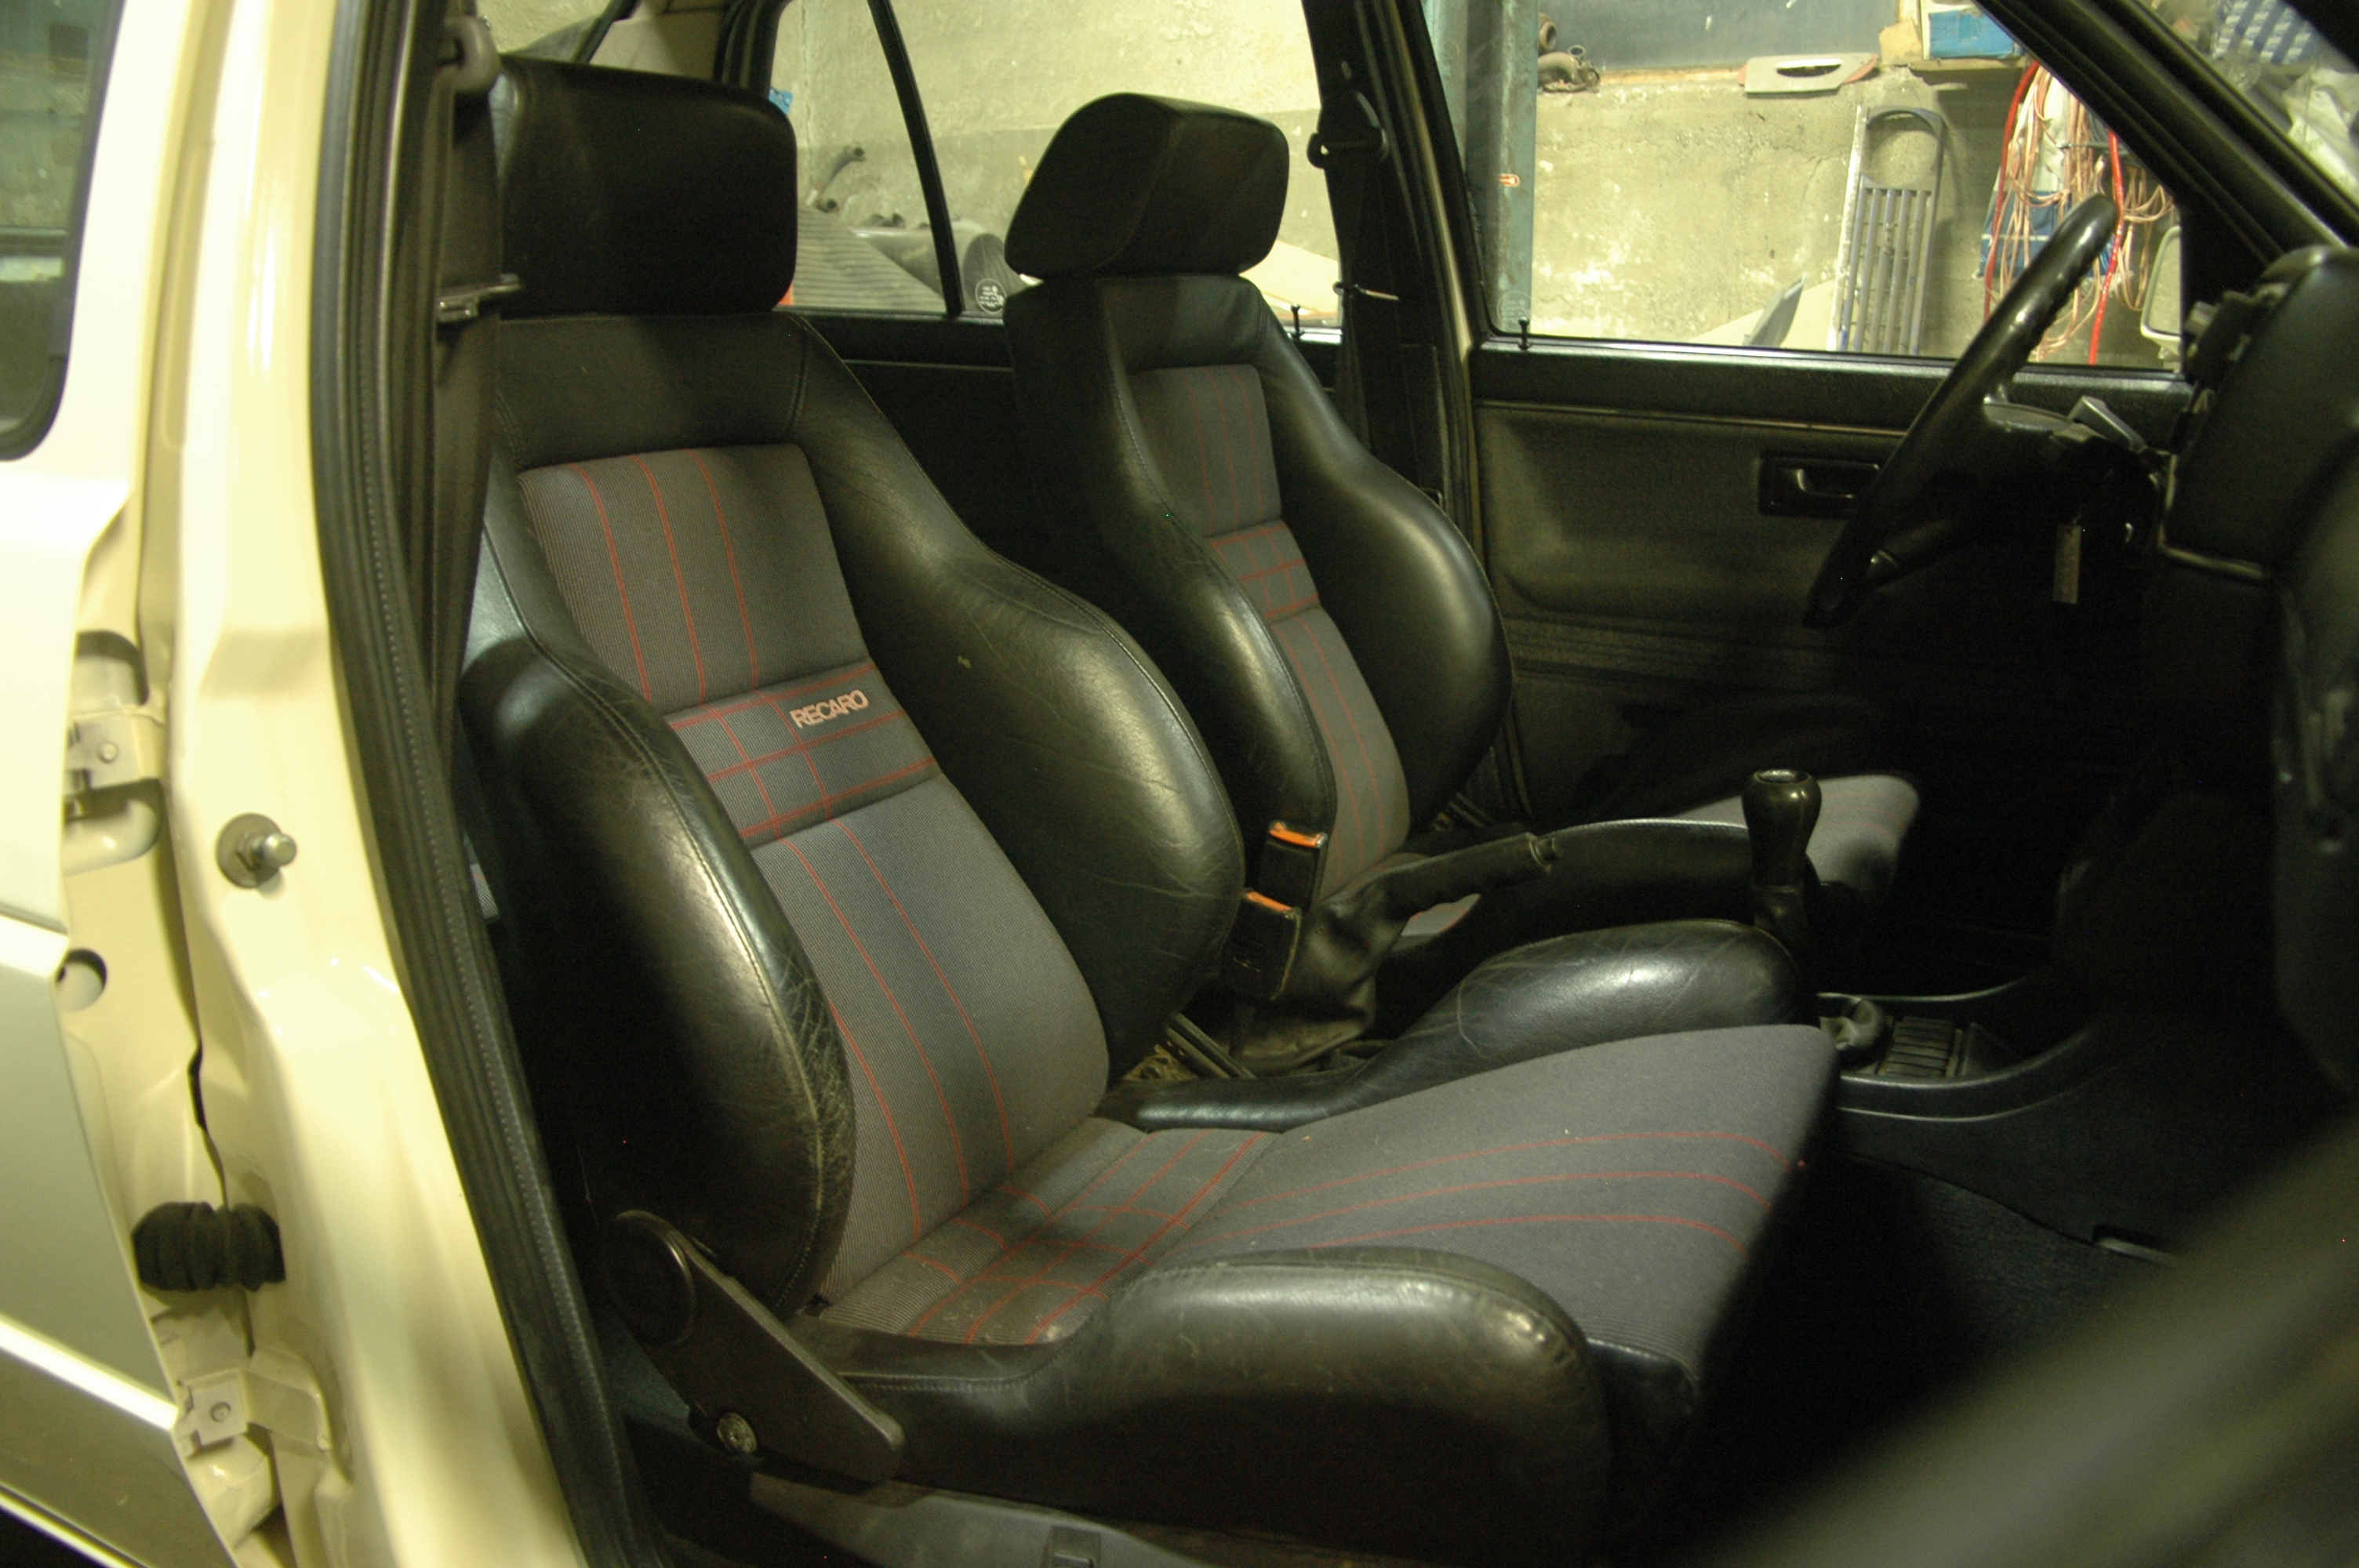
...as did the seats. Recaros are just the thing for a four-wheel slide in a Jetta :)
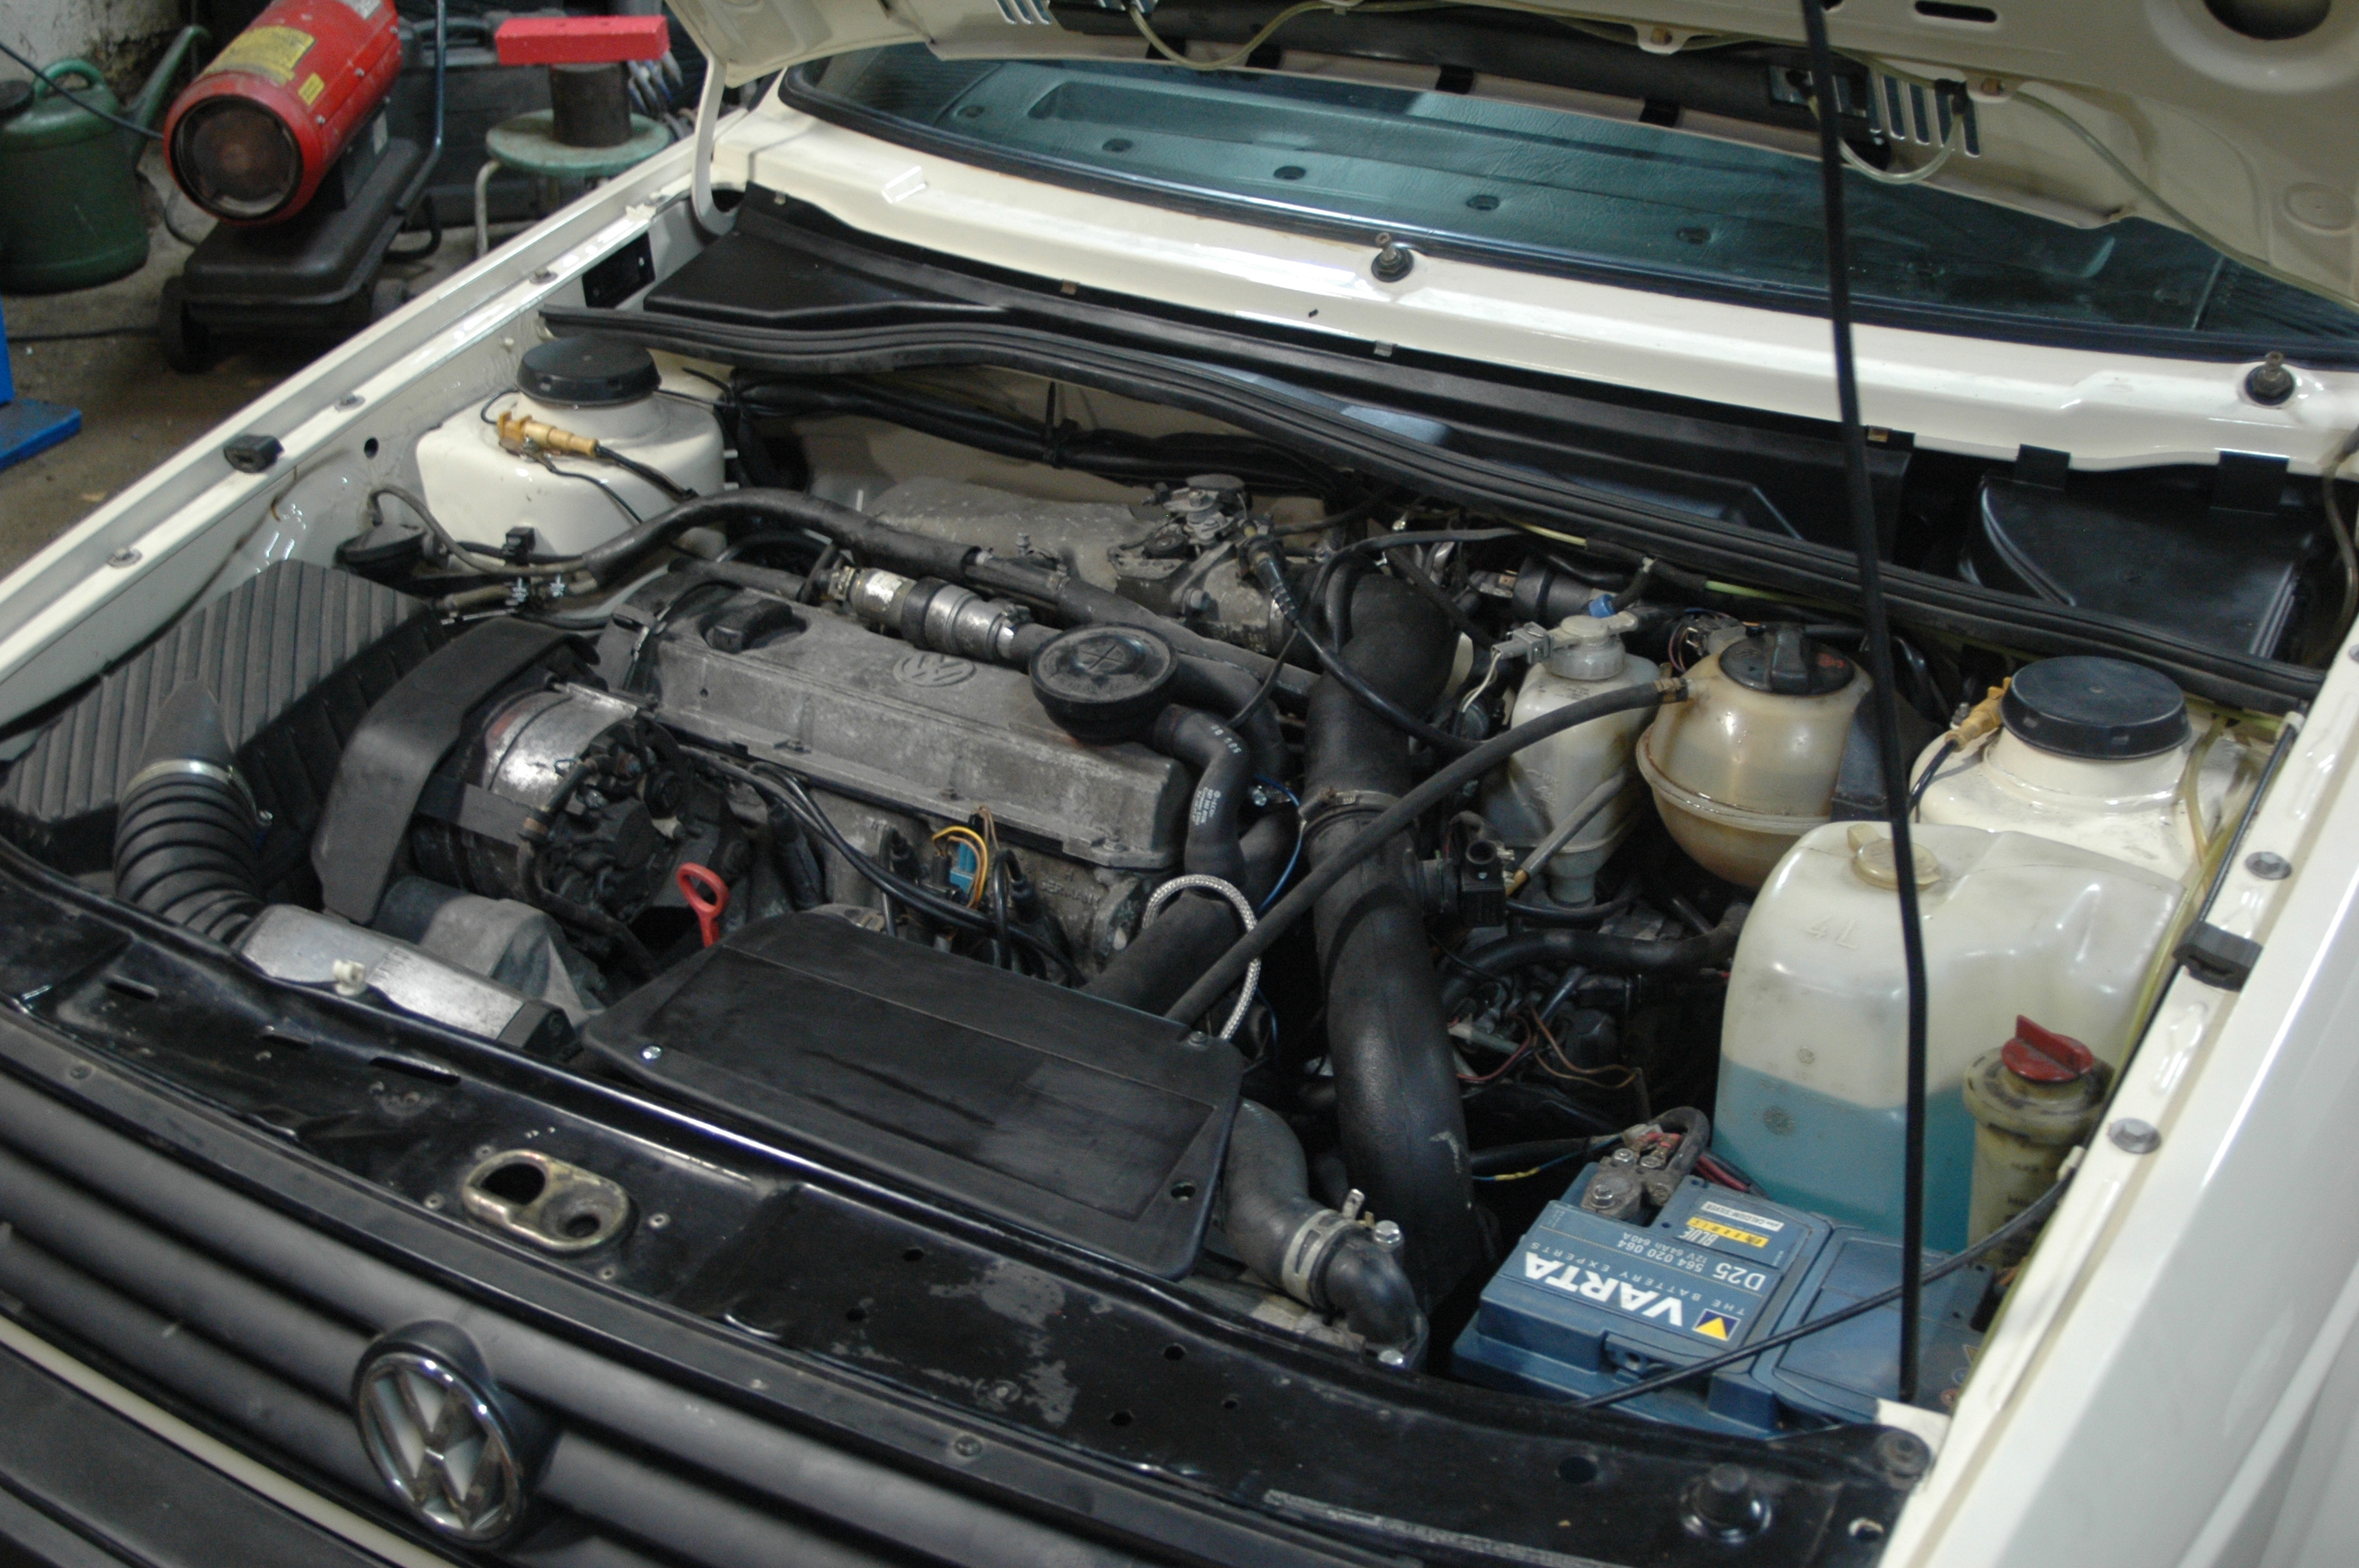
The finished engine bay. There were various minor electrical problems that kept us puzzled for weeks, but eventually the incorrectly connected wires were found and the car began running normally.
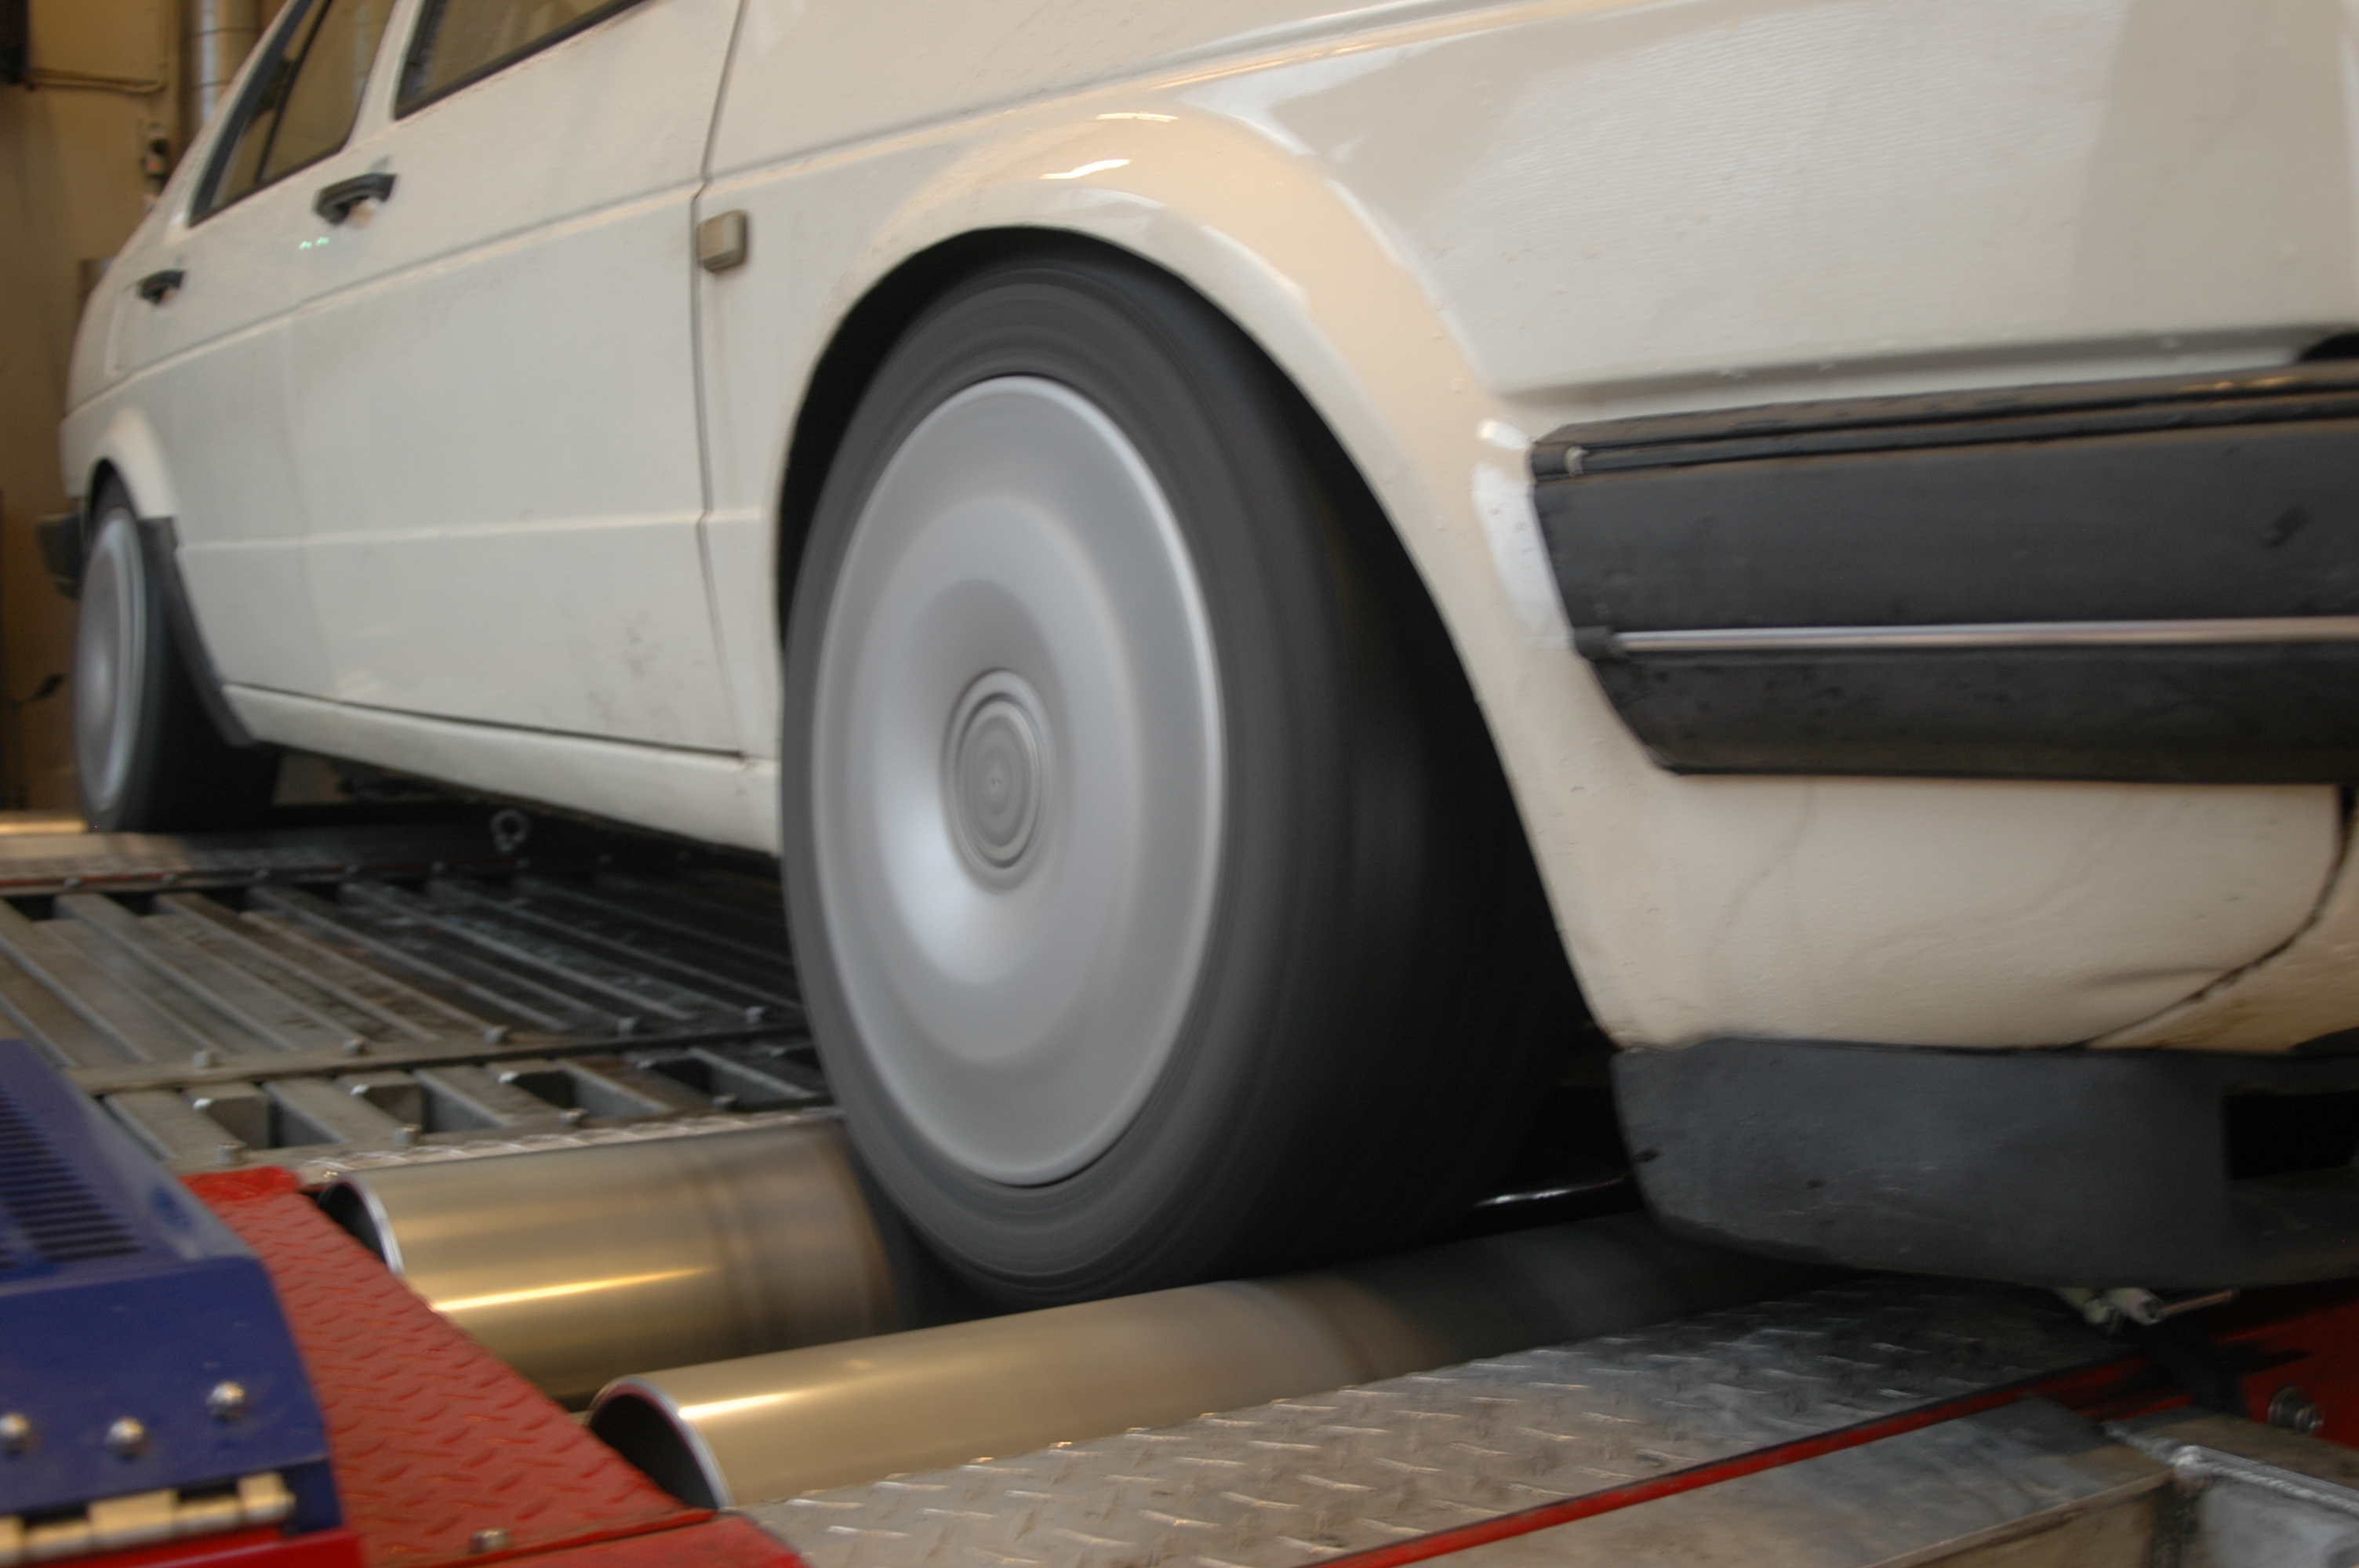
Then a power run on Sporttiauto's four-wheel-drive dyno provided the remaining paperwork for the modification inspection.
This is how it looks in winter 2008—if you can call it winter. Nokian RSi studless winter tyres on G60 steel wheels. The 1980s detachable towbar that came with the car was installed under the rear bumper.
Not visible in the photos, but the exhaust was rebuilt too, now with a Rallye catalytic converter and Supersprint rear silencer.
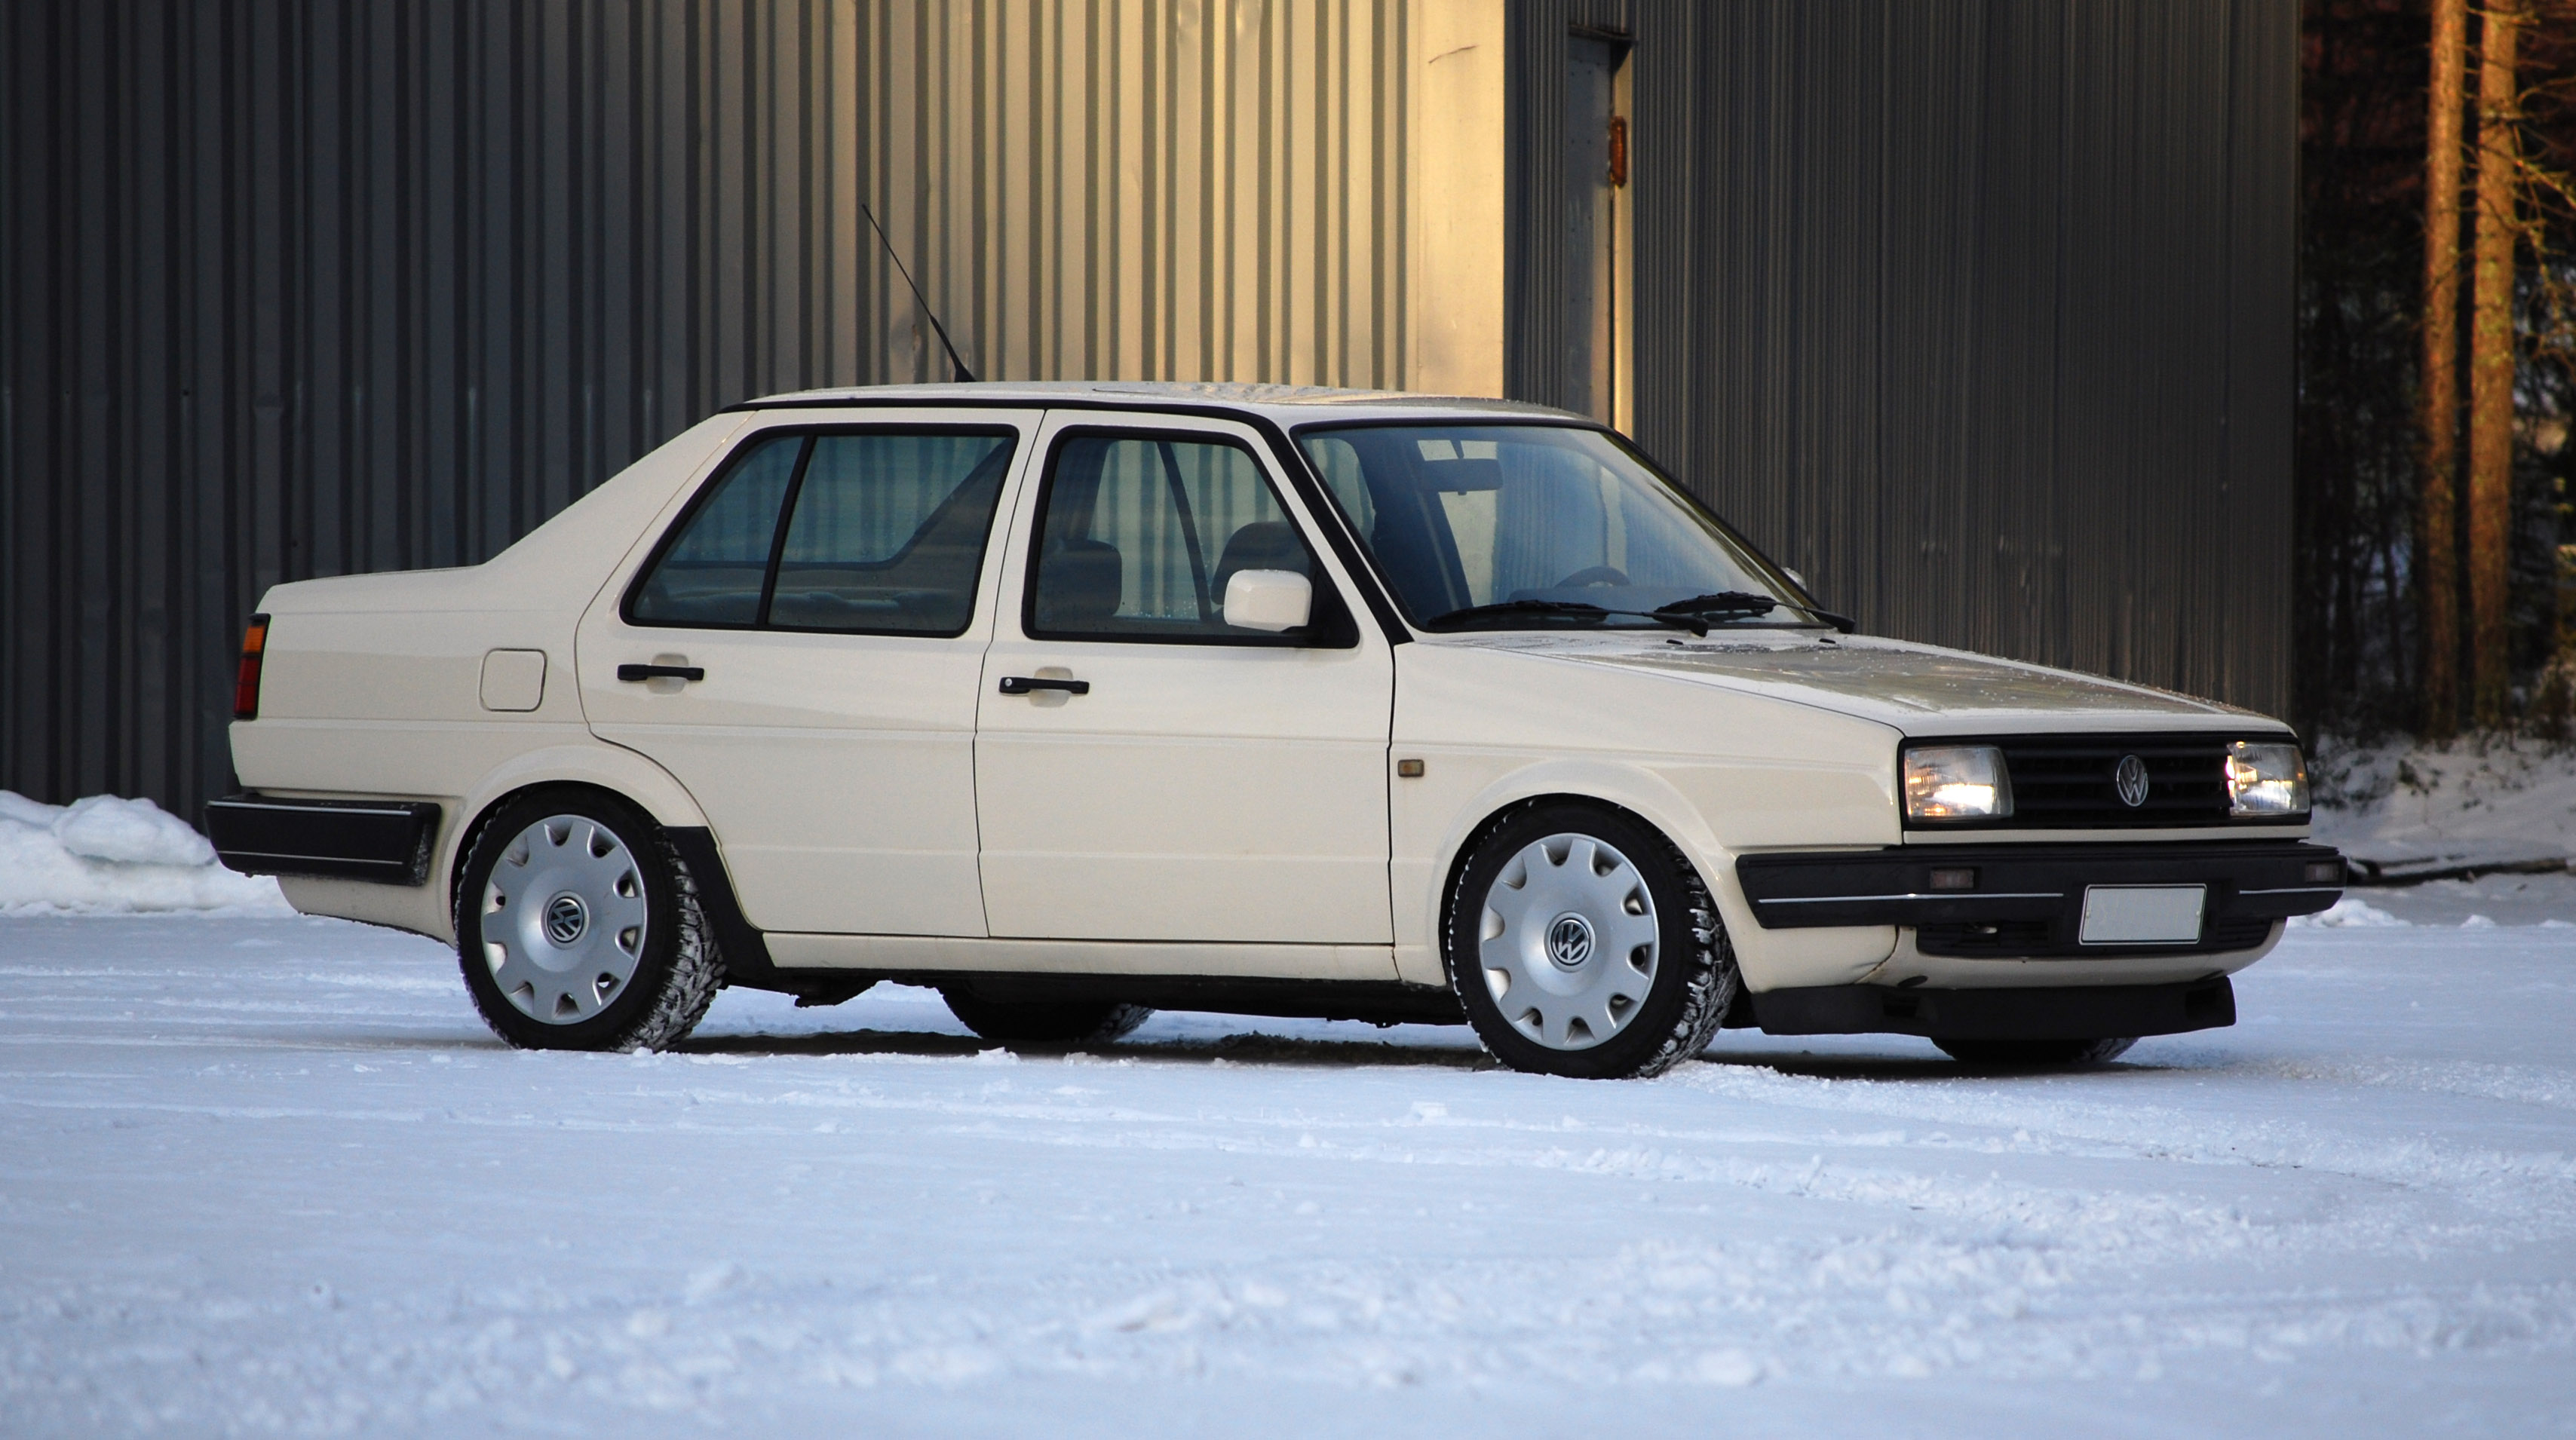
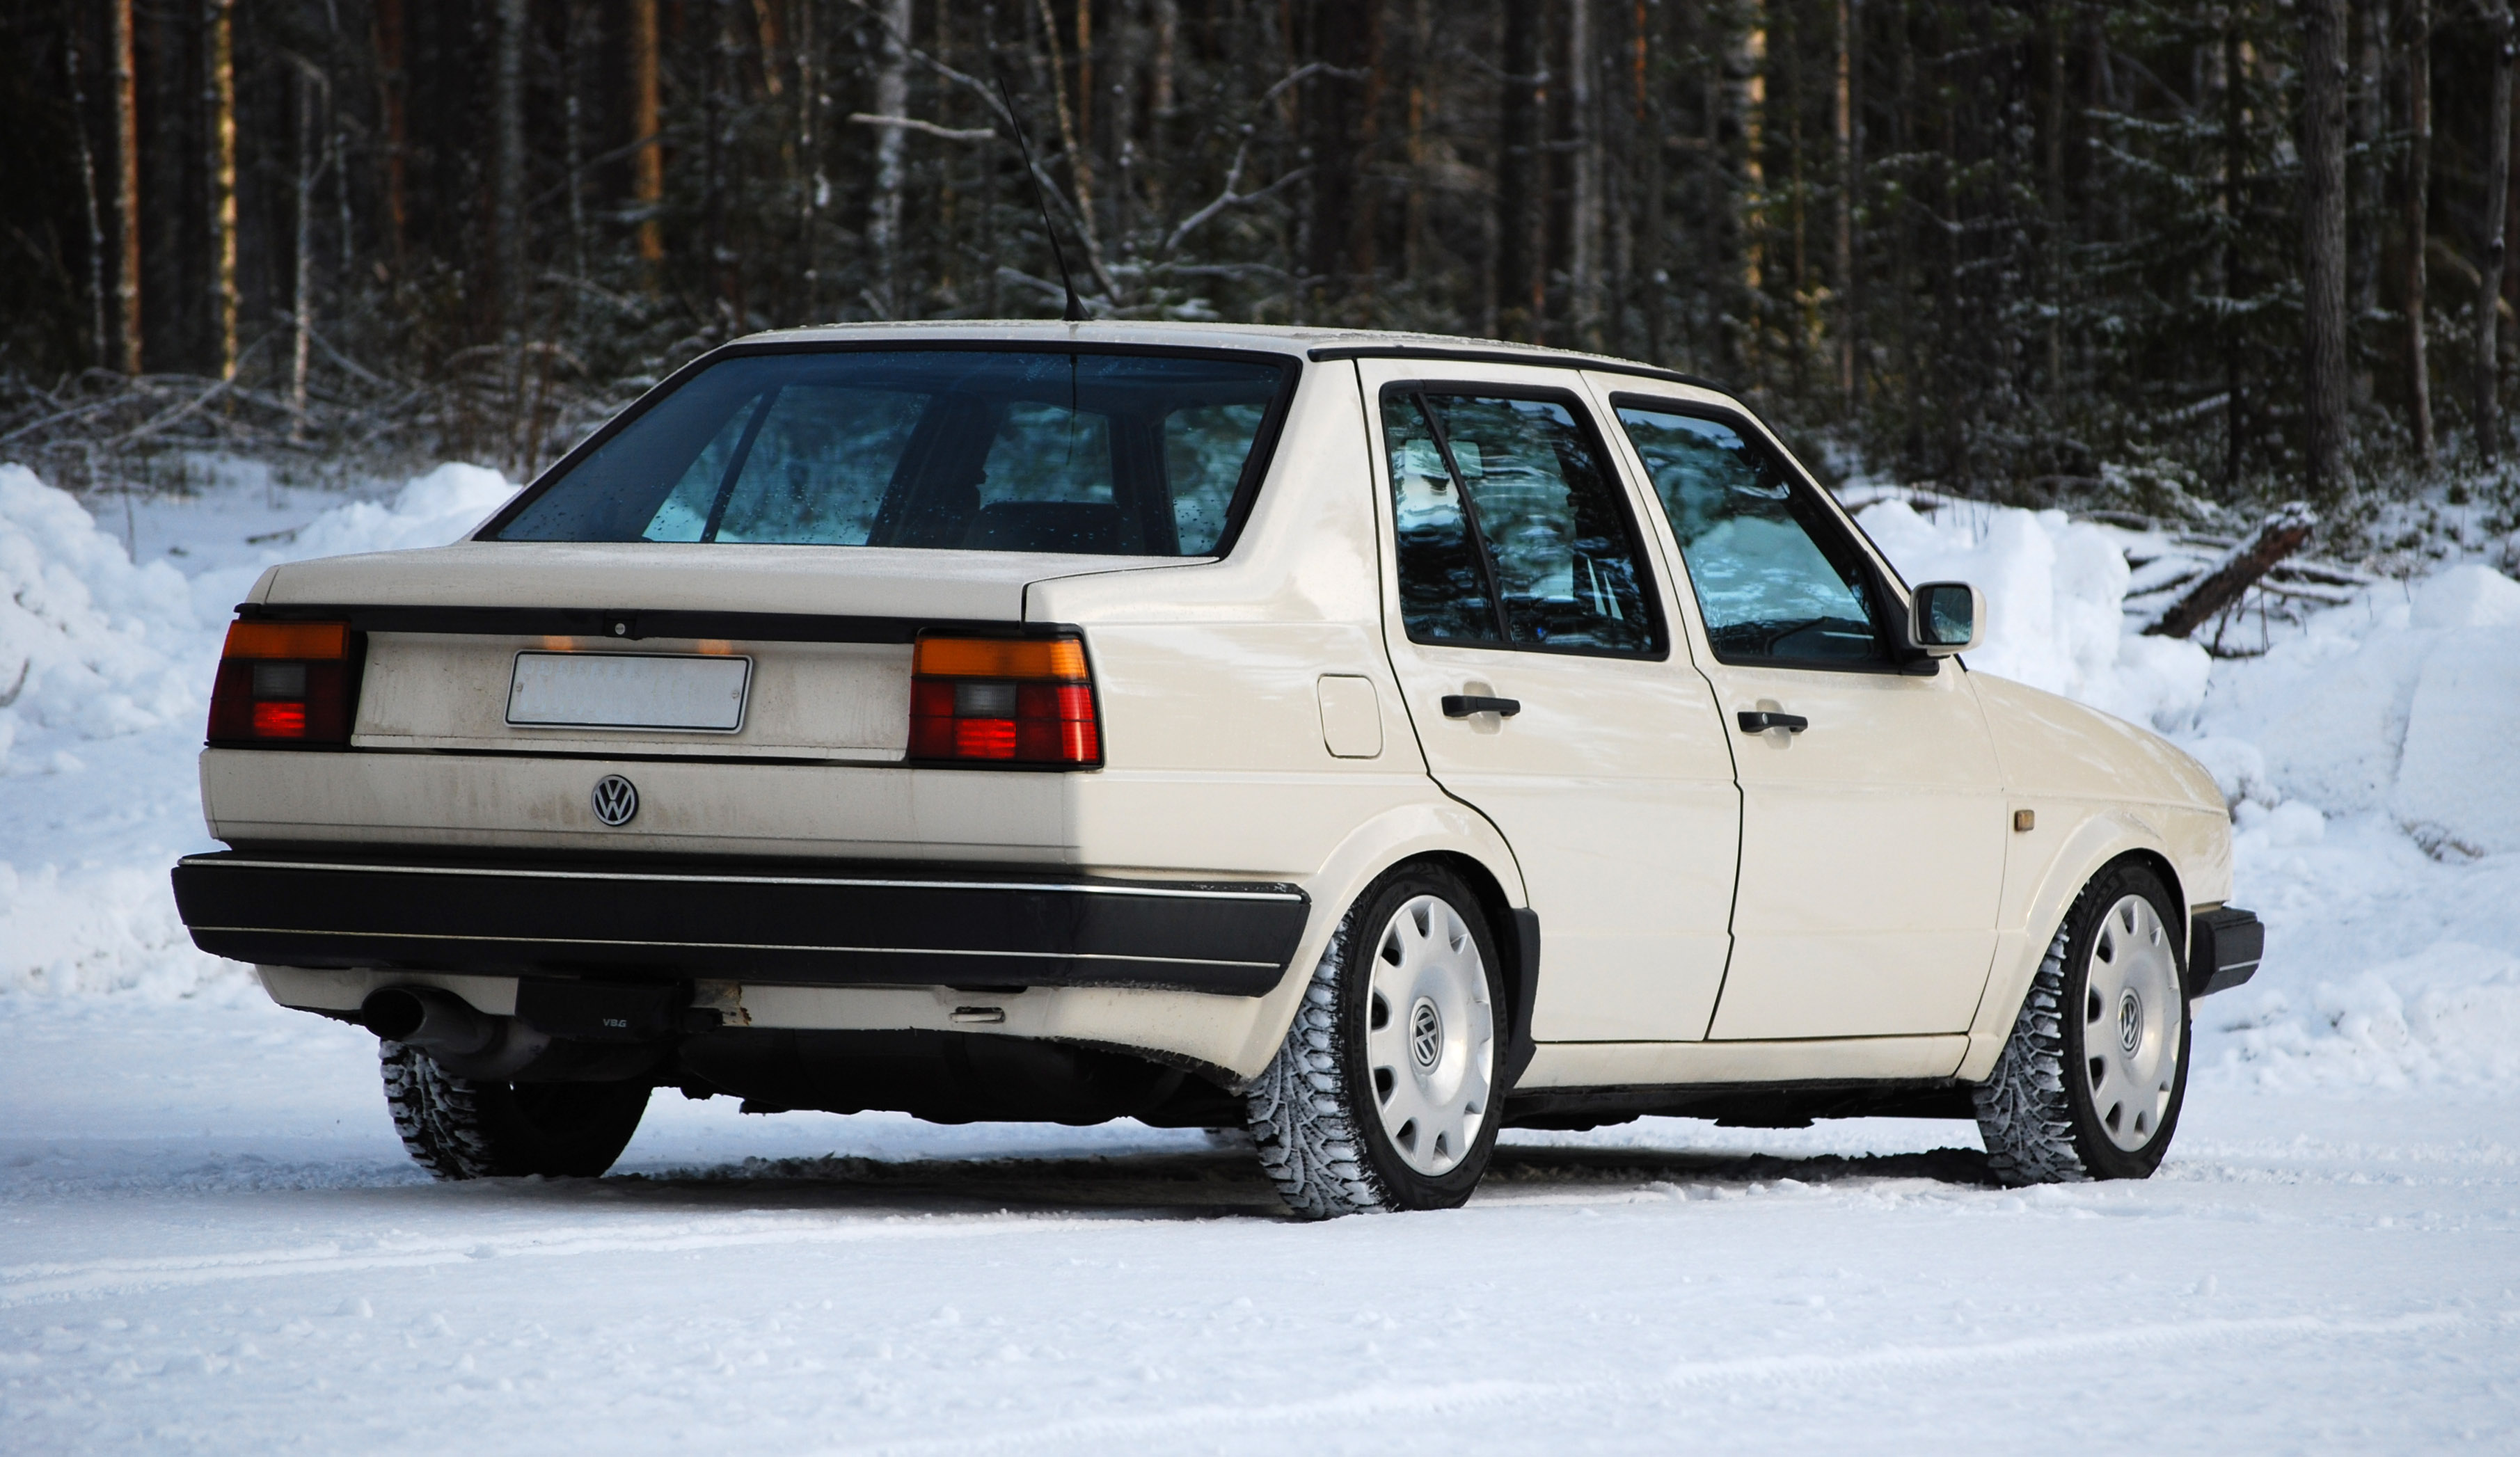
A car is never finished... but this should do for winter and spring 2008.
2011-06-19 · The Mk2s are sitting idle
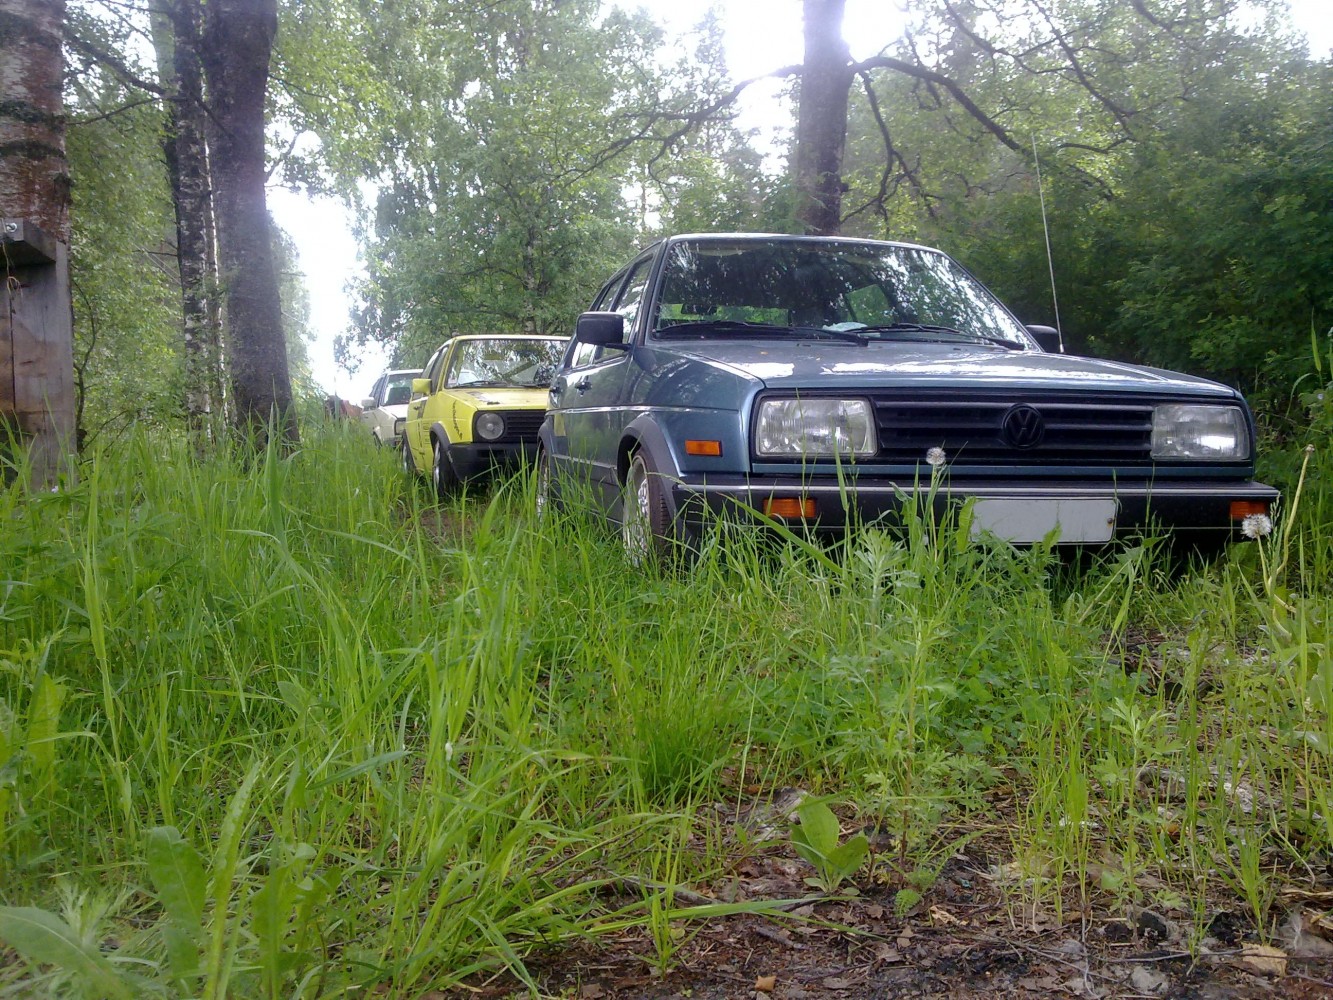
How have Heikki's Mk2s ended up sitting under the trees out in the country? Too many Skodas in the yard! Someone buy the Octavia!
The Jetta at the back has a failed clutch and is waiting for a drivetrain swap. The yellow one gets raced about once a month, so it has time to sit around between outings. And there's simply no time to drive the blue US-spec Mk2.
2014-10-21 · Look who’s back!
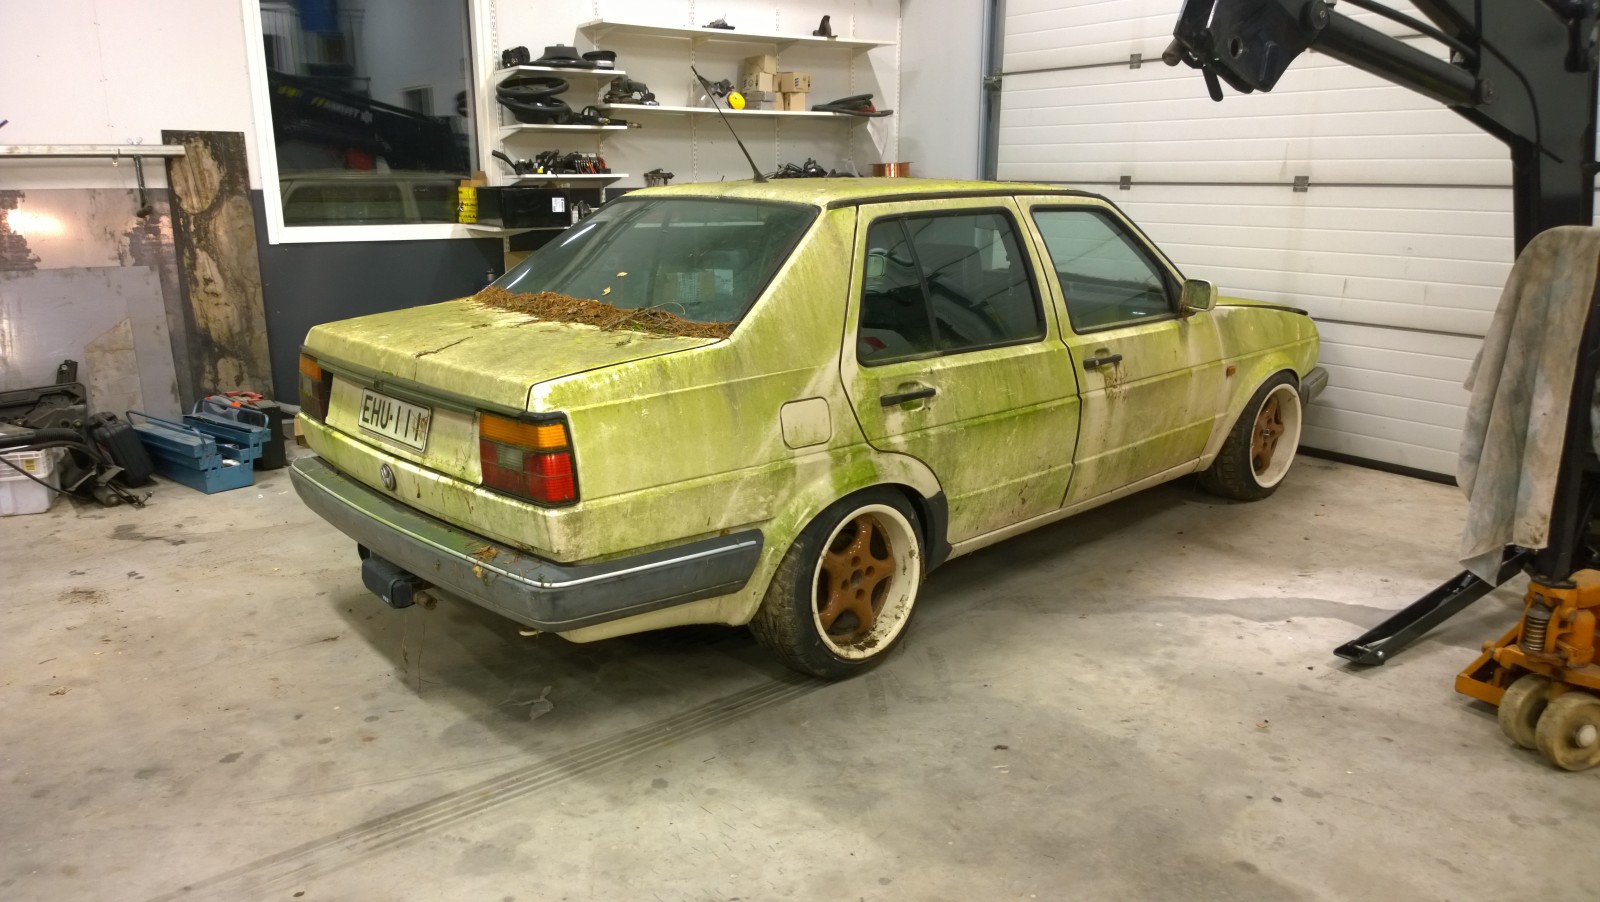
Over the years, the Syncro Jetta has acquired quite a lovely patina.
The Jetta is indoors for the first time in years! Syncro weather is coming, so let's see if we can finally get it through an inspection. It was parked up years ago when the clutch gave out, with neither the time nor enthusiasm to fix it. Somehow the spark has returned. A new clutch kit is waiting, and the brakes are getting renewed too.
Anyone know of a set of big bumpers, as fitted to the Flair?
Here's how the Jetta looked a couple of months ago.
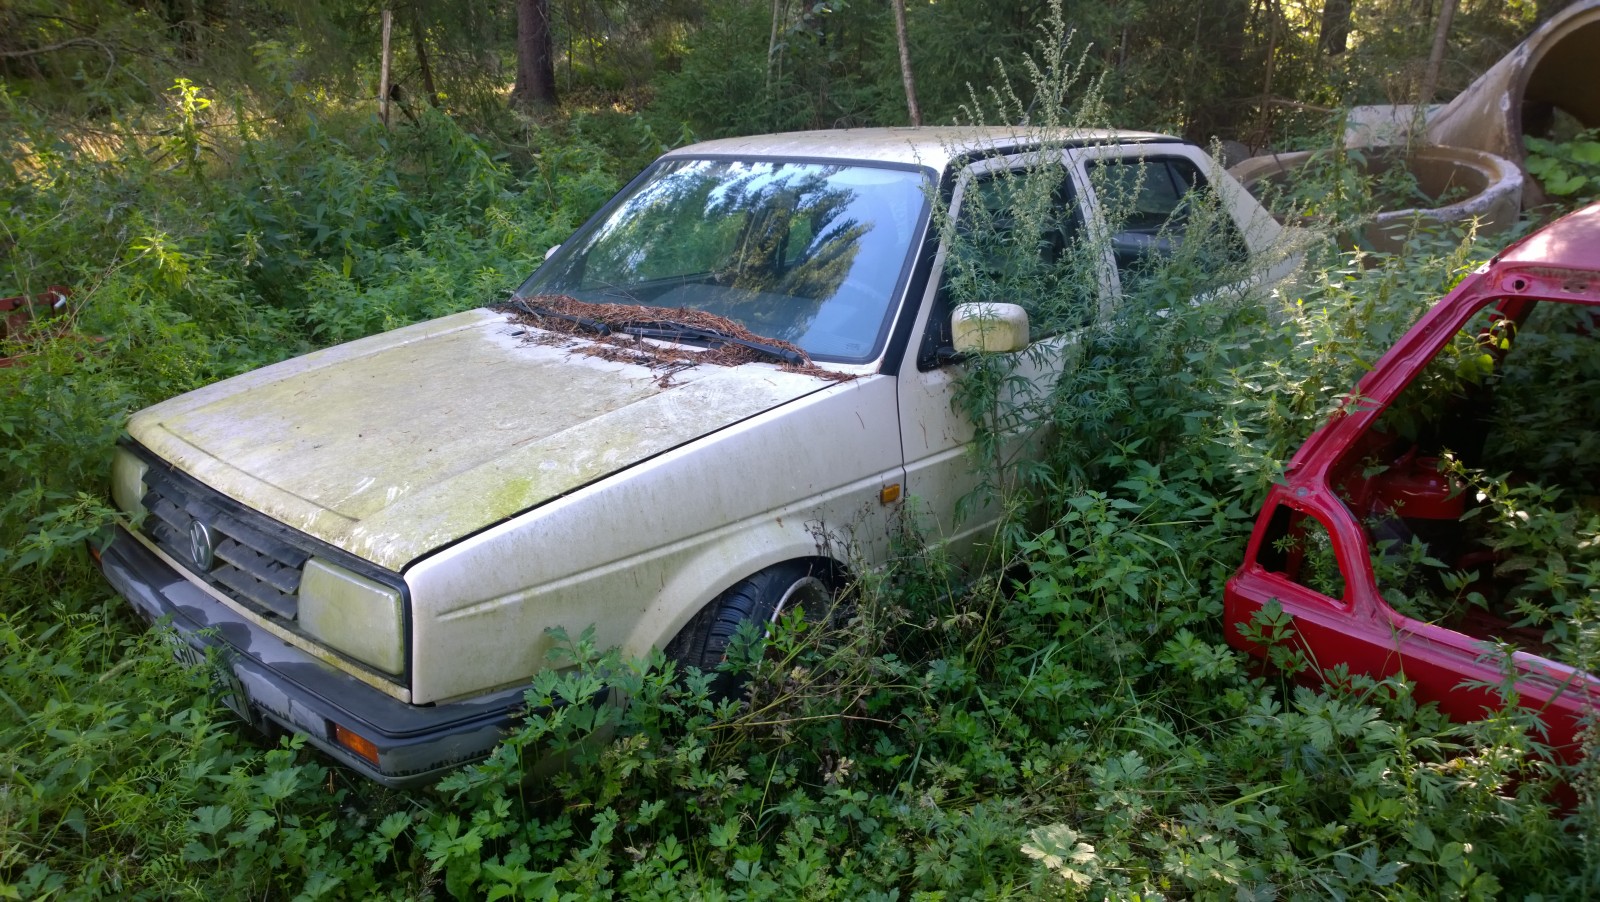
Jetta photographed in mid-August 2014.
2014-10-22 · Starting the Jetta repairs with the brakes
First, we needed to get it rolling, which meant freeing off the brakes. New discs and pads ordered for all four corners: €170.
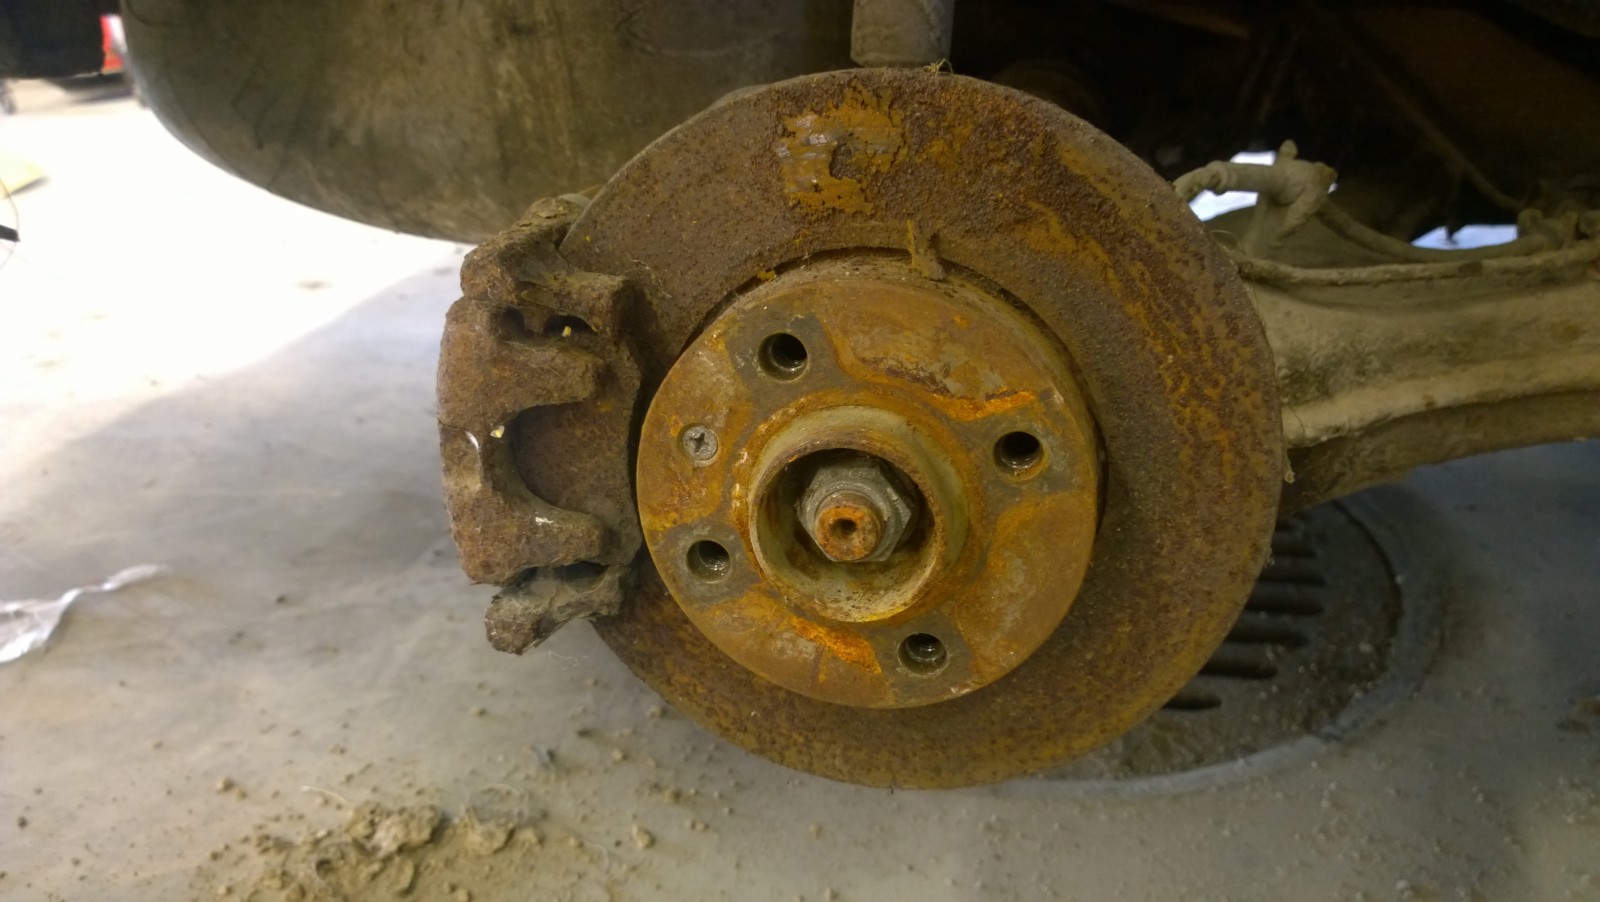
The left rear brake was seized solid. No wonder.
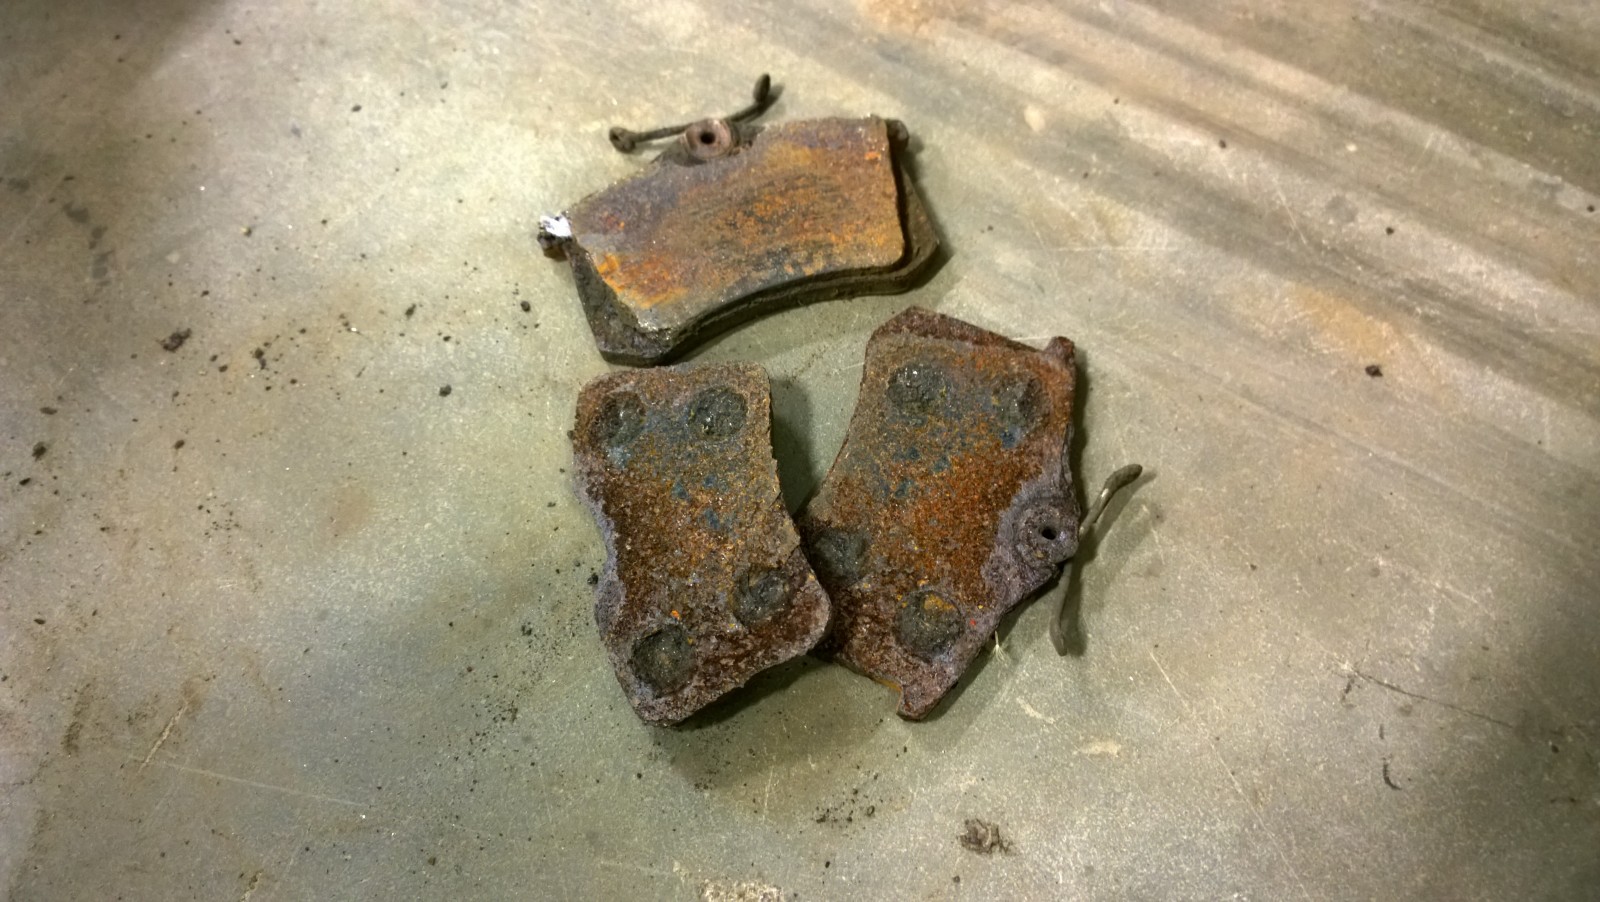
The friction material fell off the old pads. Ferodo, by the look of them. Lucas pads on the other side…
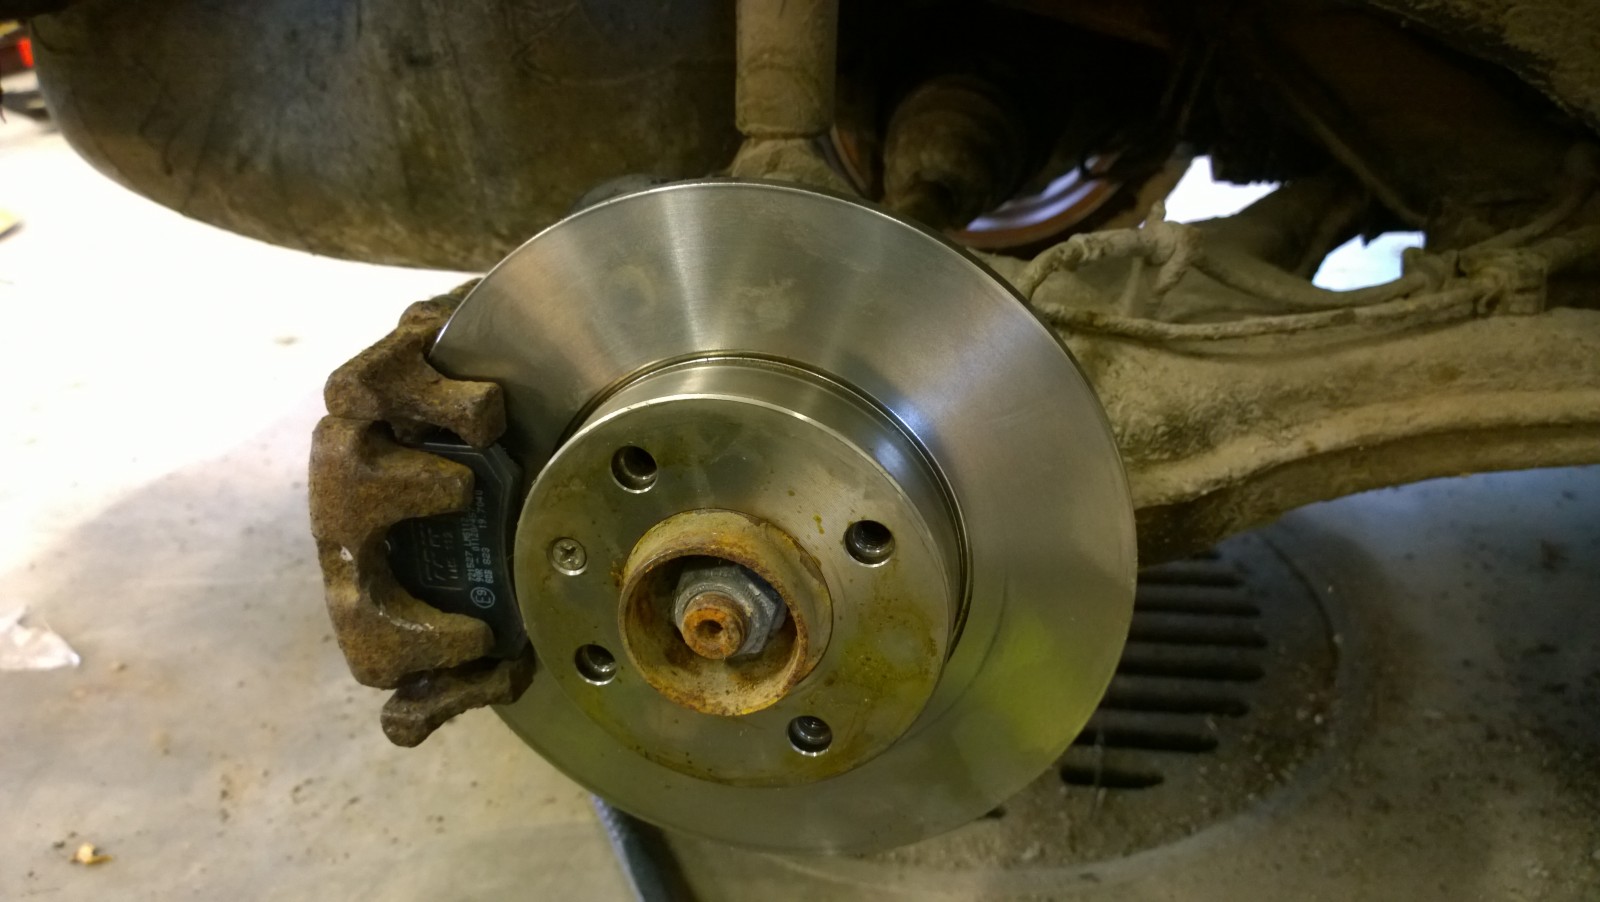
New part in place.
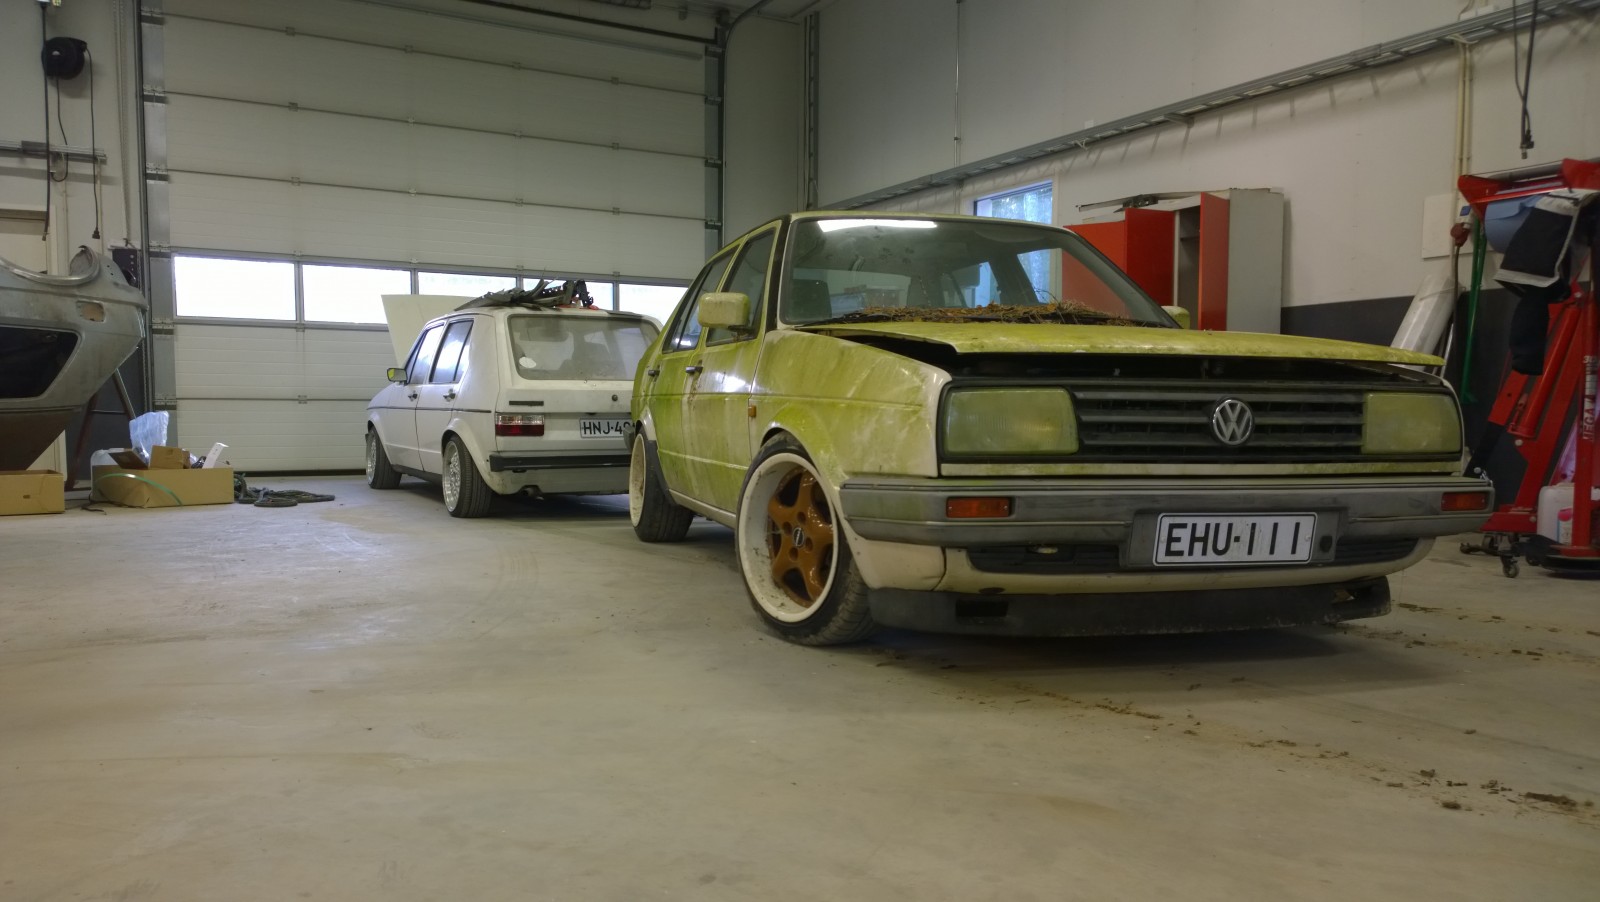
A proper line-up in Pekka's workshop for once. Two Mk2s and a Mk1.
We didn't get the gearbox out today, but the bits collected from the top of it while dismantling give us a pretty good clue about the clutch problem…
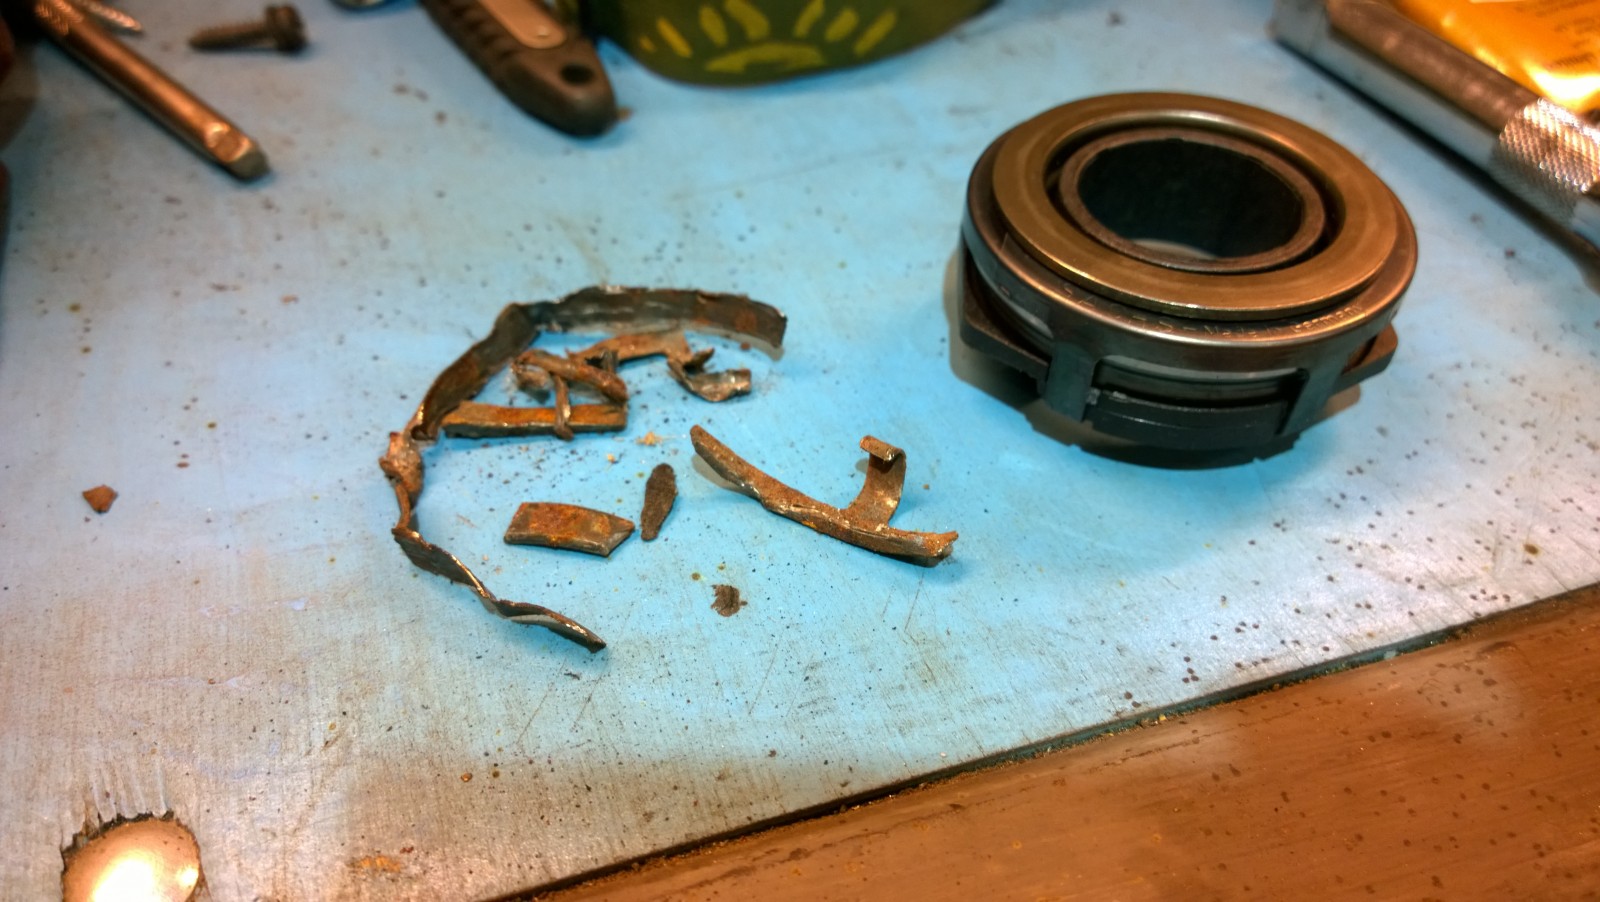
The new part we'd bought in advance is on the right. On the left, the remains collected from the top of the gearbox around the selector linkage. Not much doubt about the clutch release bearing being shot…
To finish, a few more photos of the rather divisive look. The floor was surprisingly sound. Looks like we might get away without any welding at all.
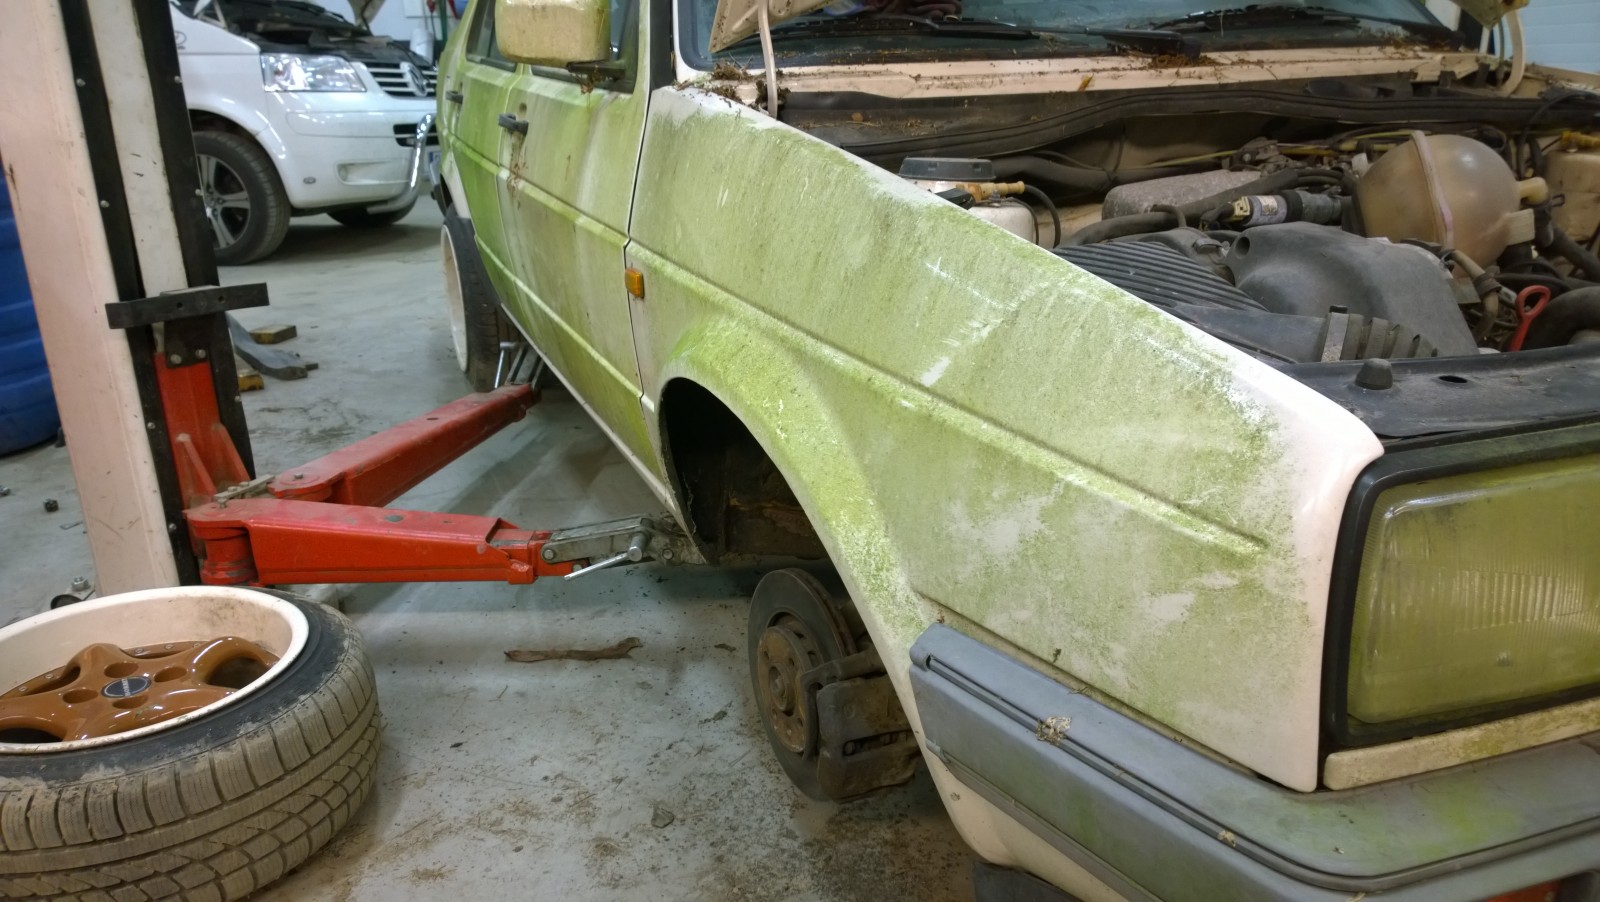
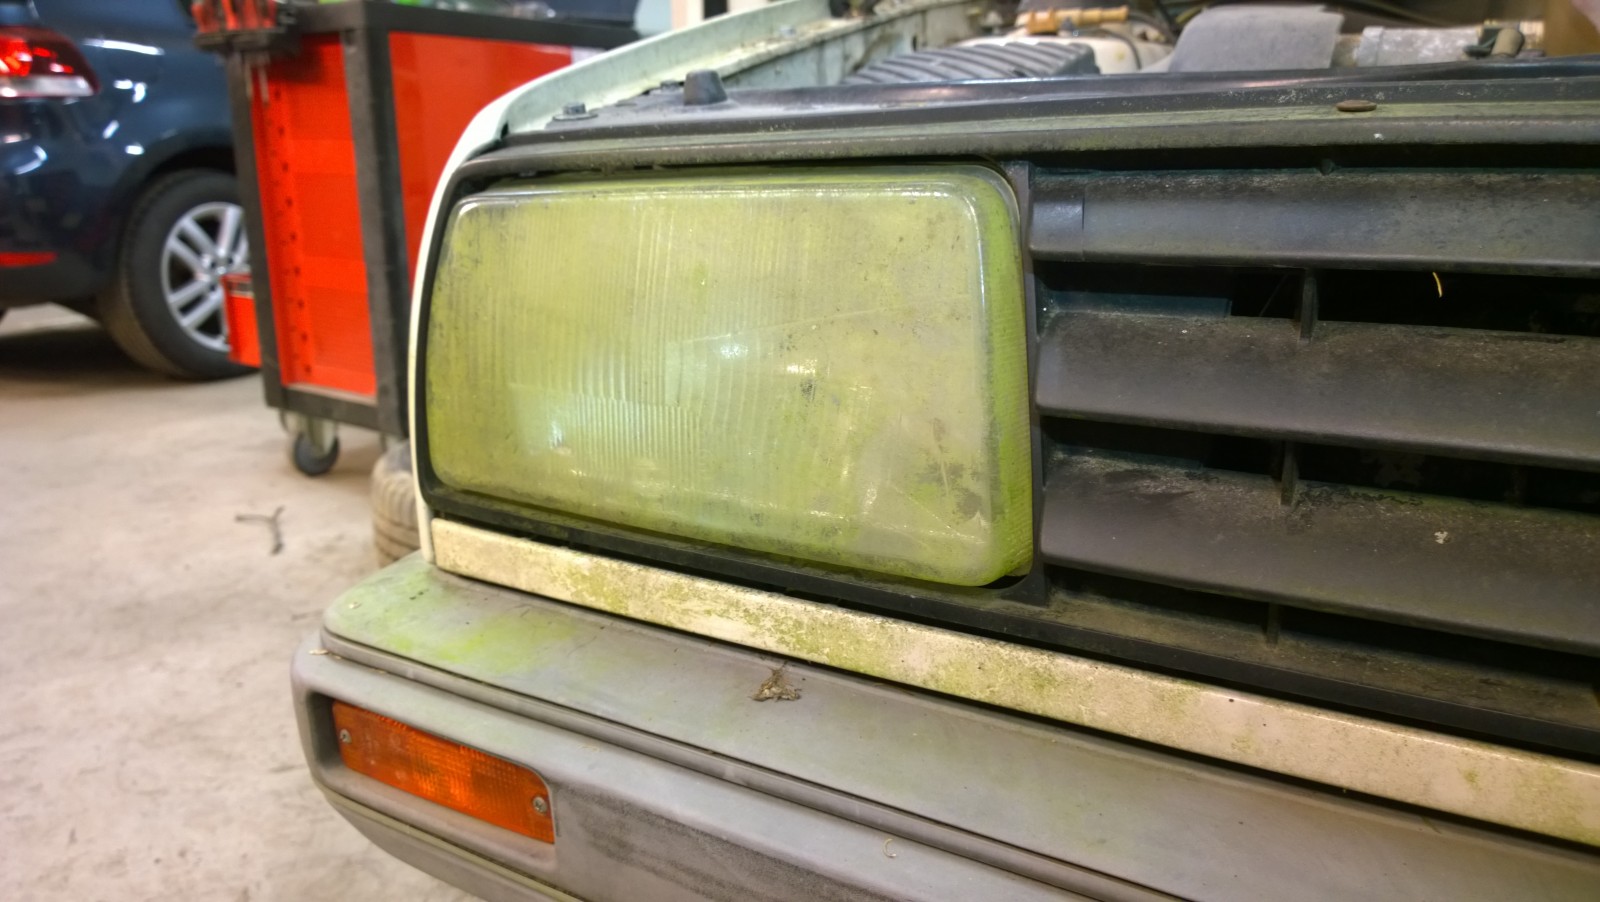
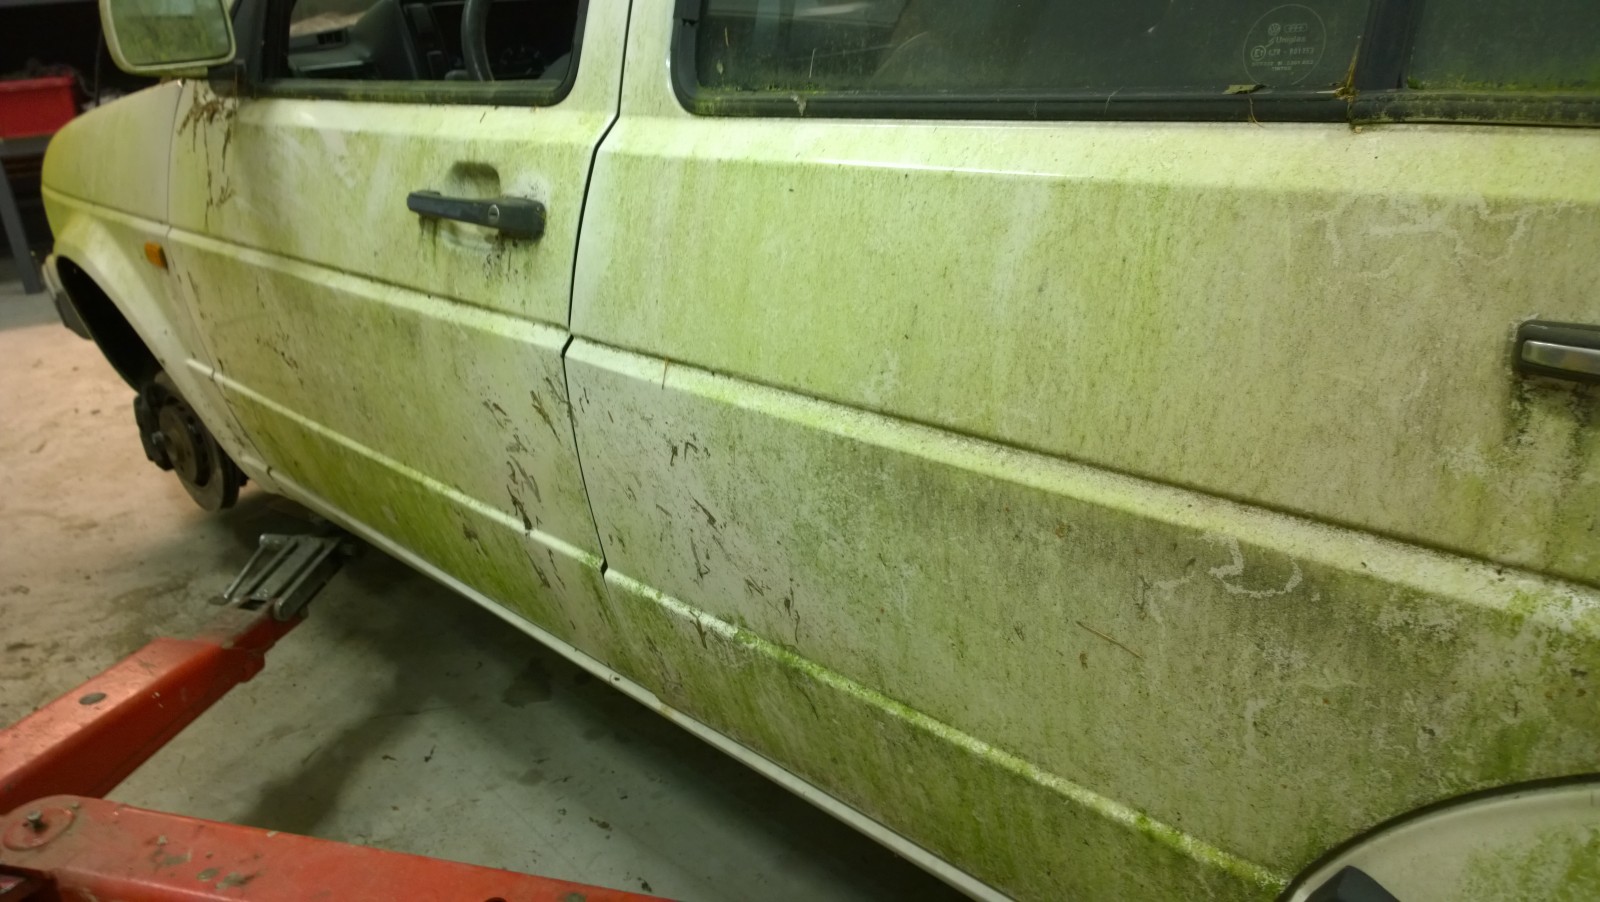
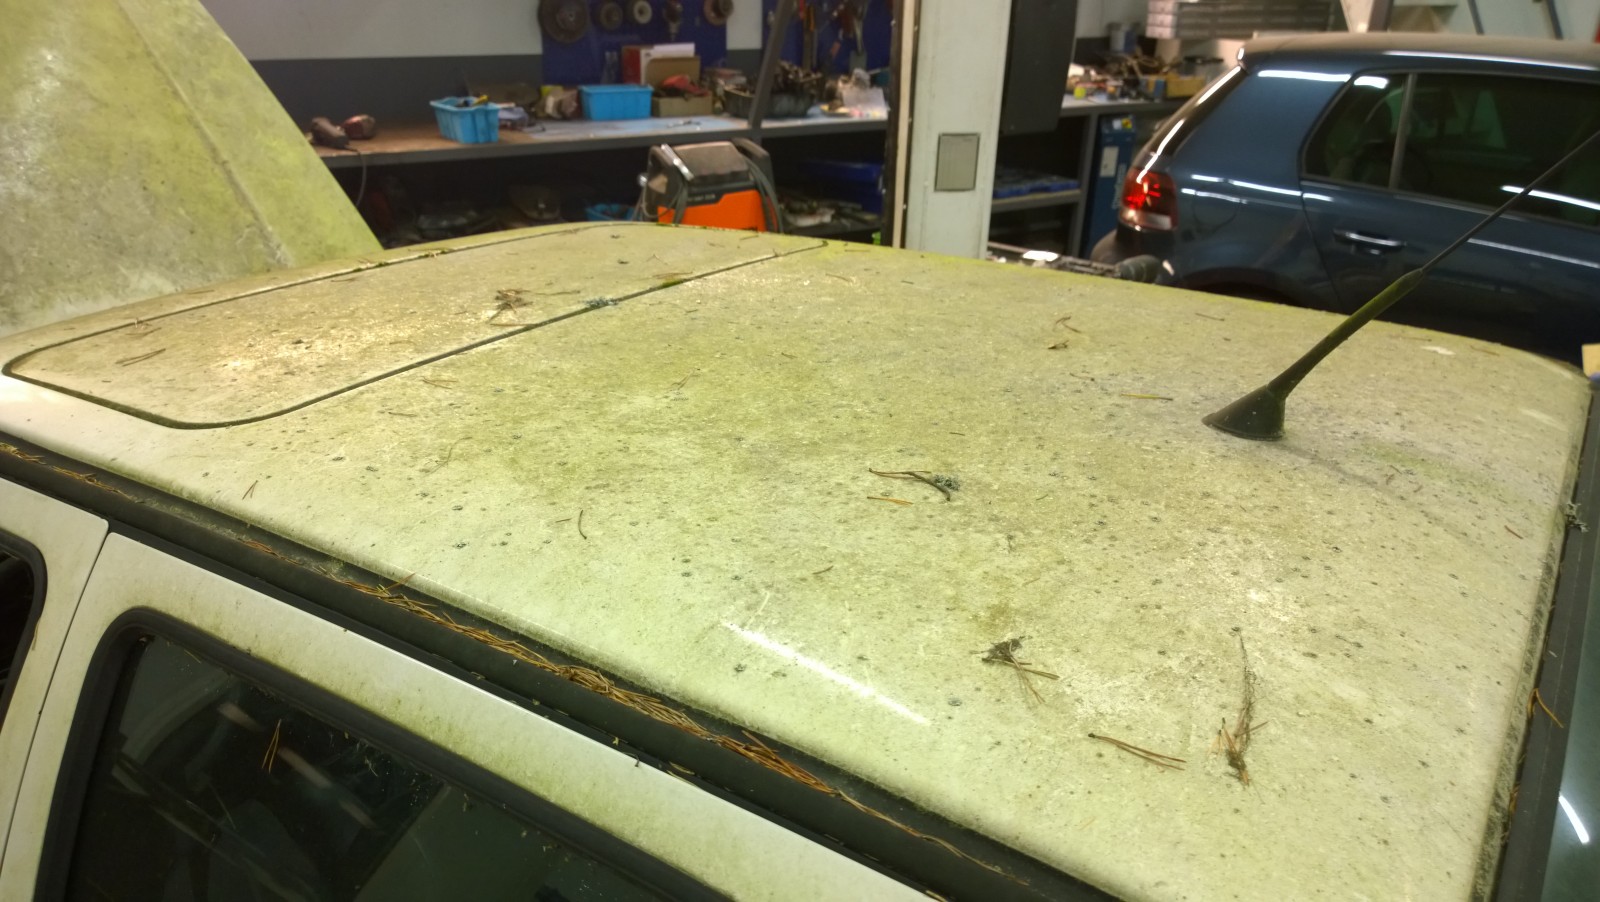
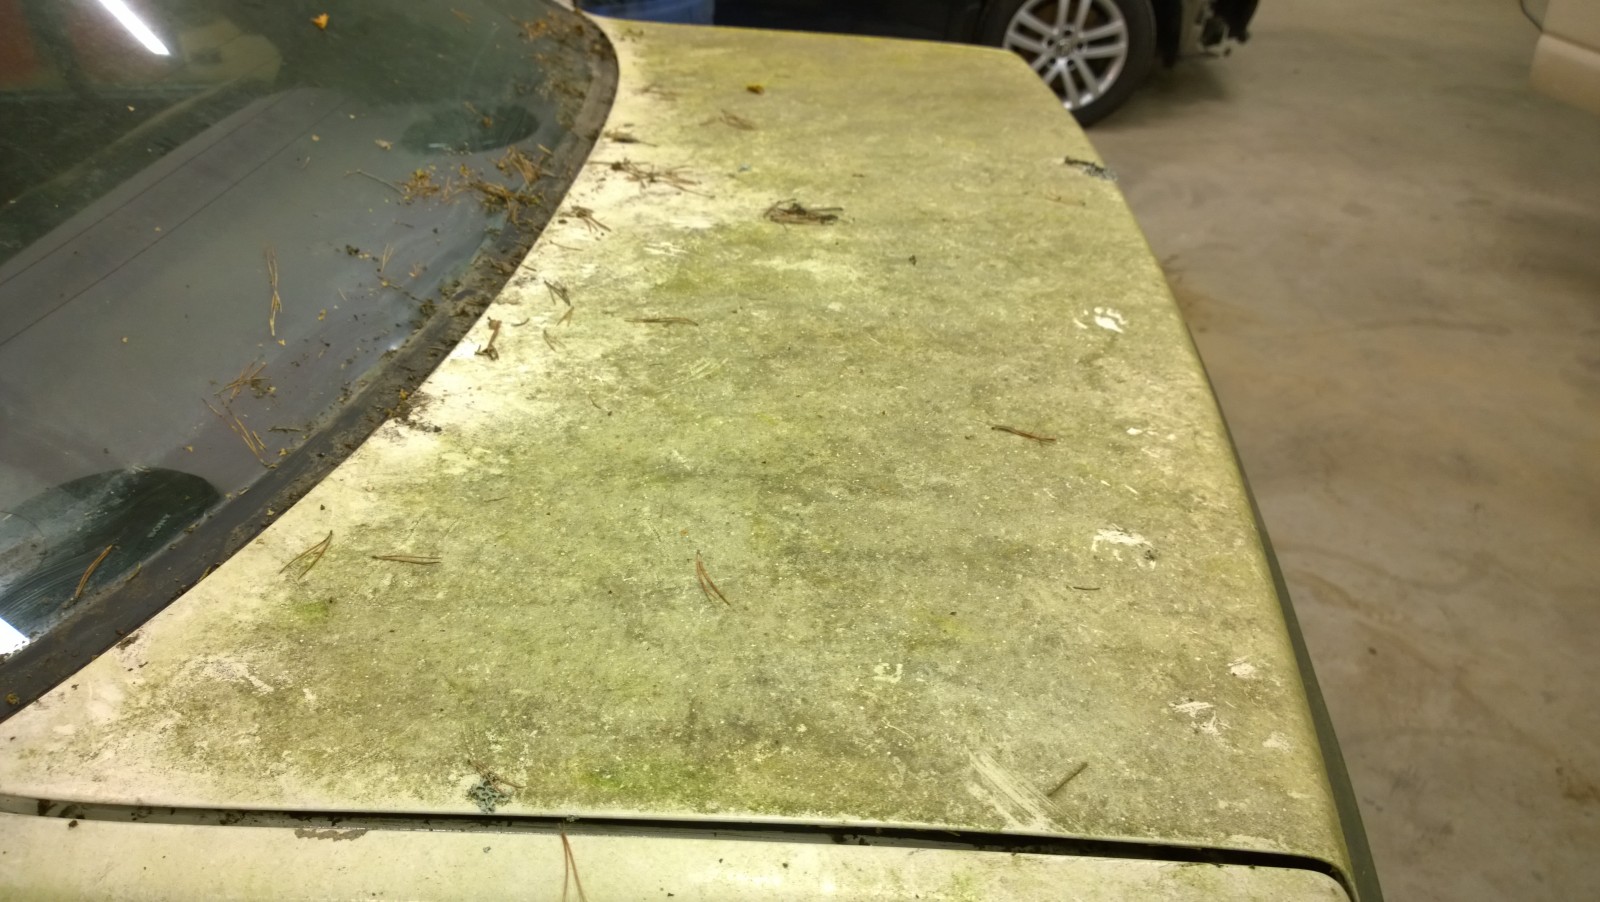
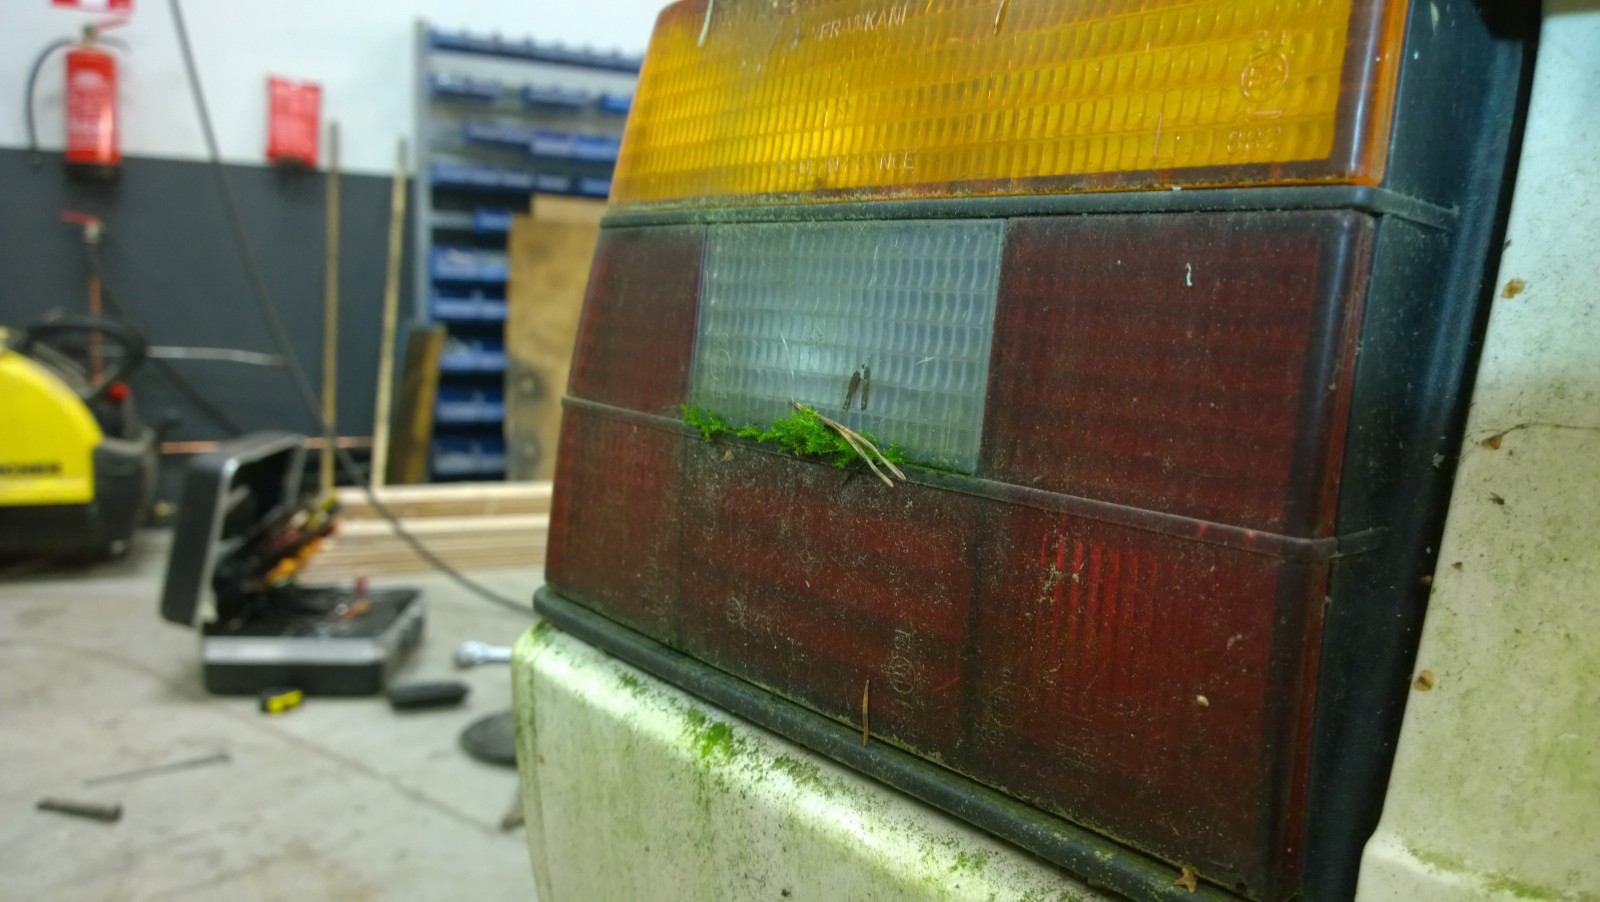
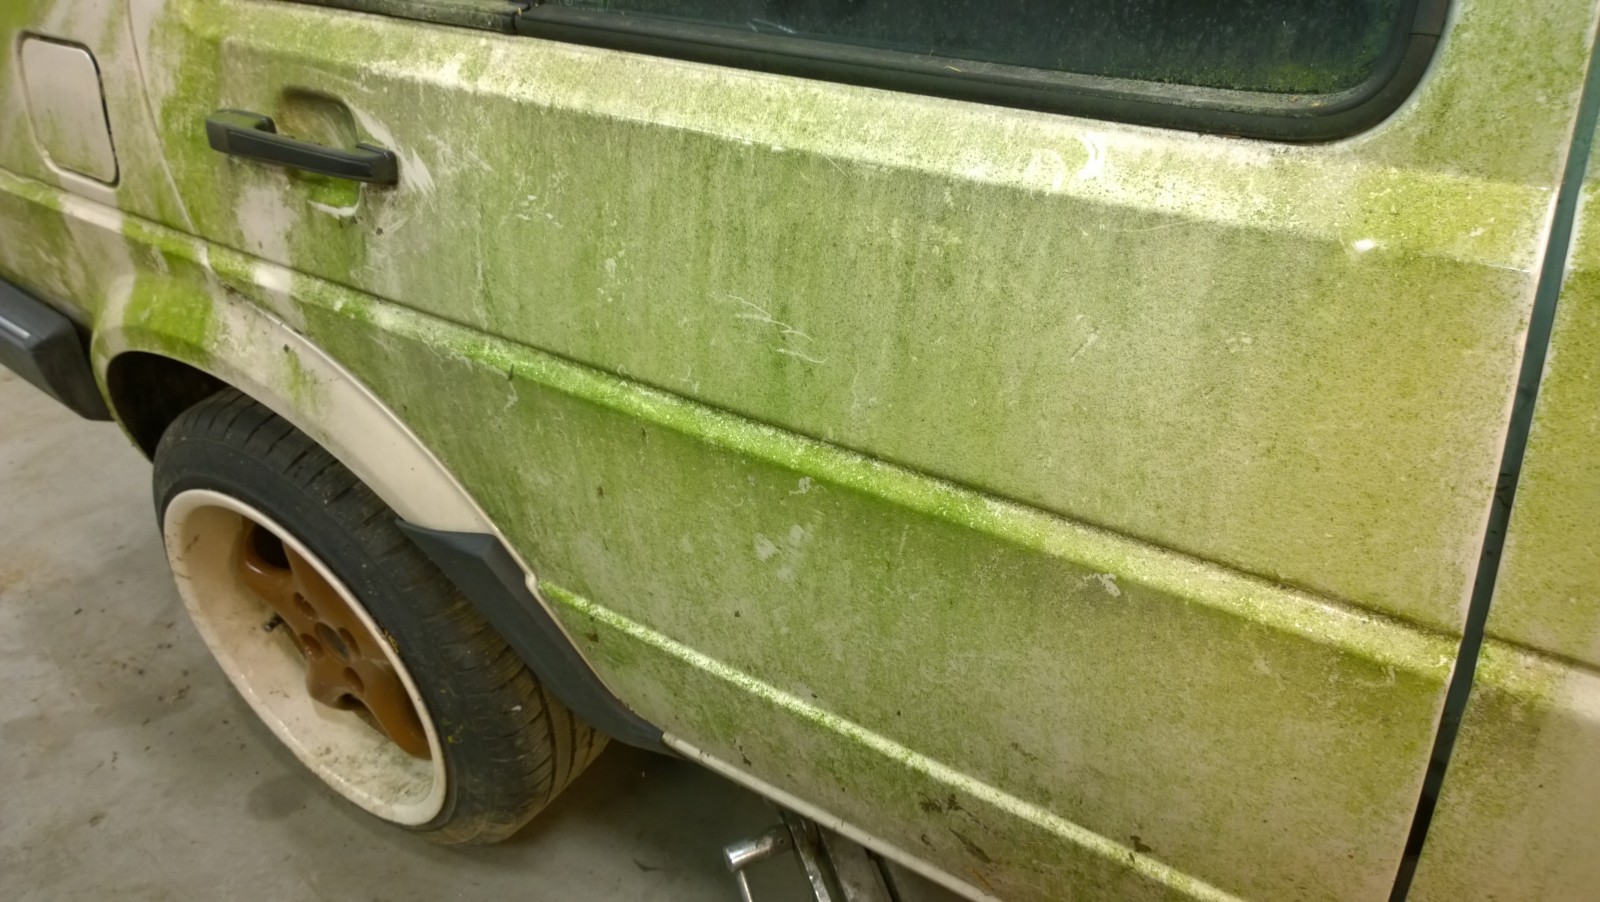
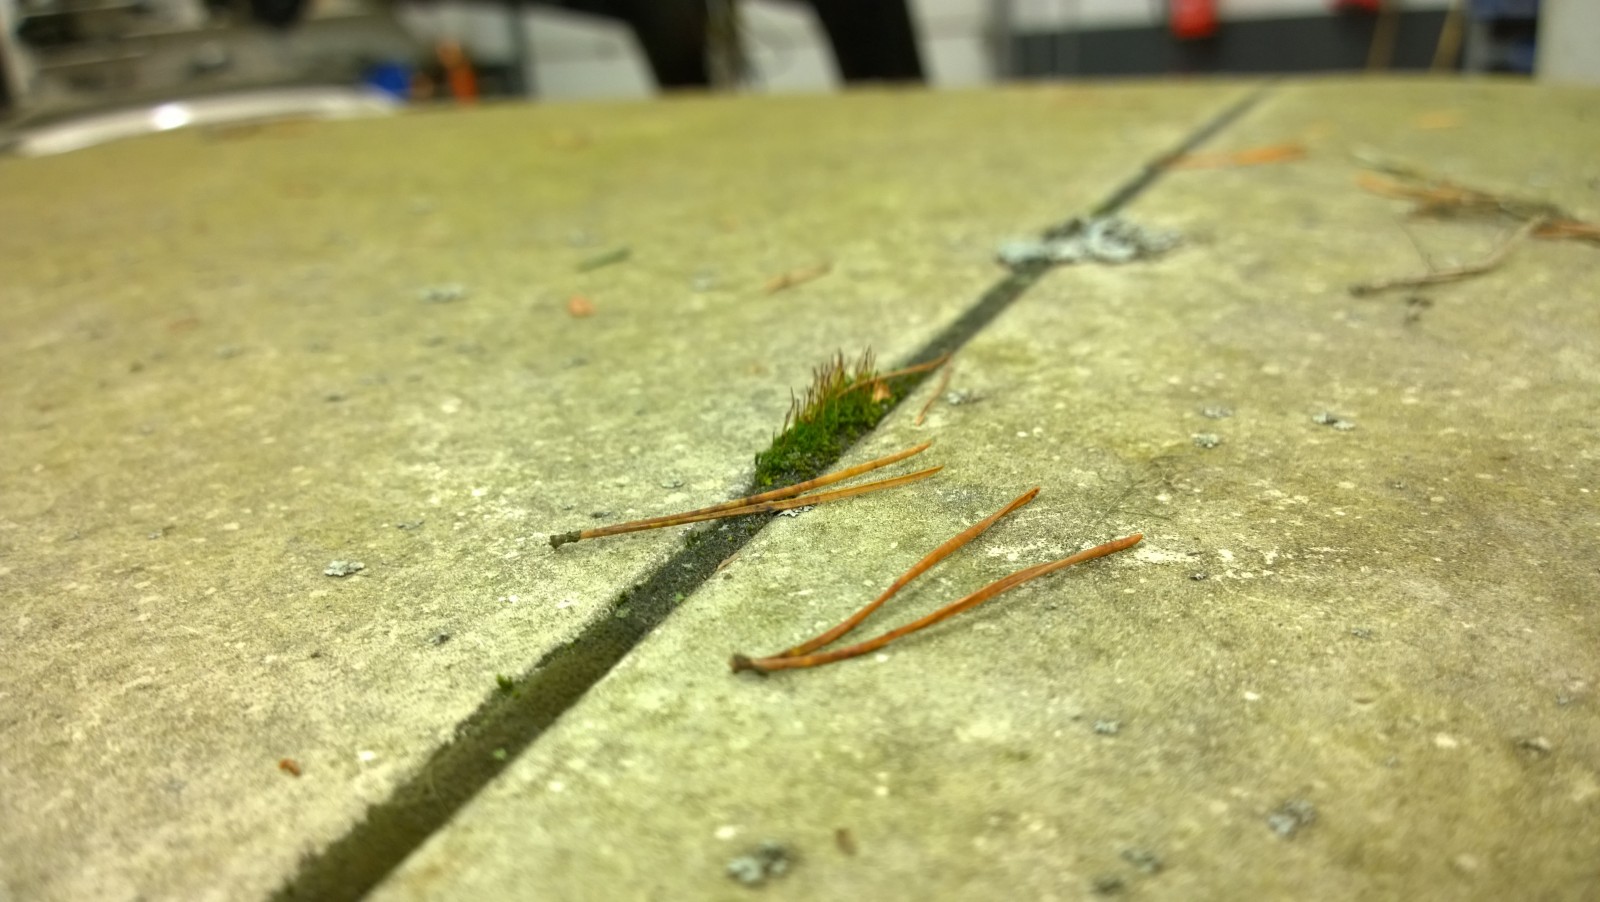
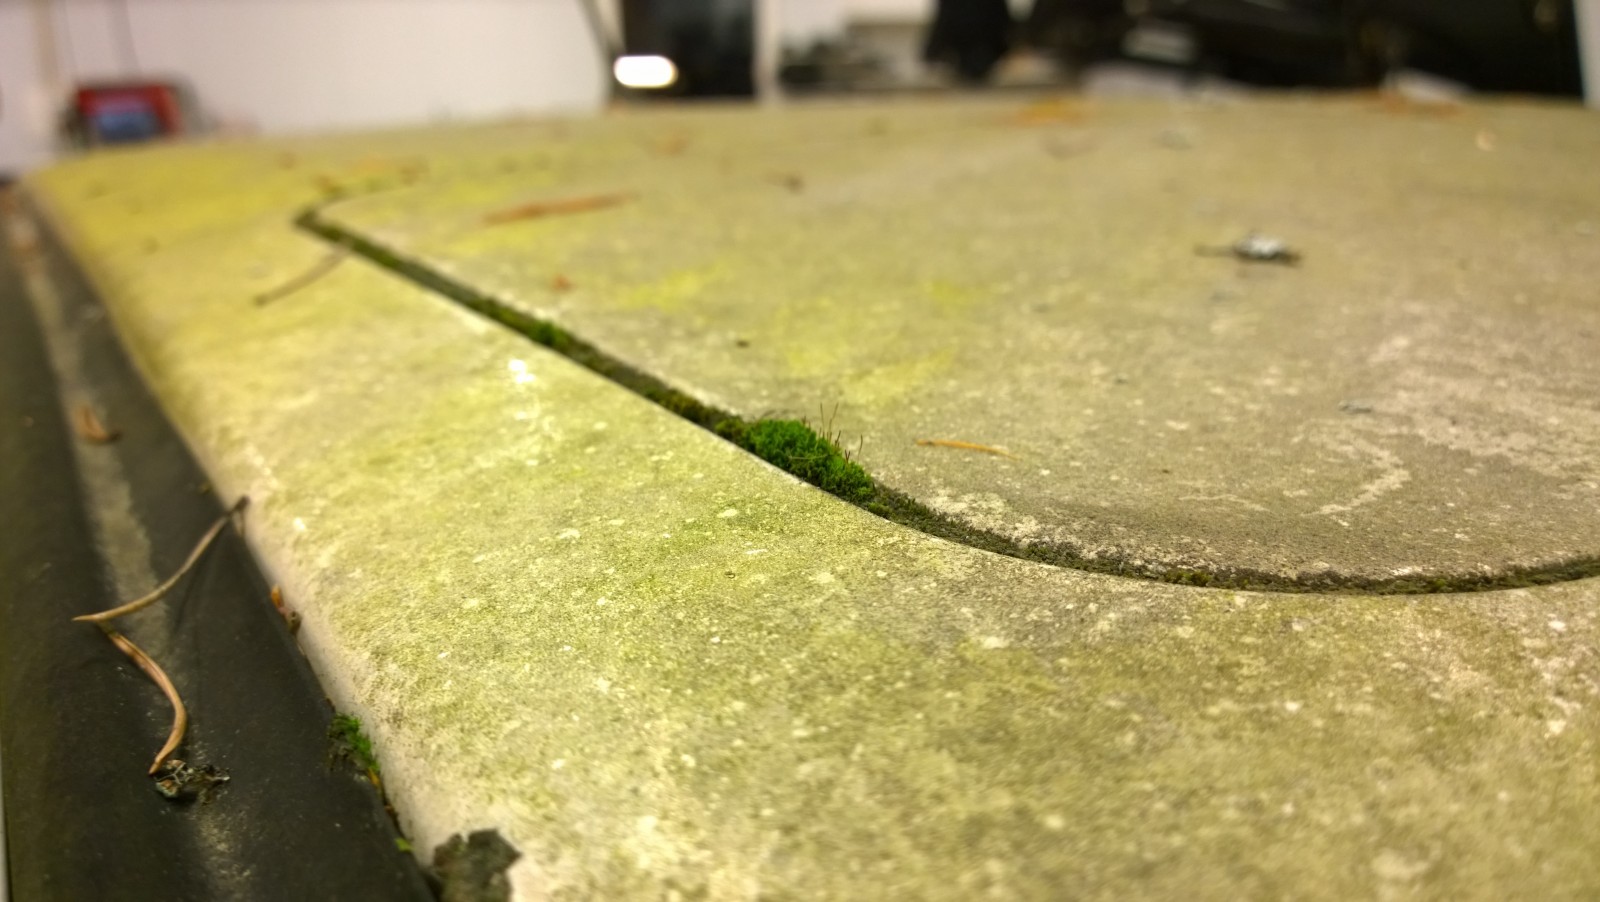
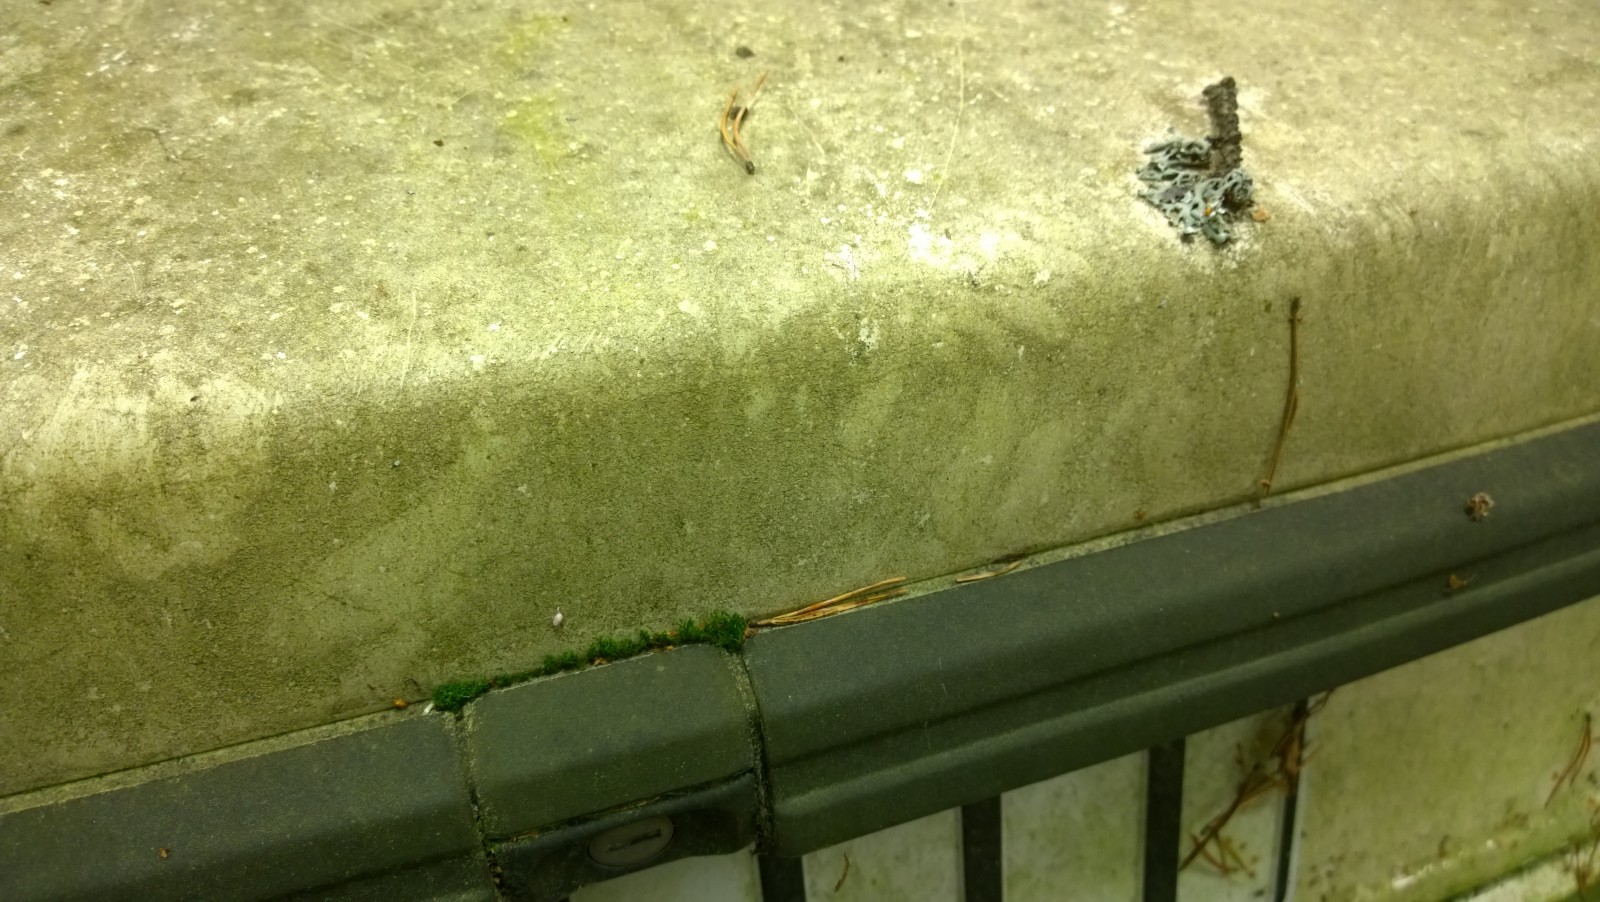
Moss and lichen. Or is that grayer some other type of moss?
2026-02-15 · To Africa in the Syncro Jetta!
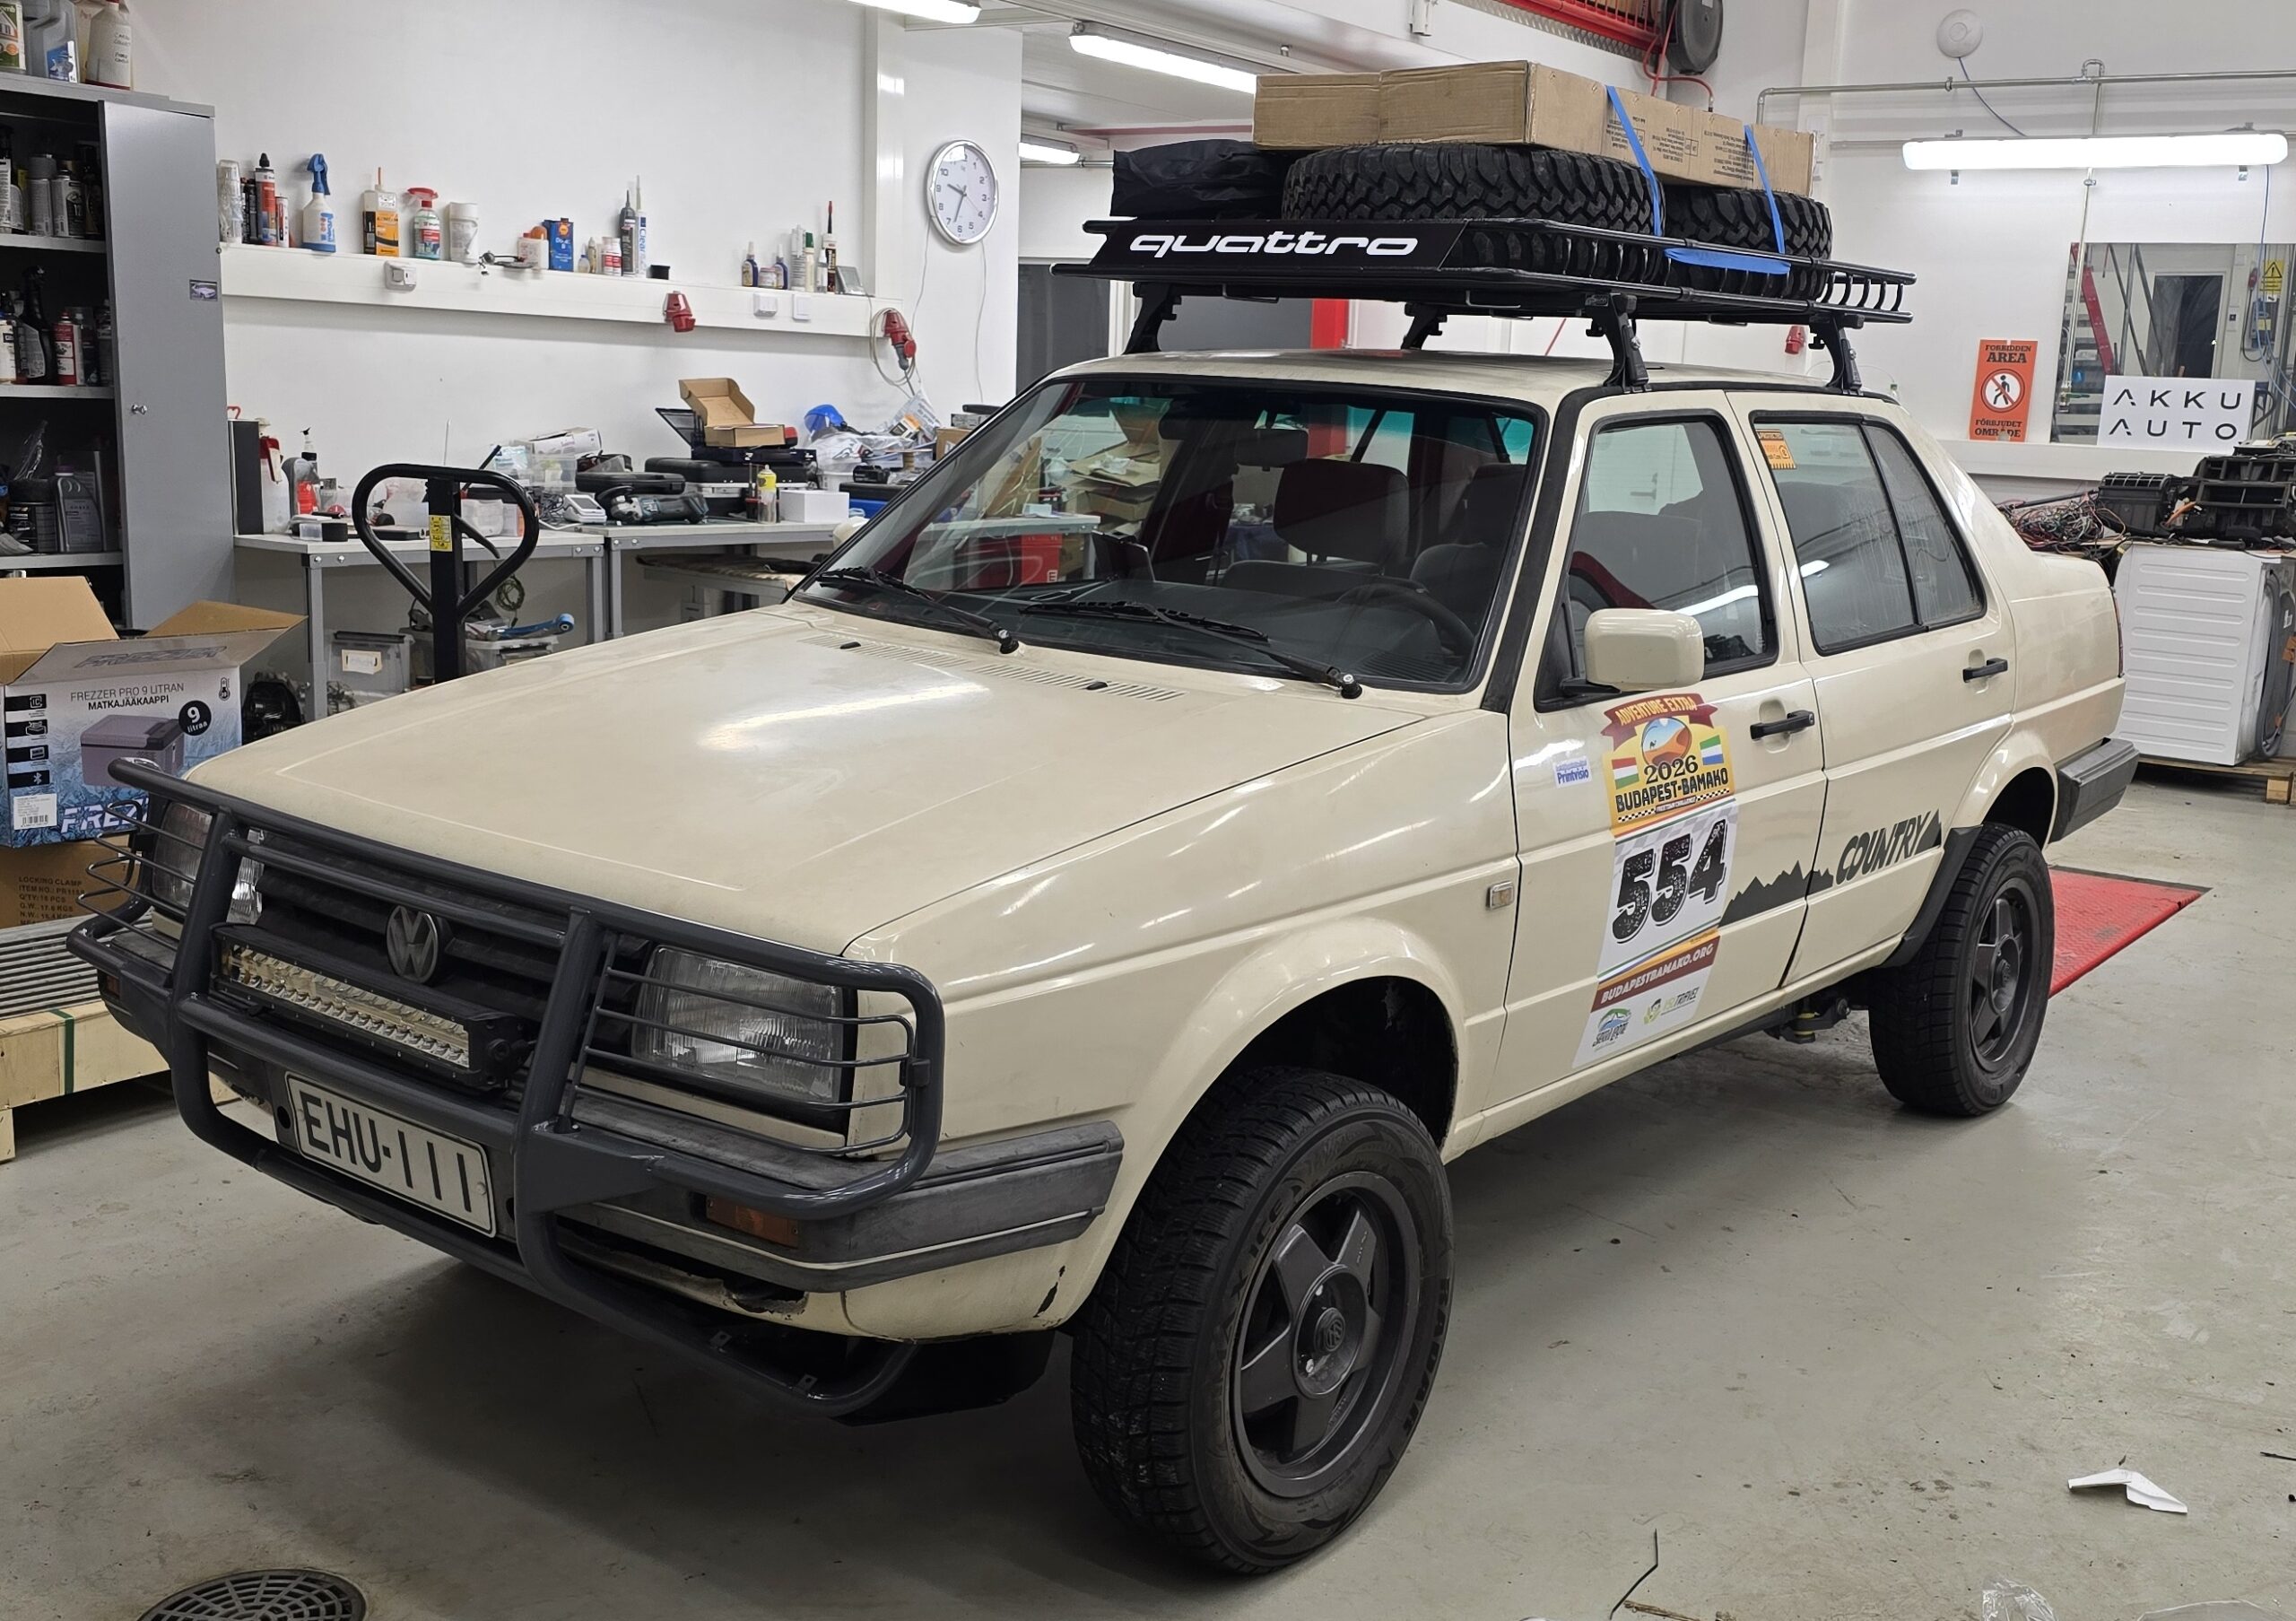
First update in four years, so let's make it a big one! We've kitted out our old Syncro Jetta again, and as I write this we're on our way to Africa as part of the Budapest–Bamako adventure!
Follow our Facebook trip page and YouTube channel to see where we've got to! We'll try to put together a story about building the Jetta here as well. It's been such an intense project that photos and documentation have taken a back seat, but we'll find something when we dig through it all!
Includes original English text and AI-assisted translations.