ARCHIVE / PAJALLE
Bora Variant TDI
The crash repair project for Peksi’s Bora estate.
Introduction
Sorry, not translated yet... text available only in Finnish.
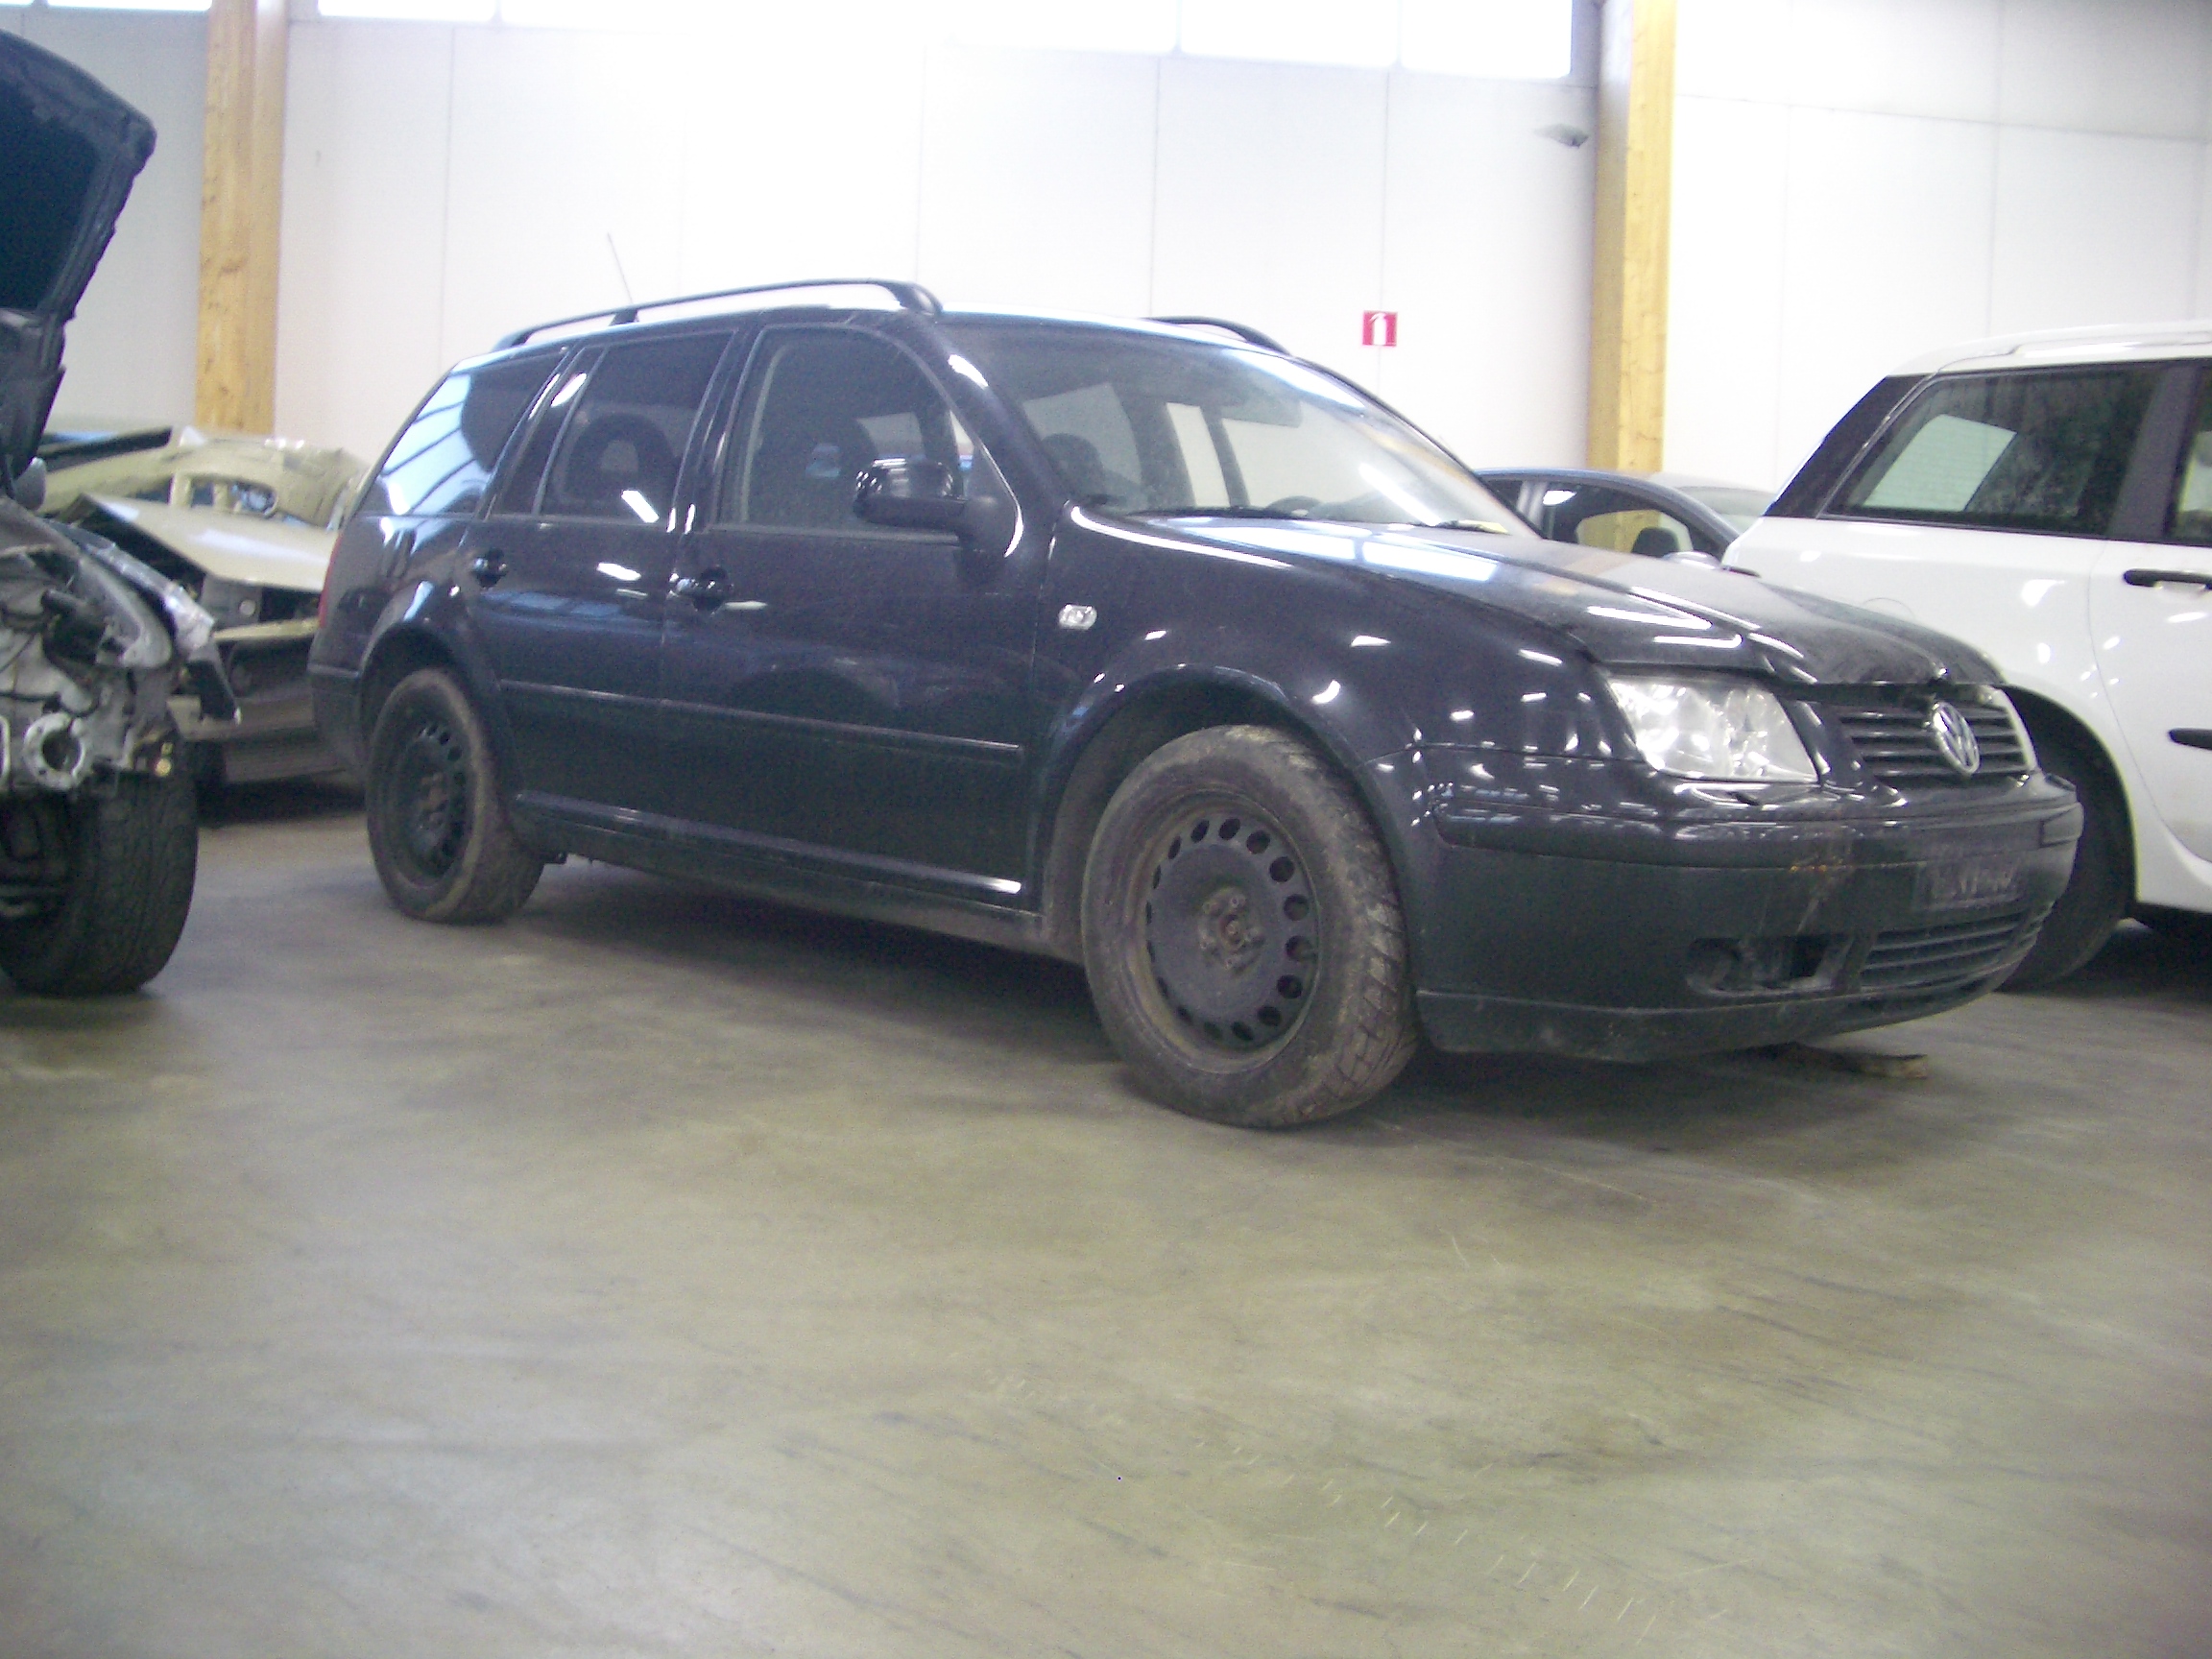
This is a fairly rare VW estate in Finland: a 2000 Bora Variant. The official importer never sold the Bora estate here; this example was imported used too.
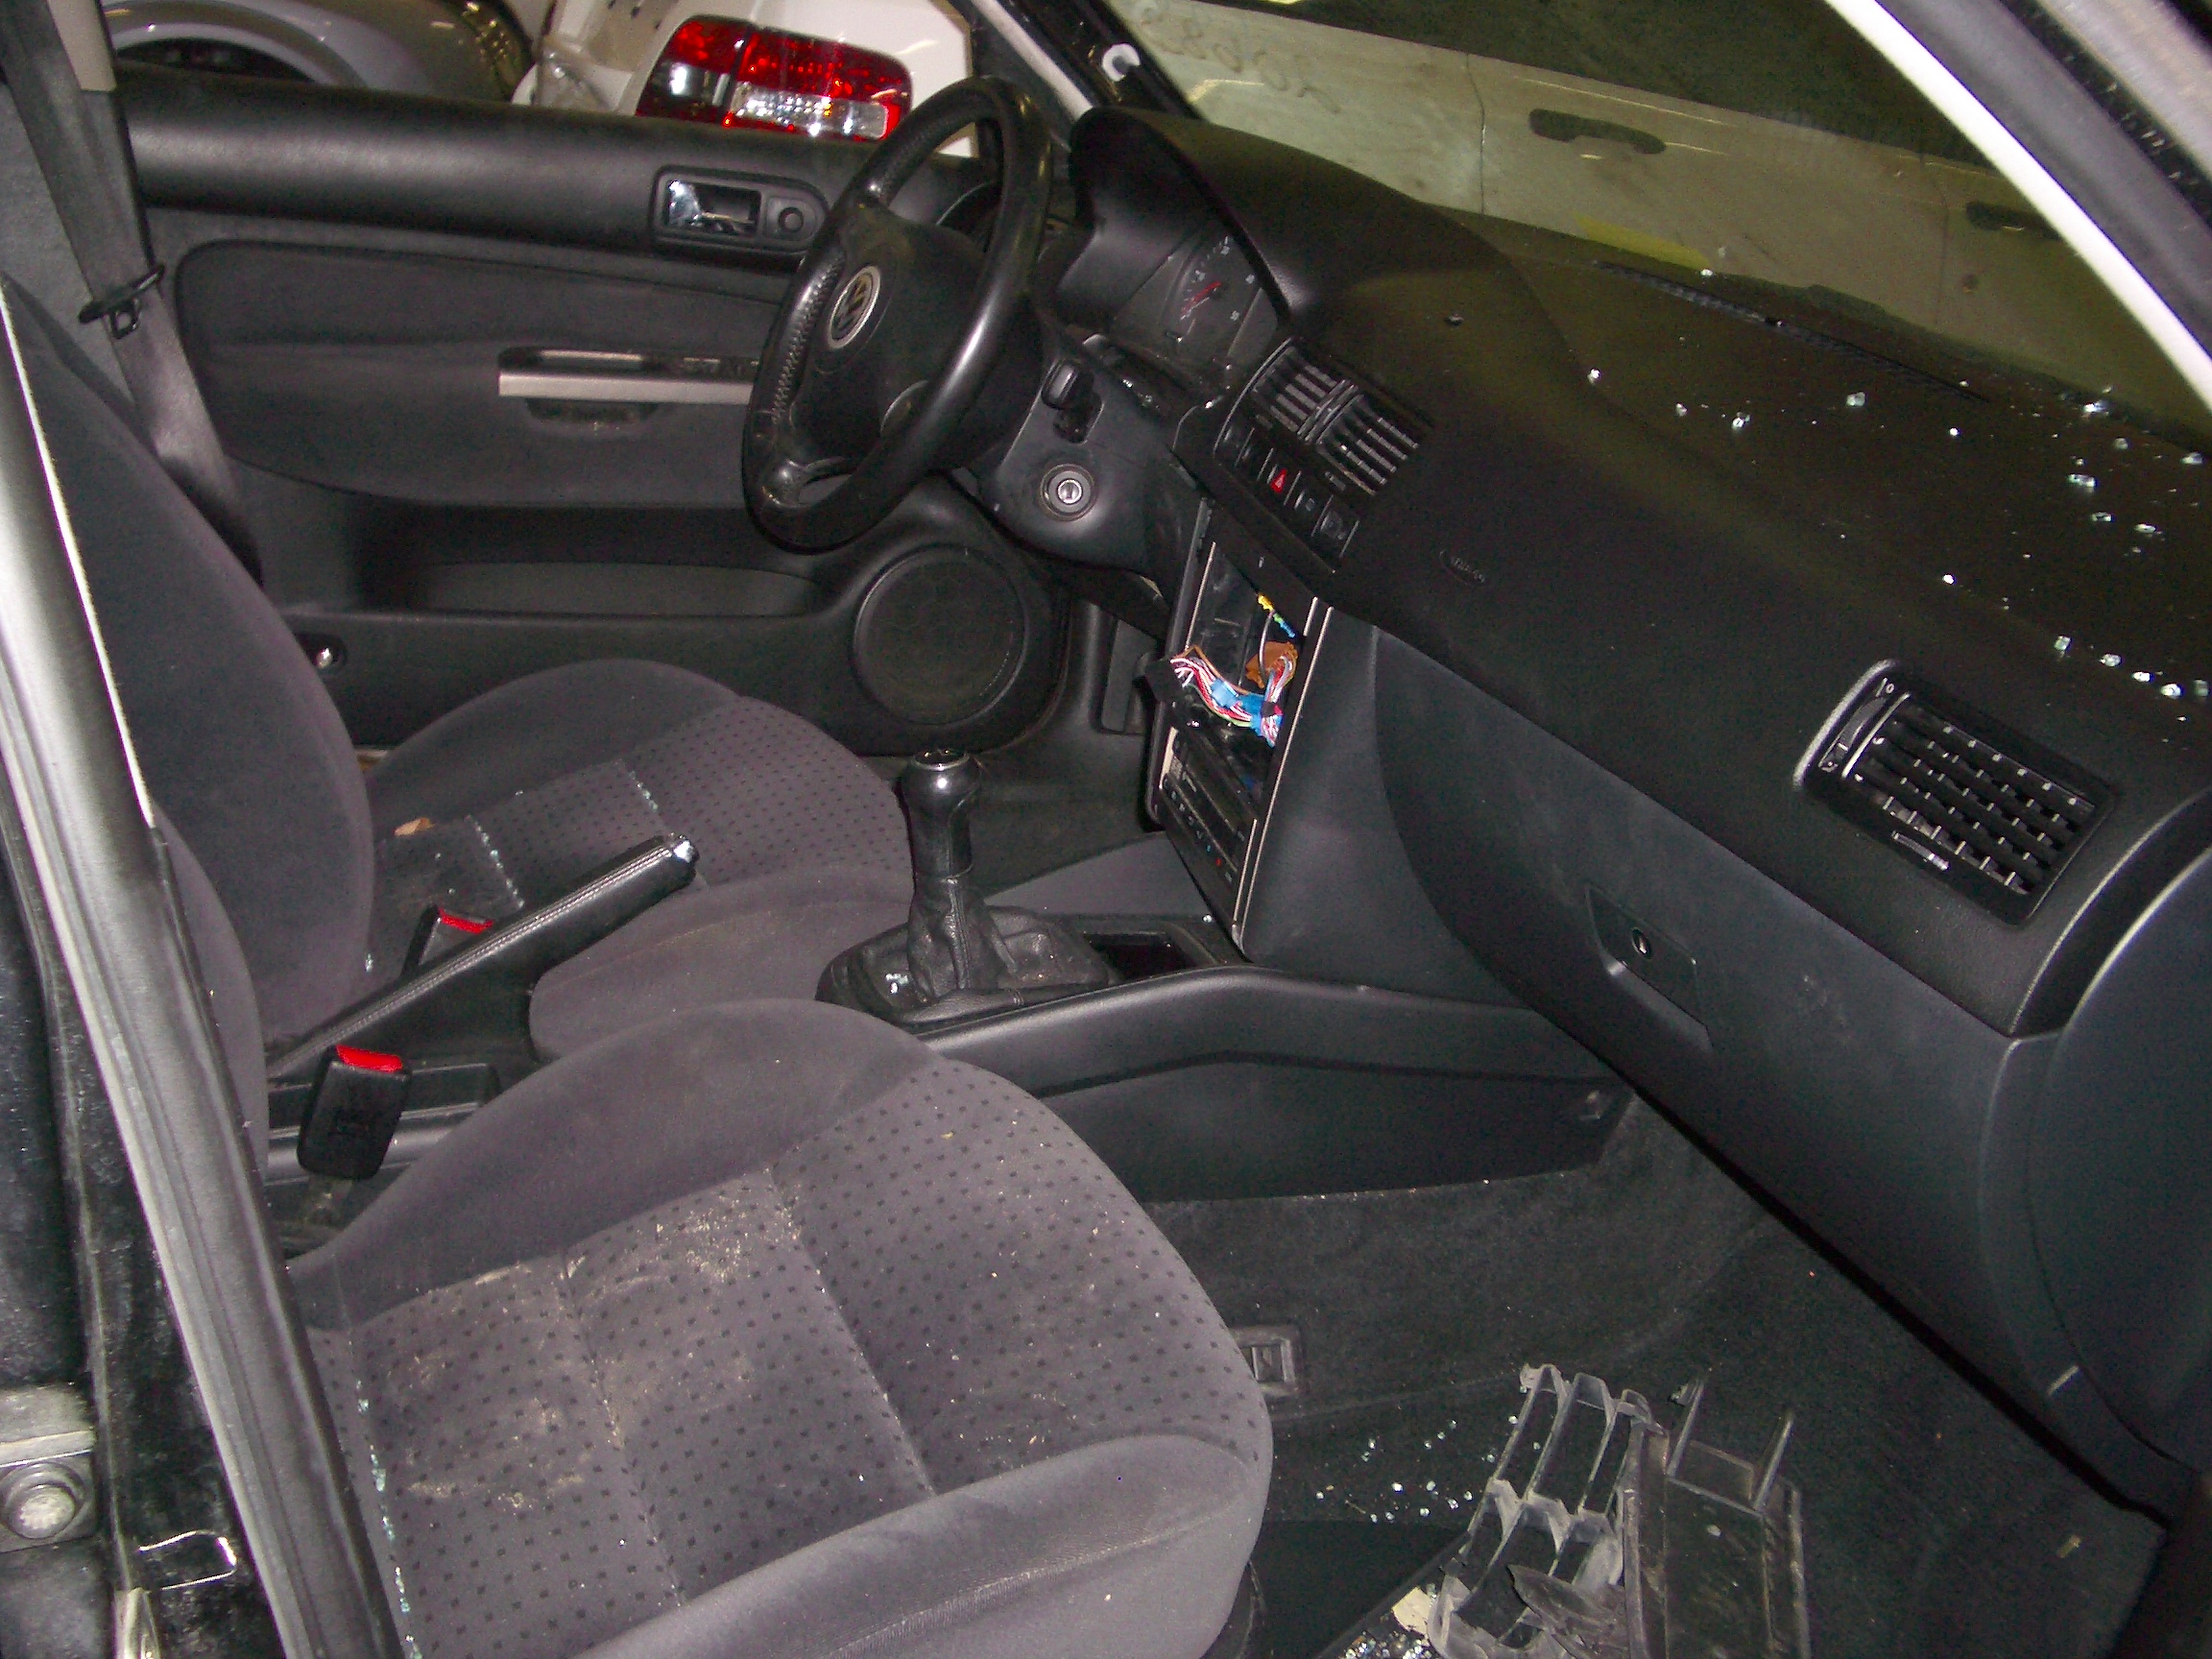
Bora estates are generally well equipped, including automatic climate control. A few things are still missing for now: cruise control and remote central locking are on the shopping list.
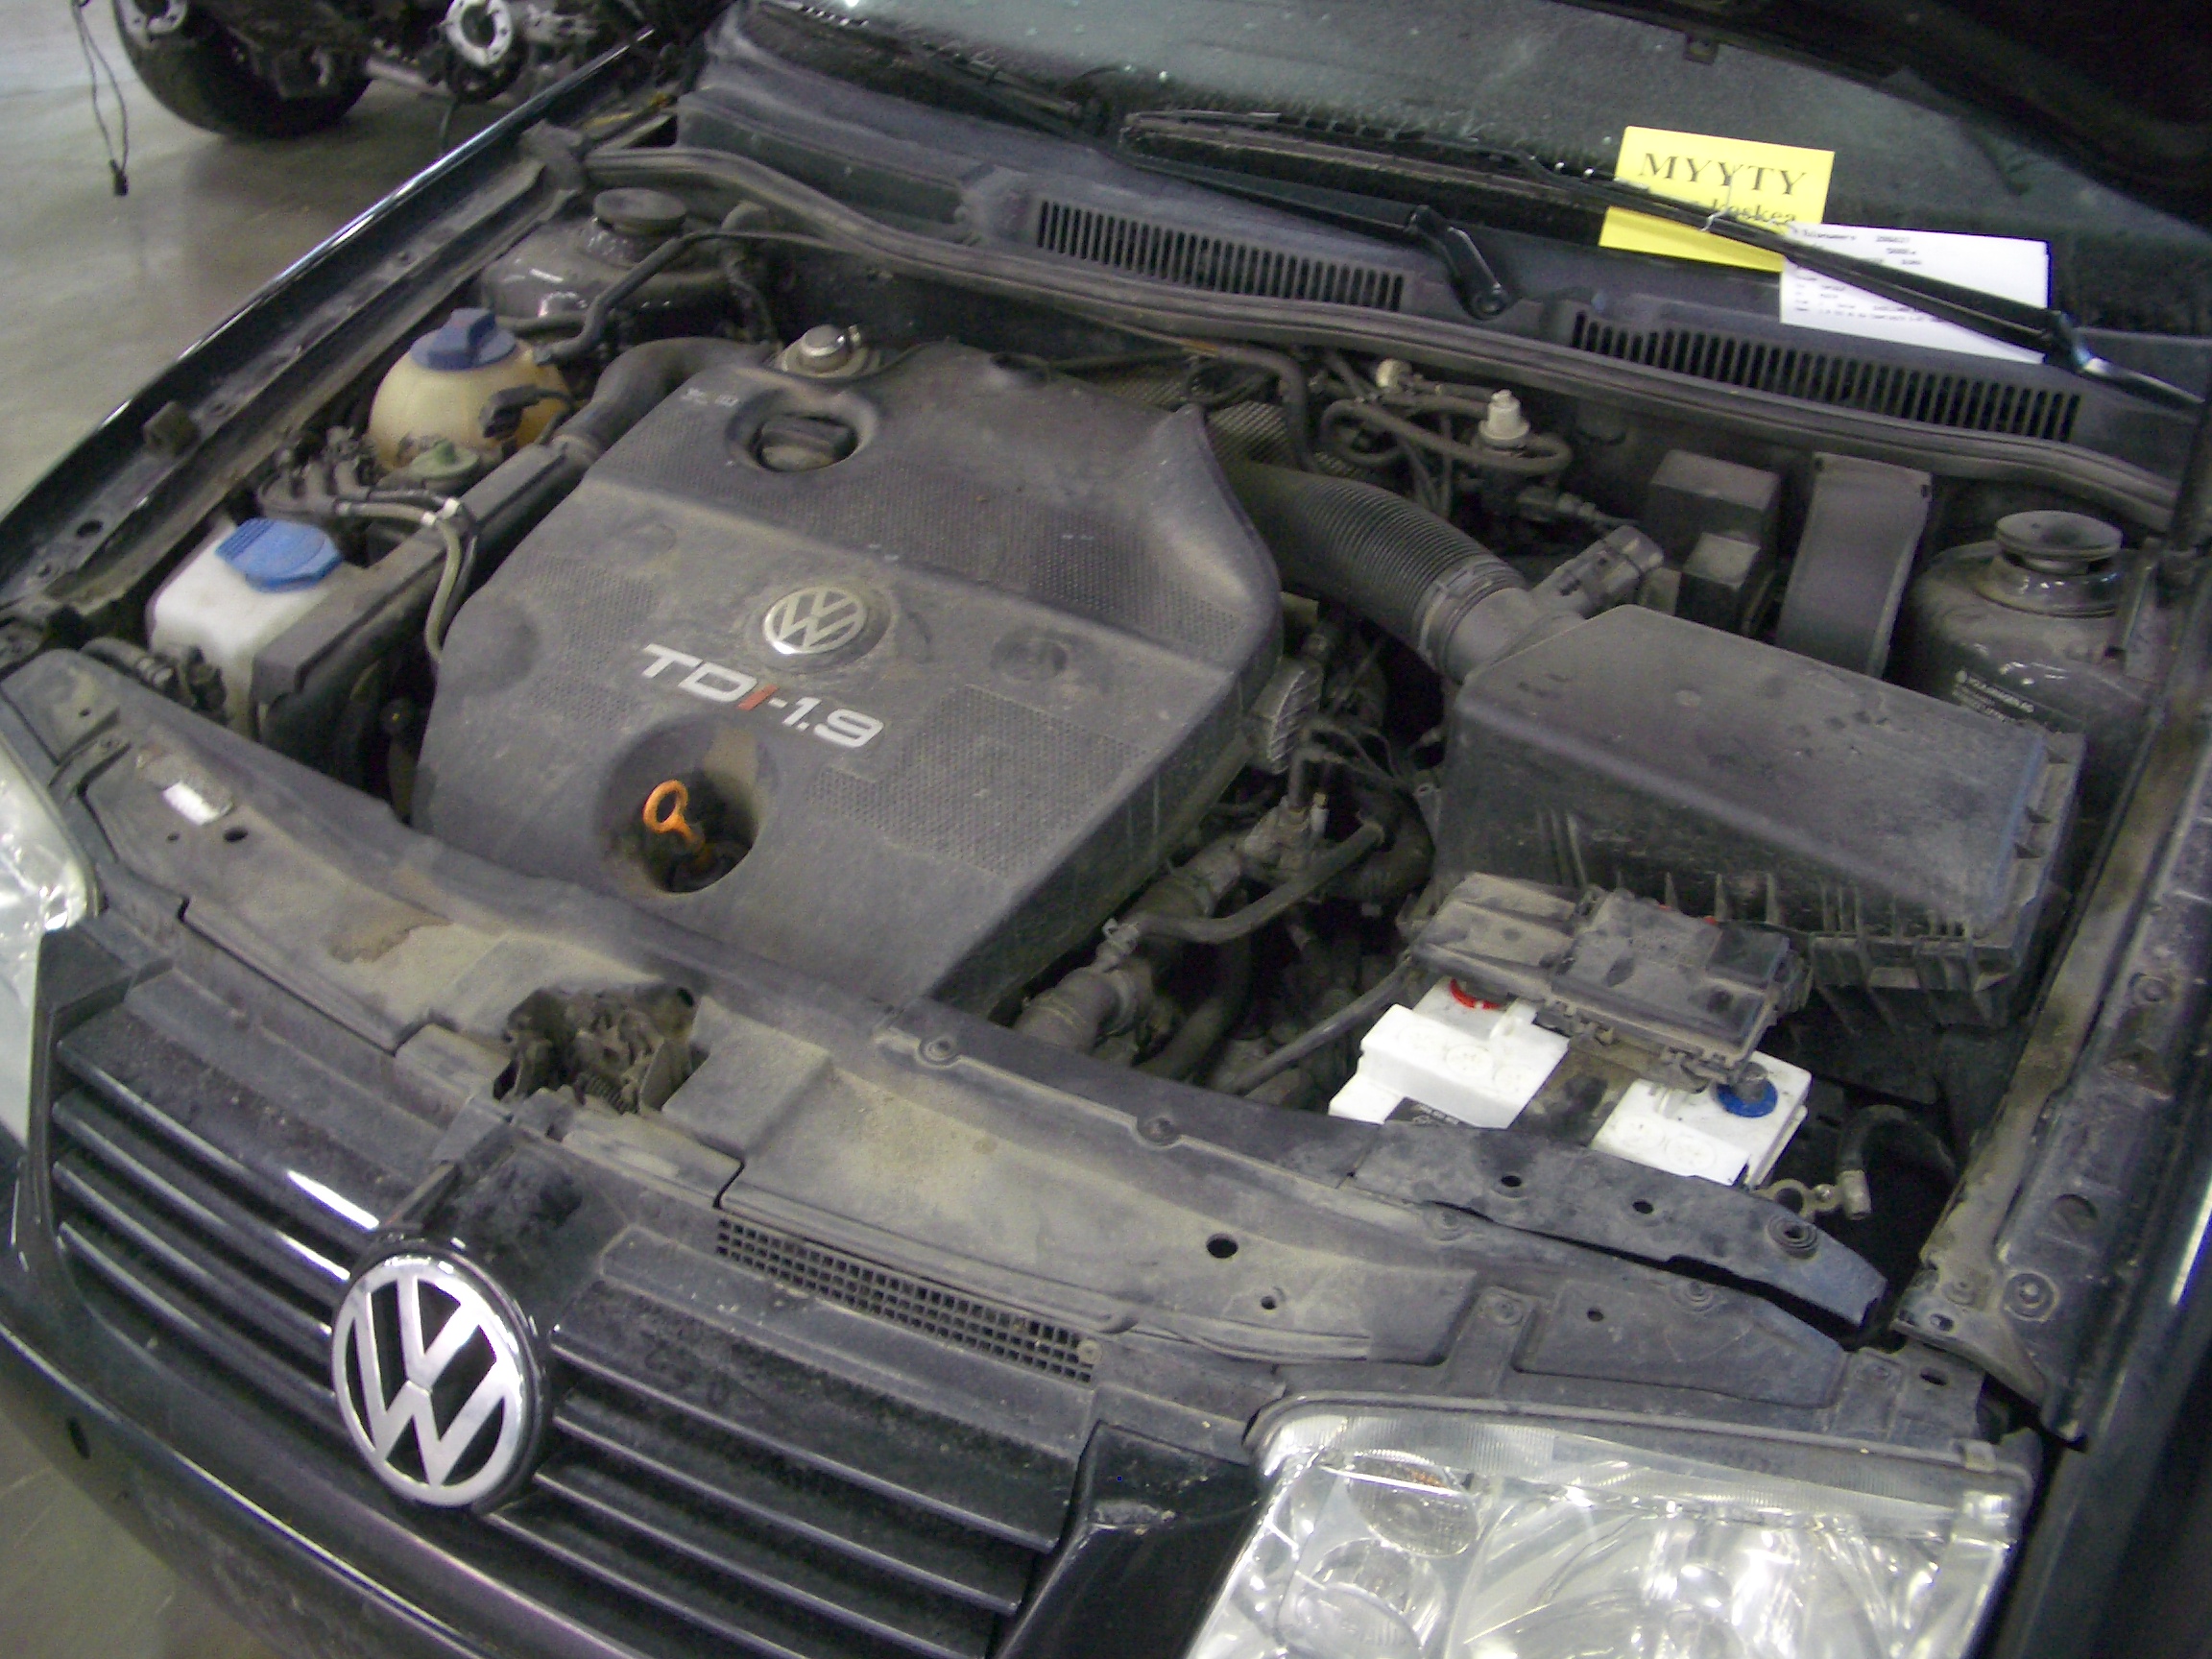
The drivetrain is an 81 kW (110 hp) 1.9 TDI.
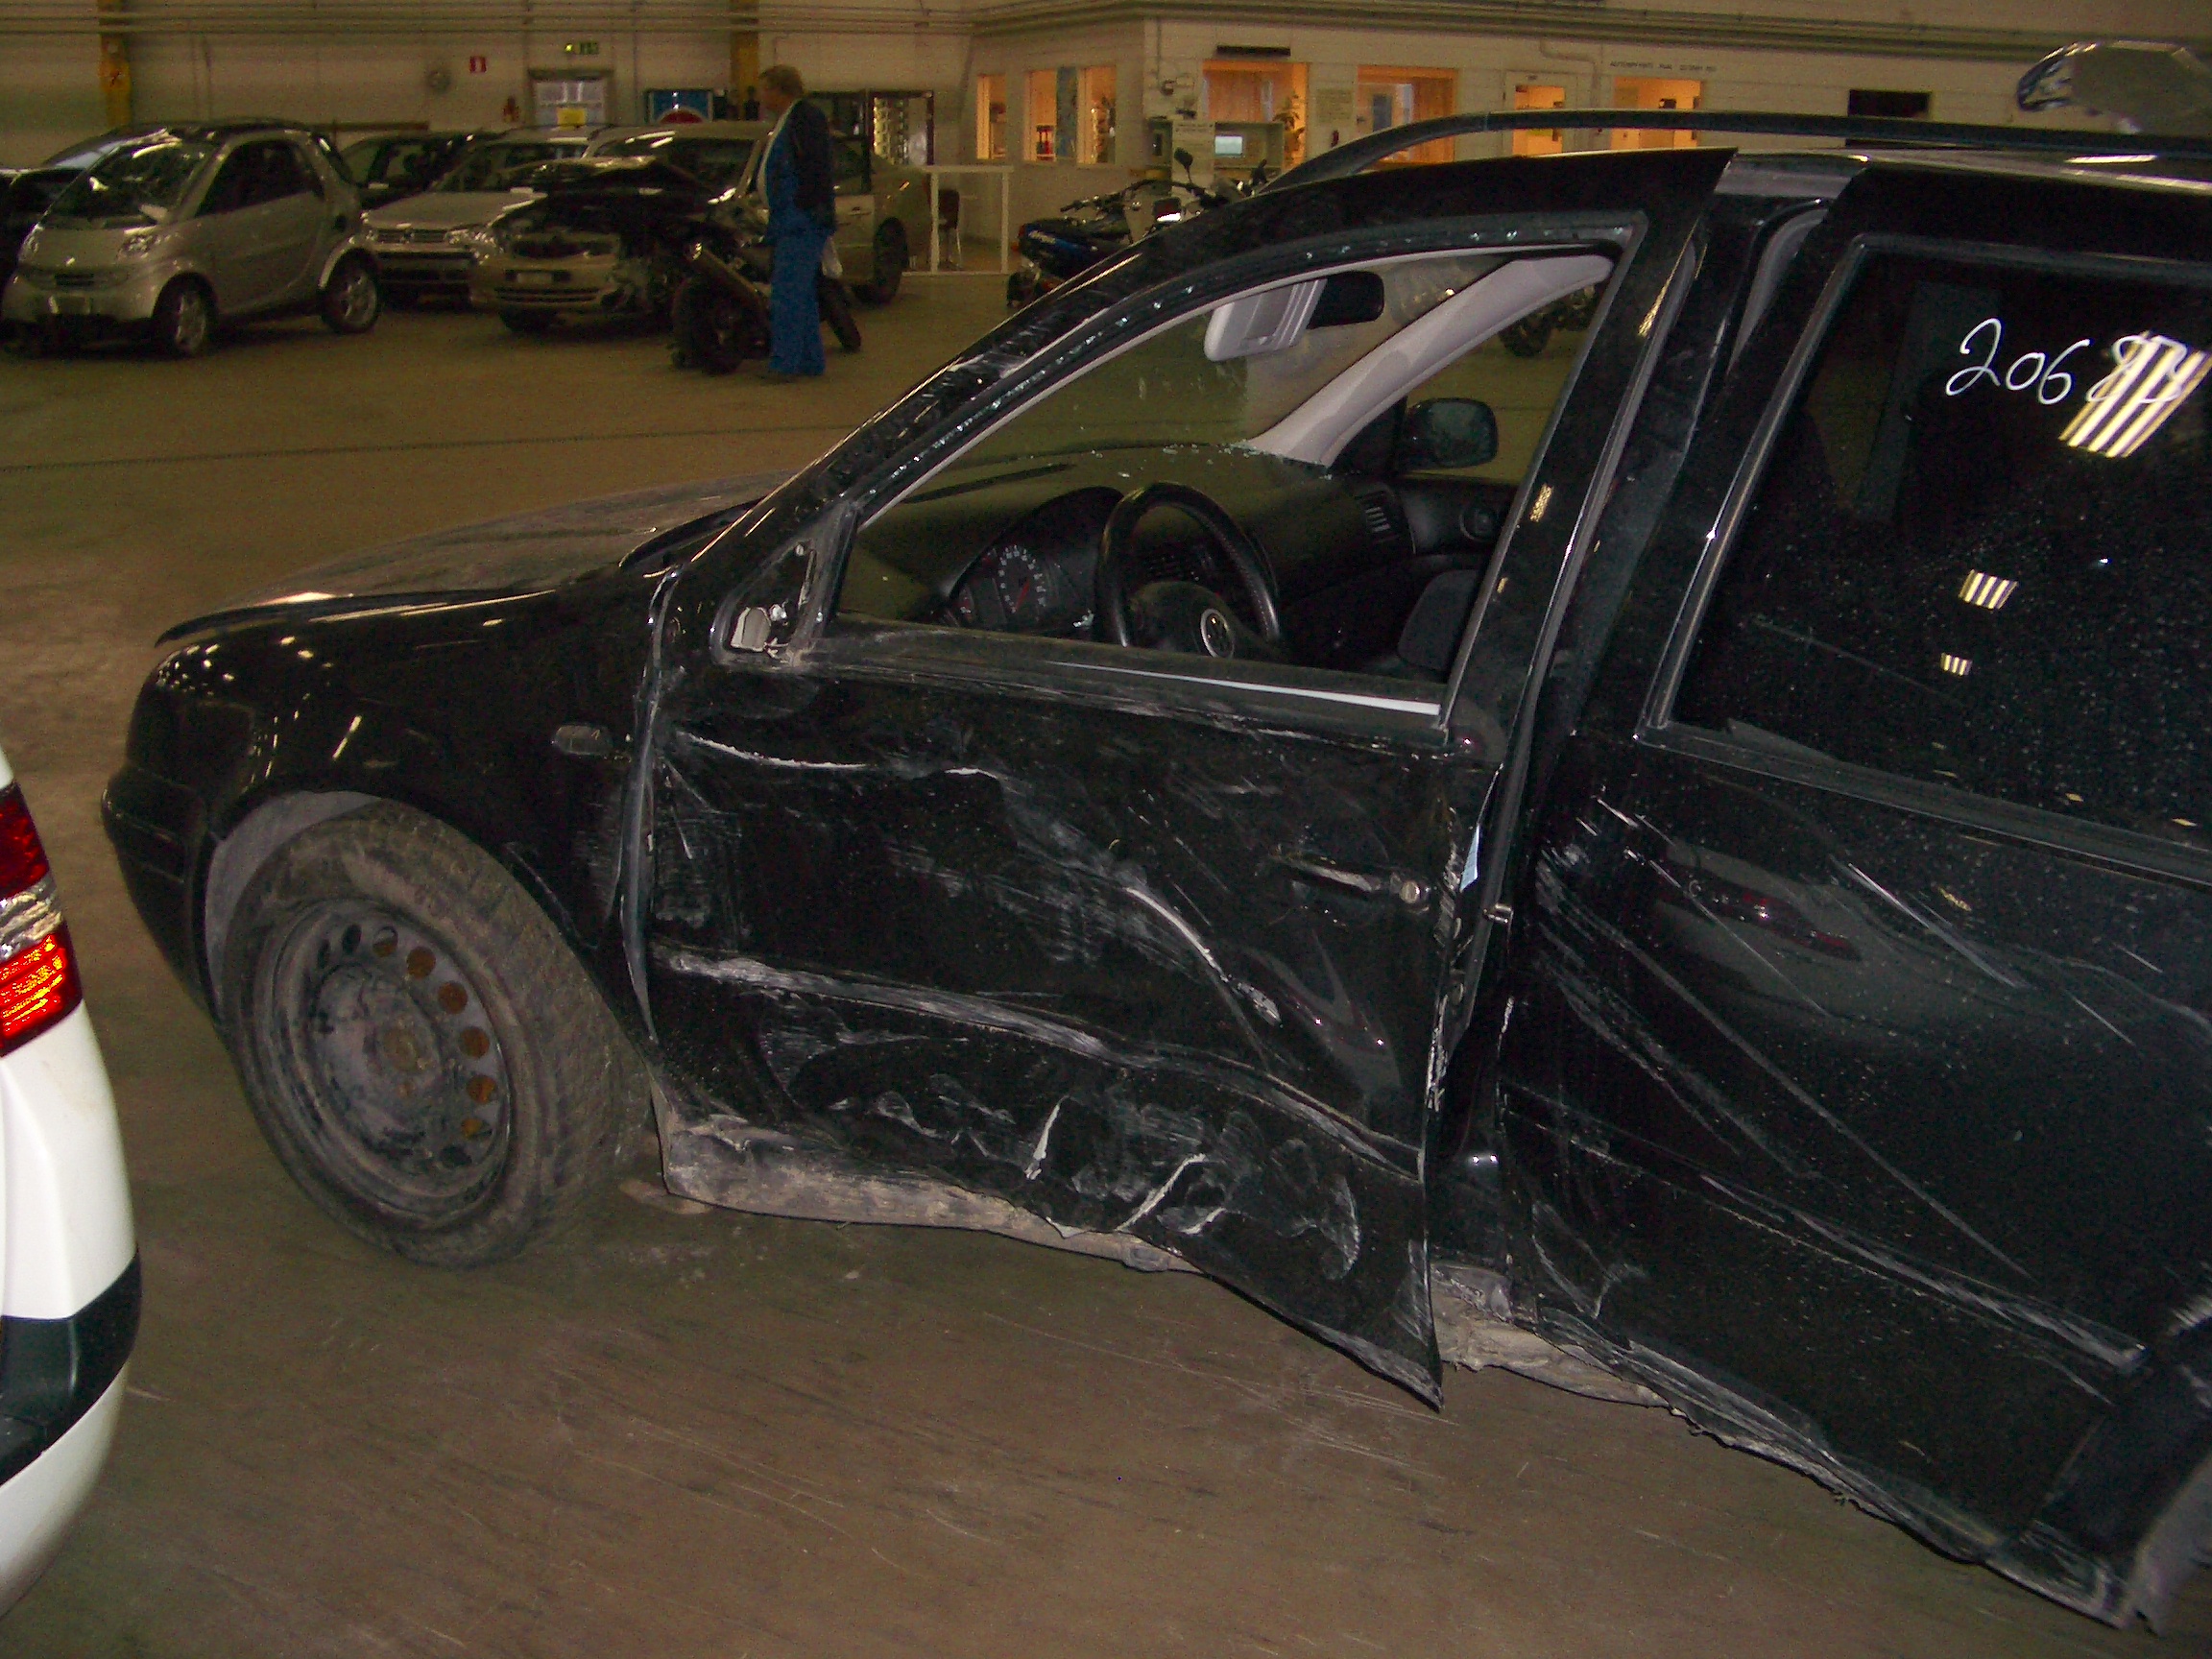
And the reason it was at Autovahinkokeskus...
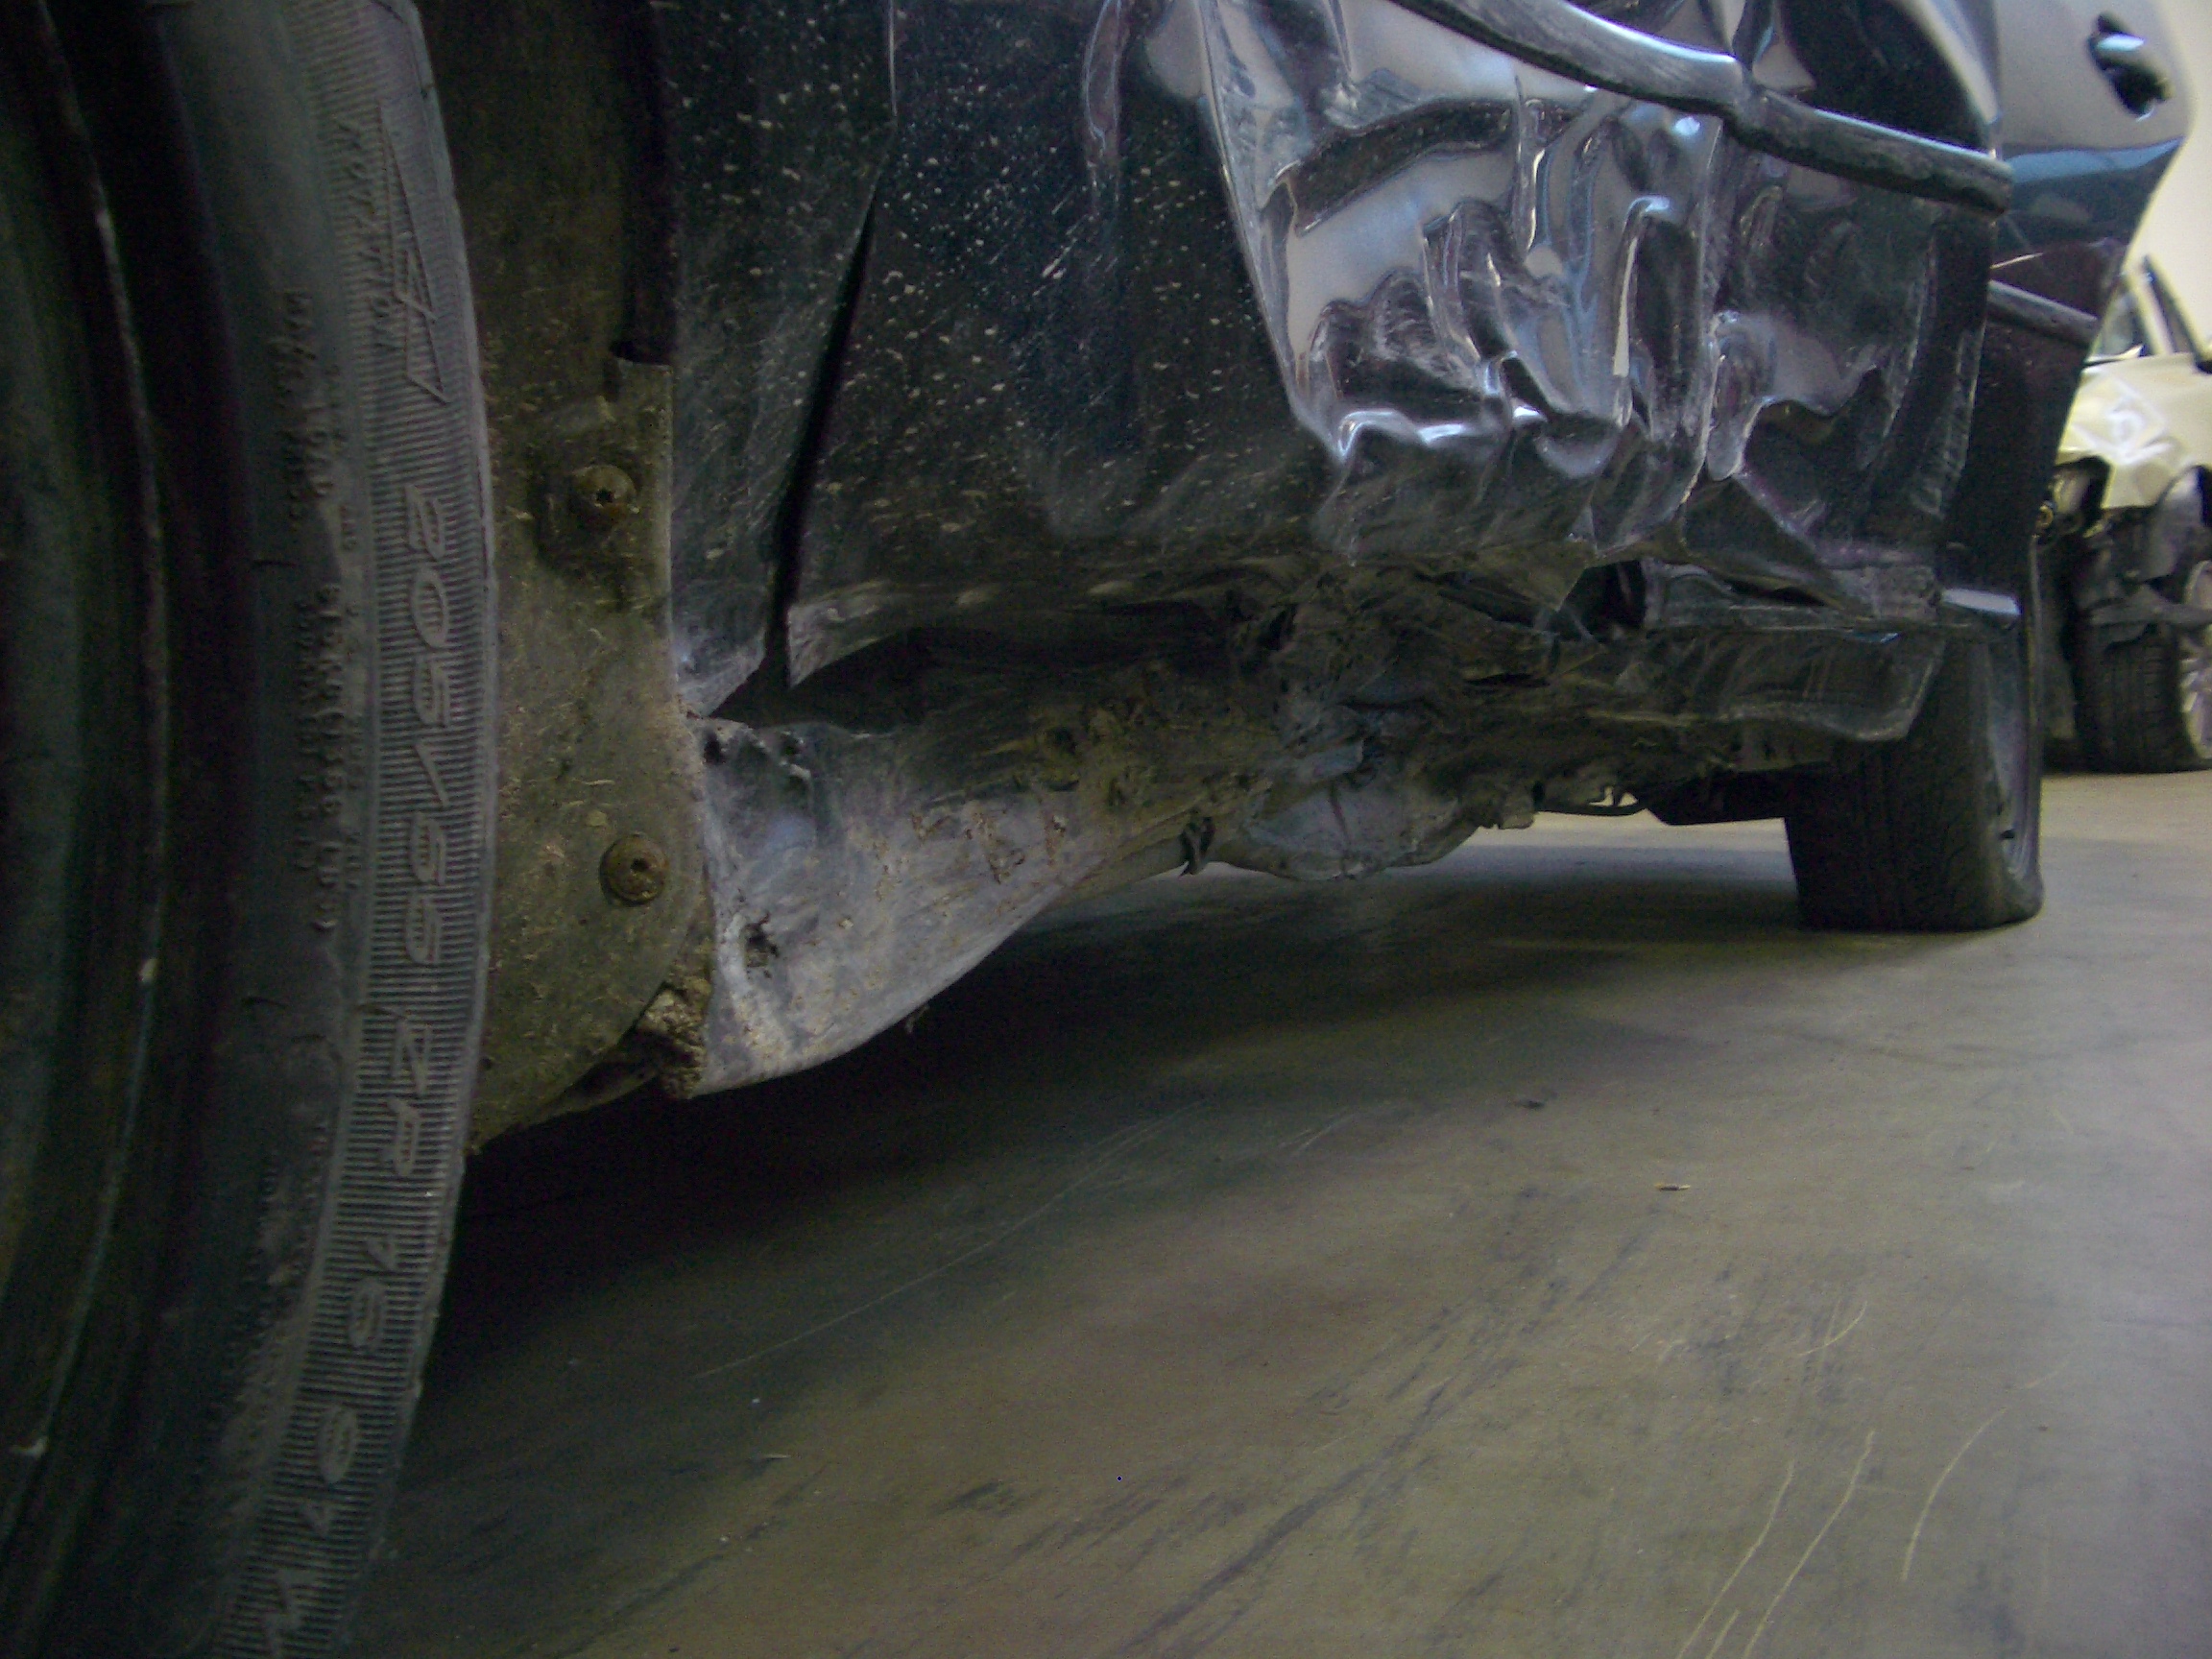
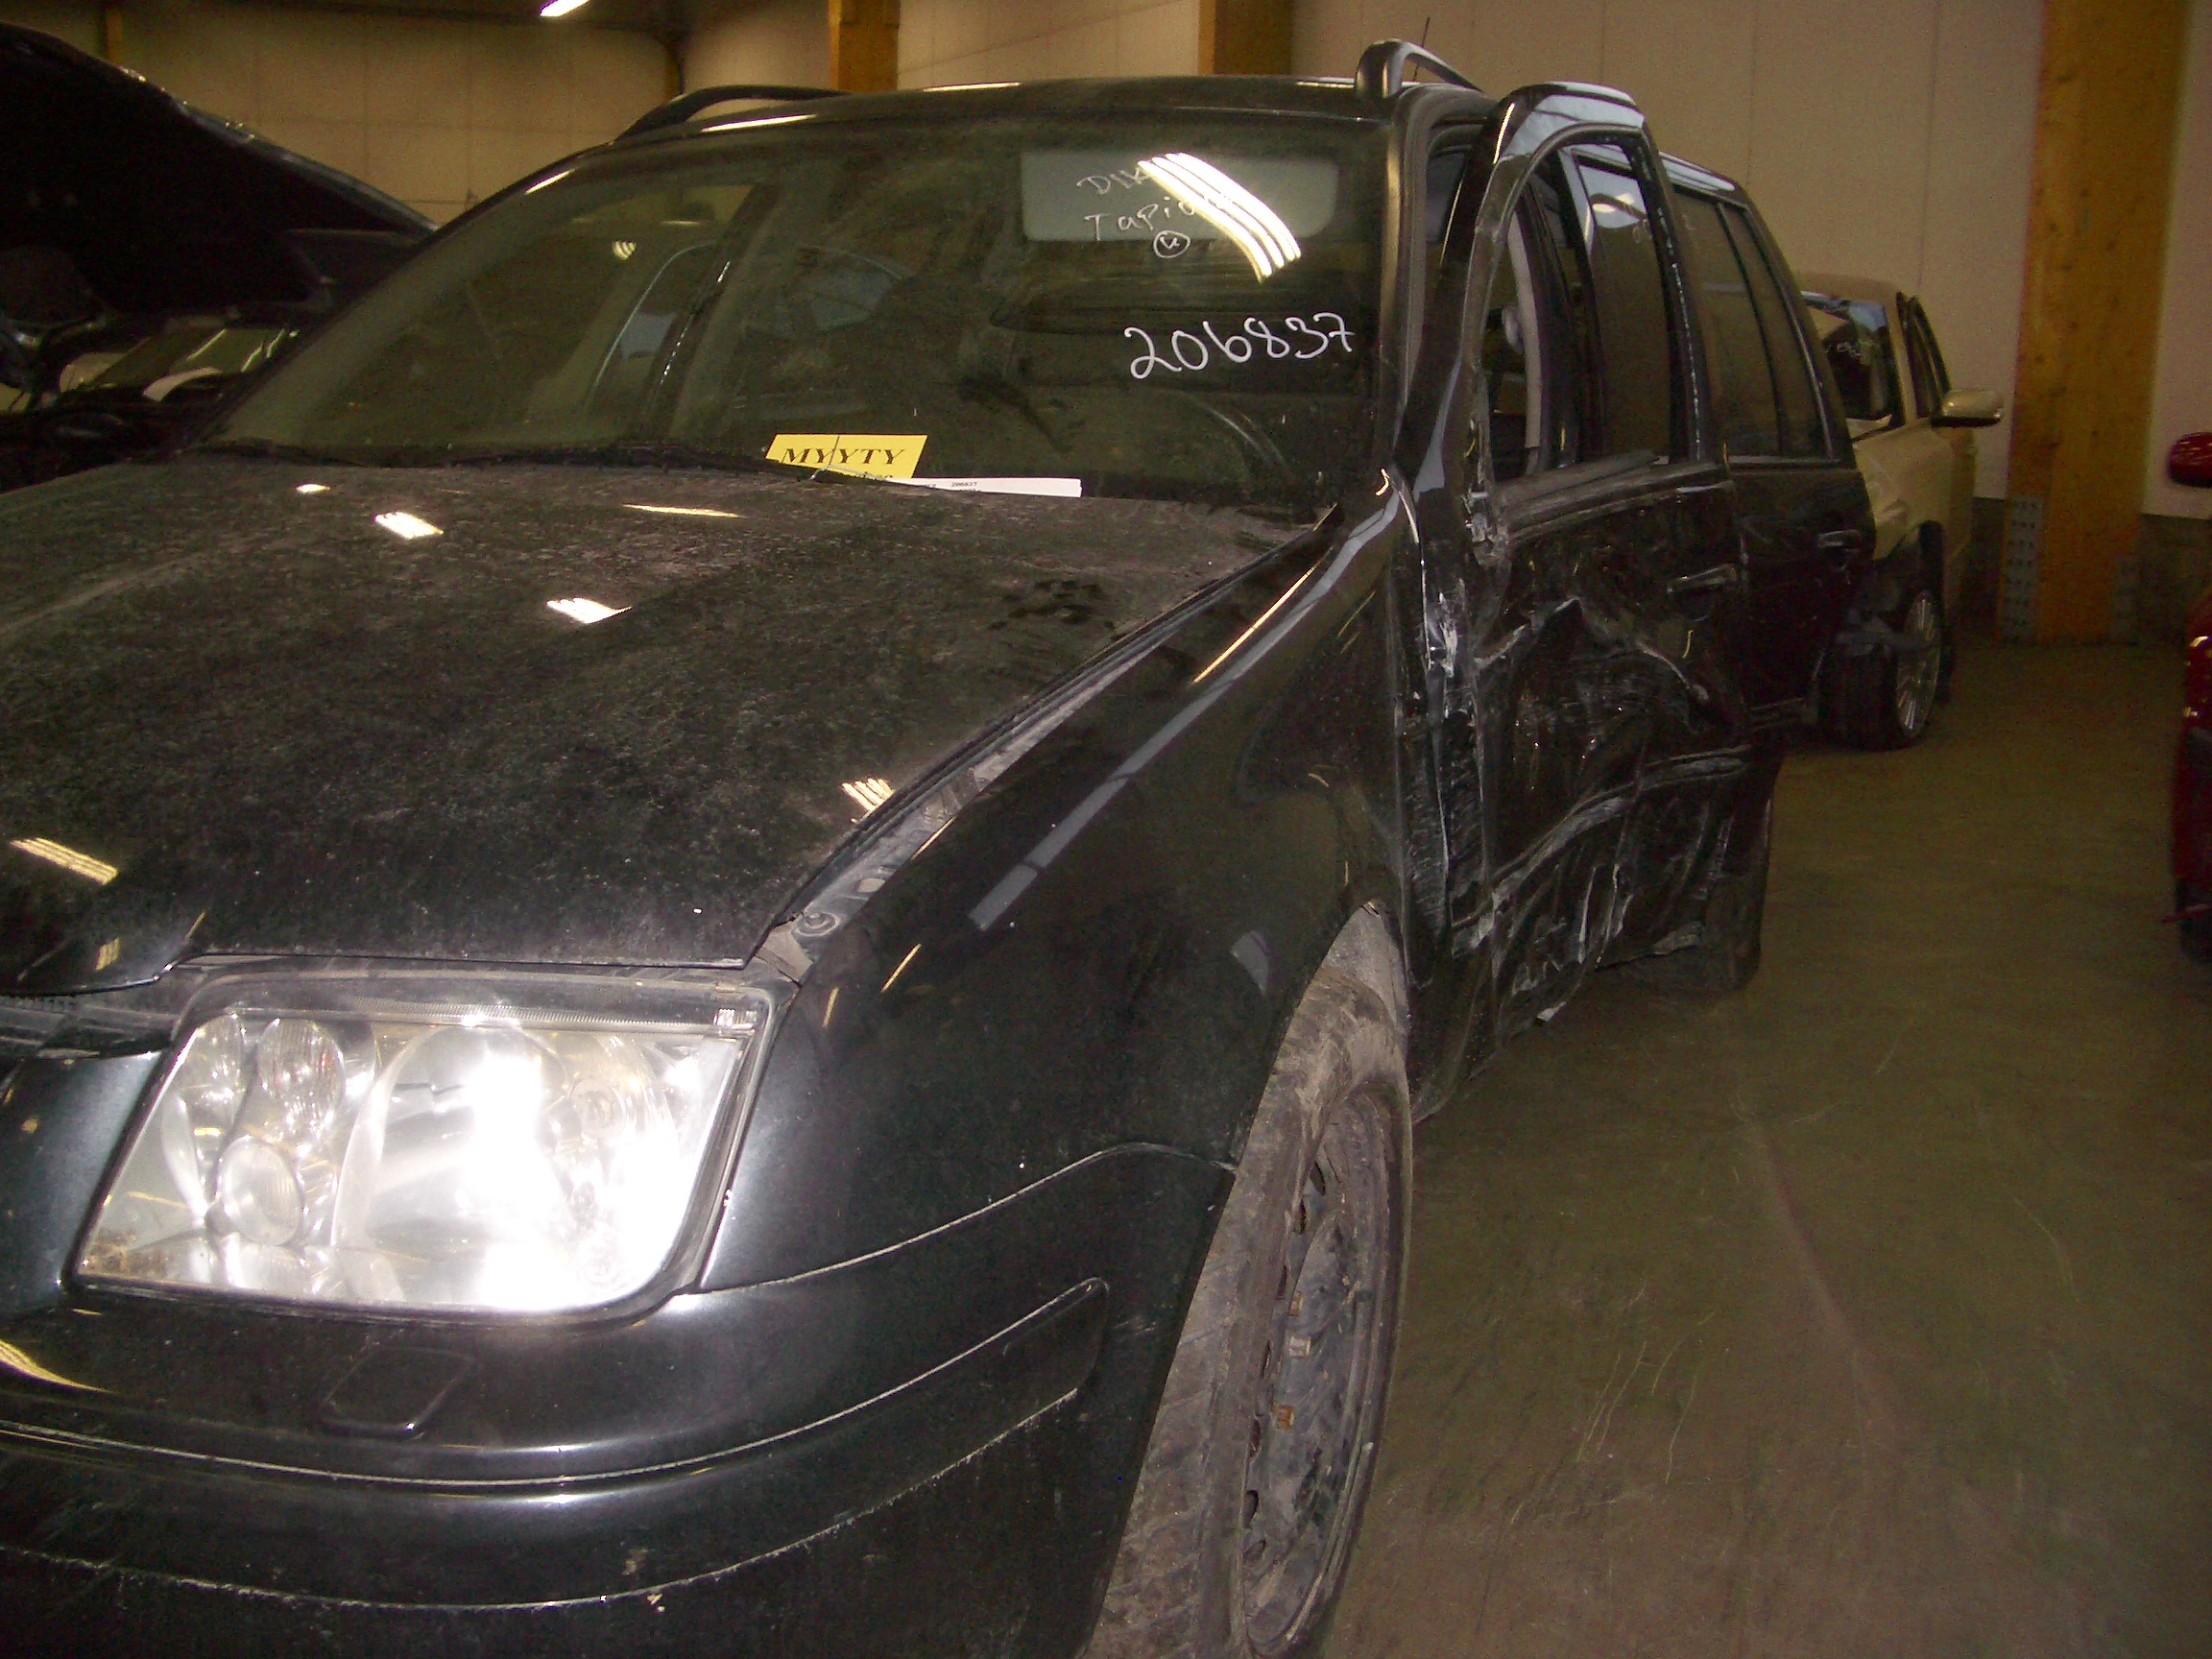
A fairly serious side impact. The sill is nicely crumpled and pushed in about twenty centimetres. Both doors are finished, as is the wing.
Oddly, even the left seat's airbag hadn't deployed.
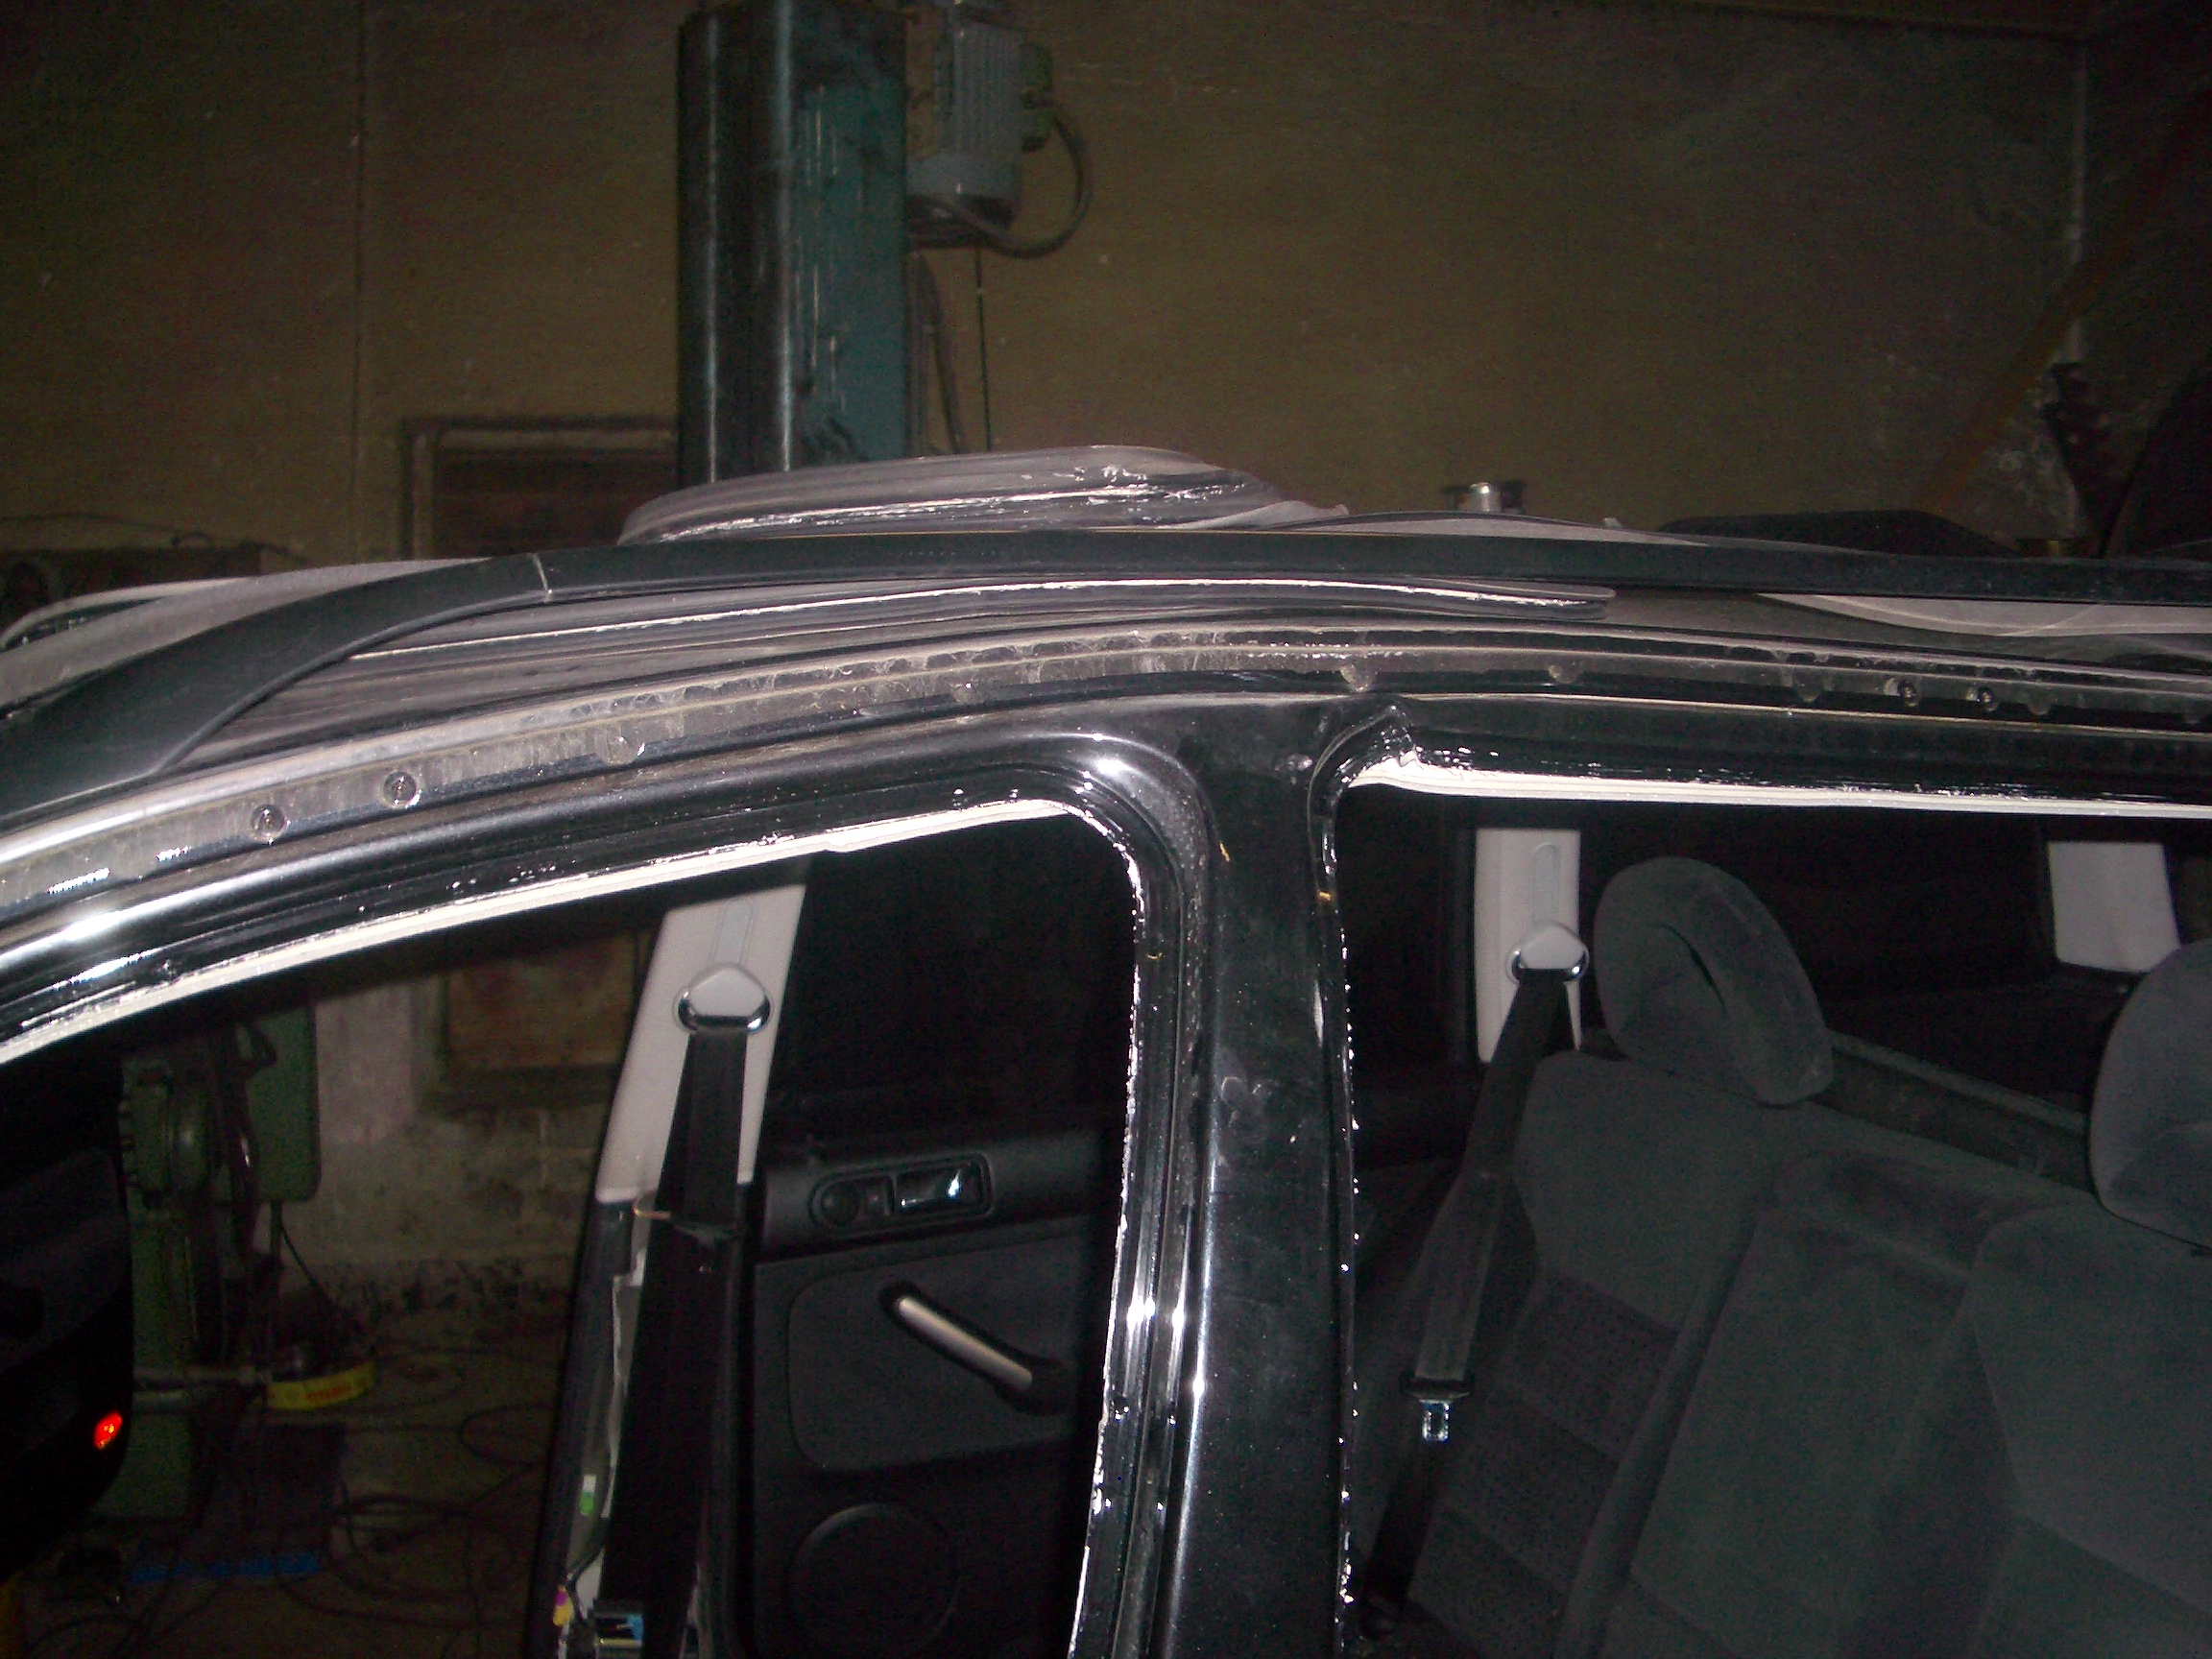
The B-pillar had levered upward slightly.
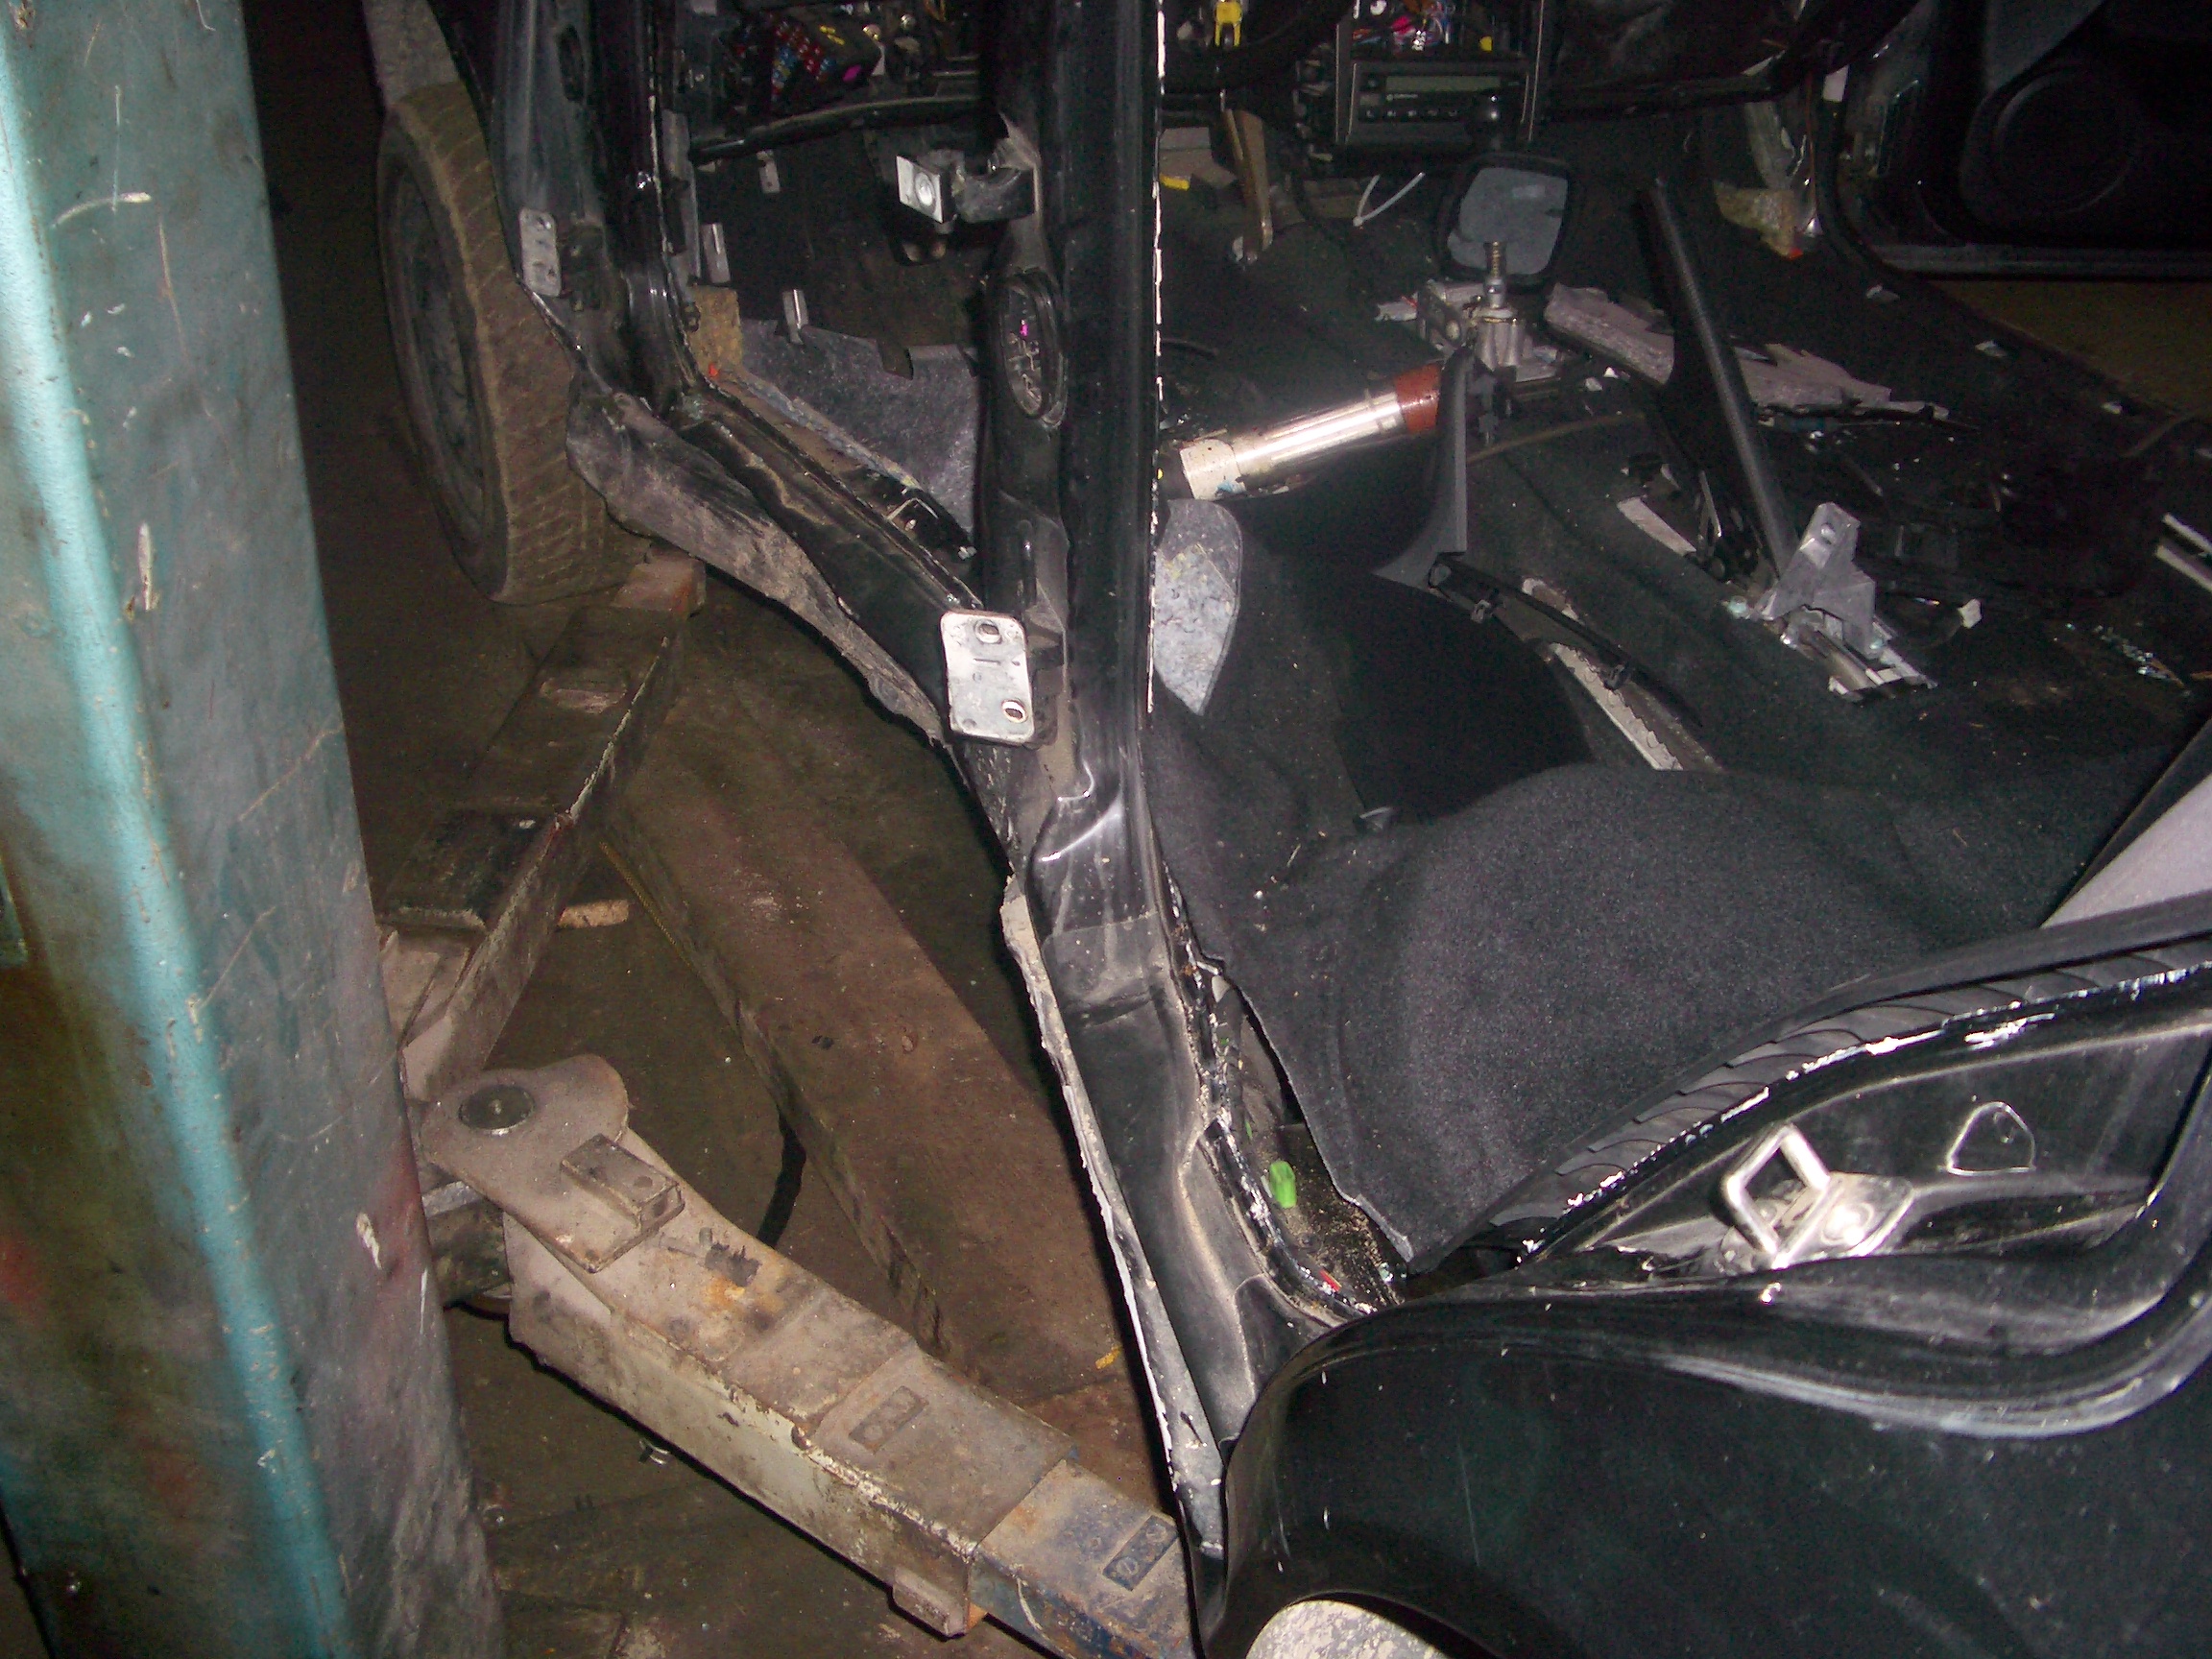
With the doors and seats removed—the driver's seat frame was bent—the extent of the sill damage is clear.
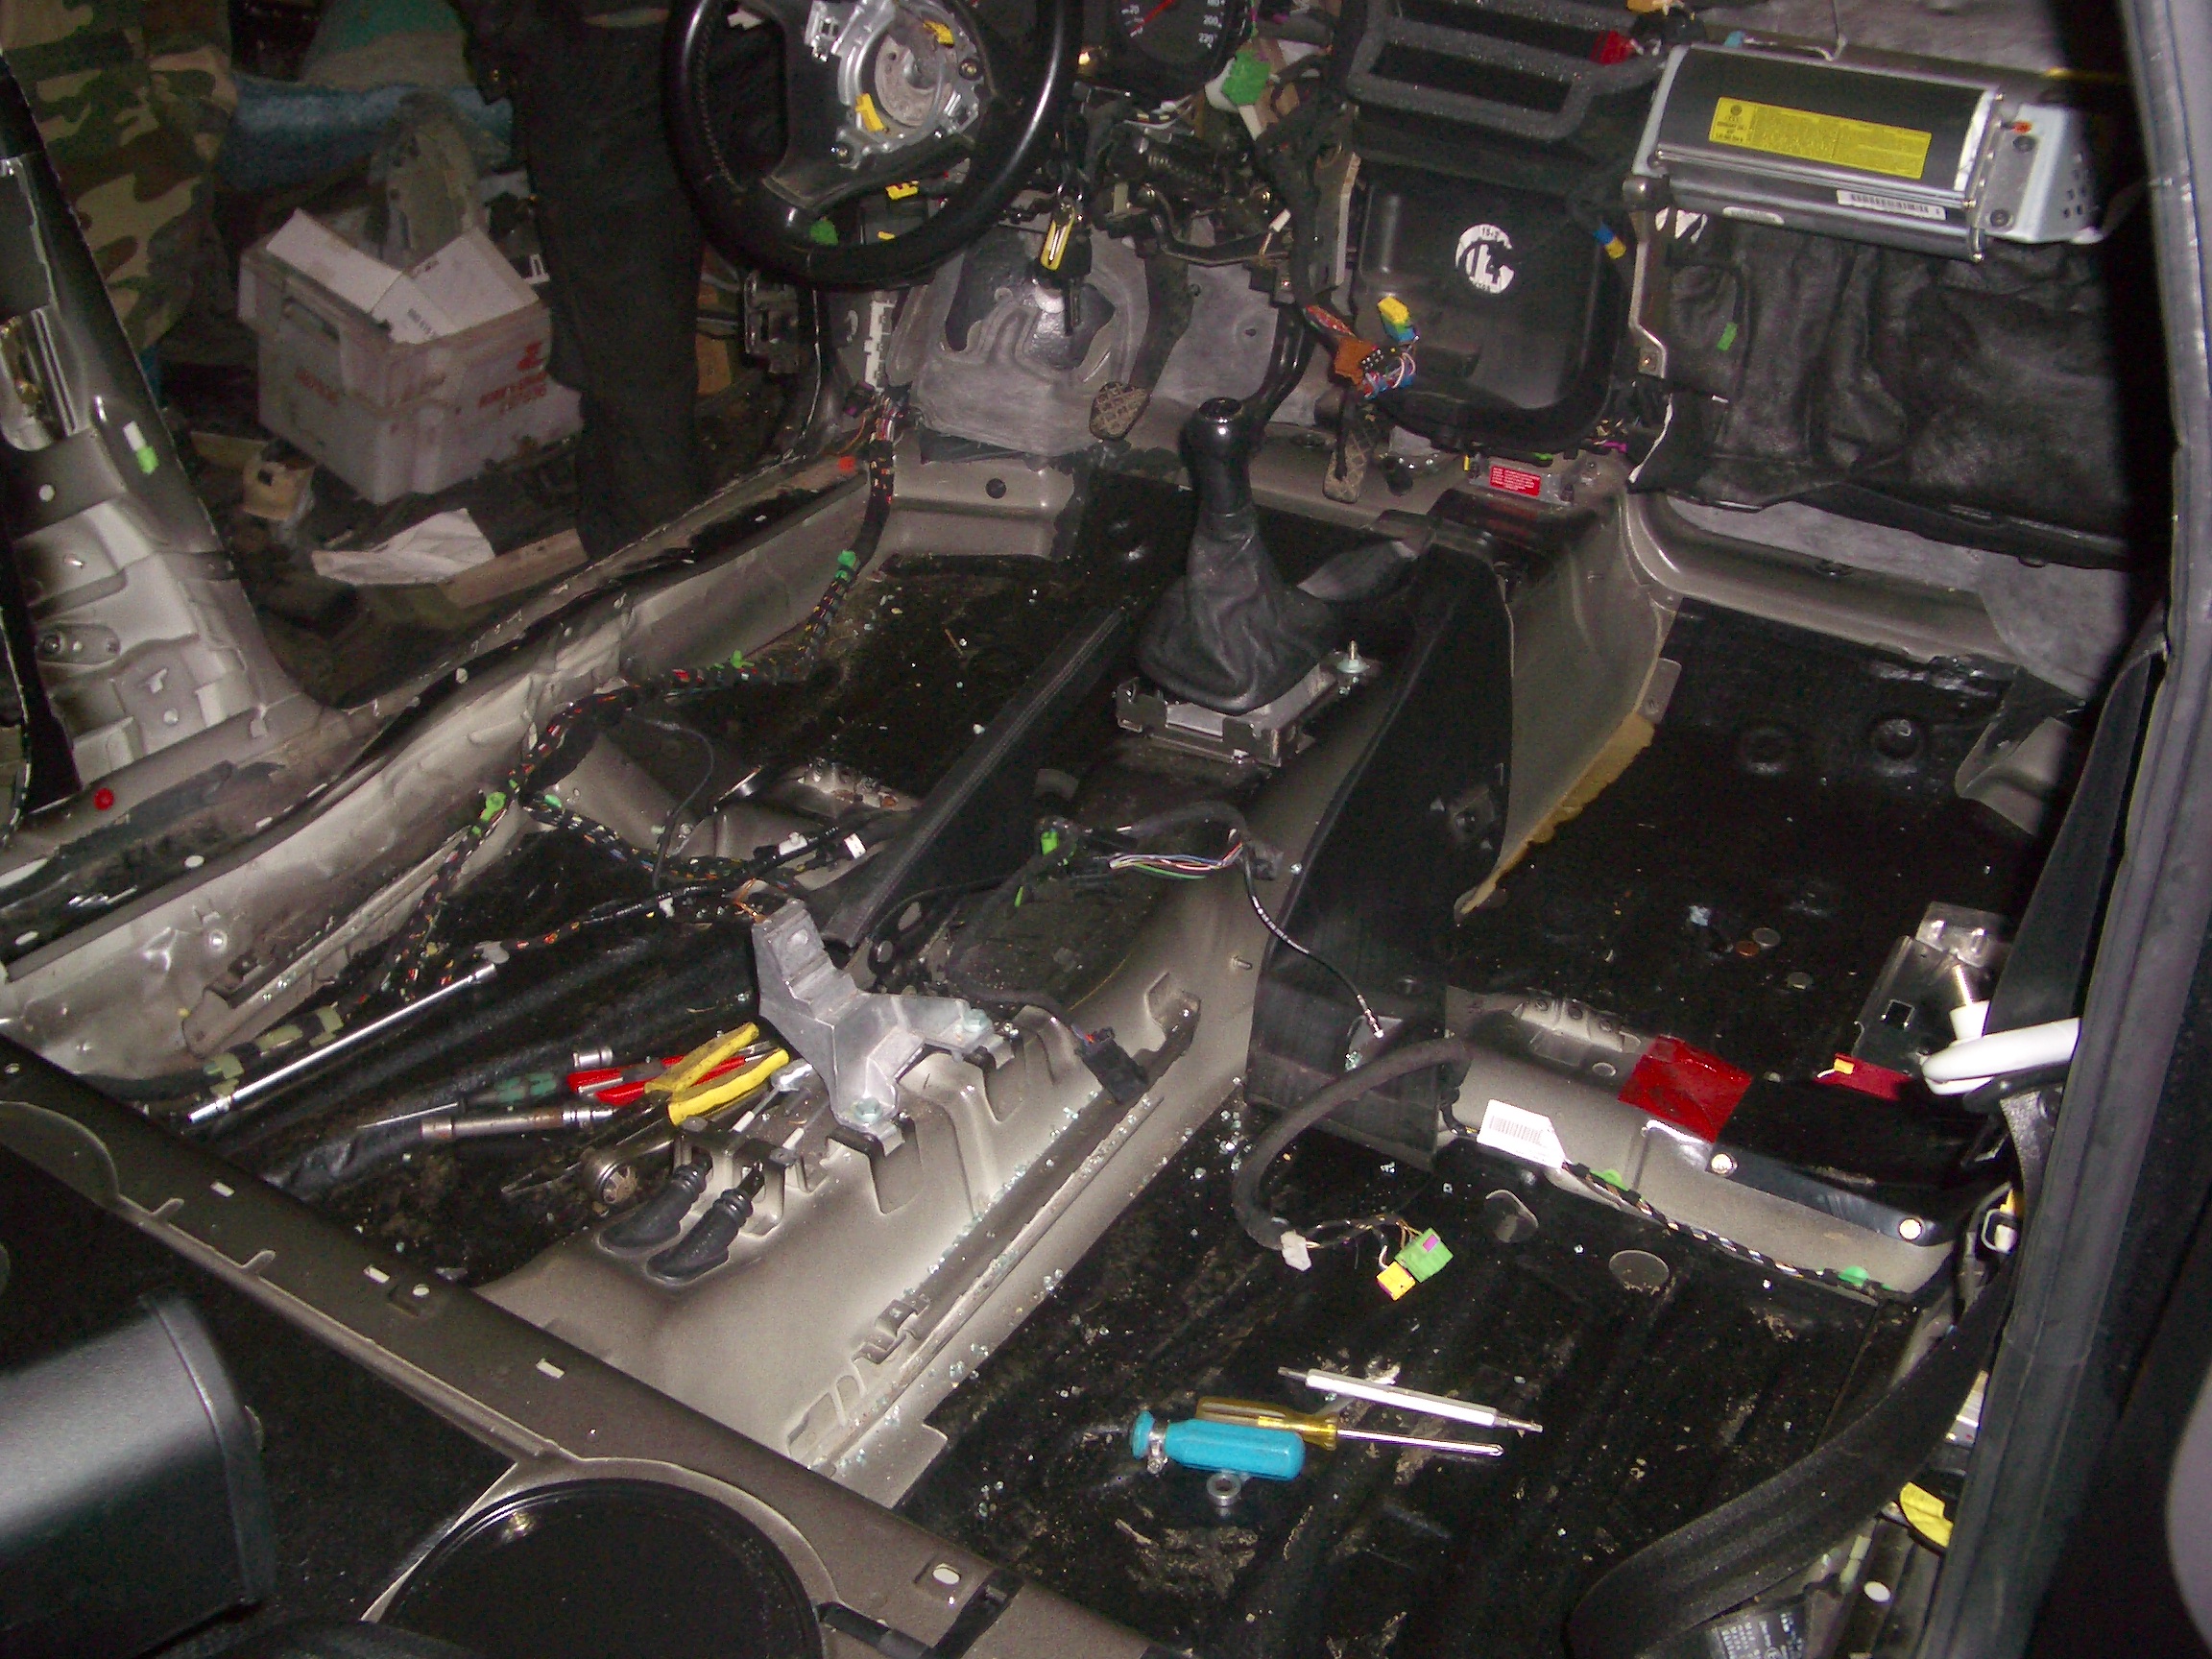
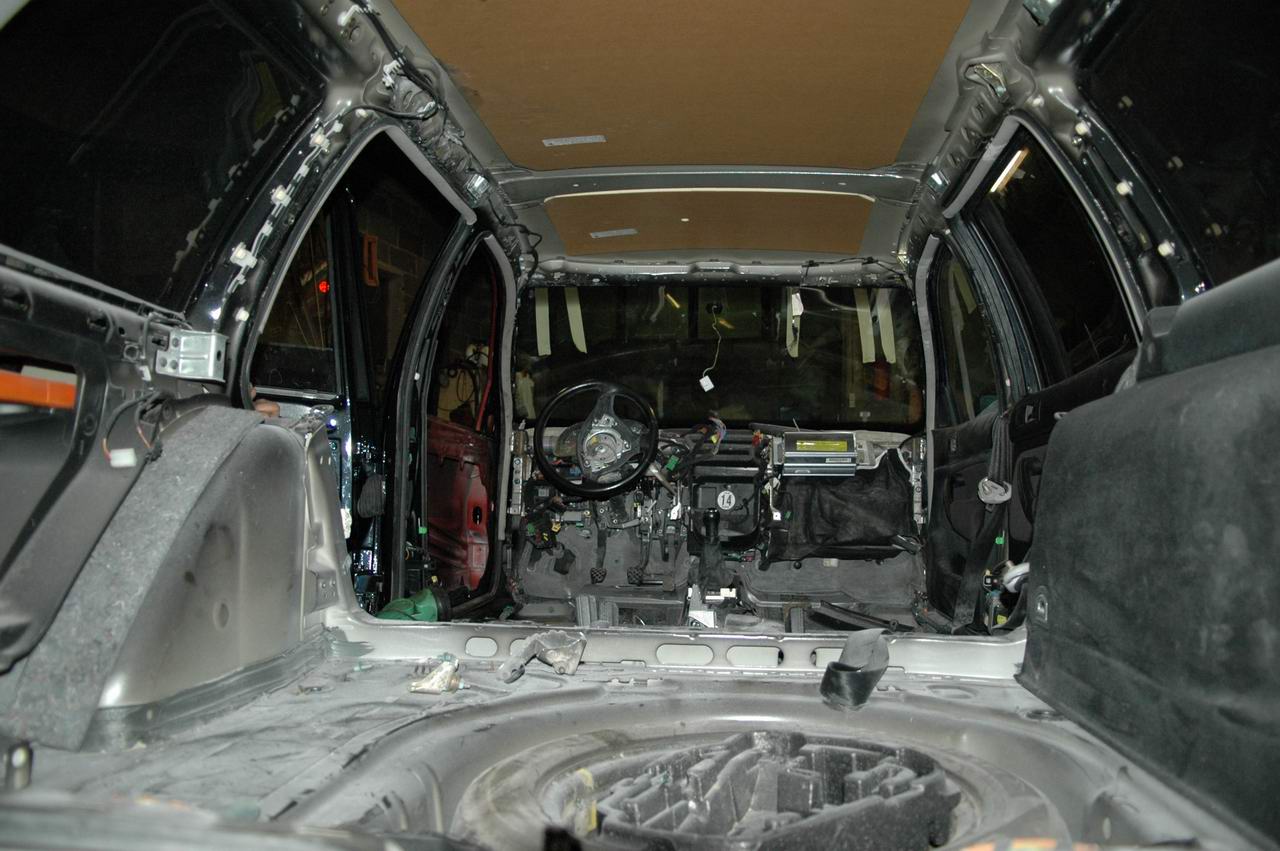
After the seats, the rest of the interior came out.
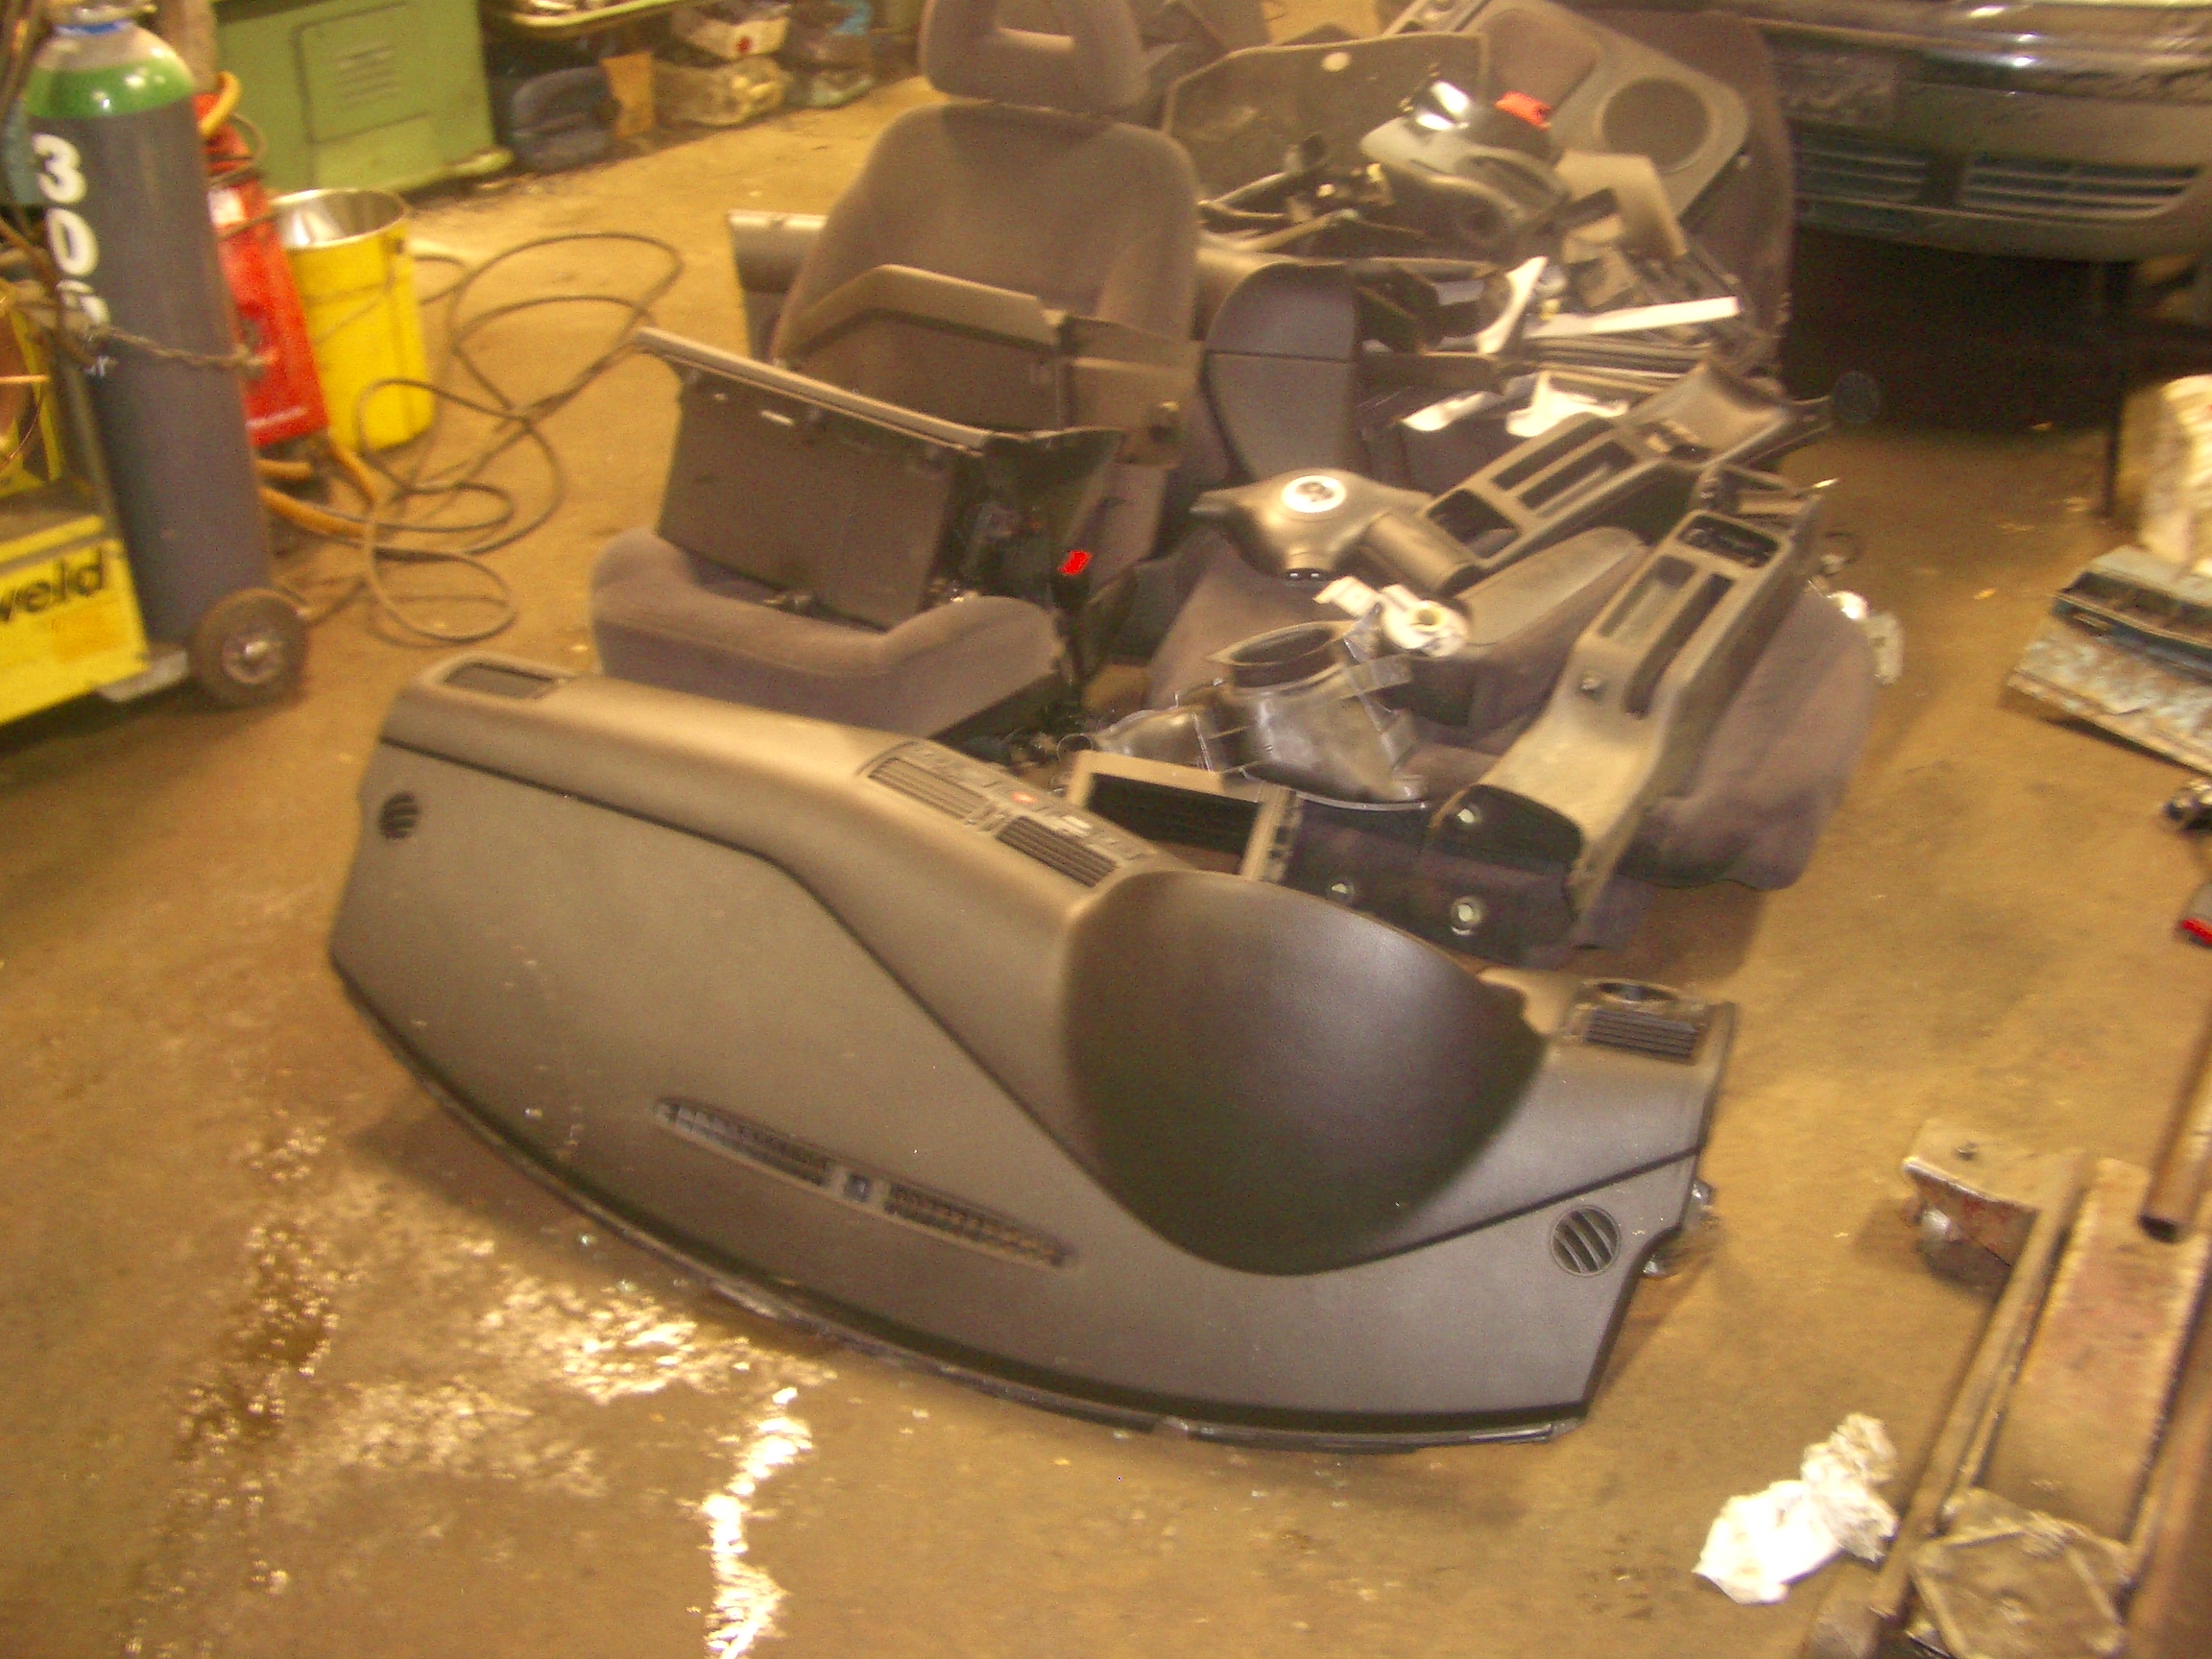
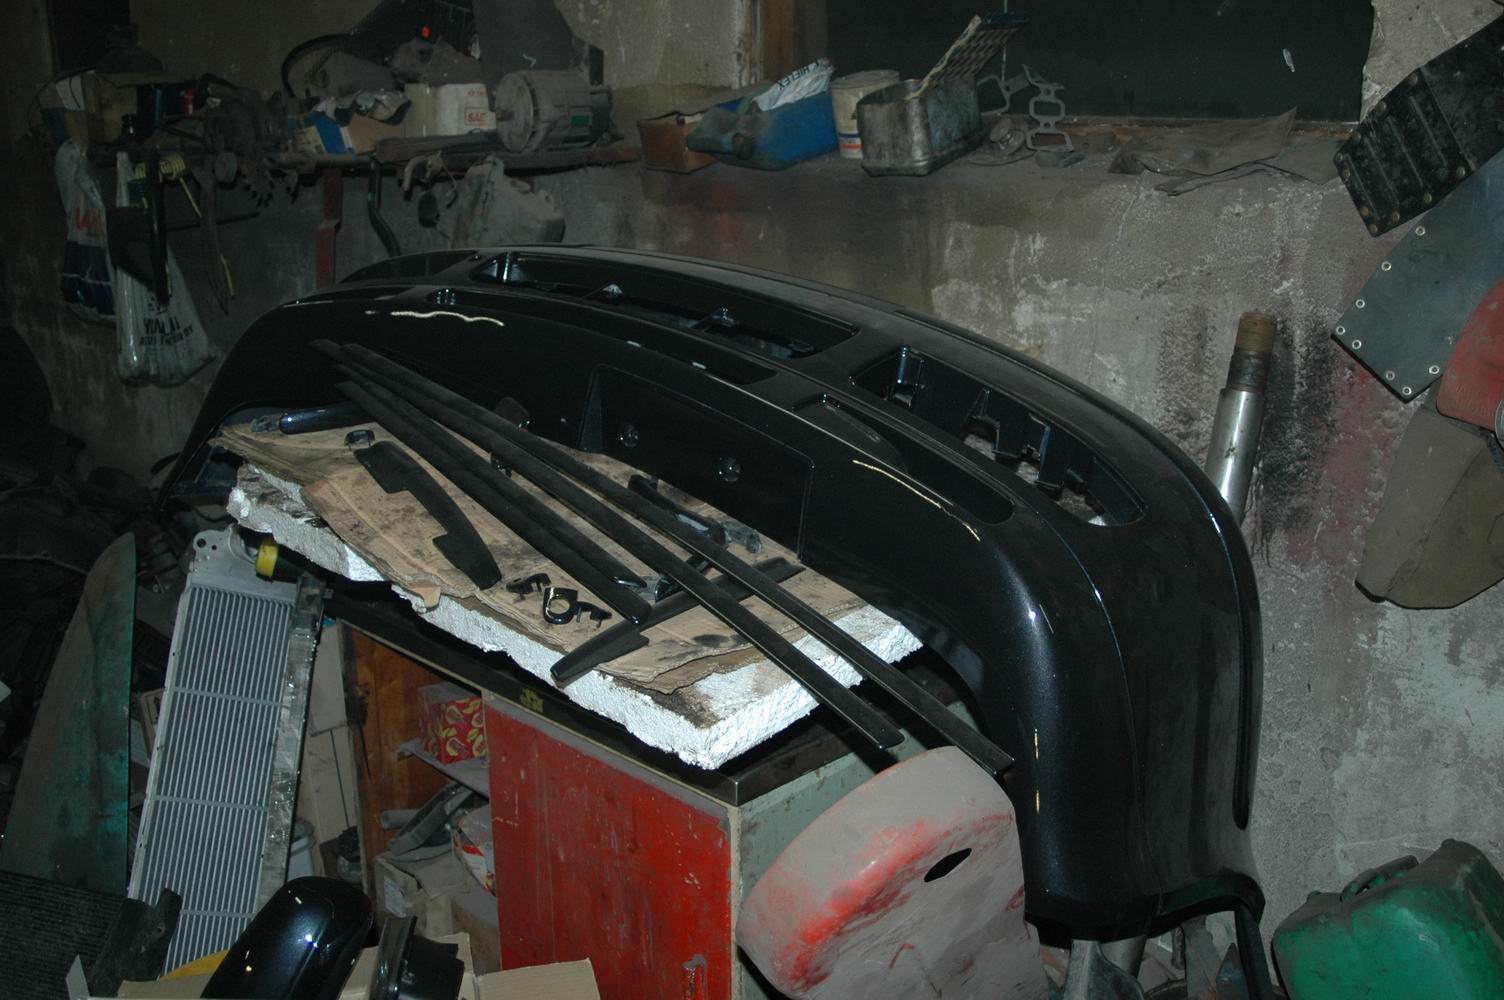
Some of the removed interior.
Cutting up the side
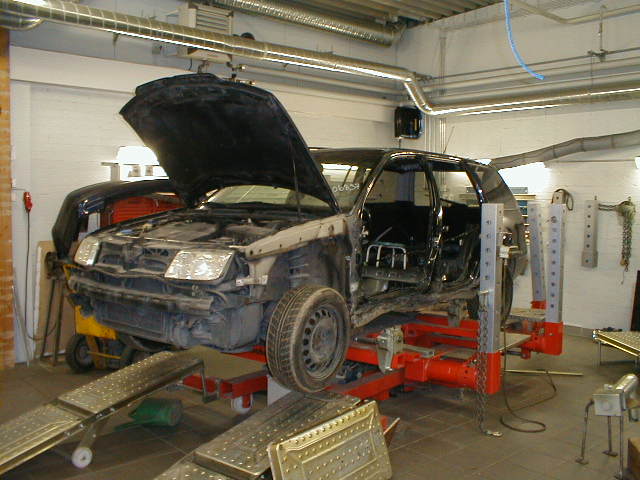
After stripping, the car went onto the jig and the sill was pulled roughly into position. The B-pillar was pulled back down too, straightening the roof quite well.
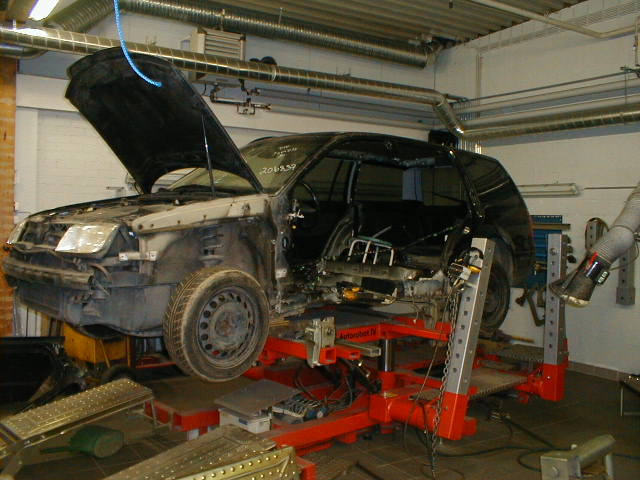
Not a great photo, but the B-pillar and part of the sill have been cut away here.
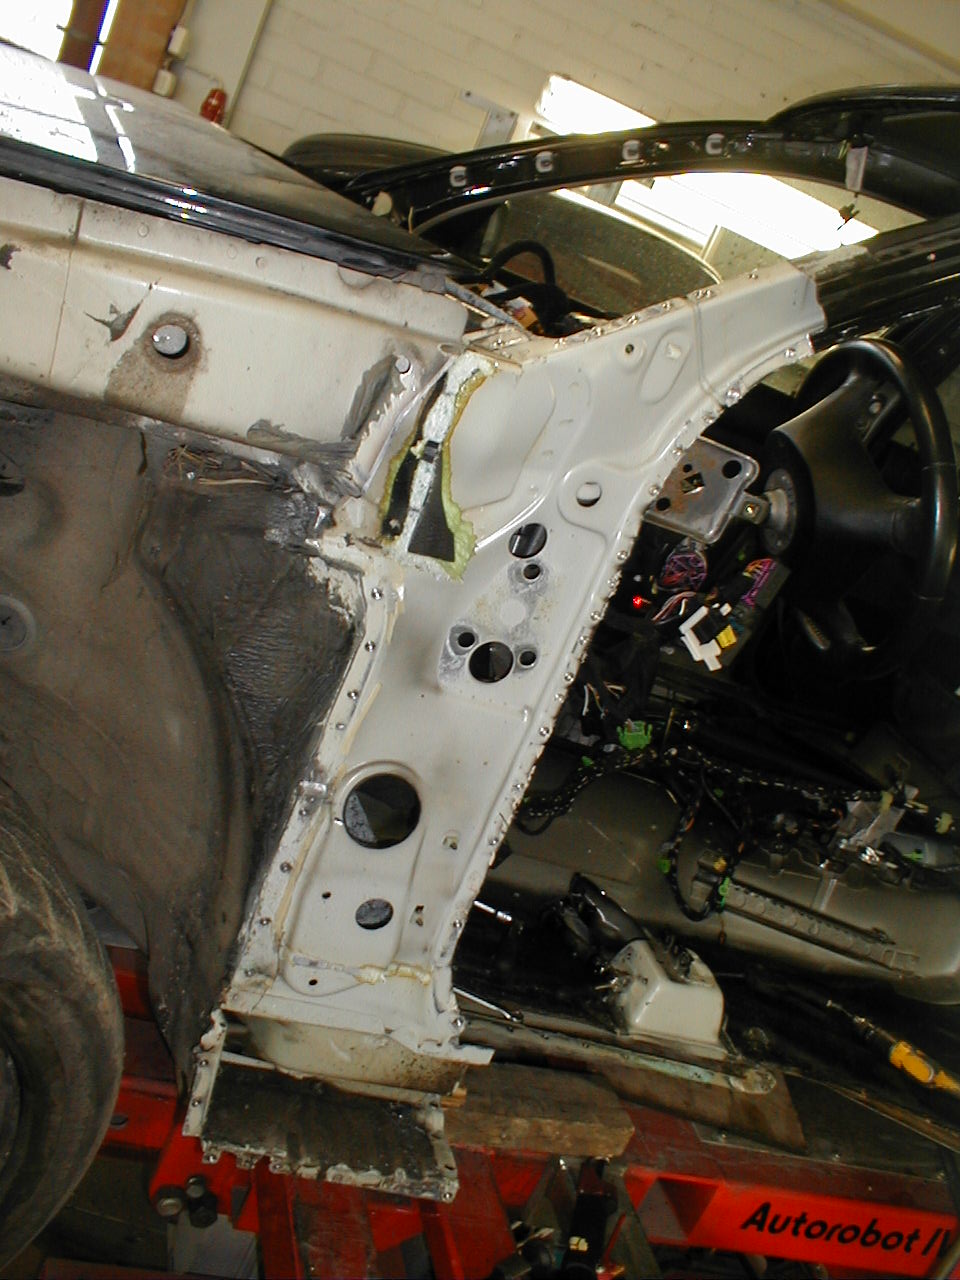
The A-pillar opened up.
Its construction is quite complicated. Only the innermost original sheet remained. Between the outer and inner skins is another reinforcement carrying, among other things, the dashboard crossmember and door hinges.
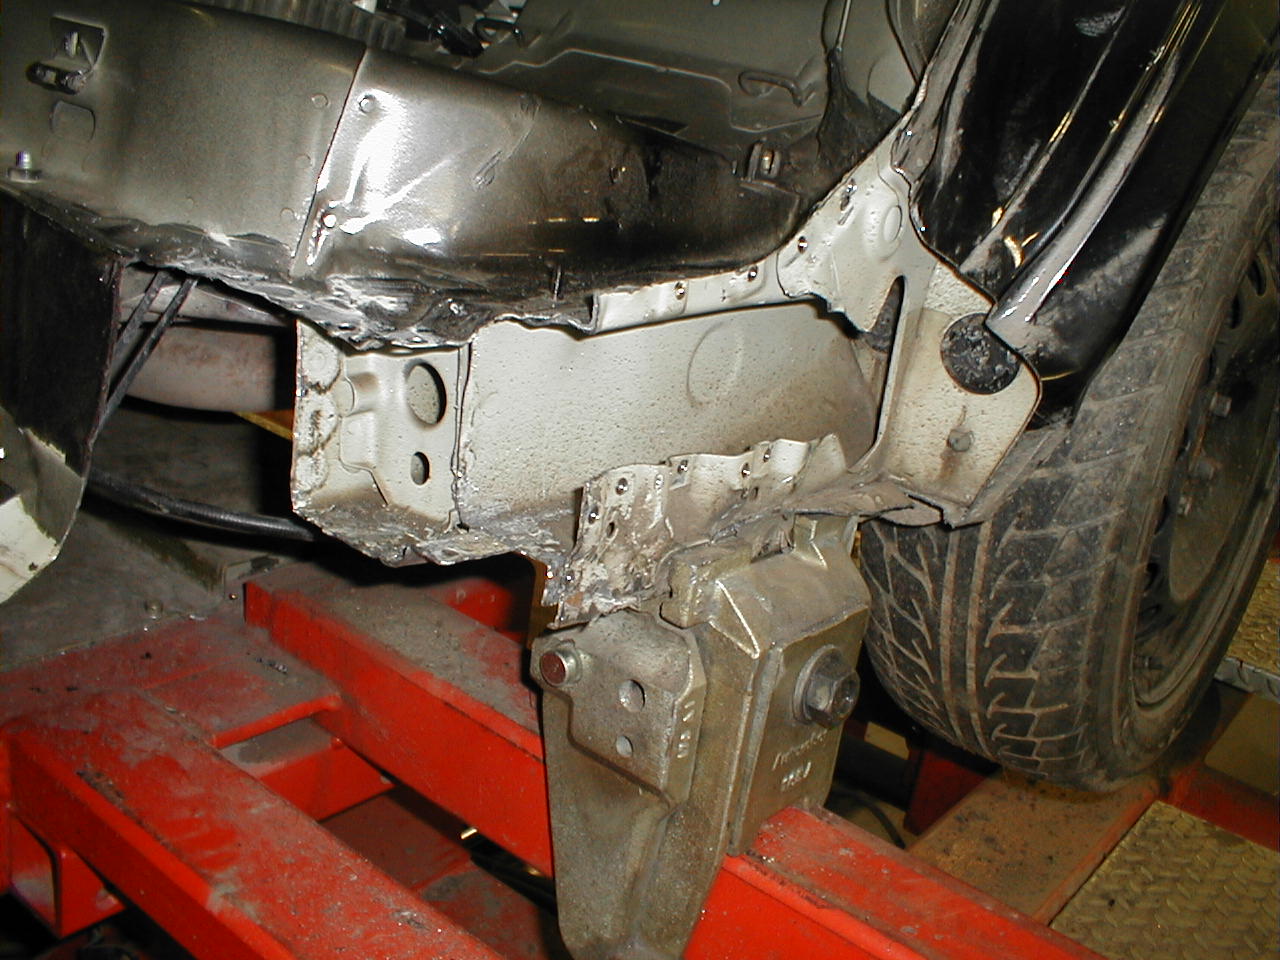
The rear of the sill dismantled. This end is complicated too, which is partly why the sill is being assembled in two stages. The front of the wheel arch visible here will also be replaced.
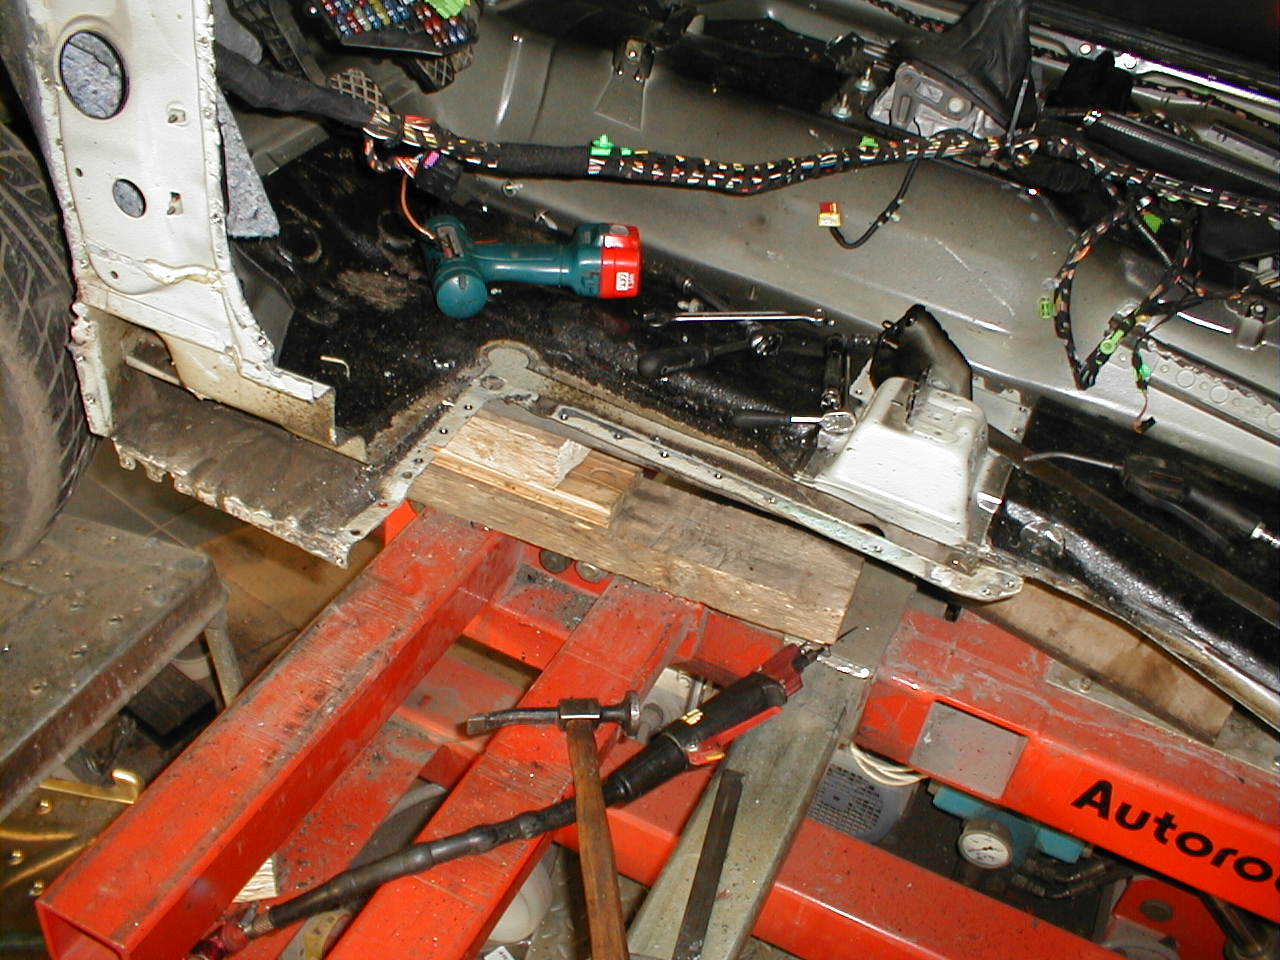
About half the floor panel was cut out.
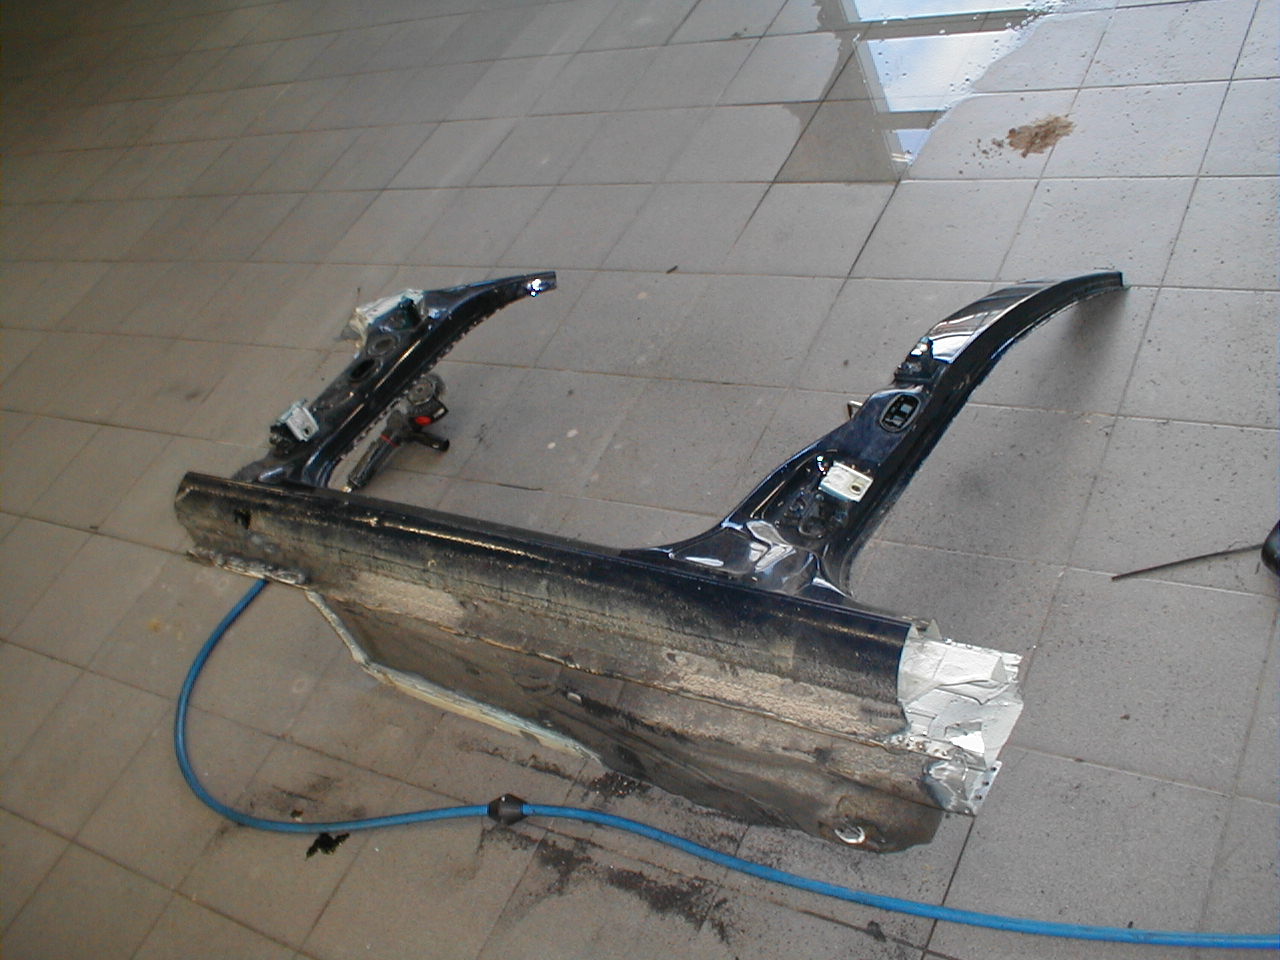
The replacement: a used Golf estate side section. Most of the excess has been trimmed off and it is time to trial-fit it.
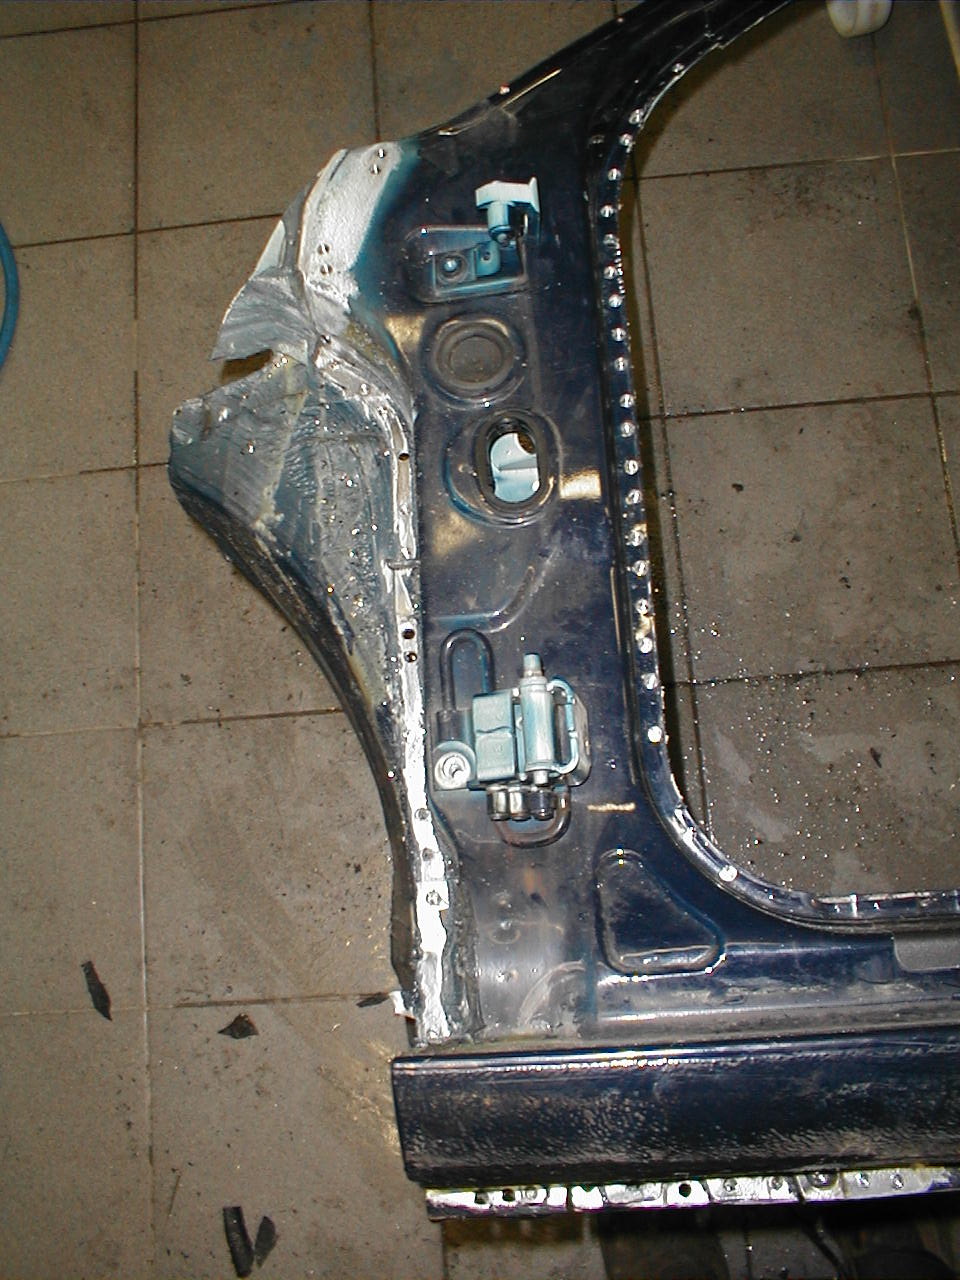
As mentioned, the A-pillar is tricky. We originally intended to change only the outer skin and drilled out some spot welds unnecessarily before discovering how complicated the construction was. Now the reinforcement behind the skin will be replaced too.
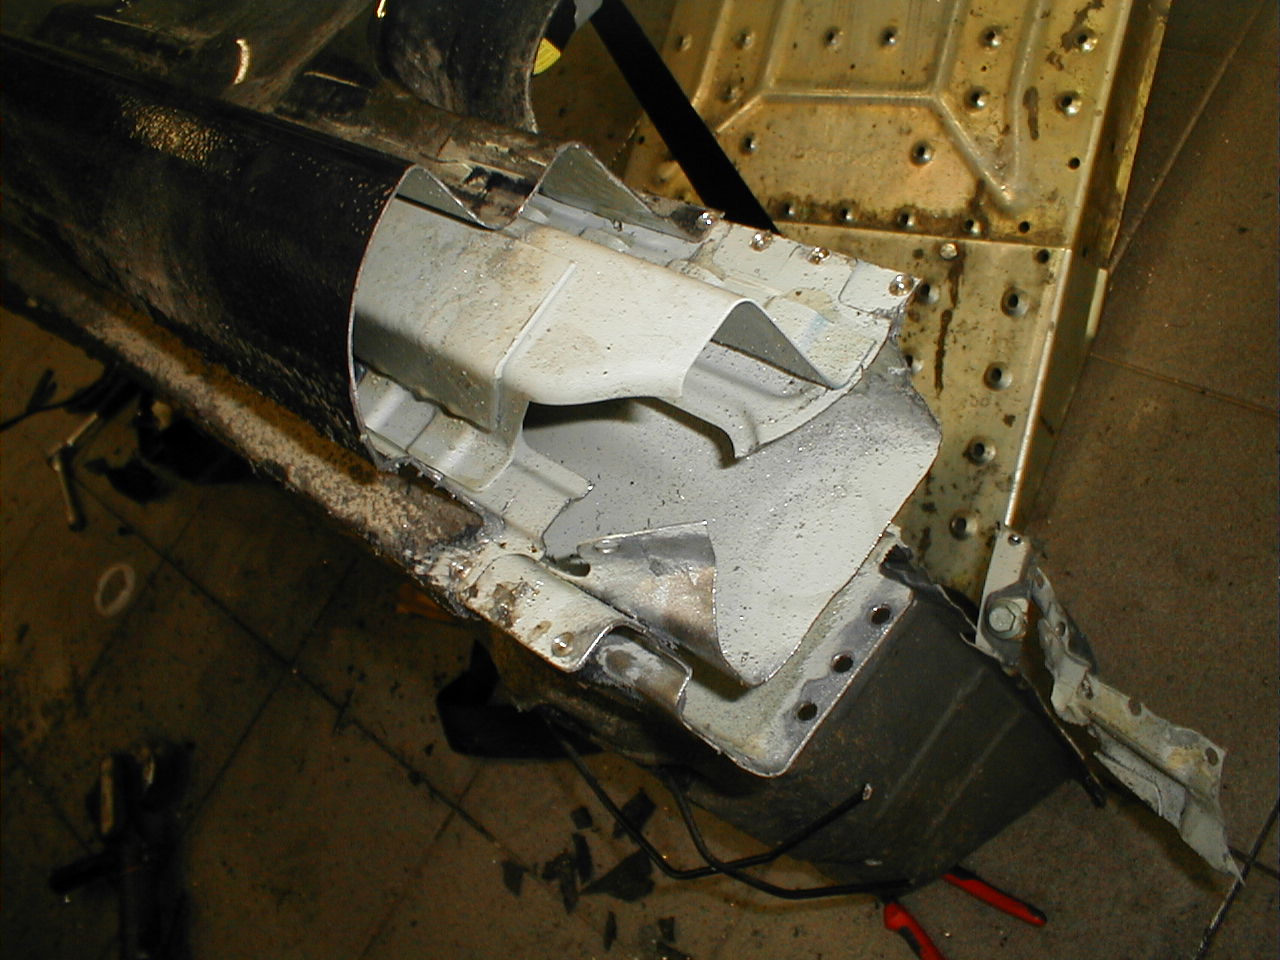
Inside the rear of the sill. The inner sheets must be welded together before tackling the outer skin.
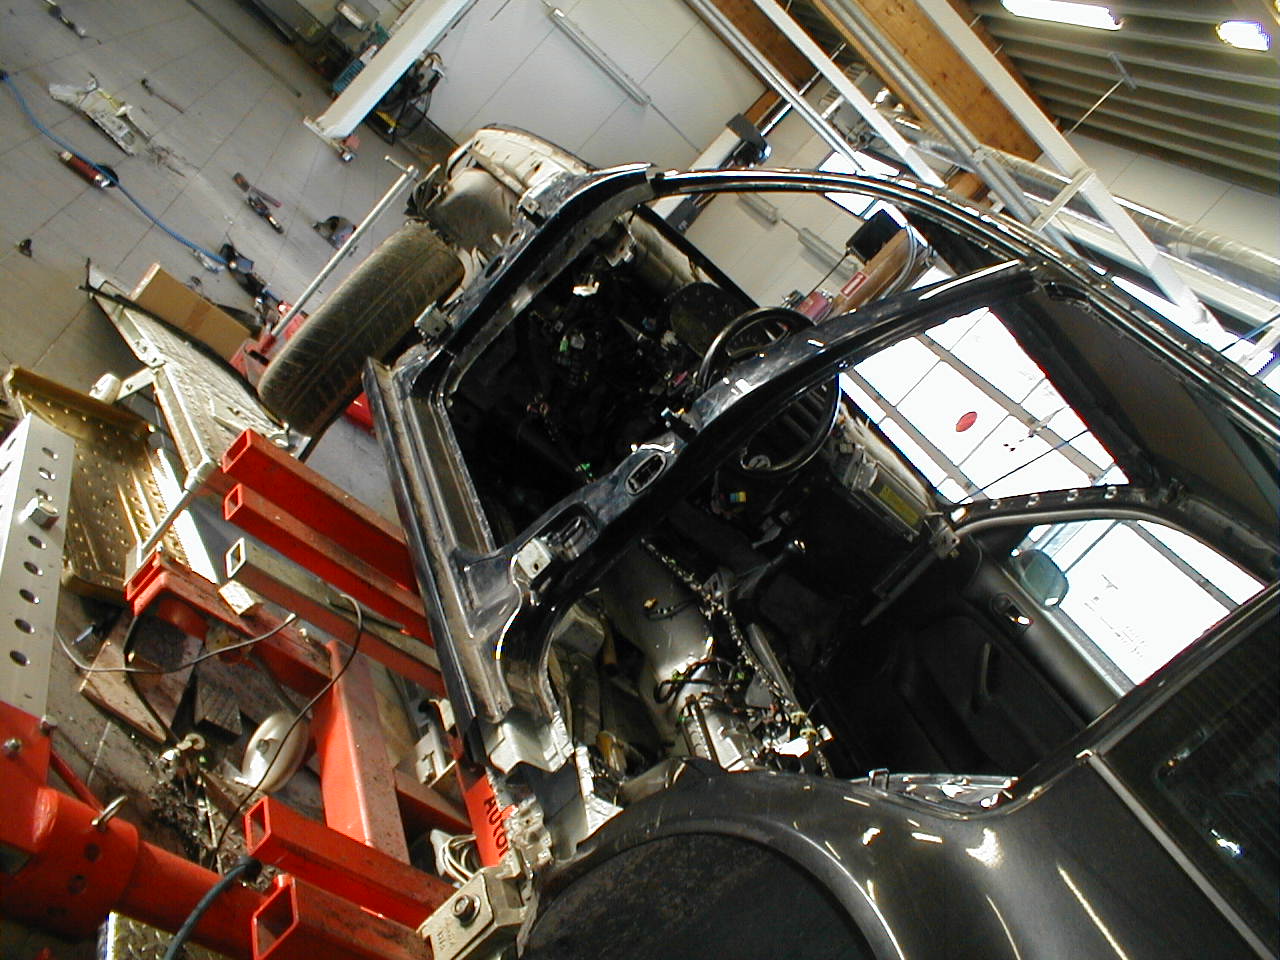
Trial-fitting the side section.
Repairing the side
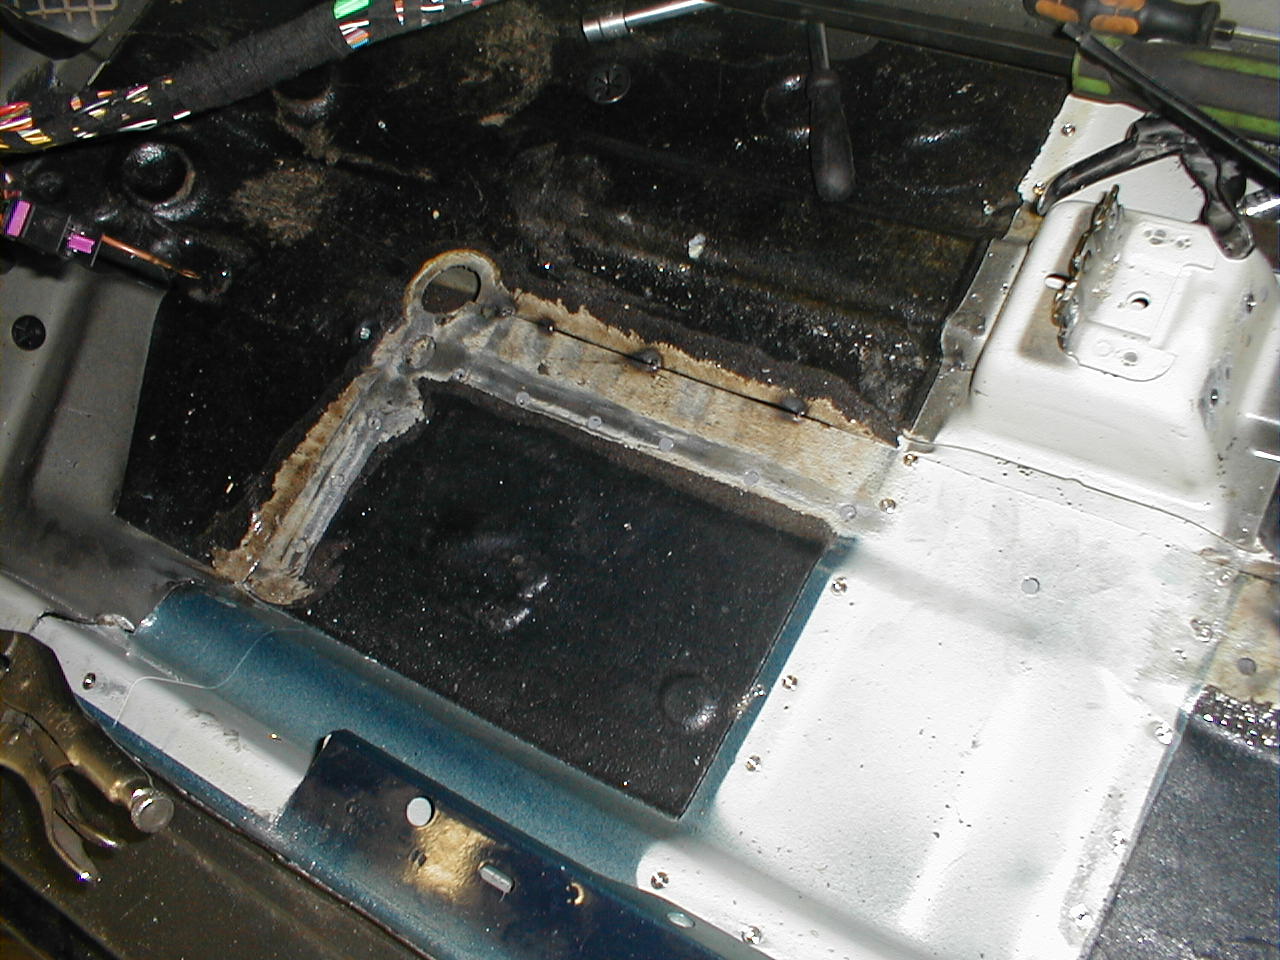
The floor panel lightly tacked in. A crossmember that carries the seat still needs fitting under the seat, in the lighter area shown here.
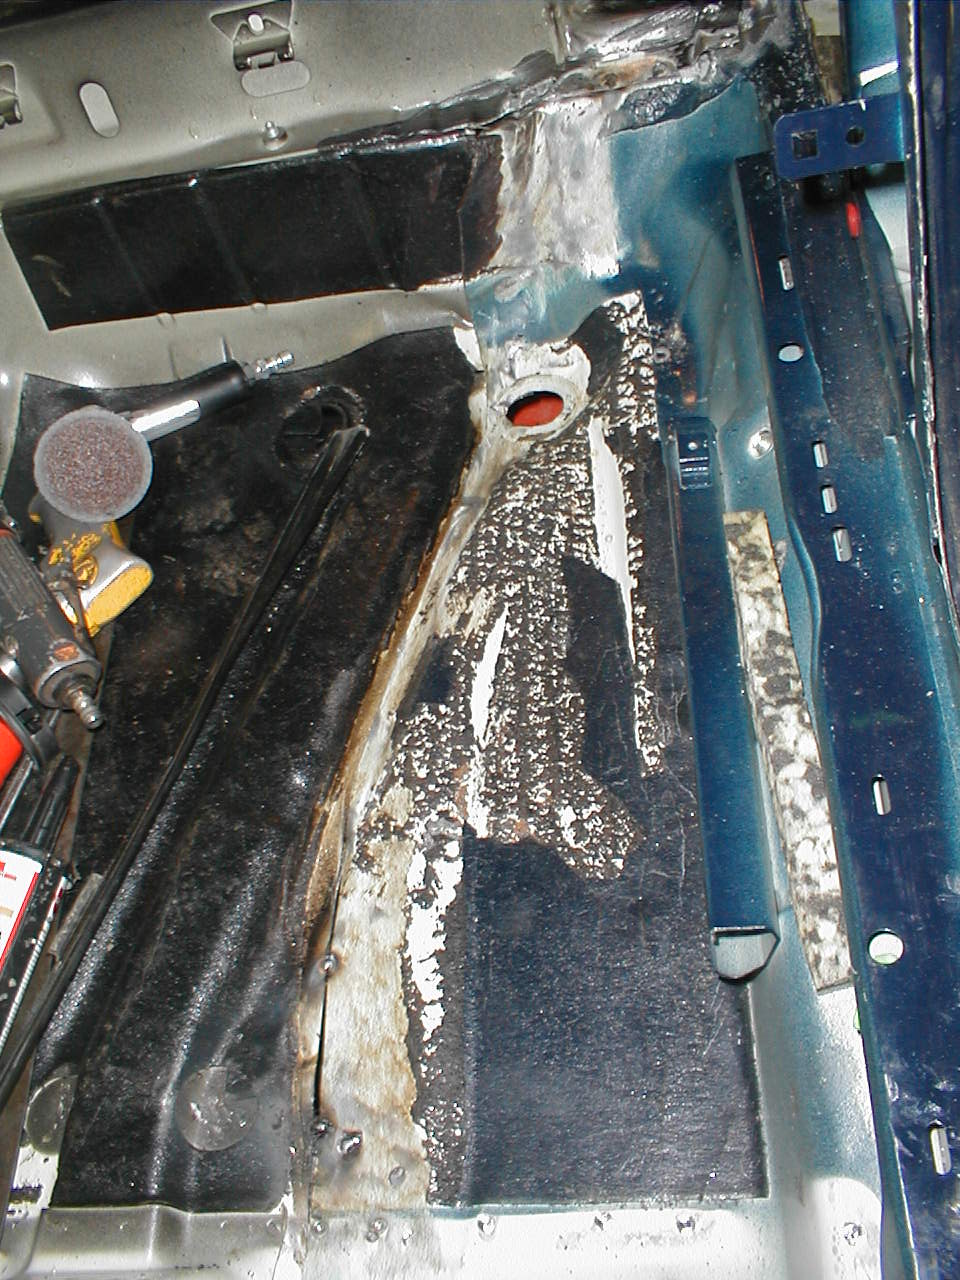
The rear footwell. Still unfinished, needing some cutting and welding.
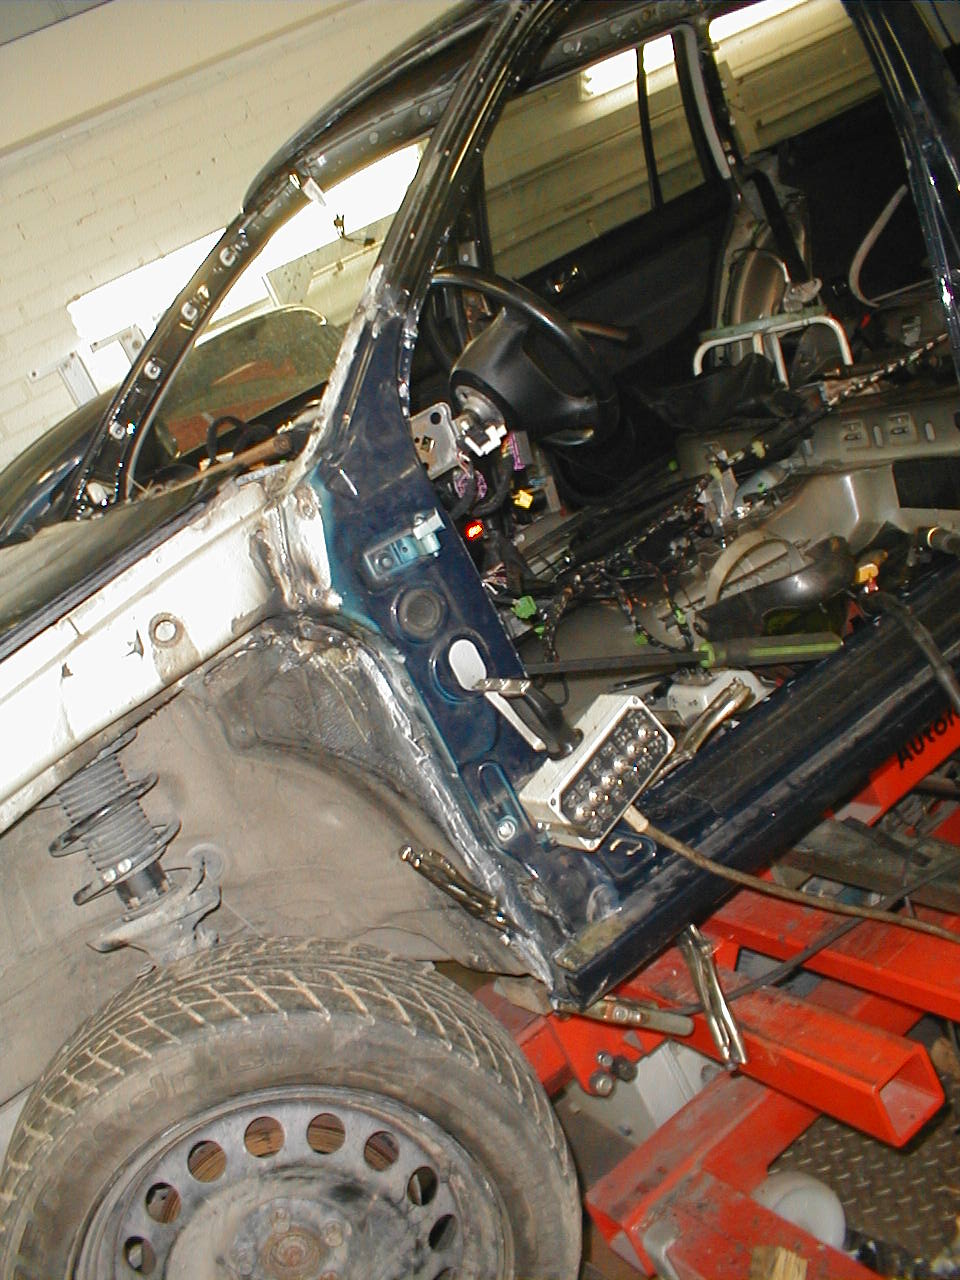
The A-pillar welded.
The gadget hanging from it is the Autorobot control console, in case you wondered...
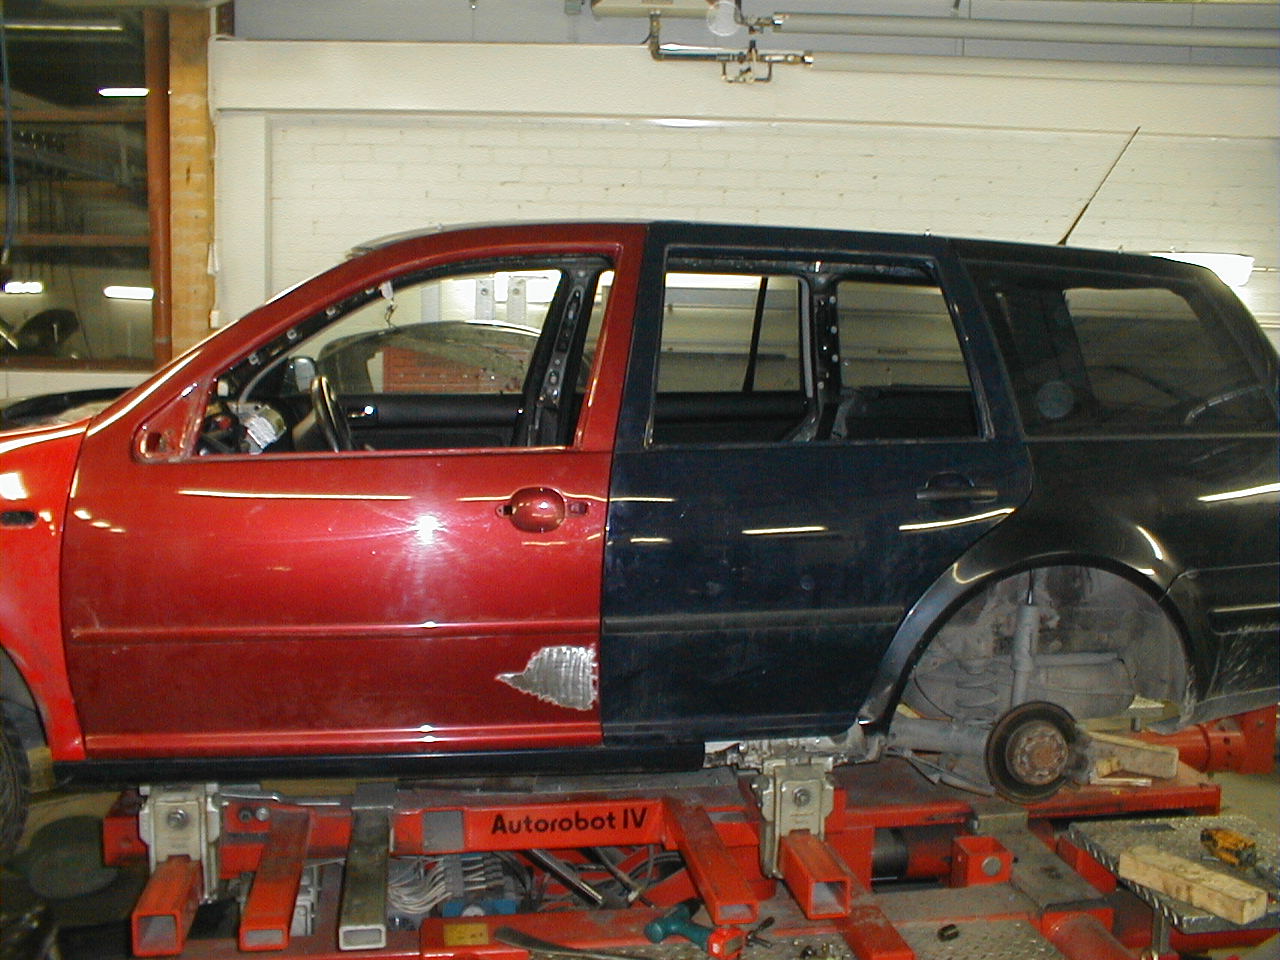
Trial-fitting doors, about ten days after starting the project :)
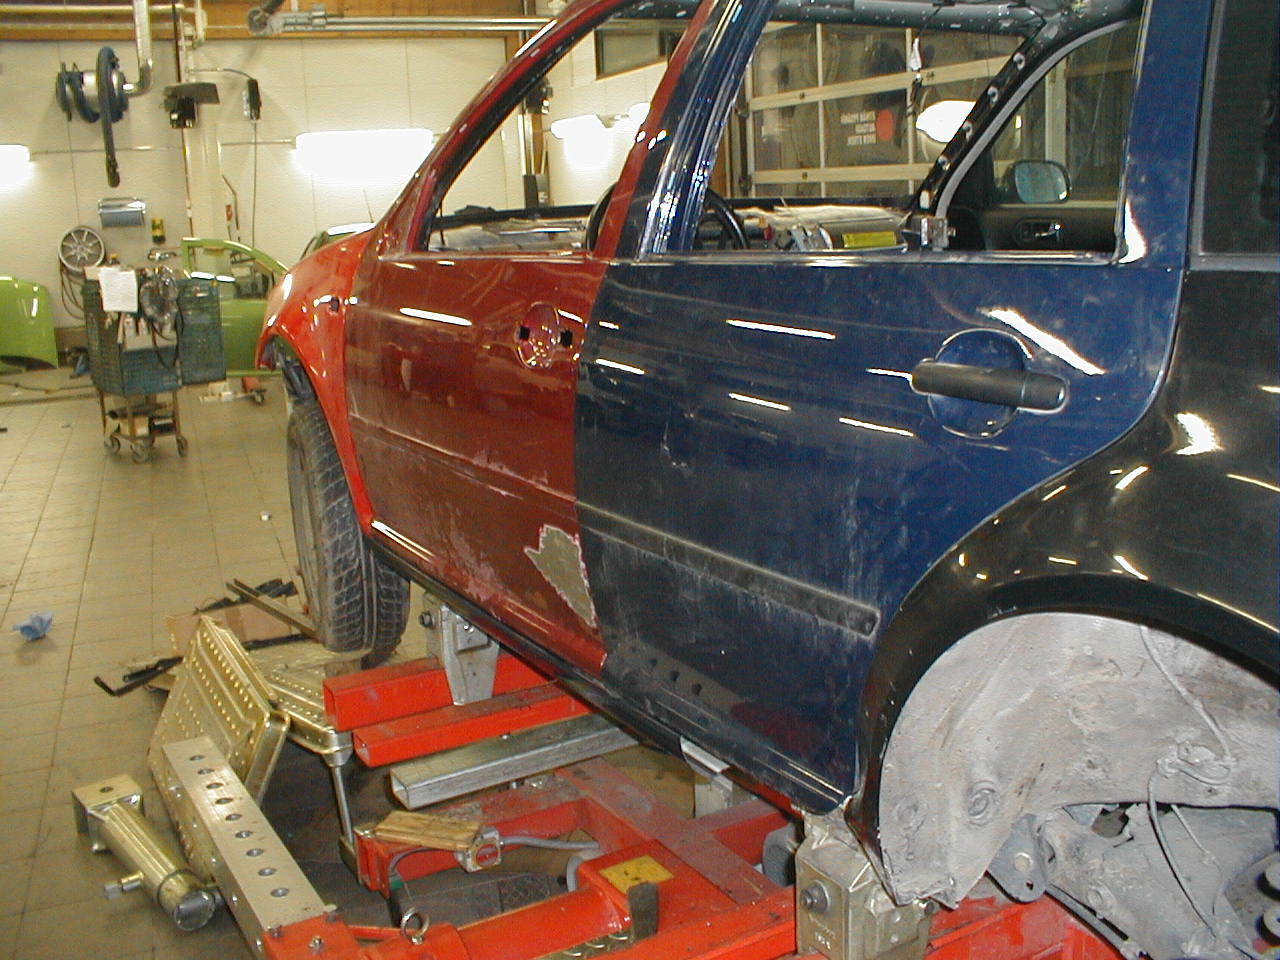
The doors fit—can we say perfectly? :)
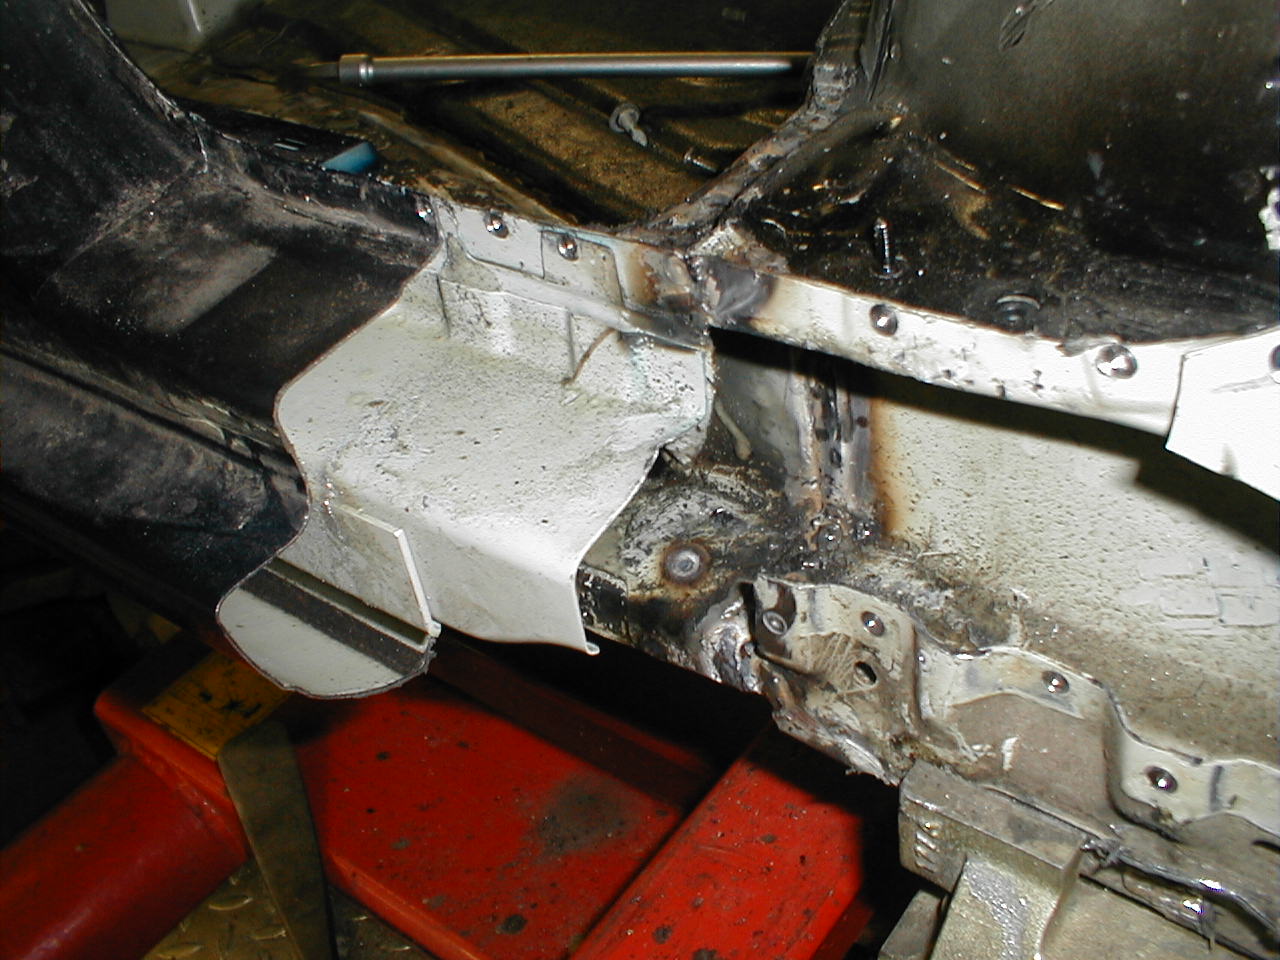
The inner joint at the rear of the sill welded. Another sheet goes over this before the actual outer sill skin...
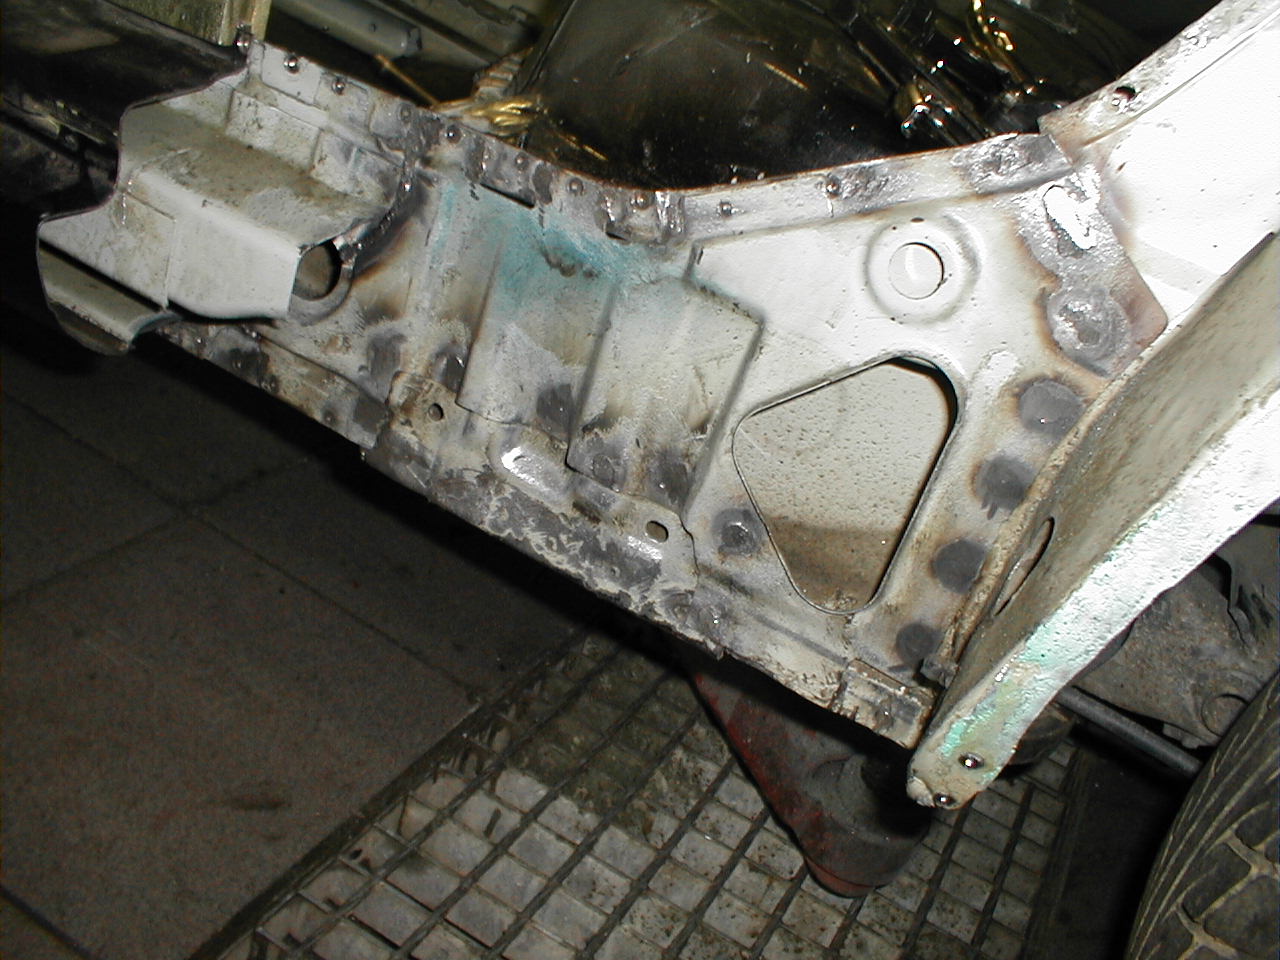
More of the rear sill cut open, with the innermost sheet welded in. Compare the previous photo.
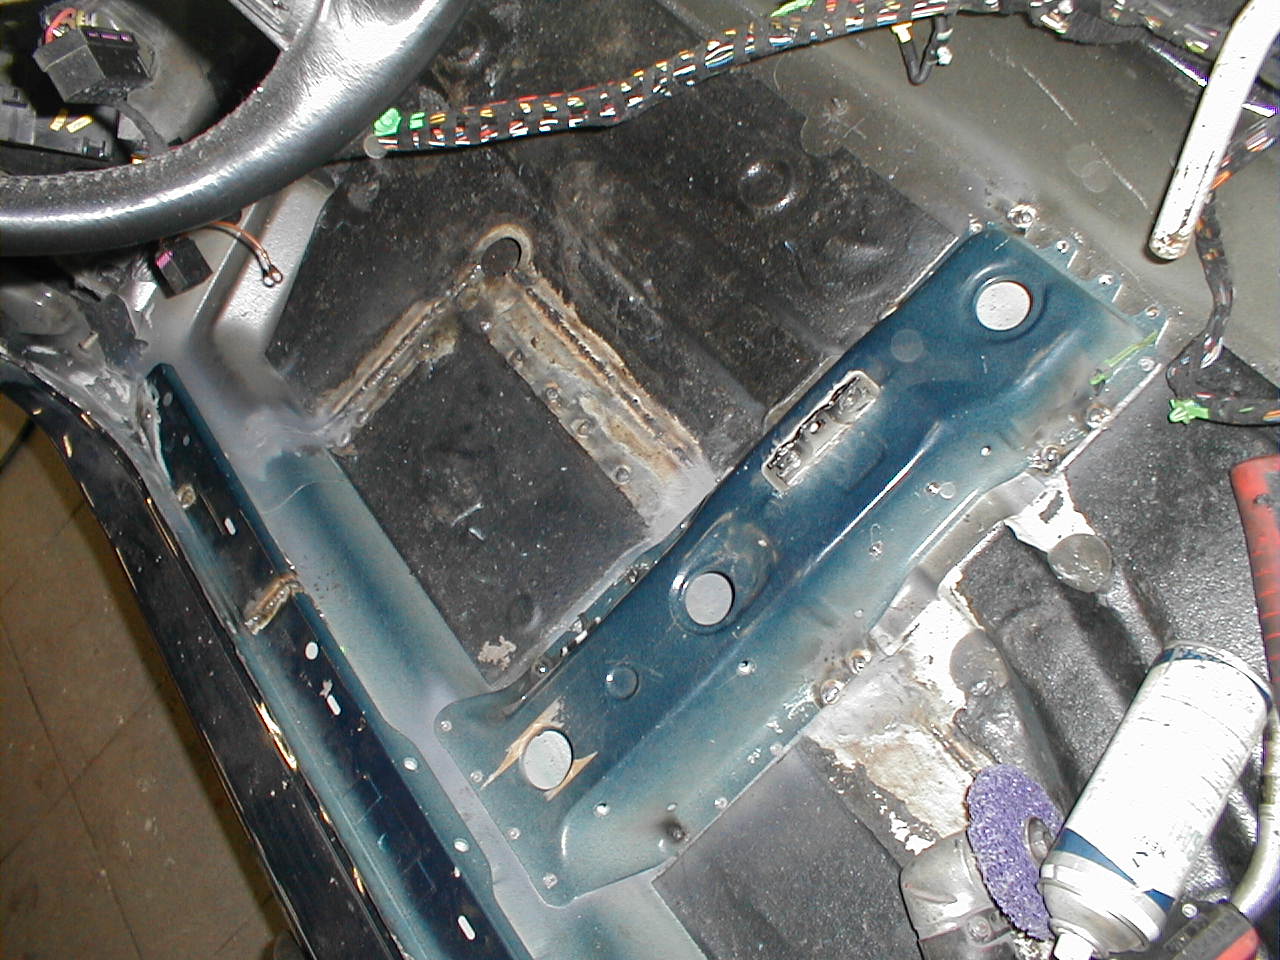
The front floor welded, with the seat mounting crossmember installed too.
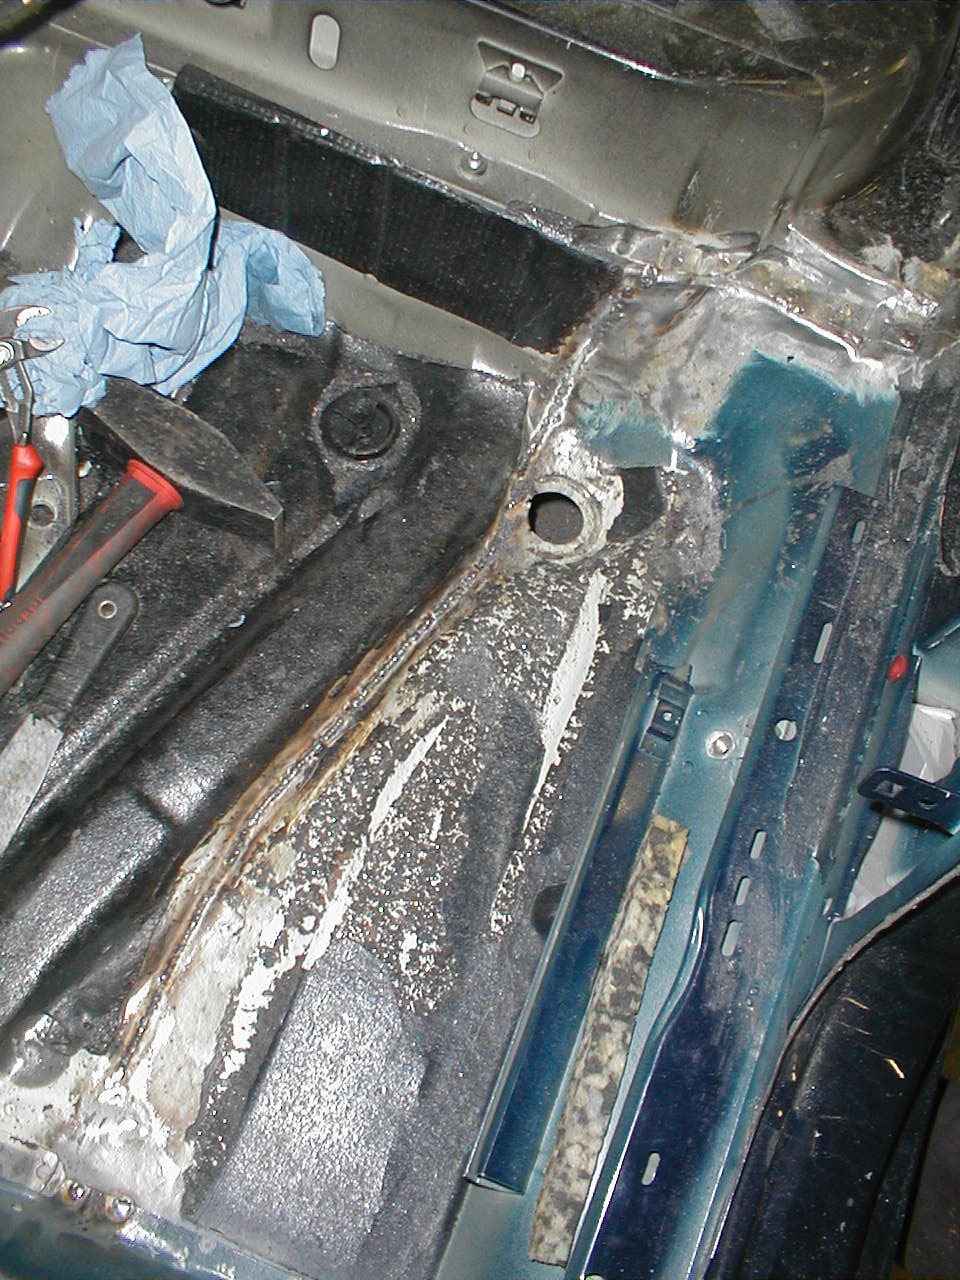
The rear floor weld seam.
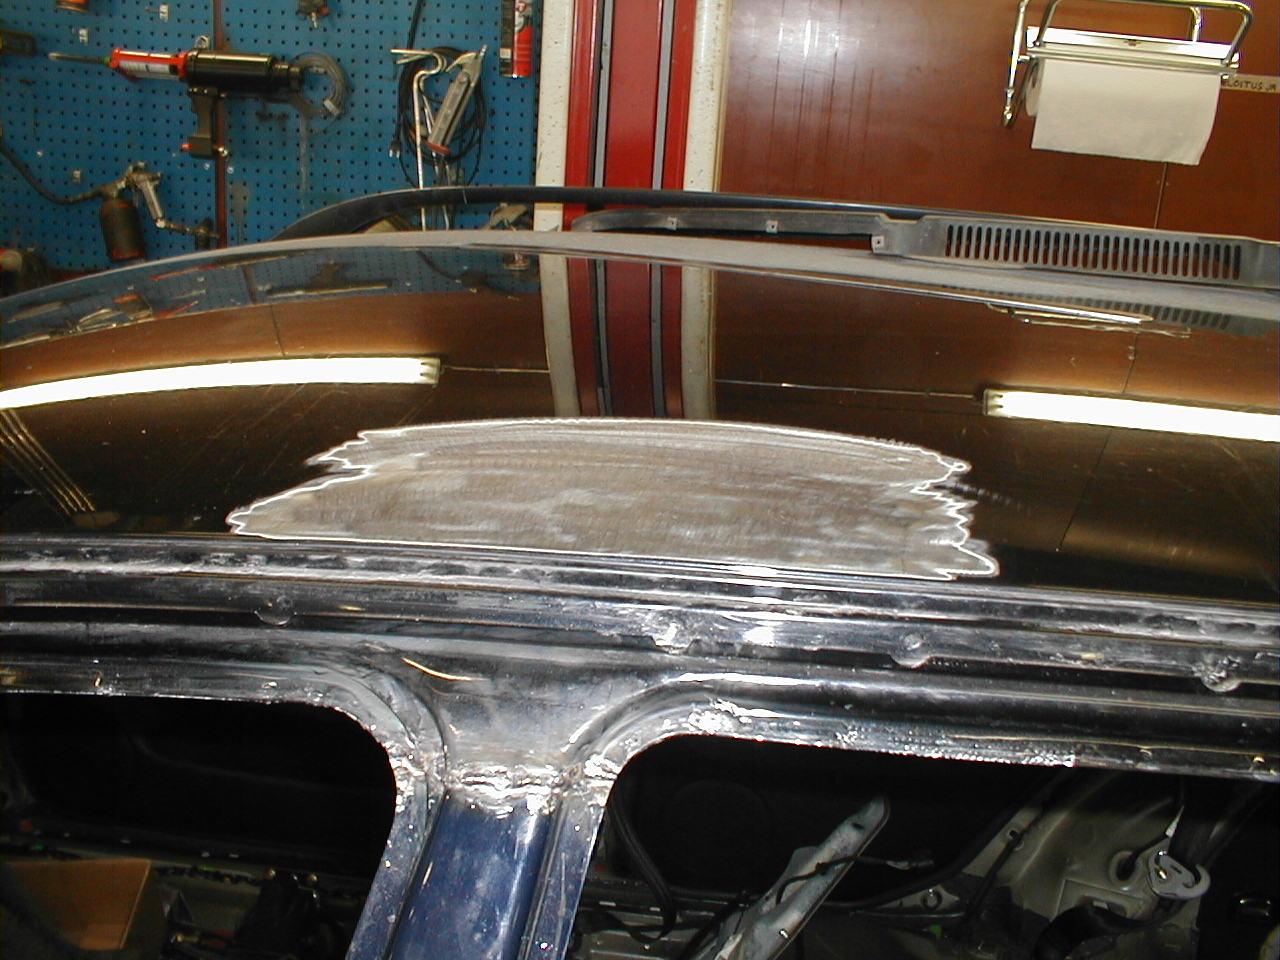
The roof needed a little heat to straighten the worst distortions.
Remaining bodywork
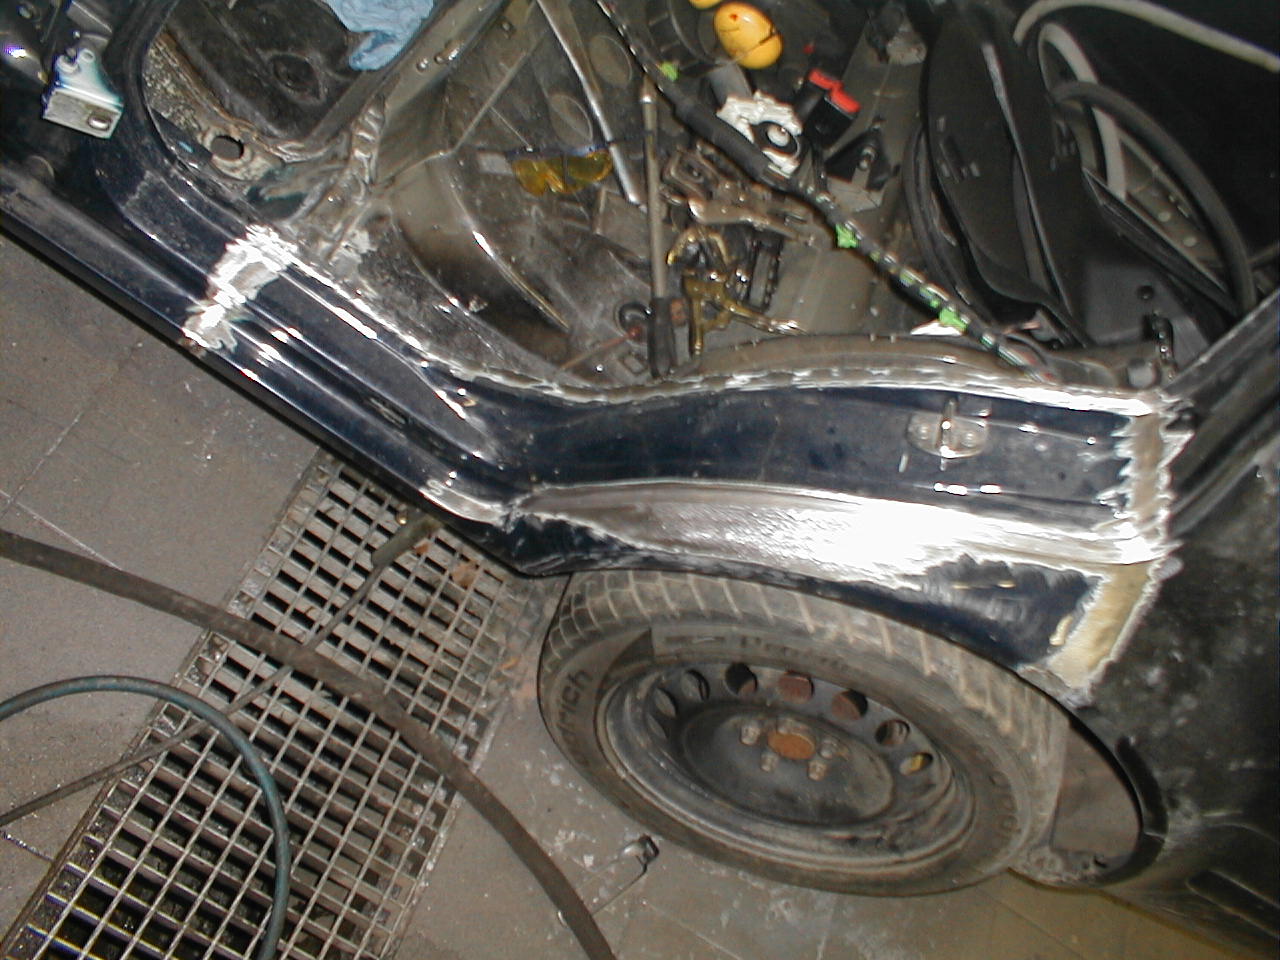
The outer sill skin and front arch section installed.
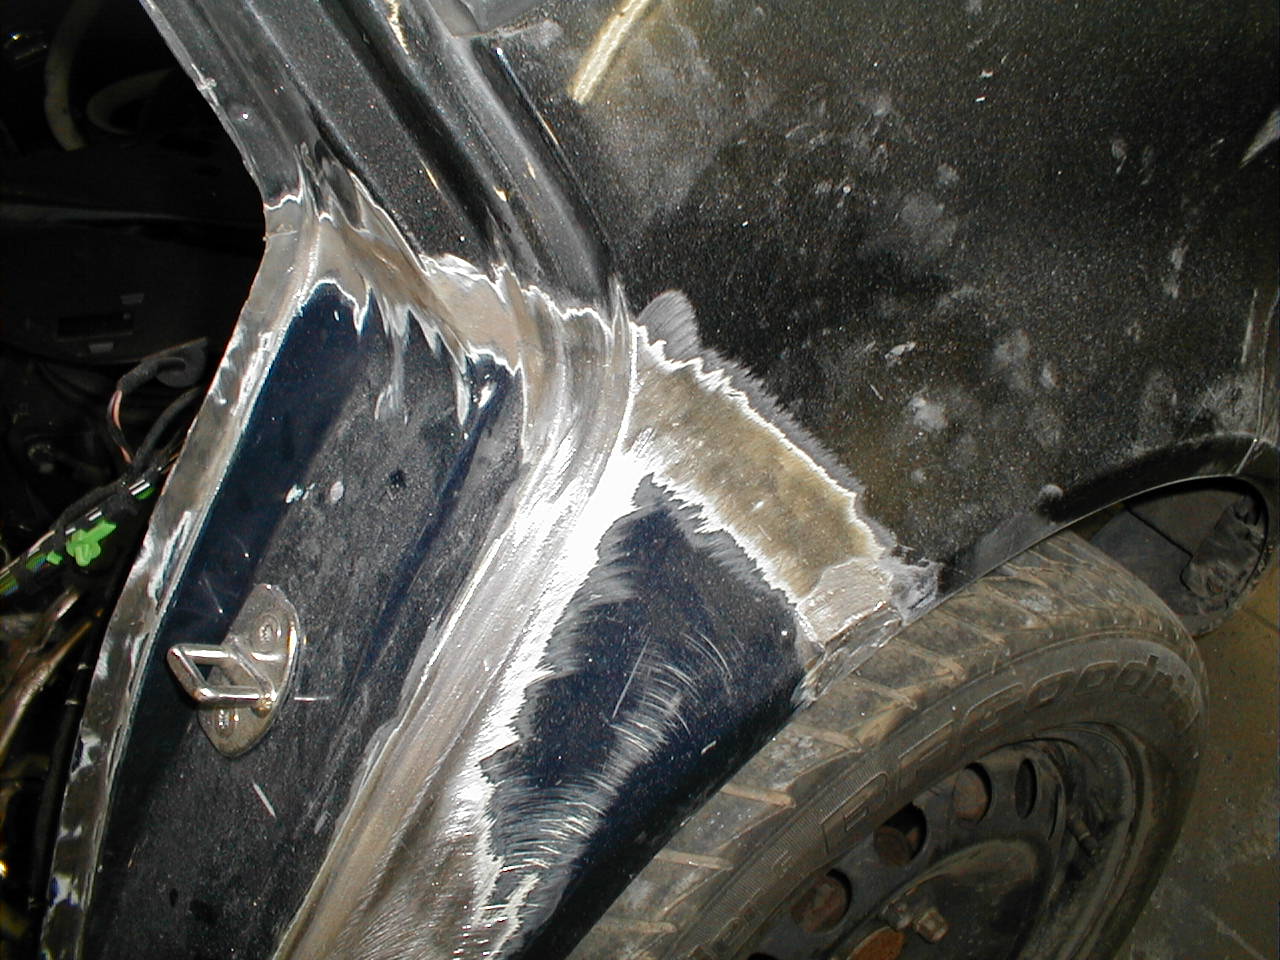
A close-up of the joint.
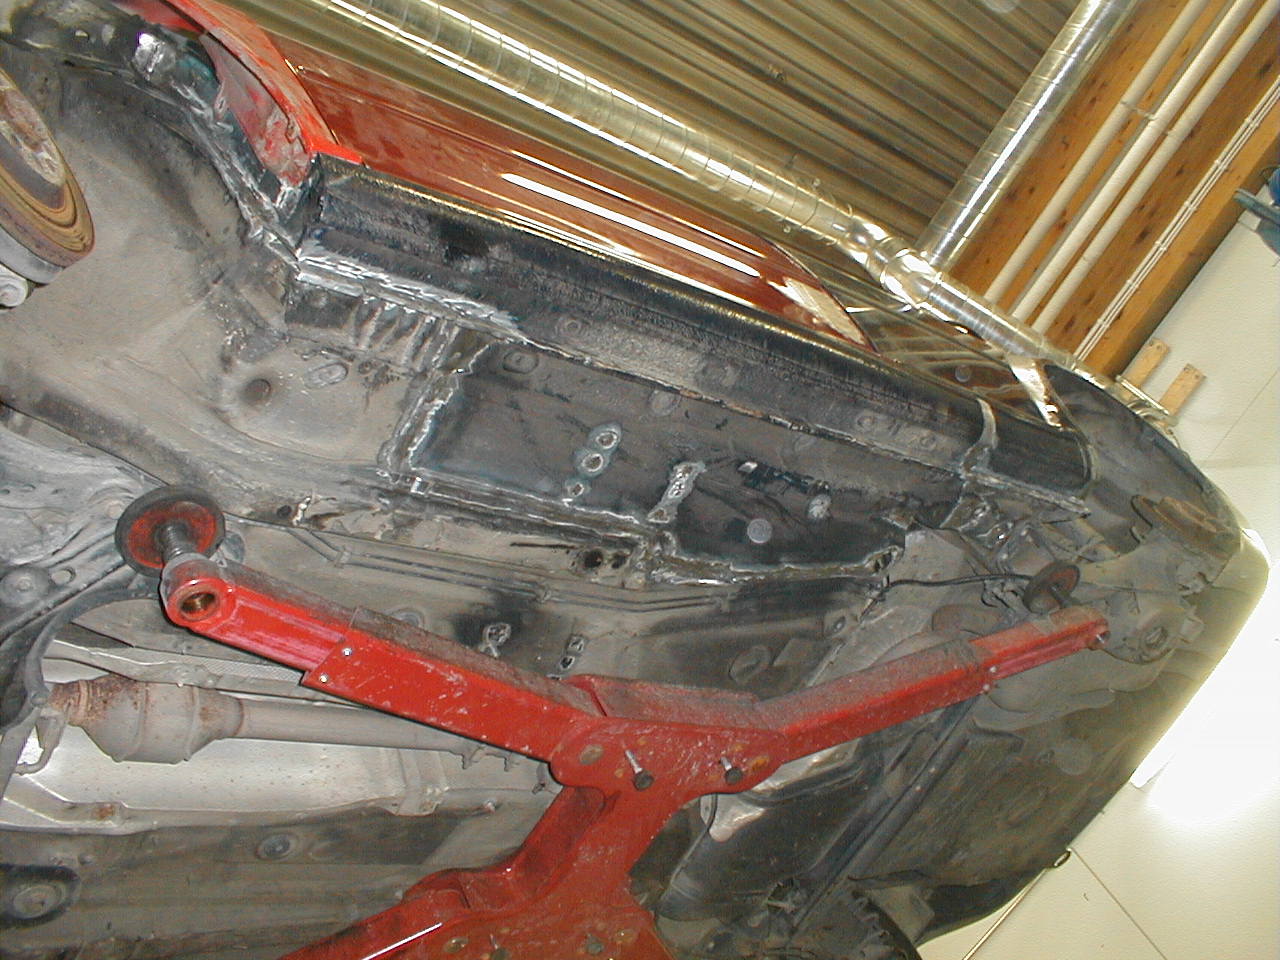
The joint from underneath.
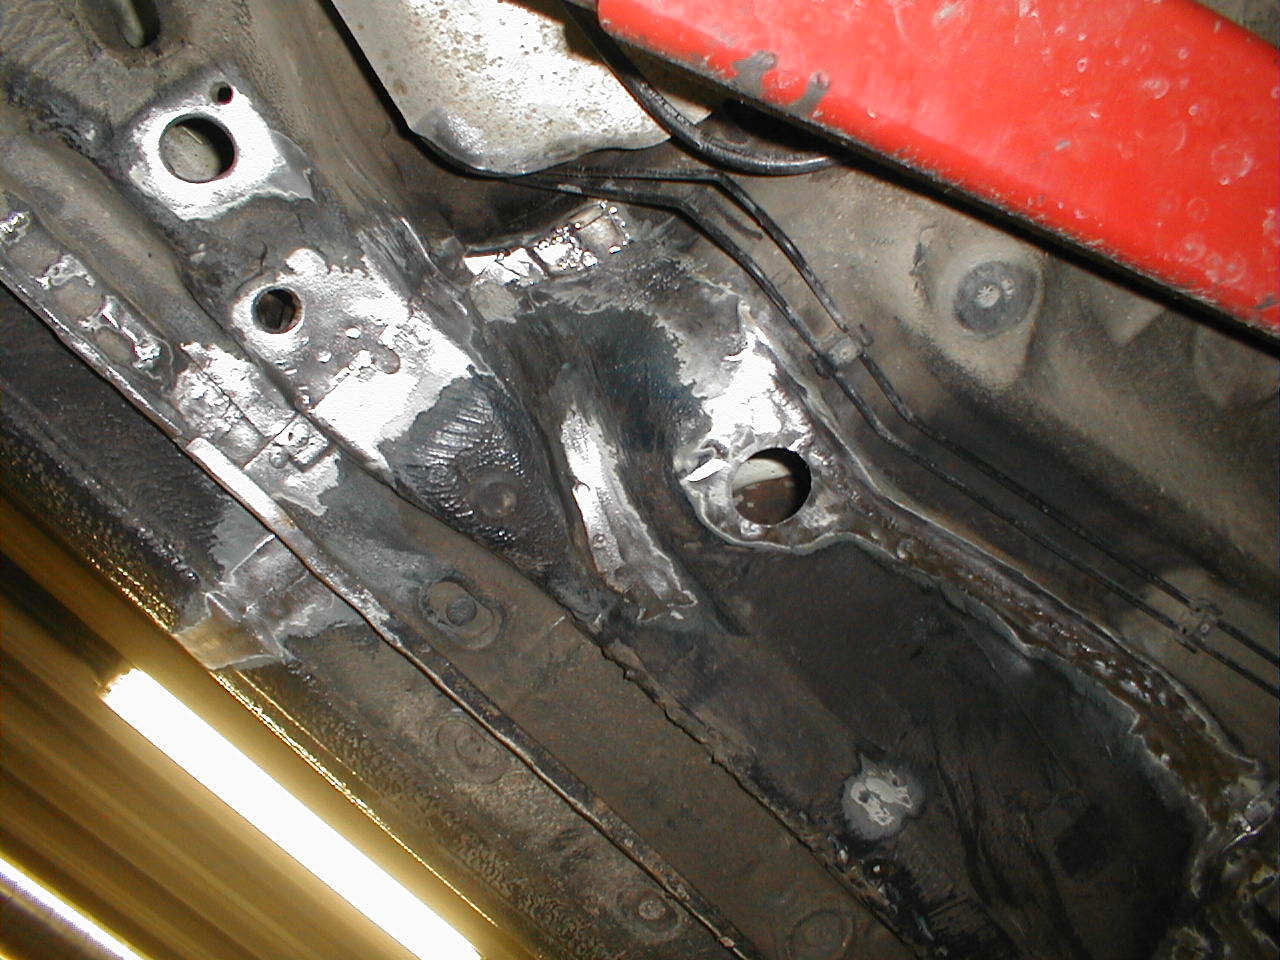
A close-up of this joint too...
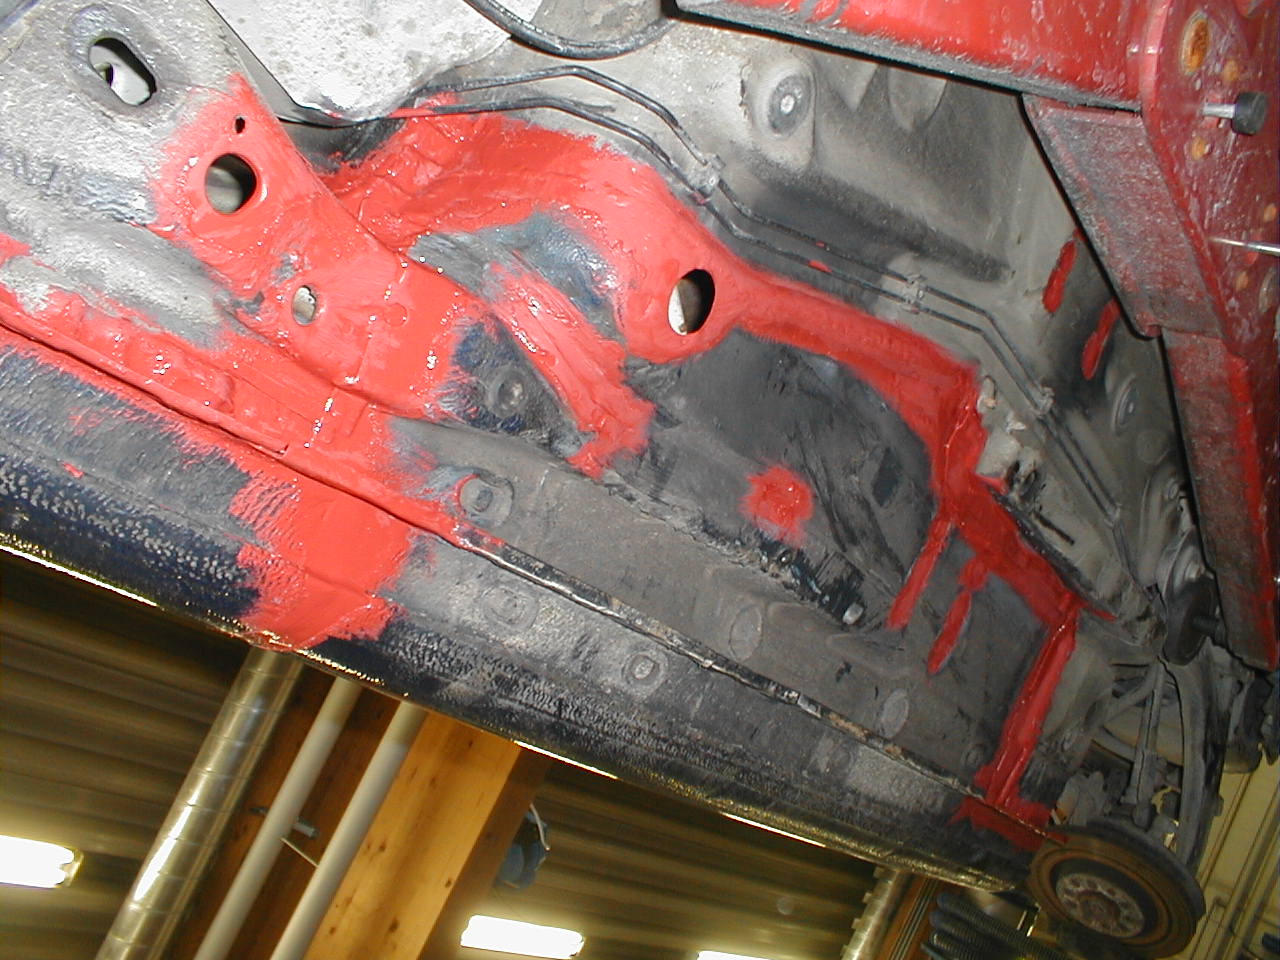
Protecting and finishing the seams.
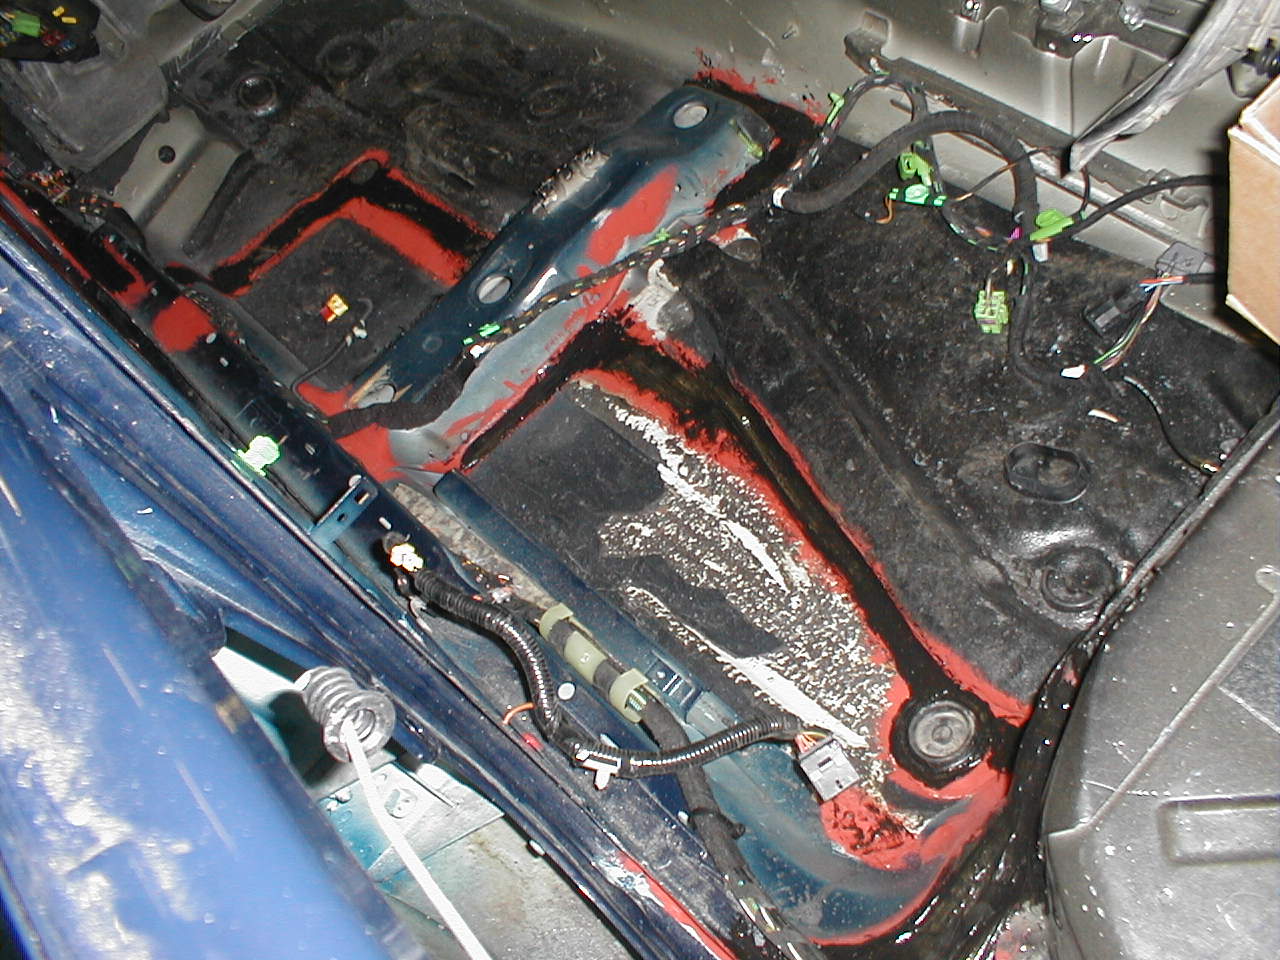
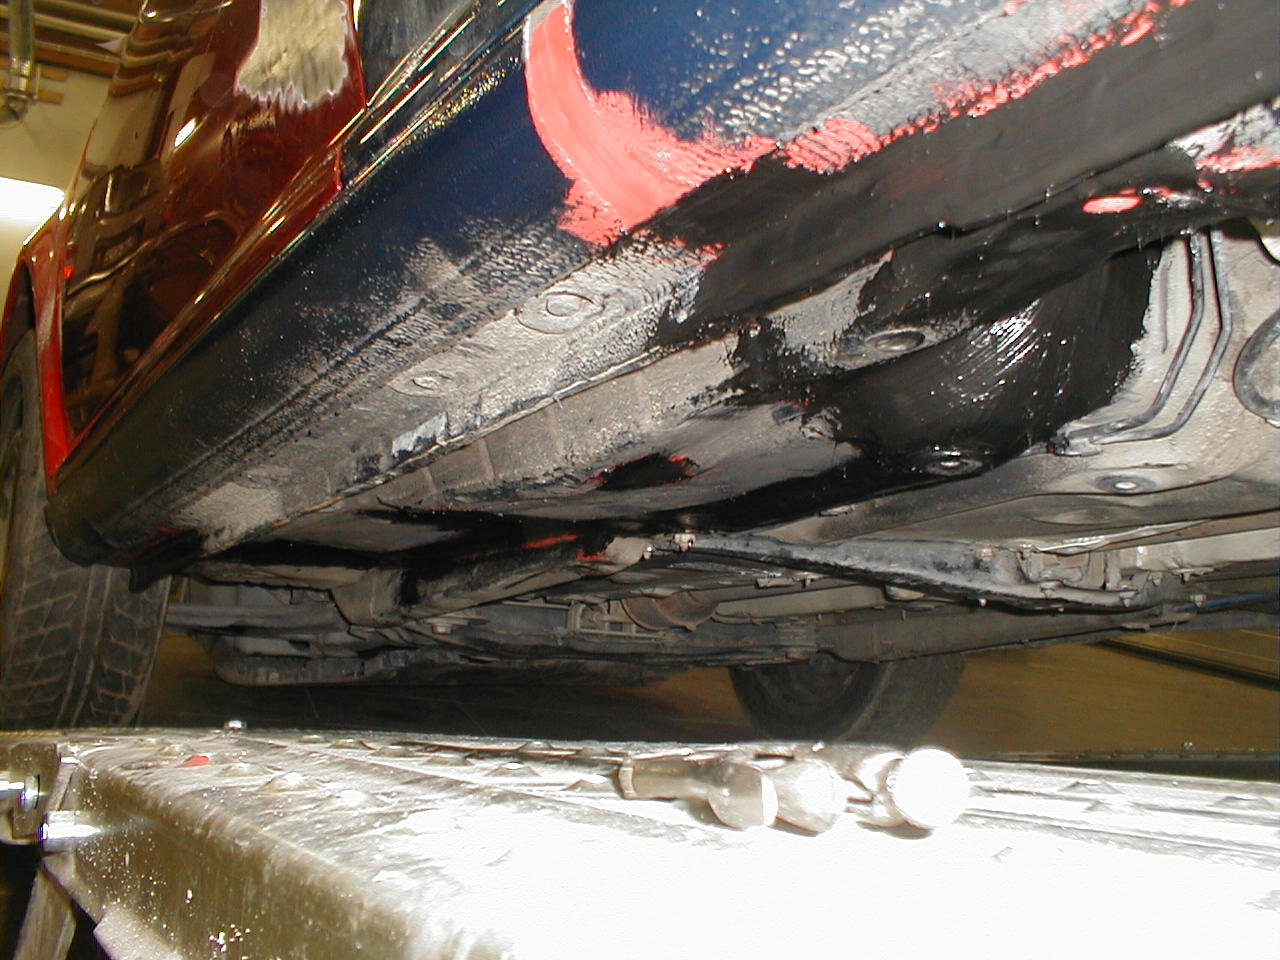
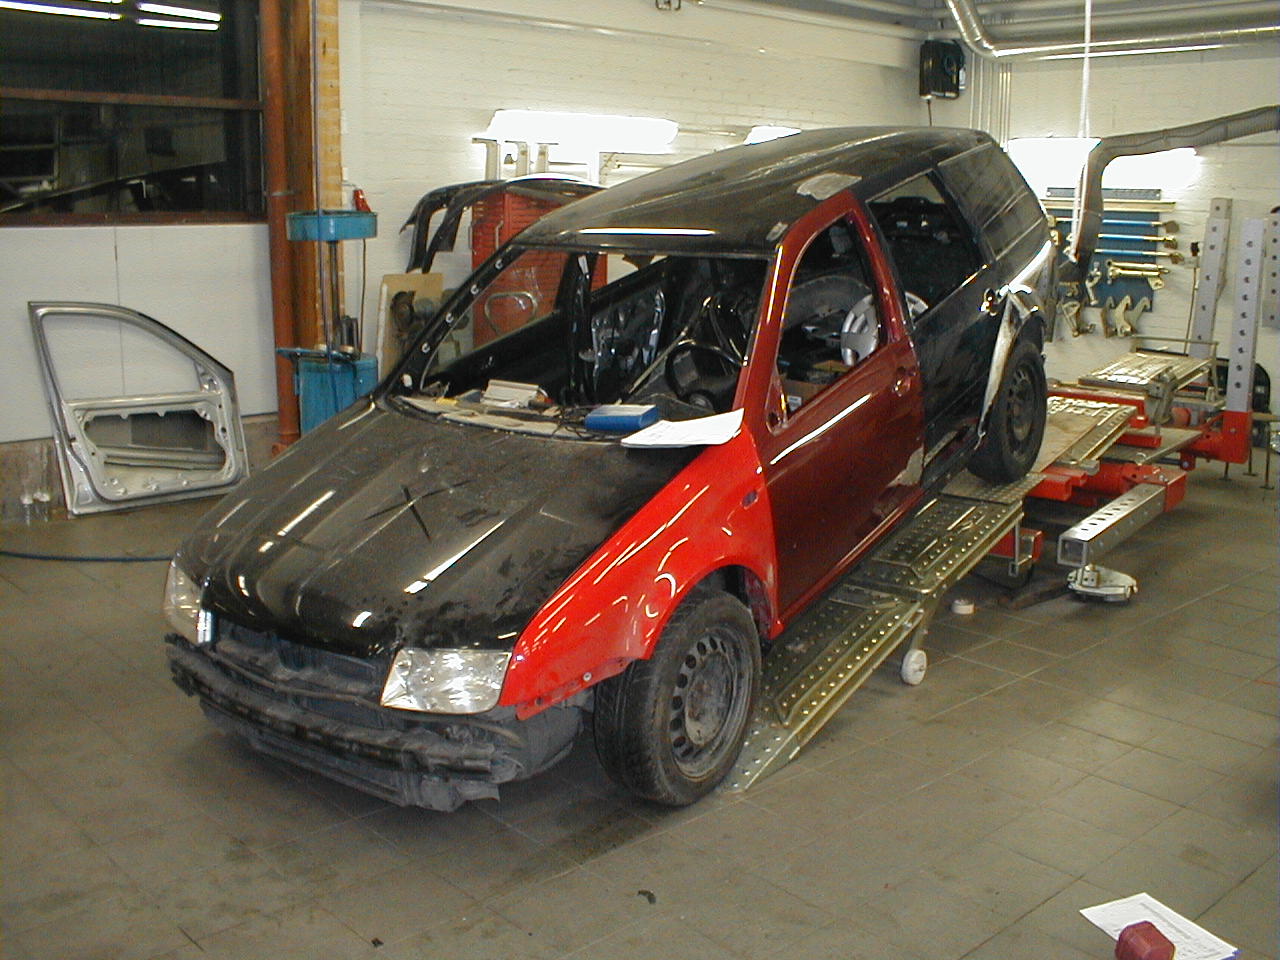
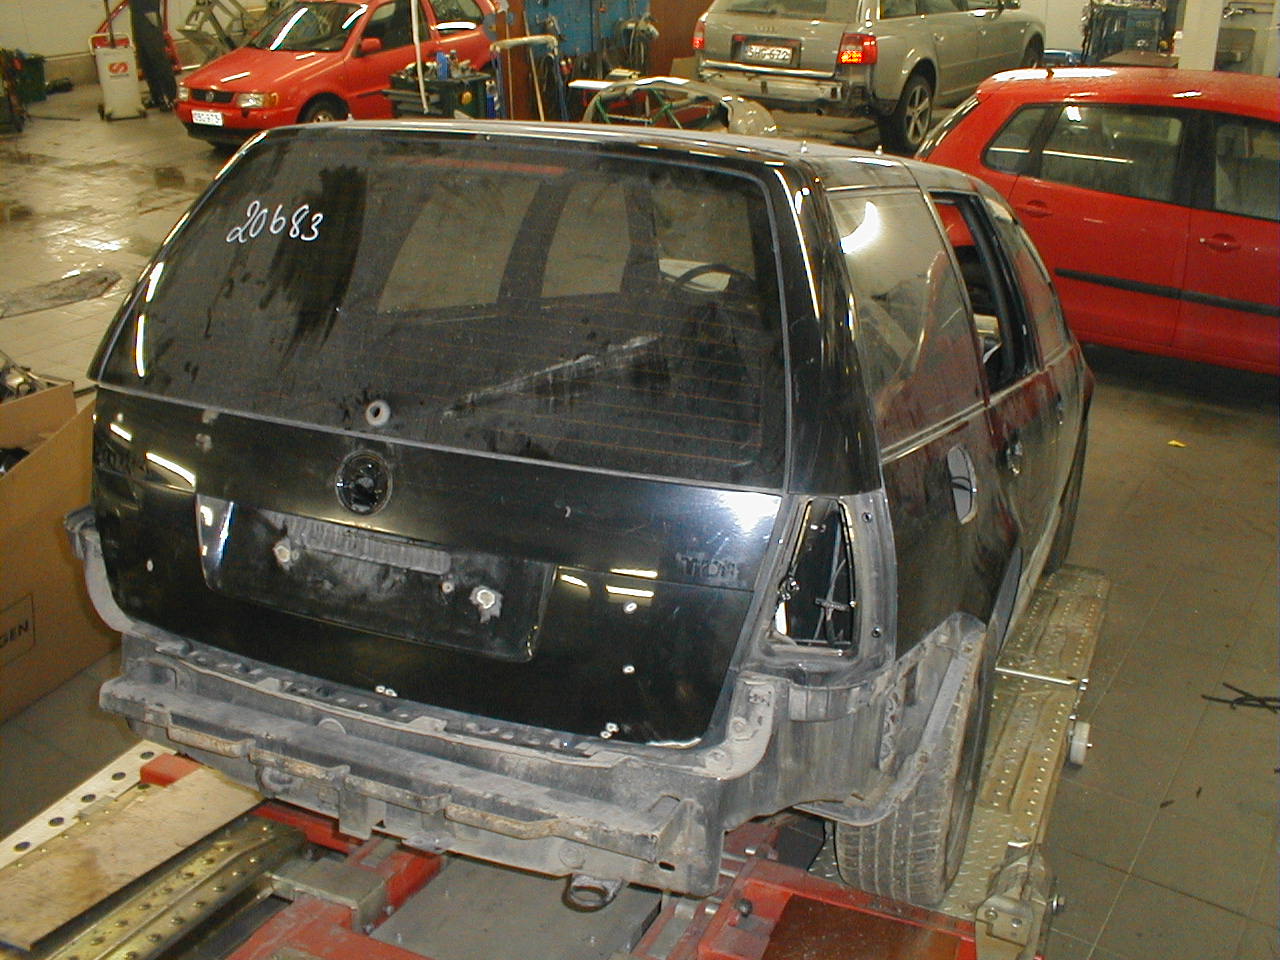
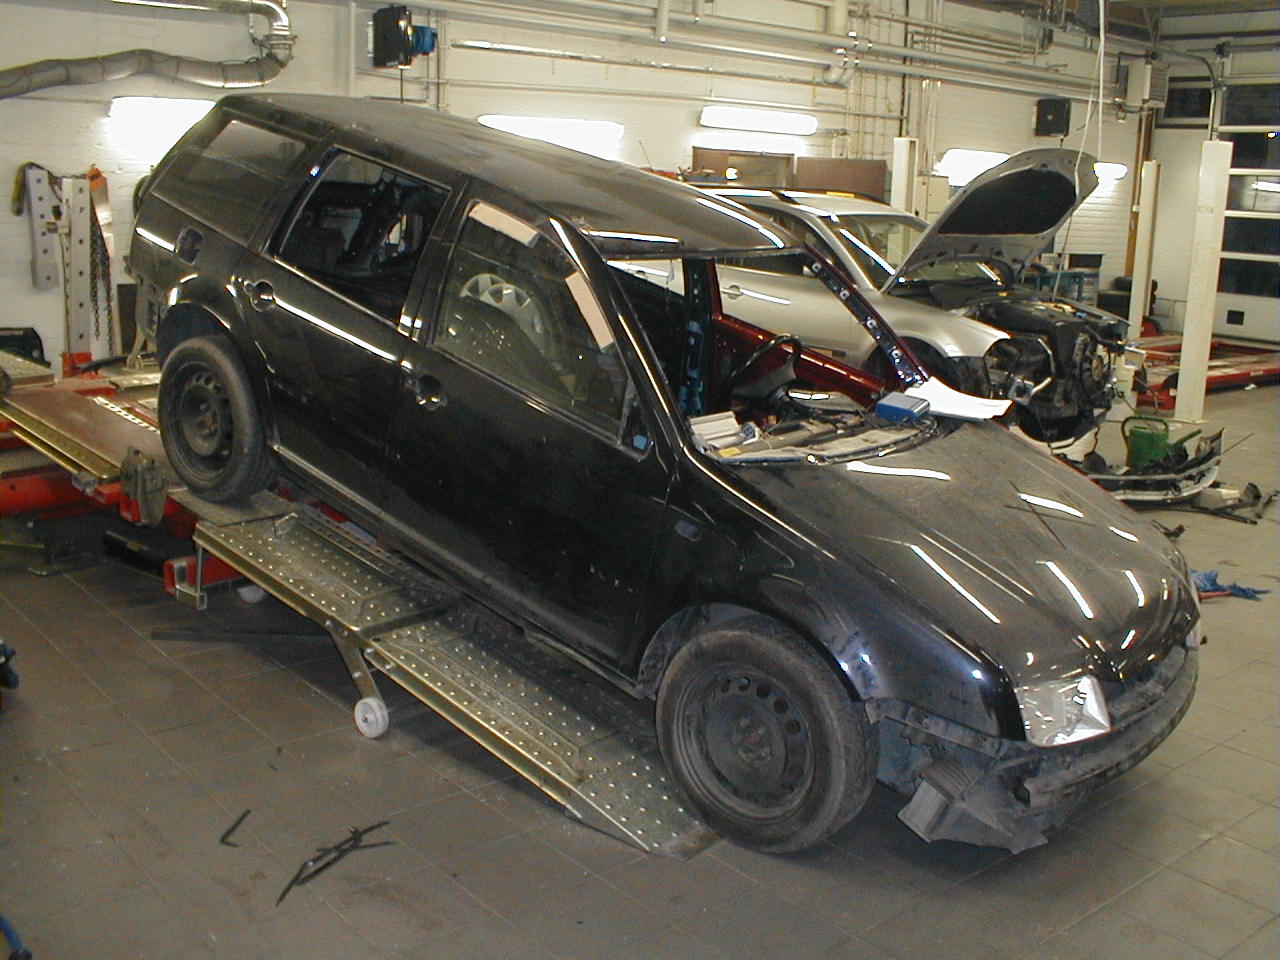
The Bora ready for paint. The right side had scratches too, so the whole car would be painted by Antti Selivaara. It stays Black Magic.
Photos of the painted car on the next page.
Rust protection
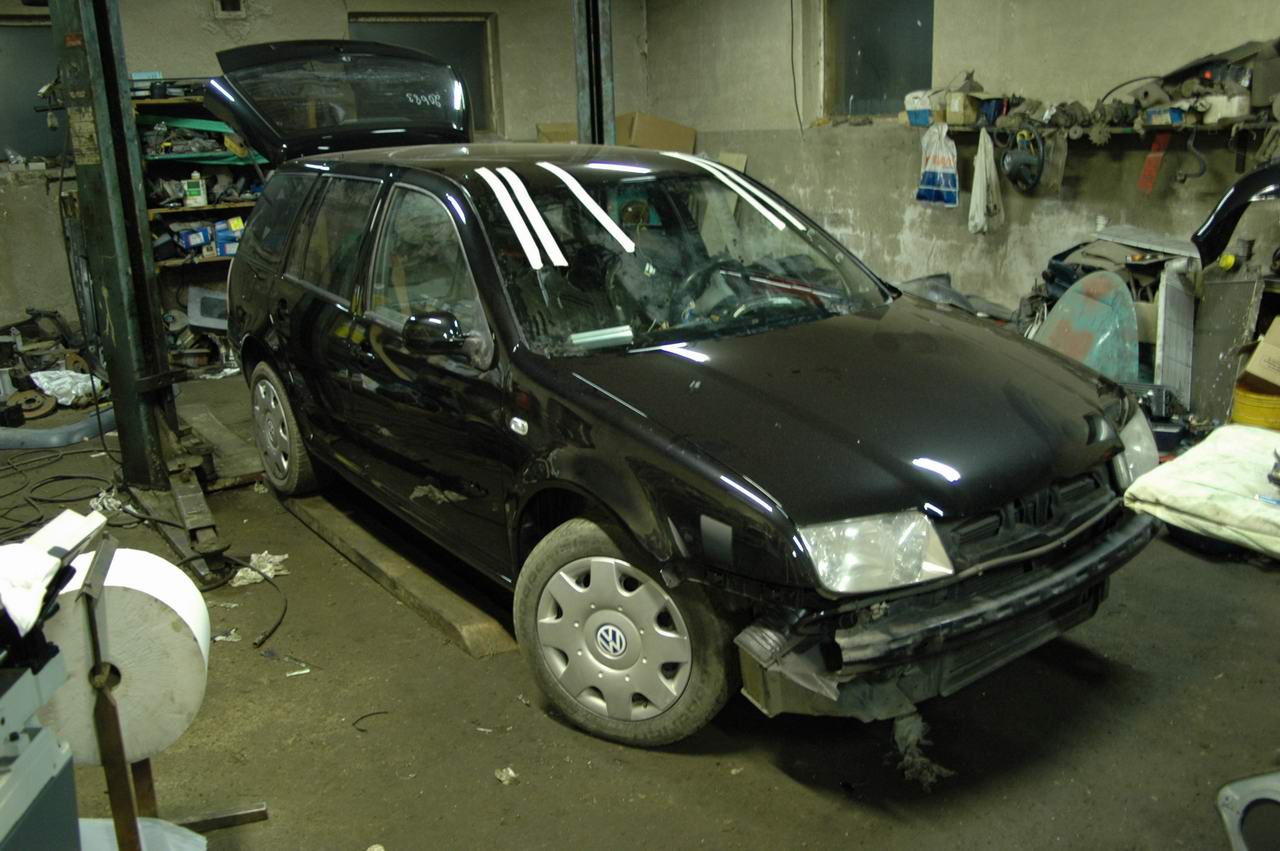
Painting took a few weeks, being mostly evening work. Finally back at our garage, assembly began in earnest. The windscreen has just been bonded in here.
A huge amount to assemble inside and out.
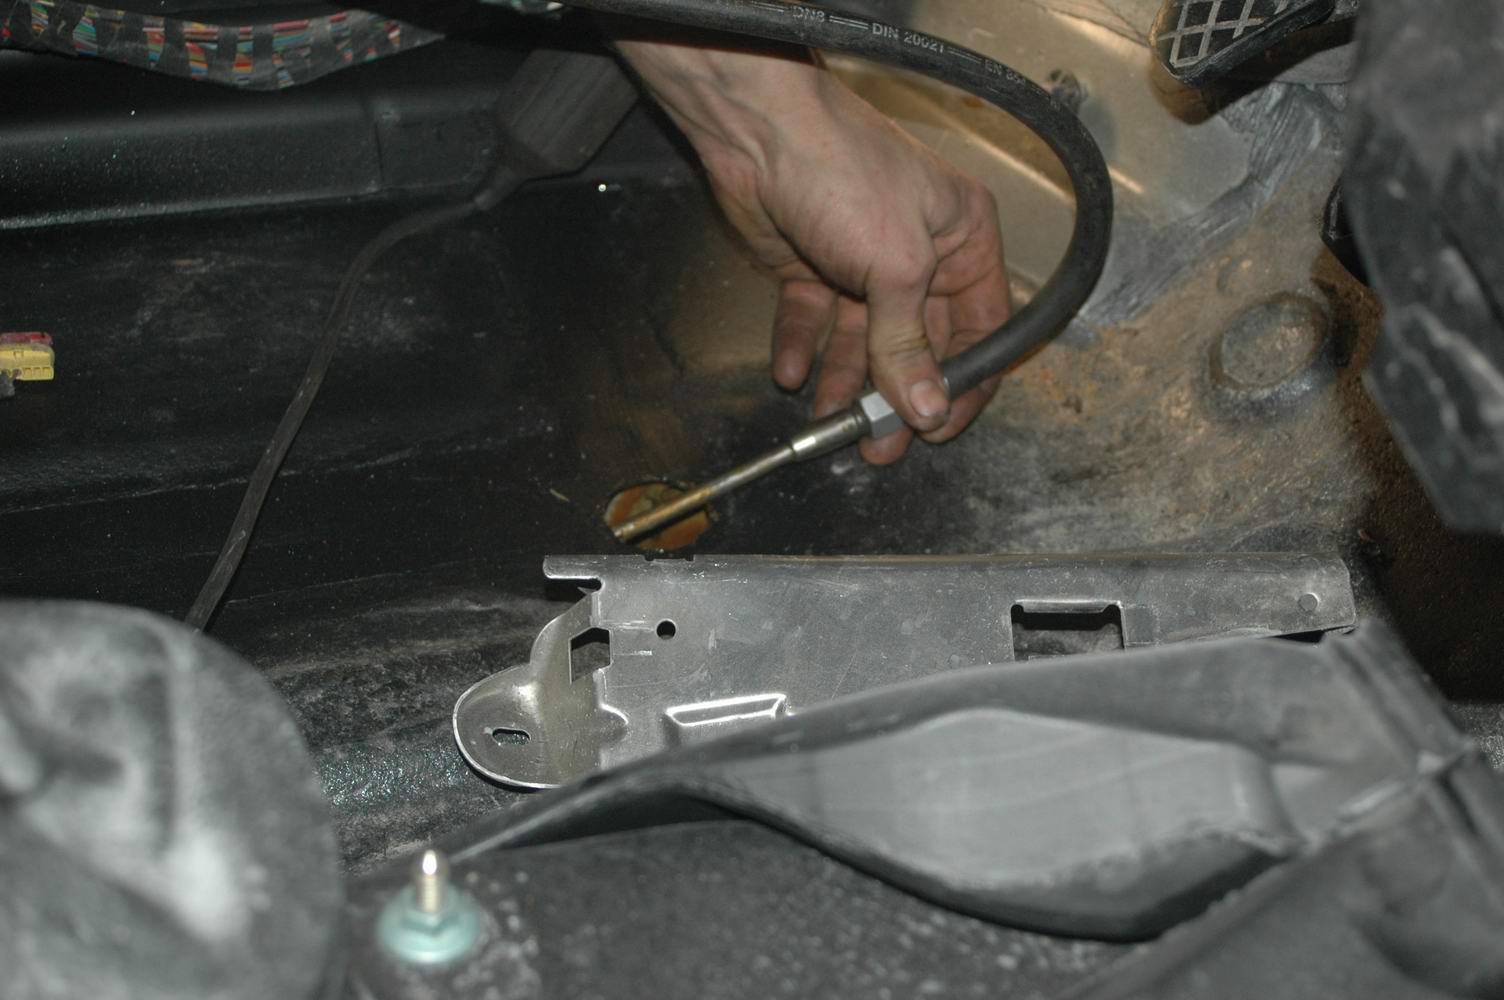
Every cavity anywhere near the repaired area was thoroughly protected.
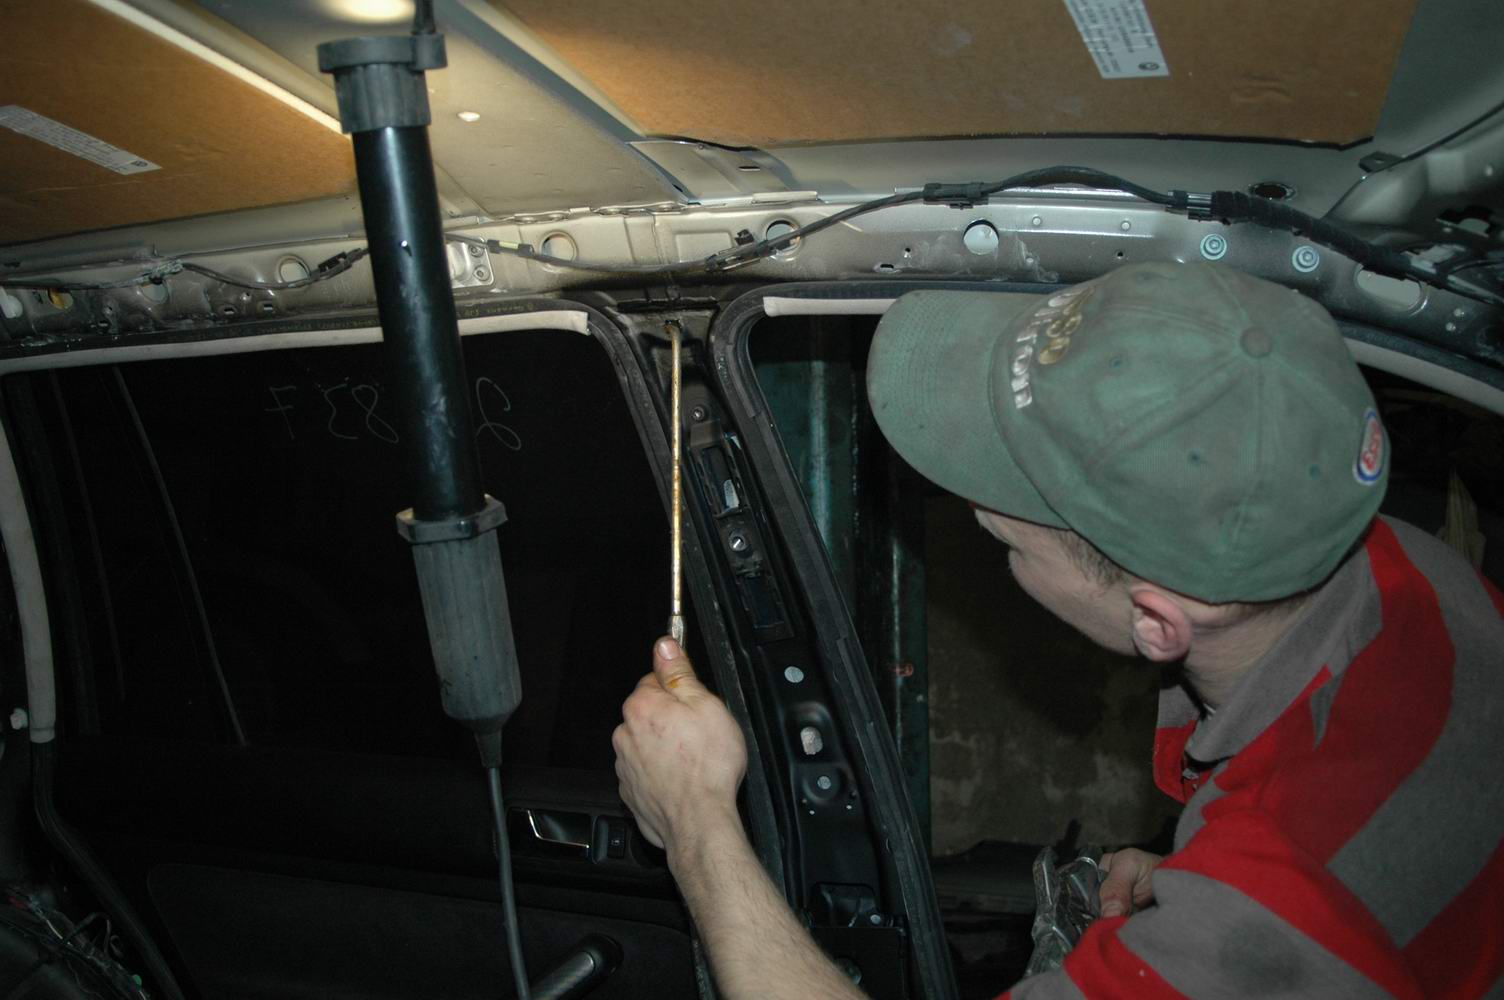
Peksi sprayed about two litres of cavity wax into the various cavities.
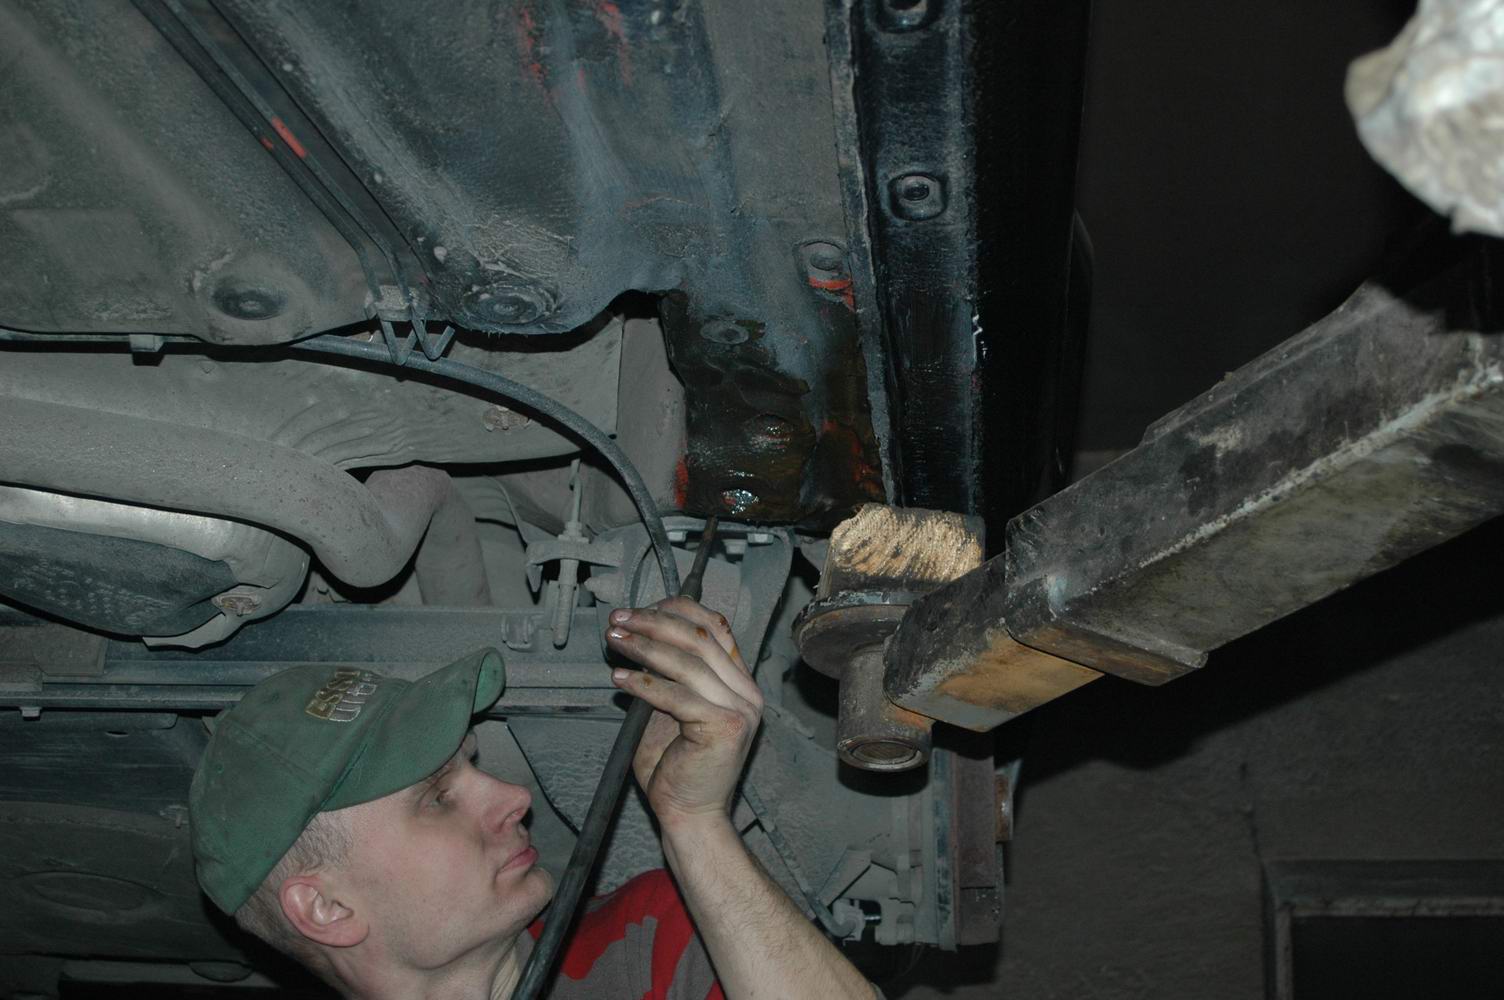
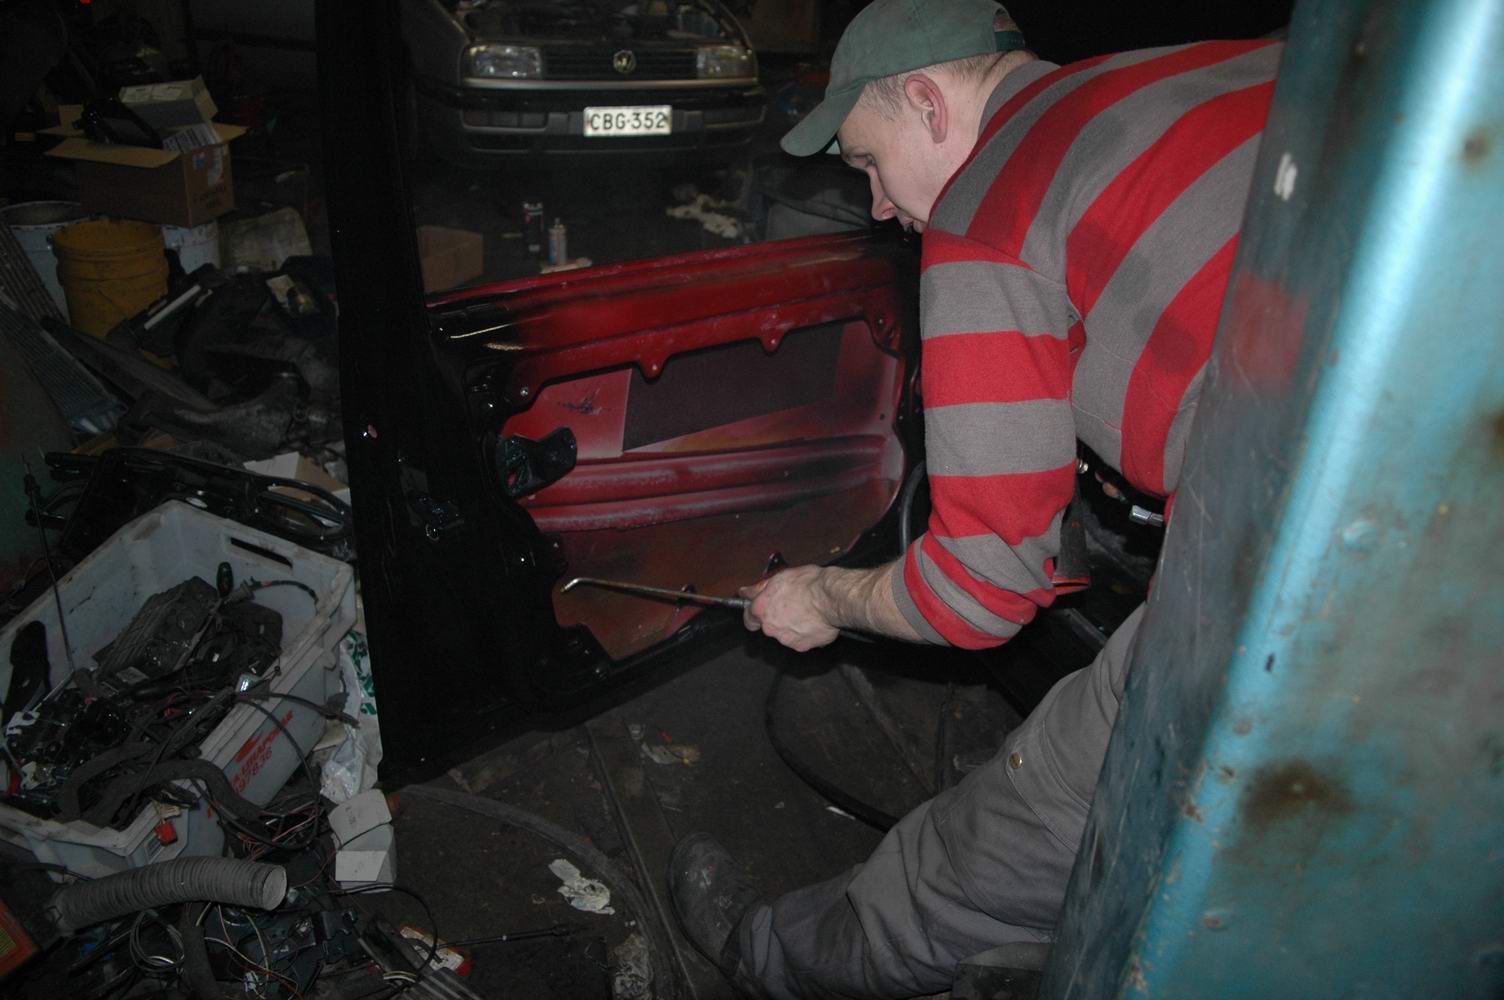
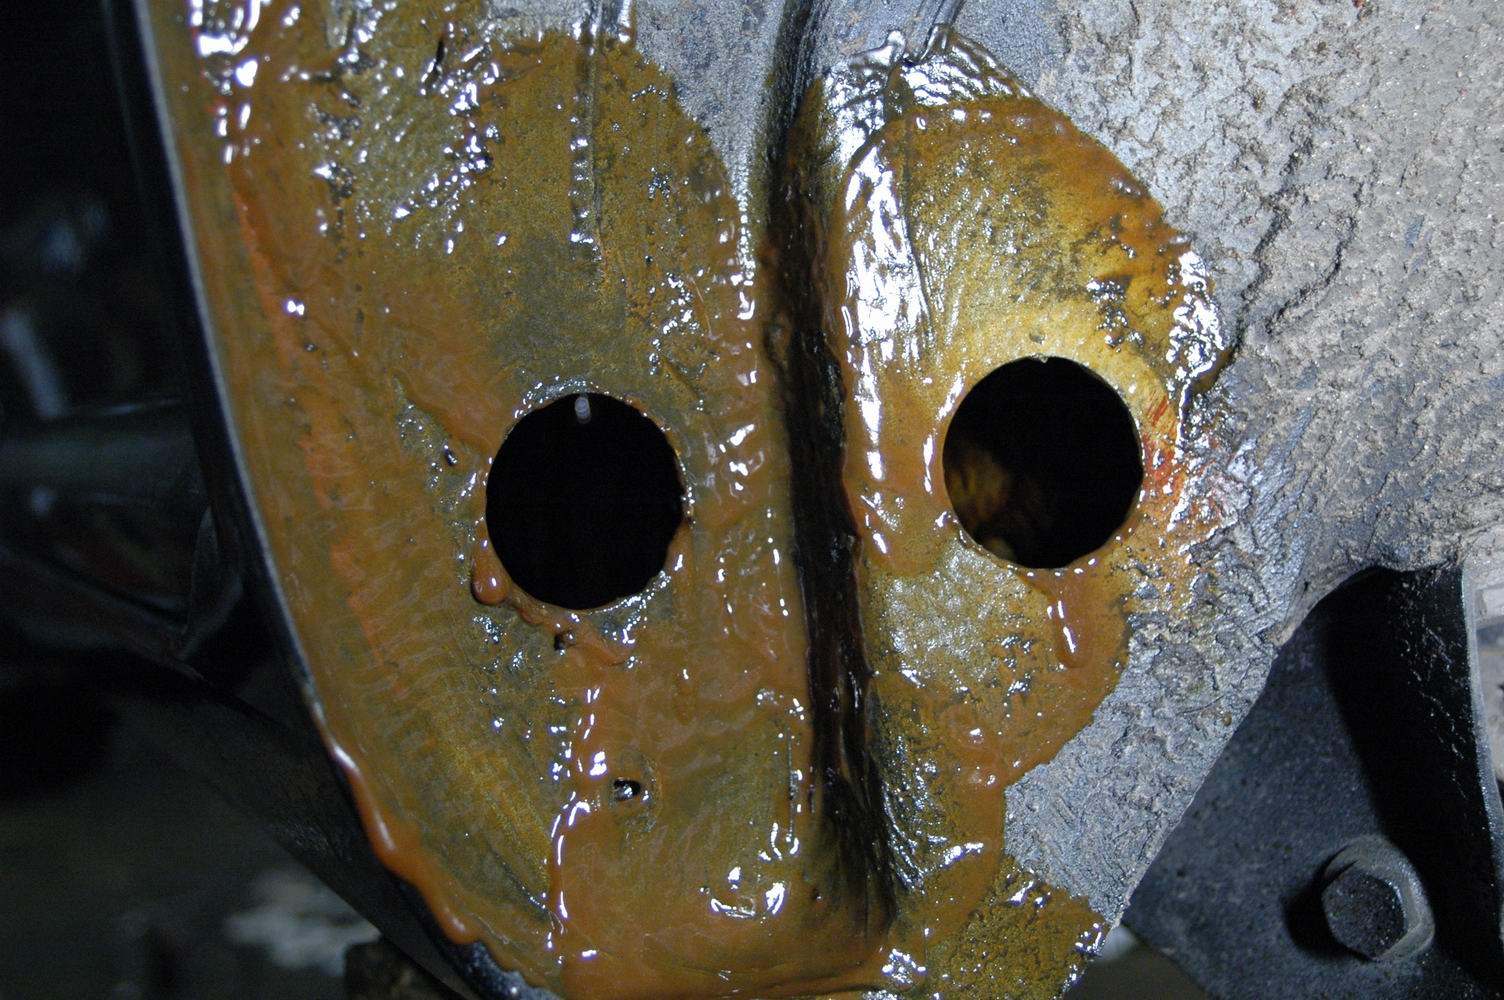
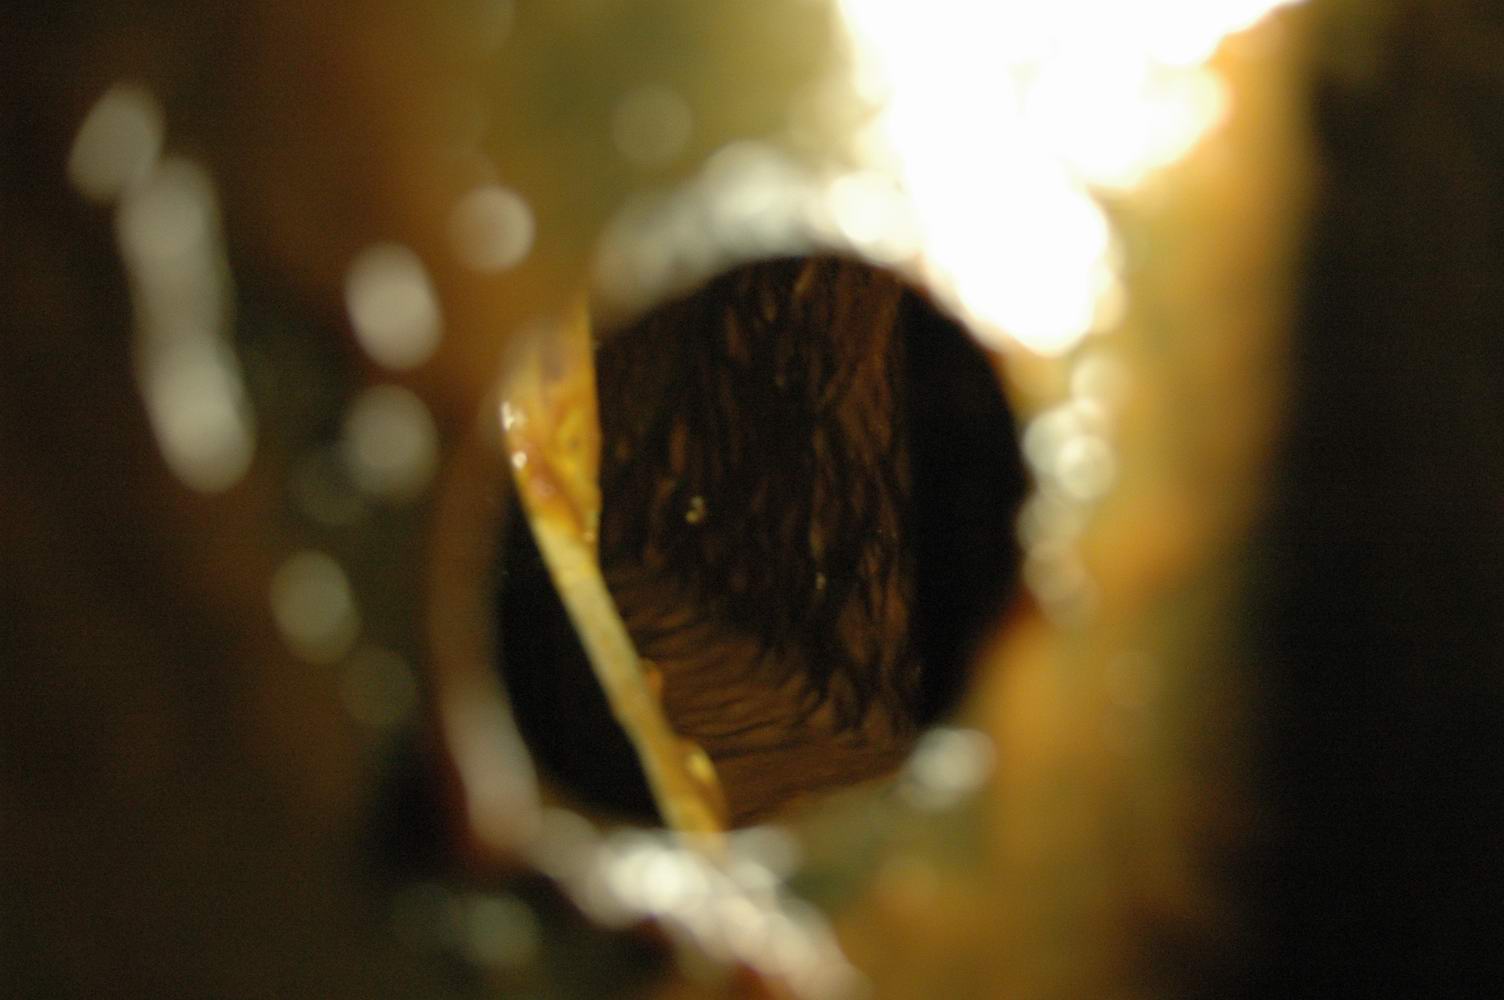
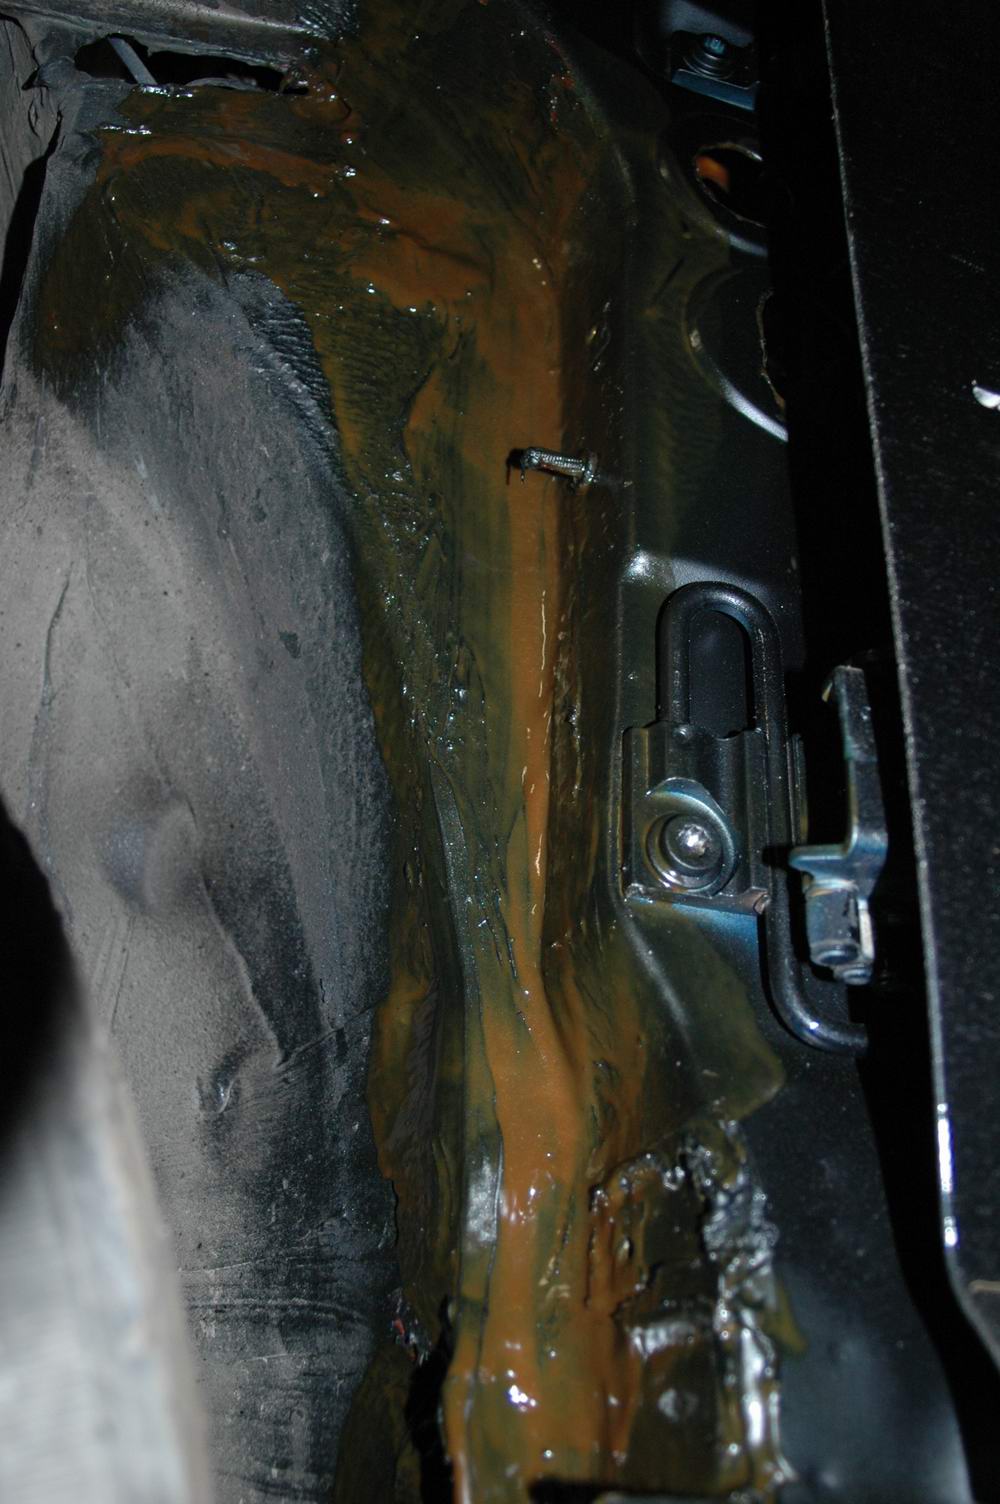
Above: inside the rear of the sill. Not a great picture, but clearly we didn't skimp on materials.
Left: the left A-pillar, thoroughly treated inside and out.
Assembly and cruise control, part 1
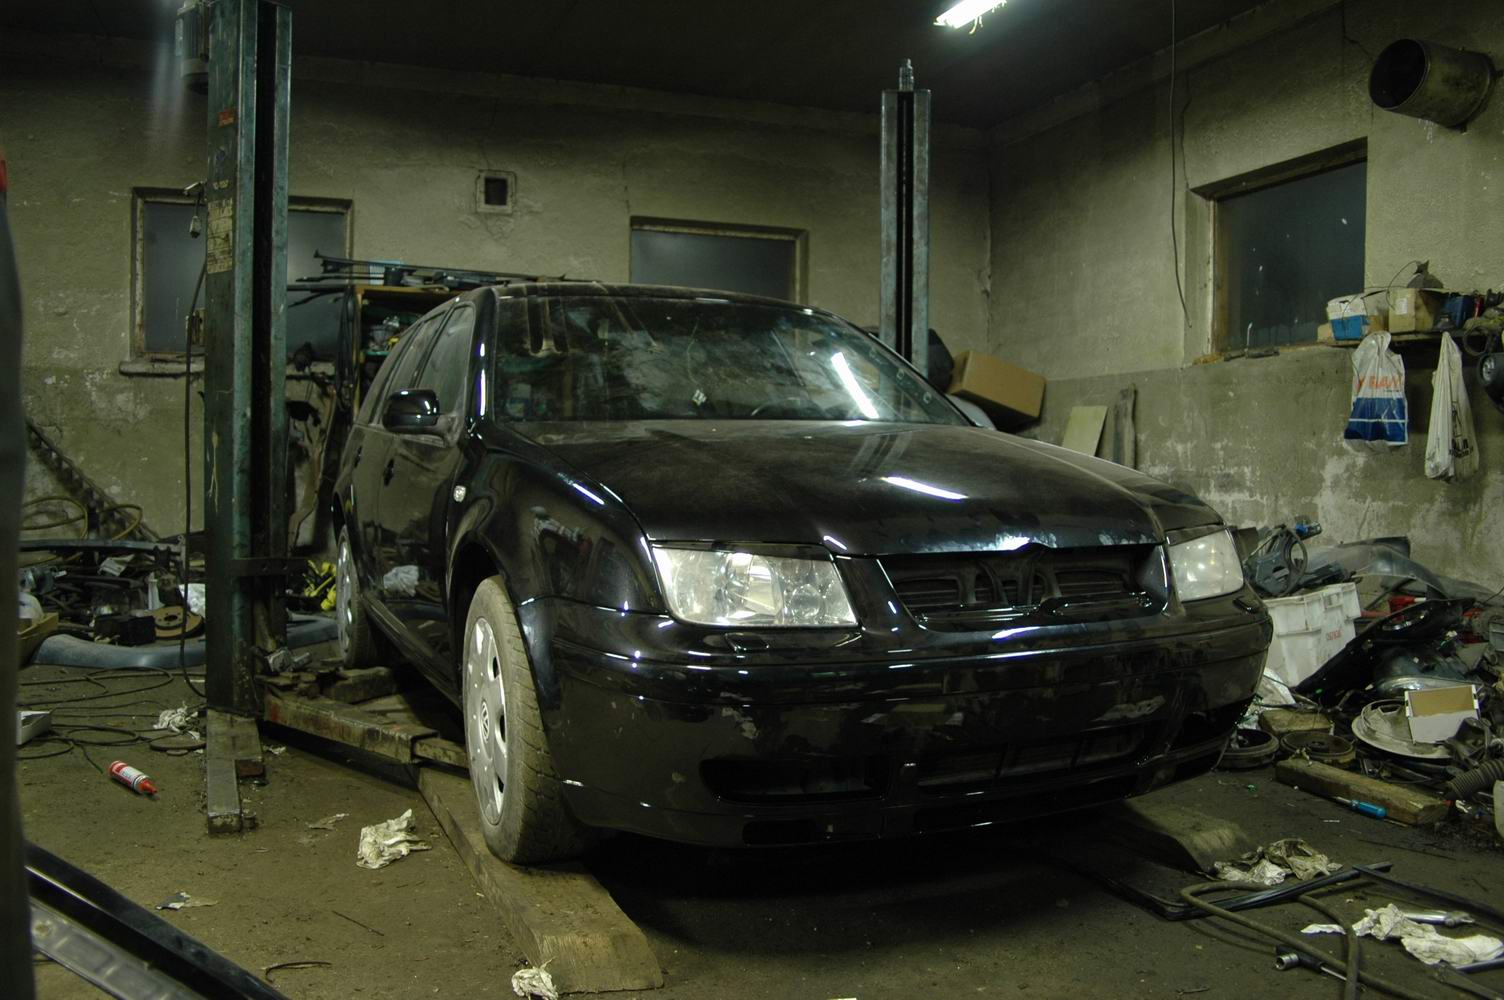
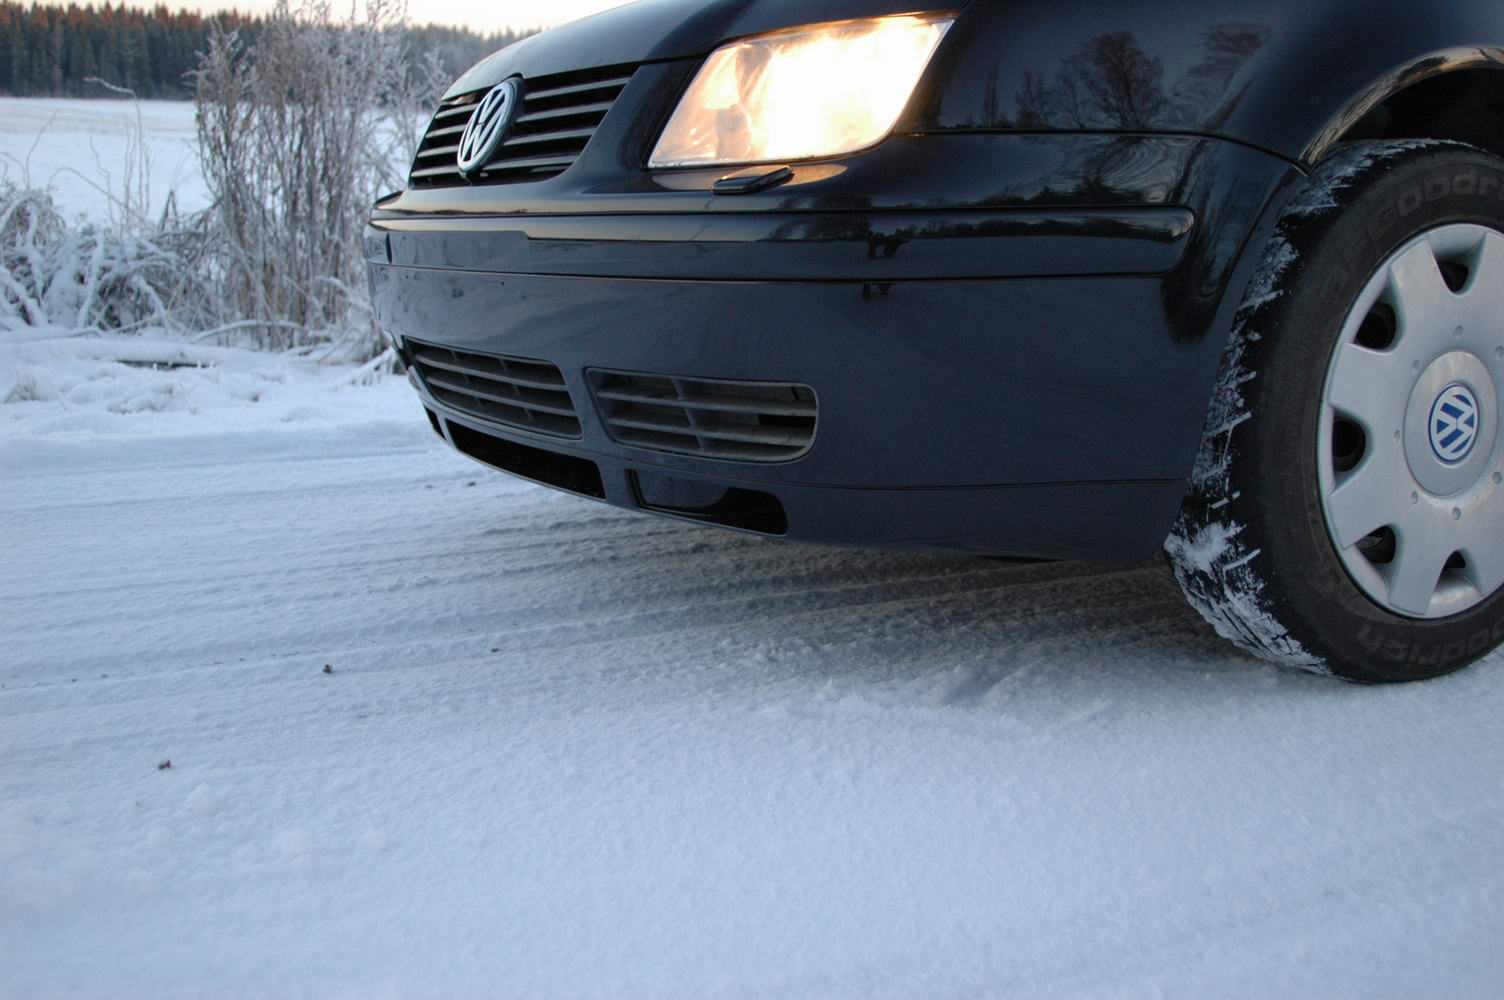
The front end is gradually coming together too. V6 lower valances were fitted to the bumpers.
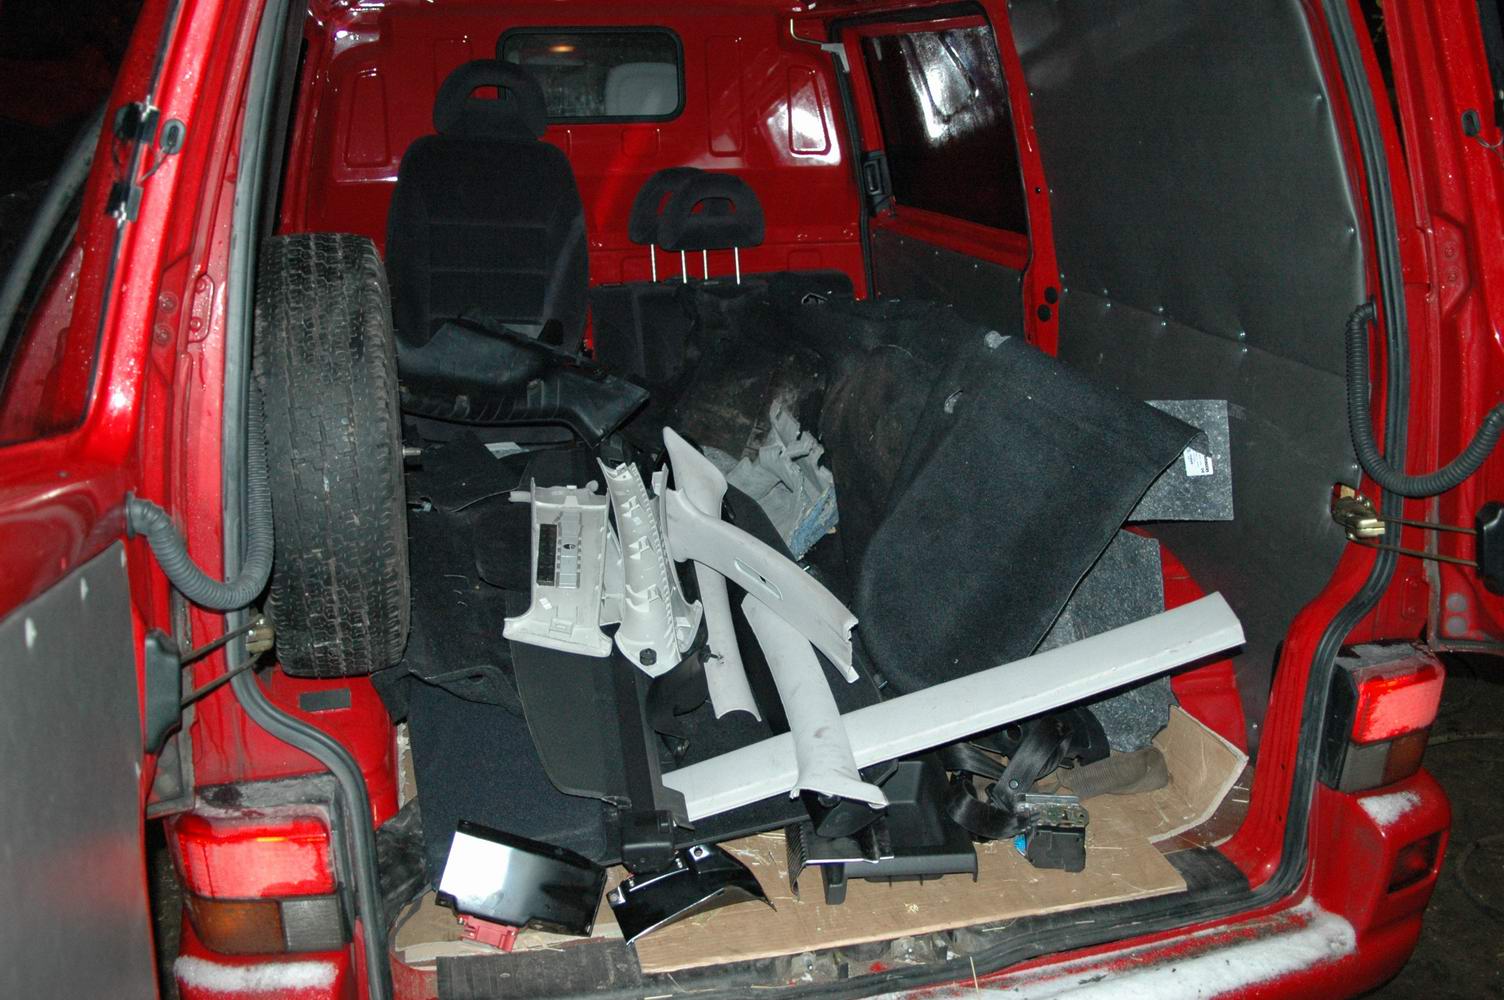
Interior assembly starts here...
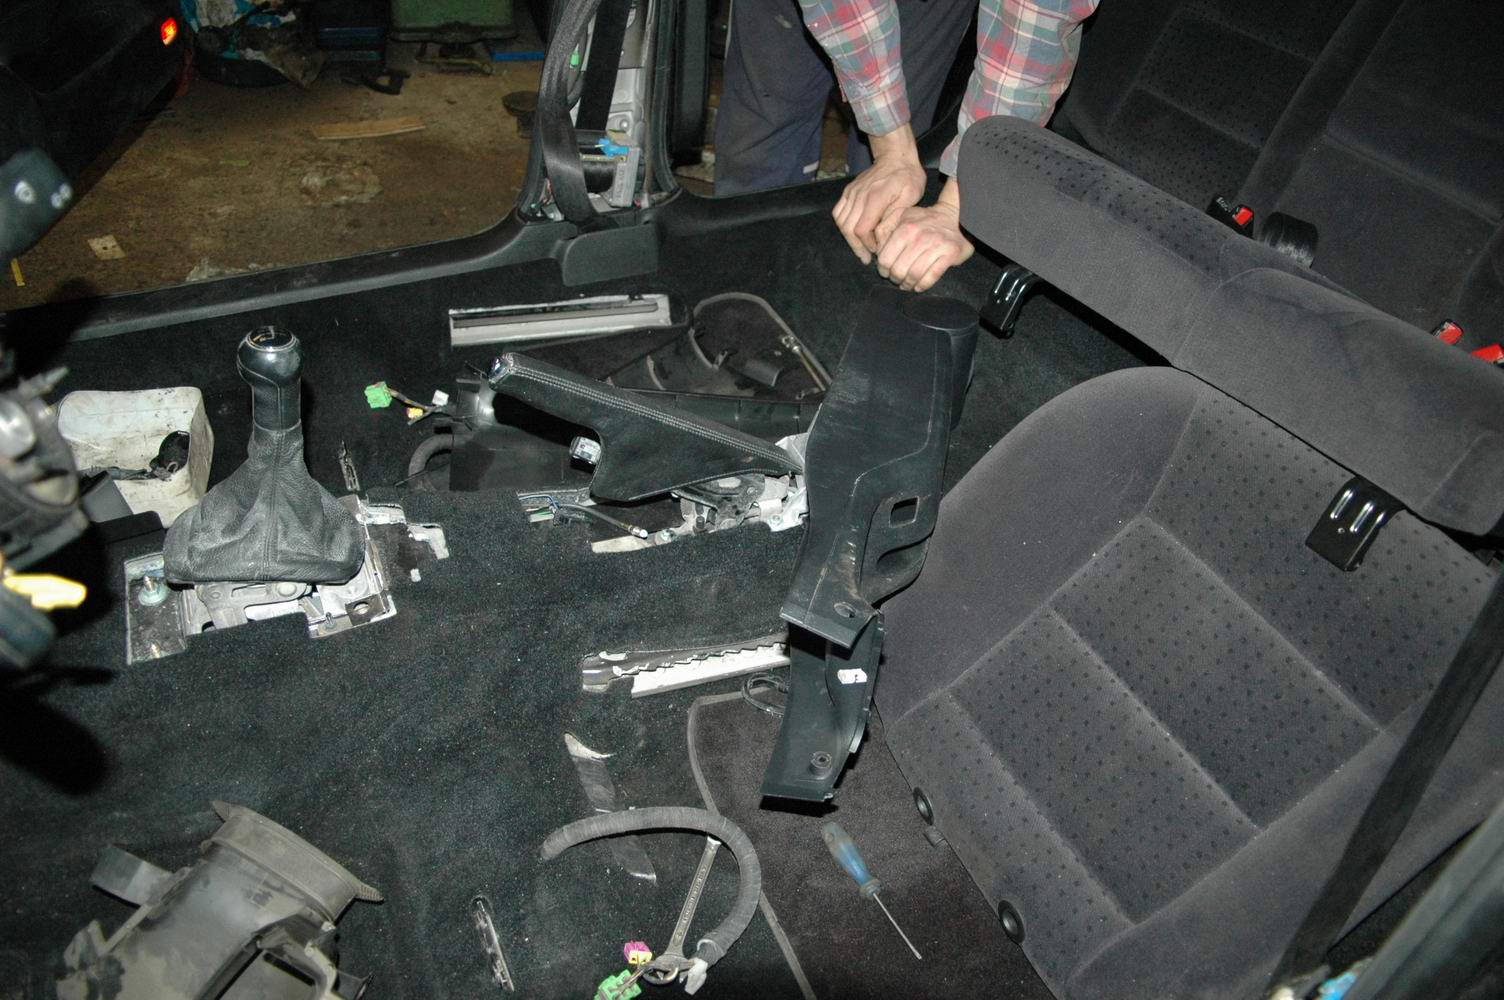
Carpets fitted, rear seat going in.
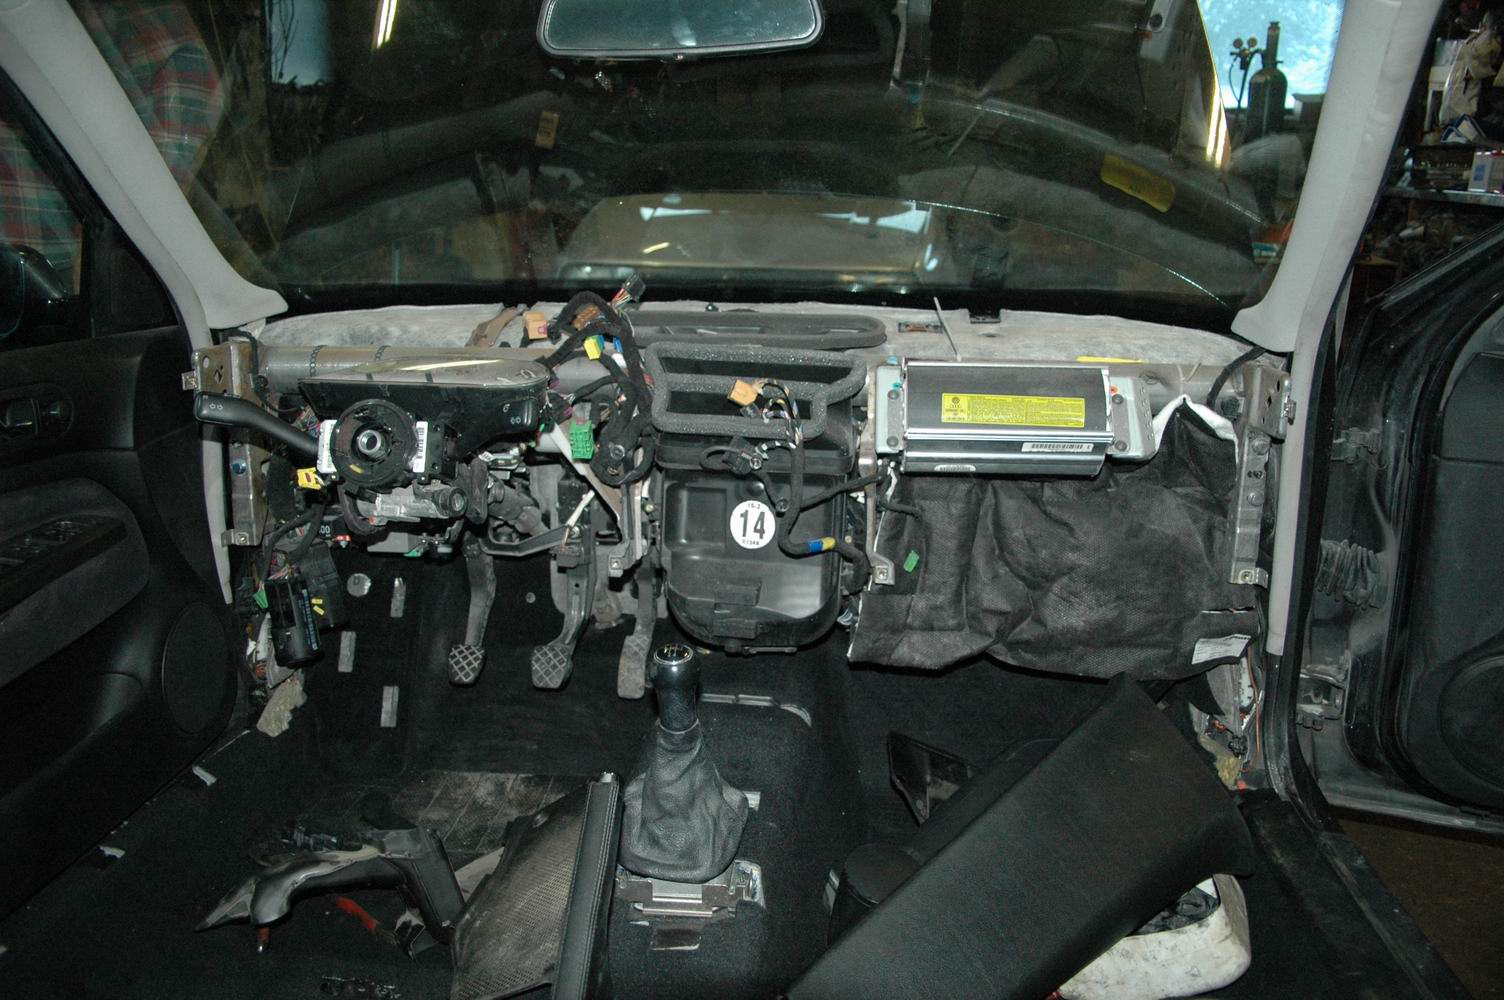
Before assembling more of the dashboard, we install cruise control and remote central locking. Routing and connecting wires is easier this way. Normally the lower dashboard and steering-column plastics would first need removing.
Next, a more detailed look at the cruise installation, as people have asked about it several times.
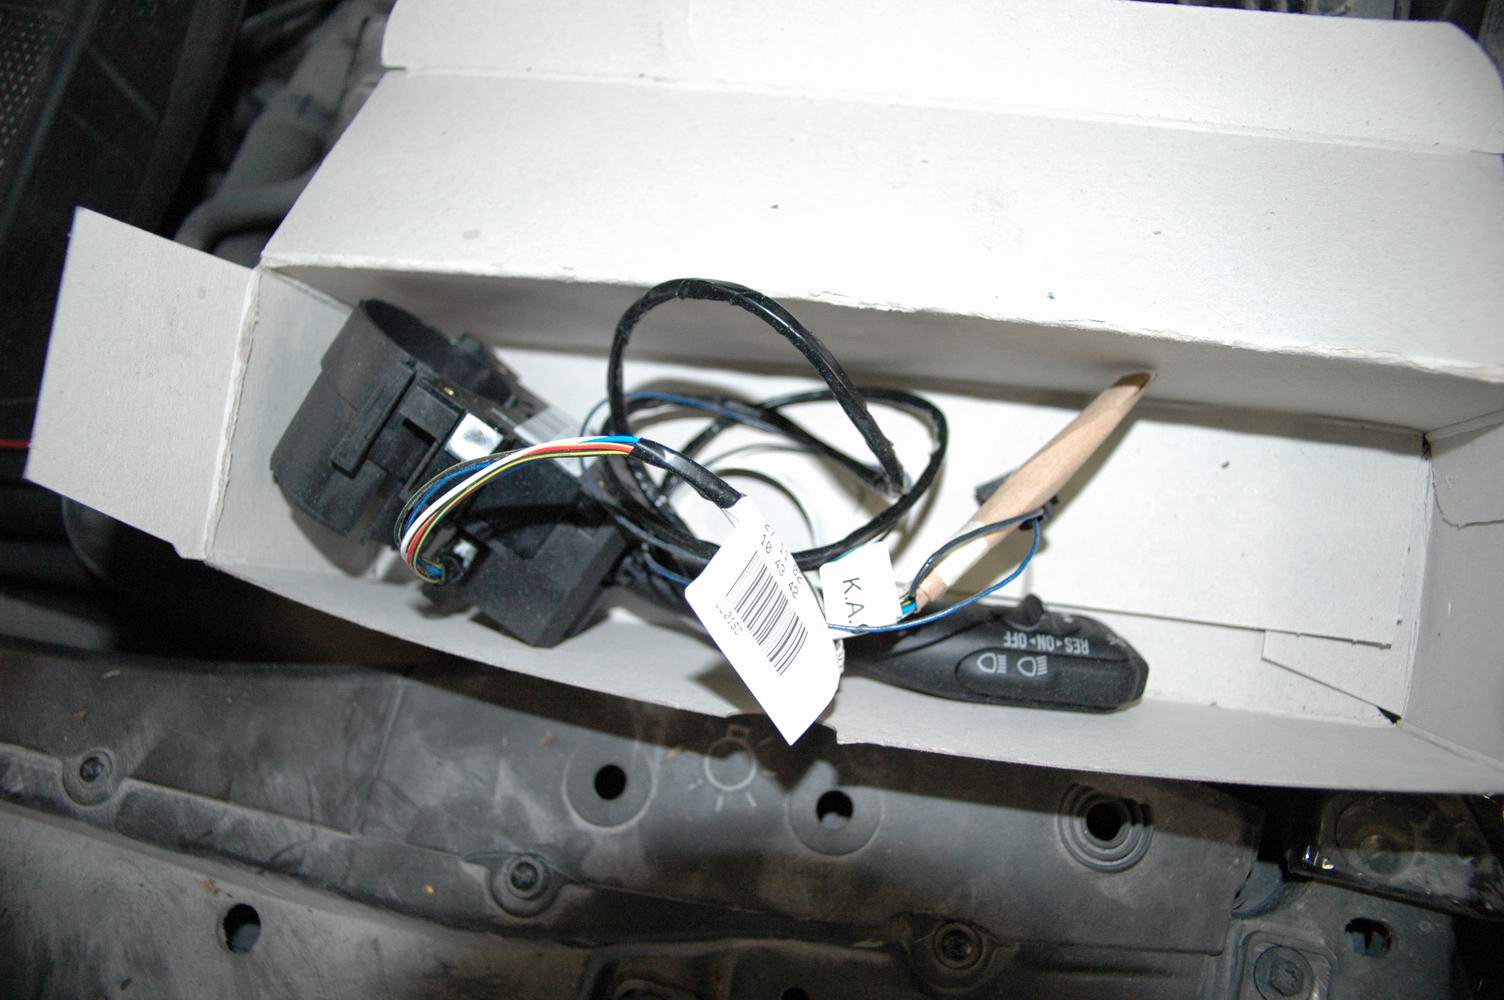
Start by buying an indicator stalk with cruise buttons and the wiring loom from the dealer. In this case the kit was part number 1J0 998 527, about 80 euros, including installation instructions.
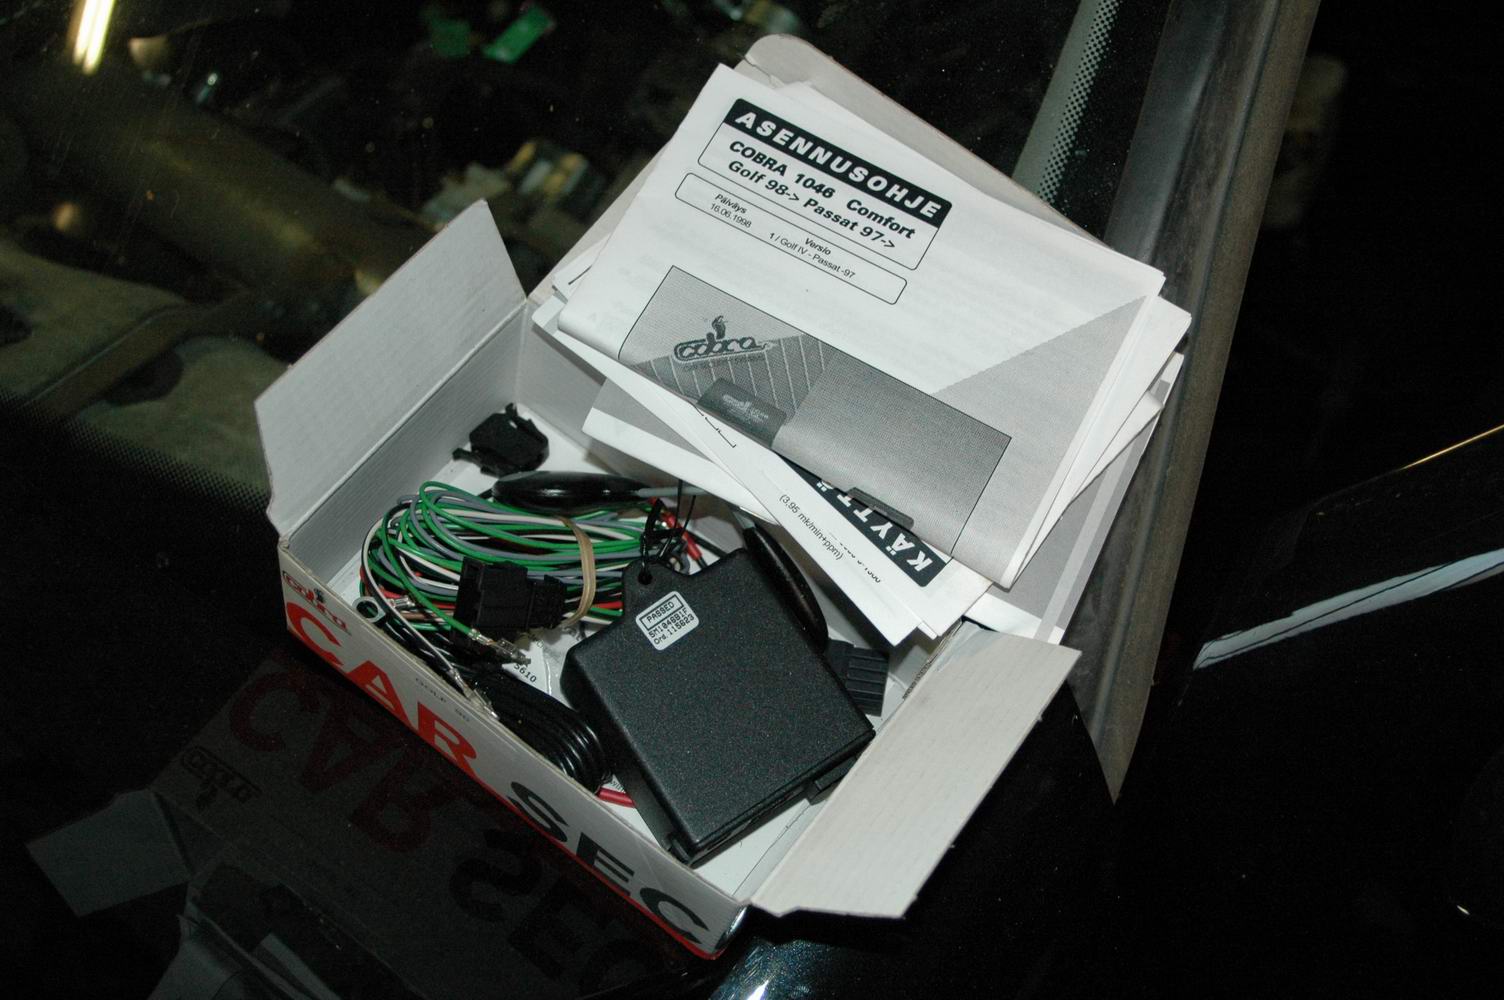
Remote central locking was installed at the same time. We chose a model-specific Cobra kit, almost plug-and-play, much like the cruise kit. We won't cover that installation in more detail here.
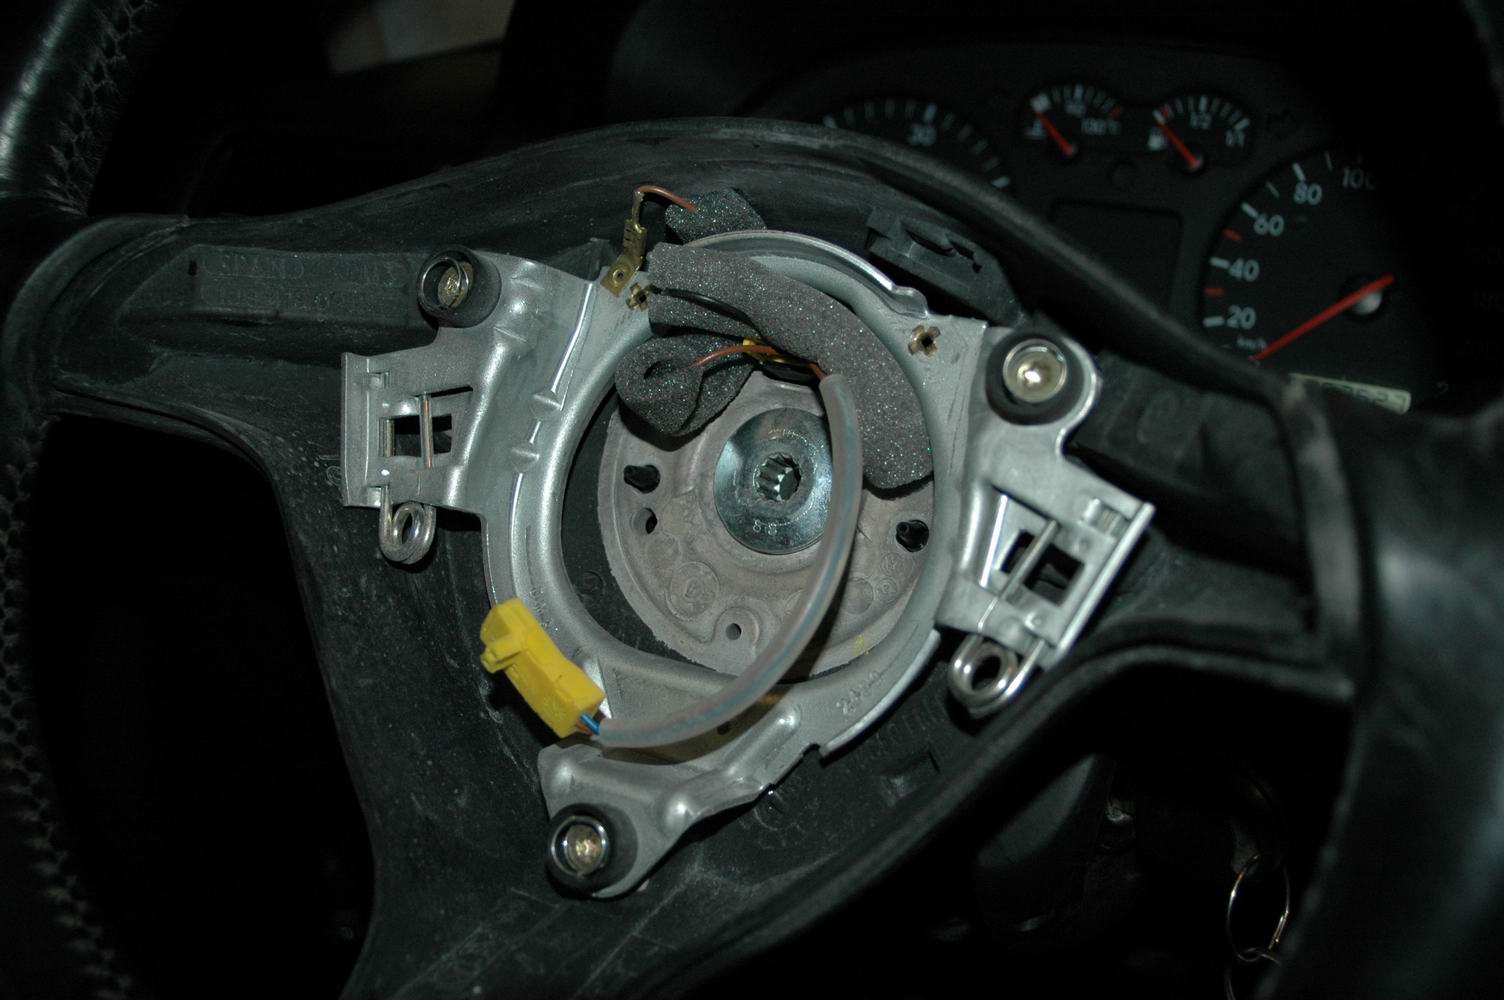
First remove the steering wheel. Before doing that, put the keys well out of reach to avoid unnecessary fault codes and an airbag warning light later. Some people also disconnect the battery before starting. The airbag centre comes off by bending the springs shown in the photos through the holes behind the wheel, for example with a screwdriver, then pulling the centre free. No force needed, but some skill or practice. Unplug the airbag connector carefully to avoid damage. The wheel then comes off with a suitable M12 XZN bit. Centre the wheel before removing it so it will hopefully go back straight first time.
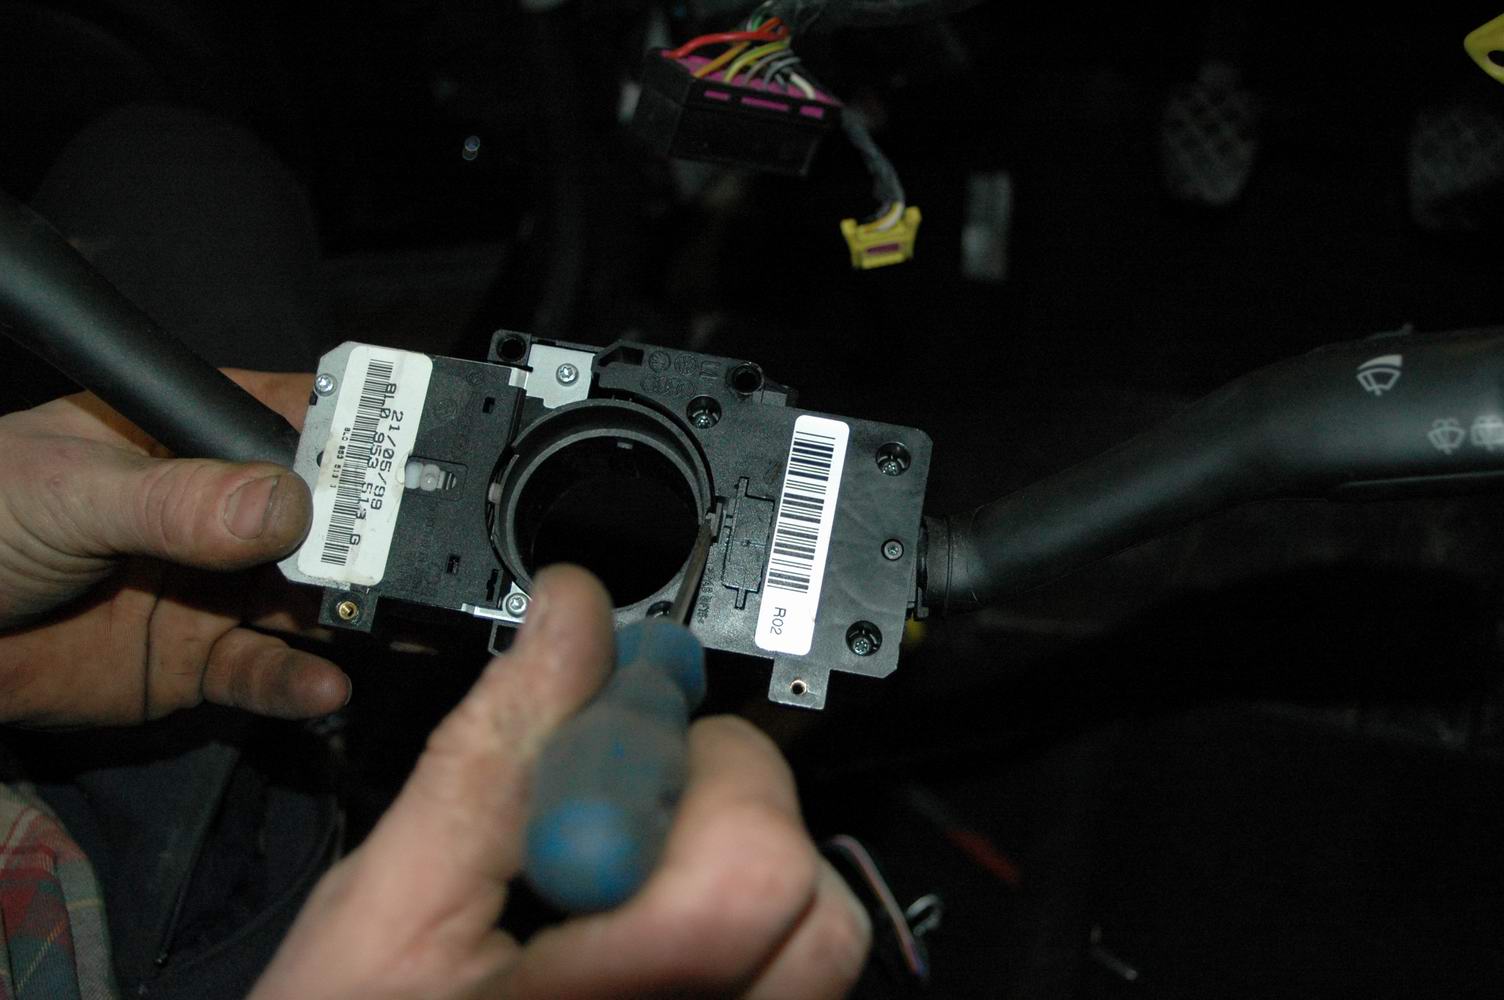
We've jumped ahead here: the stalk assembly is in our hands and the clock spring removed. Separate the stalks by releasing the little clip with a screwdriver.
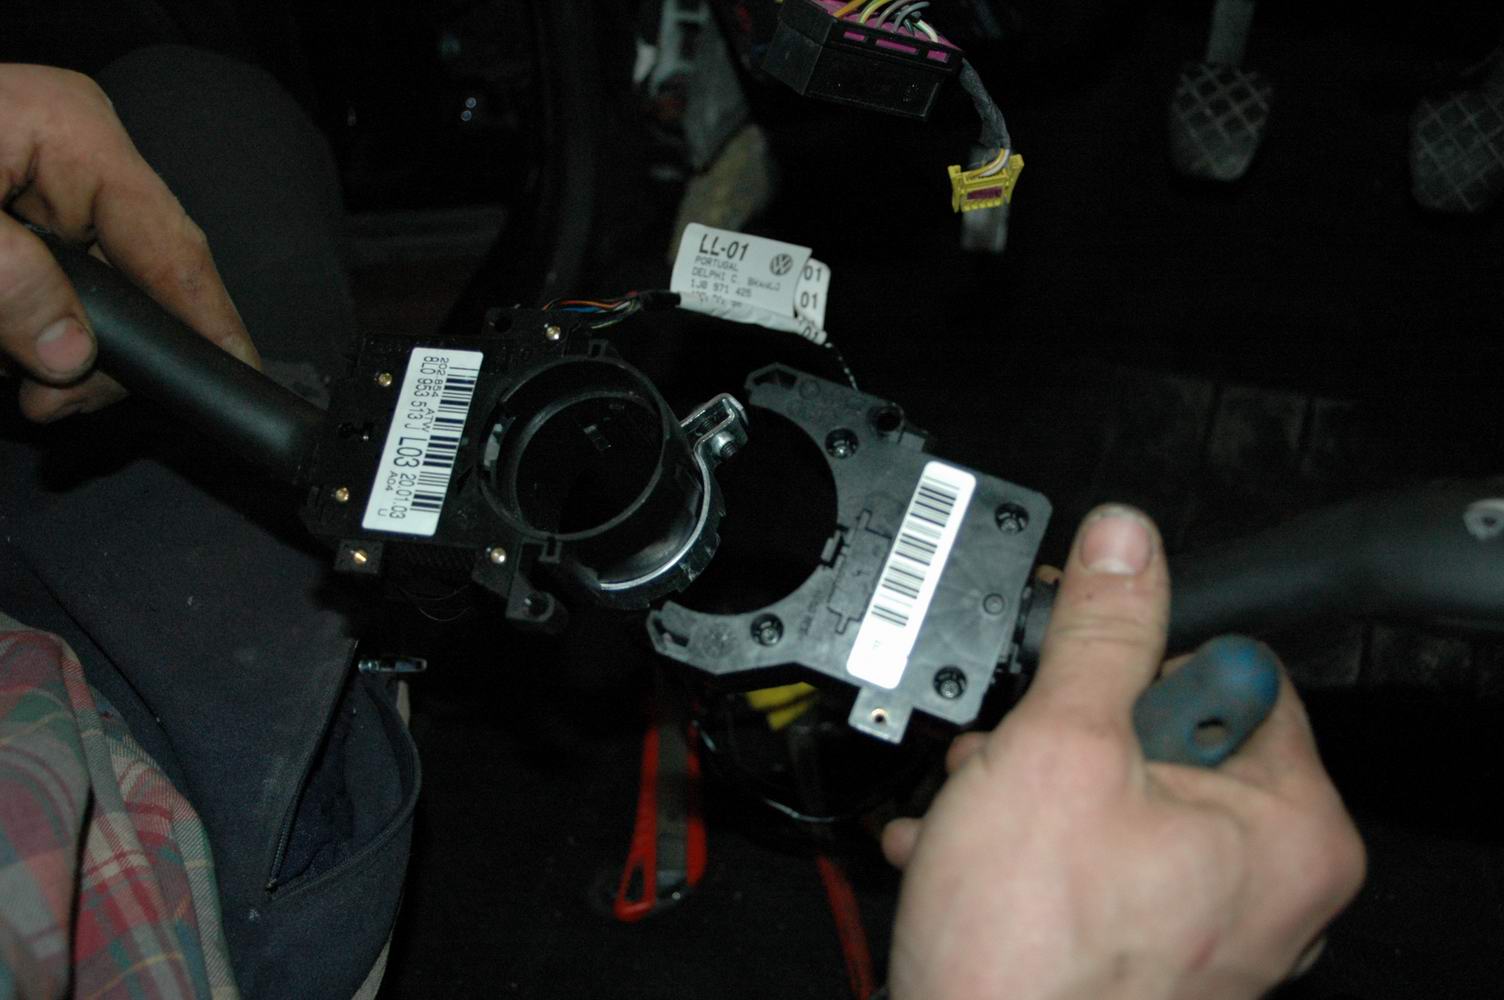
Like this... replace the relevant stalk...
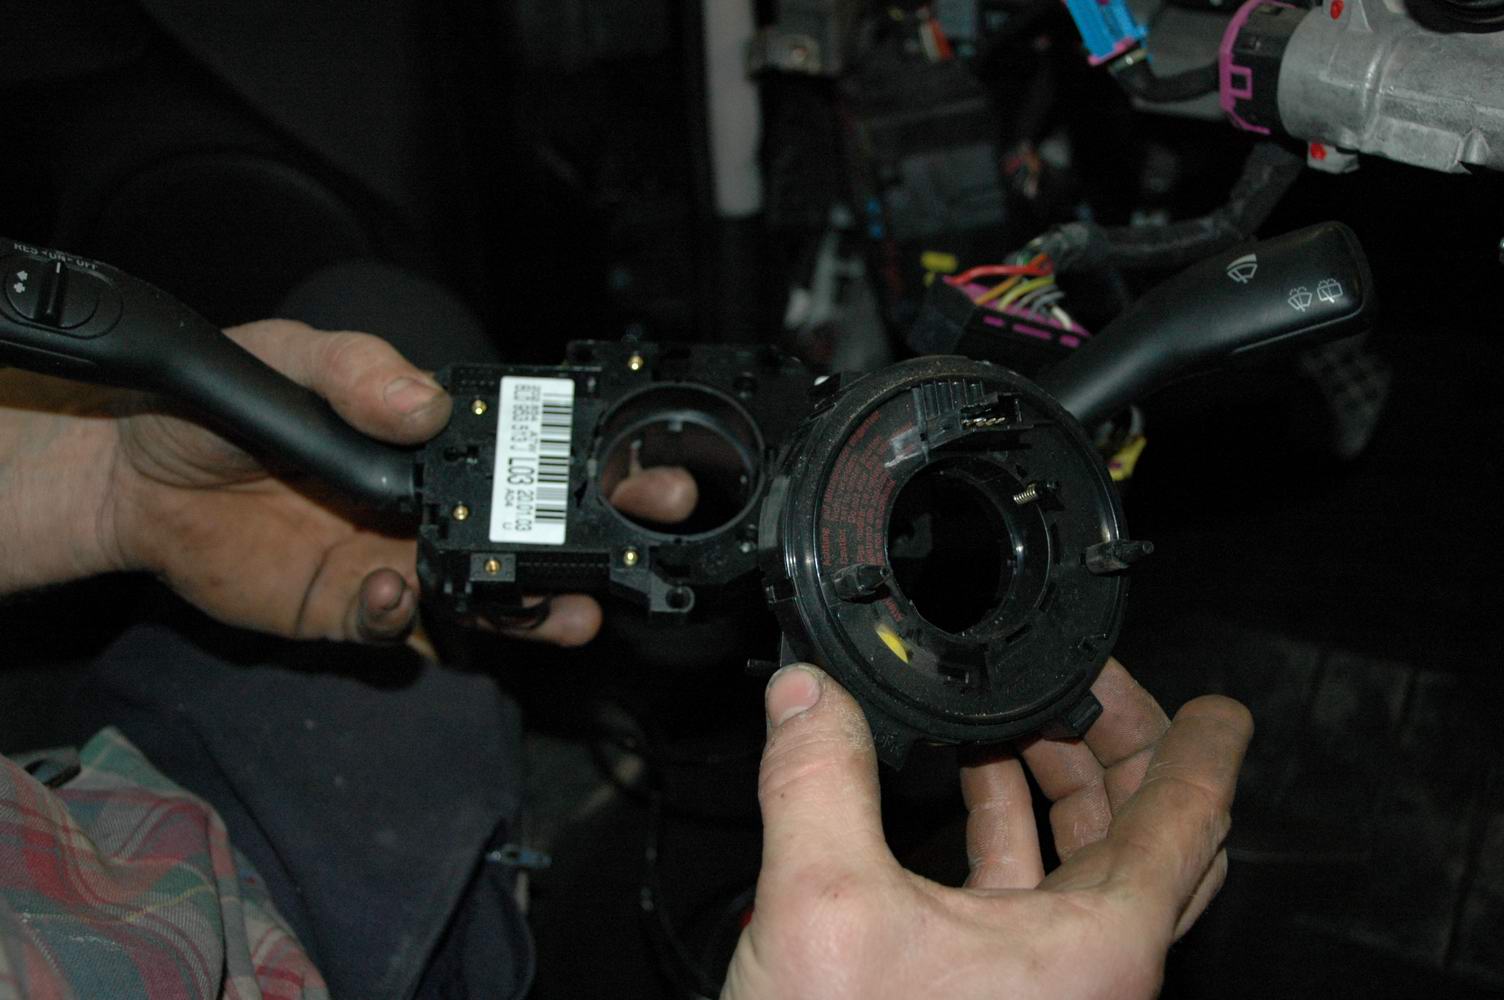
...and attach the clock-spring assembly to the stalks.
Continued on the next page.
Cruise control, part 2
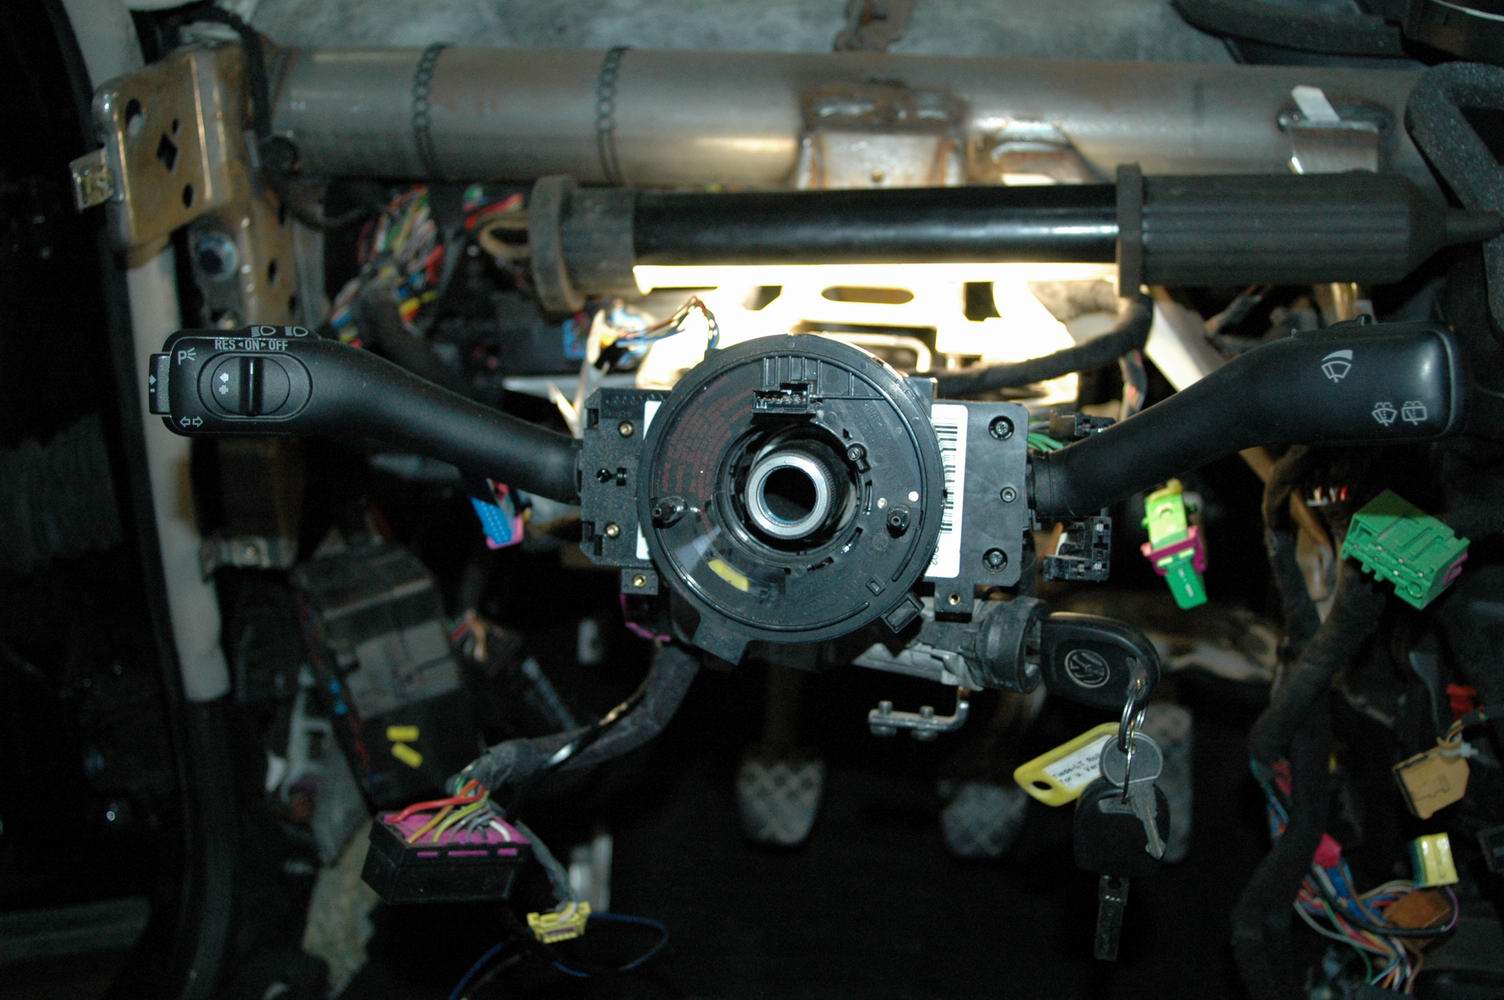
The stalks and clock spring are now waiting for the steering wheel. Refit it in reverse order. Don't switch on the ignition before reconnecting the airbag, or you'll be clearing fault codes...
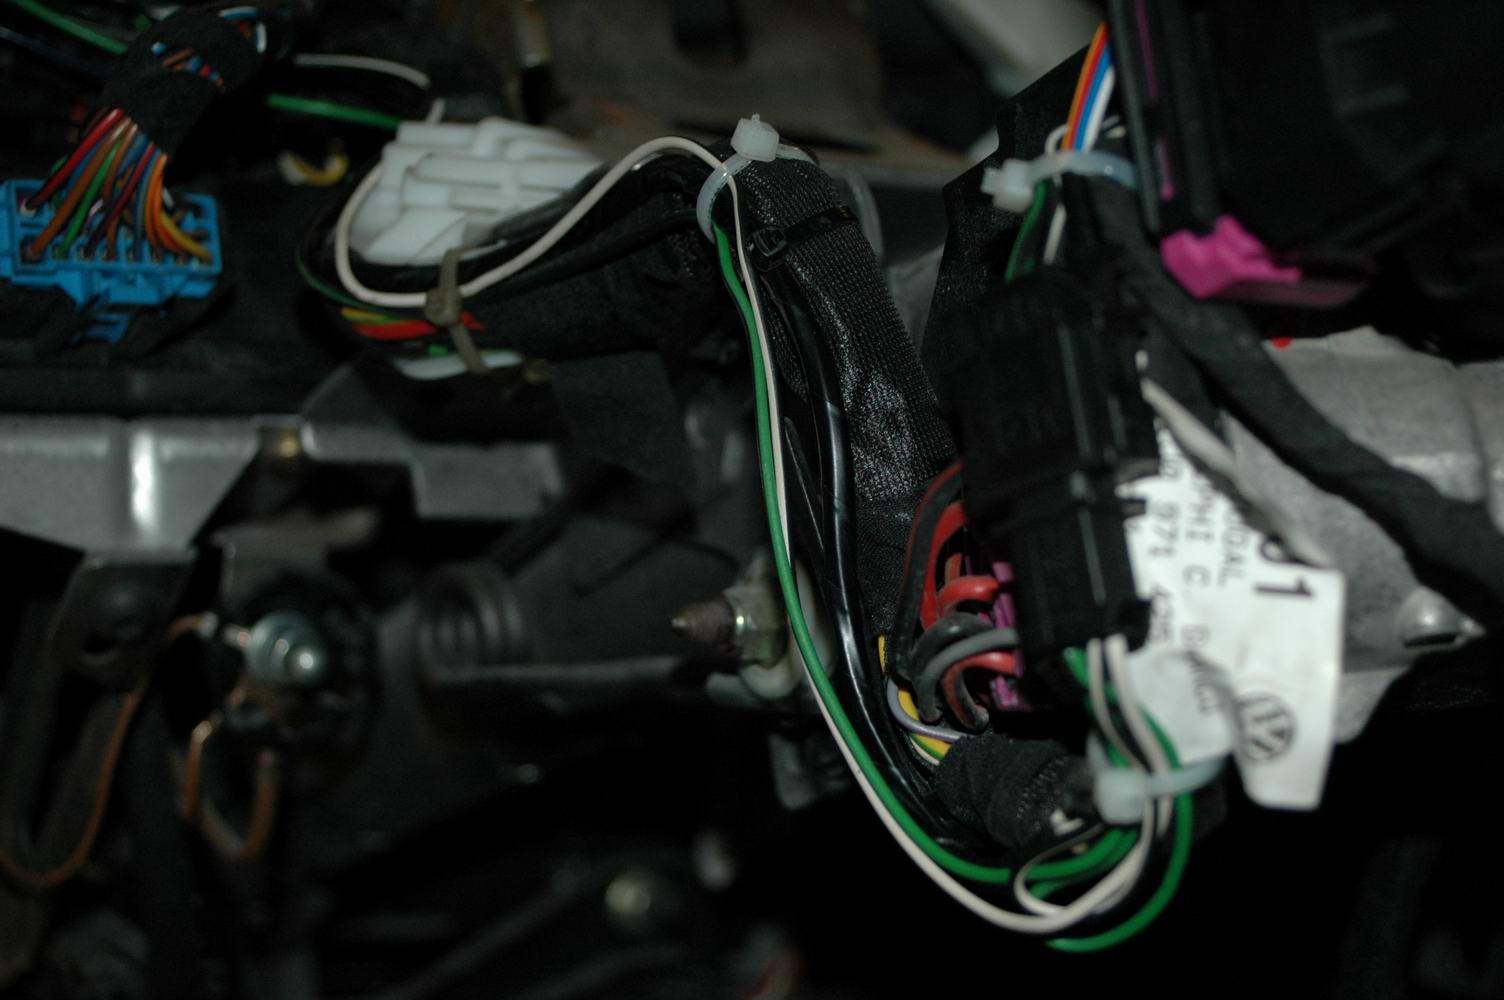
Route the wires down the steering column alongside the existing loom with cable ties. The bundle also includes remote-locking wires.
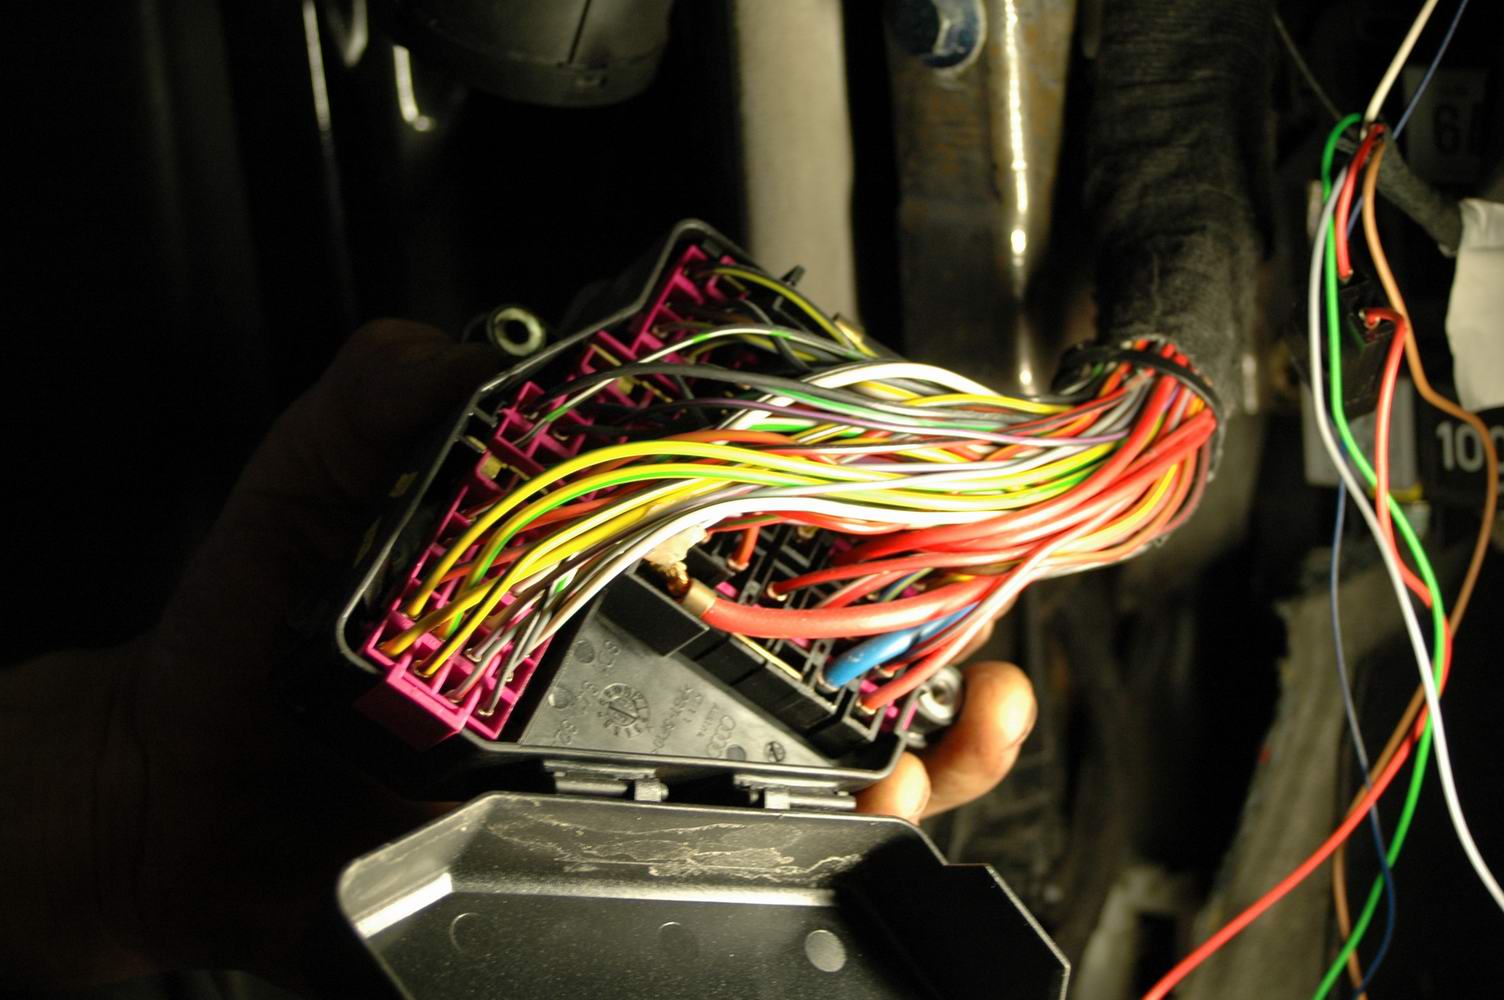
Next open the fuse panel.
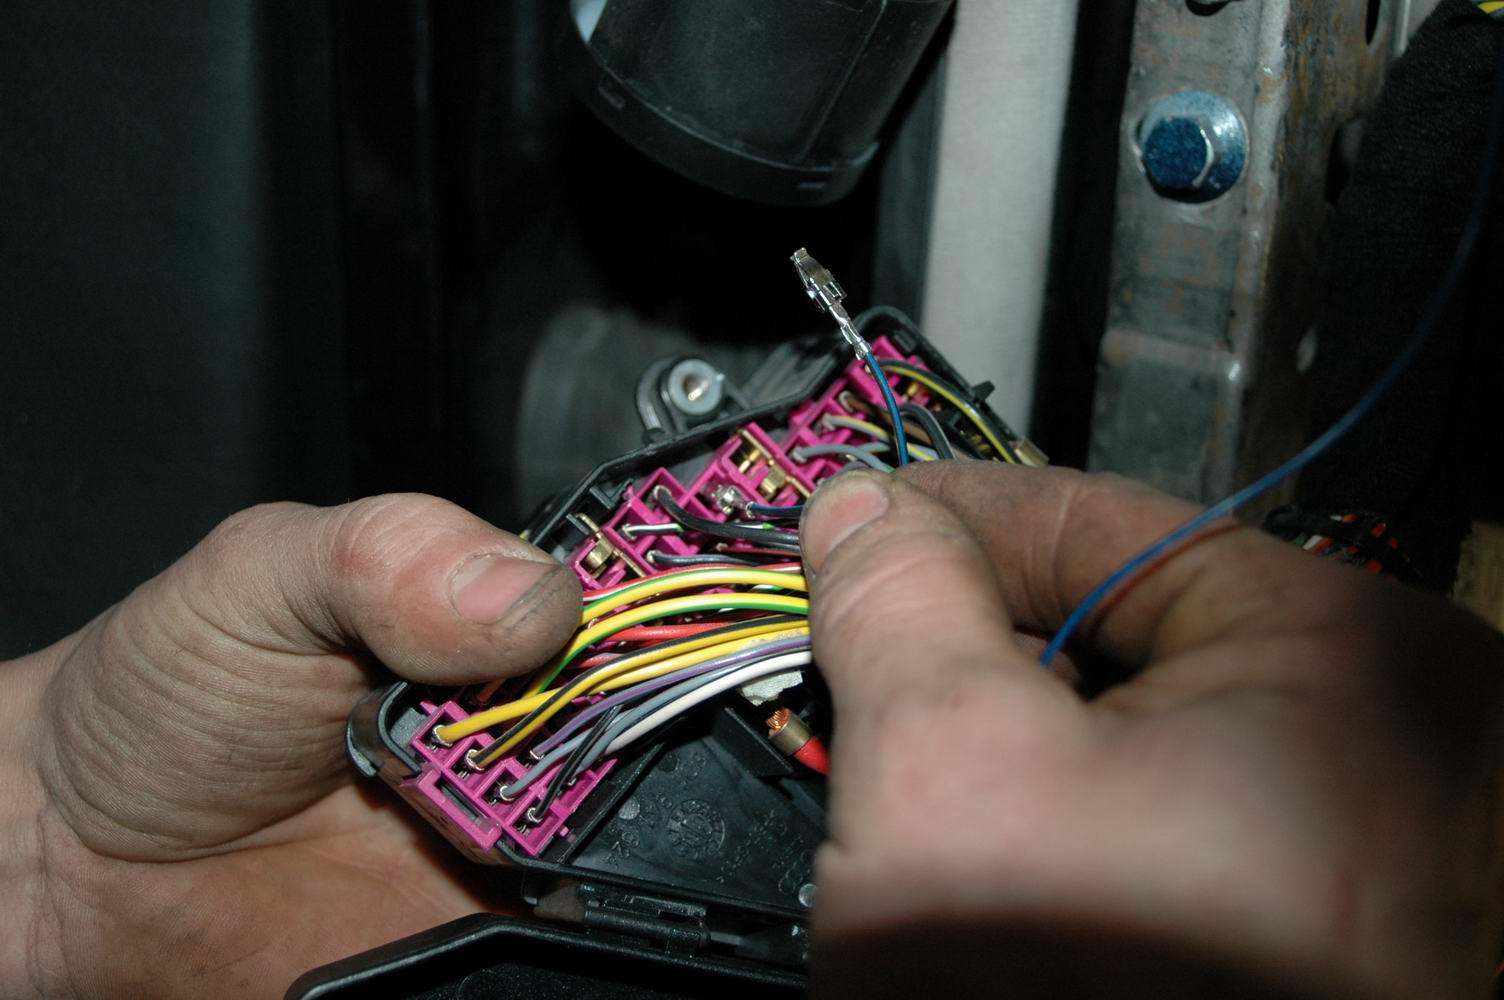
Remove the wire from the position shown and connect the cruise loom's power wire in its place.
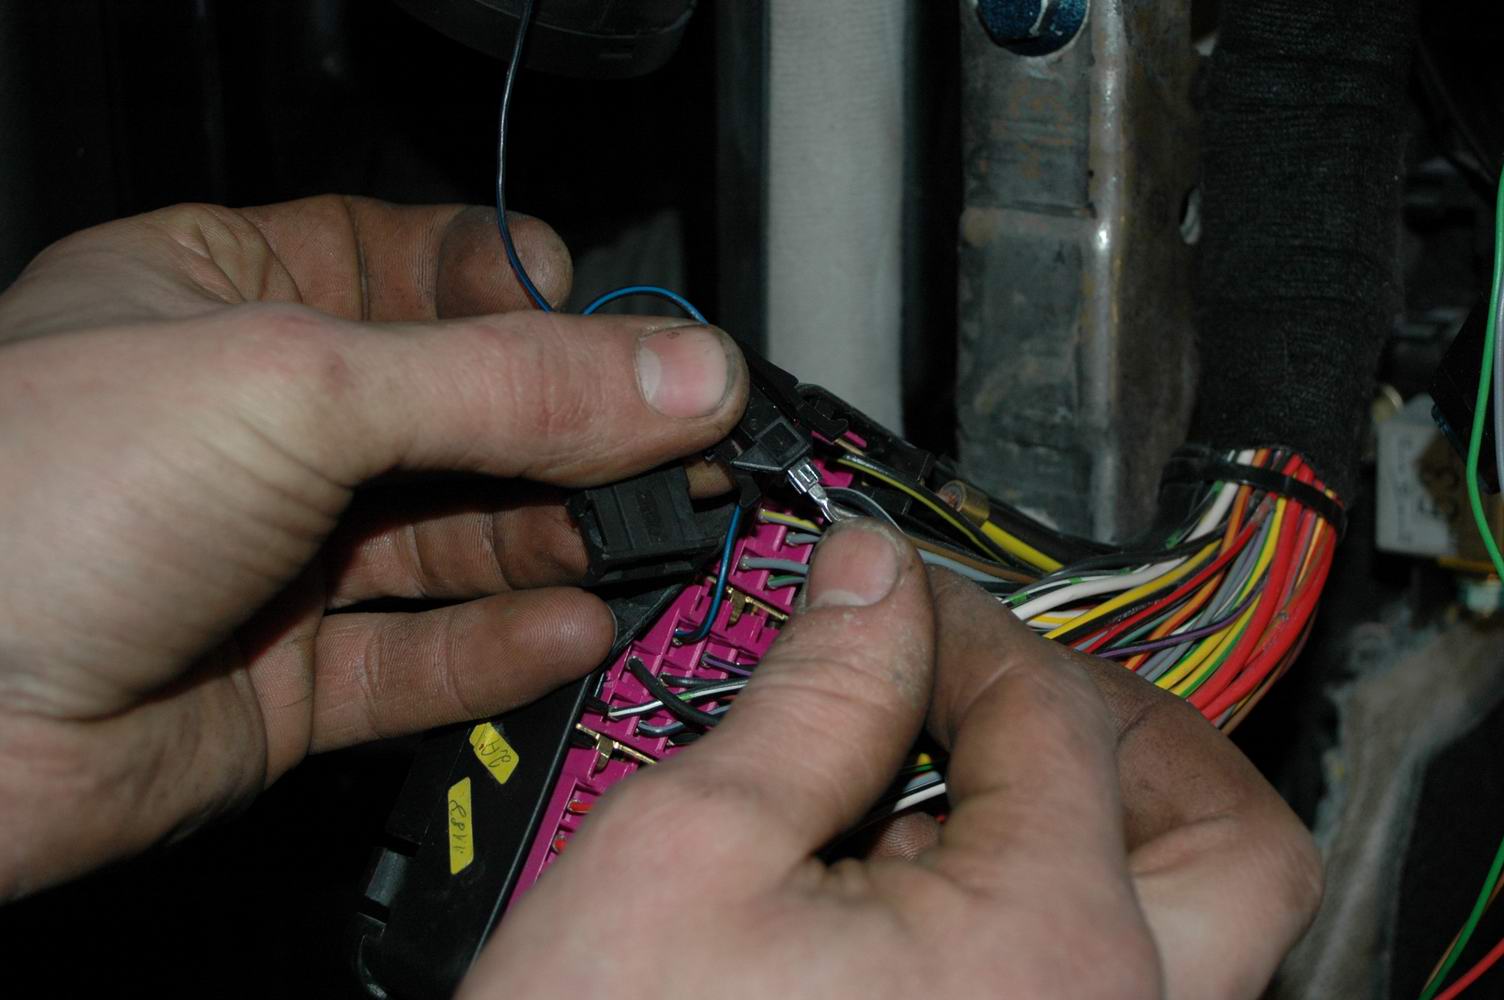
Put the removed wire into the connector housing supplied with the cruise kit...
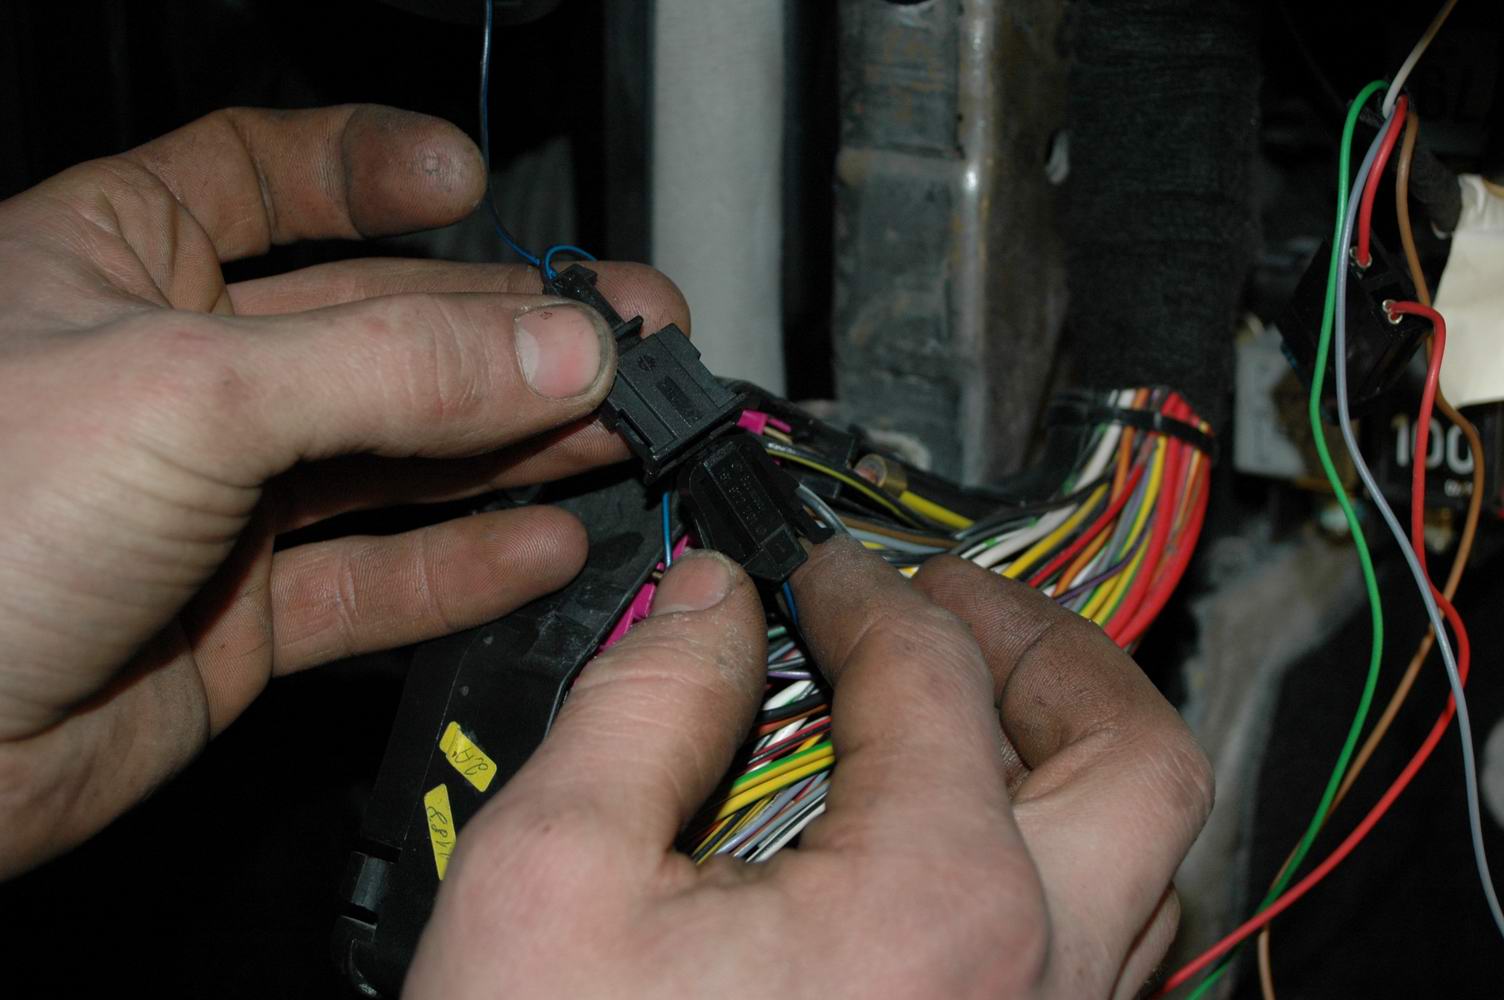
...then connect that to the cruise loom connector.
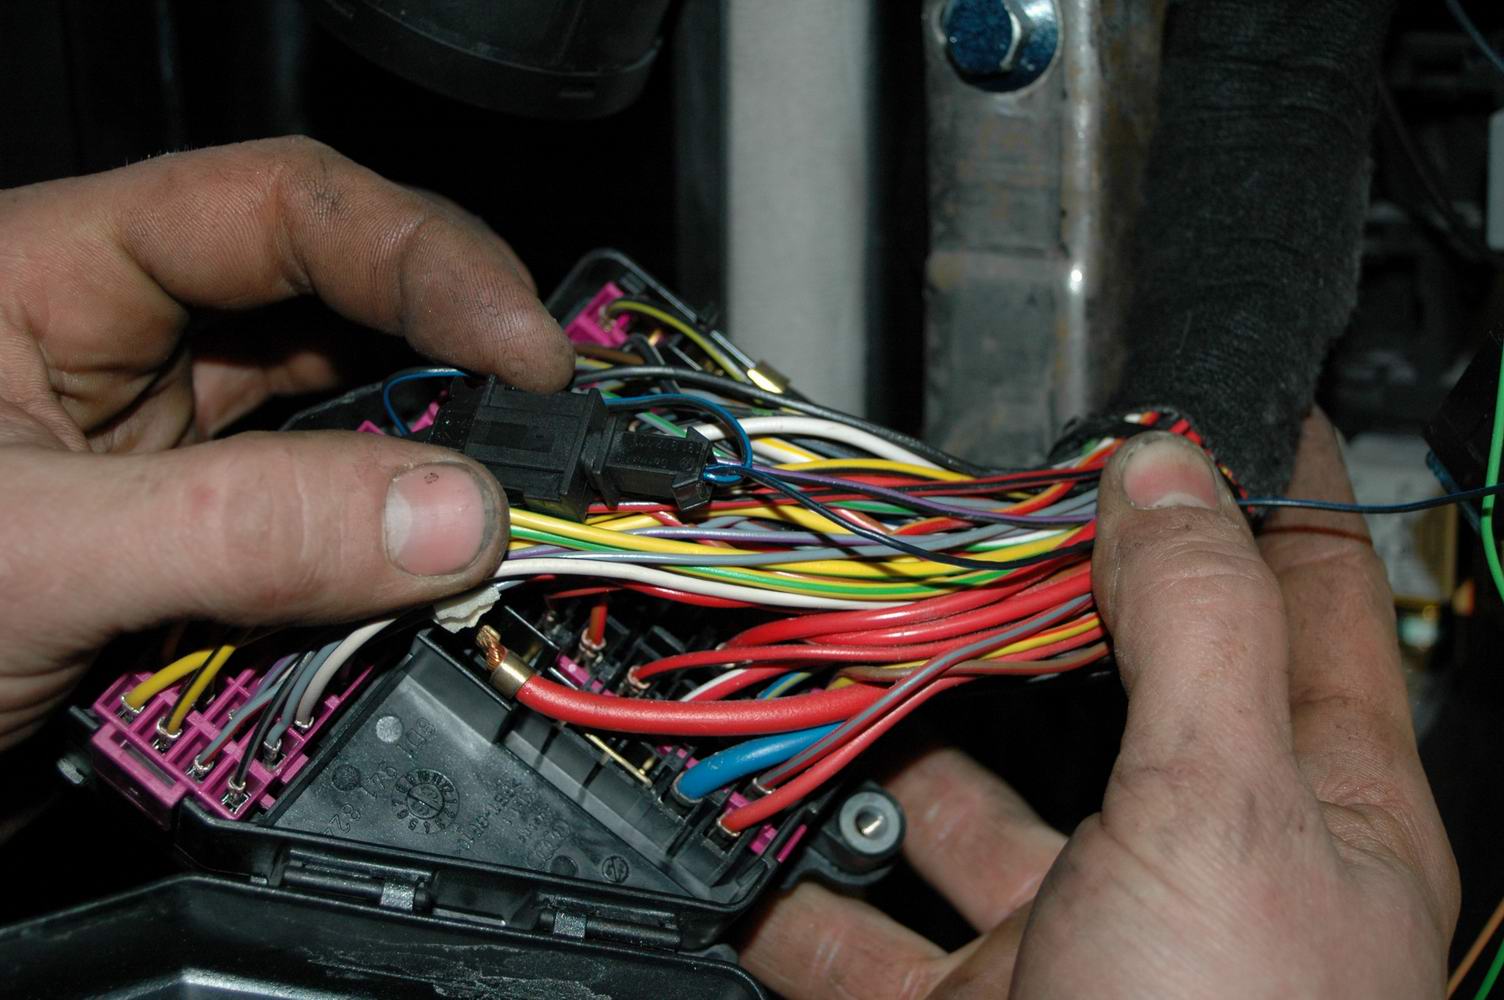
Bundle the wires and close the fuse panel.
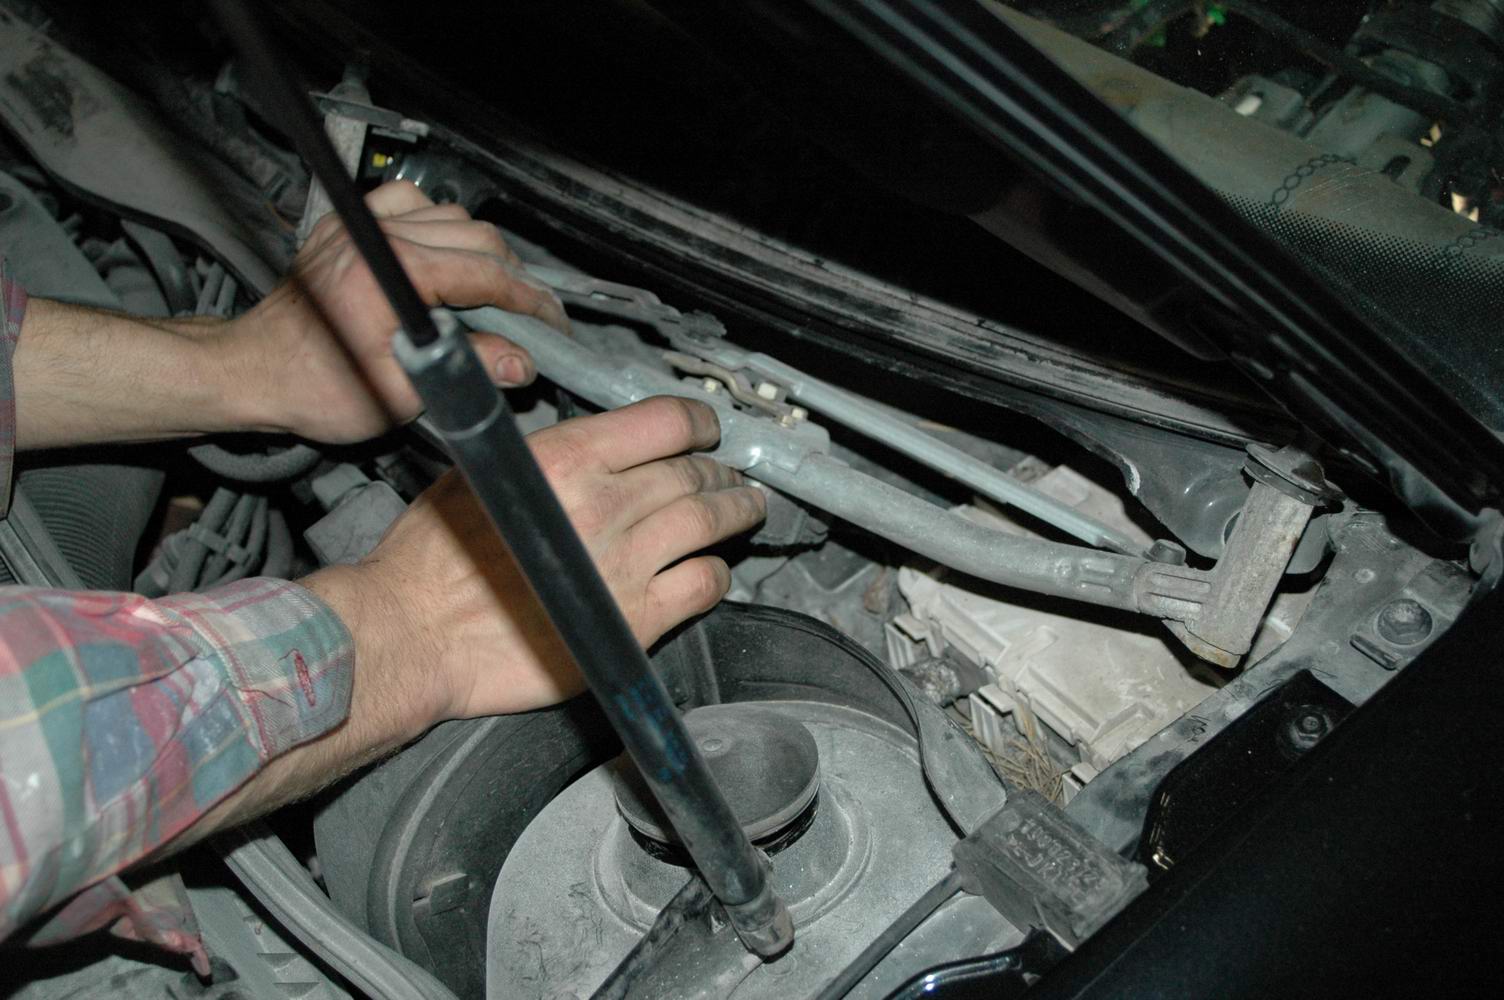
Then into the engine bay. Remove the wiper arms, plastics below the windscreen and wiper linkage. Under the linkage is a white plastic housing containing the connections through the bulkhead.
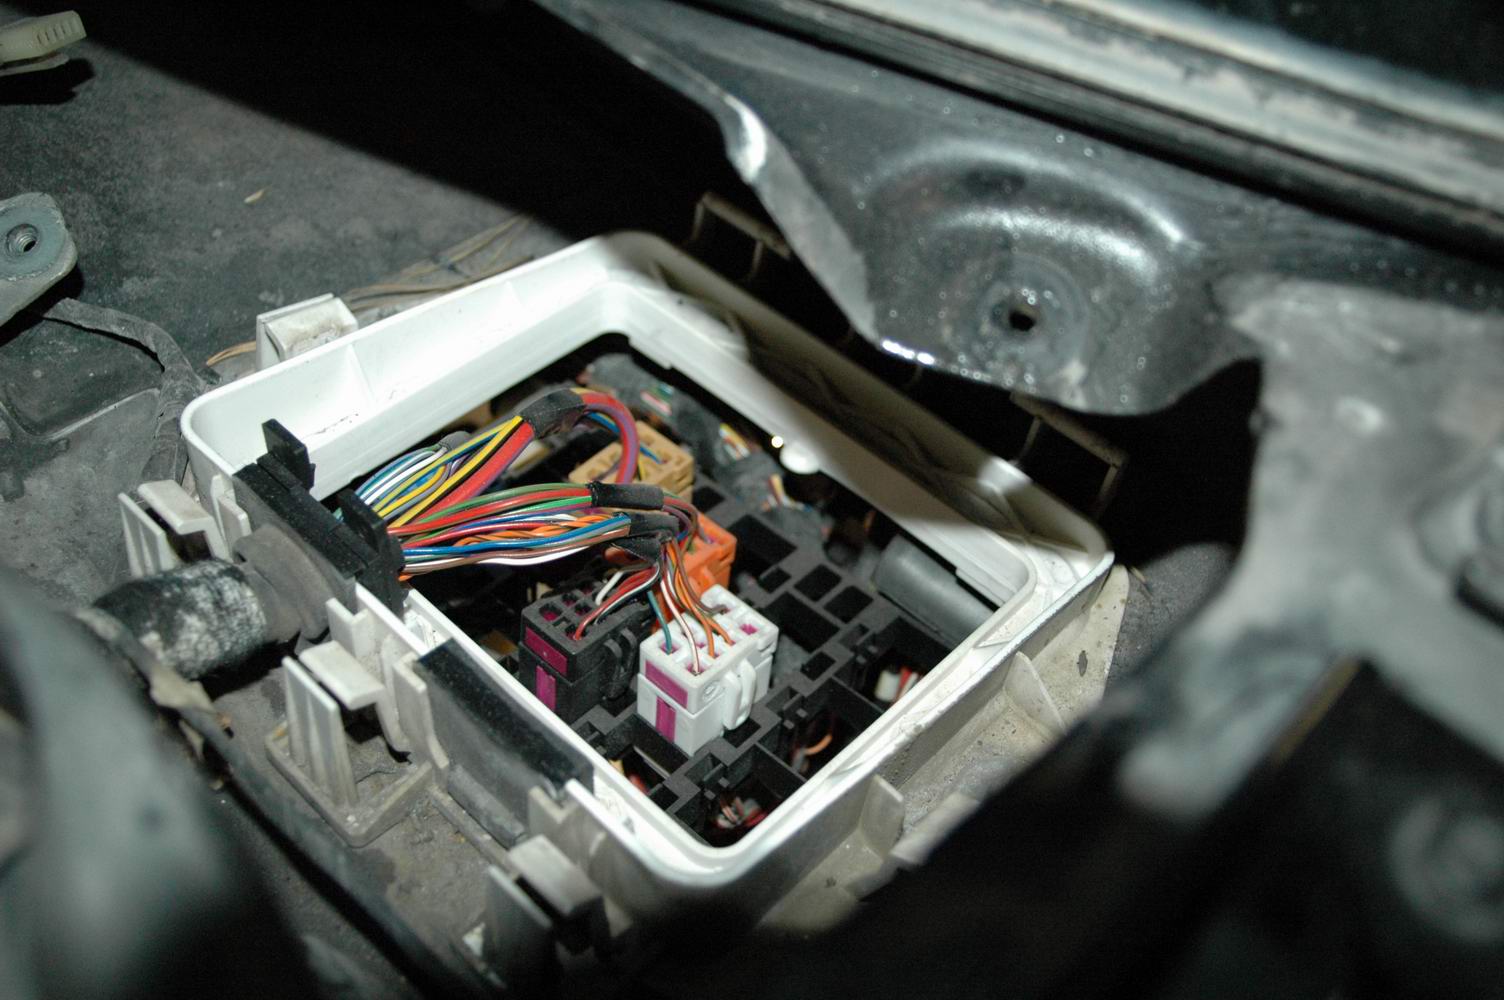
The housing opened. On a TDI the ECU's cruise-control wires already run as far as this housing, so only the interior-side cruise loom needs connecting here.
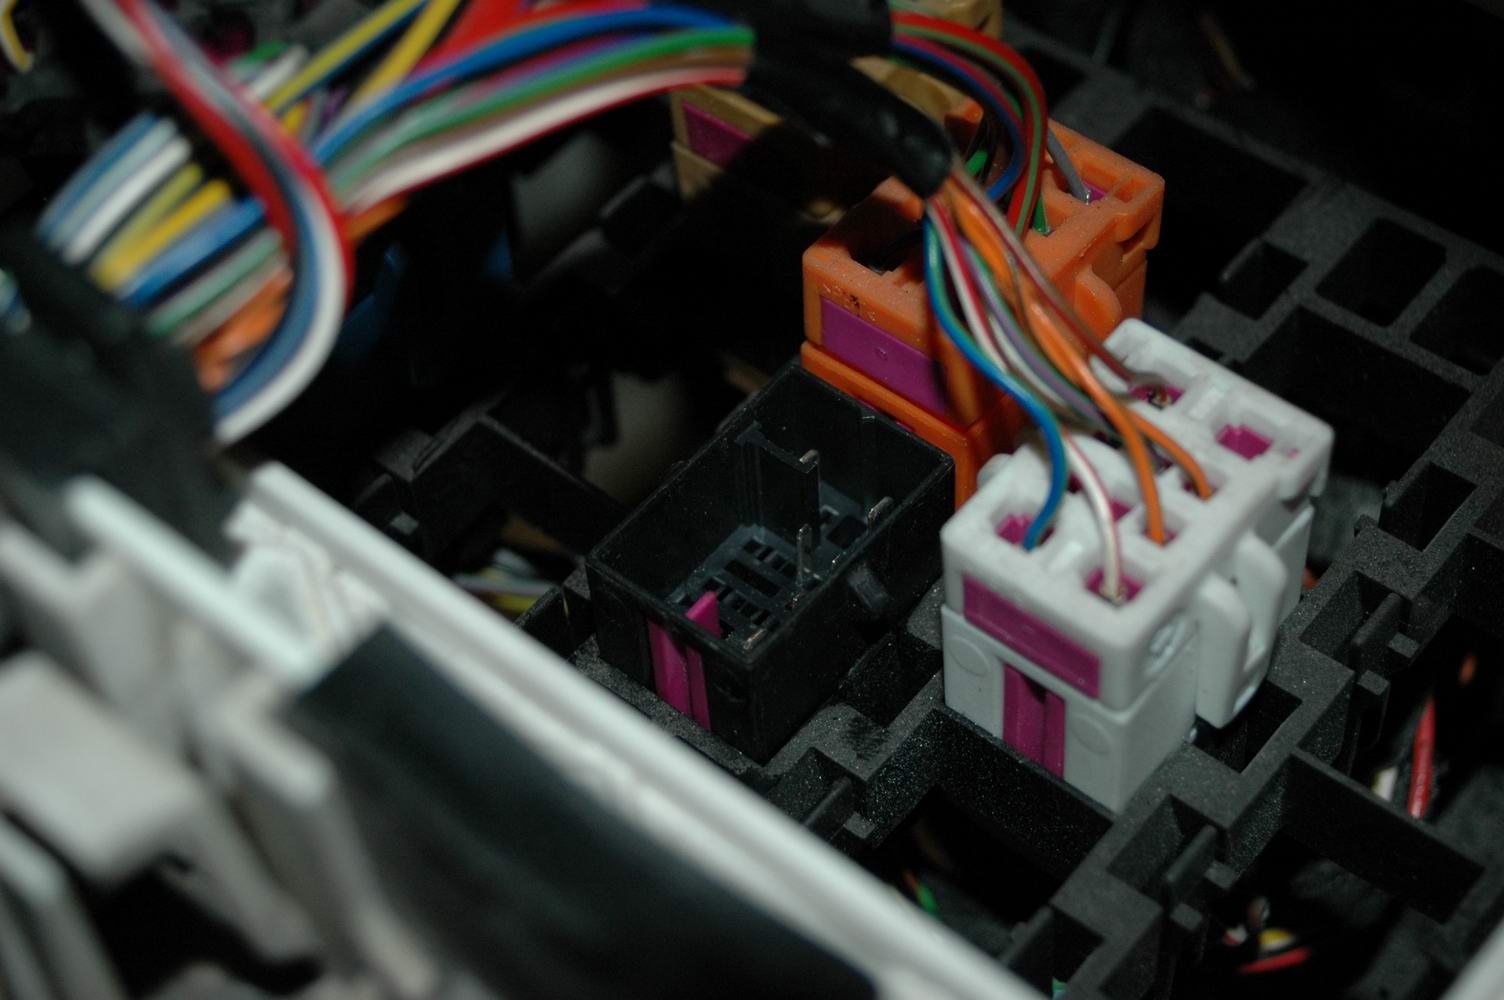
To connect the wires, remove the black connector and lower its other half into the driver's footwell. Connect the cruise wires to the correct positions, following the kit instructions or a VW wiring diagram; we won't list every wire here. Reassemble in reverse order.
Then tell the ECU that the stalk is fitted. For example, use VAG-COM with login code 11463.
All together
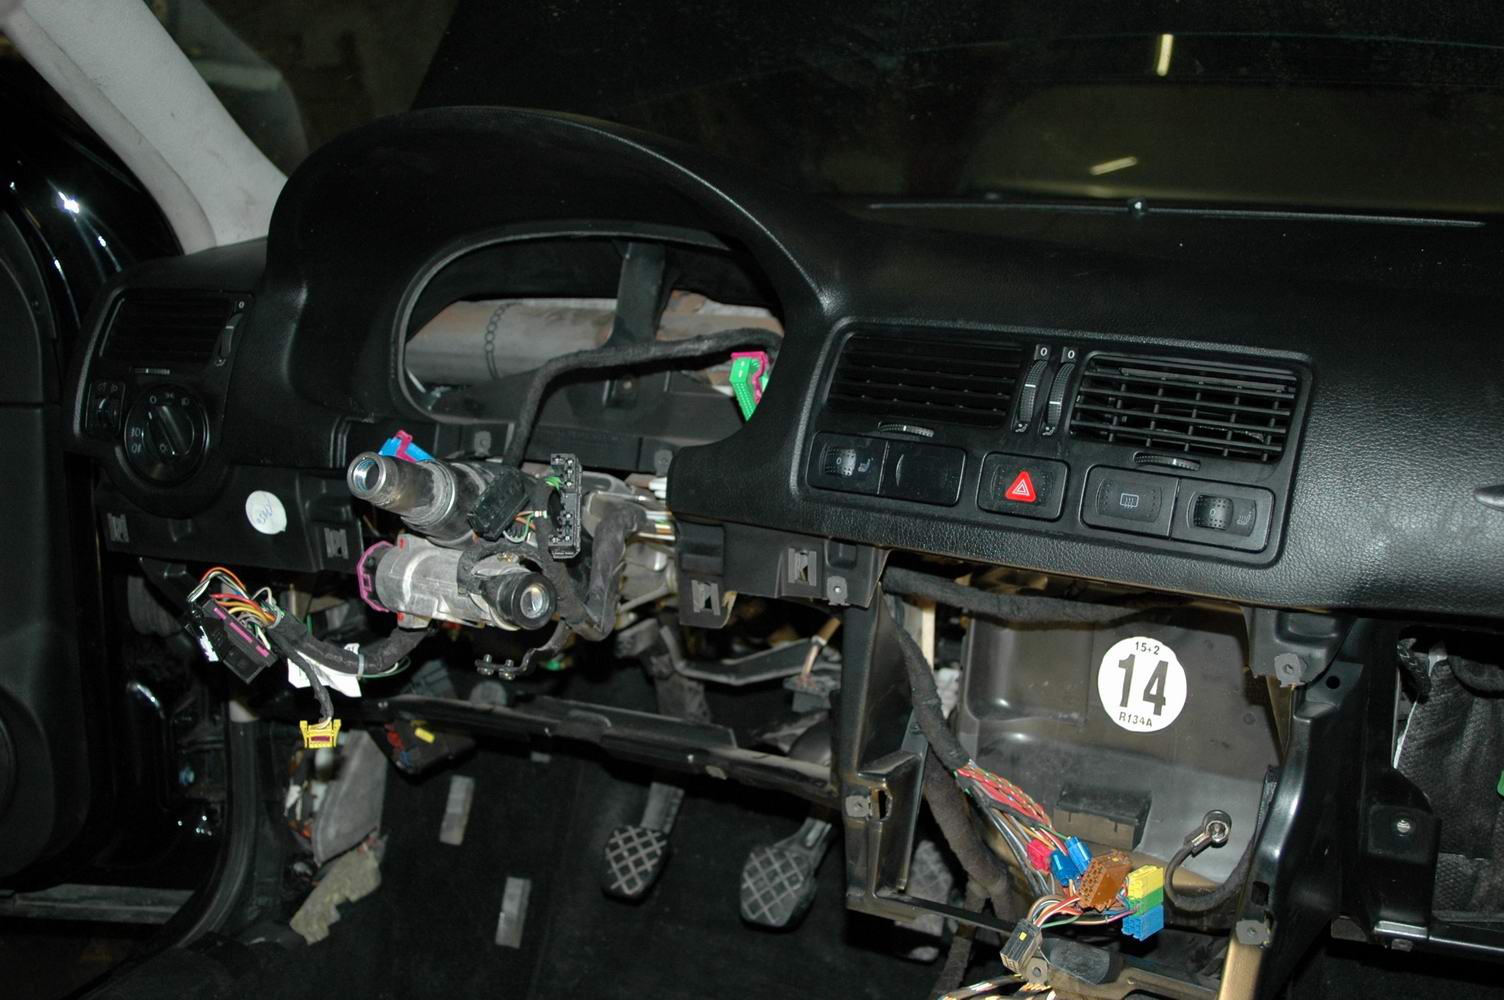
Next the dashboard goes in.
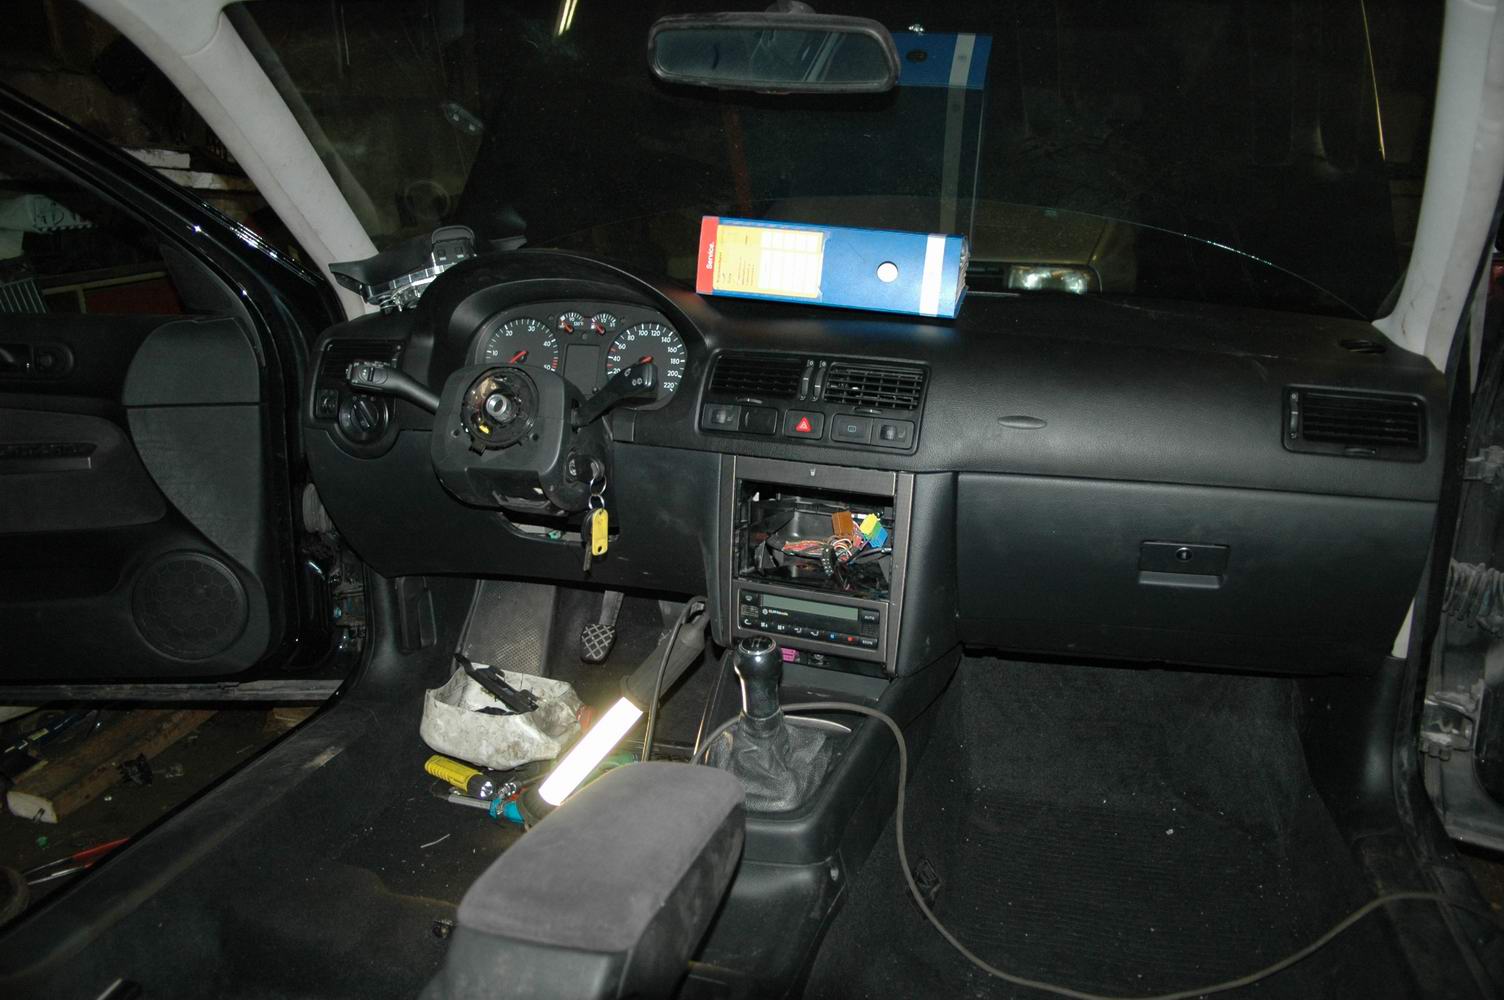
Then the instrument cluster, centre console, glovebox and other trim, one piece at a time. The centre armrest is visible too.
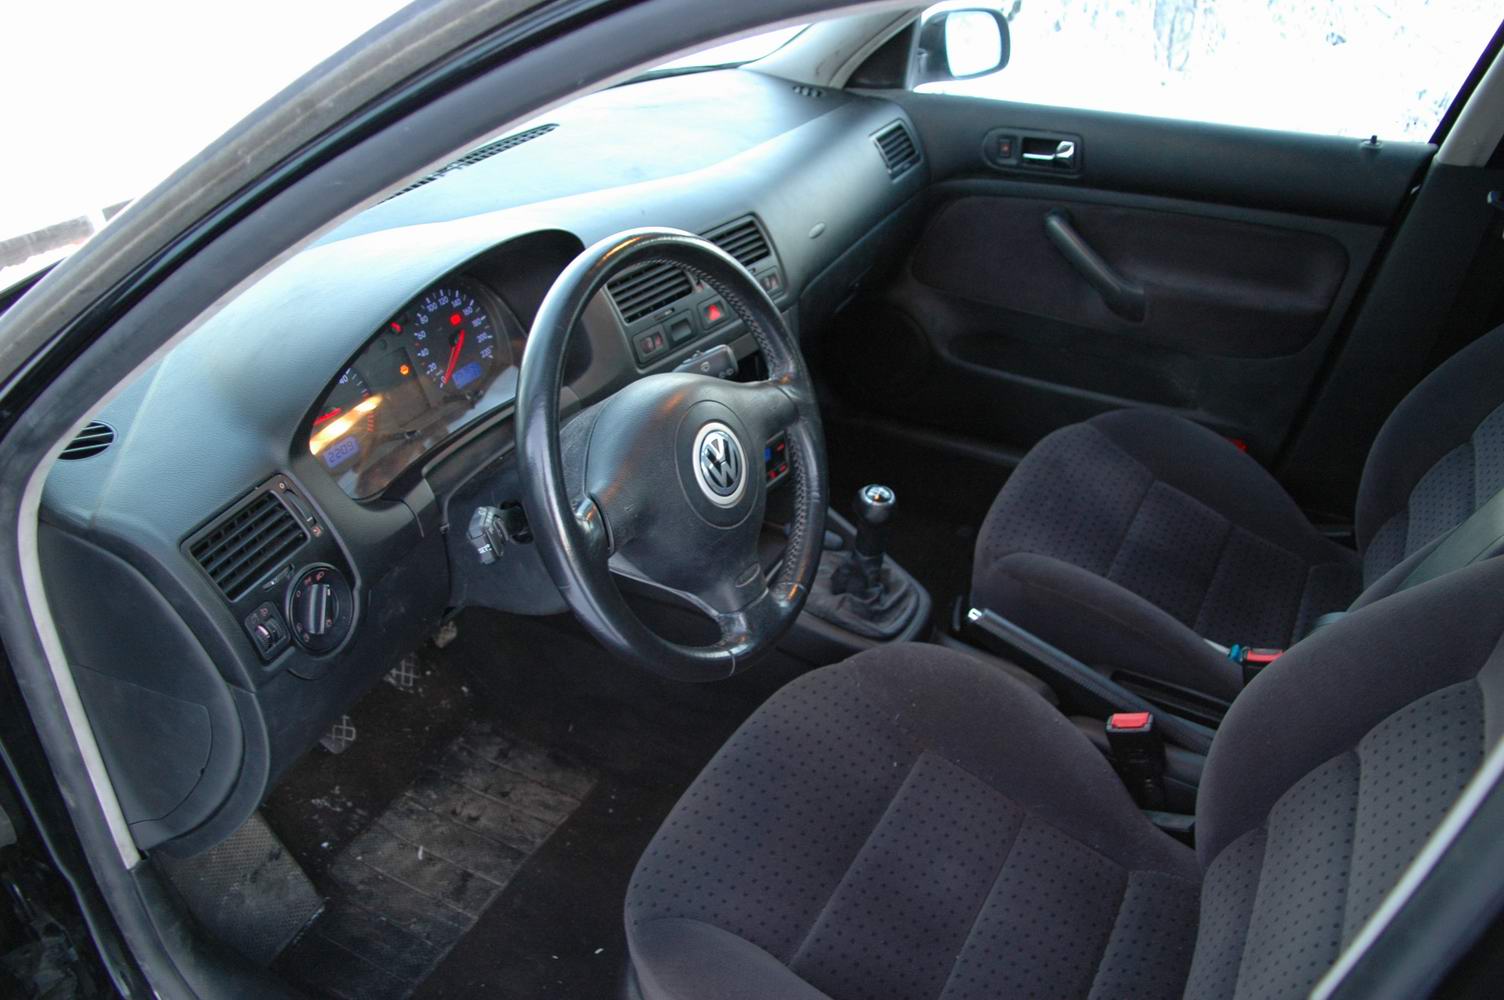
Interior assembled, steering wheel and seats fitted.
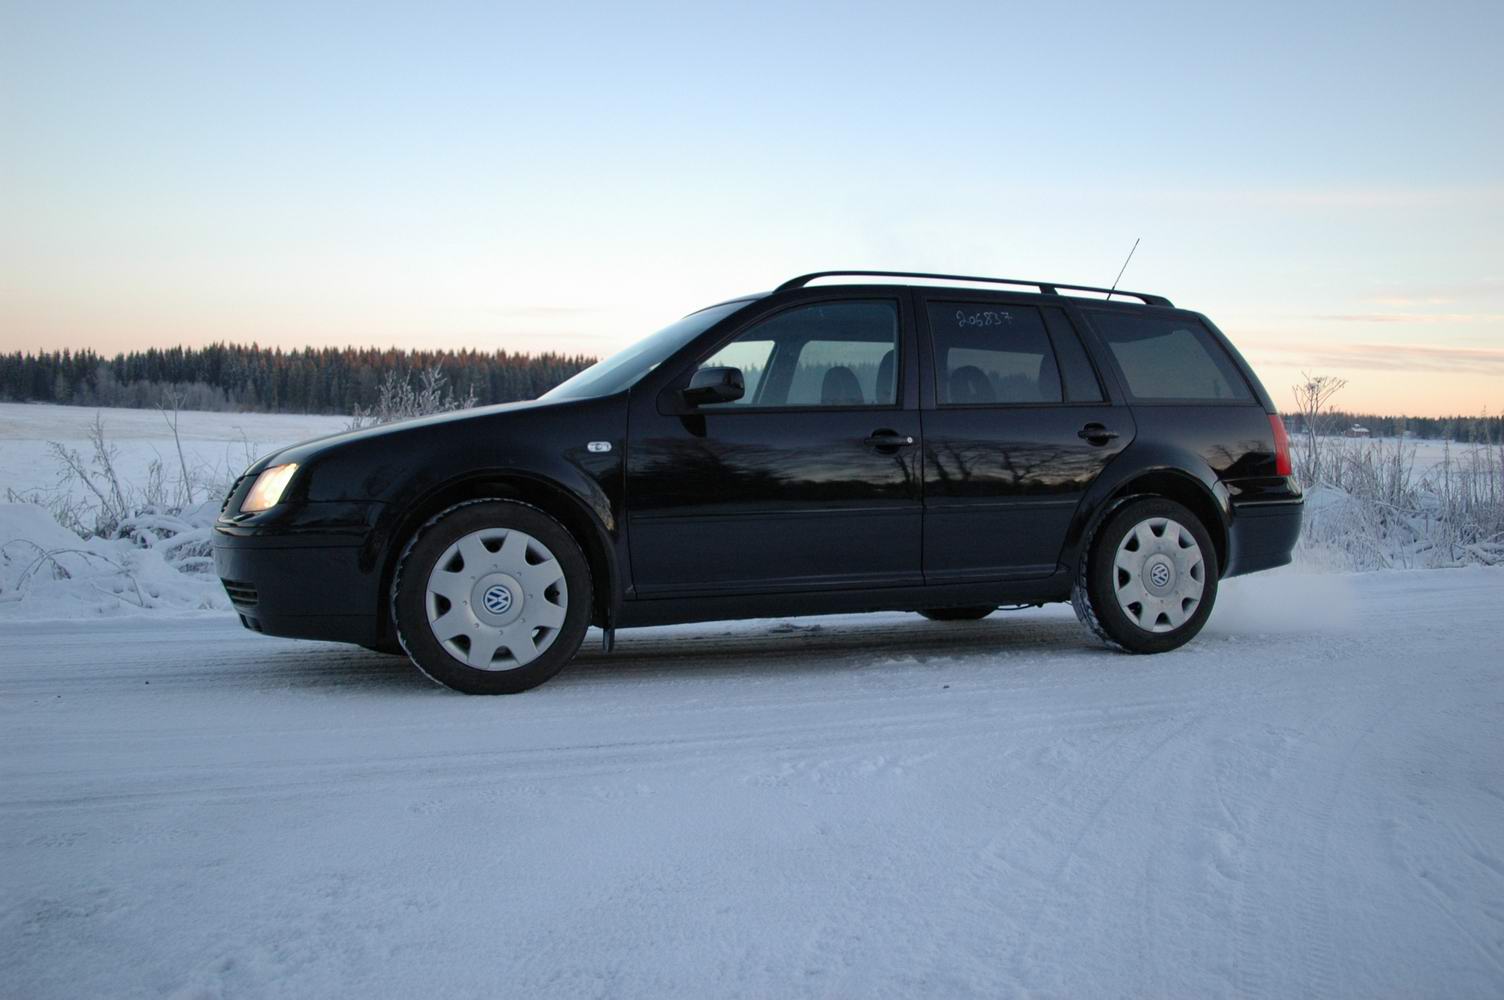
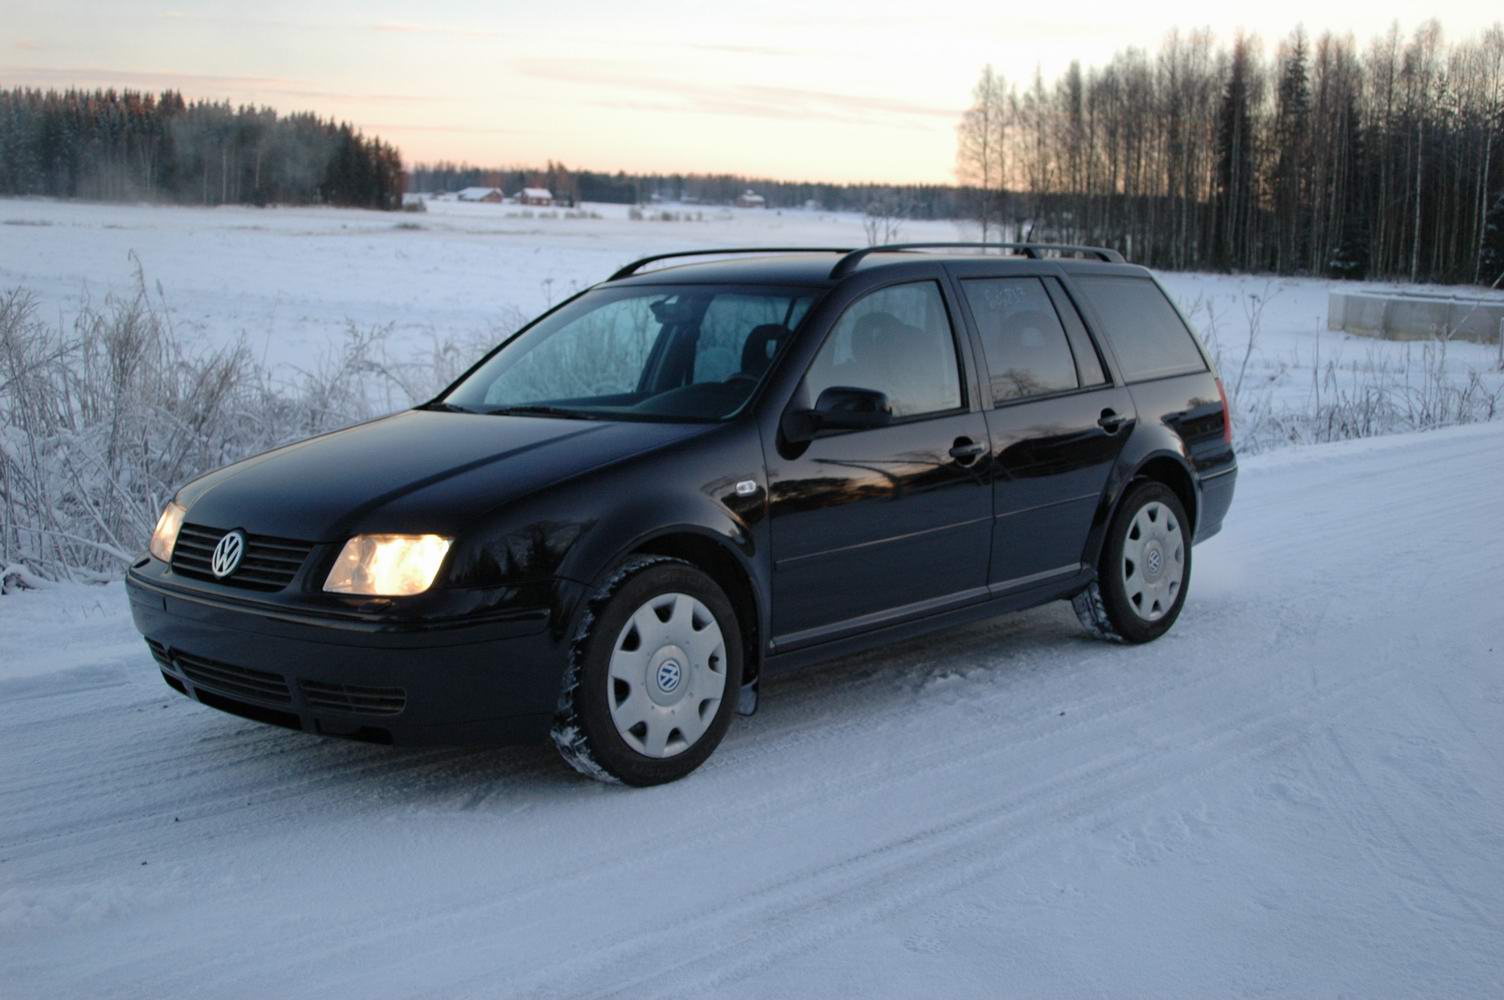
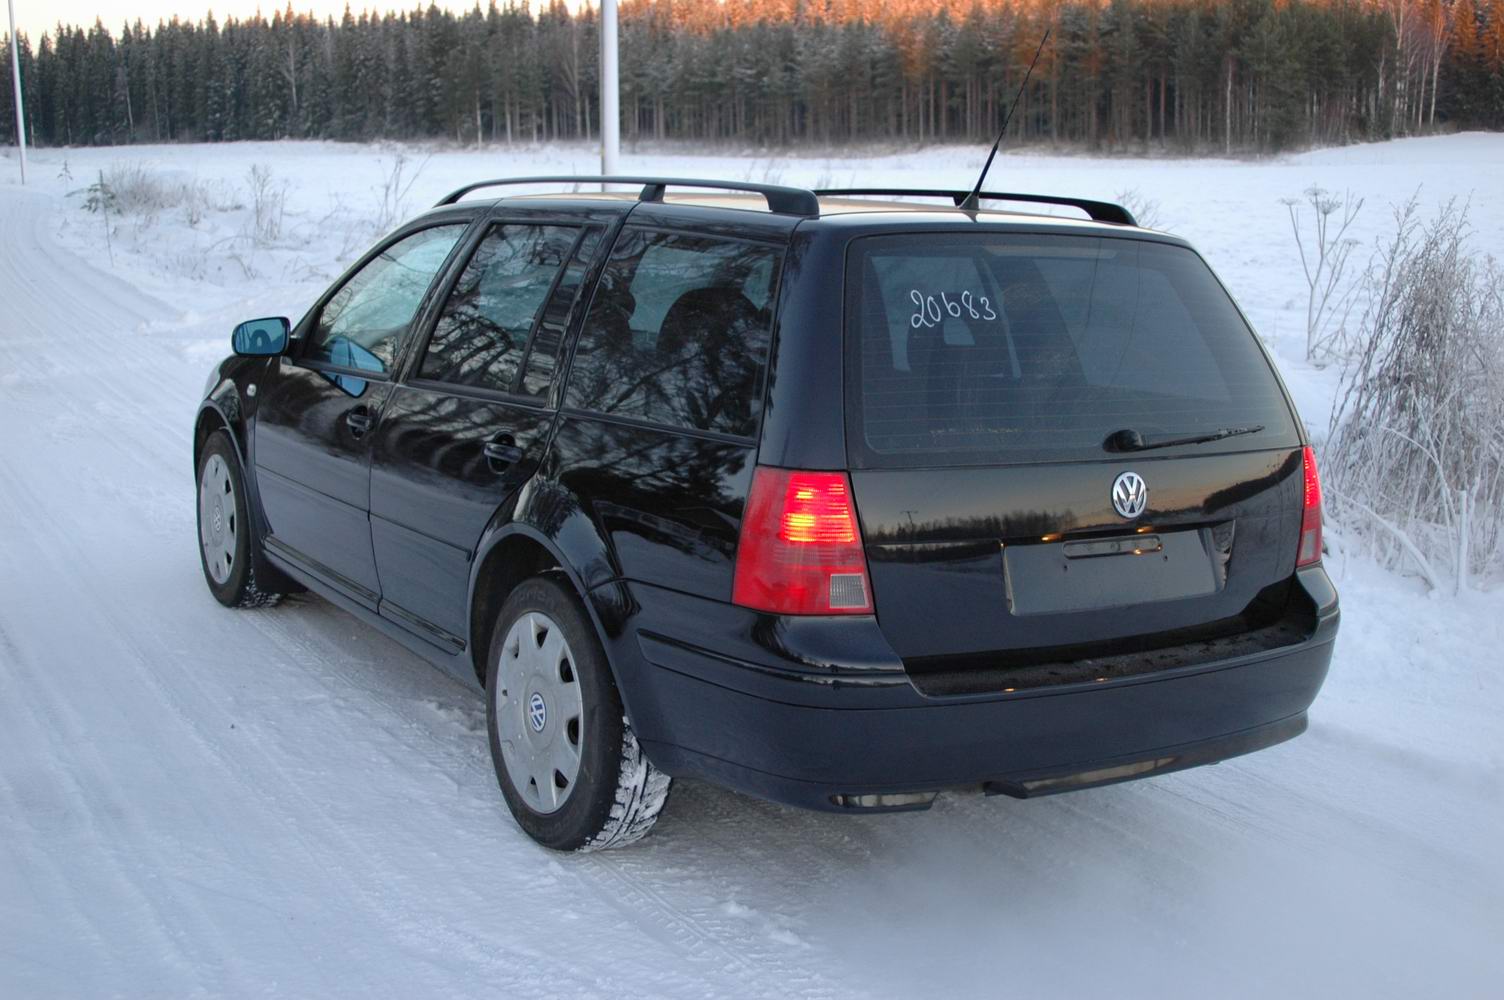
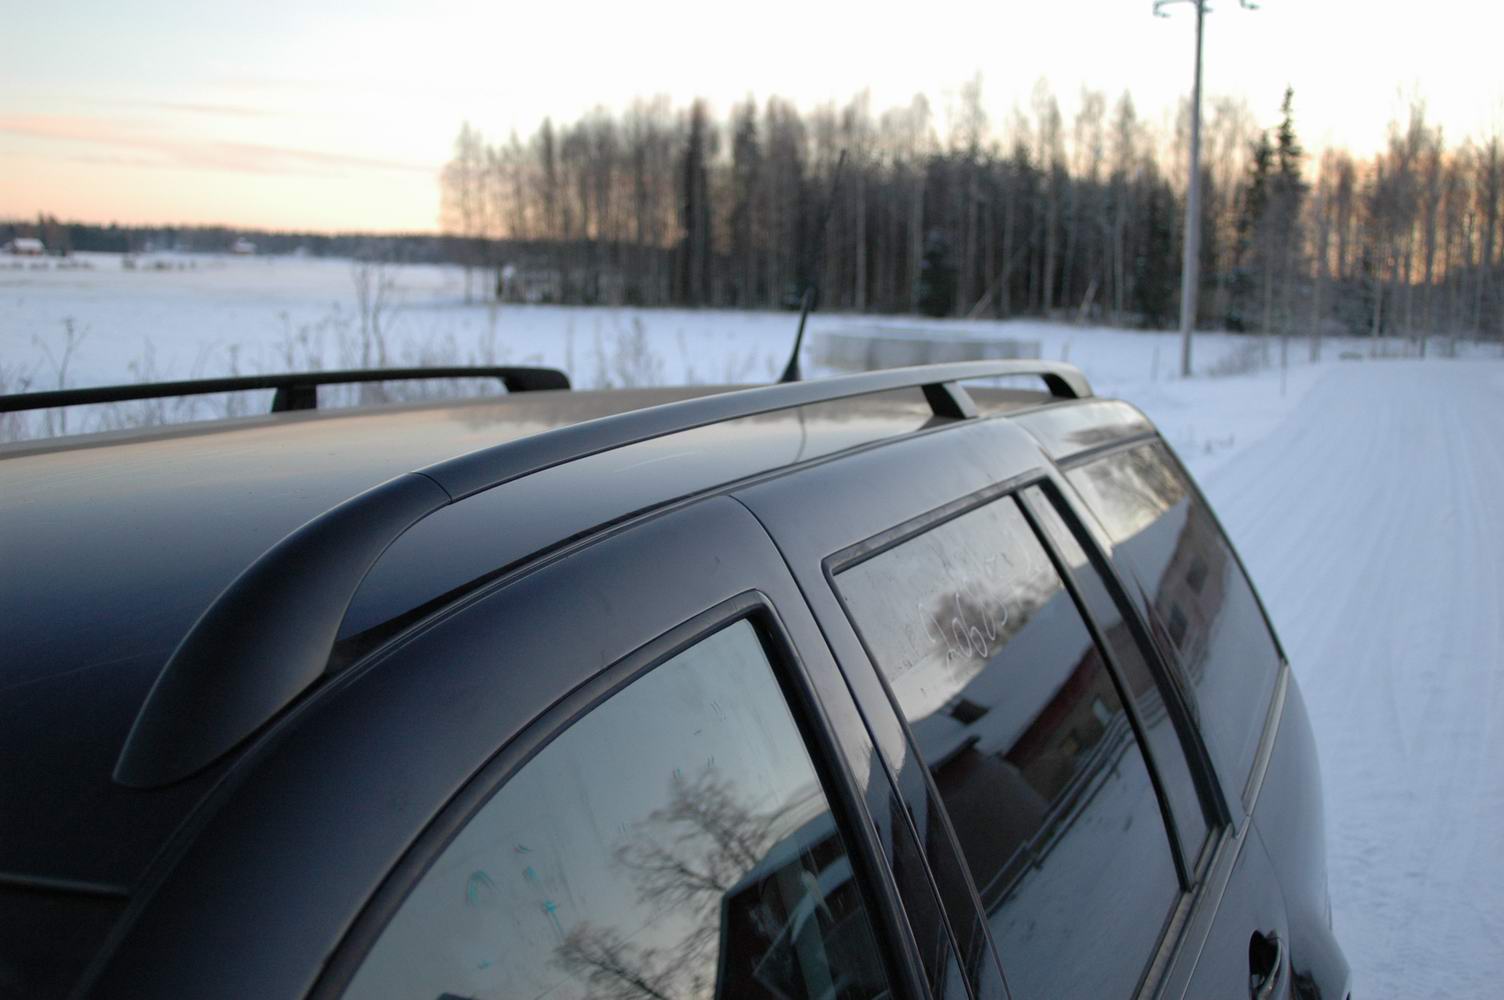
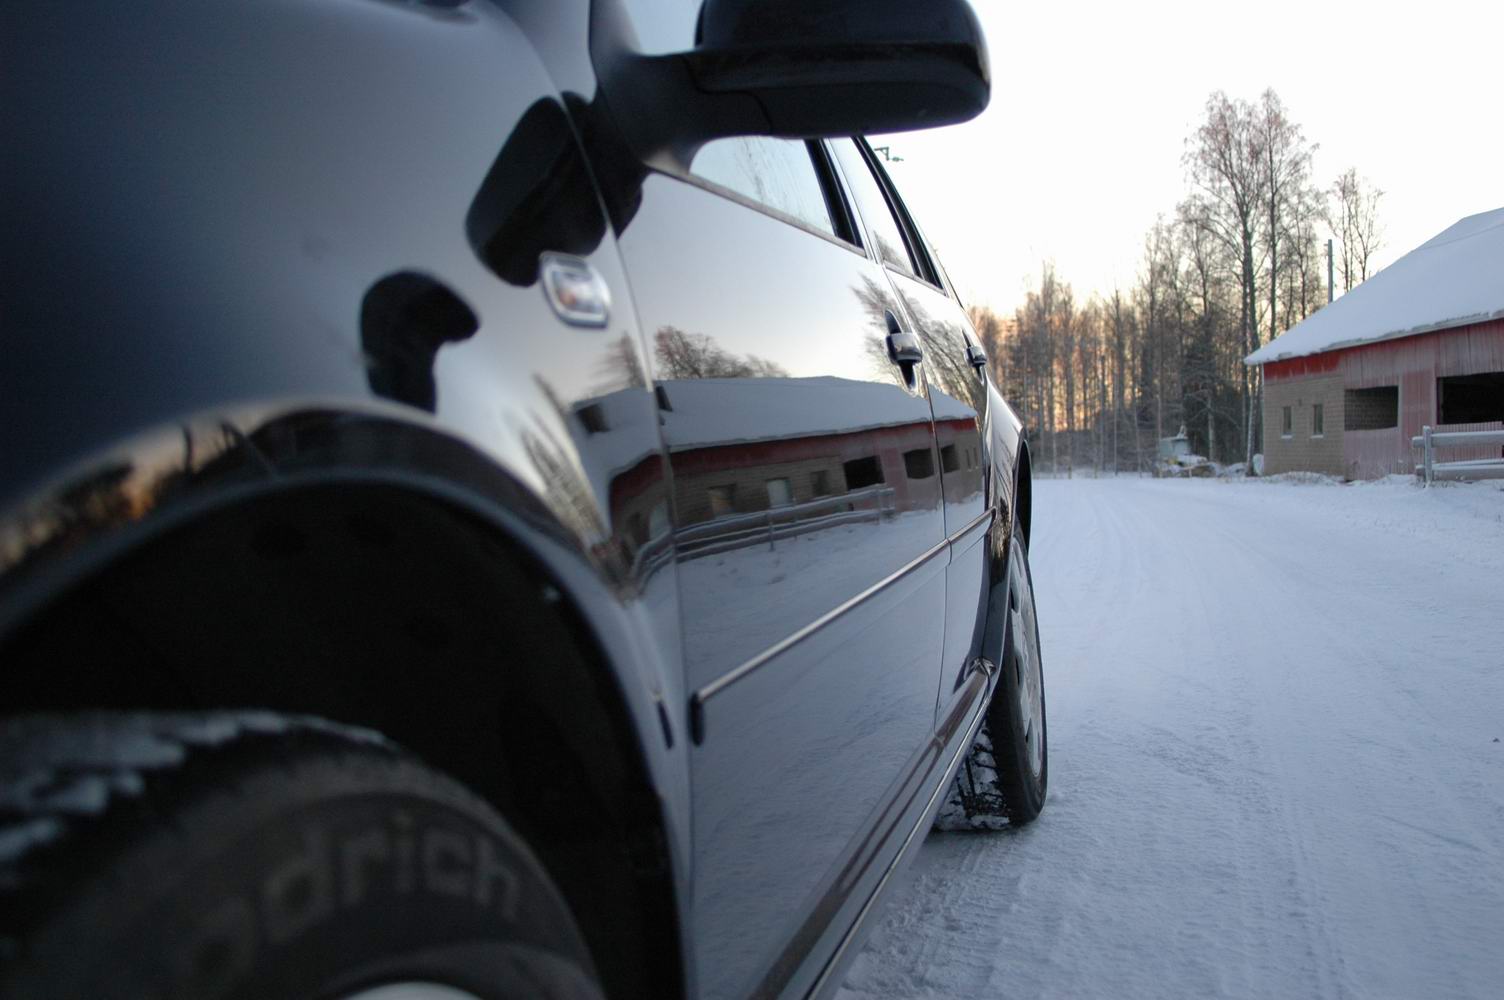
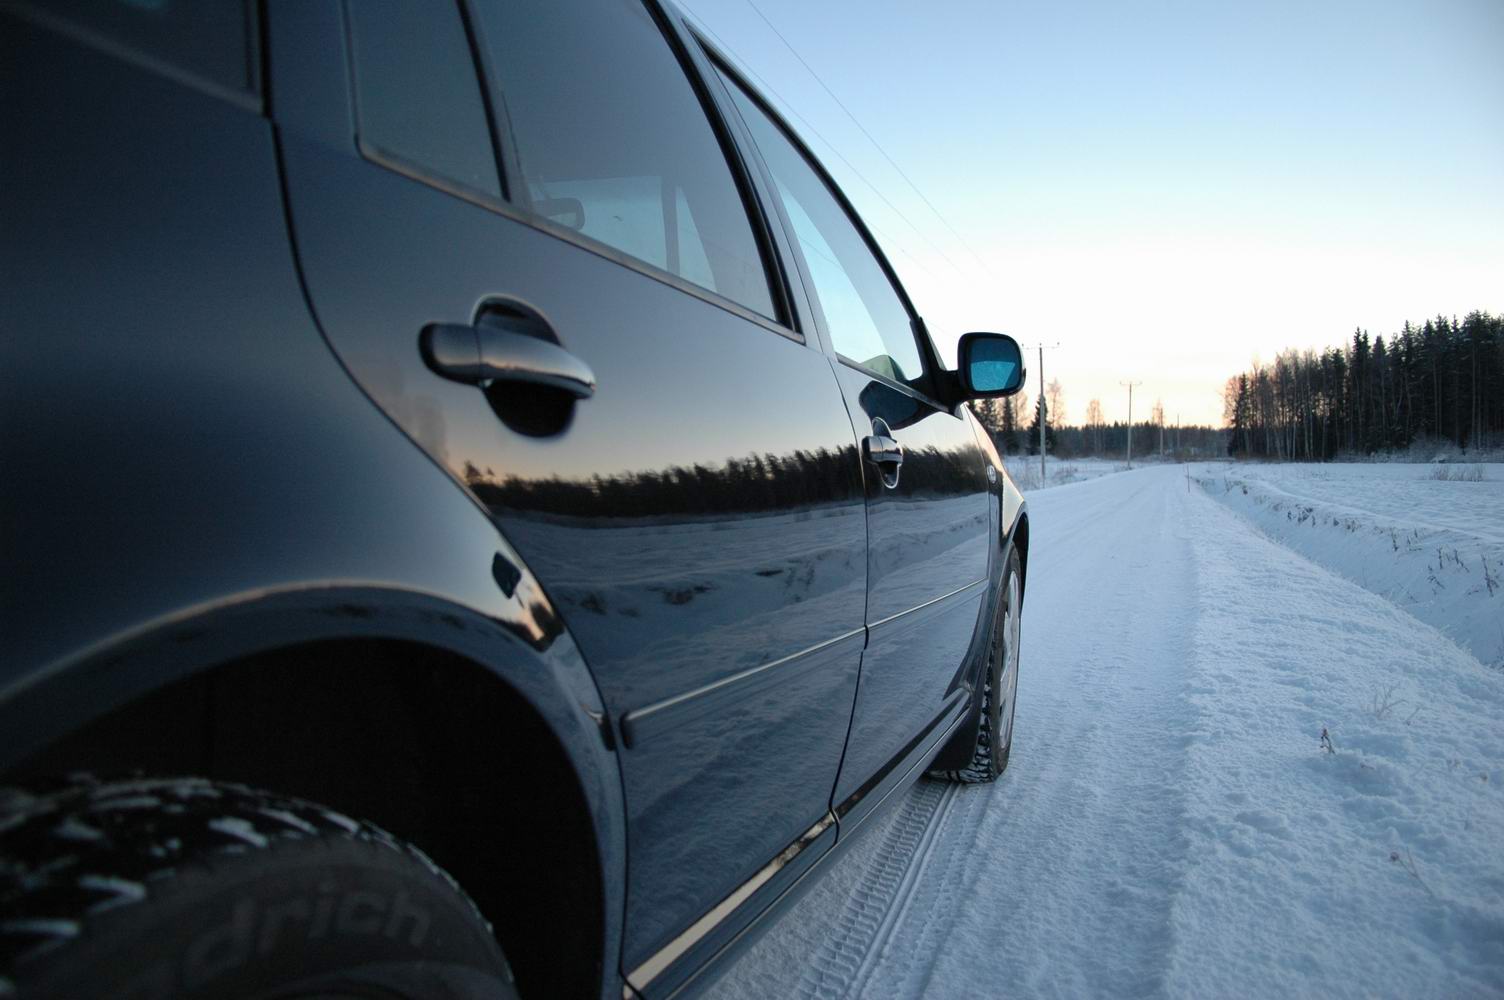
The car is now together, still largely standard. So far the only real tuning is the V6 front and rear valances. Lowering and wheels are planned closer to summer. Below are a few shots of the Bora in a Finnish winter landscape.
Includes original English text and AI-assisted translations.