Ne tekee jotka osaa

Category: Model S Raven (page 1 of 1)

Finalizing the Tesla project

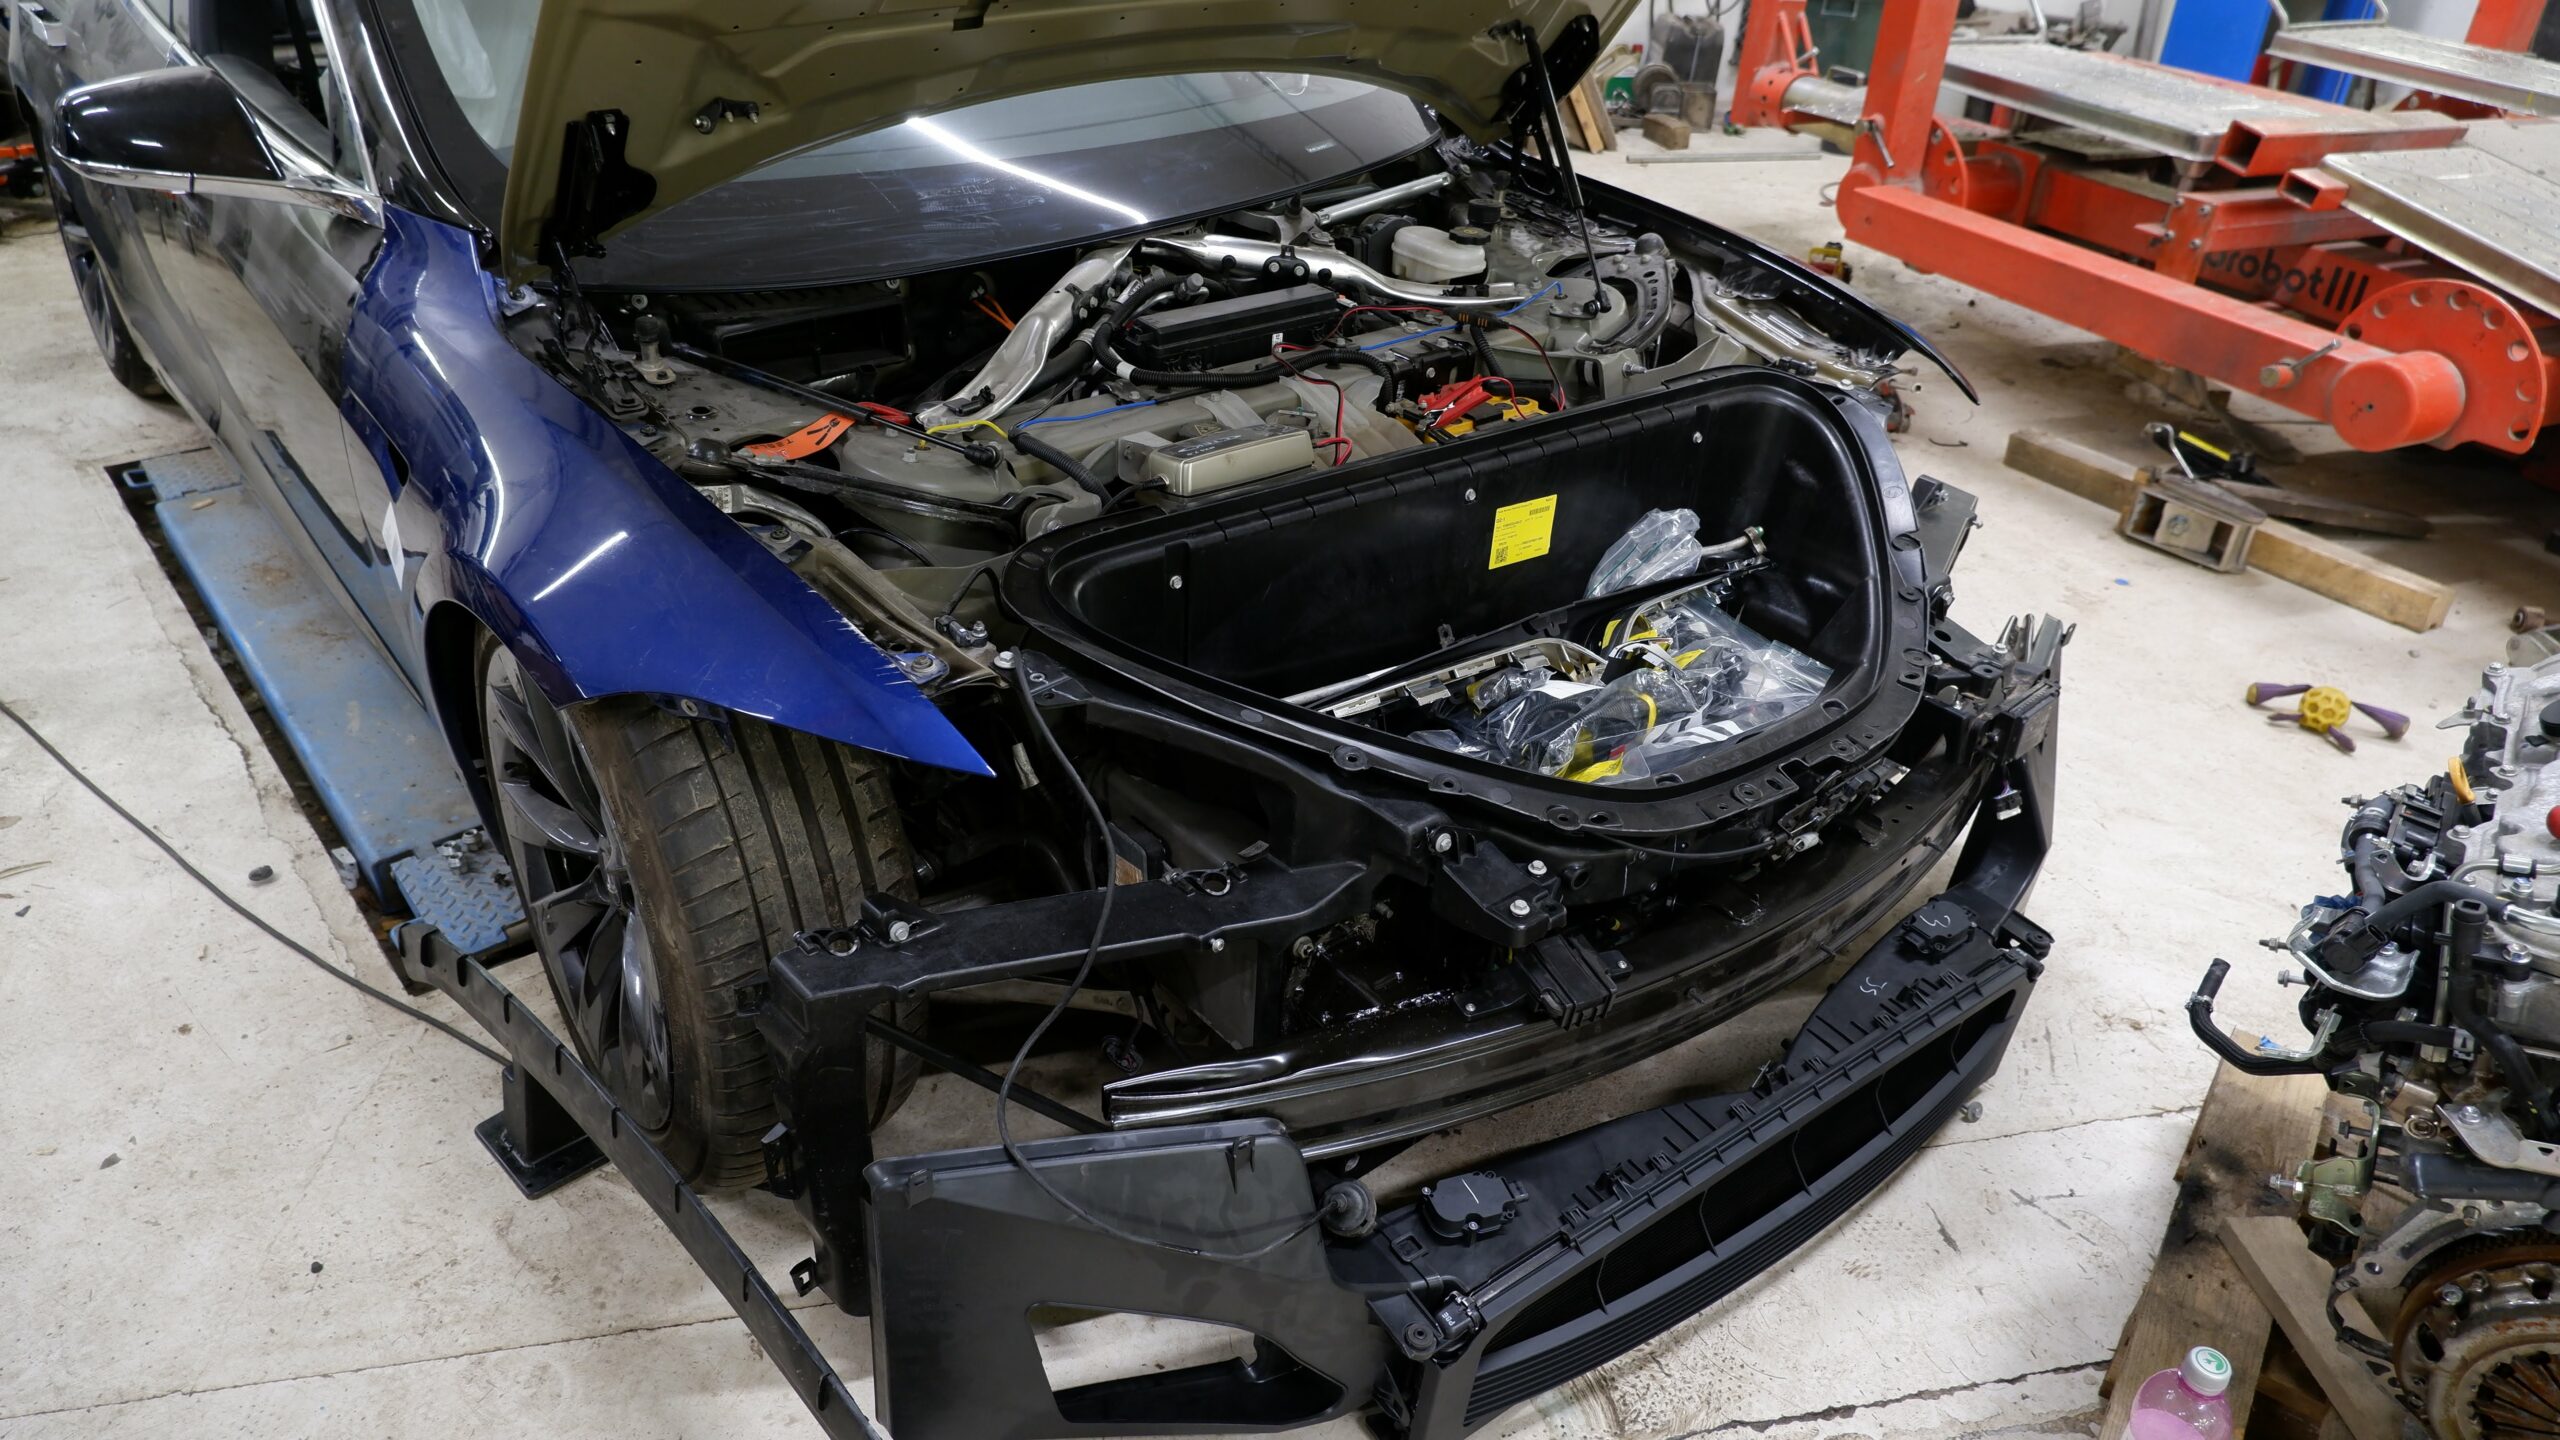
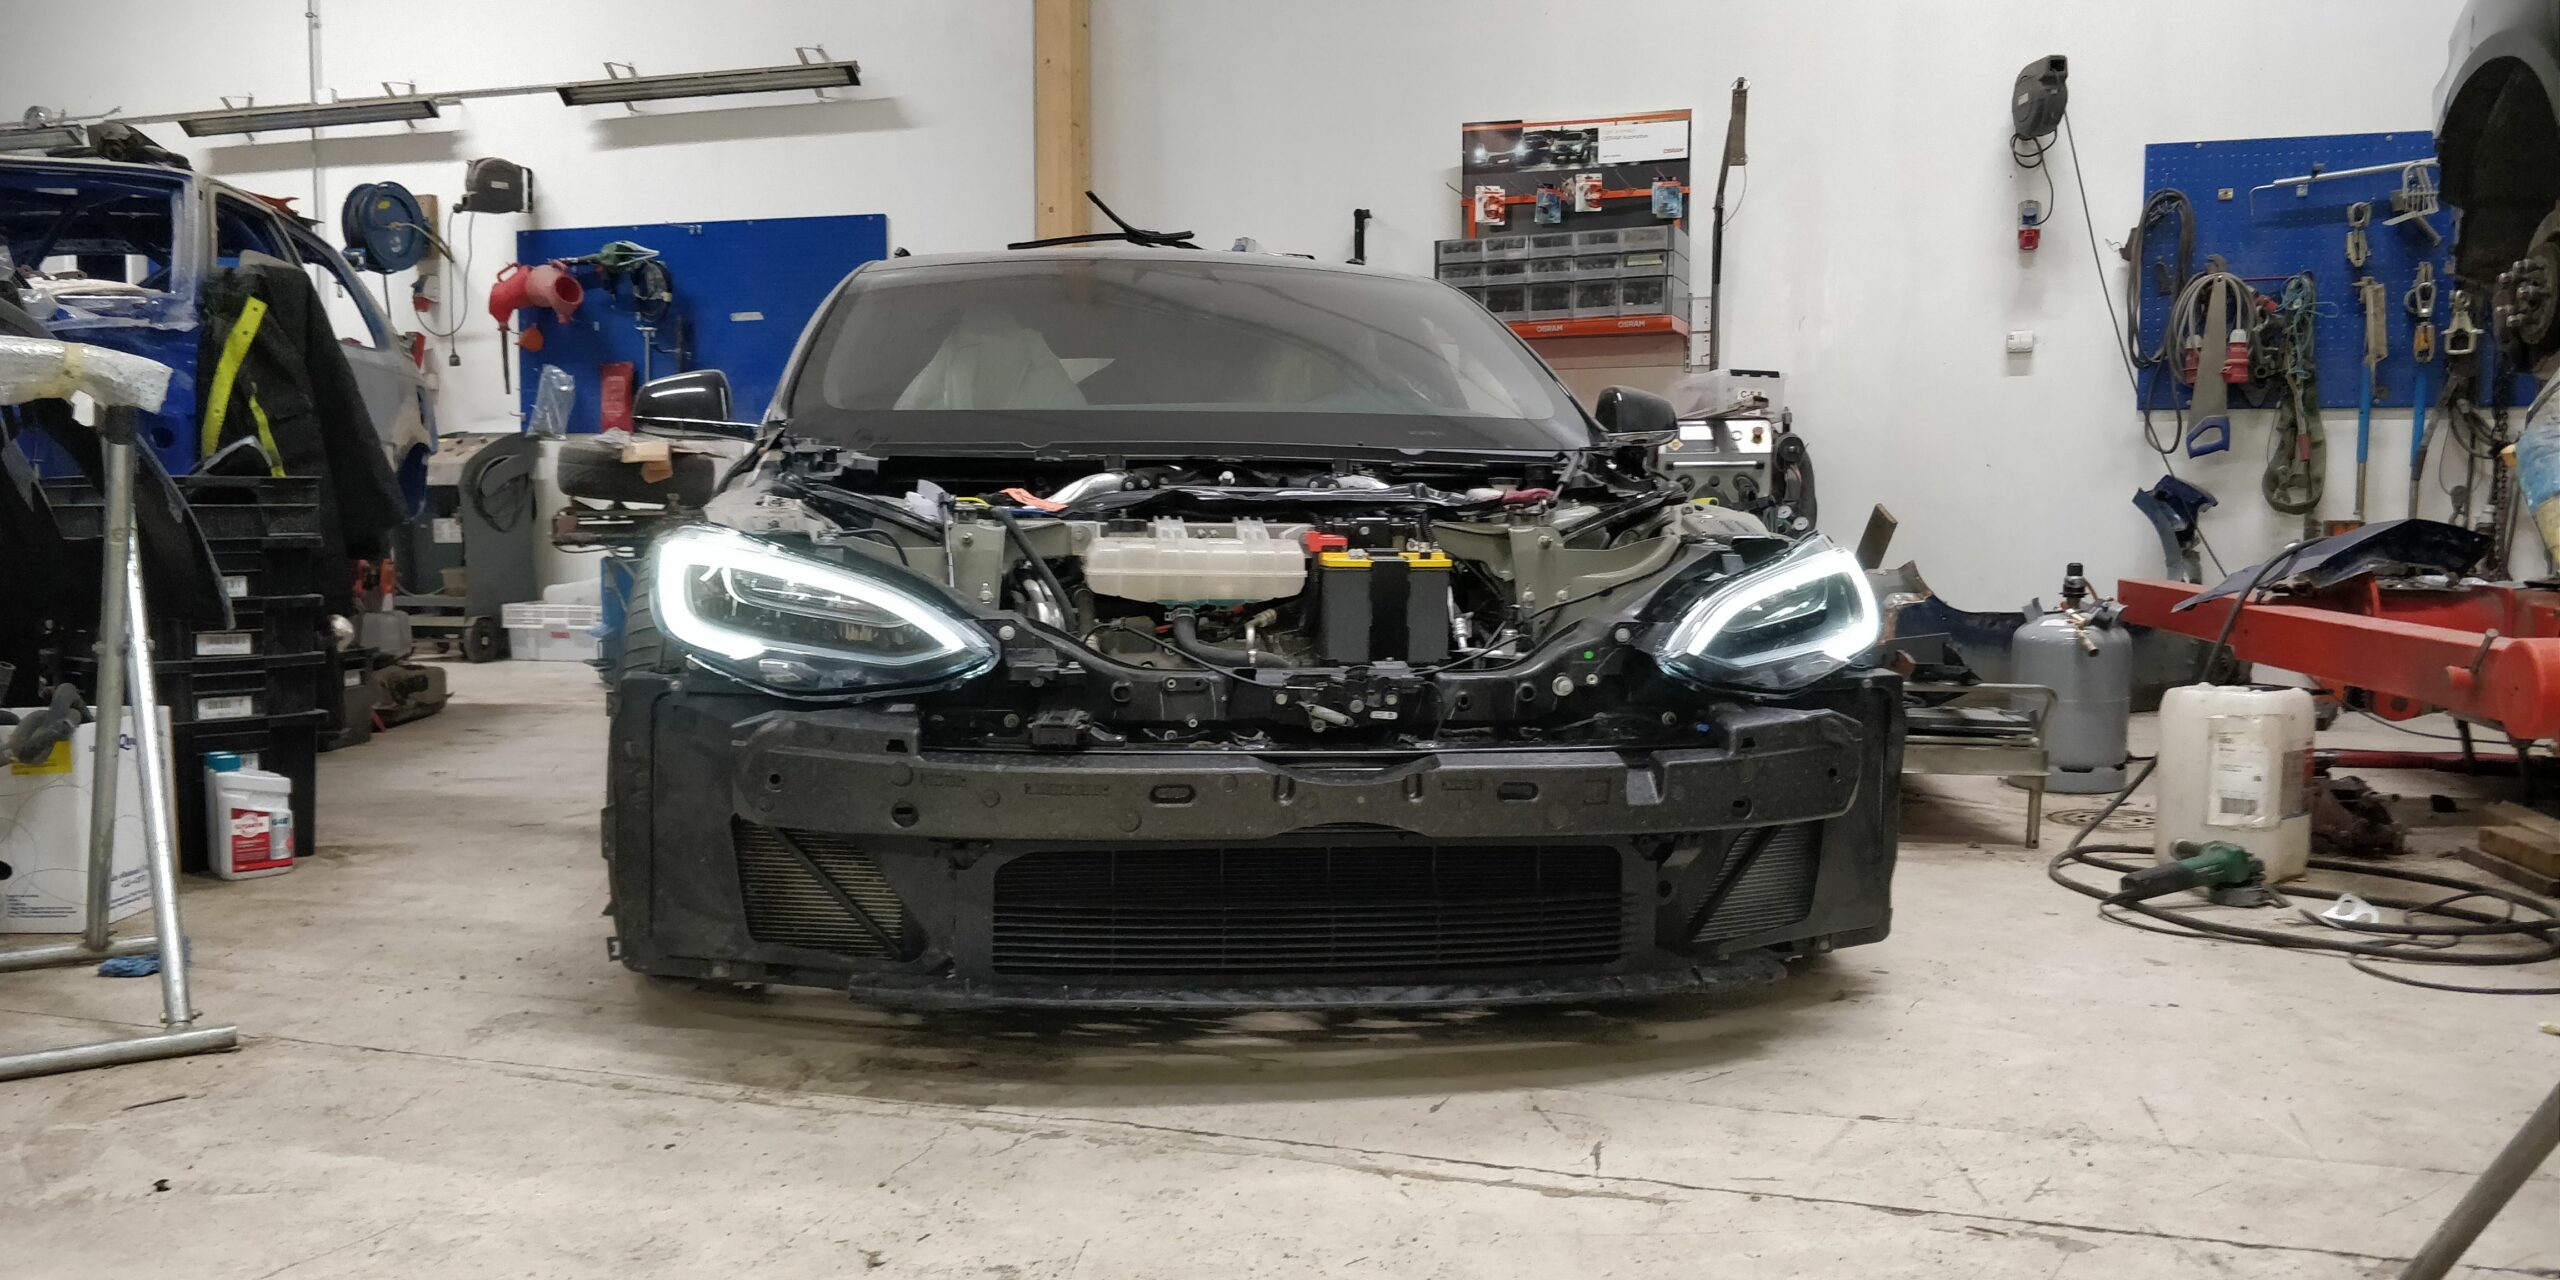
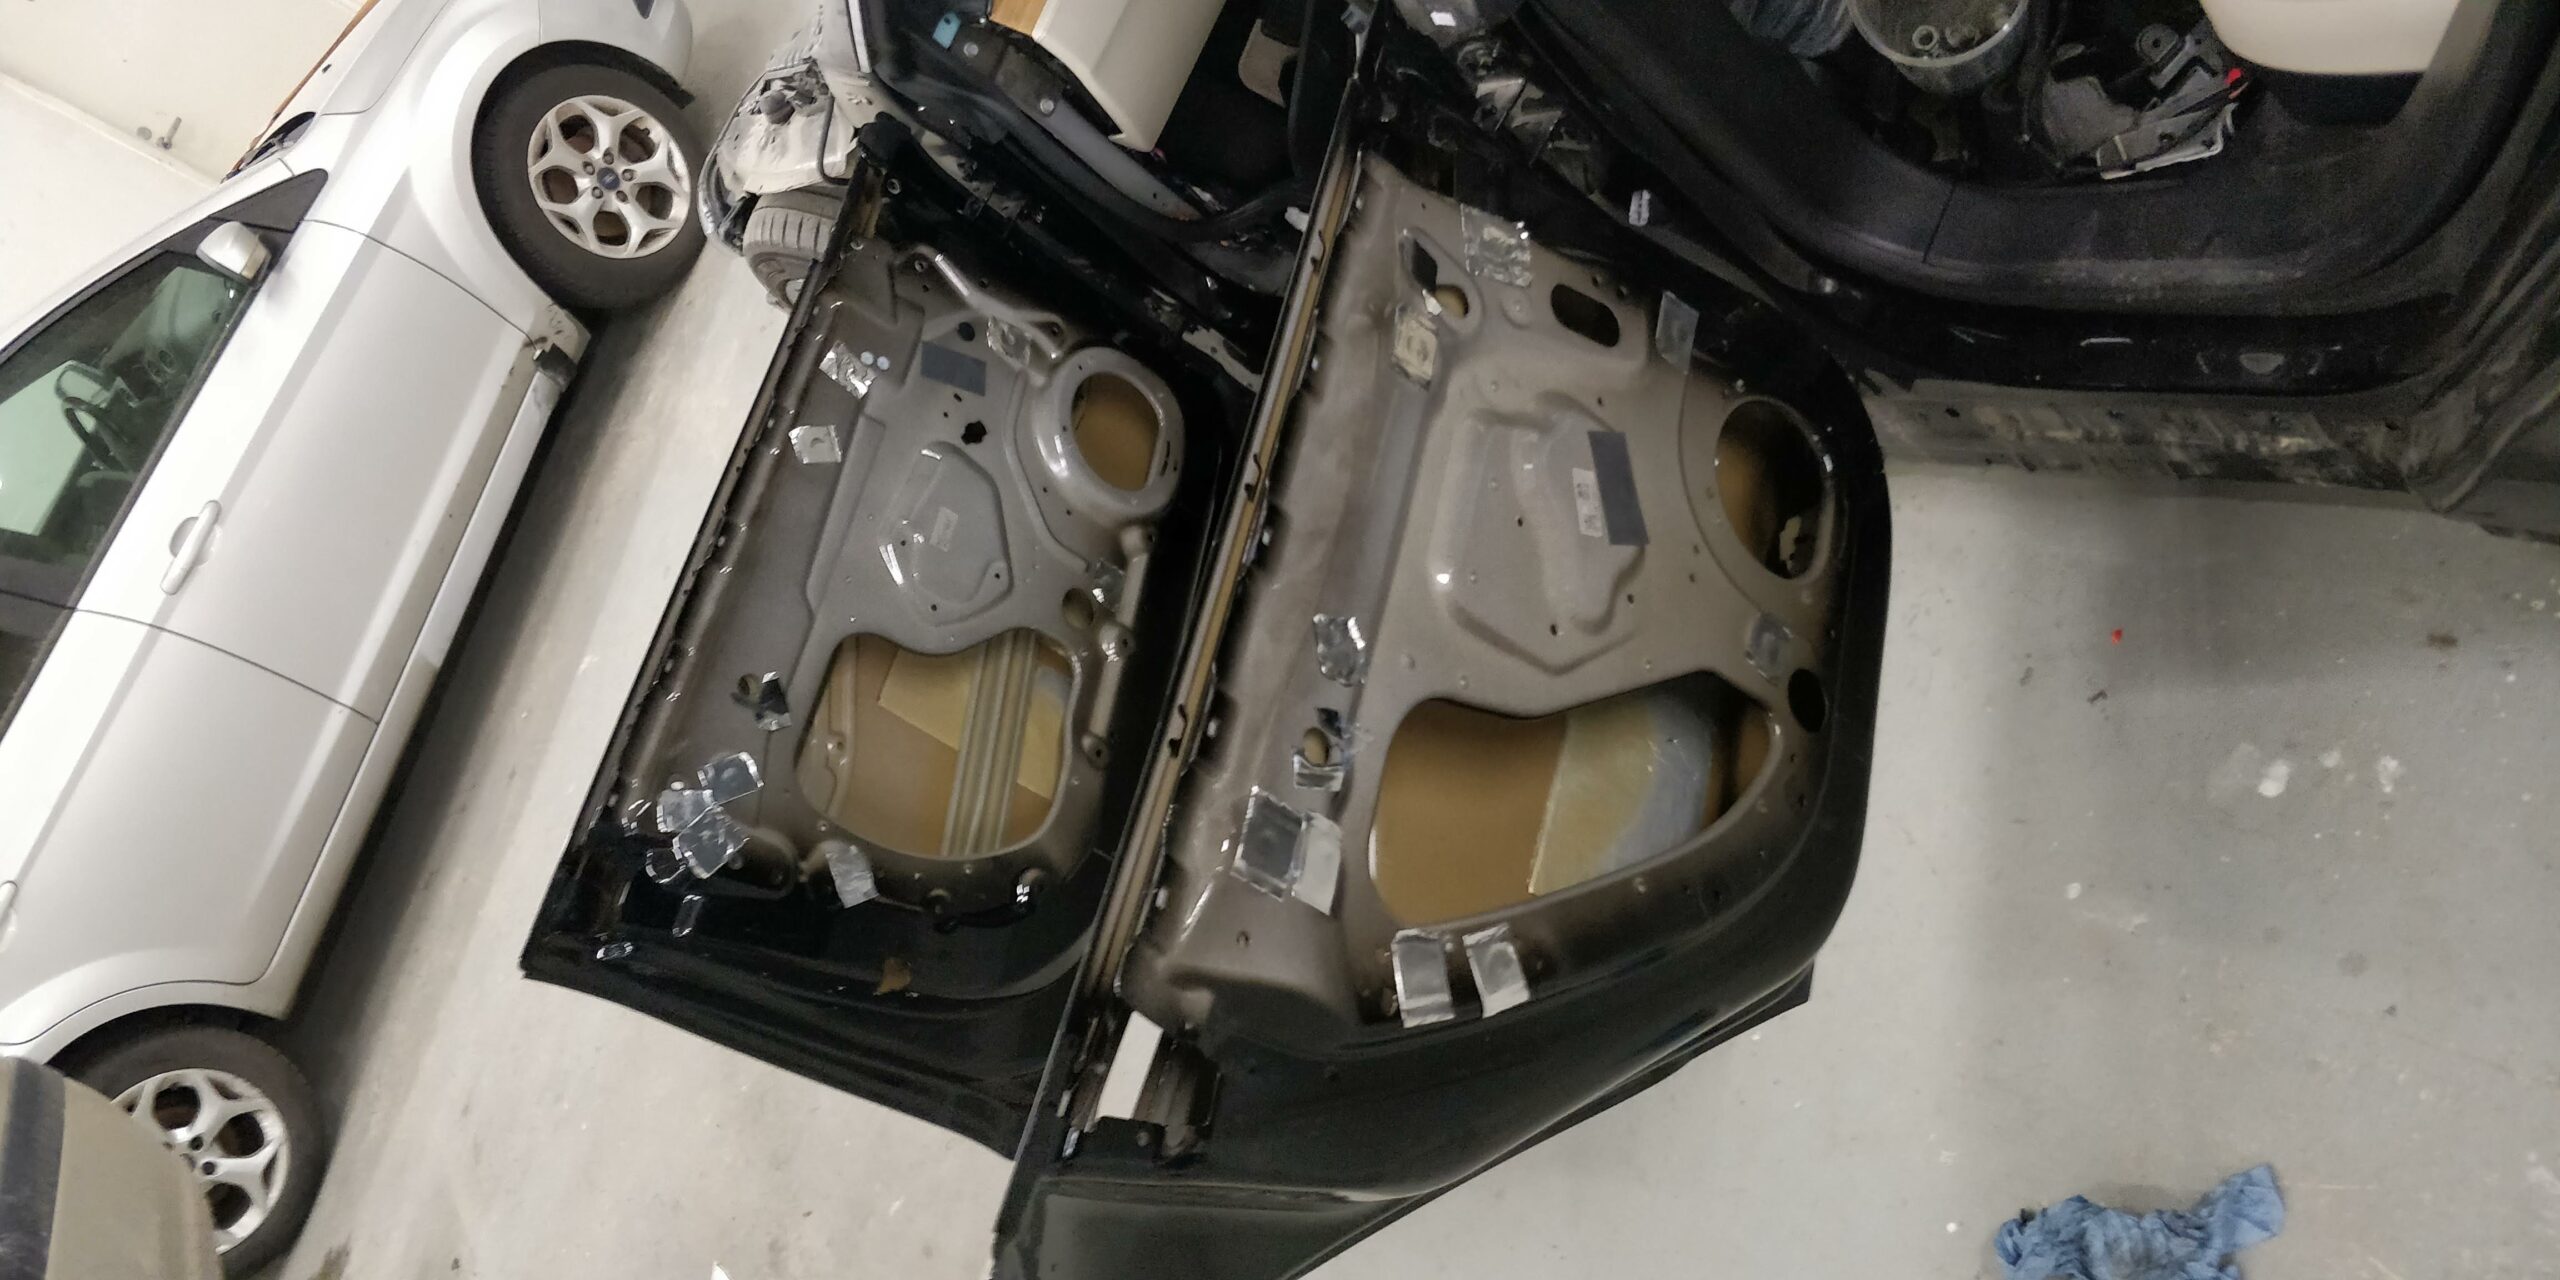
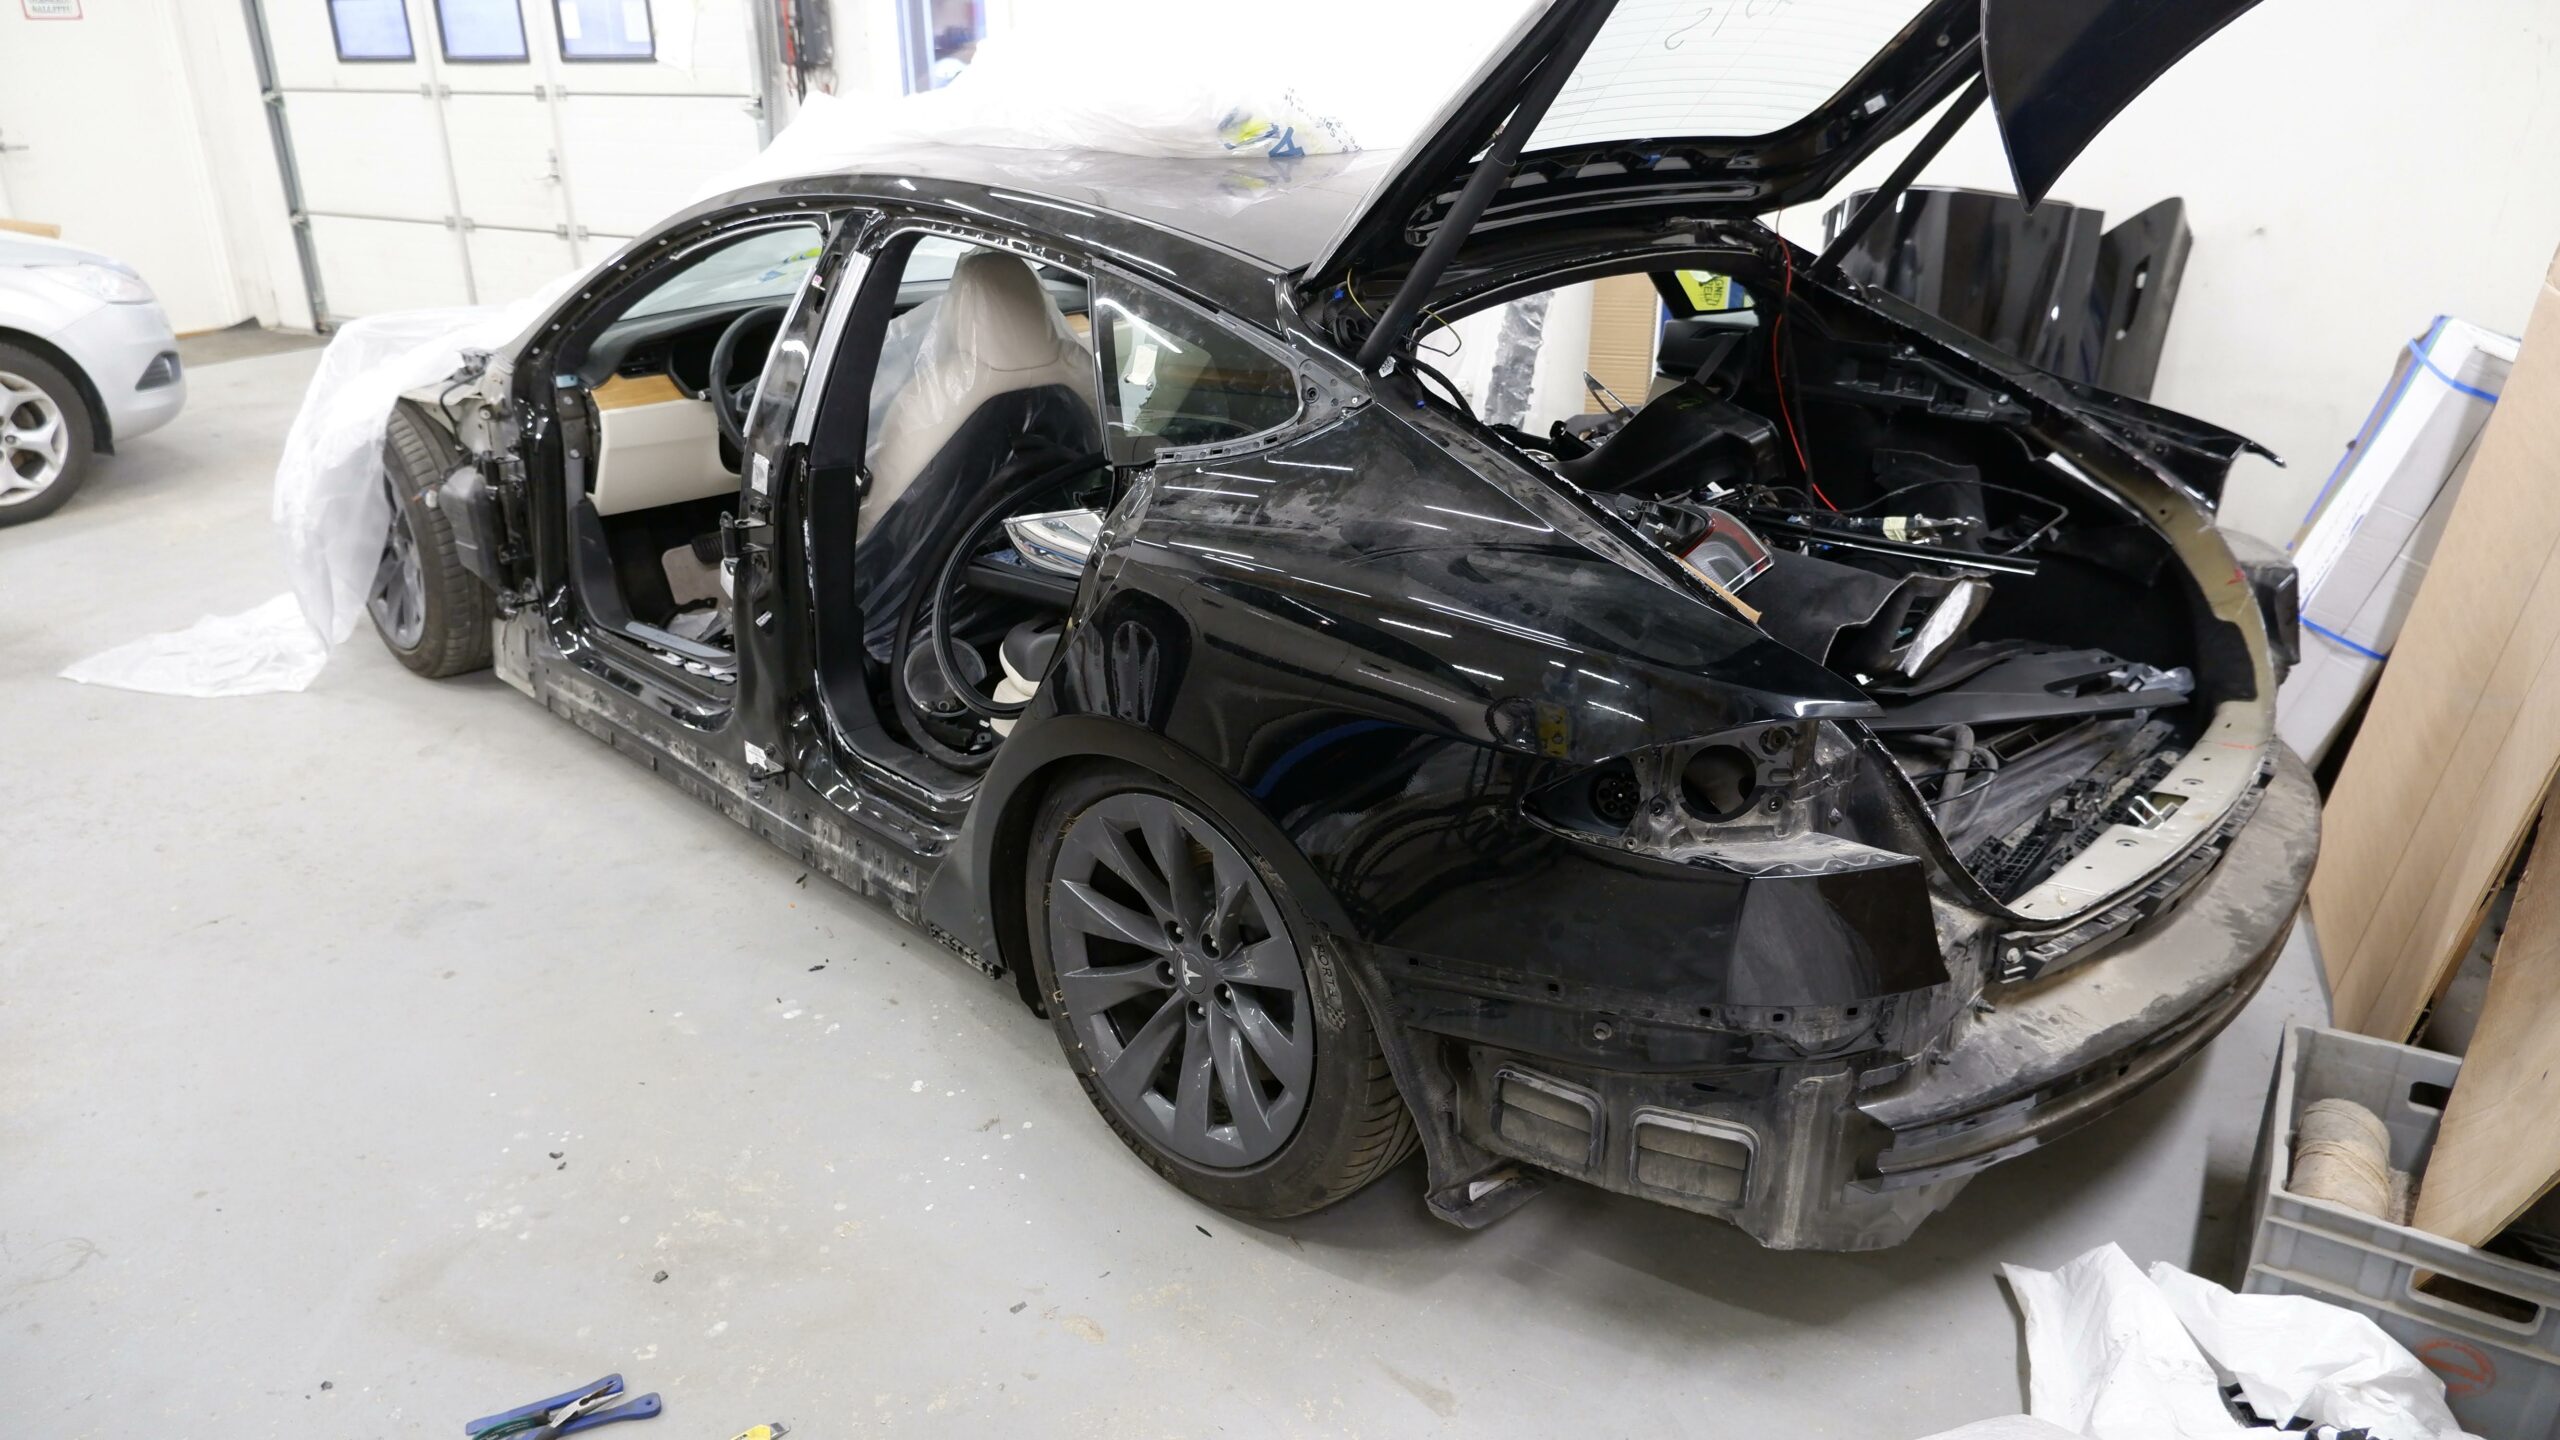
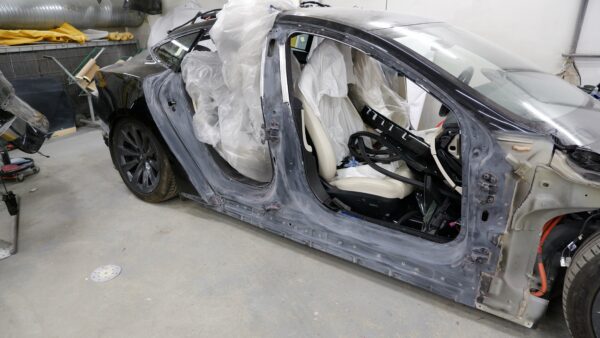
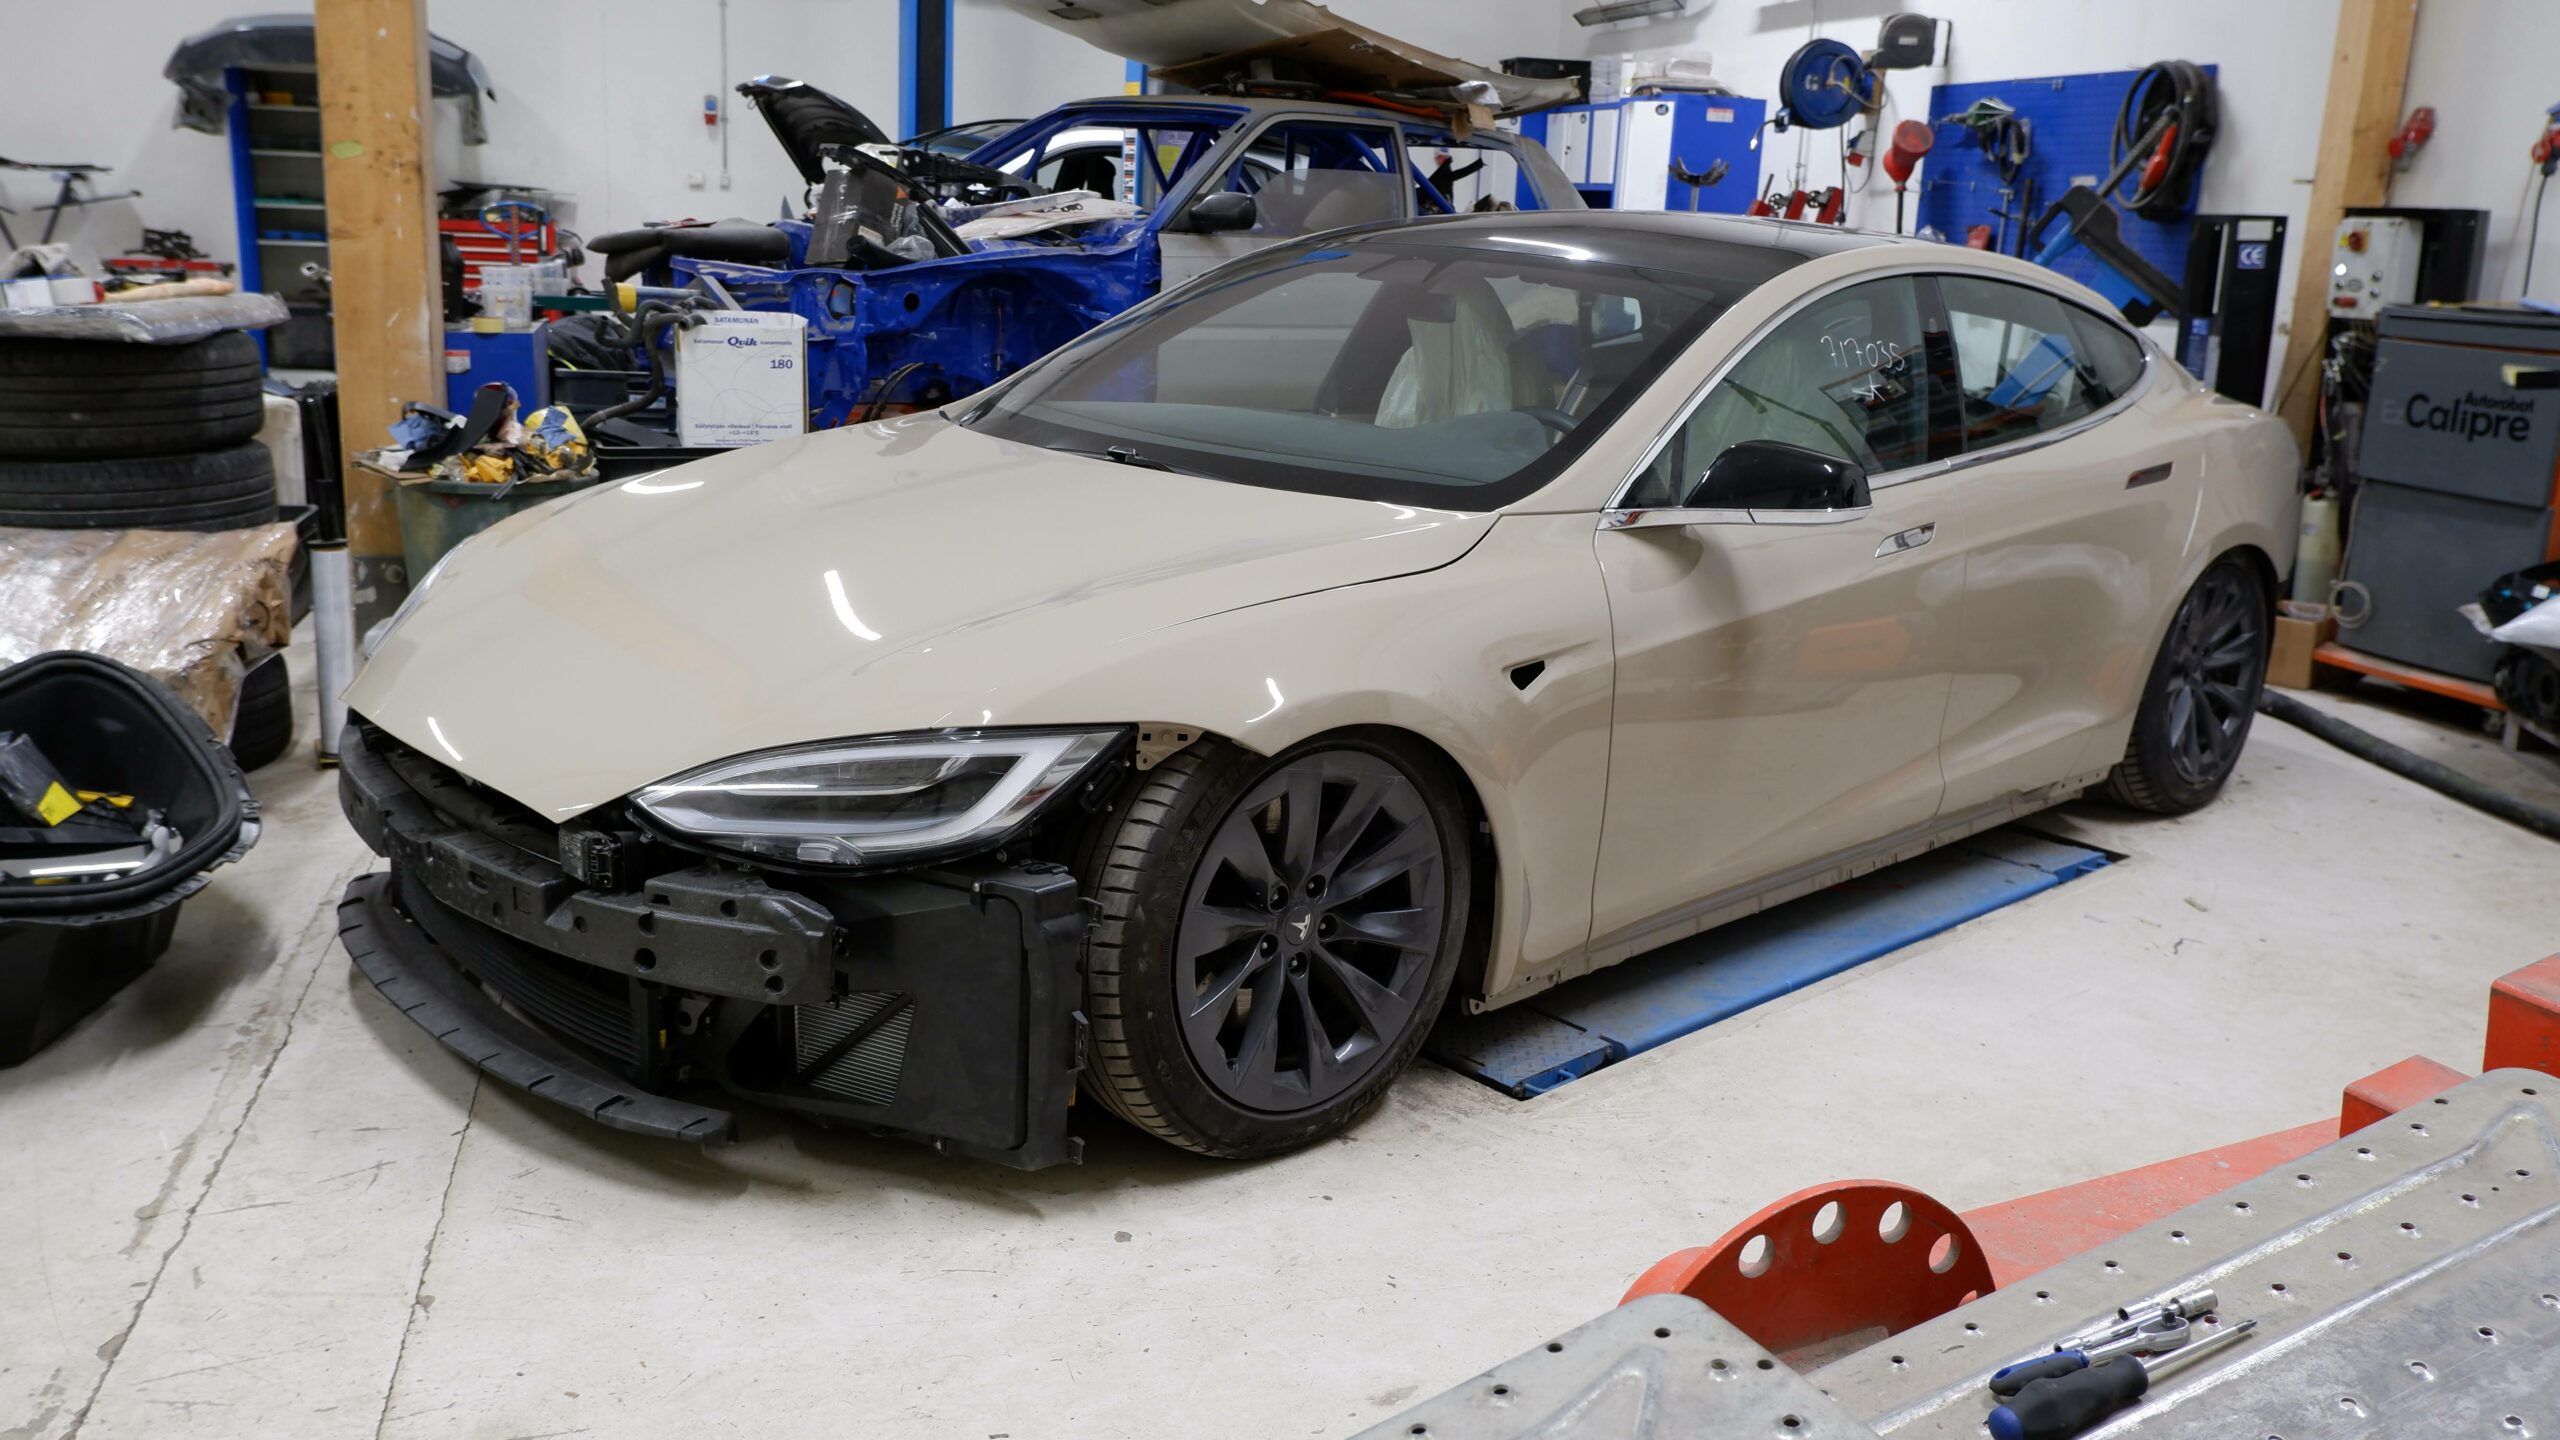
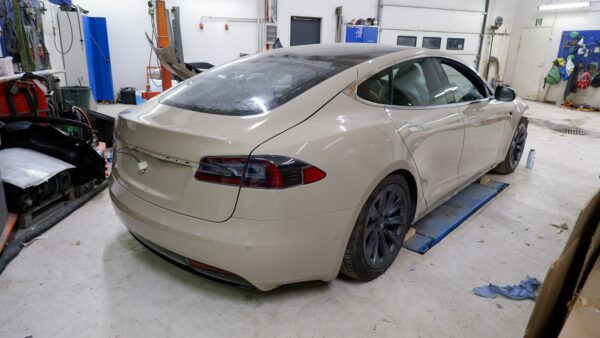
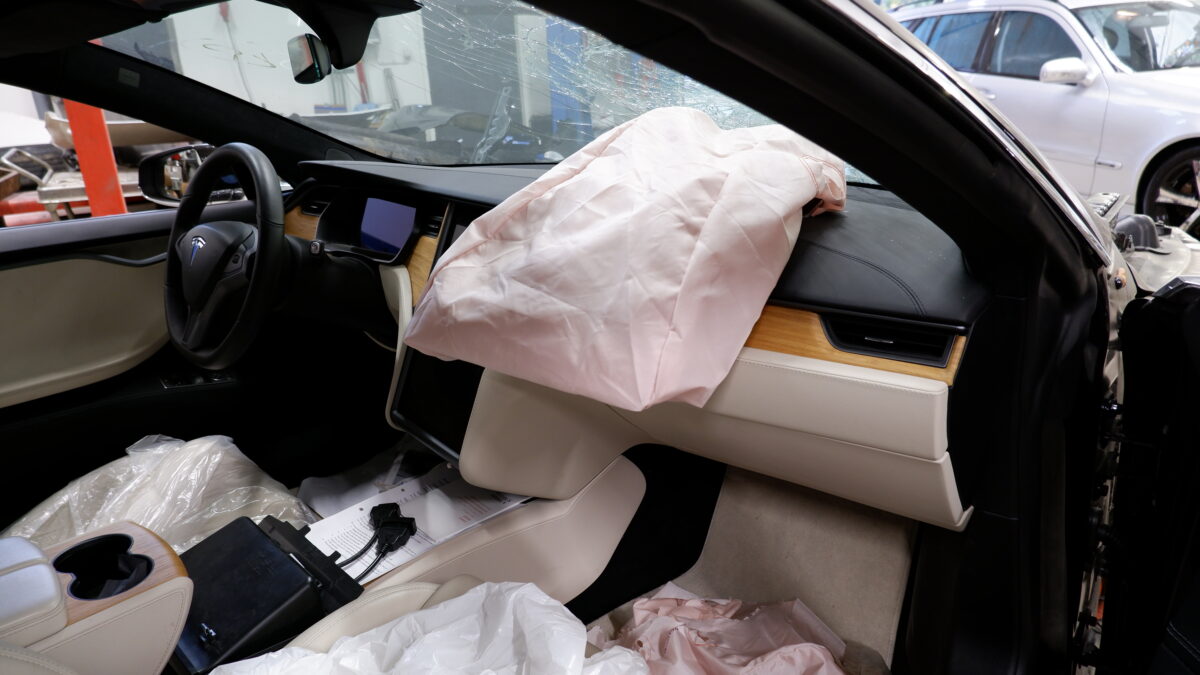
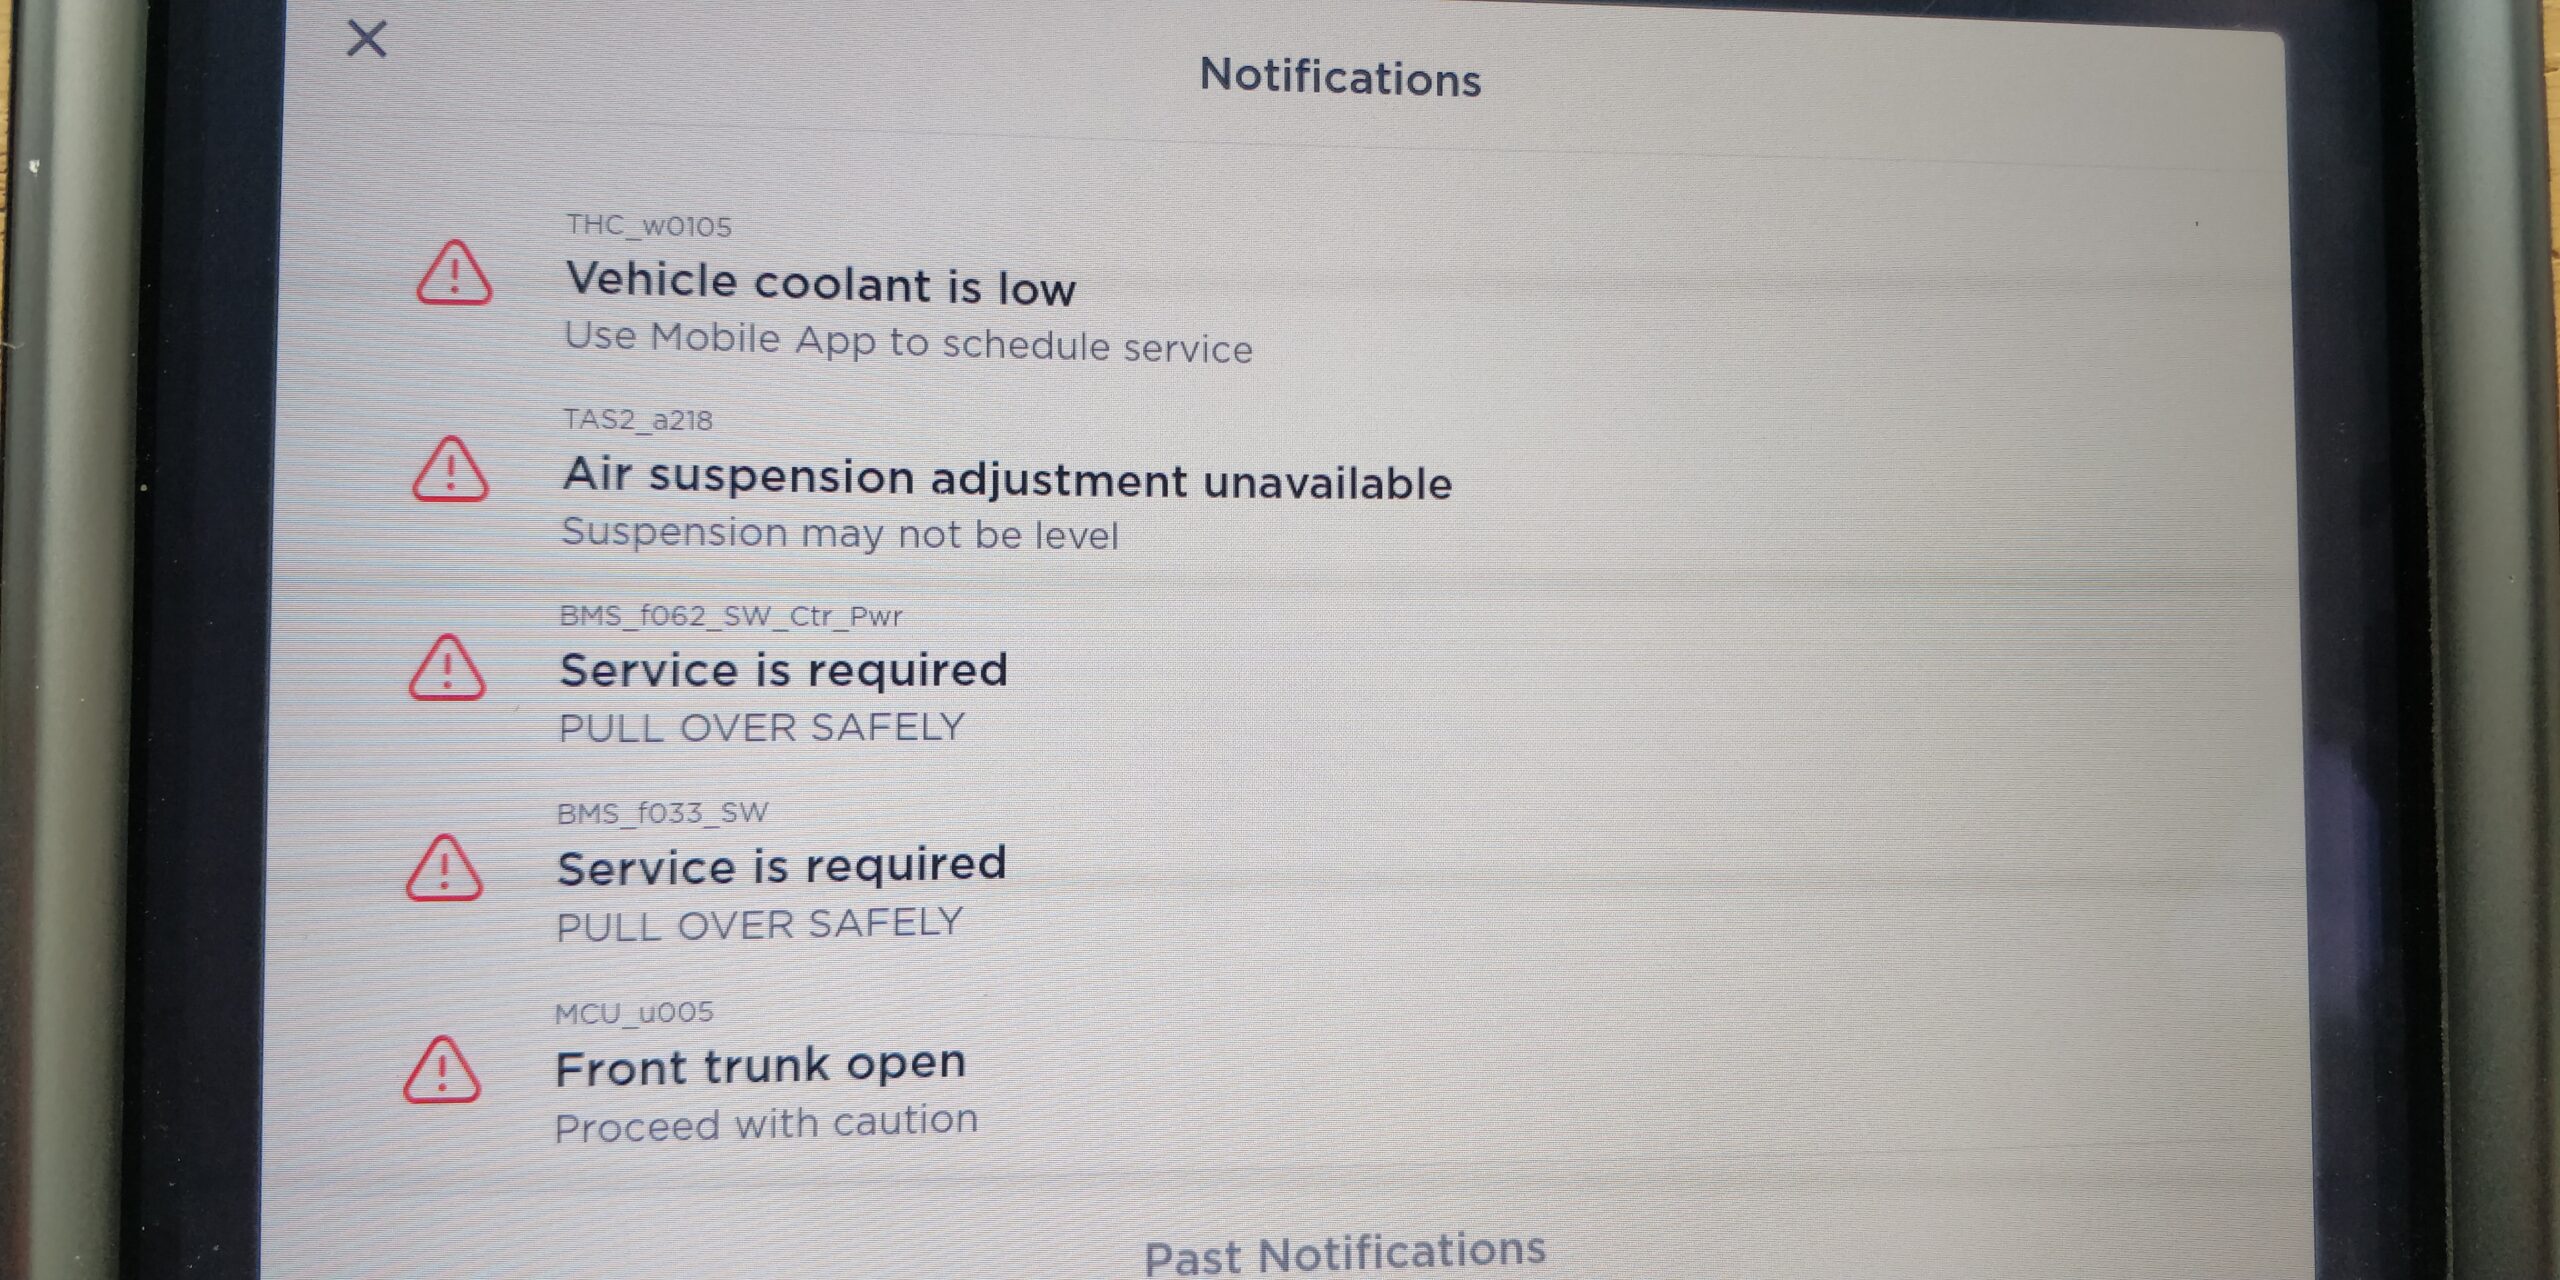
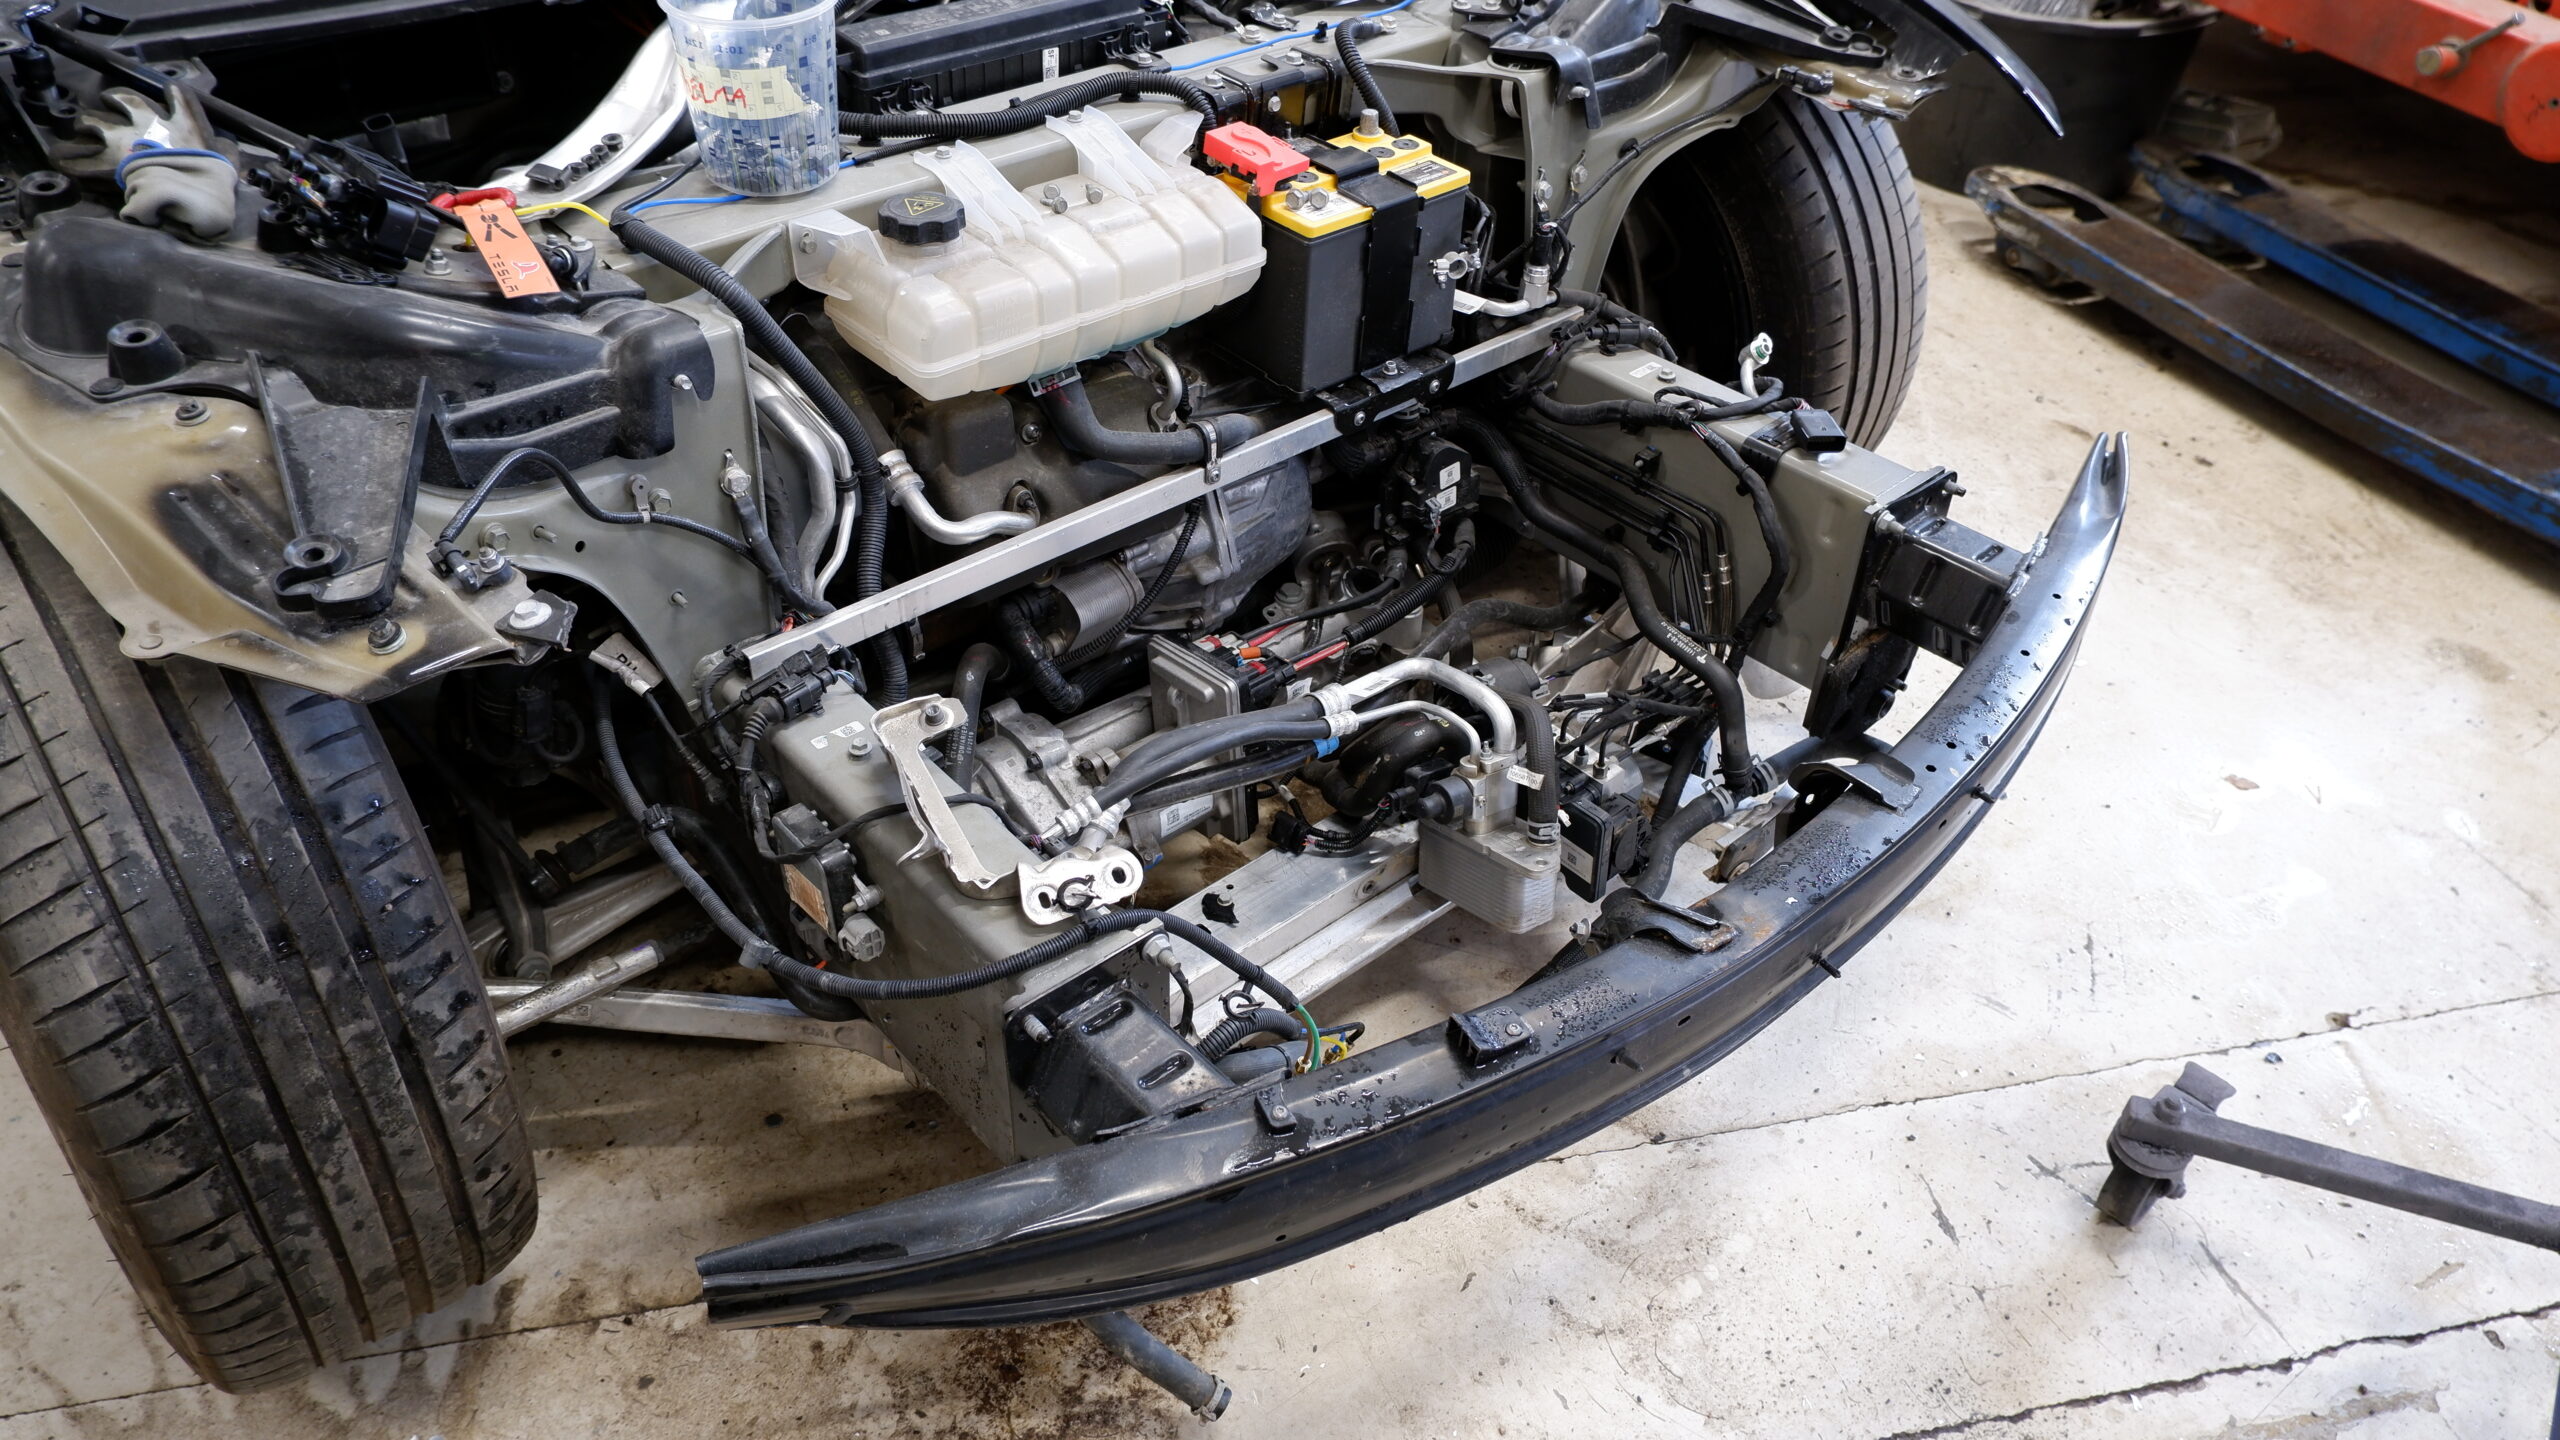
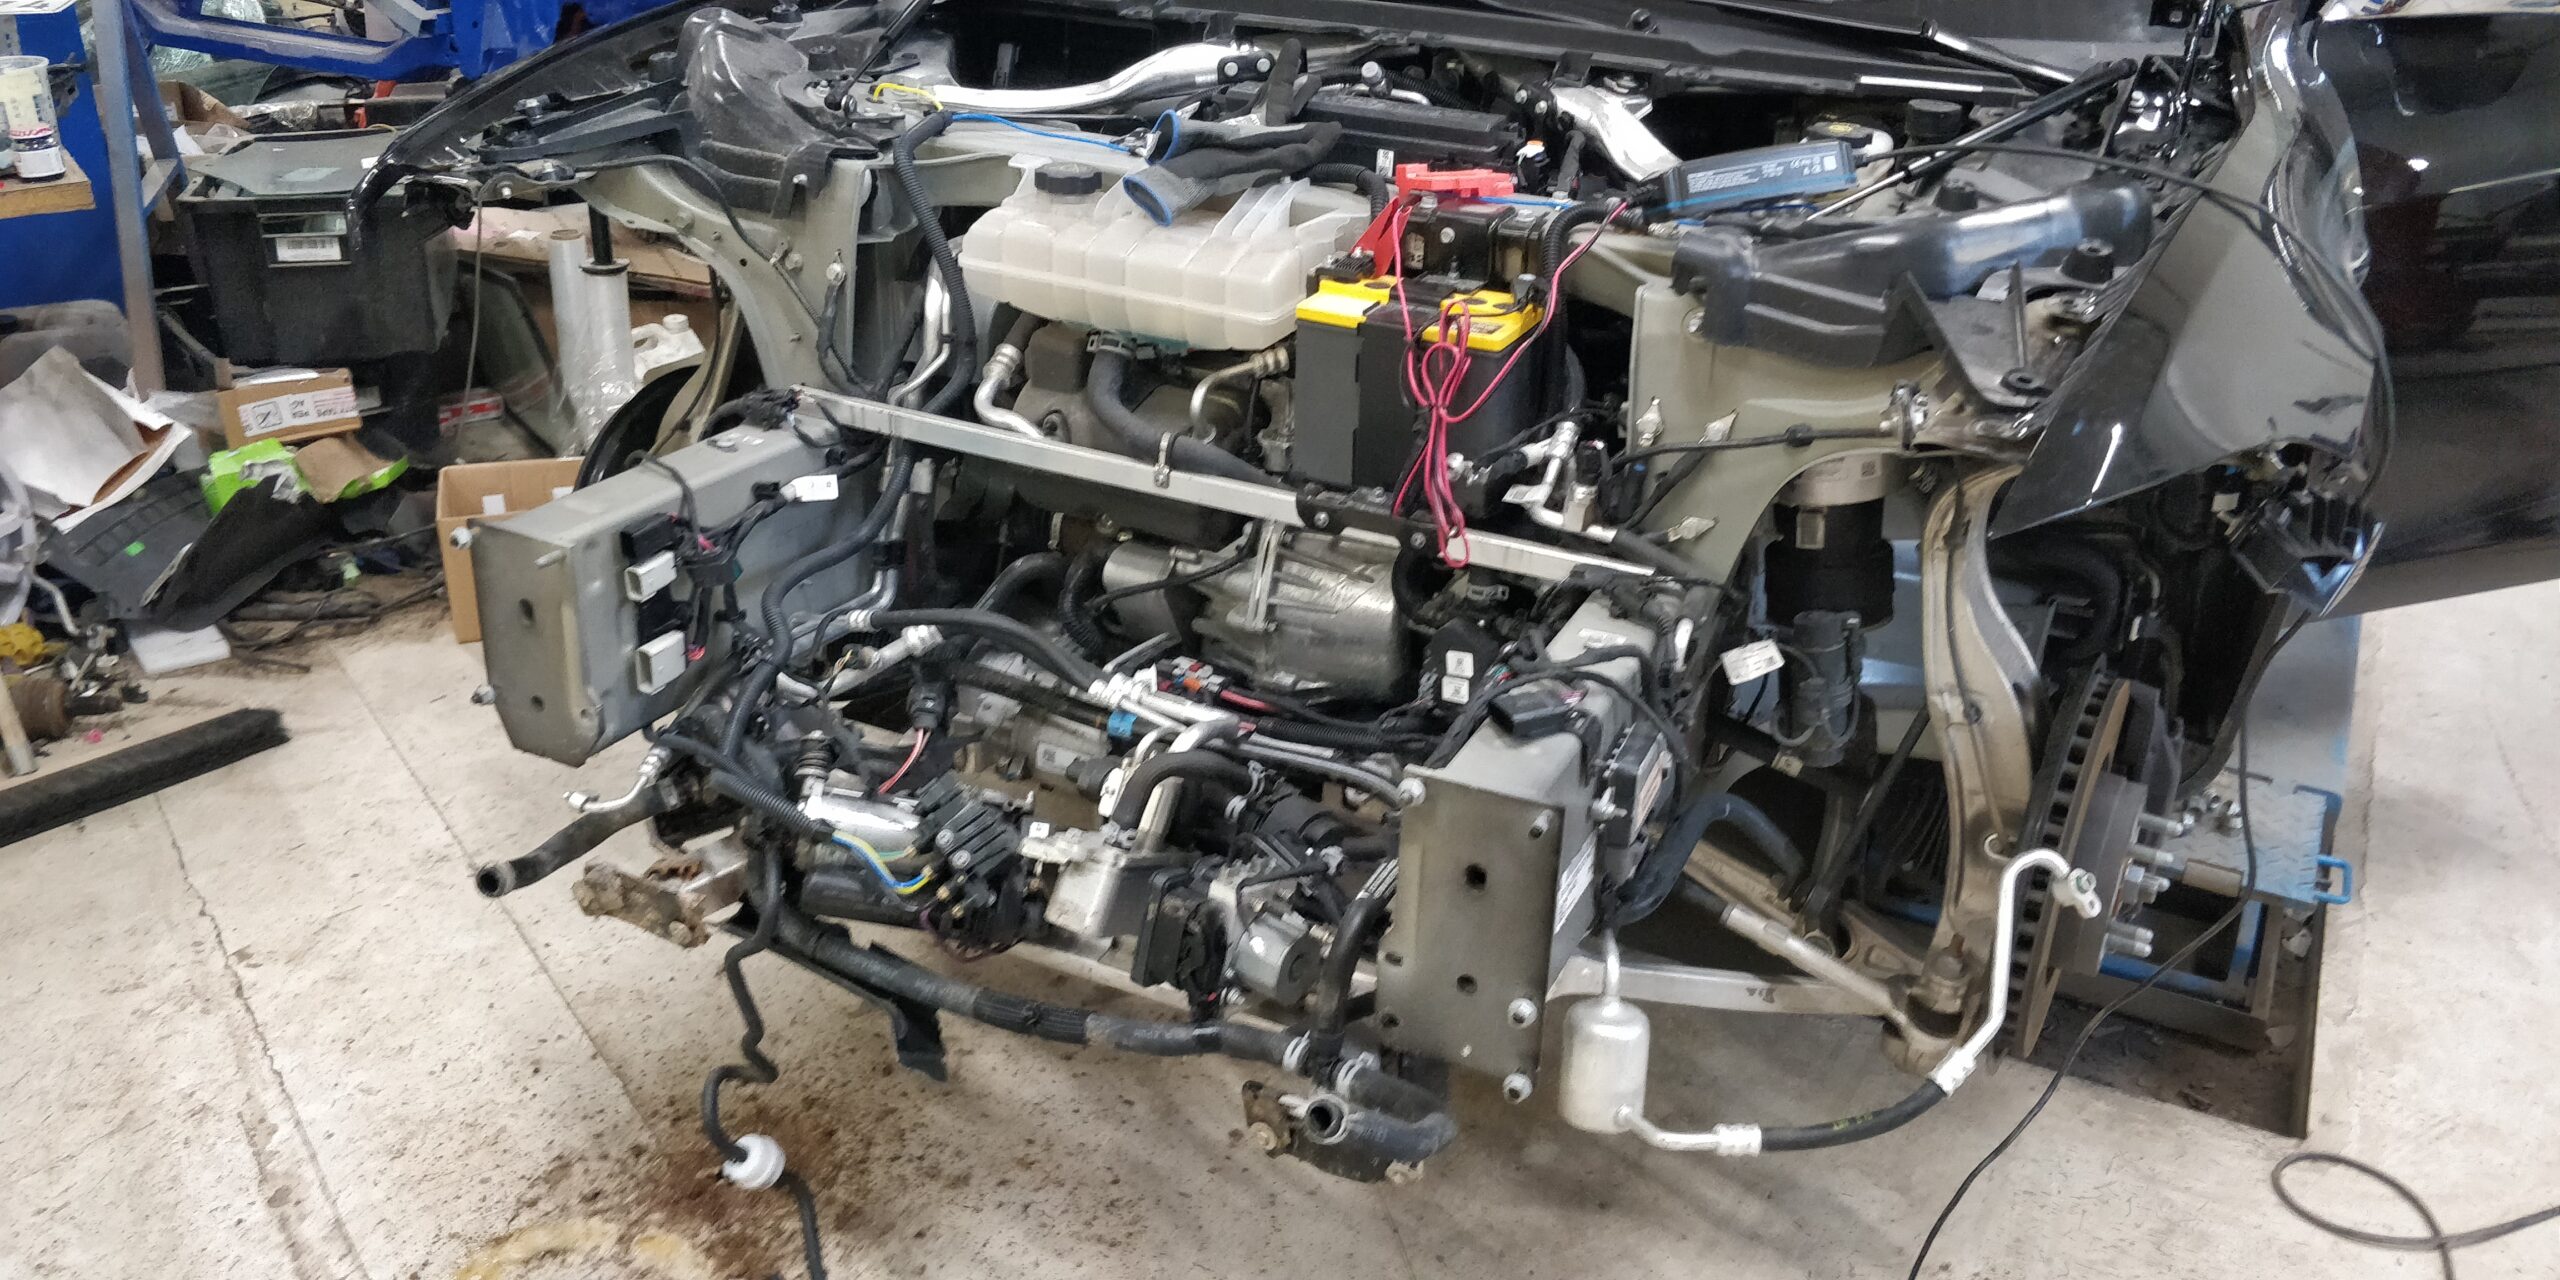
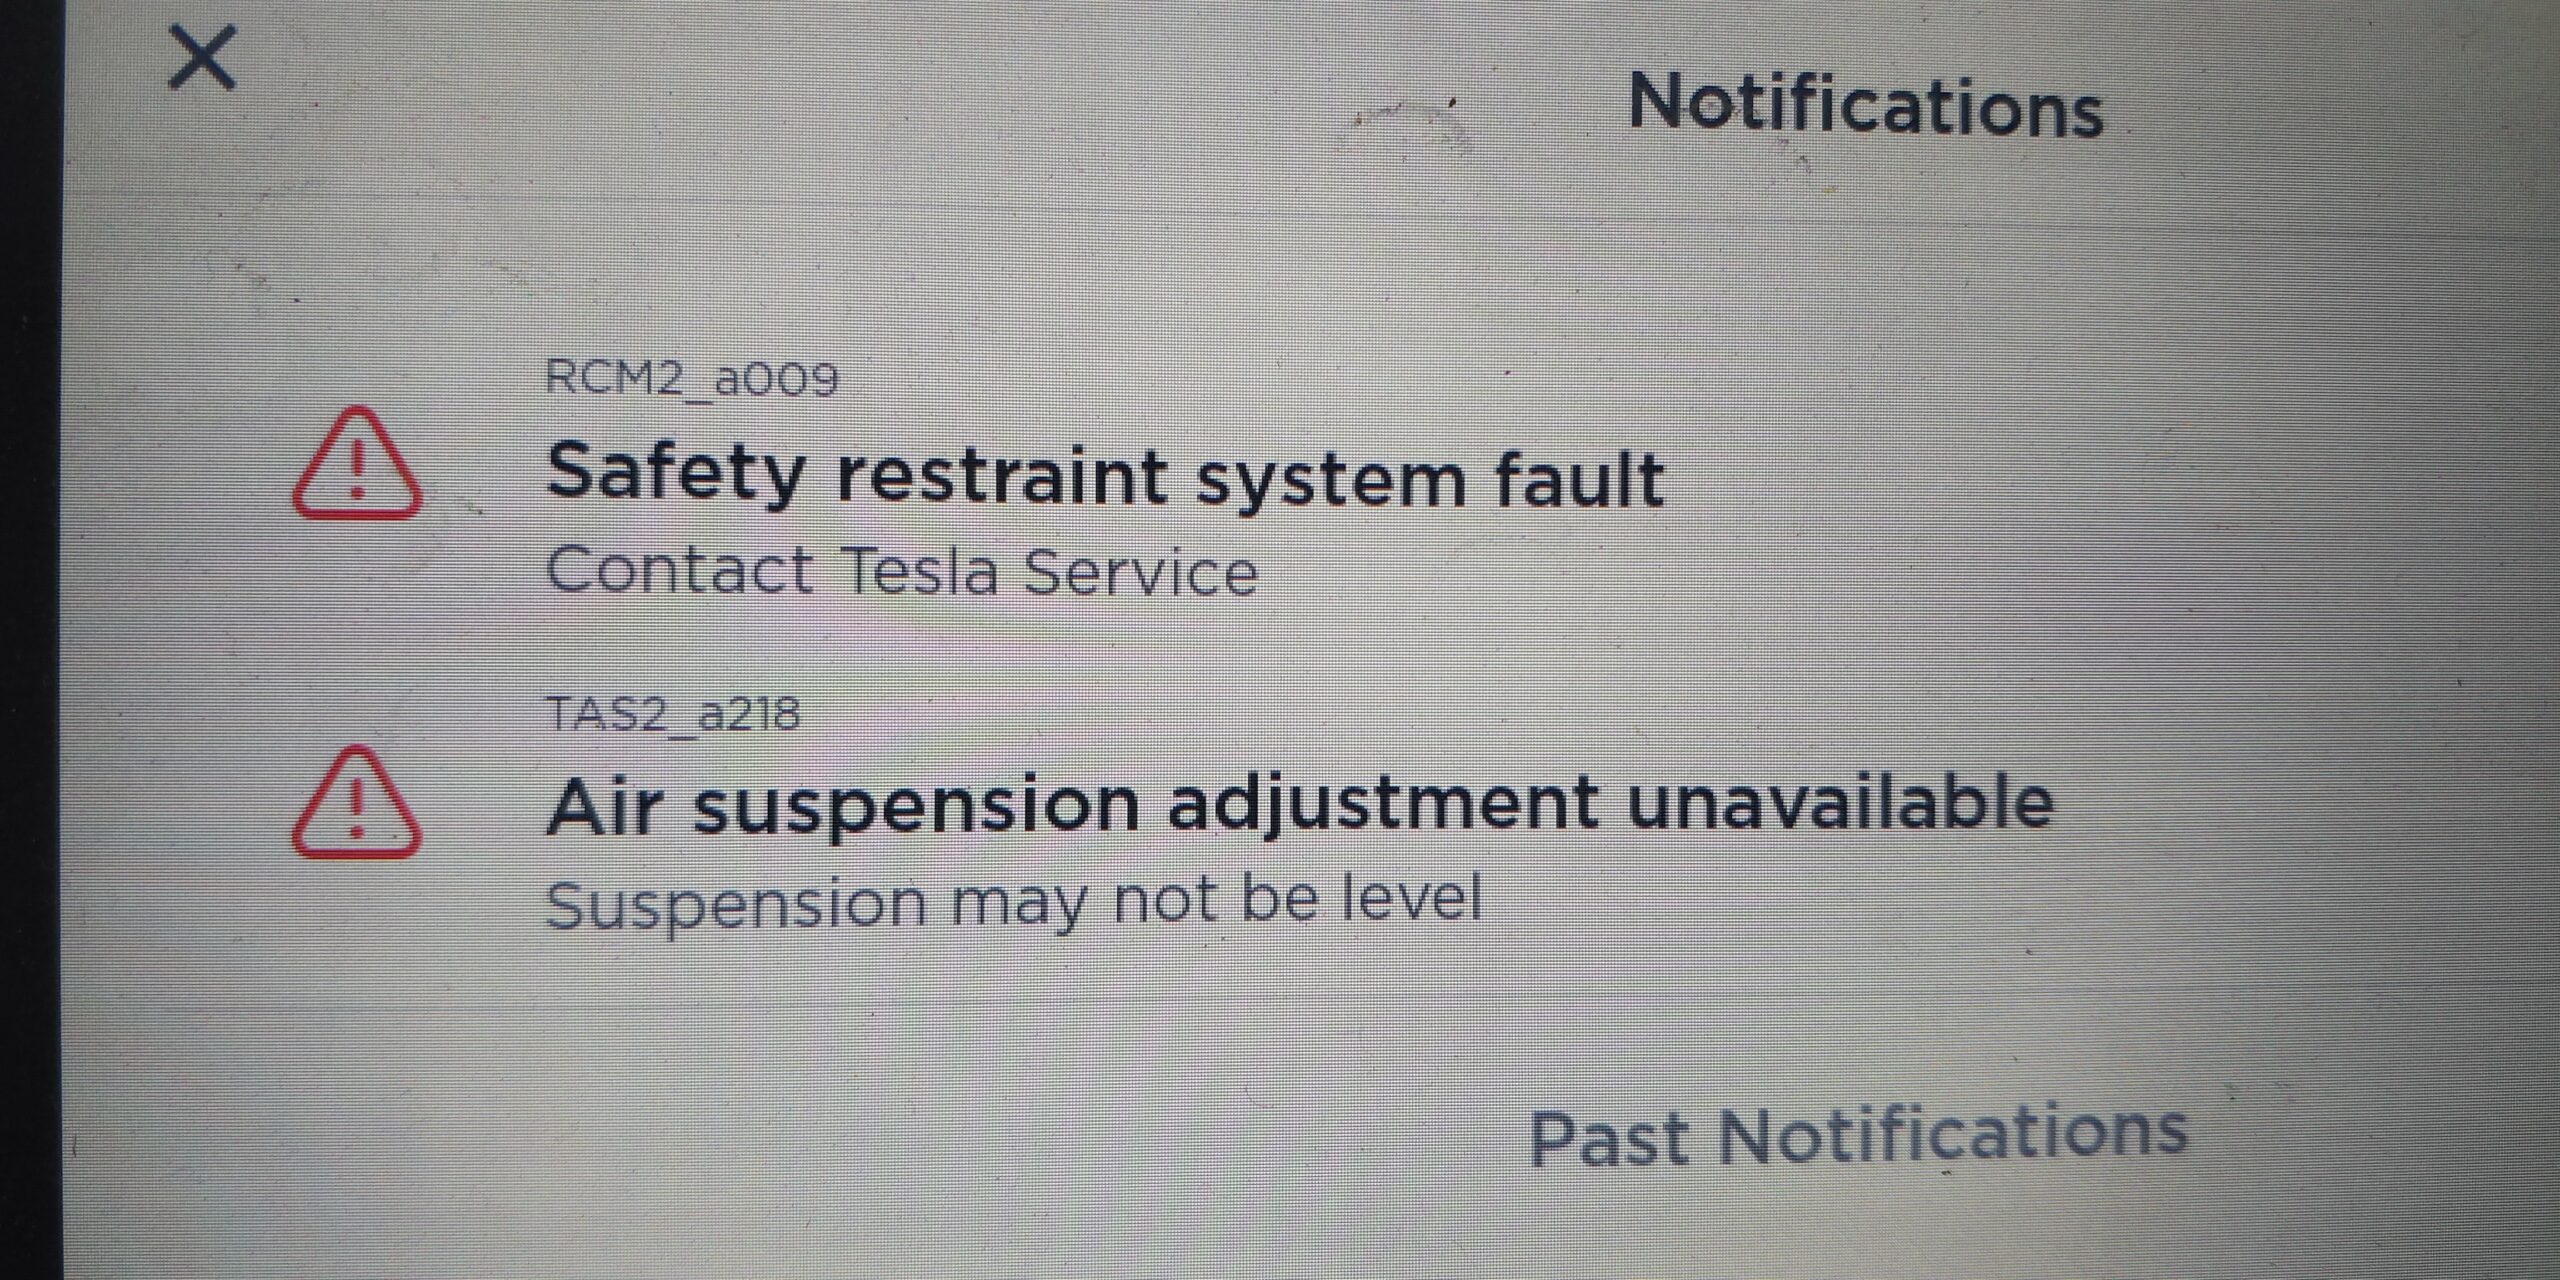
In the previous update the car was pretty much ready for inspection, but there were still some safety system related alerts and the air suspension was not working. Tesla normally self-clears the alerts when the problem is fixed but safety system or RCM (restraint control module) is an exception, as well as air suspension. Both are related to safety so I guess it makes sense.

To clear these alerts turned out to be a bit more difficult than we initially thought.

Remaining alerts

It was December 2020. Because at that time Tesla did not offer any kind of diagnostic tools and we did not know any aftermarket ones we contacted Tesla to get the alerts cleared. The first time slot for them was almost a month away, mid January. They said it's first time for them (in Finland) someone want something like this done. So we couldn't do much - just wait.

We had tried to gain access to Tesla's Toolbox (which is their own diagnostic application). According to their website (service.tesla.com) it was supposed to be possible to purchase a time limited access, workshop manuals etc. We created an account and tried to activate with a credit card, but it didn't just work. We called their "hotline" several times and always telling it was "another department" that takes care of this and come back. And they never came. It all looked like they never wanted to give access and the whole website was just created to fulfill EU requirements. My friends told me I should sue Tesla to court...

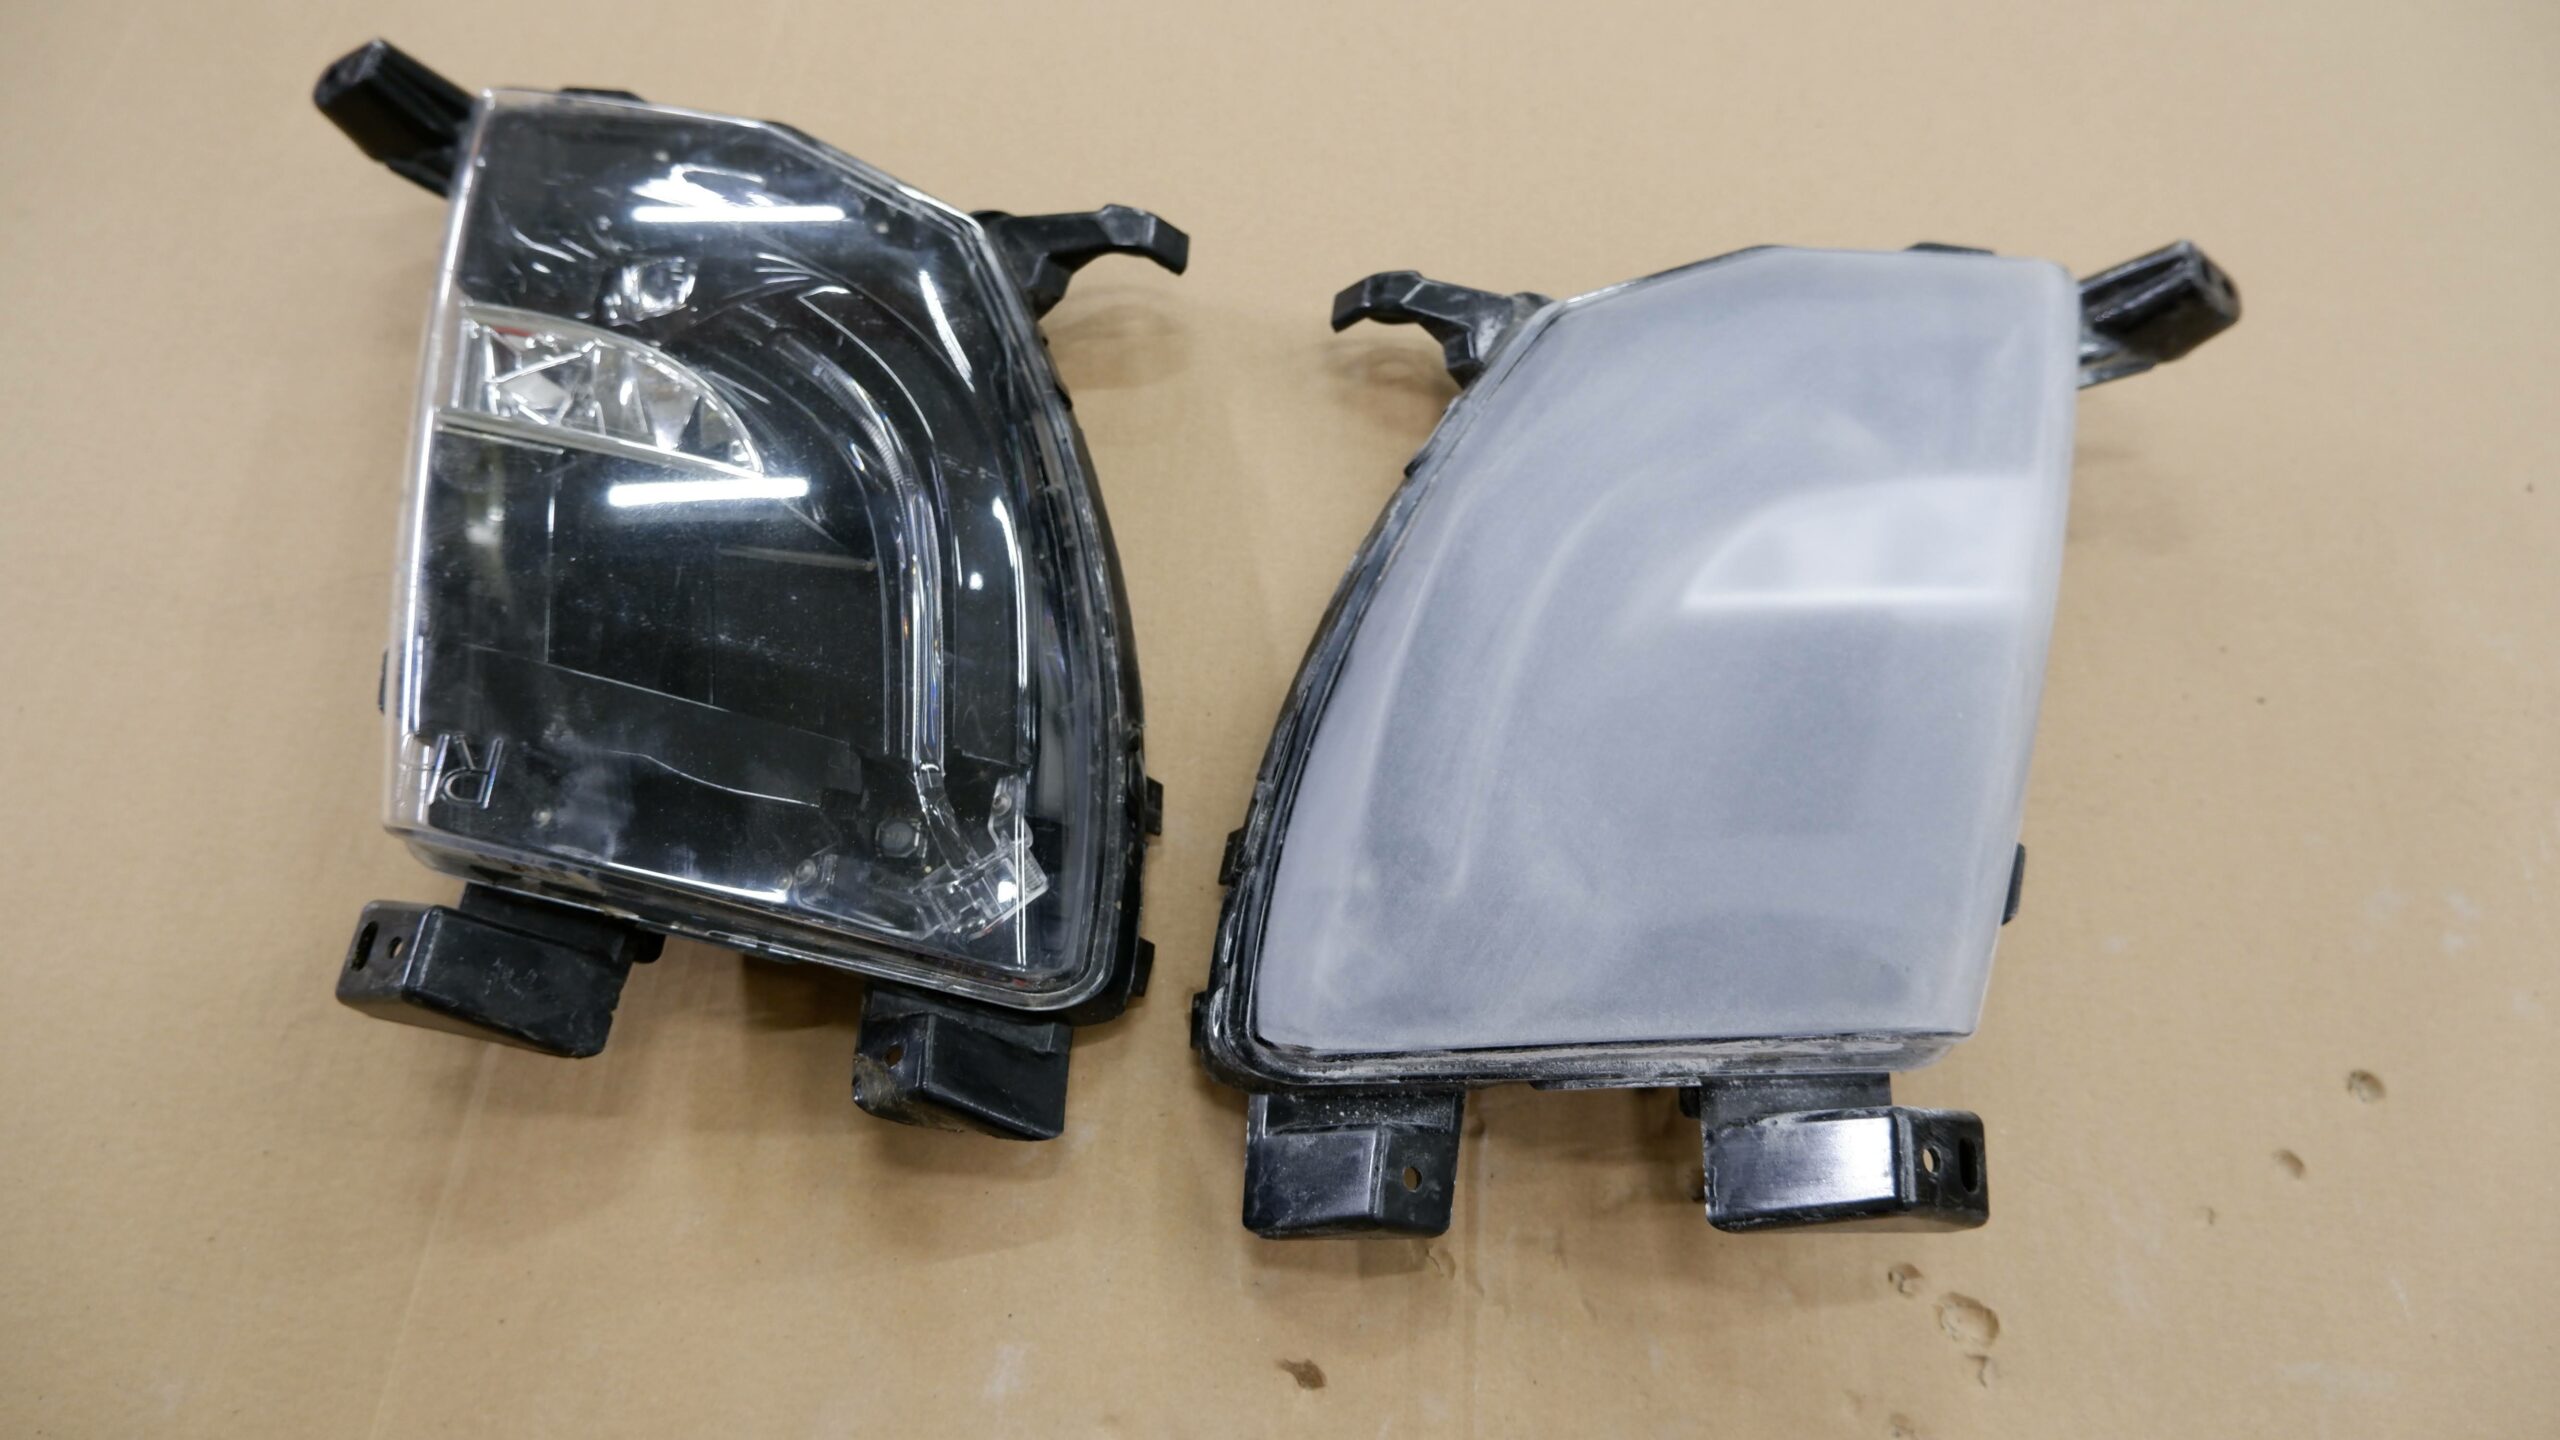
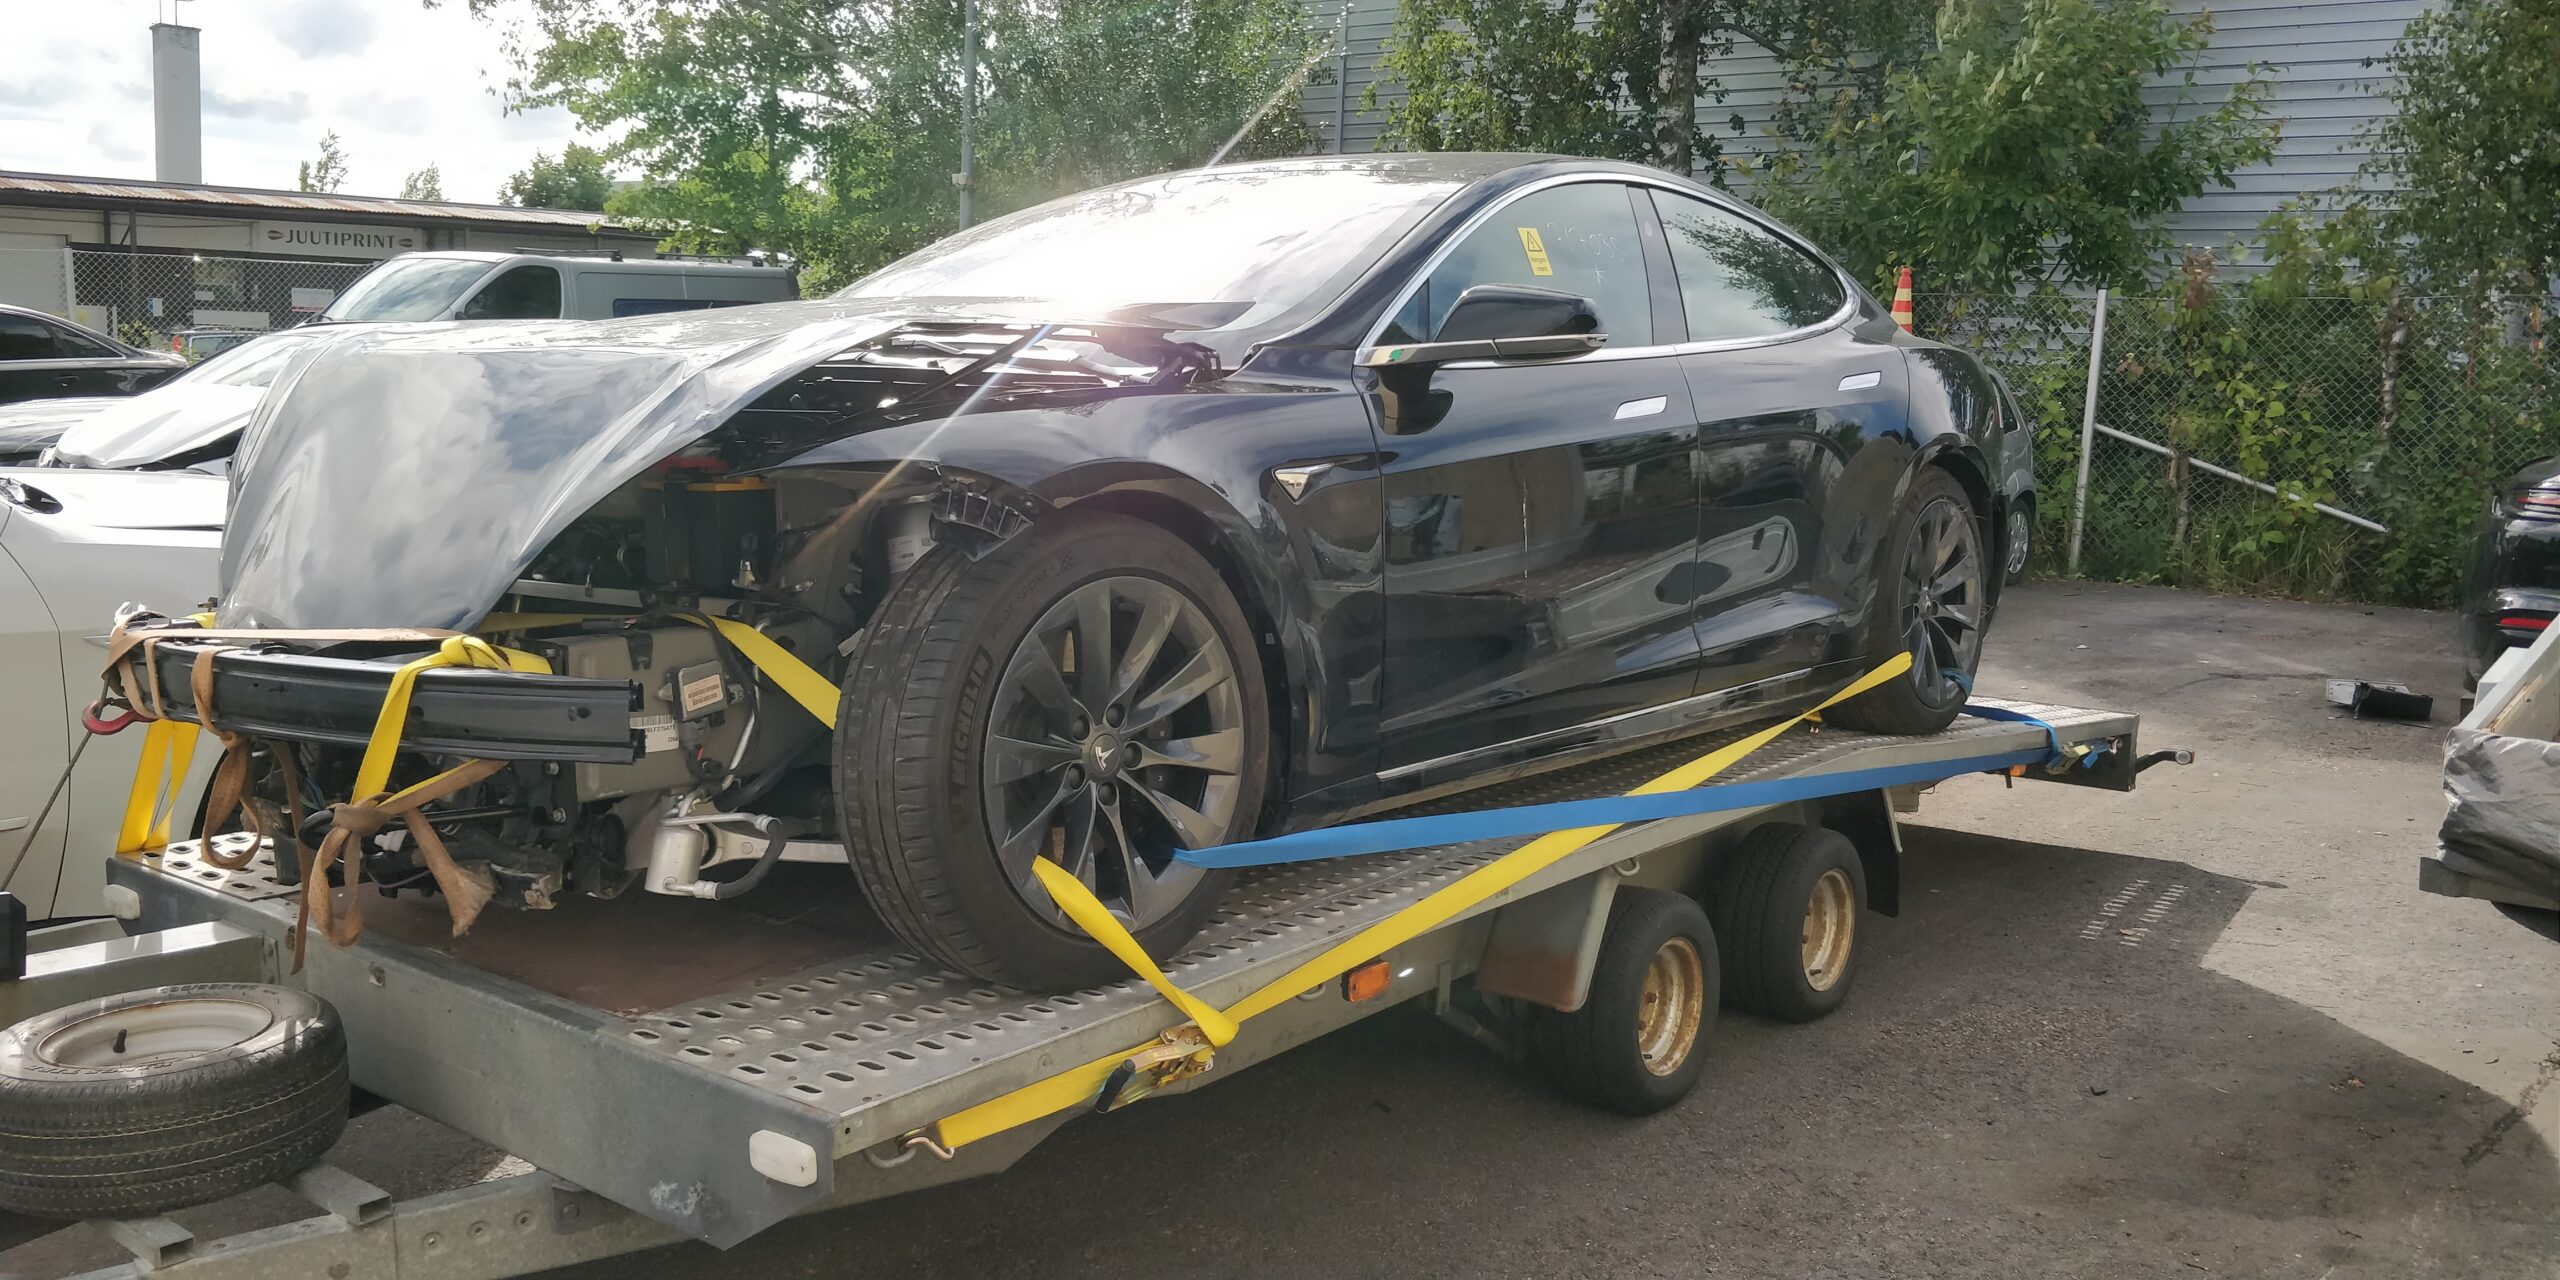
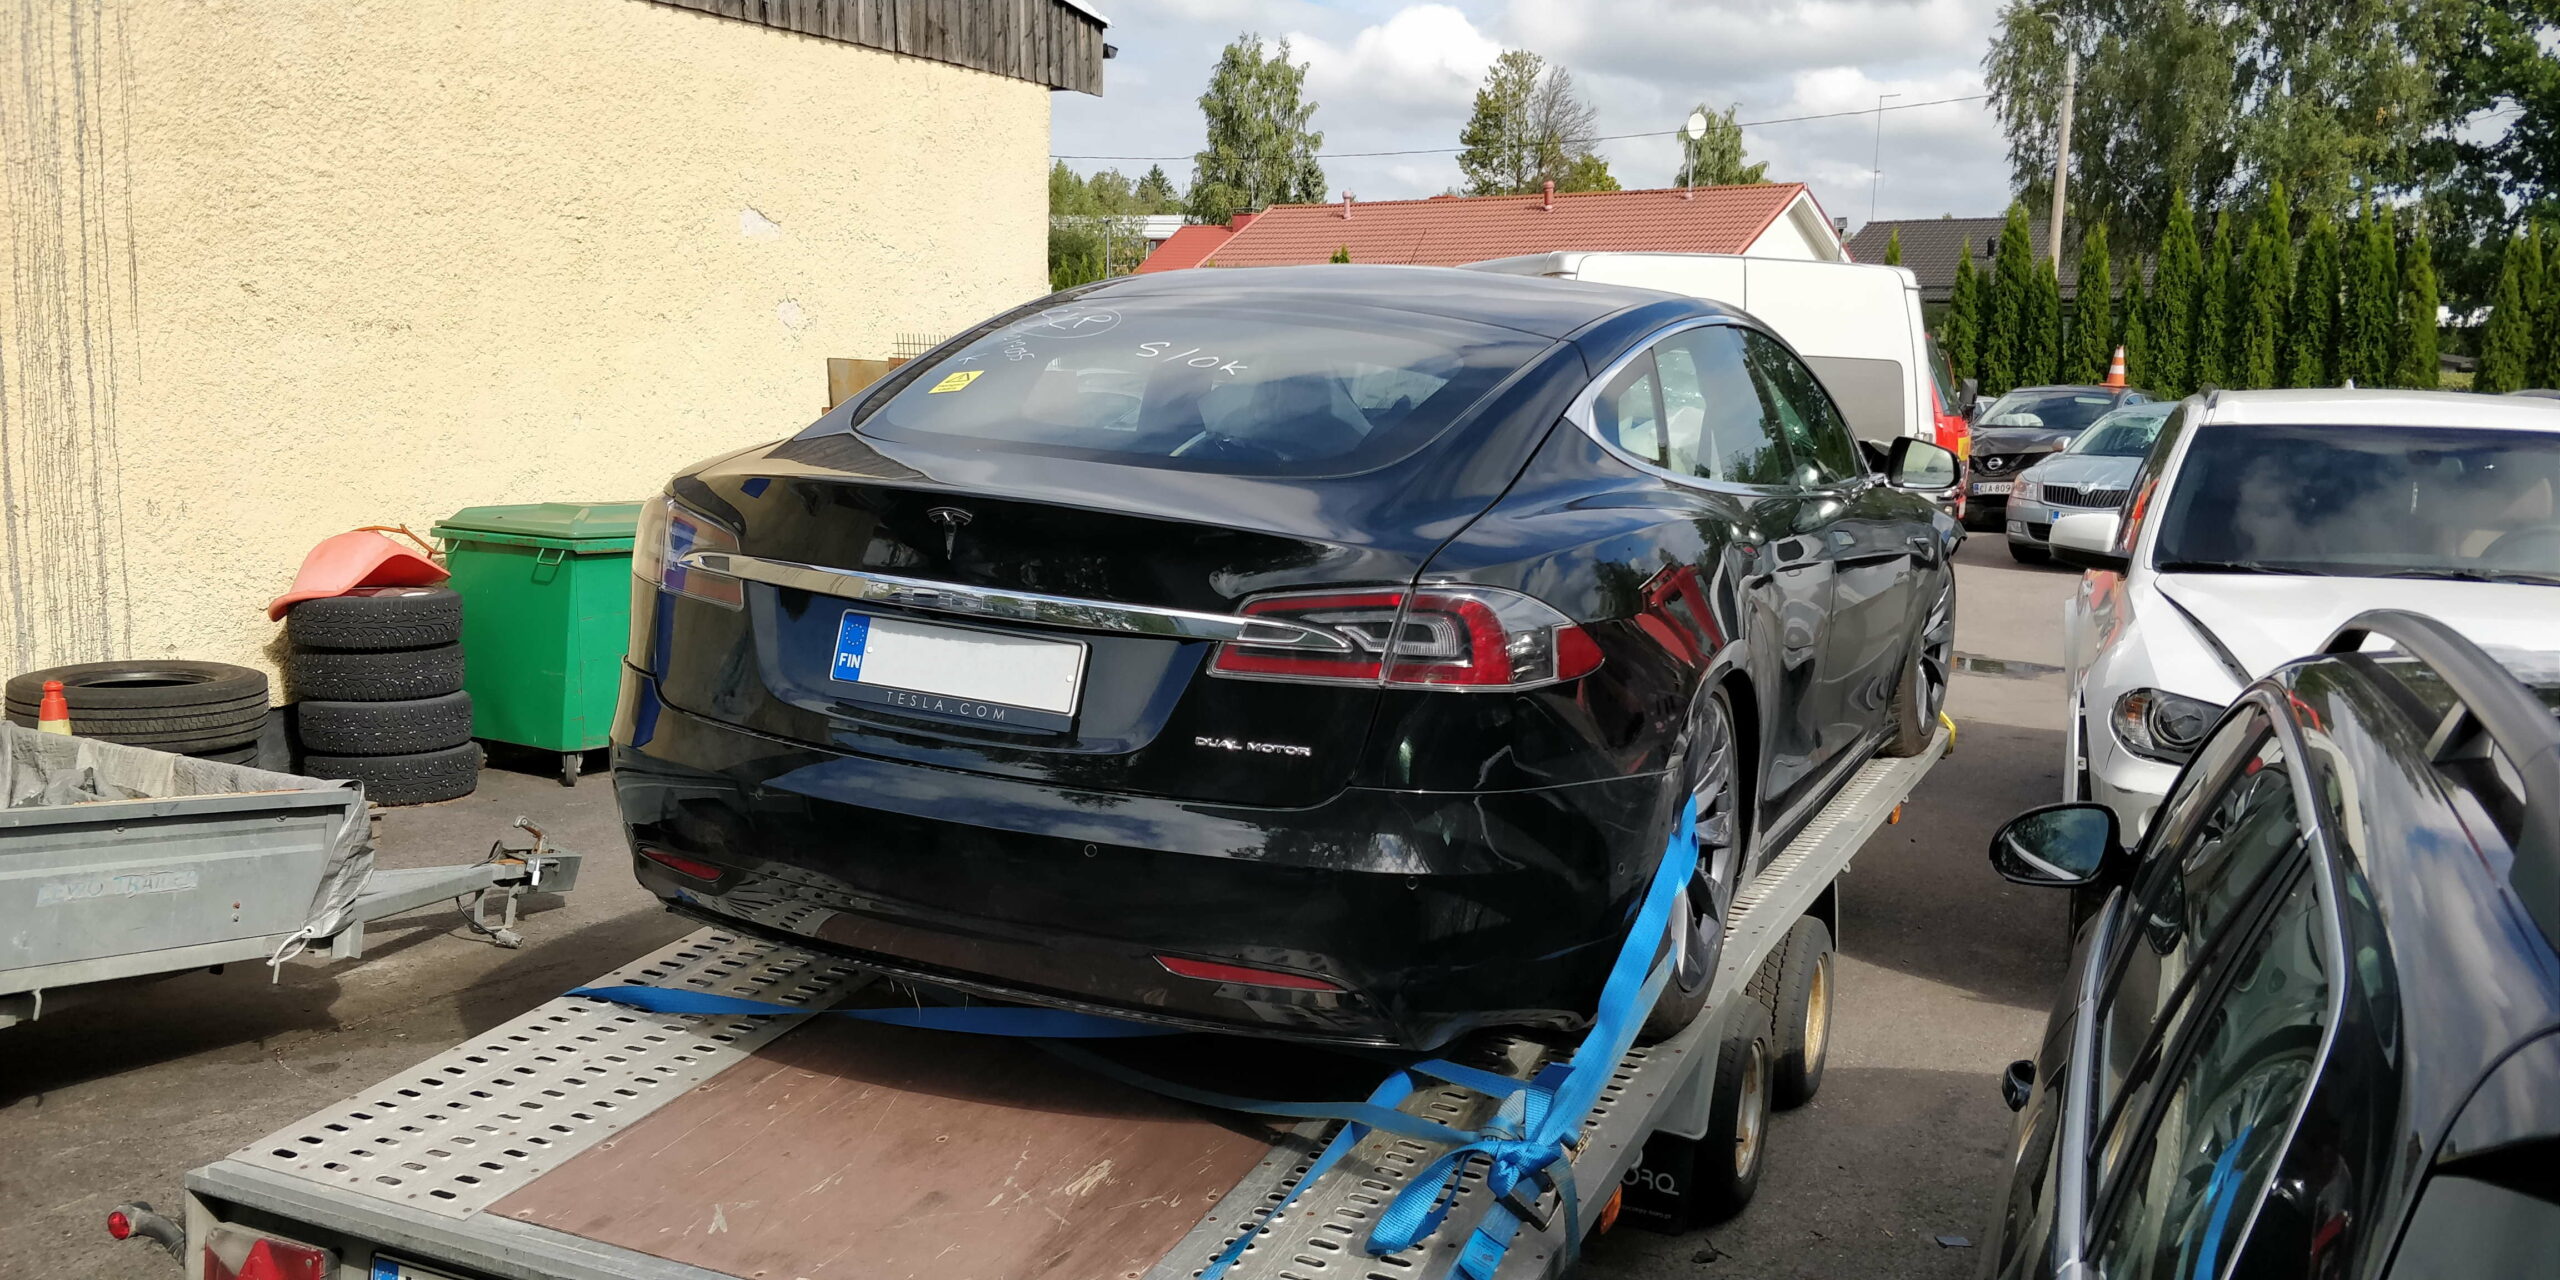
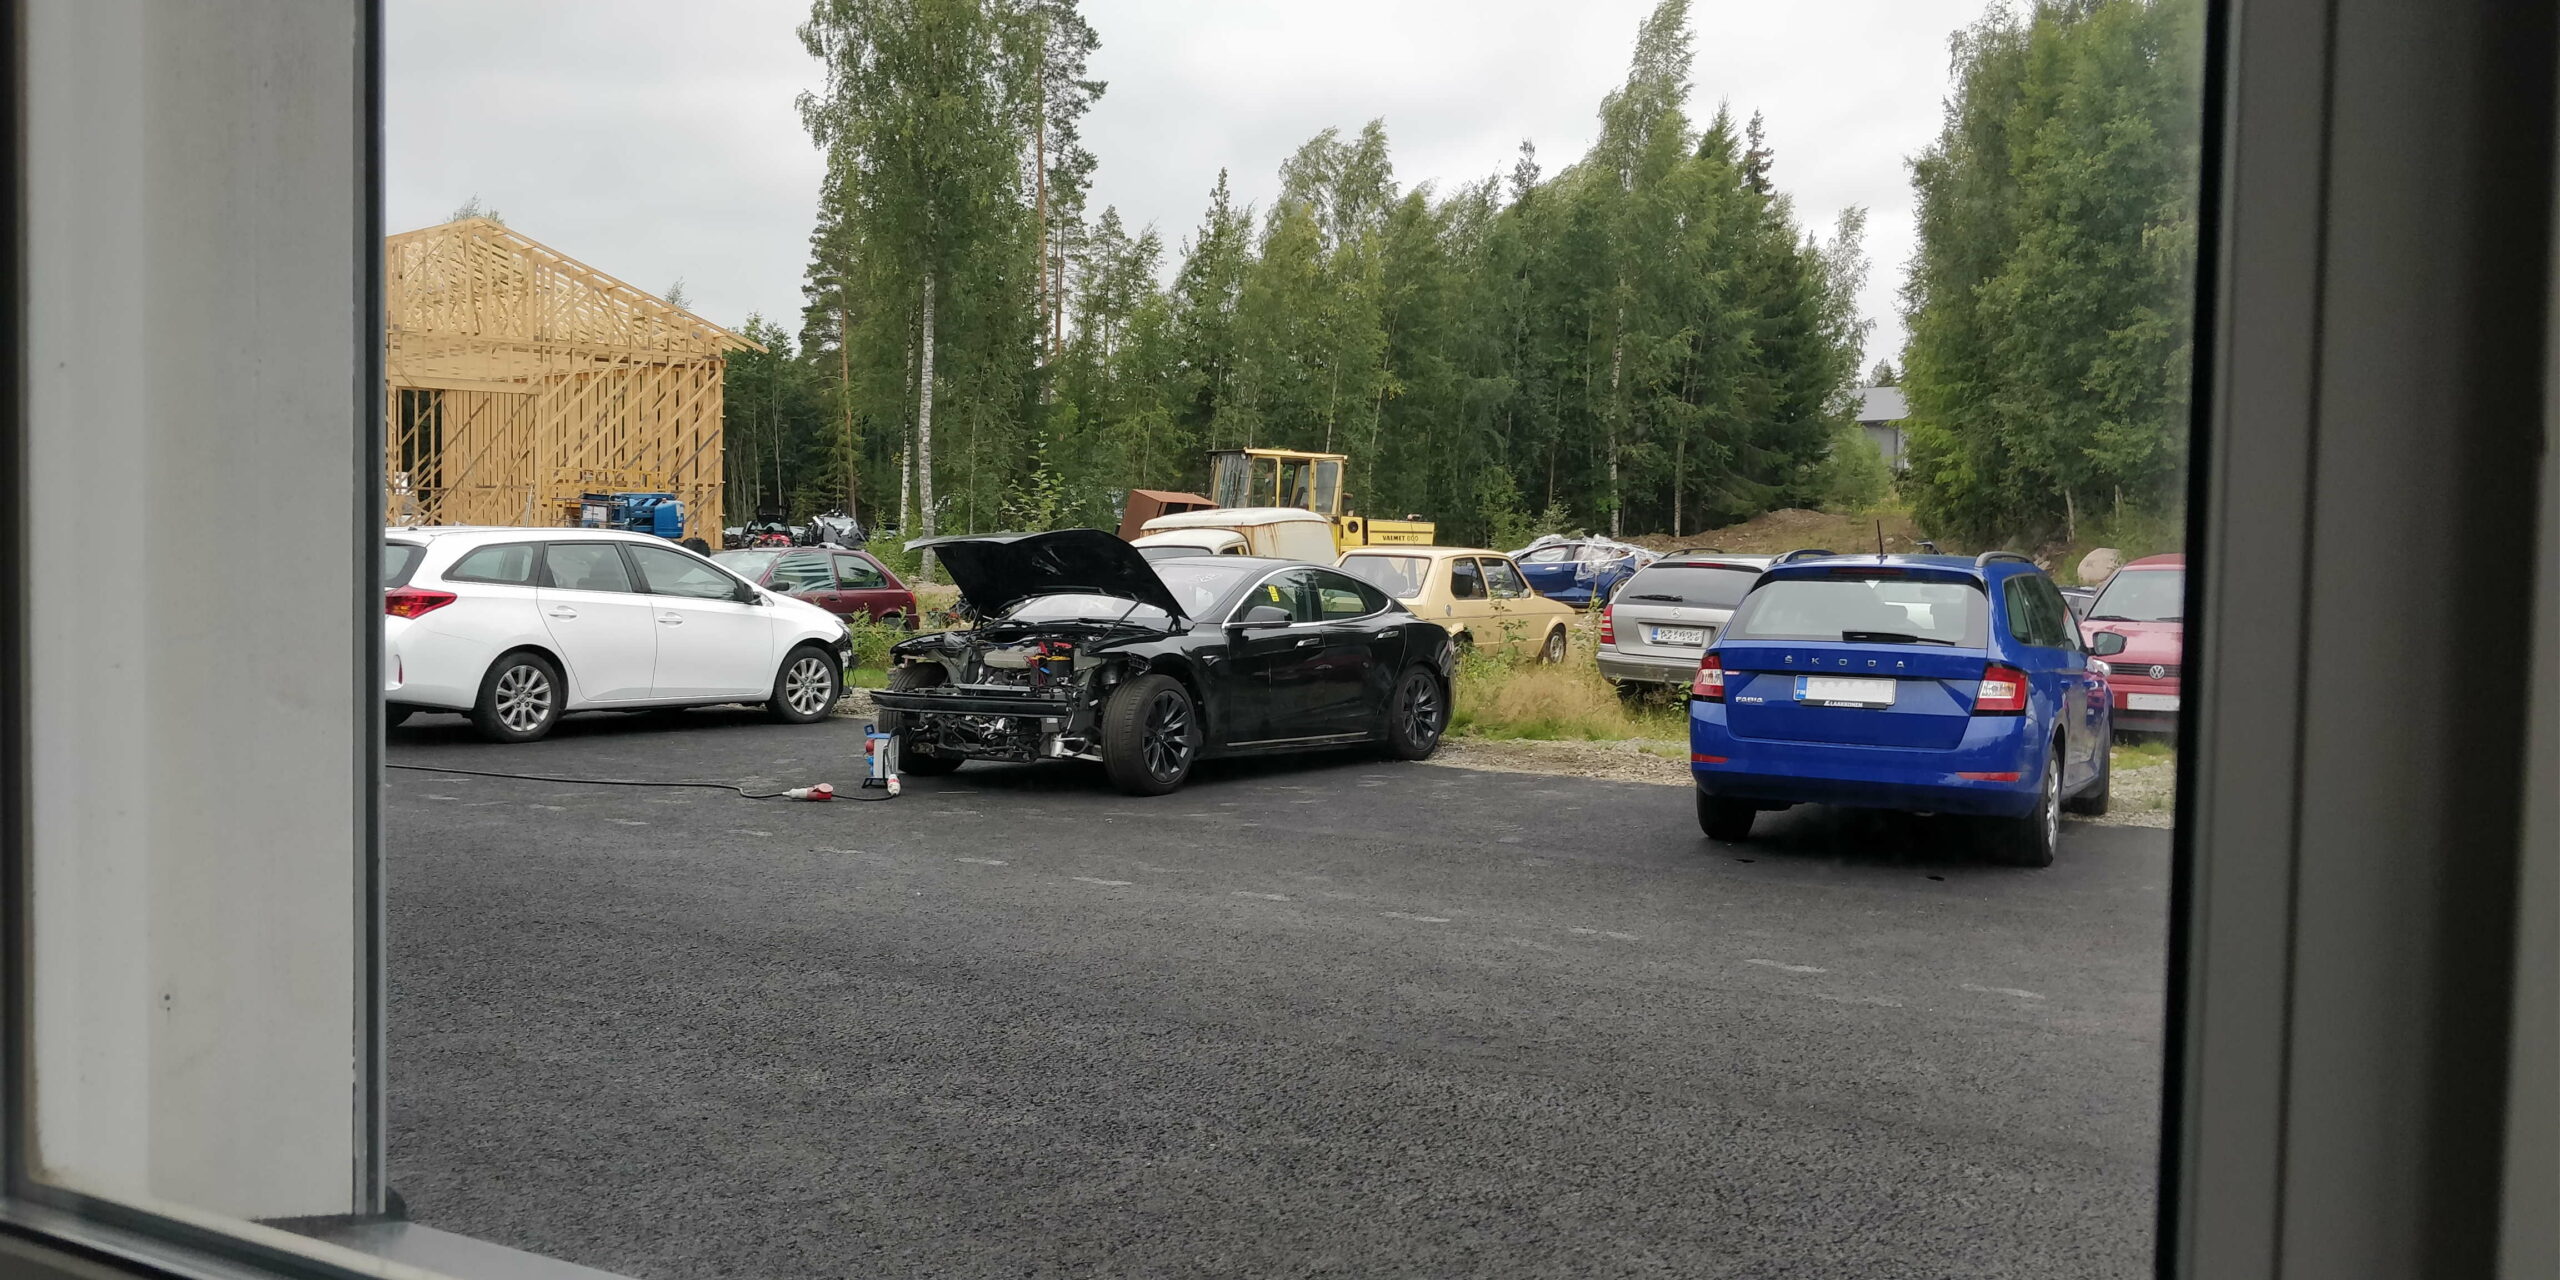
On the morning of 13th of January I drove the car to nearest Tesla service center (only two in Finland - this one was more than an hour away). The air suspension was not working and I could see from the MCU screen that the front was going down a bit all the time. Anyway, I was there when the service opened at the morning. I gave them the key and stayed there myself to wait and work with my laptop. After couple of hours they asked me to come to a small meeting room where they explained that things are not proceeding - they had not done their homework properly. They had now found that according to Tesla policy they would need to make a high voltage test before they are allowed to do anything else. They couln't even tell how much this test costs... "not several thousand euros". And even before that I need to request this test and make a report for them of all the repairs I've done to the car. And that's not all - they gave me a notice (SC-15-00-006 Salvage-Titled Vehicle Notification) where they explained that Supercharging will be disabled. They also gave me SC-18-00-007 Owner Notification and Acceptance of Unperformed Repairs with slots for signatures and vehicle information. That was not filled anyway.

I had heard from US stories about disabling SC from salvage vehicles, but I was hopeful this was only a US thing as I had written with a guy from UK who had taken his car to Tesla for similar crash alert clearing without losing the supercharging.

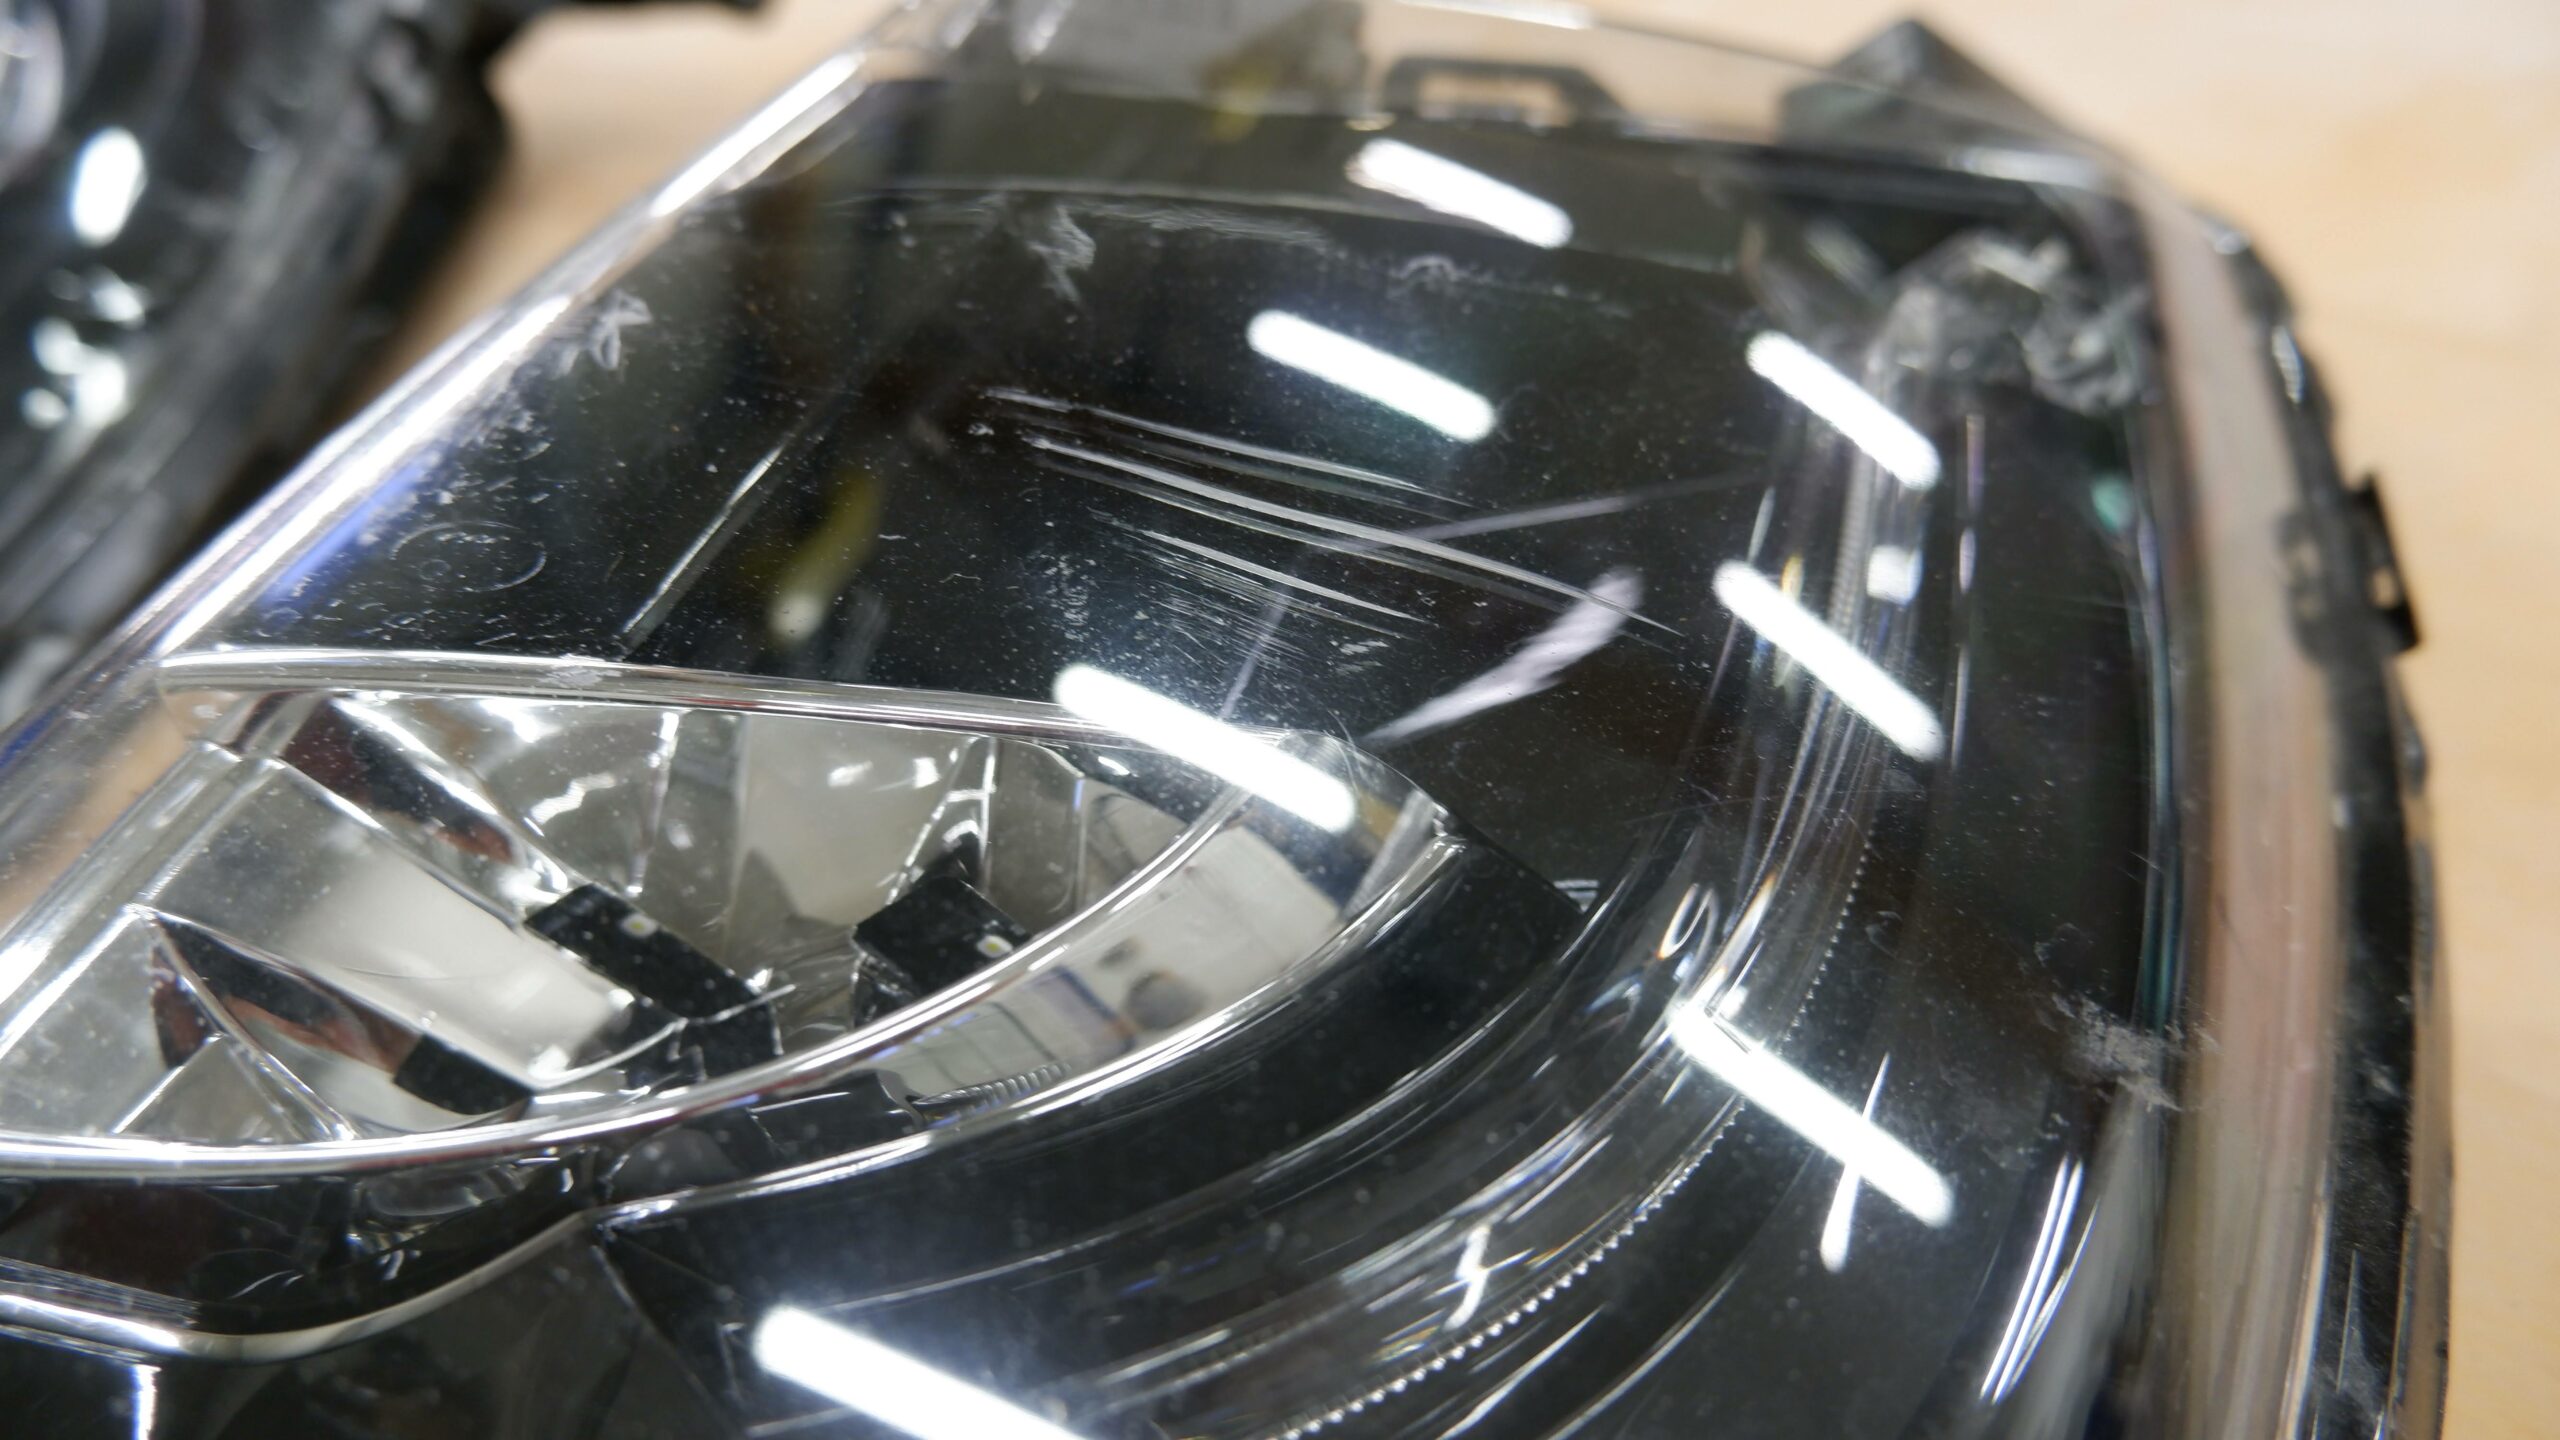
At this point I was pretty pissed off. We could get the alerts cleared. They had been able to fill the A/C system and adjust the headlights though. Although I don't know how they did the headlight adjustment when the suspension was not working and front was clearly lower than rear. And I had to pay 400 eur for all this.

On my way home I stopped by a DC charger (non-Tesla) and that still seemed to work. On my way home the front was still going down, but I could still get back home safely. I had already before explained my situation on a Facebook group and on my way home I was contacted by a guy who had contacts to Eastern Europe who might be able to help me. I then decided we will fix this car without any help from Tesla.

Testing DC charging in Pirkkala McDonald's.

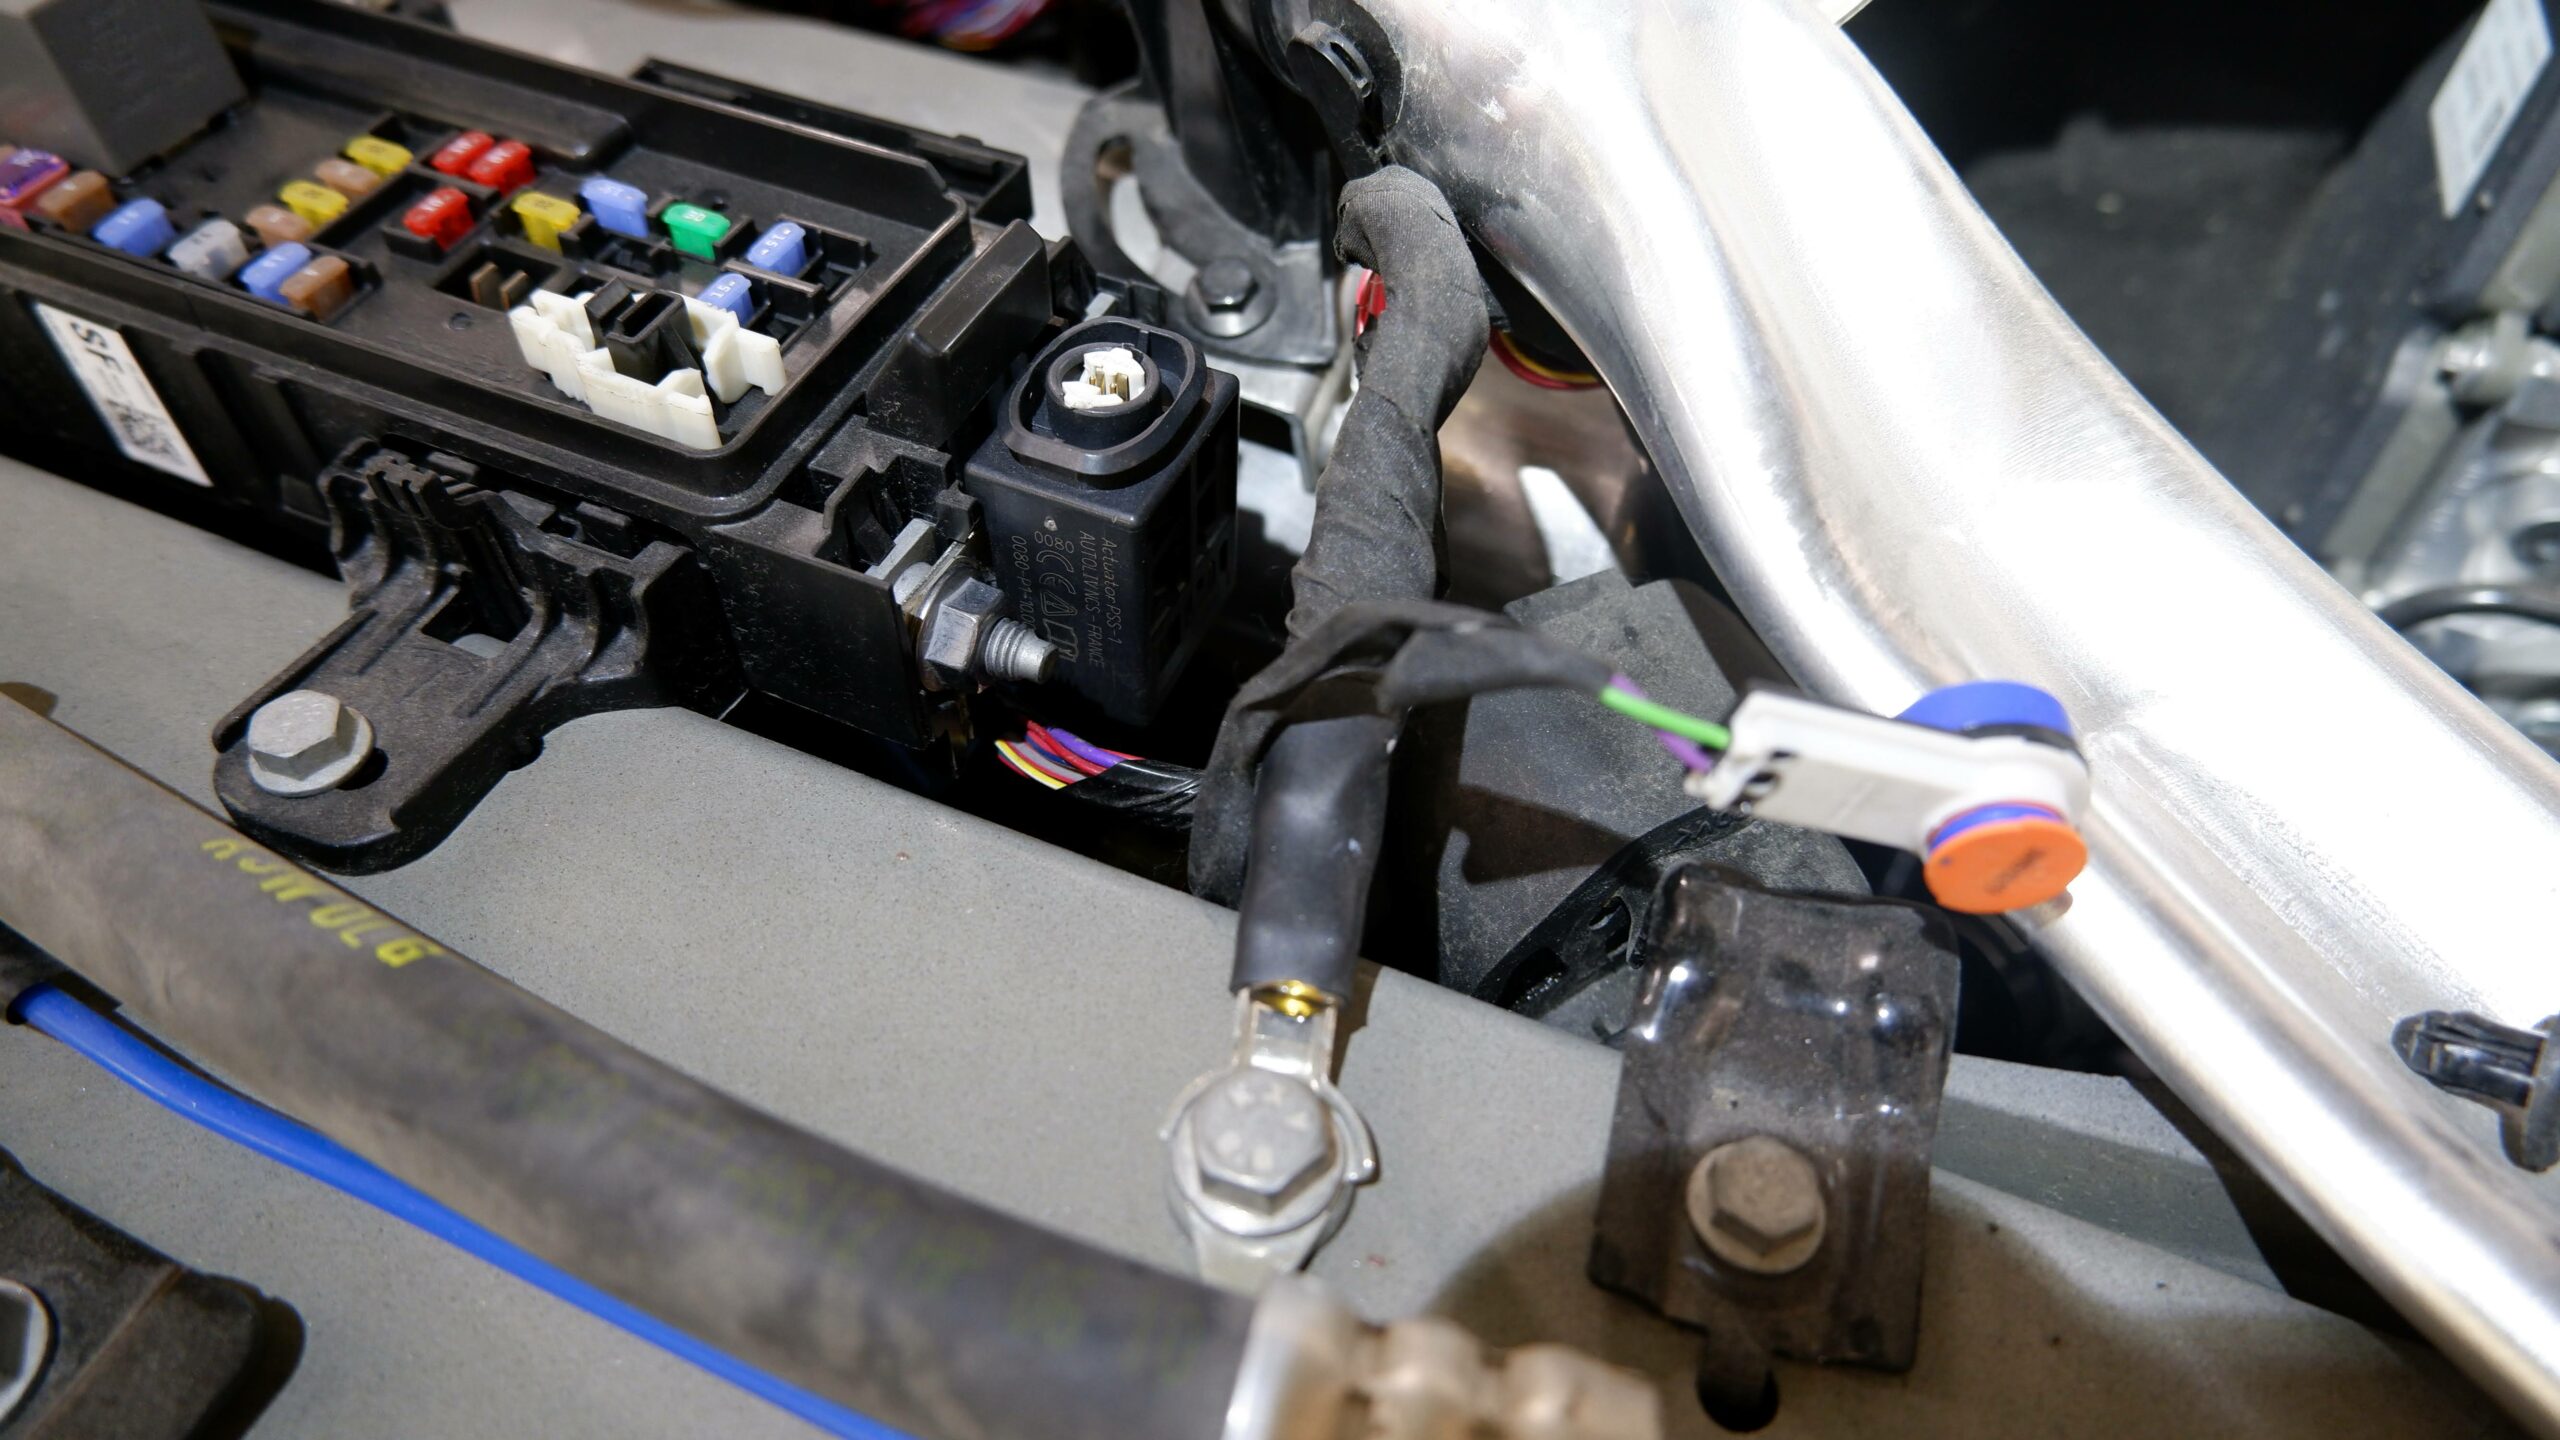
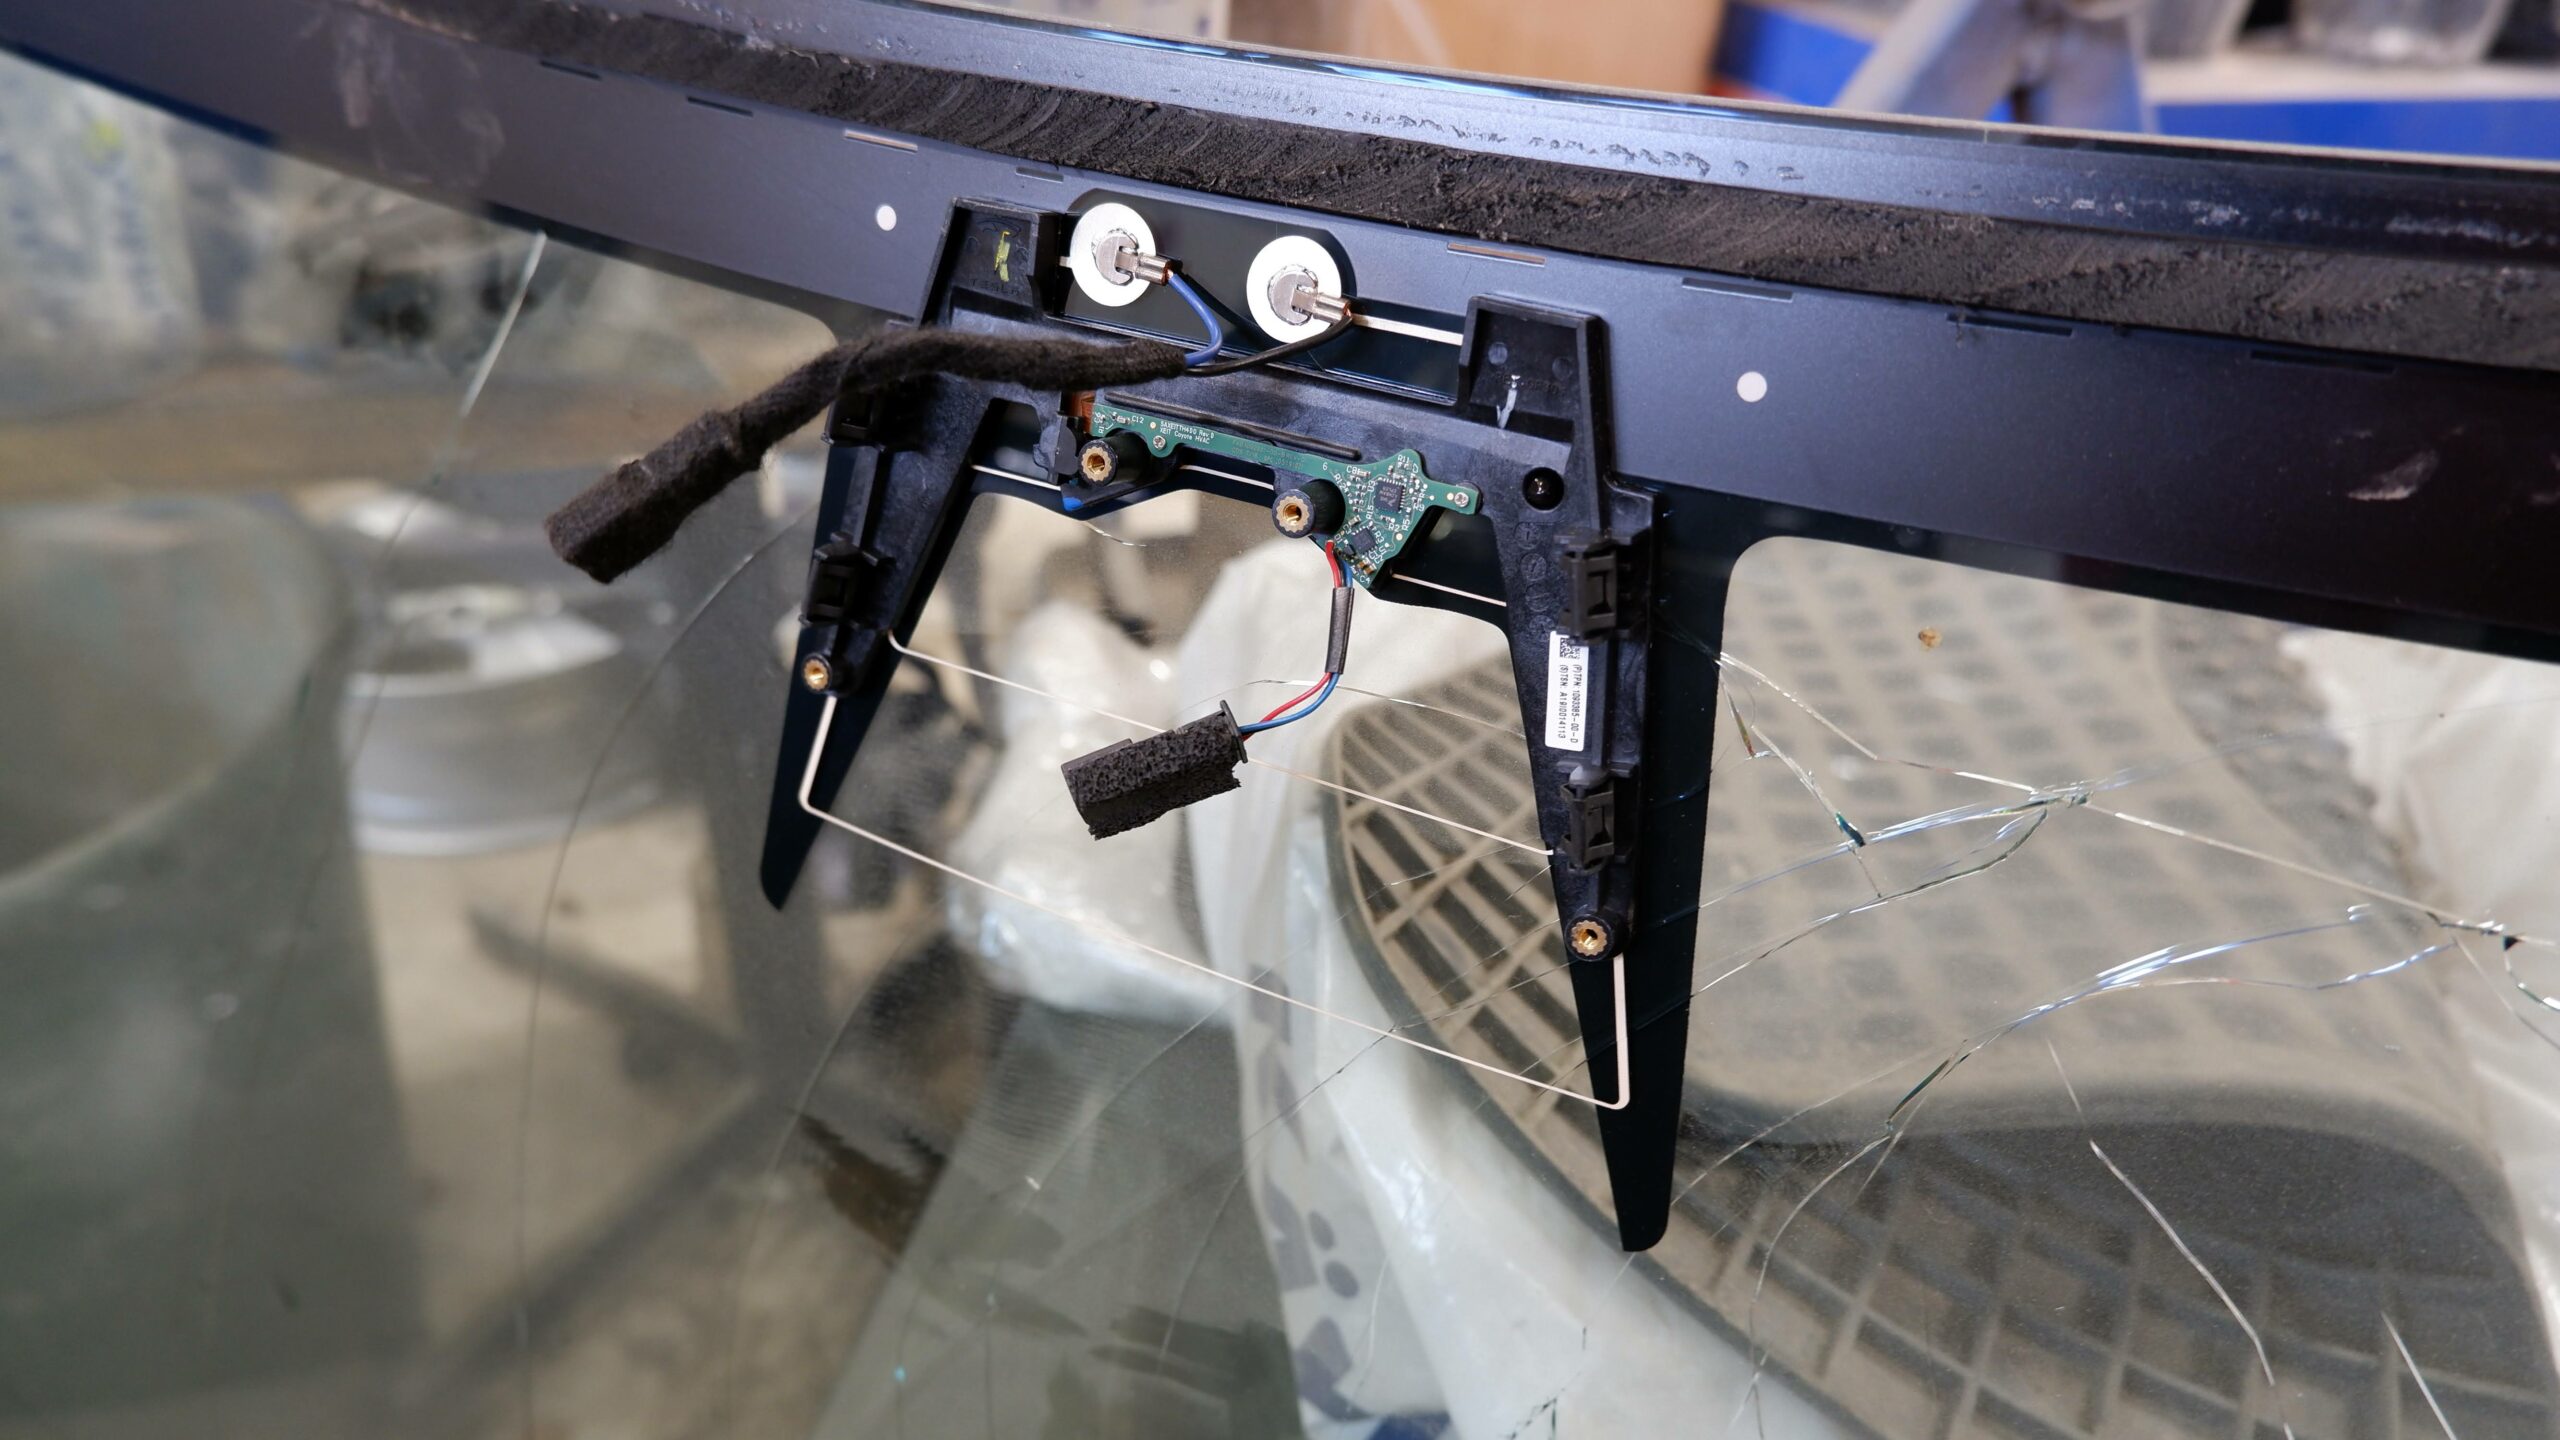
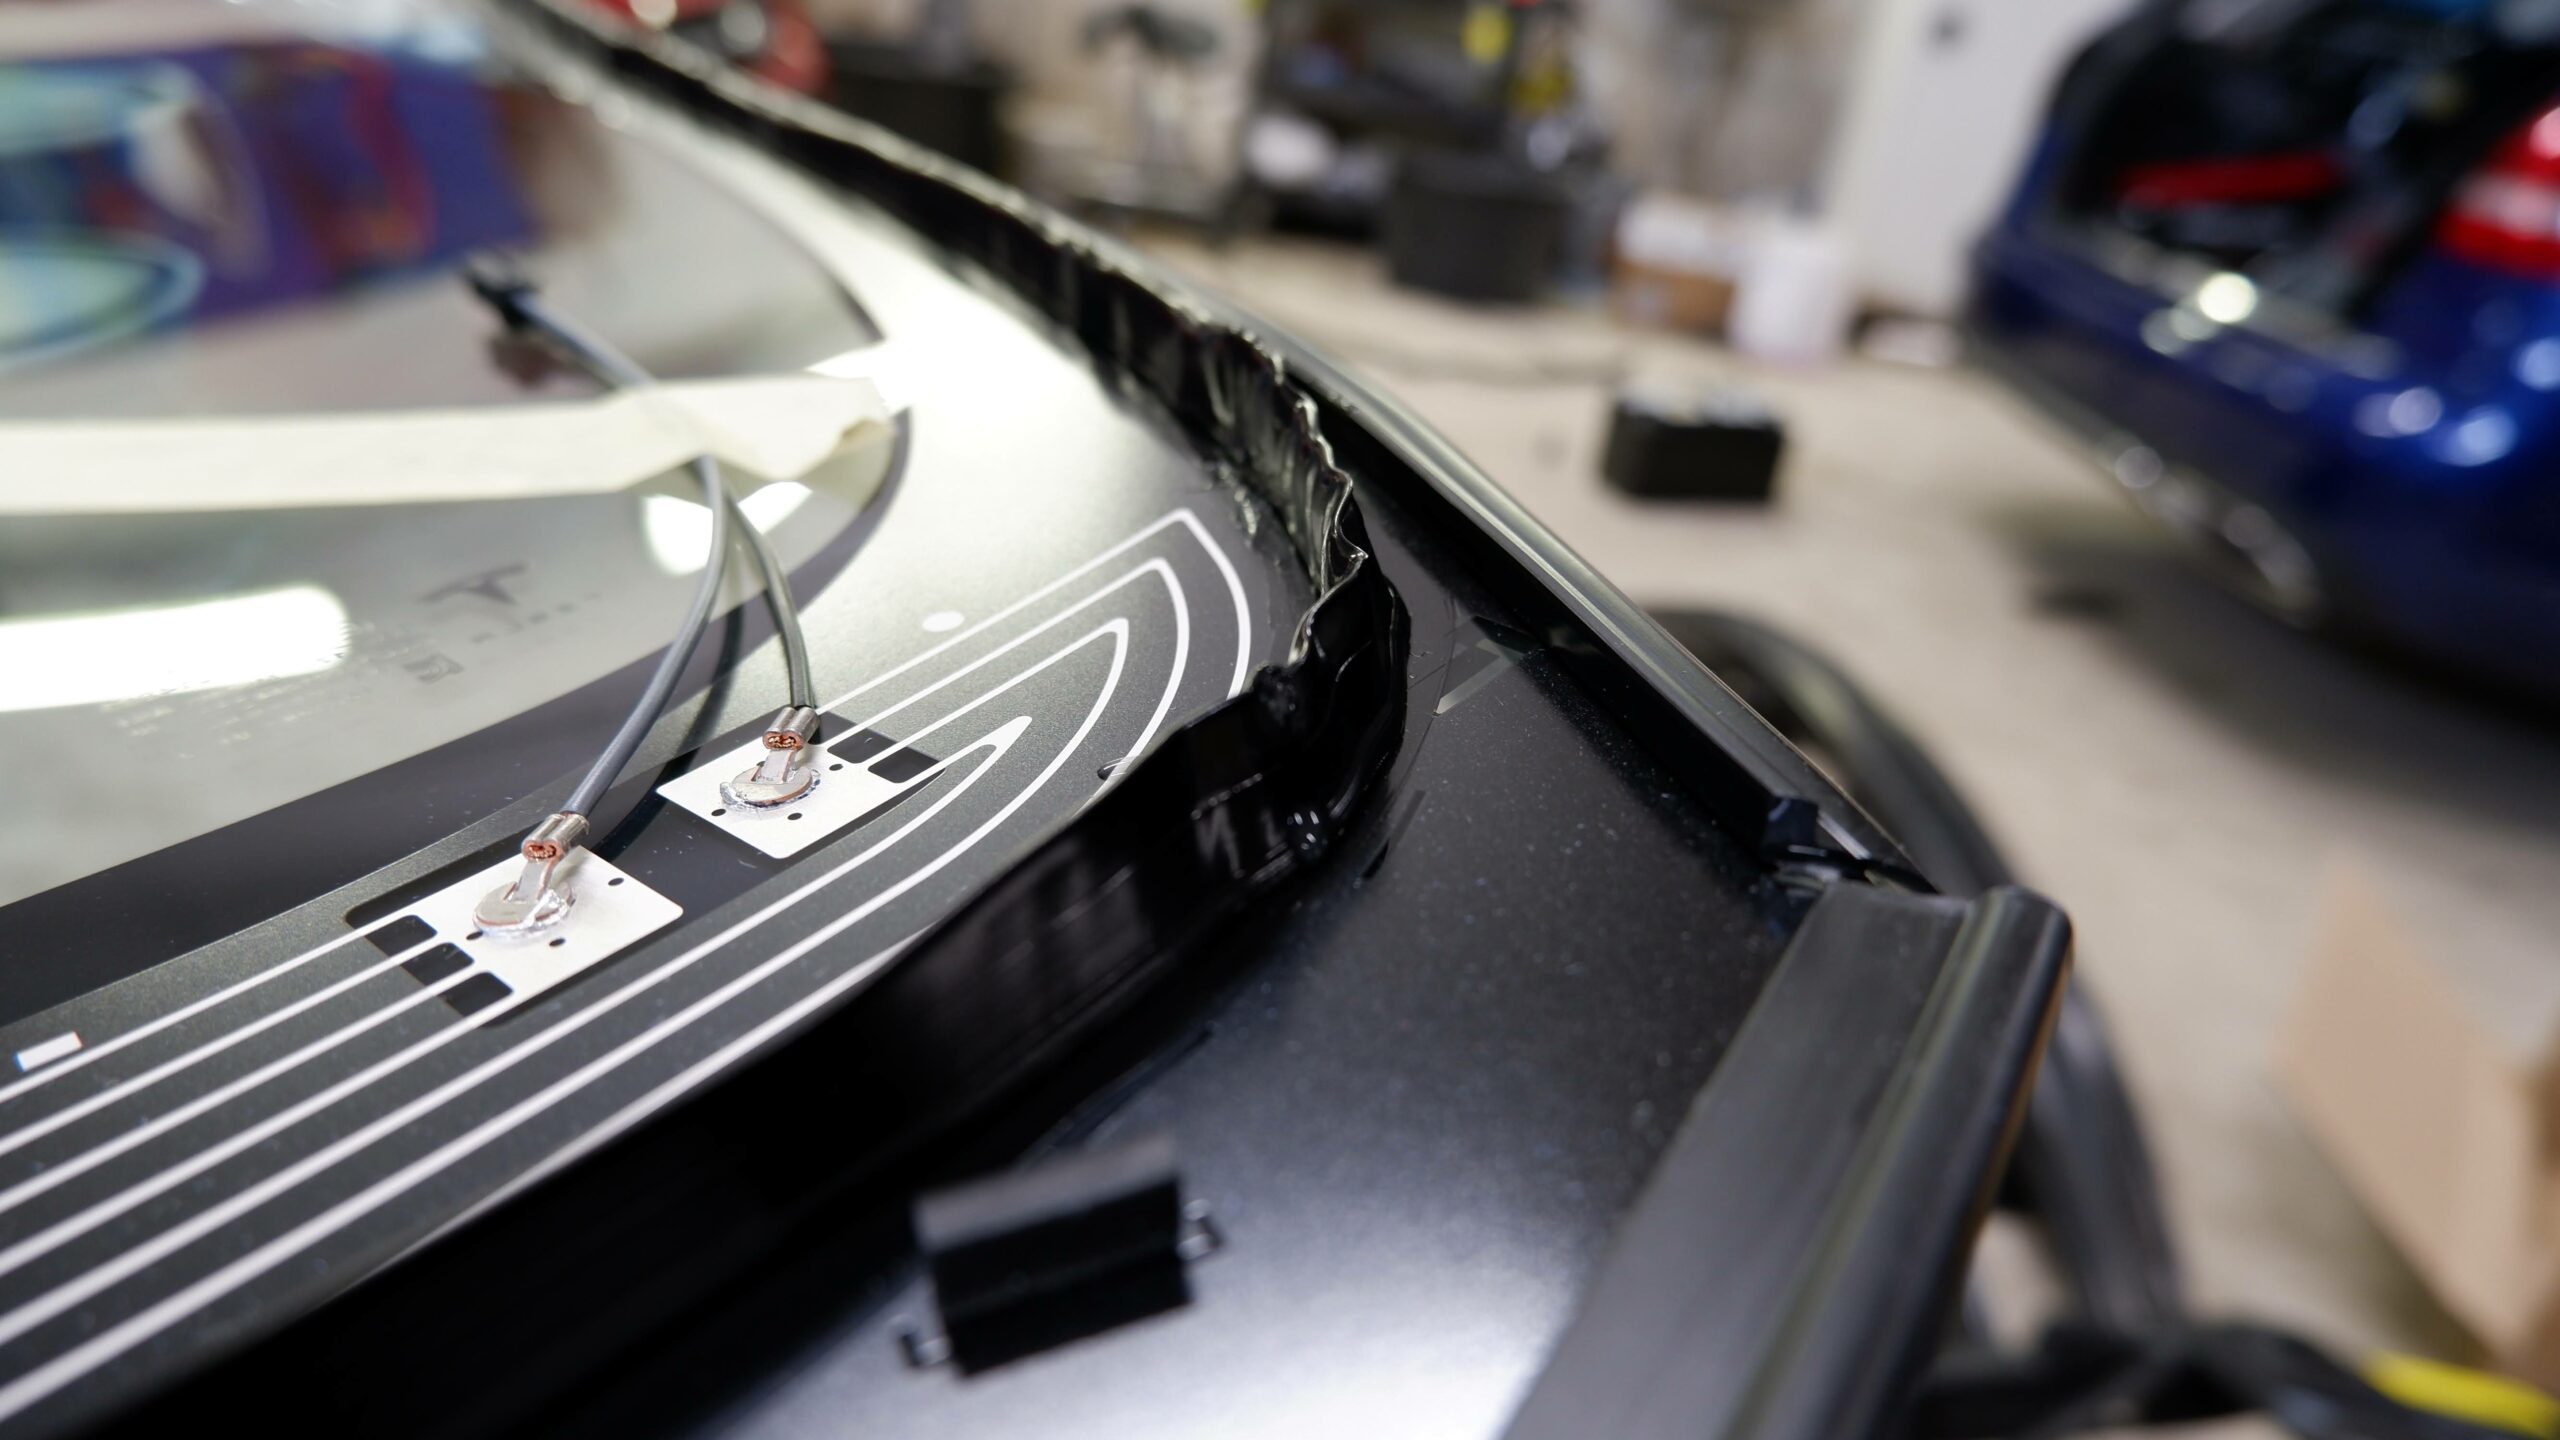
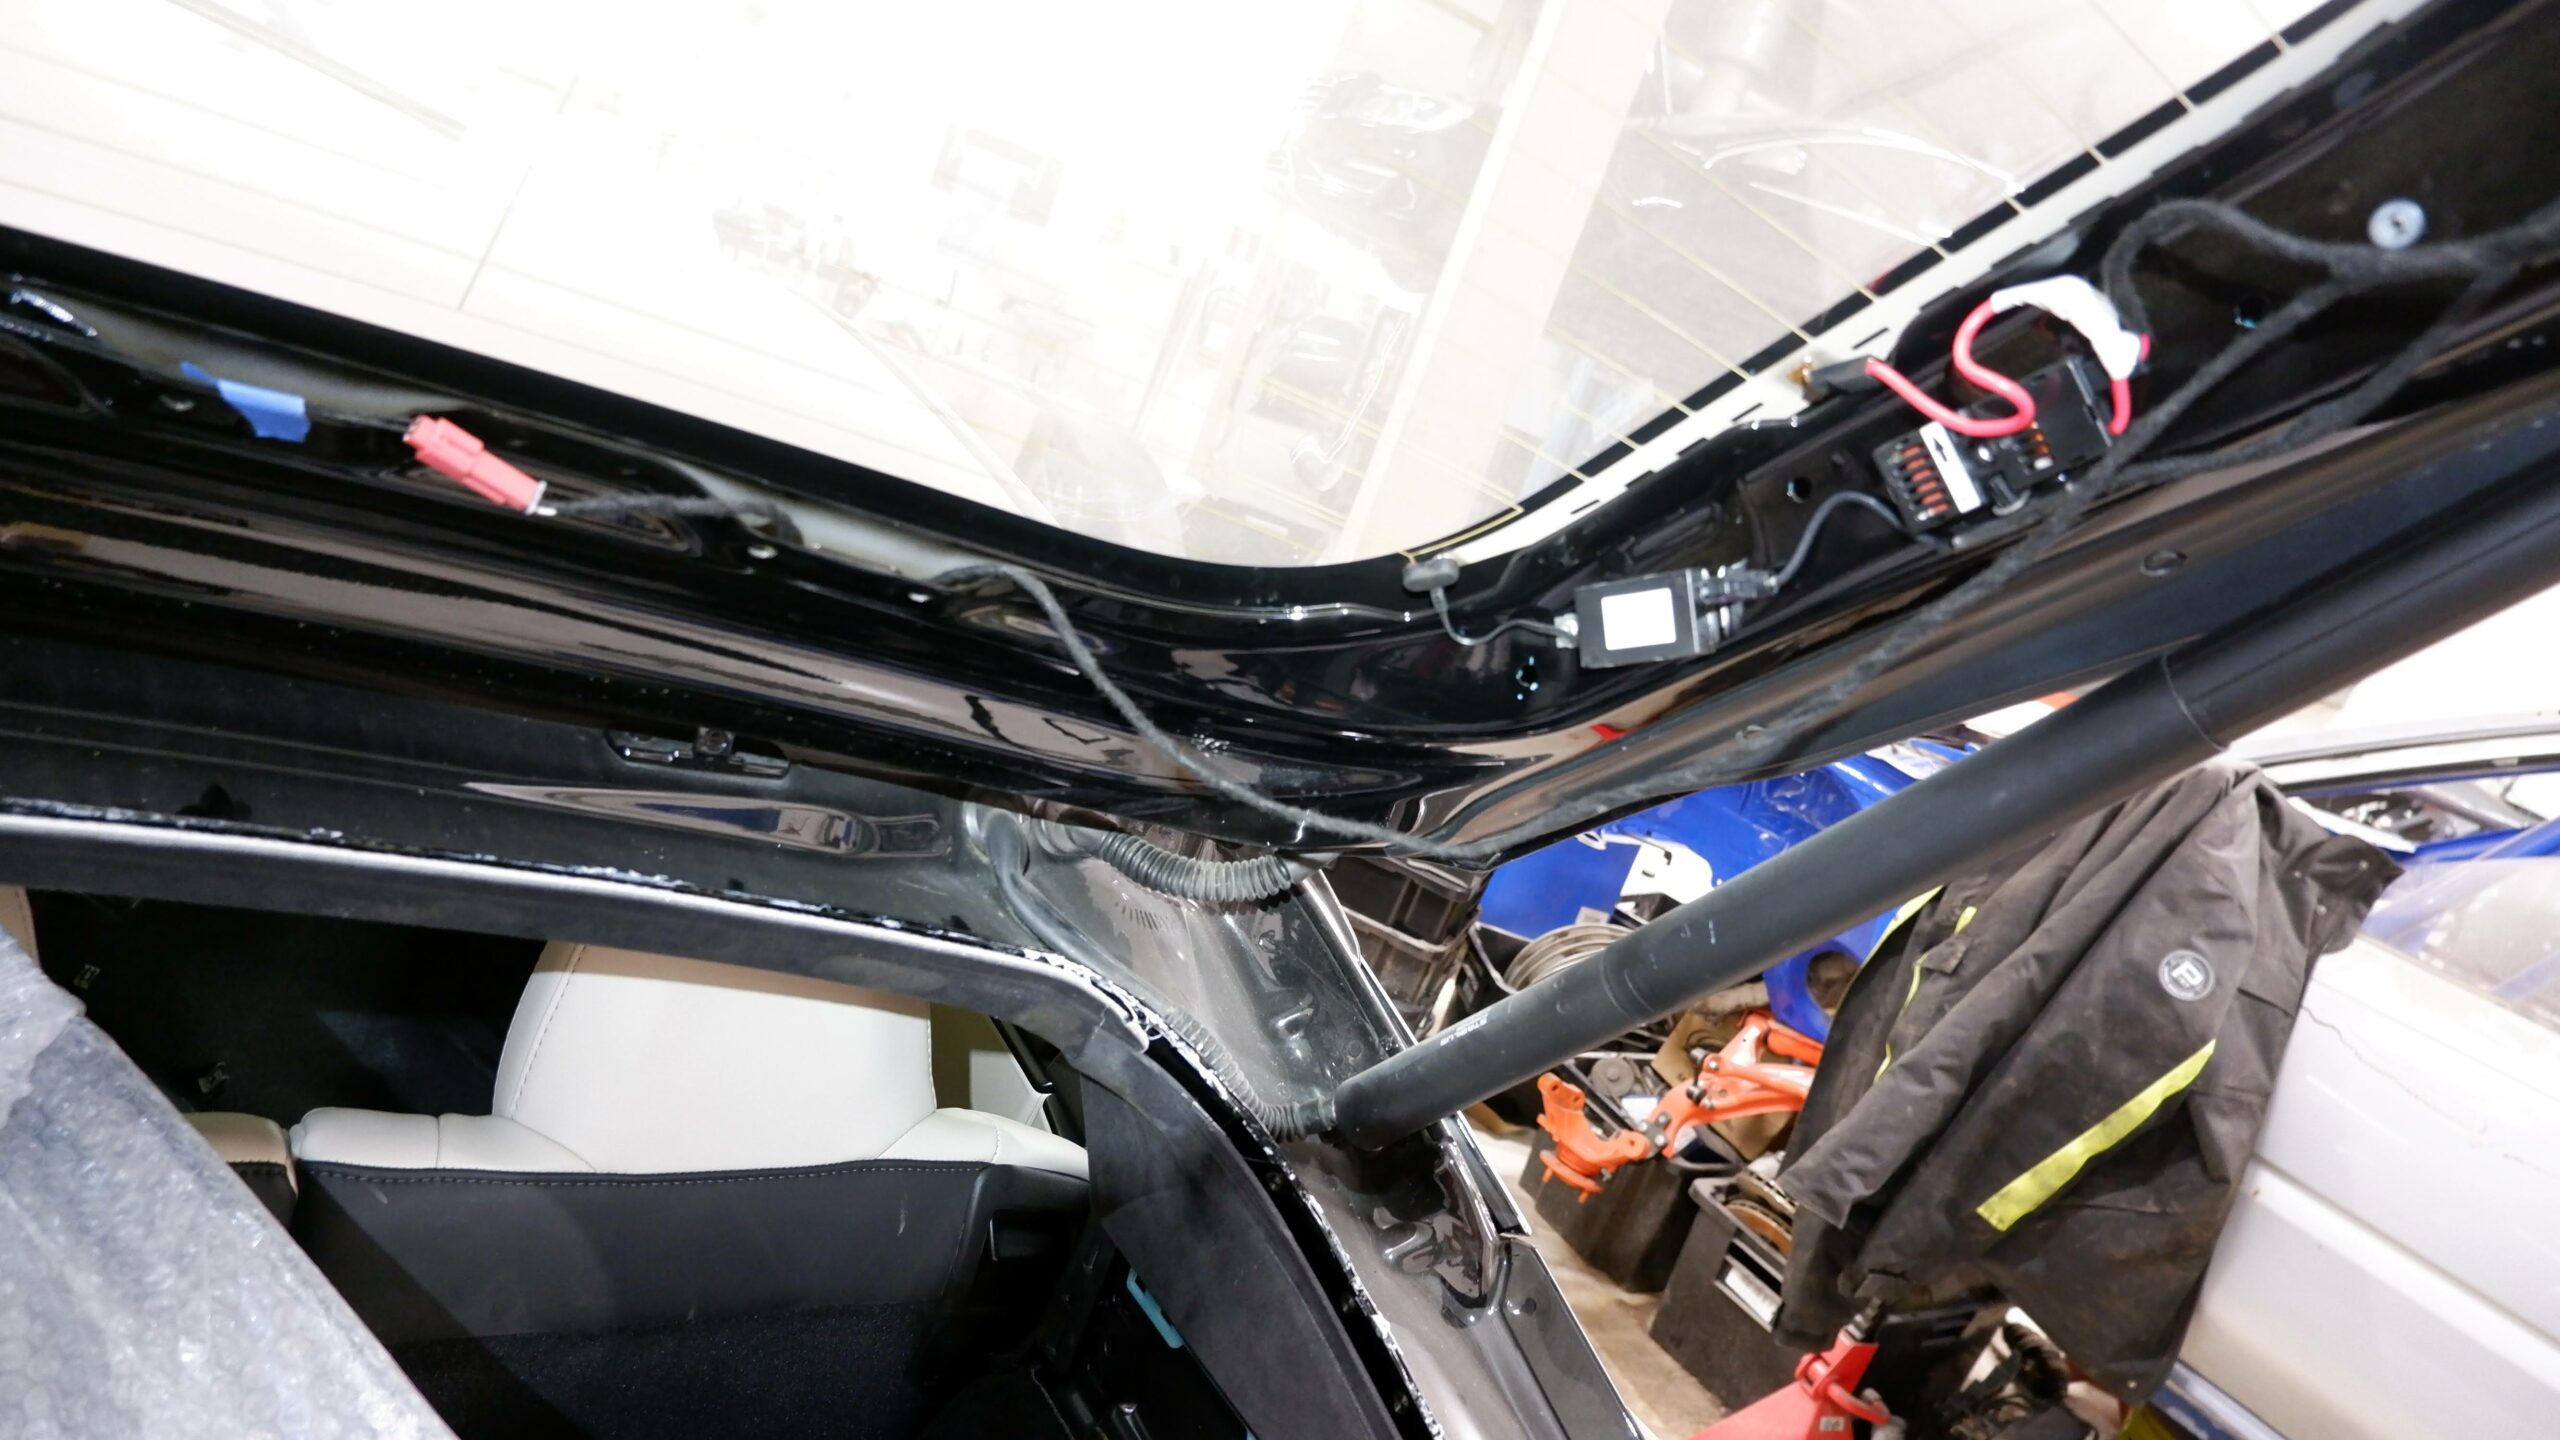
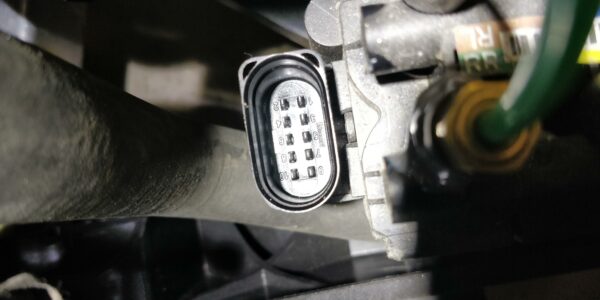
The contacts in Eastern Europe needed an internet access to my car and a router so they could configure a VPN access to the car. After a couple of weeks it was time to try to clear the alerts. I had previously bought a Fakra diagnostic cable that was connected from the Autopilot computer's ethernet to the router and from that to the internet and to the computers of the helpful hackers in Eastern Europe.

VPN access to Eastern Europe.

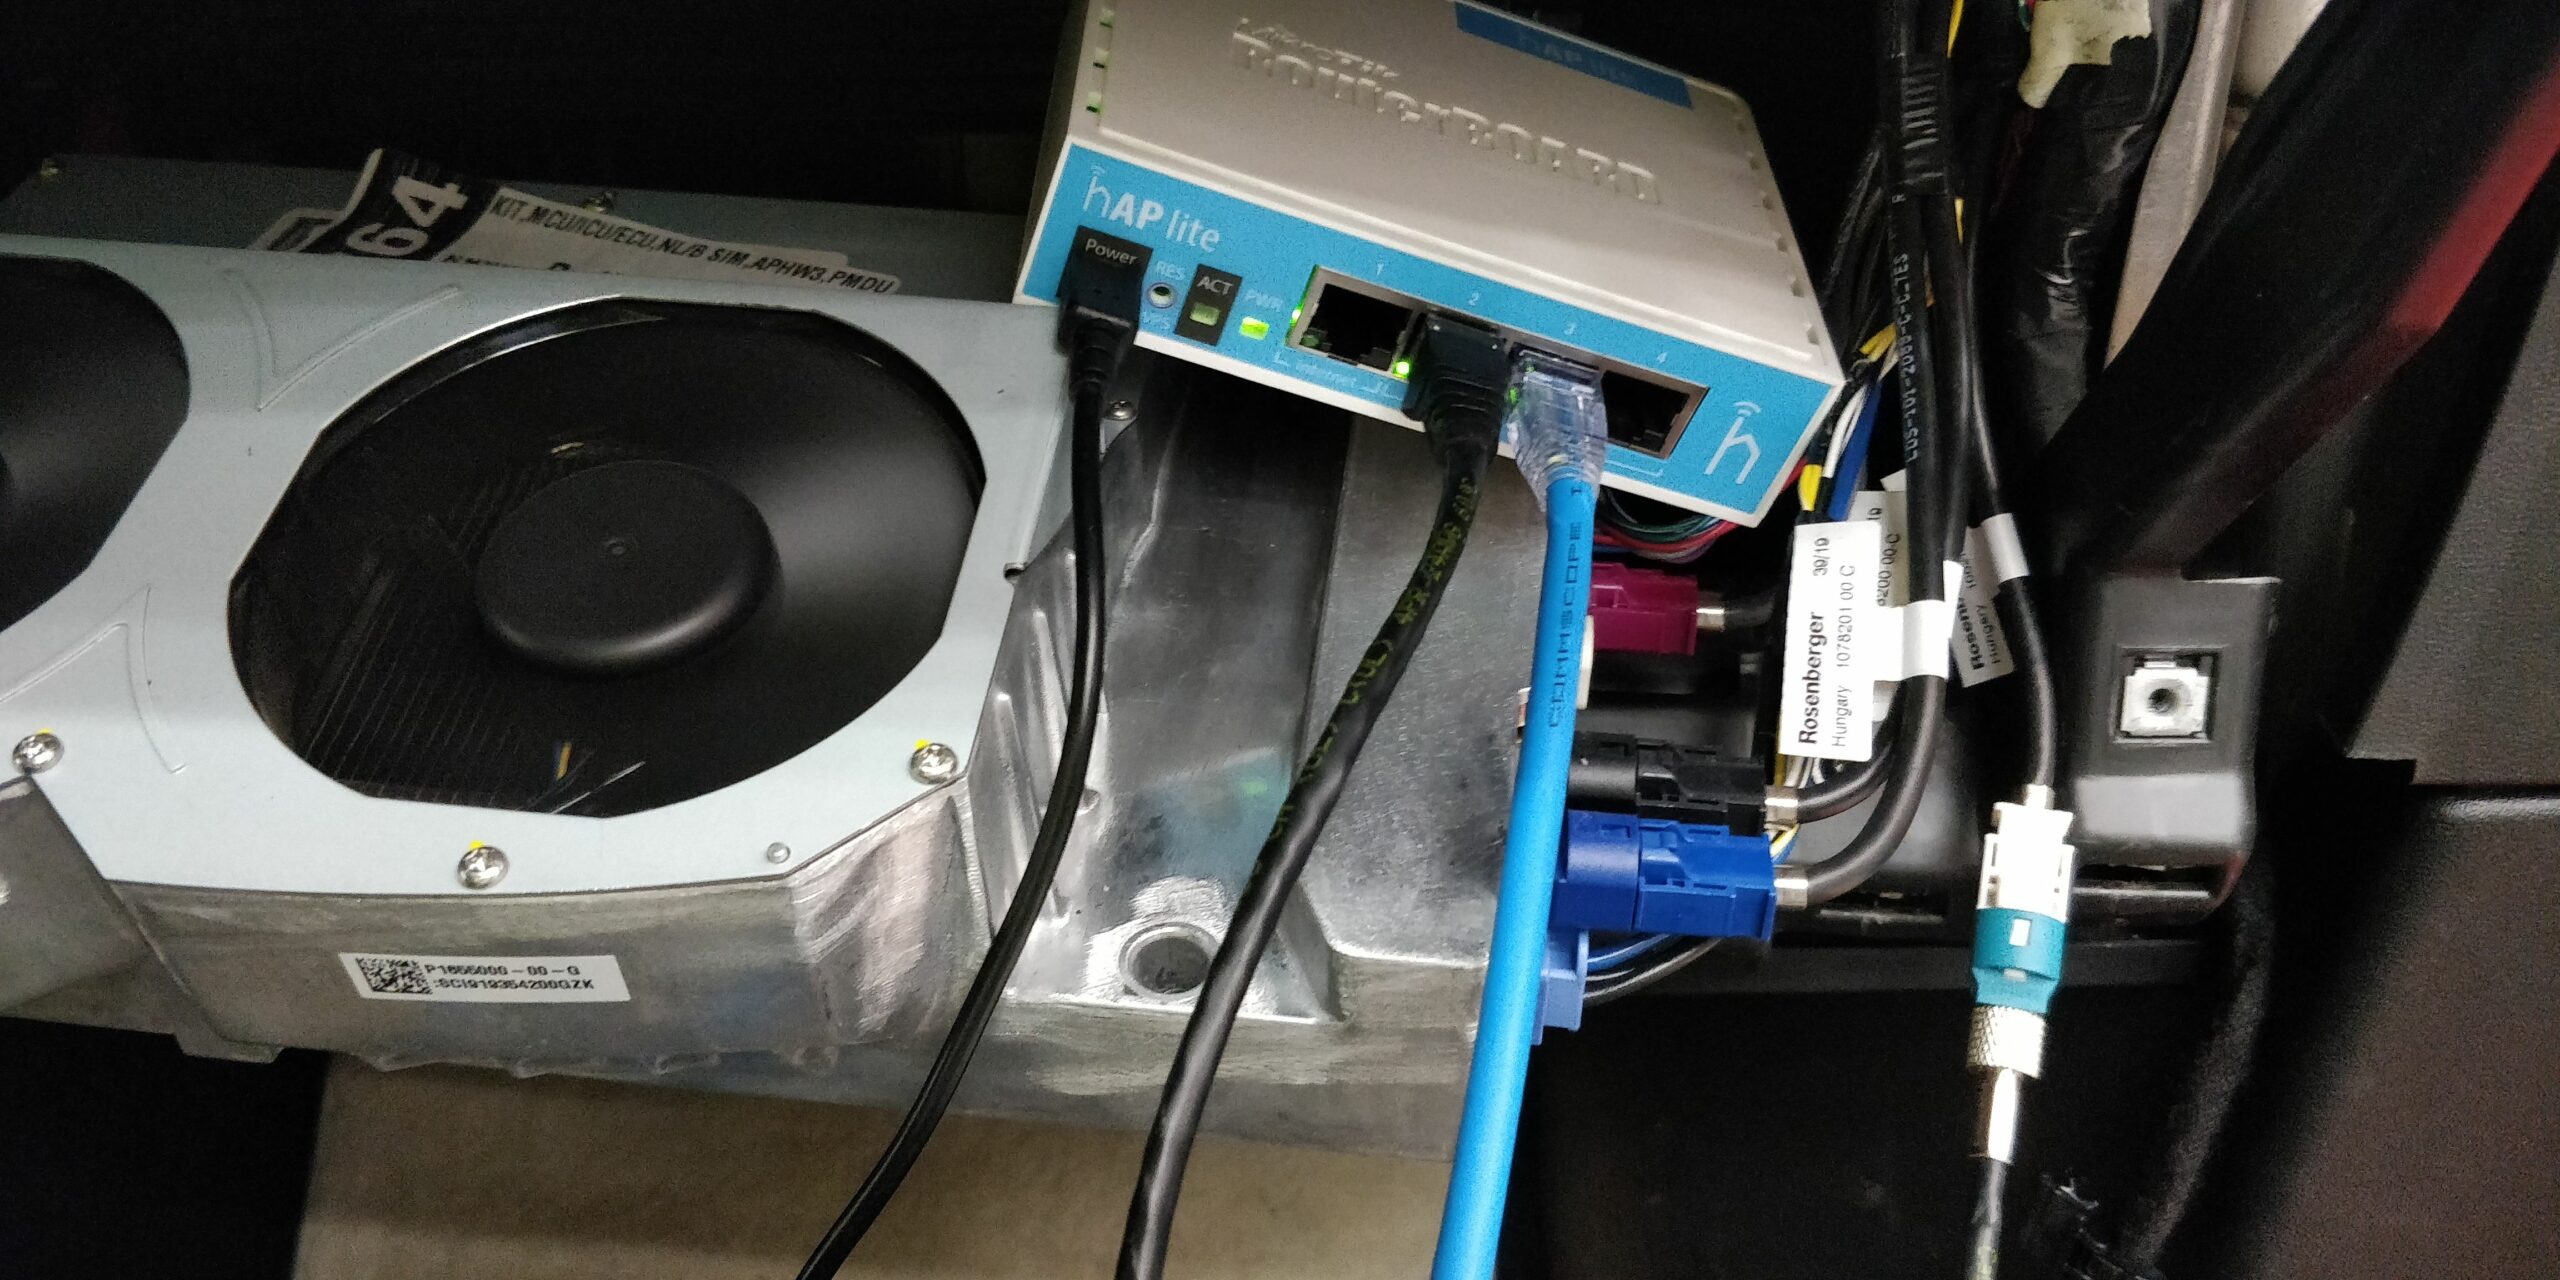
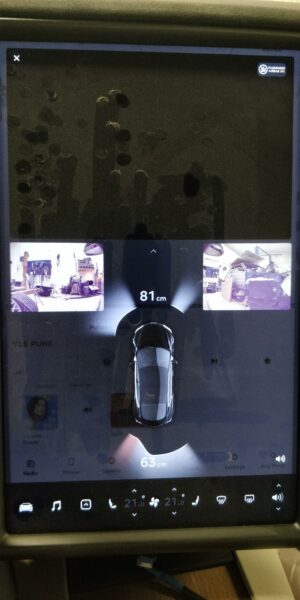
At that time we did not understand yet what was going on, but in a few moments the car was in factory mode. I was following the displays of the car and instructions from the hackers. Every now and then they asked to reboot the car or gateway and install software updates that the car was downloading. Apparently they had Toolbox access and some other software they used to control the car.

In a factory mode you can get a thorough deepdive in the car and alerts you don't normally see on your dashboard. From these the RCM2 alert seems to be the only one causing the airbag indicator to stay on.
Fast Chg Allowed: NotAllowed

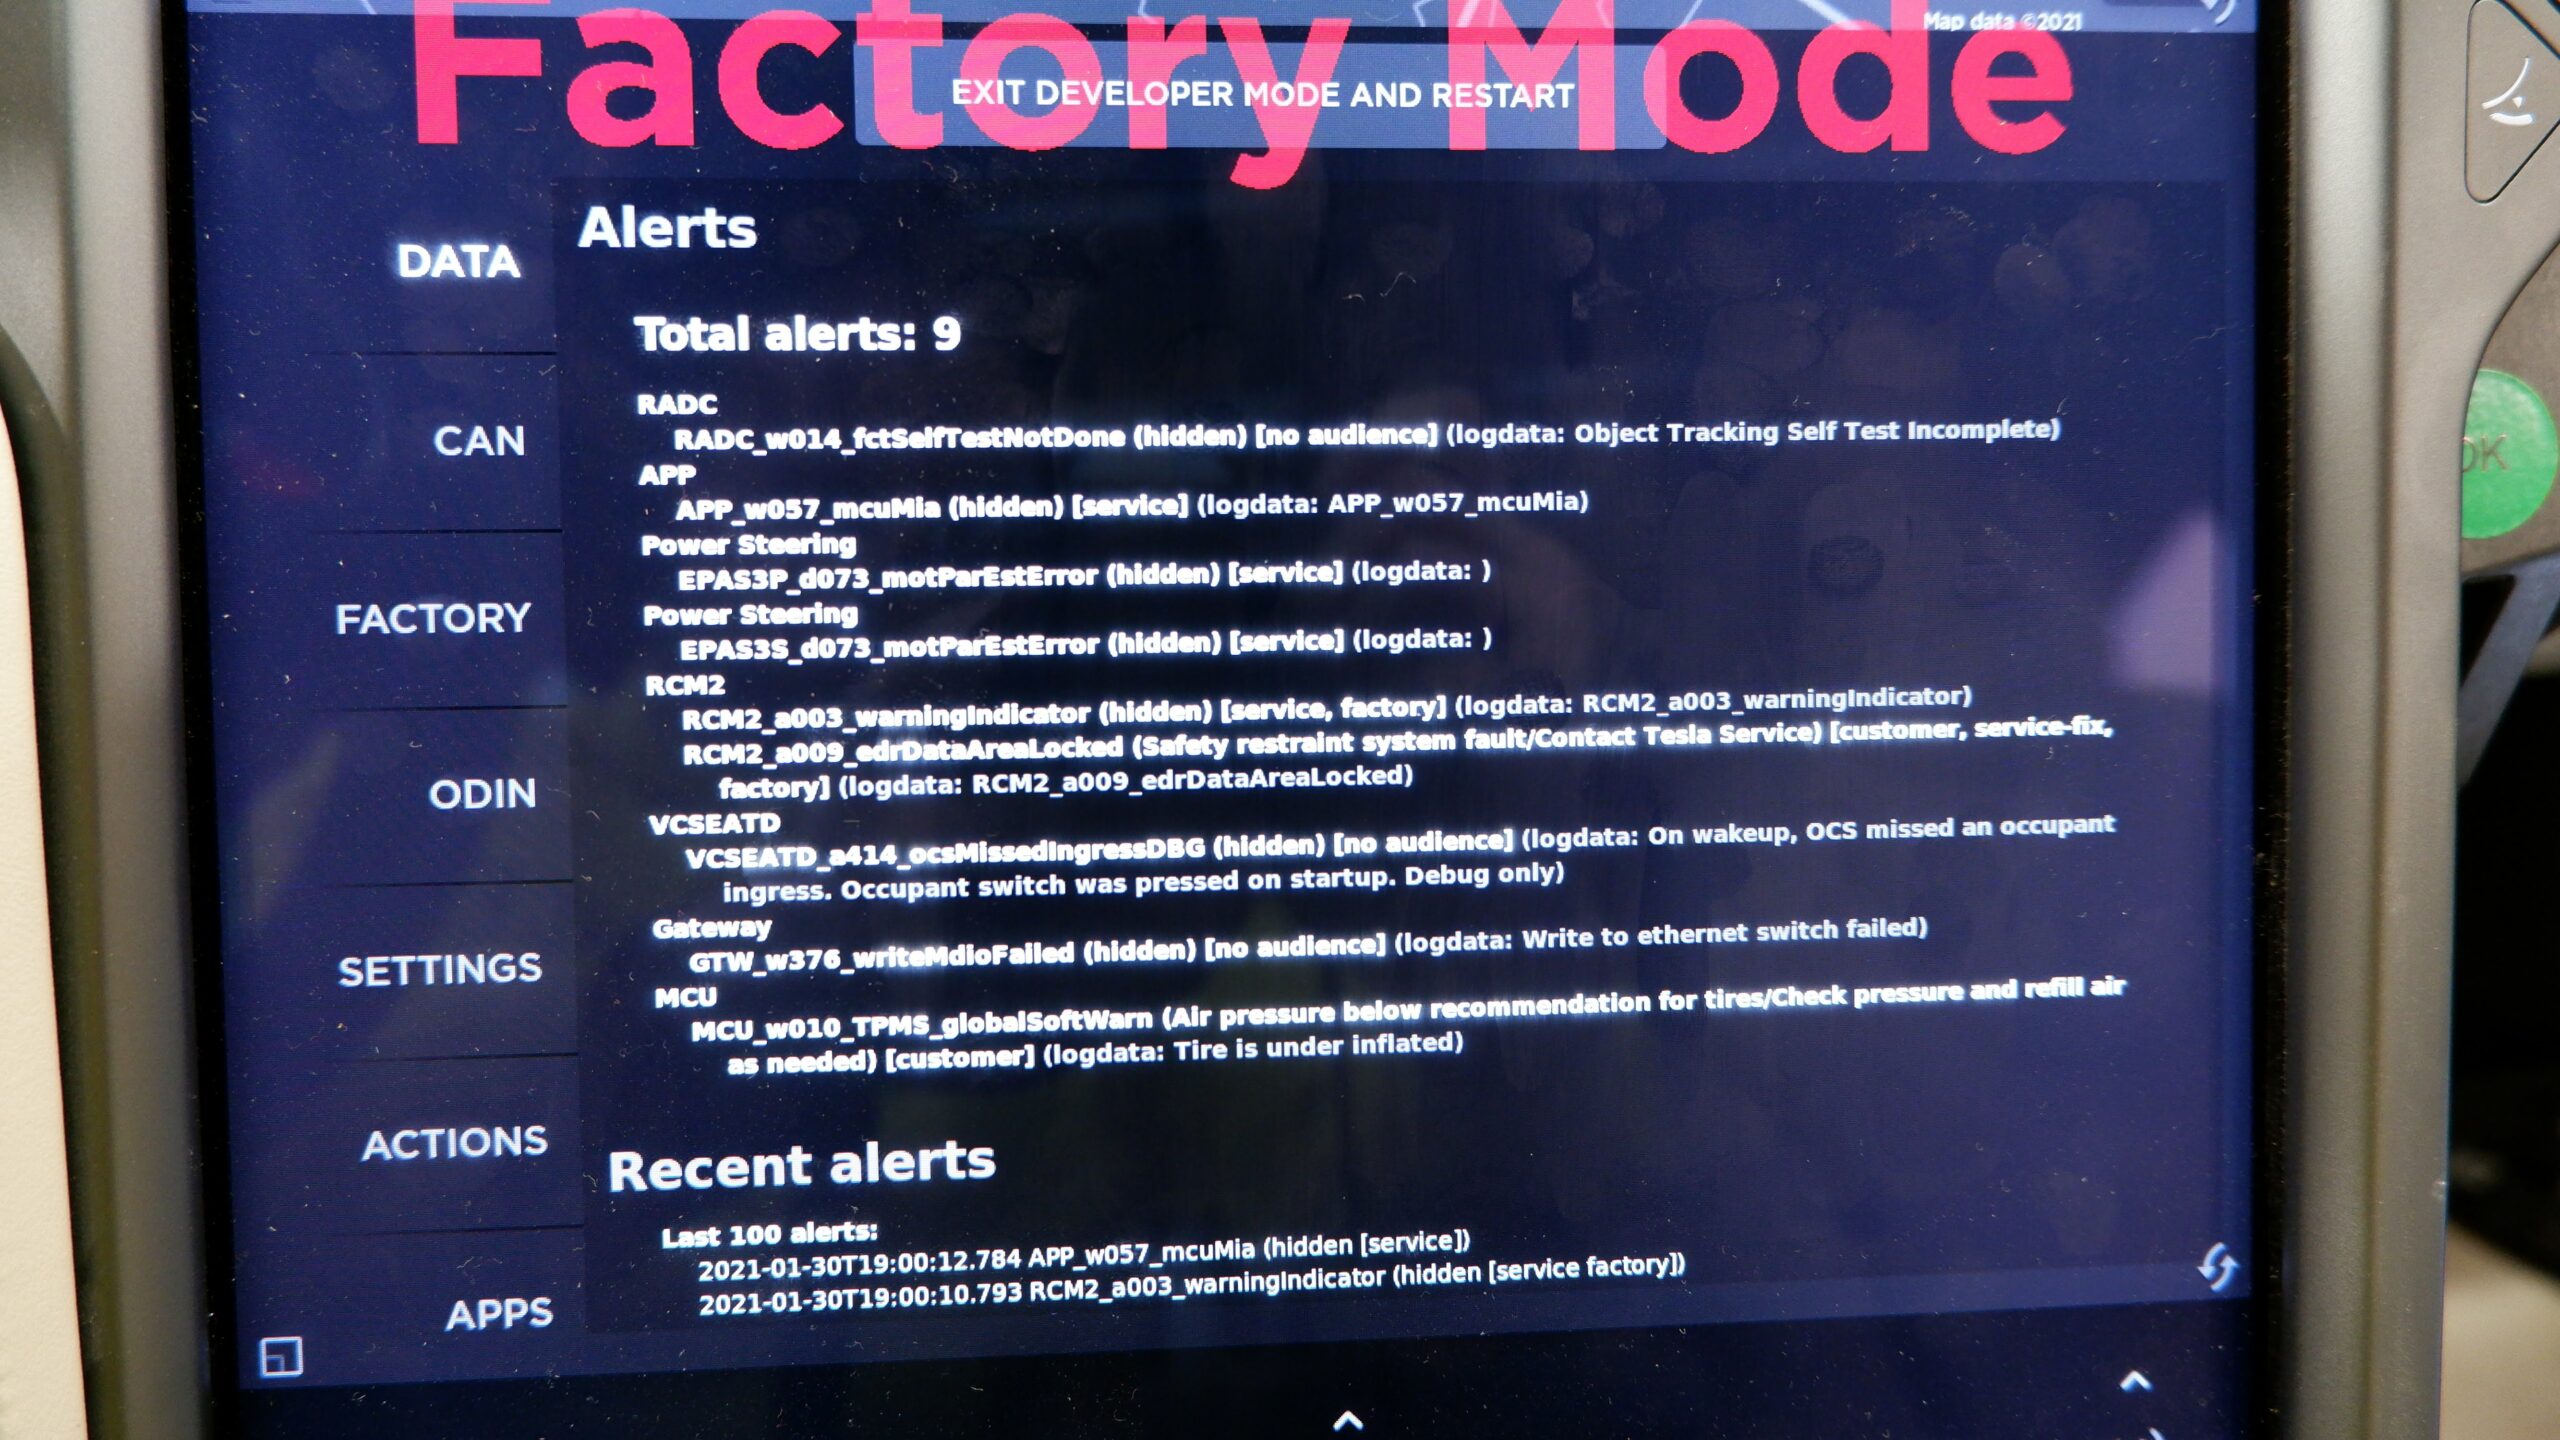
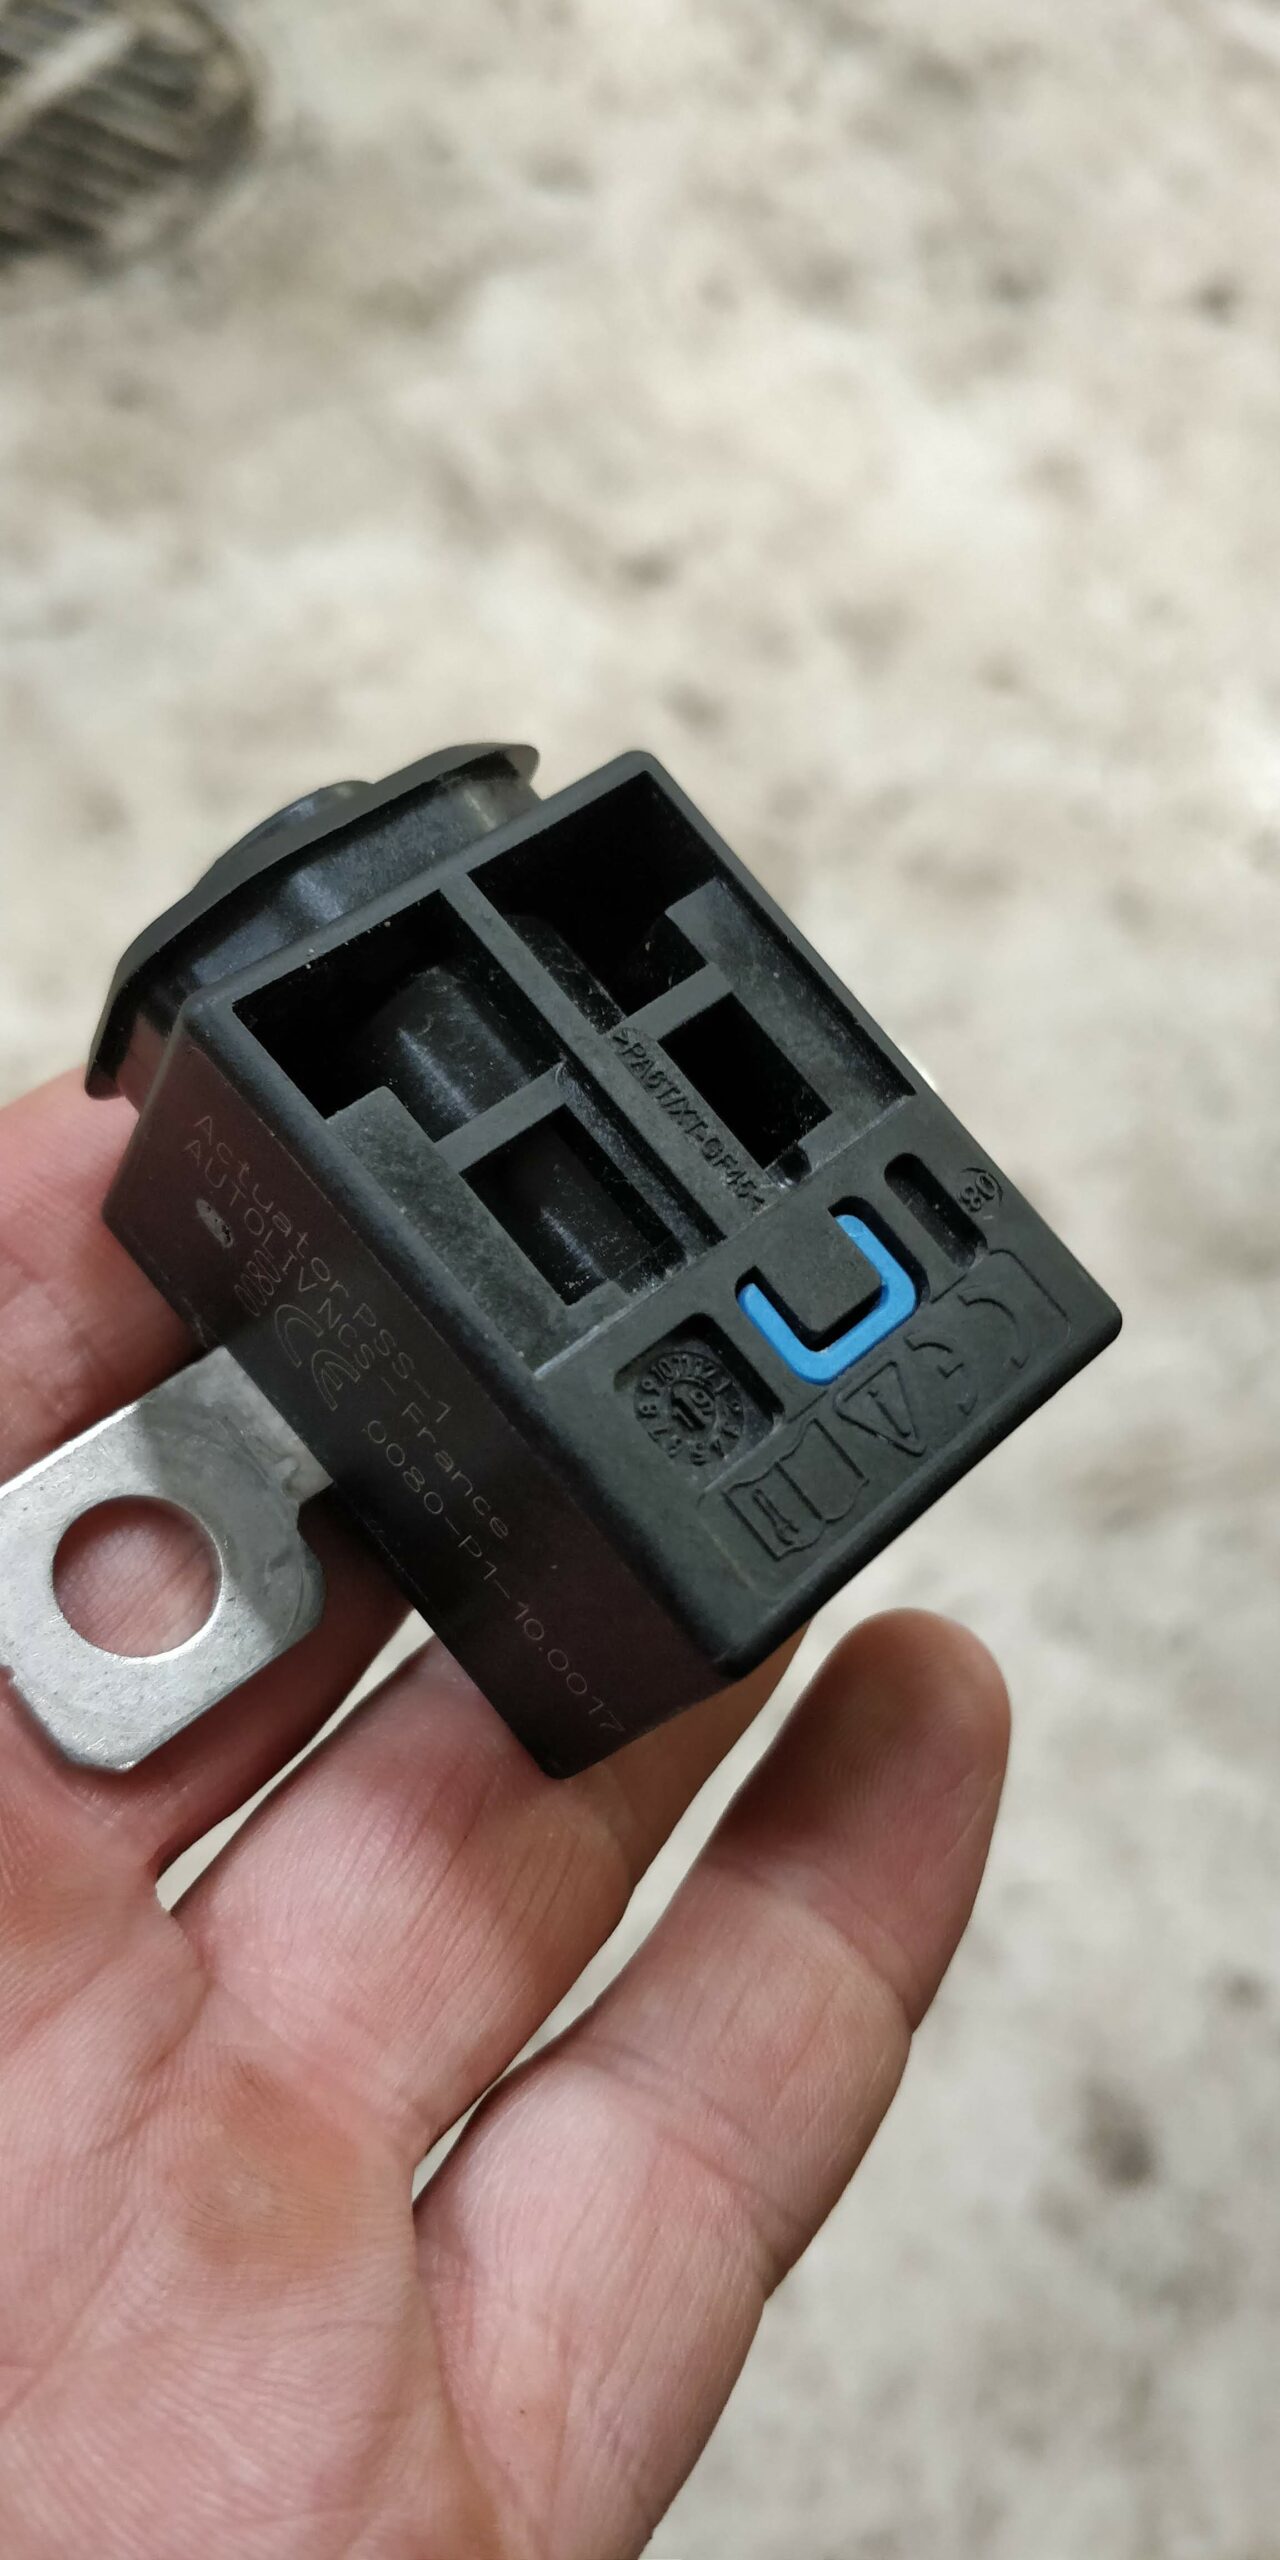
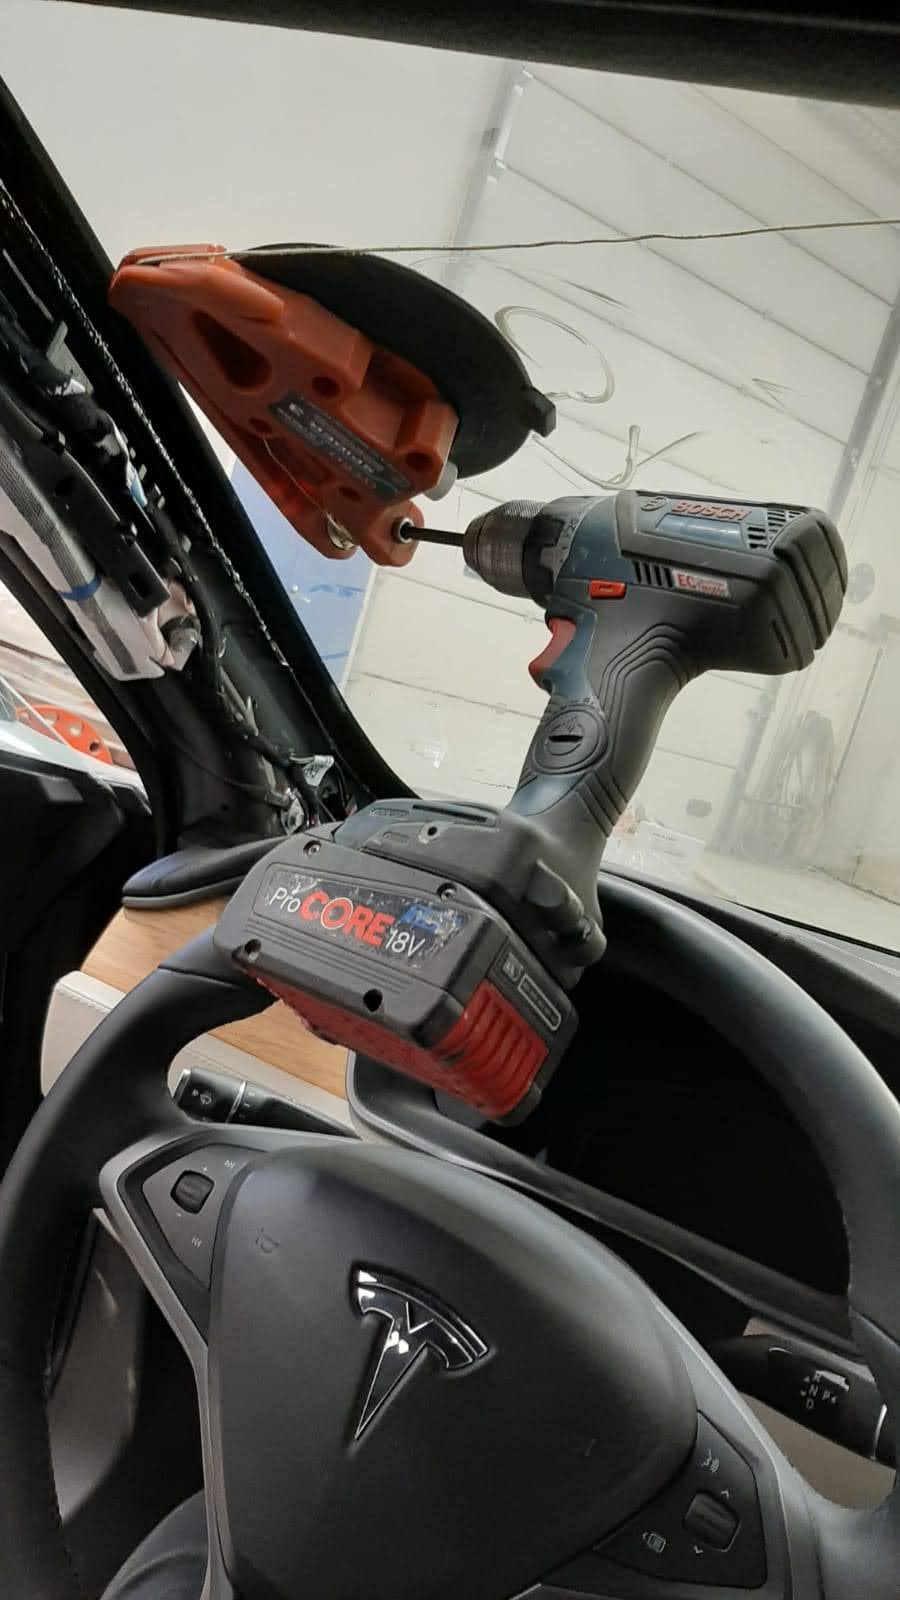
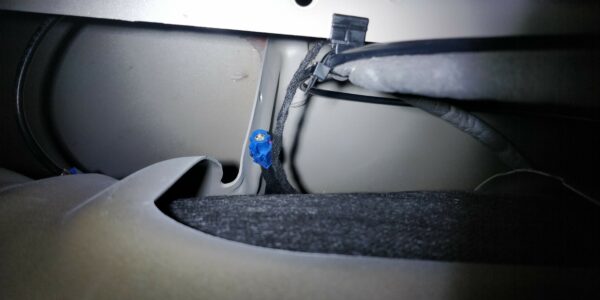
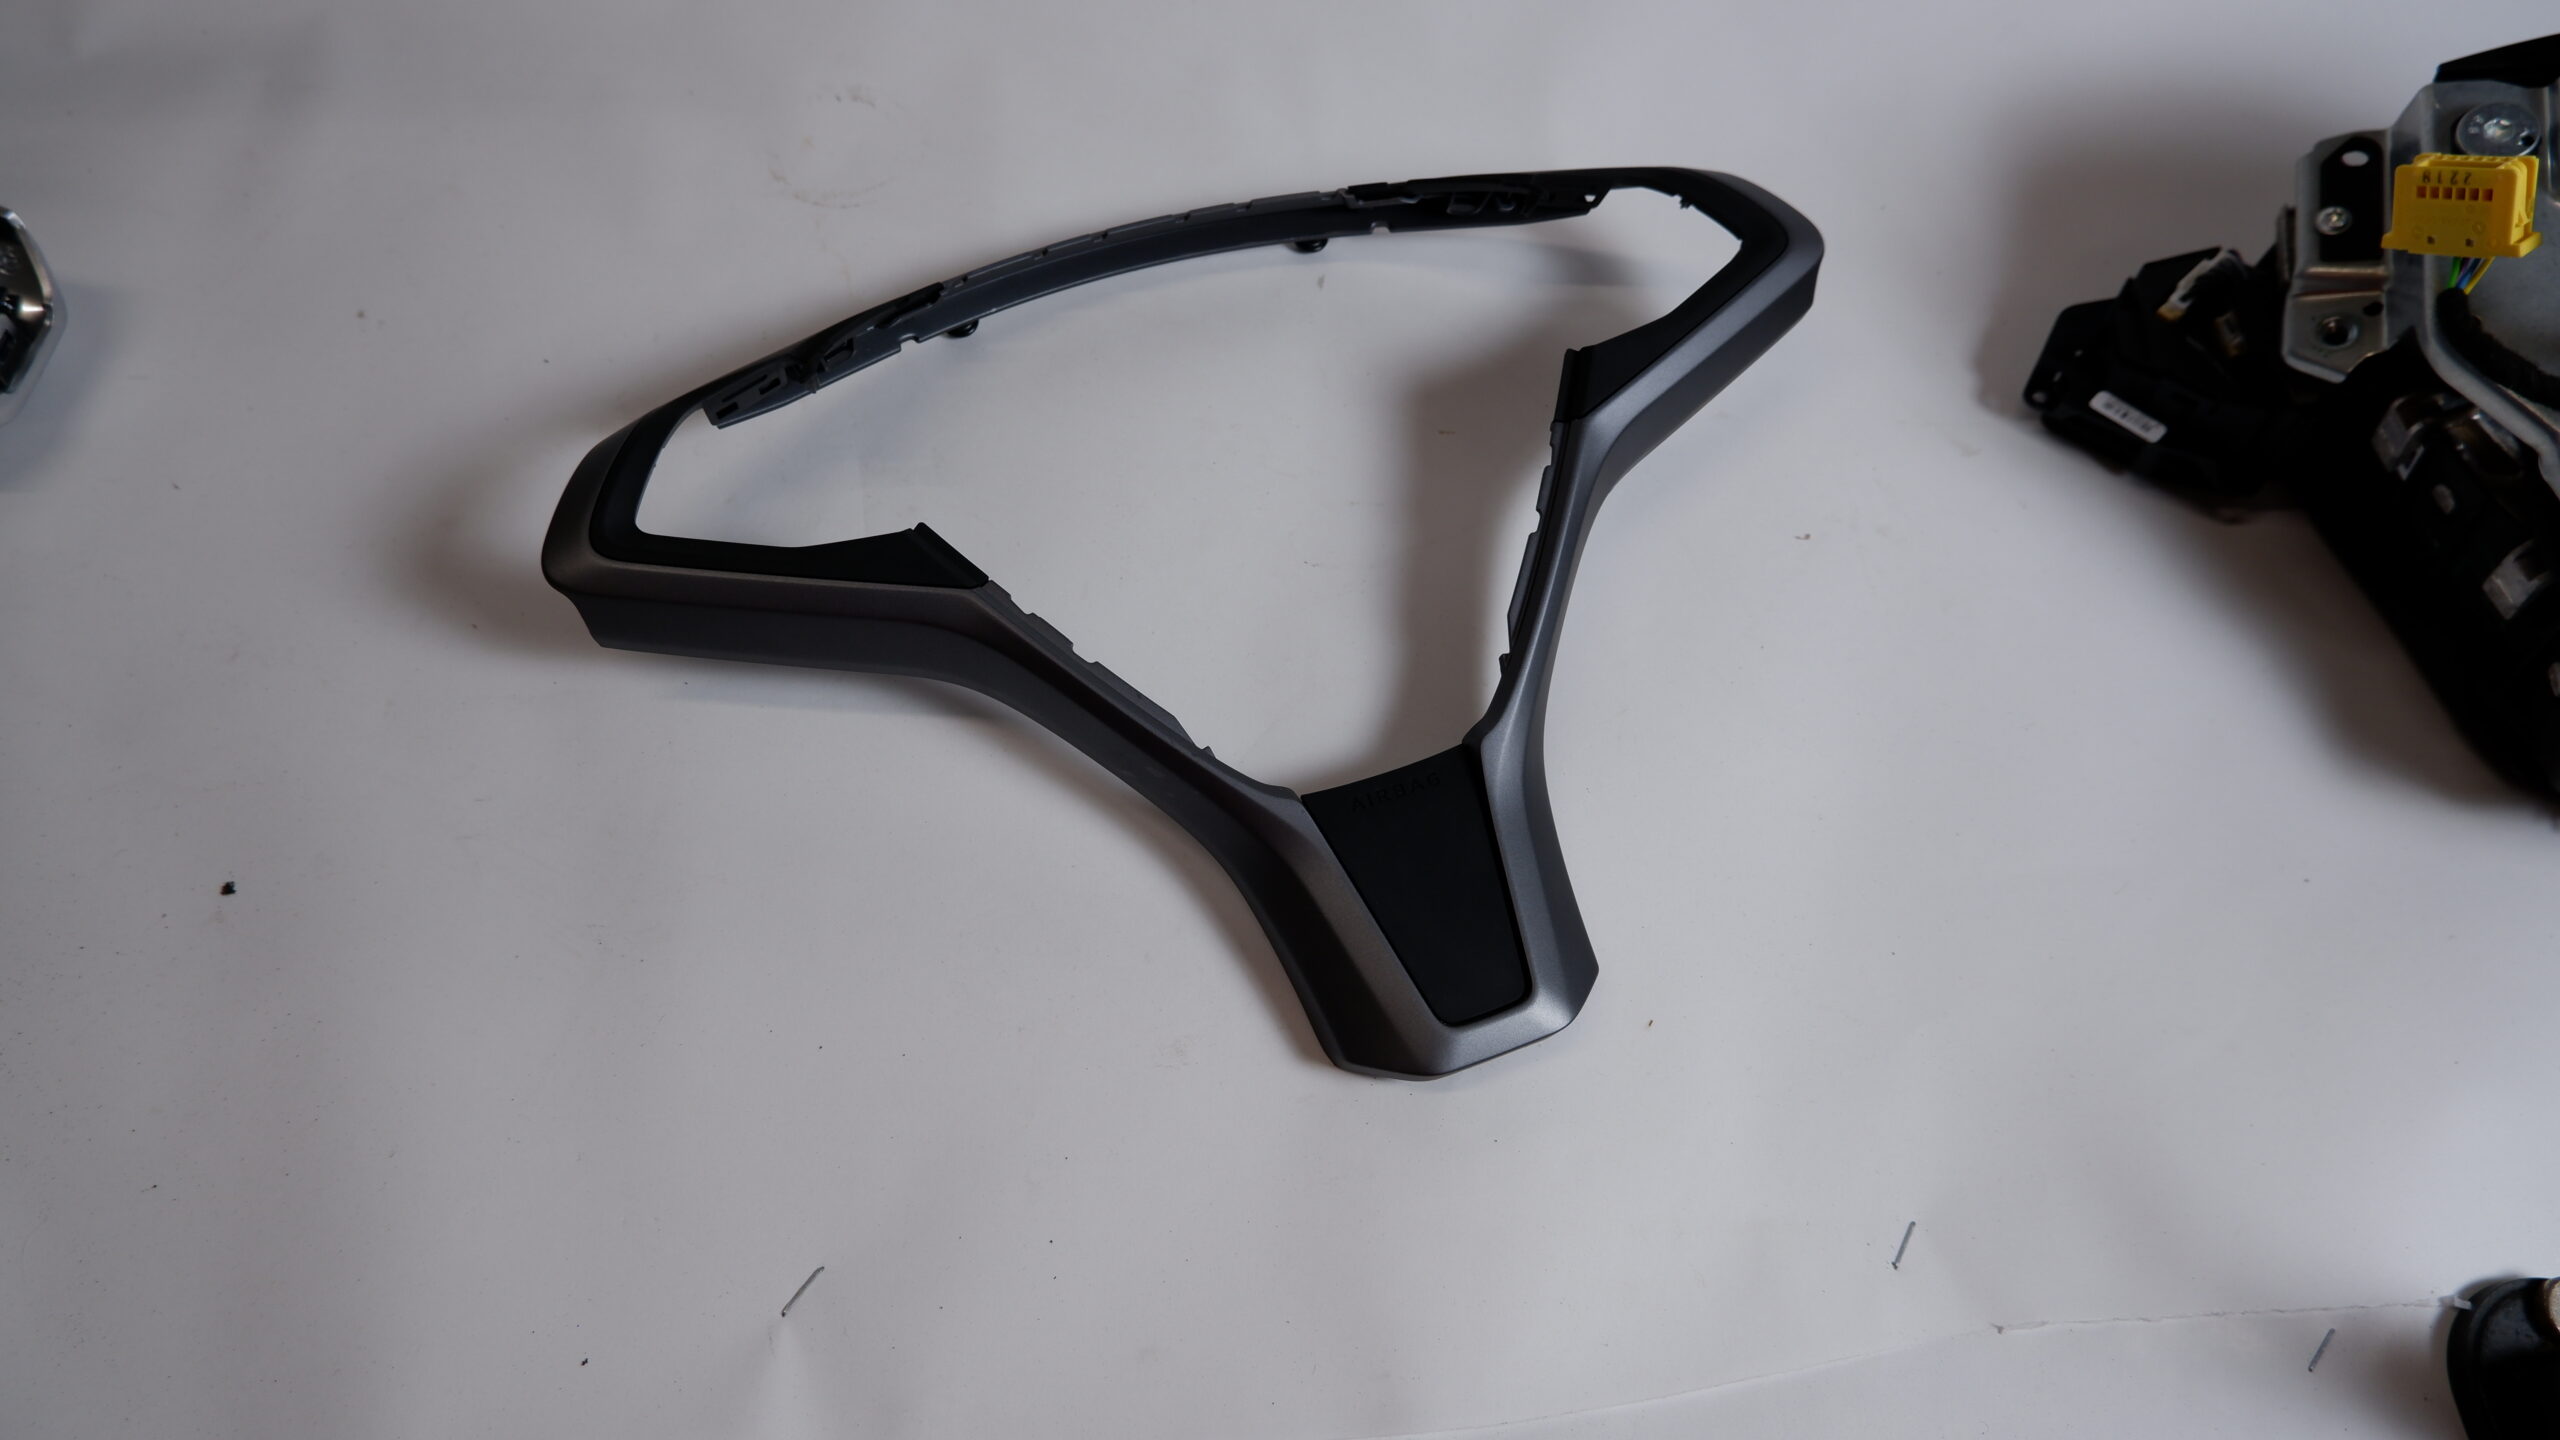
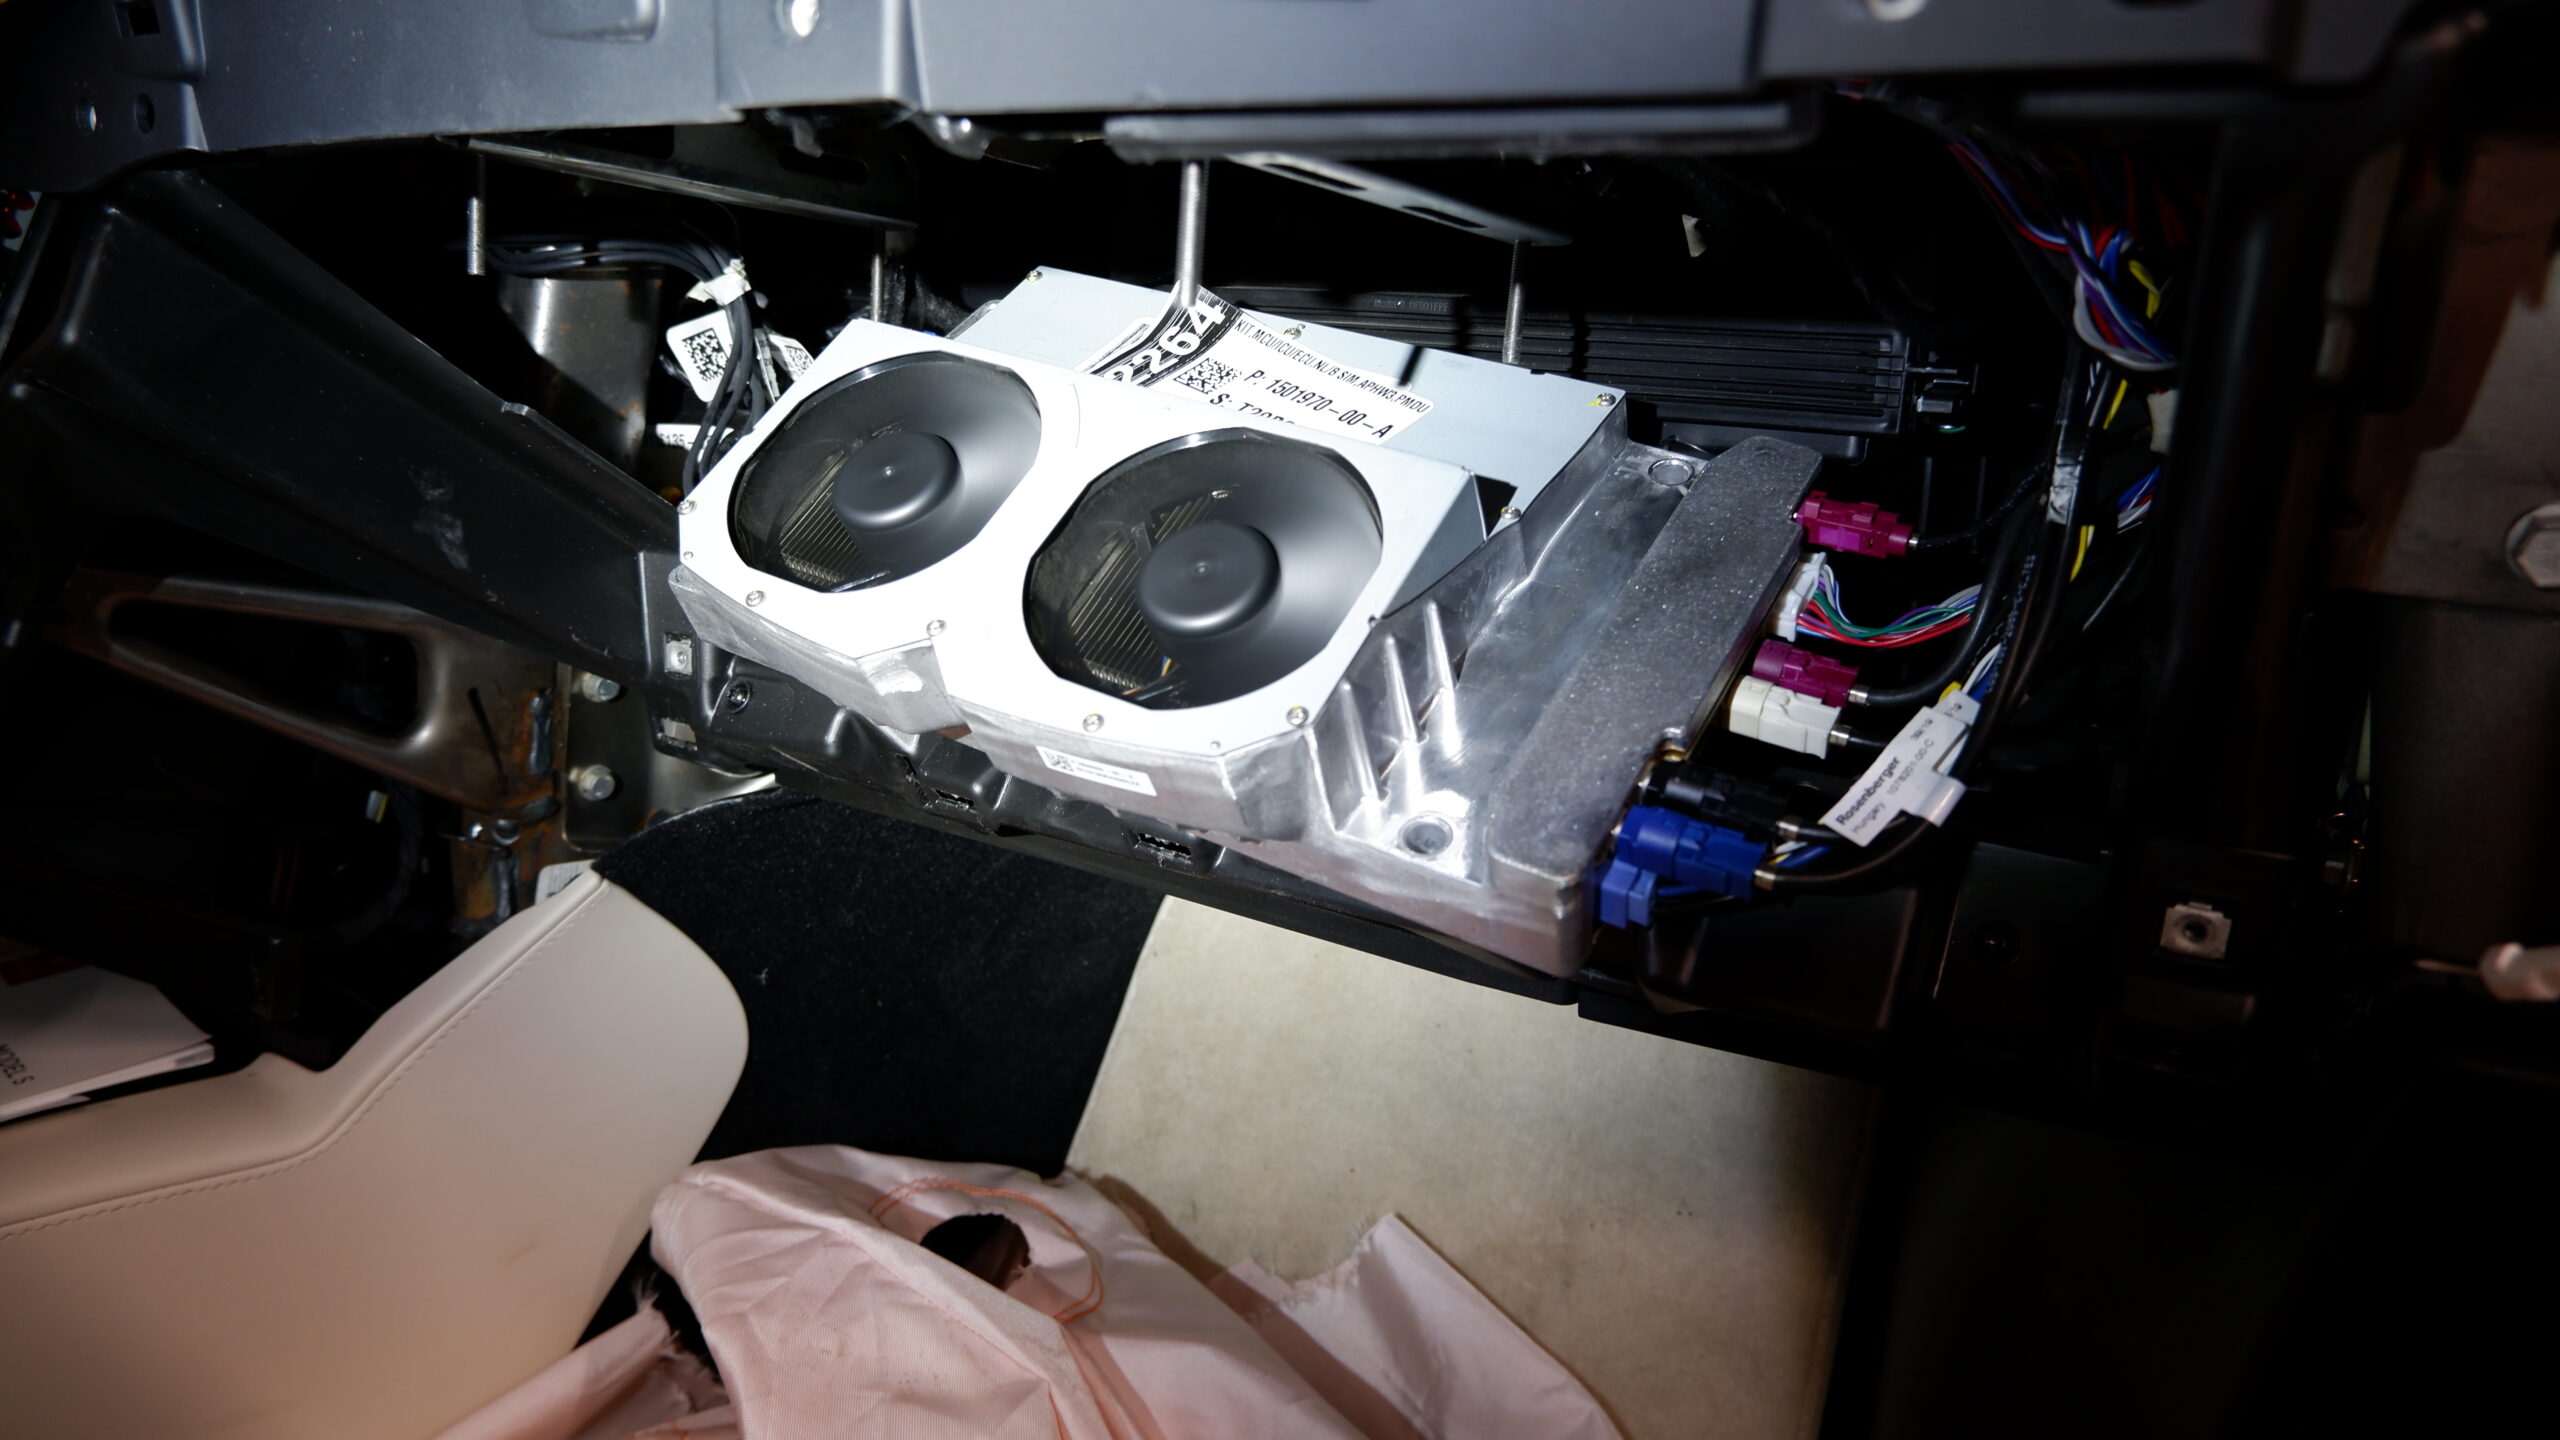
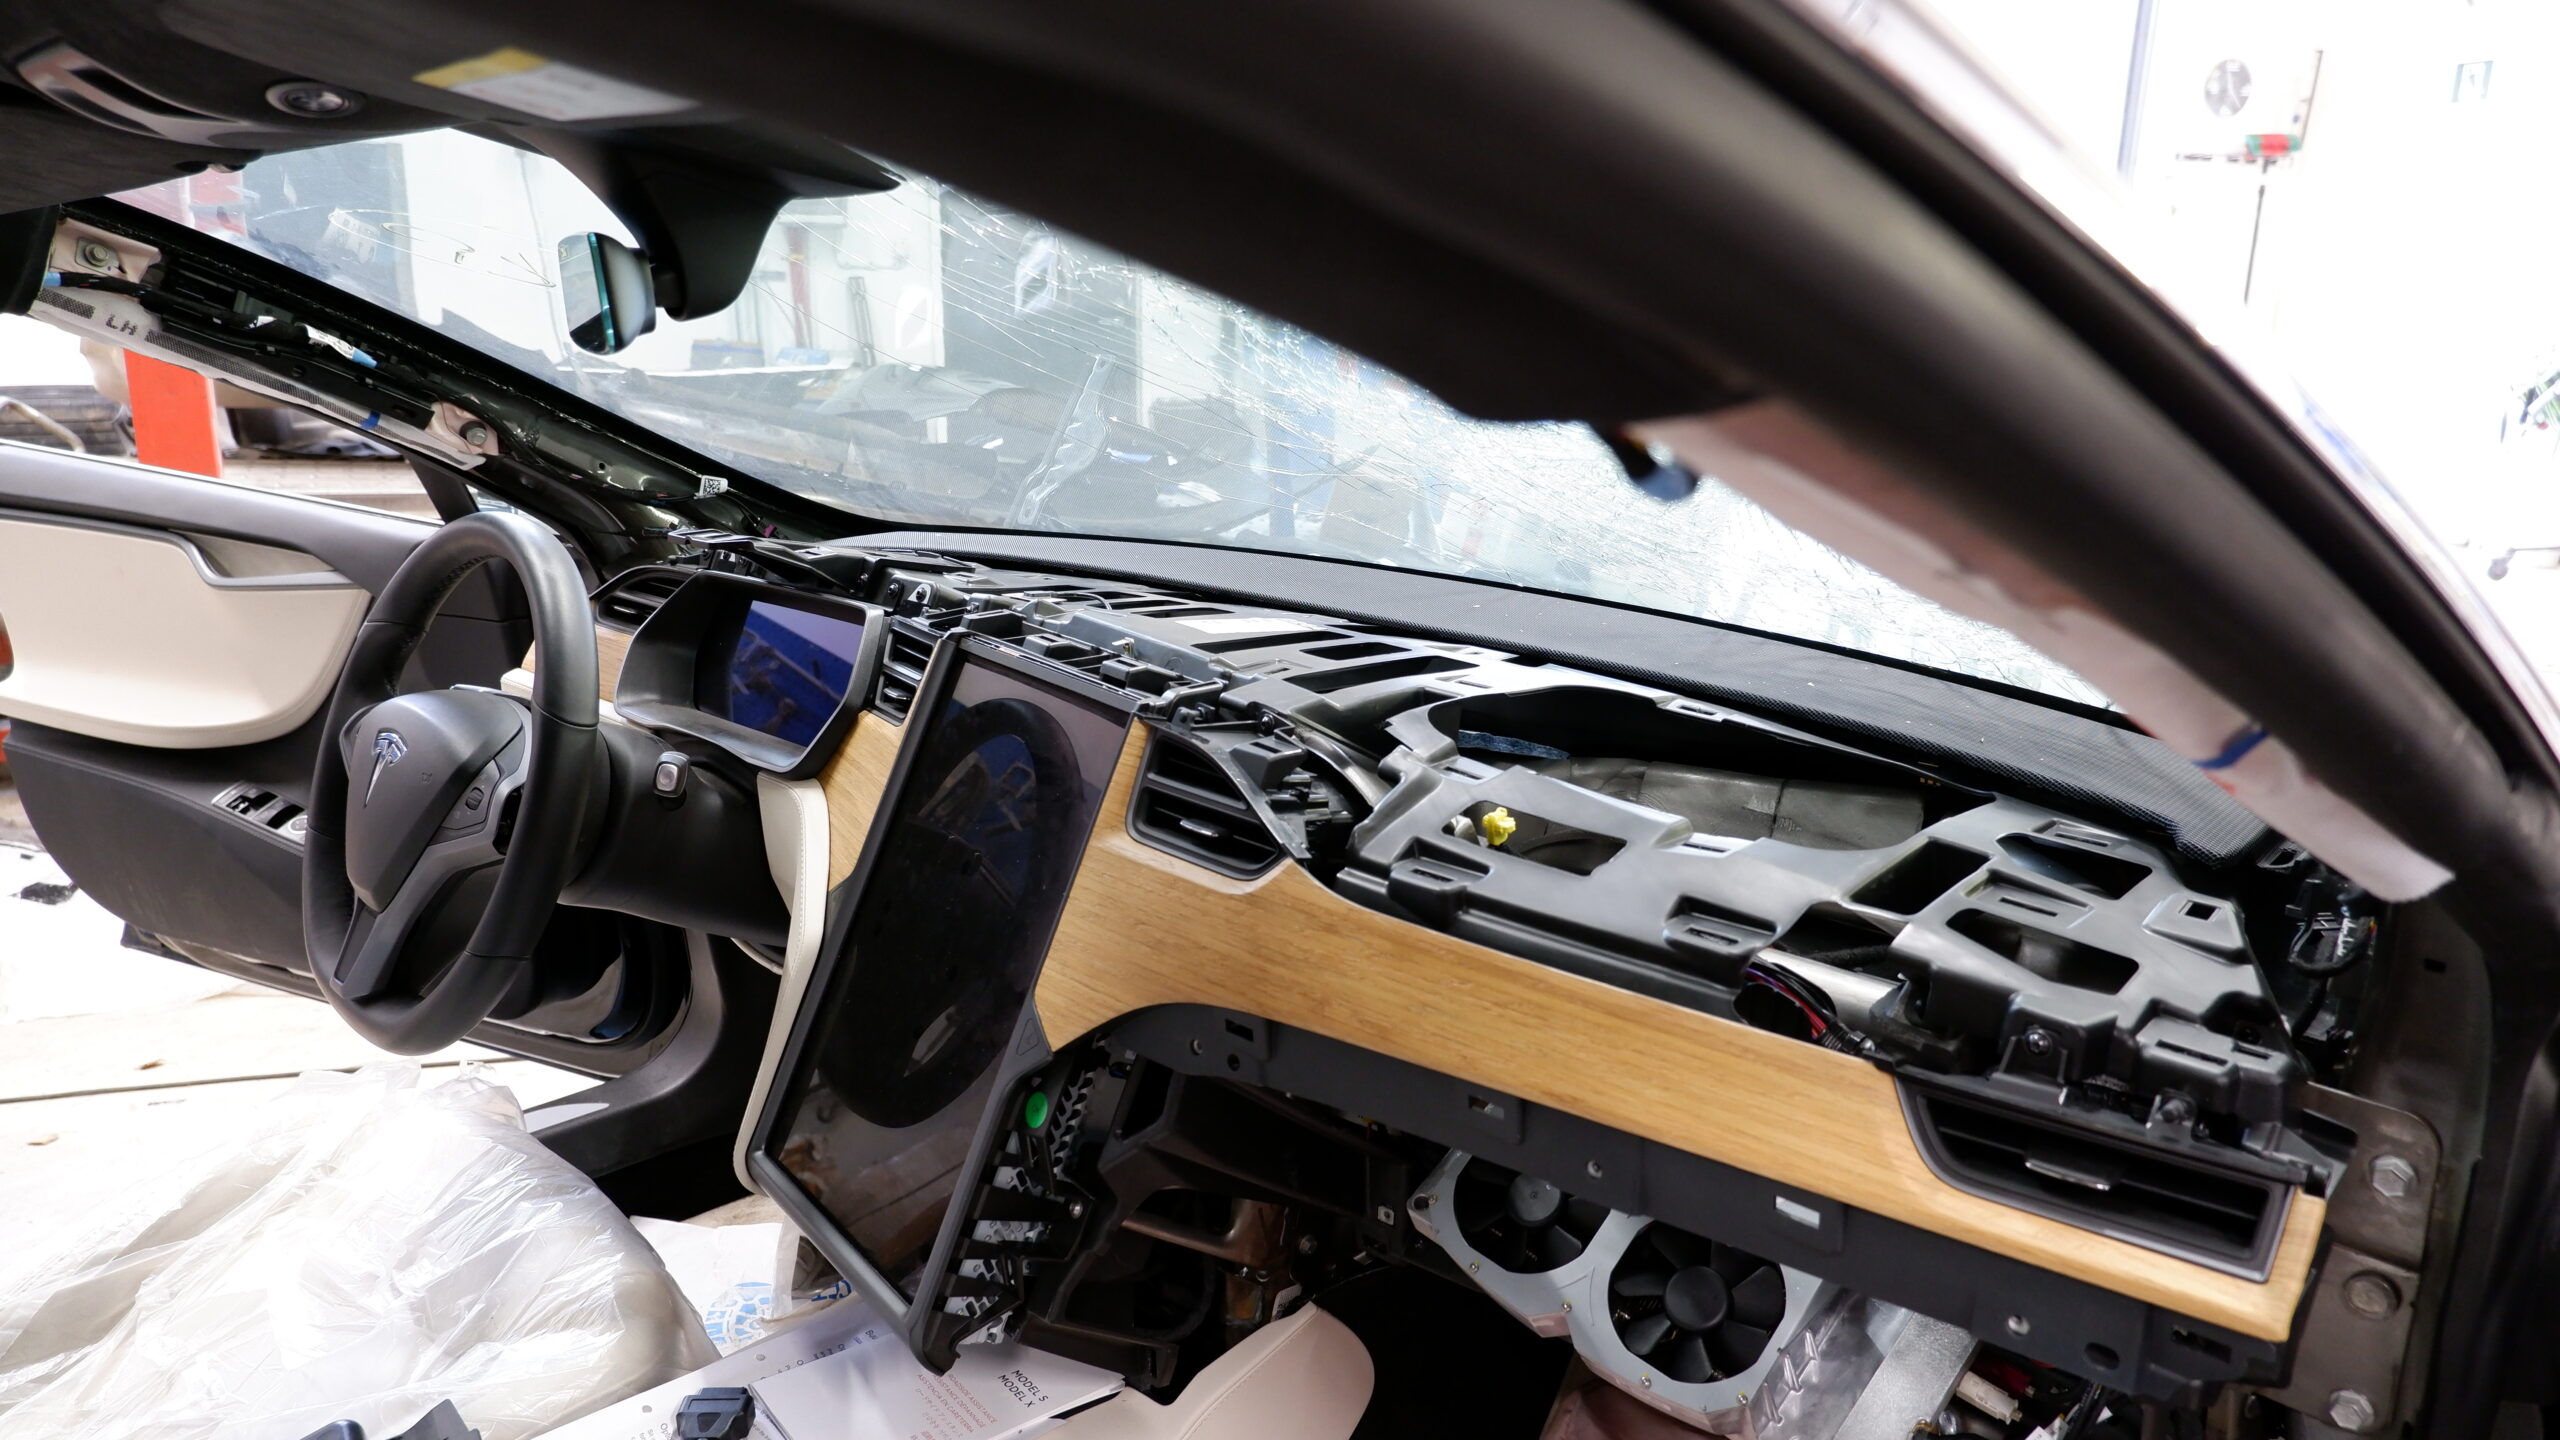
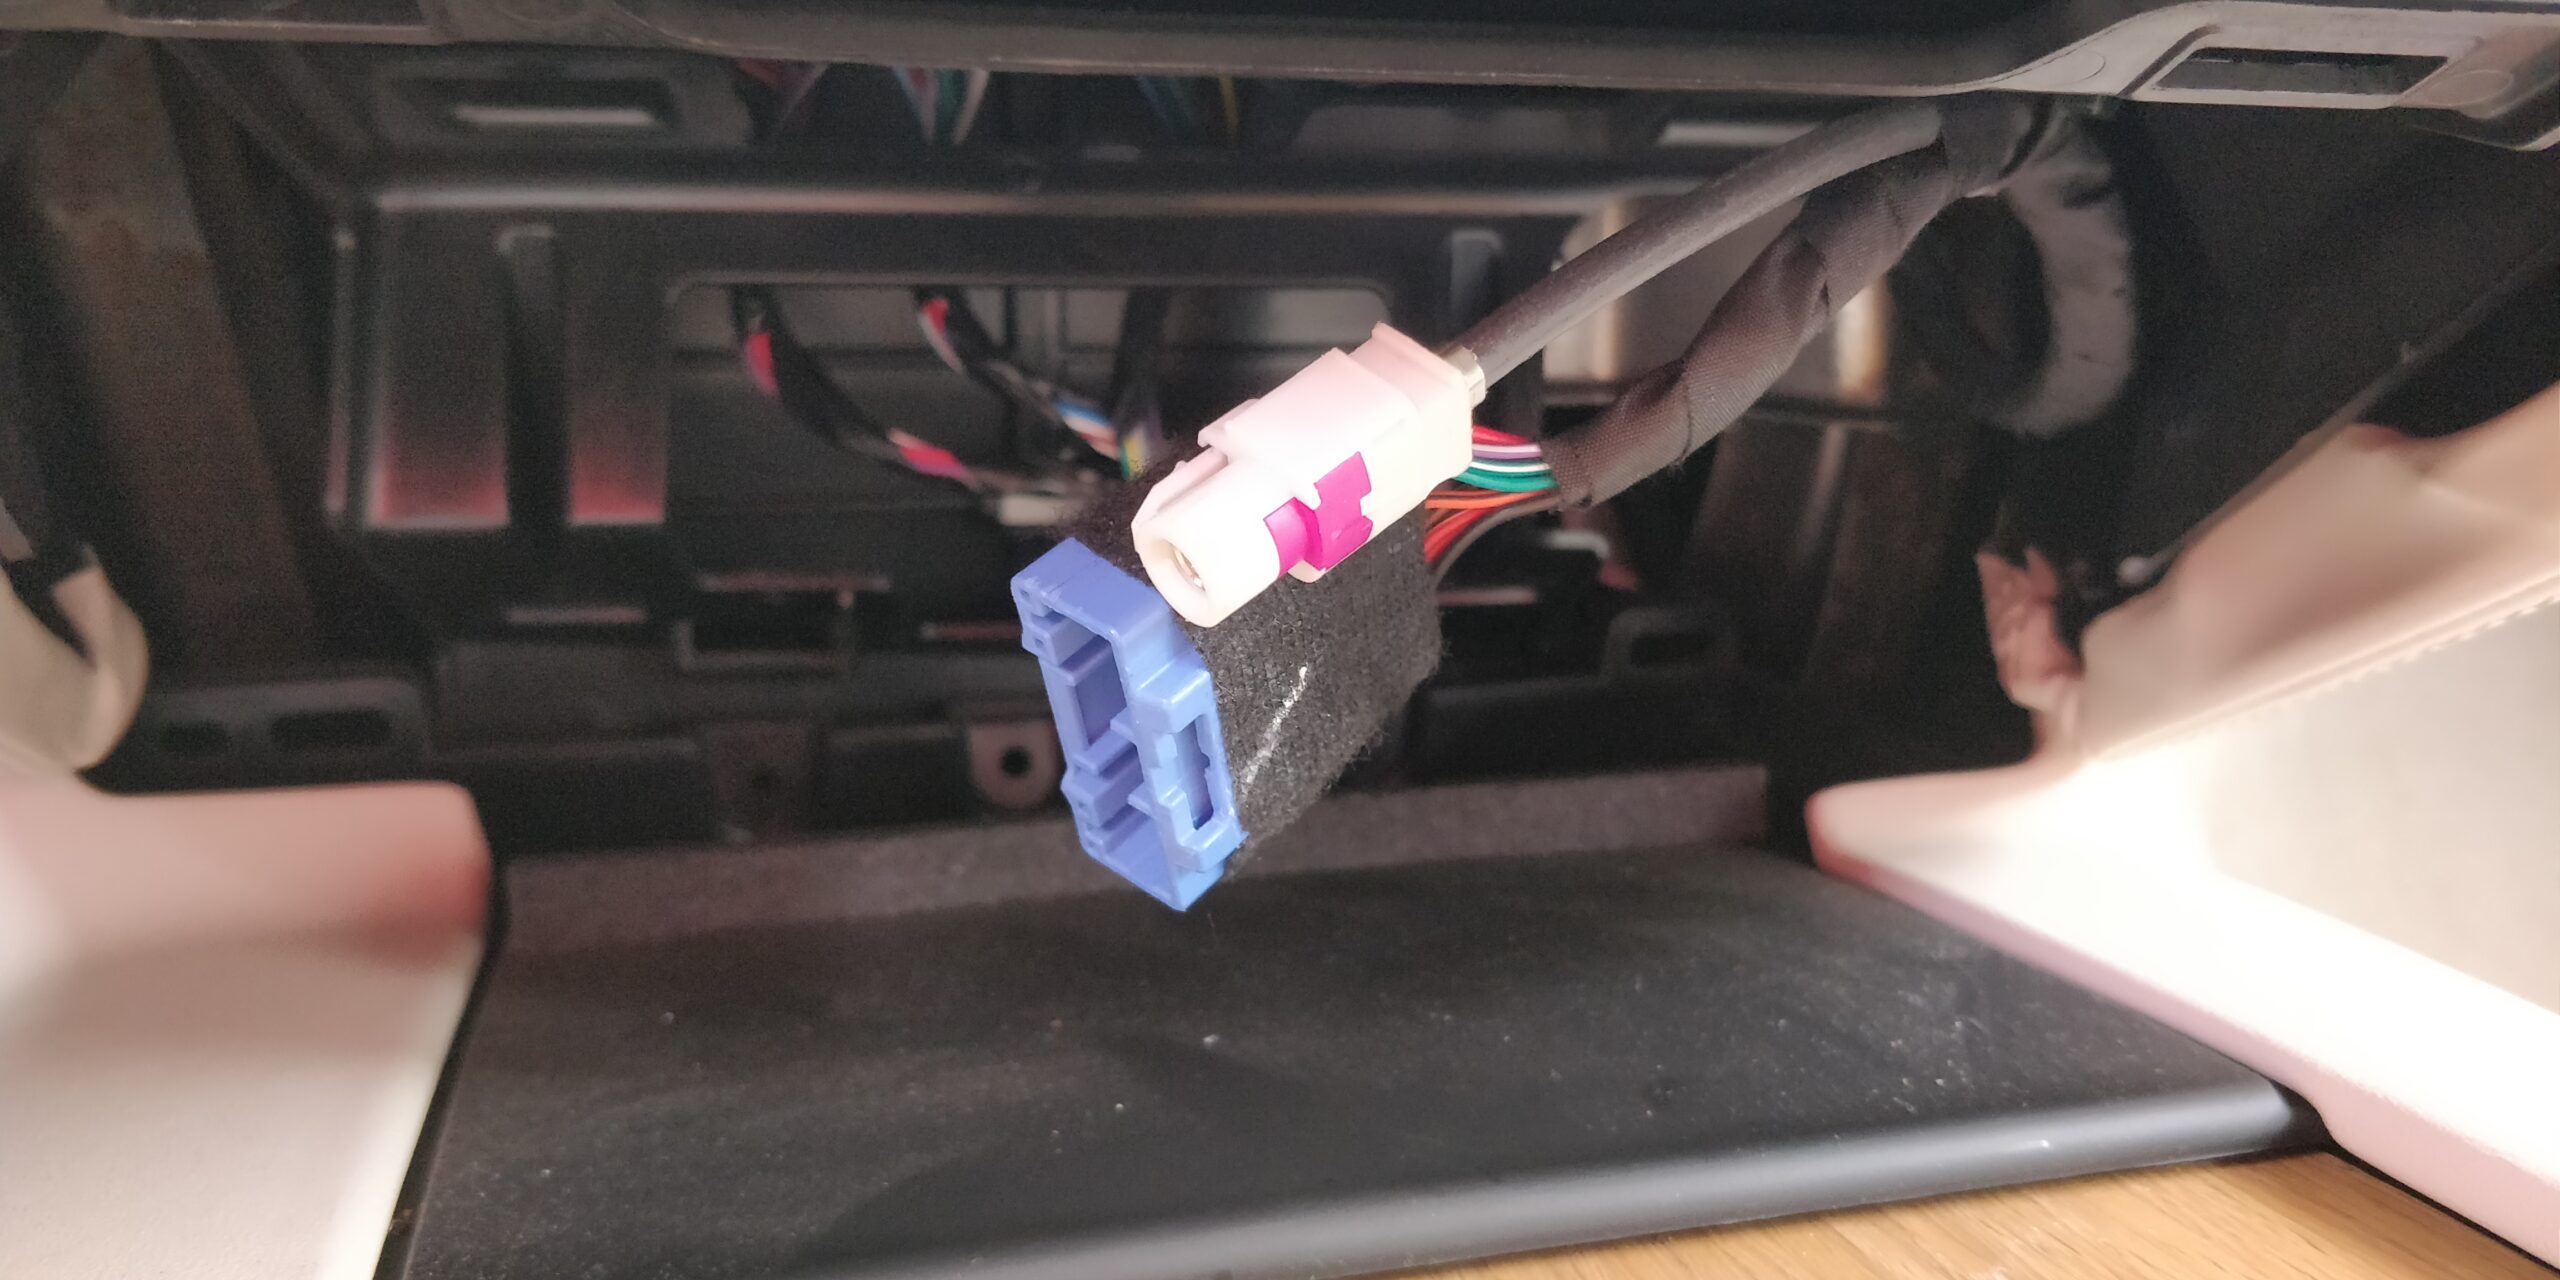
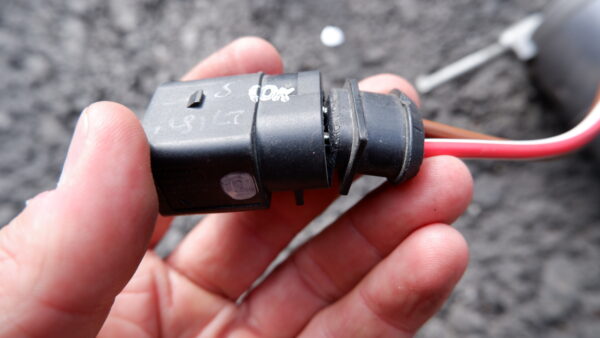
Anyway, after all this the hackers were able to clear the alerts from the air suspension, but not the RCM. I had to take the RCM module out of the car and send to the hackers for manually clearing.

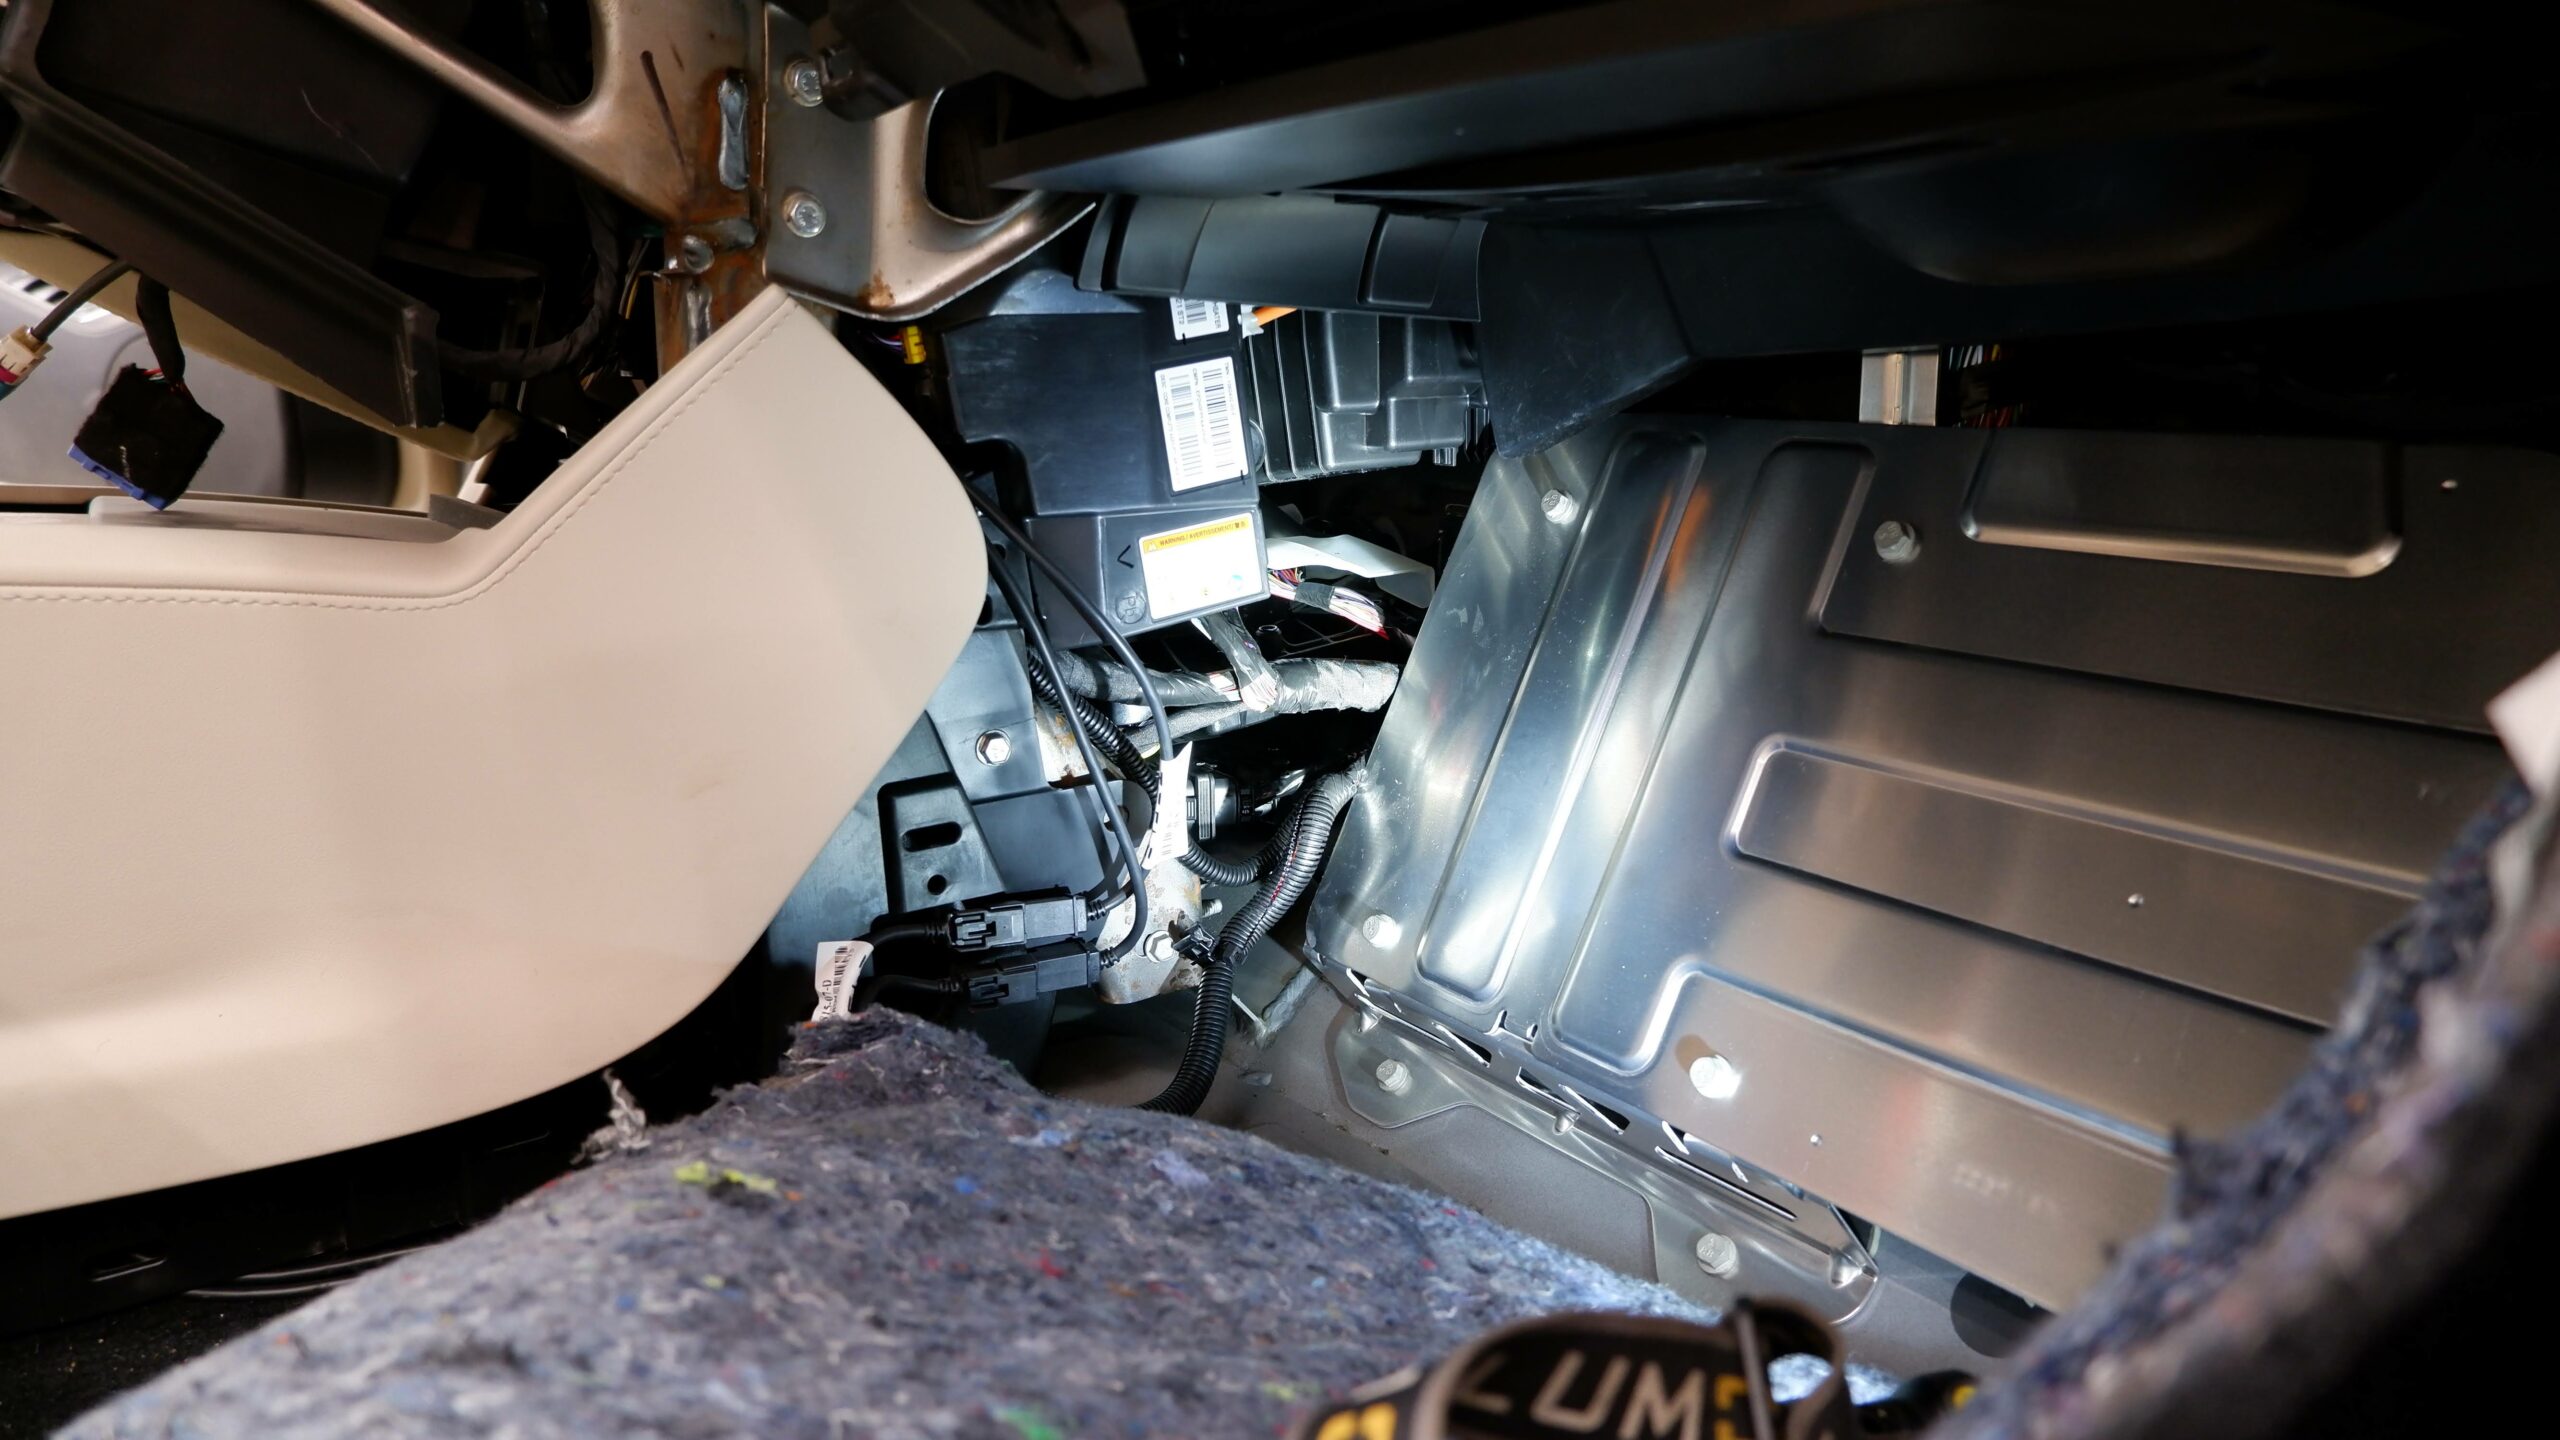
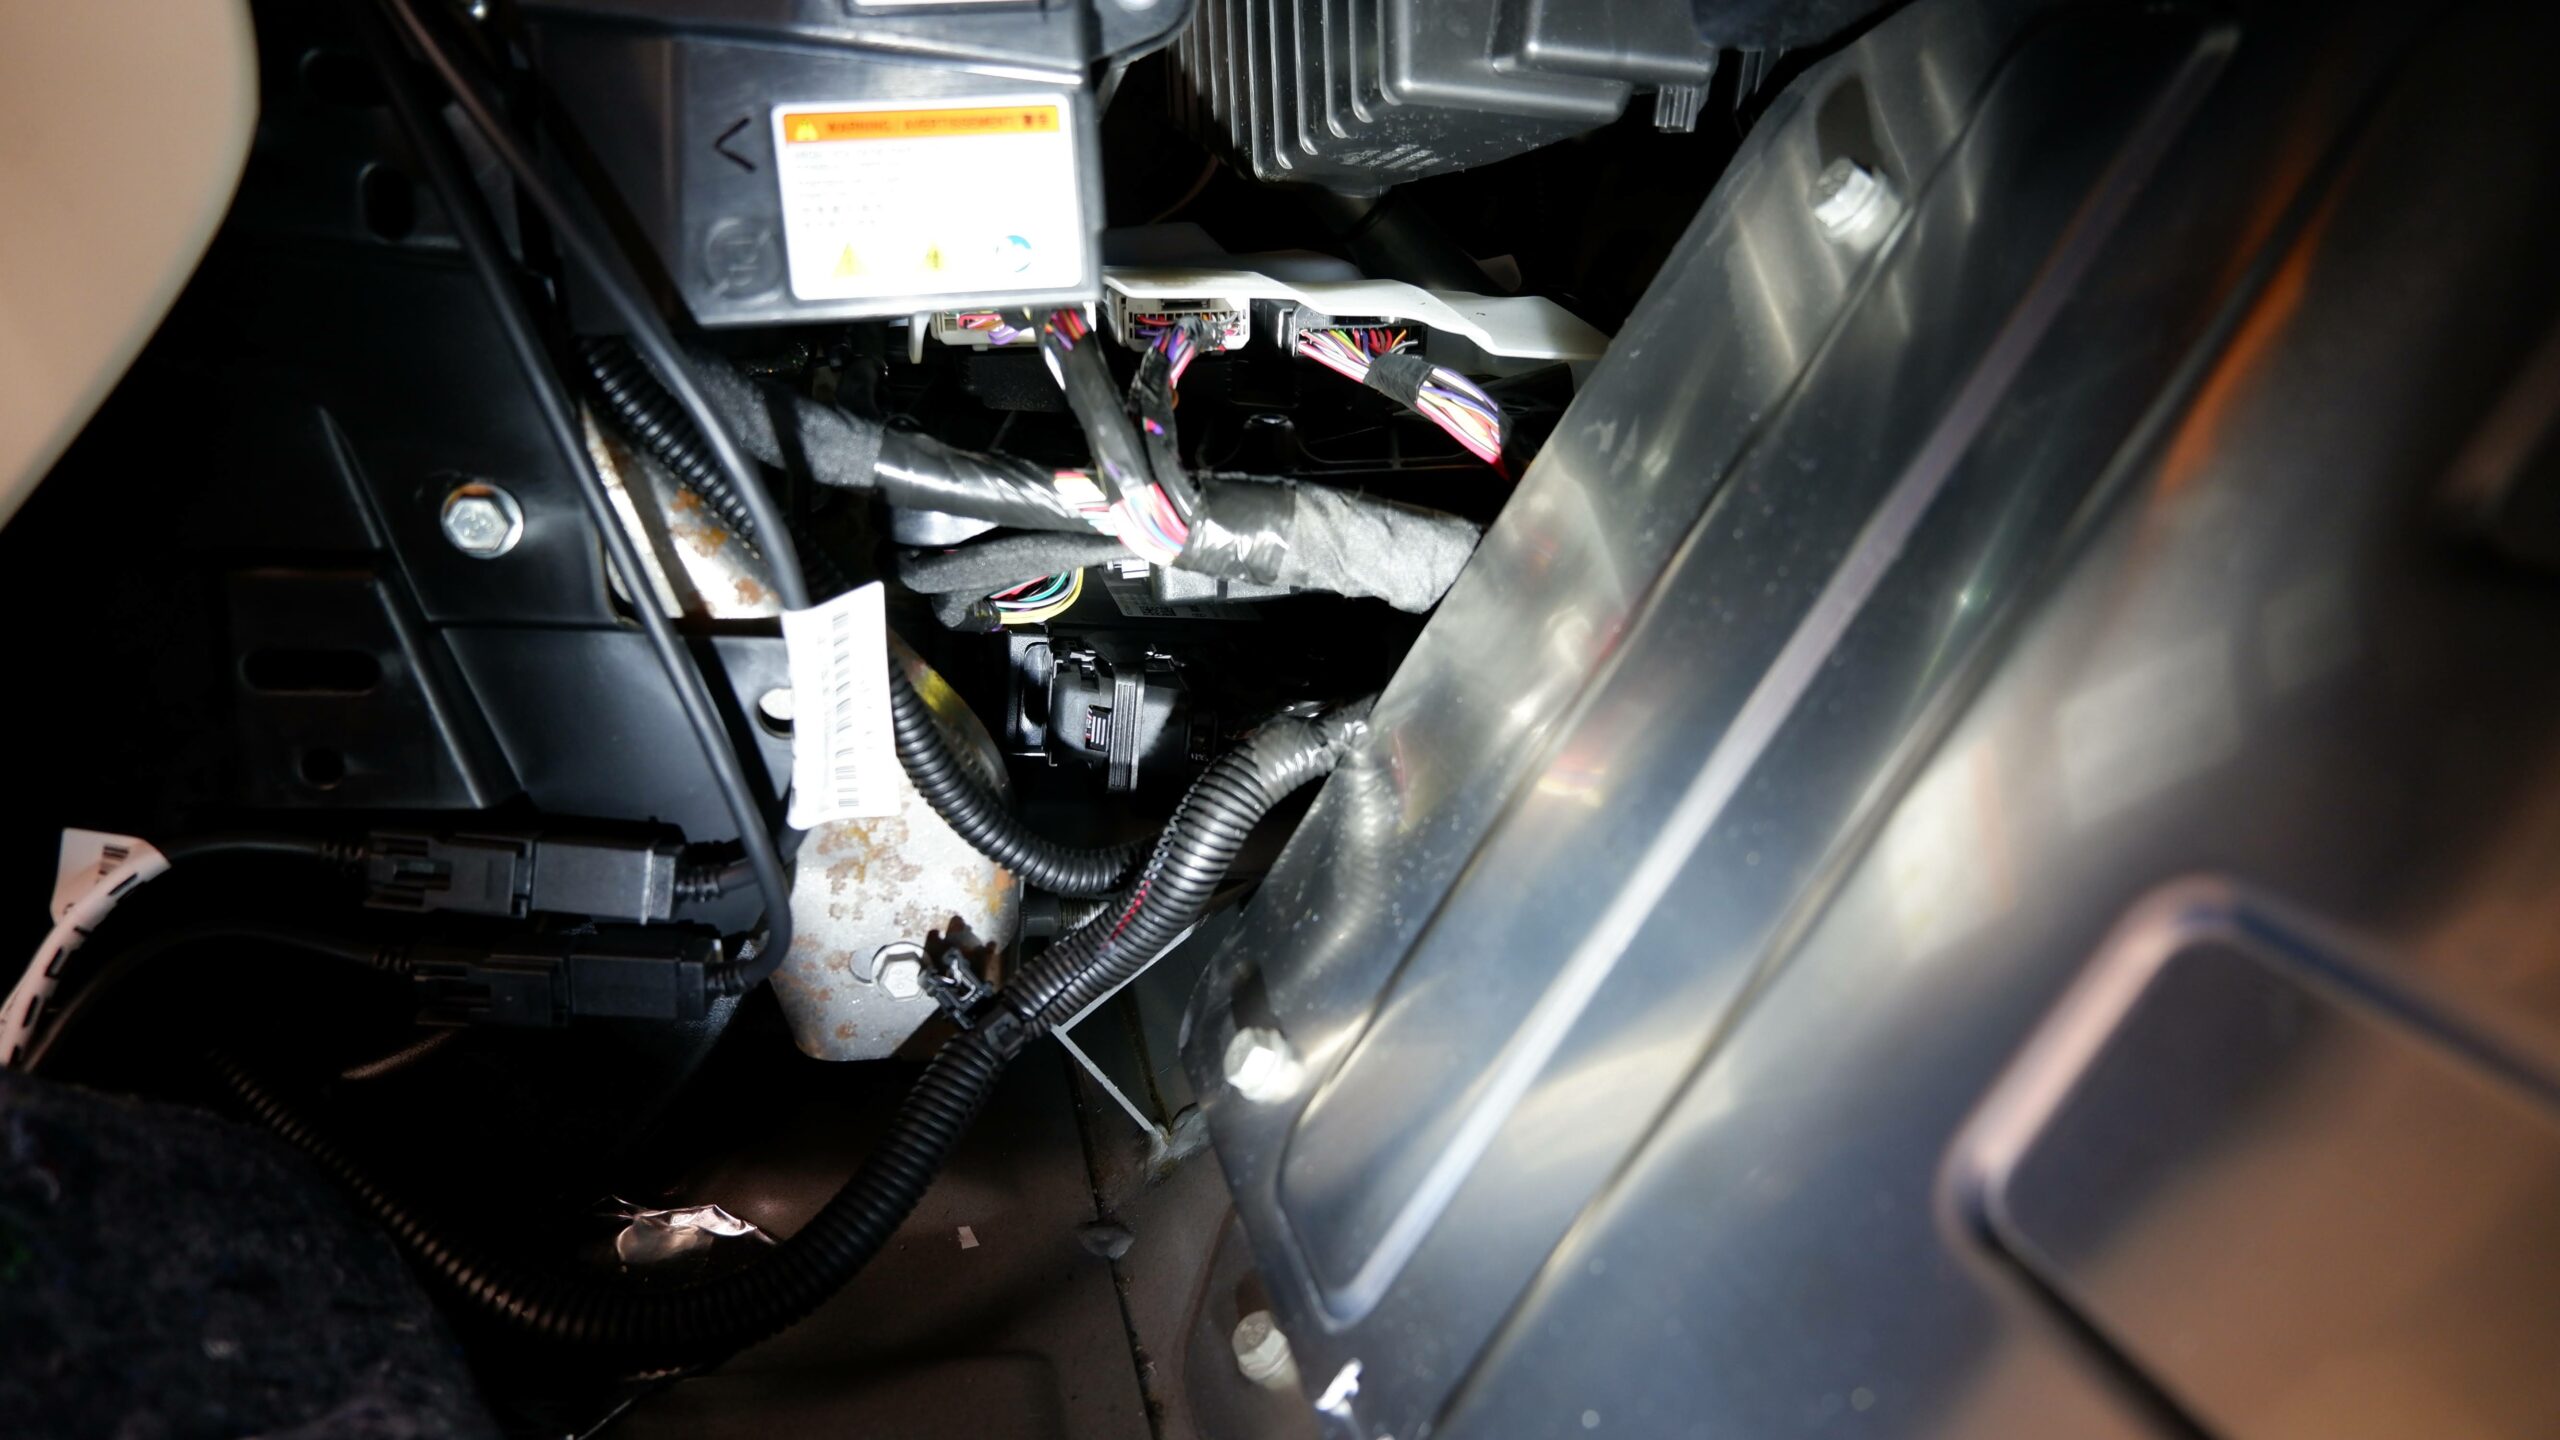
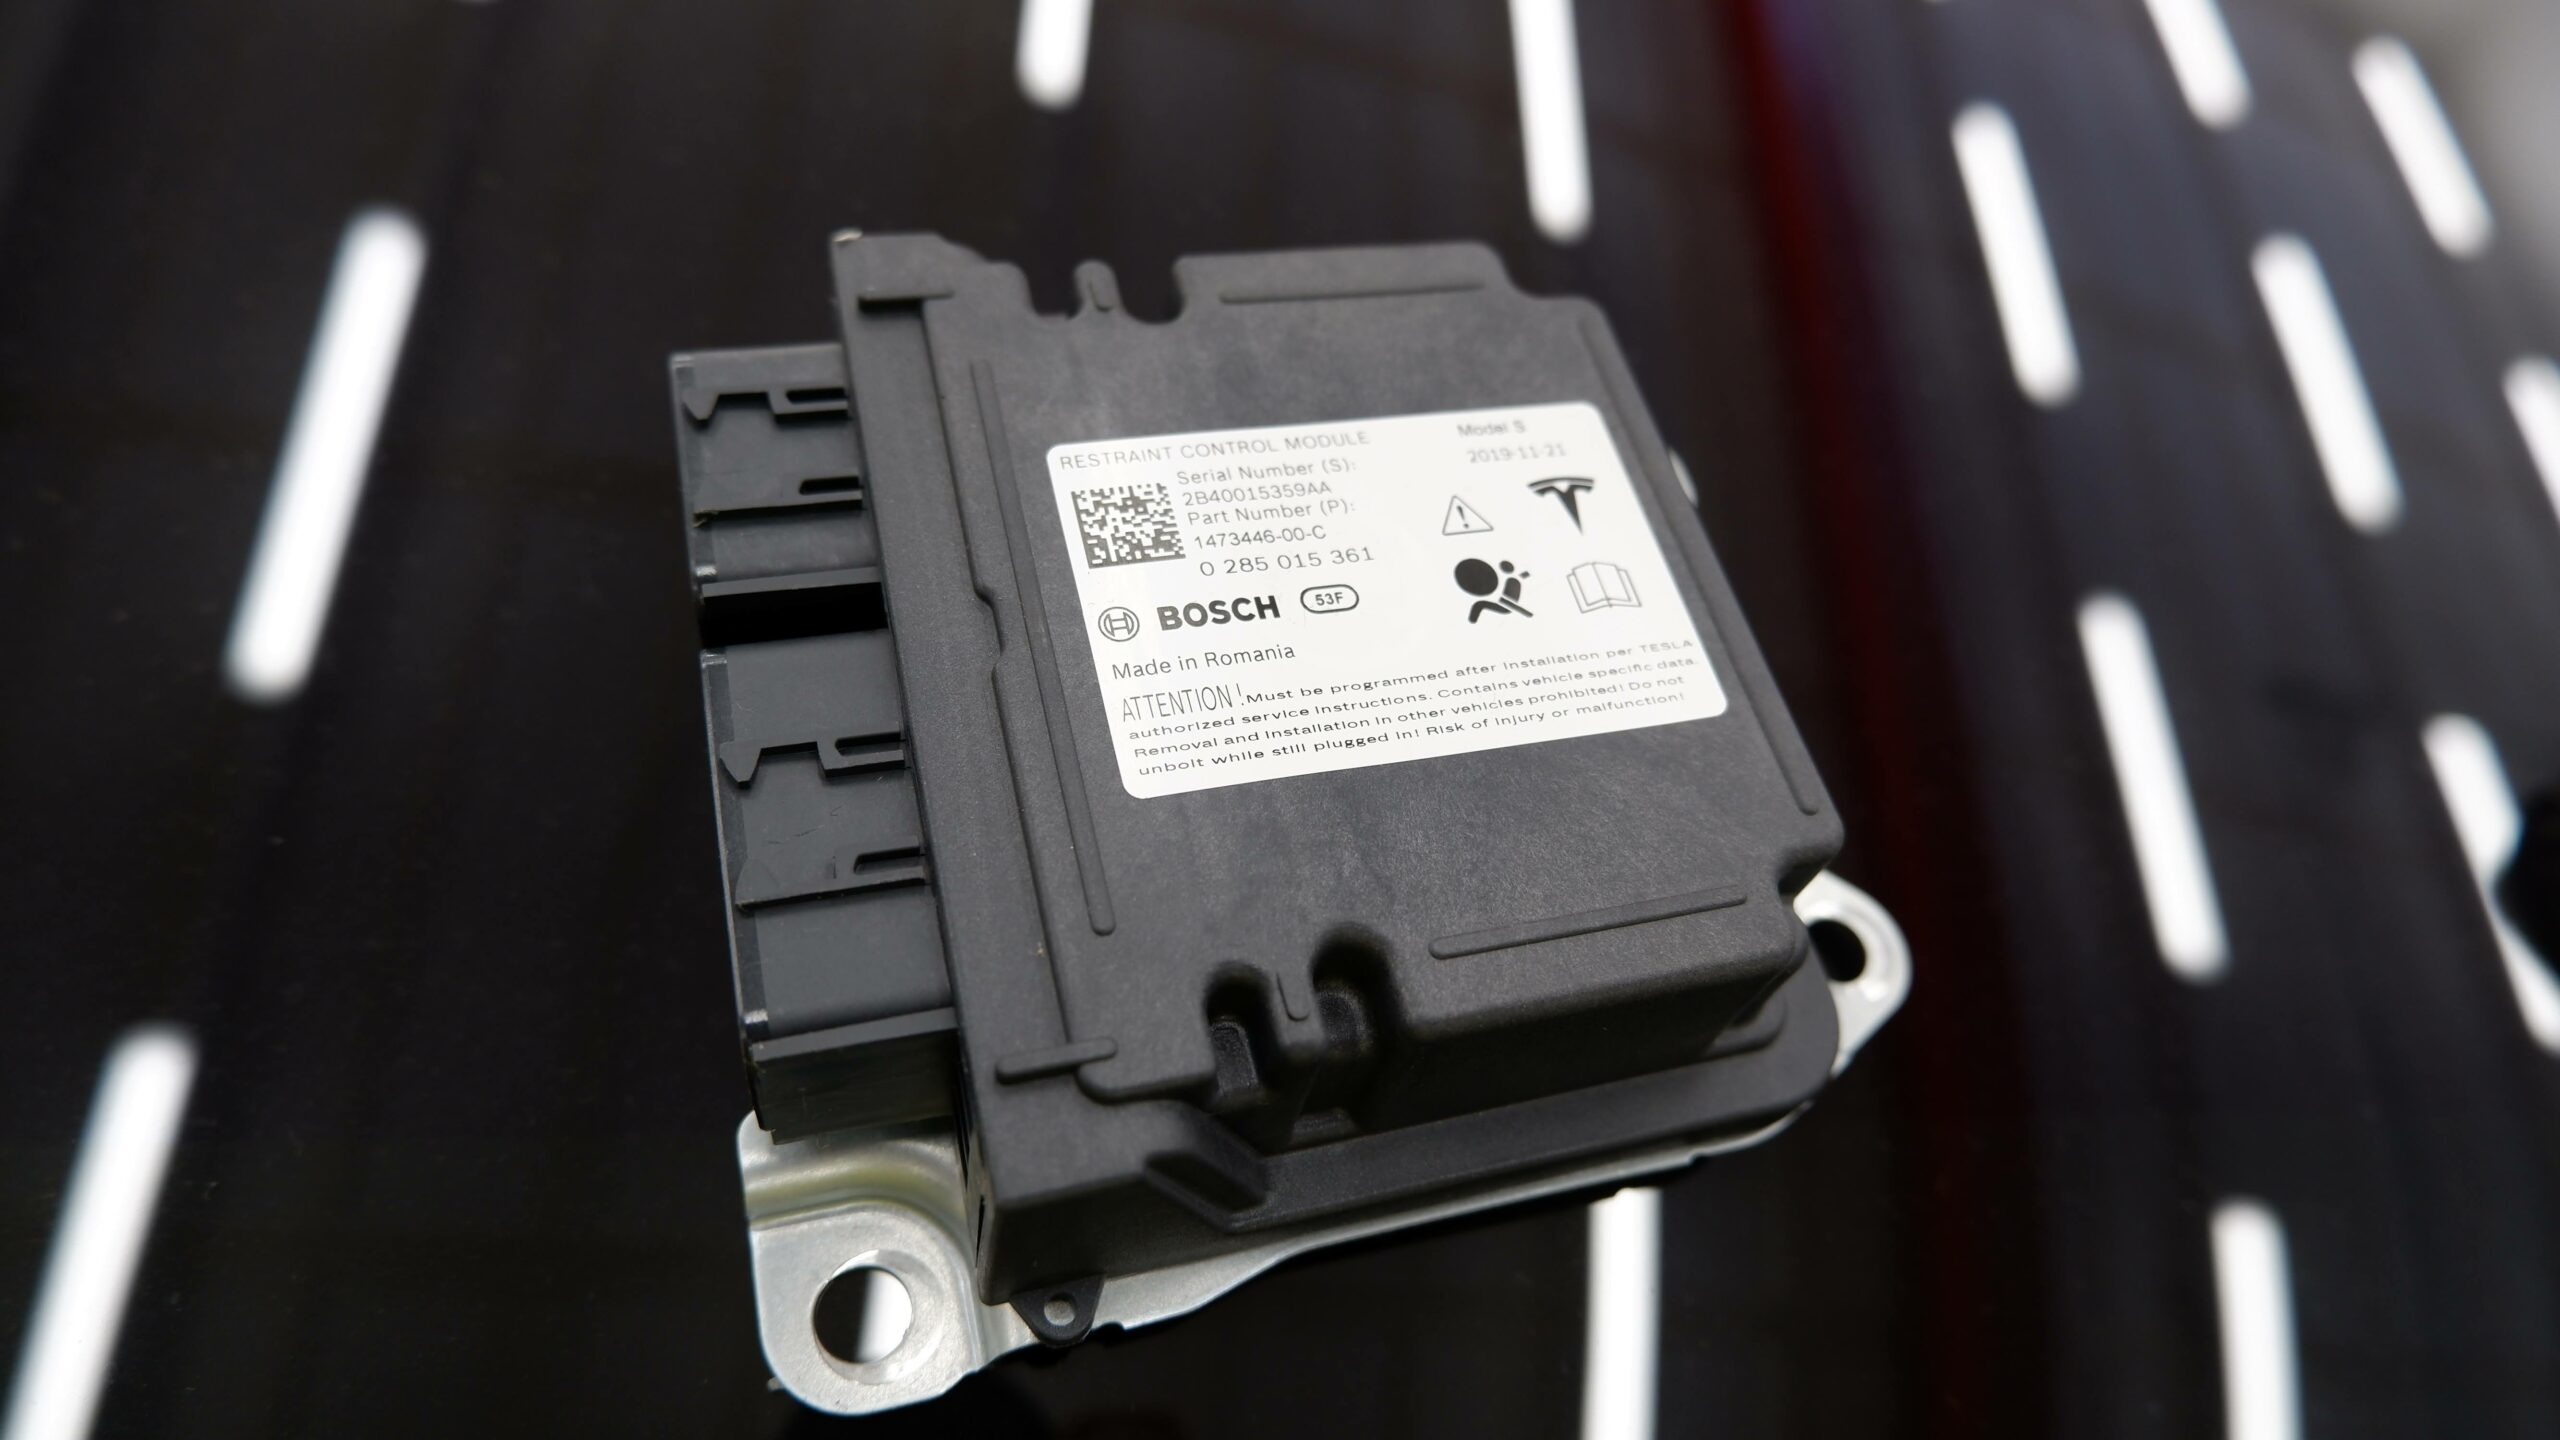
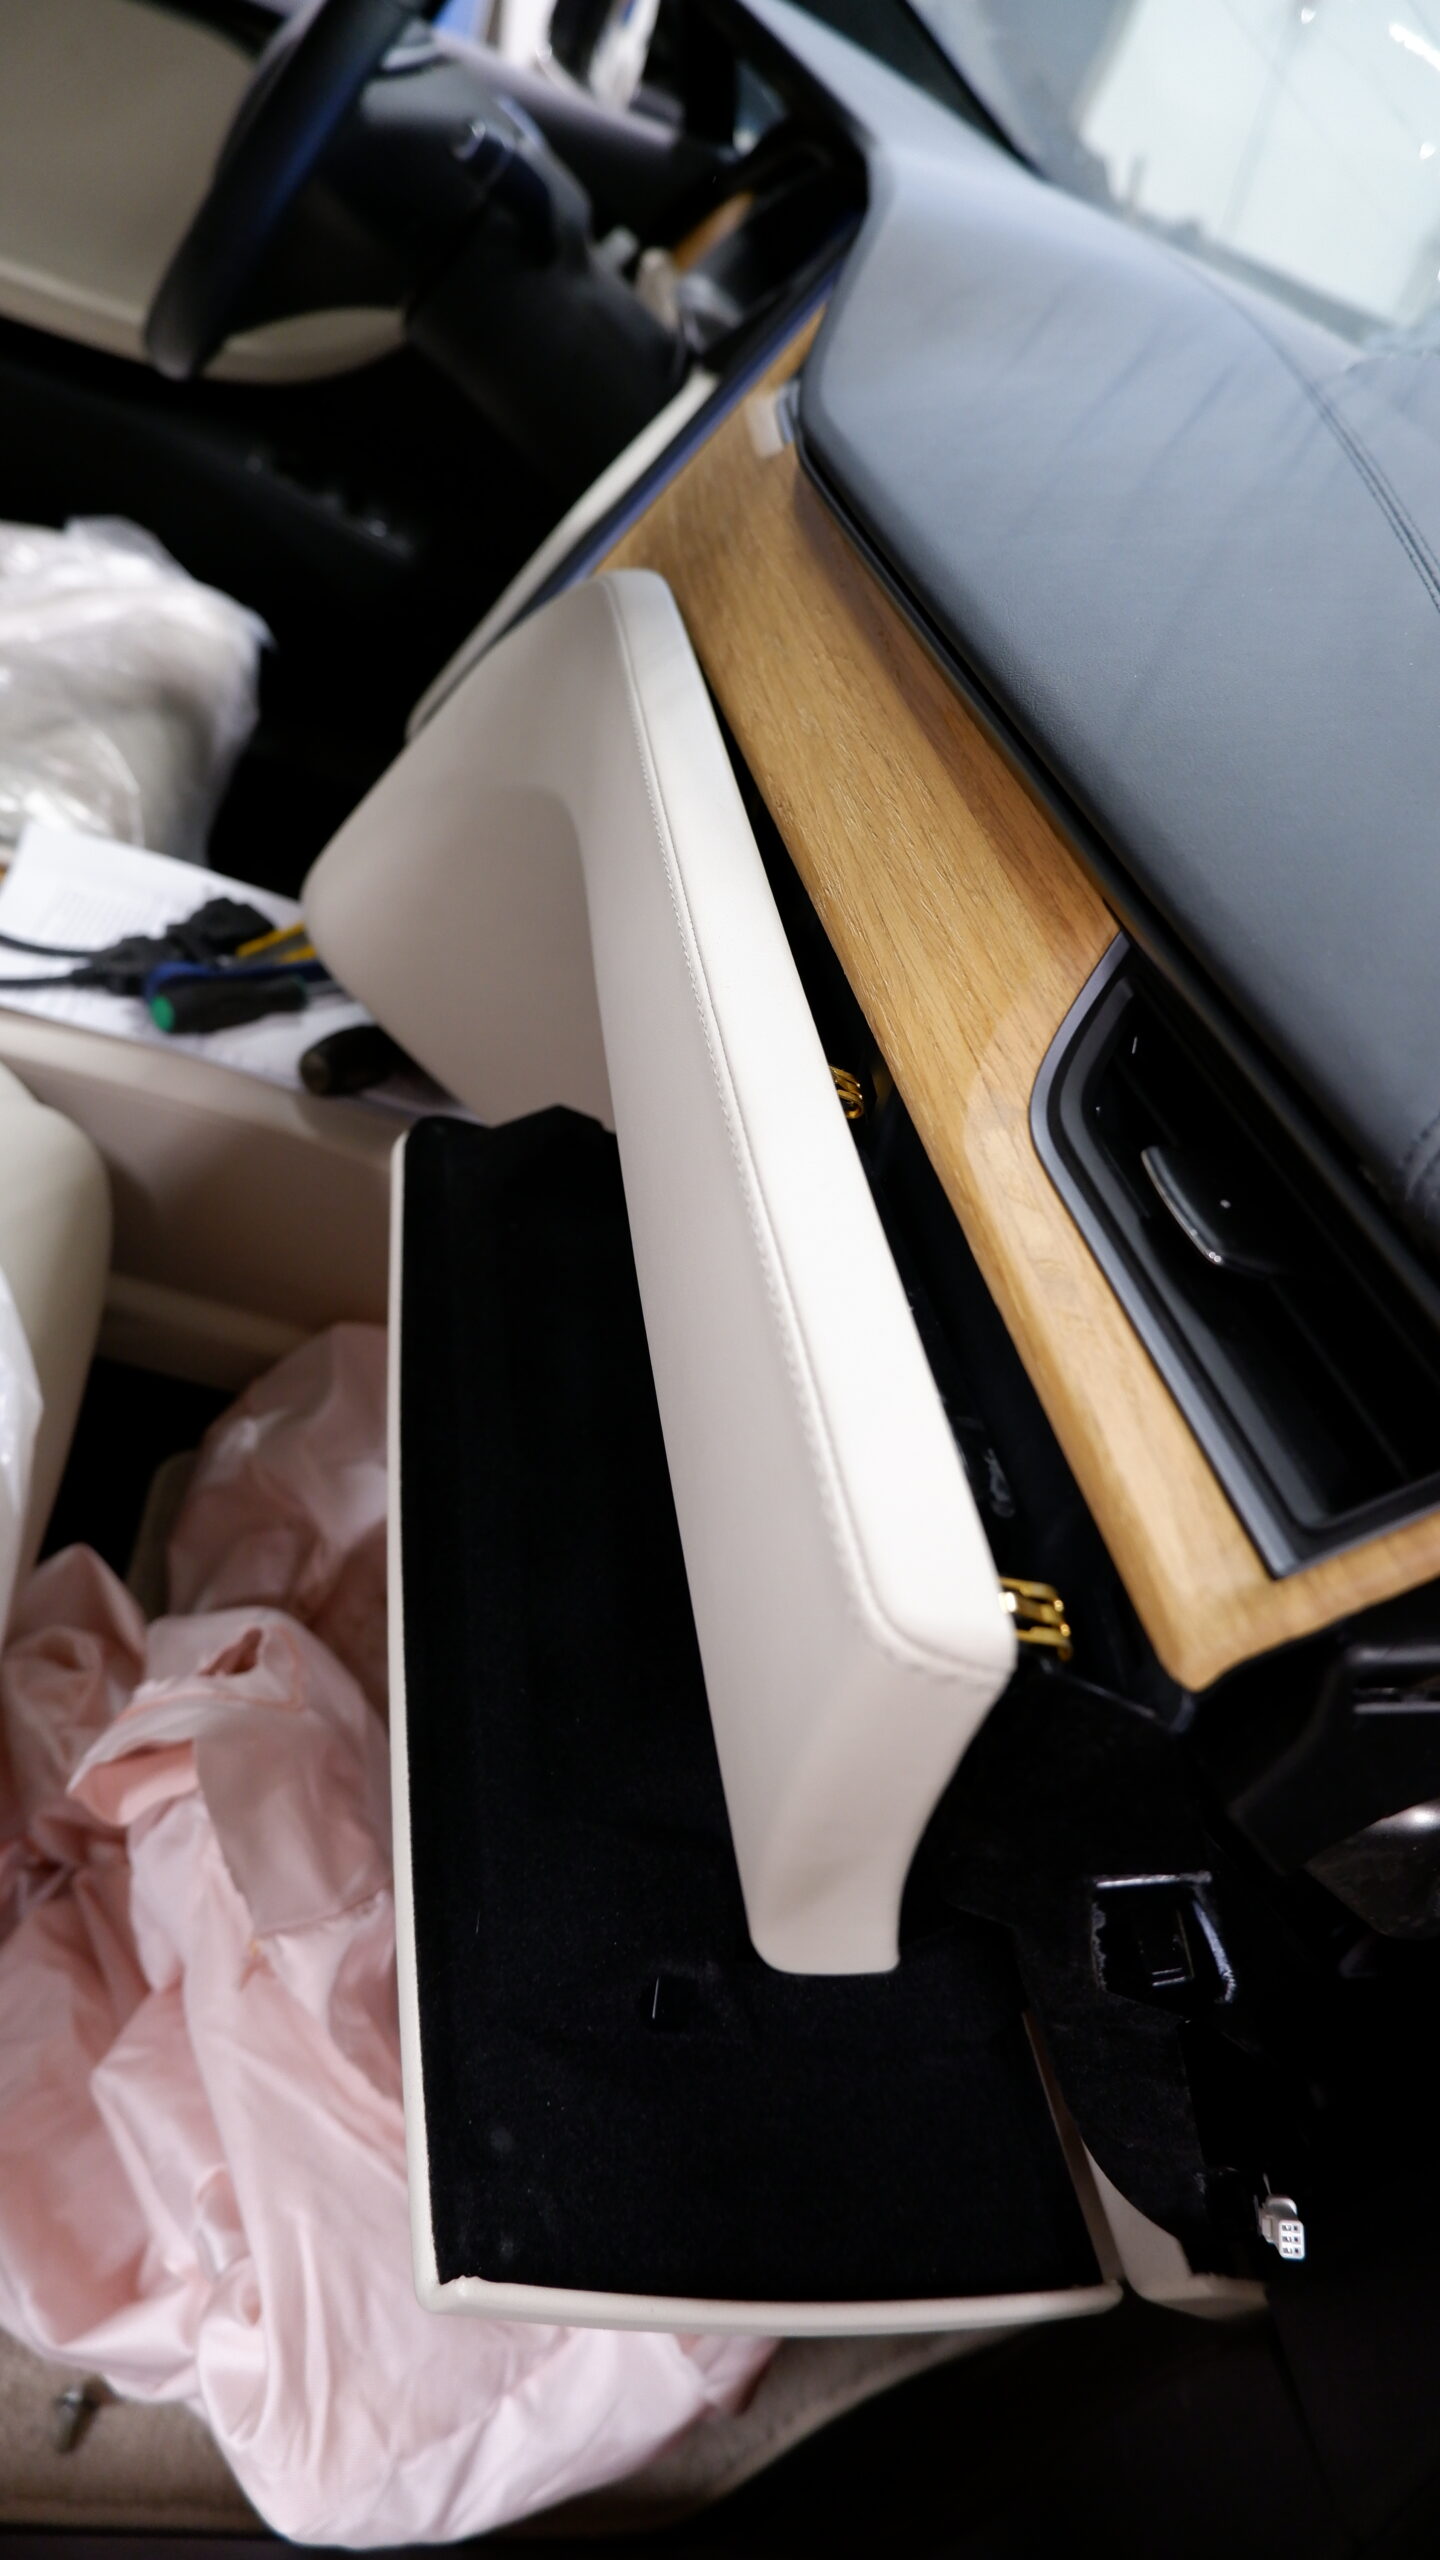
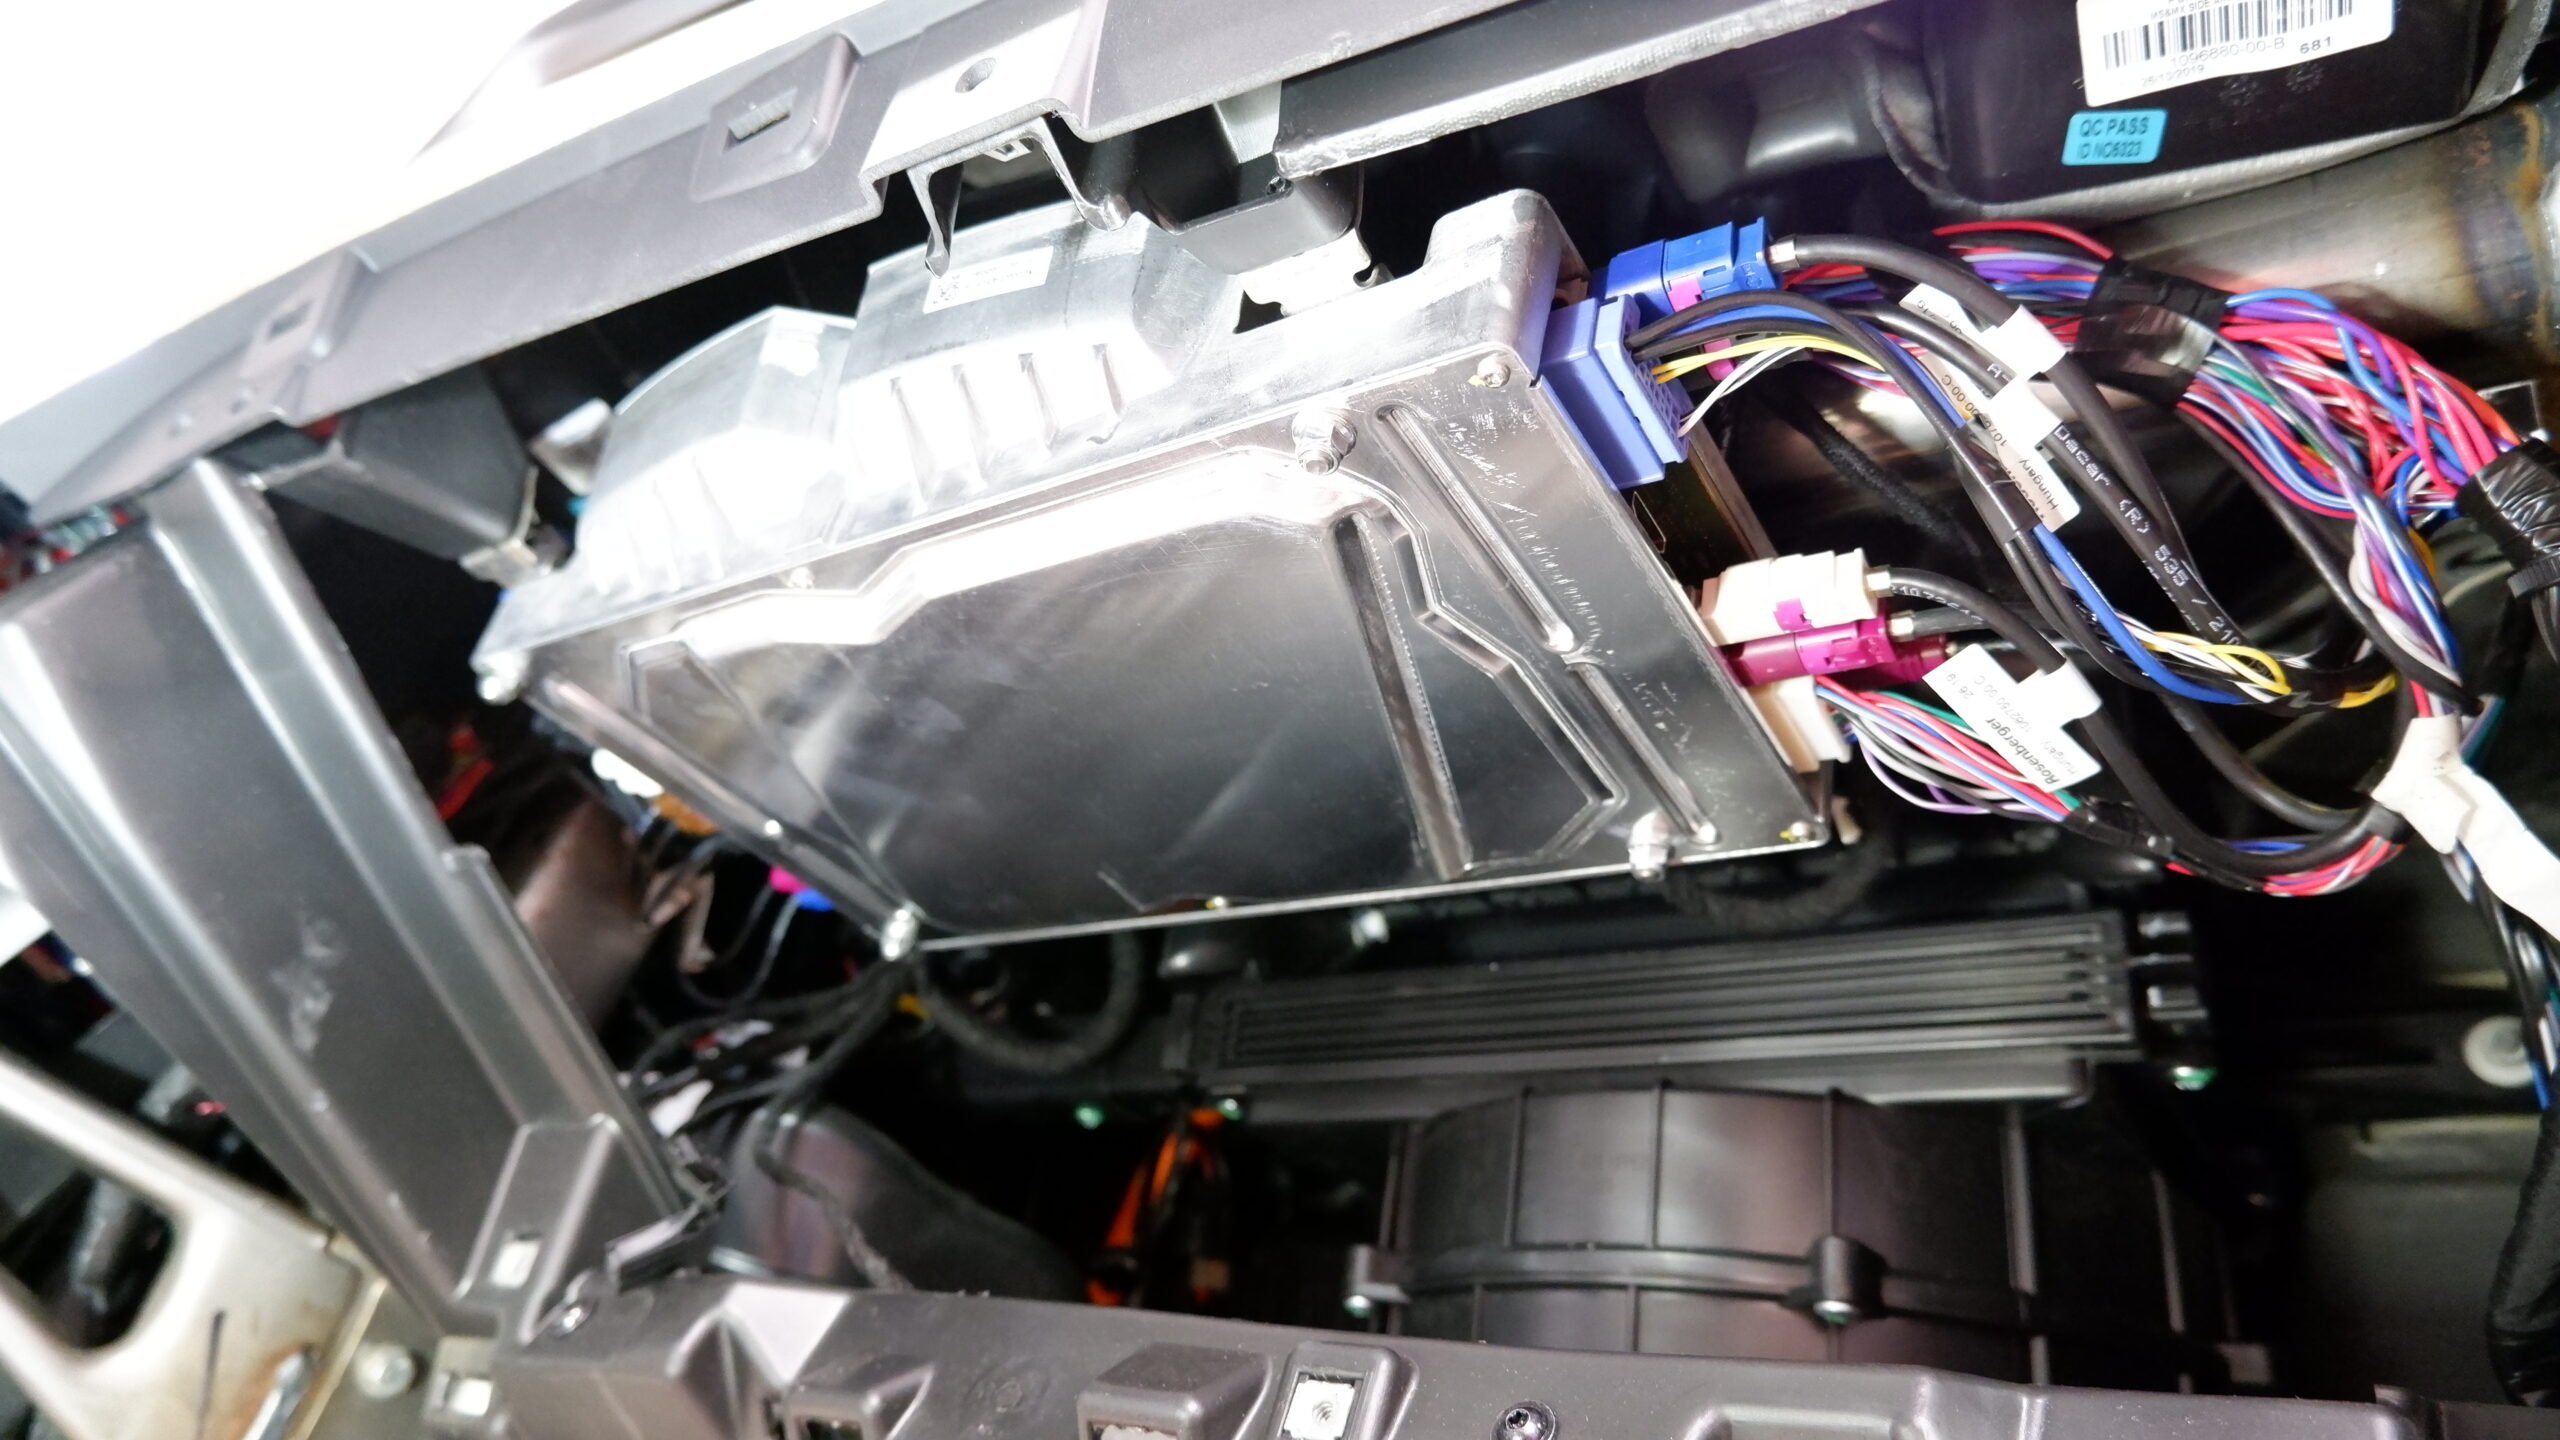
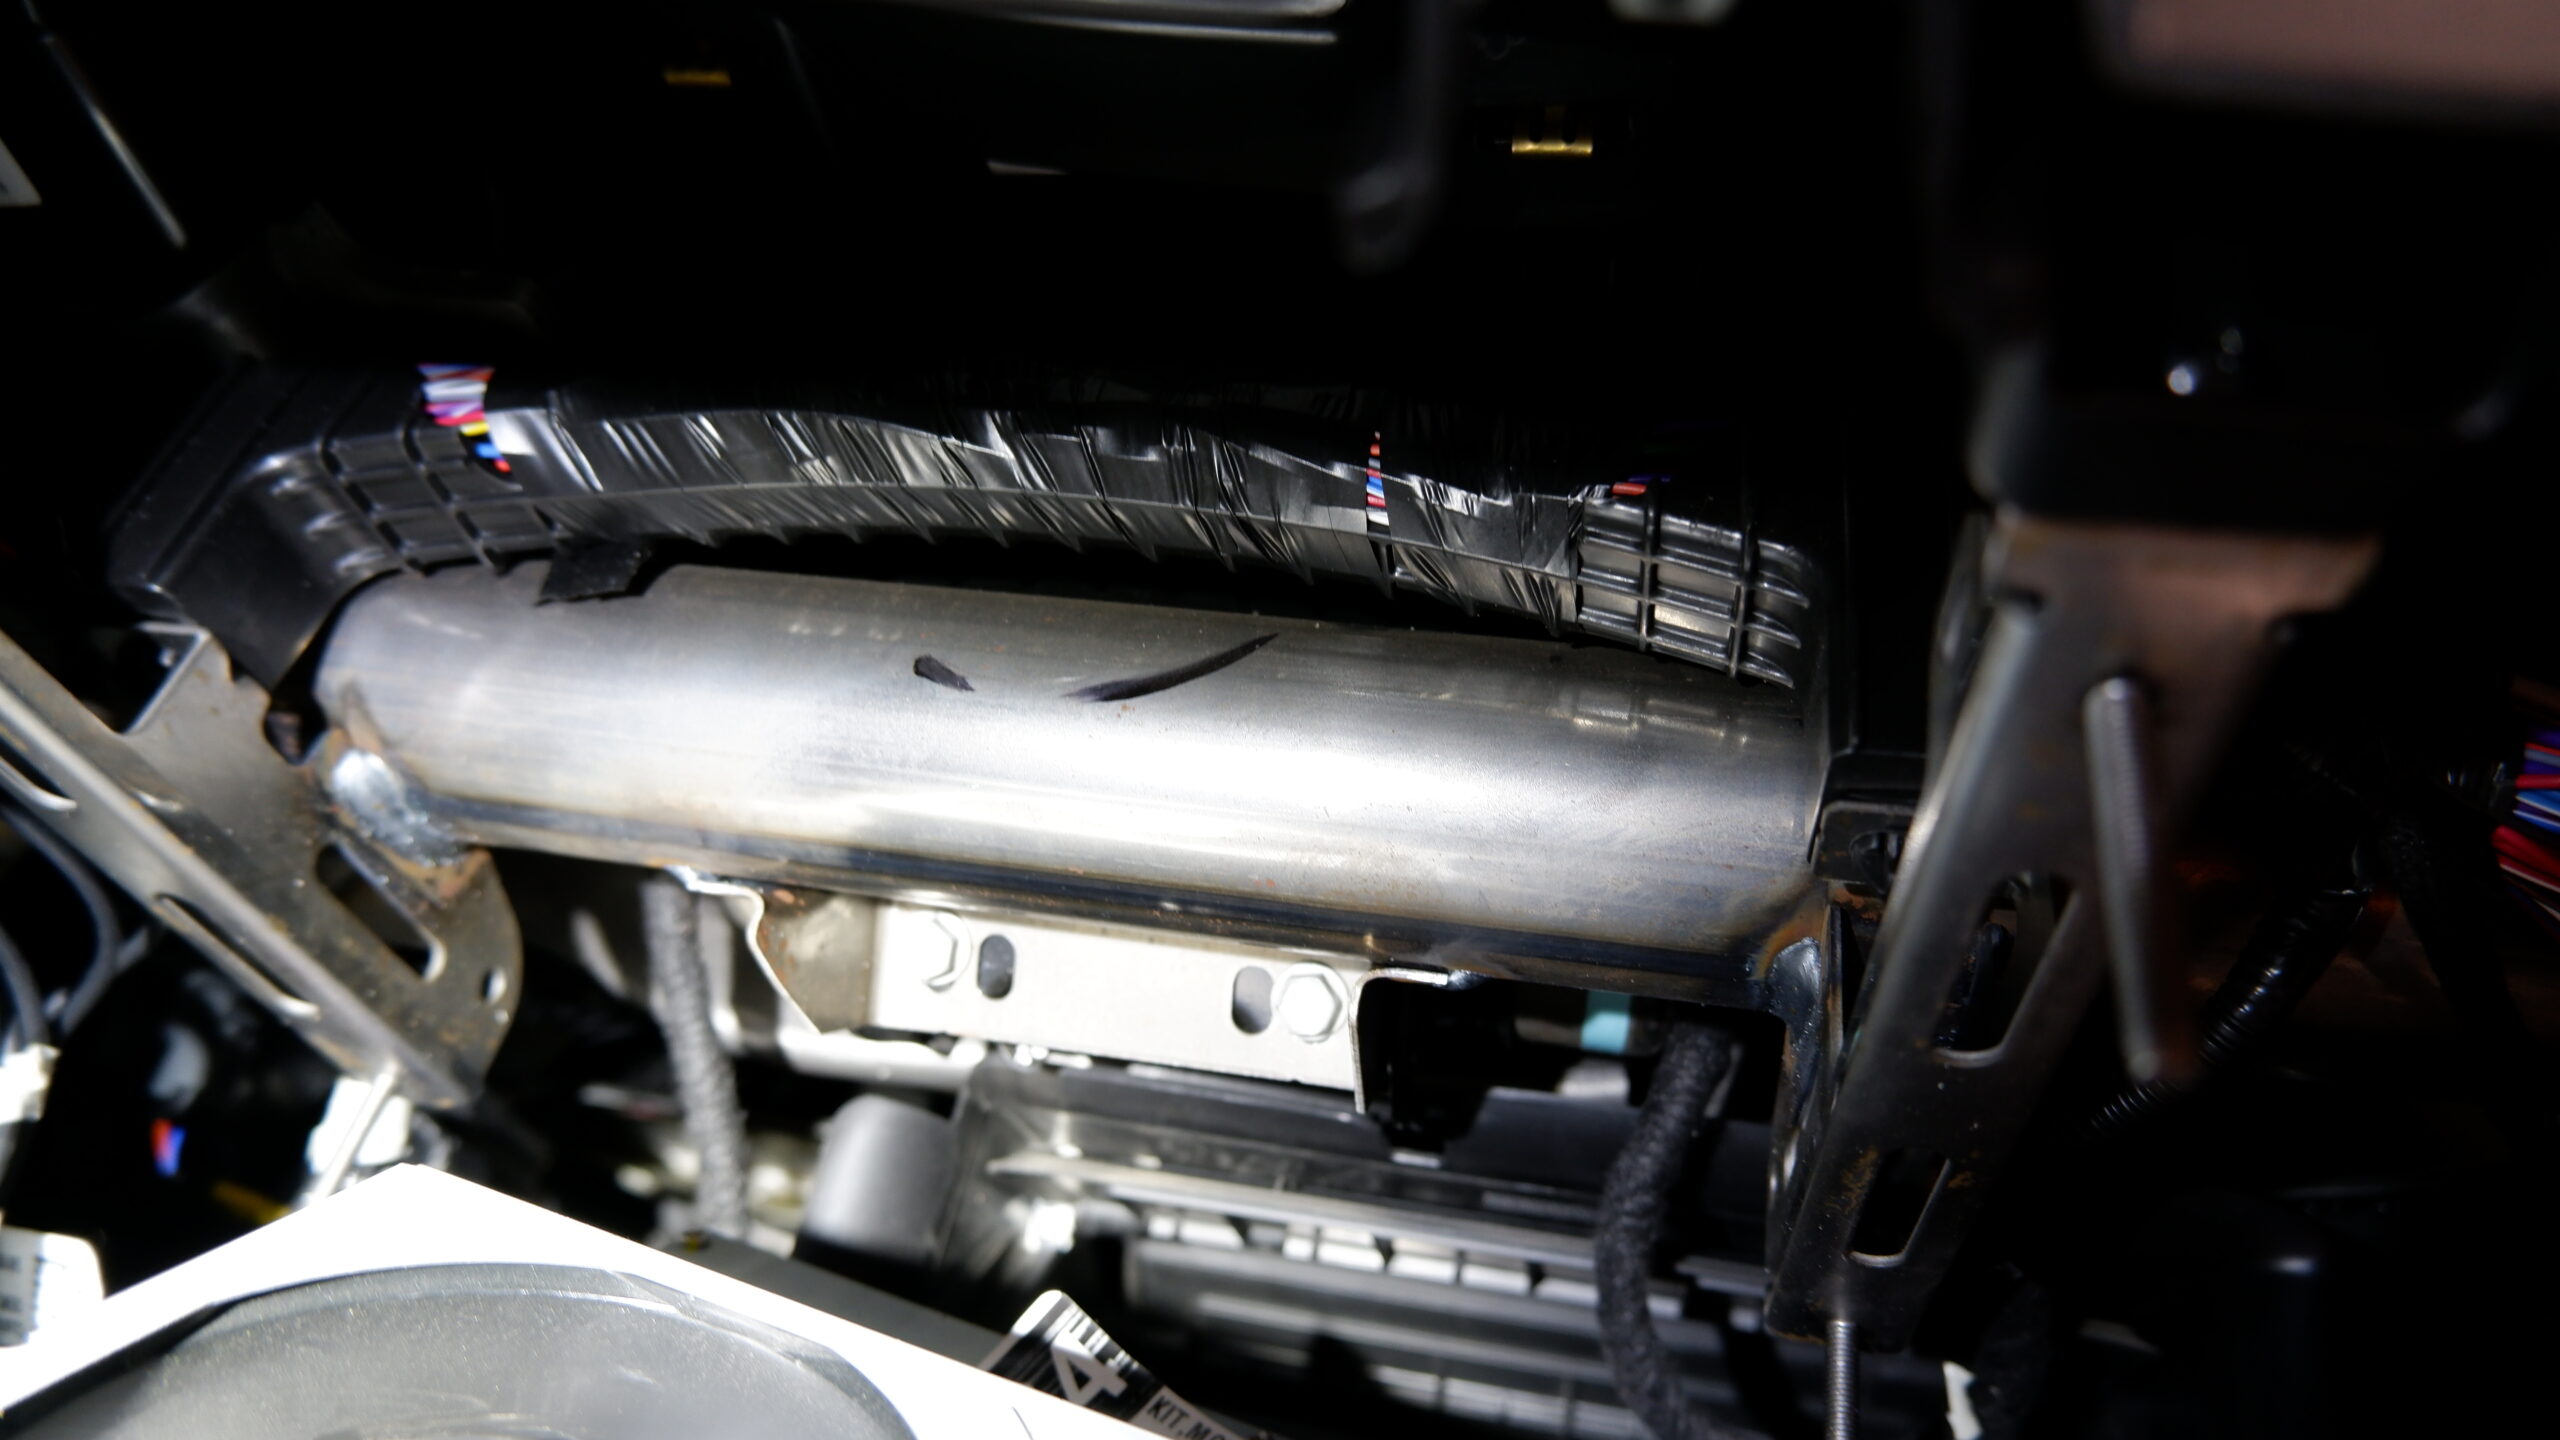
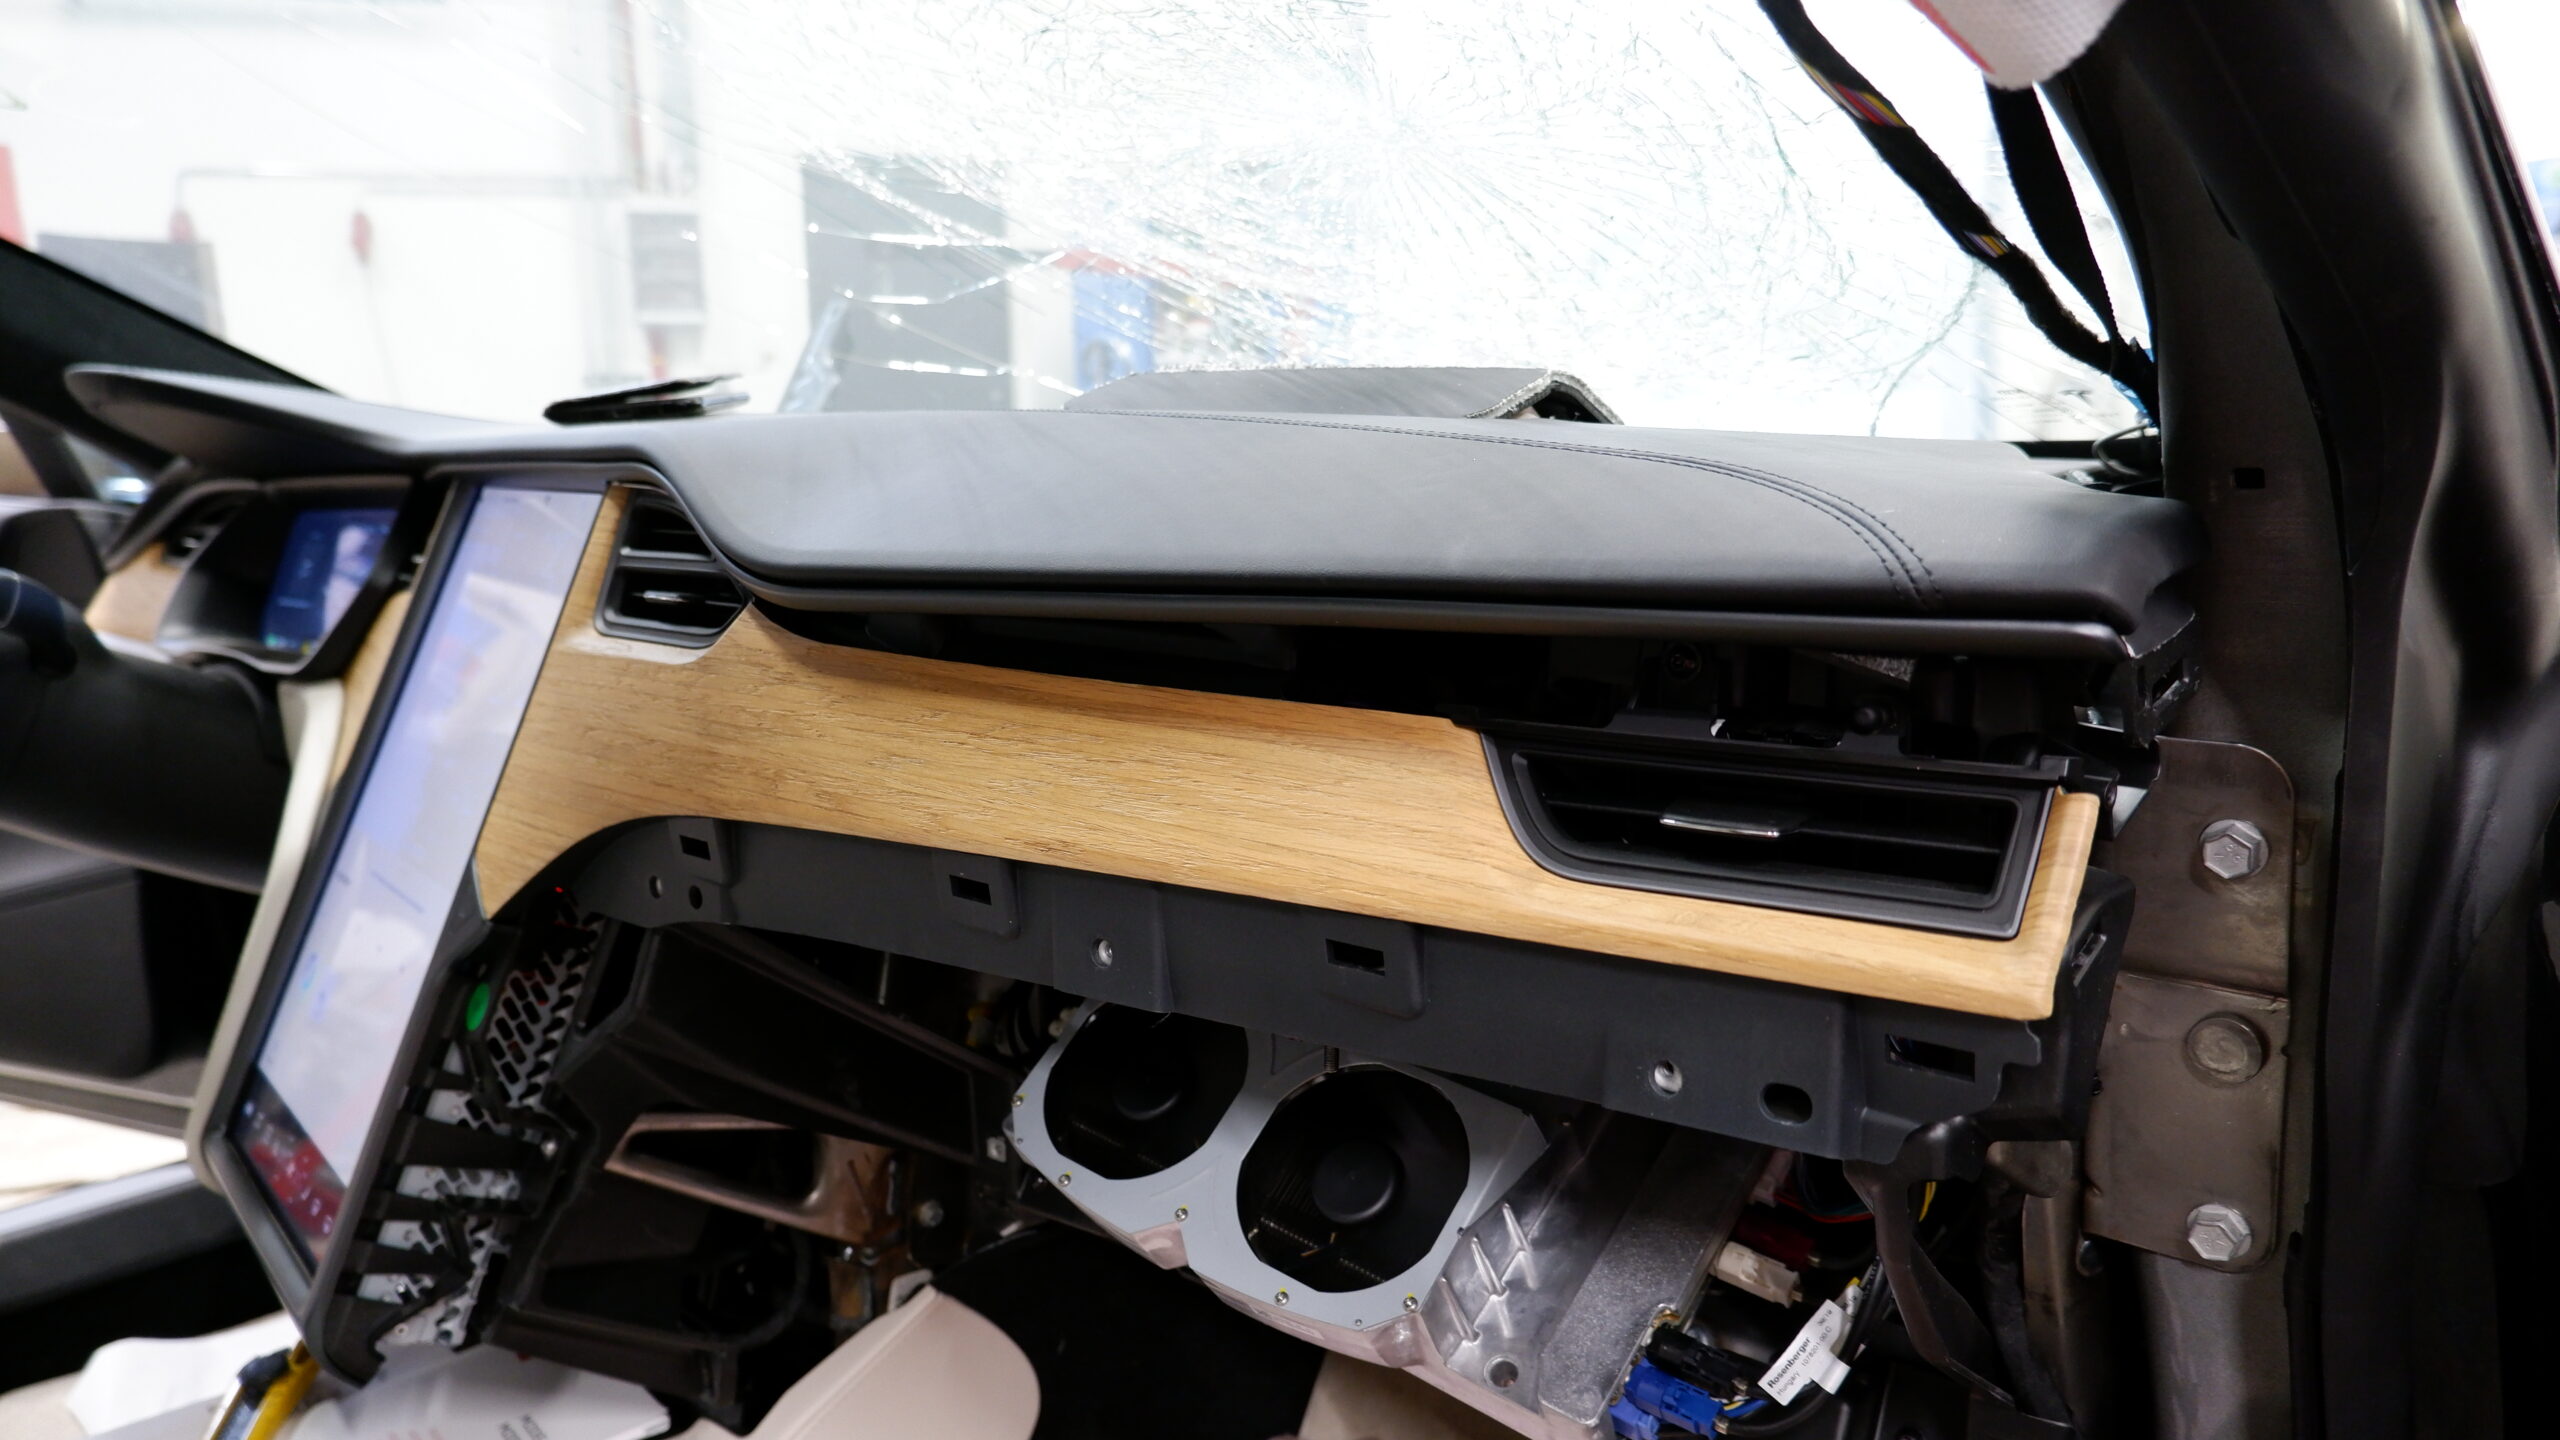
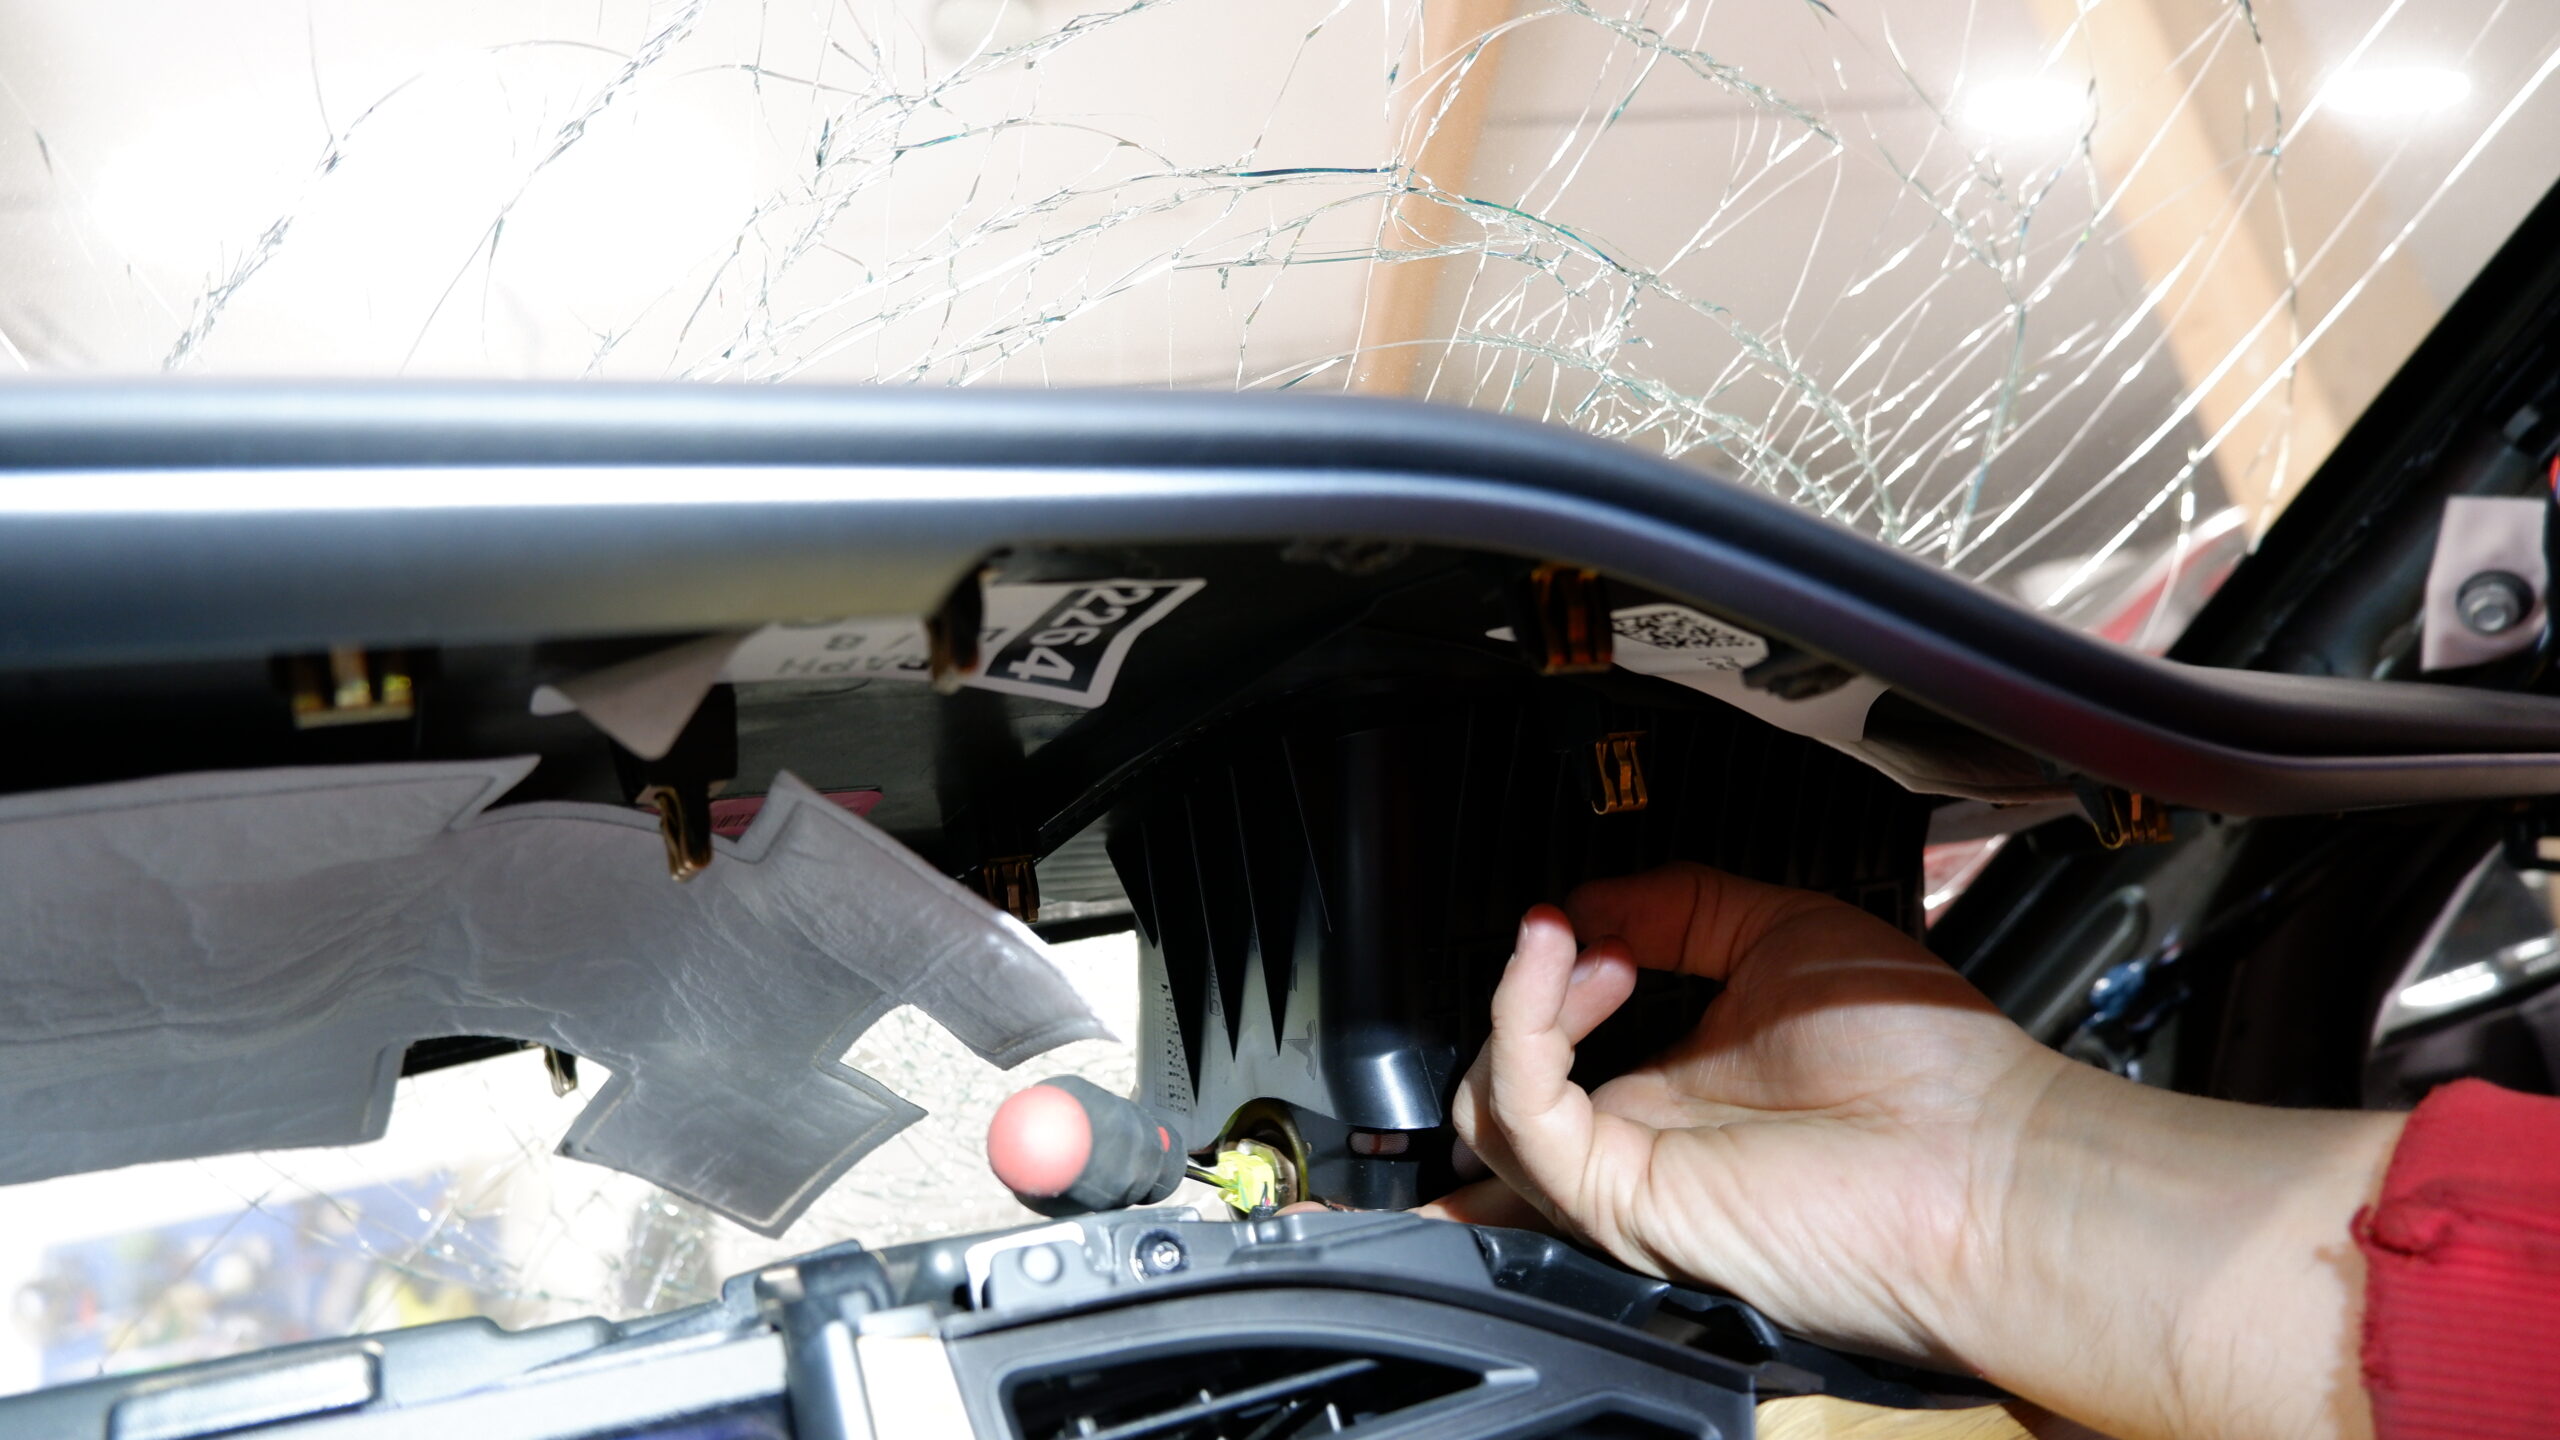
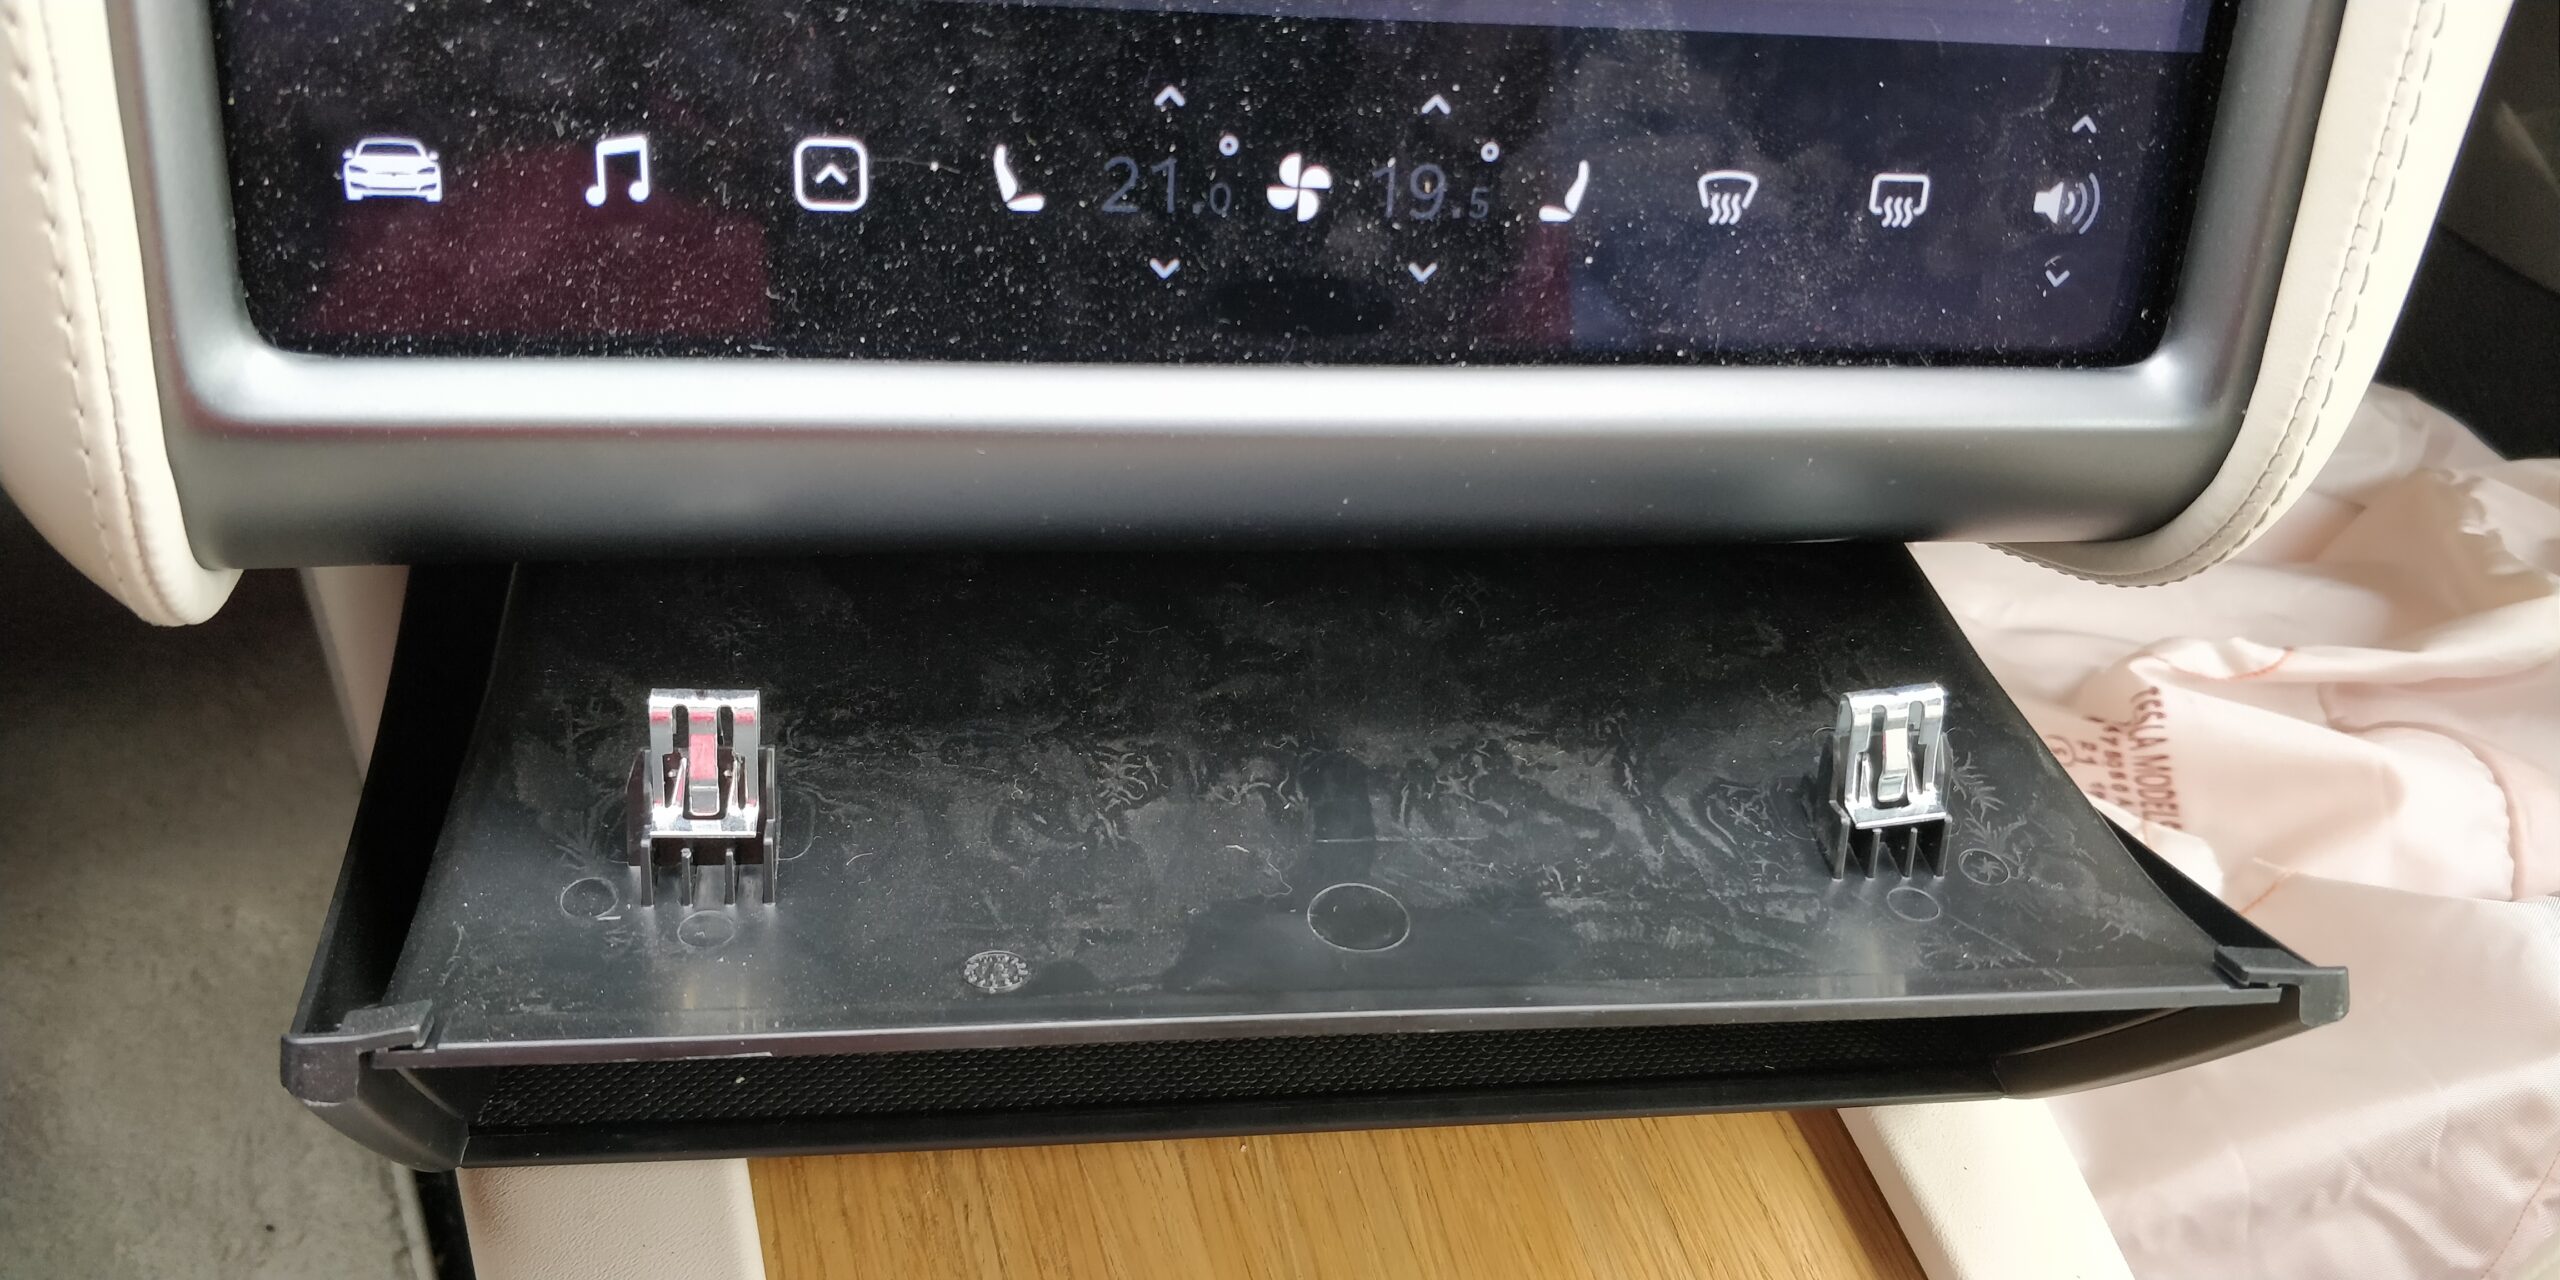
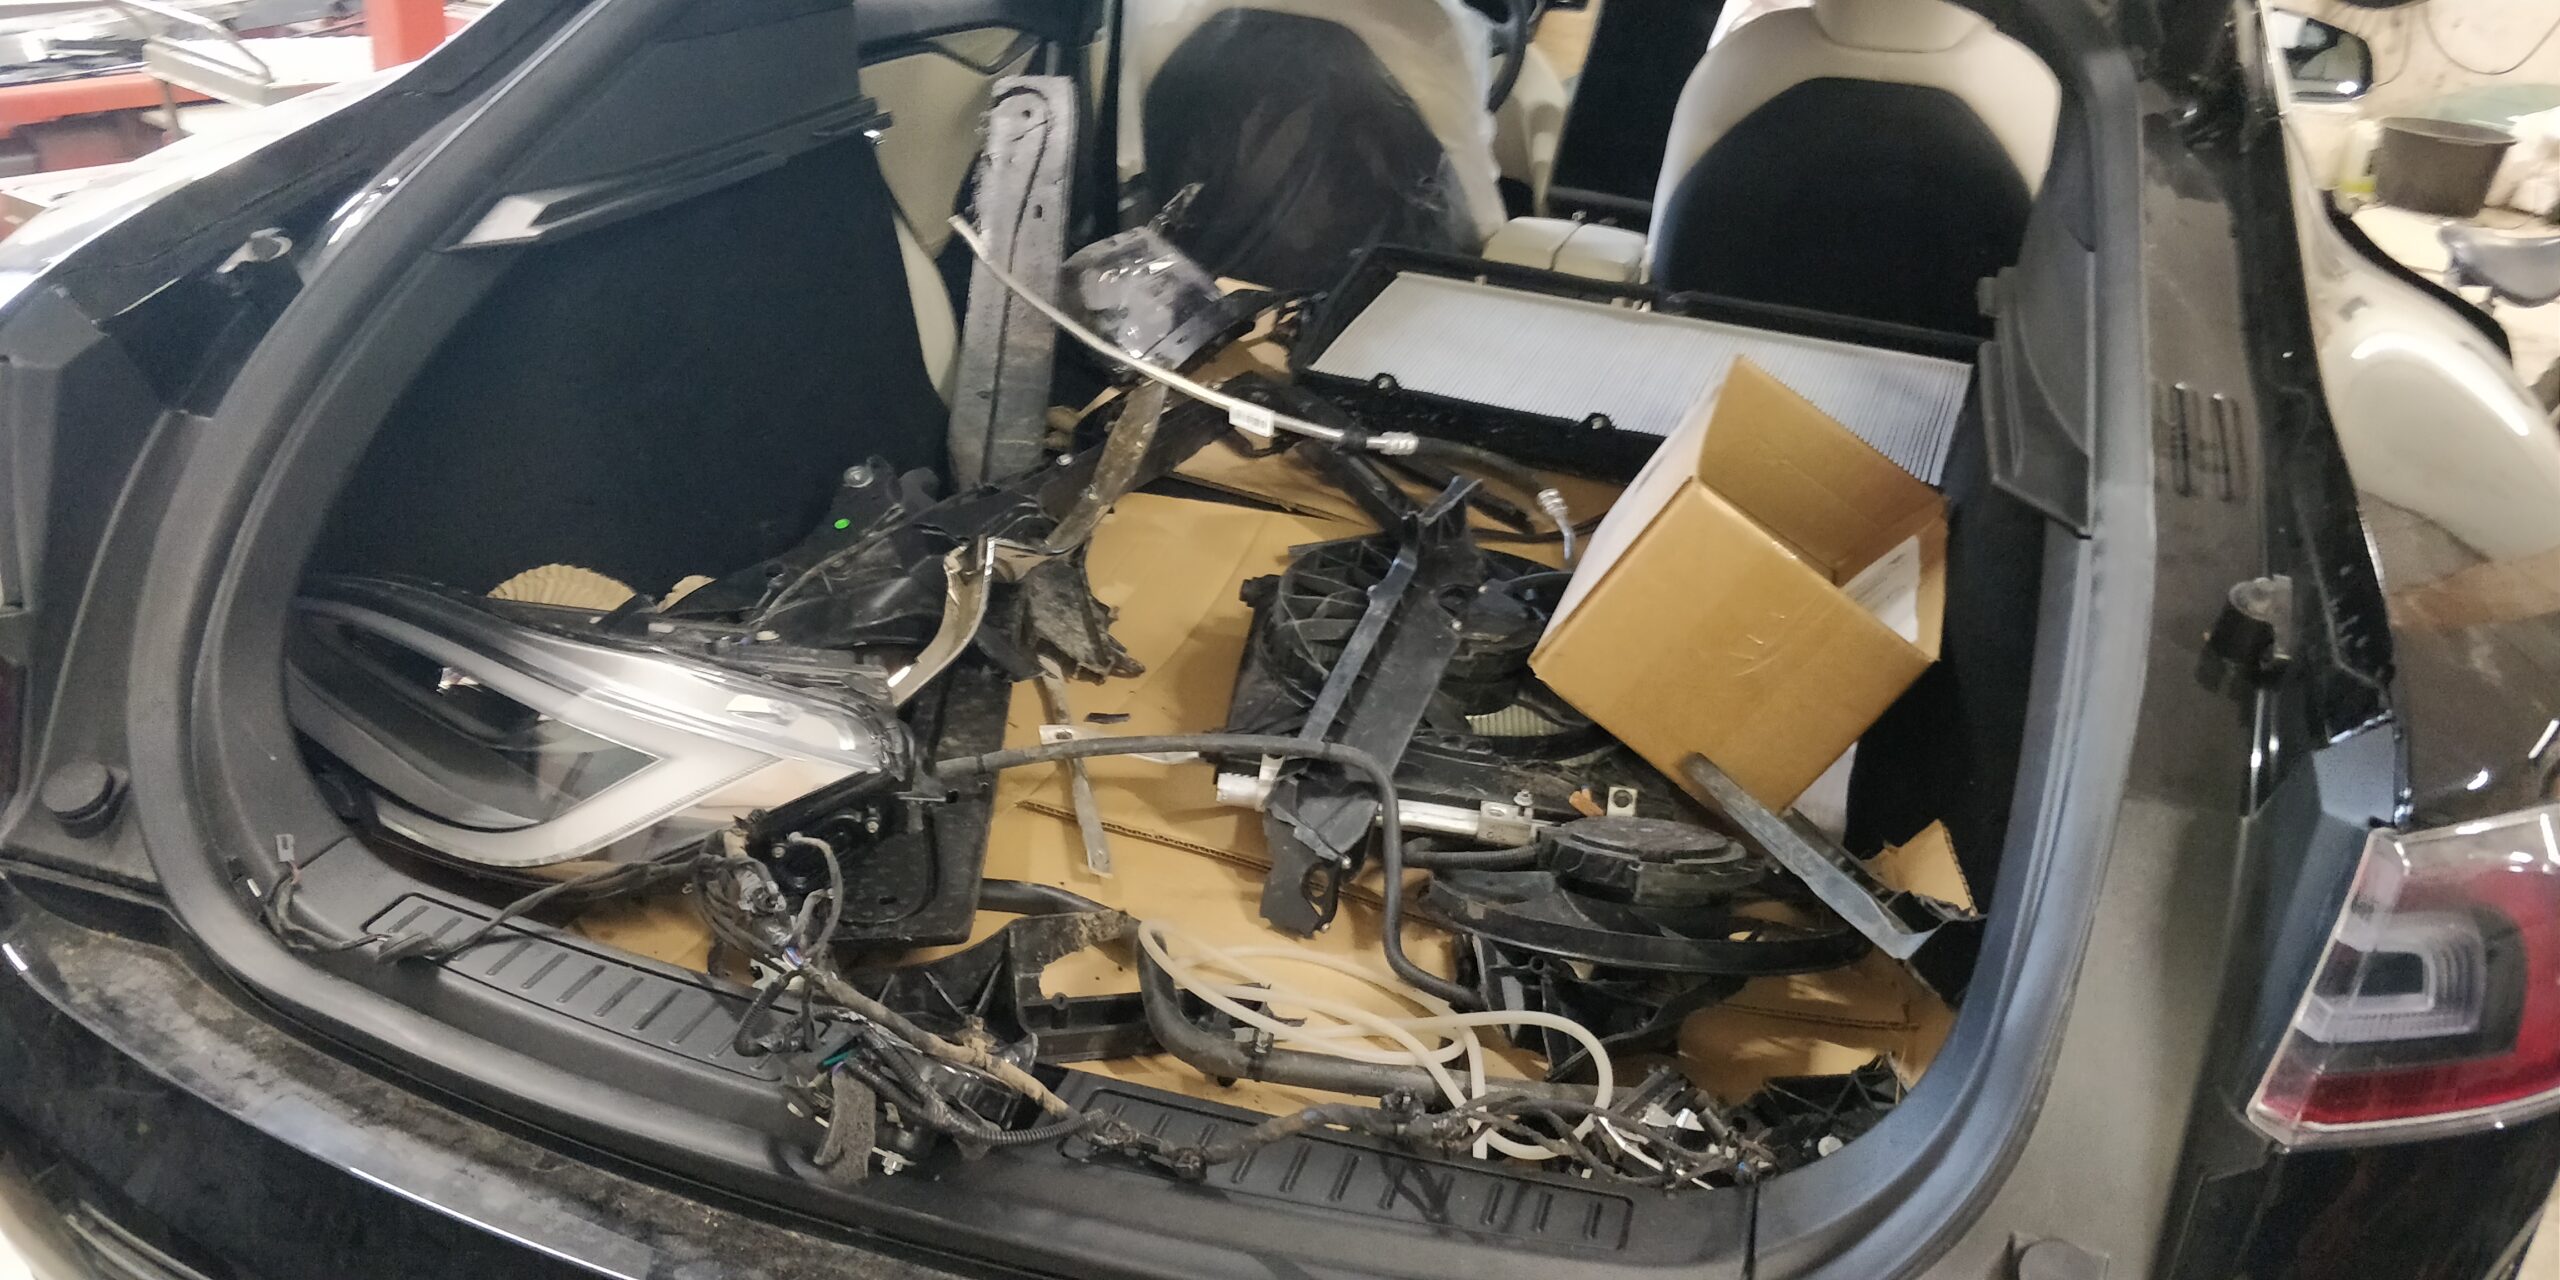
The module is in pretty tricky position under the dash but eventually got it out and shipped to the guys in Ukraine. It took about a month until the unit came back. Plugged in the car and the alerts were gone!

Challenges with air suspension continues

Inspection passed, front down

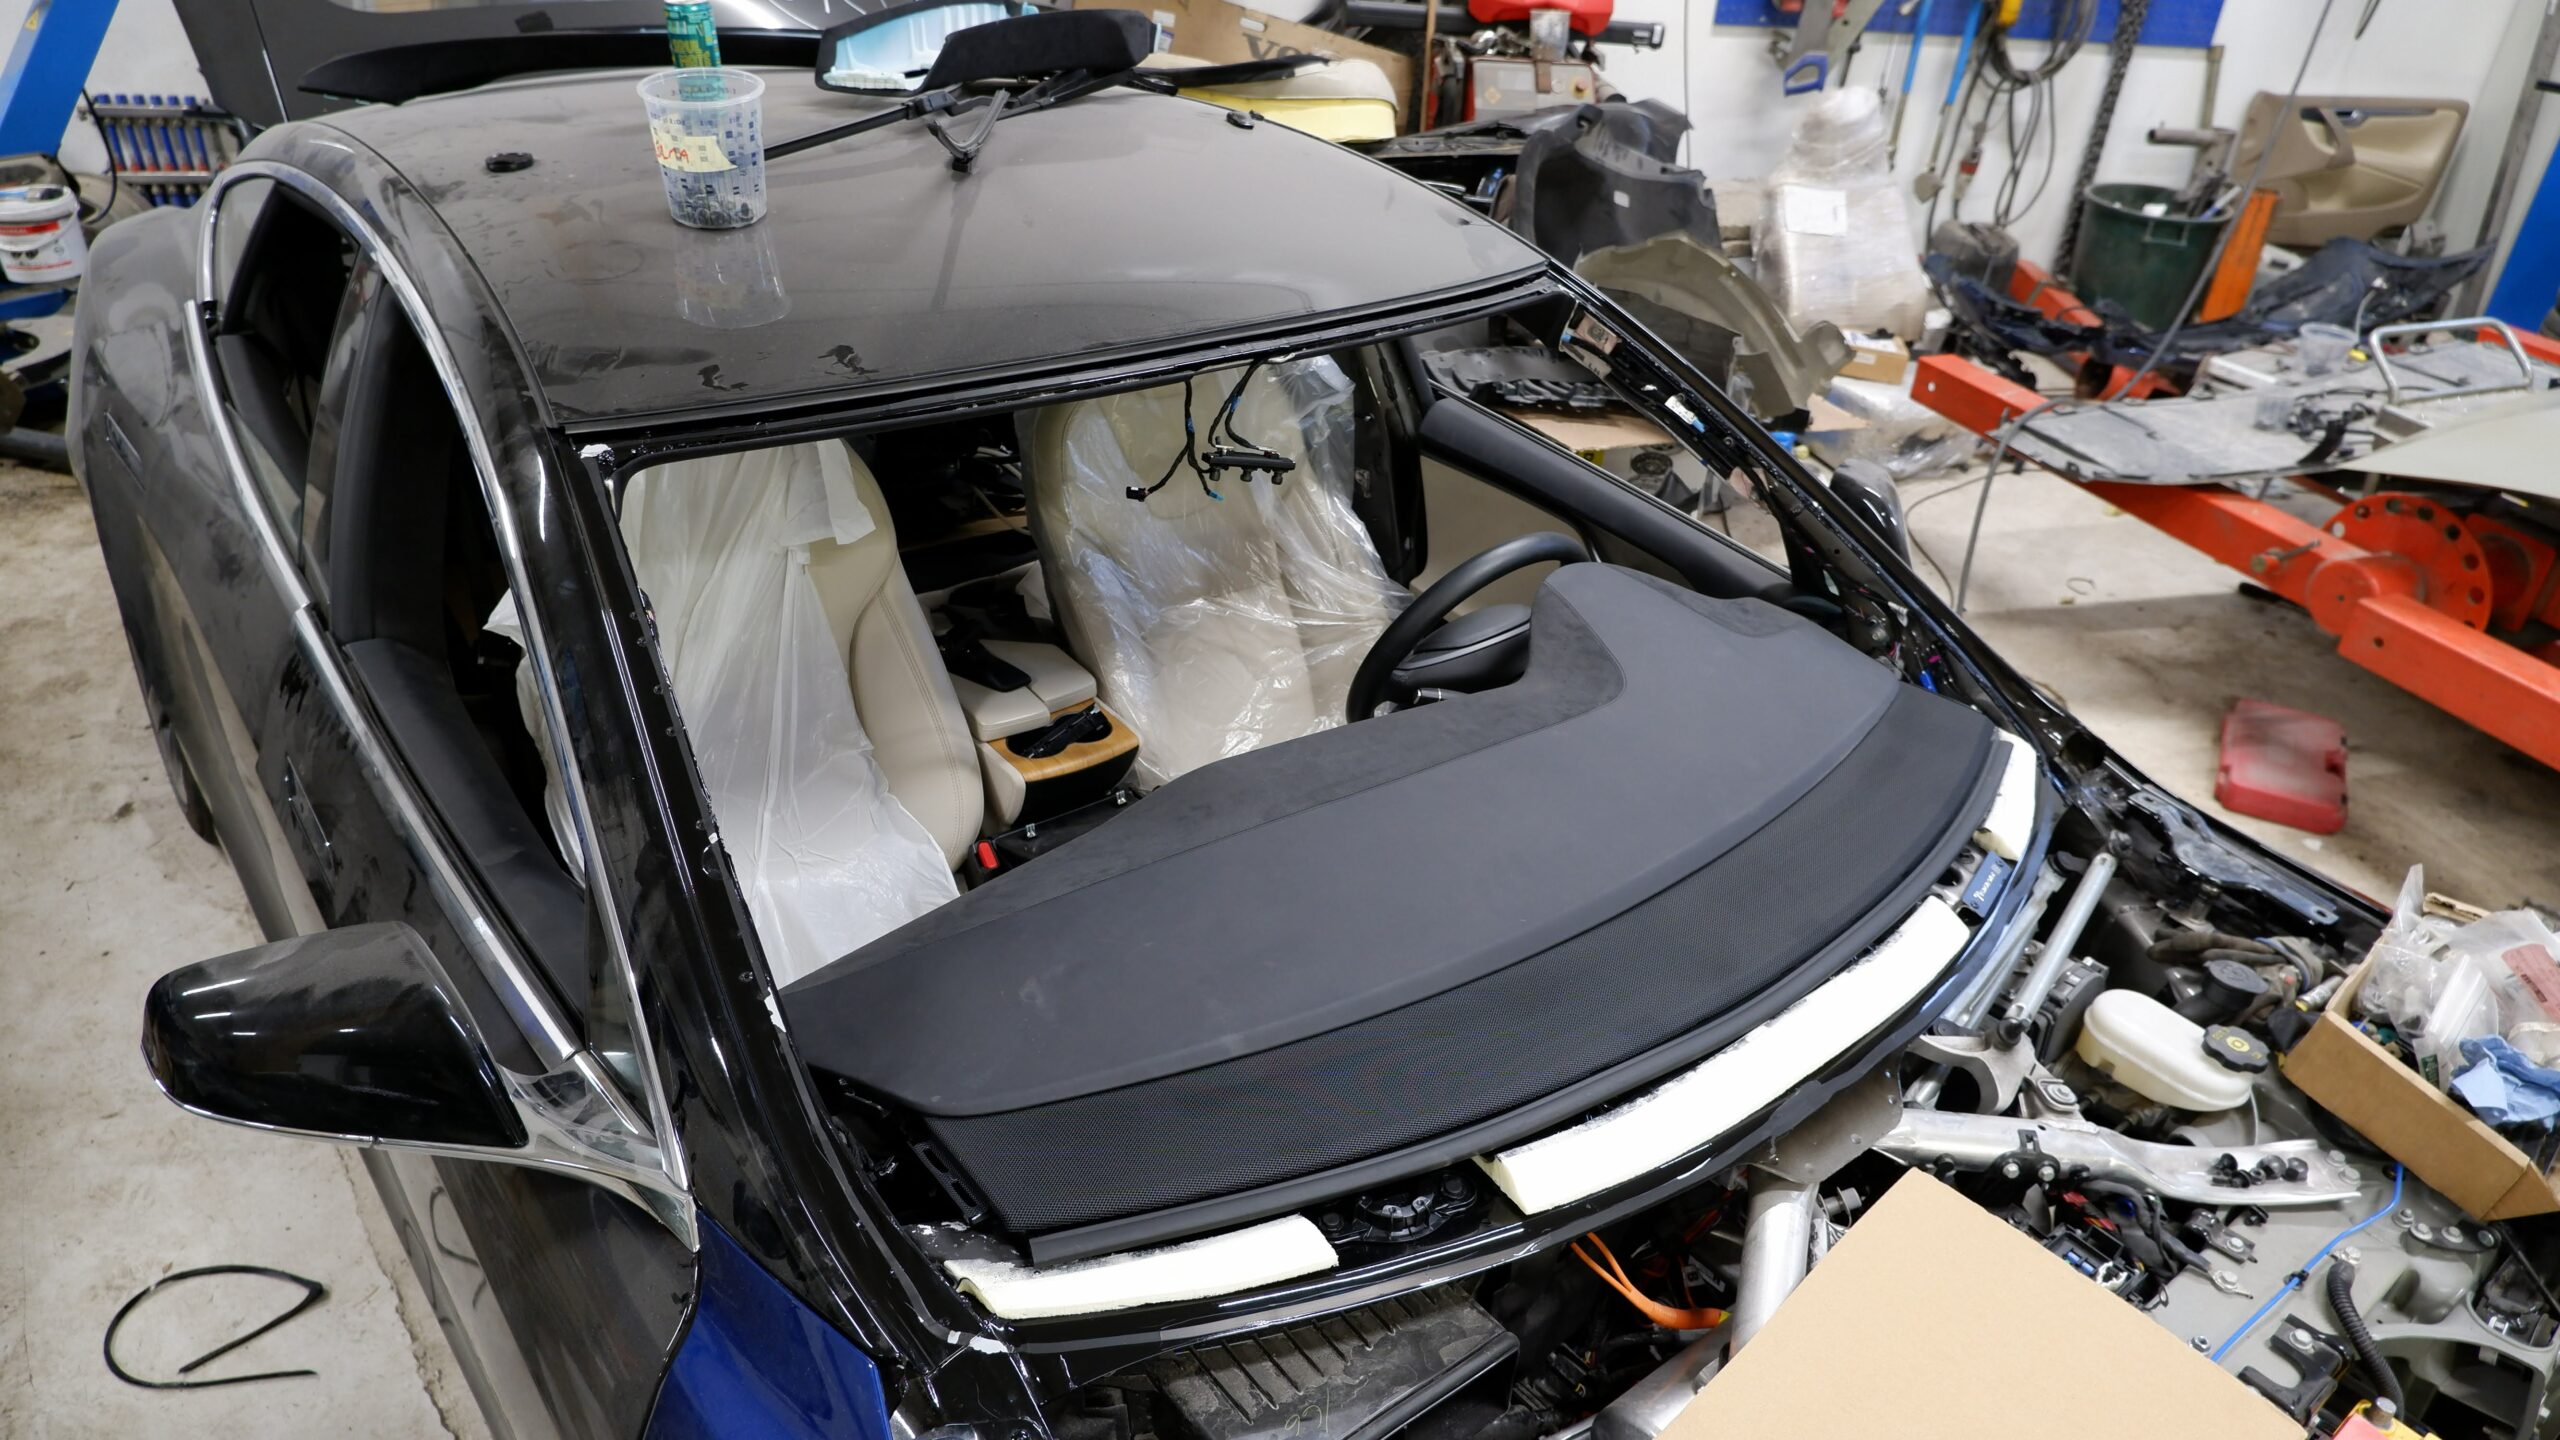
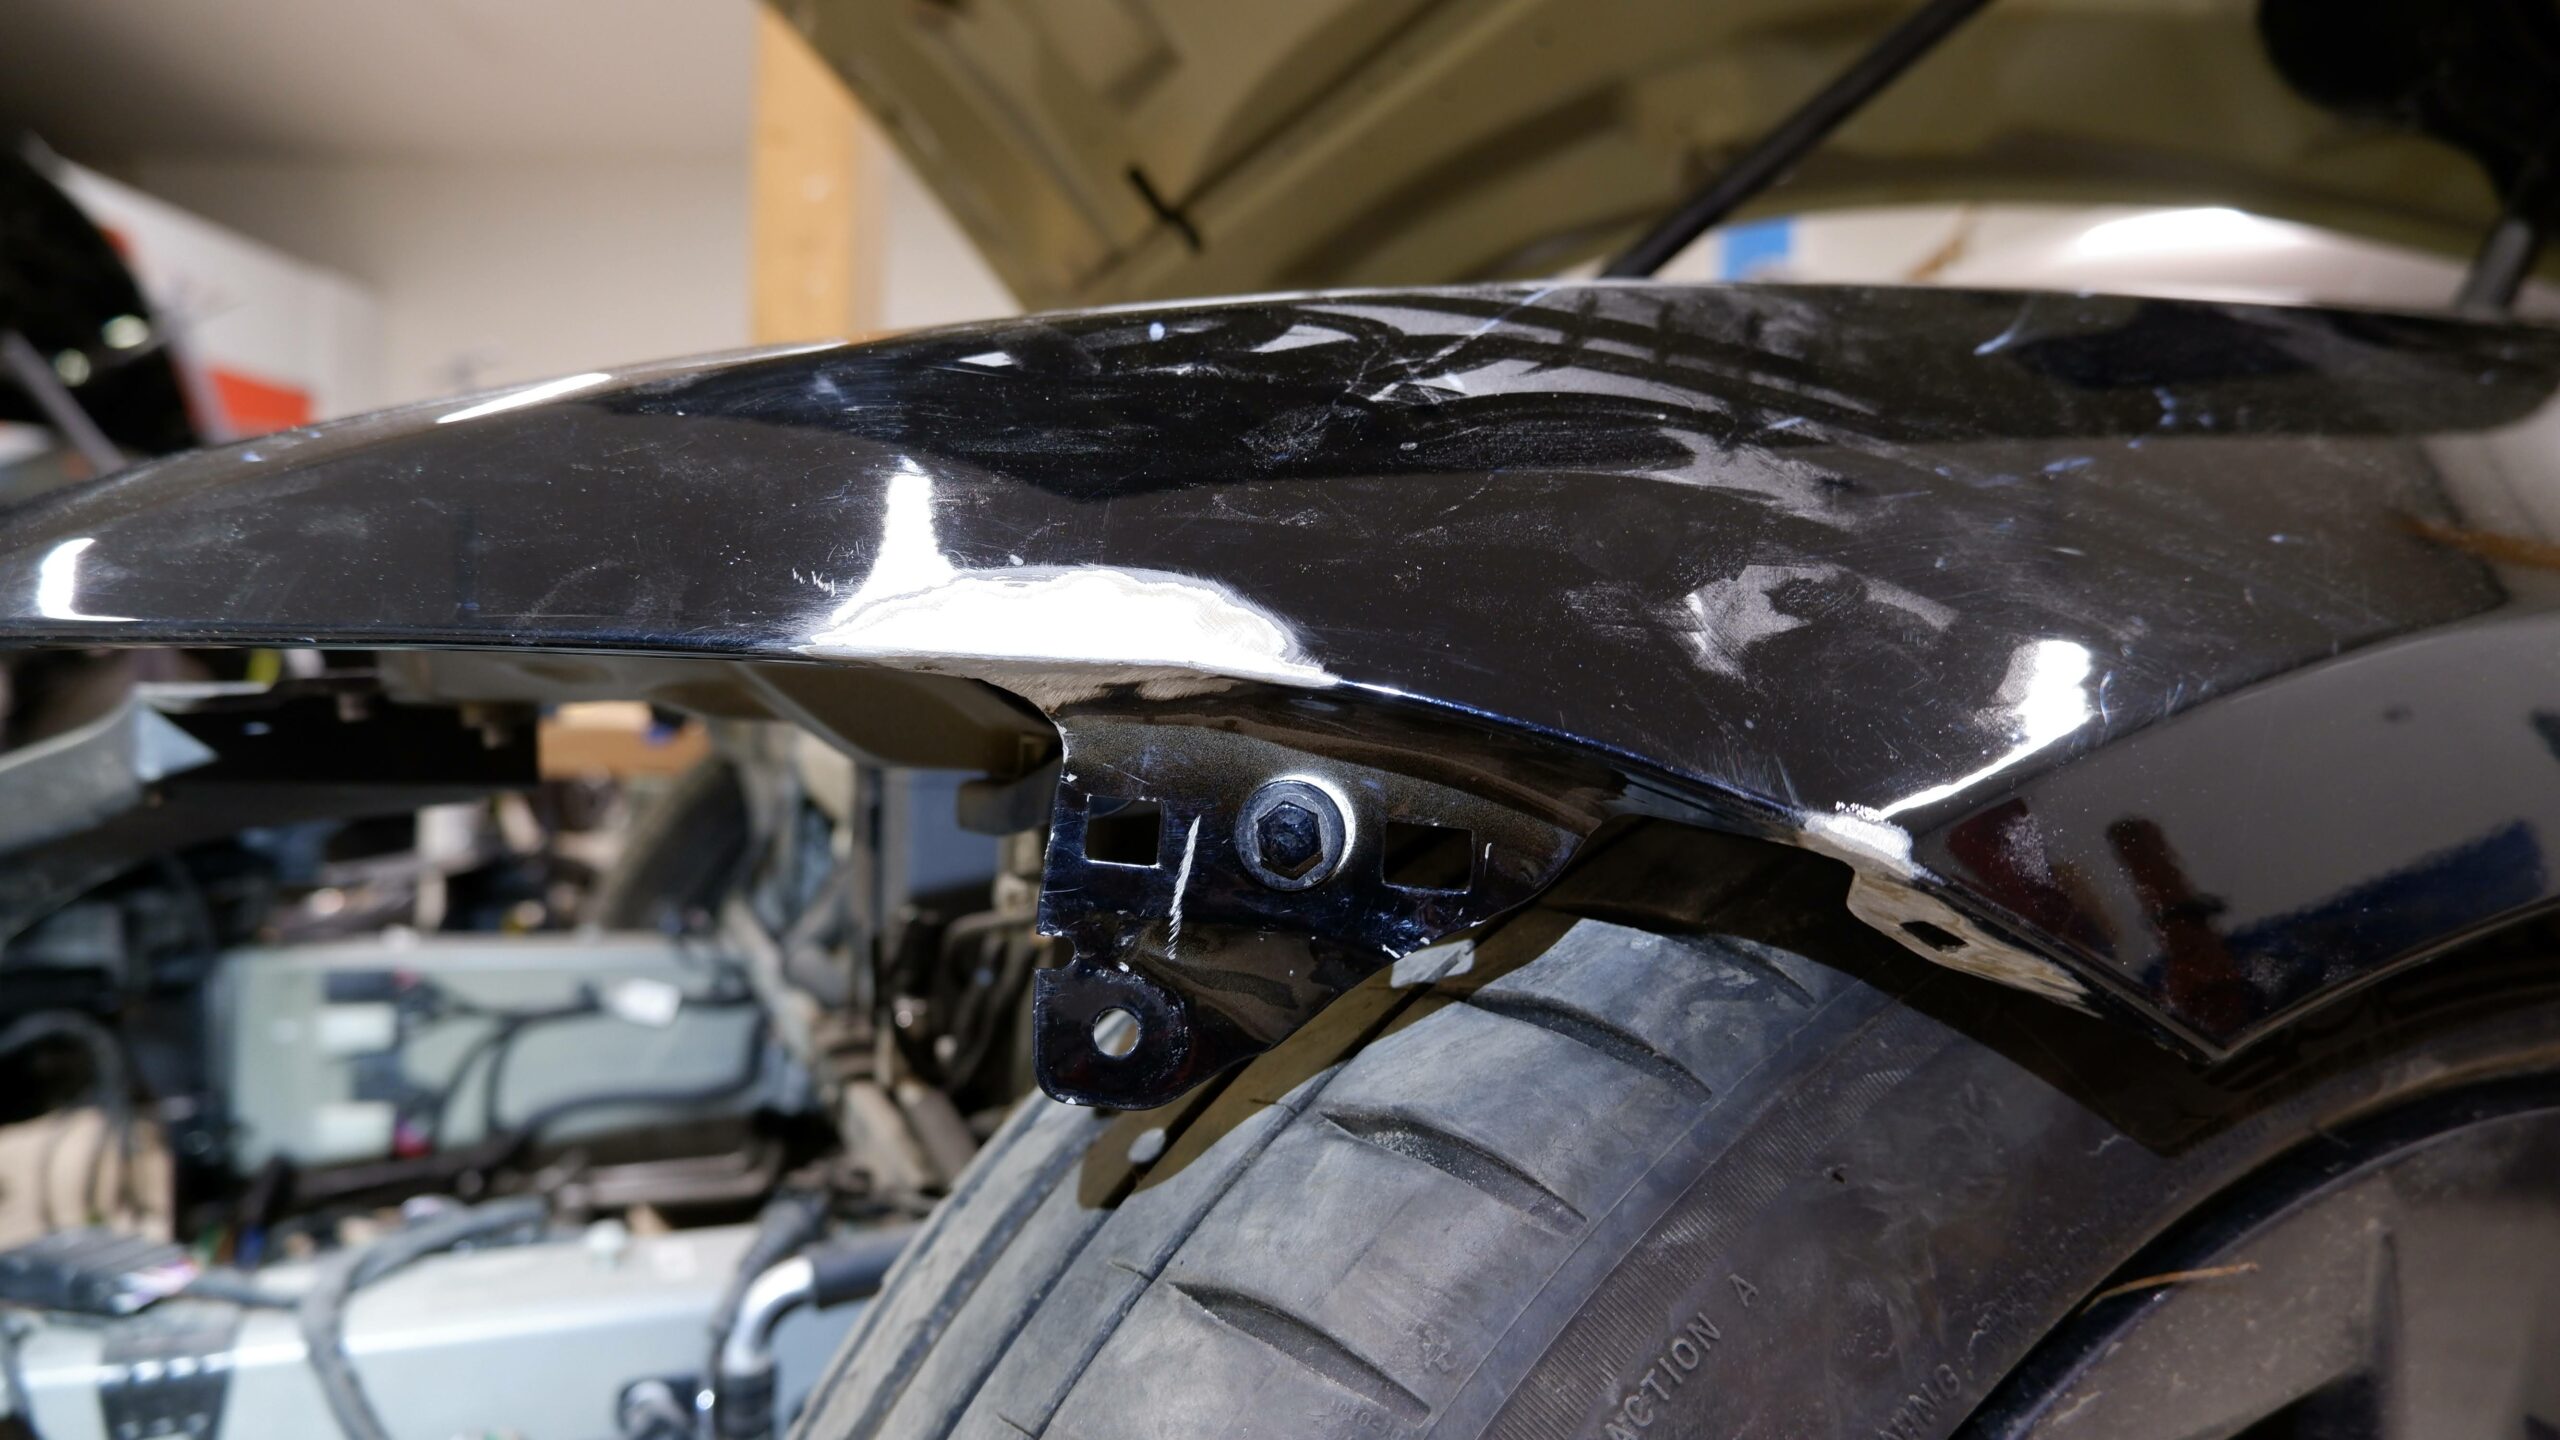
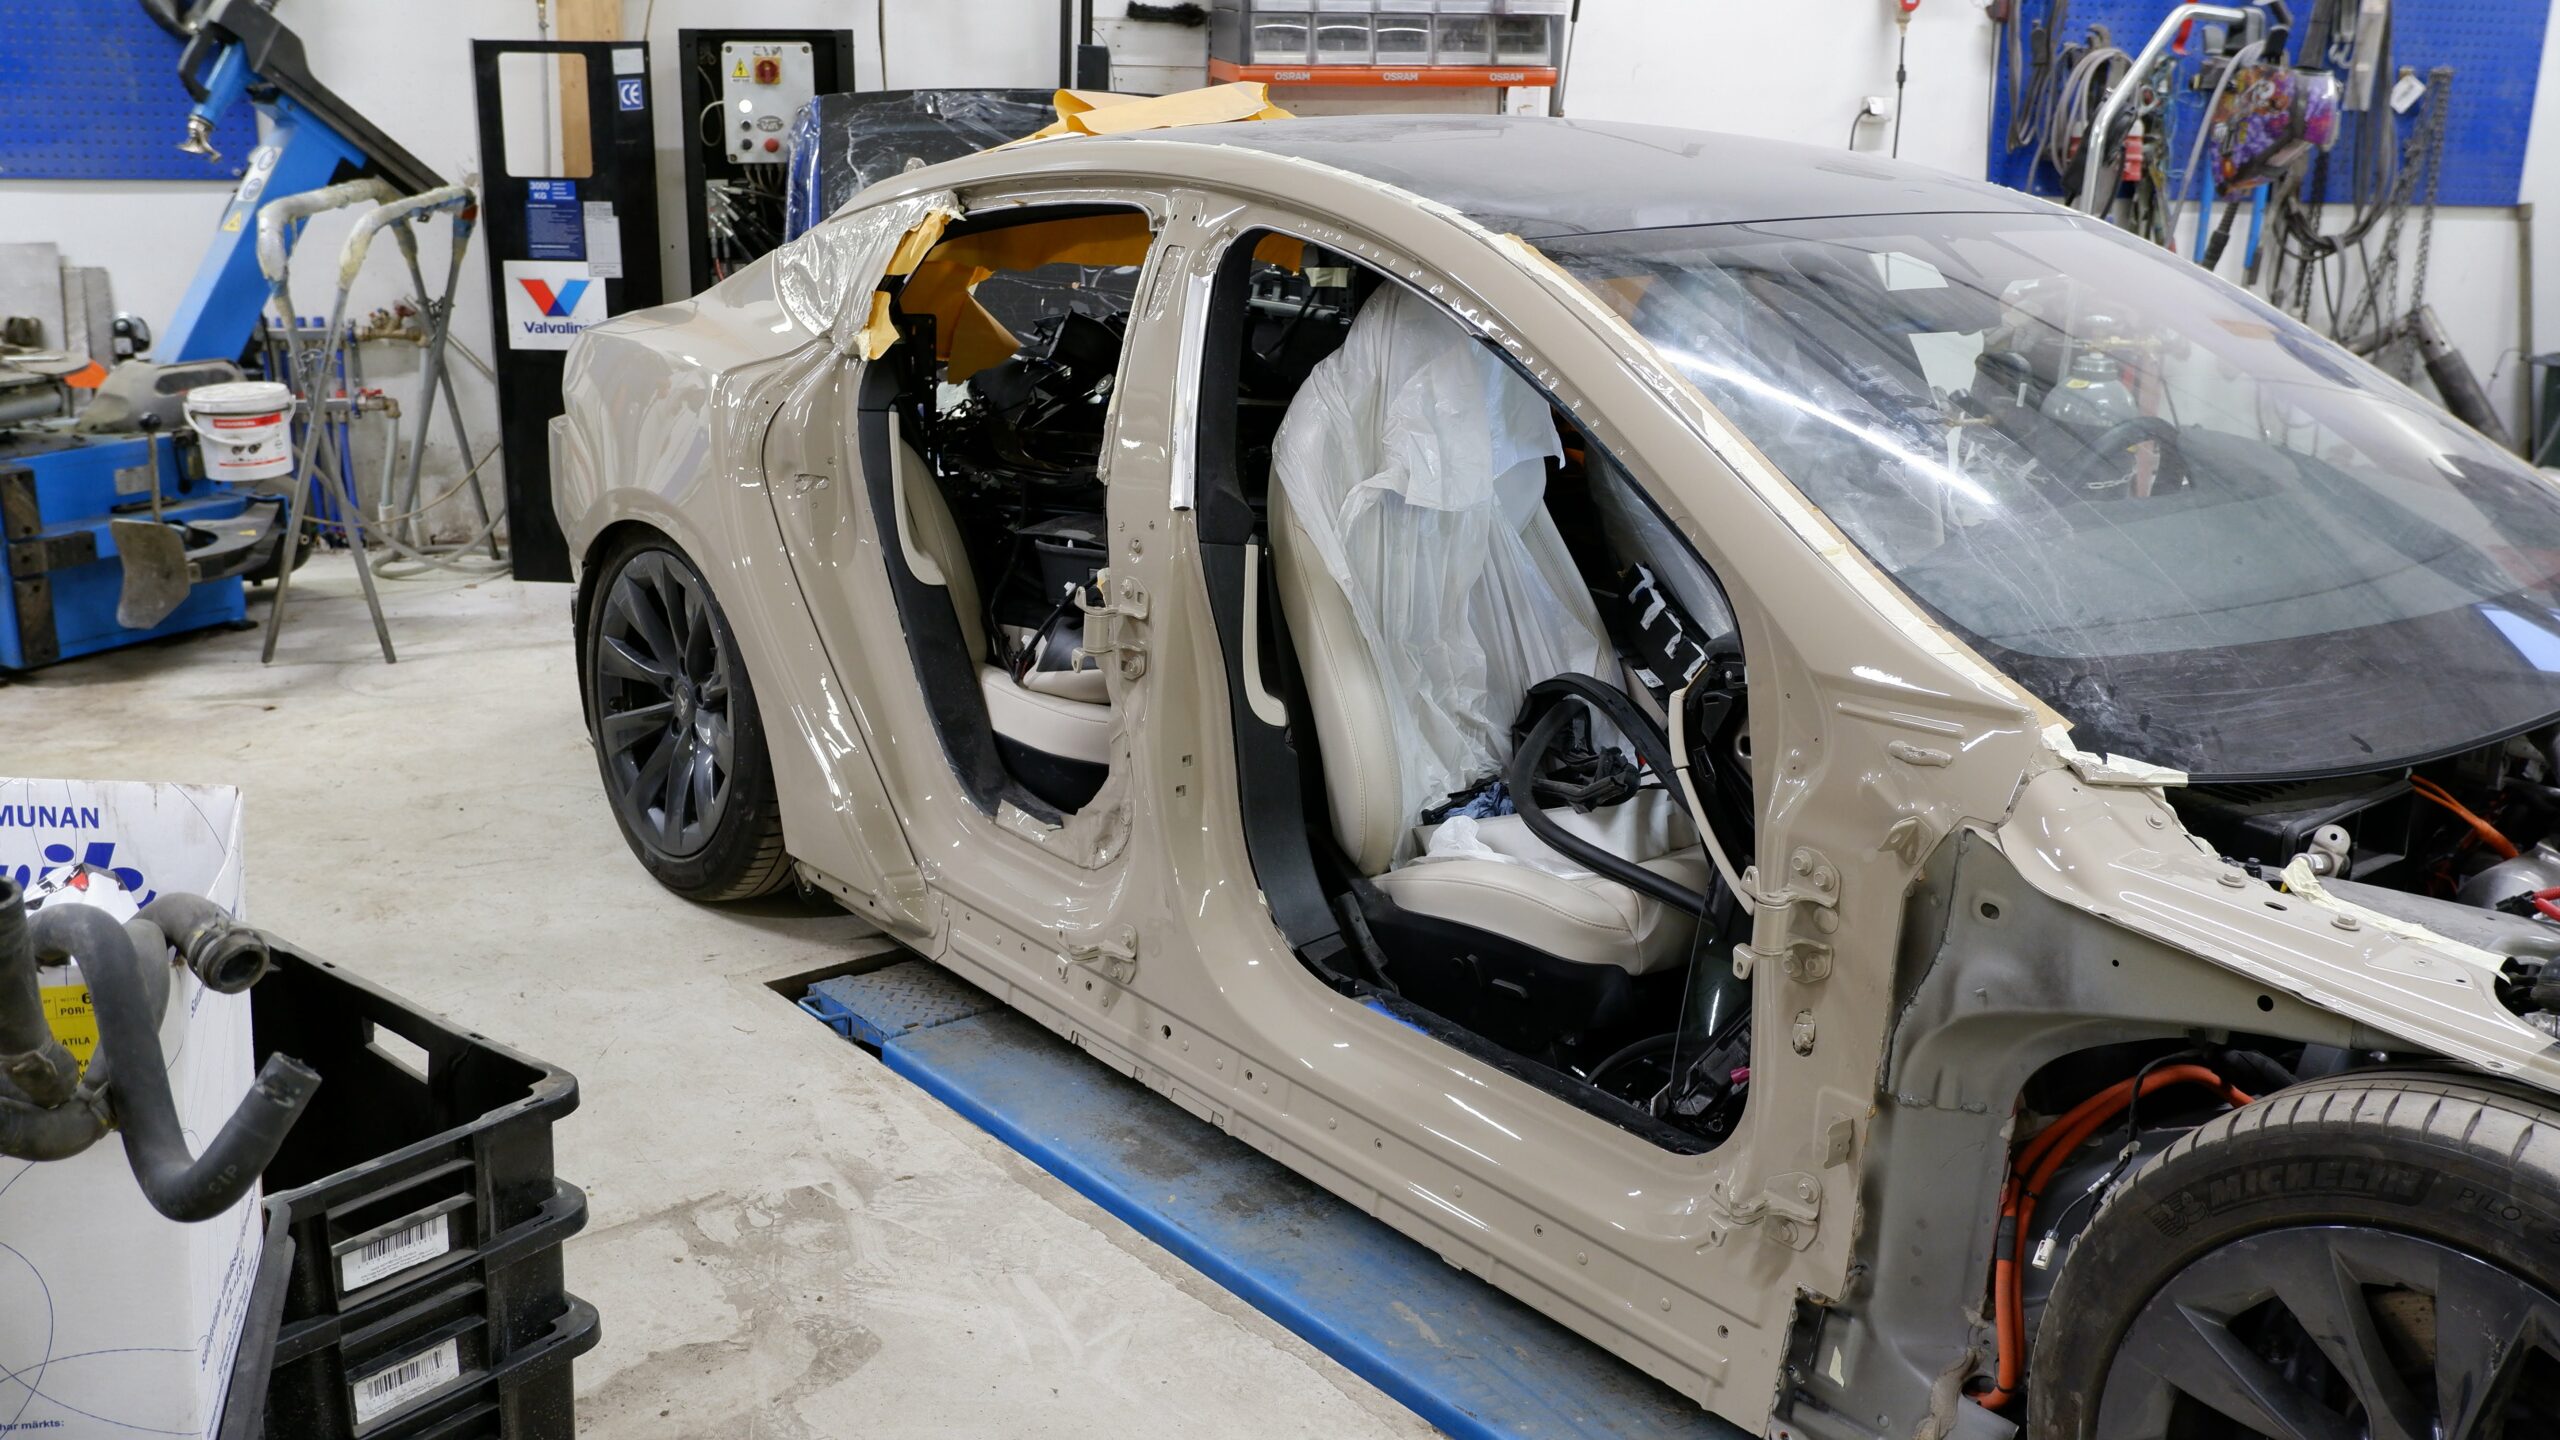
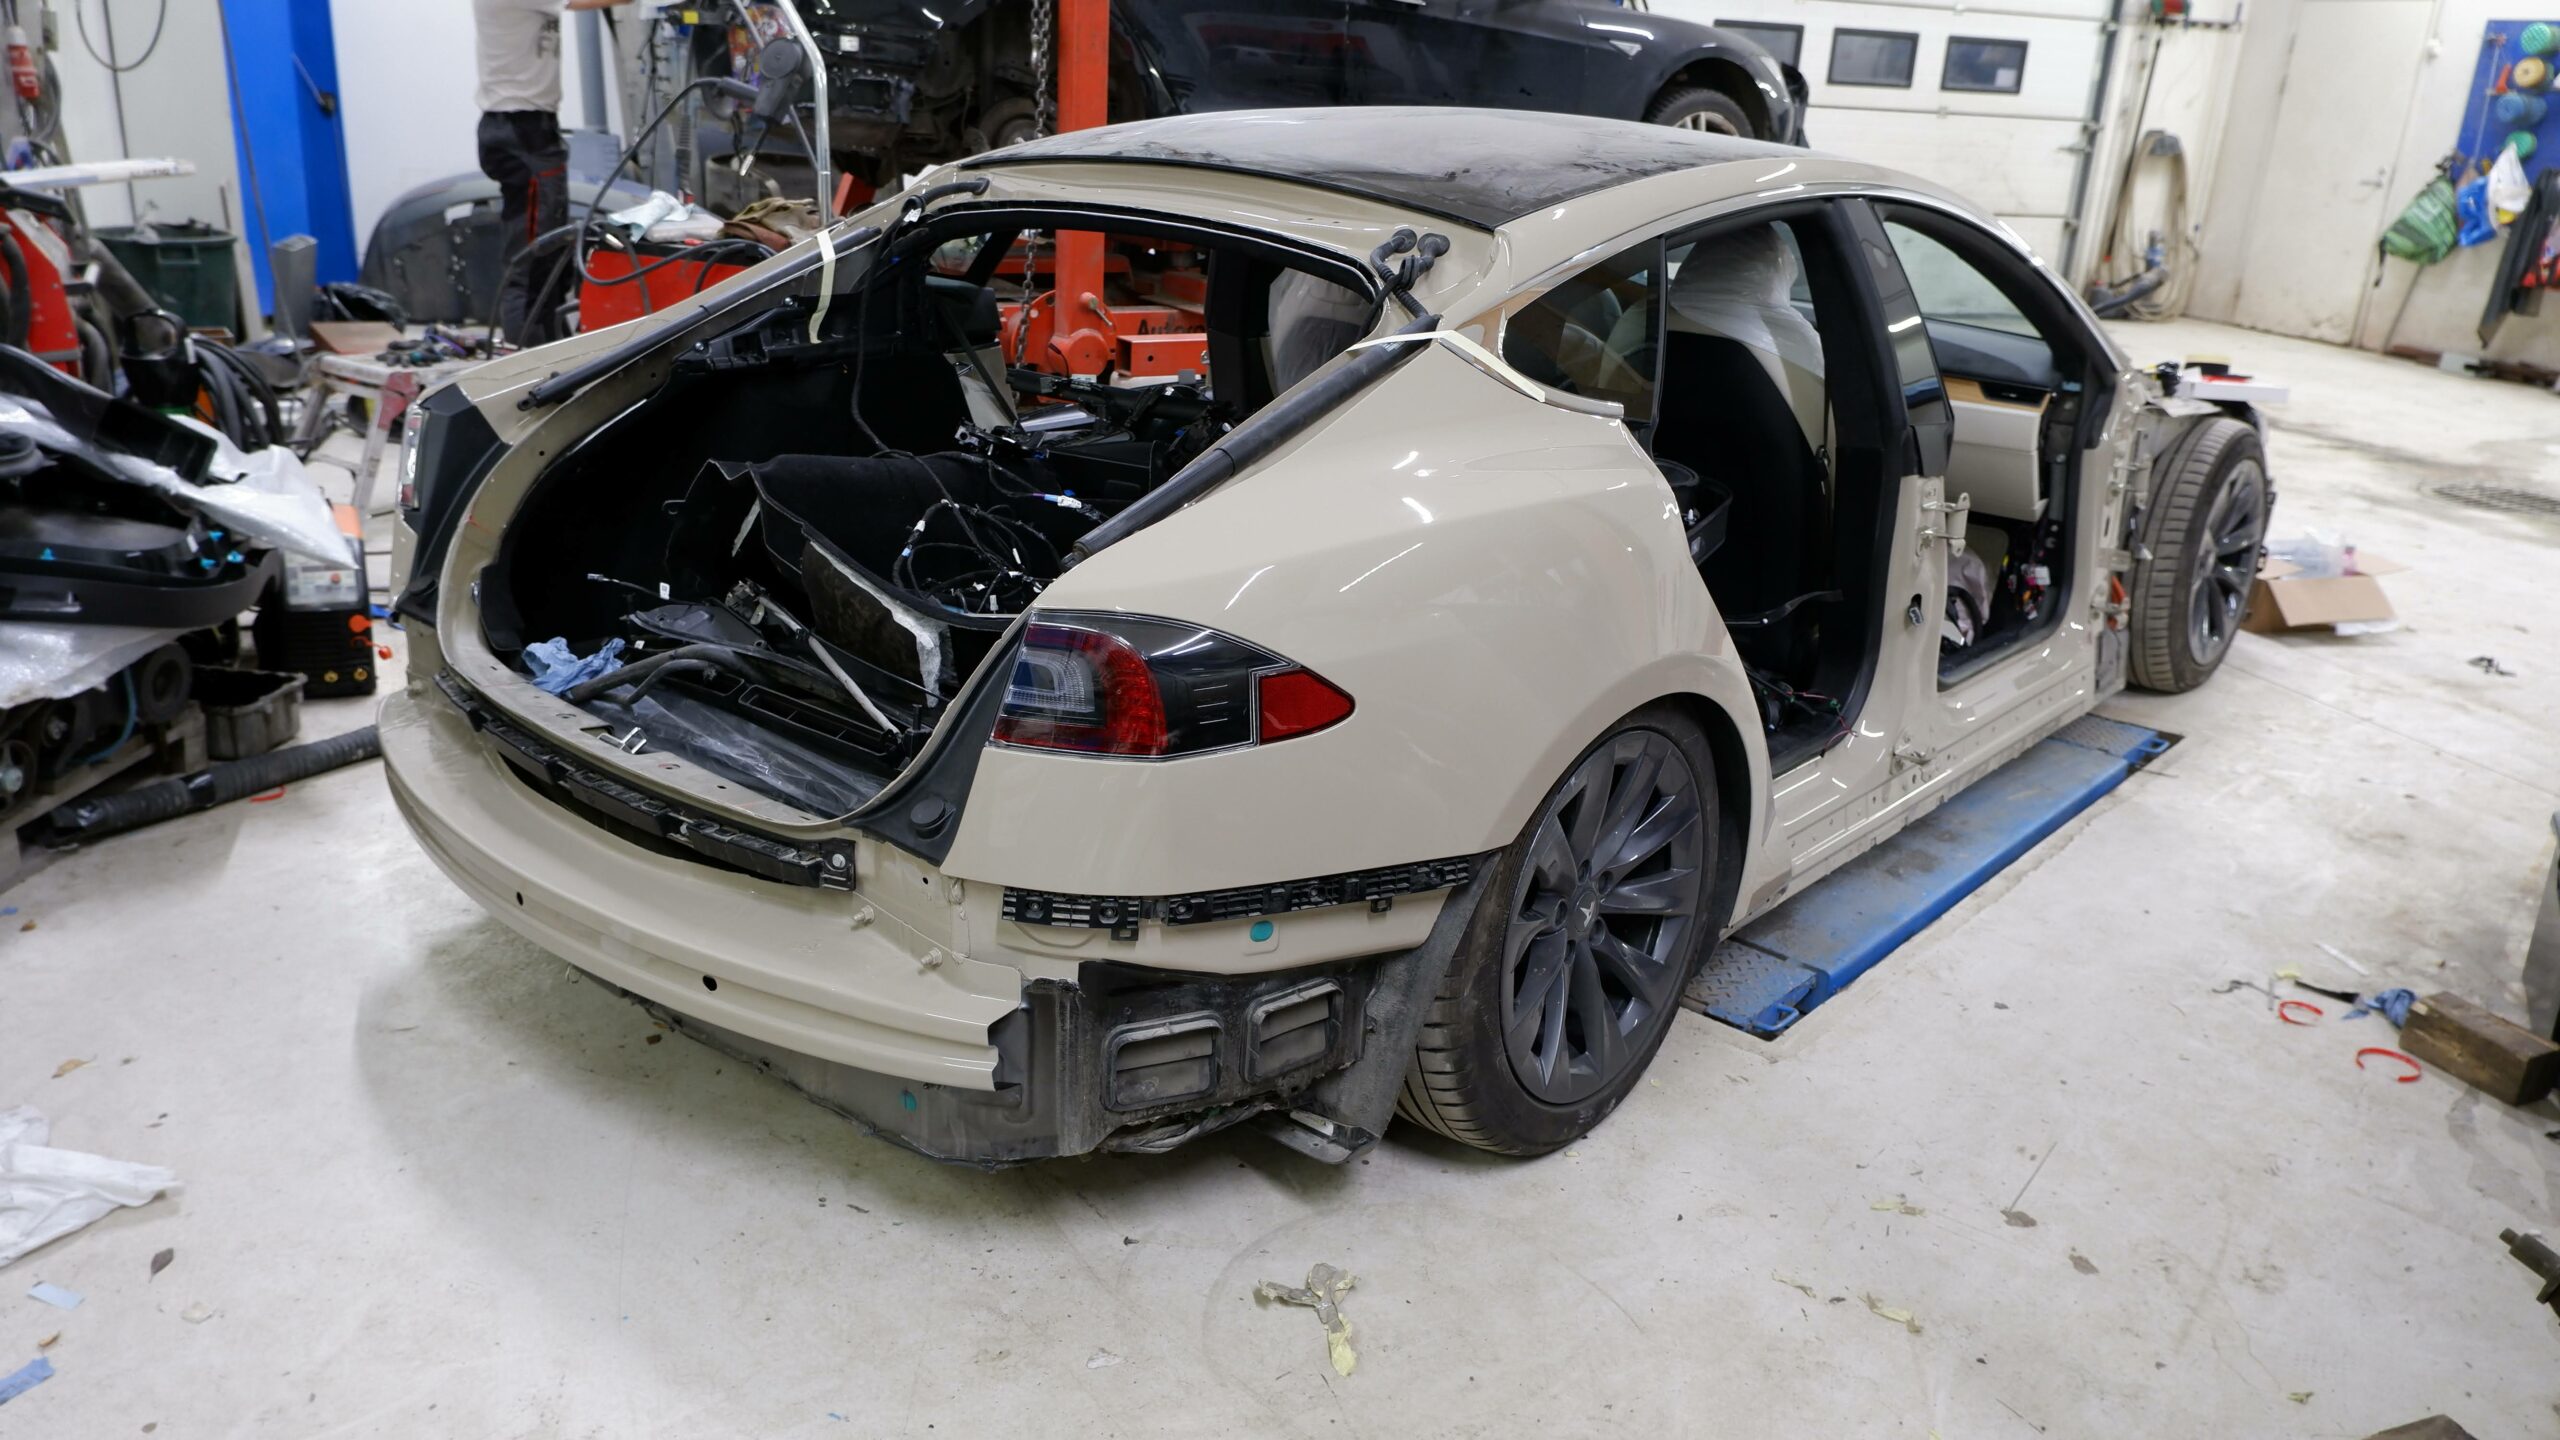
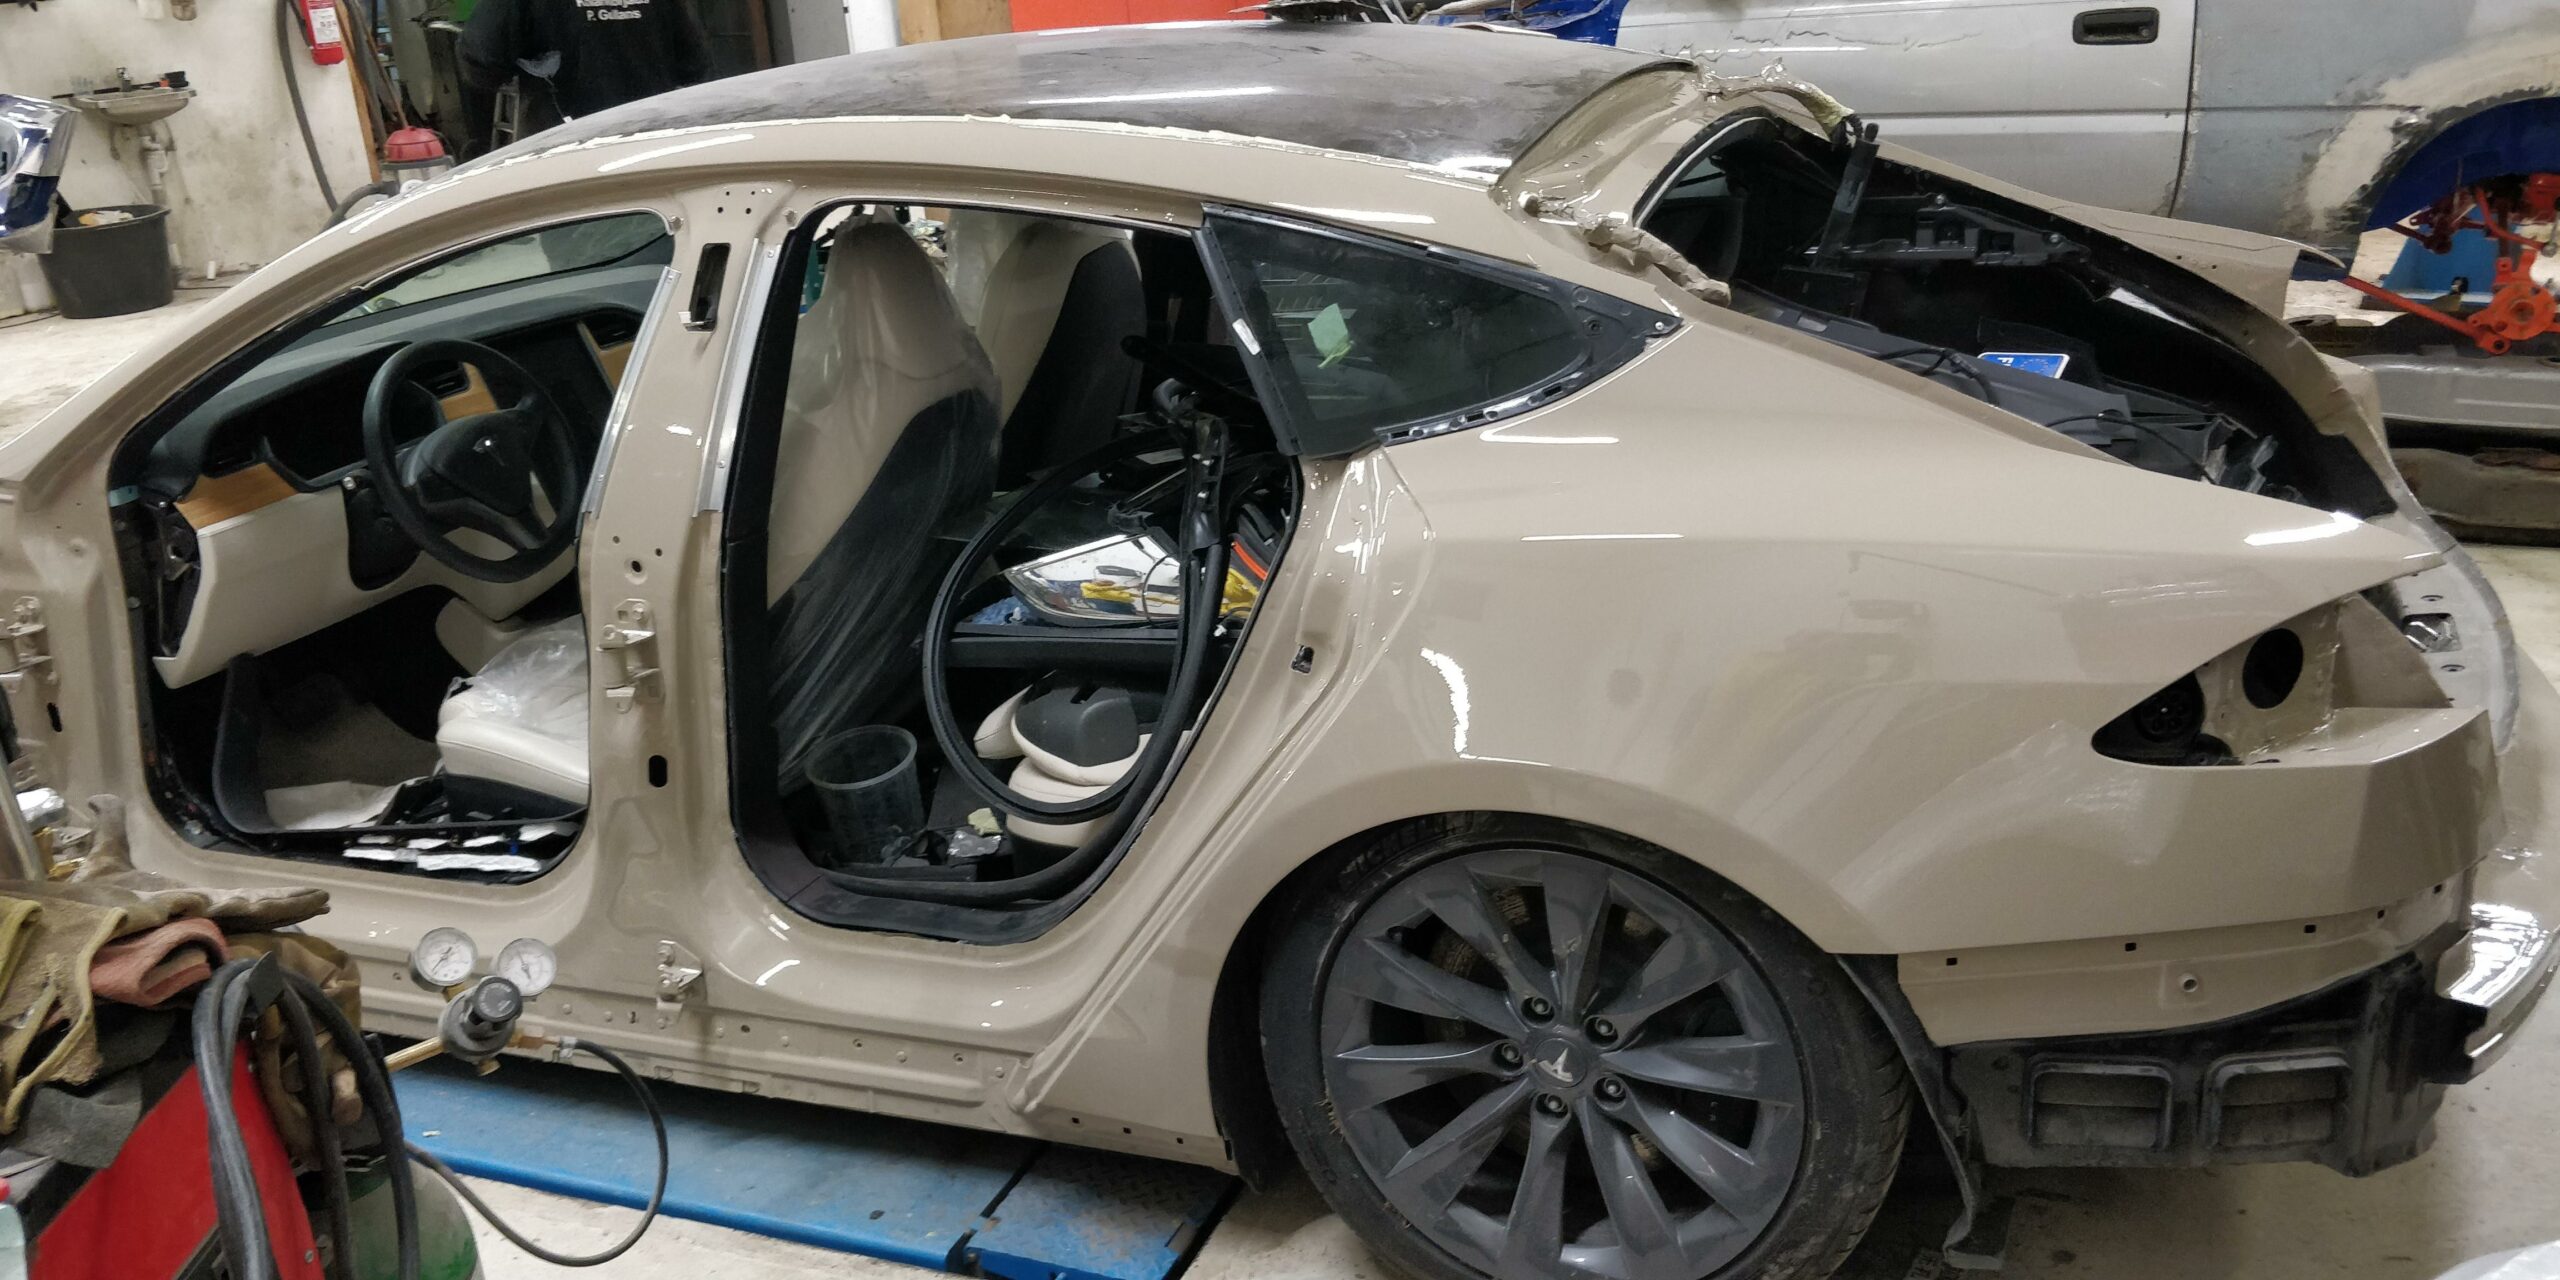
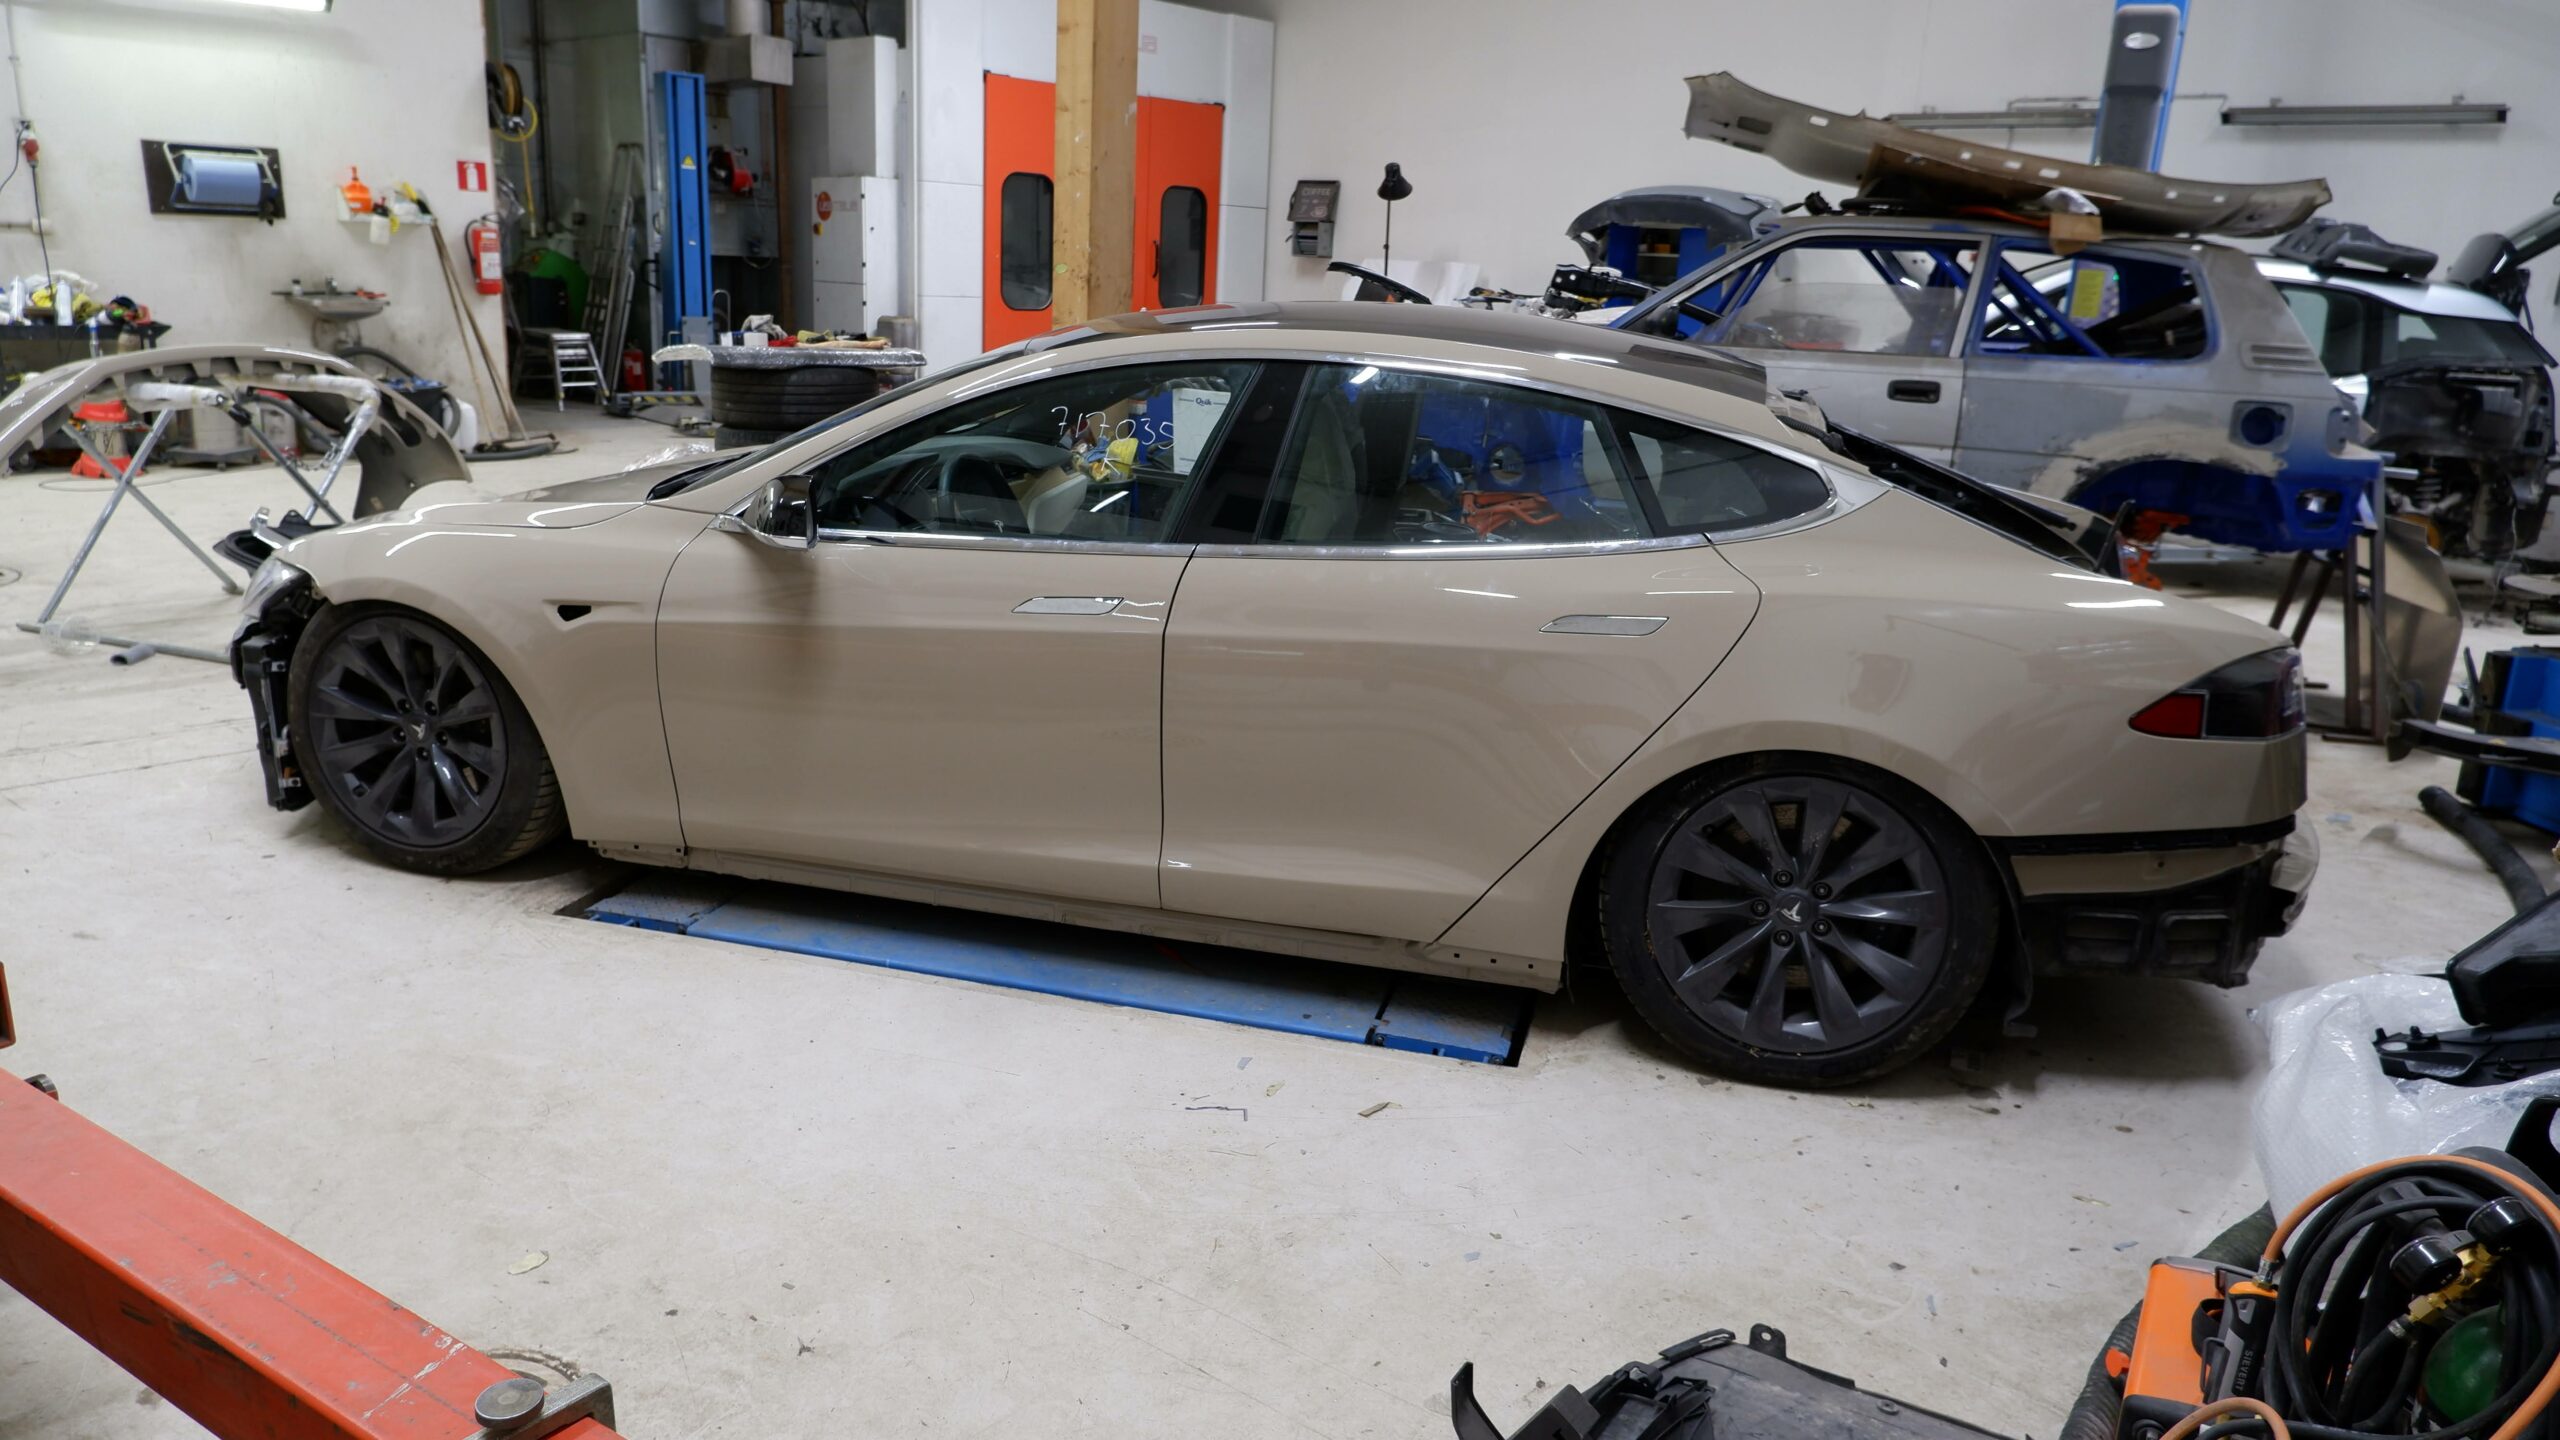
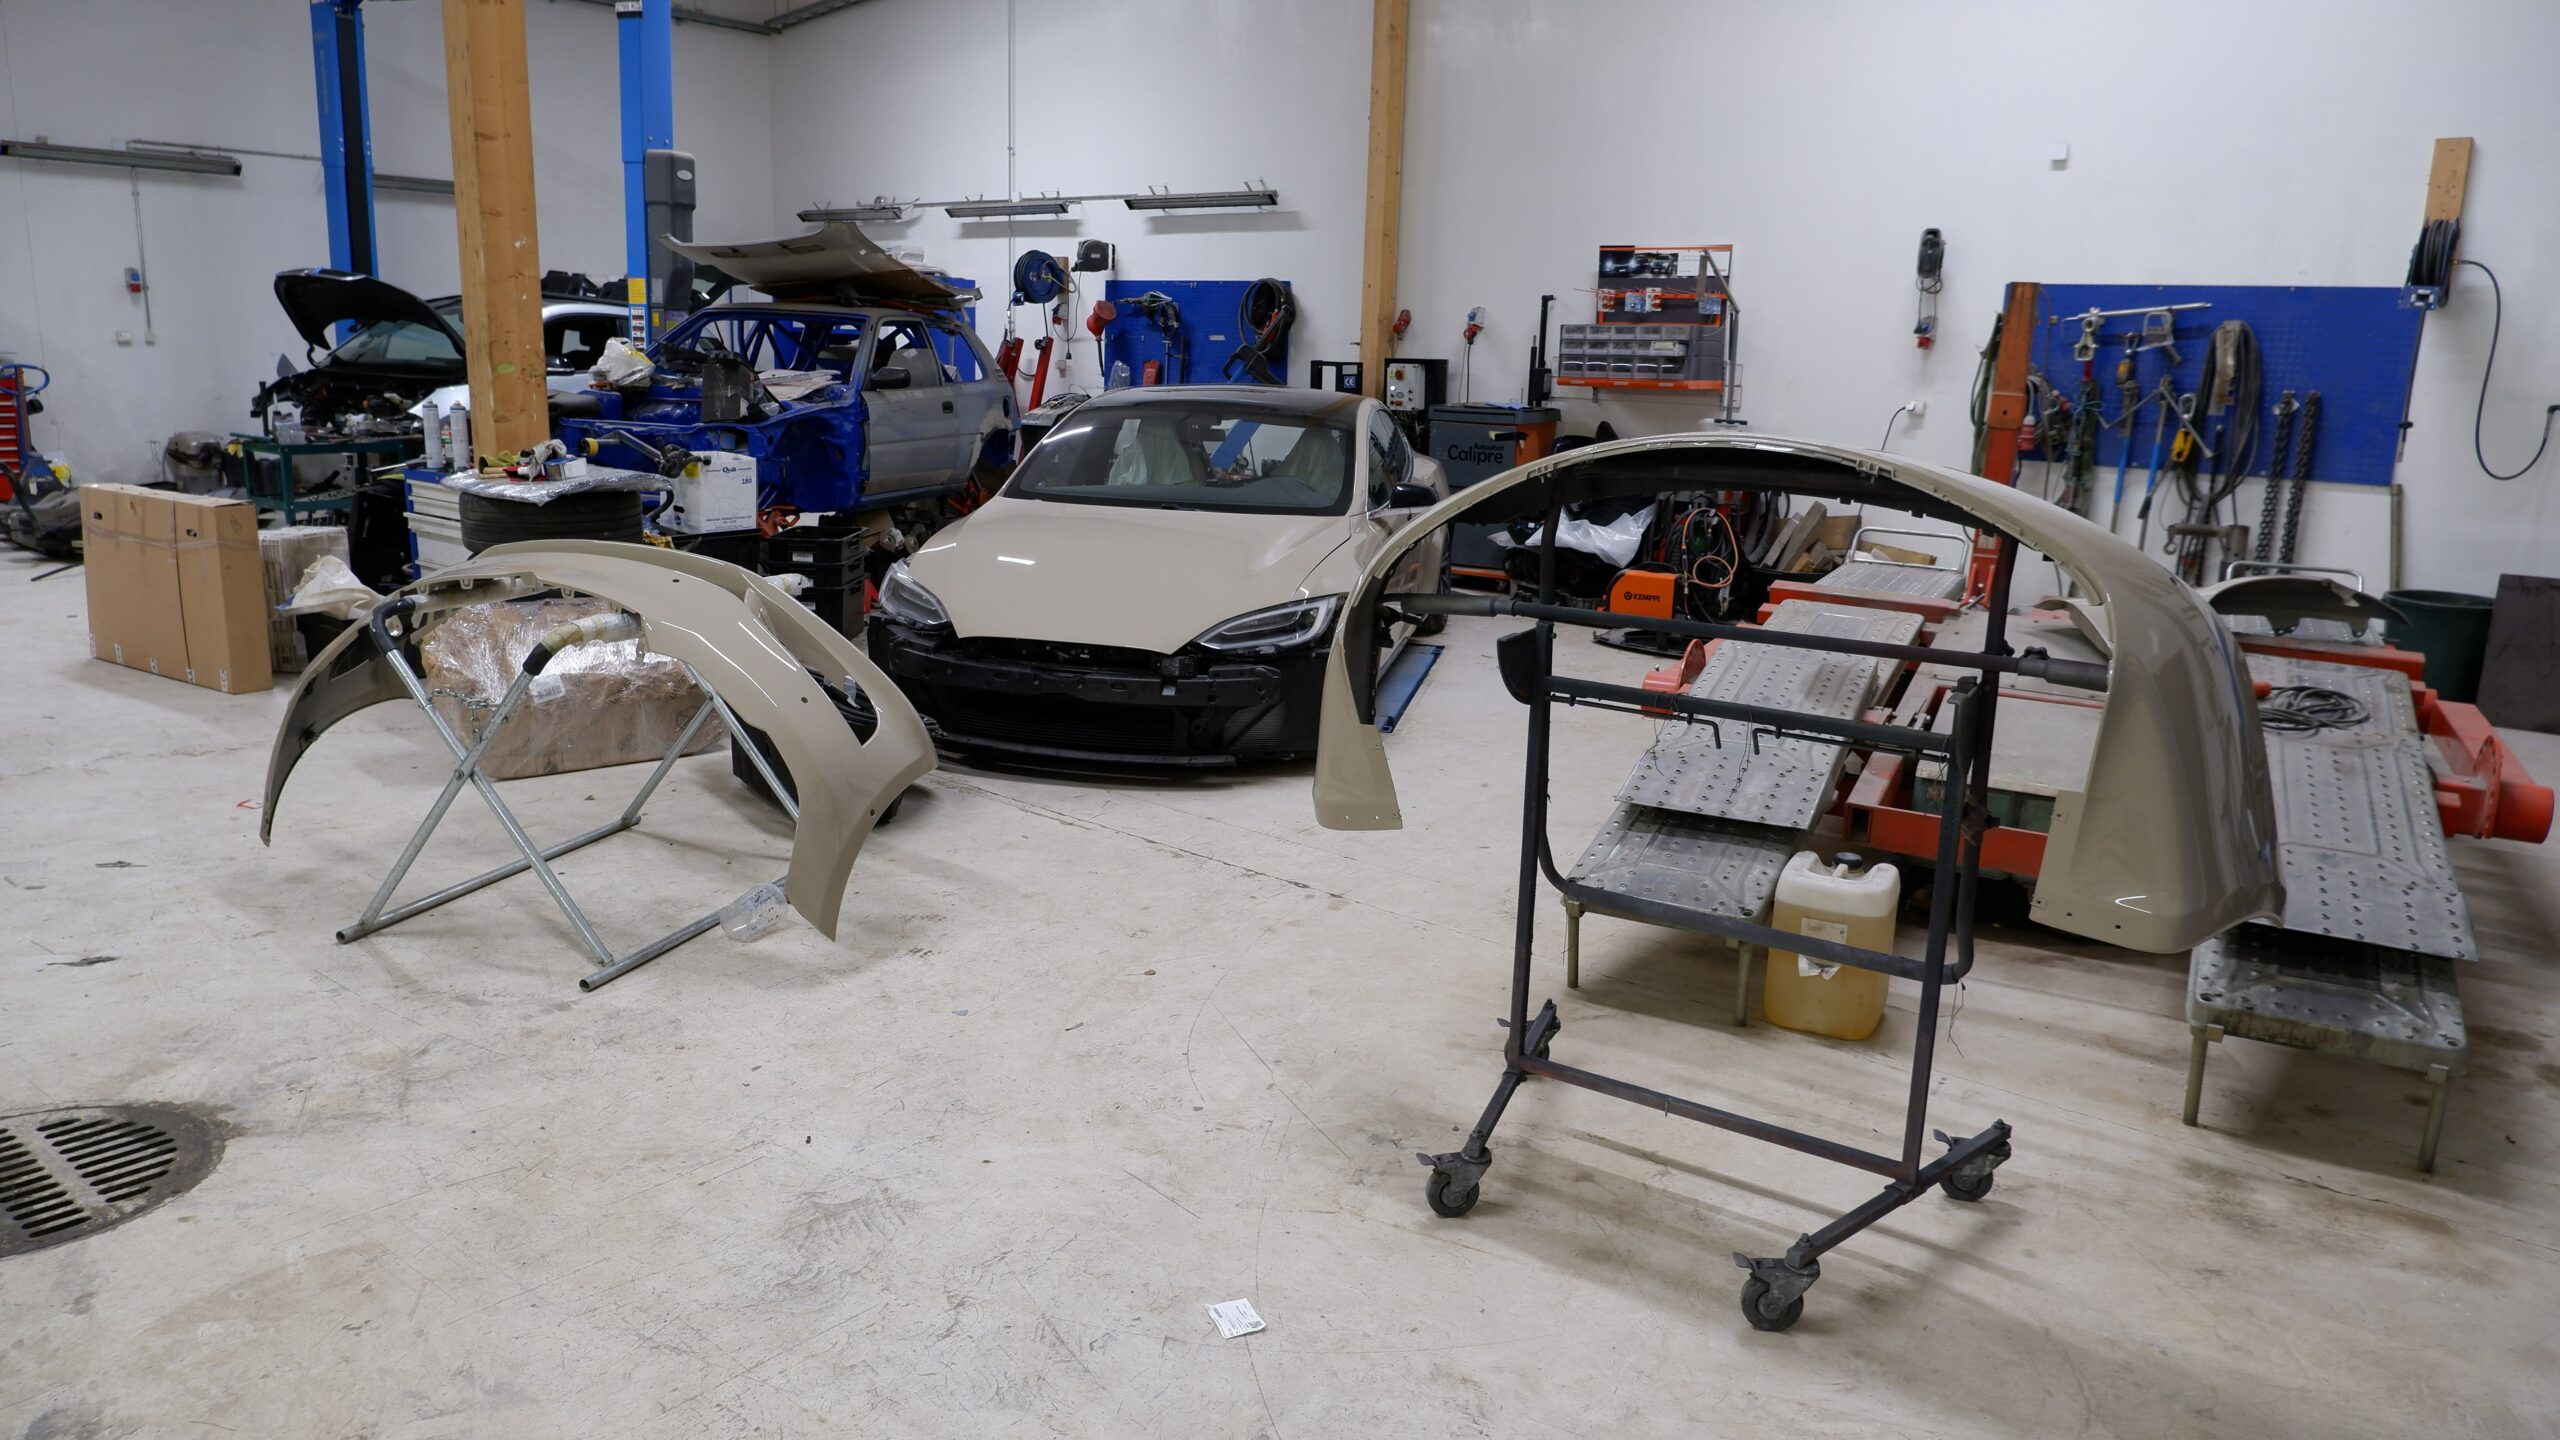
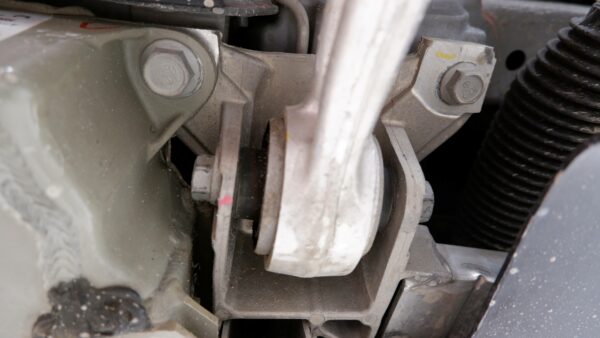
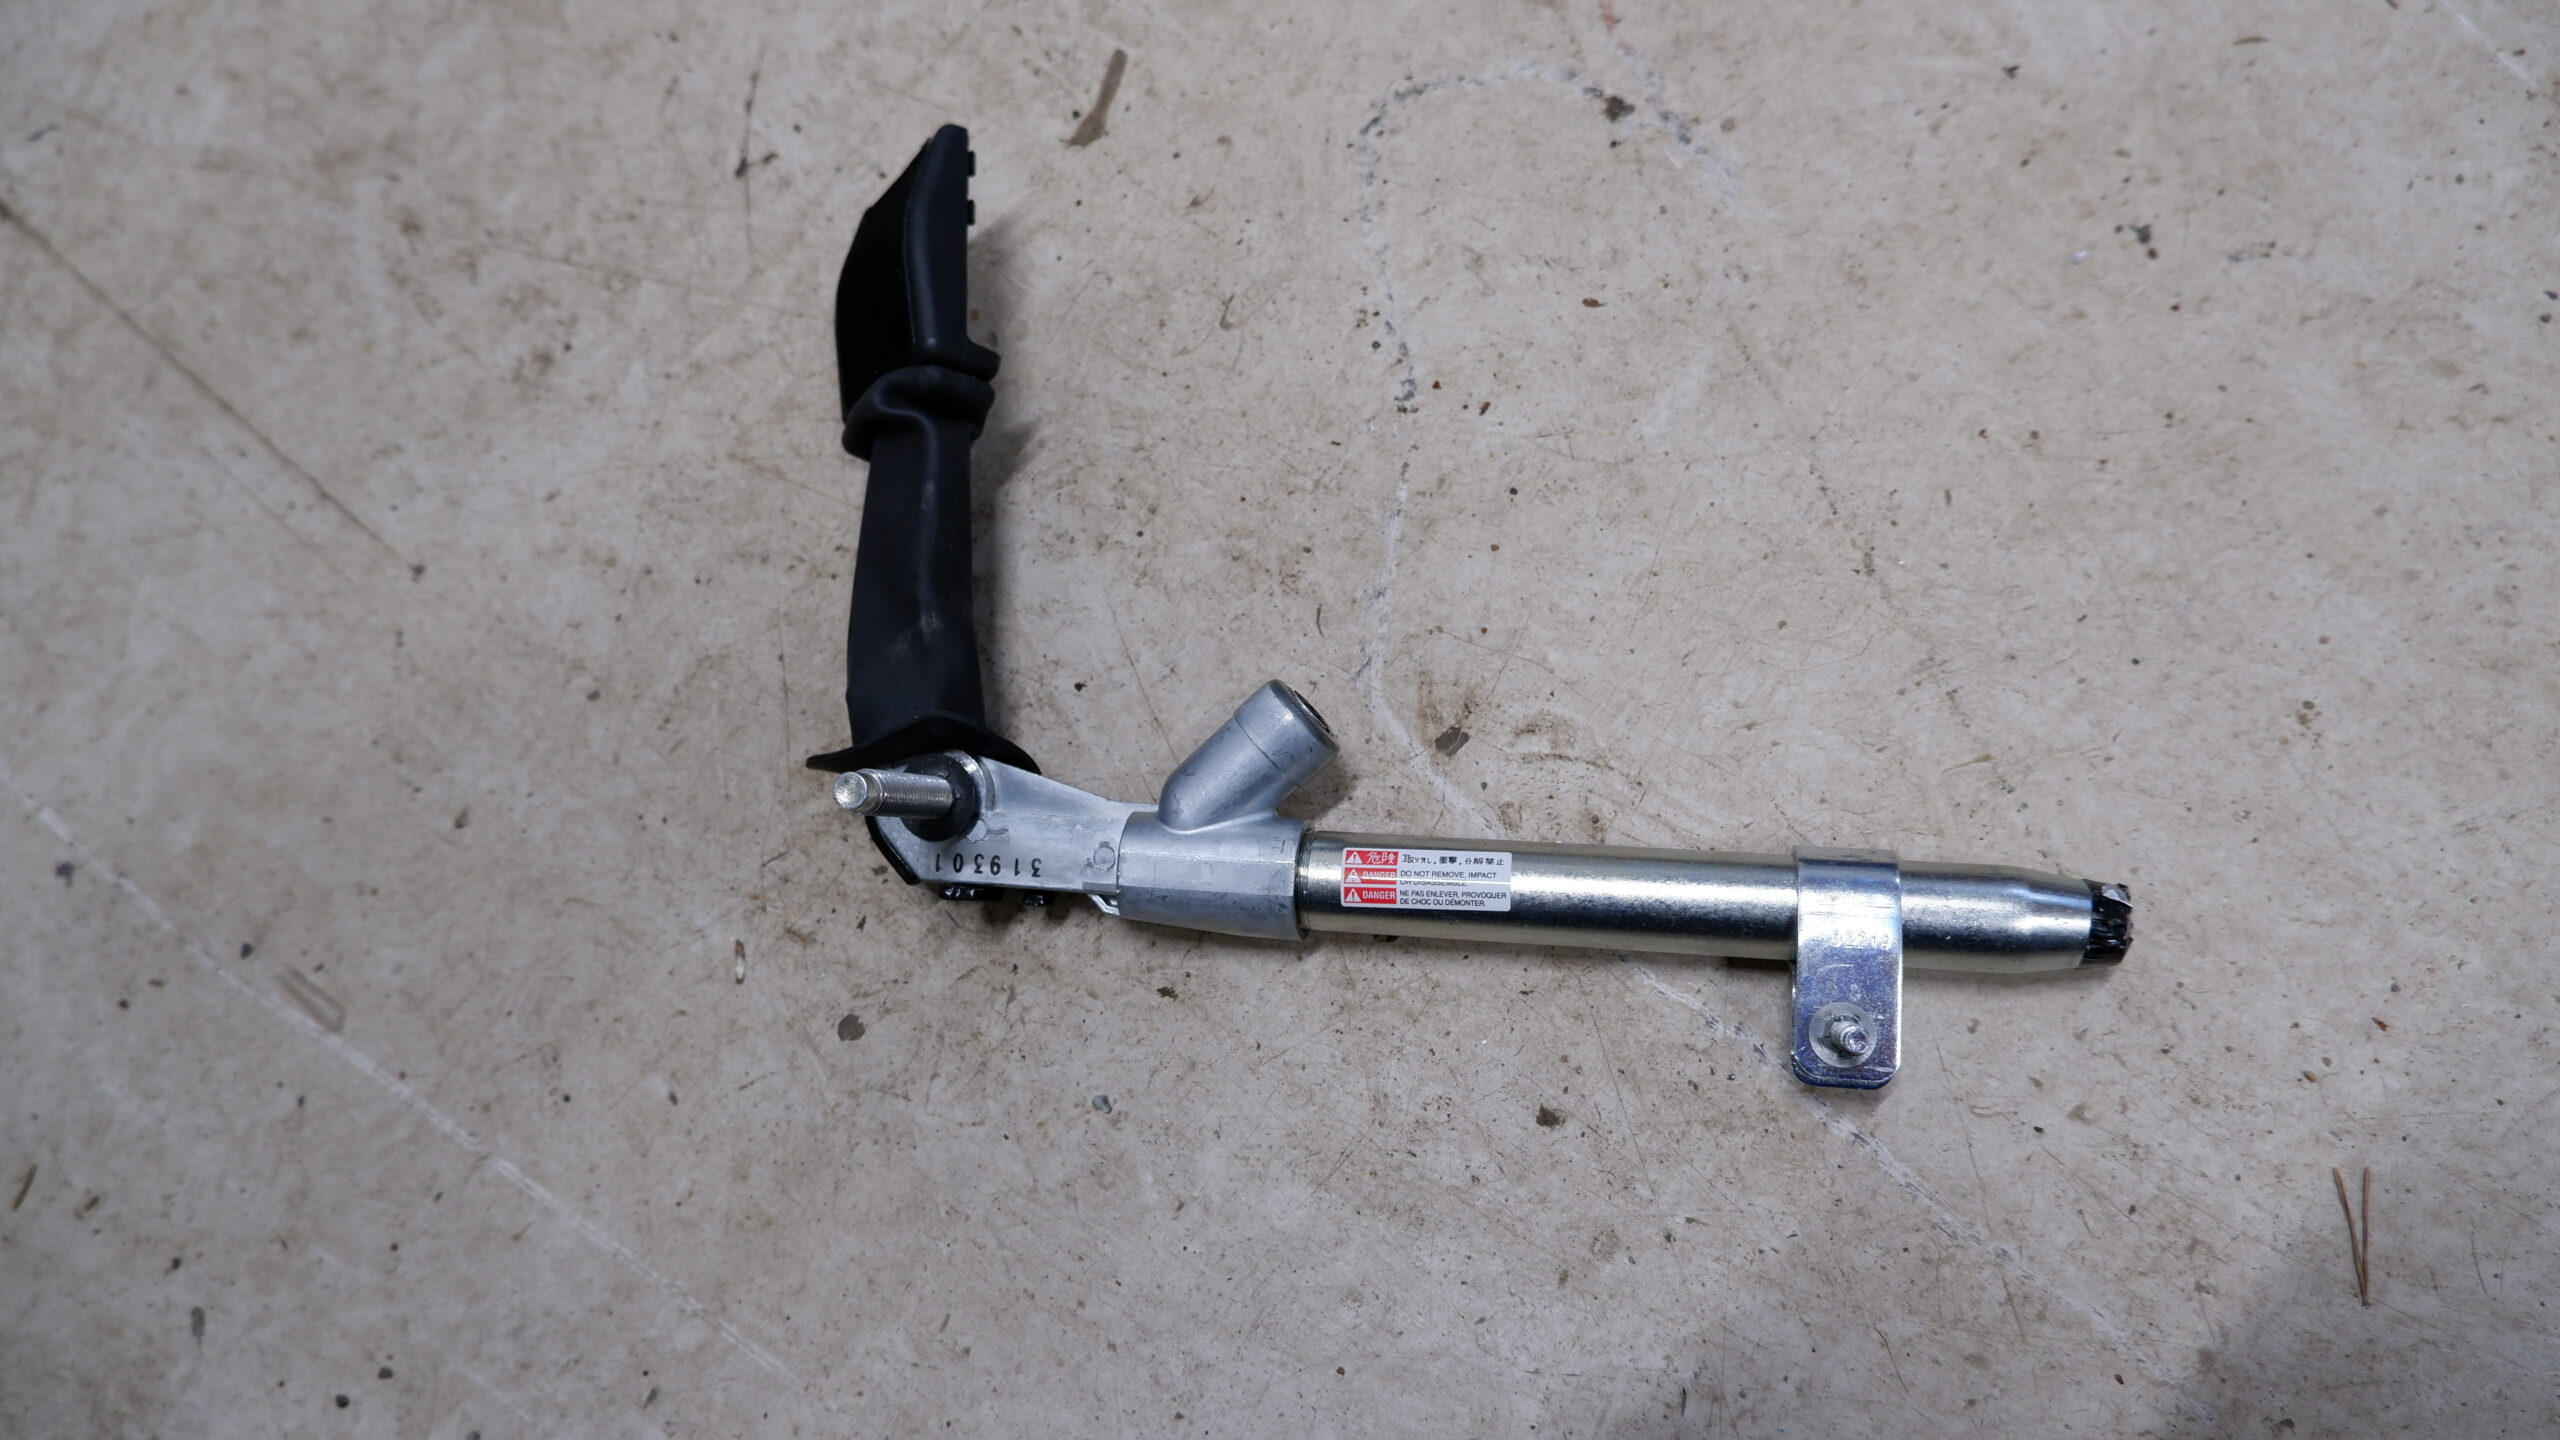
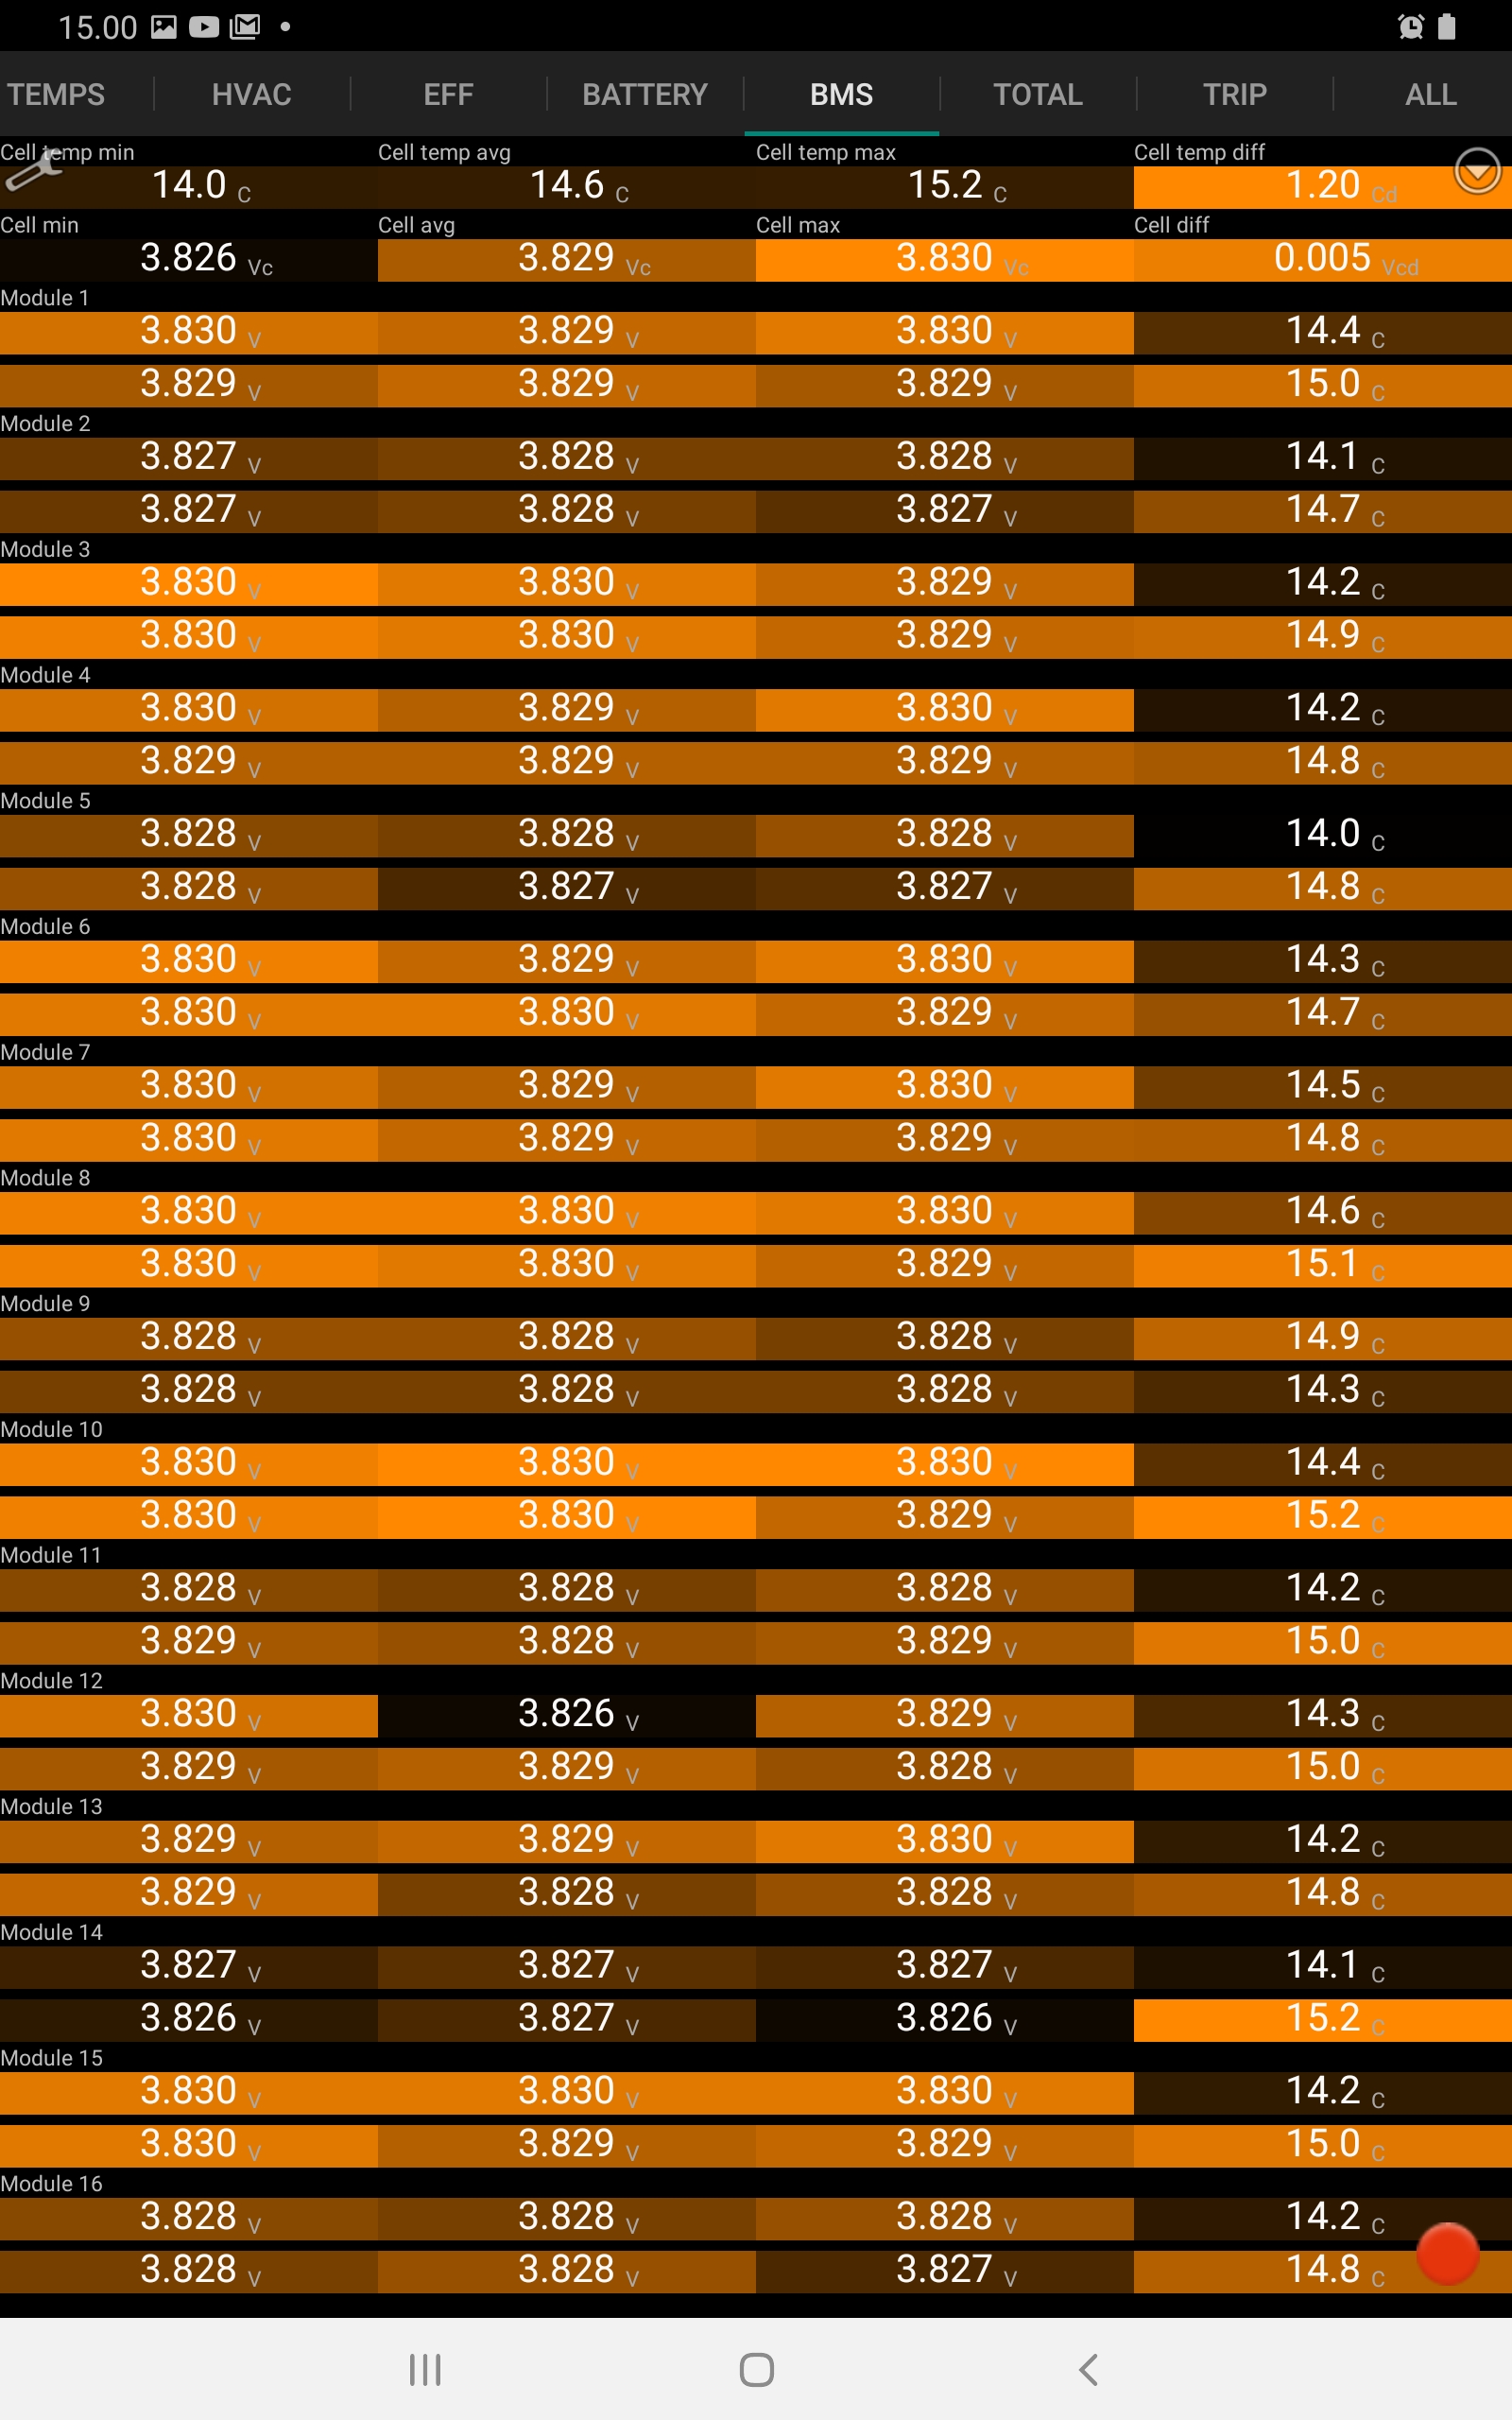
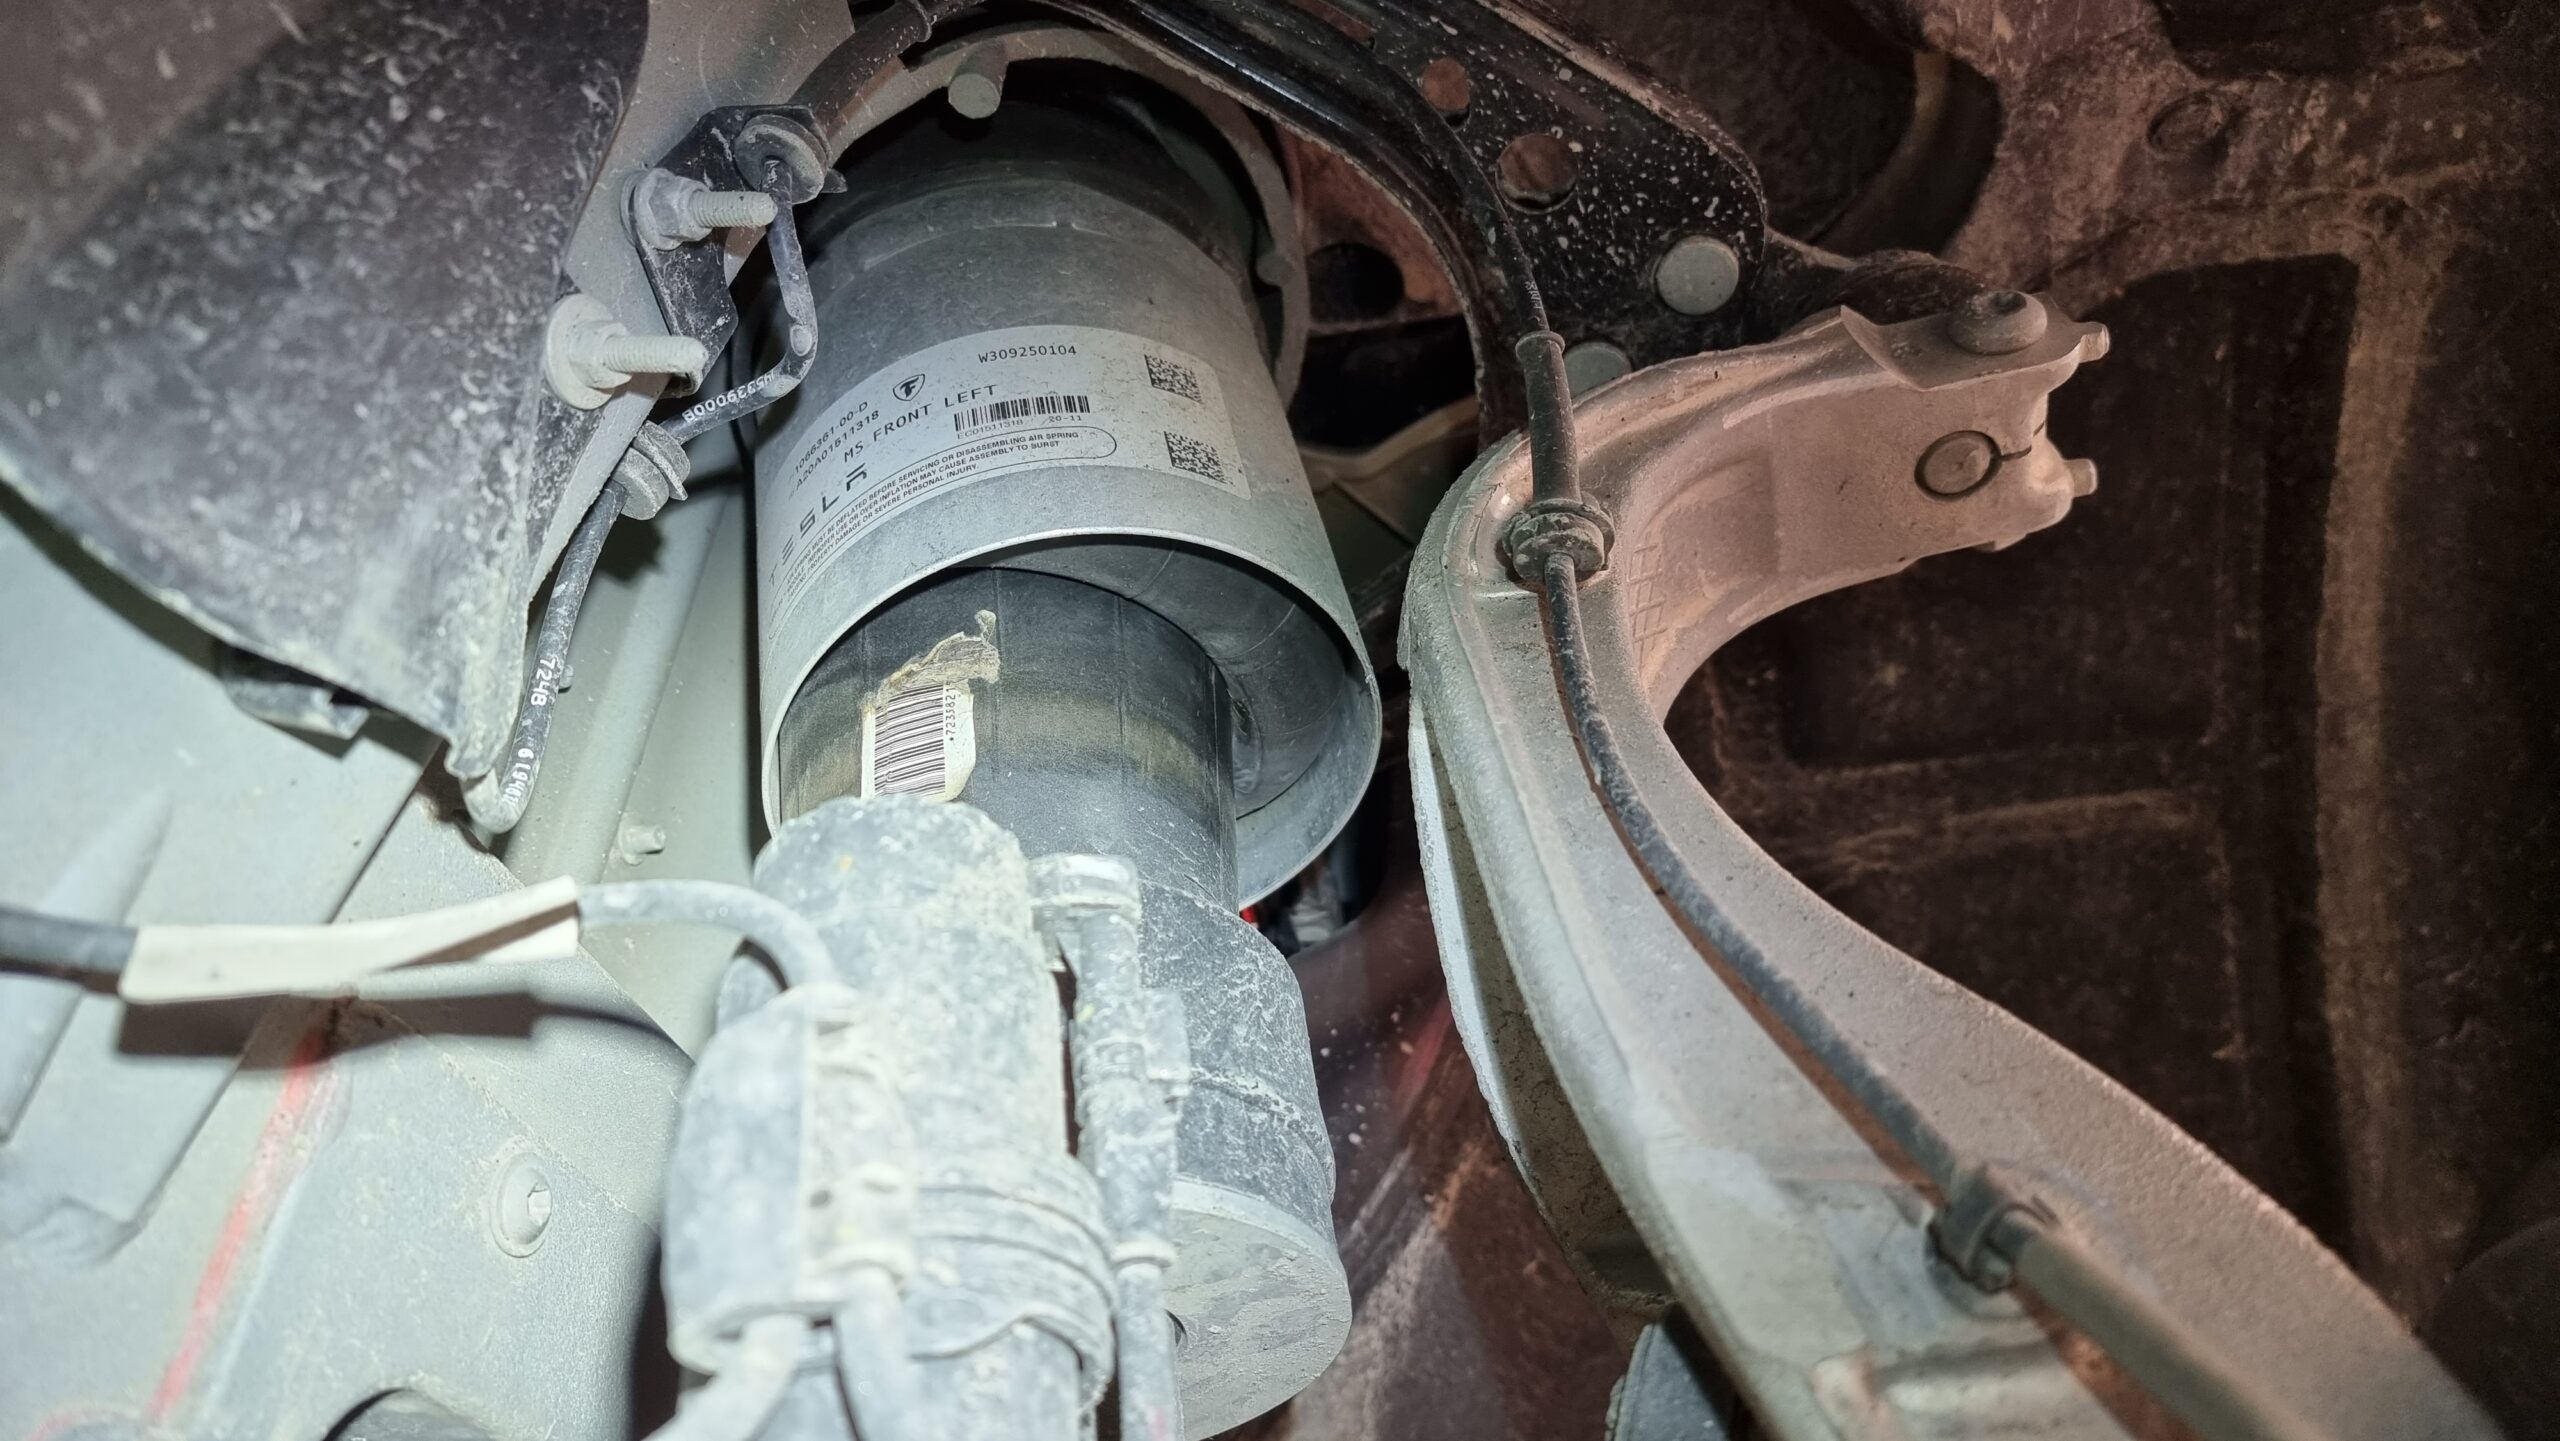
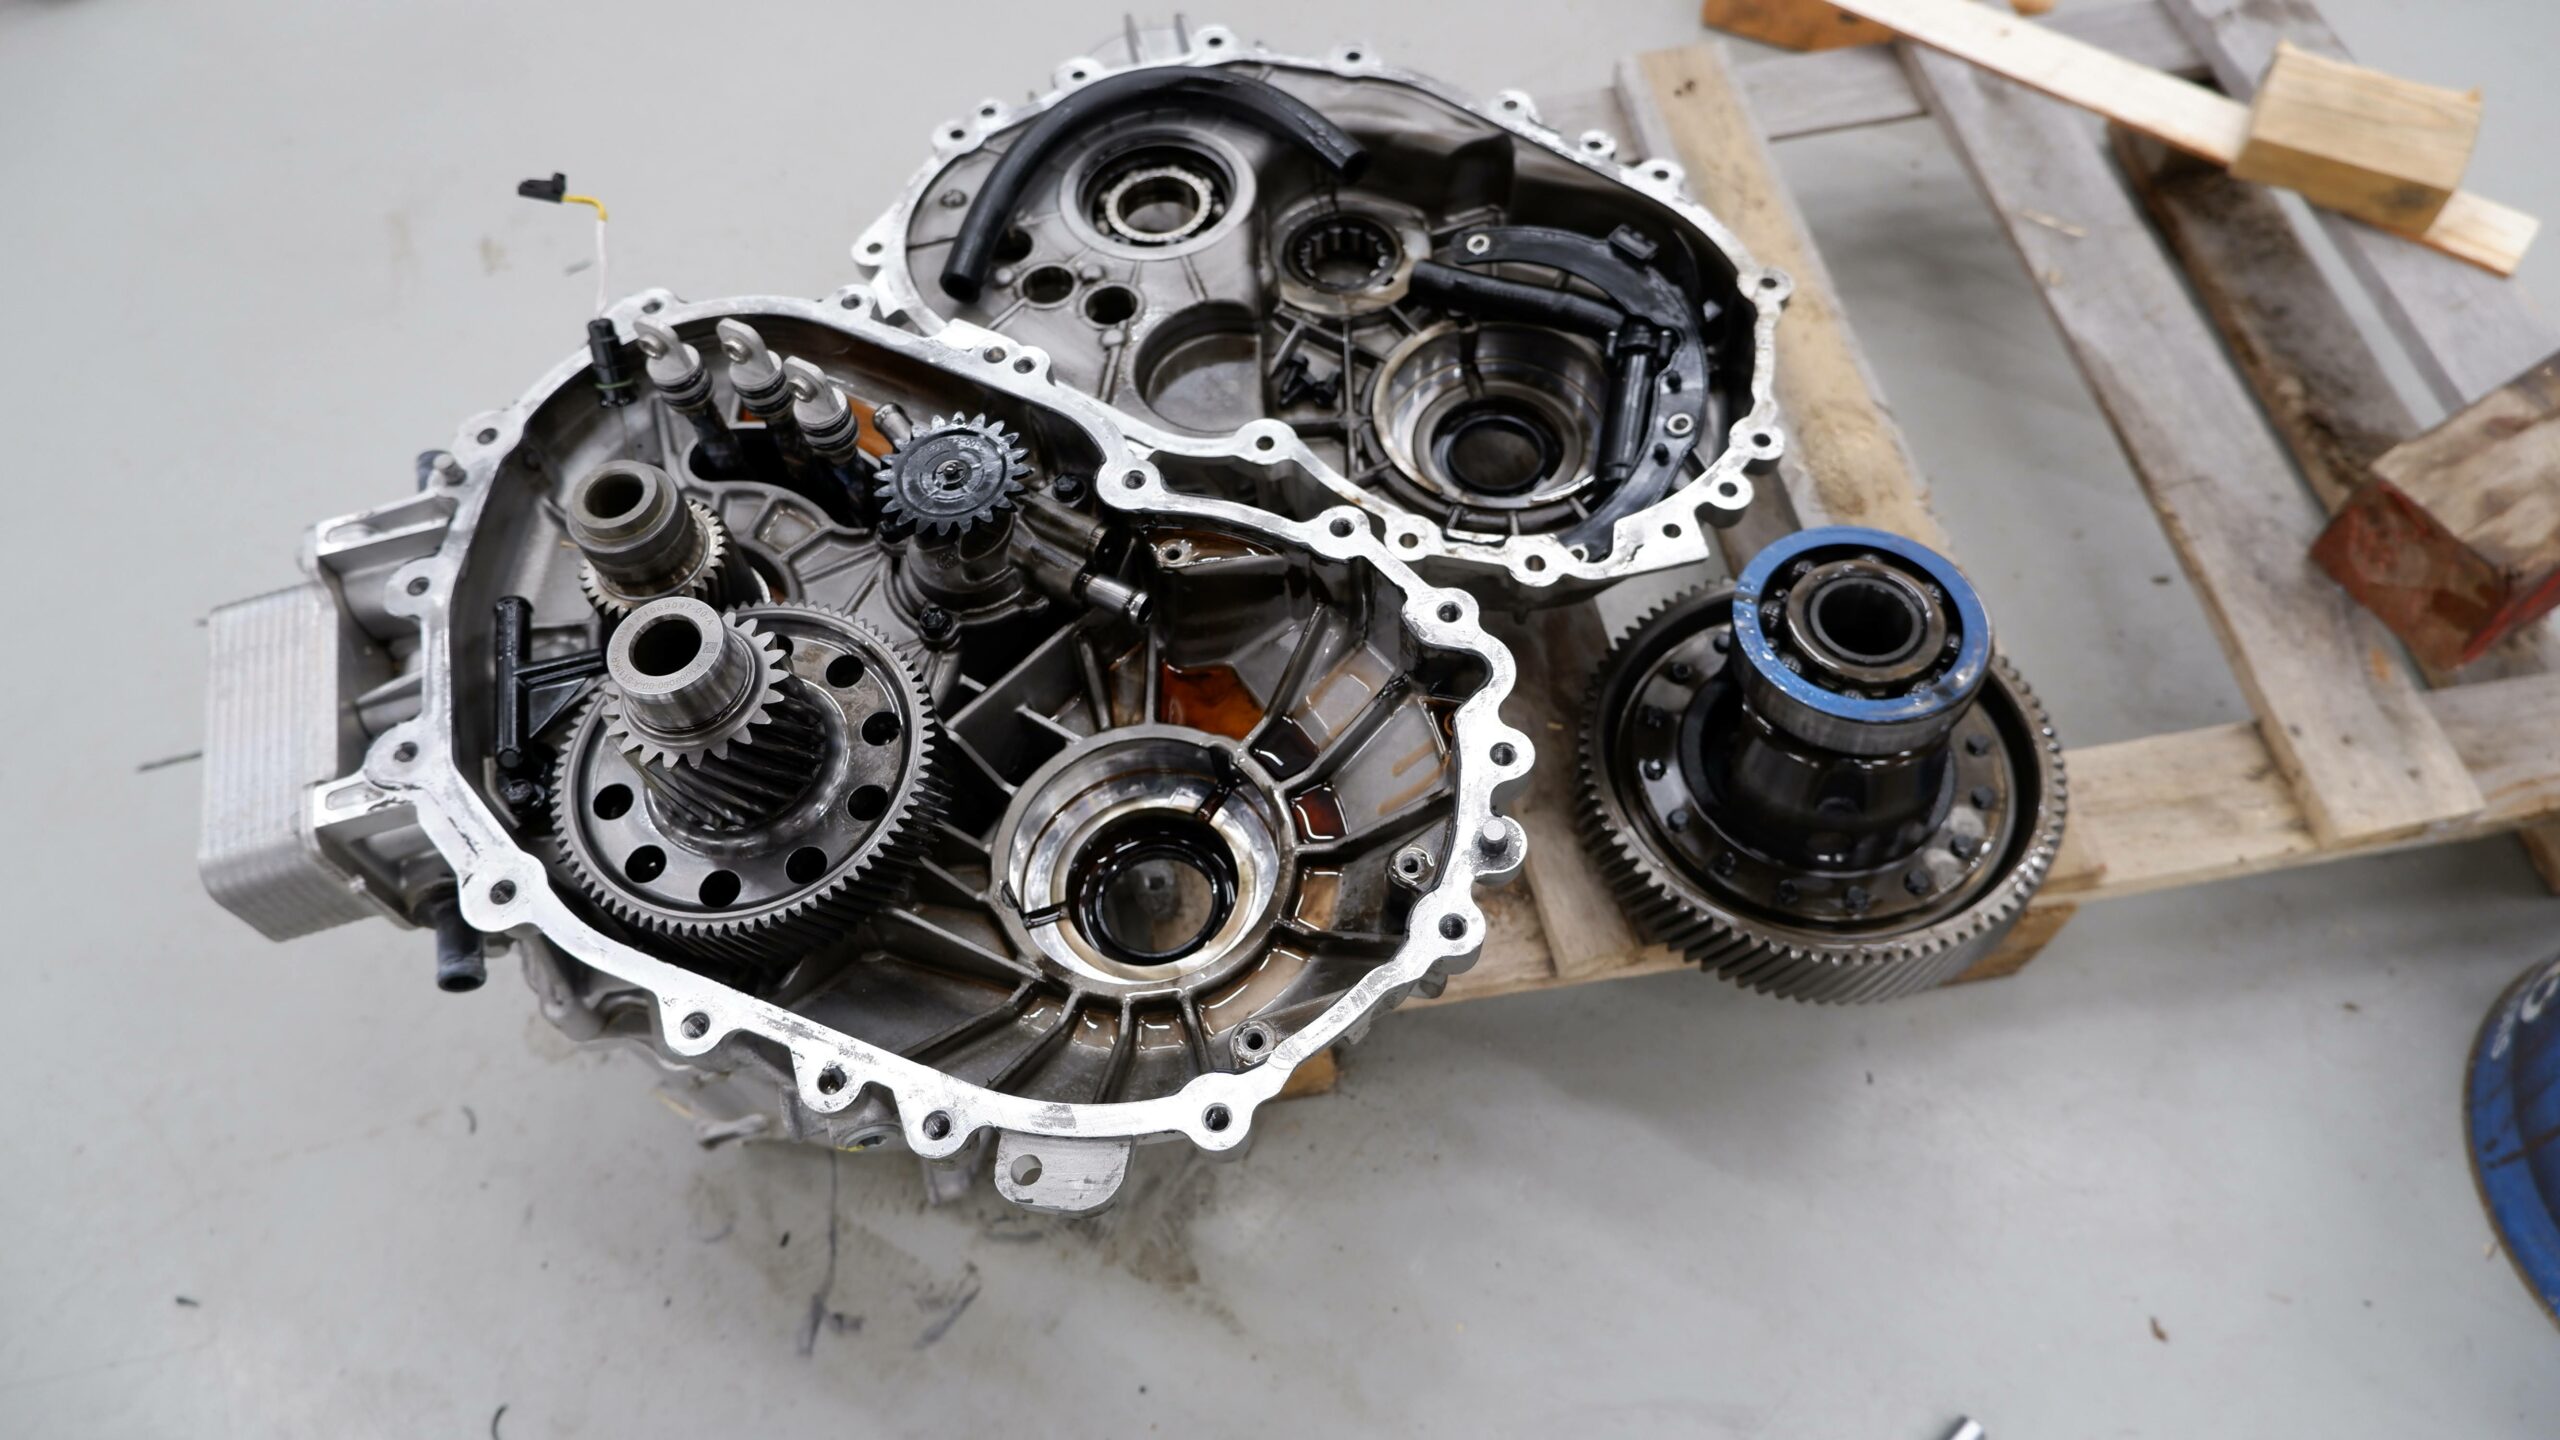
So the car was finally OK and was able to pass the inspection in the end of 2021. After driving a few days the front started to drop overnight. For a long time we tried to find a leak - we thought perhaps there's a leak in valve block that had been removed during the repair process or perhaps it was damaged. No leak was found. Finally took the front strut and bag out and finally found a leak. We thought perhaps it had bent in the accident or something like this. Anyway, a new strut was ordered. 1500 EUR.

Apply pressure with air compressor and some leak detection spray.
While working with the suspension I installed some adjustable ride height sensor links.

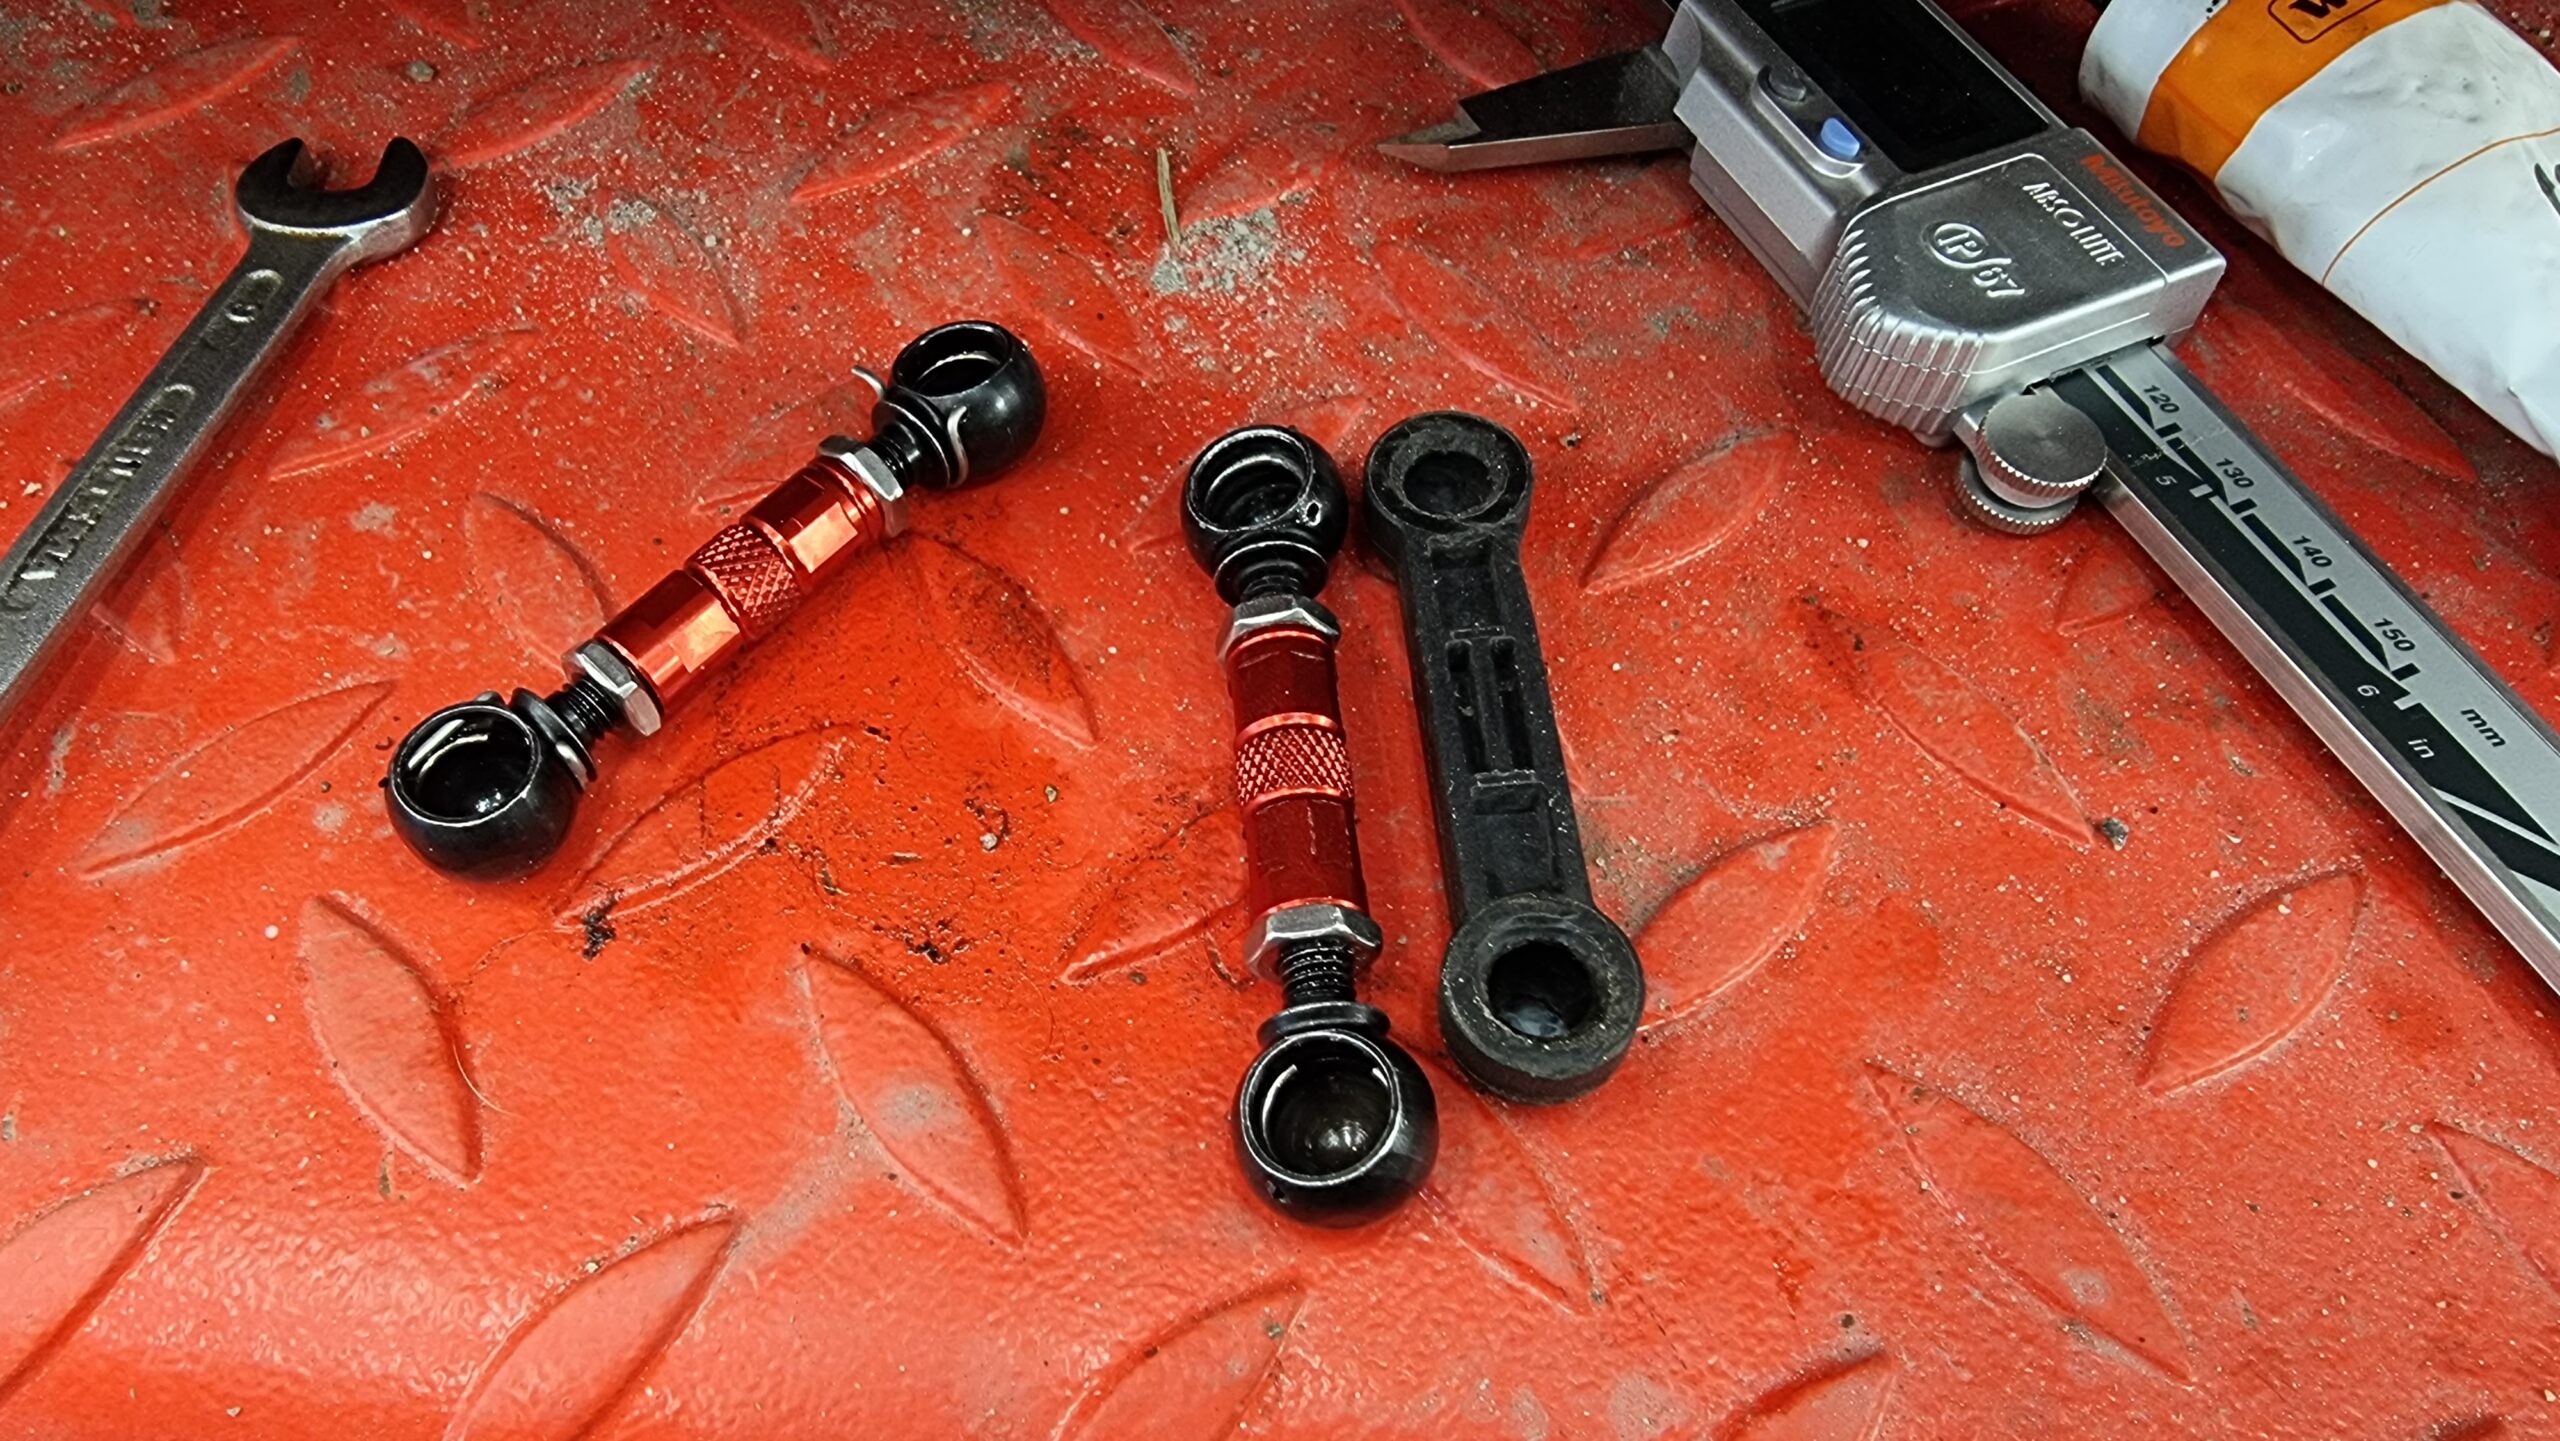
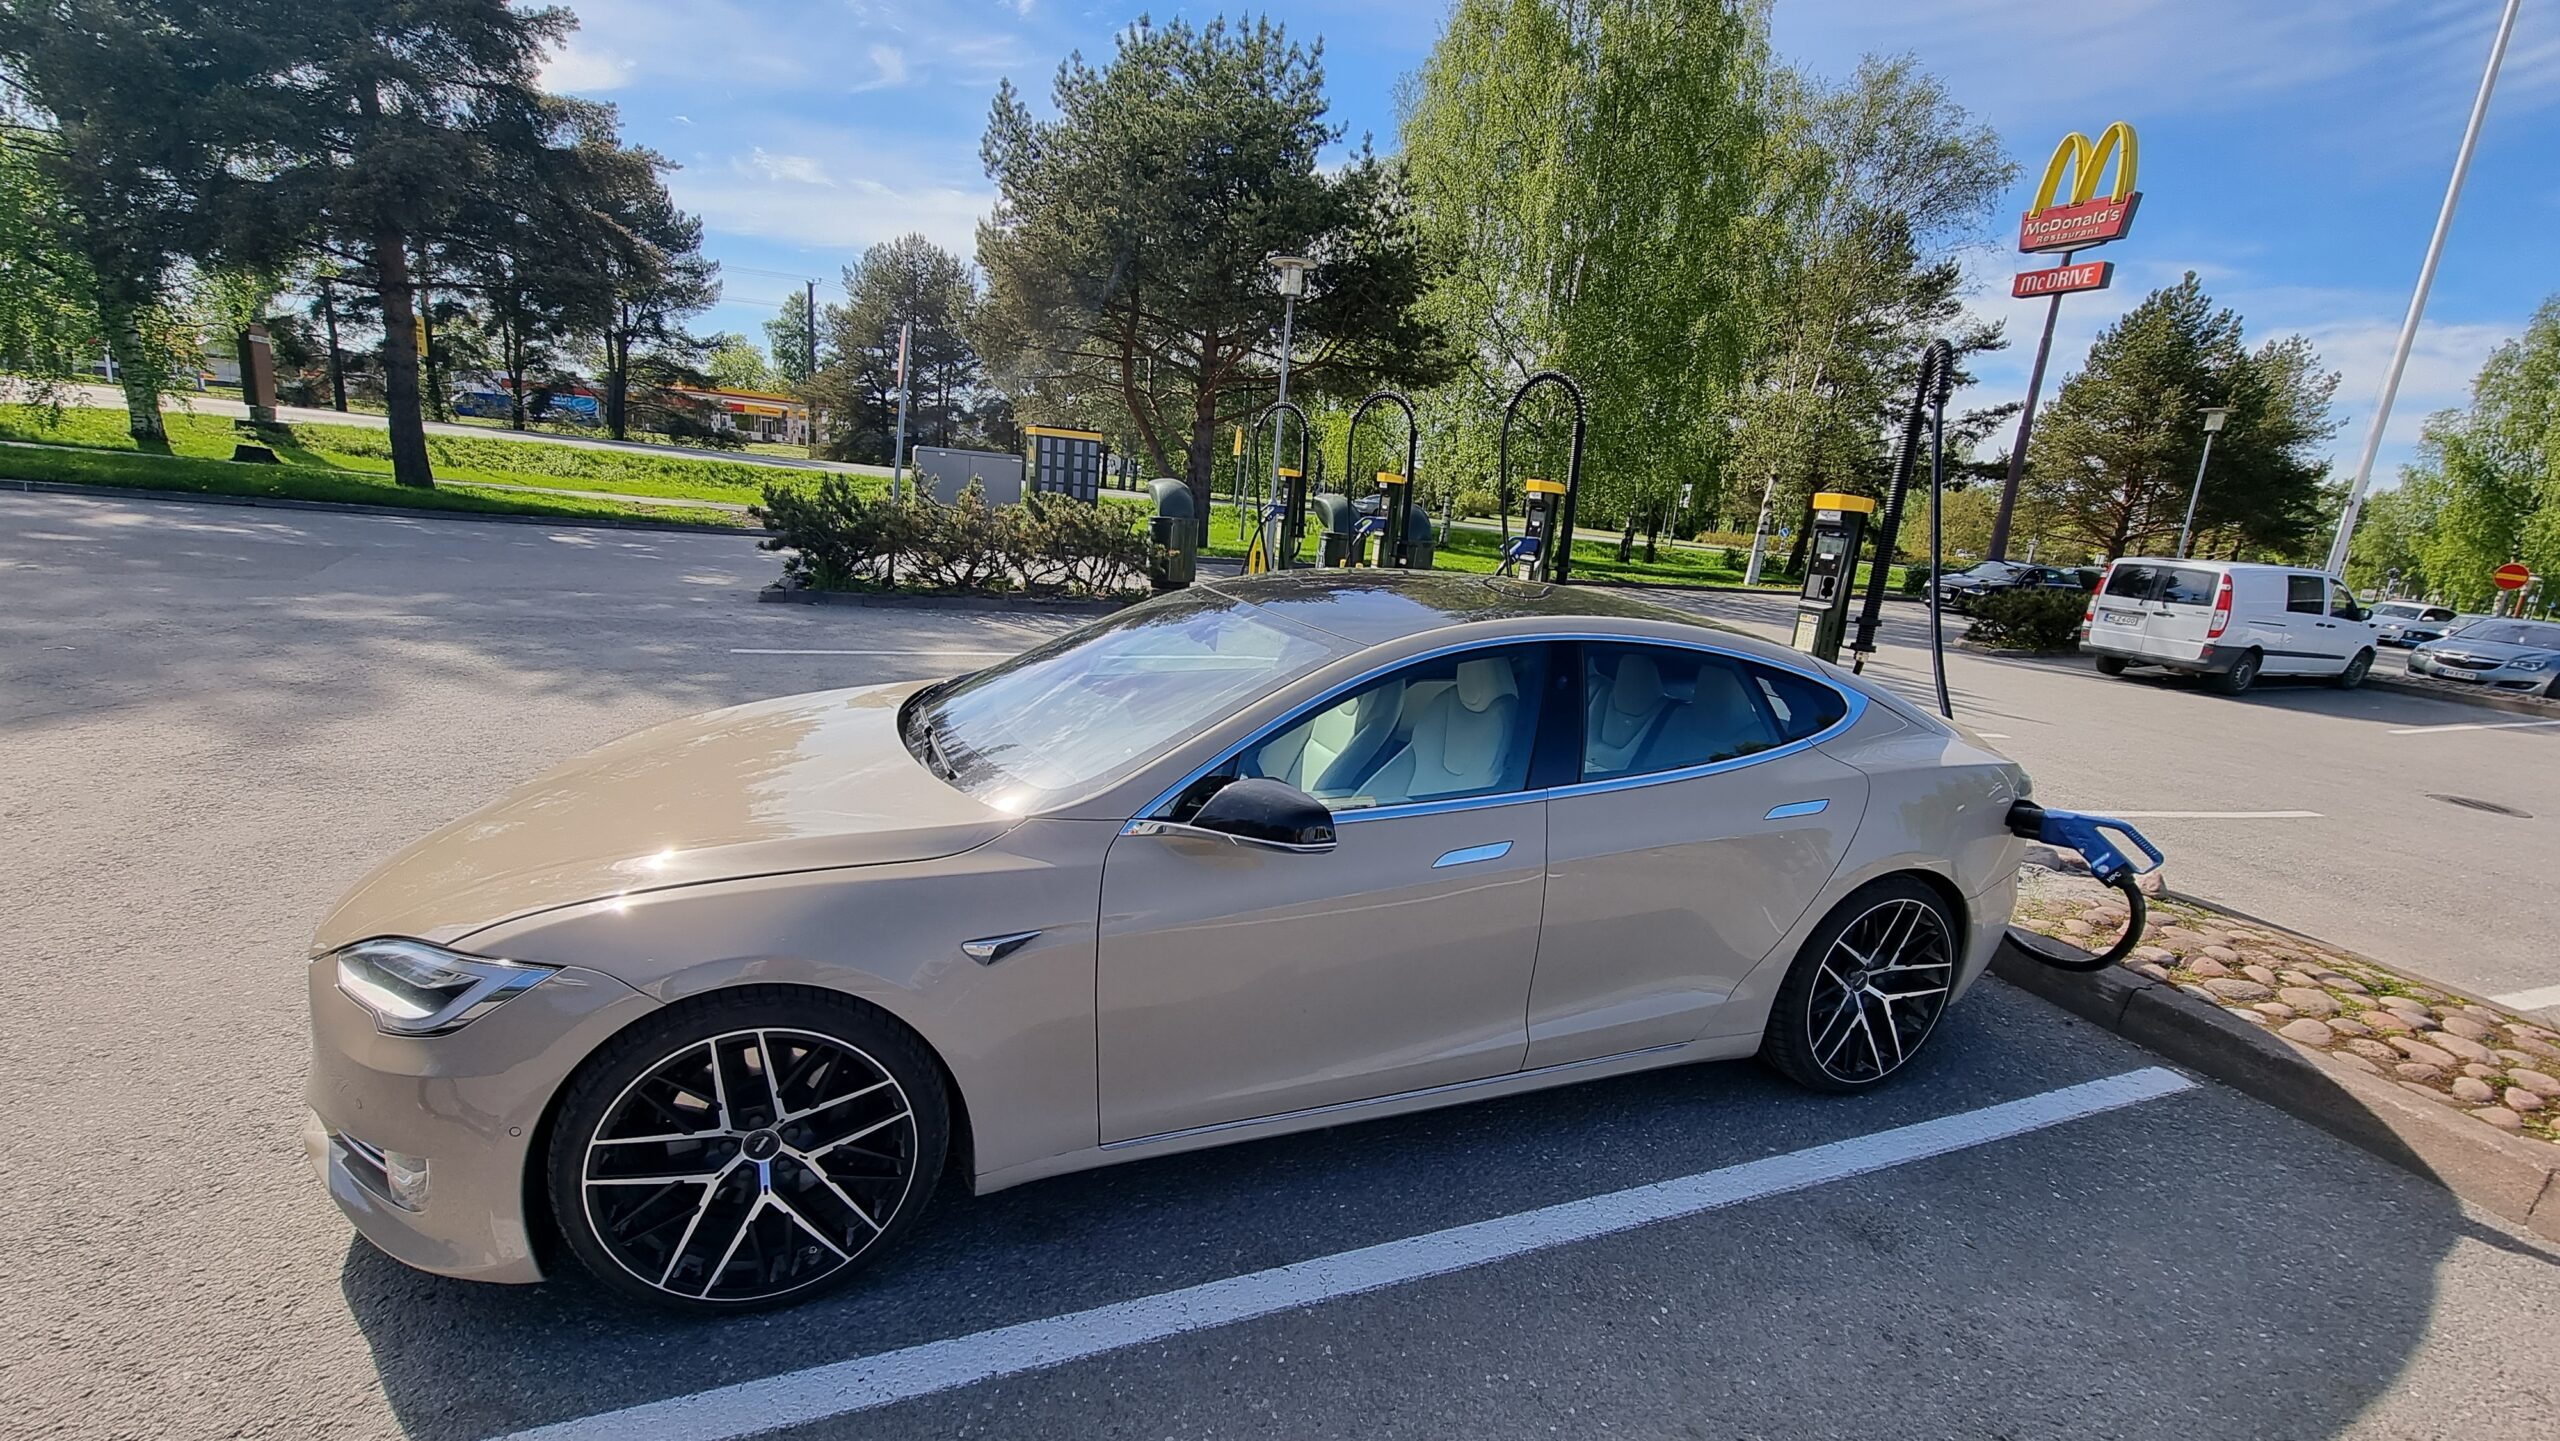
It was also time to change summer tires so I decided to buy Momo wheels from Rimfix RMX has their own custom wheels but lead time was too long at this point. These Momo wheels were designed with Tesla spec so no need for spacers or any other adapters. The only challenge was the really long drive shaft end - couldn't fit the center cap to the wheel.

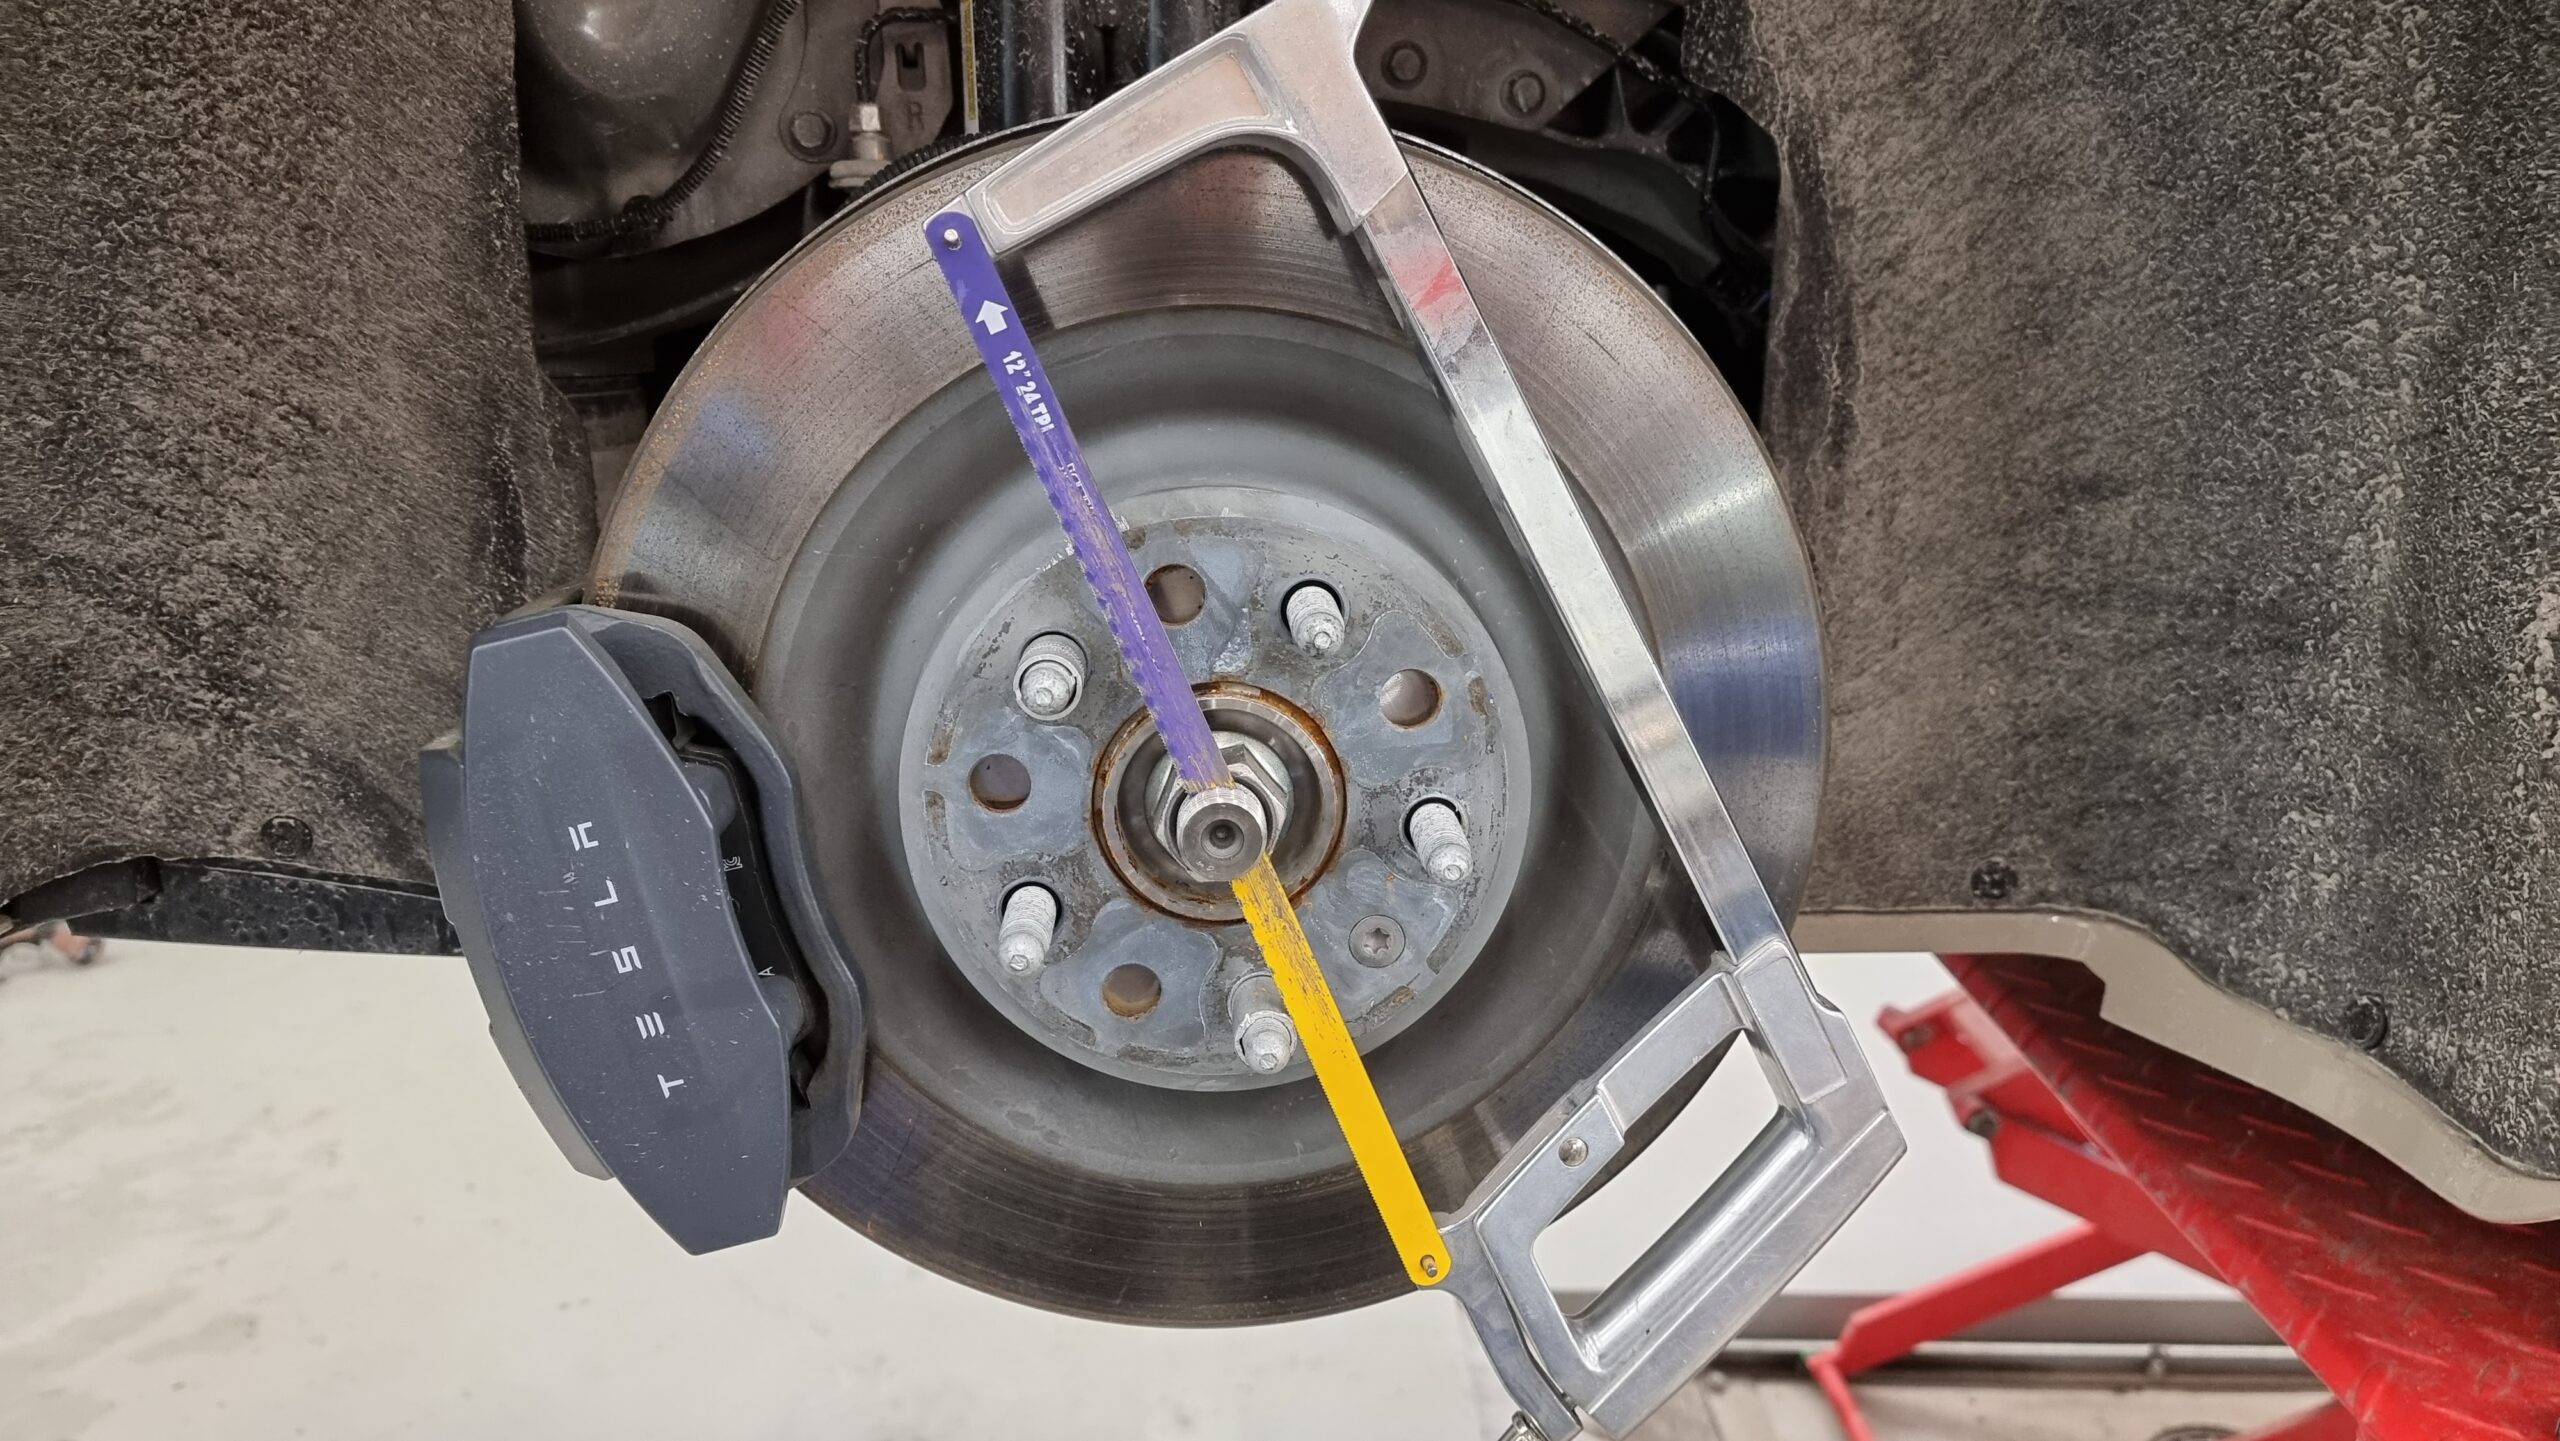
For that issue the fix was fairly simple... because I did not want to remove all four drive shafts I decided to cut them while still in the car. A bit sweaty process, but the end result was good.

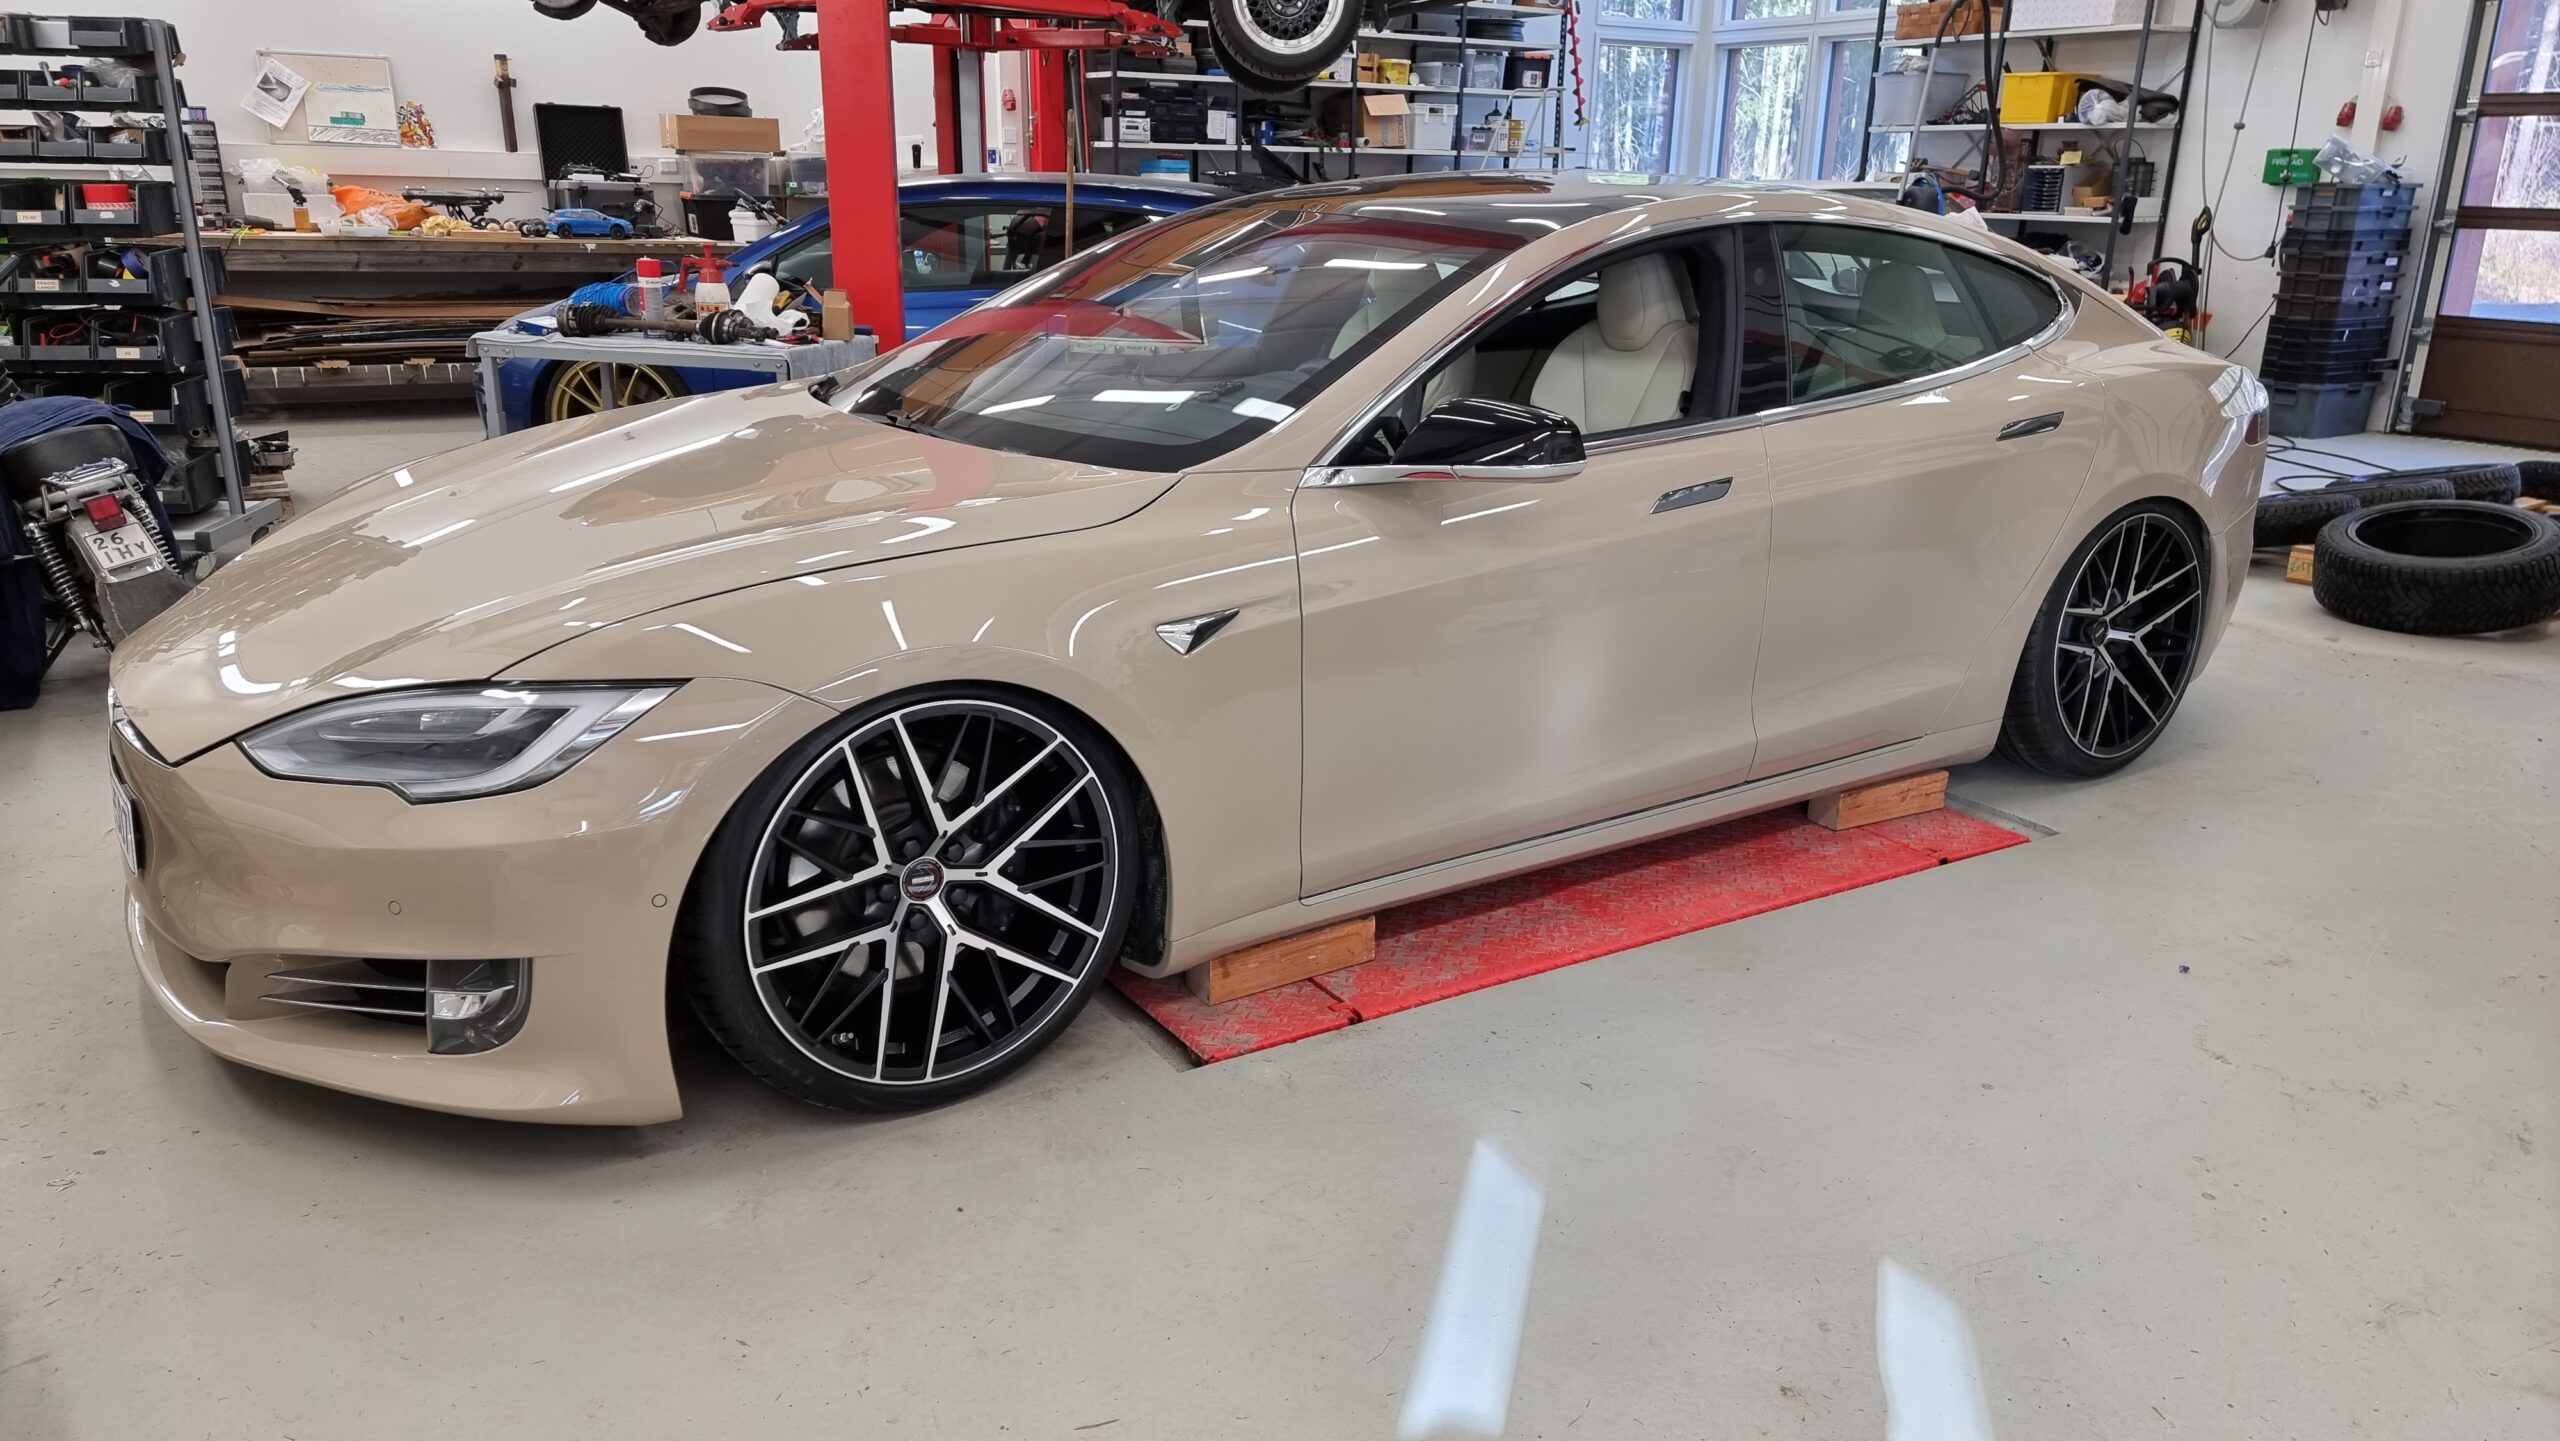
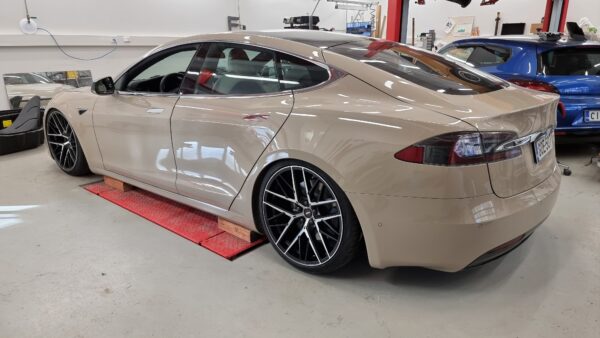
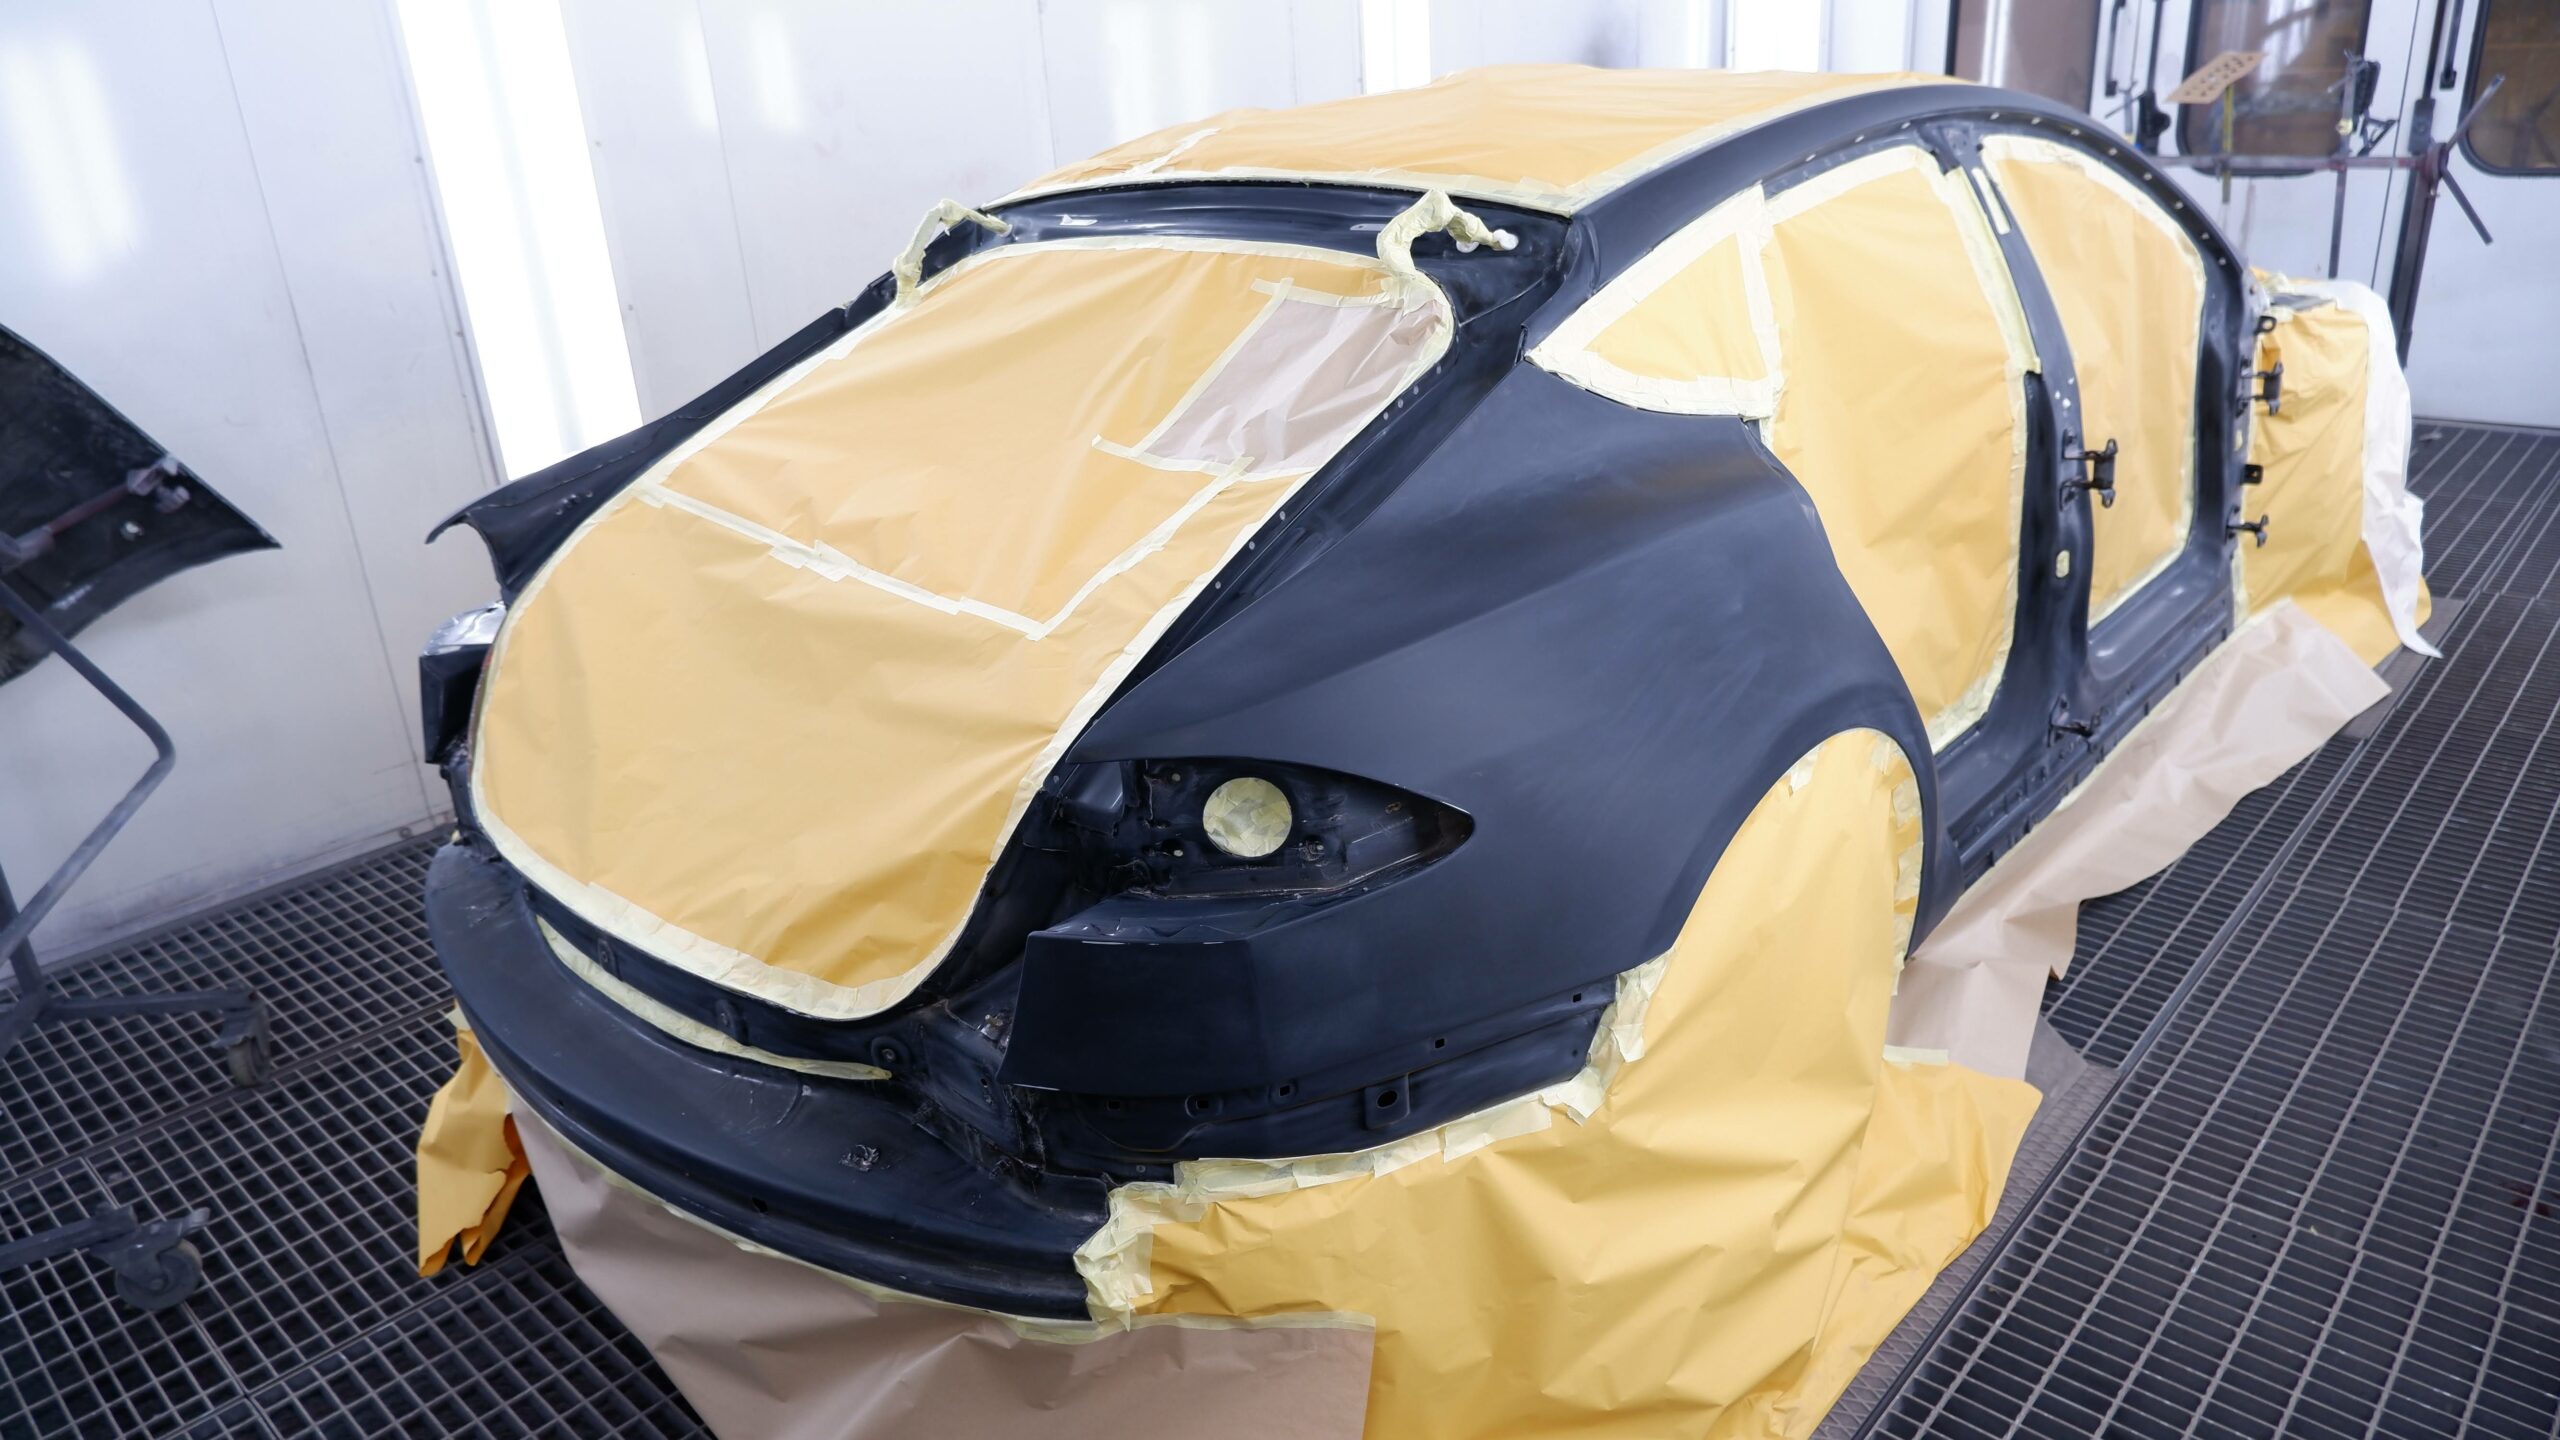
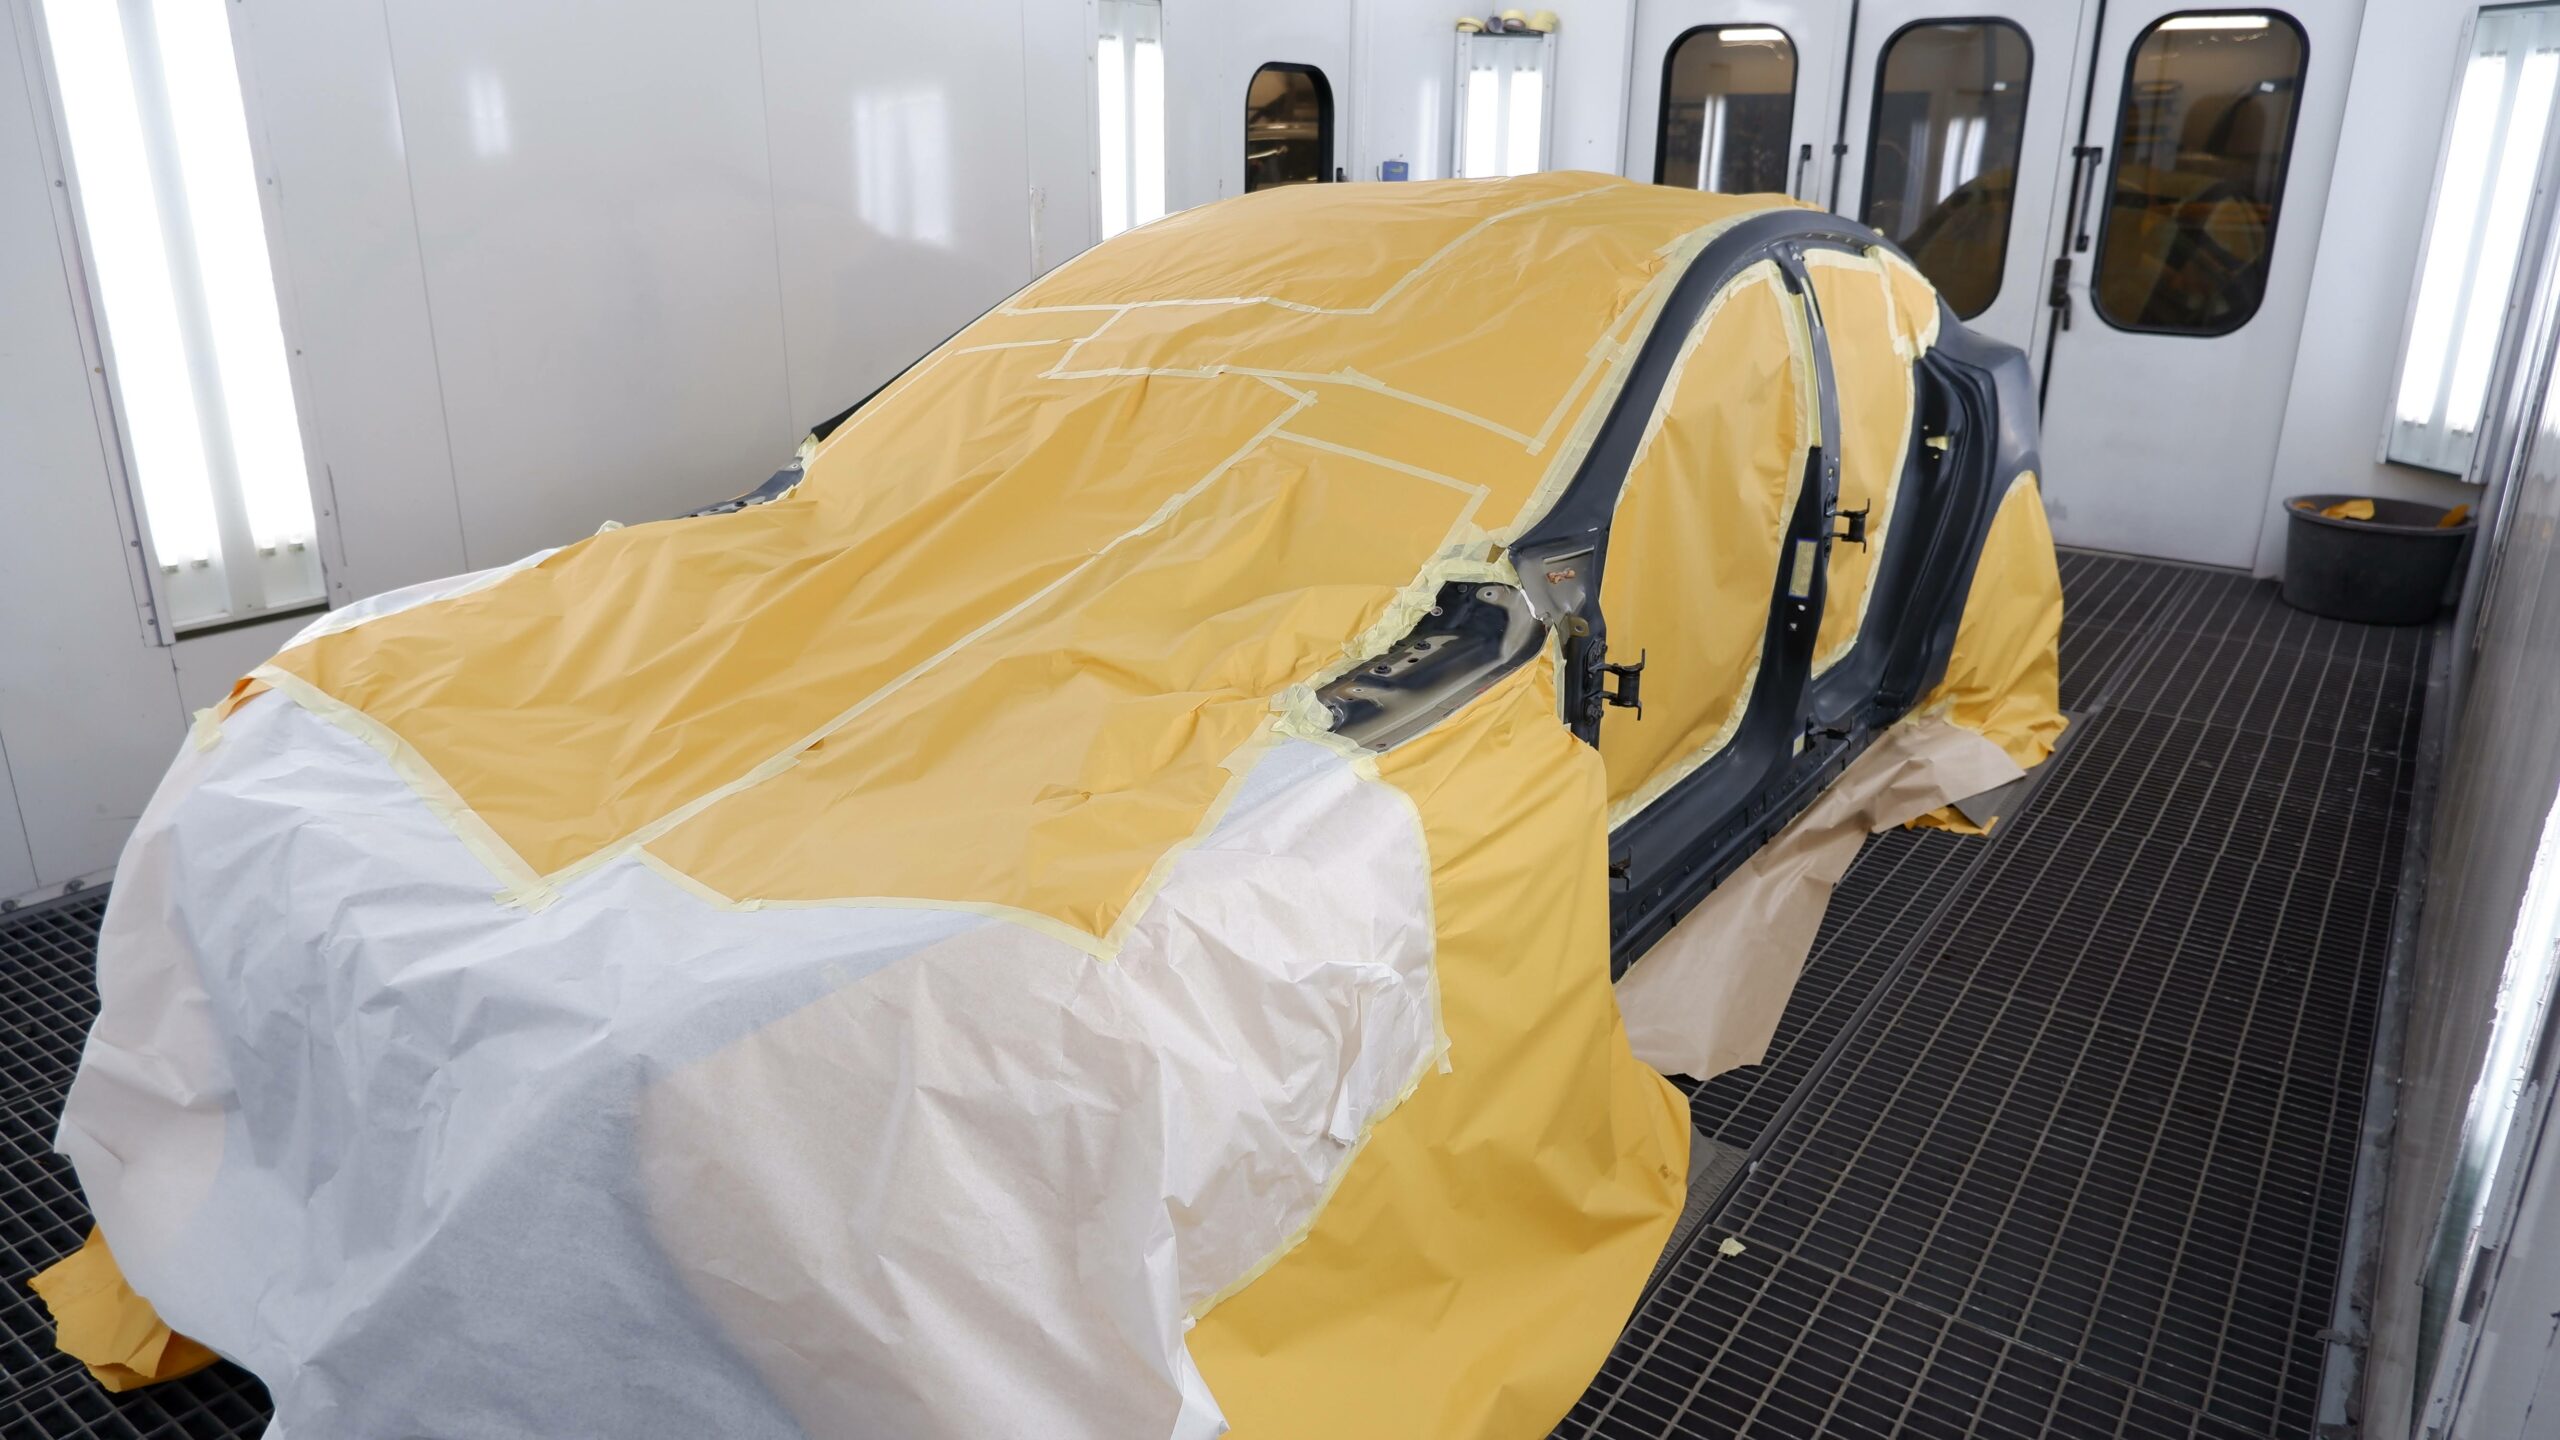
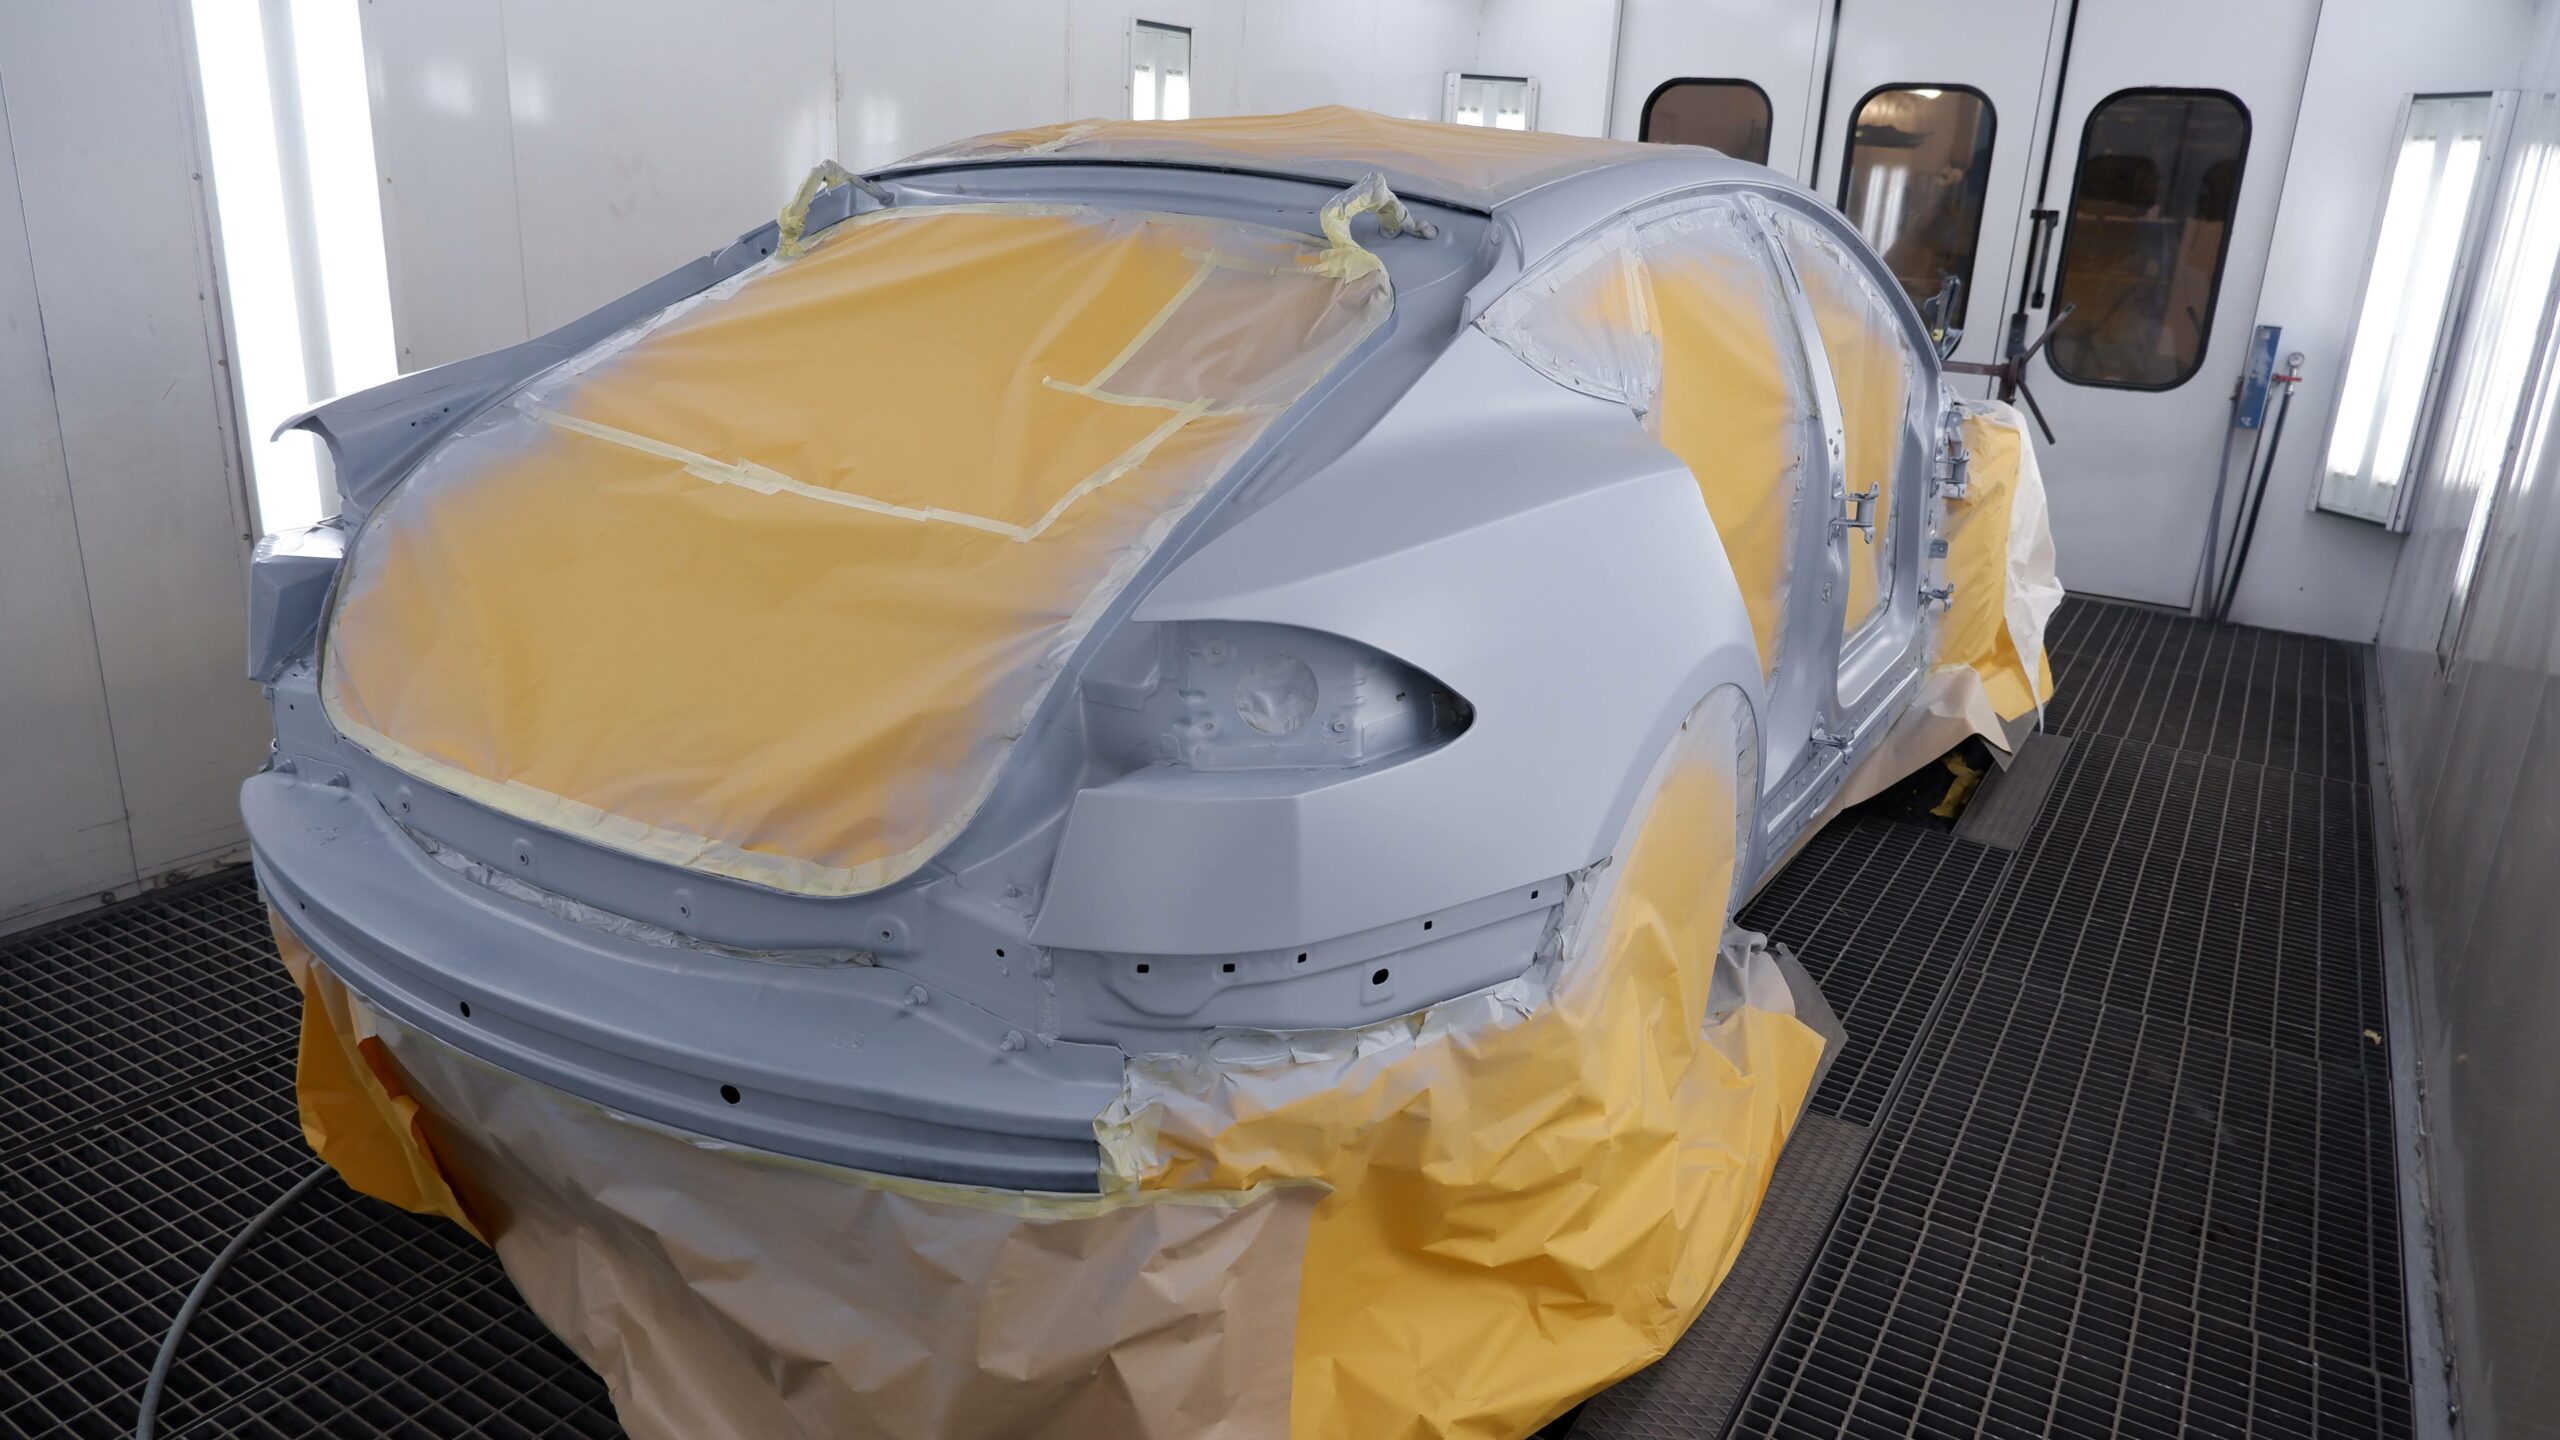
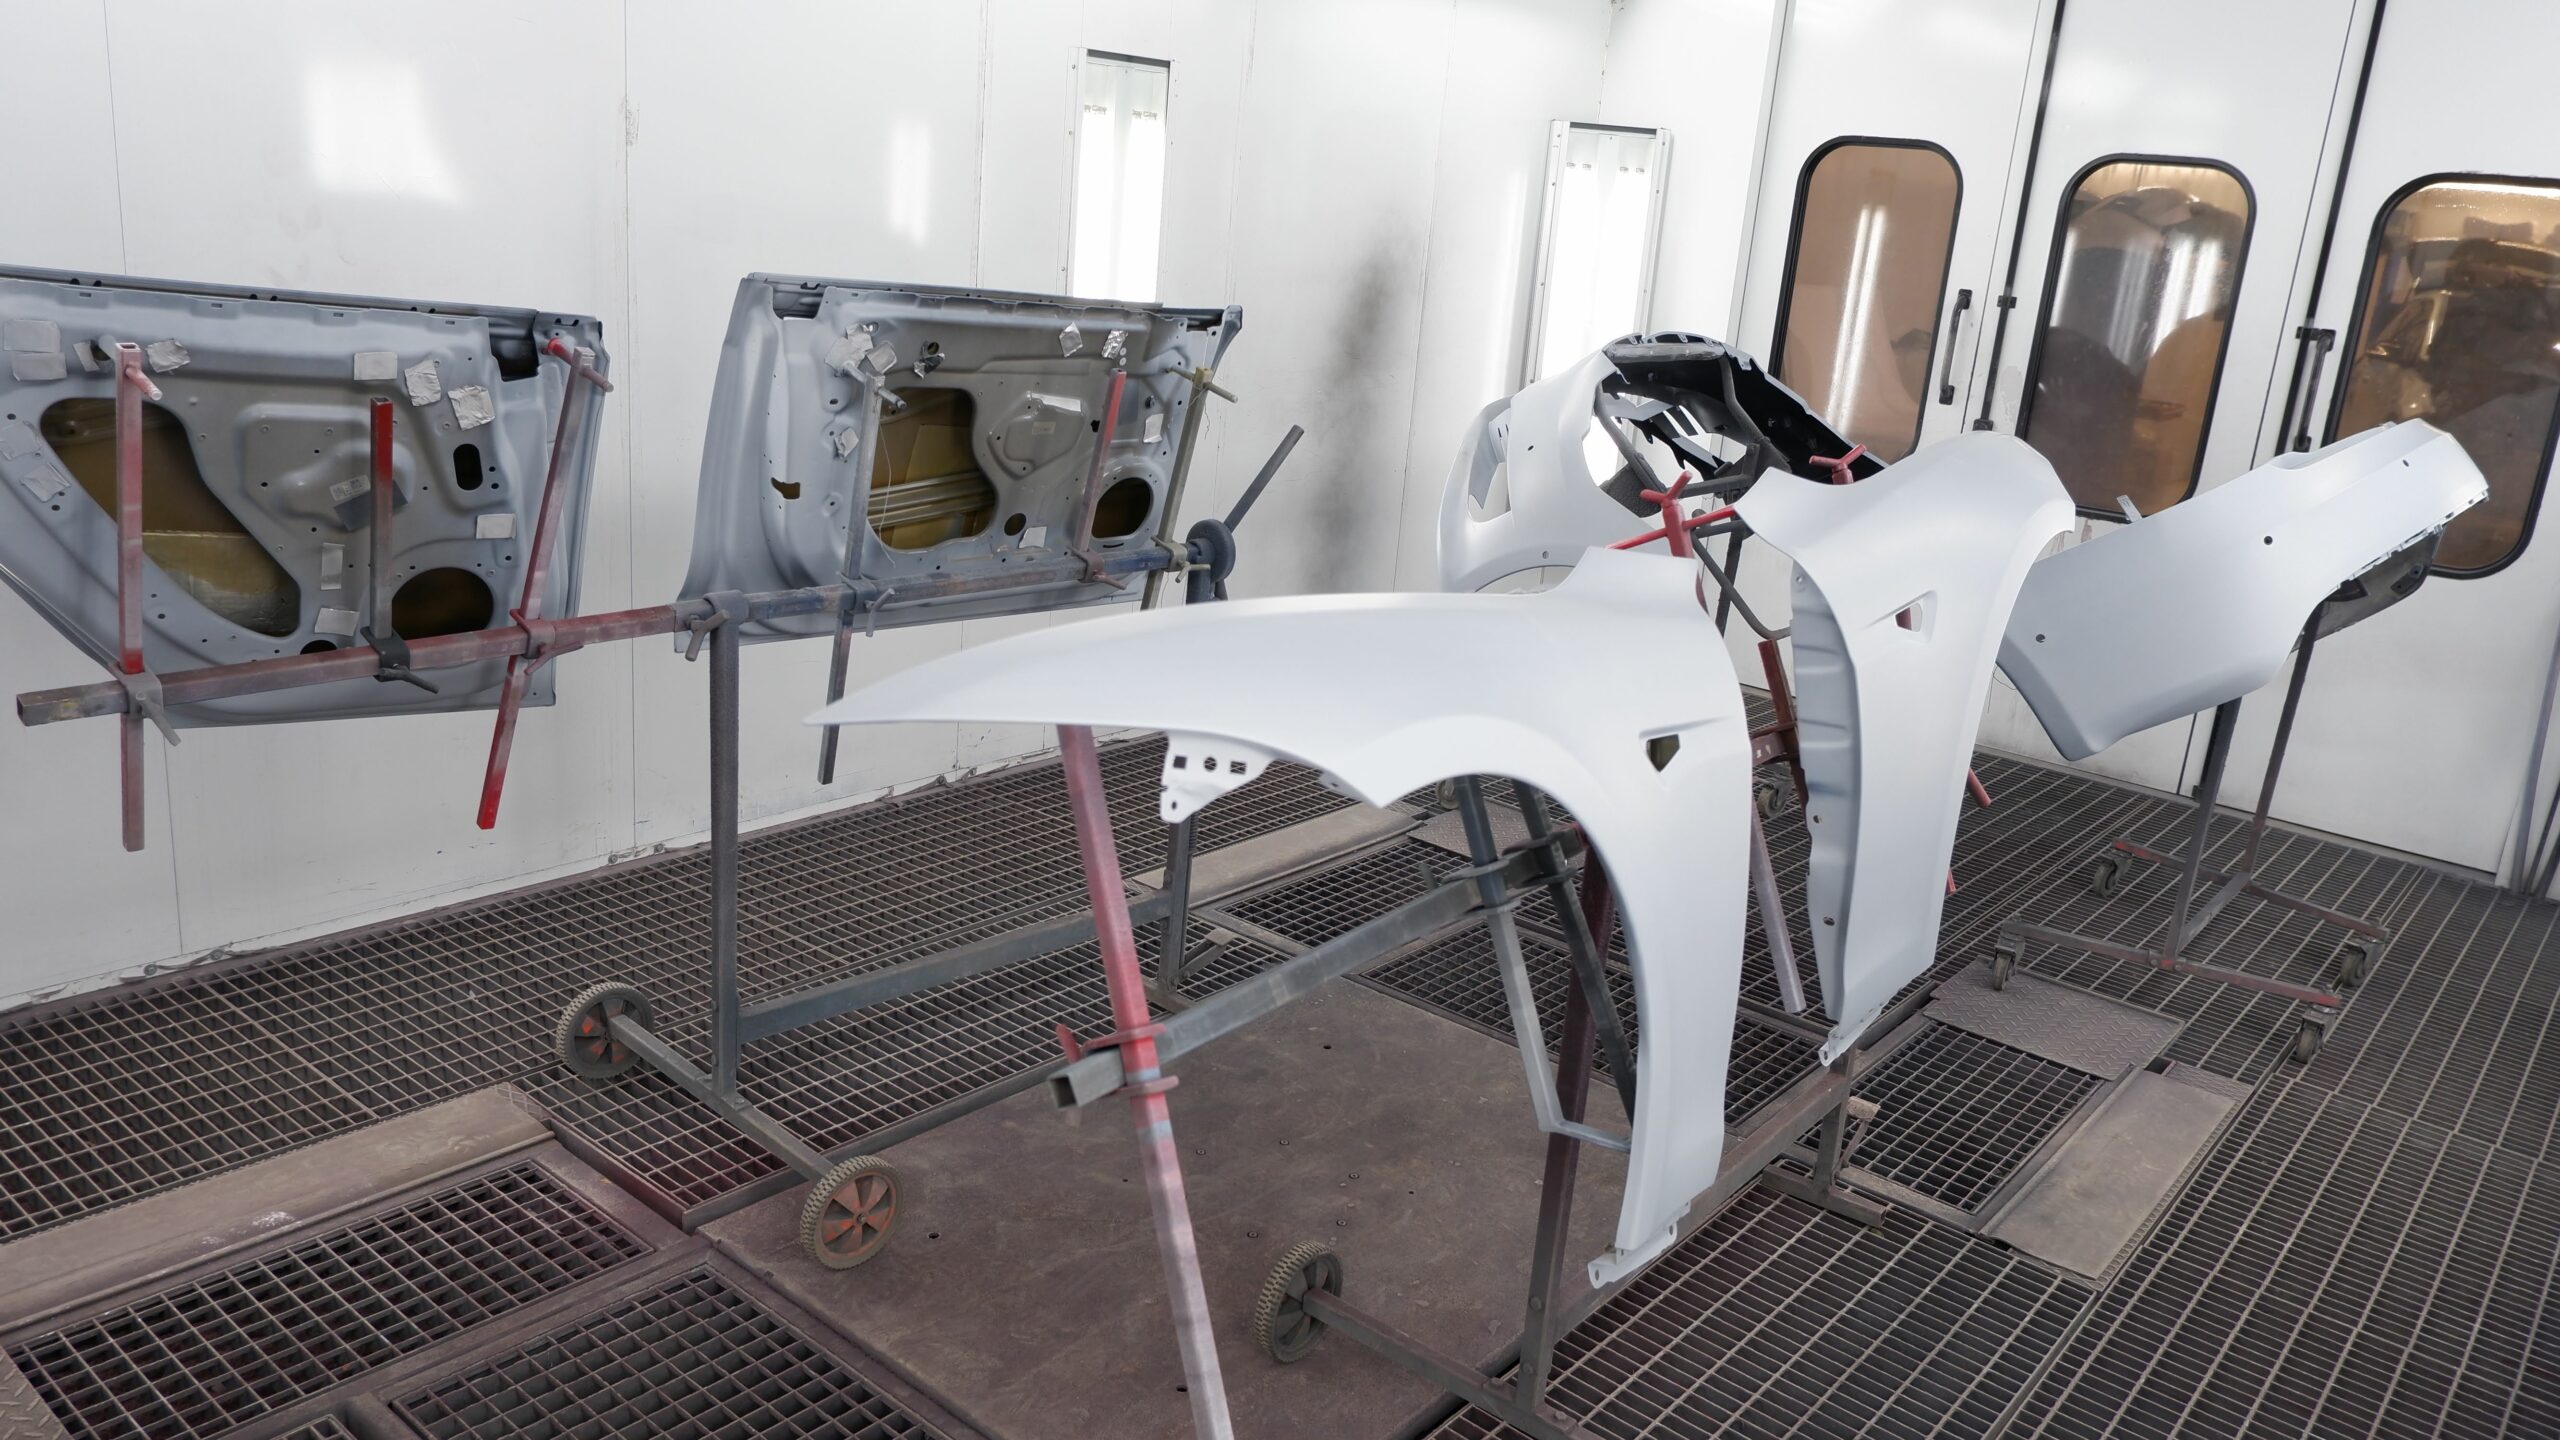
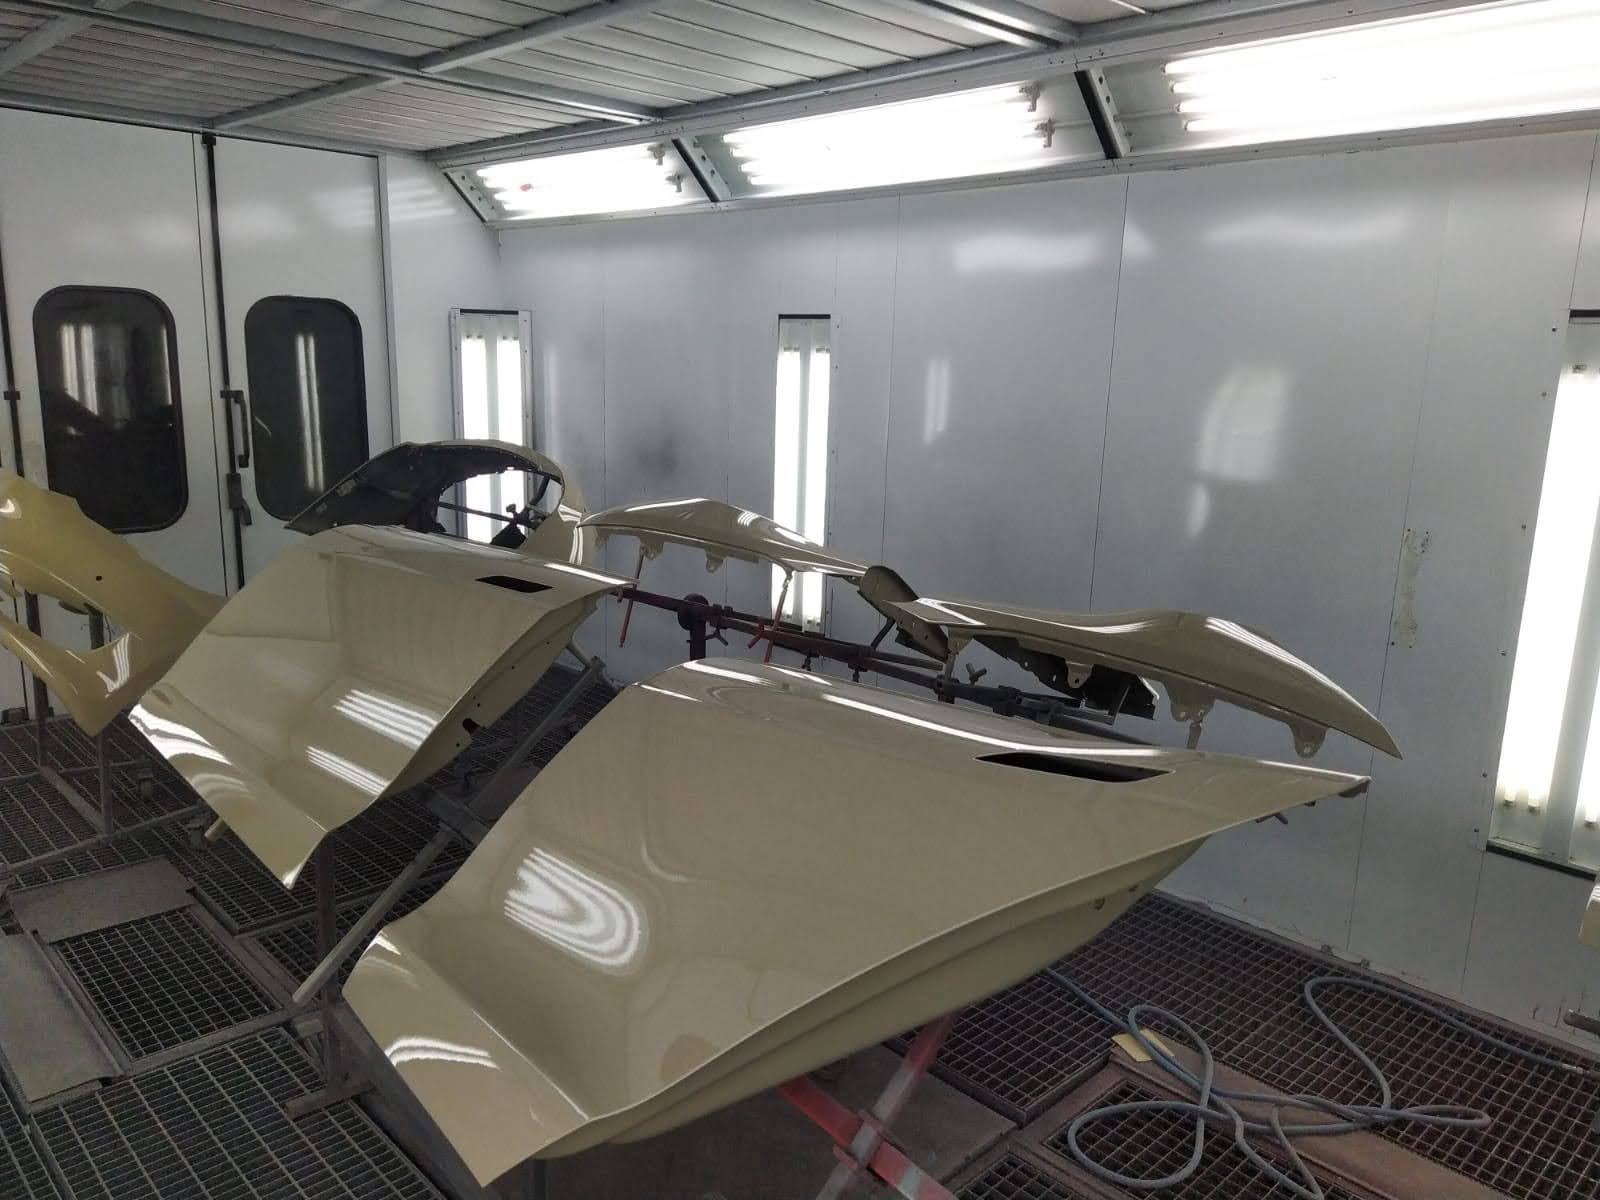
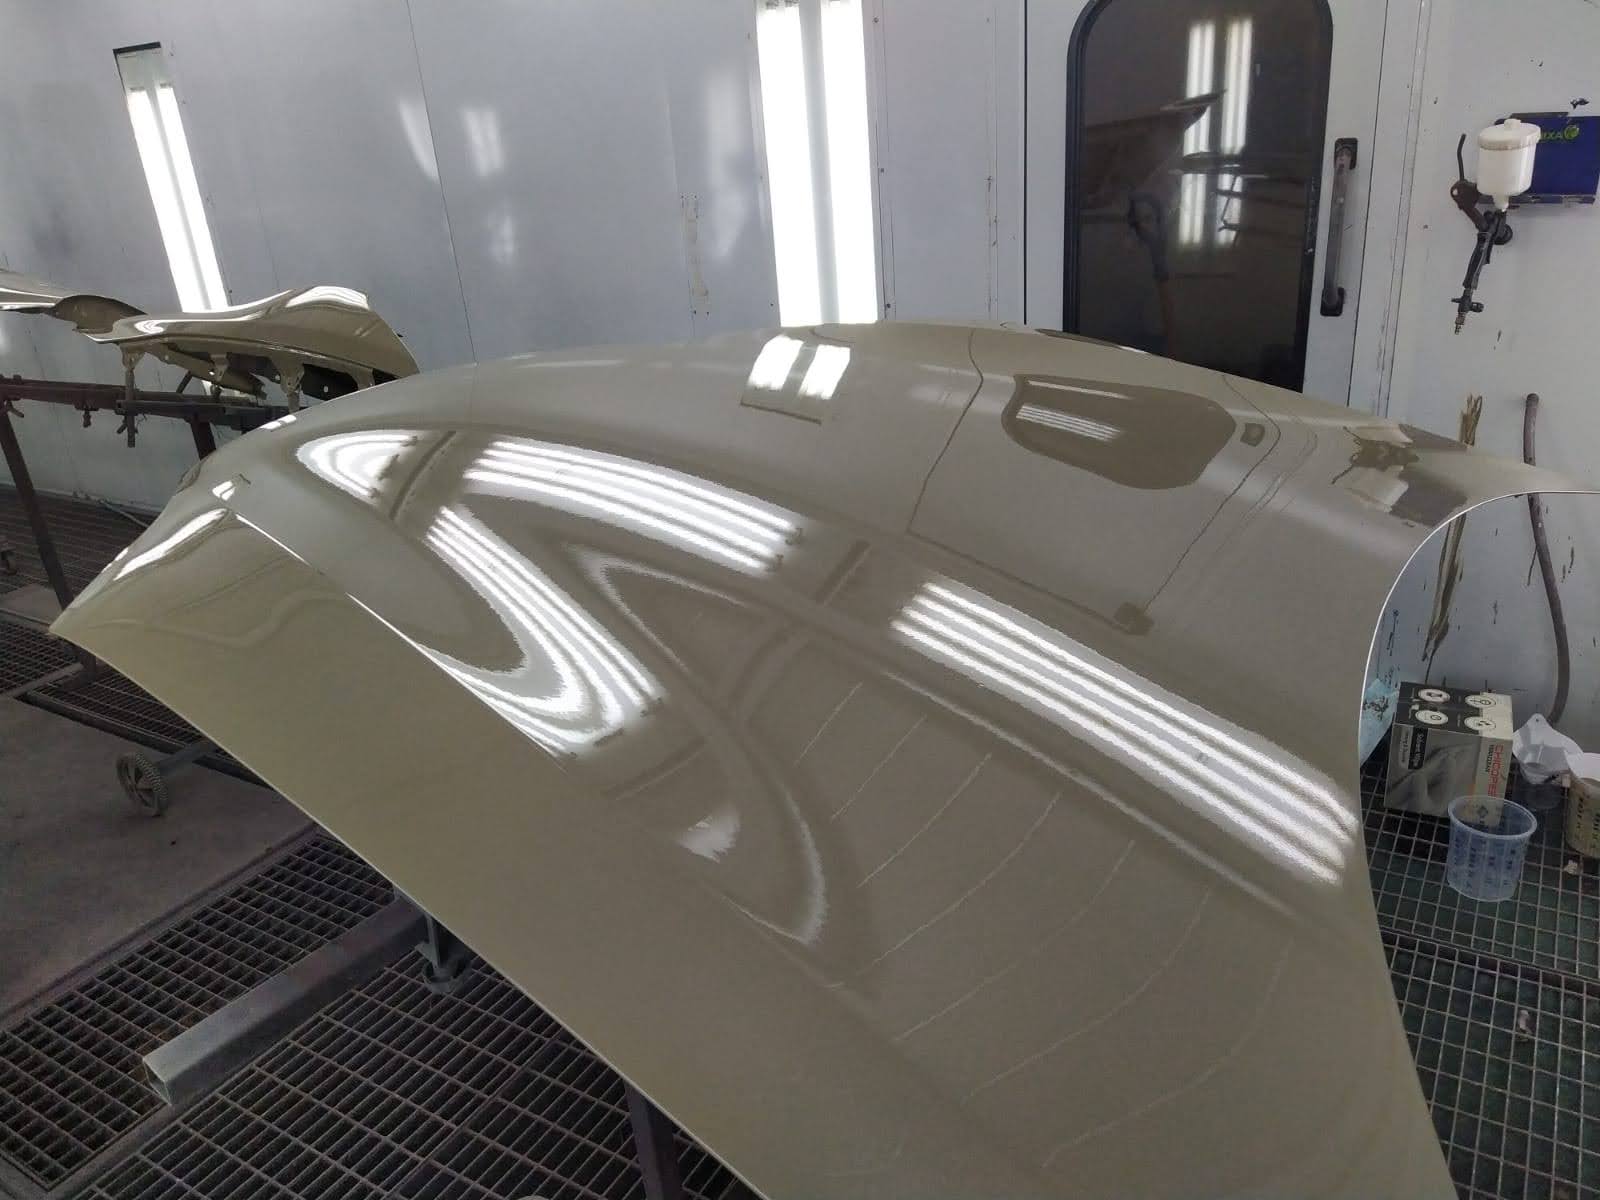
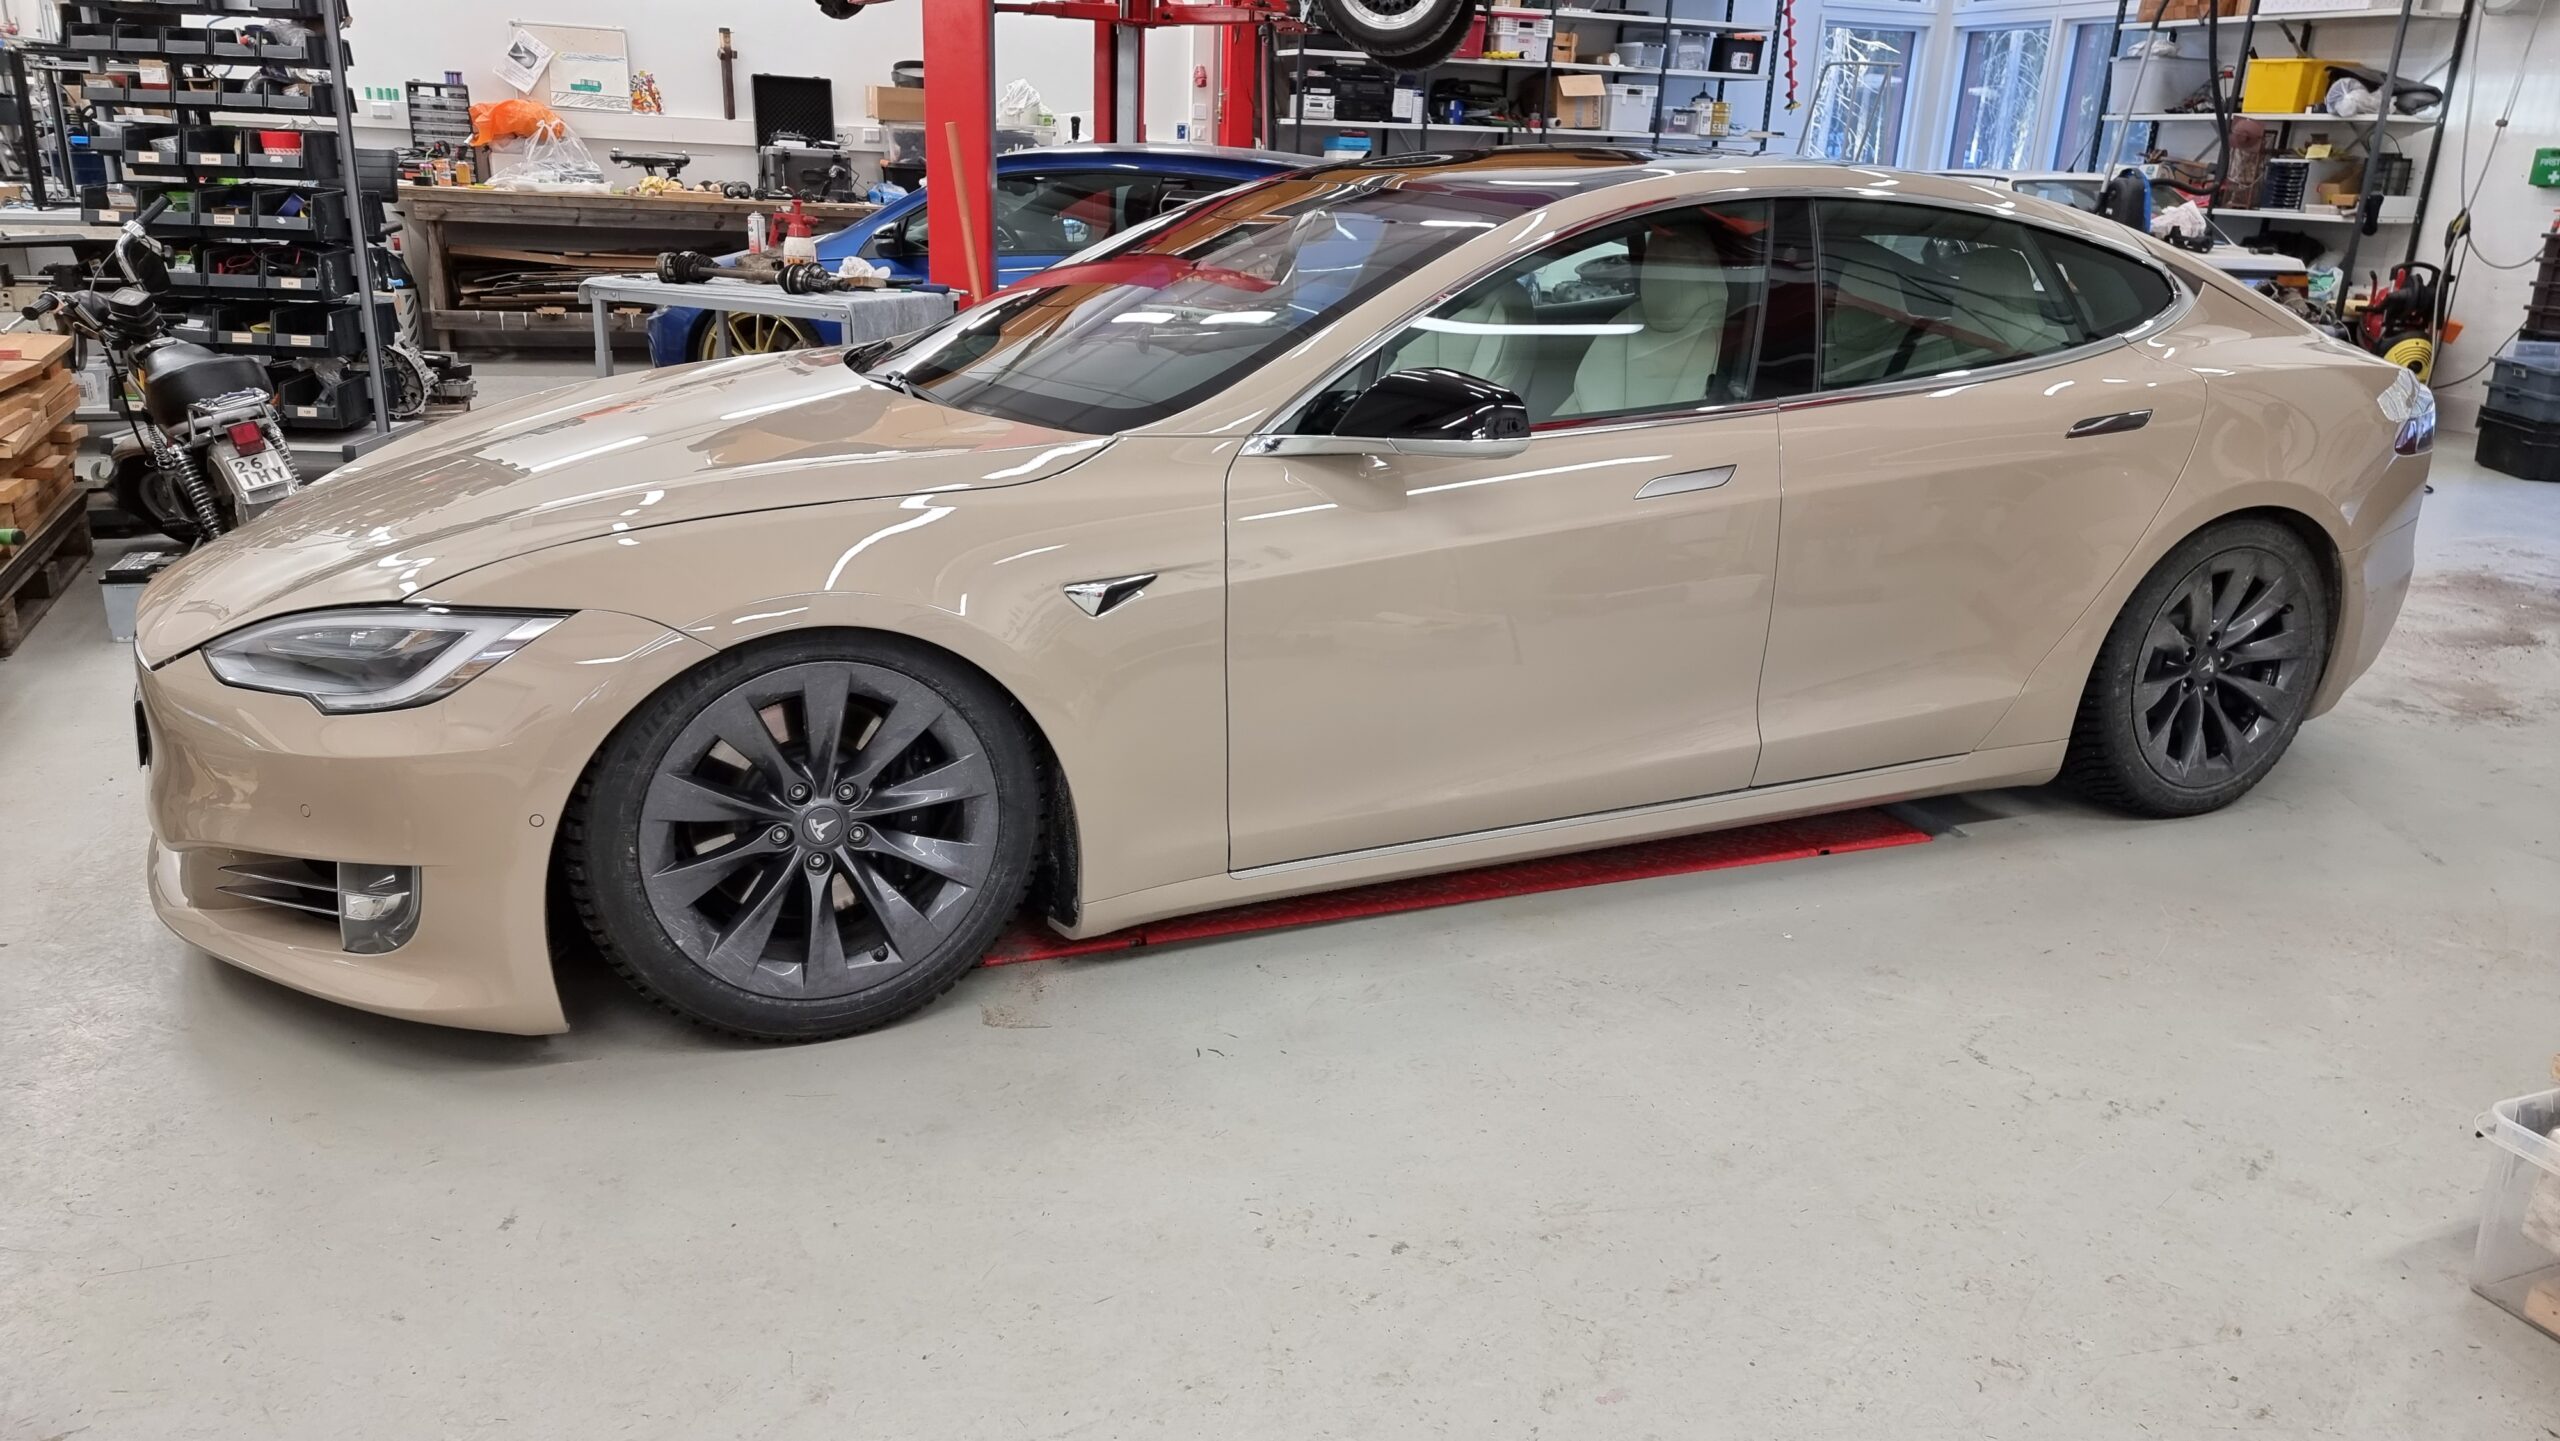
Looking good with bags empty and 10cm blocks of wood on the lifting locations. The wheels are 9,5x21 ET 32. Also applied a Ceramic Pro coating on a new paint.

New front strut. Only need to use the cable from the original one.

Some people told that the suspension needs to be calibrated after changing a strut but that's not correct. Just replace and drive. For two days. Then failed the rear end...

Parked. The rear might be a bit too low...

While driving on a bag surface there was some weird noise coming from the back. Just like an exhaust was hitting rear axle on a classic car. While driving kids to school one morning there was a small pop from the rear and some whooshy sound after that... and rear down completely. That's how a rear bag failed. Was too lazy to figure out where that weird clatter sound was coming.

Rear strut disassasmbled.

This time I decided to study what was going on with the struts. I was hopefuly to be able to change only the airbag. Couldn't find the replacement anywhere.

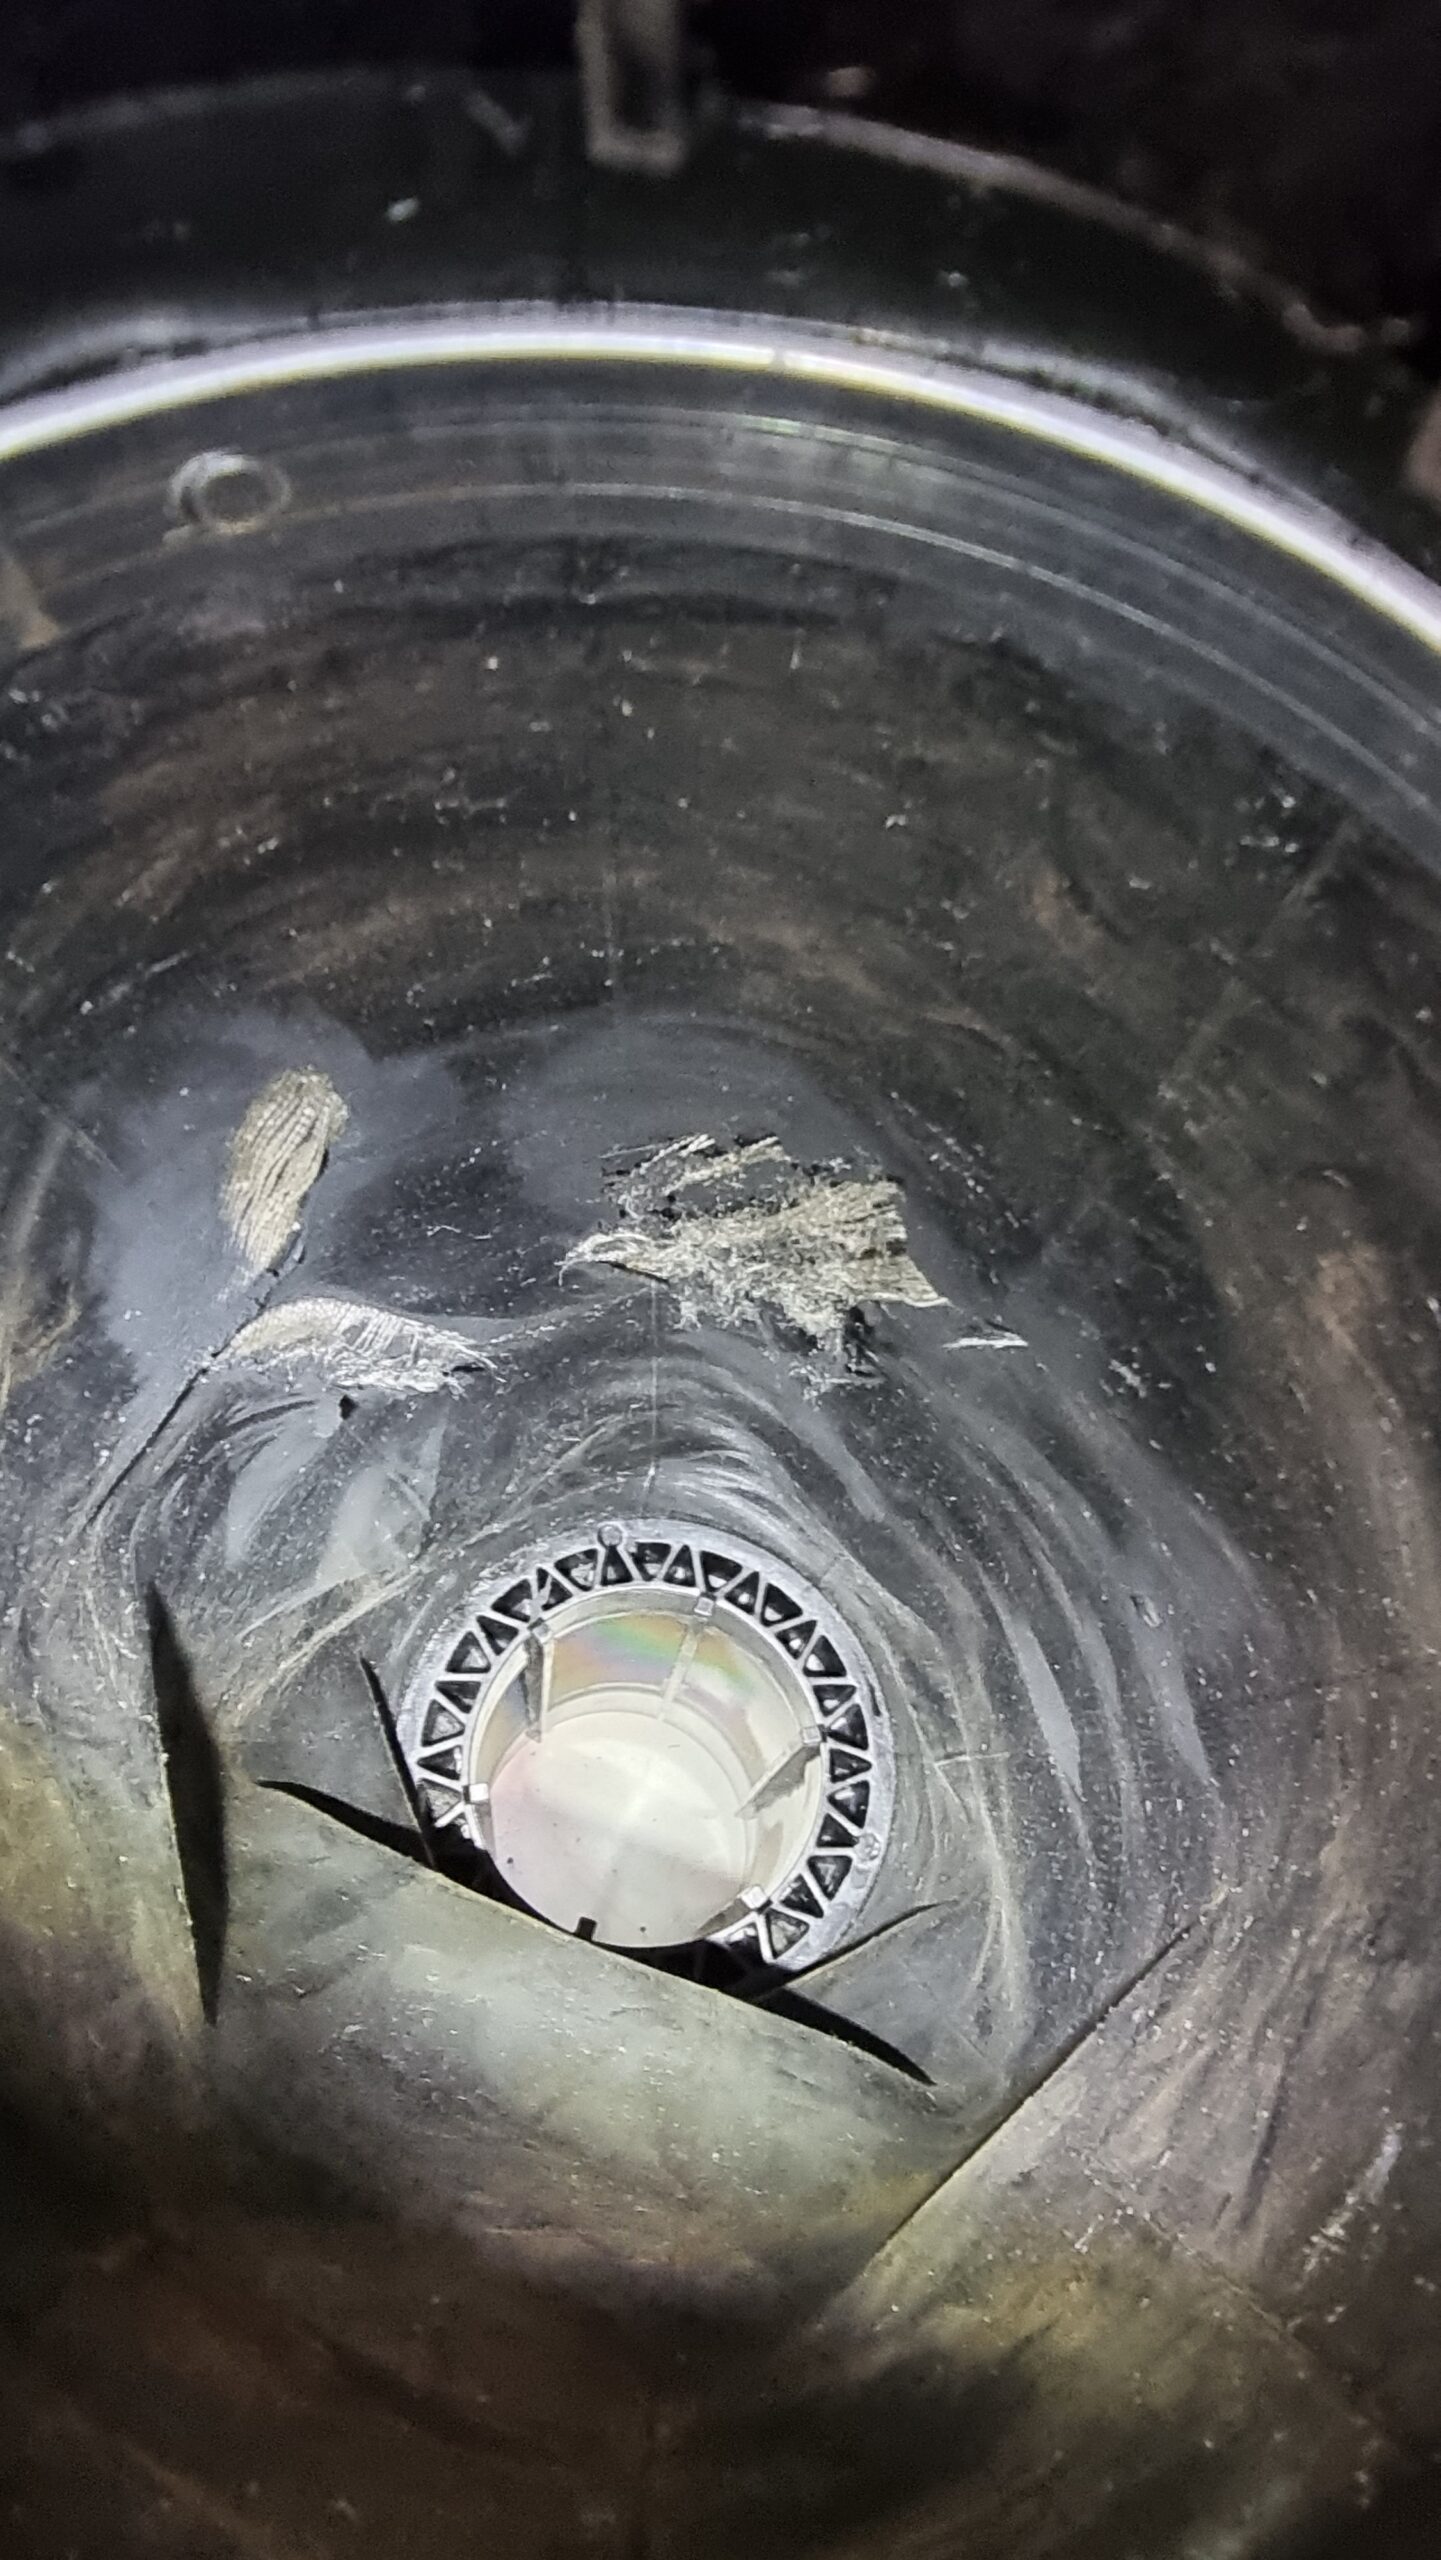
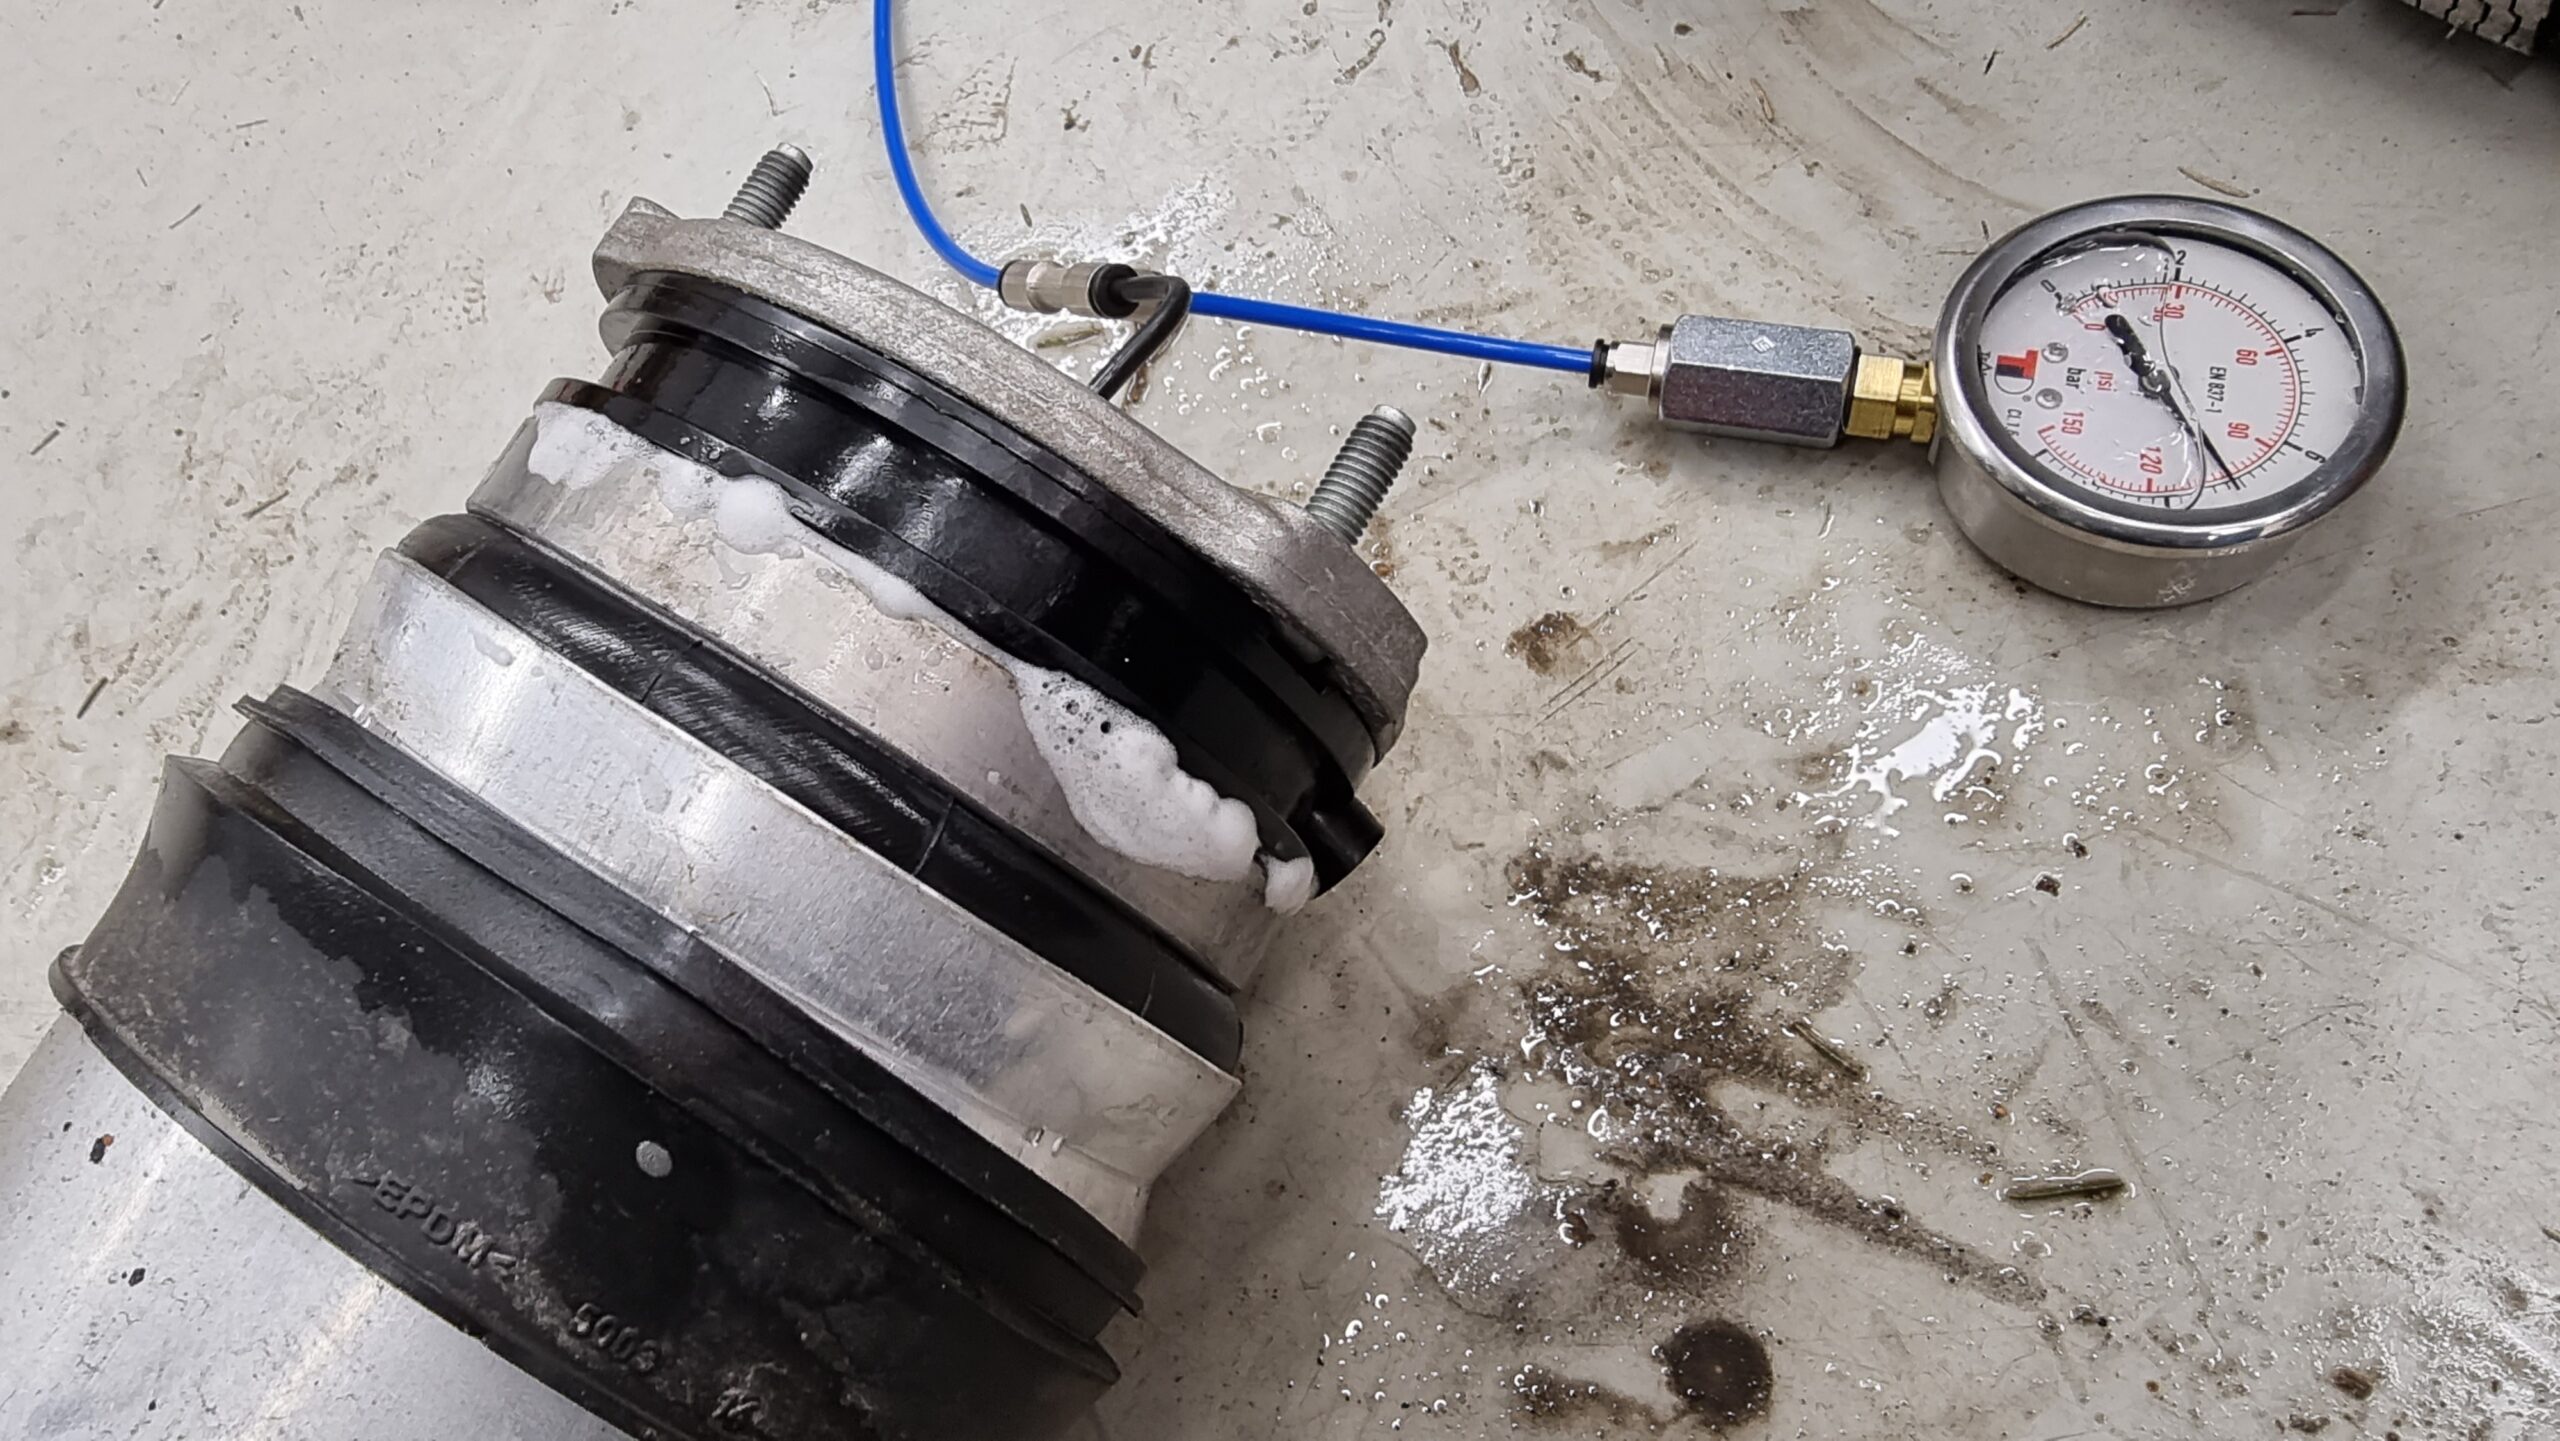
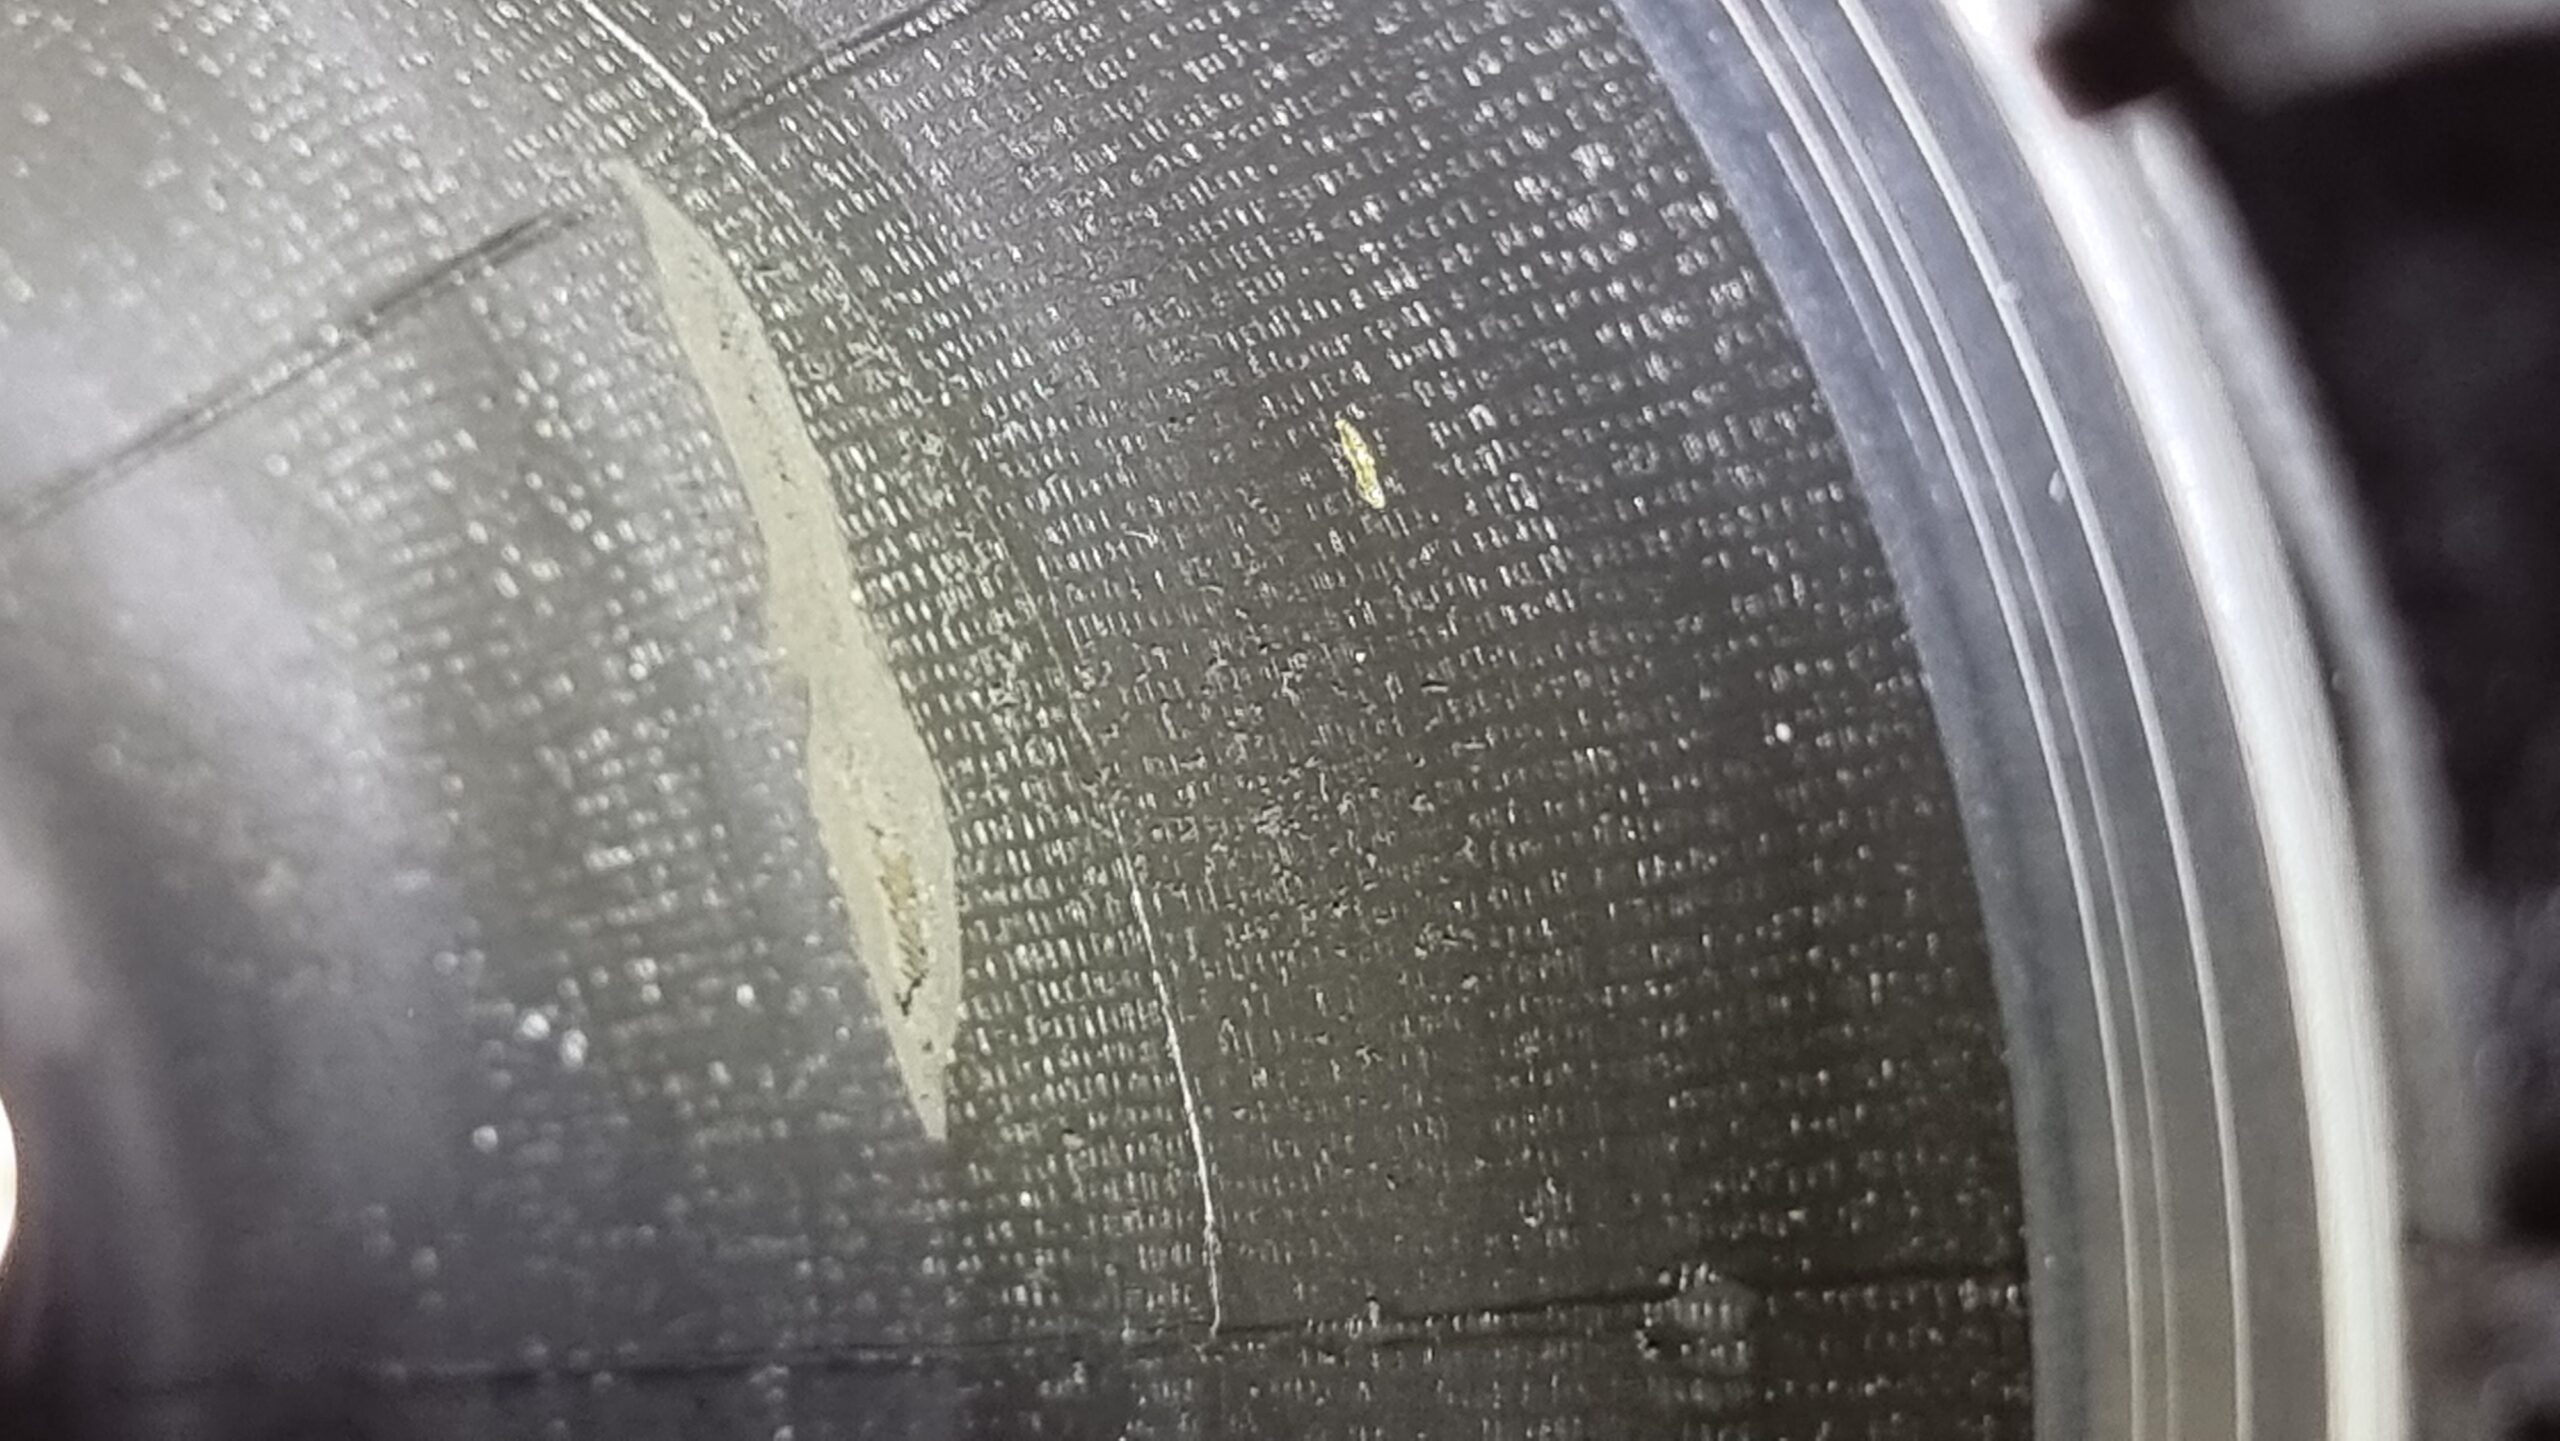
Apparently the bag had been somehow wrinkled wihen the car was down and we applied pressure to the system. The bag had remained wrinkled inside the aluminum tube housing and couldn't straigthen up and while driving it eventually rubbed broken. That's another 1500 eur well spent! This time a new part was found from Tesla's local warehouse and didn't need to wait two weeks for a new part like with front strut.

Like this was not enough - after a few weeks of driving the front started to drop again... this time the reason was on driver side.

I did not care to check the front end while working on the rear. Also the front bag had somehow misaligned inside the aluminum housing. This had caused the bag to slowly rub itself broken. Probably this is the reason why the passenger side also failed in the first place. Now I also understood why I heard some banging noises when first manually filling the system at the paintshop.

Front strut disassembled.
Some rubbing inside the airbag. Leak is not big but probably this could not be repaired so I decided to order yet another new strut.

After spending 4500 eur for new struts I can really say I learned my lession on how to fill a completely deflated air suspension. An advice for all - try to fill the system while the car is at a lift.

I now have three good shocks waiting if some day there are aftermarket bags available for these adaptive air suspension struts.
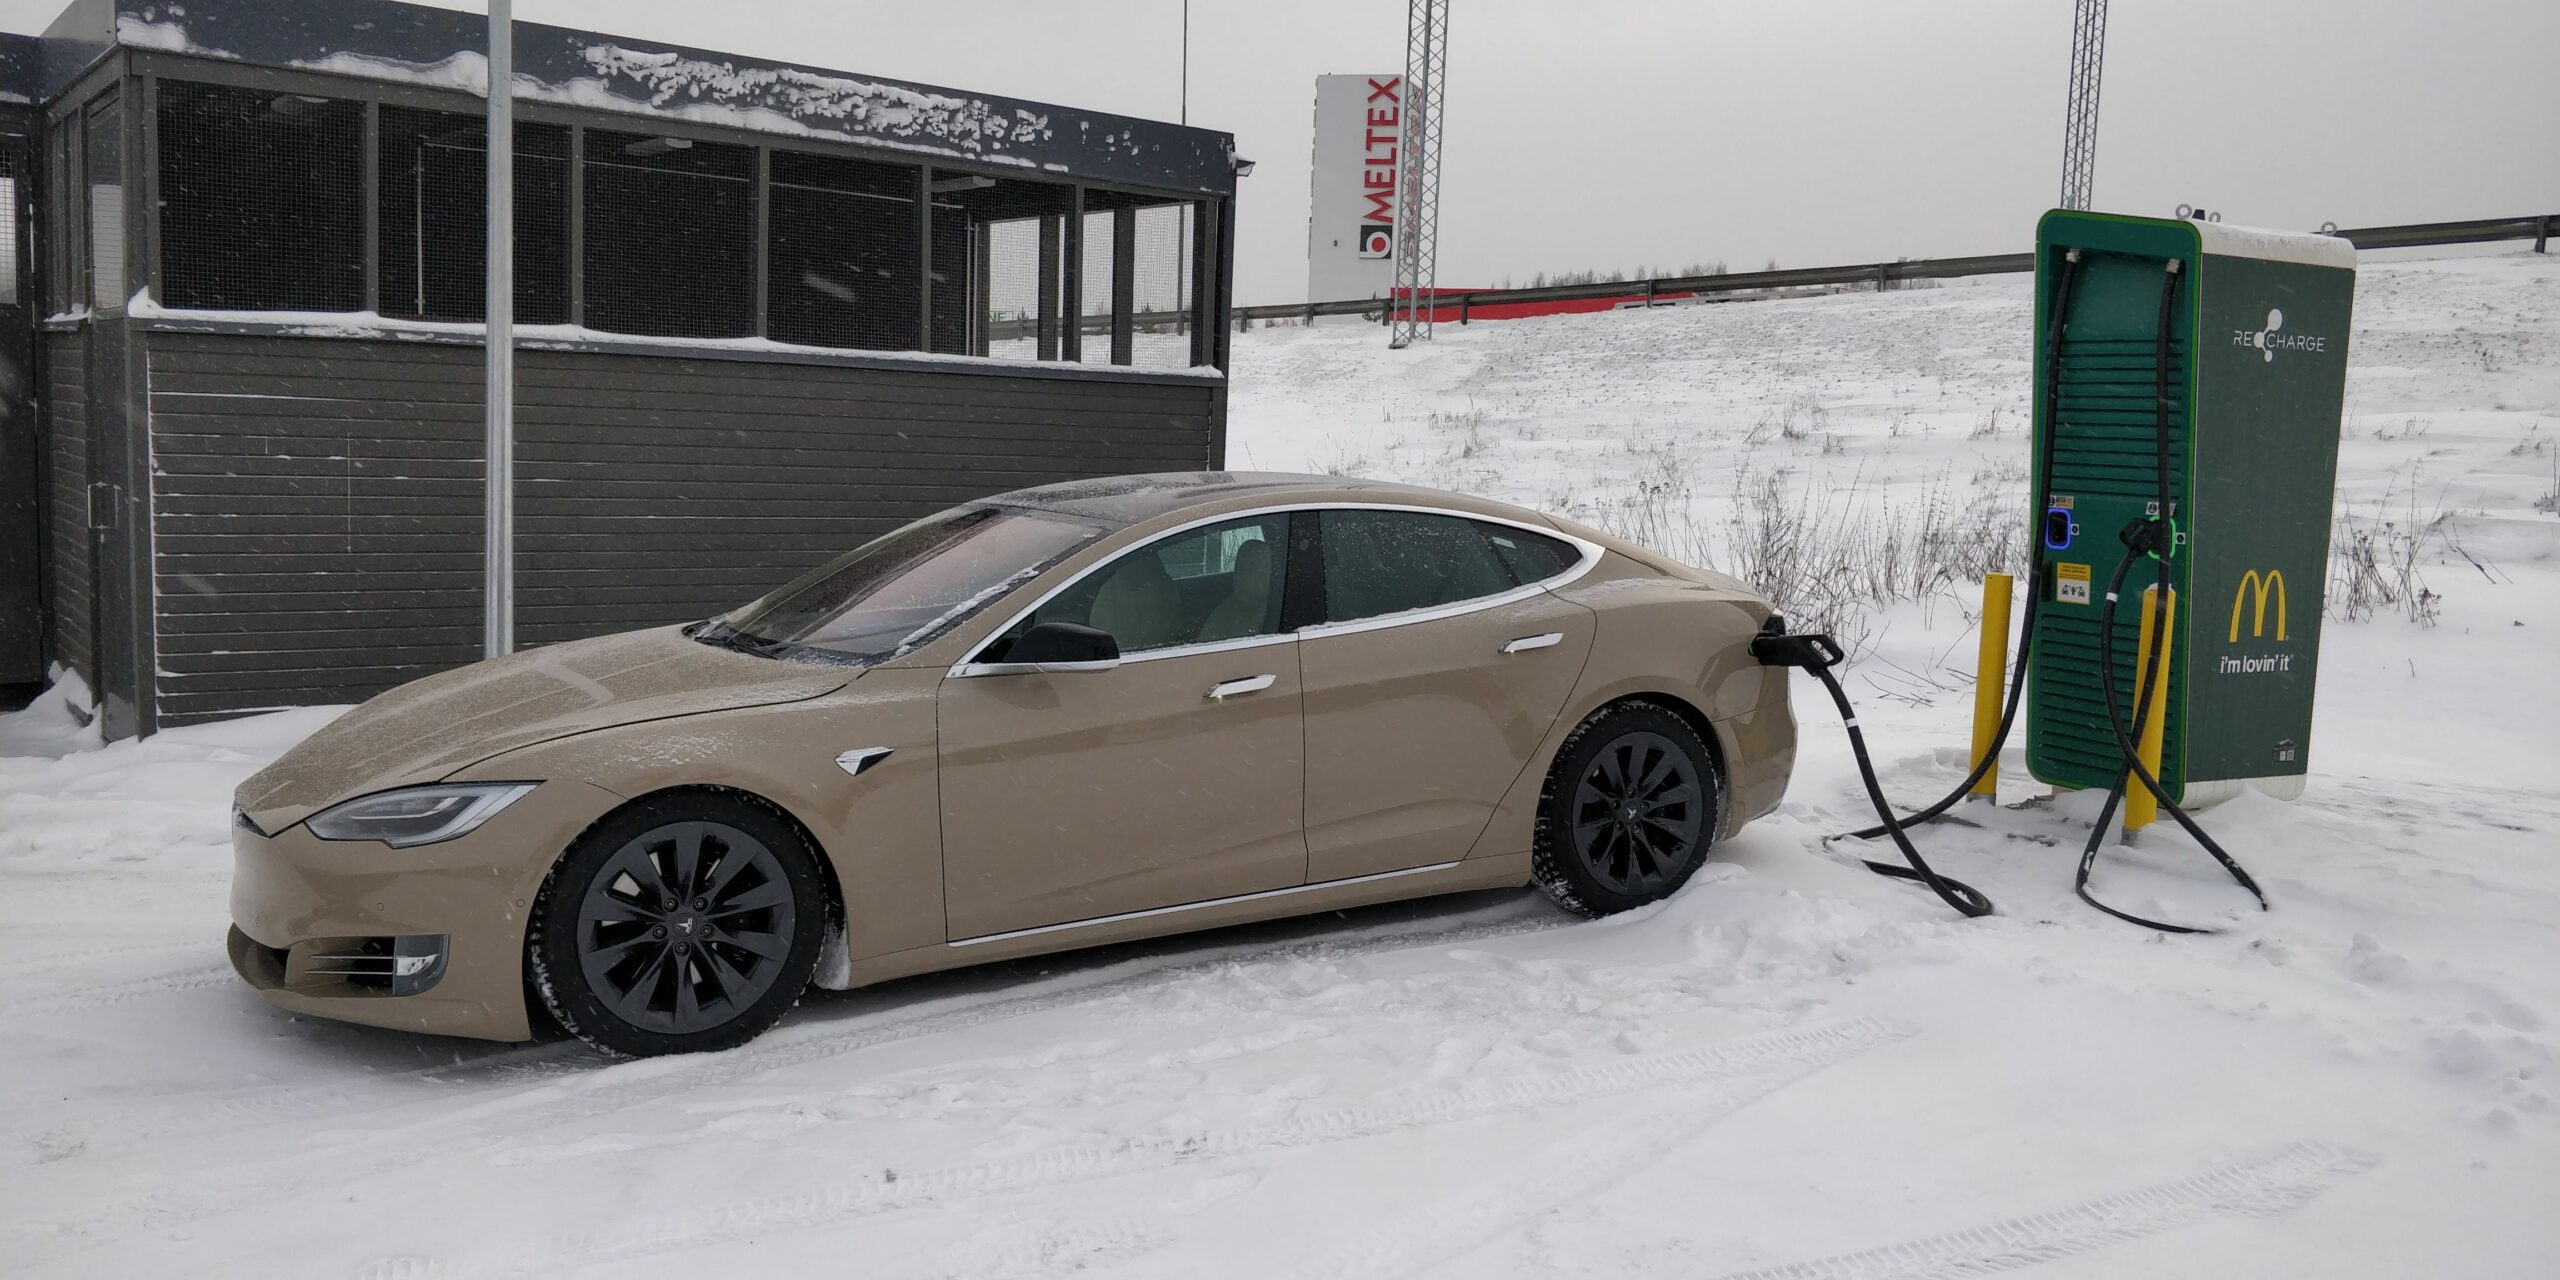
Fast charging works

Although Tesla disabled Supercharging, other fast charging is till working on non-Tesla DC chargers. That can be seen on car's config on Factory Mode - when Fast Charging is 'Not Allowed', Other Fast Charging is still 'Allowed'. There's not been DC chargers on my neighborhood so charging has been almost completely AC charging at home.

At best I've charged at about 150kW, which I believe is the limit with the CCS adapter.

Afterwords

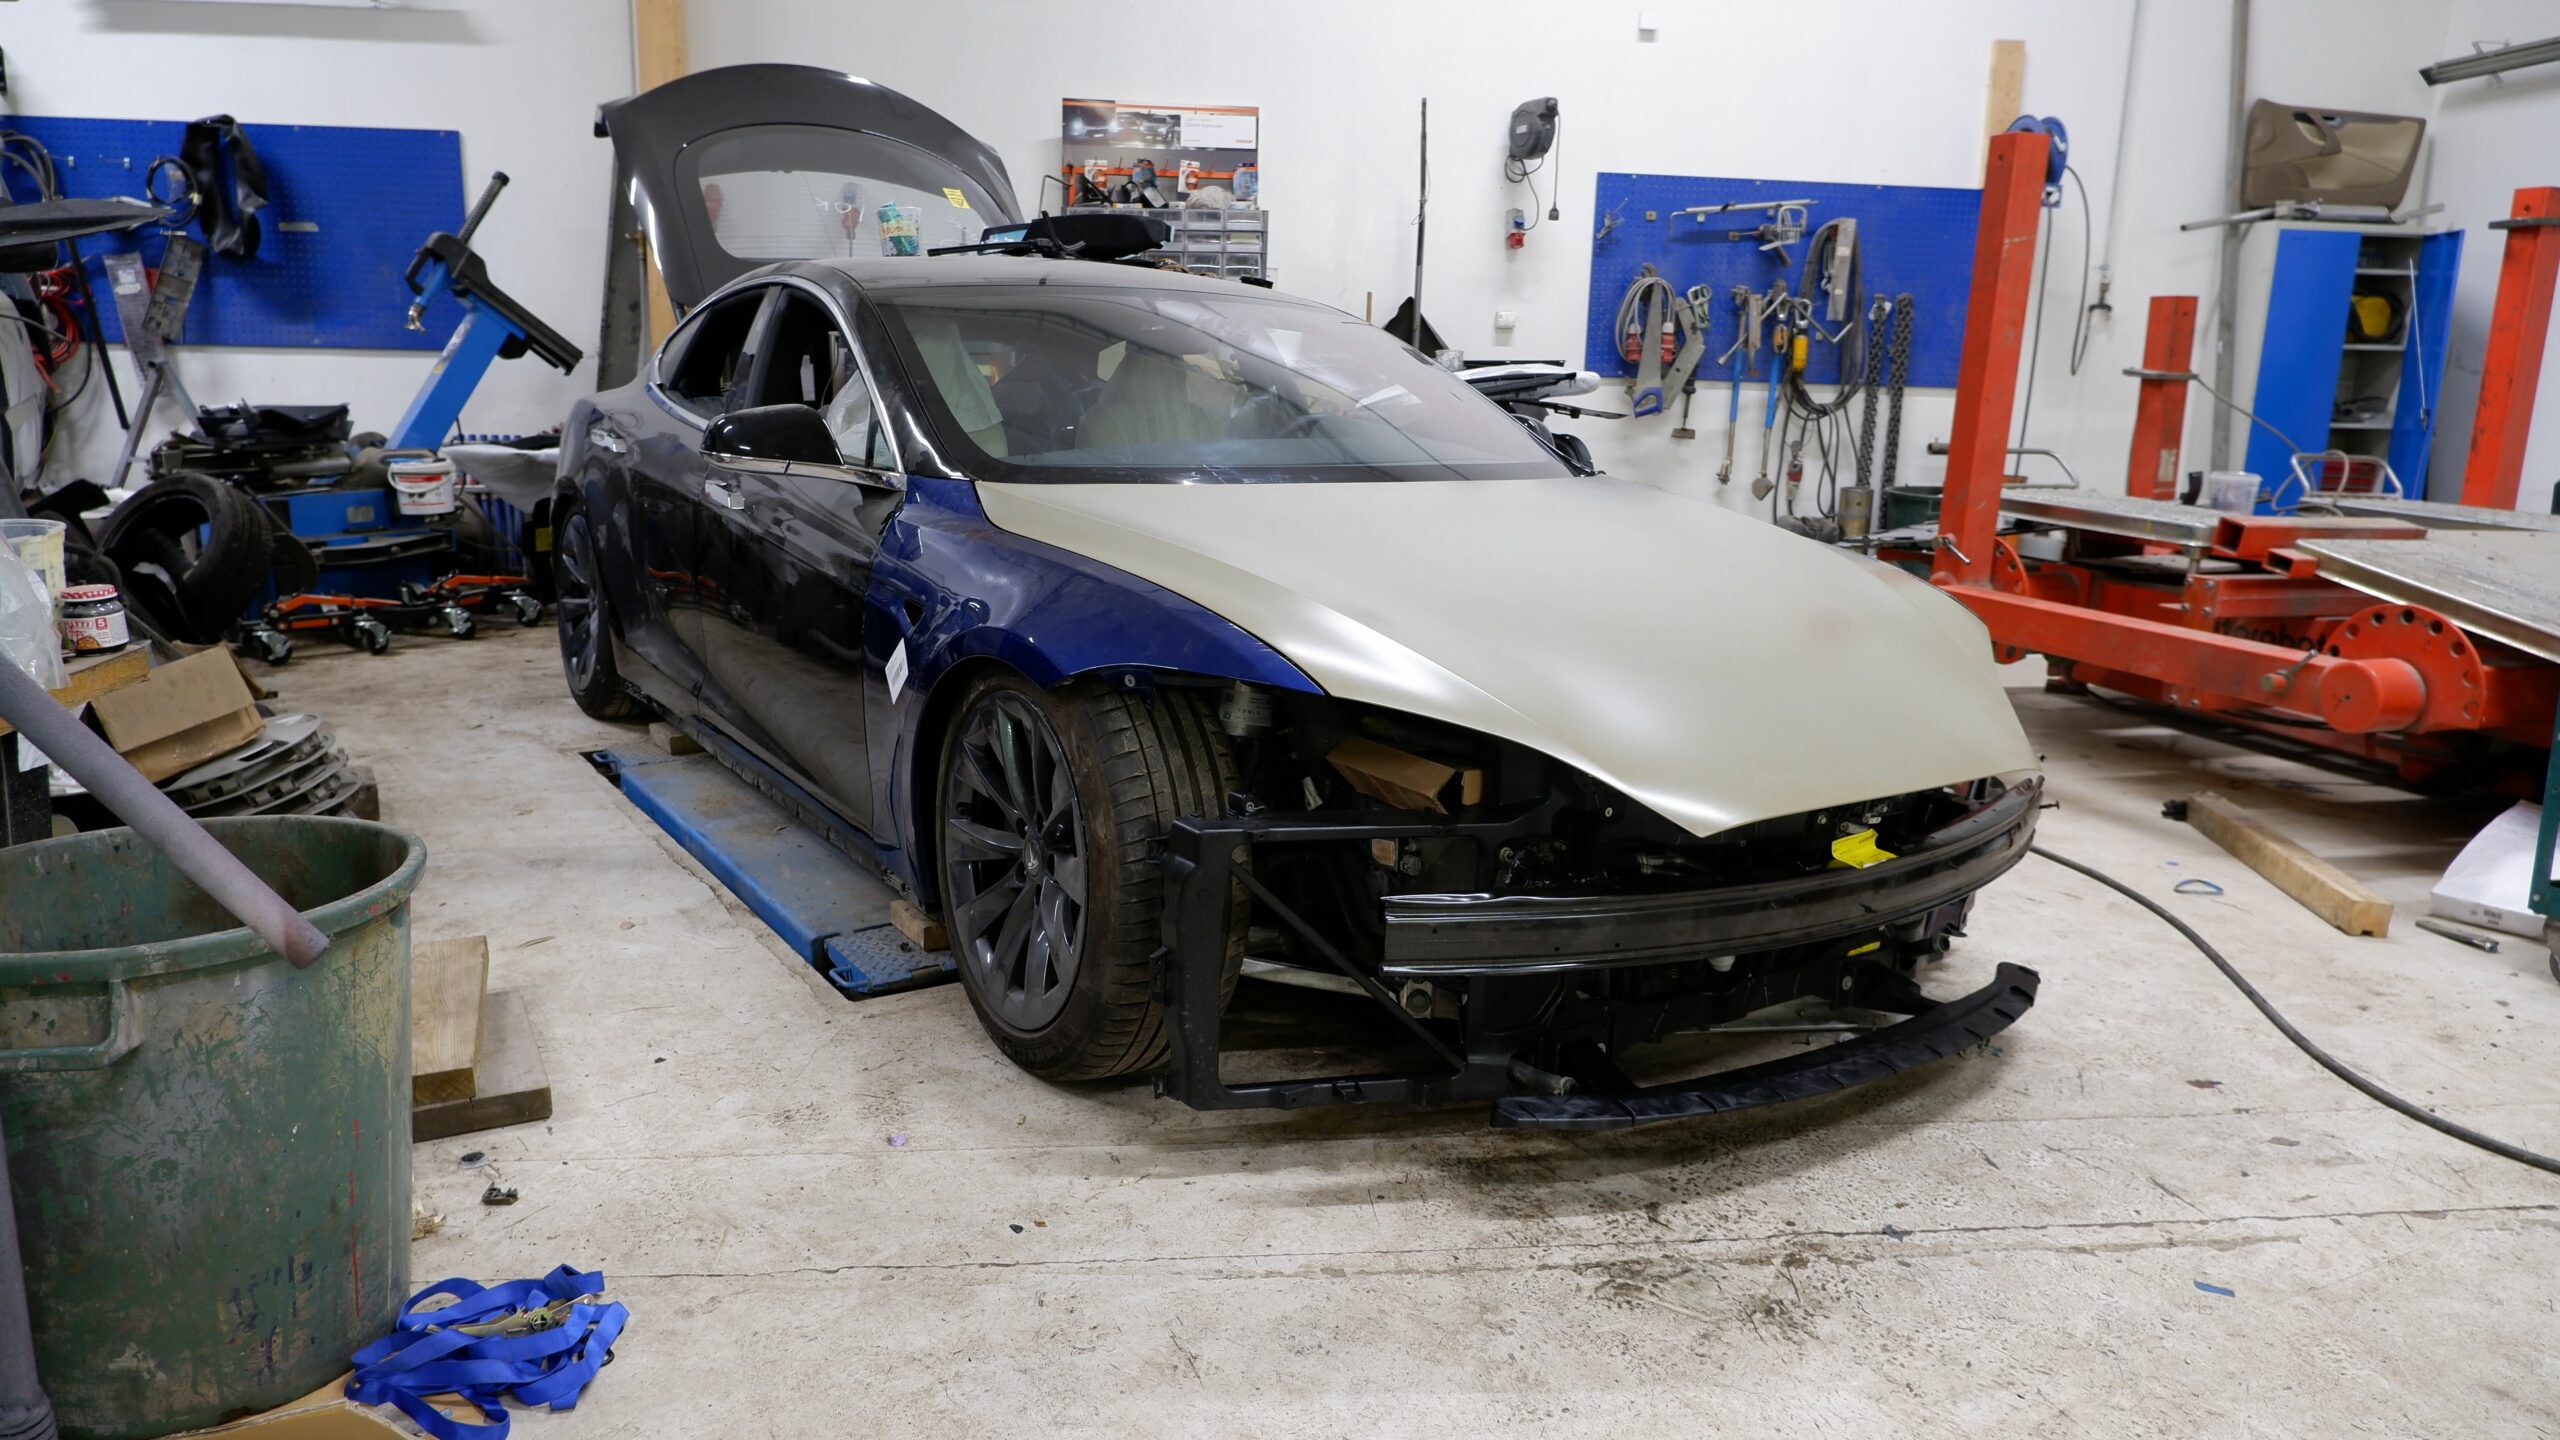
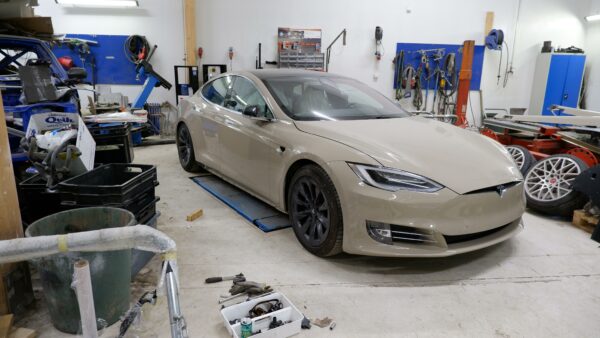
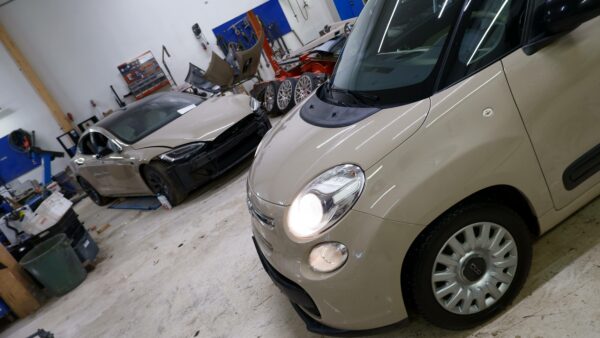
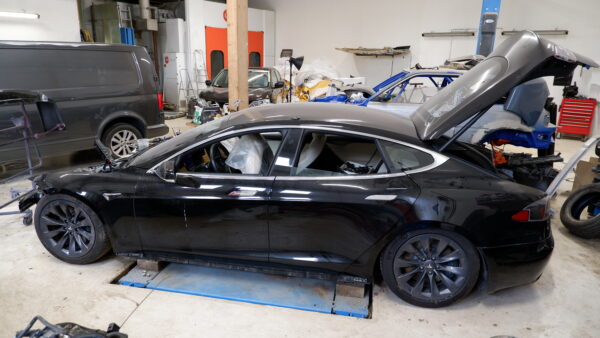
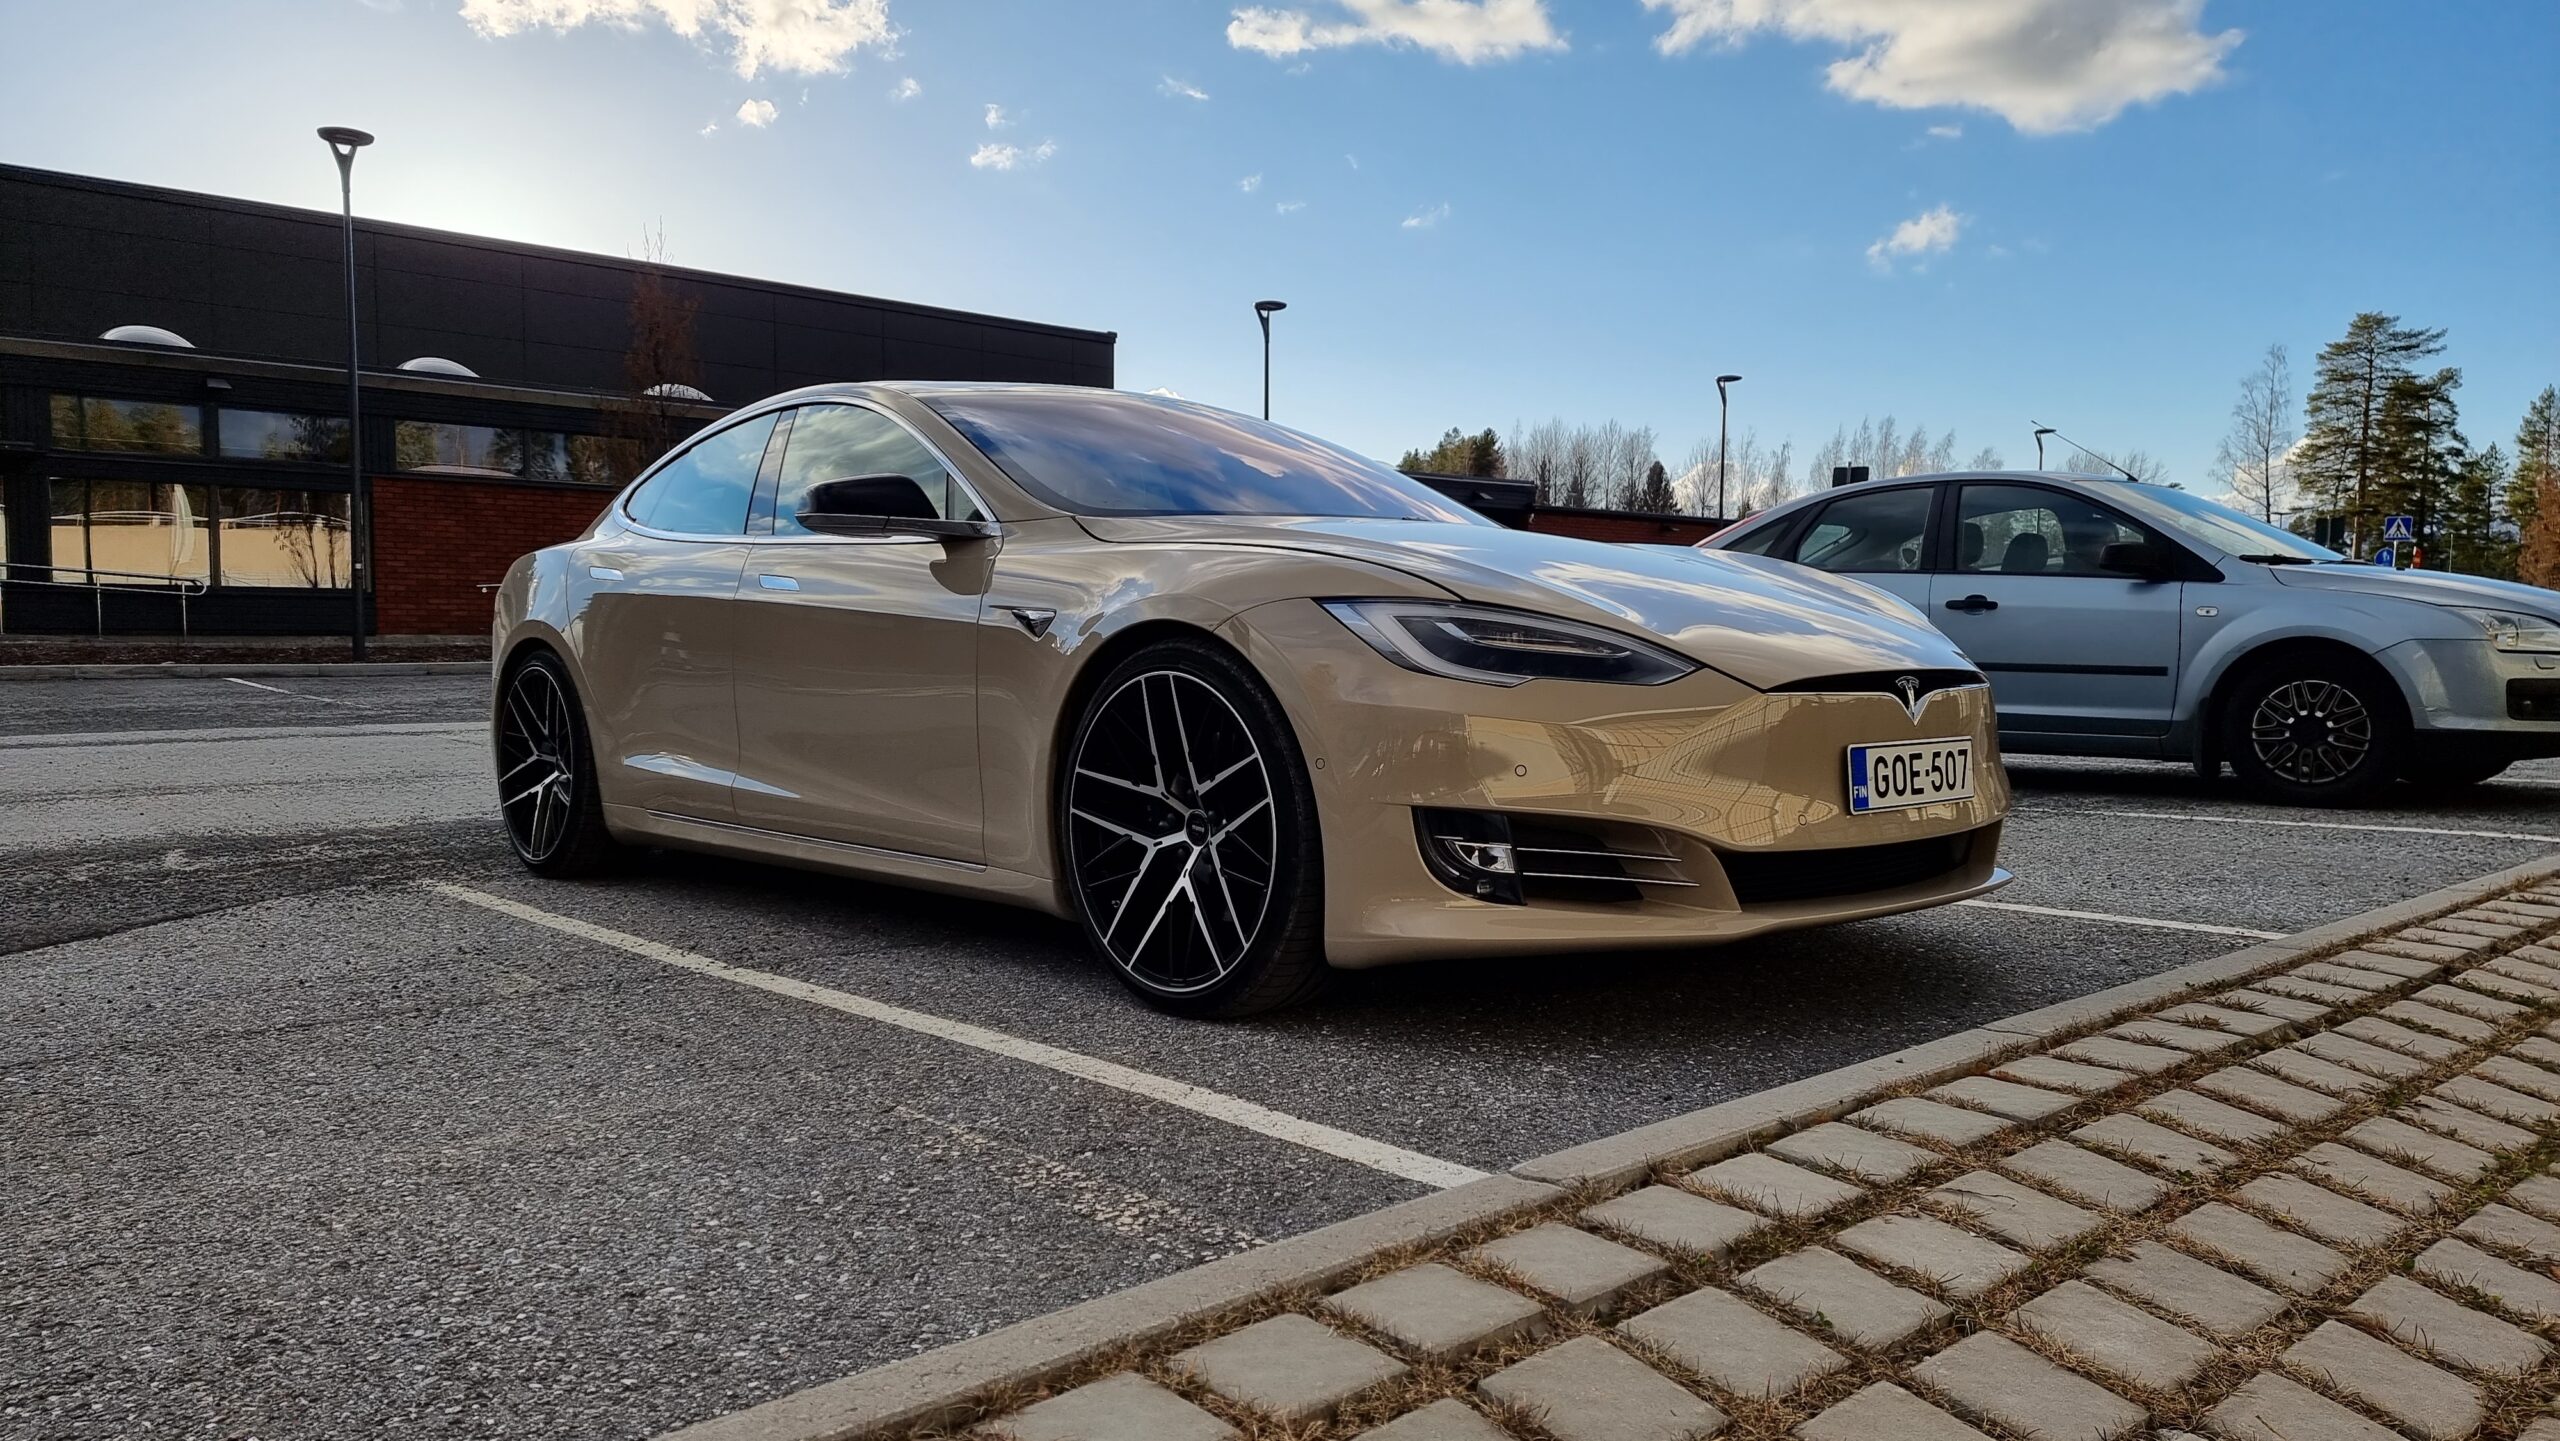
I'm writing this roughly a year later when I initially thought the car is ready. Just clear a few alerts and do the inspection. In practise I've driven the car since May 2021. Bought this for my own use and planning to keep it for a long time.. if something more appealing does not show up. Model S is a really nice car - especially being a ten year old model - and if you forget there's really limited service nework and for enthusiasts it's quite difficult to work with these cars.

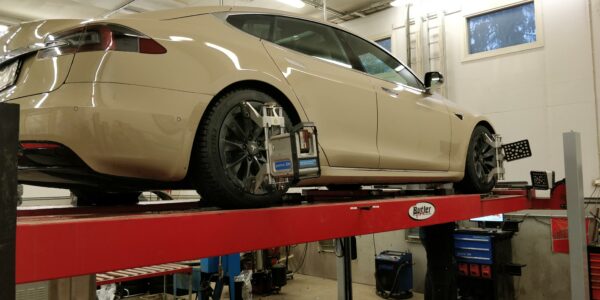
During sring 2021 we also purhcased some diagnostic tools for Autokierrätys L&G to be able to do more with these cars - like put the car into Factory mode etc. However, Tesla keeps making life more difficult on updates - for example these new Intel based cars are really tricky to work with other than factory tools.

Speaking of factory tools - Tesla finally opened up access to Toolbox at fall of 2021. It's an external version so I assume they can still do more at official service center.

During a year we have learned so much about Teslas and now able to offer all kinds of services and repairs together with Autokierrätys L&G. We have for example replaced A/C compressors, repaired door handles and interior heater PTCs. All typical failure points of Model S.

Although my car does not have any warranty left, I feel not anguished. I feel whatever comes up, we can repair it. We have more and more contacts all over the world now. We support Right-to-repair and ready to do a bit more work to get the cars running without special tools from Tesla service. Life without Supercharging has not been an issue. There's been one single time it would have been nice to charge at SC. There's so many HPC chargers around and even cheaper than Tesla's. After all, we got this car ready and repaired way cheaper than buying similar non-damaged Tesla.

During fall 2020 we also disassembled one Model S battery pack to learn more. The battery was fully working but there was structural damage on the housing. These modules are going to another application -and we now have experience on how to repair these as well - check https://akkuauto.fi/
Model S front motor disassembled. This is also going to a conversion project and opened for changing the direction of rotation. Perhaps a limited slip diff also...

Speaking of heating - during winter there's been a bit of an issue with interior heating. It's heating, but not at full power. You need to keep full heat and blower at high speed to keep the windscreen clear. Tesla's cabin heating is not really this bad. At the time of writing this issue has not been solved - we've tried replacing the PTC and checking all sensors. Also no alerts.

Hunting the issue with Toolbox. For some reason Target Duty is only 38,5% even at full heat is requested.

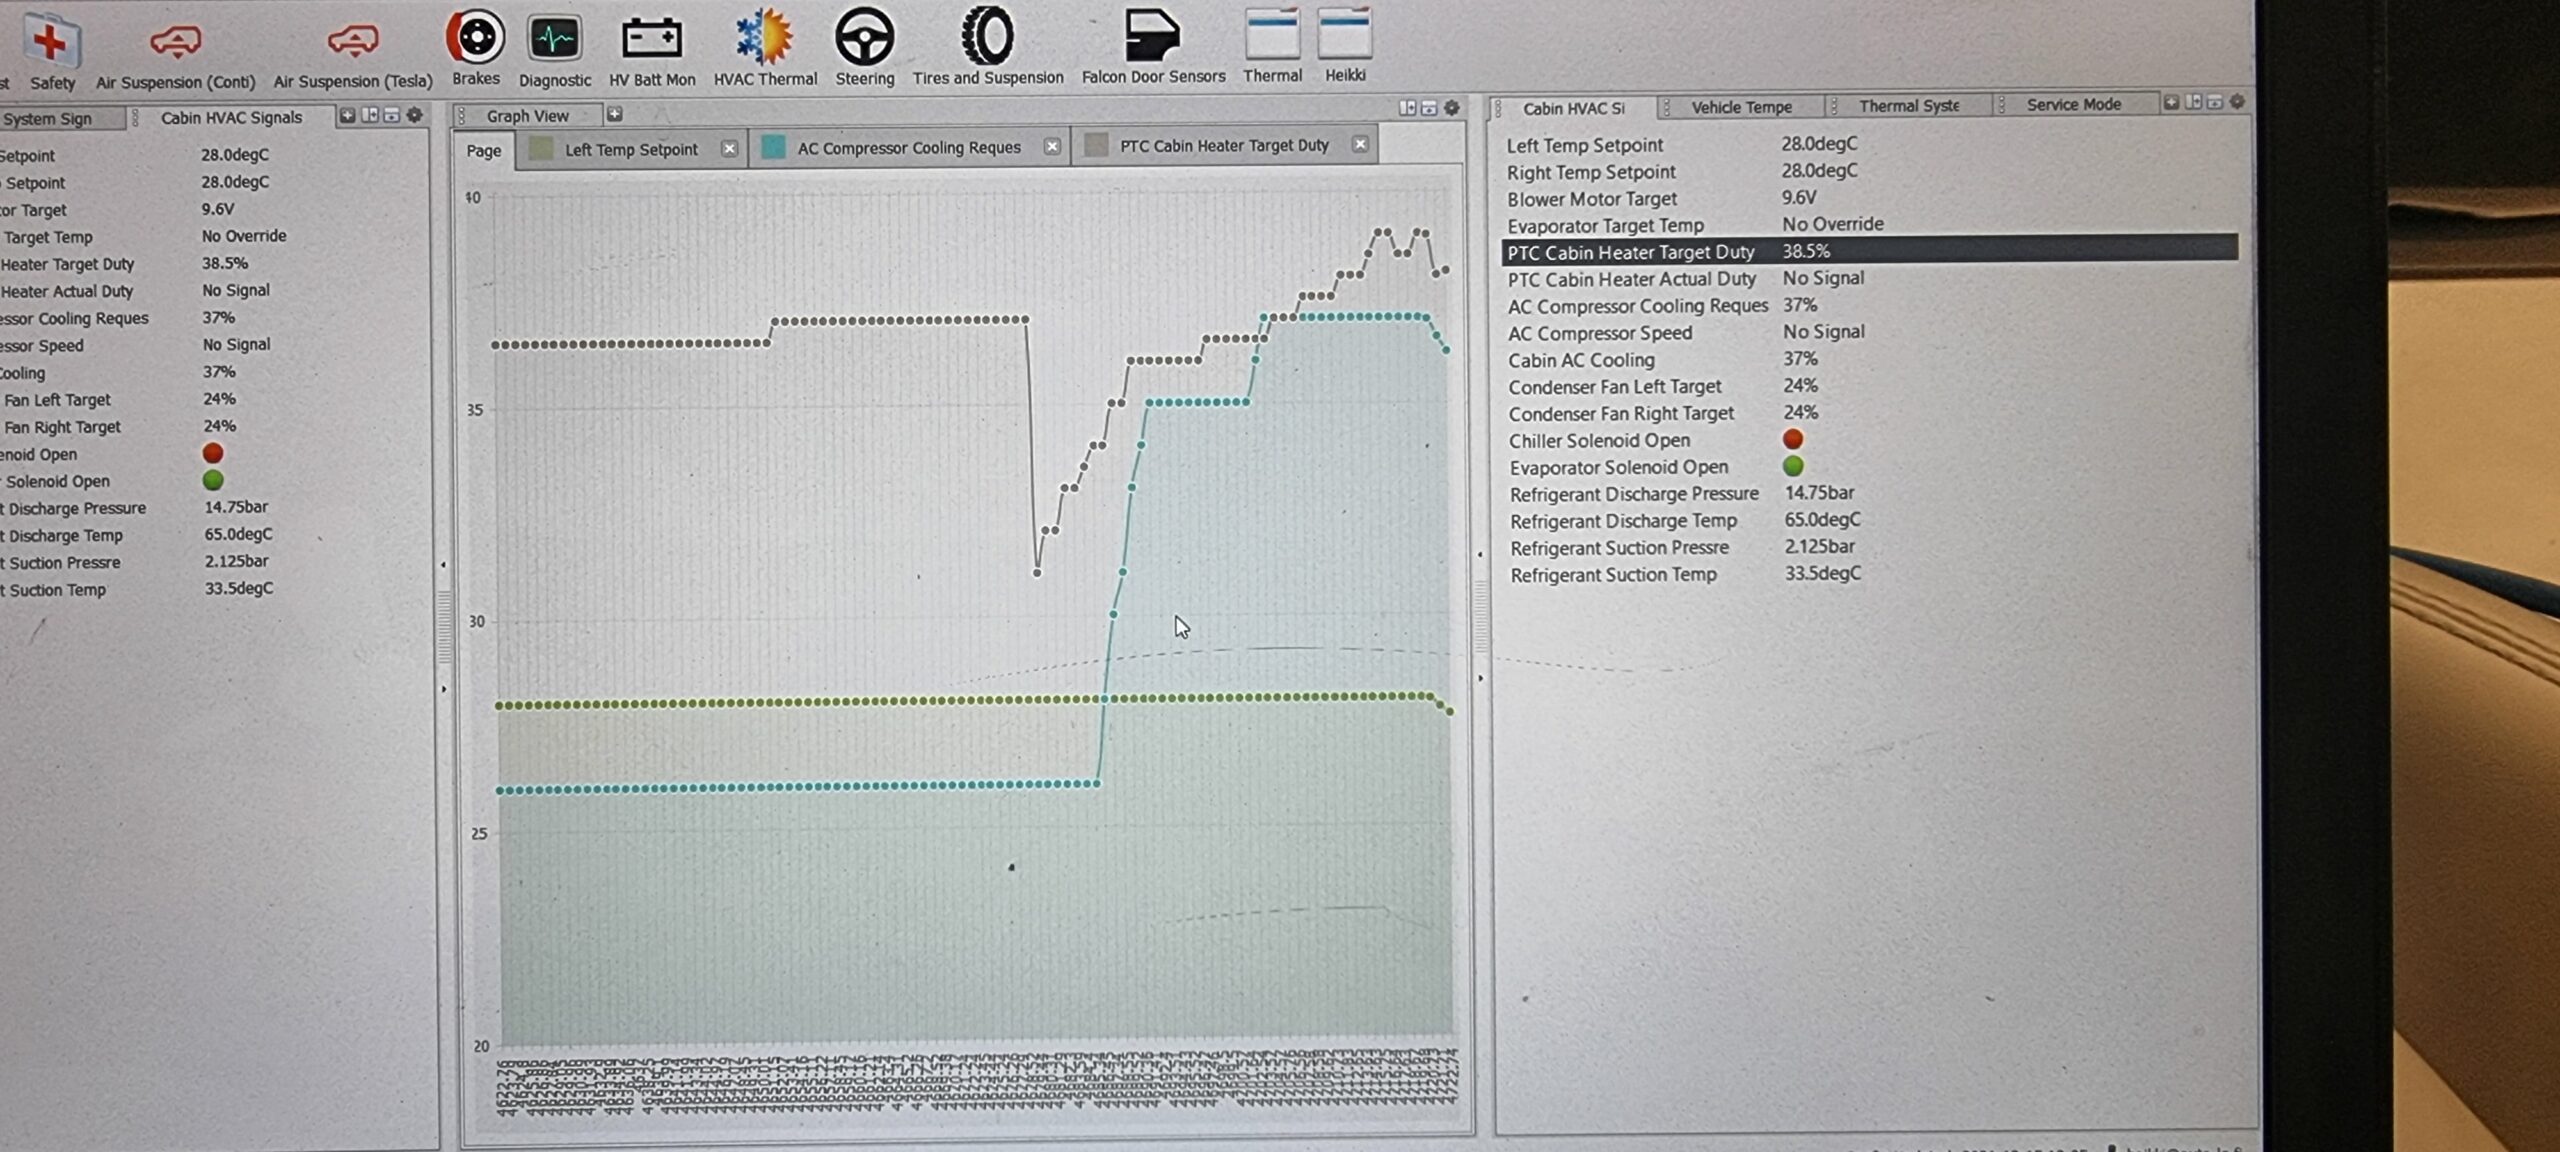
Generally speaking heater issues have been an problem in Teslas this winter. Several Model S's have been requiring PTC heater change and simulteneously Model 3's and Y's have had problems with heat pumps. Californian car manufacturer still seems to need some more excercise on conditions at North. Also the door handles and door glasses are not hazzle-free during the cold months.

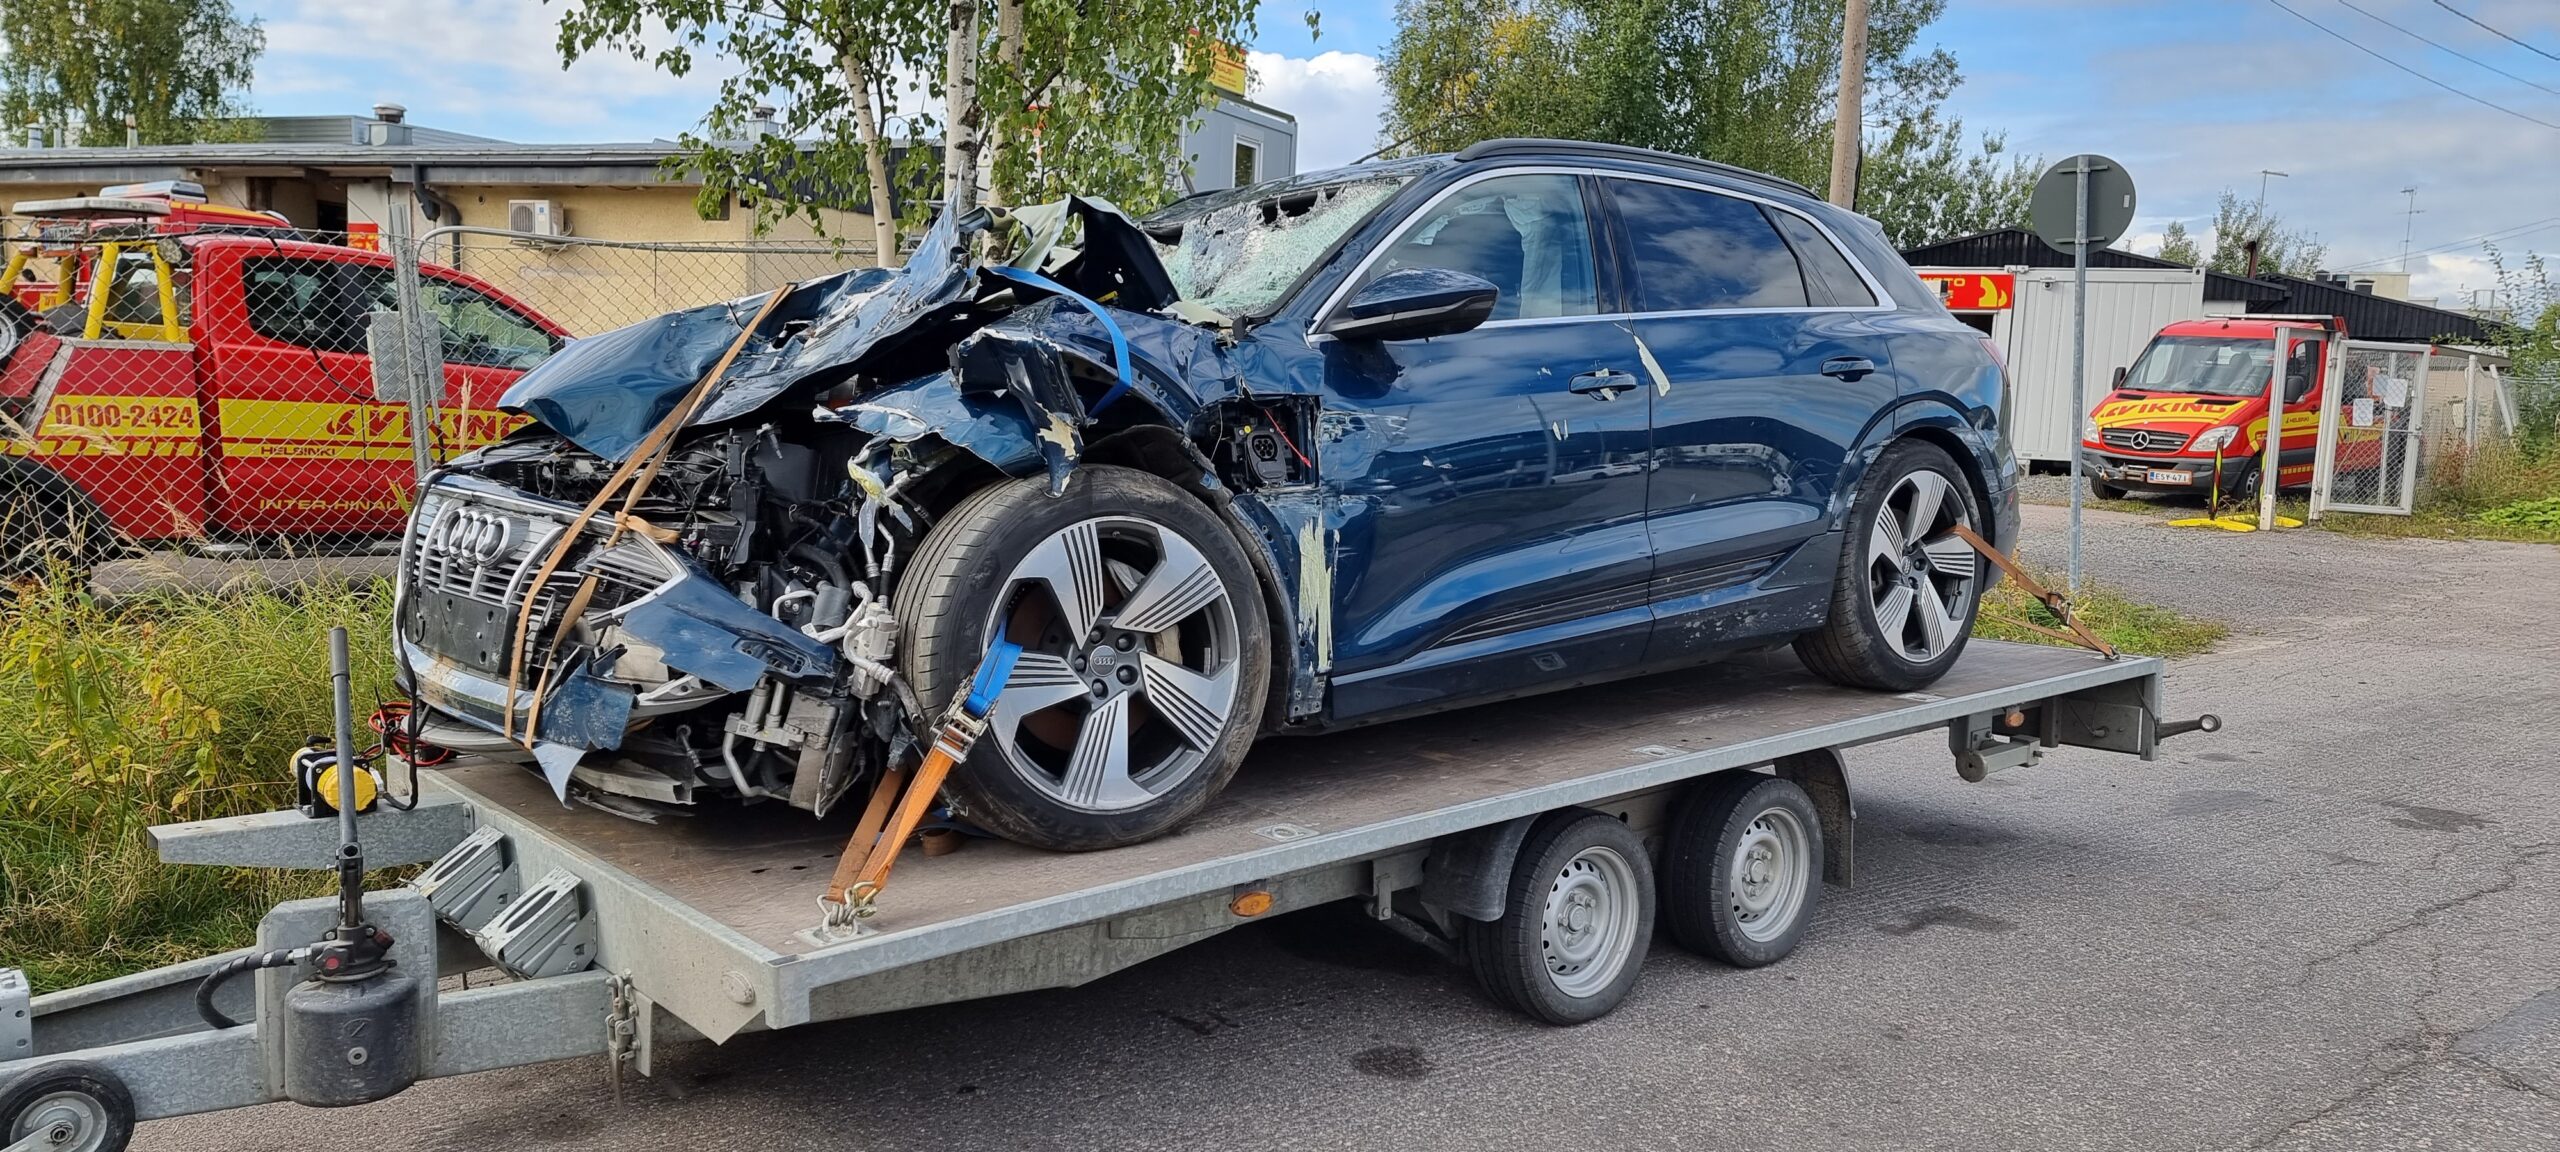
These should not be an issue in our next project car - Audi e-Tron.

Next project

Paintjob

Wow, almost a year before previous update. I wonder if I even remember what has happened since then.

So, we had to get the car running. The car was missing the so called fireman's loop or first responder cut loop. There's a high voltage interlock loop (HVIL) in the vehicle going through all the high voltage components. This fireman's loop is part of this circuit and if it's cut, the HV components can't be activated.

Replacement loop was bought from eBay

New loop was connected, but the car still didn't start up. First we thought that perhaps the main fuse in the HV battery pack was blown, but it was fine. Eventually we found that there's a pyro fuse at the fuse box in the frunk. That blows in a crash event and disables bit part of electric components in the car.

Tesla won't sell this fuse to customers so we had to improvise. Exactly the same part can be found from other cars like Audi or Mercedes. The only difference being a plastic piece inside the connector. It is possible to take this piece from Tesla fuse and place it in Audi fuse. Finally we had that great moment when we heard contactor clicks from the main battery.

In the end of October we had our Christmas moment when we received a lot of parts from Tesla - worth almost 15 000 EUR.

Not all parts were in perfect condition thouth. A corner in hood had bent a bit.
Also one of the bolts in hood was not properly secured.

Tesla promised to change the hood but we did not have time to wait so we fixed these little issues.

Next was the windscreen. At this point we still had not decided to change the color of the car. If we did, we would not have install the new windscreen.

After the windscreen we started to build the front of the car.

Originally we had not planned to change the car. A couple of days before the planned paint booth time the paintshop owner came to tell that if I want to change the color now's the time to decide. Never liked black anyway so it was a fairly quick decision. It was time to do some more disassembly.

Preparing the door openings
The air suspension did not work yet so we were pretty low at that point.

We did think of the color for a long time. At least three hours! Finally we found a tone that's as far as possible from original Tesla colors. Audi Exclusive Mocha Latte. The only problem was it's so exclusive we couldn't find the mixing formula anywhere.

Mocha Latte is a secret

Finally we found out, that Fiat/Chrysler Mocha Latte is pretty much the same color. At least close enough - so we used that.

The initial impression was a bit mixed feelings. It'll take some time to get used to it...
Remember to paint the parking sensors

Fog lights were not damaged in the crash, only had a few scratches. They were sanded and finished with a clearcoat.

We had a funny moment when a Fiat came to the shop for a windscreen change.

We had to trick the air suspension a bit to get the car to a ride height and wheel alignment. More about the air suspension in the next posting.

A detail of a bolt in lower suspension arm. You can't remove the bolt without first removing the HV battery.
A connector of the air suspension valve block. 12 volts to correct pins and compressor allows you to put some air in the bags and get the car up to a ride height.

In the next article the final touches. How to get the air suspension working and clear the remaining alerts from the SRS.

Airbag and dash repair

Tesla sells airbags only to their certified body shops so we had to opt for a used one. Well, obviously that was a bit cheaper also.

In our spare part the frame of the steering wheel airbag was different color. We removed the frame from the original bag and used it for our used spare part.
Here the steering wheel airbag has already been replaced and we're about to start replacing the passenger airbag and dashboard top trim.

Dismantling is started by removing the glove box. First you need to remove the trim around the glove box. They can be removed by just pulling. Good instructions can be found from FixYourTesla.com..

Glove box is fixed with six torx screws. After removing the screws just pull out and carefully remove the cables. Behind the glove box you can find the computer of Autopilot. Unscrew four nuts to lower the computer to get access to two bolts securing the passenger airbag.

To remove the dashboard top trim you first need to remove the trim of a-pillars. They are fixed with only one screw each, located behind the Airbag tags. From the lower end they are pretty difficult to detach, but come out after careful bending and pulling.

There are screws on both left and right end of the dashboard. Also two screws are found under a cover on top of instrument cluster. That cover can be removed by pushing downwards (first use a plastic tool to bend from the edge). Finally the dashboard cover can be removed by pulling upward until the spring-loaded tabs open one by one.

In our spare part the trim at the edge was also different color than in originally in our car so we decided to change that. The trim is plastic welded on the cover so we drilled out the welding spots and re-glued the original trim to our spare part.

Dashboard cover replaced. Our spare part is slightly different than the original - it has black alcantara piece at one edge. We think it fits really well on the black alcantara trim on the A-pillars and roof.

We also replaced the front seat belts and pretensioners since they had deployed at the accident. Unfortunately we did not take pictures of that but it's relatively straightforward by following the instructions at fixyourtesla.com.

It's a bit strange Tesla does sell seat belts and pretensioners to anyone unlike the airbags.

Clearing the alerts of airbag system was quite a bit more complex process, more about that later.

17 year of pajalle.com and a new Tesla project

Pajalle.com turns 17 years old today. Many projects are even older than that (started since mid 90's) but this URL was reserved 23.2.2004.

Like we told in our previous post, fall and winter have mainly been about EVs. In addition to the BMW i3 crash repair we've also been working with another interesting EV since September '20.

Tesla Model S Long Range 2020

We had just purchased a 2016 Tesla Model S P90Dfor parts, when almost a brand new salvage Long Range Model S showed up for sale at insurance company's website. Obviously this car was a facelift model unlike our parts car but we thought we could still use many parts and decided to purchase this car.

The car had been driven to a ditch and pretty much everything from the front was broken. The accident had actually happened pretty close to us (~50km), but it had been transported to Helsinki area for inspection.

The project was done in co-operation with Kolarikorjaus P. Gullans and Autokierrätys L&G. Heikki had been working at Auto-LG on a project related to EV recycling and also simultaneously repairing this car and i3 of a previous post.

Co-operation with Kolarikorjaus P. Gullans and Autokierrätys L&G.
After some hard work and winching the car was on a trailer at Vantaa where we picked up the car from.

Right side of the car did it a bit problematic, rear right corner airbag was empty and front right lower suspension arm was broken.

After connecting the 12-volt positive battery lead we got enough power to make the door handles and locks work and check the MCU for alerts.

A view from the office desk...
Diagnostics connectors of Tesla are located under the MCU, on top of a storage space. The storage is removed by pushing down.
Here are the connectors. For both we purchased some adapters. For a blue one a simple OBD-bluetooth adapter and a Fakra-Ethernet -adapter for a white one.

Since Tesla was a new brand for us there was a lot of new things to learn. There weren't any aftermarket diagnostic software for alert codes easily available, but at least we were able to read values from OBD with Scan My Tesla. This way we were able to check that the high voltage battery was in good condition. It had been stored at about 50% SOC and since it had been disconnected after crash it had maintained it's state of charge.

The voltages of cell groups were well in balance. Based on these values we were happy to say the high voltage battery was in good condition.

Next we lifted the care up and started to look at the damage more closely. At this this point we did not know how to make care run at it's own power we moved it around by pushing it manually.

The most expensive part of the car was obviously checked first. From underneath everything was fine. Just minor scratches and dirt while the car had been running at bank of the ditch. The battery housing is made of strong and relatively thick aluminum alloy.

At the front pretty much everything needs to be replaced. While the insurance company had been making their repair estimate they had dismantled a lot so it was relatively easy for us to remove the remaining broken parts. On the other hand it made the repair more difficult for us. We had never dismantled a Tesla and did not know what parts there actually should be.

The trunk was loaded with broken parts so at least there were some to look for parts numbers. What also made easier was the parts car we had purchased (even though it was pre-a facelift). Also a big help was Tesla's free online parts catalogue. Drawing by drawing we generated a long list of parts to purchase from Tesla. It took a lot of time but in the end we succeeded pretty well, not many parts had to be ordered later.

Here's a view of the front were you can see for example broken brackets of air suspension compressor. The chassis legs were straight, which was a big relief also. Since they are made of aluminum you can't just pull them straight. If they had been bent they'd need to be replaced. We had spare parts from the parts car available but now we did not need to do that.

We had to charge 12v battery constantly since at this point we had not connected the HV battery yet (didn't know how to do it).

Measuring front chassis legs with Autorobot's testing device.

In the image above you can see the windscreen broken by the deployed passenger airbag. New windscreen was not too expensive.

Ilmajousituksen venttiiliblokista oli yksi lähtö murtunut. Tästä syystä oikea takapyörä oli ”tontissa”.
After we removed the valve block the suspension was empty and car dropped down. Here it's not even as low as it could because of the blocks of wood under the car.

This opening post of this project is nice to finish with a photo of a connector housing of the air suspension compressor. The part is found from VW with a part number 1J0 973 852.

More to follow in the coming weeks.