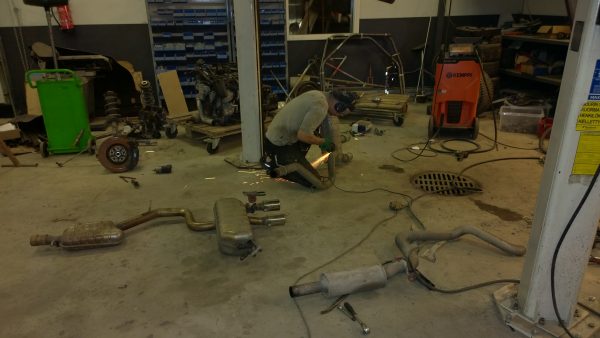
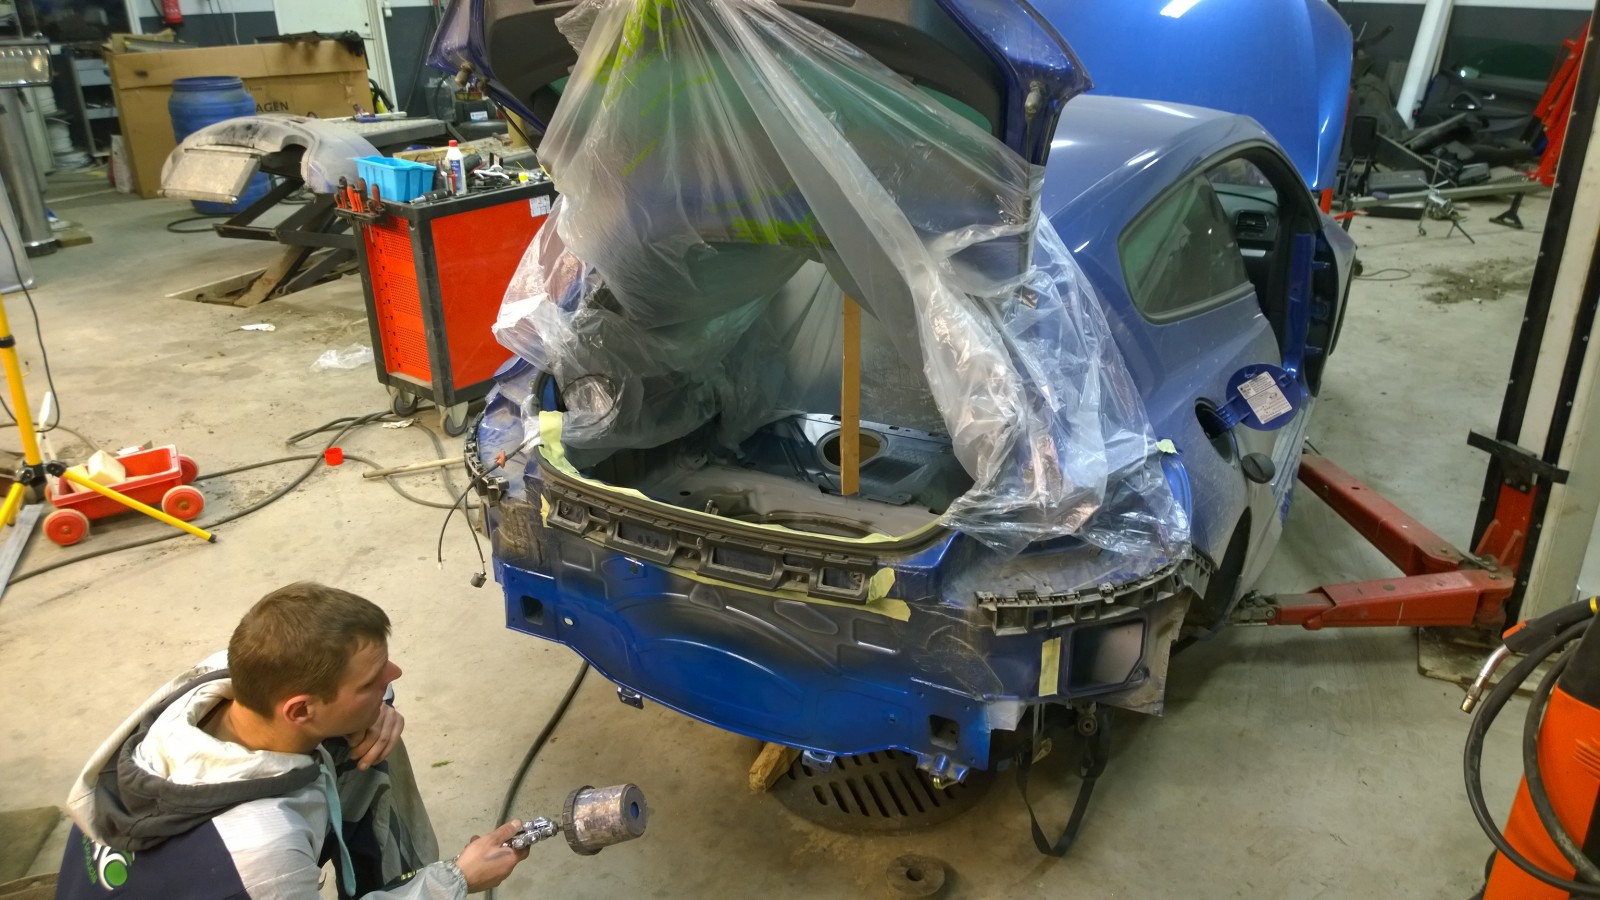
Tuotiin tallille uusi aihio, katotaas mitä tästä syntyy…
Ne tekee jotka osaa
Tuotiin tallille uusi aihio, katotaas mitä tästä syntyy…
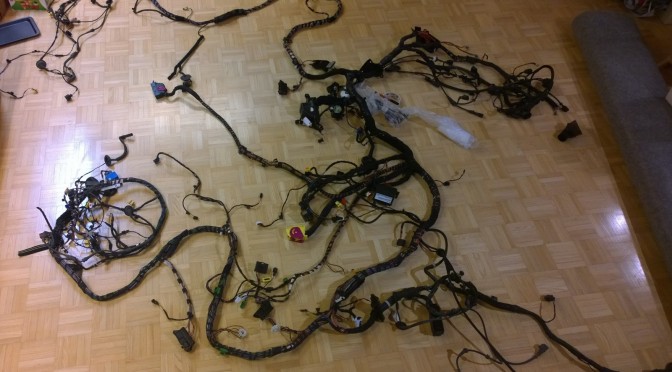
Golfin johtosarjan äärellä saapi nyt harrastaa pientä iltavoimistelua. Olohuoneen lattia täytyy mukavasti. Tuli myös punnittua ihan mielenkiinnosta. Painaa 16,5 kiloa tuollainen häkkyrä.
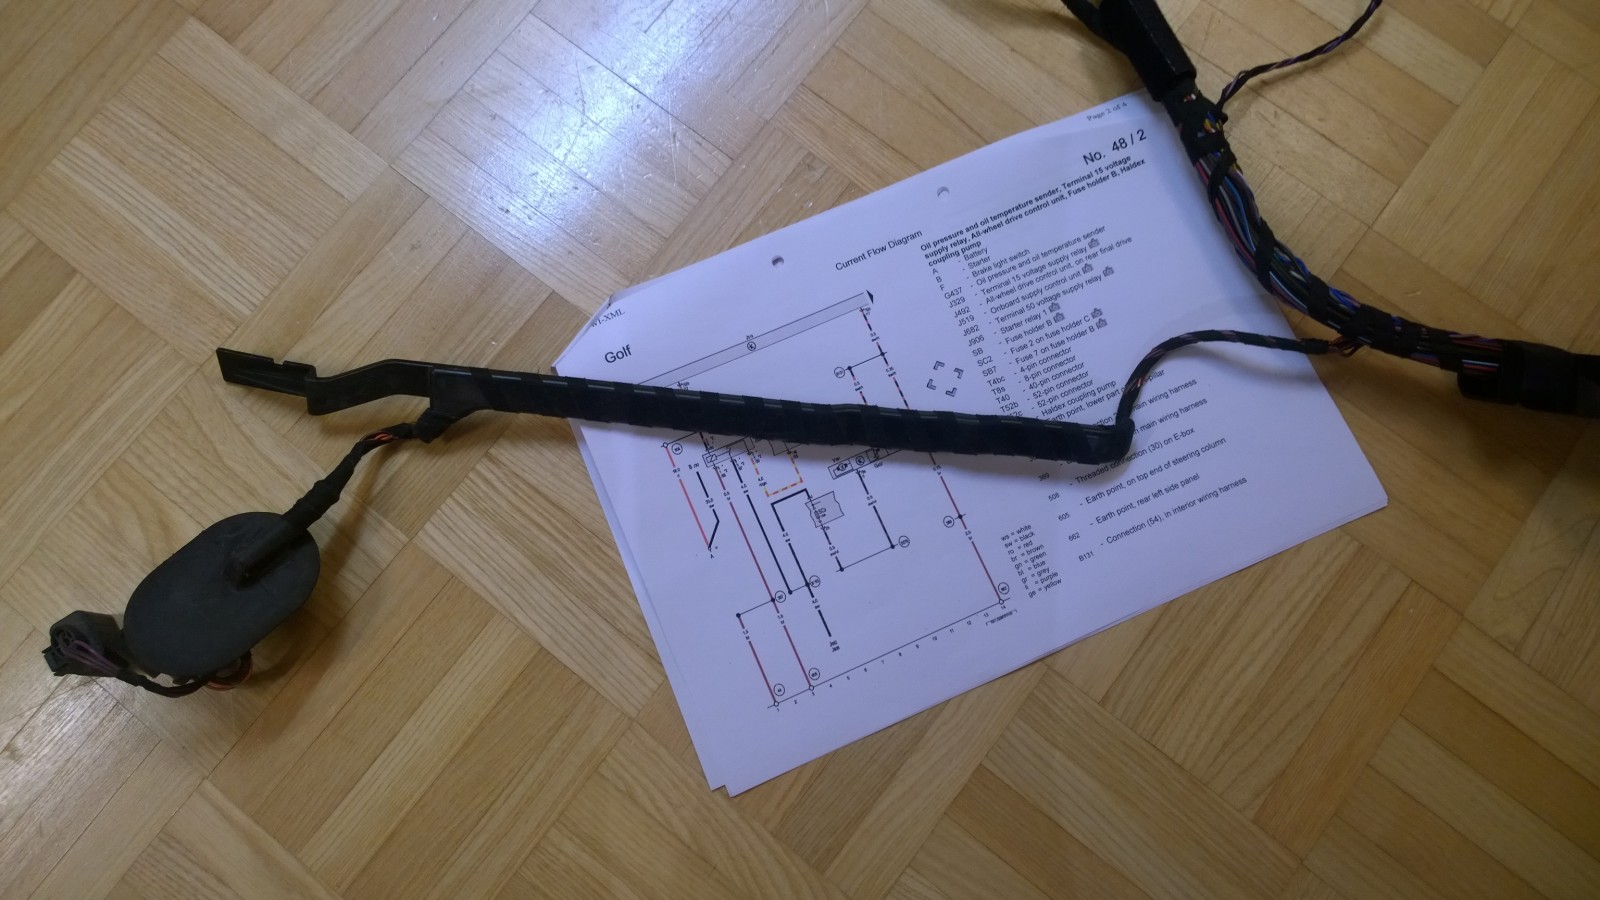
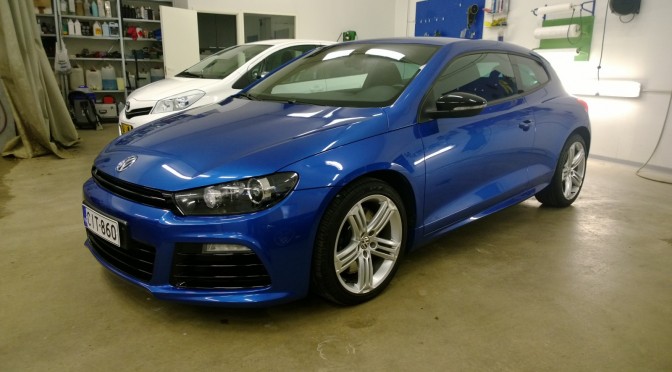
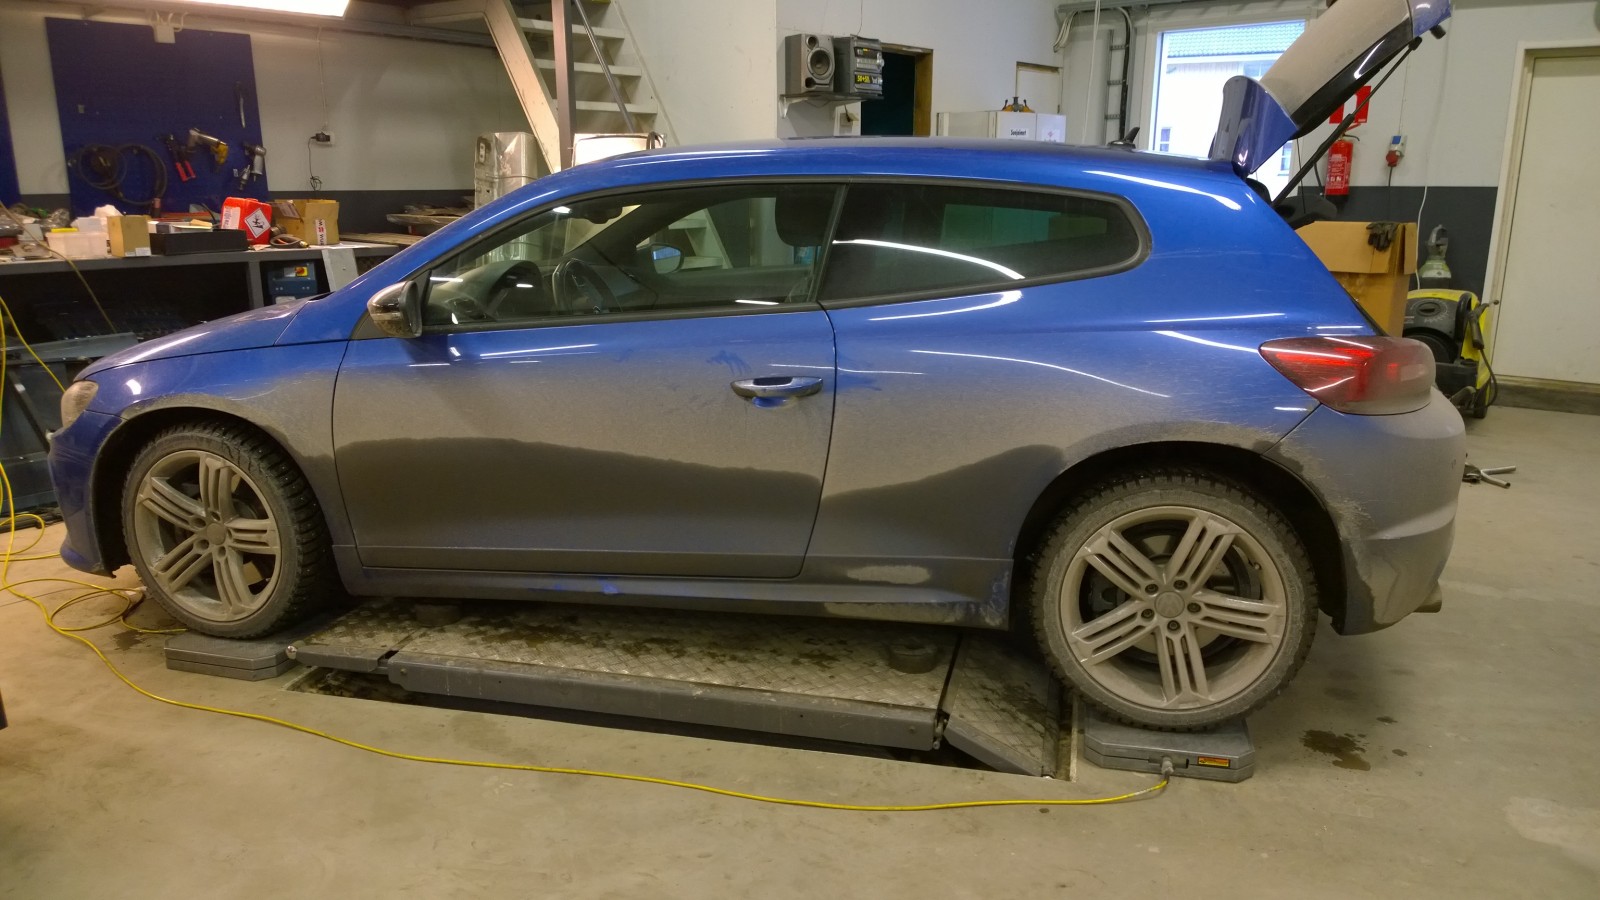
Photo: Scirocco in November 2013, still FWD.
In Finnish first:
Konvertoimme Scirocco R:n nelivetoiseksi, hankimme siihen Trafilta poikkeusluvan ja muutoskatsastimme. Suomen ensimmäinen katulaillinen neliveto-Scirocco on siis totta. Projektikertomus tästä tulee olemaan englanniksi, koska kiinnostusta on ollut ulkomaita lähtien. Suomeksi tarinaa löytyy ffp:n keskustelupalstalta.
OK, let’s get back to English. Although this website is mainly in Finnish, we decided to write this project in English, as there’s been some international interest on this.
Car modification is very controlled in Finland. The law is strict, especially for modern cars. If you want to keep the car legal, in many cases you need to get a special permit from authorities. And it’s not easy to get, it involves a lot of paperwork and paperwork is not the ambition of car enthusiast… that’s why many give up and either keep the modifications secret or don’t even bother. We didn’t give up and decided to give it a shot and see if we could convert a mk3 Scirocco to all wheel drive and still keep it street legal. Hopefully this works as an example for other fanatics and encourages them to build their dream cars and still be able to drive them on our every day racking and ruining roads.
The whole thing started in late 2013 when the author (Heikki) sold his Superb and bought a 2011 Scirocco R. Friends tried to warn, winter was coming and it would be no fun to drive a fwd car after Superb V6 which had AWD. And man they were right. I tool less than a month when we started to build a vision of converting the Scirocco to AWD. We knew that Scirocco is based on the same platform as mk6 Golf (PQ35). We didn’t know exactly how similar they were, but had a gut feeling that the project should be doable: Take the drivetrain from Golf and mount it on Scirocco.
Originally we were looking for just the drivetrain but eventually decided that it was safest to buy a more complete car in case we needed some parts we didn’t know we needed. And we’re glad we did. We started to look for wrecked mk6 Golf R’s, as they were the closest match to Scirocco R. Finally we found one good donor car from Sweden. At that time there was a WRC rally in Sweden, so we decided to take a long weekend trip and see the rally, buy the car and bring it to Finland with us .
During next couple of weeks we’ll try to describe what and how we did. Now, after the job is done, it’s easy to say it’s not that difficult at all. But when we started it, we didn’t really have any examples available, we had to figure out many things just by ourselves. Not to forget the paperwork that is required to get the permit.
Hope you will enjoy and leave feedback for us! If you want to know something more, leave us a question!
pajalle.com team
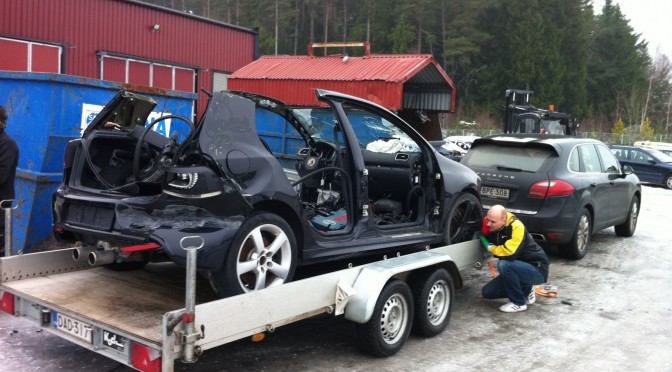
As we wrote on the opening post, we went to Sweden to see a WRC rally and while we were there, we bought a crashed 2010 Golf R. Big part of the parts were already sold (including doors and interior), but it still had exactly what we needed: drivetrain and some body parts that we needed. The engine was extra, but we believed it’s easy to sell.
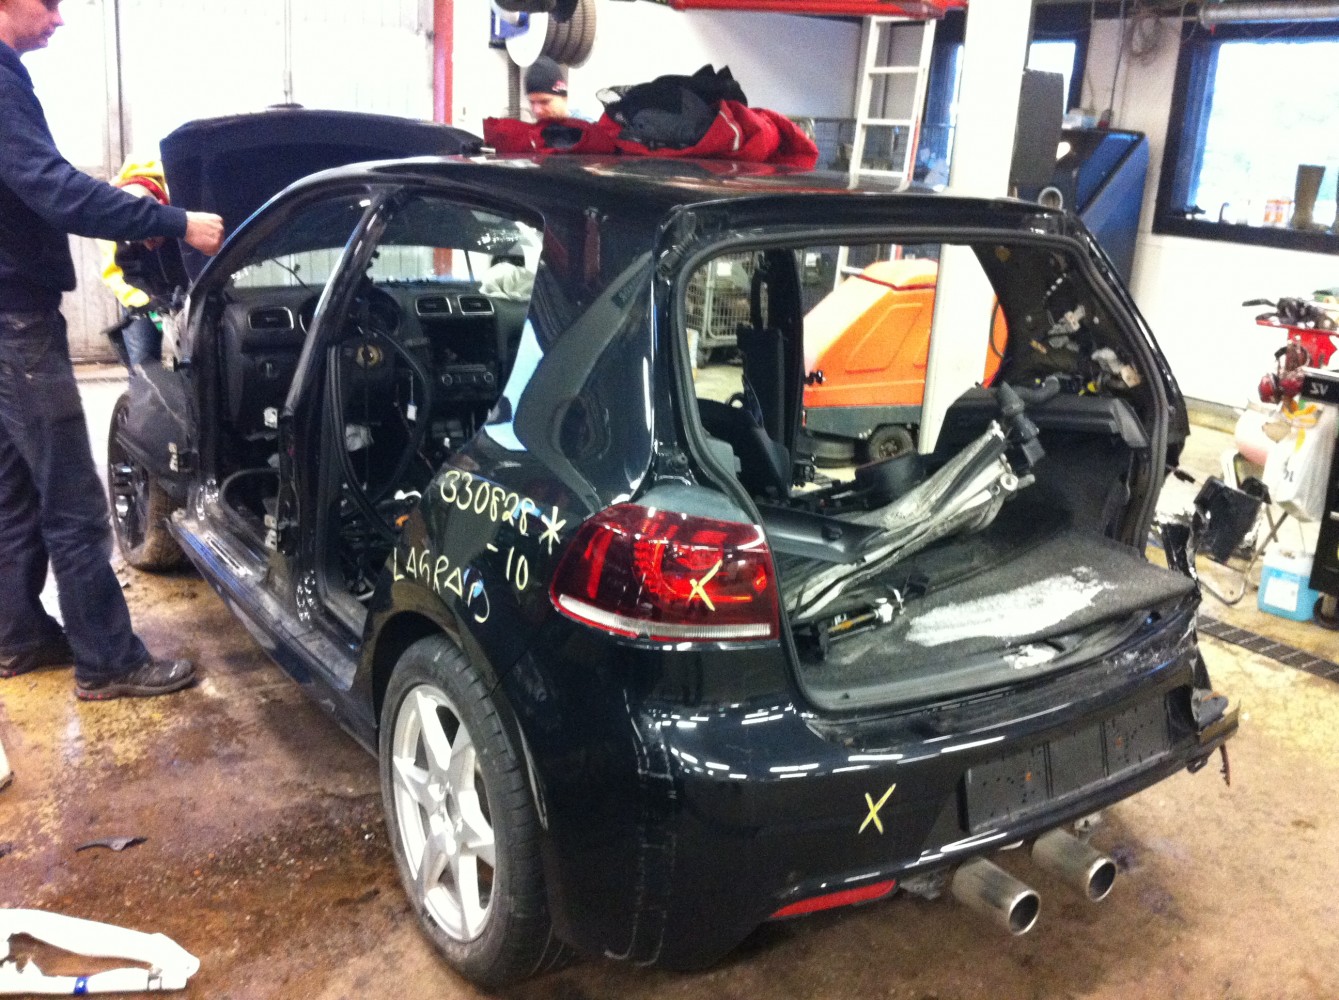
Golf R at car breakers where we bought it. It had been crashed from the front and right rear corner.
It was not that easy though, the breakers was not allowed to sell the whole car… to avoid that some crazy Finns would repair a car that has been ruled for demolishing. So we had to ”destroy” it first. We decided to cut the roof off – we thought we might use some other parts like pillars and sills for some other car repair.
We tried to cut the A-pillar, but that wasn’t easy due to reinforcements inside.
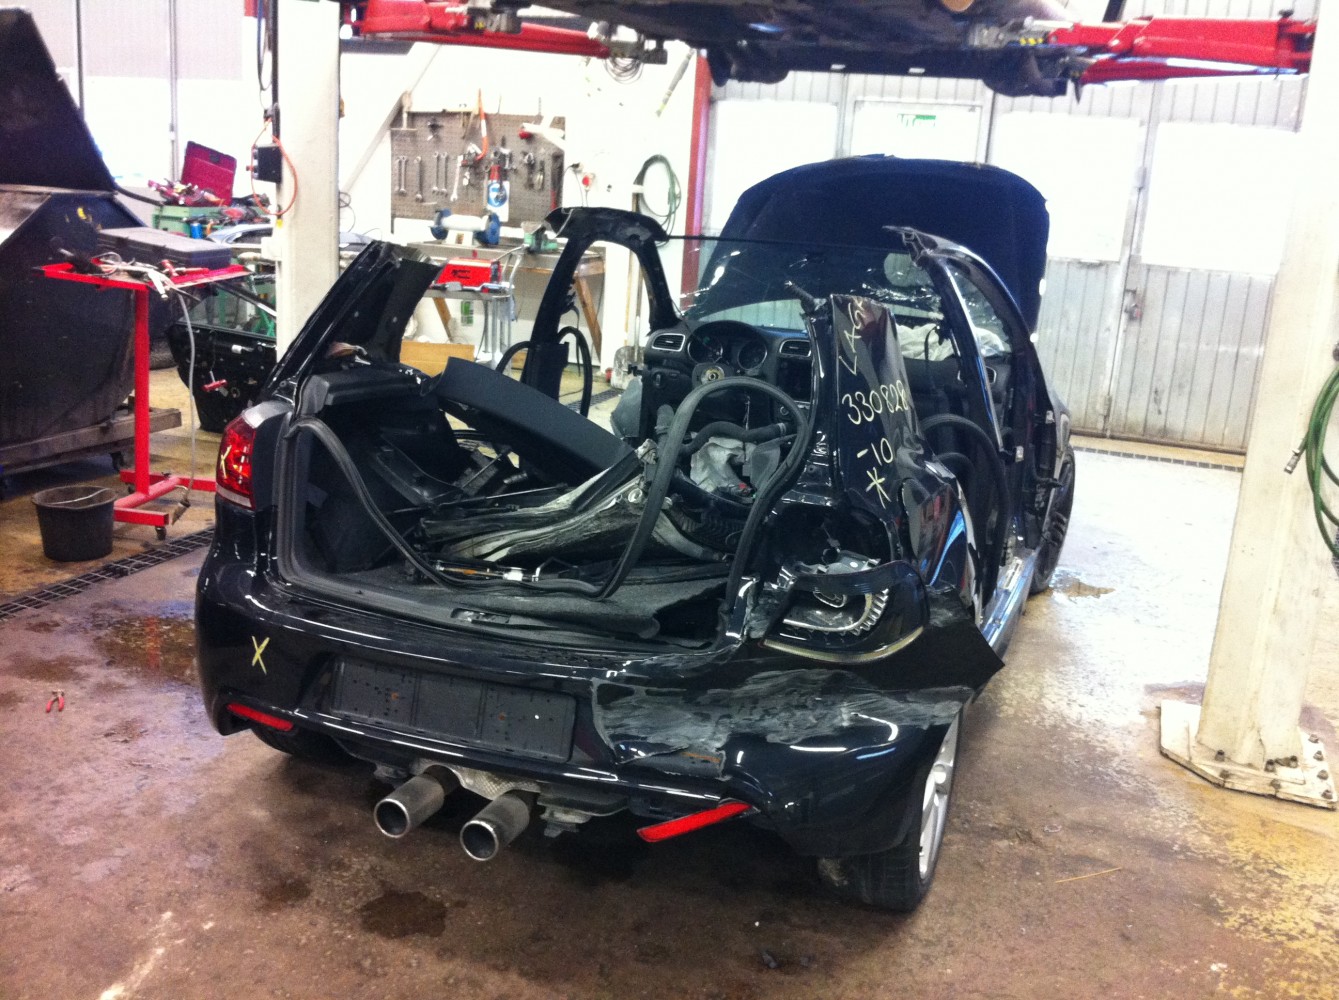
Finally the roof was cut open and we were allowed to lift the car to the trailer.

Golf on our trailer
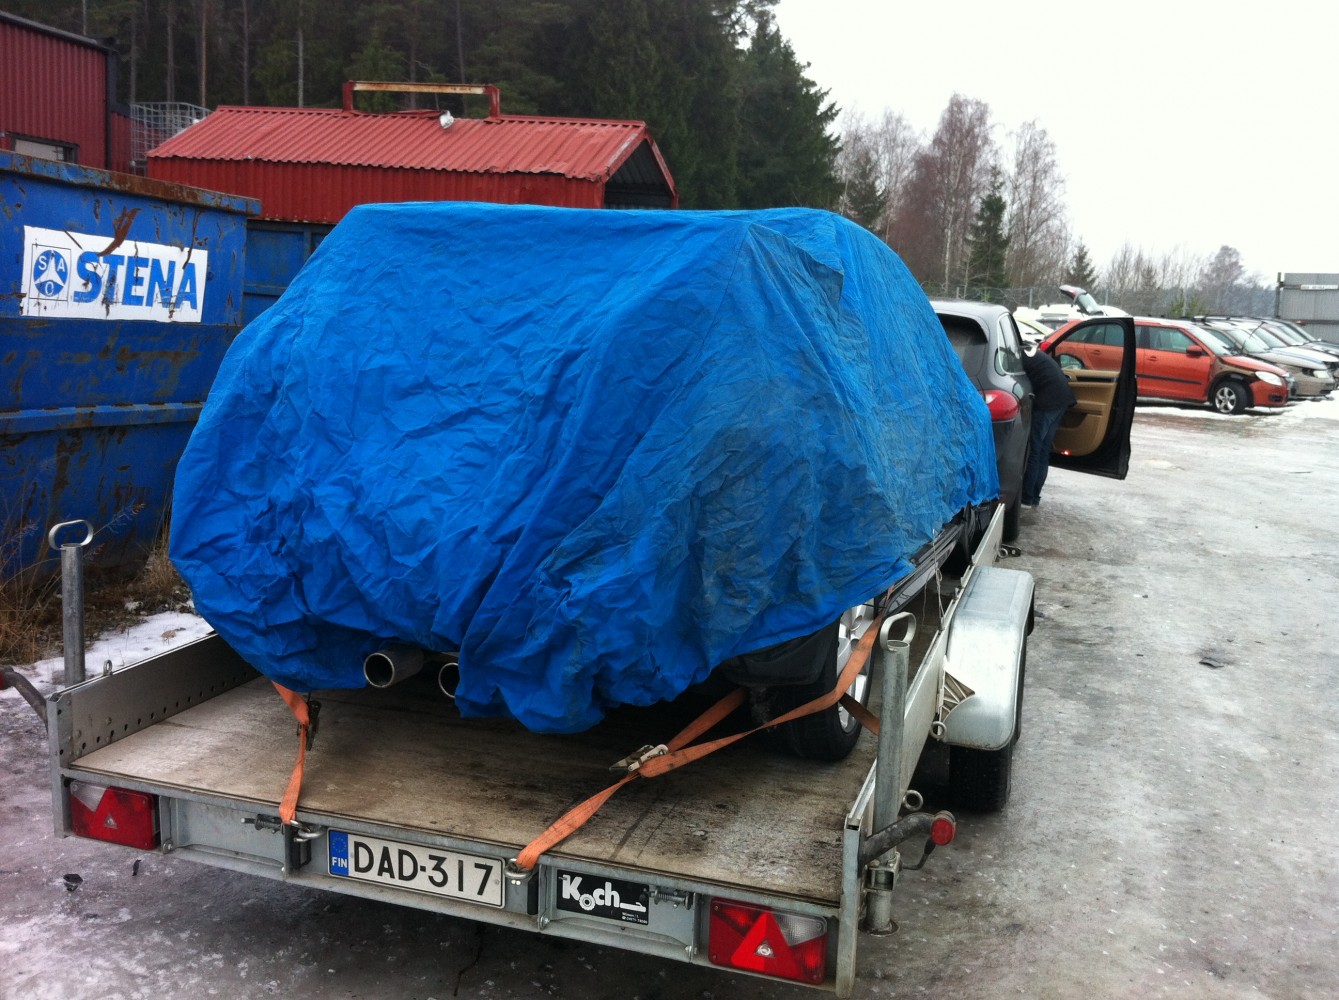
Nice package. Note the exhaust… 🙂
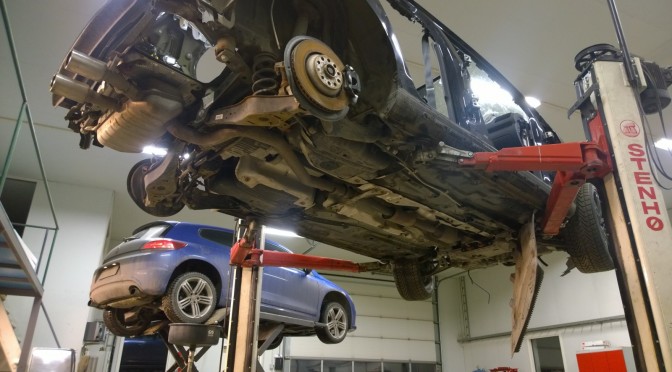
February 13th we were back to Finland and Pekka’s garage. Golf on one lift and Scirocco on another – we were finally able to compare how different the cars were.
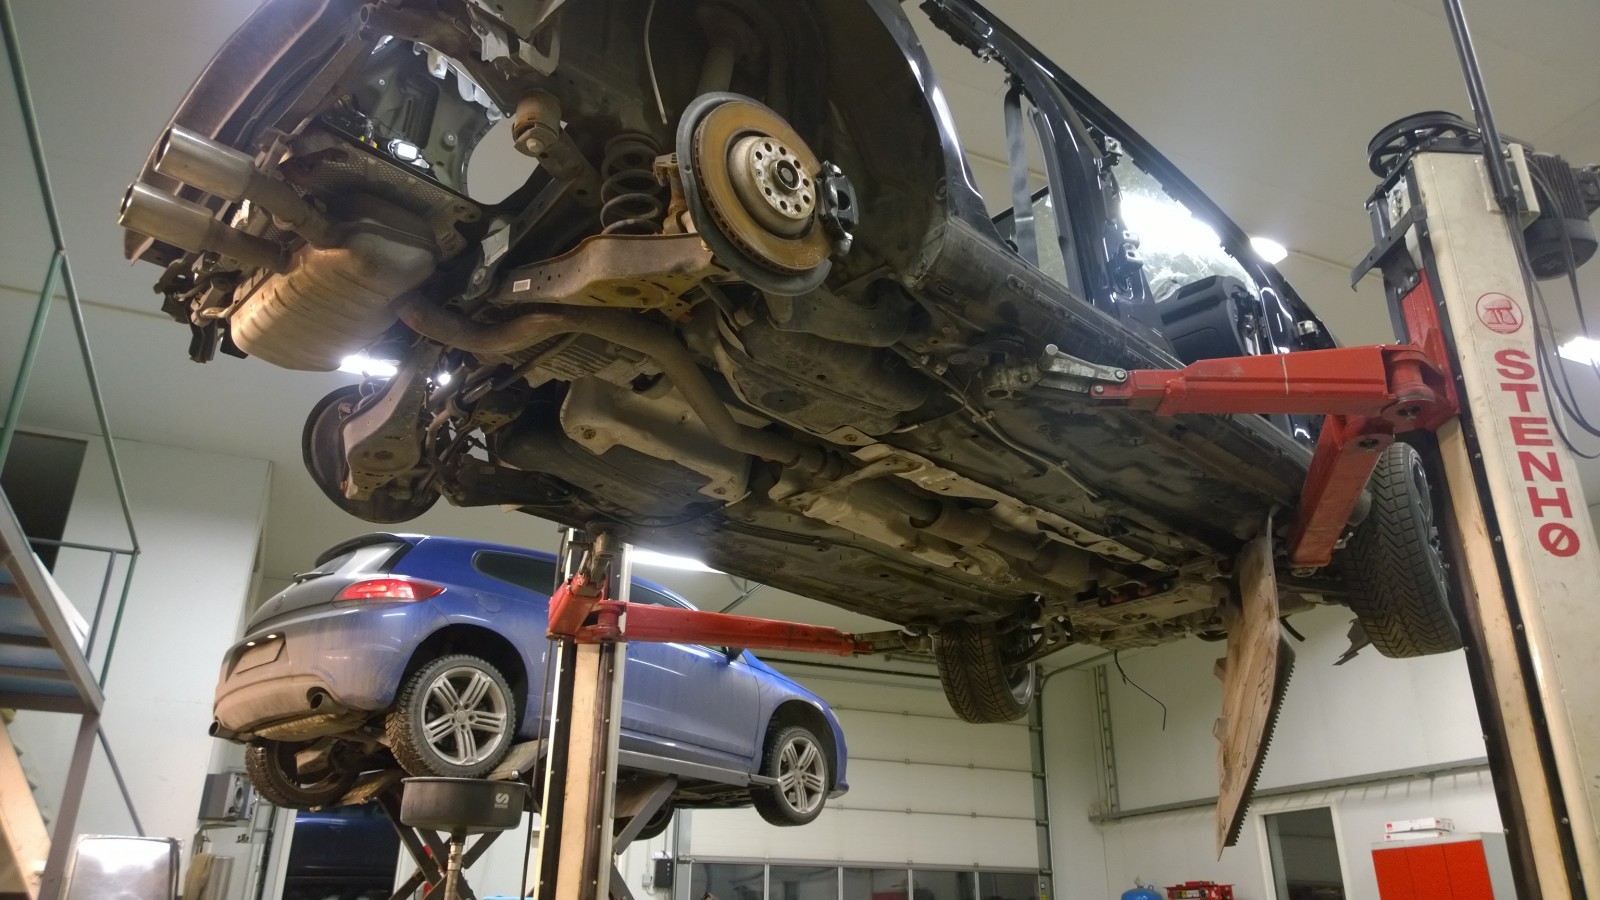
Scirocco and Golf on lifts – comparing what’s different. Not too much – project looking good at this point.

So we had Golf the donor car at Pekka’s garage. We did some quick comparison to Scirocco and didn’t see anything too difficult. We’d been comparing already from ETKA and it was pretty much as we expected. The trunk floor was clearly different, otherwise the body was pretty much similar. It looked that we’re able to cut the trunk floor from Golf and swap it to Scirocco. It was time to tear the Golf down.

A view to the Golf trunk floor
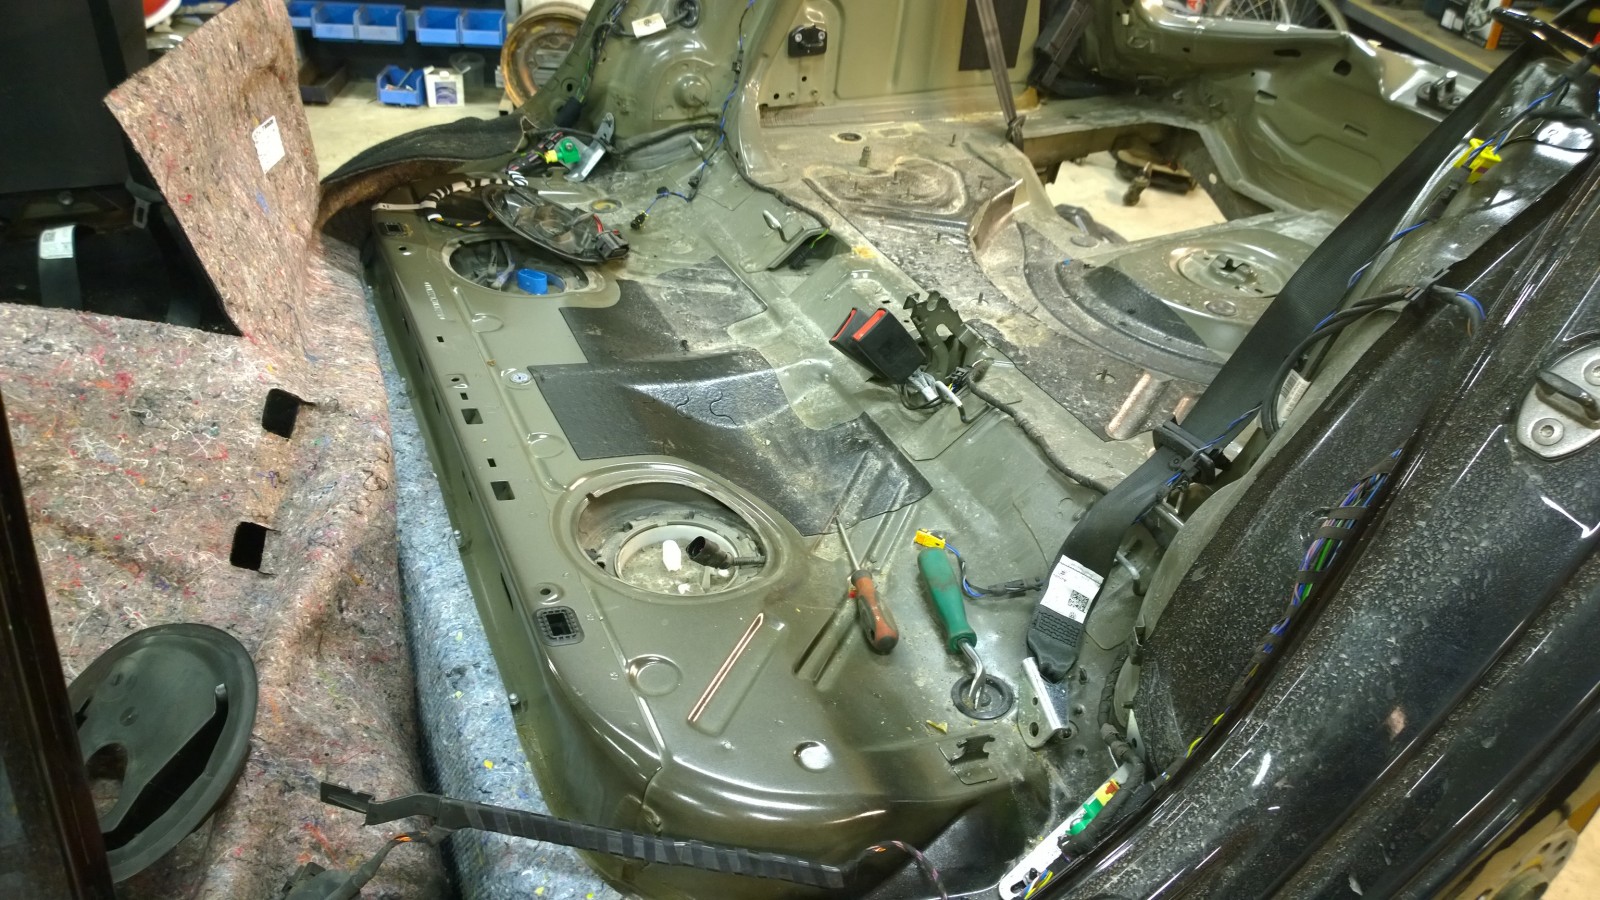
Golf floor under the rear seat. The only difference to Scirocco is the hole to tank on the driver side.
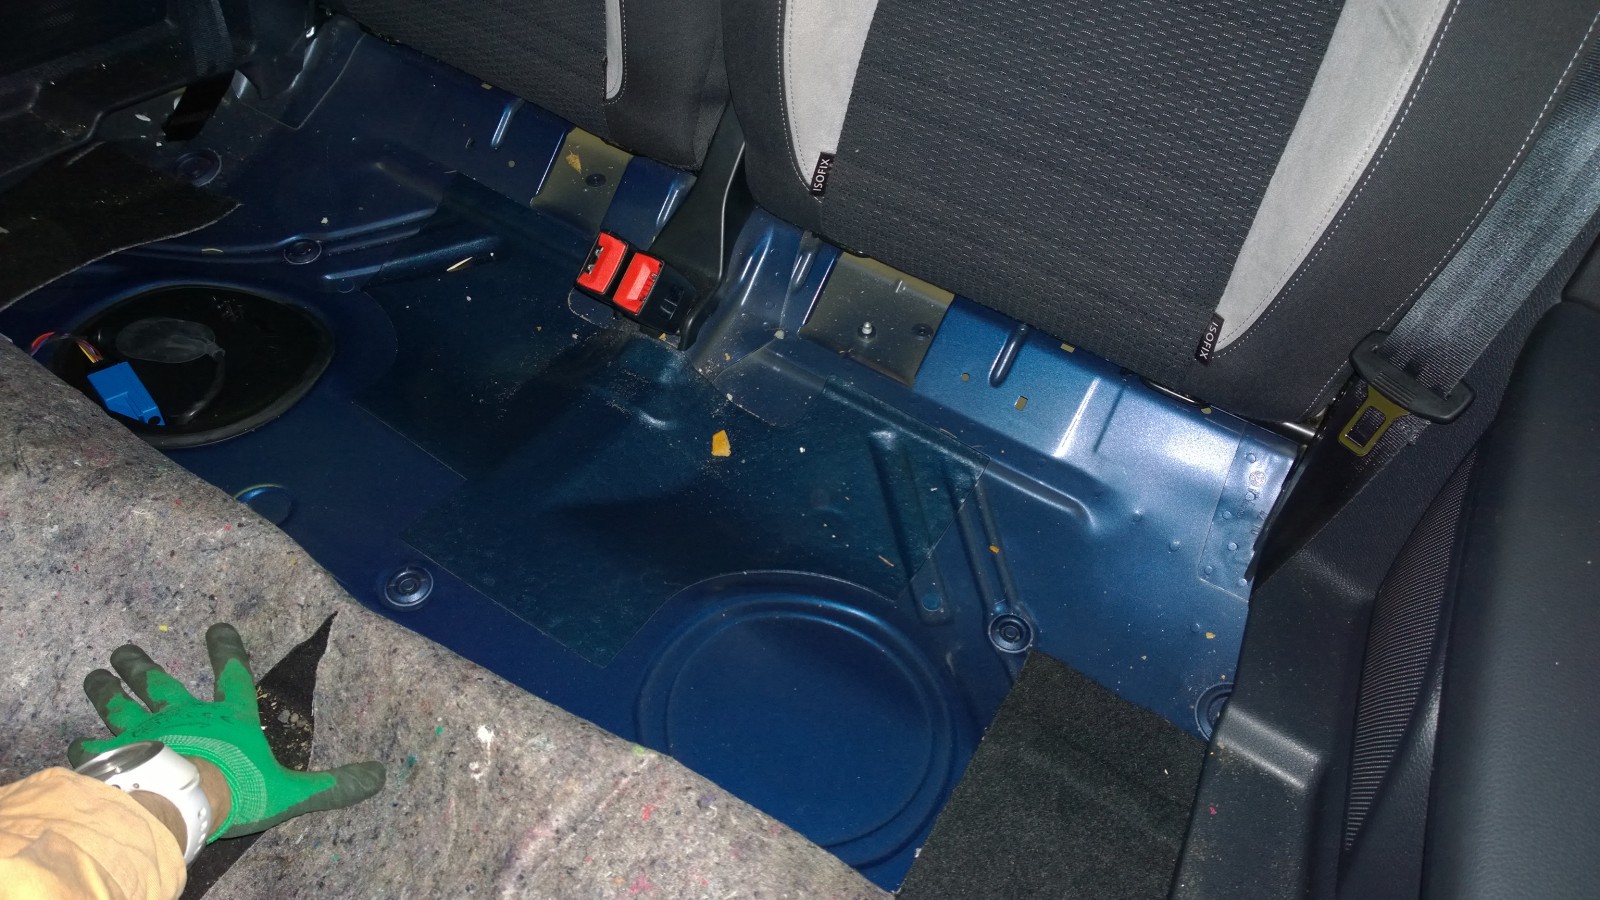
Scirocco floor under the rear seat.
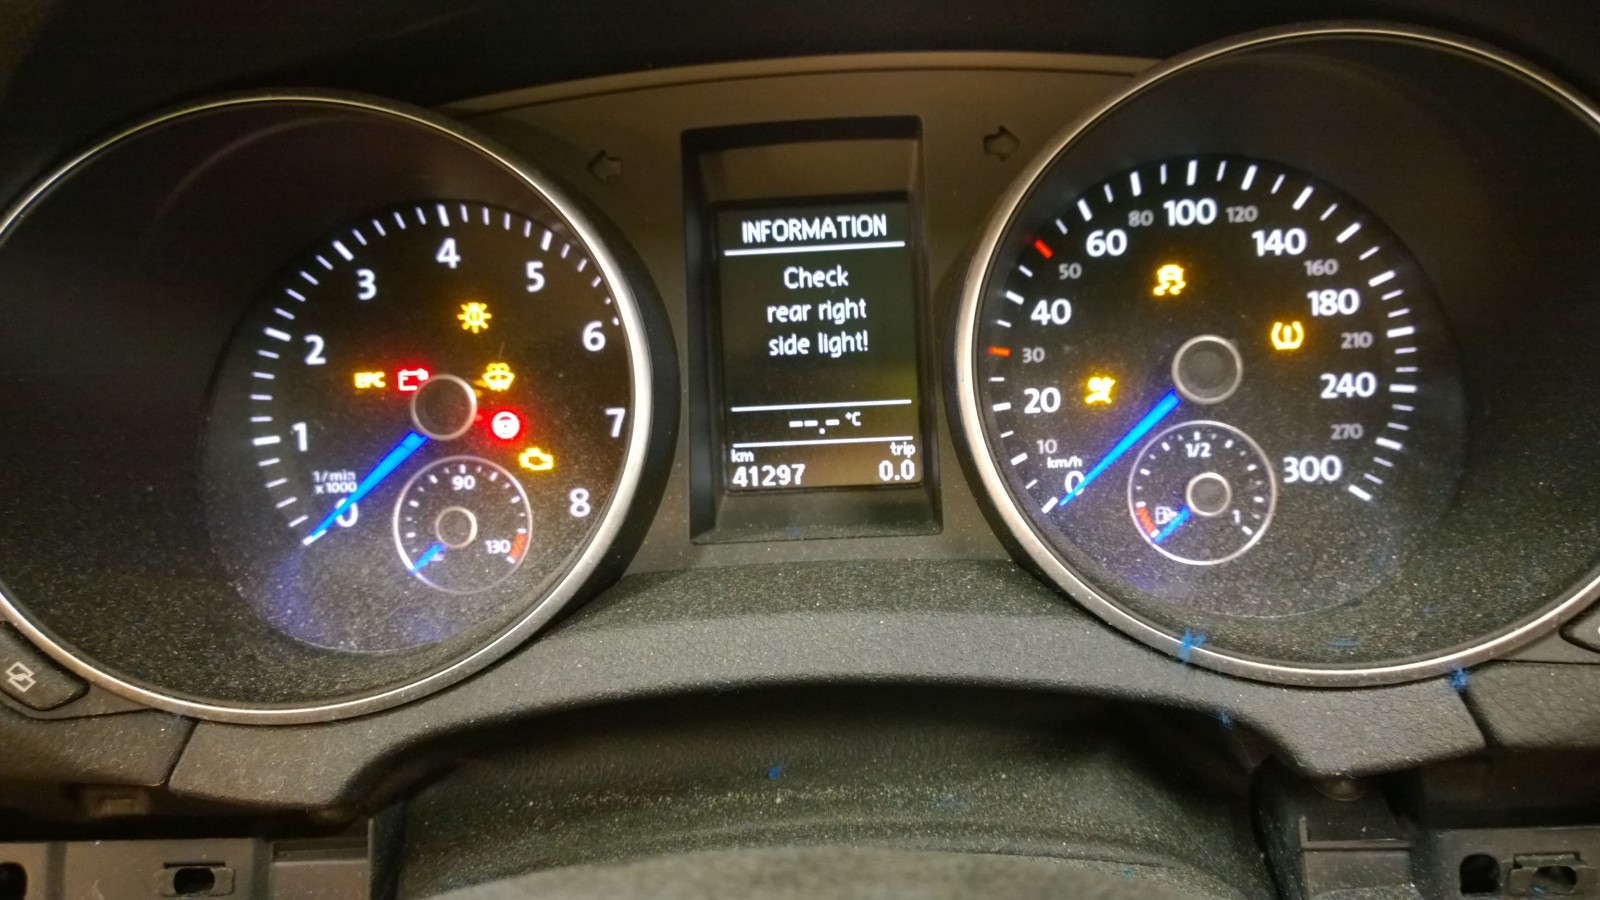
We weren’t able to start the Golf engine to try if it works, but at least we turned the ignition on and were able to read fault codes and see that the cluster works.
Disassembling the Golf
Disassembling continues…

DCC sensor. There’s one of these on each corner of the car. Our original plan was to install Golf DCC suspension to Scirocco, but decided to skip the idea. The work with wiring harness would’ve been just too much.
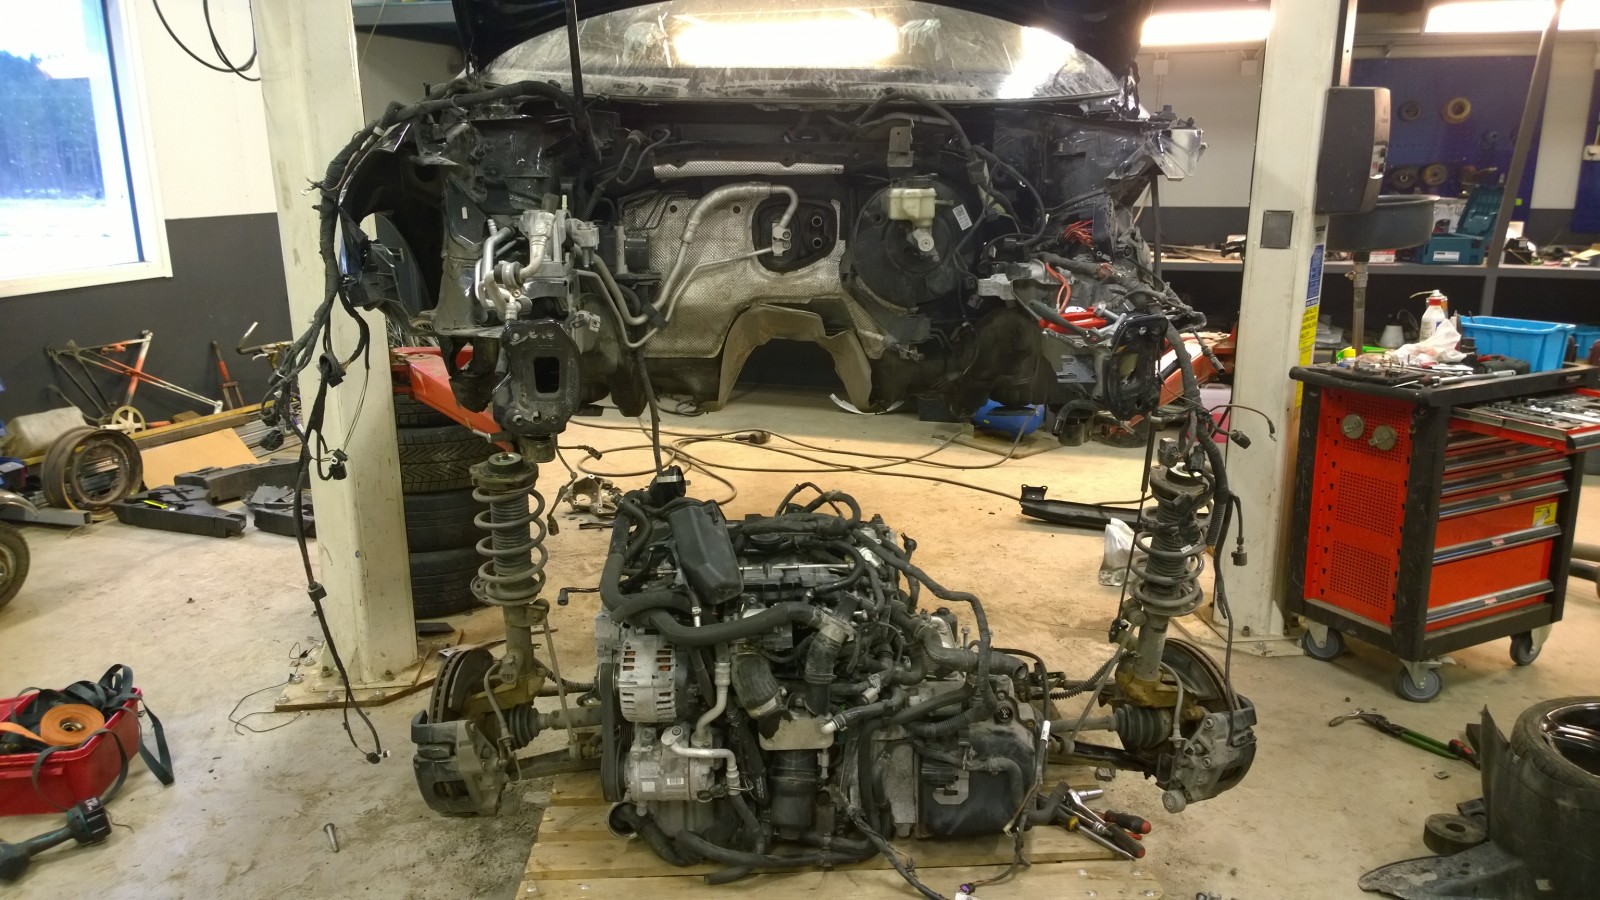
Engine, transmission and front axle dropped off.
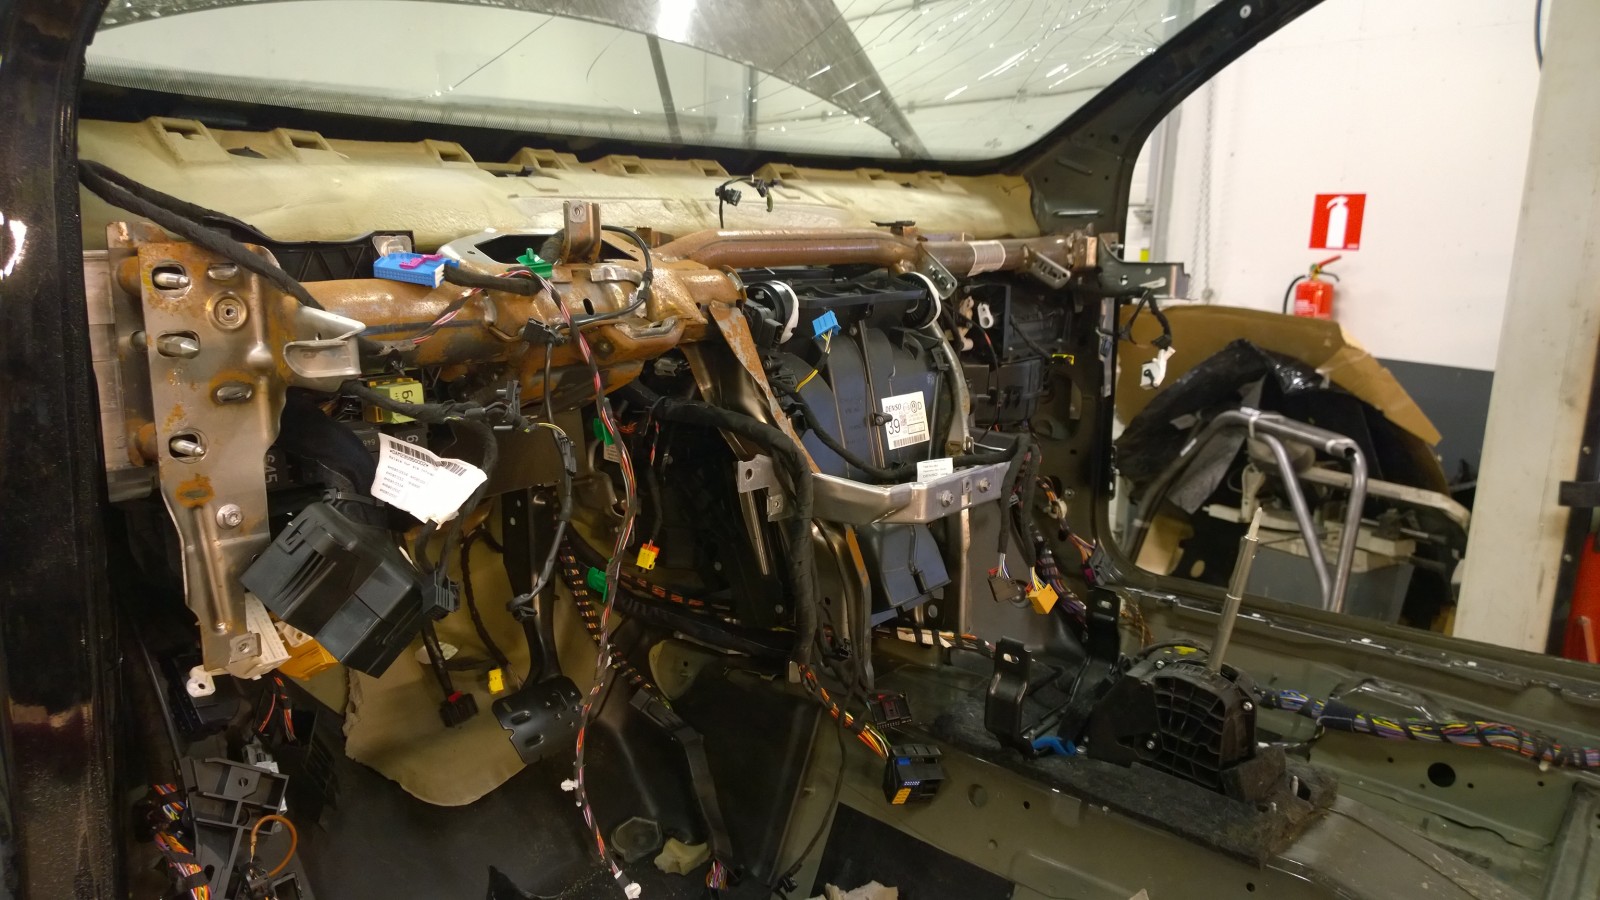
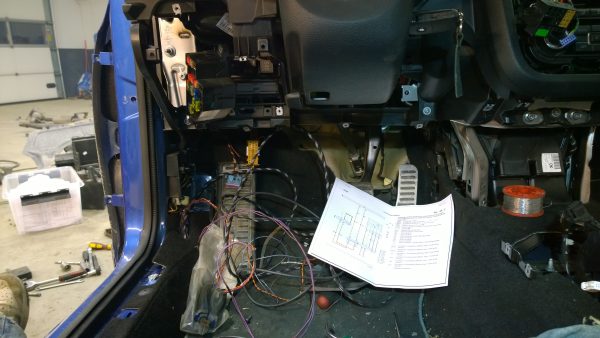
Dash out, removing the dash support bar and blower box together with wiring harness.
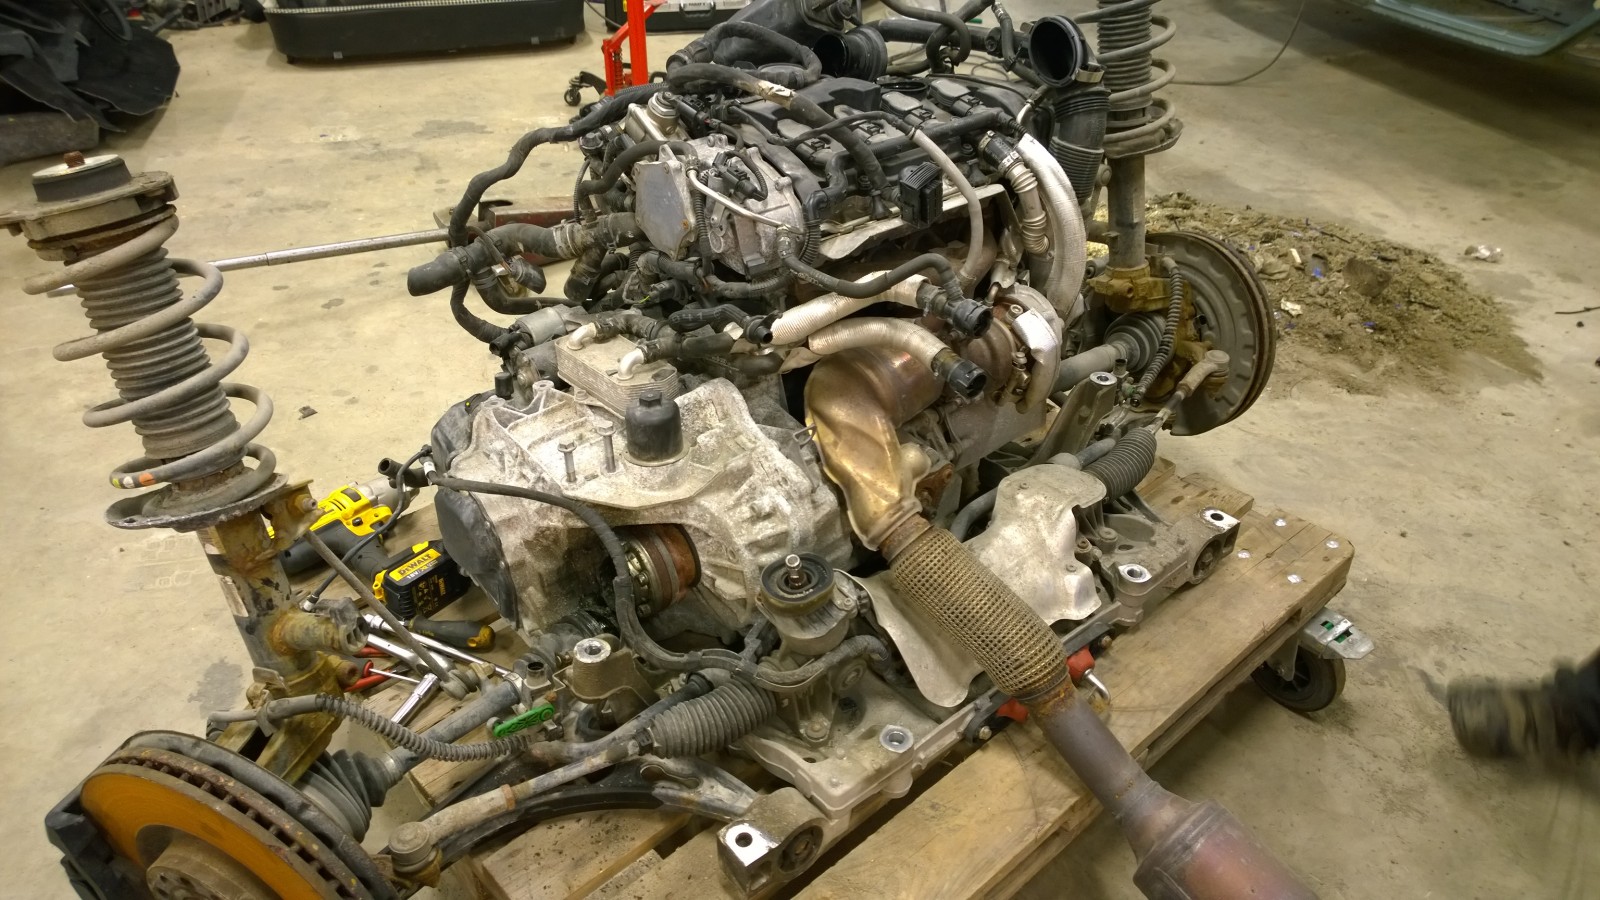
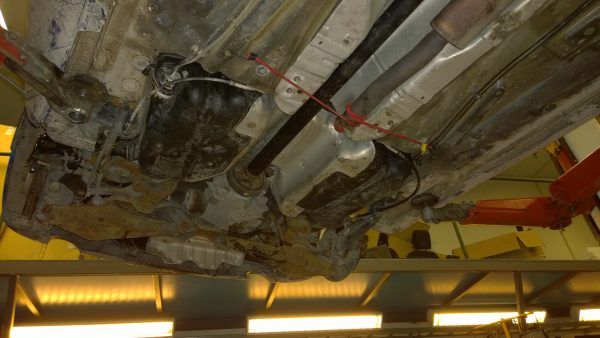
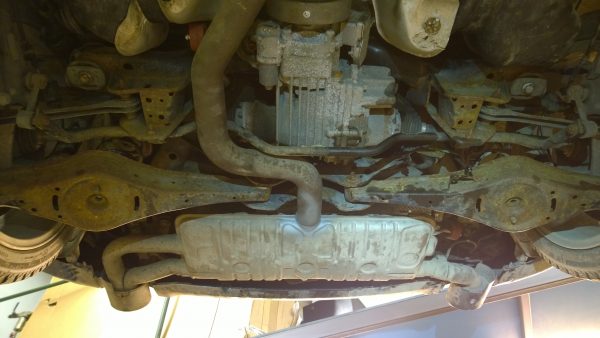
View to the engine and gear box. Practically the only difference to Scirocco is the gearbox which has the output of the drive shaft to rear axle. Because of that drive shaft the exhaust down pipe is different too.
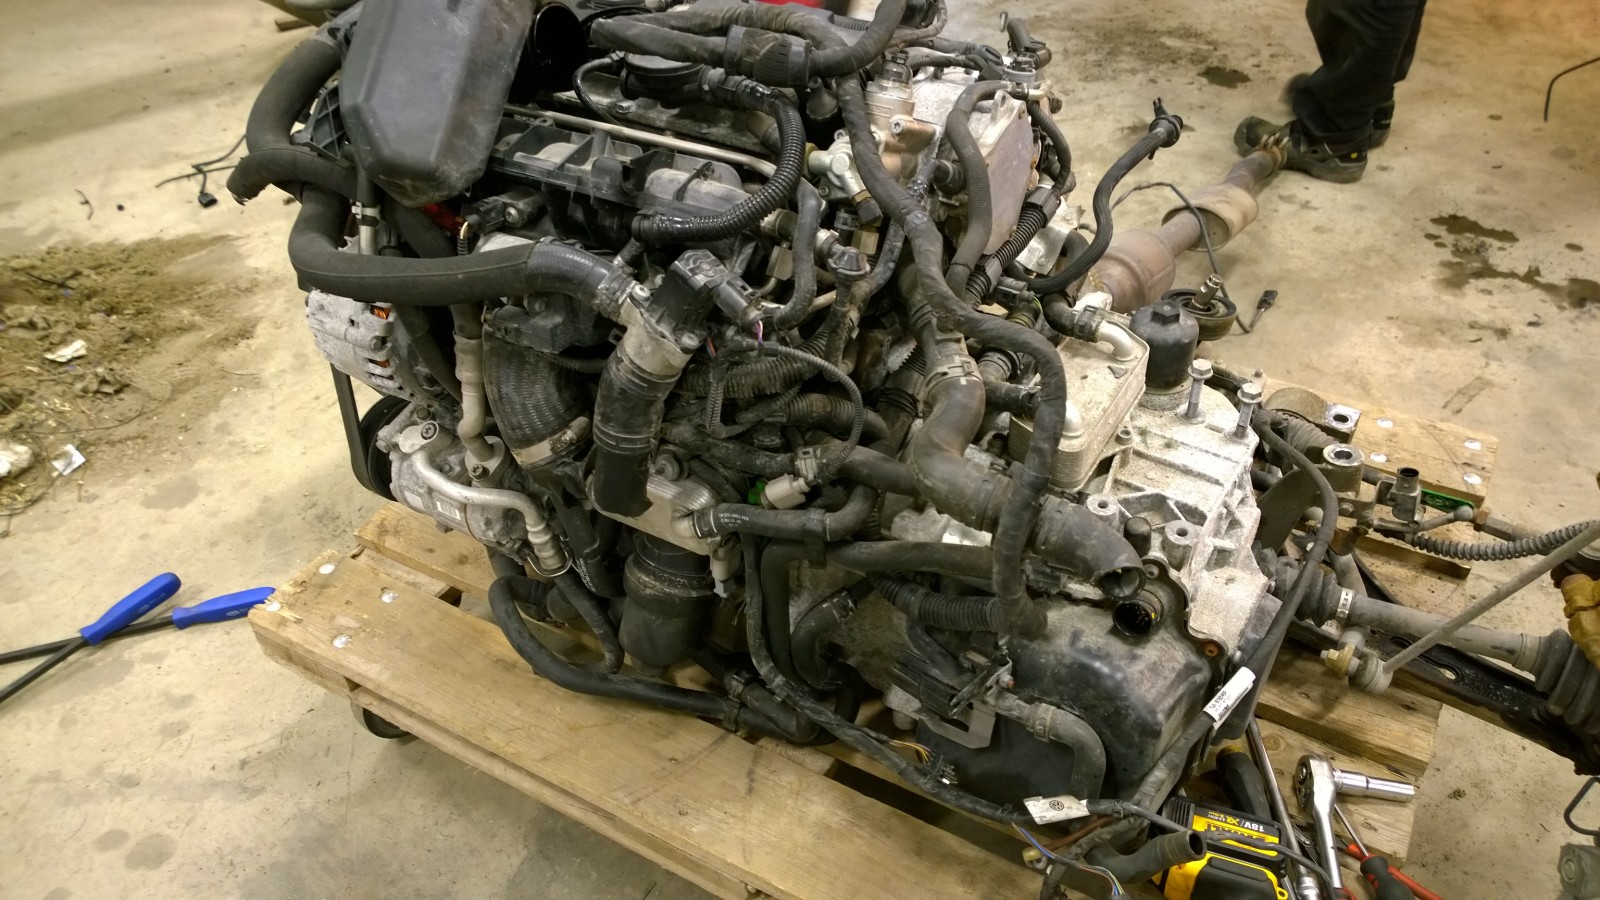
Another view on the engine and gearbox. We were able to sell the engine pretty soon.
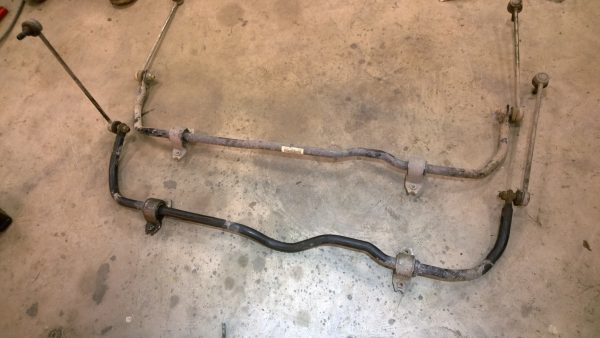
Rear axle
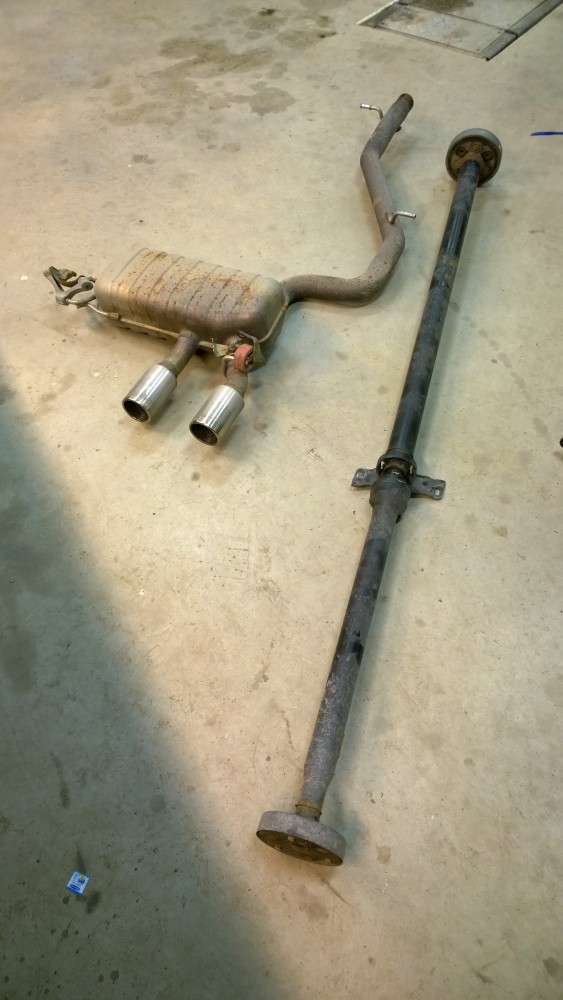
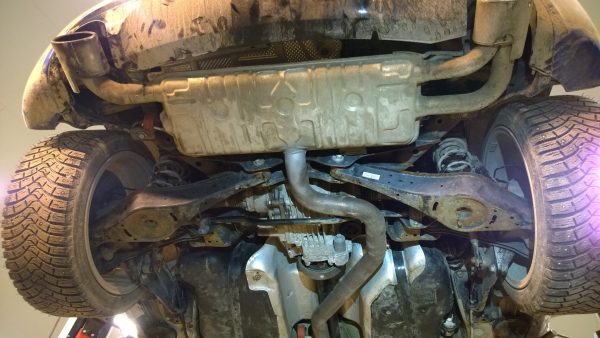
Drive shaft from front to back and Golf exhaust.
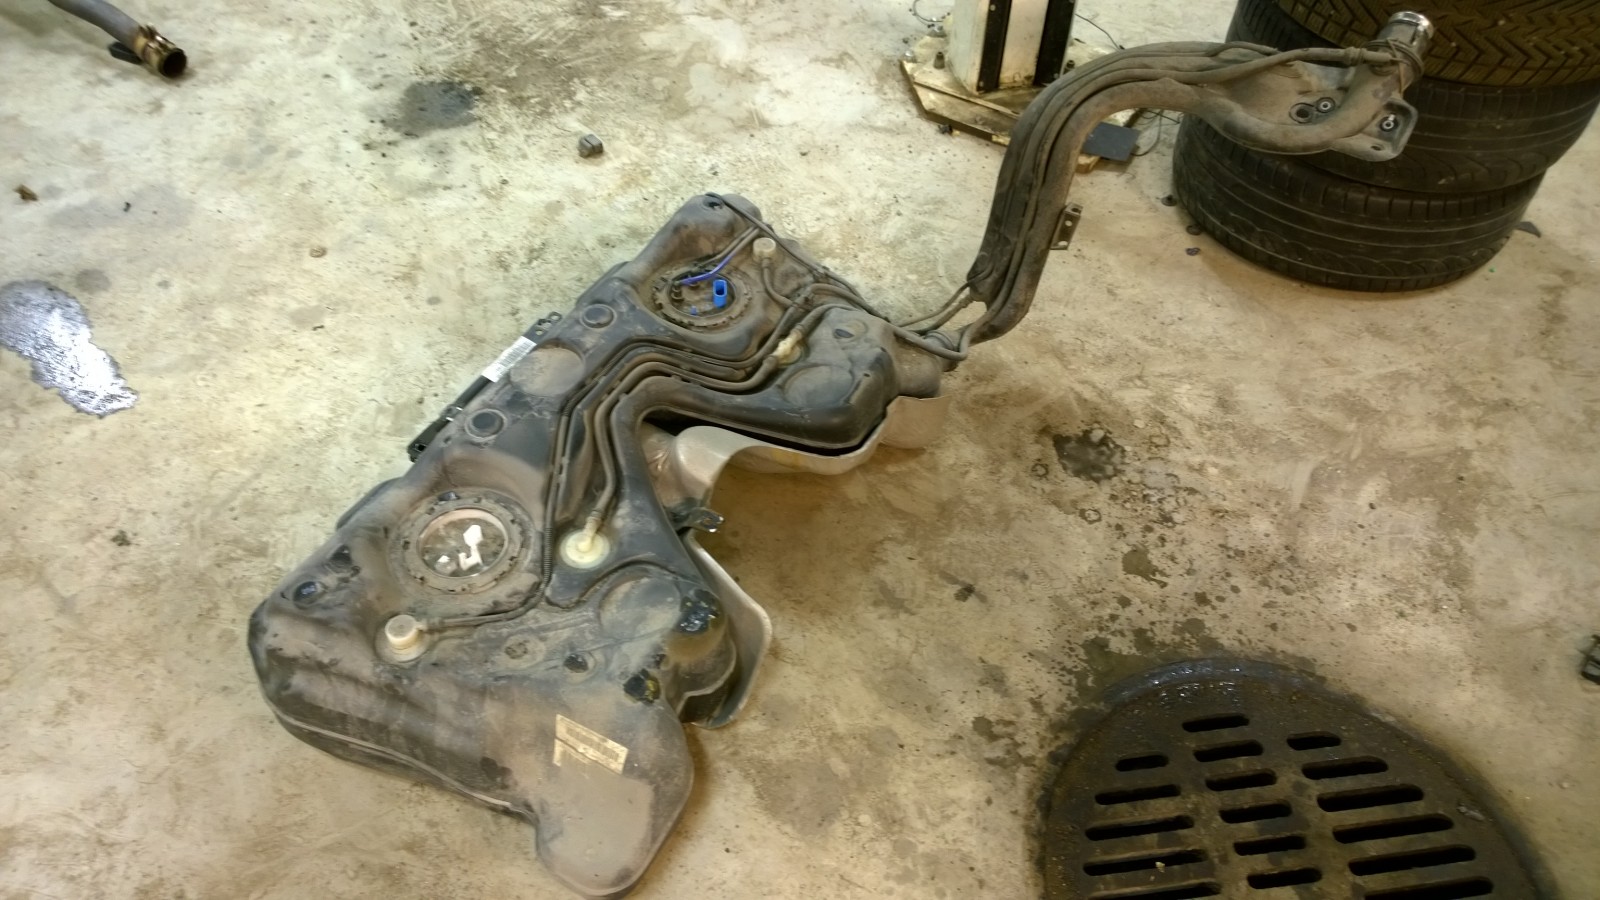
Golf fuel tank.
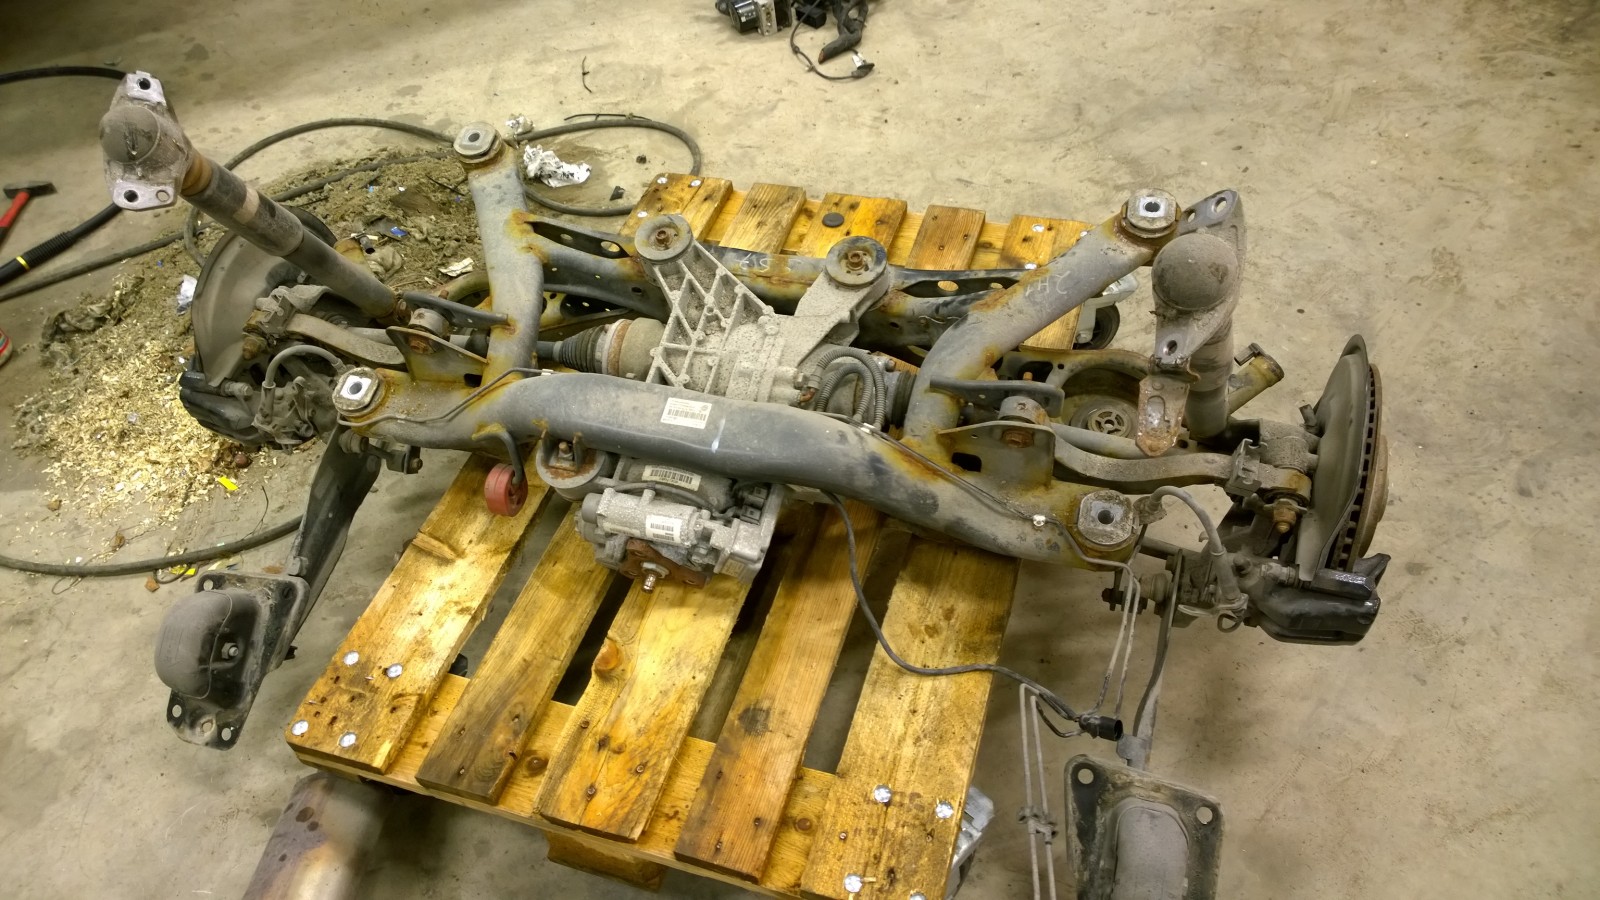
The rear axle came down pretty easily.
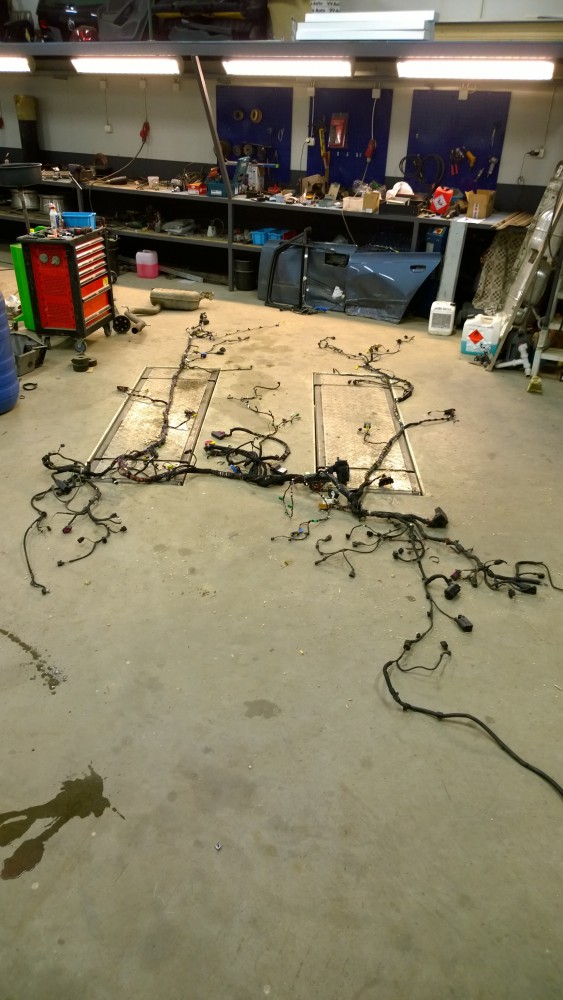
Wiring loom
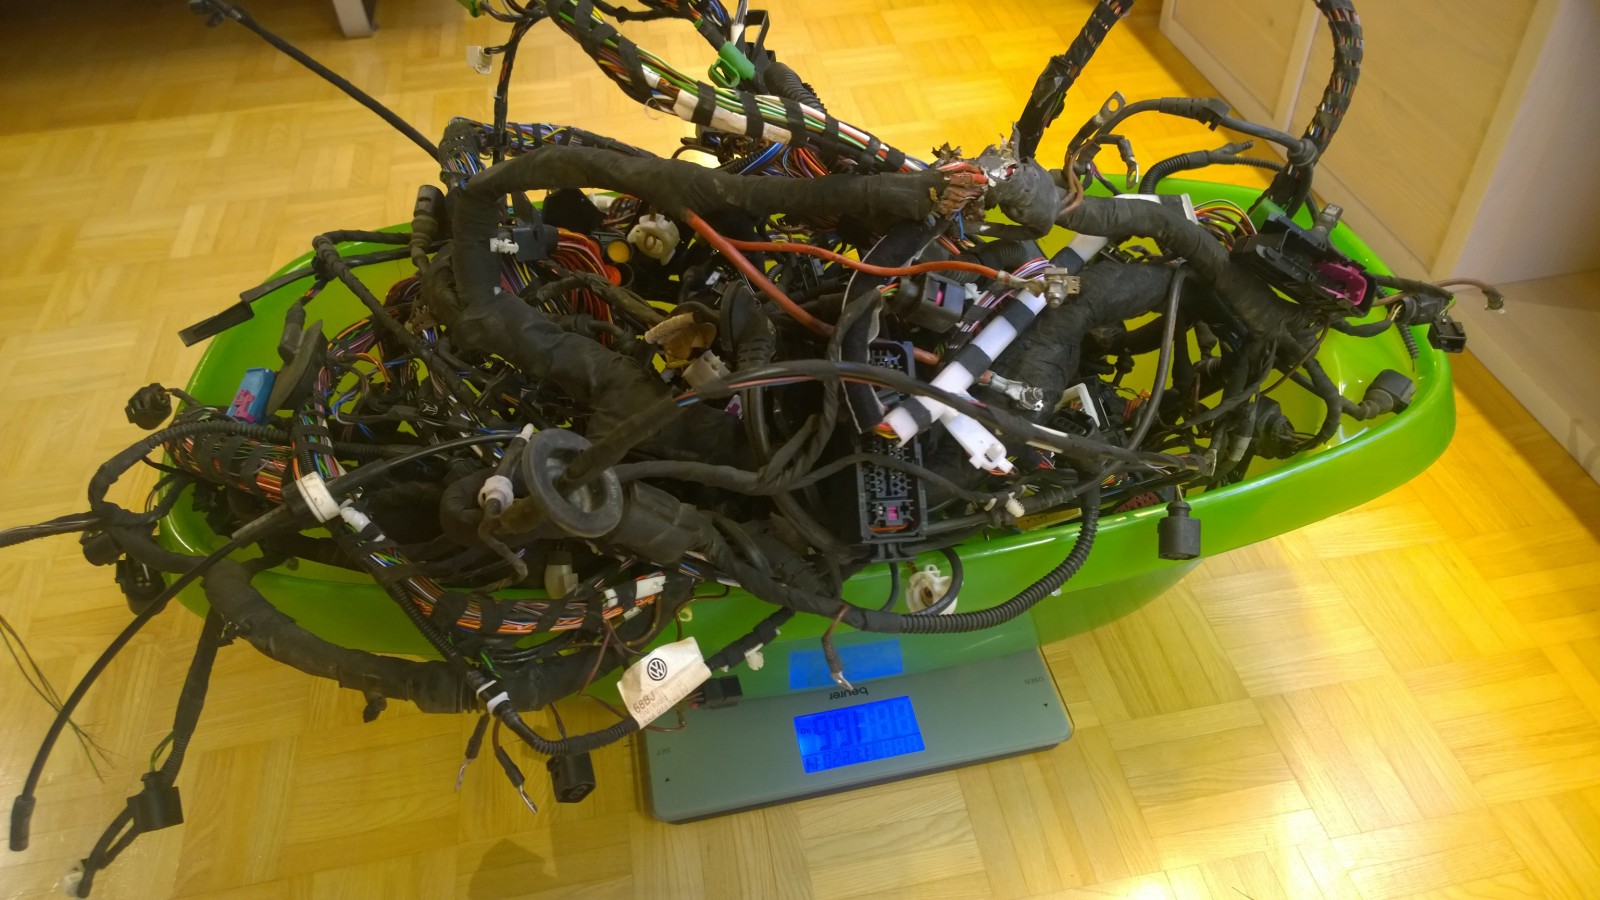
Just out of curiosity we decided to wight the loom. Scale reading: 16,5kg.
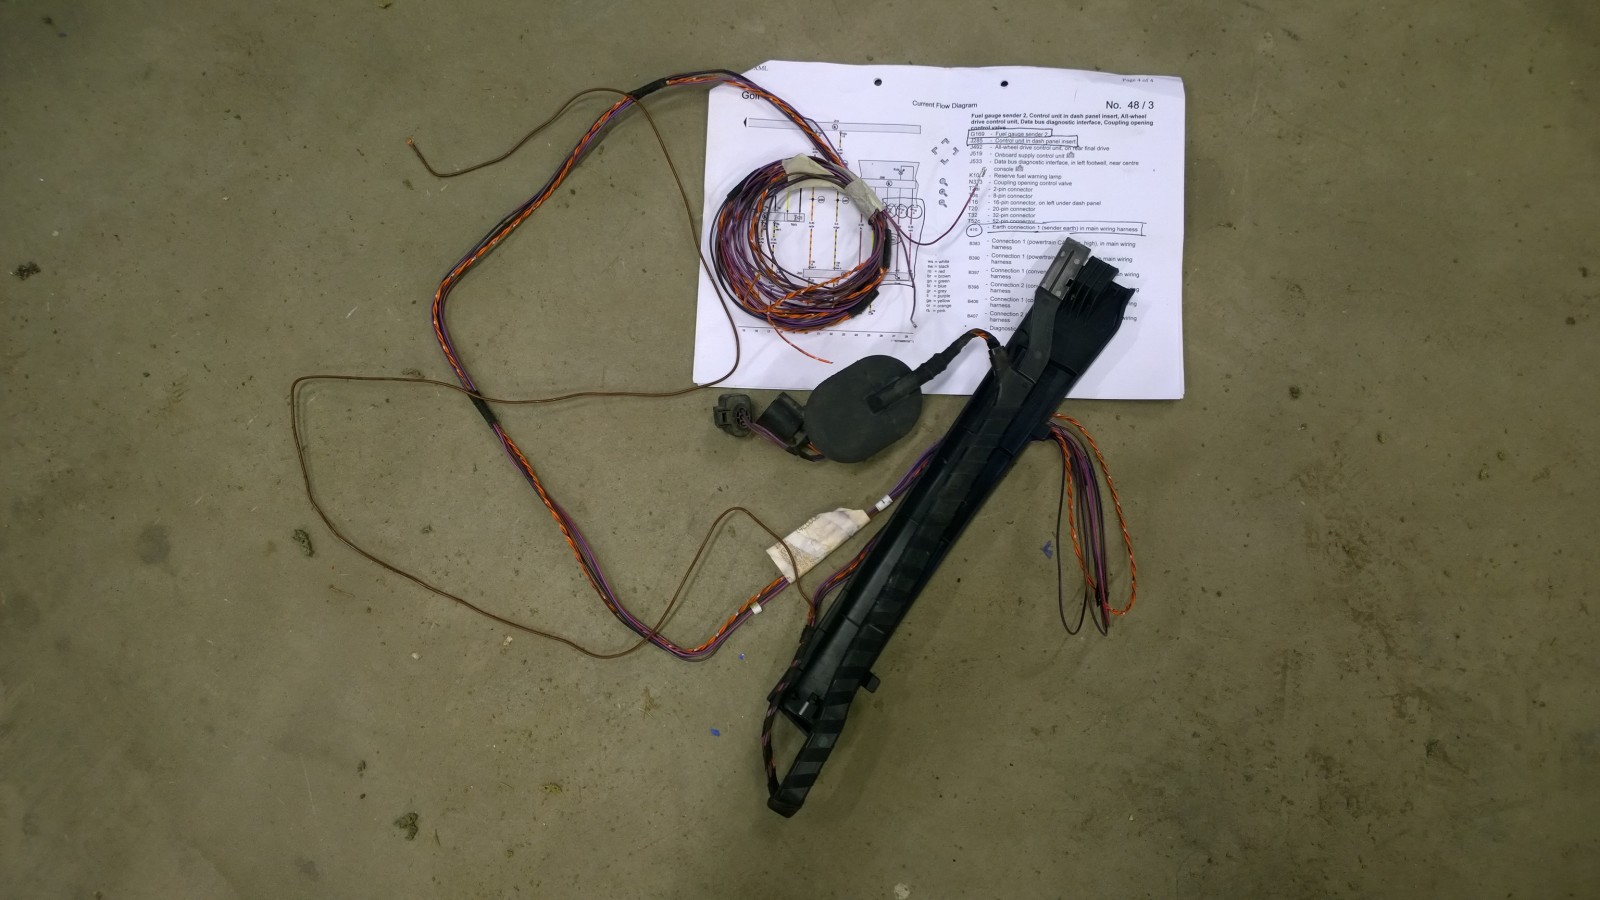
And this is all we needed: wires to Haldex controller (5 wires) and couple to fuel sender.
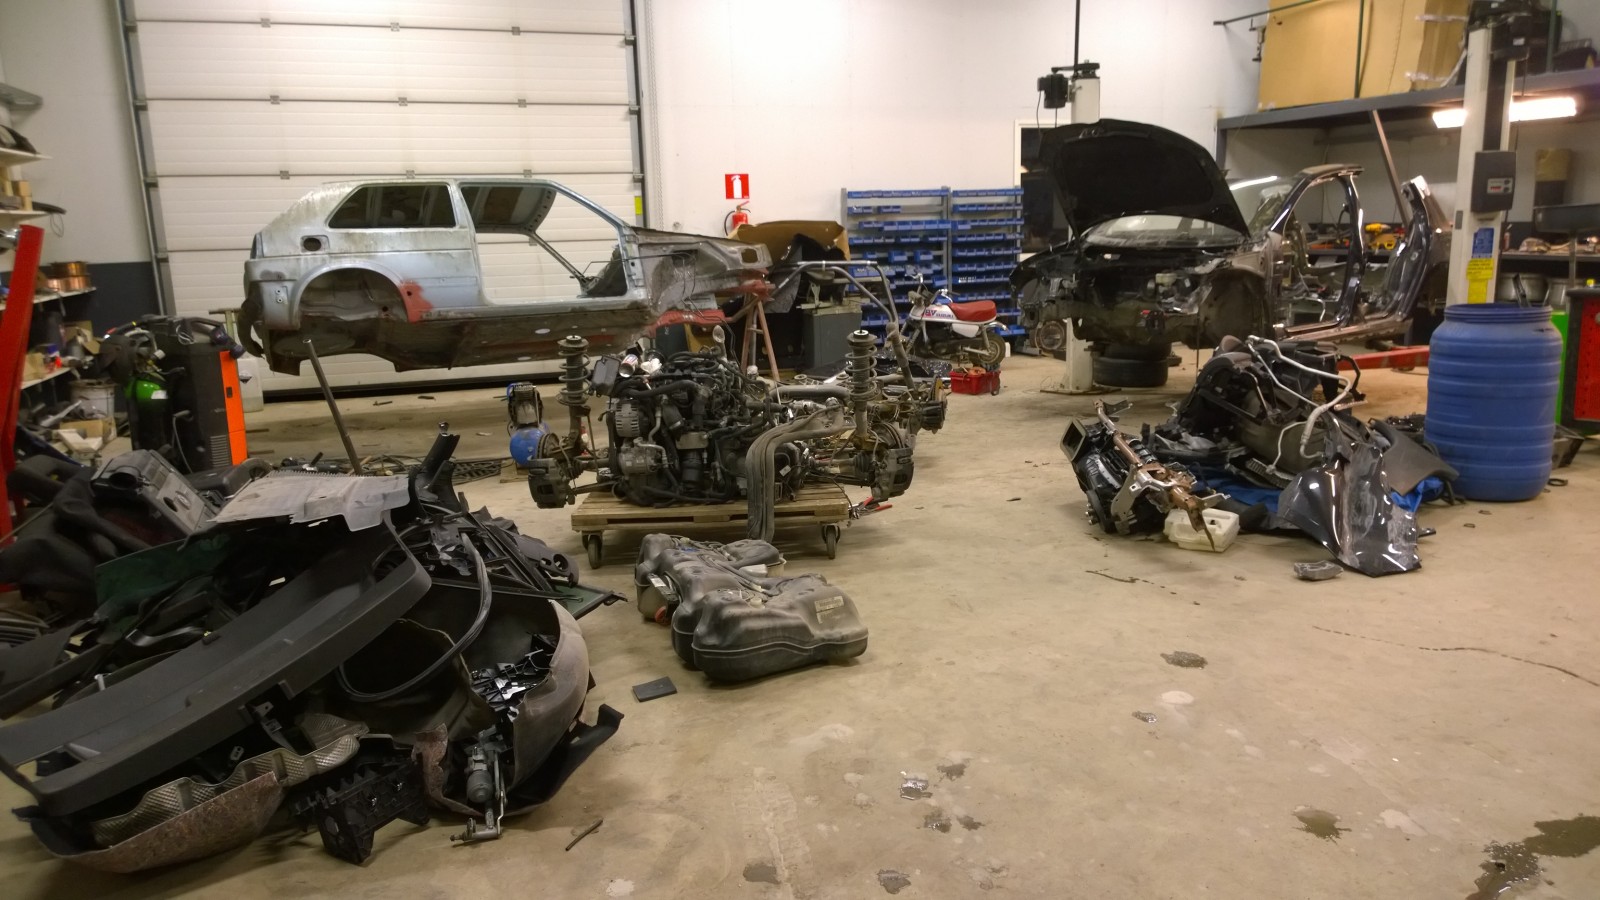
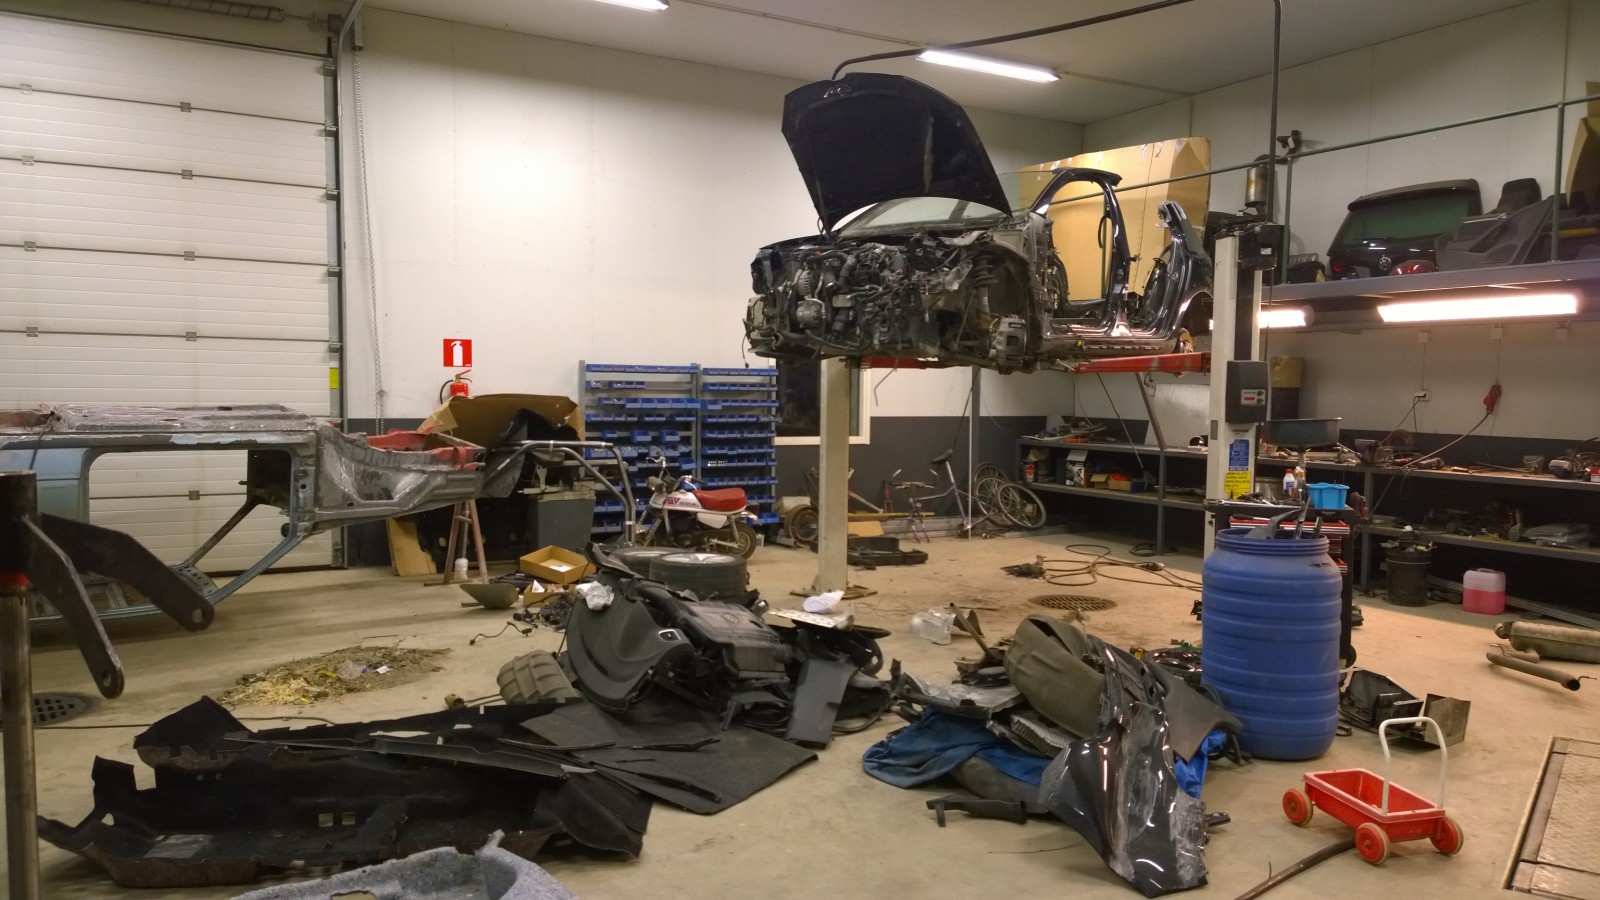
Pekka’s garage full of Heikki’s car’s and parts. He wasn’t too happy about it…
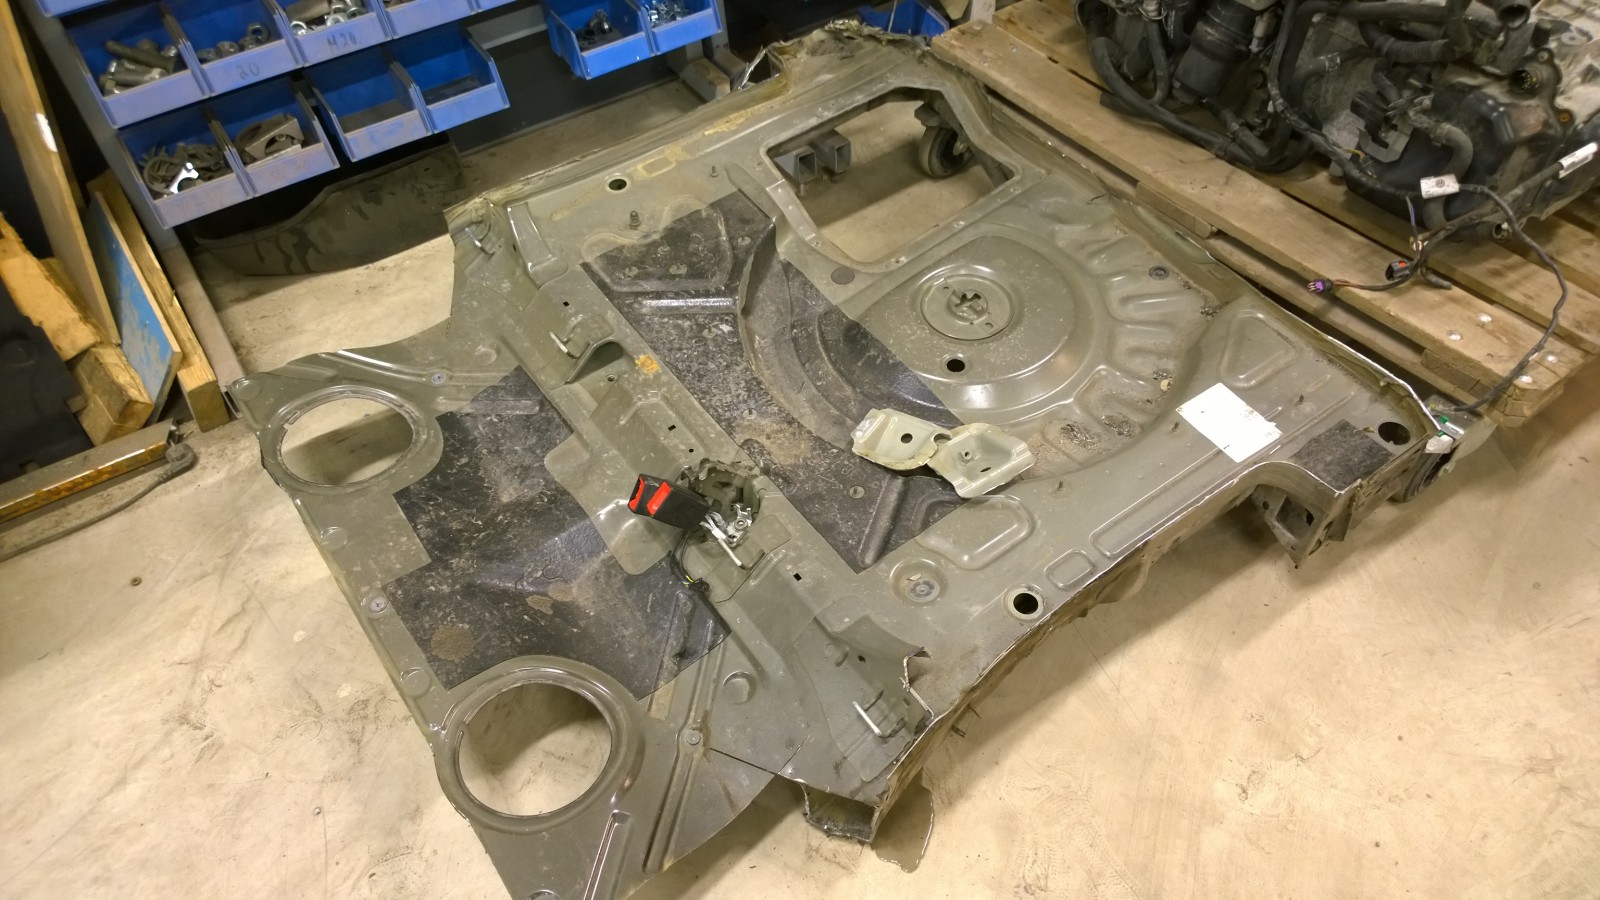
And this is what we needed from the body.
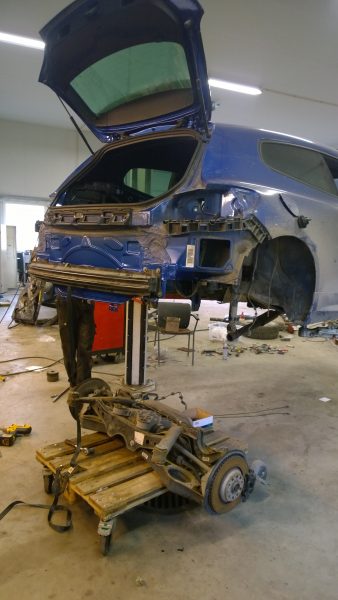
Finally we were able to make some space to the garage and bring Scirocco back in.
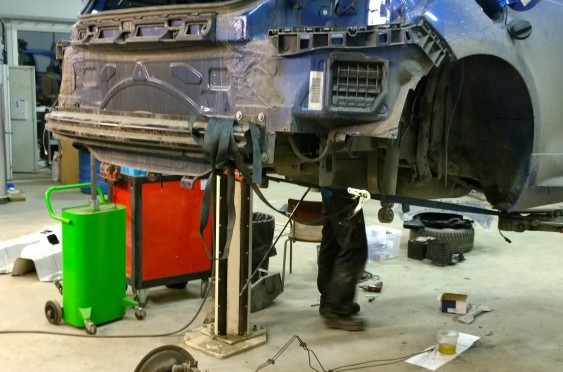
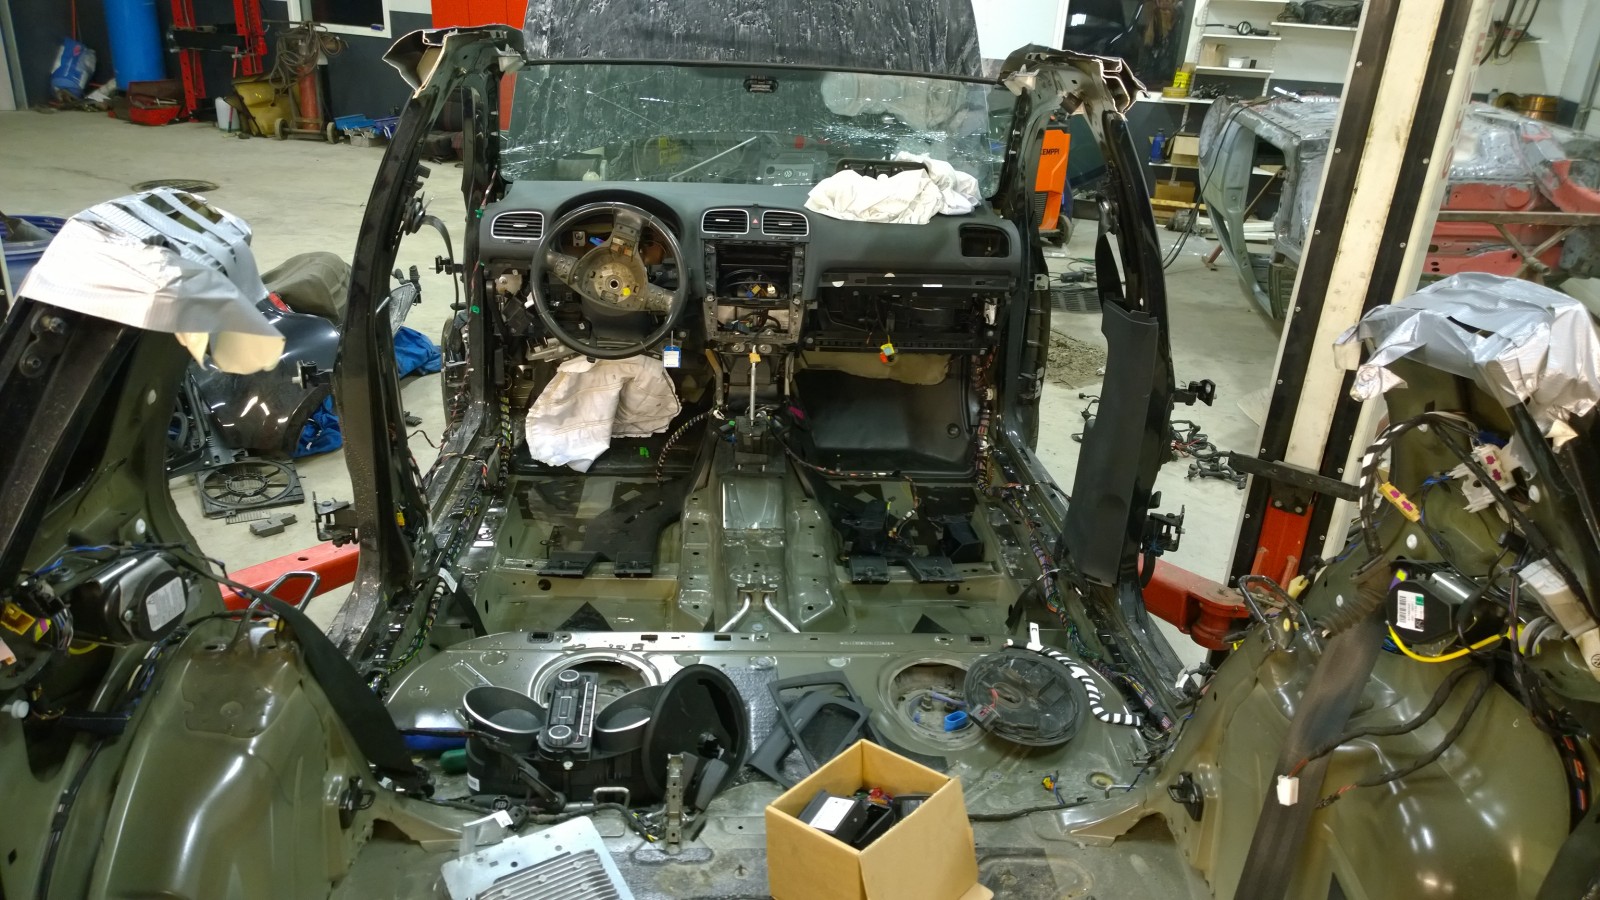
Before we started to tear down Scirocco, we set it on scales to see the axle weights (needed for regulatory paper work).

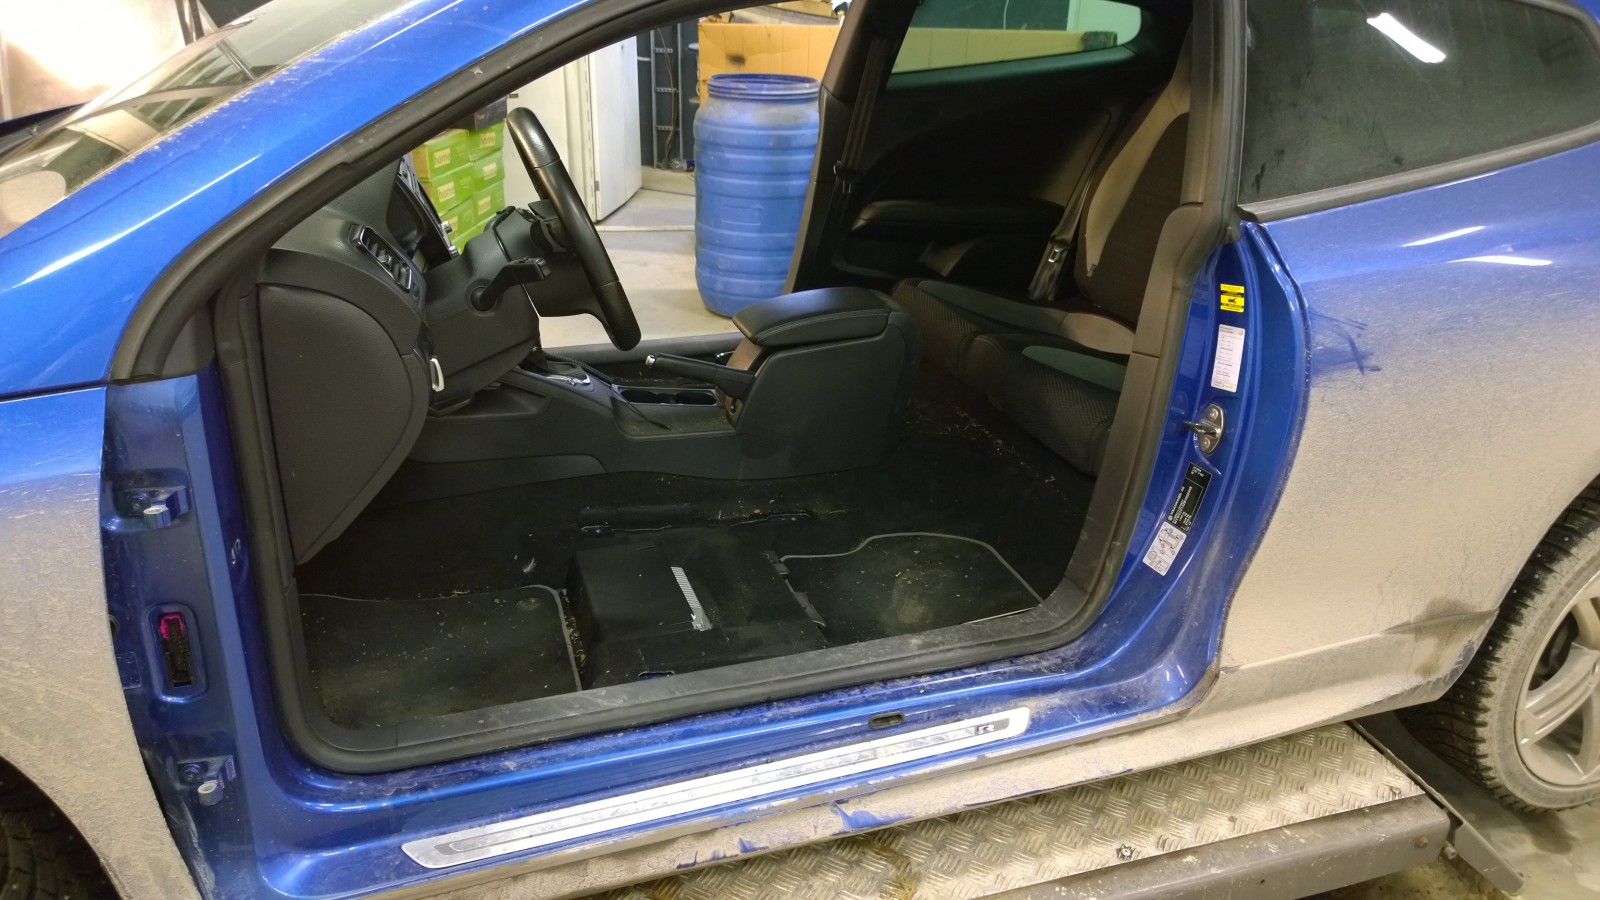
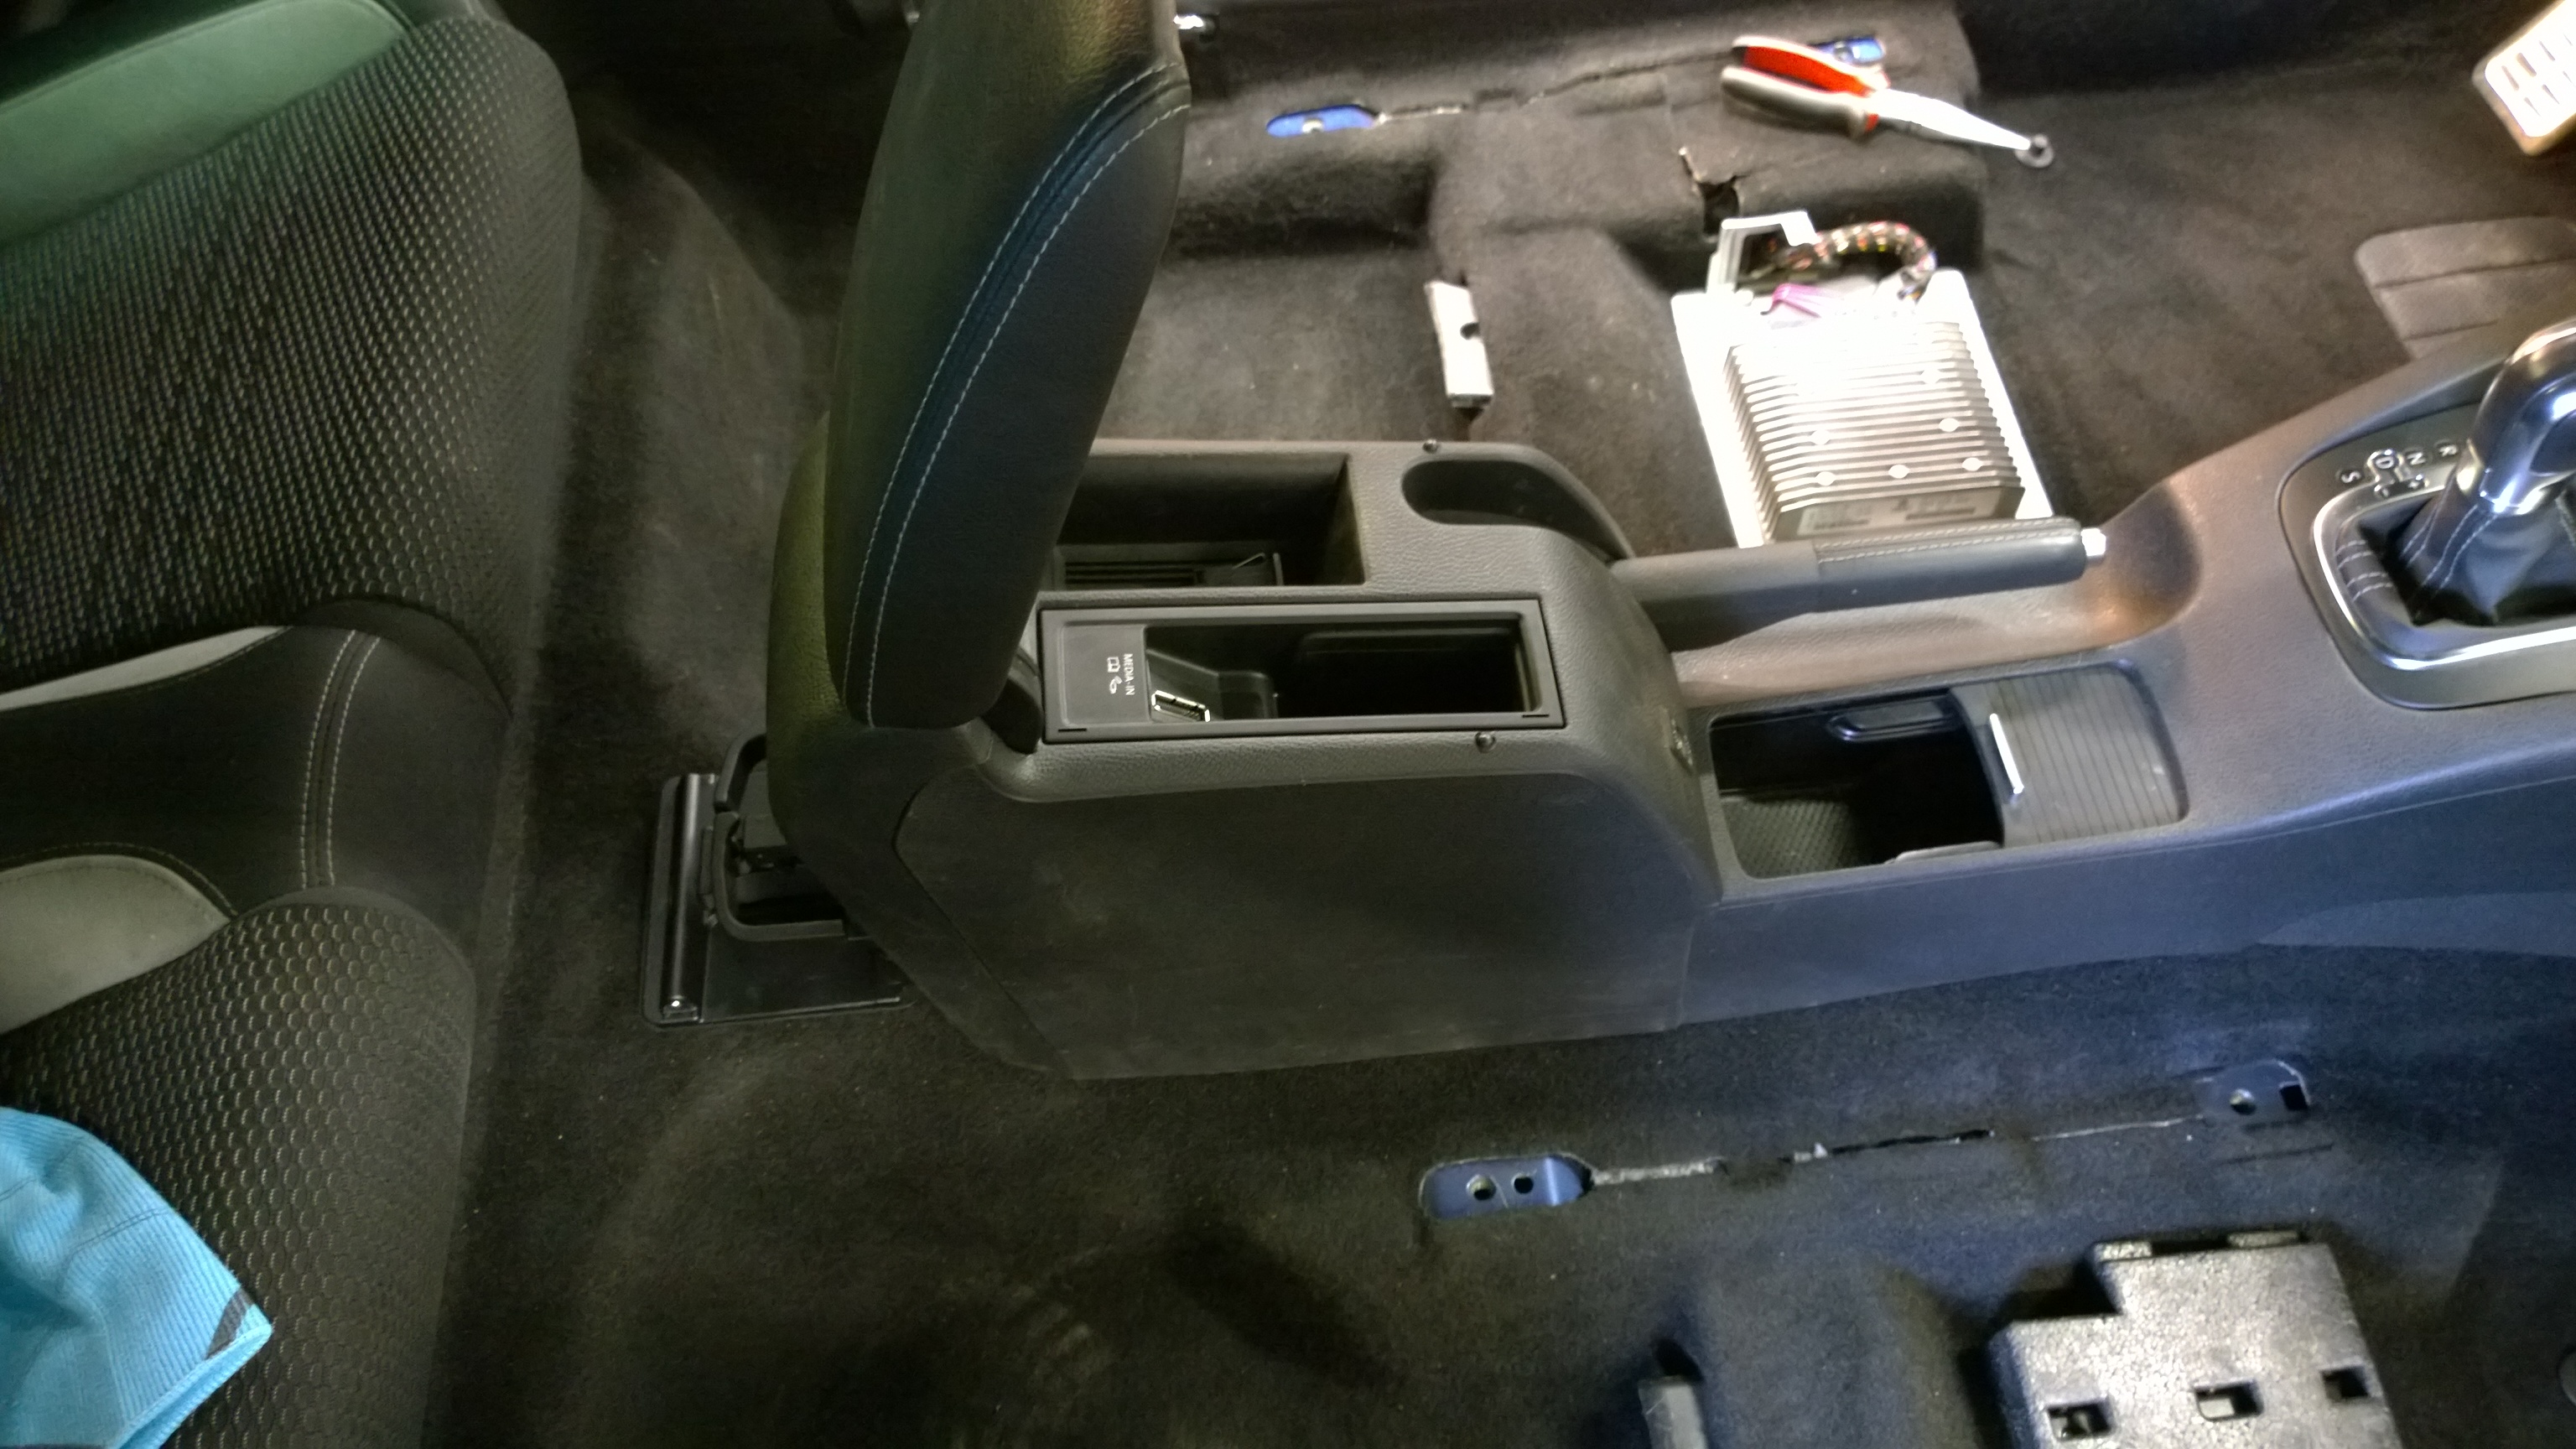
Front seats out
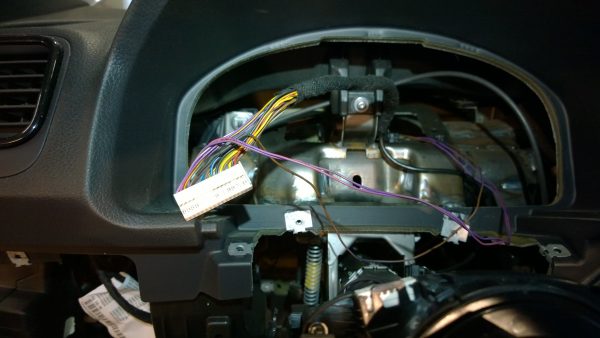
We also had to tear down the dash partly – some wiring needed to be connected inside the dash (more about that later).
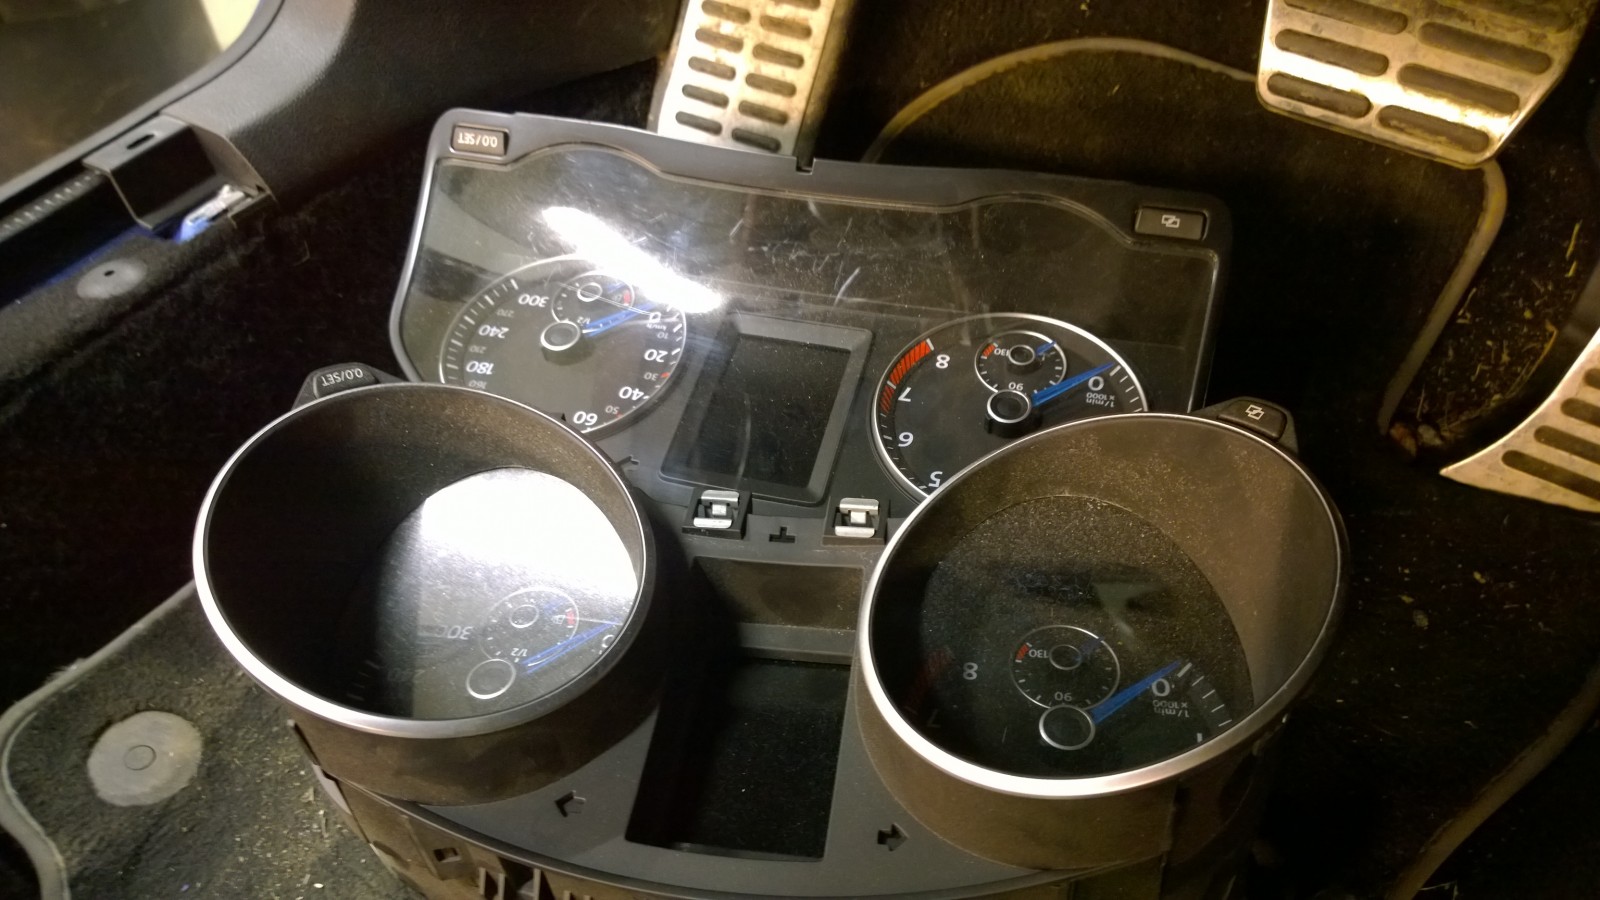
Comparing Scirocco (back) and Golf clusters.
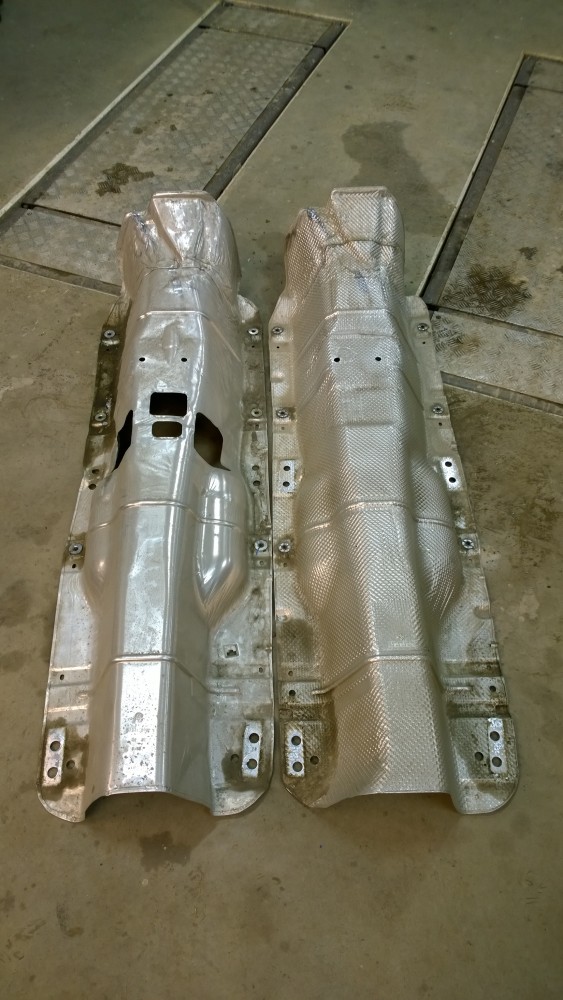
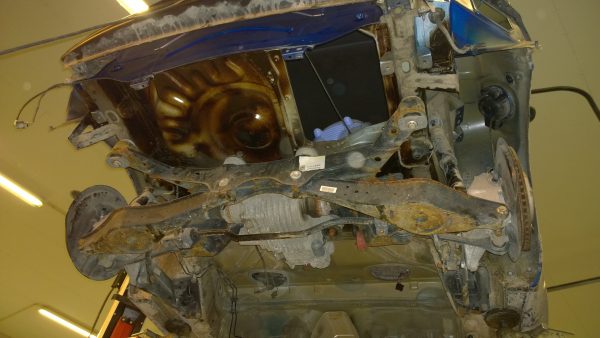
Heat shields under the car. The only difference between Scirocco and Golf are couple of holes needed for drive shaft support bearing.
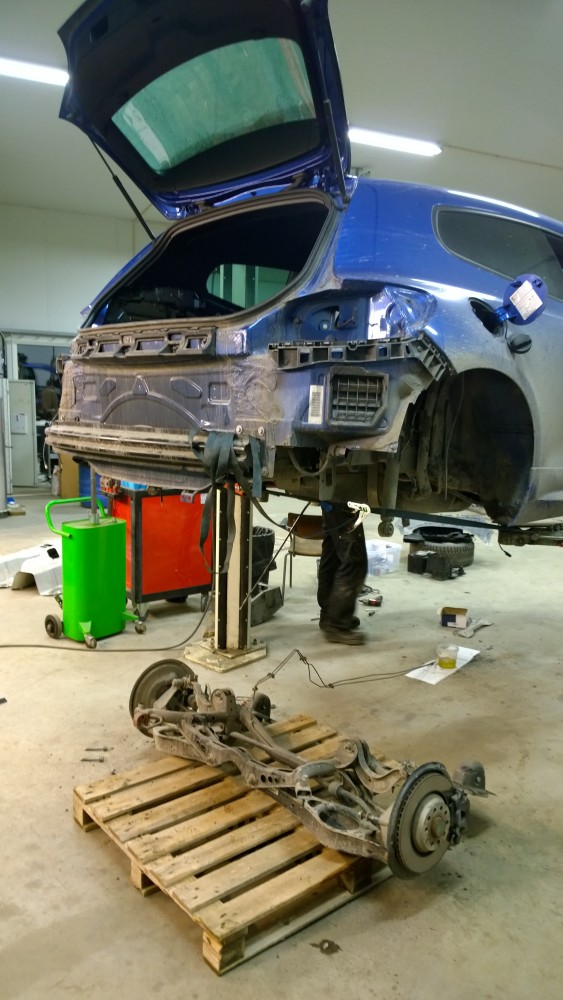
Rear axle dropped off – this took only a few minutes.
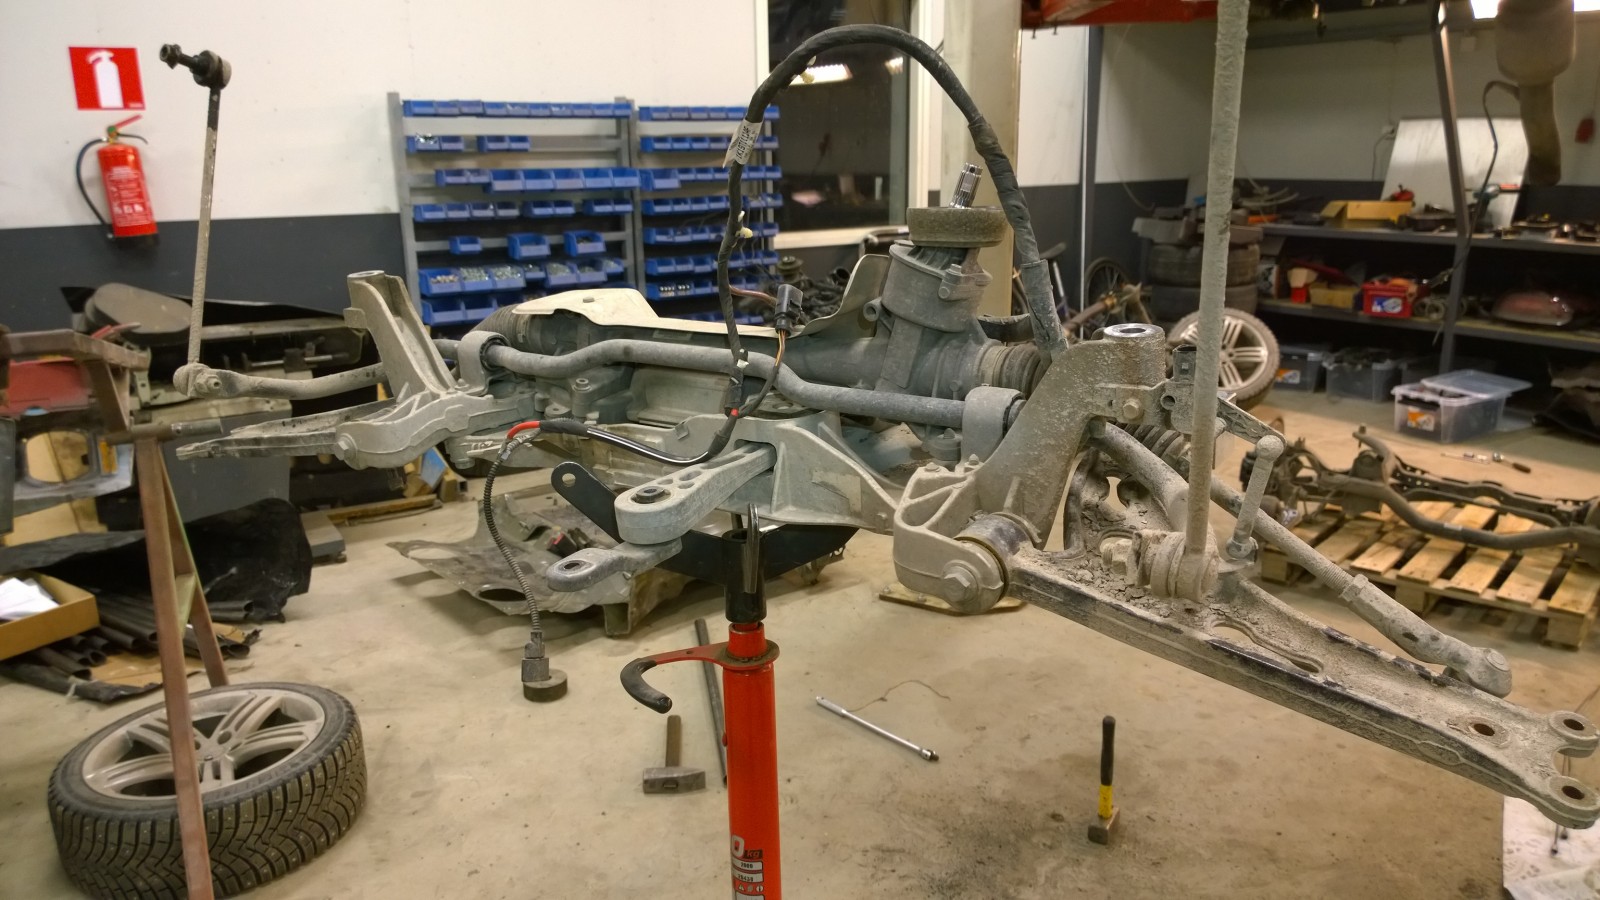
Next we decided to change the gearbox. Unfortunately we were so busy doing the actual job we forgot to take a lot of pictures. Anyway, first we had to drop down the subframe – together with steering gear.
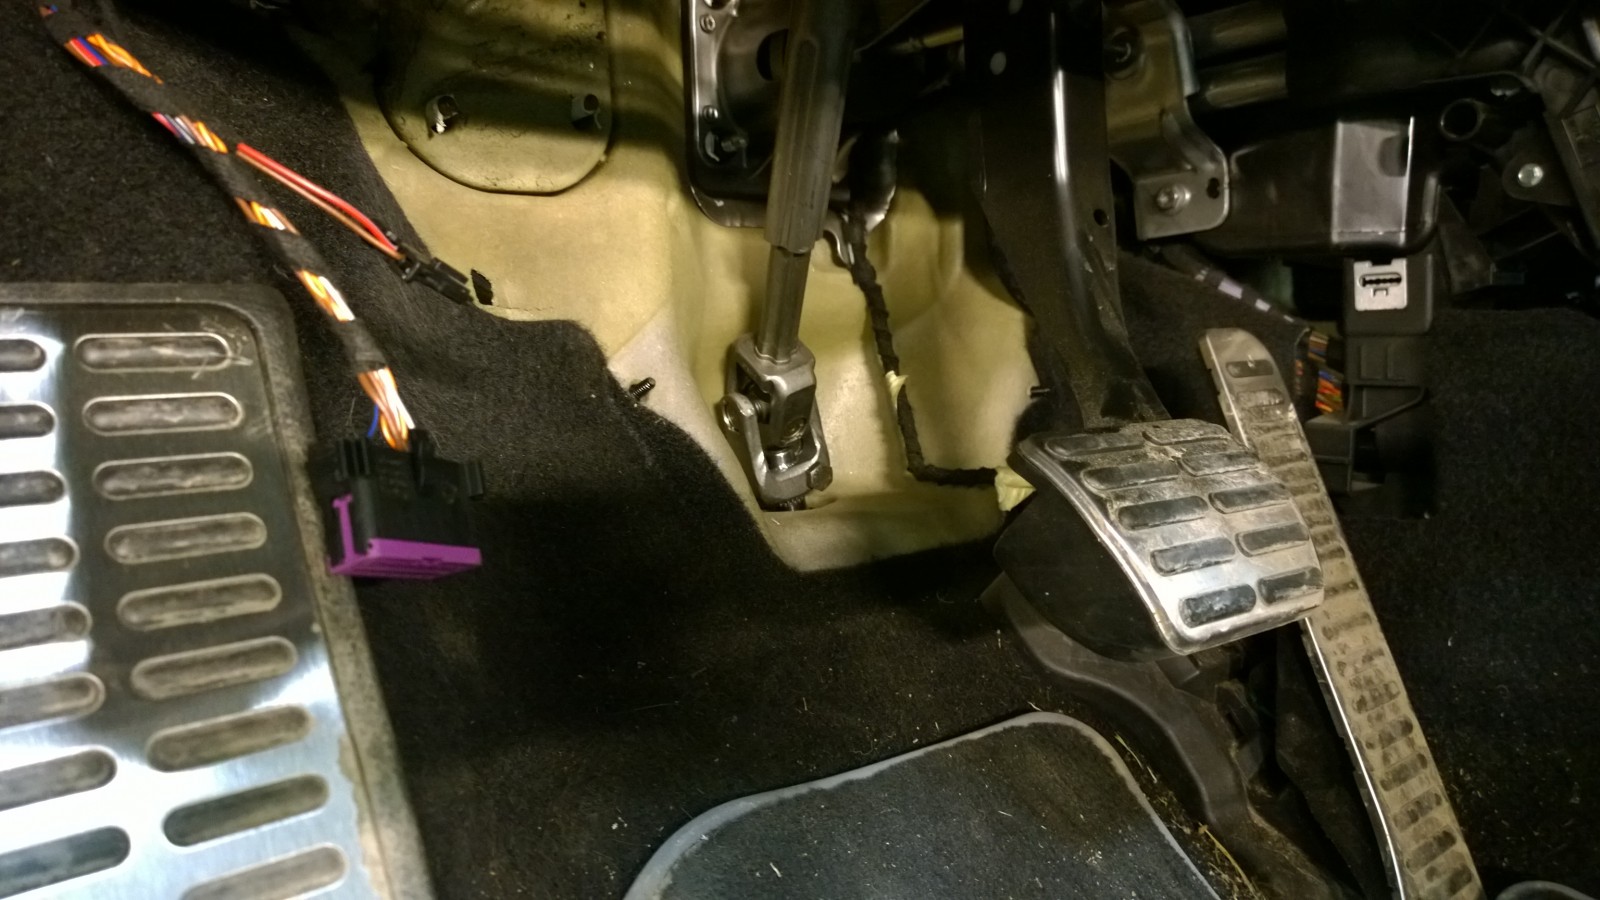
To be able to drop down the front subframe and steering gear we opened the steering shaft.
It would have been a clever move to remove the steering wheel too – my 4 year old son had too much fun ”driving” the car and while the steering wheel was now free to rotate as many cycles as he wanted, he broke the slip ring behind the steering wheel…
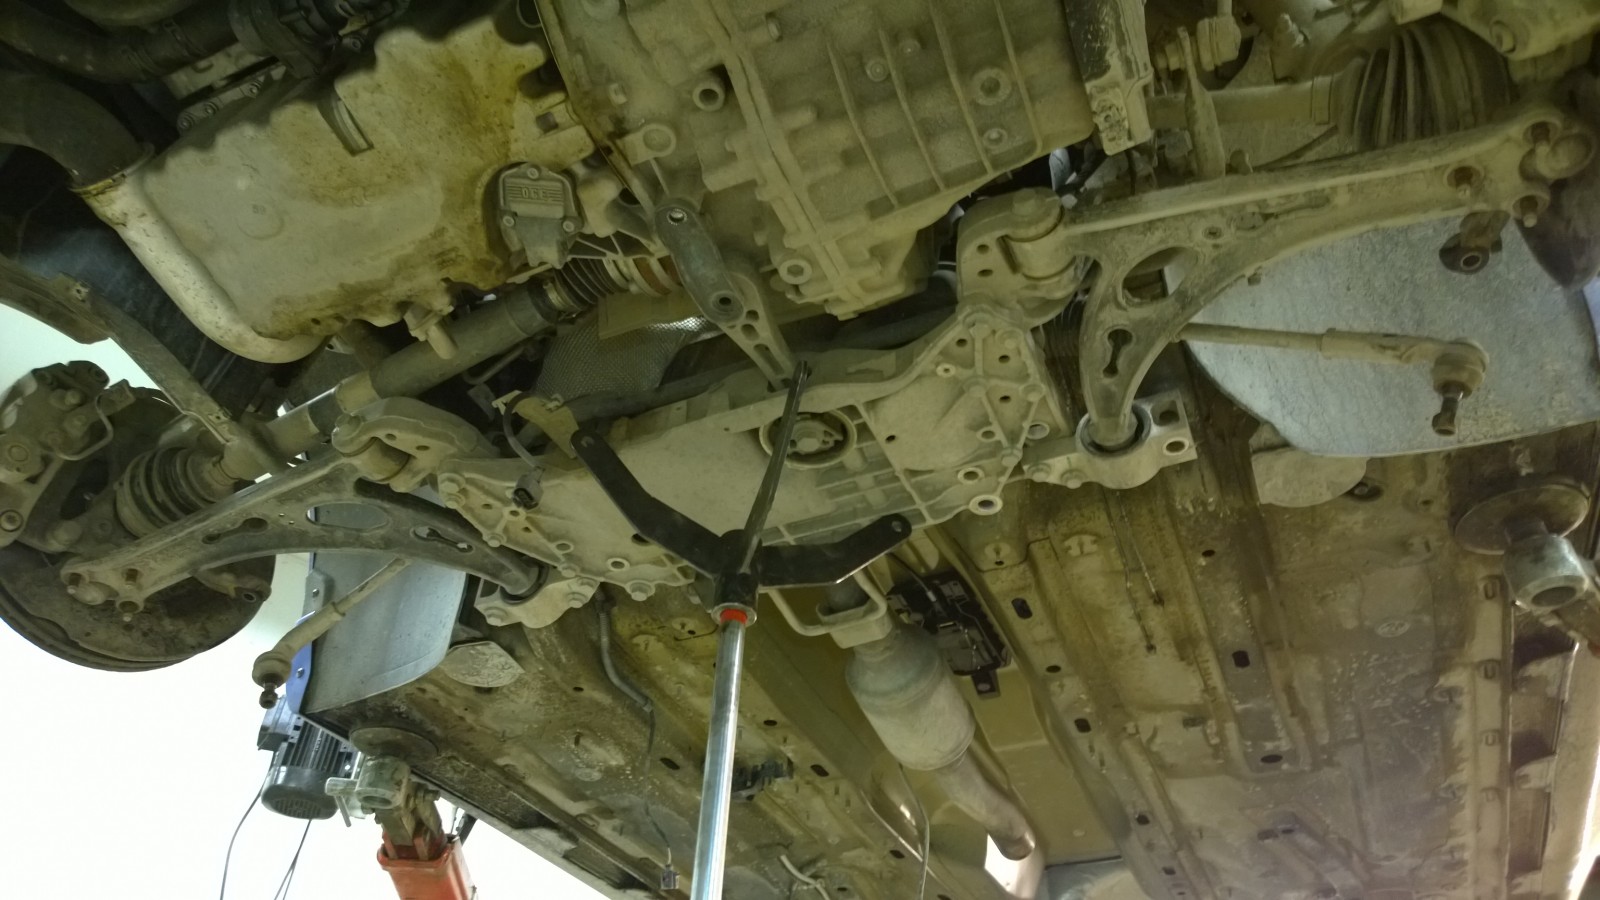
While the engine was supported from the top side, it was now easy to remove the gearbox and replace with the box from Golf. We compared the Scirocco and Golf gearboxes and they were identical (including gear ratios), the only difference is Golf’s angle drive.
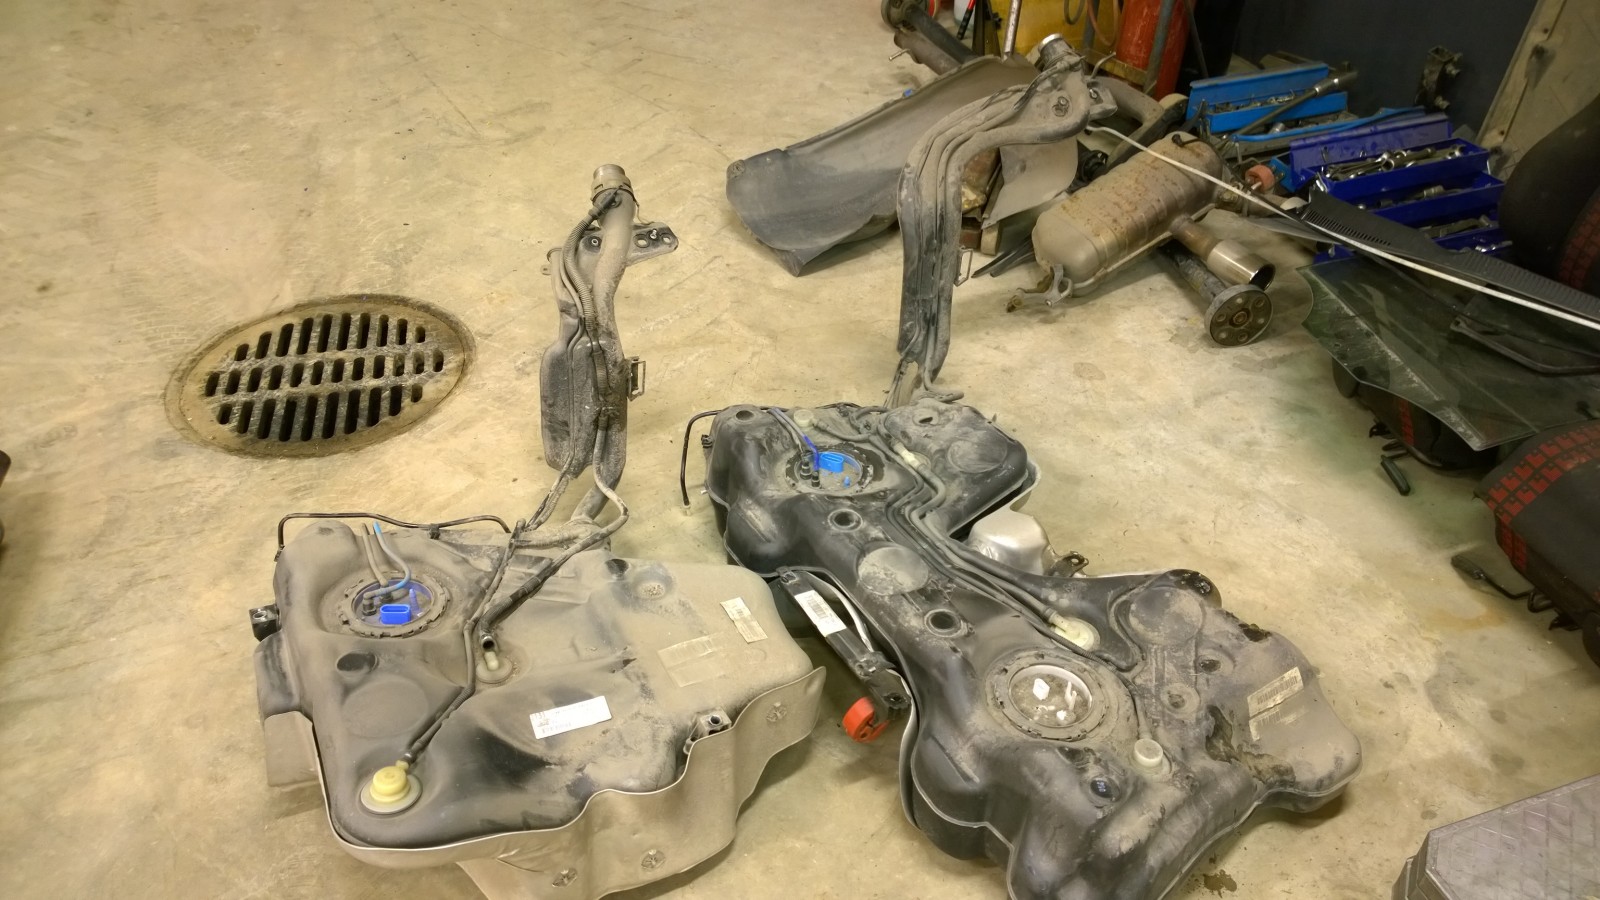
Scirocco’s fuel tank (left) is quite different from Golf’s.
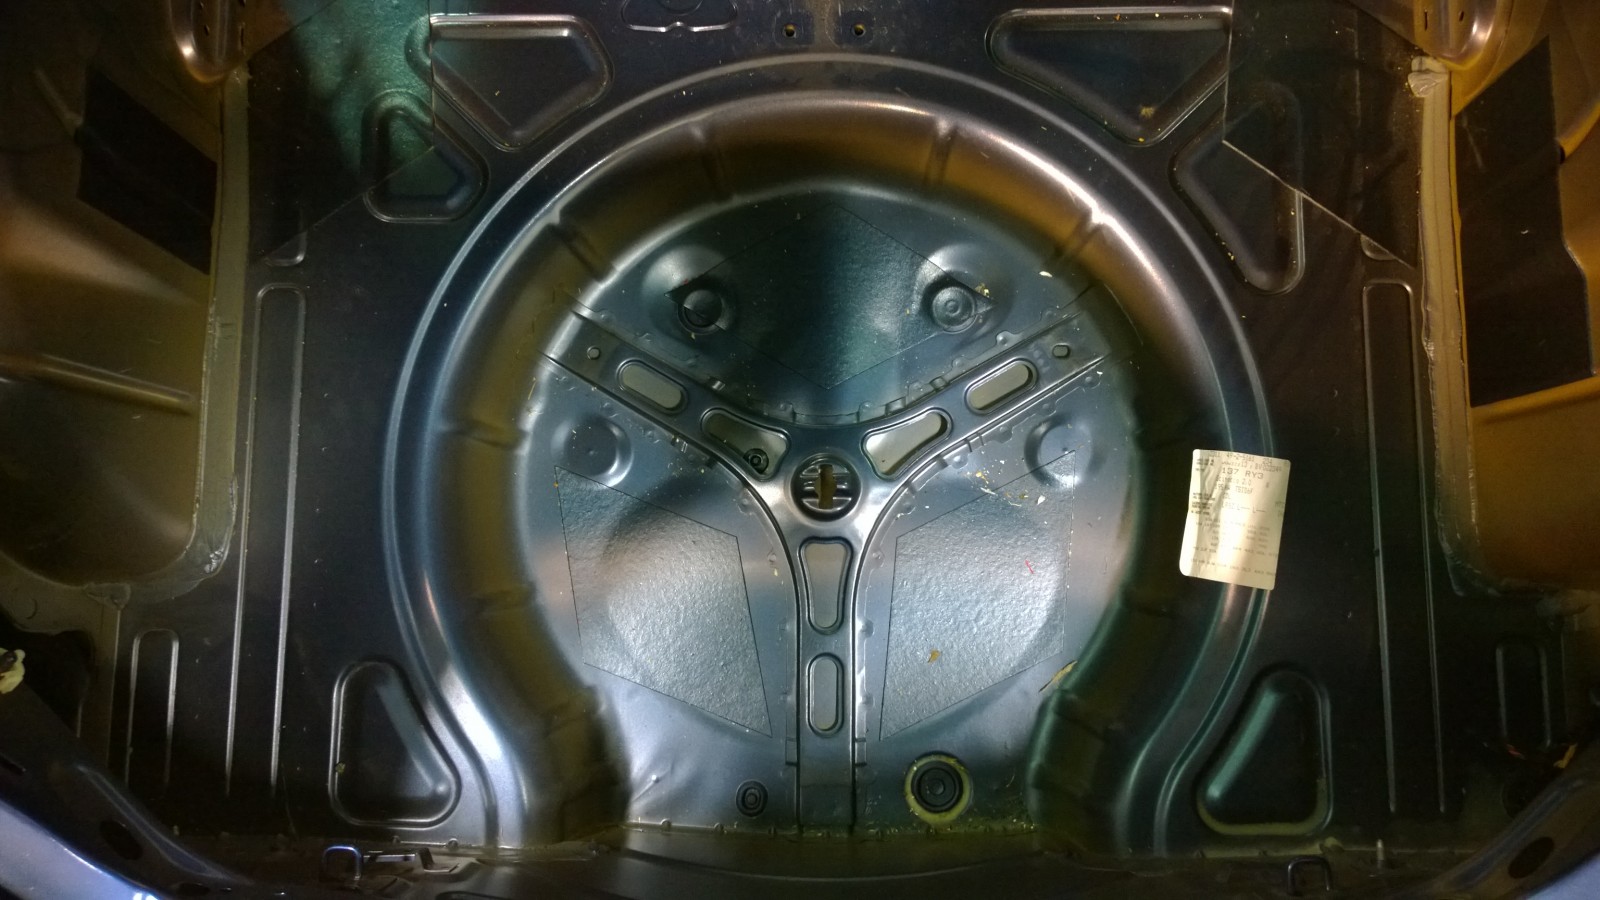
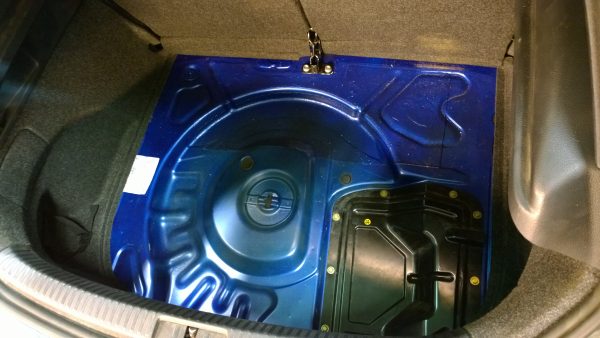
Scirocco trunk. Spare wheel space is a lot deeper than in Golf. This is the reason why we need to switch the floor to make room for rear diff. We’ll post a comparison photo a bit later.
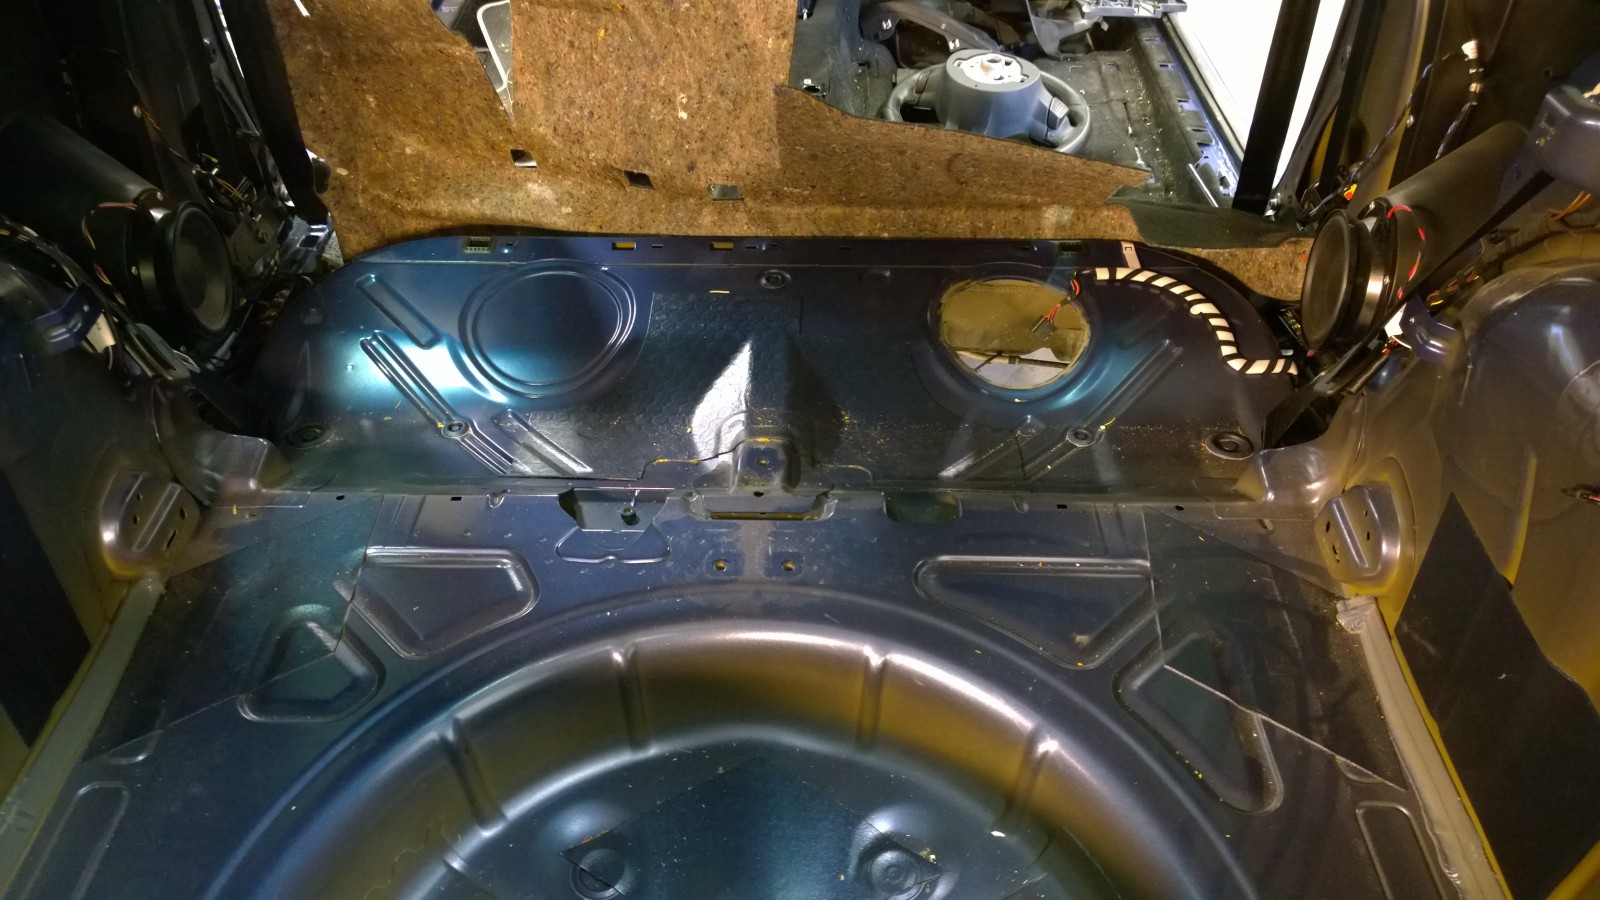
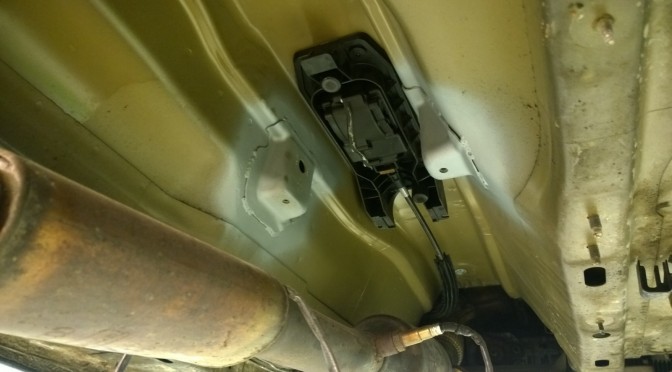
Under the rear seat is the opening for fuel pump and gauge sensor. In Golf there’s a hole on both sides.
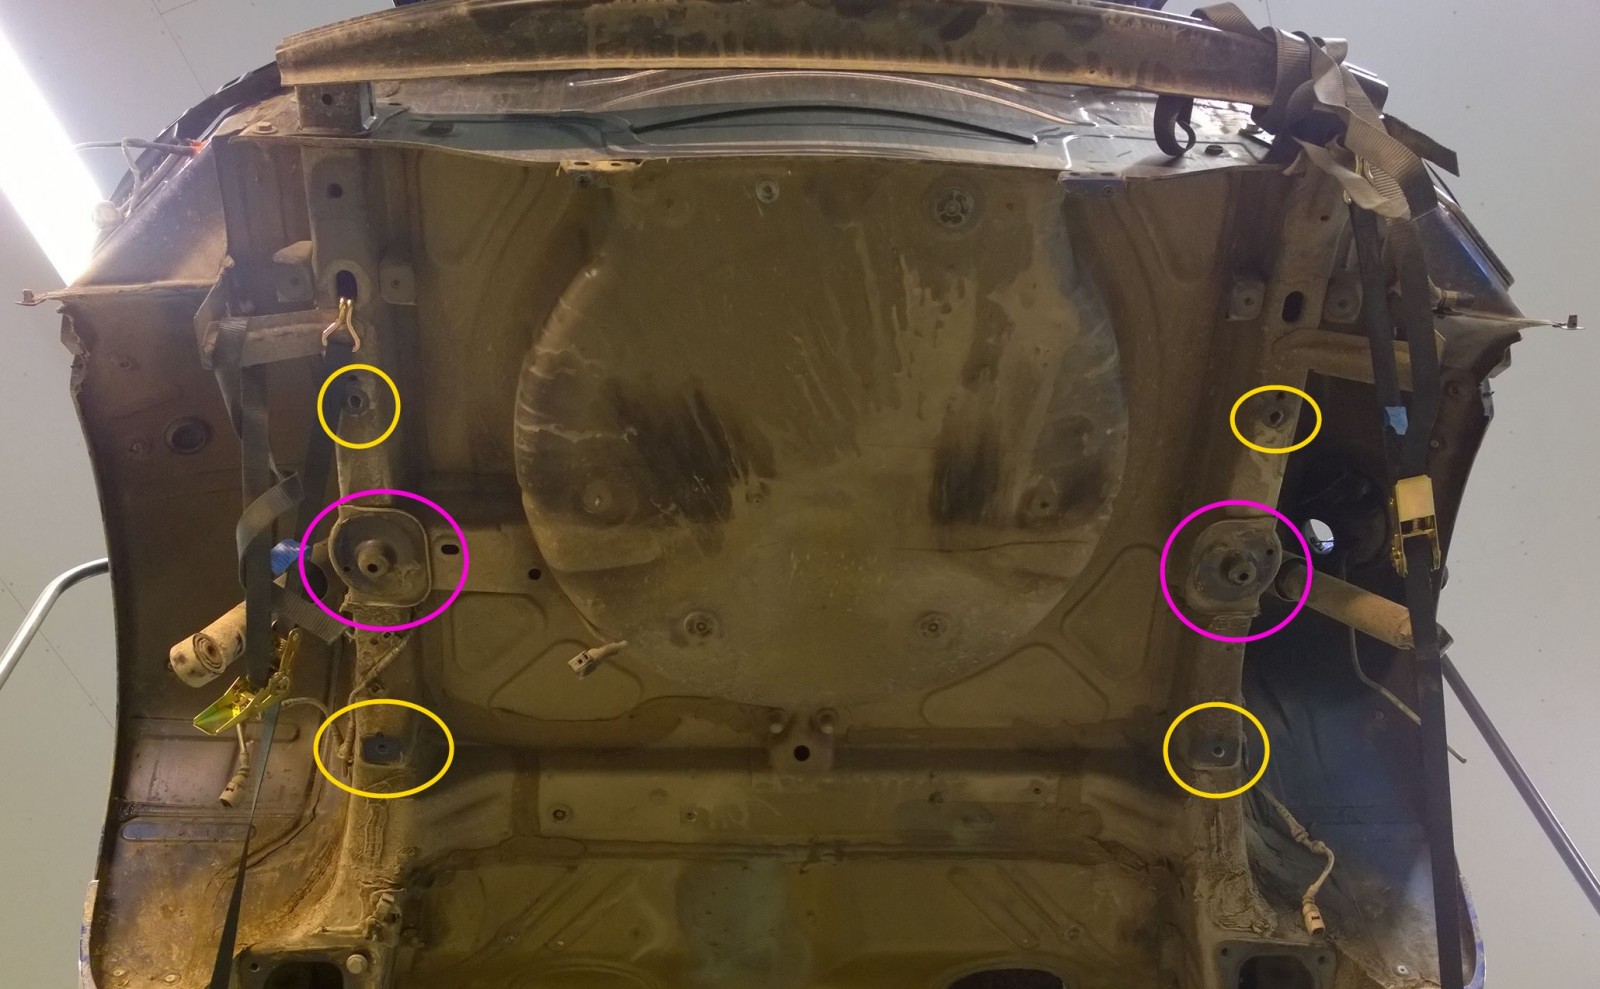
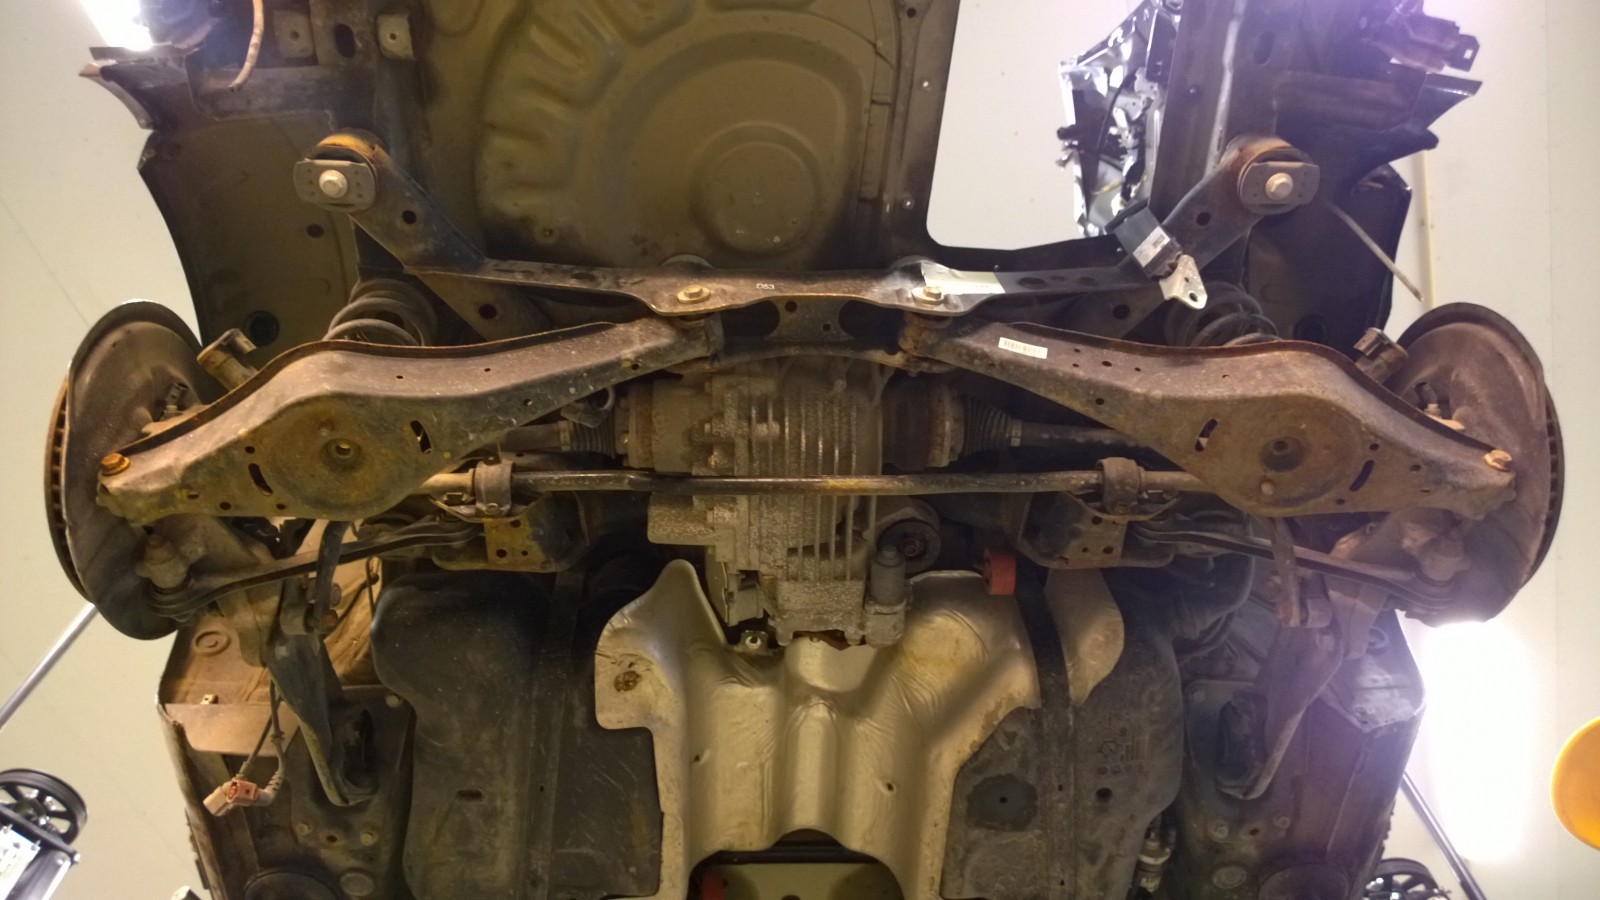
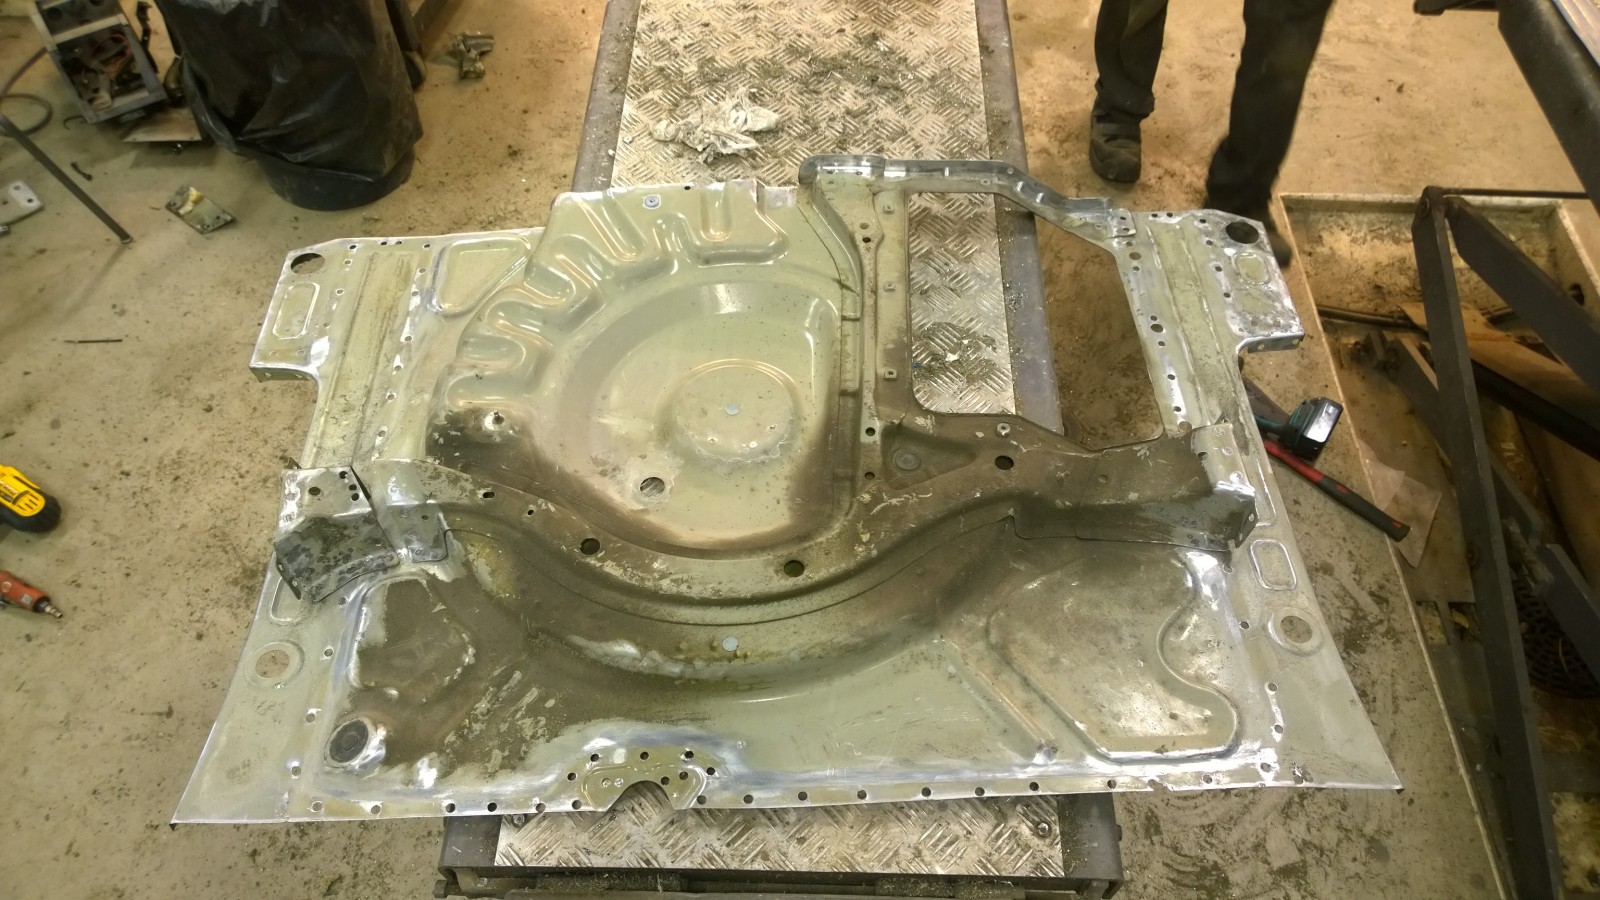
On the underside everything is same as in Golf except the spare wheel area. Rear axle bolts into the same locations (yellow circles). Springs attach to the areas marked with purple.
In next post we’ll replace the trunk floor.

As described on earlier posts, pretty much the only major body modification needed for 4motion retrofit is replacing the trunk floor with a floor from Golf. We did this by following VW’s instructions. The only difference is that in VW’s instructions they use brand new floor, we started by first removing the floor piece from our donor car.
Golf trunk floor being drilled and chiseled from a larger piece.
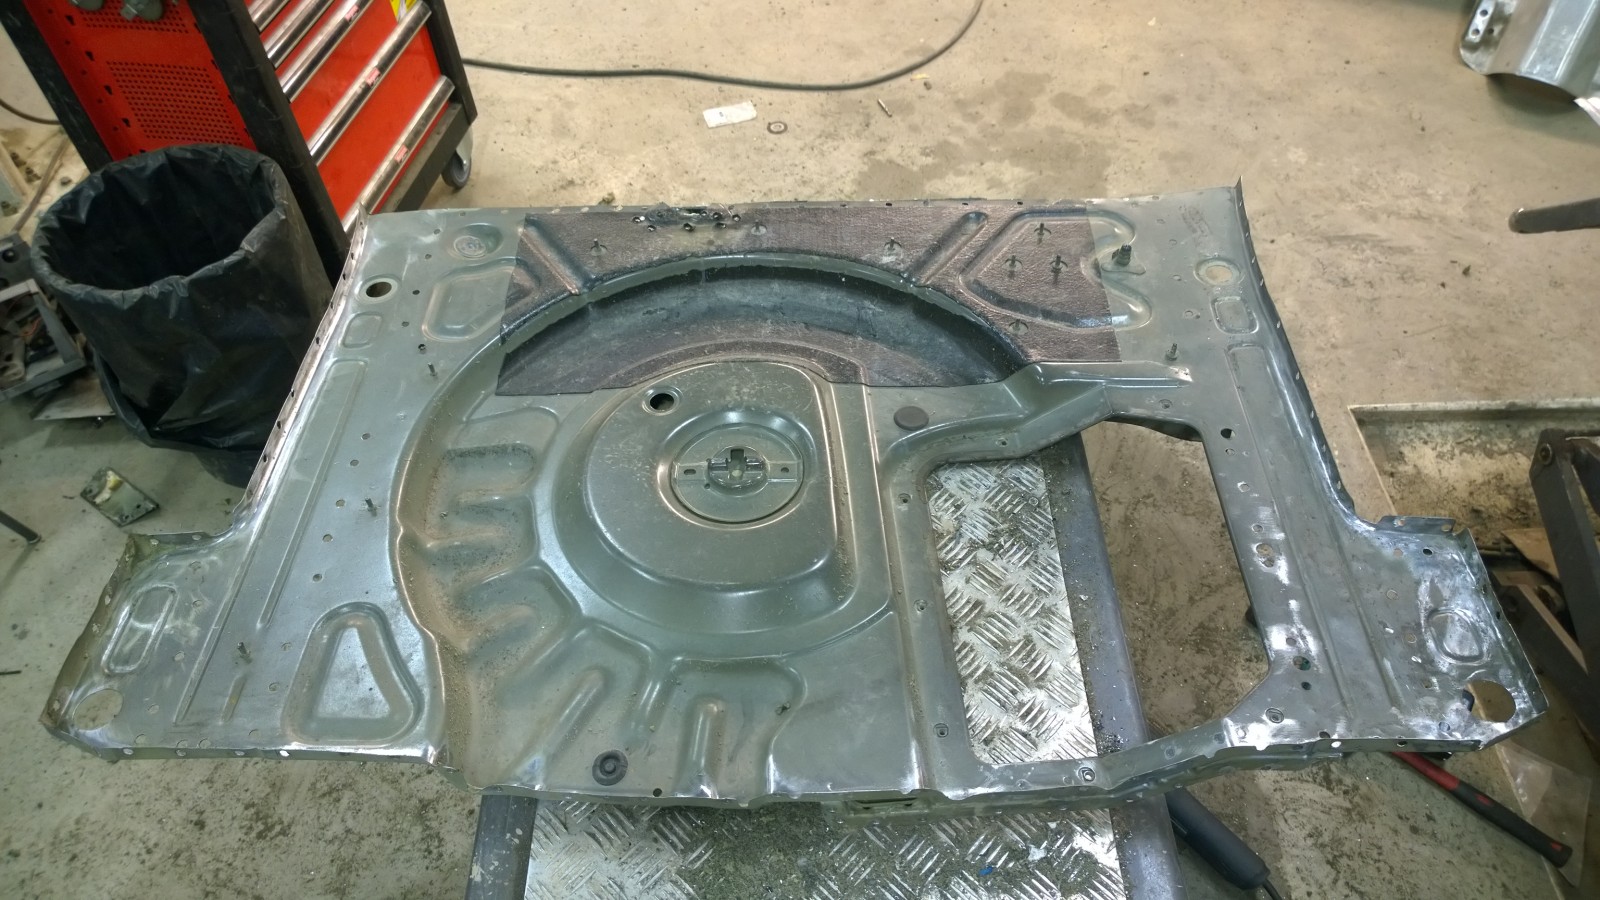
Ready to be installed to Scirocco. The large opening is for battery – some Golf models have battery on the trunk. This one has a metal plate to cover the hole.
View from the underside
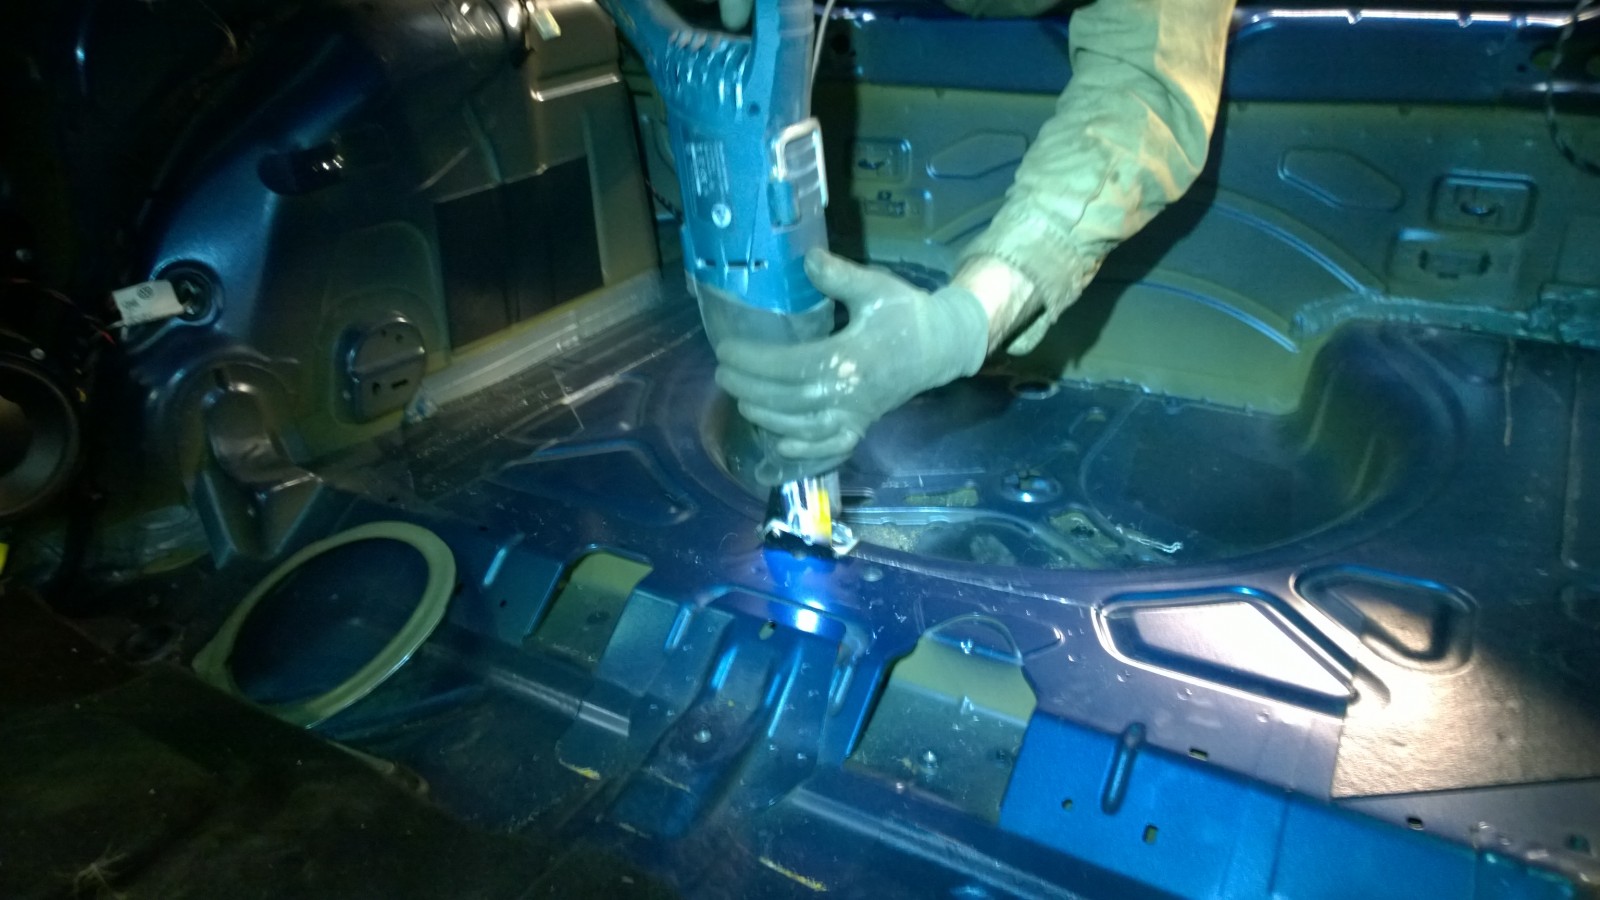
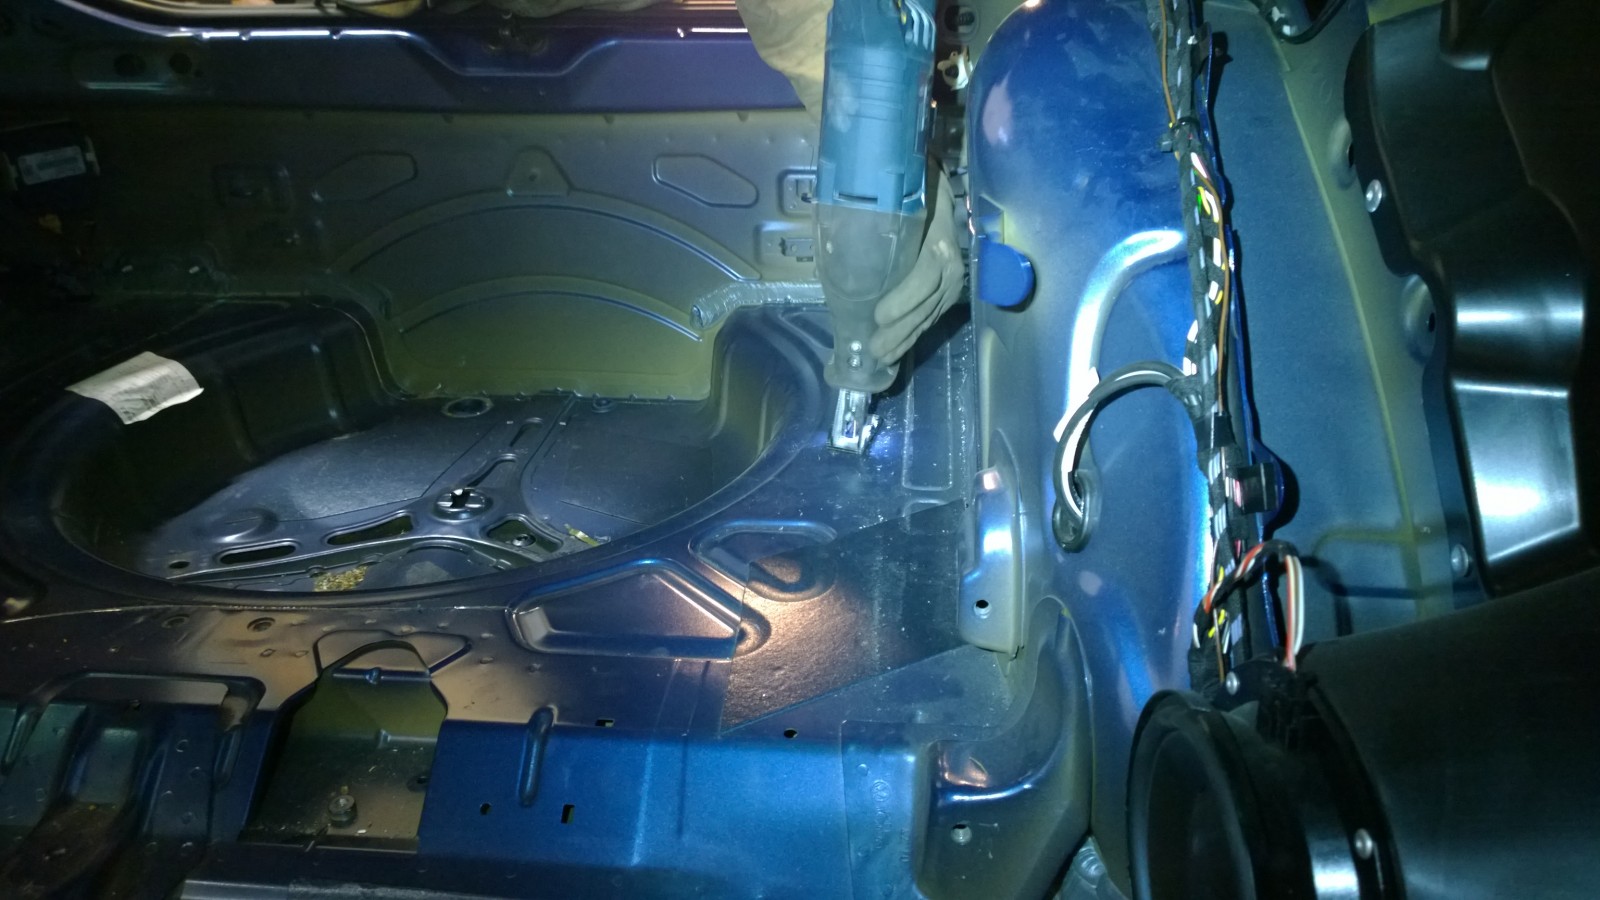
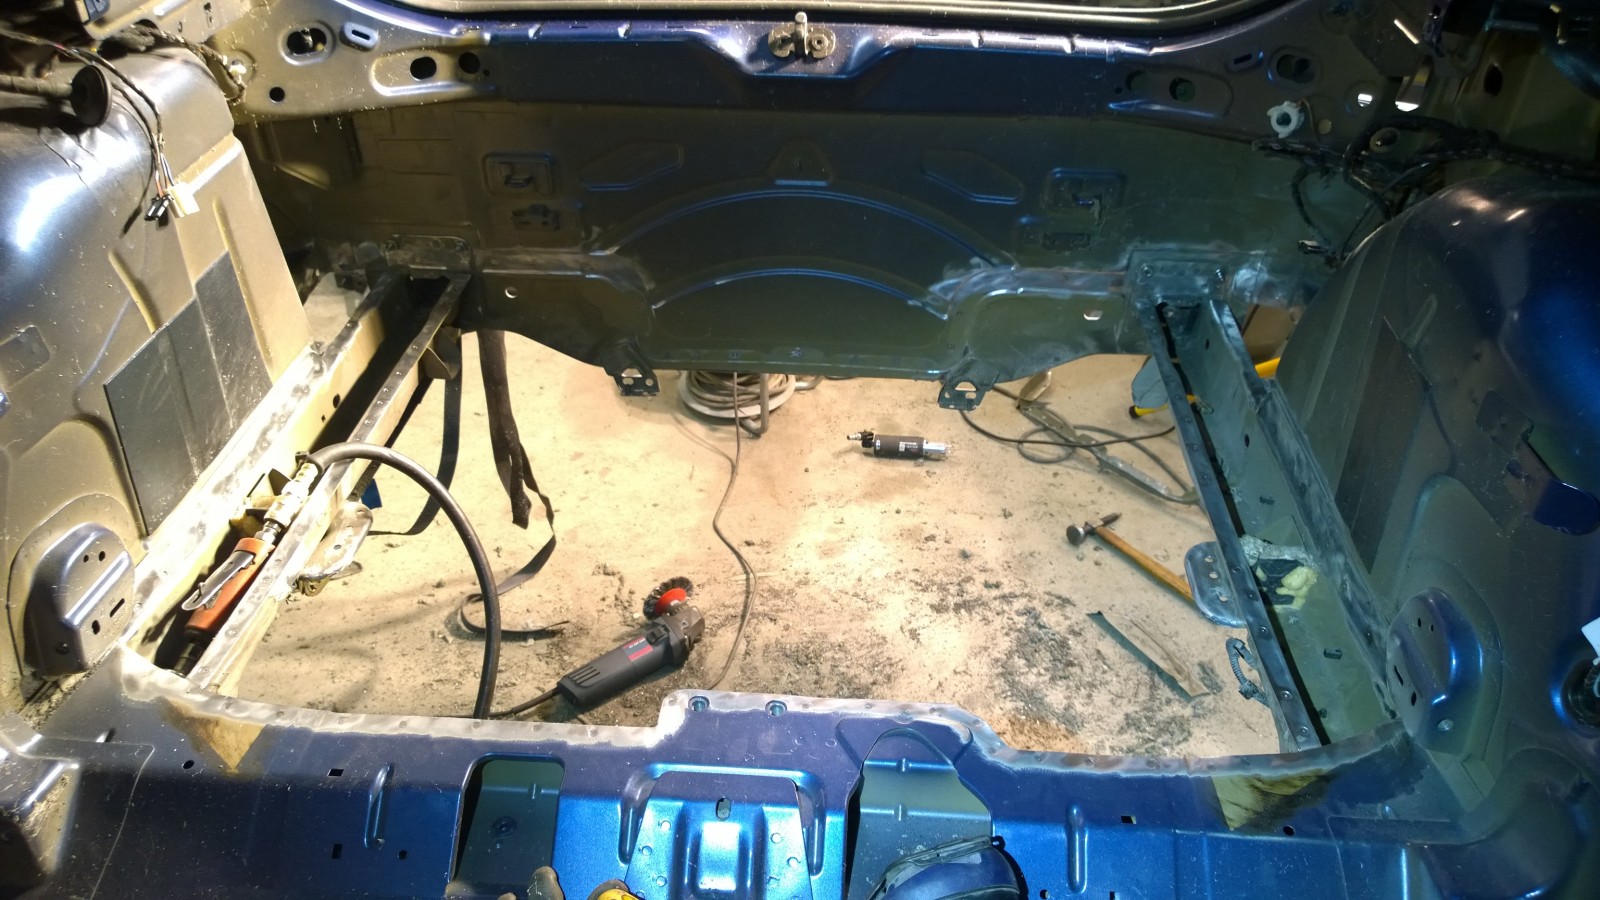
Then it’s time to start cutting the Scirocco…

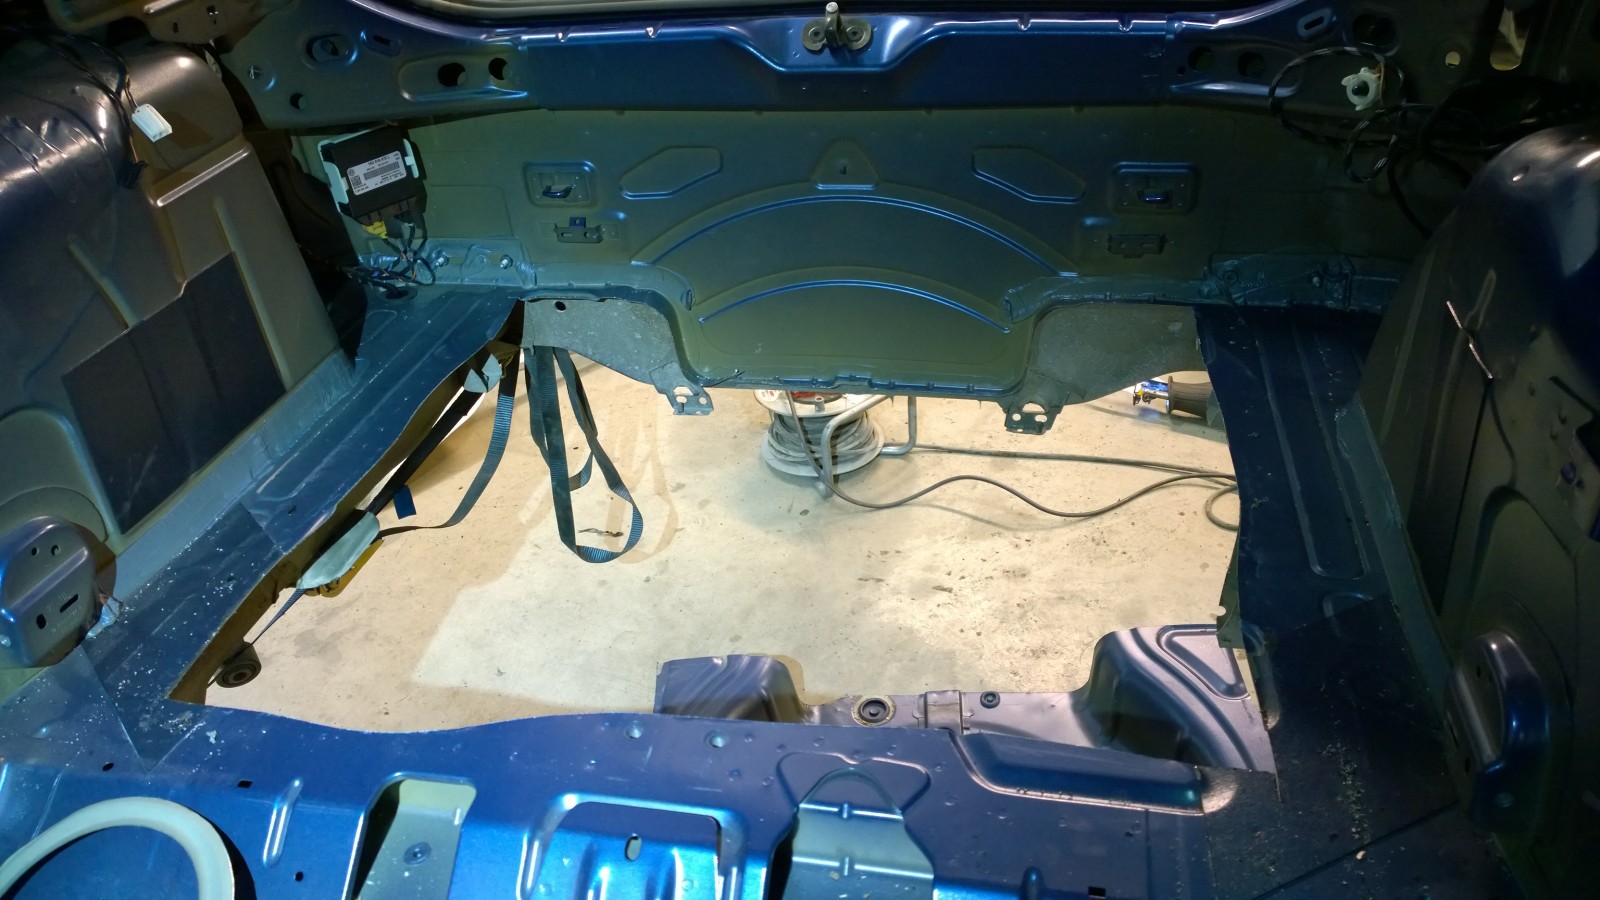
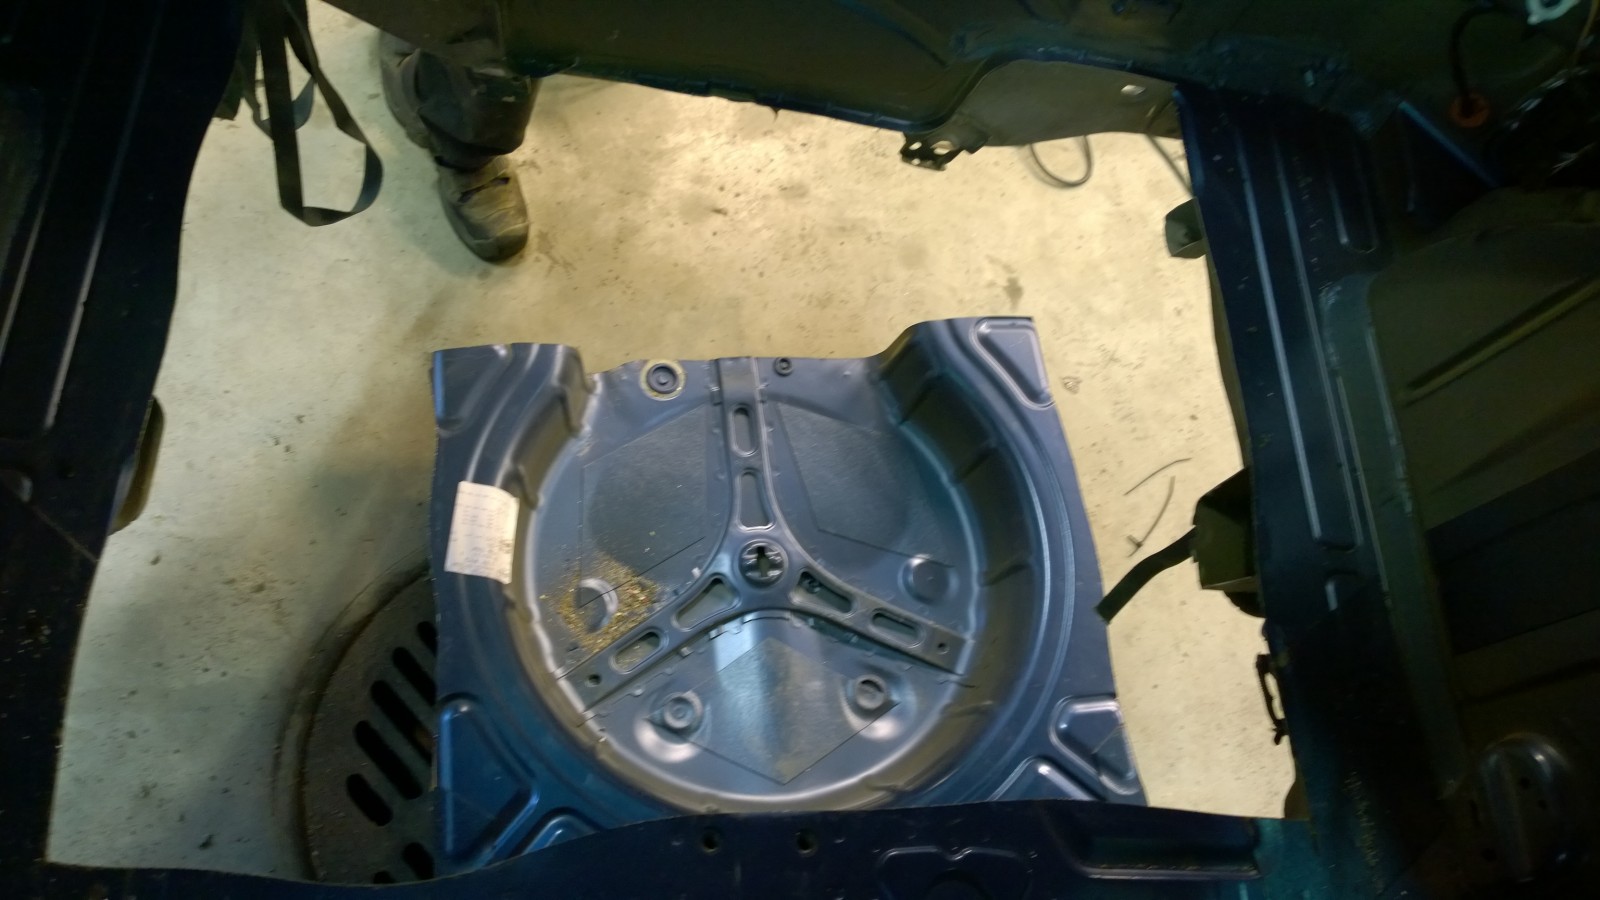
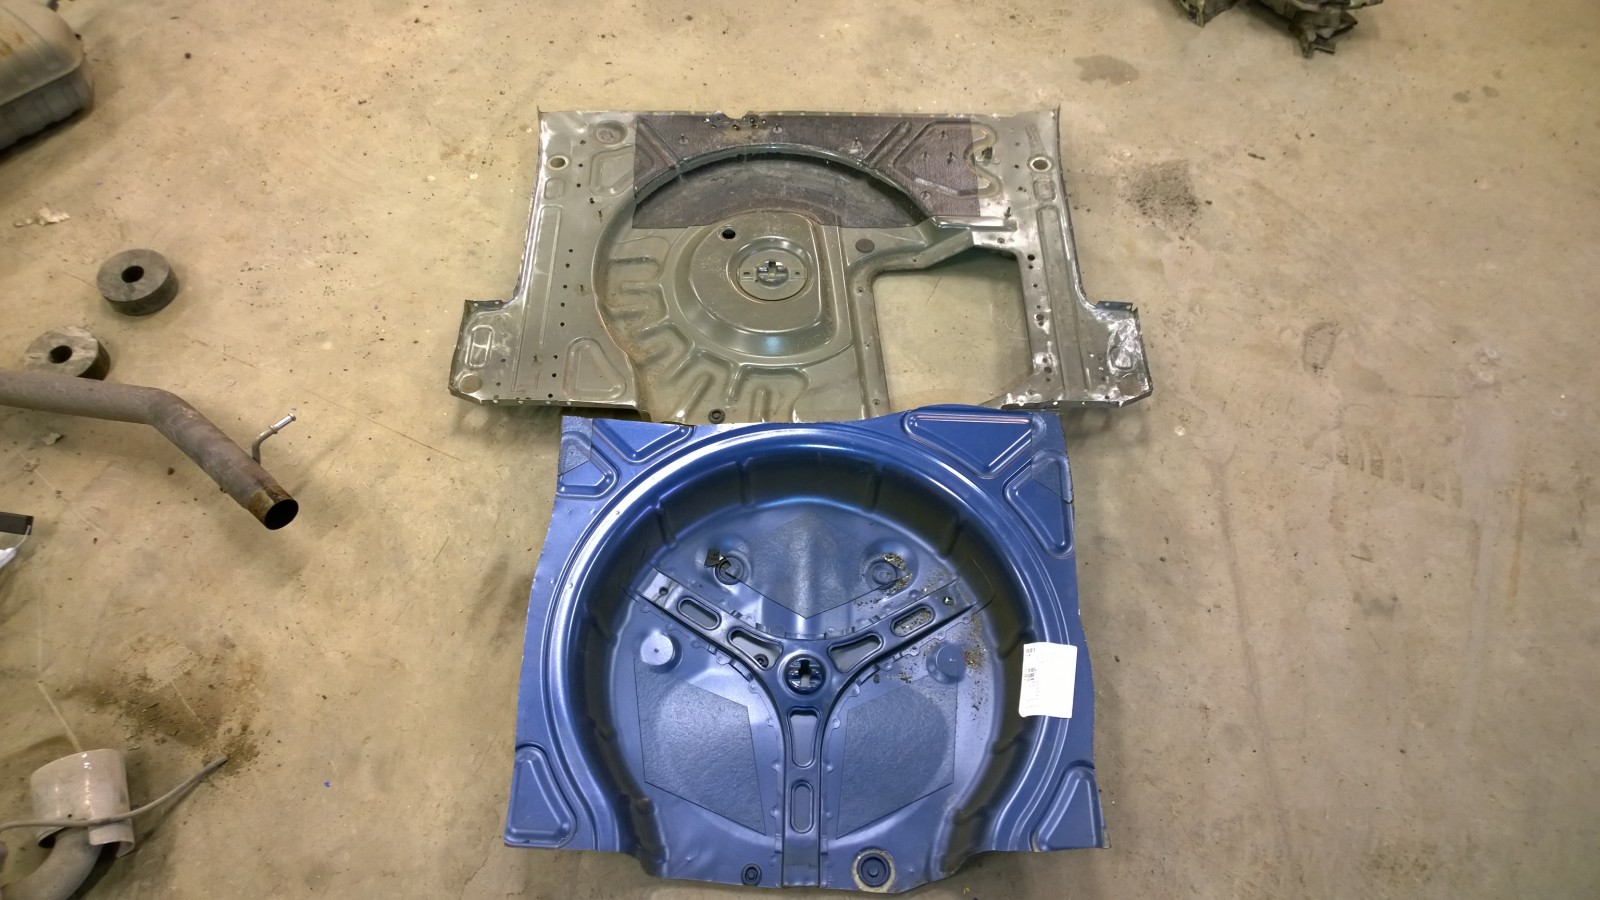
Comparing Golf and Scirocco floors. The difference in spare wheel space depth is remarkable.
Golf 4motion has a styrofoam spacer on the trunk to give space for the spare wheel. We’re not going to use that to keep the trunk volume original. We’re going to replace spare wheel with a tire repair kit.
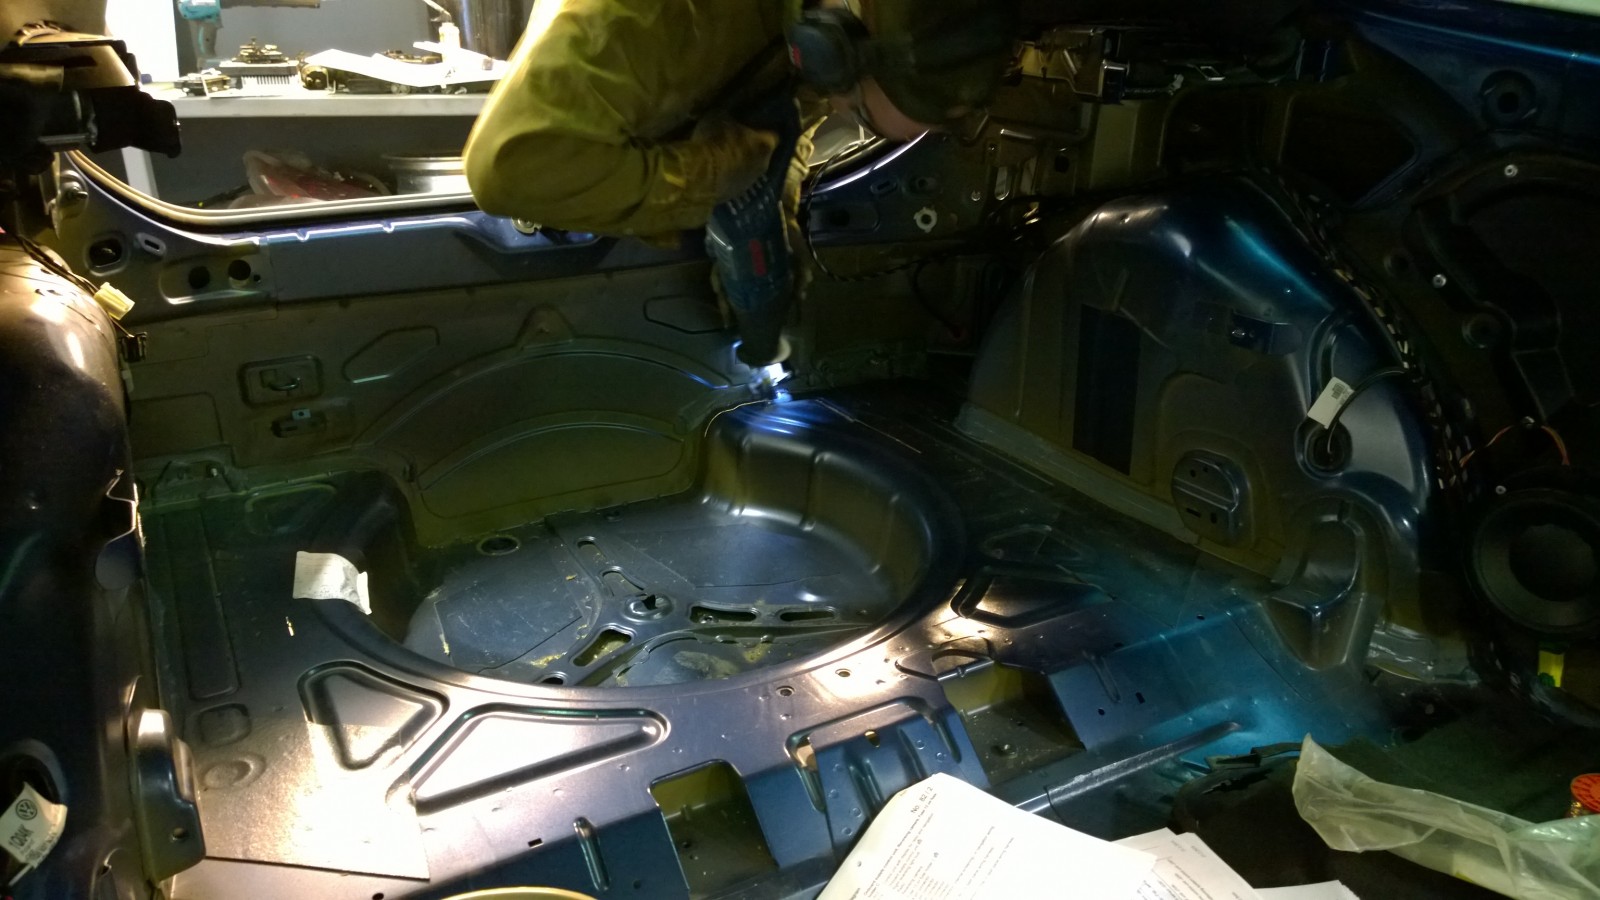
After cutting the excess materials out we’re ready to test fit the Golf floor piece.
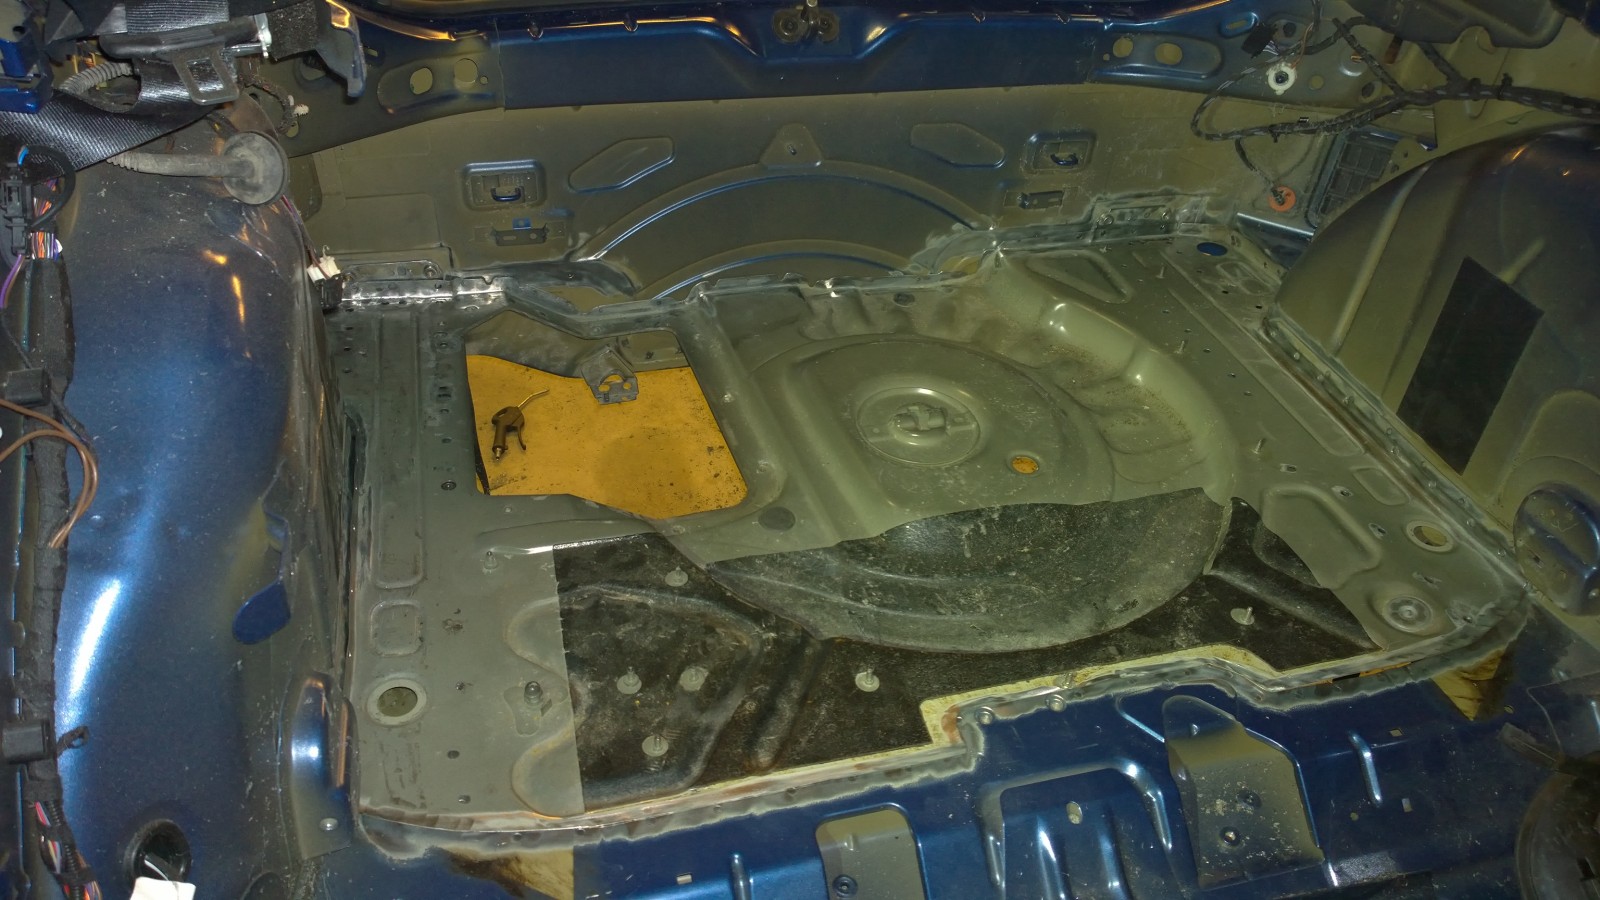
Like a glove…

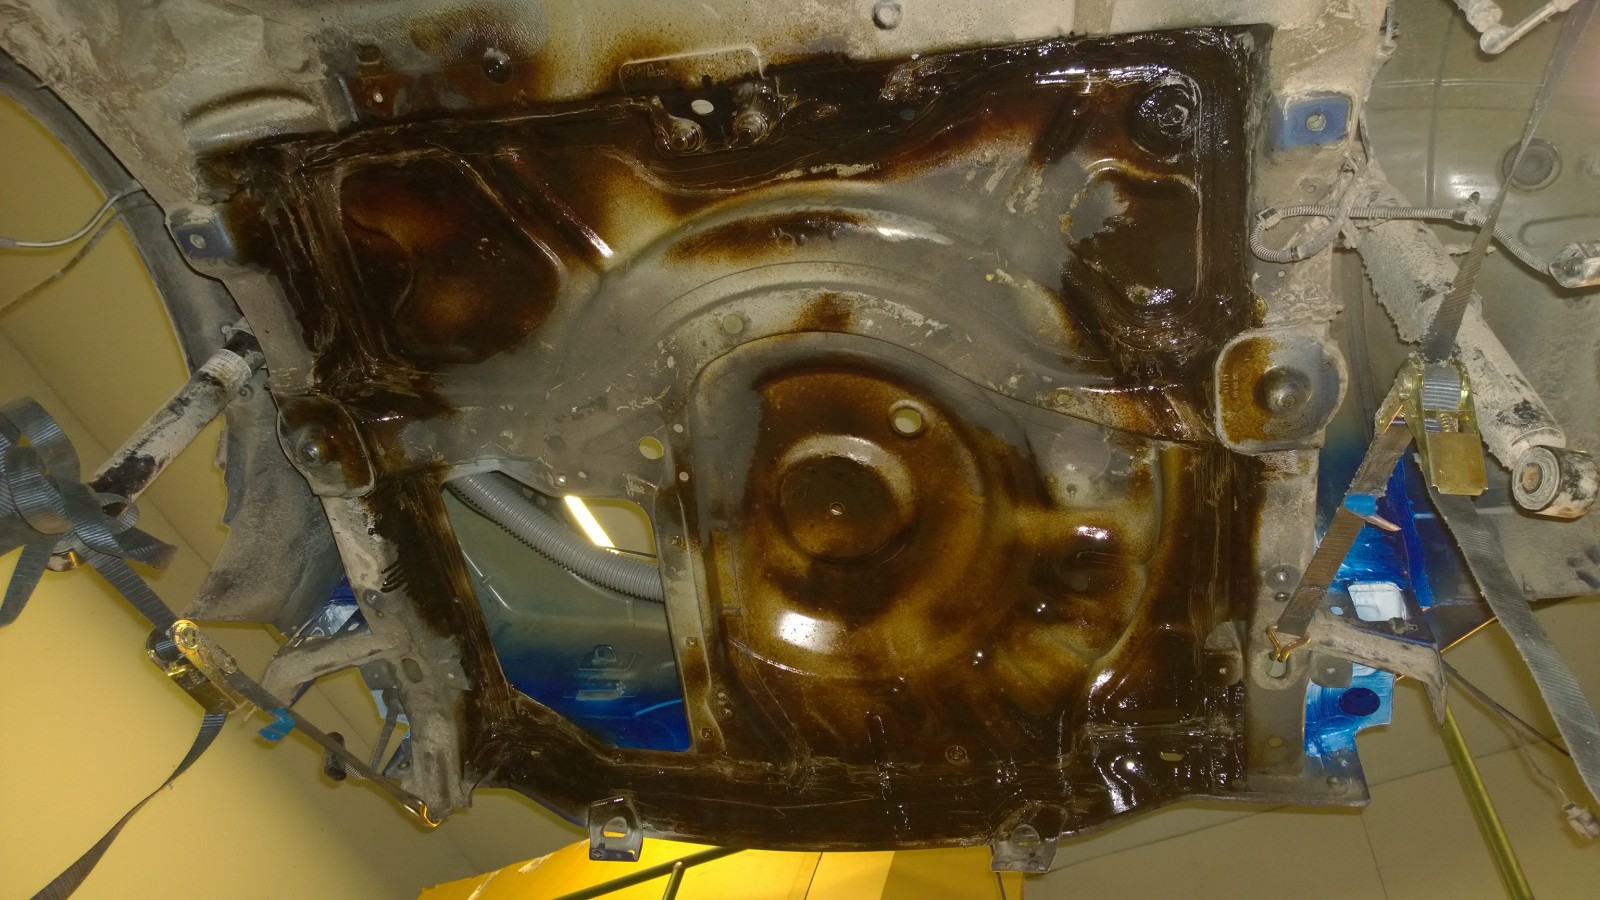
After welding some protective coating is applied
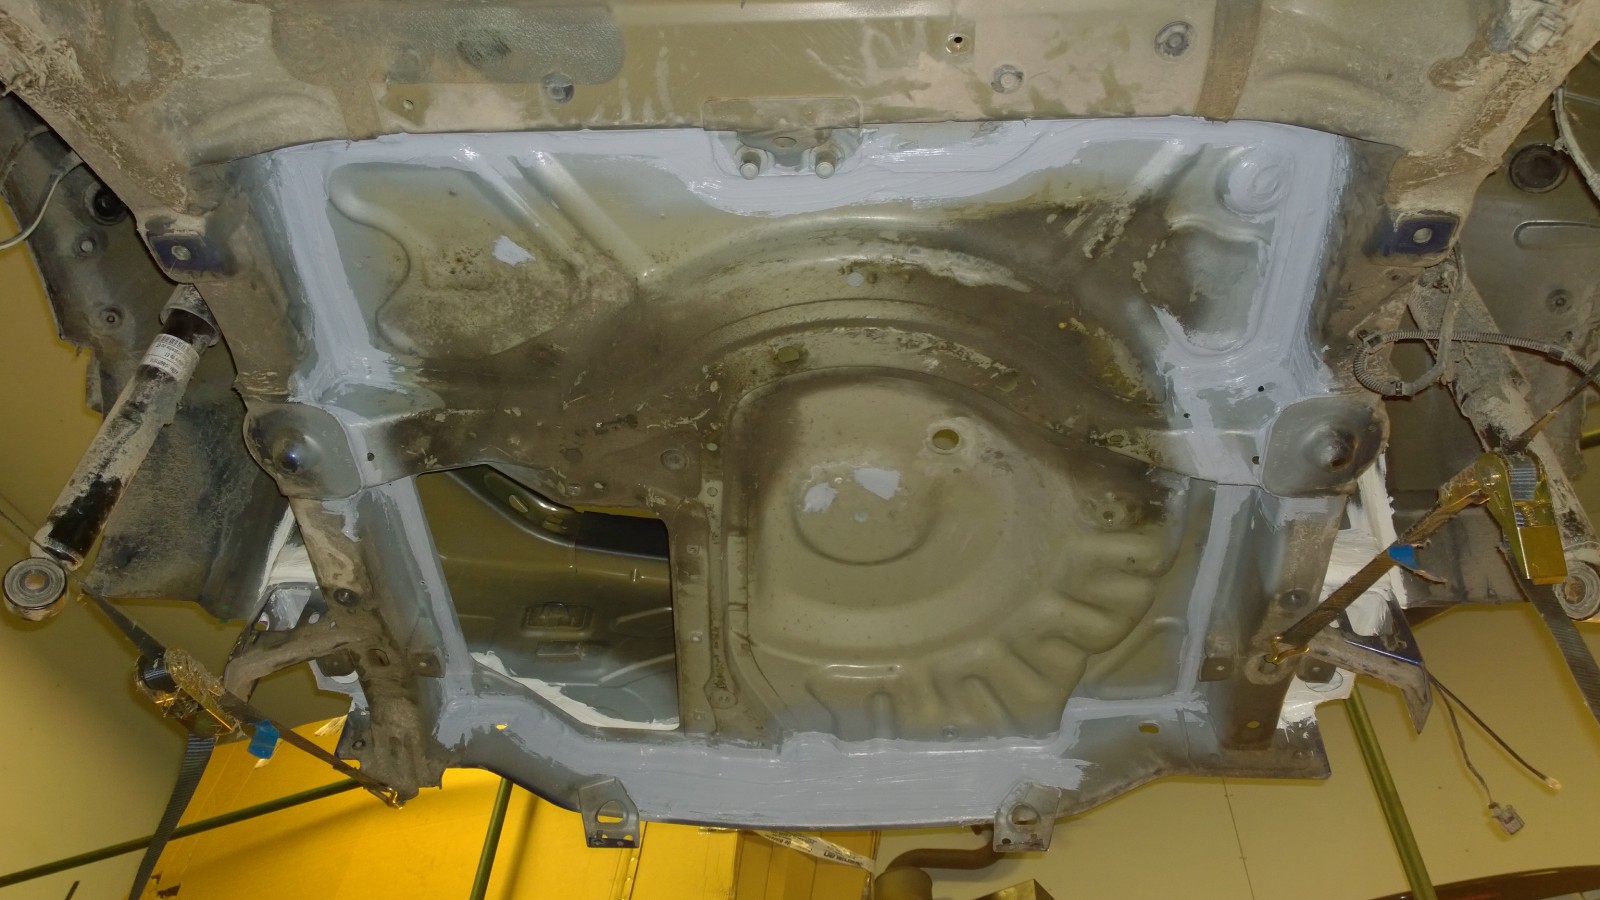
Also protected from the under side.
Finally we applied some fresh paint.
In addition to trunk floor replacement some smaller modifications were still needed. First is the fuel tank.
Scirocco’s fuel tank (left) is quite different from Golf’s.
We can’t just swap the Golf tank to Scirocco. The above photo shows clearly the reason: The filler pipe is different. In Golf the filler cap is way more back (about 20cm). In Scirocco that’s where the rear lamp is located, so we could even think of further body modifications – so we had to modify the tank.
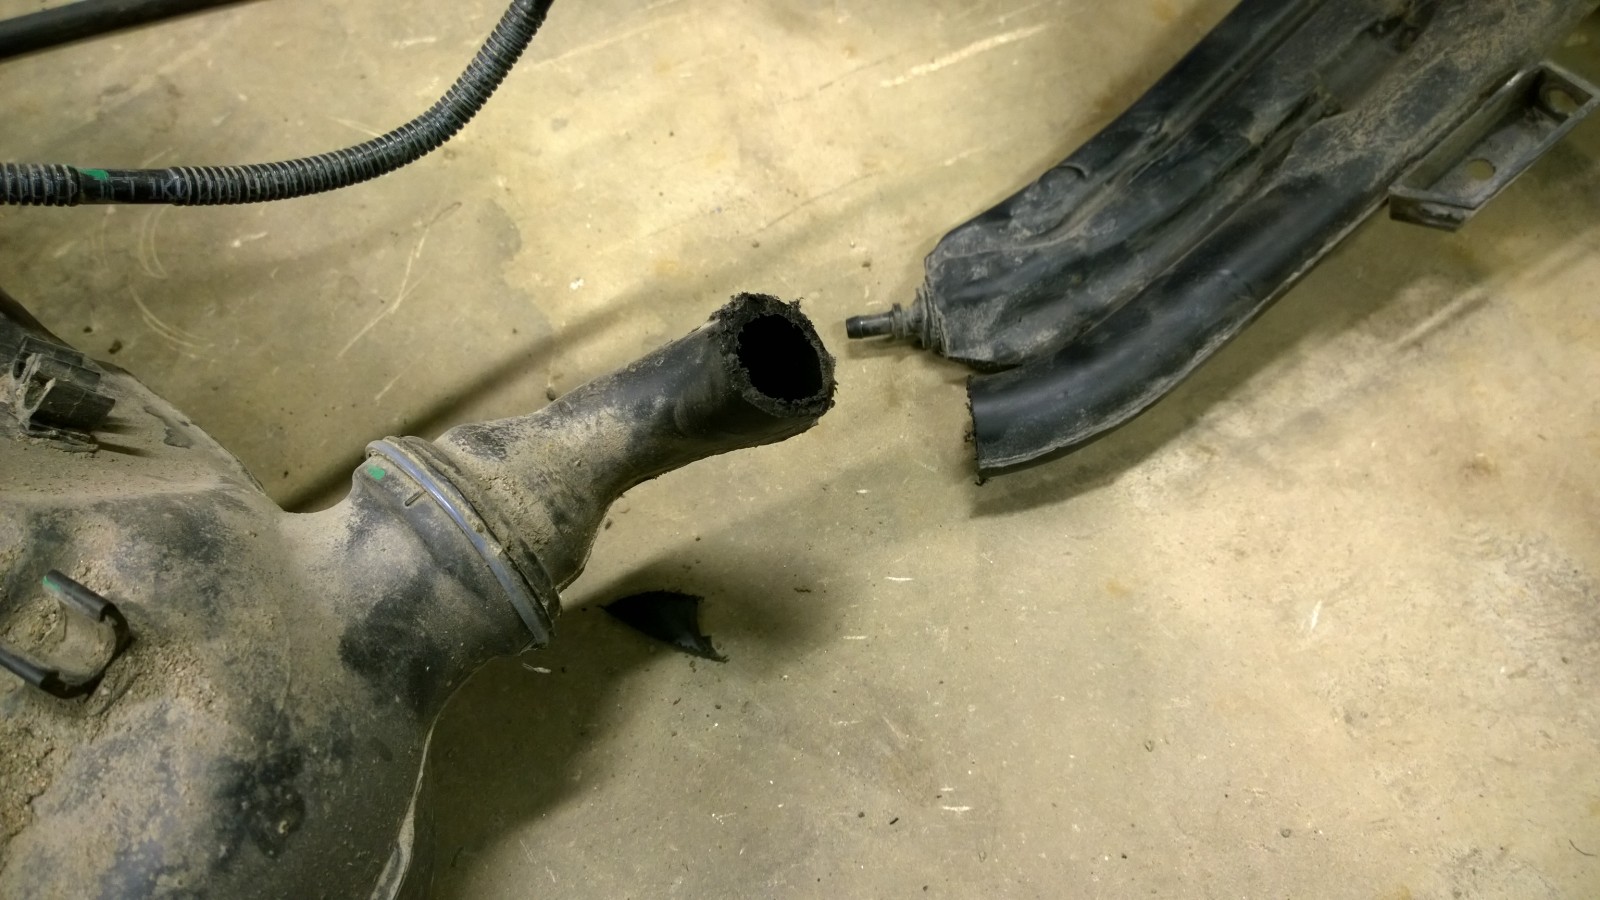
We cut the filler pipe from both Golf and Scirocco fuel tanks.
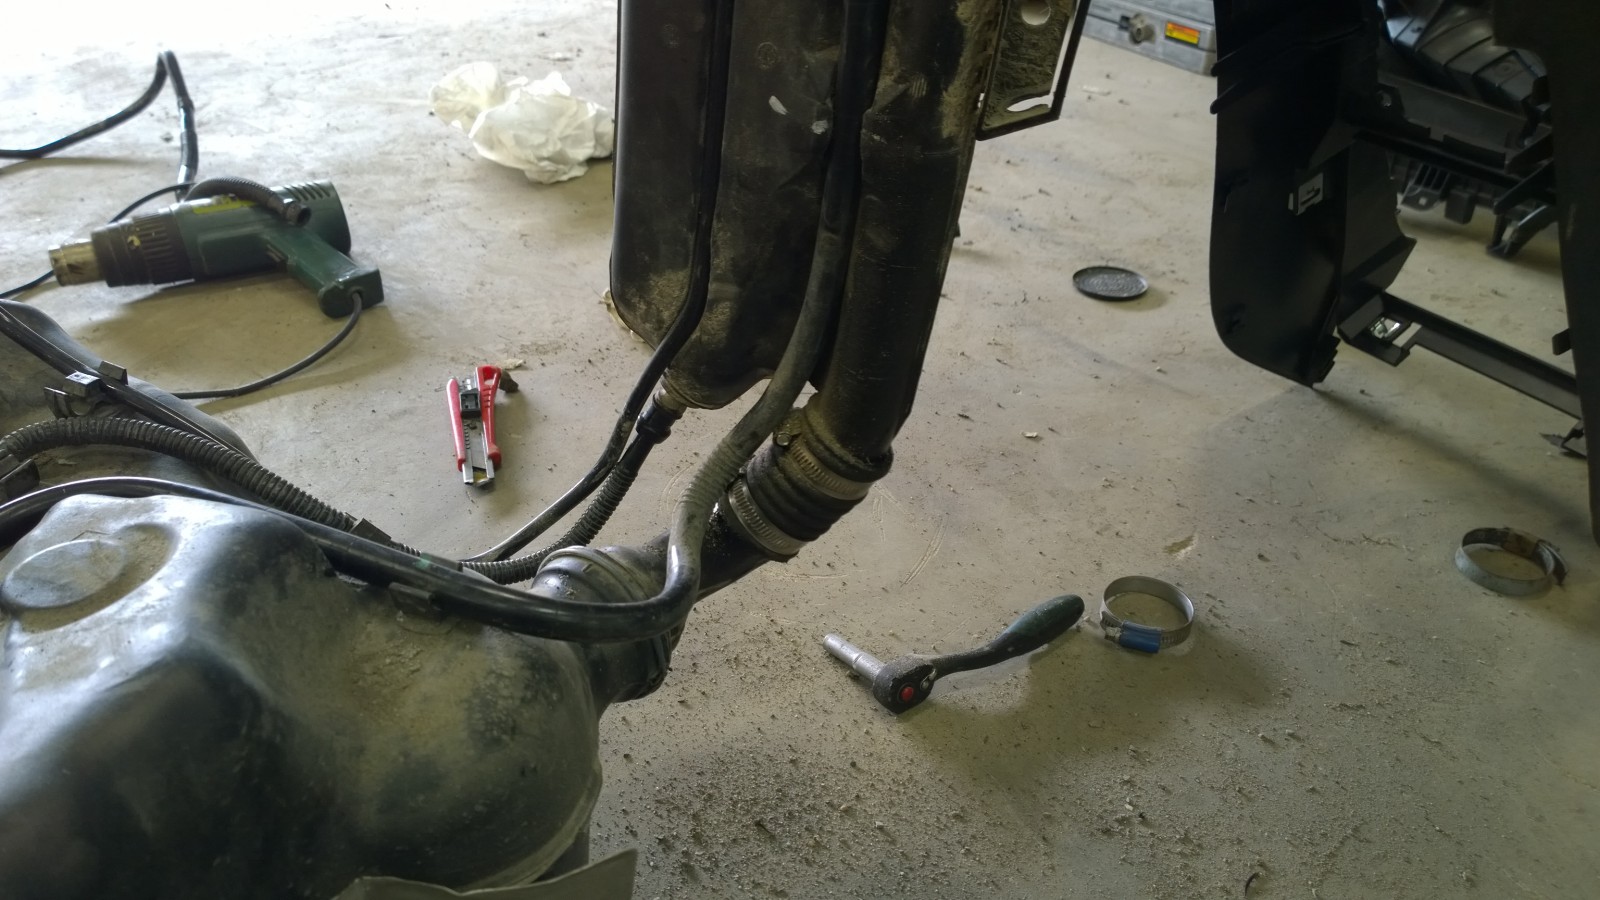
Scirocco filler pipe was connected to Golf tank with pretty simple method – small piece of petrol resistant hose and couple of hose clamps. After four years we haven’t had any kind of leaks.
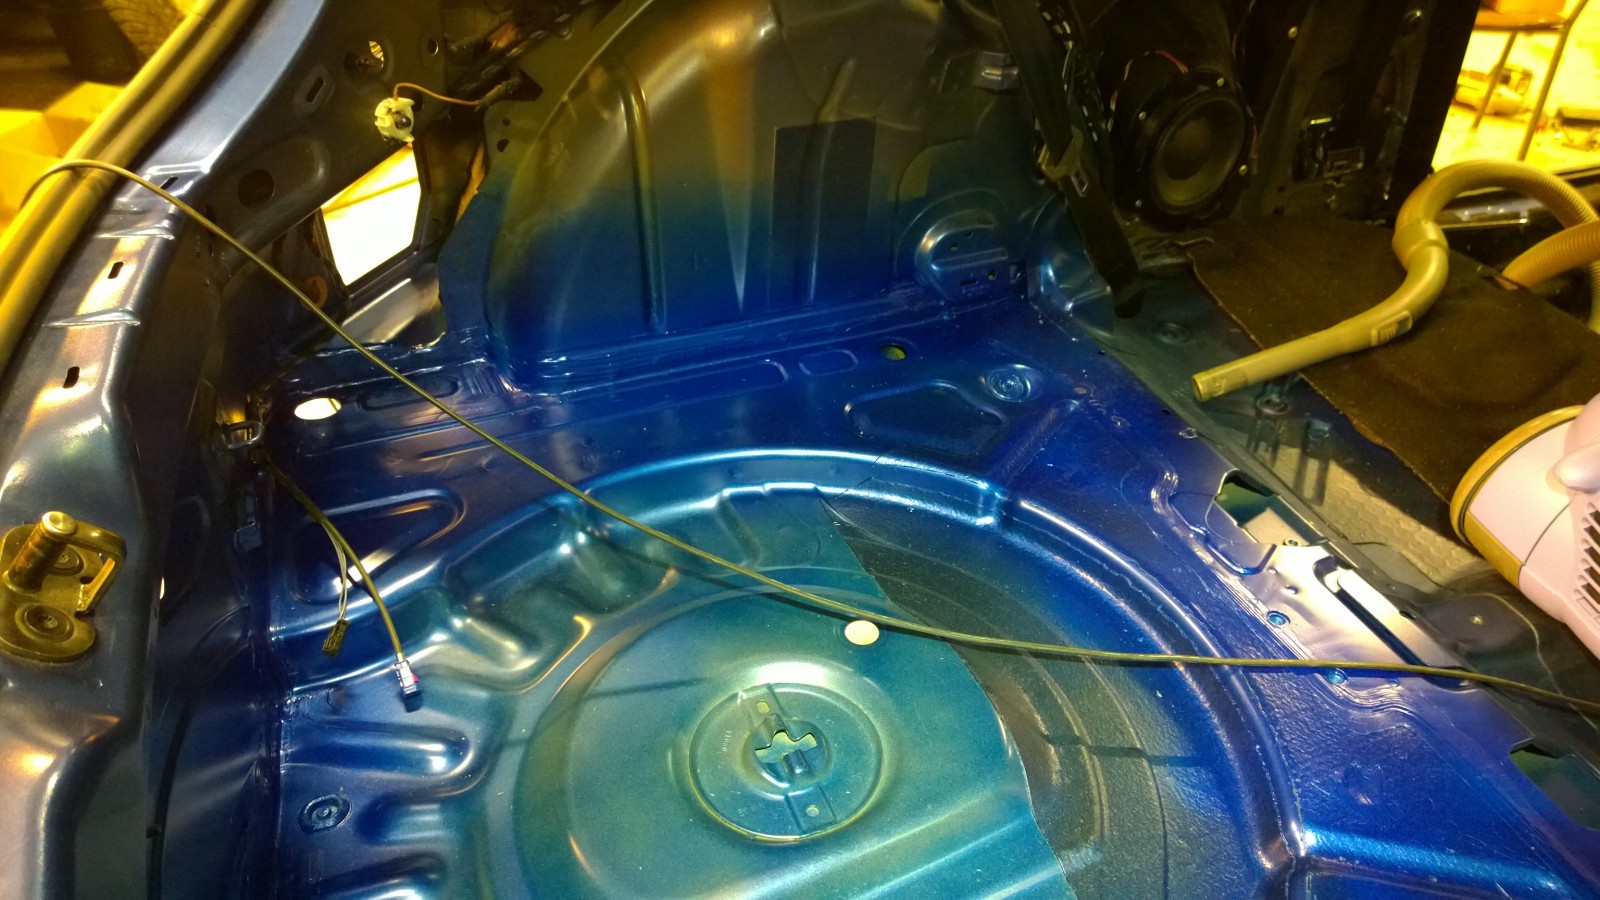
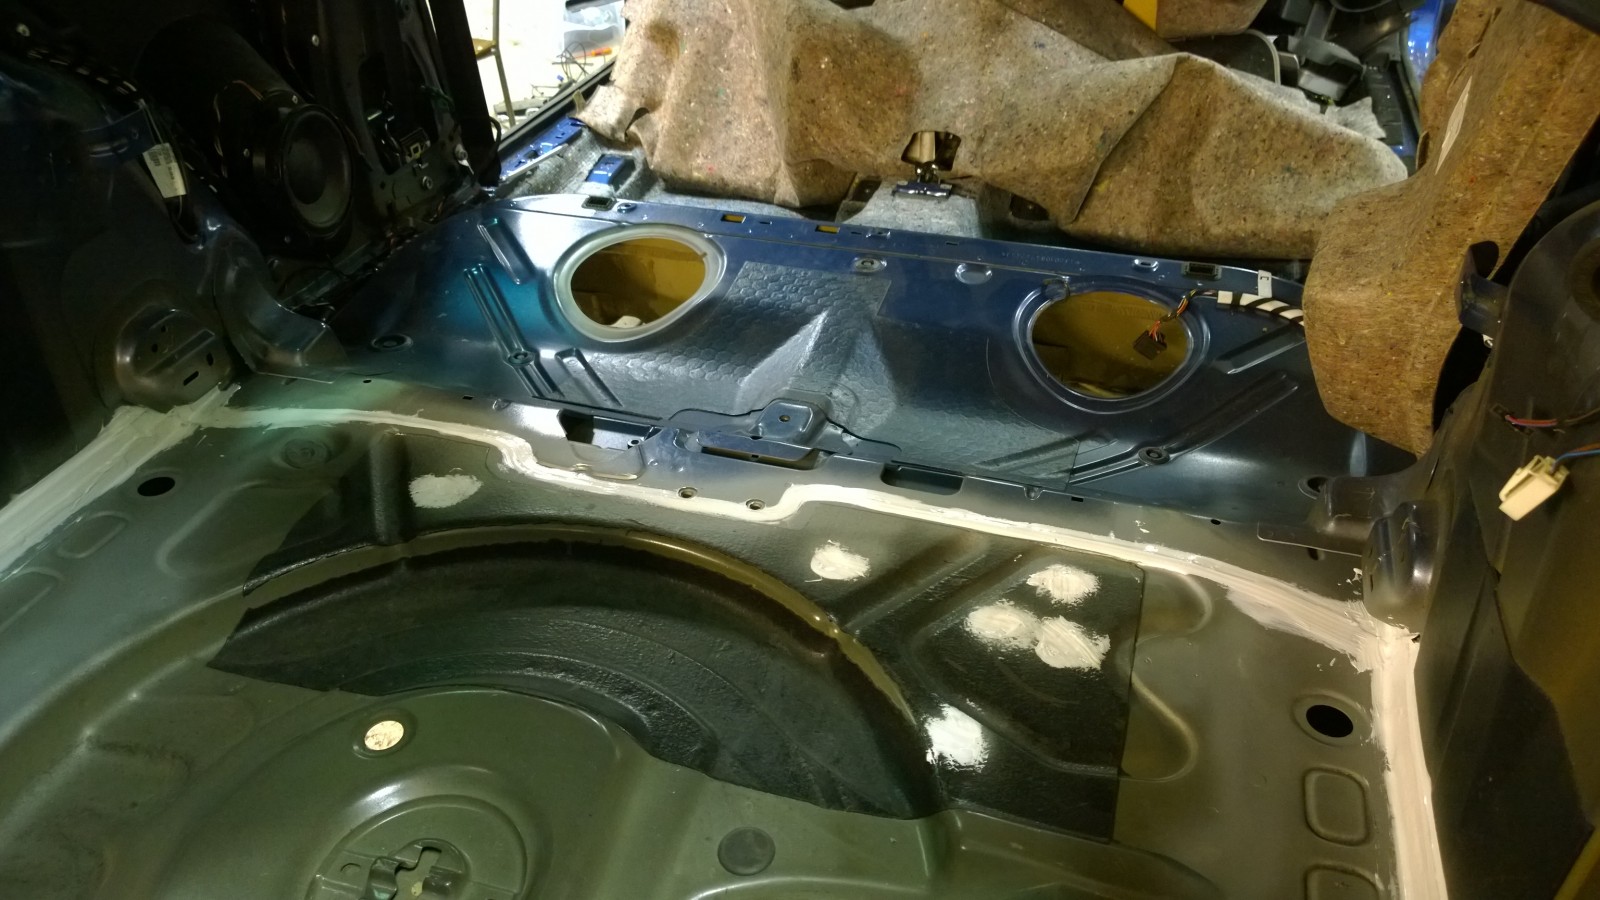
It was also necessary to cut another hole to the floor under the rear seat to get access to the fuel tank. The opening gives access to the second fuel level sender and the wiring to the Haldex controller also goes through this hole.
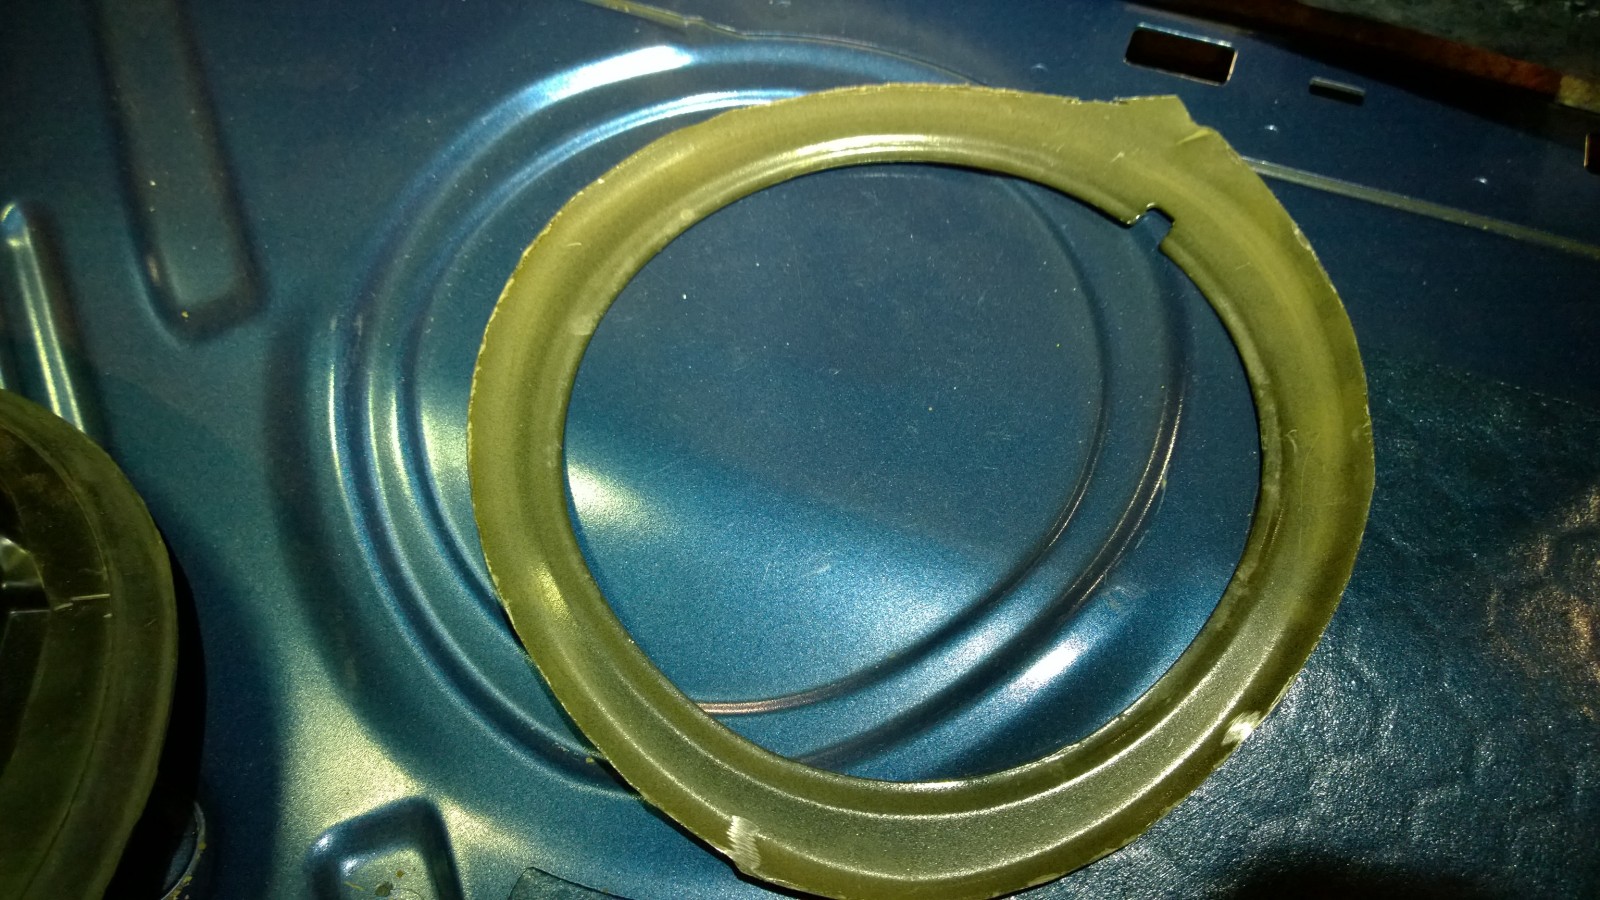
We used Golf floor piece as a template for cutting the hole. There’s already a molded space for the hole.
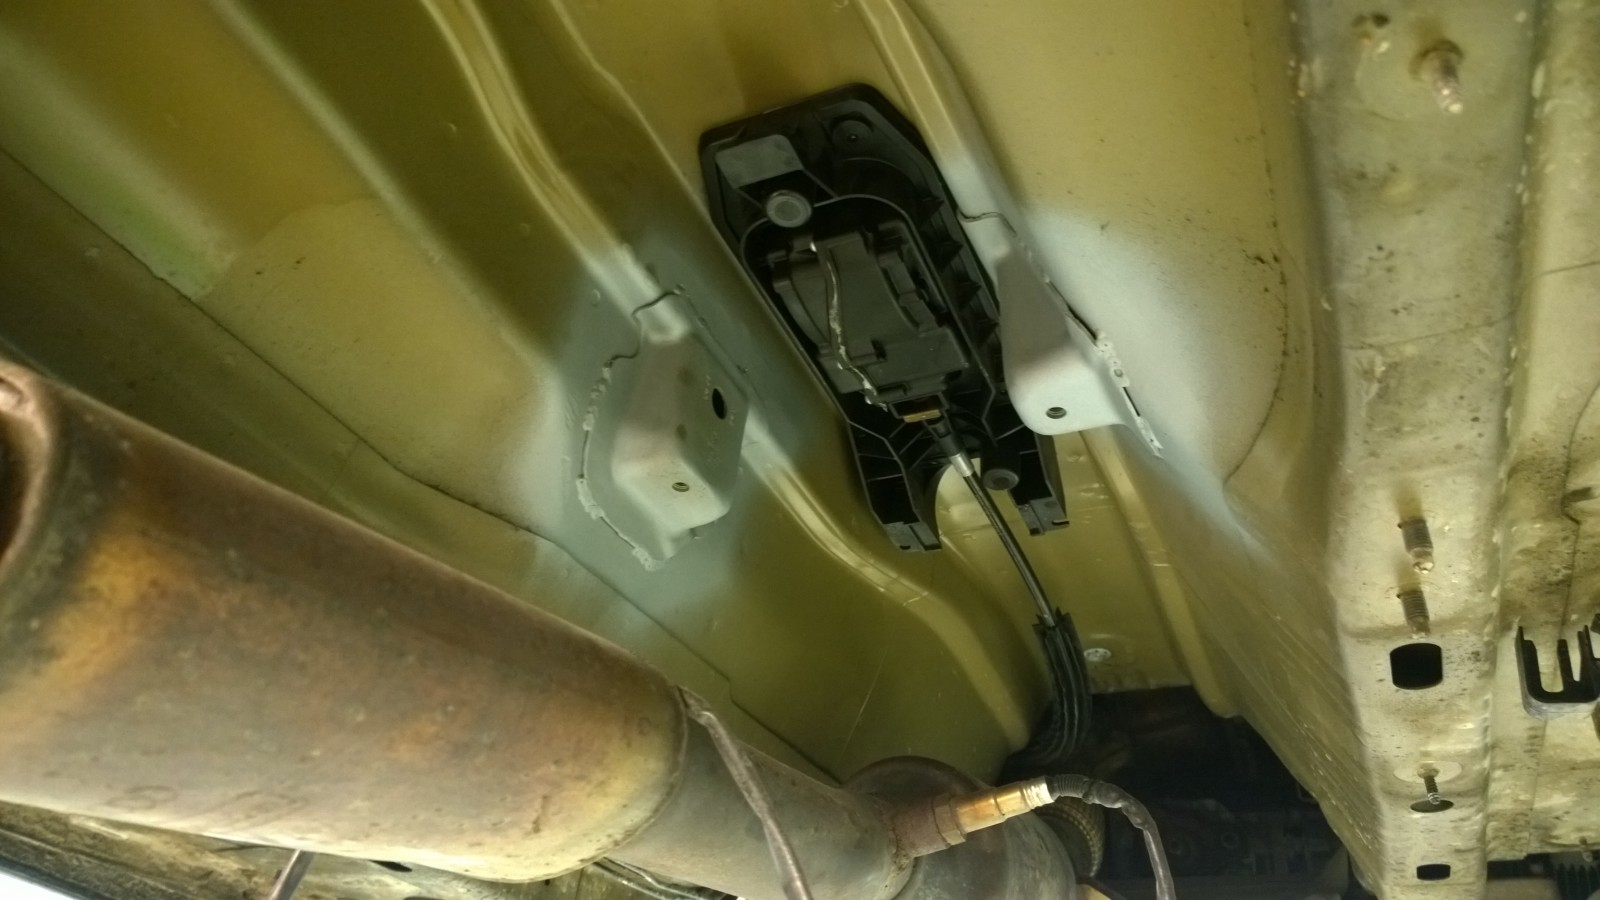
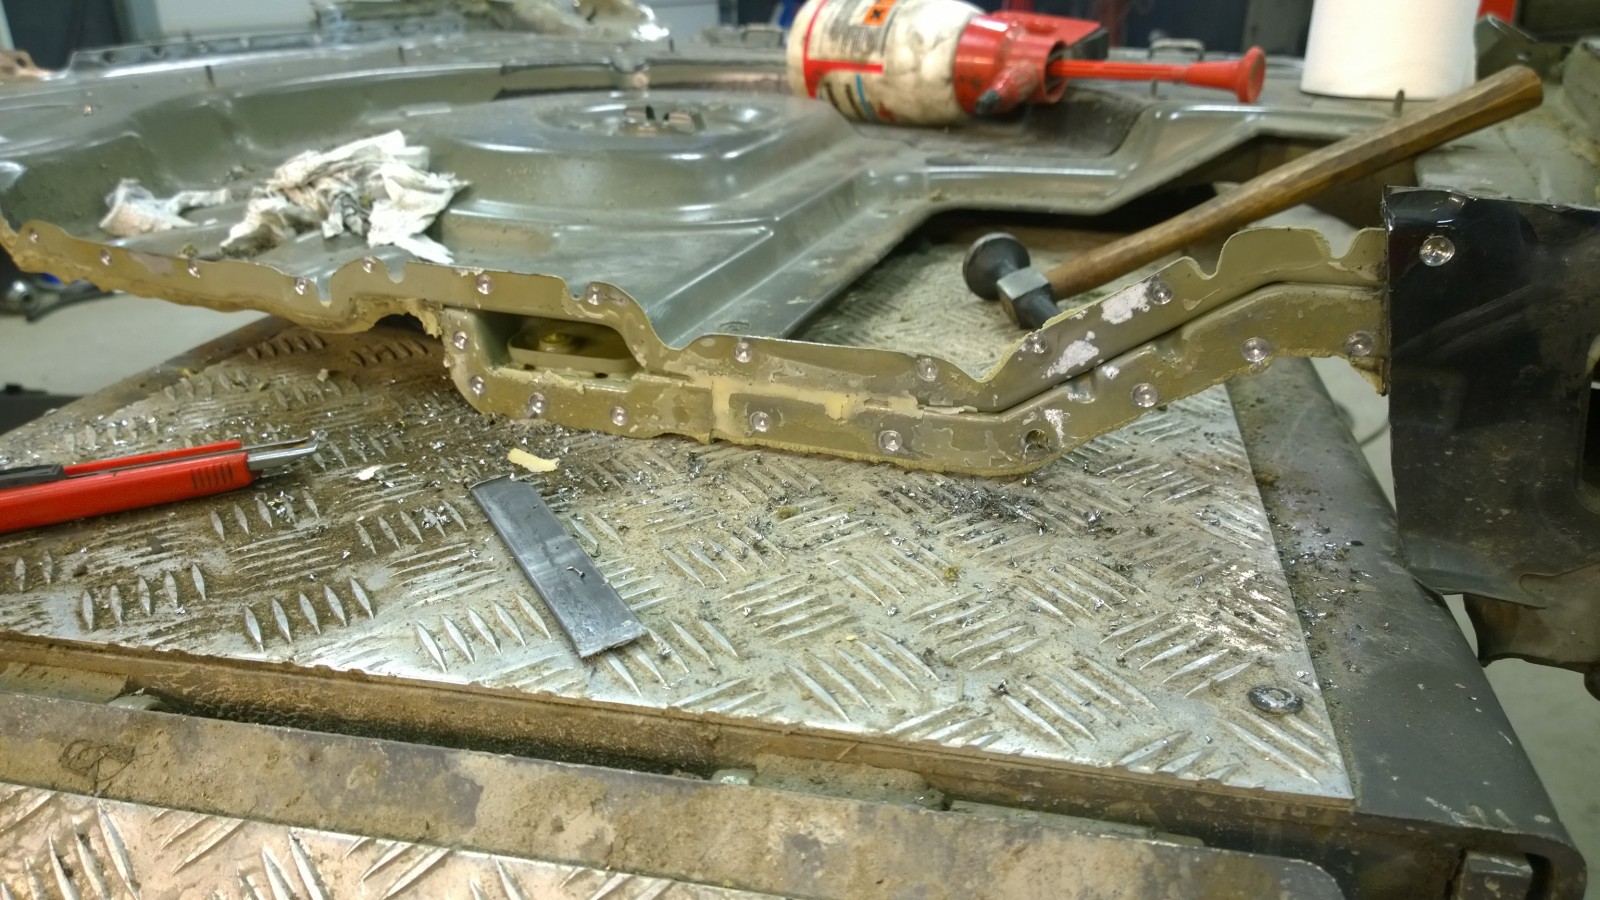
The drive shaft support bearing required brackets – these were cut from the donor Golf.
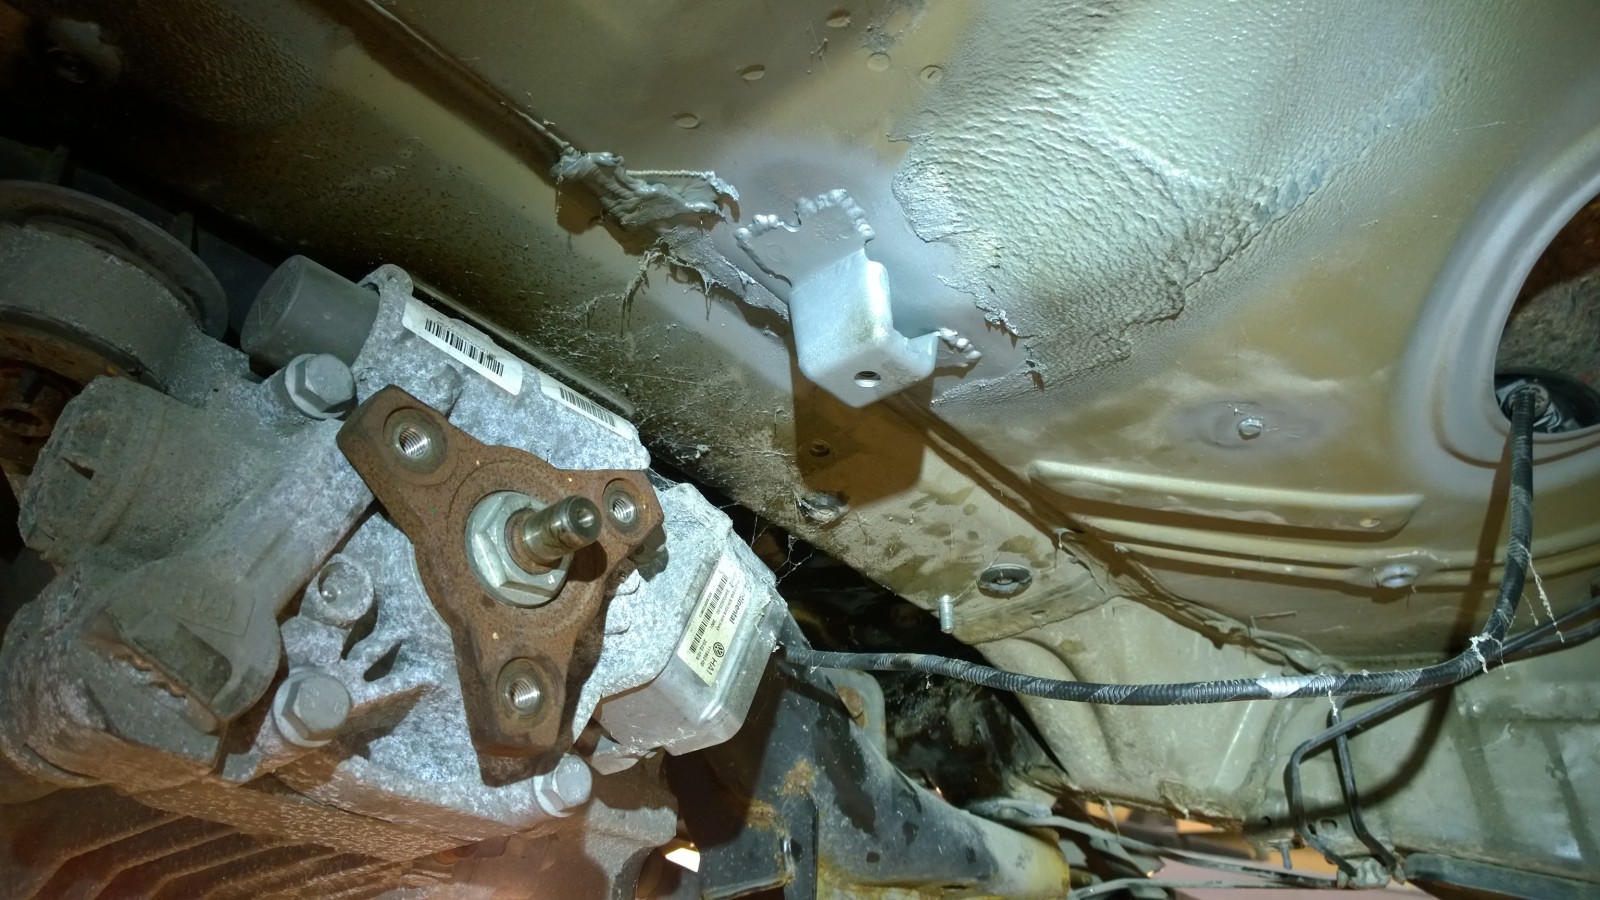
In this photo we already have the rear diff installed, but that’s not the point here. Two of the fuel tank brackets/nuts are different from FWD, this was also taken from the Golf.
Some rust protection was also applied.
Finally we’re ready for installing stuff. To be continued…
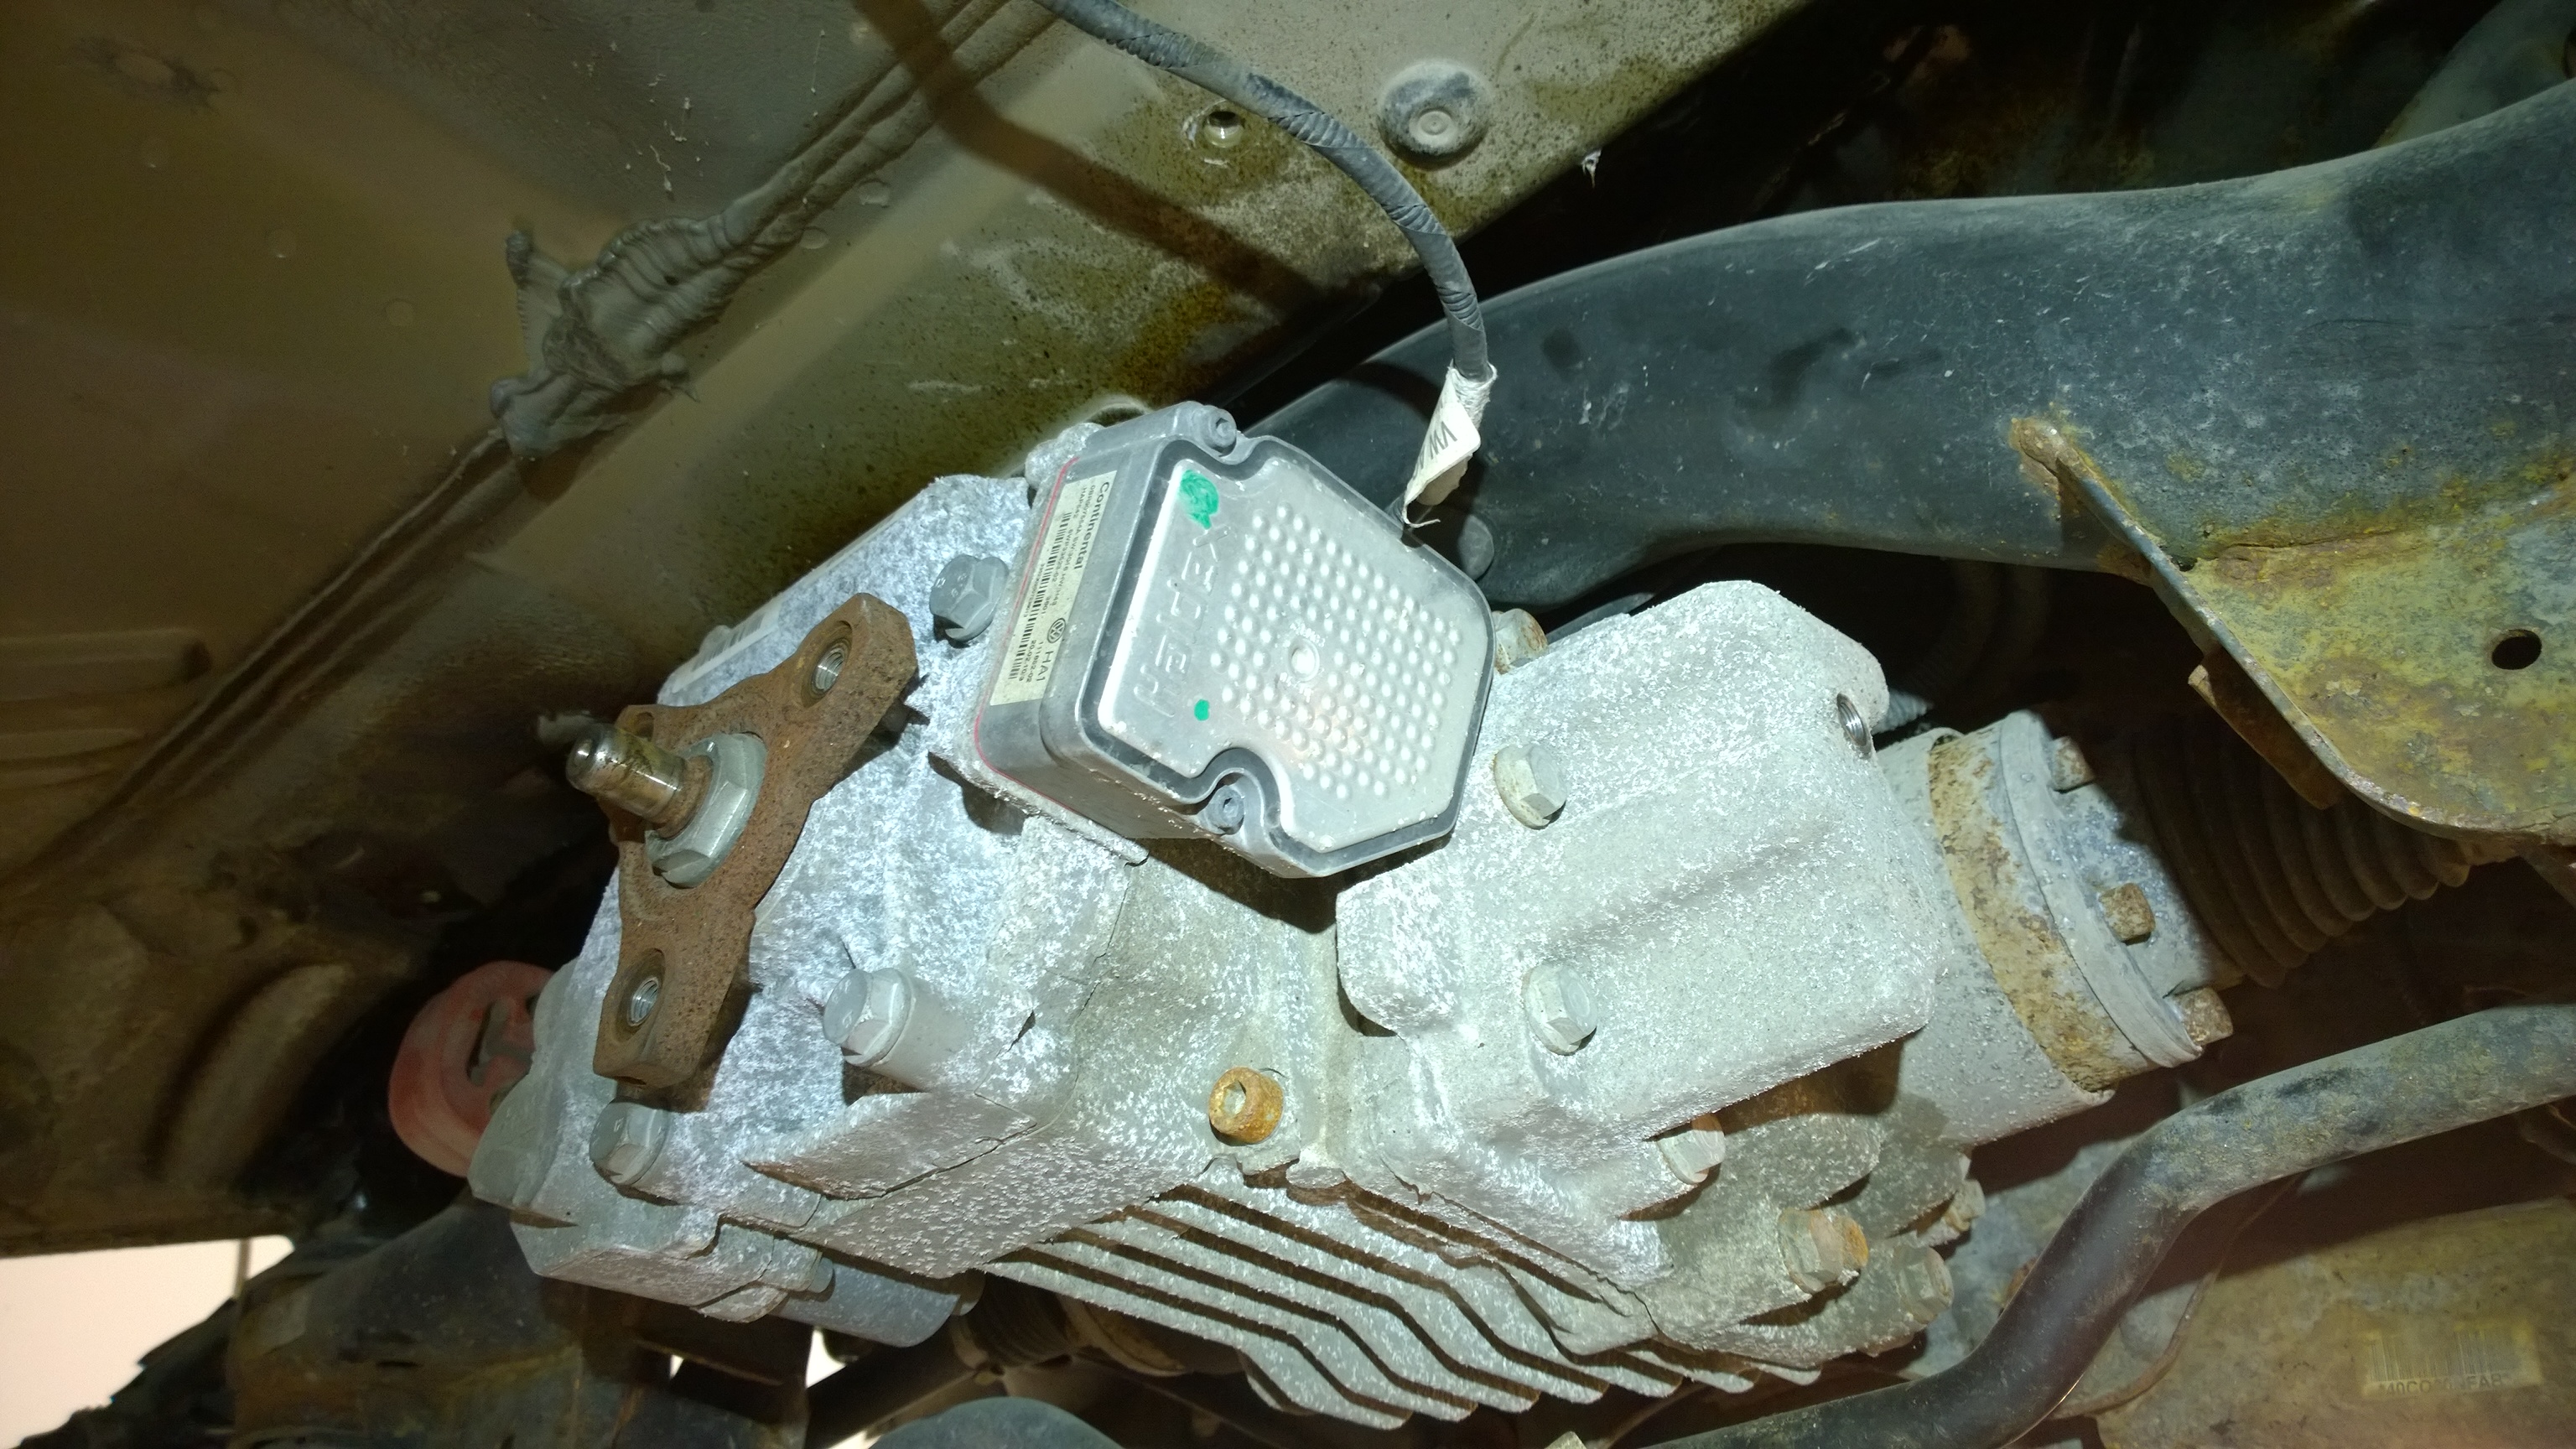
Finally it was time for fitting the rear axle and other parts of the drivetrain/chassis.